
Cadians vs Death Guard – 1,500 Points
Another league game today, against Death Guard this time...
This Cadians vs Death Guard game is for a league at Boards and Swords, but not this league I am in. This is for a 40-player league split into four divisions of ten players. The top players of each division will play off for a final winner sometime in Feb/March next year. There are ten players in a division, you play everyone once, and there is one game per month. So my games will be completed nine months from June.
Never miss an article? Subscribe!
In my division, there are the following factions taking part;
- Astra Militarum (me)
- Tau – Game 1
- Craftworlds – Game 2
- Thousand Sons – Game 3
- Death Guard – Game 4
- Necrons – Game 5
- Custodes – Game 6
- Flesh Tearers – Game 7
- Grey Knights – Game 8 or 9
- Orks – Game 8 or 9
This game was at Boards and Swords in Derby.
I used the GoonHammer Tabletop Battles Beta app for this game, which is why the output at the bottom differs from the usually ITC app output.
Pacificus Division
Here are the current standings before this game… this is a bit out of date now as it is missing my win against Thousand Sons and other games, I think too.

Updated League Table
Cadians 1,500 Points List
Cadian Battalion Detachment
This game was using the new Nephilim GT Book.
Command Points
- 1CP for my first Relic – Relic of Lost Cadia
- 1CP for Imperial Commander’s Armoury, a second Relic – Gatekeeper
- 1CP for a Tank Ace
- 1CP for a Warlord Trait, which I do not use and instead take the free Tank Ace instead of a Warlord Trait
- I will be starting on 2CP
HQ
- Pask with Demolisher, Heavy Bolters and Lascannon
- Demolisher Tank Commander with Multi-Meltas, Lascannon and Relic of Lost Cadia
- Gatekeeper Tank Commander with Heavy Bolters and Lascannon
Troops
- 3x Infantry Squads with Vox Caster, Lascannon and a Meltagun, Sergeant with Plasma Pistol and Power Sword
- 3x Infantry Squads with Vox Caster, Lascannon and a Plasma Gun, Sergeant with Plasma Pistol and Power Sword
Elites
- 3x Platoon Commanders with Plasma Pistol and Power Sword – one of these is my Warlord
- 3x Command Squads with Medi-Pack and Vox-Caster
Heavy Support
- 1x Full Payload Basilisk with Hunter Killer Missile
- 1x Basilisk
Cadian Secondaries
- Inflexible Command
- Boots on the Ground
- Raise the Banners High
Death Guard 1,500 Points List
This is from memory, so might be slightly incorrect;
- Foul Blight Spawn
- Chaos Lord
- Lord of Virulence
- Tallyman
- 3x Deathshrouds
- 5x Blightlord Terminators
- Two units of 10x Poxwalkers
- 5x Plague Marines
- Plagueburt Crawler
- 2x Myphitic Blight-hauler
- Fleshmower Foetid Bloat-drone
Death Guard Secondaries
- Assassination
- Spread the Sickness
- Fleeing Vectors
The Mission – Abandoned Sanctuaries
Score 4VP for each other the following;
- Control 1 or more Objectives
- Control 2 or more Objectives
- Control more Objectives than the enemy
Then score 2VP if one of the following is true at the end of your turn;
- You control the centre Objective
- You destroyed an enemy unit which was on top of the centre Objective
Then score 5VP if you control the centre Objective at the end of the battle.
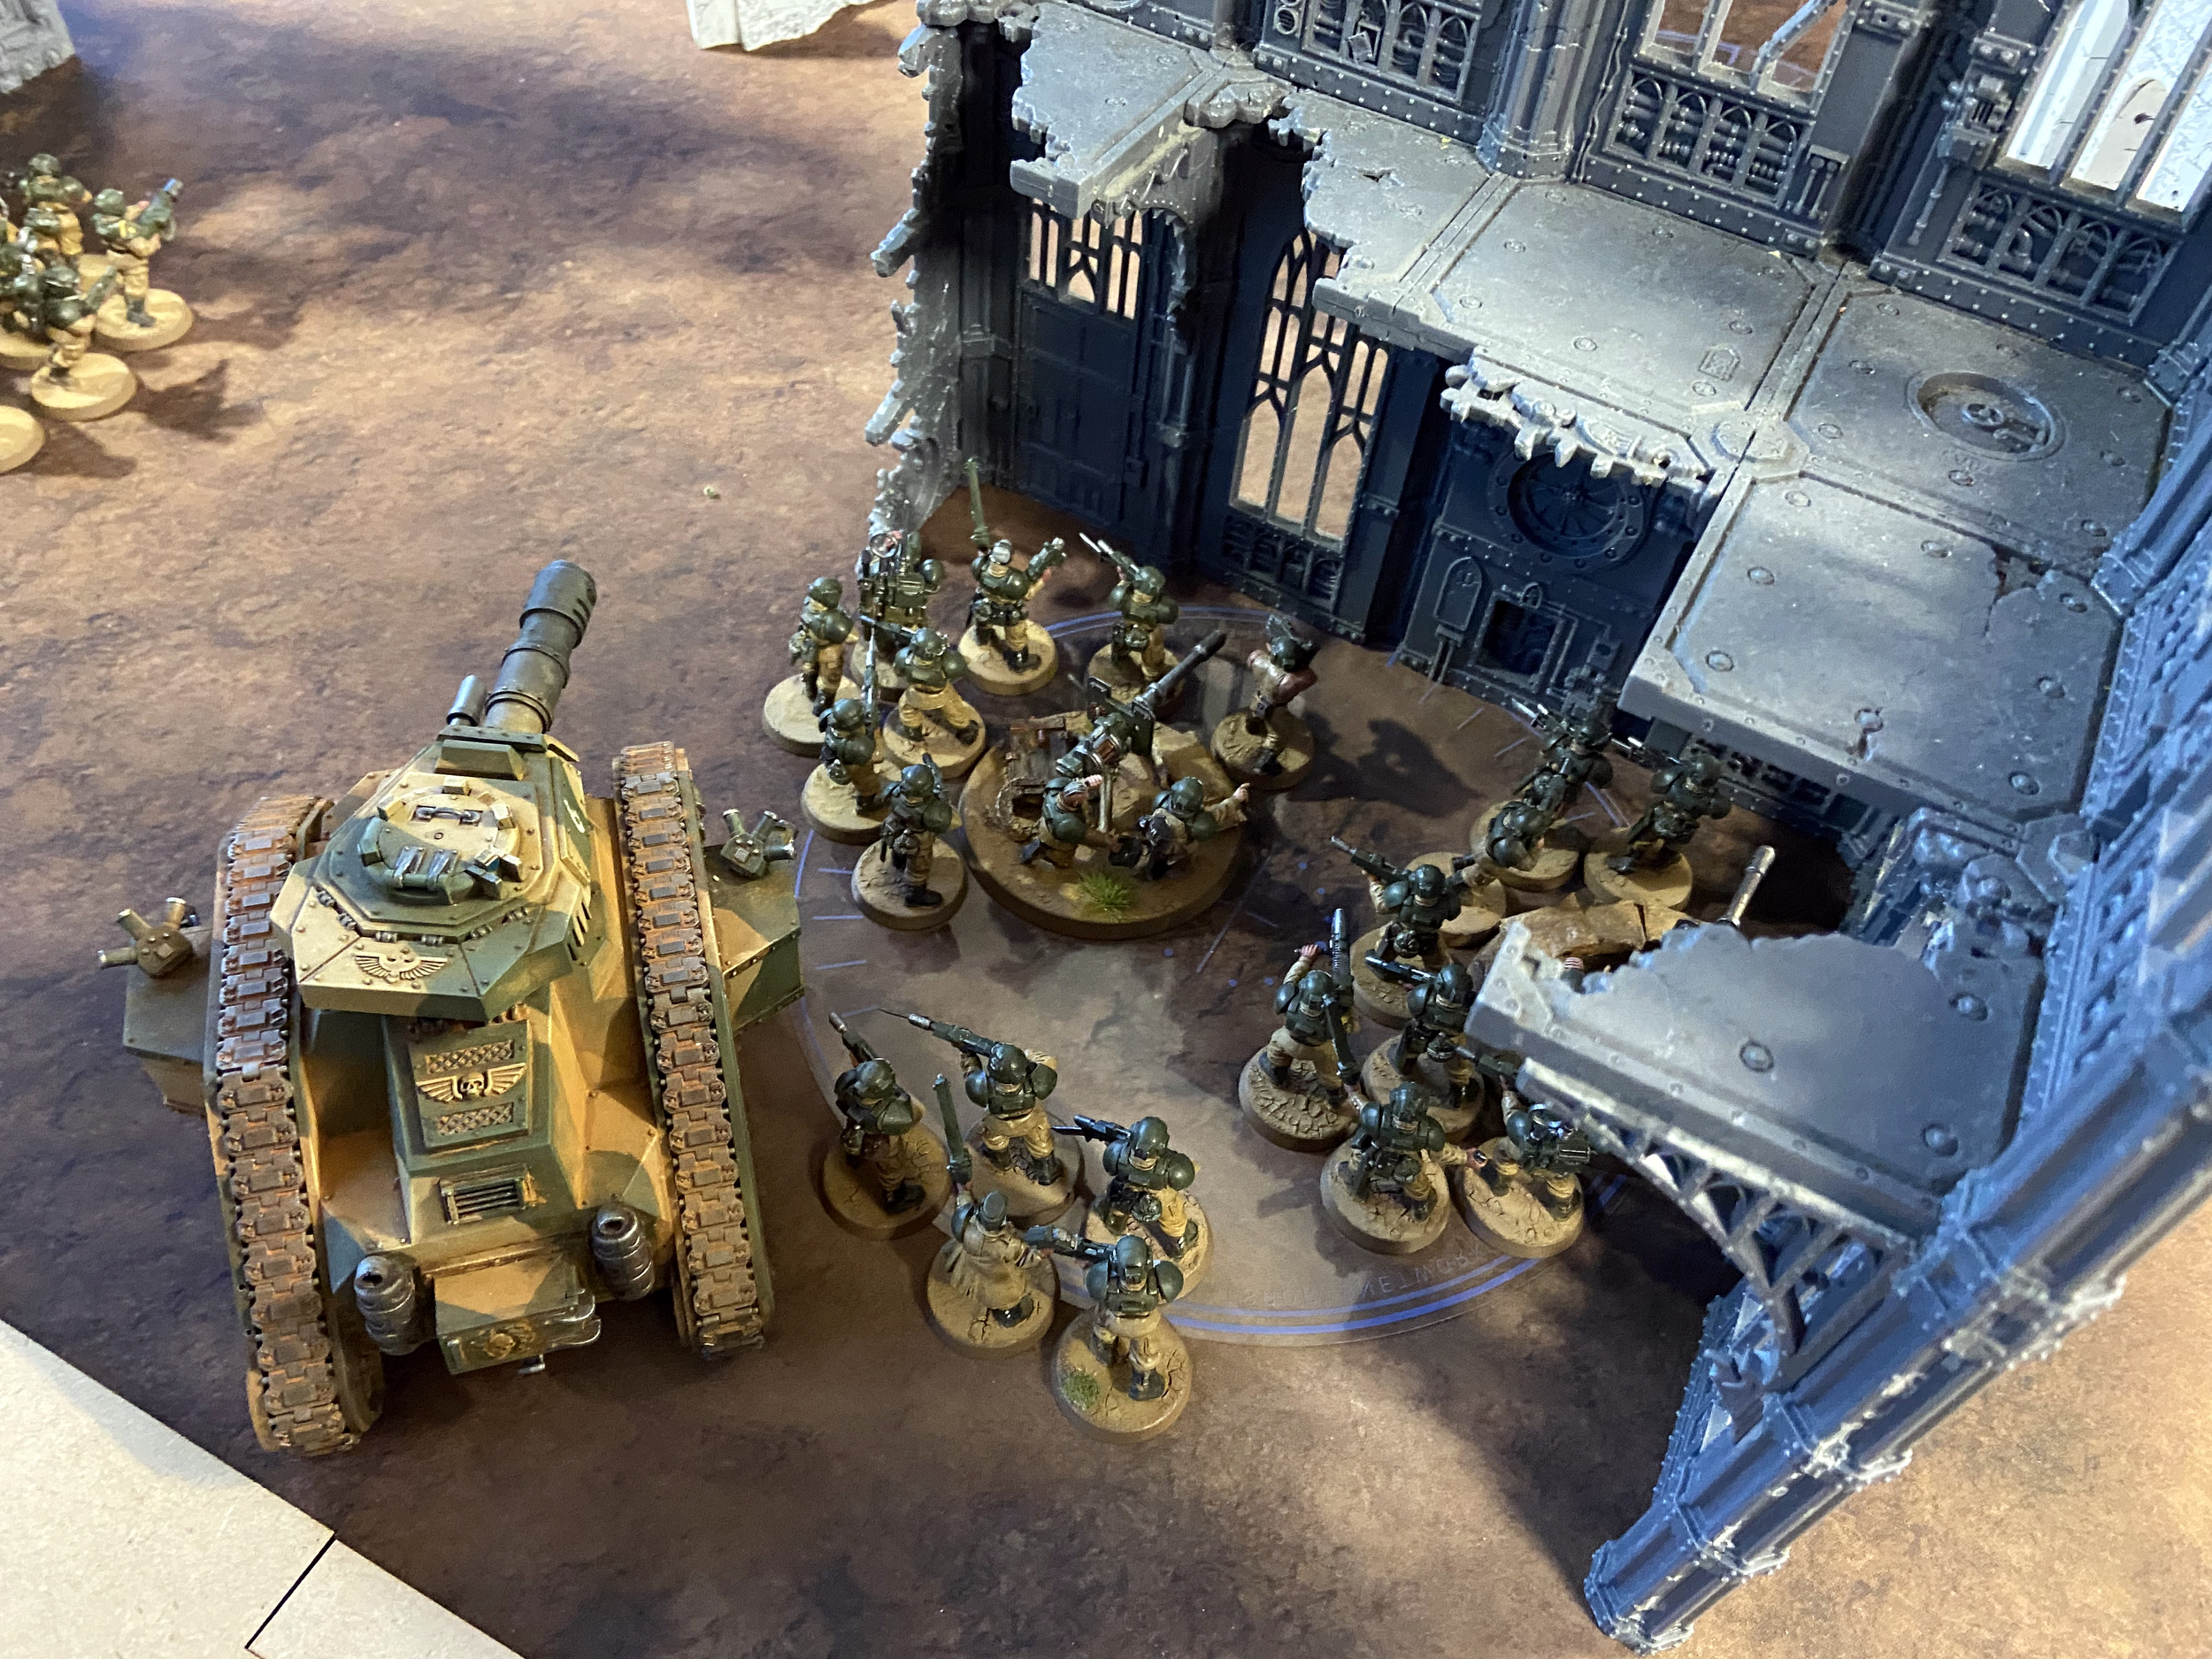
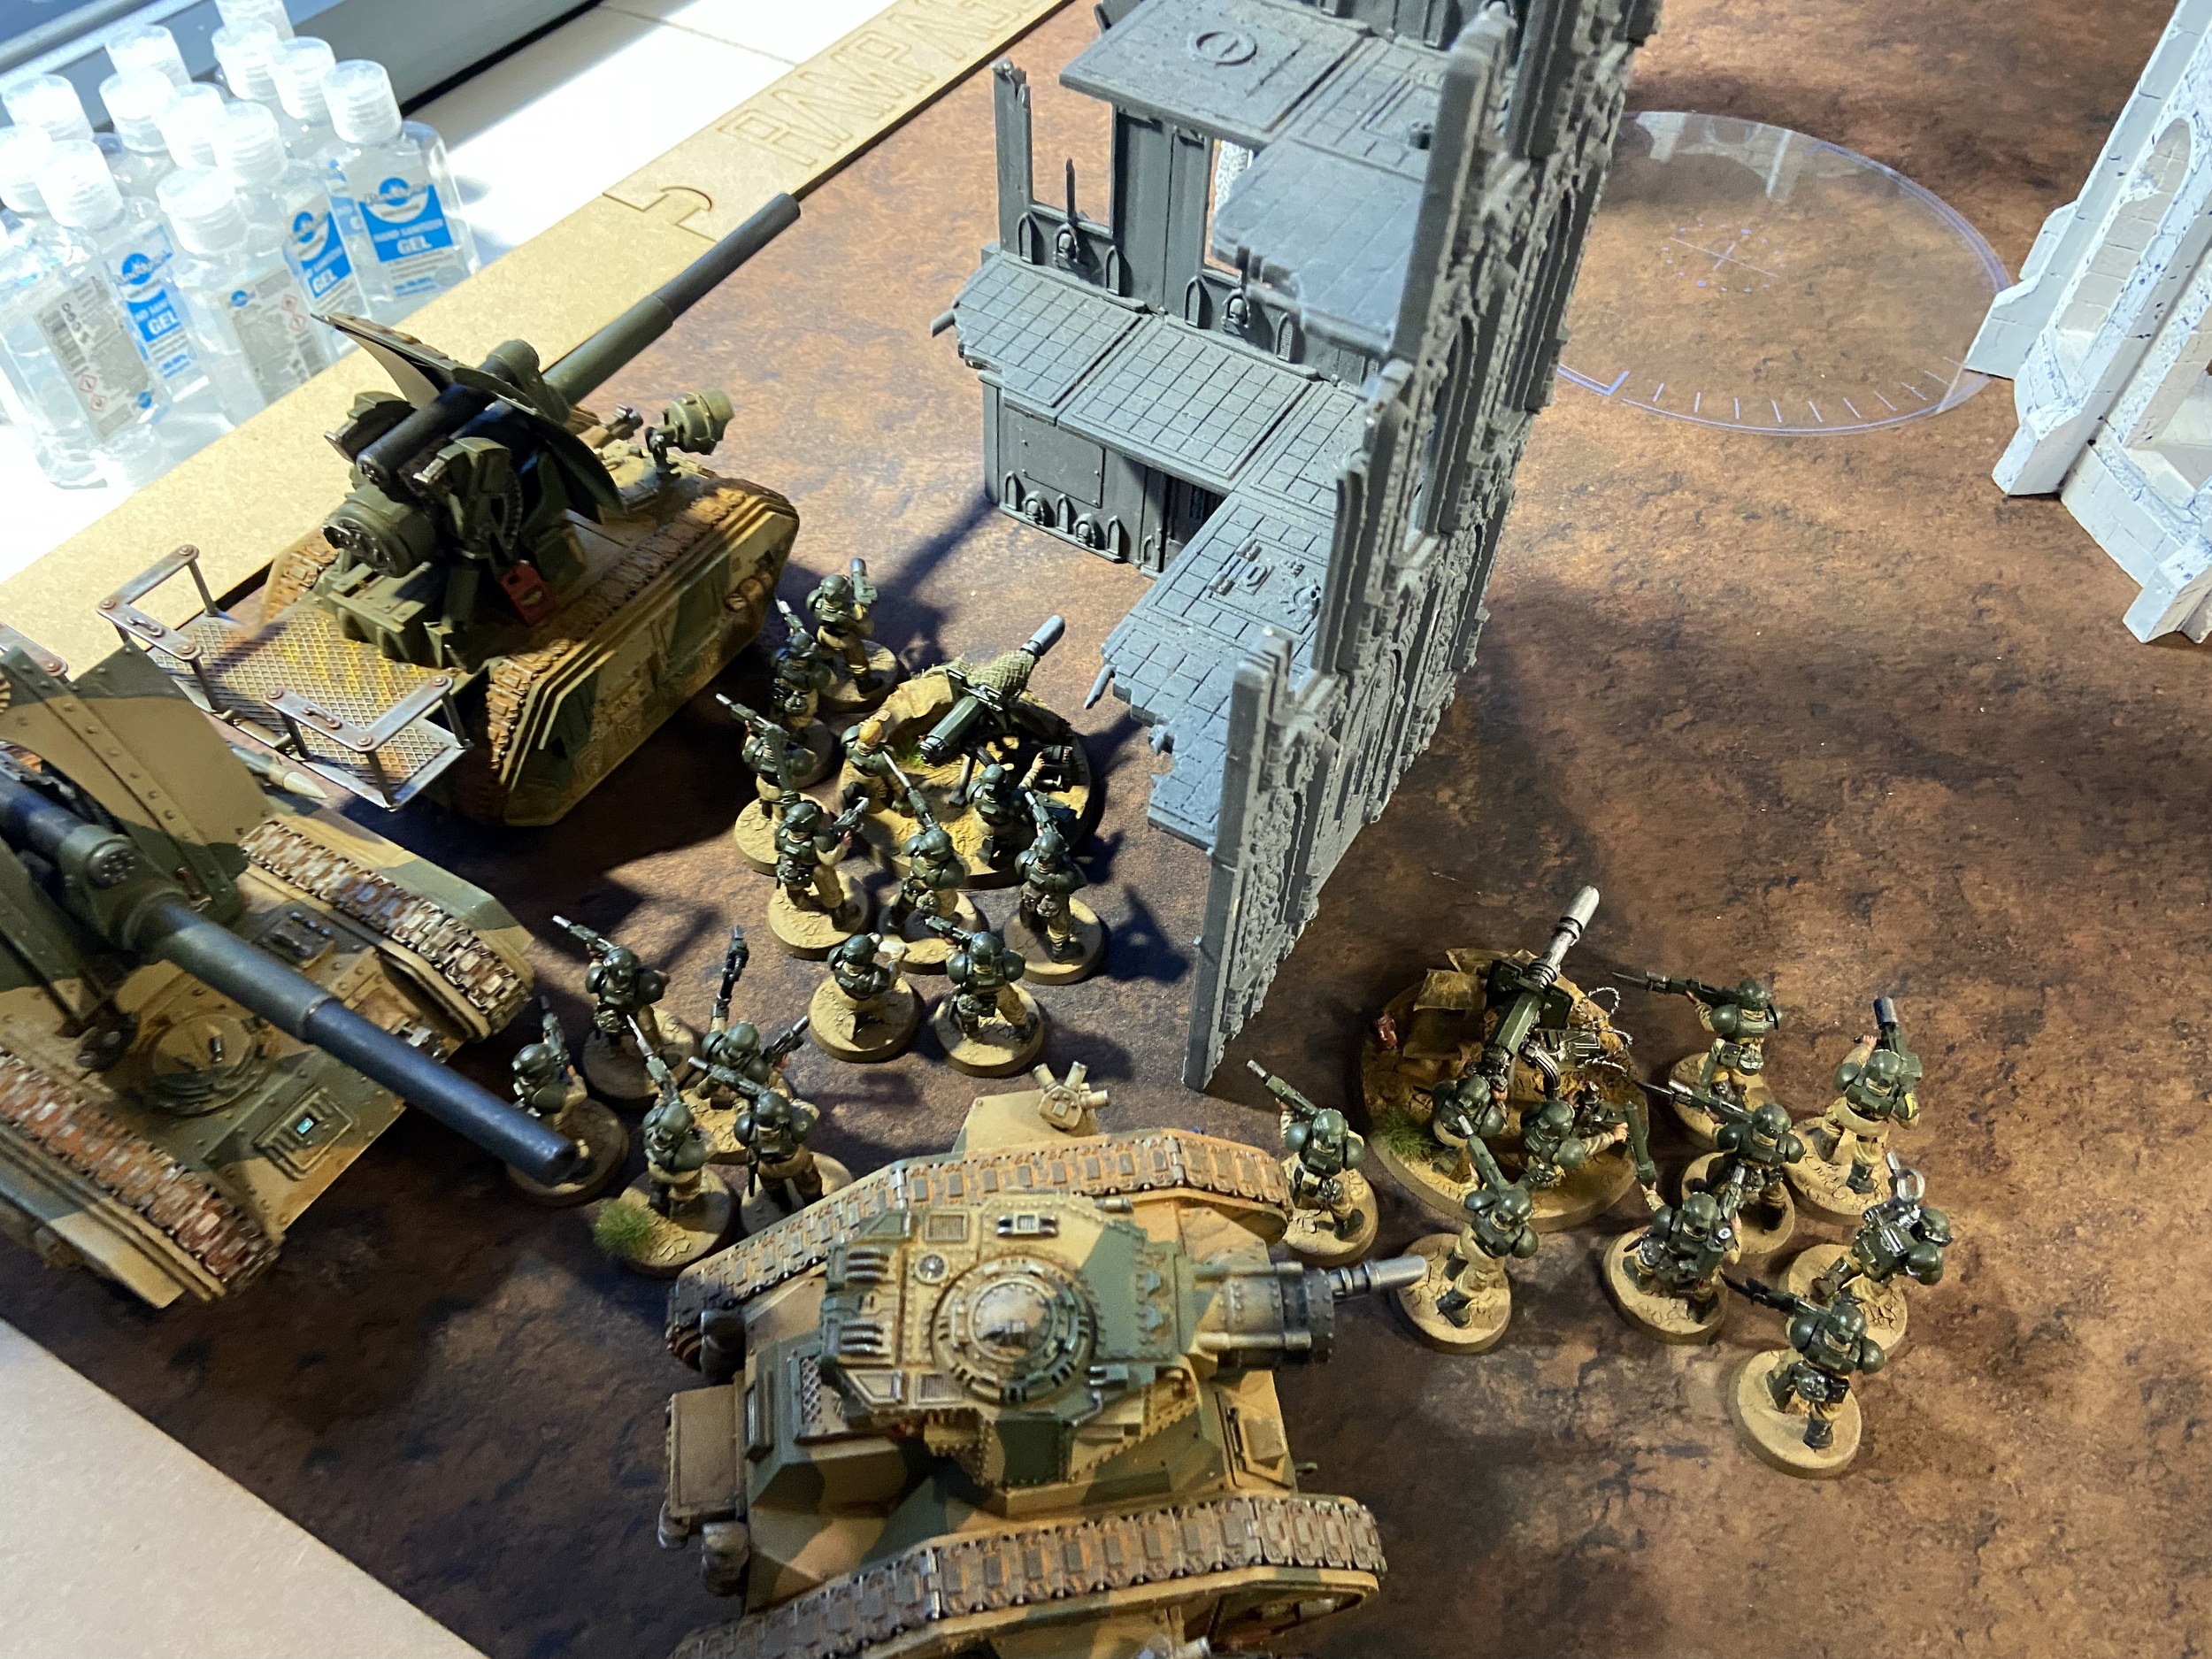
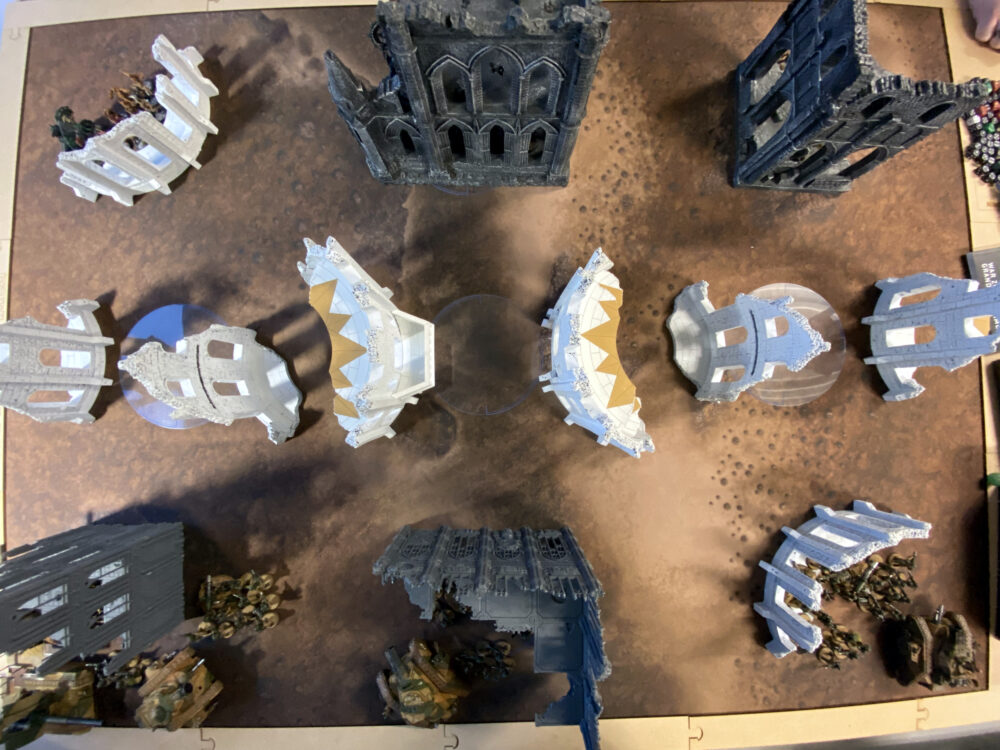
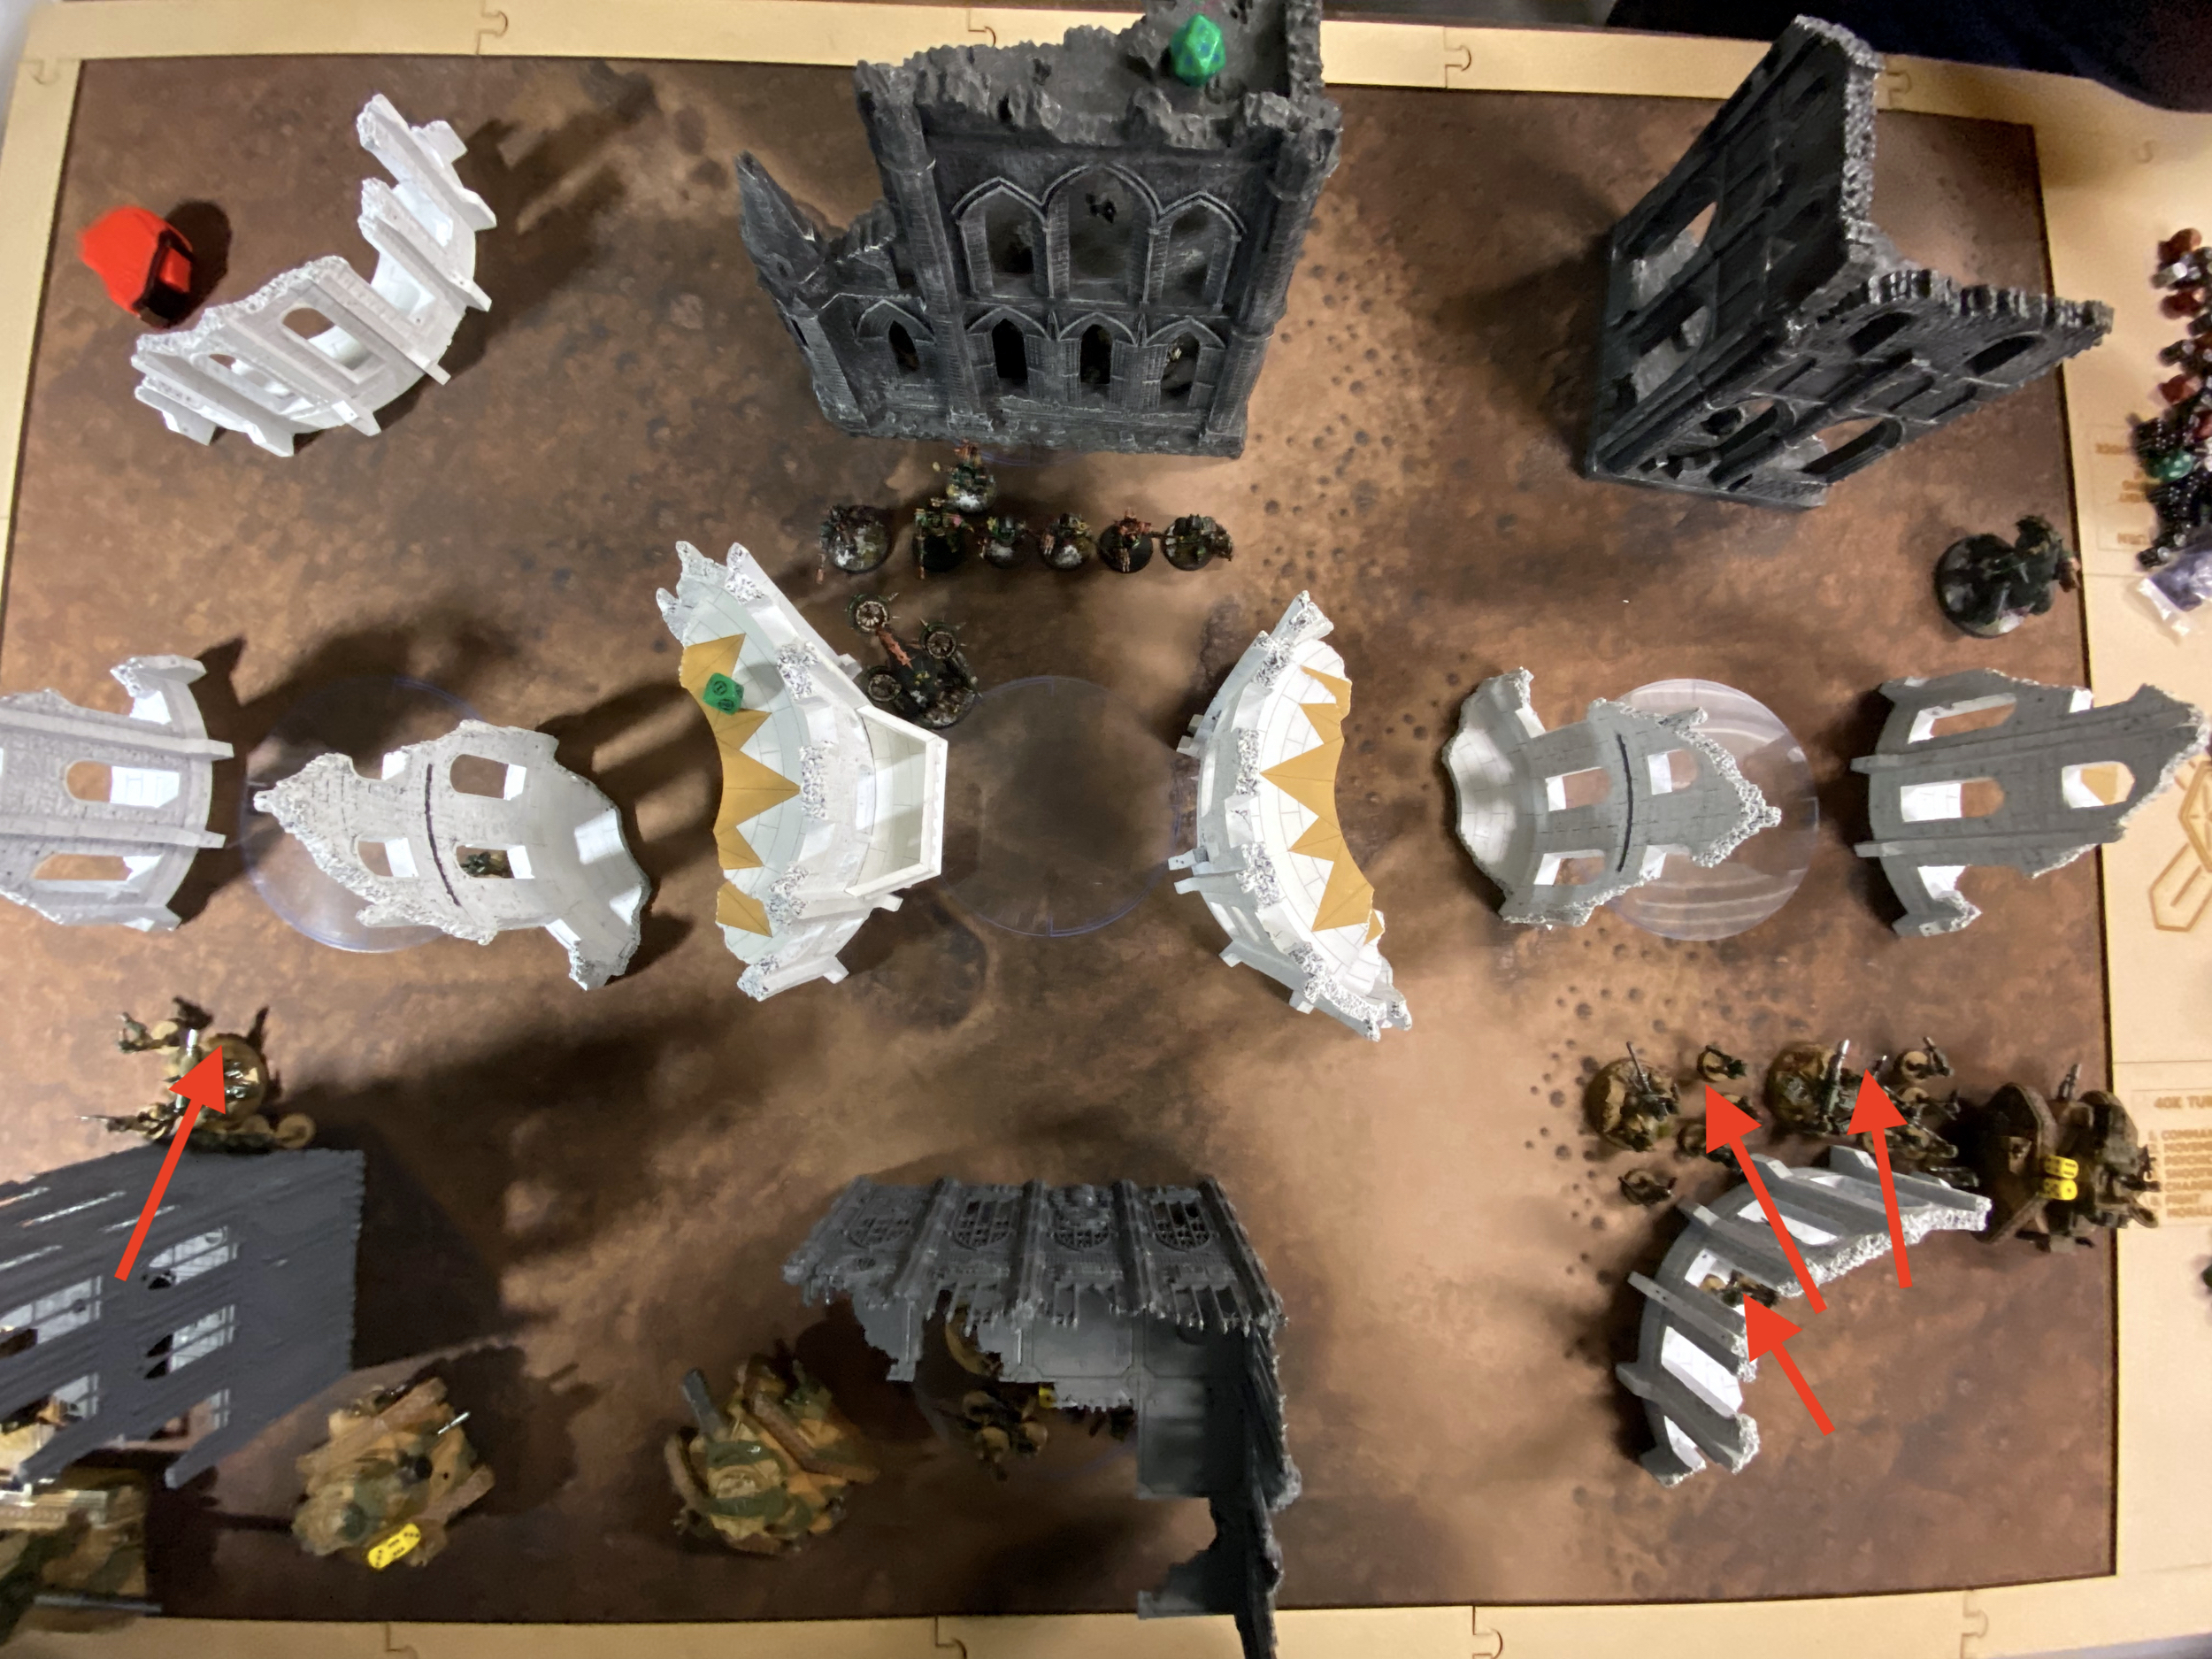
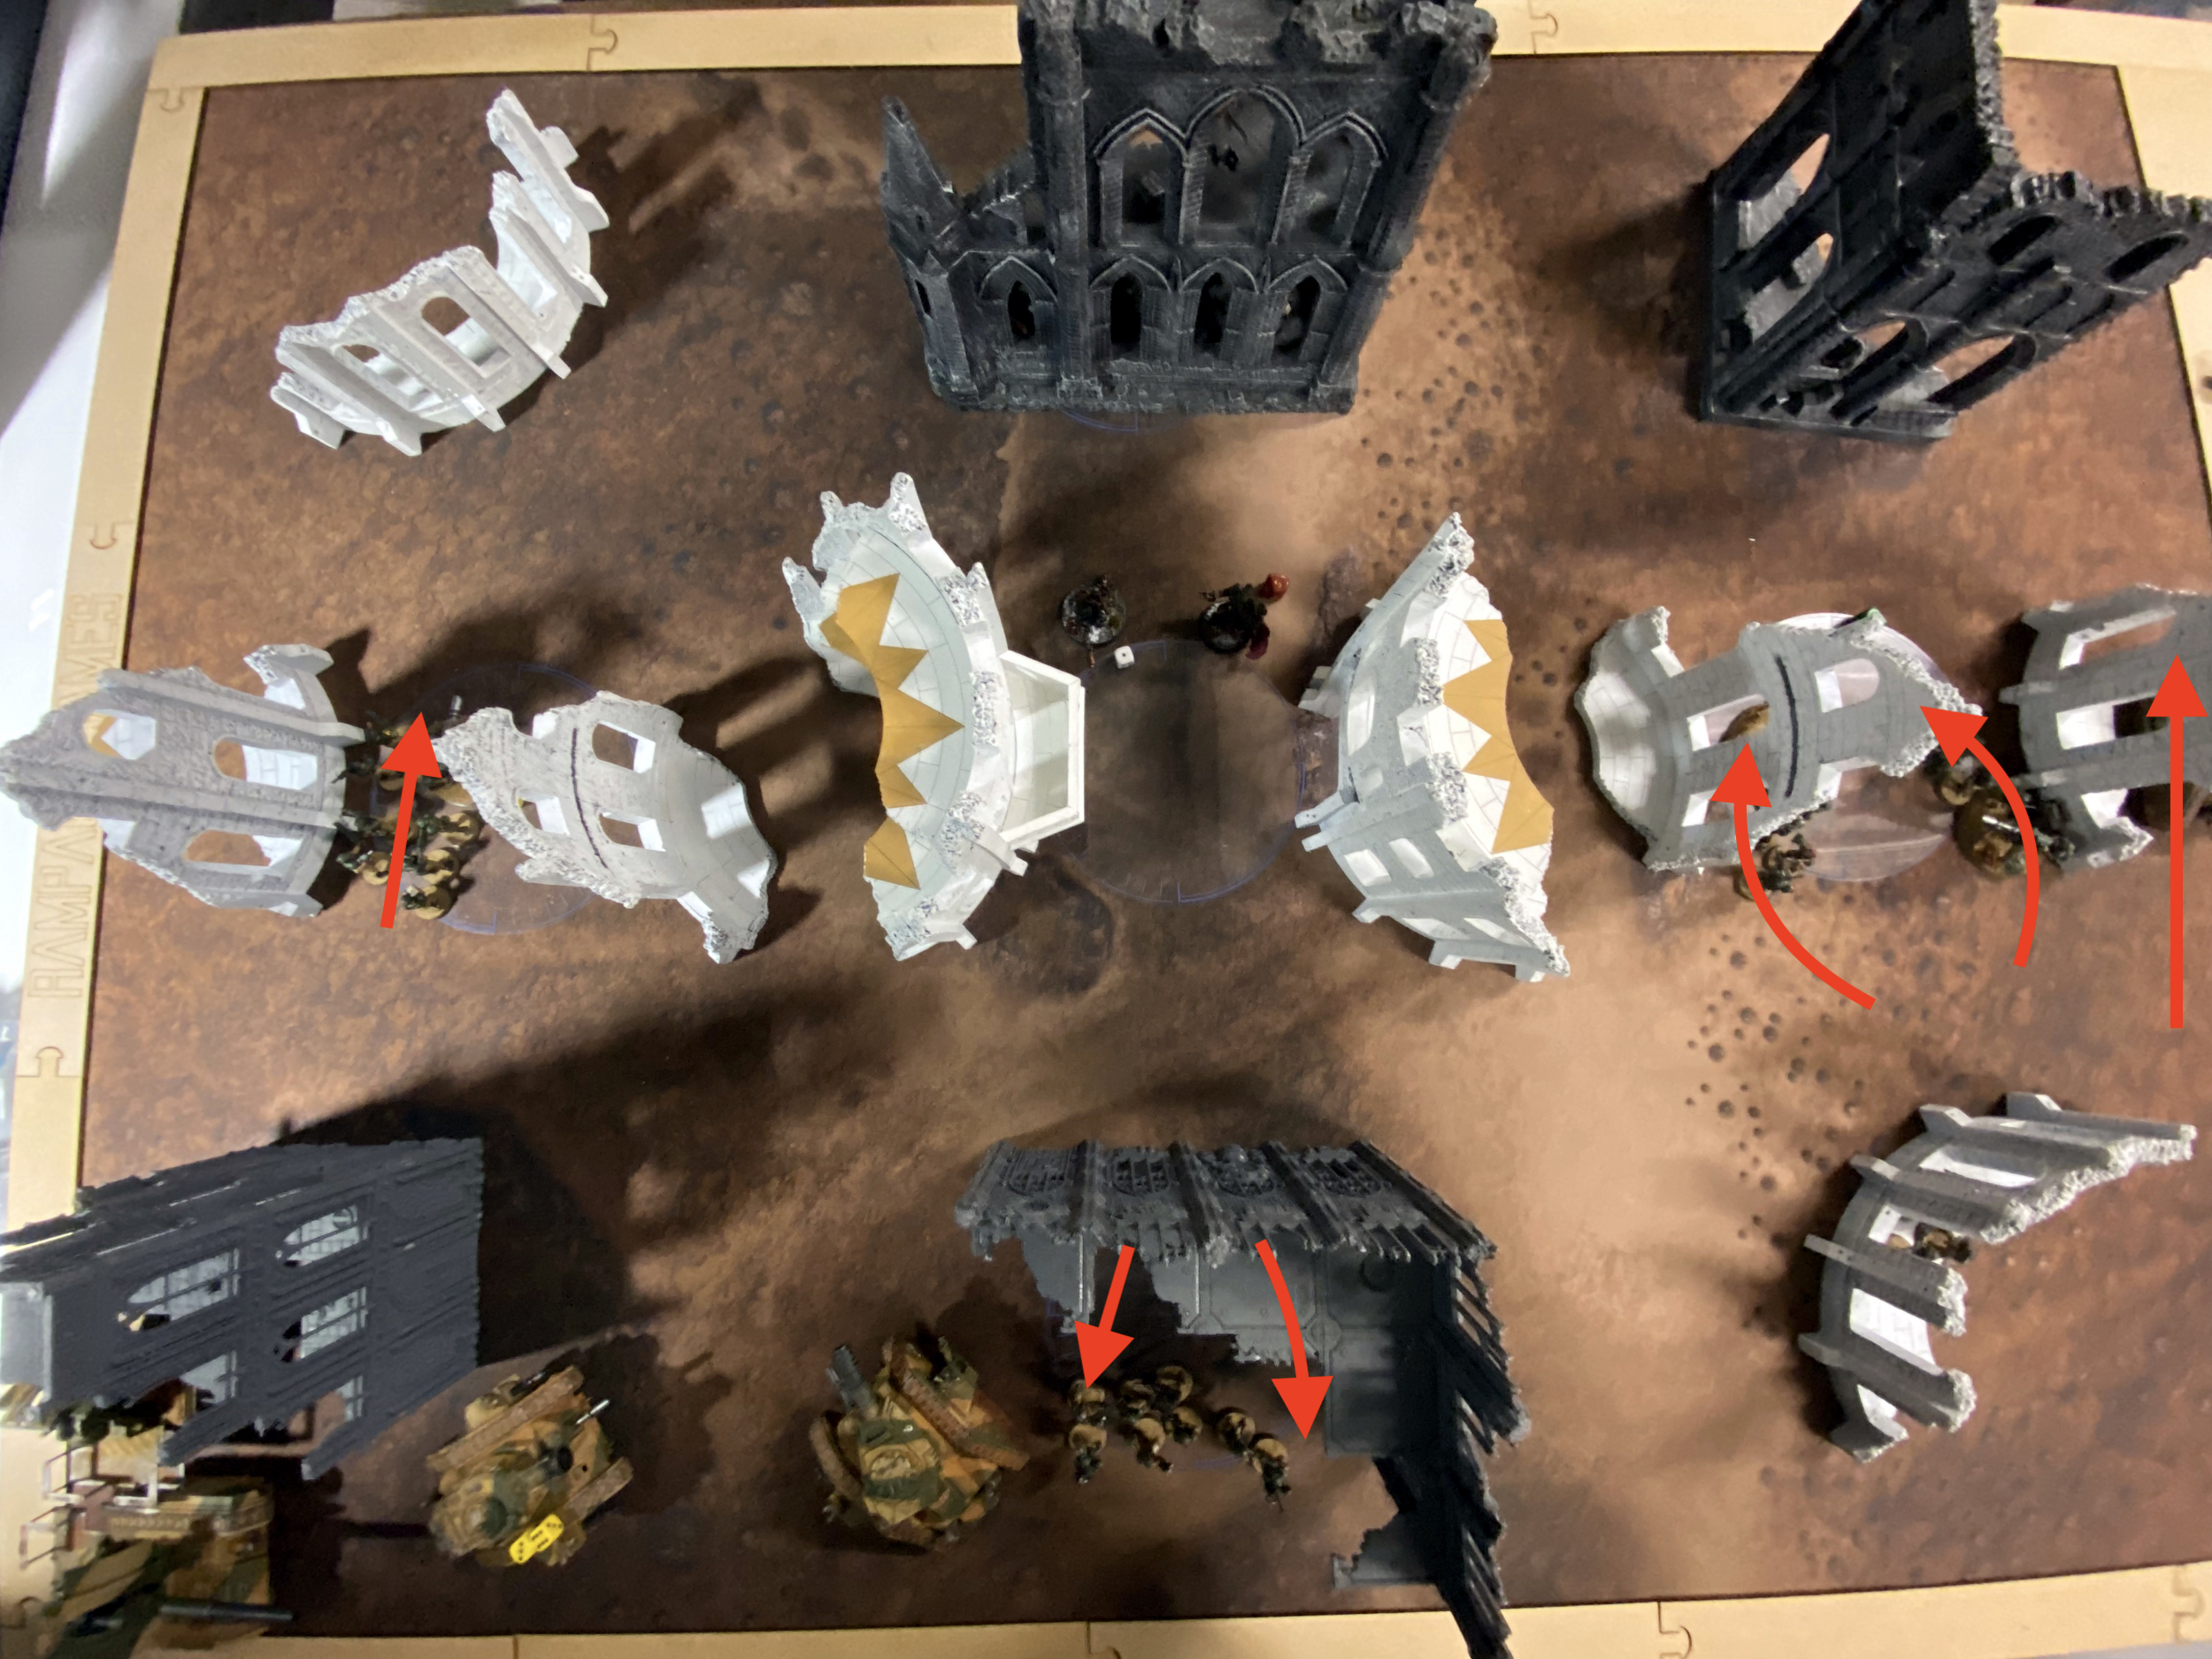
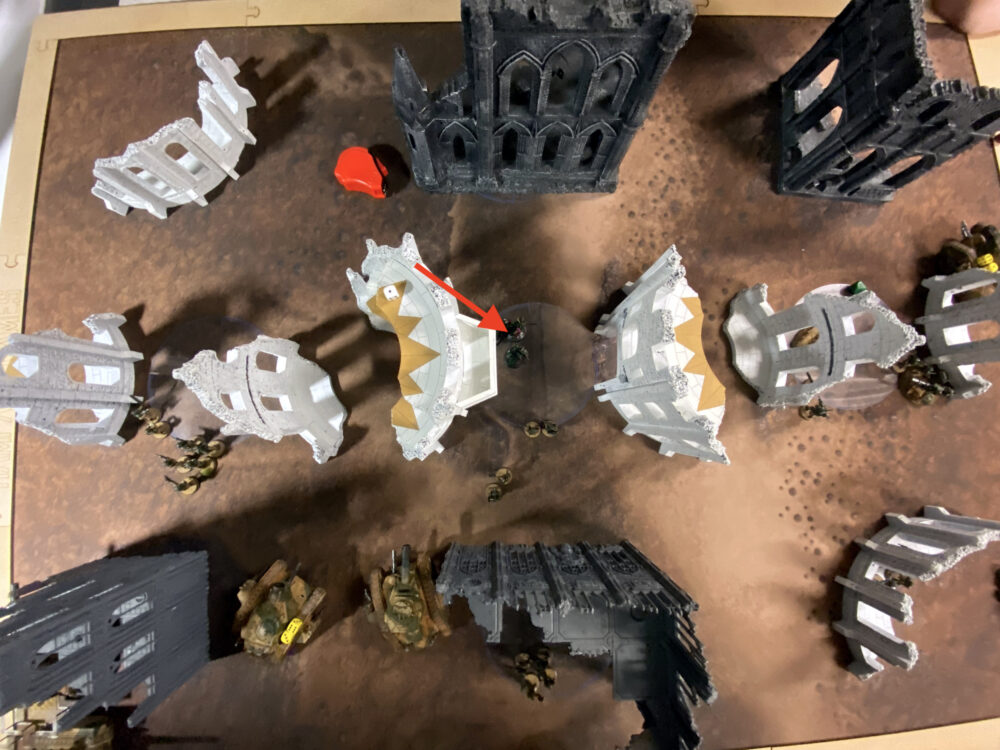
Deployment
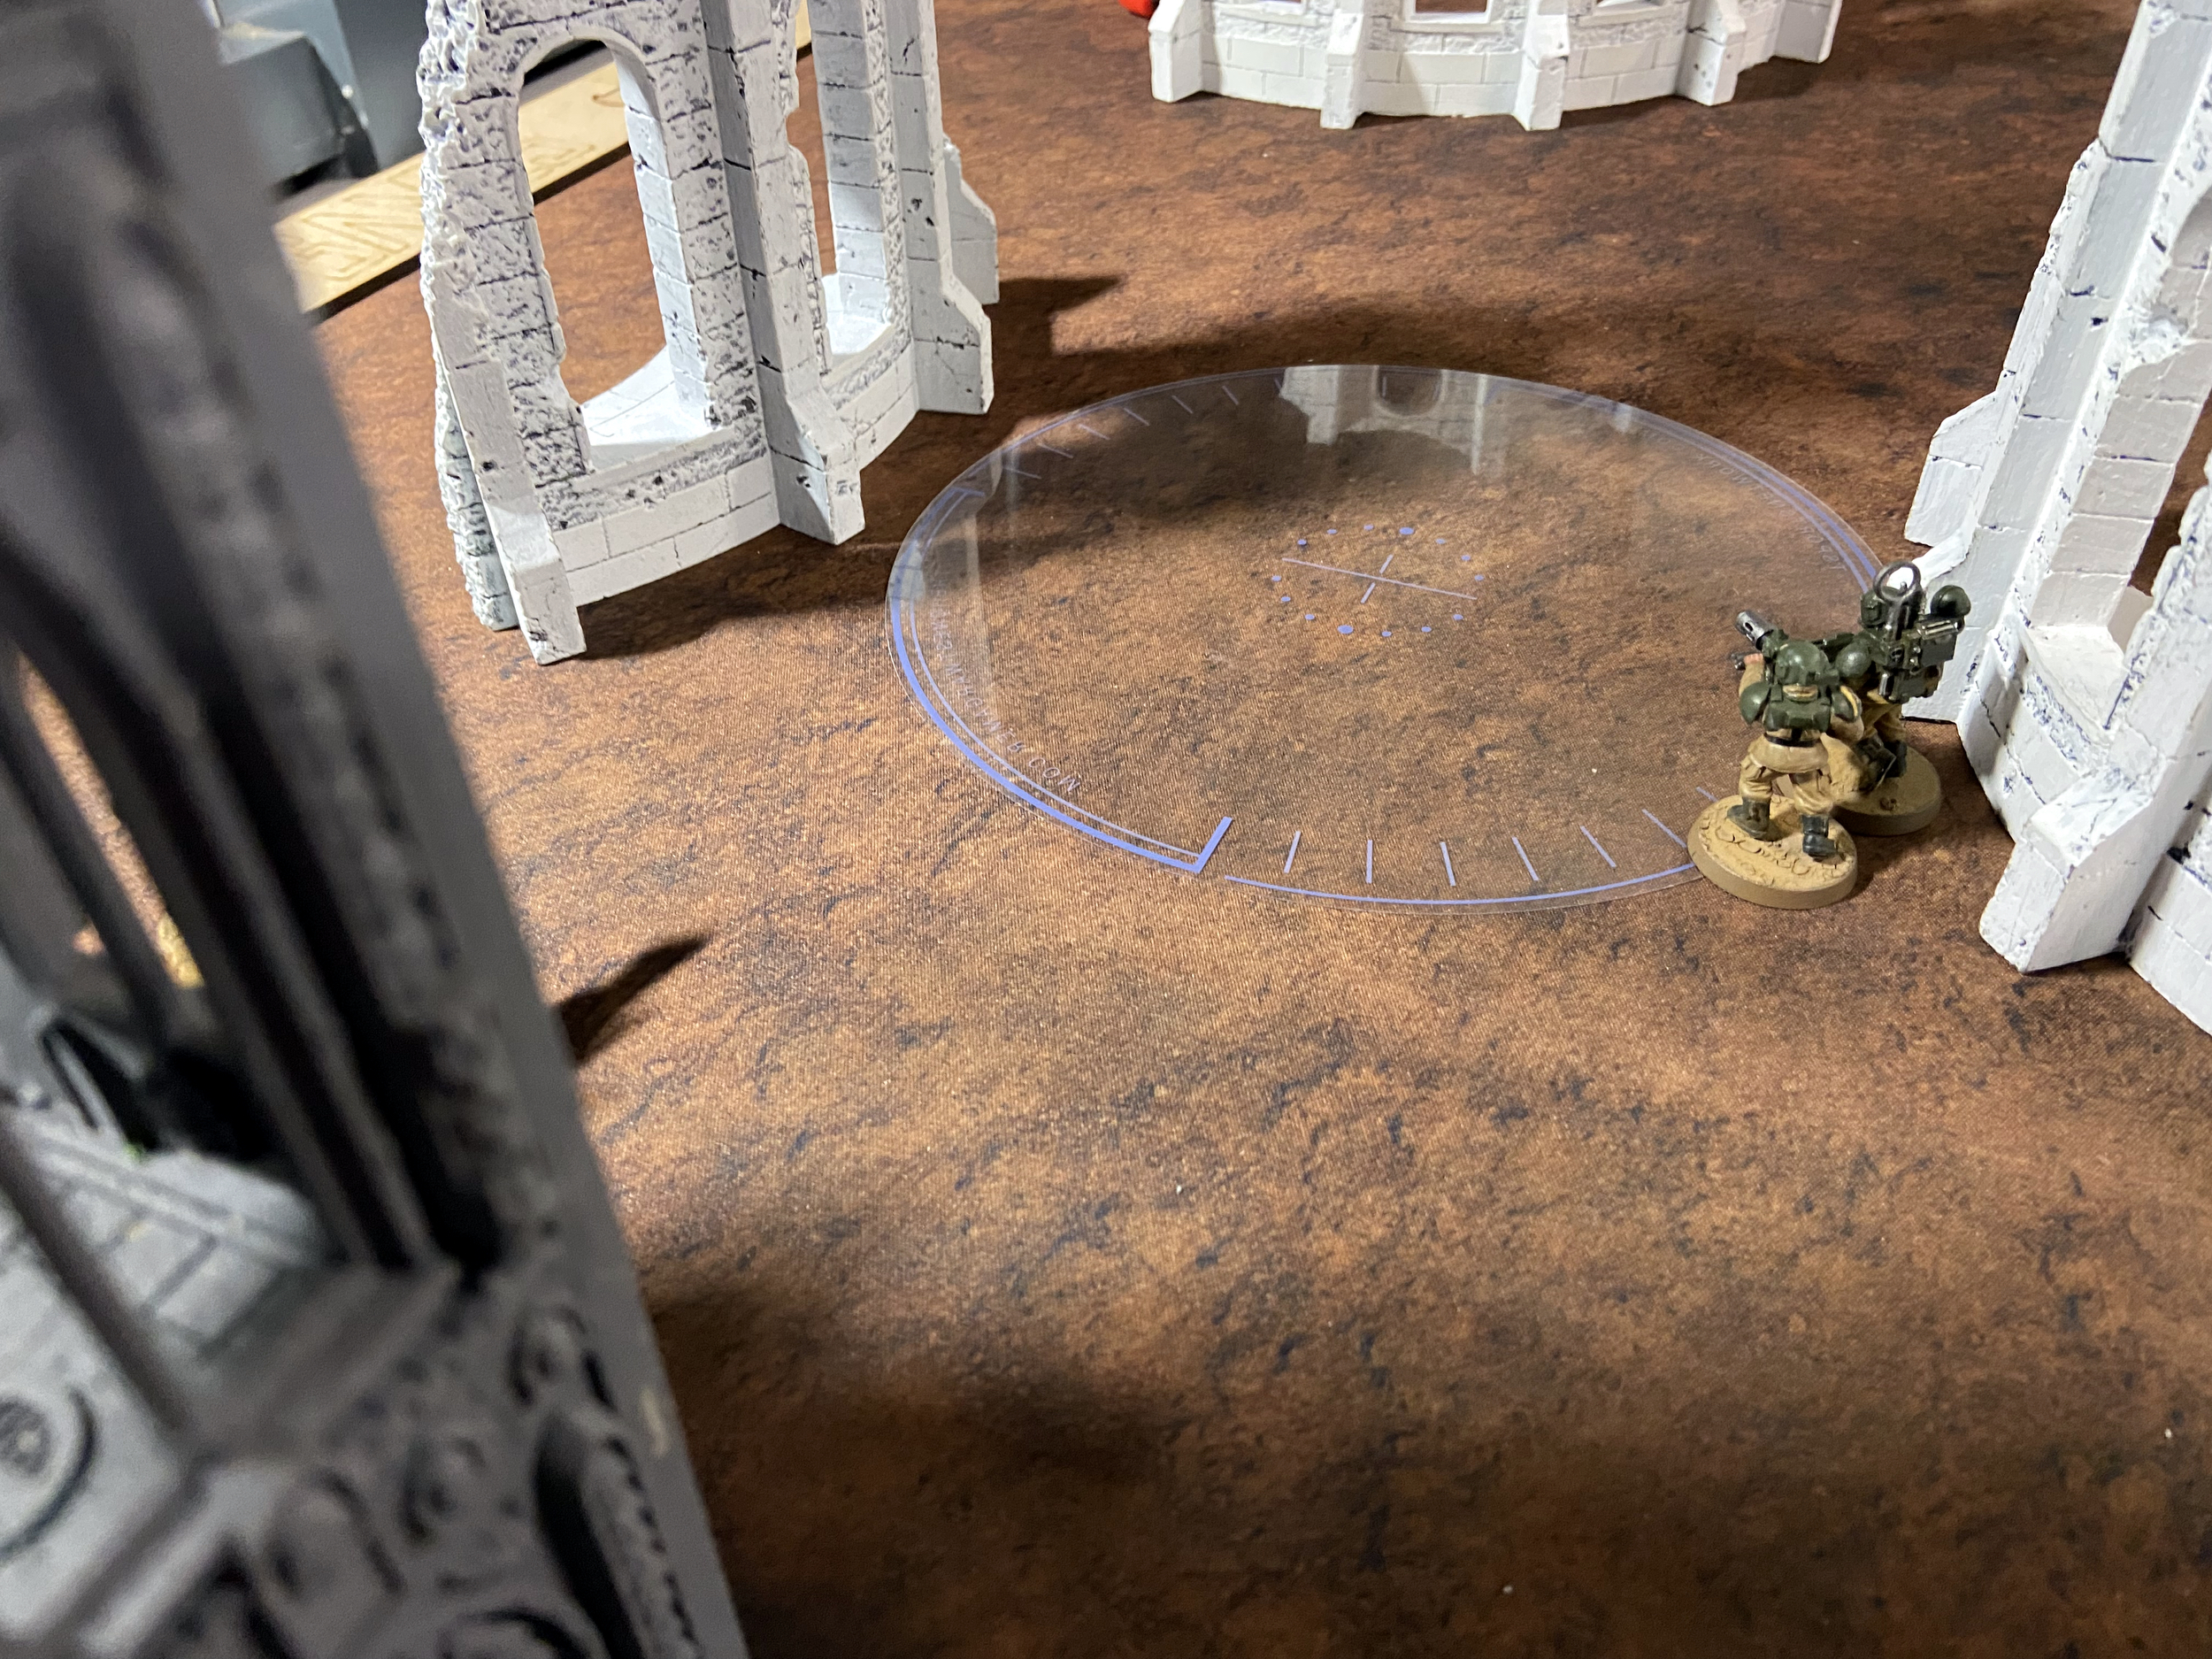
I went for a castle on the left with the Basilisks, two Infantry Squads, Command Squad and Platoon Commander. The centre had the Gatekeeper and then the same set of Infantry again. The right had the same Infantry again and Pask.
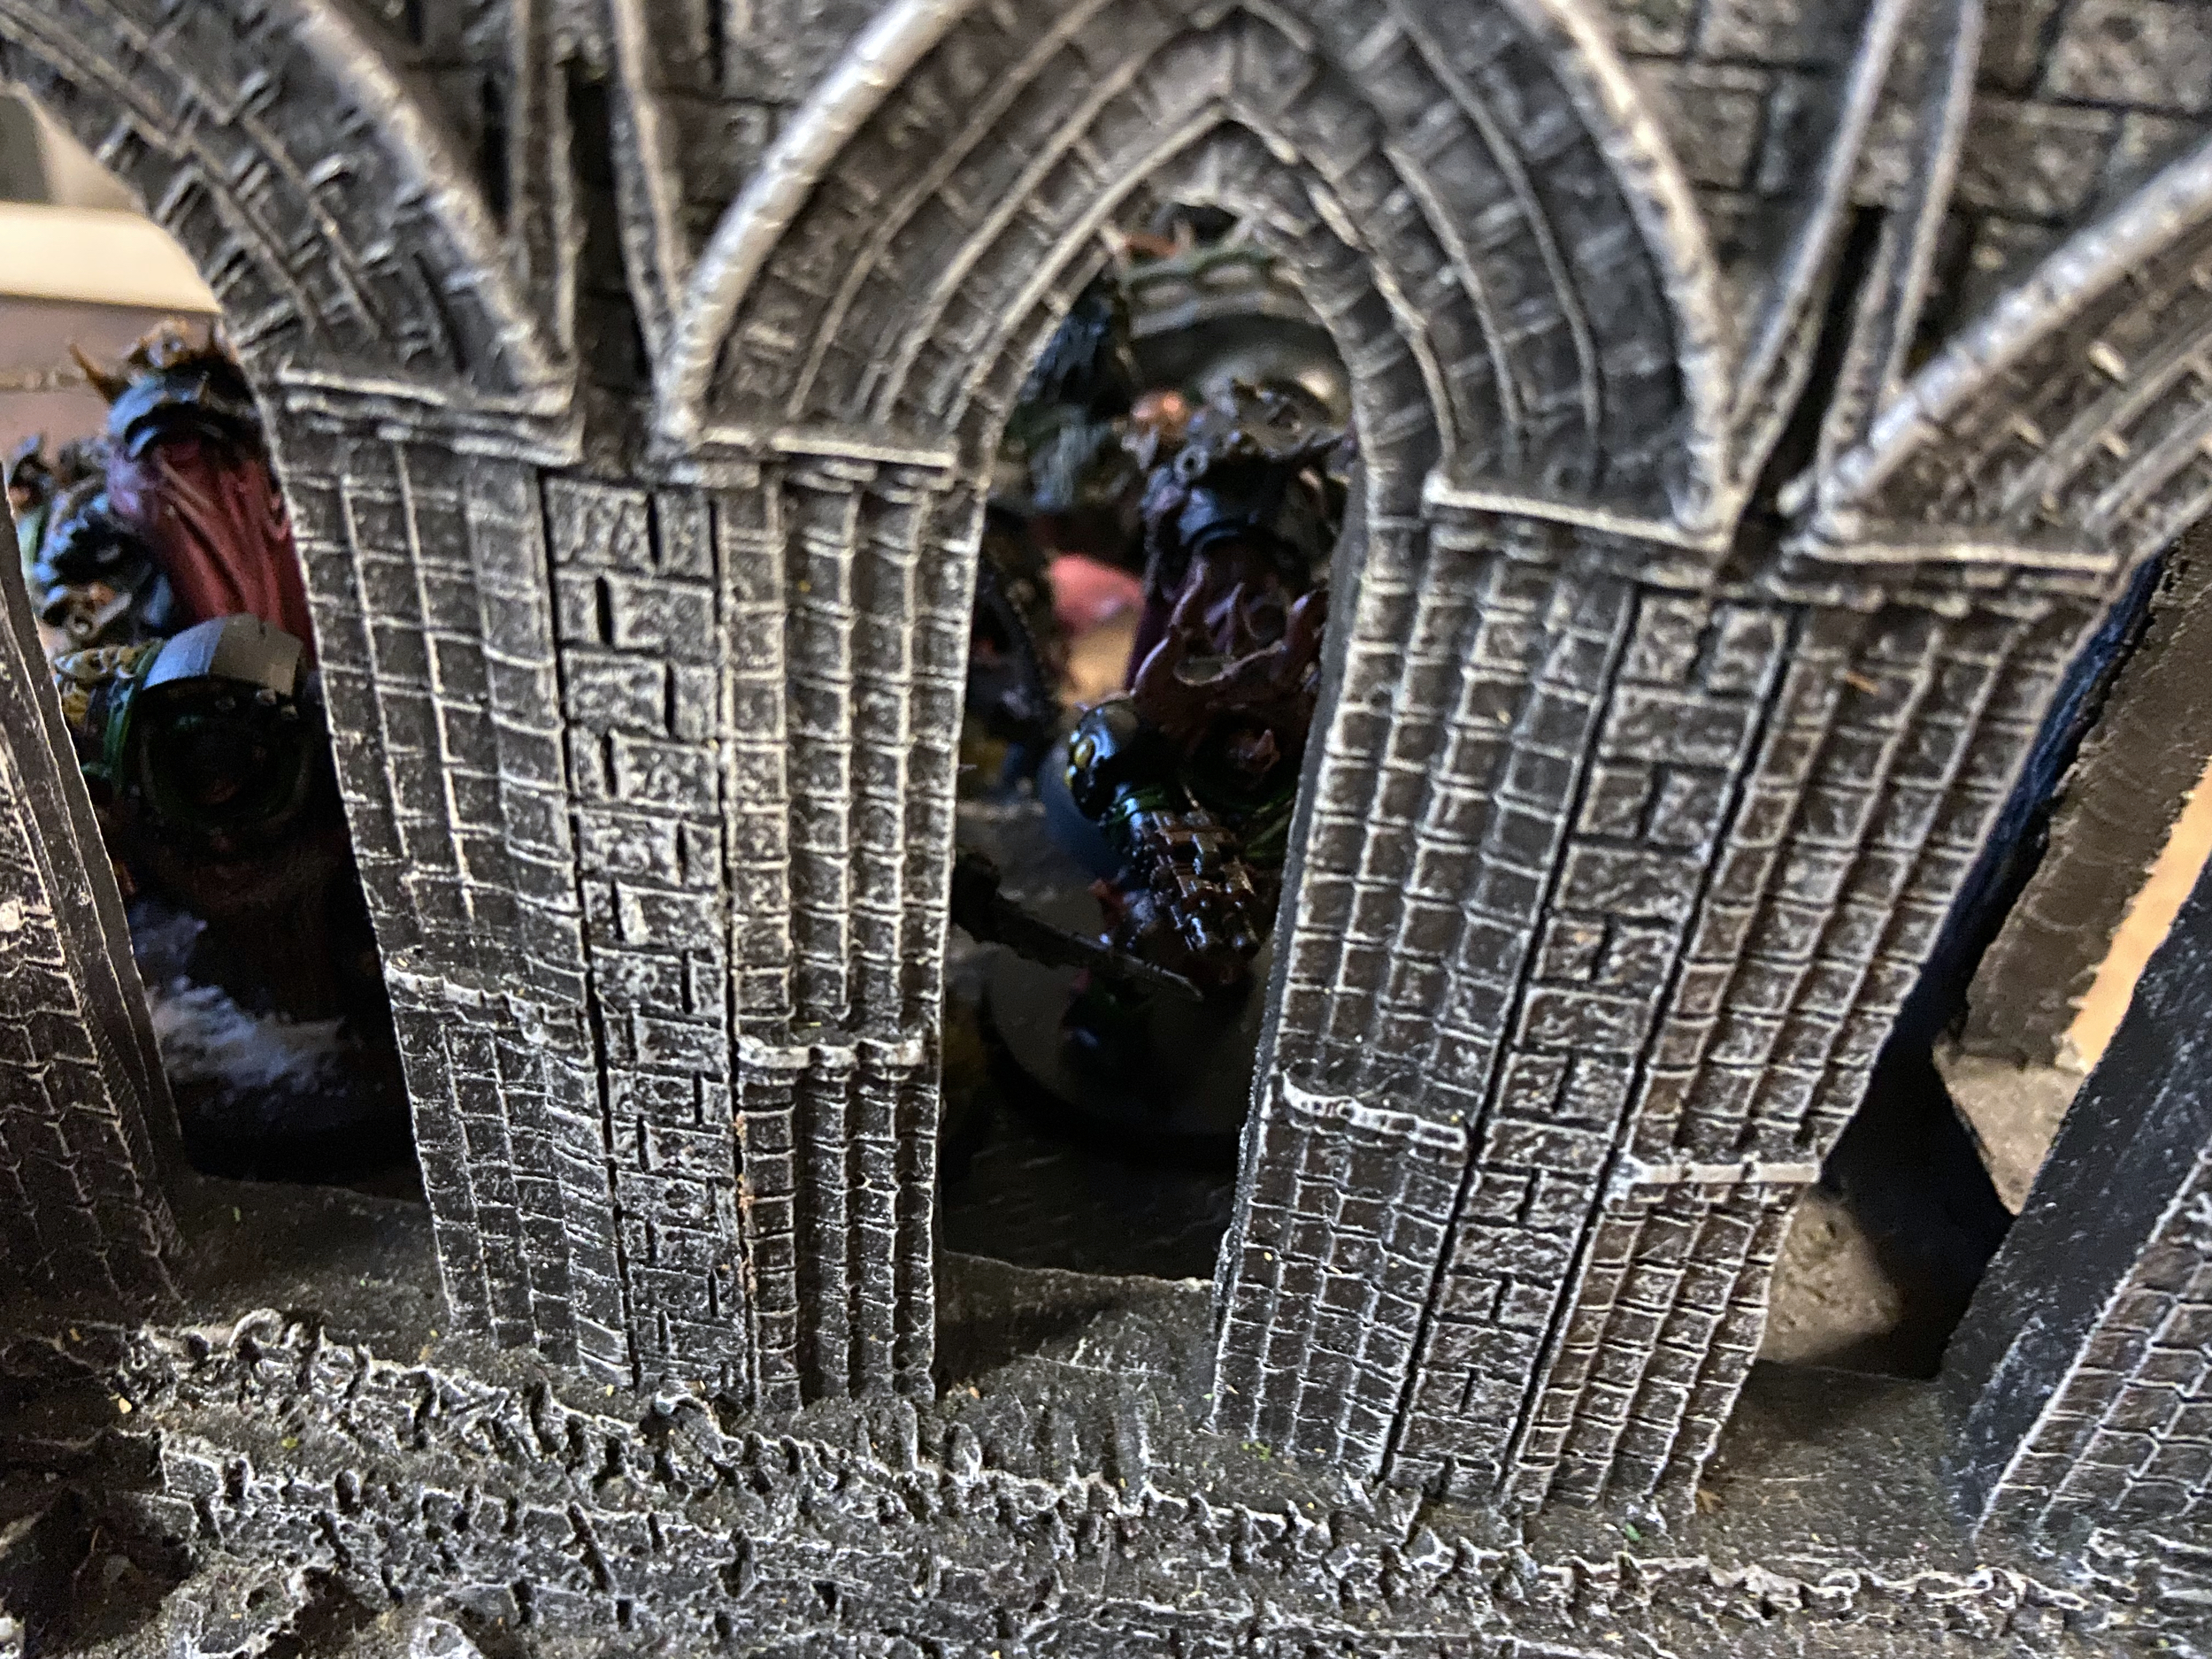
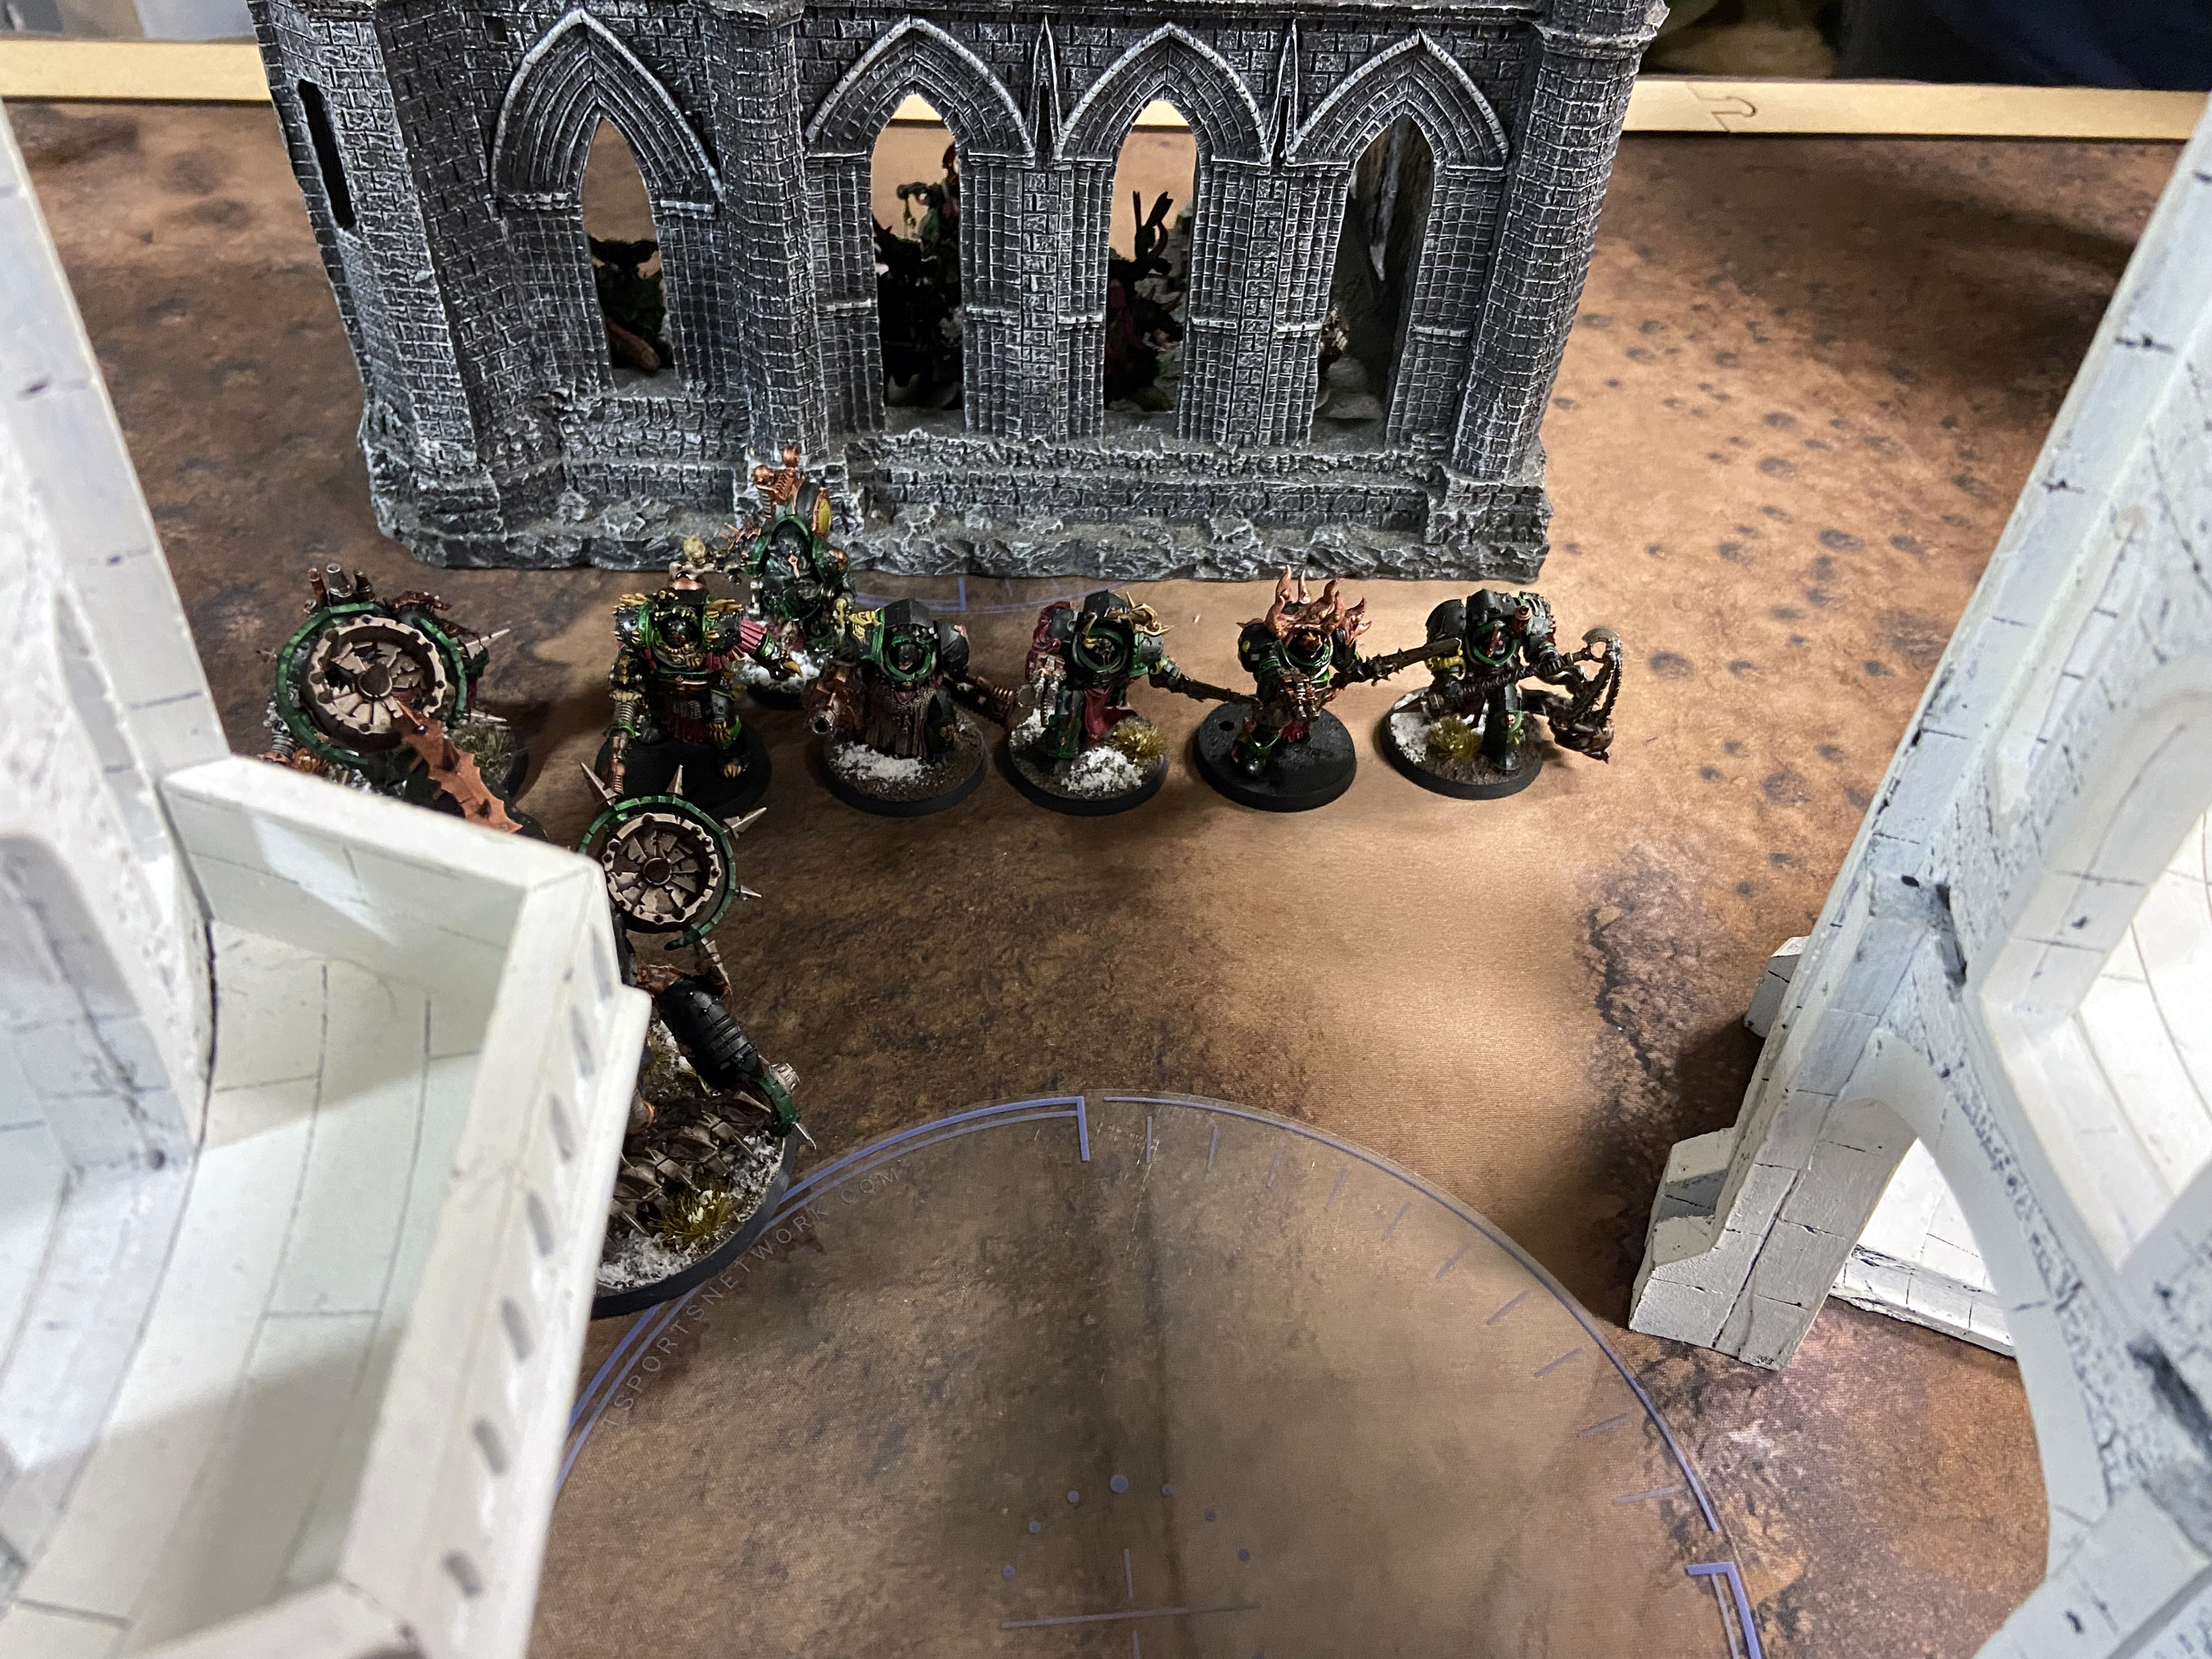
The enemy went for Poxwalkers and a Hauler on each flanker with everything else in a ruin in the centre.


Turn 1
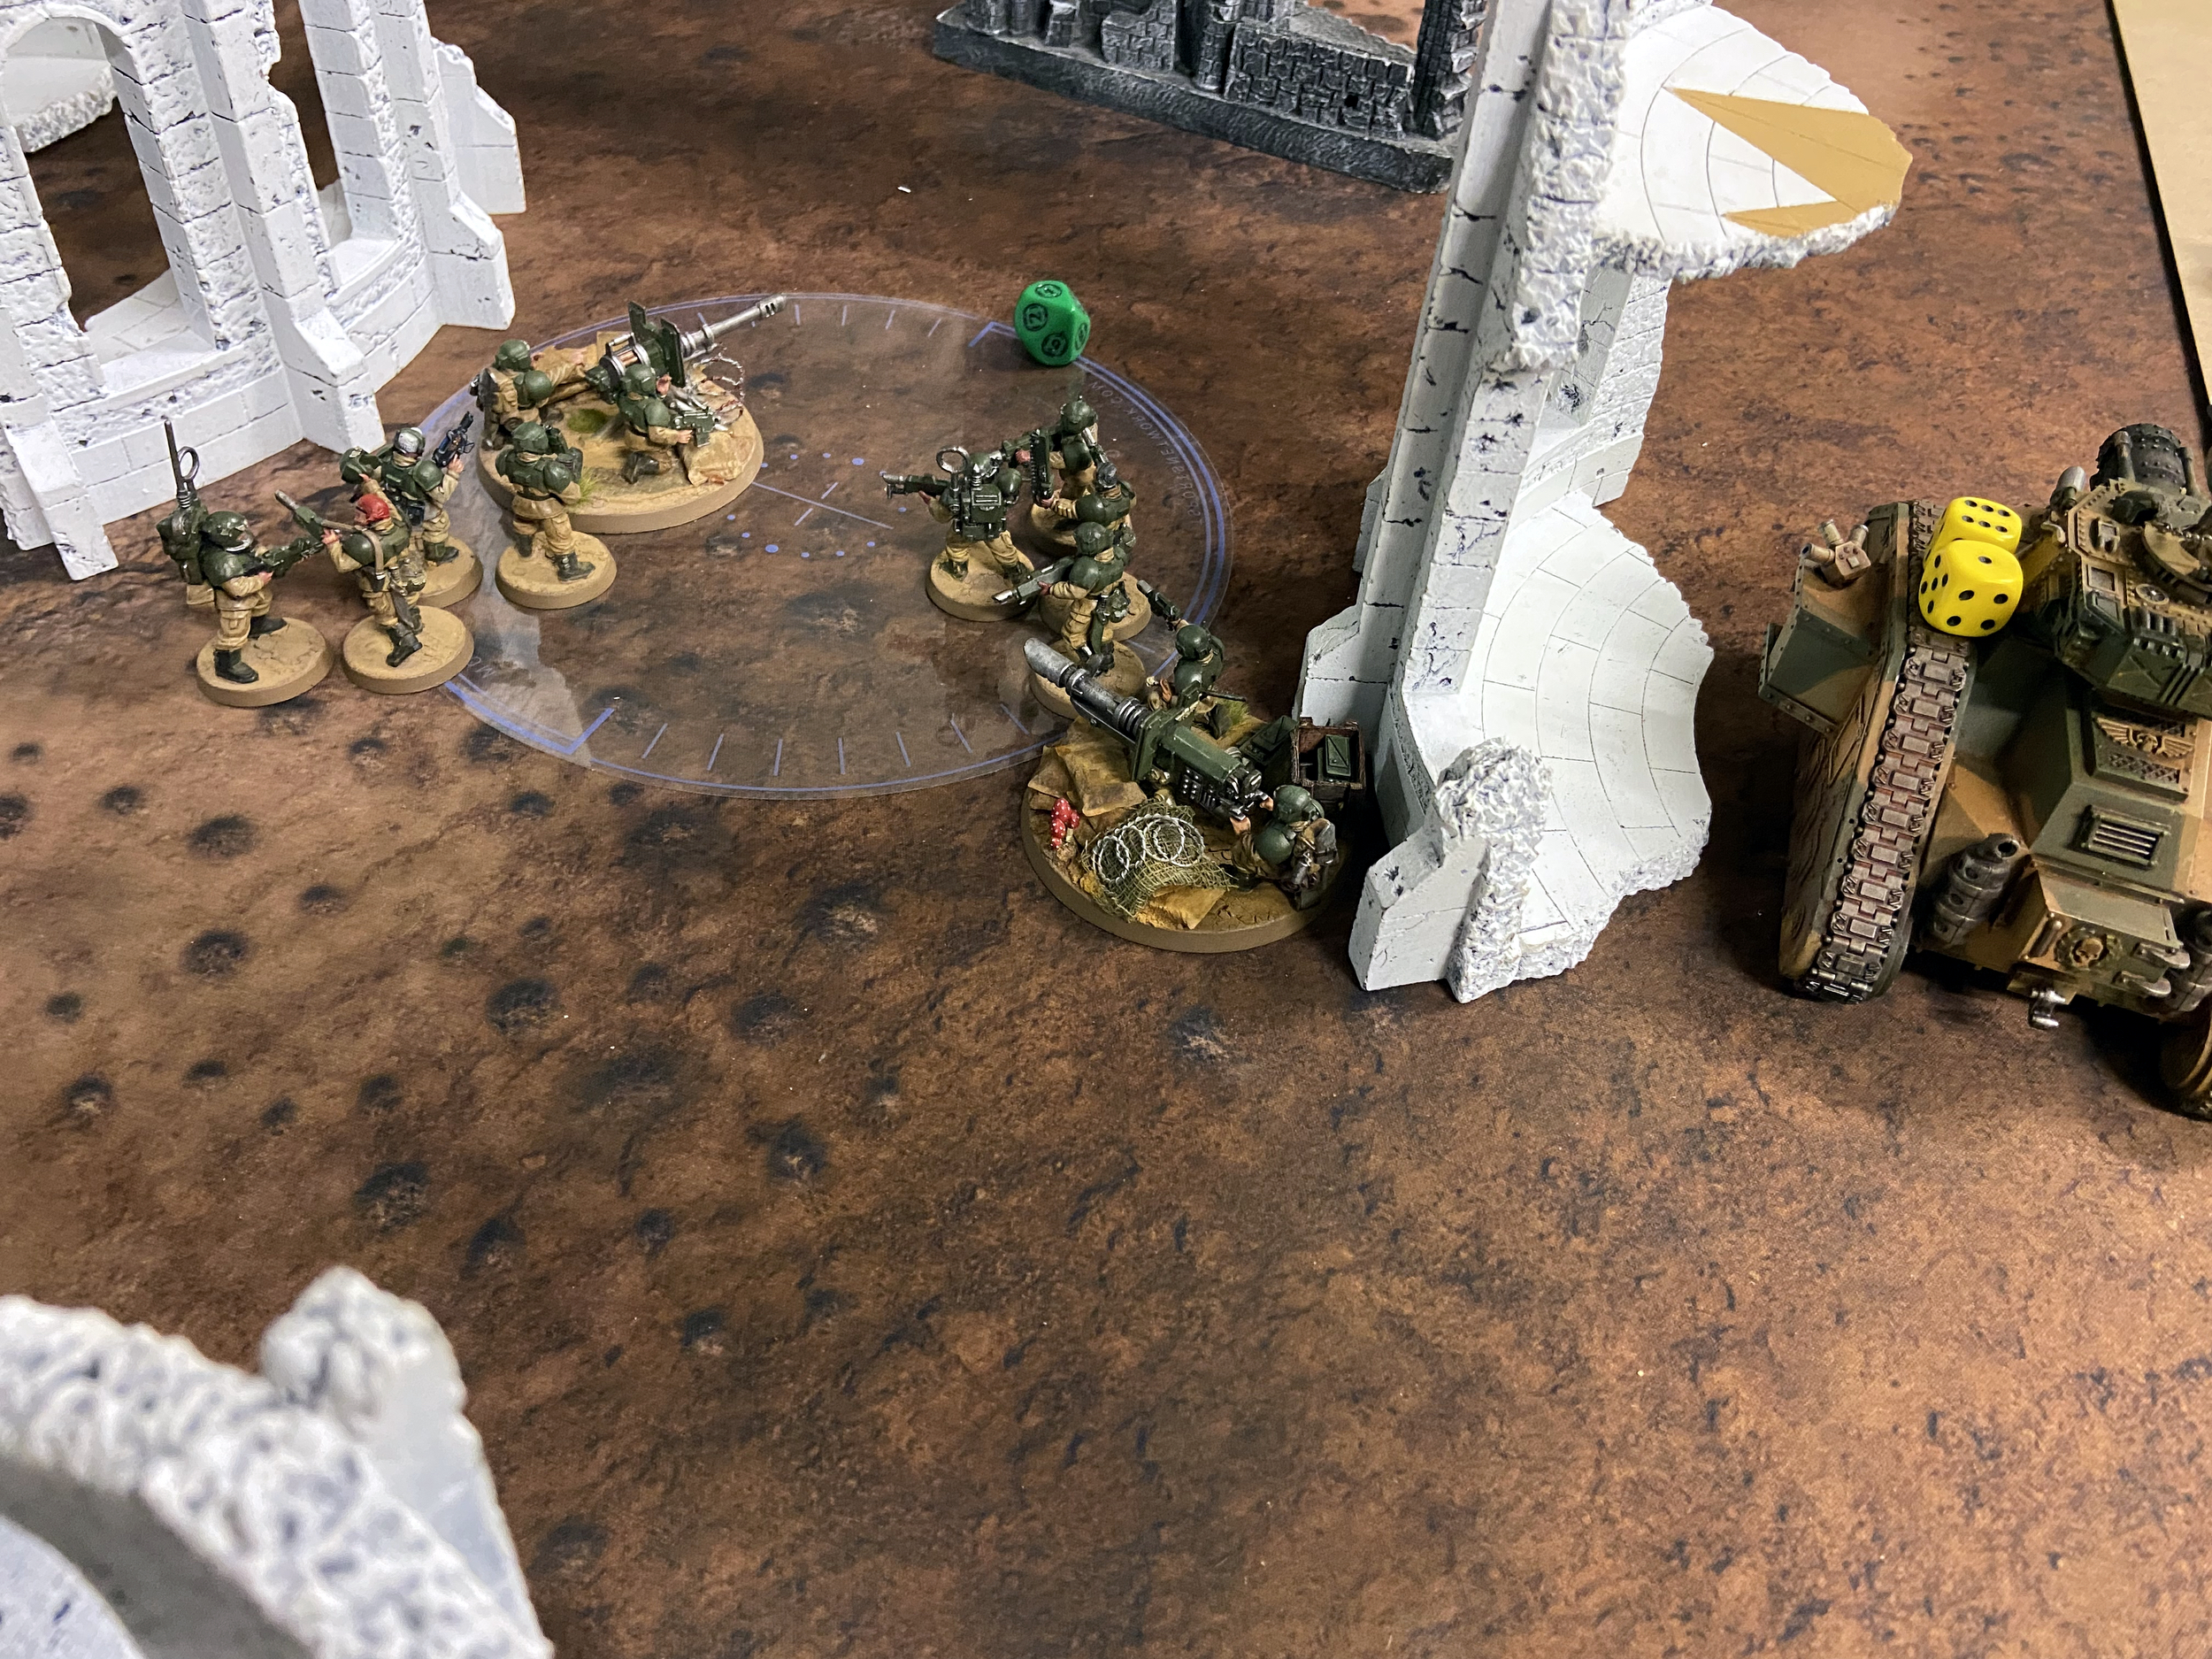
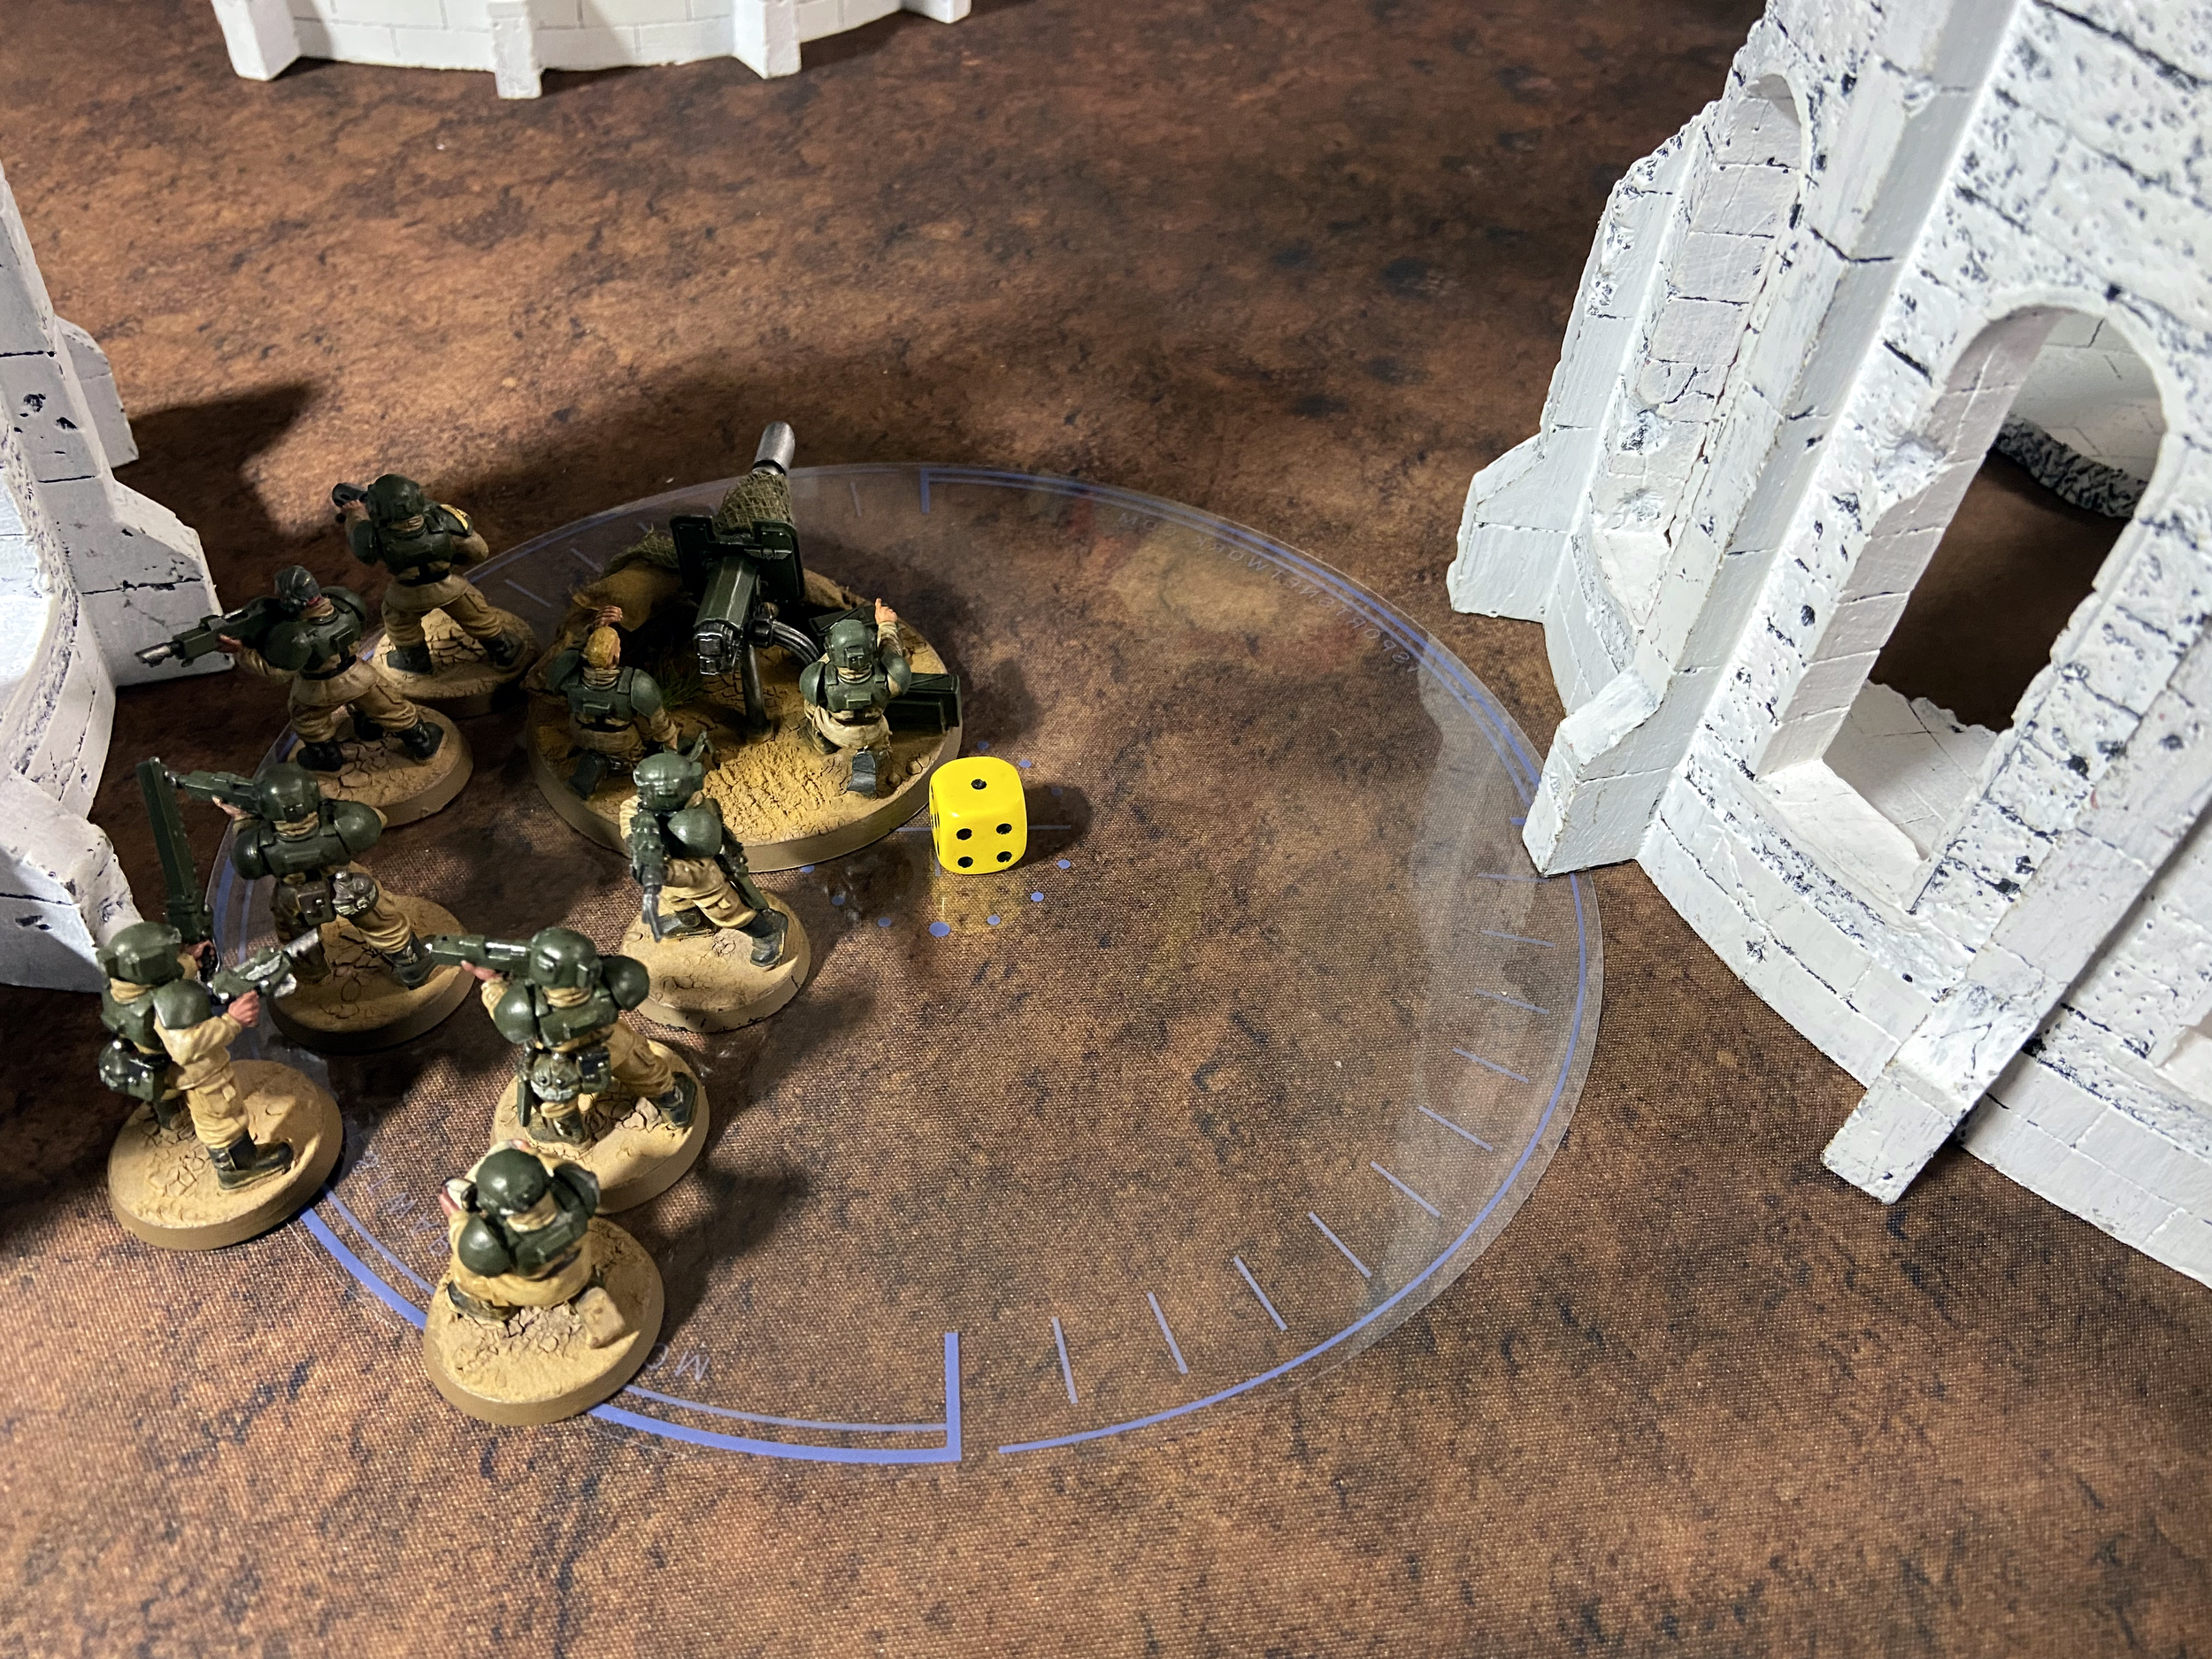
Astra Militarum
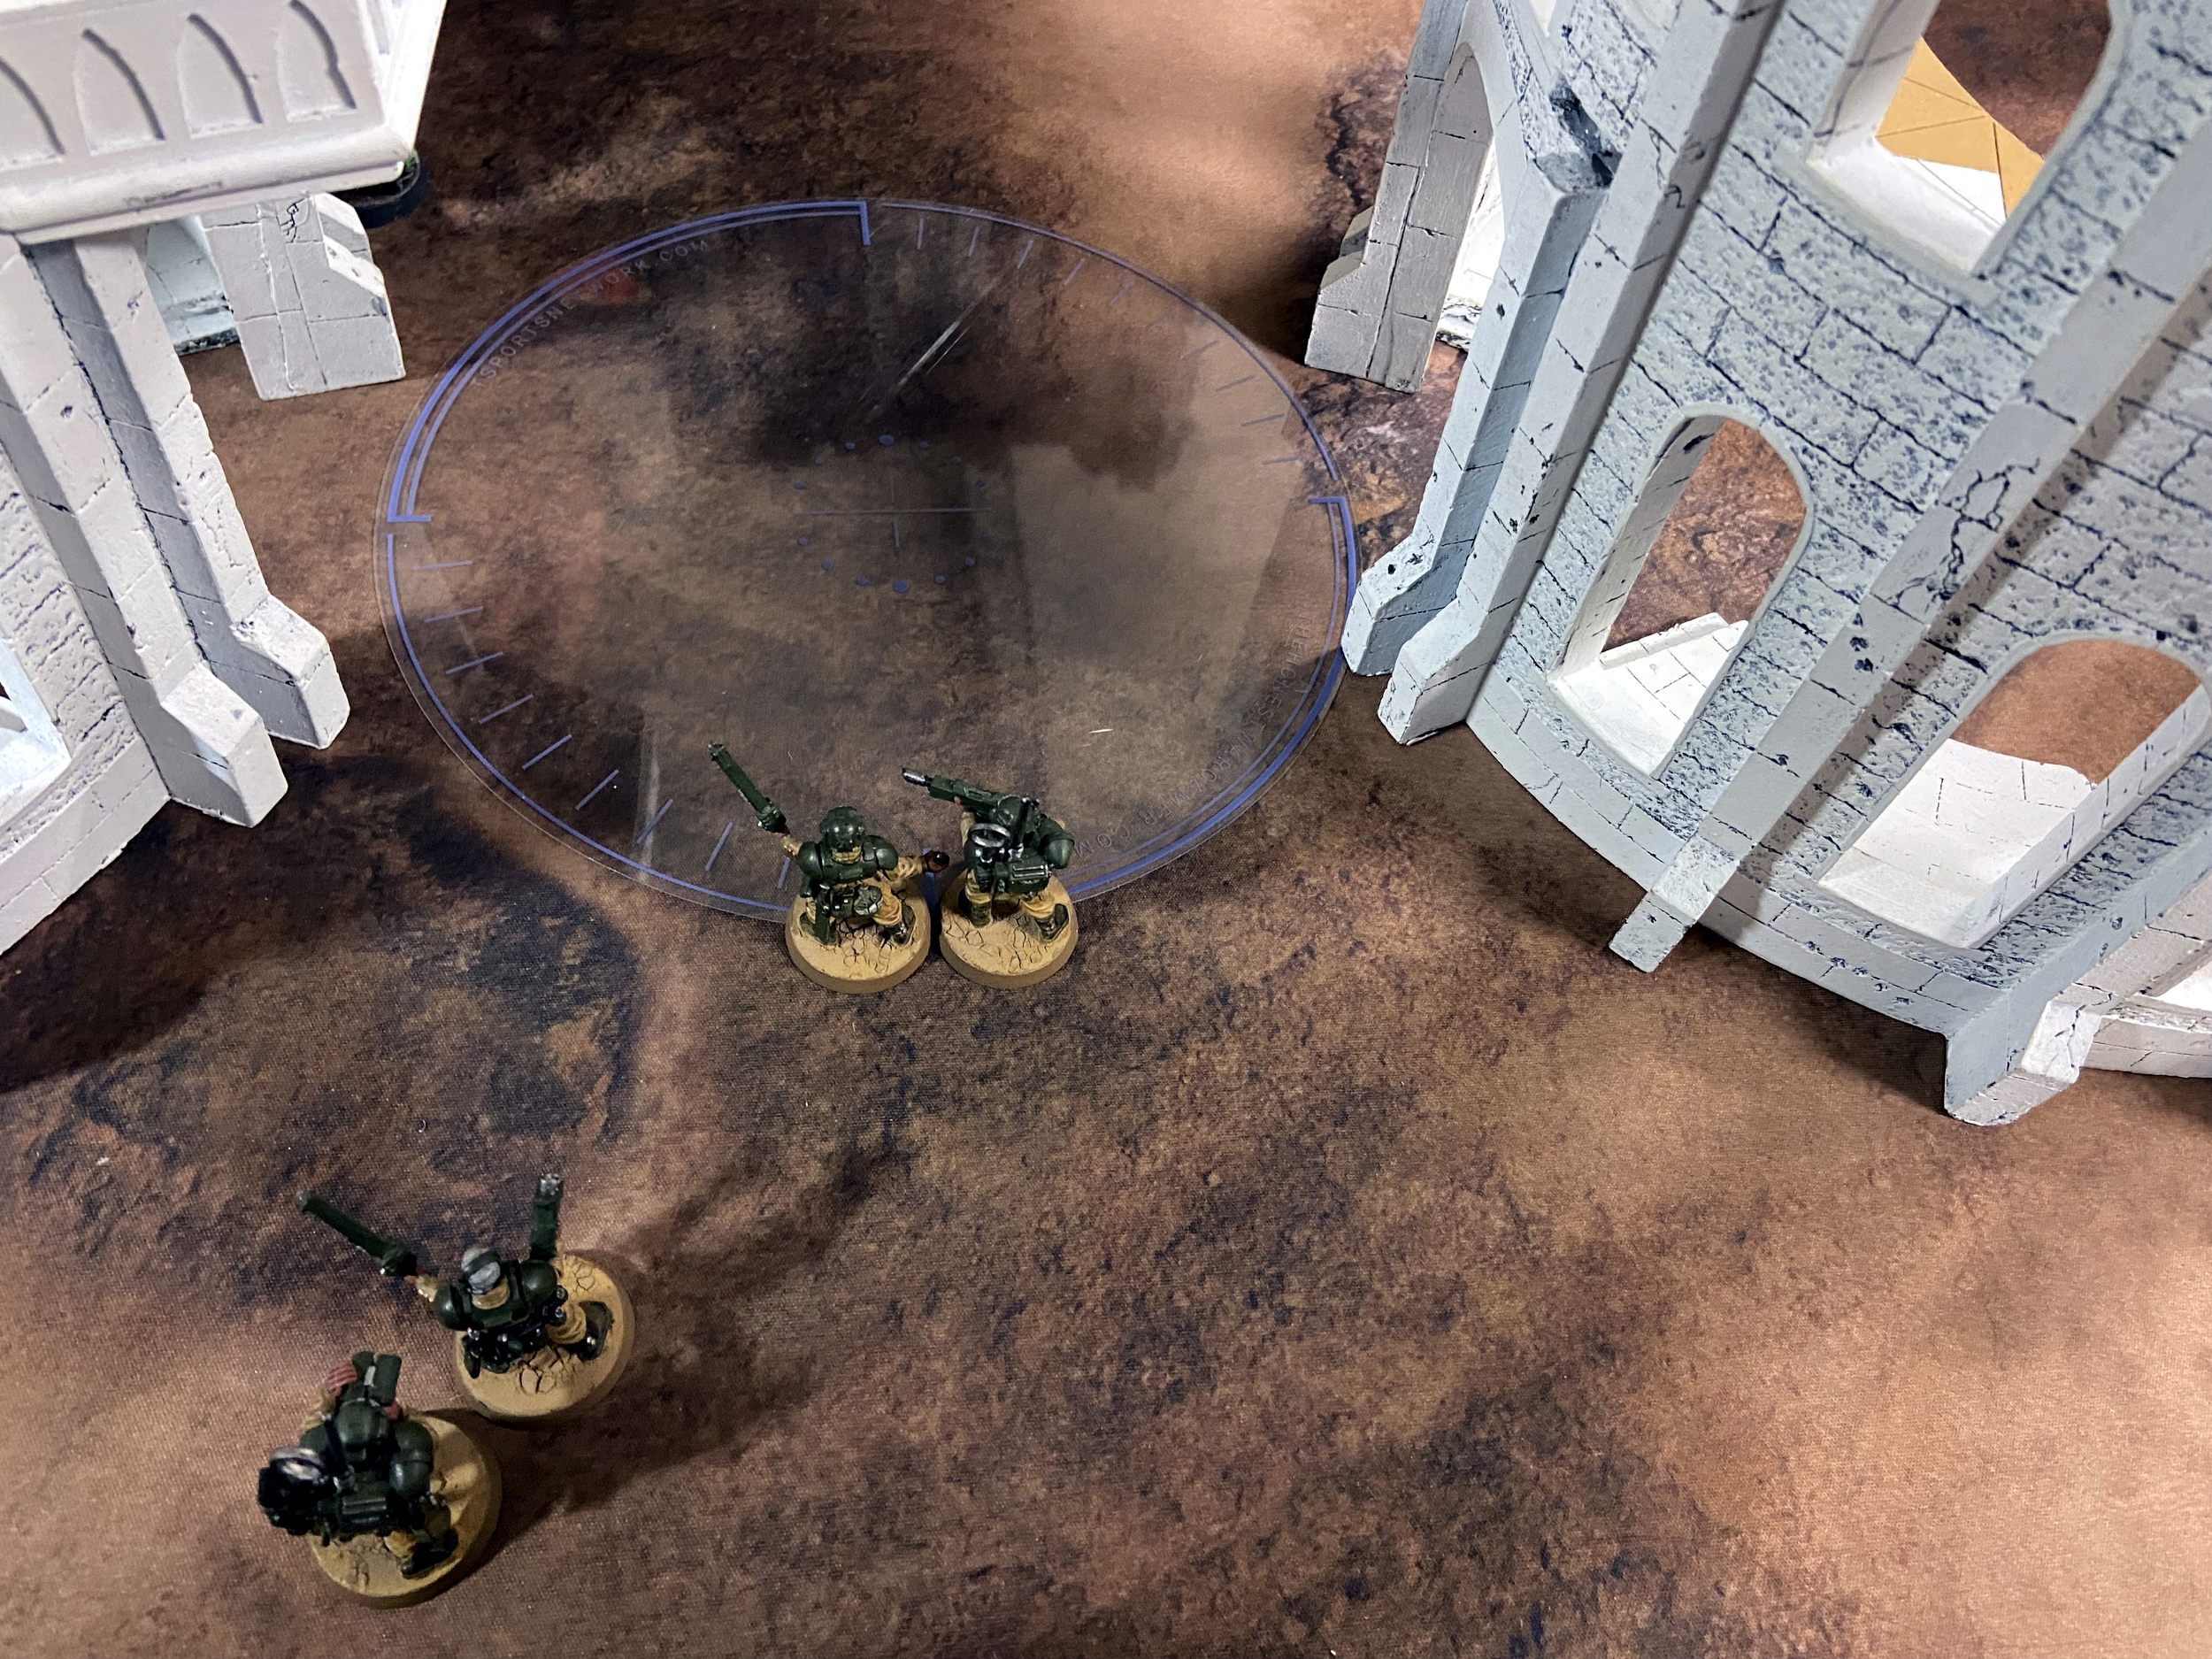
I did not make many moves on this first turn. Pask moved up on the right flank to get into range of a Hauler, and a squad Move, Move, Moved on the left to get onto an objective. This seemed like suicide for these guys, but I did it to get onto something for the second Battle Round for the Primary and also to maybe bait out a Flak Missile into them from the Hauler instead of a Krak Missile into one of my tanks.
I used the Relic of Lost Cadia this turn; it was in the range of the Basilisks, the Demolisher Tank Commander and Gatekeeper. Once the dust had settled on the first turn of shooting, there was not a lot of dead. The Basilisks failed to kill a Hauler after Pask failed to kill the same Hauler. I did remove all three Deathshrouds, though – which then made me think I should have gone for Assassination instead of Raise the Banners High.
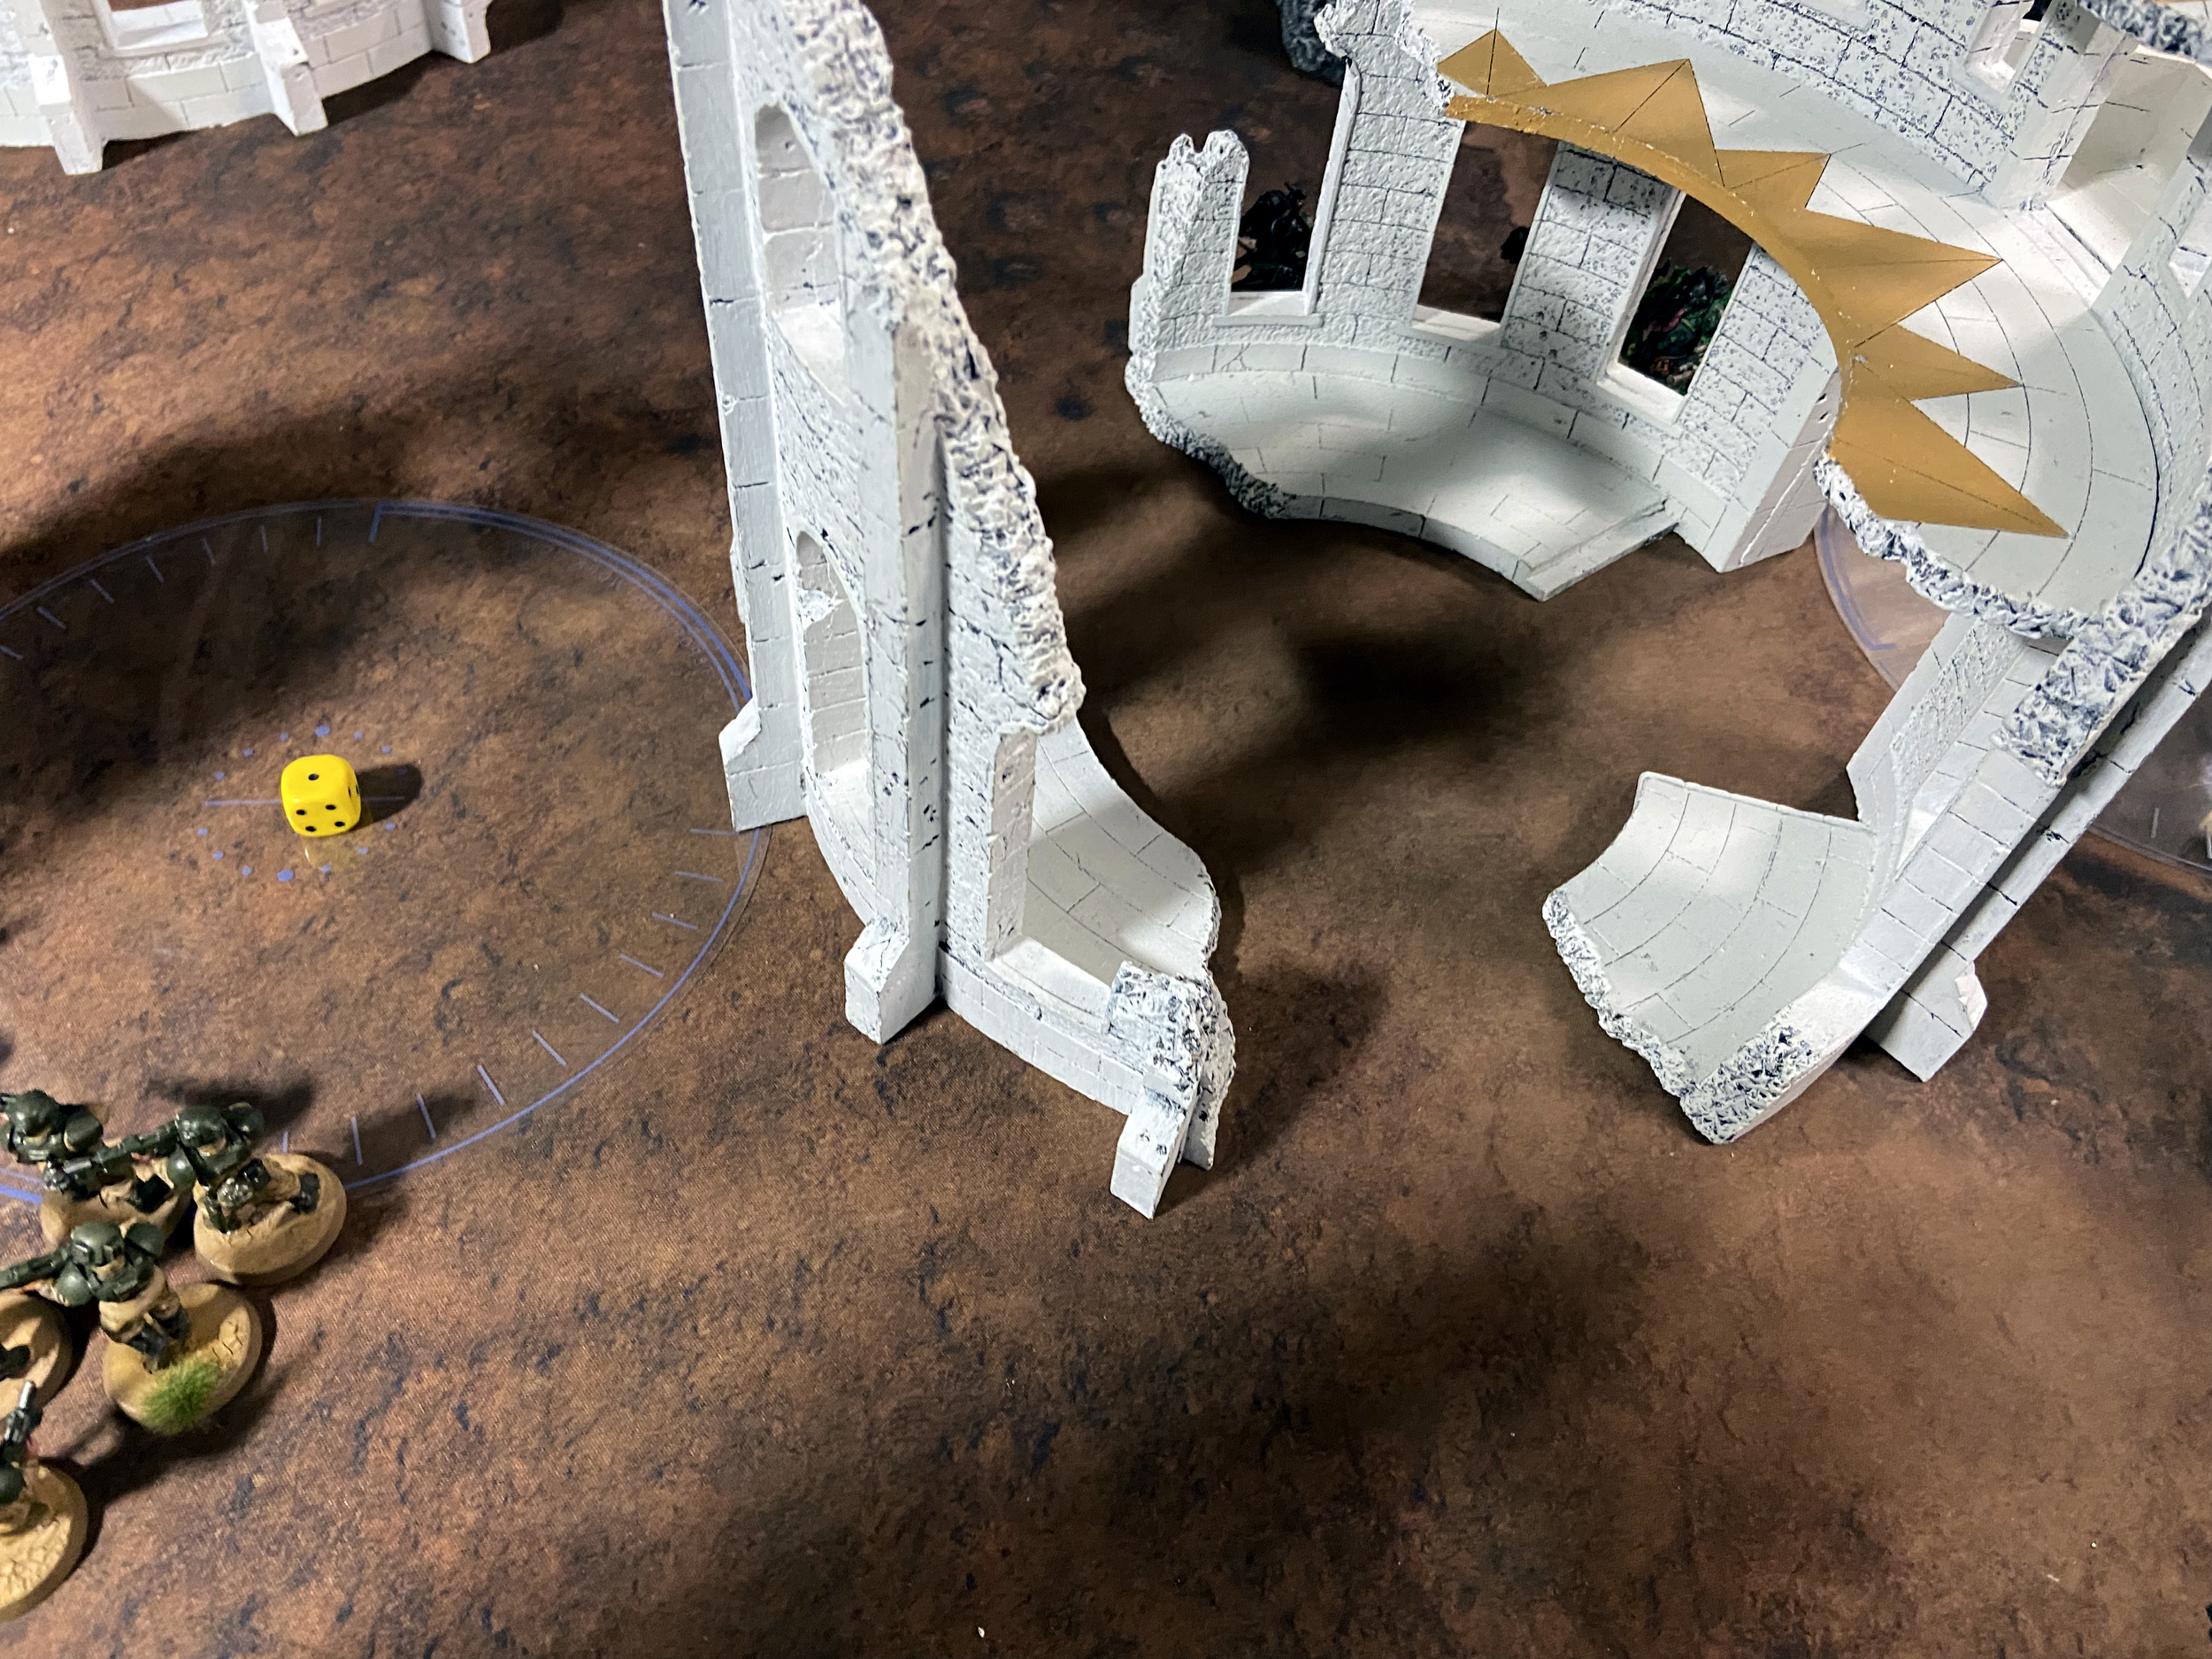
Pask also killed five Poxwalkers, which came back to life and were chained into the middle.
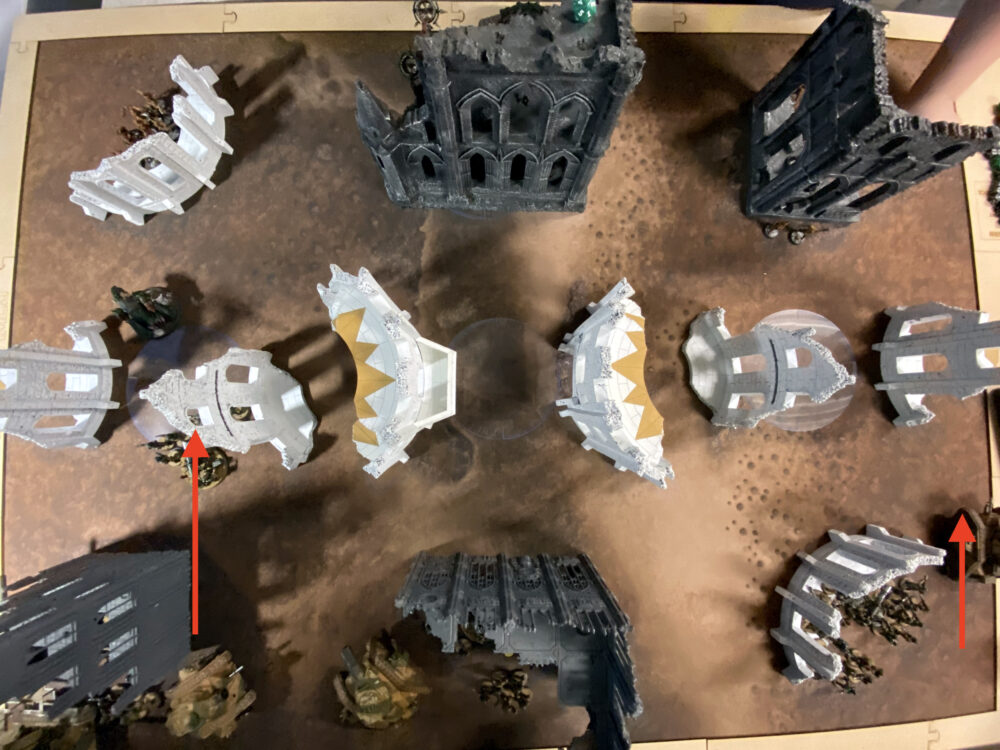
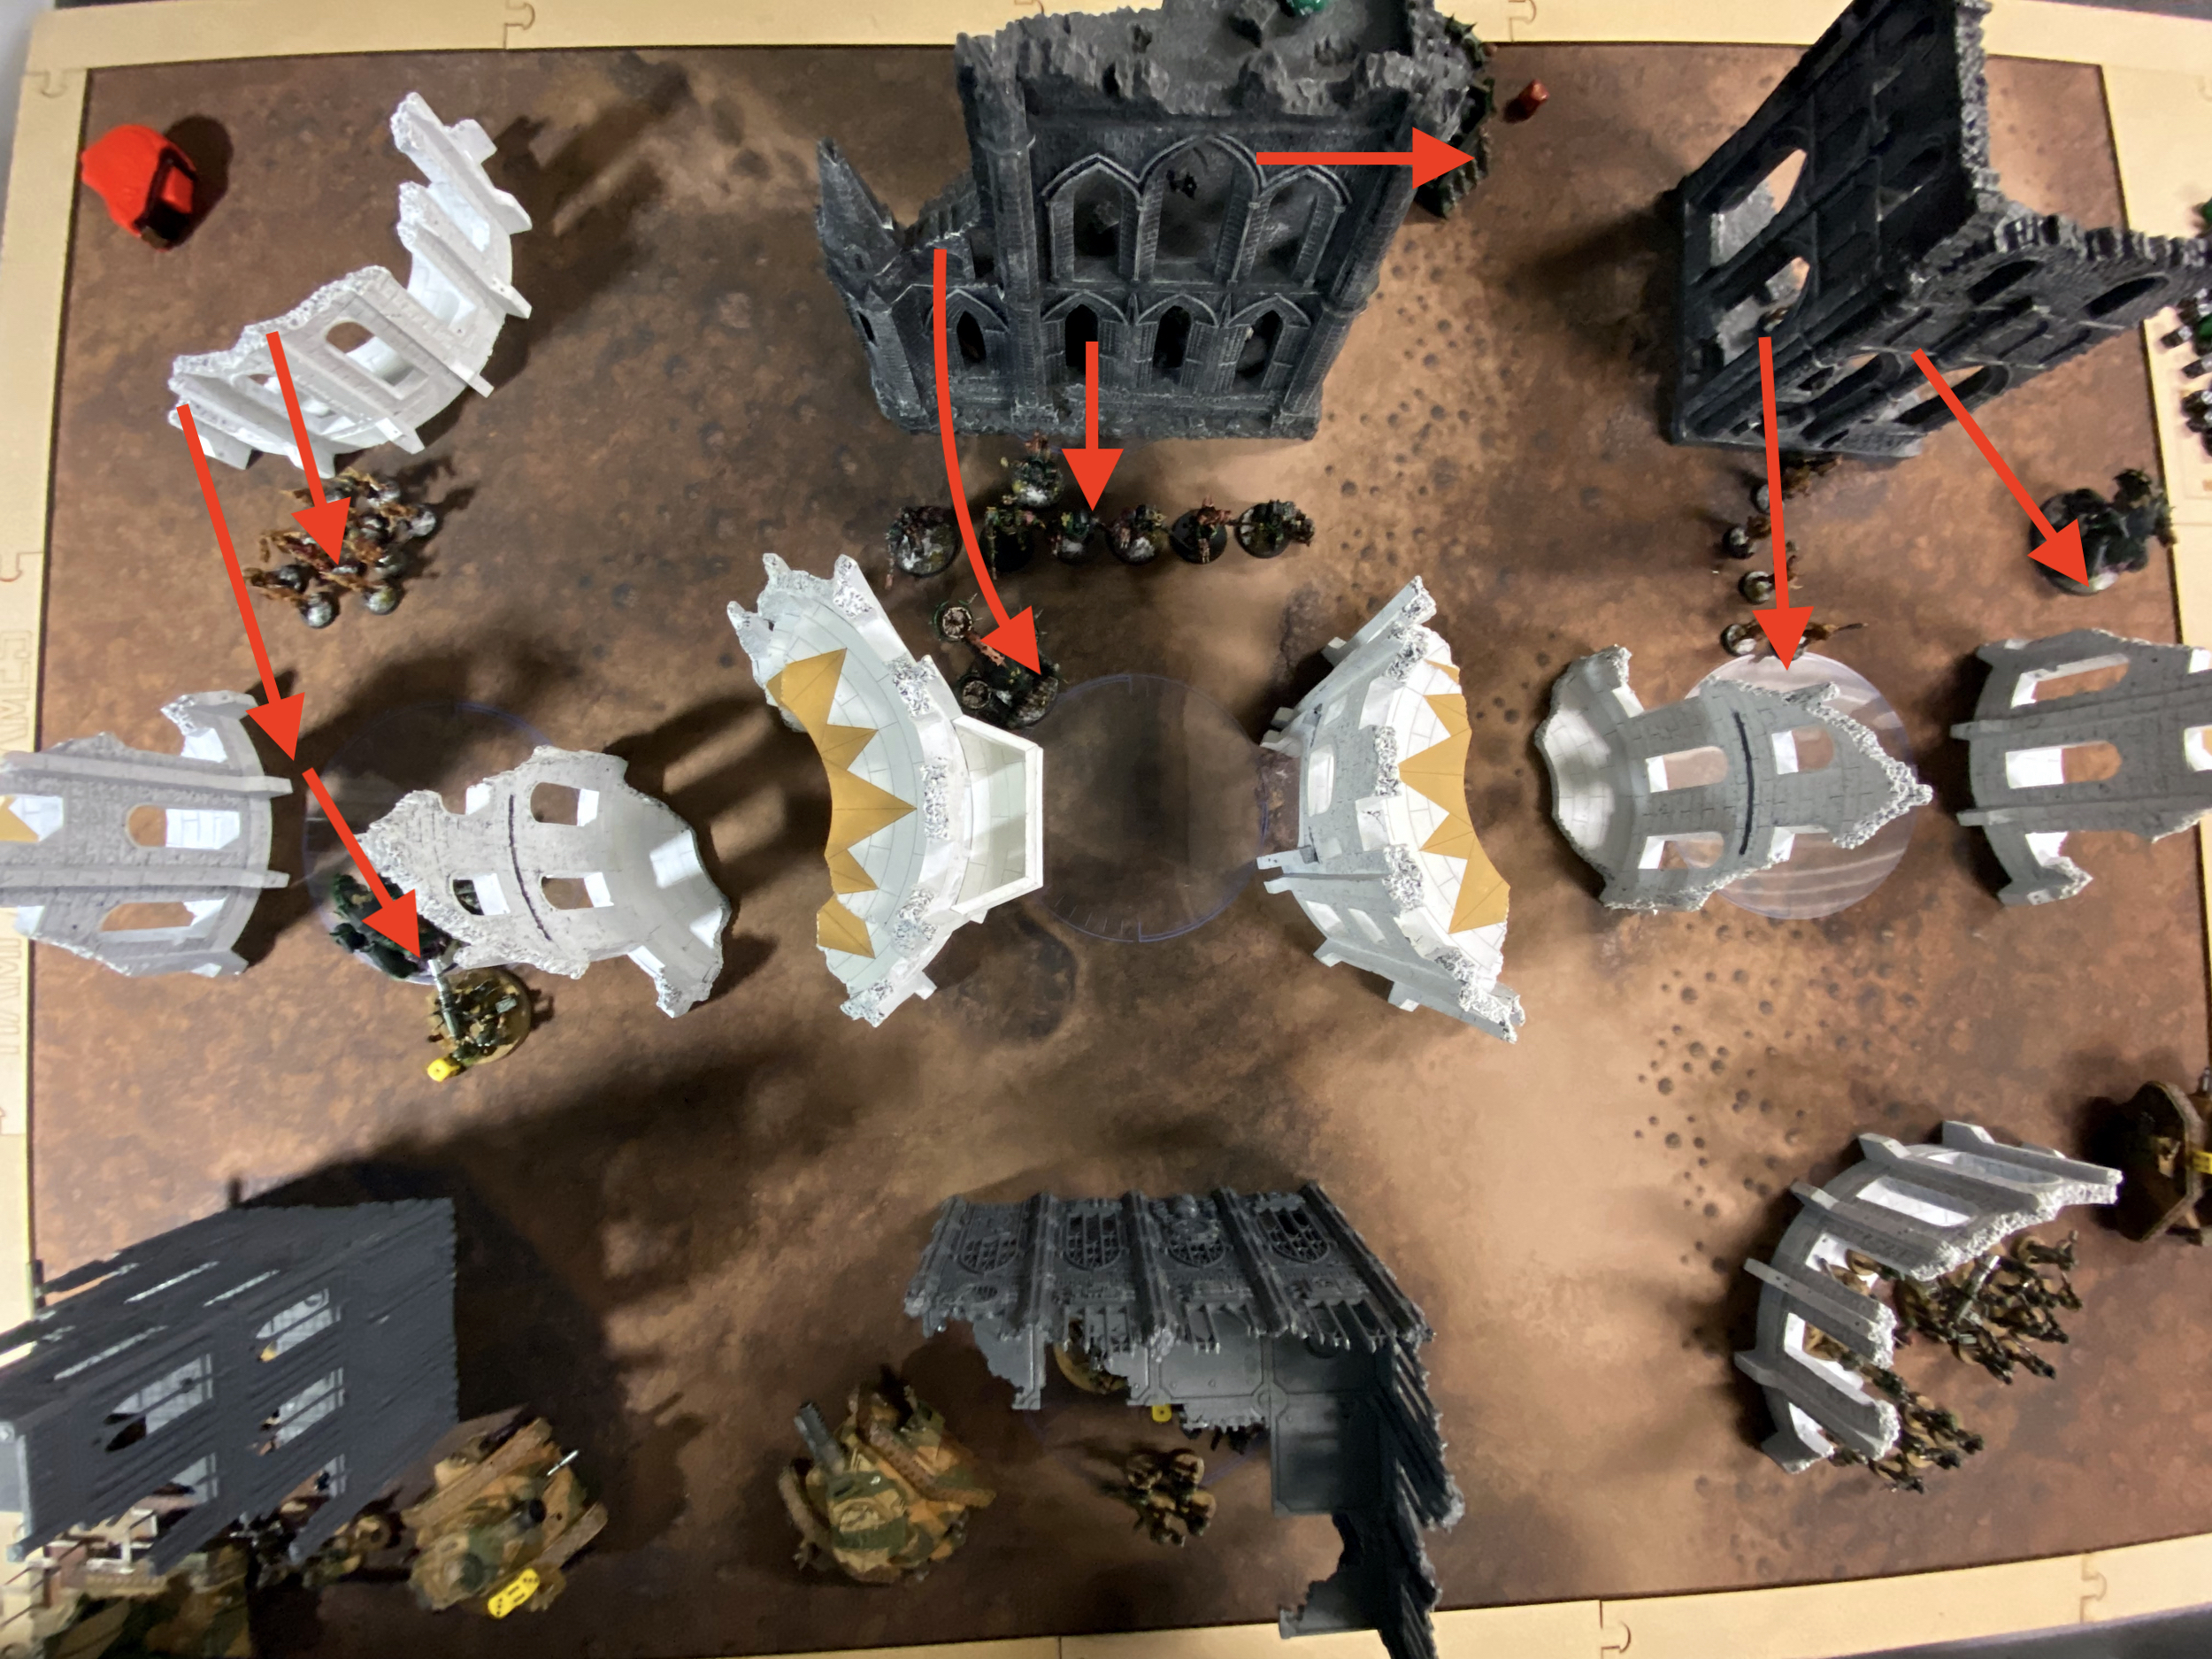
I took this photo a bit late after my opponent started moving – hence why the Hauler is also on the Objective on the left.
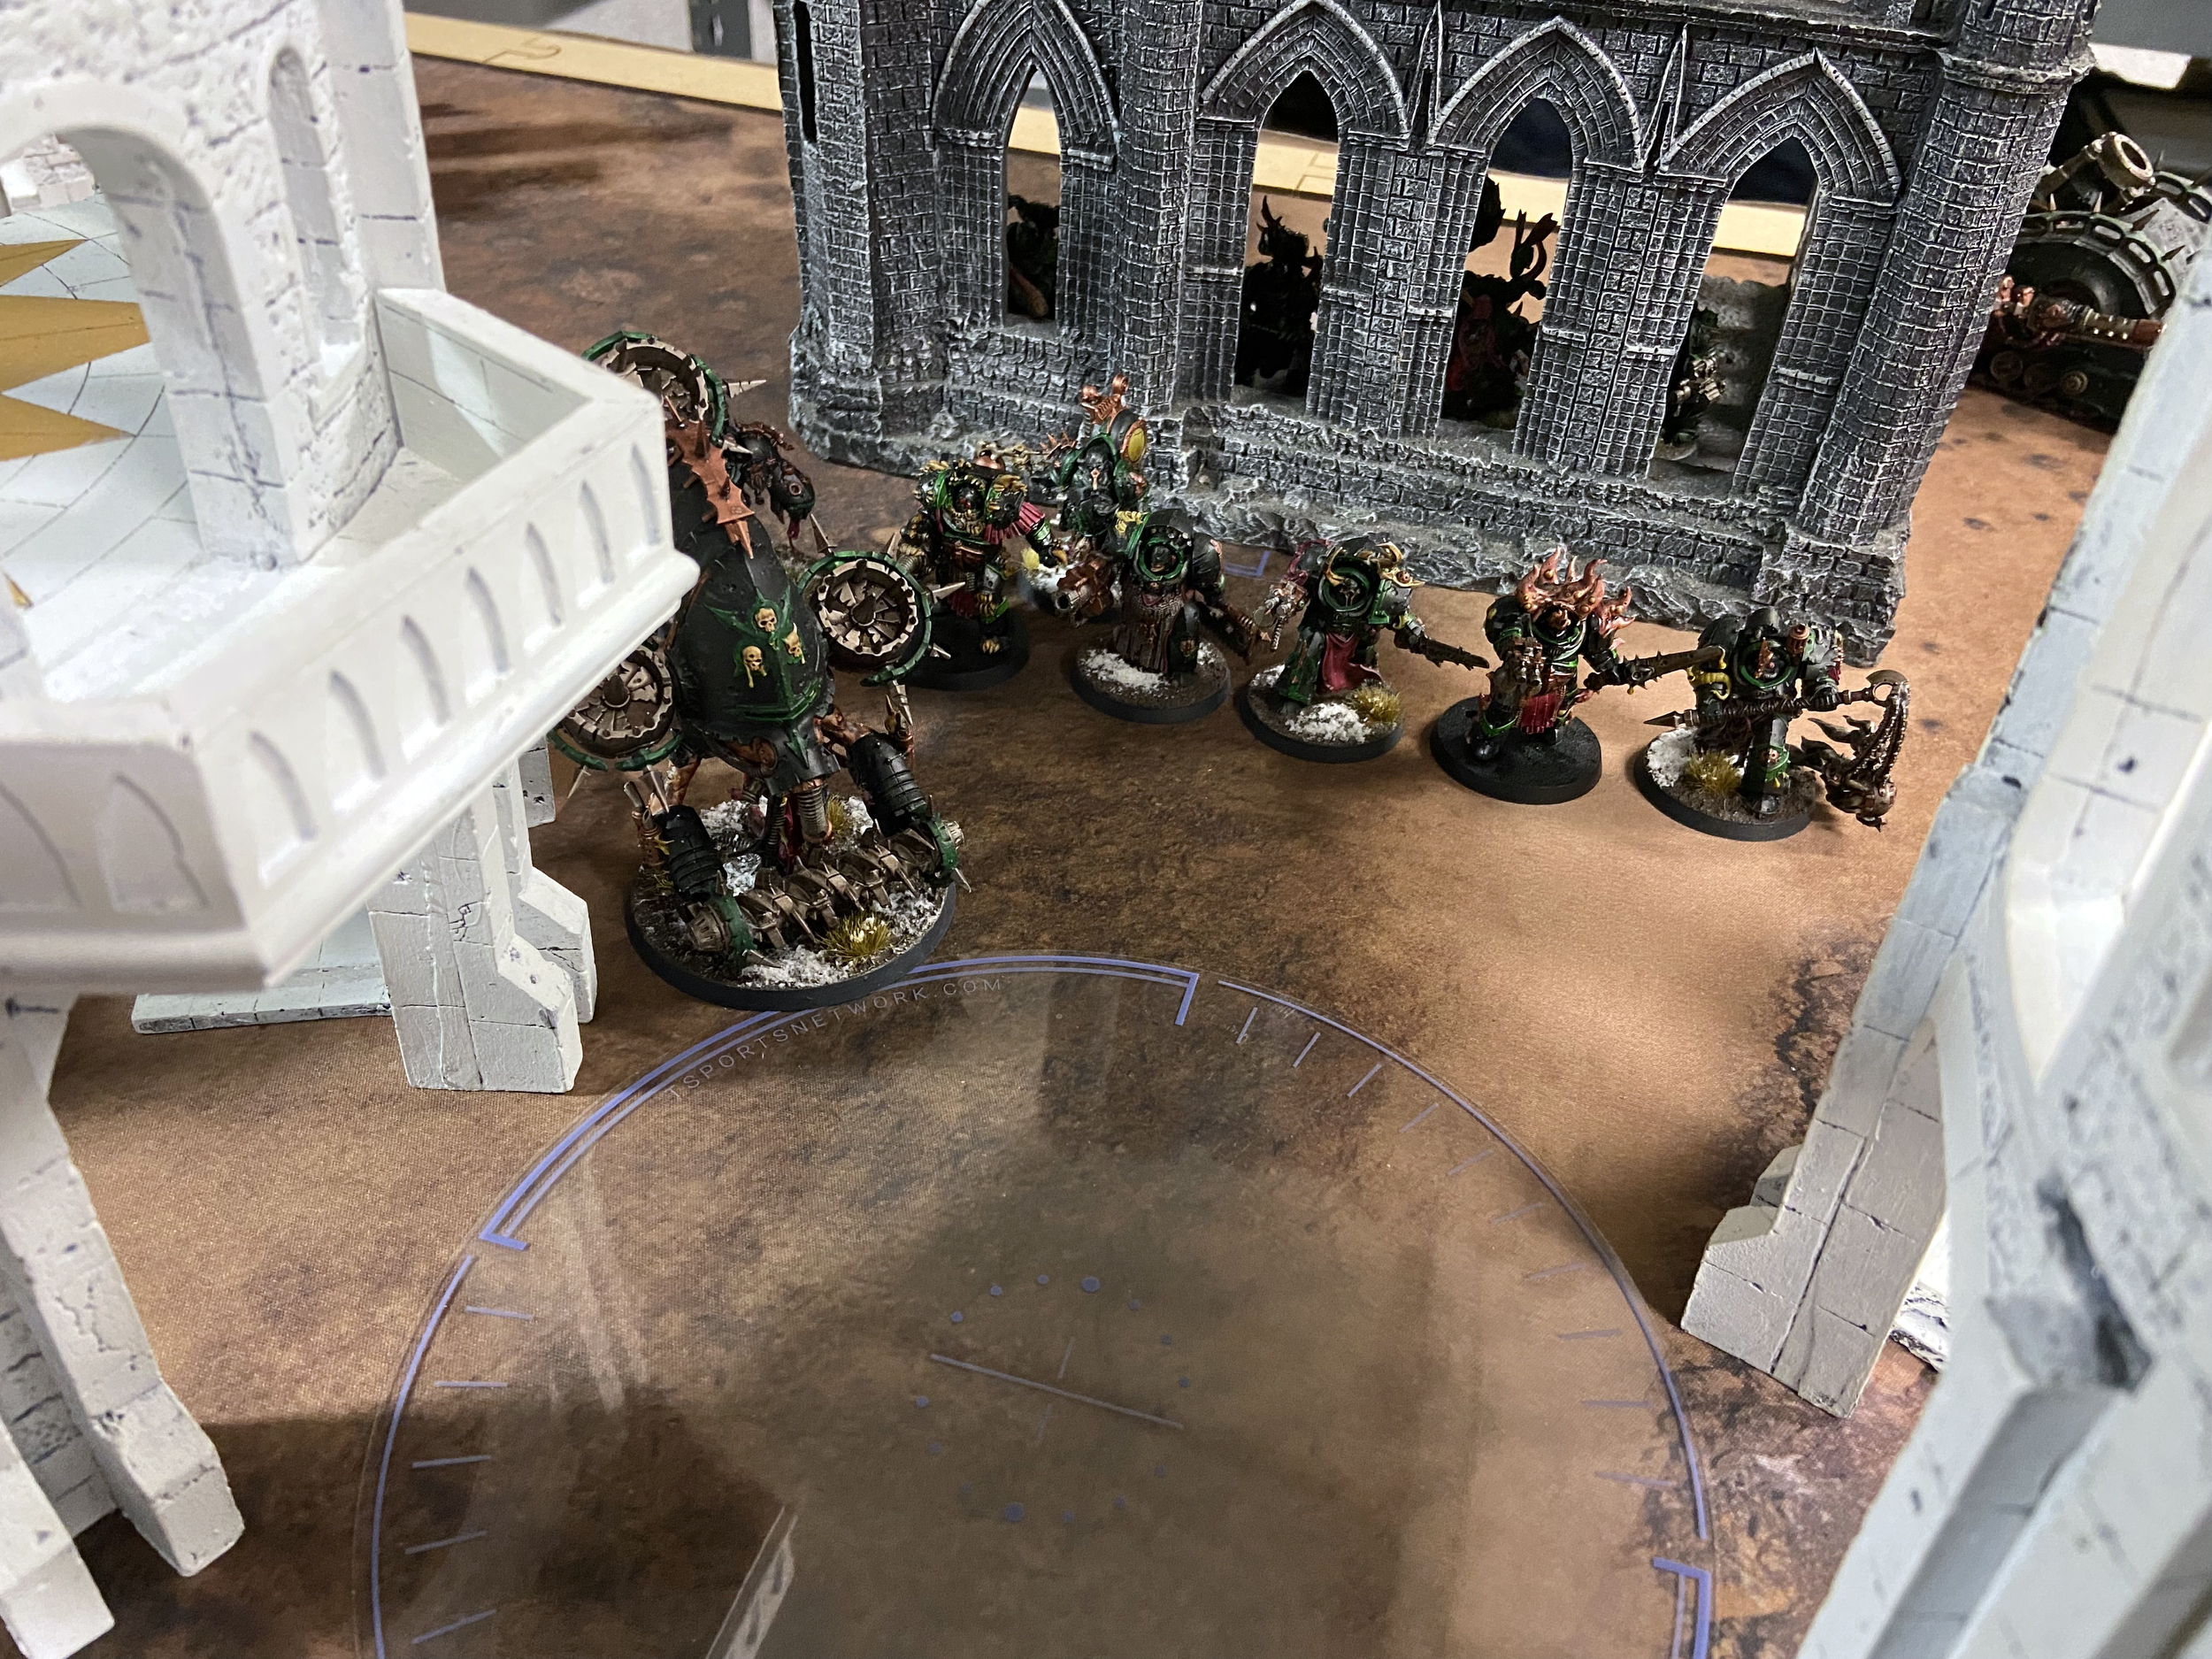
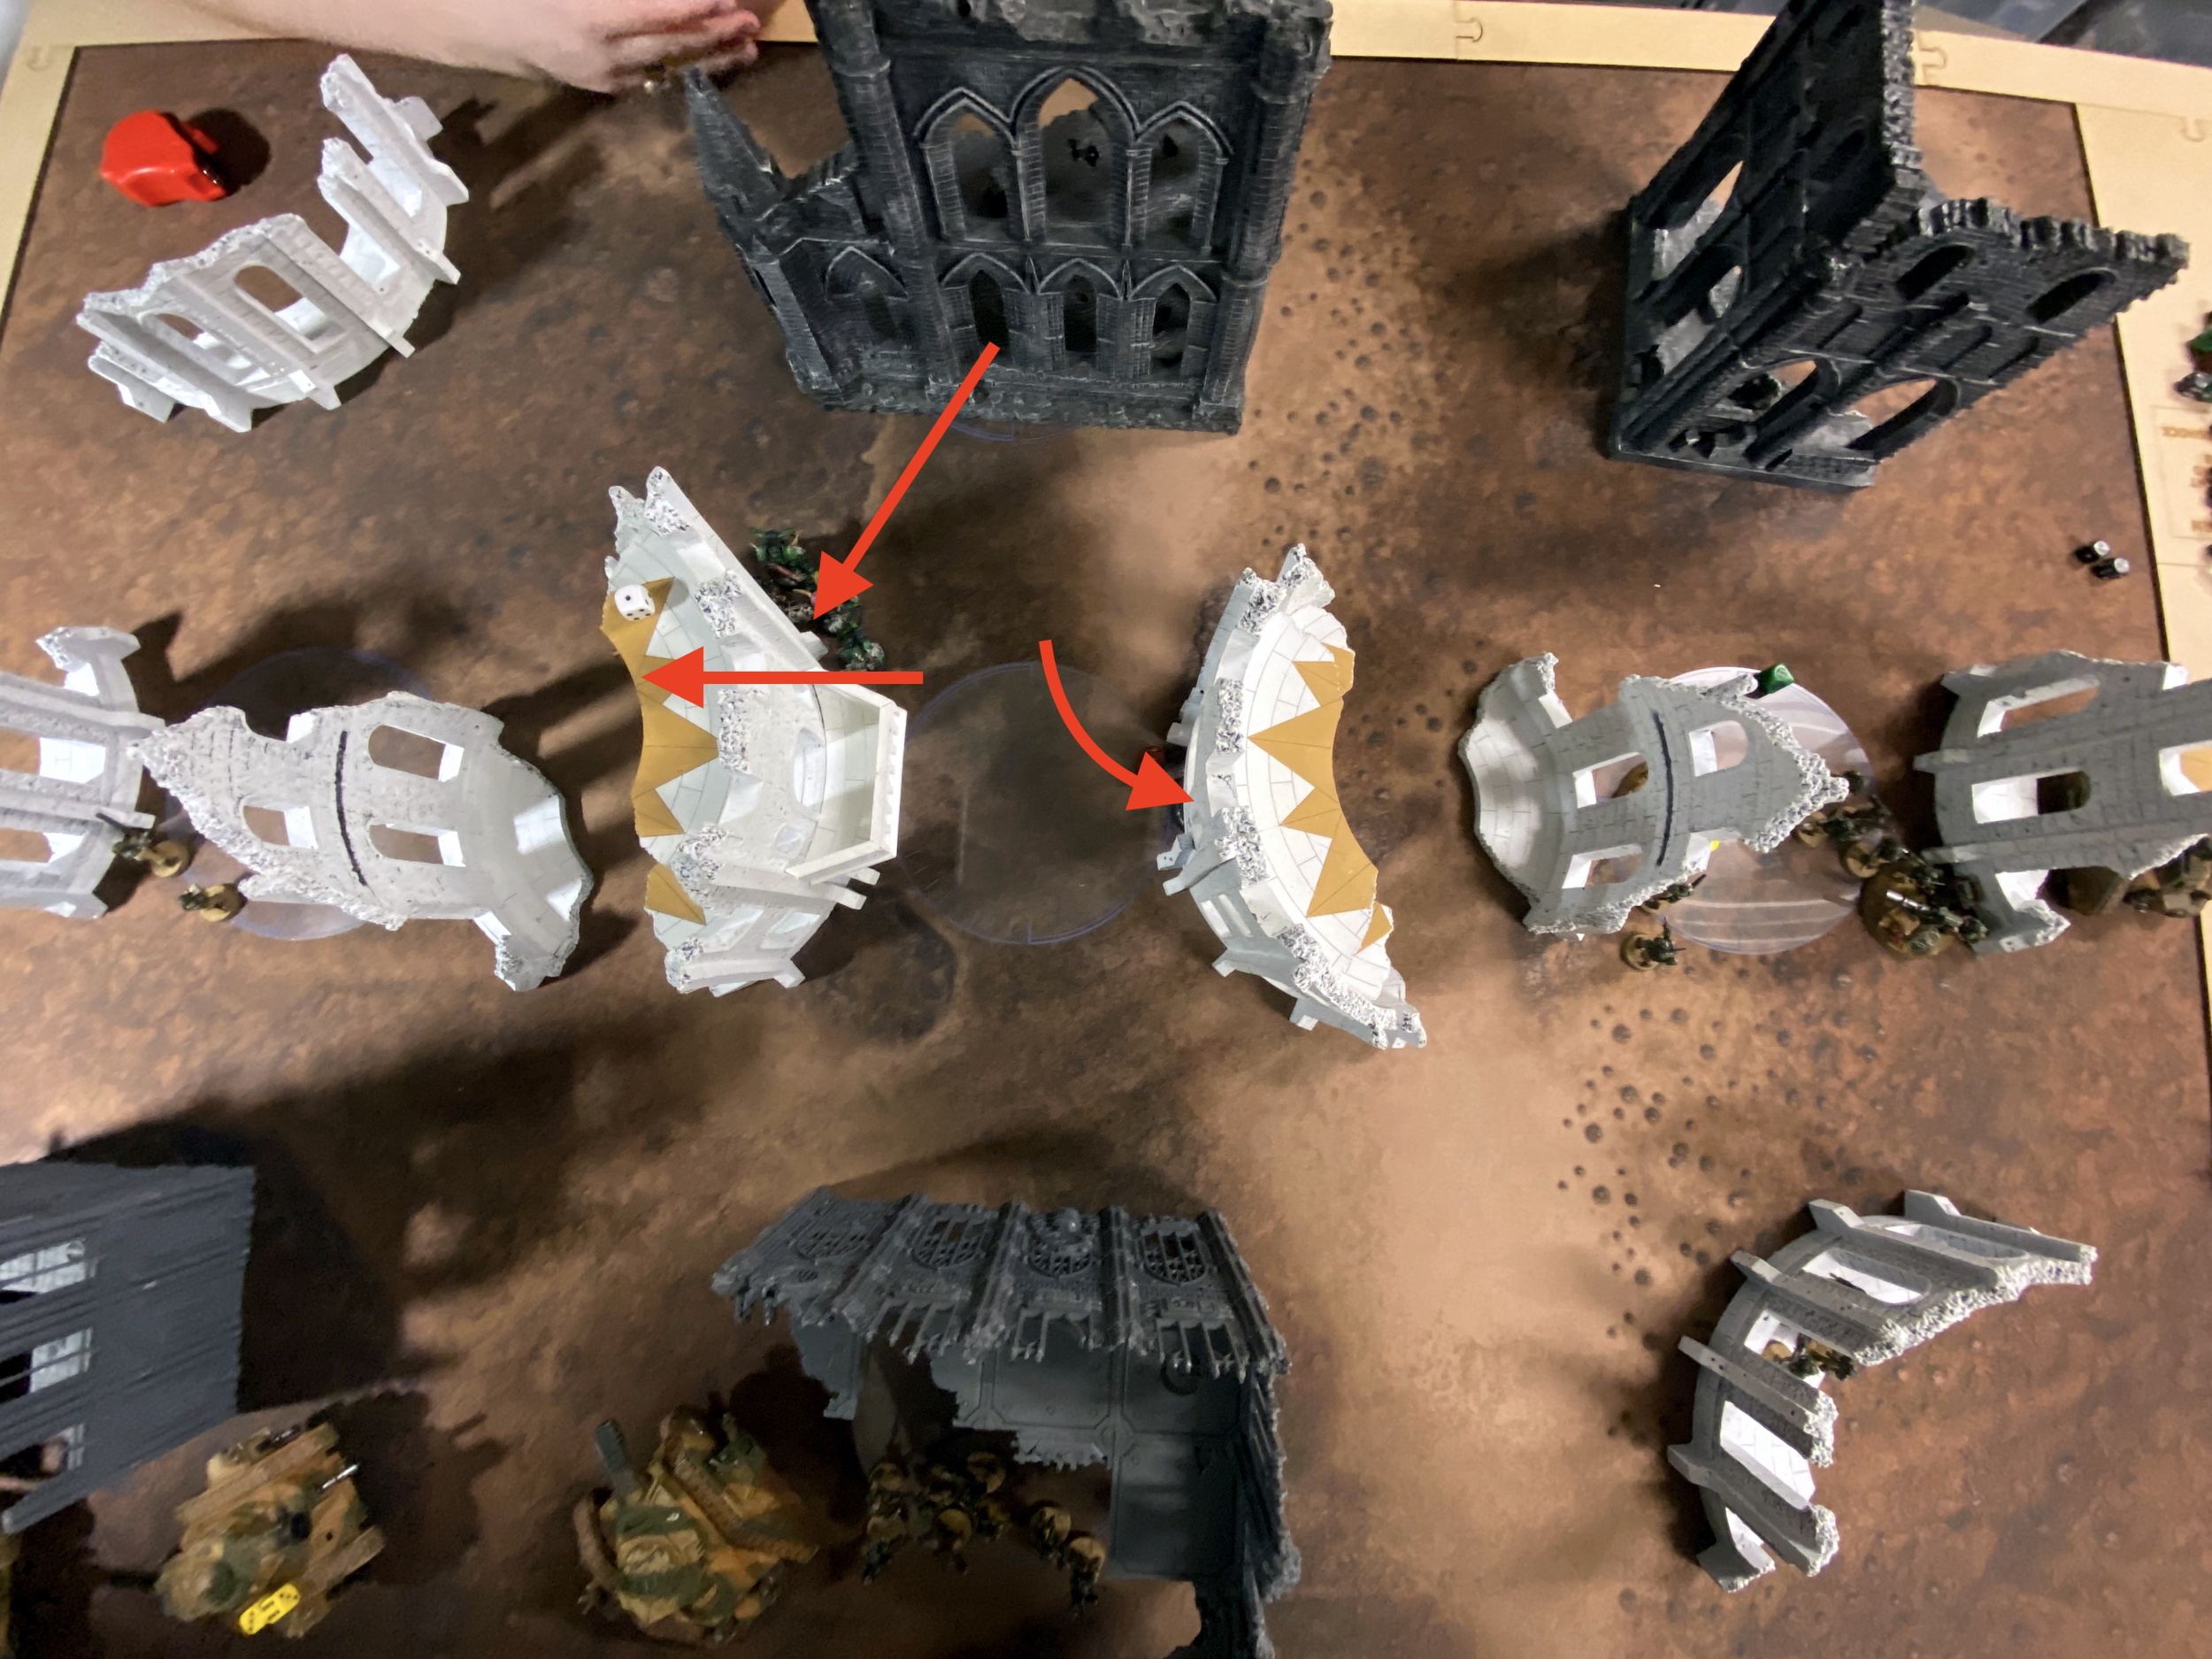
Death Guard
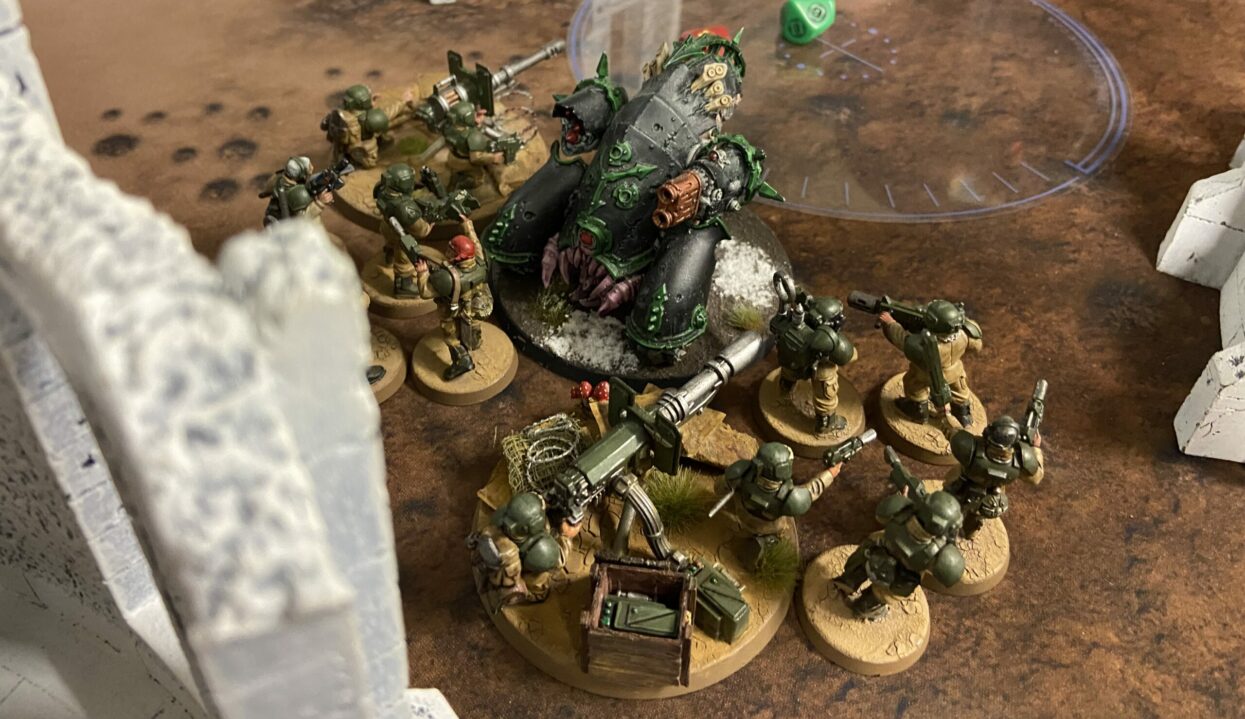
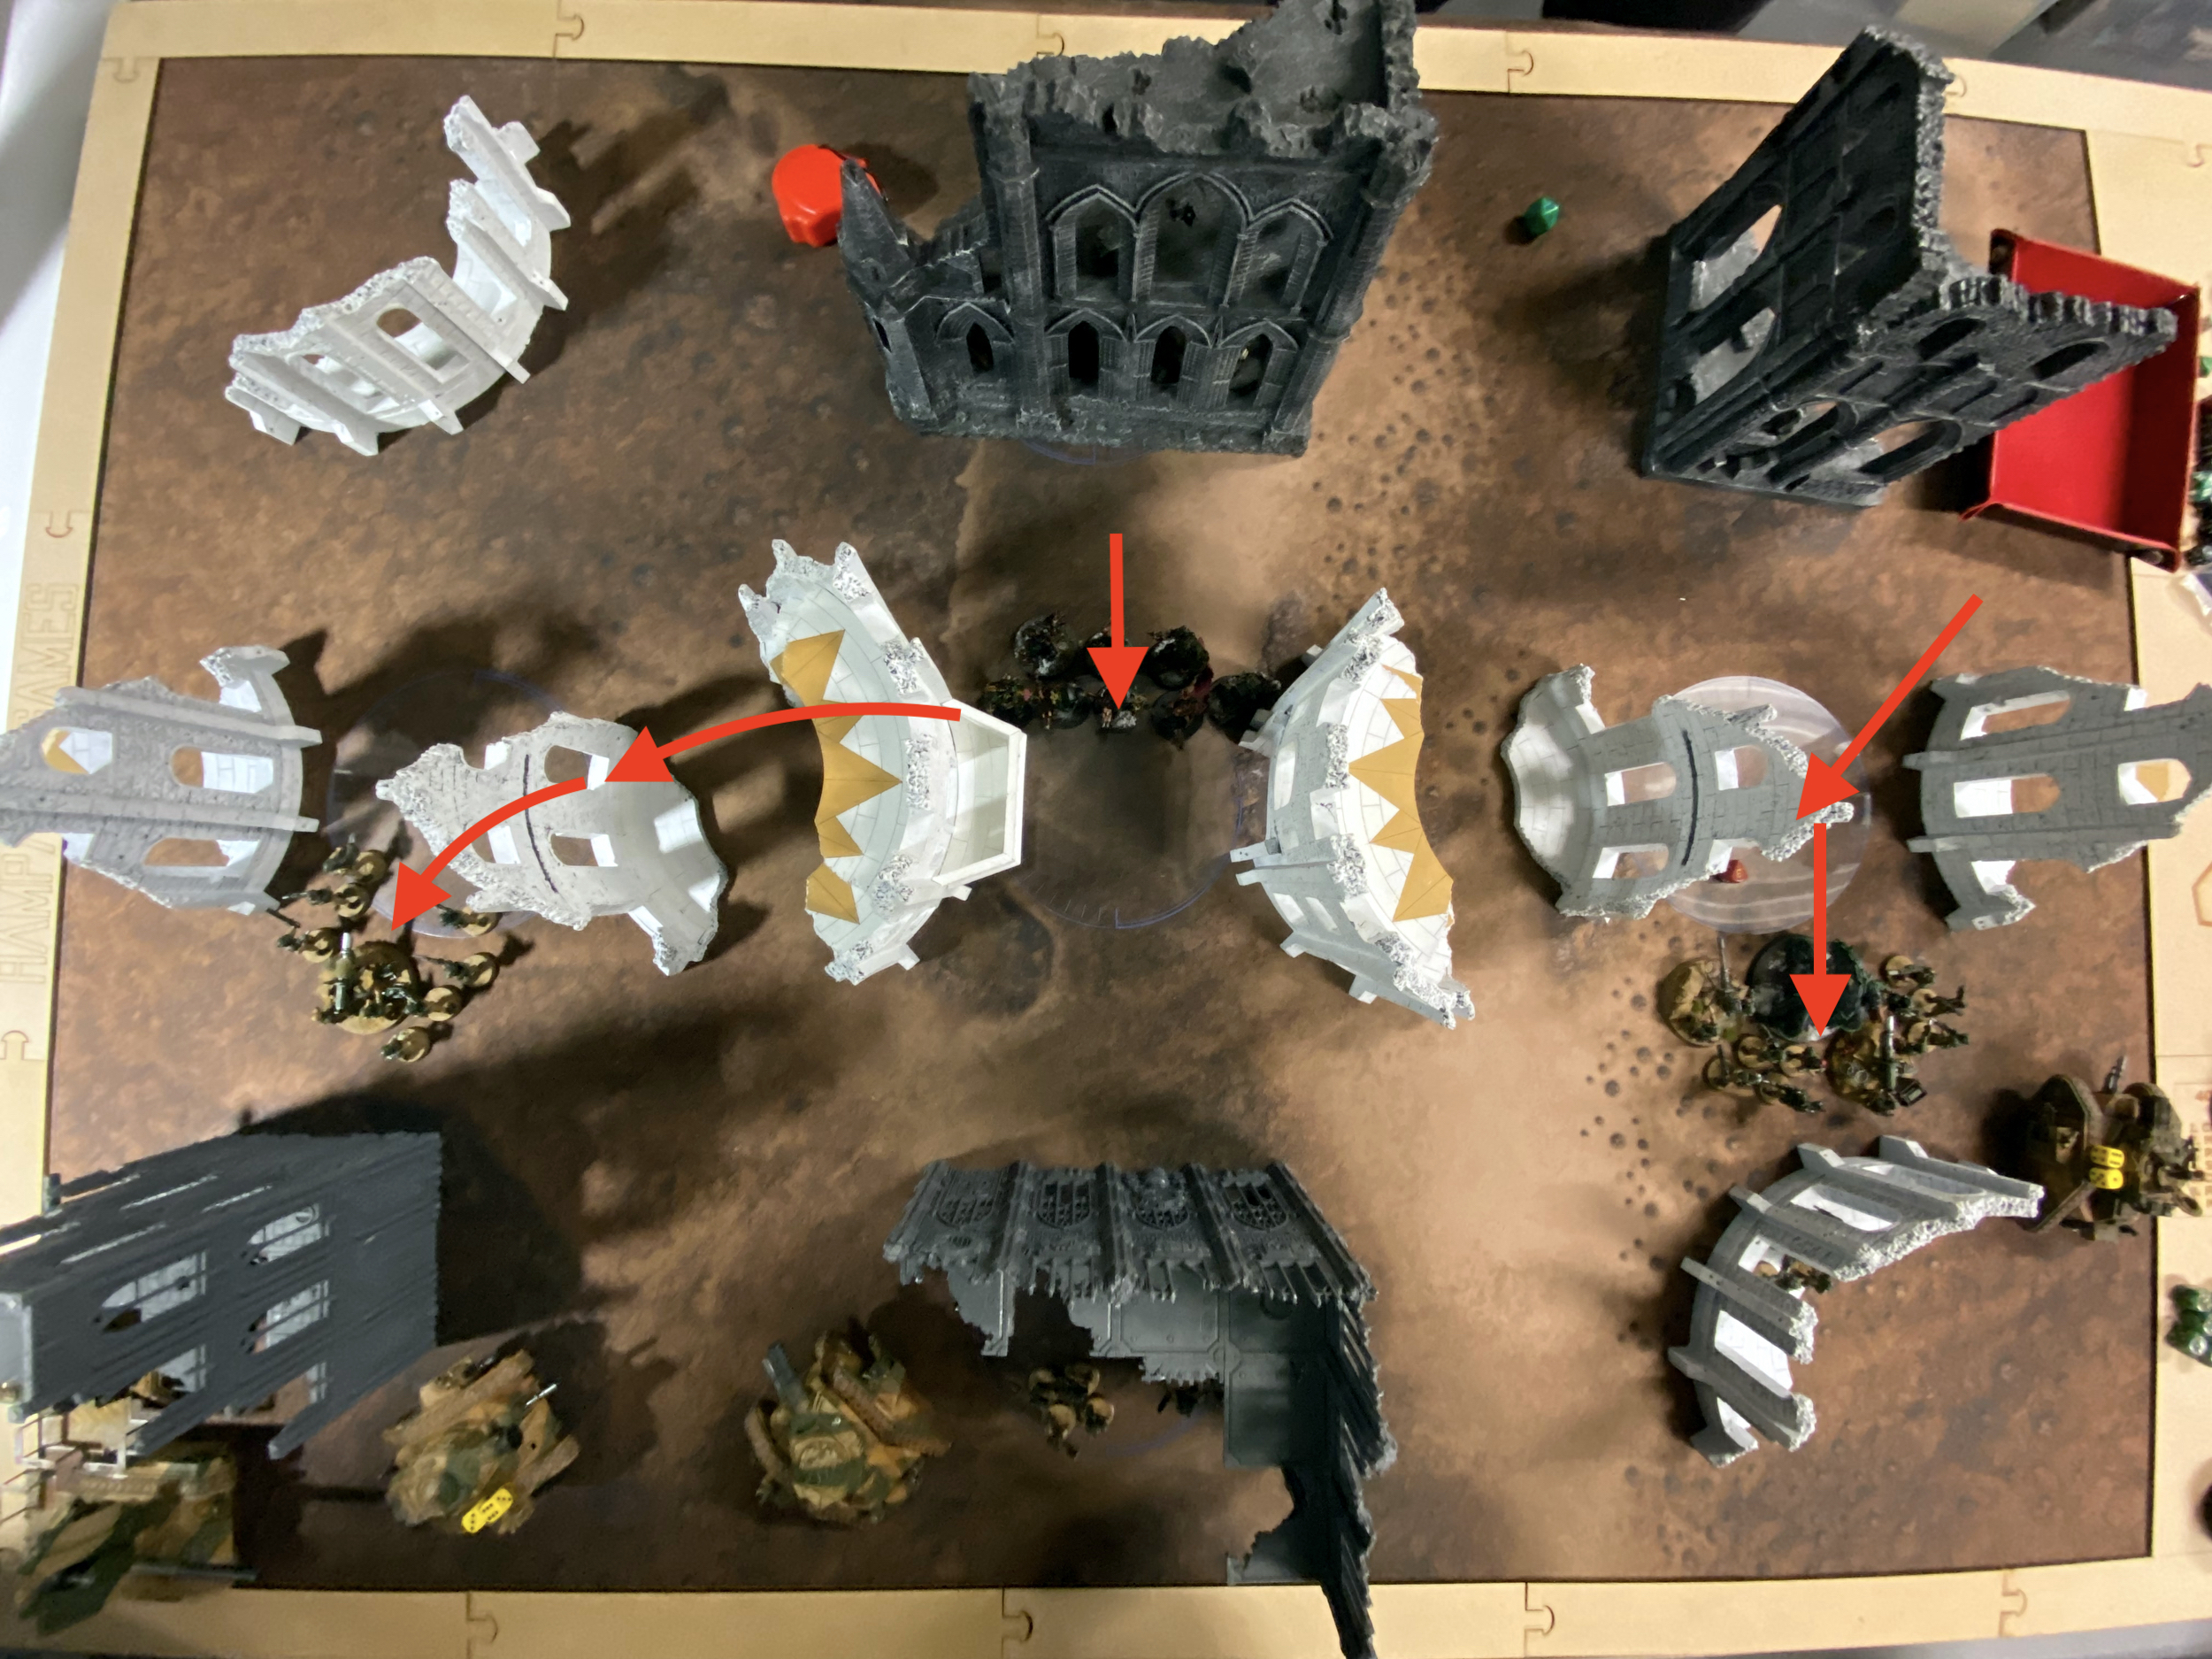
The chained Poxwalkers Spread the Sickness on that right Objective. The Hauler that survived against Pas moved up too. The characters, minus the Tallyman, moved towards the middle with the Drone and the Blightlord Terminators. And on the left flank, the Hauler moved into charge range of my Infantry that moved up, and so did the Poxwalkers over there.
The shooting was OK from the Death Guard, with a fair few Guardsmen models being removed and Morale checks failing. This is what they wanted to get the Fleeing Vectors Secondary. My Infantry Squad on the left side survived and therefore gave me the Objective coming into the second Battle Round.

Turn 2
Astra Militarum
I had real work to do now on the pivotal second turn, and with the Relic of Lost Cadia gone, this was going to be hard.
Pask was bracketed at this point from the first Battle Round’s shooting; he was six Wounds. I used Relentless to place him on his top bracket for 1CP. Then my opponent (who plays Steel Legion) and I discussed this and decided that Jury Rigging was better. It repaired 1 Wound, which put it back on the top bracket, but if it survived, it would remain on its top bracket for the rest of the game for that 1CP. Rather than paying for Relentless again and again. It just meant he had to stay still for this turn.
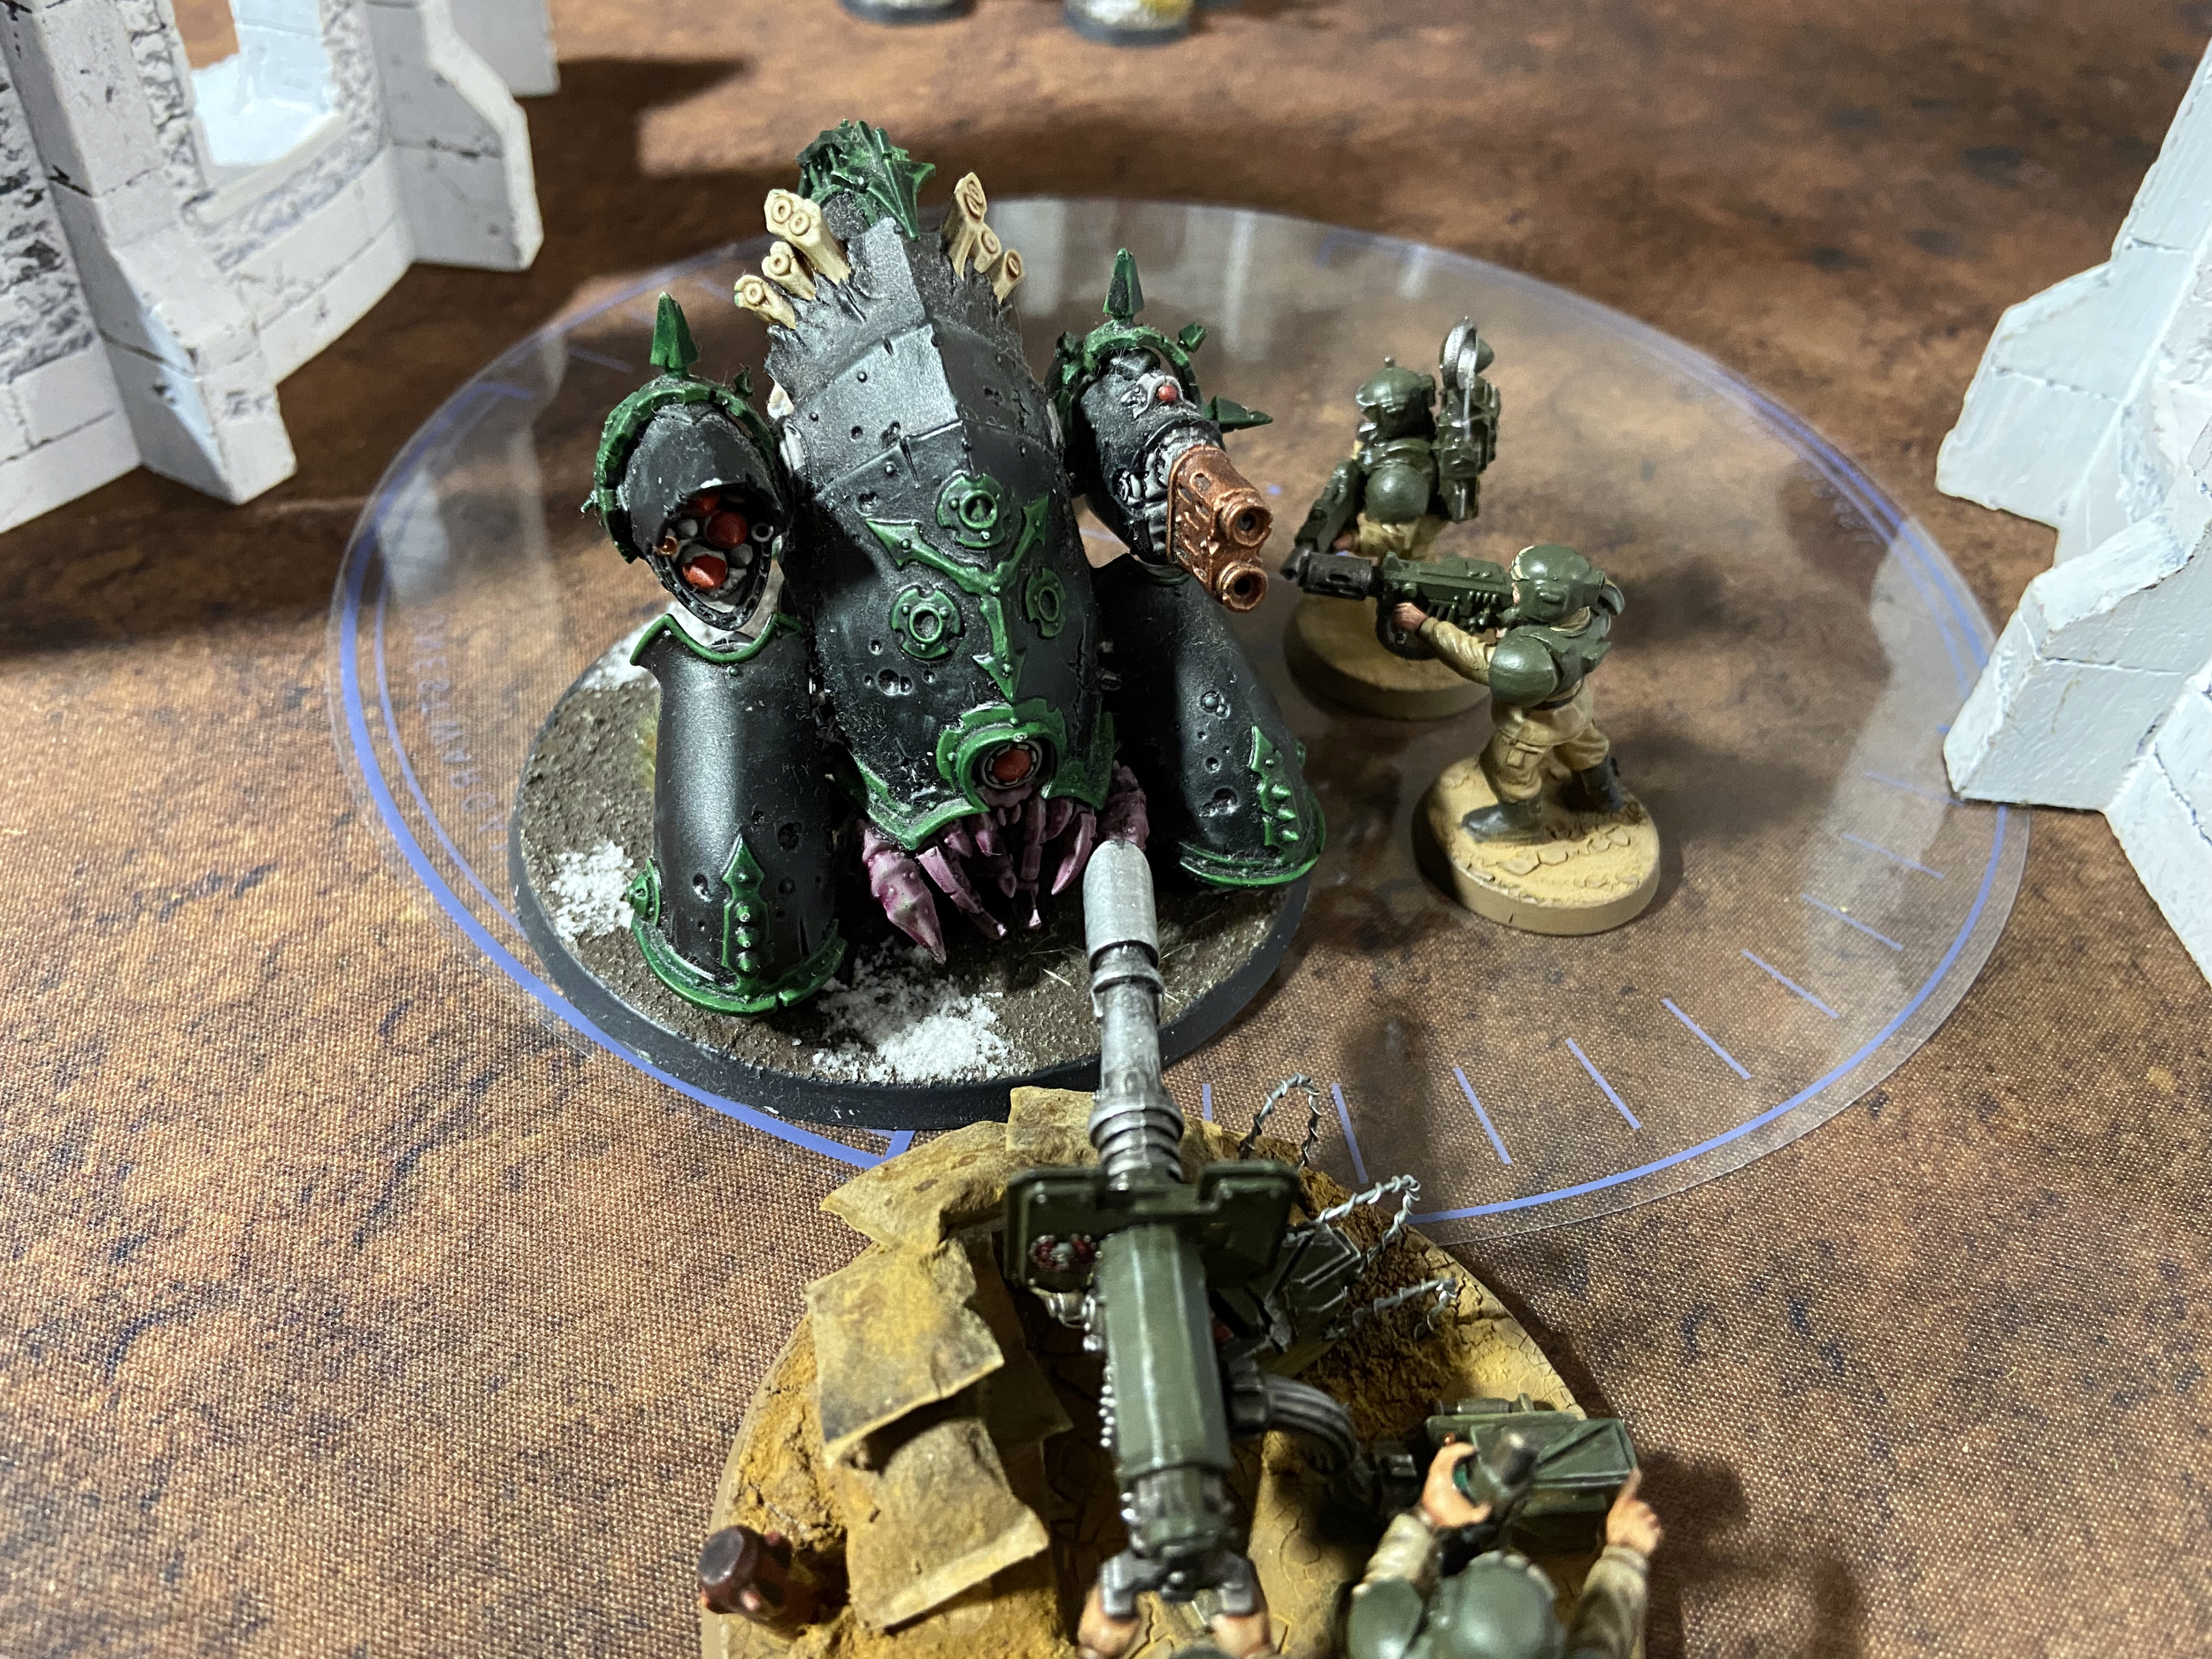
My right and left flank of Infantry moved up to get their Lasguns in range and get closer to the Objectives. Pask once again failed to kill the Hauler on that side. It was on three Wounds, I think.
Elsewhere things went better. The Tank Commander Demolisher killed the other Hauler and removed some Poxwalkers. The Infantry then removed a few more Poxwalkers. This left the two Basilisks on that side to shoot. The Full Payload one reduced the Drone to one Wound! So close! The other went for the last two Poxwalkers with its Heavy Bolter and failed to finish off the other Hauler that Pask had failed to kill. It did kill the Poxwalkers to the man, which was perfect as it removed an ObSec unit from that side and left it open for me – but it also stopped the Death Guard from easily doing Spread the Sickness on that Objective.
This left Gatekeeper – which I used Vengeance for Cadia on and put everything into the Plagueburst Crawler – it went down.
Death Guard
The Death Guard centre shuffled forward onto the centre Objective, and that damn Hauler on the right moved onto an Objective and multi-chared by two Infantry Squads on that side, killing just two Guardsmen.
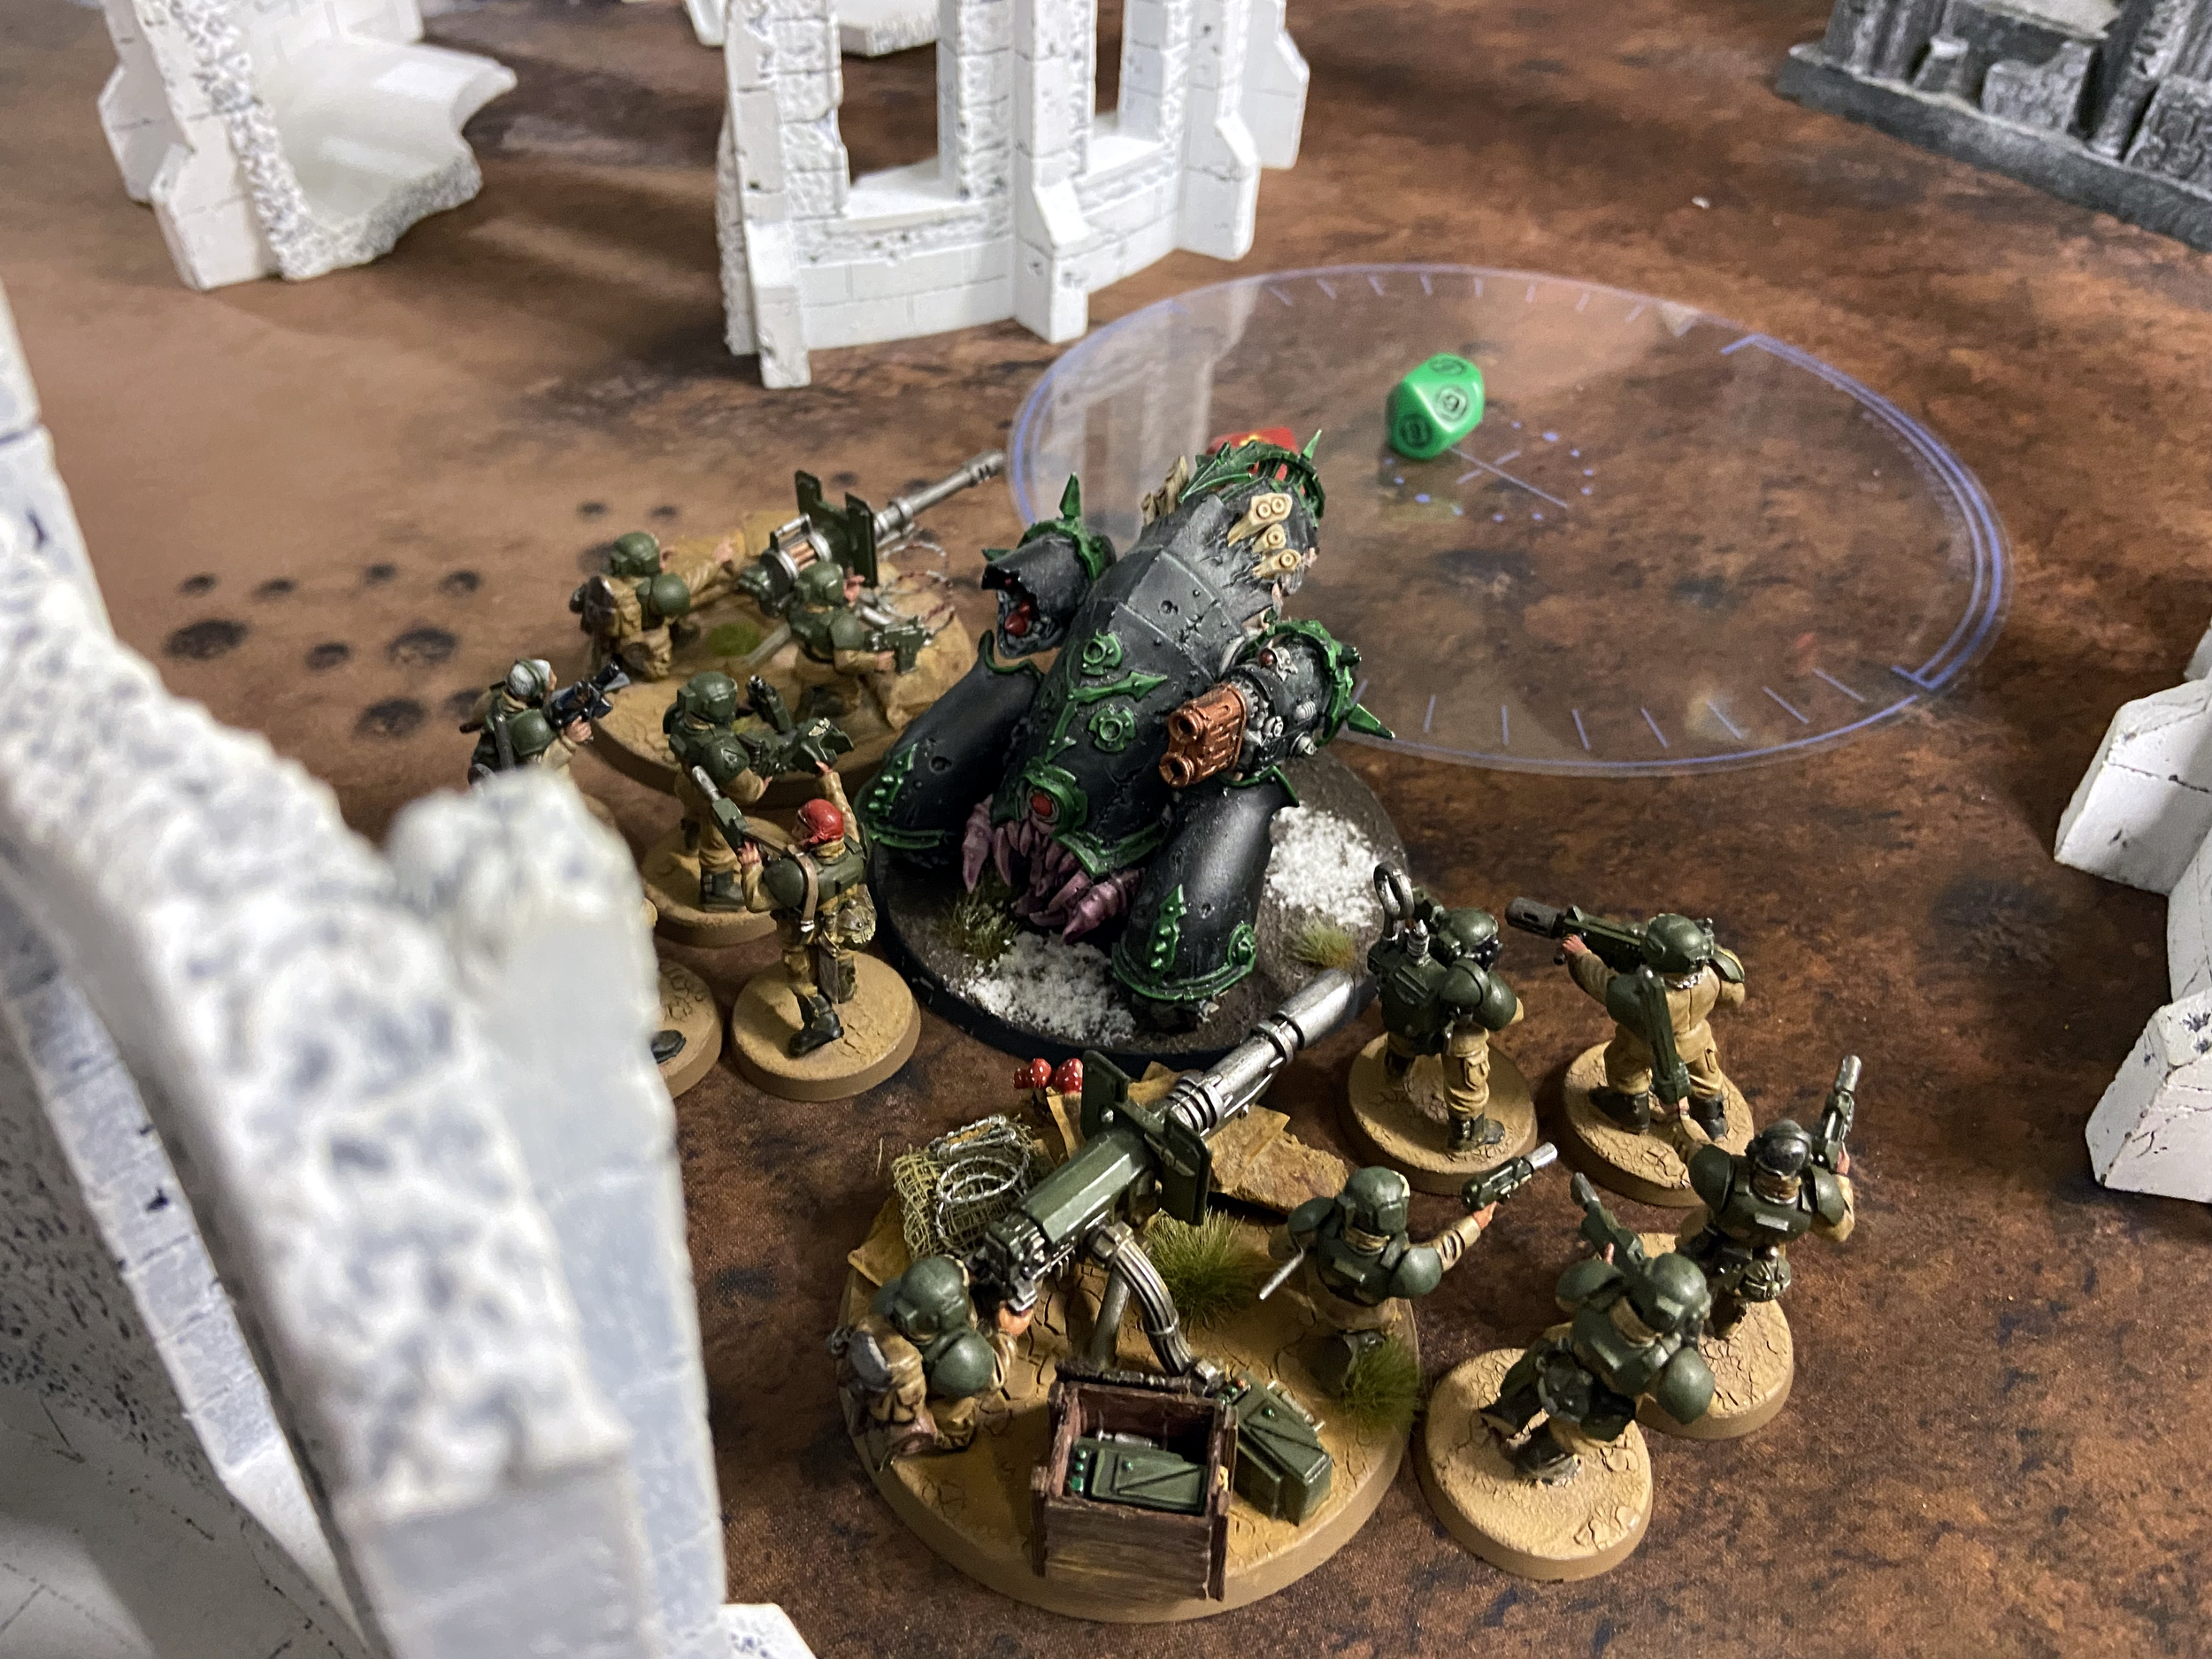
The Fleshmower Drone went left and charged into my Guardsmen. A handful survived, and the eight or so remaining models managed to remove the last Wound on the Drone! Glory to the lowly Guardsman!
Turn 3
Astra Militarum
I fell back my Infantry Squads on the right flank from the Hauler – Pask, then killed it finally in my Shooting Phase. I shifted up onto the left objective to Raise the Banners High.
I removed all the Terminators in the centre this turn, along with the Foul Blightspawn, after the Terminators were gone, and he was open to shooting. I was so glad to see that thing go. The Lord of Virulence was cut down to one Wound, and the Chaos Lord was down to five.
Death Guard
The Death Guard scooted around a bit with Characters peeling off into cover and remaining on Objectives. The Plague Marines came out of hiding and towards the centre. But the Lord of Virulence and the Plague Marines both failed a charge into my Infantry on the left flank.


Turn 4
Astra Militarum
I moped up the centre, three Plague Marines remained and Raised the Banners High on the right flank.

Death Guard
Moved to the centre.
Turn 5
The last three Plague Marines in the middle were killed. My Basilisks failed to kill the last remaining Death Guard model, the Tallyman, who had stayed on the Deployment Zone Objective the whole game.
Summary
After struggling for so long against the Death Guard, I finally feel like I have cracked their resilience.
This was a similar list to the one I took last vs Thousand Sons, and it works well. Playing against Chaos seems a bit easier for Guard because of Vengenace for Cadia and the Relic of Lost Cadia. Even with those boons, we just manage to win and stand on our own. There was no swinging win here because of those two boons against Chaos; it was maybe just enough to make us a little better.
My MVP would be the Gatekeeper. Its three Damage is reduced to two Damage, but the +1 to Wound vs Chaos, coupled with Re-rolling all Hits and Wounds from the aforementioned boons, is fantastic and enabled me to more reliably remove things; the Deathshrouds and Plagueburst Crawler, for instance.
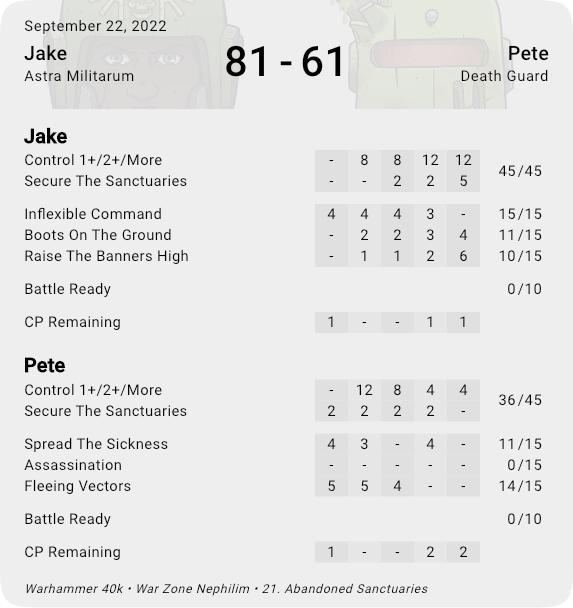
Final Score
Astra Militarum – 81
Death Guard – 61
Astra Militarum Victory