Baneblade Completed – The Nameless Storm
THE BANEBLADE IS COMPLETED!
Argh, this Baneblade has taken me a long time to complete! I think three years in total. I did start it when I first got it – I did the build and LEDs back then. It was then camo patterned with an airbrush and left for three years. But we are here now and the Baneblade (plus others) is now completed! This is my first completed model of 2020 and the first tick off the list of hobby goals for 2020.
This is the first vehicle I have named! Graham J P asked on Facebook if it would have a name, and usually, I do not do this. I have thought about it before – but it just seems like a lot of mental effort for me to come up with some wholly mediocre. So it felt fitting to name this Baneblade…
The Nameless Storm
It has a name, but its name is nameless. It’s perfect.
Never miss an article? Subscribe!
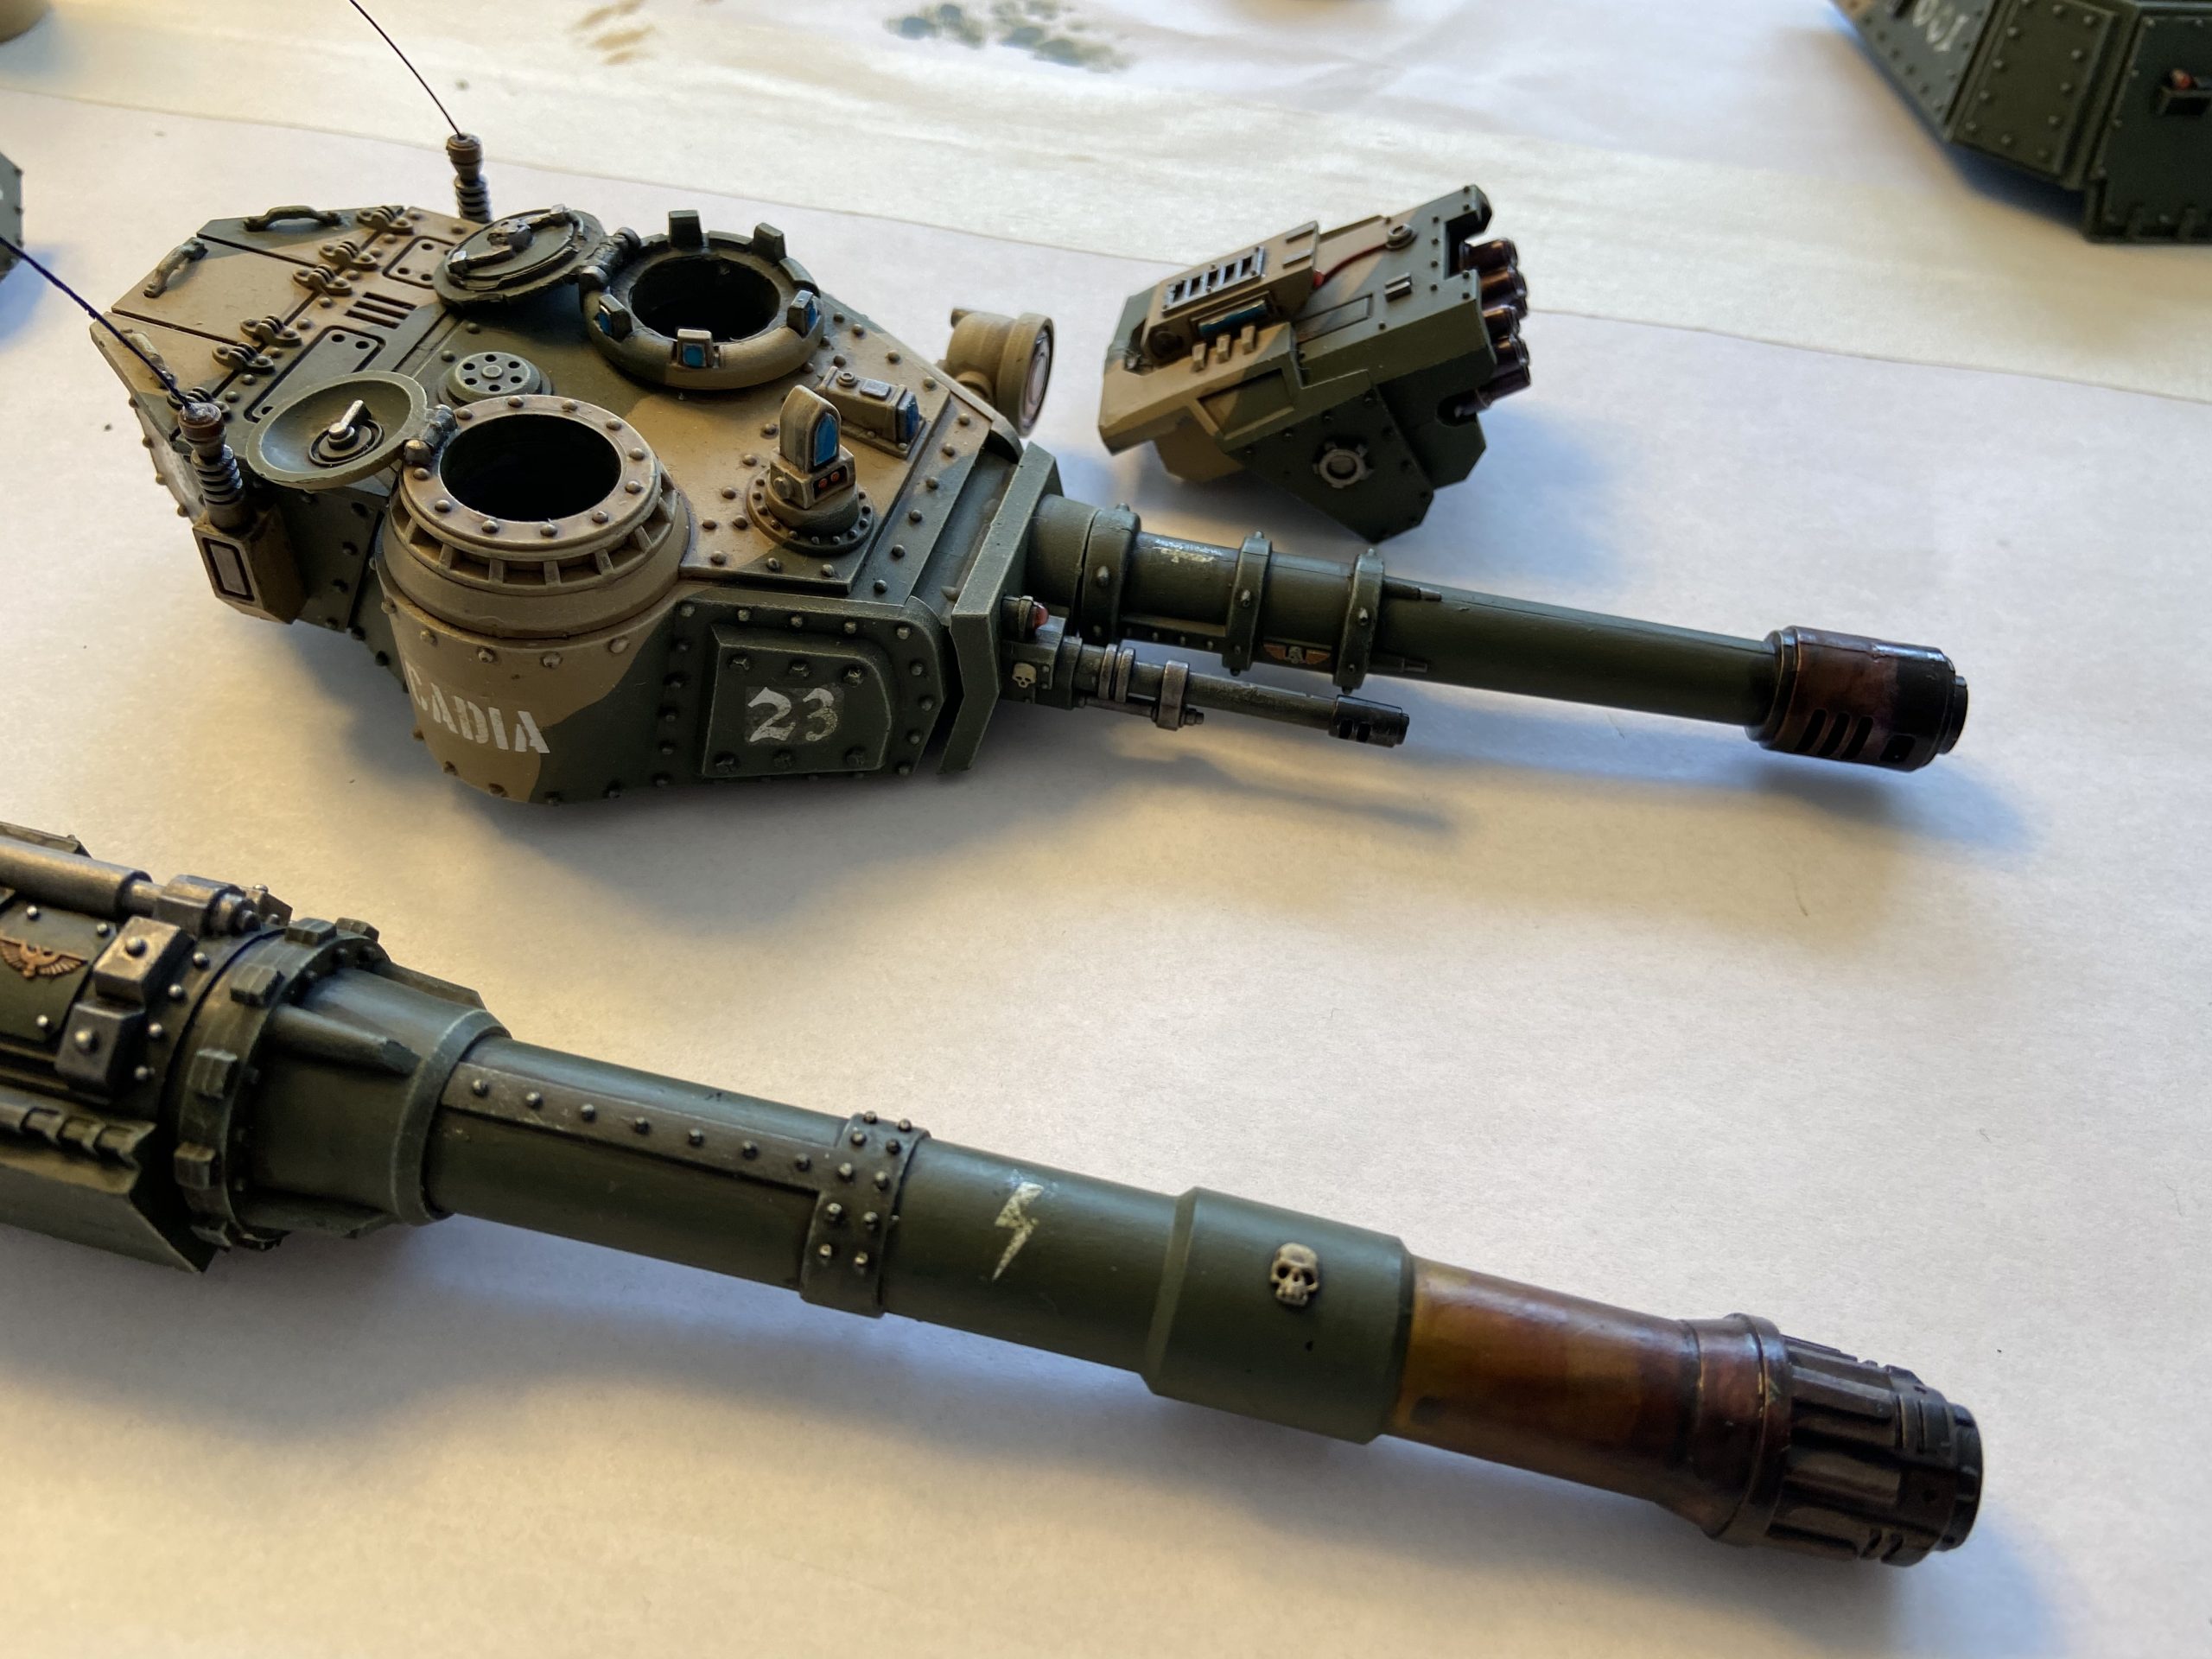
Possible Variants
The variants I’m able to build with a little bit of magnetising are;
- Baneblade – the main one
- Hellhammer – the one with the S10, AP-4 cannon
- Stormlord – the one that shoots a lot and carries guys
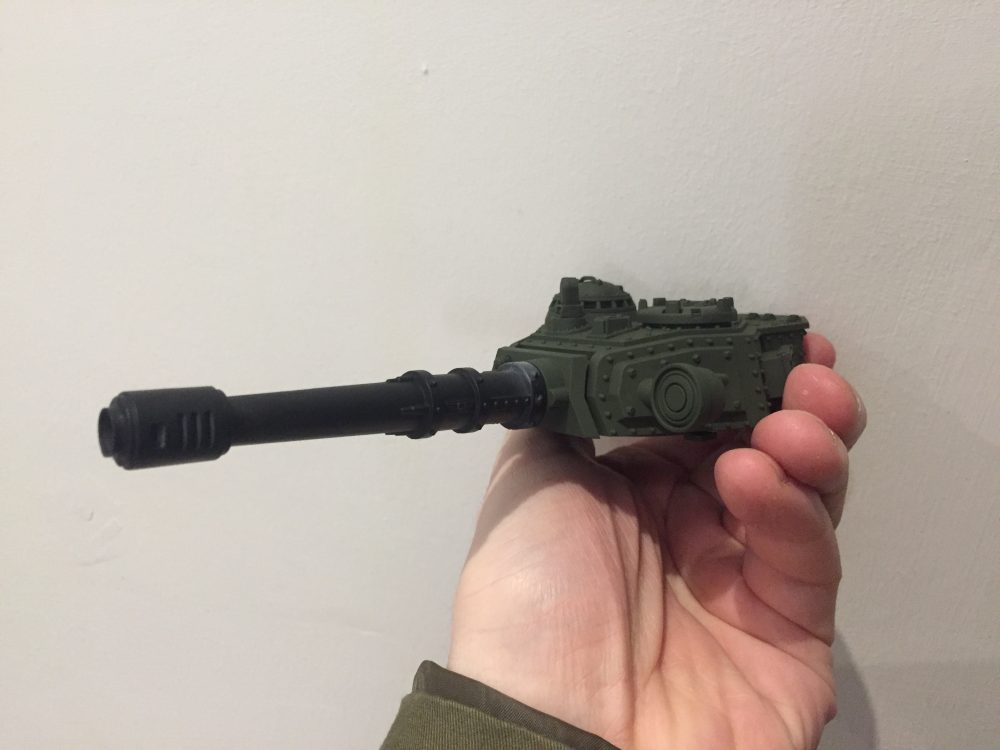
- Shadowsword – the one with the very long gun
Which I think gives some good coverage of types. I did not try and fully Octoblade it because I had already built some of it by the time I had decided to magnetise it. But I think four types is a decent effort for a model I built three years ago when I had a hell of a lot less experience than I do now.
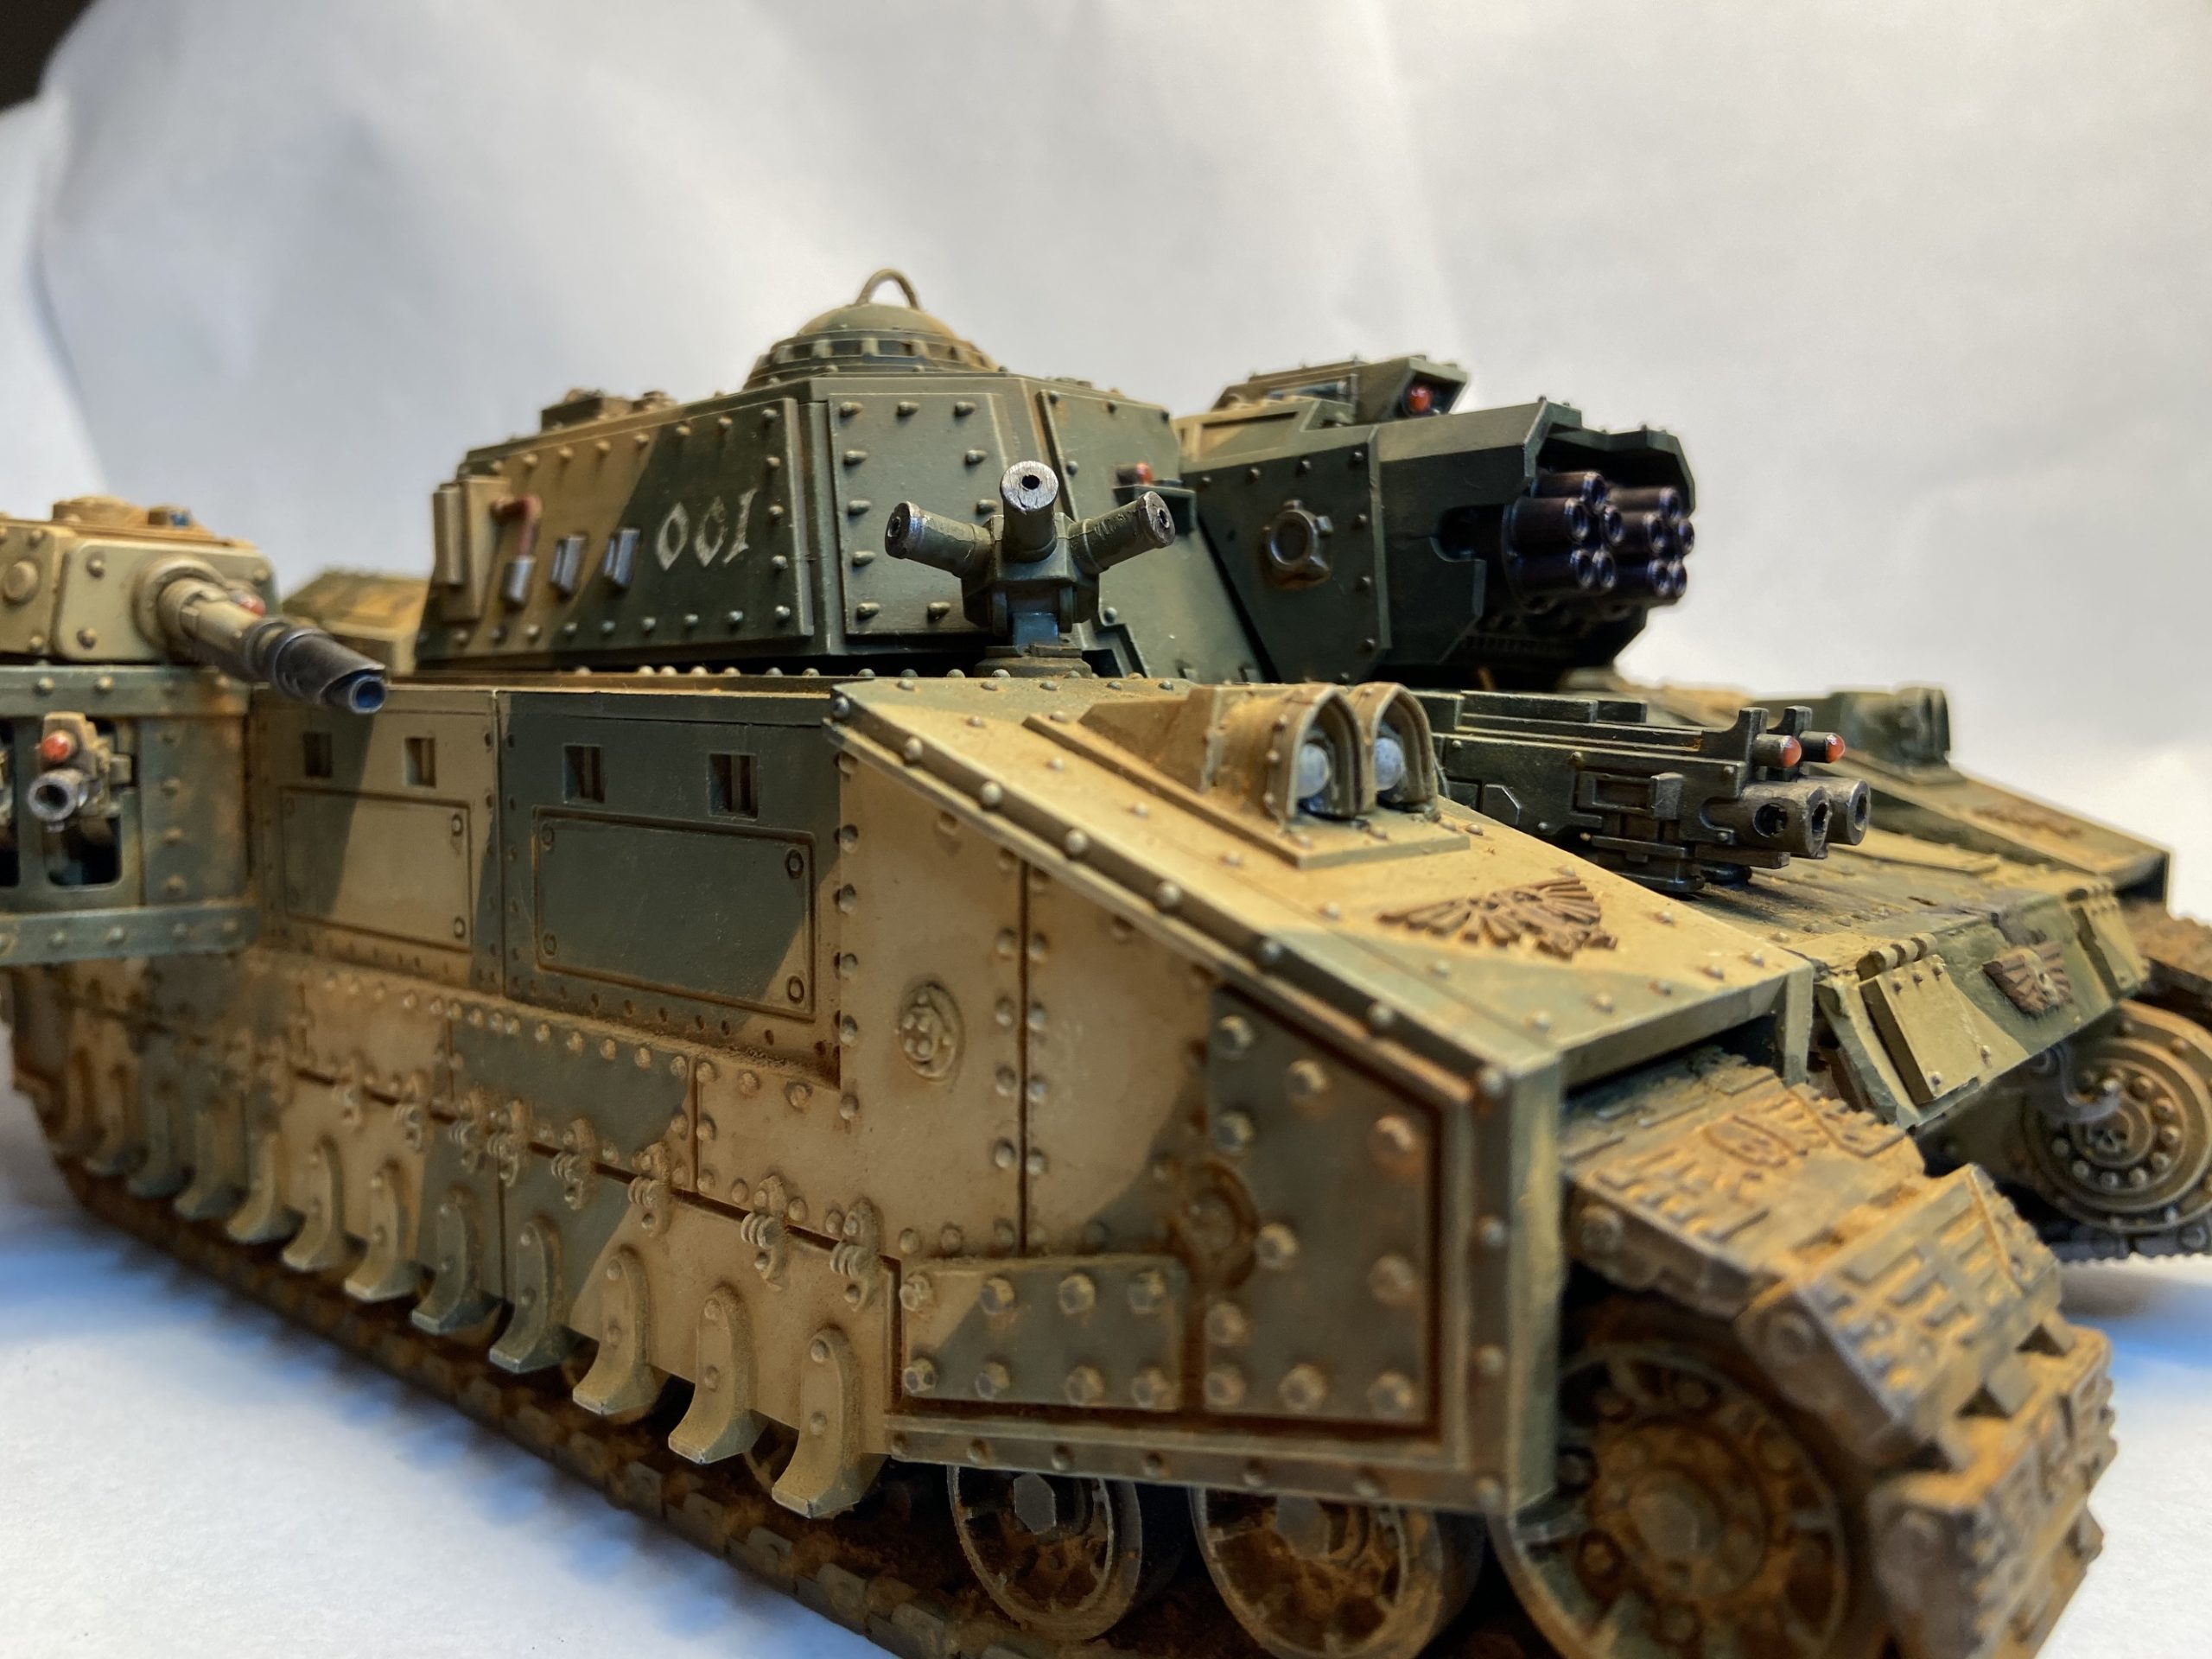
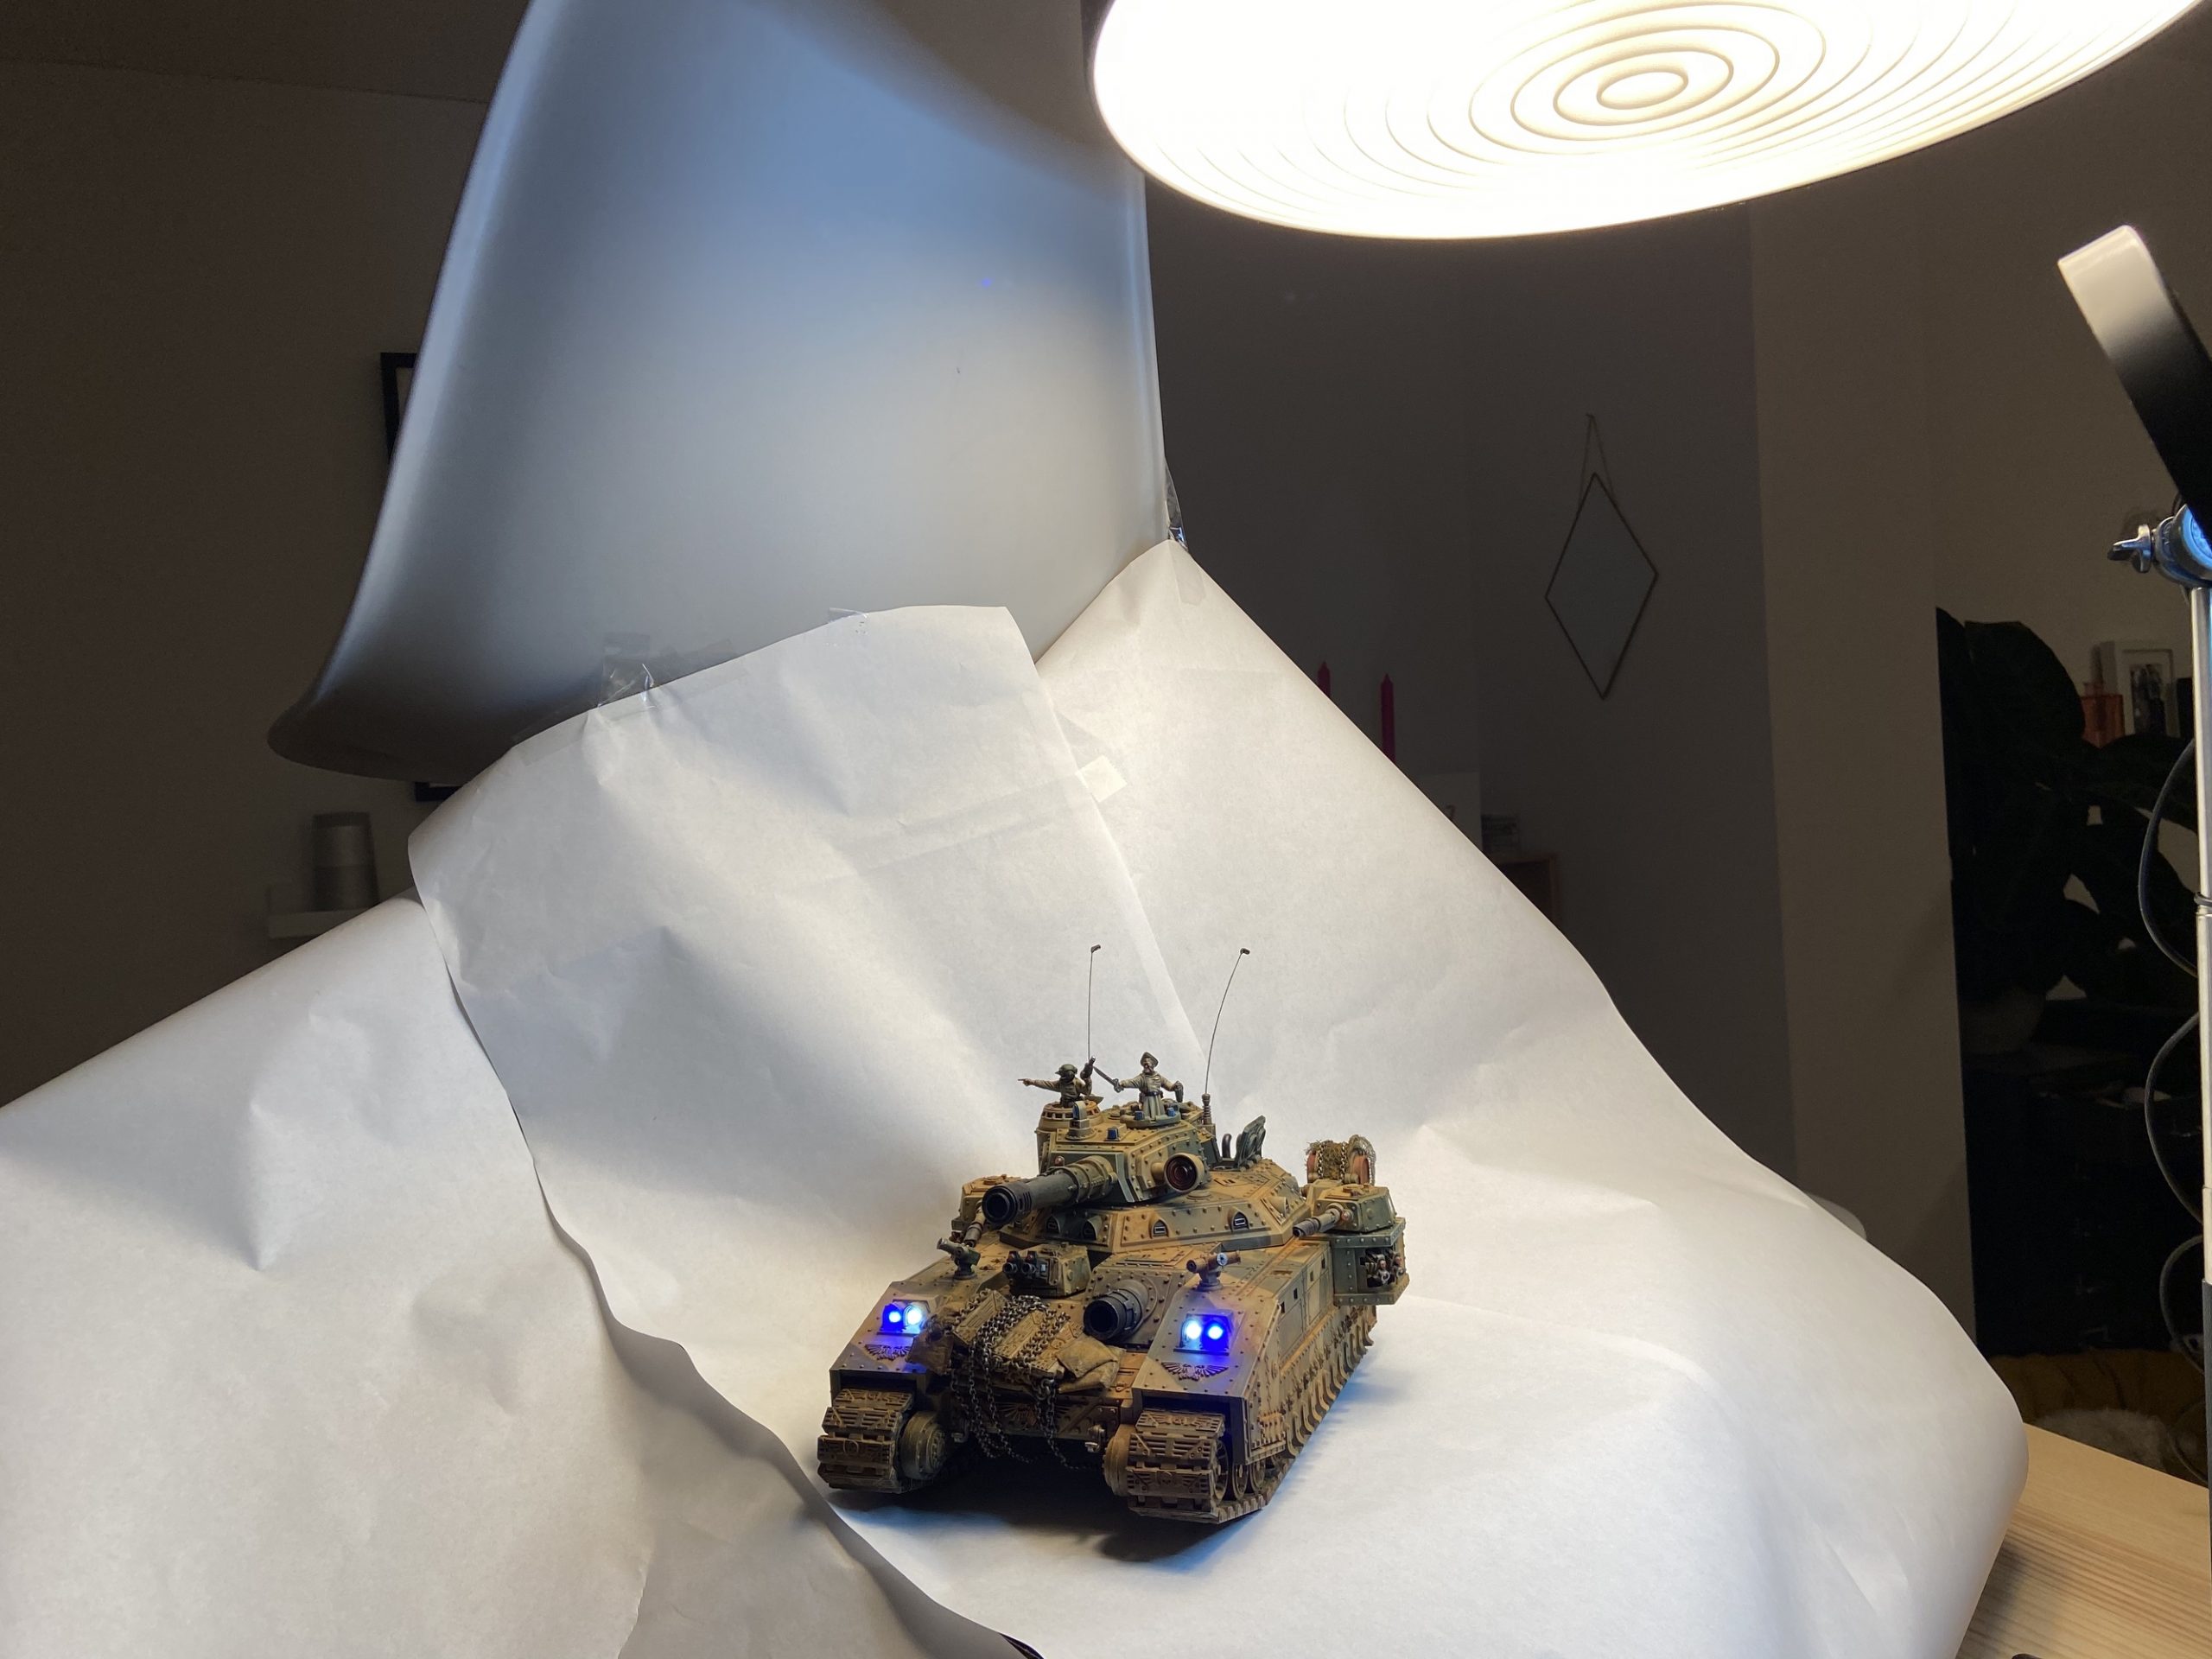
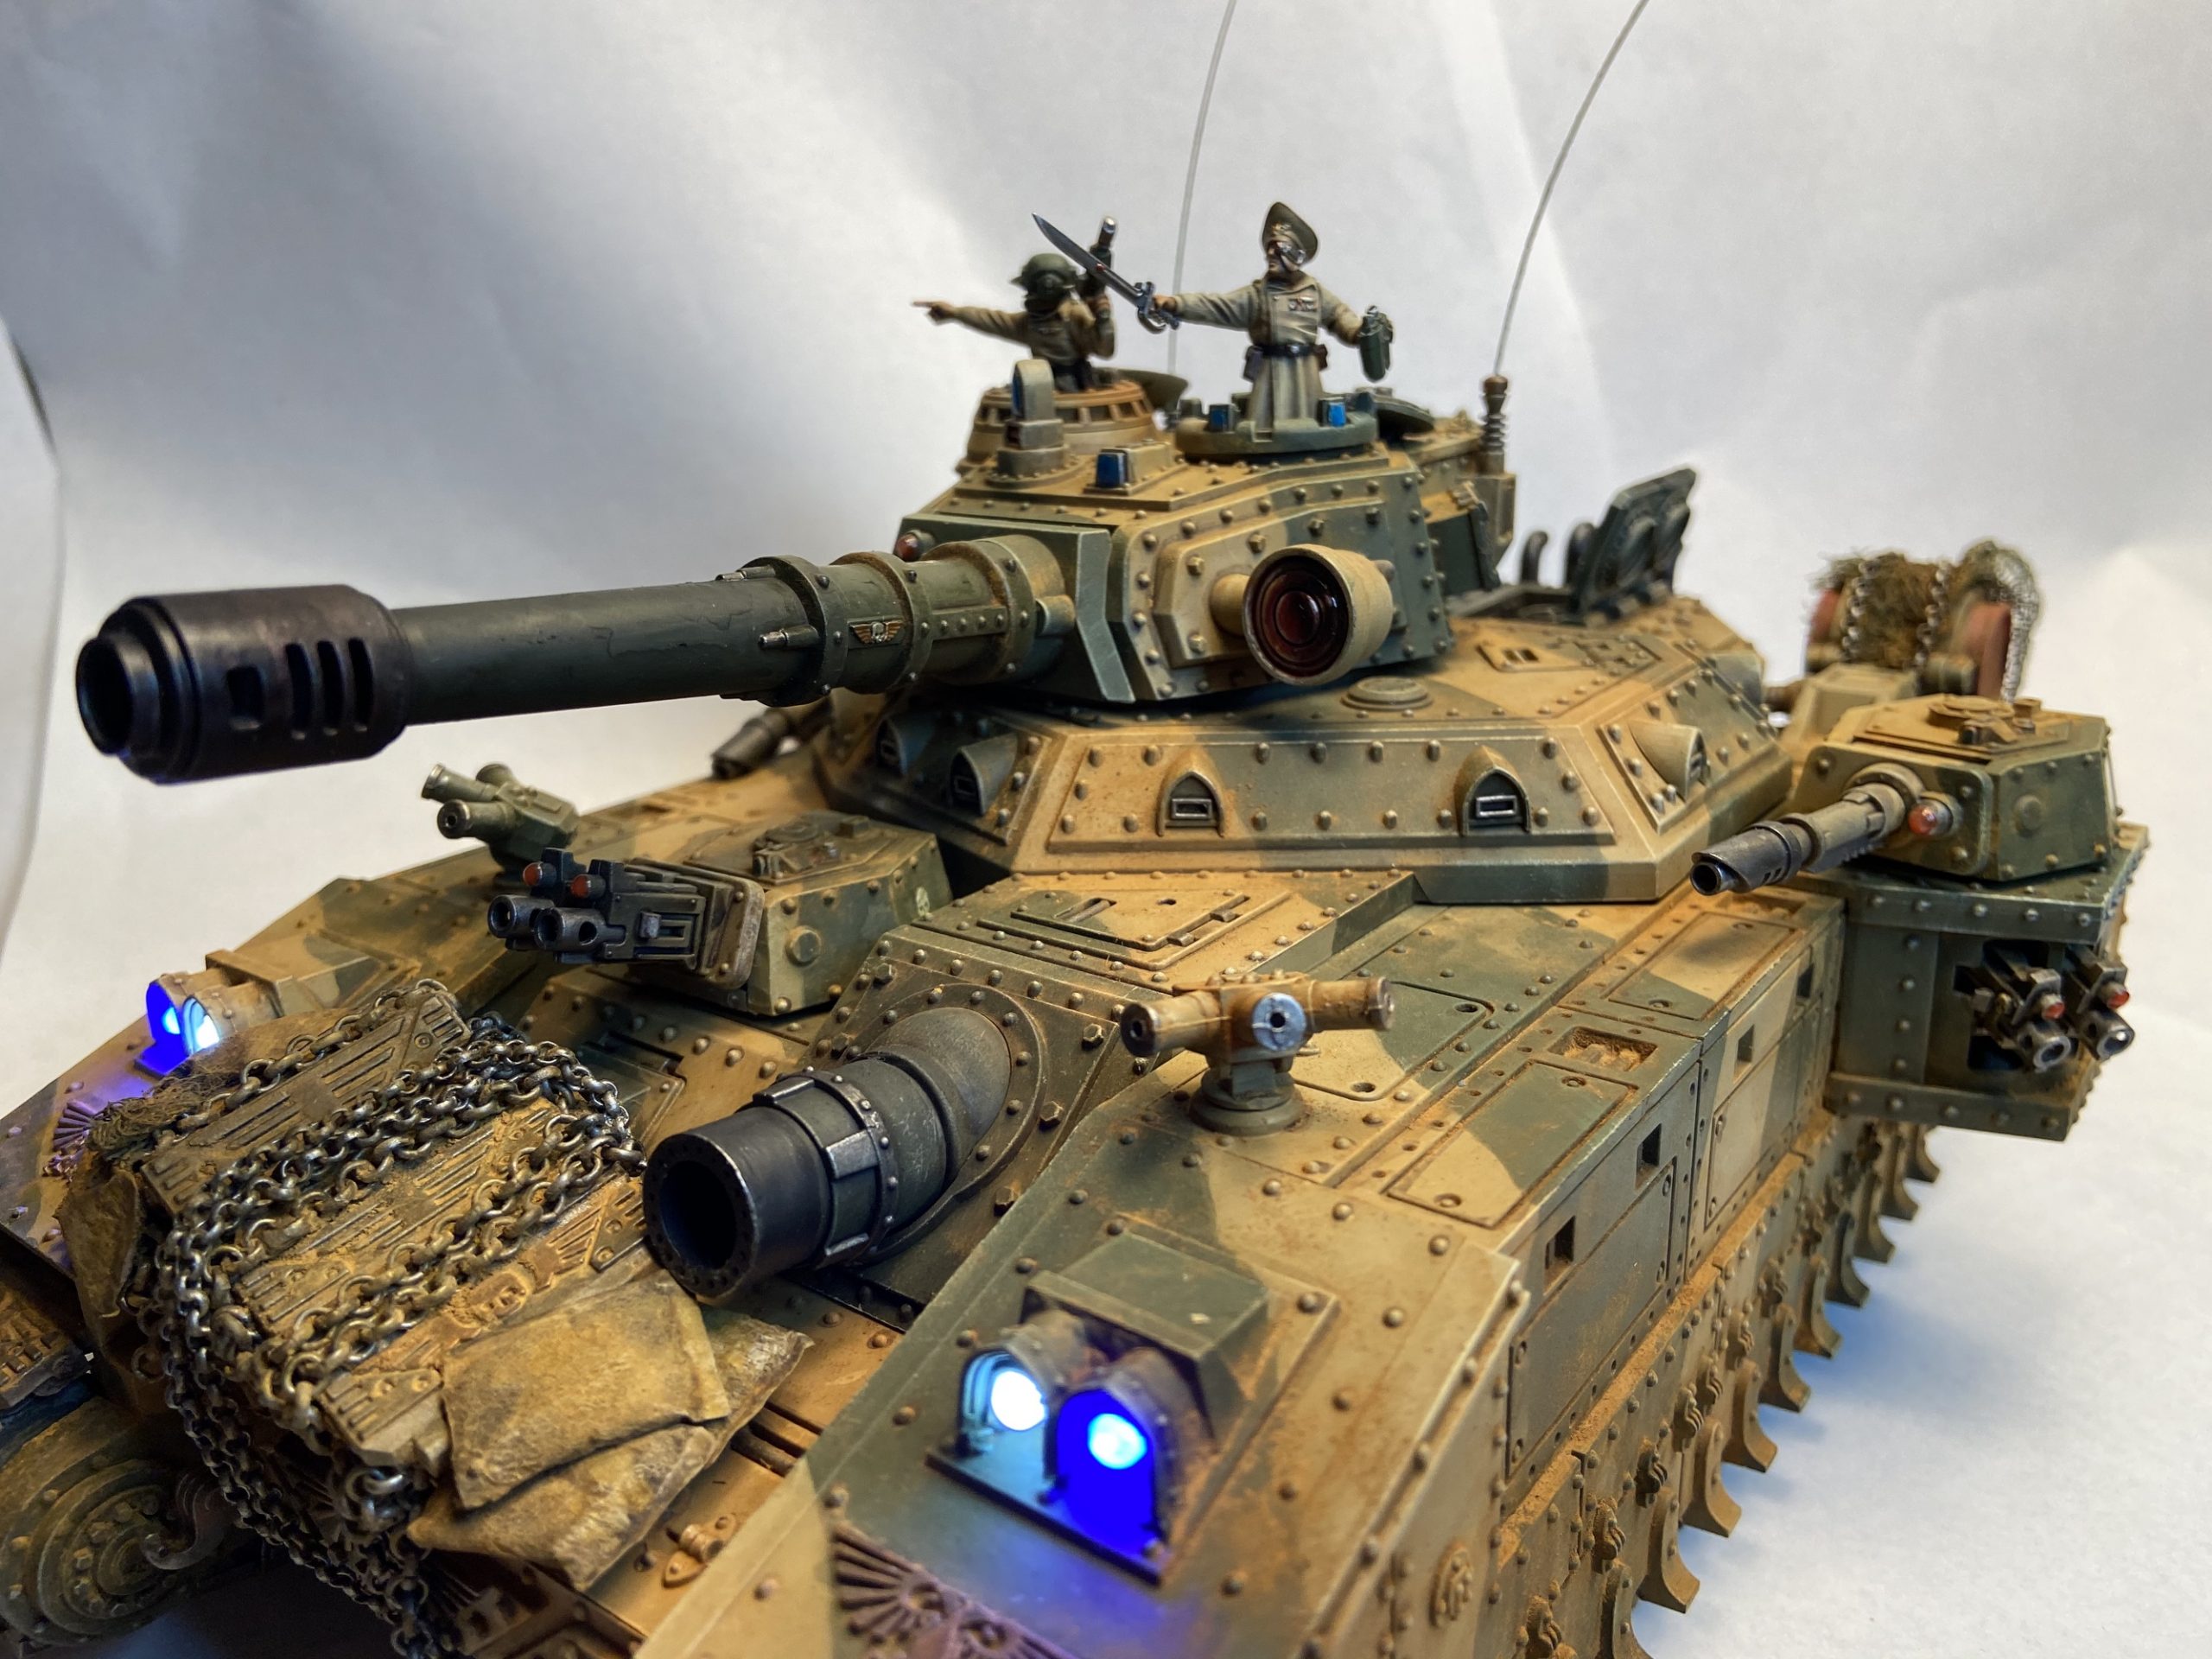
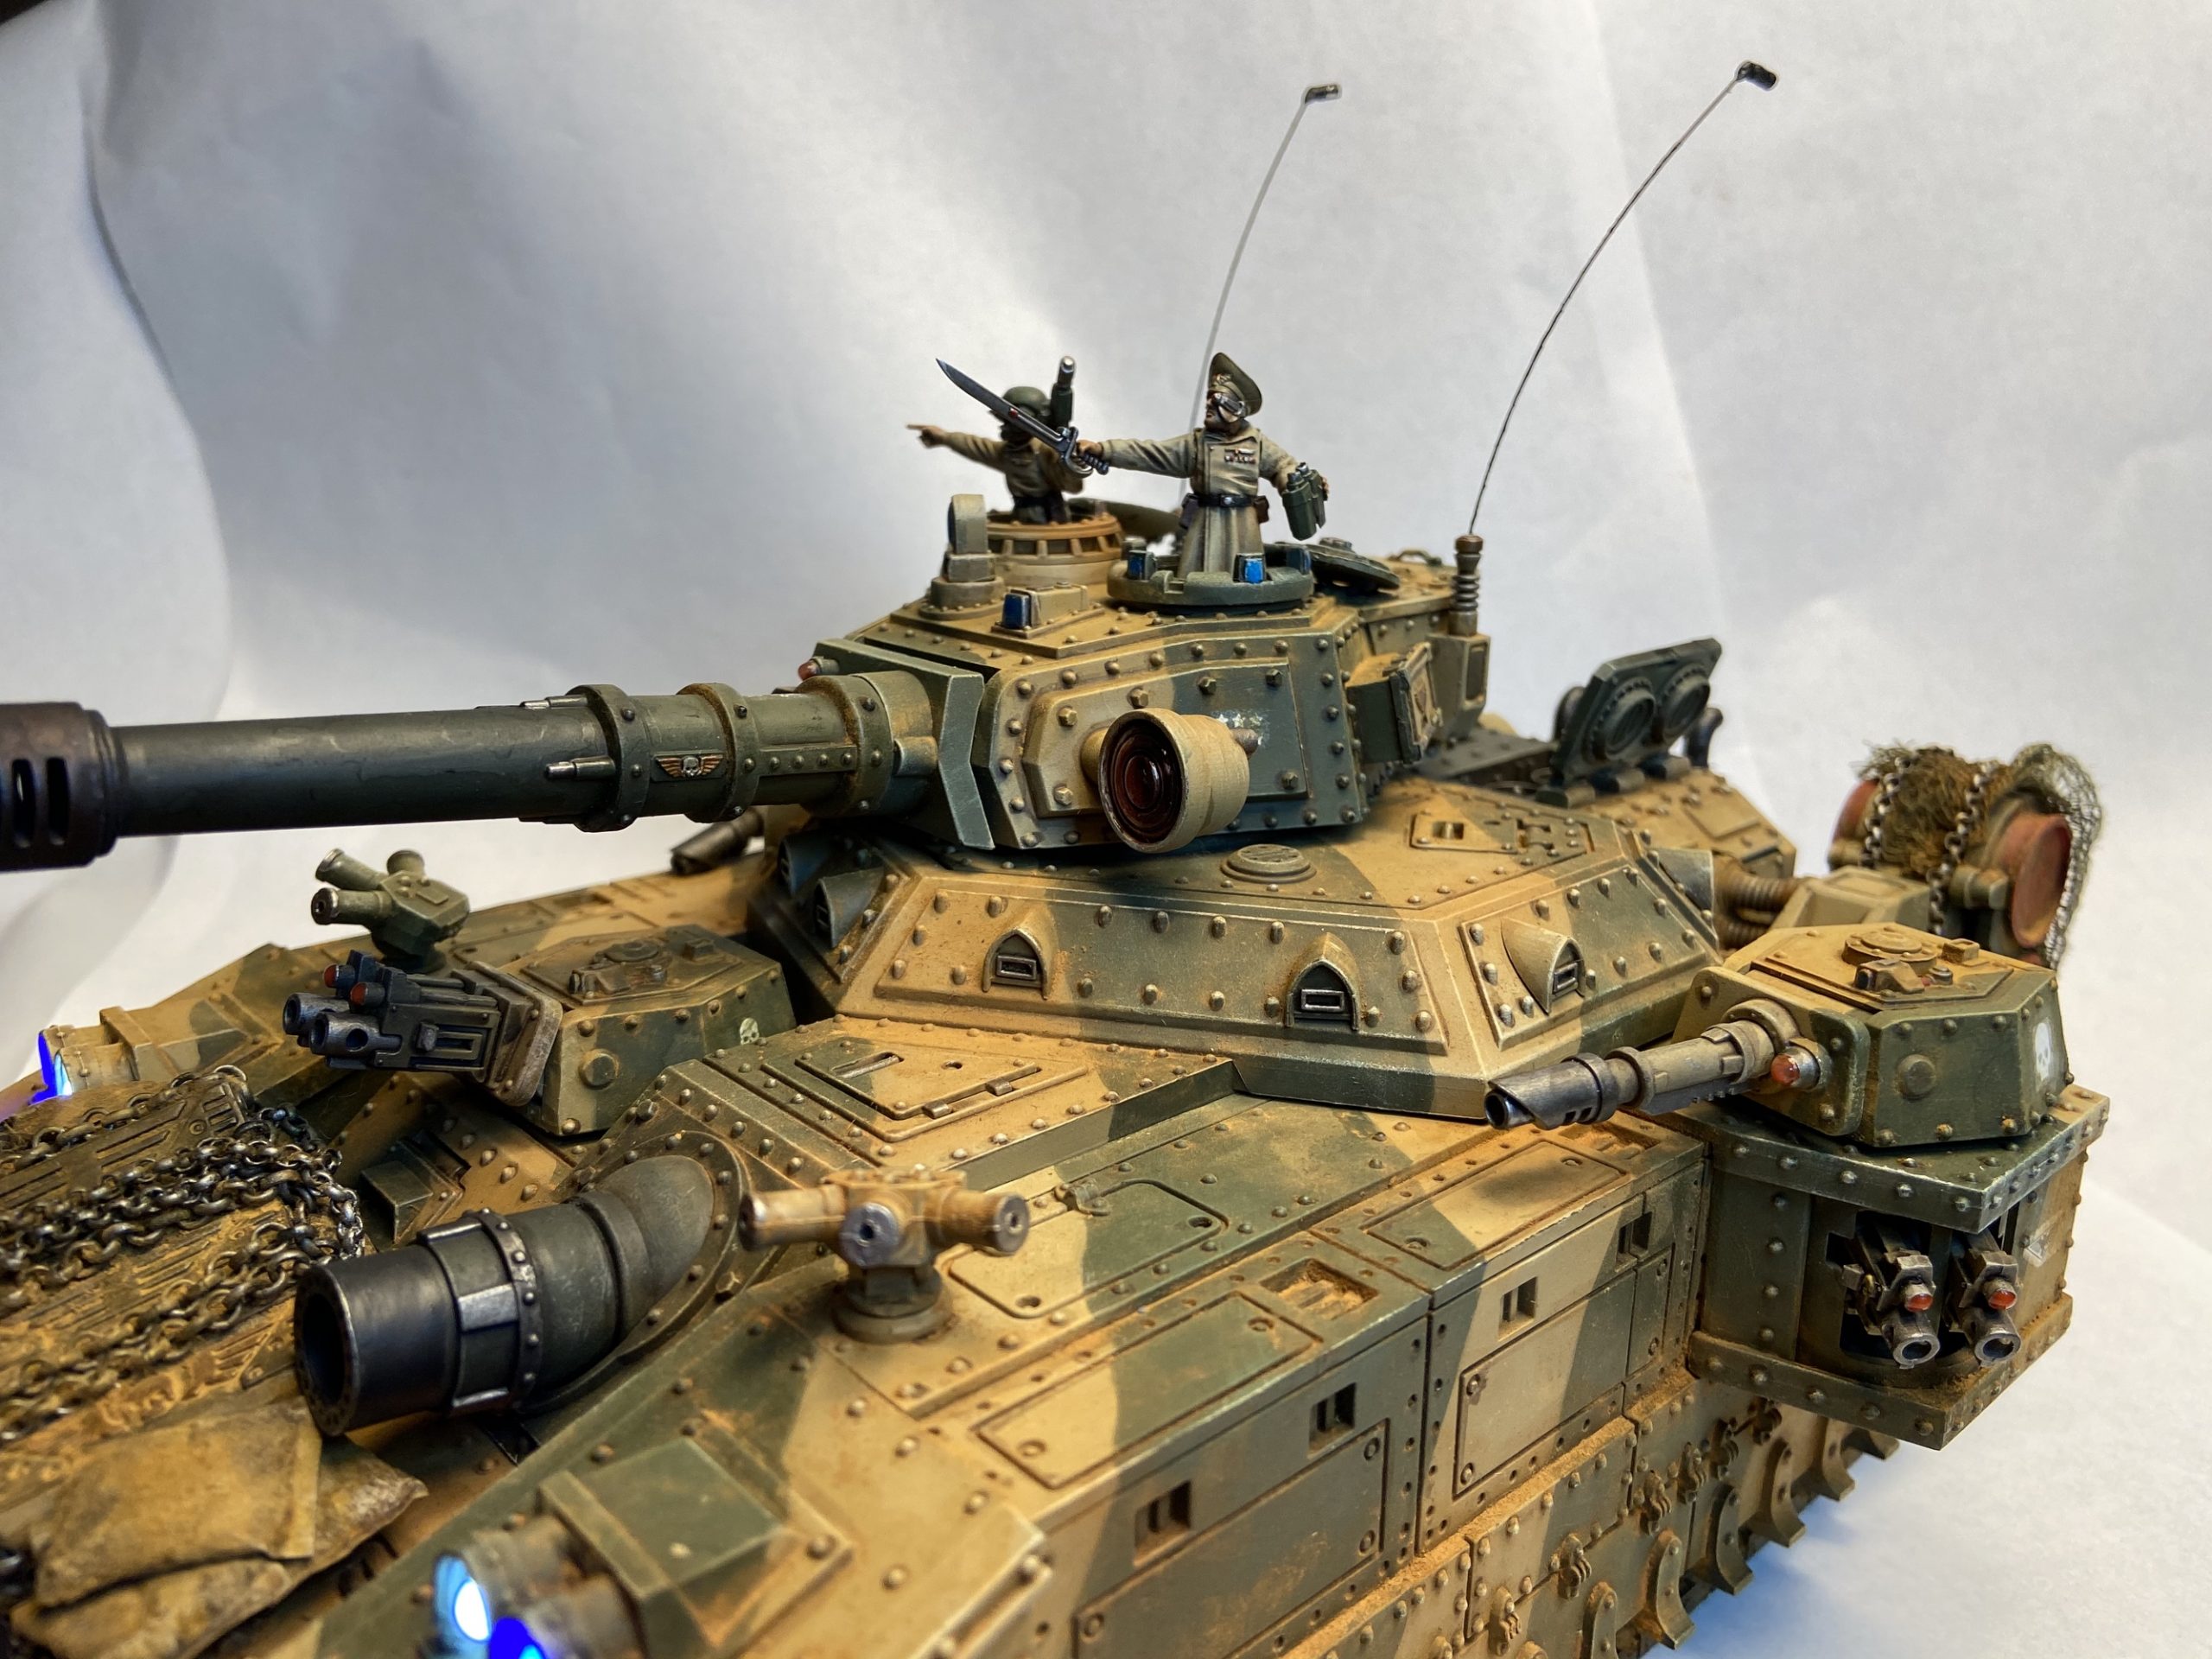
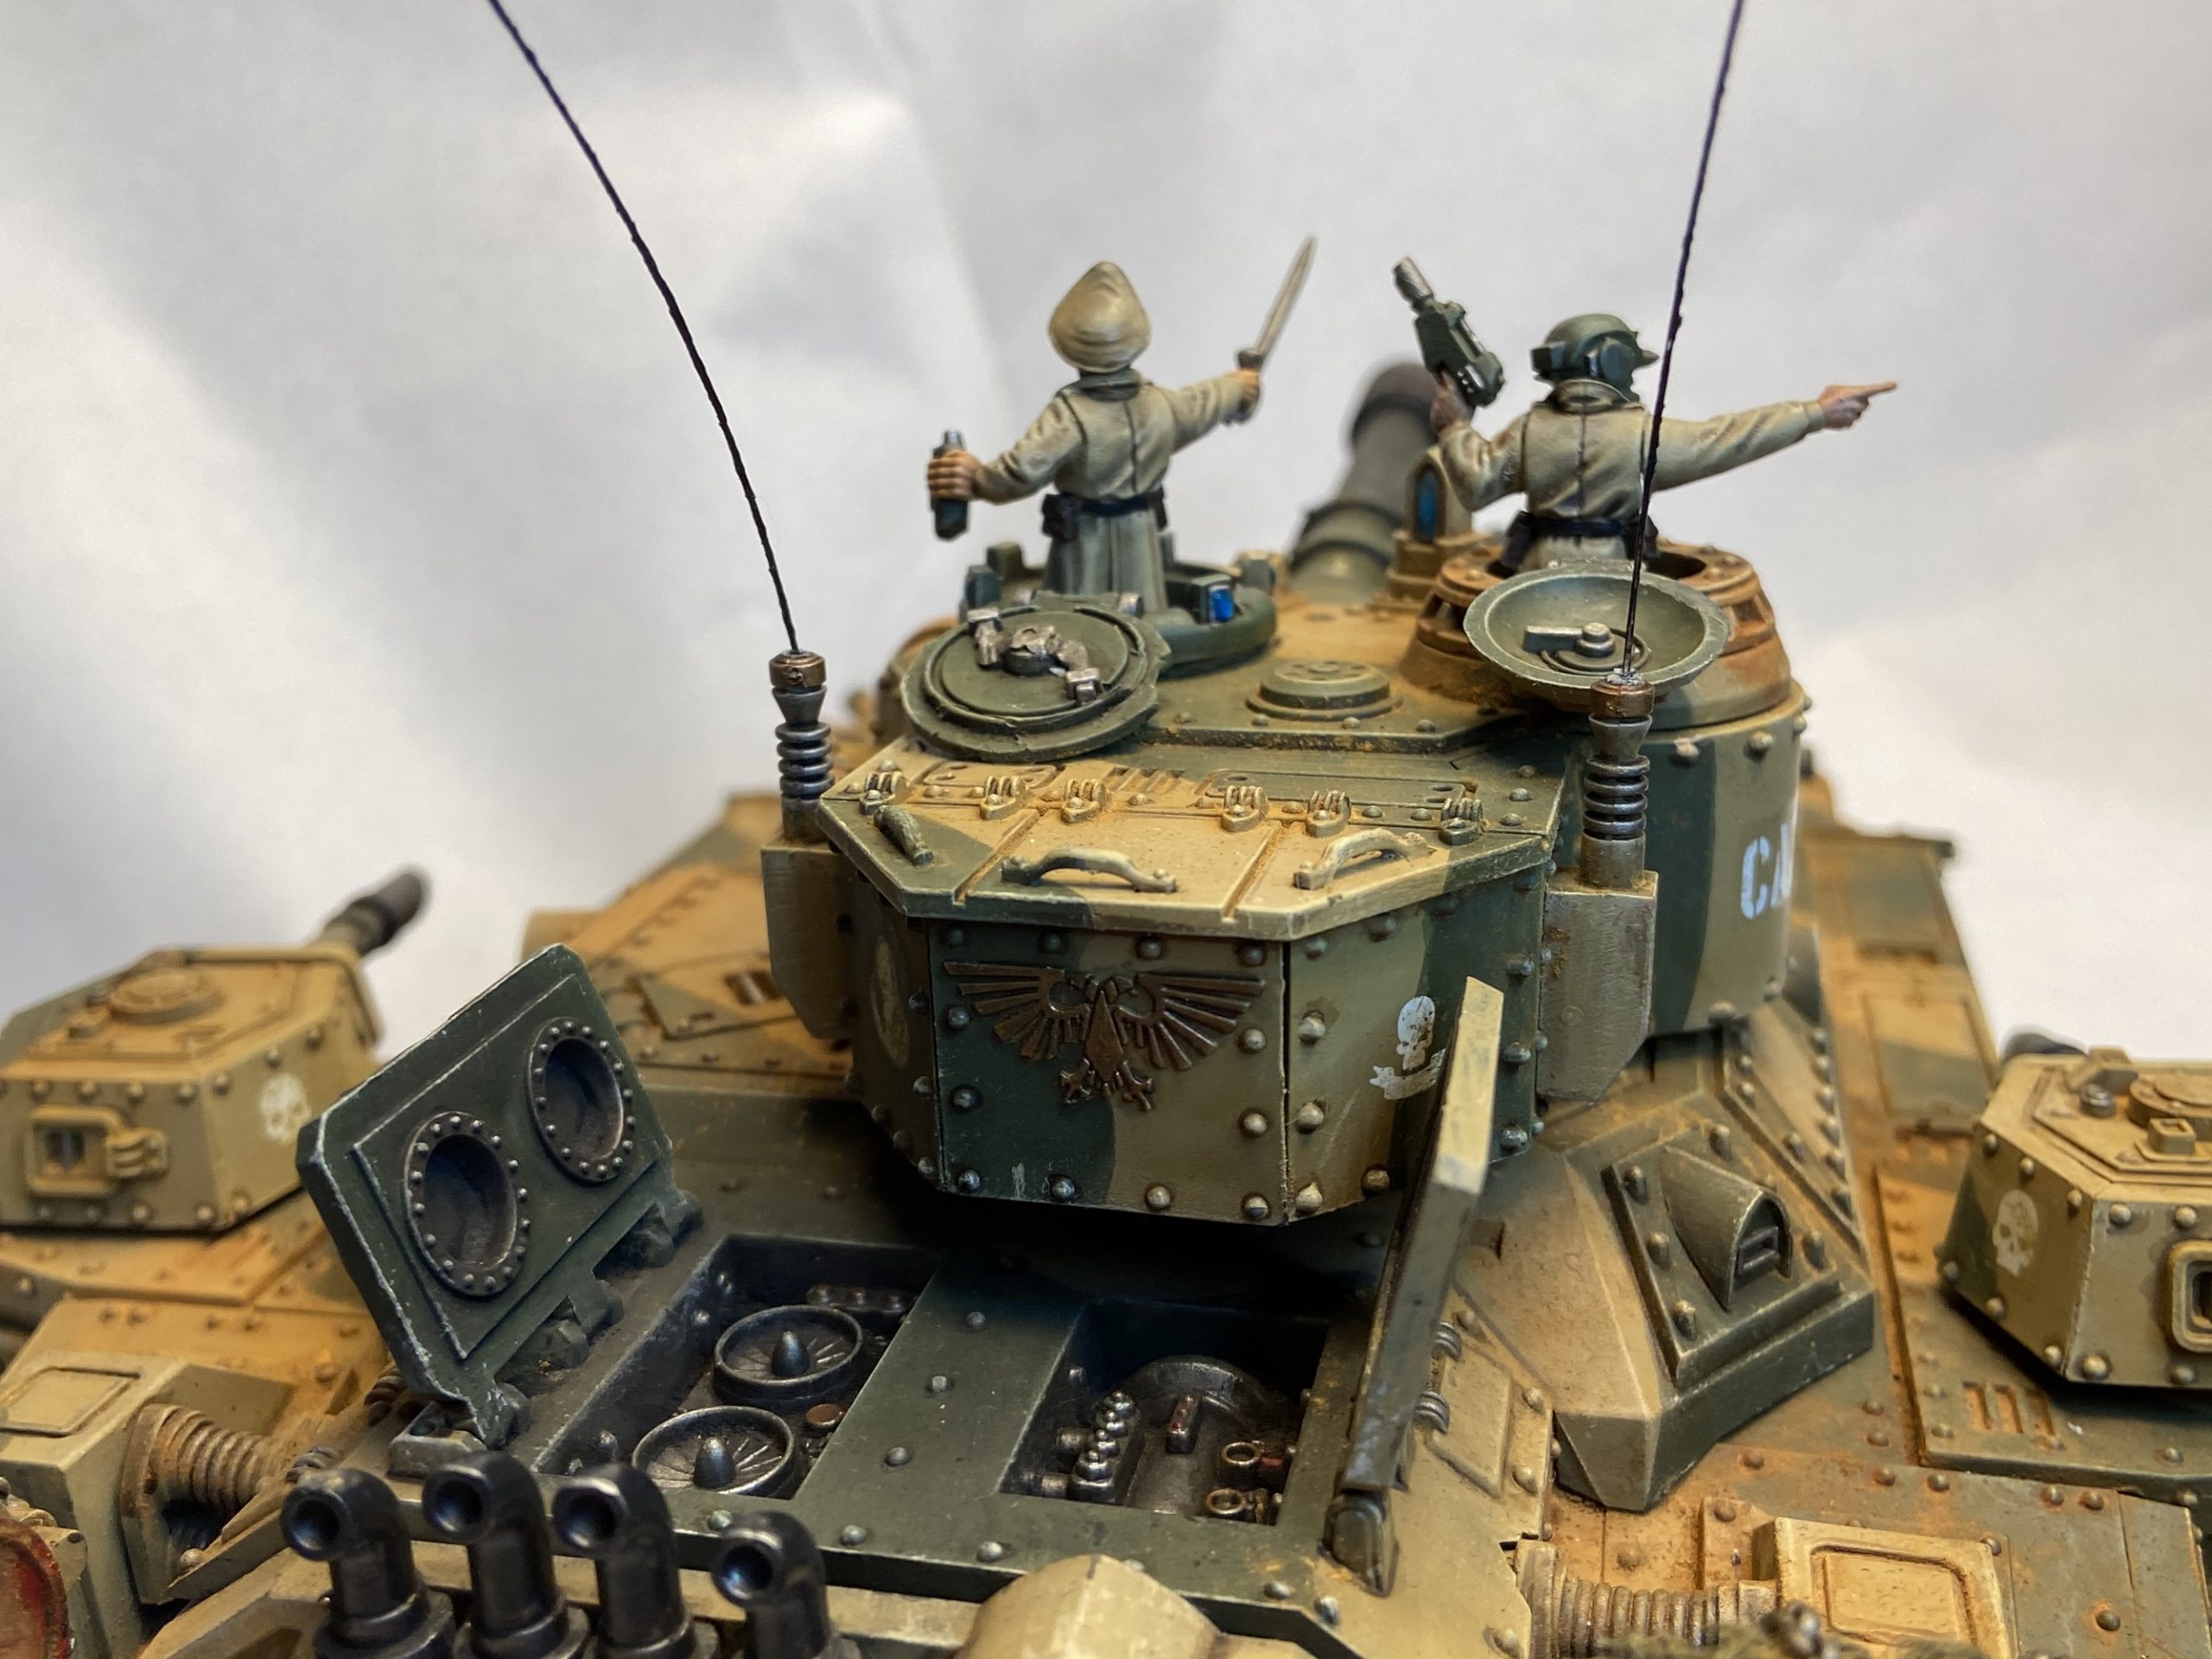
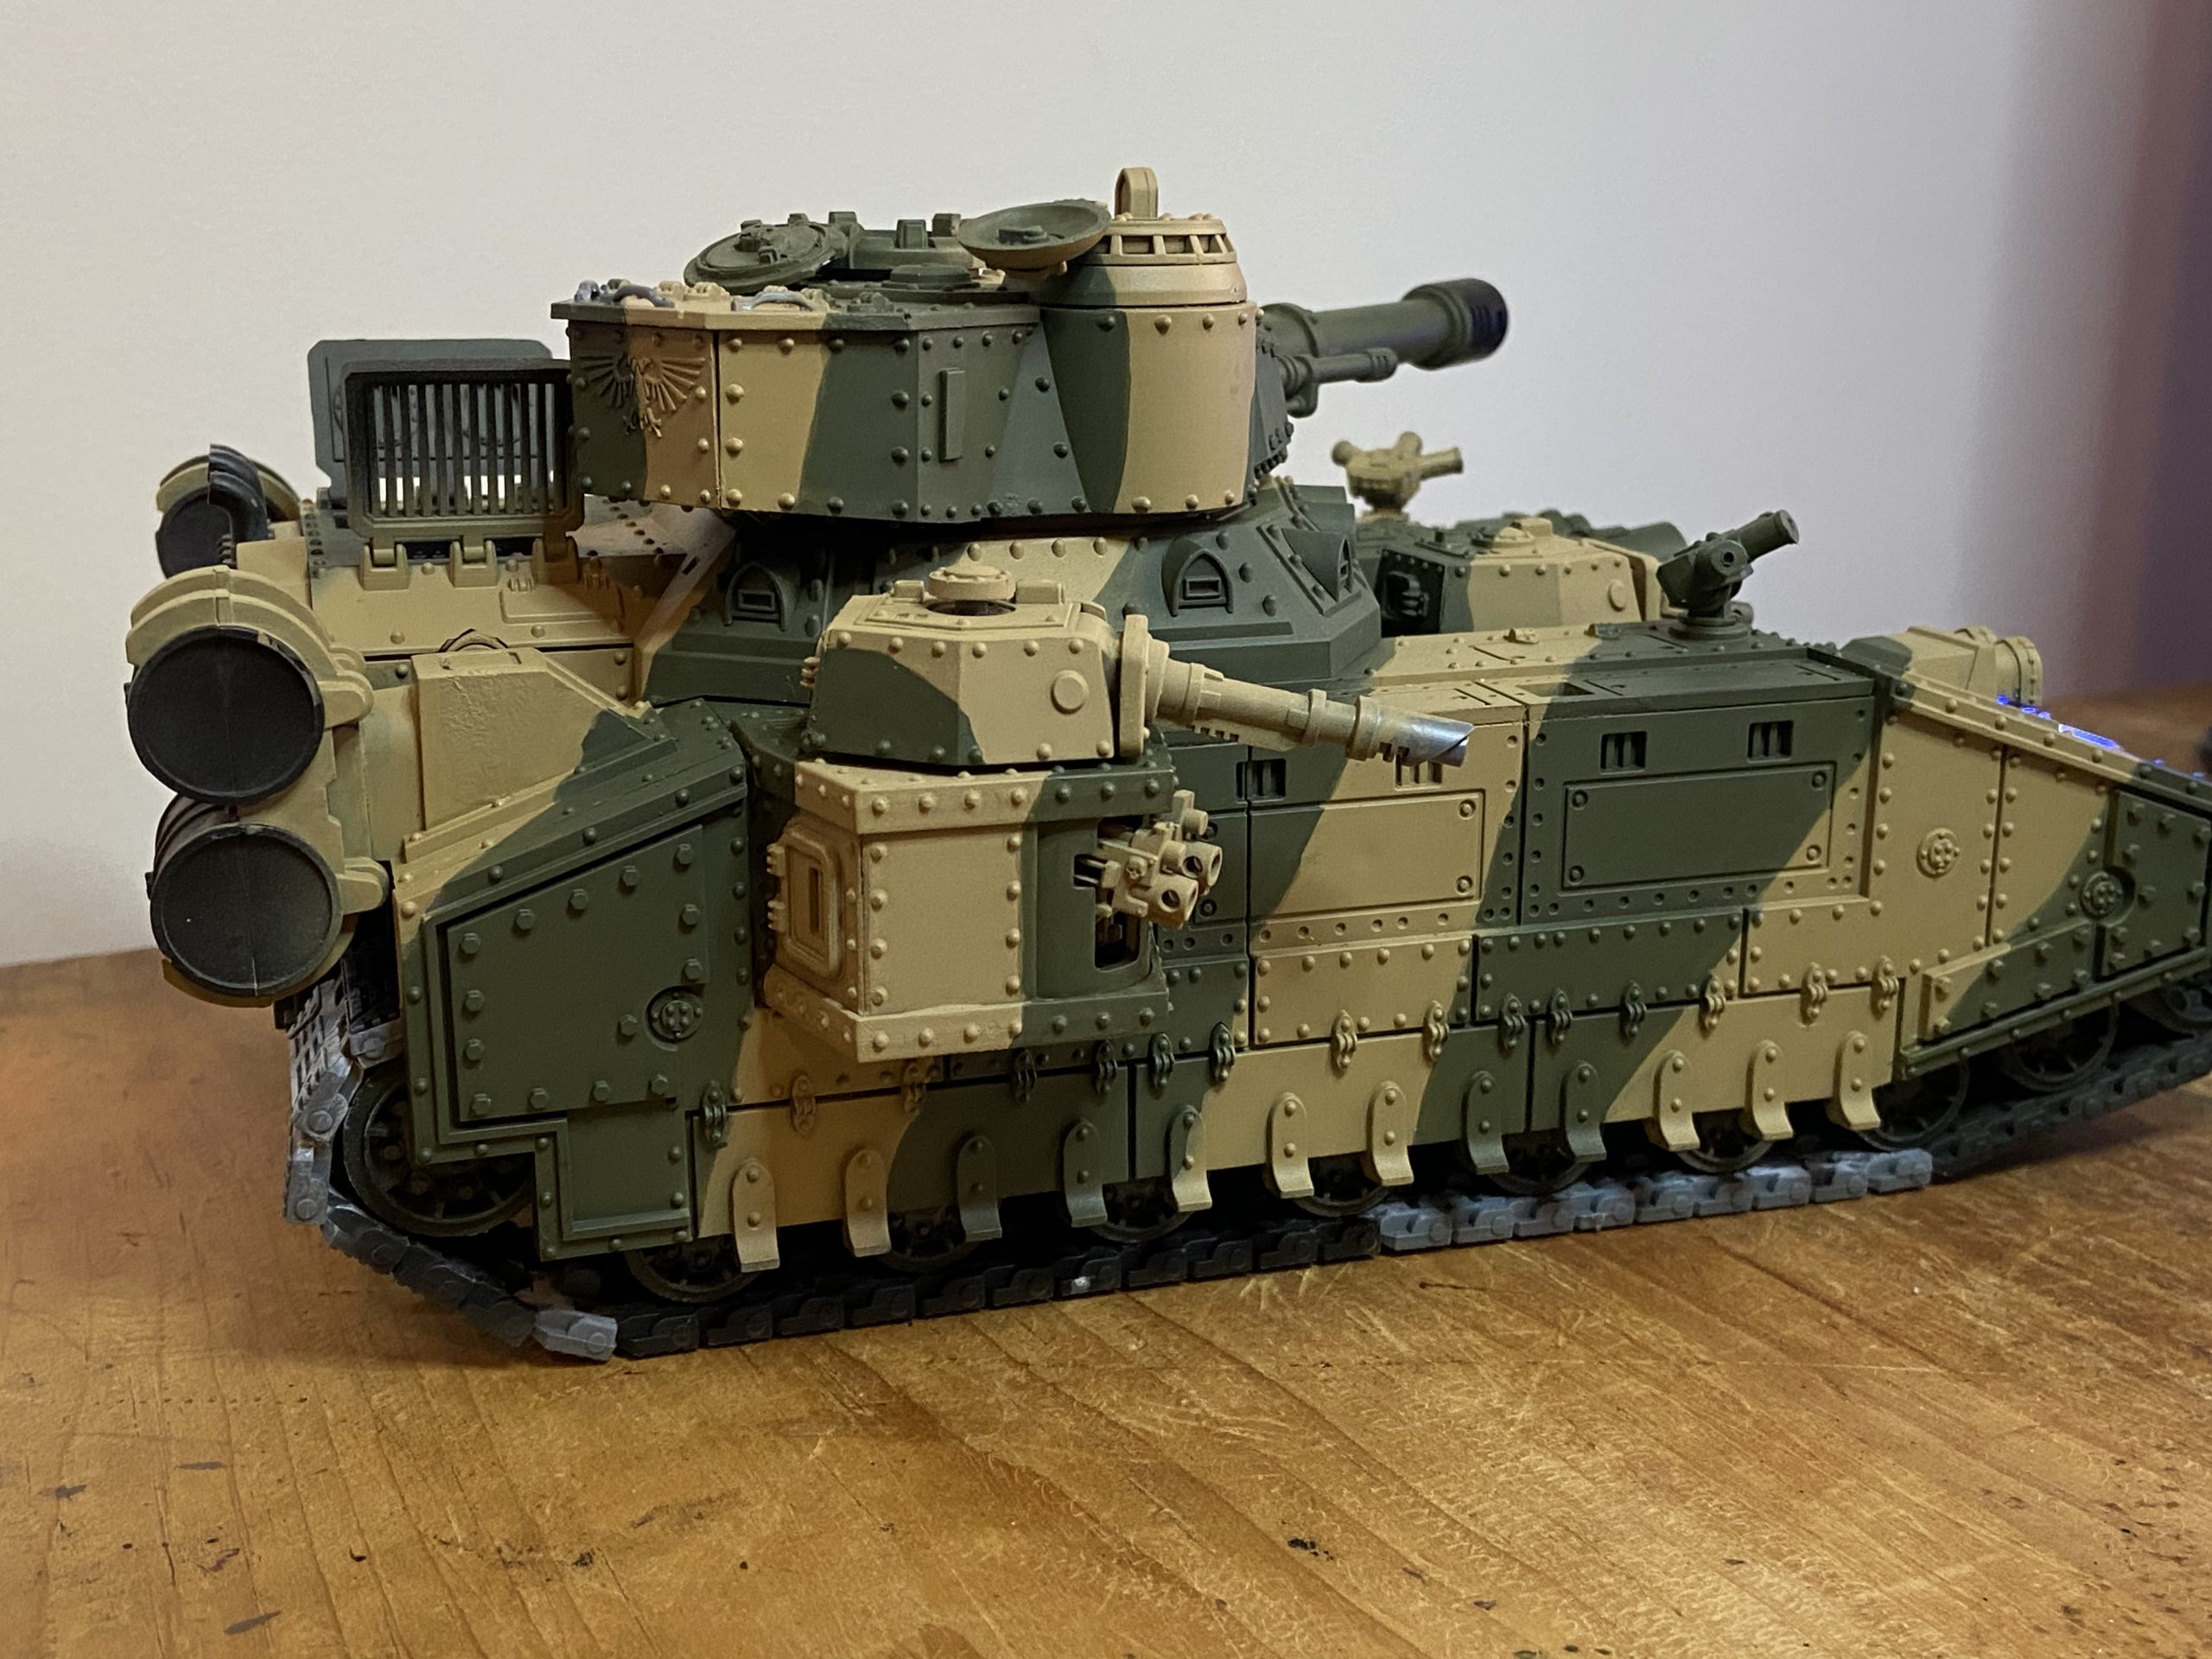
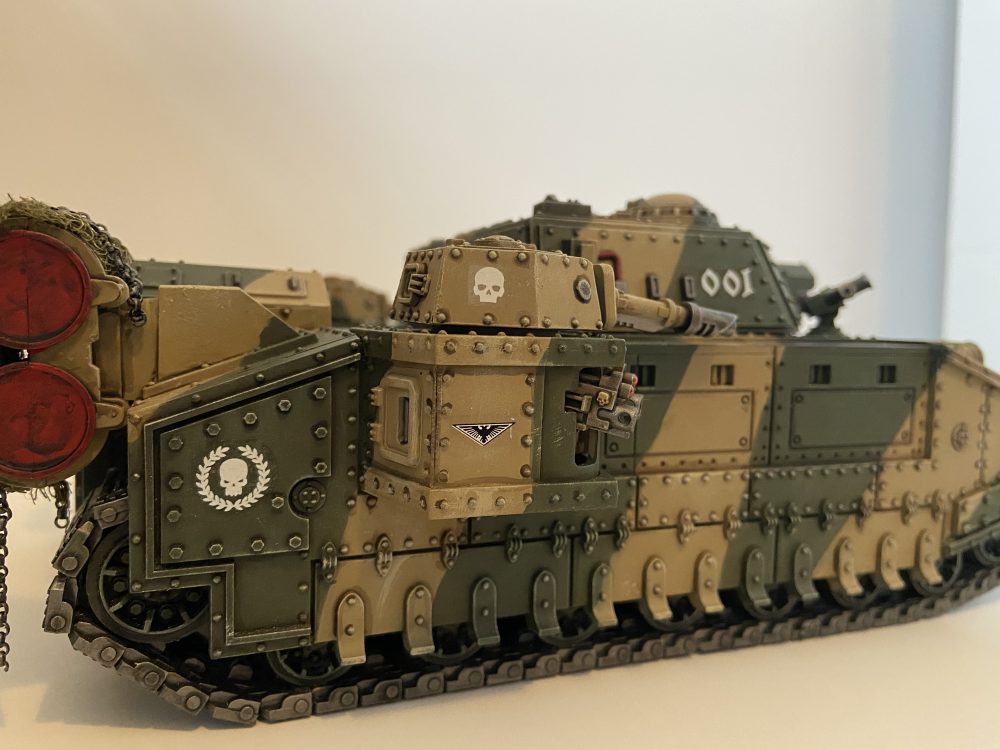
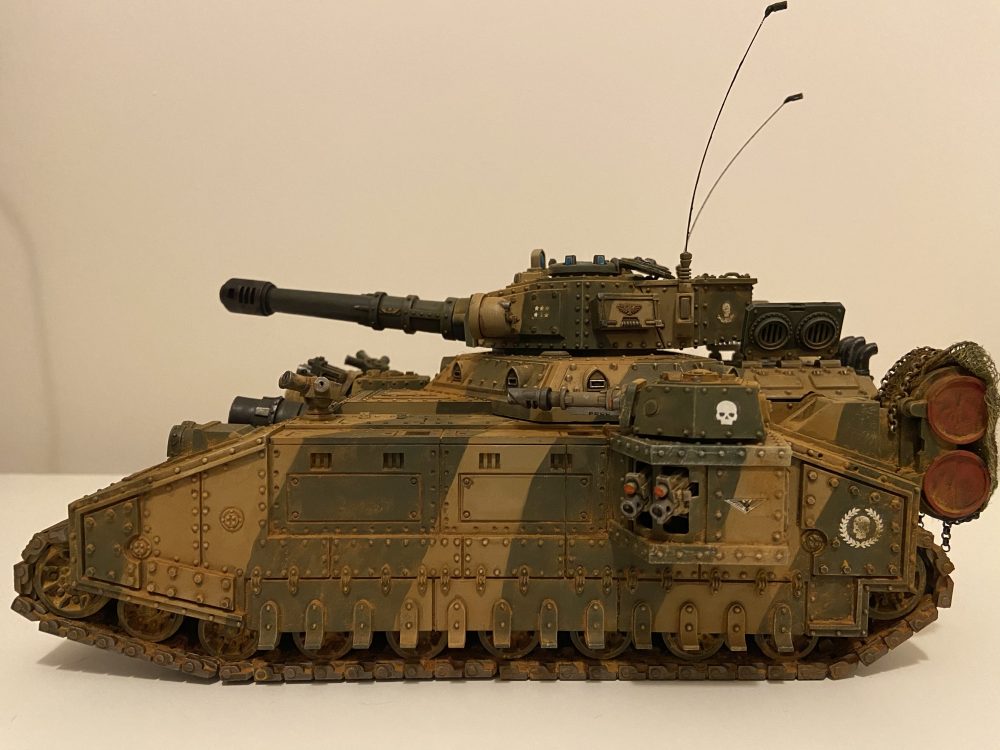
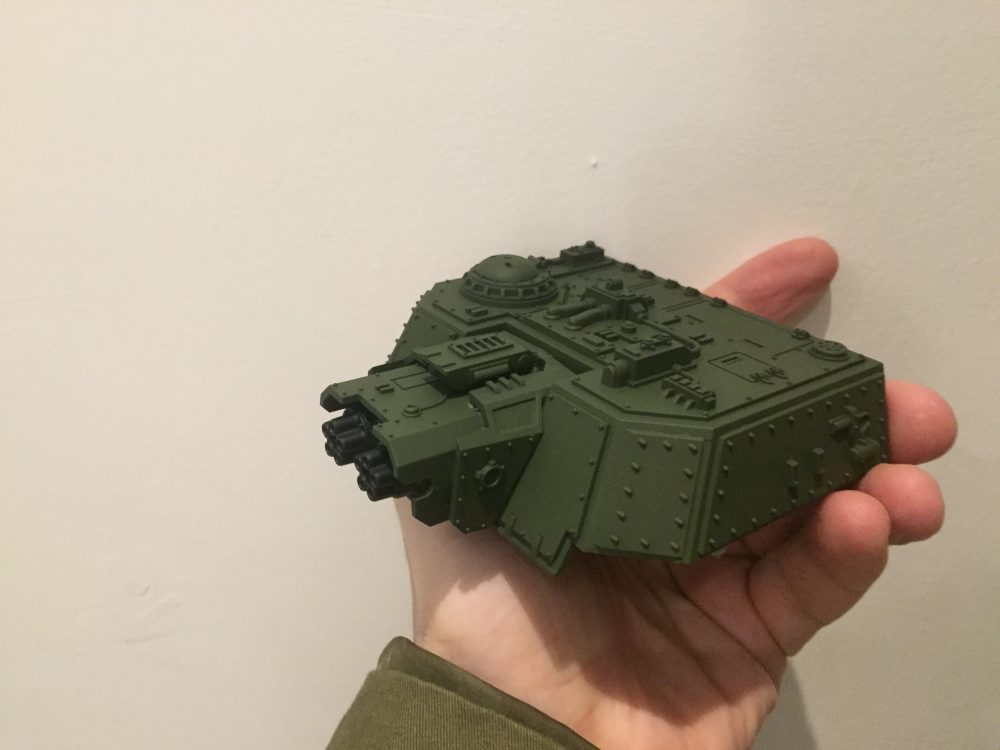
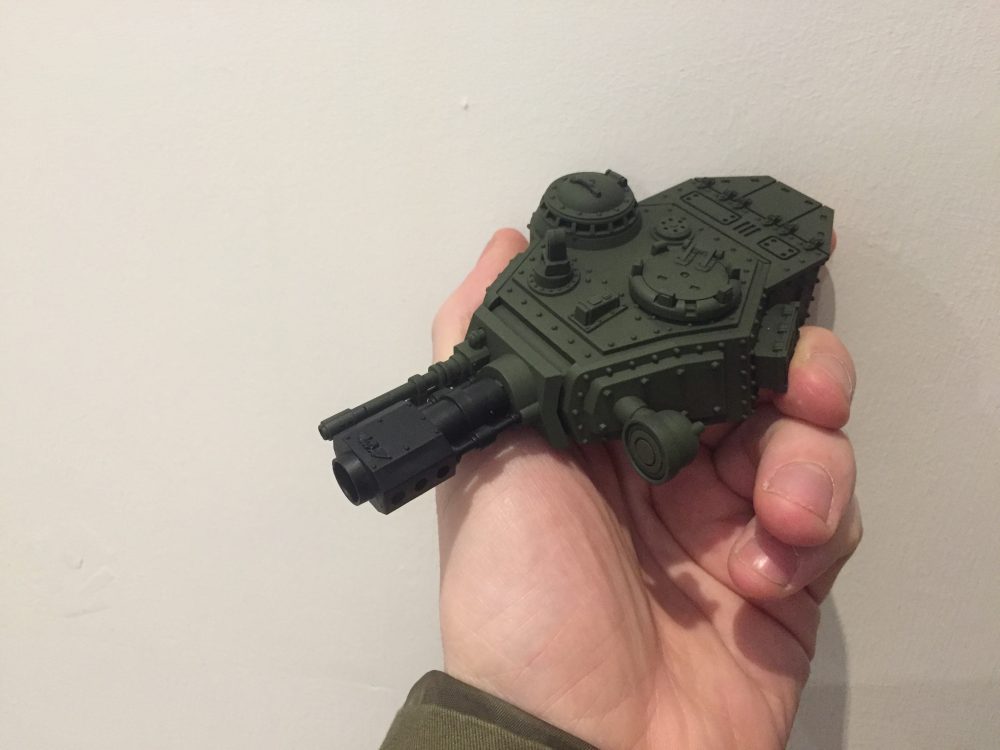
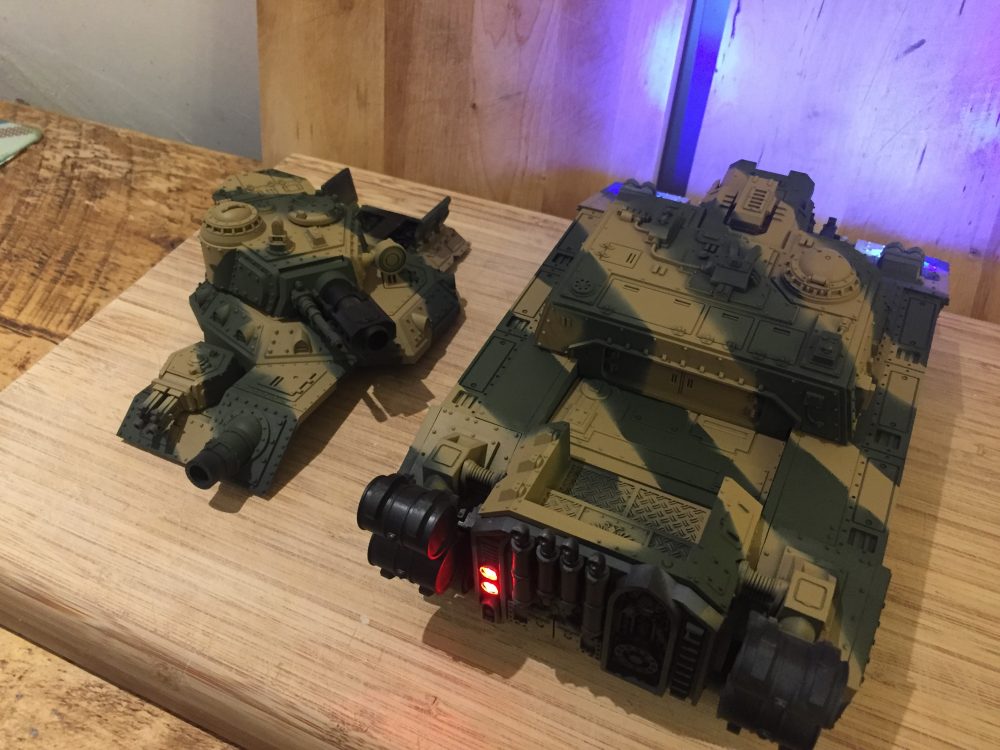
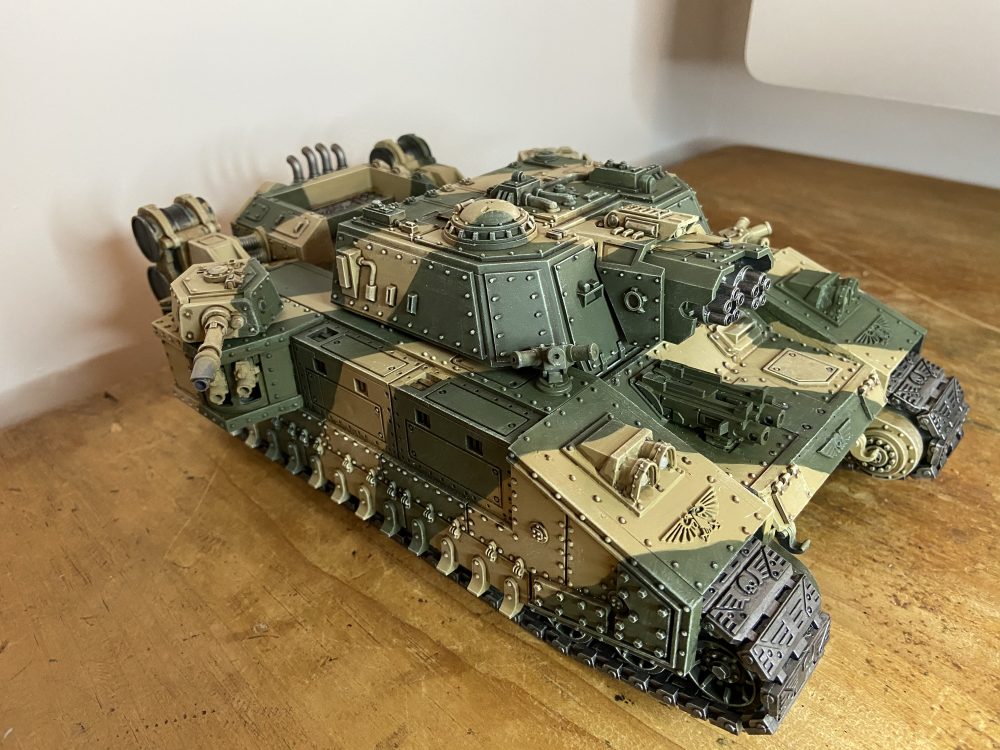
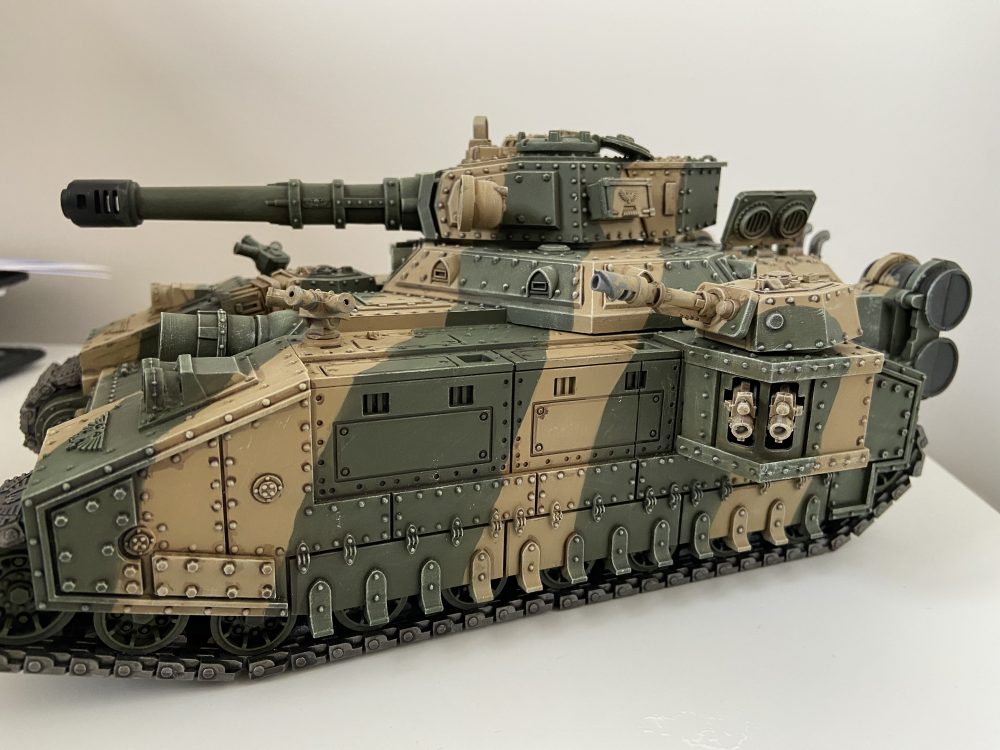
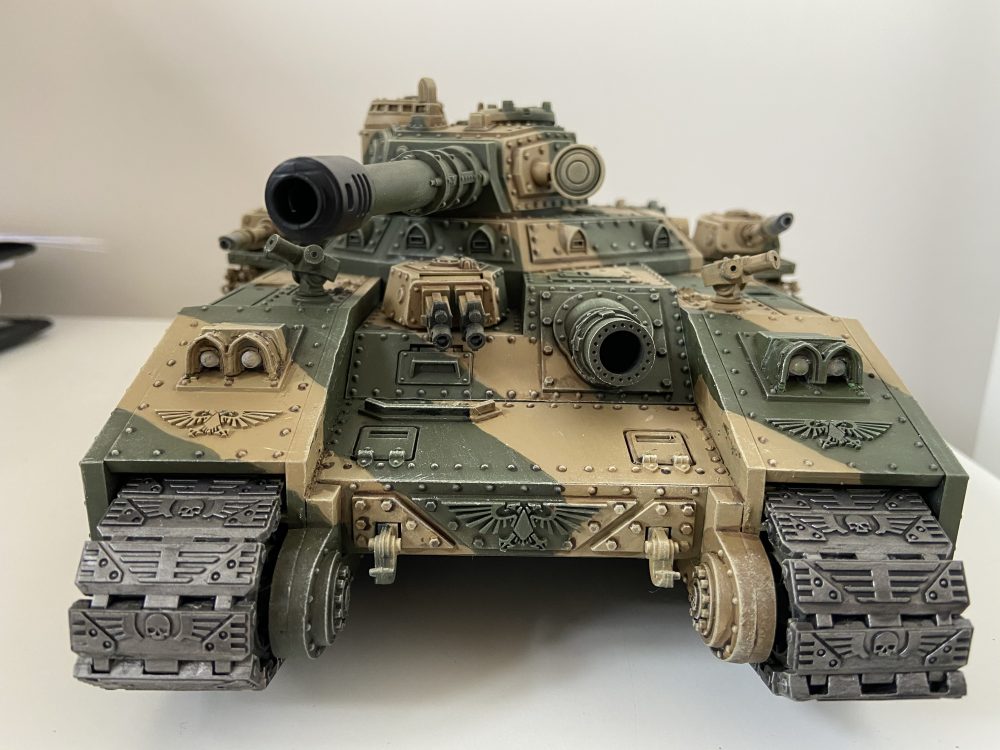
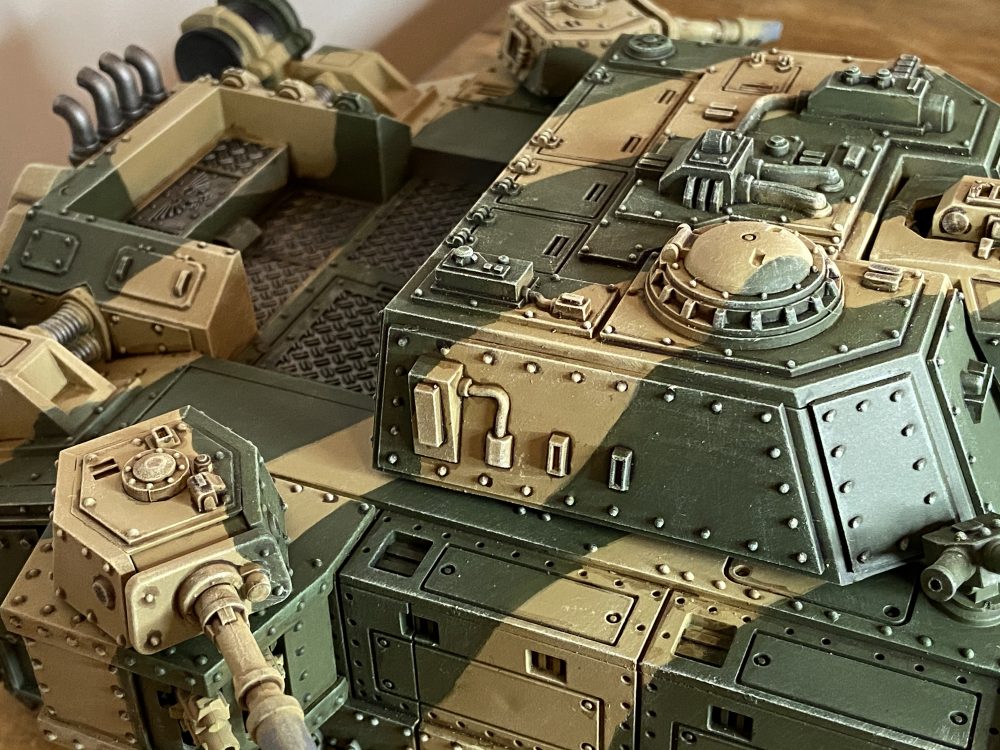
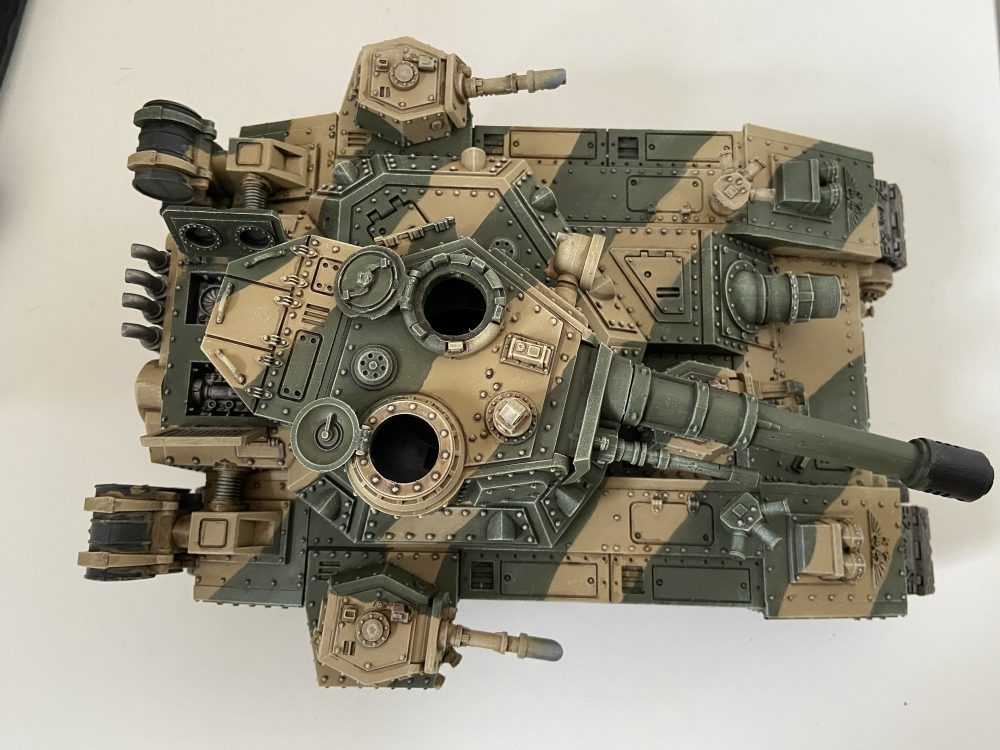
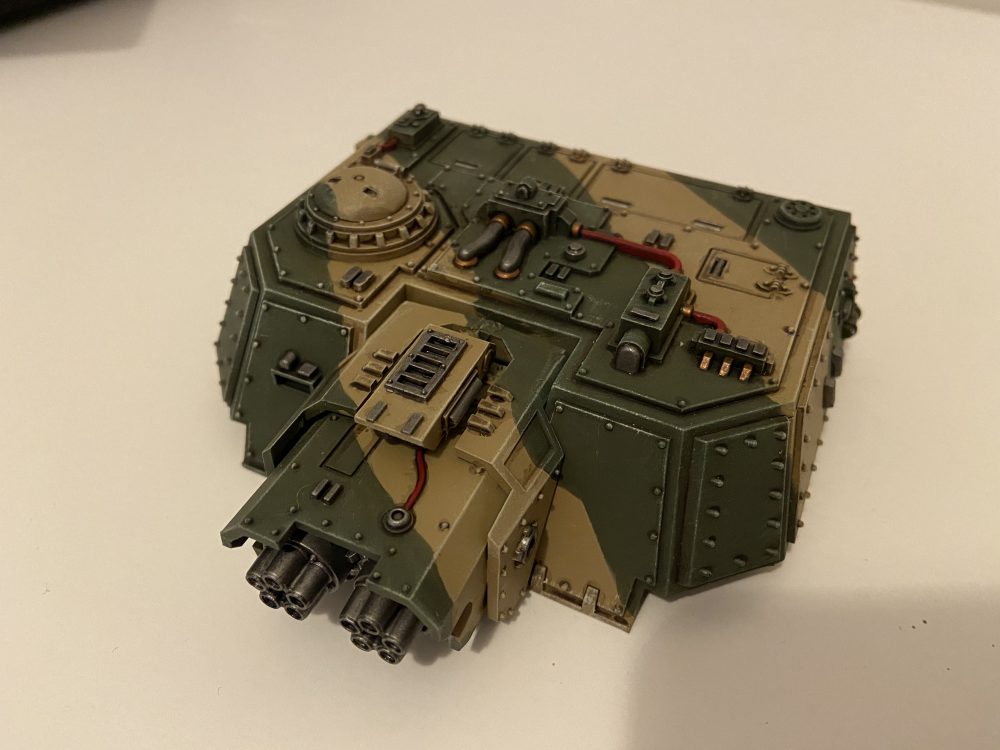
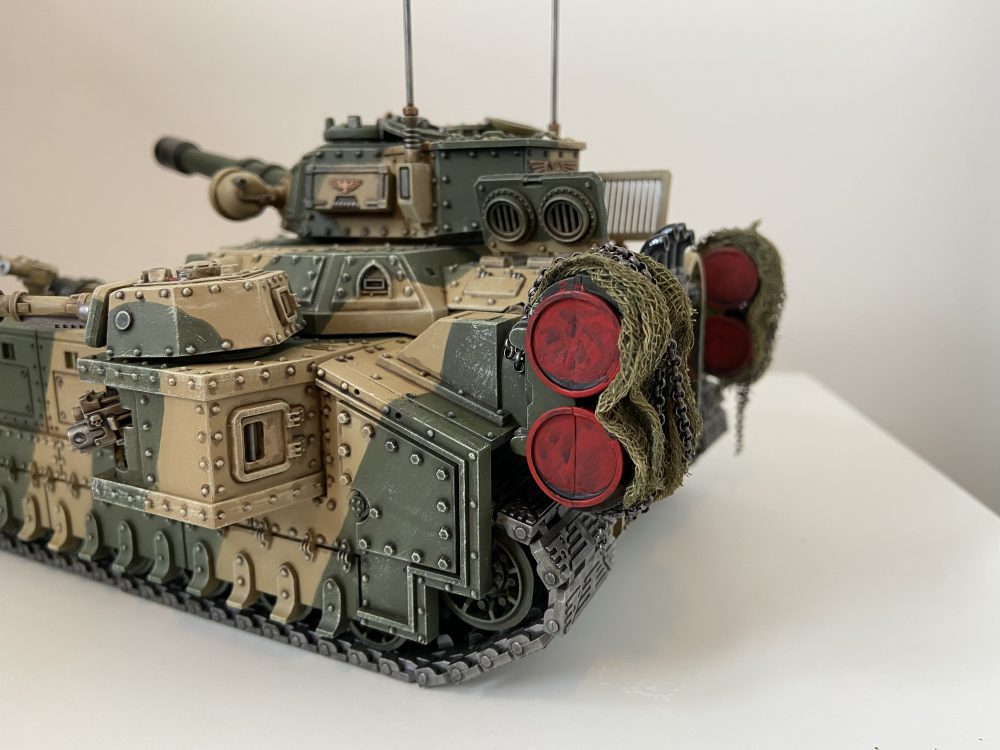
Baneblade Completed – Gallery
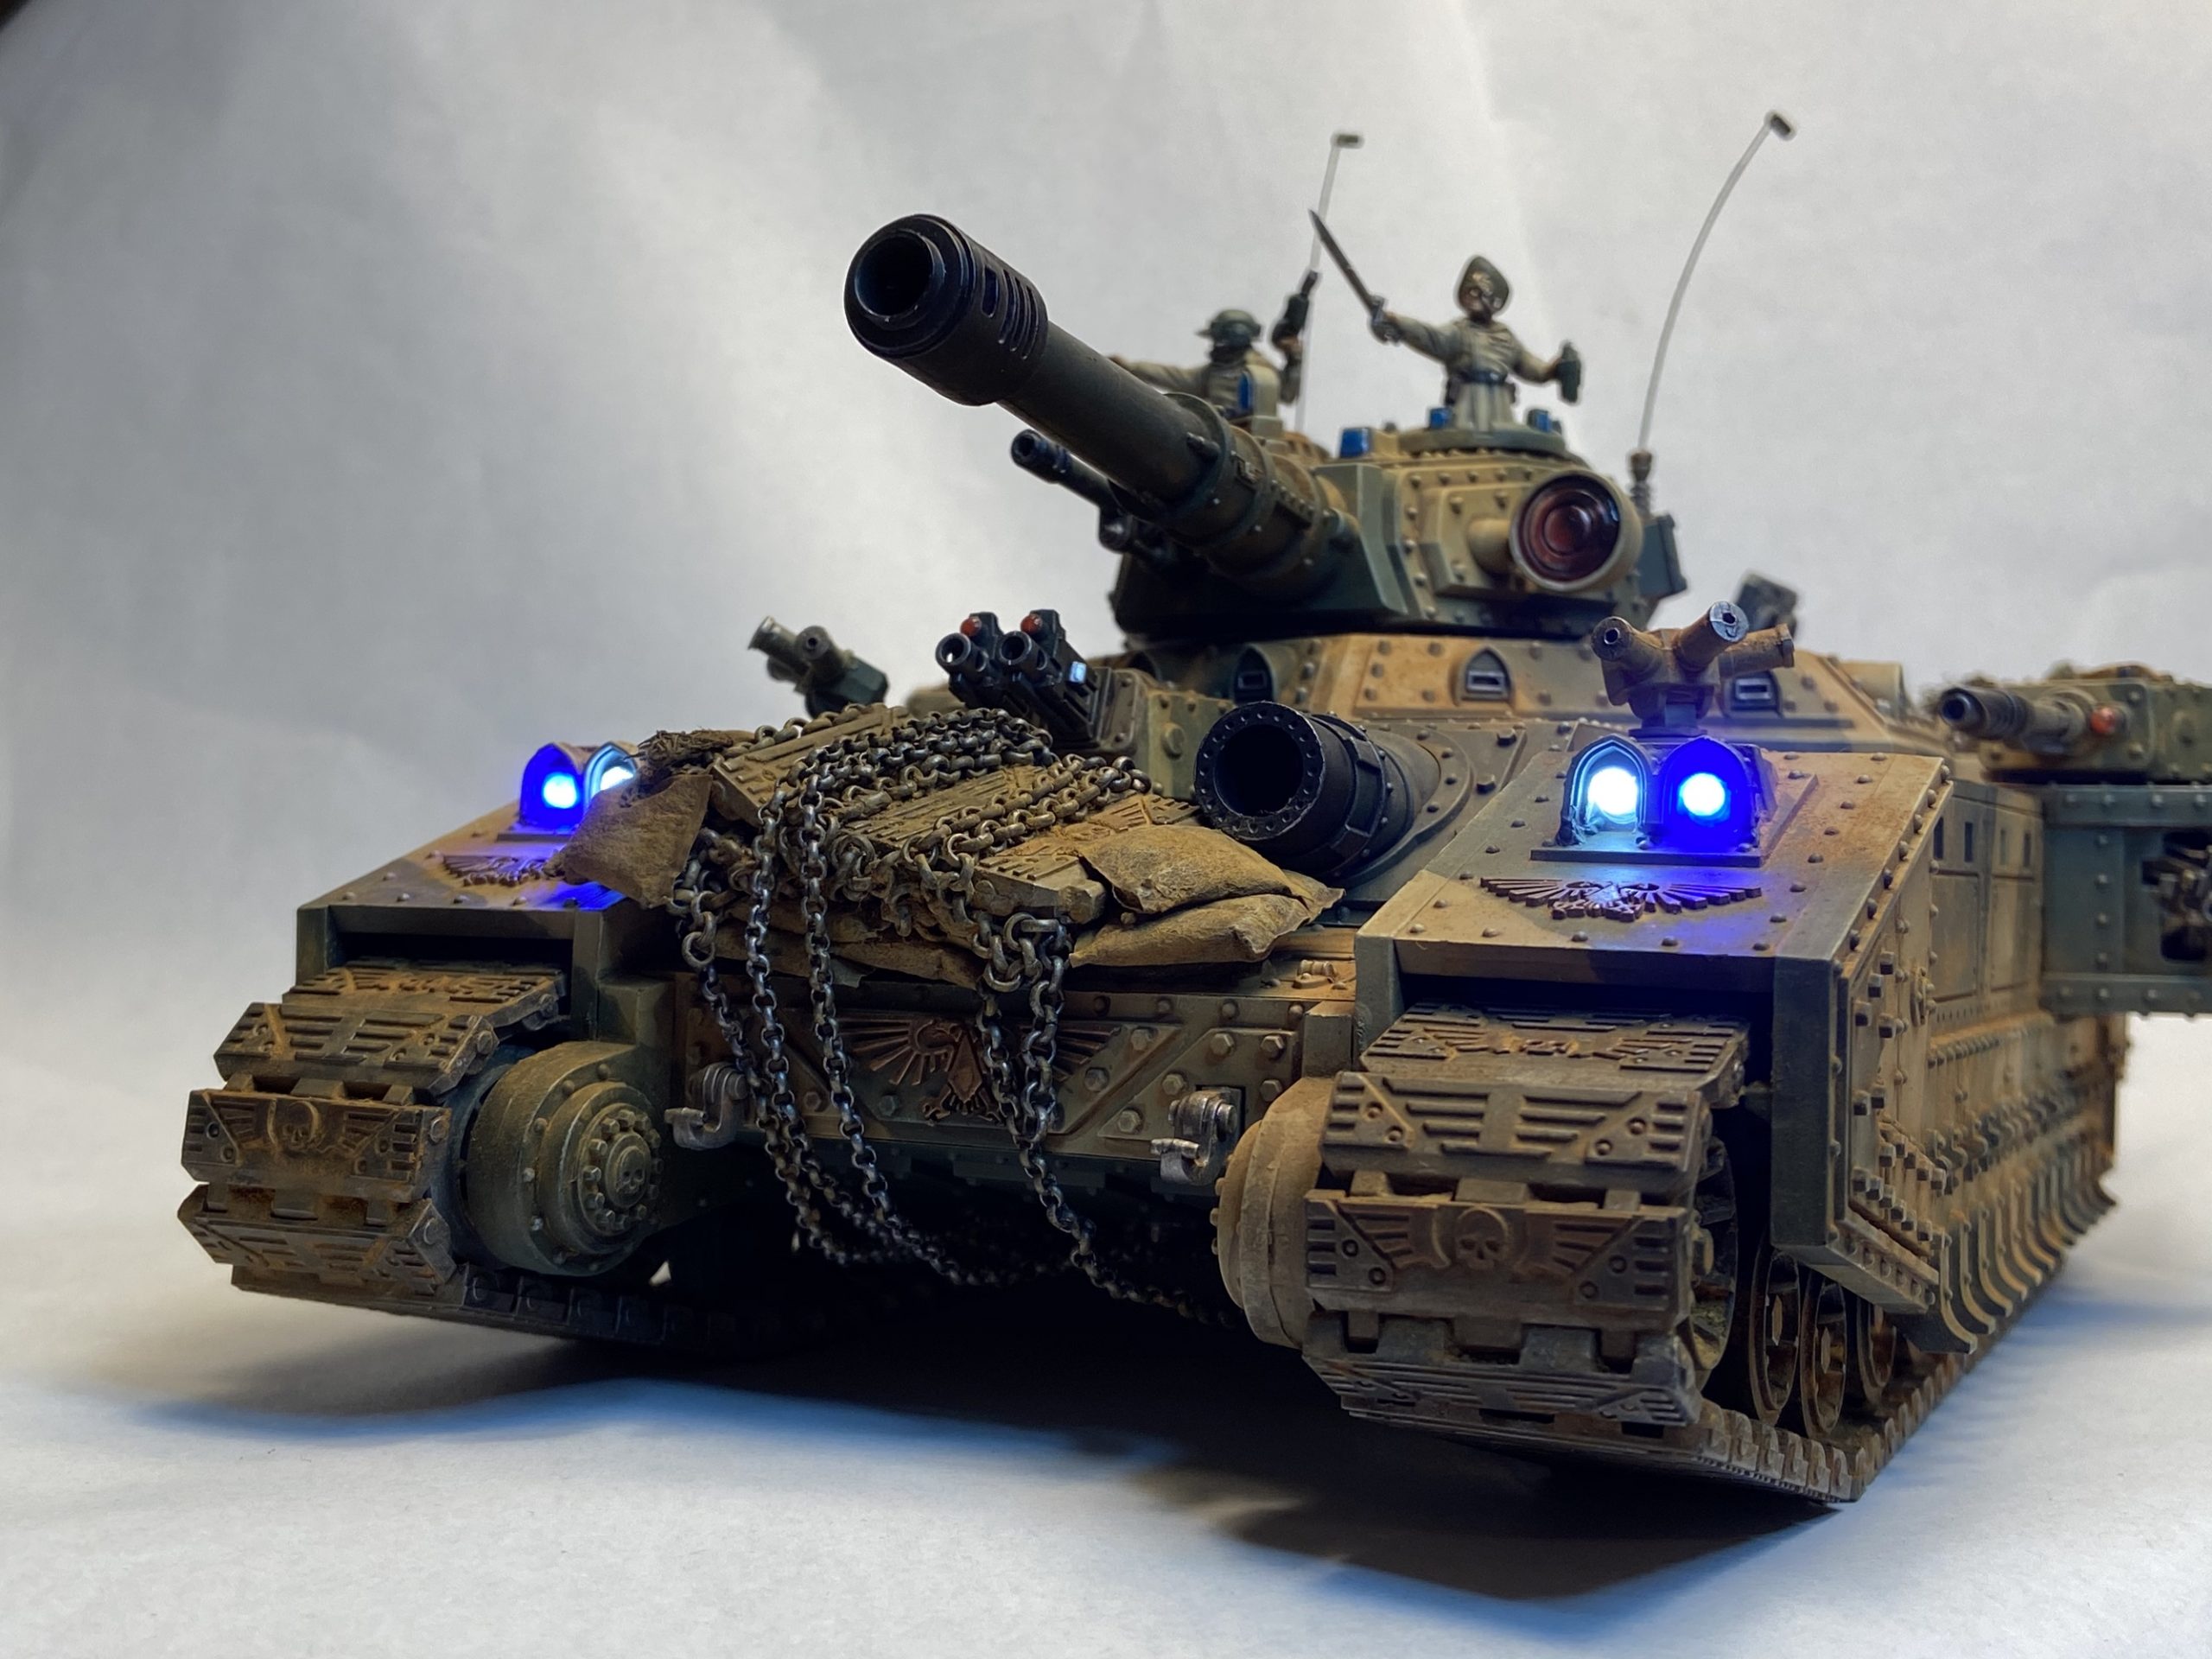
This is the Baneblade, completed. Later on in this article, there are WIP images, along with all the various methods employed to get The Nameless Storm done!


-

- Baneblade

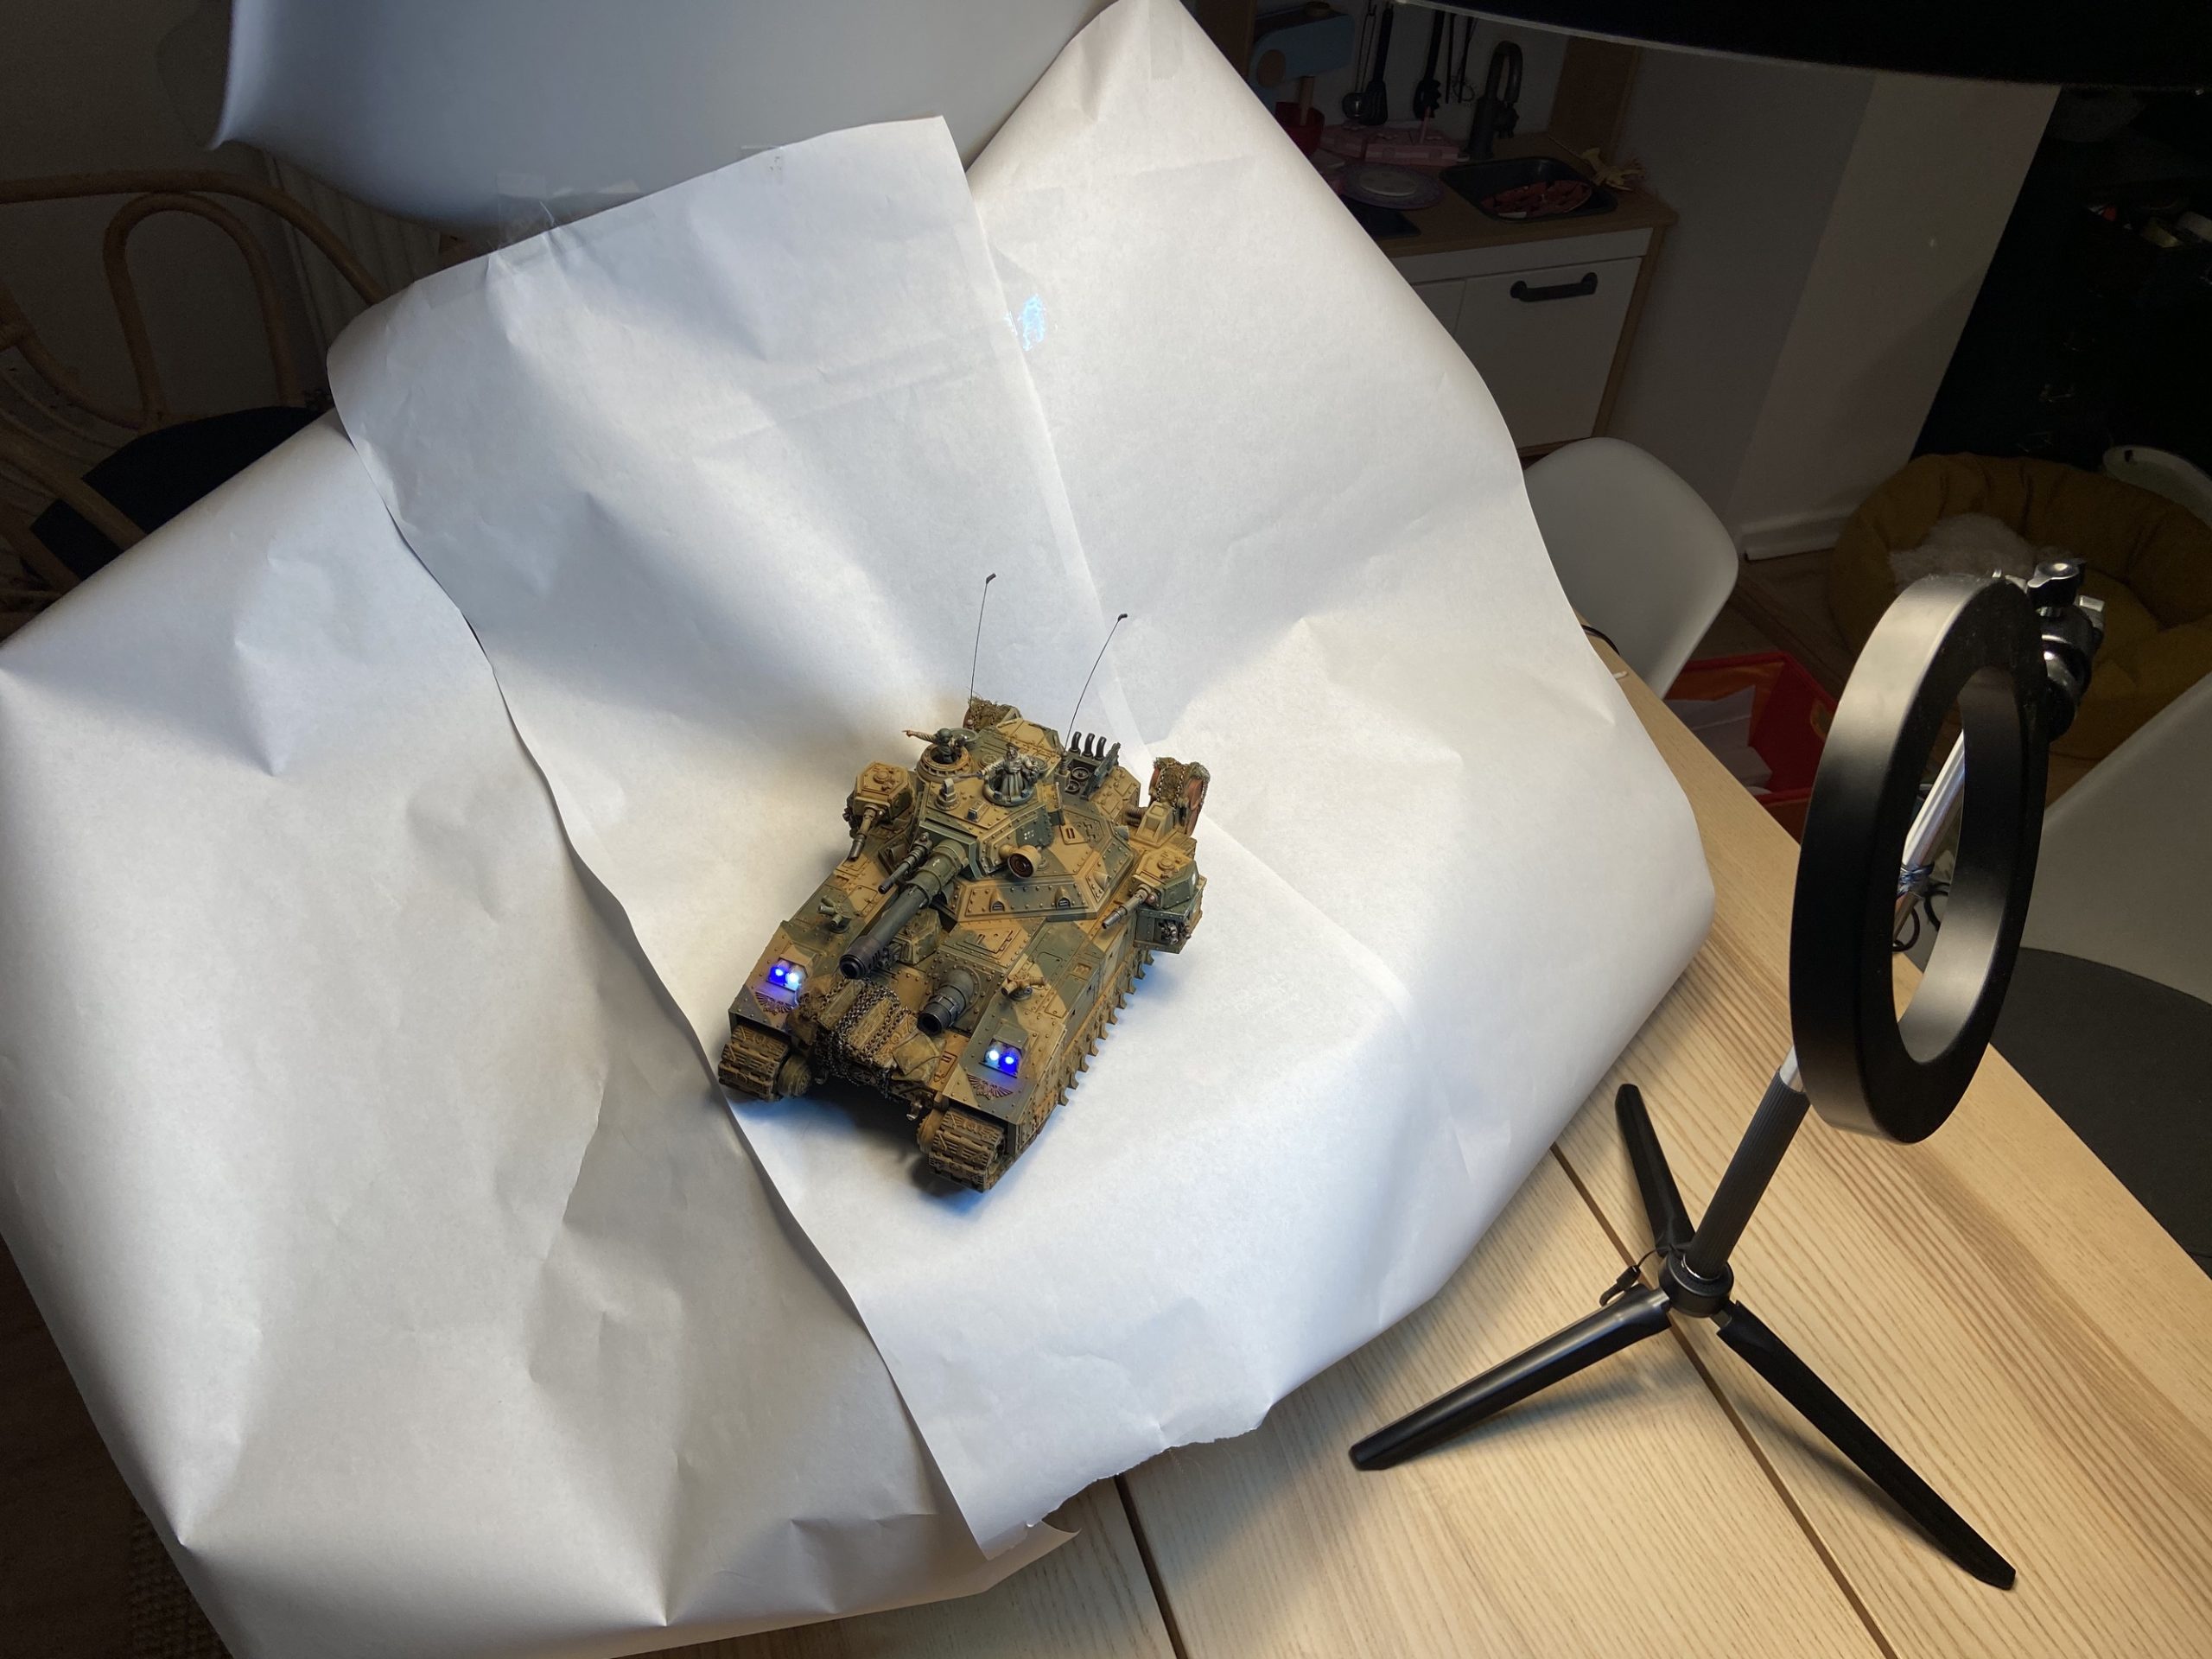


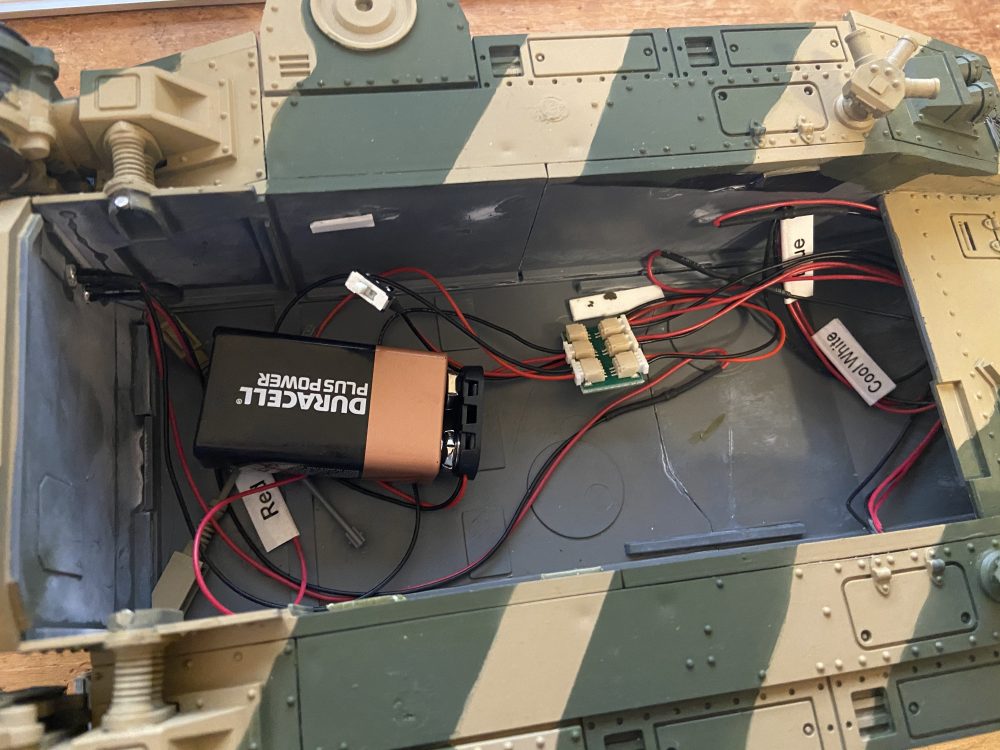
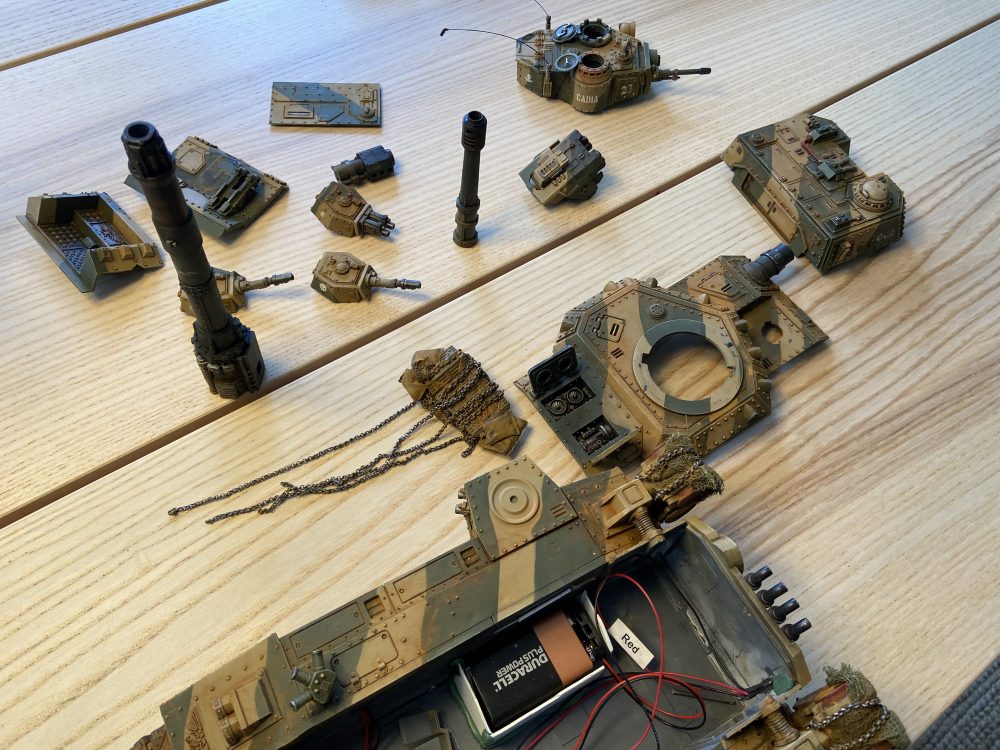
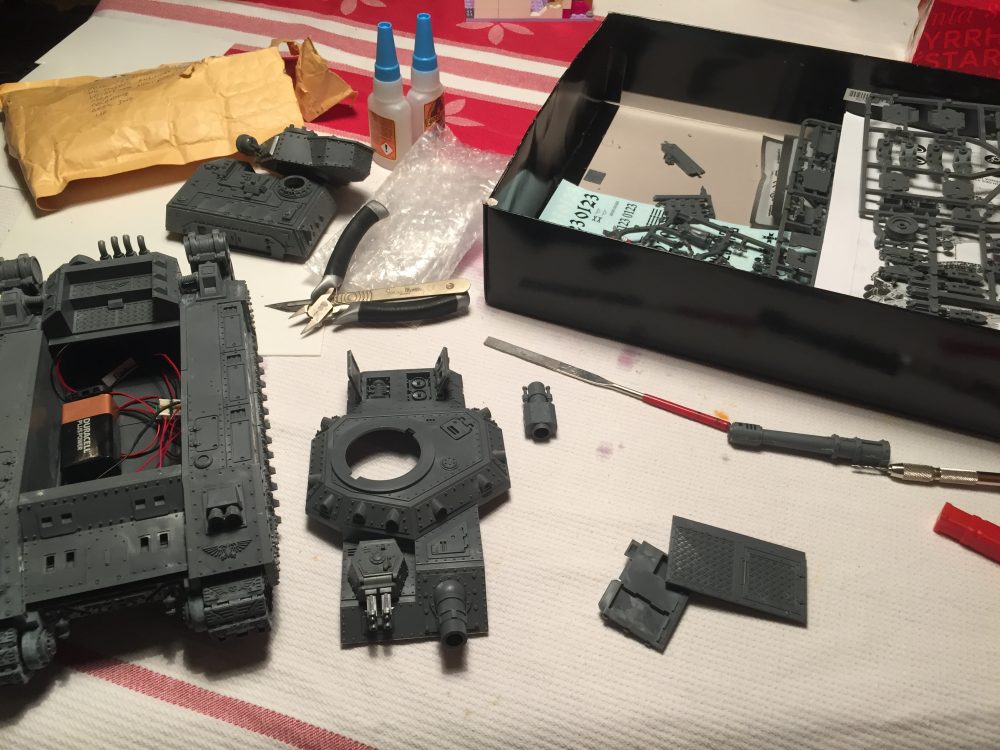
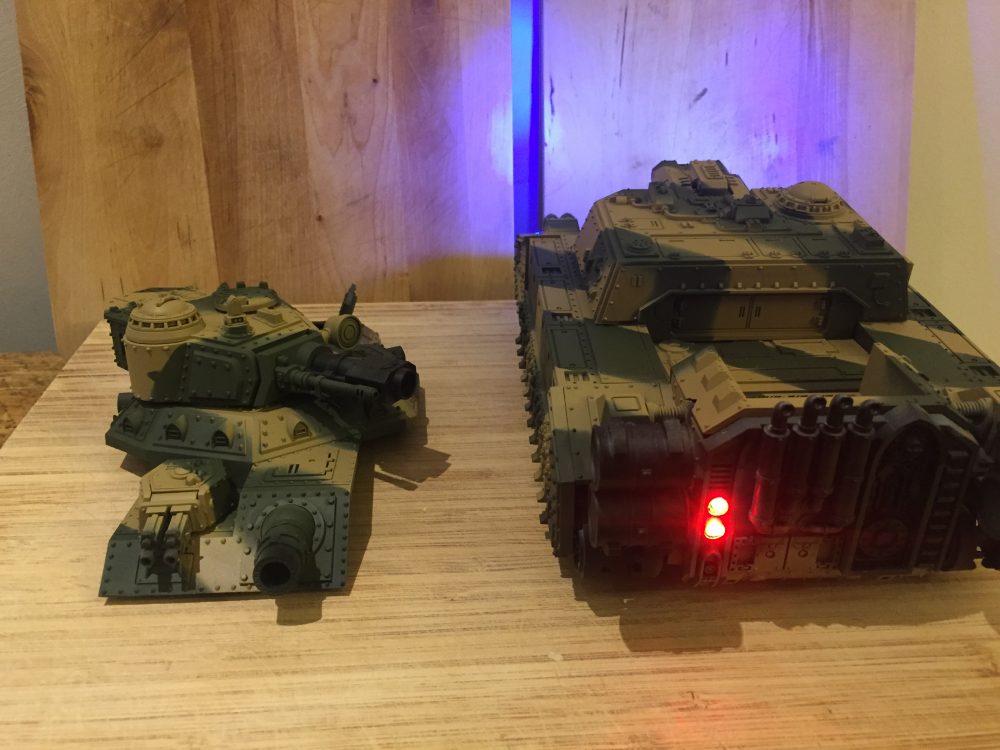
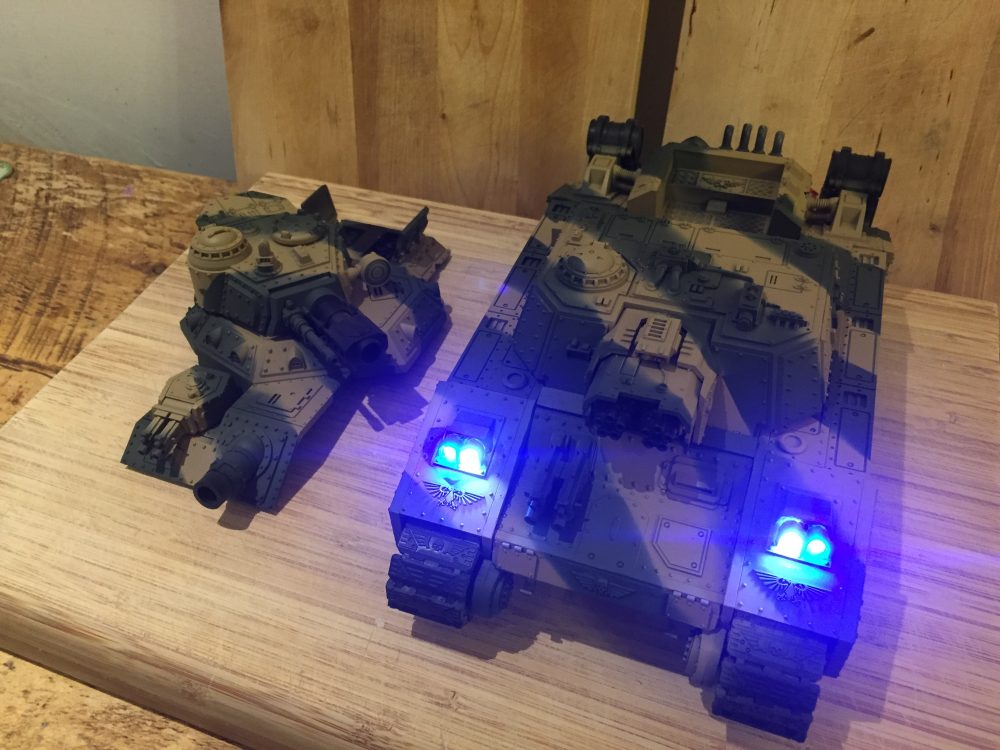
Baneblade LEDs & Electronics
Sadly the electronics remain a mystery to me. This is for two reasons;
- I built them into the Banebldae three years ago
- I know nothing of electronics
I used an LED kit for modellers for the Baneblade and I cannot remember the brand at all. It consists of;
- A switch
- A connection for an E battery
- 2 red LEDs attached to wires
- 2 white LEDs attached to wires
- 2 blue LEDs attached to wires
- A board to plug the switch, battery and LEDs into
I did not do any soldering for the electronics, it was very plug-n-play which is exactly what I wanted.
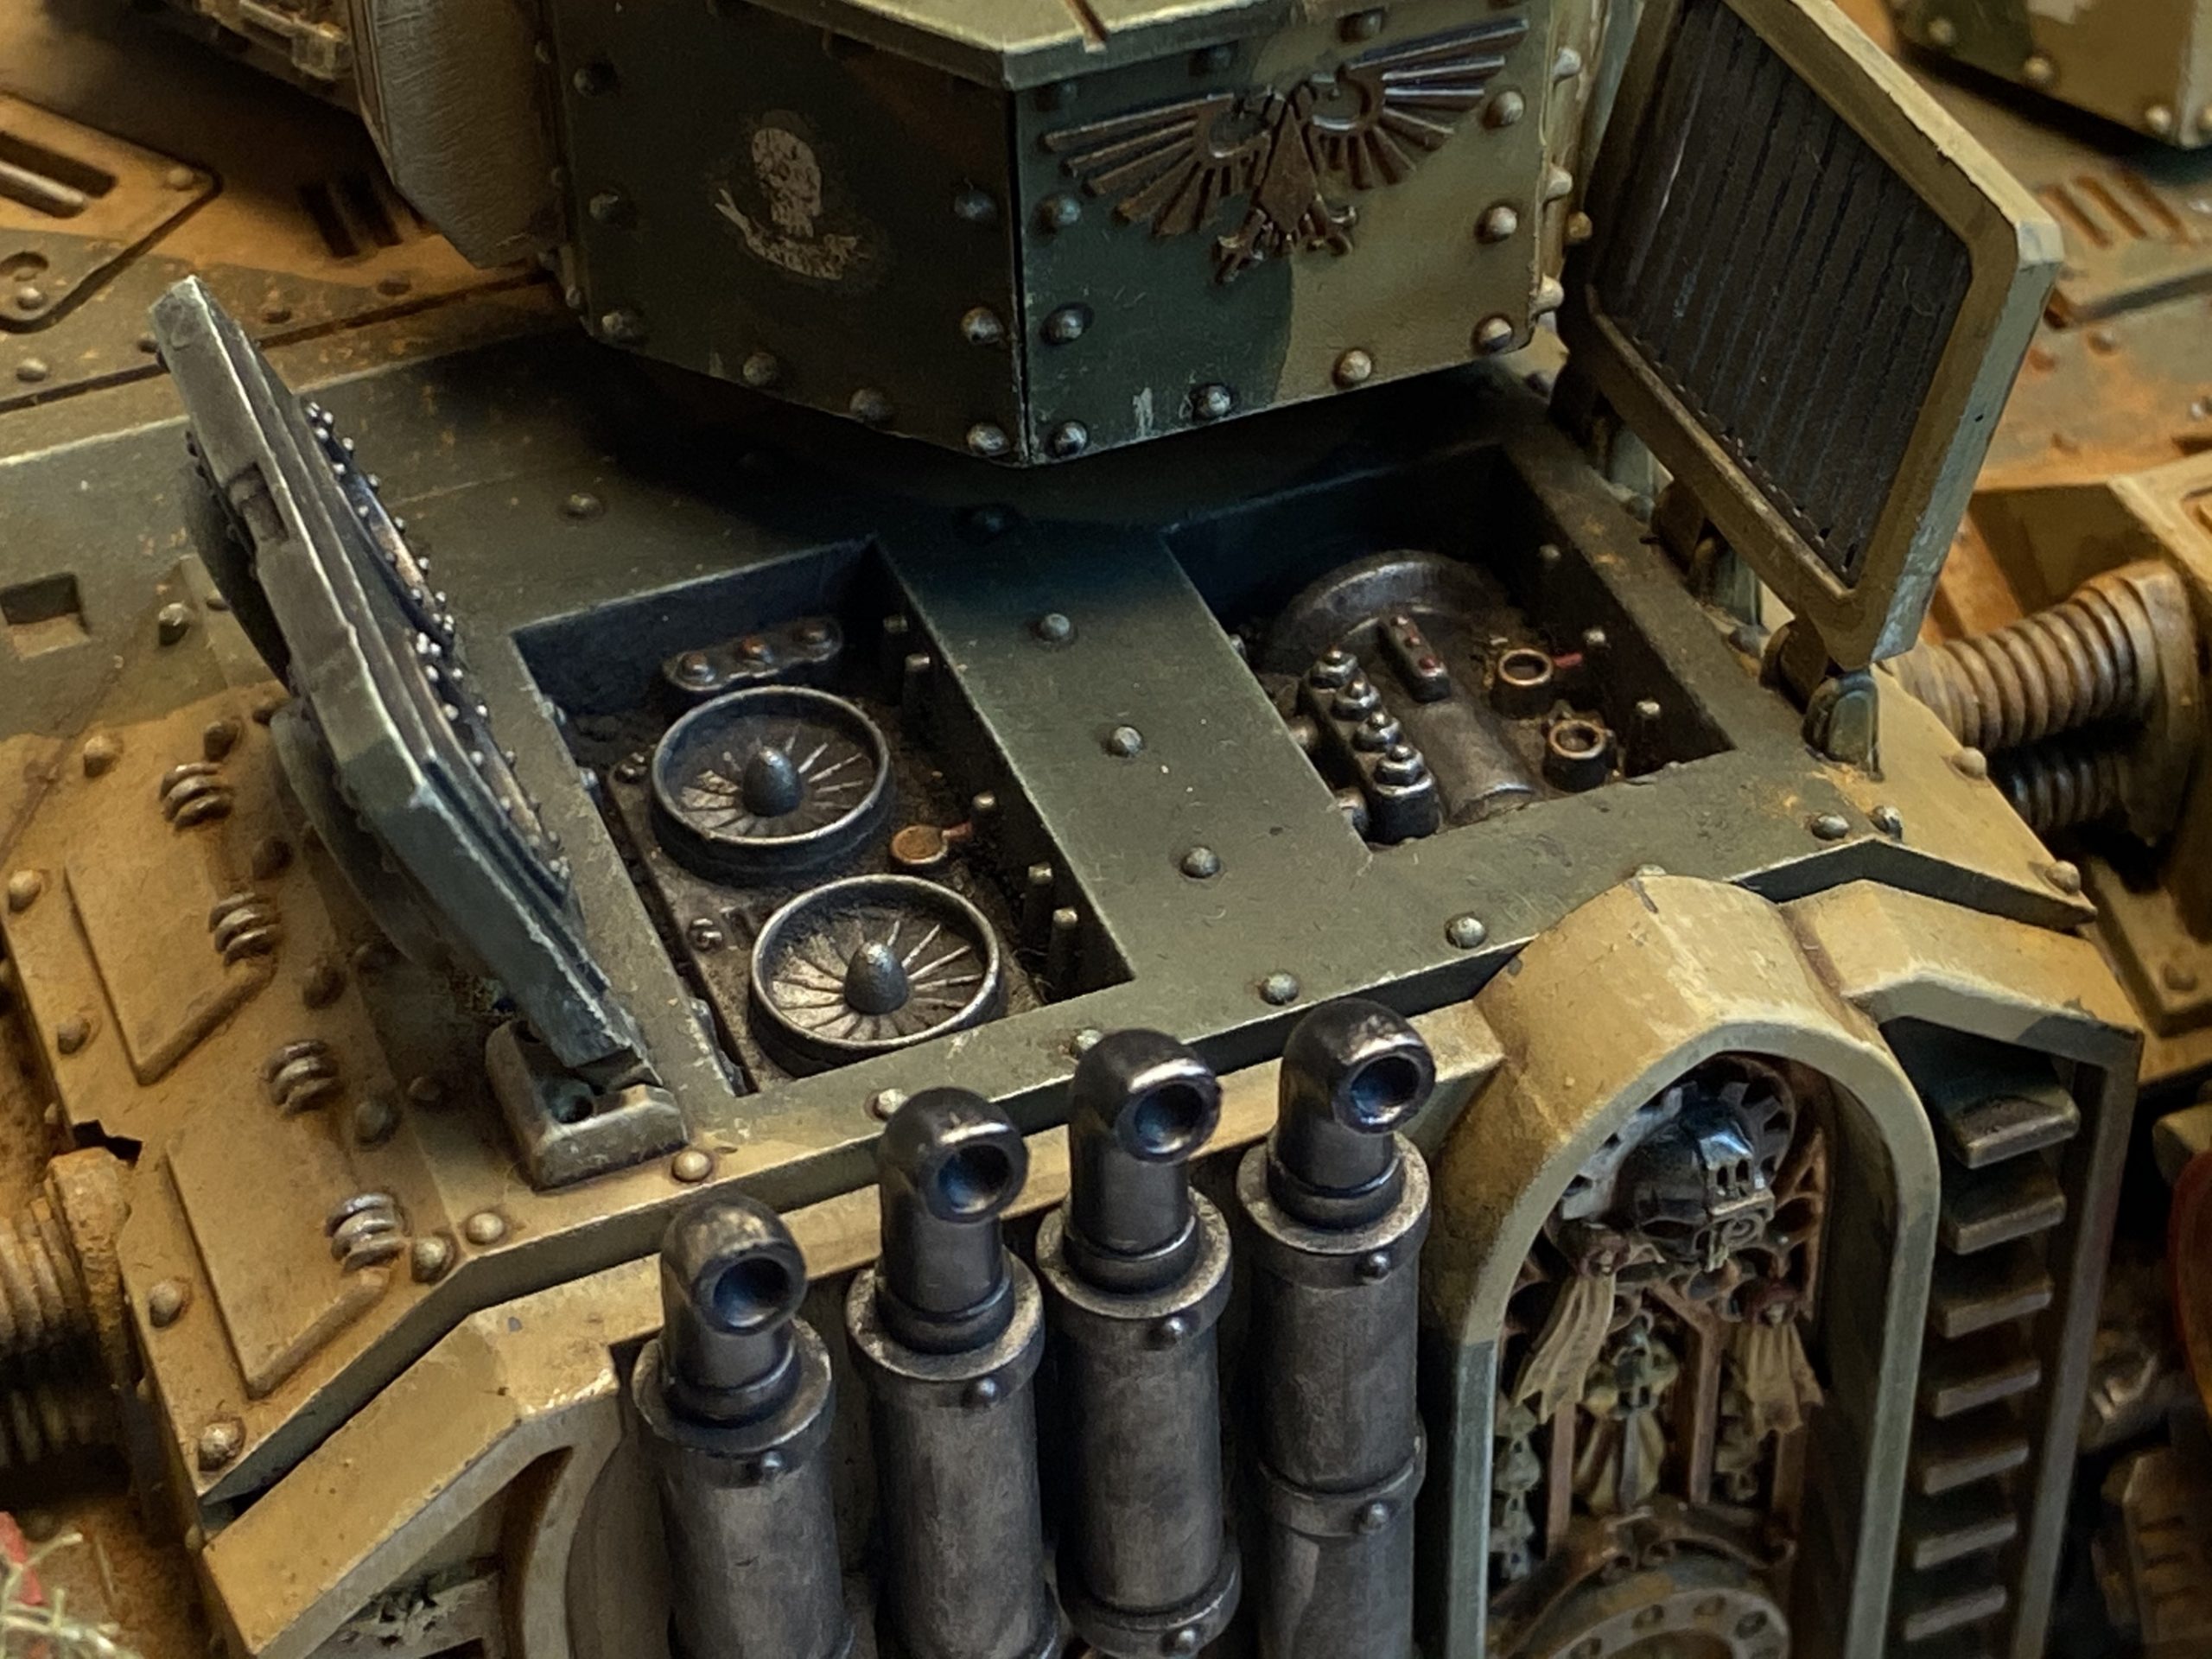
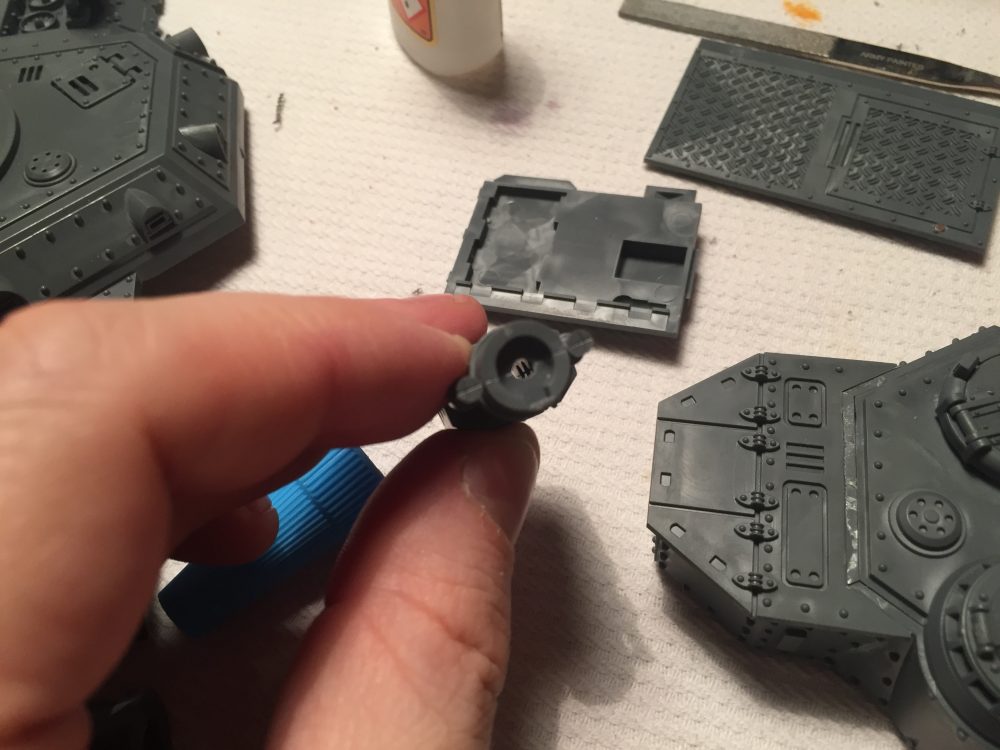
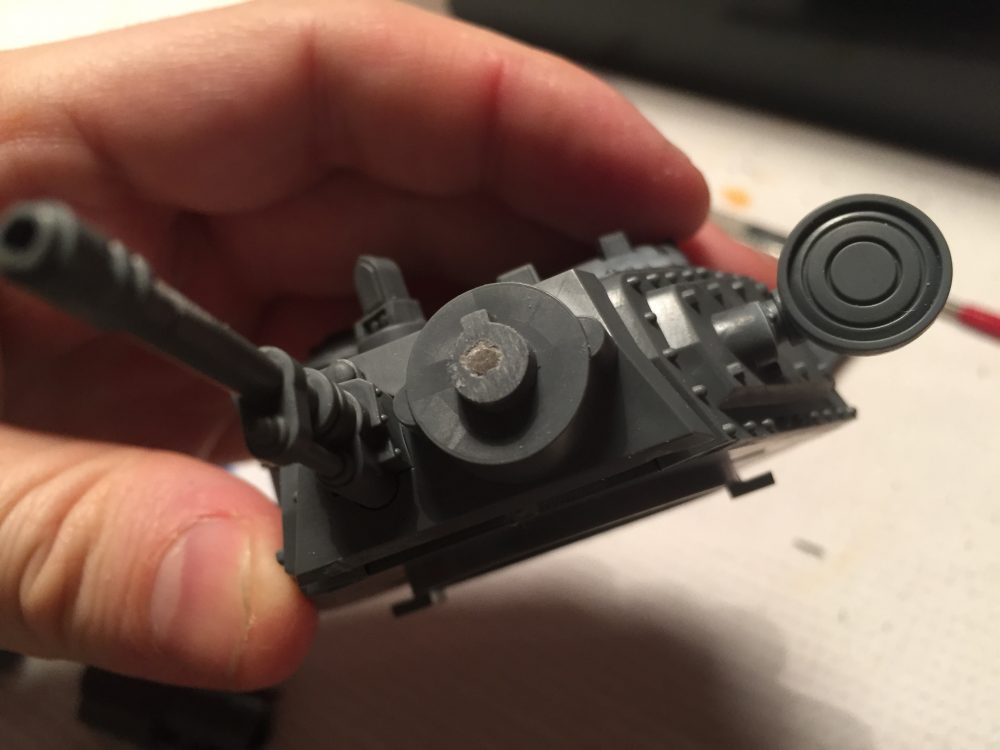
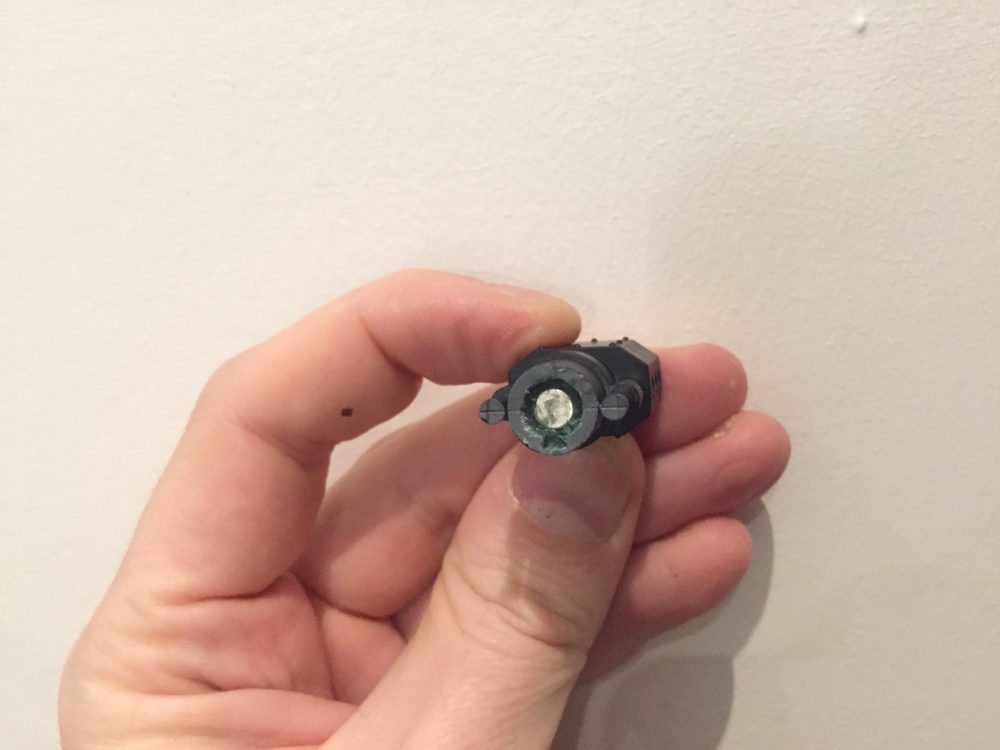
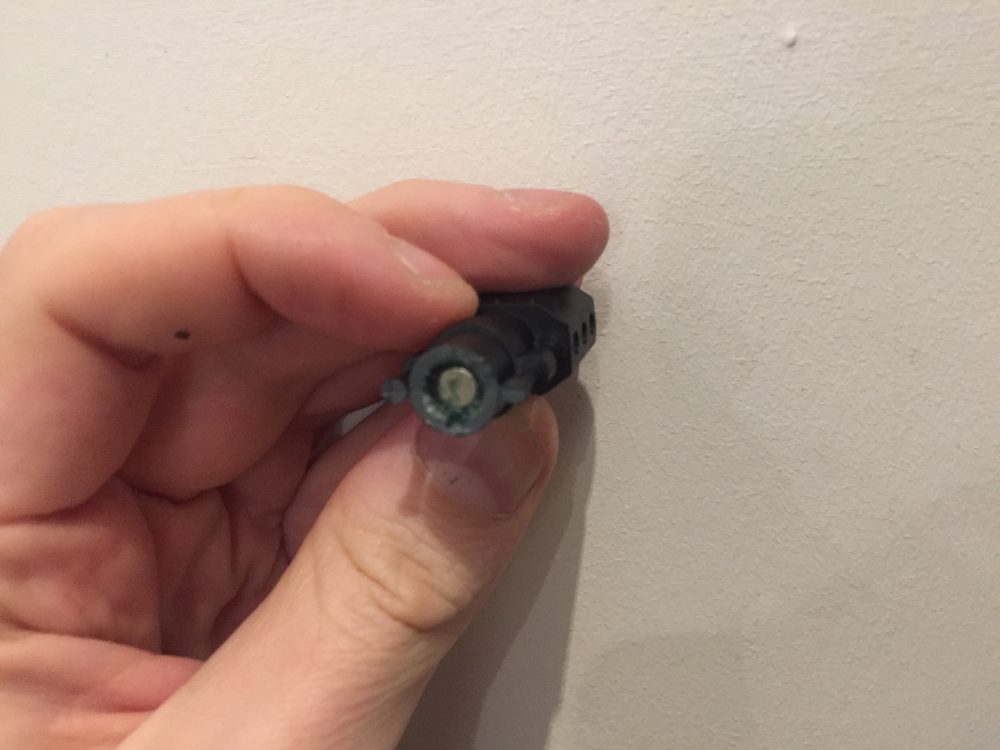
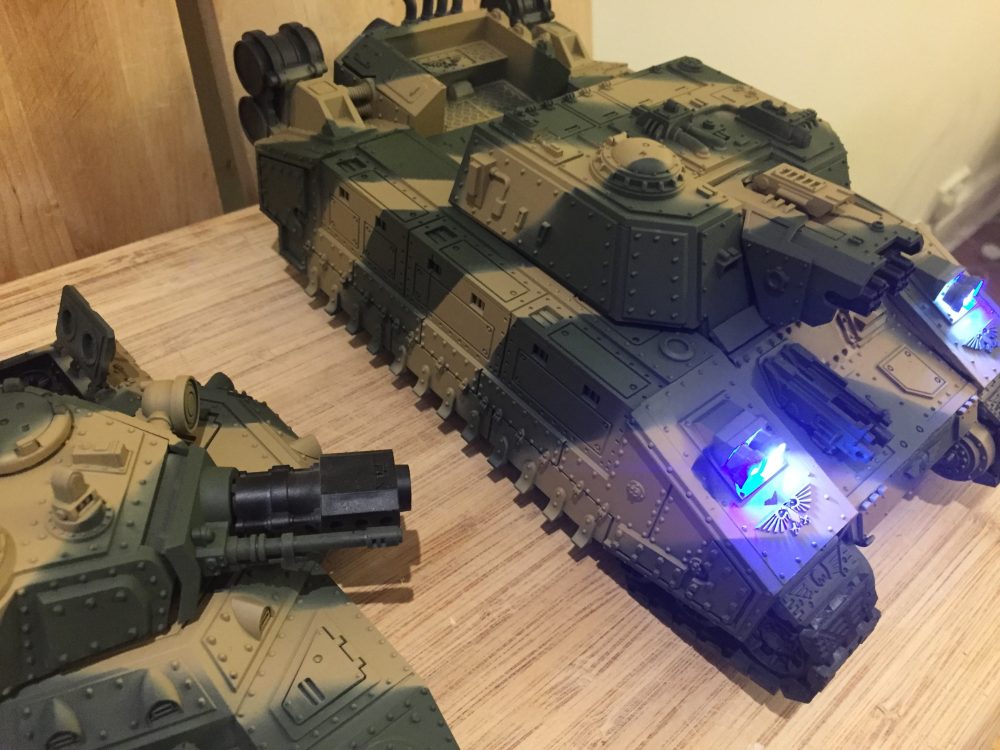
Reed Switch
I used a Reed Switch to make it easier to turn on the lights – it is also a fairly cool gimmick/trick. The Reed Switch is normally open and therefore the LEDs are off – when a magnet is near to the switch, it closes and the circuit is completed. The lights are then turned on. This means I can leave the battery in place, the main switch on and the model put together.
When I want the lights on – e.g. at night when I cannot sleep and visions of Cadia are tearing through my mind – I simply introduce a magnet and bam. I have my night light!
-
- Overview

-
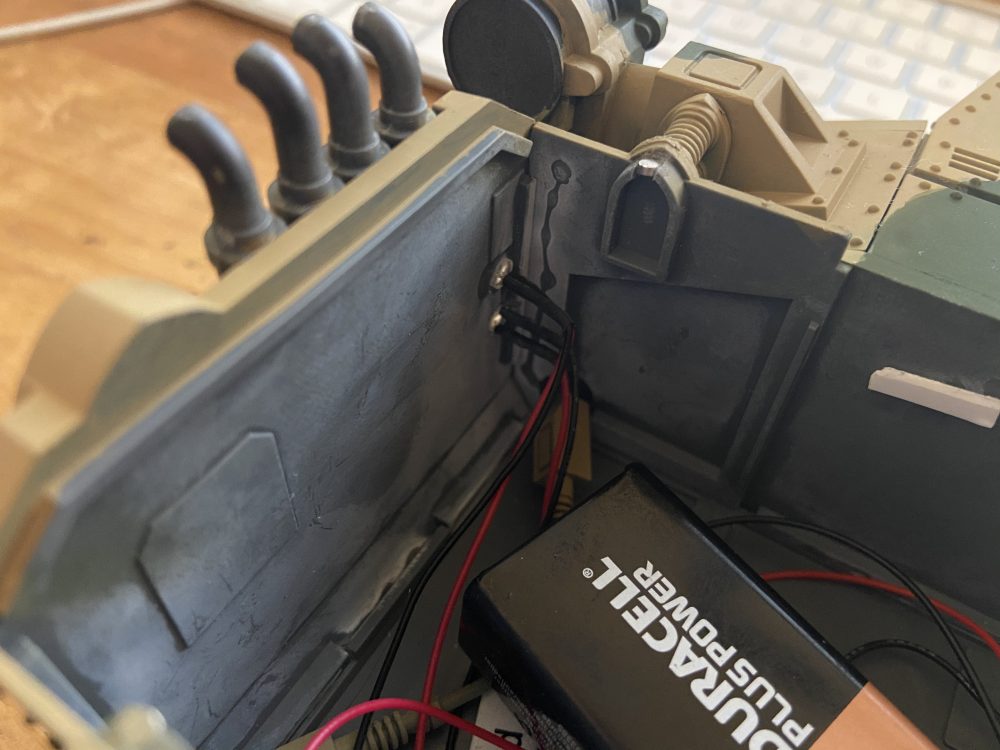
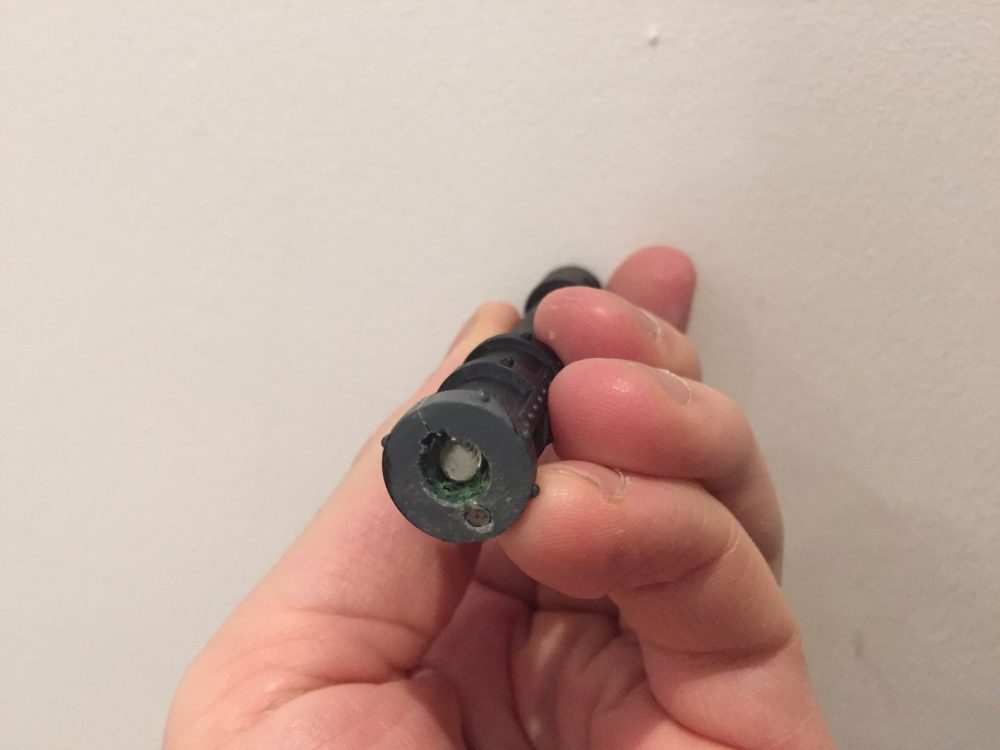
- Inside

-

- Inside

-
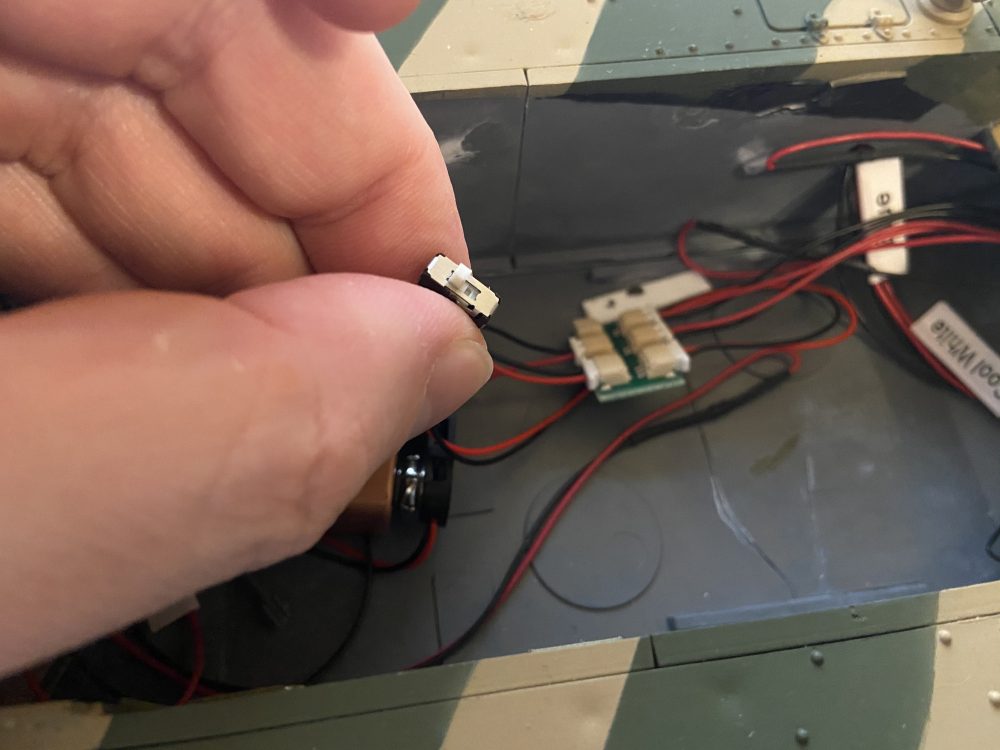
- Switch

-
- Reed Switch

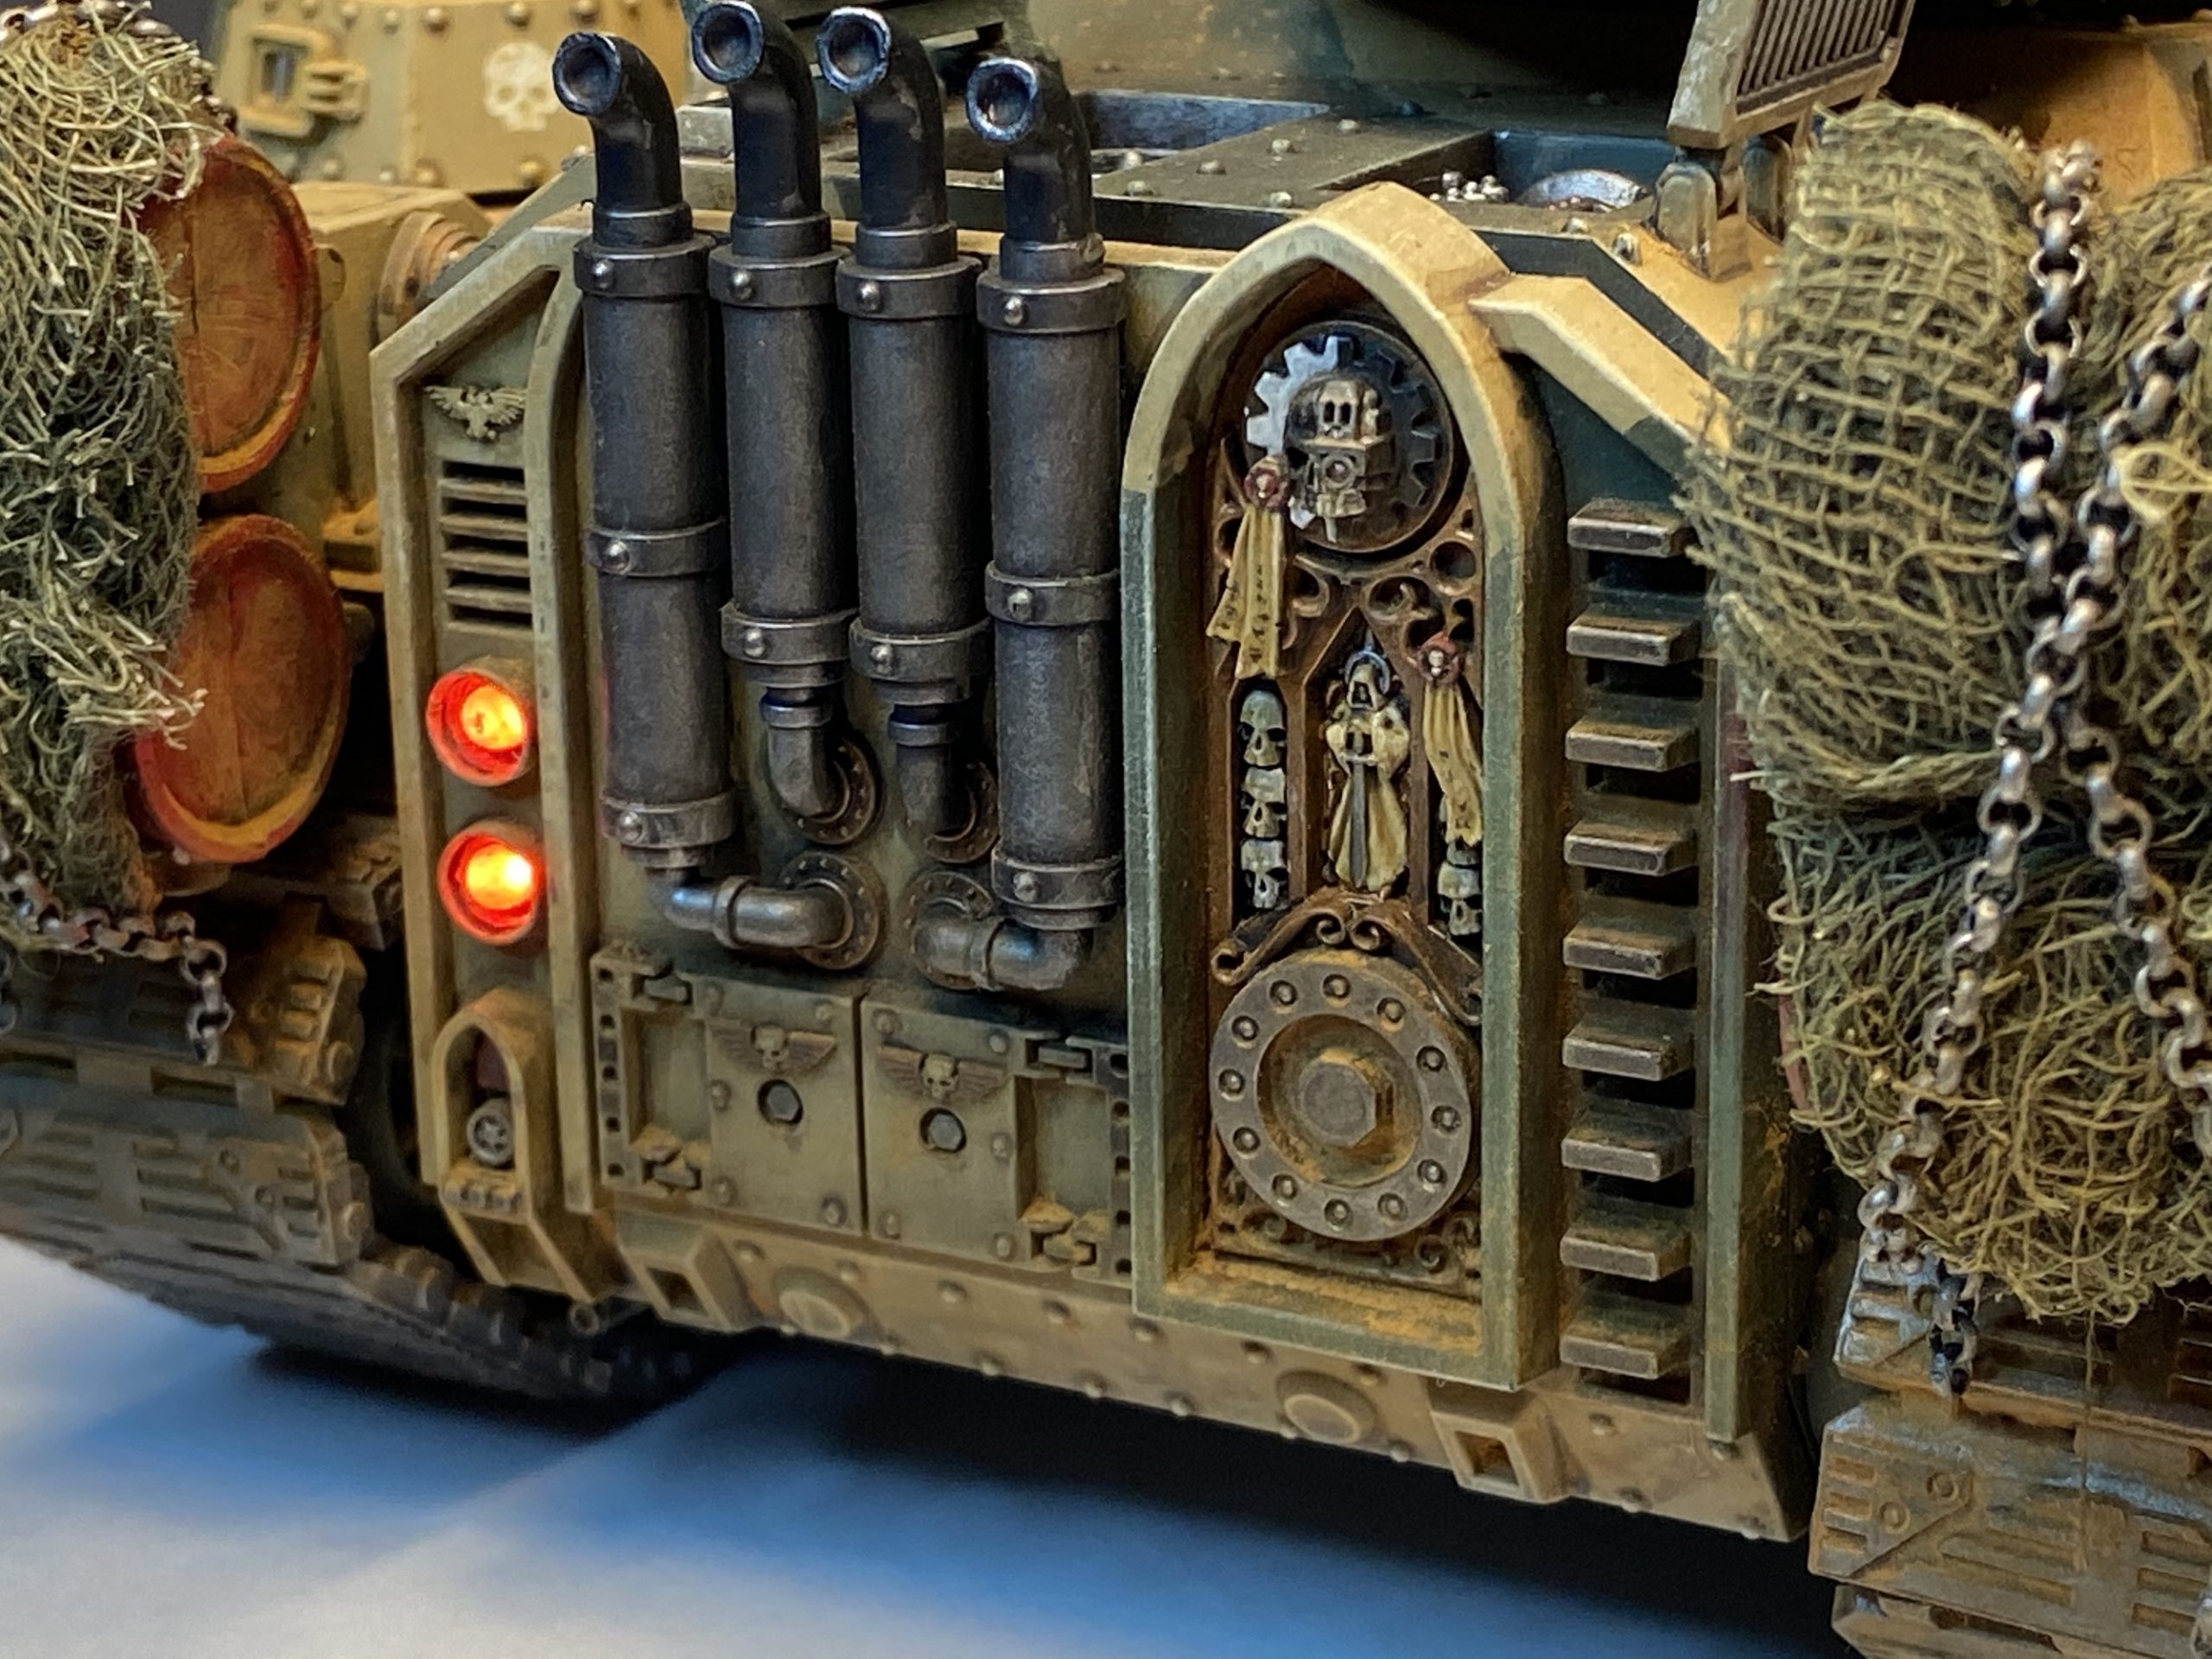
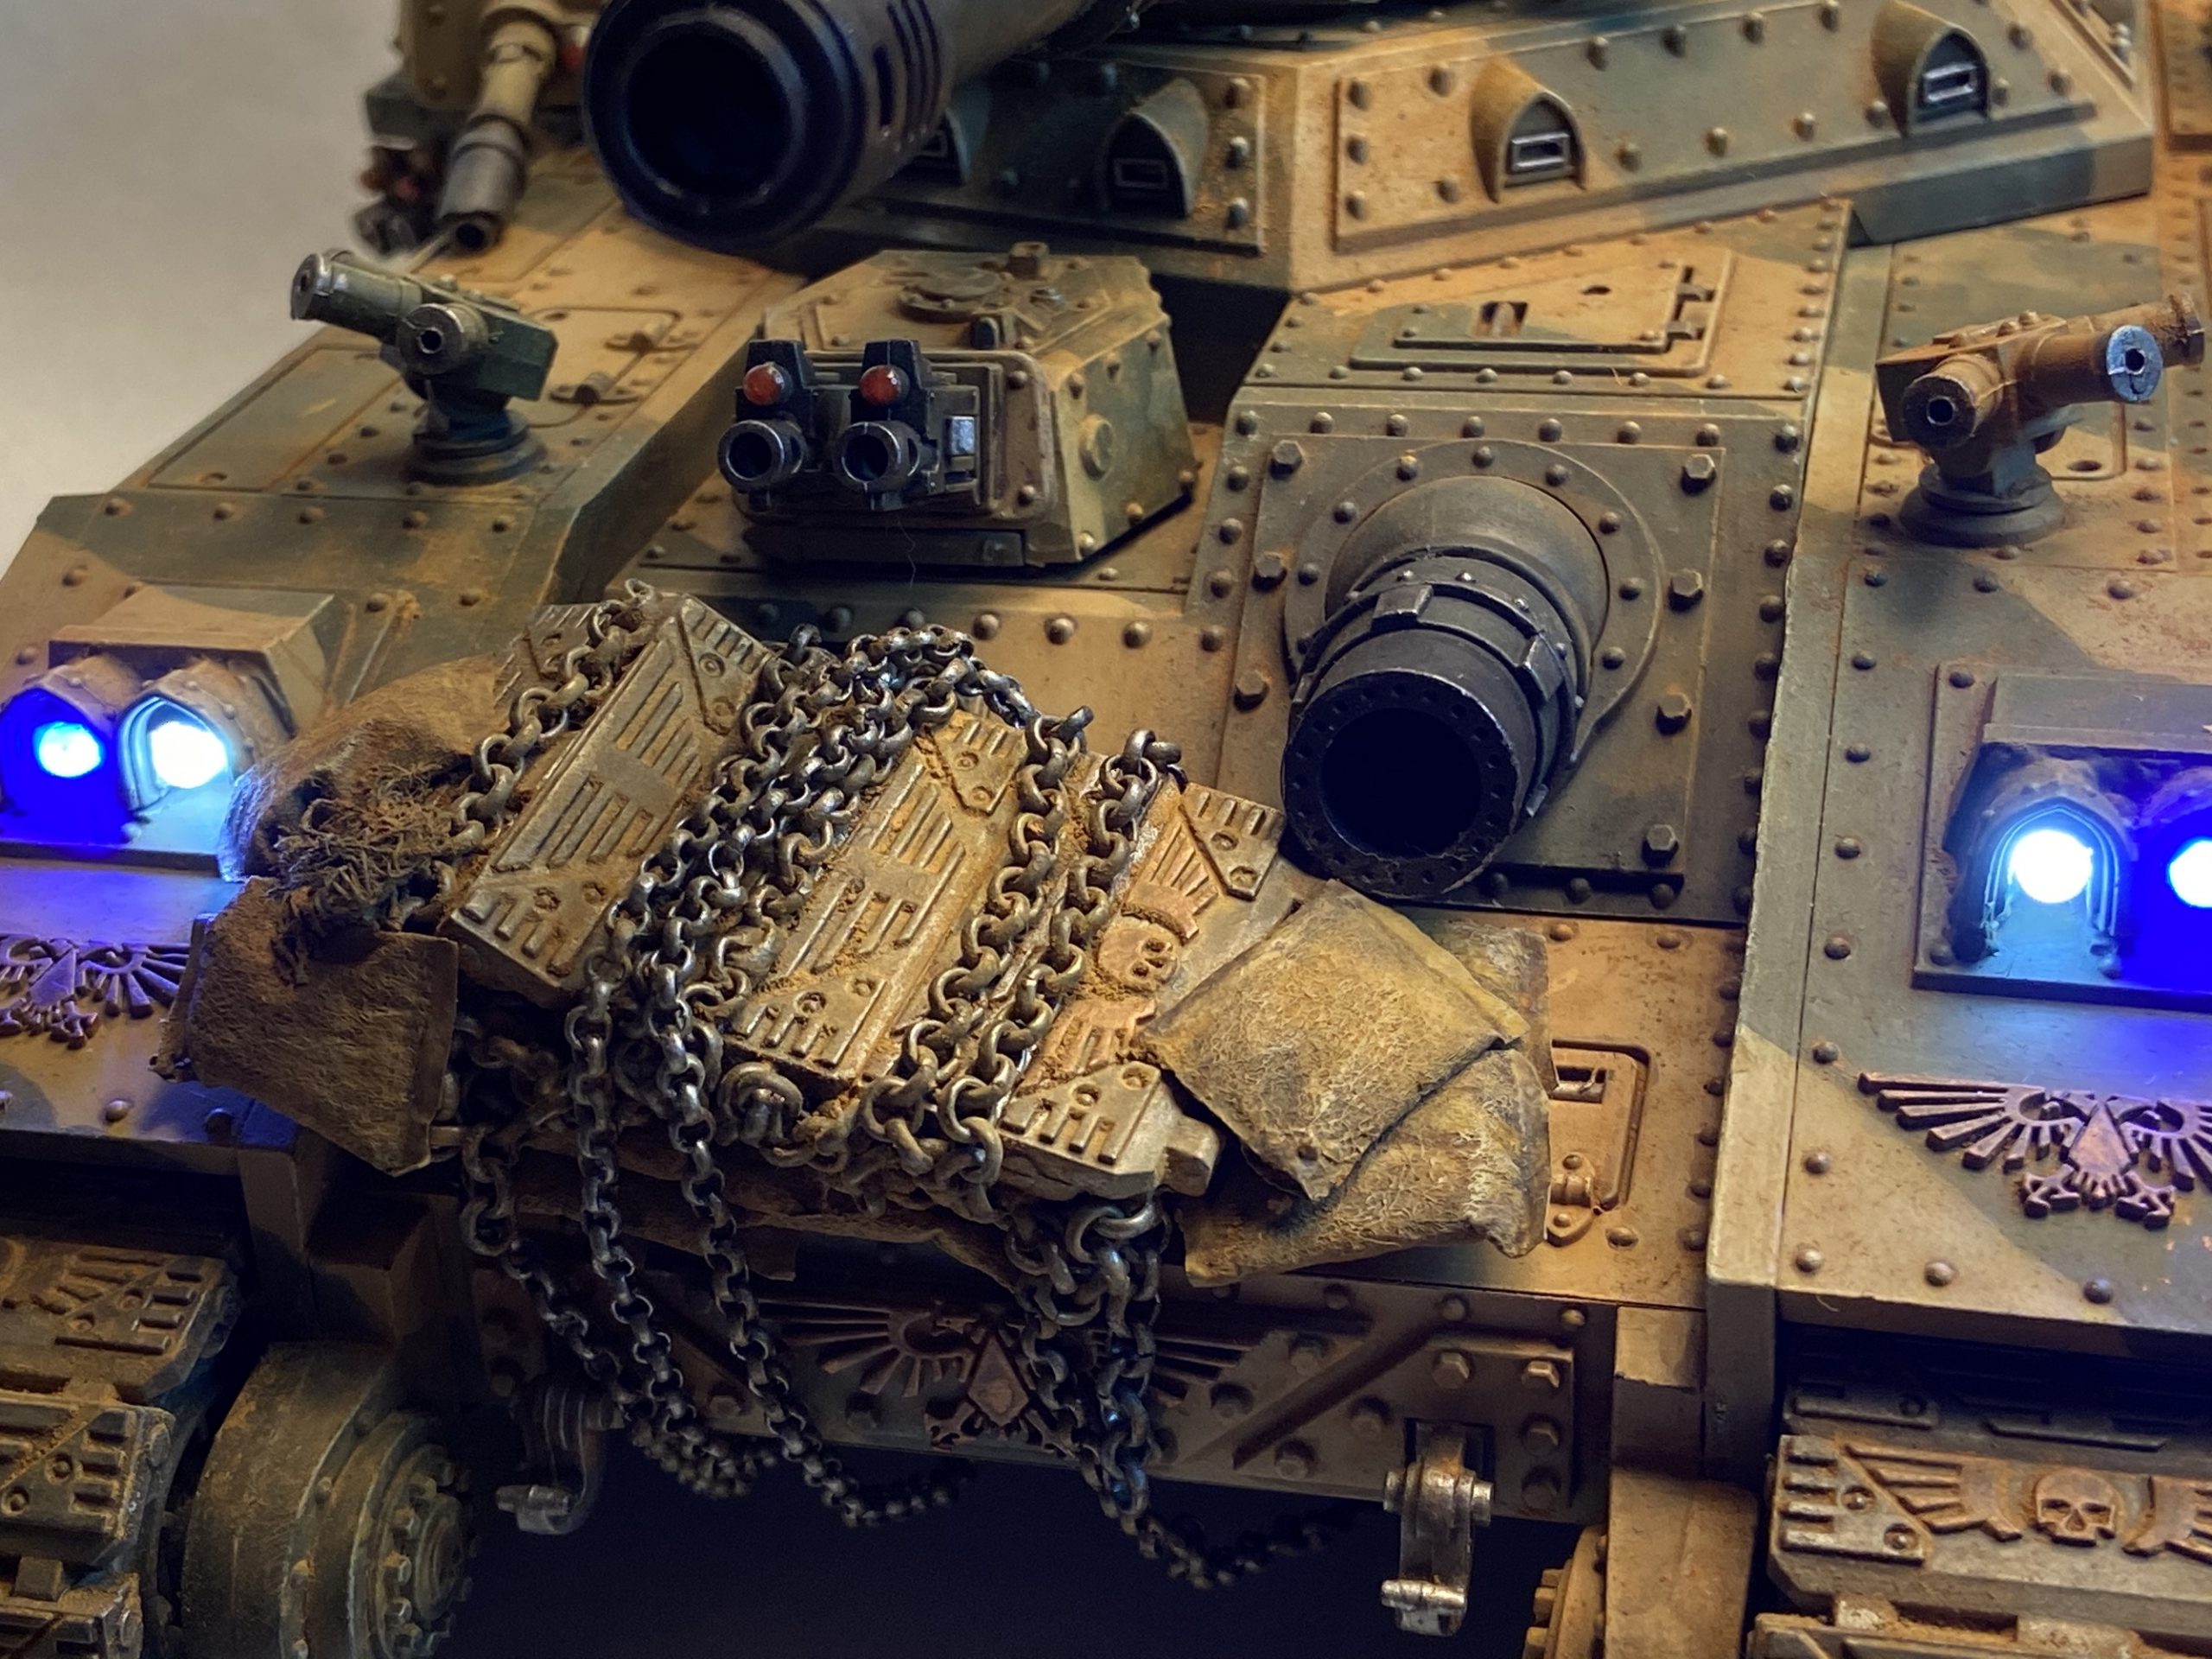
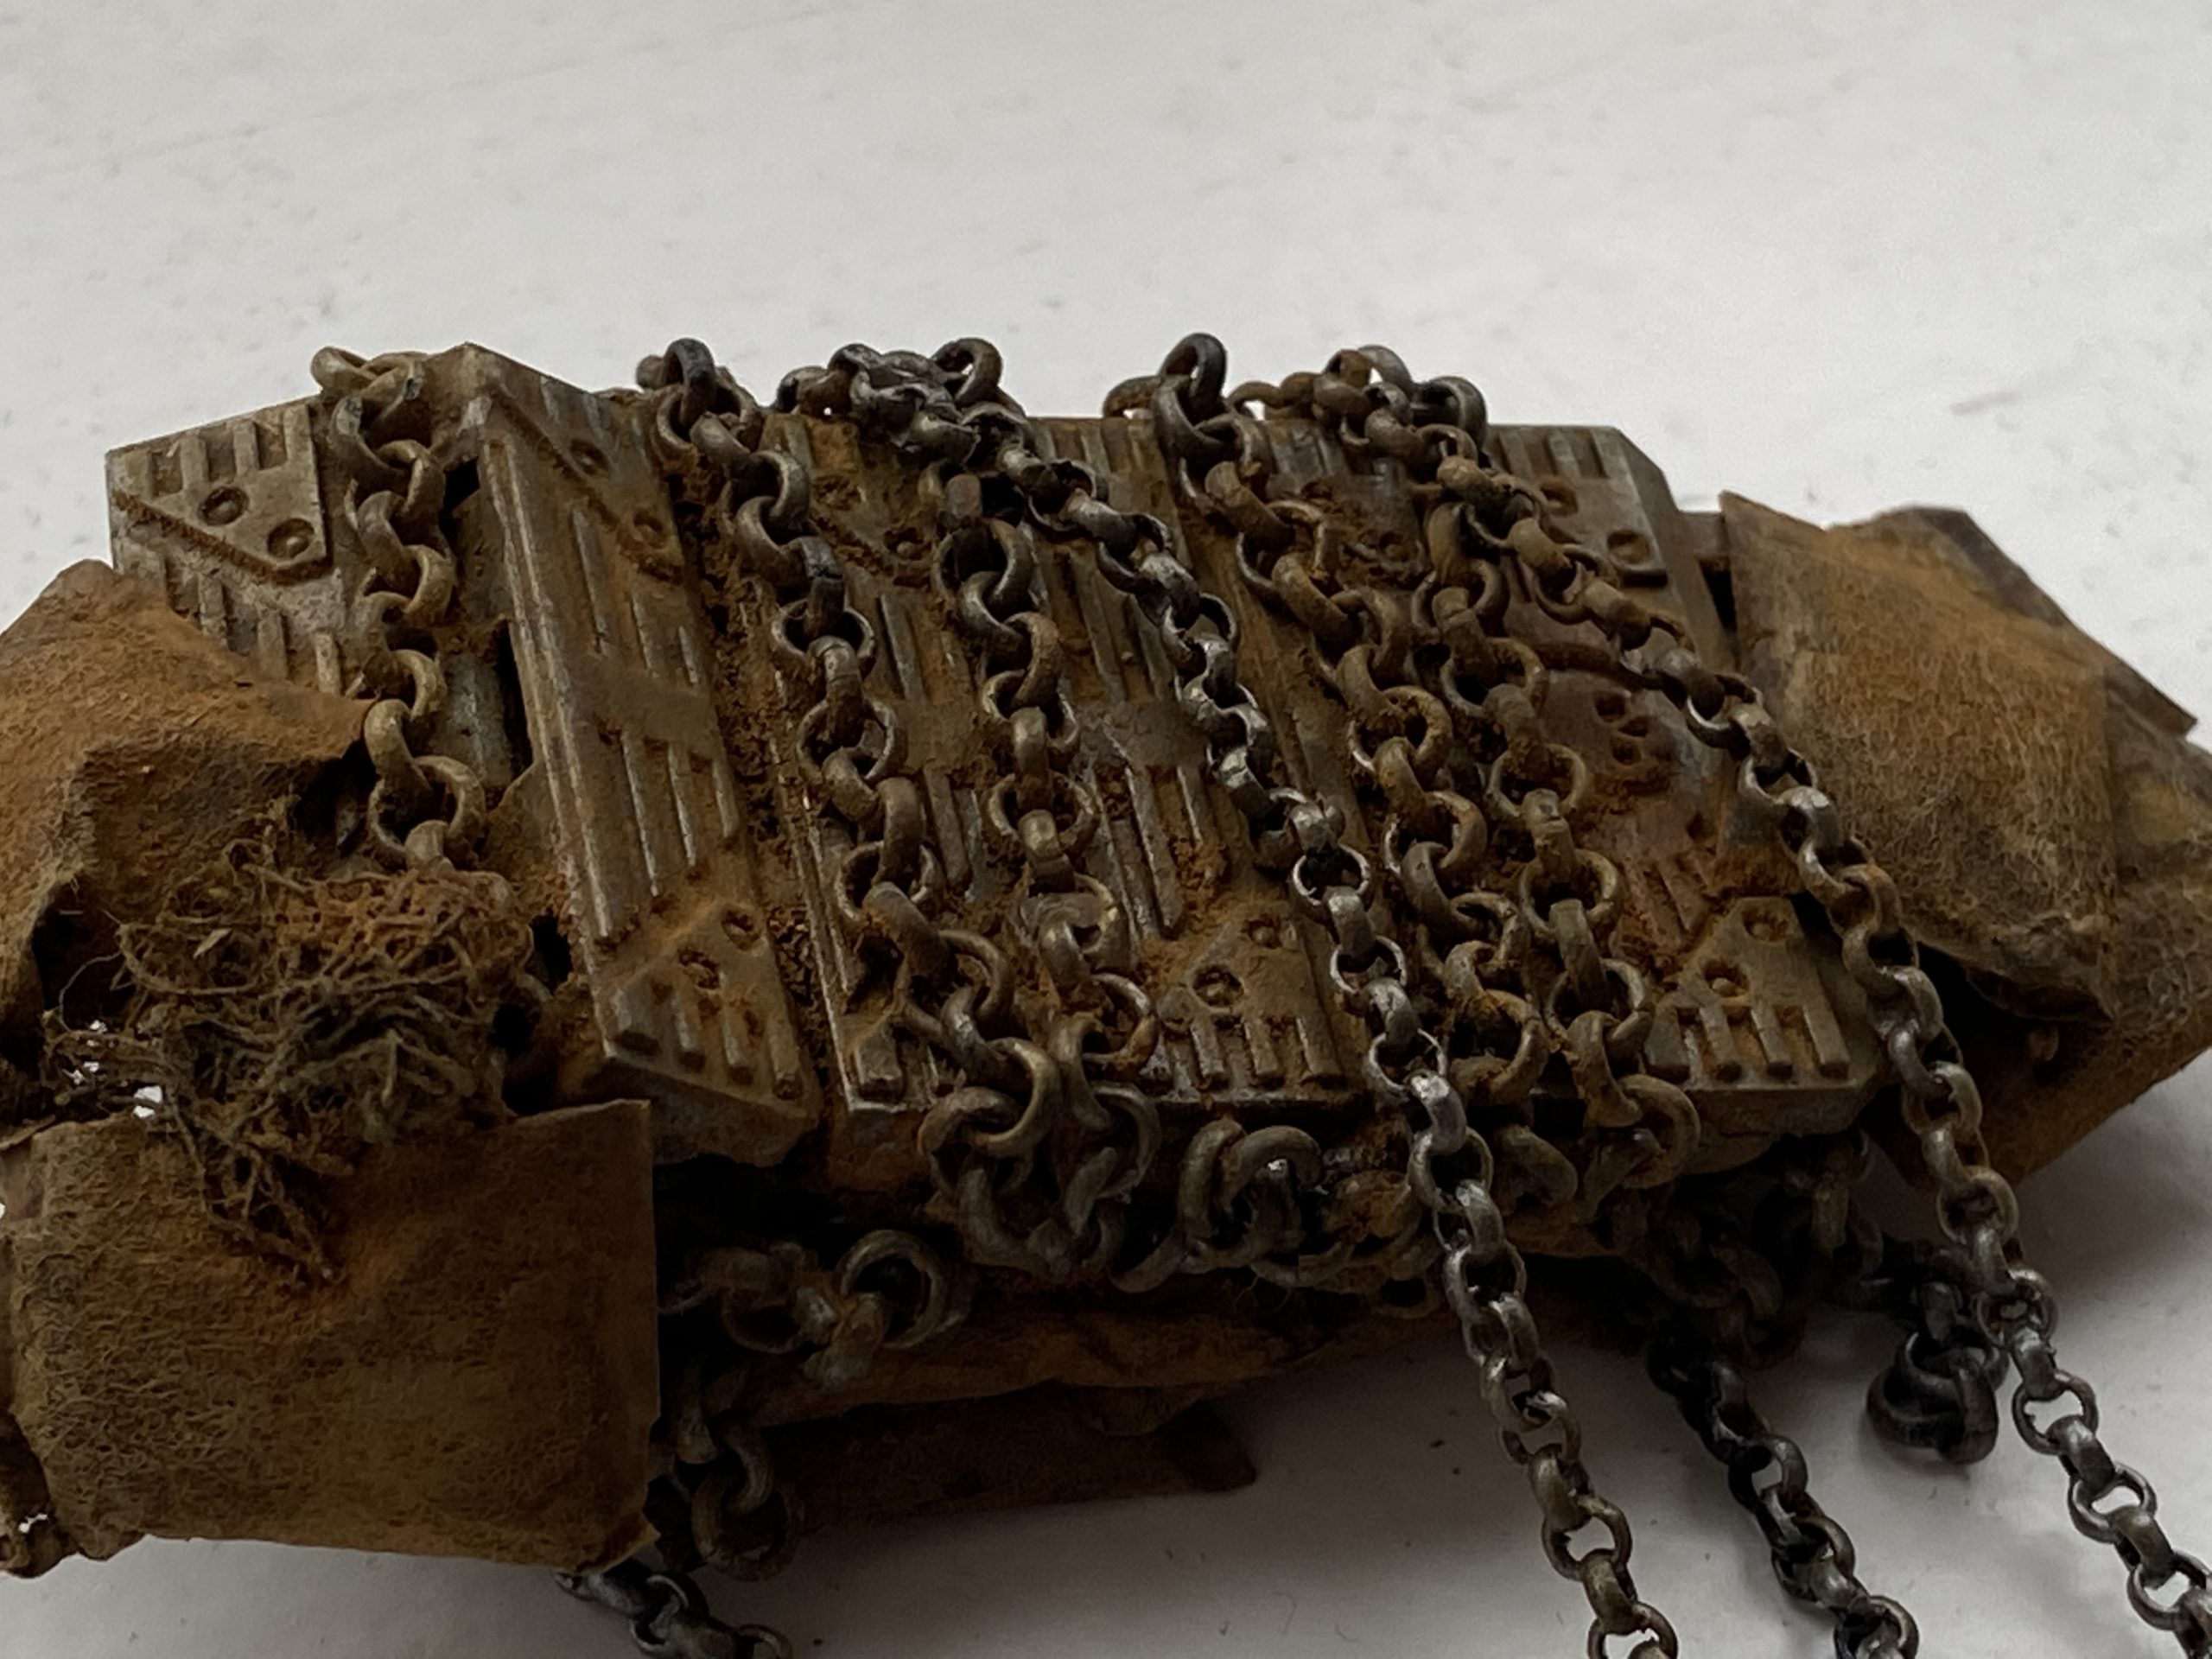
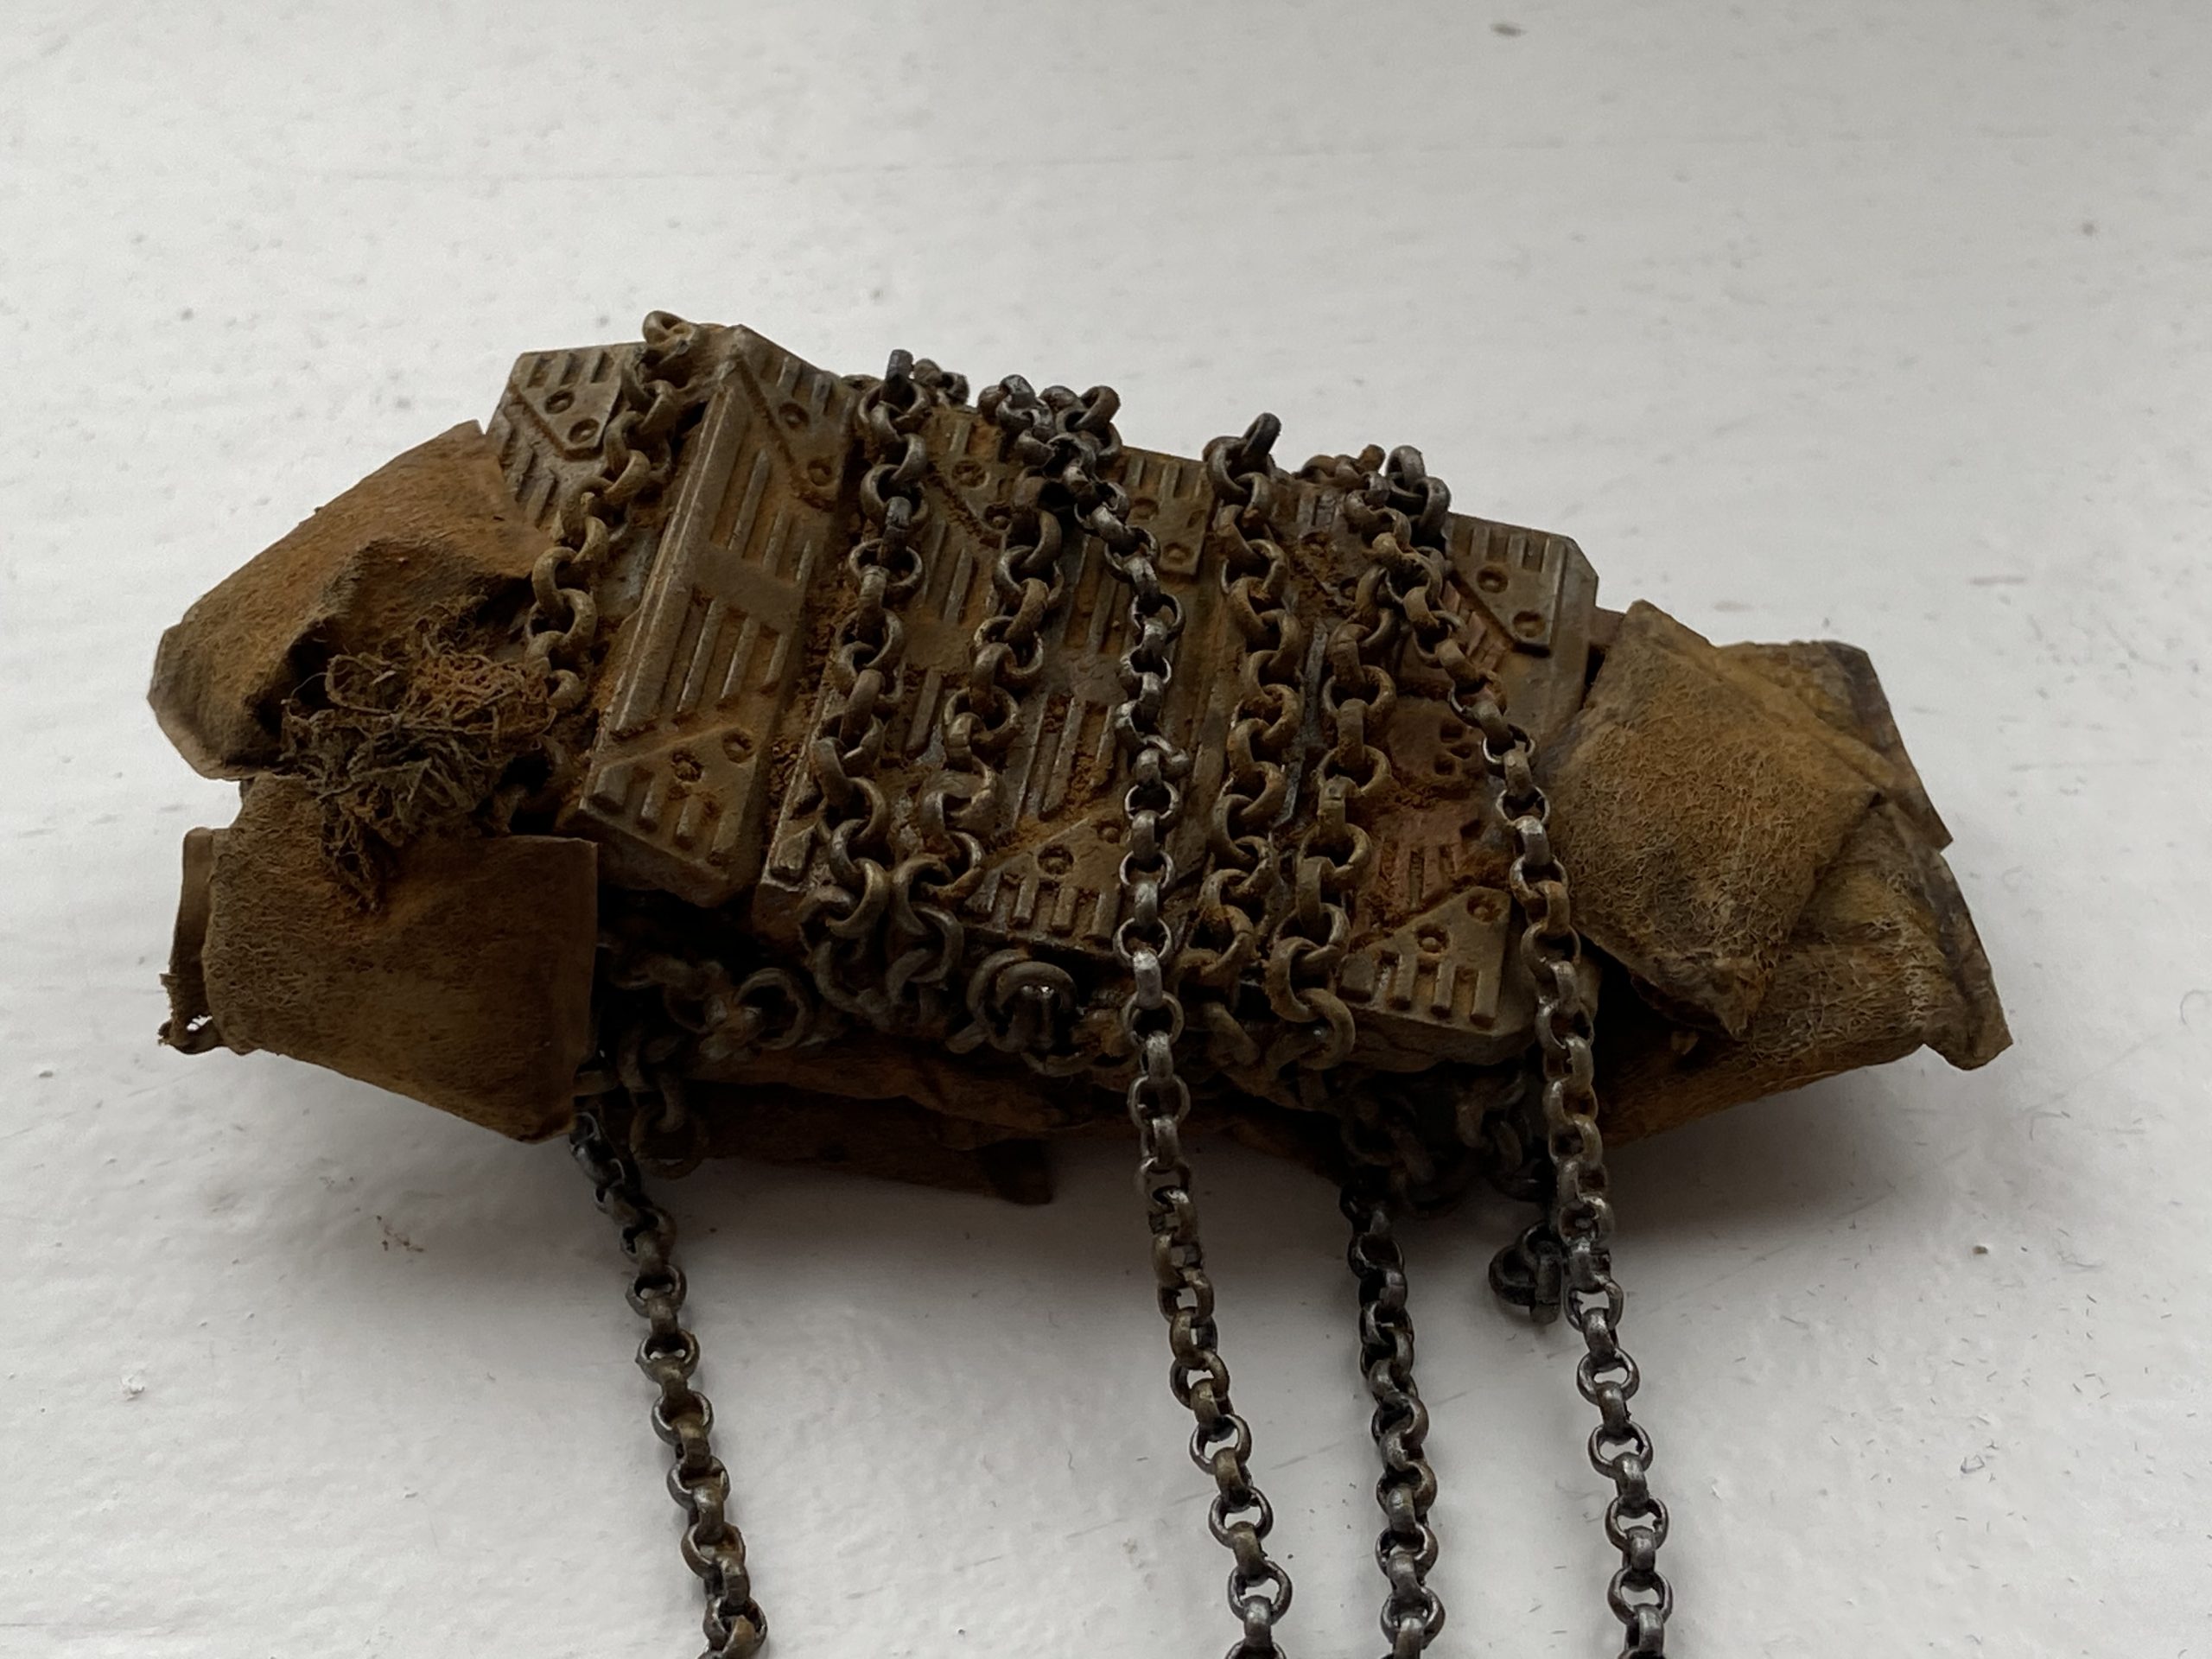
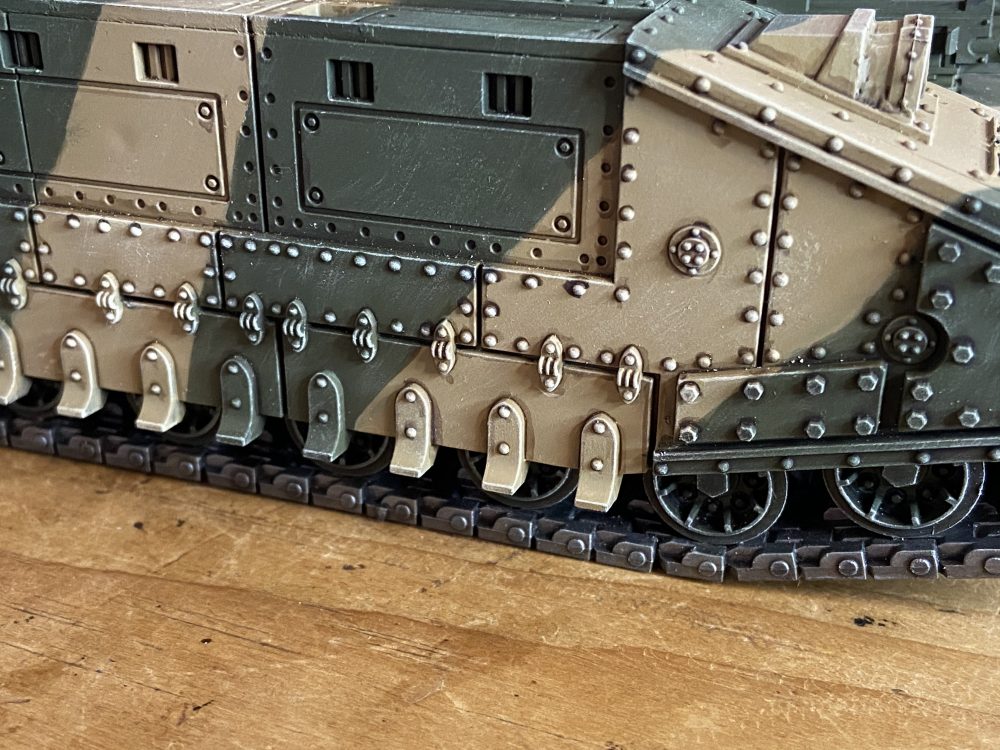
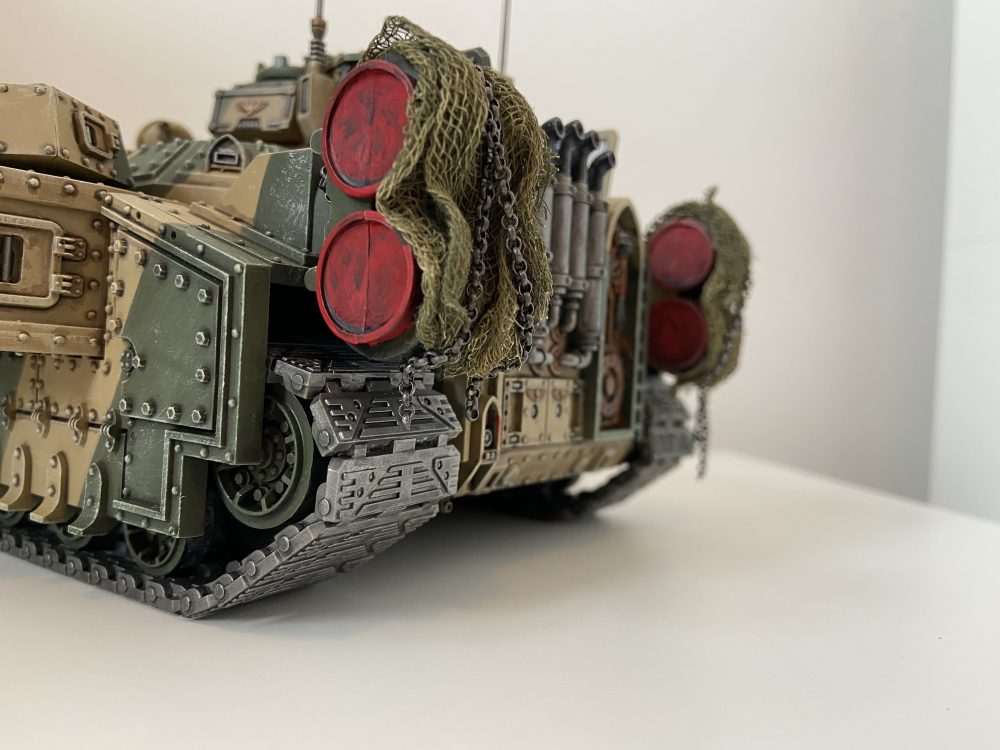
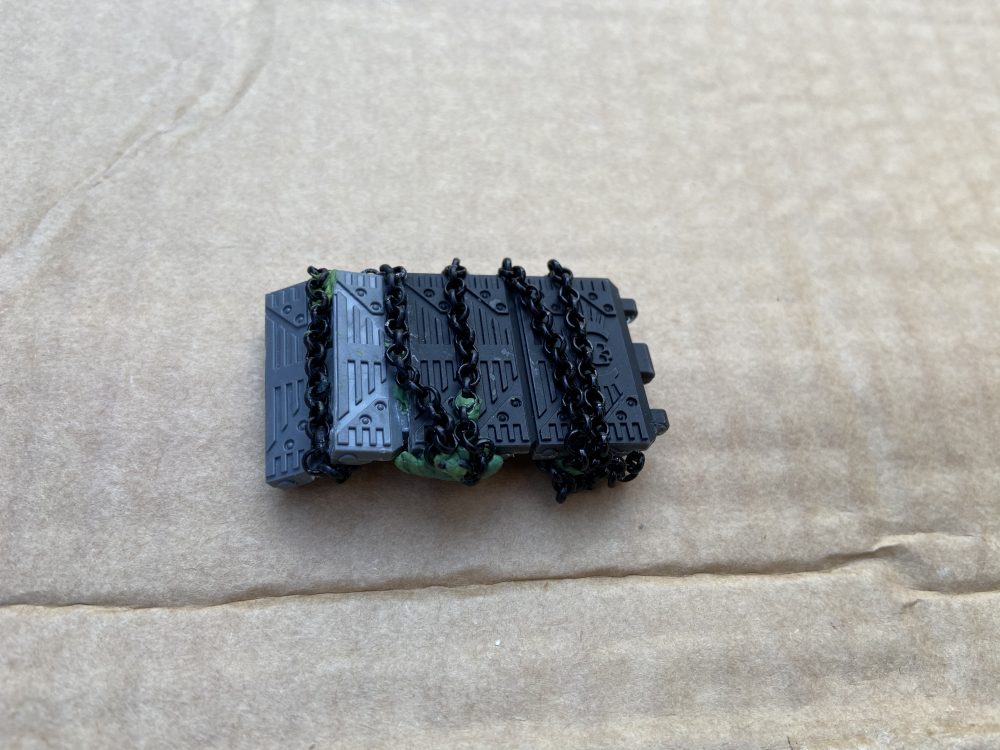
At present, I have some spare pieces of track with some sandbags on top as my magnet. On the underside of the track are three magnets that when placed near the Reed Switch turn it on. It is also laced in chains that run around the track and then under the Baneblade to make it look like its held together with chains. The chains stick to some tiny magnets under the Baneblade so they can hang loose – which looks kind of cool! The tracks and chains were painted with Leadbelcher and then washed with Nuln Oil. They also got some pigments added.
The sandbags I painted with Zandri Dust and then washed with various washes to give a stained and dirty look of various shades;
- Nuln Oil
- Agrax Earthshade
- Seraphim Sepia
- Fuegan Orange
- Cassandora Yellow

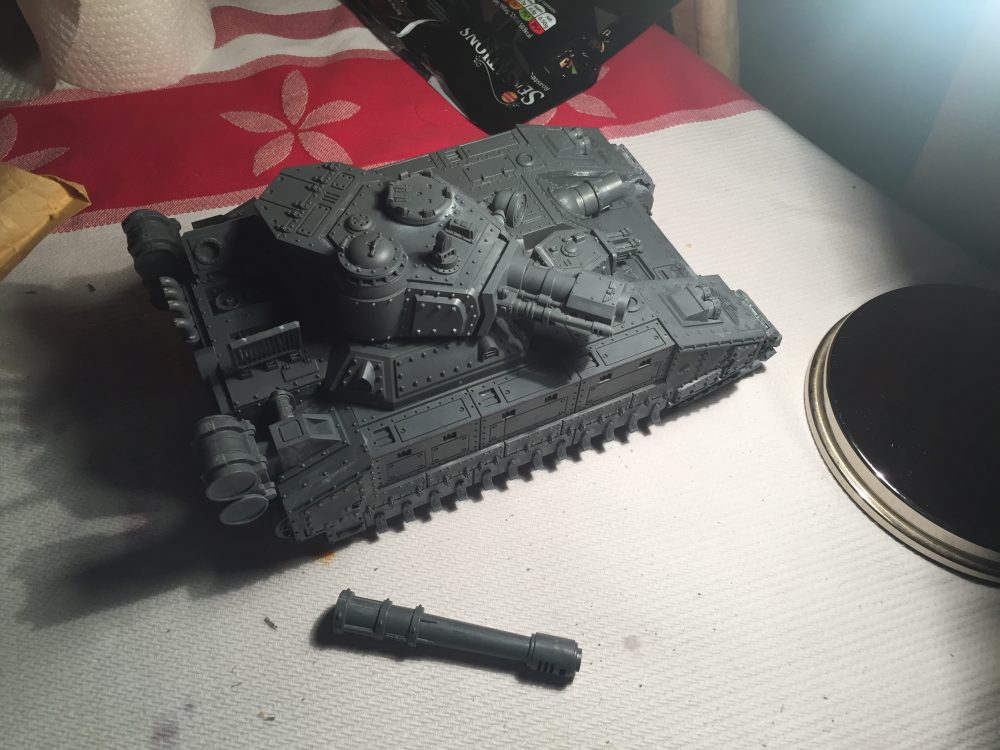
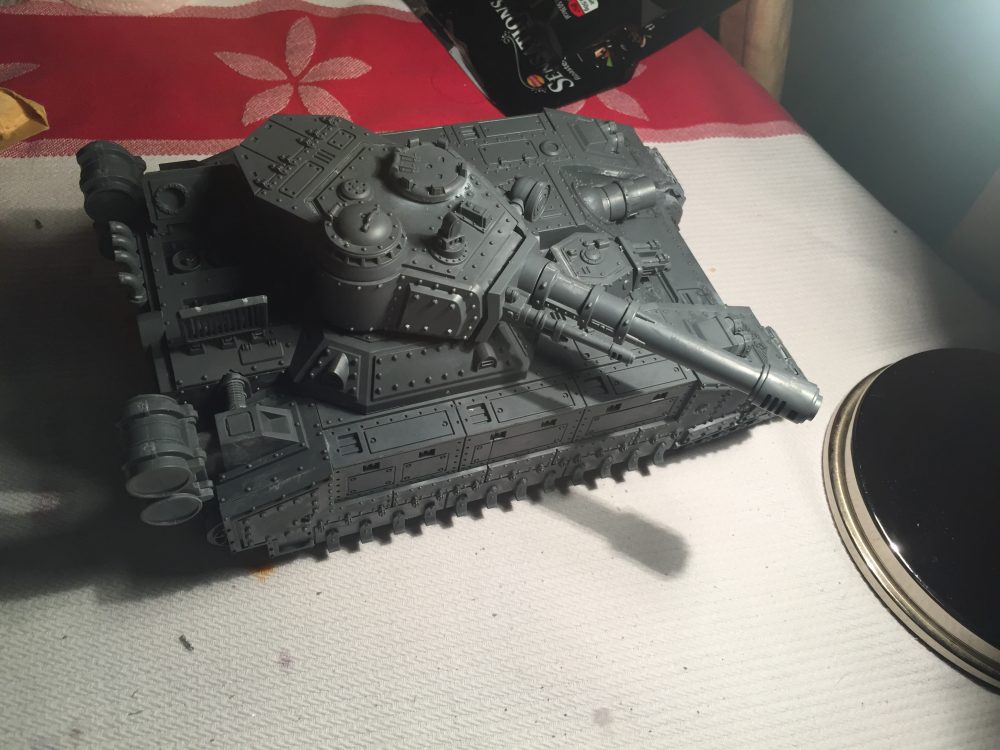
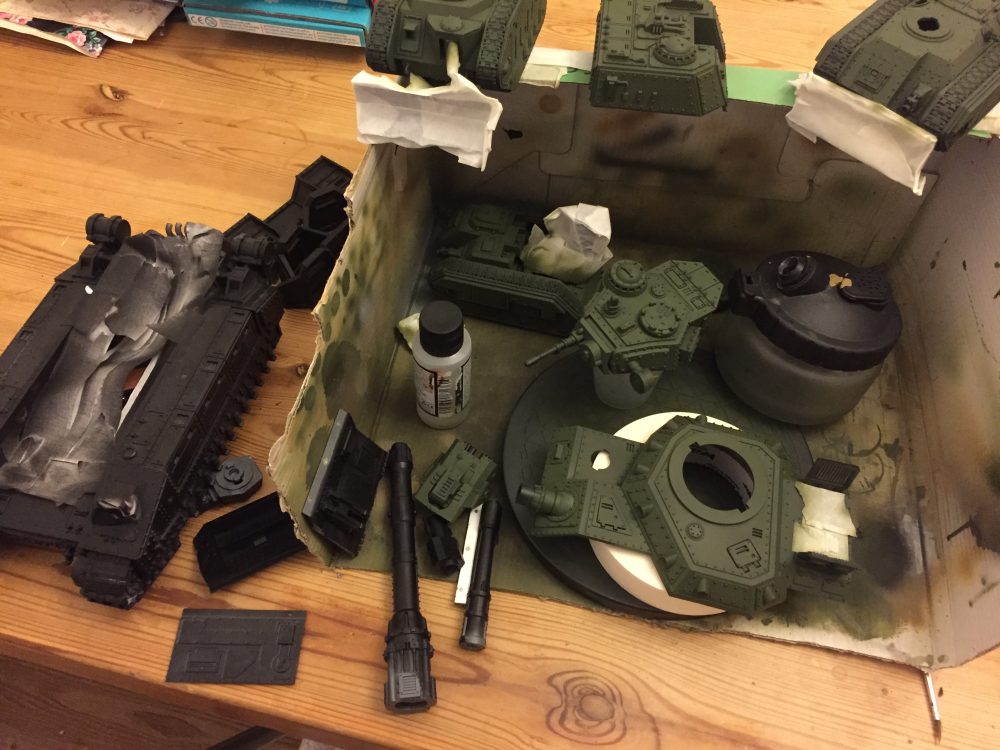
Baneblade WIP – Gallery
Below is a breakdown of a lot of my work in progress photos. This should give a good idea of the stages I go through to get to the endpoint.
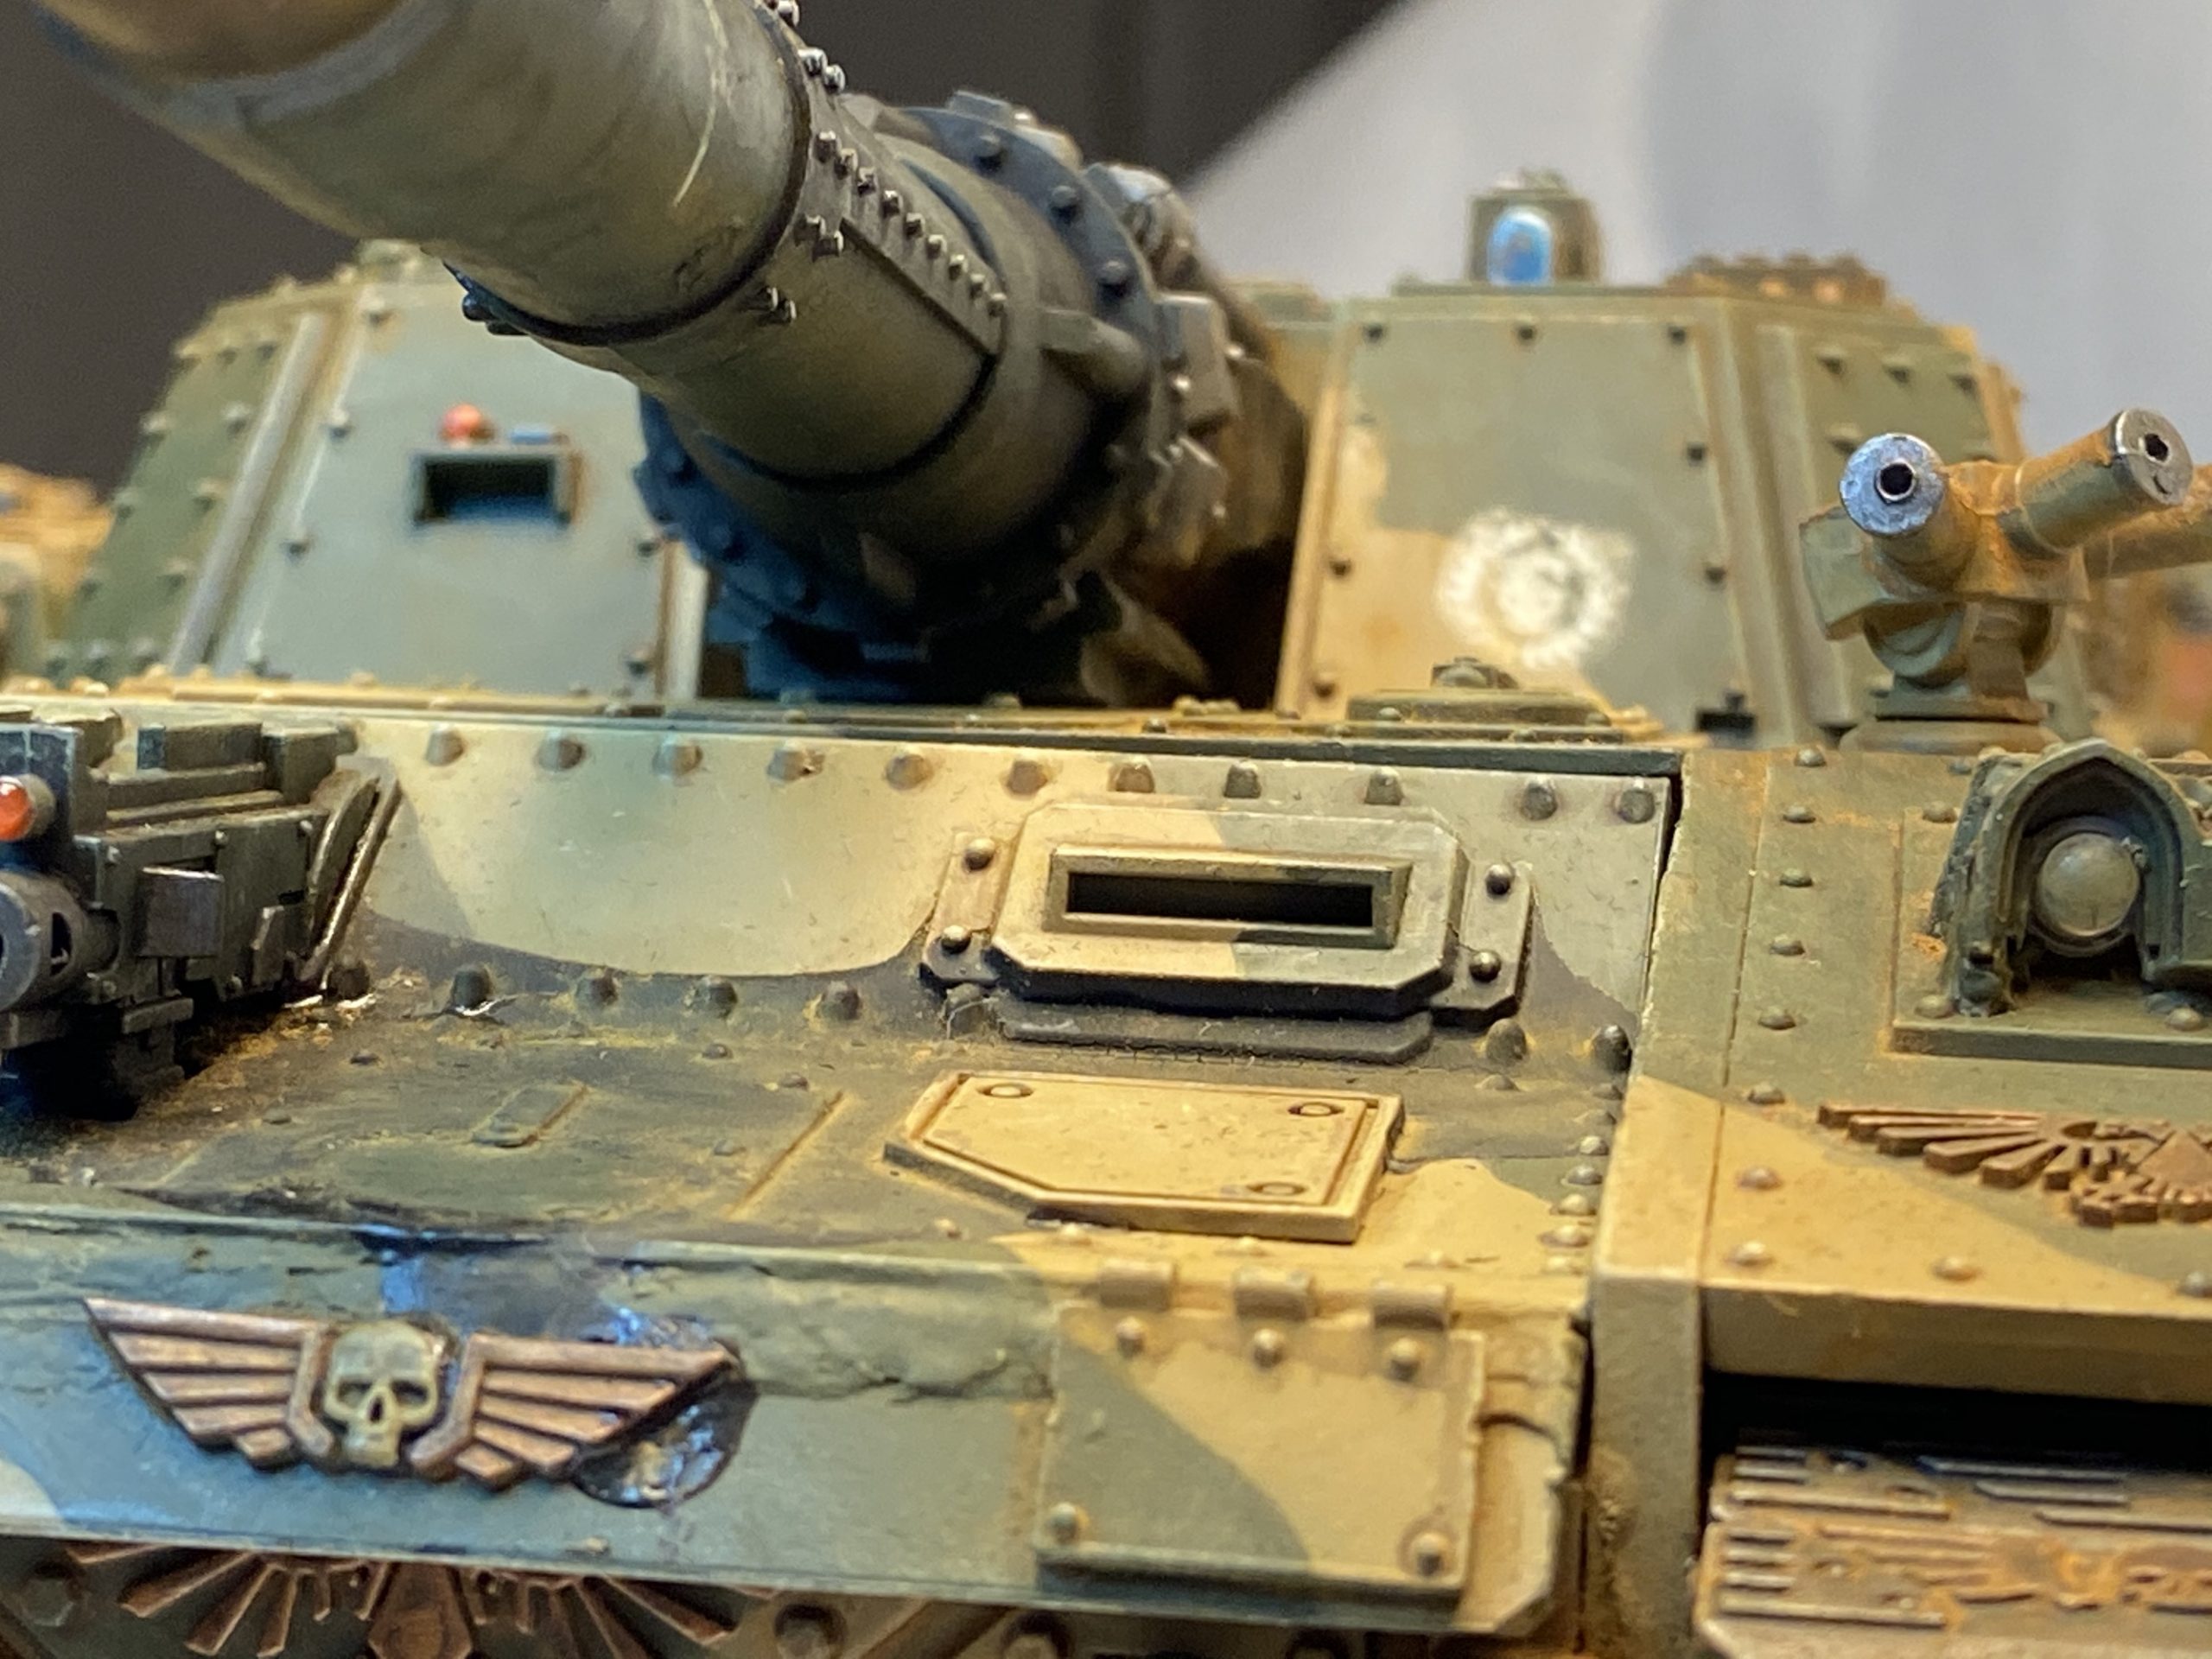
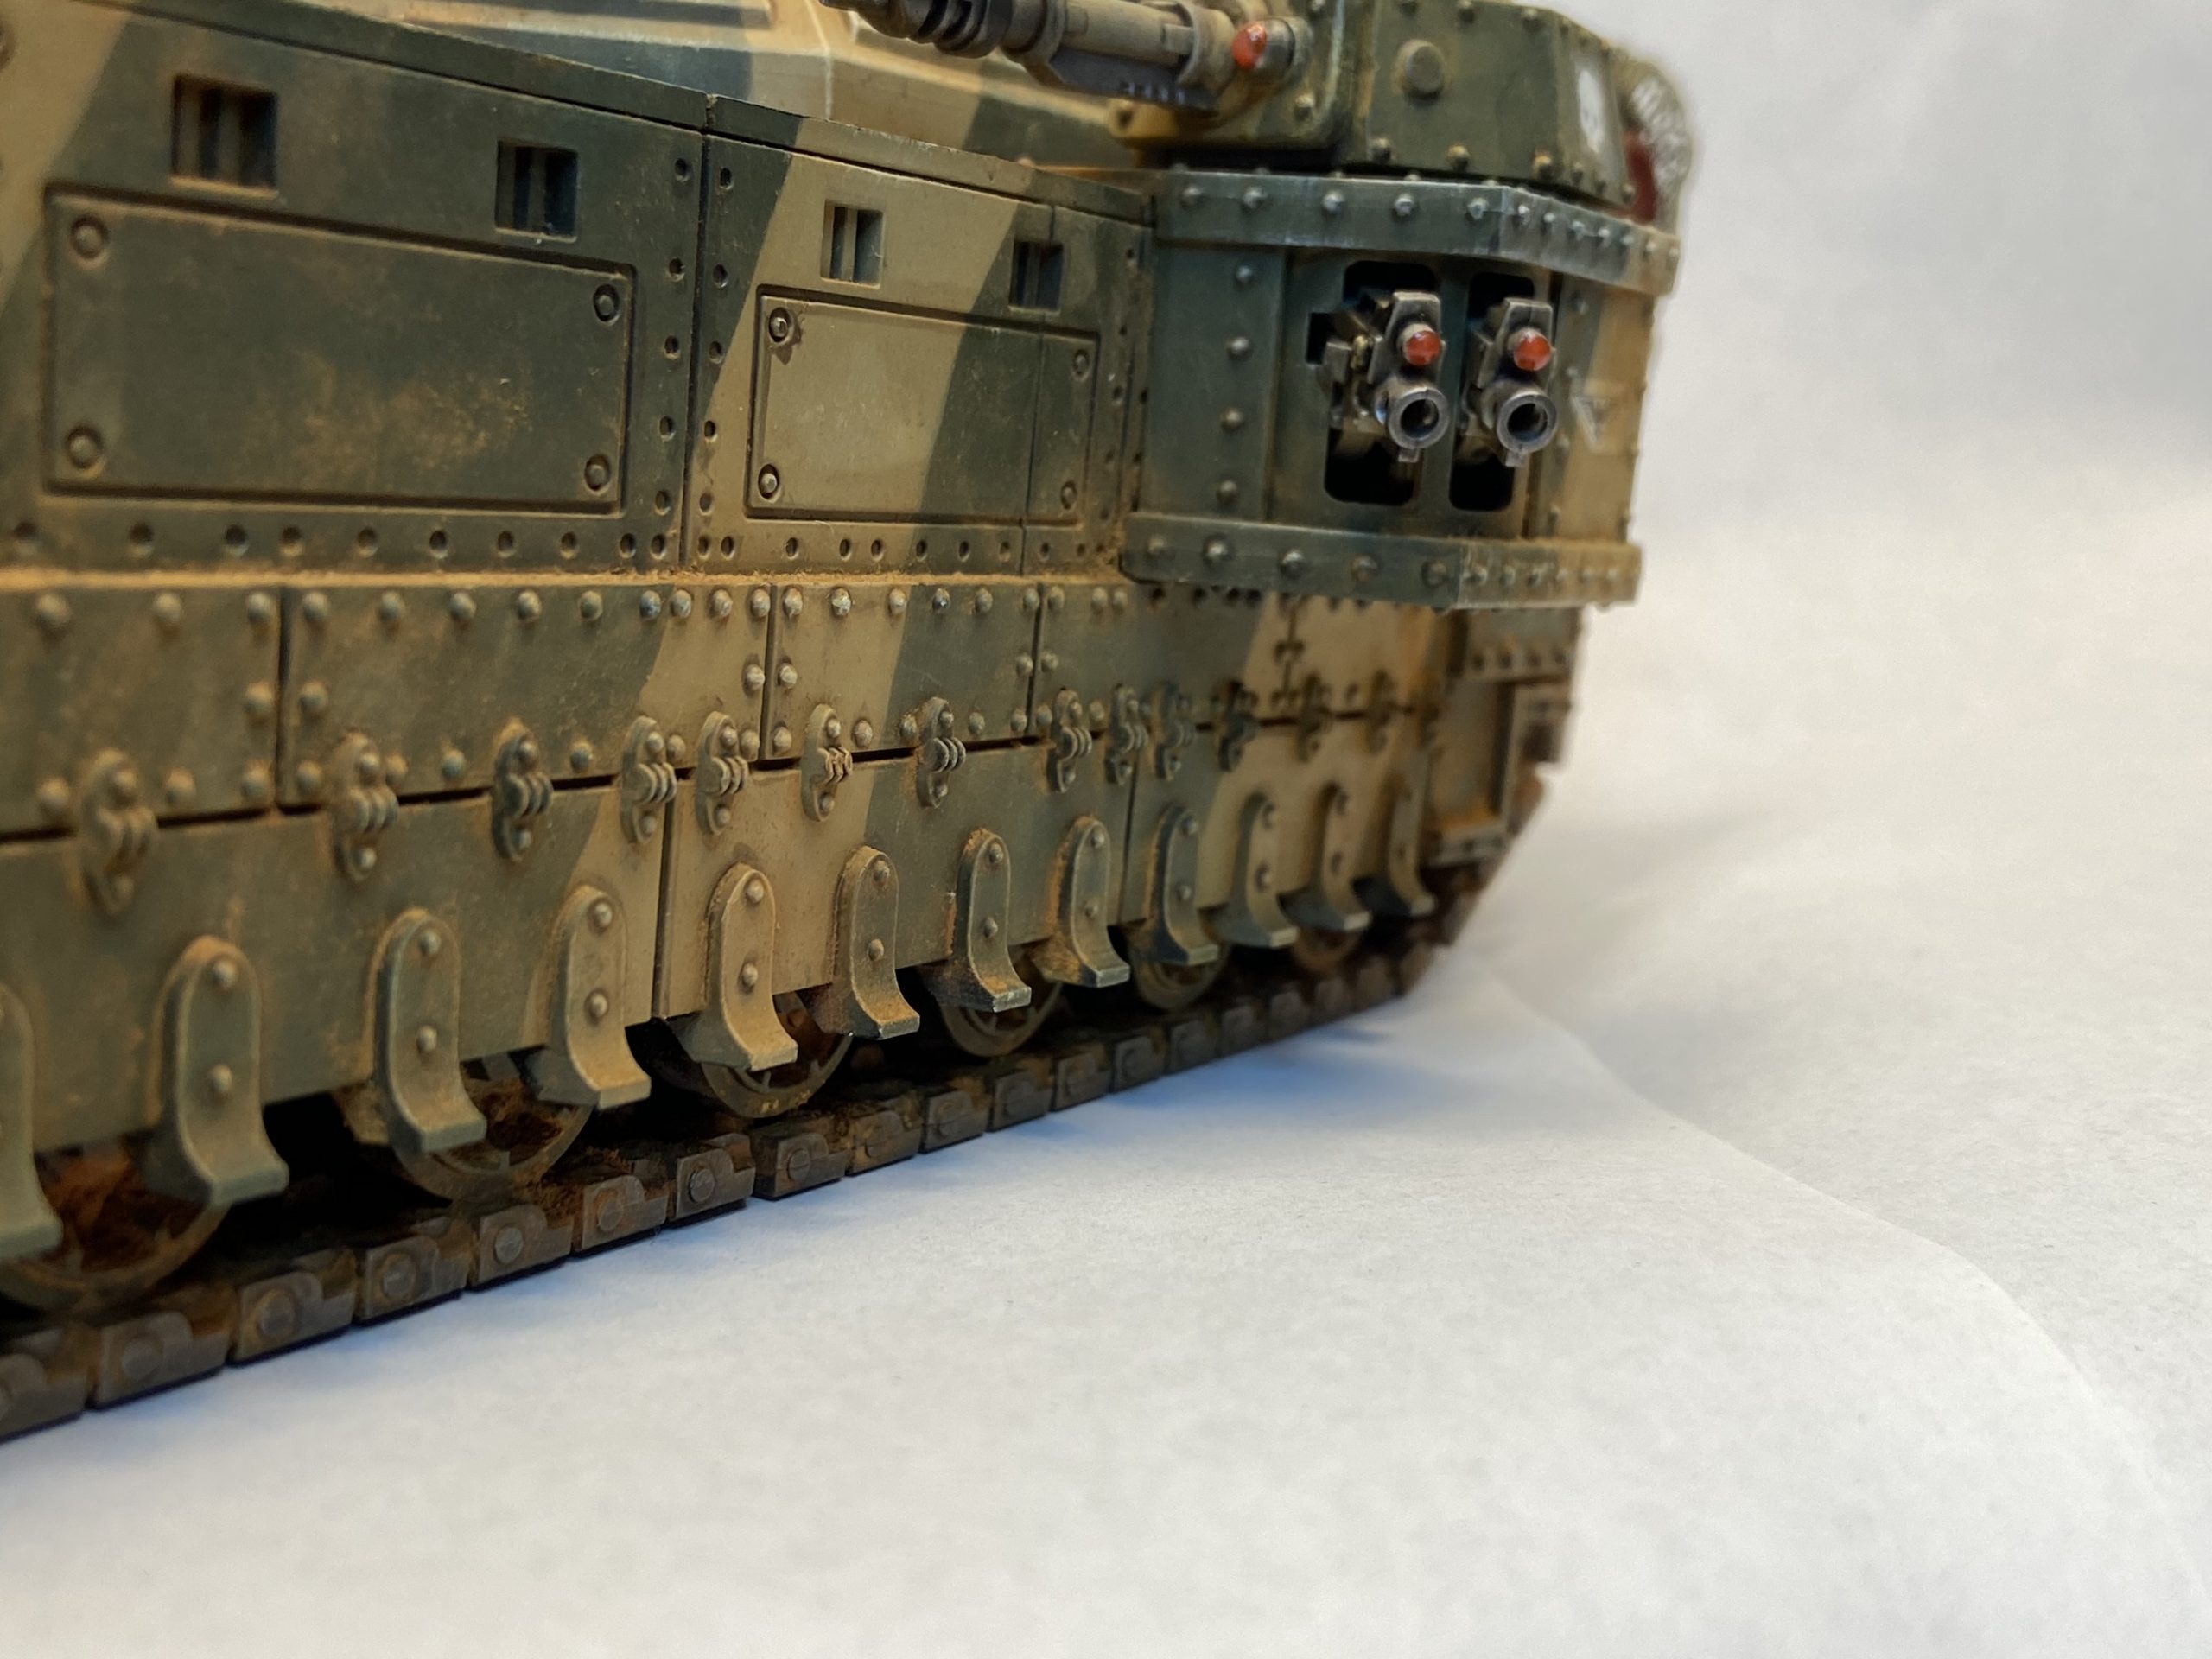
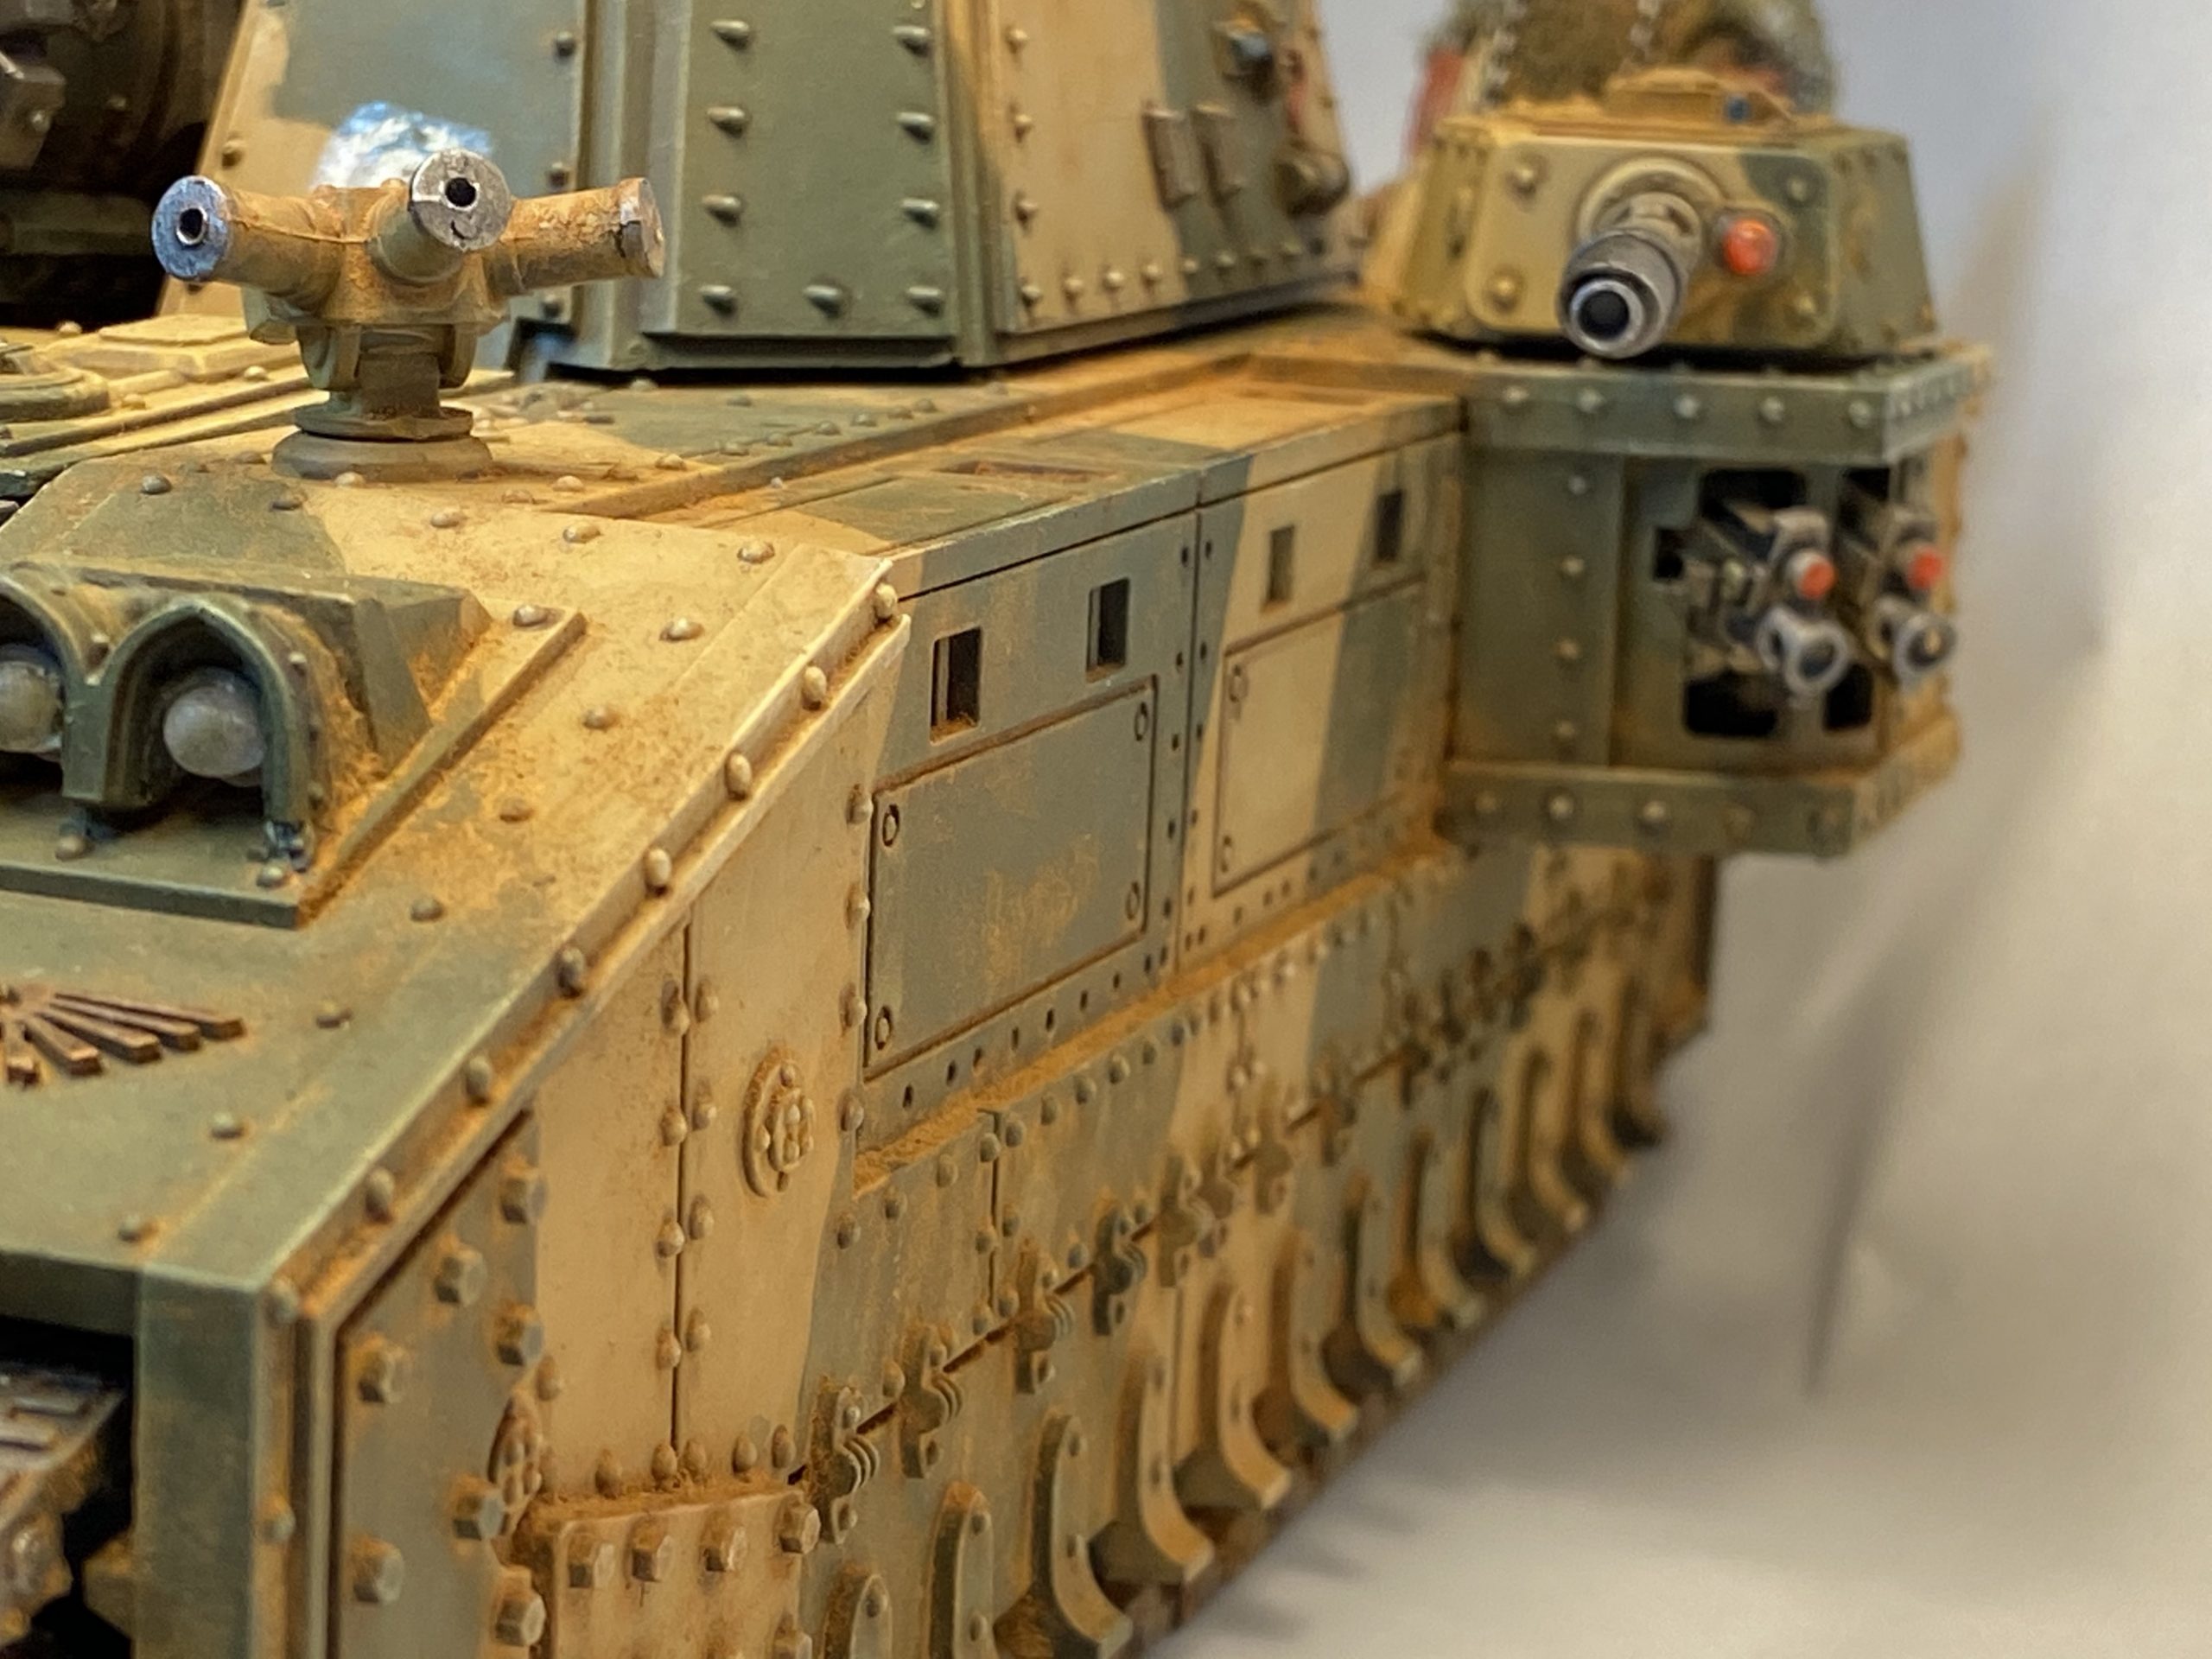
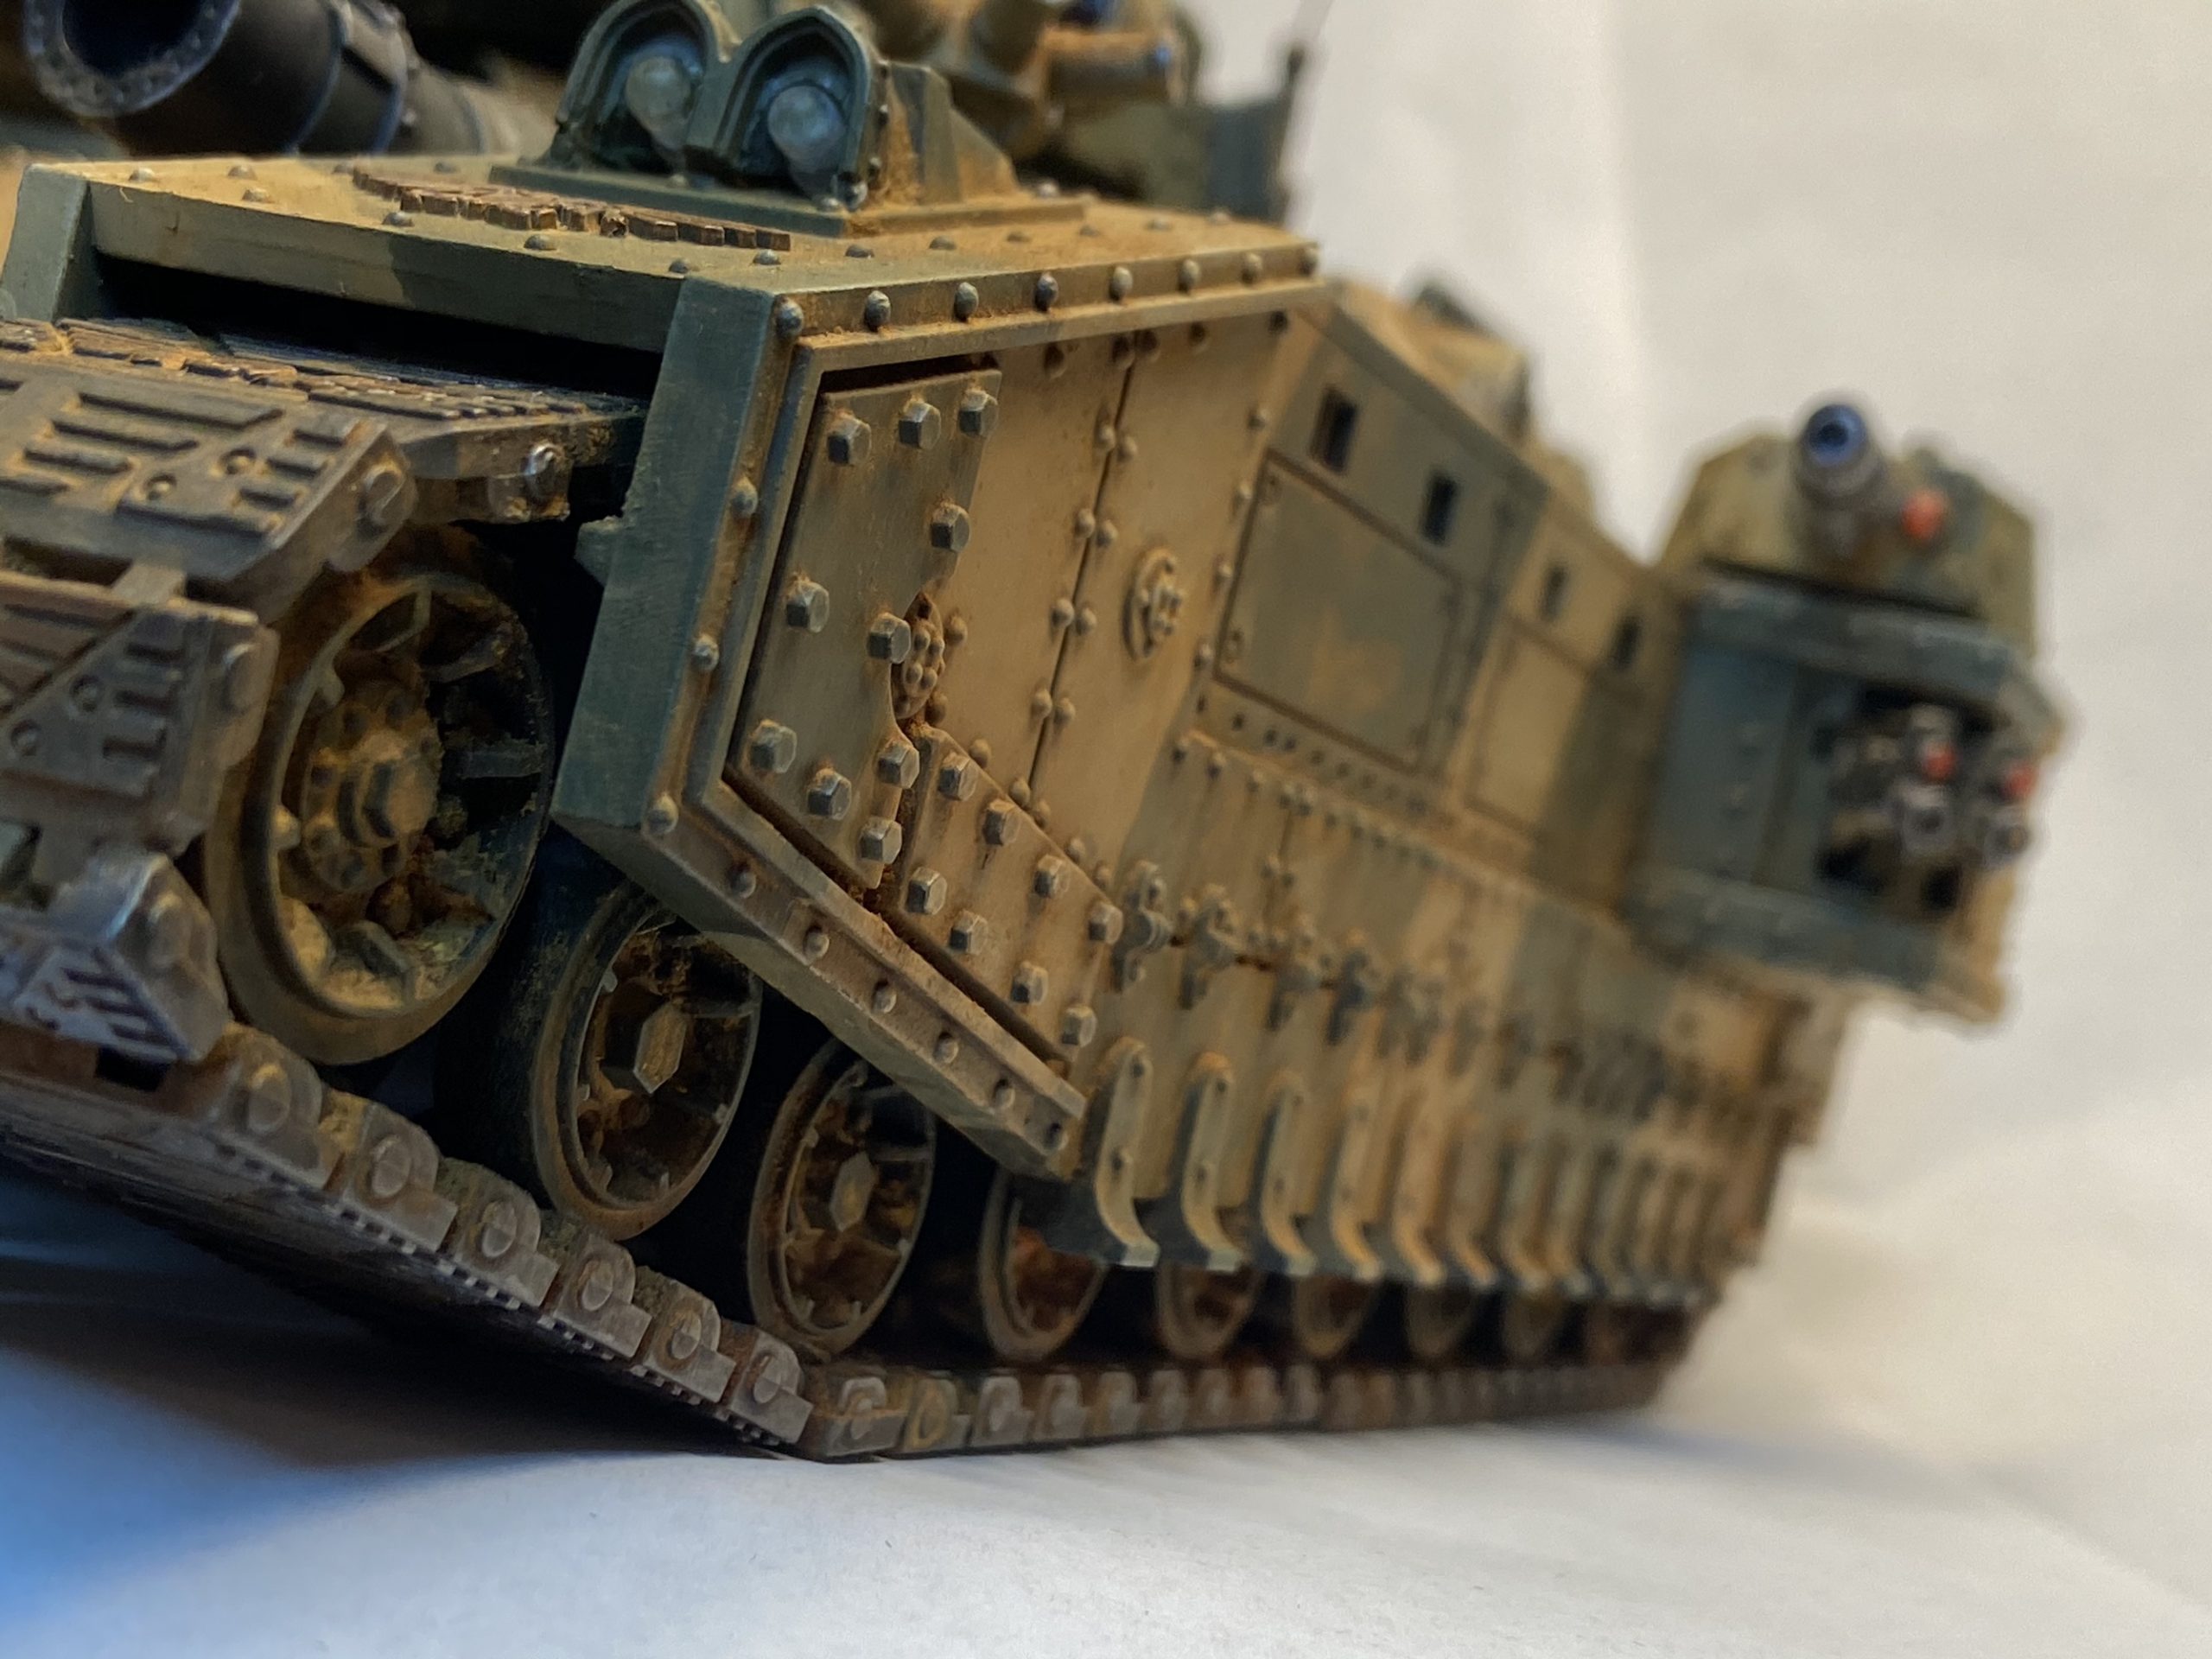
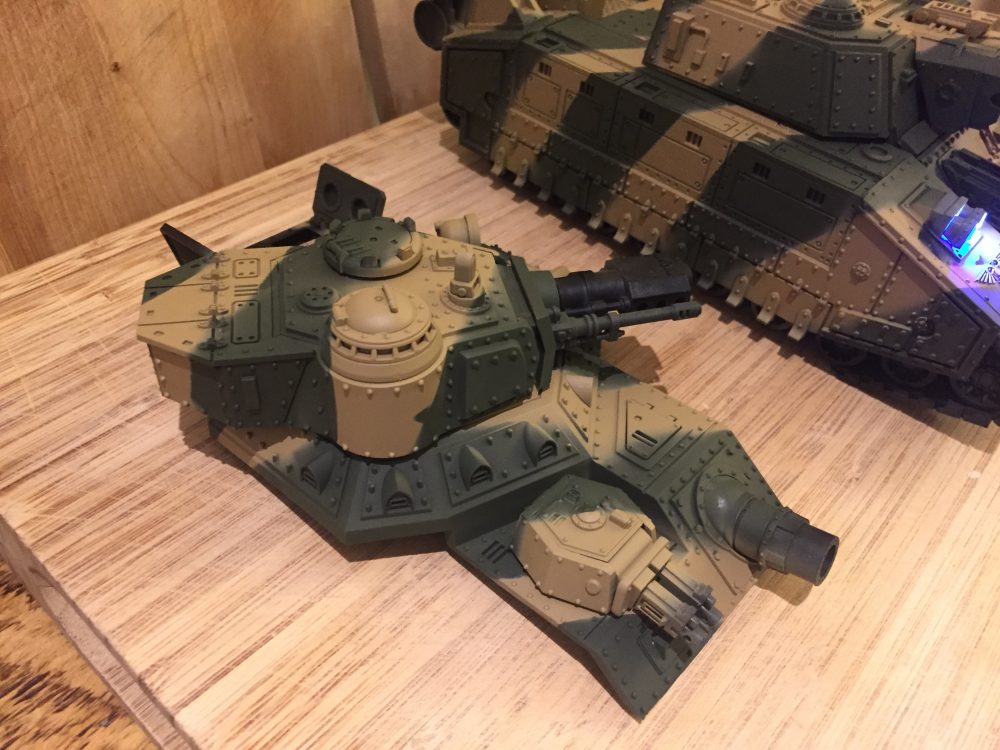
Baselayers
- Zandri Dust
- Castellan Green
- Then wash with Agrax Earthshade
- Dry brush with Loren Forest on the green and Ushabti Bone on the Zandri Dust
- Finally, dry brush all over with Terminus Stone
This method is the same as on Warhammer TV.
From here I add in details and metals.


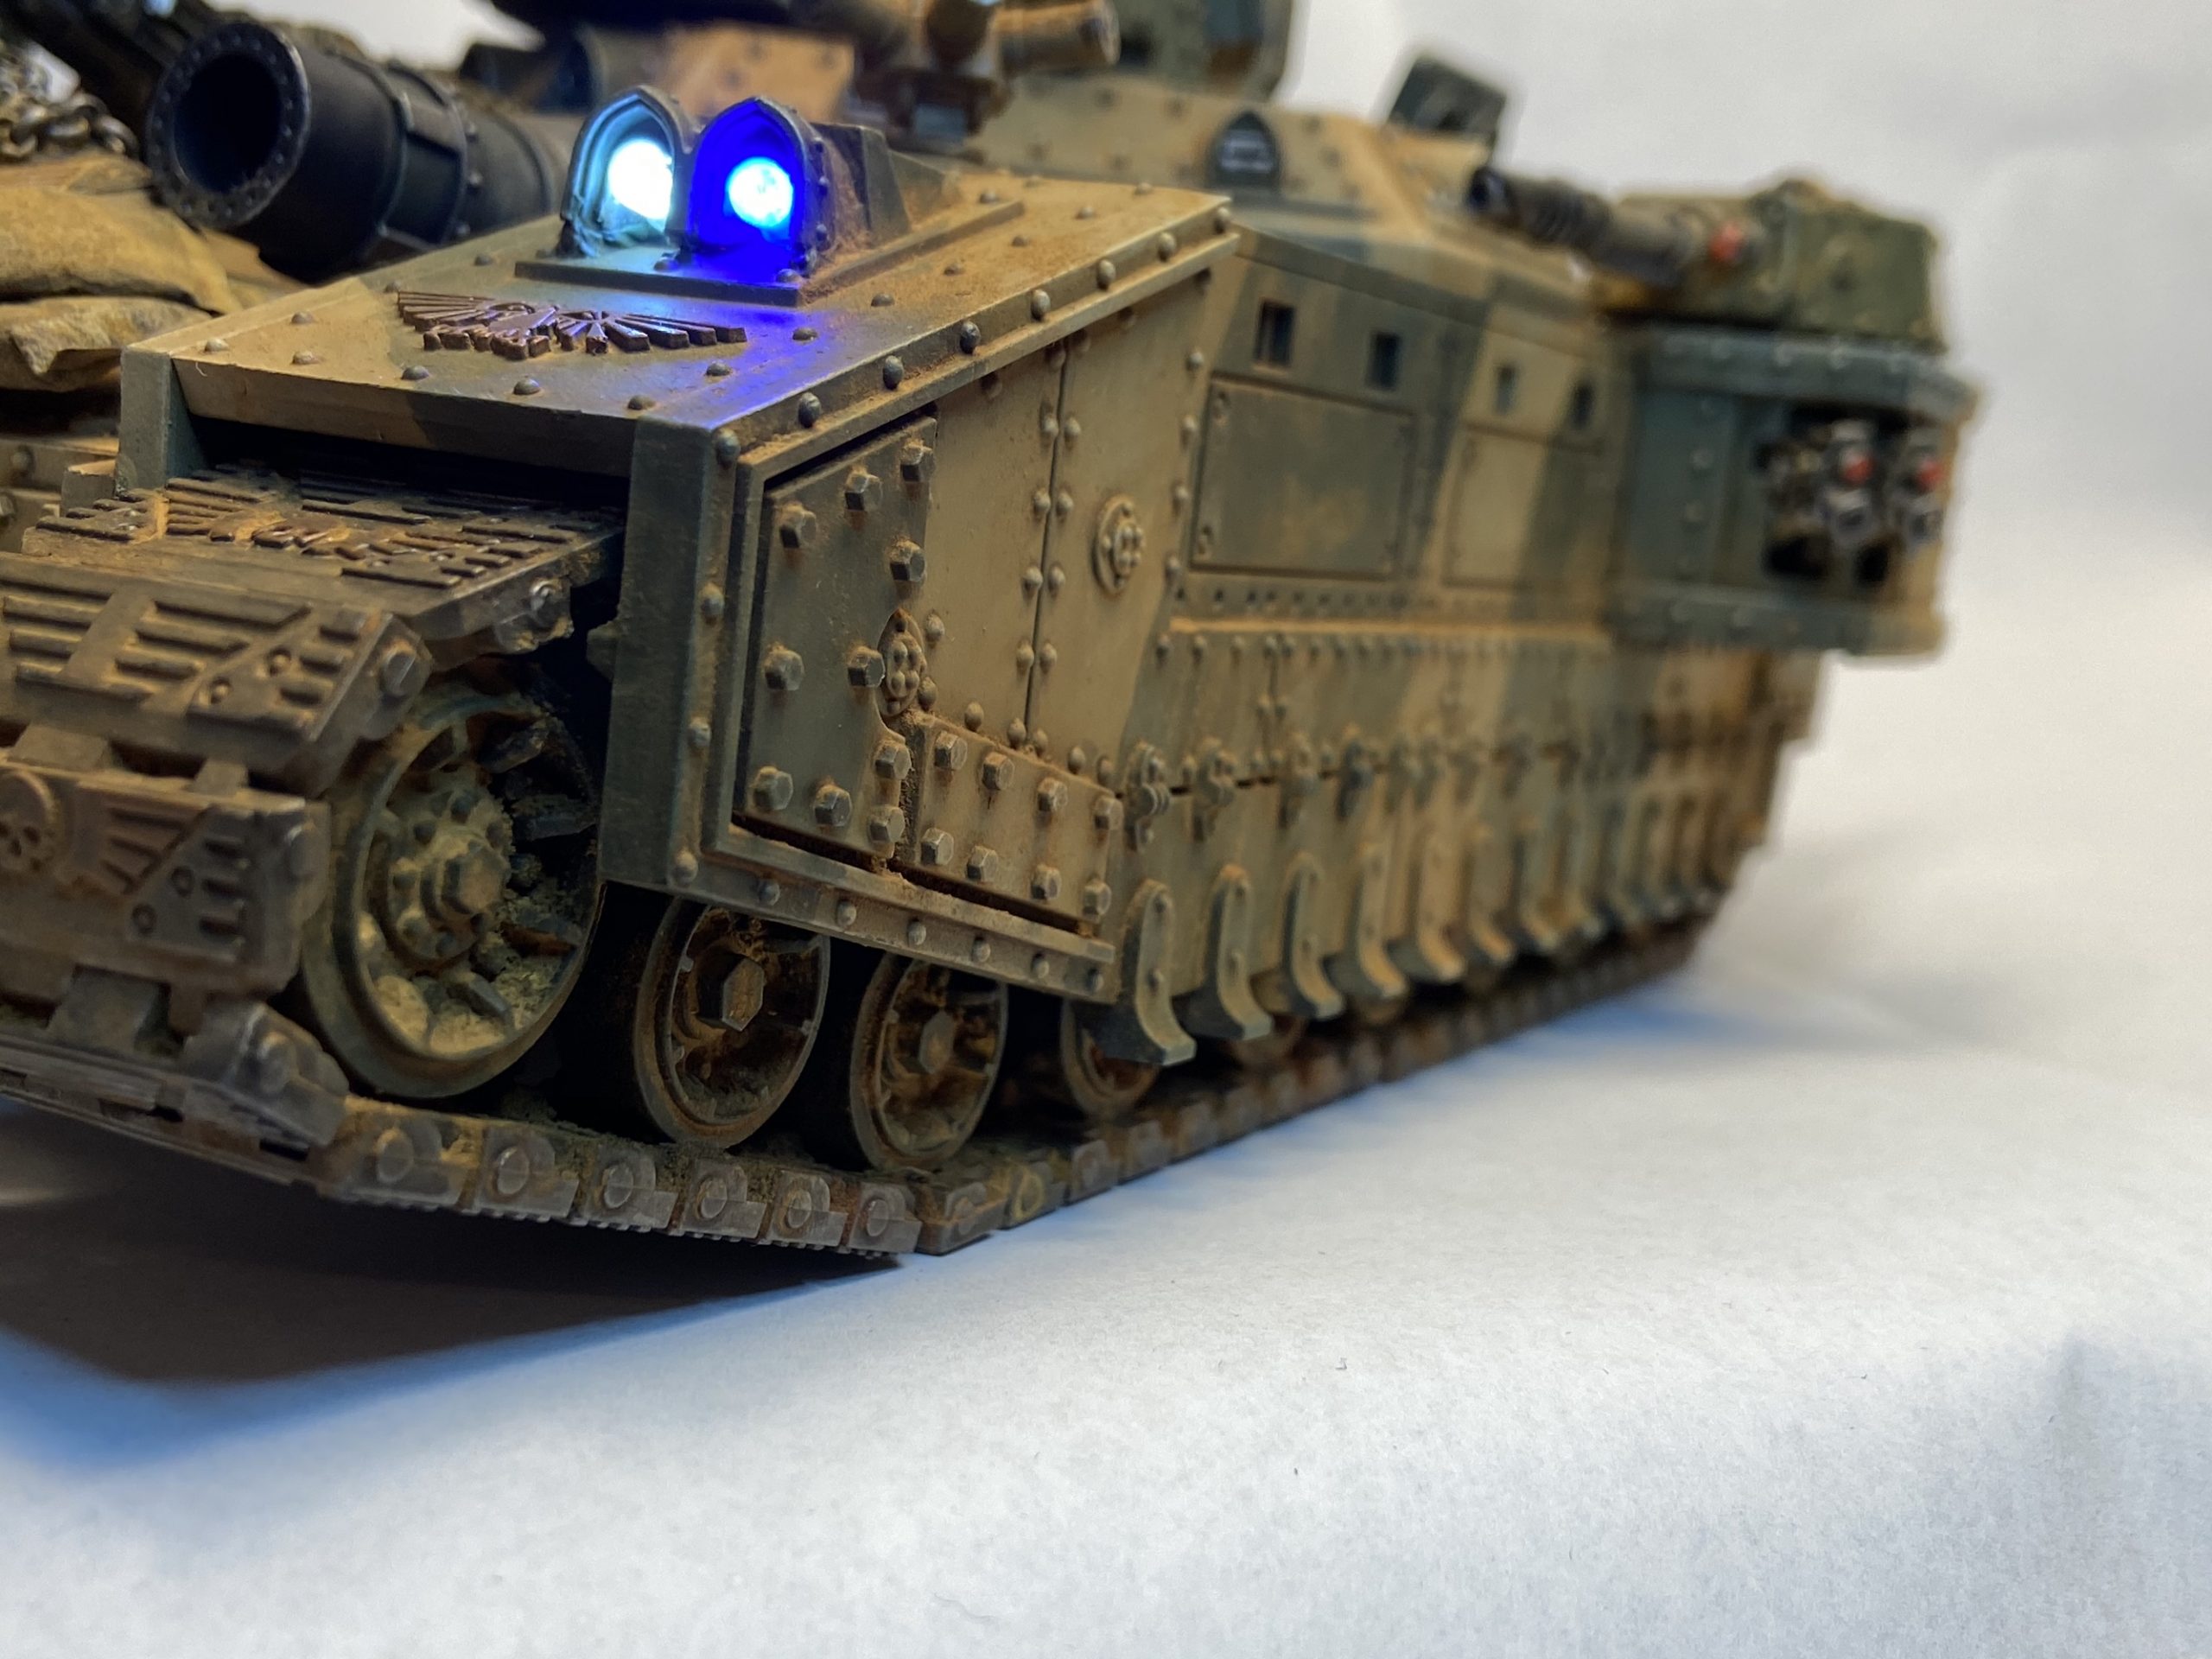
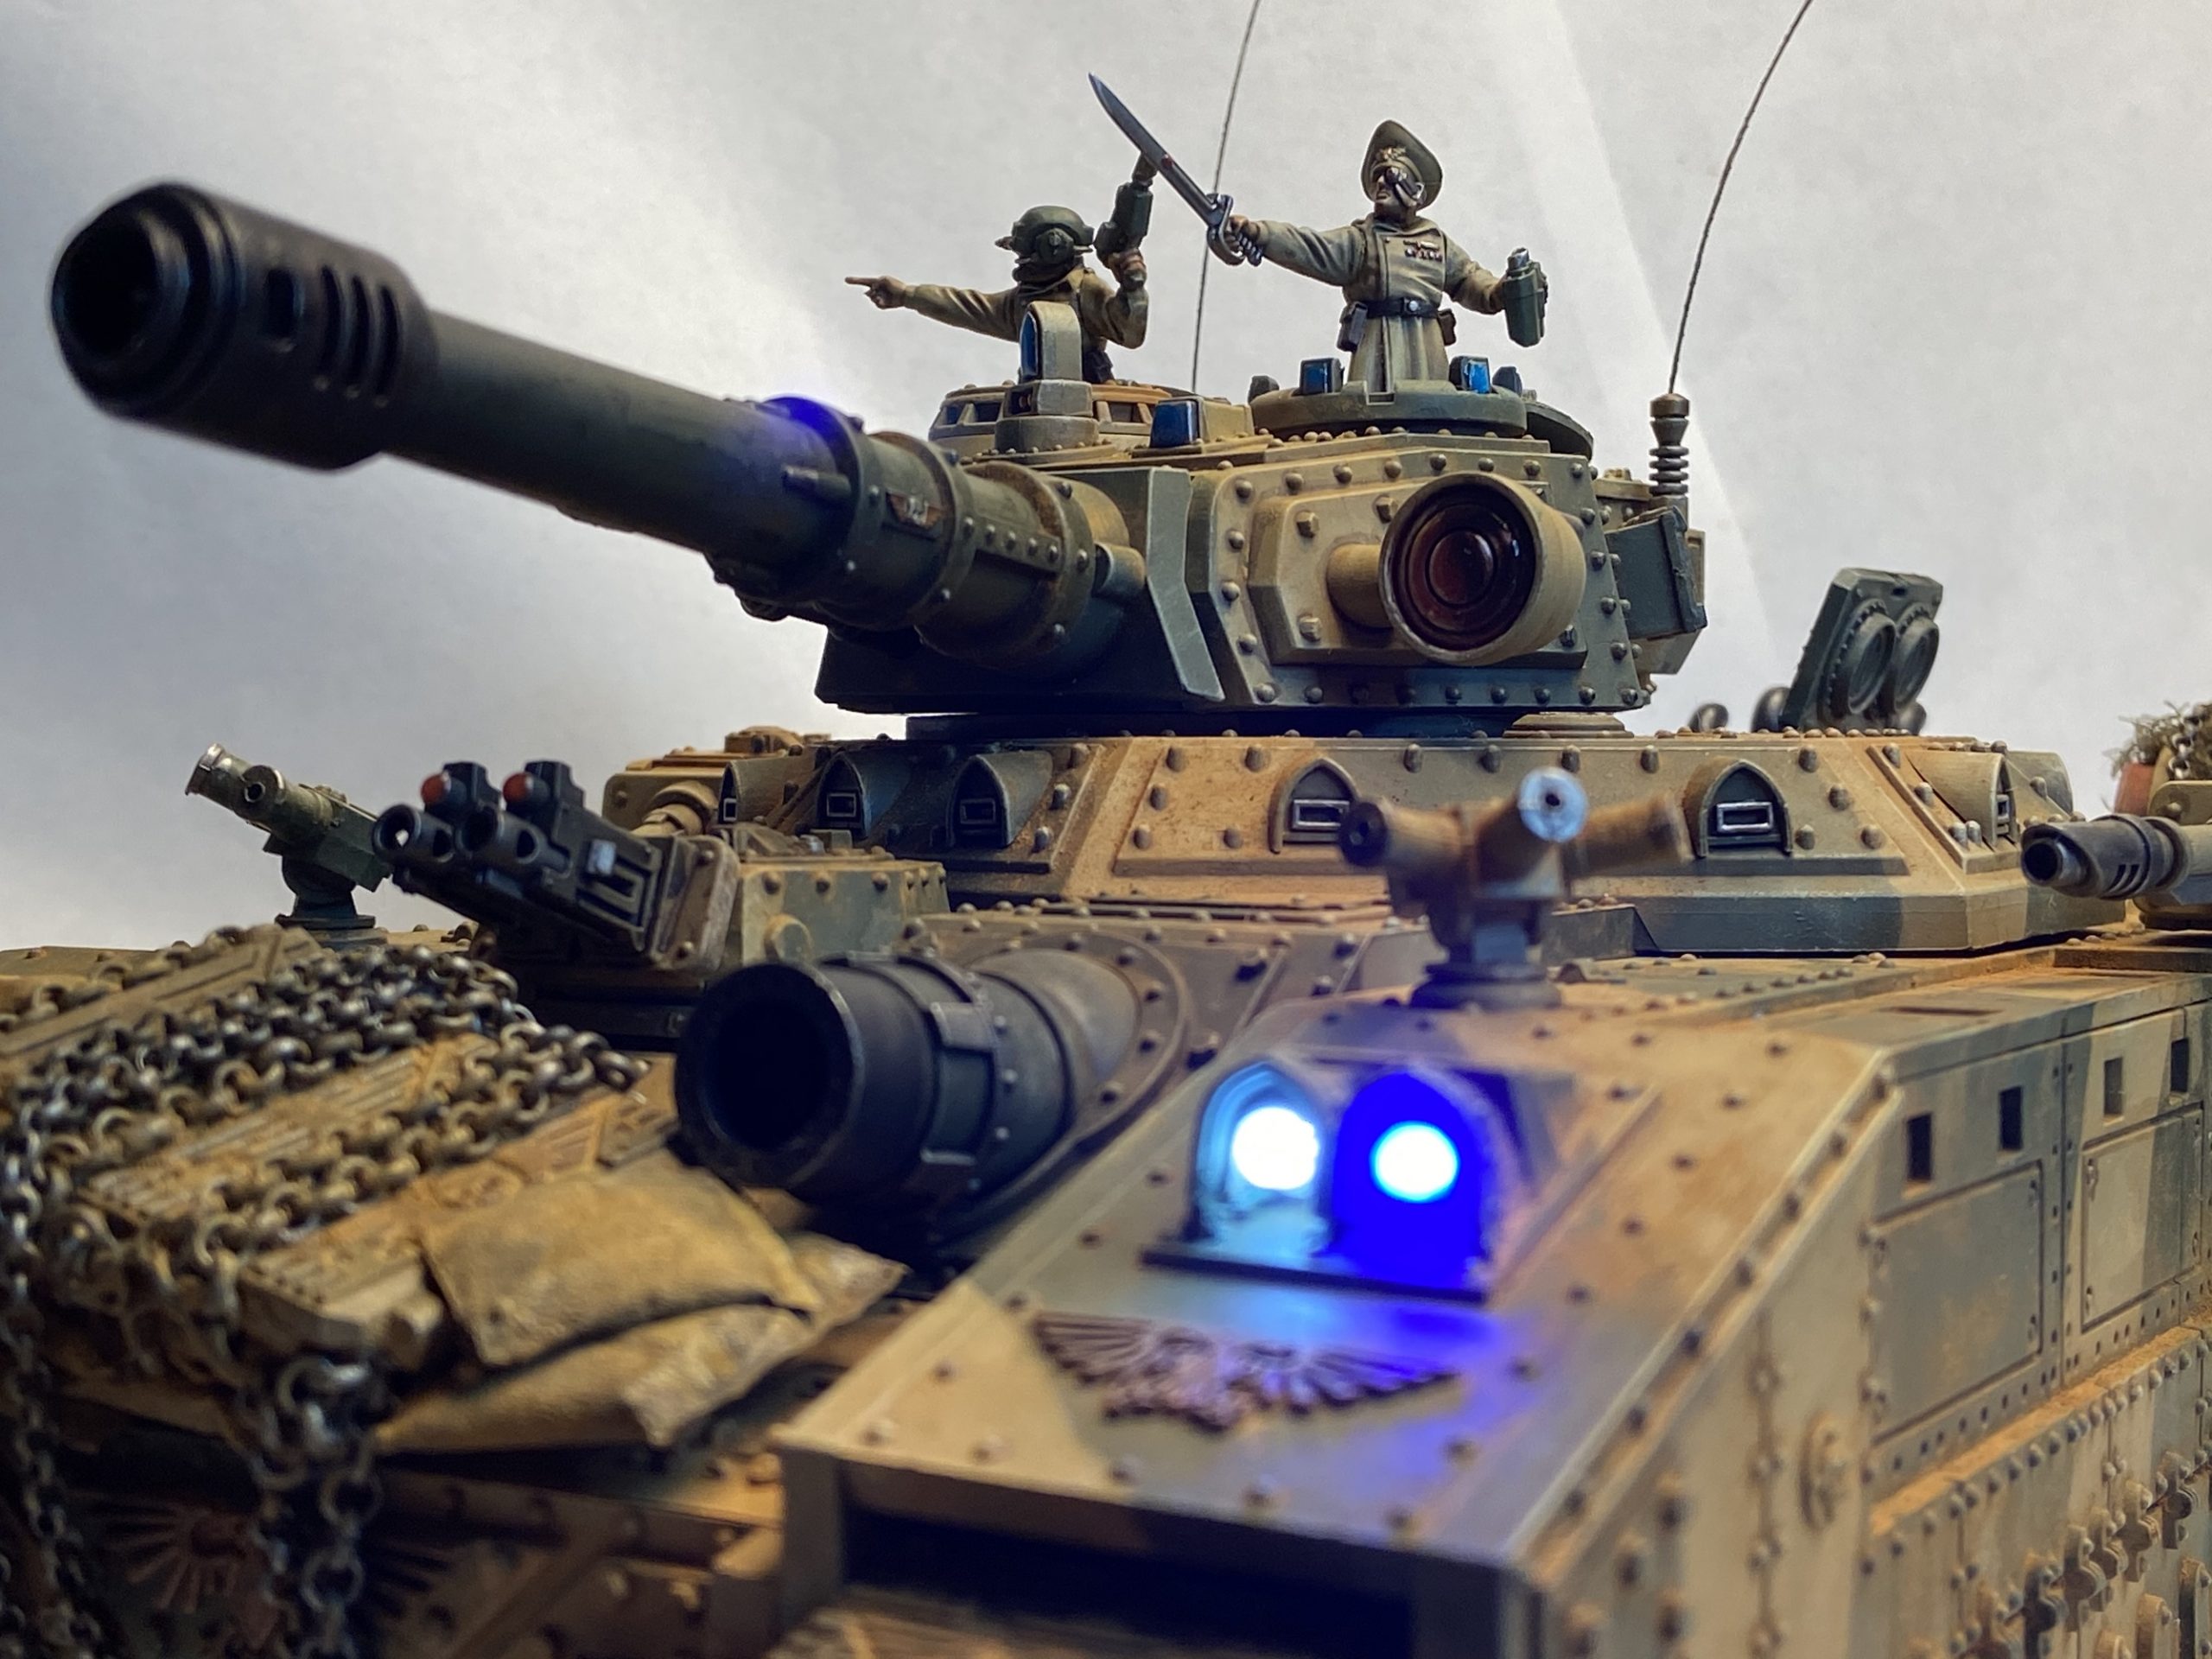
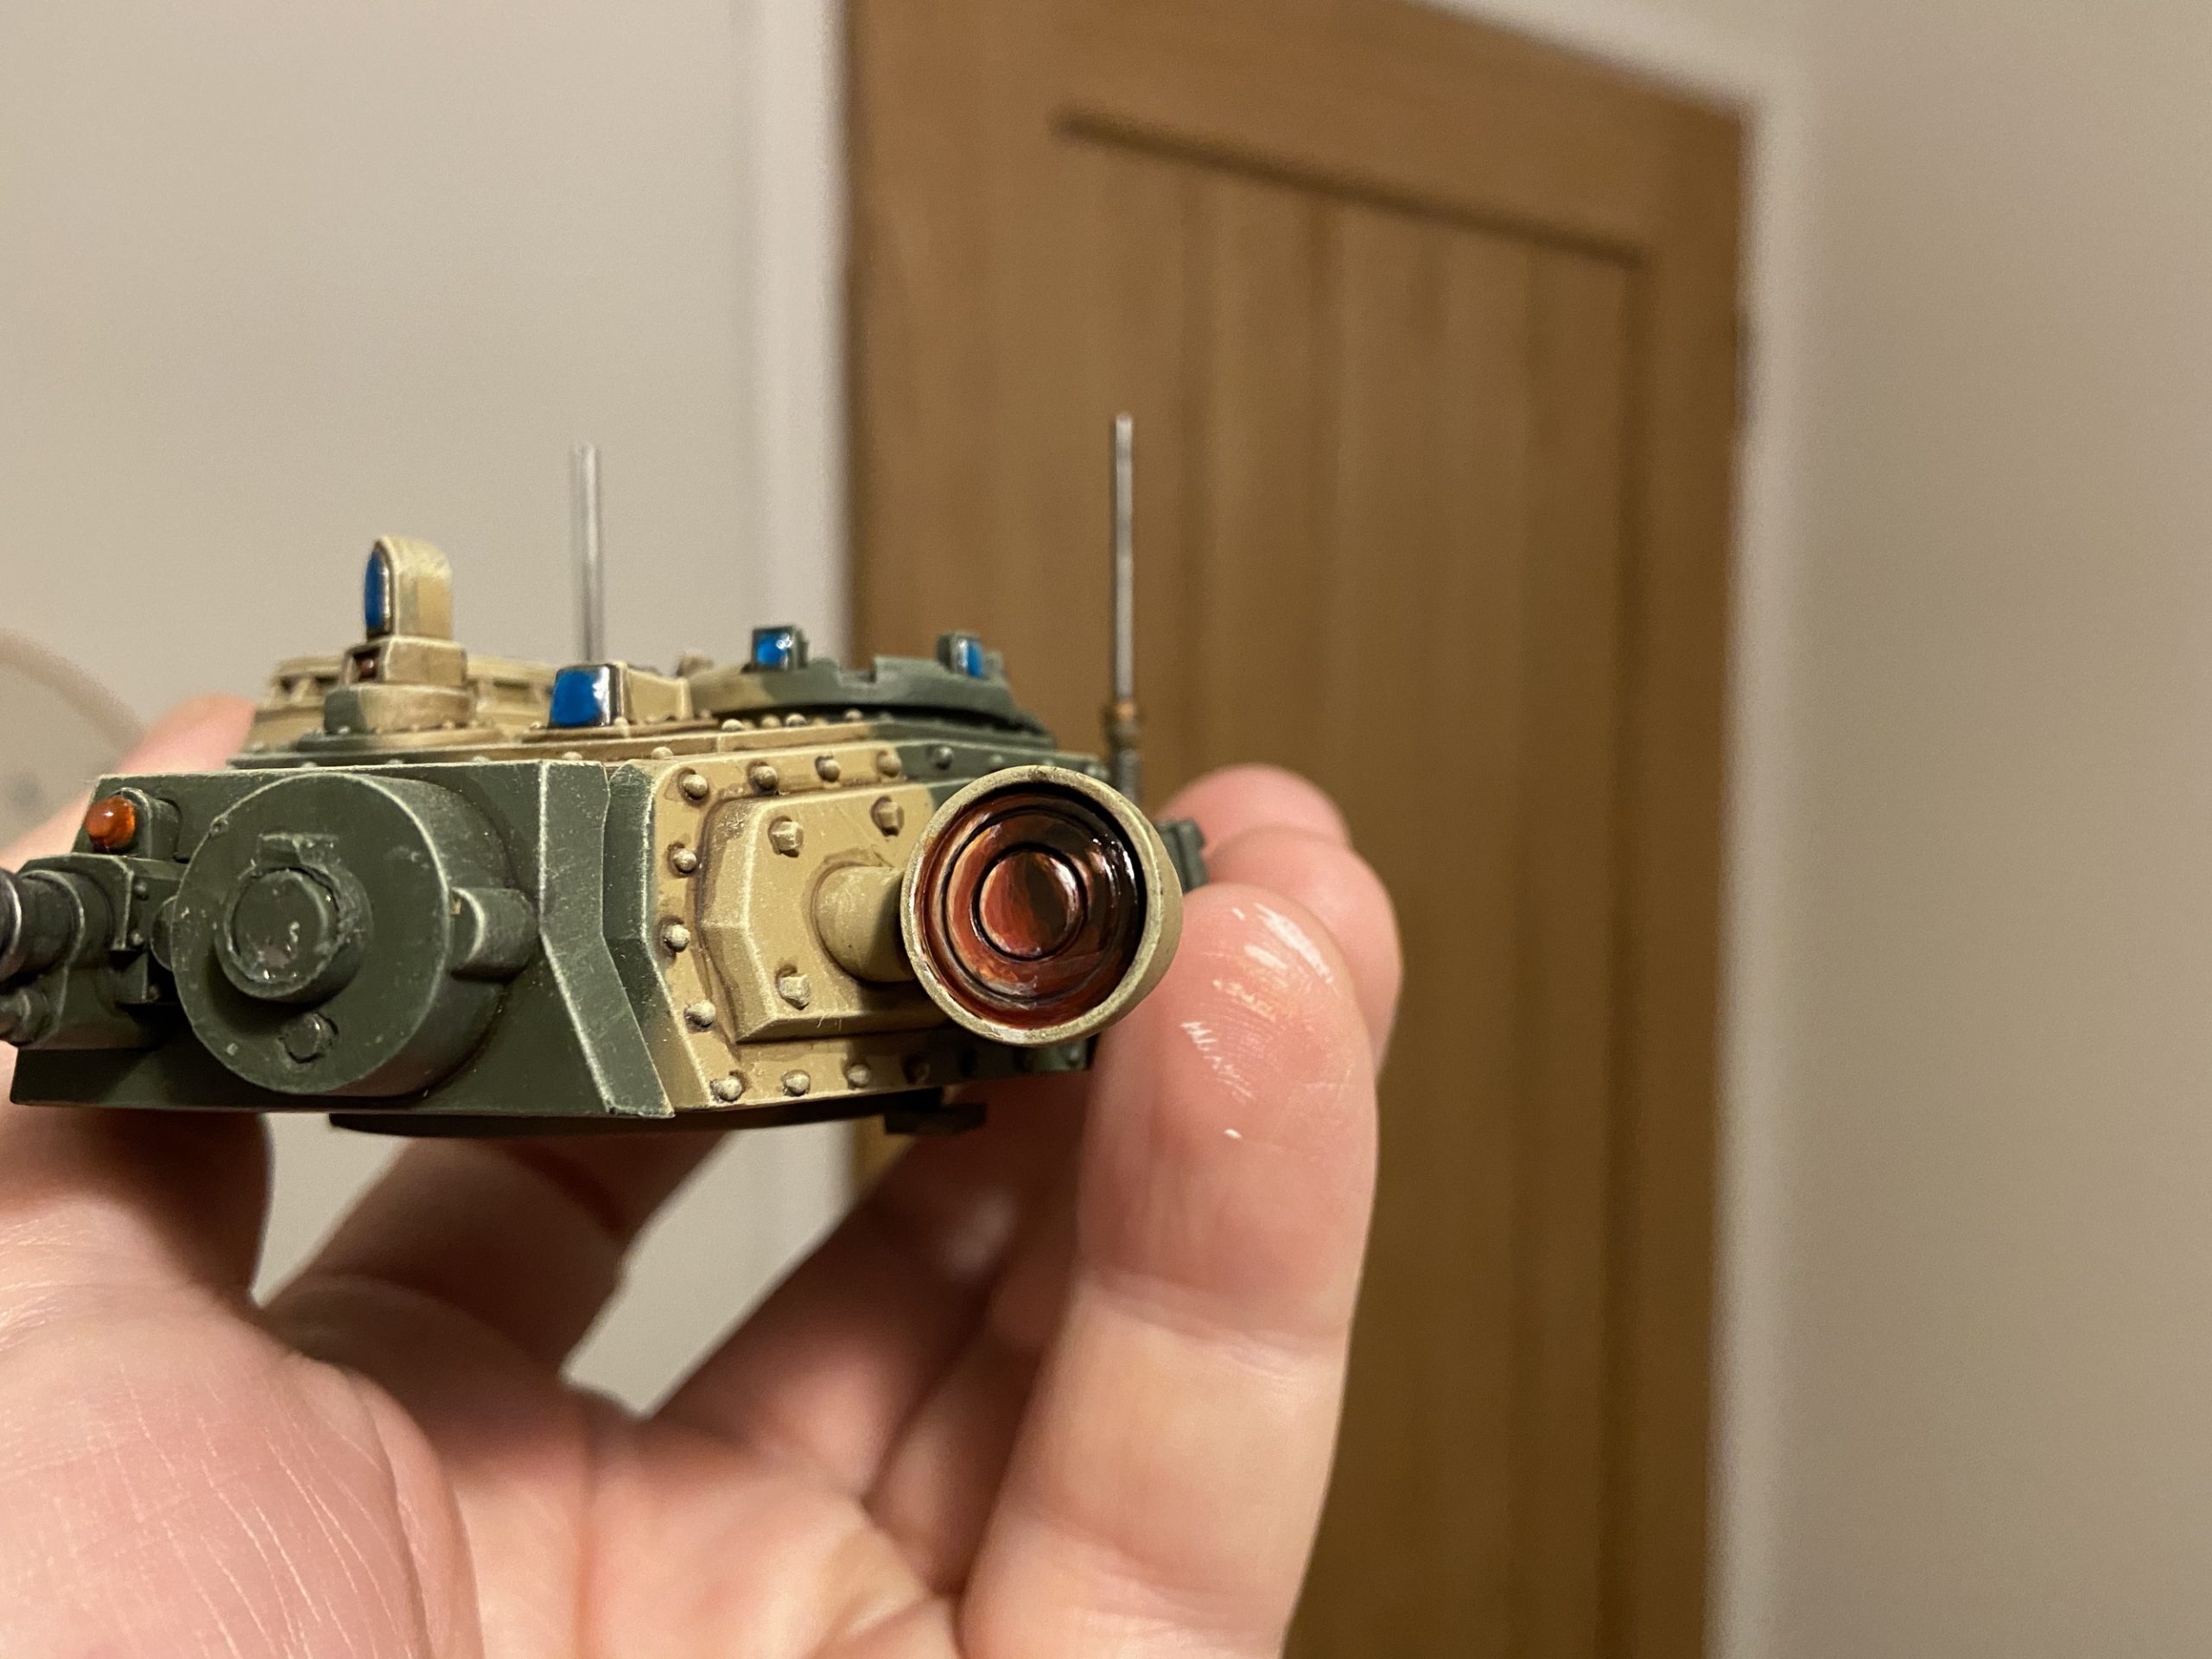
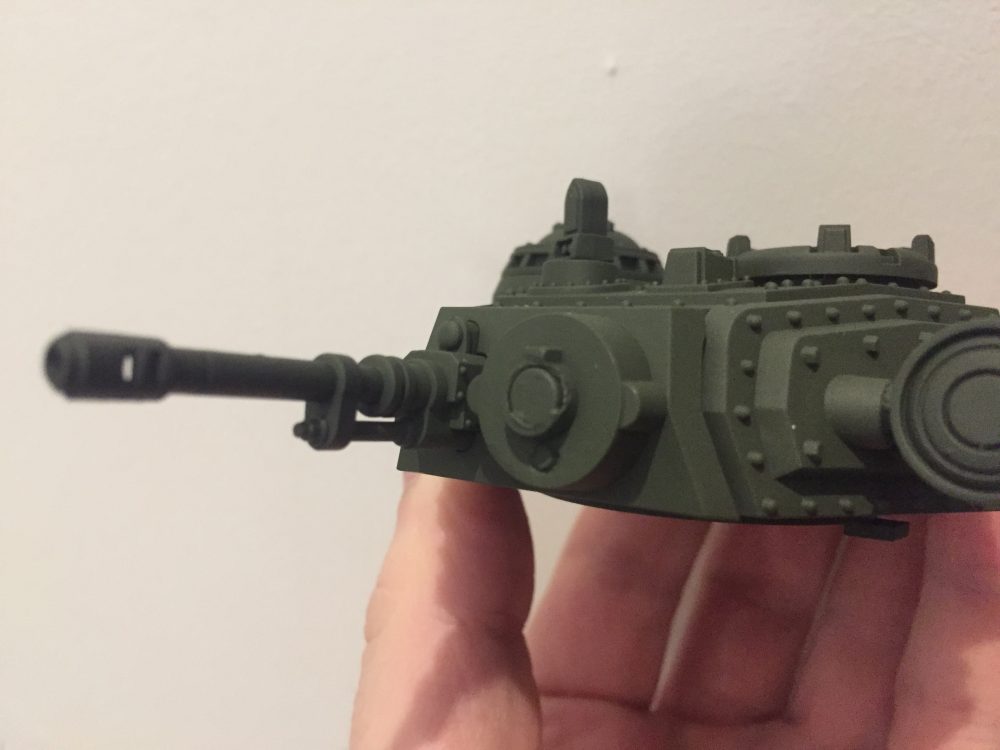
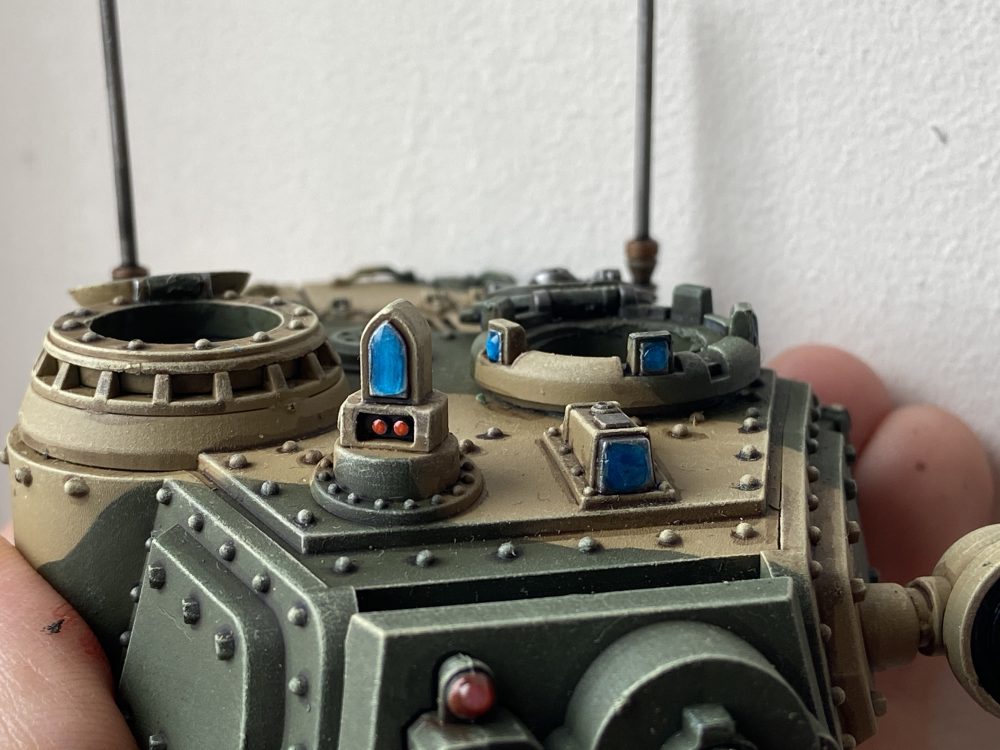
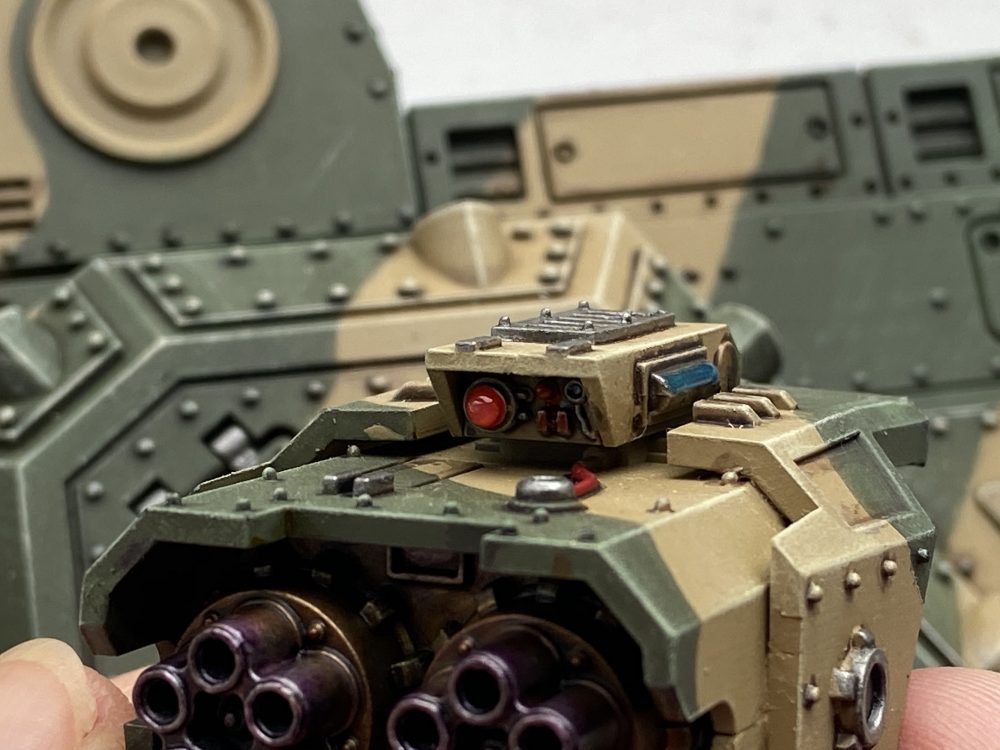
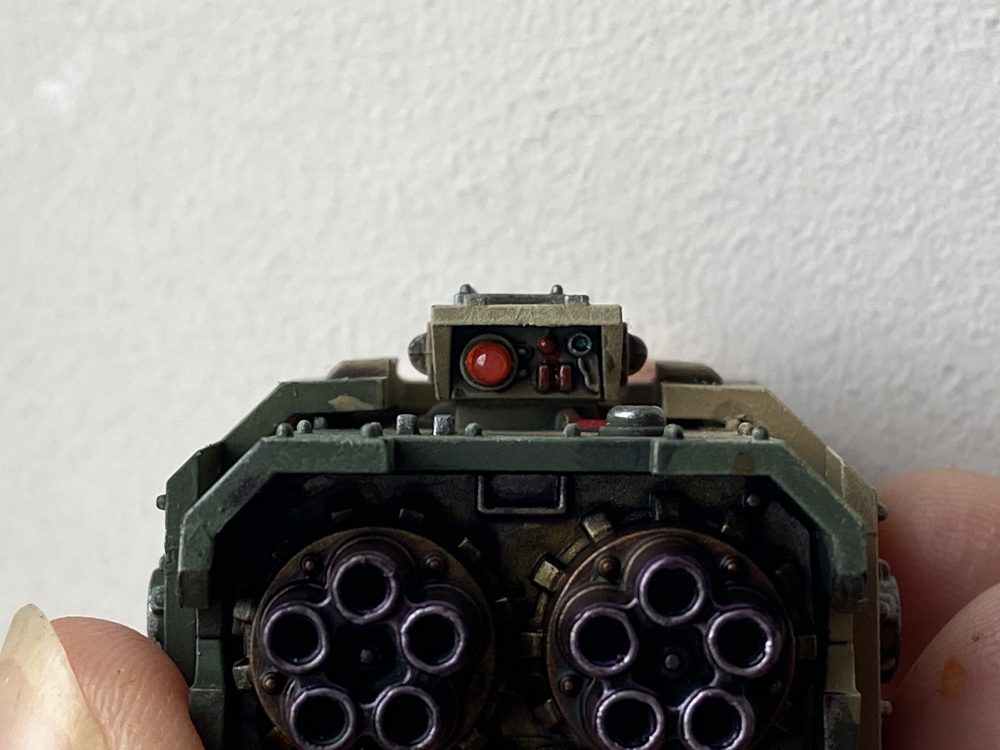
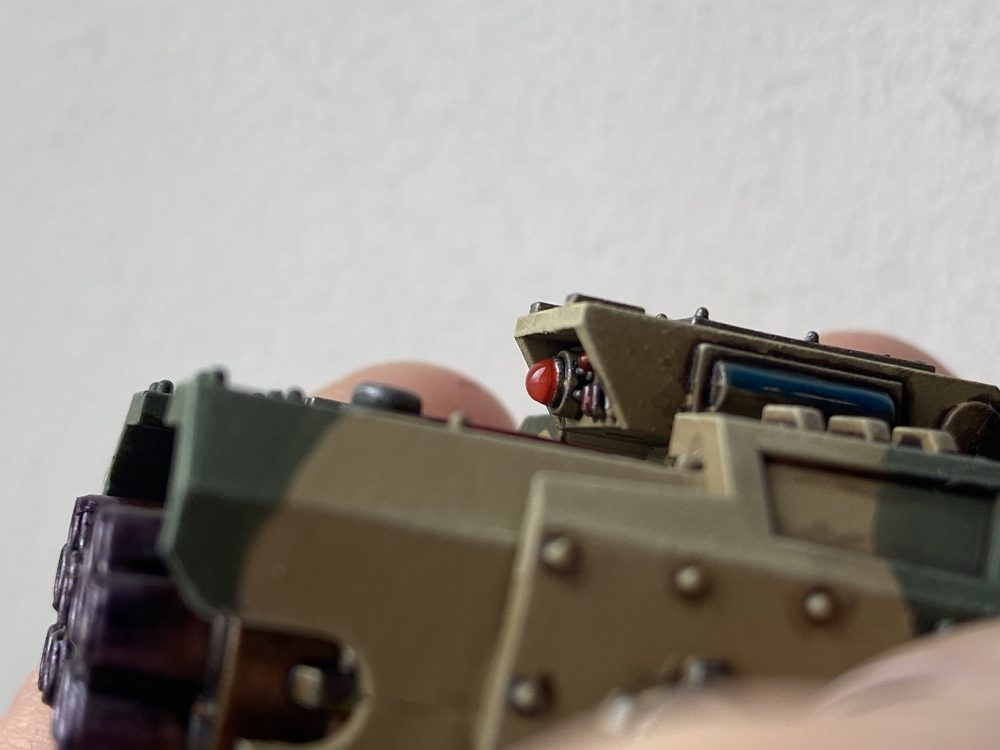
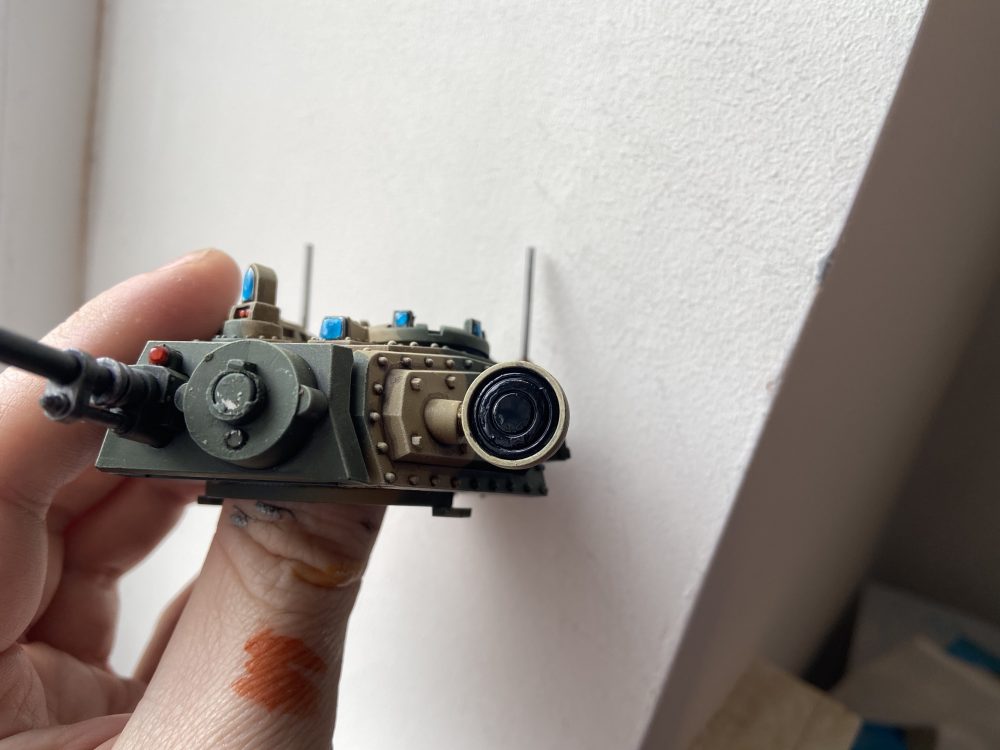
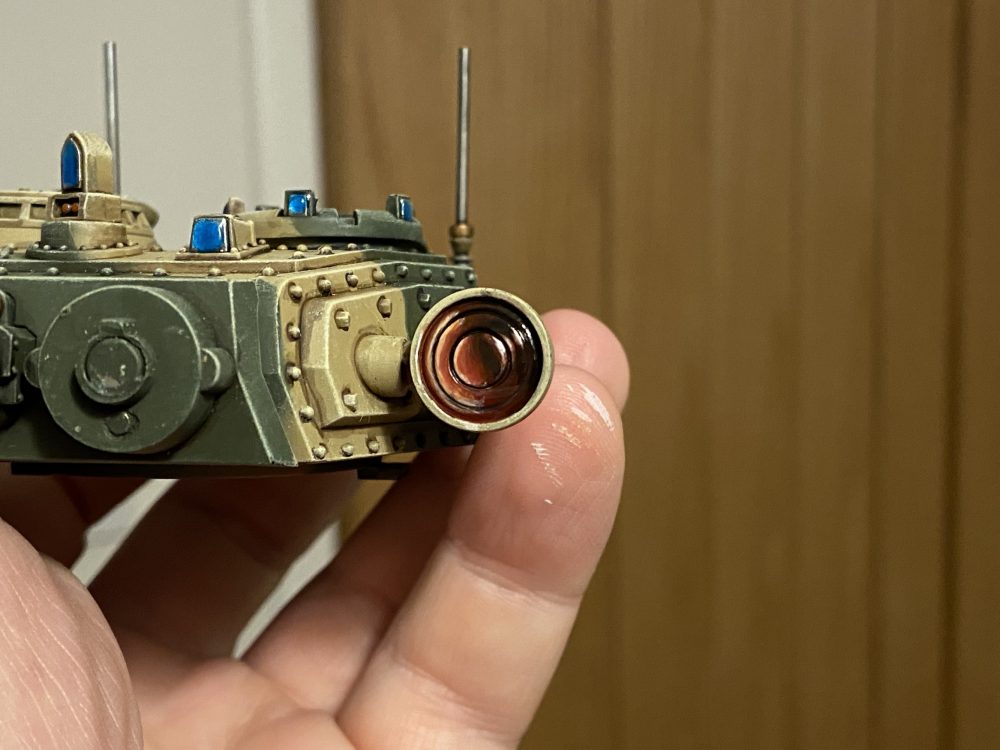
Baneblade Lenses
I use Games Workshop Gemstone paints for the small lenses on the Baneblade;
- base with silver
- Then add your gemstone paint
- Let it dry
- Then add a blob of ‘Ardcoat
- Repeat #4 to build up a clear lens
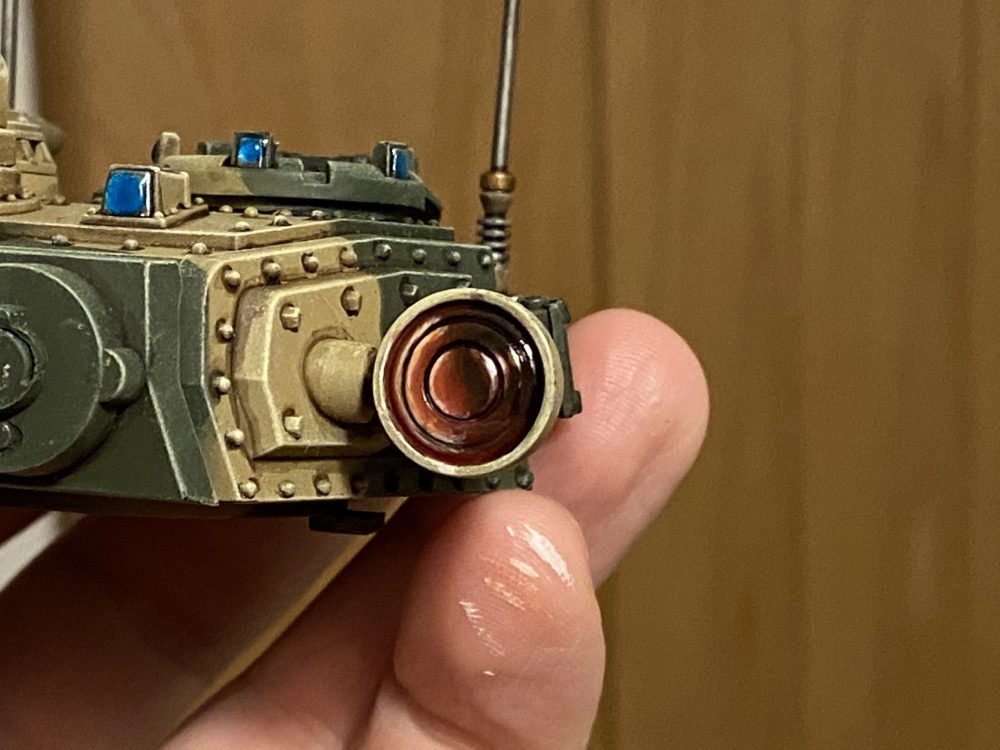
For the big lens/spotlight I used a kind of made up wet blending method based on this from ymir_paint and this from bloodmoonpainting. This is a lot harder than it looks in those two tutorials, but it was well worth doing and the time it took. Over an hour!

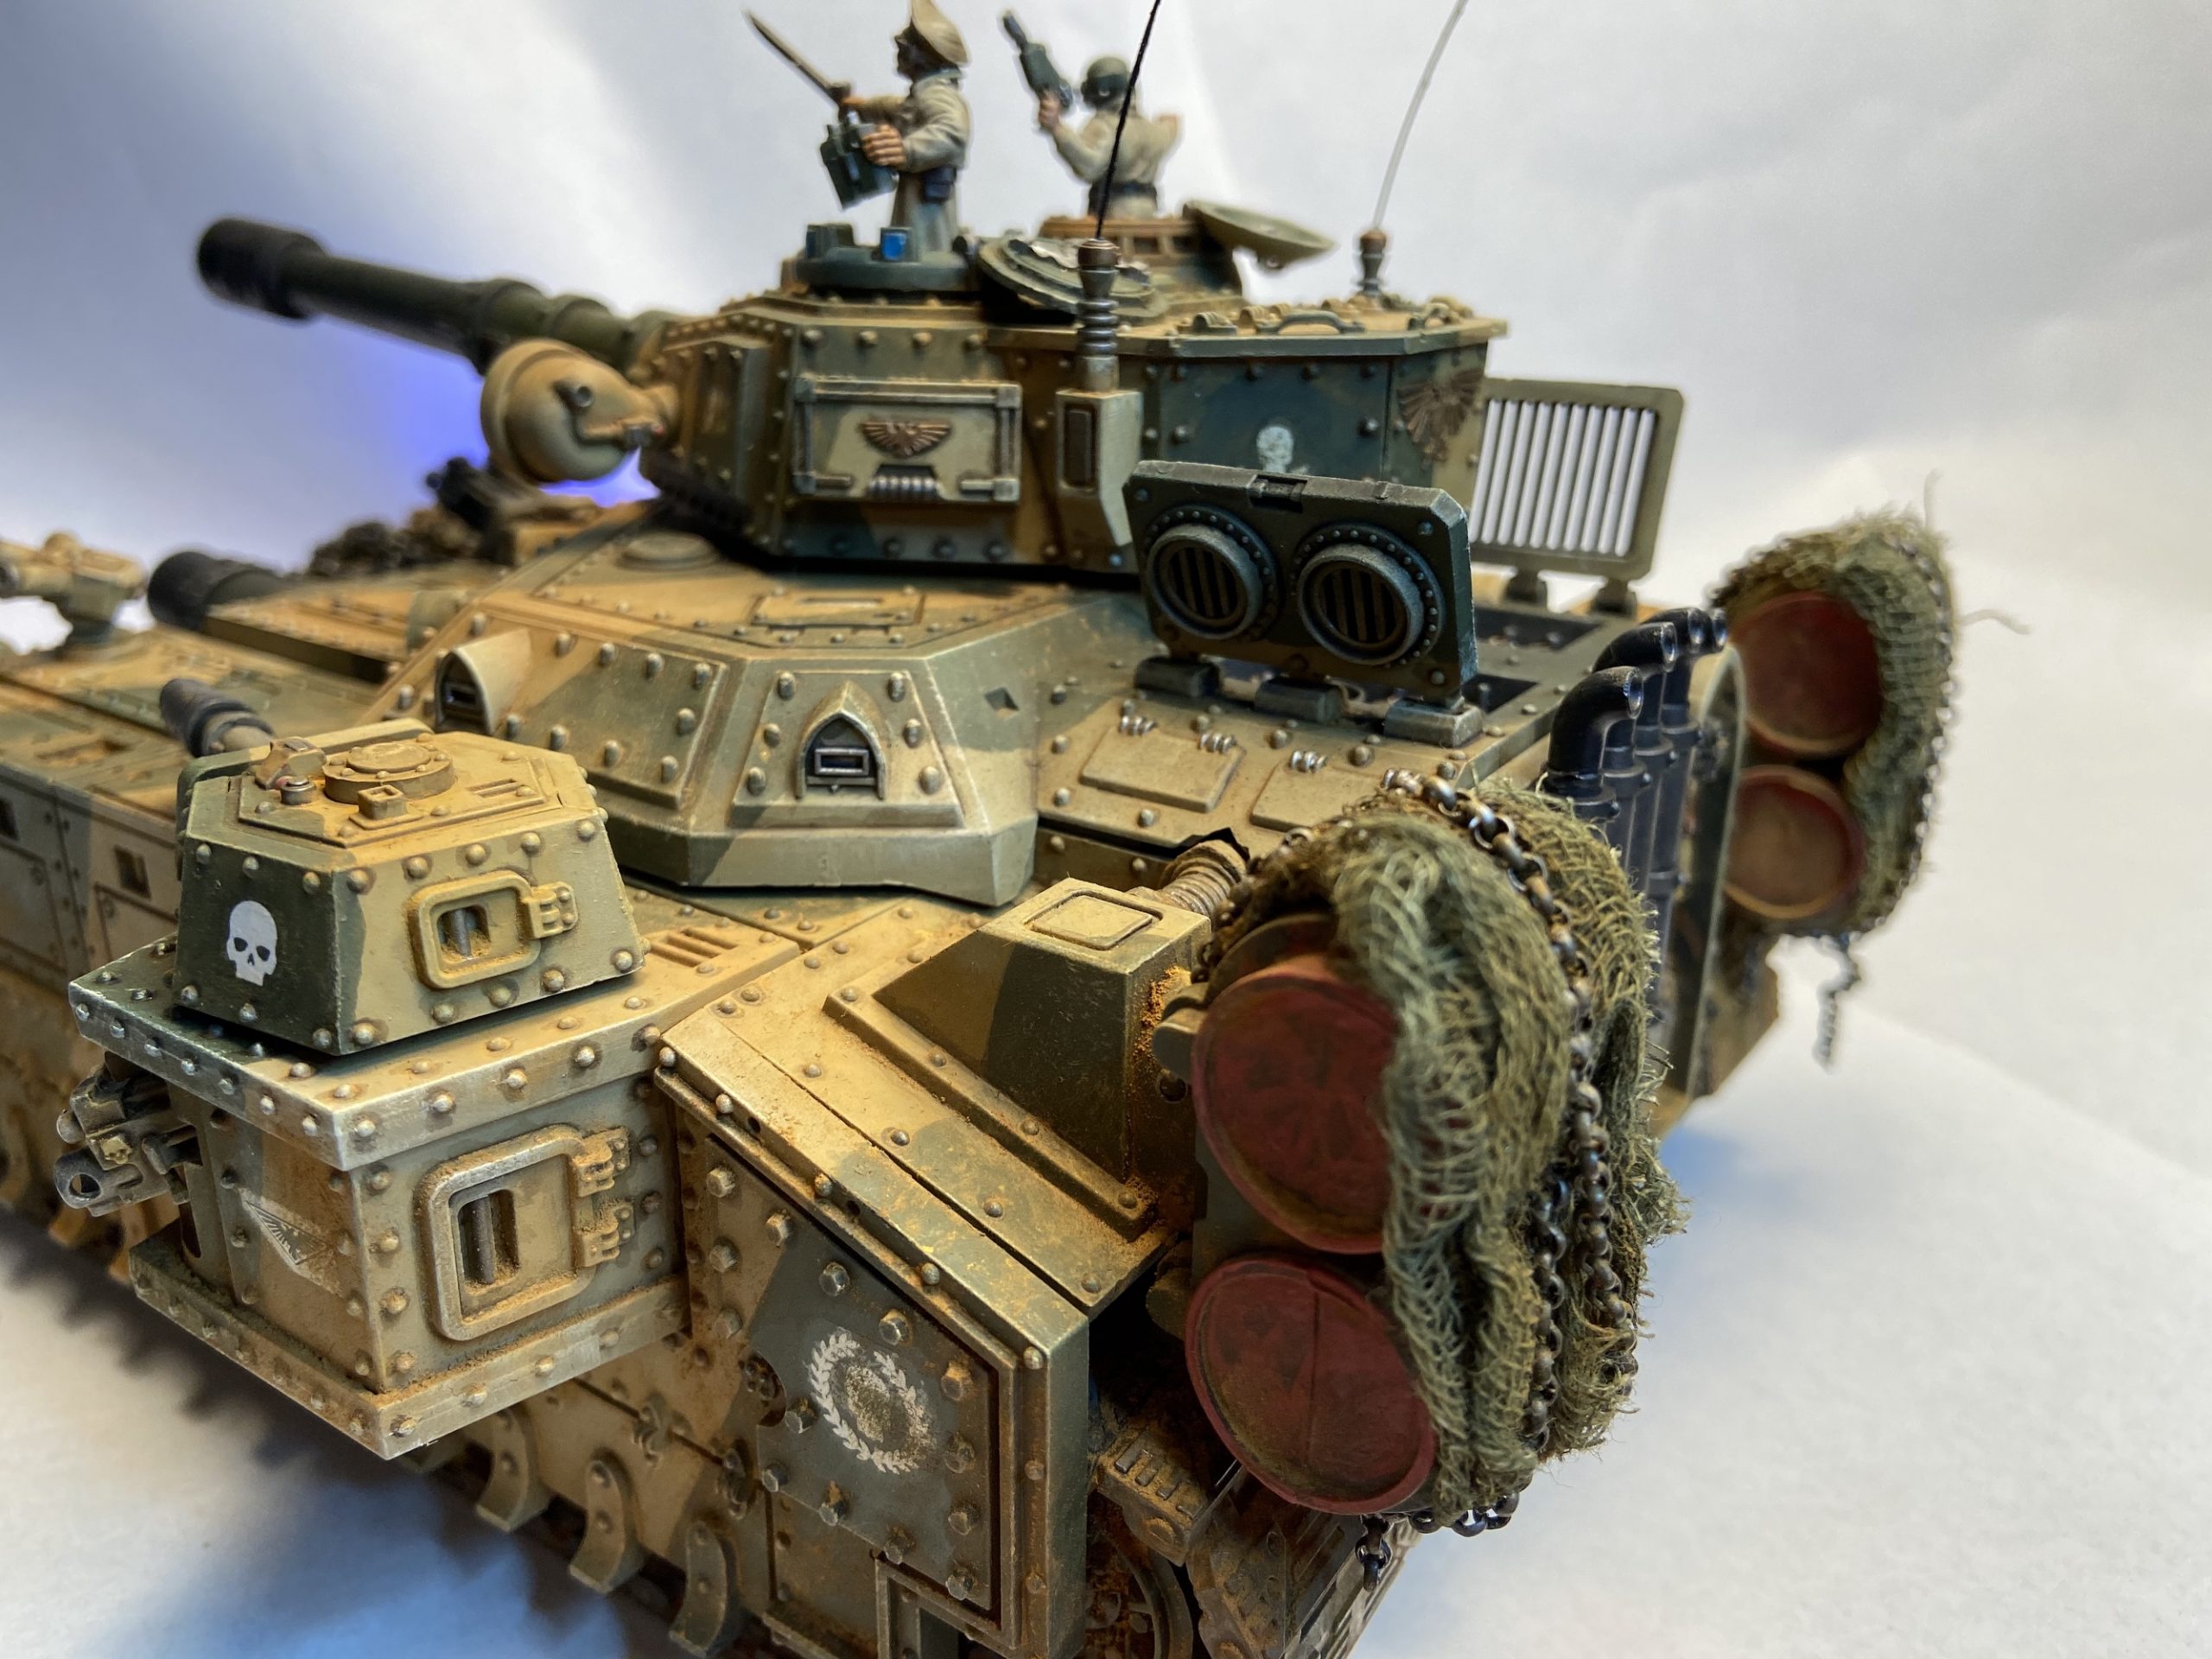
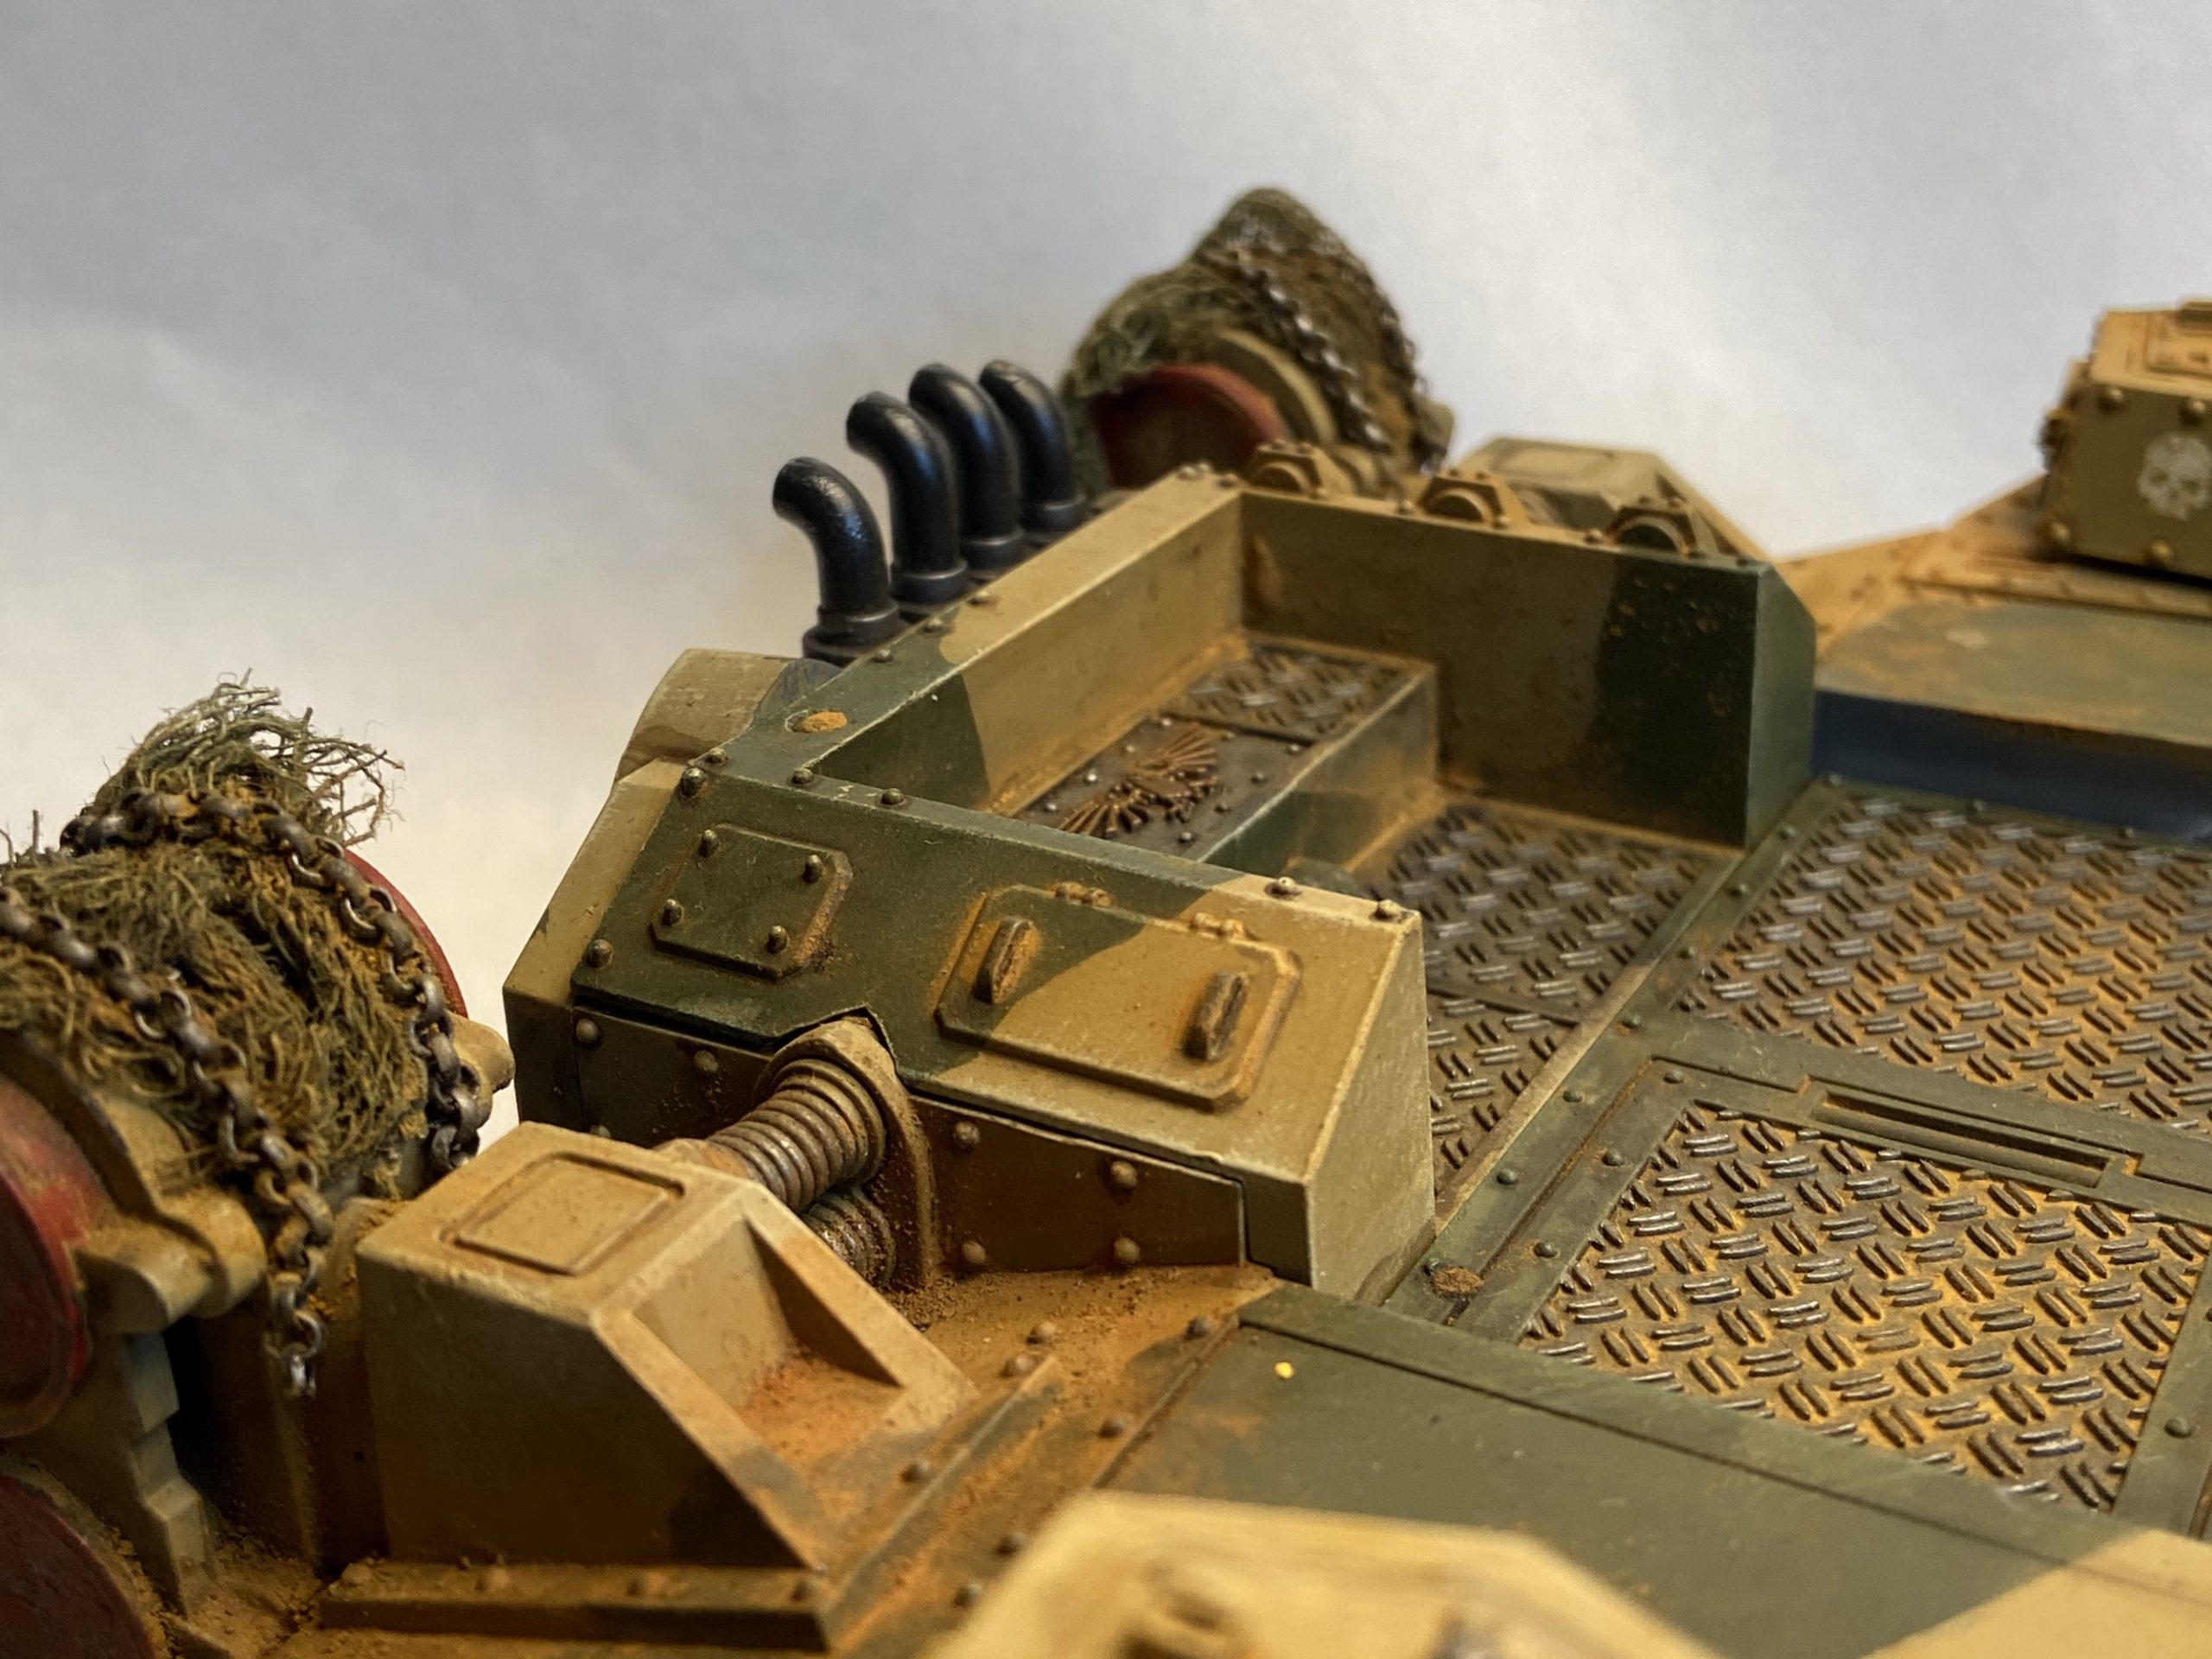
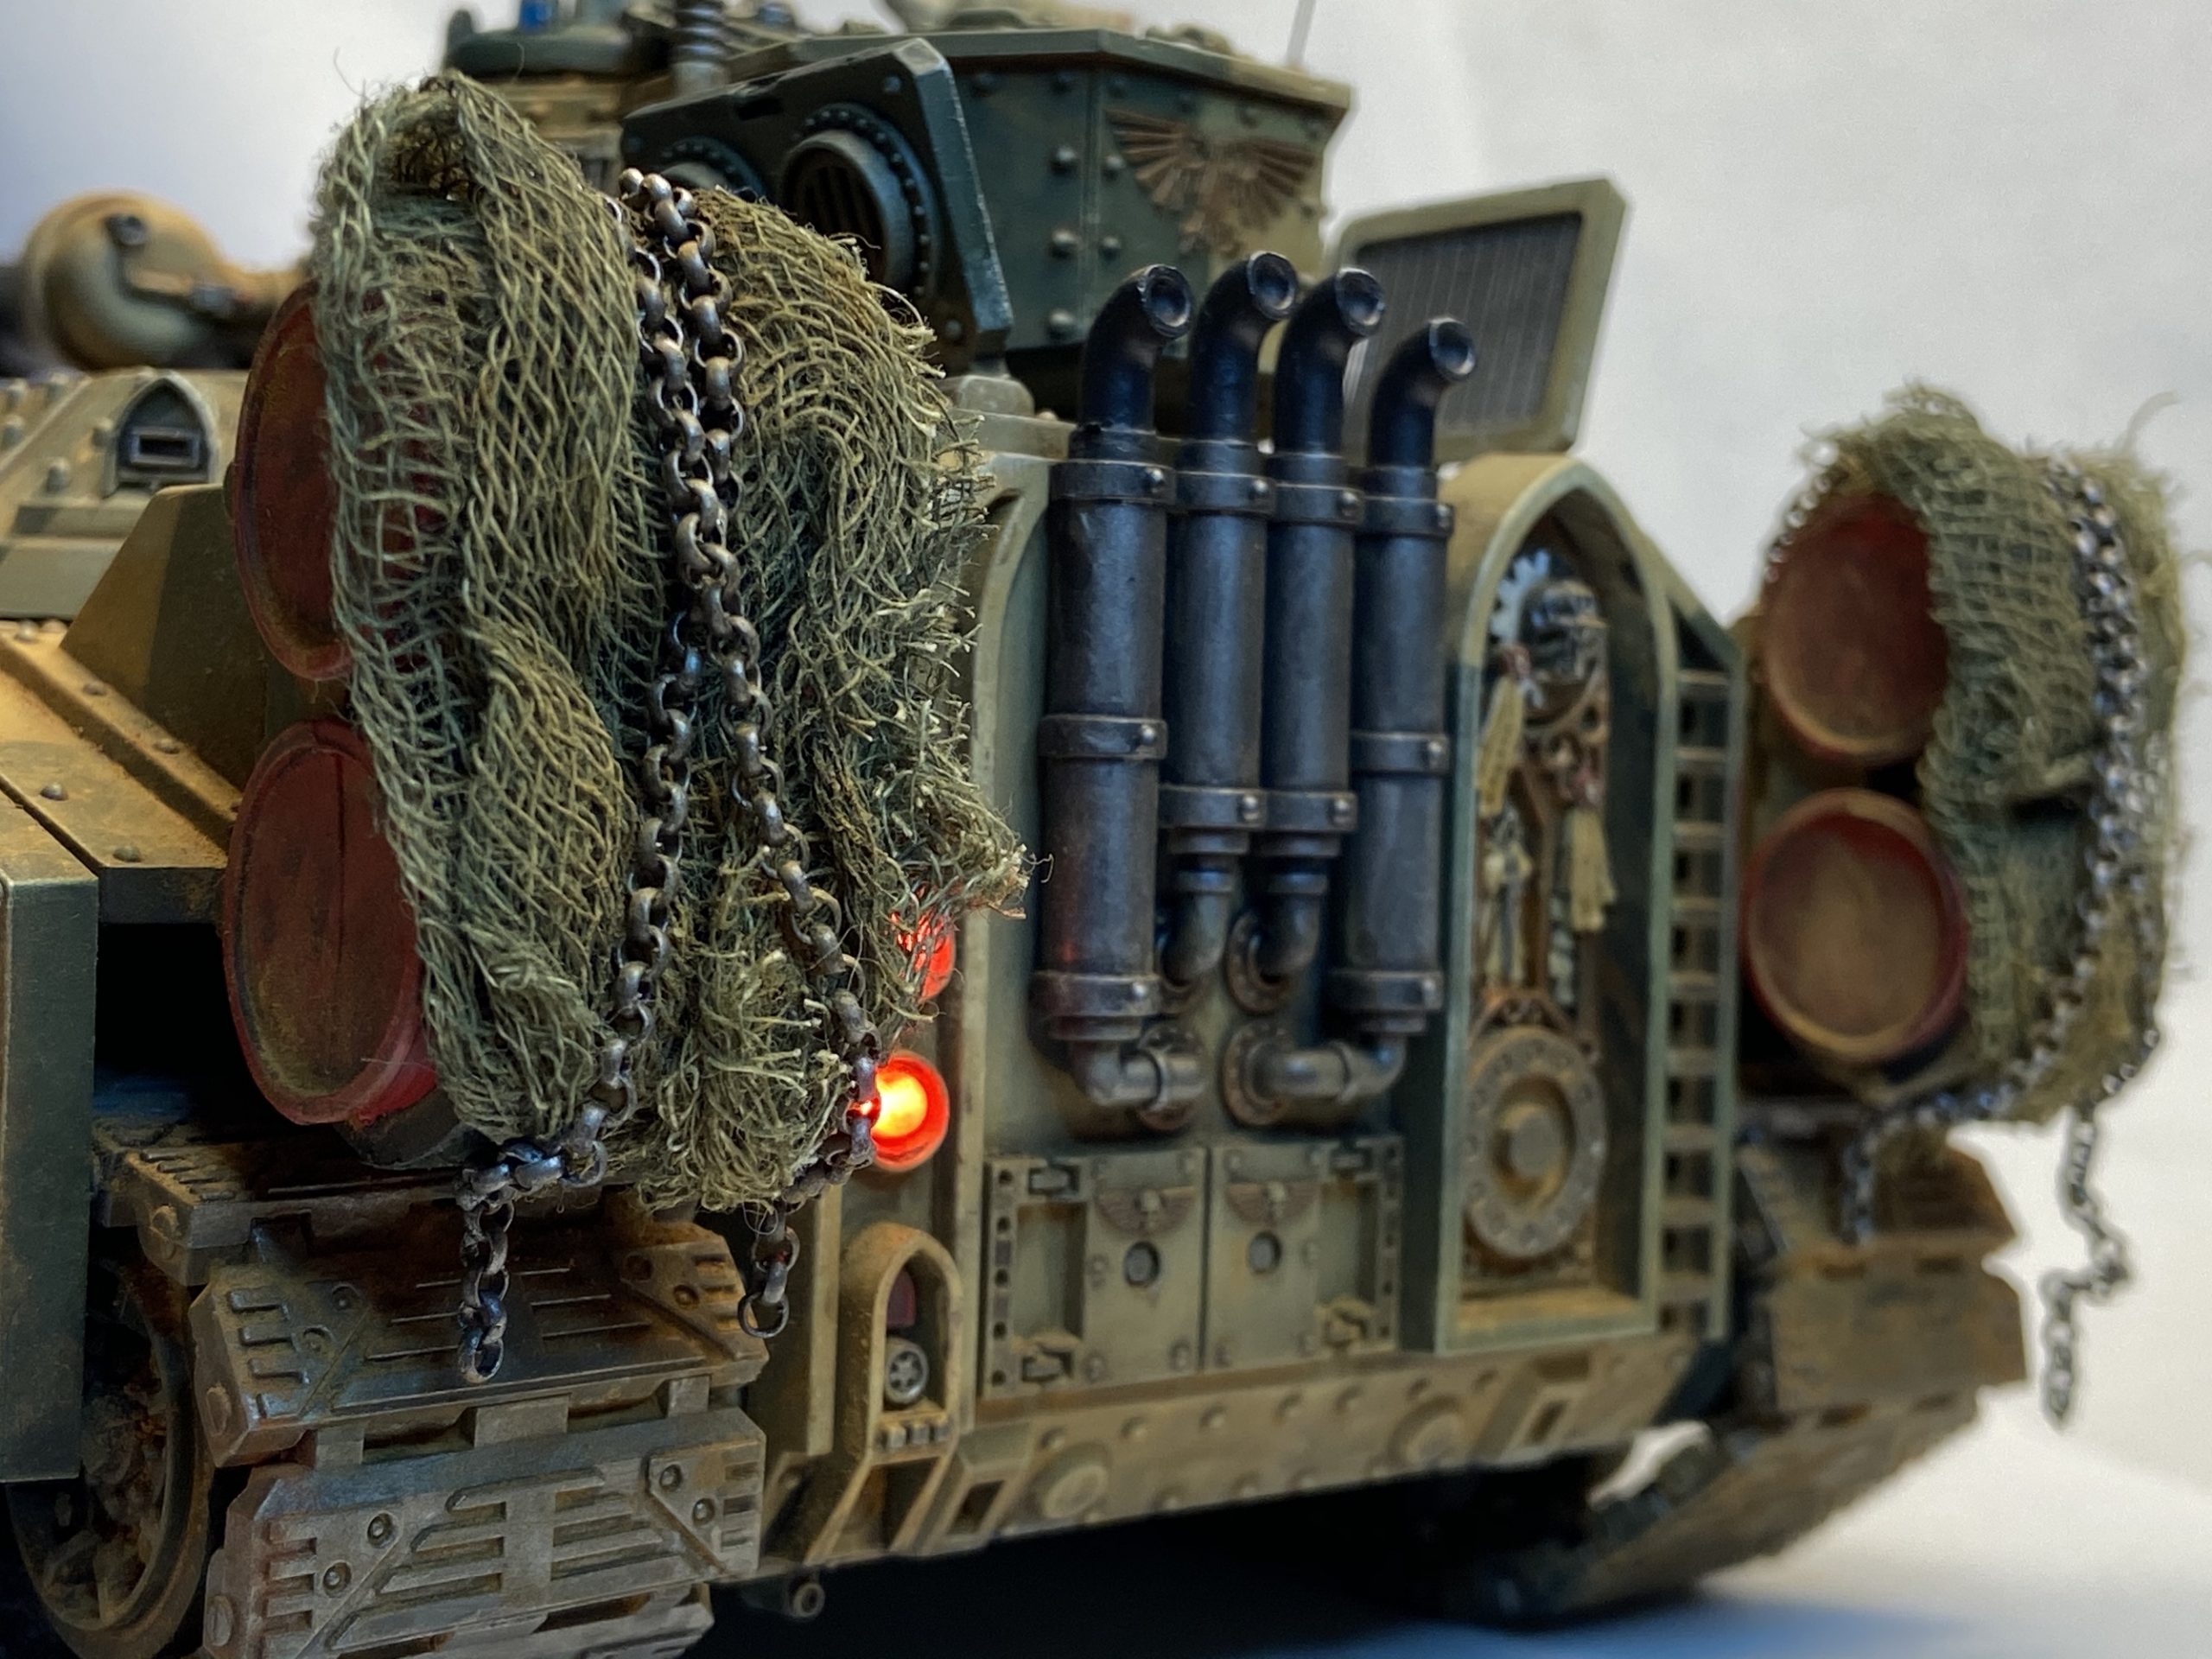
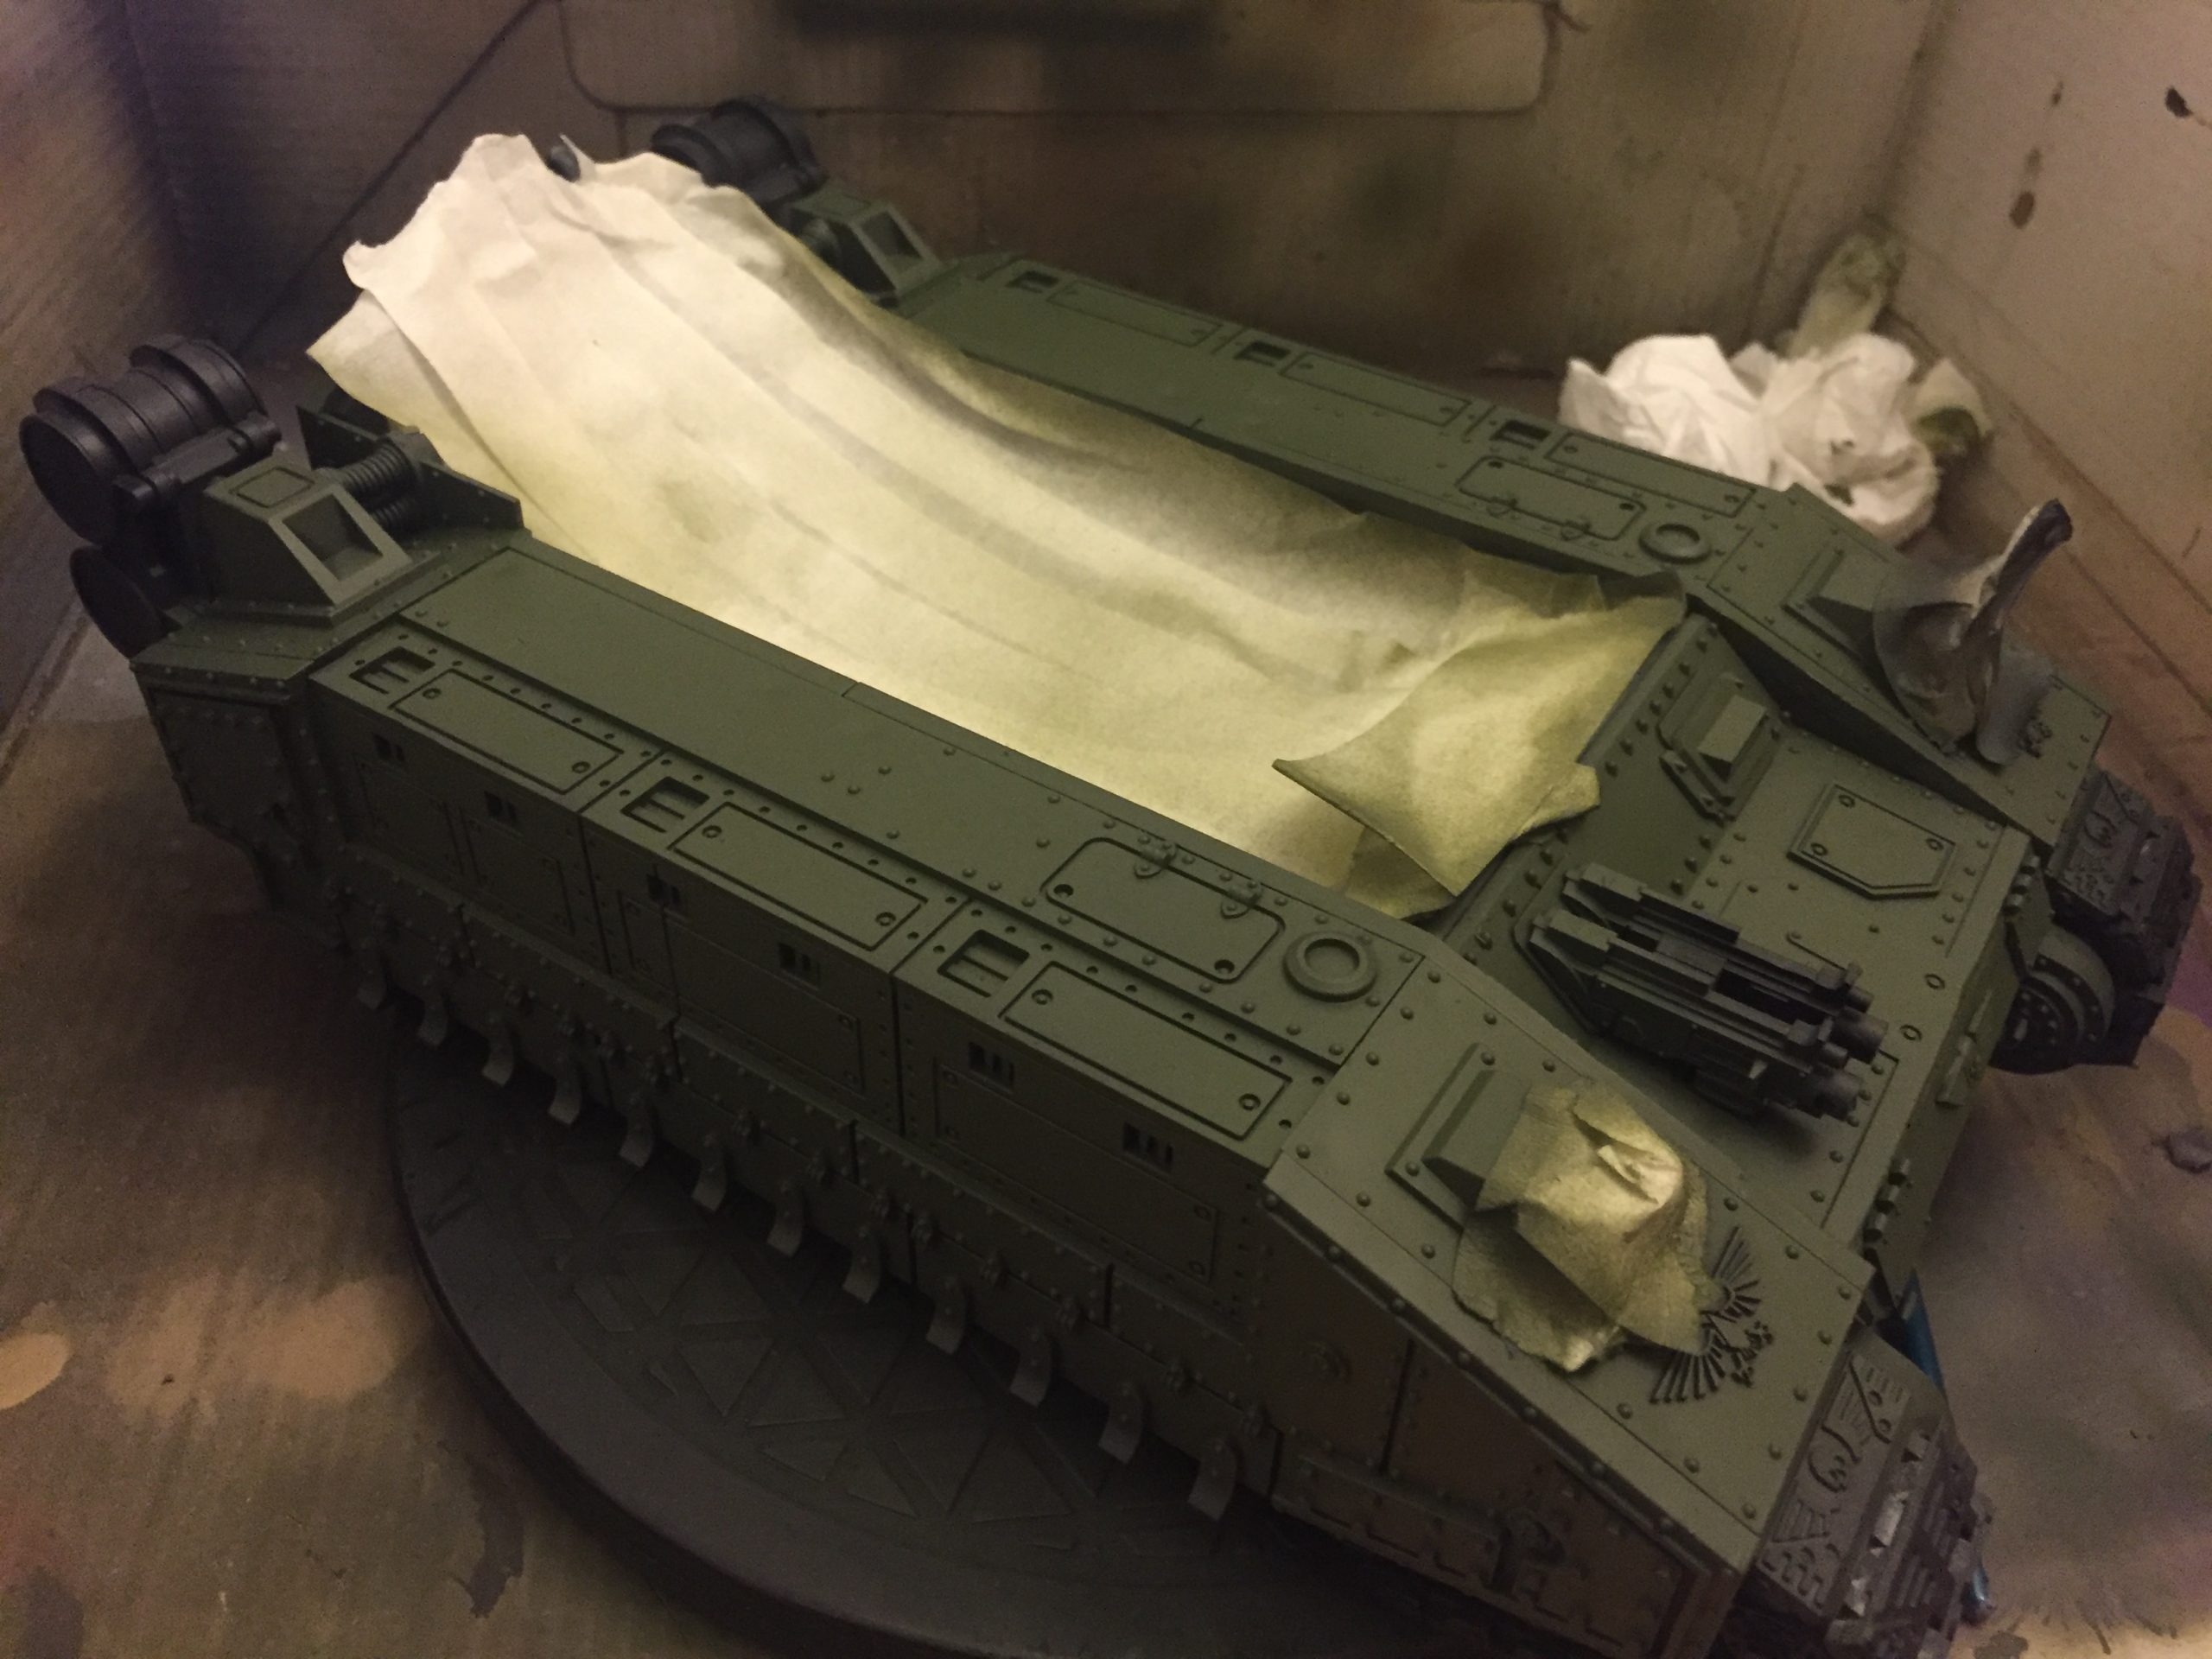
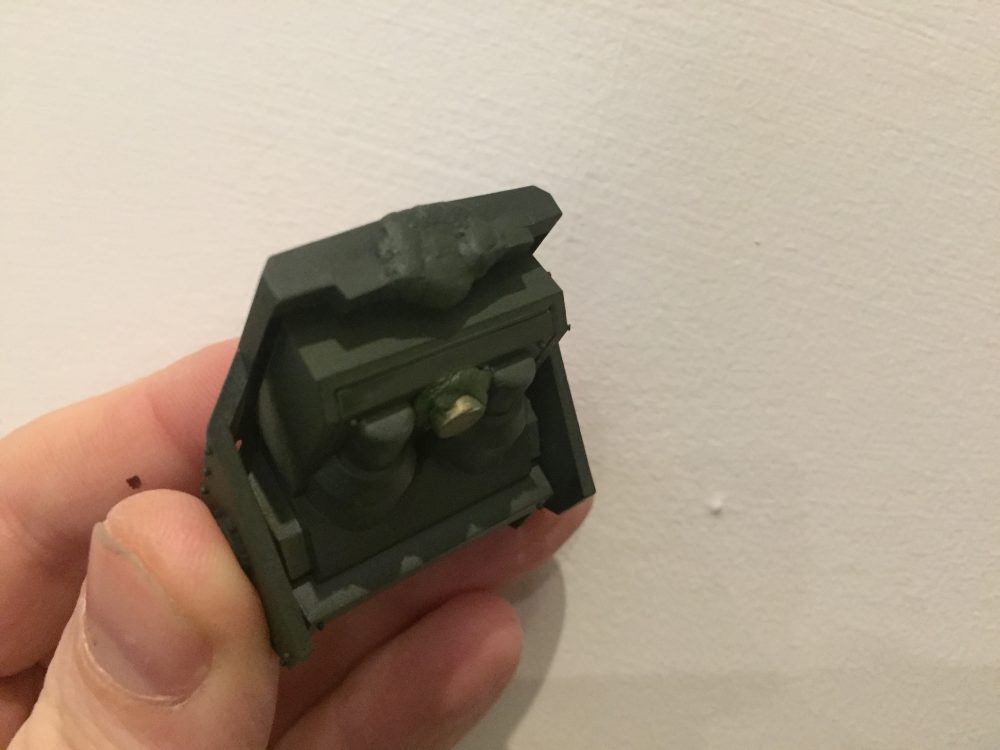
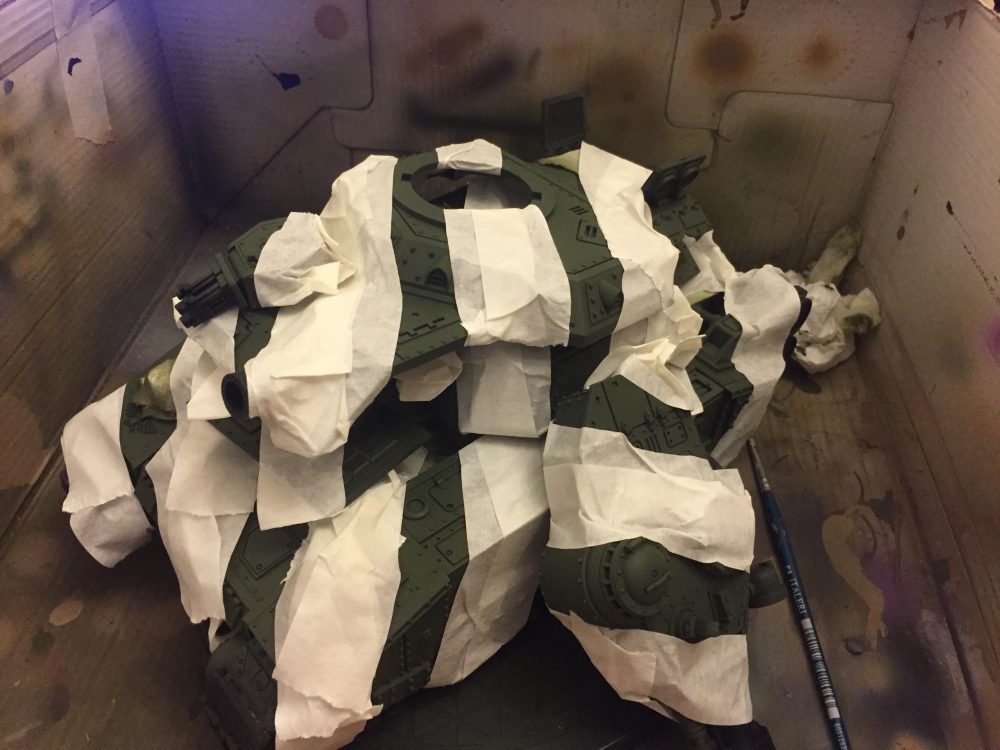
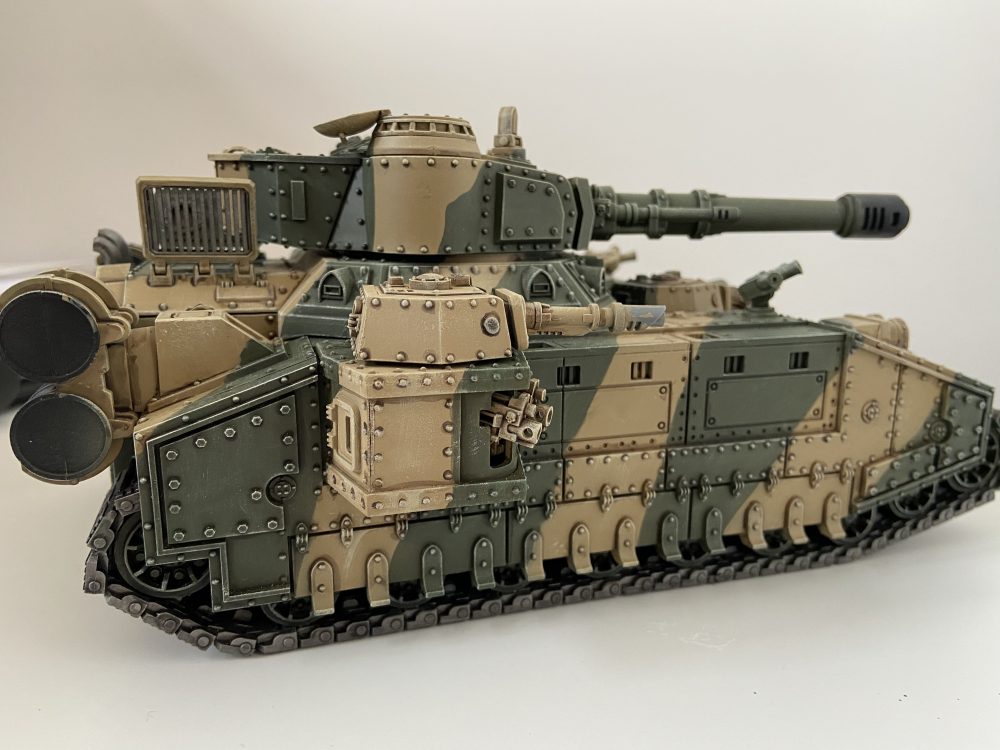
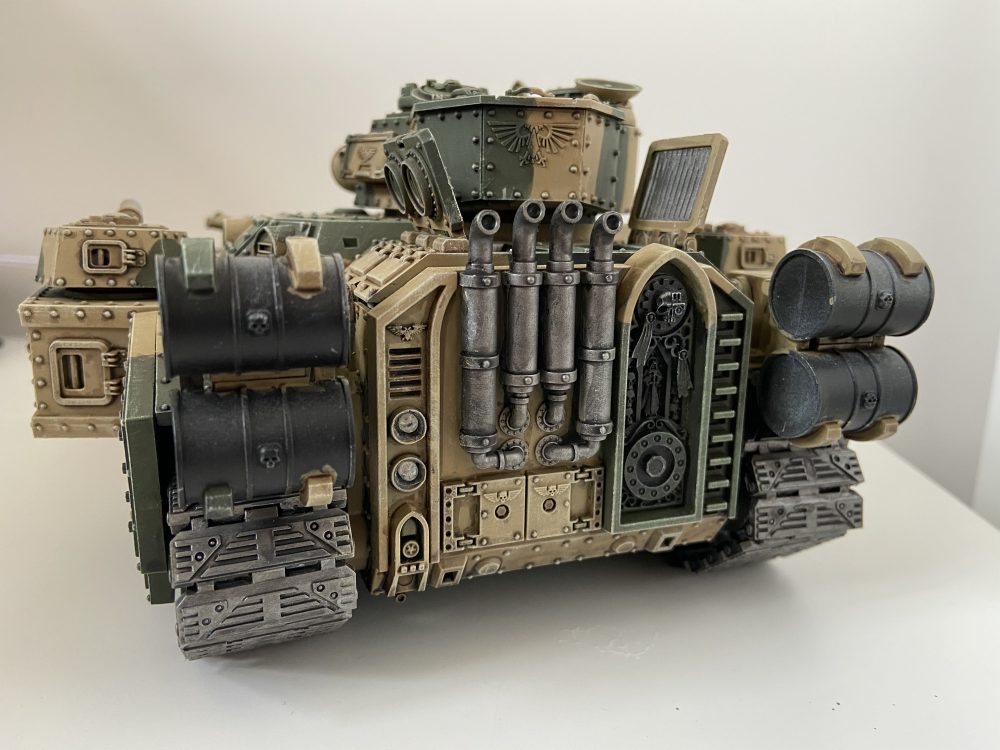
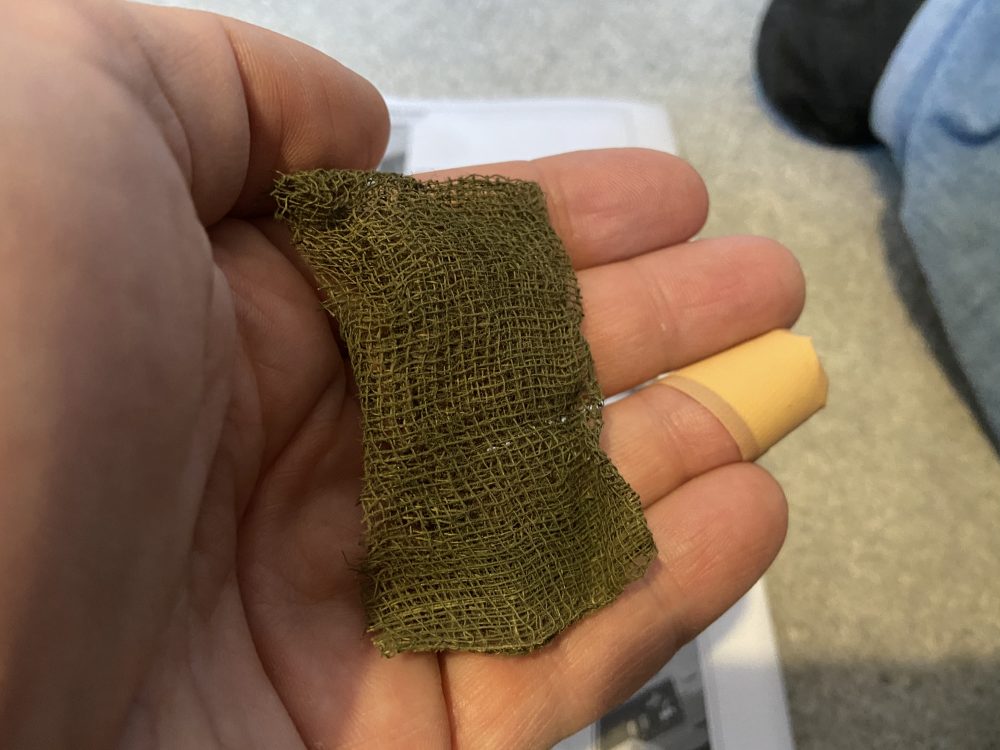
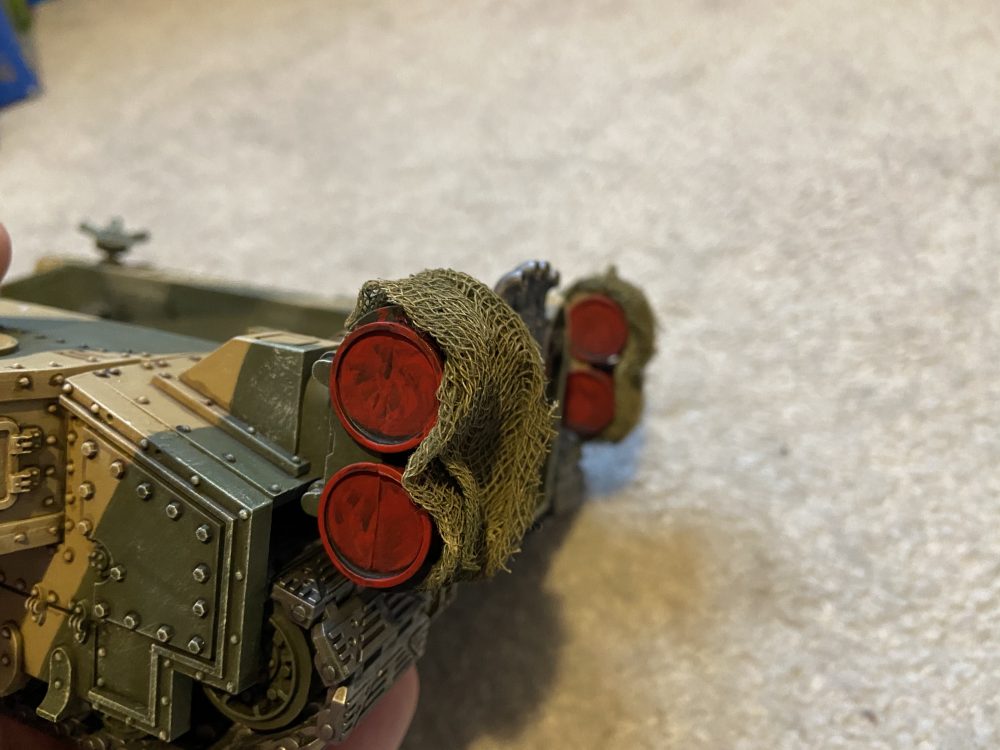
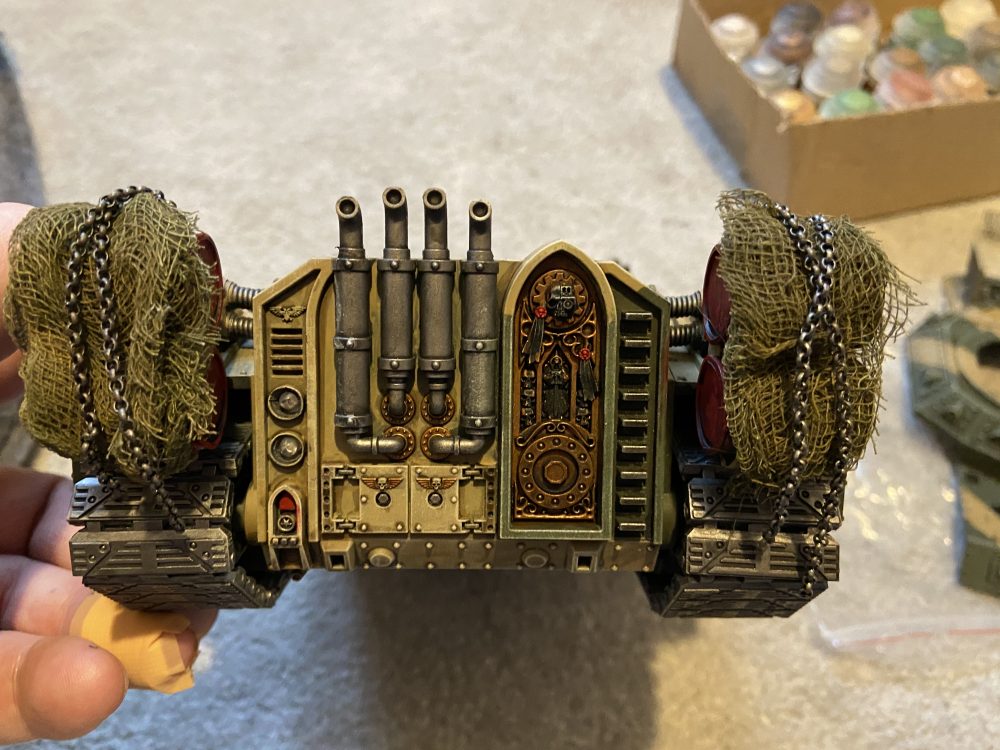
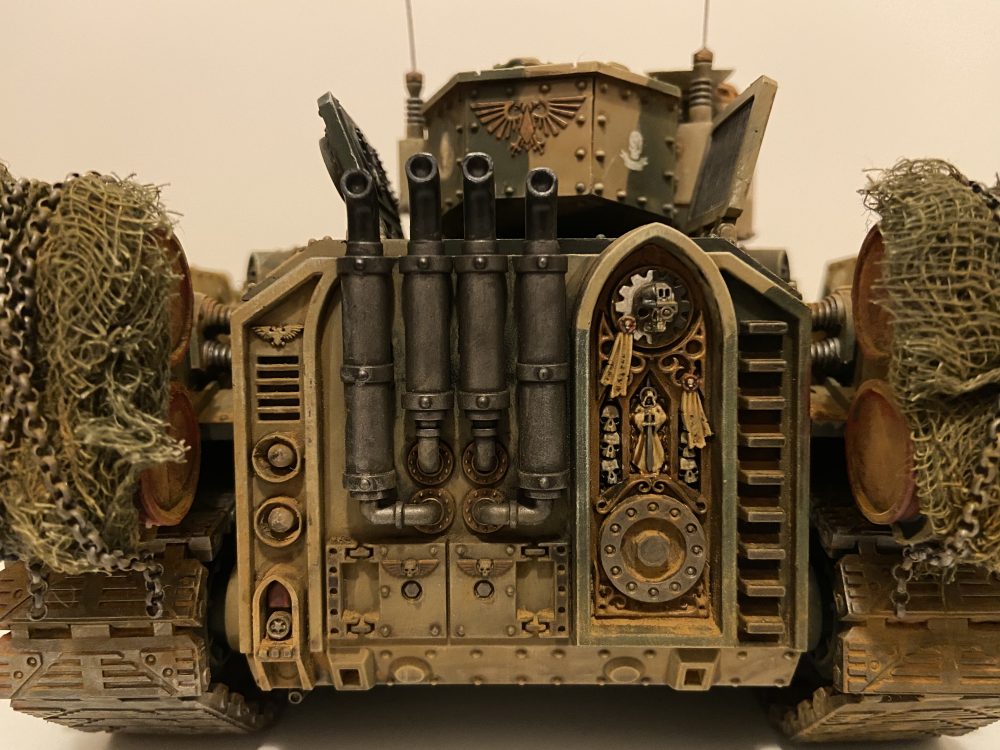
Baneblade Camo Netting
I did not like the barrels on the back of the Baneblade, so I covered them slightly with camo netting;
- Spray medical gauze with your main base colours
- Let it dry
- Then mould and glue to your model
- I then used chains to make it look like they were held in place


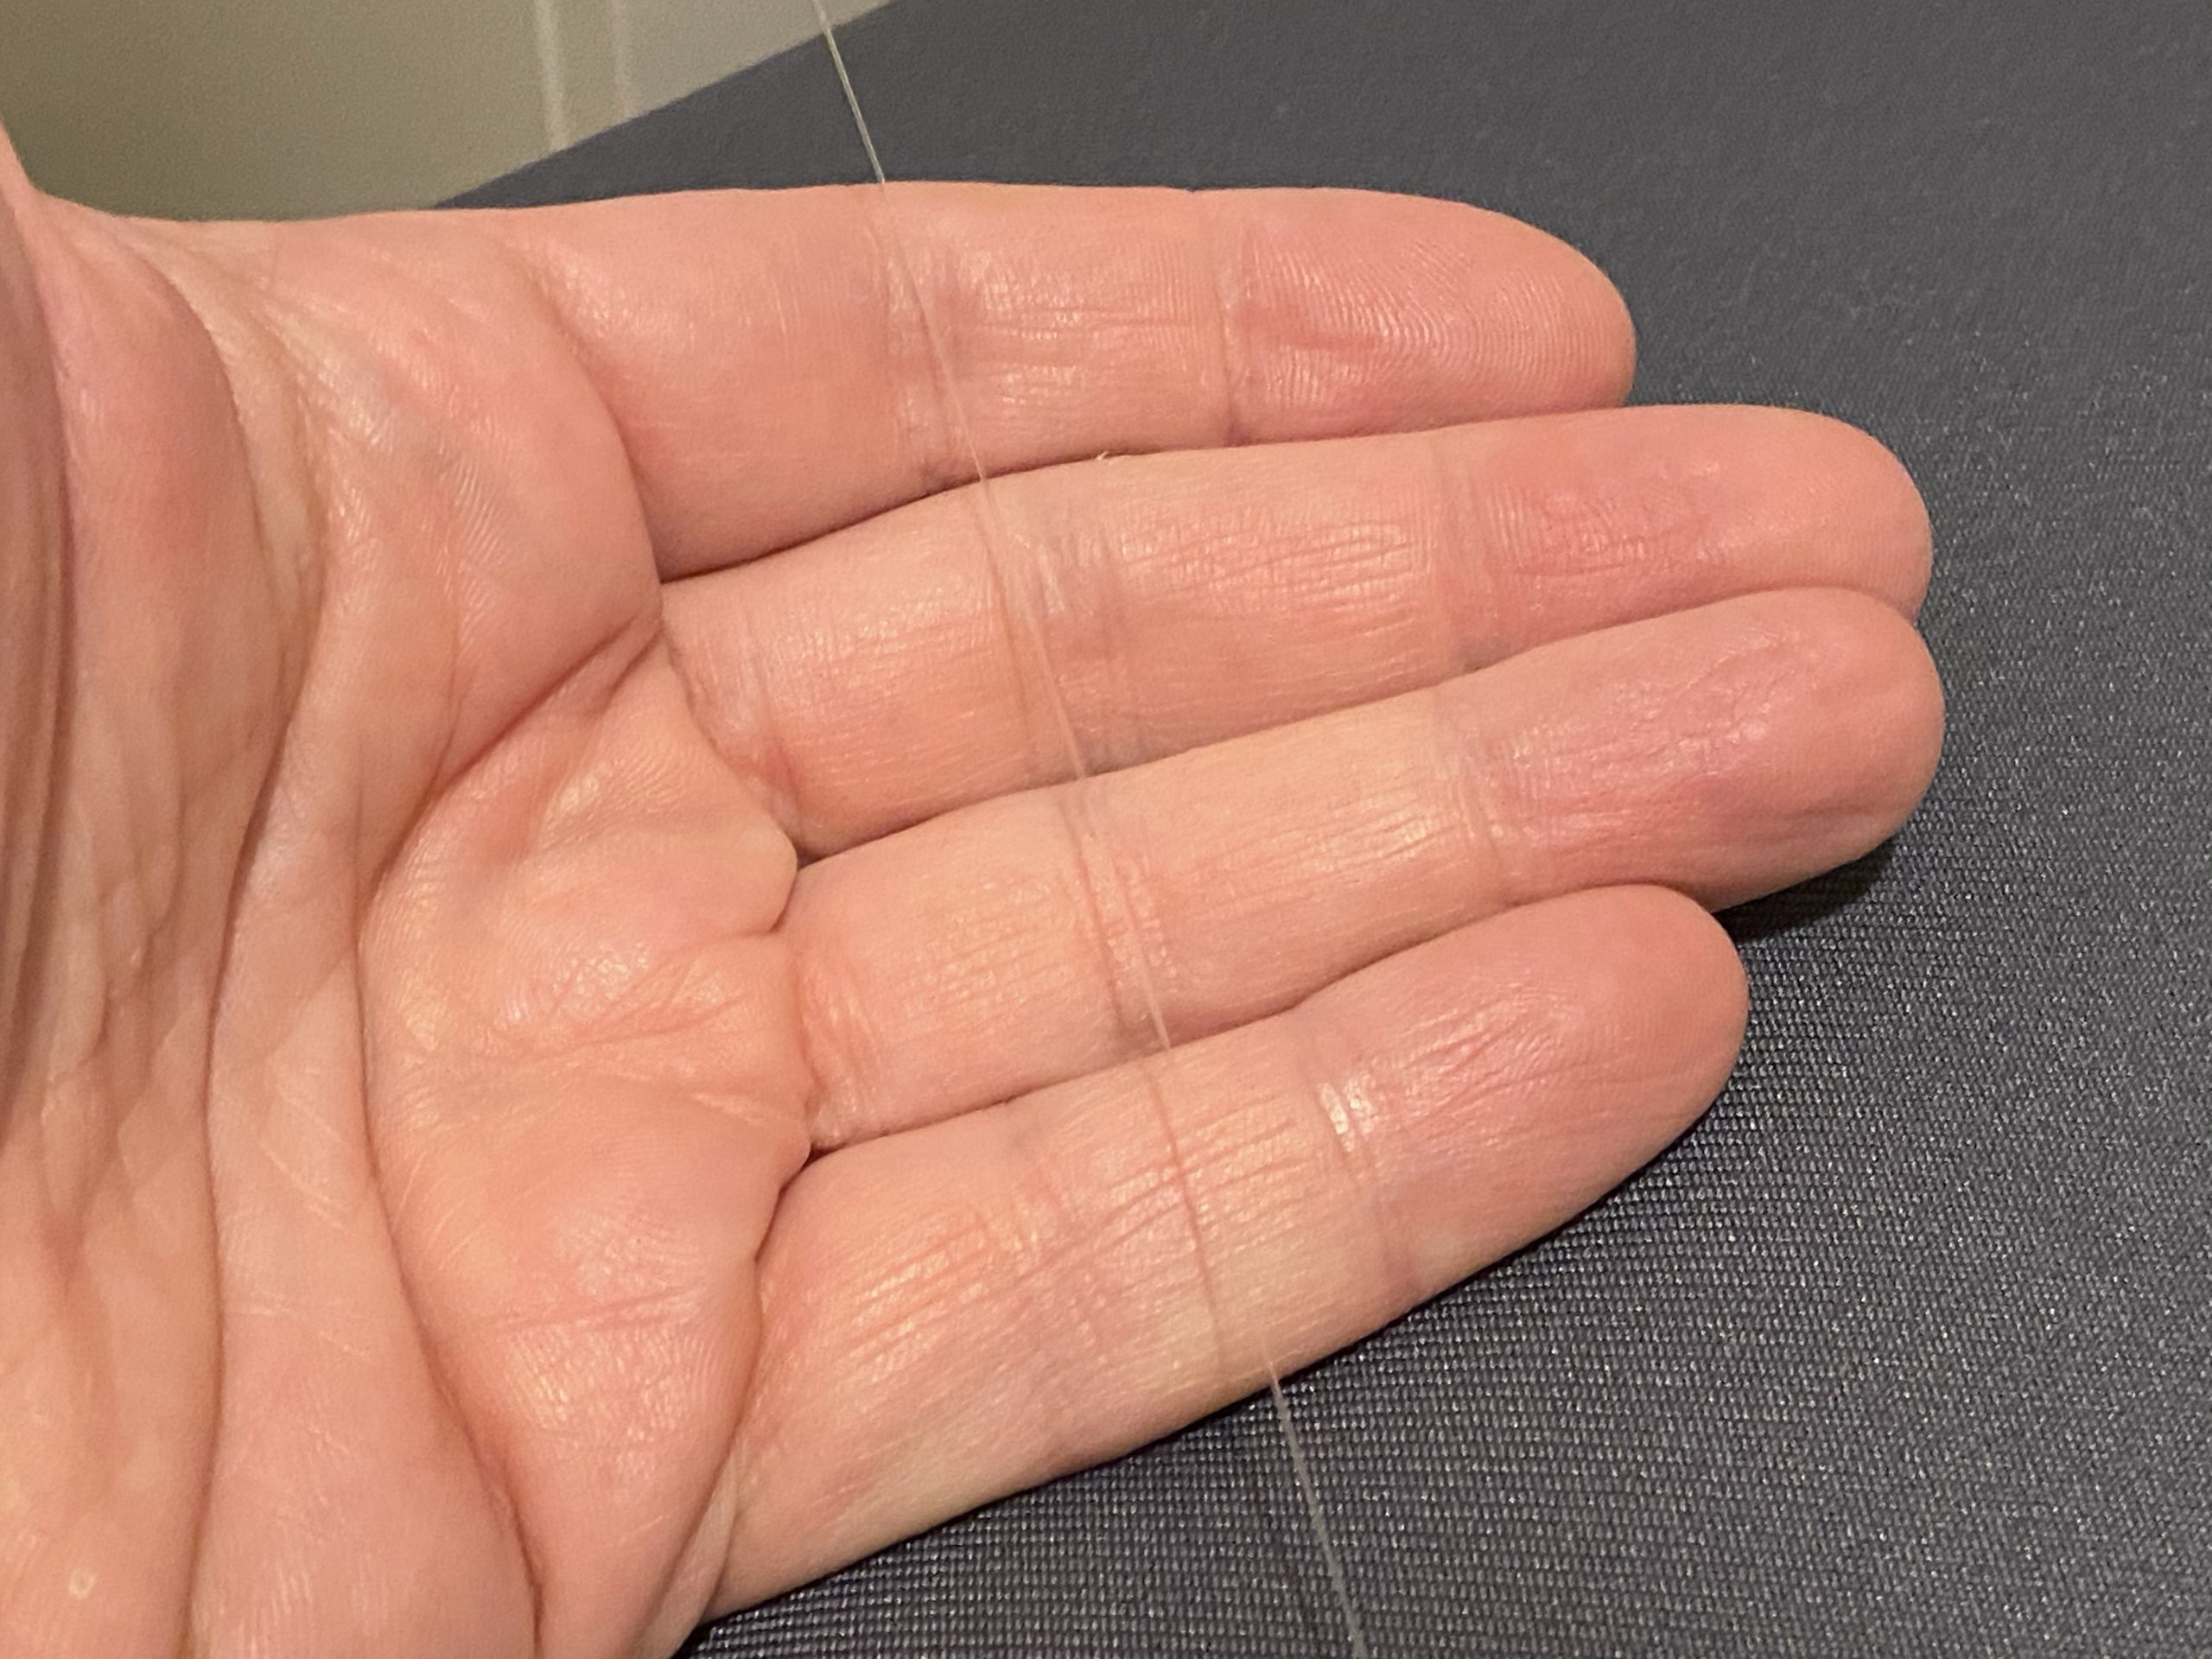
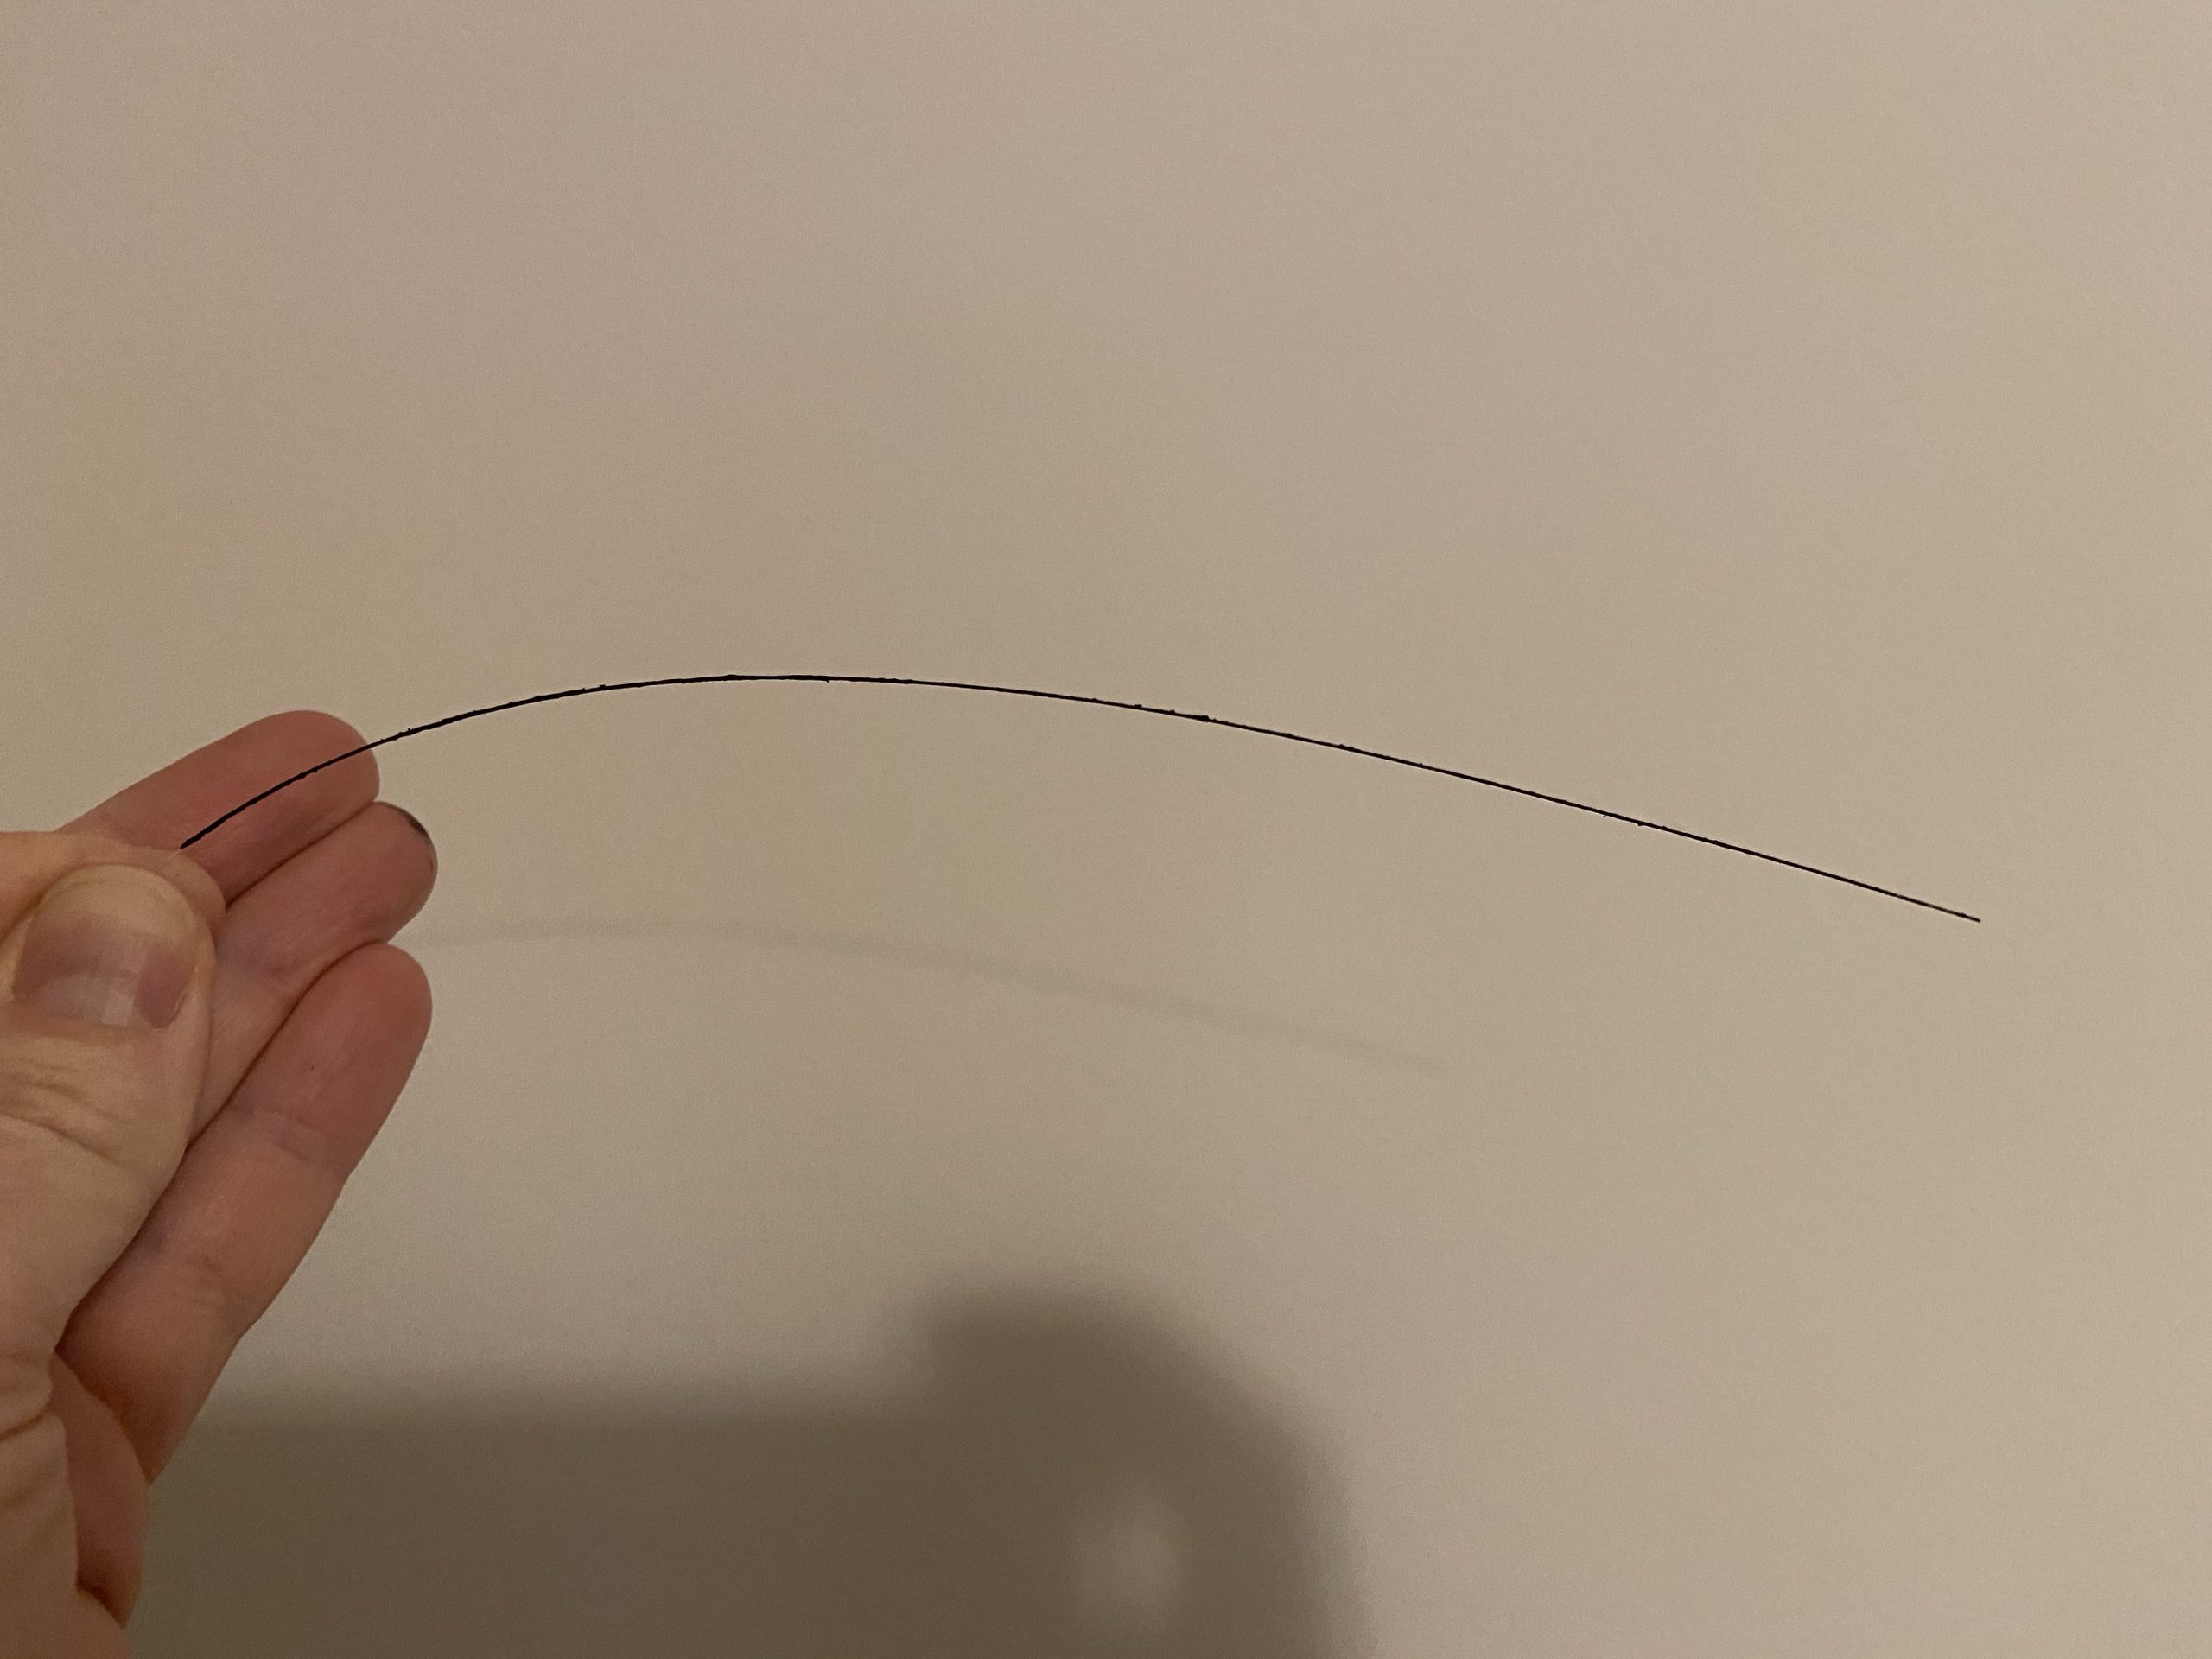
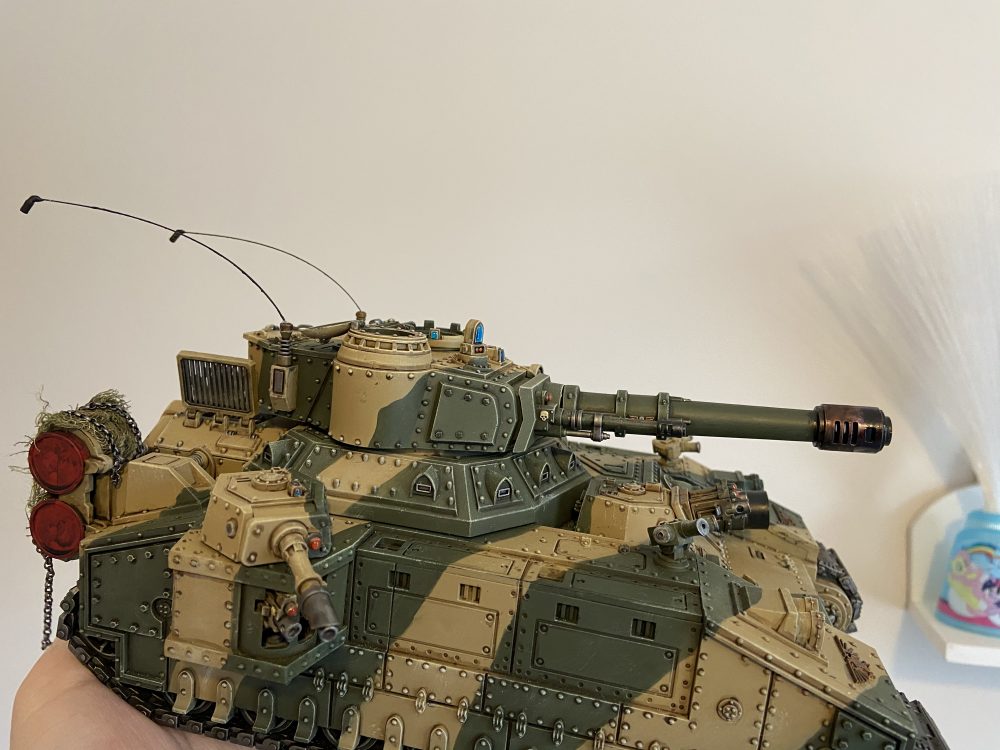
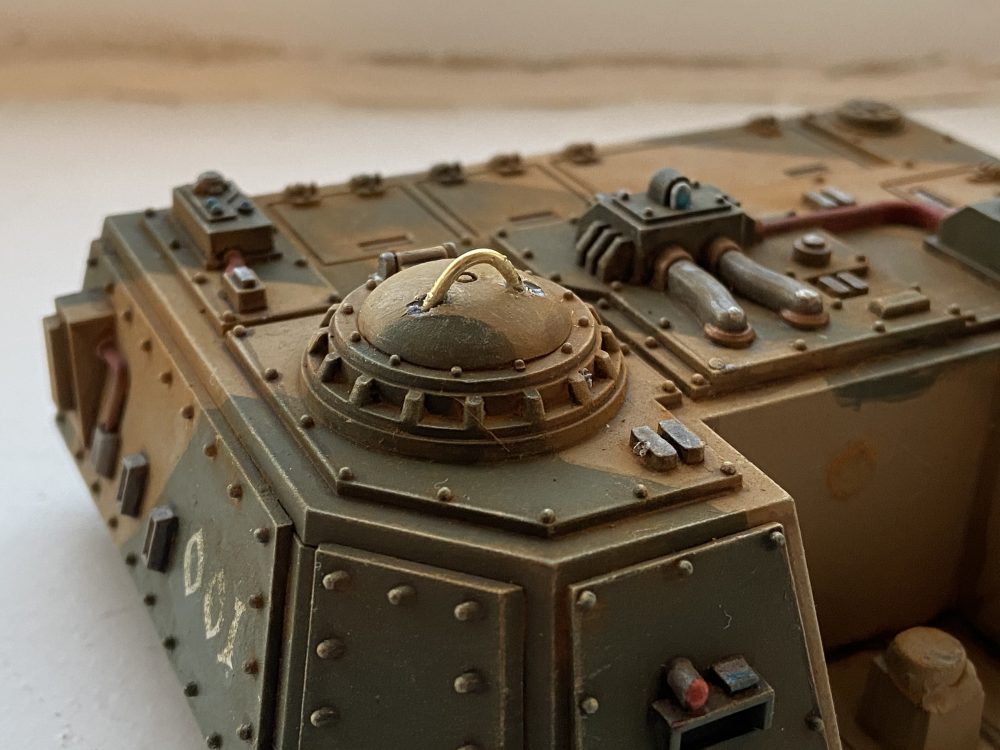
Baneblade Antennas
I made these antennae from fibre optic light cables from a My Little Pony Toy. I also wrote a how-to article about aerials and antennas. It is simple and the effect is awesome. They even look great in motion!
-

- Fibre Optic Light
-

- Painted
-

- Greenstuff and Magnet
-
- Aerial
-
- Baneblade Antennas

-
- Baneblade Antennas

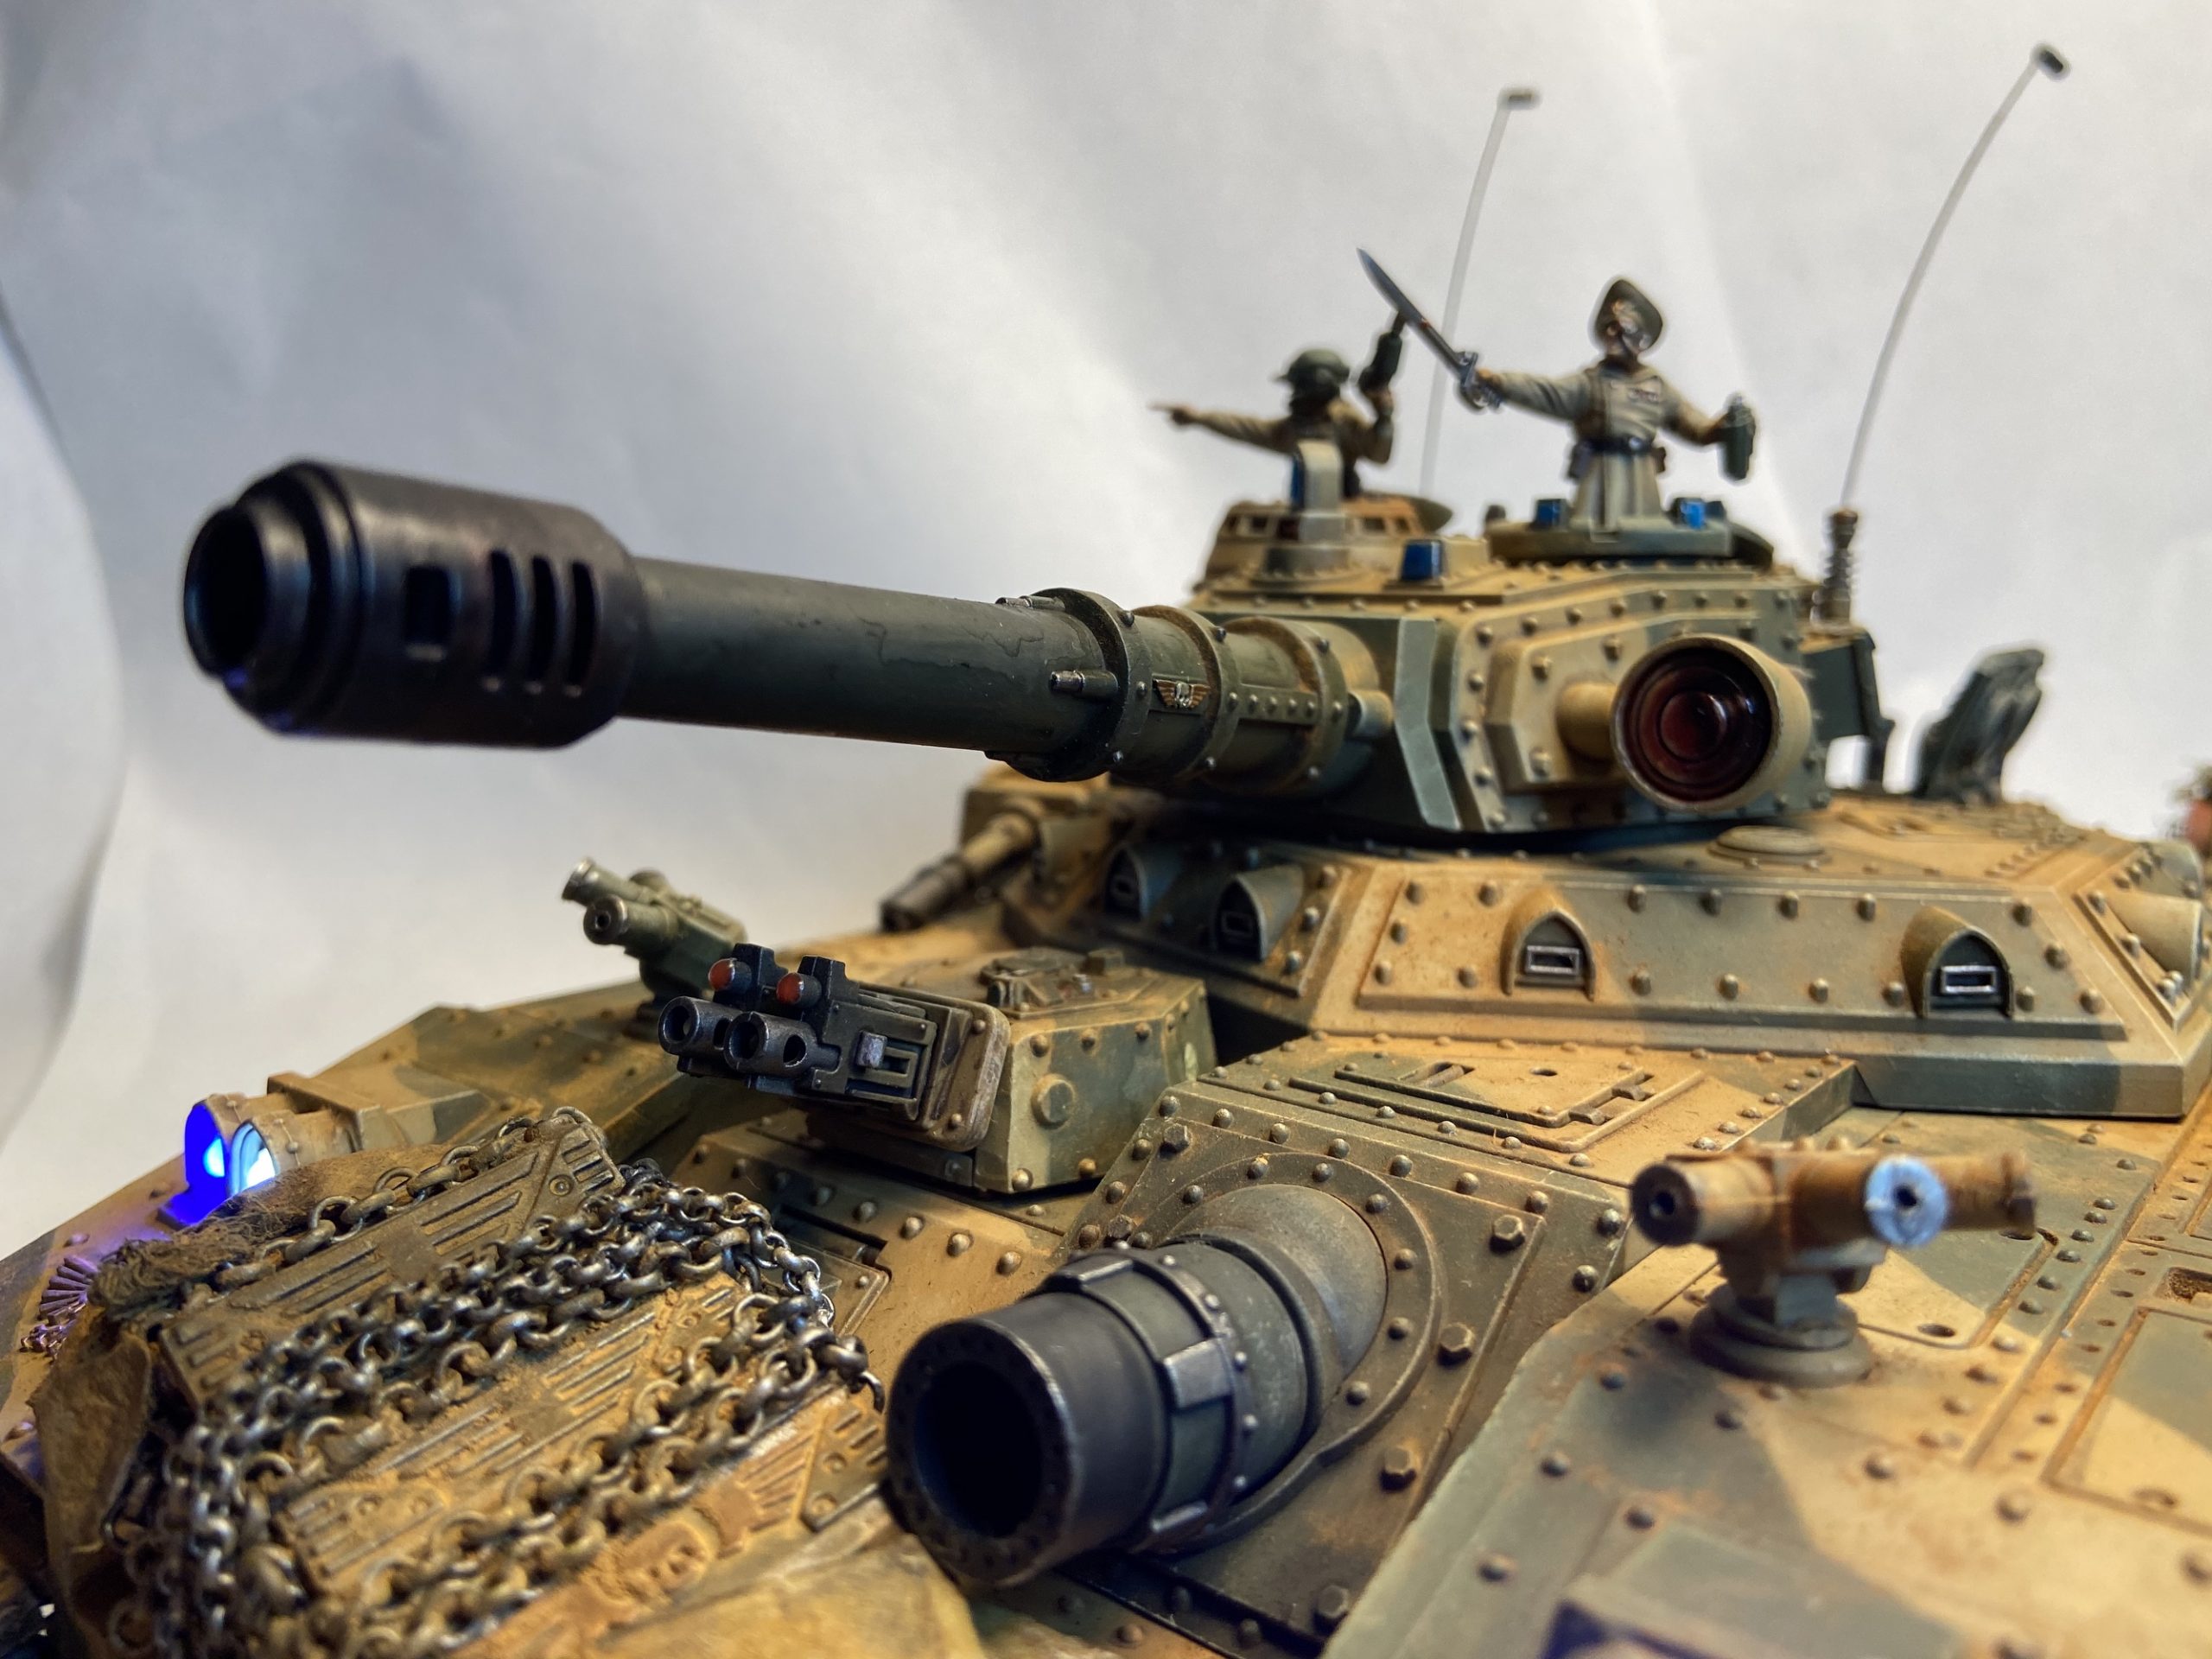
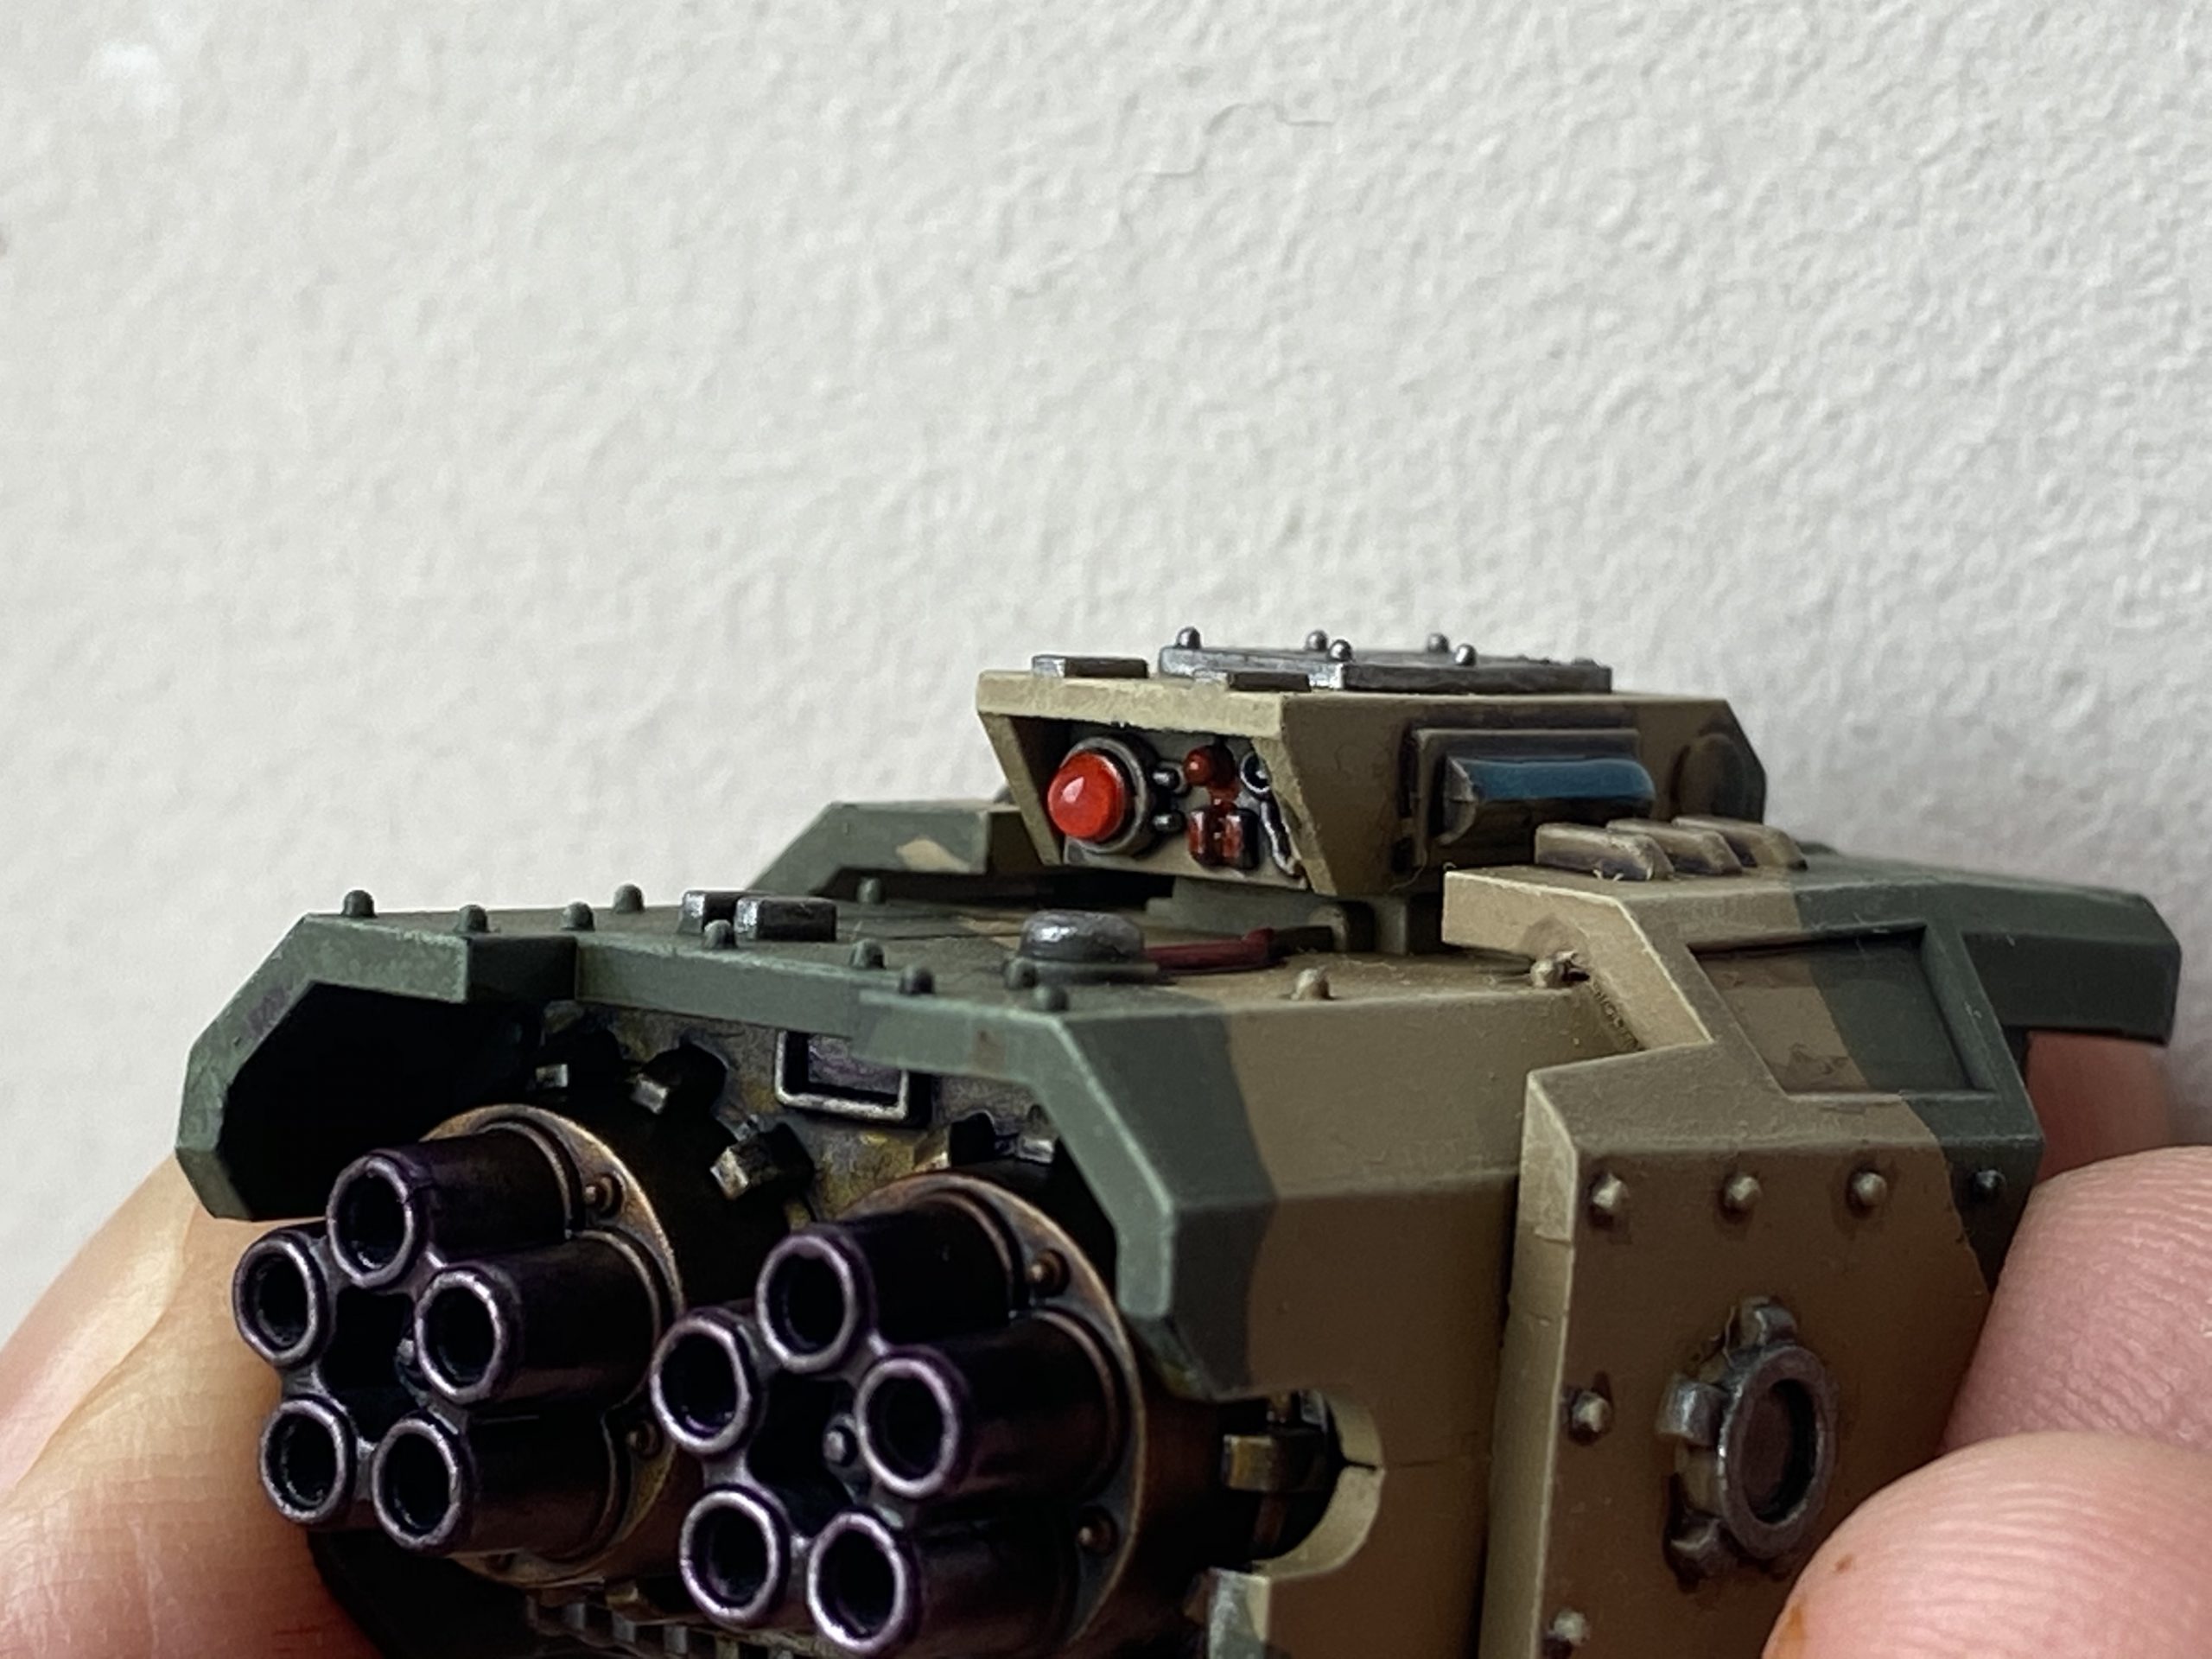
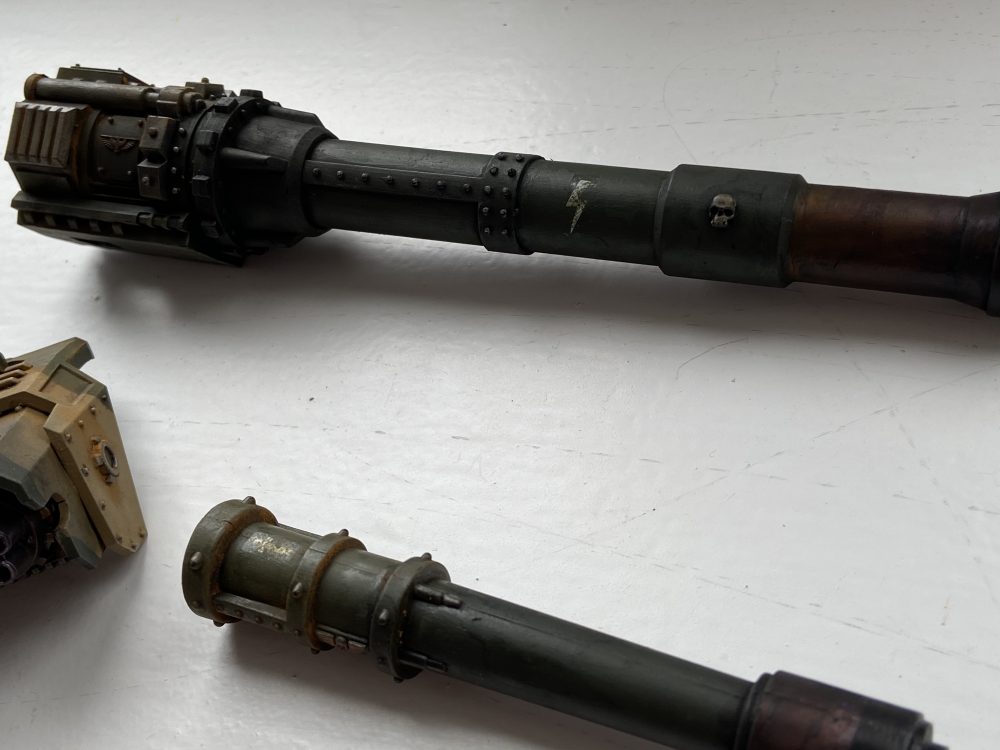
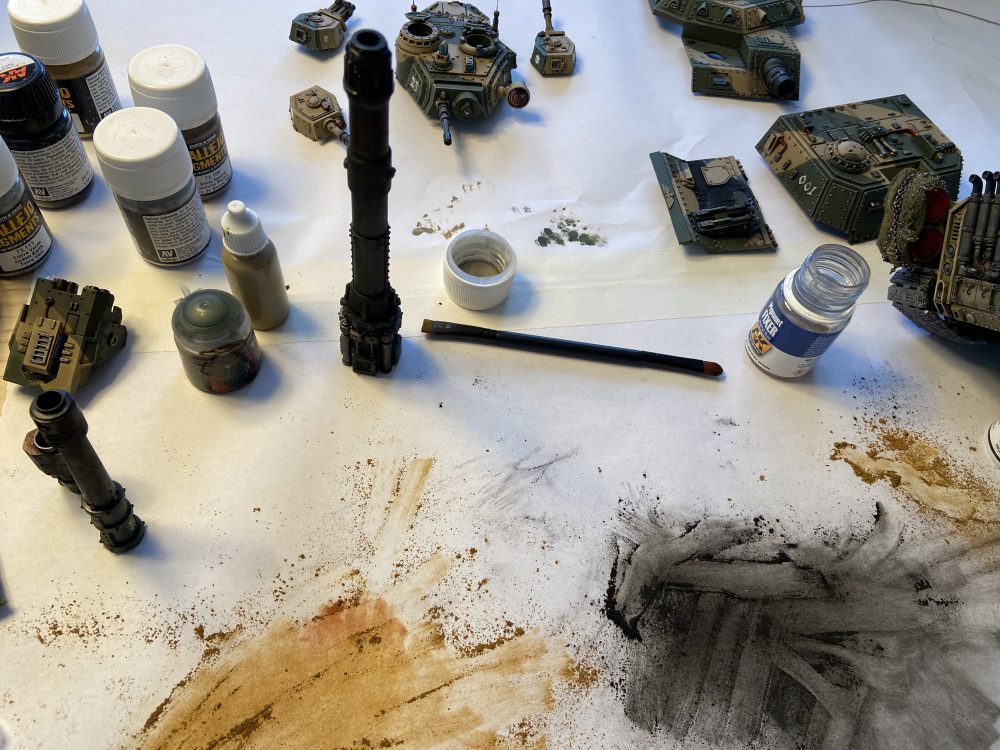
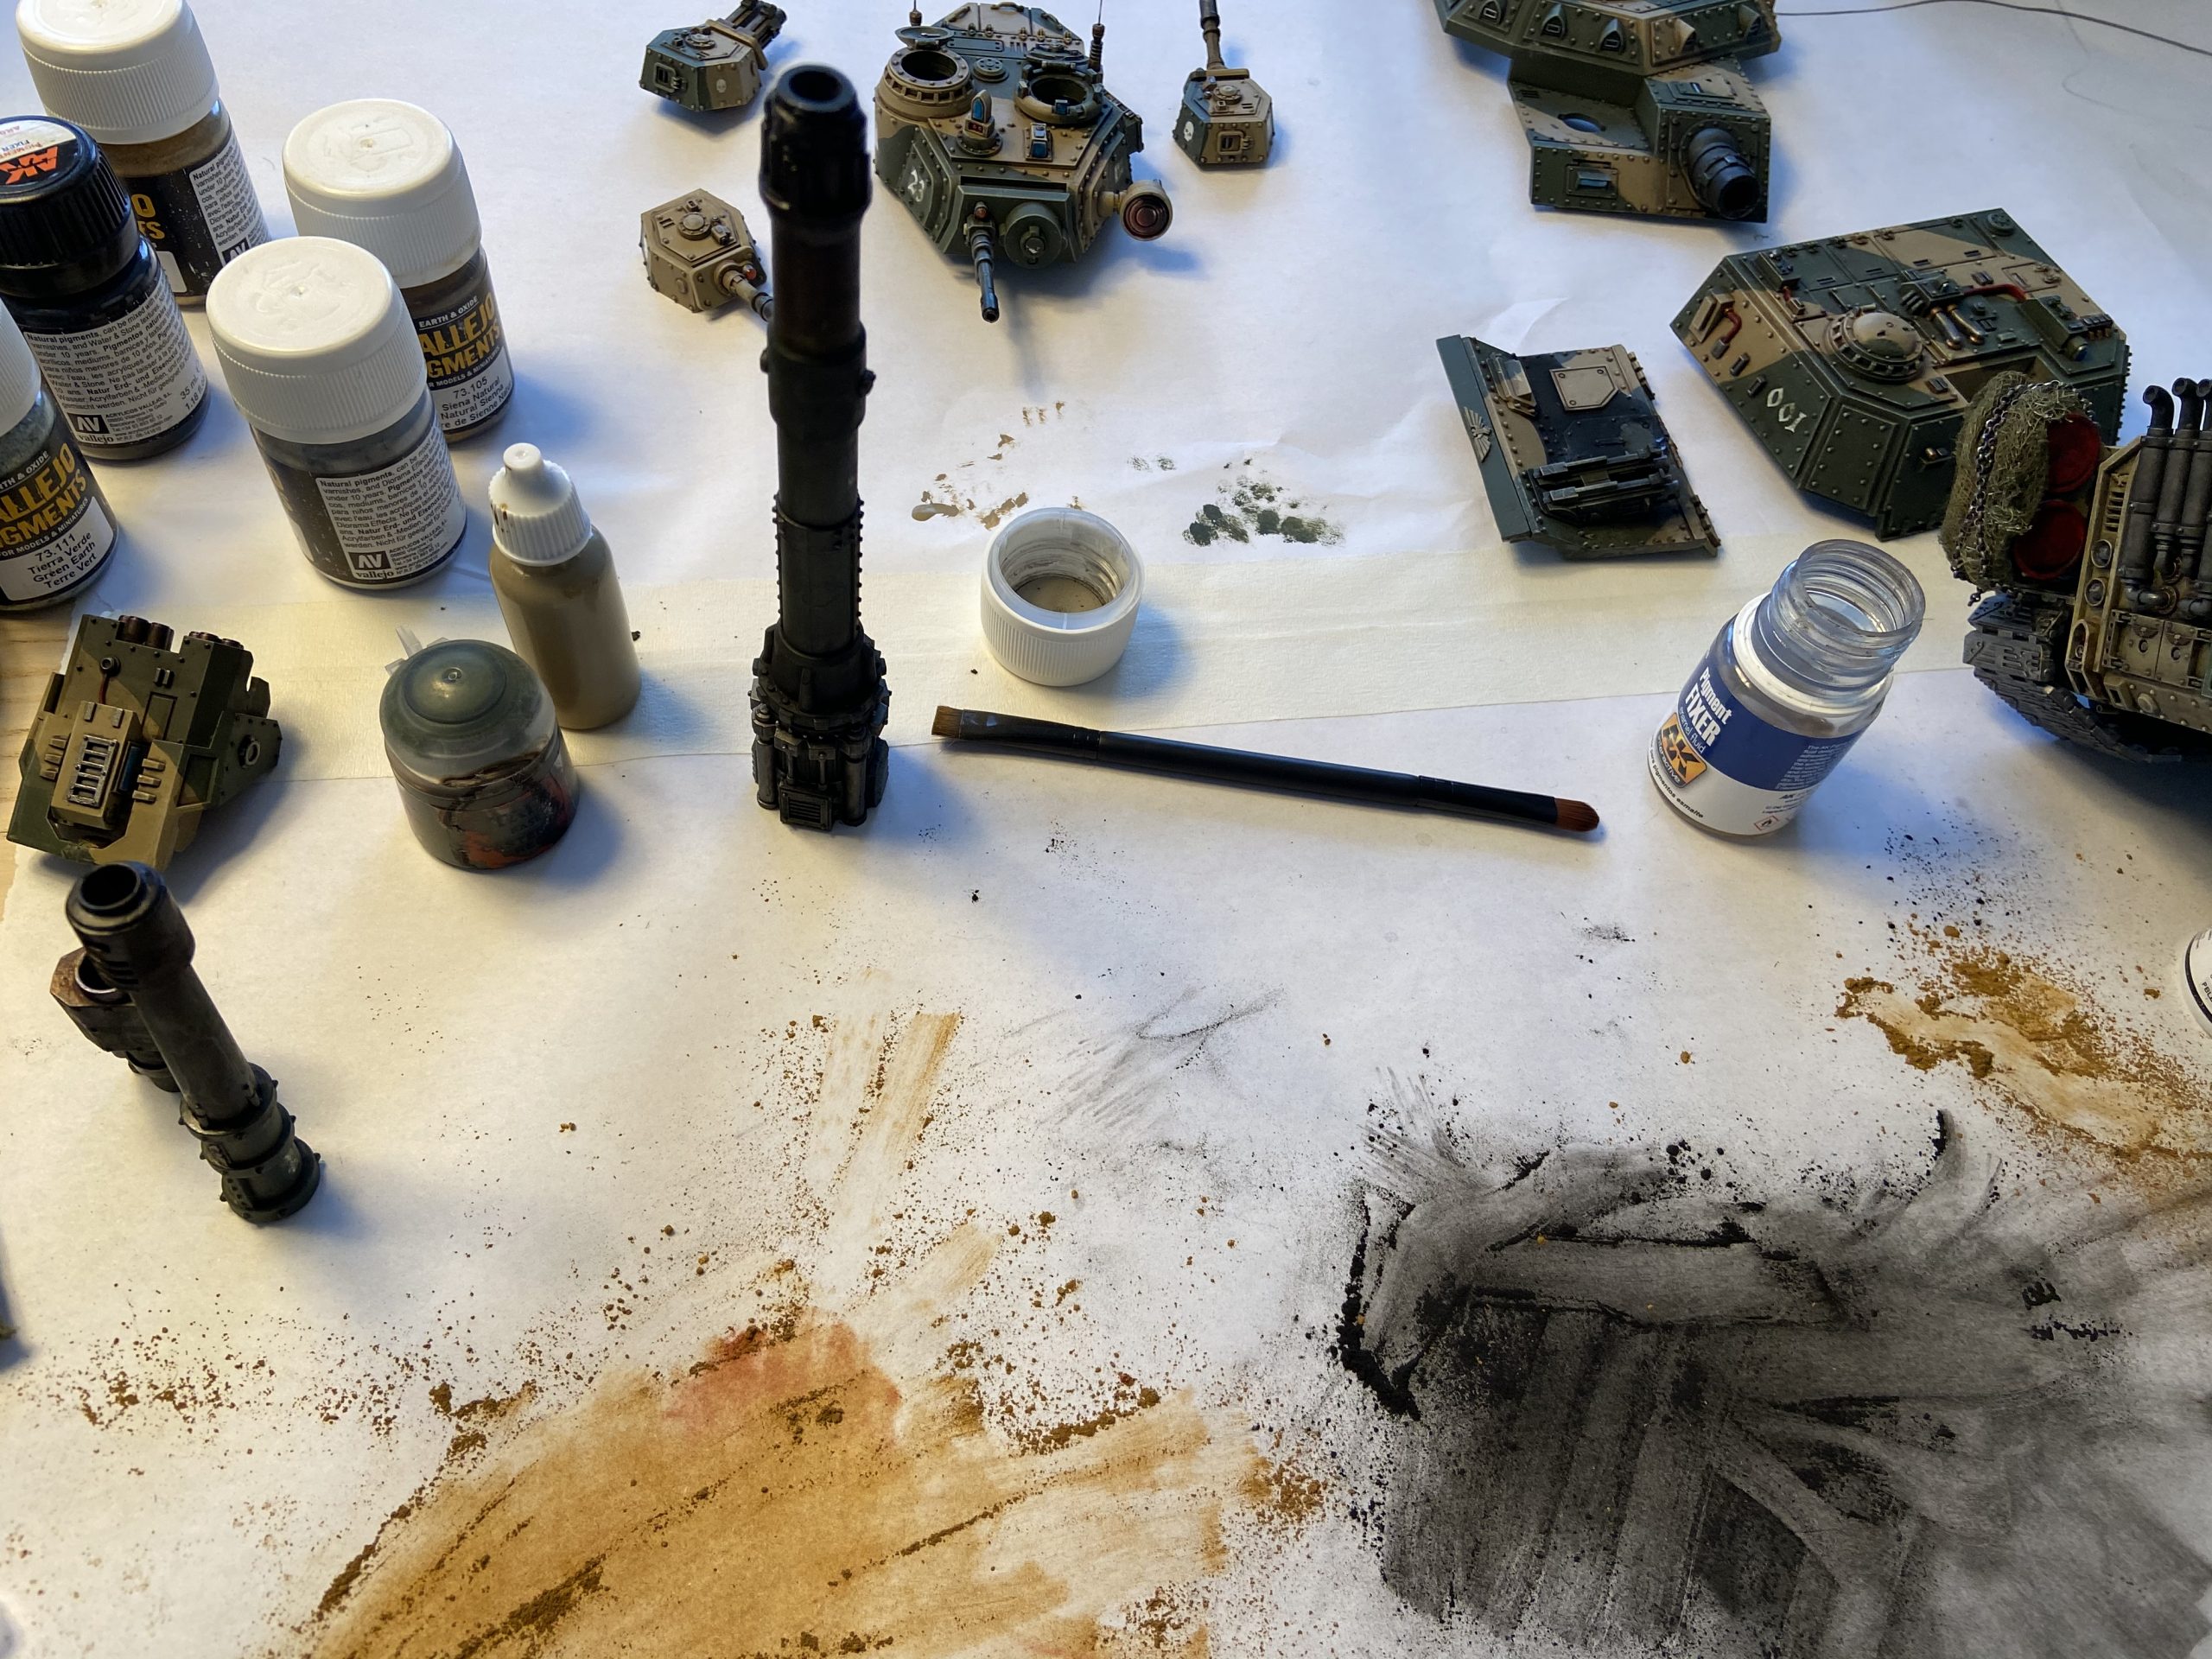
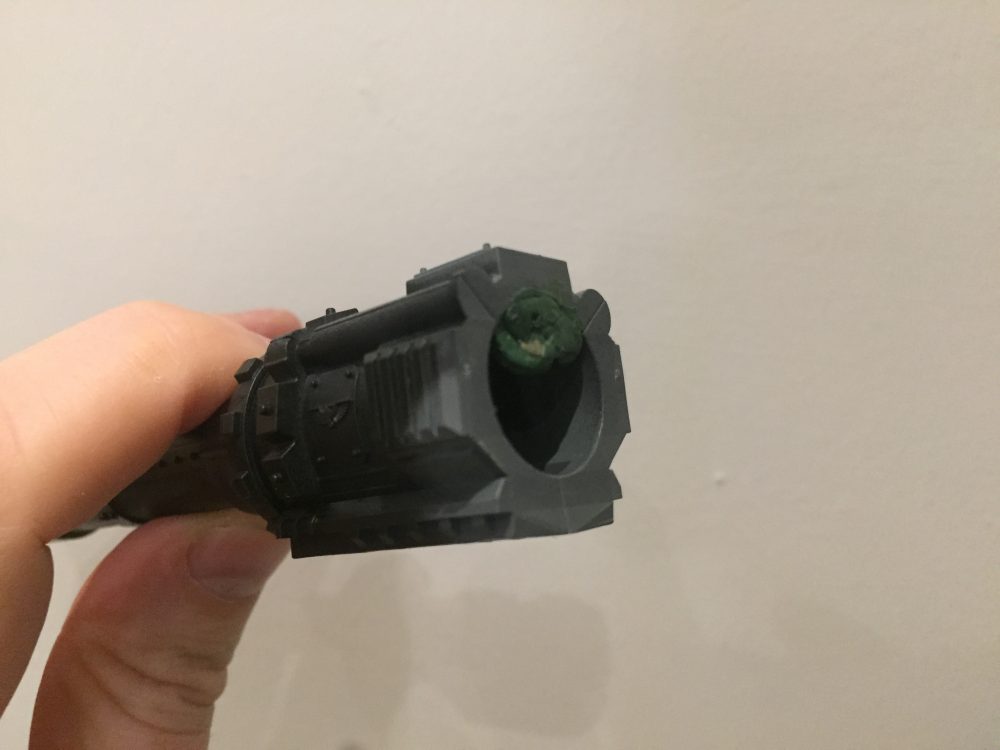
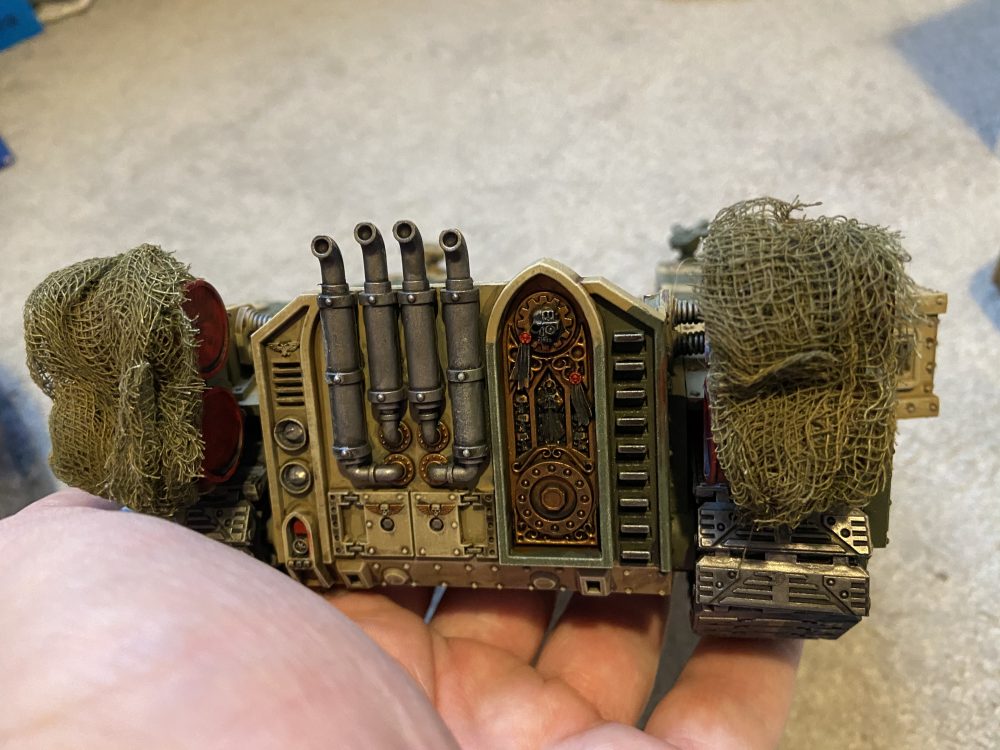
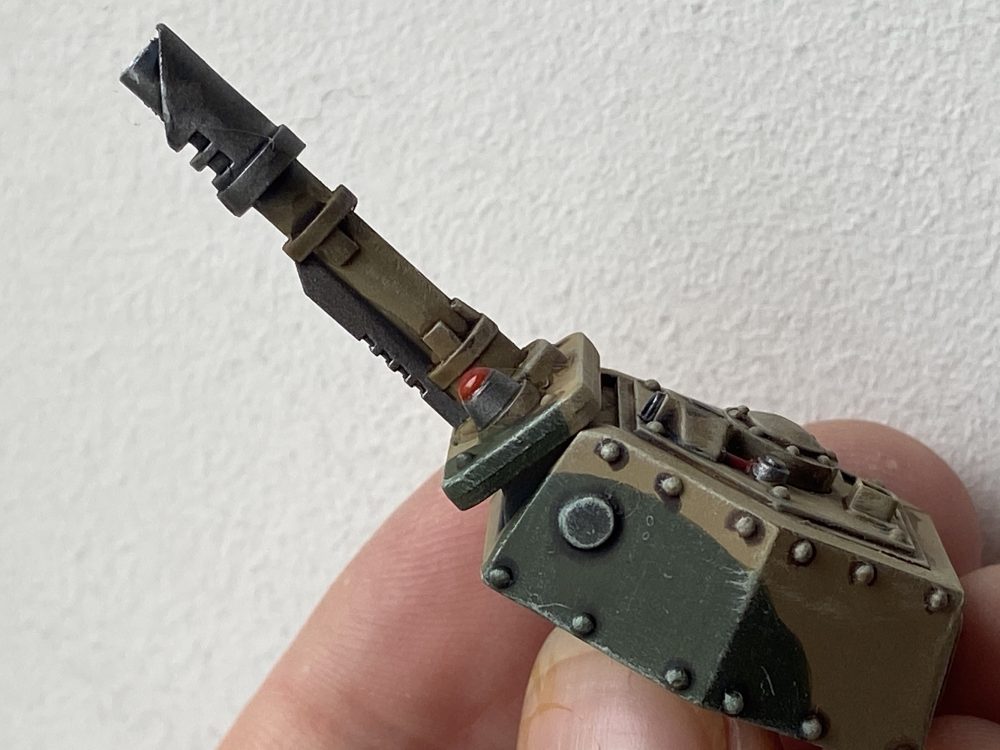
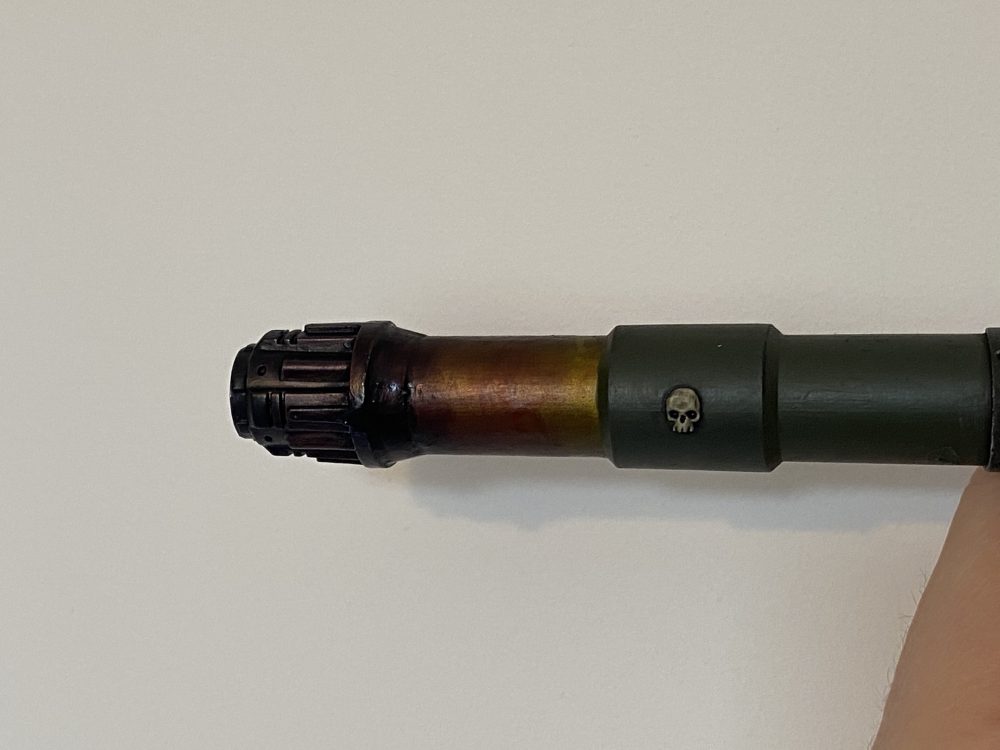
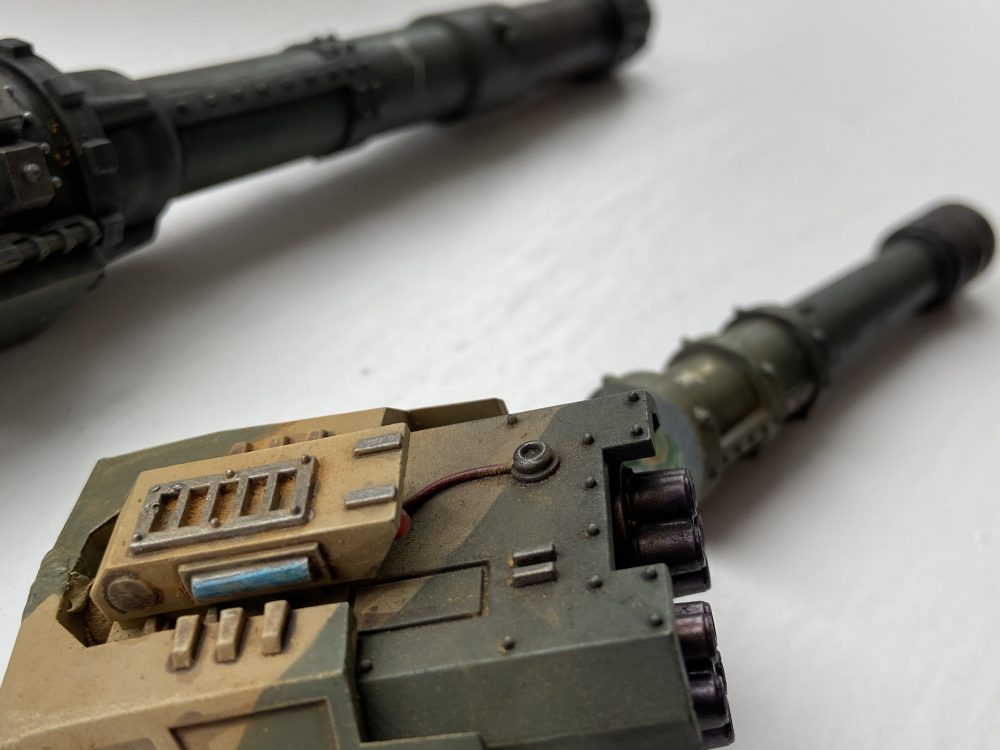
Baneblade Barrel Heat Burn
The Stormlord’s cannon and Volcano Cannon have a heat burn effect. It’s not perfect, but I like it and it works for me;
- Base in silver
- Then use the following washes to build up the colour slowly and thinly
- Nuln Oil (black)
- Druchii Violet (purple)
- Carroburg Crimson (red)
- Fuegan Orange (orange)
- Seraphim Sepia (dirty yellow)
- Casandora Yellow (yellow)
I used the same technique on my Hellhounds.
-

- Before soot pigment
-
- After soot pigment

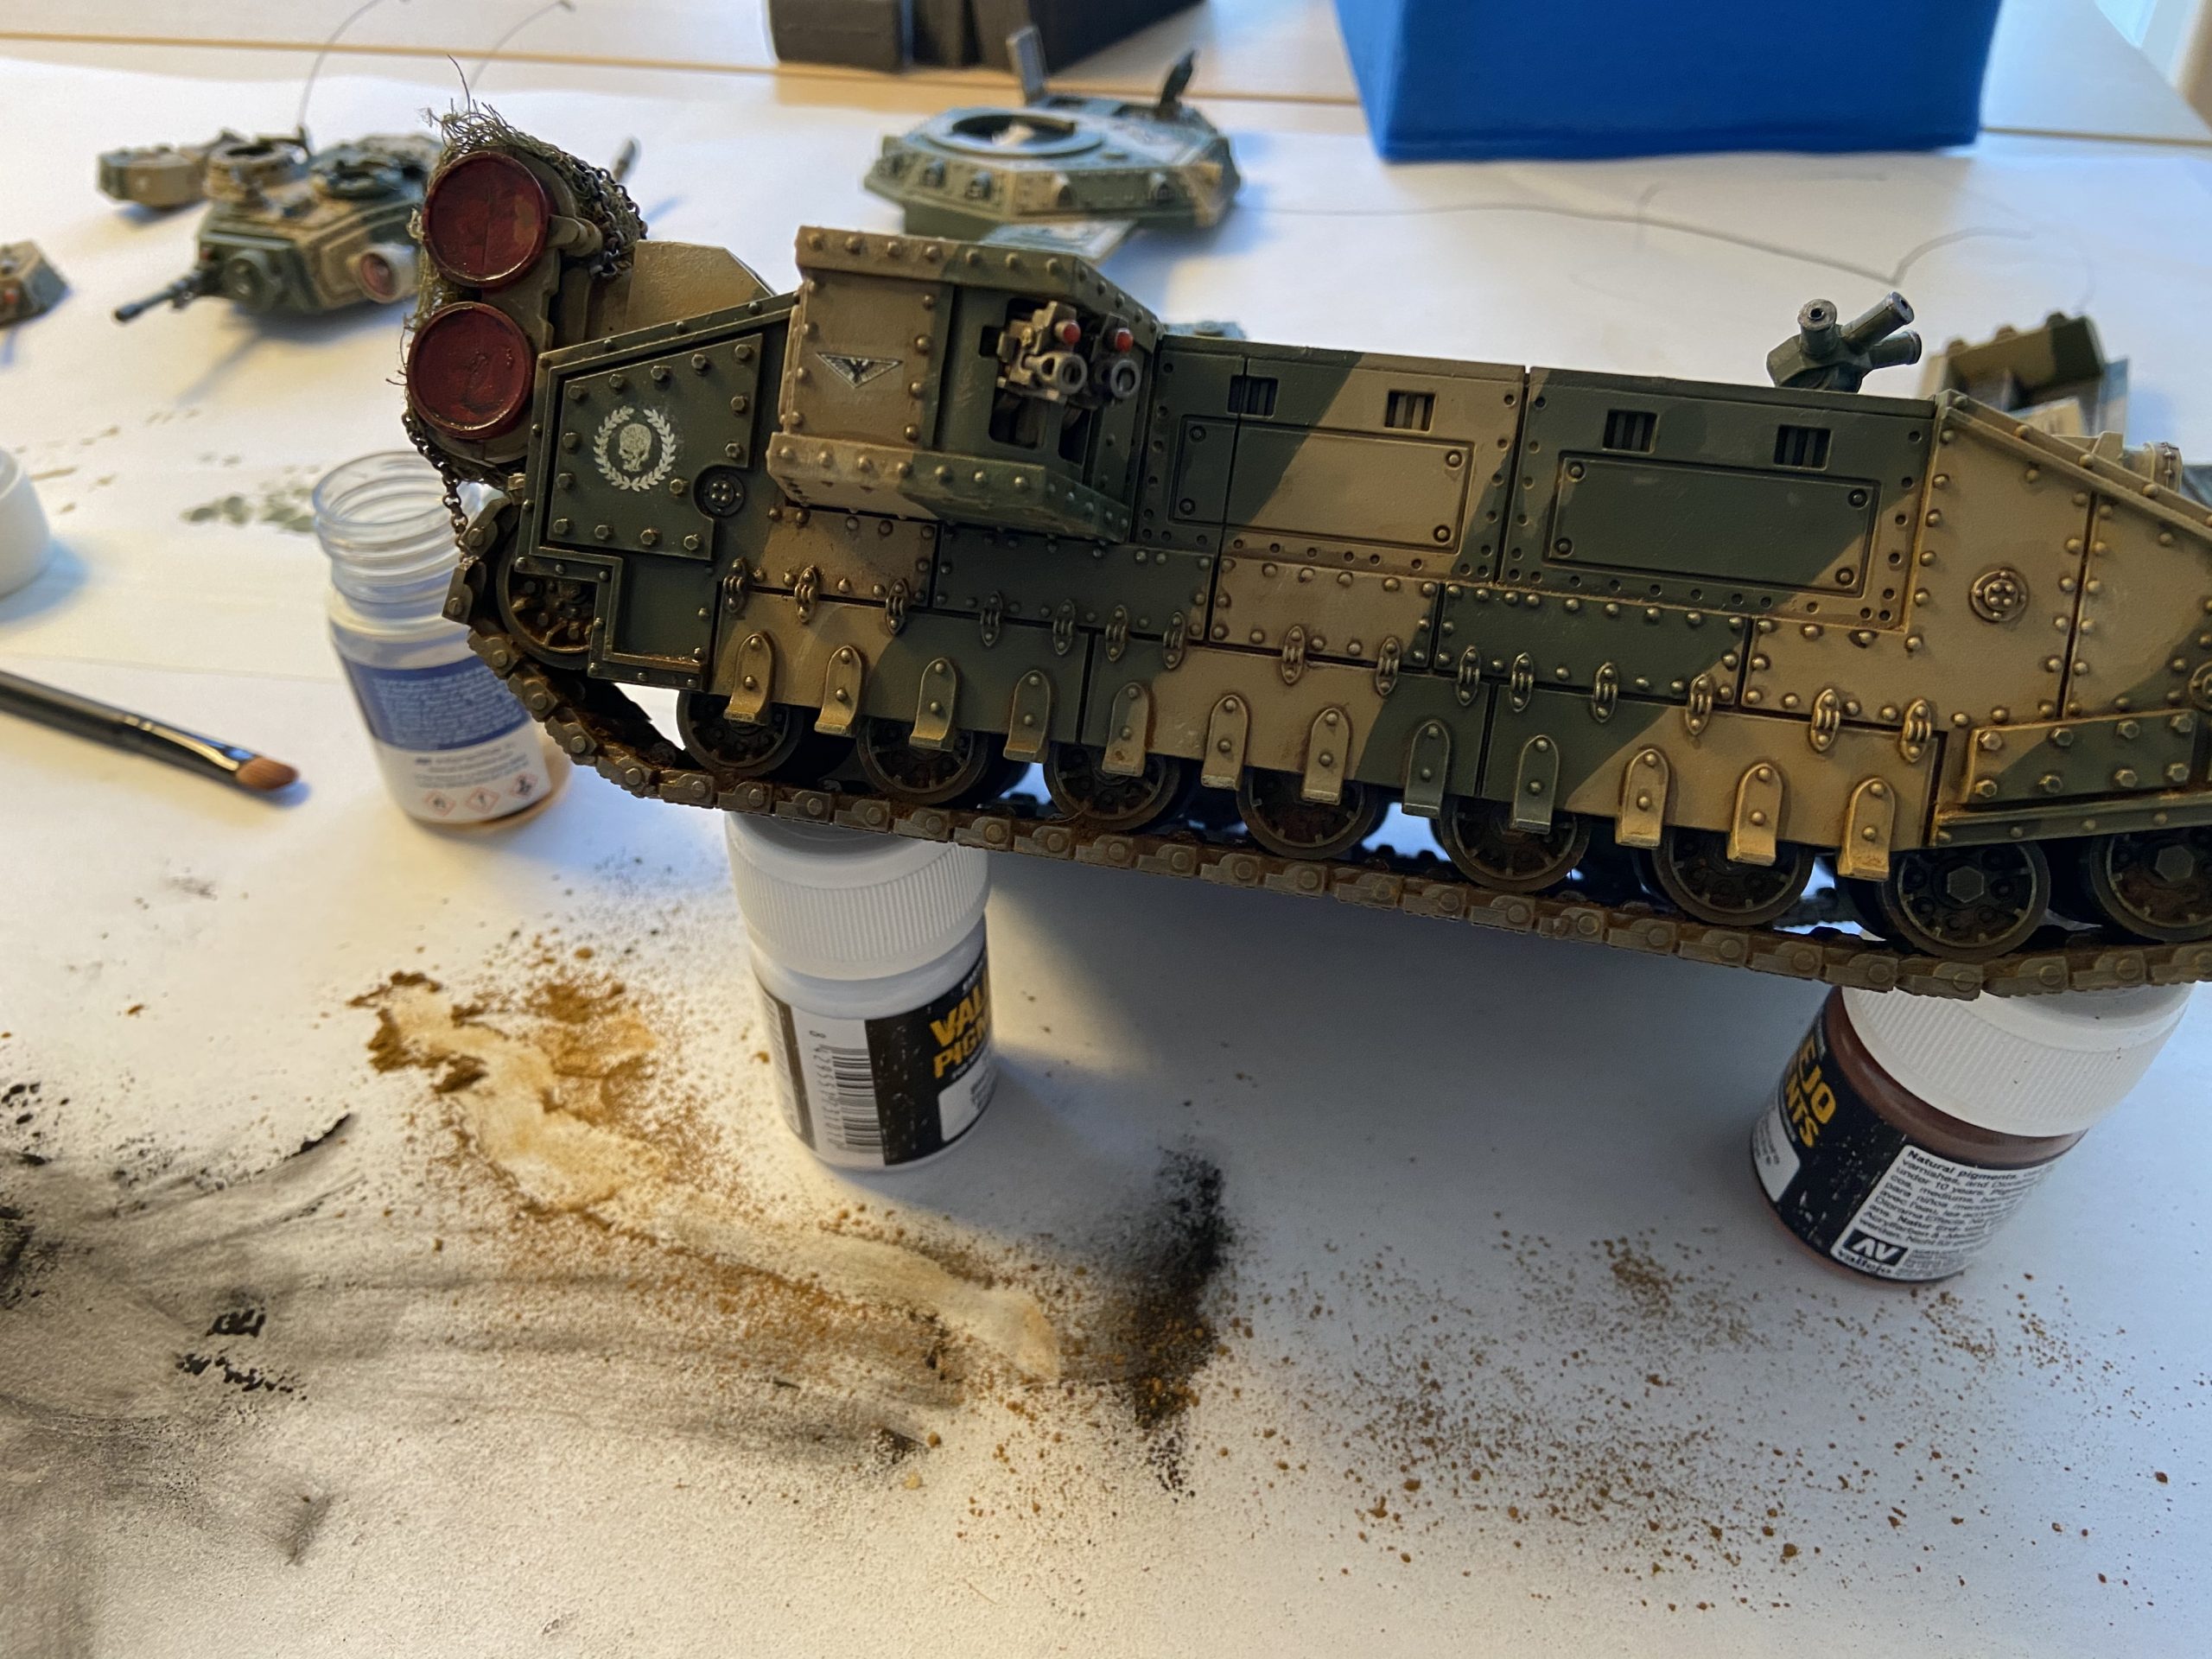
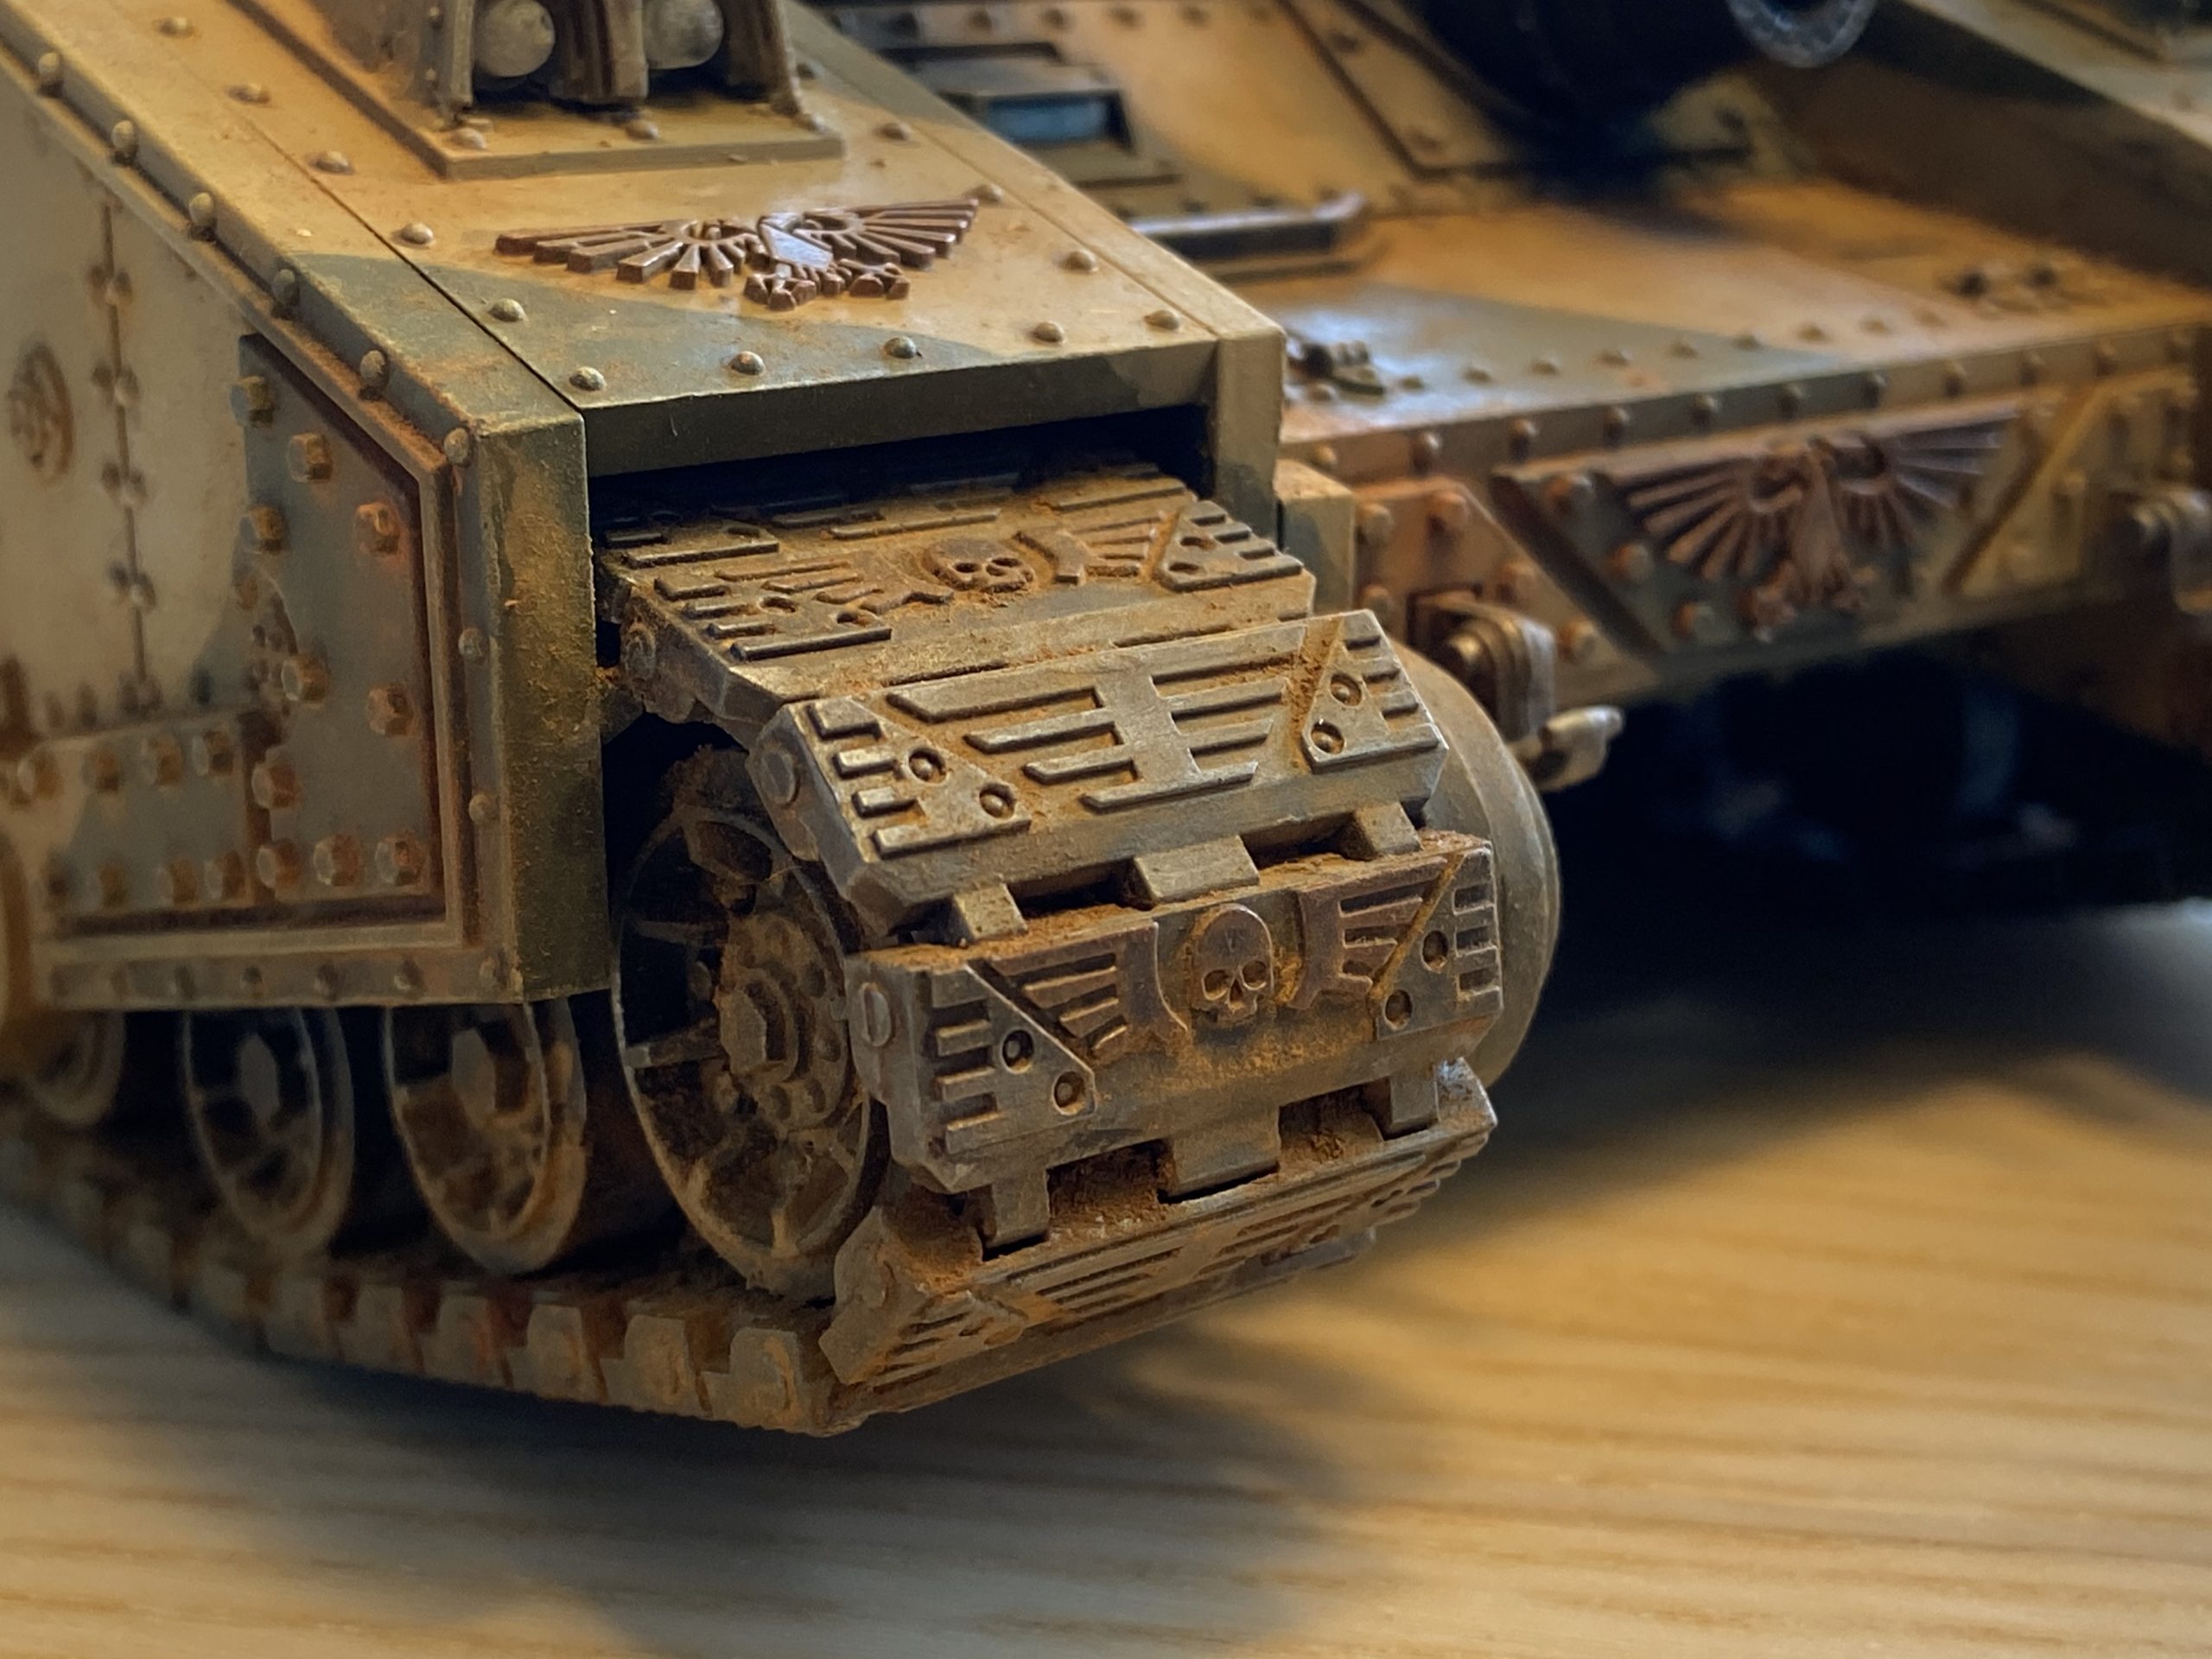
Baneblade Pigments
Finally, I use pigments on the Baneblade to give a dust effect all over and a soot pigment to the engine, exhausts, barrels, etc. I wrote a guide on how I use pigments.
-
- Pre-pigments

-
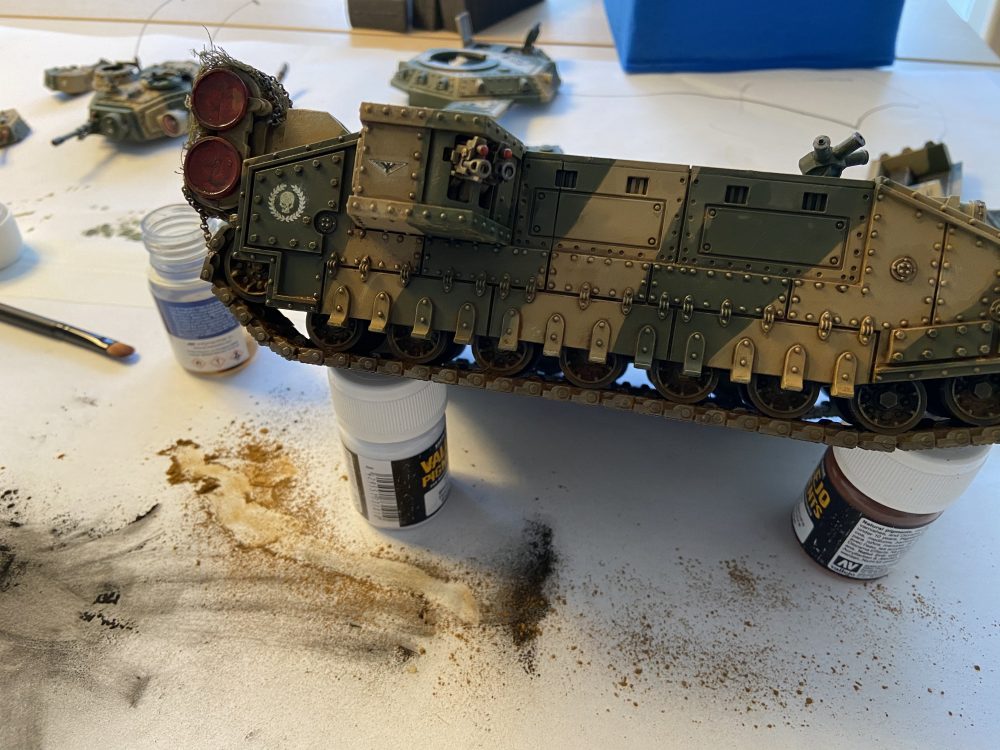
- Applying pigments
-
- It is messy
-
- All done

-

- Final effect
-
- Pigments are done

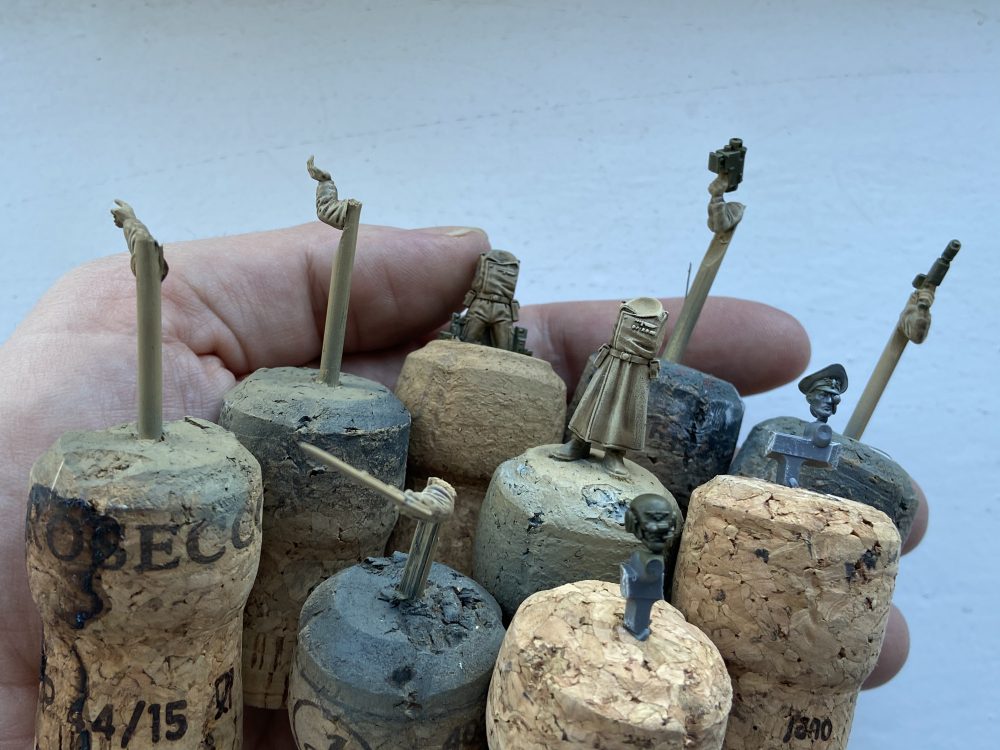
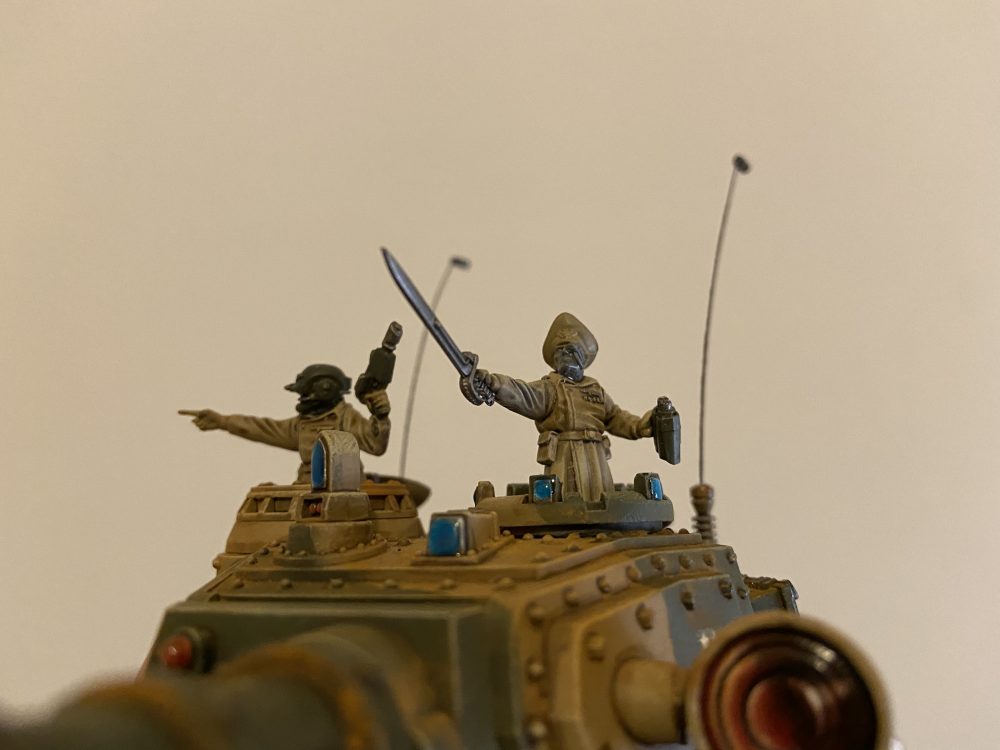
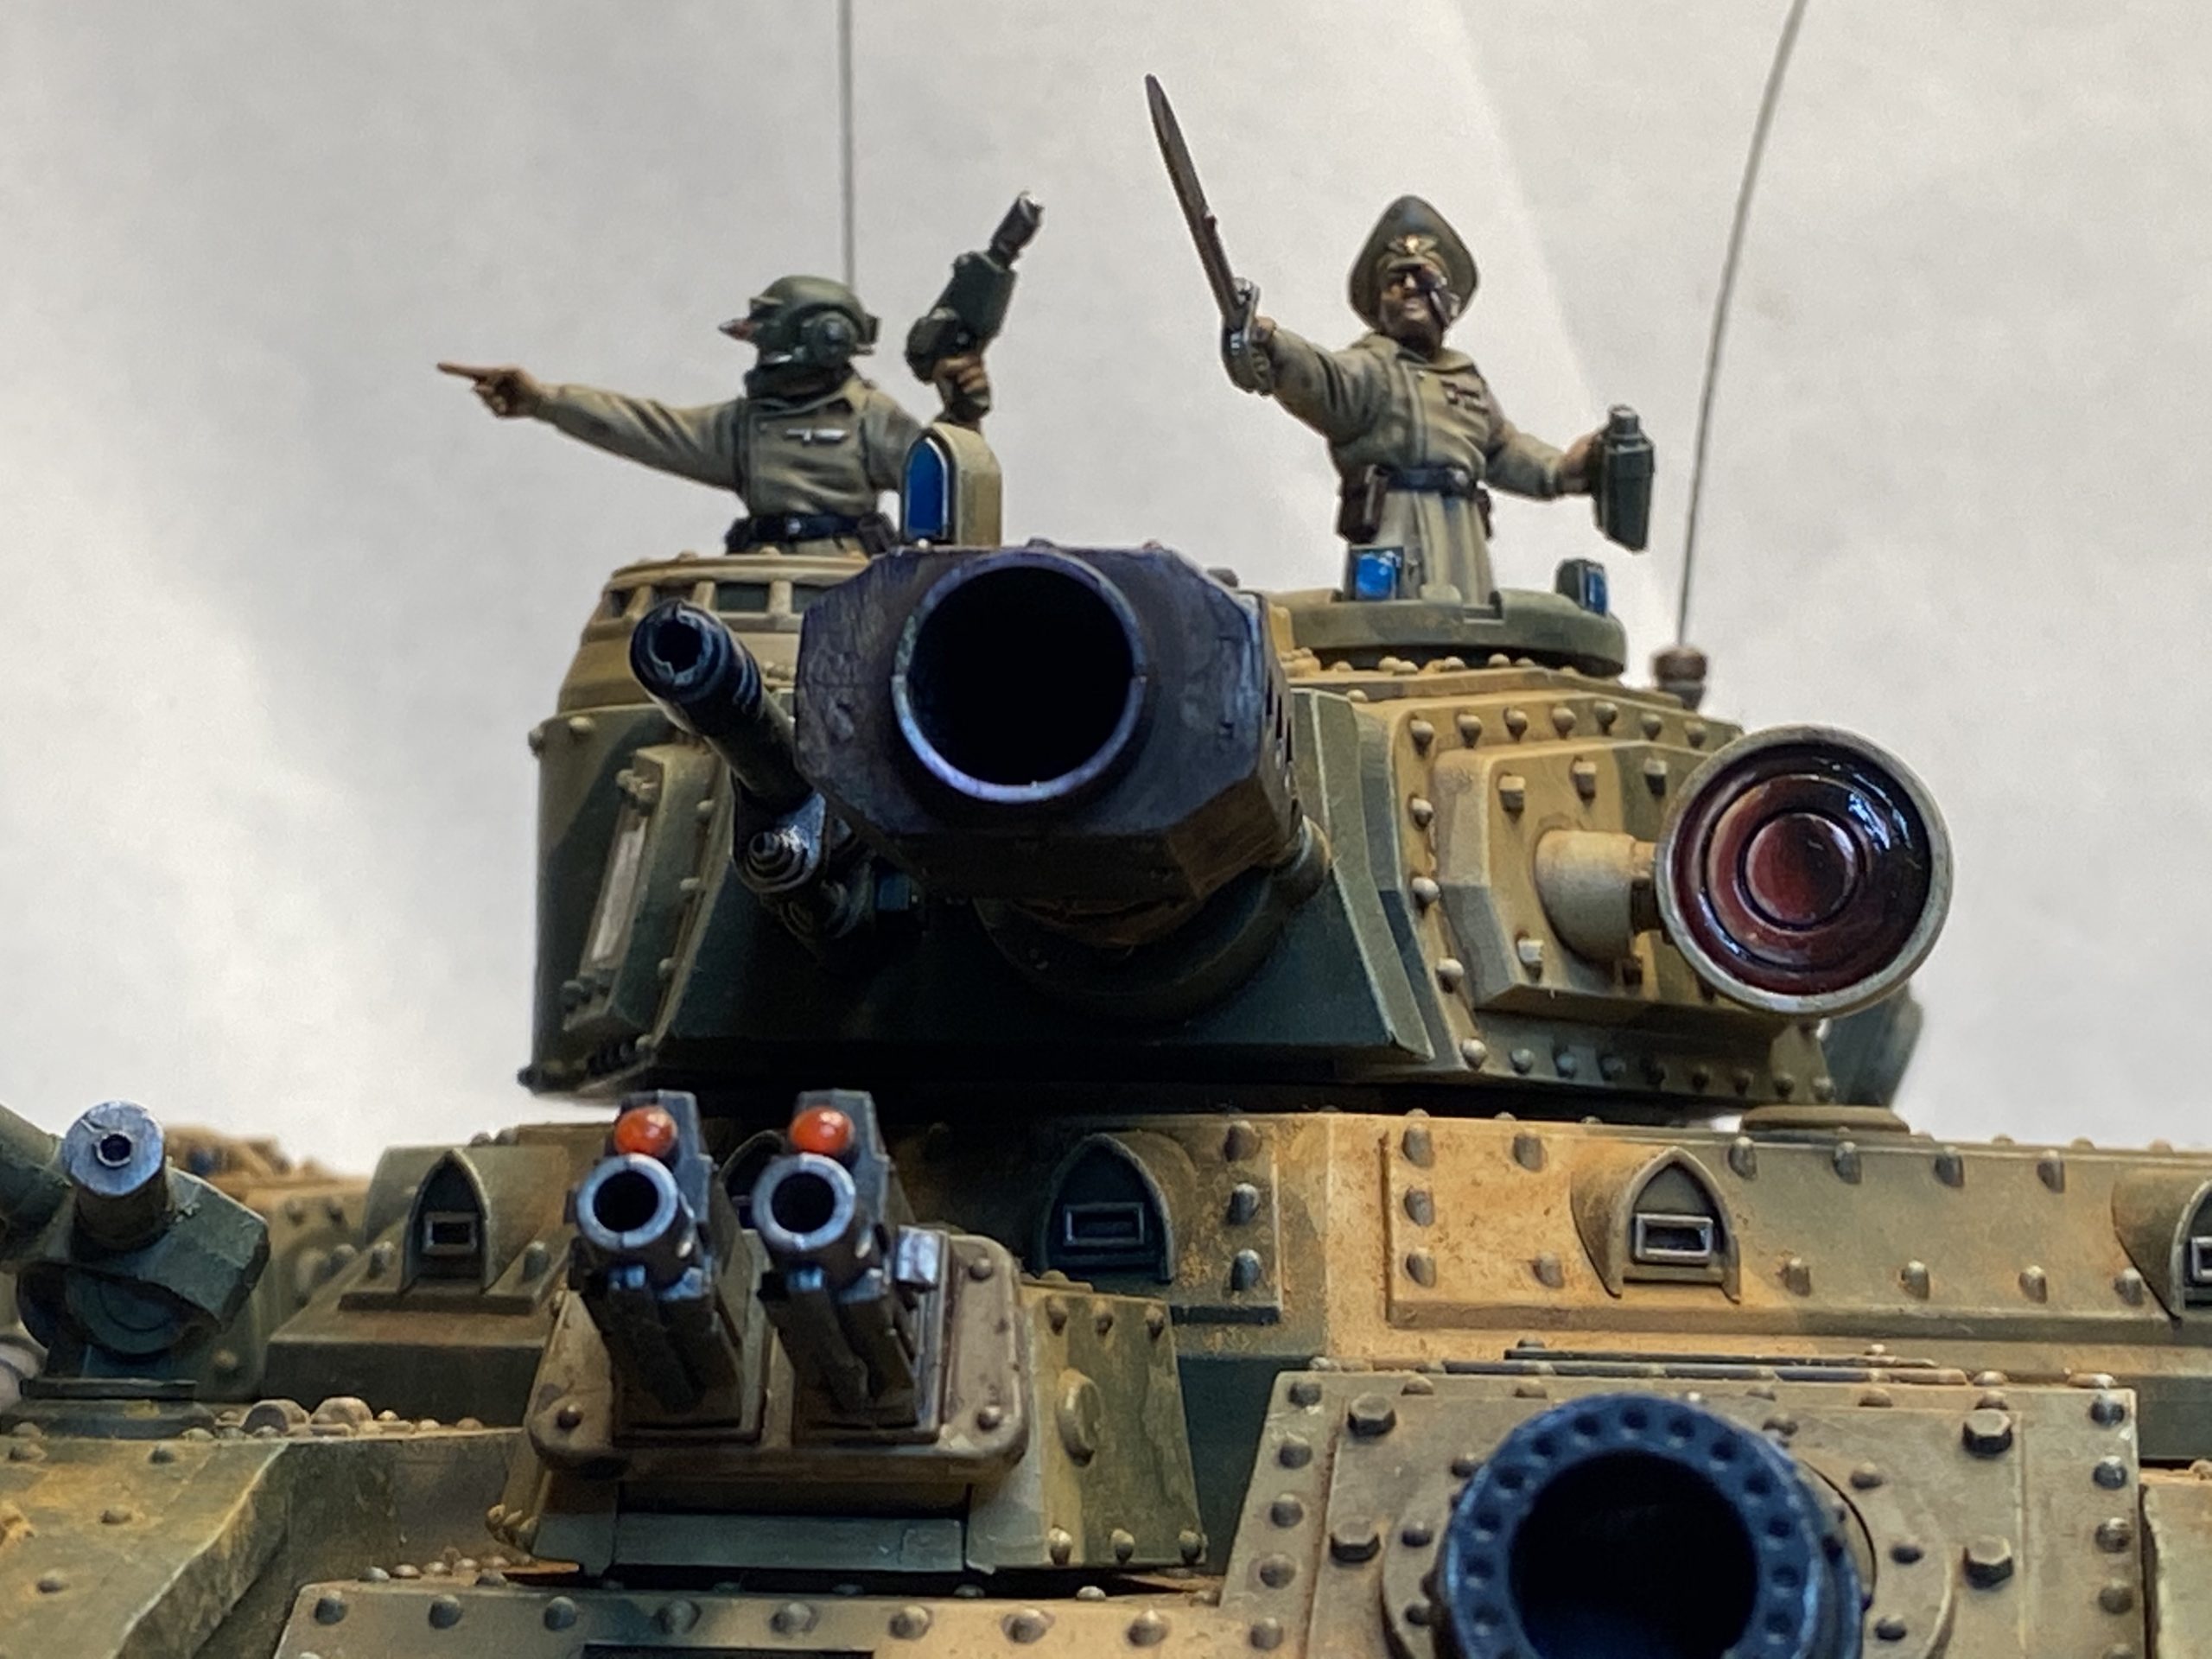
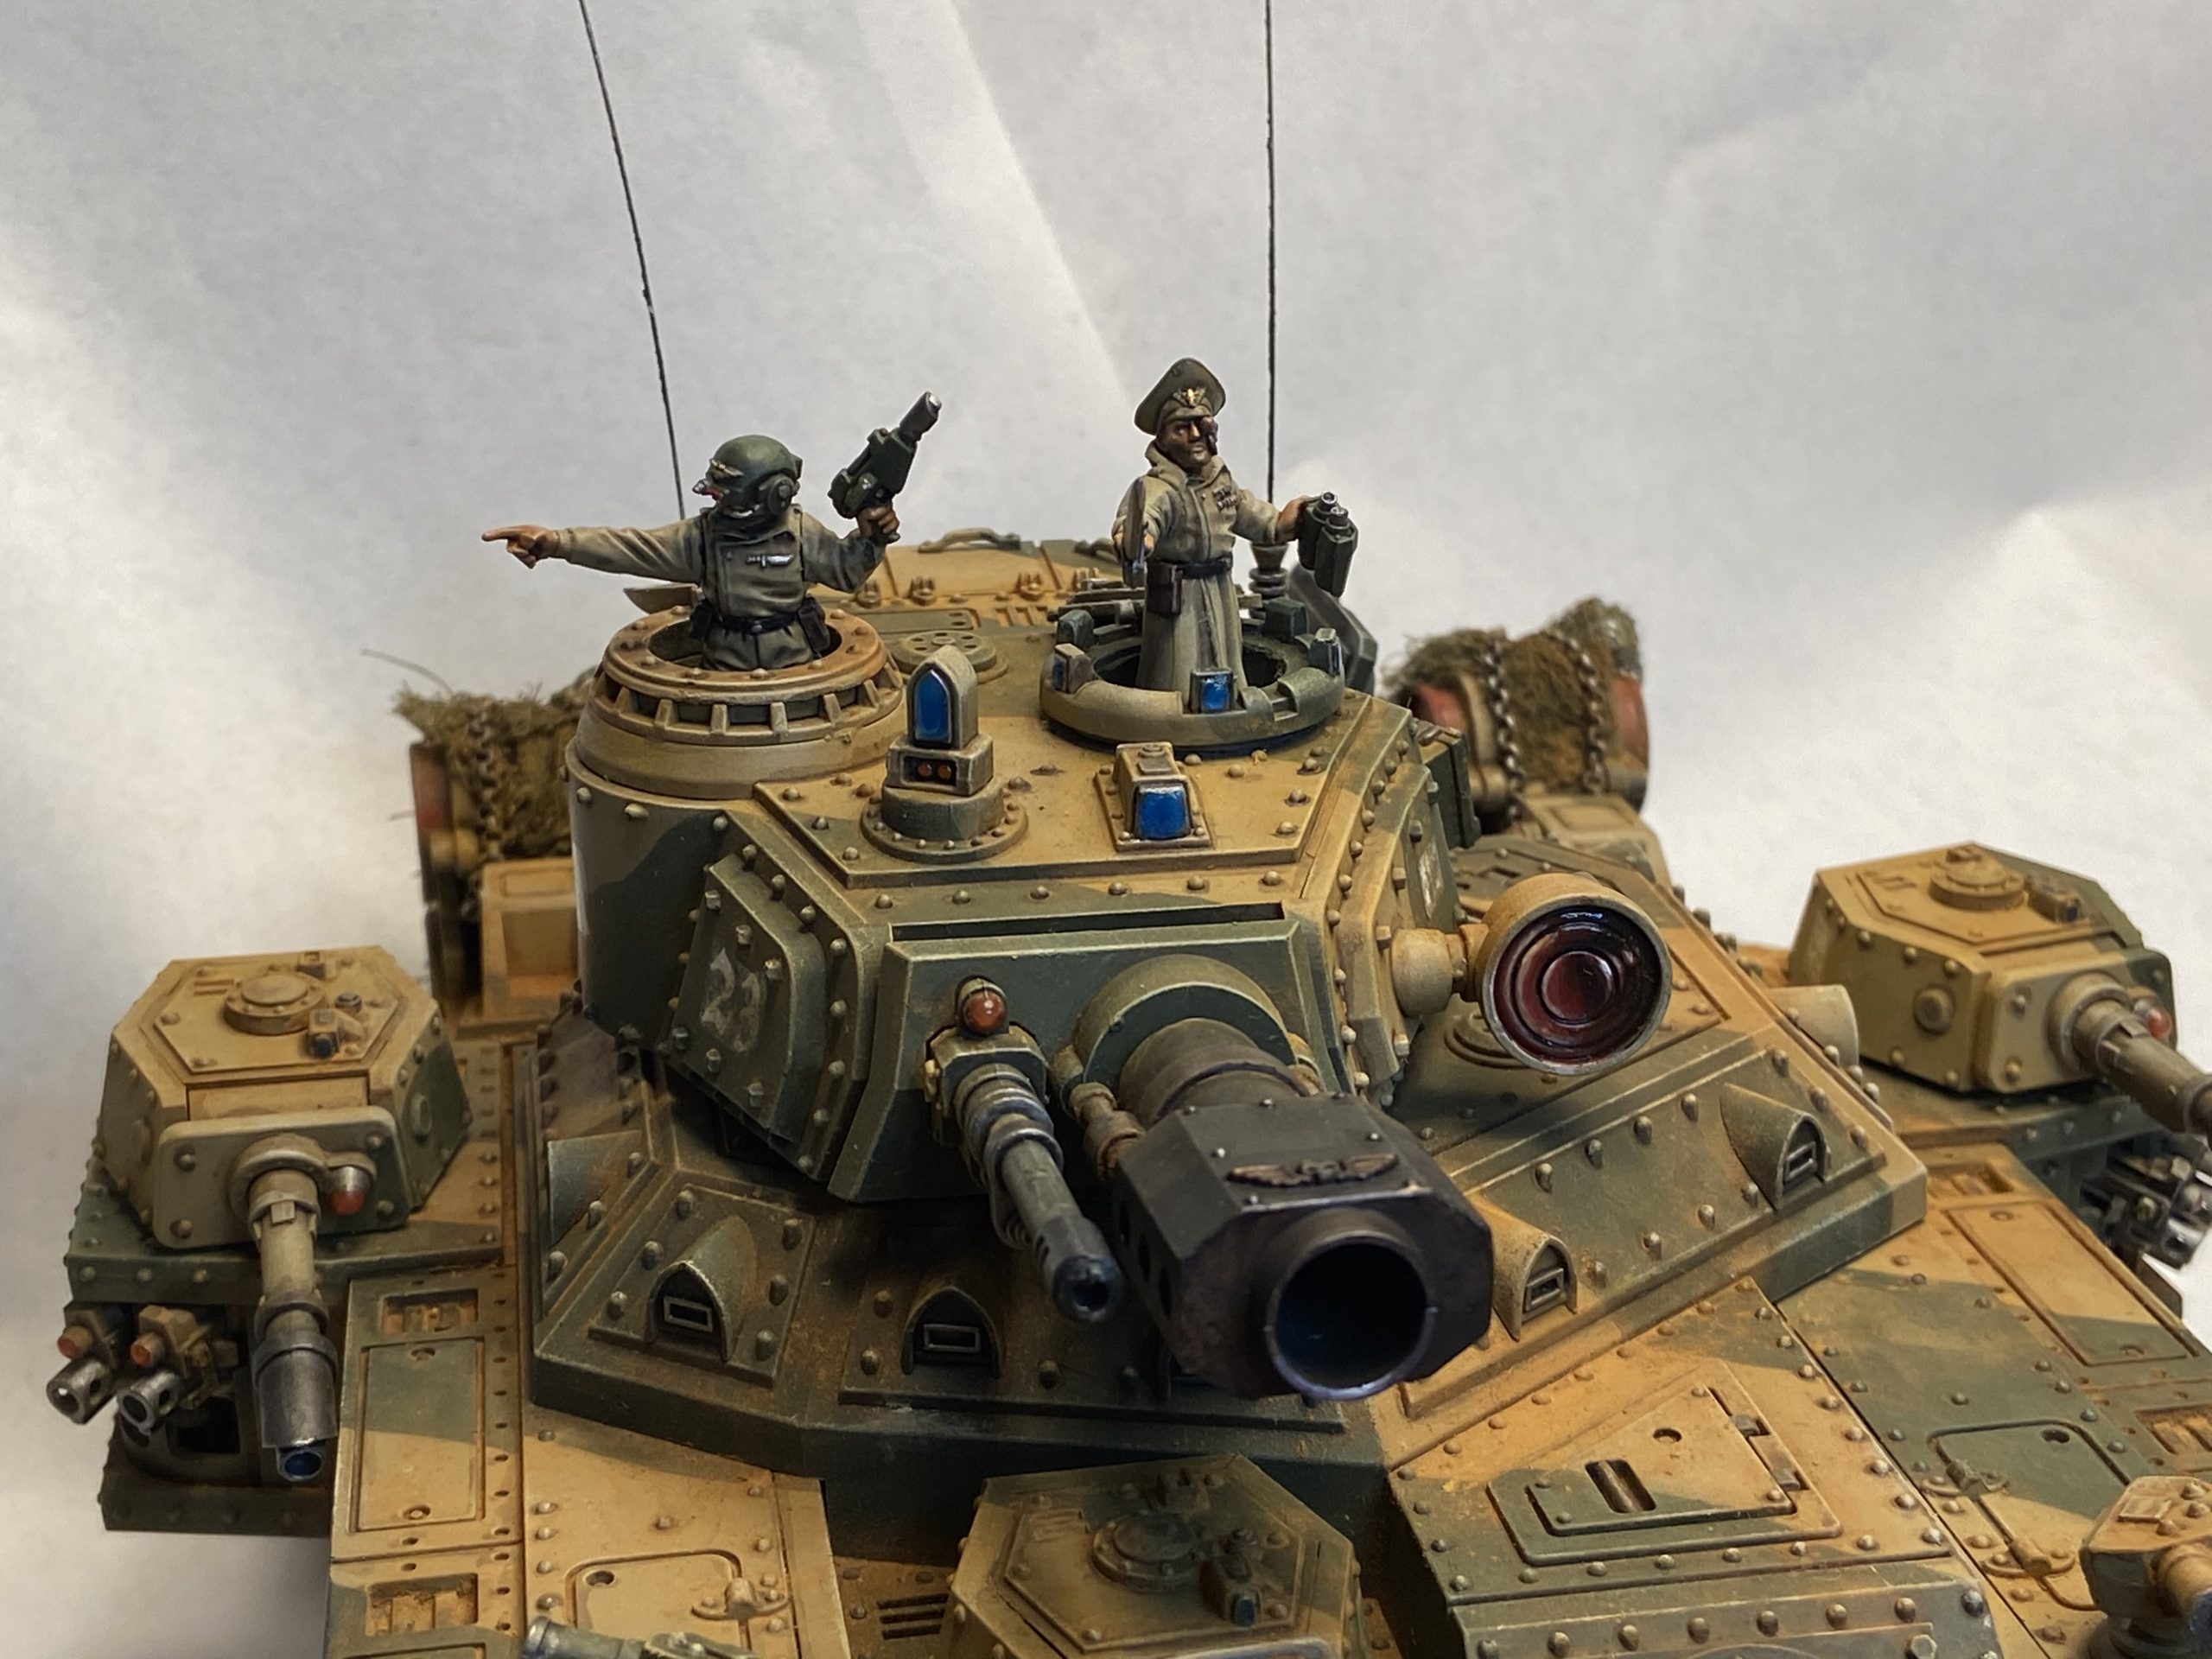
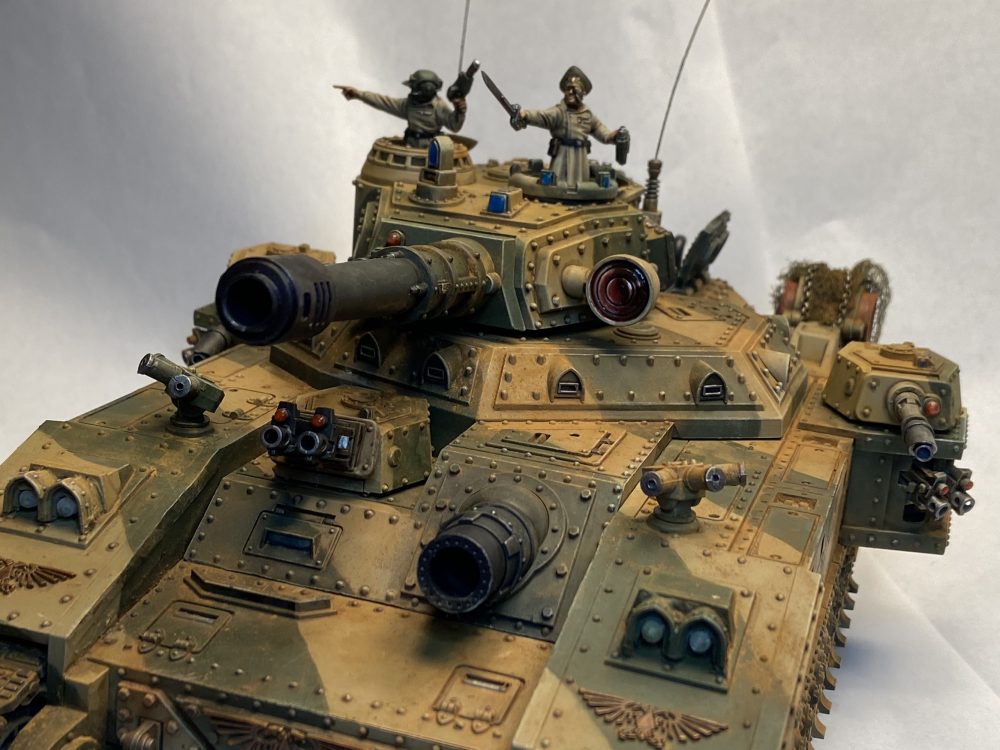
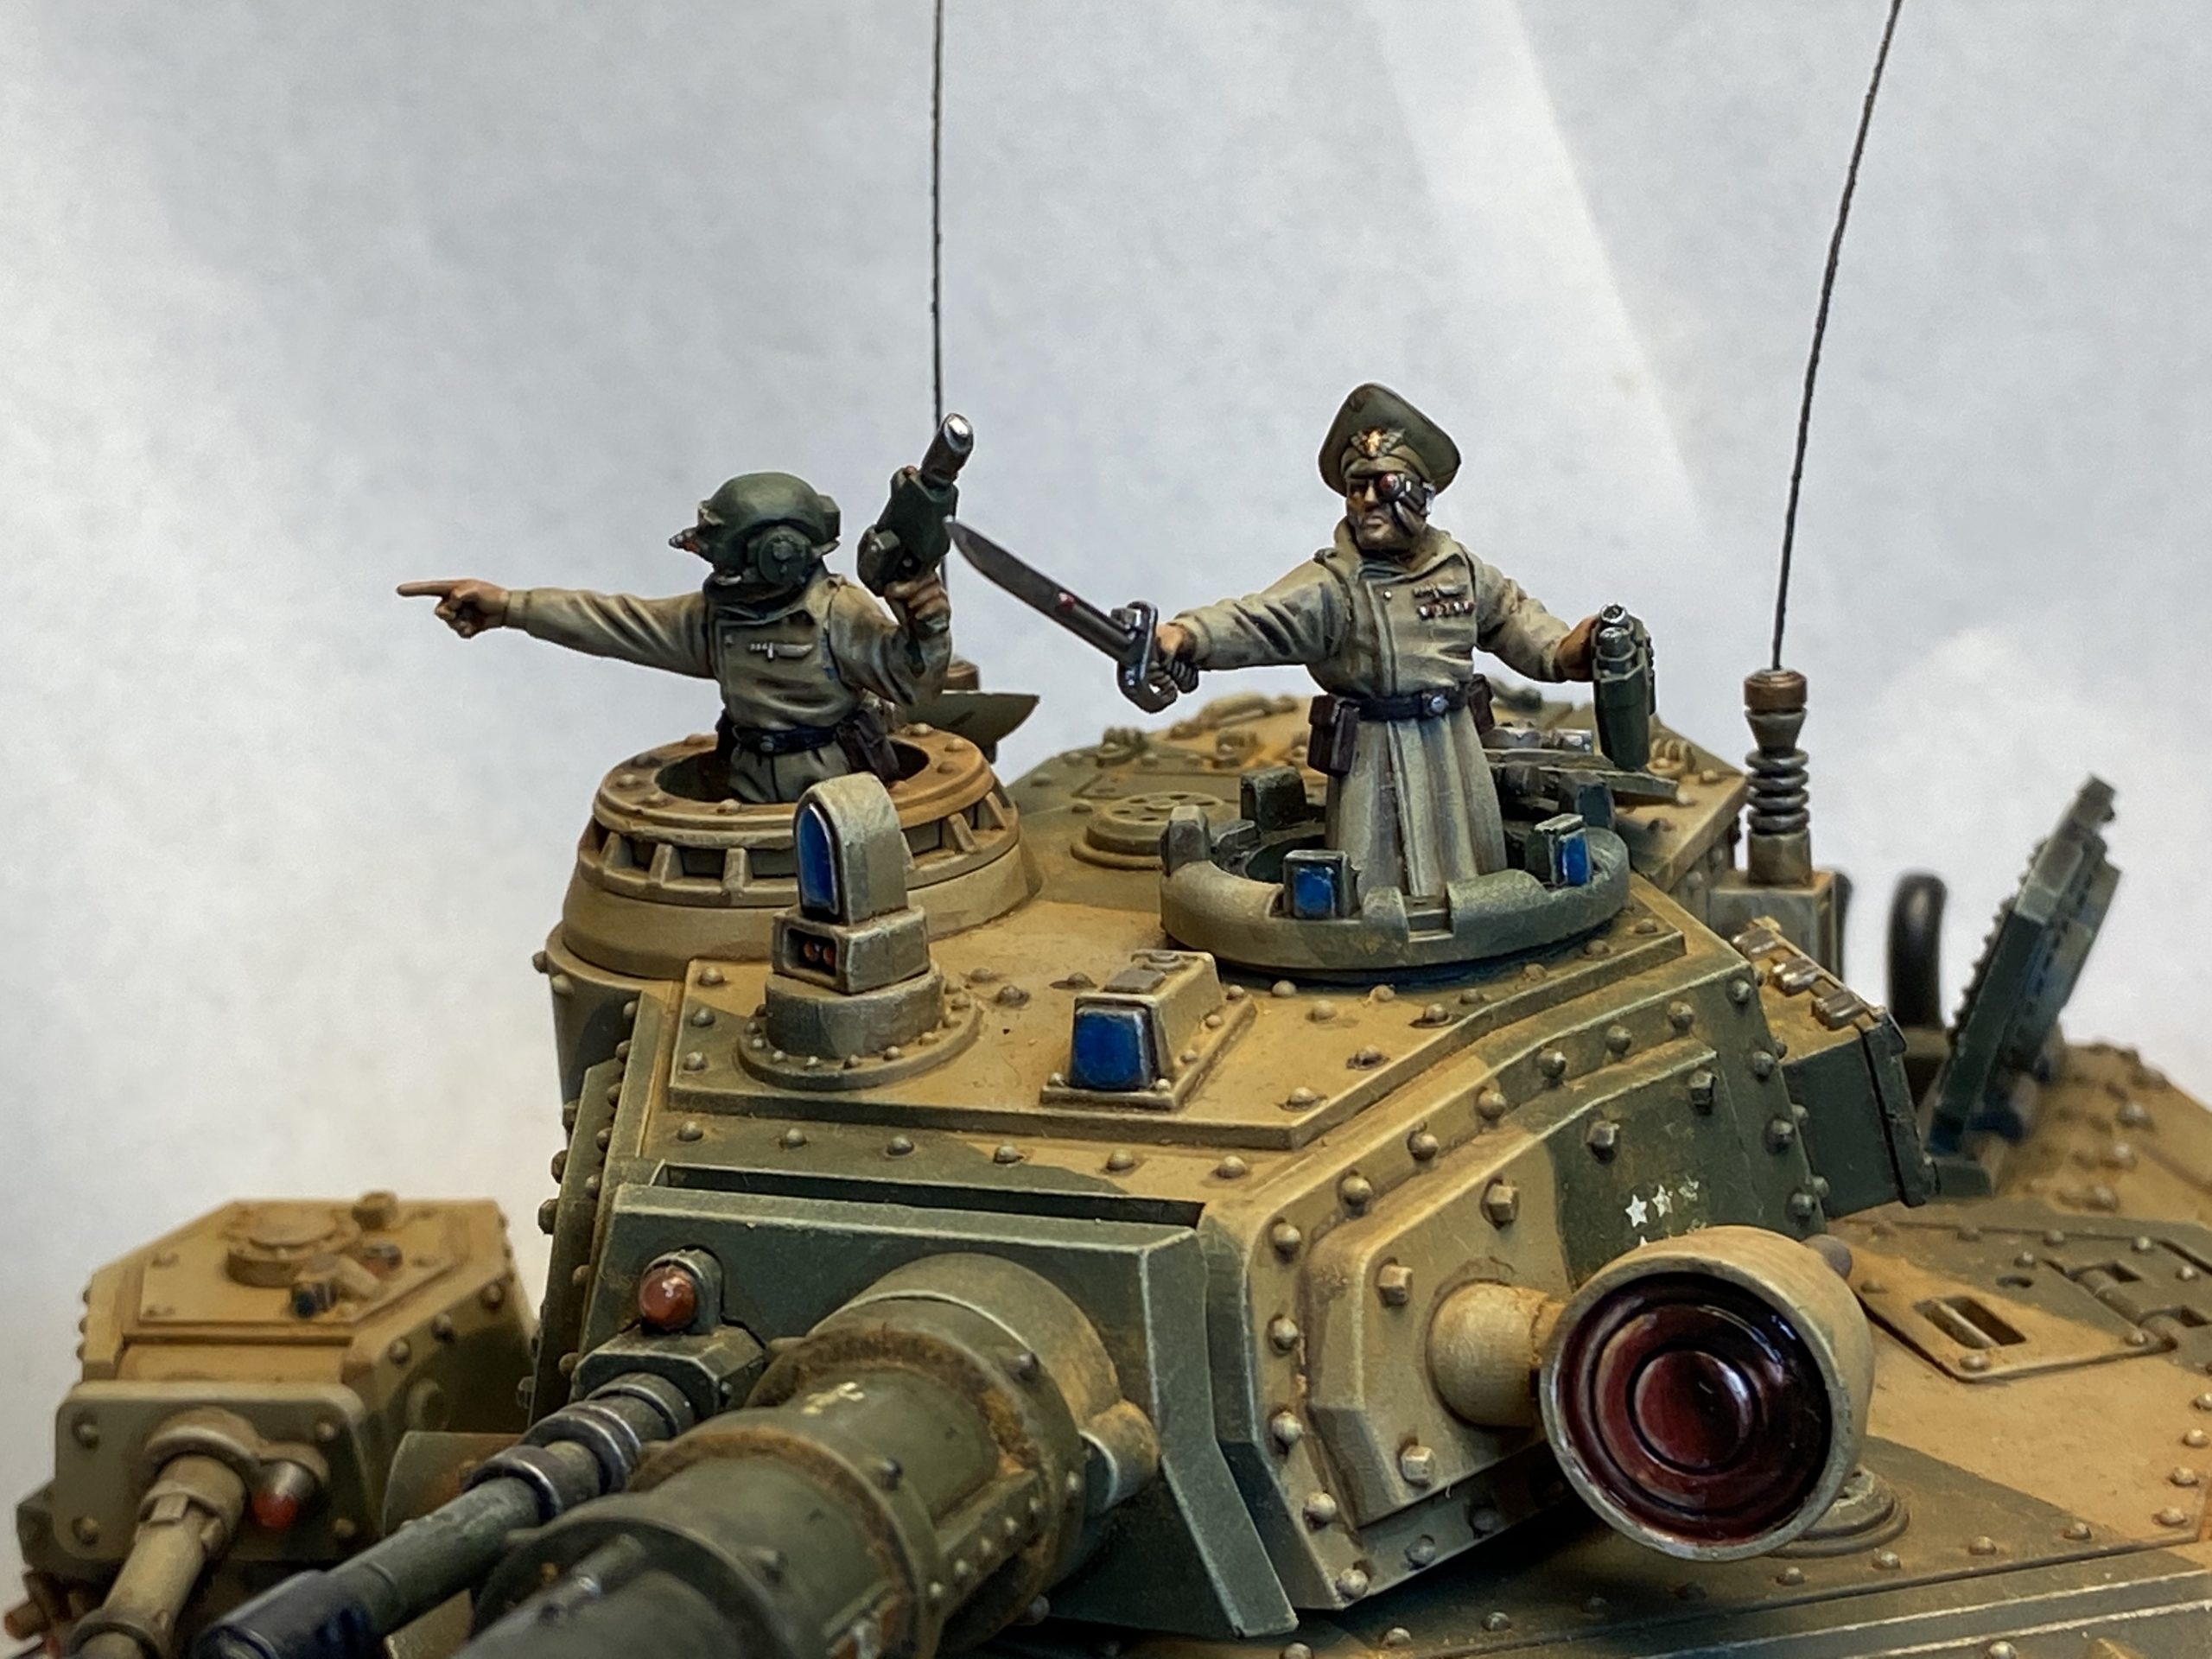
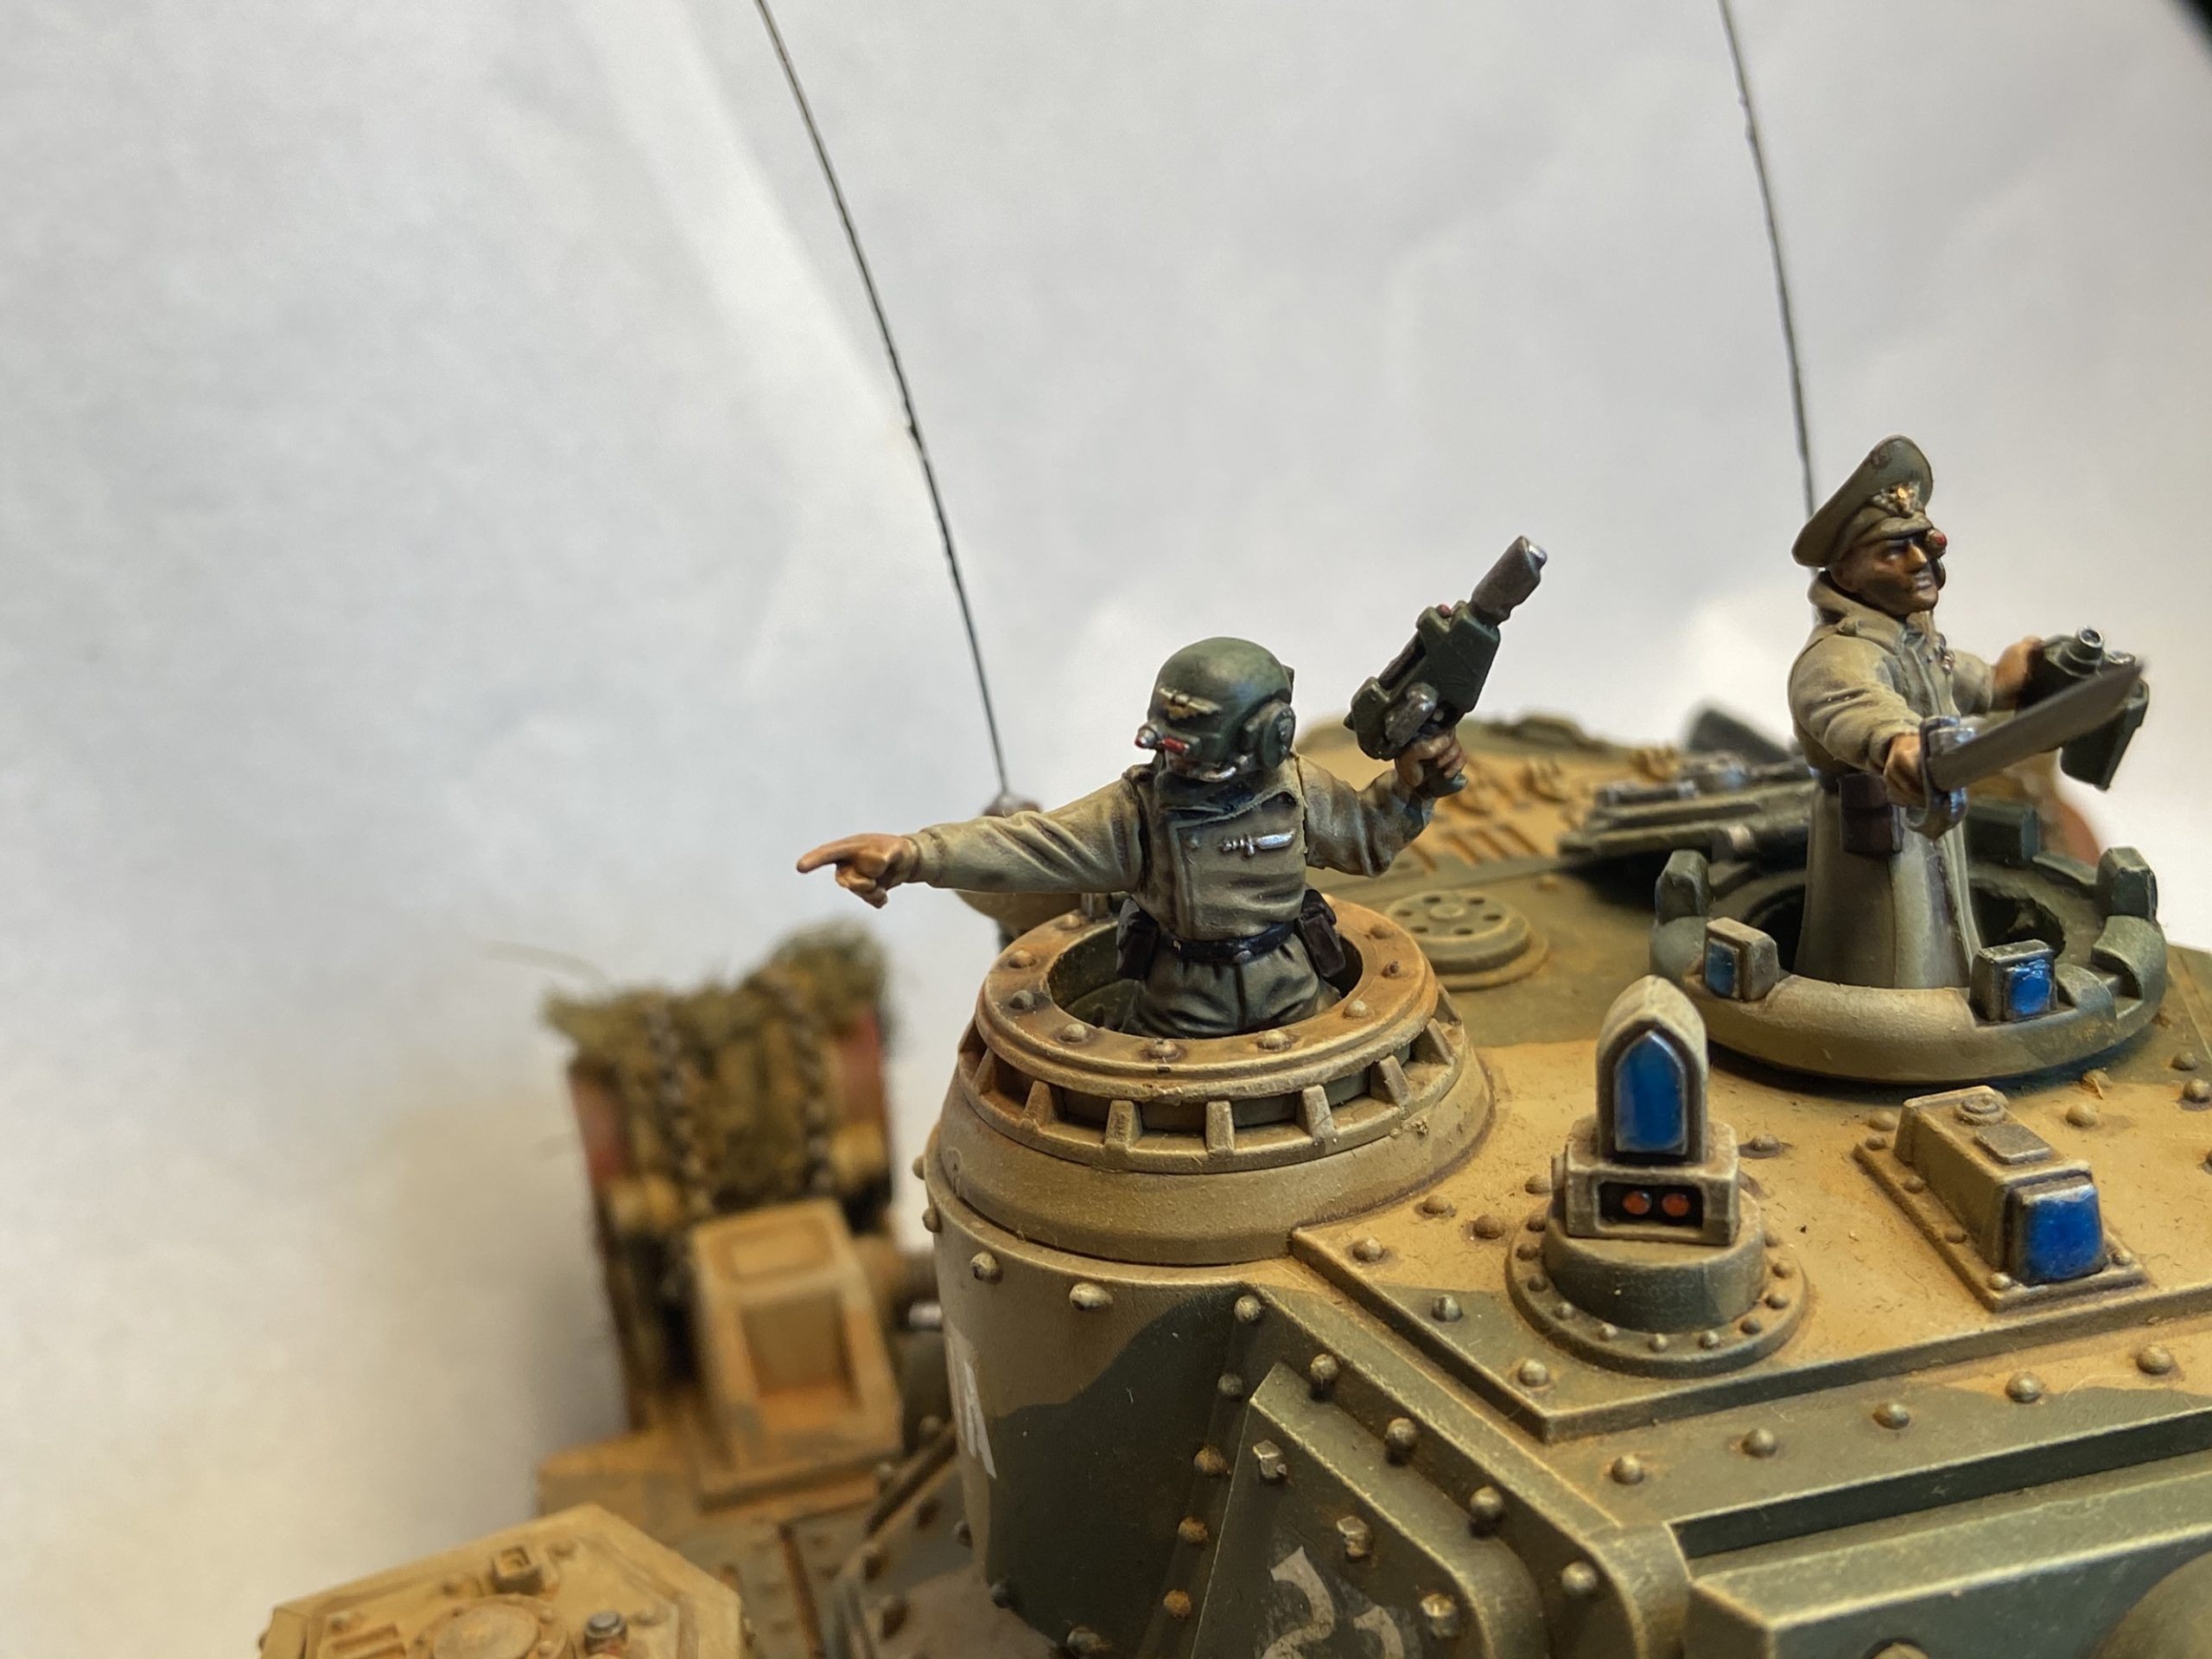
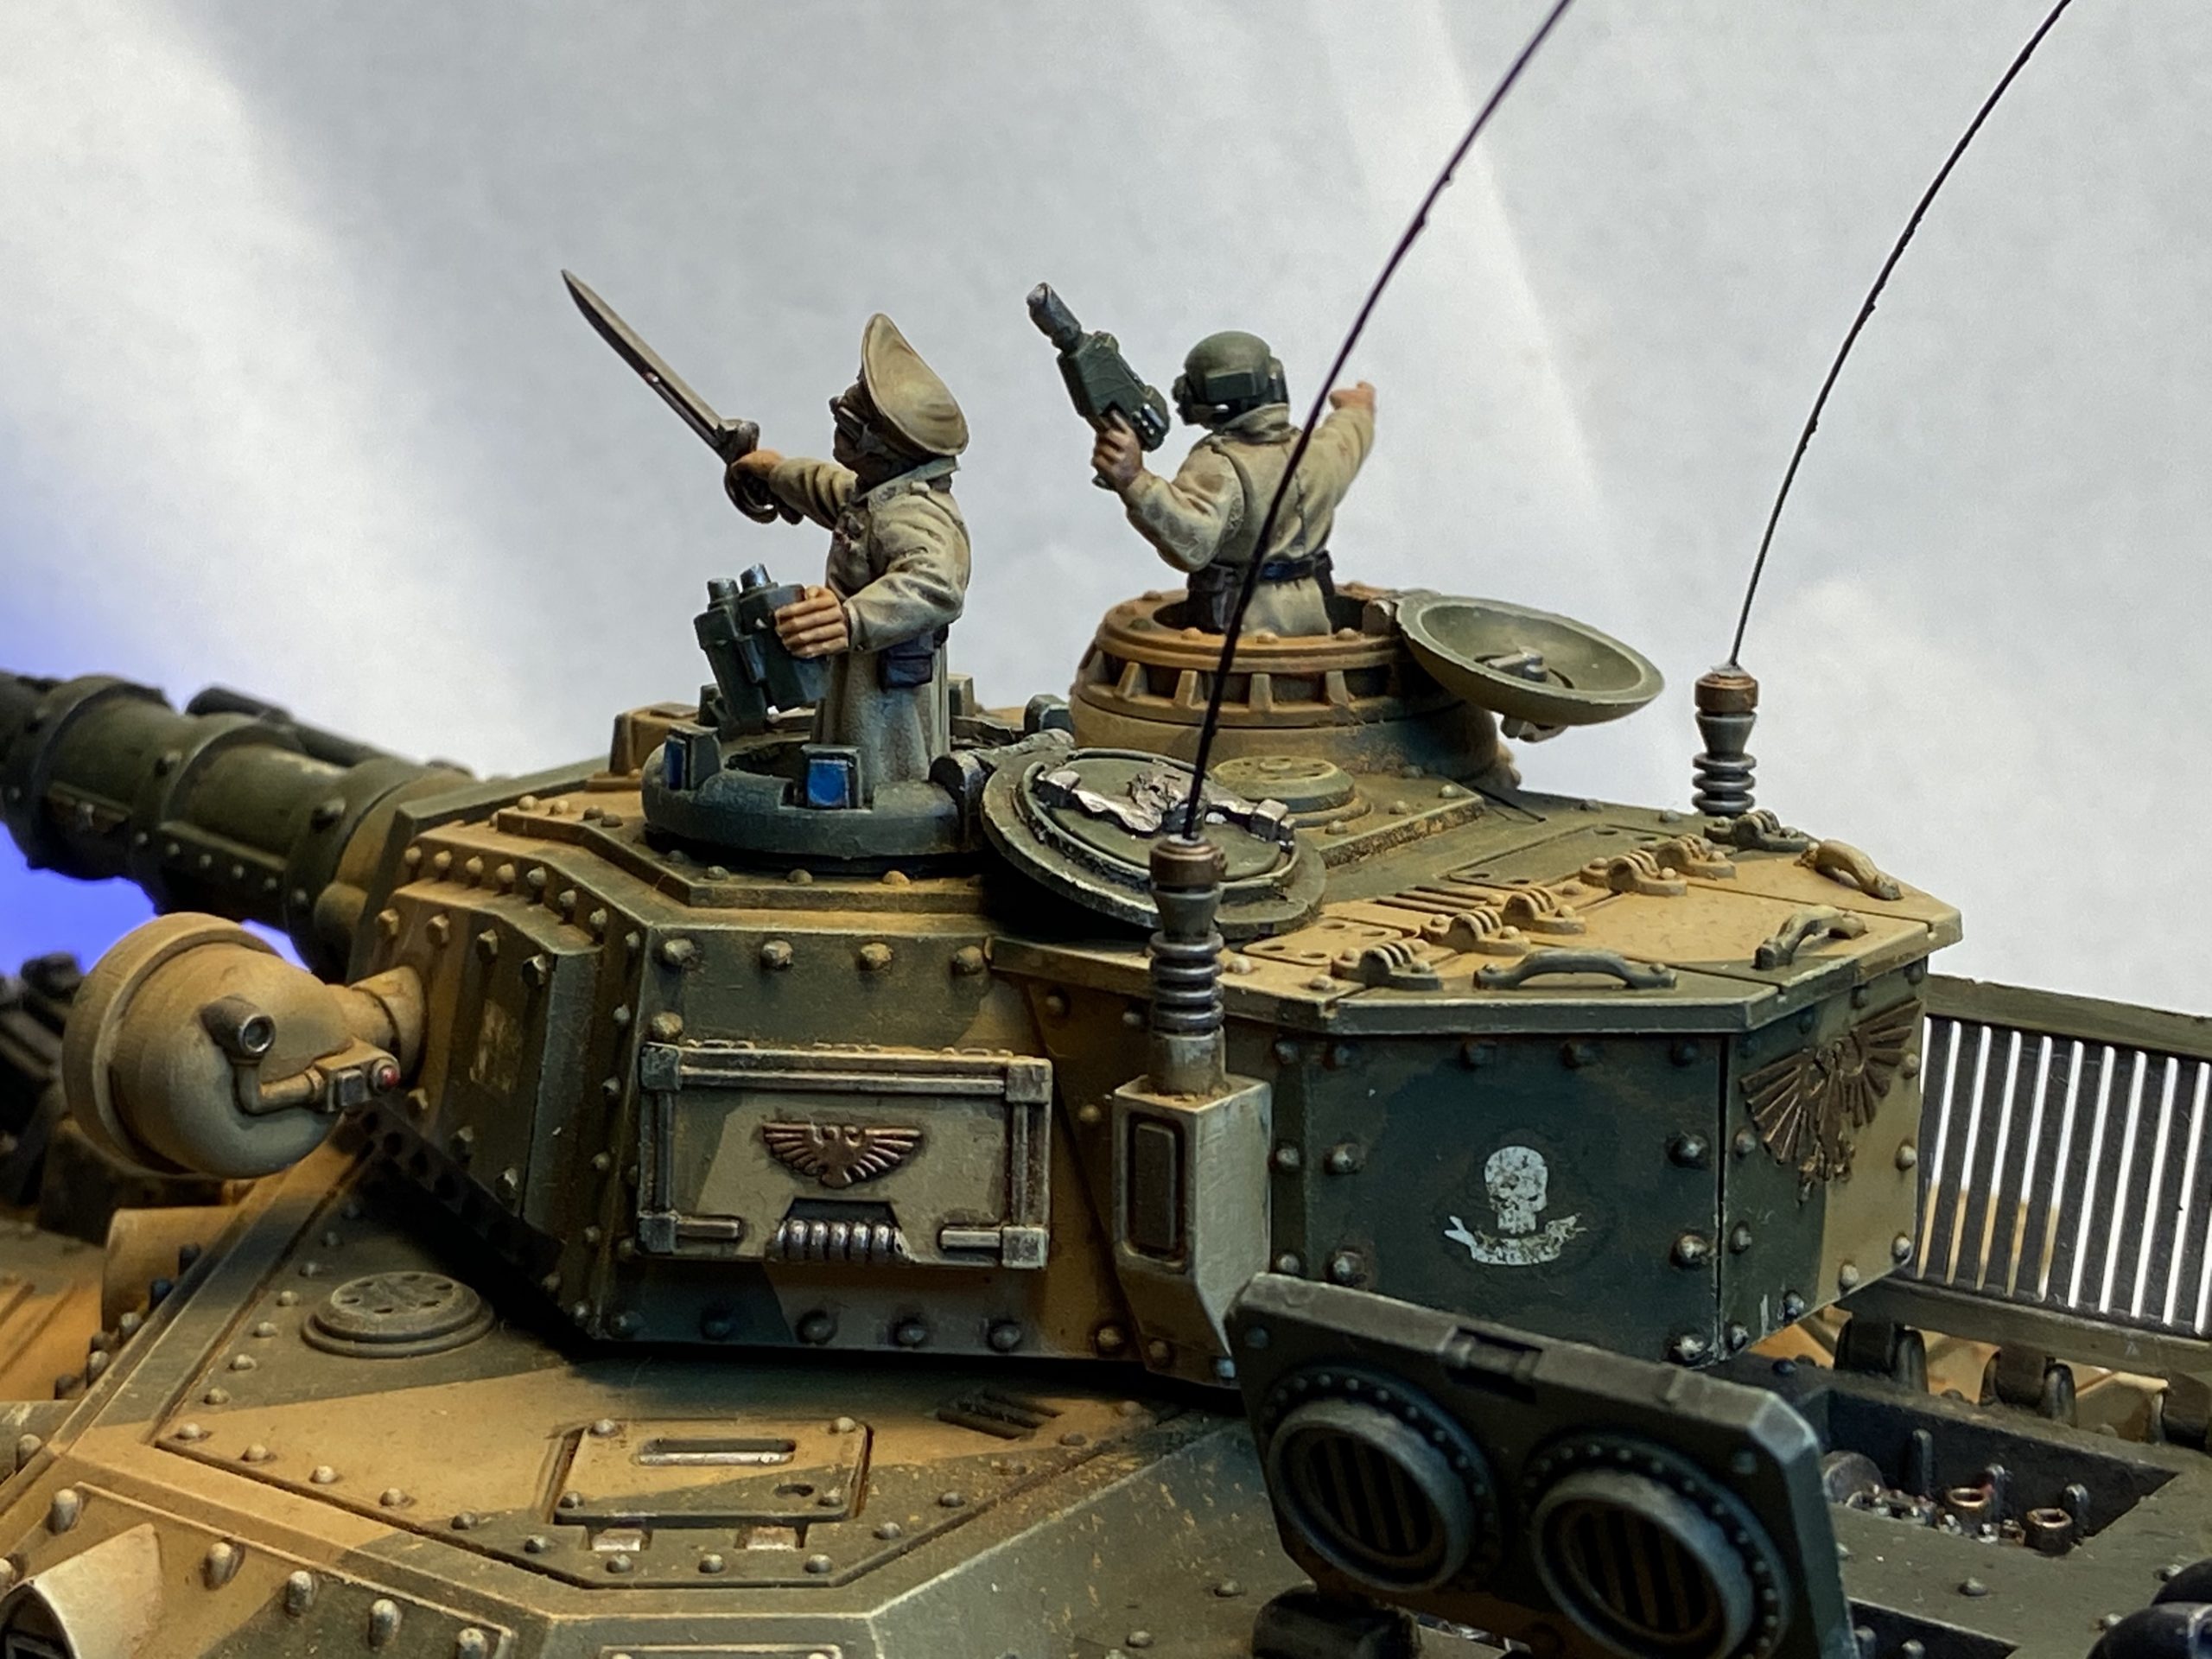
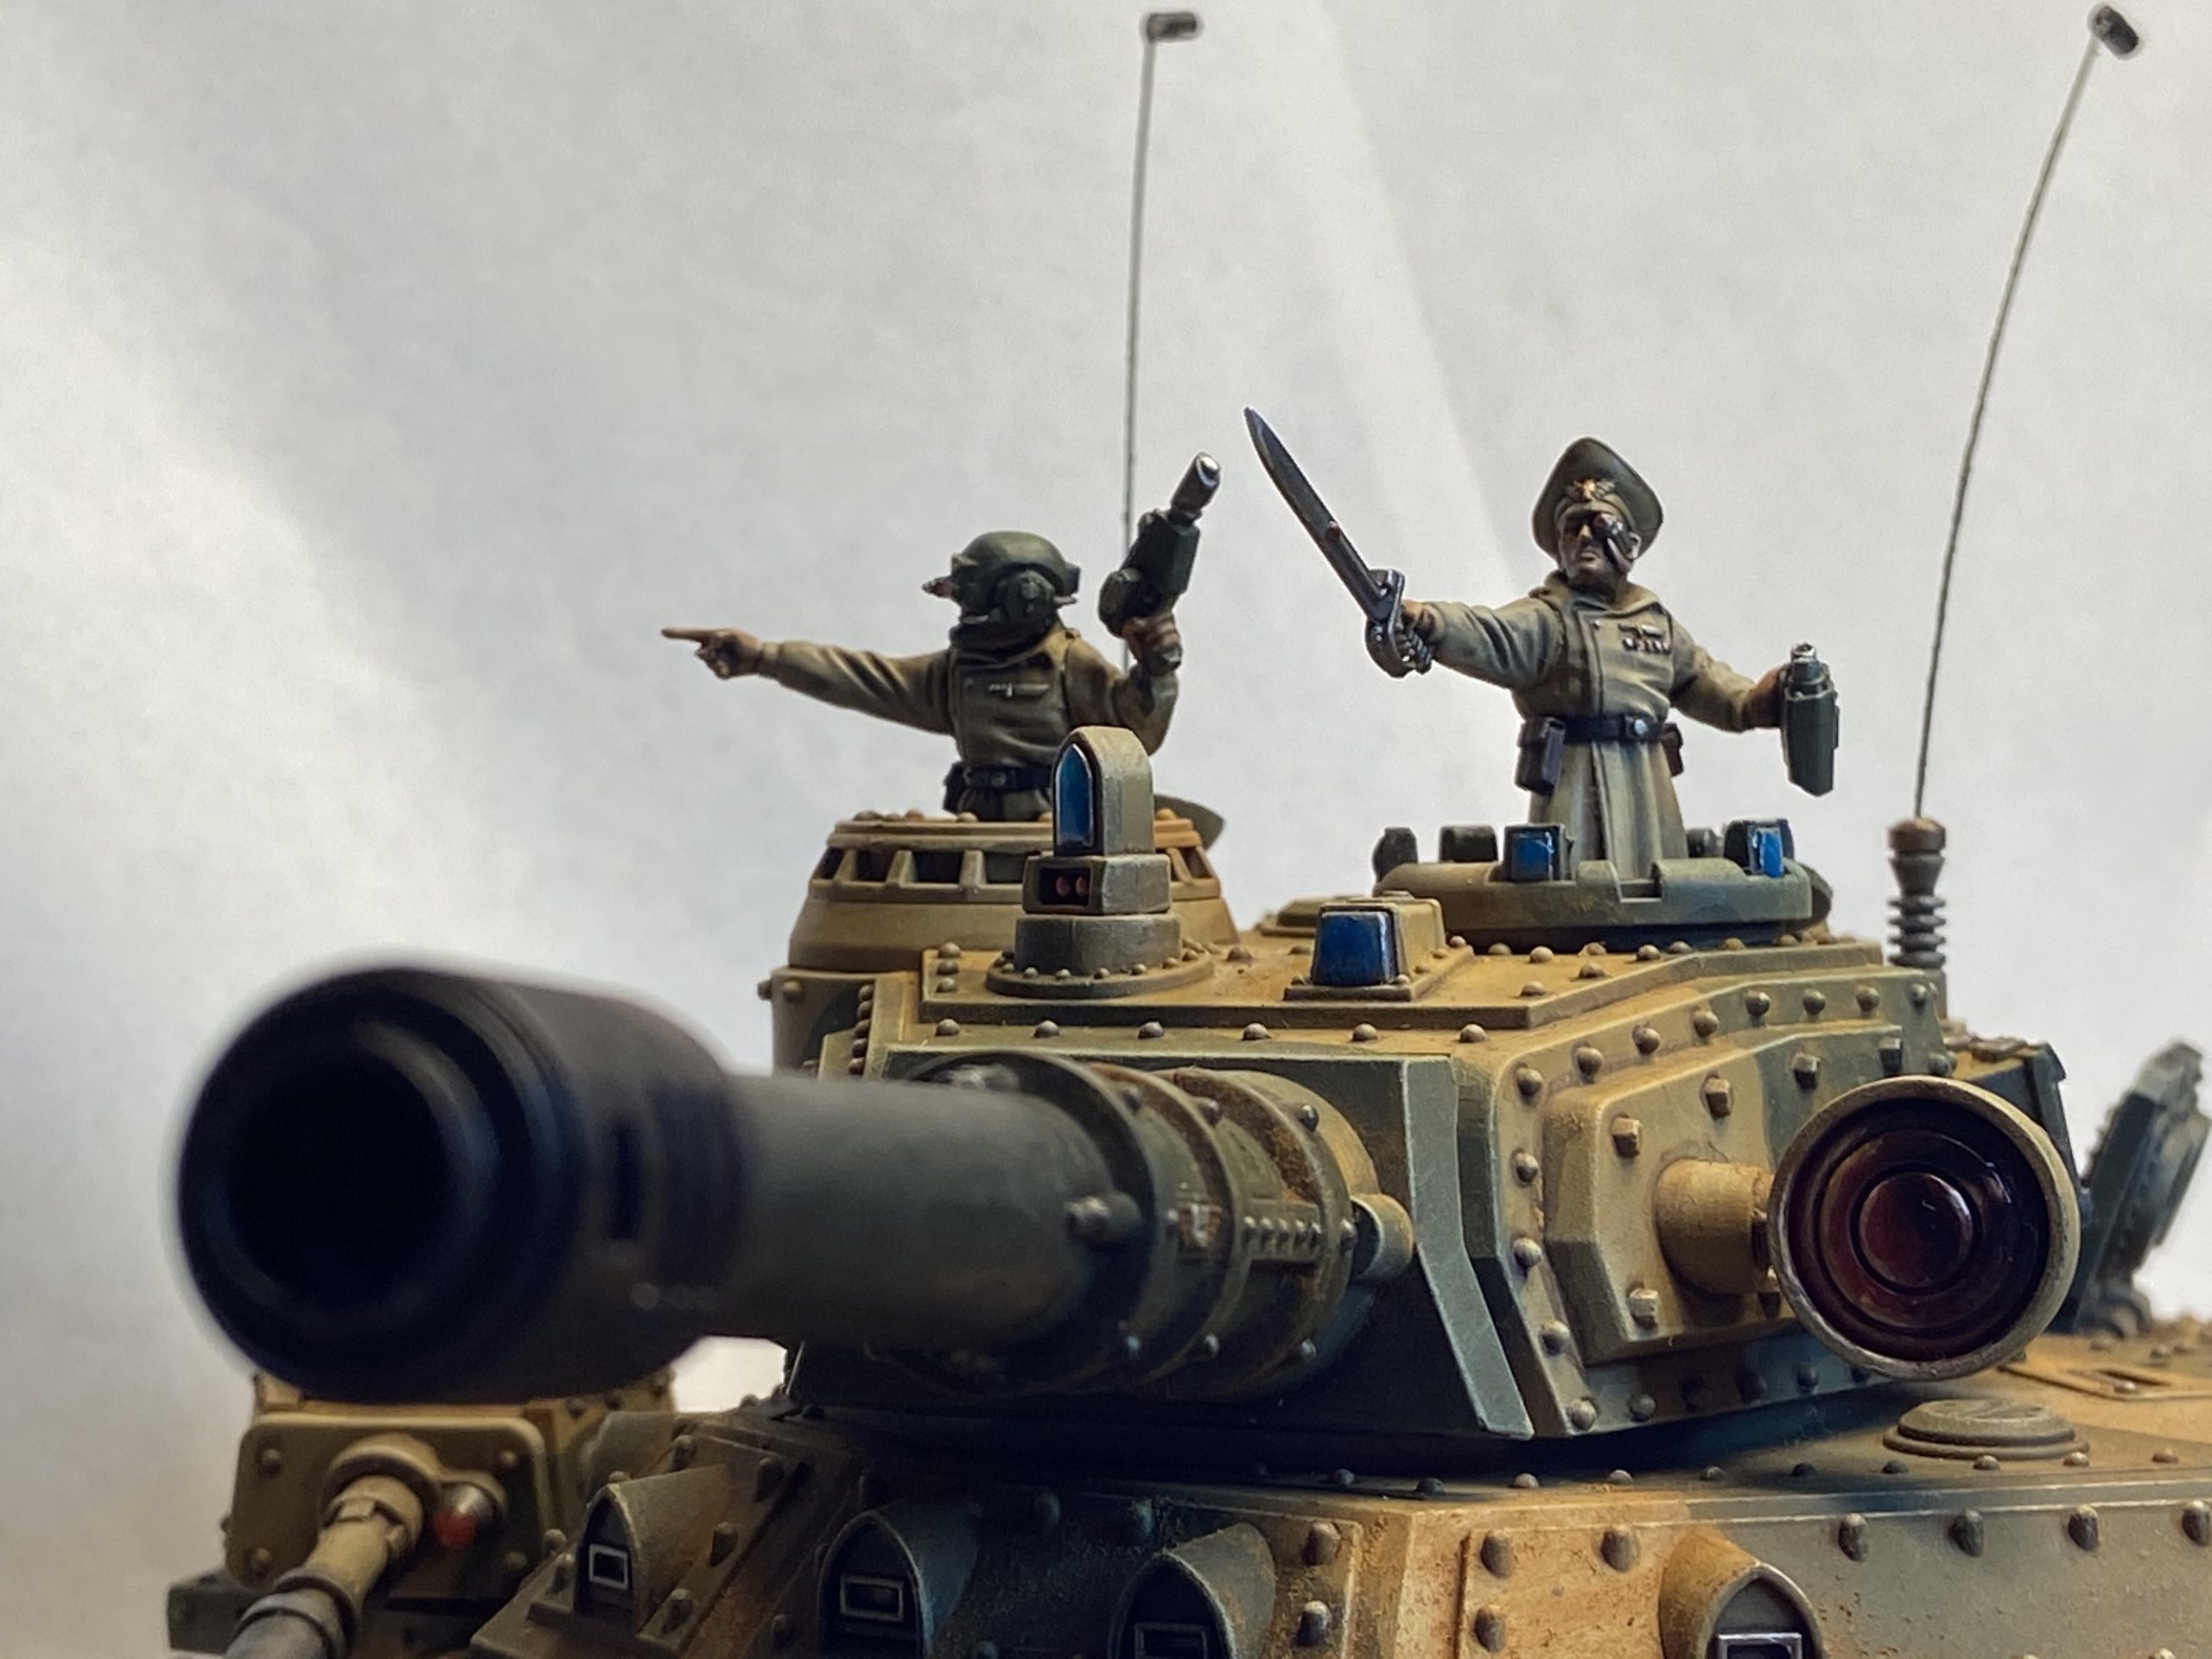
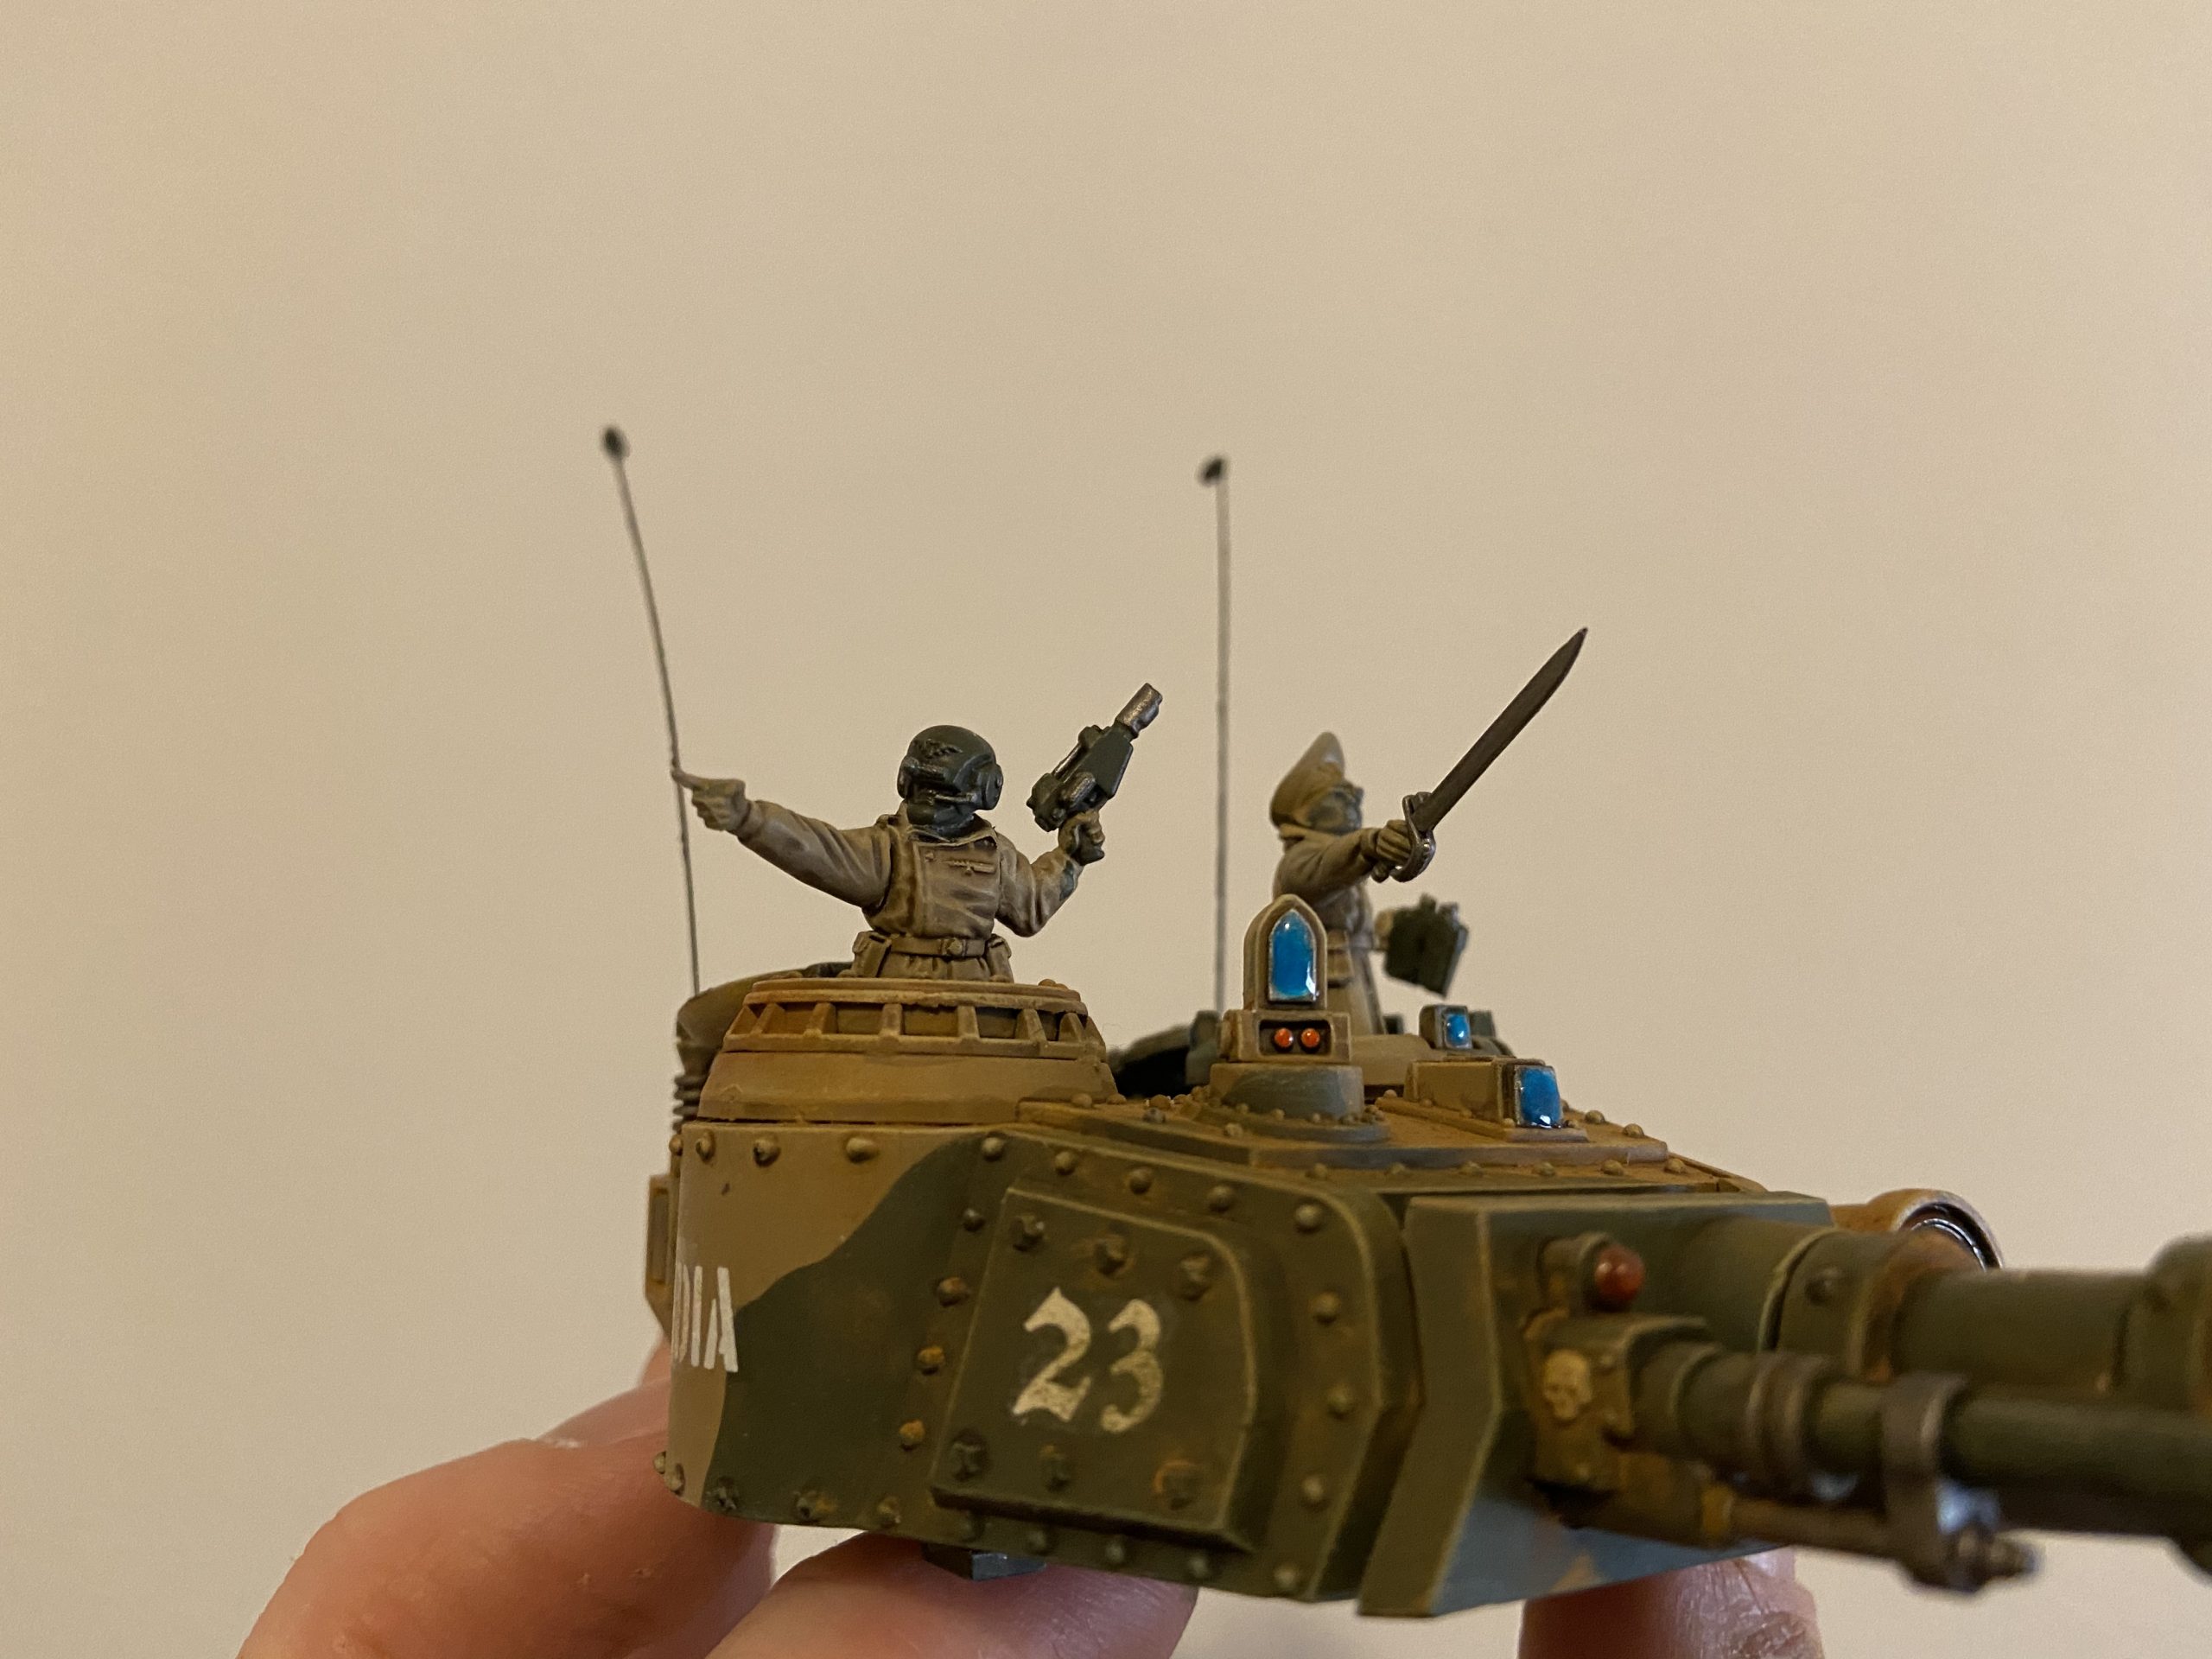
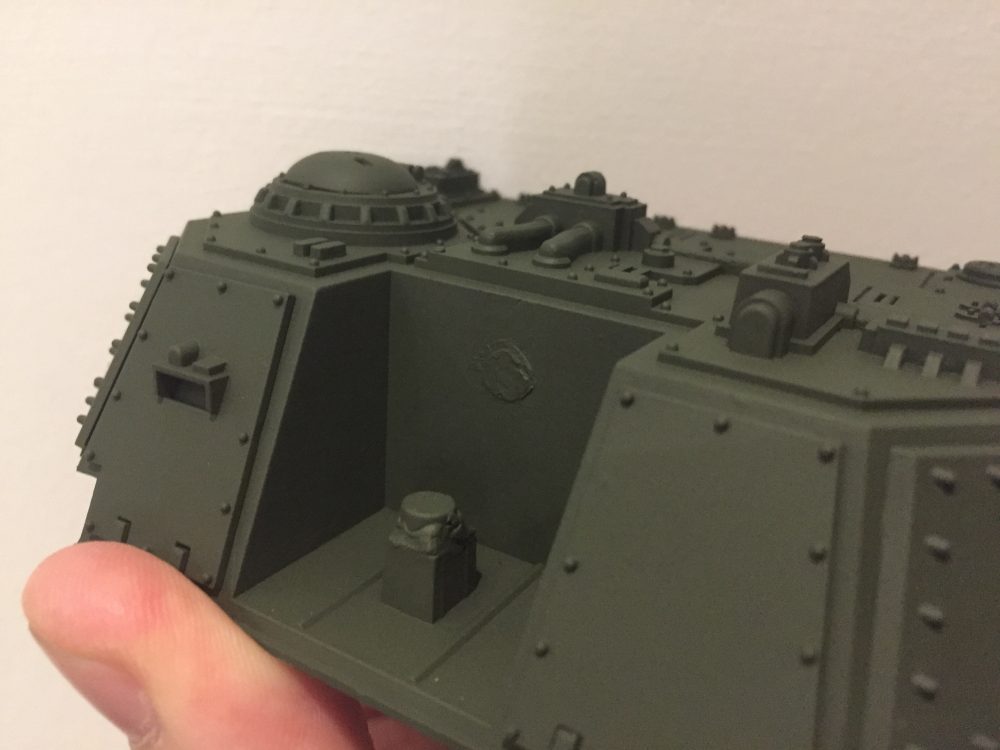
Baneblade Crew
The final stage was adding the crew to the top of the Baneblade. They were separate for a long time and on corks to be painted. Although I did add them onto the Baneblade before they were completed as I was worried about damaging them when adding them to the Baneblade once they were done. They did need some pinning and manhandling to get into the Baneblade.
I used cut up cork to pose them up and out of their hatches.


All Baneblade Work In Progress Photos
The Baneblade got its first outing recently at an ITC event and during my ITC practice game at Boards and Swords. Although it was not completed at this point.
The following photos are (just about) all the work in progress photos I took of the Baneblade. The build photos and the photos up to the dry brushing stage were taken three years ago. The last stages from the dry brushing to completion were taken between Jan 31st and Feb 28th. So that is about 4 weeks to go from it being built and camo painted to being fully done.


-
- Before soot pigment
-
- Applying pigments
-
- It is messy
-
- All done
-
- Final effect

-
- Pigments are done
-
- After soot pigment