
Pigments – How To Use
Today I try pigments...
A new day and I have got a new experience from a new technique to share with you – pigments.
This is my first attempt at pigments, so it’s possibly very simple and not as complex as you can go with them. But none the less, it was a good experience and one I think is worth sharing. It was also very easy and the pay off is fantastic. As an effort to effect ratio goes, this is up there as one of the best returns you’ll get.
Never miss an article? Subscribe!
Gear used for Pigments
For this process I used the following bits of kit;
- A knackered old dry brush
- A larger brush
- A piece of A4 paper
- AK Interactive Pigment Fixer
- Vallejo Pigment (I used Natural Sienna)

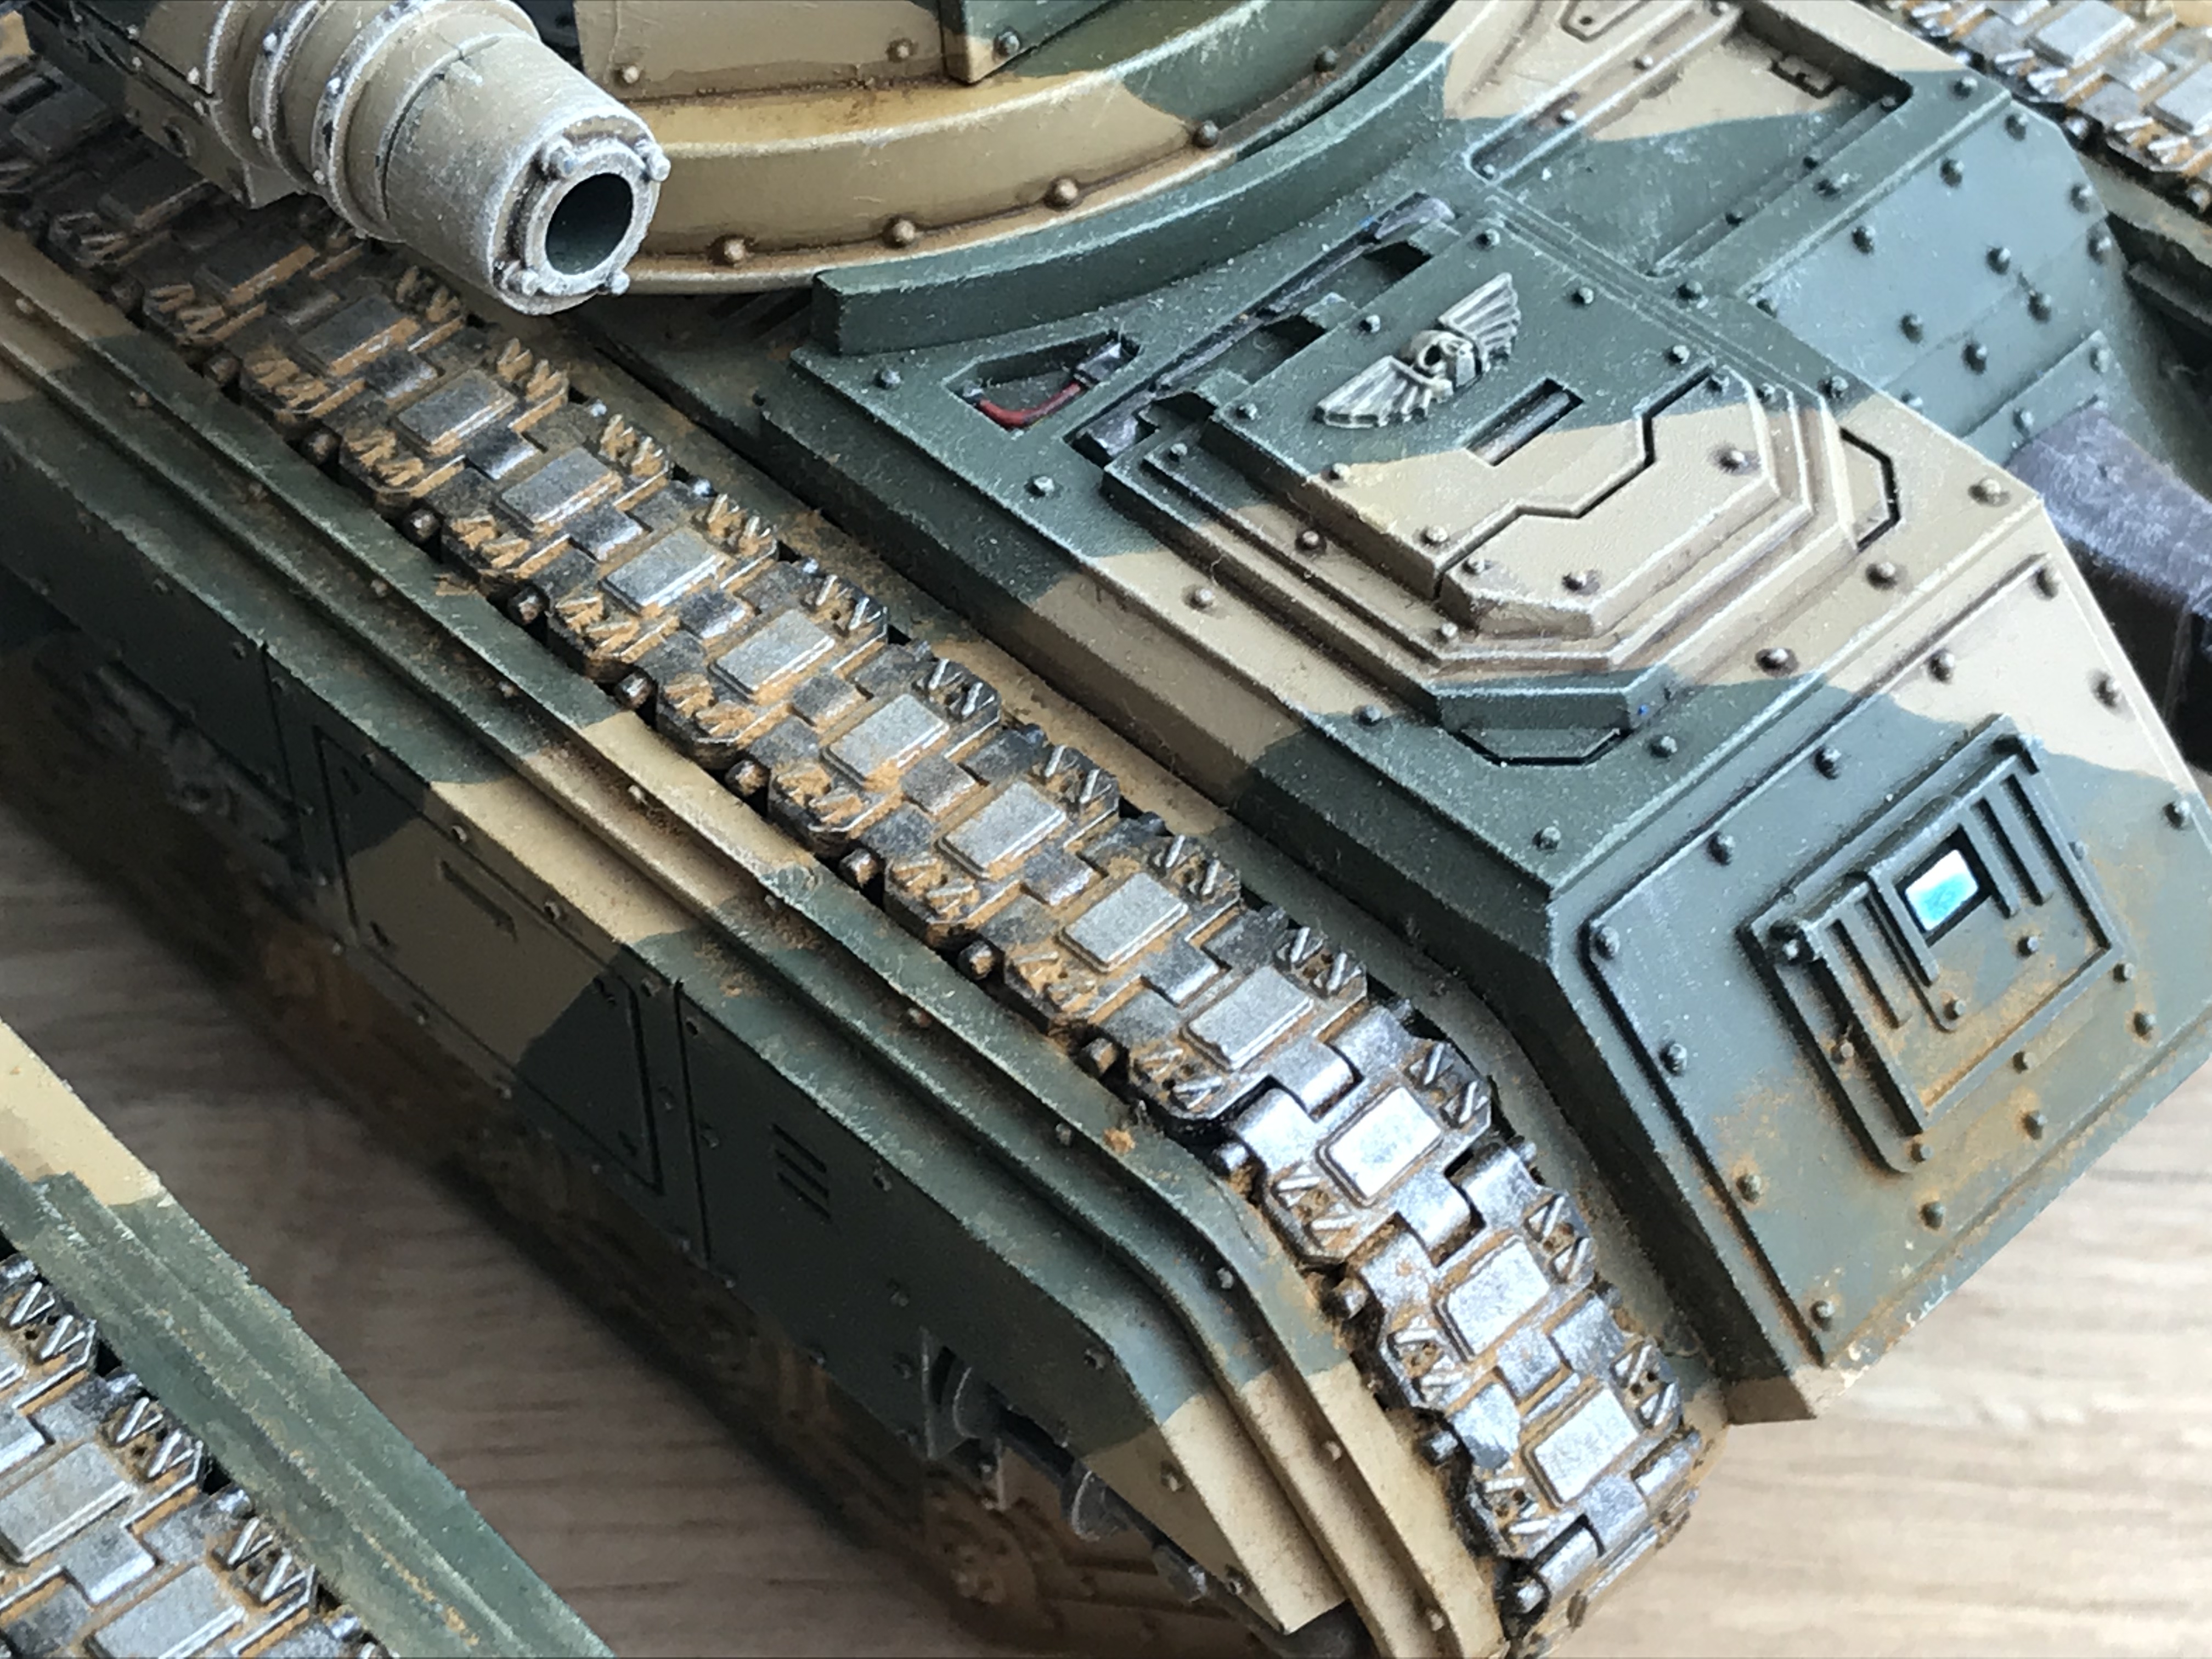
Before pigment application
Pigments Method
A watched a few videos about the application of pigments. Each was slightly different although the premise was the same.
- Apply the pigment to the model
- Apply the fixer to the model
And that’s it. The method of application for both stages does vary though. I strongly encourage you to try a few different methods for both before settling on how you want to do it.
I found that different methods for applying the pigment gave different results in terms of both colour and texture.
I tested on the underside of my Basilisk because it happened to be the right colour. It was Castallen Green and Zandri Dust underneath – just like the rest of the model. So testing here was as close as I could get to the actual model.

Test
Mixing
I did not do this because I only had one pigment. But you can mix pigments together to give your model varying tones. I’d like to try this soon to give an extra layer of depth to my dusty tanks.
A Dusting
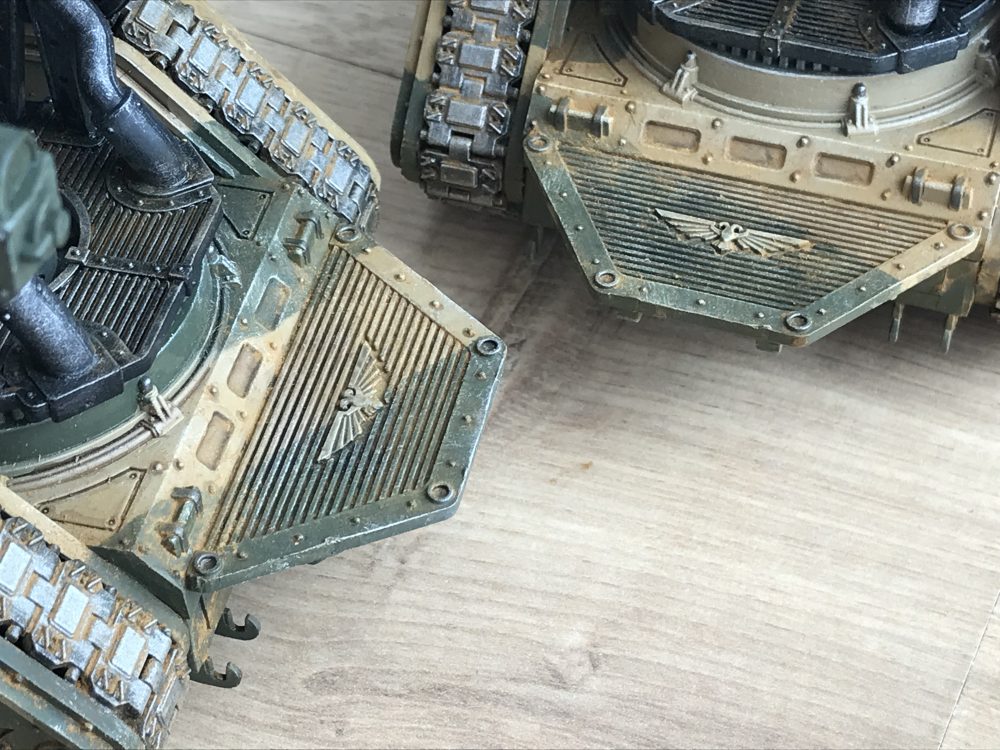
You can easily lightly dust panels and large areas of your model by putting a little pigment on the brush and then just rubbing it onto the panel.
The pigment is so fine that it gets stuck into the texture of the paint. It’s like smoke at some points during the application phase, very fine wisps floating into the air the model will be dusty from just rubbing into flat areas. Any excess can be removed with the brush or by gently tapping the model to release any excess.
This gives you a very light dust effect on your model. Remember, it’s a lot easier to add later than remove the pigments!
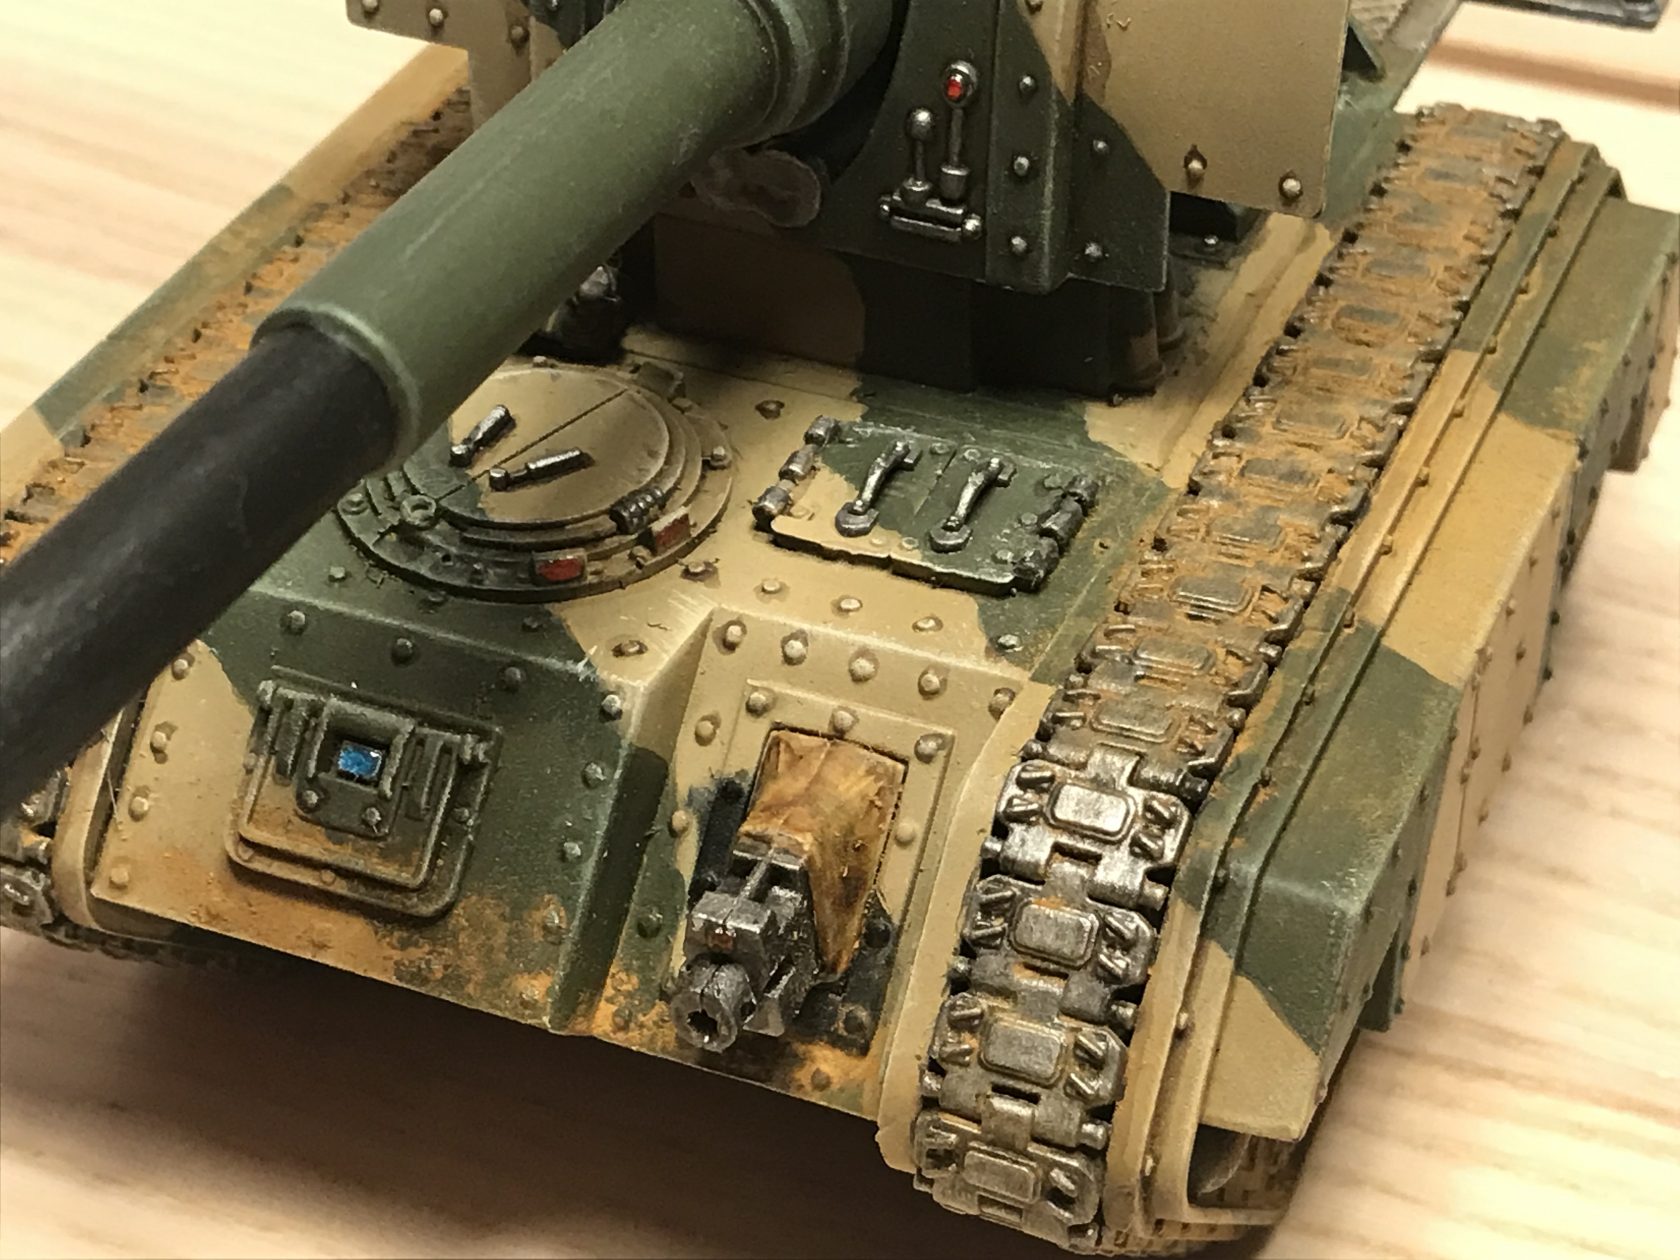
Pigment applied dry with an old drybrush
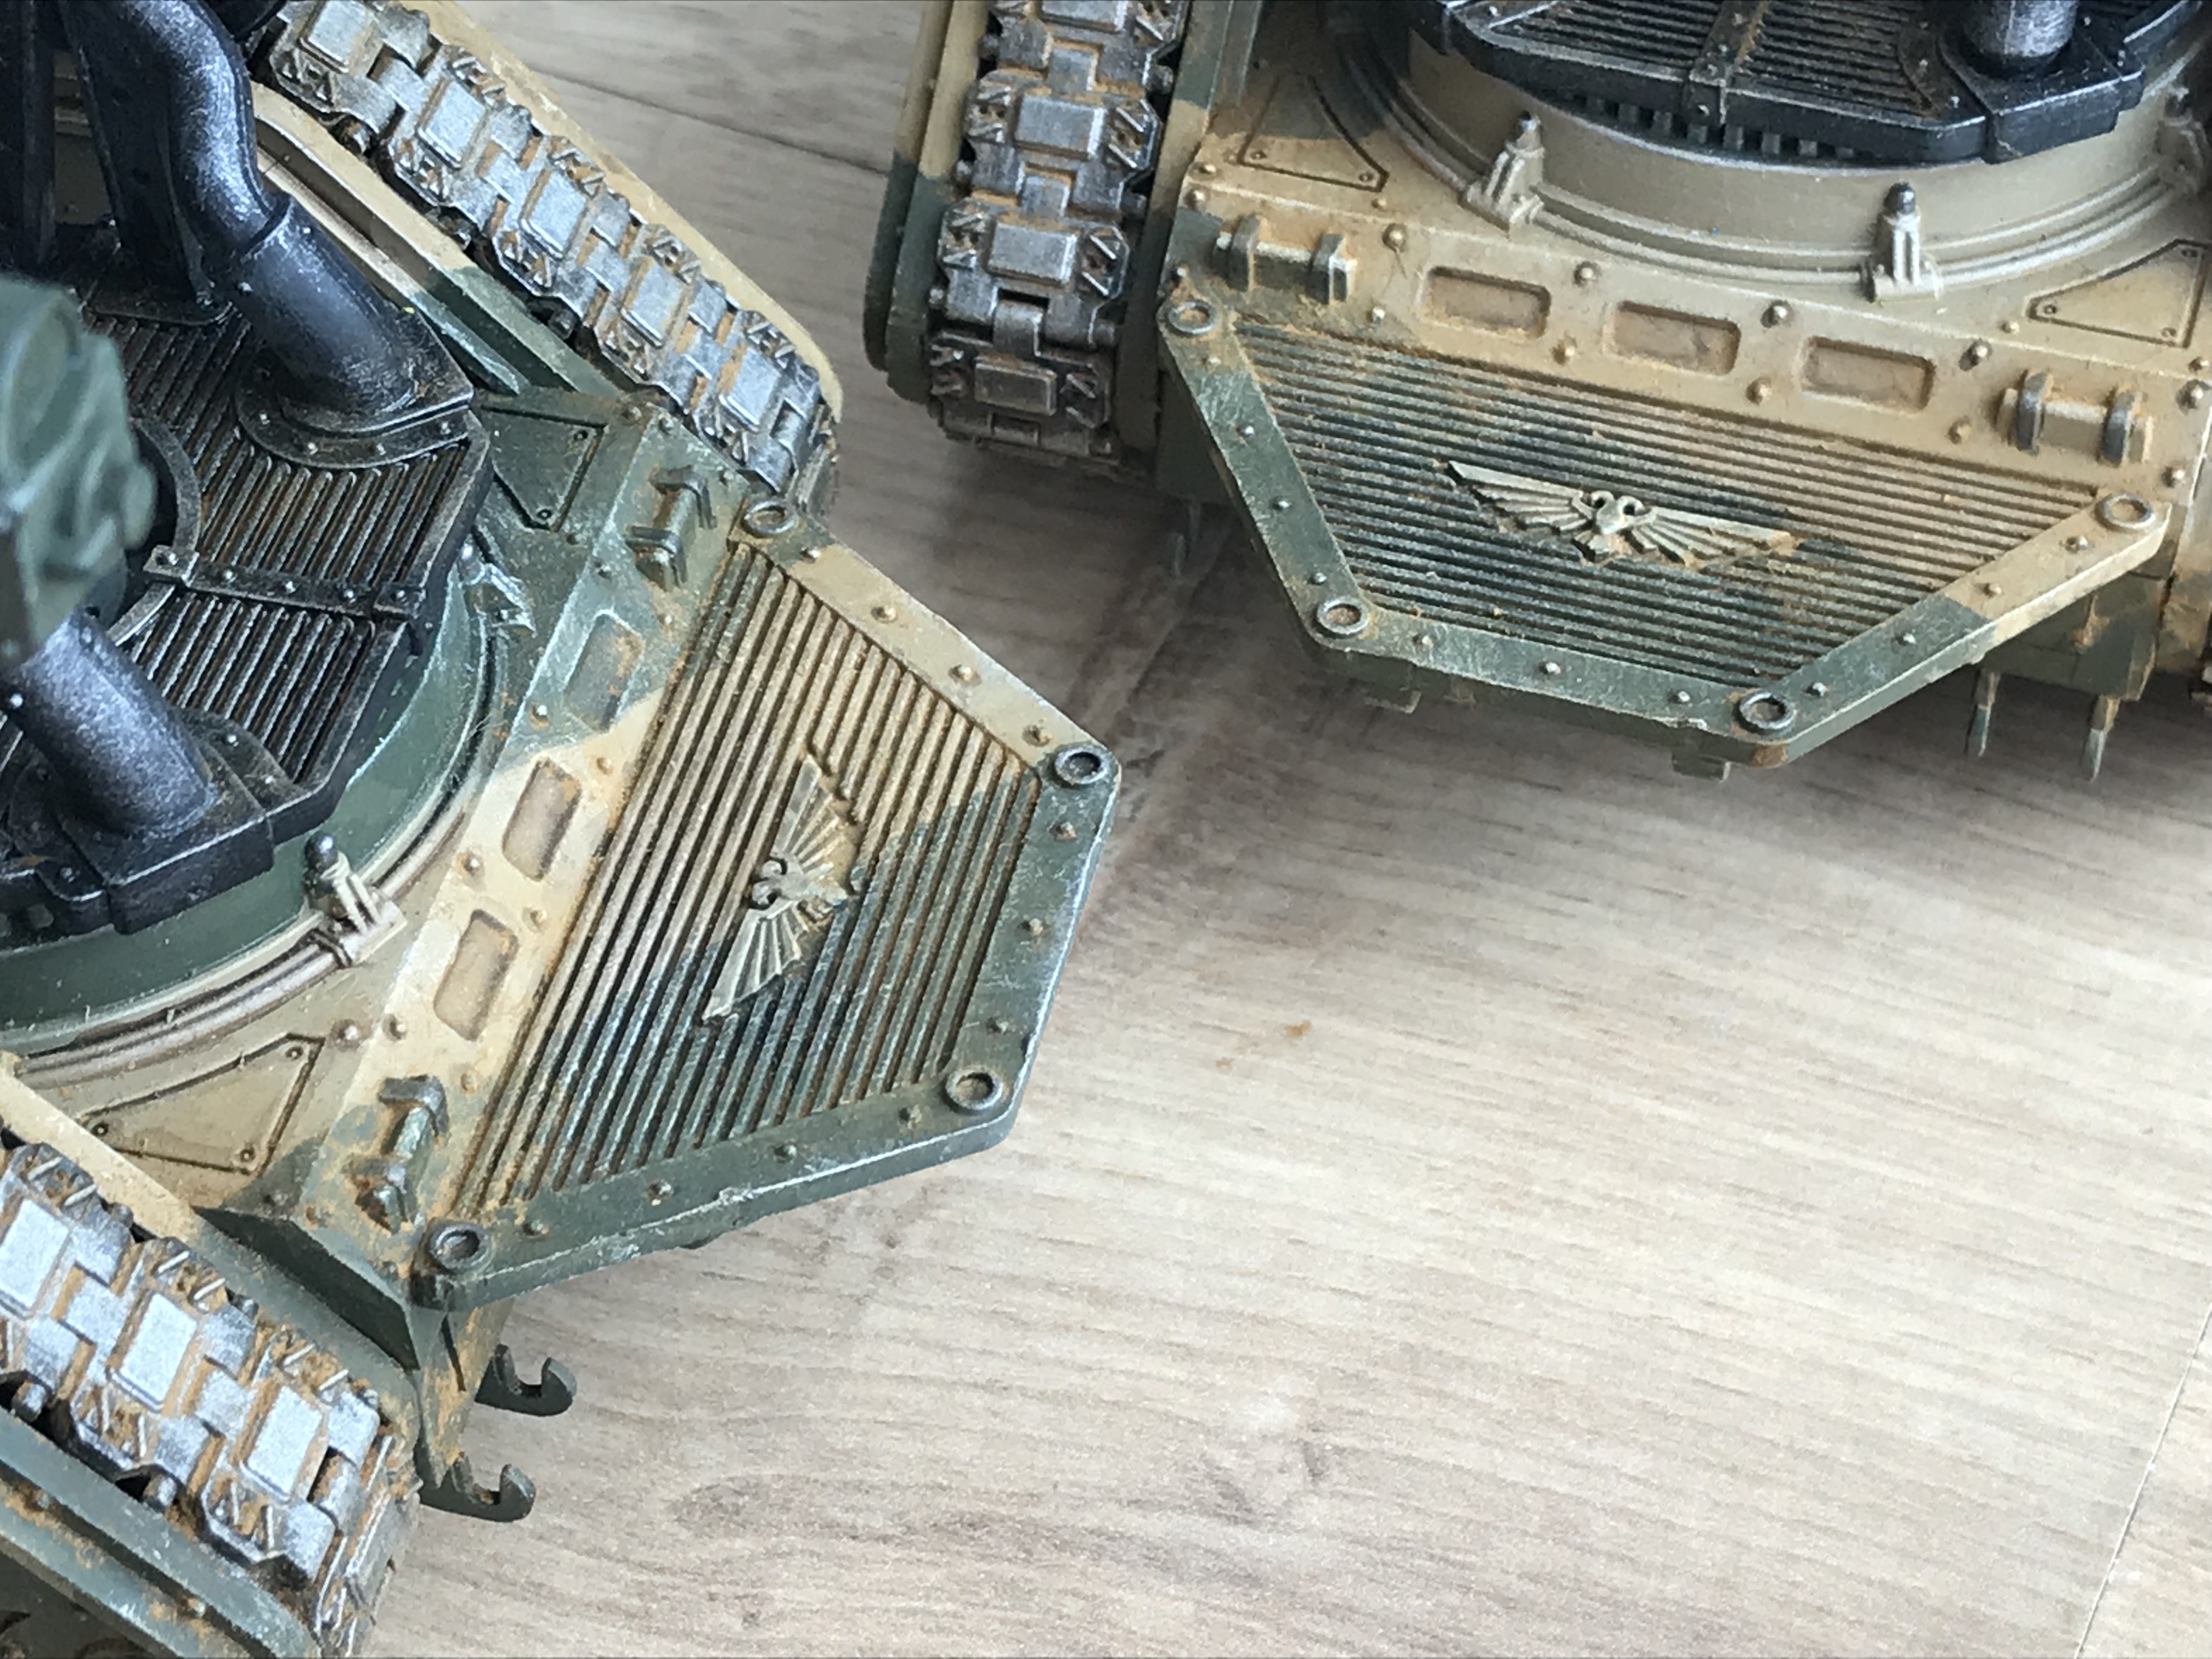
More Thickly
I used the dusting method on the top of my tracks and the larger side panels. For the cogs, rivets and lower portions of the tracks, I laid the pigment on more thickly. I left more of it in place around the tracks, rivets and general nooks and crannies of the Basilisk.
But leaving more on you get a more concentrated colour in these areas rather than a light dusting.
But please do a test so you get the results you require.
Applying the Fixer
I saw two ways to apply the fixer.
- Load a brush with it and touch it to the pigment on the model.
- Load up a brush with it and flick it across a cocktail stick to flick small drops of fixer onto the pigment.
I used the first method. When you apply the fixer like this, the capillary action of the liquid makes it travel through the pigment and into a much larger area with little effort. A few touches here and there – and your model is done.
The second method means you do not need to touch the model at all. I’m sure you could move the pigment on the model using the first method. But if you absolutely do not want to touch the model then you can flick the fixer onto the model. The capillary action will make it travel through the pigment with ease – see below.
Once it dries it goes back to the original pigment colour and does not look wet. Testing puts your mind at east when it comes to matters like that.
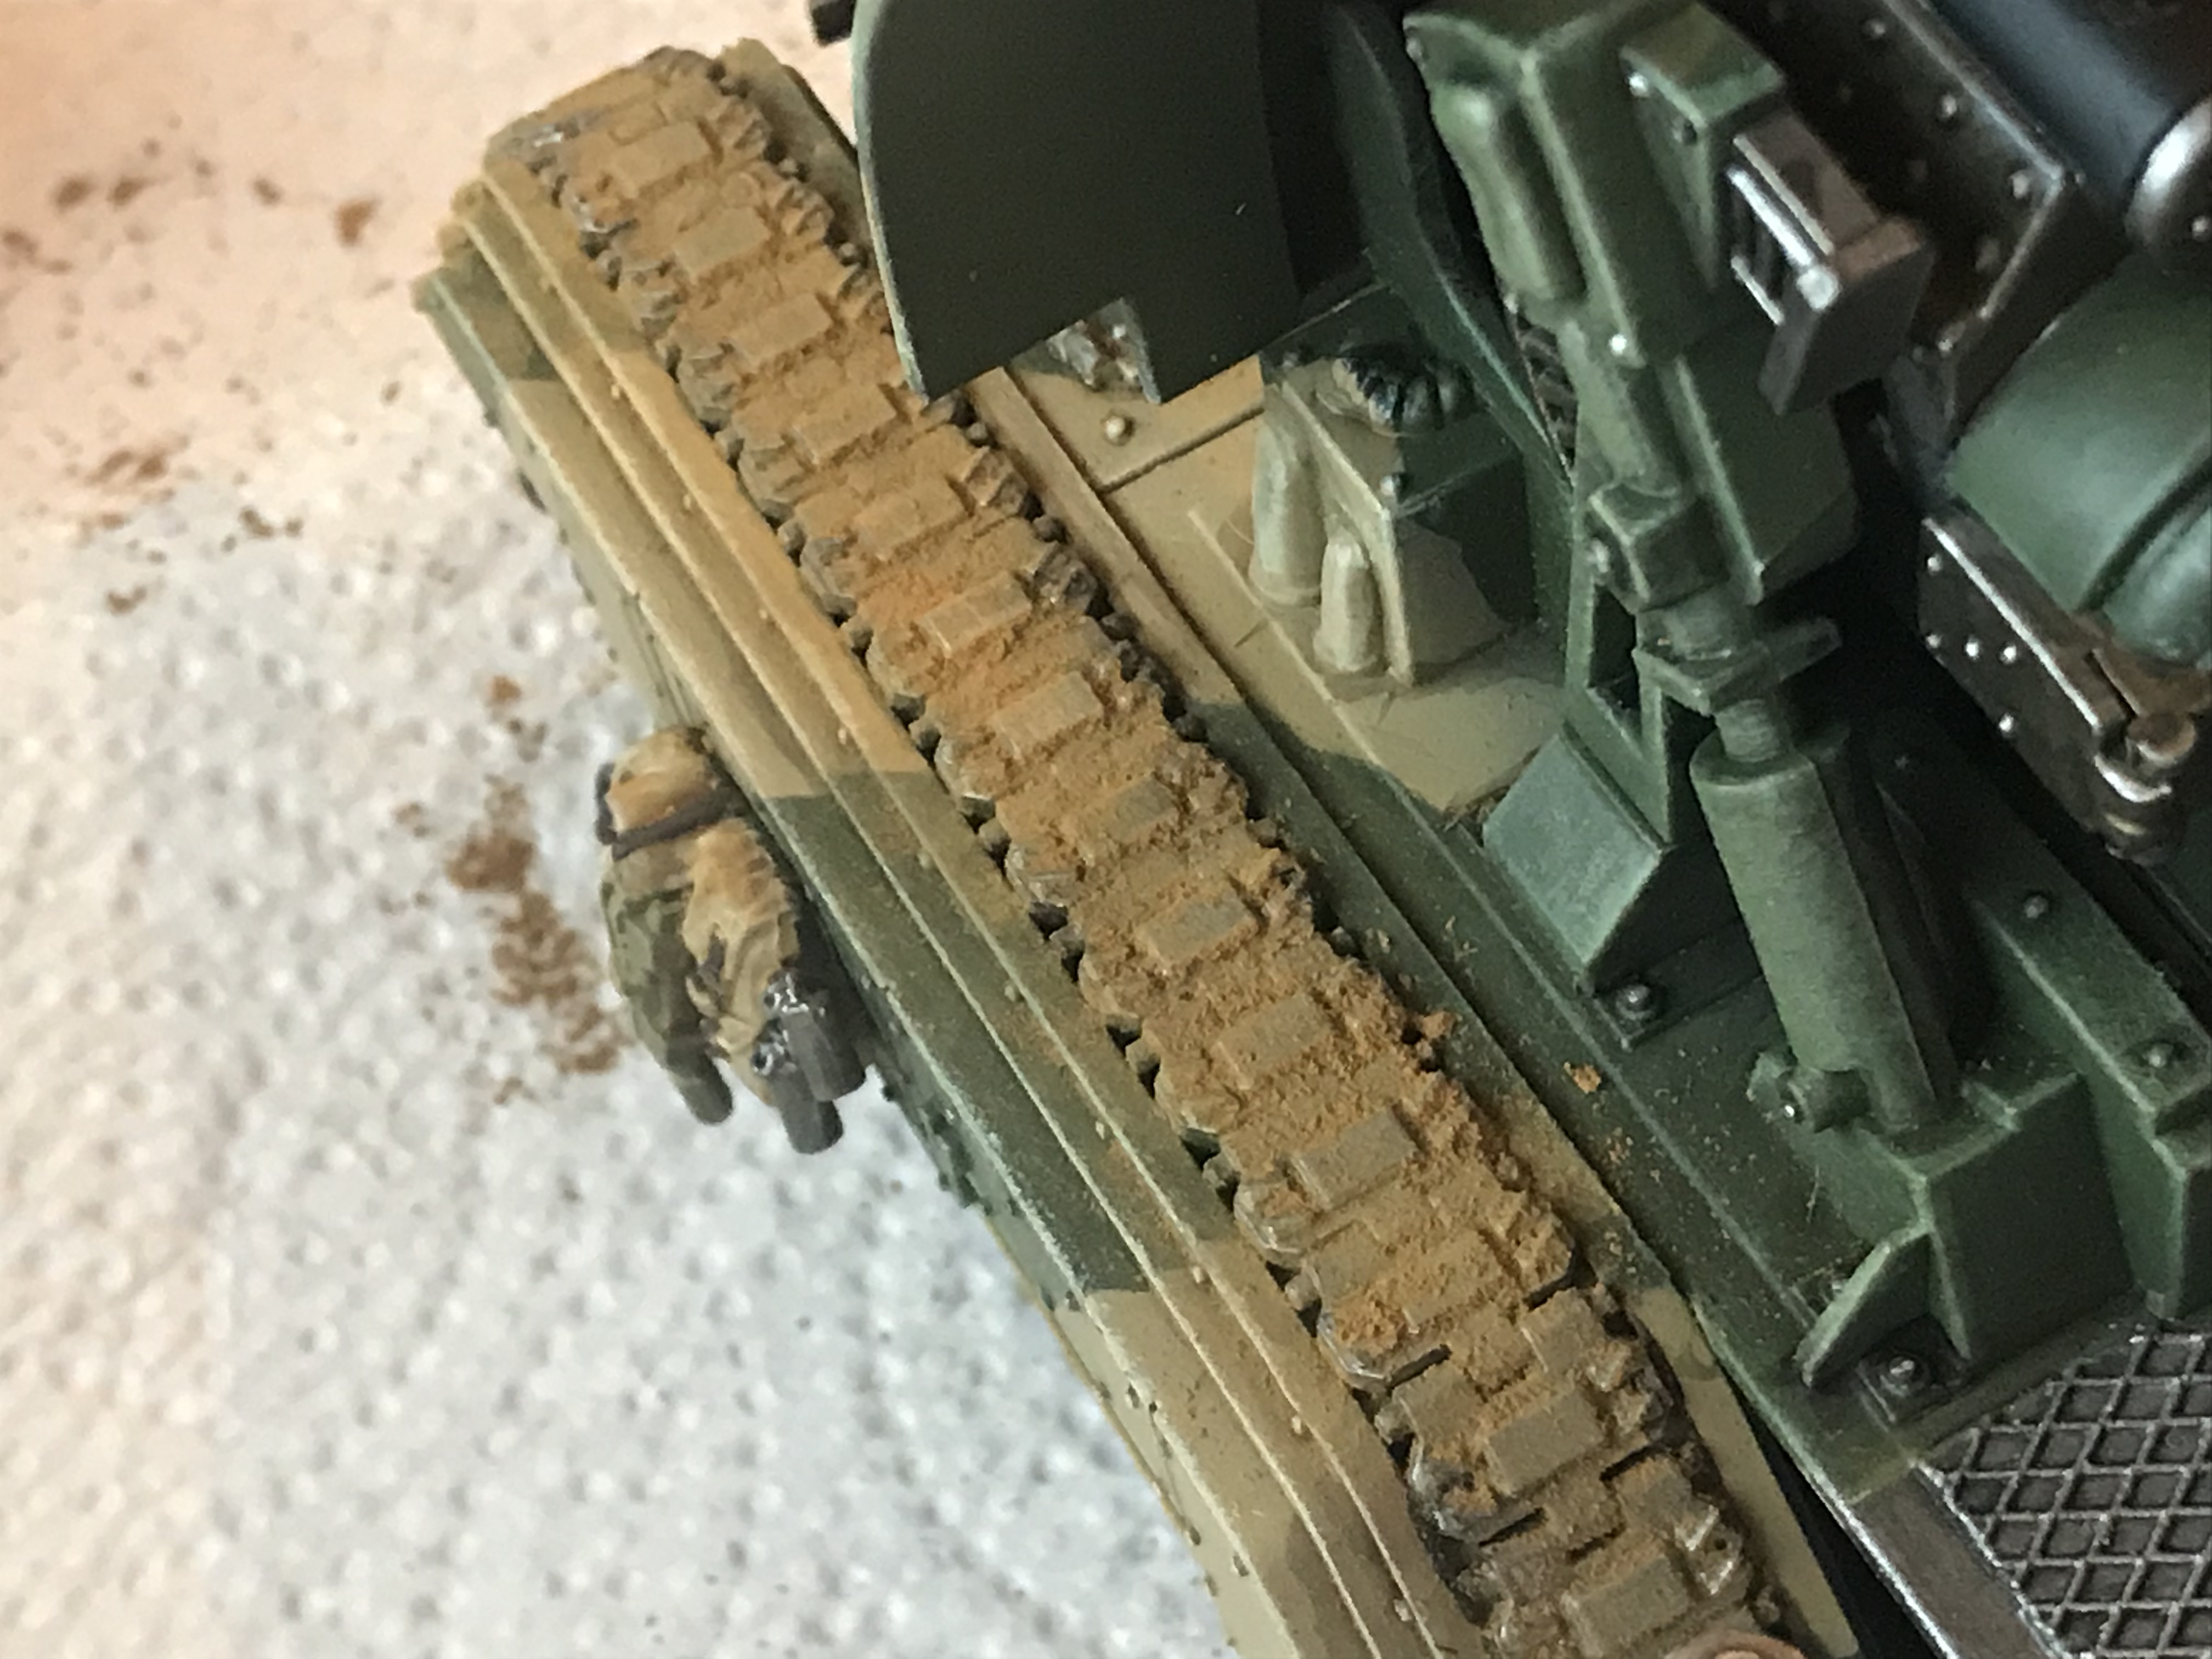
Applying pigment fixer
Finishing Up Pigments
And that’s about it. It’s really very easy and the effect is amazing. It helps to bring a model together.
I did use Testors Dull Coat on the models some months later. The pigments will come off with handling, so varnishing with Testors Dull Coat is a good idea in the long run. Use it in thin layers to lock in the pigments fully. It dries to a matt finish.
Pigments, I found, make a model look like one uniform colour as if the model has travelled through a dusty desert recently.
-
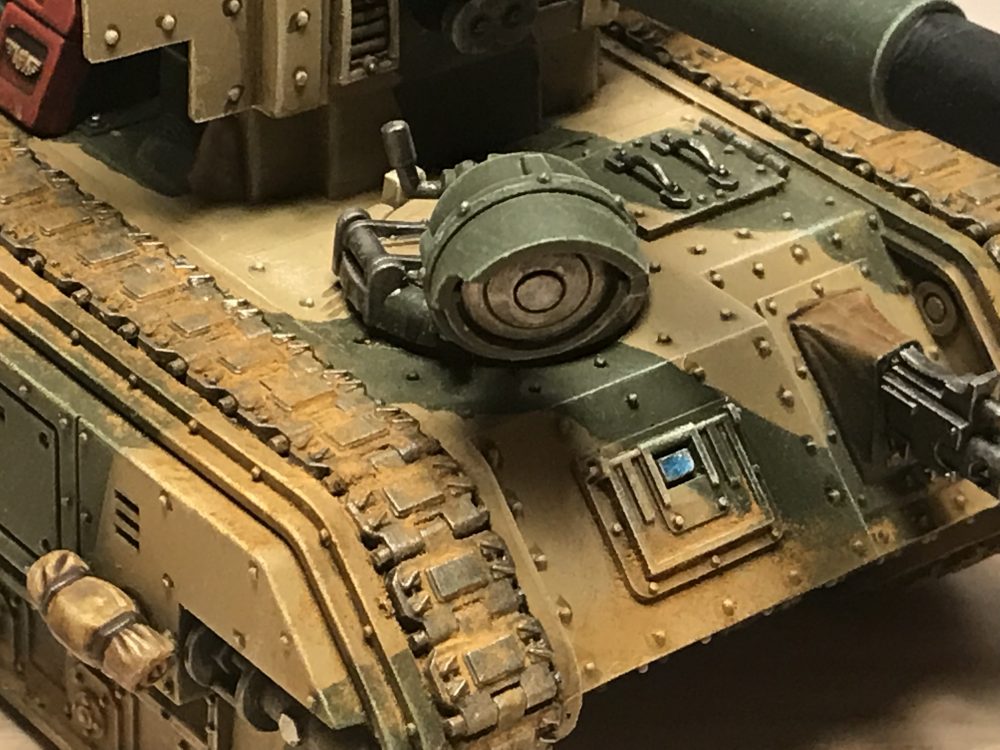

- Basilisk searchlight

-
- Basilisk

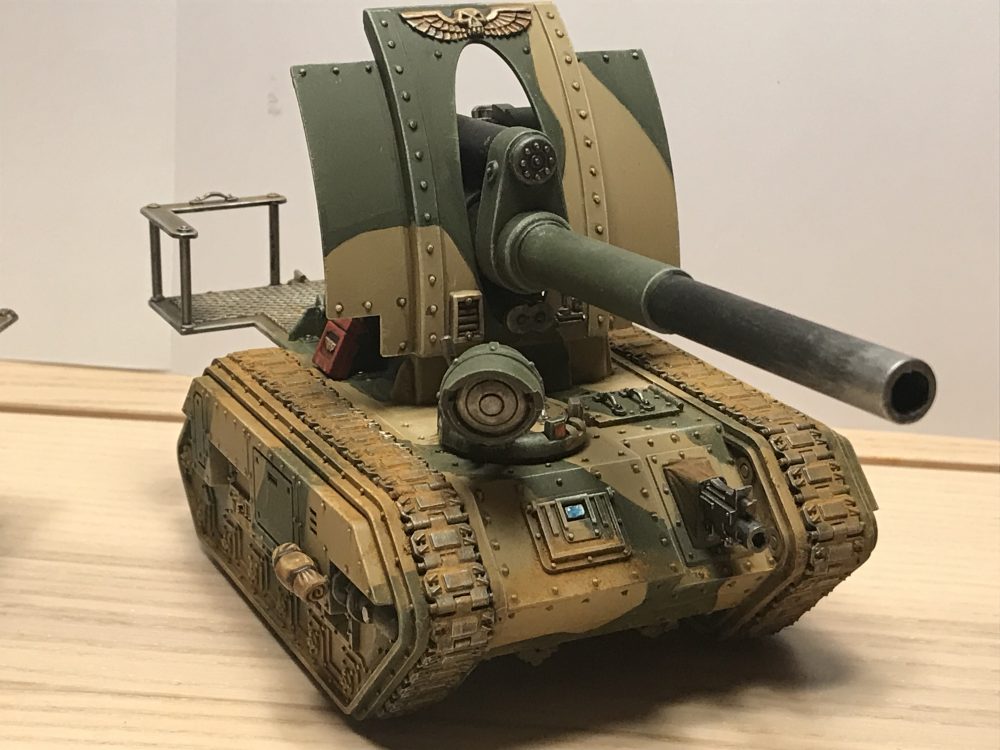
-
- Basilisk

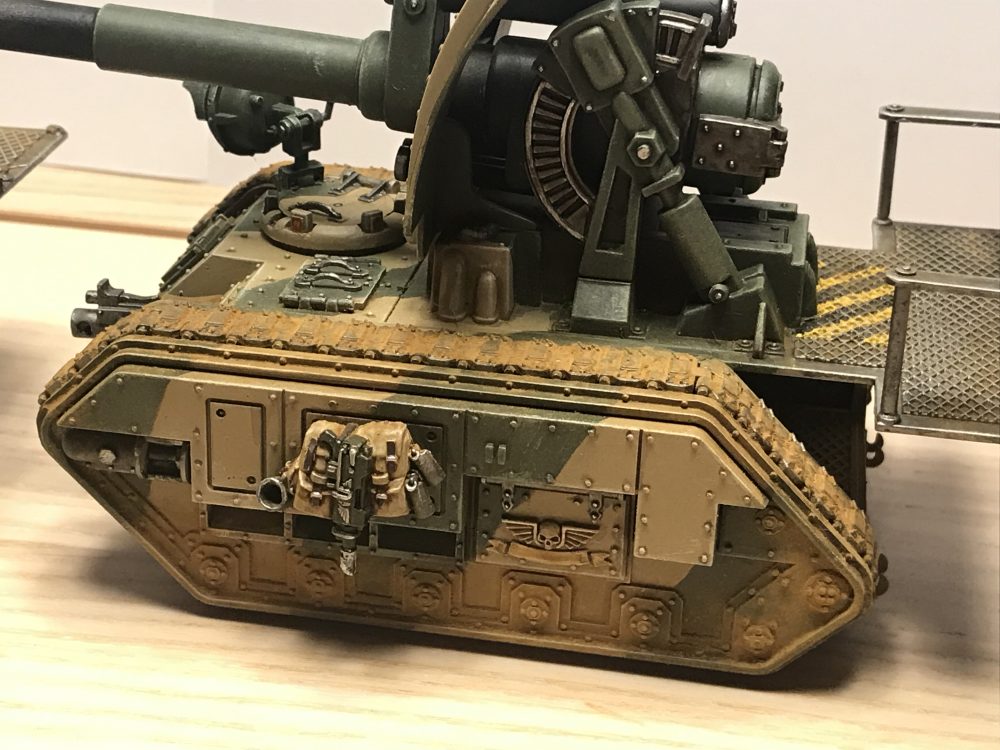
-

- Basilisks

Further Work
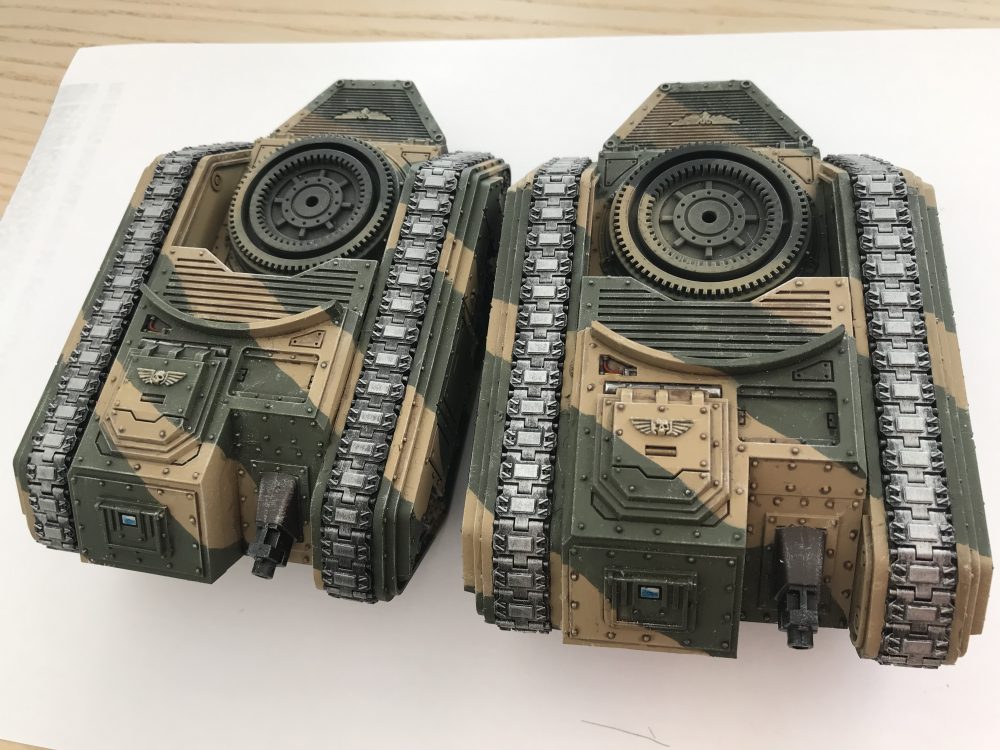
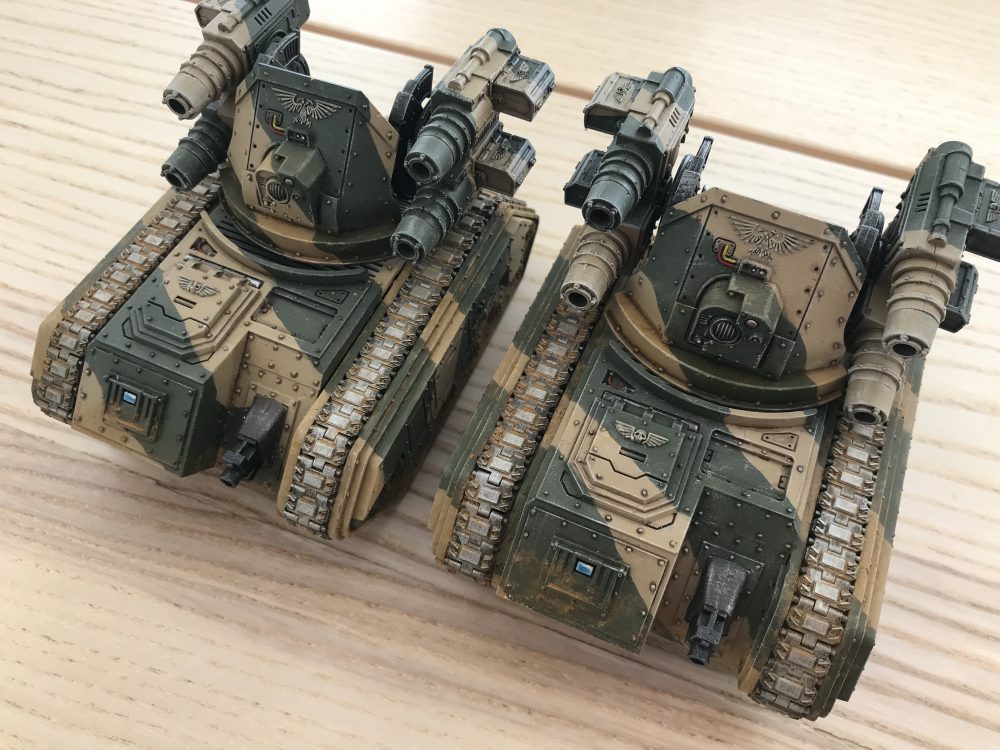
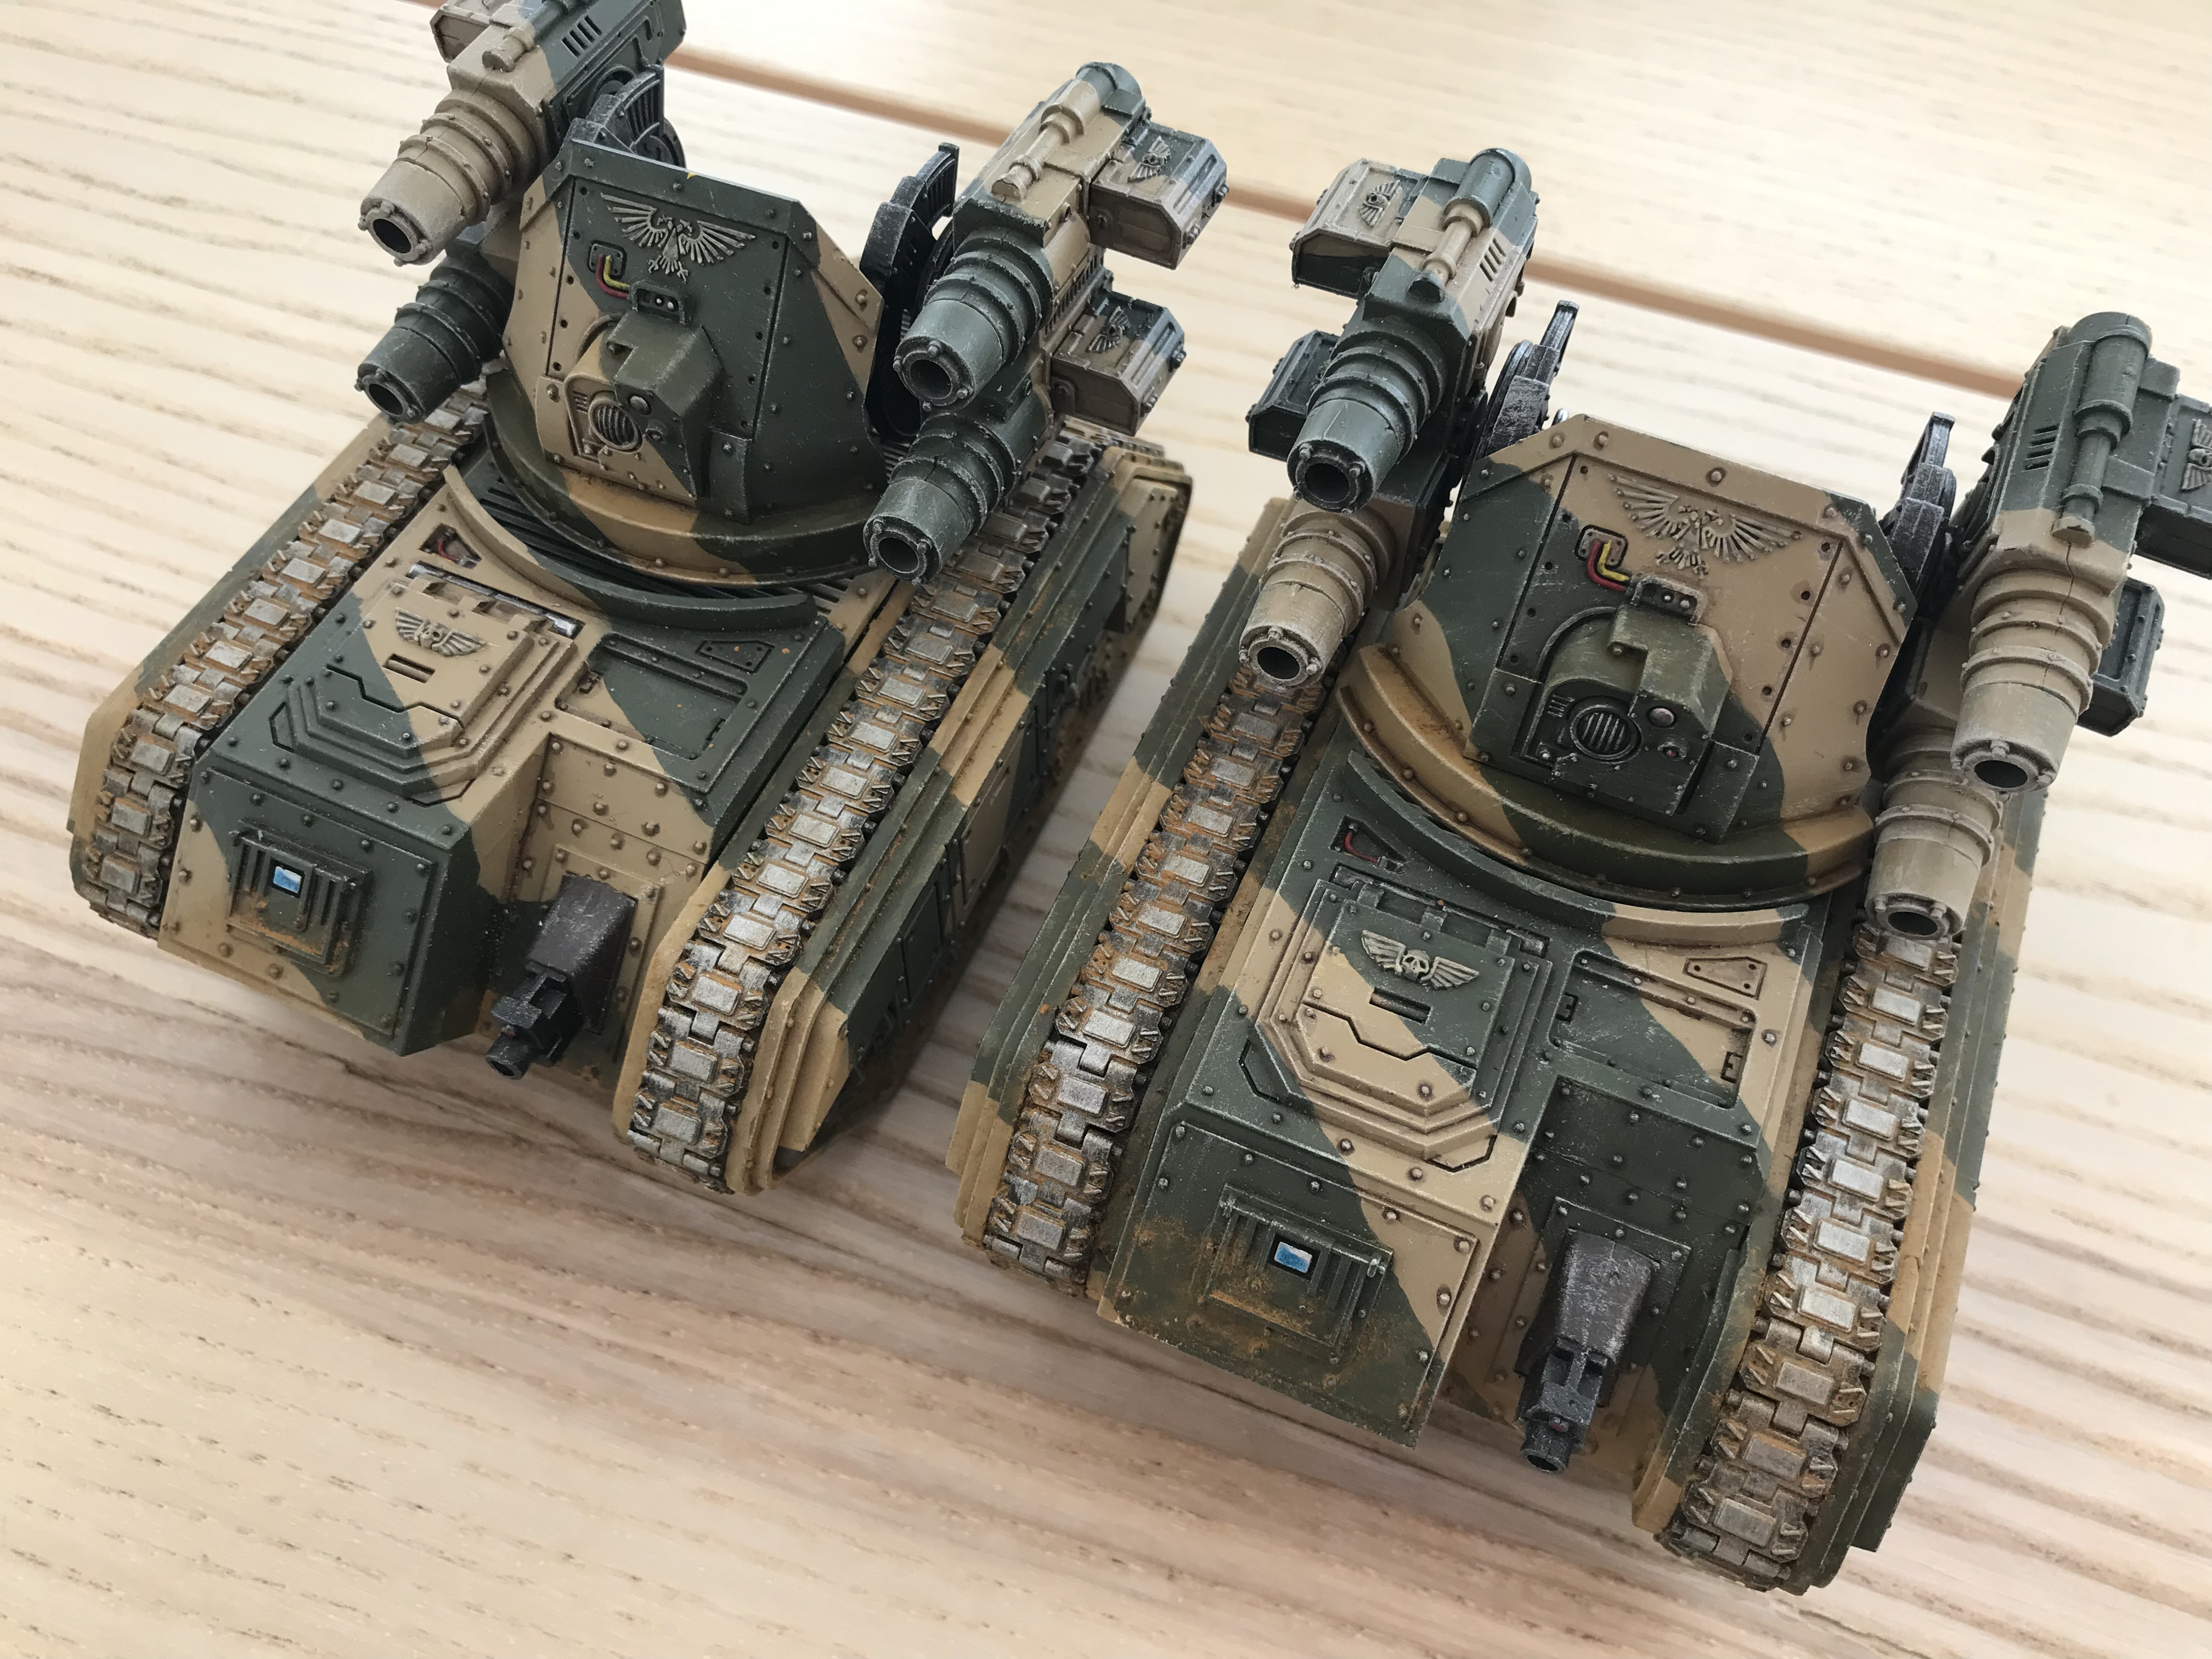
I also did my Wyverns like this. Despite painting than a year ago. So now they too match my Basilisks. I now need to do my Chimeras.
I’d like to try another colour and mix it as mentioned before.
I need to check these models next time I play with them. In case any pigment has been removed while storing them. If it has I will need to seal them. If I do this, I’ll add to this article on how I go about doing that.
-
- Wyverns before

-
- Wyverns after
-
- Wyverns after
-

- Wyverns after