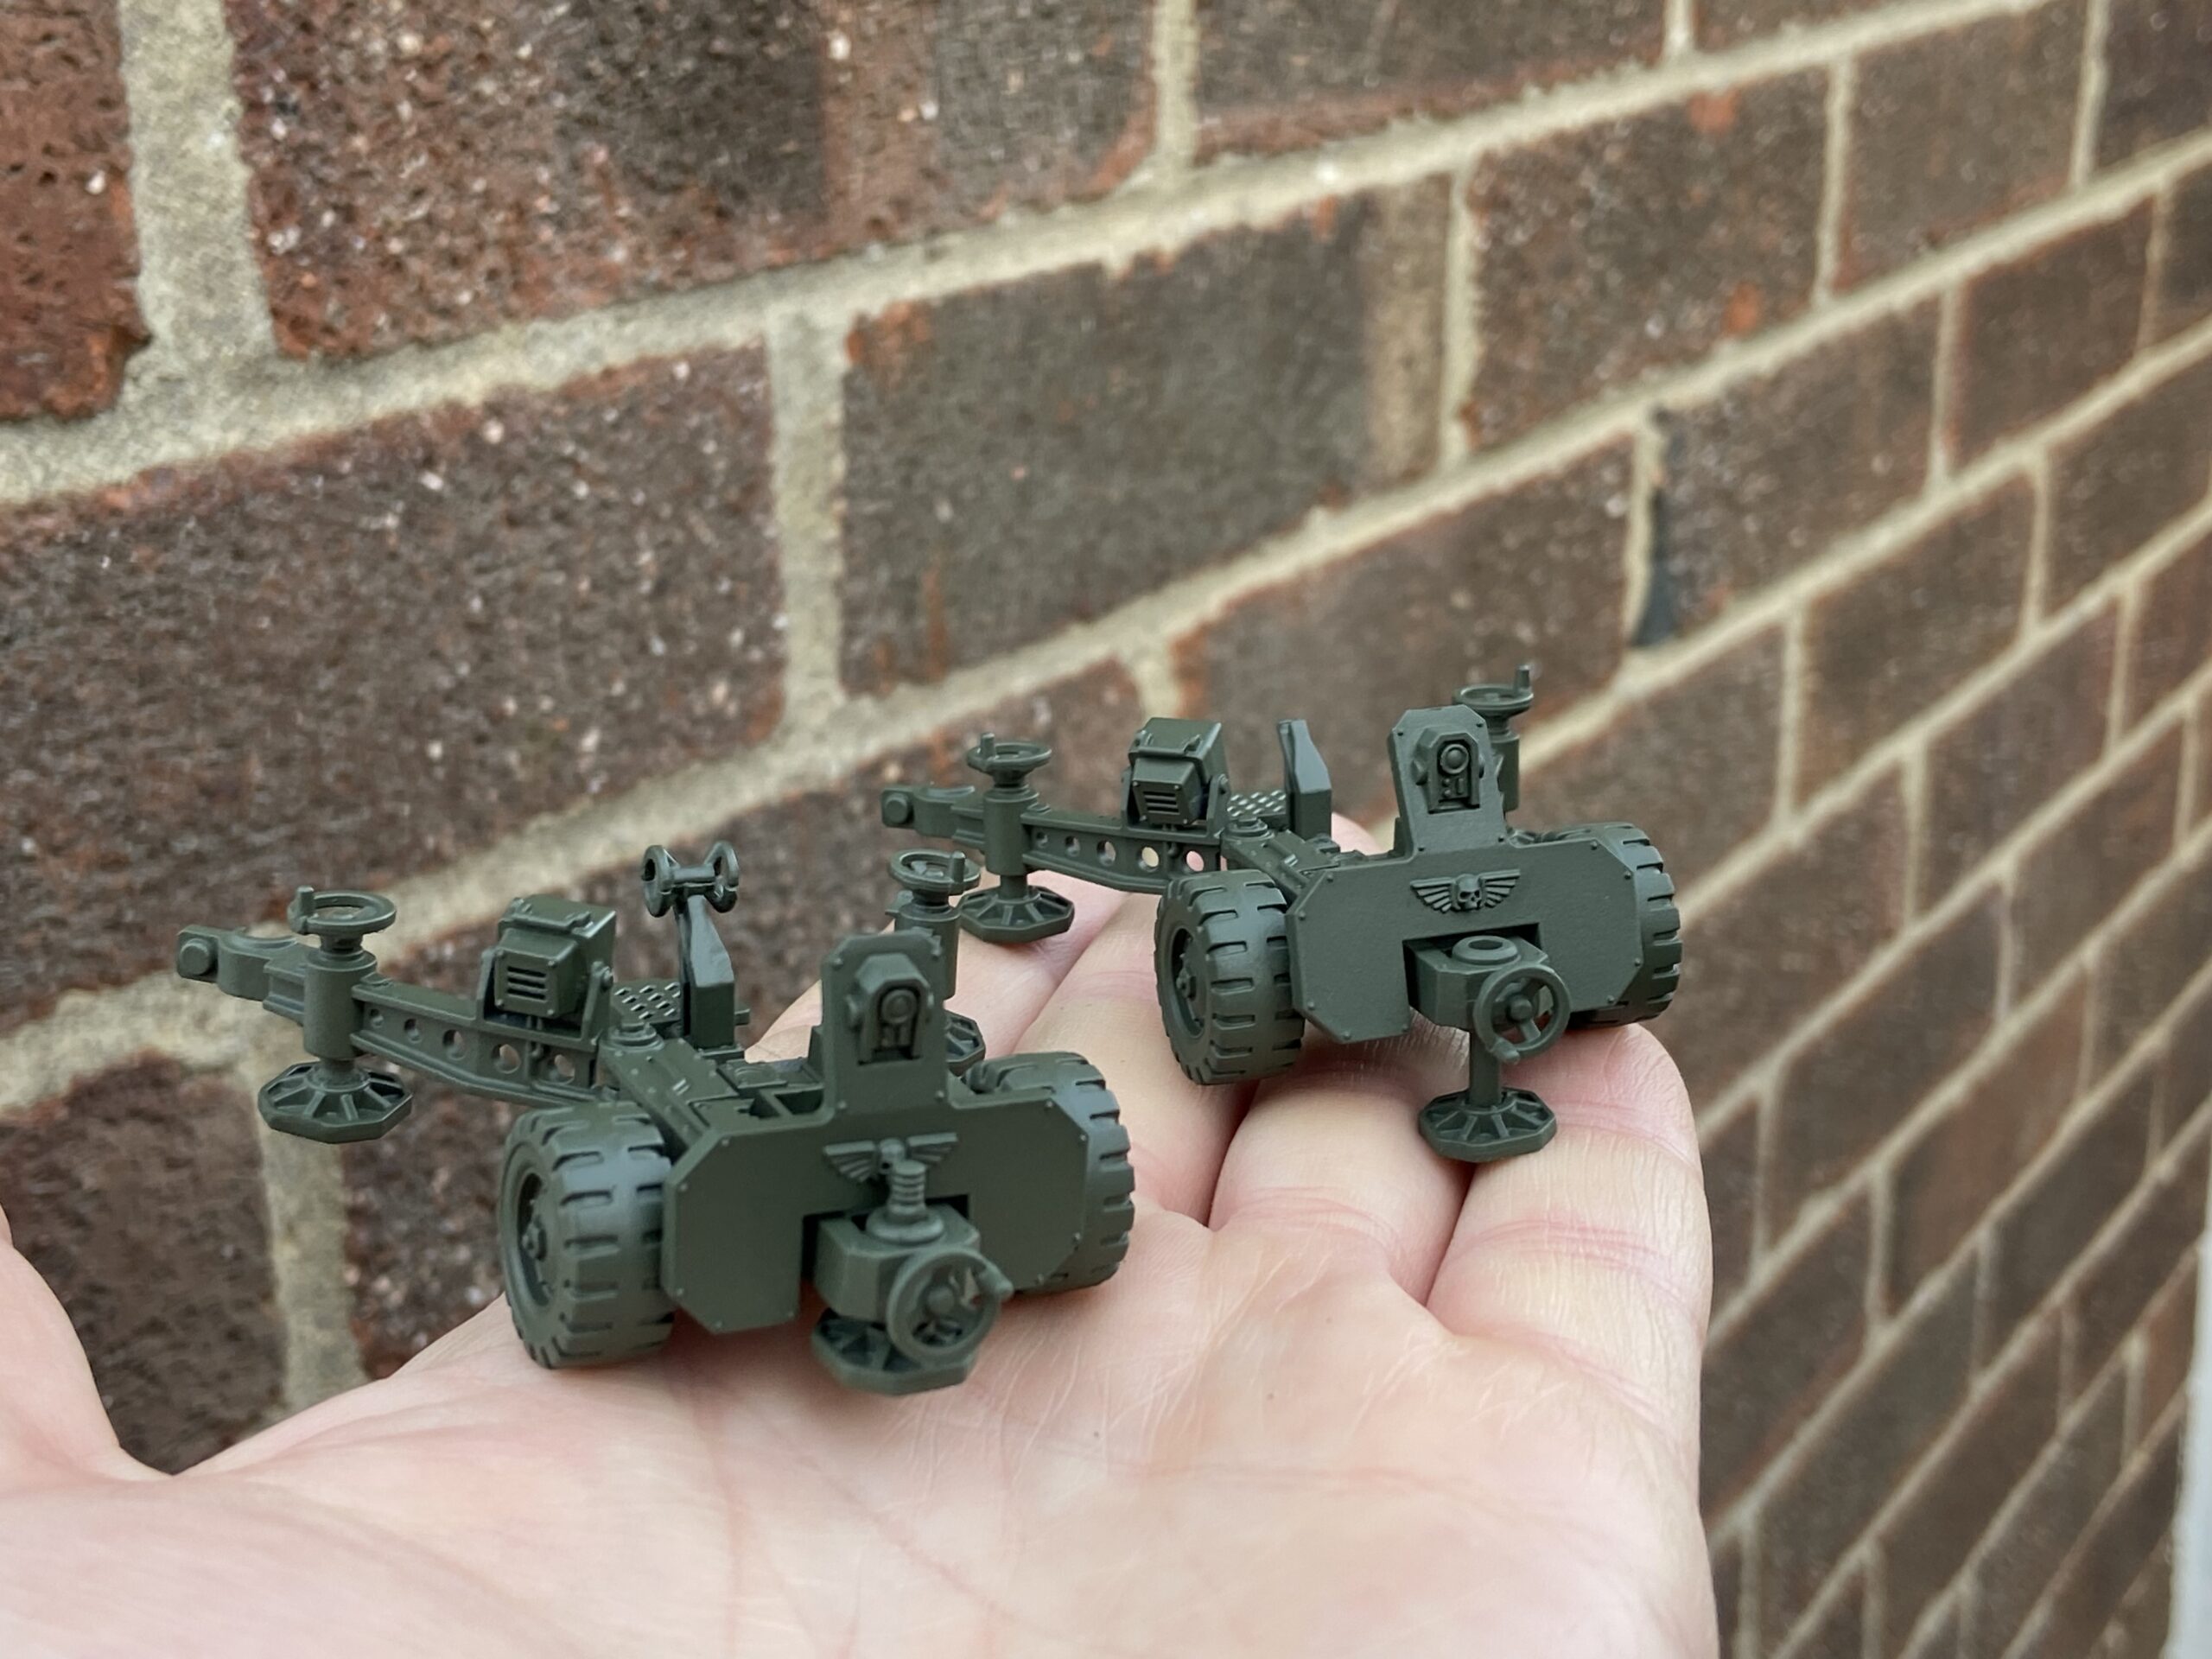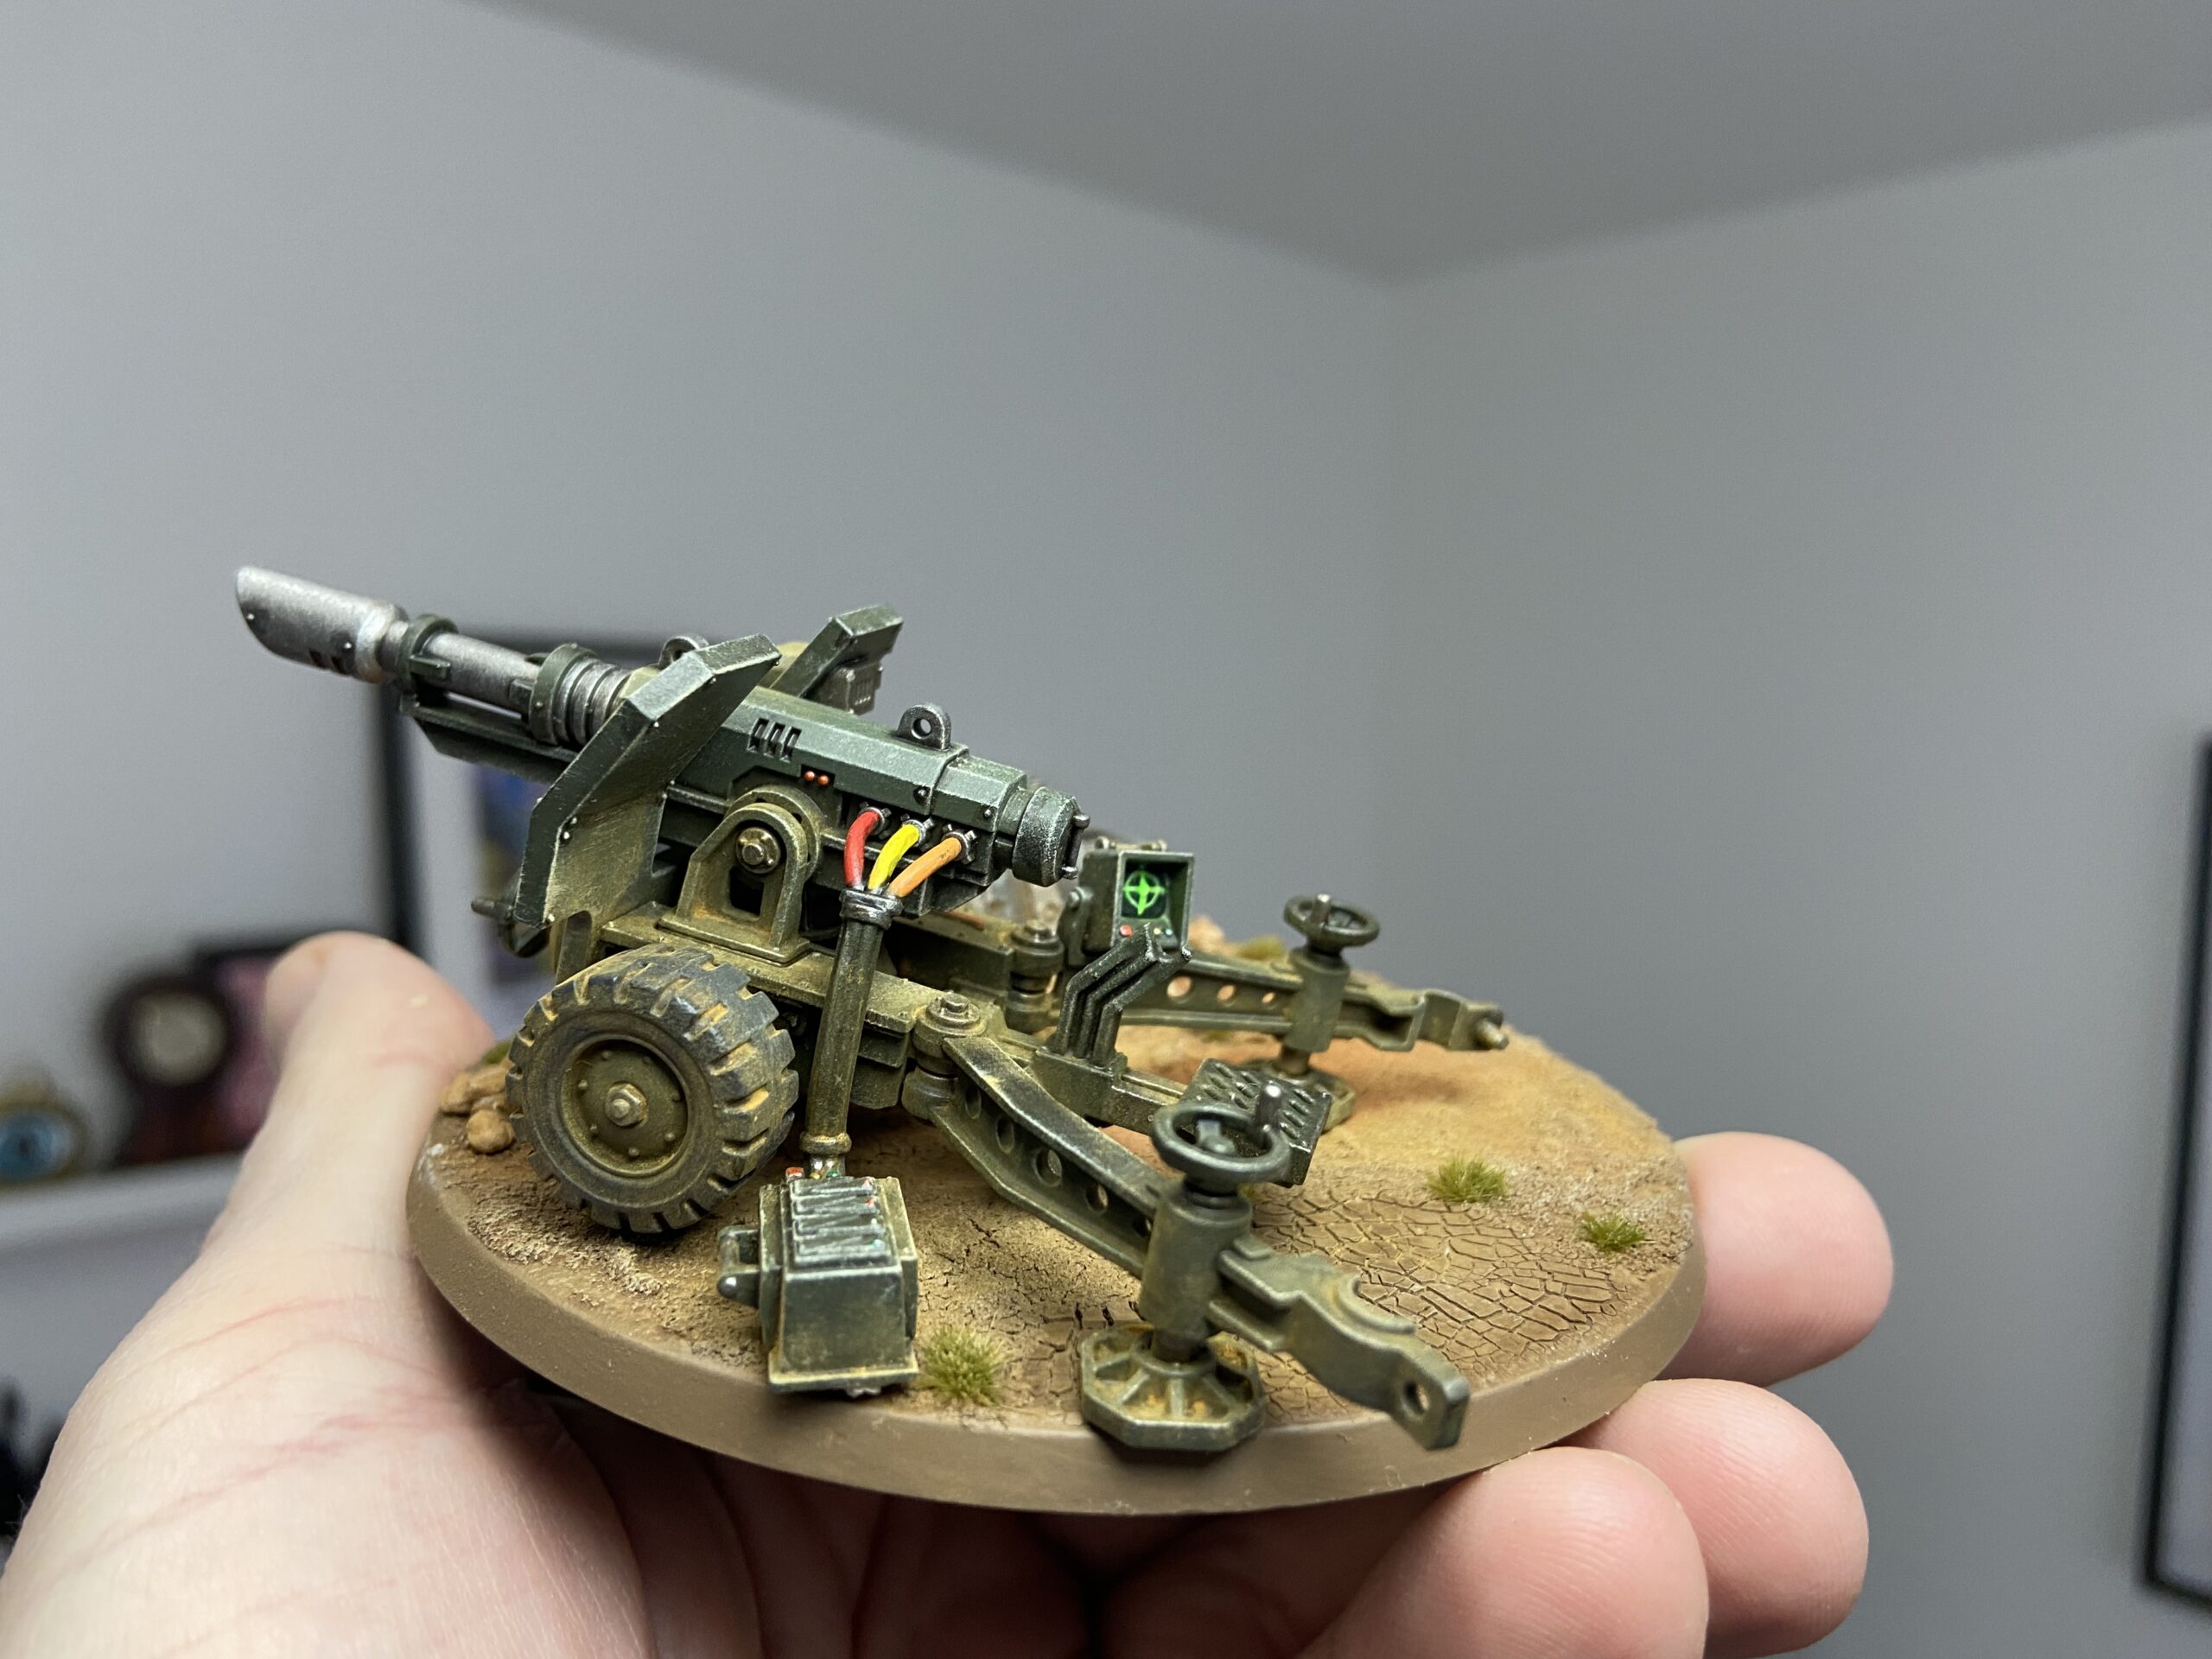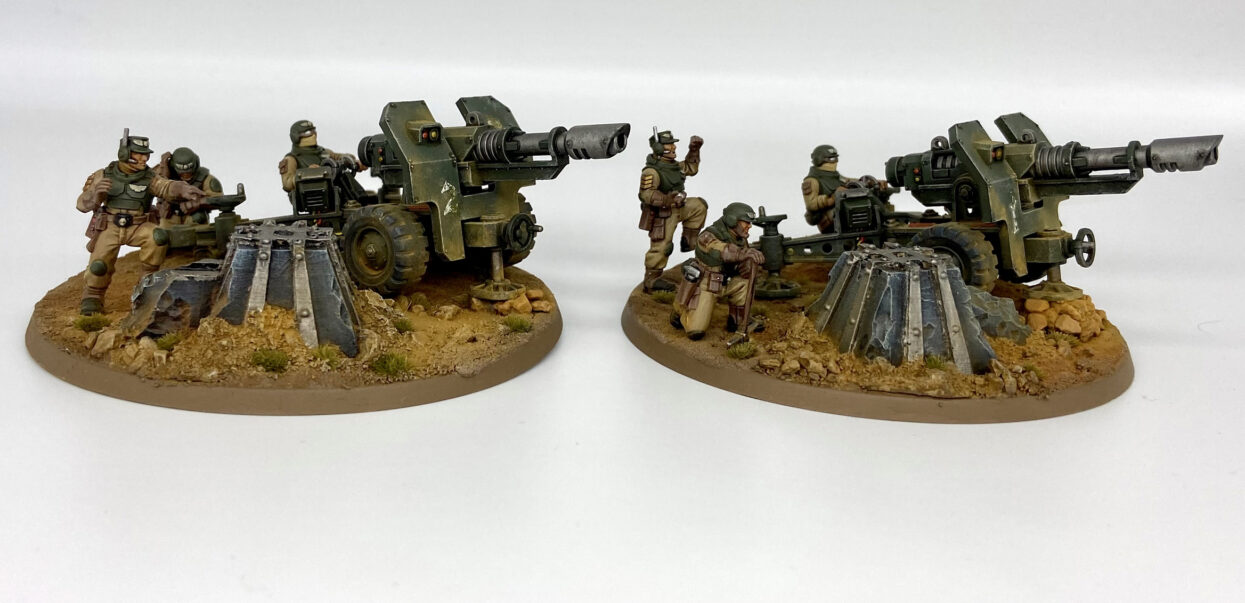

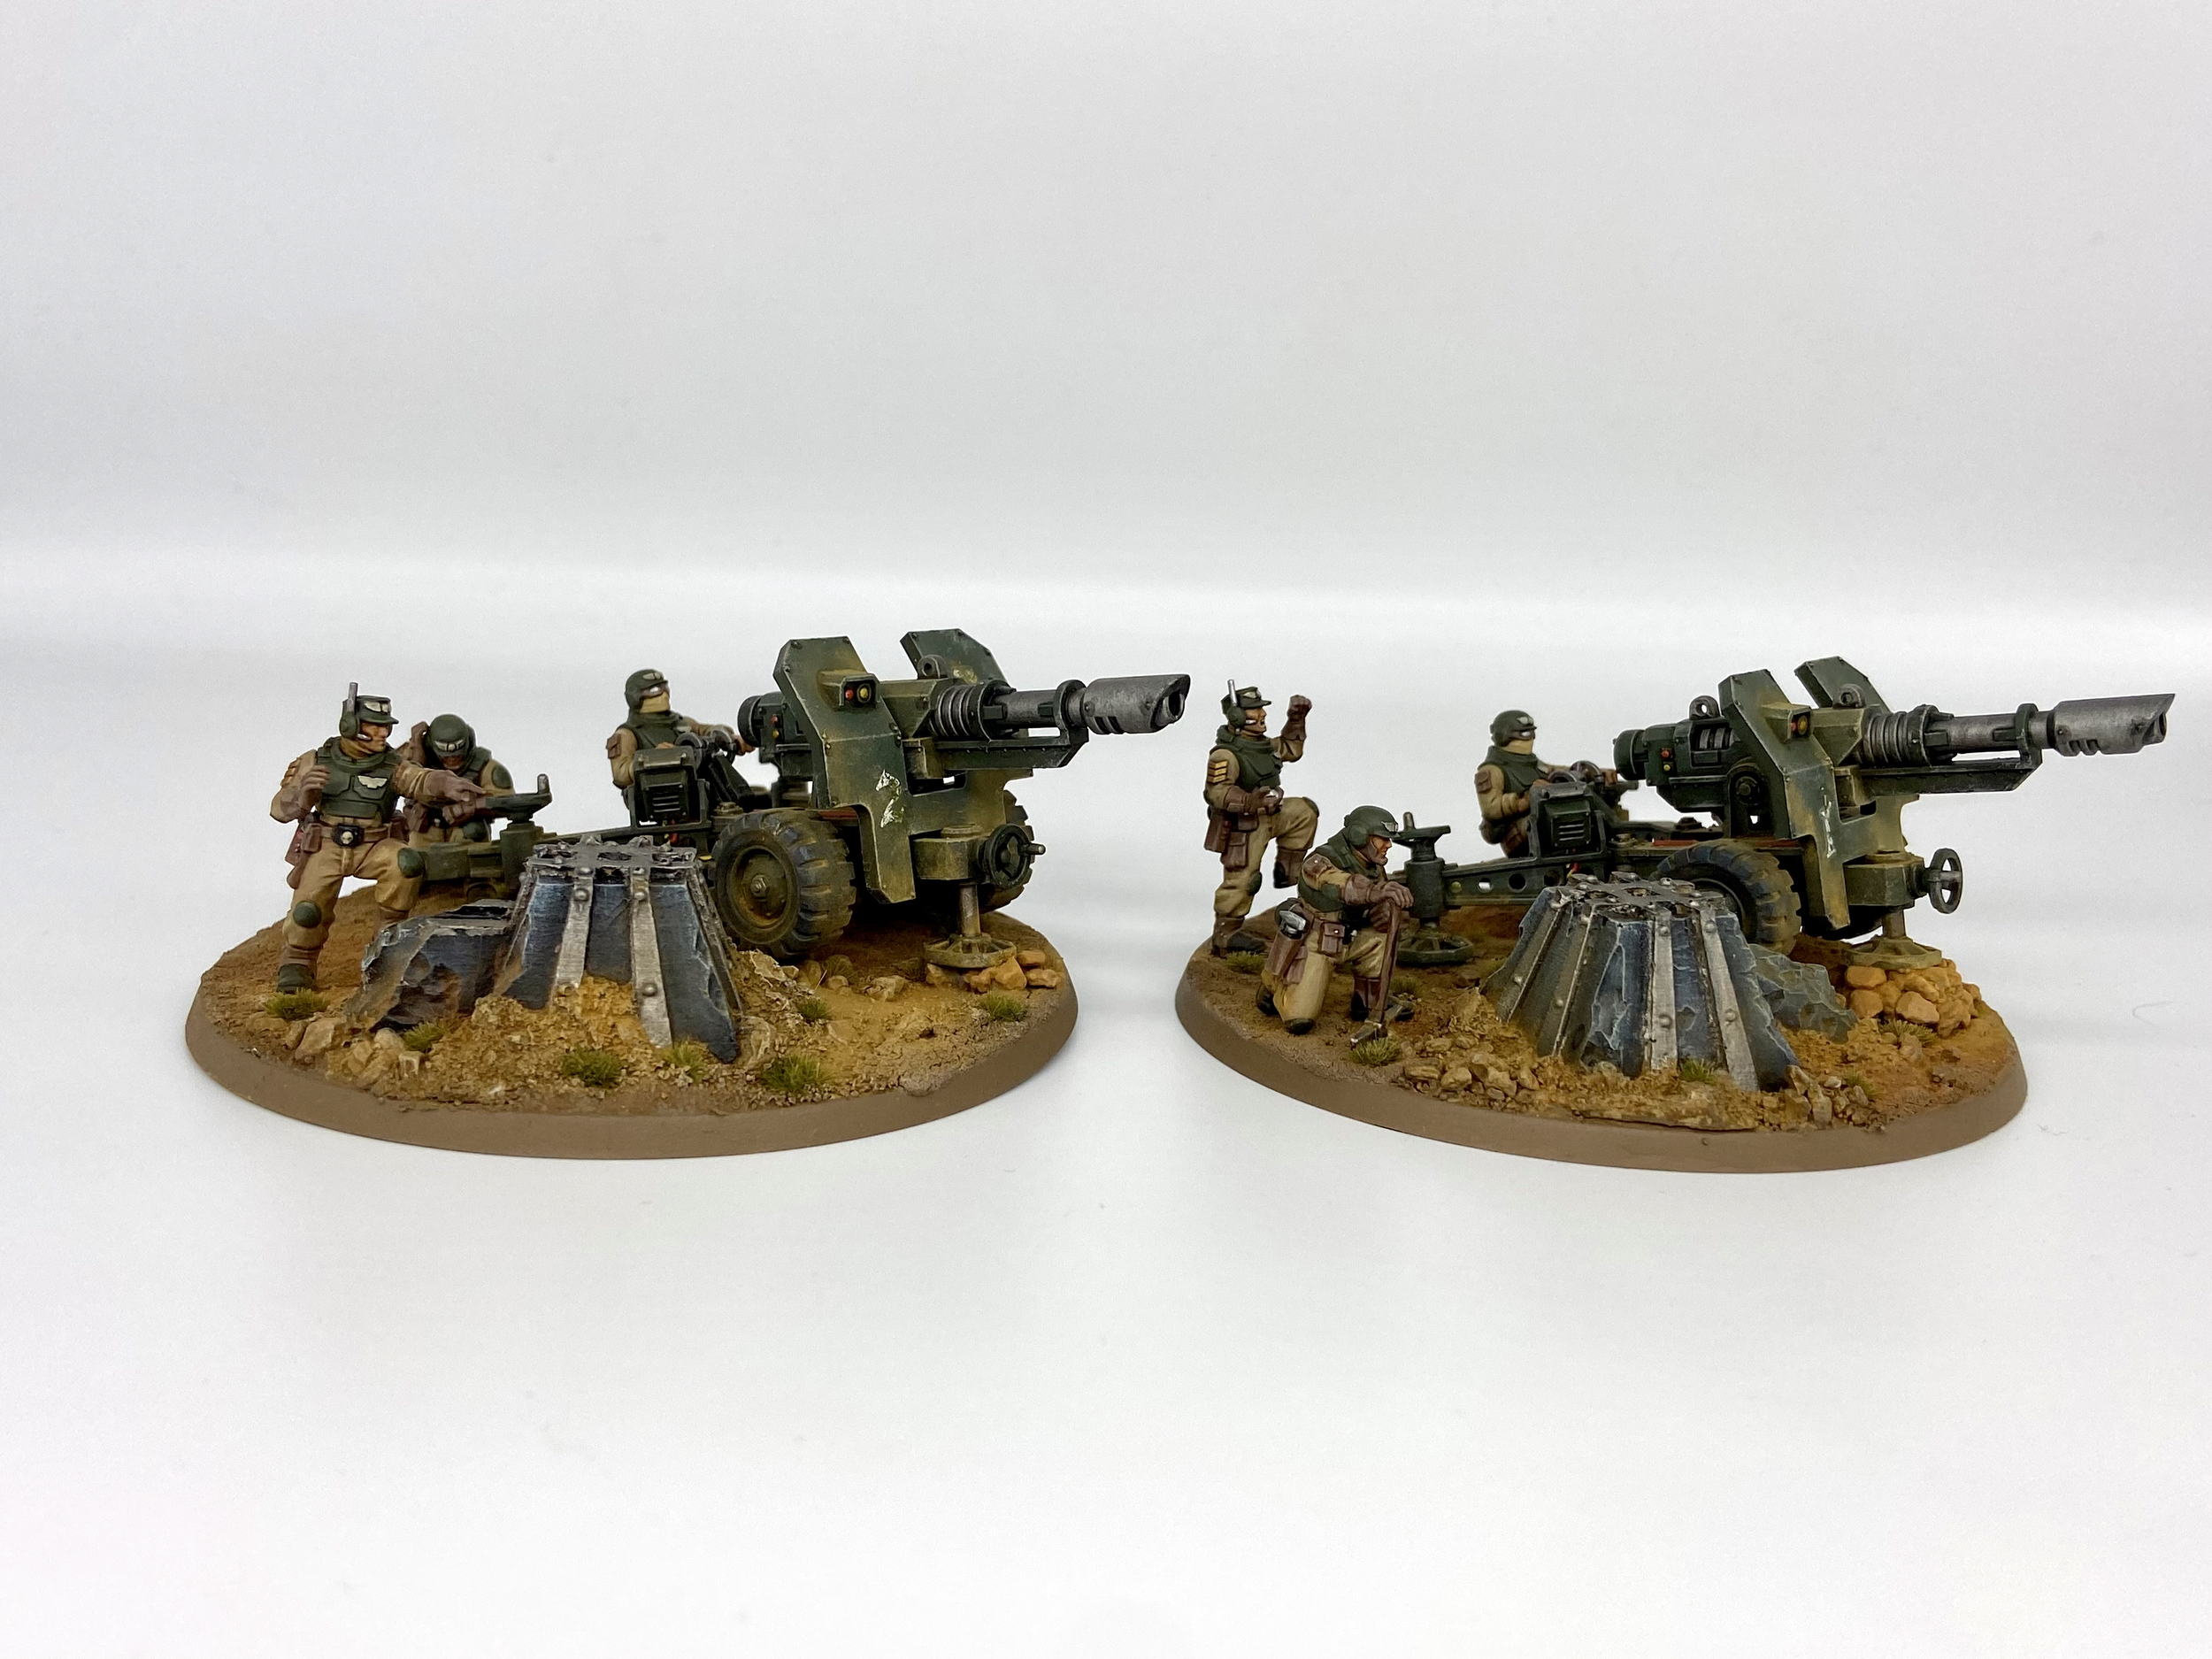
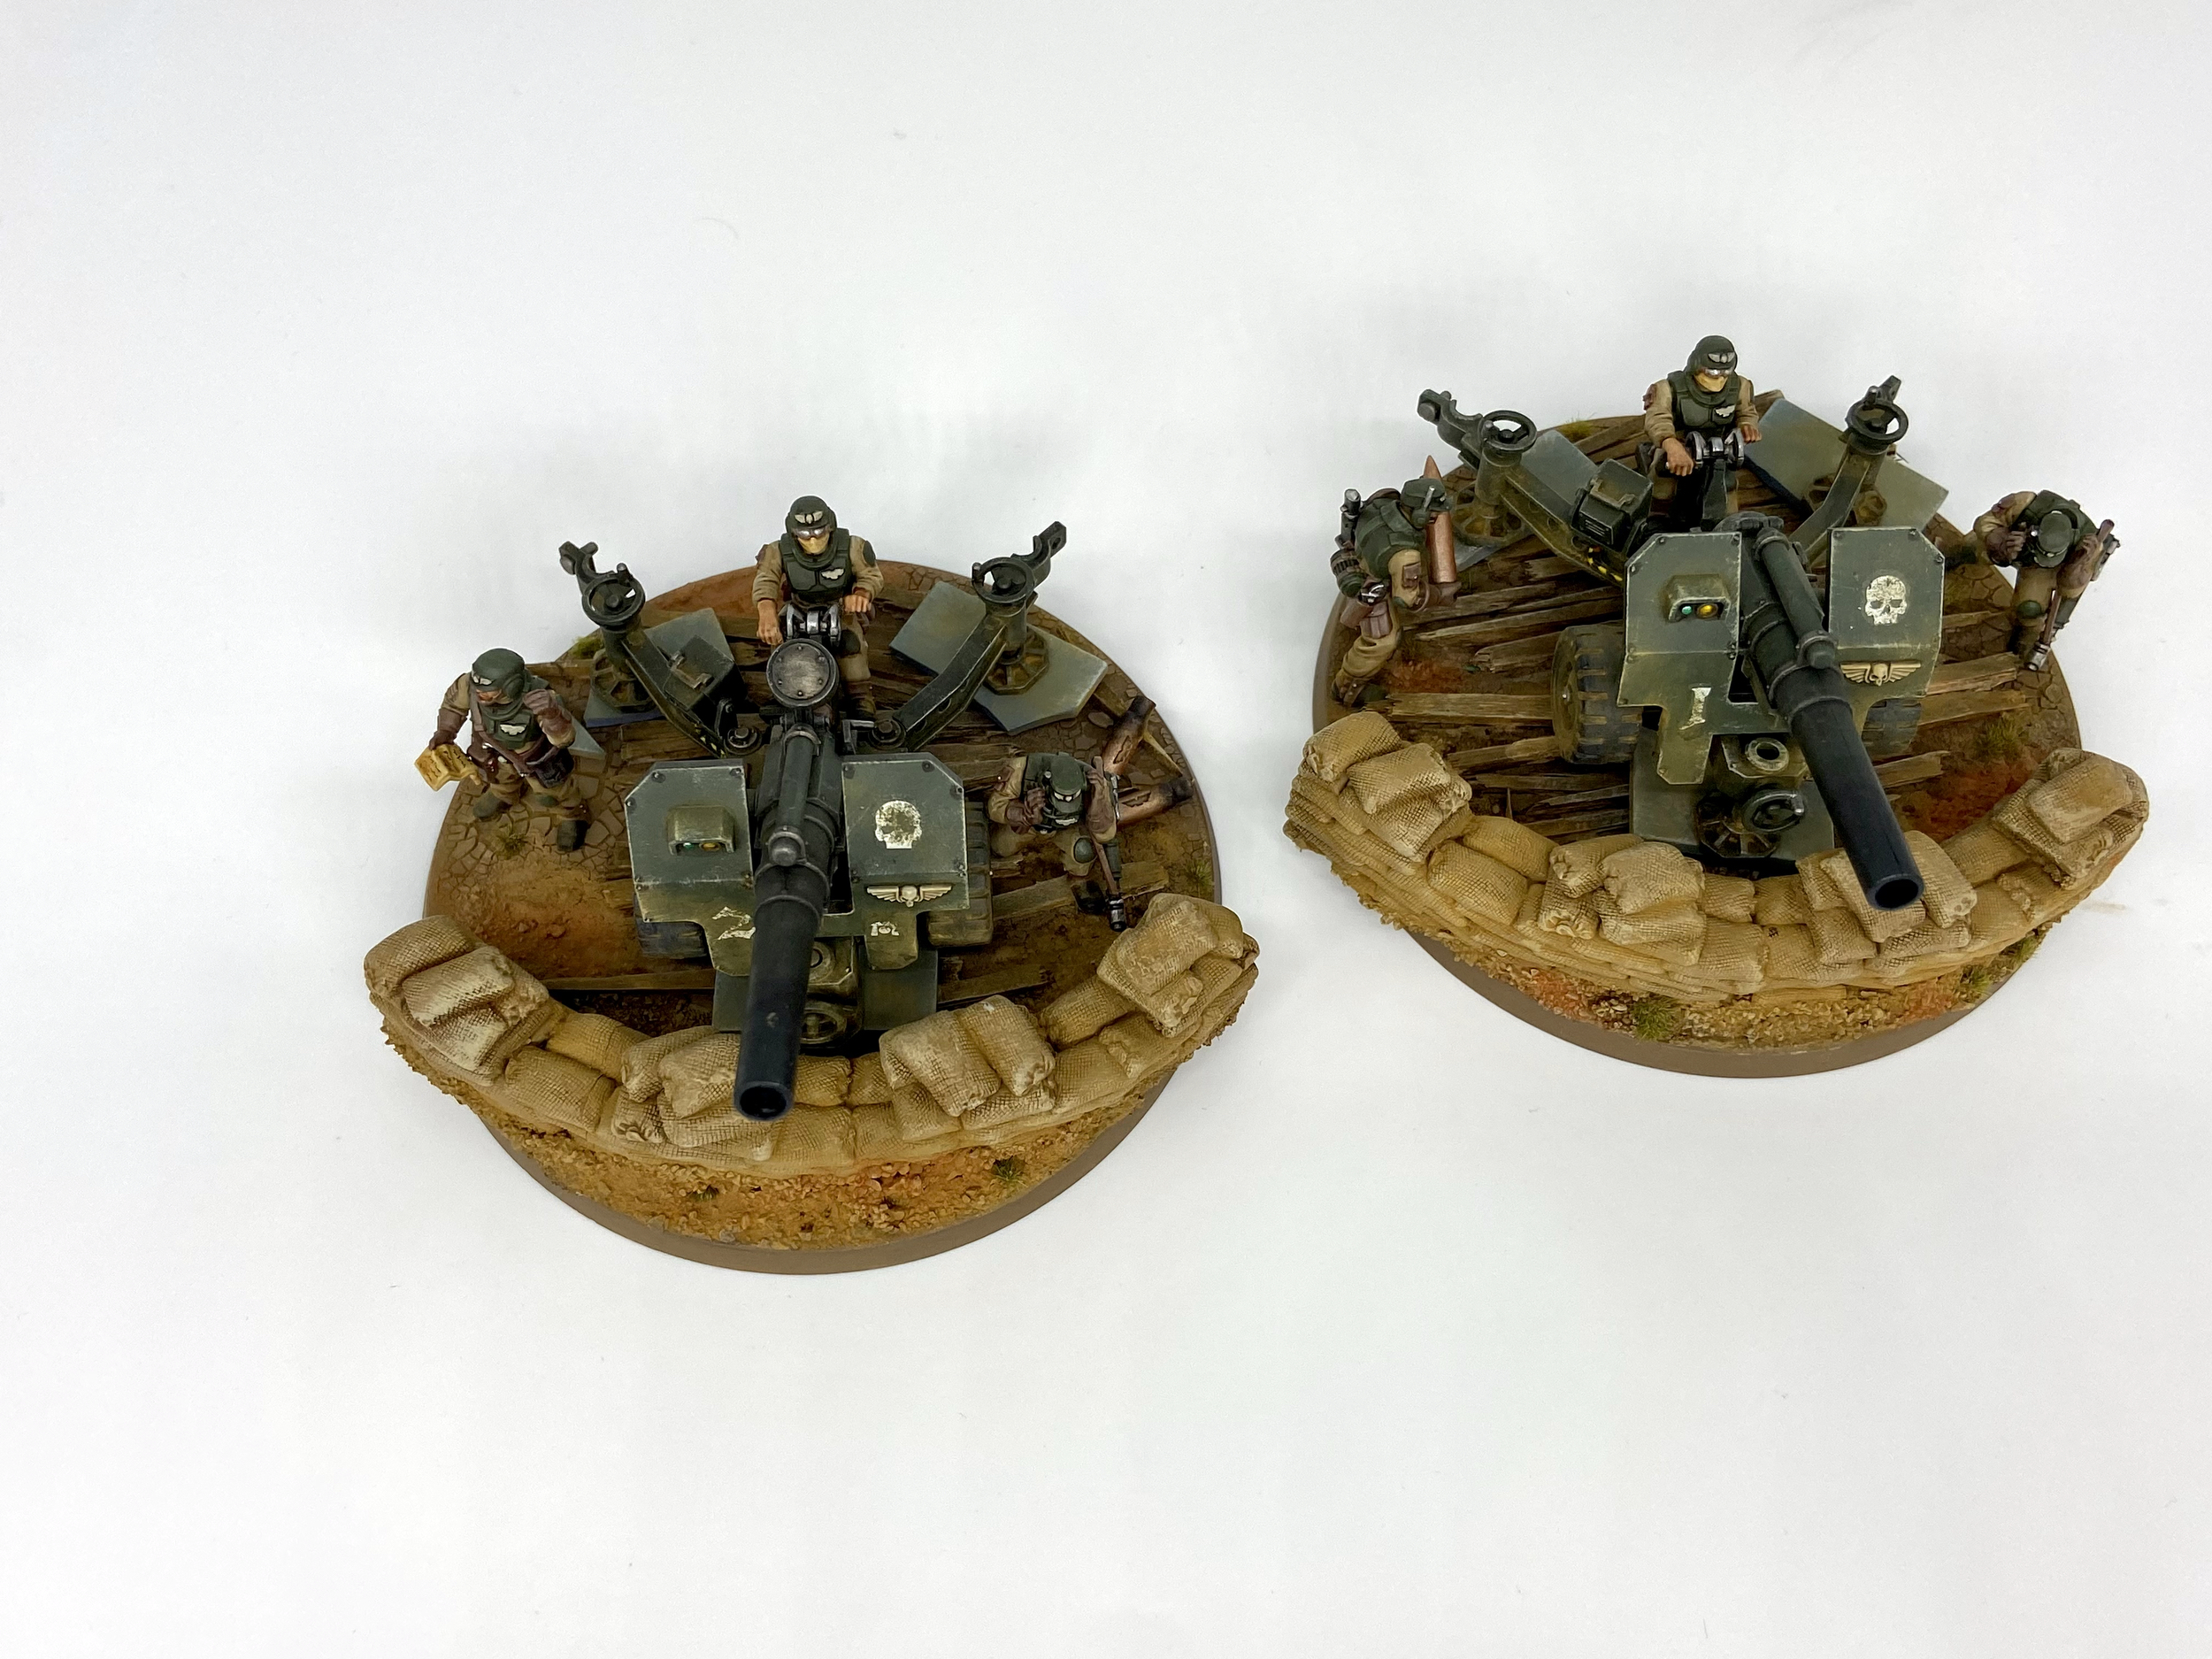
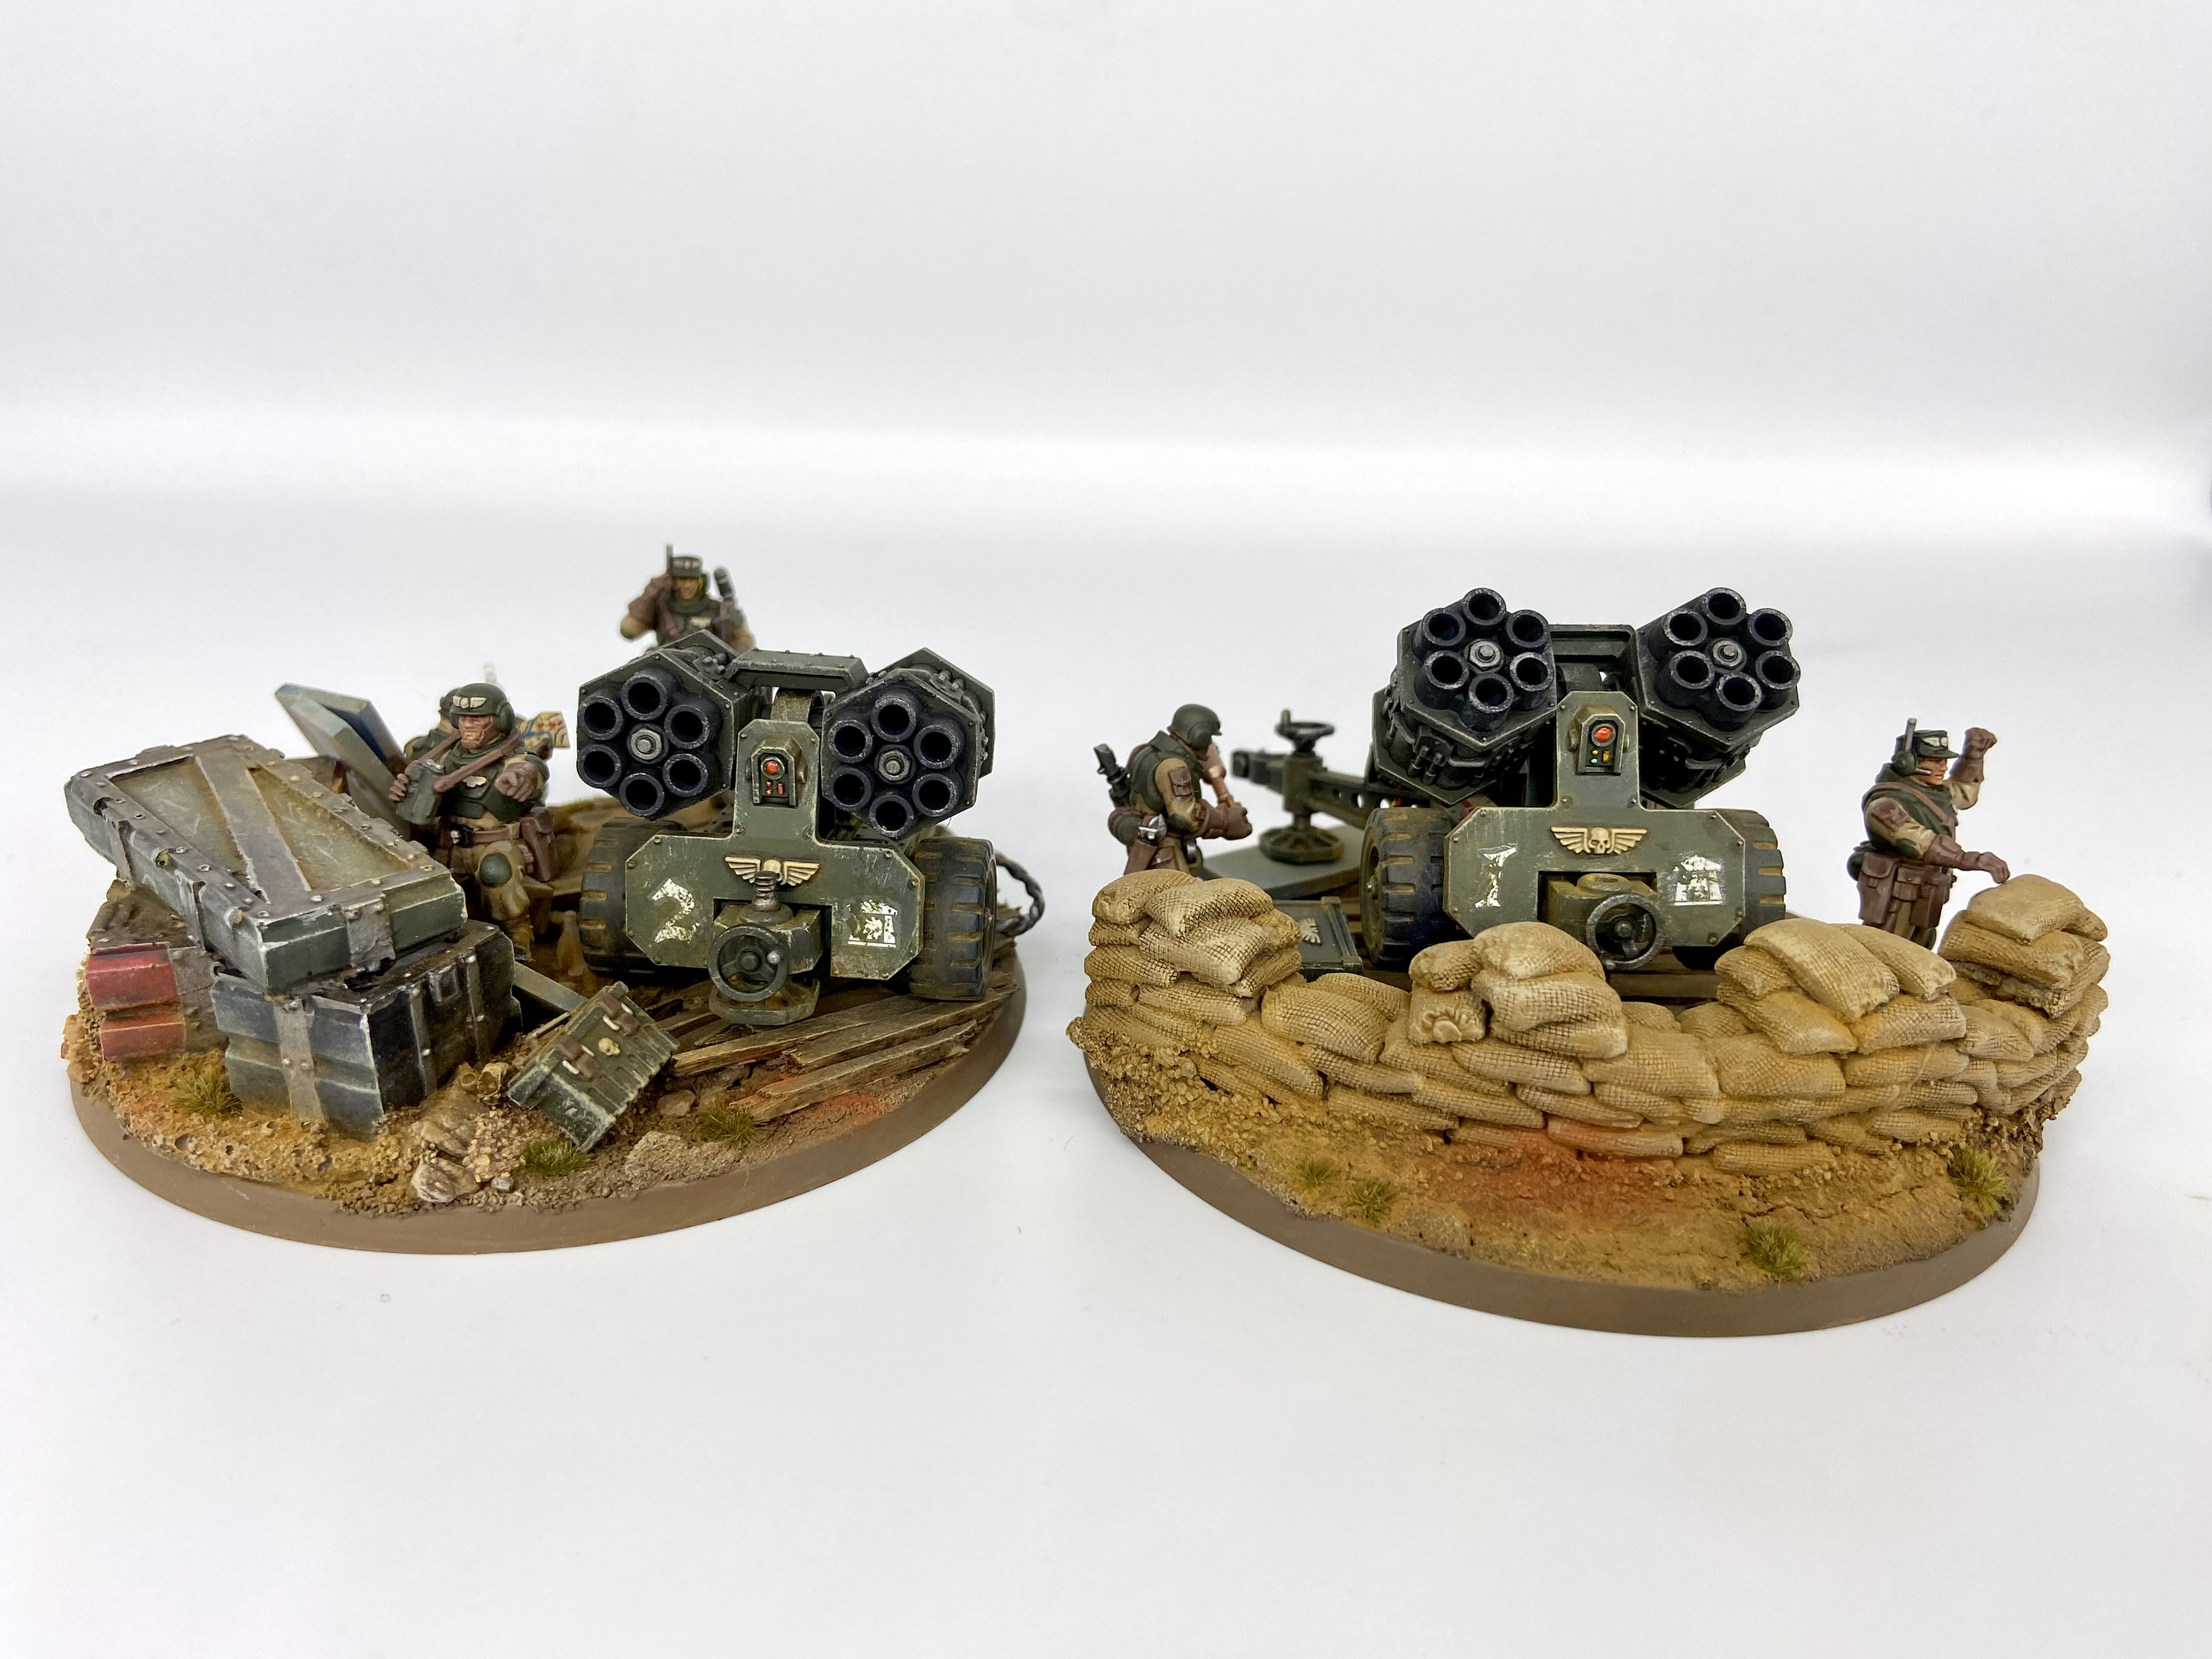
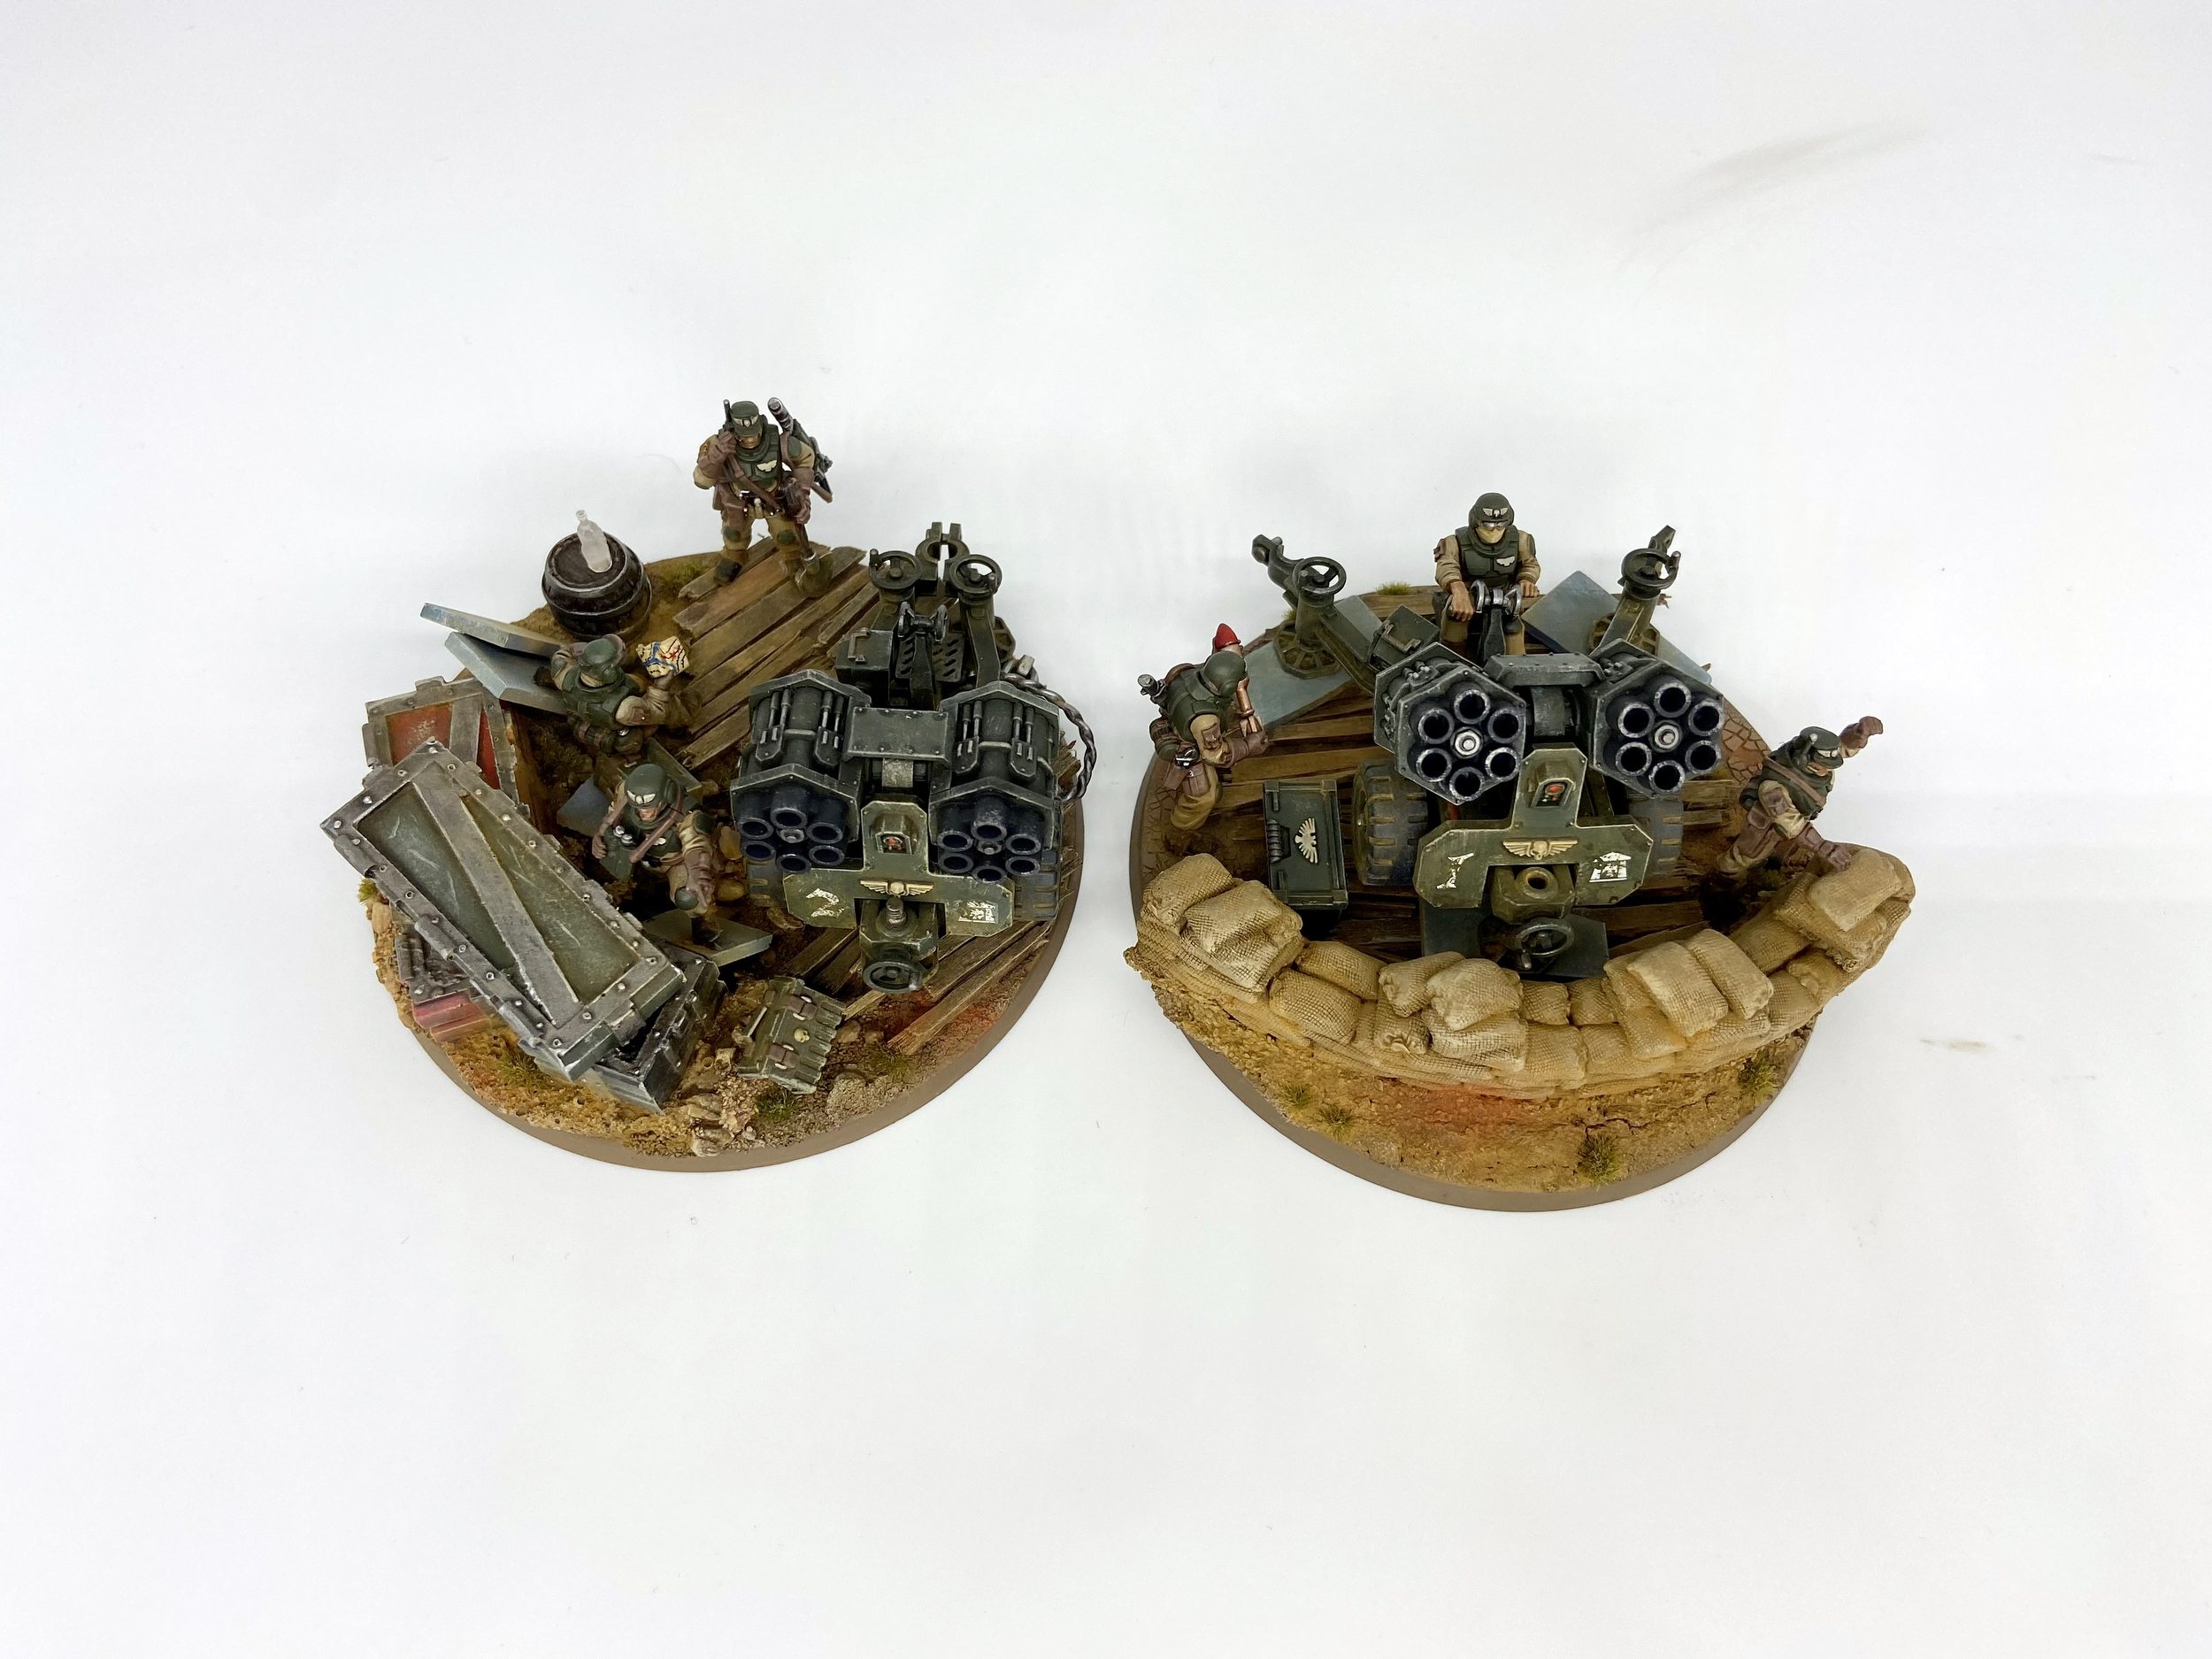
Field Ordnance Battery Completed
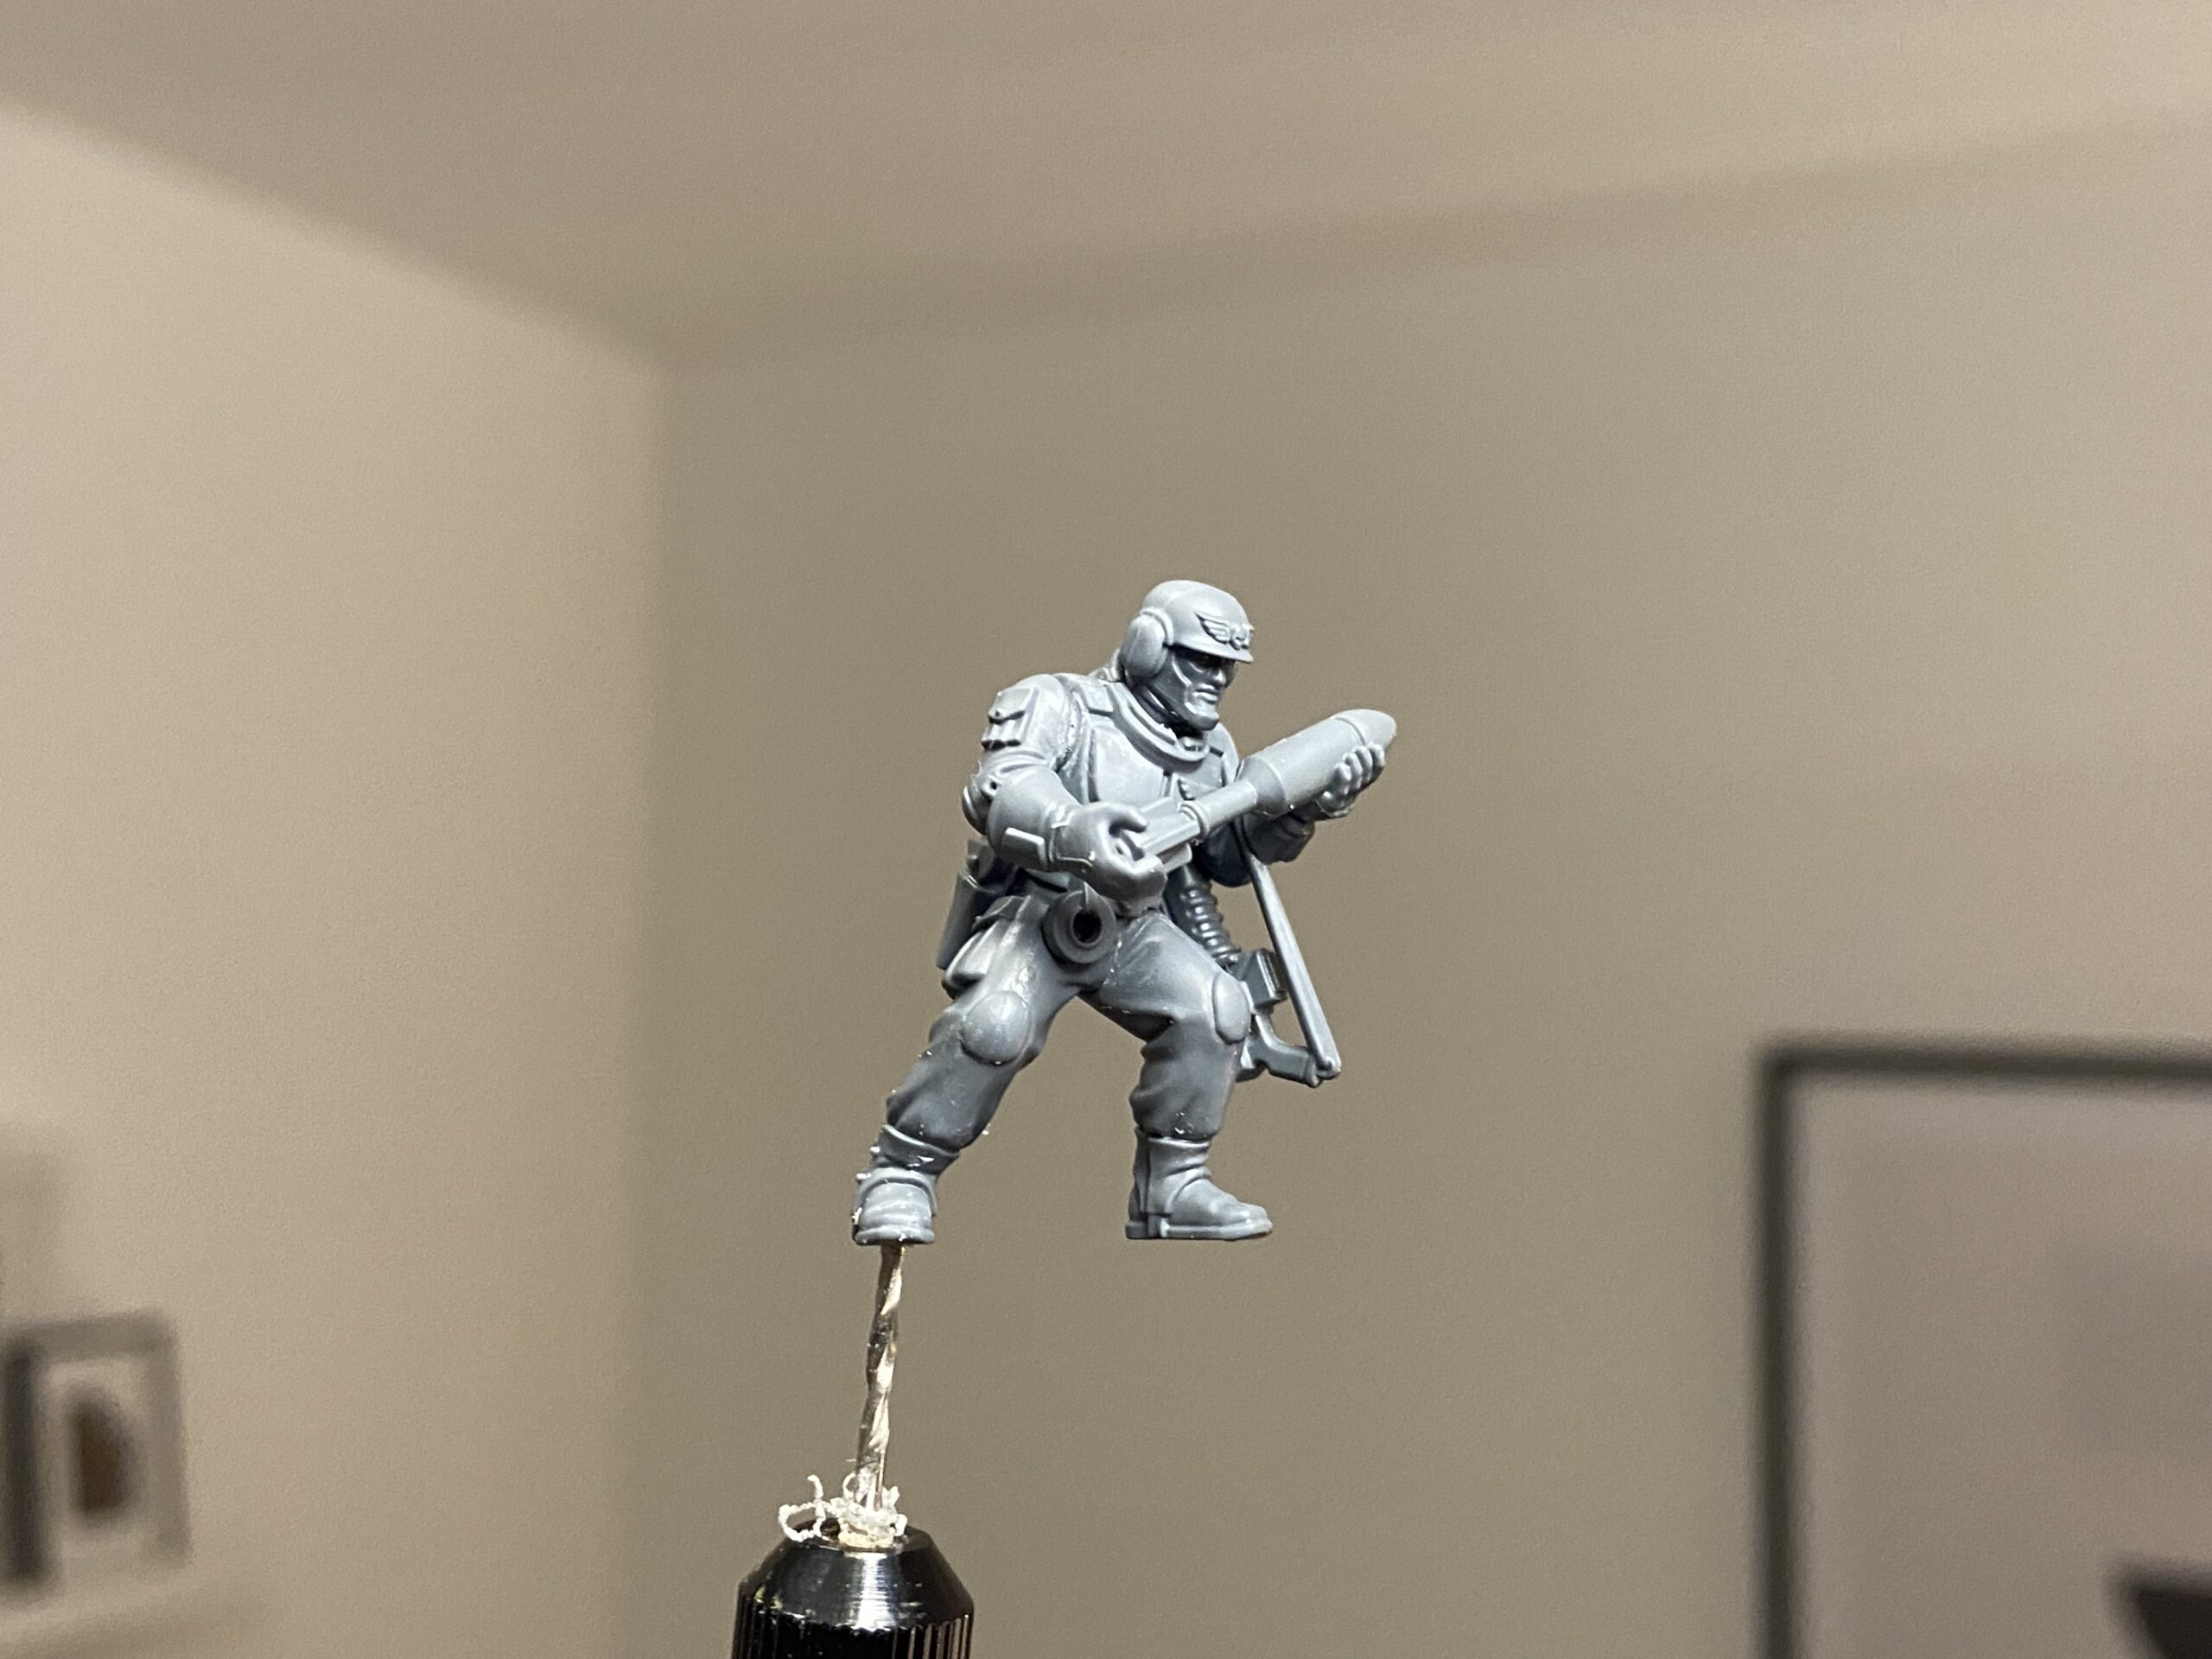
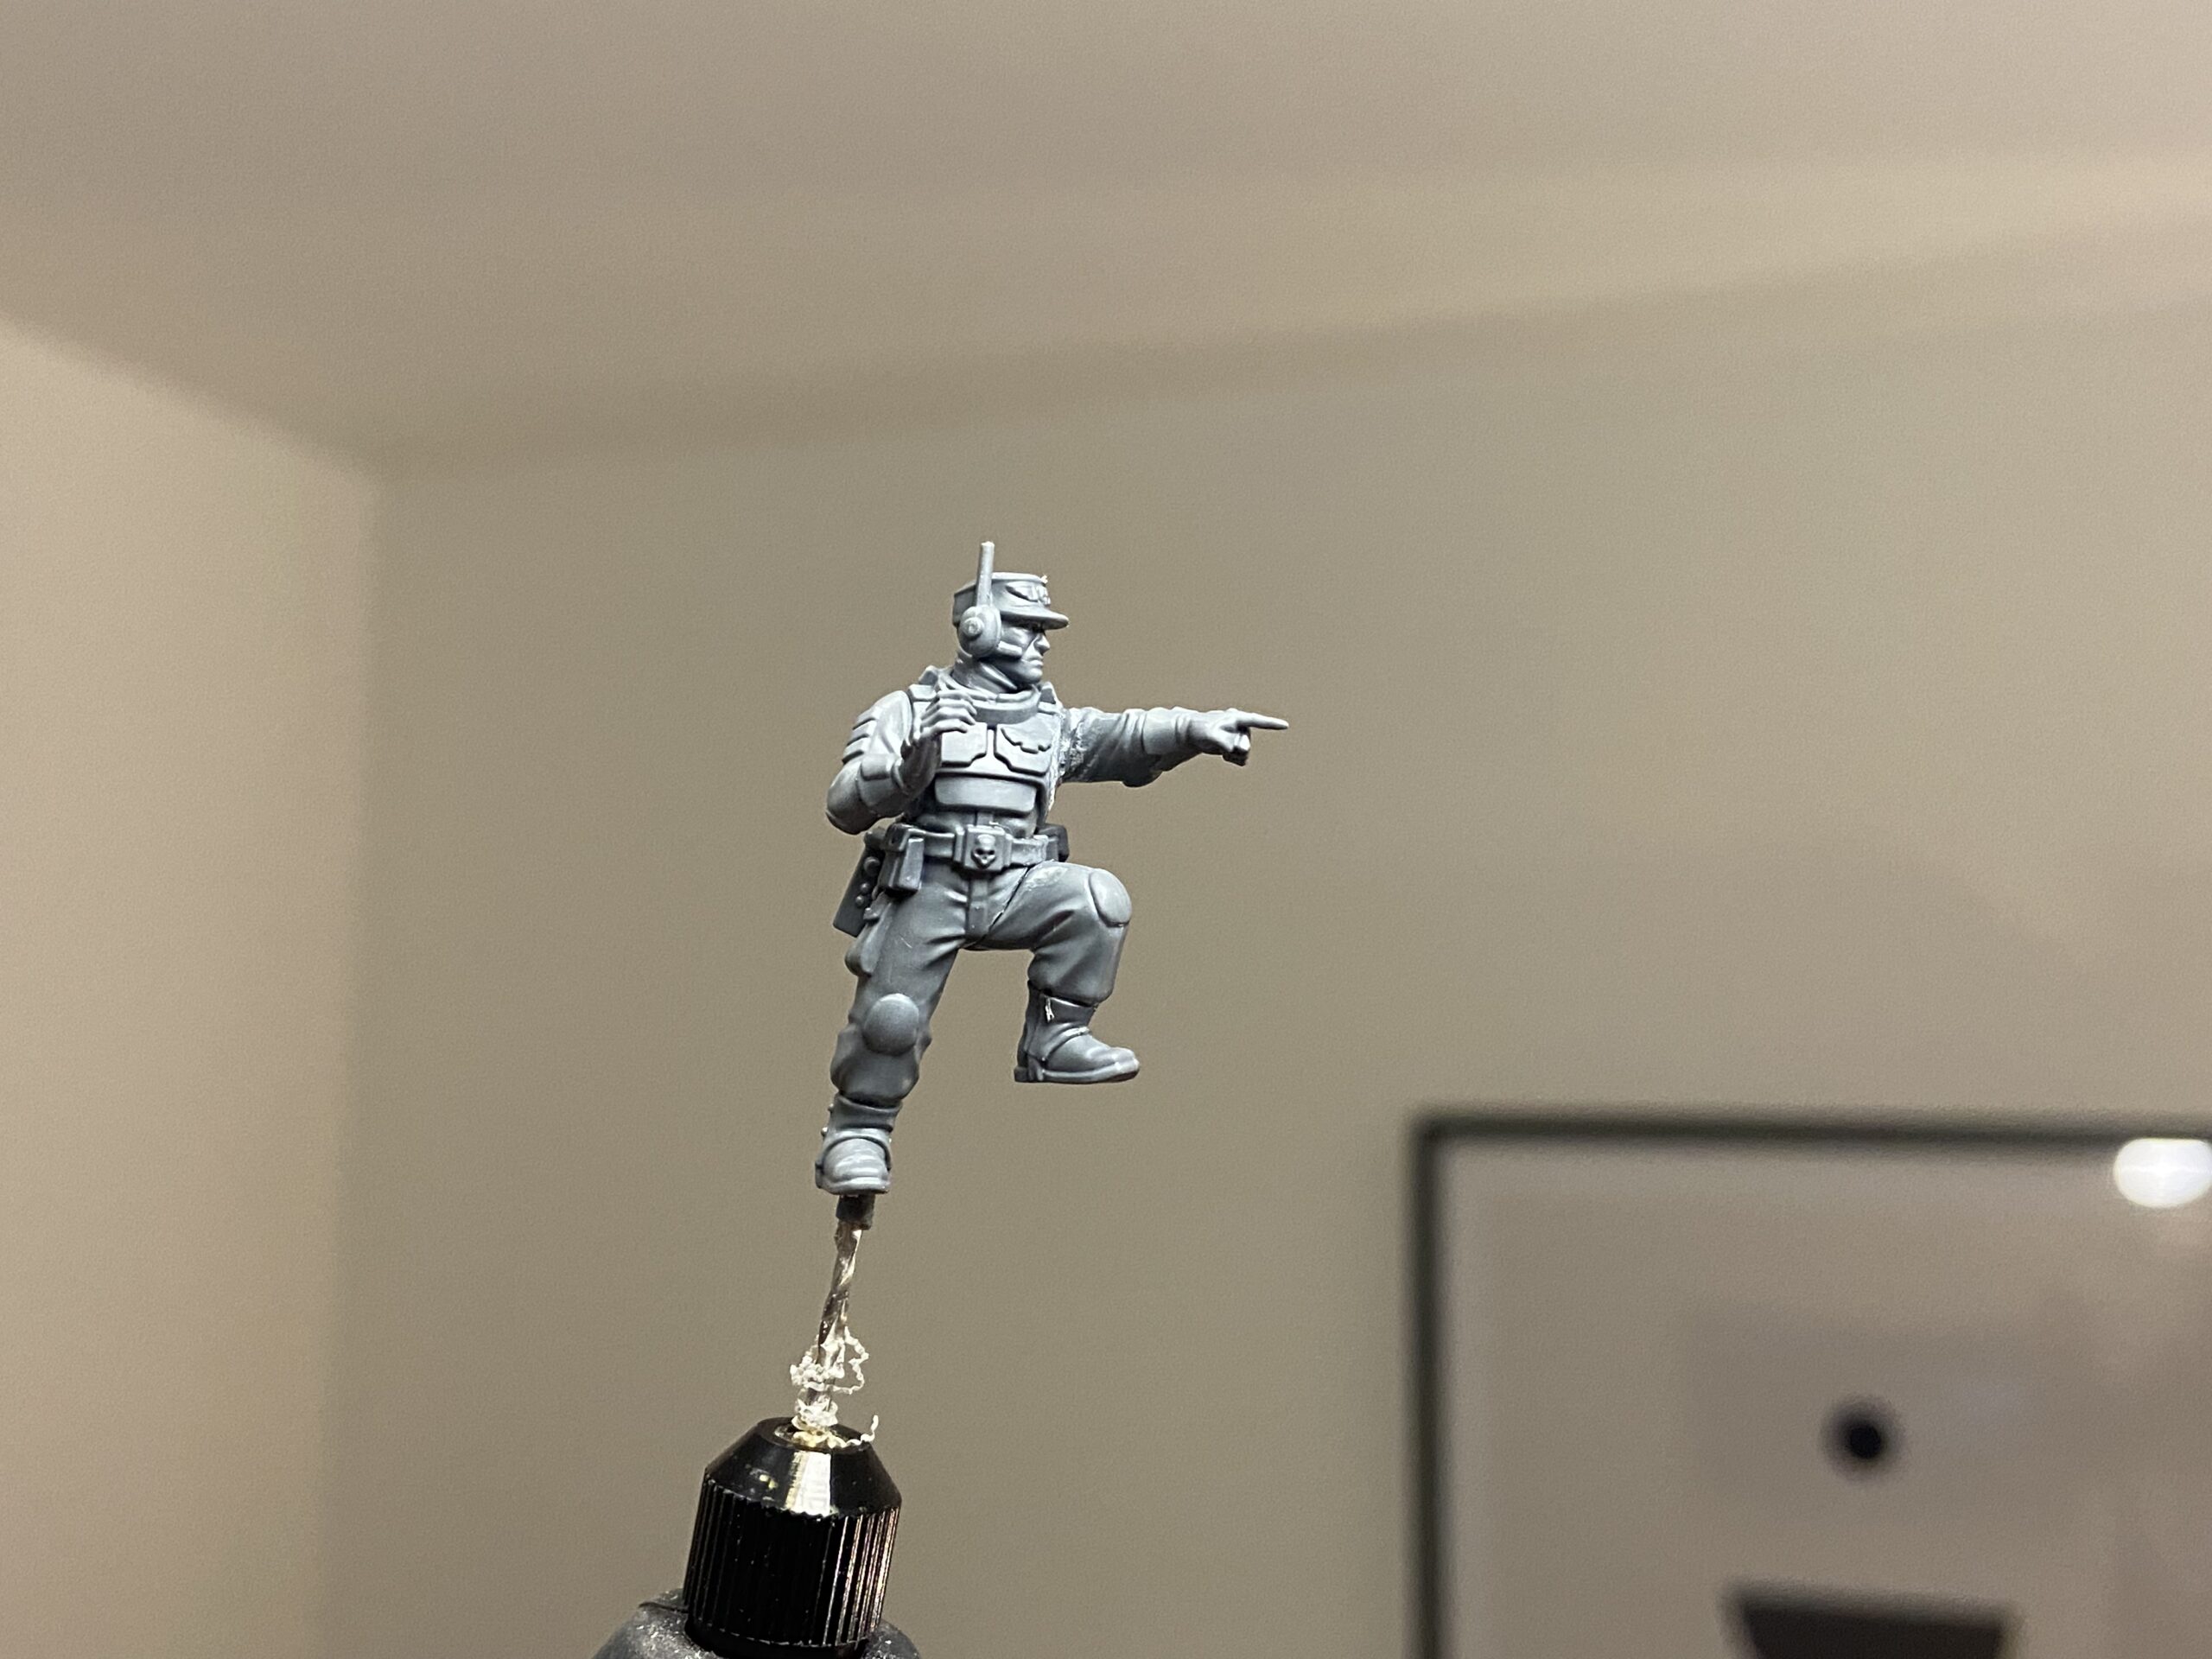
My first kits from the new Cadian infantry models are now complete!
I started these six Cadian Field Ordnance Battery on January 3rd and finally finished them at the end of March – a three-month project. I got my Cadian Castellan, and my Lord Solar completed during that time, too. So three months with some distractions.
Never miss an article? Subscribe!
Here they are, completed! Below is the Cadian Field Ordnance Batteries gallery, followed by the products and techniques used.
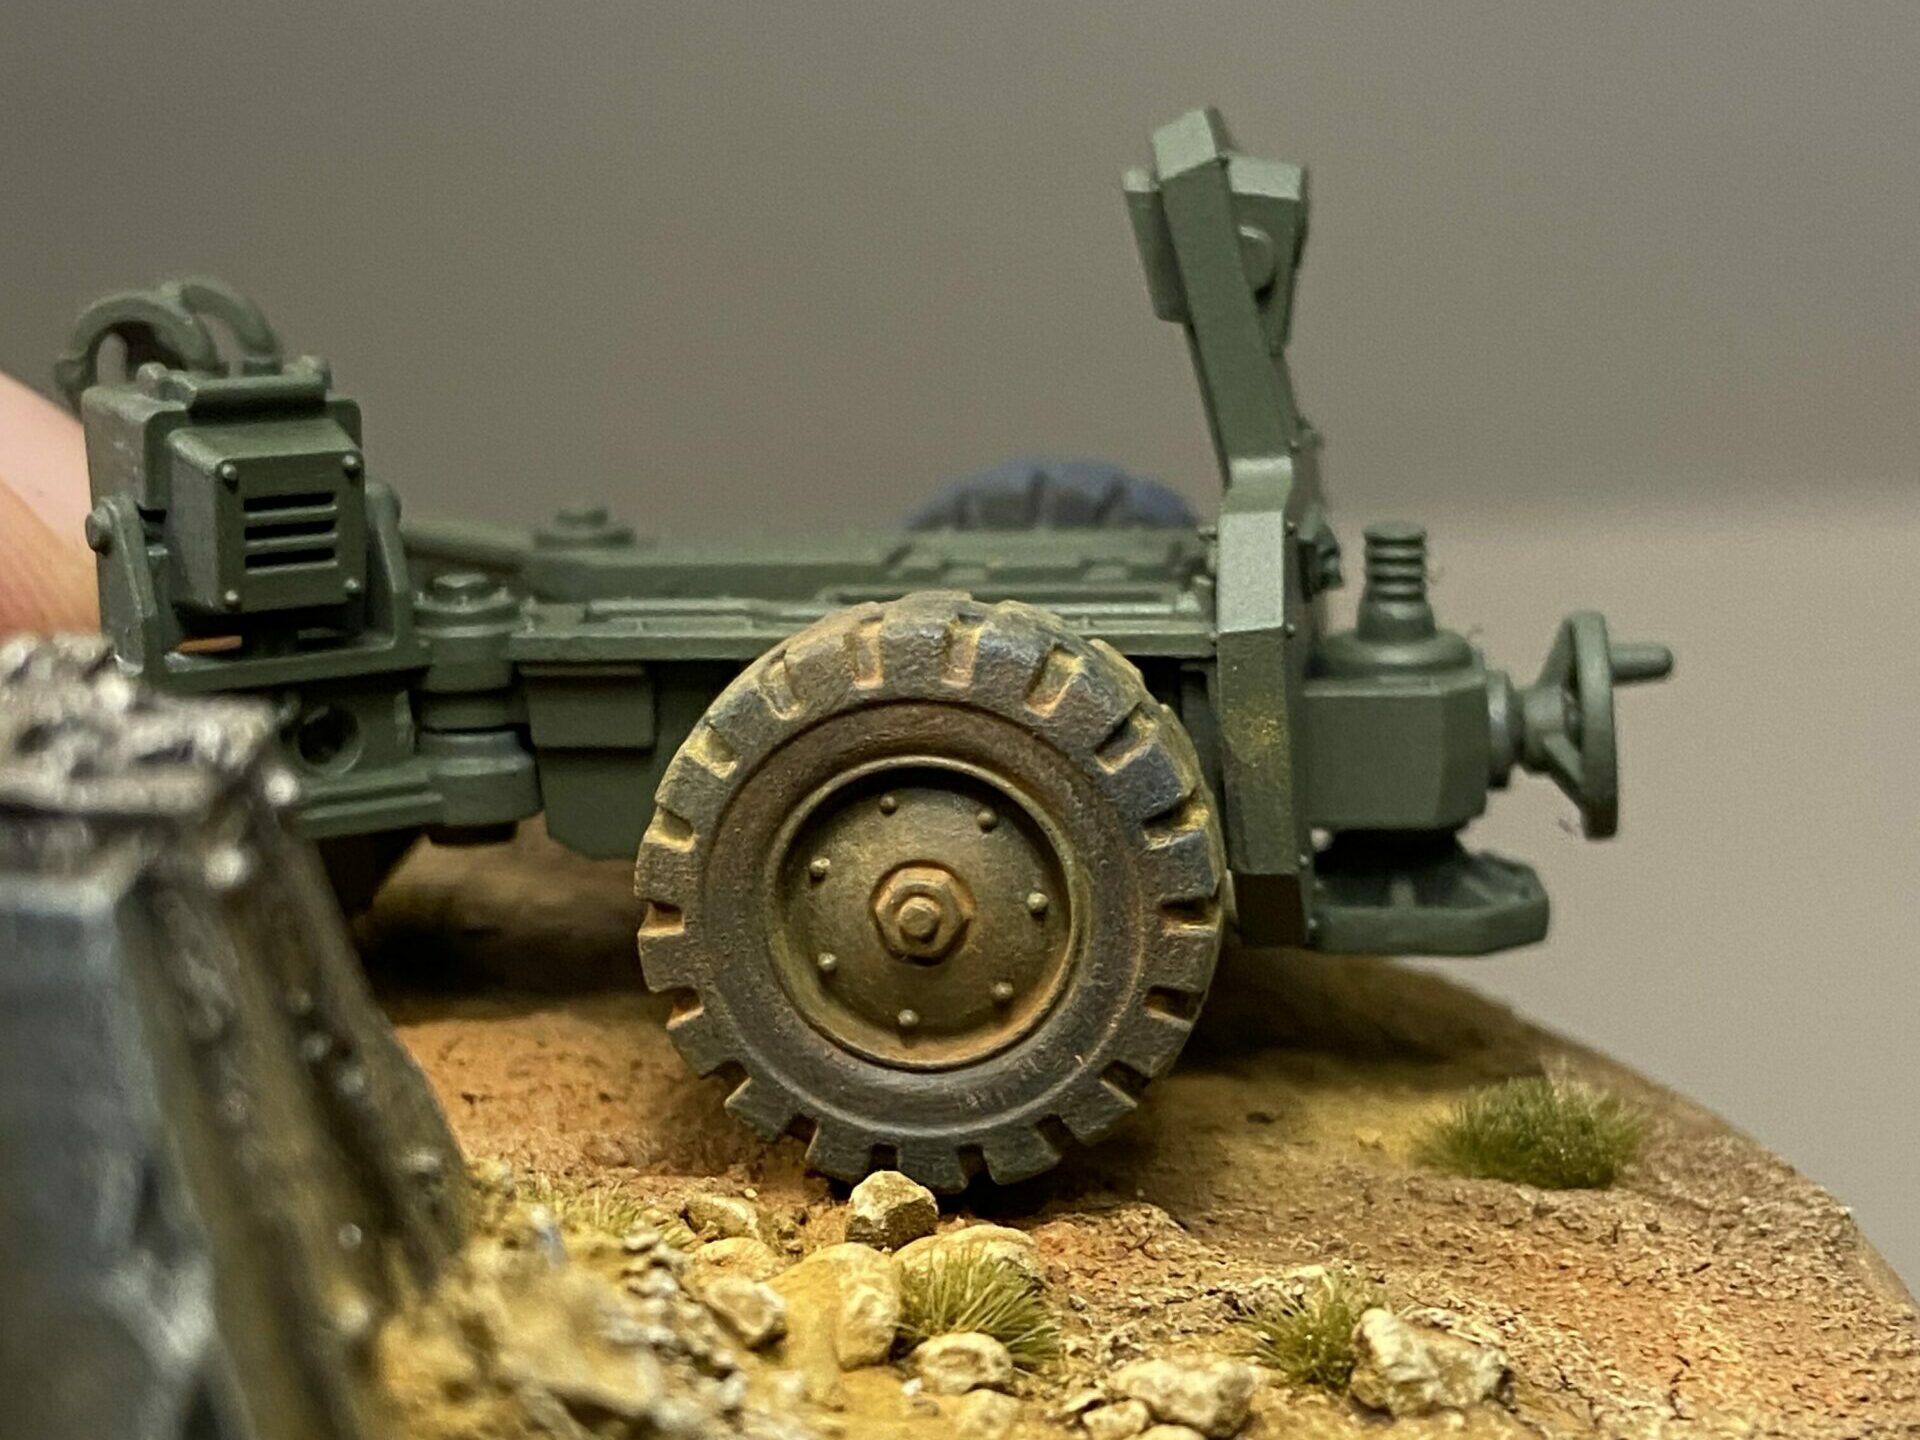
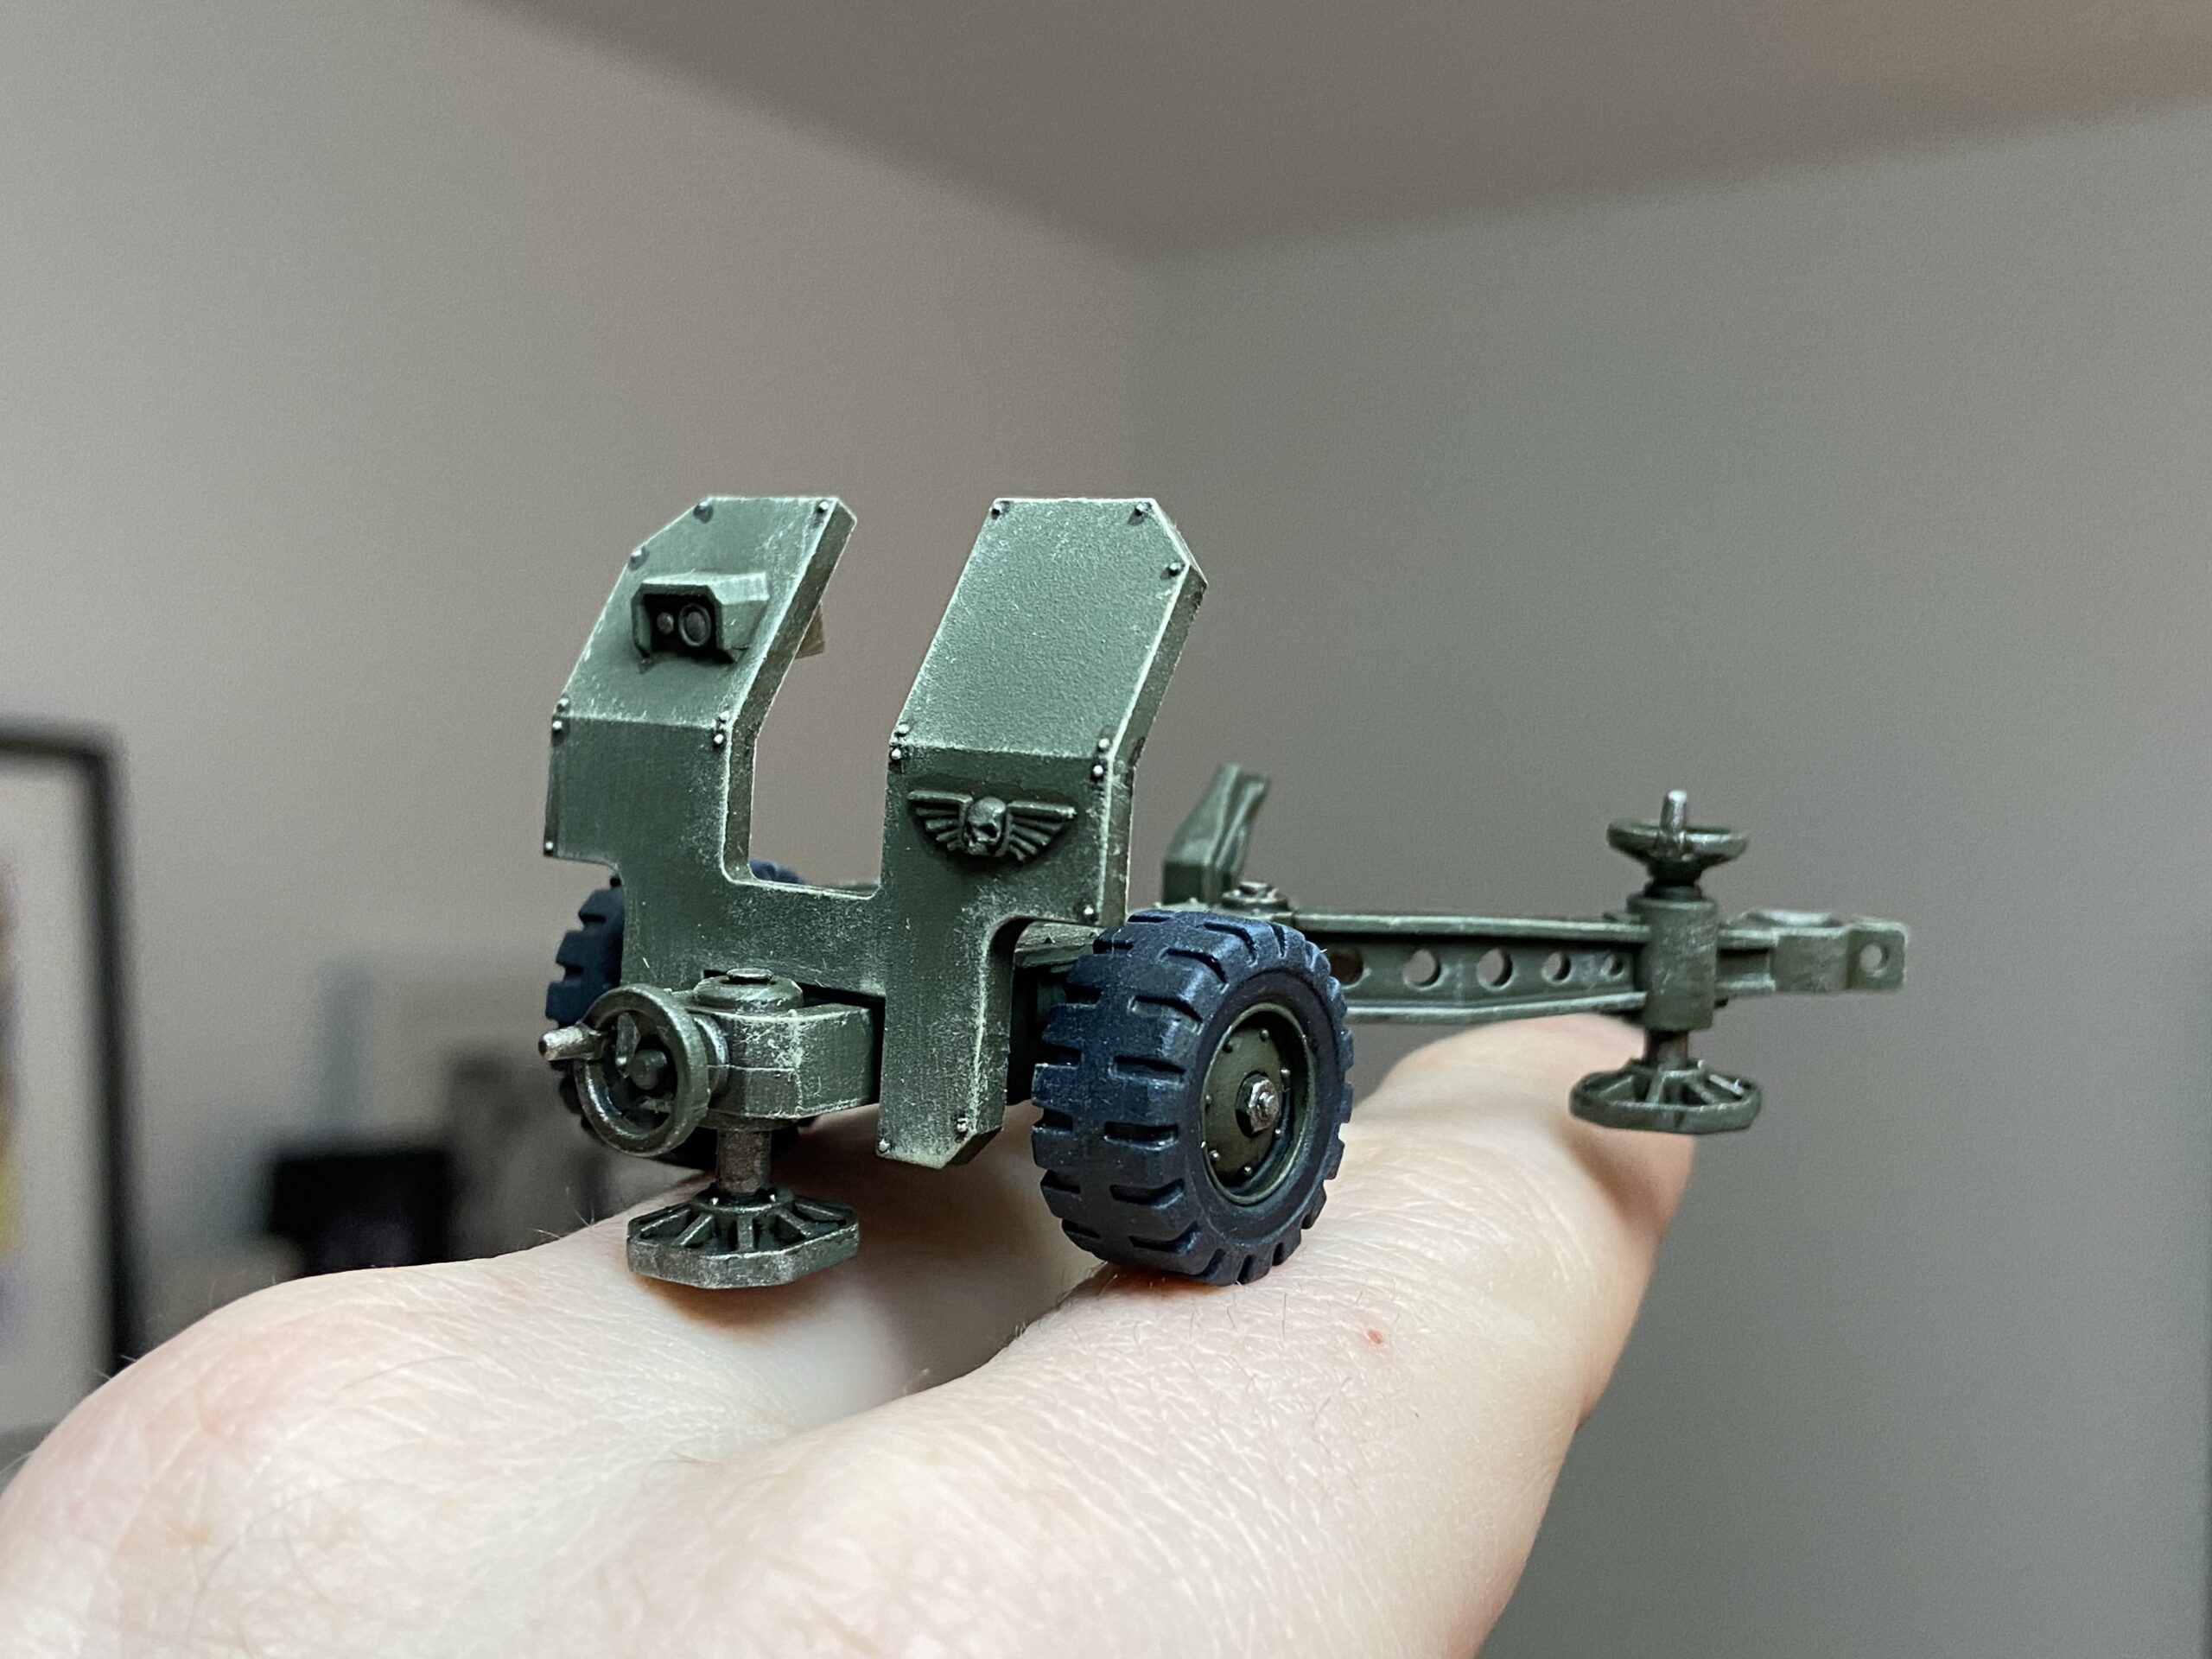
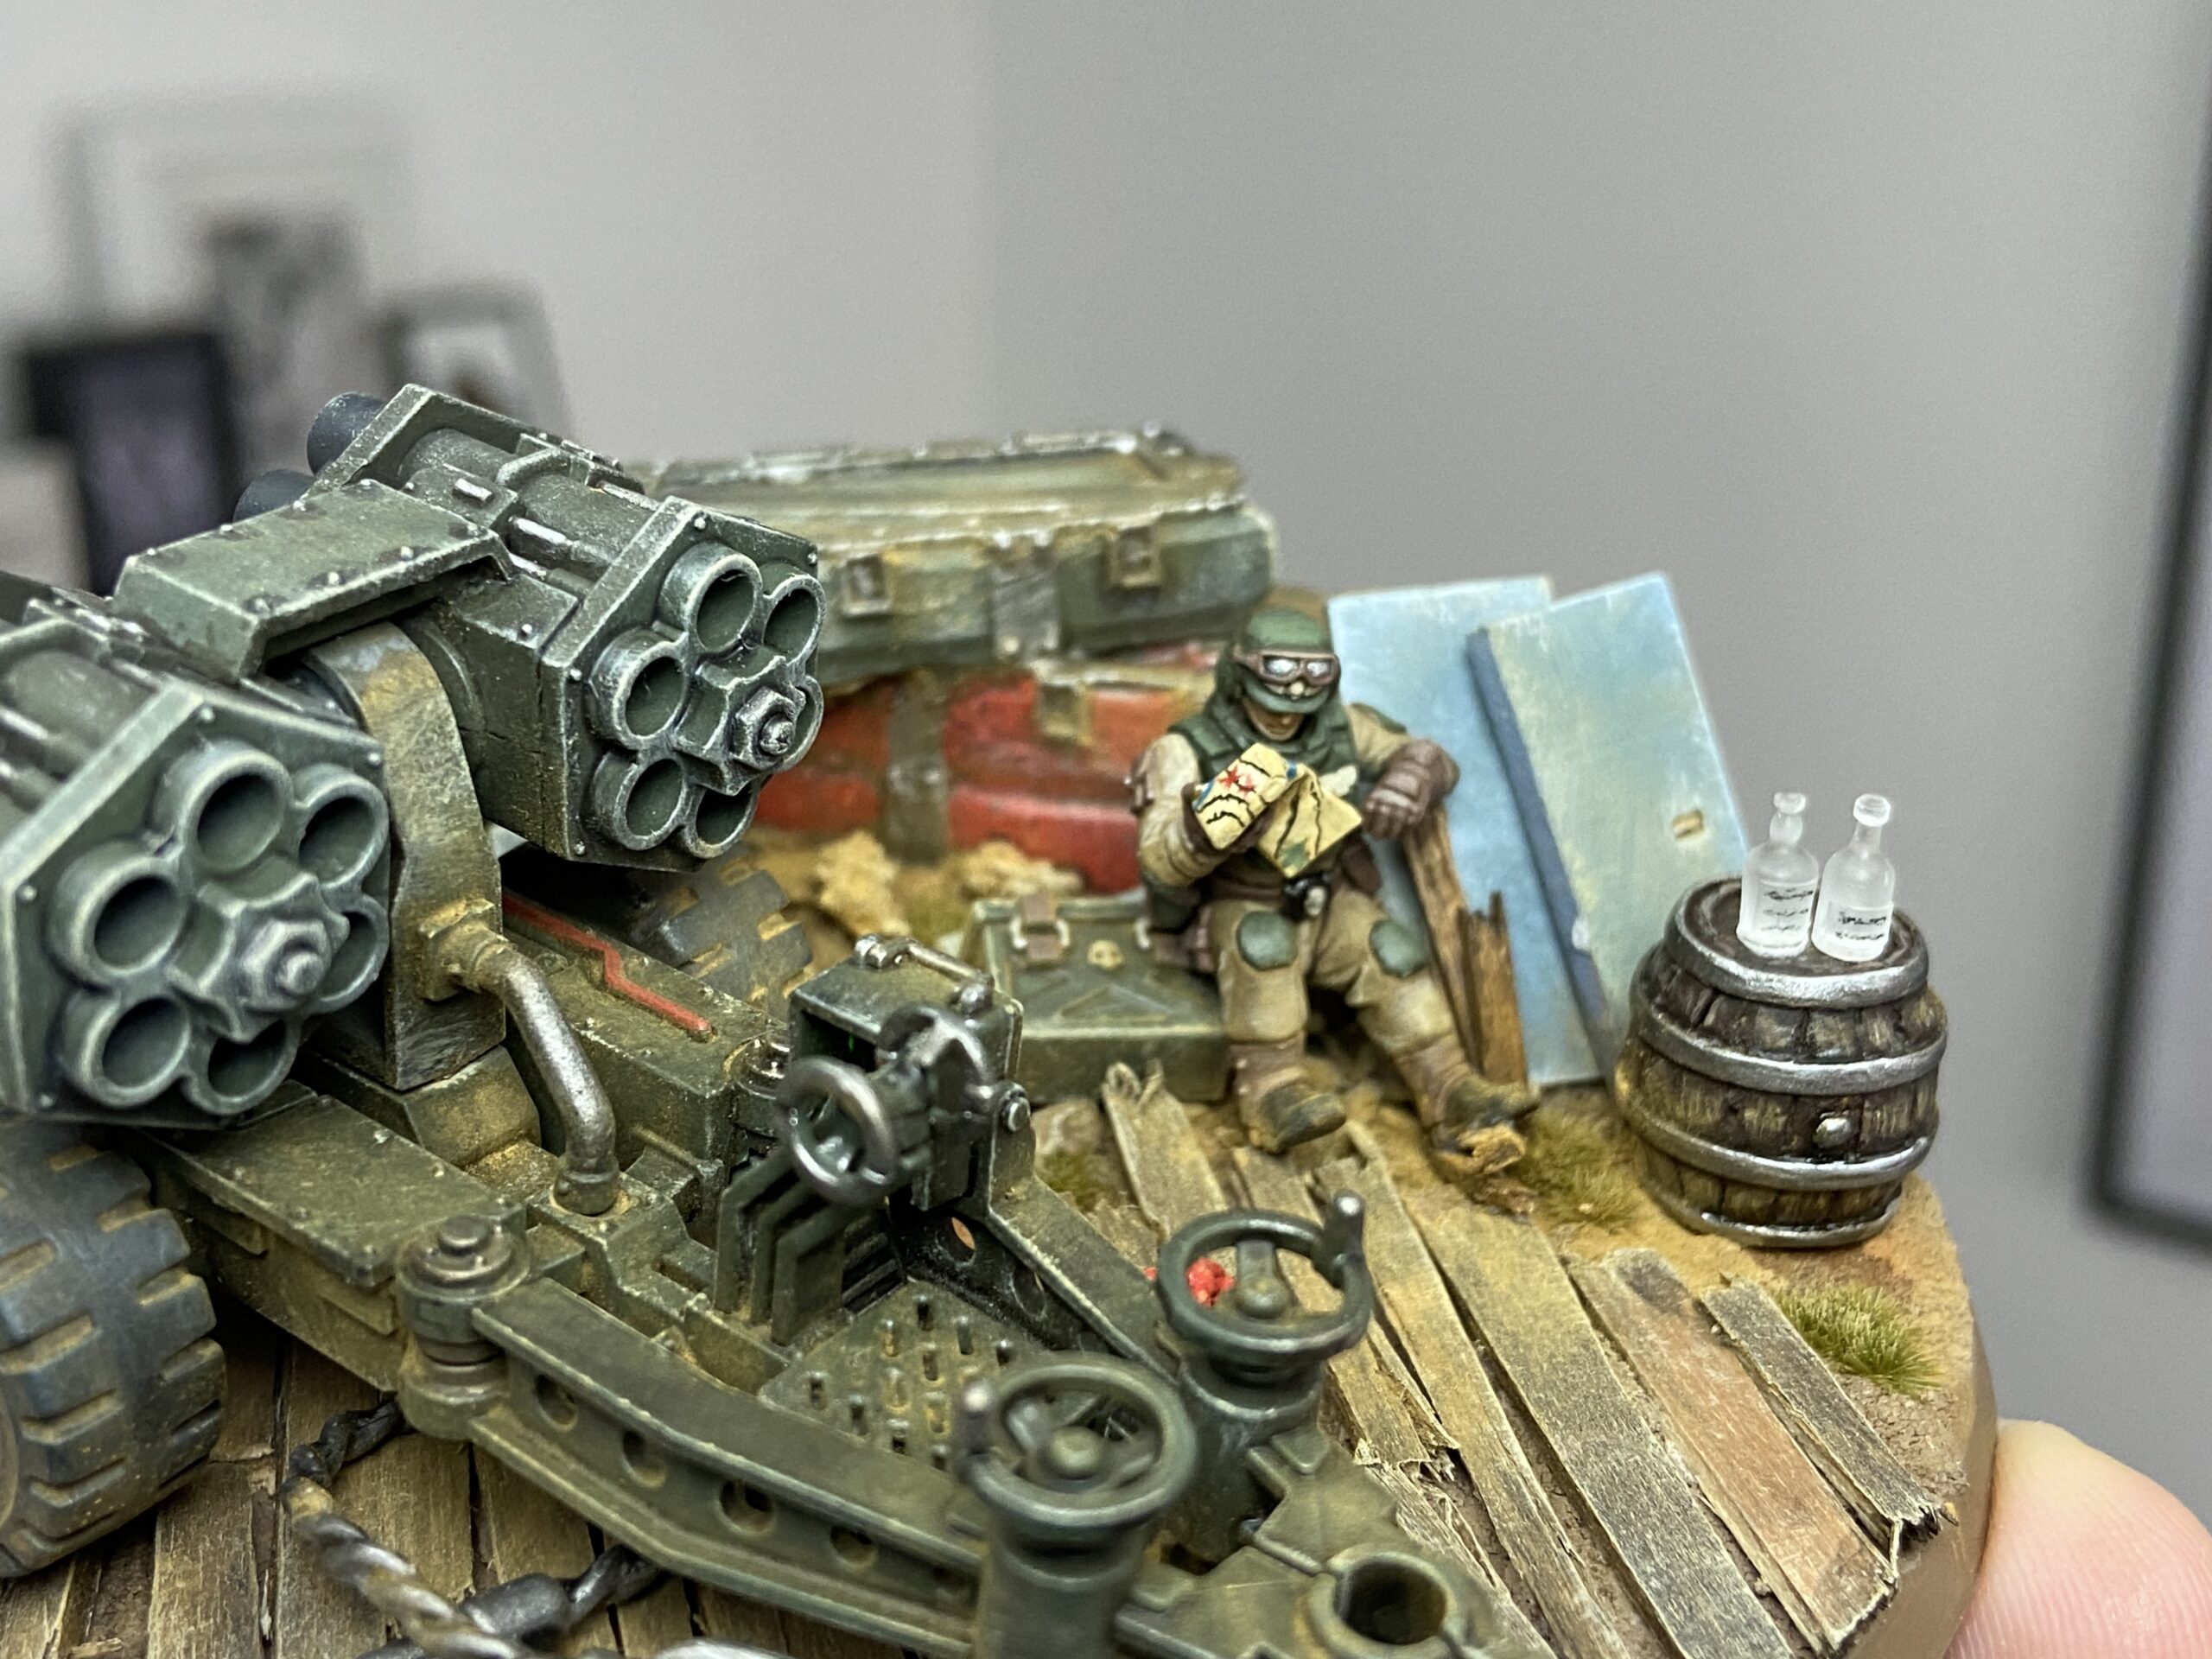
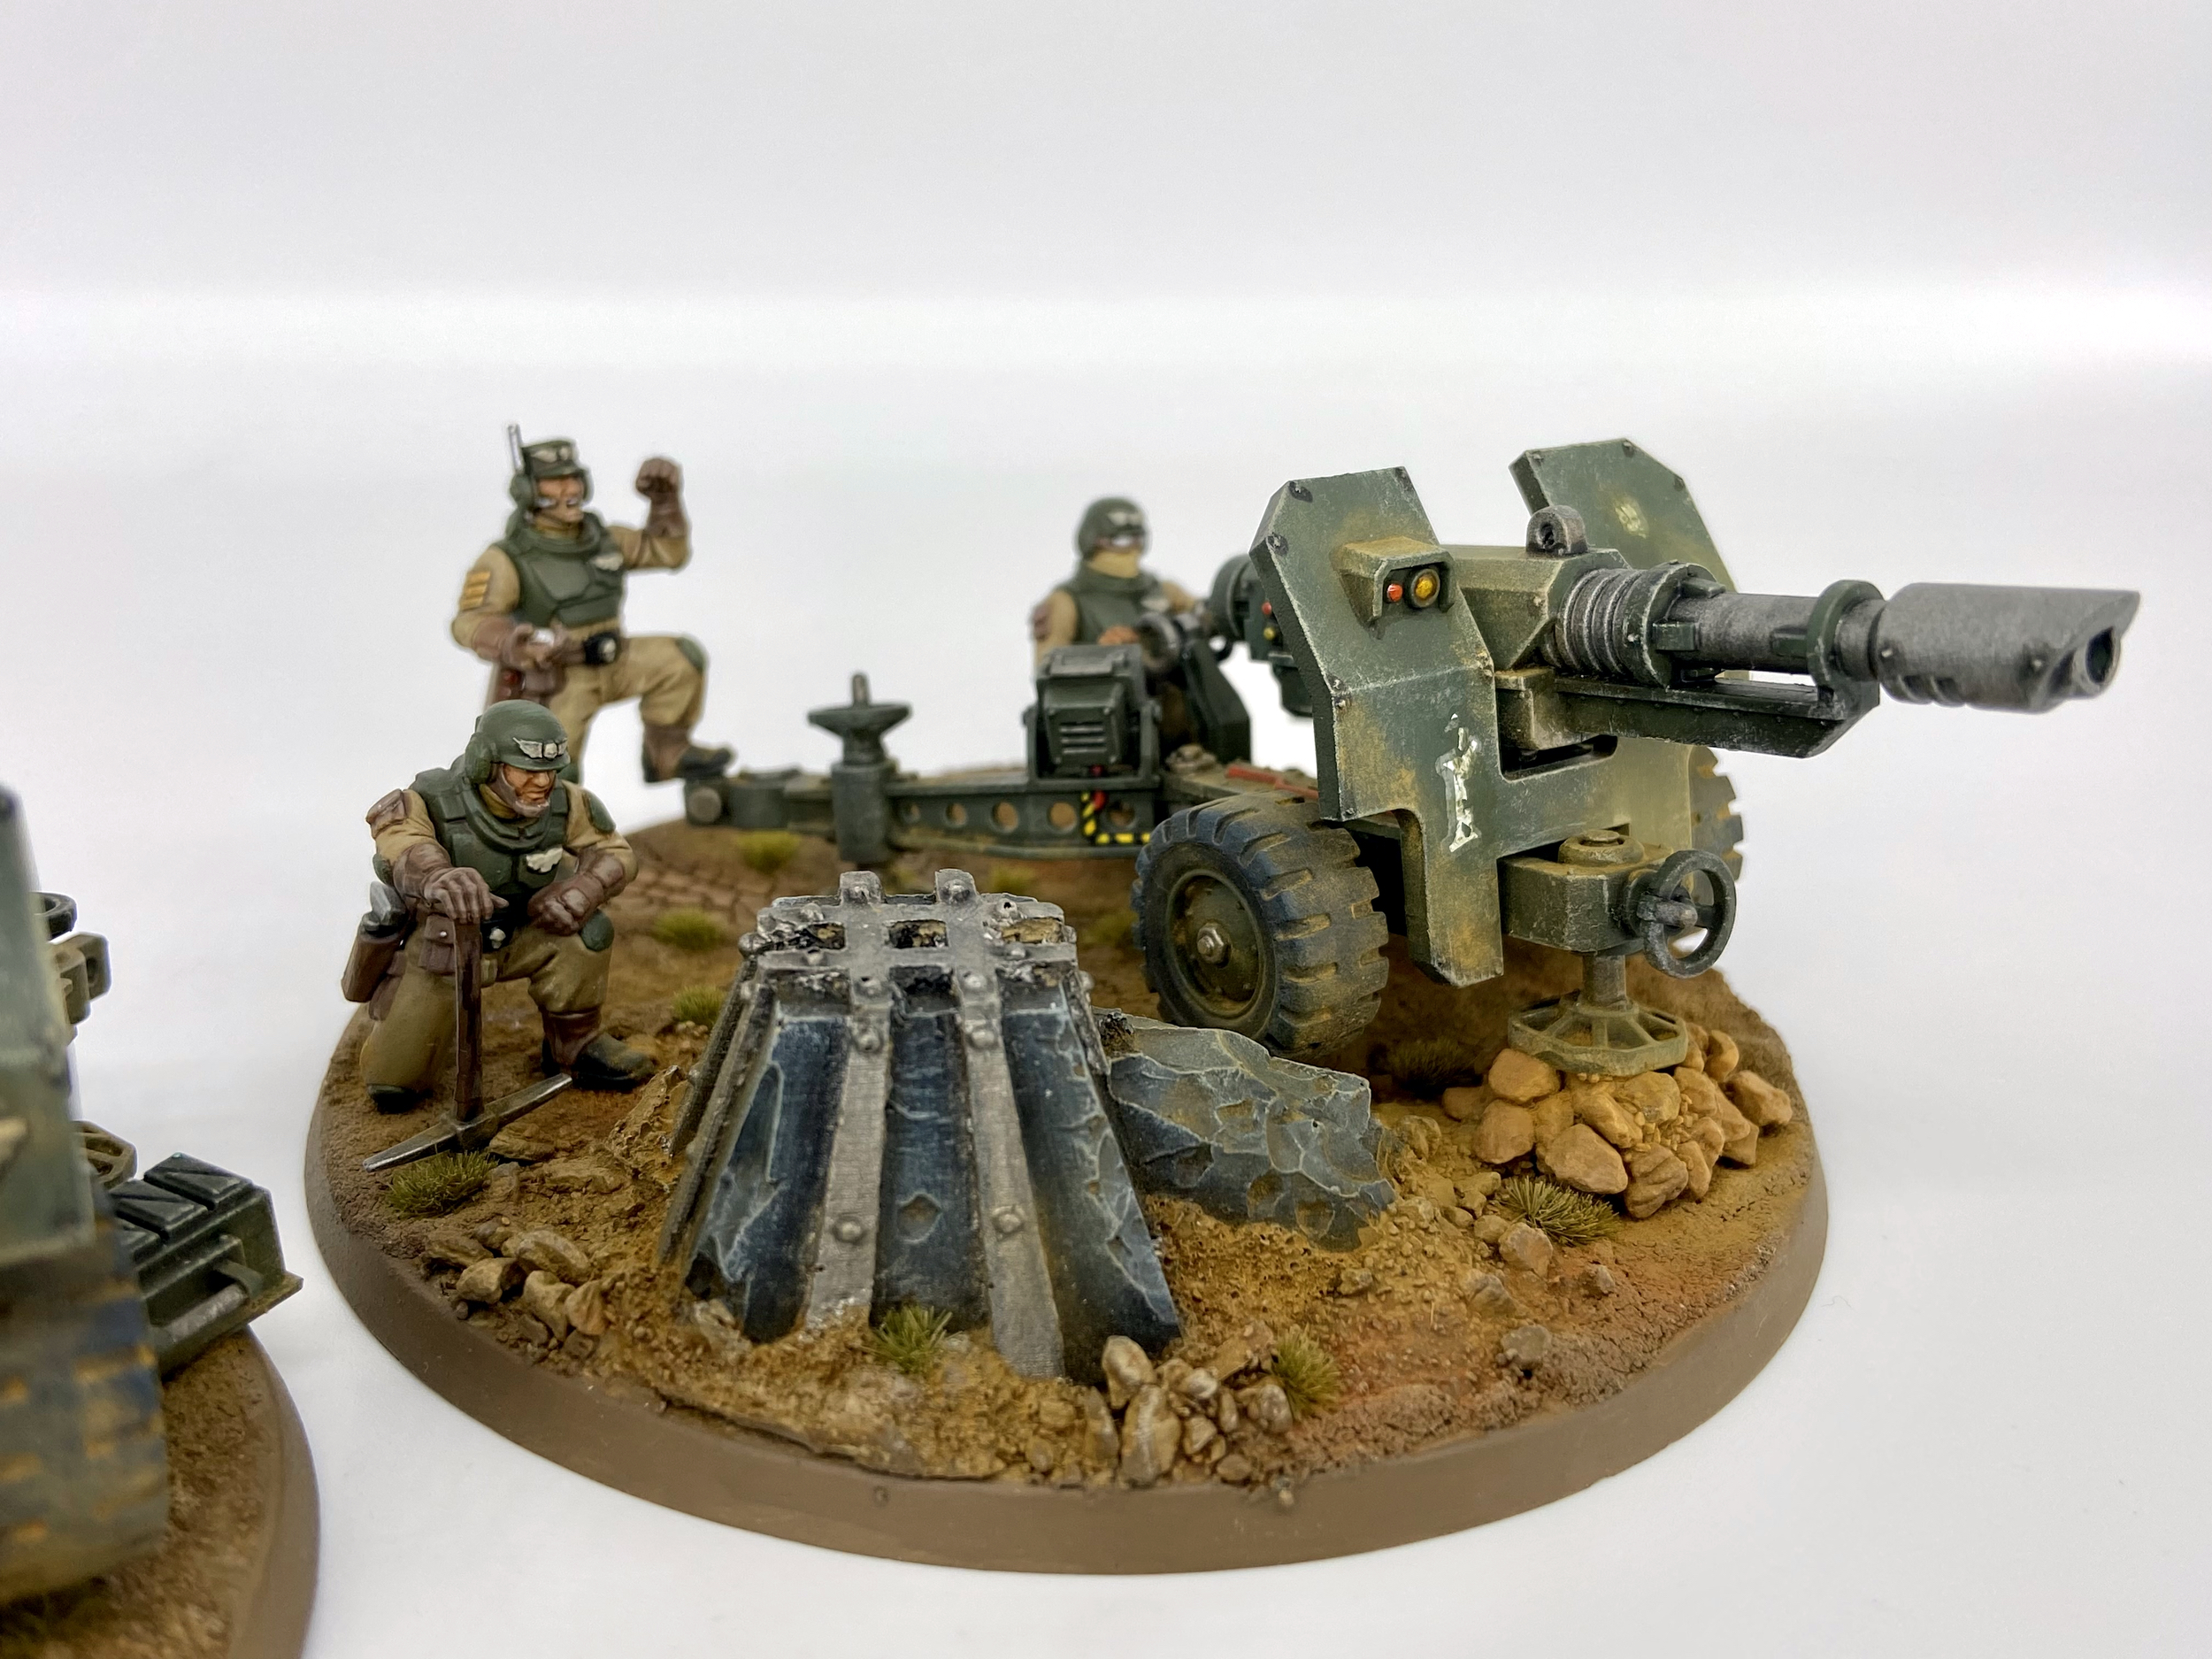
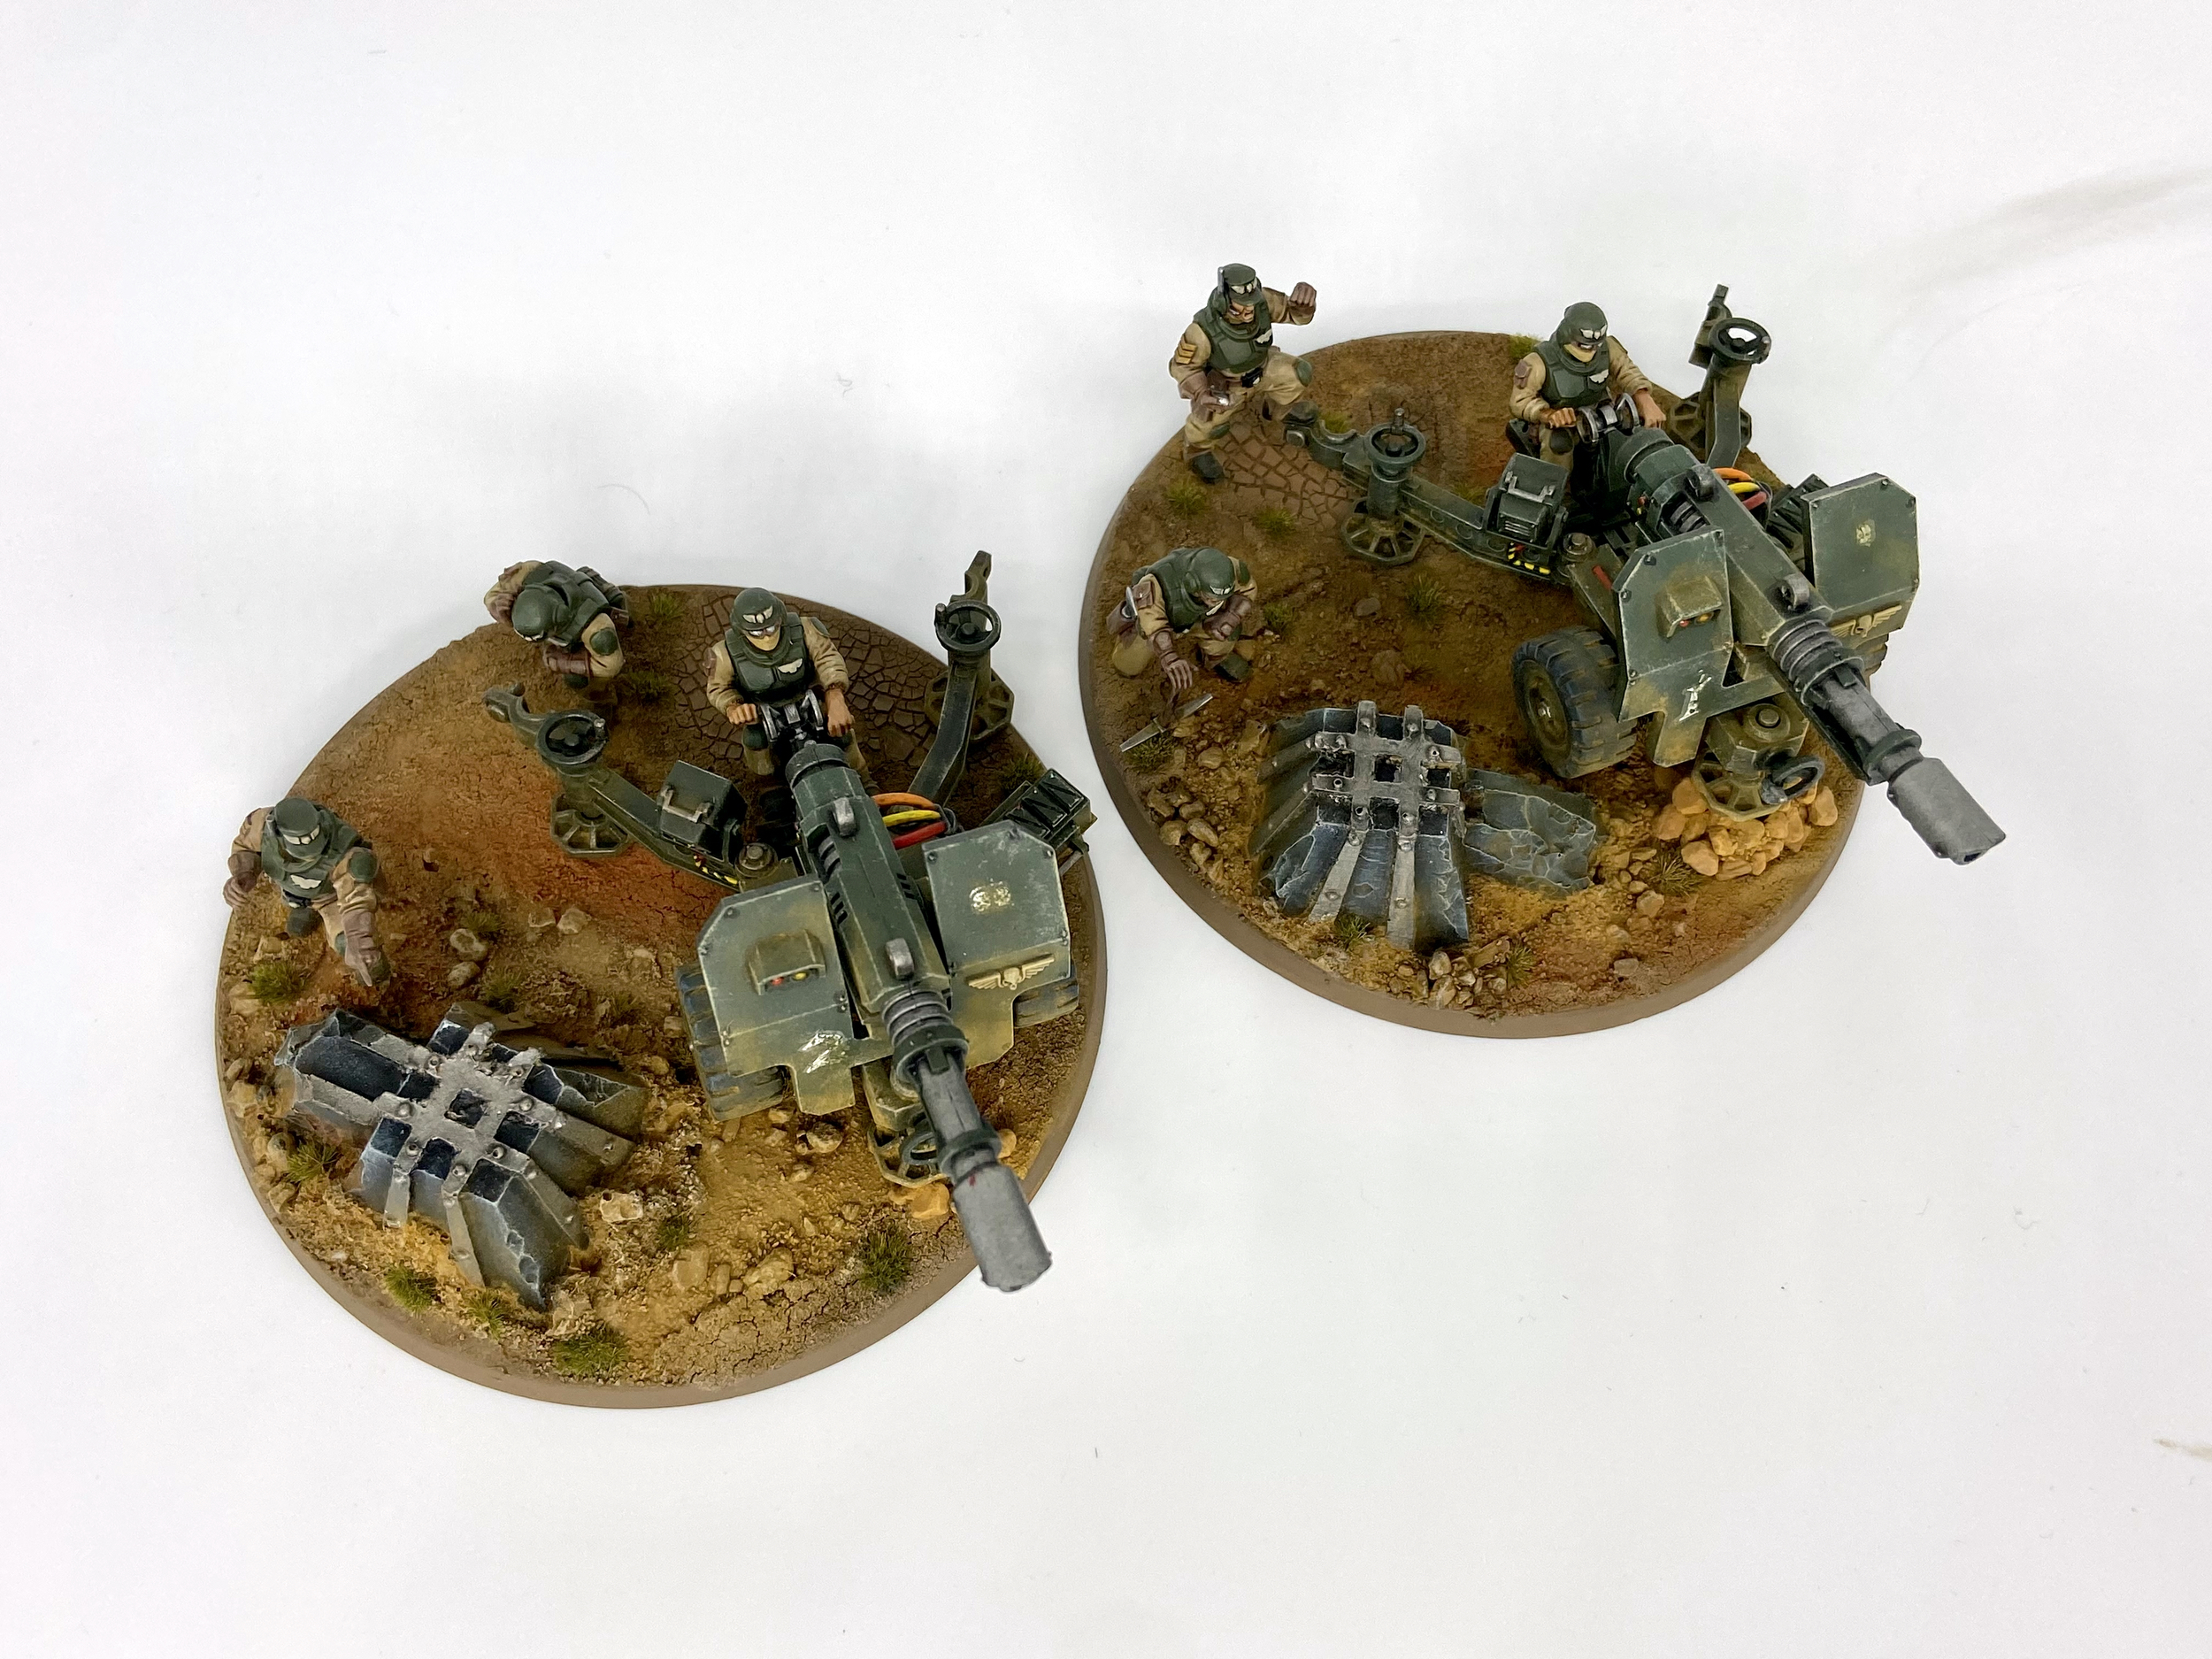
Field Ordnance Battery – Completed Gallery
These were taken with my Samtian Lightbox.
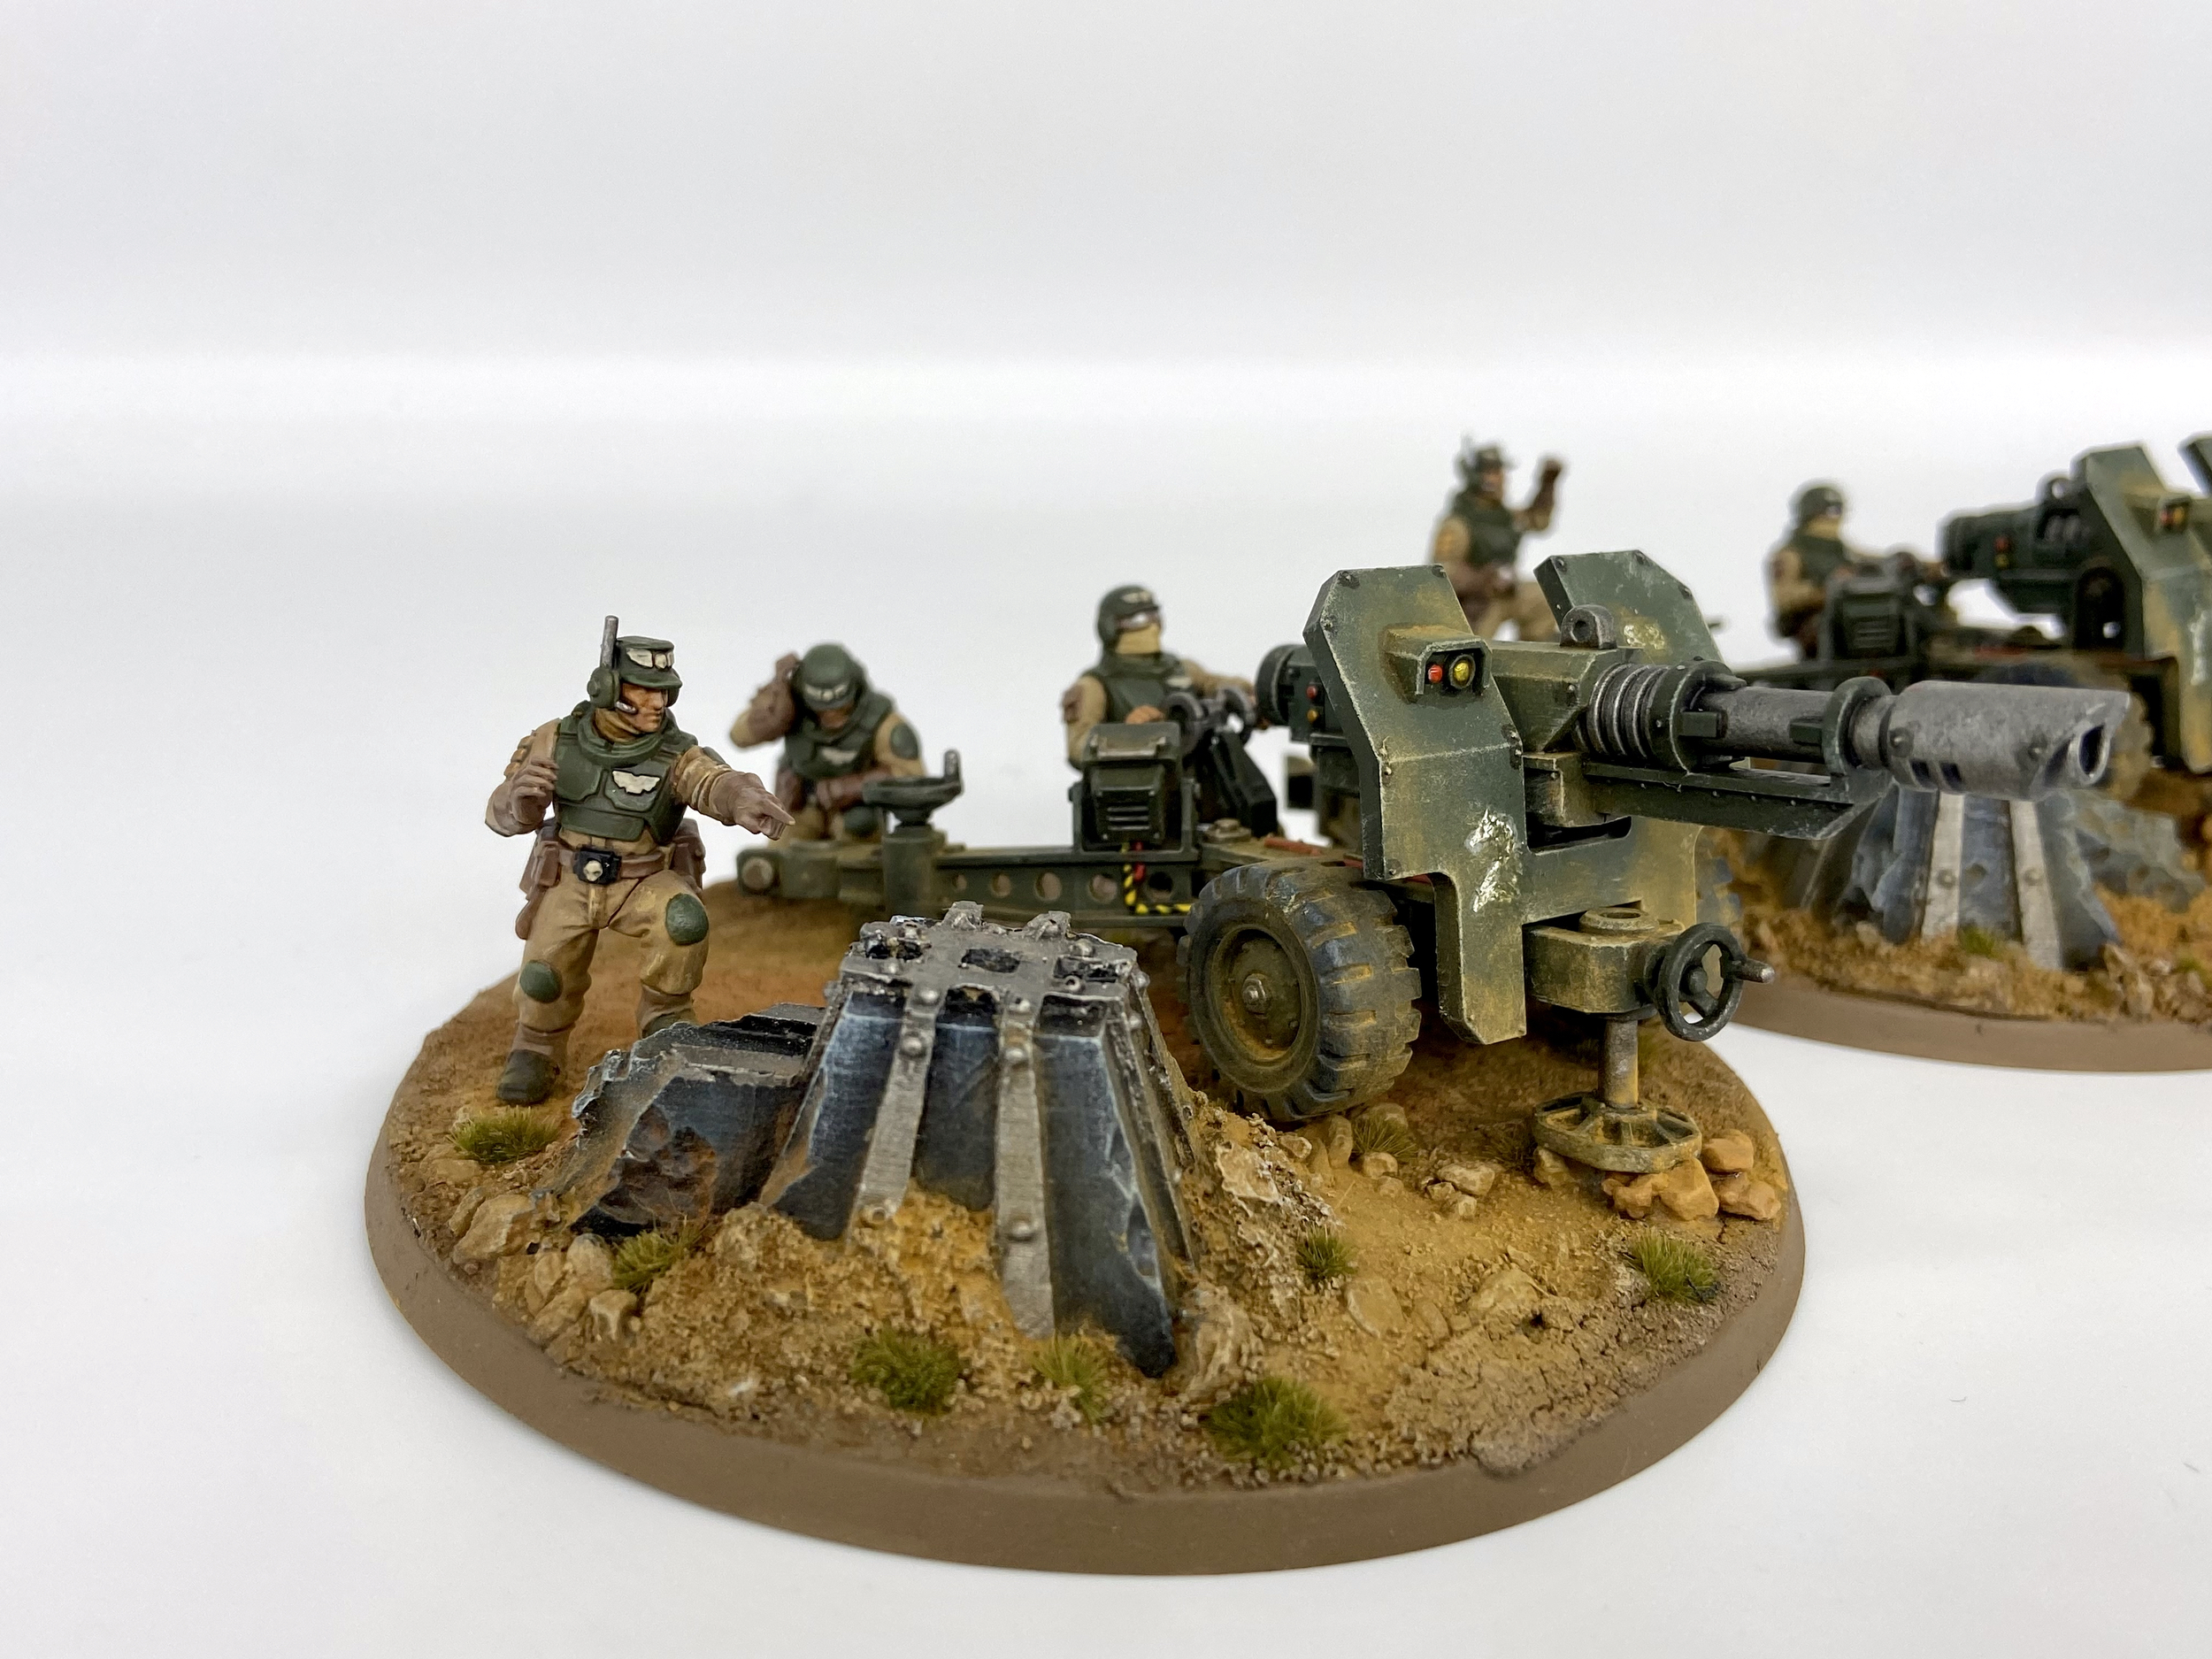


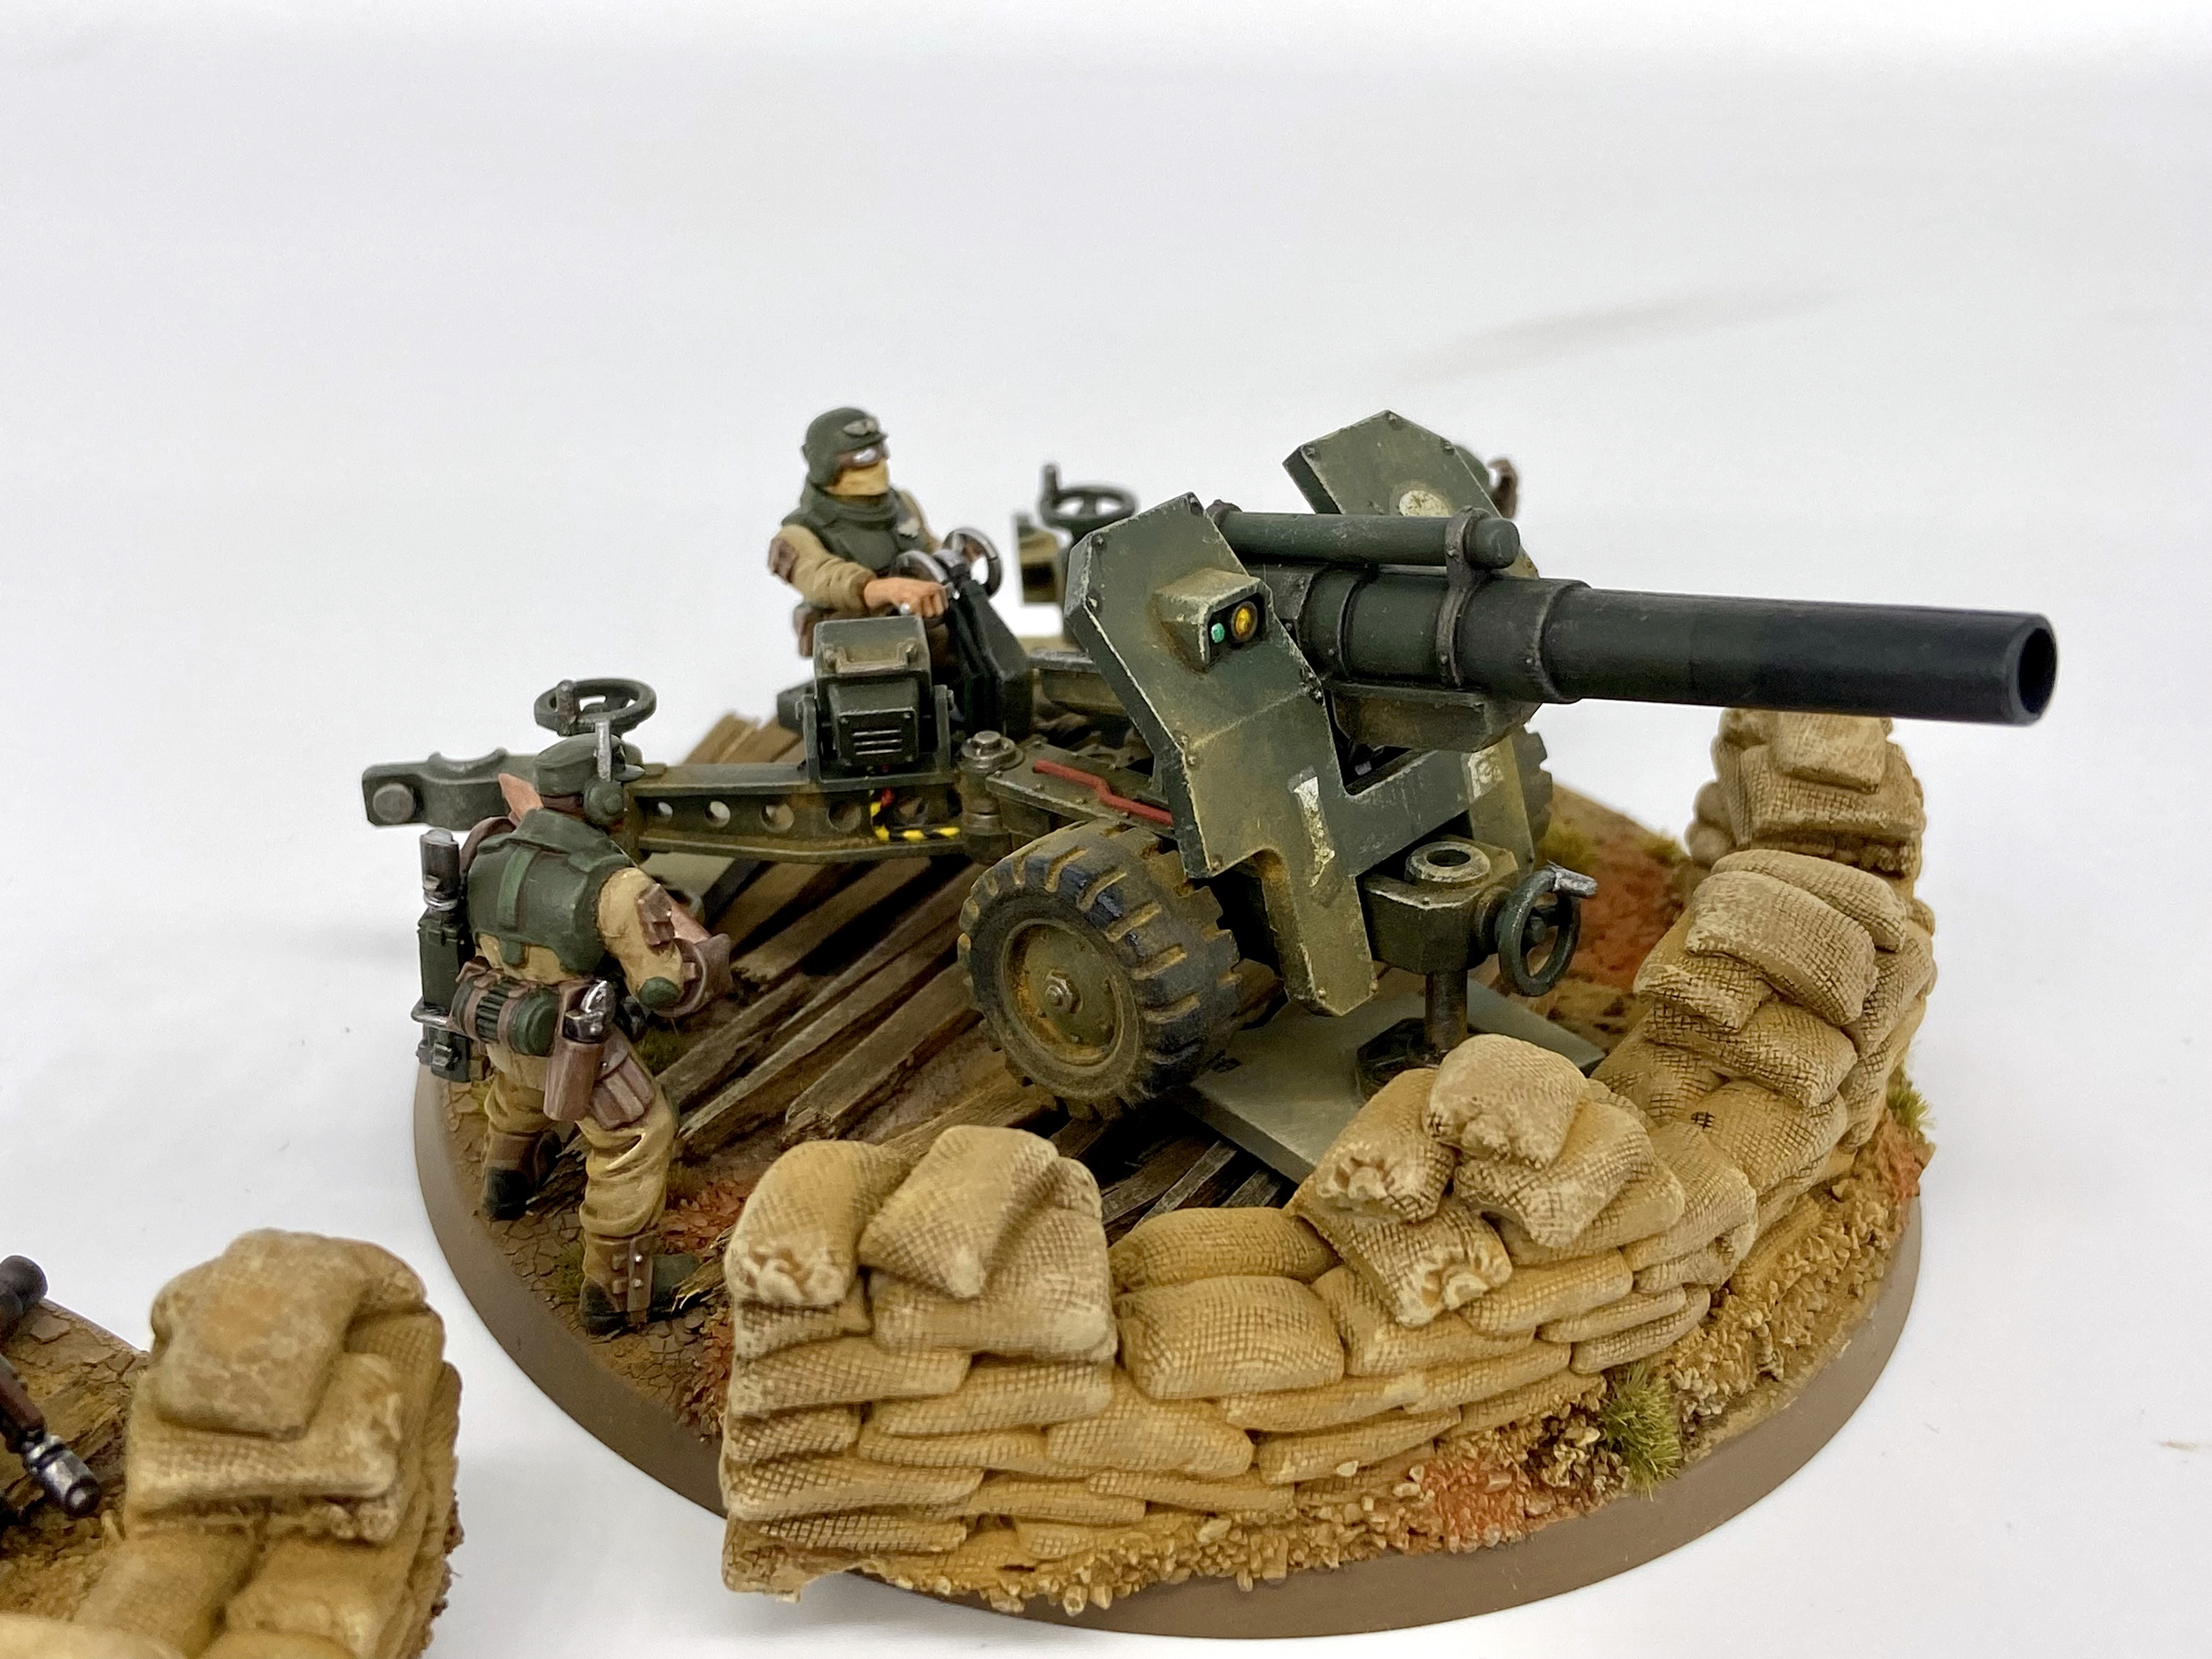
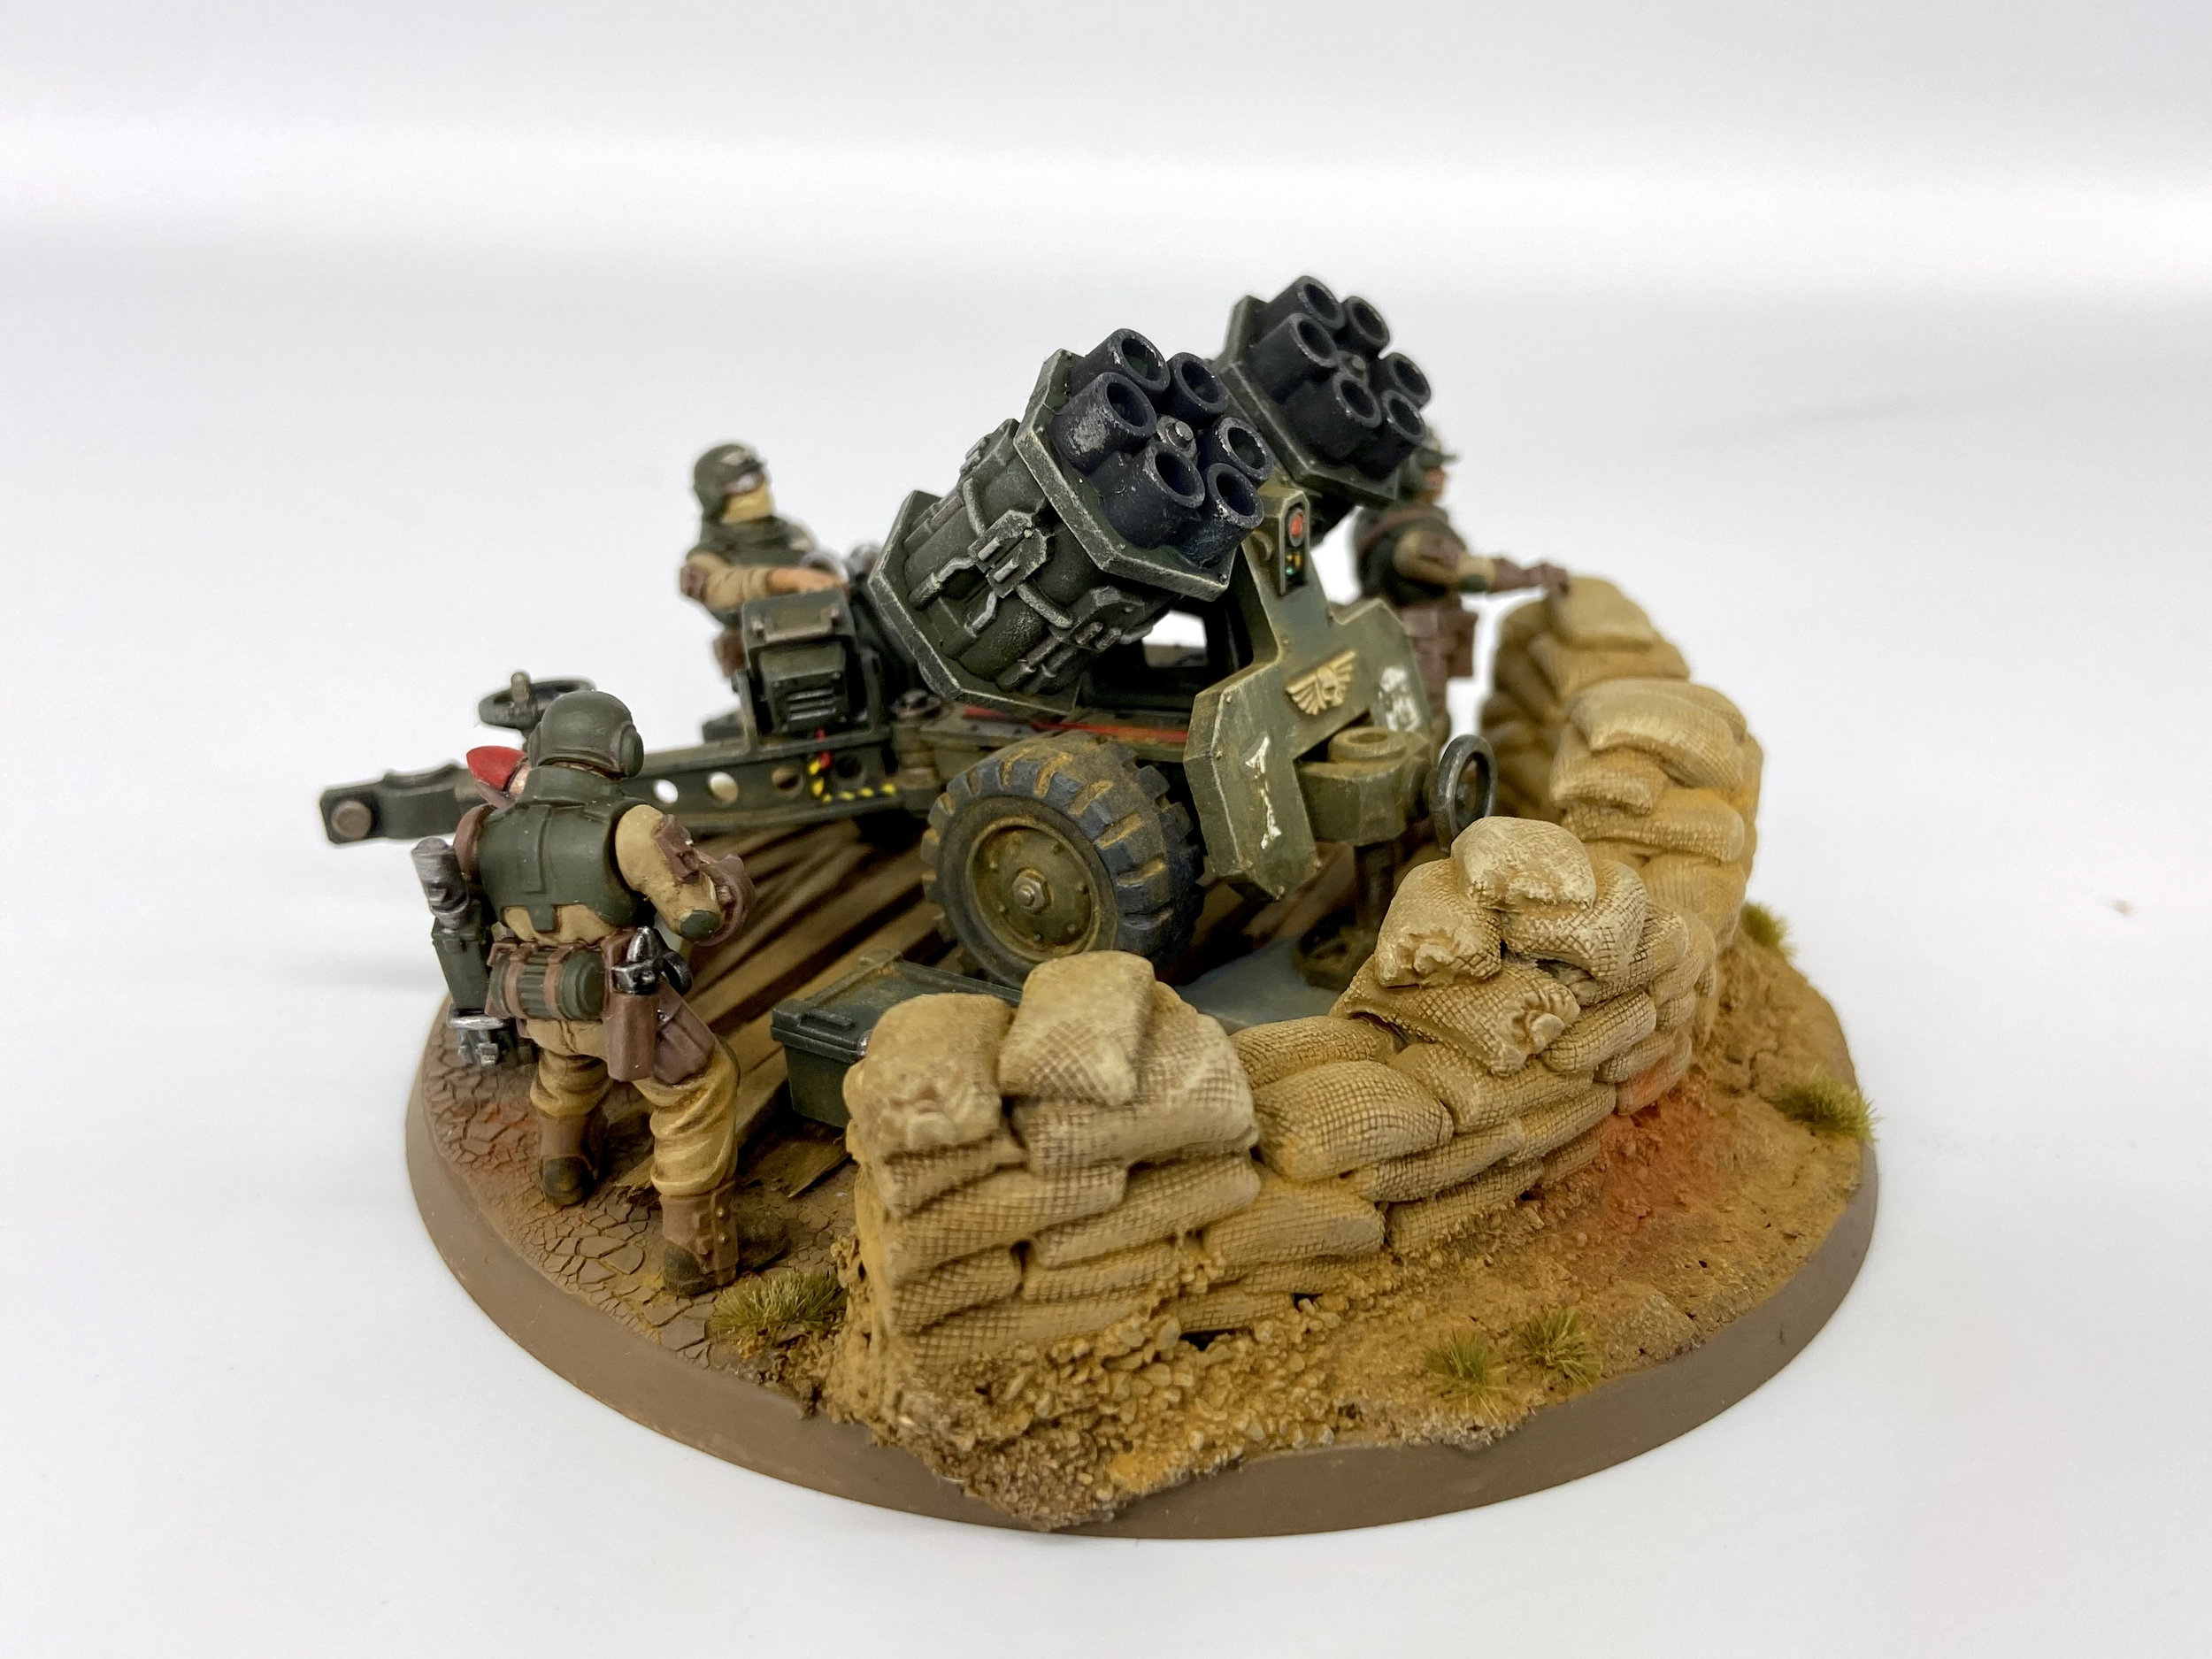
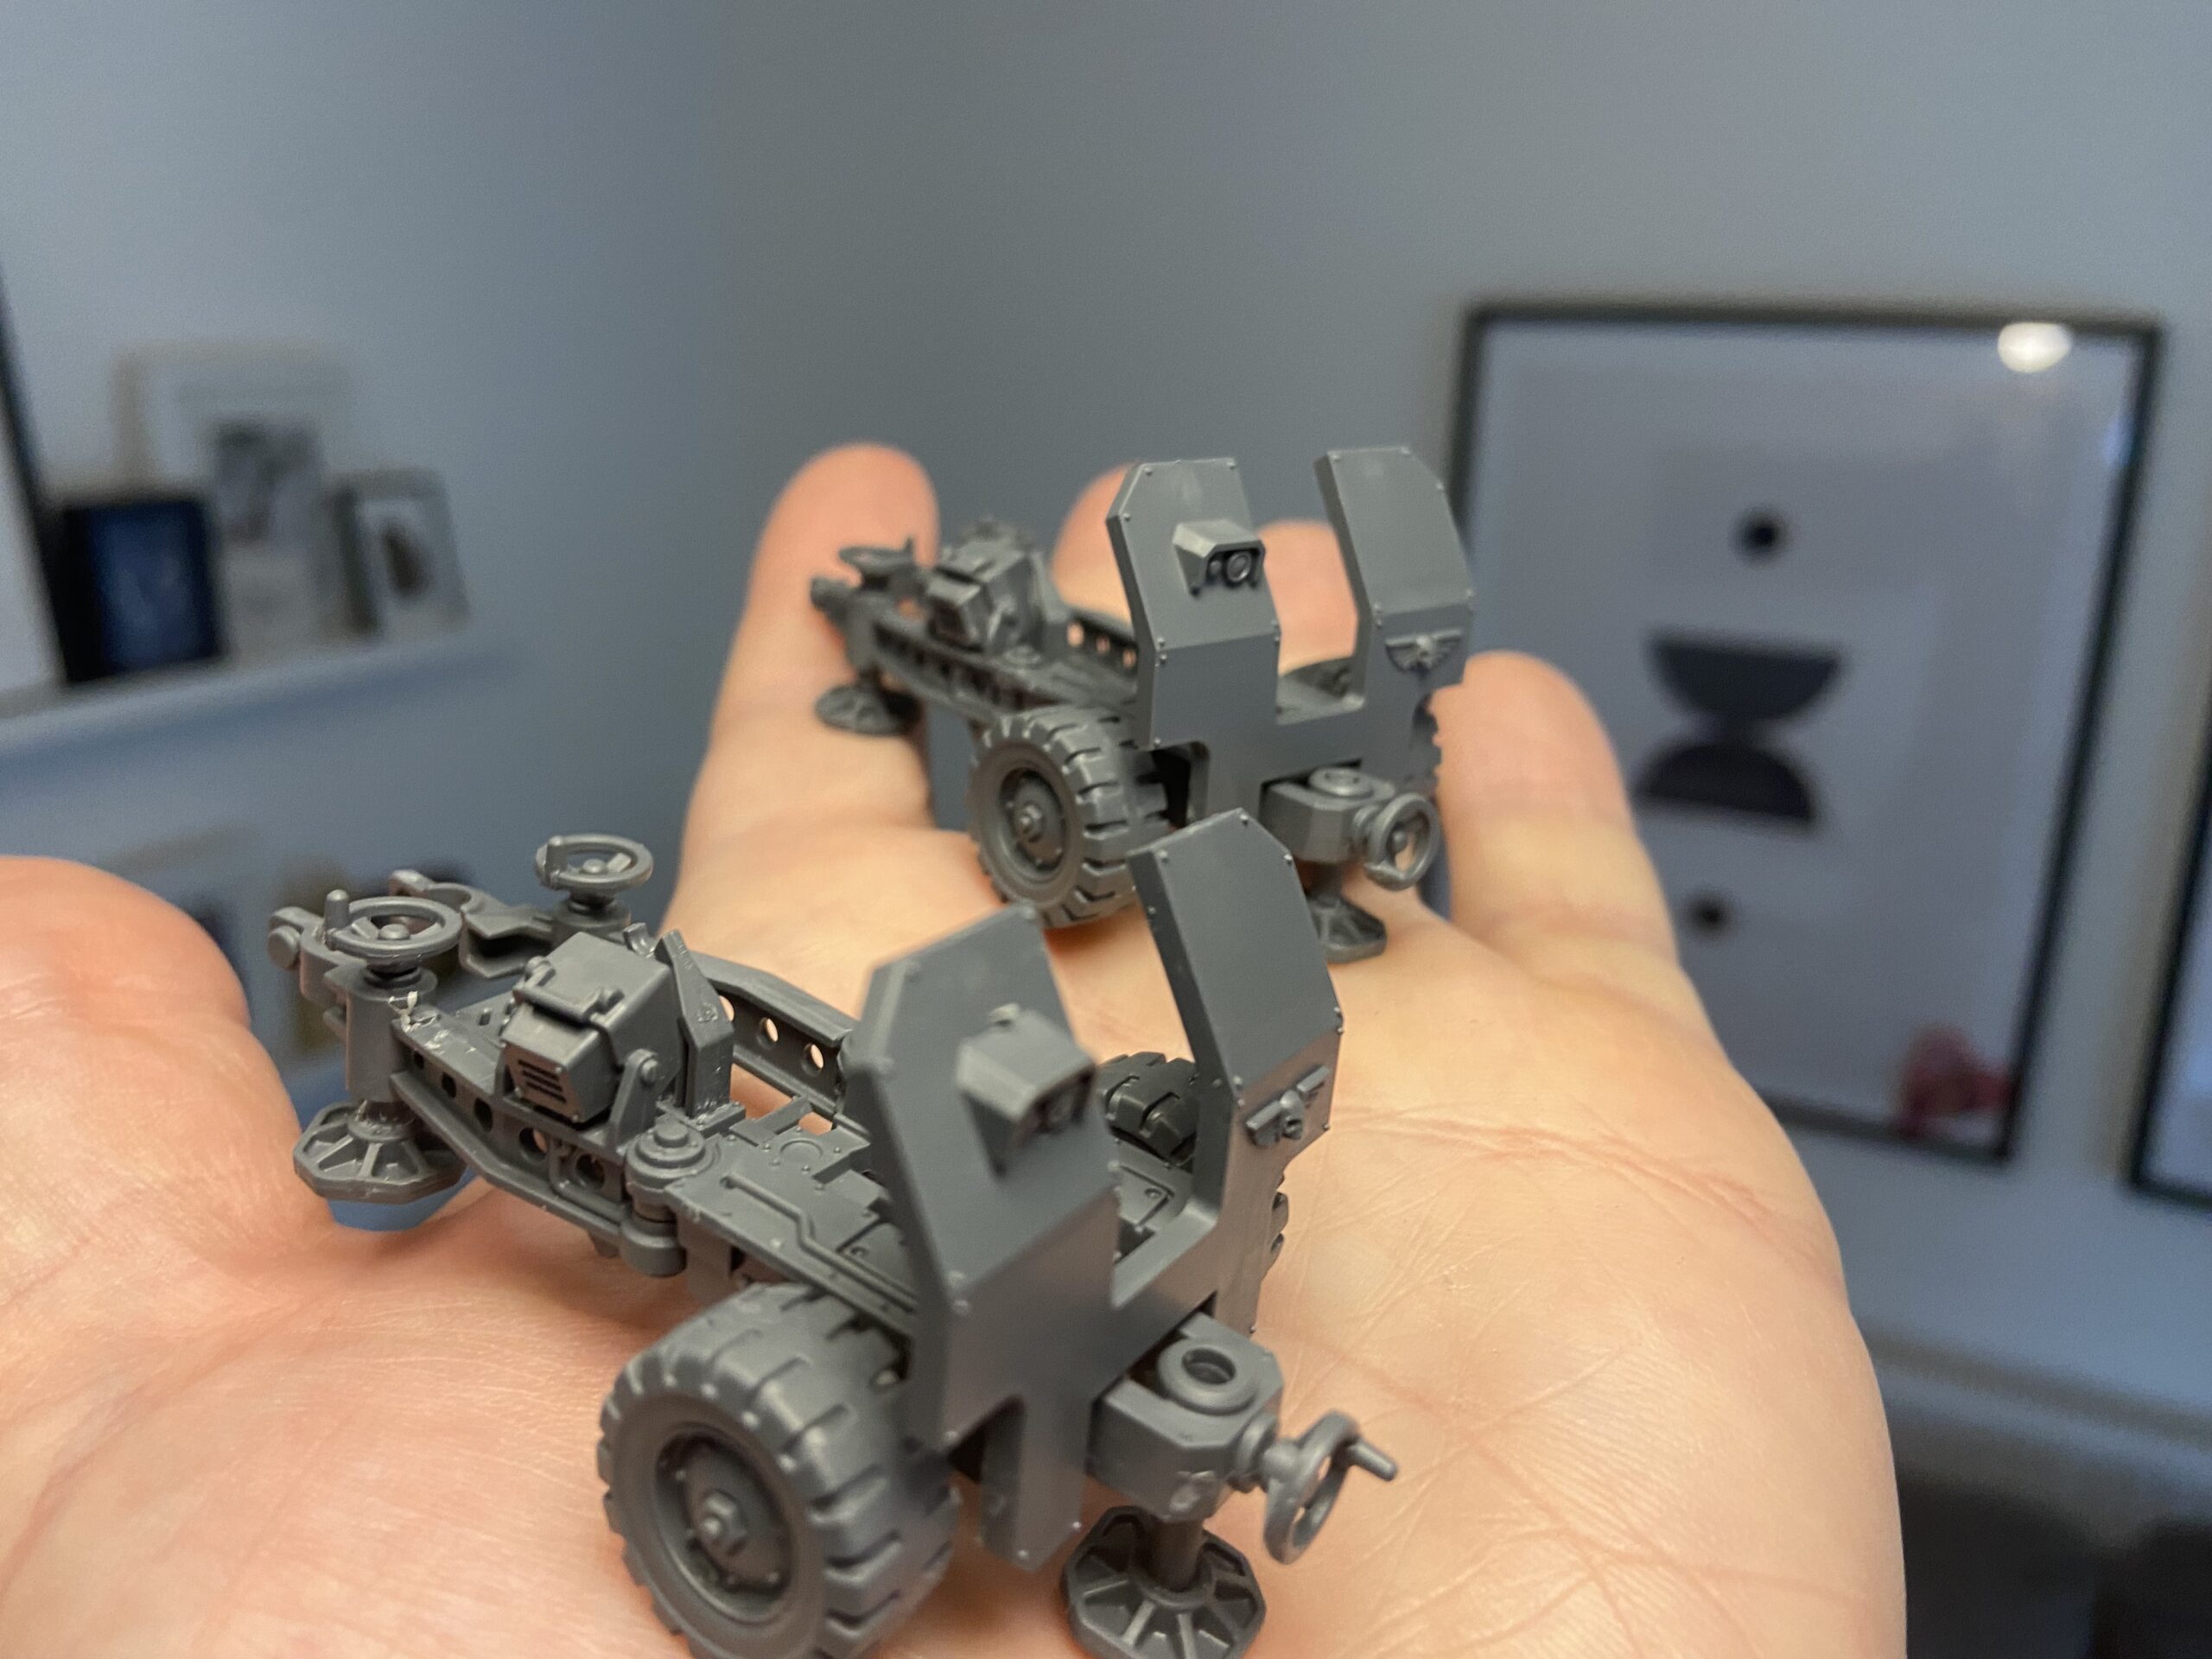
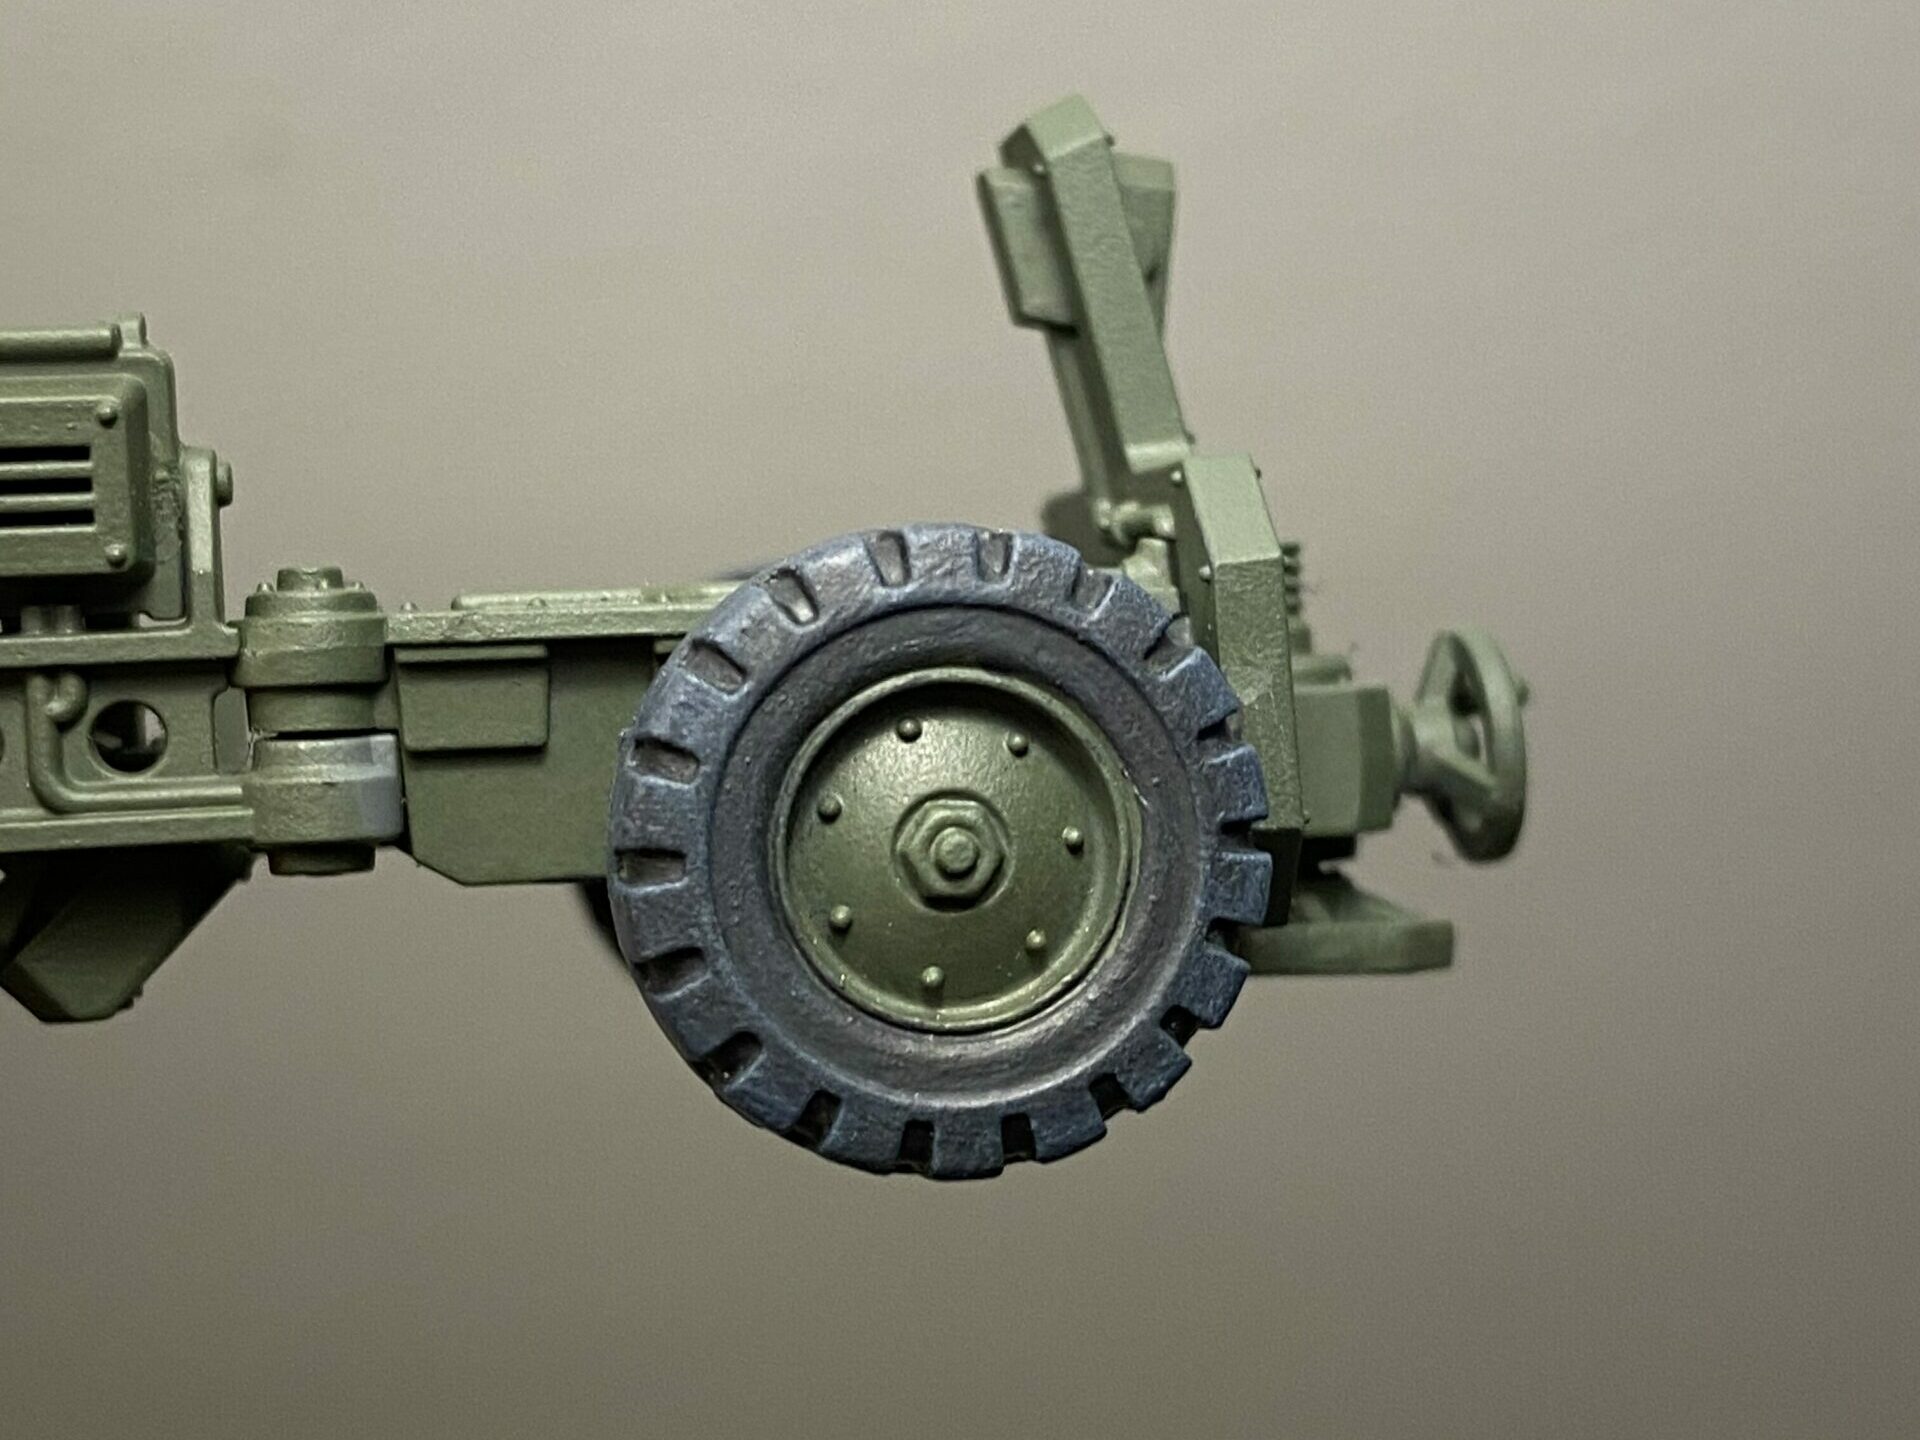
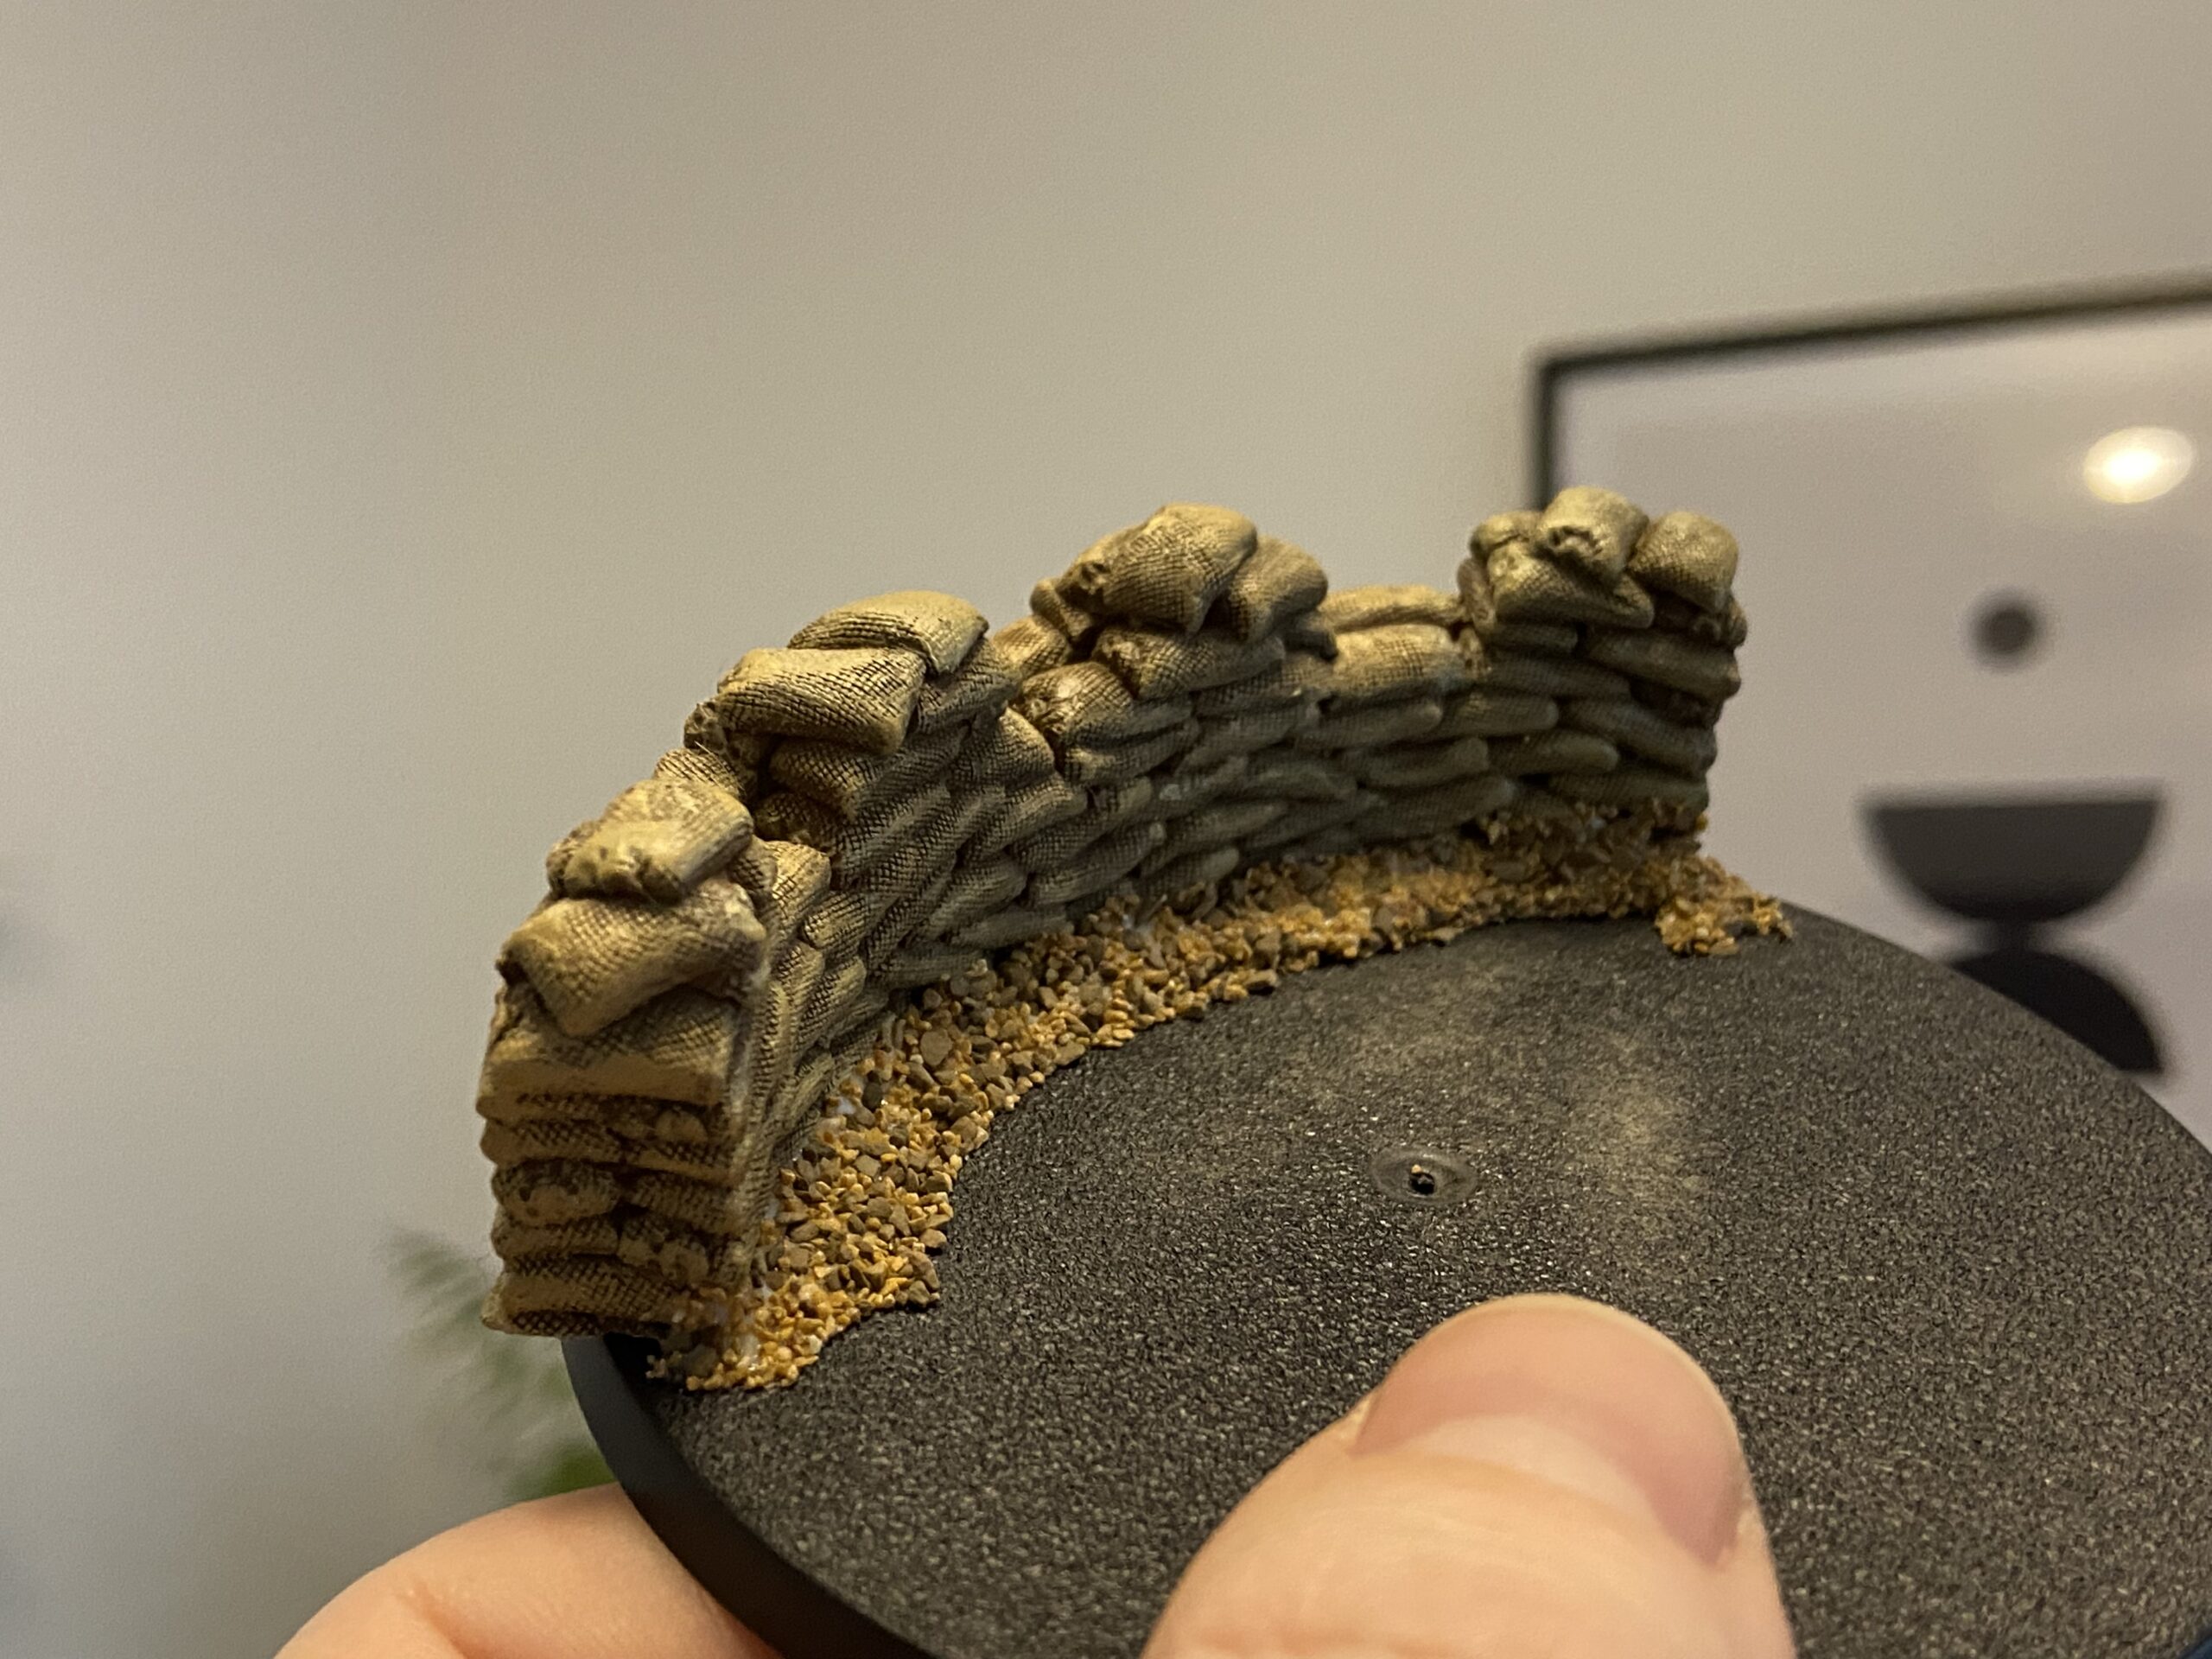
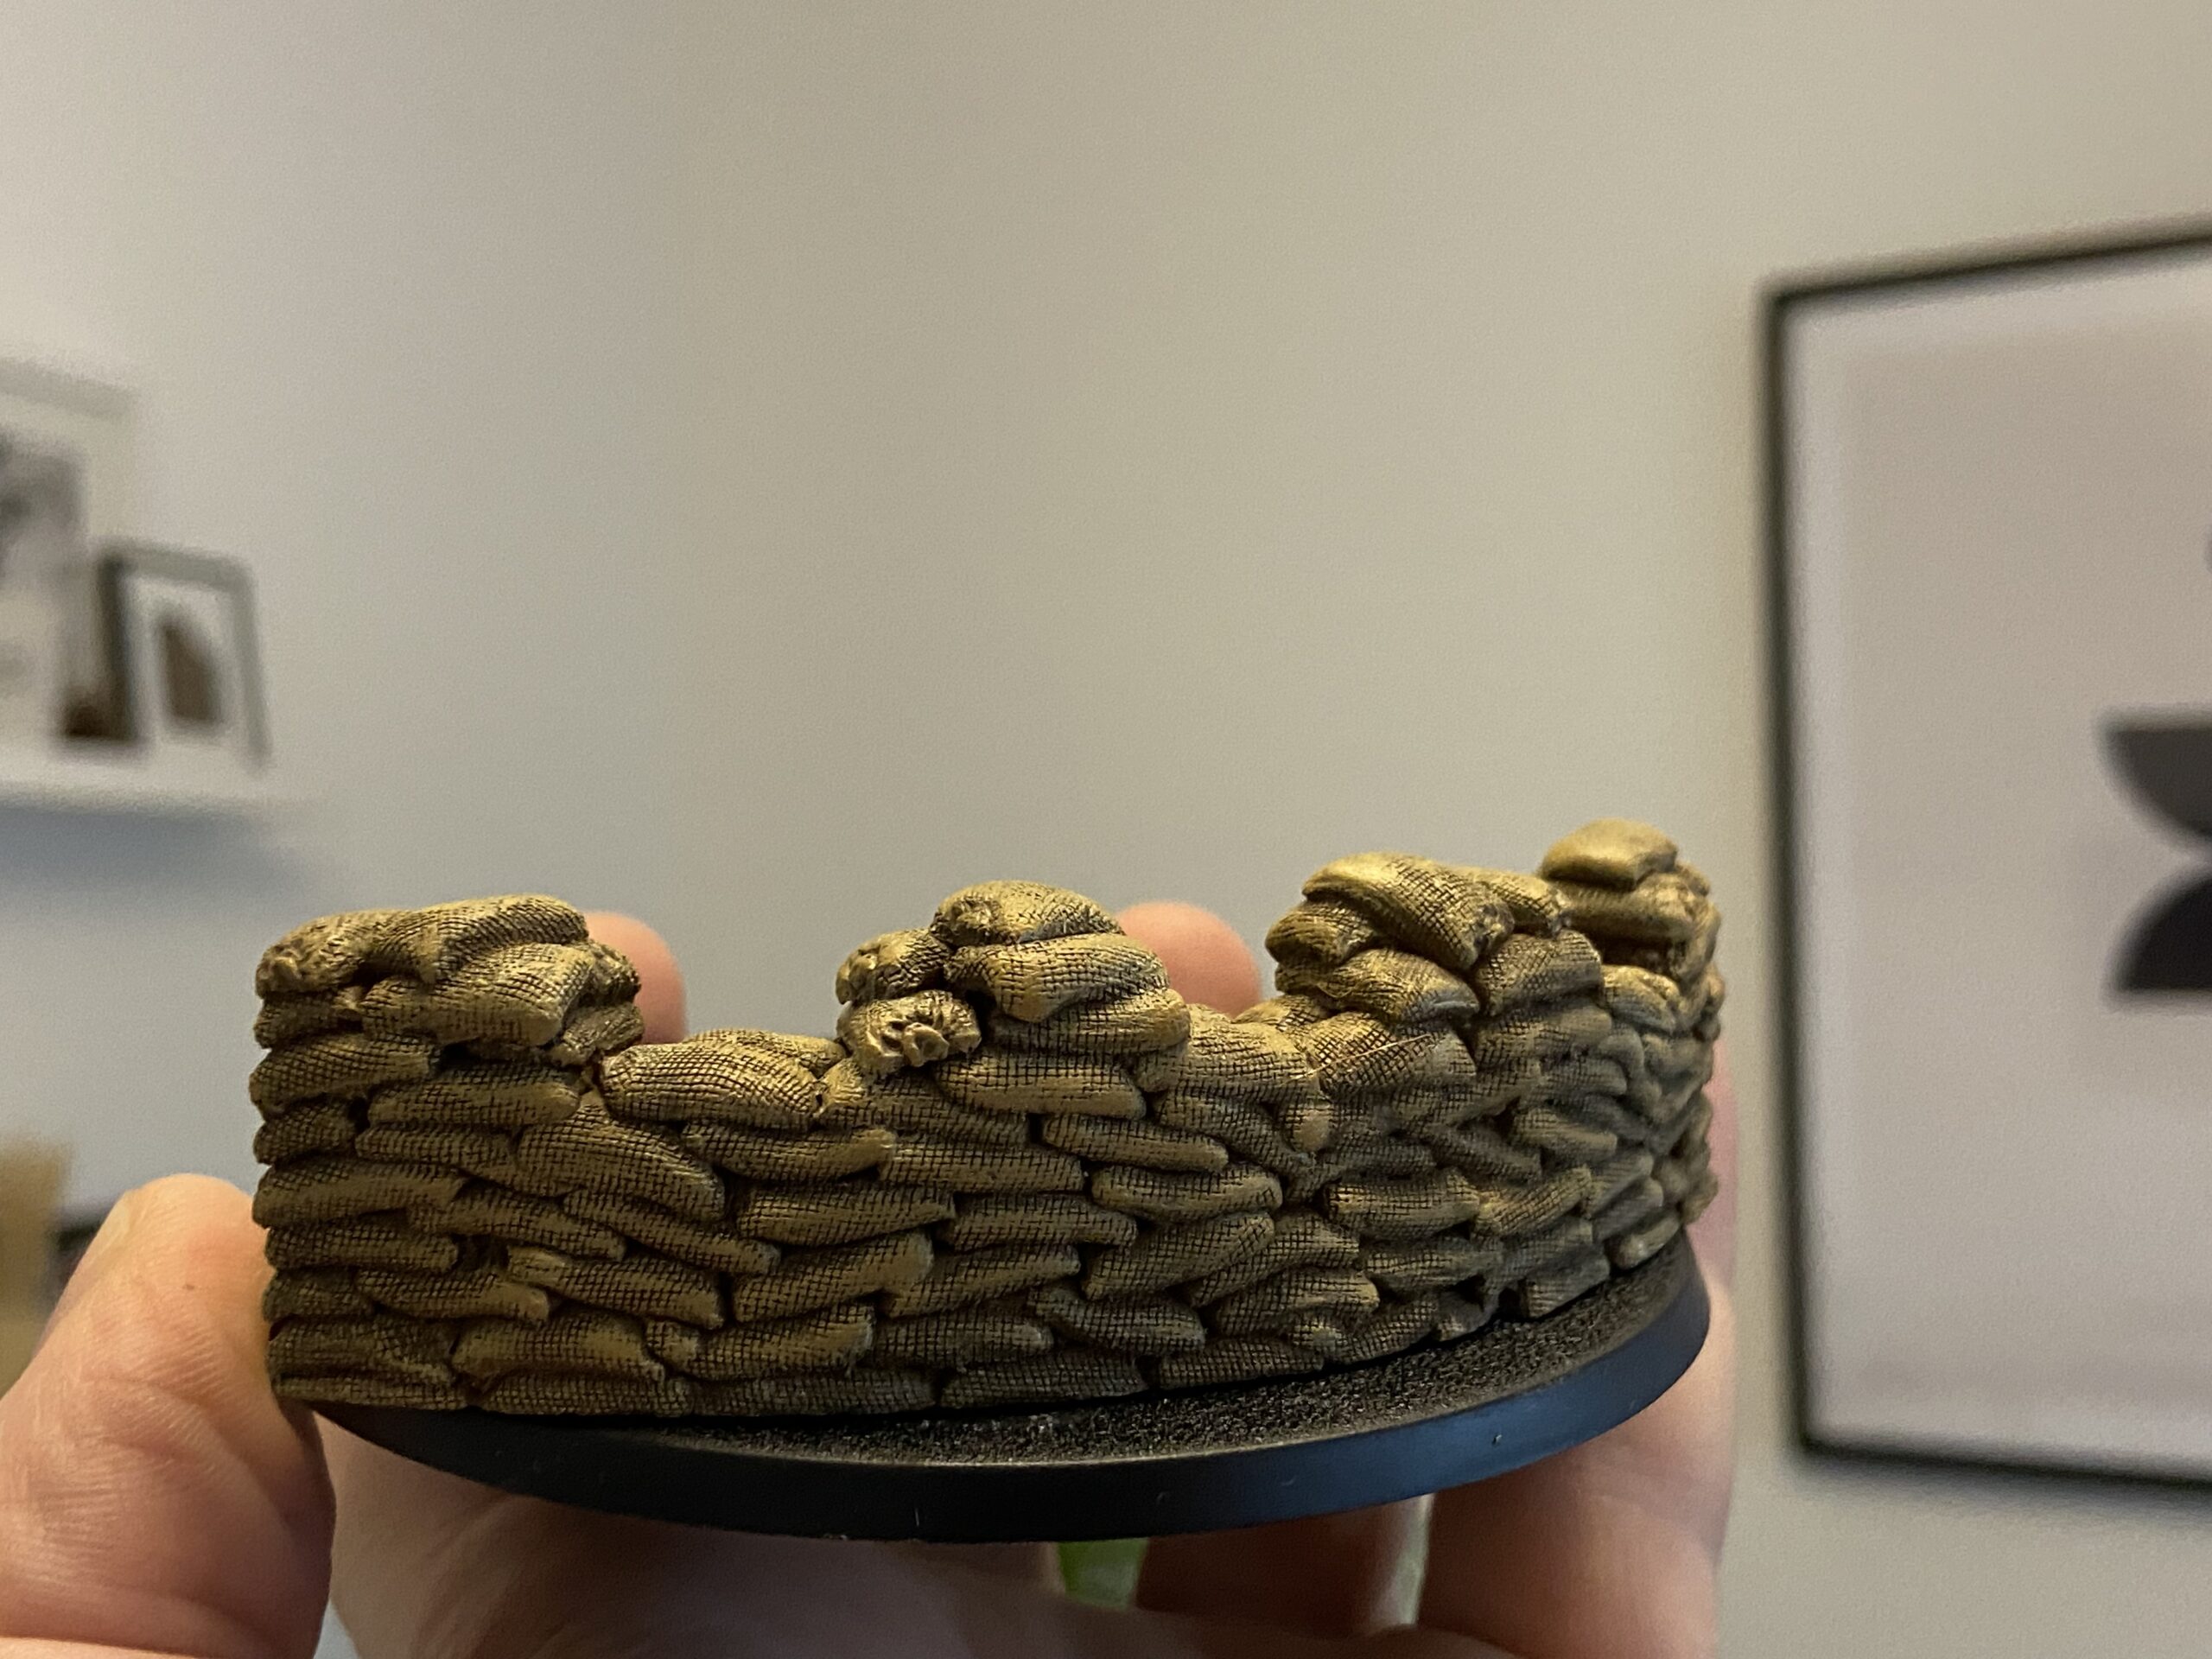
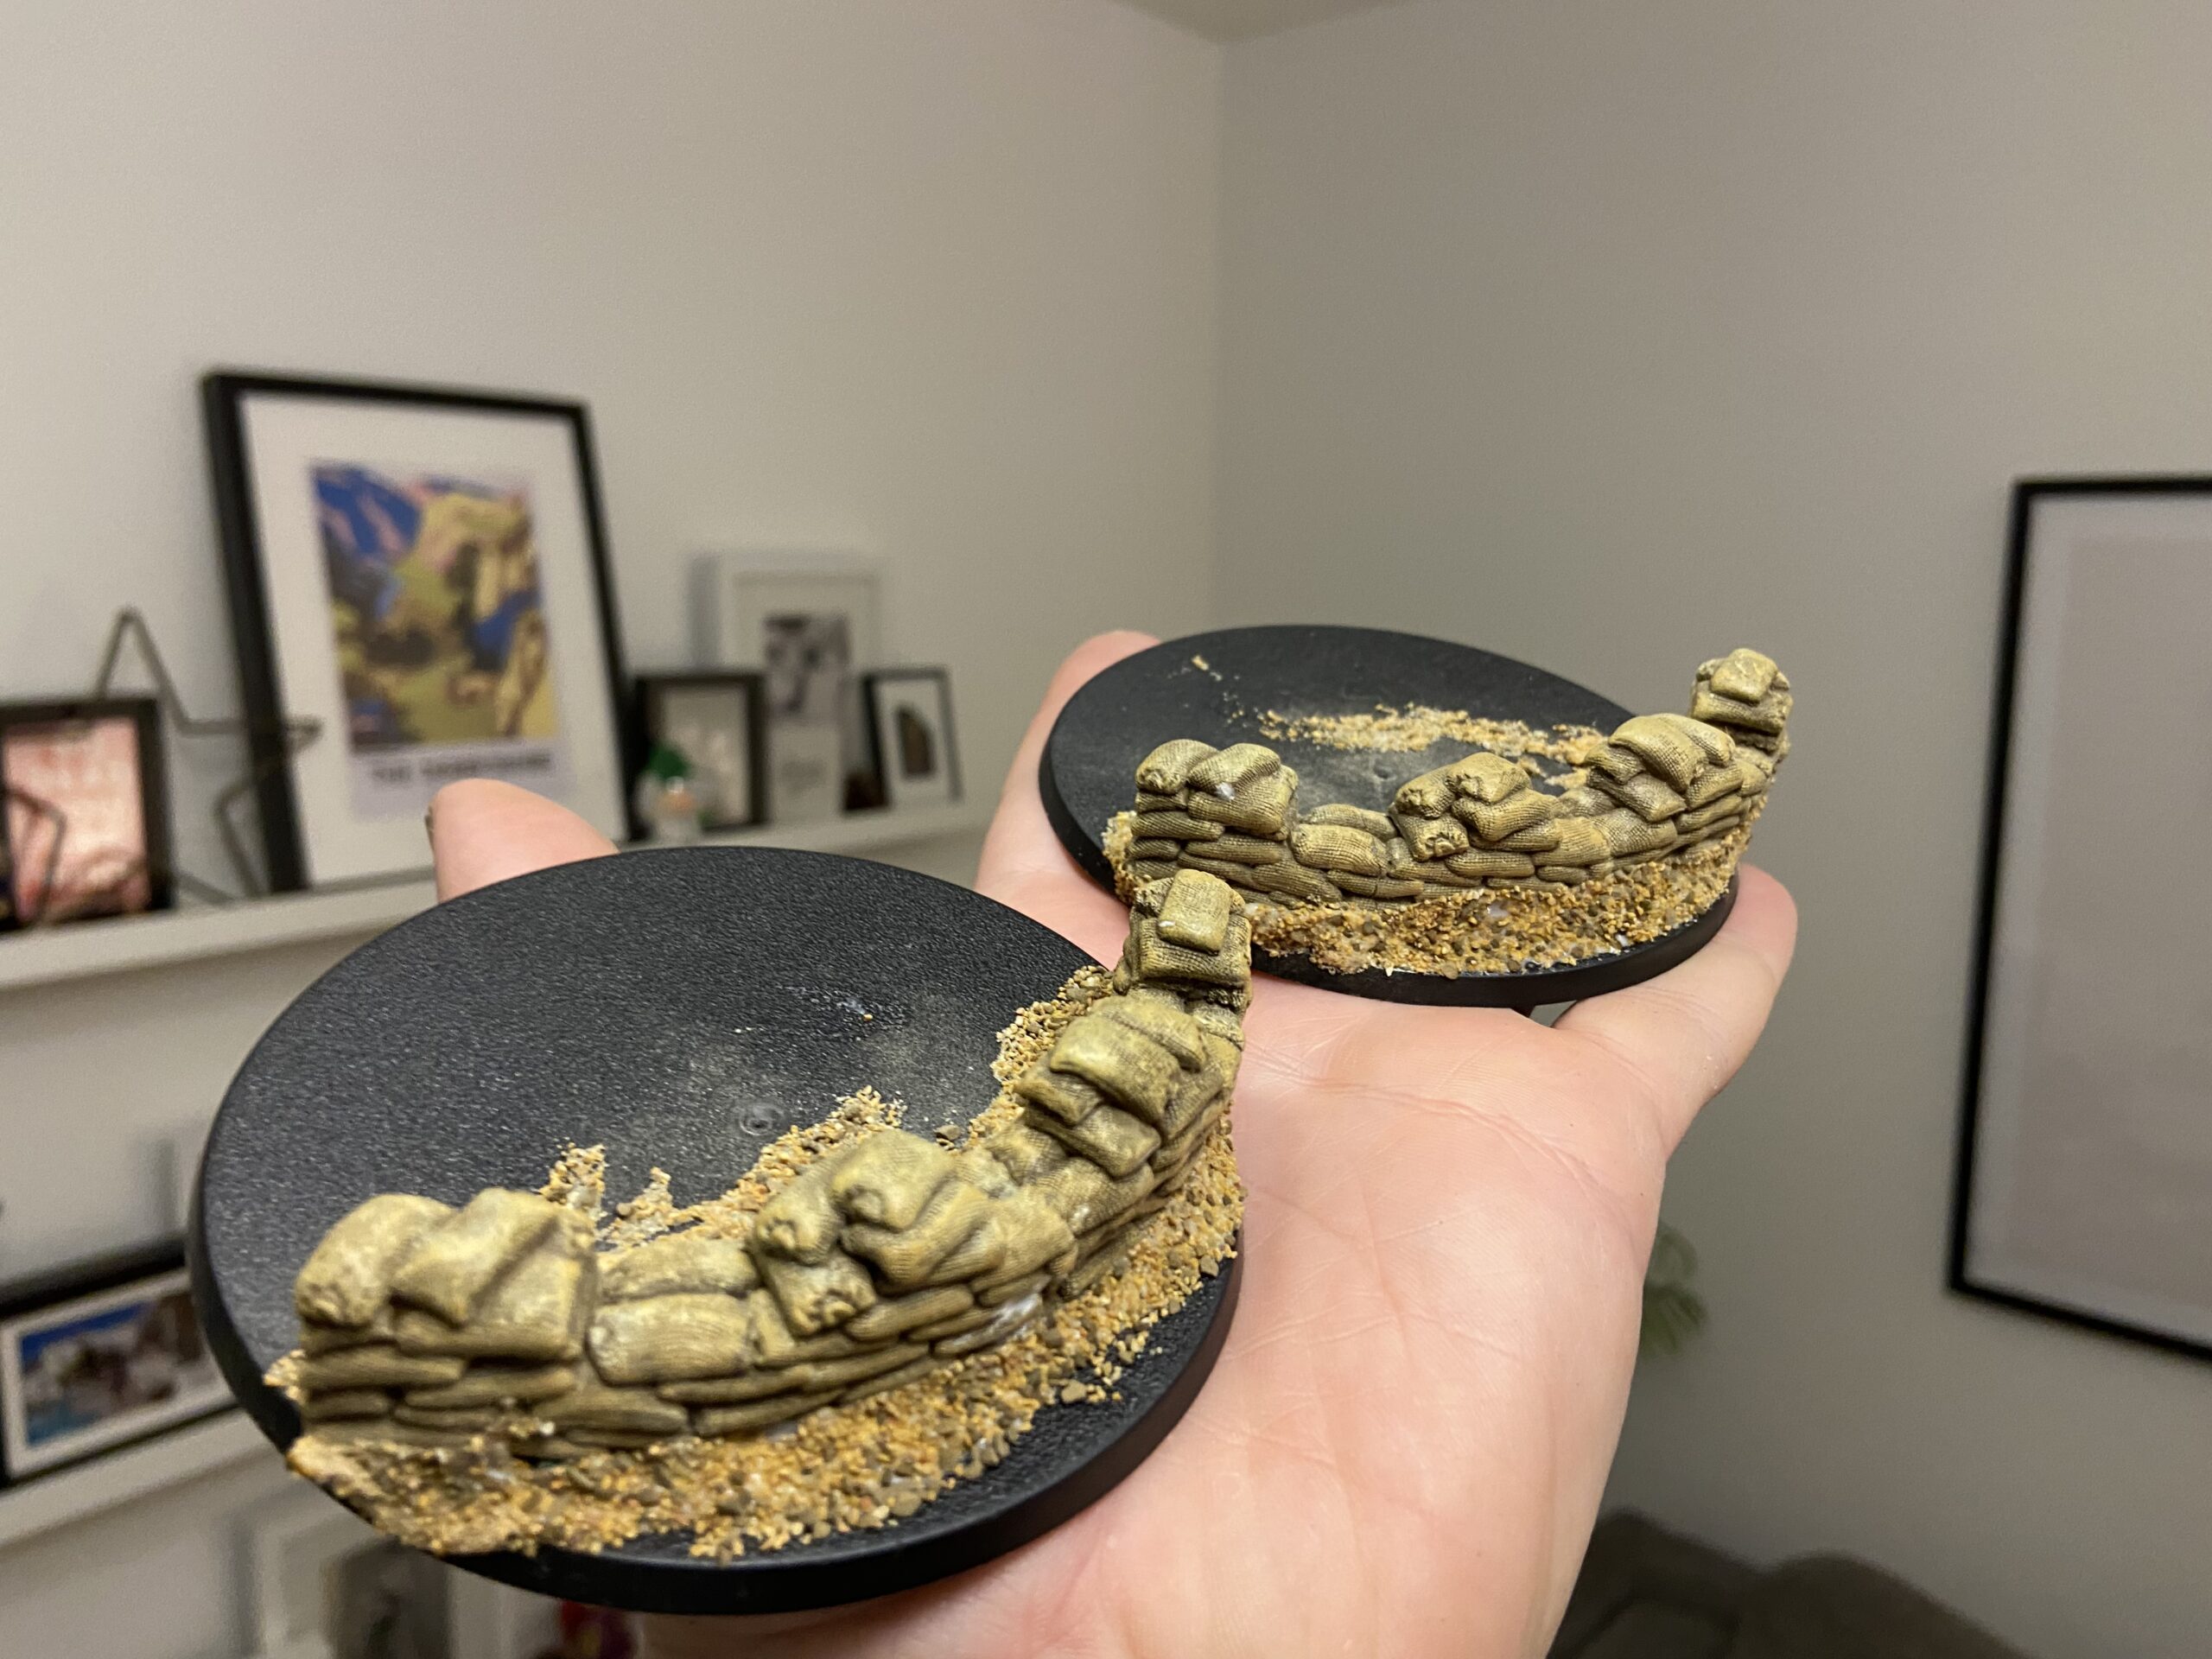
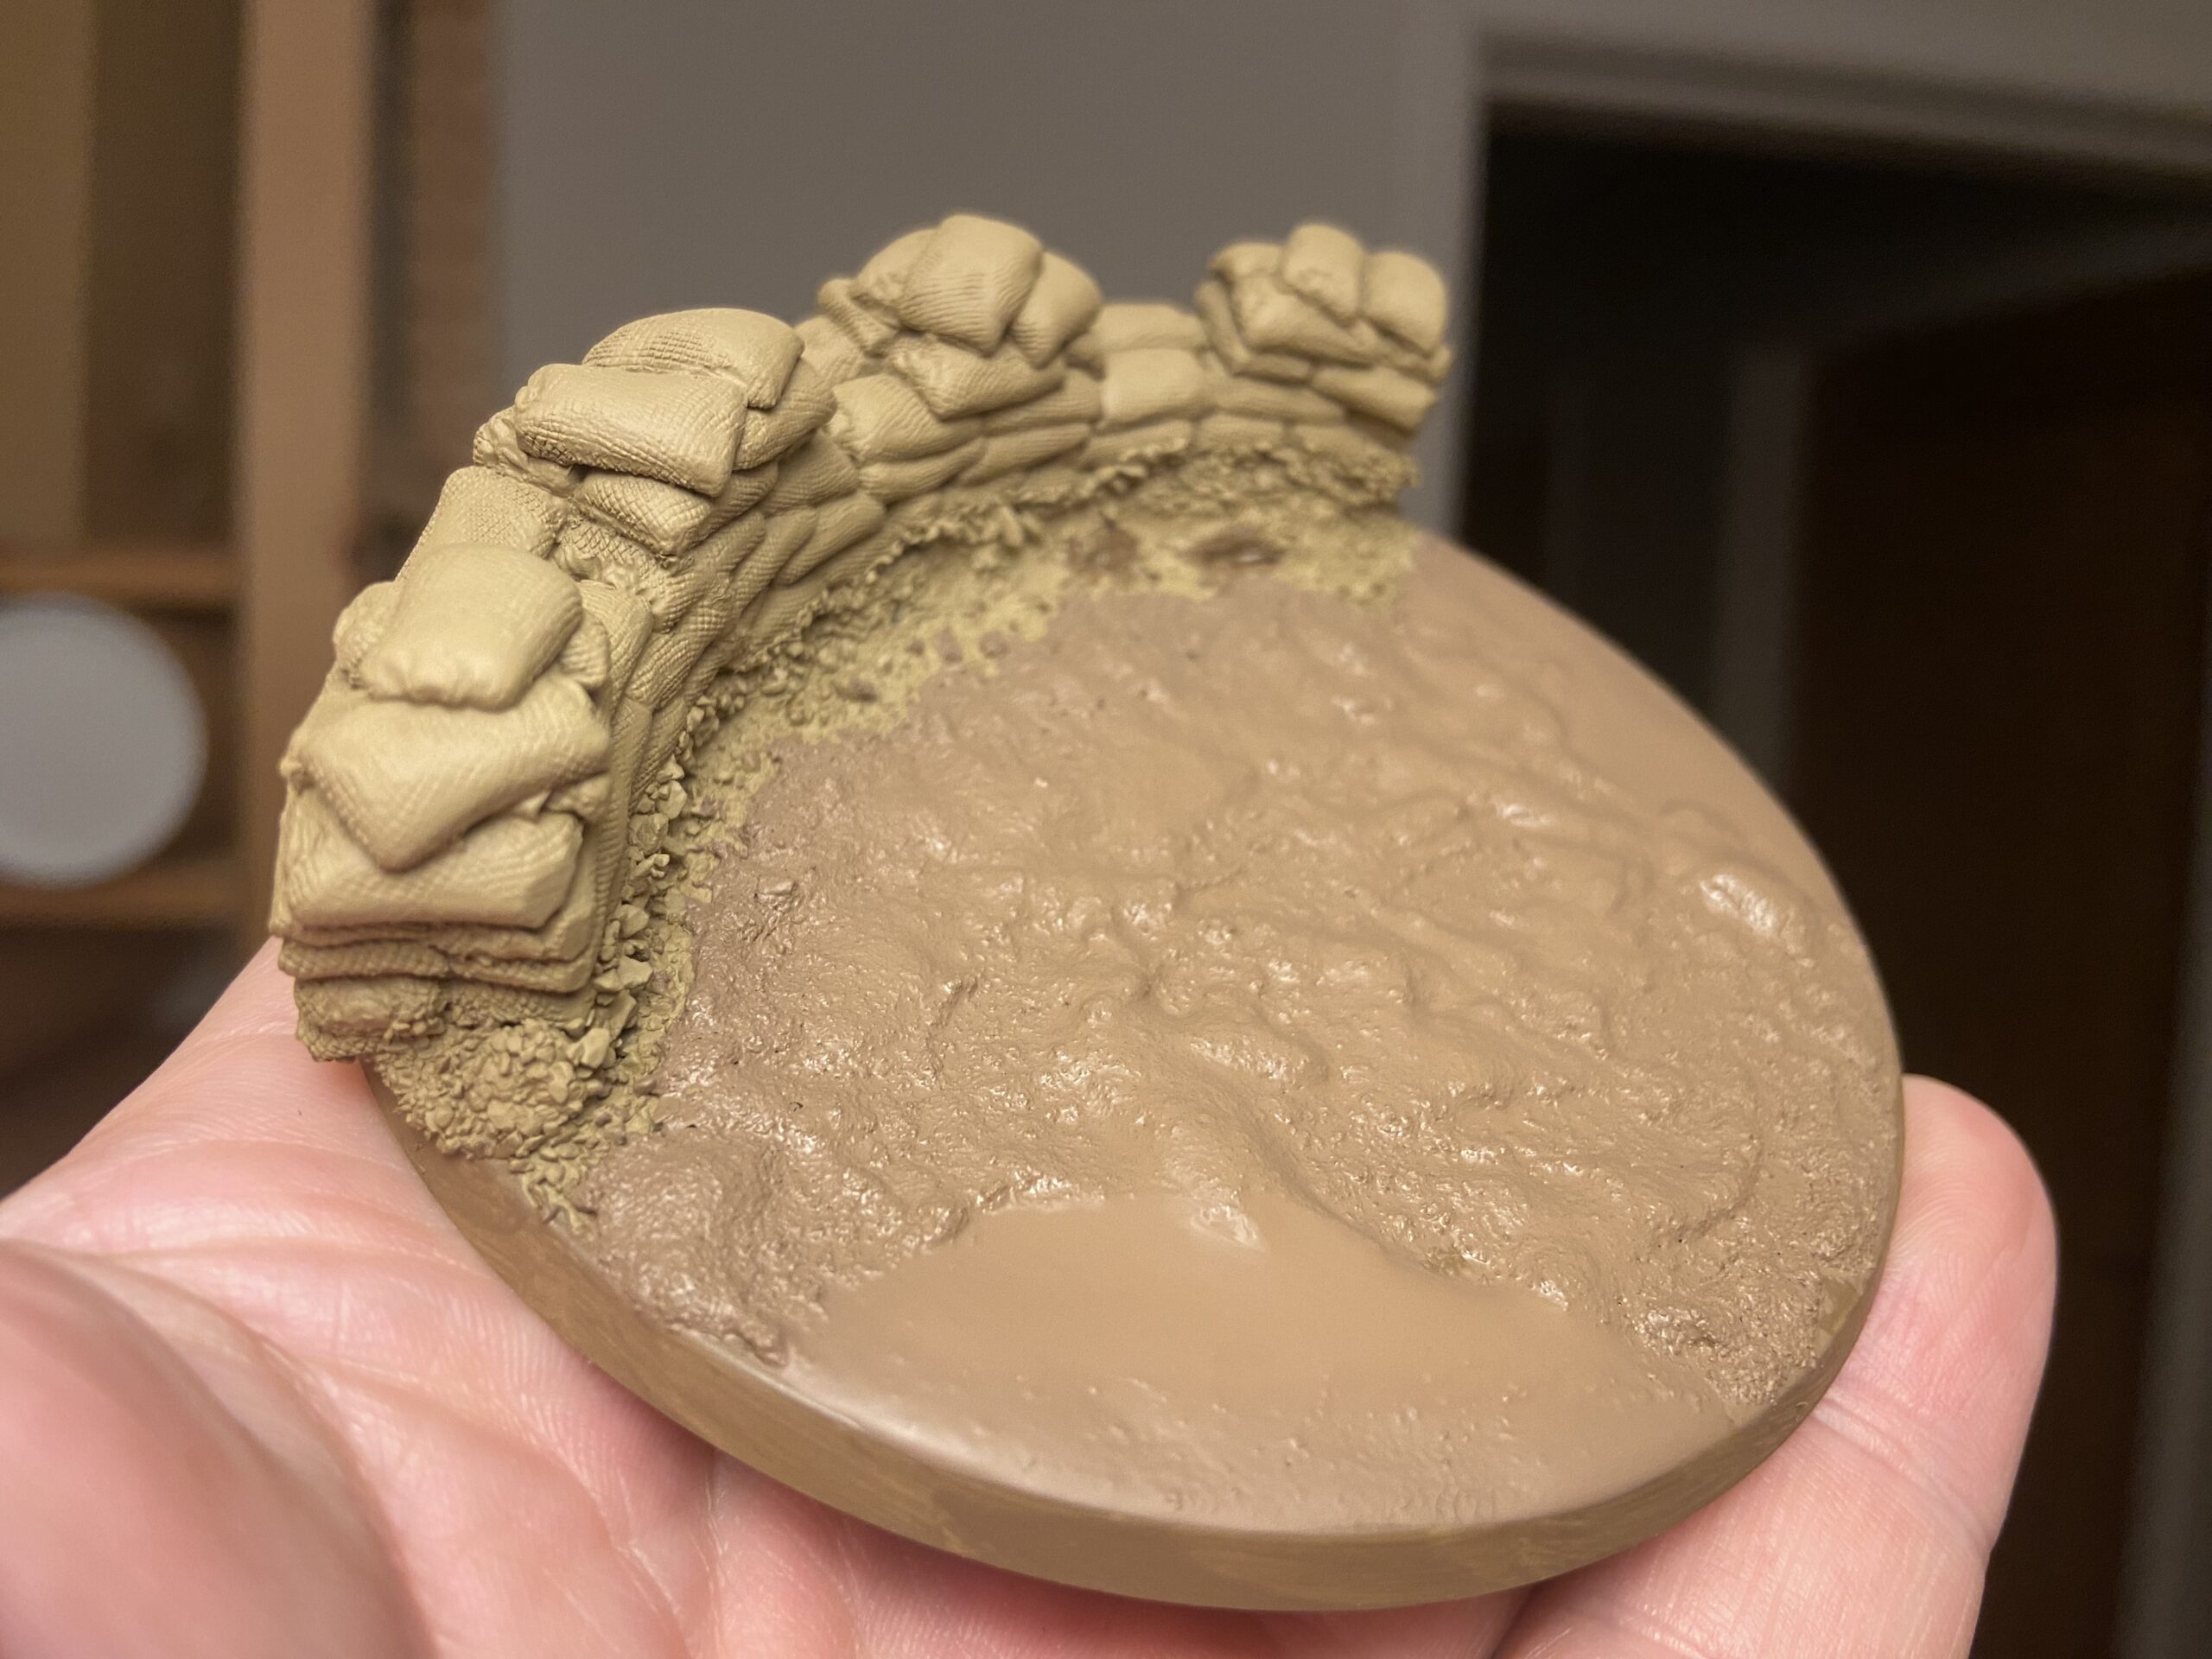
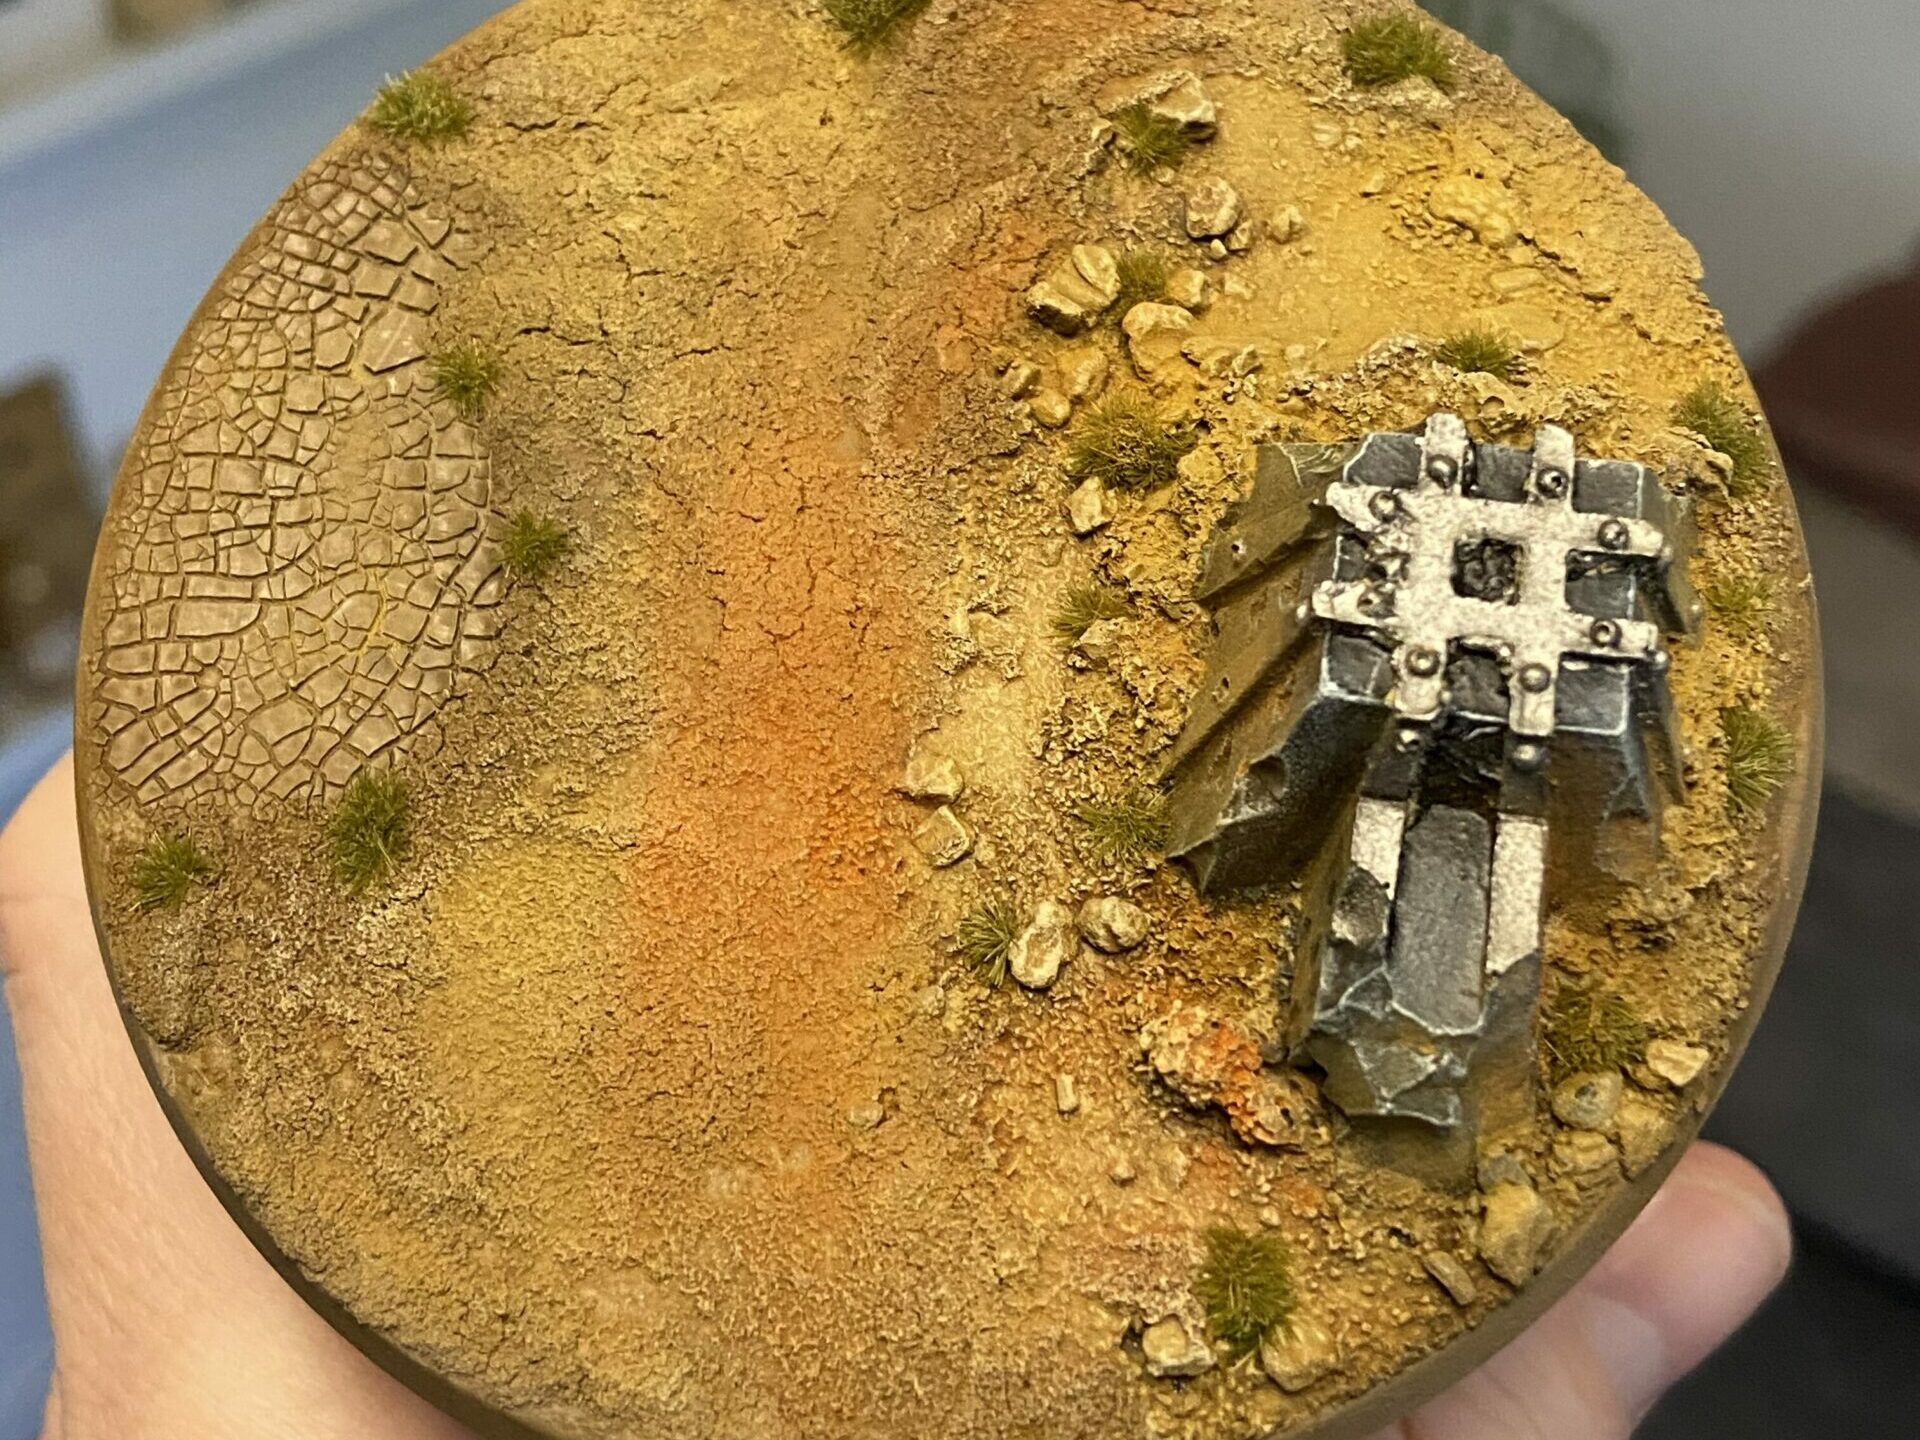
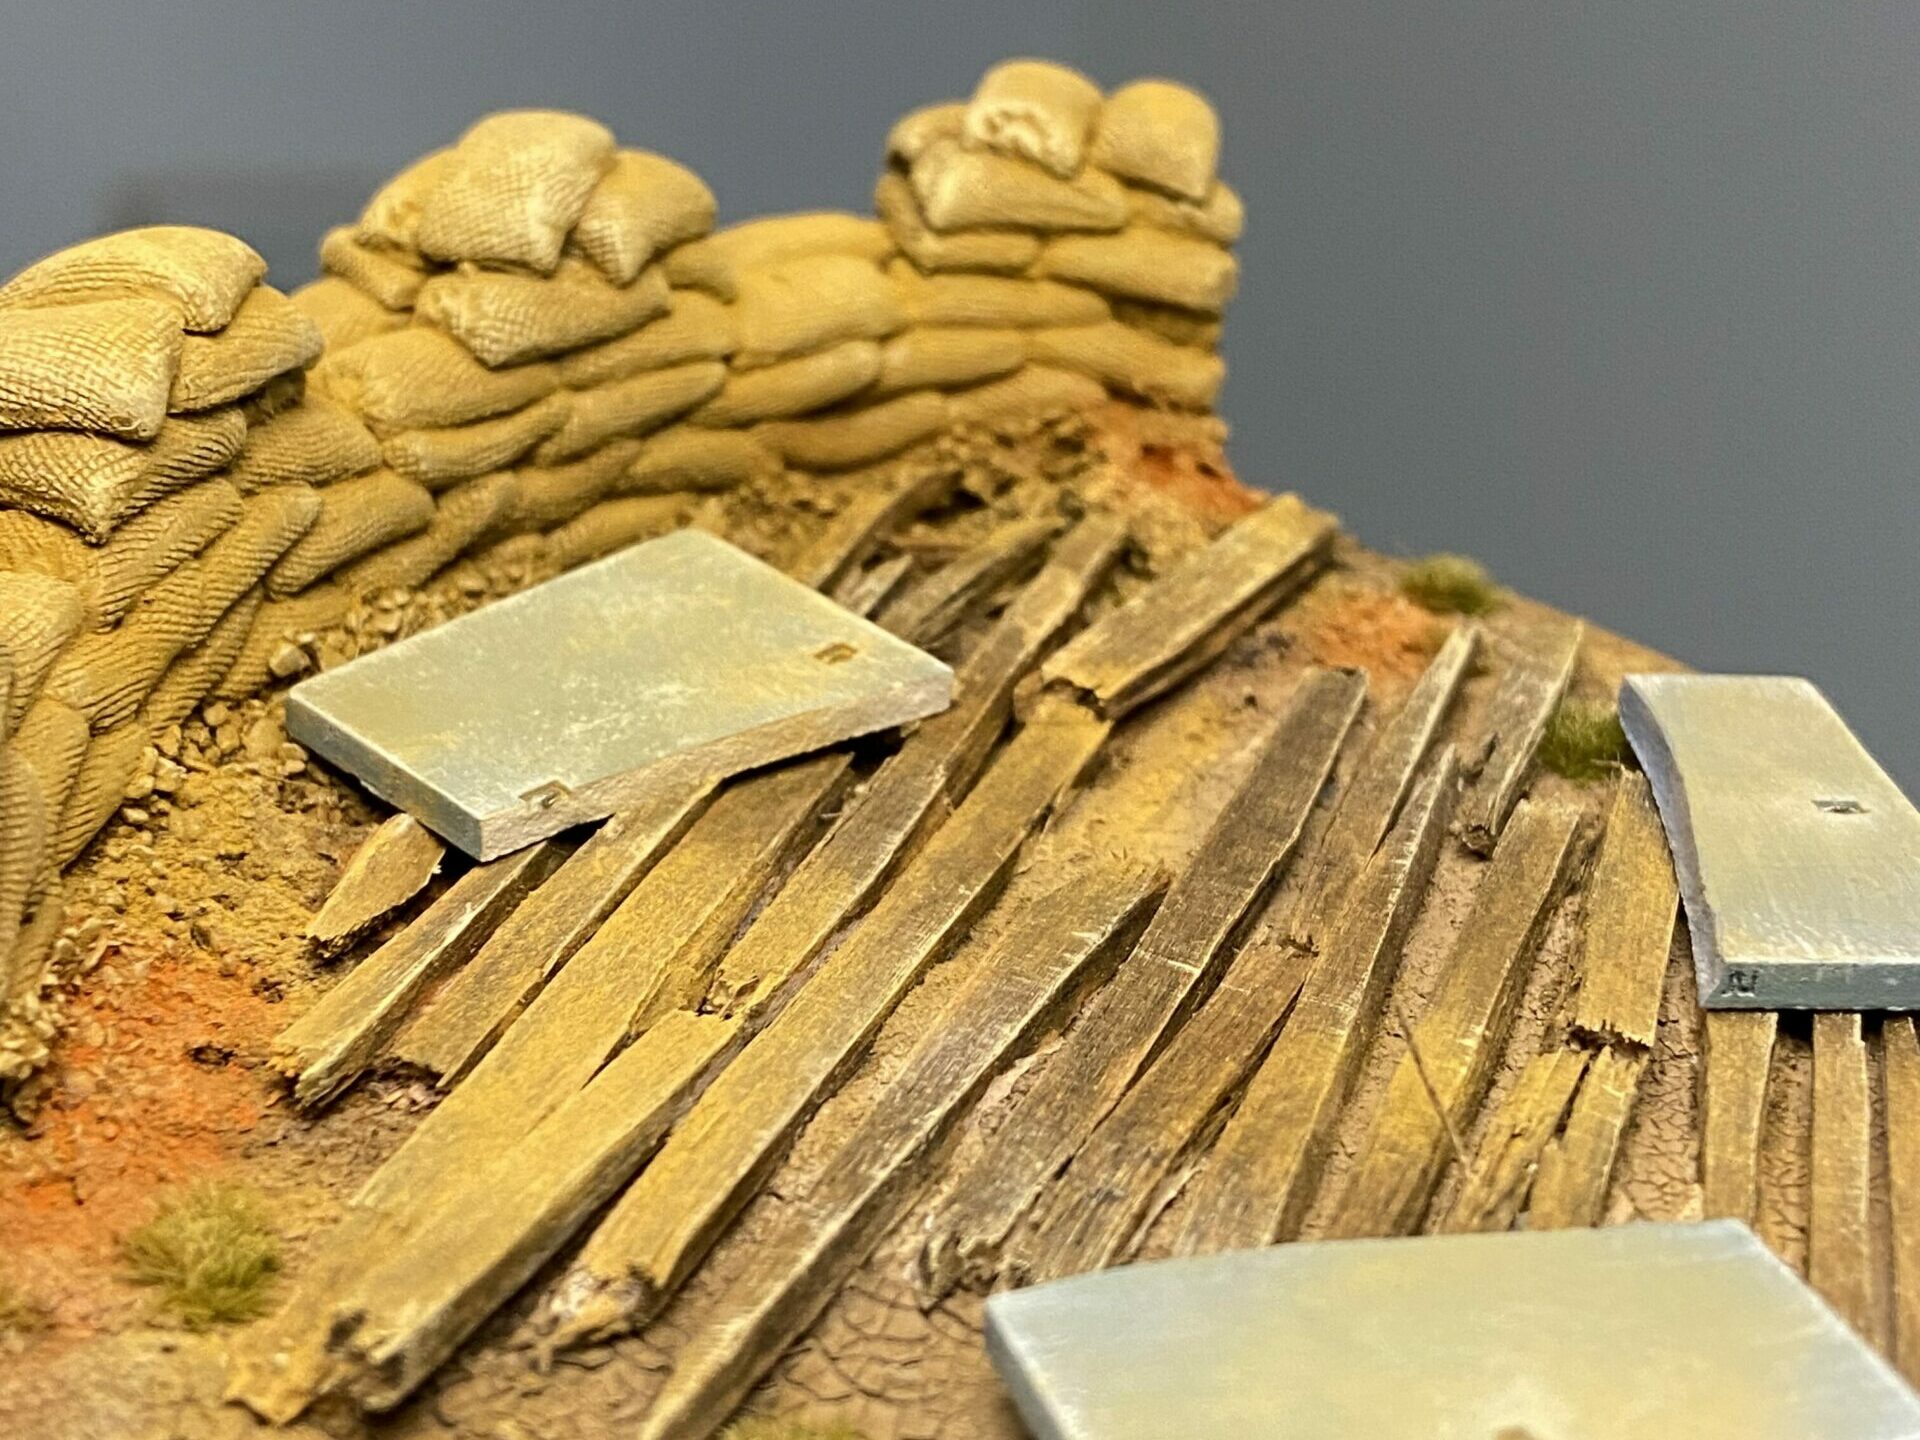
Sandbags
I used Pegasus Sangbags from eBay – I think. I say I think because I cannot find where I got these from at all. Not in my email or past purchases on eBay or Etsy. If you go for these, you want the 28mm or 32mm scale ones.
I found them too high, so I used a saw, yes, a saw, to get rid of the bottom two or three layers. You can see them high and then lower in the WIP photos below. The first two photos are from before I reduced their height by sawing off the bottom.
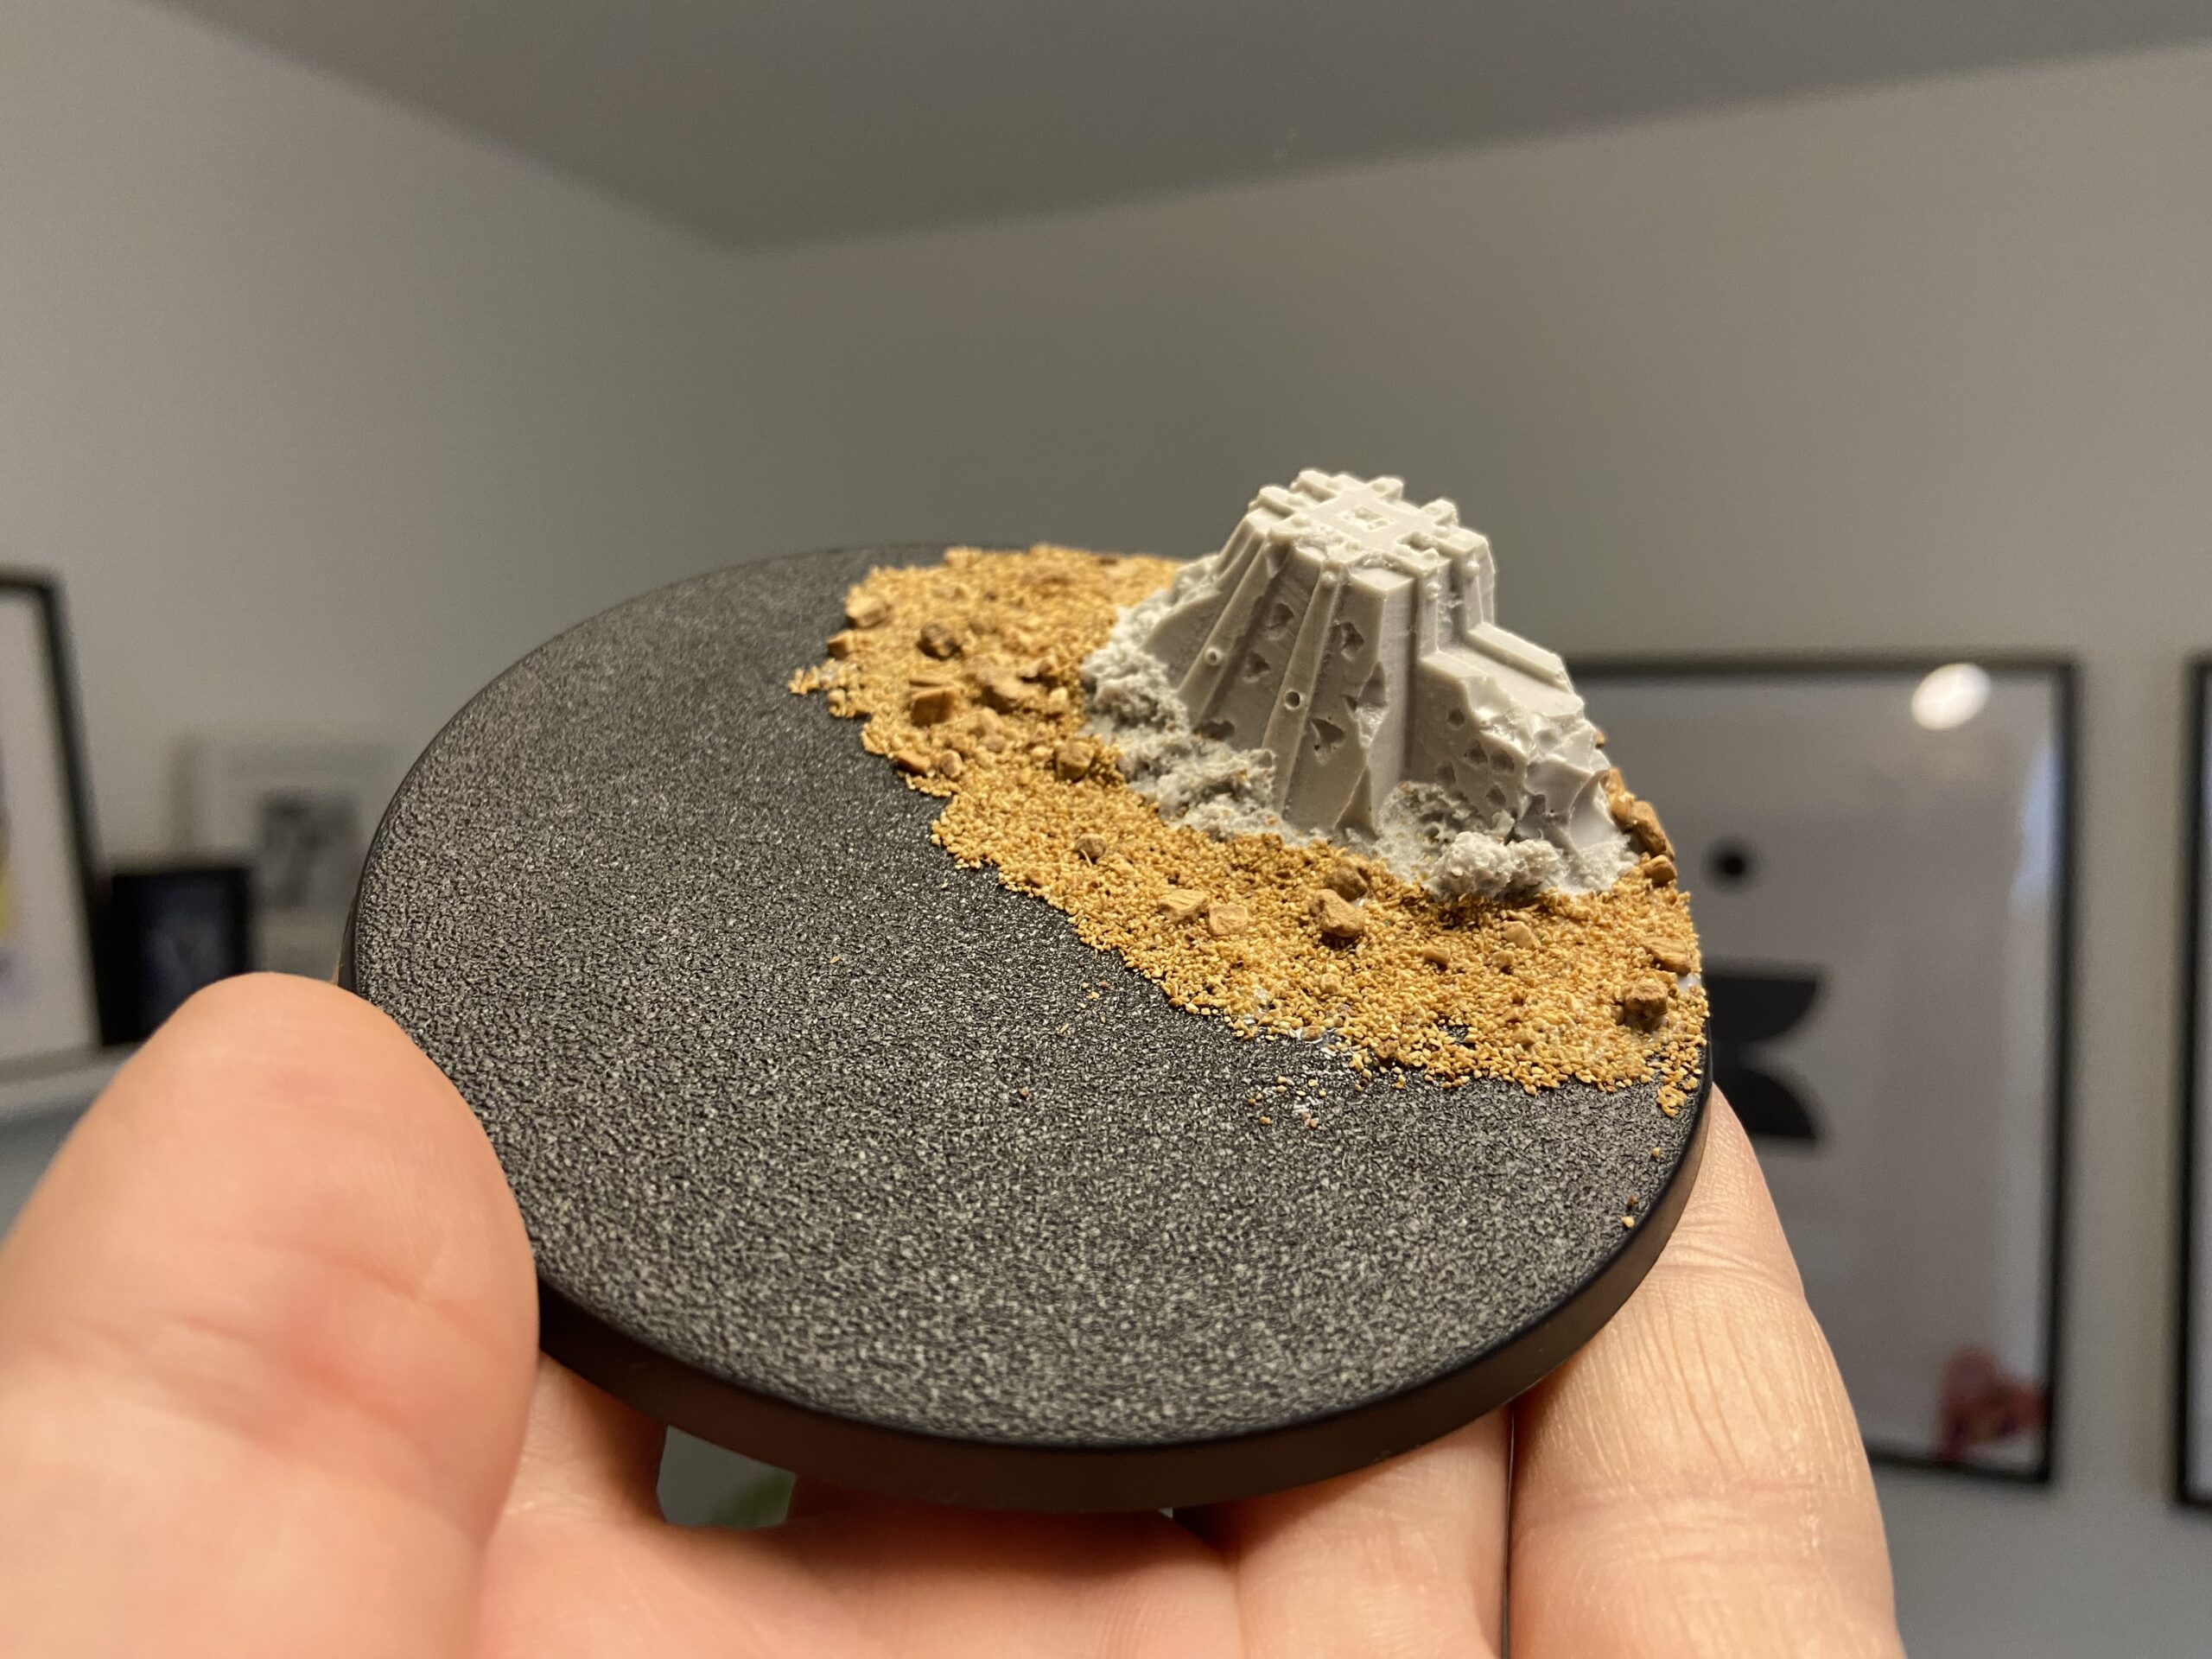
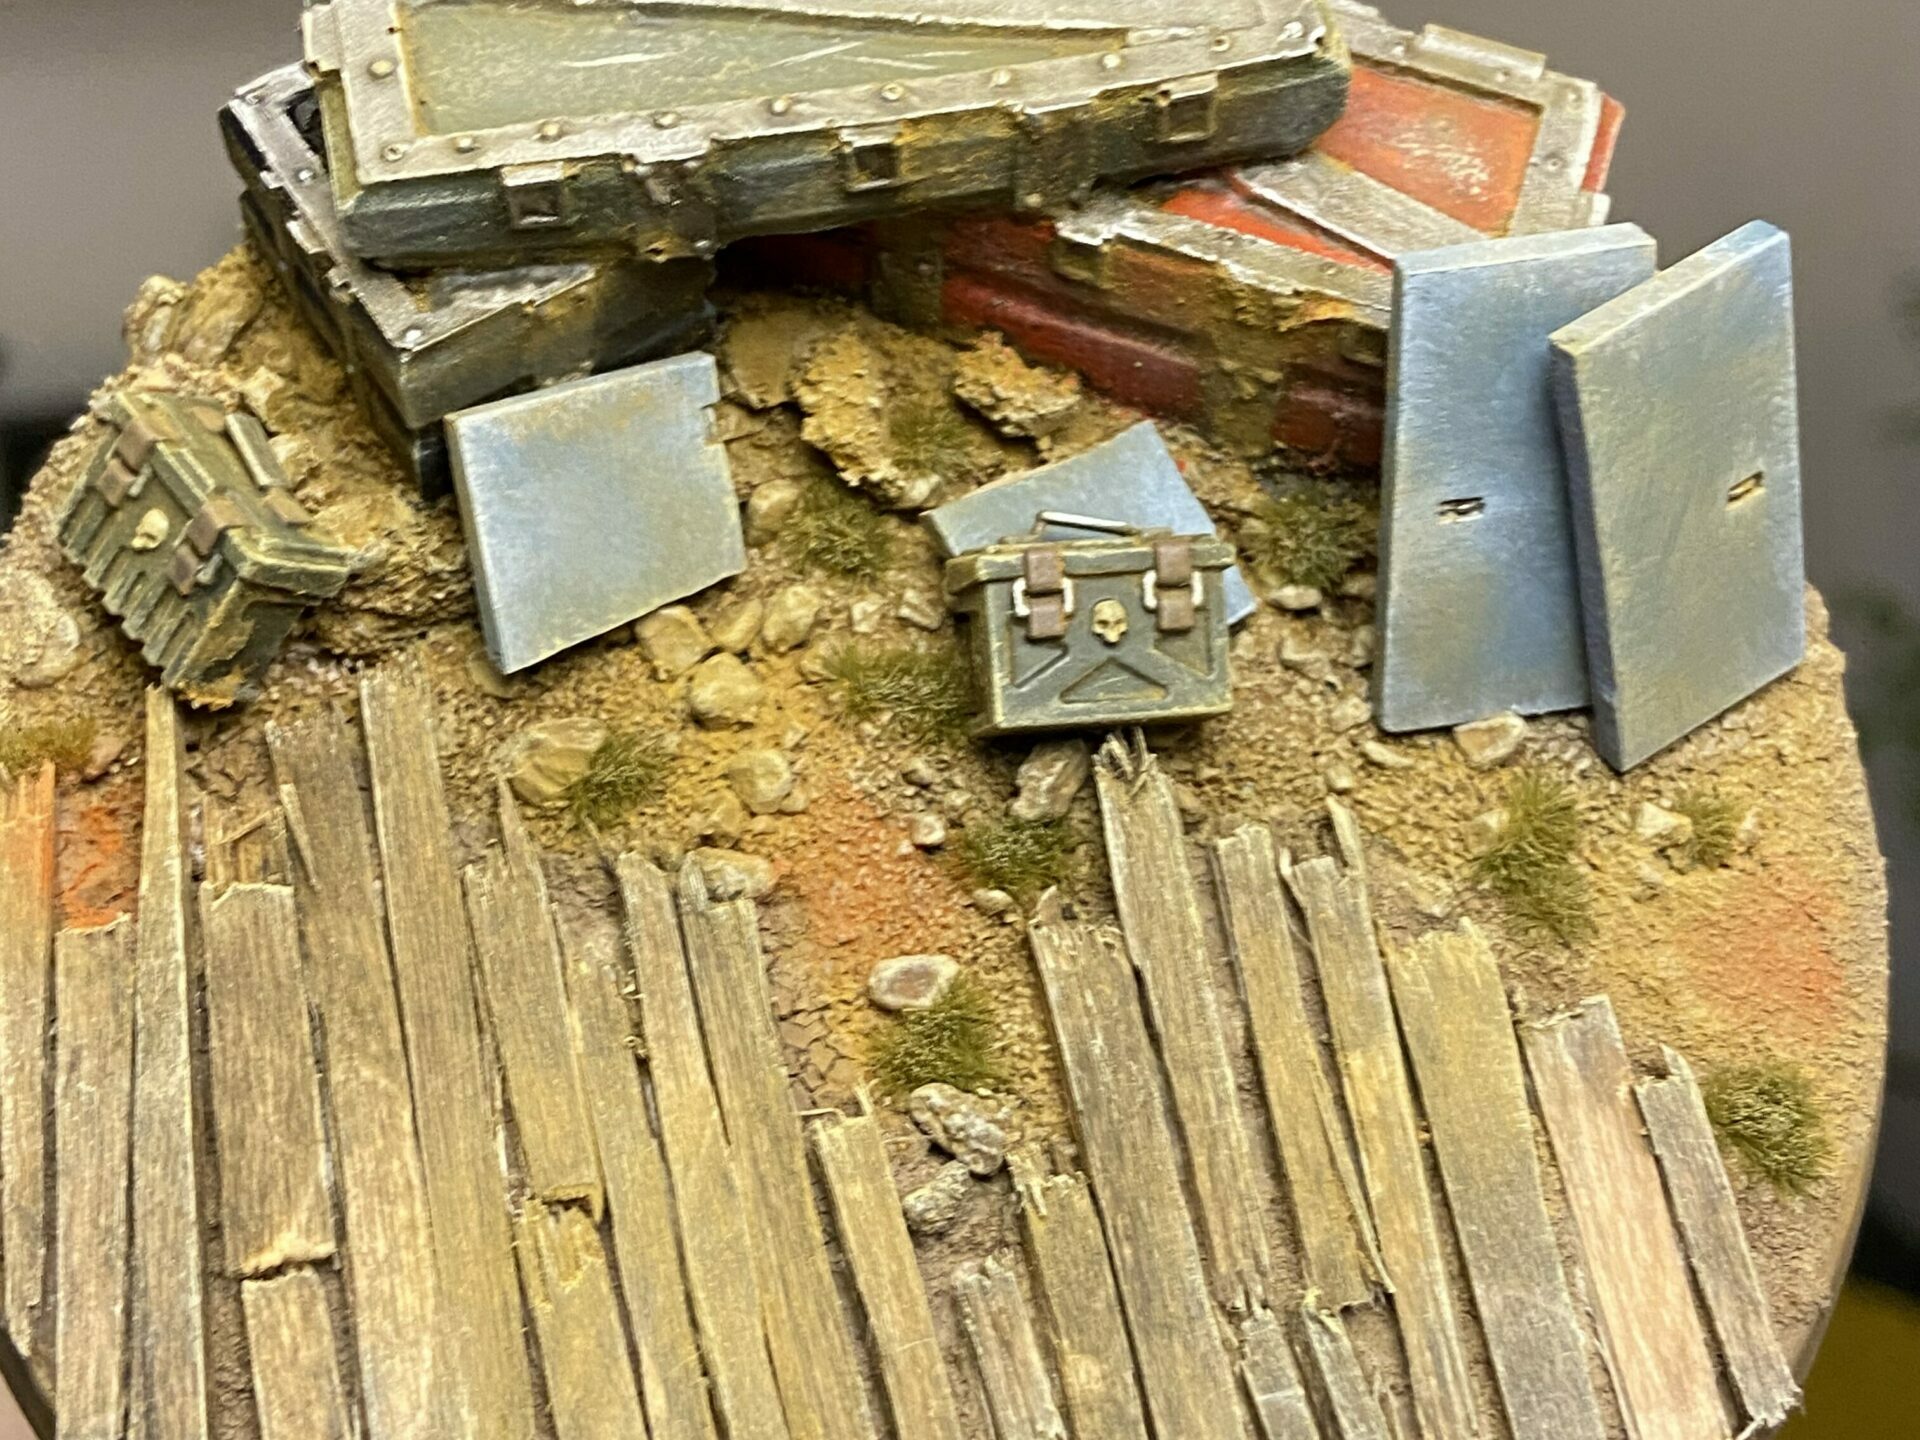
March of War Bases
I also used Dragon’s Teeth and Ammo Crates from March of War.

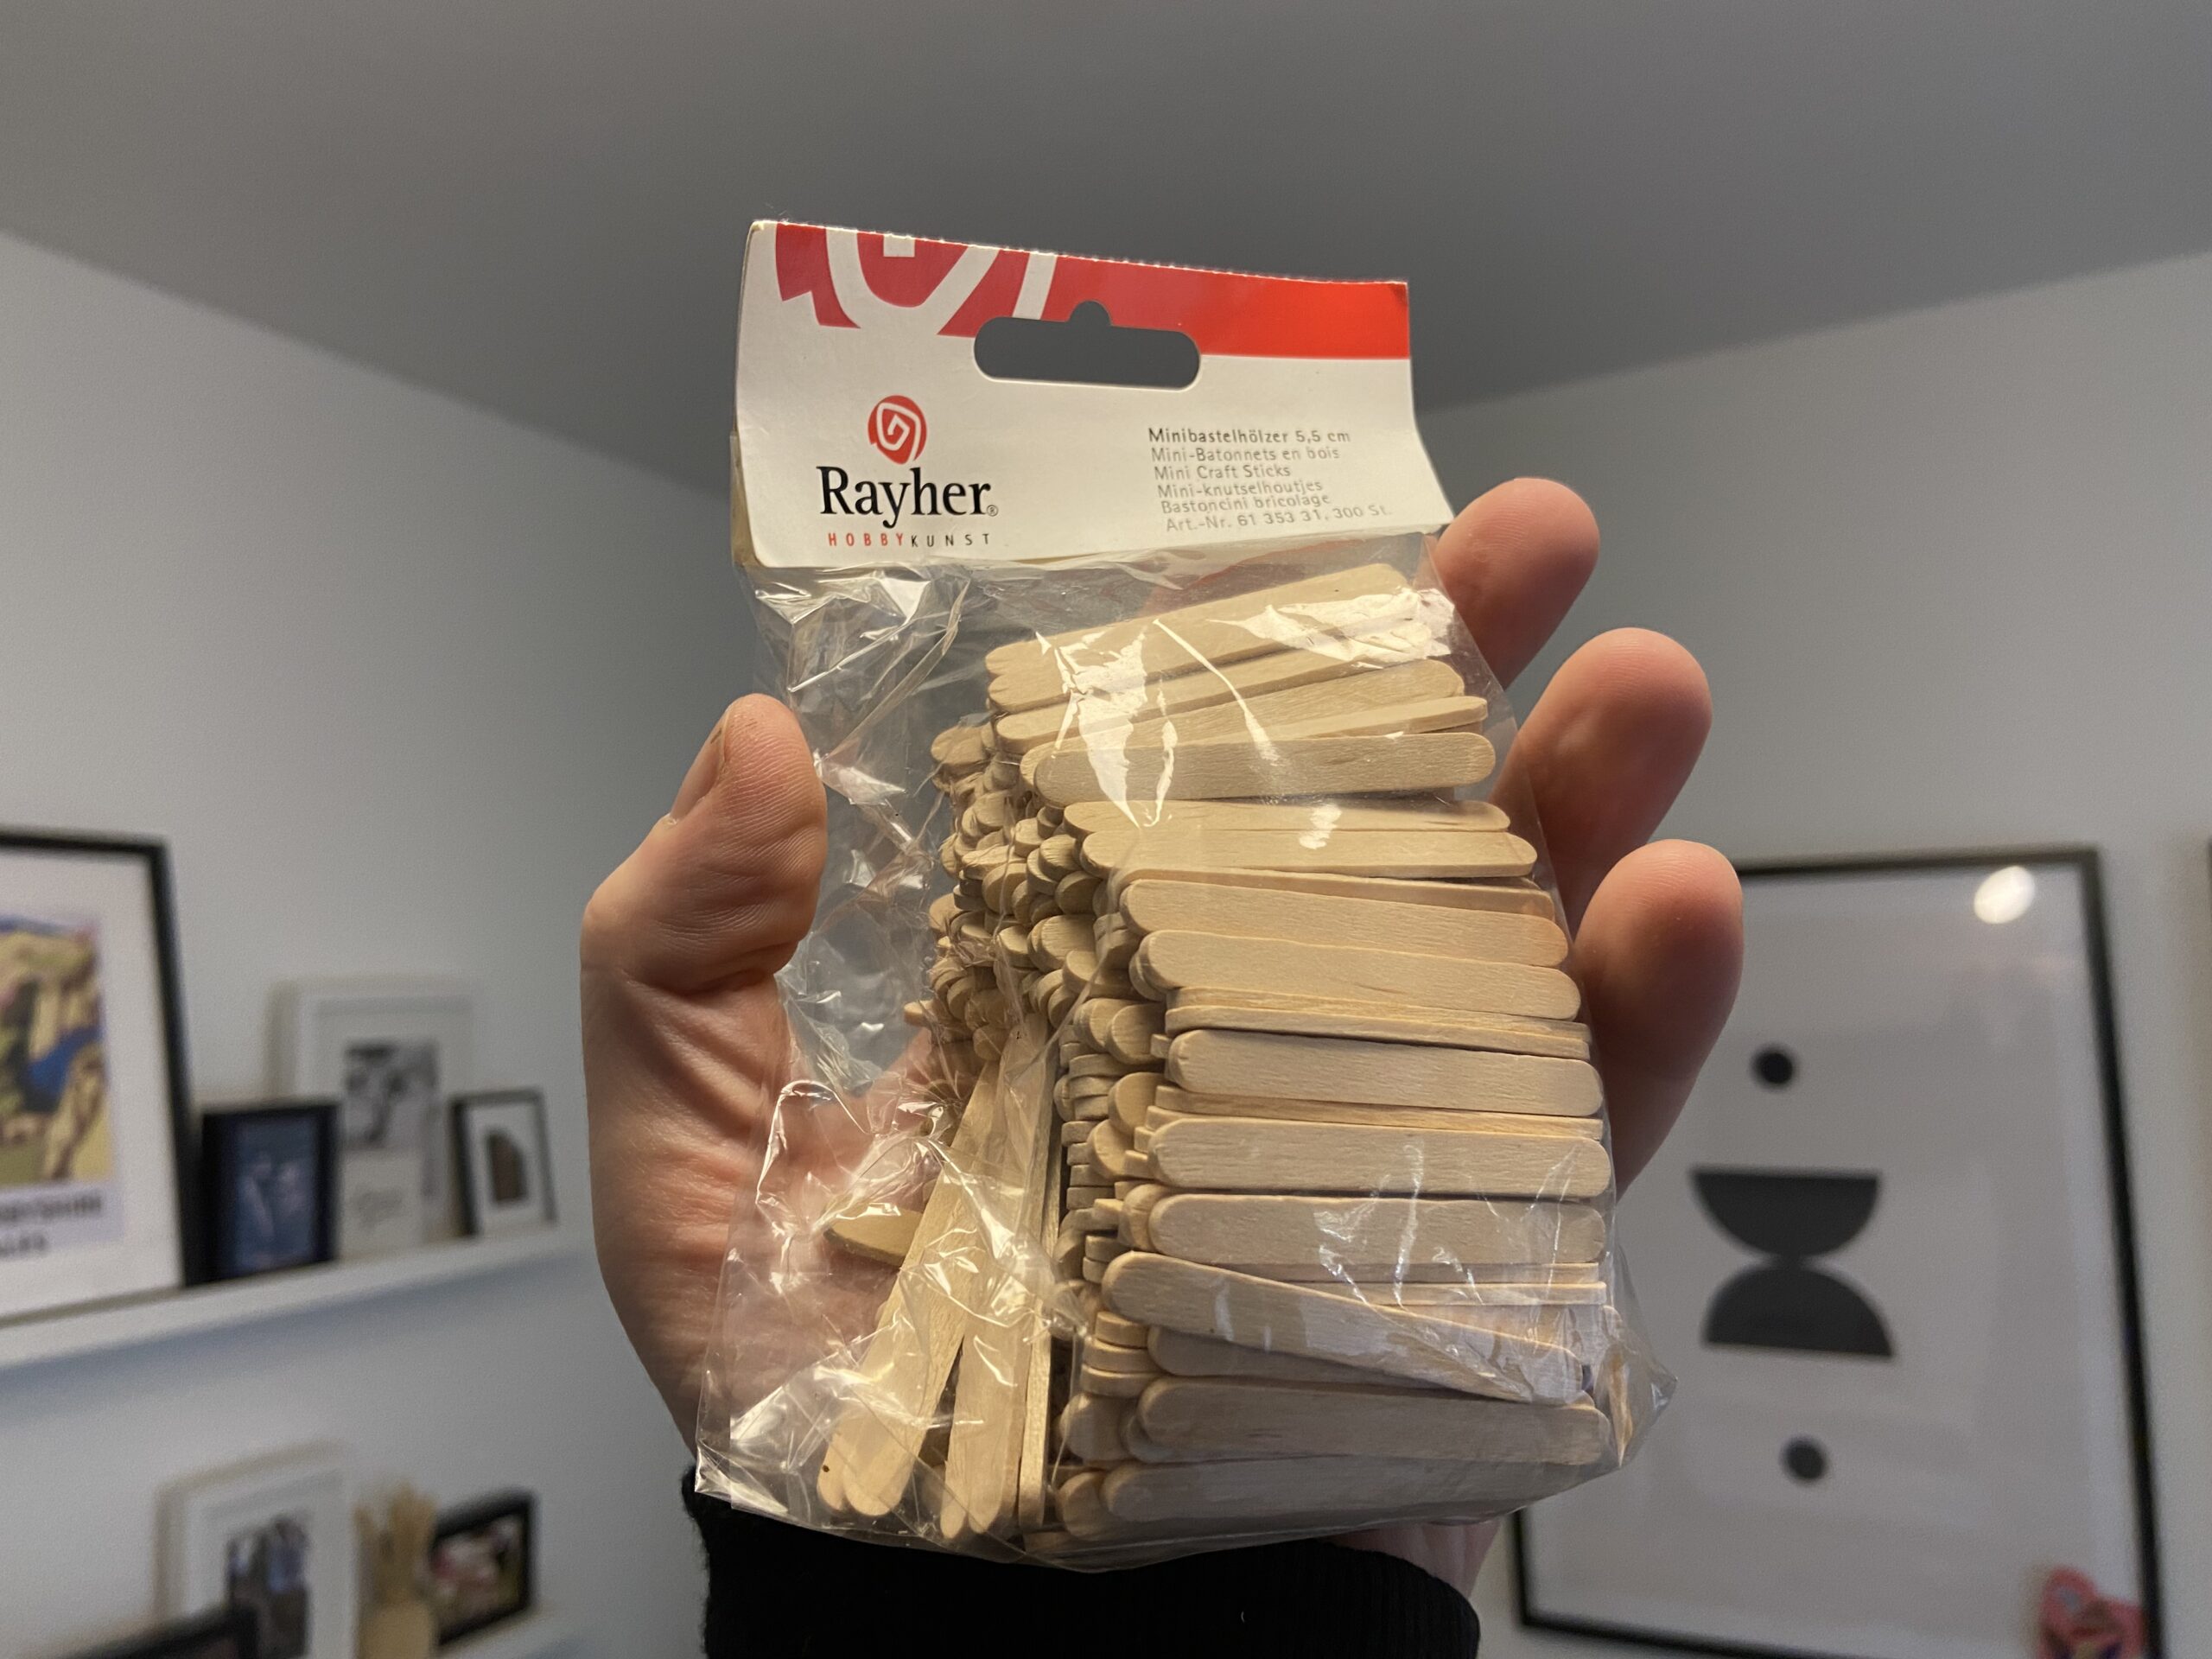
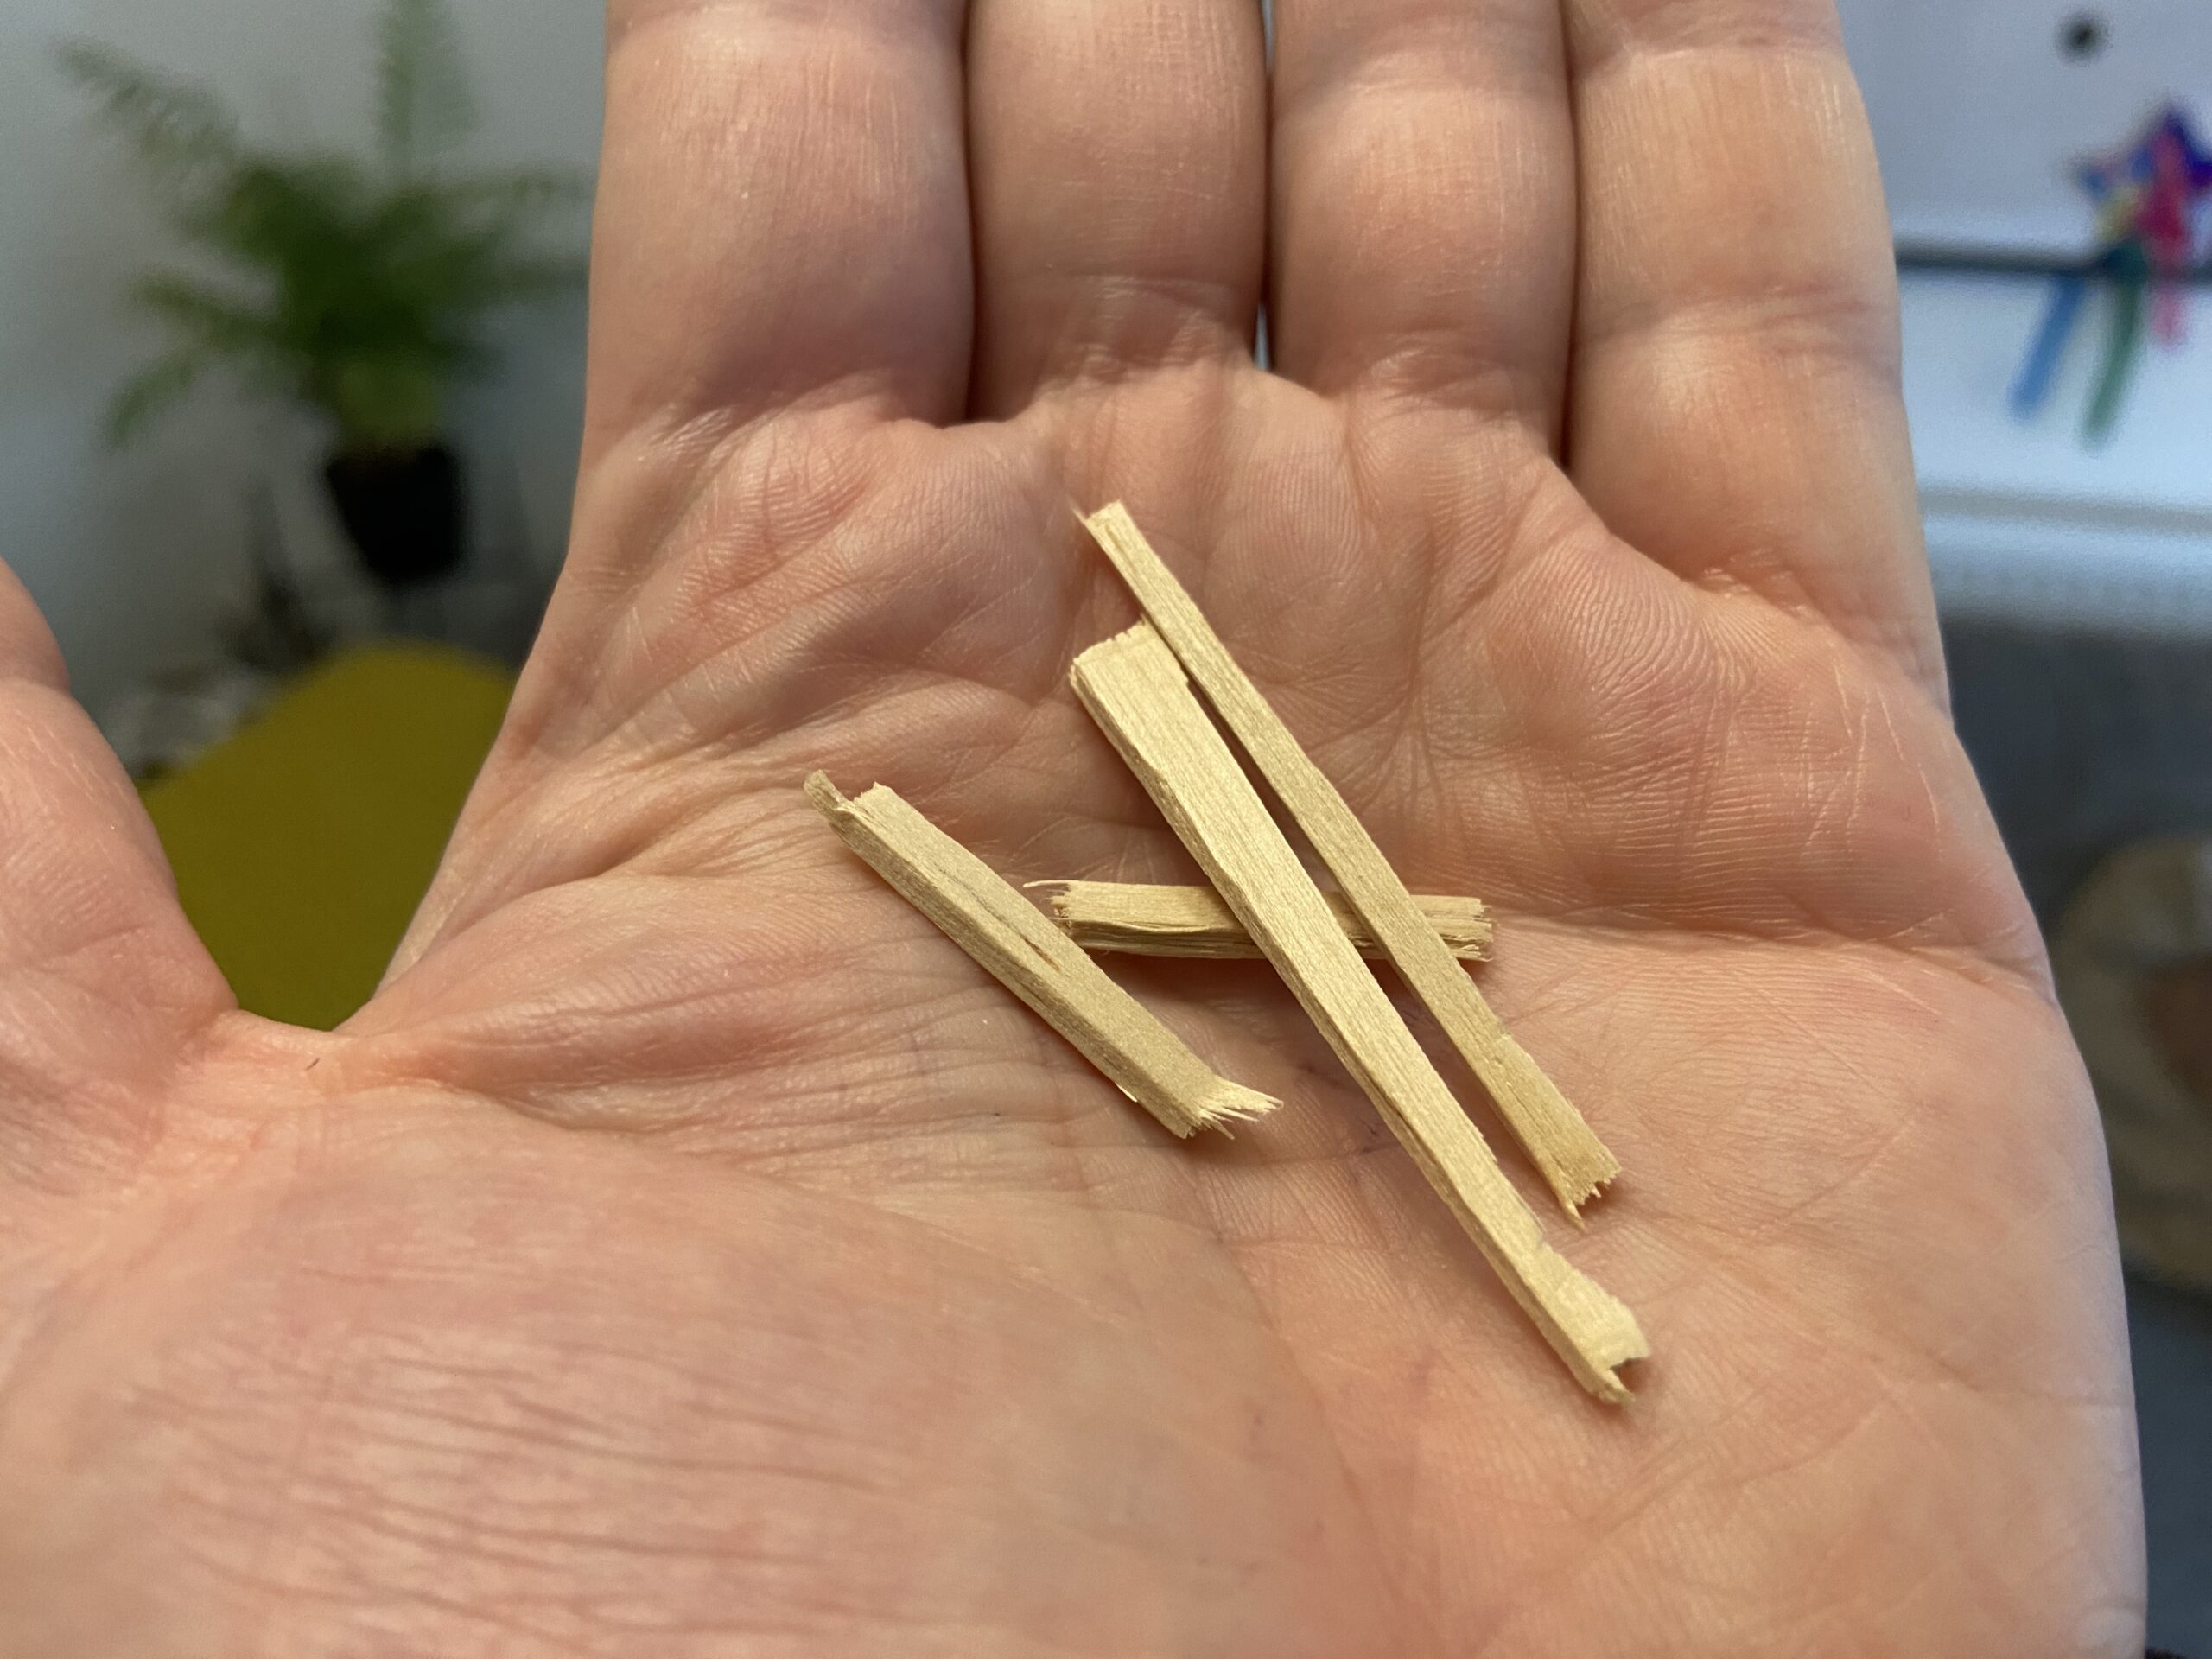
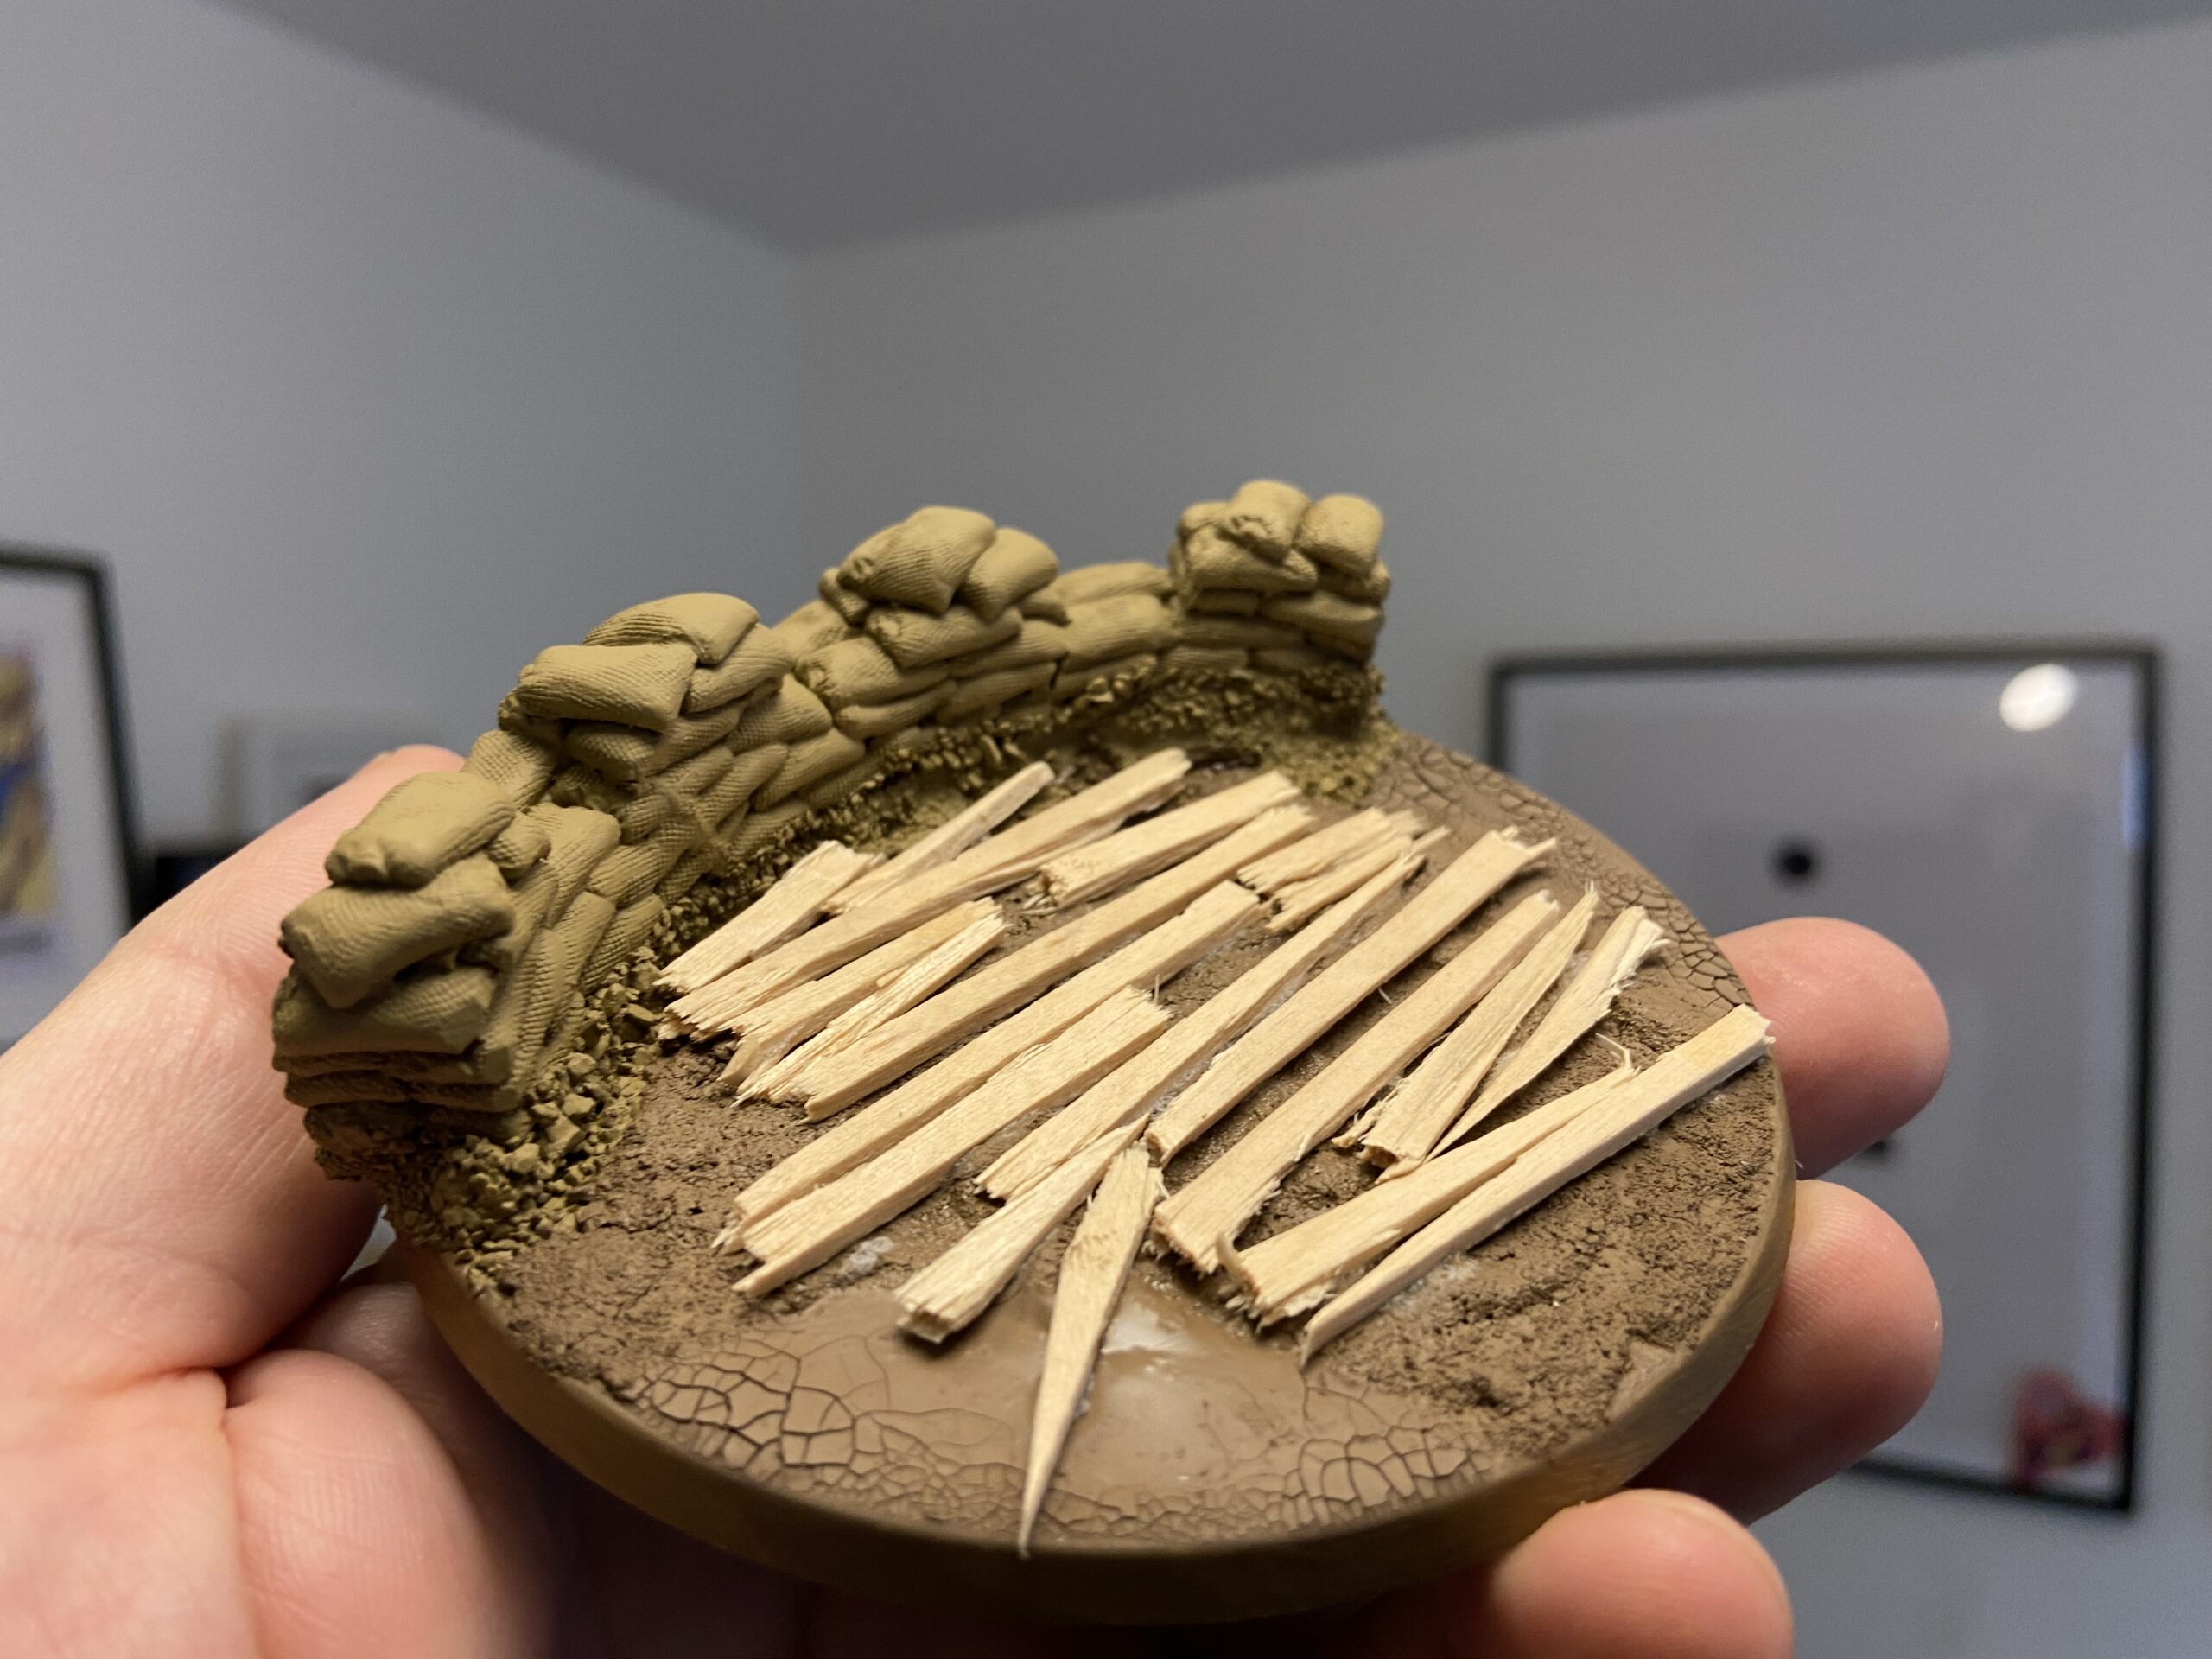
Wooden Boards & Pavers
I used chopped-up lollipop sticks (coffee stirrers work, too) and Concrete Street Plates for the wooden boards. I washed them with Agrax Earthshade and then dry brushed them slightly to bring out the texture of the grain and darken it all. The Concrete is made from ceramic and snaps easily into smaller pieces; it also breaks rough, like concrete which is a nice touch. It acts like concrete.
I added a barrel, bottles and a food sack from Wamp Store. And also ammo crates and shells from the Field Ordnance battery kits.

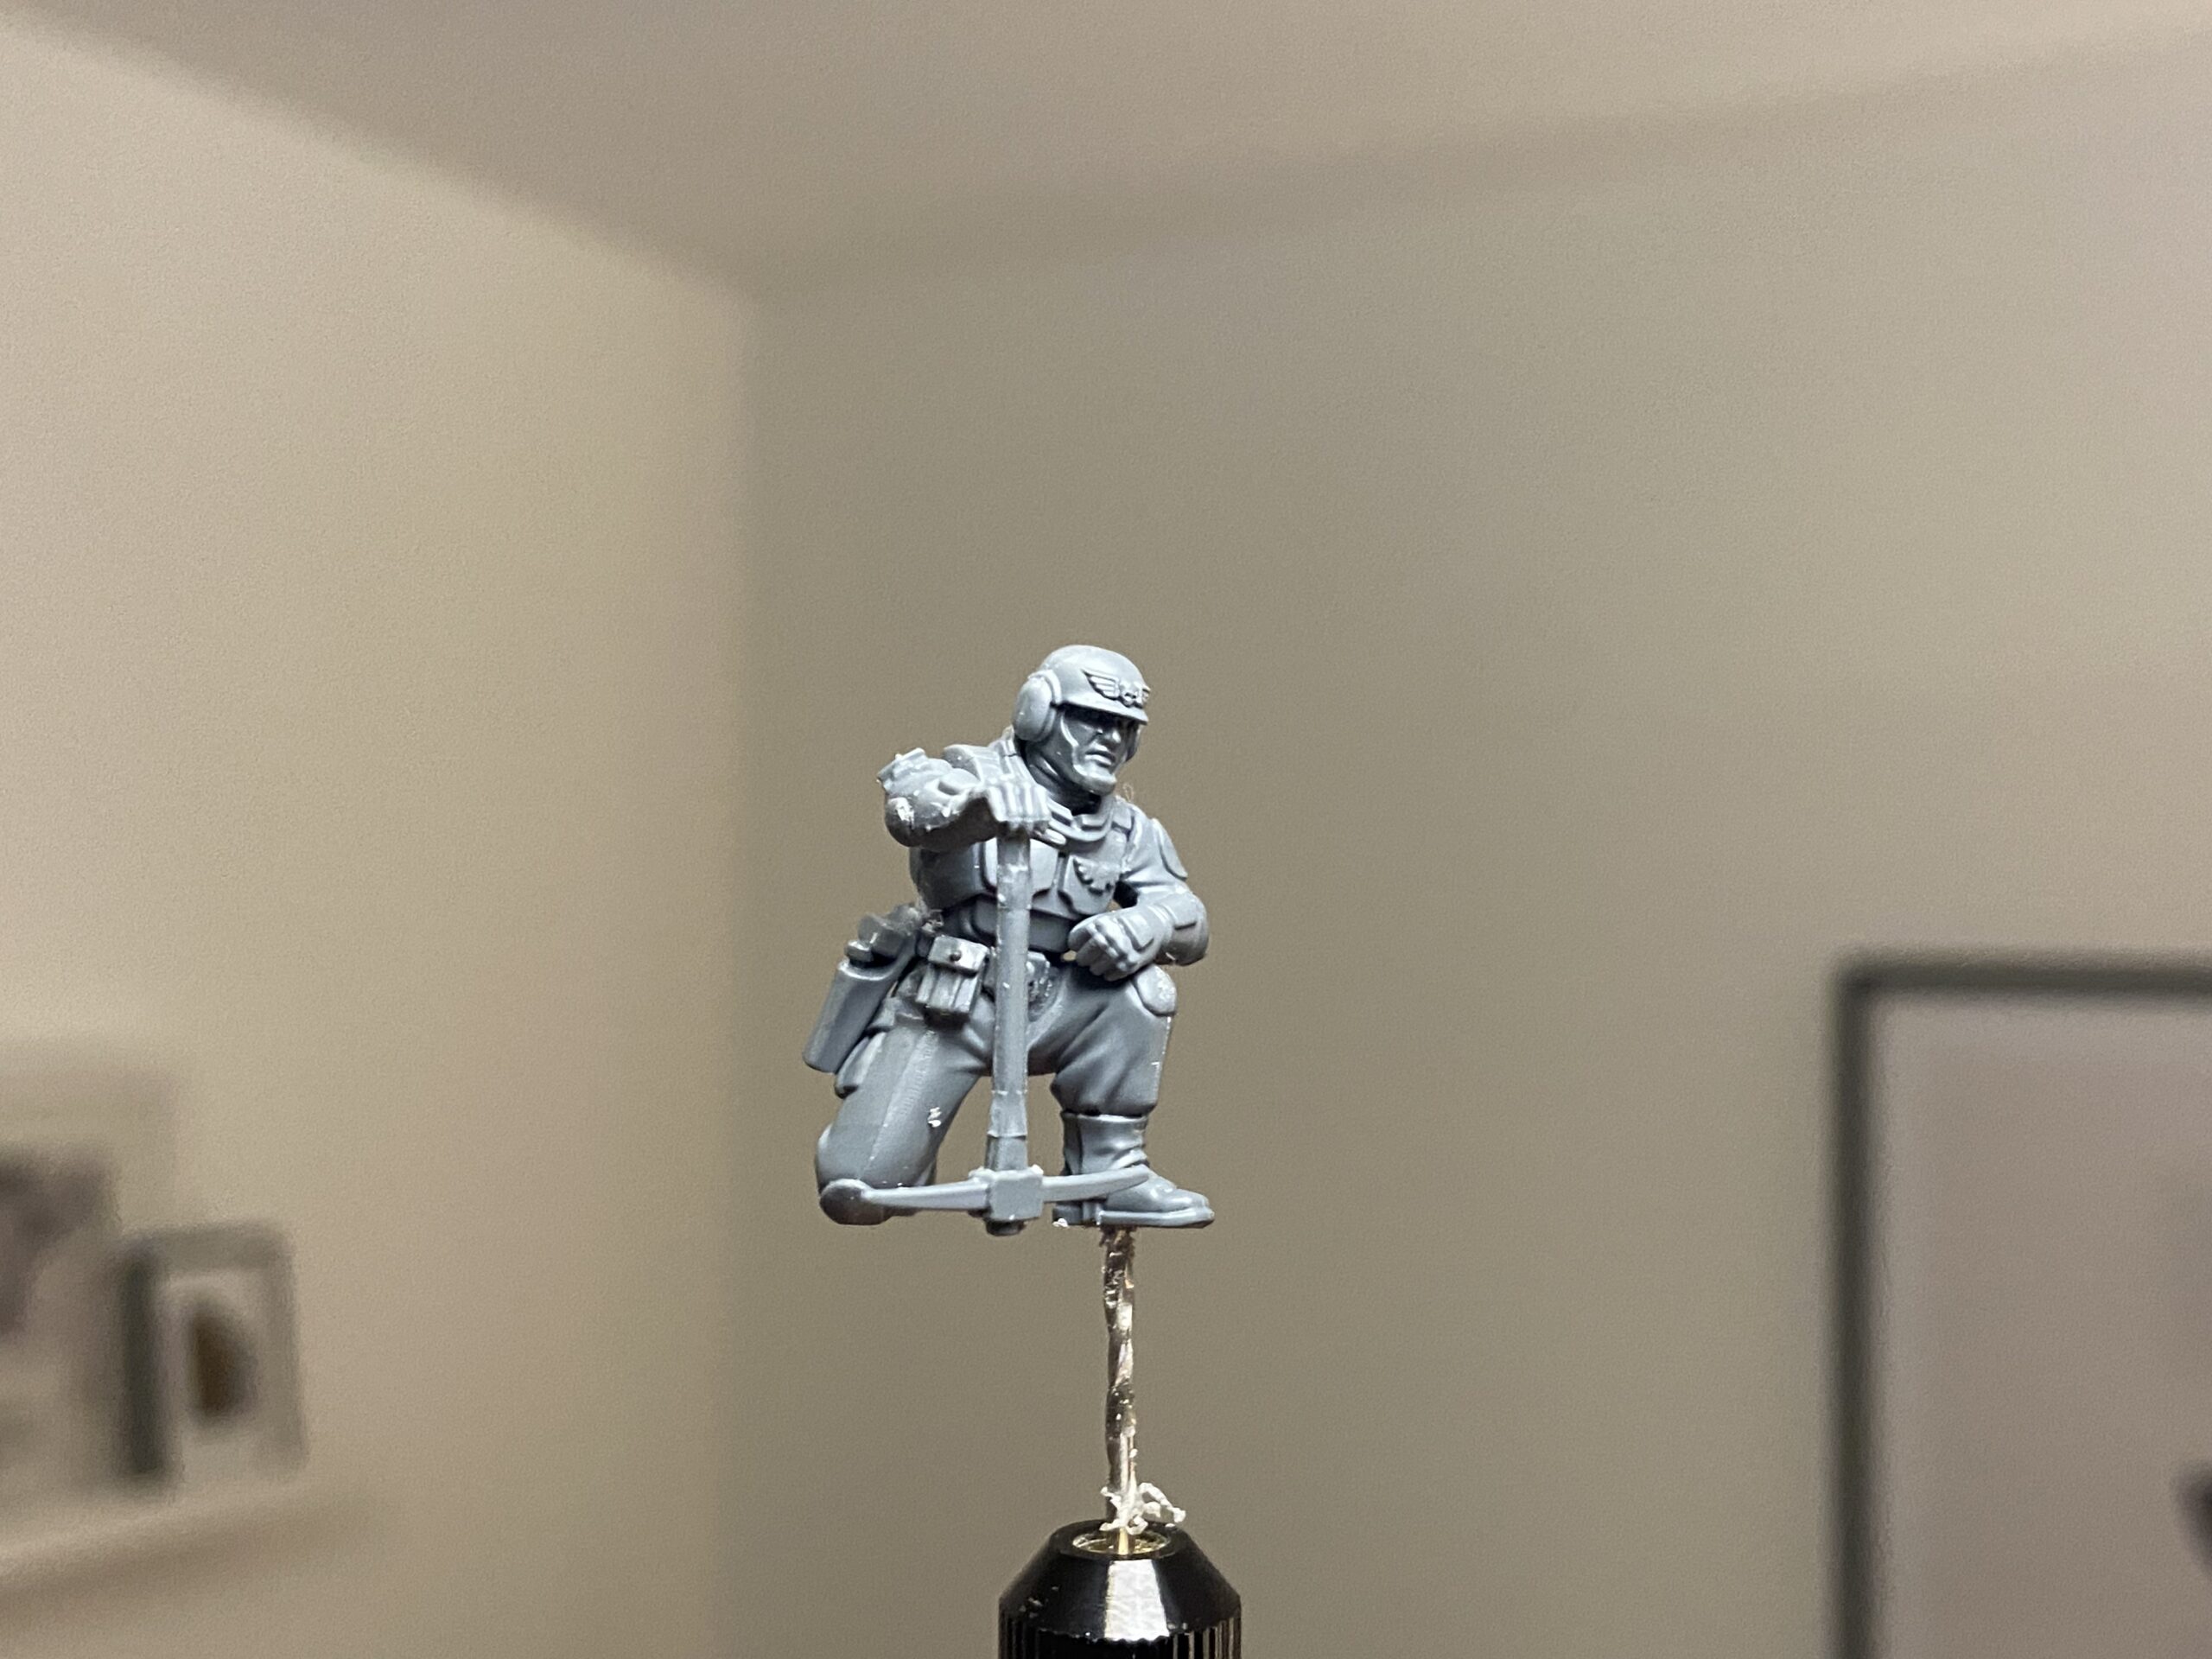
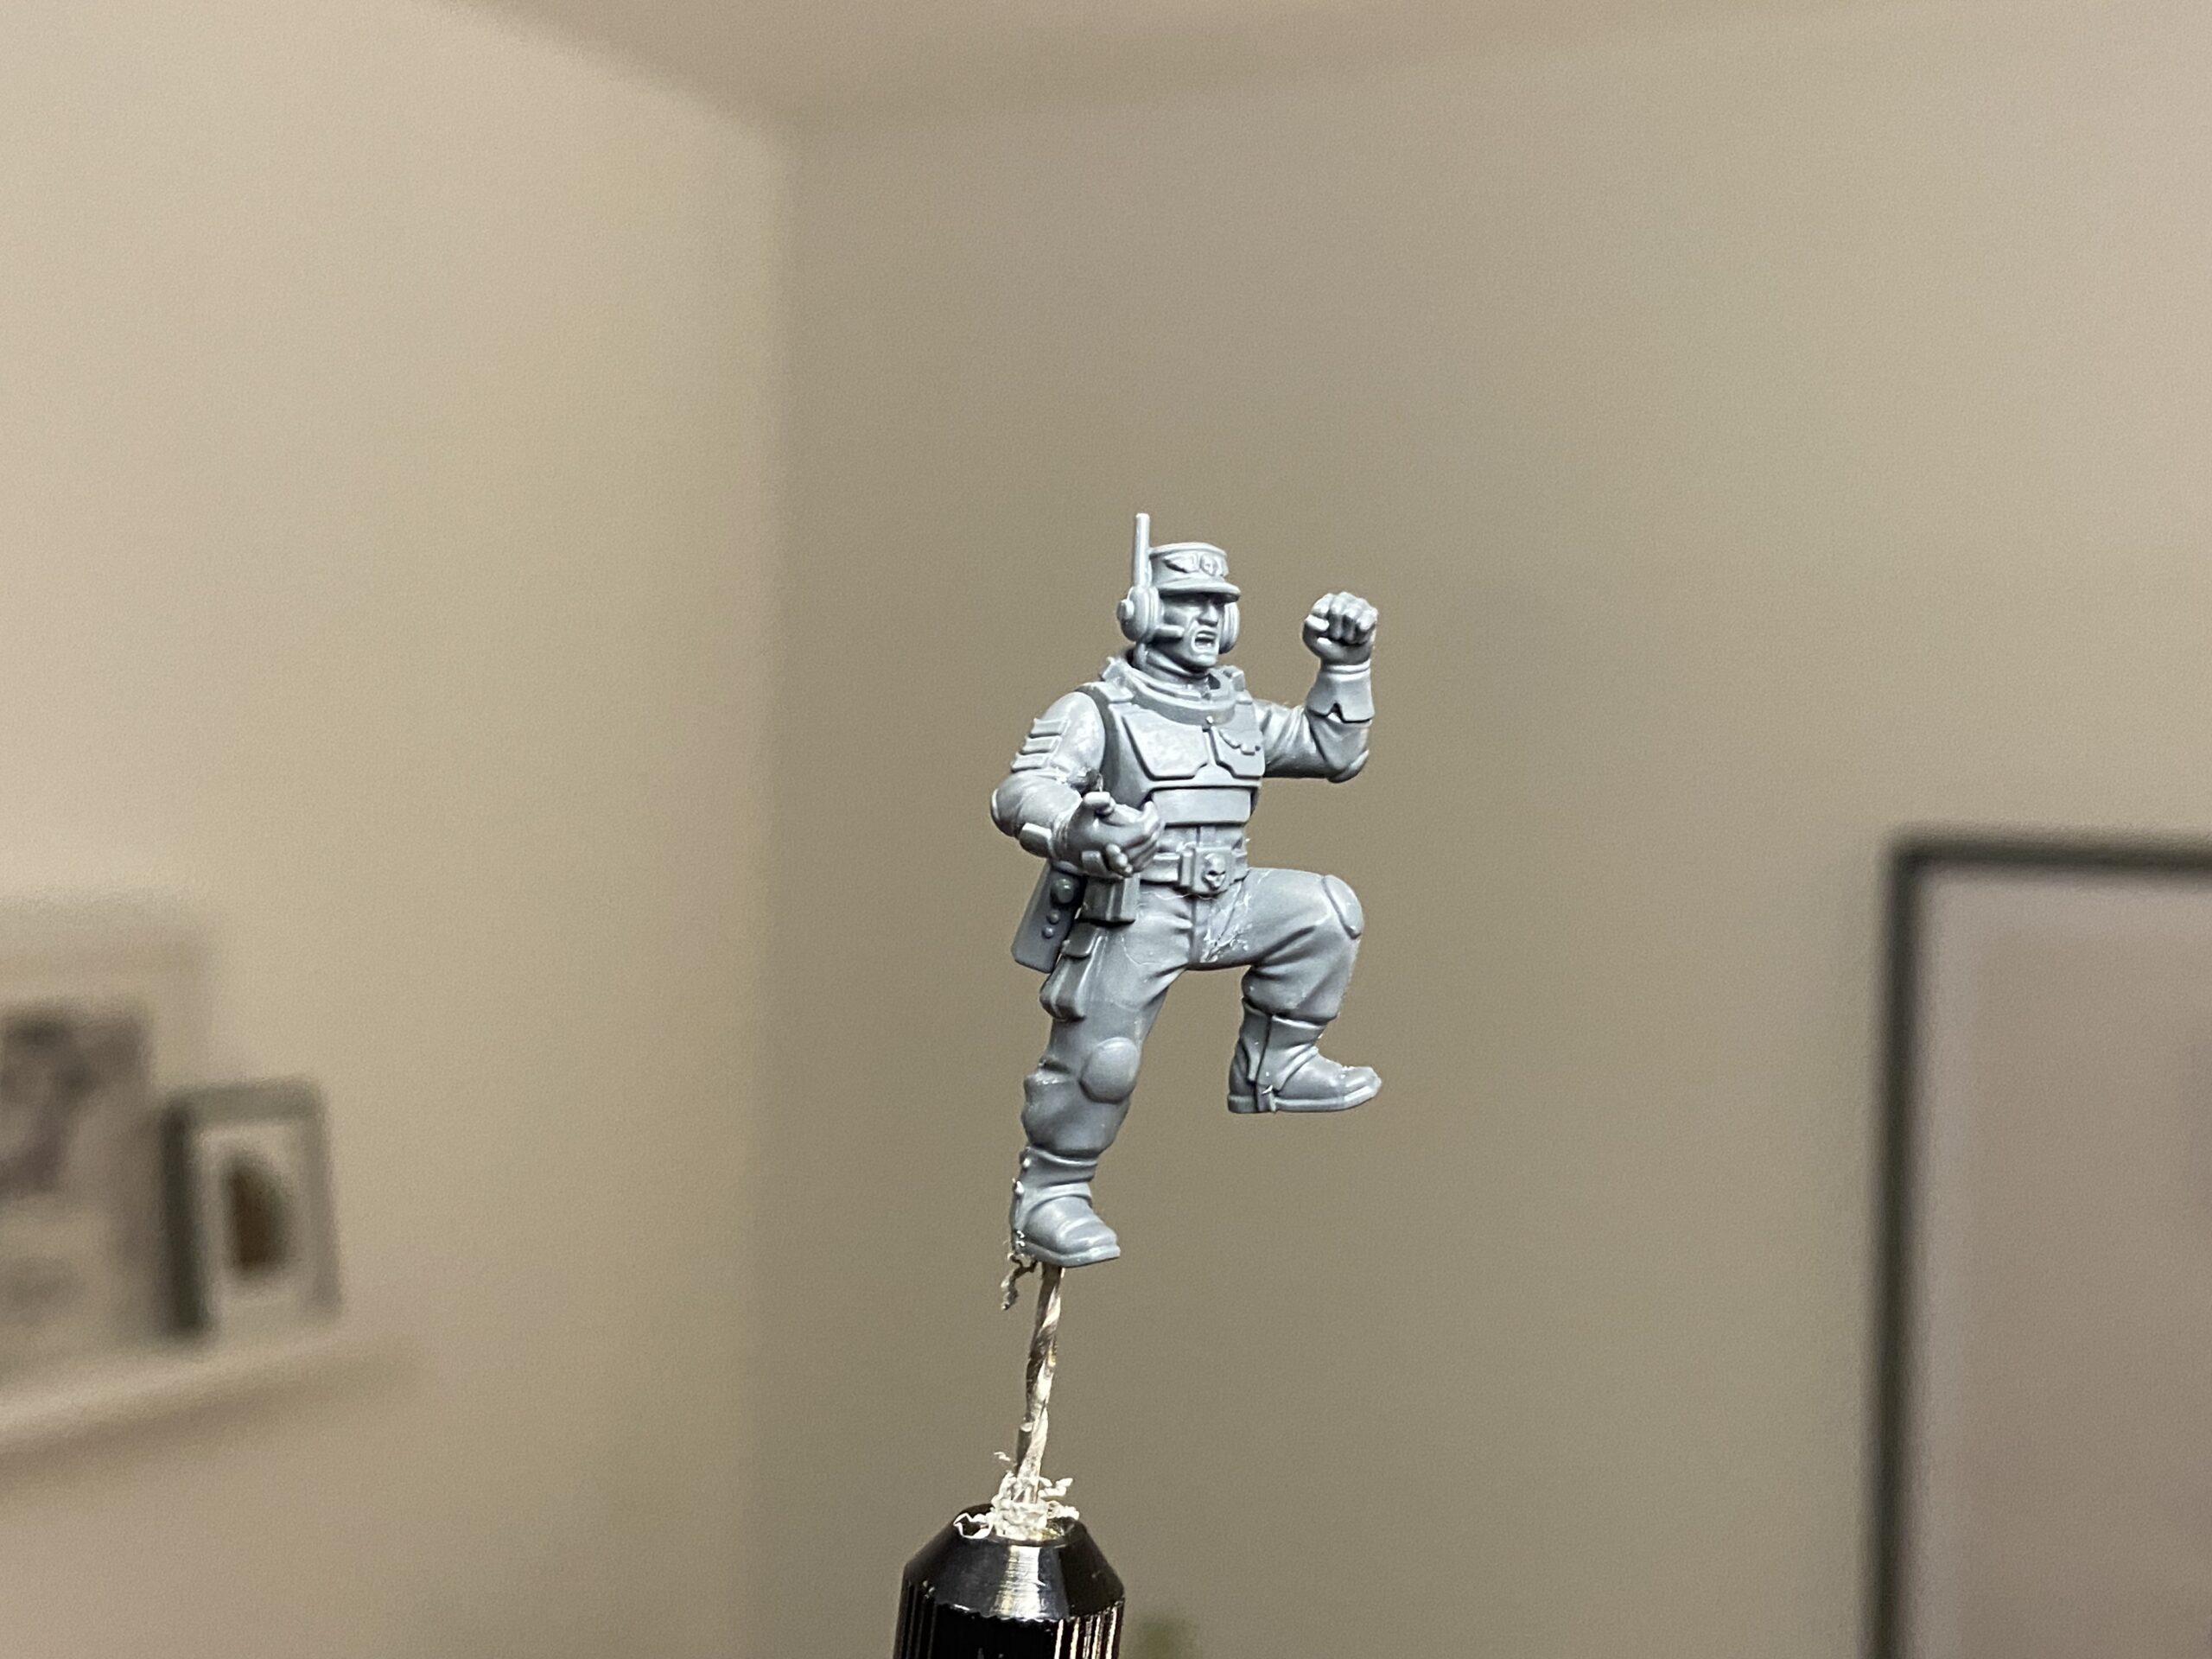
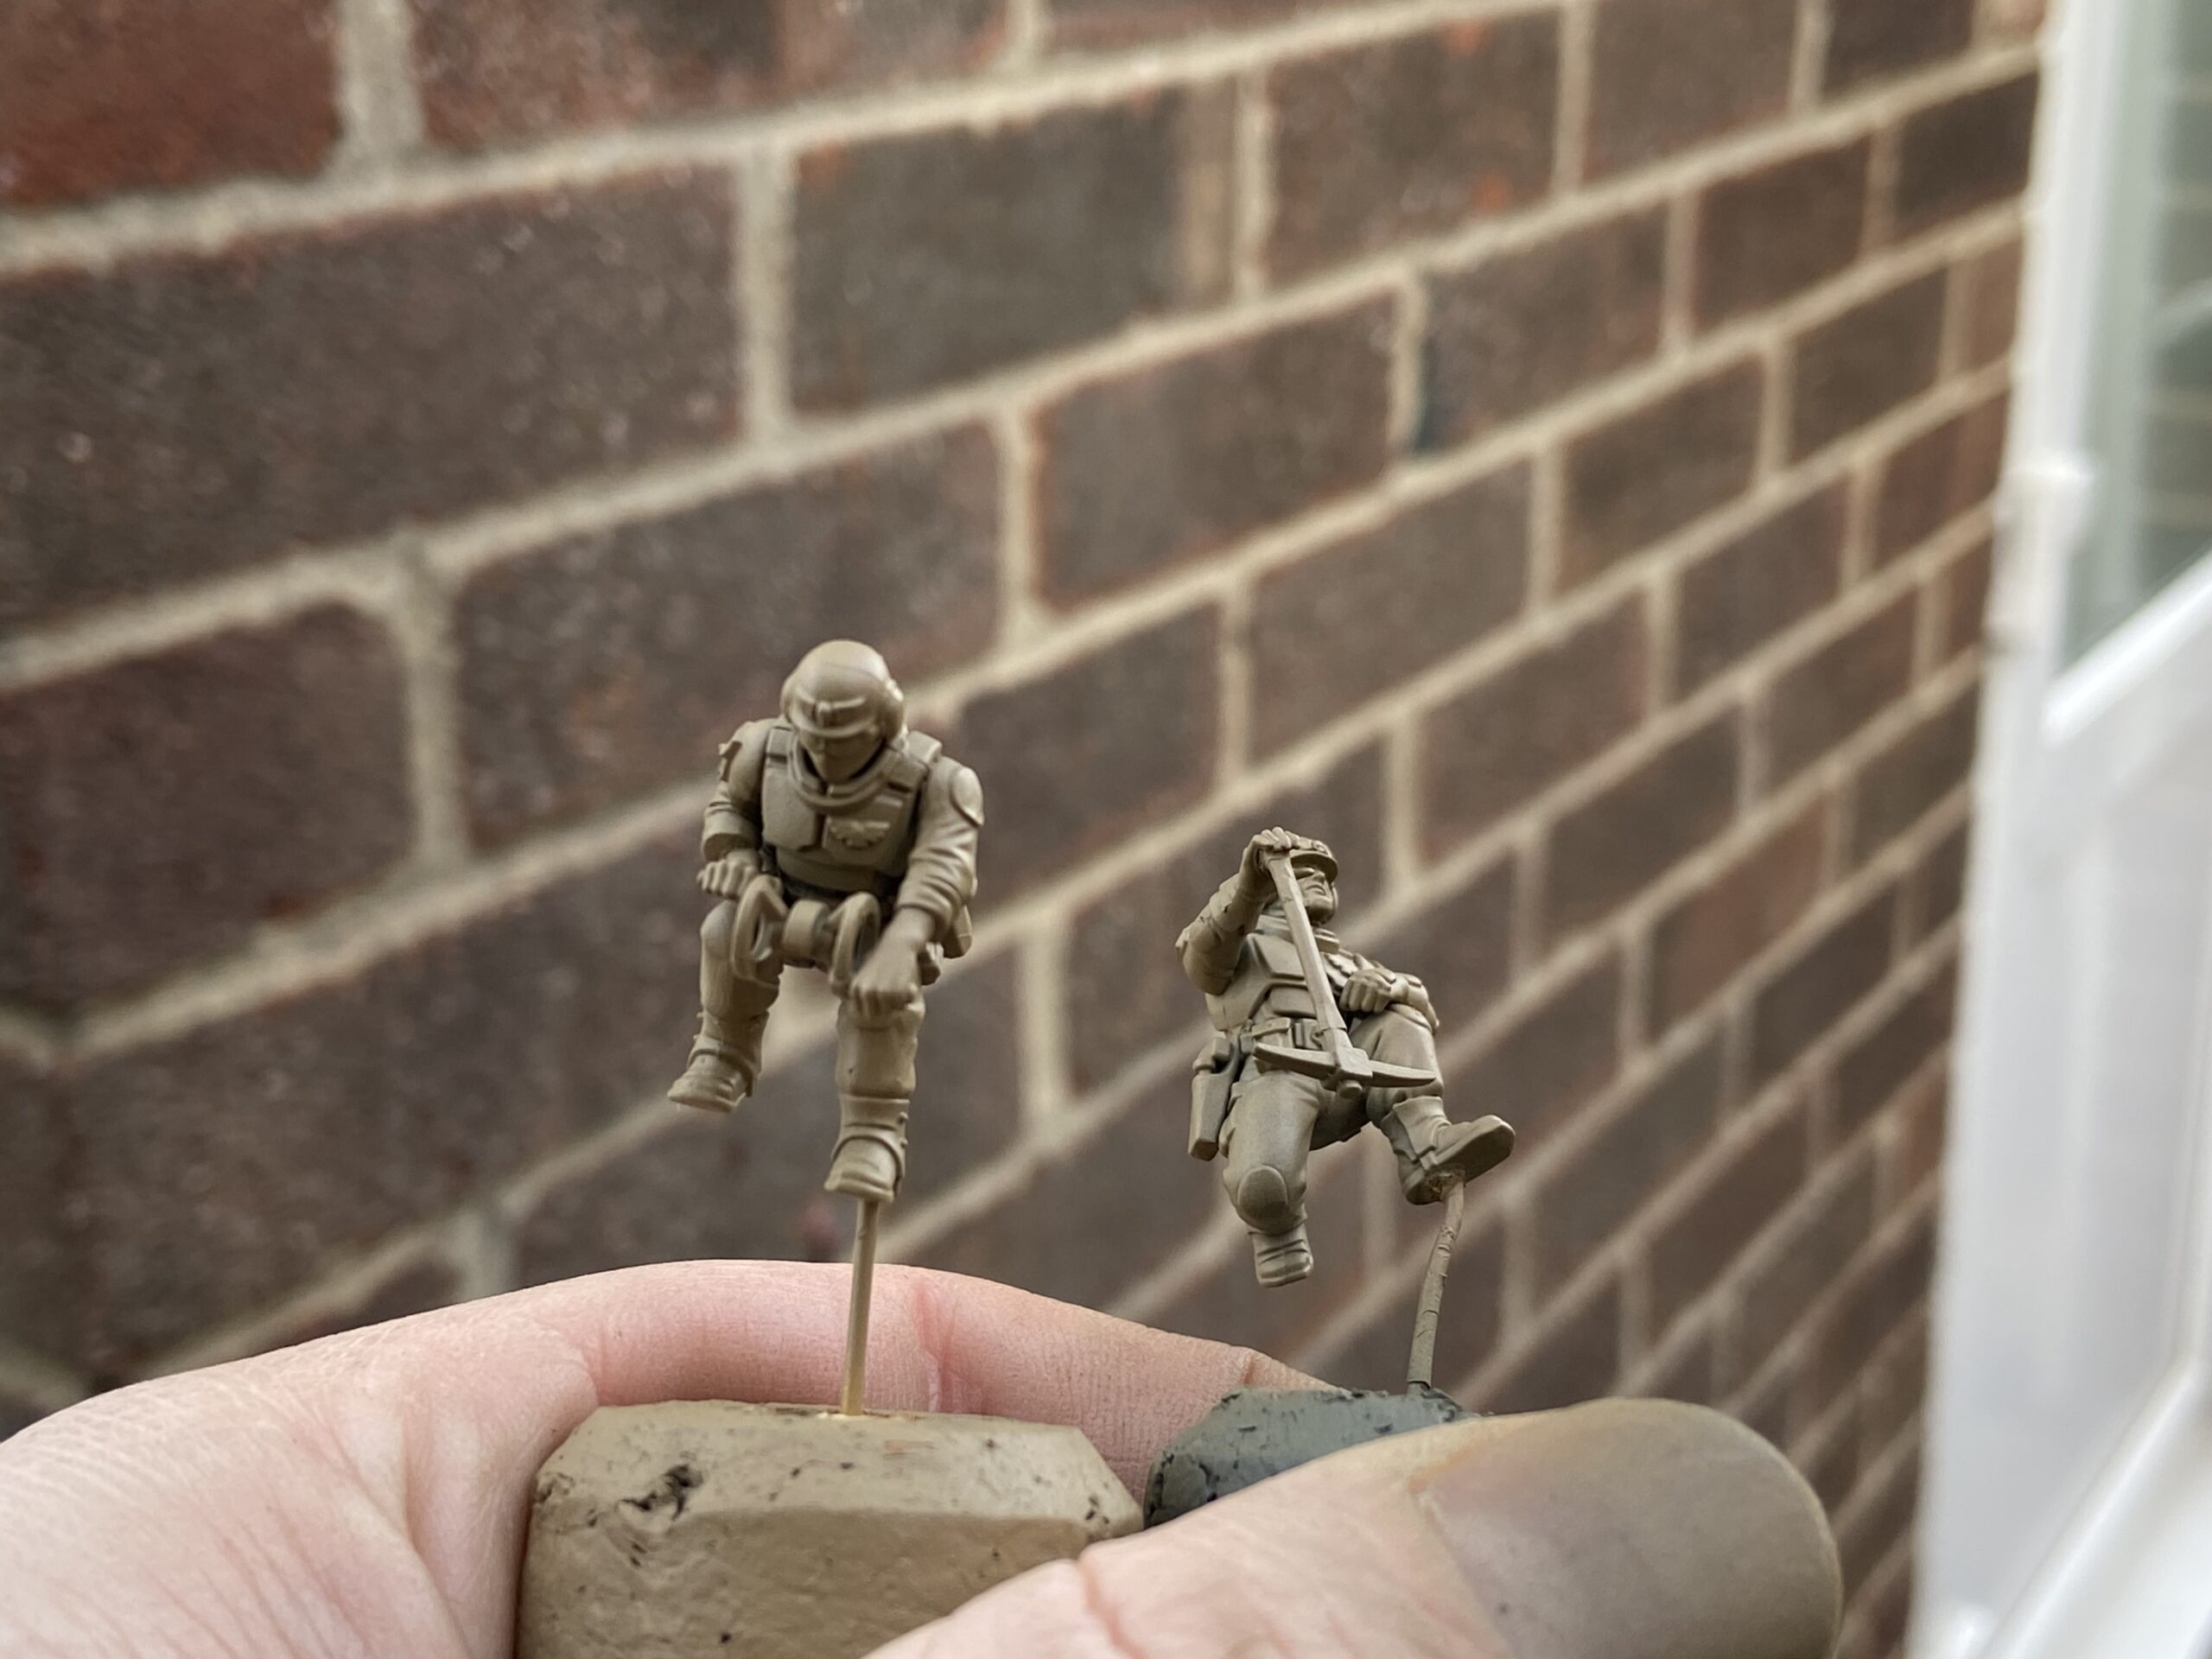
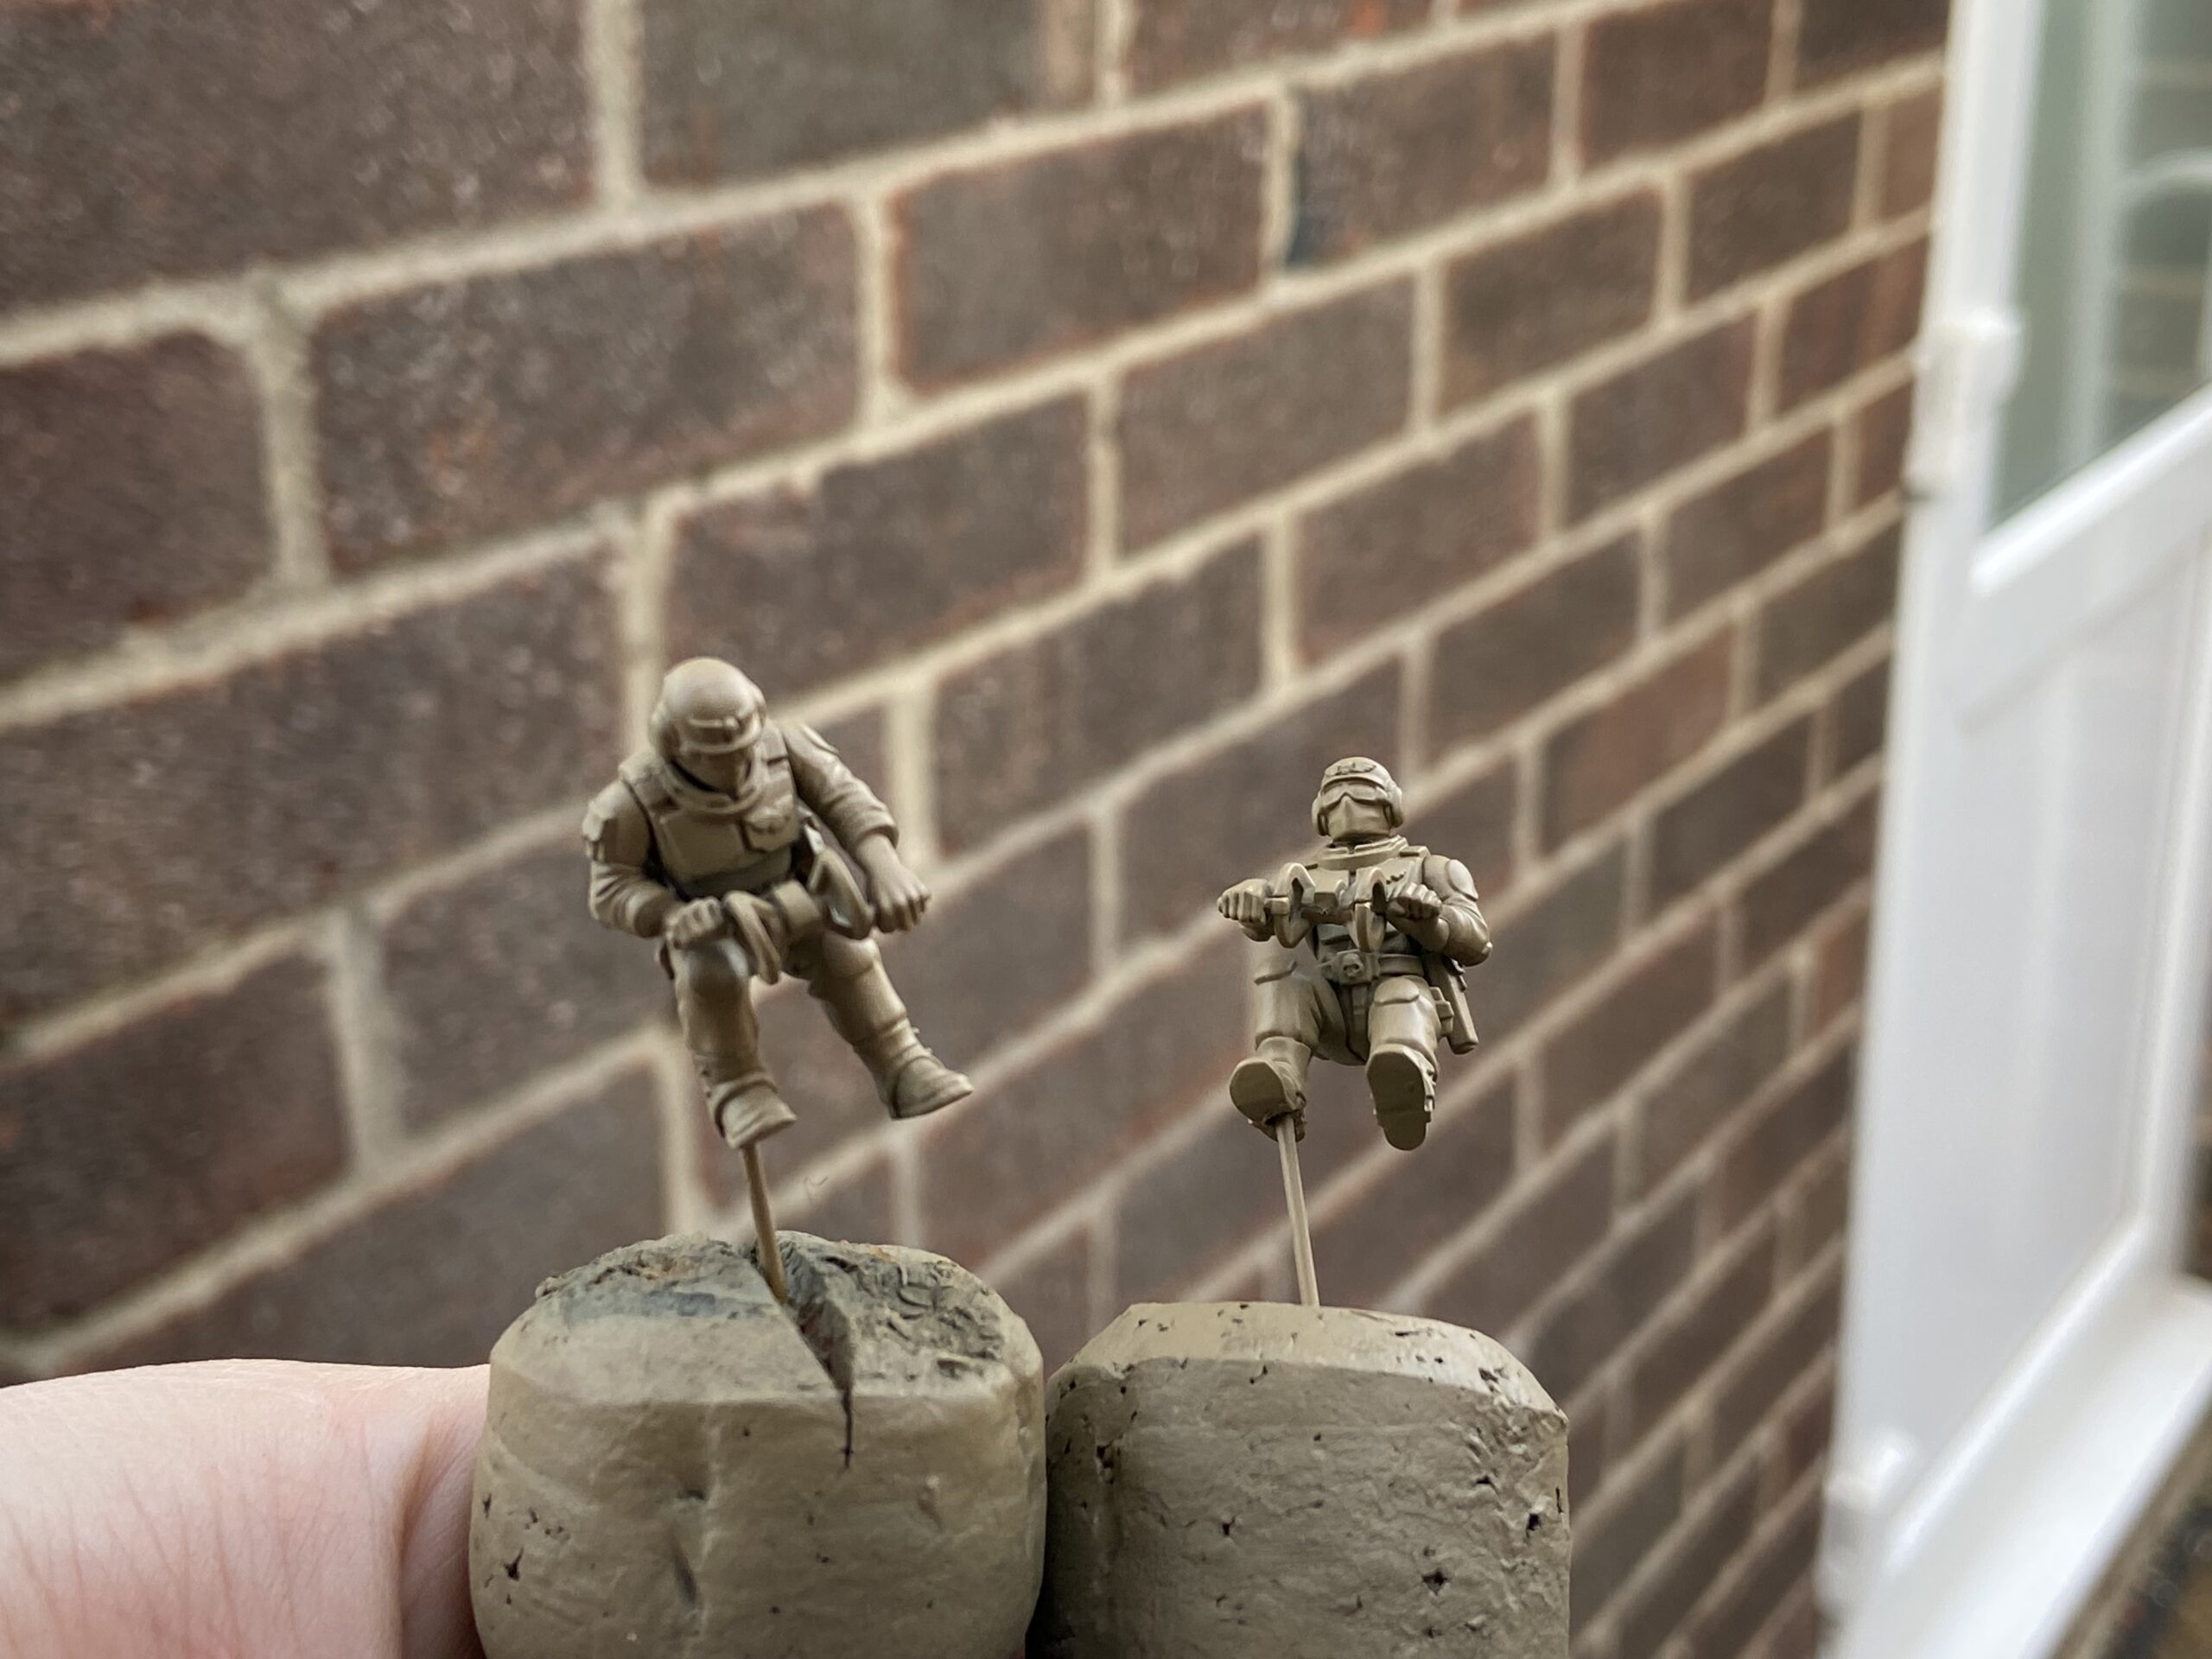
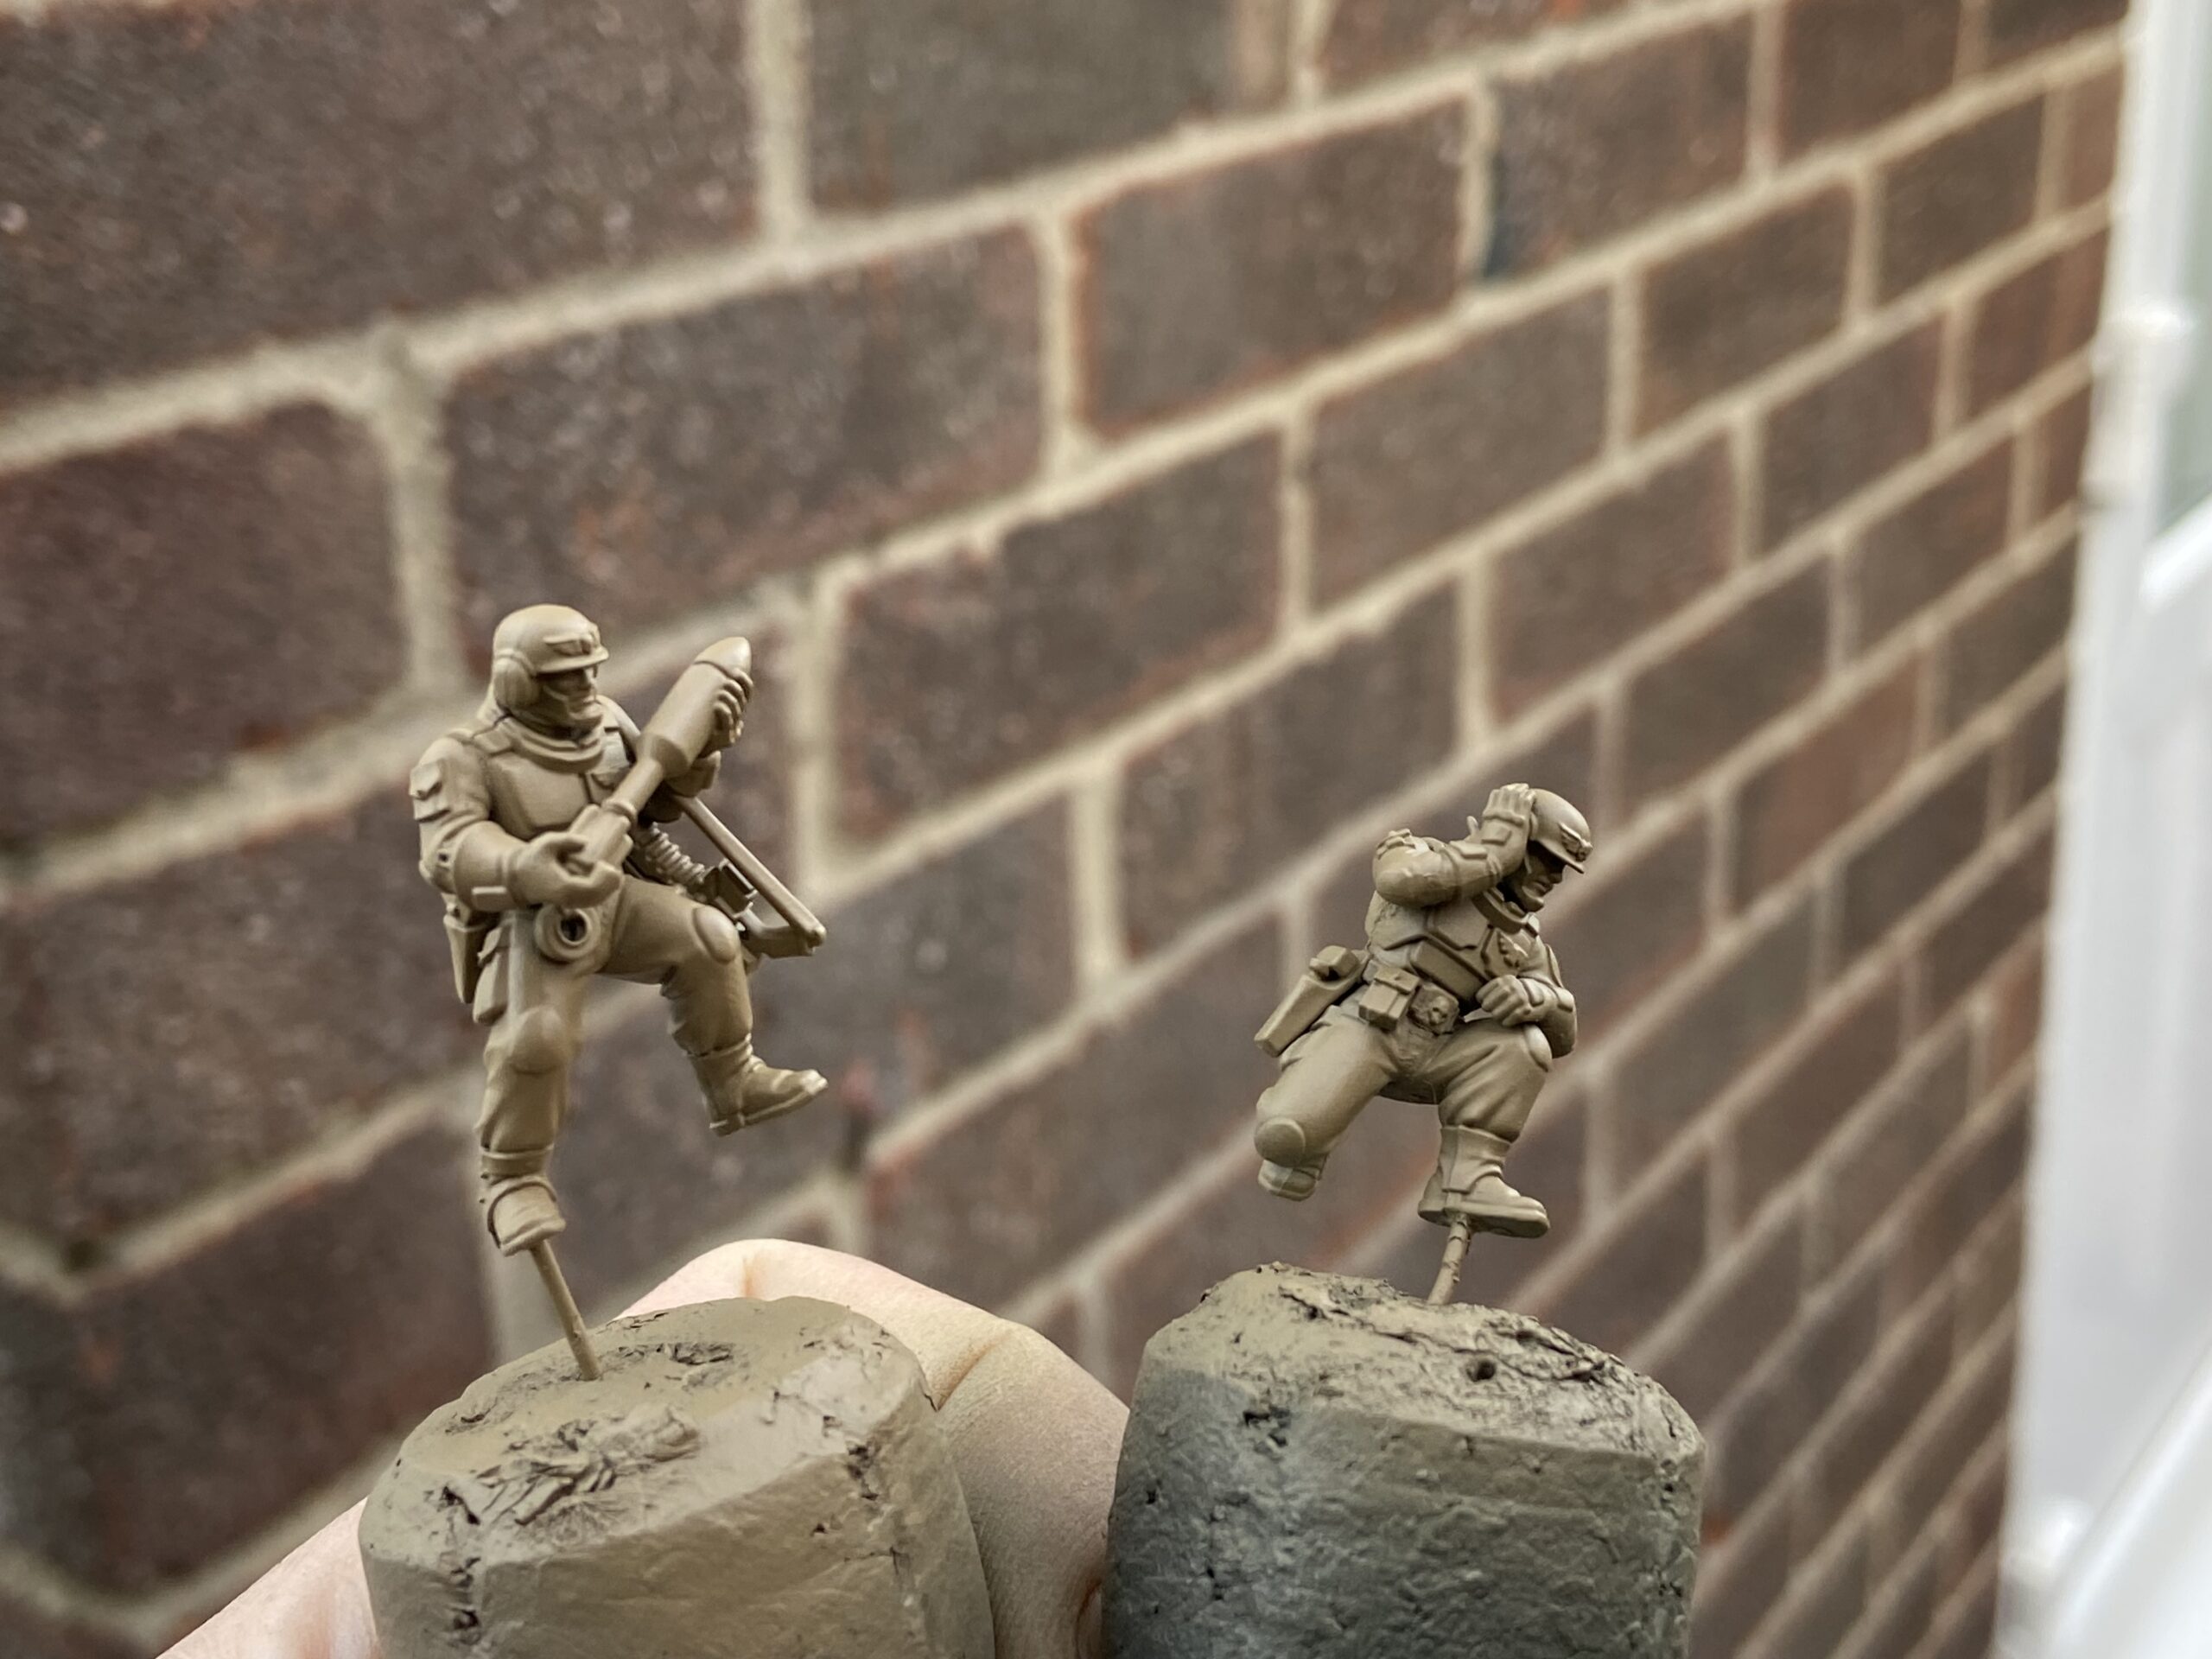
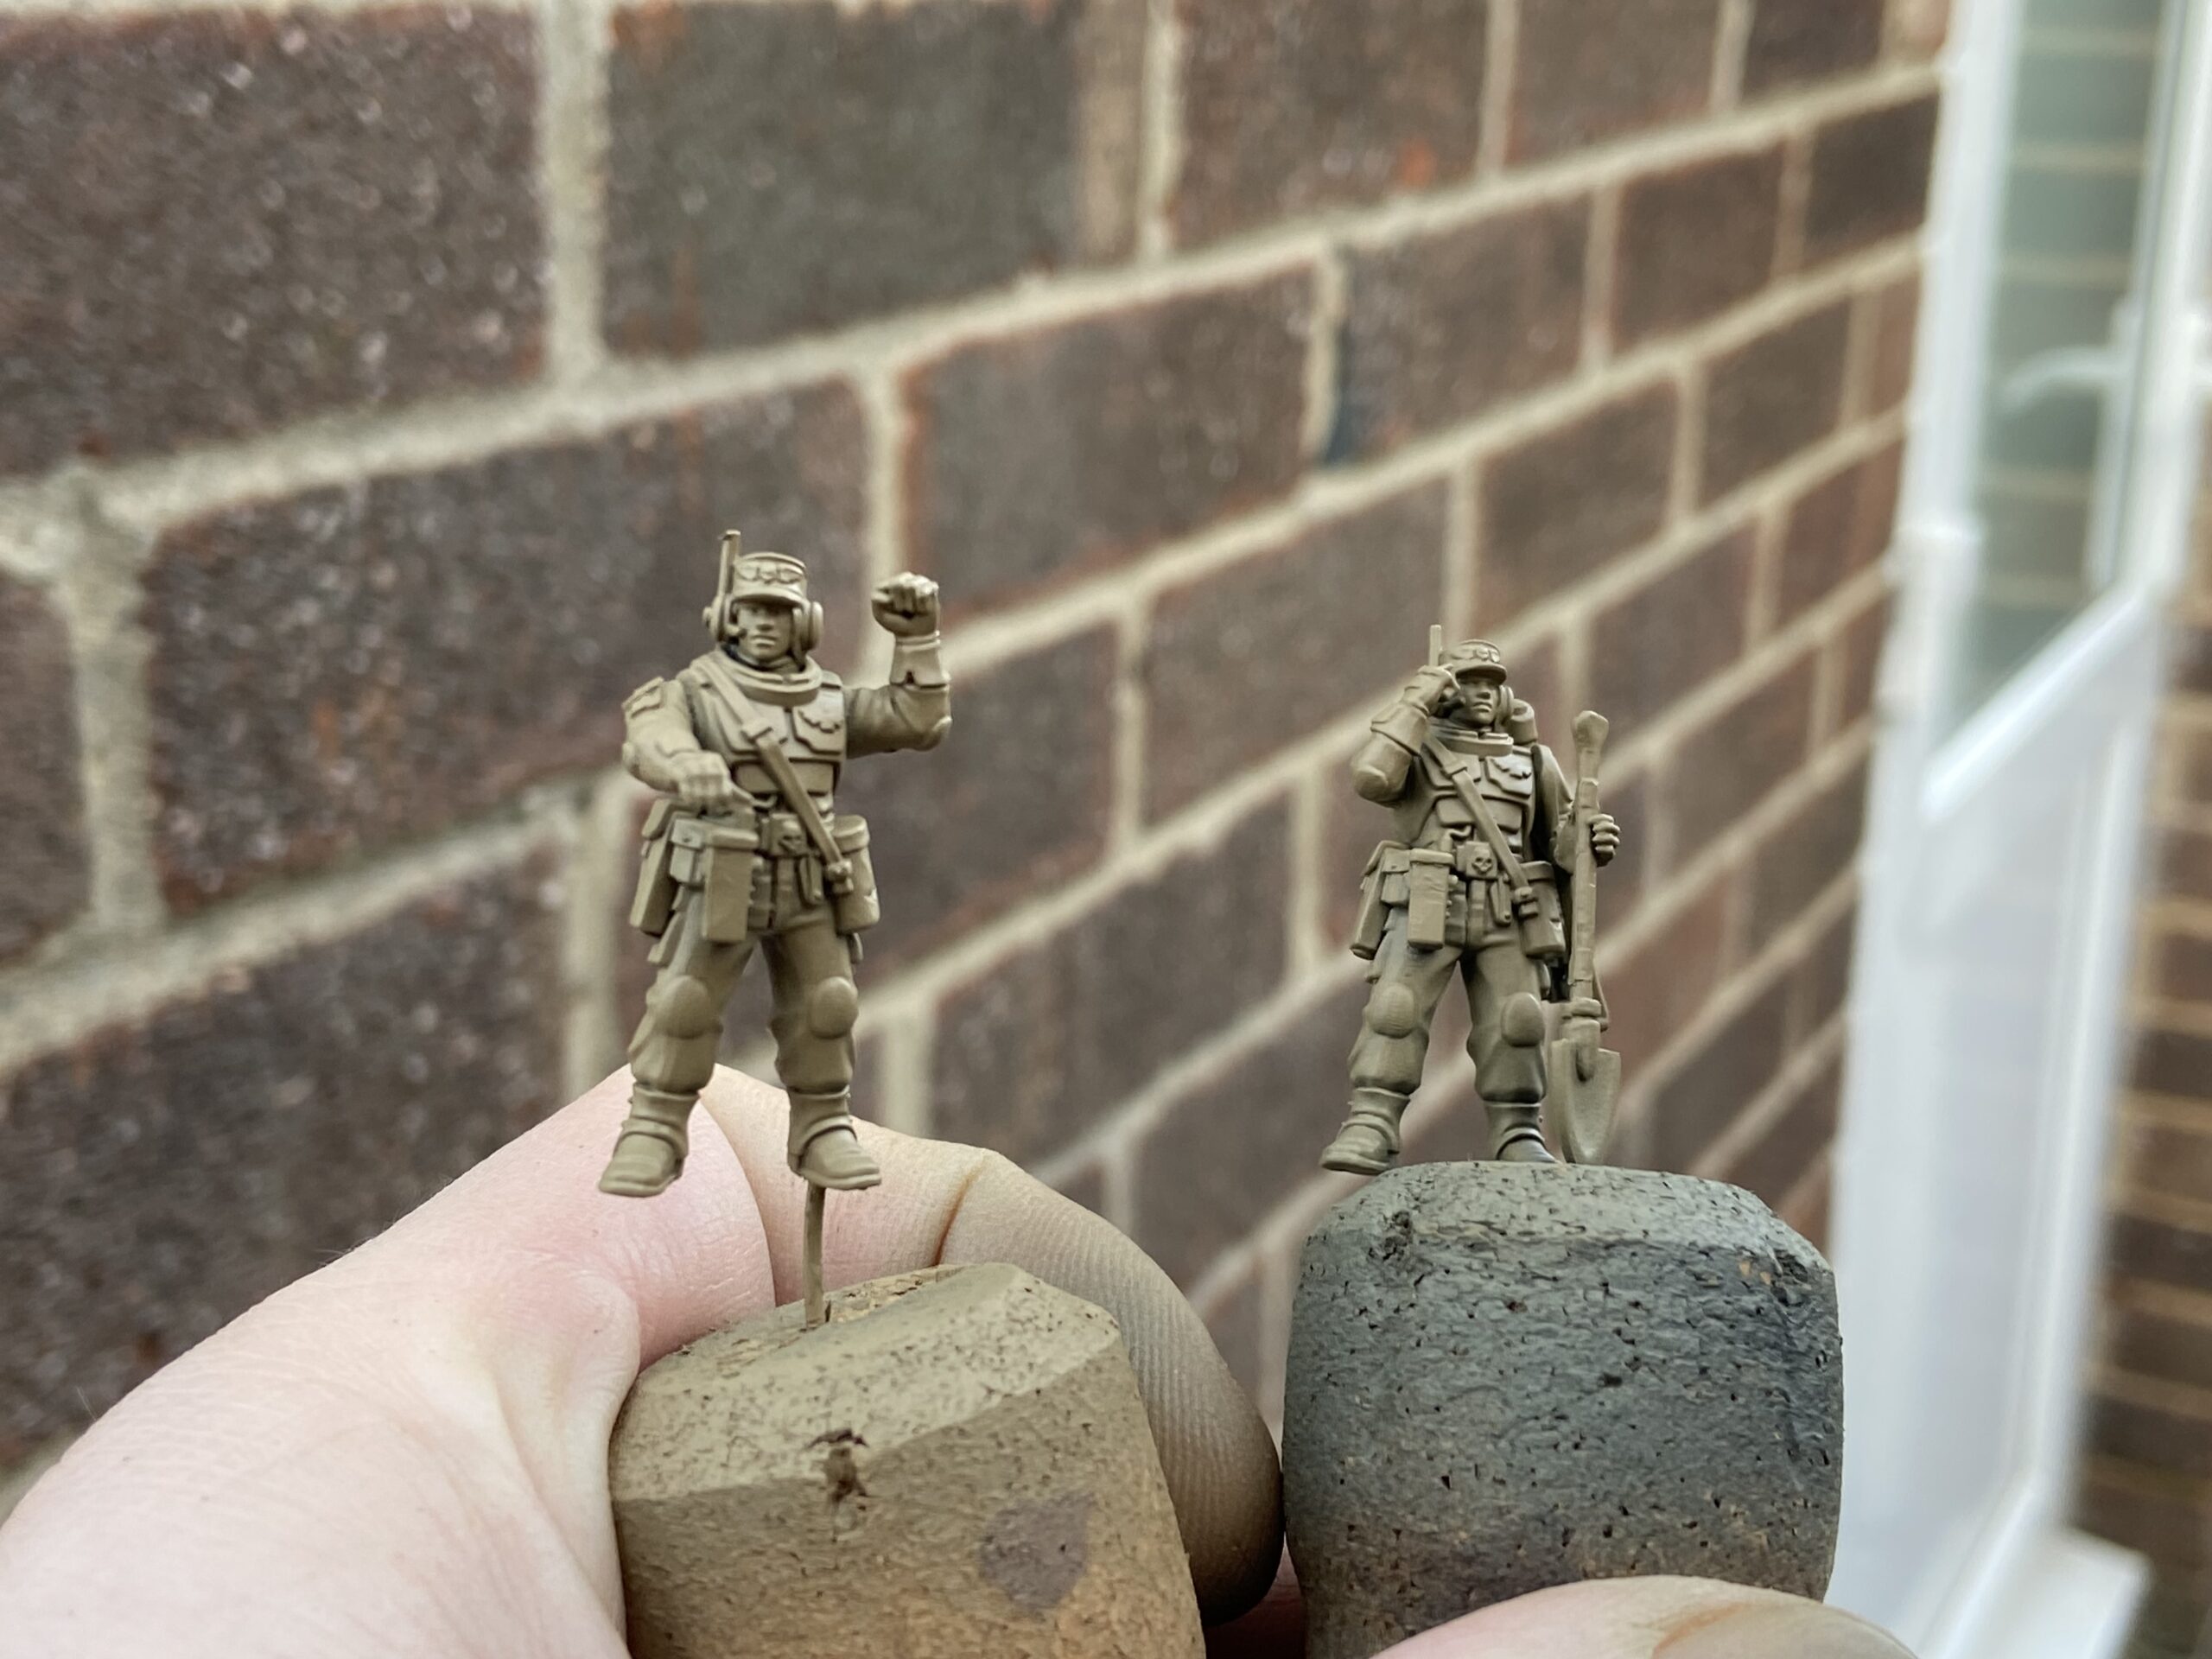
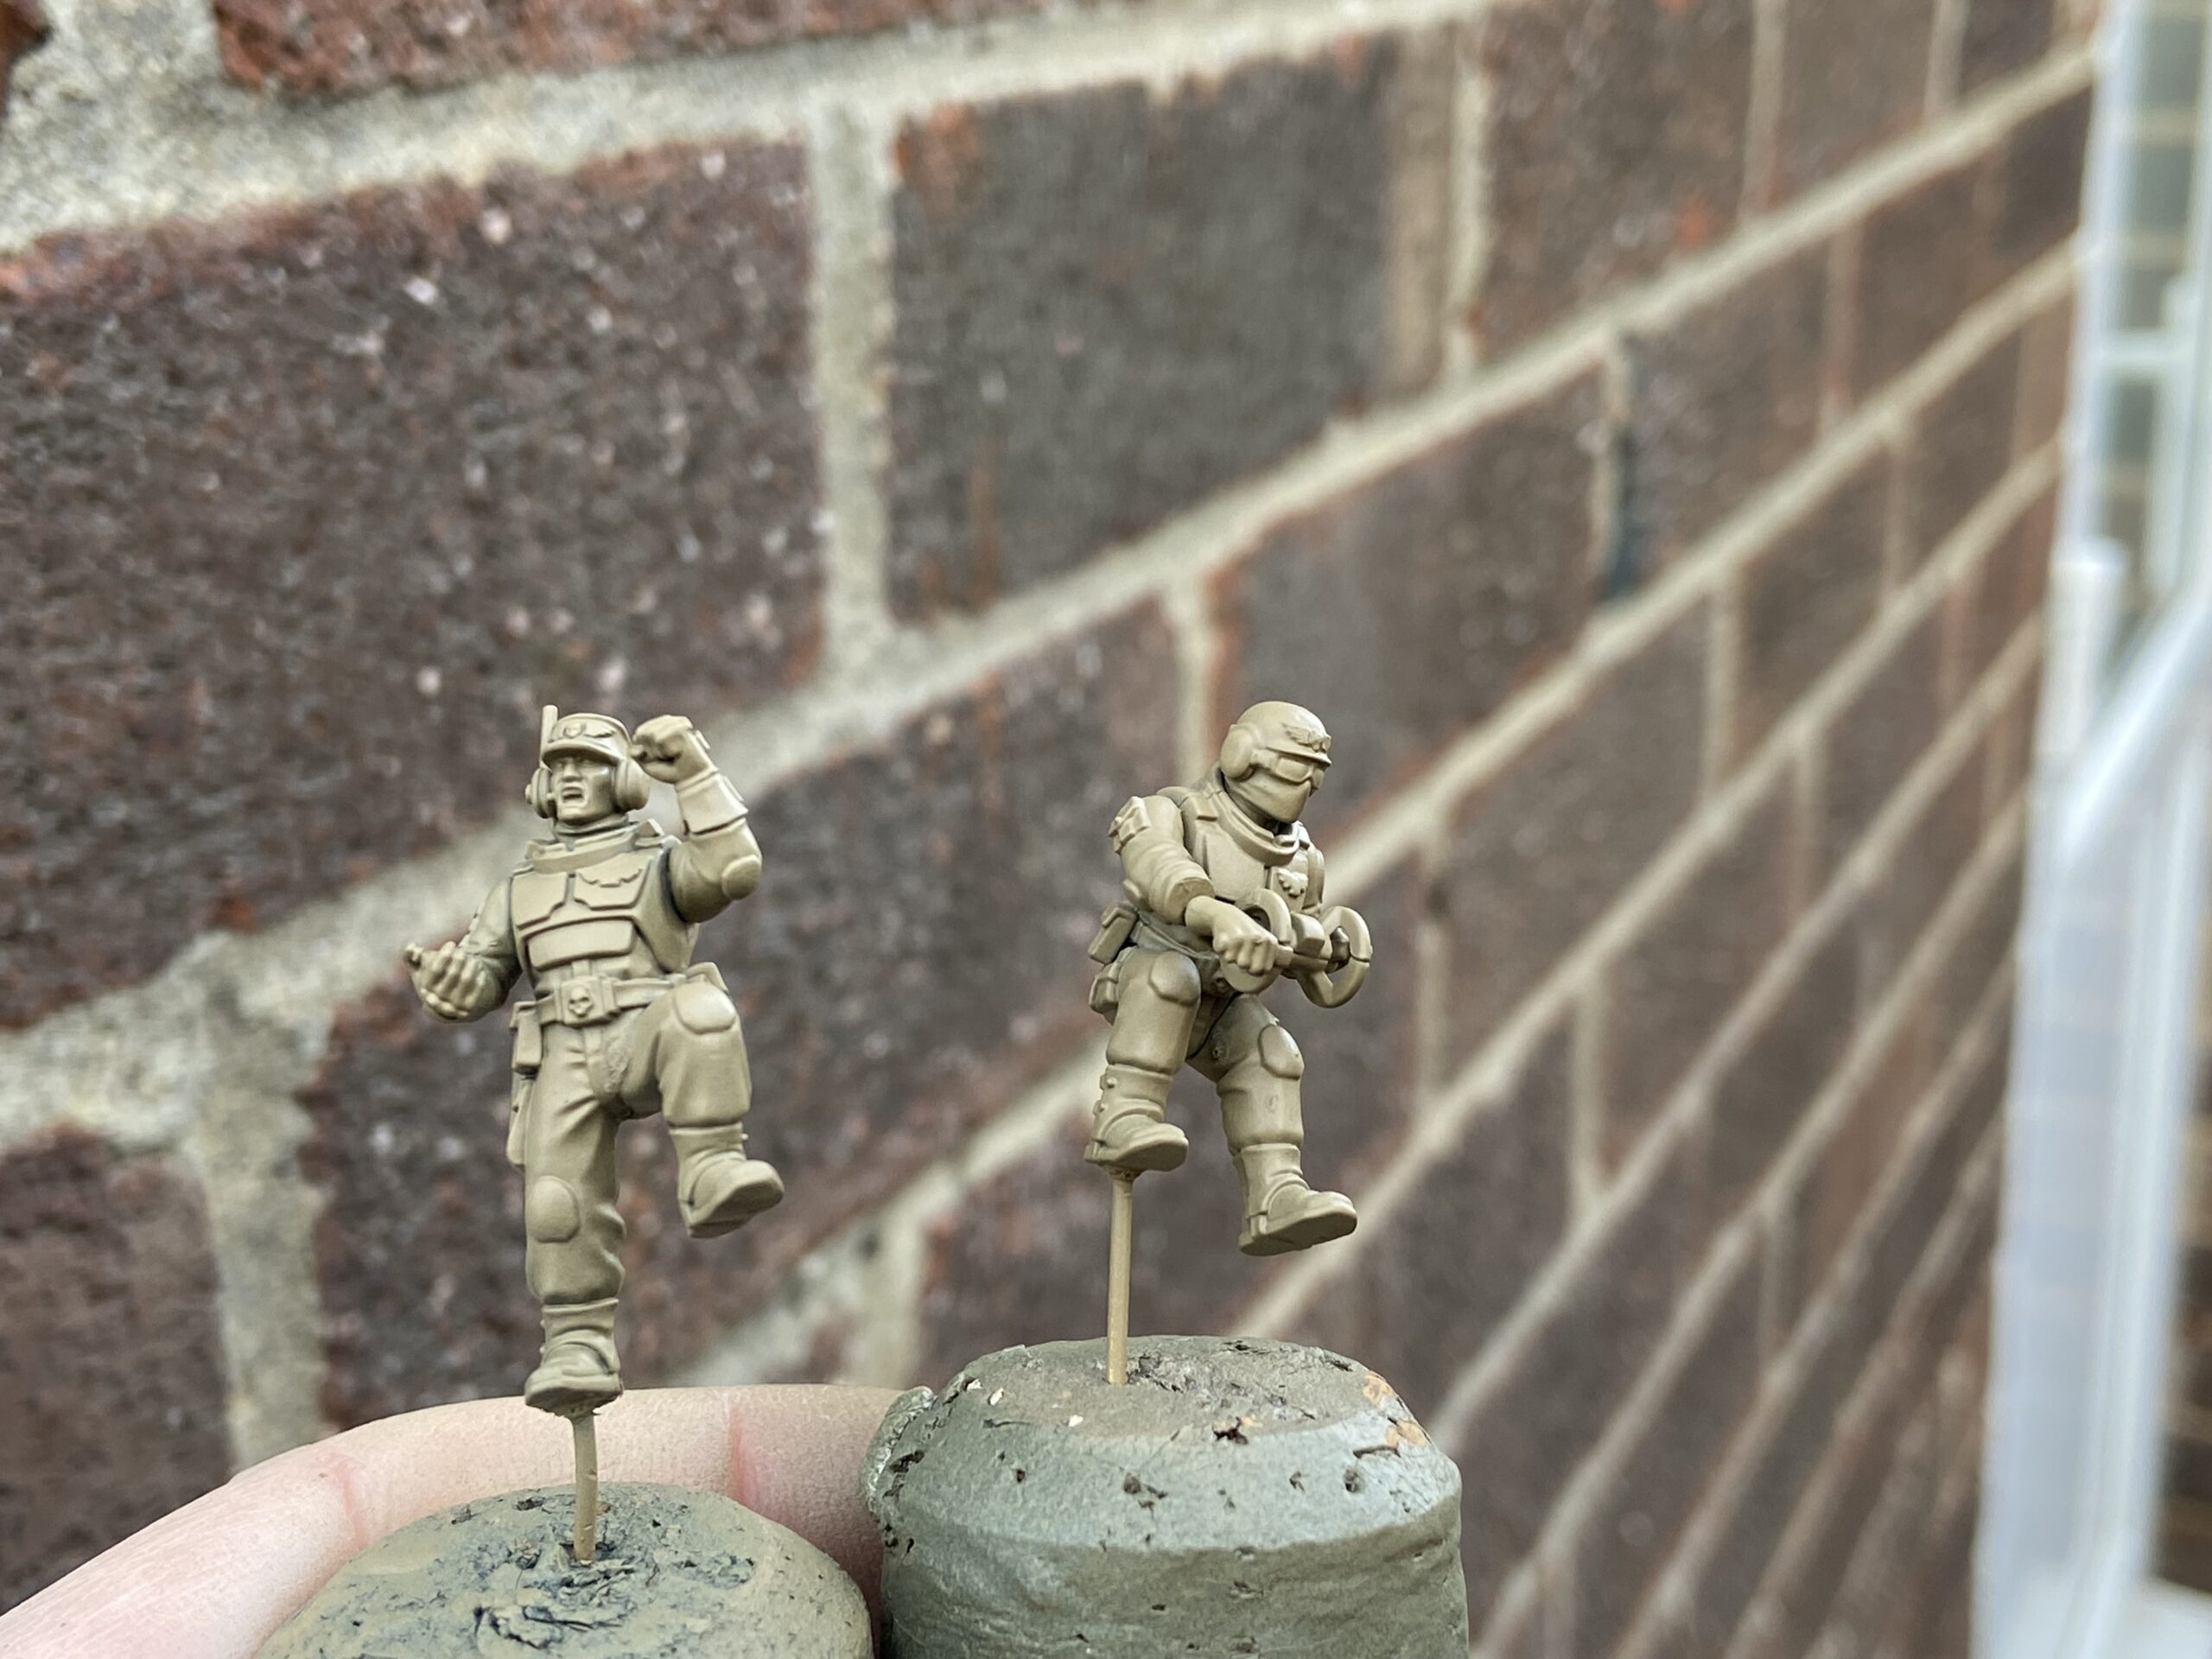
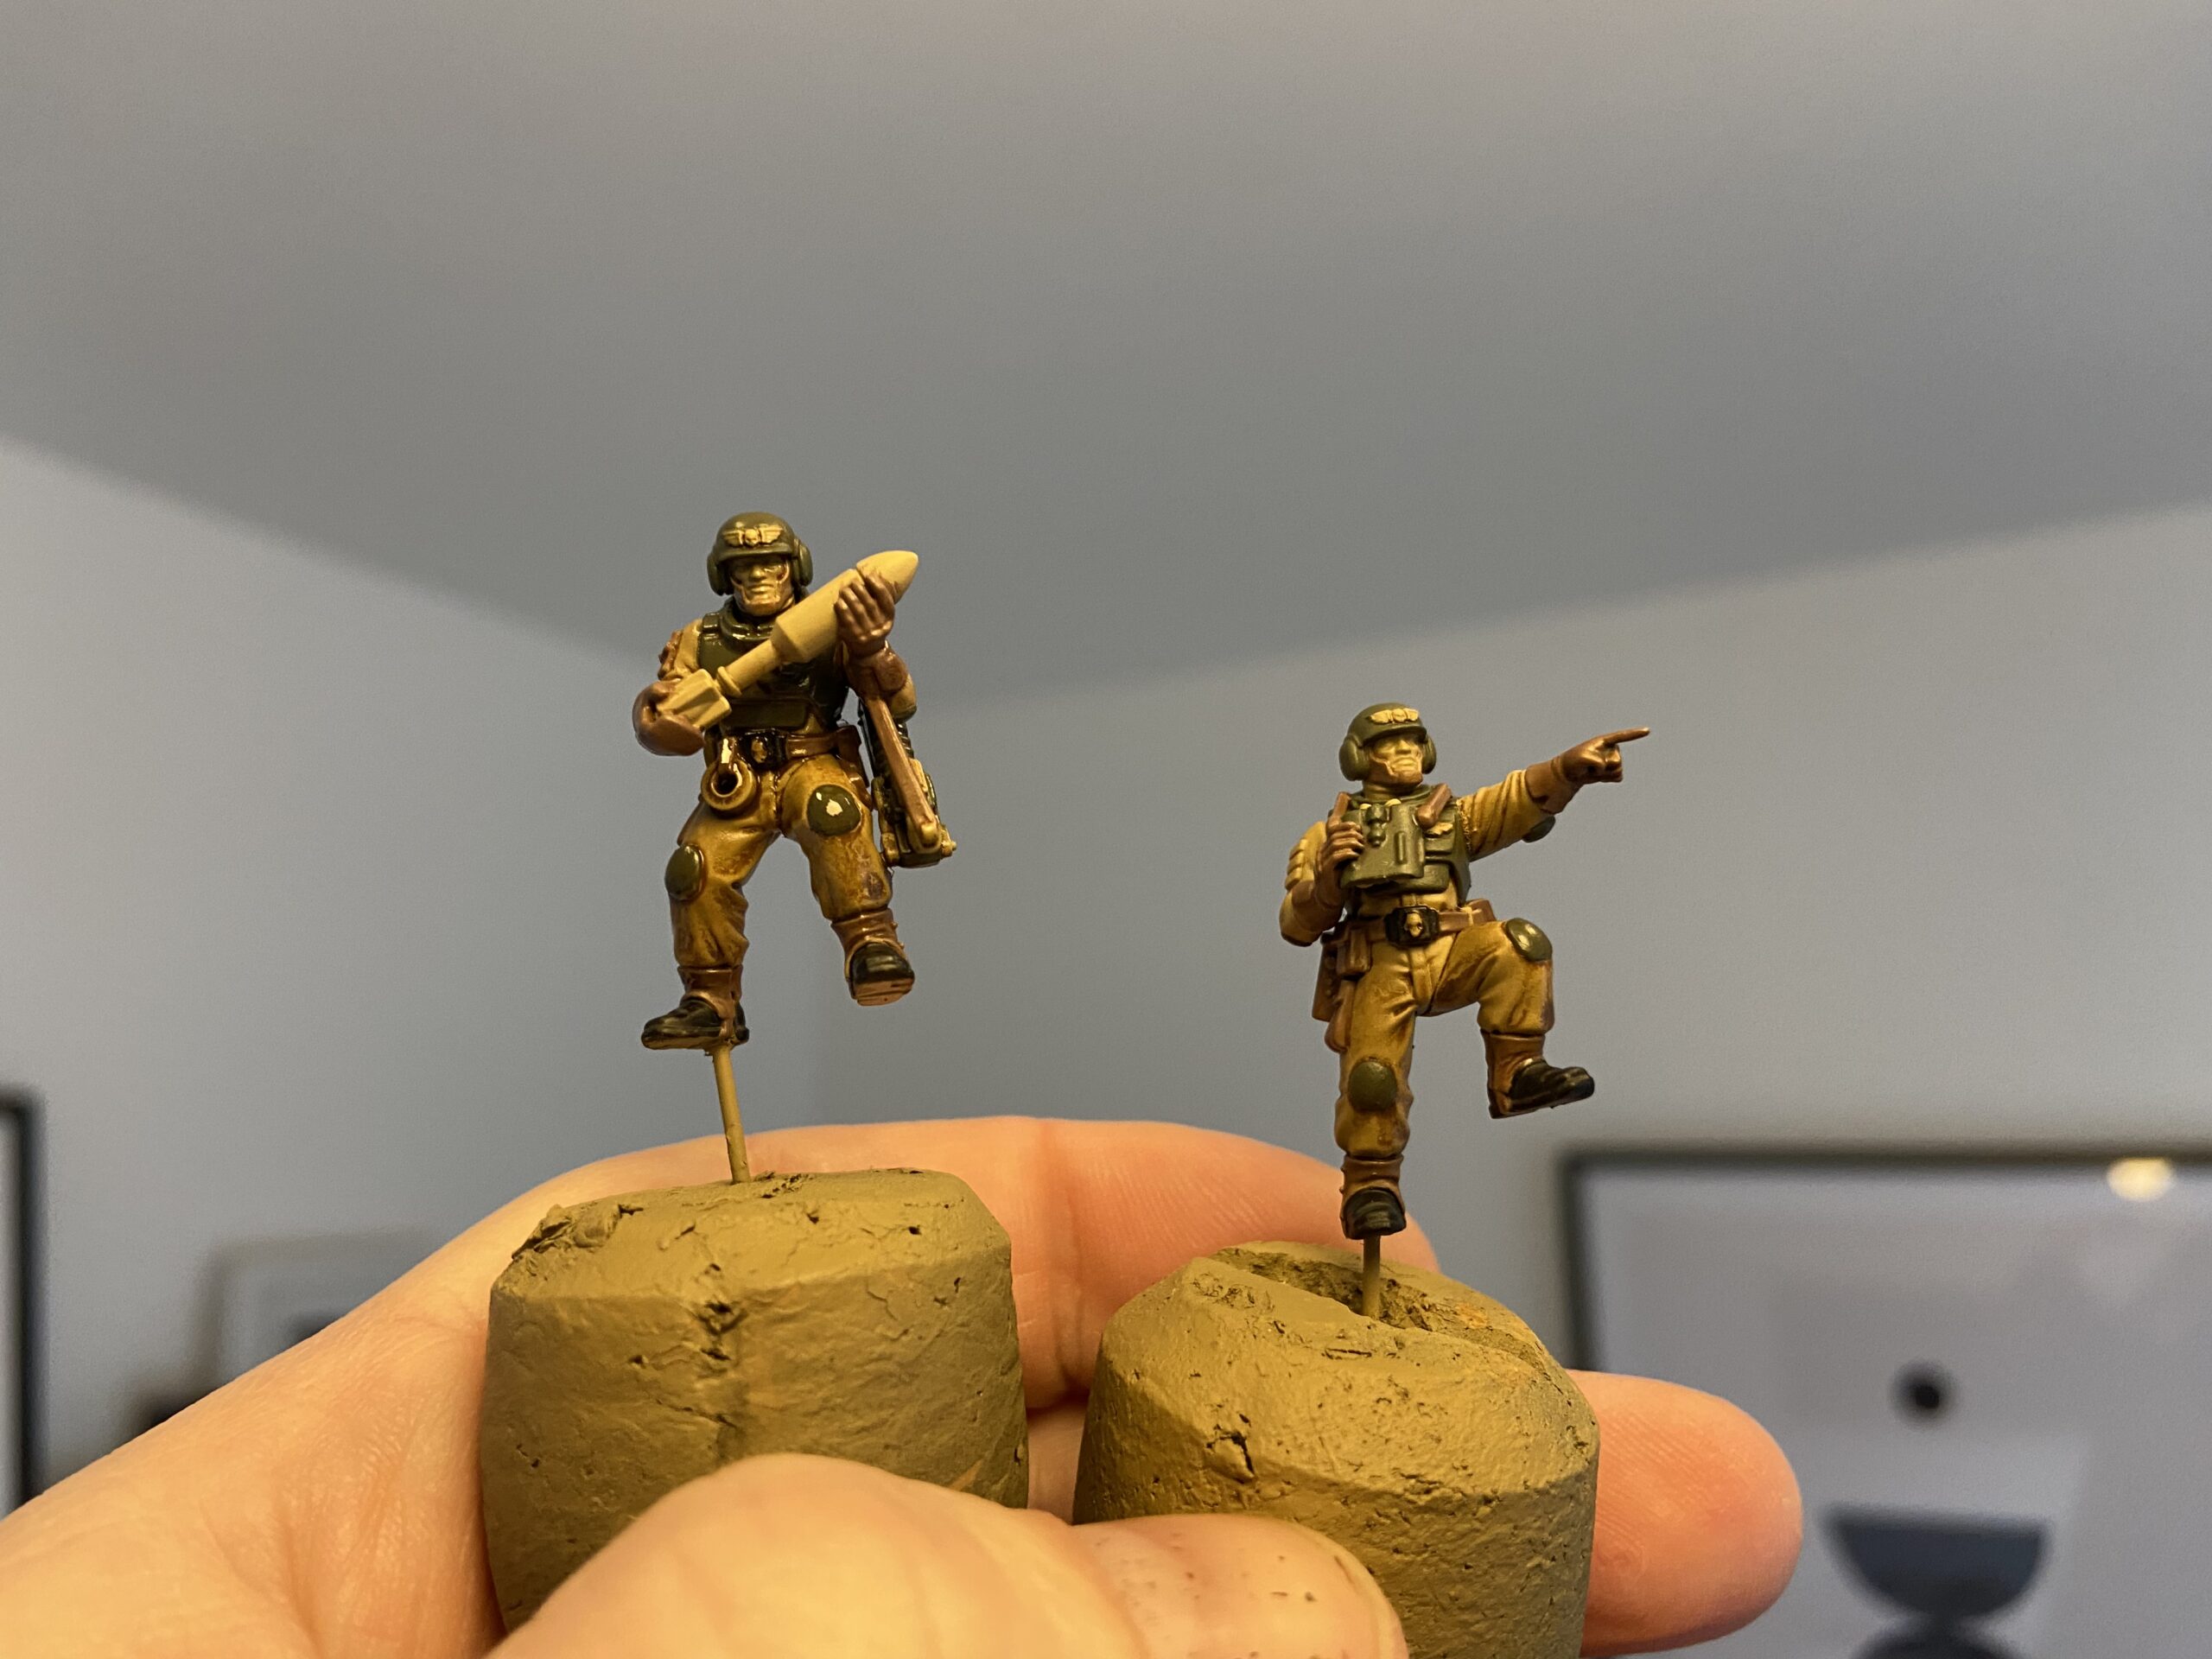
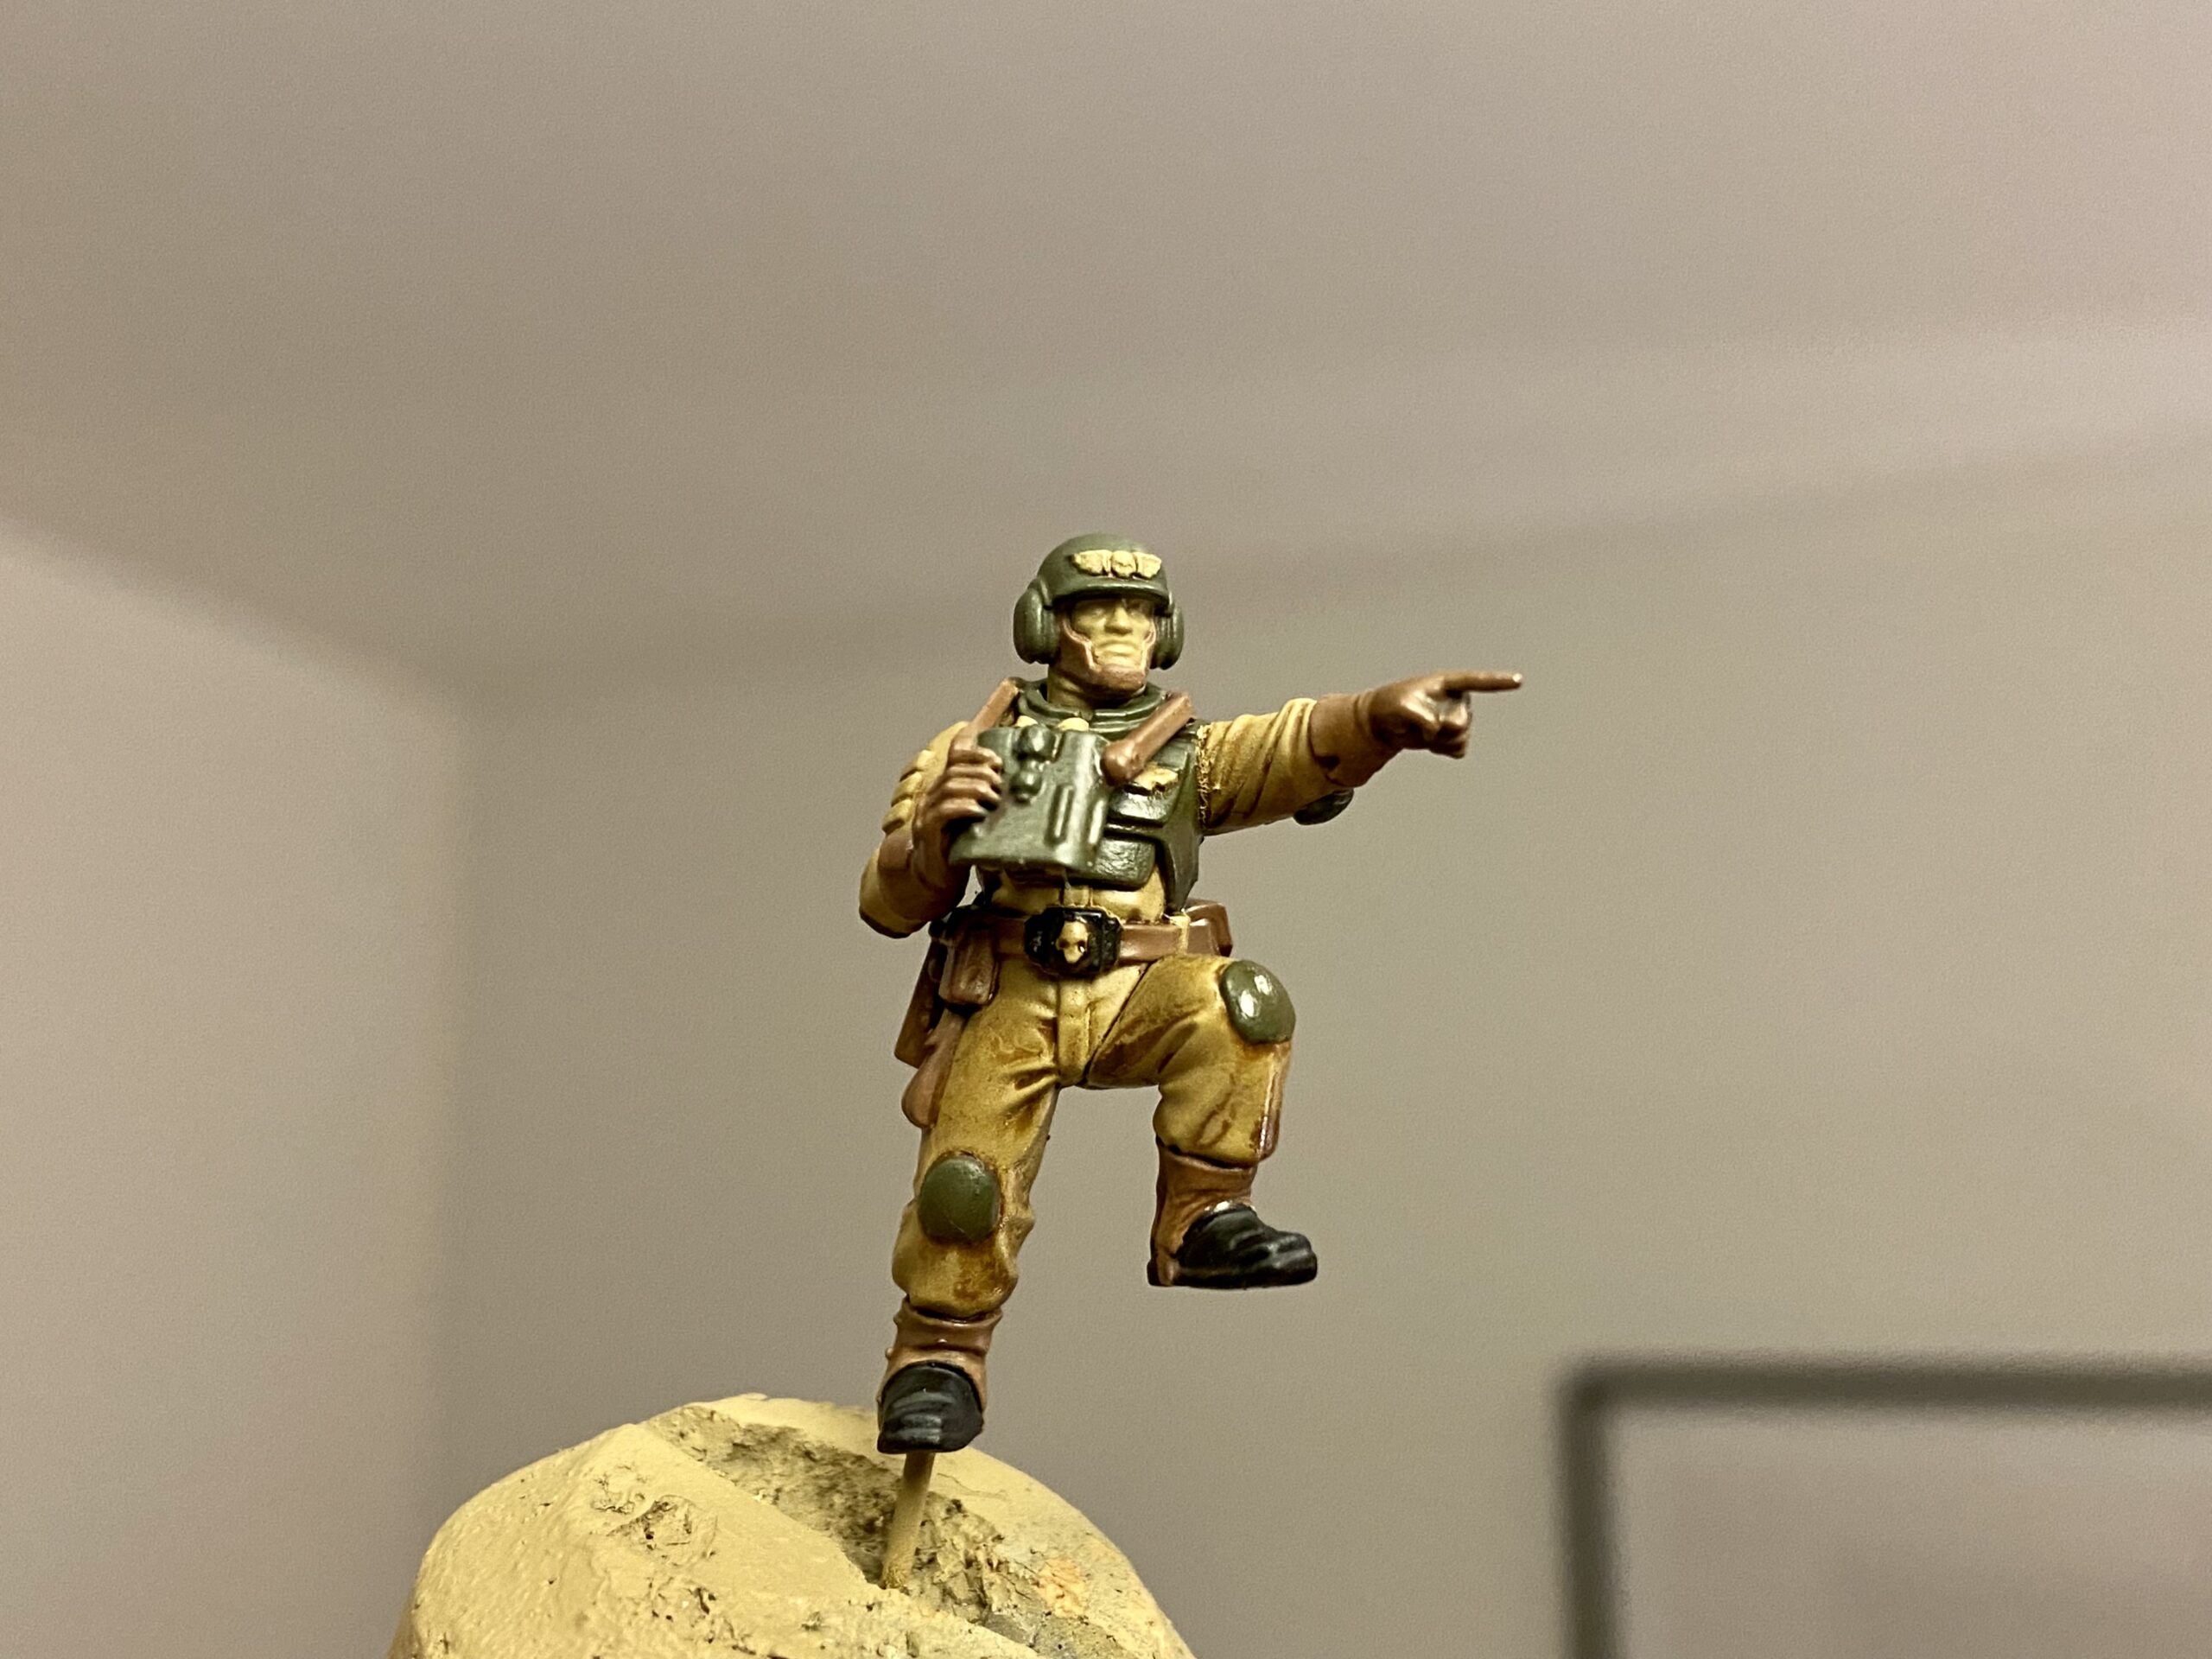
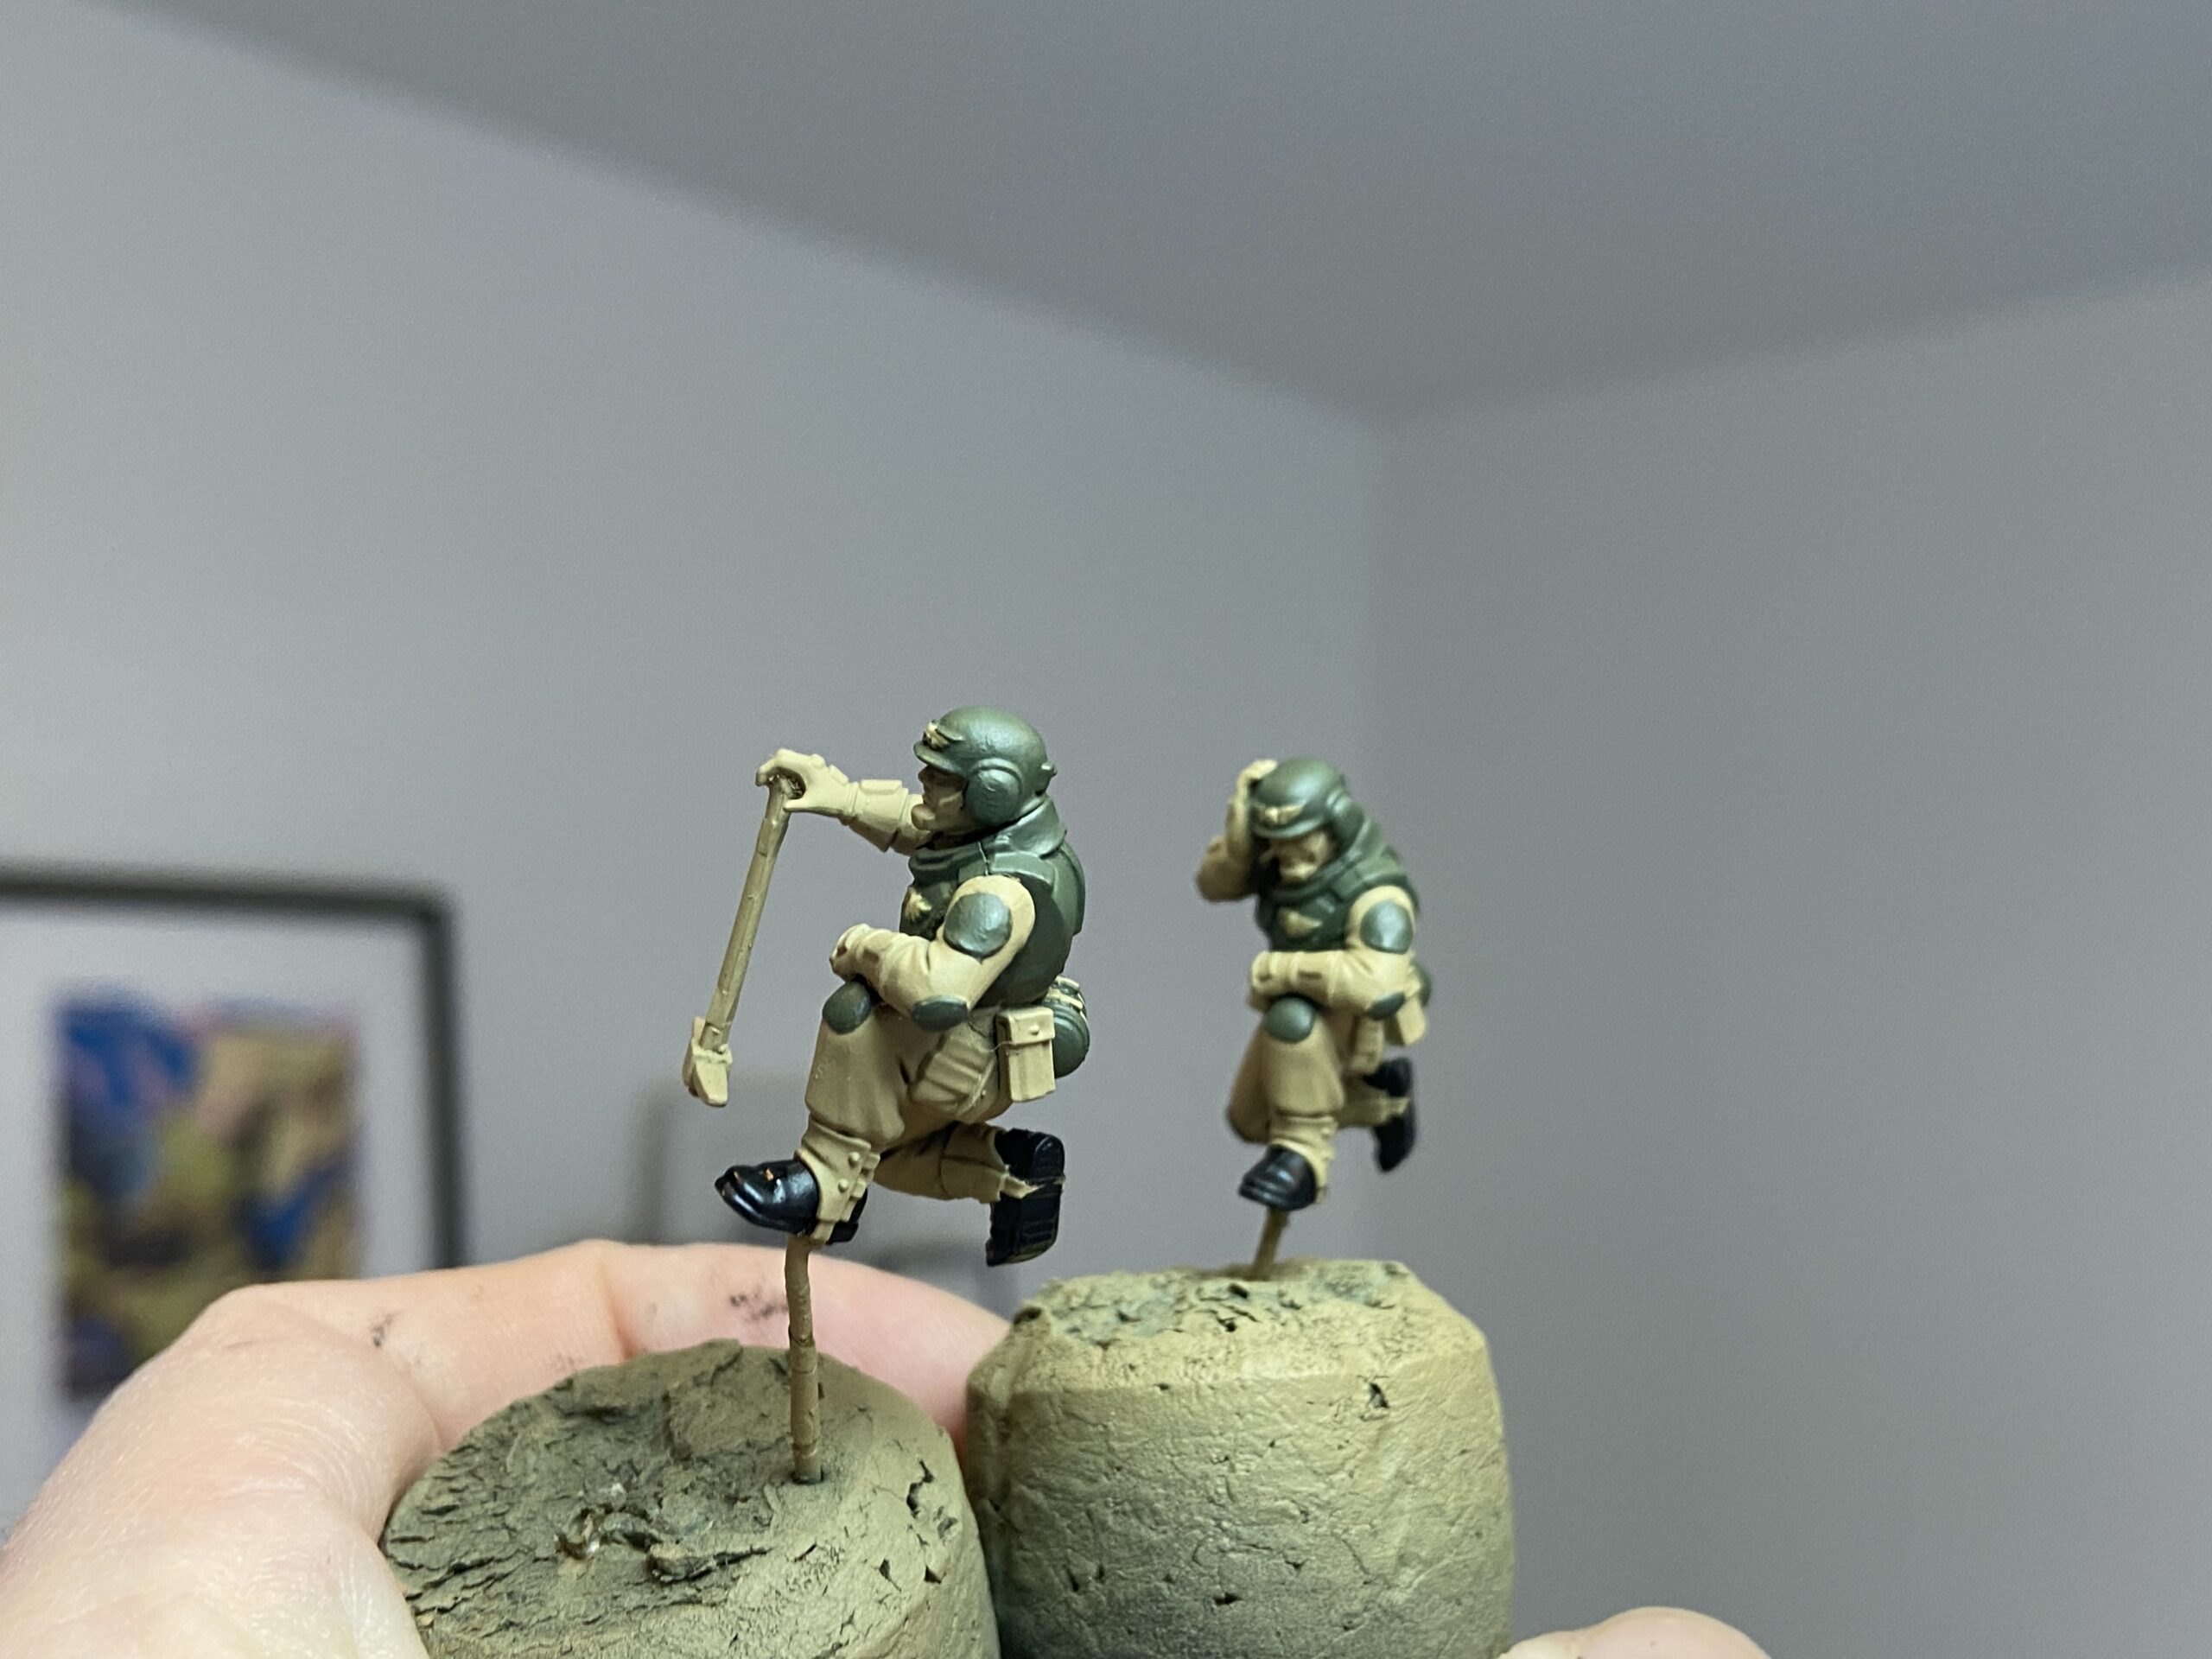
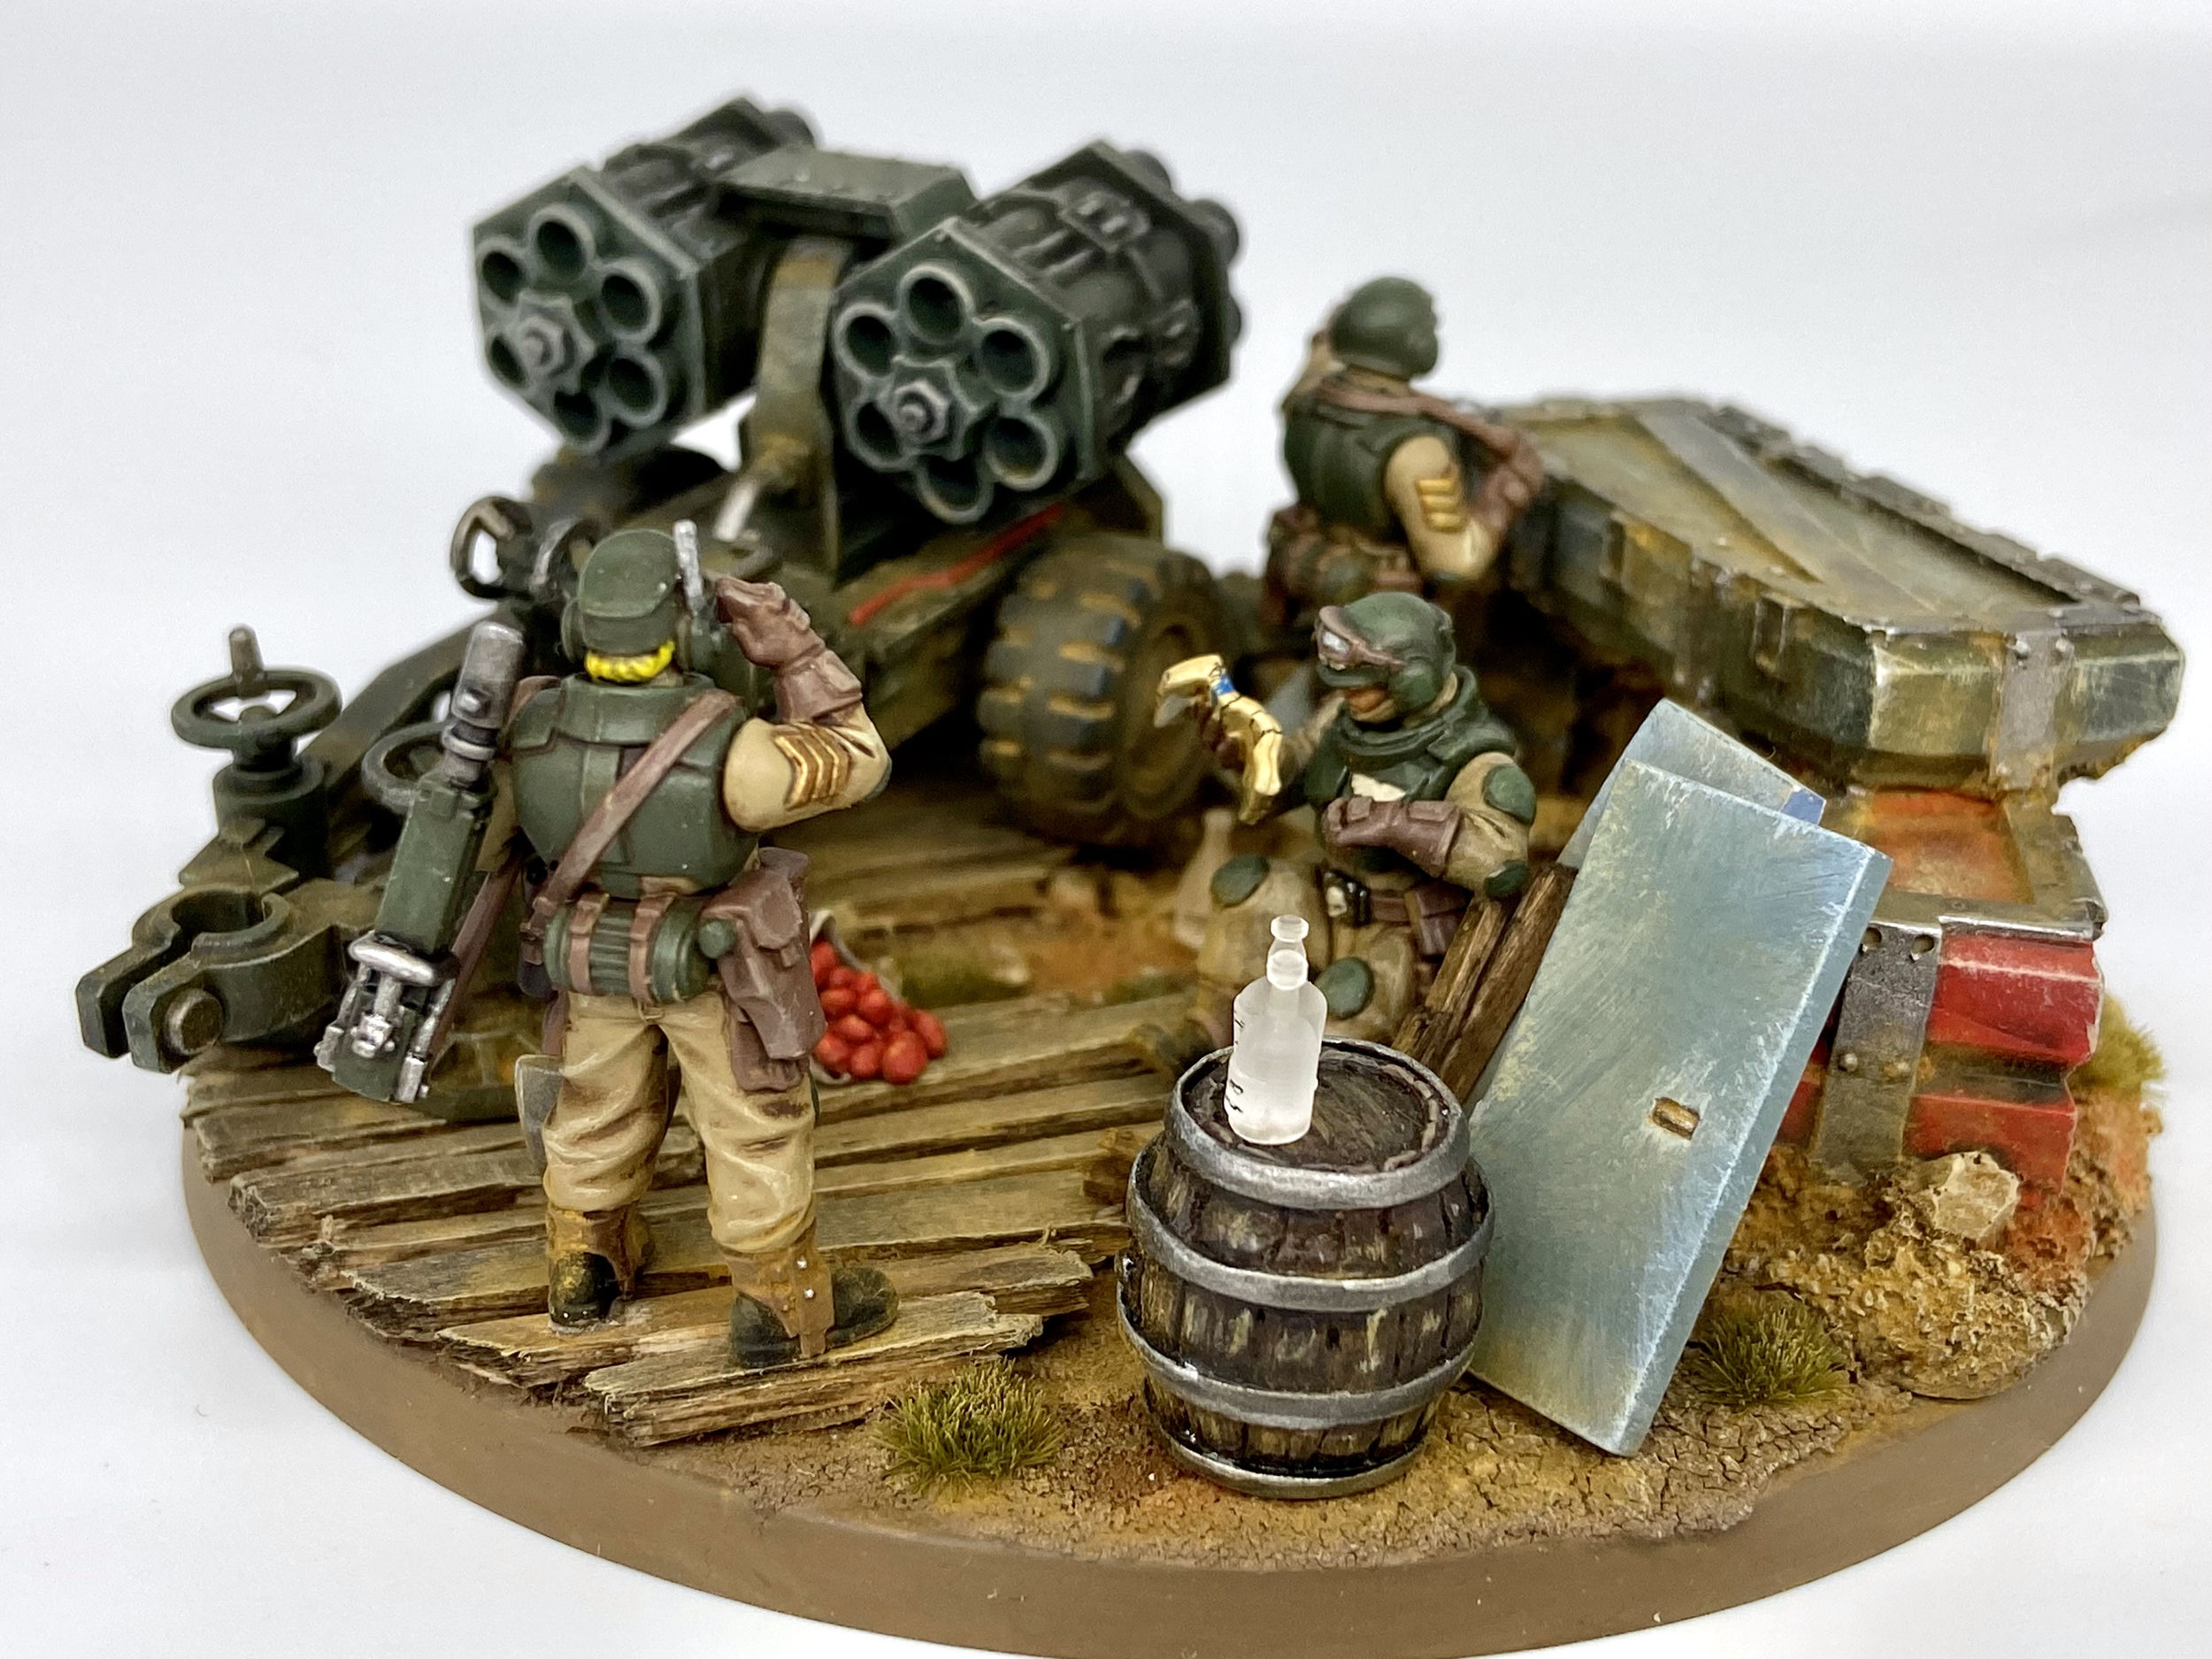
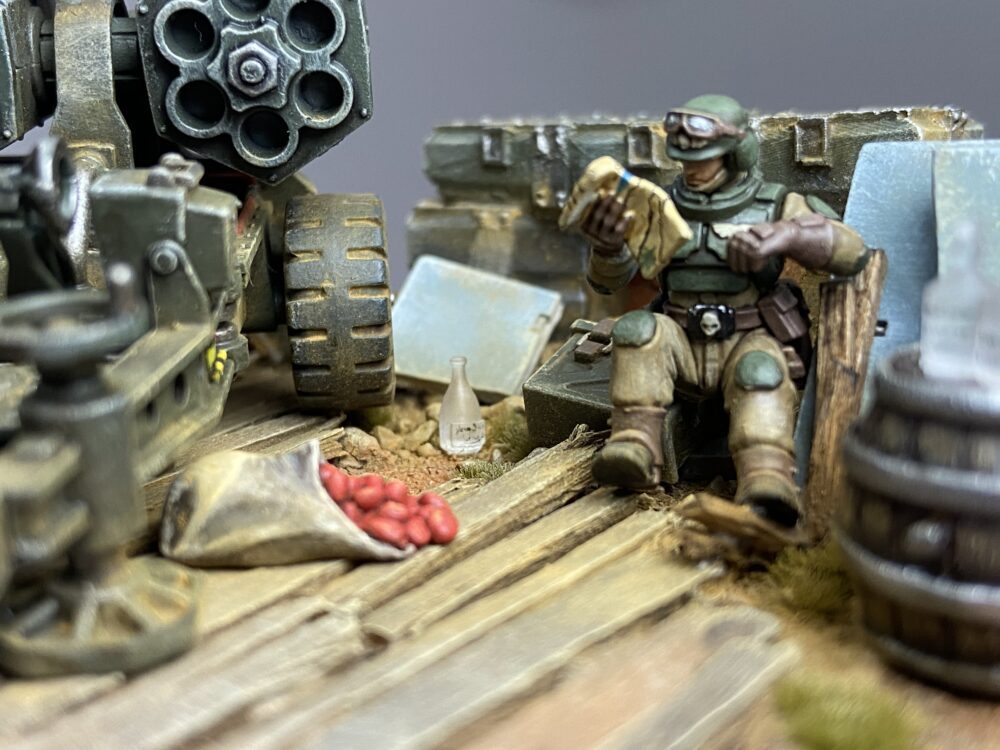
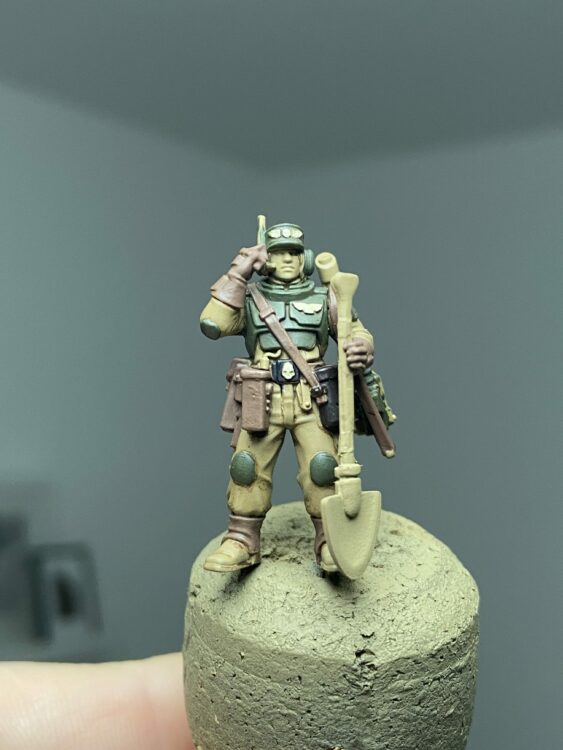
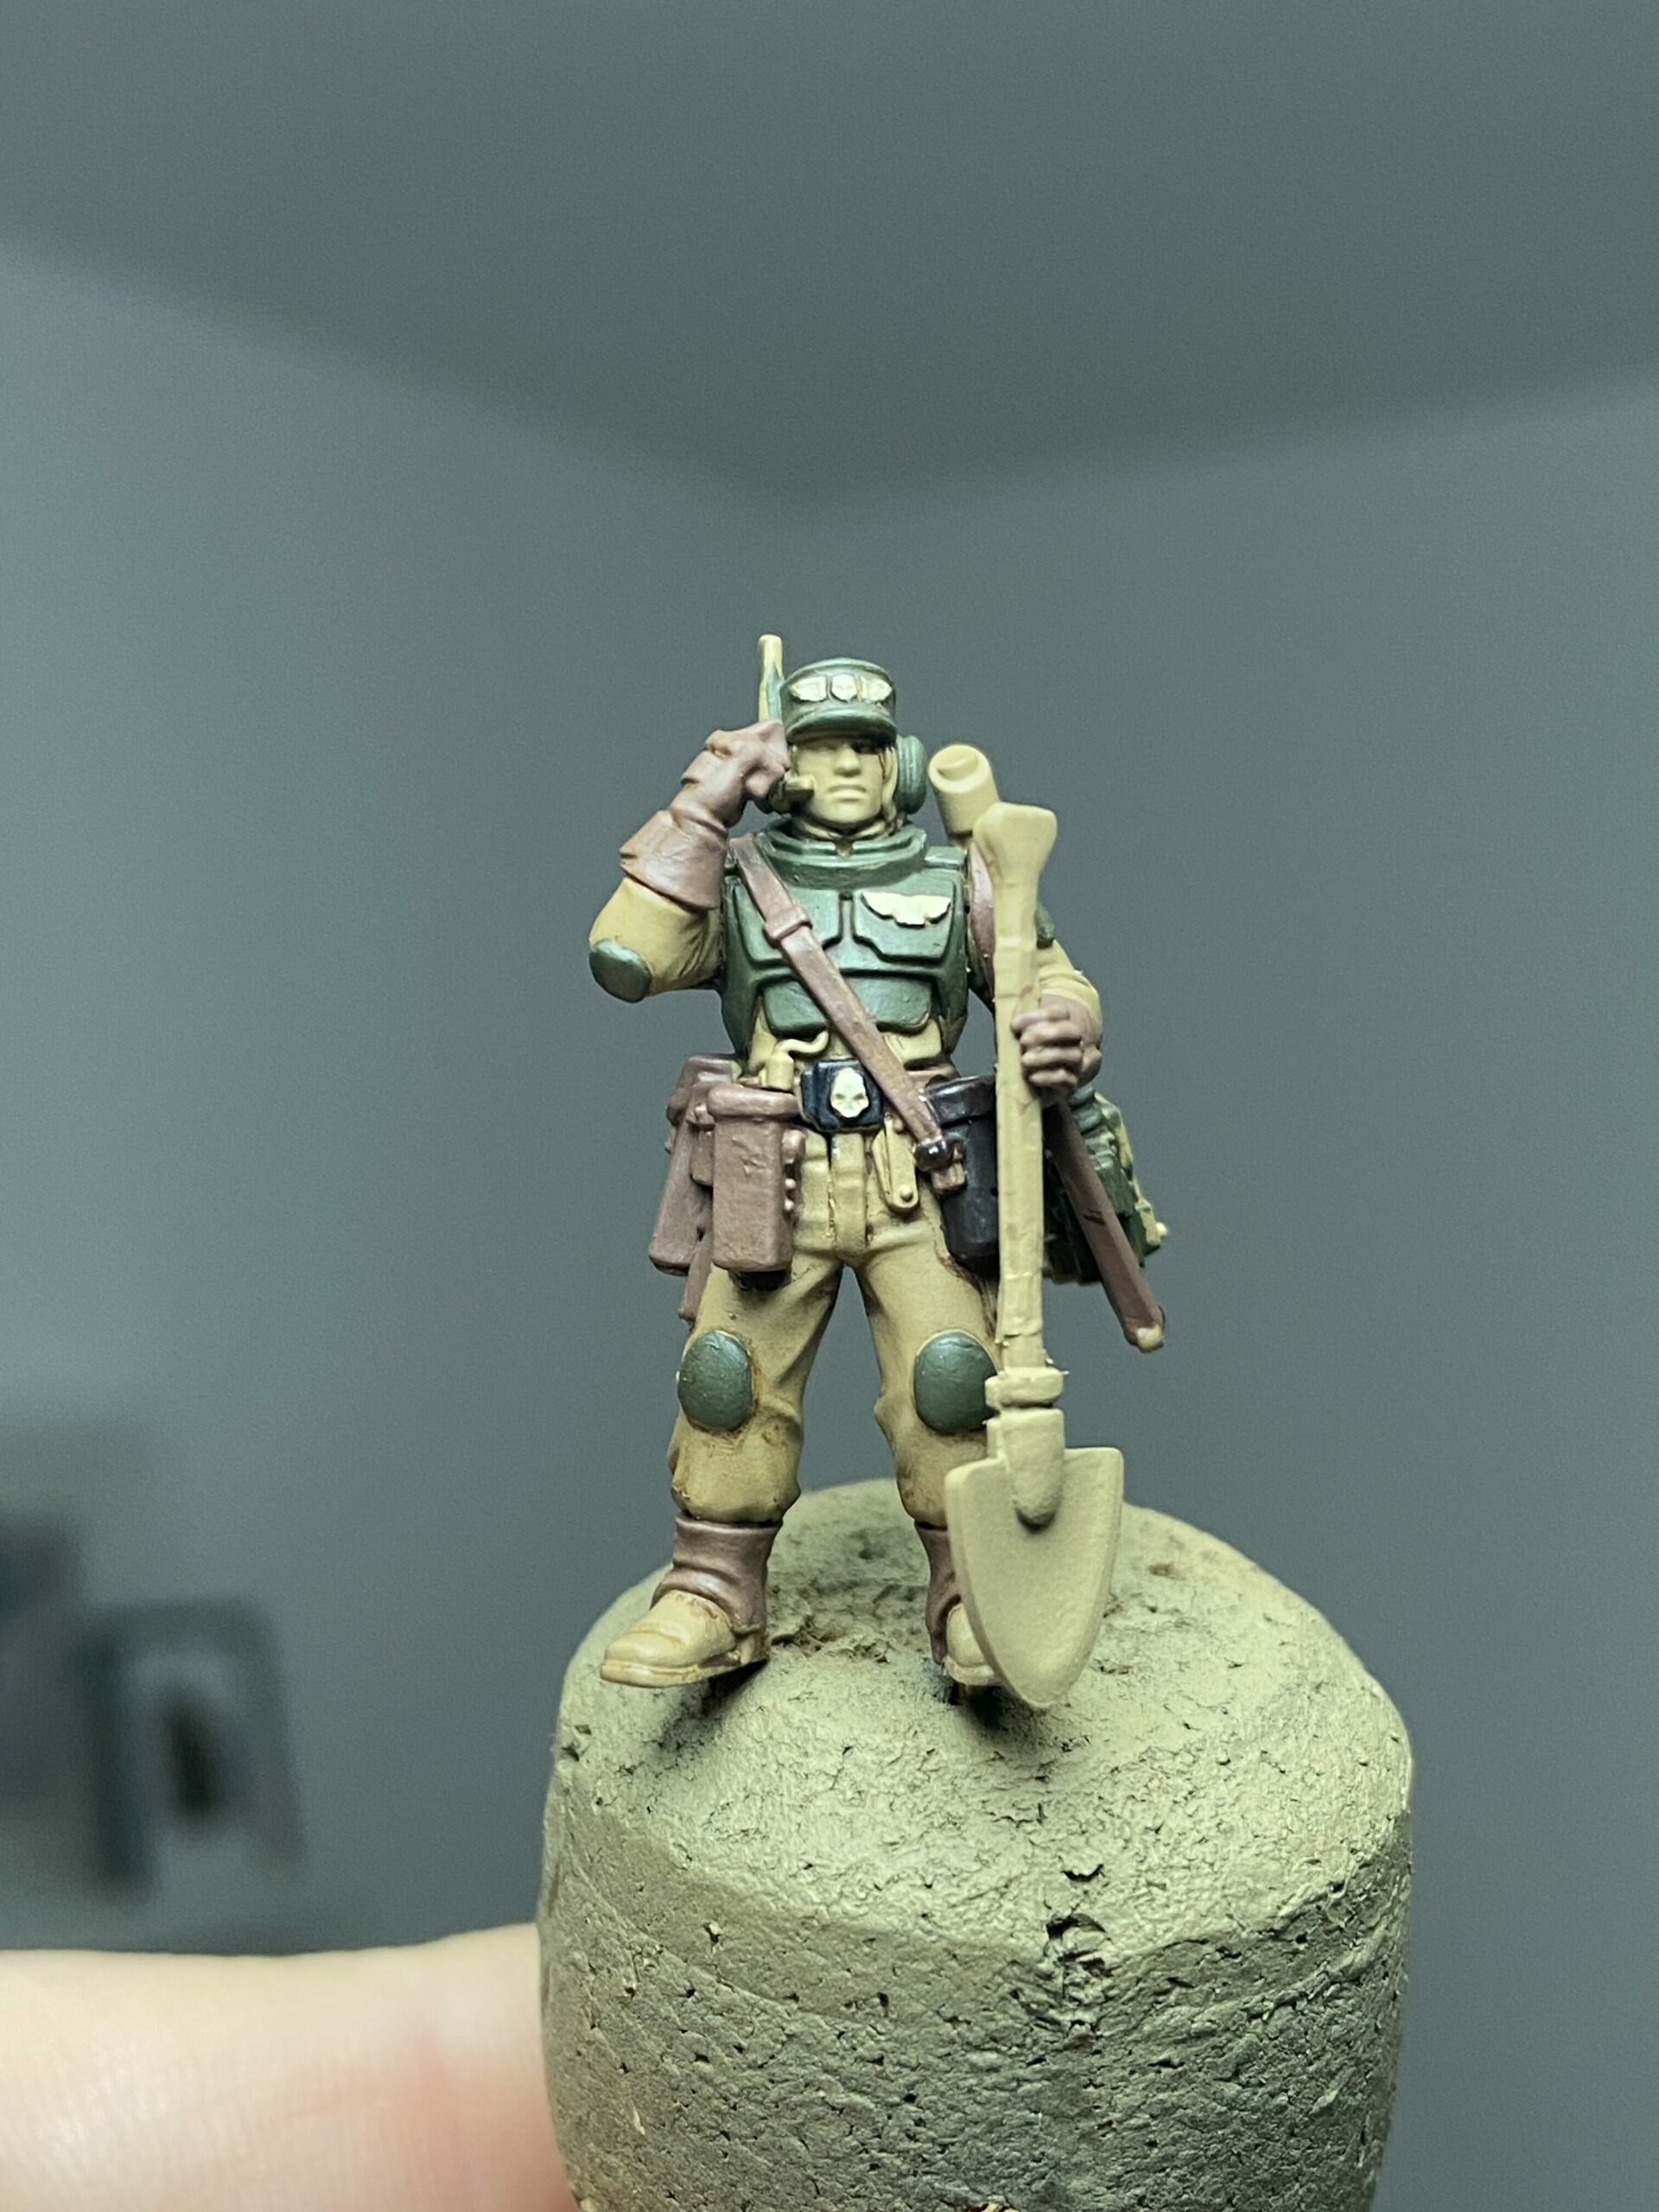
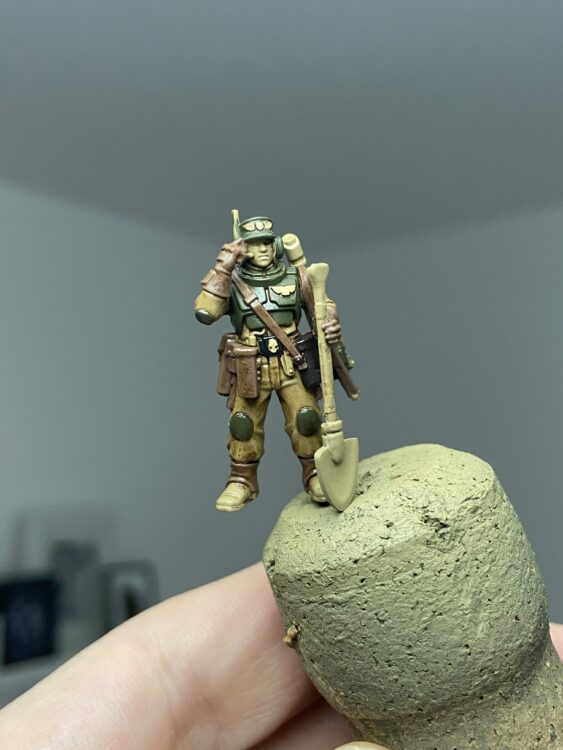
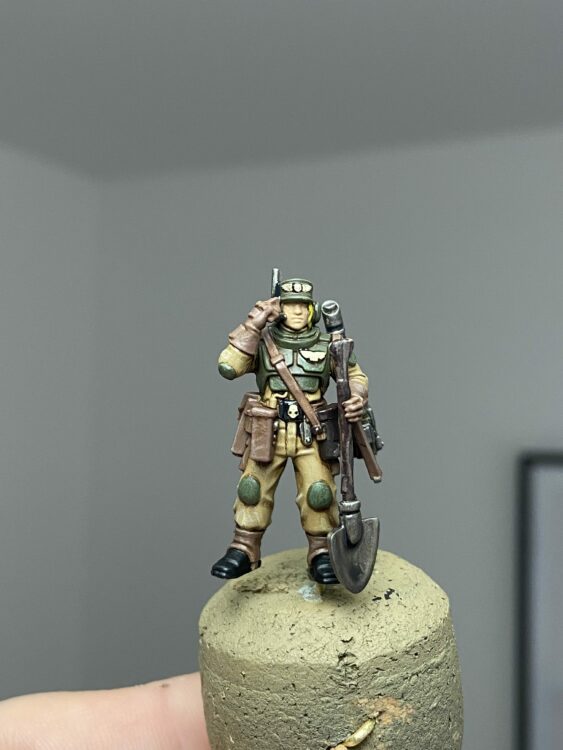
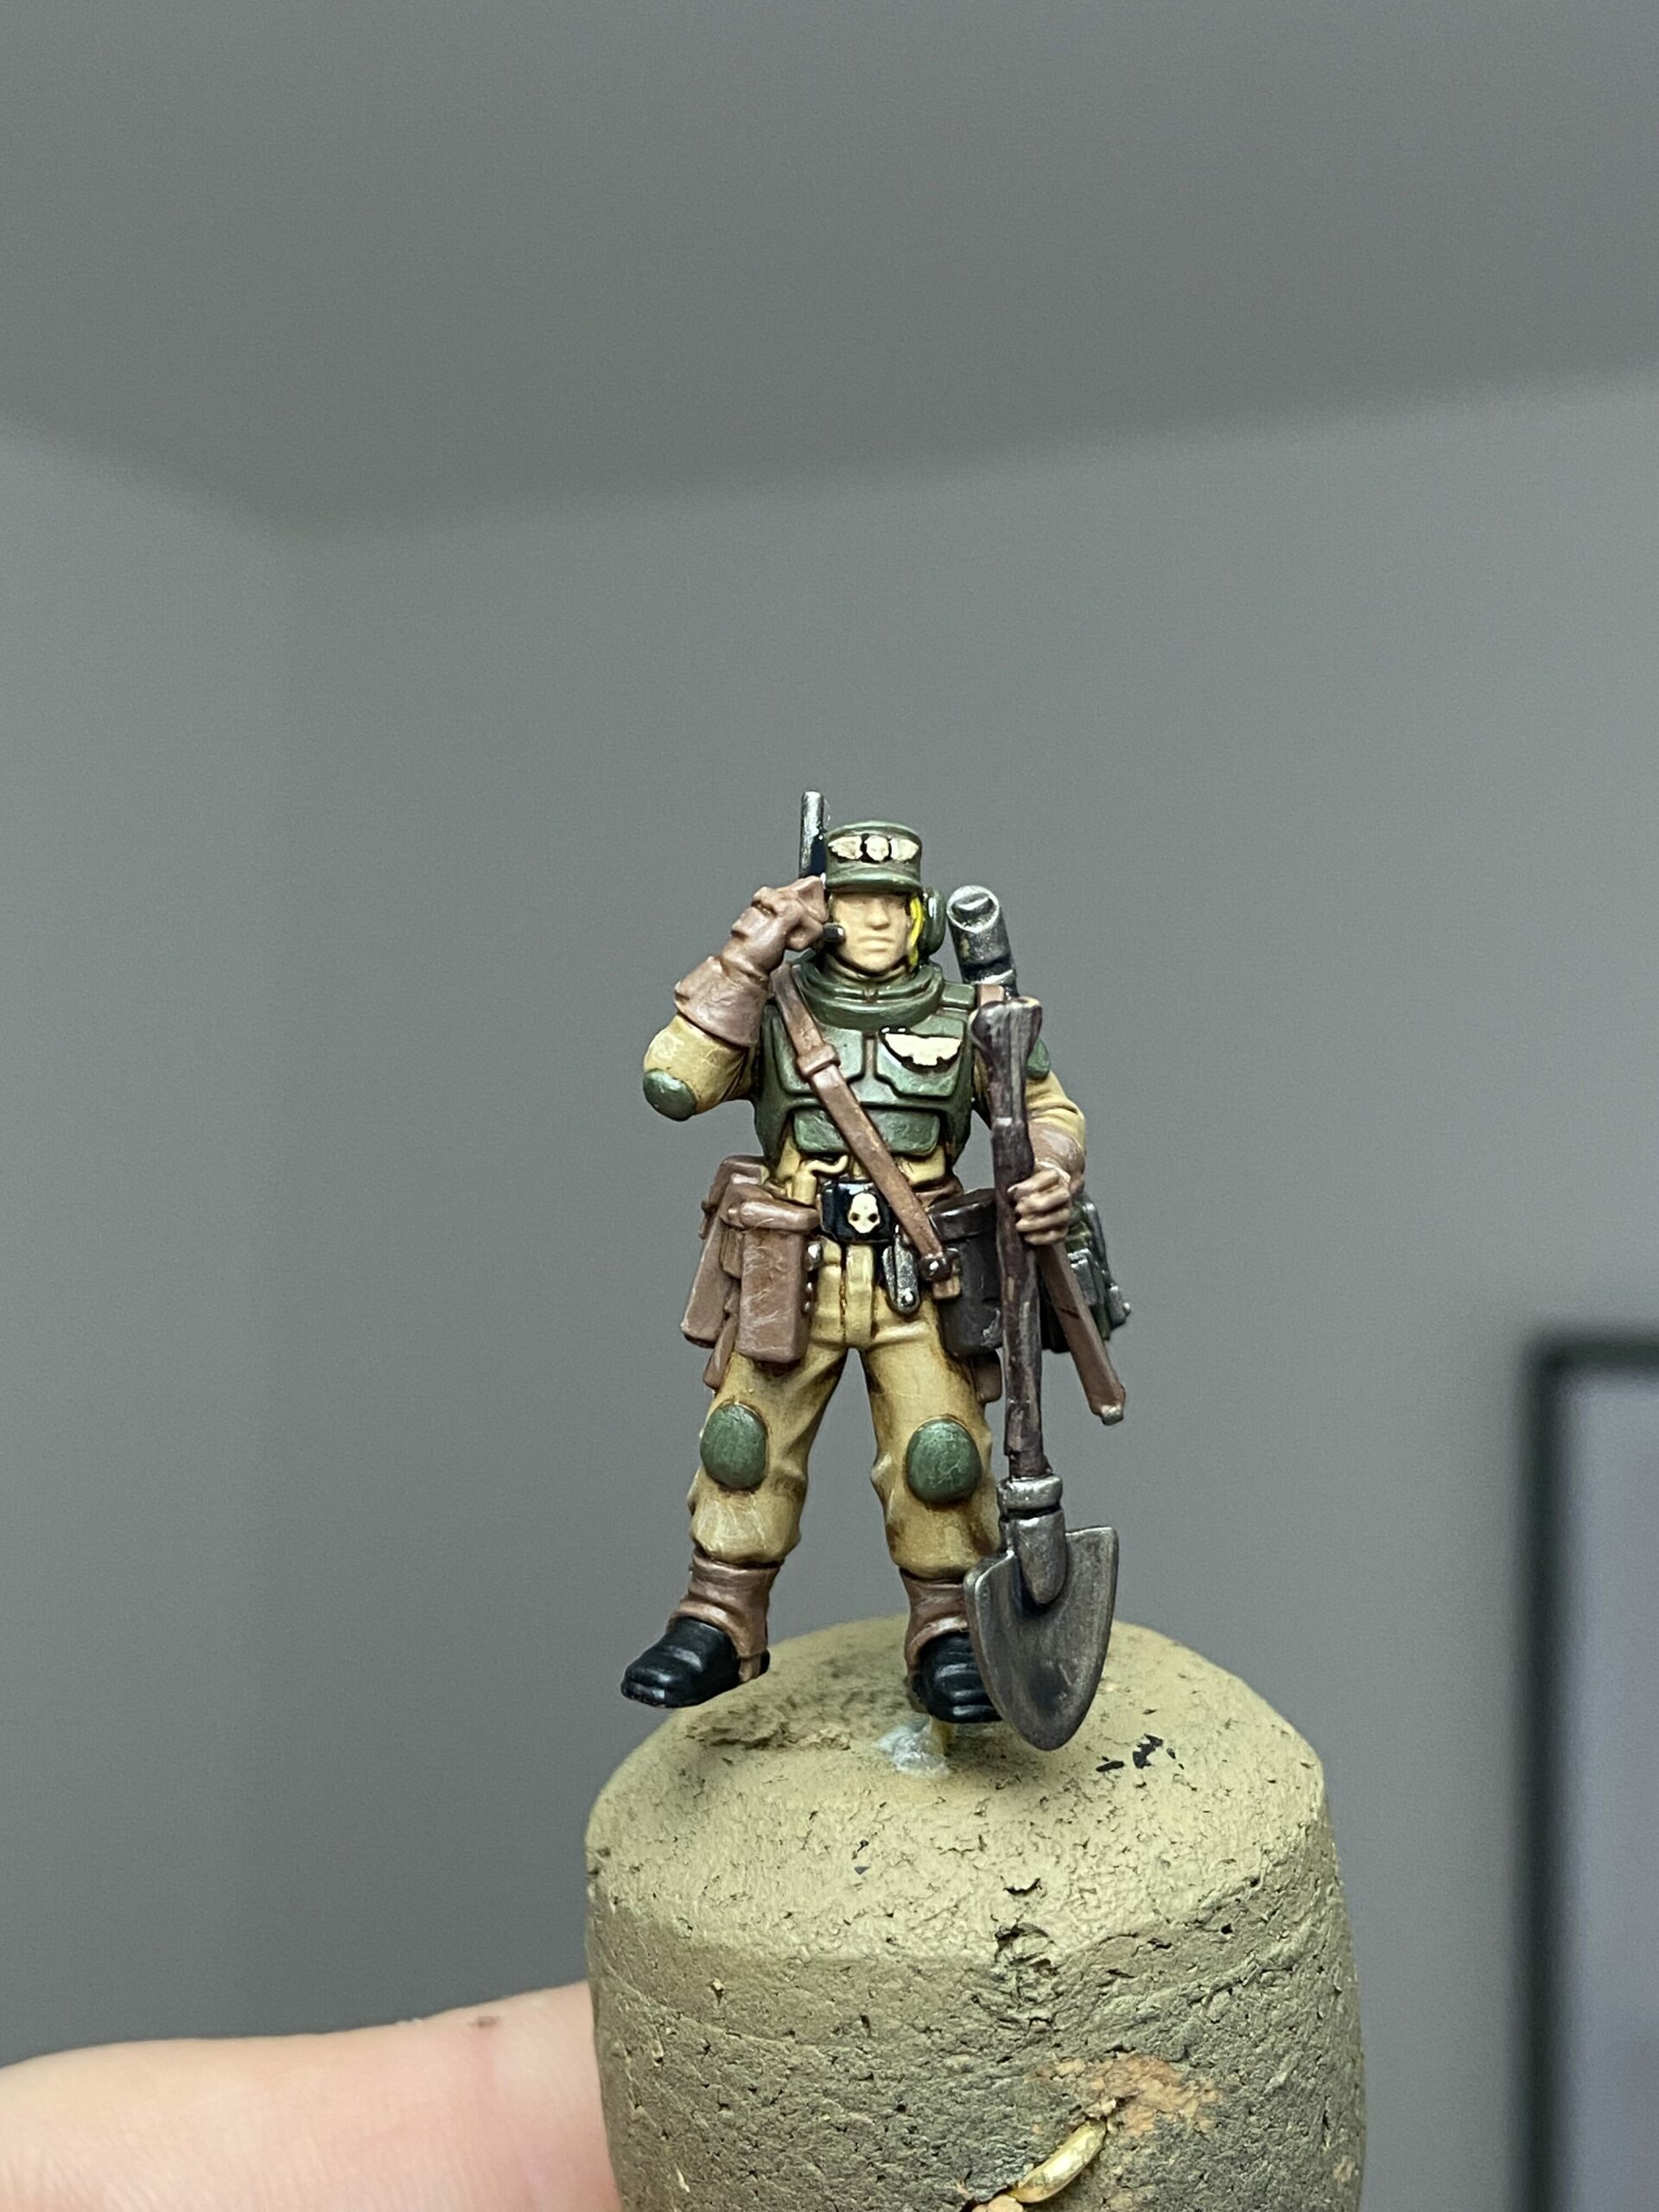
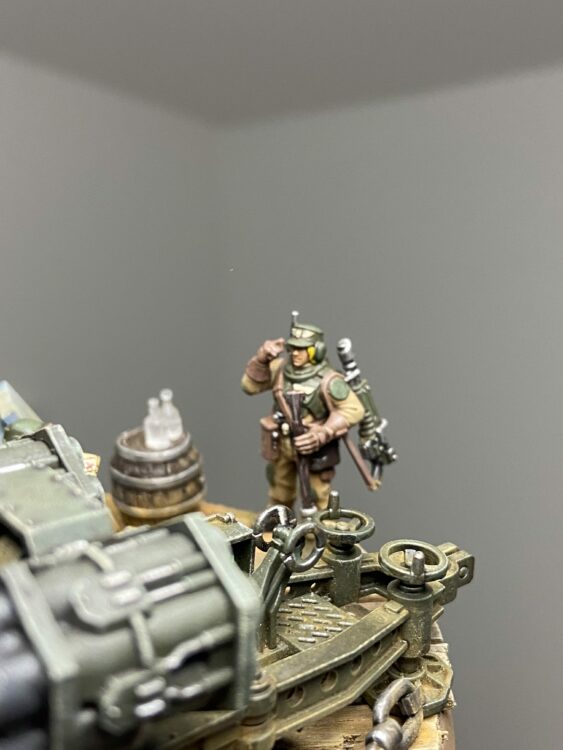
Crew Test Models
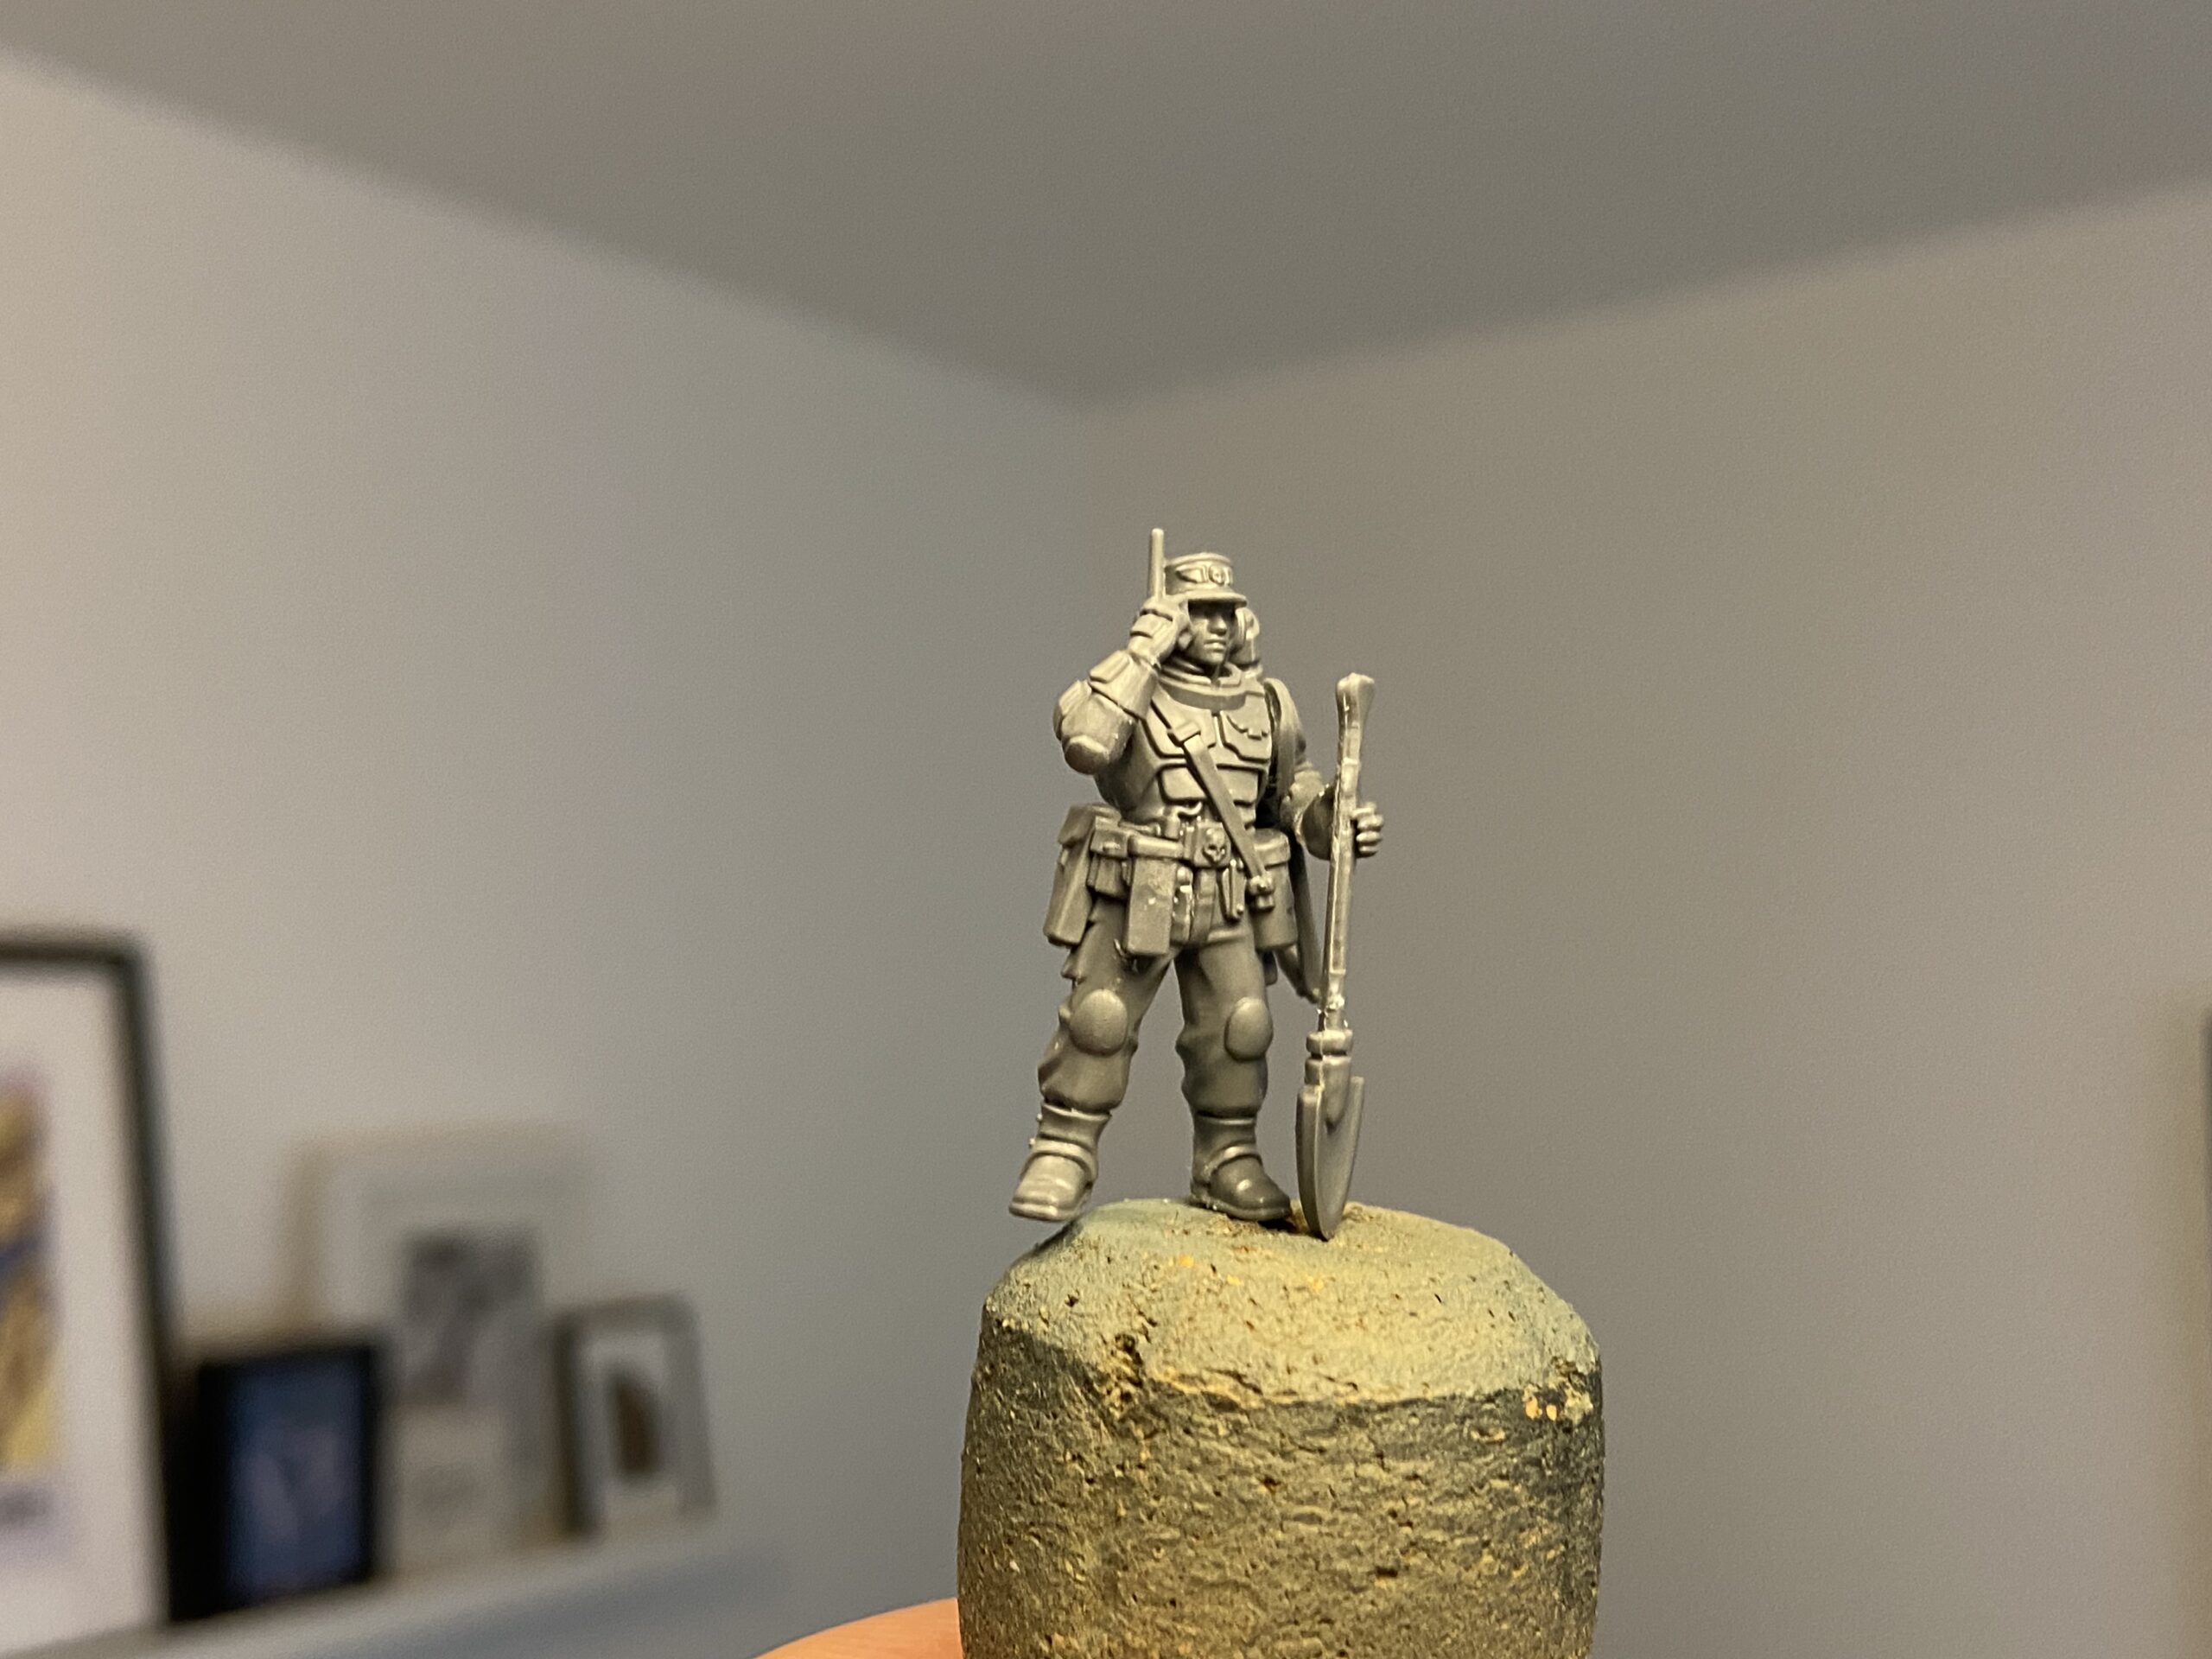
I will do another article on this, but I used these crew models as a test for all my future Cadians of the new type. The first one I did using my tried and tested method with an Agrax Earthshade wash and some highlights. This is the soldier sitting down with the map. He turned out well.
I did not want to go too detailed as this is the method I would need to replicate across 60+ other models at some point.
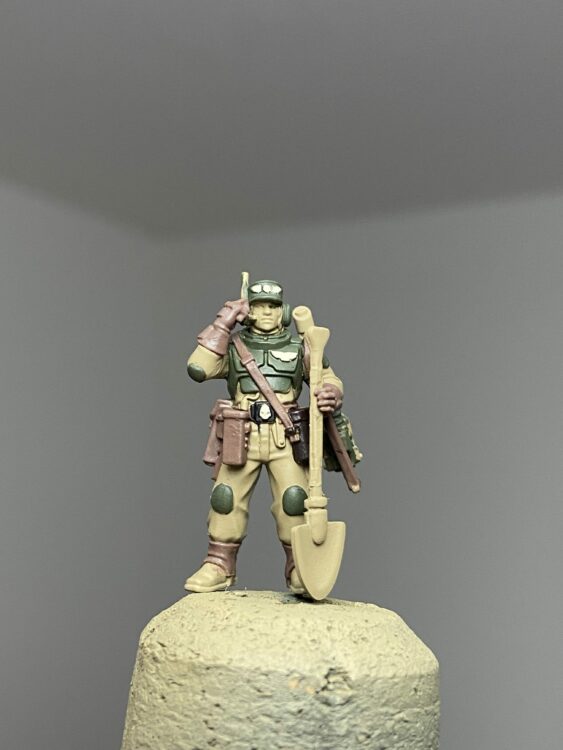
The next model I did, shown below, used a brown oil wash. I have used oil paints on structures and vehicles before, but never on soldiers and clothes. This was a learning process which will be covered at another time. But it boiled down to the following;
- Spraying Zandri Dust
- Doing the details in green and brown
- Mixing an oil wash and changing it between models to get it right
- Let it dry
- Wipe some of the oil paint away
- Highlight armour, clothes and leather
- Add details
I wrote an article on this method, Painting Cadians, before I finished this Field Ordnance Battery article.
Regular recipe using Agrax Earthshade Wash
-

- Base layers

-

- First oil wash

-
- Dried oil wash
-
- More oil wash

-
- I have now wiped off the oil wash and added details
-
- All done

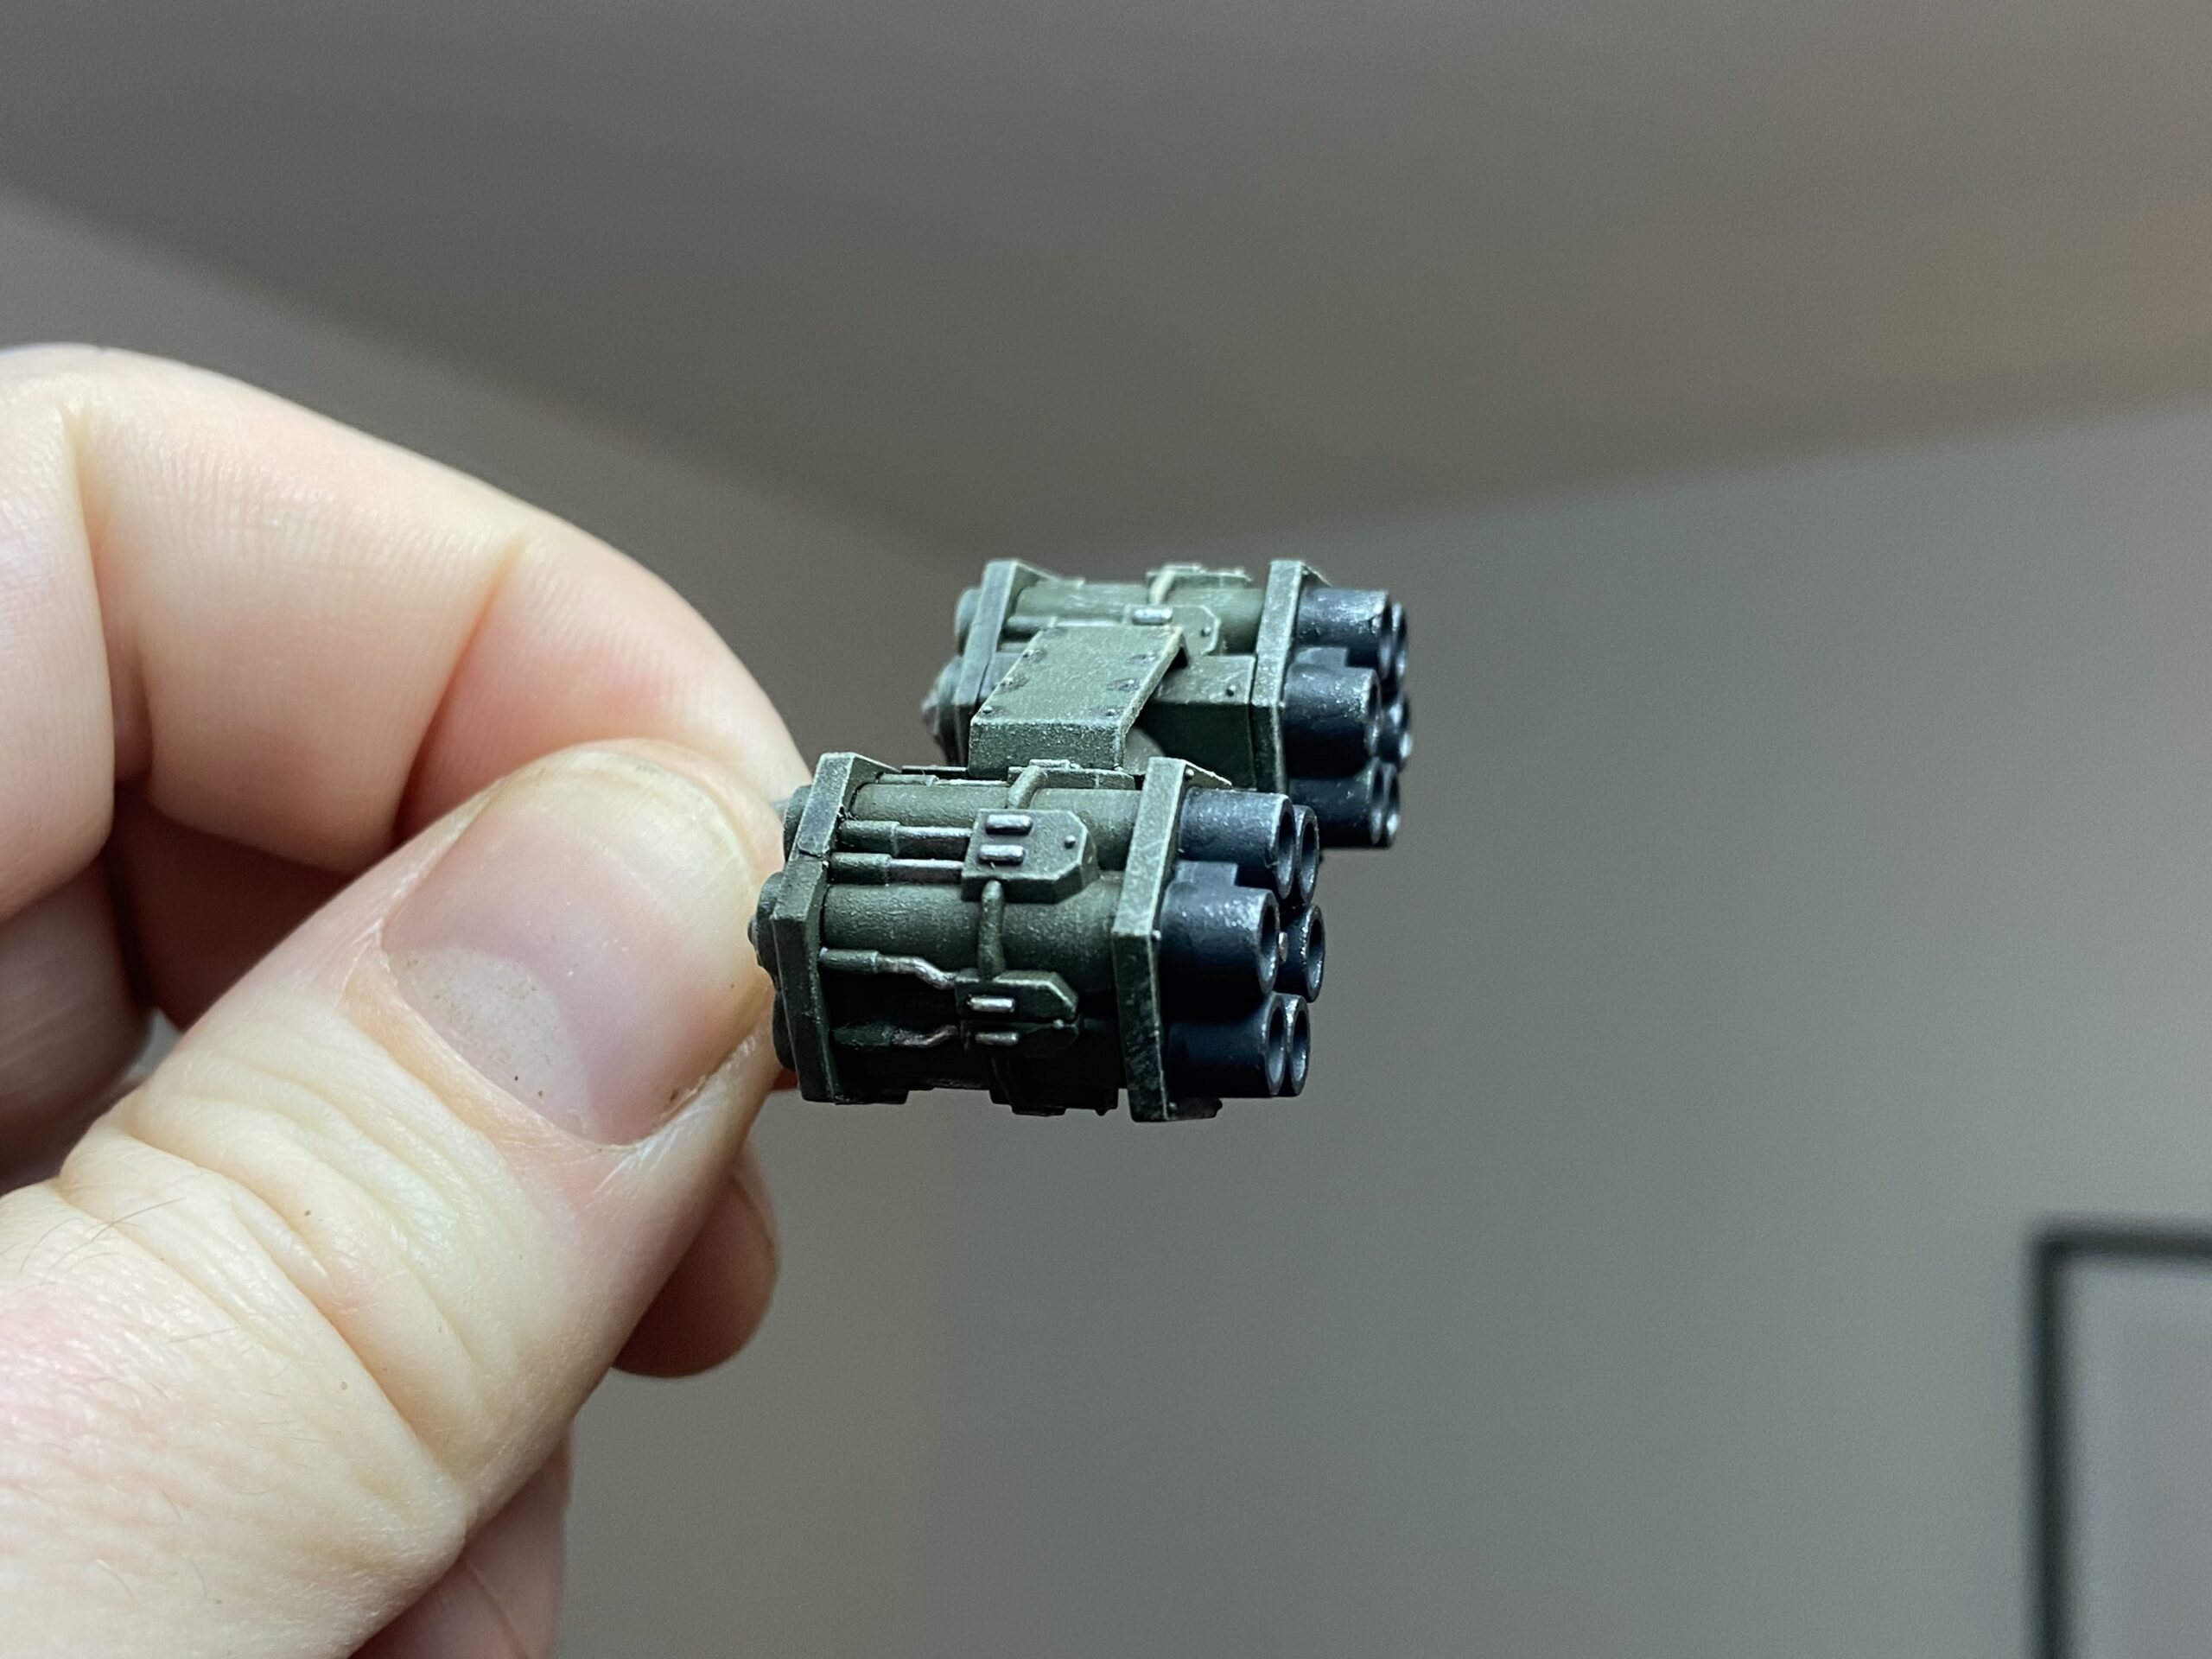
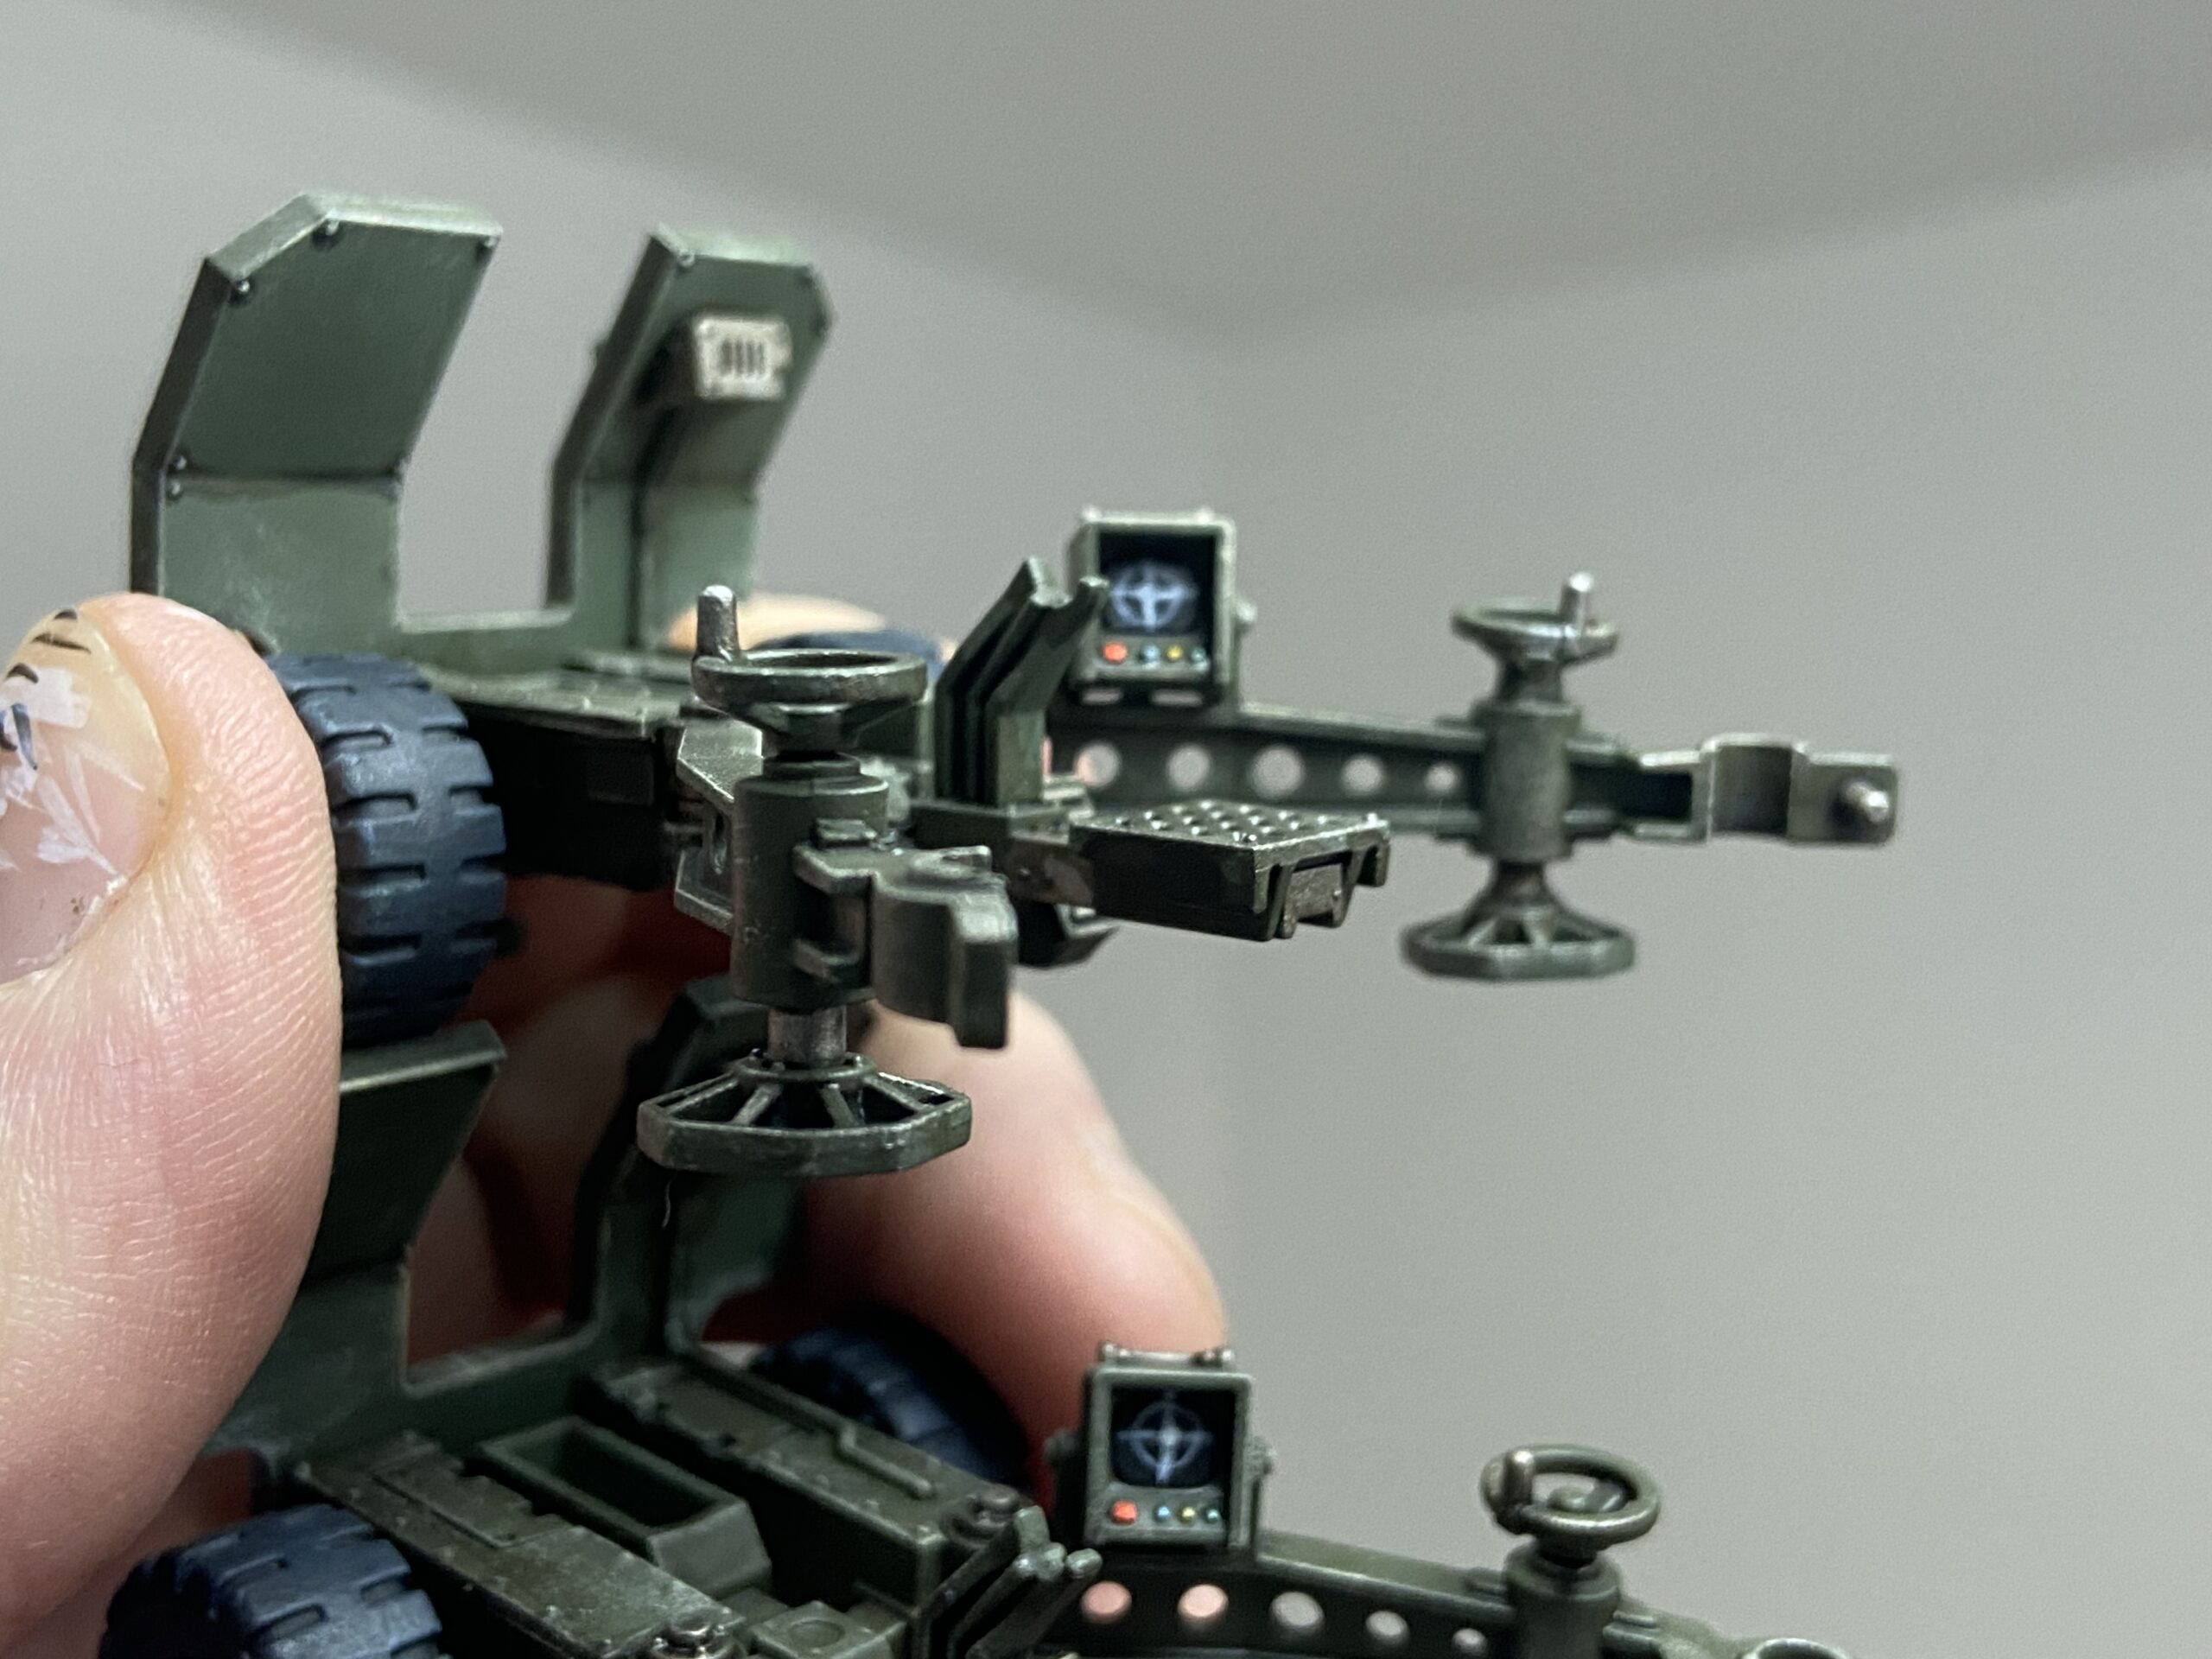
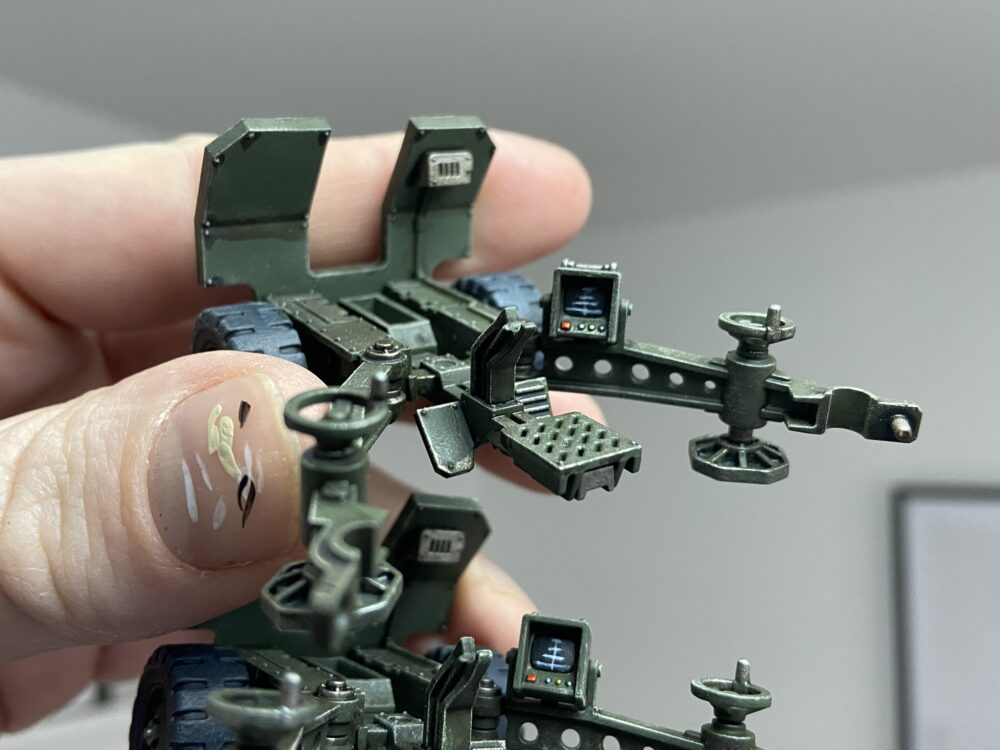
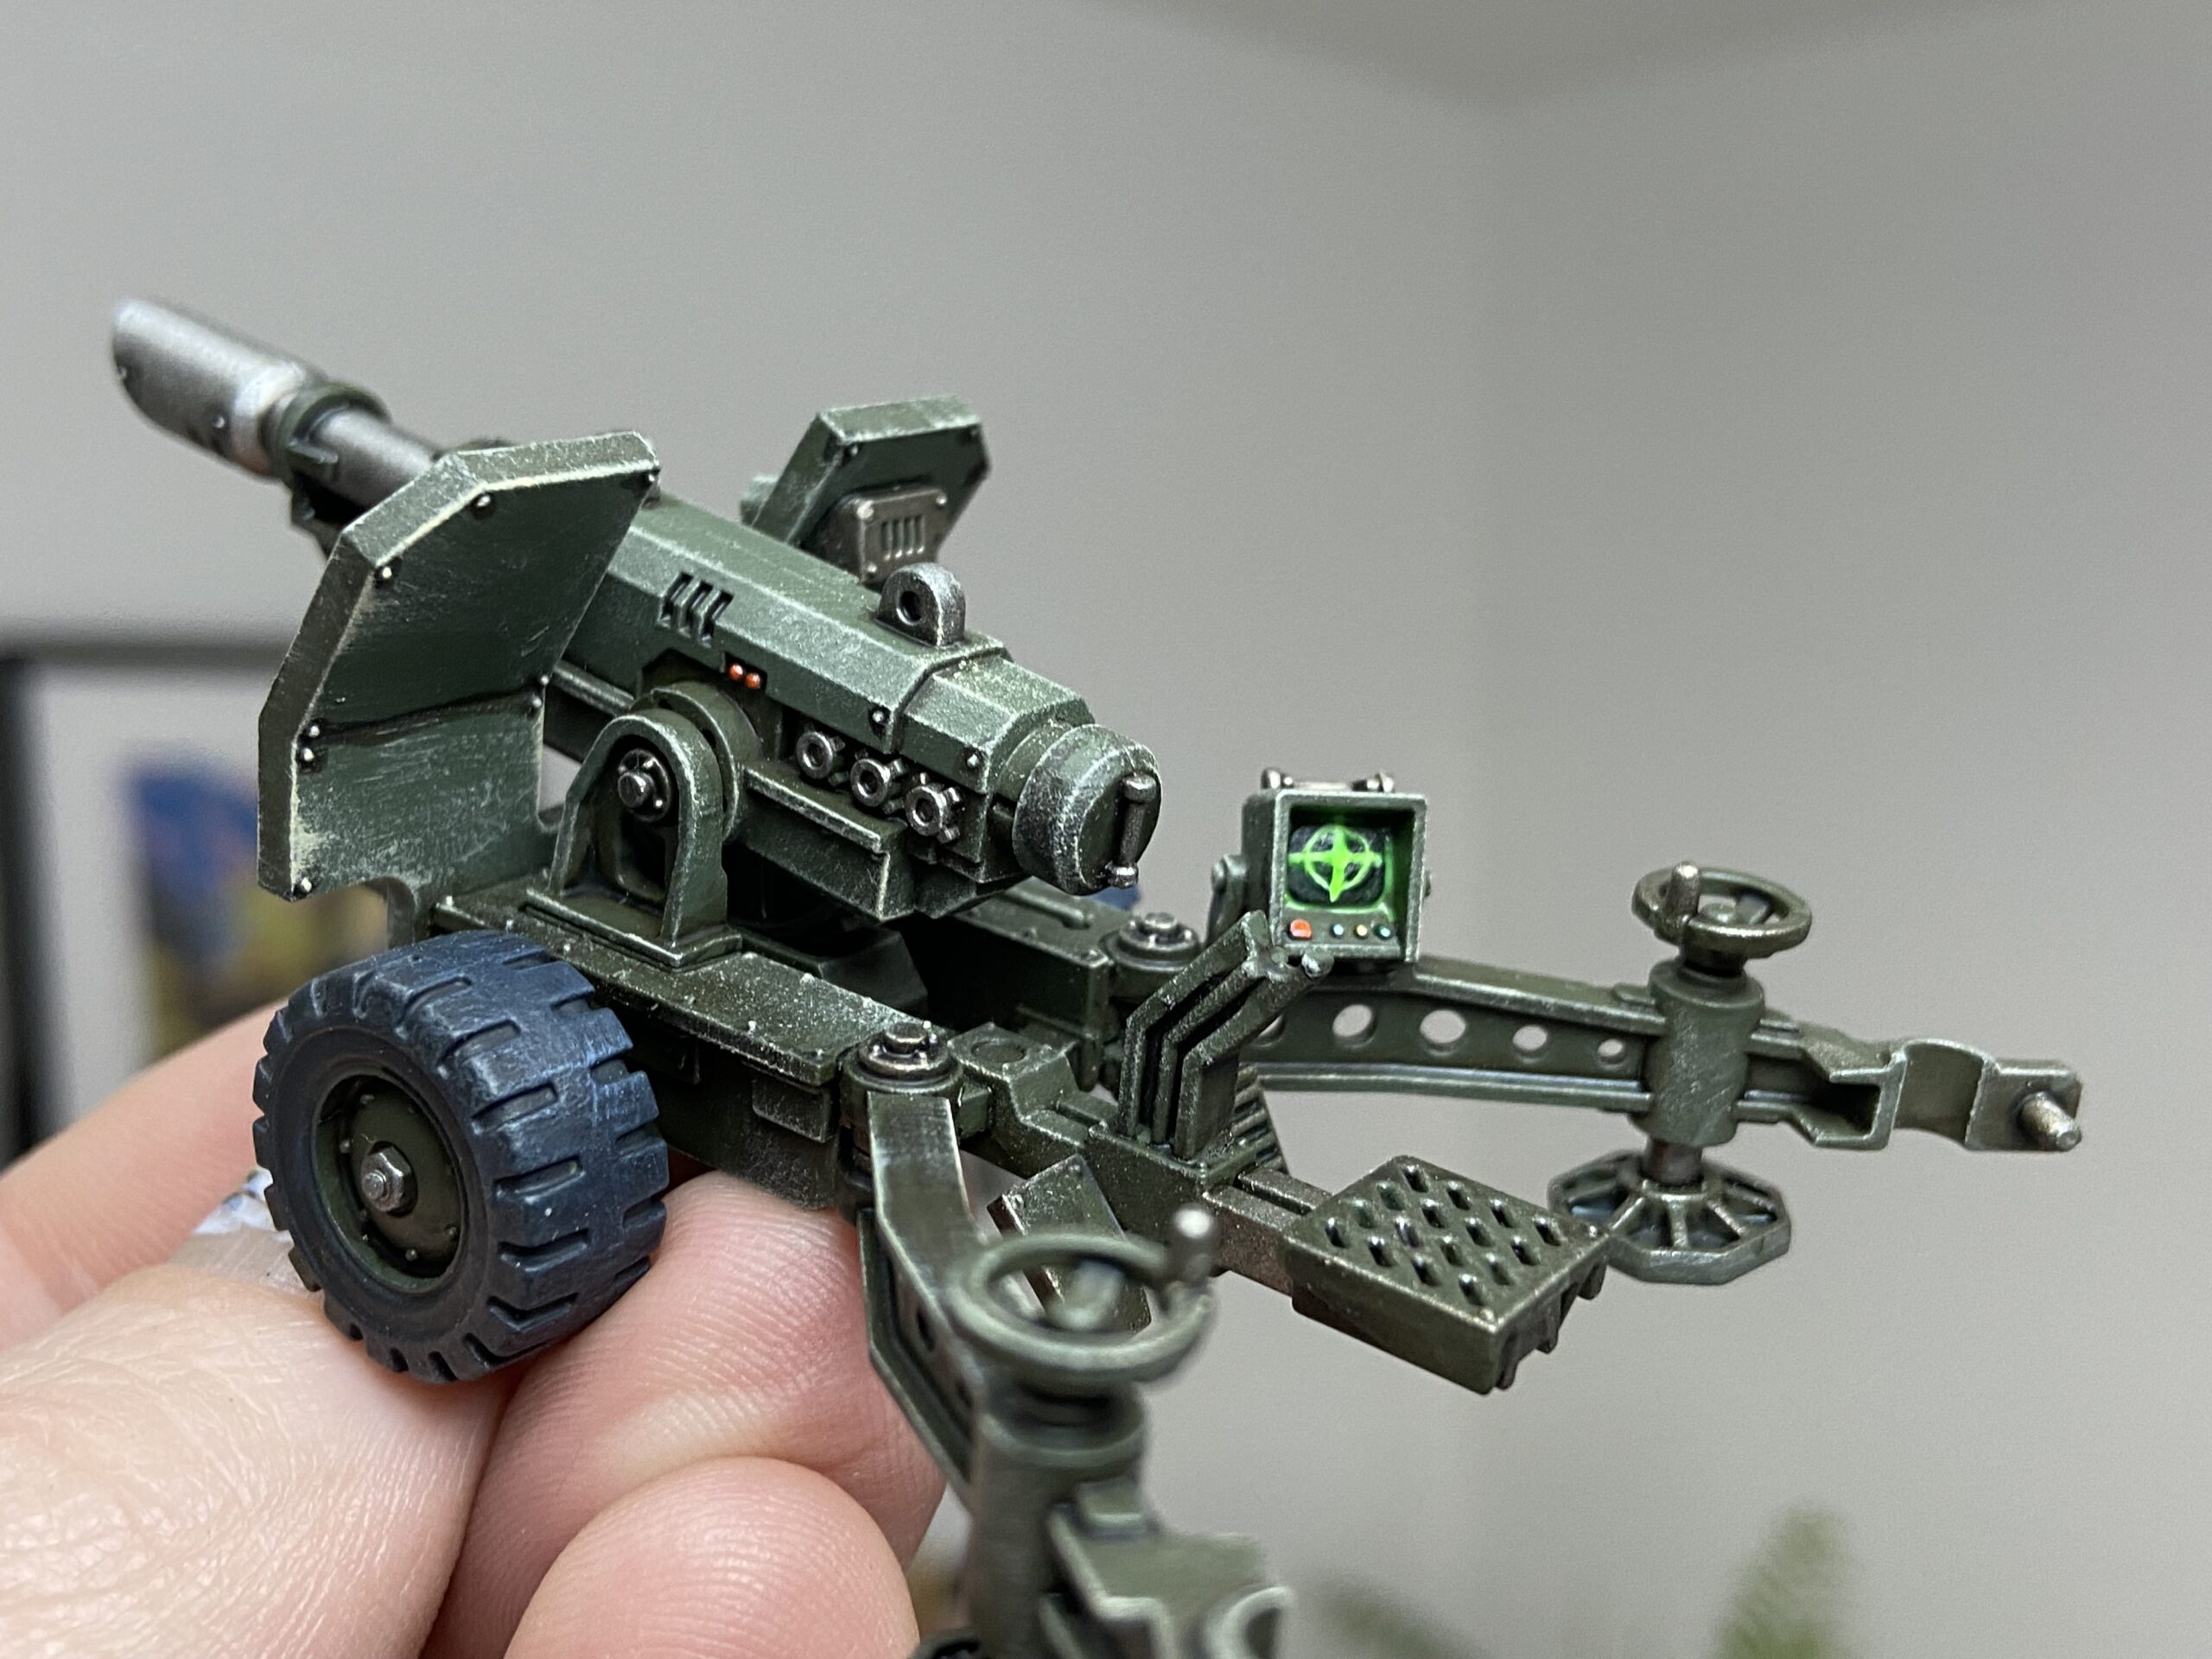
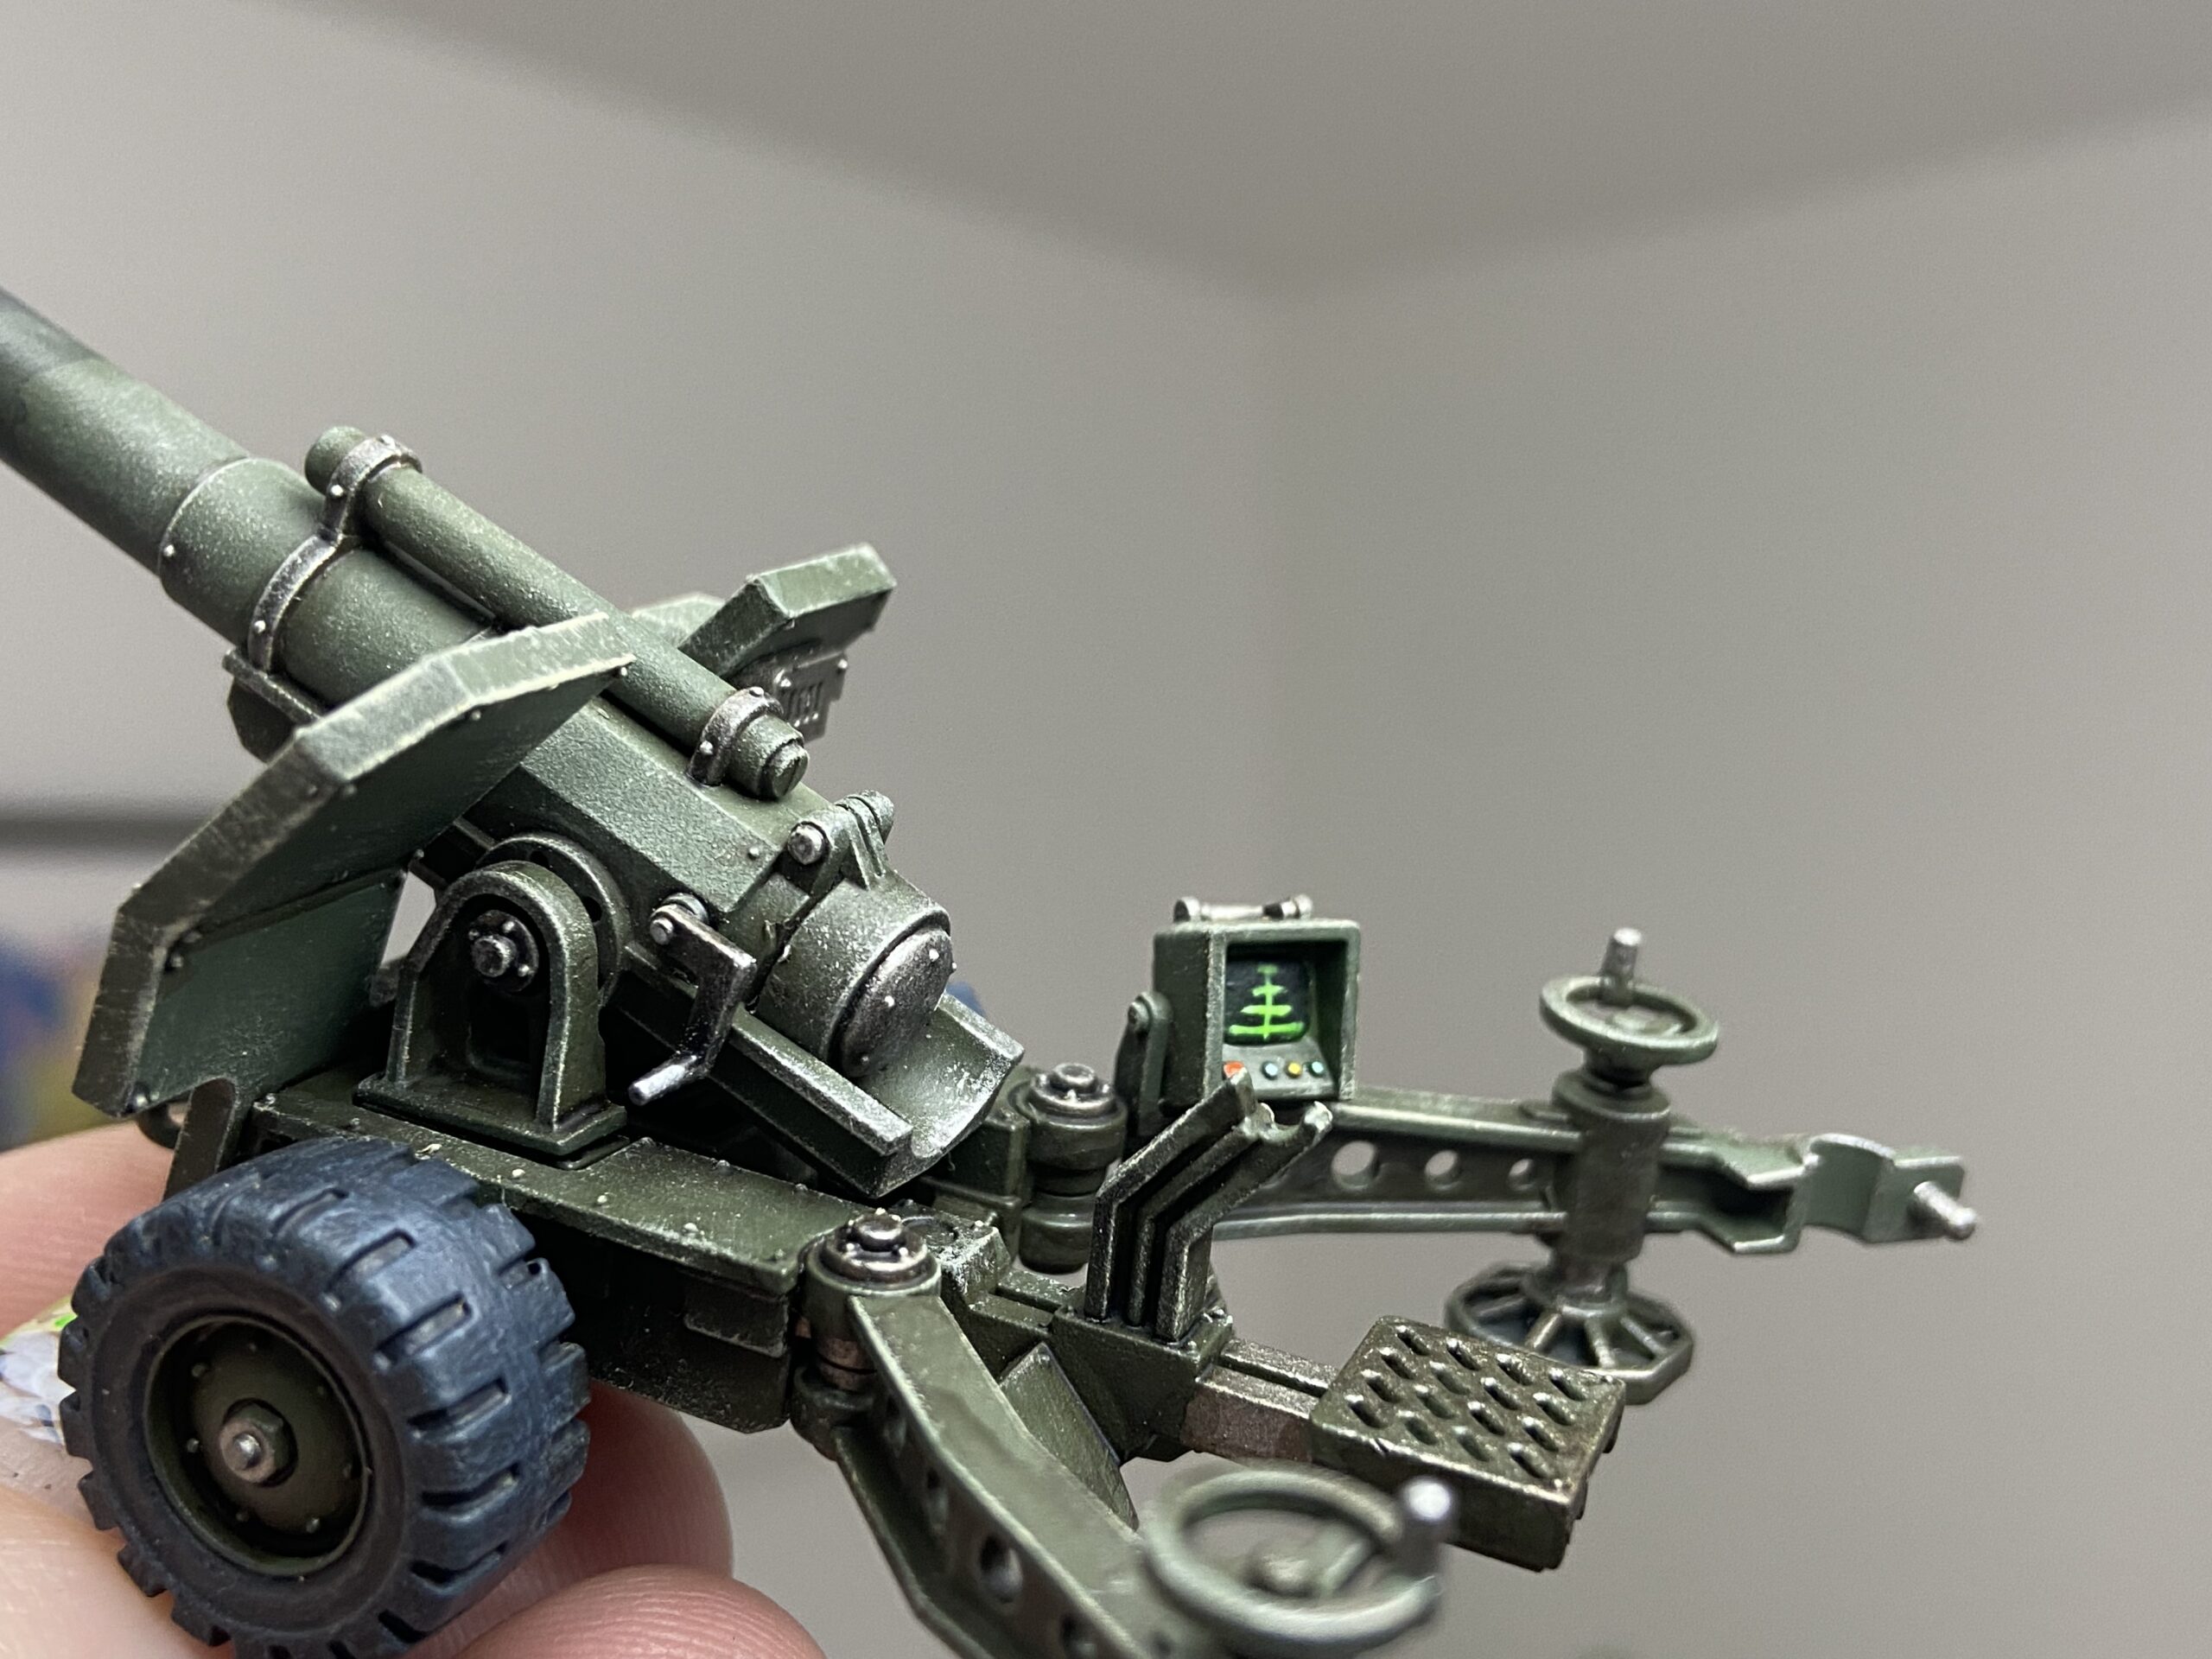
Console Displays
I love doing this and now have a quick and easy method to do consoles. I do the design in Vallejo Dead White and then go over that white with Vallejo Fluorescent Green. Without the white, the green does not show up the same.
I then glaze the whole display in green to give it a slightly greenish look. This works exceptionally well, by accident, at the edges of the console screen. It just gives it that slight glowy look without needing to go overboard on thinking of it as OSL.
-


- Vallejo white before the green on the Heavy Lascannon
-
- Vallejo white before the green on the Bombast

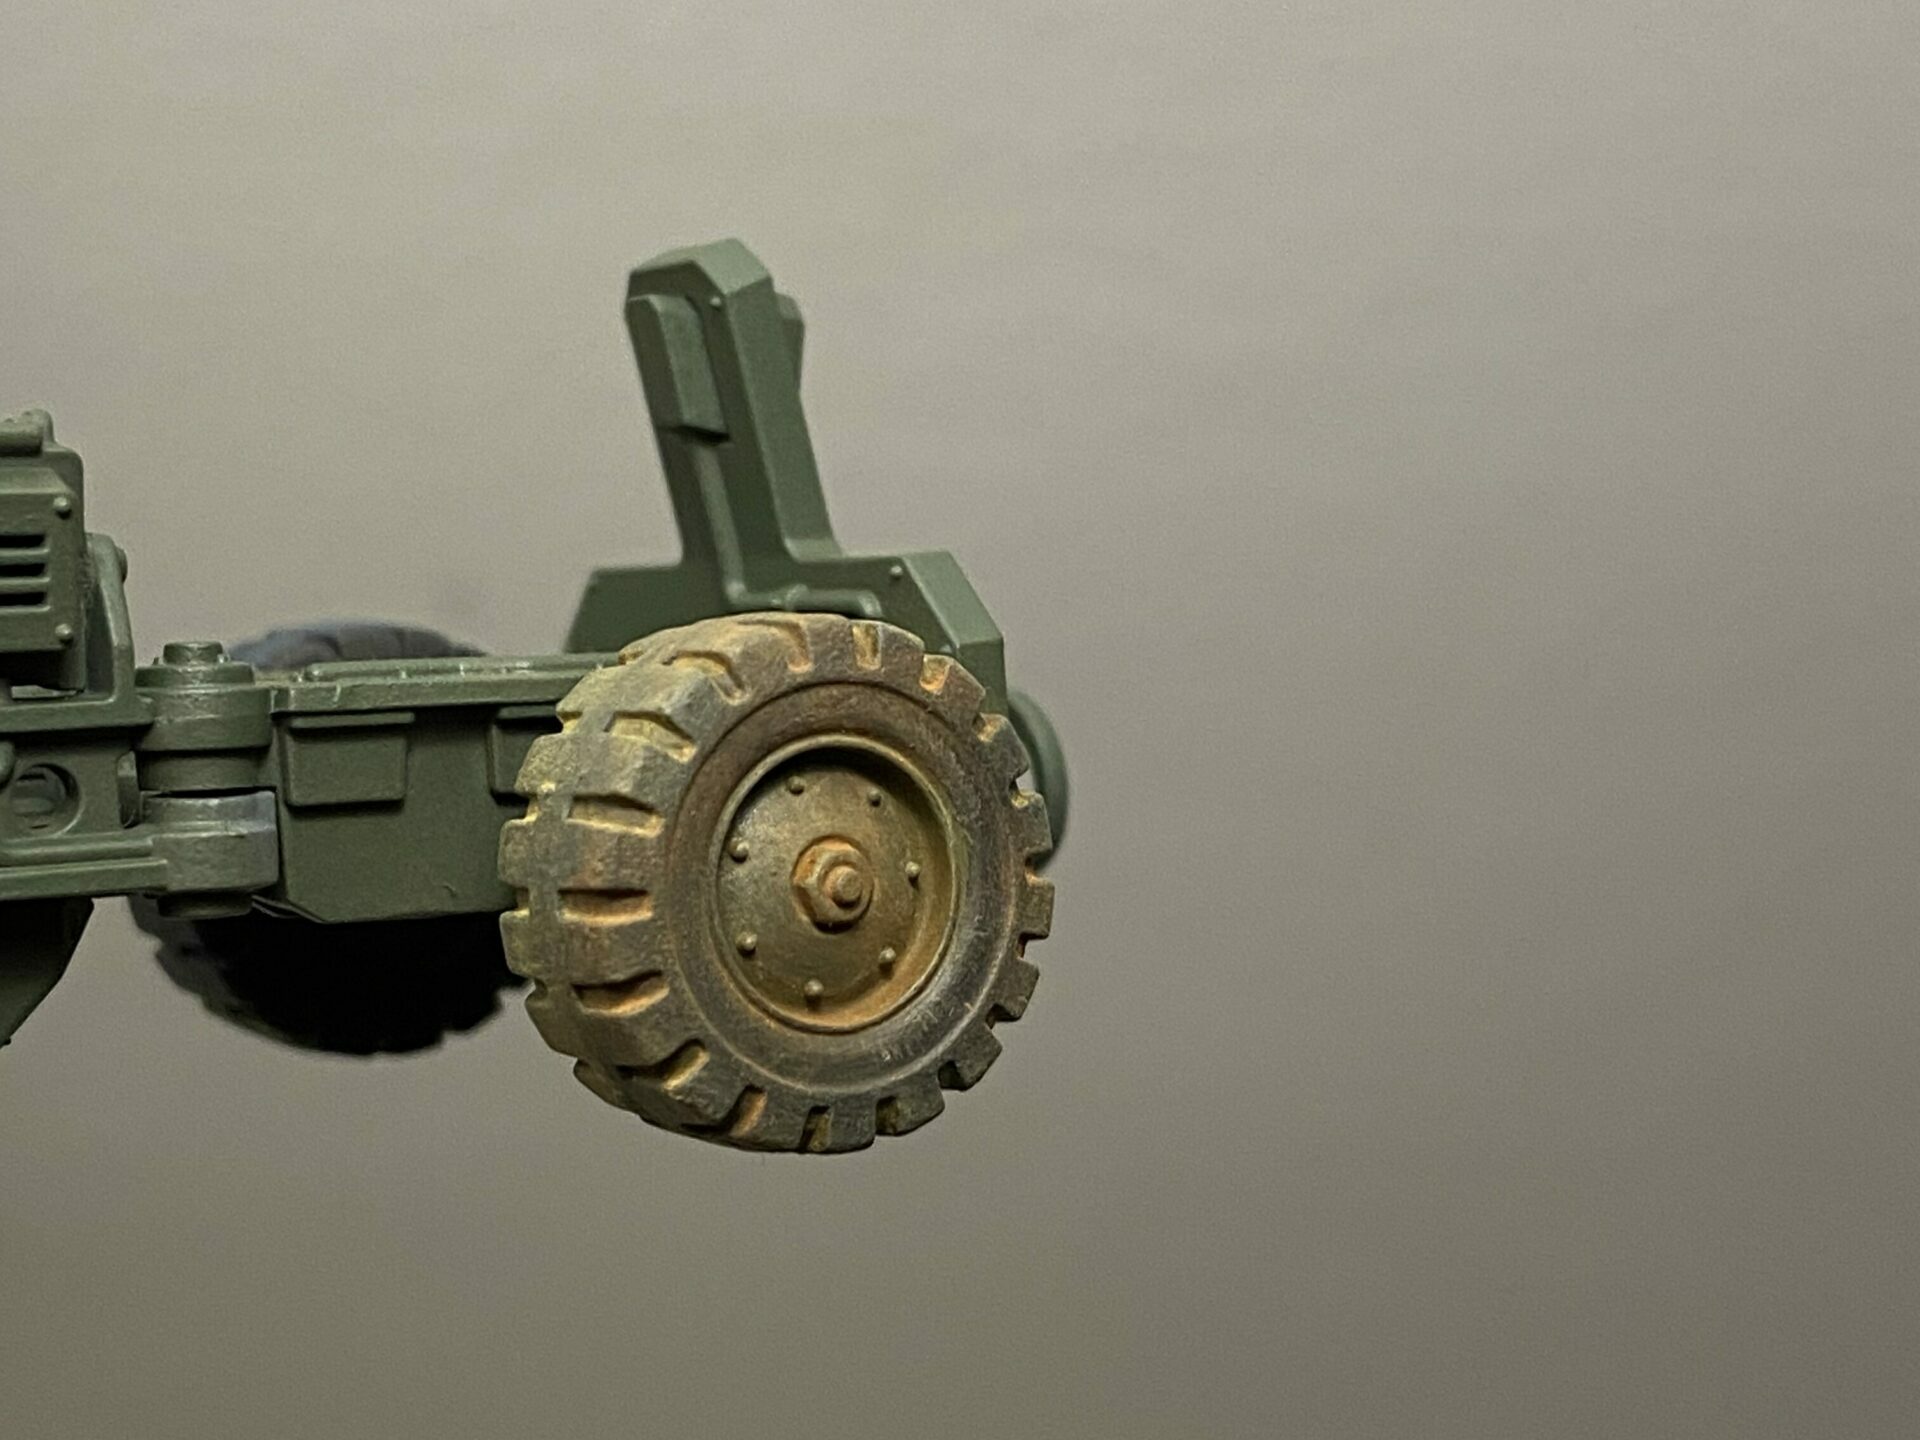
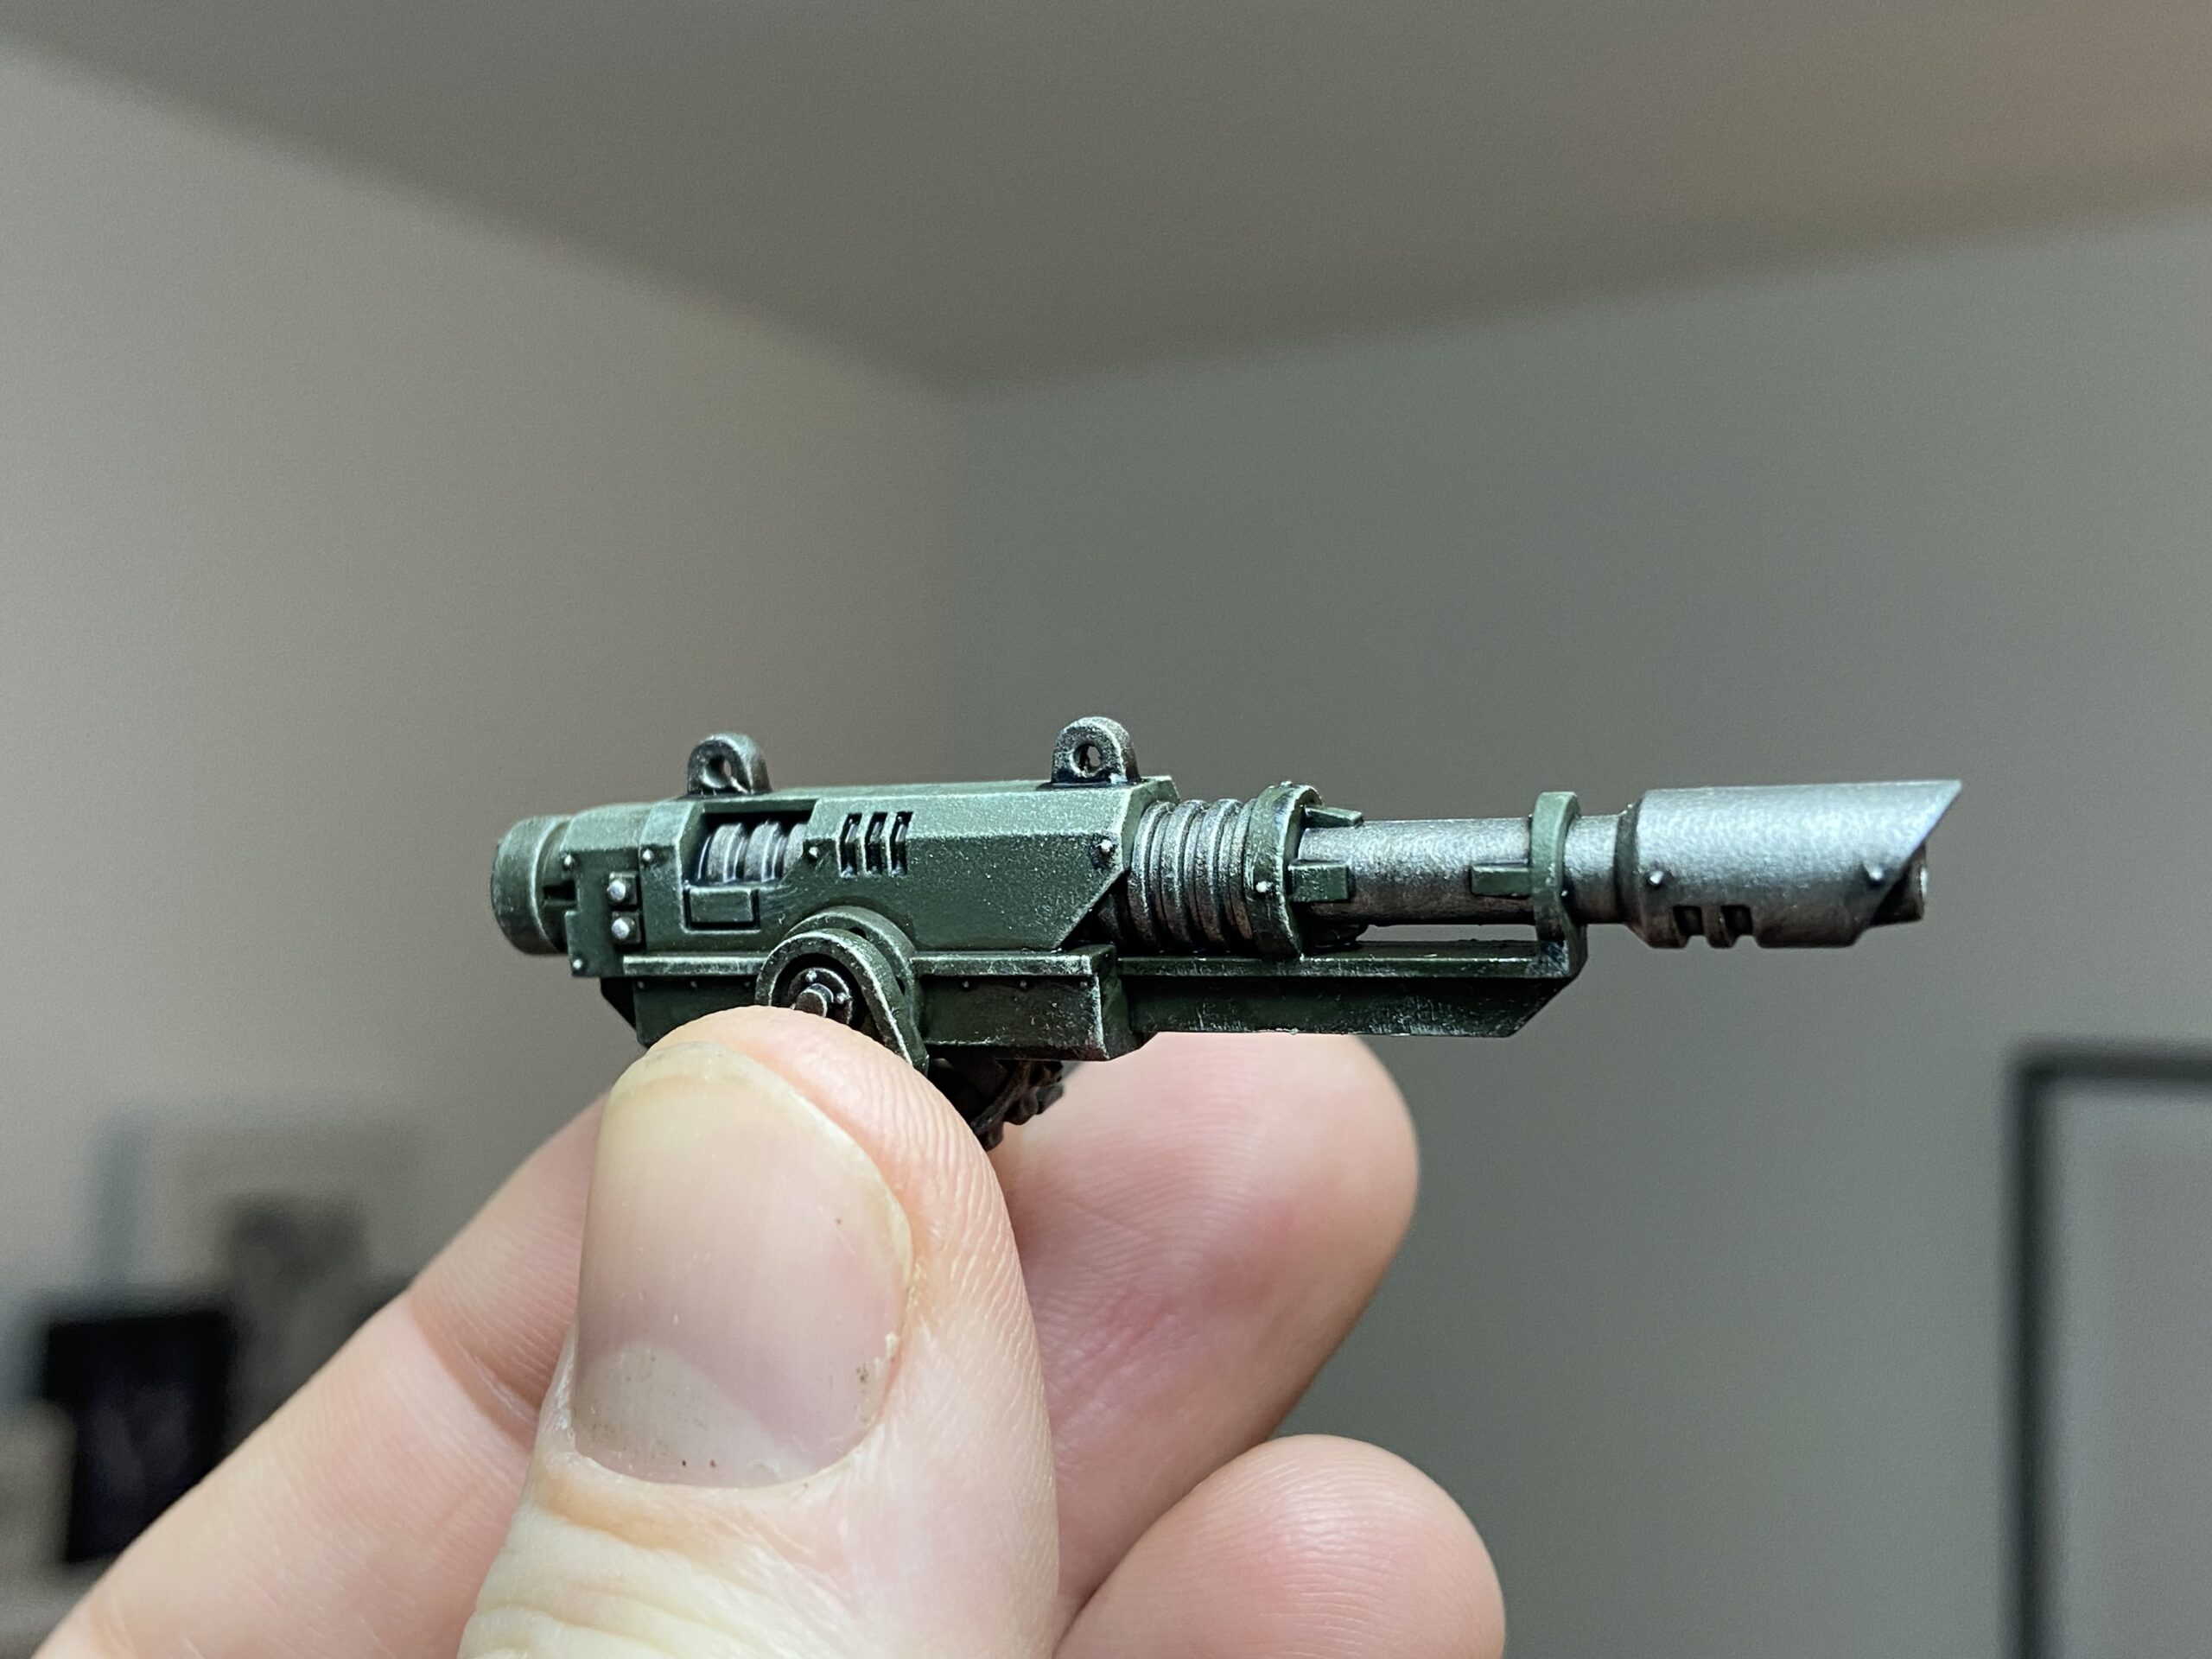
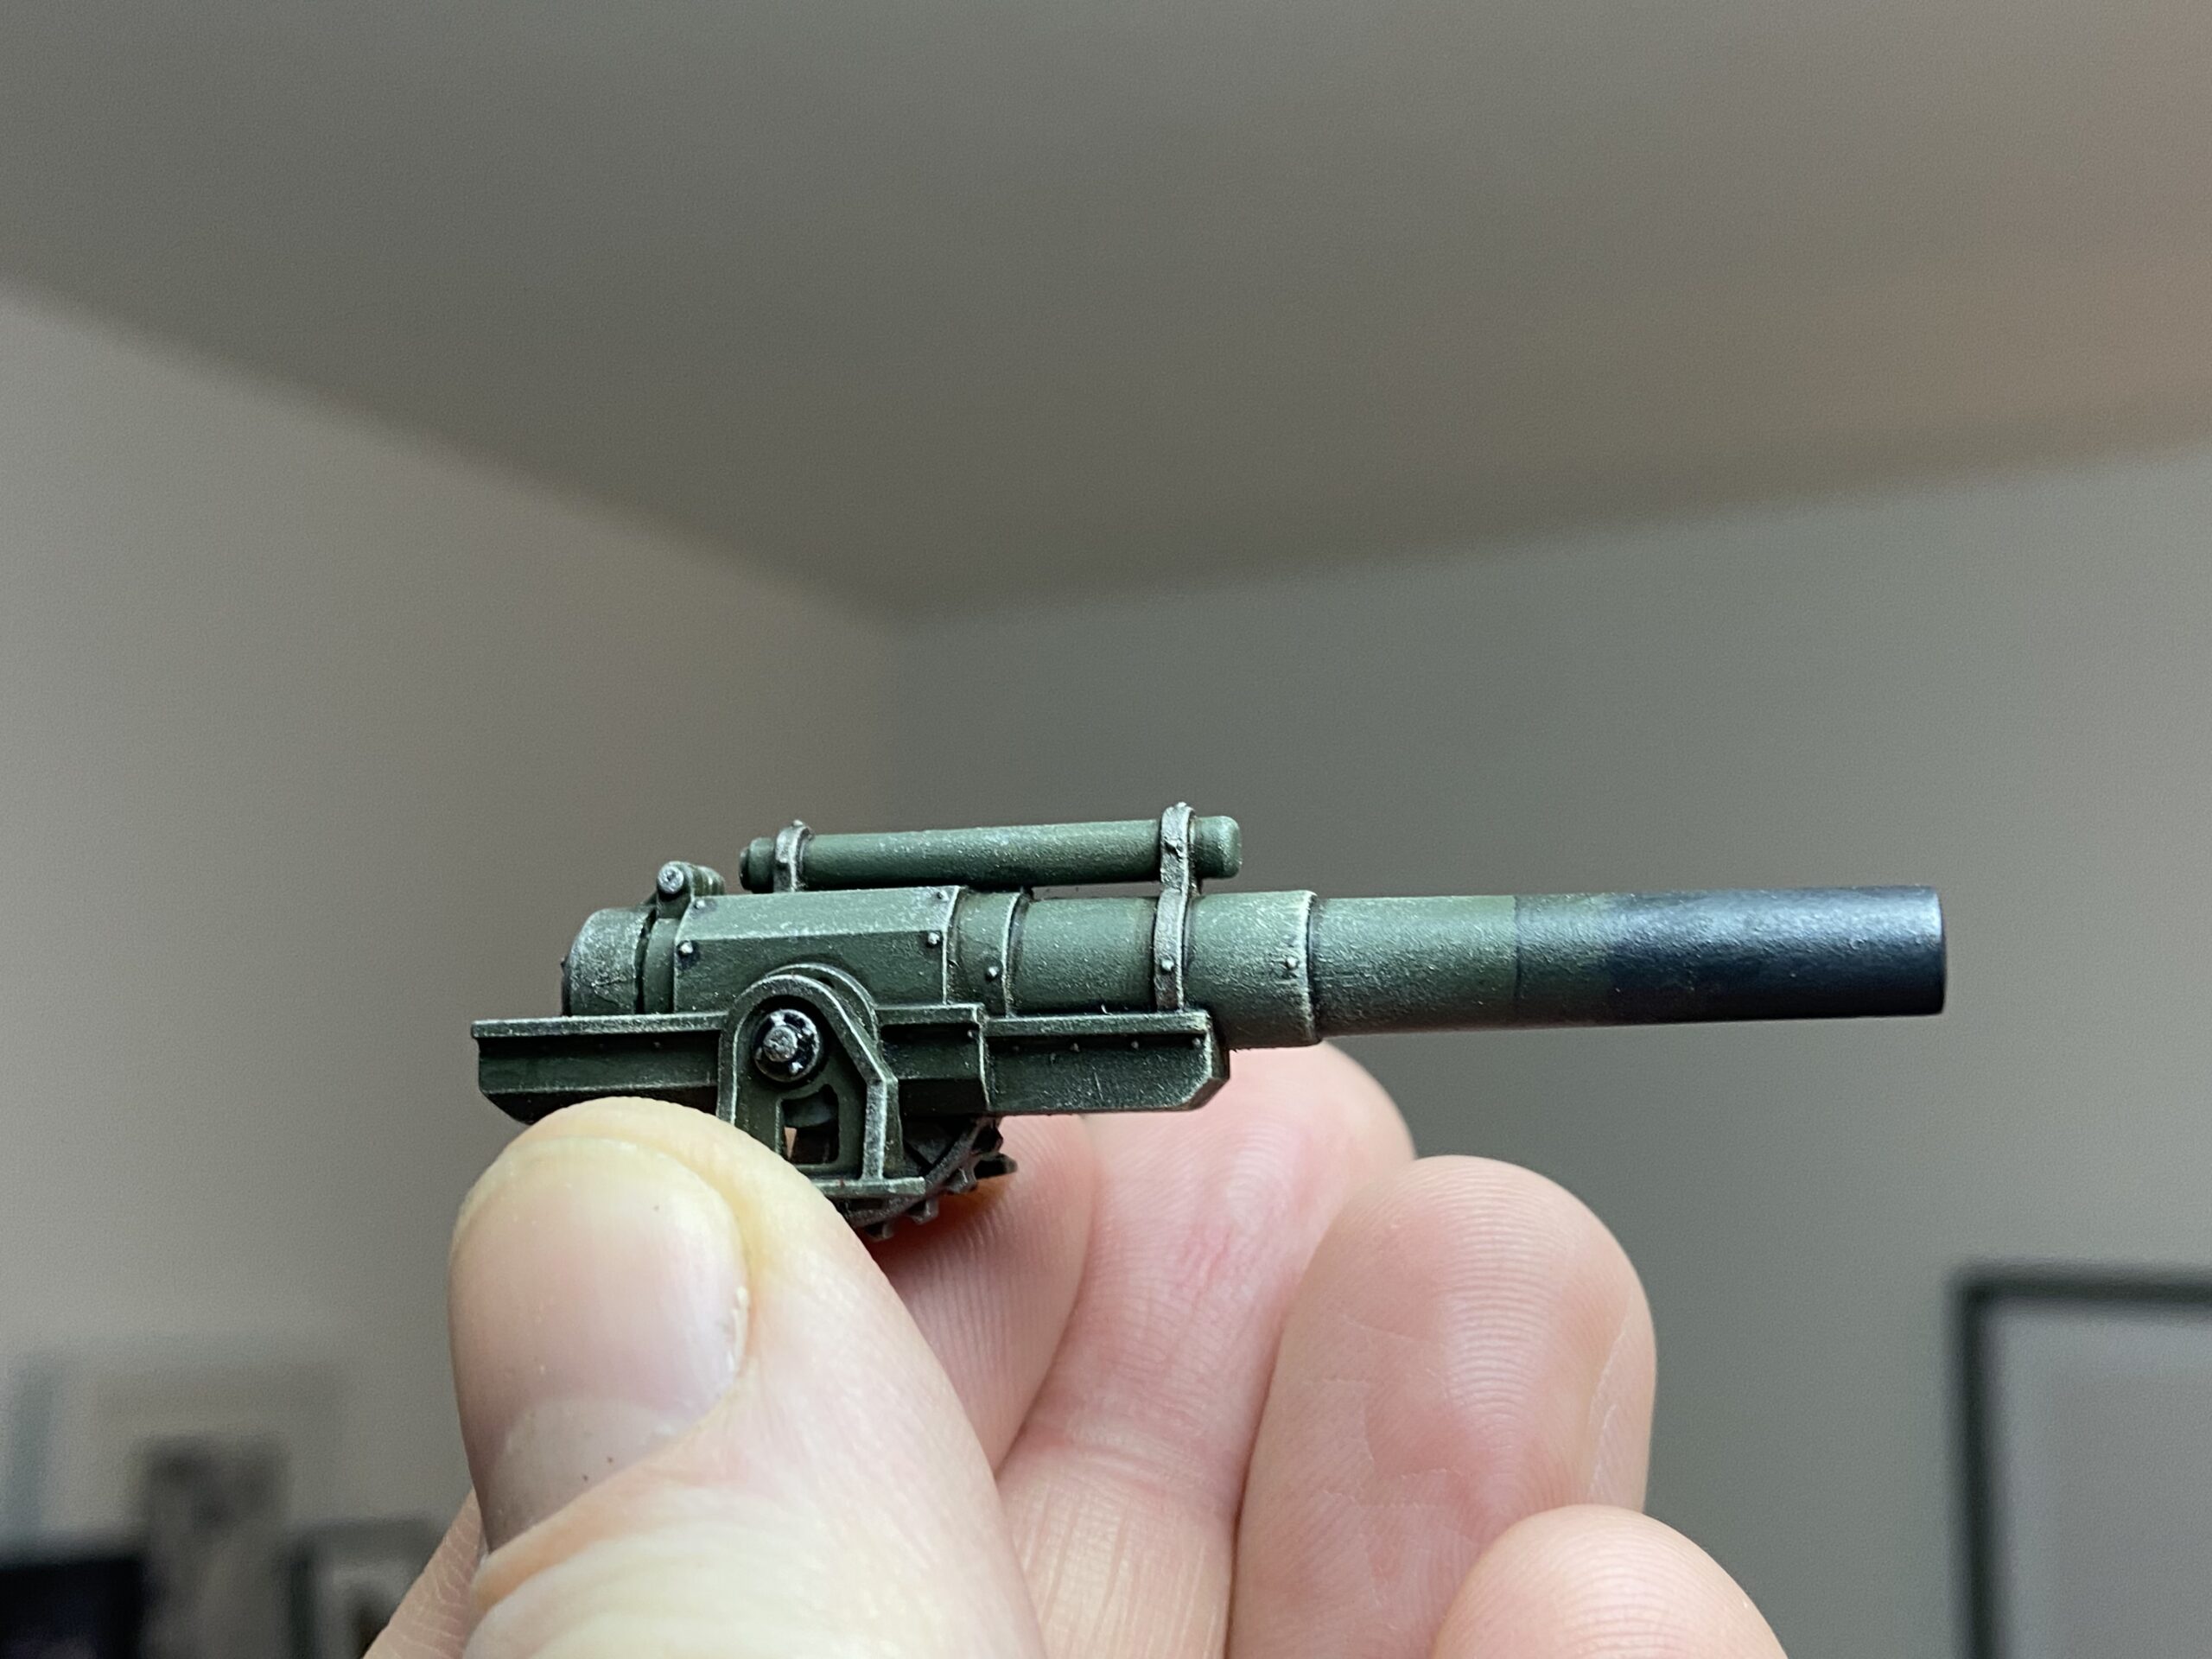
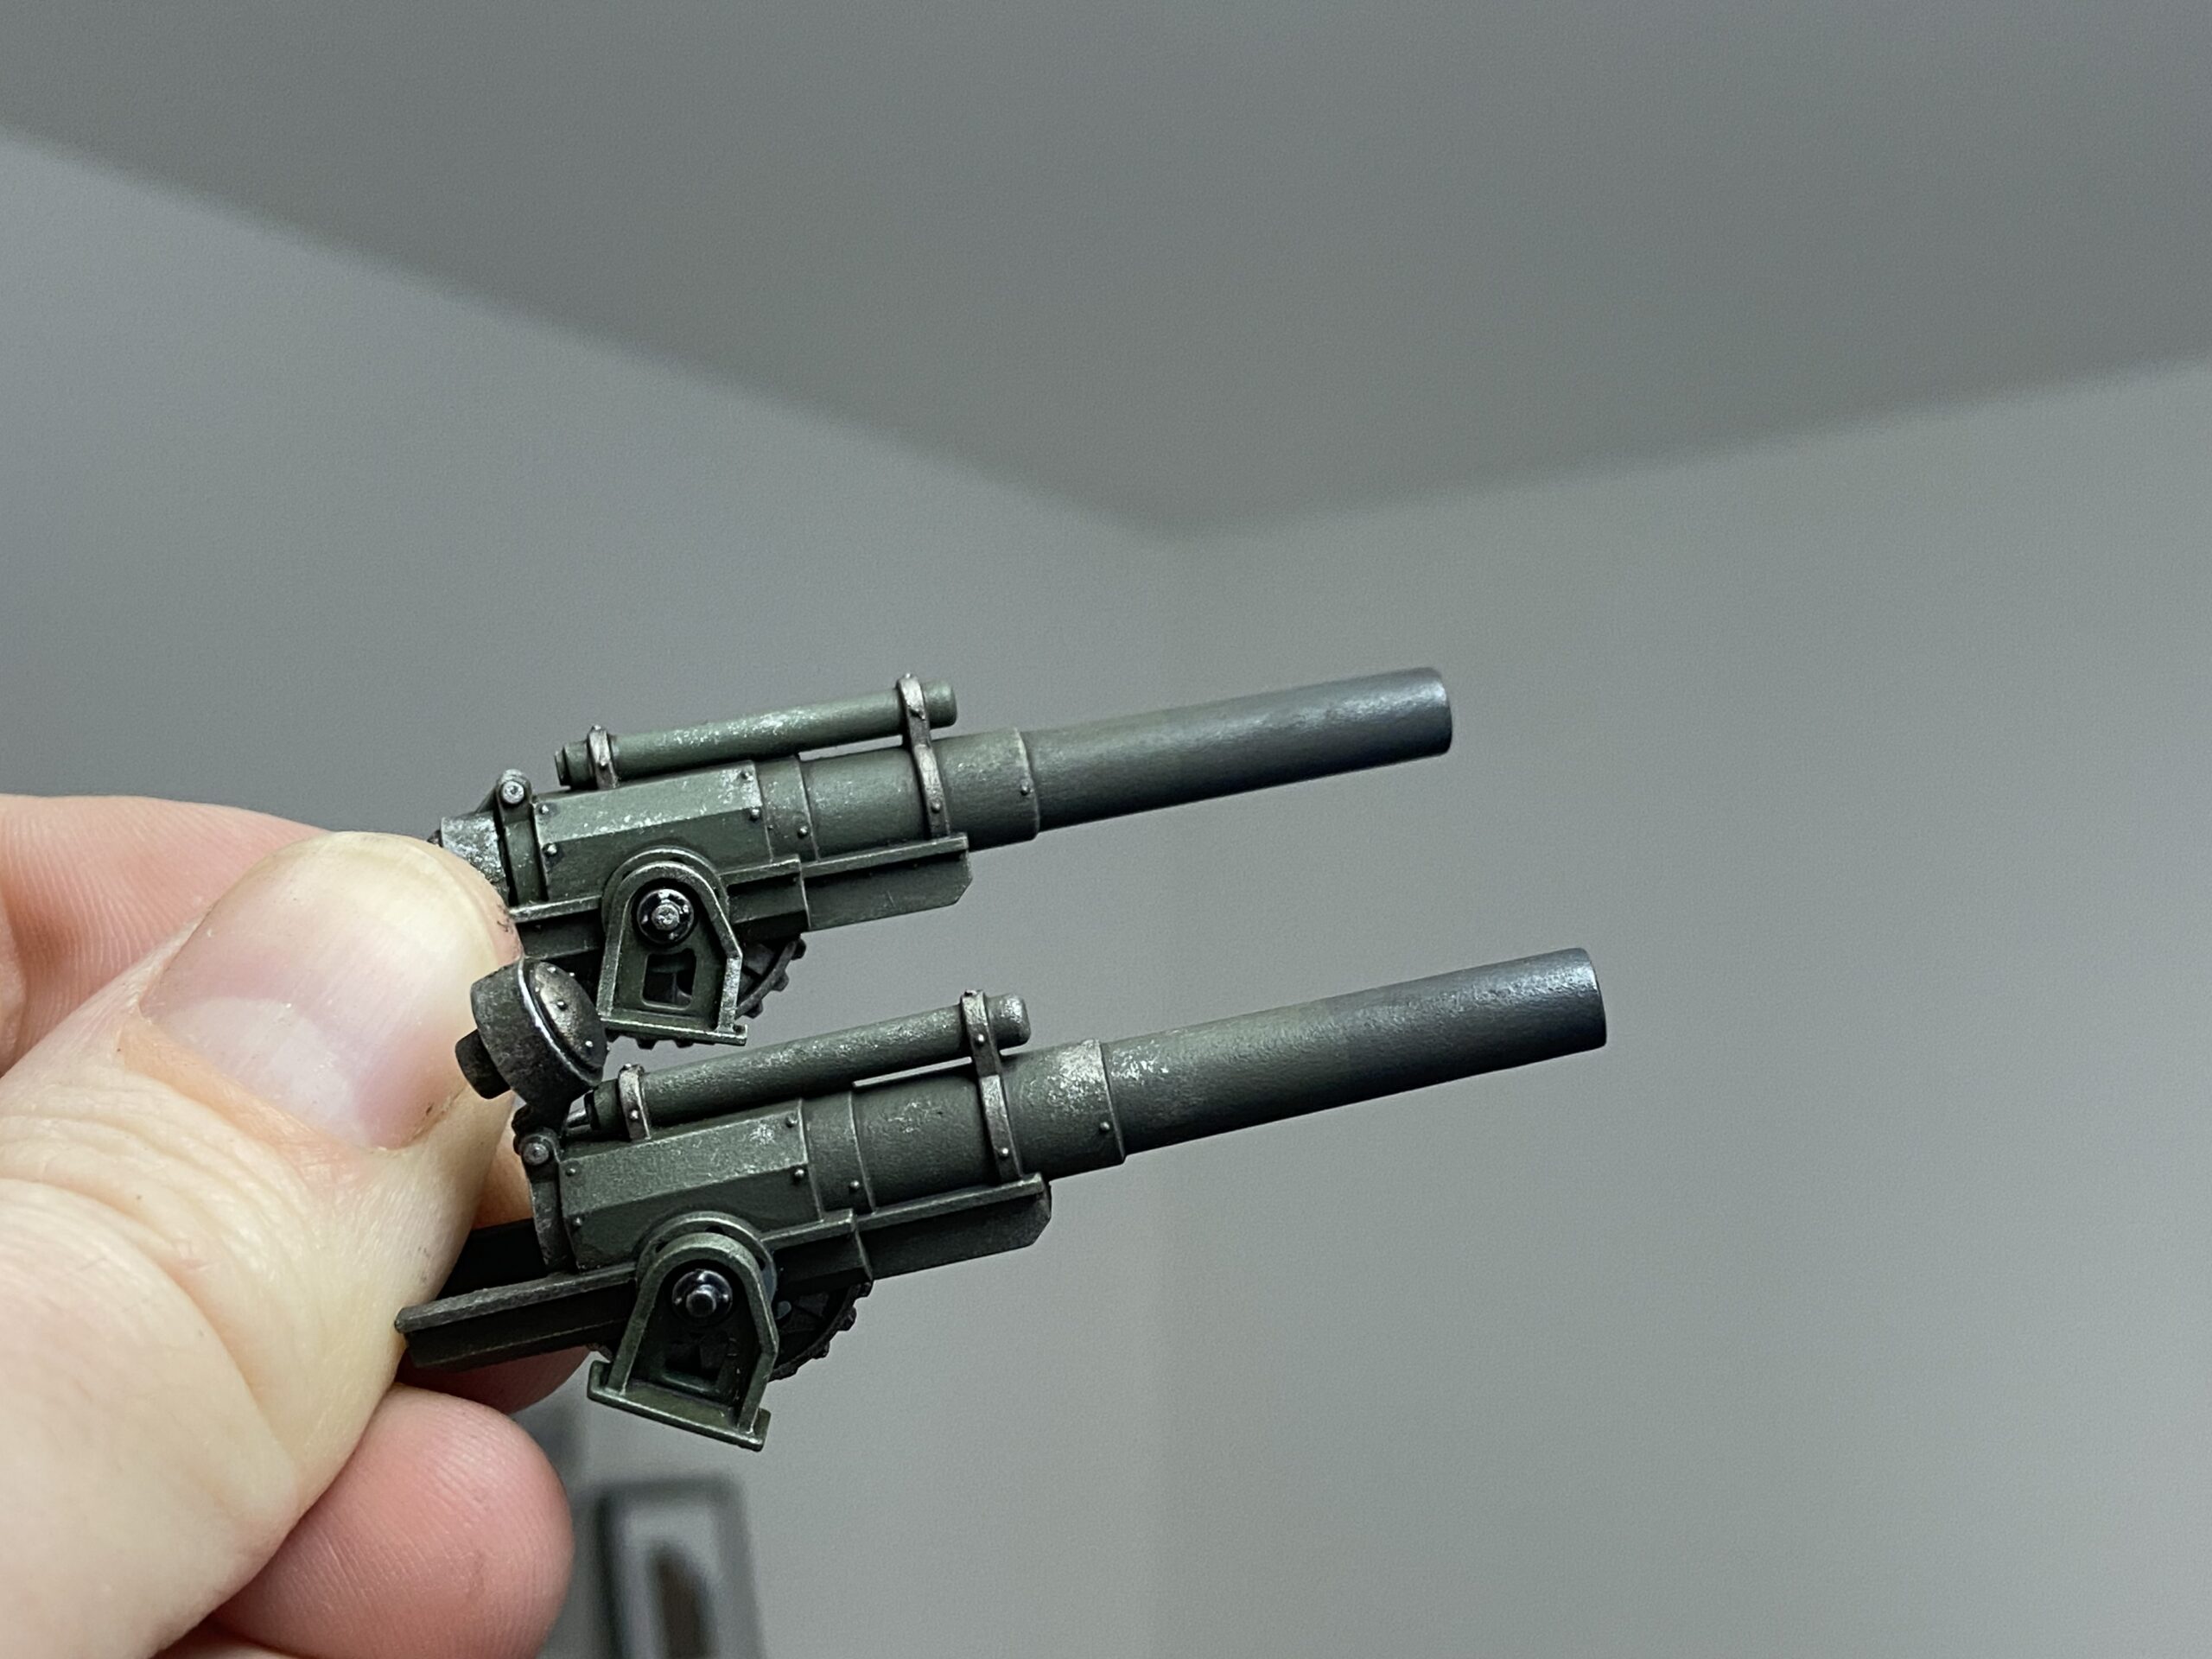
Pigmented Barrels
Another tried and tested method that I have been using for years.
- Tamiya Rubber Black at the very end of the barrel
- Nuln Oil wash over the Rubber Black and the rest of the barrel
- Then get some water and blend the Nuln Oil from the green into the Rubber Black
- Let that dry and blend again with Nuln Oil if needed
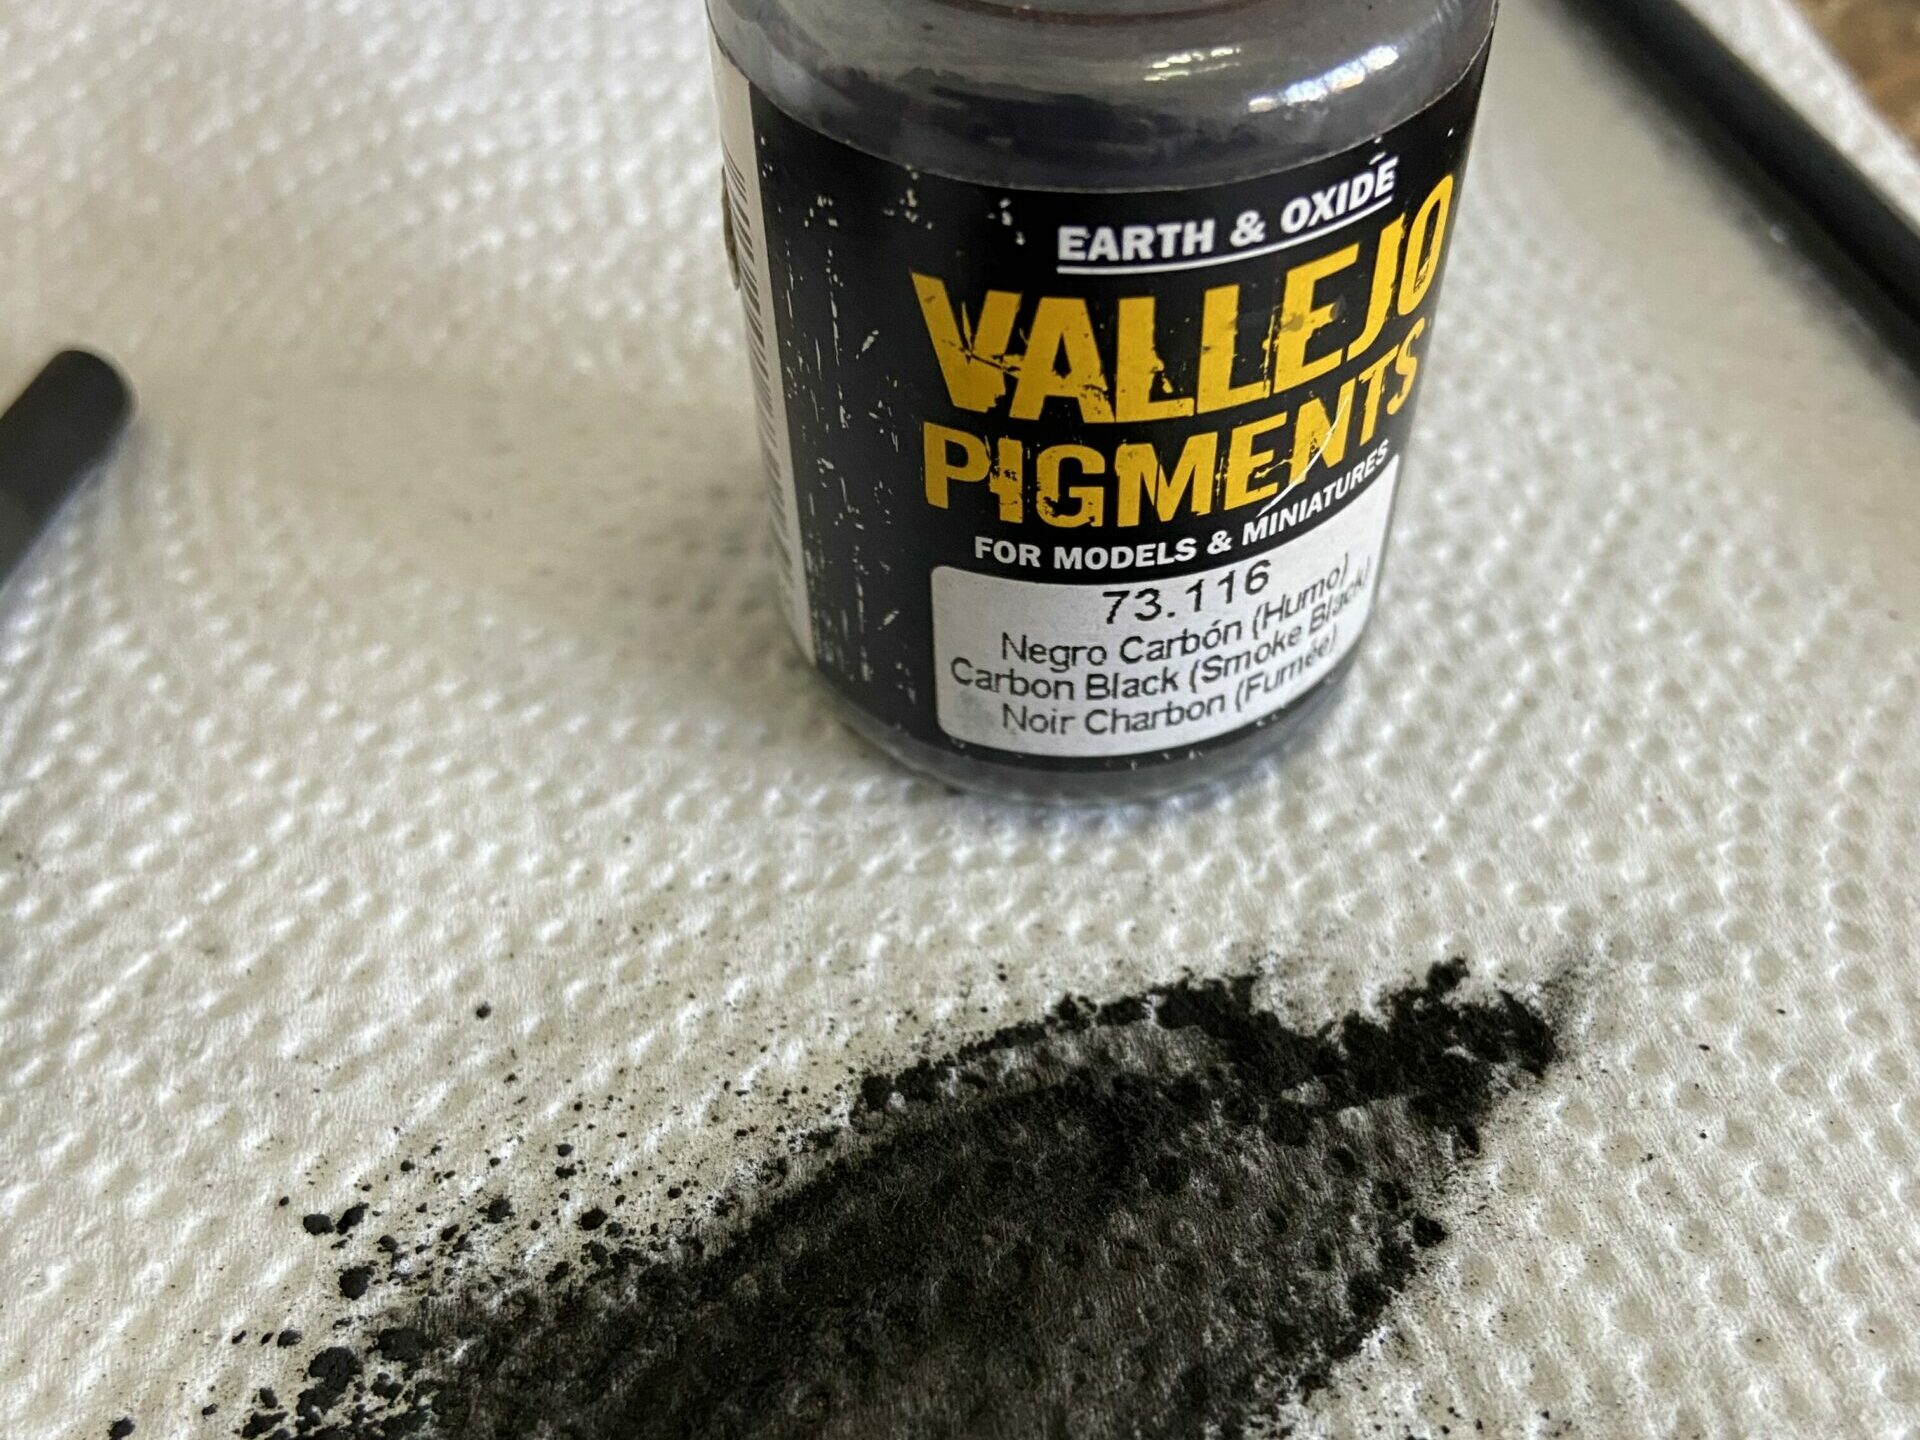
- Apply black pigment and fix it with Pigment Fixer
- Repeat the pigment step and Pigment Fixer to build it up
I have stopped using Pigment Fixer in many instances, like on bases and tanks. It can leave tide marks and affect the look of the pigments, so I skip that step. It is easy to reapply if needed too.
I do use it here, though, because;
- The barrel will be handled. It seems like the most likely place to pick up this model.
- I want to fix it in place and add more pigment to build it up on the barrel.
-

- Before pigment

-

- Vallejo pigment
-

- After pigment
WIP Gallery