
Astra Militarum vs Death Guard – 1,750 Points
We are back again for a re-match of the re-match!
This will be my third game against Mark’s Death Guard. Third time lucky maybe? The previous two were losses. The last one was very close. I think I lost by one VP! The first battle can also be read here. Now for another Astra Militarum vs Death Guard game!
We agreed to use the new Beta Rules for Tactical Reserves. So no Deep Striking until Turn 2. We also used the new Big FAQ – so Prepared Positions was available! We played at Boards & Swords.
Never miss an article? Subscribe!

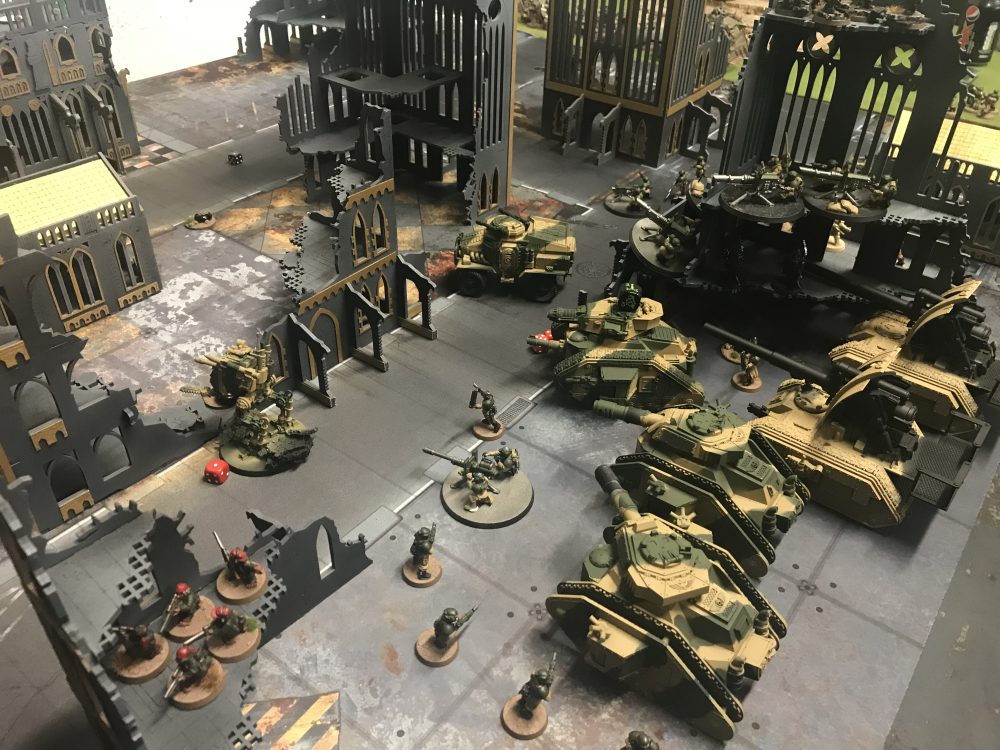
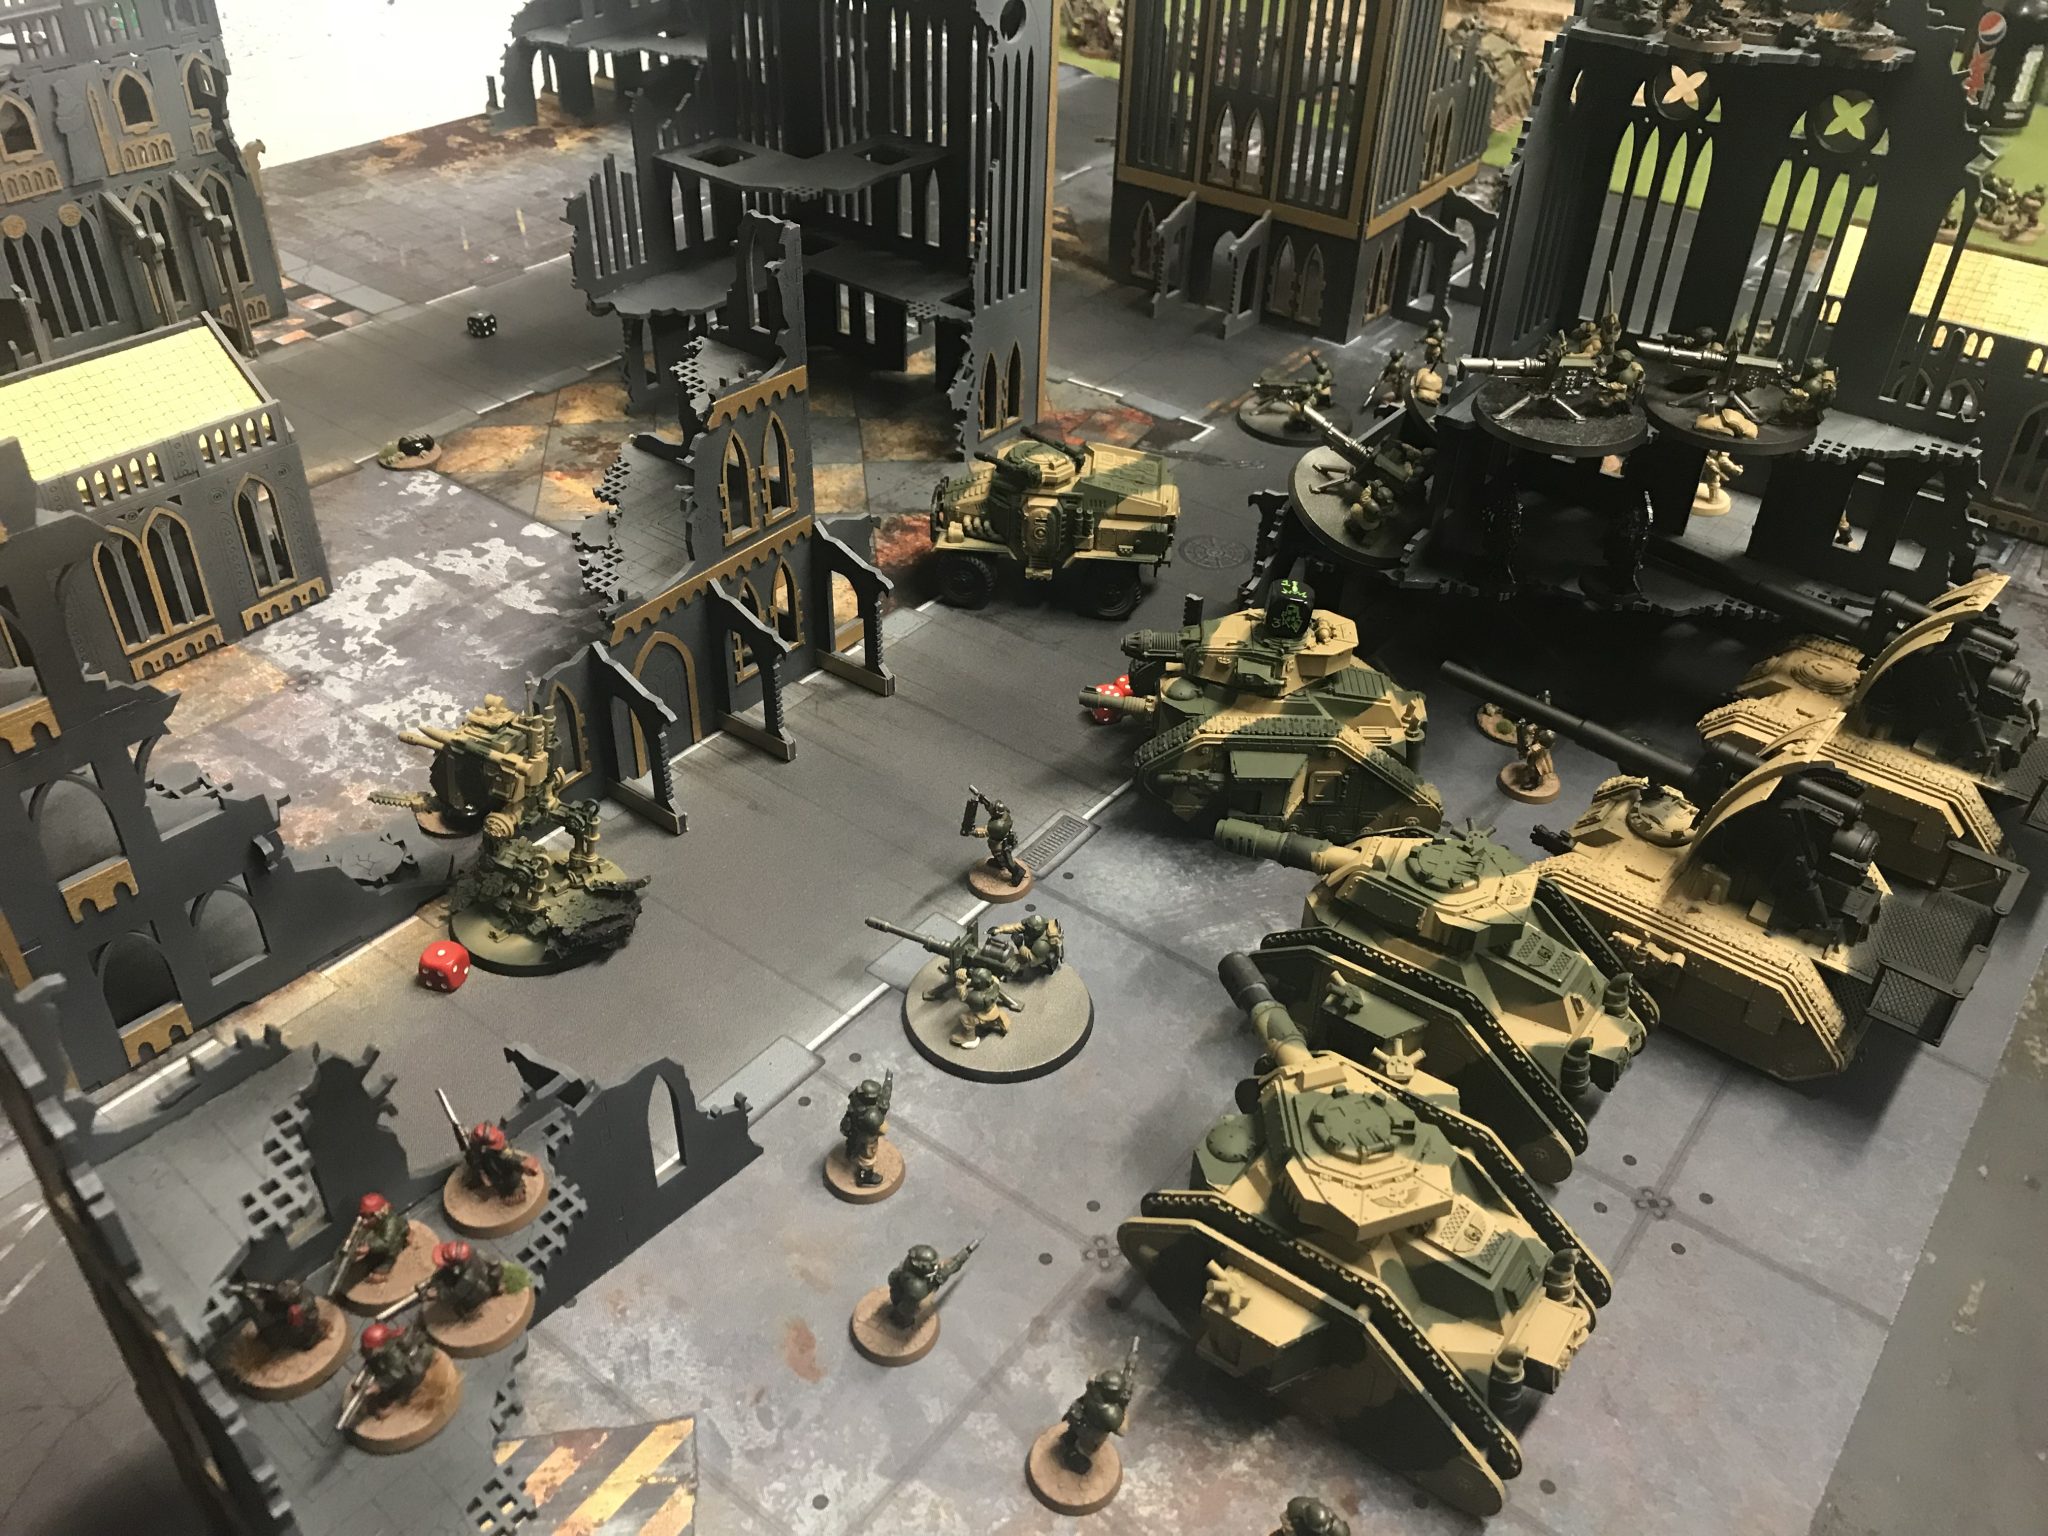
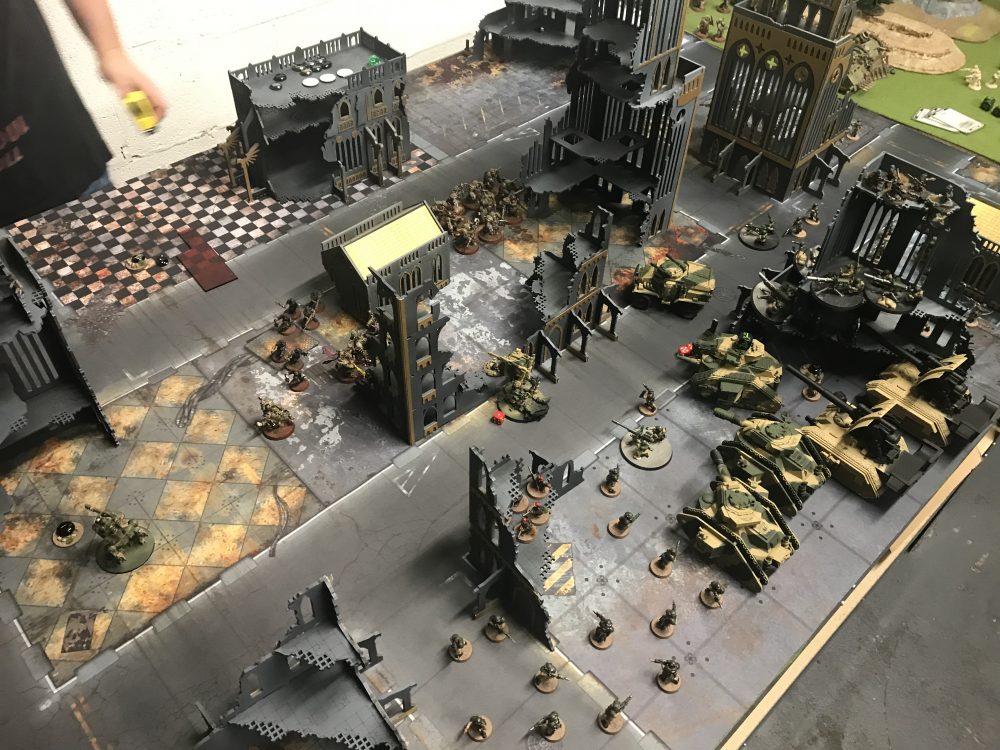
The Battlefield – Astra Militarum vs Death Guard
Astra Militarum 1,750 point list
This is a slightly amended list from my last game. I dropped the two Wyverns because the Death Guard don’t bring much Toughness 3 or 4 fodder.
I also felt the last list lacked a Tank Commander who has an improved BS and can issue an order.
- Company Commander with Kurov’s Aquila and Old Grudges
- Company Commander with Laurels of Command
- Command Squad with 4x Meltaguns
- Command Squad with 4x Plasma Guns
- 2x Primaris Psykers with Nightshroud and Psychic Maelstrom
- Executioner Tank Commander with Plasma Cannon Sponsons and the Lost Relic of Cadia
- Two squads of 5x Ratlings
- 3x Infantry Squads with Heavy Bolter
- 3x Infantry Squads with Autocannons
- Heavy Weapons Team with Lascannons
- 3x Scout Sentinel with Multilasers
- 2x Basilisks
- 2x Battle Tank Leman Russ
- A Taurox to carry the two Command Squads
I added in two Command Squads and the Taurox to give me some fast moving, BS3+, anti-elite infantry and anti-tank ability.
I’d start with 15CP, lose three right away for my relics and then possibly lose two for Preliminary Bombardment and then two more if I used Prepared Positions.

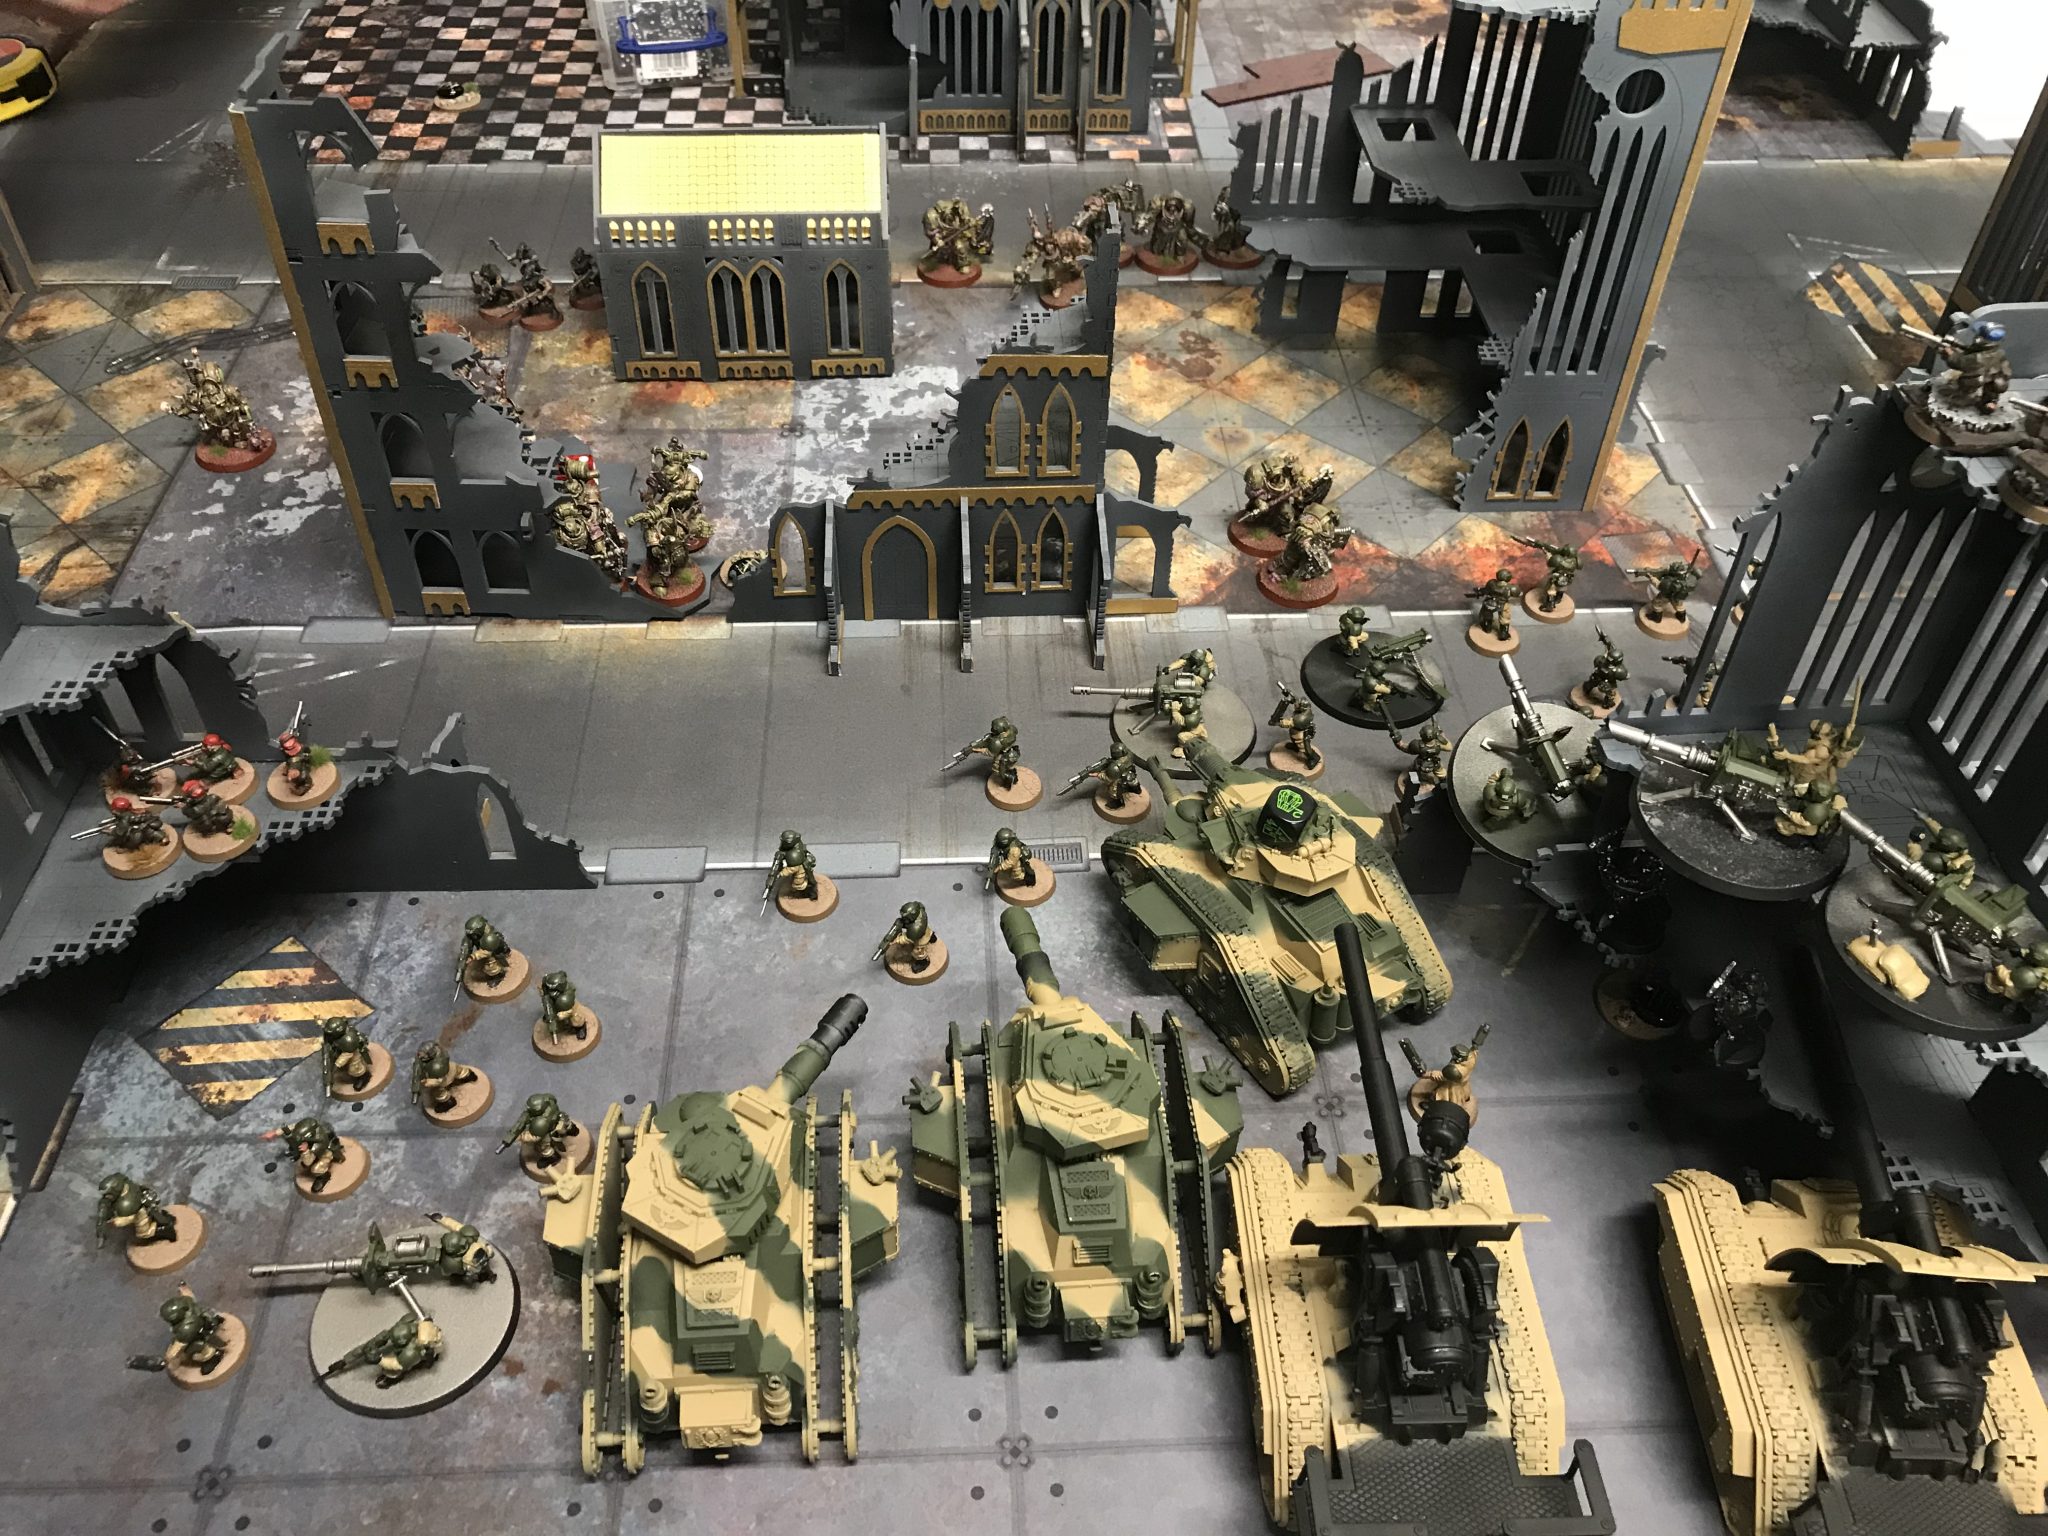
My right flank
Death Guard 1,750 point list
- Chaos Lord in Terminator Armour
- Malignant Plaguecaster
- 13 Cultists
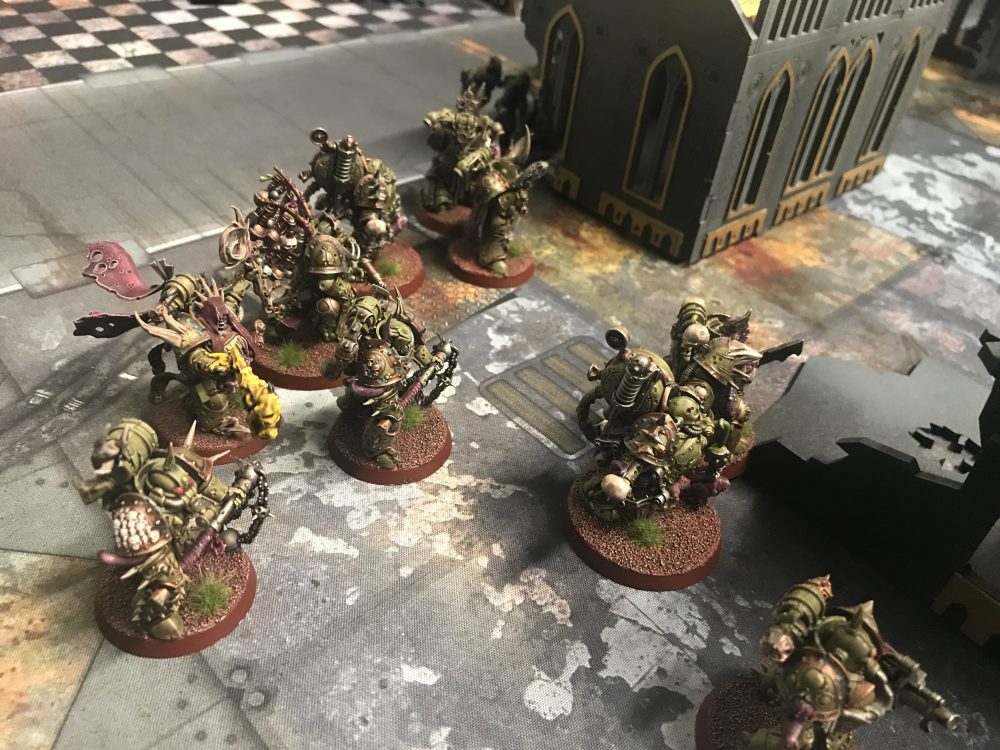
- 7 Plague Marines including 2 Blight Launchers
- 7 Plague Marines with various melee weapons
- Two squads of 5x Blight Lord Terminators with Combi-Plasma and Axes
- 2x Rhino for the Plague Marines
- Plagueburst Crawler
- Chaos Lord
- Biologus Purifier
- 2x Foul Blightspawn
Mark has kindly provided a rundown of his list, the whys and why not…
The list was built around getting ten Terminators onto the table. That would be expensive, so giving them the anti-armour role meant that I could still take Marines and try something different from my usual tanks. Anti-armour meant combi-plasma, which means taking a Chaos Lord in Terminator Armour so that they could overcharge in relative safety (but you saw how that turned out). Death Guard’s ability to rapid fire out to 18″ means that I can cover large chunks of the table with them, Terminators. Two Five man squads meant that I could see the results of the first squad firing before deciding on target priority for the second. The Terminators also took axes as they’re pretty good in melee and if I can tie down a tank in combat then it’s not going to be shooting at me.
After that, I also wanted to try melee marines backed up with a Biologus Putrifier (the grenade guy). I’ve tried this before against Grey Knights and Tyranids and it can work quite nicely. Although it can be a bit obvious once you know what I’m up to, marines all trying to get within 6″ of a big target followed closely up by the Putrifier should ring alarm bells.
The melee marines need to get in close (both to Grenade and to fight) so I pop them into one Rhino. I’ll add in a Psyker to buff them in Melee combat, the Psyker also likes being in close due to the mortals he can inflict when manifesting any power. The final seat in the Rhino goes to a Foul Blightspawn, this gives the Rhino some added anti-armour and also means that if anyone charges the melee marines then the charging unit’s fight is delayed so the melee marines might get a chance to hit first.
I’ve seen the melee marines and the other characters in their rhino get surrounded before, so some shooty marines chasing after them in another Rhino helps them out. It also gives me some mobility, which having chosen to give up on flying units in this list is much needed. The extra seats in the Rhino are taken up with a Chaos Lord to generate re-rolls and another Would Blighspawn.
And that’s then most of the list. Add in a squad of cultists to give me my three troops and then a single Plague Burst Crawler to act as a distraction, so as to try and save the Rhinos, and we’re done.
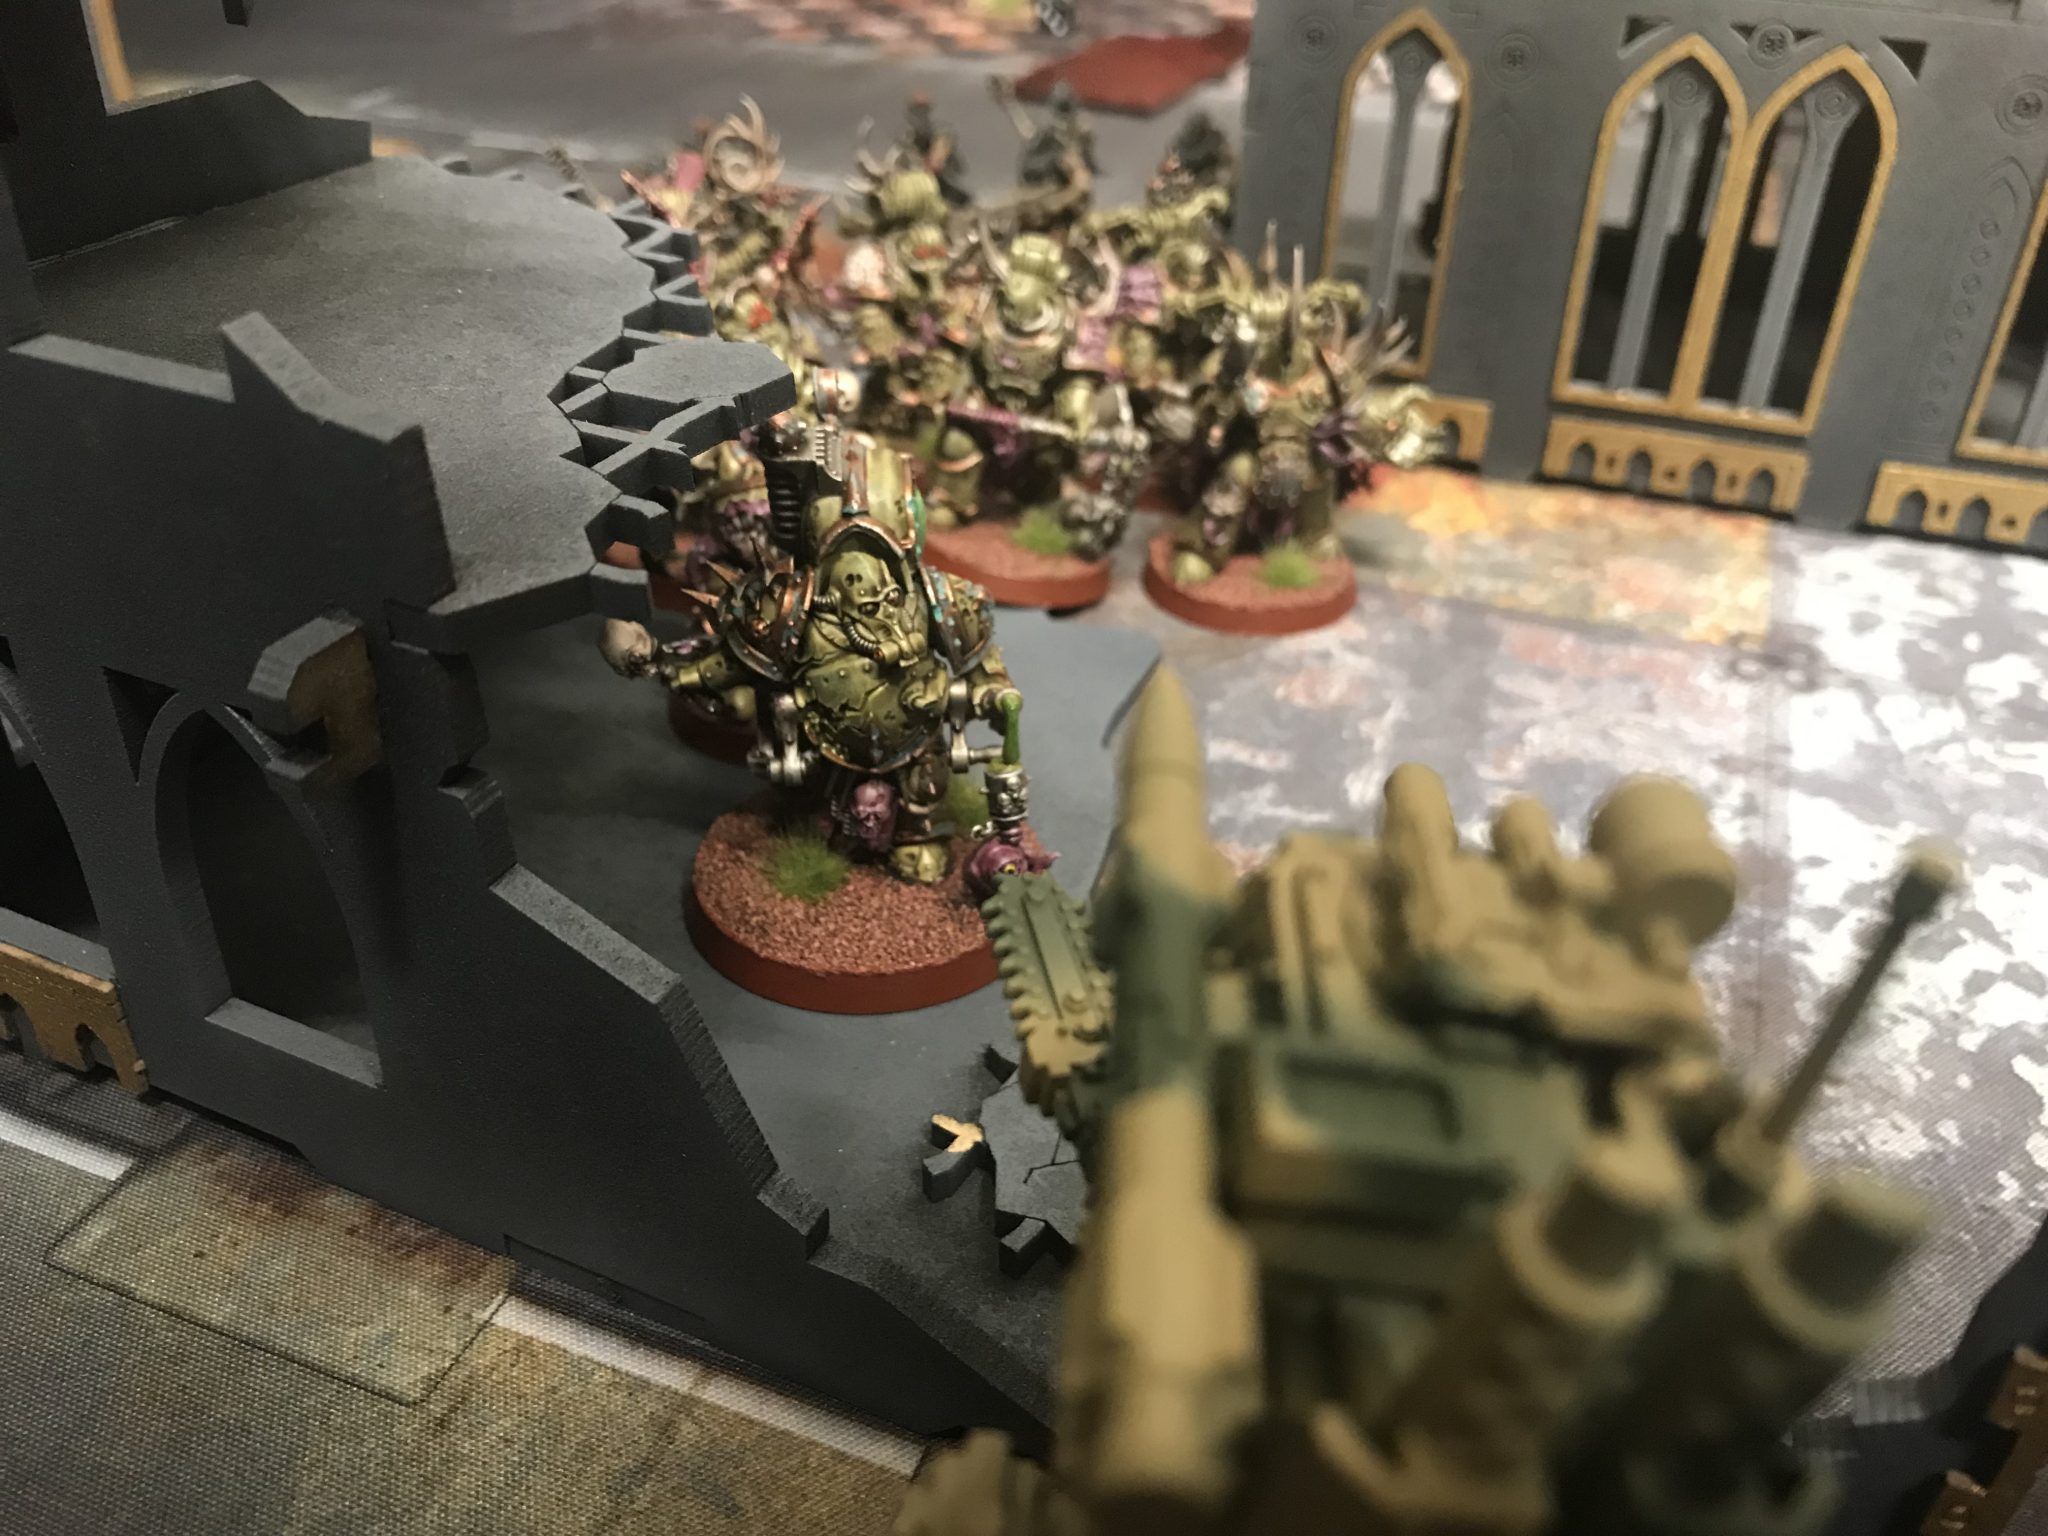
Death Guard Deployment – Astra Militarum vs Death Guard
Mission – Astra Militarum vs Death Guard
We rolled Mission 5 in Chapter Approved with the diagonal deployment.
The Mission was Sealed Orders. You keep your cards secret and draw 6 cards at the start of your first turn. You can only generate new orders once you’ve got rid of all your cards. The second regeneration gives you five cards, the third gives you four cards, etc.
You can pay 1CP to remove three of your active cards. You can also discard one as normal at the end of your turn.
It’s important to remove all your cards to get more. You don’t want to be stuck with duff cards come the start of your next turn.
Plus there is First Blood, Slay the Warlord and Line Breaker.

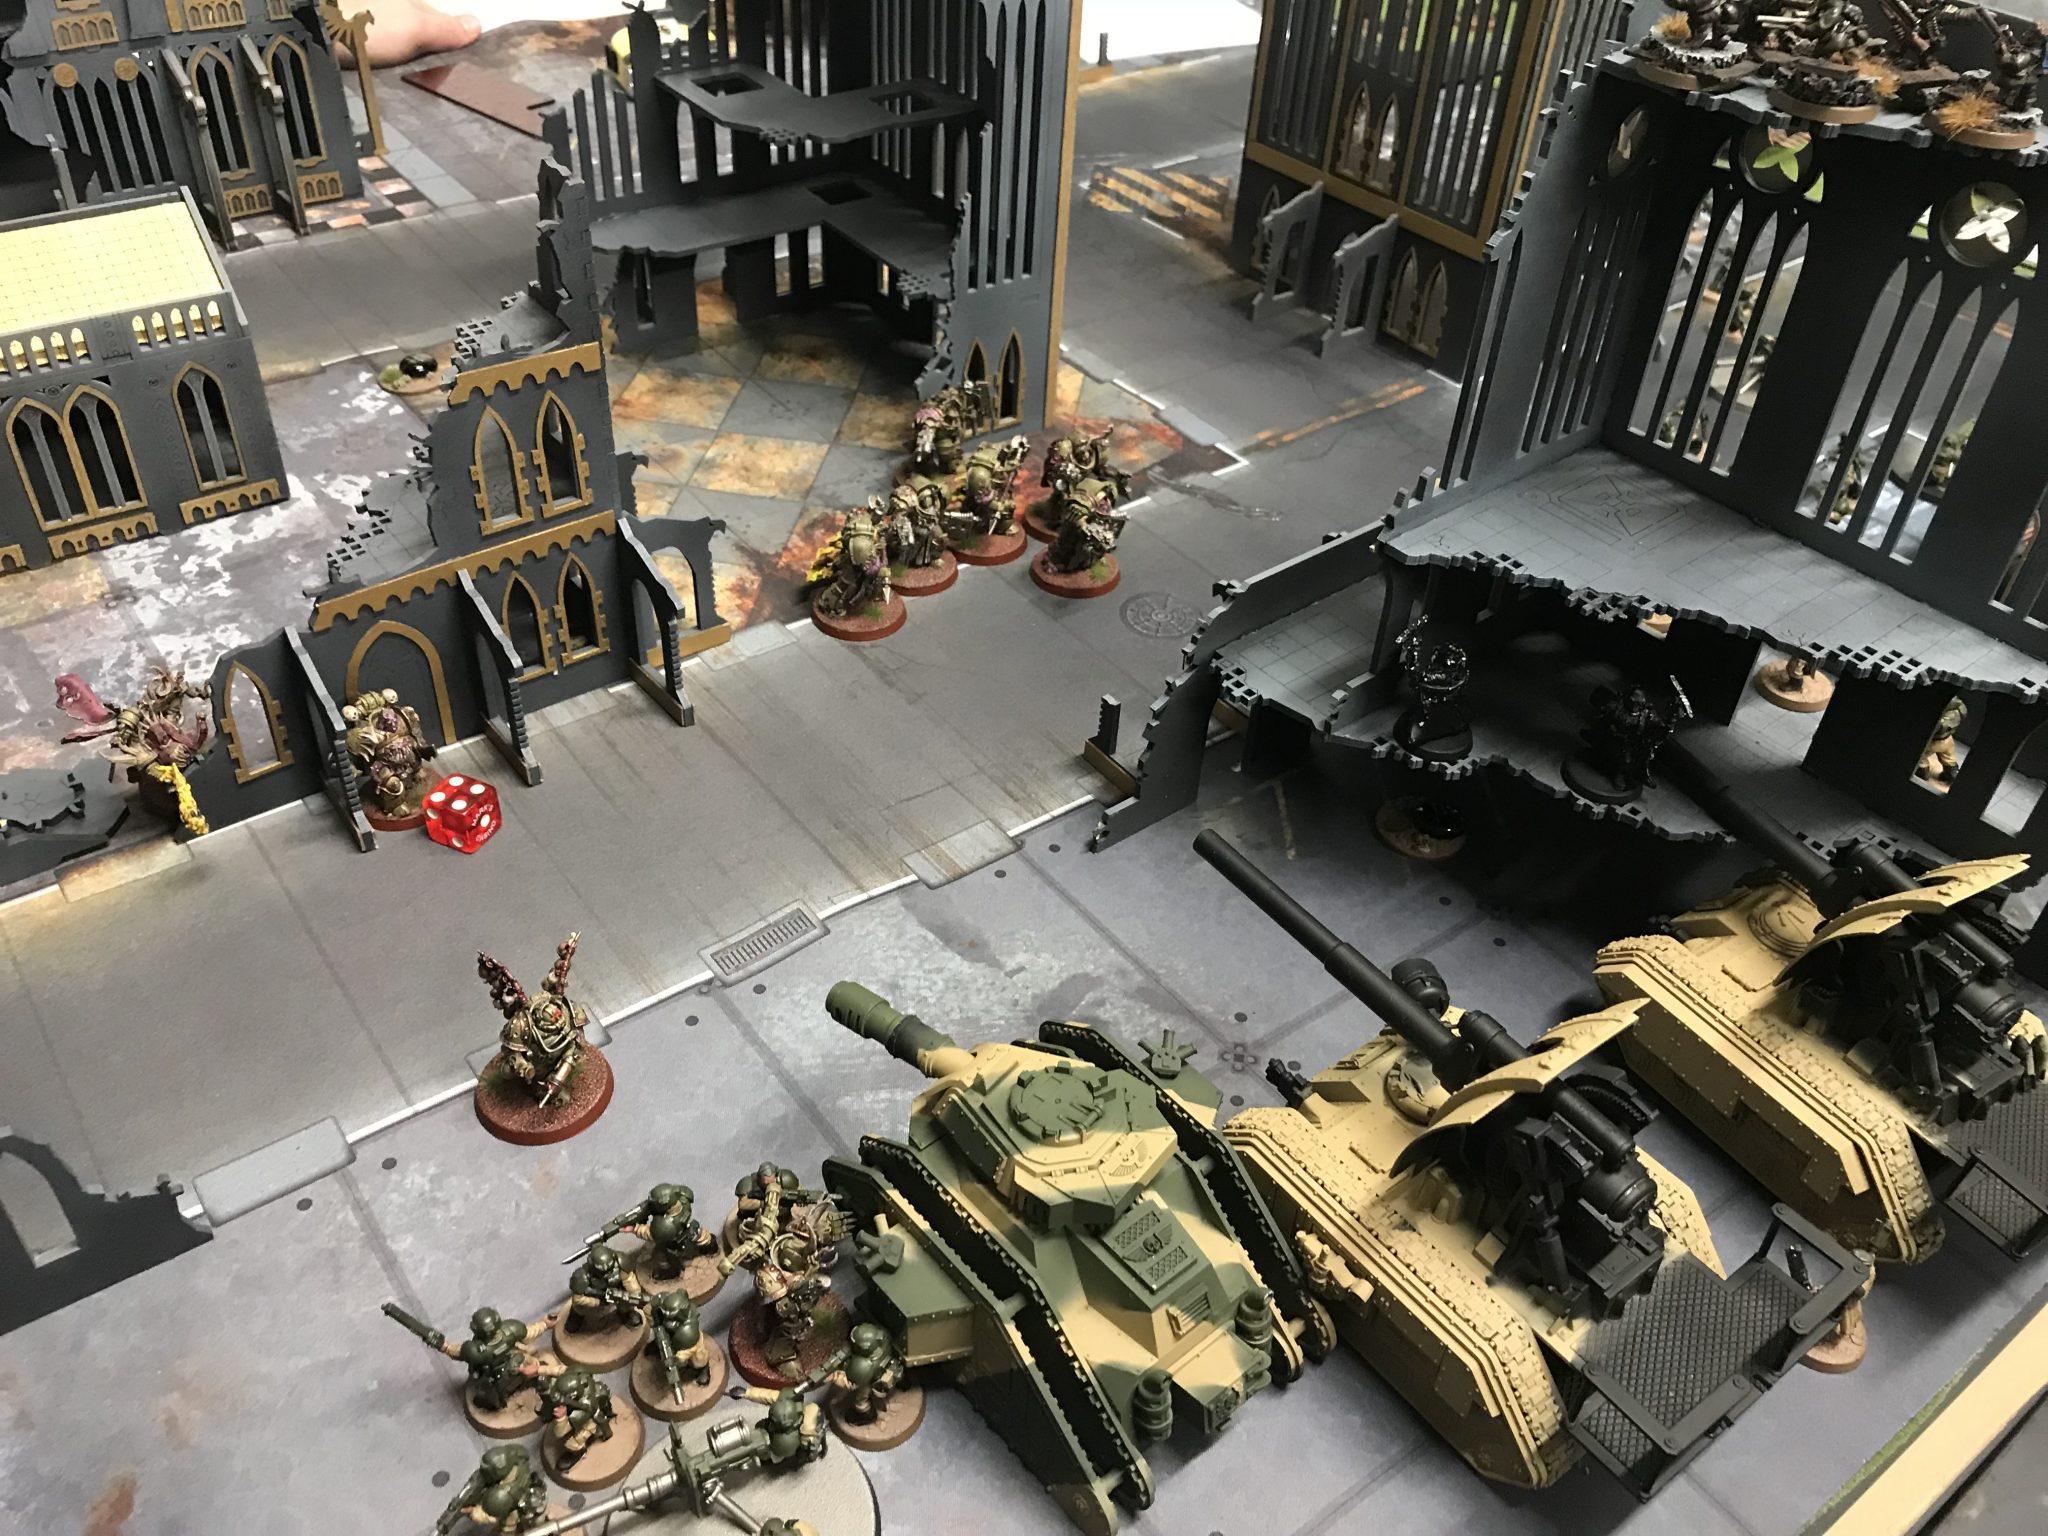
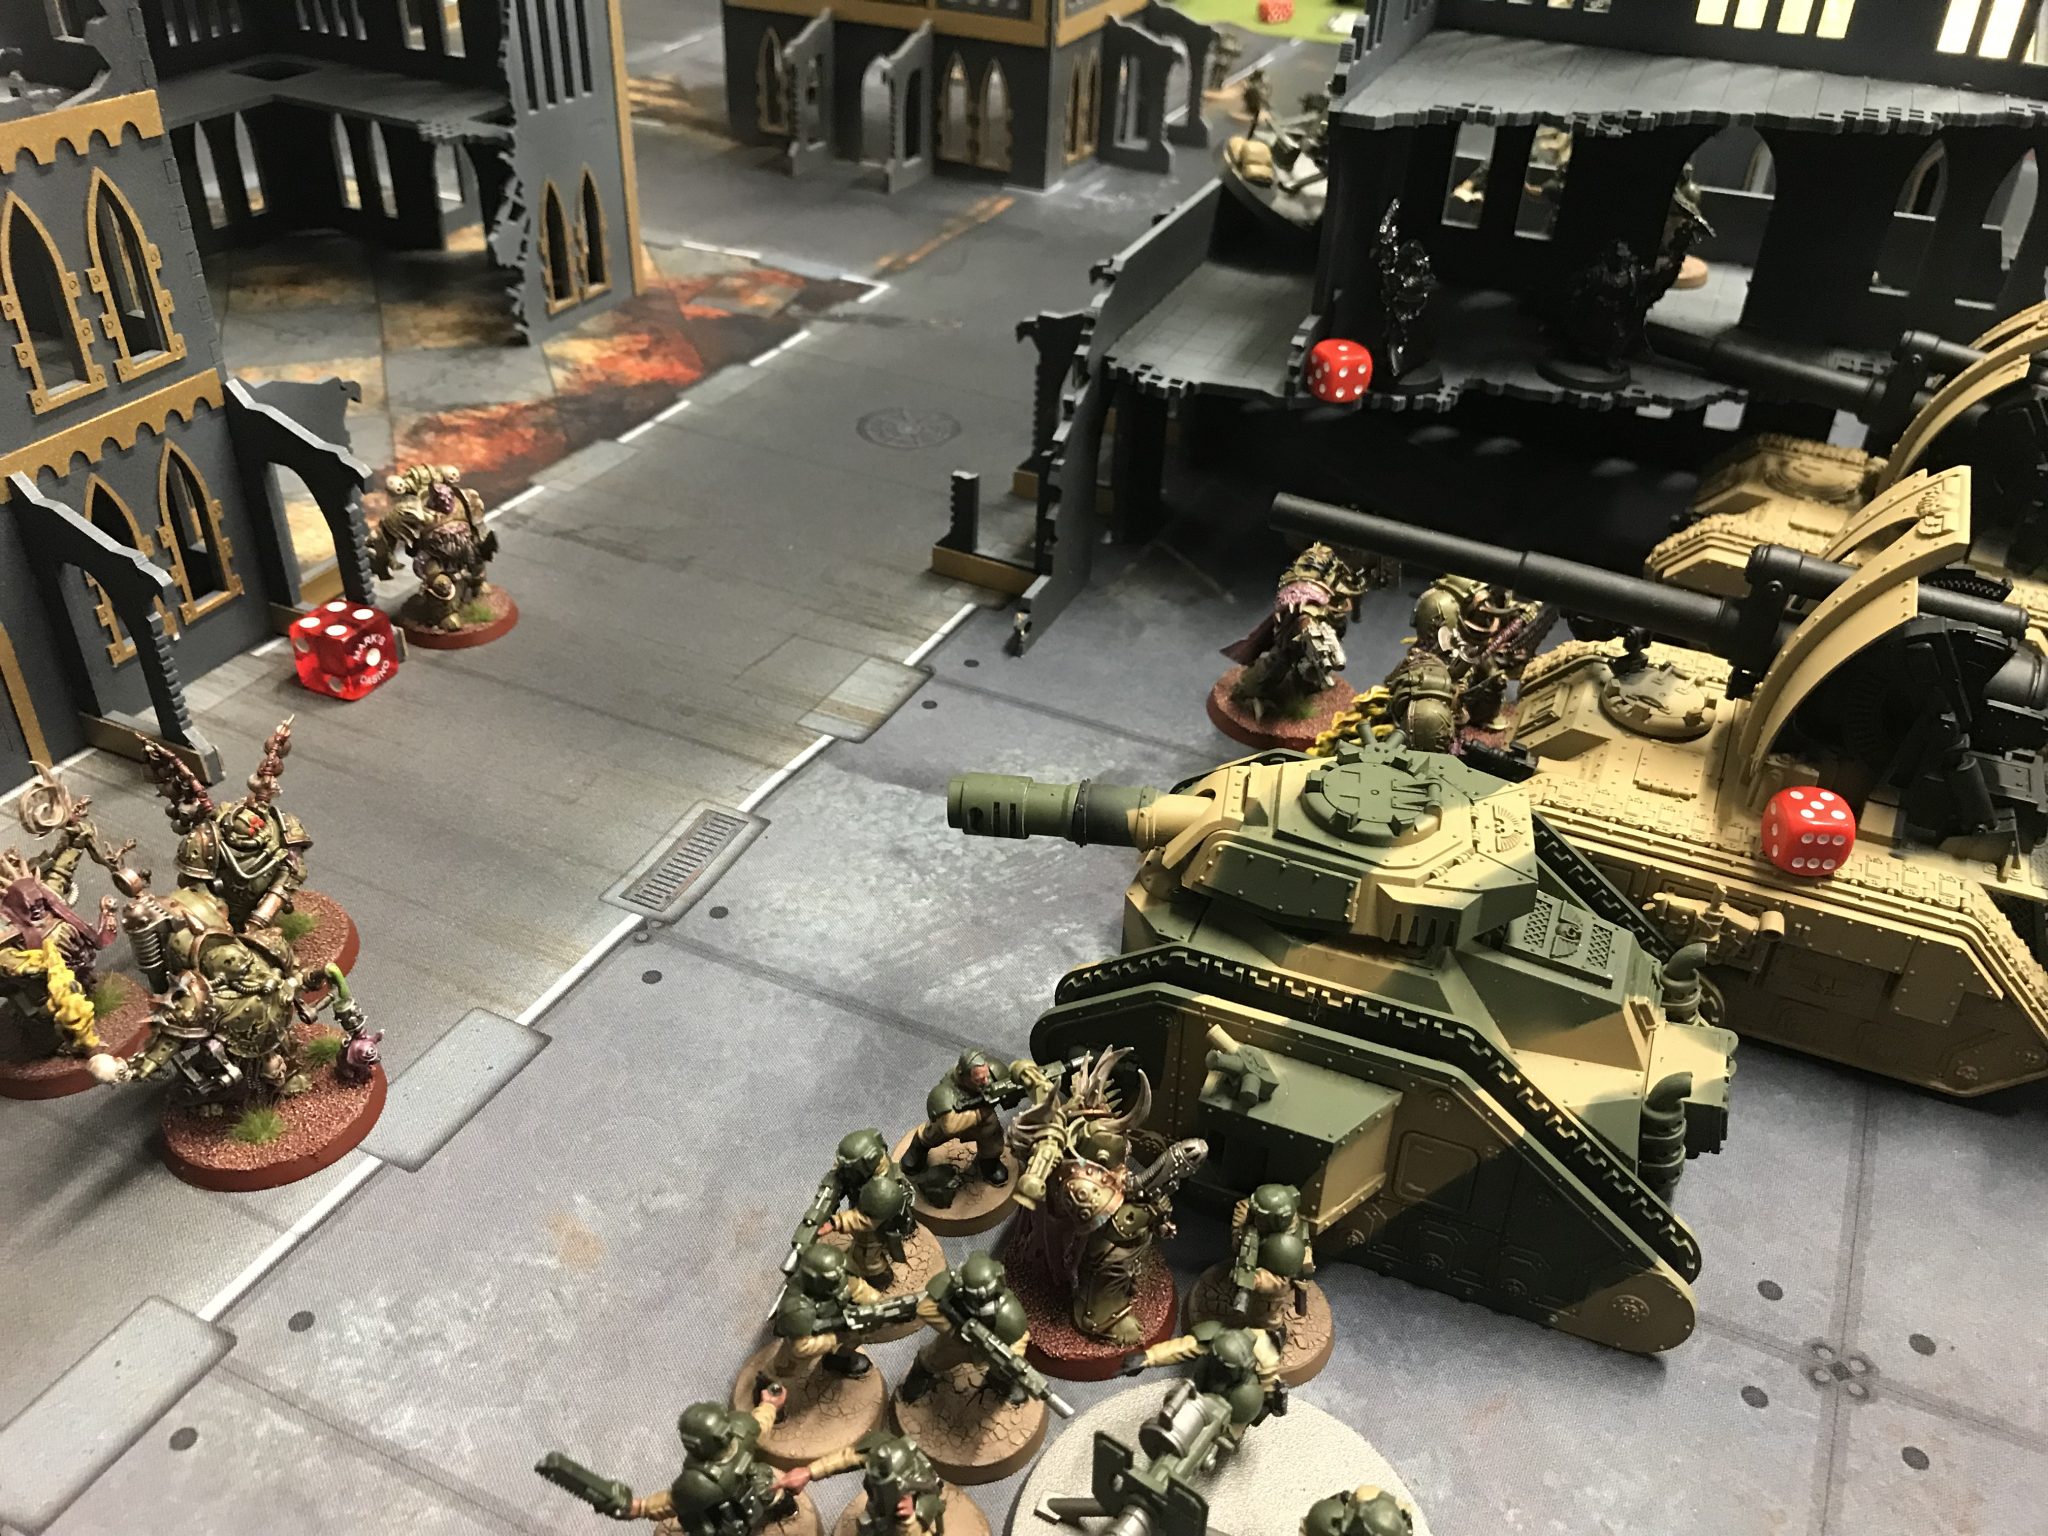
Battlefield overview before turn 1
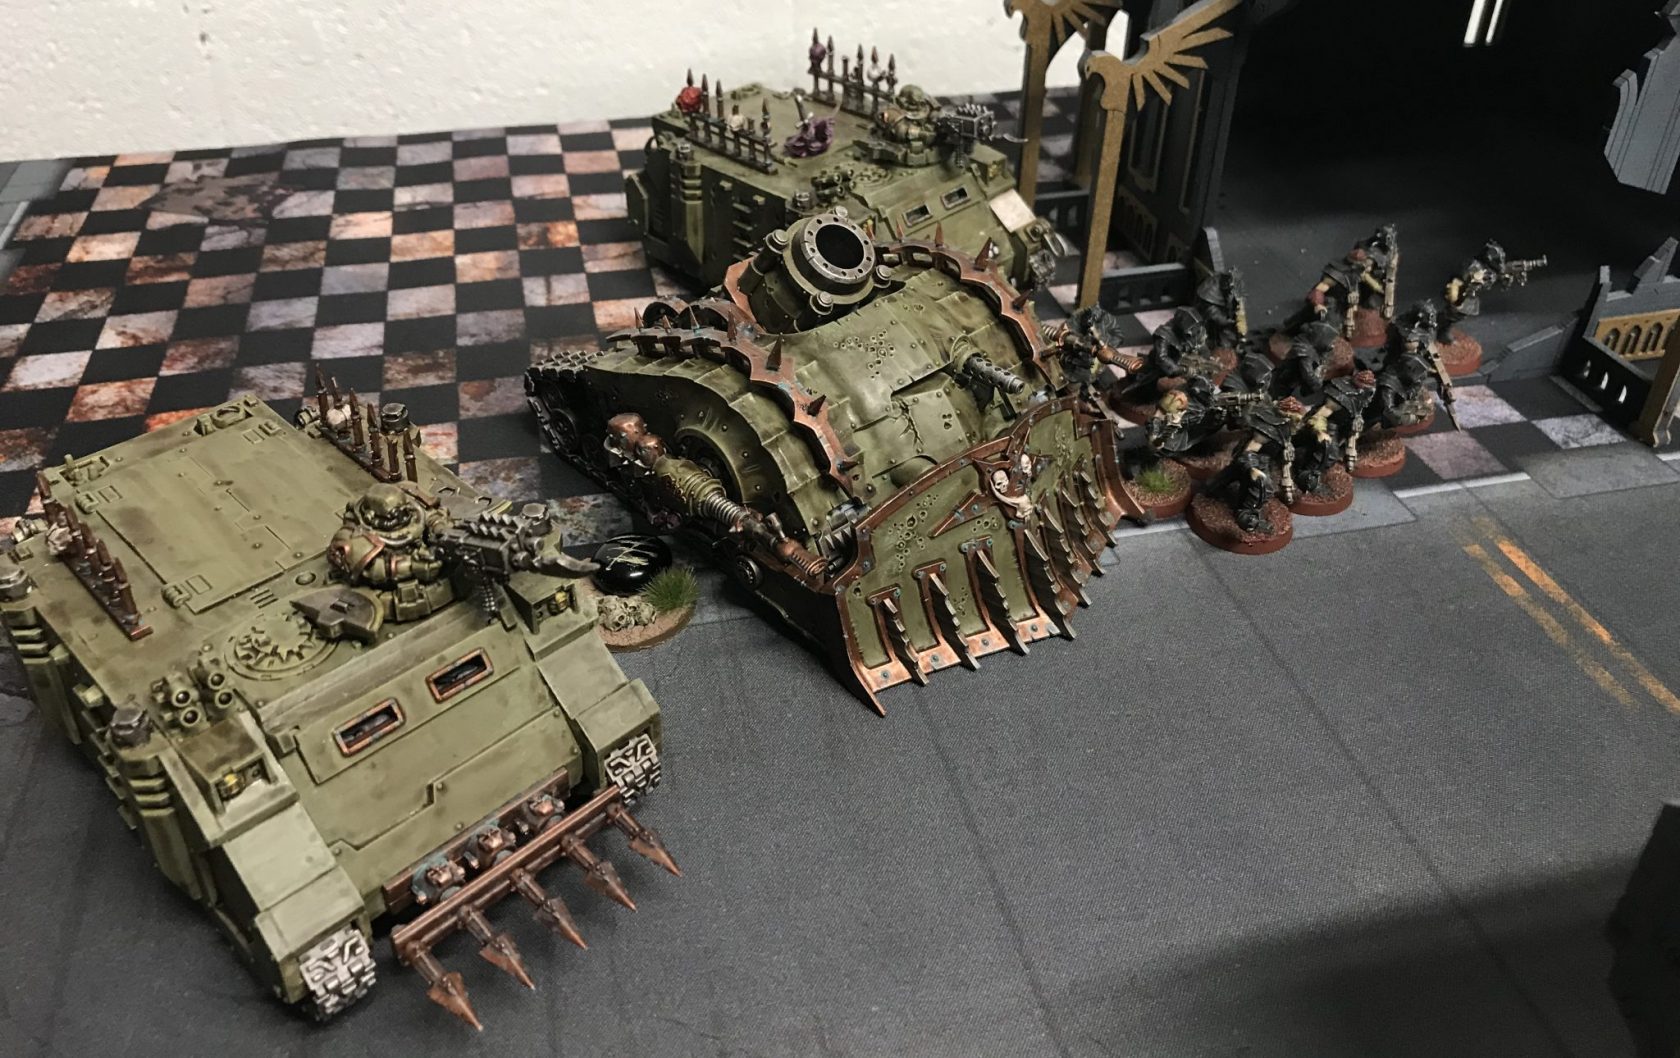
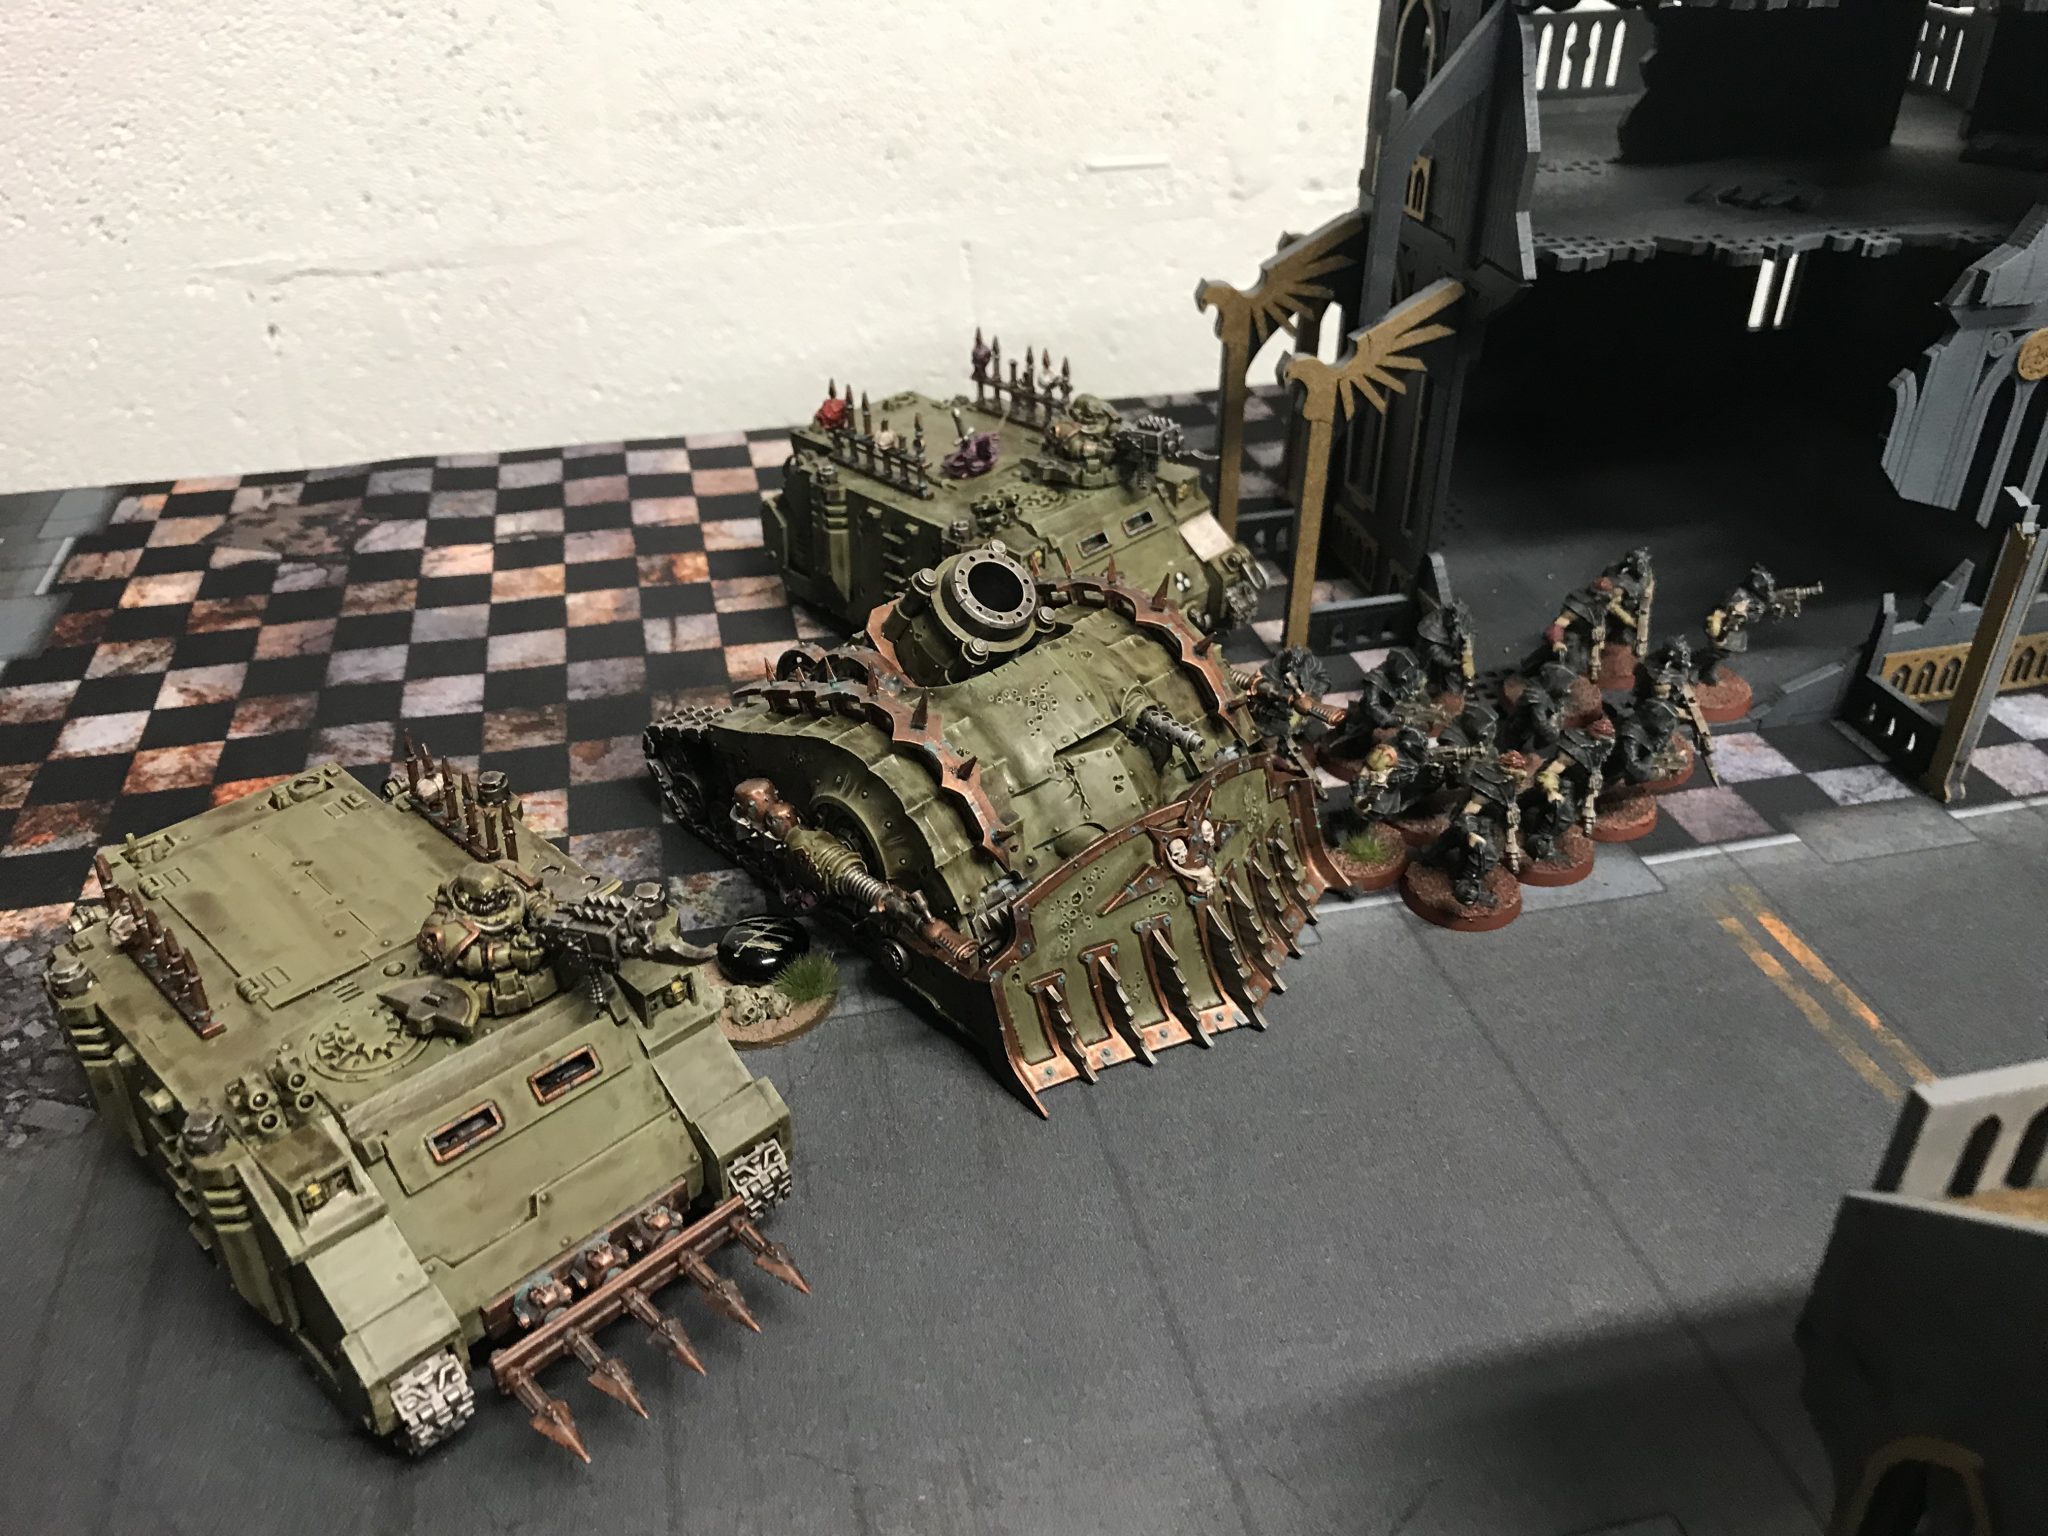
Deployment – Astra Militarum vs Death Guard
The Death Guard deployment was short and sweet. Two Rhinos containing the Plague Marines, the Burstcrawler and the Cultists. All deployed together in a neat little blob. The Terminators would Deep Strike along with the Chaos Lord. The other characters were inside the Rhinos.
Given how little deployed – I didn’t use Preliminary Bombardment.
My Astra Militarum deployment was a somewhat longer and more complex affair – as it always is.
Everything was focused on Old Grudges and the Lost Relic of Cadia. I ensured that the following were all within 12″ of the Tank Commander with the Lost Relic of Cadia;
- All Leman Russ
- All Basilisks
- Lascannons
Against Chaos this relic let’s friendly Cadian units re-roll wounds and hits. It’s fantastic and I cannot believe I’ve not used it before. My Ratlings couldn’t benefit from the relic and they’re not Cadian. It only lasts for one turn.
All my other Infantry spread out to deny the Terminators a charge against my vehicles when they would inevitably arrive in turn two.
I used Old Grudges against the Plagueburst Crawler.
Death Guard – Turn 1
I used Prepared Positions. But didn’t use Preliminary Bombardment. That meant I started the game on 10CP.
With so few models on the table for the Death Guard at the start of the game, their turn was short. The forward most Sentinel took the brunt of the shooting and was down to one wound. Several Guardsmen also died – thinning my lines in front of all my vehicles.
The mortar on the Plagueburst Crawler went for the Tank Commander who Took Cover and took no wounds.
Prepared Positions is good. The Tank Commander didn’t take a lot of fire but with the Sentinel surviving on one wound, meant no First Blood.
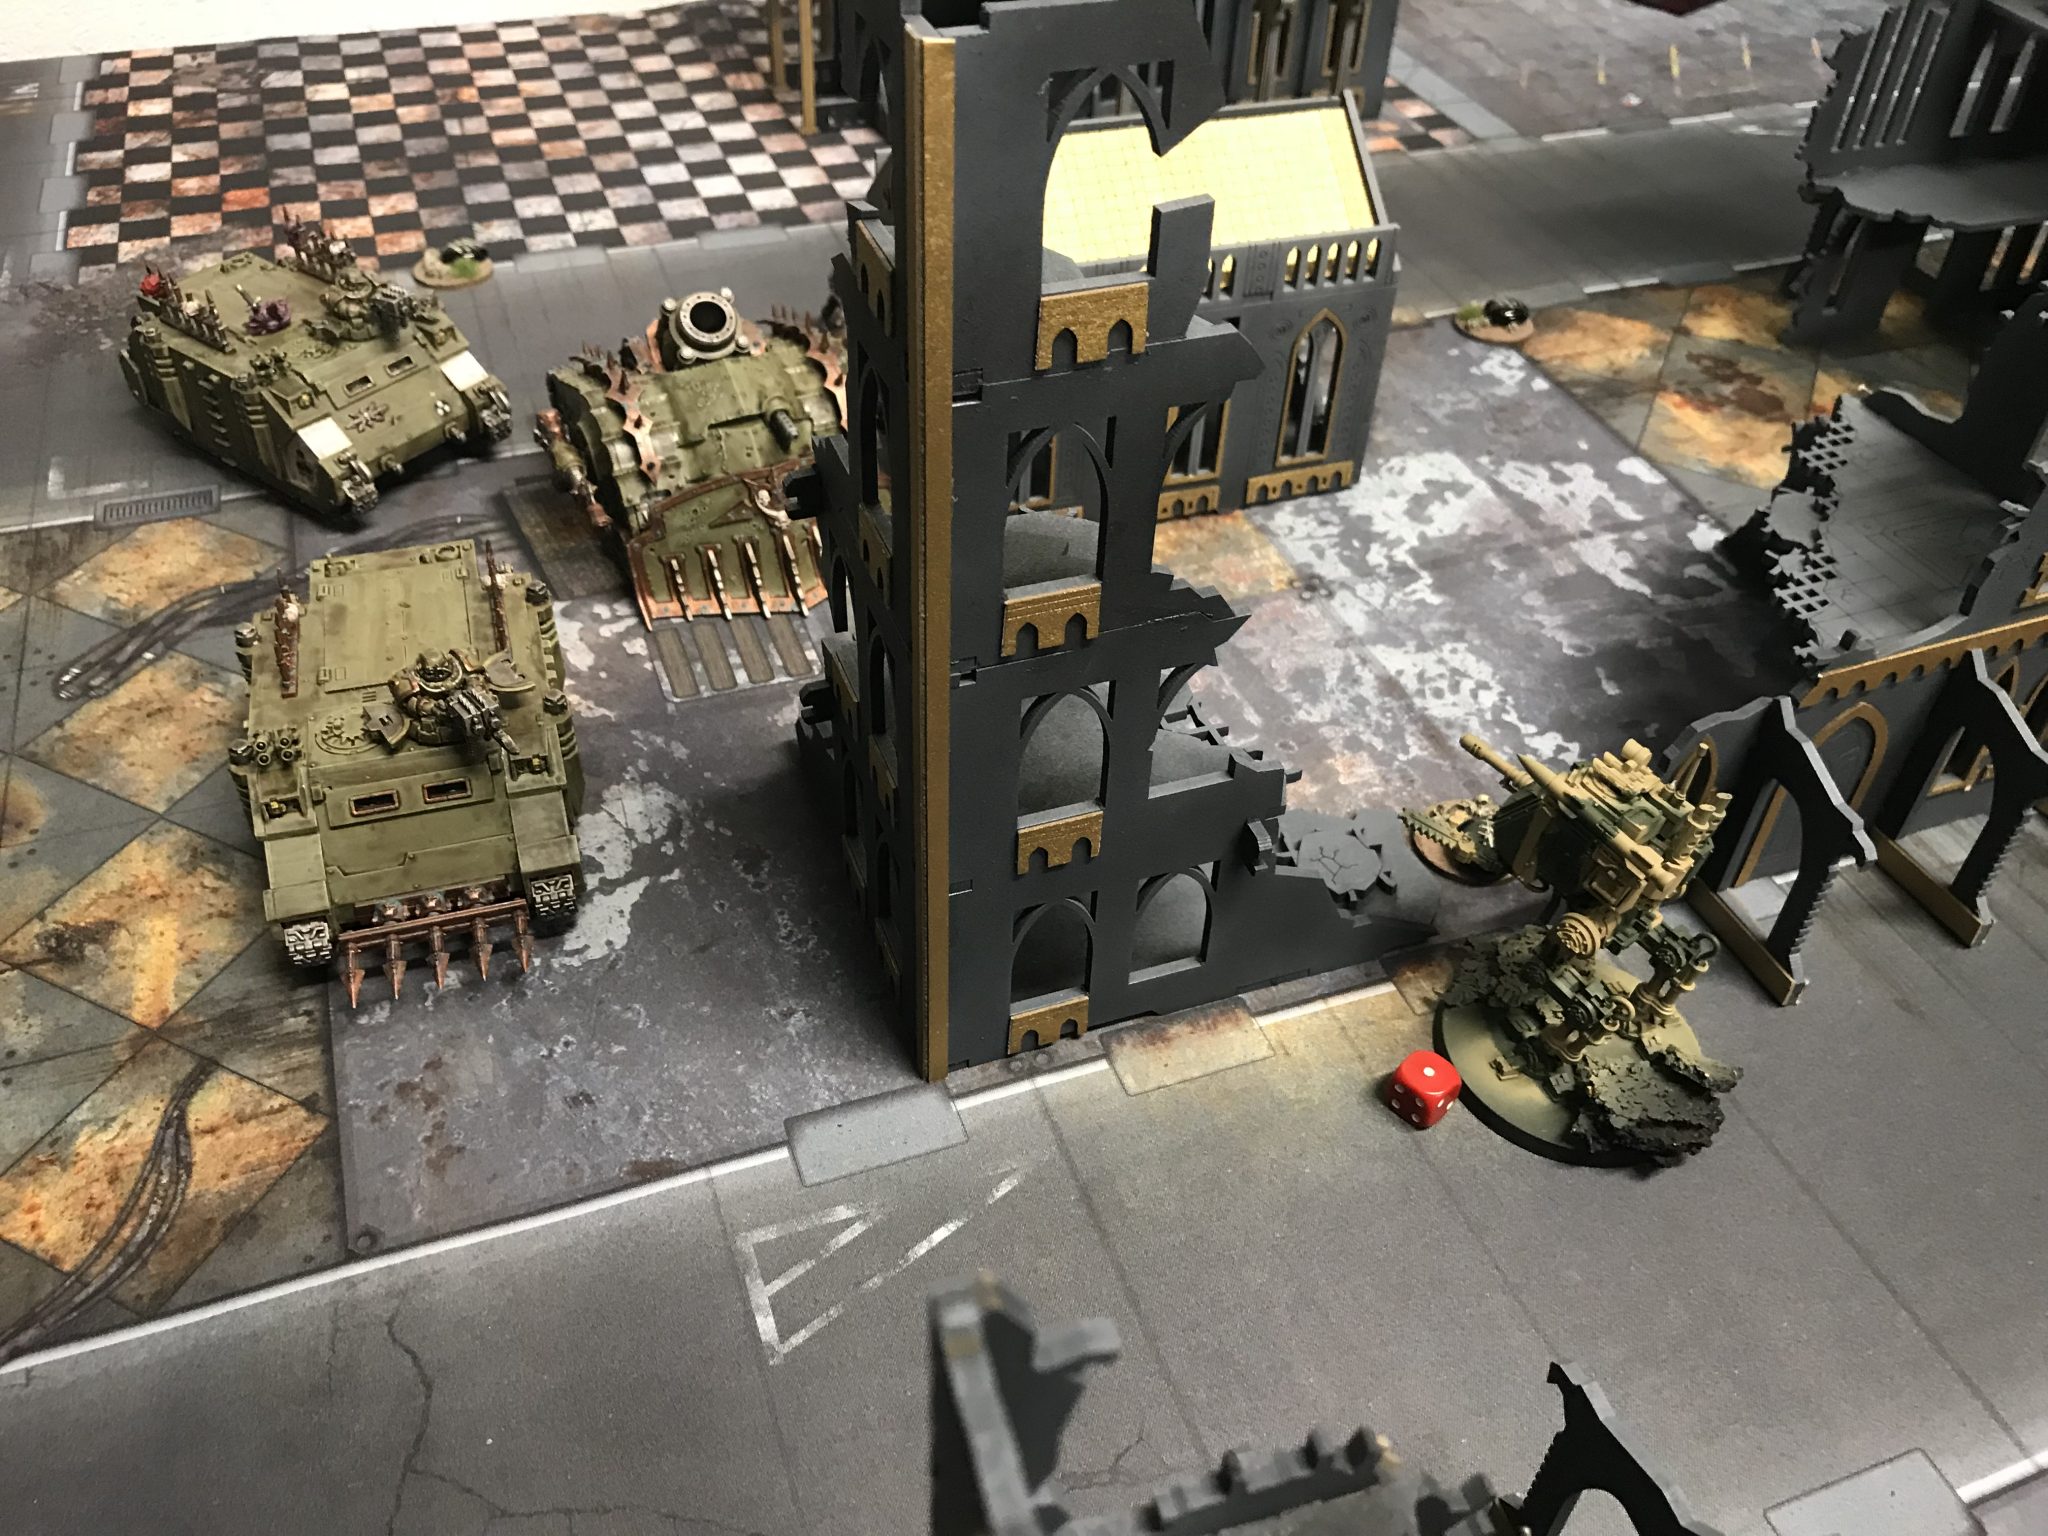
The forward most Sentinel weathers the storm
Astra Militarum – Turn 1
My Taurox moved to the centre of the table to ensure he was near my Leman Russ to counter the Terminators next turn.
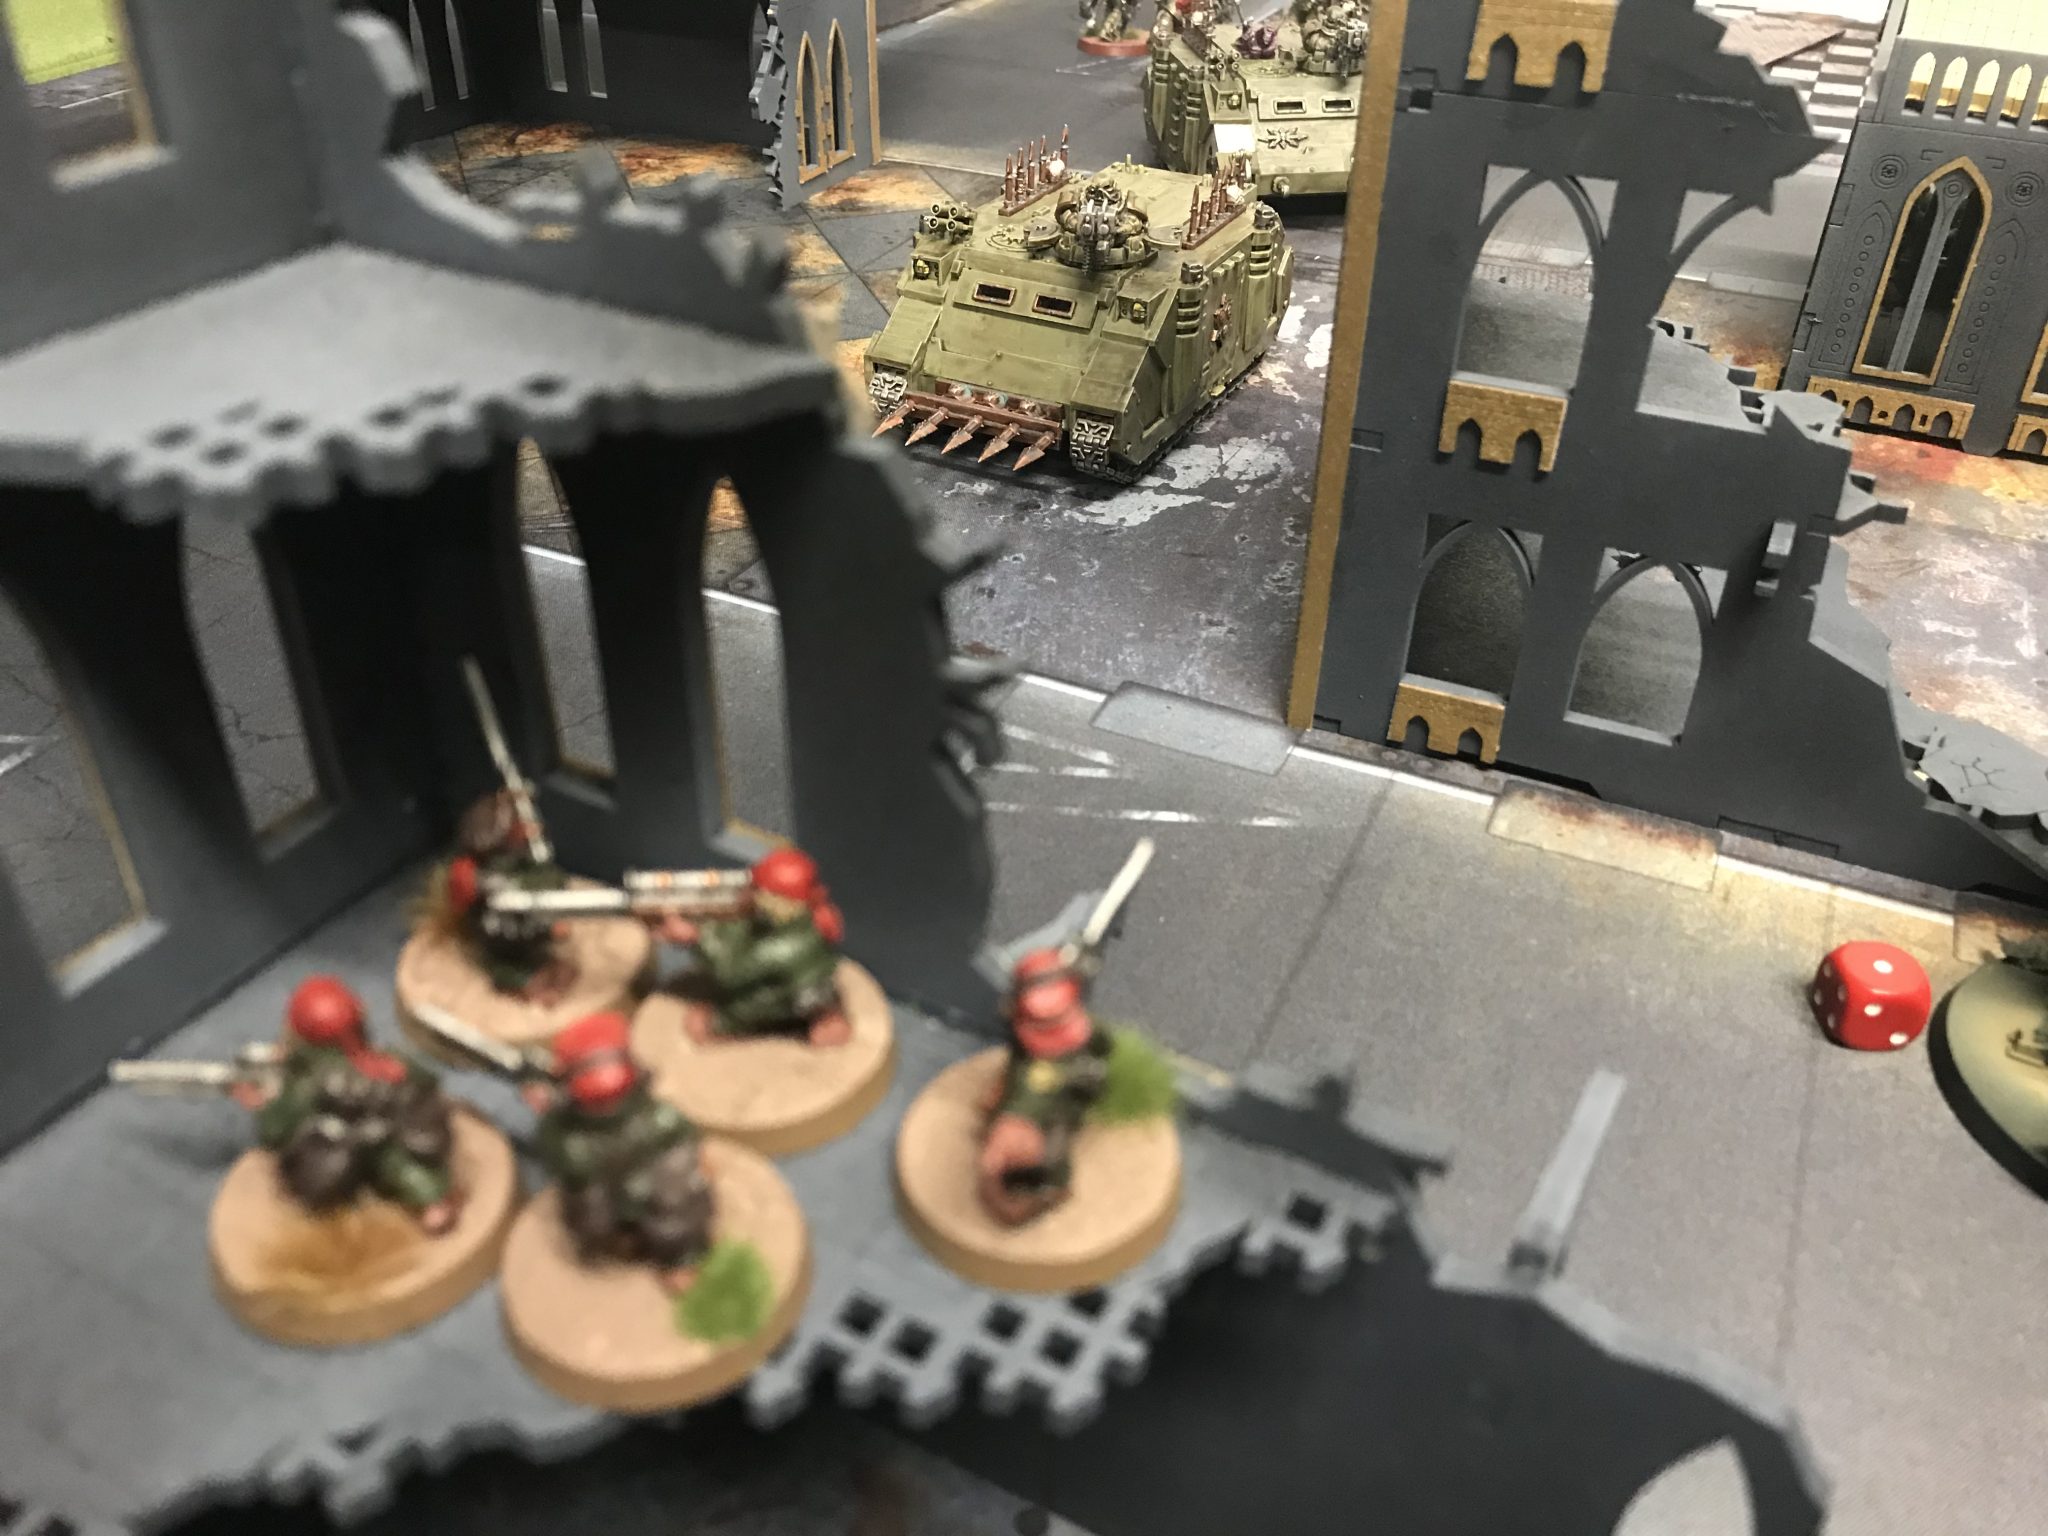
A Ratling’s view
Psychic phase was uneventful I’m sure compared to shooting…
After everything was done, a lot was dead. I’d used the Lost Relic of Cadia this turn which basically overuse Old Grudges completely.
I’d destroyed both Rhinos, the Plagueburst Crawler, and an entire squad of Plague Marines and the other squad only had five Marines left. The Lost Relic of Cadia is devastating against Chaos and Mark was starting to wonder if he was in for a tabling.
Psychic Maelstrom was doing OK but Disgustingly Resilient meant it was hard to get multiple wounds on any target. Nightshroud was cast on my Tank Commander.
I’d got First Blood for once!
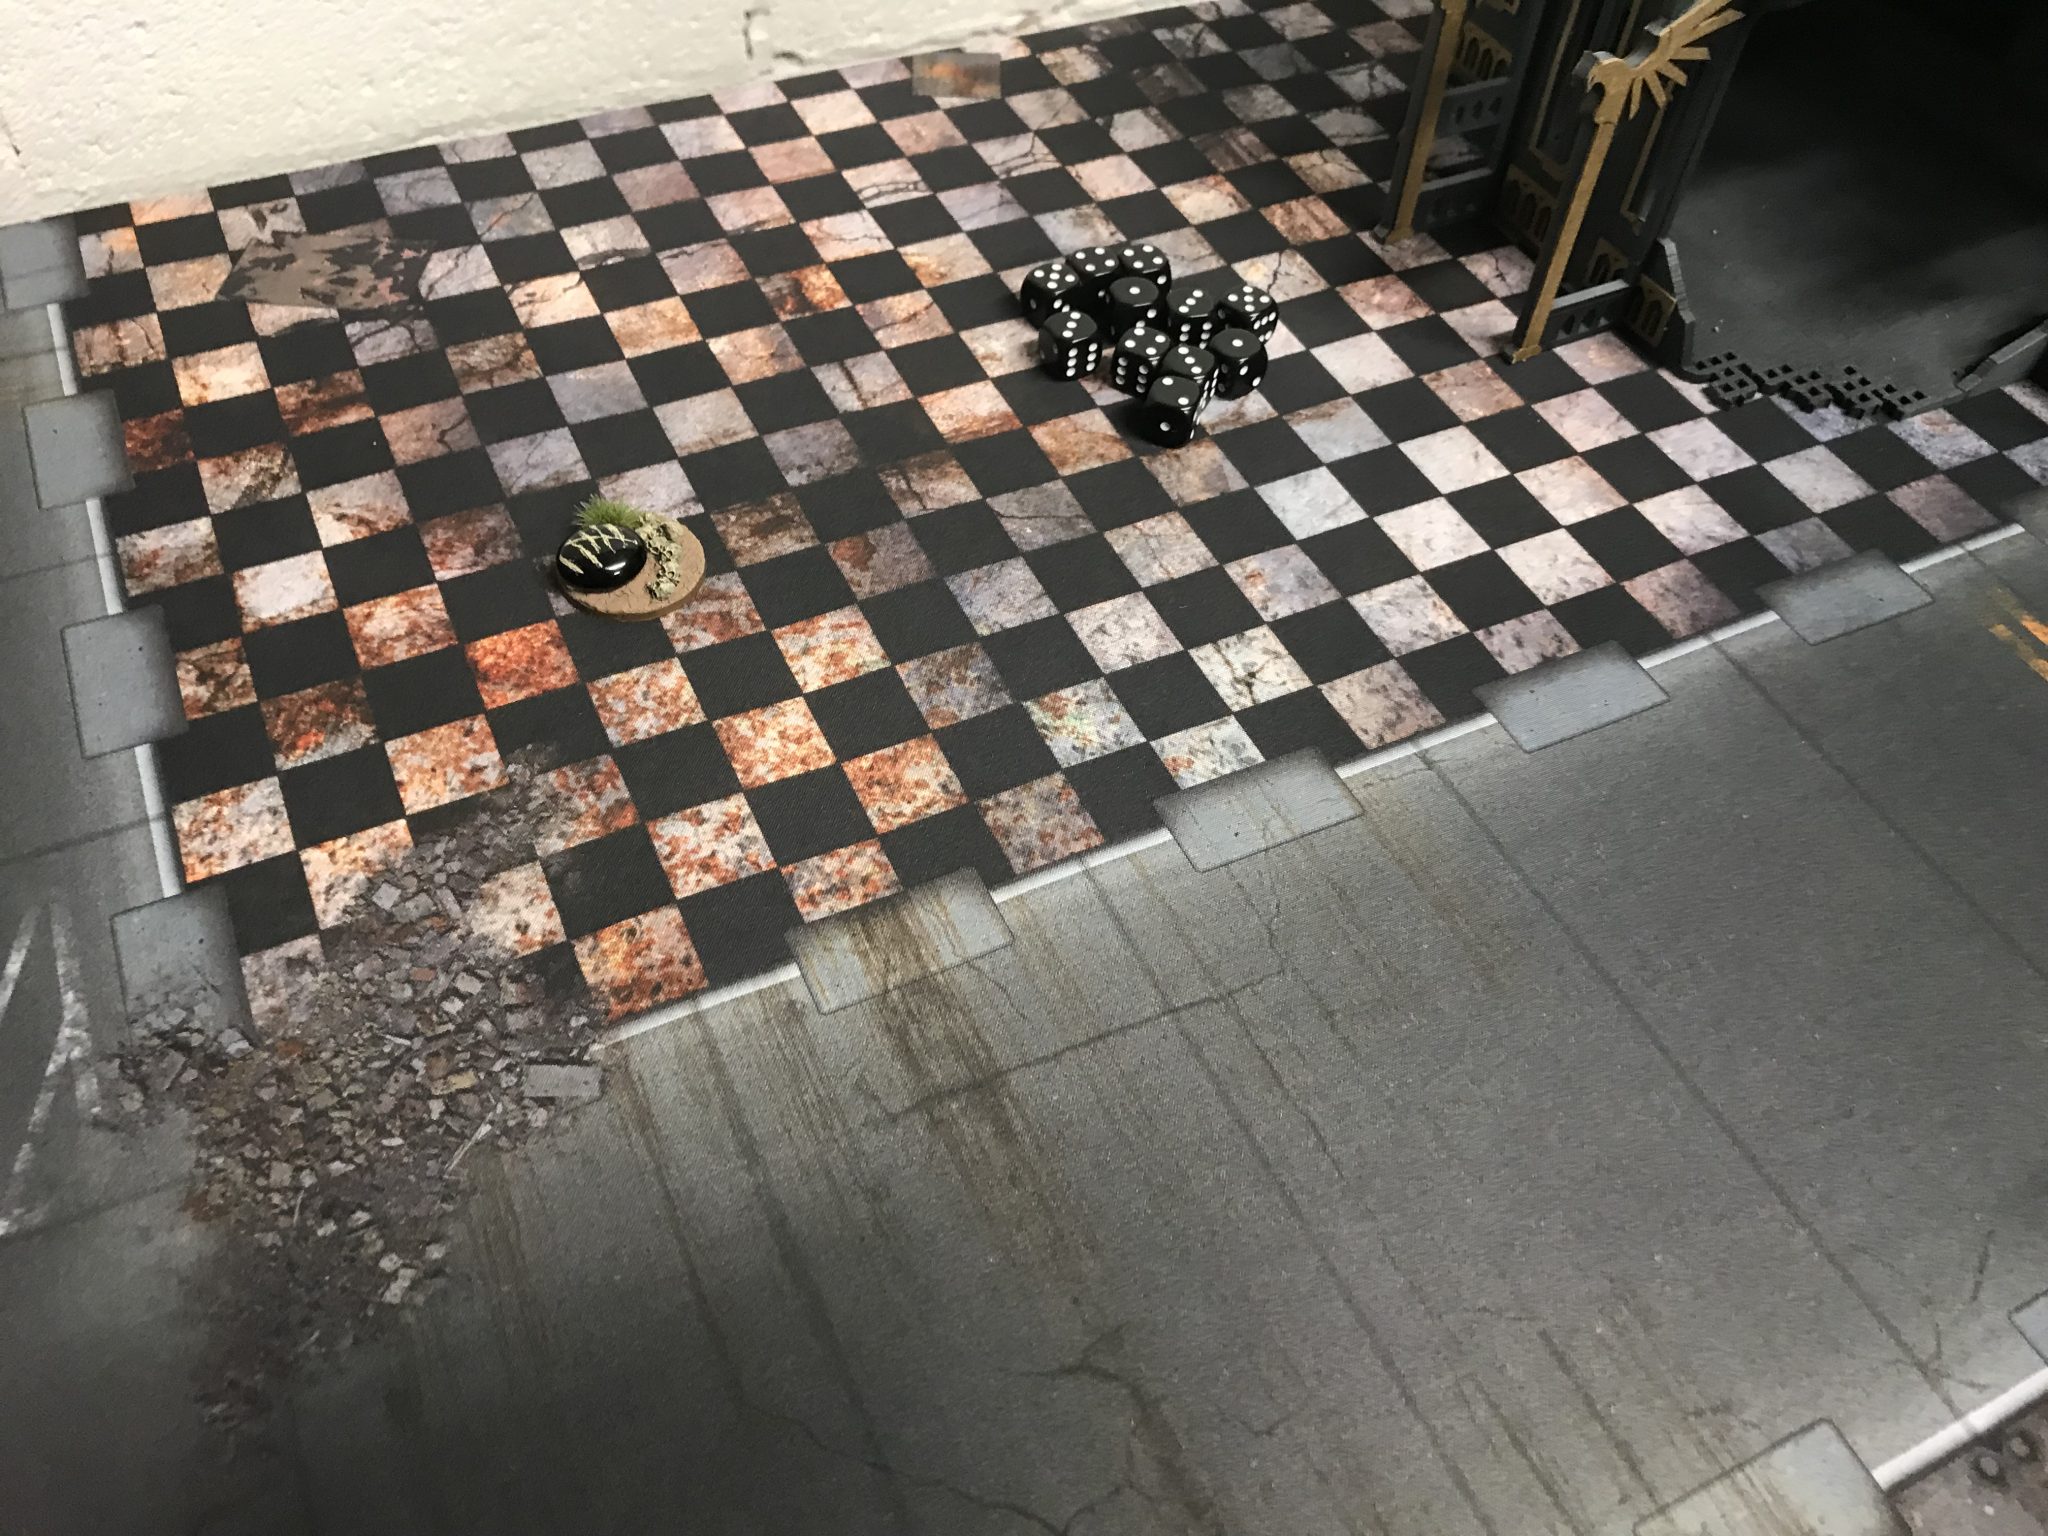
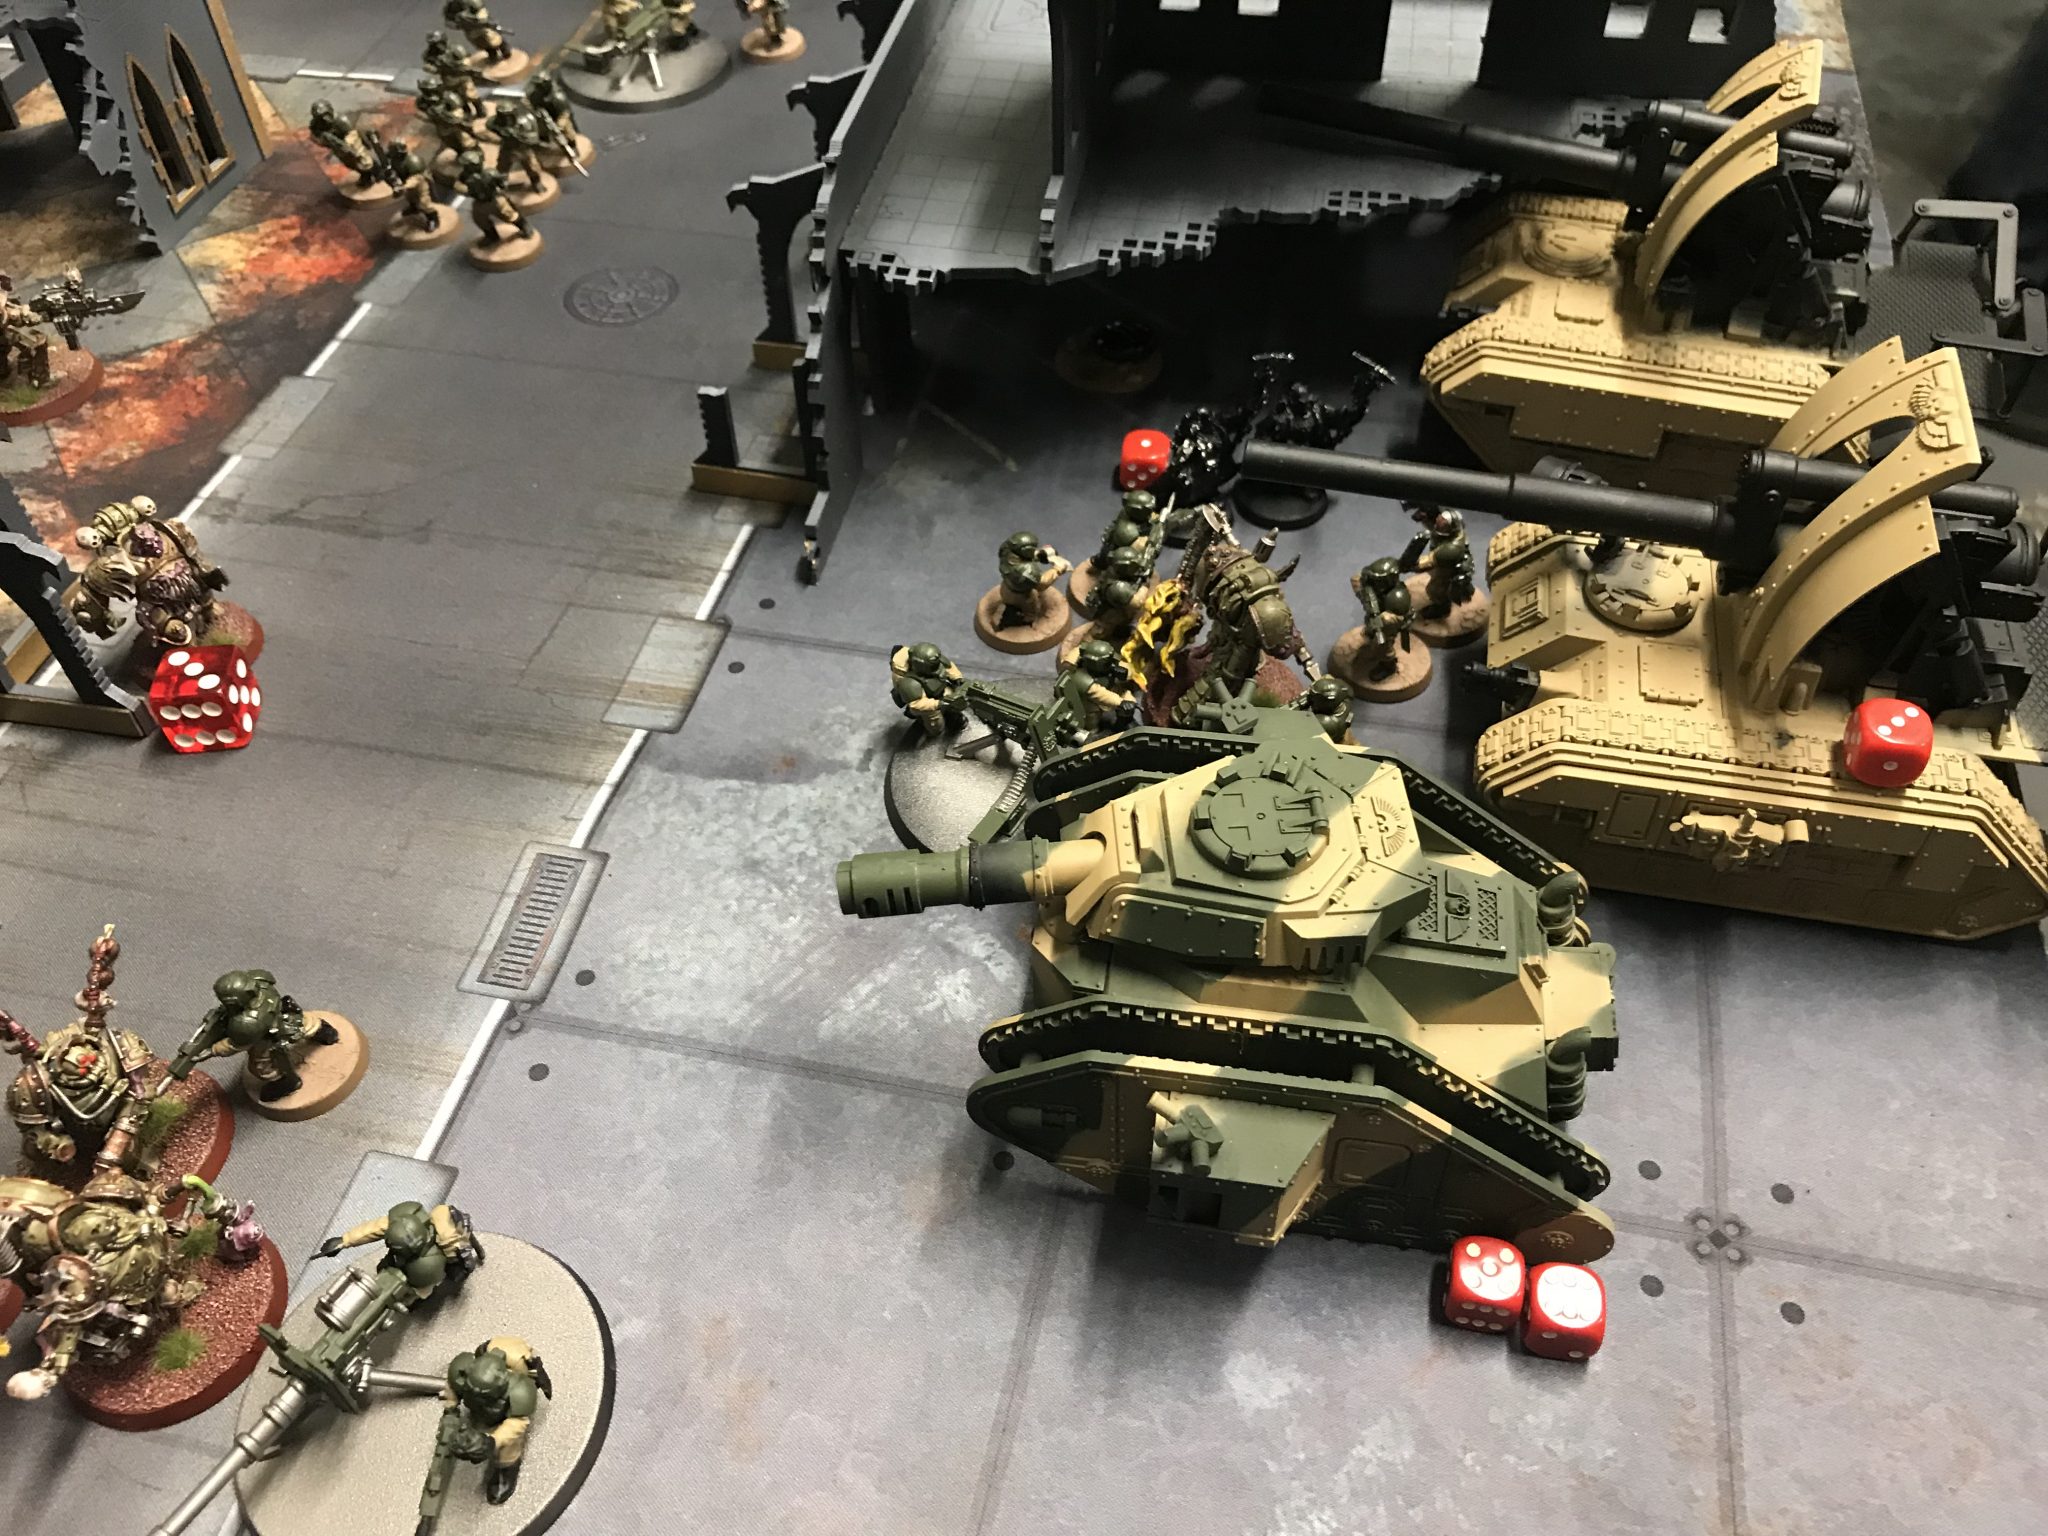
-

- The Russ with the black dice on it housed the Lost Relic of Cadia
-
- What remained out of the 2 Rhinos

Death Guard – Turn 2
The Terminators came down in an unexpected place, not behind me and not to the side. But right in front of me – in the centre of the table and on an objective. They quickly laid waste to the Taurox and all its occupants once the charge was done. My Command Squads we’re gone without firing a single shot.
A very worried Sentinel
The Plague Marines moved slowly forward, along with their characters. The Sentinel was destroyed in a charge and the Tank Commander was down to 7 wounds after a Blight Grenade.
It wasn’t a devastating turn for me but I was starting to worry as the Death Guard tightened the noose around my neck. I still had 50 Guardsmen to protect my vehicles with.
The Death Guard lead, 3 – 6.
-
- Battlefield overview

-

- Terminators arrive
Astra Militarum – Turn 2
Guardsmen ran to fill the gaps left by the Taurox and the Sentinel. I plugged the holes in the hope of slowing the death Guard’s advance.
Guardsmen move to cover my vehicles – Astra Militarum vs Death Guard
Nightshroud failed so the Tank Commander ordered himself to shoot and pop smoke.
I shot a lot at the five front most Terminator that had charged my Command Squads. I killed only three despite shooting with the Plasma Leman Russ and the Battle Tanks. The Basilisks probably also shot them. They’re so damn tough! I needed my Command Squad Meltaguns to take them down. Having those D6 wounds to counter Disgustingly Resilient would have been very handy.
Terminators doing their thing – Astra Militarum vs Death Guard
The Ratlings were failing to do any real damage too. Even the Mortal Wounds they got were being ignored by Disgustingly Resilient.
The Death Guard lead, 5 – 6
Death Guard – Turn 3
I didn’t take any photos during this turn it seems. But from the photos before this turn and after this turn I was work out that;
- Five Ratlings died
- The Terminators piled forward and killed an infantry squad
- My Tank Commander was destroyed after taking about 10 Mortal Wounds from Blight Grenades
- The Terminators also used overcharging Plasma against my Tank Commander – but at least three died from their exploding weapons
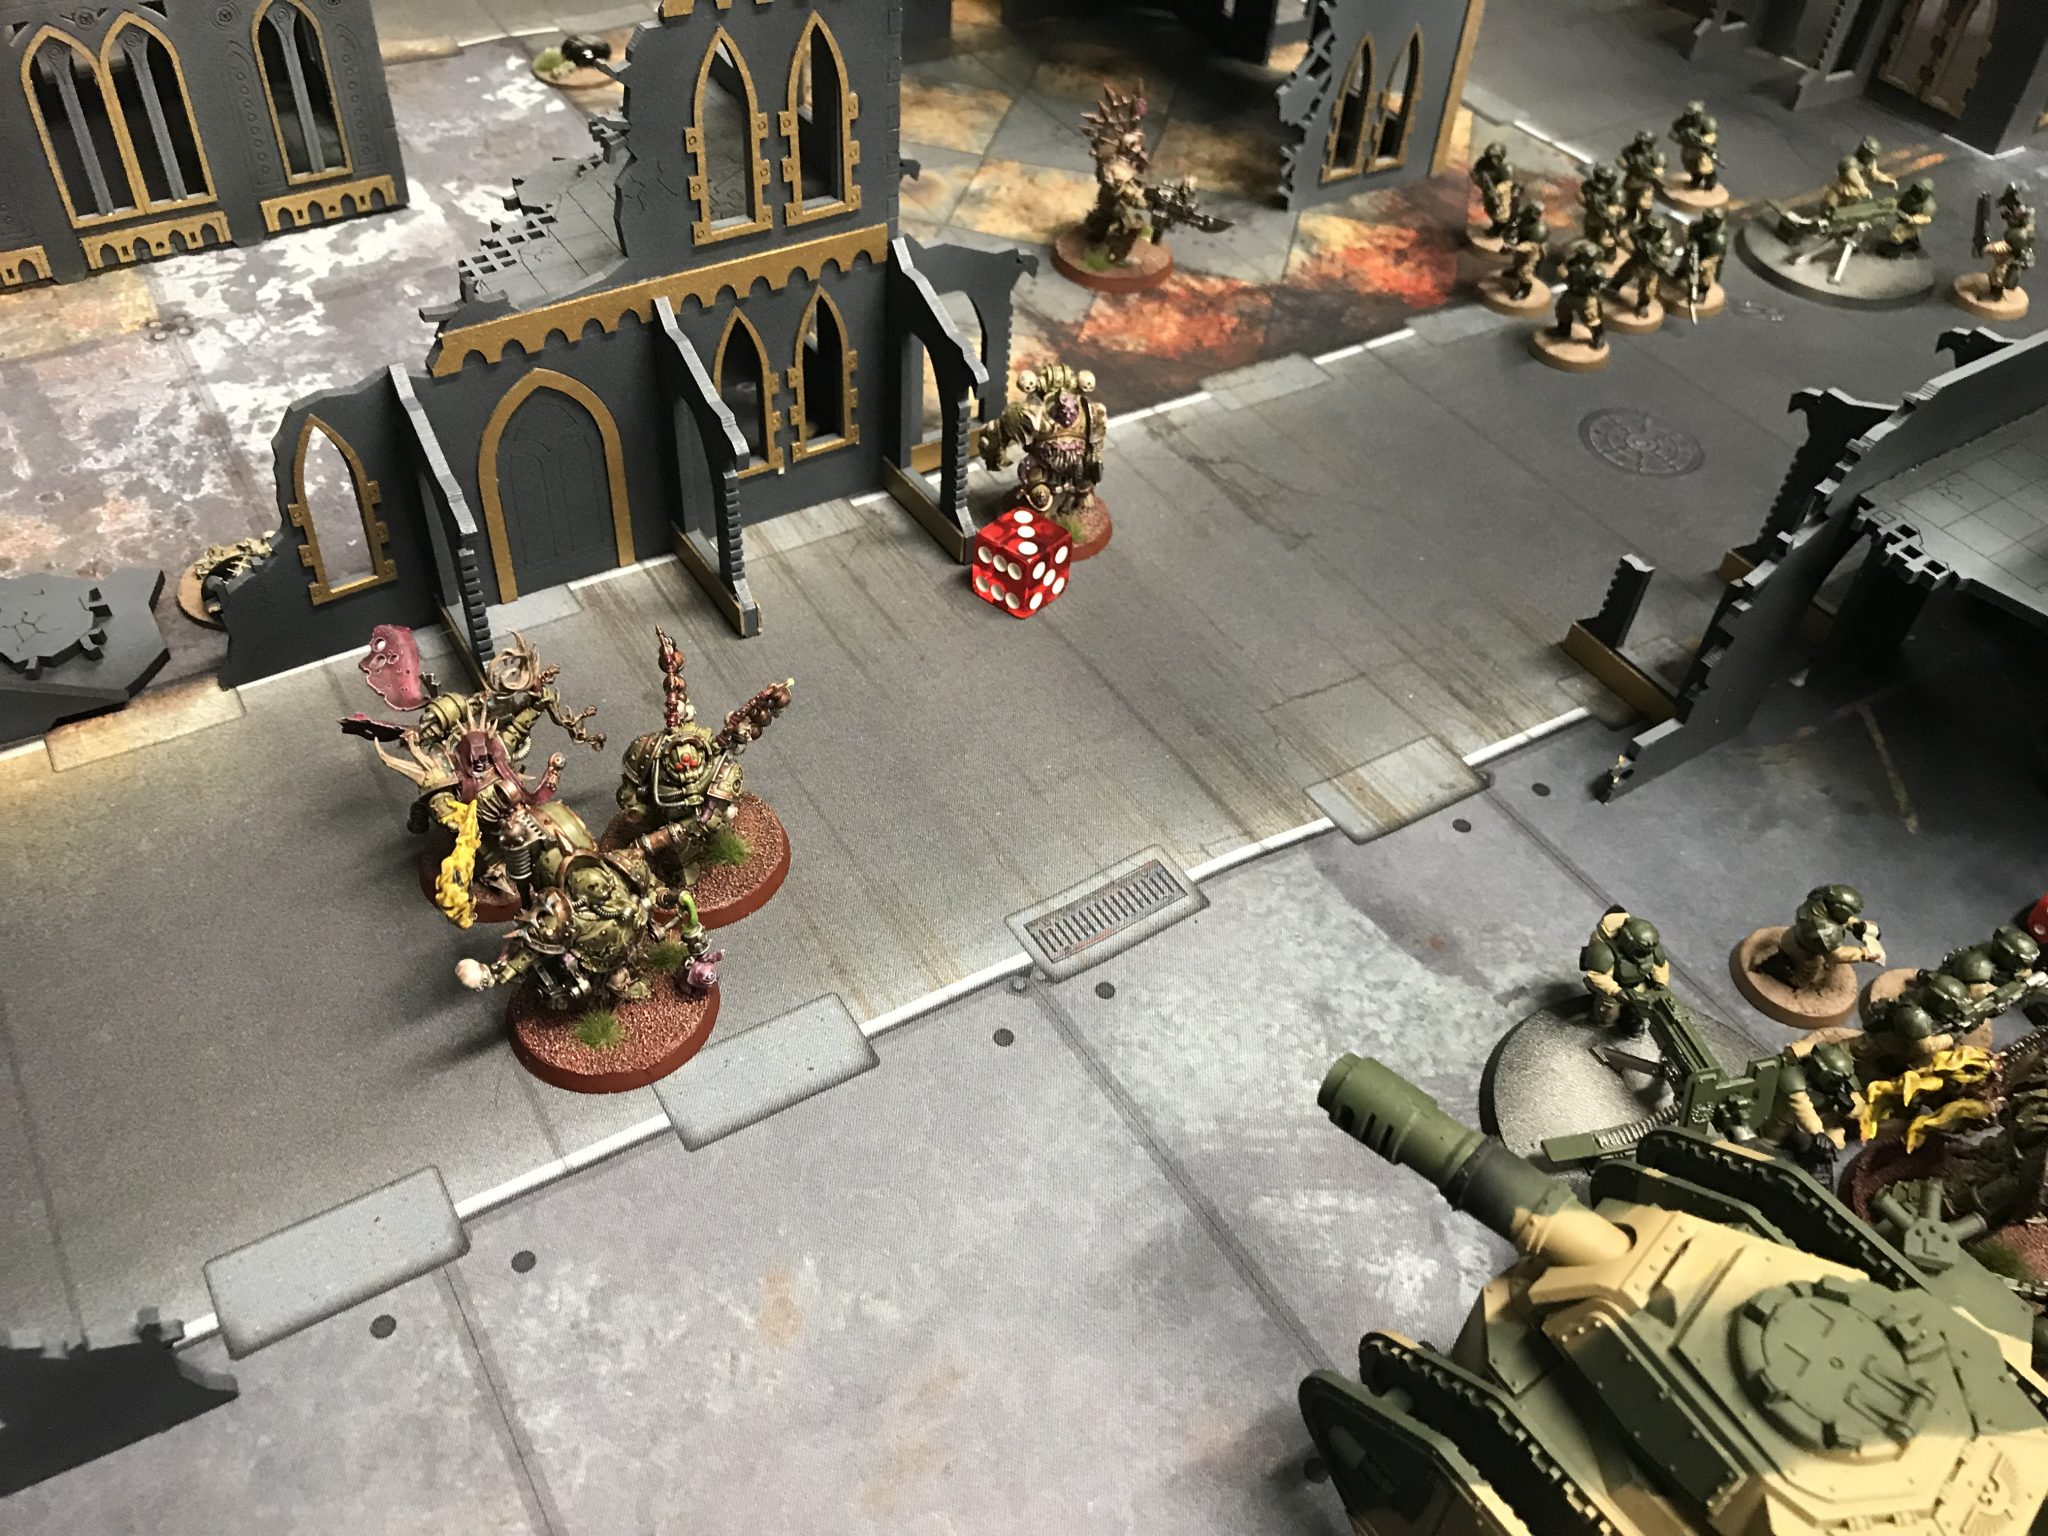
- The Plague Marines wiped out an Infantry Squad in front of my vehicles opening up an avenue to charge down
I was worried now as my infantry lines were collapsing, exposing my vehicles to charges from the Terminators. The Cultists has retreated back into the enemy deployment zone to gain an objective.
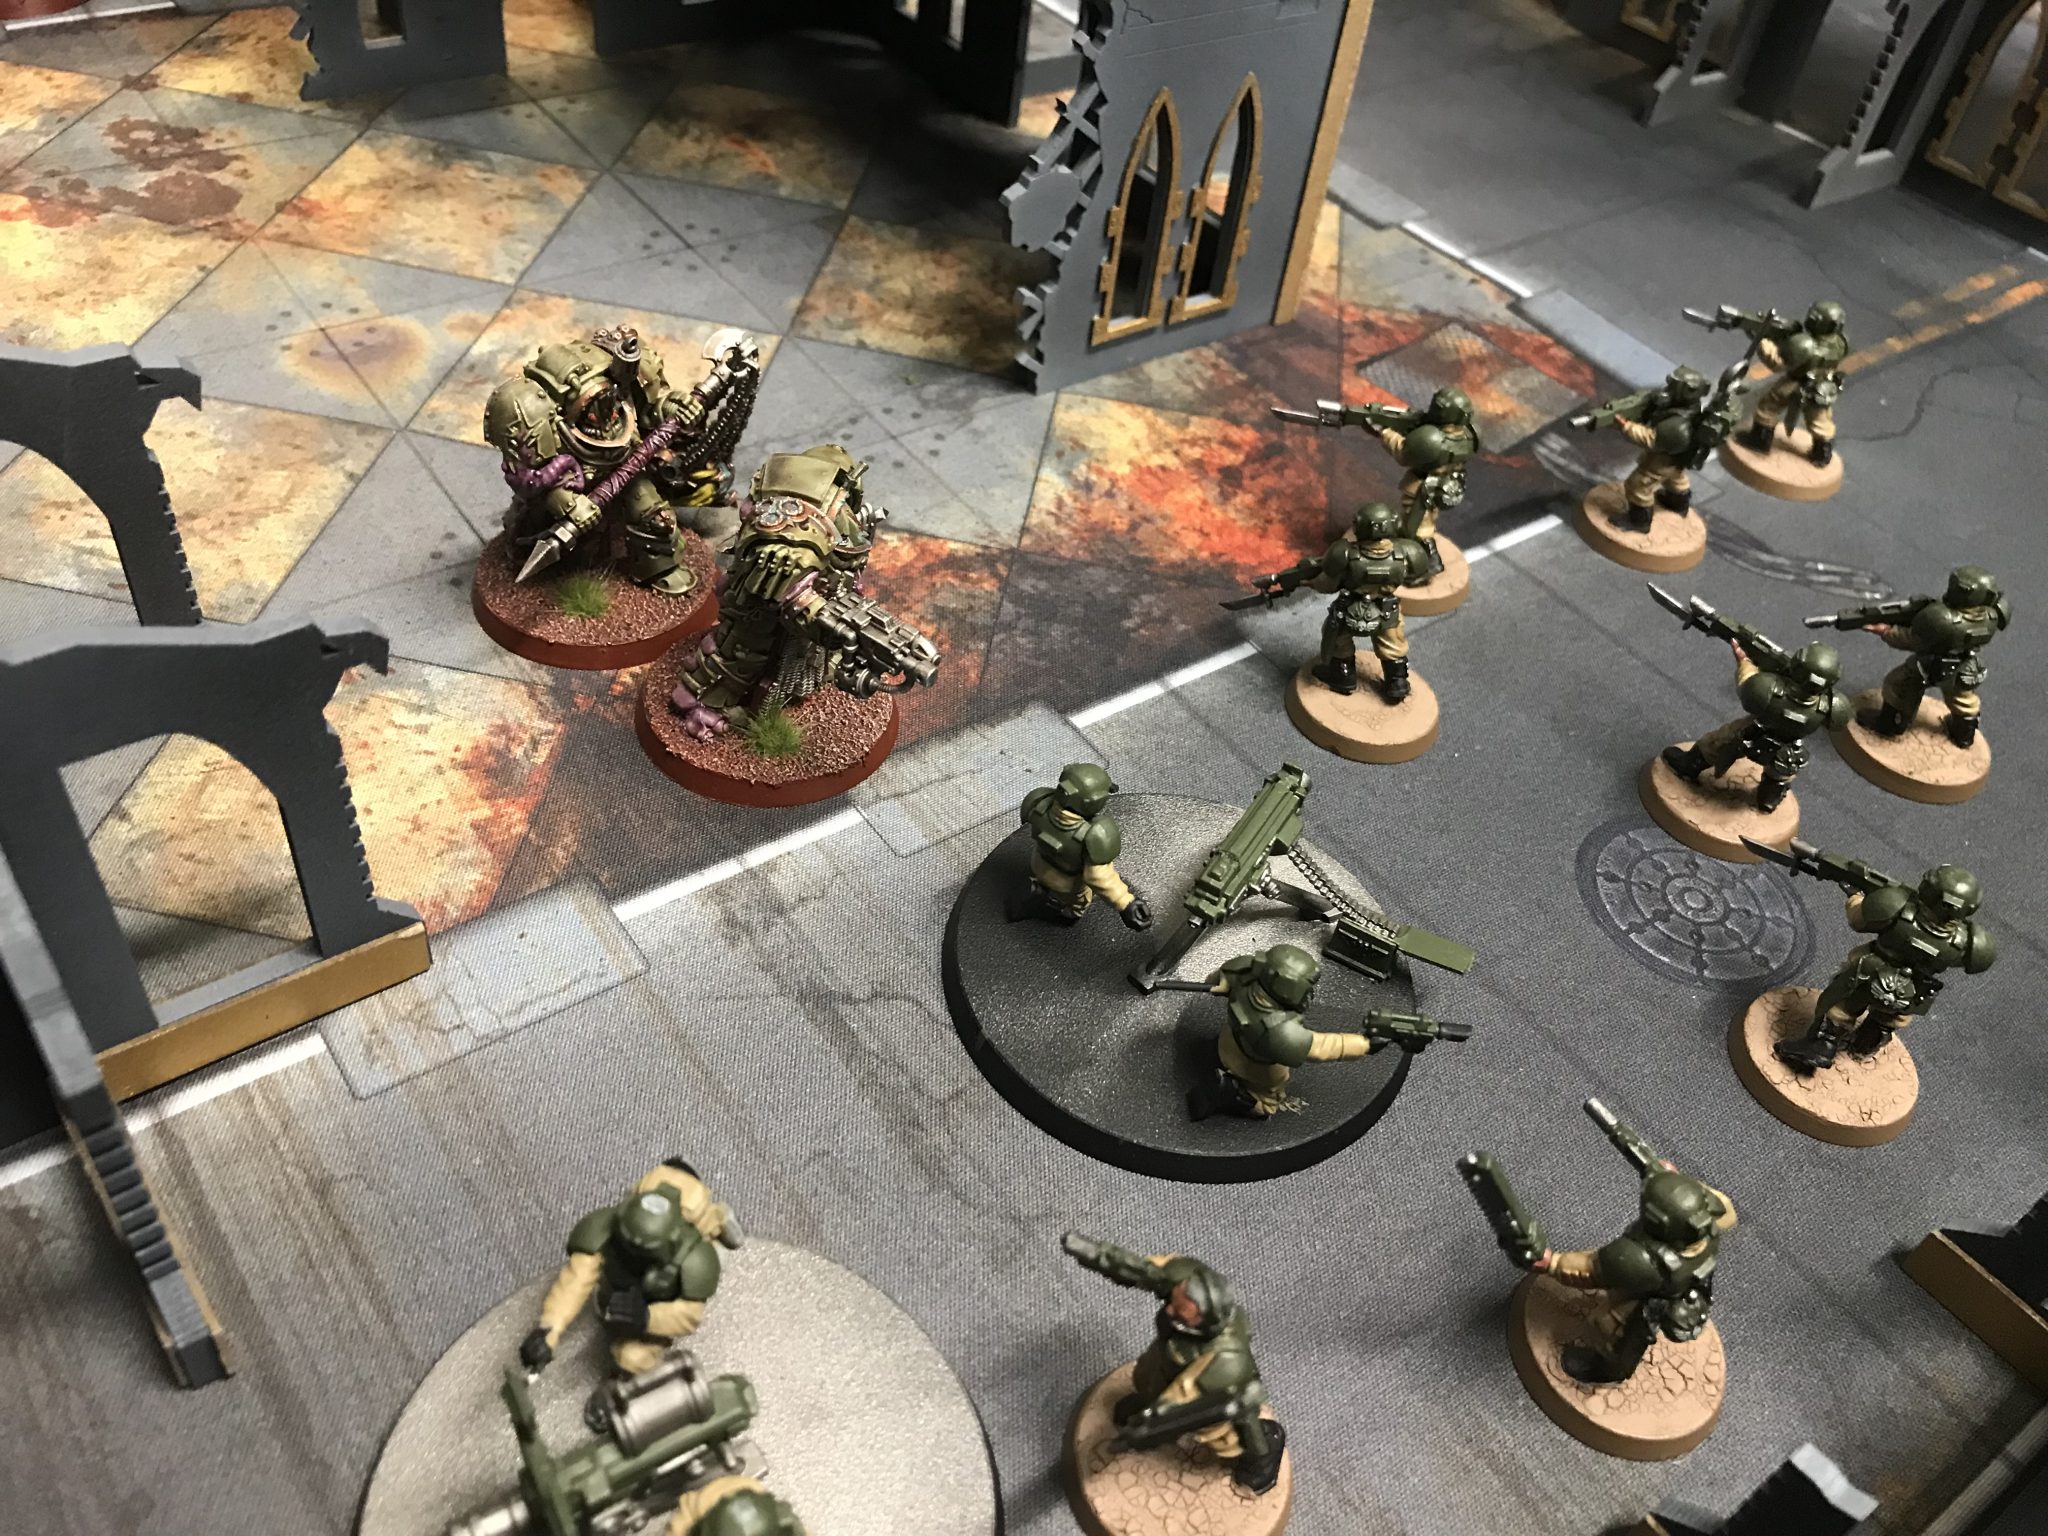
A single Plague Marine has made it into combat with a Leman Russ and a squad of Guardsmen.
Astra Militarum – Turn 3
My Guardsmen lines once again closed ranks as best they could to save the vehicles.
Smite and Psychic Maelstrom failed to finish off the lone Plague Marine. Argh!
Both Basilisks shot at the Cultists to wipe them out for 2VPs. One for killing a unit and one for killing an enemy unit that was on an objective. It was overkill possibly but I needed the VPs.
Cultists woz ‘ere
Each squad that moved into close ranks and protect my vehicles was wiped out. A note for the future;
However many men you think you need to protect something, double it and double it again.
Holes in my Guardsmen lines are now obvious
Death Guard – Turn 4
All the remaining Death Guard moved up towards my vehicles that remained;
- 2 Battle Tanks
- 2 Basilisks
The Terminators also possibly lost a man too here from Plasma. Their Plasma rolls were bad, good for me though!
The Terminators that remained, one in one squad and two in the other, charged a Basilisk and reduced it to five wounds.
The Death Guard turn up the pressure – Astra Militarum vs Death Guard
Astra Militarum – Turn 4
I moved another squad up close to the Terminators through a ruin and charged them with the squad and my two Psykers. The Basilisk withdrew.
My Psykers killed the lone Plague Marine allowing my Guardsmen to be freed up as well the Leman Russ.
The squad that was now free charged the Death Guard characters and wrapped around them as best they could.
The Psykers killed two Terminators in the Fight Phase leaving only one left! I always forget how good they are at melee. While the Force Power has gone from 8th Edition the Force Weapon still exists with a decent profile.
Guardsmen, Psykers and Basilisk tracks work together to slay Chaos Terminators
Death Guard – Turn 5
The Death Guard pressed on and tried to finish off my vehicles. The lone Terminator survived and a Foul Blightspawn joined the combat.
The turns were now quickening as we ran out of time and there were fewer and fewer units to control.
The Chaos Lord begin to fight my remaining Guardsmen to stop them from reaching my vehicles.
The combat is close and bloody at this point – Astra Militarum vs Death Guard
Astra Militarum – Turn 5
I needed to kill a Psyker, Defend Objective 2 and get everything out of my deployment zone to be in with a chance of catching up with Marks score.
I wasn’t going to get out of my deployment zone easily. So my Ratlings and psychic powers targeted the enemy Psyker. I failed. He survived on one wound.
It was at this point I realised I’d make a terrible mistake in not freeing myself from the combat with the Terminator. With him alive I wasn’t able to target any enemy characters as they weren’t the closest enemy models.
I also couldn’t shoot the Terminator because he was in combat. Argh!
Death Guard – Turn 6
The enemy characters finished off my Guardsmen and made their way into combat with a Leman Russ and a Basilisk.
The Death Guard ended their turn on 13 VPs.
Astra Militarum – Turn 6
I had now defended objective 2 and gained two VPs. I again went for the enemy Psyker to gain the Witch Hunter Tactical Card but failed again! He was still on one wound.
I couldn’t get out of my deployment zone, but if I’d have tried the last turn I would have been able to in this turn. Grr!
I finished with 12 VPs.
I’d lost by one – again.
MVP – Astra Militarum vs Death Guard
Death Guard
The Terminators were the MVP from my point of view. They survived the whole battle and killed loads of Guardsmen. They just didn’t die!

Terminators – Astra Militarum vs Death Guard
Astra Militarum
While the Lost Relic of Cadia was a great success, that can’t really be attributed to the Tank Commander. As anyone could’ve had the relic.
So I’m not sure what was my MVP. Possibly the Guardsmen, who died to protect the vehicles in my list. Taking this list again, just slightly amended from the last time, made me play it more effectively.
Astra Militarum vs Death Guard – Summary
- The Lost Relic of Cadia was a fantastic choice for this game. That first turn of shooting was devastating. But I have learnt from using it that;
- Using it on the first turn may not always be advisable
- Using it alongside Old Grudges could be a waste of a Warlord Trait
Heavy Weapons in squads are not worth it. Those squads are for moving around and dying only. Without the Heavy Weapons, I’d have an extra 60 points to spend somewhere else or on Vox-Casters.
Such a great battle and so close again.