
Death Guard vs Astra Militarum & Custodians – 1,500 Points
The forces of the Astra Militarum and Custodians take on the Death Guard's rot today, how did we fair?
Well, the games are coming thick and fast at the moment! This latest game was Death Guard vs Astra Militarum.
This game looked great! Mark’s army was all superbly painted and most of mine were painted too. Heavy Weapons Teams *cough*. The table at Boards and Swords with the Gothic Ruins by Gamemat.eu was looking excellent too.
Never miss an article? Subscribe!
Astra Militarum and Custodians List
The following were split into an Astra Militarum Battalion, an Astra Militarum Vanguard and a Custodian Patrol Detachment.
- Company Commander with Bolt Pistol, Grand Strategist Warlord Trait, Kurov’s Aquila
- Company Commander with Bolt Pistol and Laurels of Command
- Company Commander
- Platoon Commander with the Dagger of Tu’Sakh, Power Sword and Plasma Pistol
- 2x Infantry Squads with a Vox, Power Axe and each in a Chimera
- 2x Infantry Squads with a Vox and a Mortar
- Command Squad with 3x Grenade Launchers and a Vox
- Command Squad with 4x Plasma Guns
- Heavy Weapons Team of Missile Launchers
- Heavy Weapons Team of Lascannons
- 2x units of 5 Ratlings
- Special Weapons Squad with Flamers
- General Trajaan
- 4 Custodians with Guardian Spears
- Praetor with Vexillus Defensor
Death Guard List
- Demon Prince of Nurgle with wings
- Typhus
- 11x Cultists
- Two squads of 5x Plague Marines
- Blightlord Terminators
- Foul Blightspawn (Warlord)
- Bloat Drone
- 2x Plagueburst Crawler
- A Rhino
Mission & Deployment
We chose the simple Tactical Cards mission. Draw three at the start of your first turn, draw cards until you have three at the start of your subsequent turns.
I finished deploying last but managed to get the first turn. Mark didn’t Seize the Initiative.
We played the rule where the ground floor of any ruin was line-of-sight blocking.
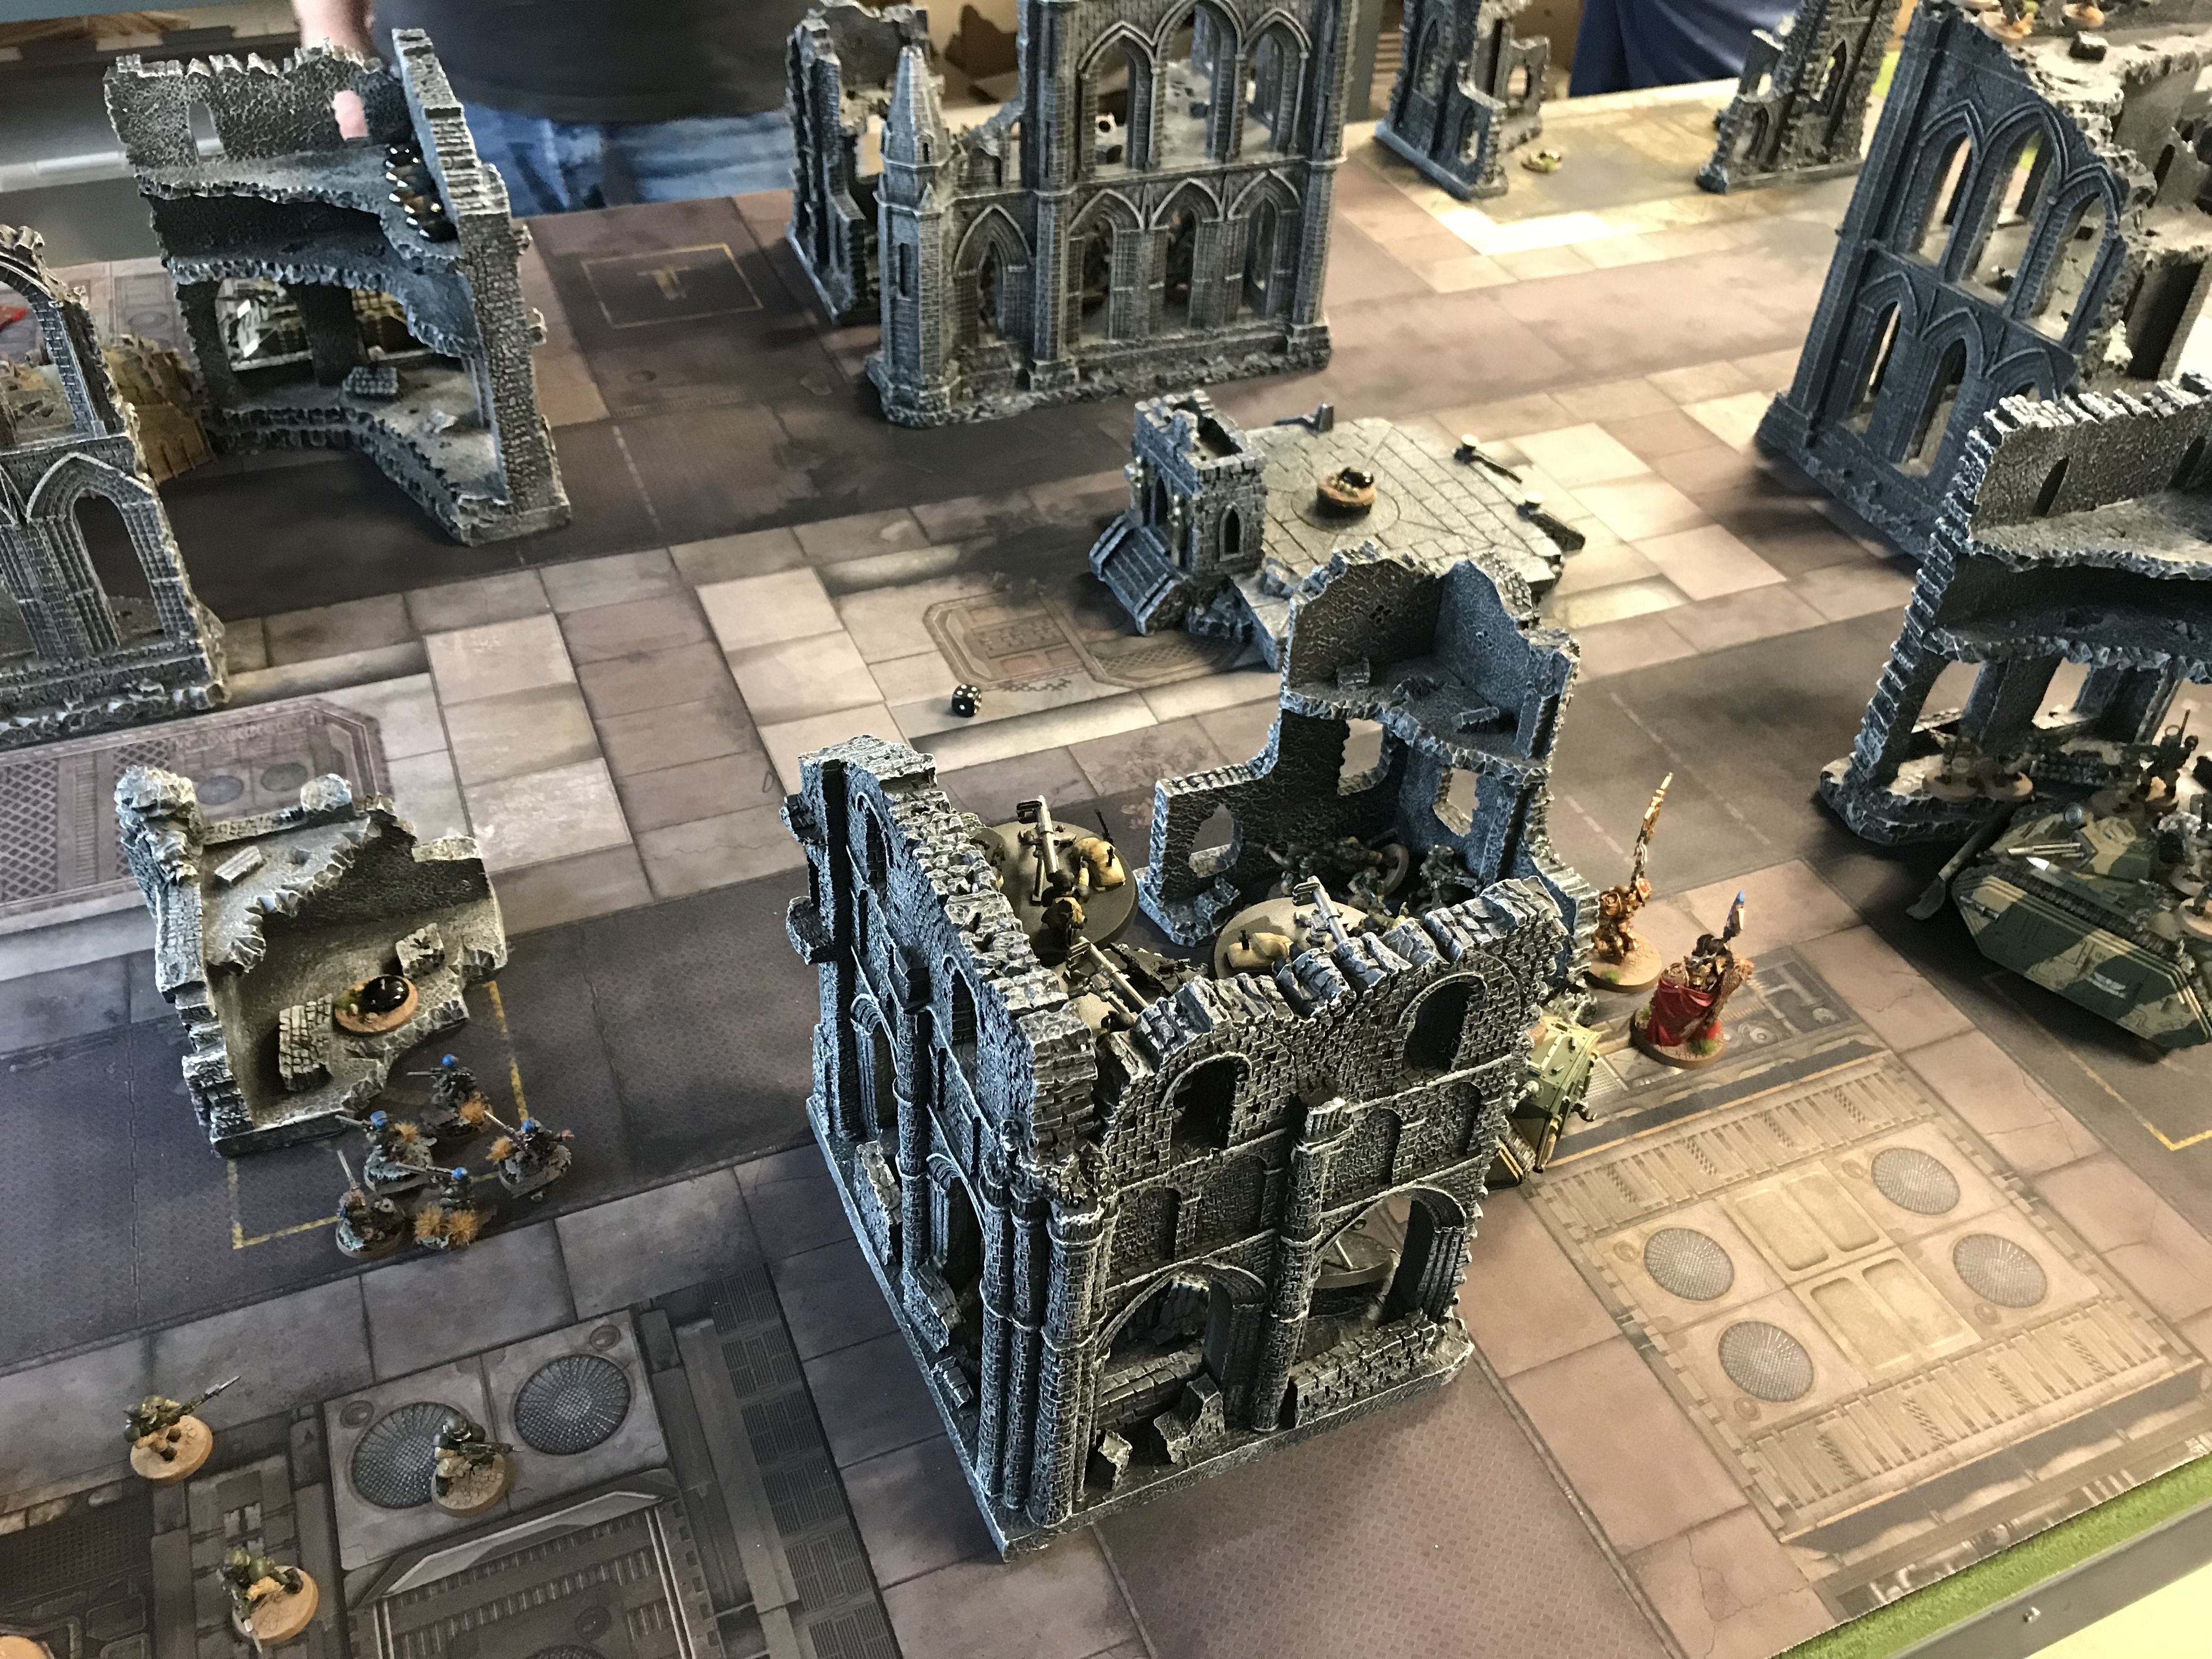
Mid deployment – Death Guard vs Astra Militarum
Astra Militarum – Turn 1
This was the first time I’d taken Heavy Weapons as a Heavy Support and the first time I’d tried to optimise them and use them effectively. Rather than just a Heavy Bolter in an Infantry Squad. And I have to say I was impressed with their firepower. They tore into one of the Death Guard artillery pieces taking several wounds off it.
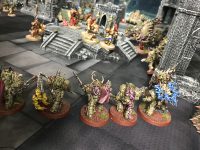
The Death Guard were very tightly packed into the centre of their deployment zone and were hard to see. Everything got to shoot but sadly no First Blood. The Mortars took out some Cultists hidden in the ruins.
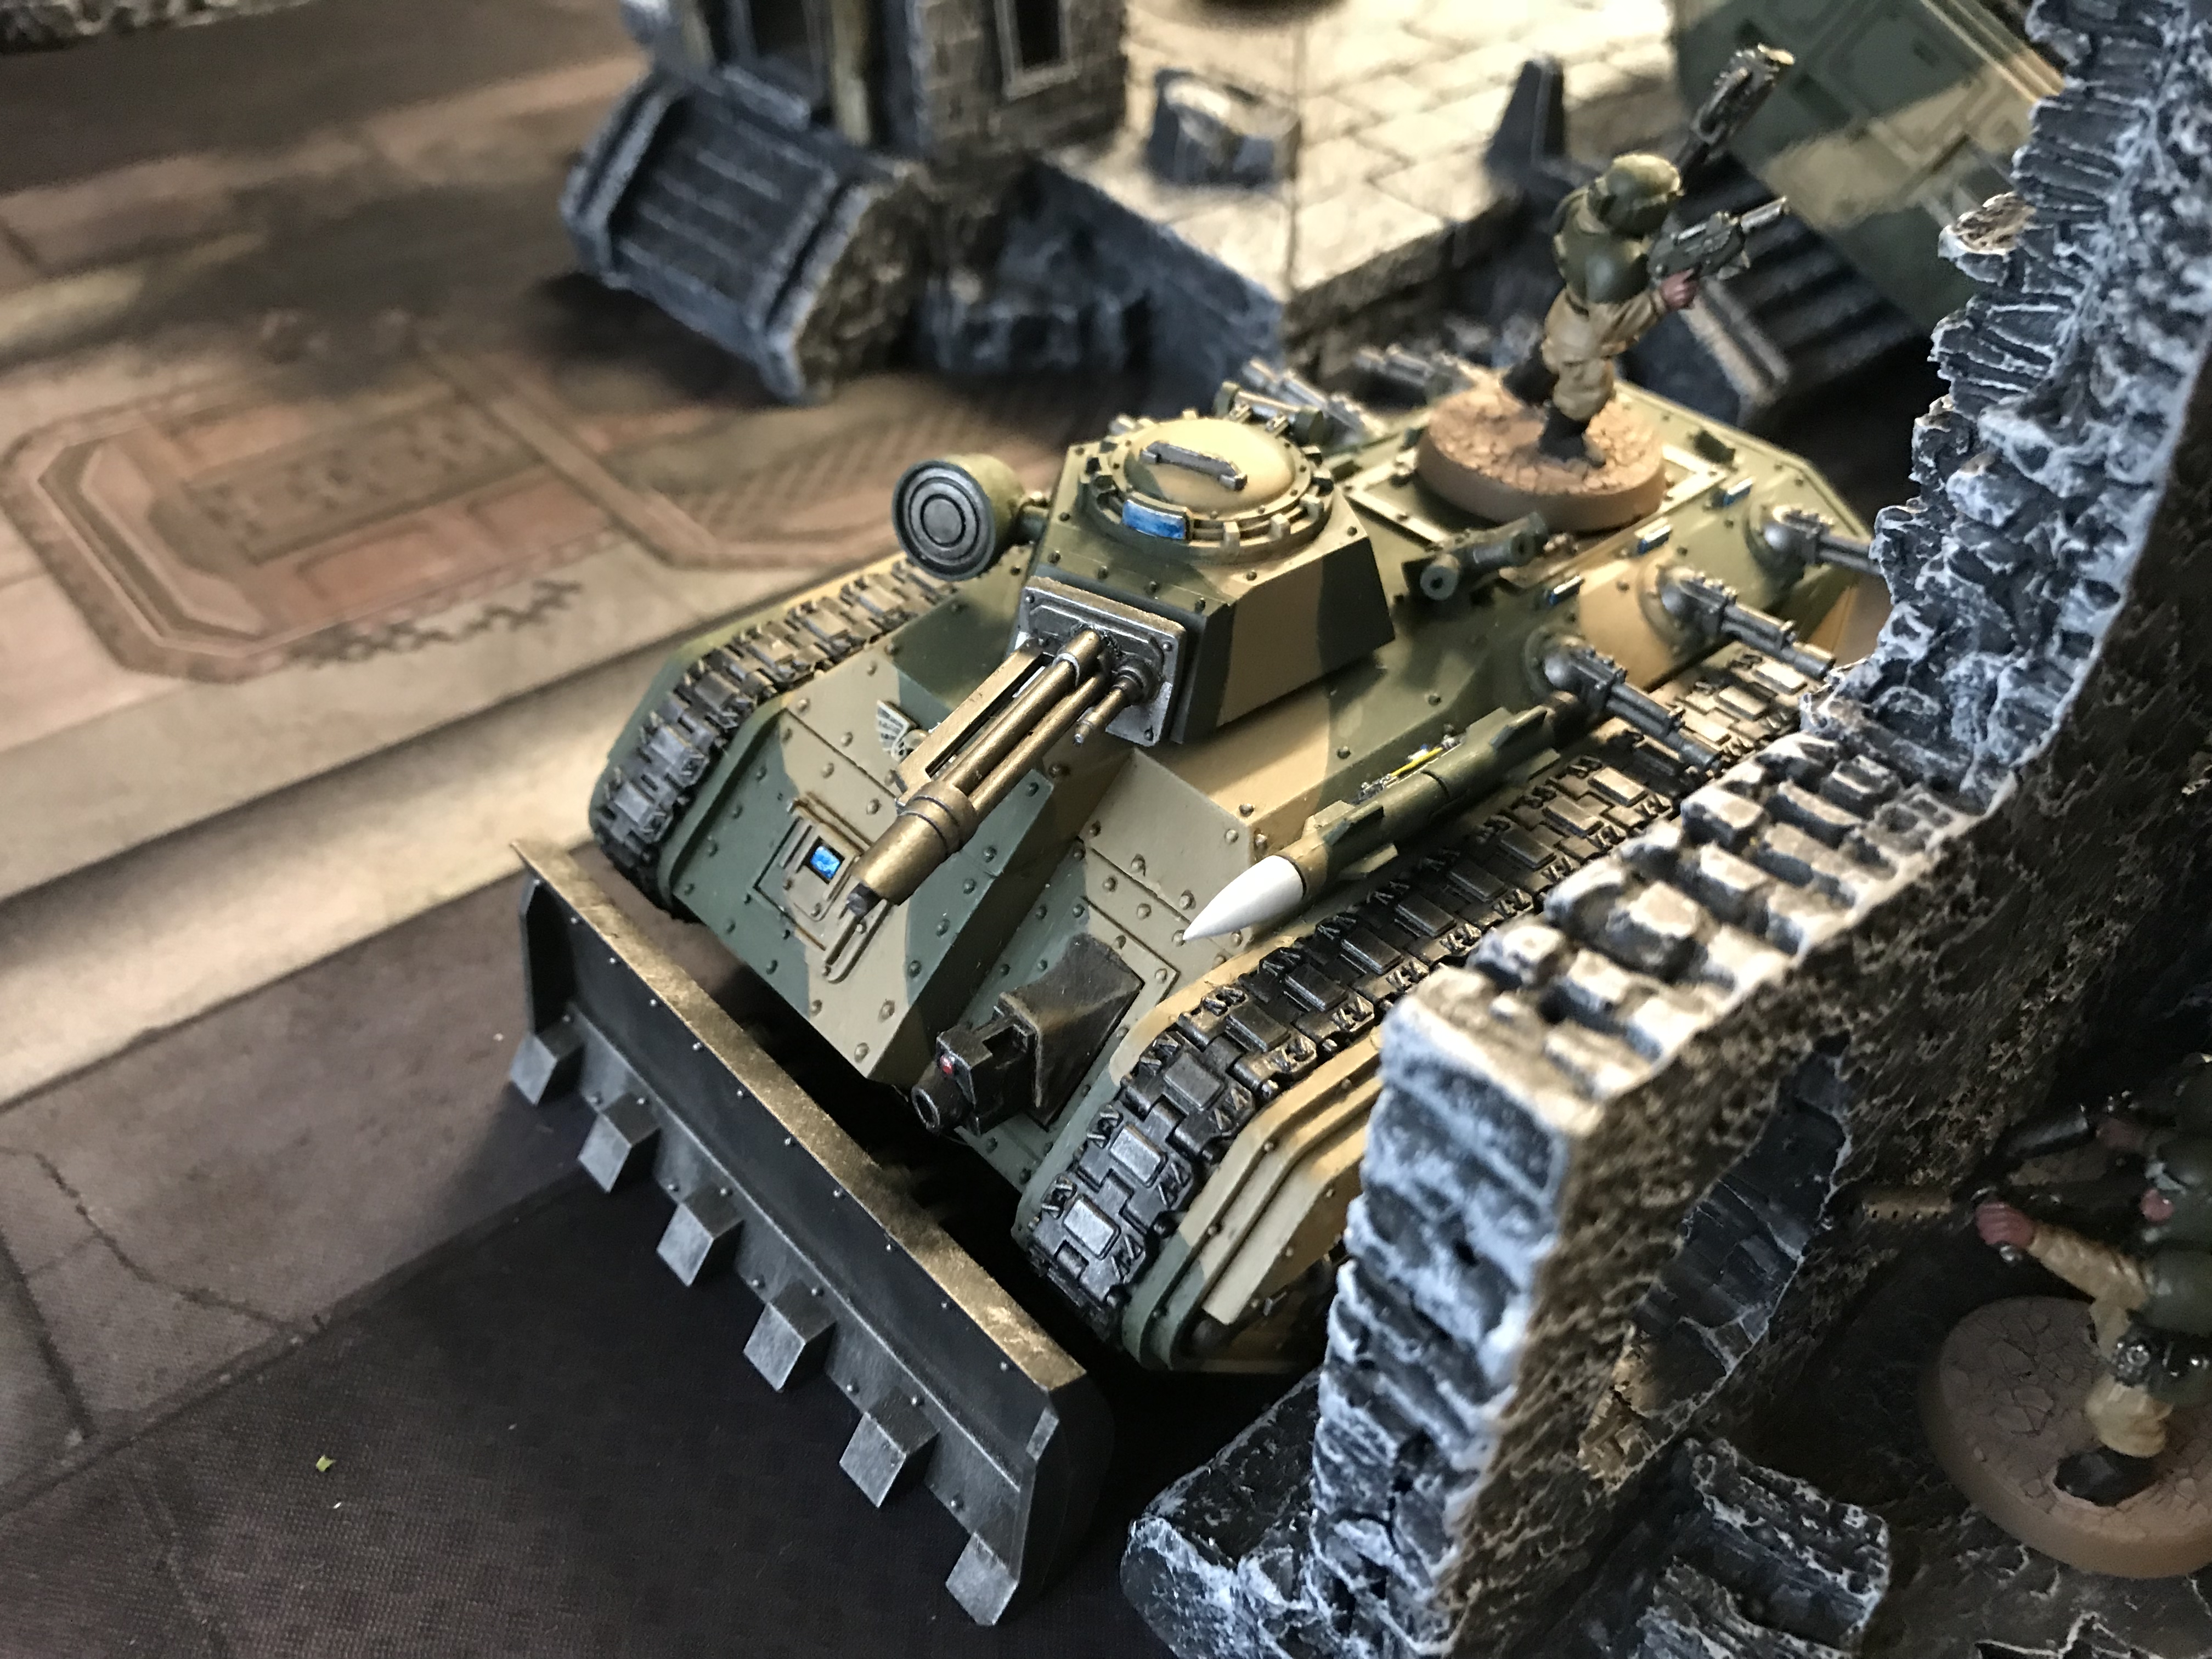
My Chimeras moved up the board towards the table centre along with the Praetor and Trajann.

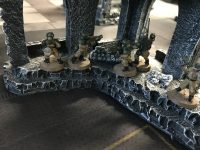
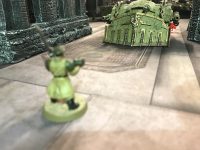
Ratlings holding an objective – Death Guard vs Astra Militarum
Death Guard – Turn 1
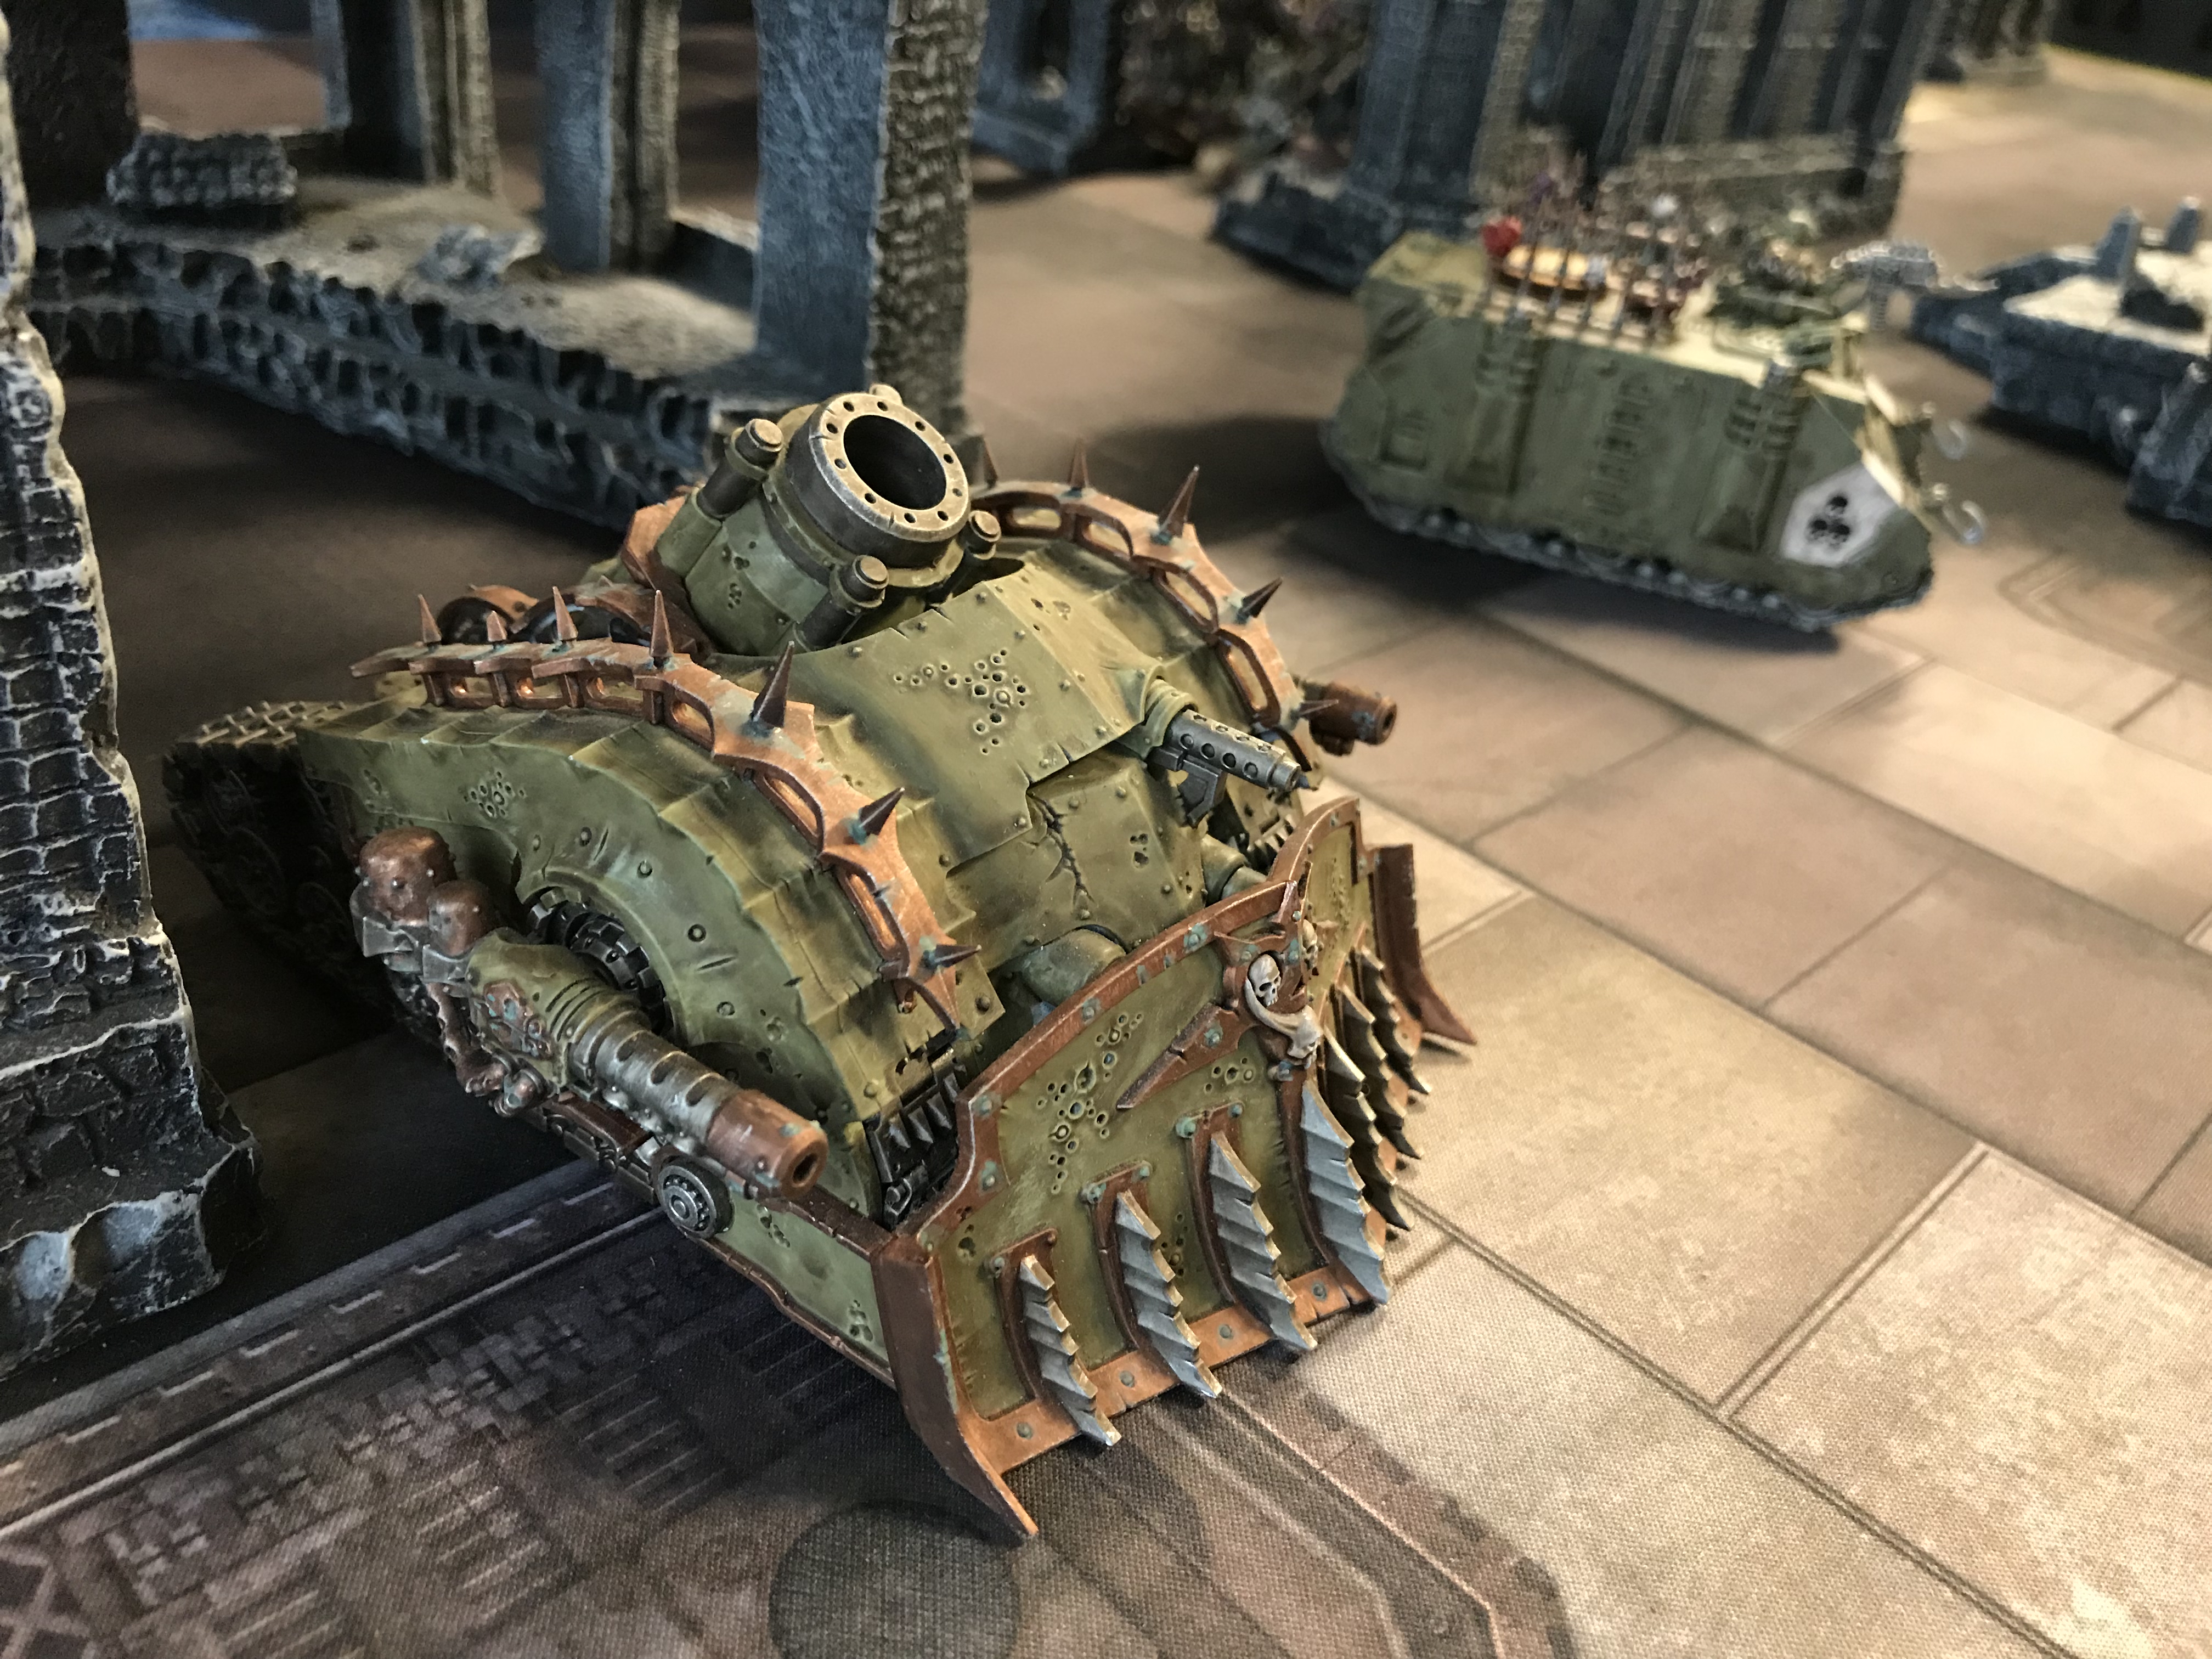
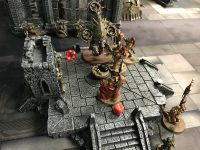
As expected the Death Guard roamed up the battlefield as quickly as possible. The Bloat Drone and Flying Demon Prince took the centre of the table. Ready for a showdown with Trajann.
The Death Guard shooting attacks came mainly from the artillery pieces at this point. Taking out several Ratlings and a Chimera. That’s First Blood.
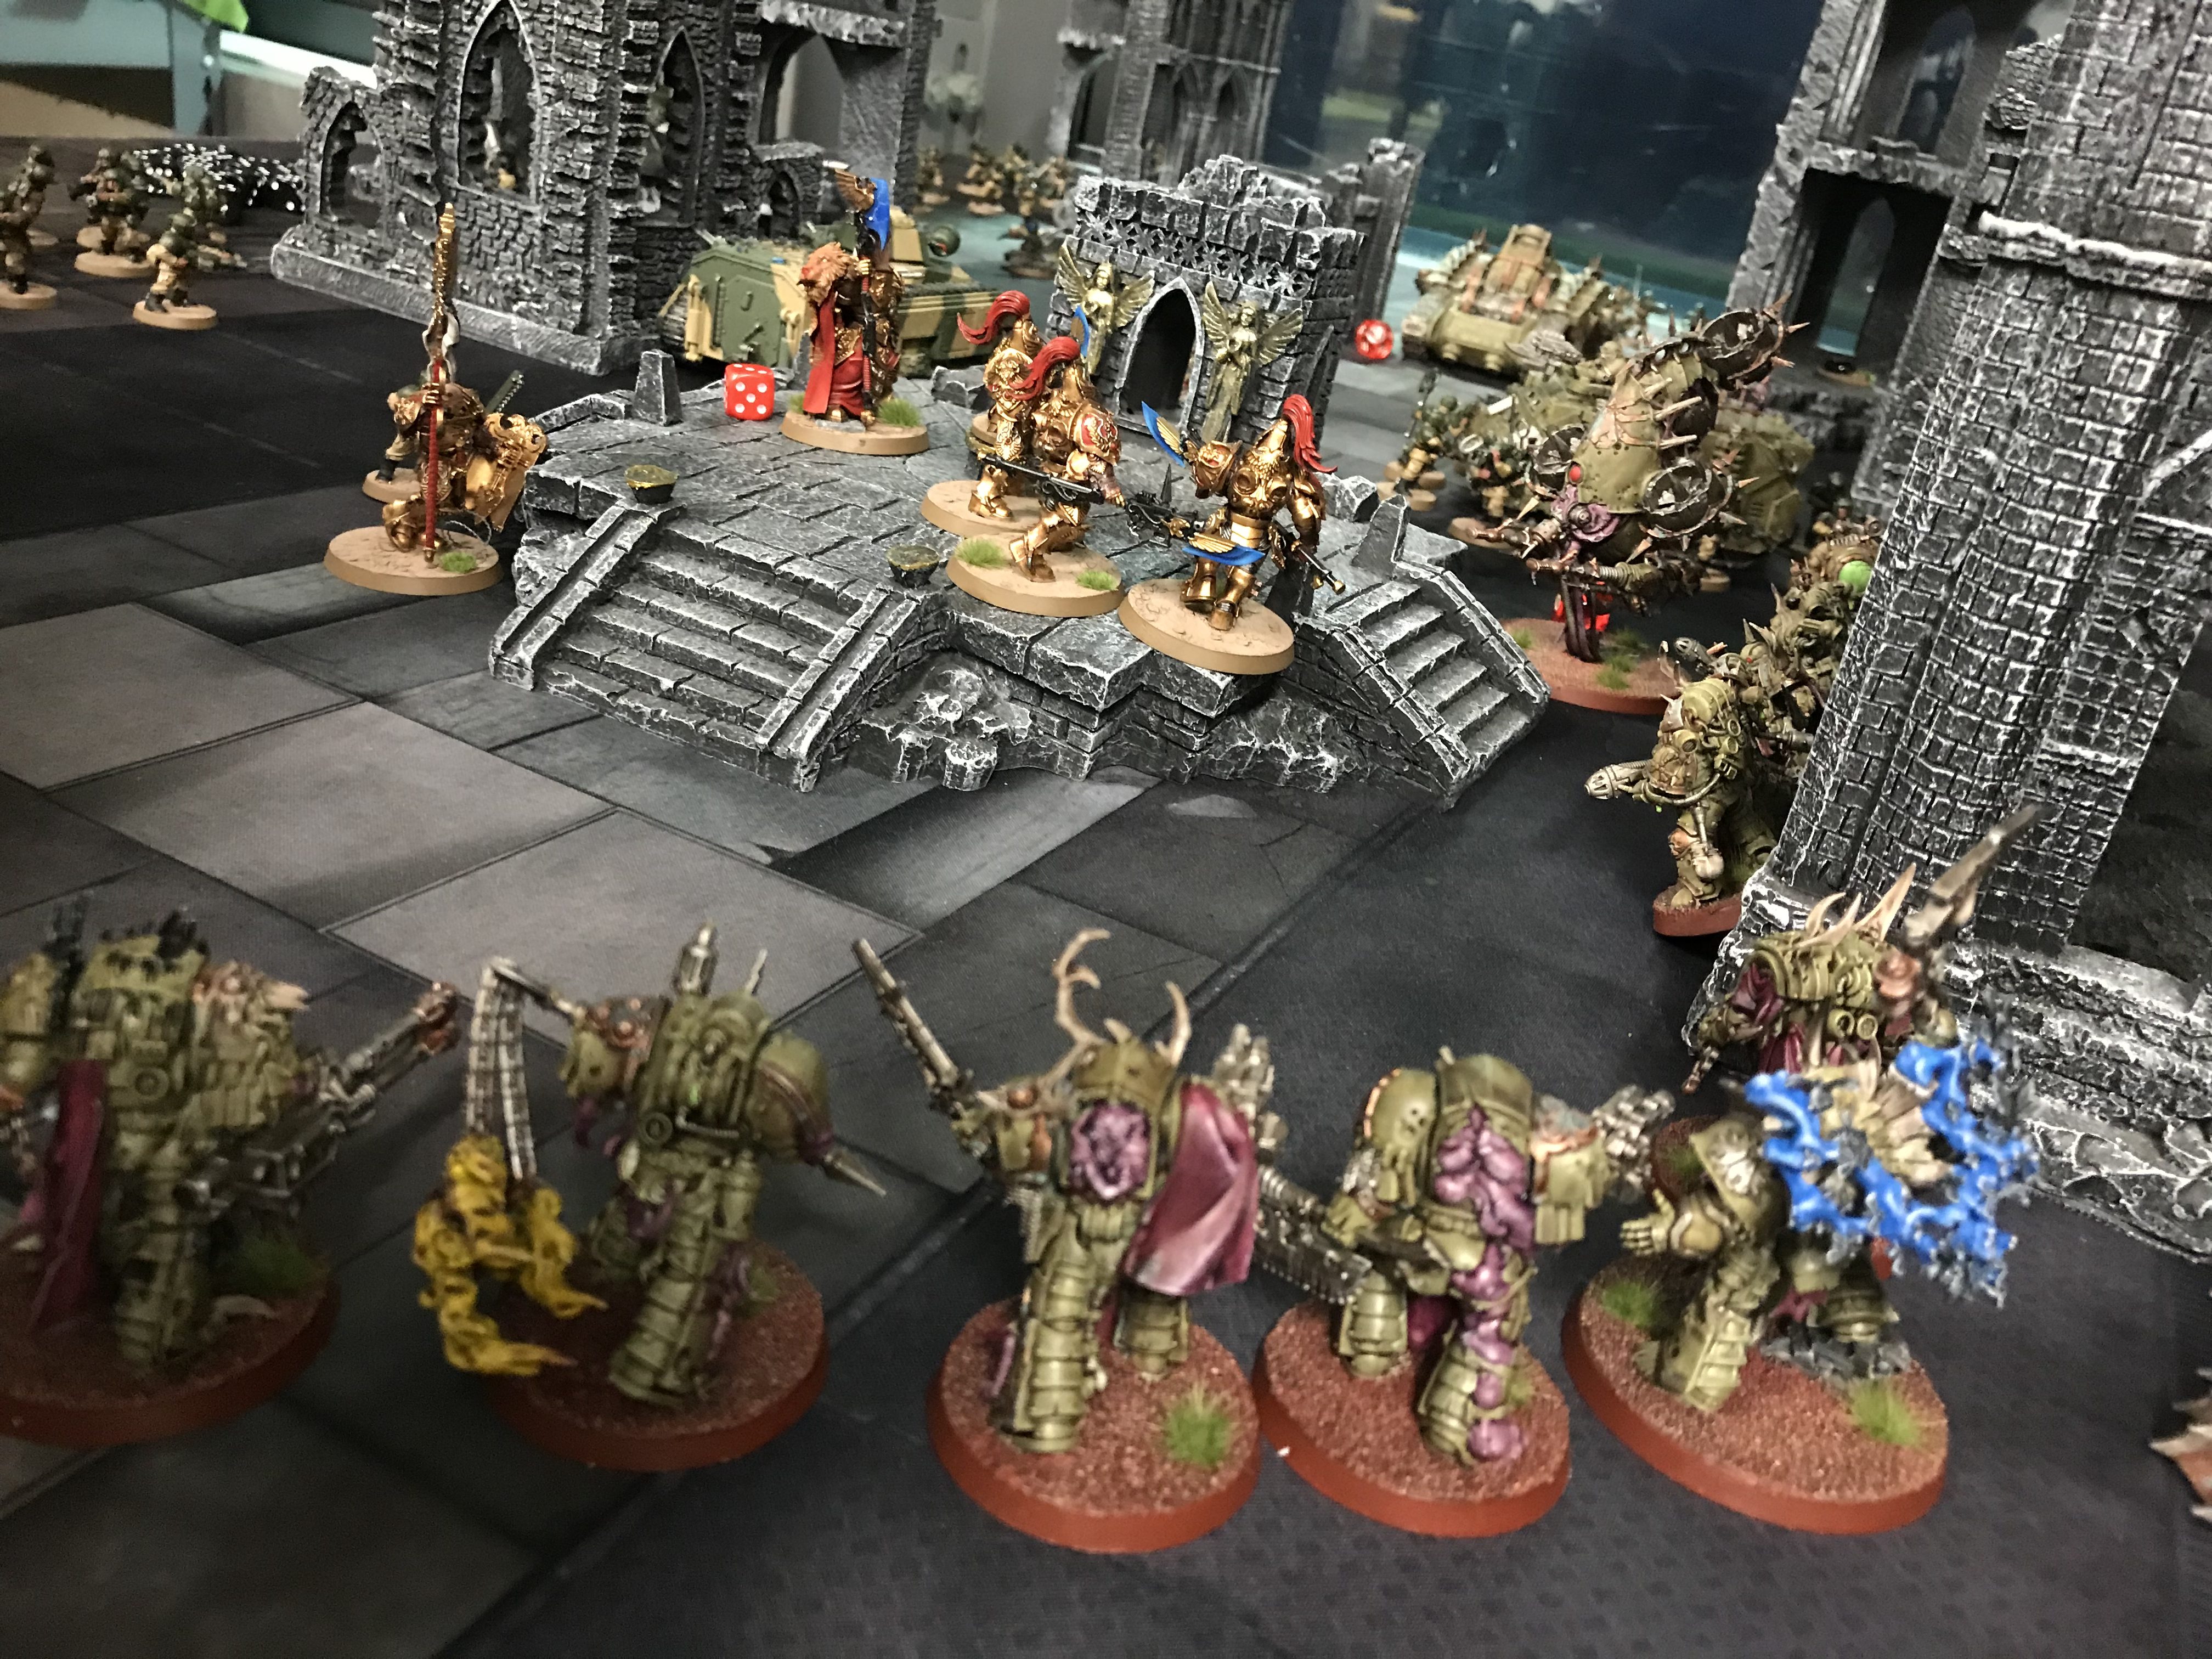
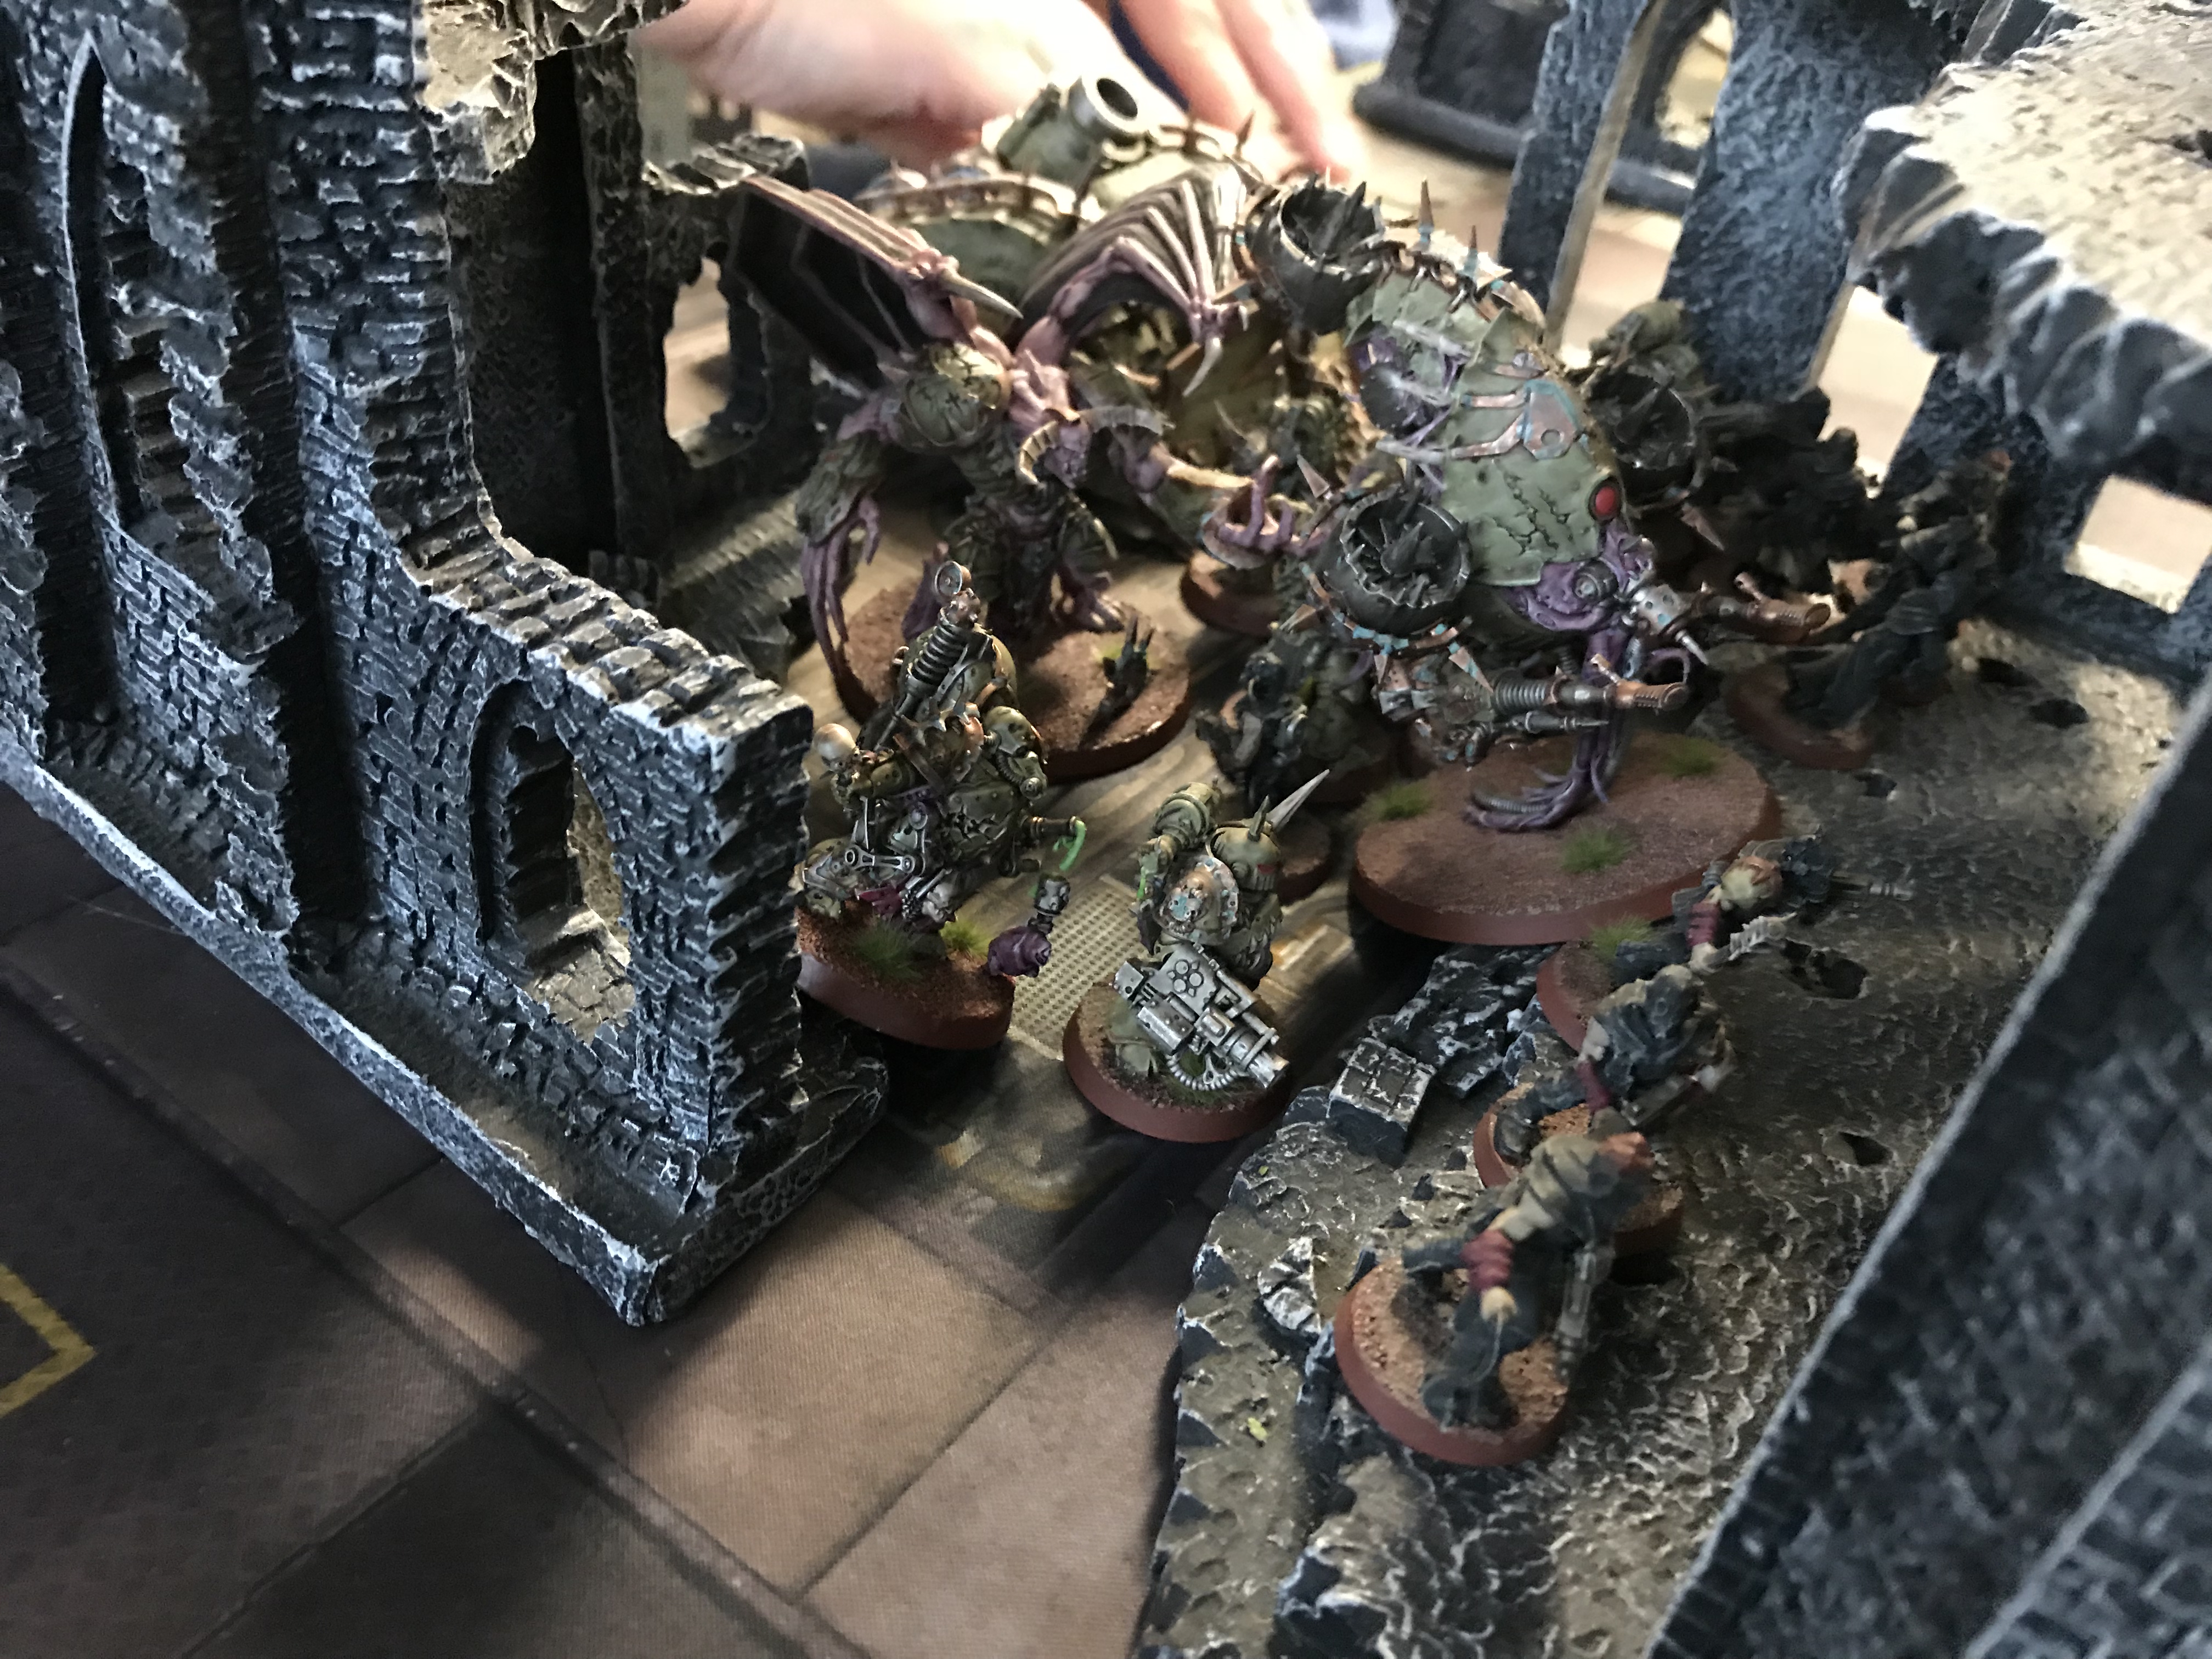
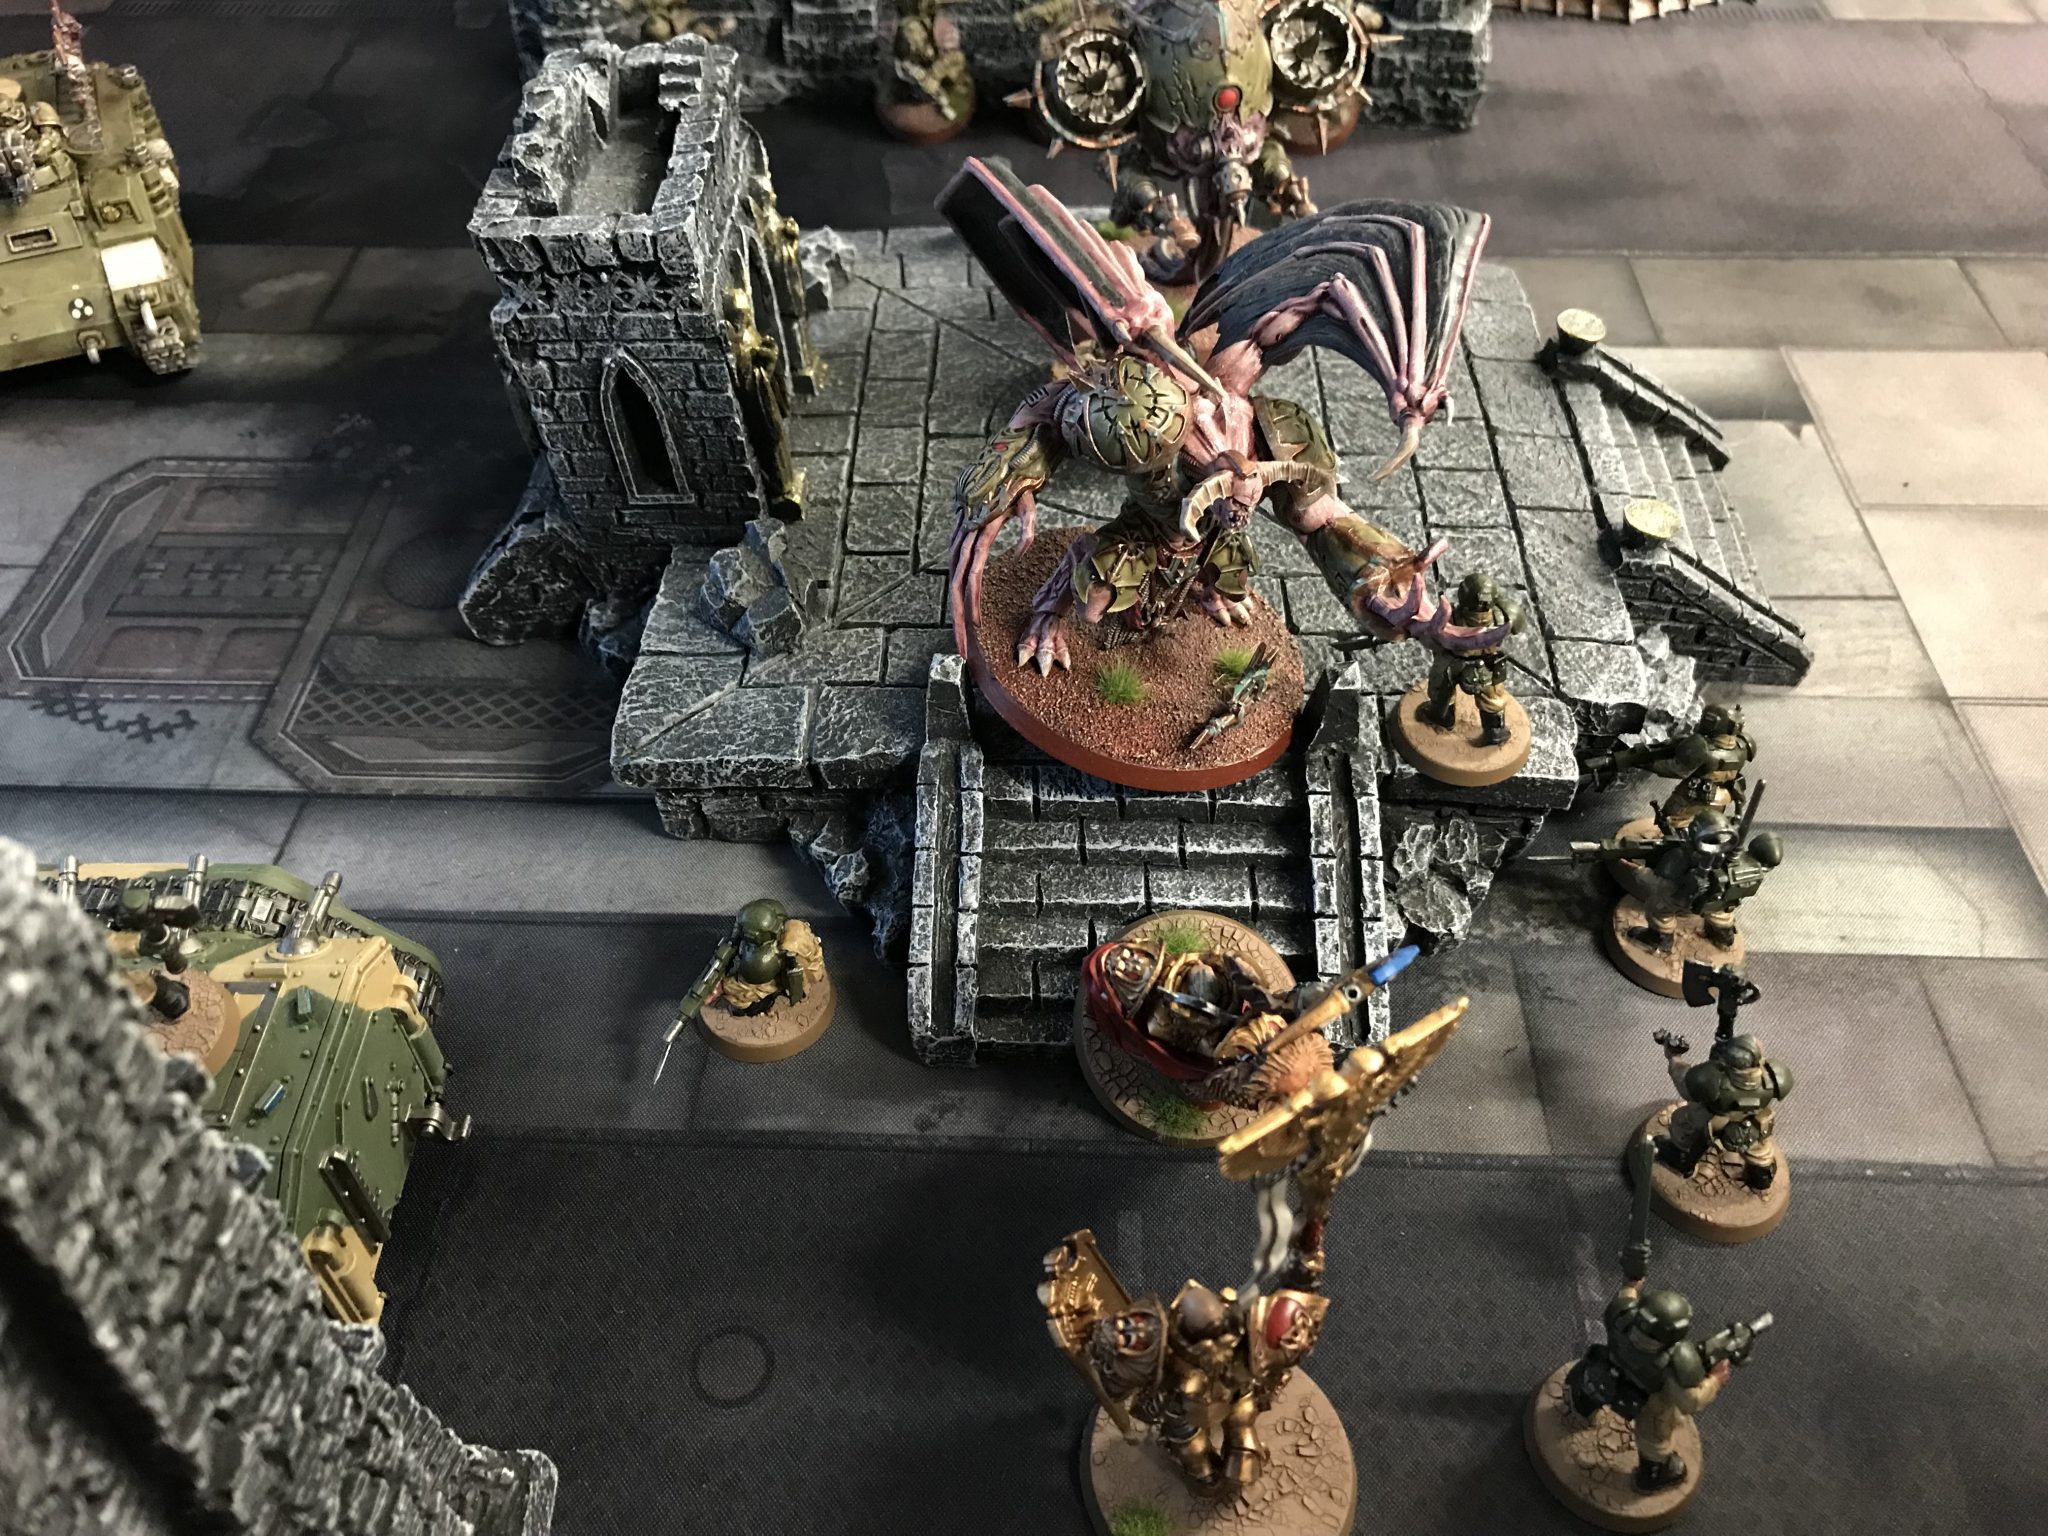
The Demon Prince charged the occupants of Chimera in the centre of the table, killing them all. But this did allow Trajann to pile in and heroically intervene like the champion he is! He took the Demon Prince down to 4 wounds.
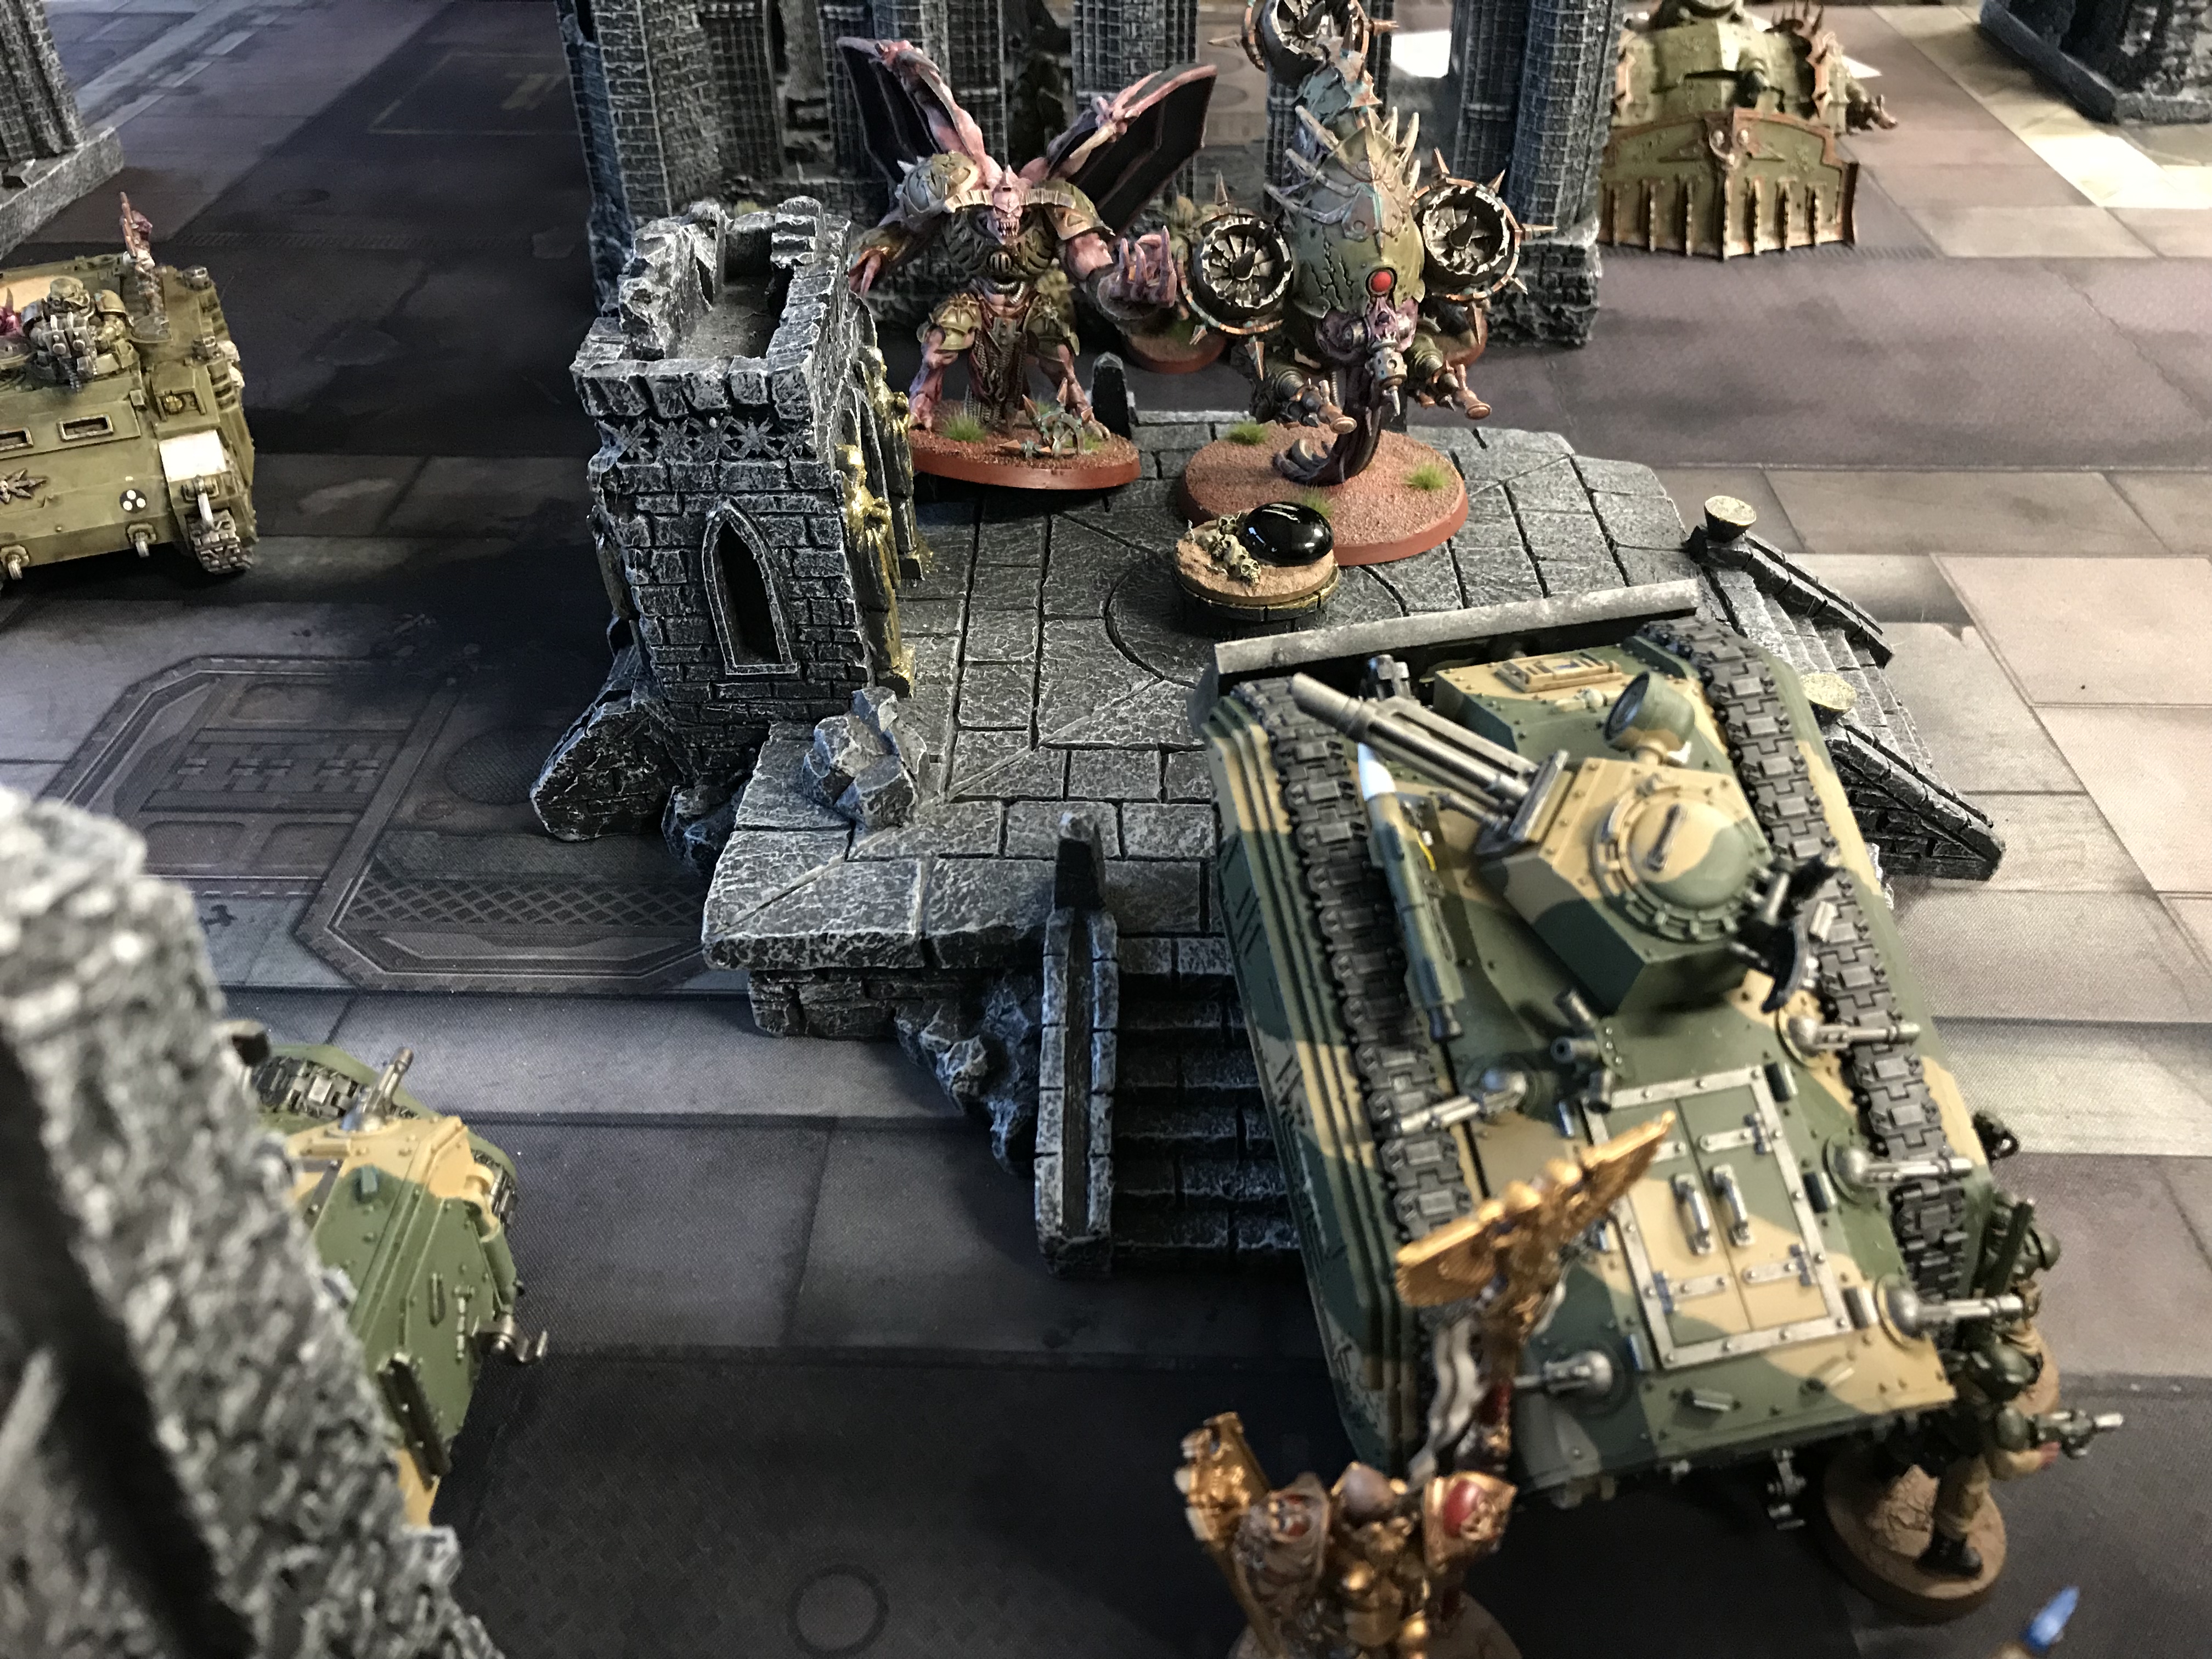
The battle for the centre begins – Death Guard vs Astra Militarum
Astra Militarum – Turn 2
The Astra Militarum movement was minimal with just some slight re-positioning to get line-of-sight and protect characters. I had not protected my backline as much as I should’ve from Deep Strike. I surrounded by Warlord with Flamers and Veterans instead. But it turns out nothing Deep Struck near me there anyway.
I spent 3CP on the Teleport Homer for the Praetor which allowed my Custodian Guard to drop right into the maelstrom in the centre of the table.
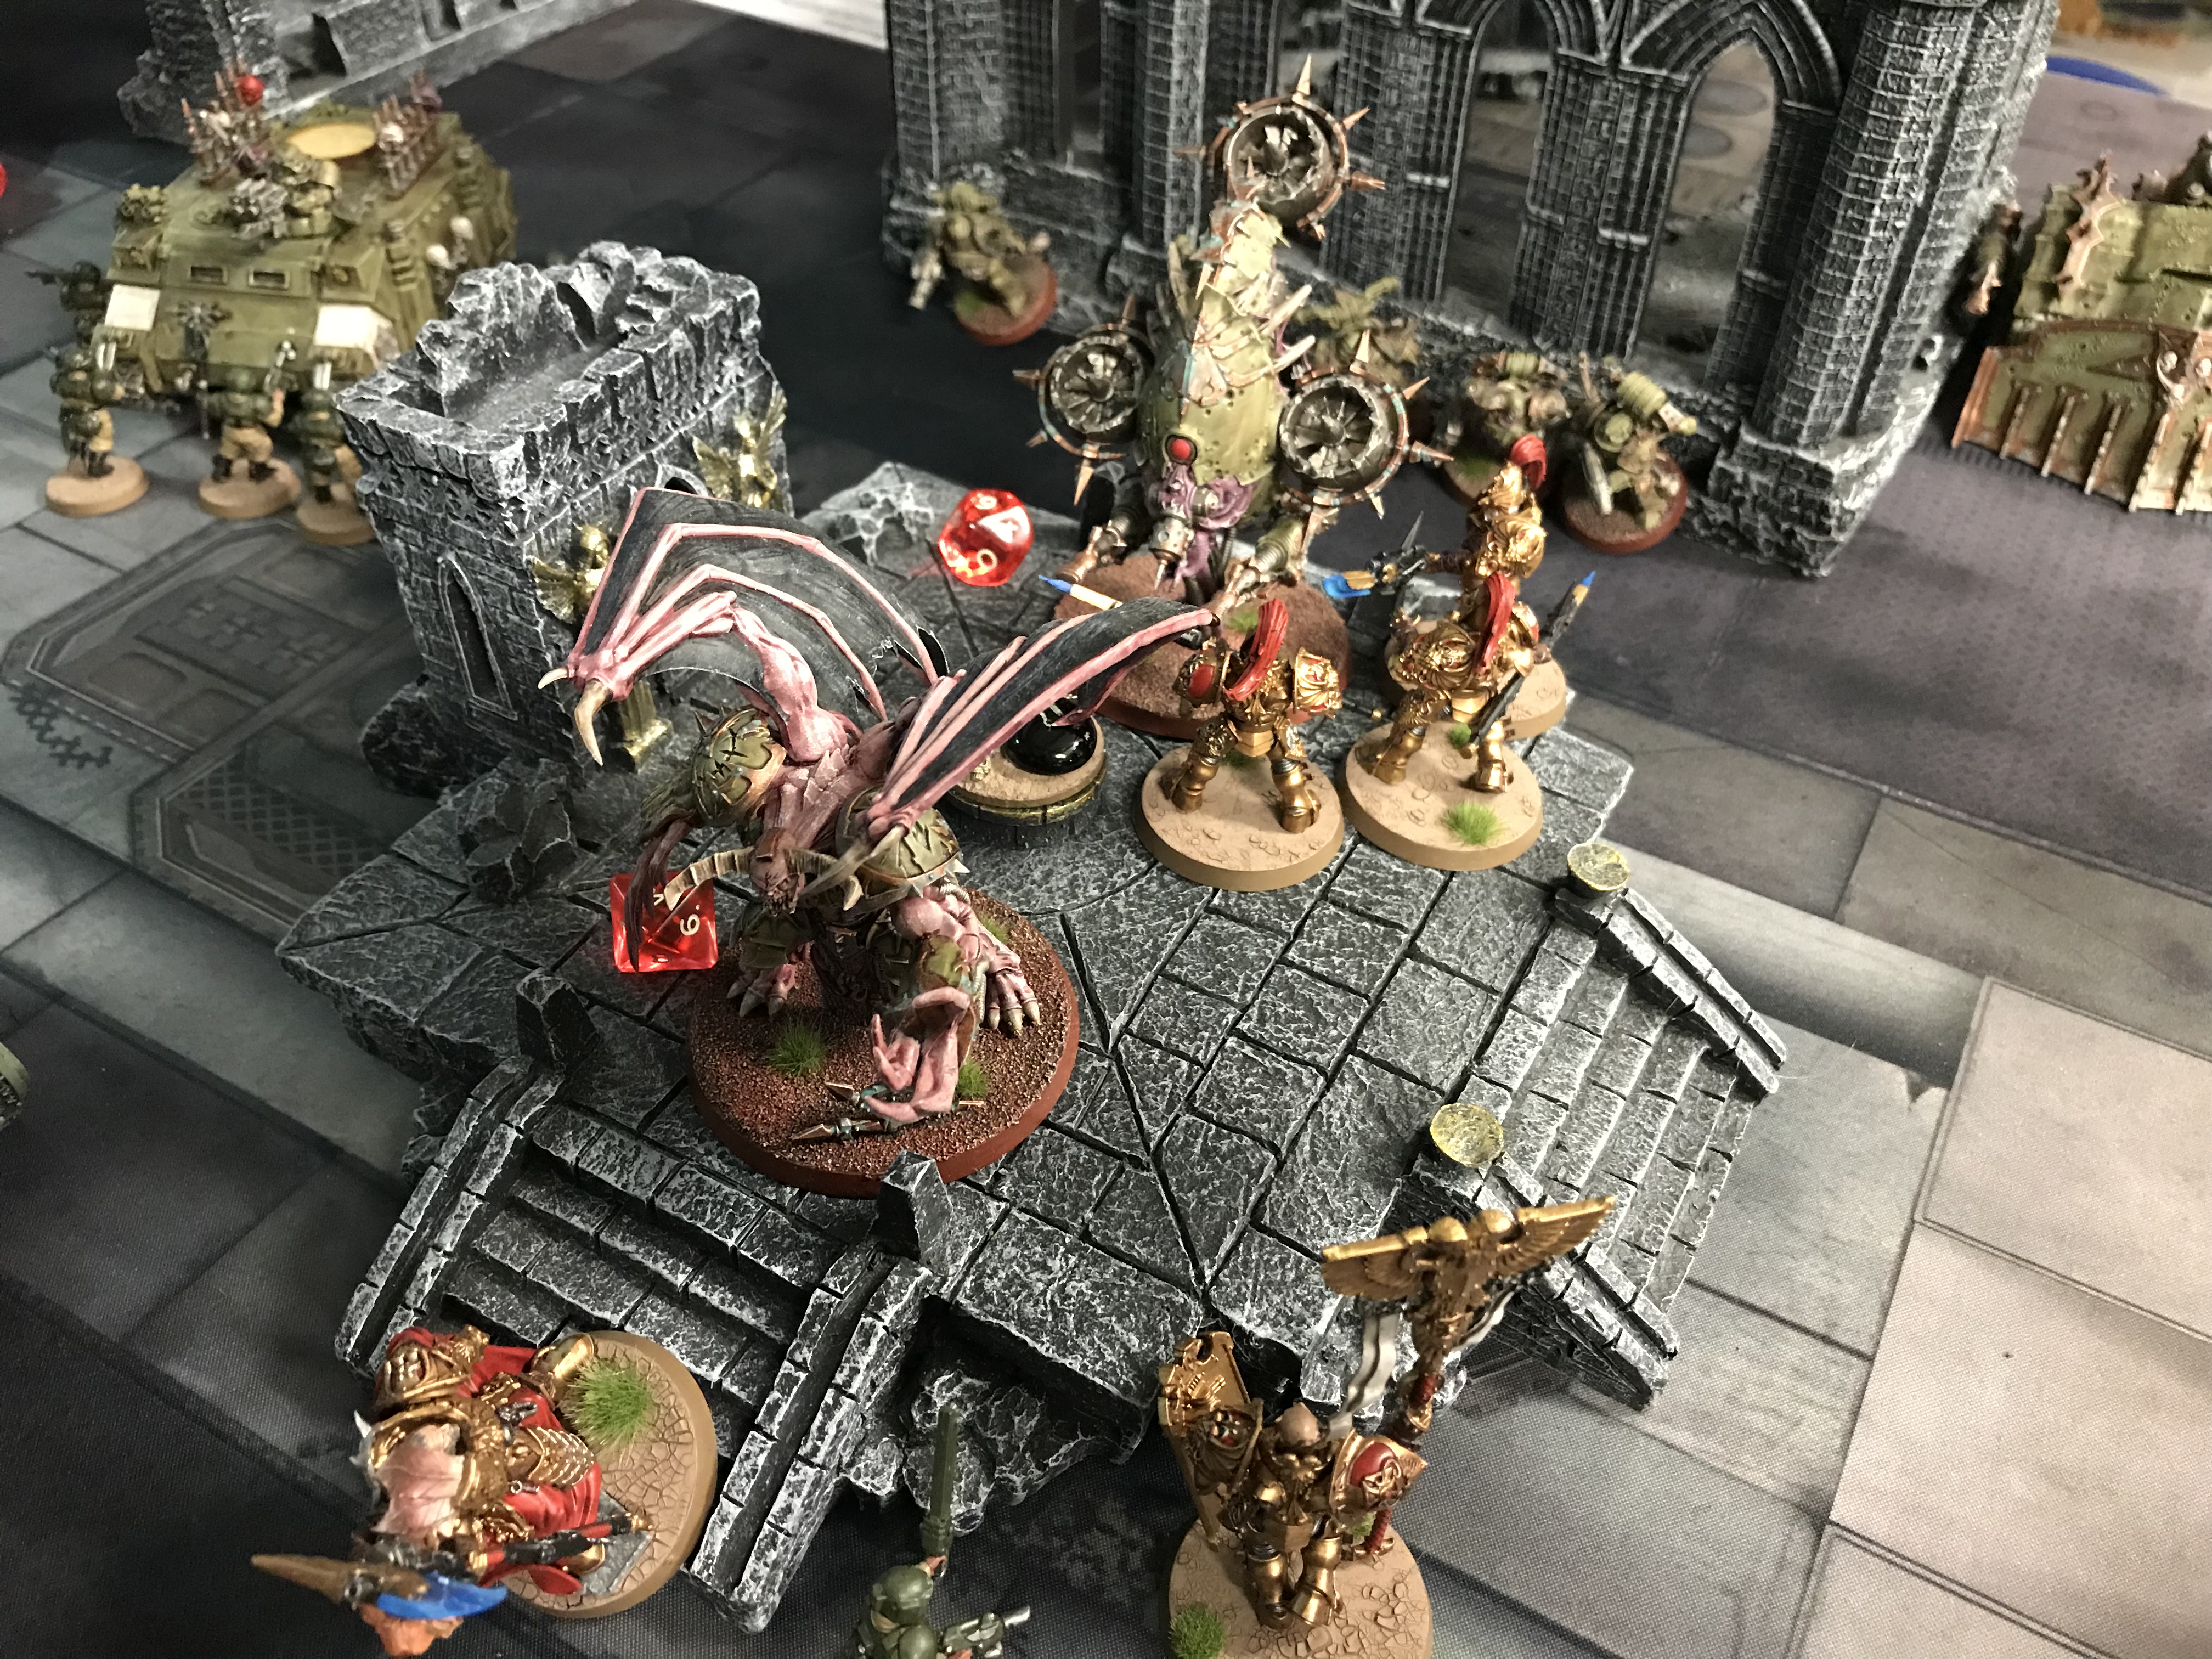
Such a melee – Death Guard vs Astra Militarum
The Platoon Commander with the Command Squad of Plasma Guns arrived on my left flank to finish off the artillery. No! It survived with 1 wound remaining. Even after overcharging and Rapid Firing the Plasma Guns with my BS3+ Veterans who were re-rolling ones to hit. Argh!
The Mortars continued to kill Cultists in an attempt to force a failed Morale test for a VP.
The other Chimera disembarked its passengers who charged a Rhino full of Plague Marines. The Guardsmen took a Wound off the Rhino too!

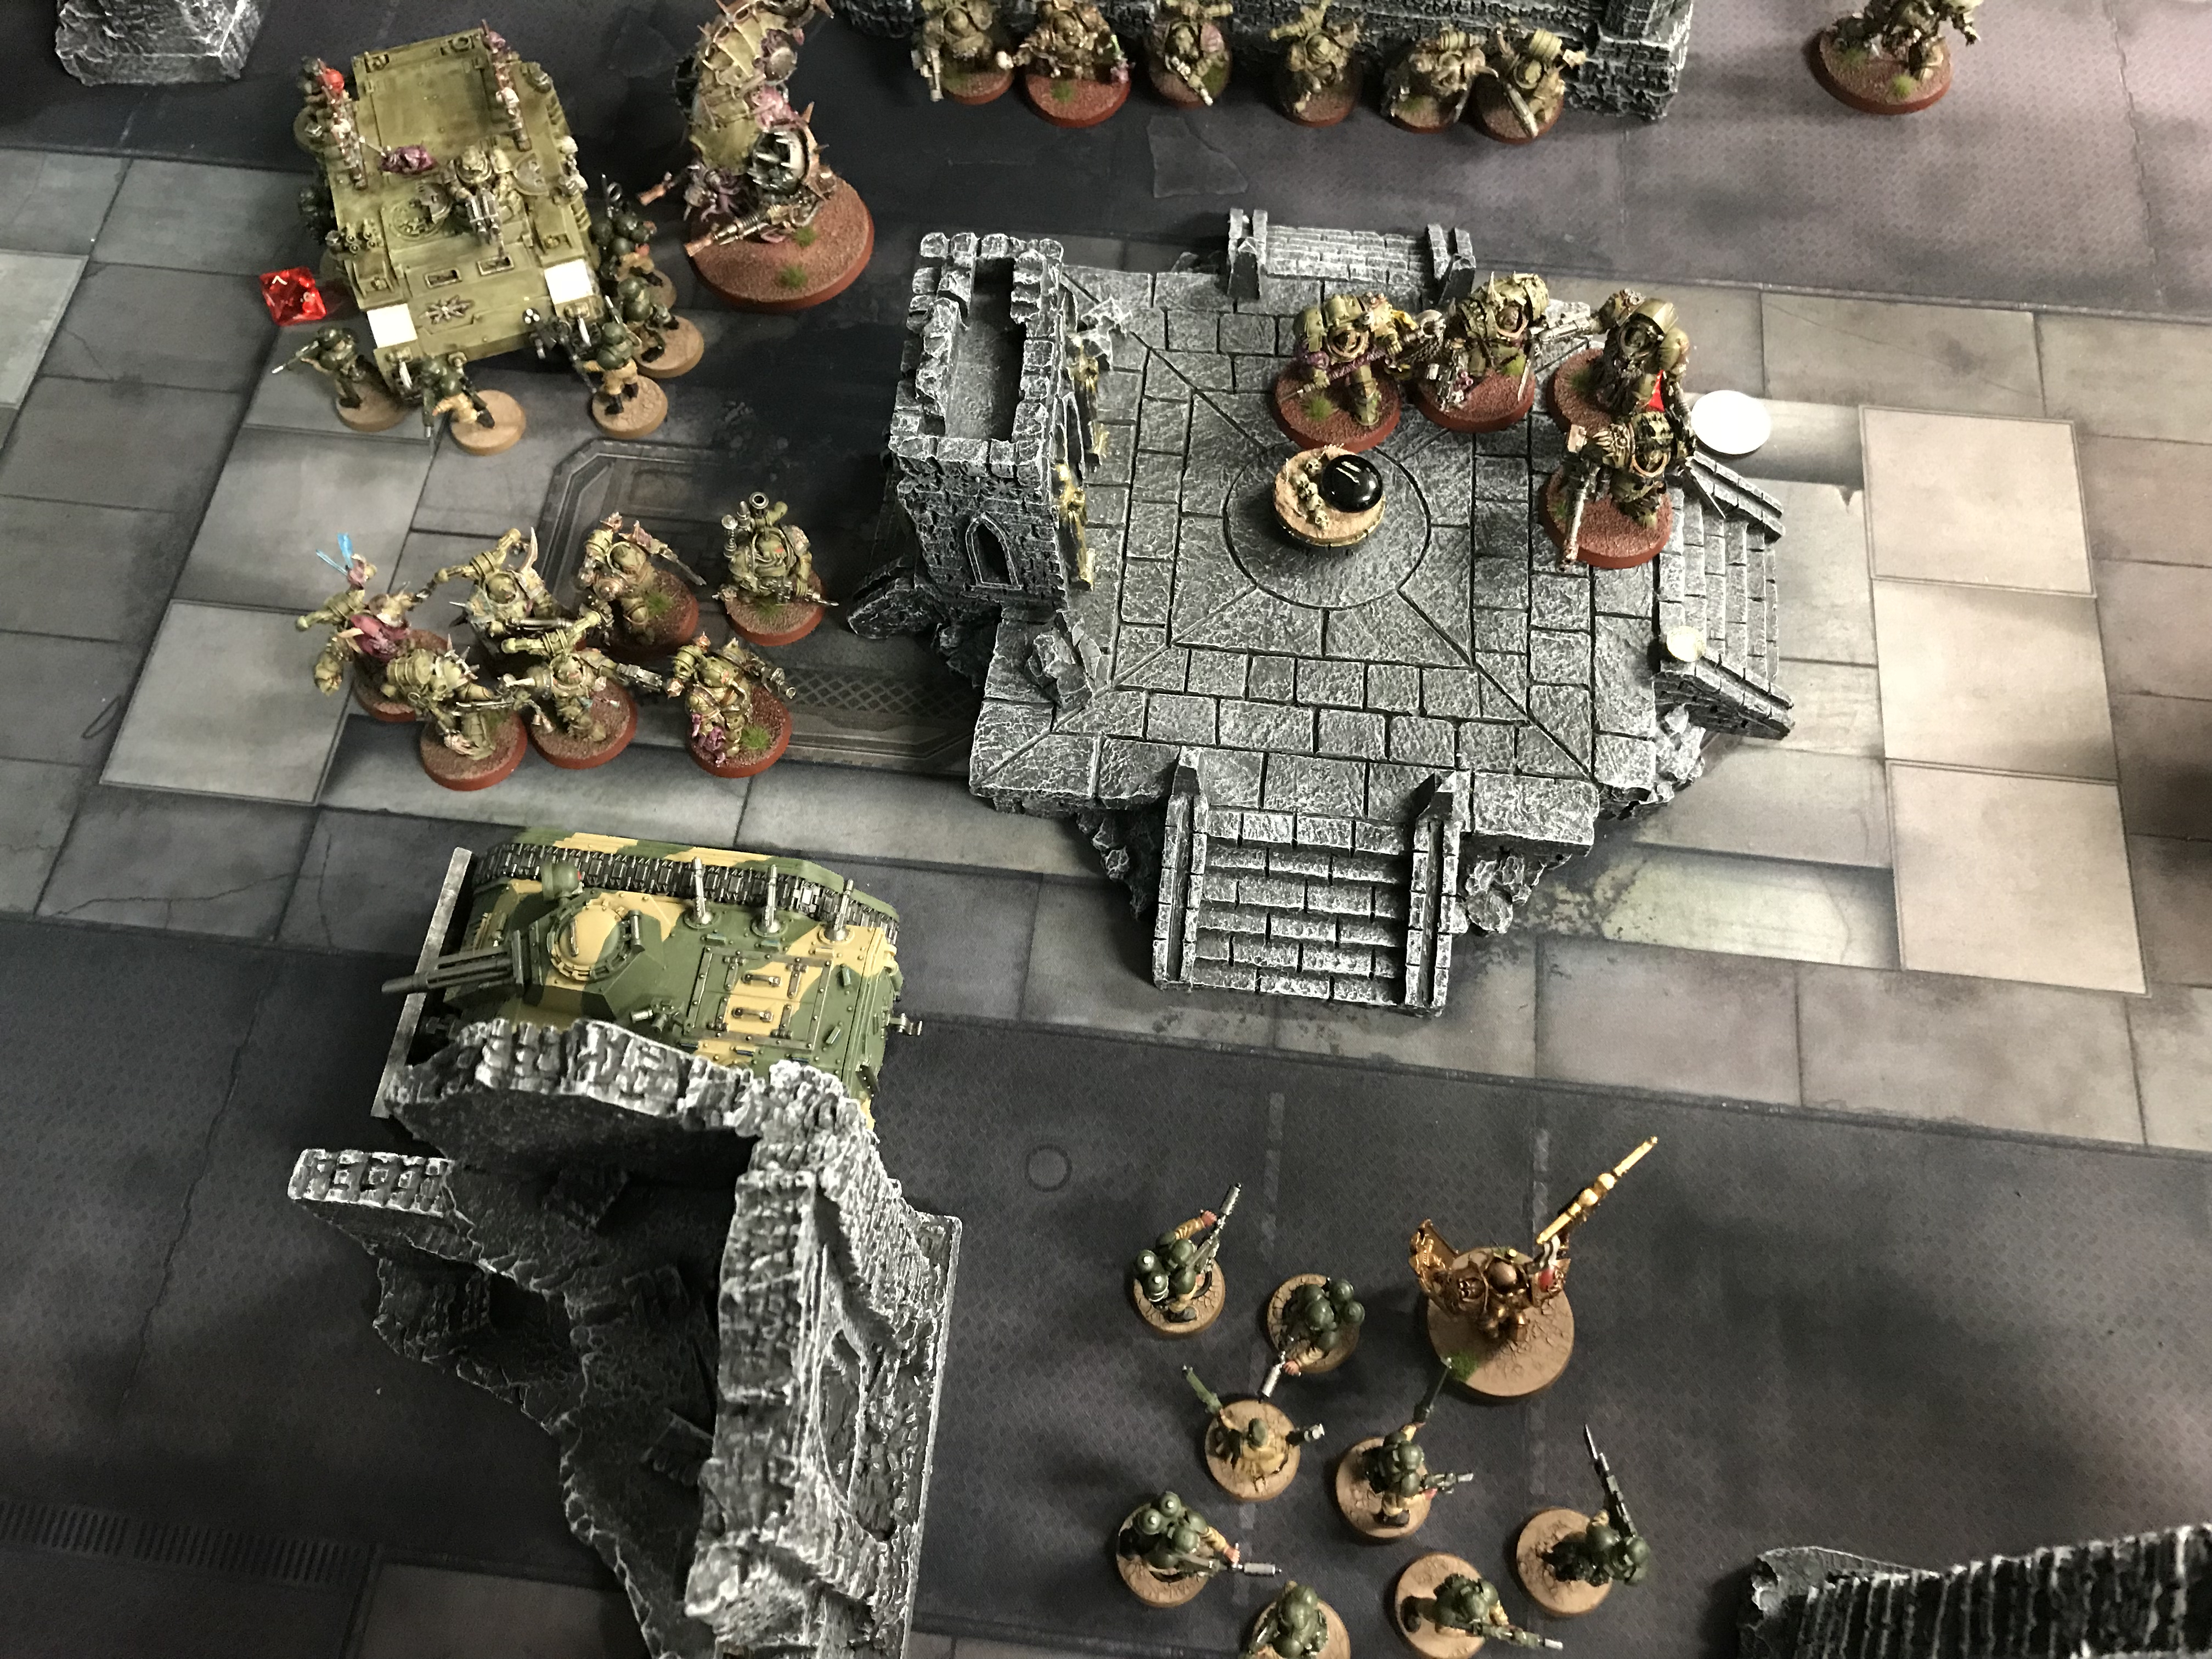
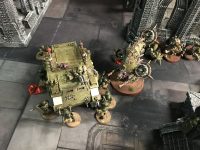
Plagueburst and Rhino – Death Guard vs Astra Militarum
The Custodian Guard, much to my disappointment, did not kill the Bloat Drone. Trajann did slay the Demon Prince though which was good!
Death Guard – Turn 2
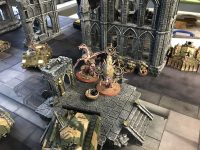
The Bloat Drone fled. Typhus and his Terminator buddies dropped in, ready to charge the centre of the table.
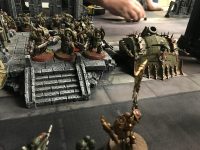
Typhus and Terminators arrive – Death Guard vs Astra Militarum
The Plague Marines disembarked from the surrounded Rhino. With my Heavy Weapons doing so well the Plague Marines and artillery focused on them killing them all. This was a big blow for me.
The Terminators that came on, shot at and then charged the Custodians killing them all. Trajann Heroically Intervened and was killed too. Only one Terminator died in the fray.
The Rhino and Guardsmen remained in combat. The Drone joined the melee squishing a few Guardsmen. But they held their nerve.

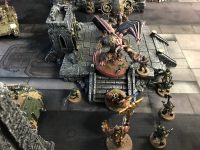
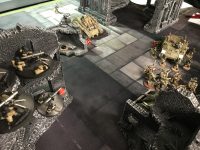
Battlefield overview – Death Guard vs Astra Militarum
Astra Militarum – Turn 3
I felt like things were on the turn now. I was ahead in VP just but now I’d lost my Heavy Weapons I was going to struggle to destroy the artillery.
My Praetor moved back to join my Flamer Guardsmen, my Warlord and the Veterans with Grenade Launchers.
I think we are in a spot of bother…
The Chimera was able to move into a position to block the Plague Marines from seeing and charging my Warlord and his mates. That still meant they were faced with four Terminators and Typhus was on his way too.
I continued to lob mortars at the Cultists. They failed Morale which got me a VP and they were then gone. A small victory.
The Chimera charged the Plague Marines to lock them up.
The lack of Heavy Weapons was now a real issue. It meant I’d have to probably see out the rest of the game with those two artillery pieces in play. One of them was on one wound but I just could not kill it!
Death Guard – Turn 3
It was now just a case of having the Death Guard mop up. The Terminators made short work of the infantry left.
The Bloat Drone moved away from its melee combat to take out an infantry unit with a mortar in my deployment zone on my left.
We called the game here. 9 – 5 to the Death Guard. A great game well played Mark!

I did not have a lot left…
Astra Militarum – MVP
Hard to say. But during the two turns they were on the battlefield the Heavy Weapons Teams did a lot of damage between them. They are very squishy though and I neglected to place my Praetor near them for a 5++ save.
Death Guard – MVP
The Plagueburst Crawlers for me was a standout unit for the Death Guard. Very tough and can hit things out of line-of-sight too. It makes them very good at clearing out objectives or units that need to be dealt with quickly which you’d perhaps not thought were a threat. E.g. the Heavy Weapons Teams.

Plagueburst Crawler
Death Guard vs Astra Militarum Gallery
-


- Ratings in position

-
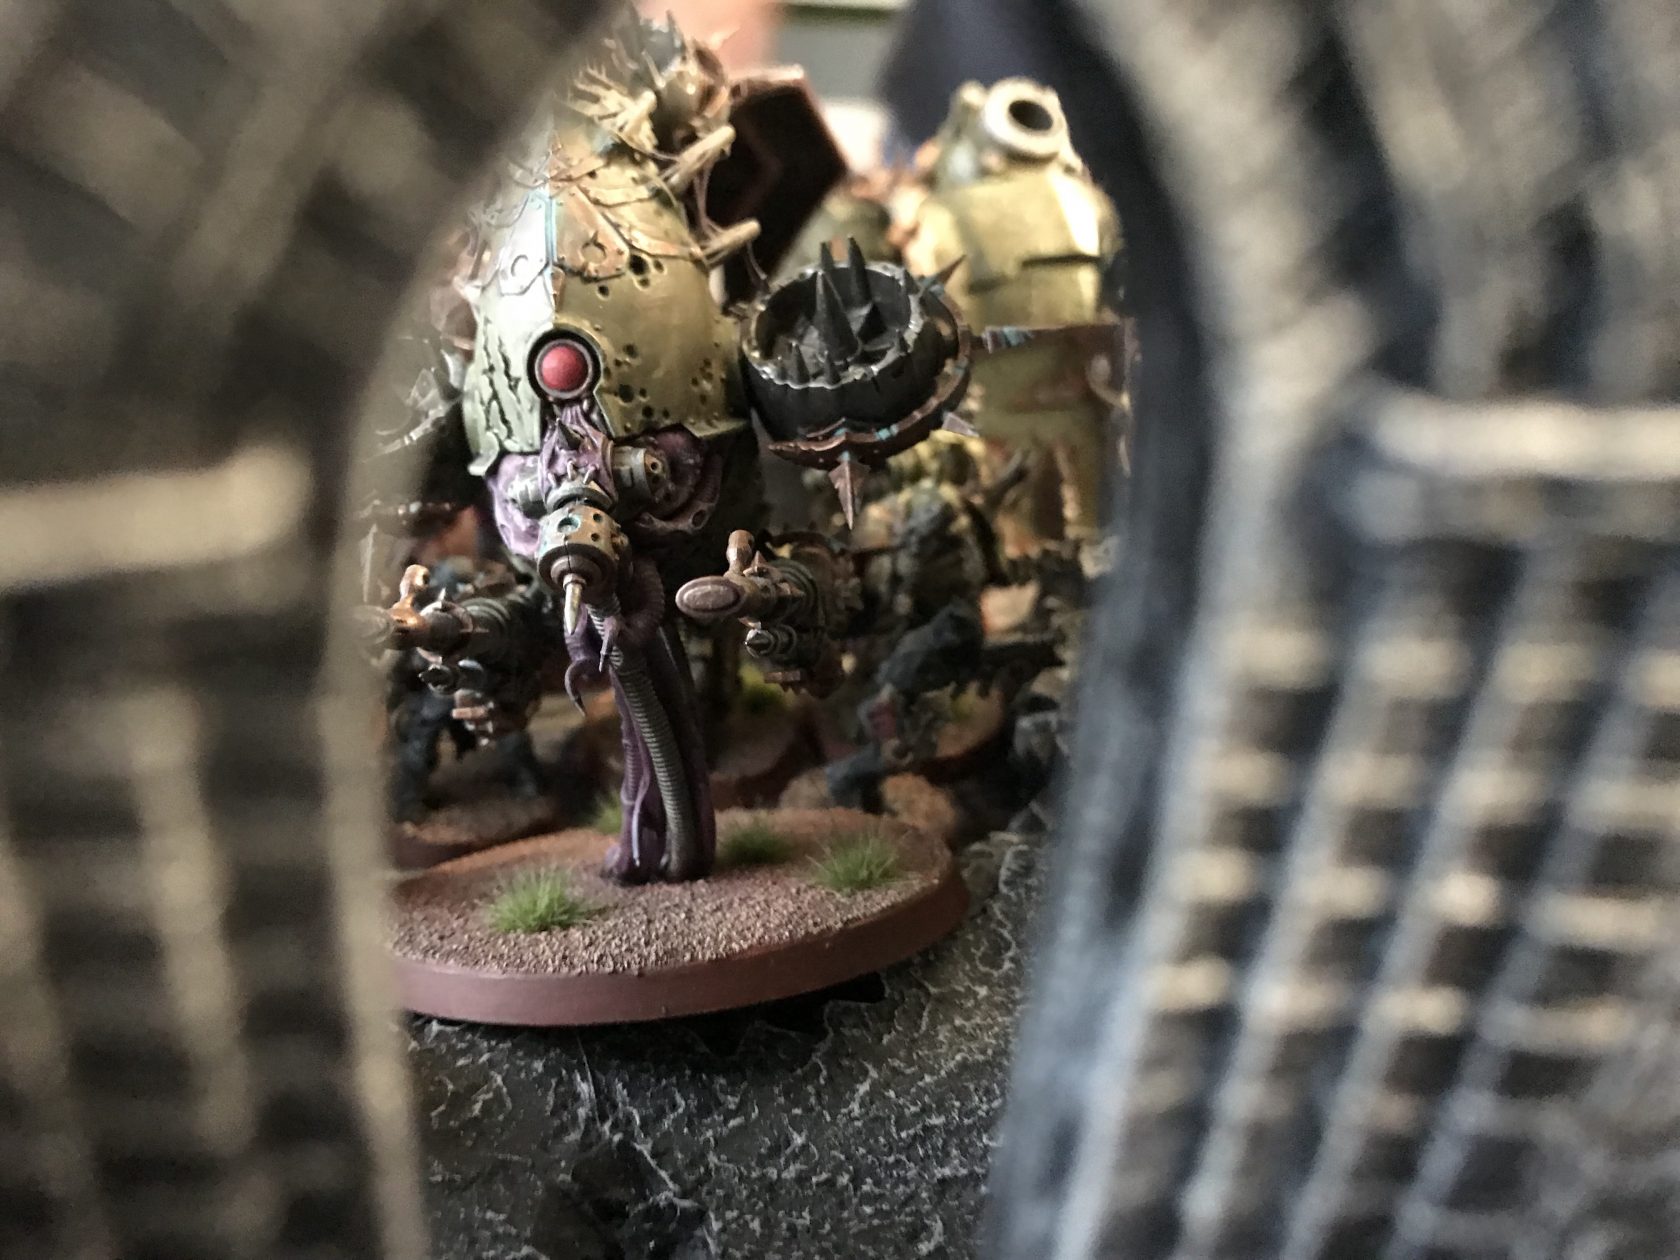
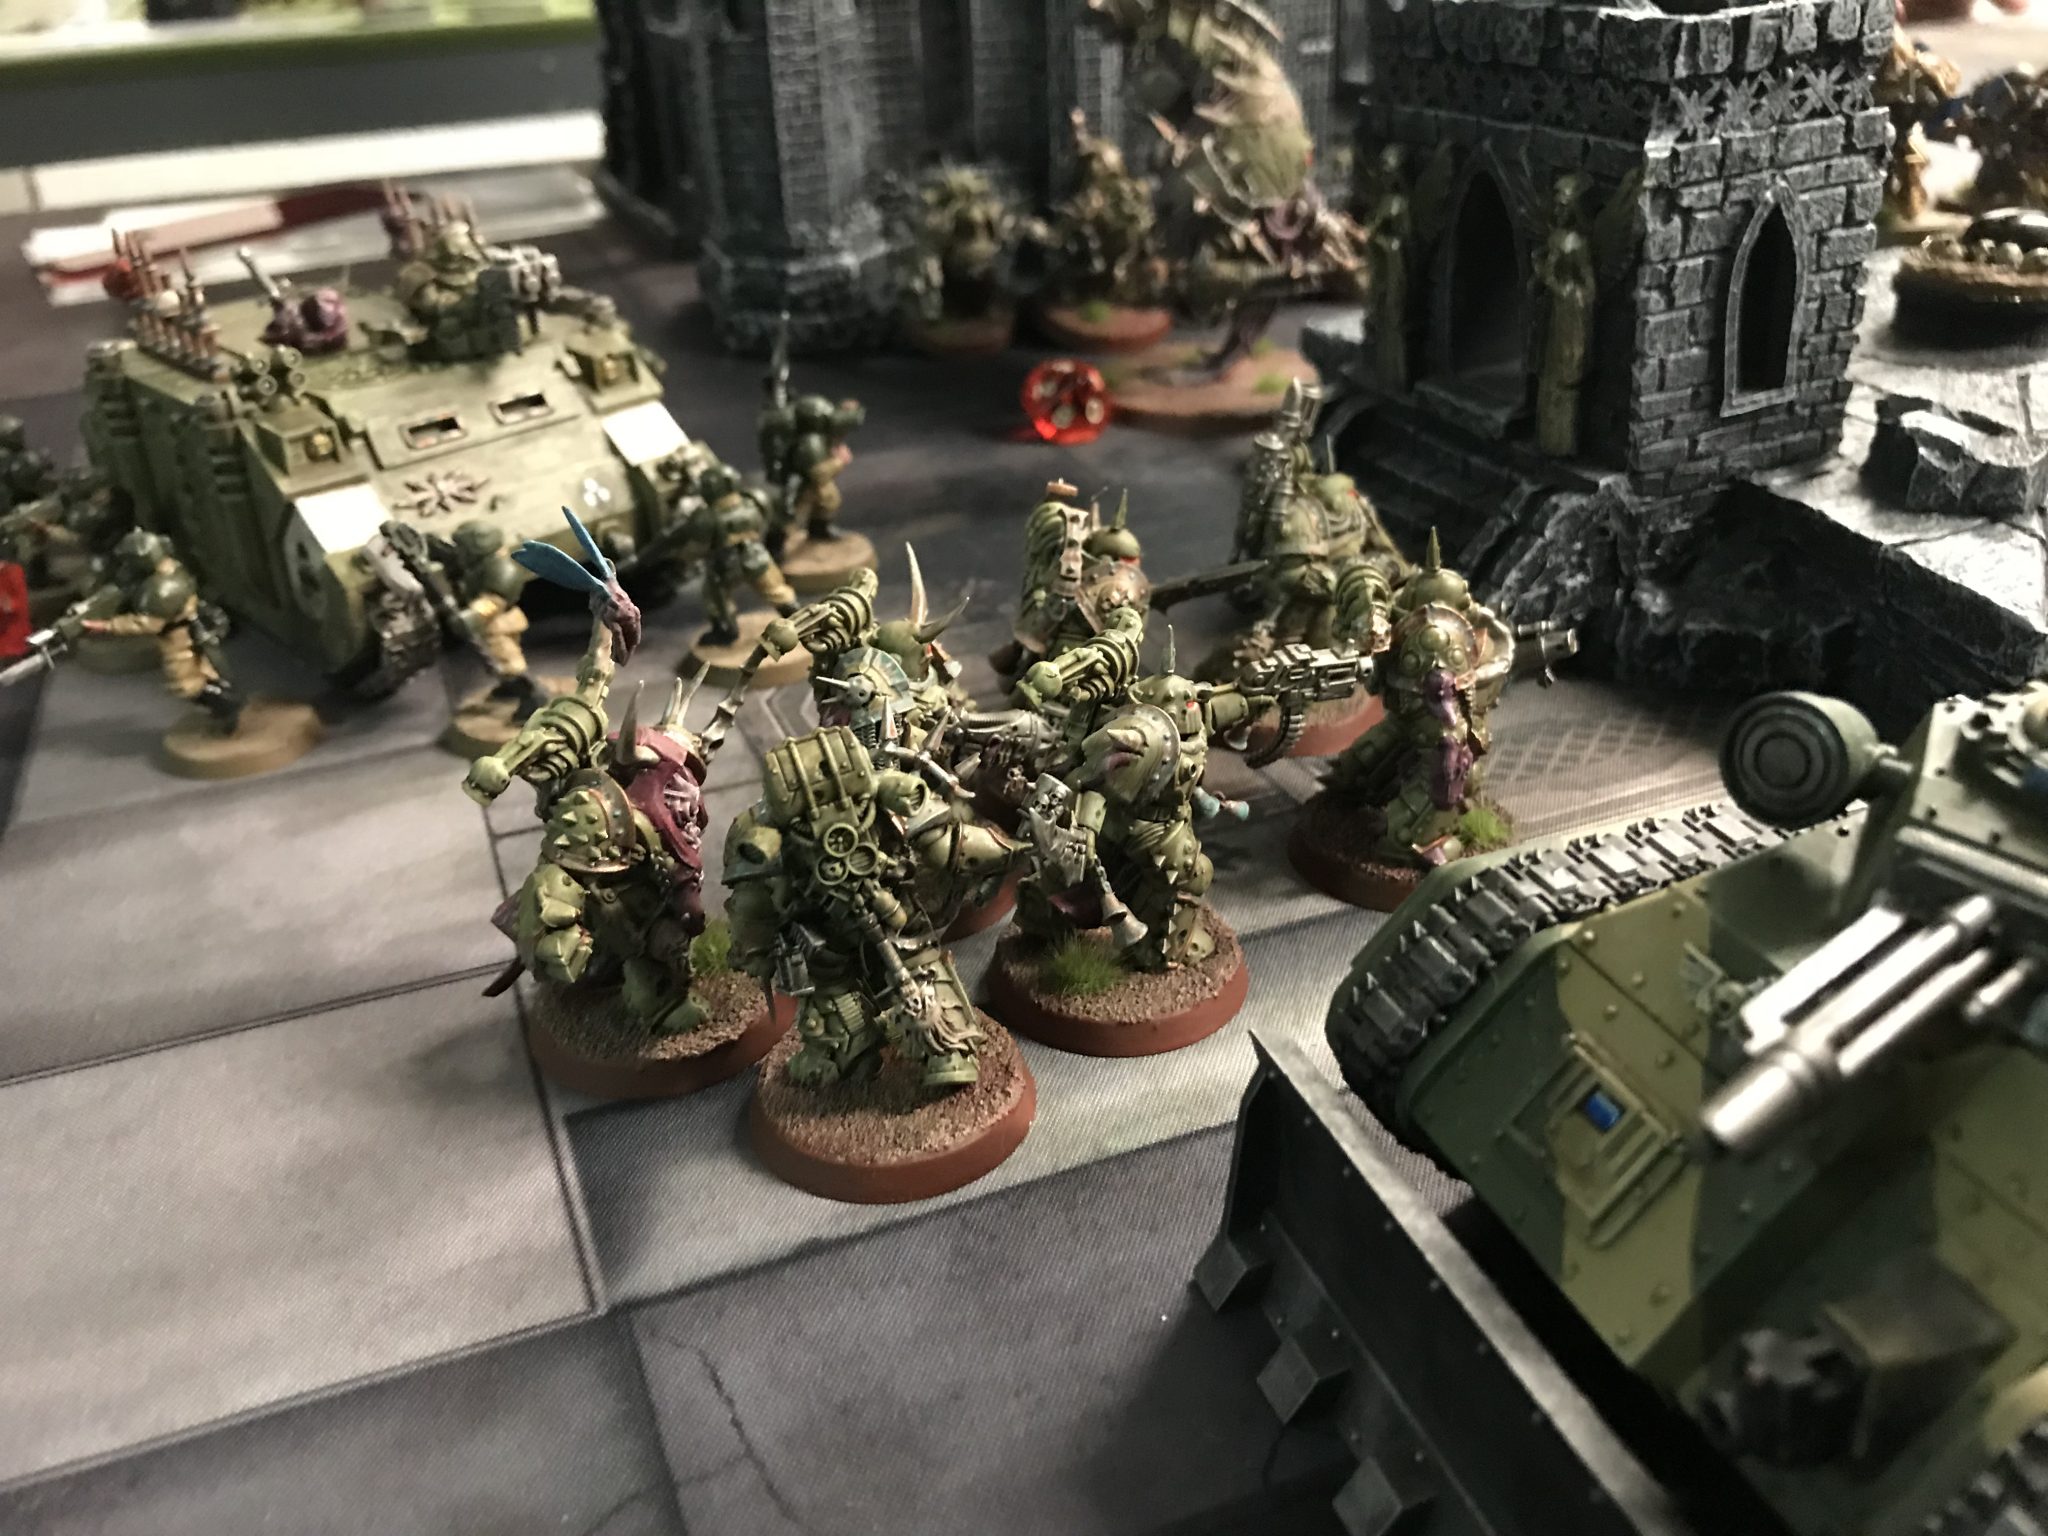
- Best pic!

-
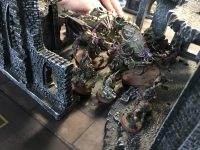
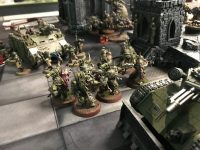
- That is a lot of rot in there!
-

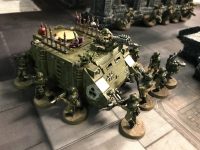
- Chimera awaiting orders
-
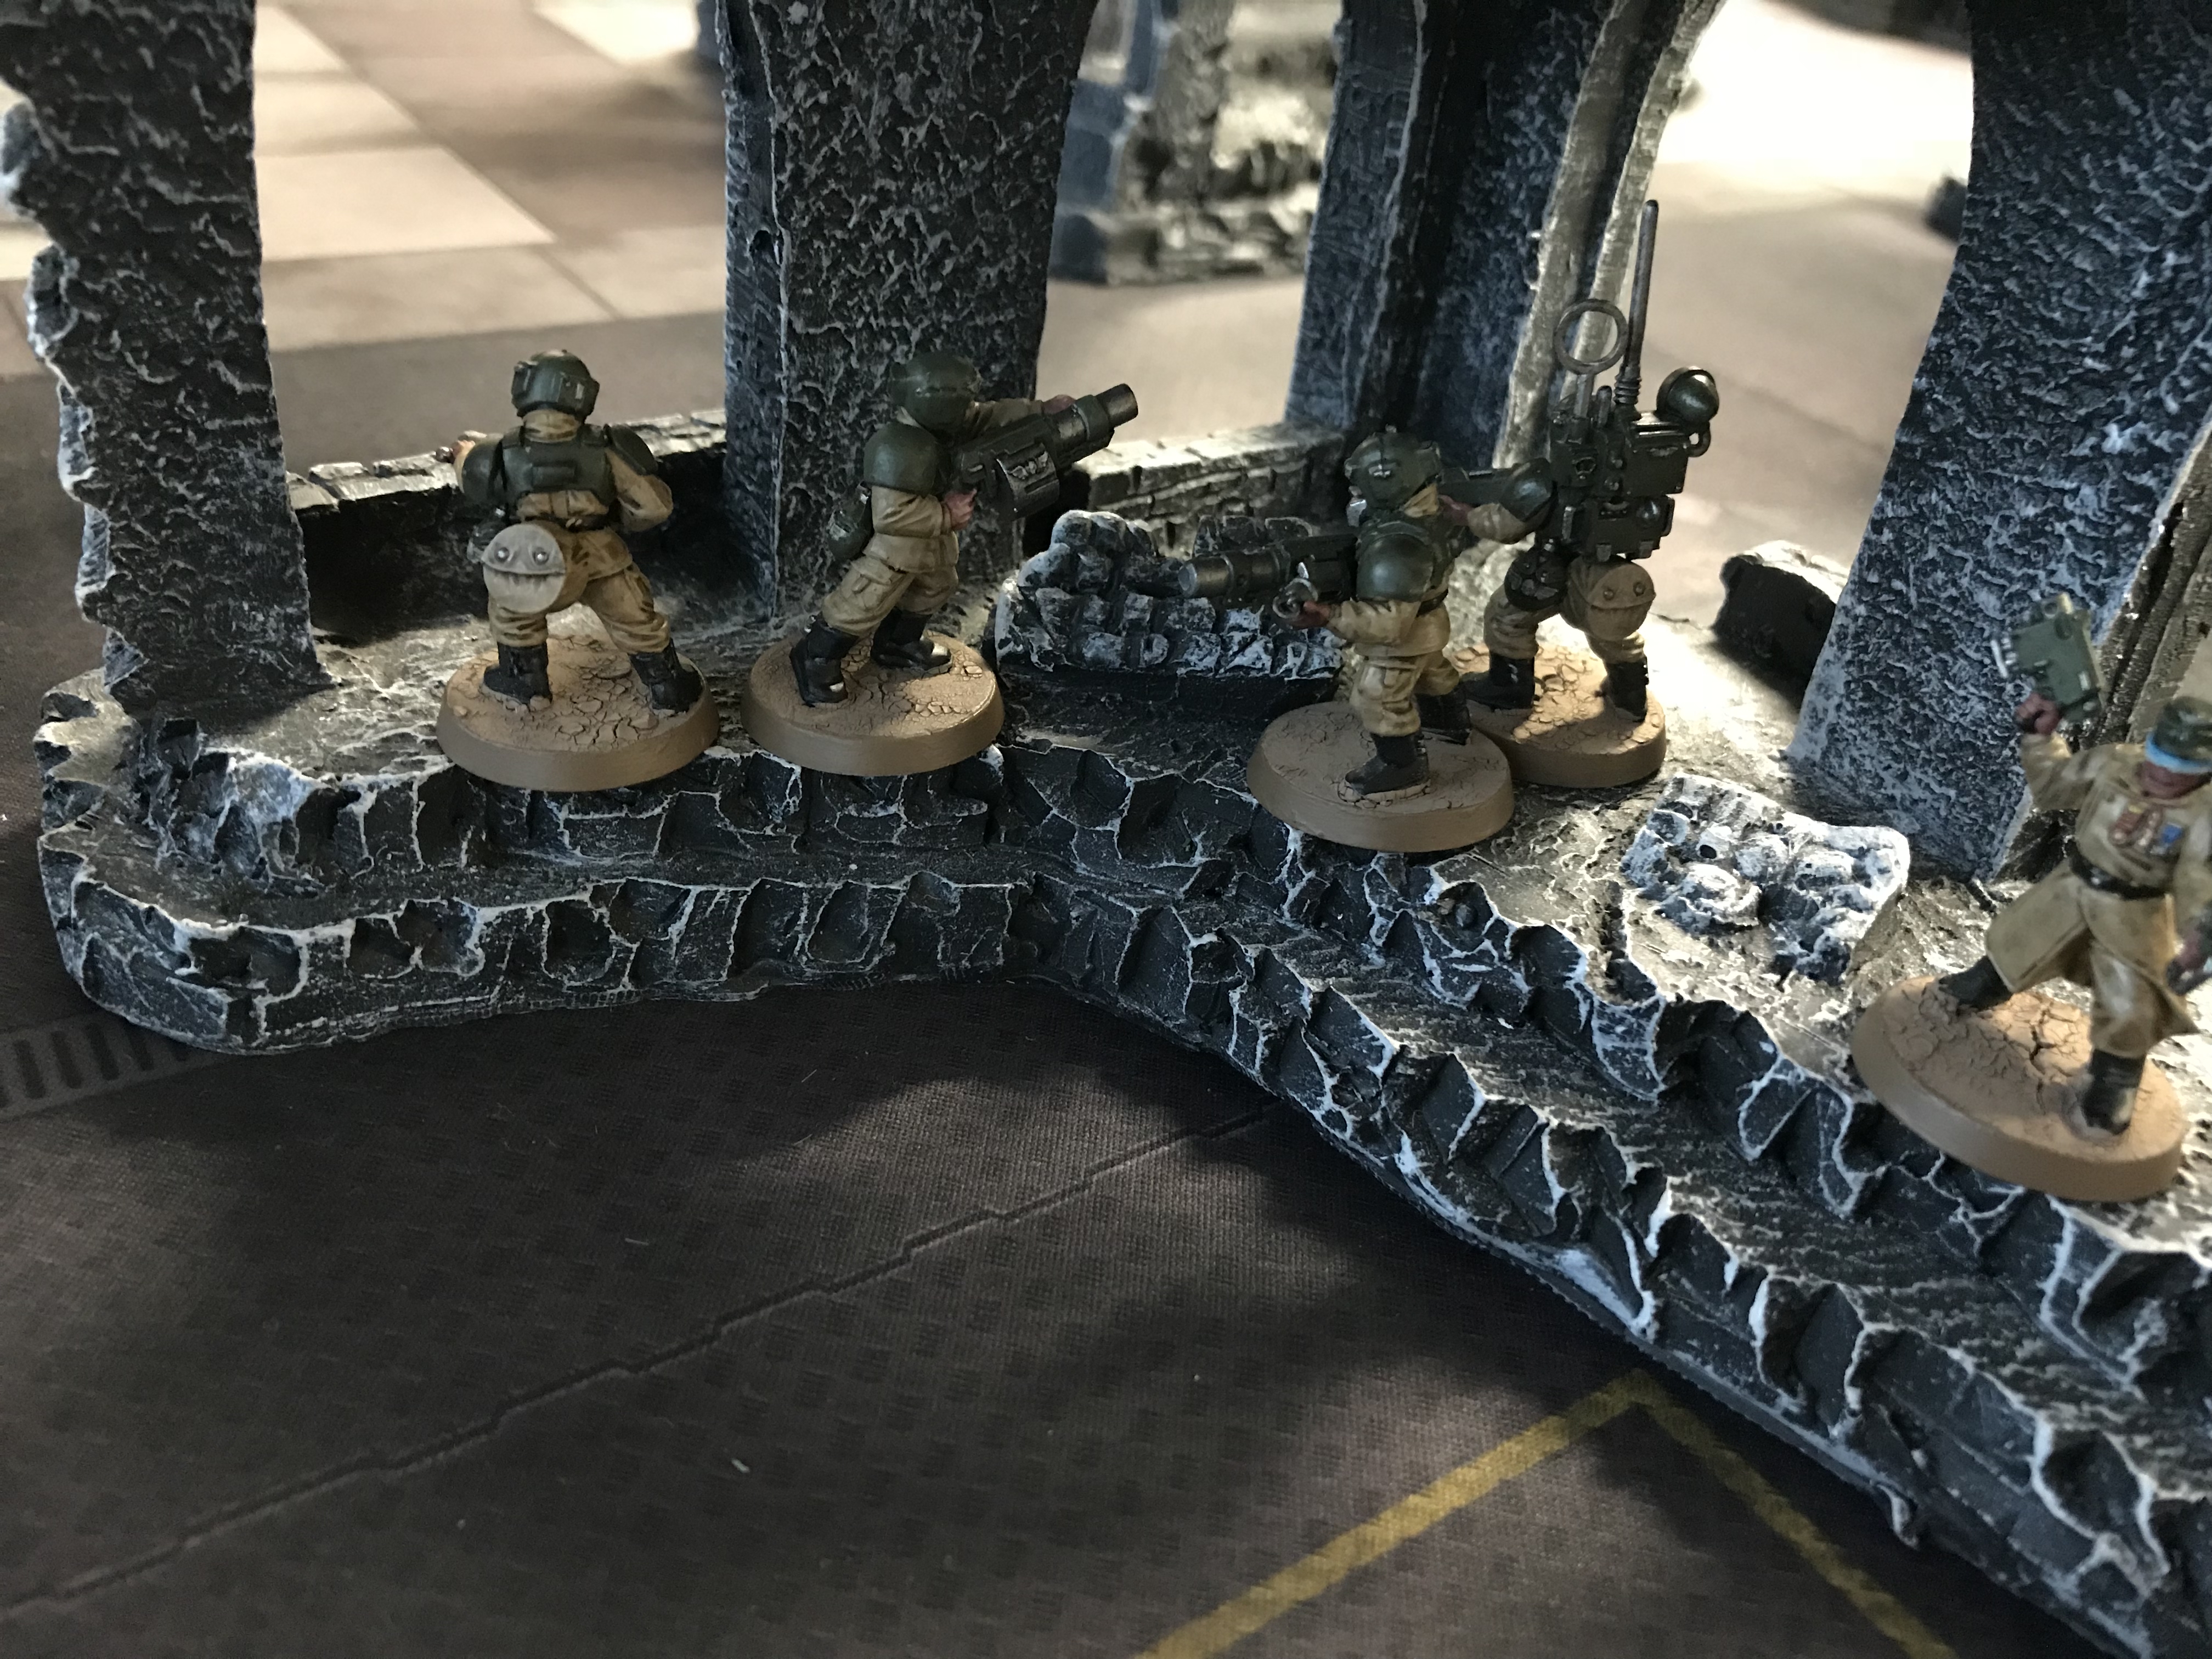
- Veterans in cover
-
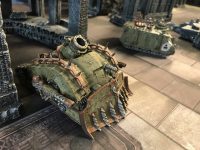
- Plaugueburst Crawler
-
- Table centre

-
- Trajann slays the Demon Prince
-
- Rhino and Guardsman slugging it out

-
- vs Death Guard

-
- Typhus and friends arrive

-
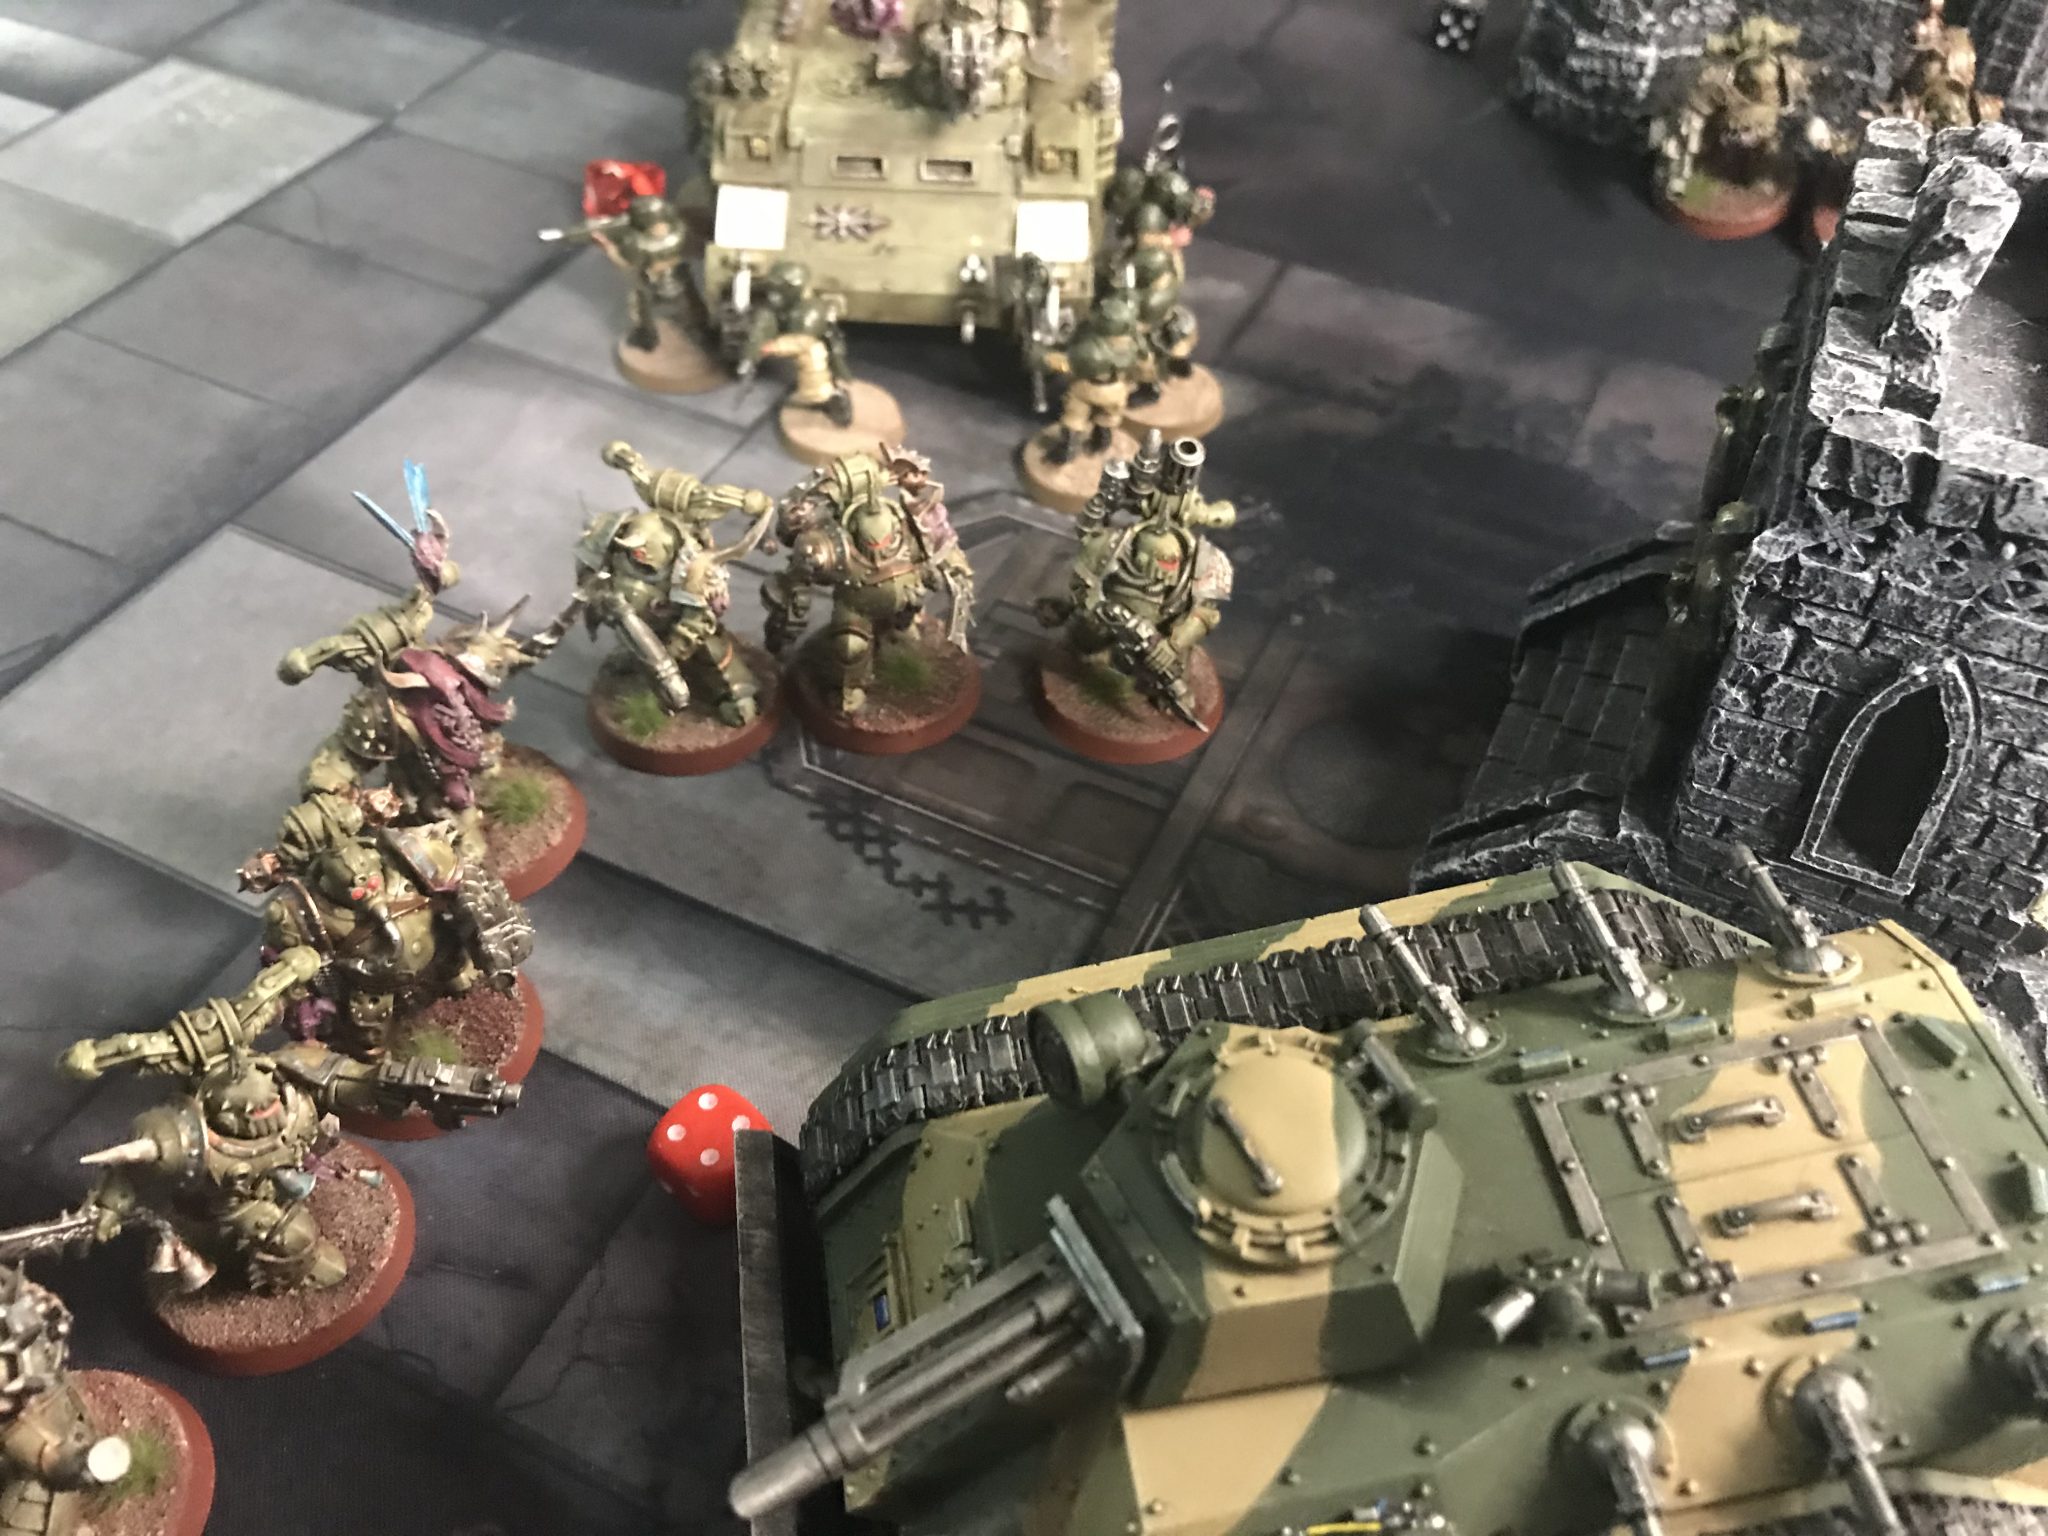
- Plague Marines blocked by my Chimera
-
- Heavy Weapons are dropping

-
- Guardsmen still live!

-
- I got this lads…

-
- The end if nigh!

-

- The Chimera continues to block to try and save my Warlord
Painting for Next Game
I am still working slowly through my Heavy Weapons…
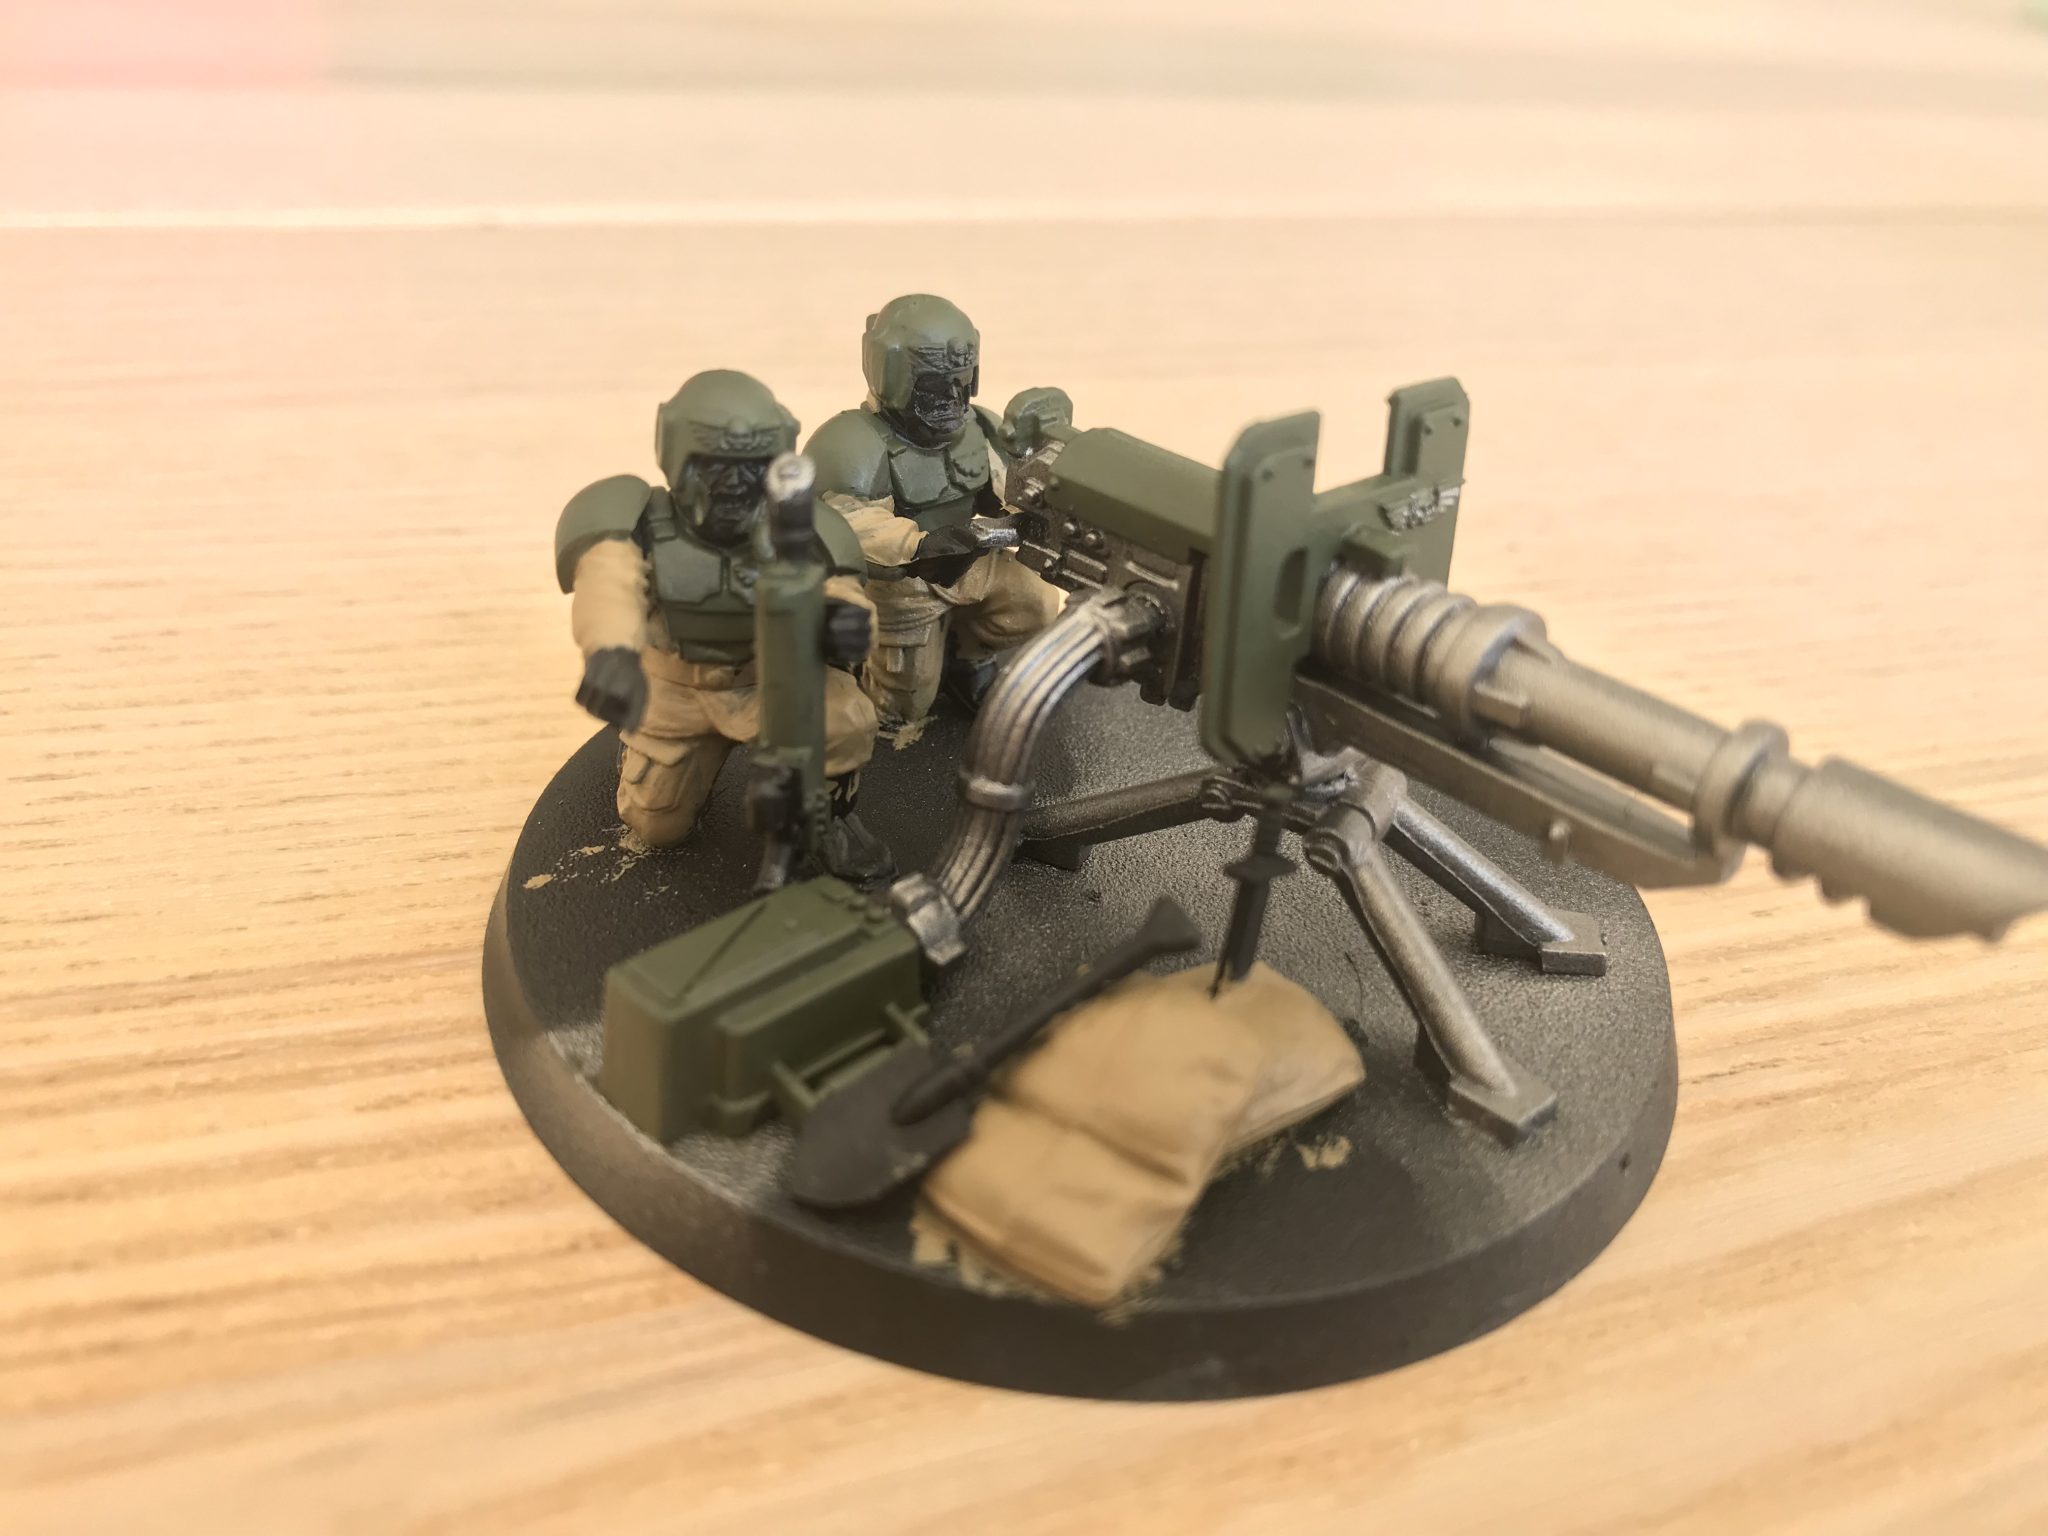
Heavy Weapons Team WIP