
Death Guard vs Astra Militarum – 1,750 Points – Battle Report
Rematch time again...
After my rematch against the Genestealer Cult was a resounding success it’s time for another rematch. This time it’s against Mark’s Death Guard at Boards and Swords.
The last game against Mark and his Death Guard – I lost – but it was a close-run thing. Which was very fun! This list for taking on the Death Guard is very different from my first outing. I’ve no Custodians! And we are playing with 250 points more than last time. So I’ve space for a lot more Astra Militarum!
Never miss an article? Subscribe!
Astra Militarum List
This list comes from Charlie who replied to my I Play Your Astra Militarum List article some time ago. This is a single Brigade Battle Forged detachment giving me a total of 15 Command Points.
- Company Commander with Kurov’s Aquila, Grand Strategist Trait
- Company Commander with Laurels of Command
- 2x Primaris Psykers with Nightshroud and Psychic Barrier
- 3x Infantry Squads with Plasma Gun and Heavy Bolter
- 1x Infantry Squads with Plasma Gun and Autocannon
- 2x Infantry Squads with Flamer and Autocannon
- An Astropath with Nightshroud
- Two units of five Ratlings
- A Hellhound
- 2x Scout Sentinels with Heavy Flamers
- 1x Scout Sentinels with Autocannon
- 2x Wyverns
- 2x Basilisk
- 3x Leman Russ Battle Tank
There are some very minor changes but the list – but it’s the same at its core. Massed Infantry supported by Psykers, Leman Russ and Astra Militarum Artillery! I love it!
Worth noting that I used Preliminary Bombardment in this game. It cost 2CP and caused zero wounds. Any wounds that could have been caused were resisted by Distgustingly Resilient.
Overview – Death Guard vs Astra Militarum
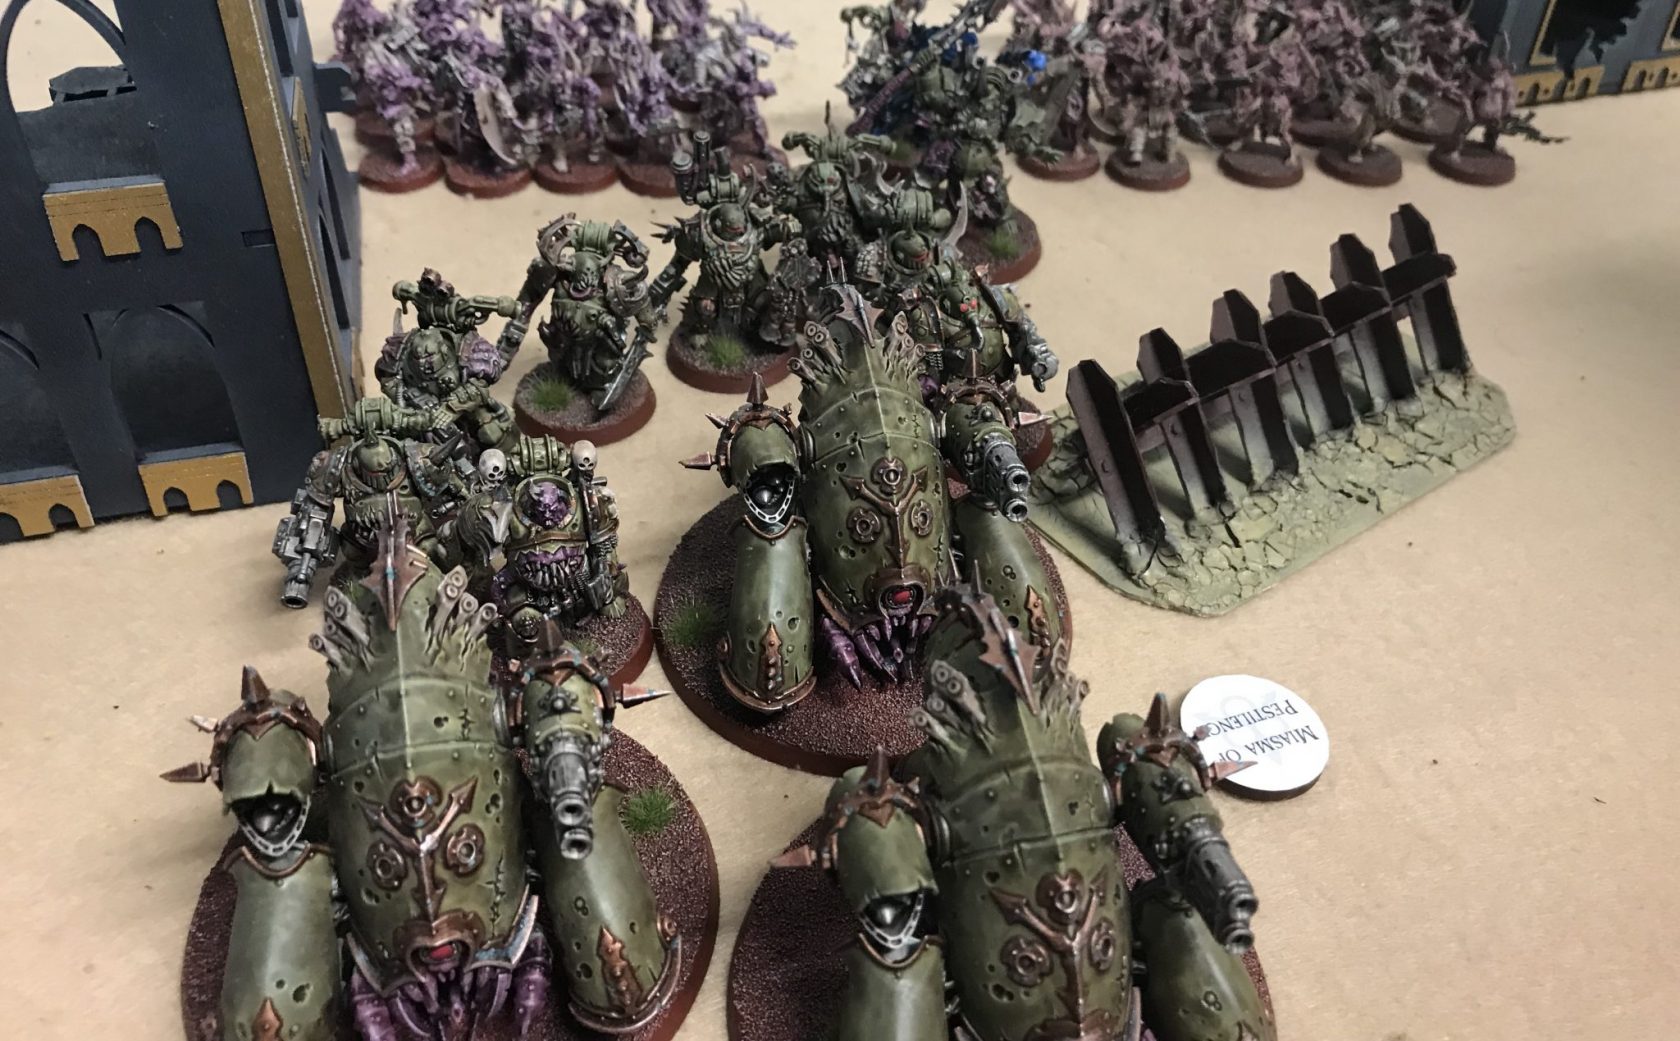
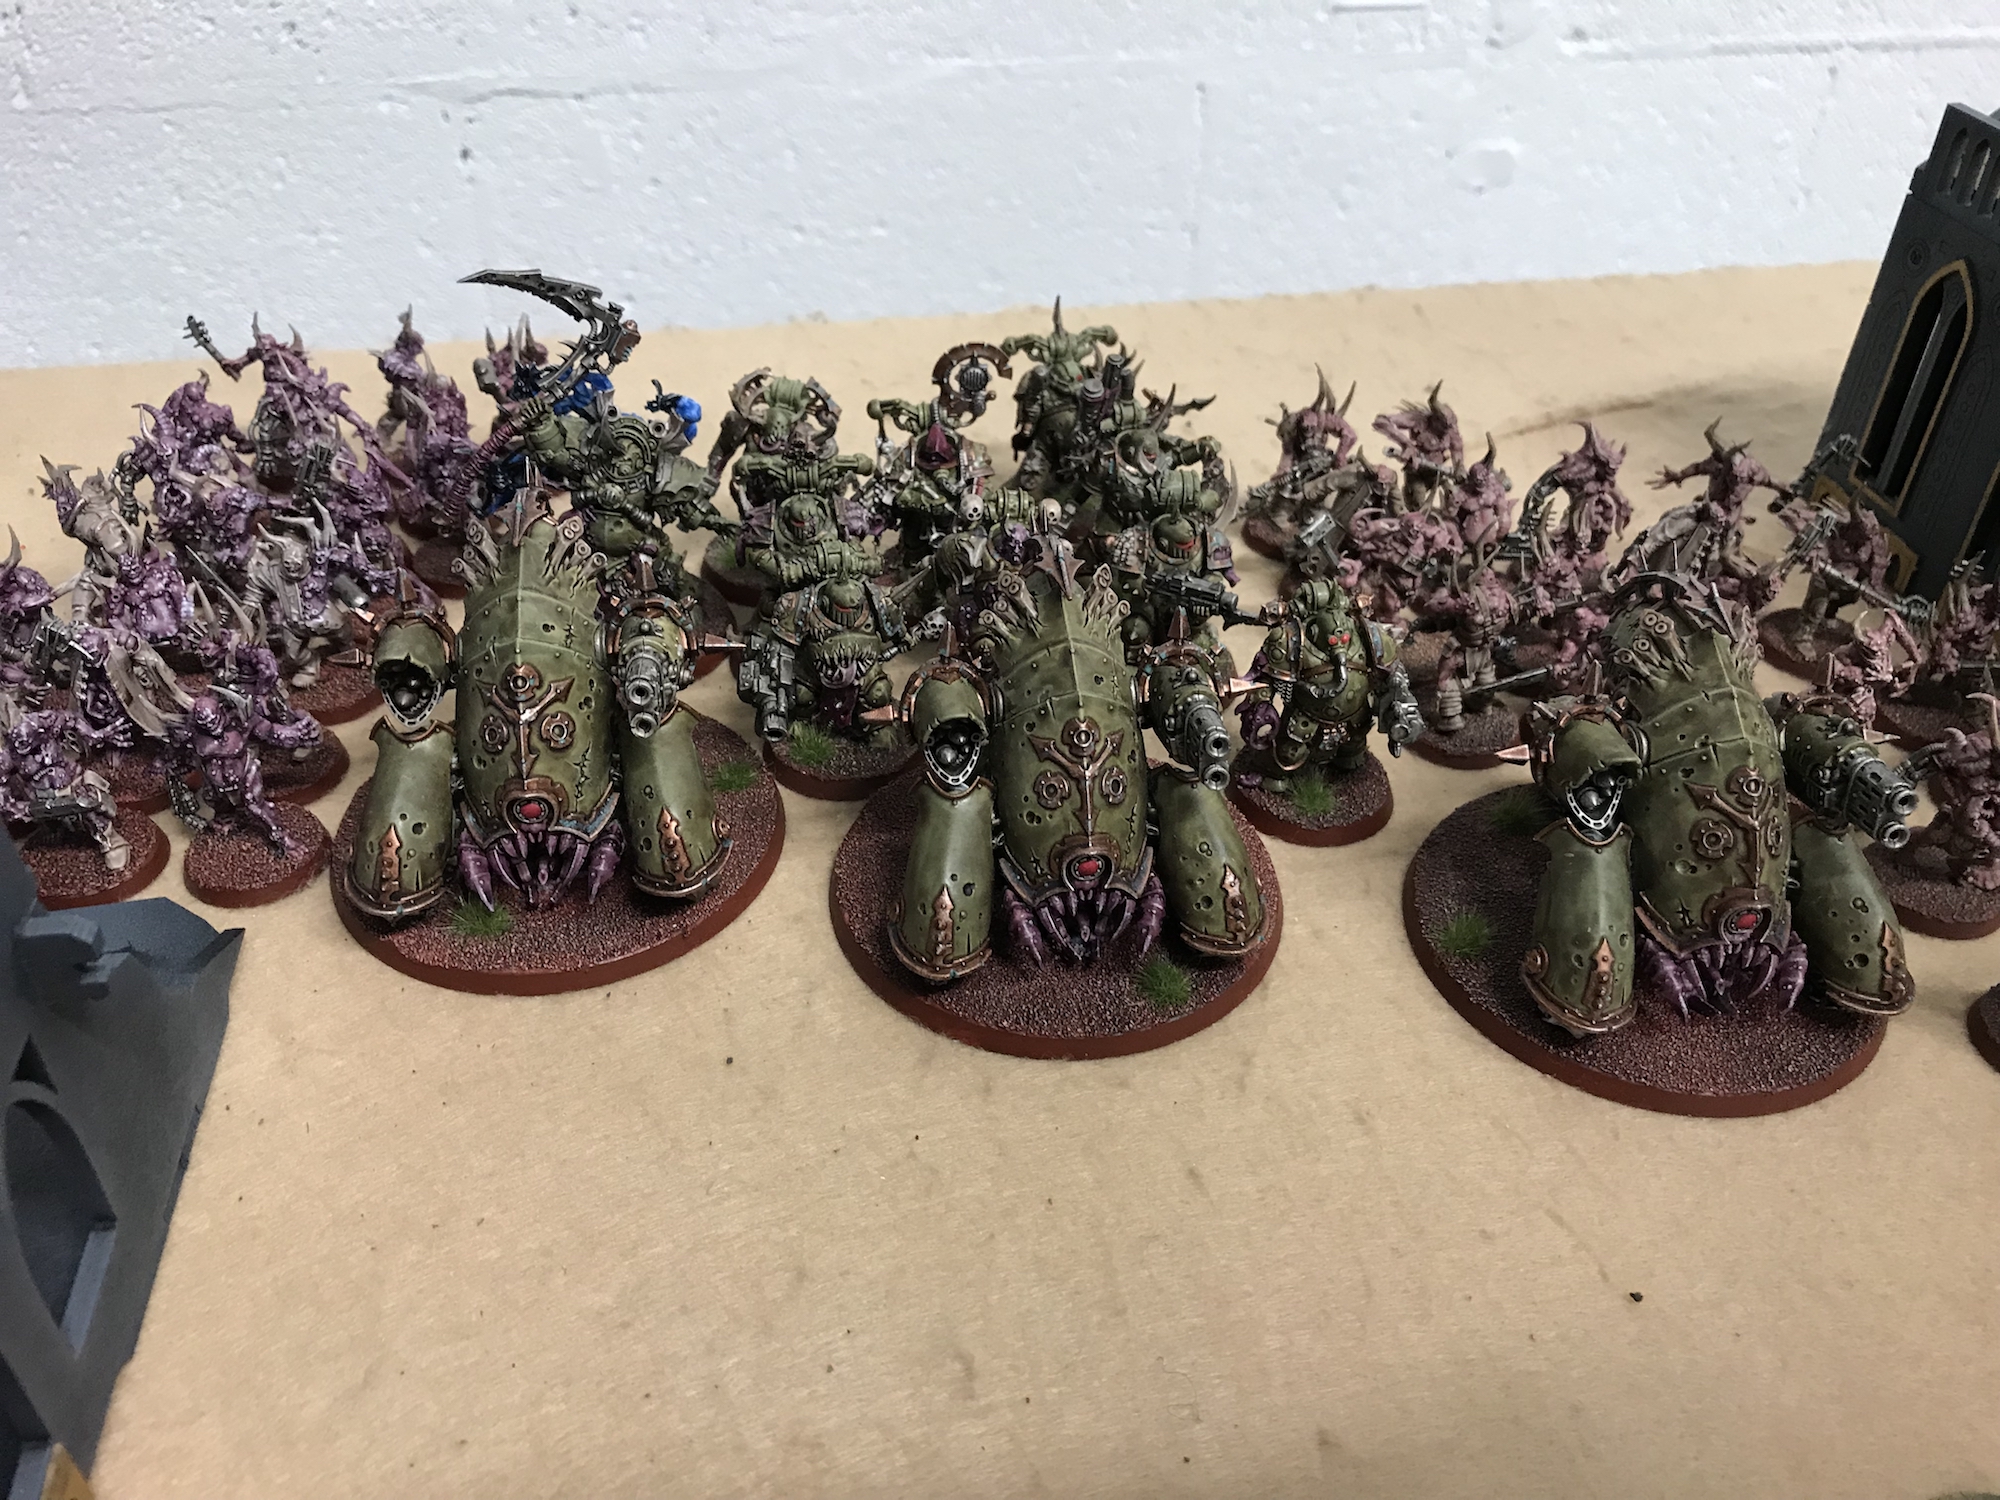
Death Guard List
Here is Mark’s 1,750 point Death Guard list.
- Chaos Lord
- Typhus
- 5x Plague Marines with two Blight Launchers
- Two units of 20x Poxwalkers
- Tallyman
- 3x Myphitic Blight-Haulers
- Demon Prince of Nurgle
- 2x Foetid Bloat-Drone with Plaguespitters
- Foetid Bloat-Drone with Fleshmower
Mark was kind enough to give me the why on his choices for this list, over to Mark…
The list was built around trying out the Haulers. Because their BS is only 4+ and they get a +1 when there are three in the unit there’s a big incentive to take the full unit. Which is expensive, 450 points, so I can only do it in a larger game.
They would be my main anti-tank, so I also took a Chaos Lord to give re-rolls of one to make them as shooty as possible.
The Haulers give cover so I wanted them to be walking something up the field, and I like Poxwalkers, so they were the thing. I also wanted to see how quickly I could get mobs of them up the field. Once I’ve decided on a Zombie Plague then Typhus becomes an essential component of the list to buff them while also giving that flank a Psyker.
Footslogging Death Guard – Death Guard vs Astra Militarum
Hopefully, there would also be a tough choice to be made between killing the Poxwalkers before they got into close combat range or focusing on the Haulers to stop their anti-tank and cover bonuses. I thought that either way I couldn’t really lose. If you focused on one then the other would get to do their thing.
The Marines then popped up because I like Marines. The Blight Launchers are handy because they are assault weapons. The Poxwalkers and Marines could Advance across the field keeping up with the speedy Haulers and the Blight Launchers could keep on firing. The Chaos Lord also buffed their shots nicely too.
So that’s the right flank.
Oh, and the Tallyman was there because buffing up to 40 Poxwalkers and Typhus was too good to miss. Maybe getting back about 1 in 5 command points was a nice bonus, that happened once.
The left flank was trying out fast-moving airborne Death Guard. Two Plaguespitter drones because they can advance and shoot, are reasonable at anti-armour and are very good at anti-infantry. The ability to charge into combat, then withdraw and shoot the next turn is very handy. They were there to take objectives, wipe out infantry and also ideally to nobble any artillery they could get at. They could charge the artillery, not do much damage to it but tie it down. Flying also meant that it could bounce around over enemy lines and try to get at any buffing characters I might want to take out.
The lawnmower drone is there because it’s ridiculous :-) You still have to pay for the other melee weapon despite never wanting to use it. Its weakness is it’s 4+ WS, which is one reason it was meant to stay with the Prince to get re-rolls of ones to hit and also all failed wound rolls due to his Warlord Trait.
The Prince was also there to be a Psyker, to take out armour and to generate rerolls for the Plaguespitters failed to wound rolls too.
As was it just made seemed to make sense to split him off from the lawnmower. But the mower gets such a big buff from the Prince that that might have been the wrong decision. Maybe a spitter drone should have gone that way while the mower stuck with the Prince.
So that was the theory from my side…
Oh, the Bloat Drones were also there to give “cover” to the Prince both in normal shooting and overwatch. I find the Prince, even with the 2+ armour rather fragile and quite quick to die if he’s focused upon.
Mission & Deployment
We played Targets of Opportunity from Chapter Approved. You draw three cards but these are discarded at the start of the next turn. So you do them then and there or lose them. You can pay 2CP to keep one.
I have not played this one before. Should be interesting!
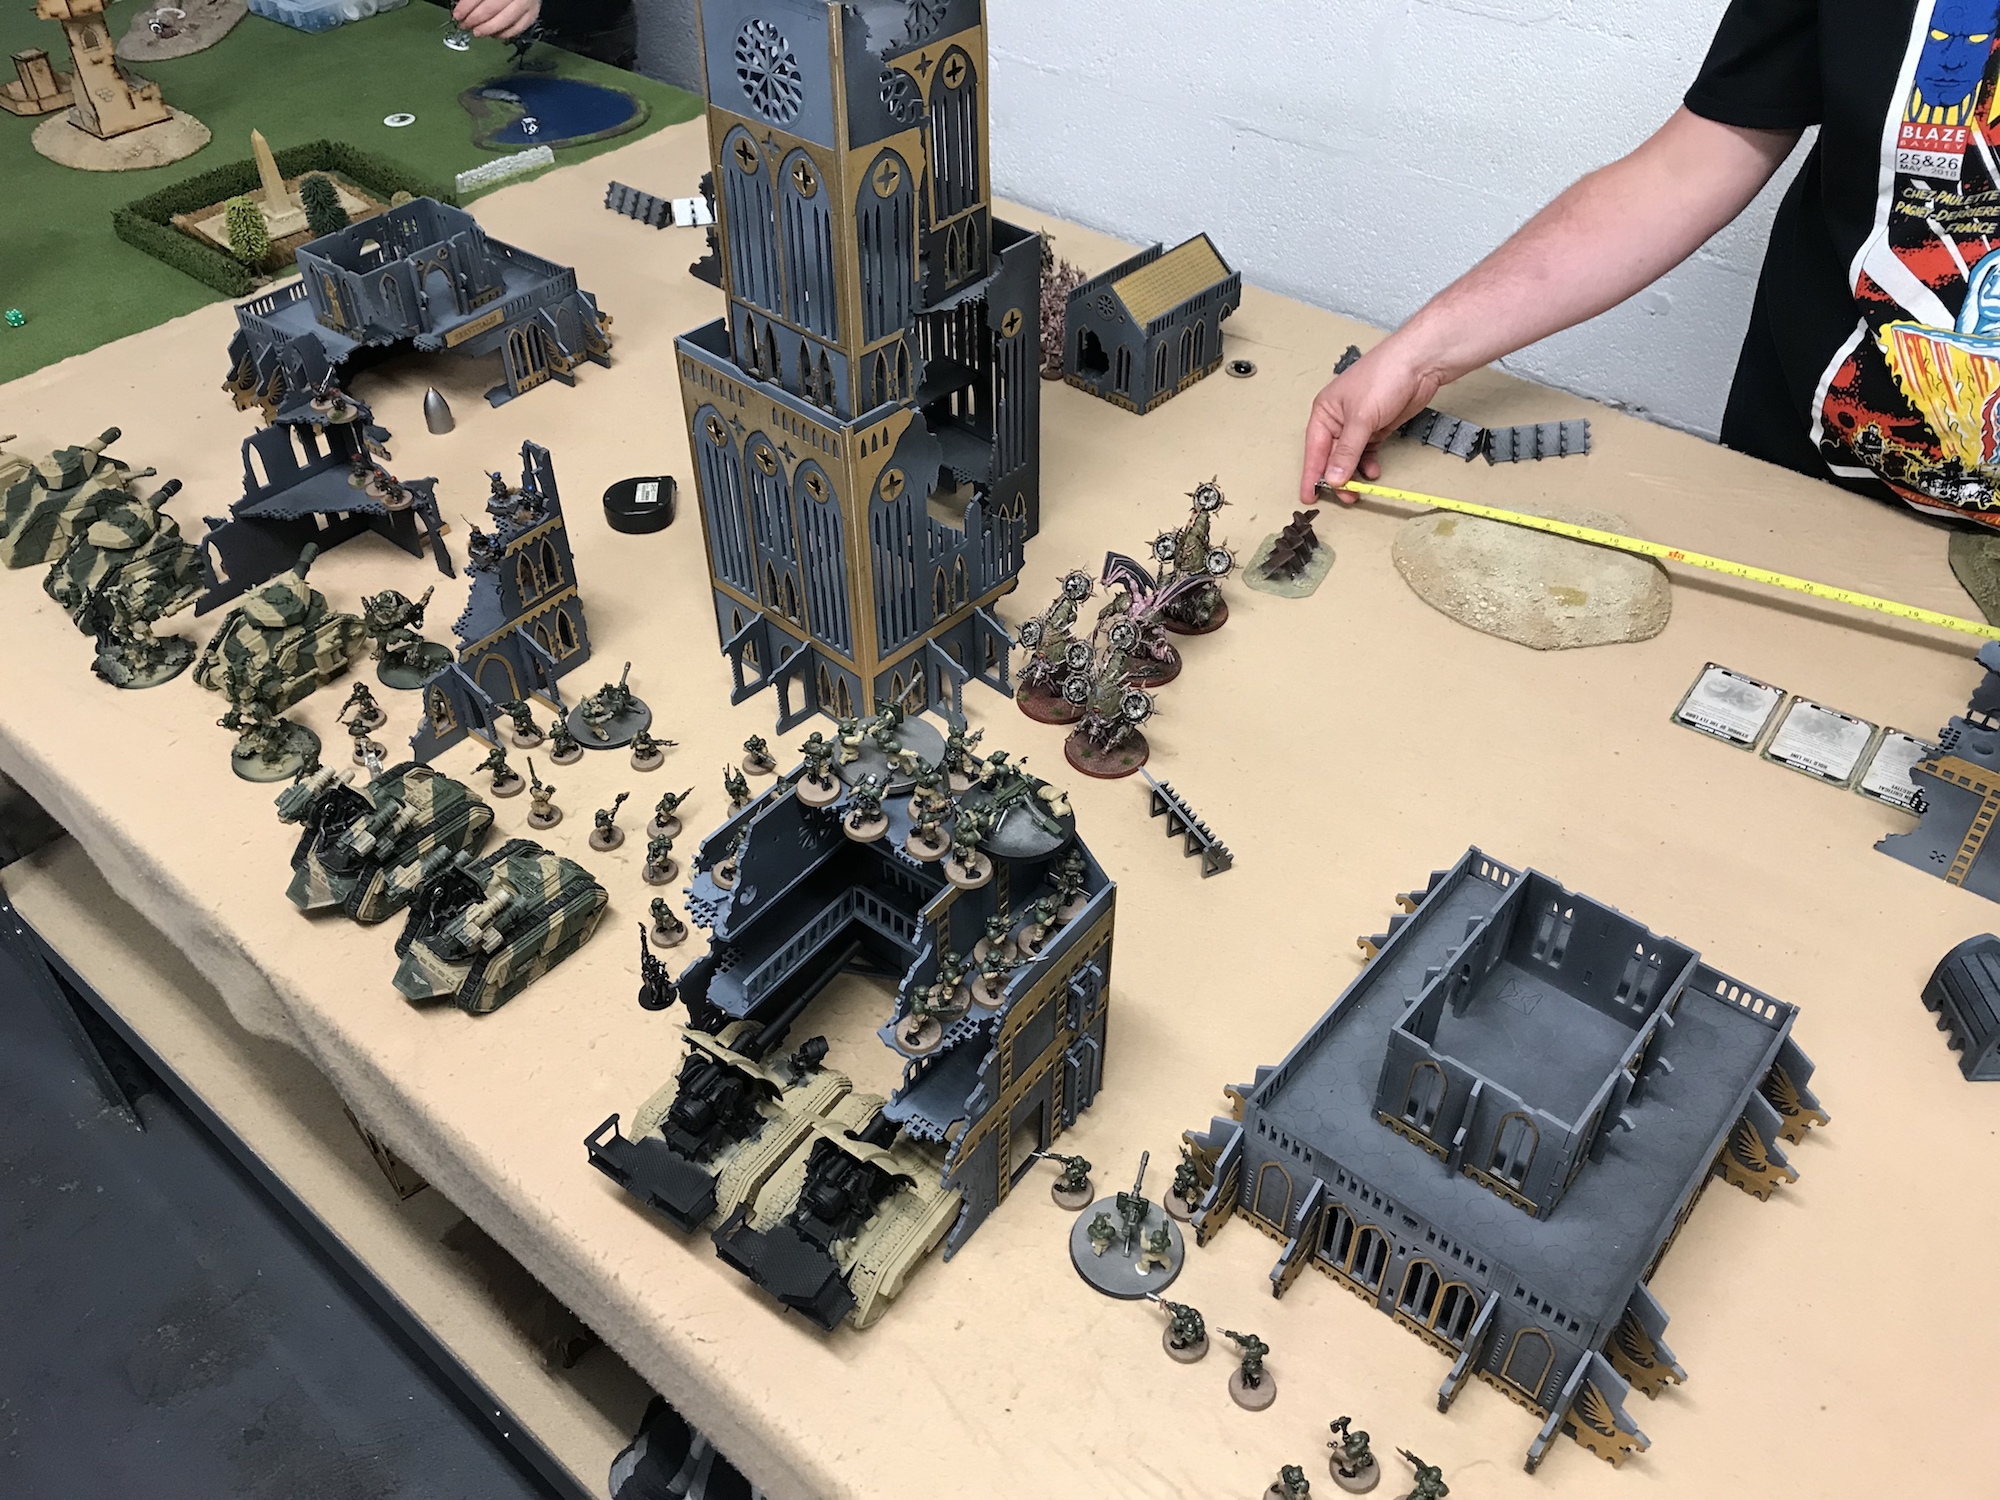
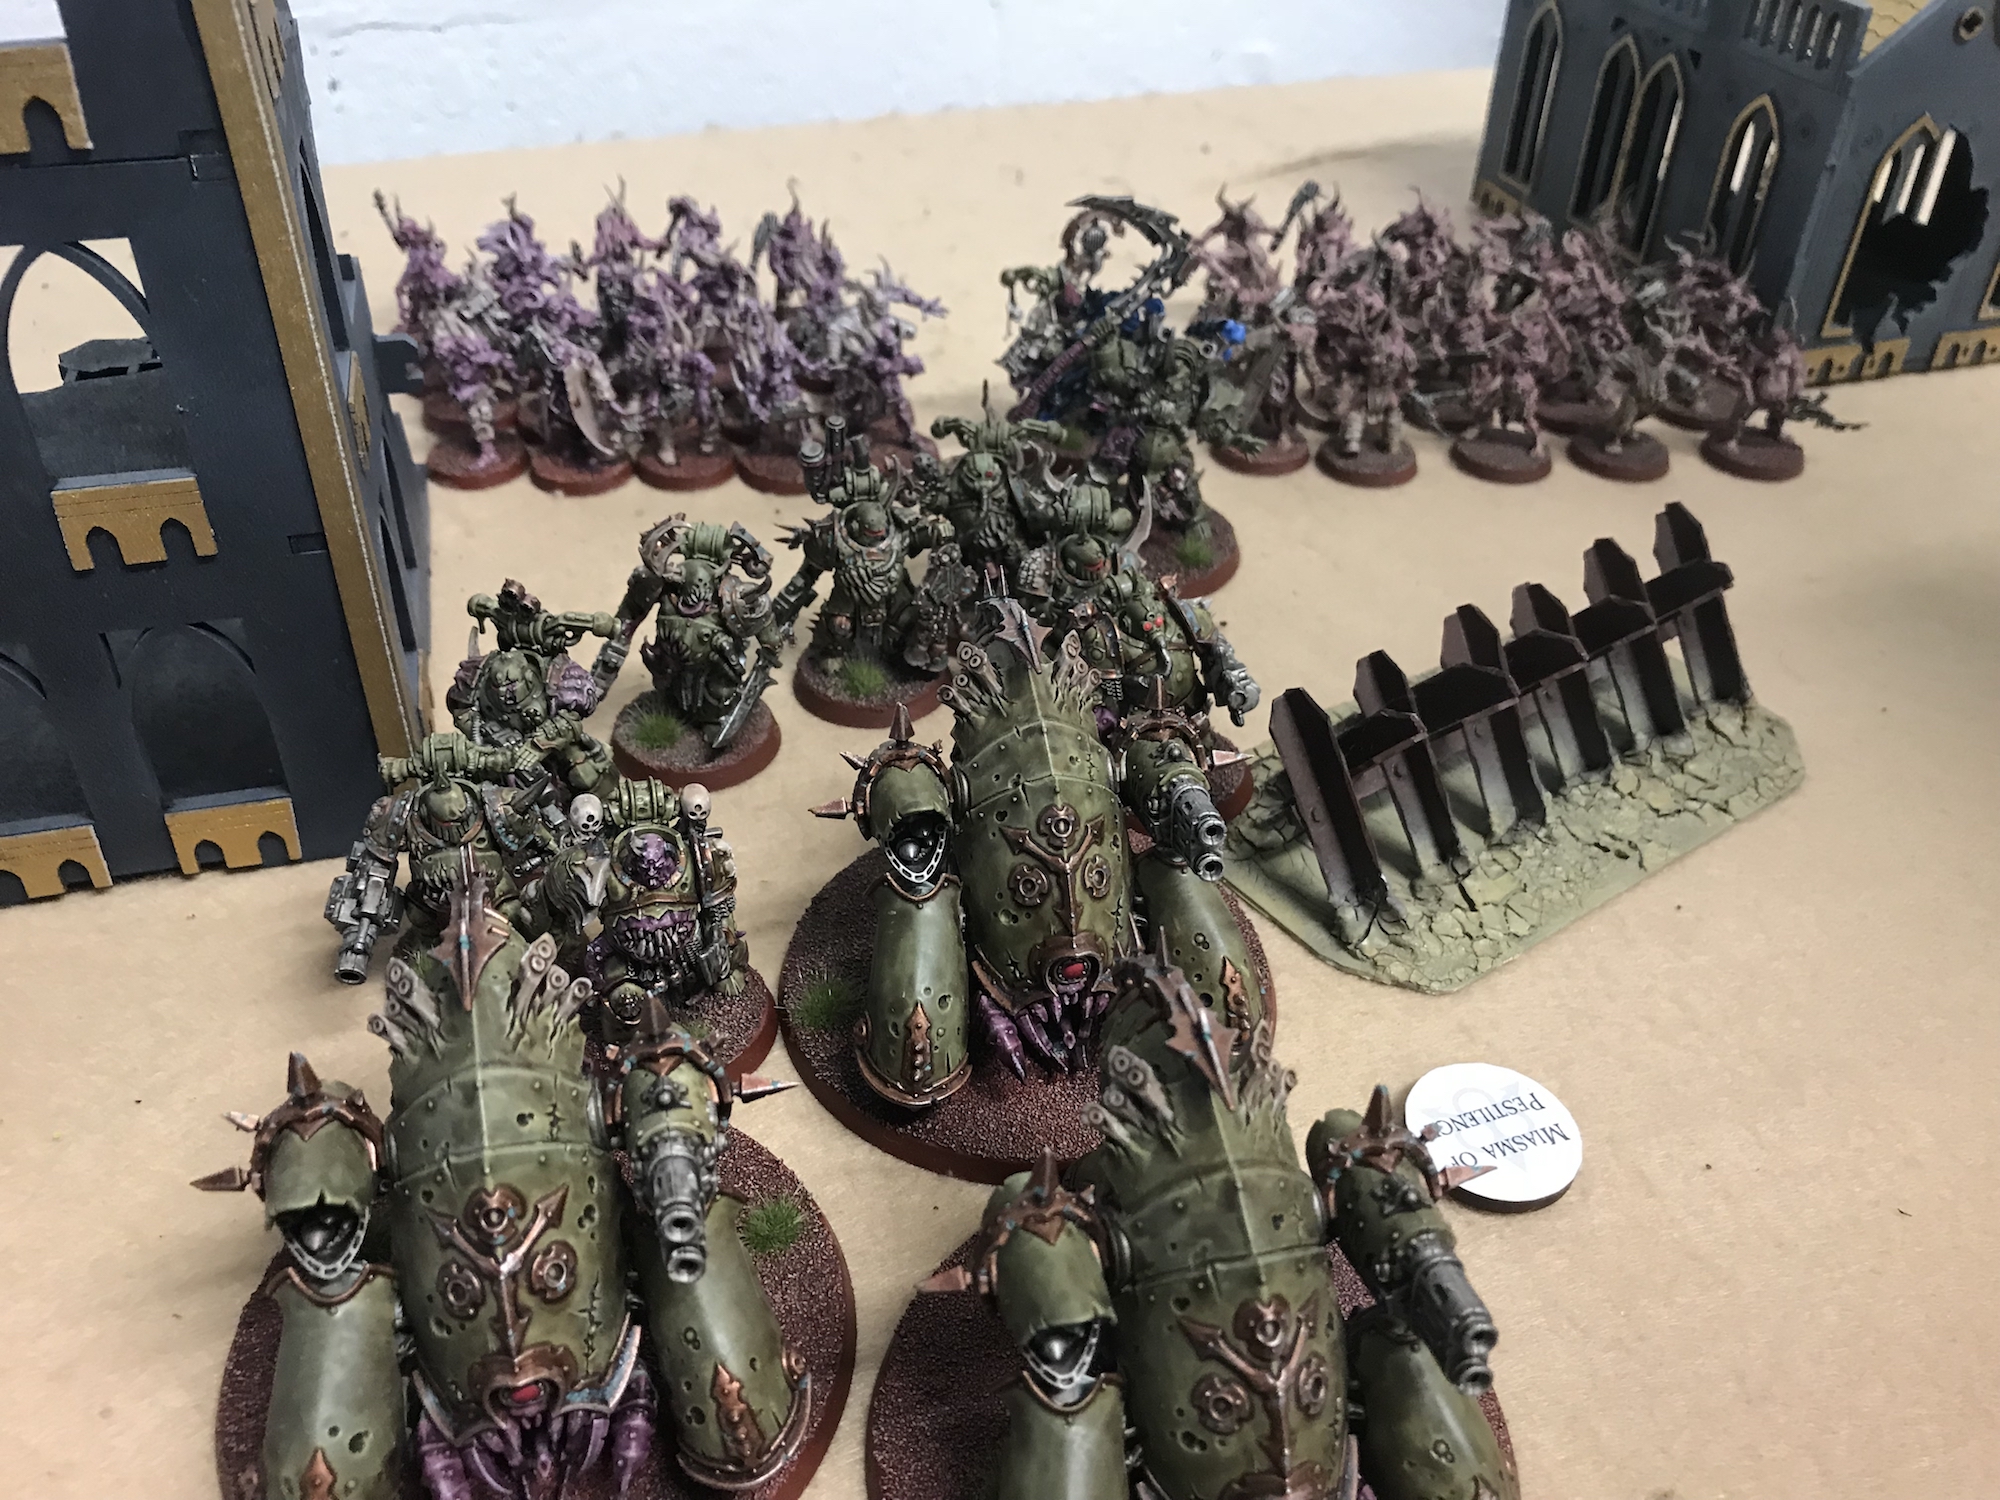
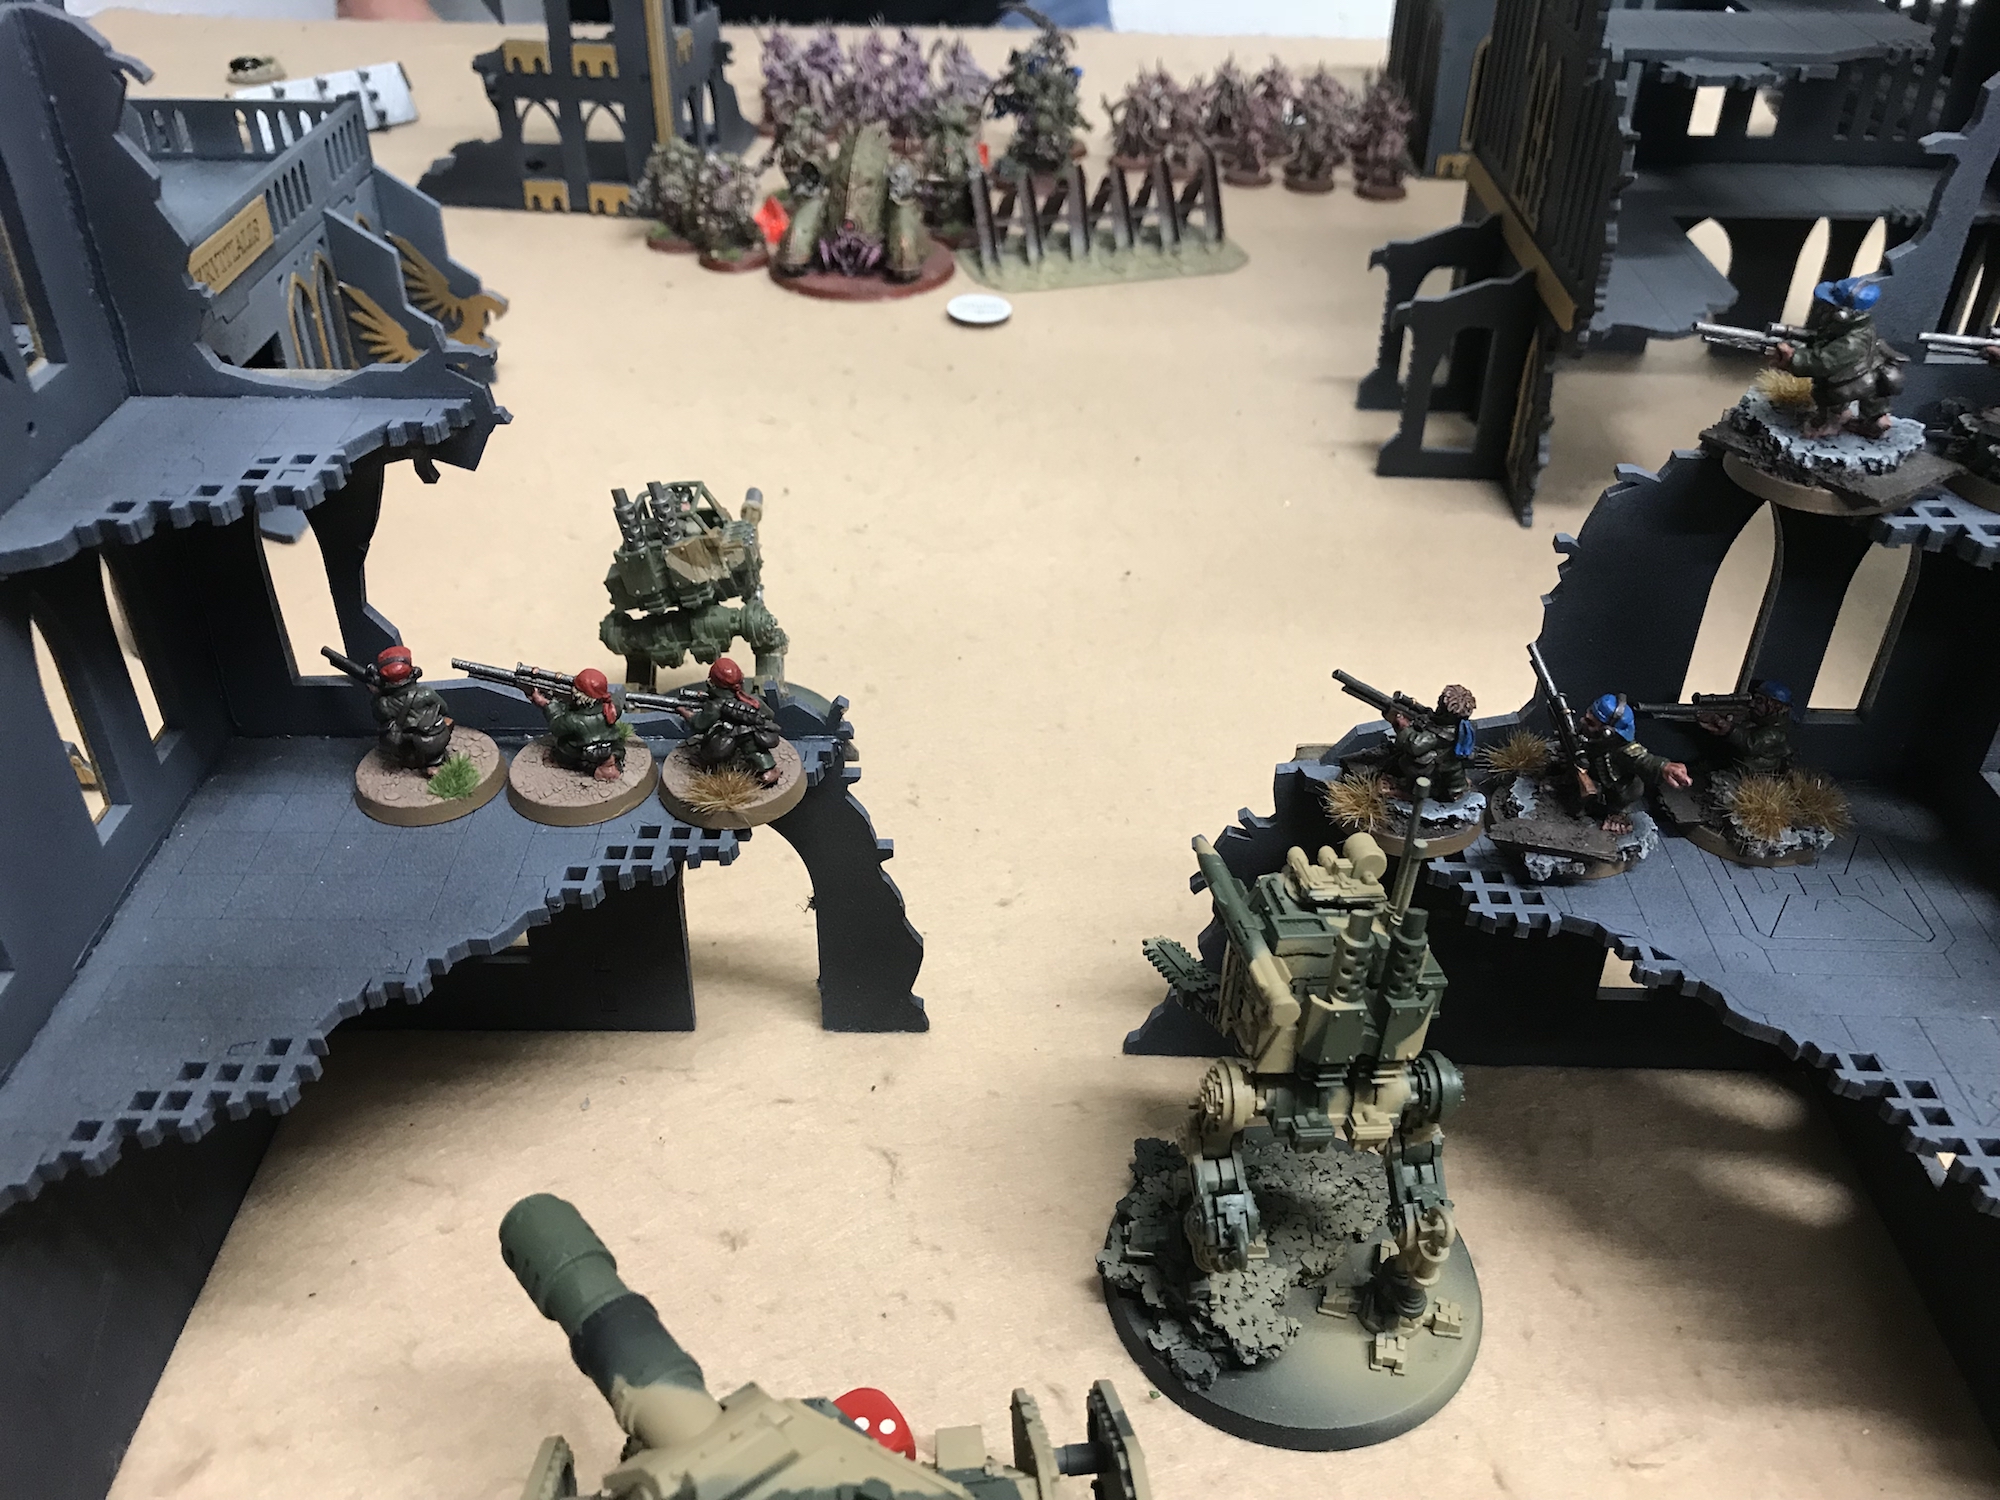
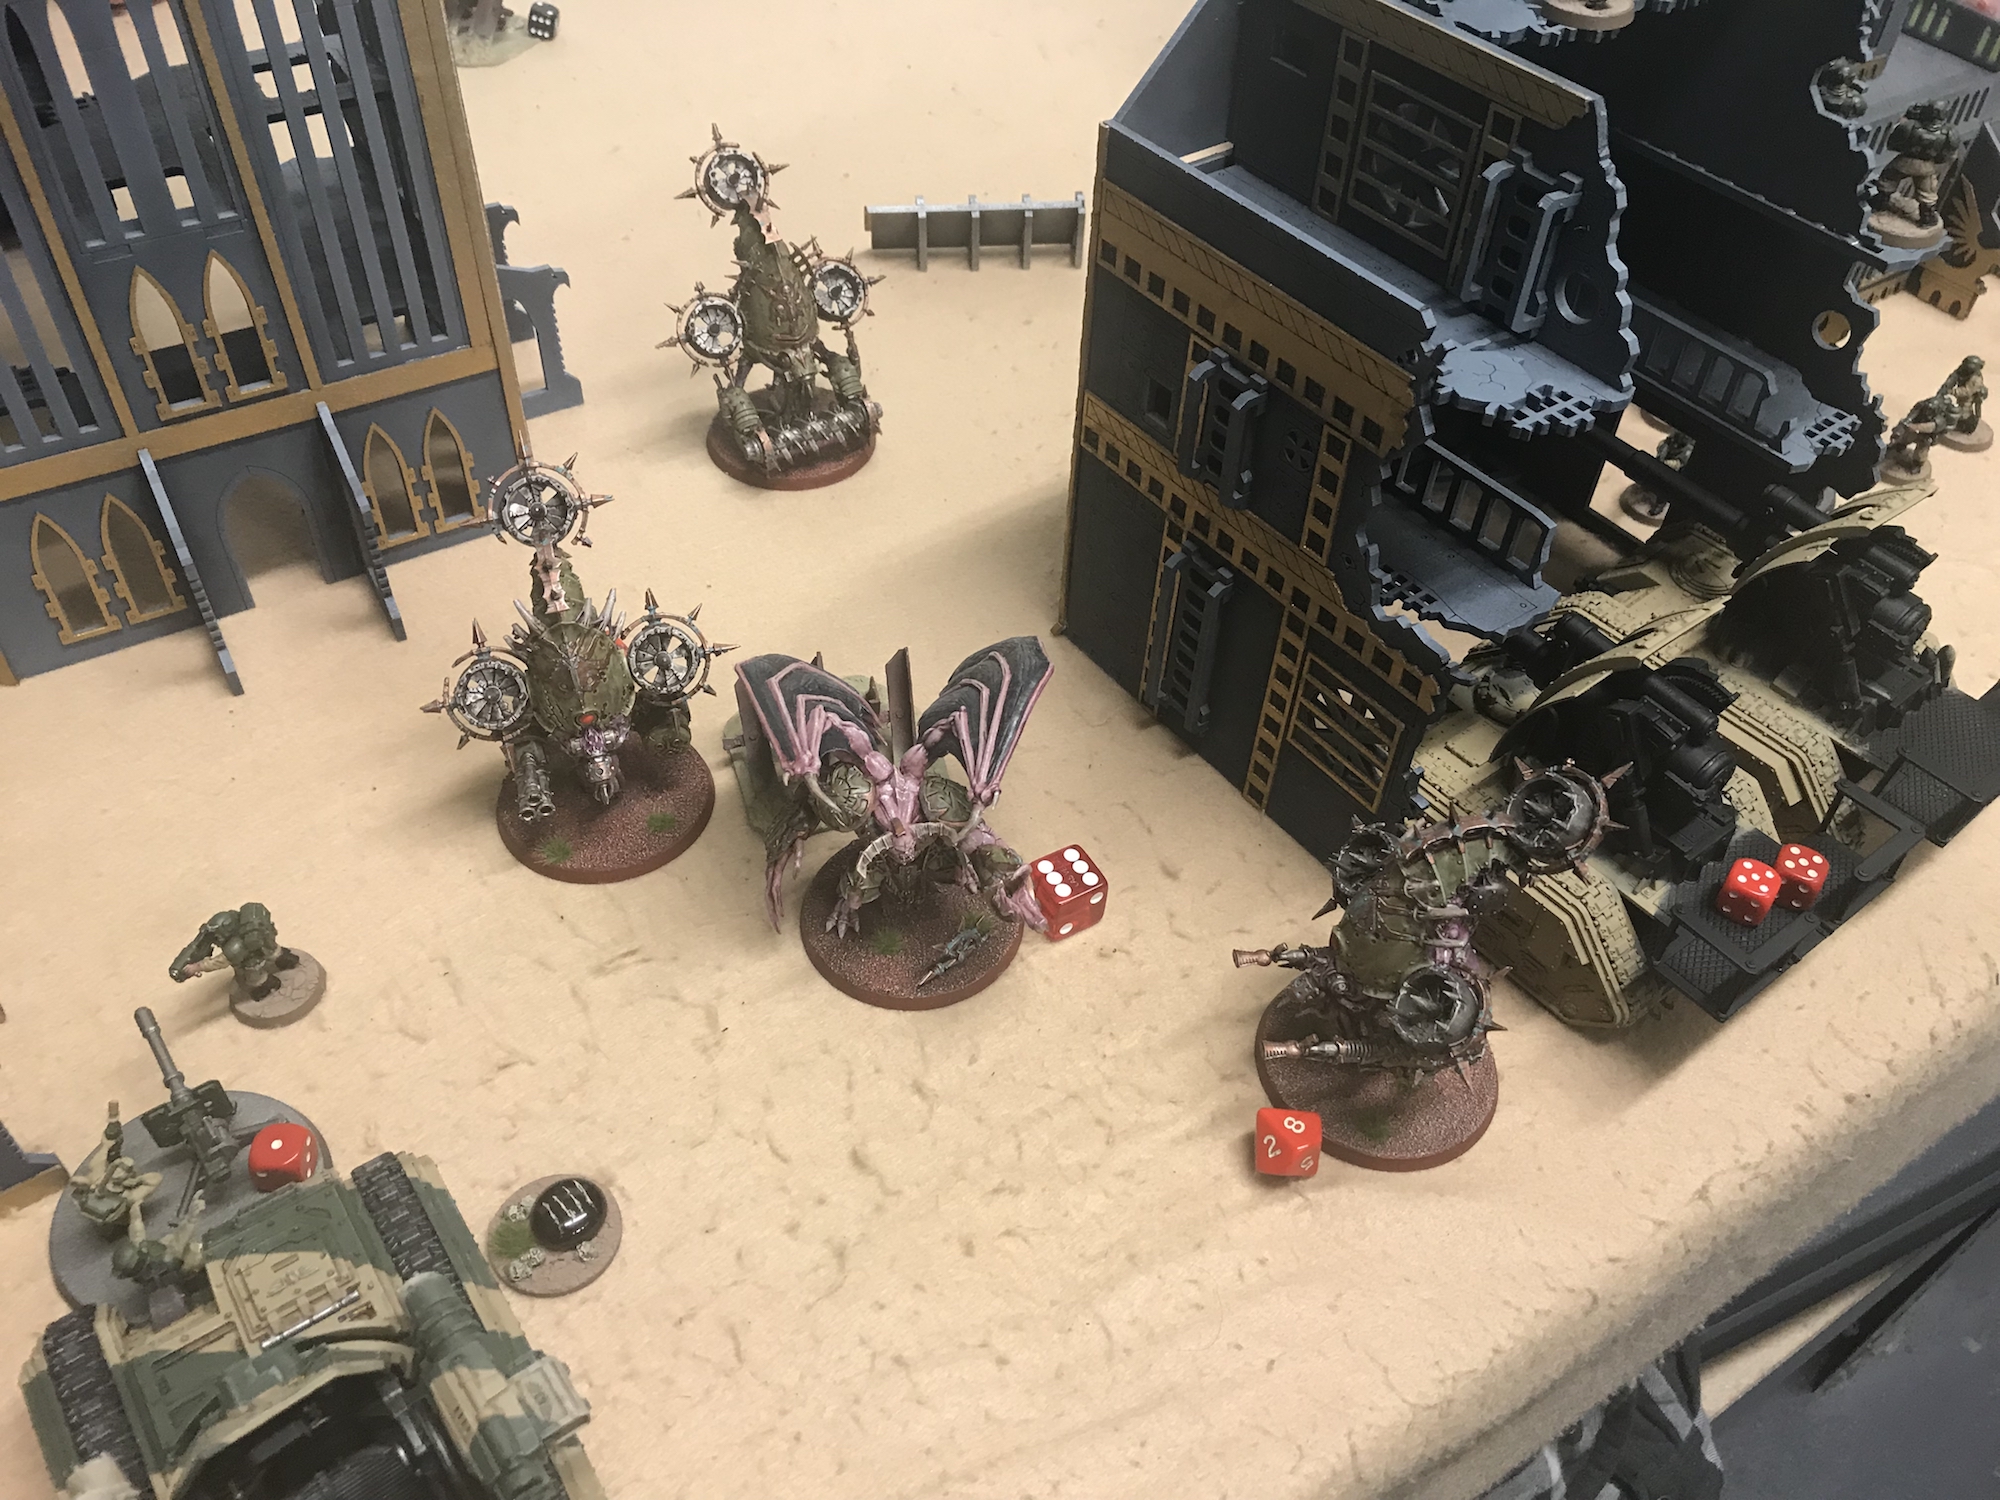
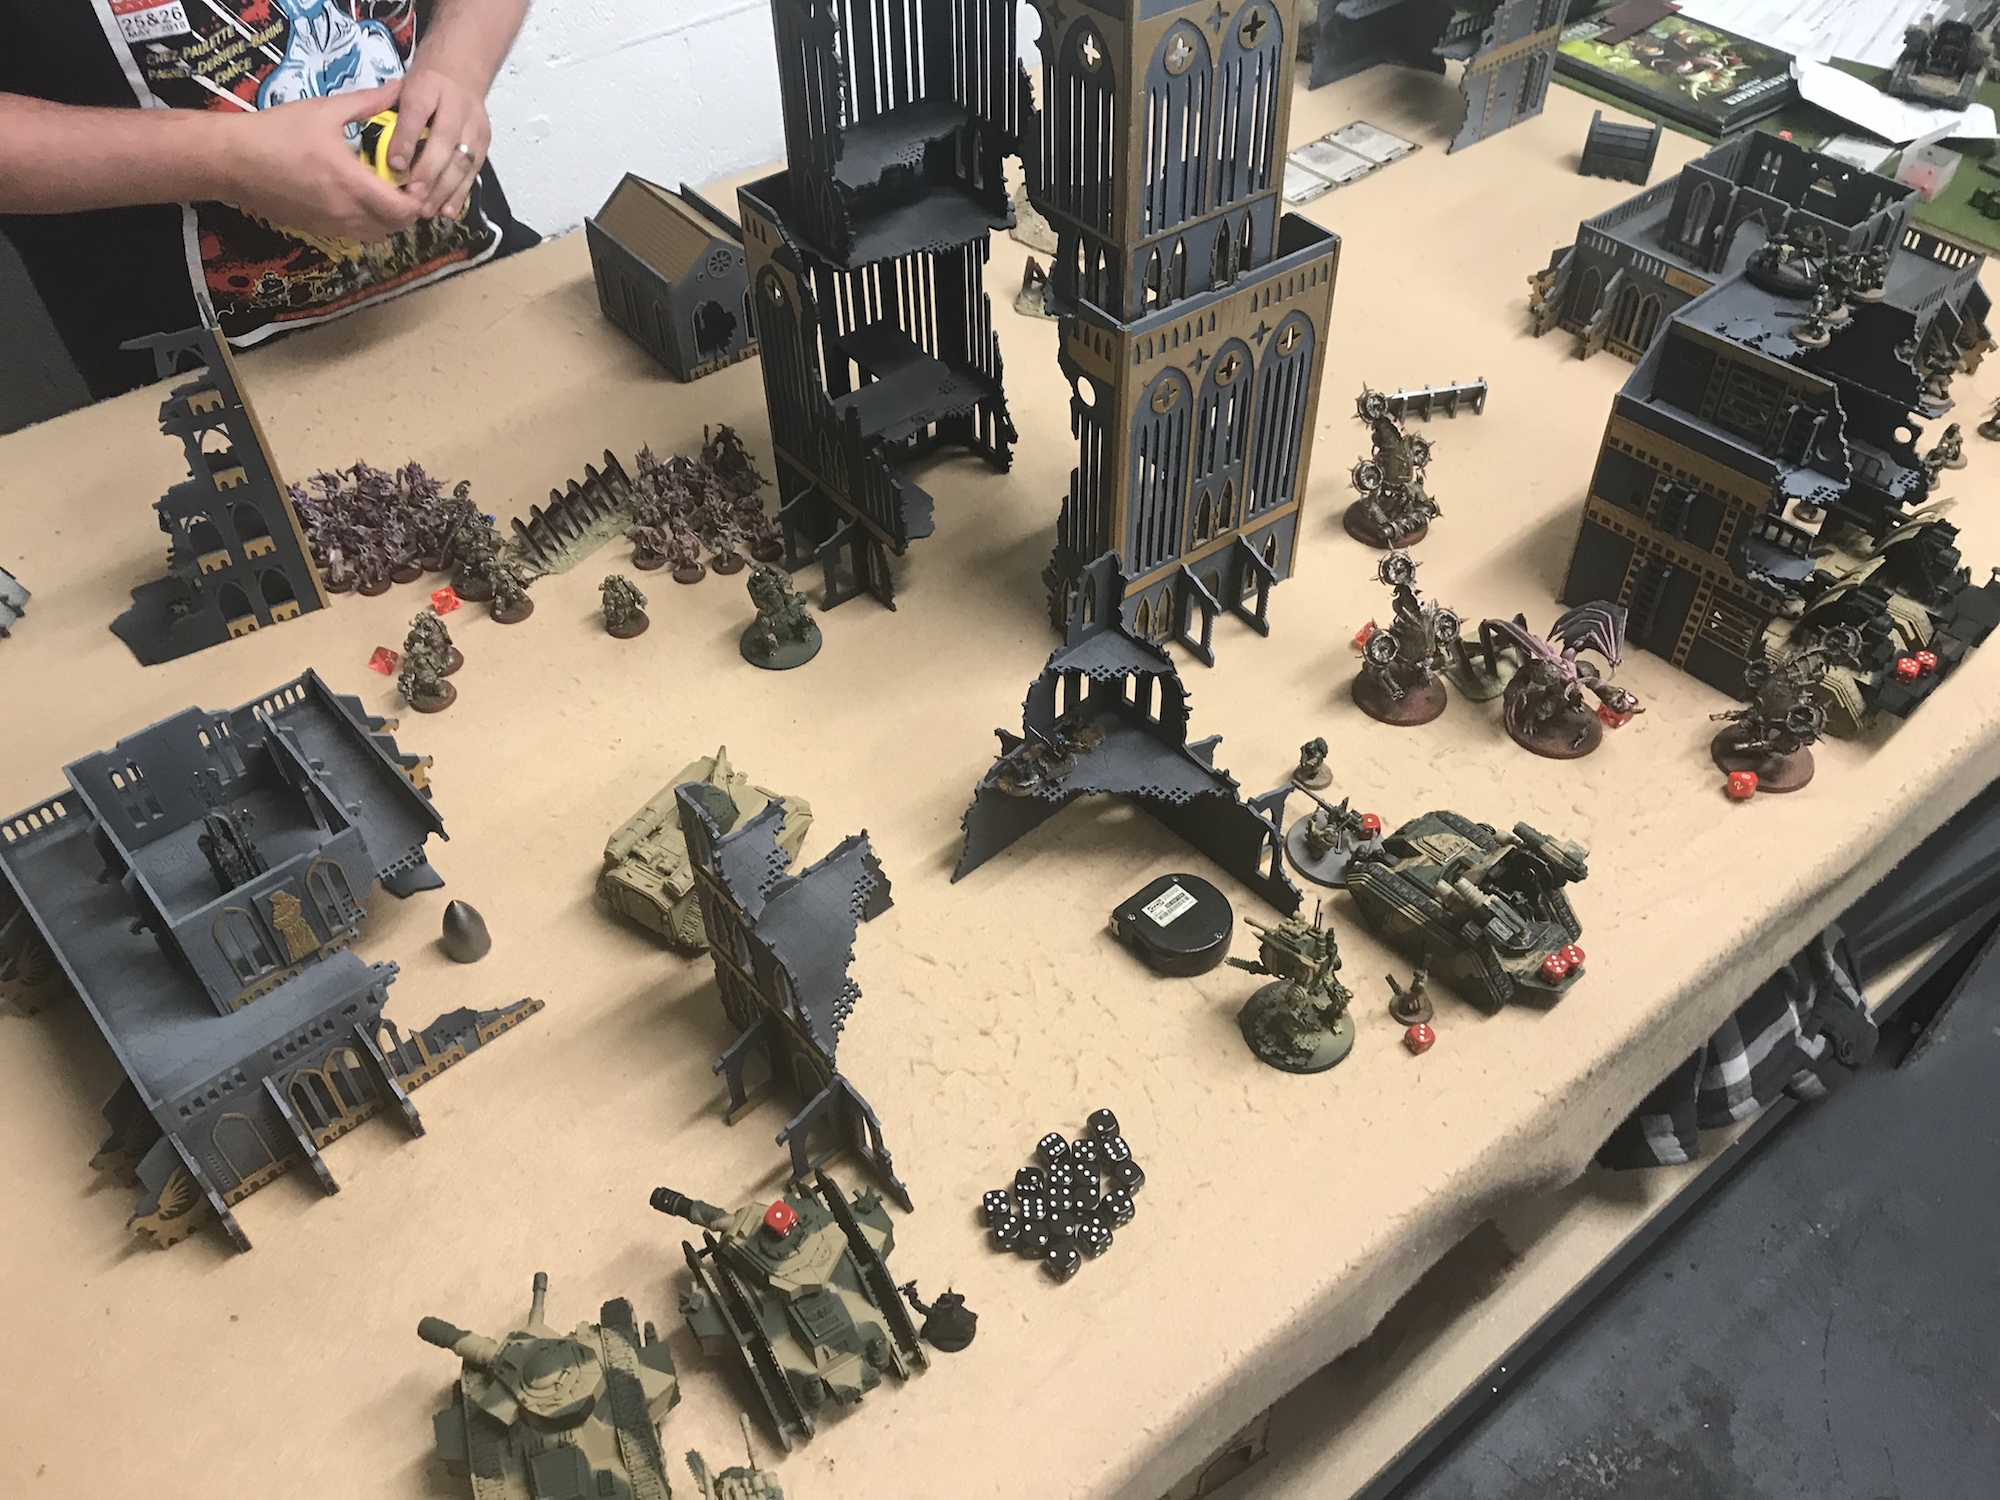
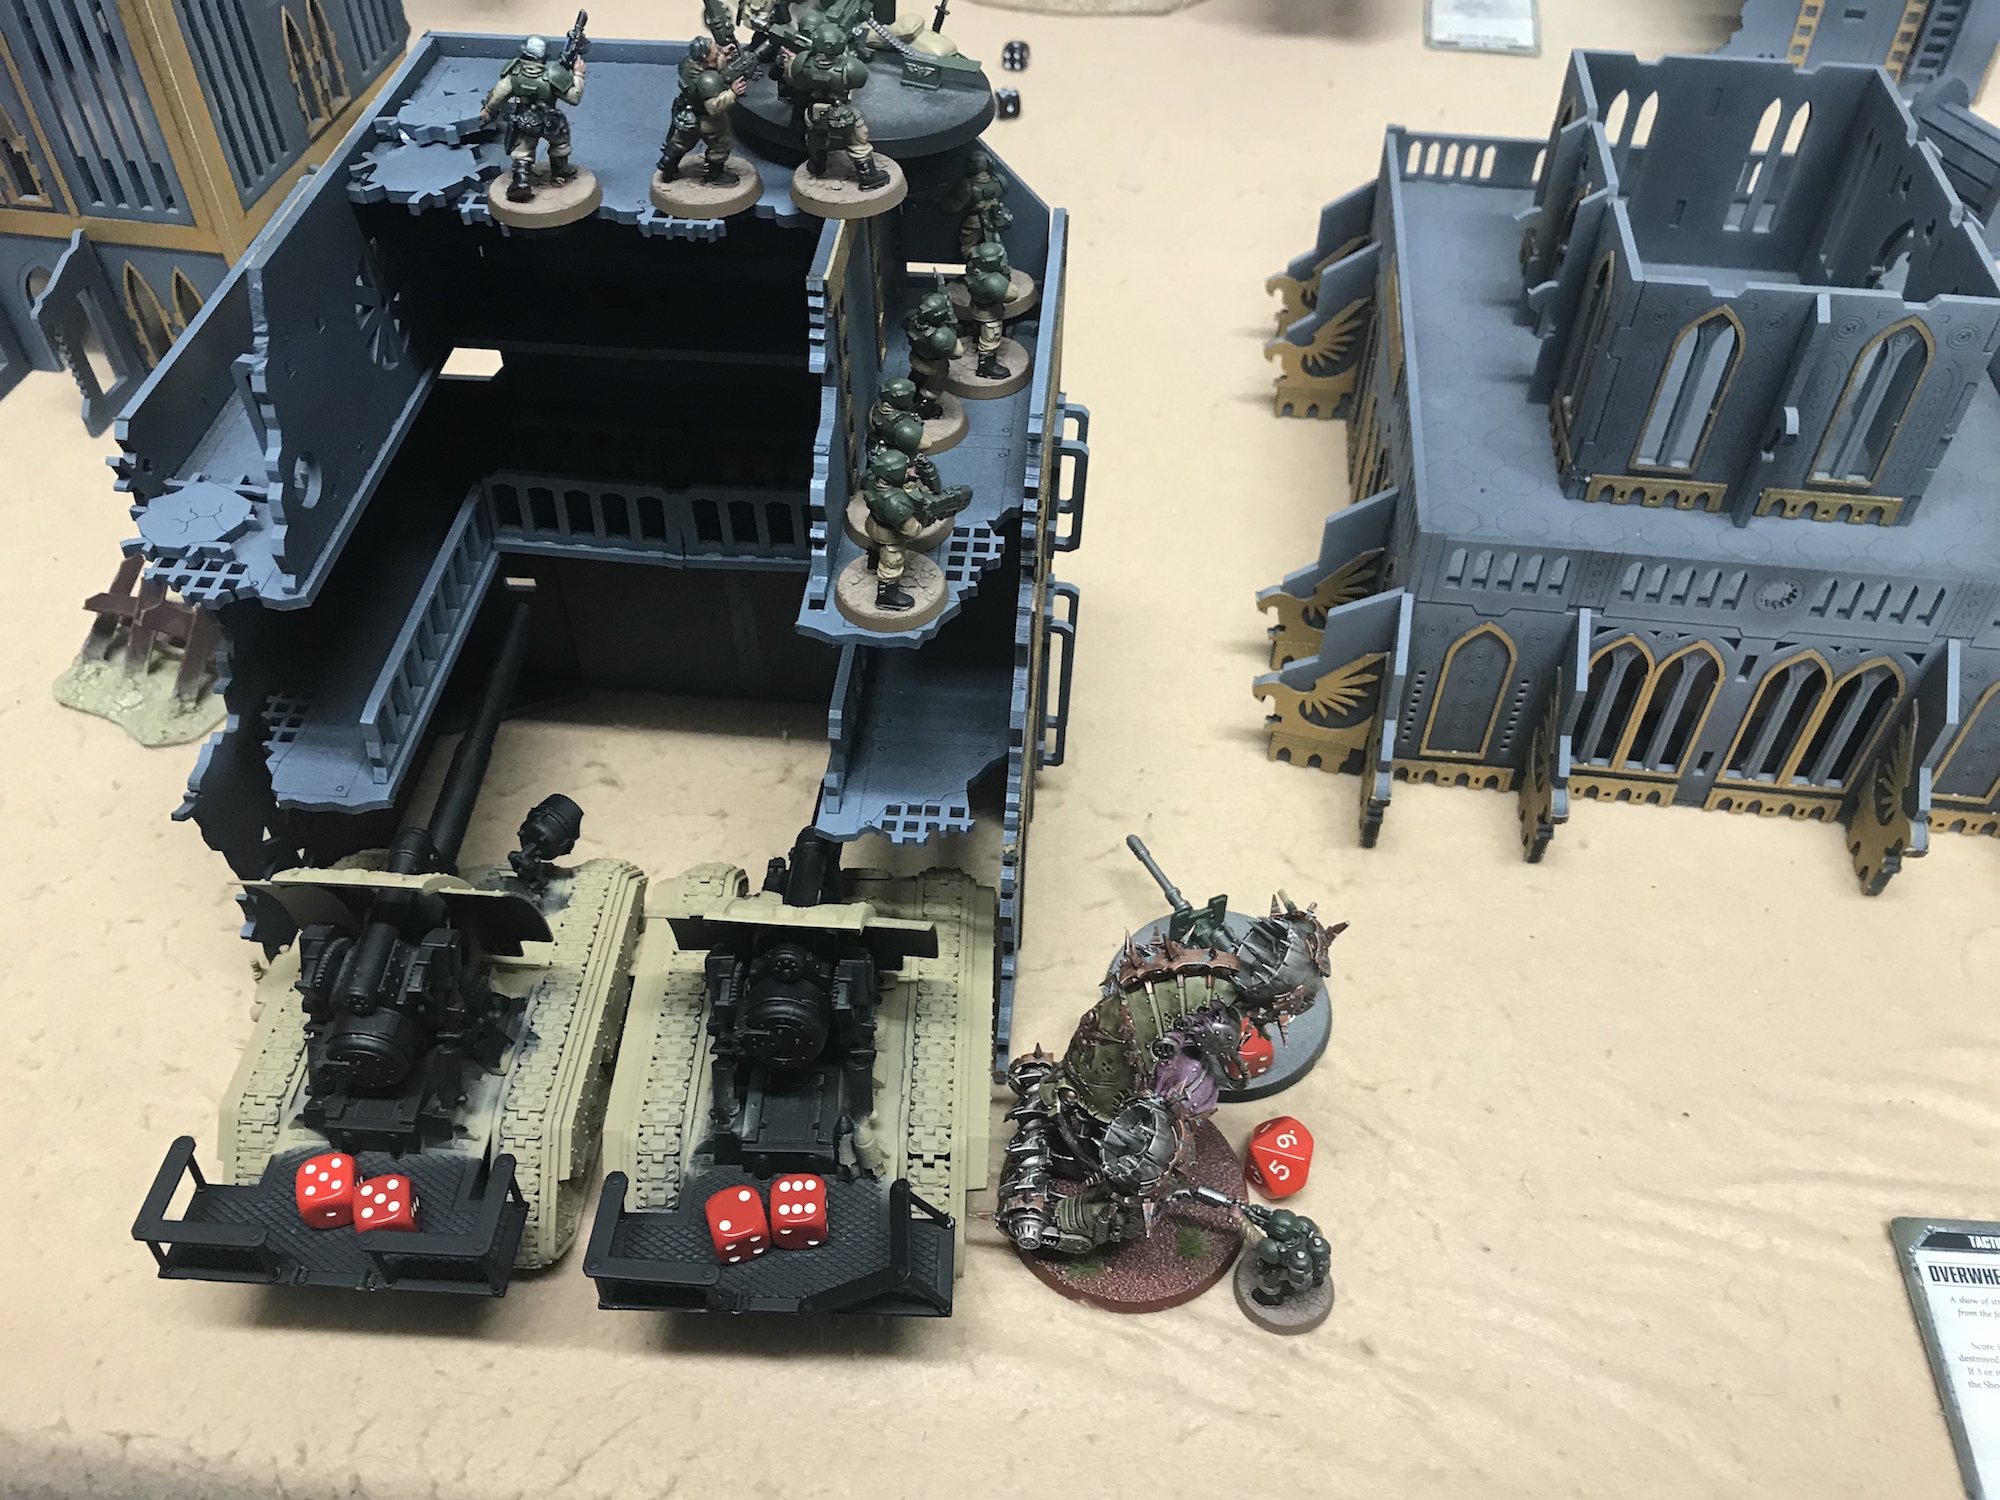
We used the Front-Line Assault map. Which made my deployment somewhat problematic because there wasn’t a lot of room to fit everything onto the board. I tried to wrap my tanks as best I could and deny Deep Striking – although there was none from the Death Guard in this game. I also tried to not leave big gaps for things like the Bloat Drones to fit into.
The Death Guard deployed in two distinct parts. One was the three Drones and the Demon Prince – all can Fly. And the other was everything else that would need to footslog across the board. The Choas Lord, Typhus and the Tallyman were all in that blob of units to give out numerous benefits.

The Flying Element – Death Guard vs Astra Militarum
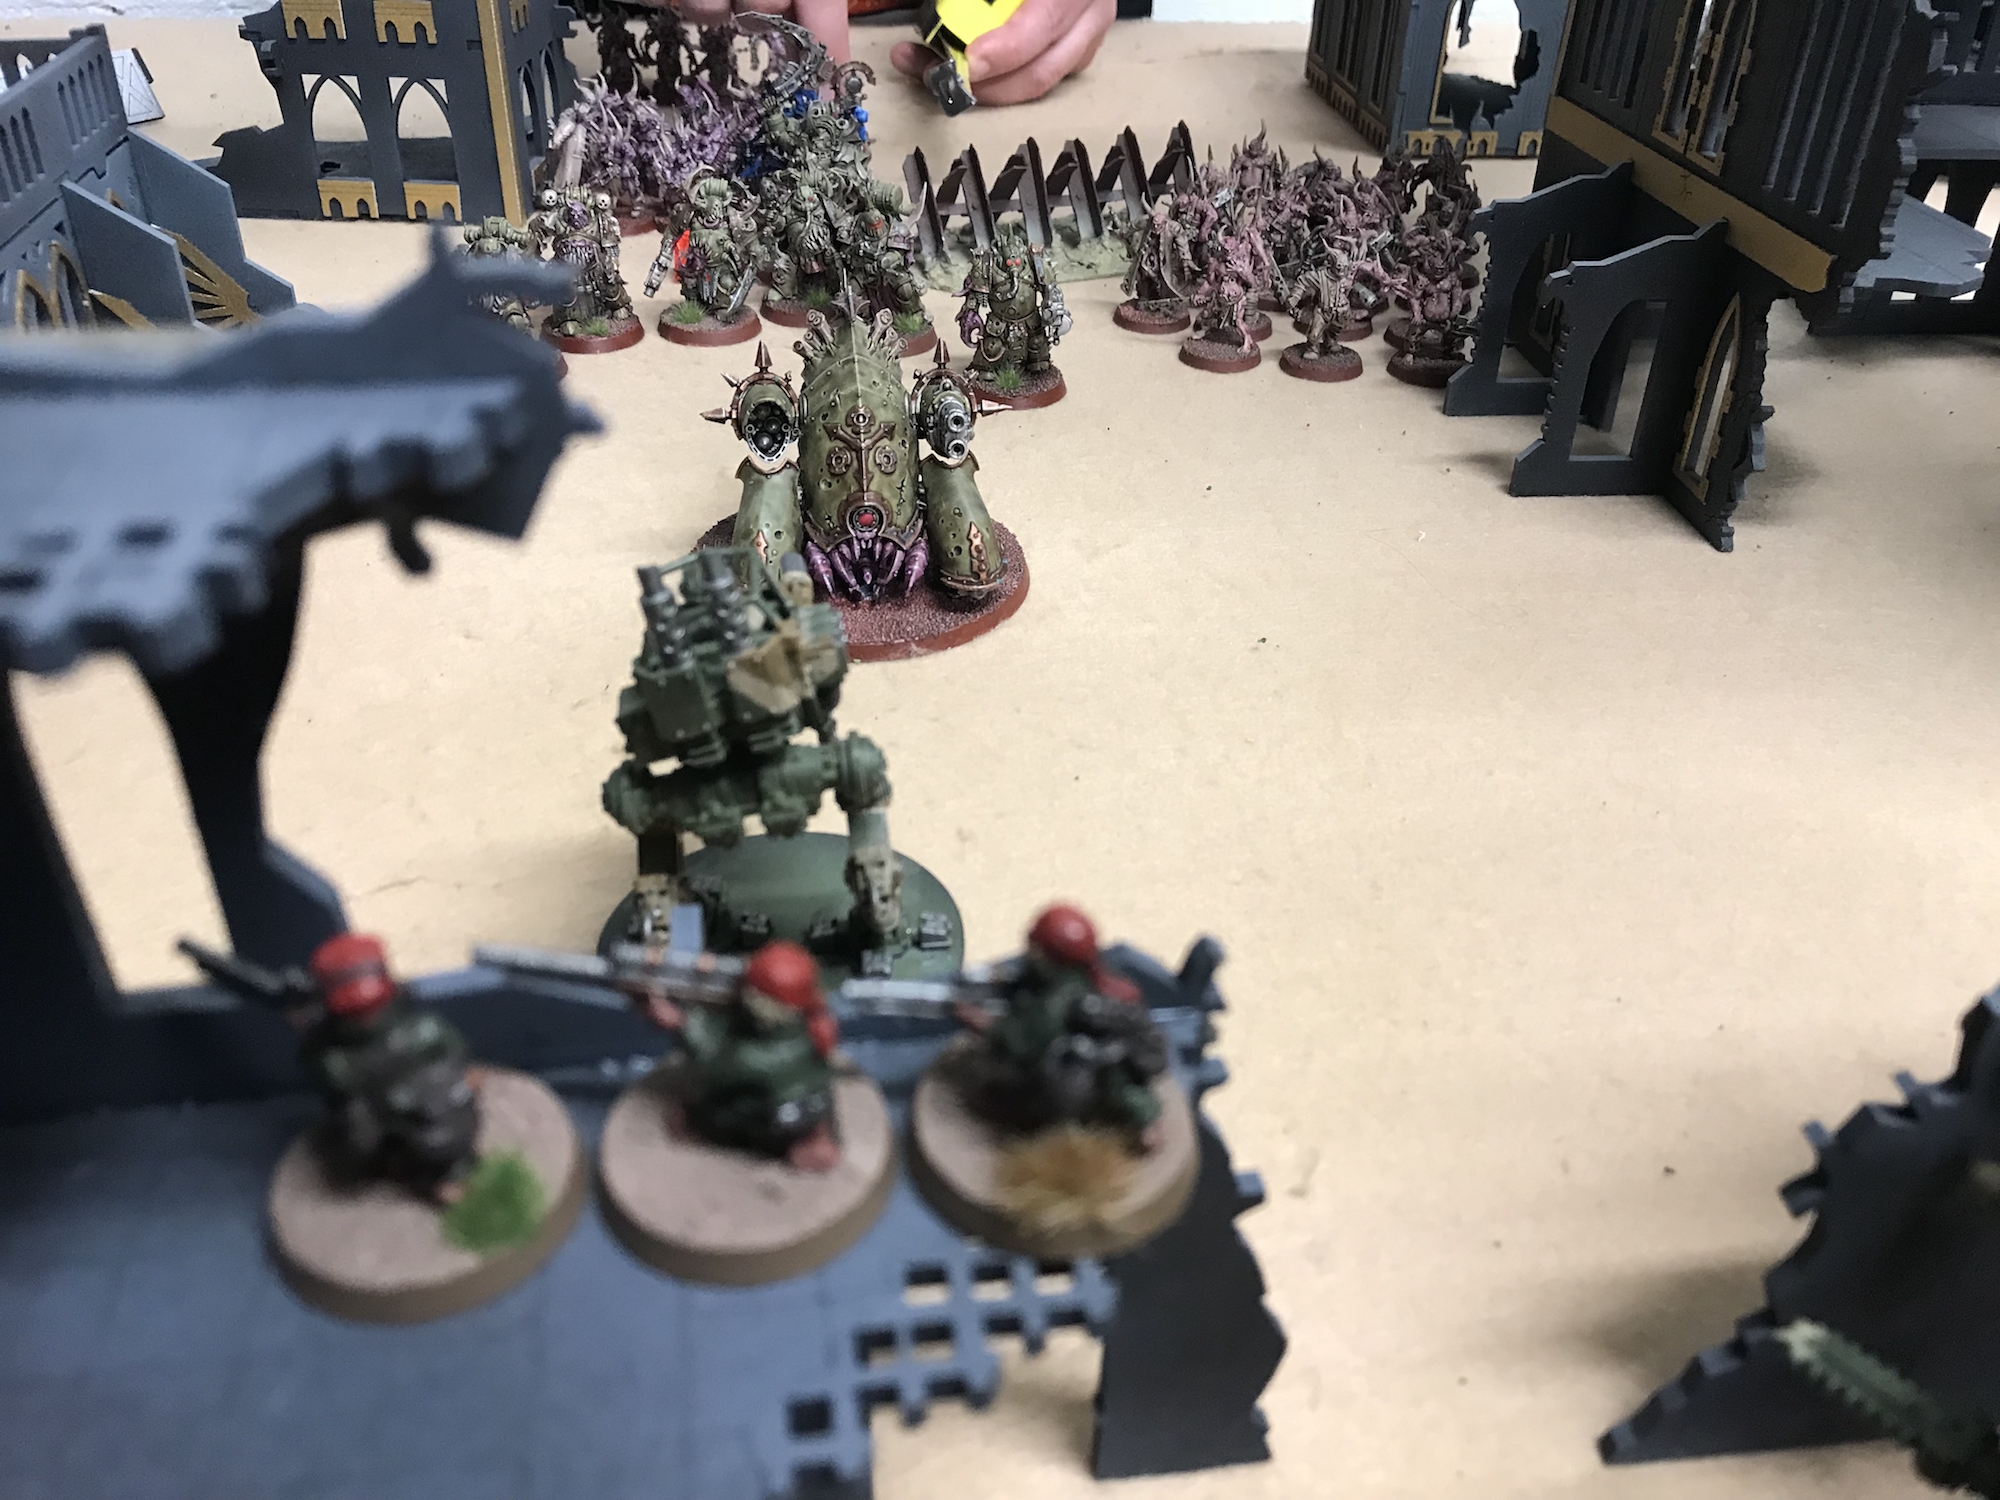
Death Guard – Turn 1
Everything moved up – the movement phase was simple. I hadn’t realised how slow the Death Guard can be – Typhus for example. So he and the Poxwalkers Advanced.
The Haulers were out of Melta range but opened up on a Leman Russ, reducing it to three wounds. But no First Blood.
The flying units on the other side went after my infantry who didn’t survive and gave the Death Guard First Blood. This left me with fewer models to pad out my Basilisks and Wyverns.
The Forces of Nurgle Move Up – Death Guard vs Astra Militarum
Astra Militarum- Turn 1
I didn’t move much because the Death Guard were coming to me. The Hellhound moved up to get a shot off and a Sentinel moved up to slow the advance of the enemy into my lines.
Look Out!
There wasn’t any point in moving up my infantry in my right to slow the flying portion of the enemy’s forces as they’d just fly right over me and into my artillery. So I had to sit tight there.
I realise now that there is a big difference between defending against Fly units that want to charge you and defending against regular units. With flying units, you have to be very careful with your spacing because they can jump over and get in with multi-charges. I was careful with my positioning to ensure they couldn’t get in.

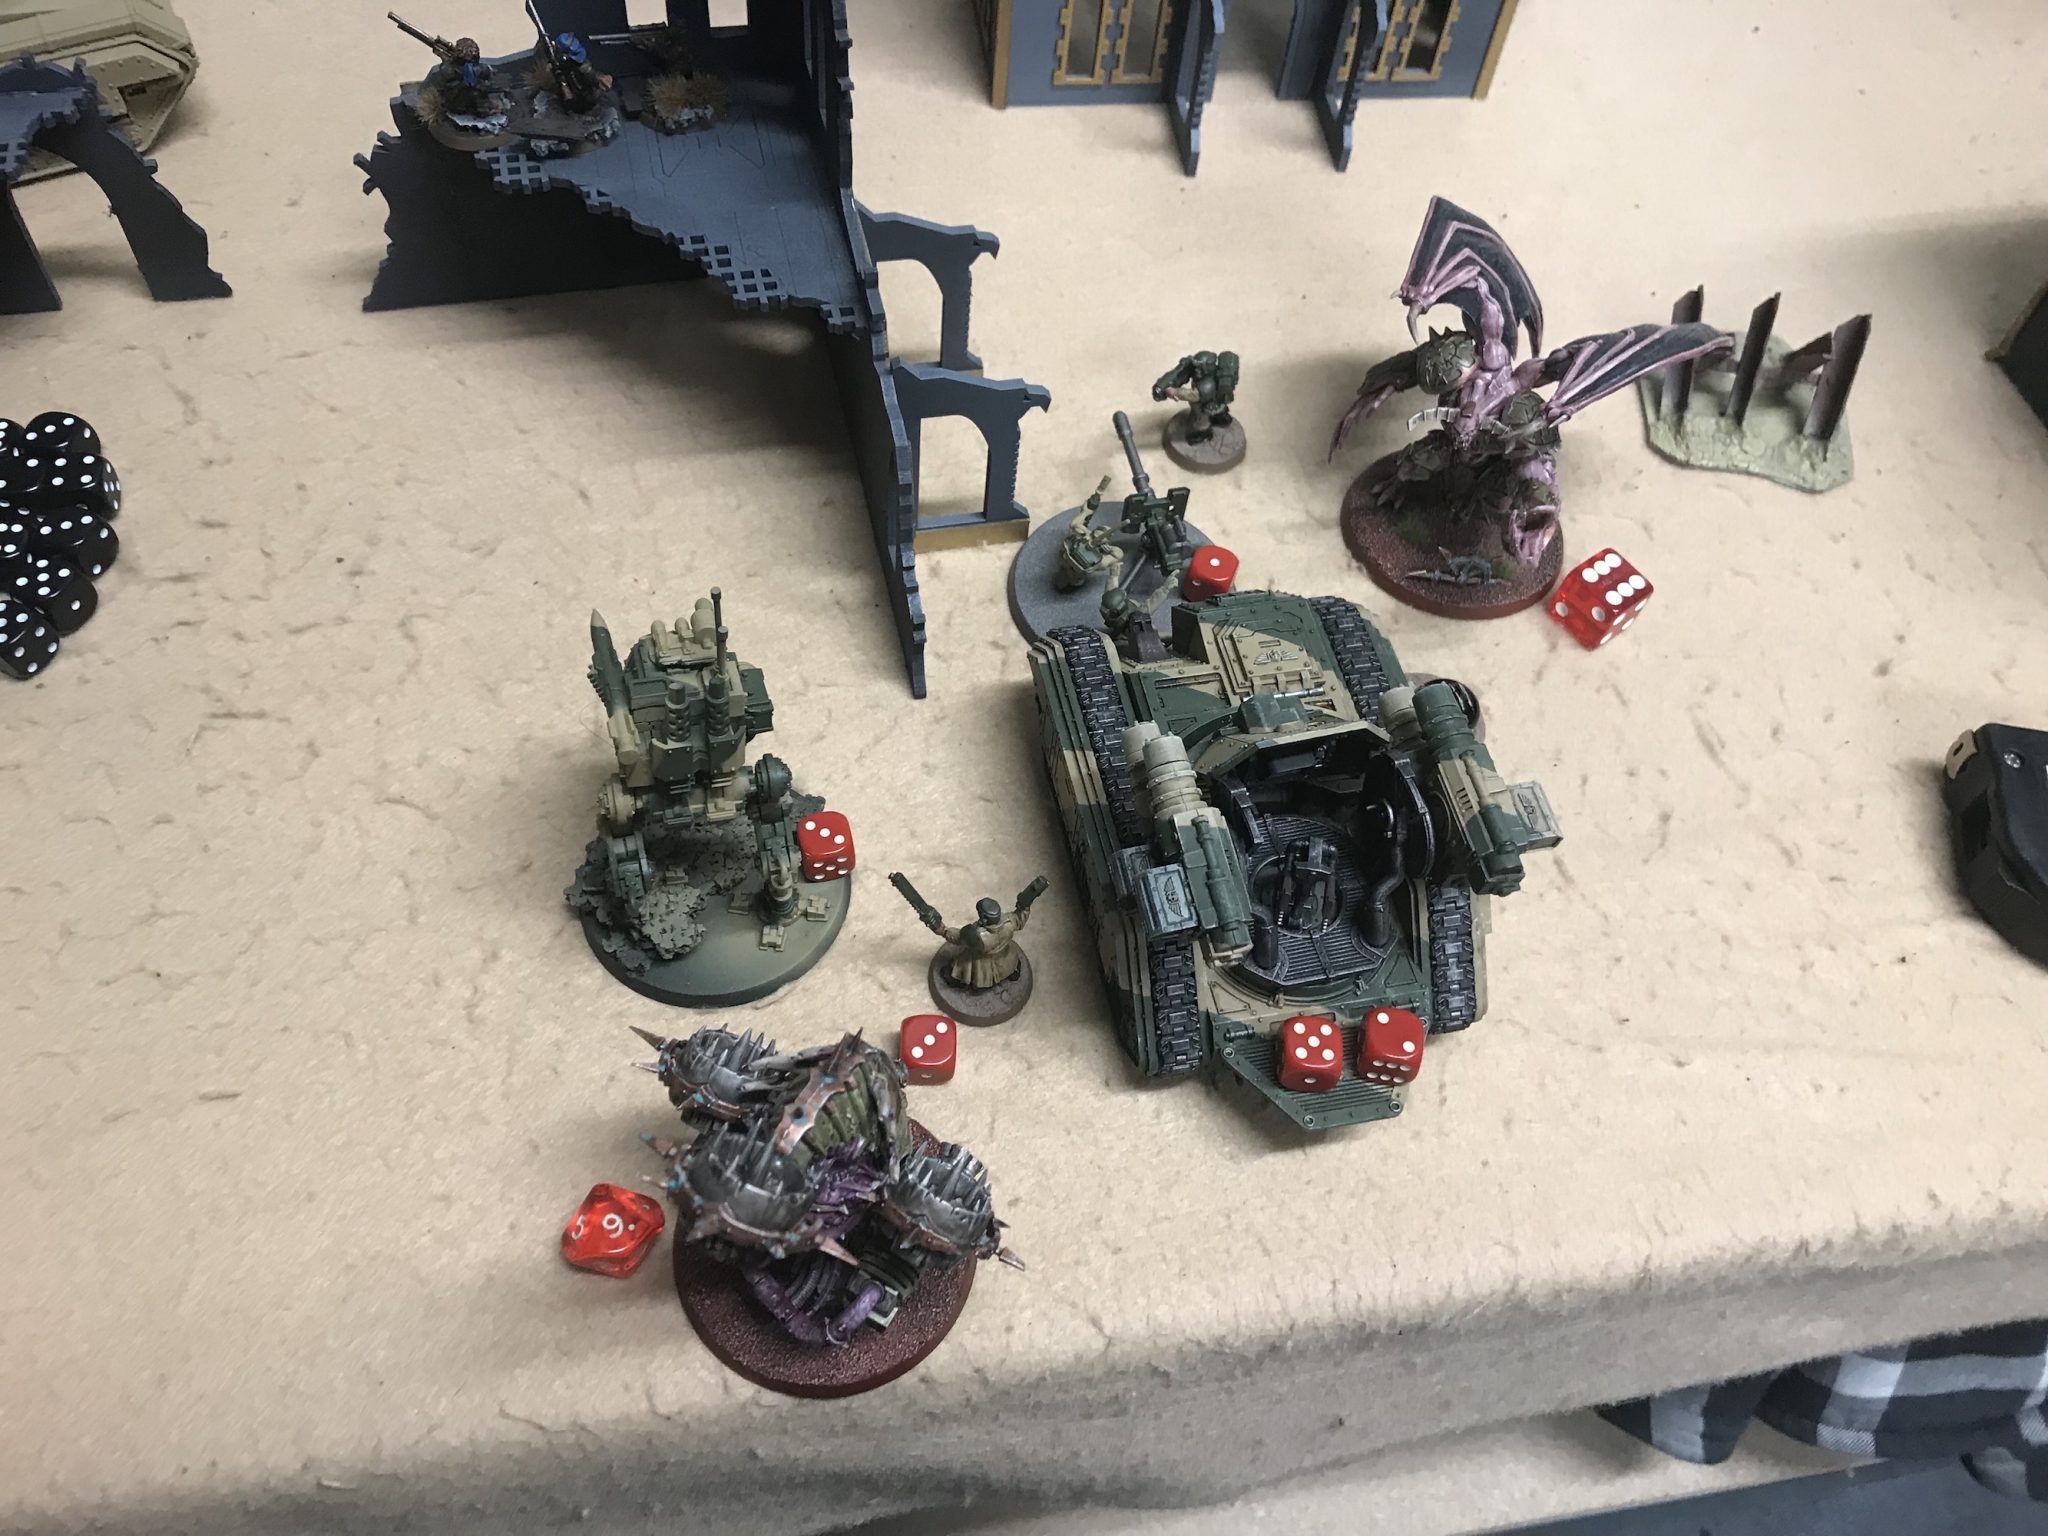
A worried Wyvern – Death Guard vs Astra Militarum
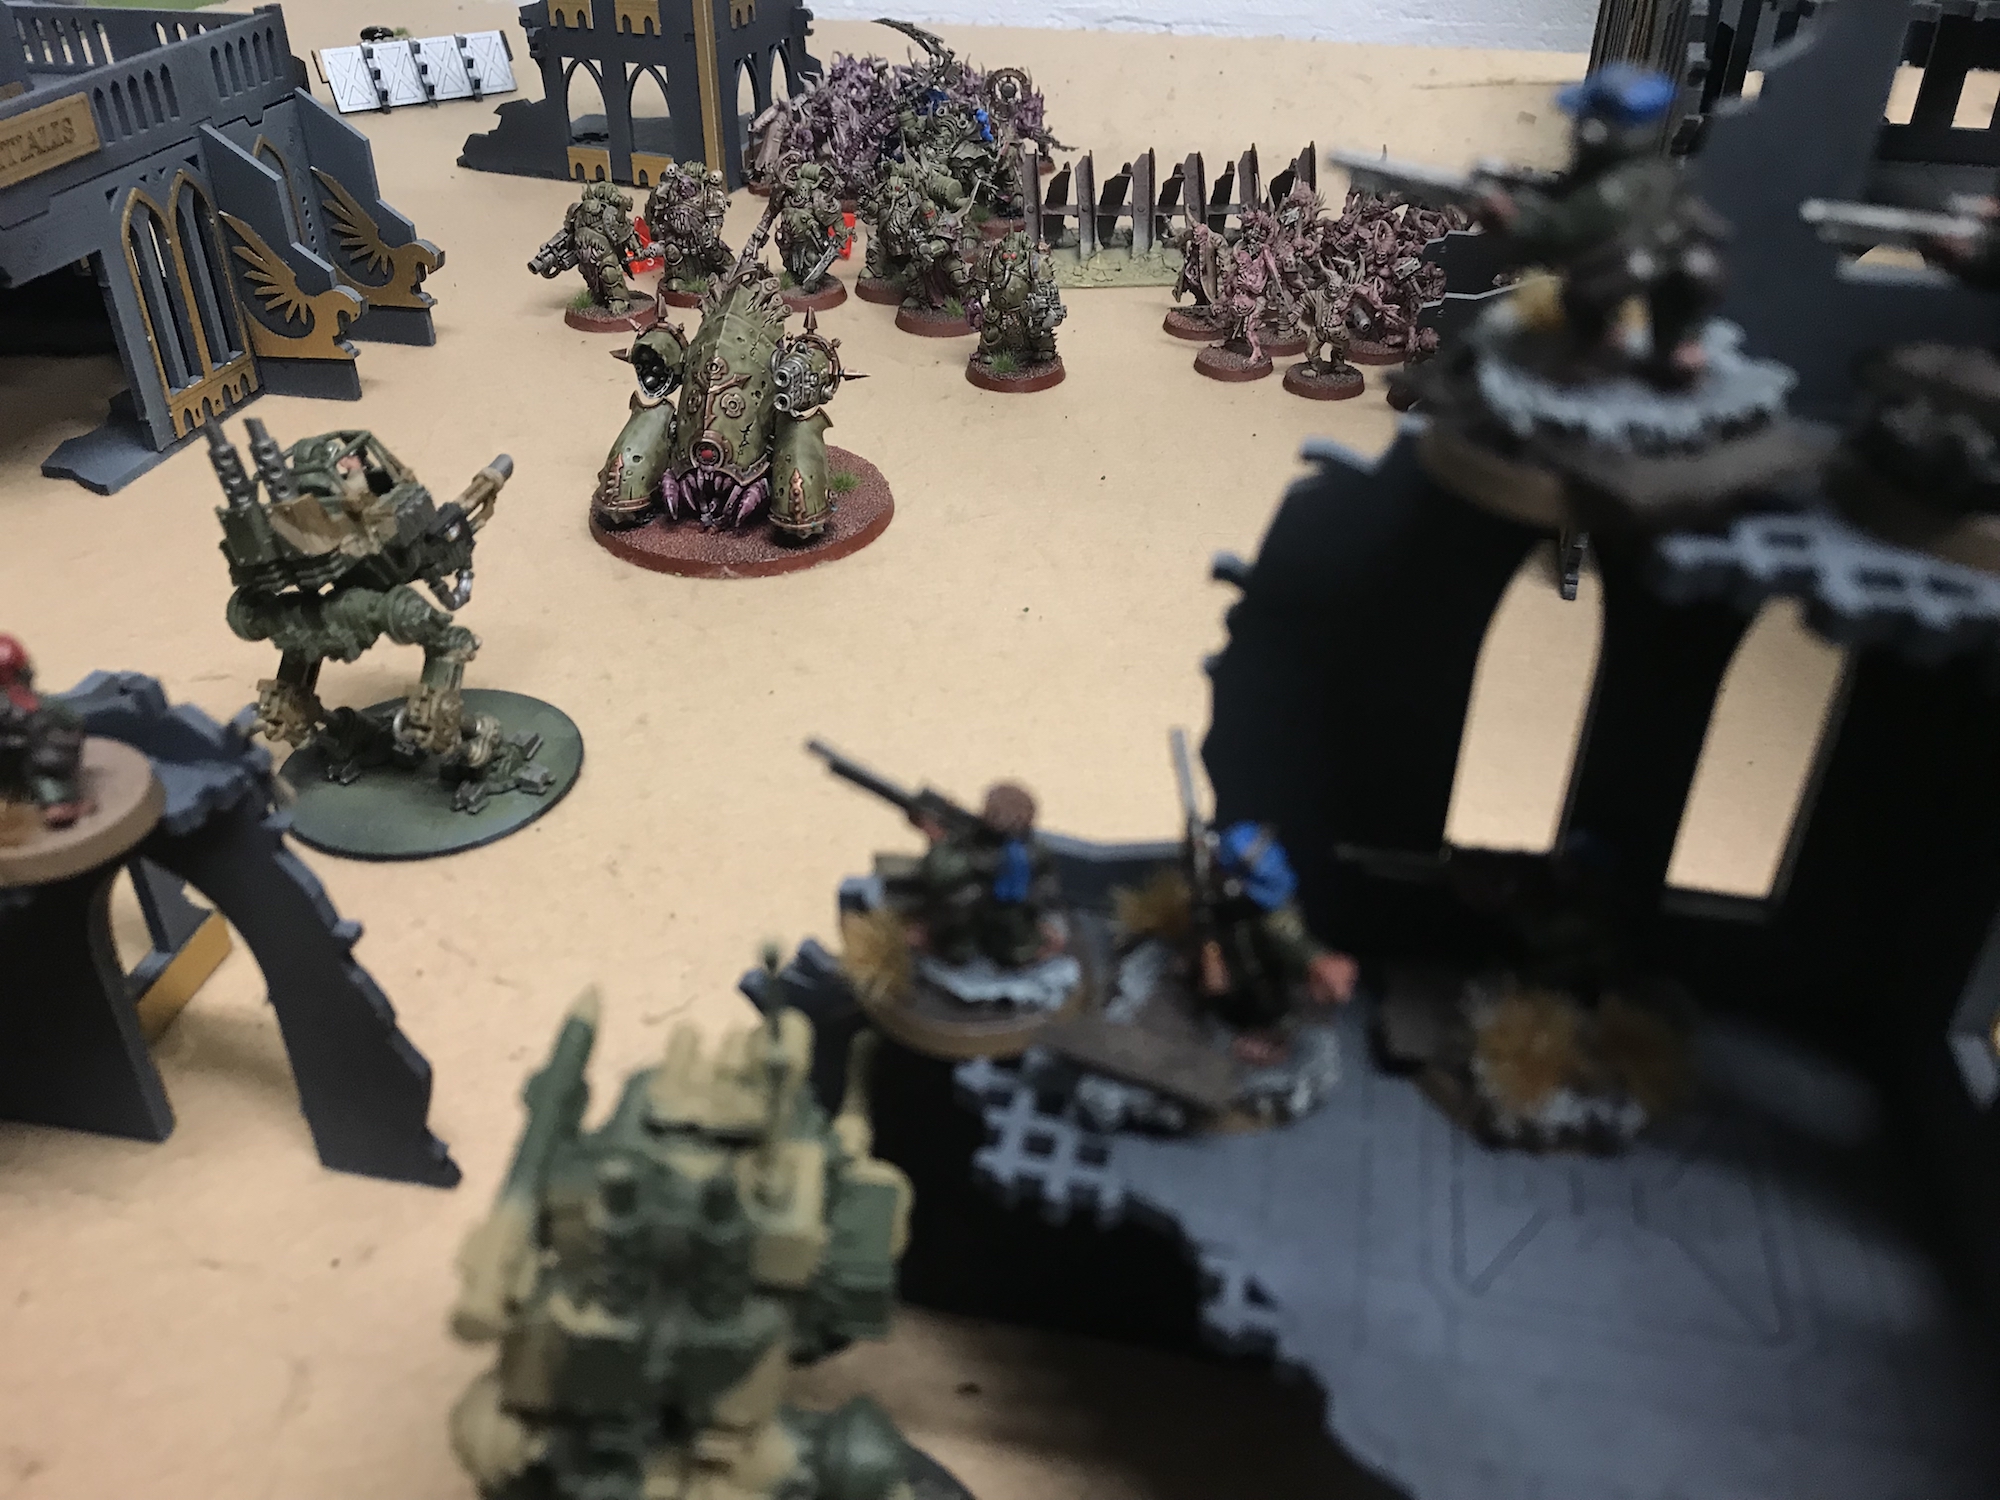
I went after the Haulers as hard as I could. They were the only unit capable of D6 wounds on the Death Guard side and taking them out would make my tanks and artillery survive much longer. I killed two out of three. That was a good start and it means their BS was now worse.
The Ratlings went to work on the Chaos Lord and reduced him by a few wounds. I’d already lost 2 Ratlings in the enemy’s first turn. They were not going to last long. They often don’t.
Looking out towards the incoming slaughter – Death Guard vs Astra Militarum
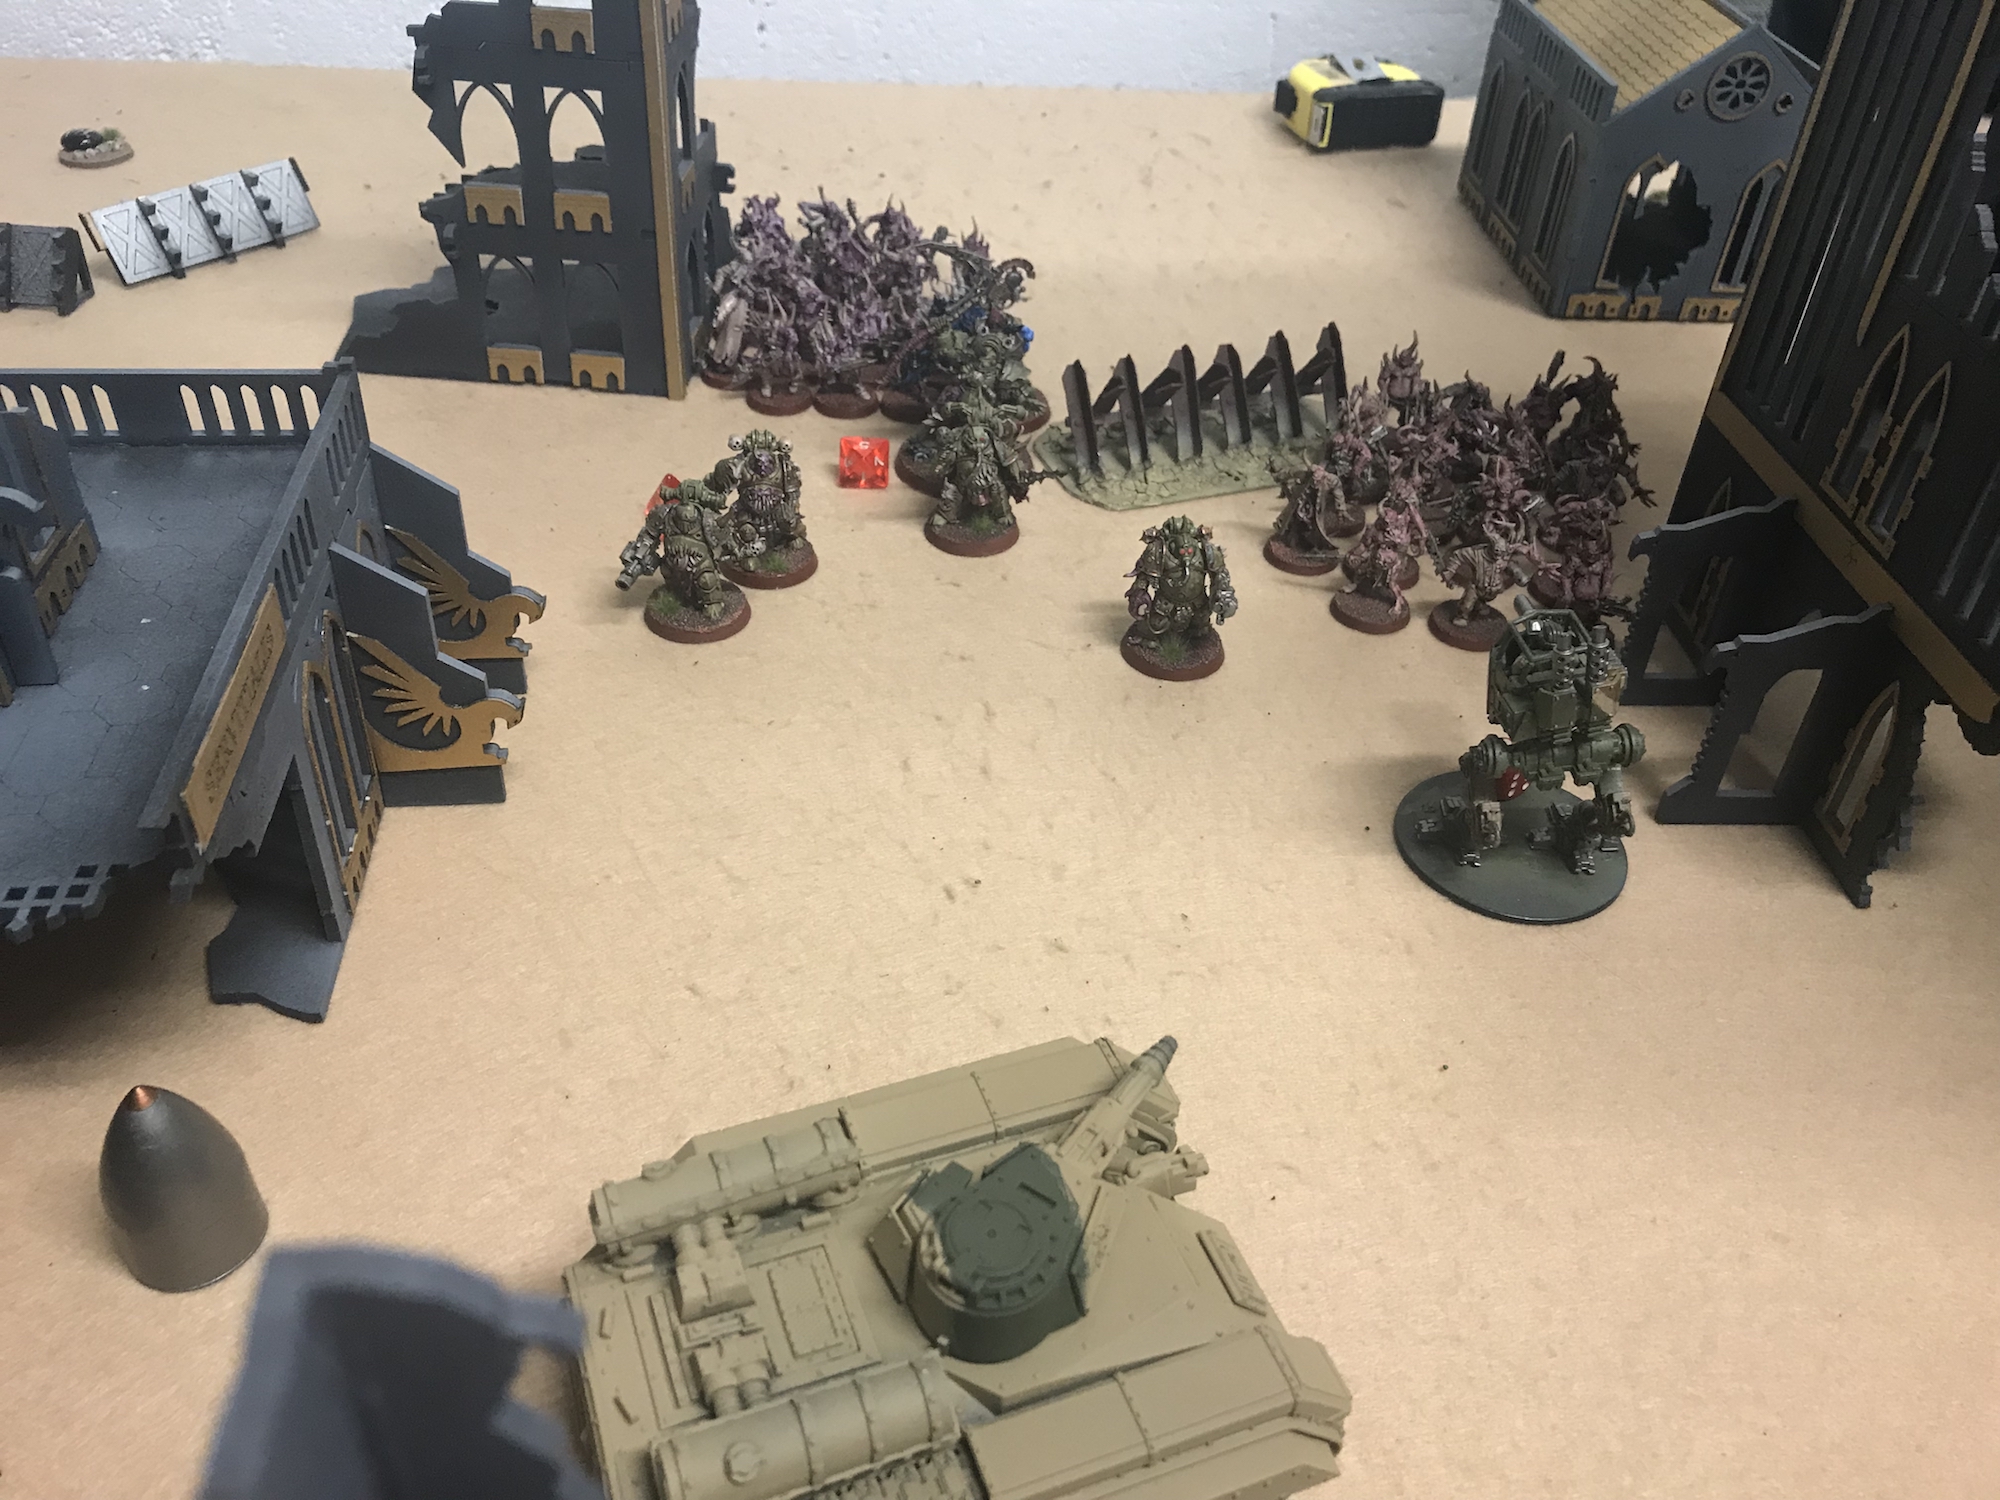
Death Guard – Turn 2
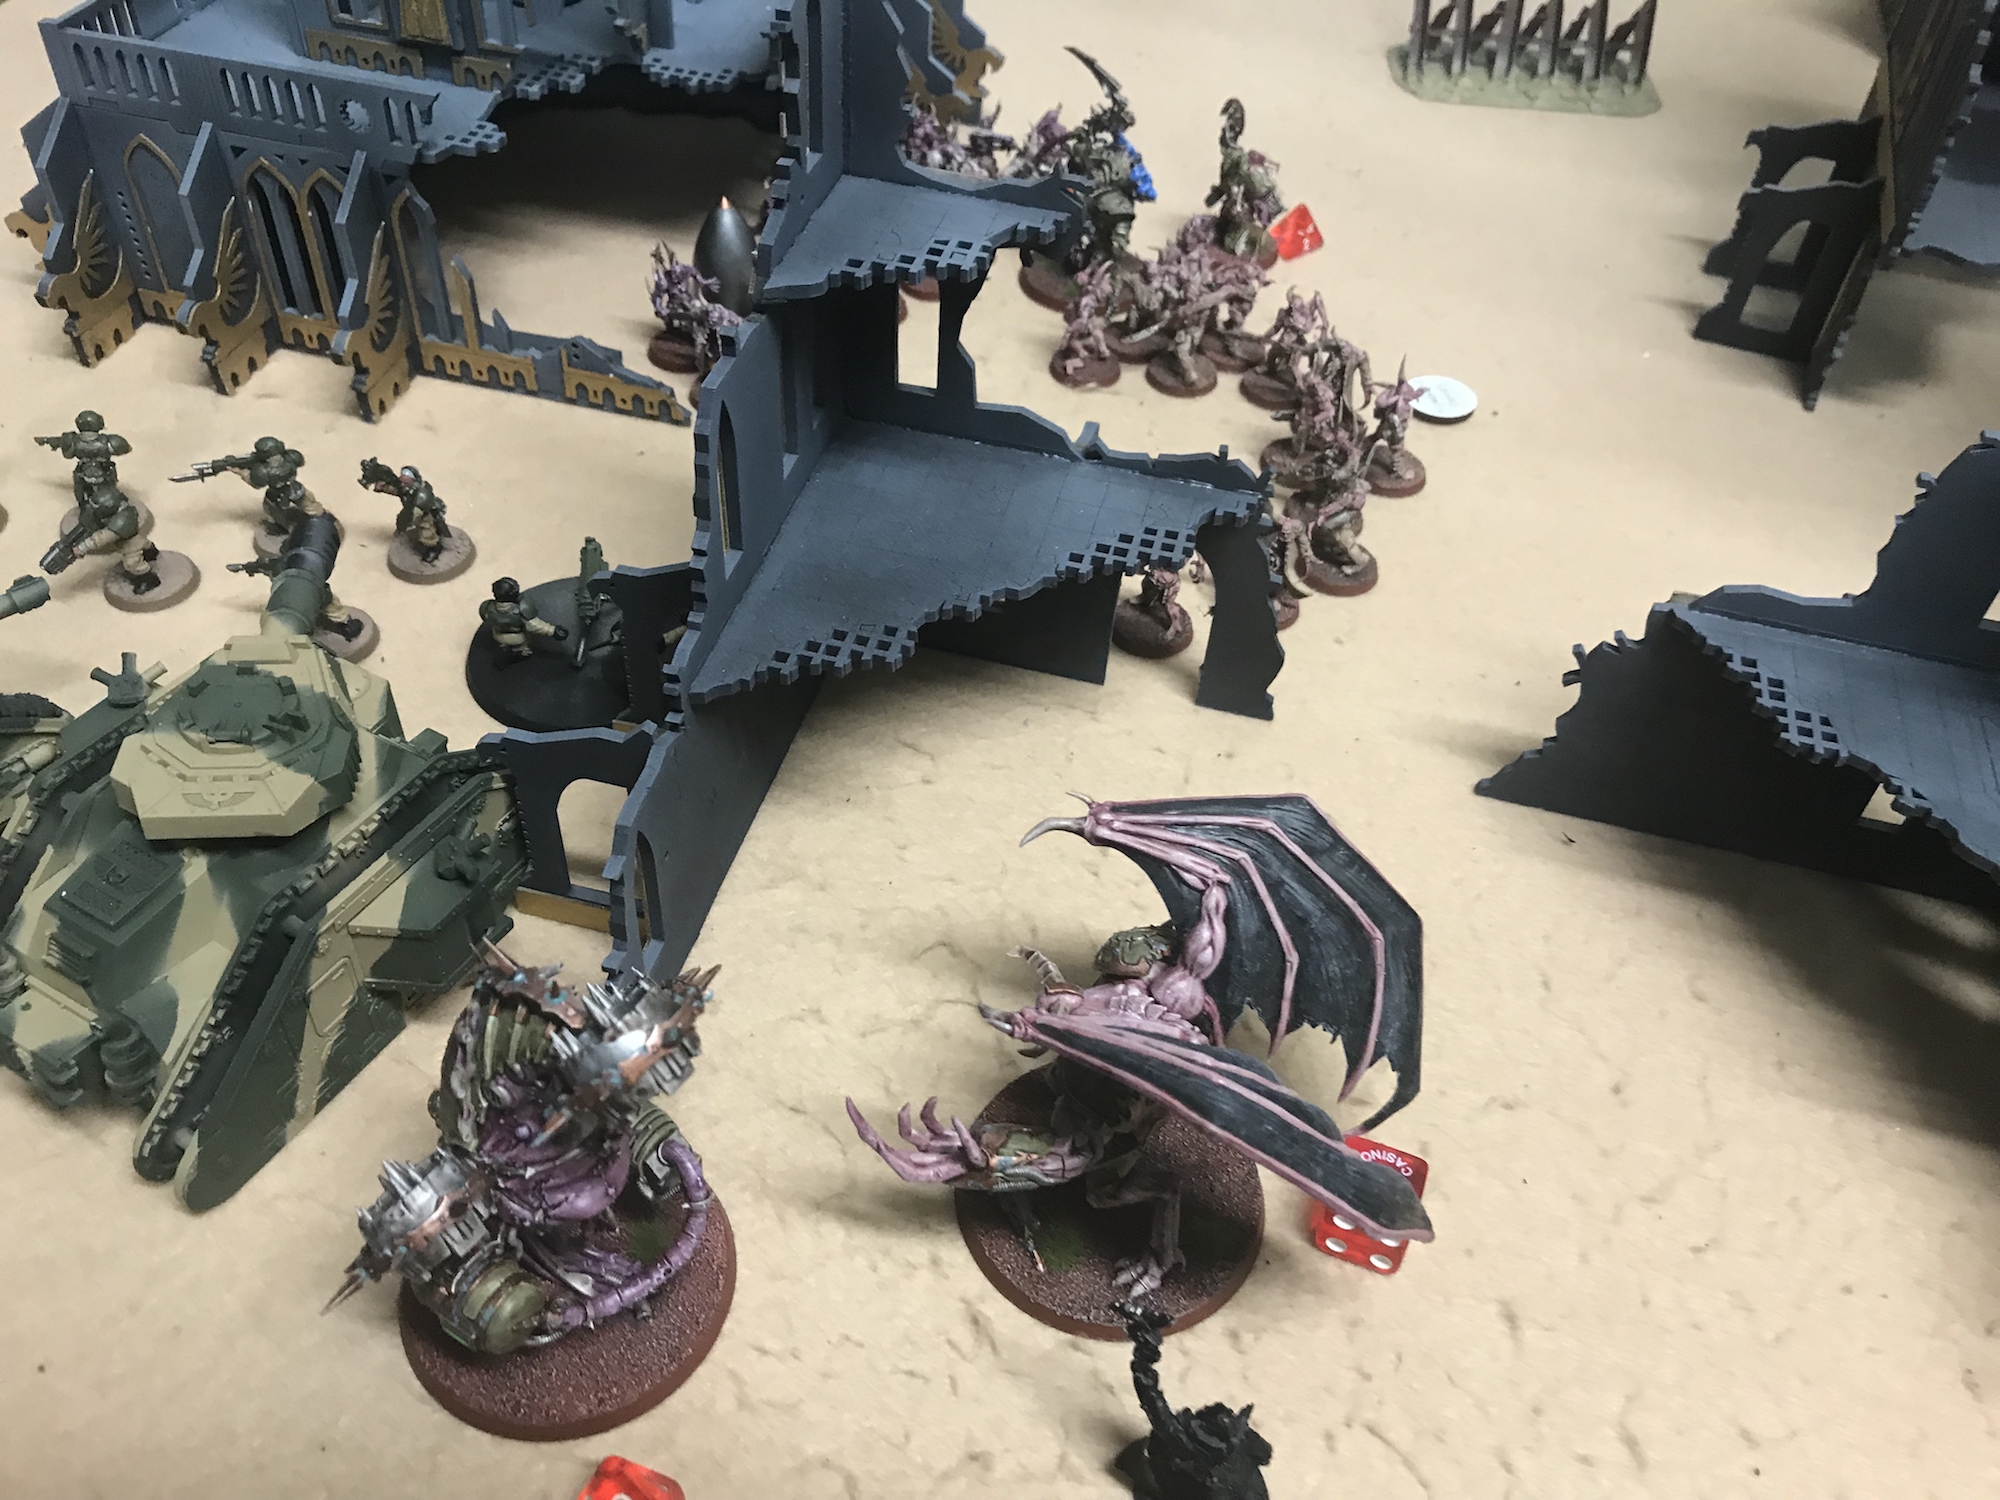
The Death Guard forces lumbered up the battlefield again towards me. The flying units did the same towards my artillery.
Nurgle Moves In – Death Guard vs Astra Militarum
The Leman Russ was destroyed as expected. But now the Haulers were greatly diminished the other Leman Russ and Hellhound were safe – for now. I had now also lost a unit of Ratlings. Reducing my ability to remove the buffing Death Guard characters from the battle.
Meanwhile, on the other side of the battlefield, the flying units fired at and then slammed into my infantry. A drone managed to slide in between my Psyker and a Basilisk. And the Prince got into a Wyvern.
The Basilisk survived the Bloat Drone’s attacks. And the Wyvern survived too against the Demon Prince who has 7 attacks, hitting on 2+ re-rolling ones – 2 Damage each. Go Wyvern!
Perspective 2 of the rotting advance – Death Guard vs Astra Militarum
The left side was doing OK because two Haulers were destroyed. But now the right was in trouble in only turn 2.
Astra Militarum – Turn 2
The Hellhound moved up and into the path of the incoming enemy footsloggers. The Heavy Flamer wielding Sentinel did the same. Mainly it was to slow the advance of the Poxwalkers and Typhus against my Leman Russ but also because if they were going to Explode, then it would be within the enemy lines.
The Disgustingly Resilient ability is so powerful. Saving an extra 3rd of wounds makes the Death Guard frustratingly survivable. The Poxwalkers had their toughness buffed from Psychic Powers – to 5. Coupled with Disgustingly Resilient made them tough to kill. Even the Hellhound and heavy Flamer from the Sentinel killed only three.
Hellhound in position
The Leman Russ finished off the last Hauler! That was all the Melta and D6 damage gone now from the Death Guard’s force. I now started to open up on the Plague Marines accompanying Typhus, the Chaos Lord and the Tallyman. One died. The Blight Launchers – while not Melta – can do D3 wounds and so were a threat to my armour.
The Demon Prince finished off the Wyvern in my Fight Phase. I could have withdrawn it, but it was in a good position to block the Prince from getting to my Warlord.
A Wyvern is lost
At this point, at the end of my turn 2, it was 6-3 to the Astra Militarum. I’d spent 2CP to keep an objective from Turn 1 (Defend Objective X) – which I had now done. That got me 2VP. I’d also managed to get 3 objectives and drawn lucky on other objectives to secure.
Overview
Death Guard – Turn 3
The footslogging group continue up the field towards me, meeting the Sentinel and the Hellhound in the process. The Bloat Drones on the right zipped around to charge other units and one snuck in to snipe my Warlord. Argh! More poor placement by myself!
Warlord on three wounds before he is sniped
The Sentinel took fire from the Plague Marine, taking it down to three wounds.
The Basilisk that was charged on turn 2 was now open. But the other one was now charged by a Bloat Drone.

Lawnmower attack!
The first unit of Poxwalkers made it into combat with my Hellhound, ignoring the crippled Sentinel.
Hellhound is attacked by Poxwalkers
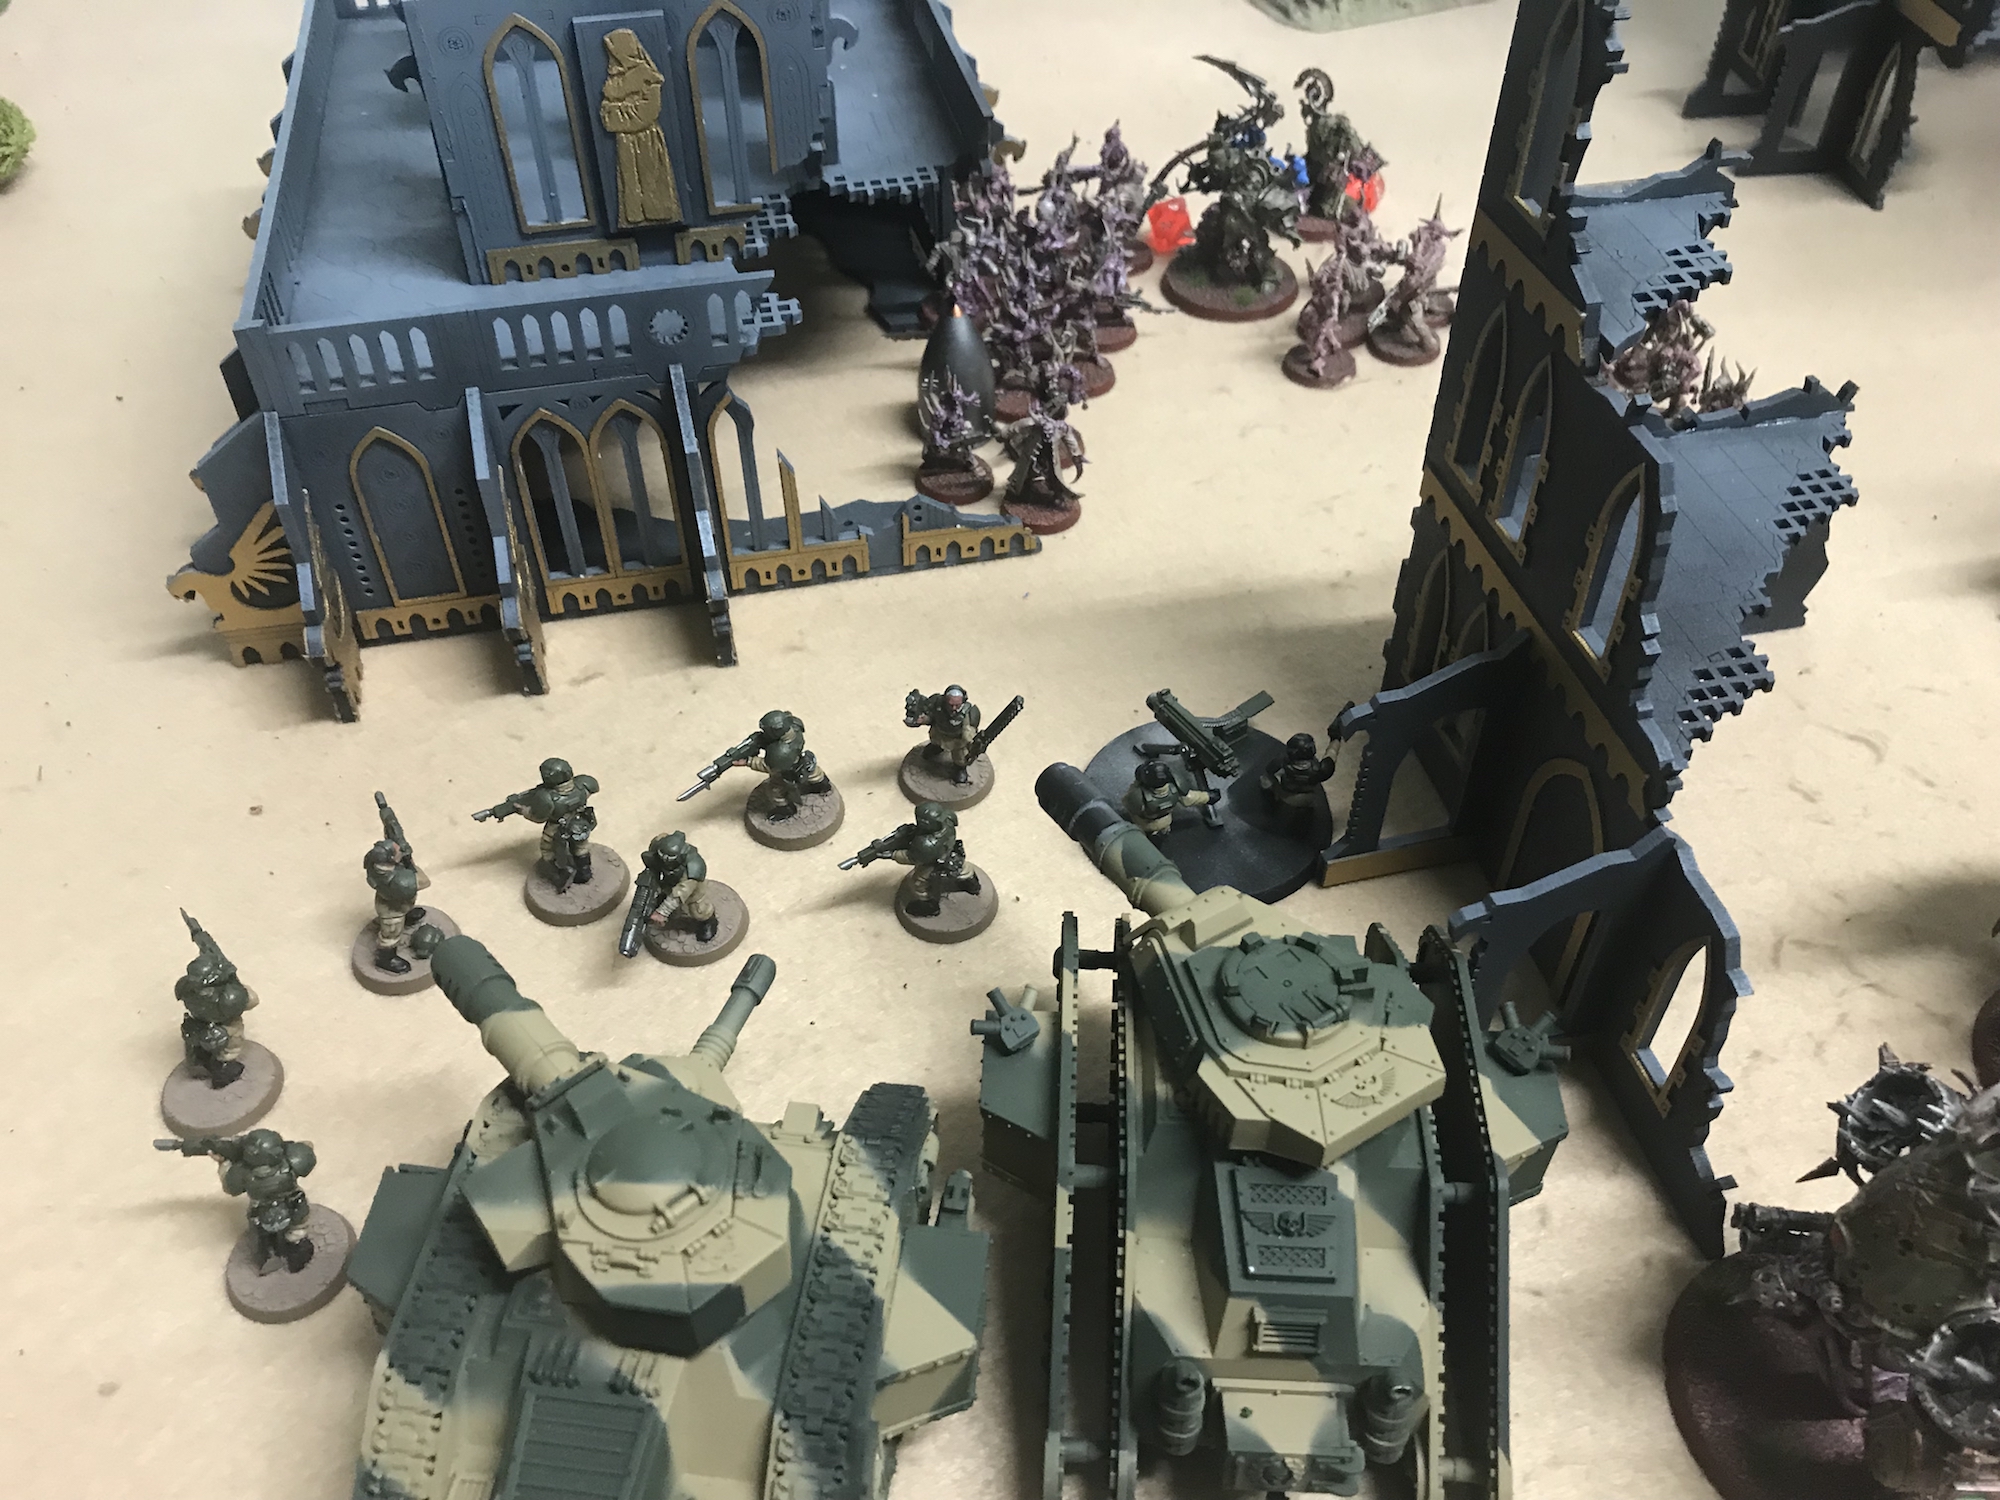
Astra Militarum – Turn 3
I was now struggling for decent targets with my 2 remaining Leman Russ and Basilisk. The Demon Prince was engaged in combat and needed to be the nearest unit in order to be targeted because he is a Character with less than 10 wounds. The Drones were all in combat too as was one unit of Poxwalkers. Retreating from the Pox Walkers would give them the ability to charge again next turn adding 2D6″ to their move distance – so the Hellhound remained in combat.
Mowing a Basilisk – Death Guard vs Astra Militarum
Likewise, the Wyvern remained in combat with the Prince and a Bloat Drone. And the Basilisk remained in combat with the Lawnmower Drone.
The Hellhound was destroyed by the Poxwalkers in my Fight Phase. Despite removing the Haulers from the battlefield and their Meltas, the slow lumbering advance of the Poxwalkers was now upon me. They slowly tore through the Hellhound – which exploded. It did some damage, but nothing worth a mention.

The Hellhound before it explodes – Death Guard vs Astra Militarum
Death Guard – Turn 4
It was now just a case of watching the slowly moving horde of Poxwalkers, Typhus and Tallyman move into my Leman Russ and see how died more quickly. The Demon Prince finished off the Wyvern which has survived a lot longer than it should’ve done. The Demon Prince had, somehow, been steadily taking wounds from the exploding vehicles it was destroying, Smite and the last 3 Ratlings. It was now down to three wounds. The Warlord kill could be my saviour!
With the Hellhound now gone the Poxwalkers were free to make their move on the Leman Russ. And the Demon Prince was able to move toward them too. Although it did not engage because it was only one three wounds.
At the end of the Death Guard’s turn, it was 8-6 to the Astra Militarum. As the Death Guard took over the battlefield they were able to gain the odd objective based card as well as numerous other cards such as;
- Manifest 3 different powers
- Kill 3 or more enemy units
- Assassinate a character
Astra Militarum – Turn 4
I managed to sneak a Primaris Pysker to be closest to the Prince. Smite went off and he was now on one wound!
Sneaky Primaris Psyker (in black)
My remaining infantry squad that had sat on an objective all game moved up and into the path of the Poxwalkers to block them from charging the Leman Russ. The right flank was now mostly destroyed. A Basilisk was dead and most of the three infantry squads were also dead too. There was very little they can do against the Drones. They cannot lock them in combat, they just fly away. And the Drones are Toughness 7 making them very hard to wound.
Blocking Guardsmen – Death Guard vs Astra Militarum
At the end of Astra Militarum Turn 4, it was 10-8 to the Astra Militarum! This was going to be a very close game.
Death Guard – Turn 5
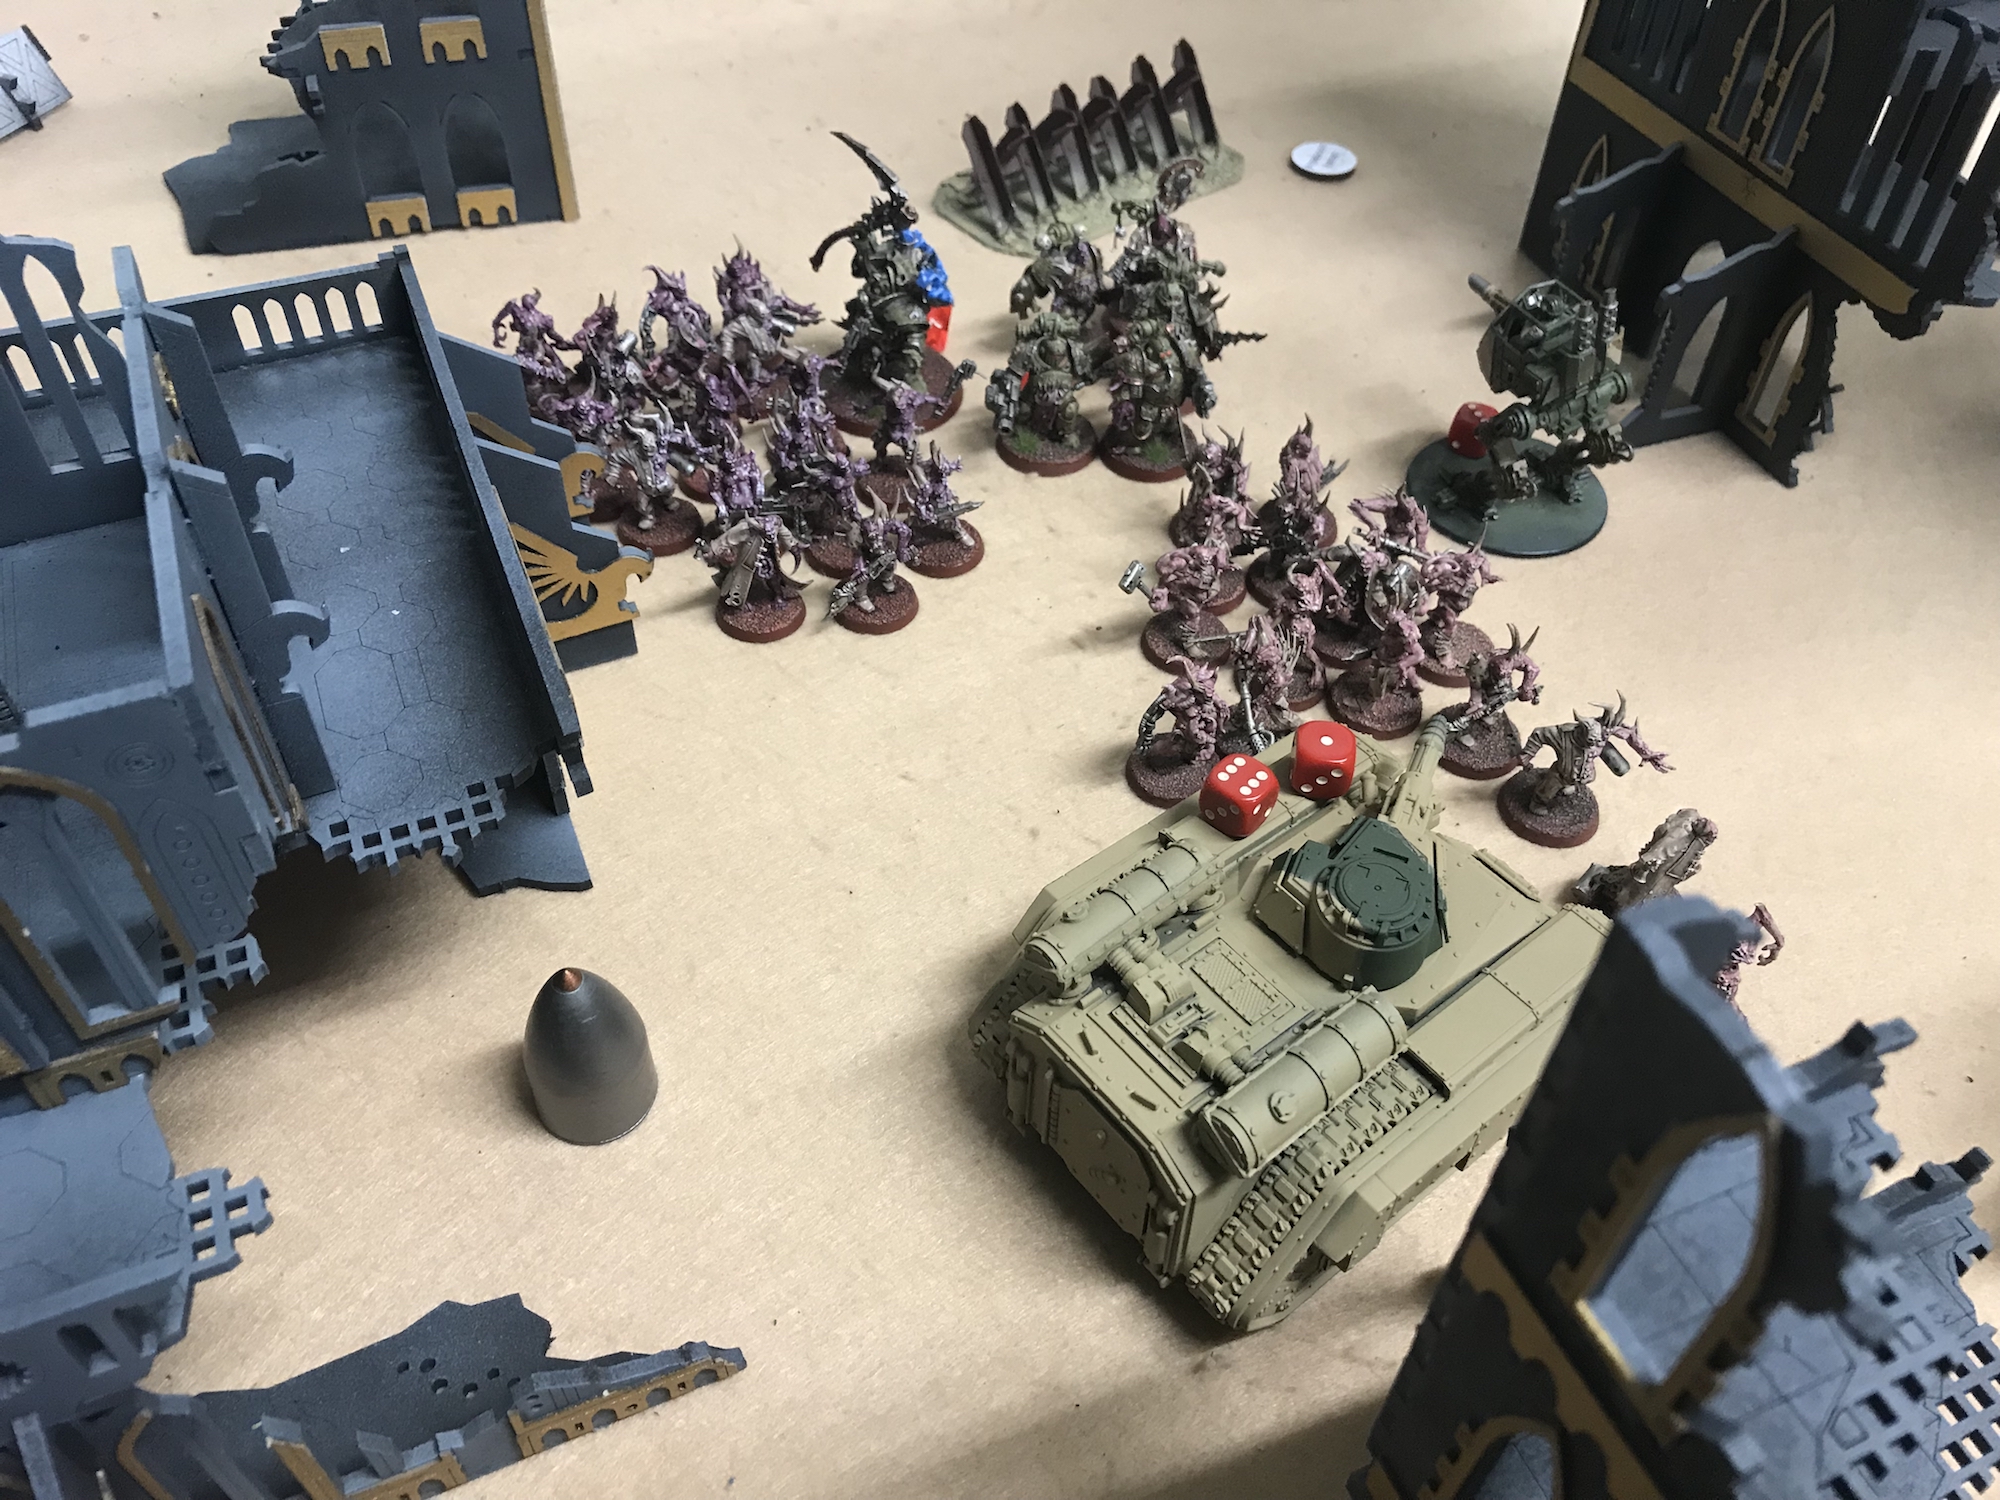
This would be the final turn as we were just about out of time. The Infantry Squad I had moved up were just contesting the objective they had just left, Objective 4. The Death Guard drew objective 4! They needed to wipe the squad to gain a VP and remove the squad to open up the charge for the Poxwalkers. They succeeded in both. A Bloat Drone moved right on top of the objective.
On the other side of the board, an infantry unit lost a lot of men and failed a Morale Test giving the Death Guard another VP. They were now racking up the objectives.
The Poxwalkers made it into combat with my Leman Russ but both survived despite many of the Poxwalkers being in combat, plus the Tallyman, plus Typhus. The Demon Prince stayed close by on his one wound.
The Death Guard were now ahead by one VP with my turn to go. They had been chasing for the whole battle and had now overtaken me in VPs.

Poxwalkers make their final charge
Astra Militarum – Turn 5
I just needed a lucky draw of cards to win the game. Sadly I was not lucky. One card was not doable at all, the second was to kill something with the Fly keyword and the final one was to kill a Character.
I moved a Sentinel into position to snipe the final wound from the Warlord. But he failed. I had nothing else that could target him. So the Sentinel charged the Prince and failed to kill him. The Prince then fought back against the Sentinel, and killed it! I just needed it to explode to cause some Mortal Wounds against the Warlord. It did not explode. No! We shook hands and called the game a Death Guard victory by one VP!
But wait, there was a Leman Russ in combat too with the Poxwalkers that needed resolving. So we went and resolved that combat, in order to see if the Leman Russ died. It did! Now I just needed this 6 to cause Mortal Wounds. It did not! We shook hands (again) and called the game a Death Guard victory by one VP!
Final score 11-12 to the Death Guard.
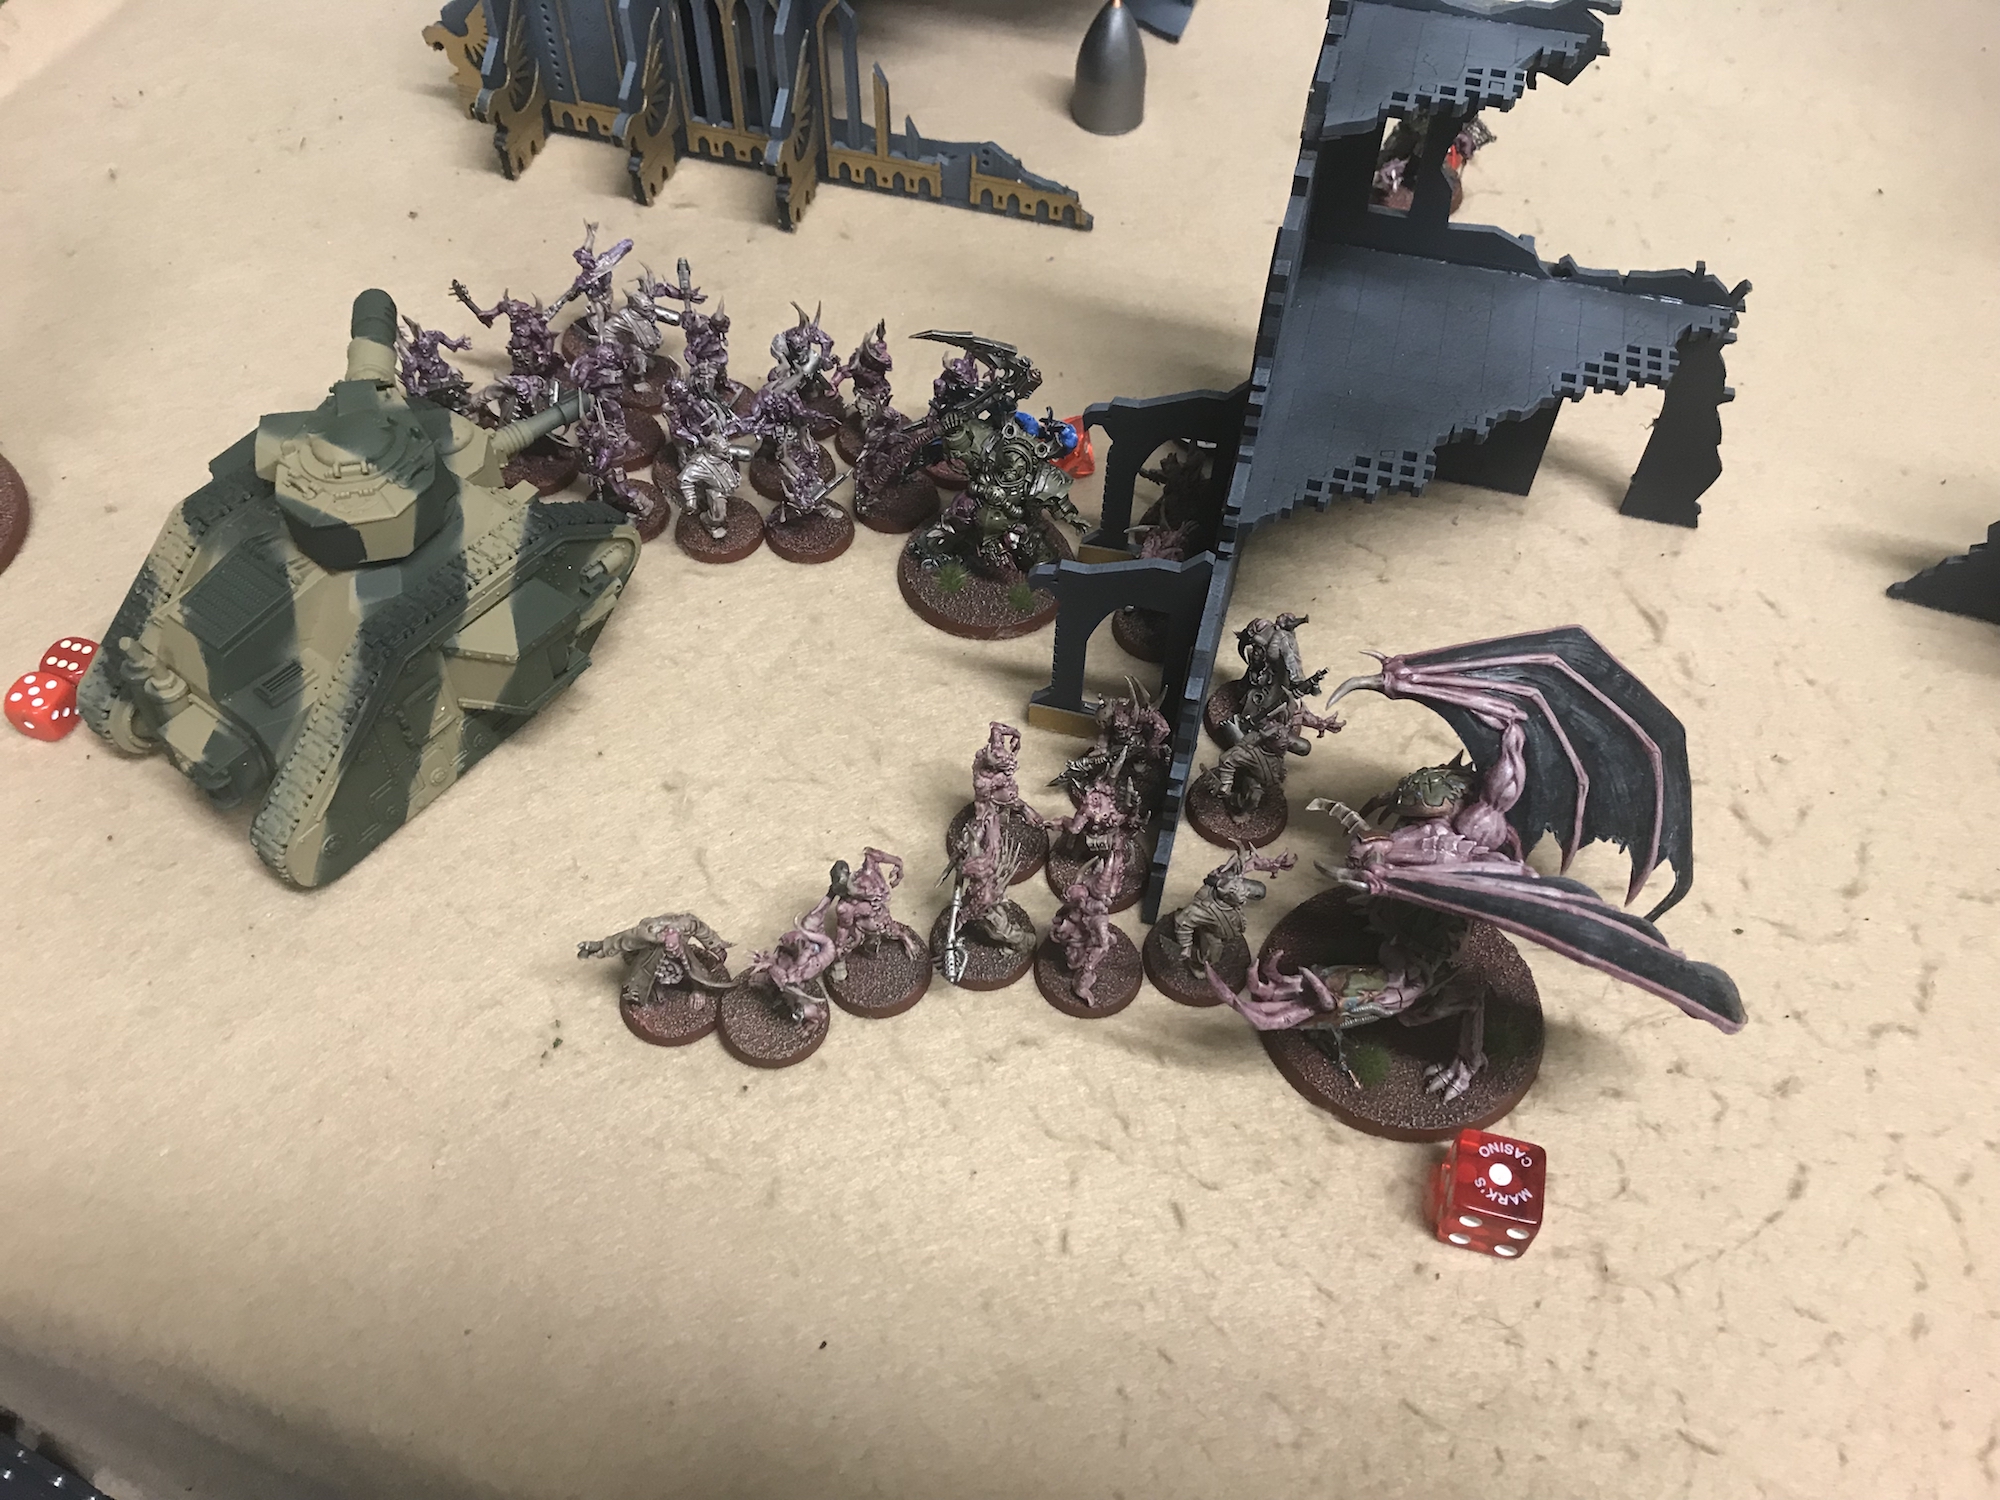
The surviving Demon Prince
Battle MVP
A tough call this one because it was a very well fought game and it was so close. Overall the Bloat Drones get MVP from me, their ability to move around, charge and shoot is very handy. Only superb model placement and then superb replacement when those models die will save you from their attacks. Being able to charge into combat – not destroy a vehicle – and effectively disable it’s shooting for a turn is really annoying.
Astra Militarum Honourable Mention
I have not taken three Leman Russ in 8th Edition, this was the first time. They did well but they lacked a Tank Commander or Pask in this list. Without an order to pop smoke and shoot or re-roll their number of shots they are just not as powerful as they needed to be I felt. Those Haulers should have been killed on my first turn from all my artillery and Leman Russ but they were not. Even though I had Overlapping Fields of Fire on them too.
Painting for Next Game
Still doing my Heavy Weapons Teams I am afraid. But got something new to do as a side project :-) …