Painting Hazard Stripes – How To
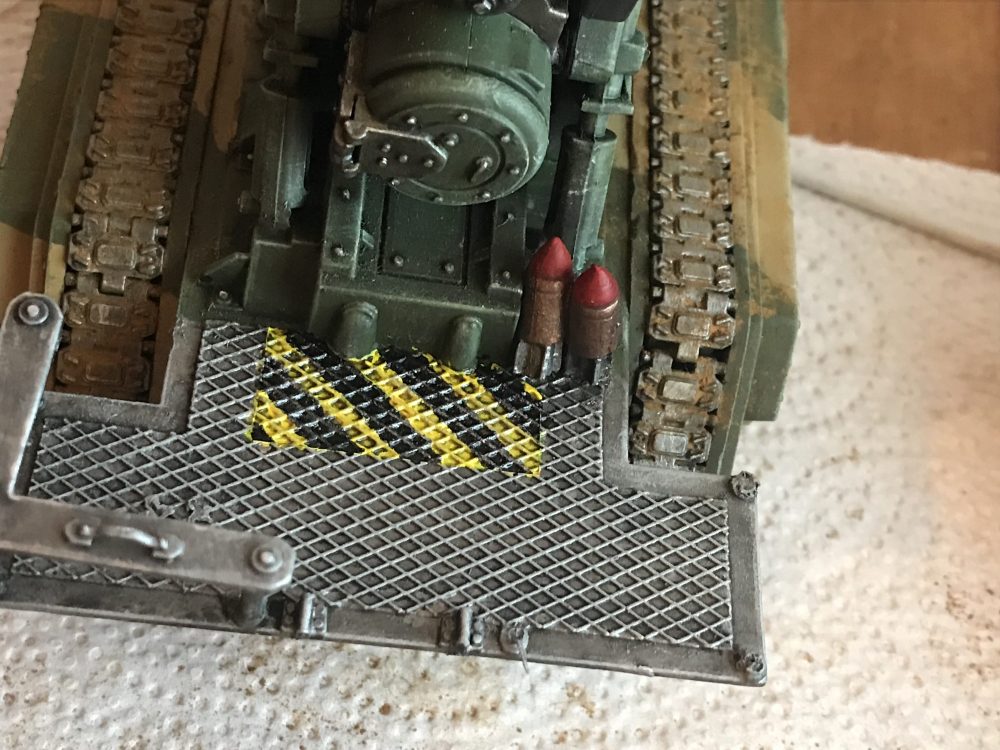
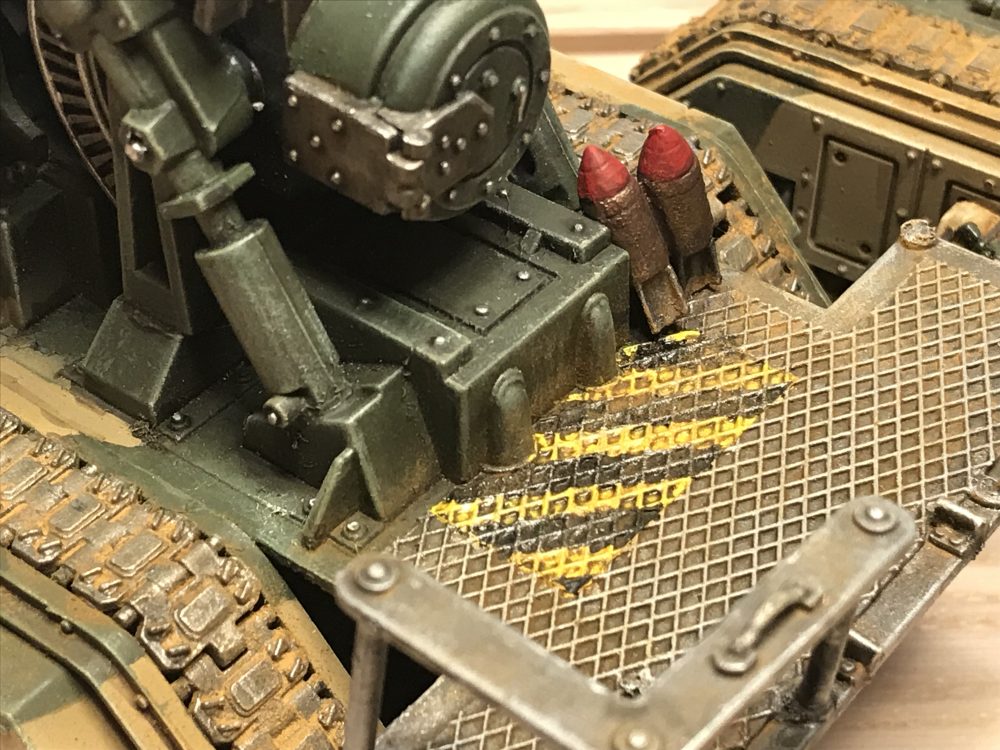
Today I take a look at Painting Hazard Stripes on my Basilisks...
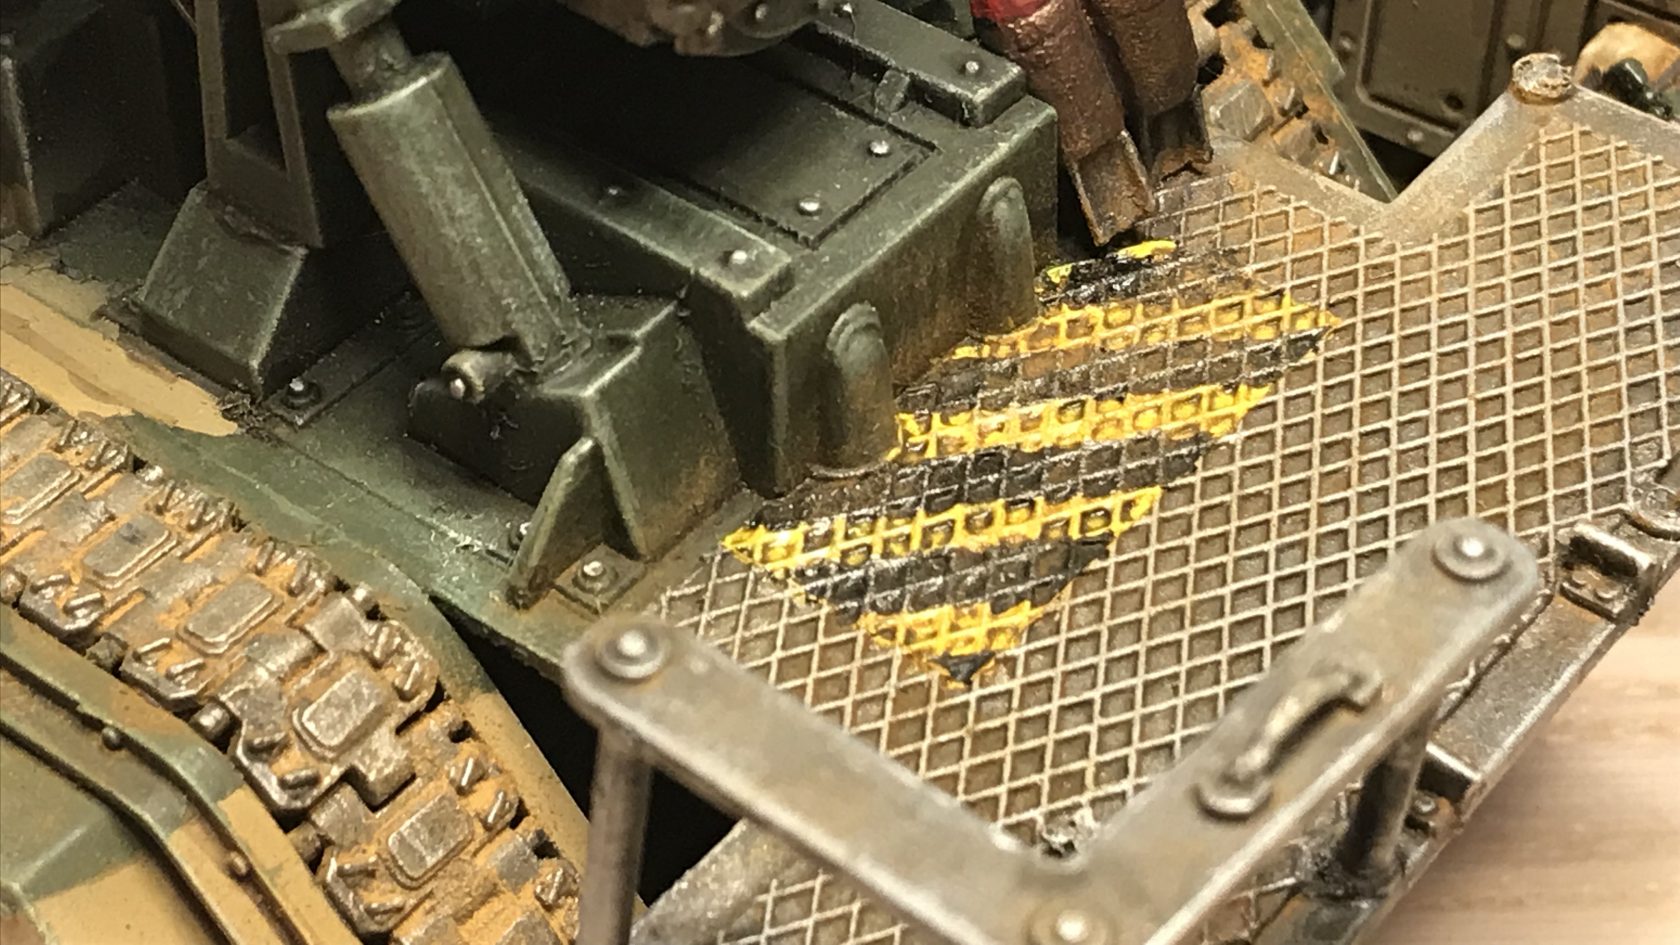
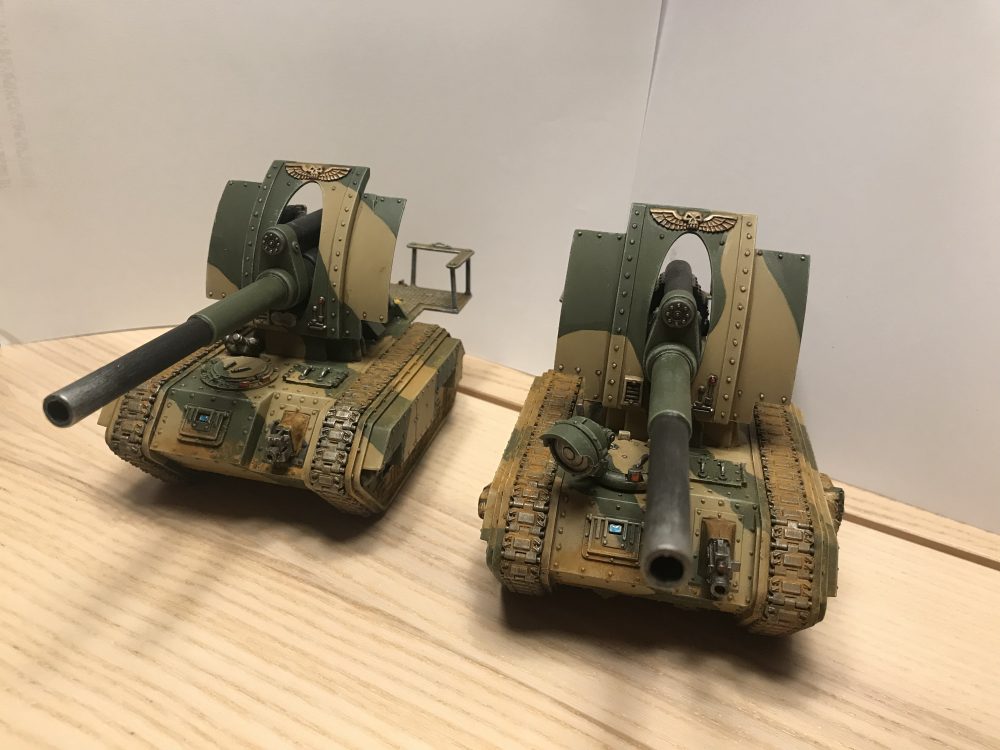
With the Basilisks now done, it is time to look at another new technique that I have used – Painting Hazard Stripes.
Never miss an article? Subscribe!
Painting Hazard Stripes – The Gear
I used the following bits of kit for this process;
- 3mm Modellers Tape
- Tweezers
- Flash Gitz Yellow
- Abaddon Black
- A medium brush
Painting Hazard Stripes Method
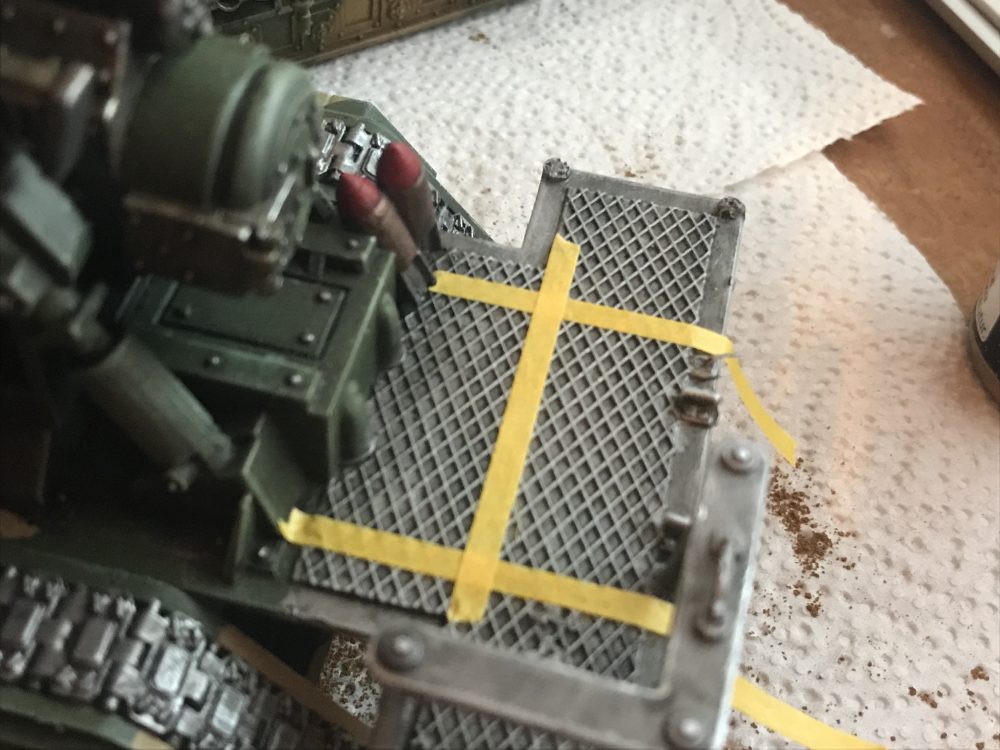
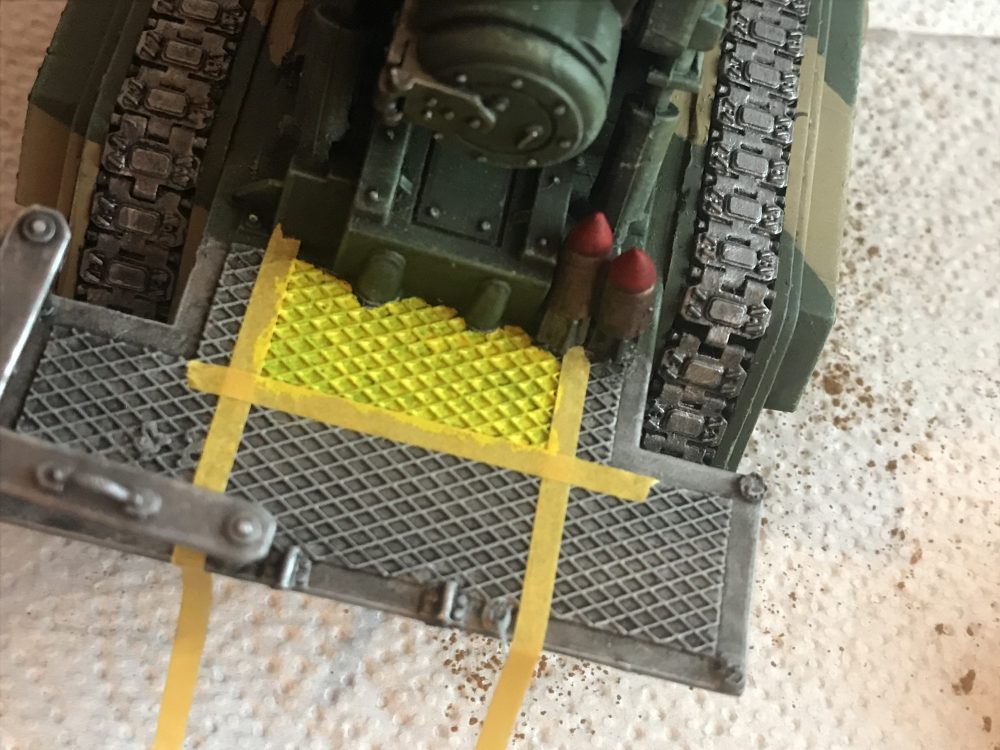
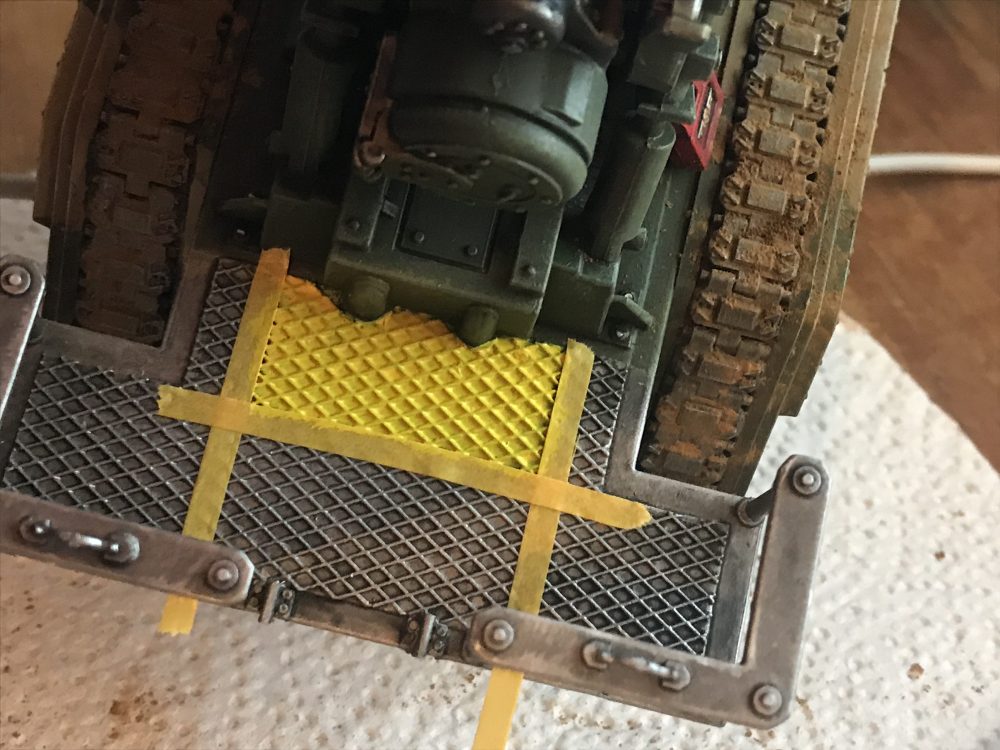
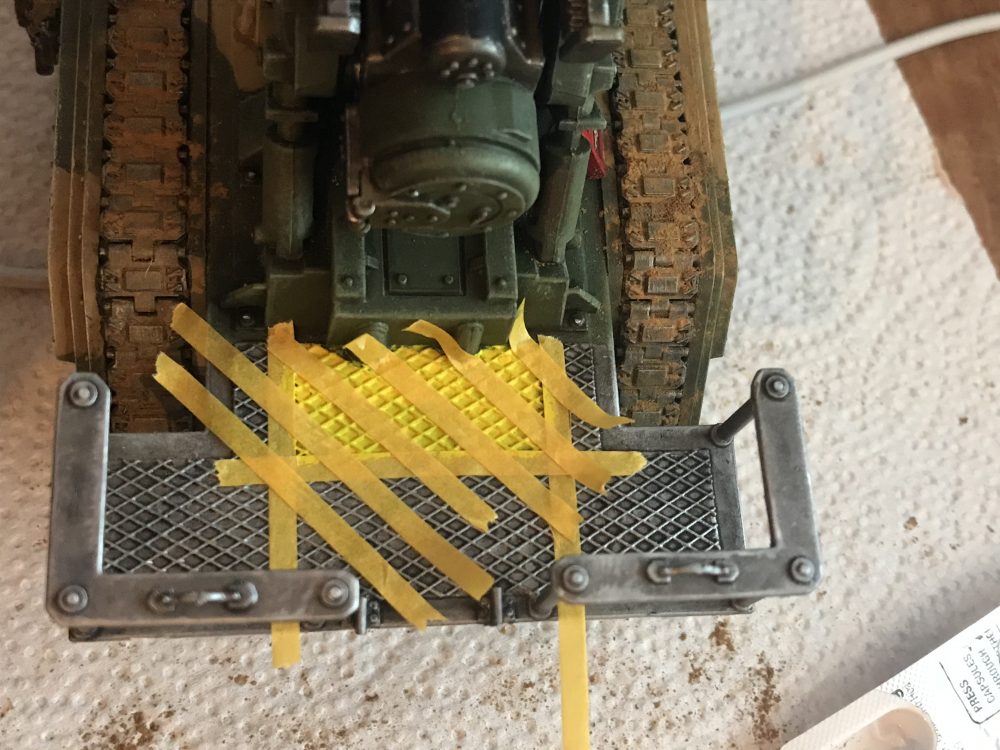
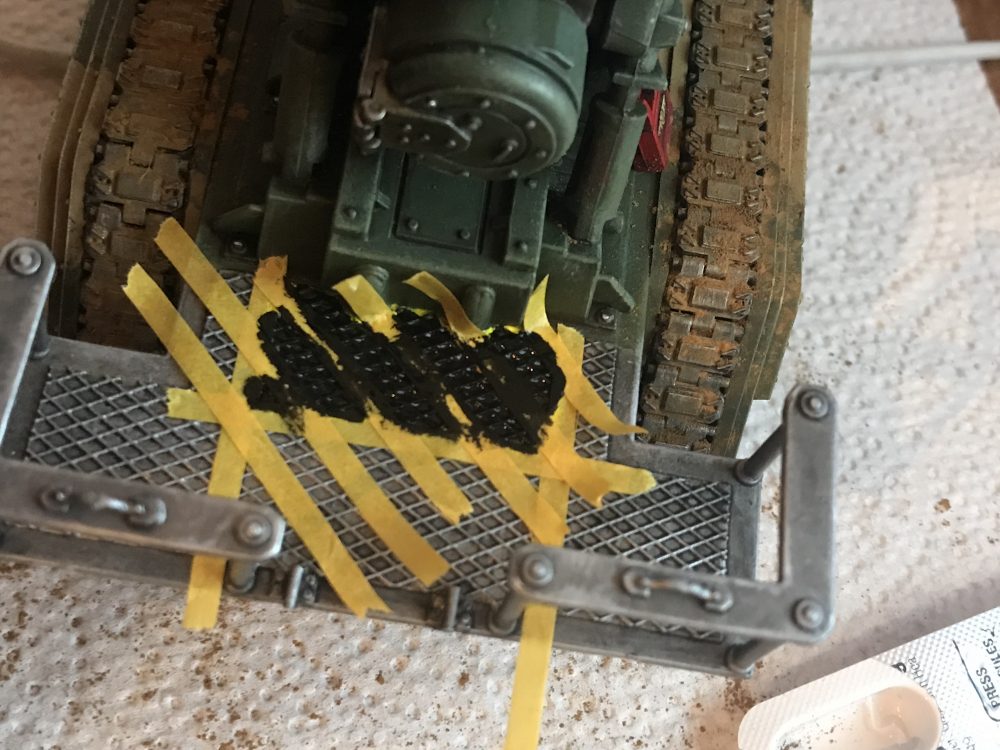
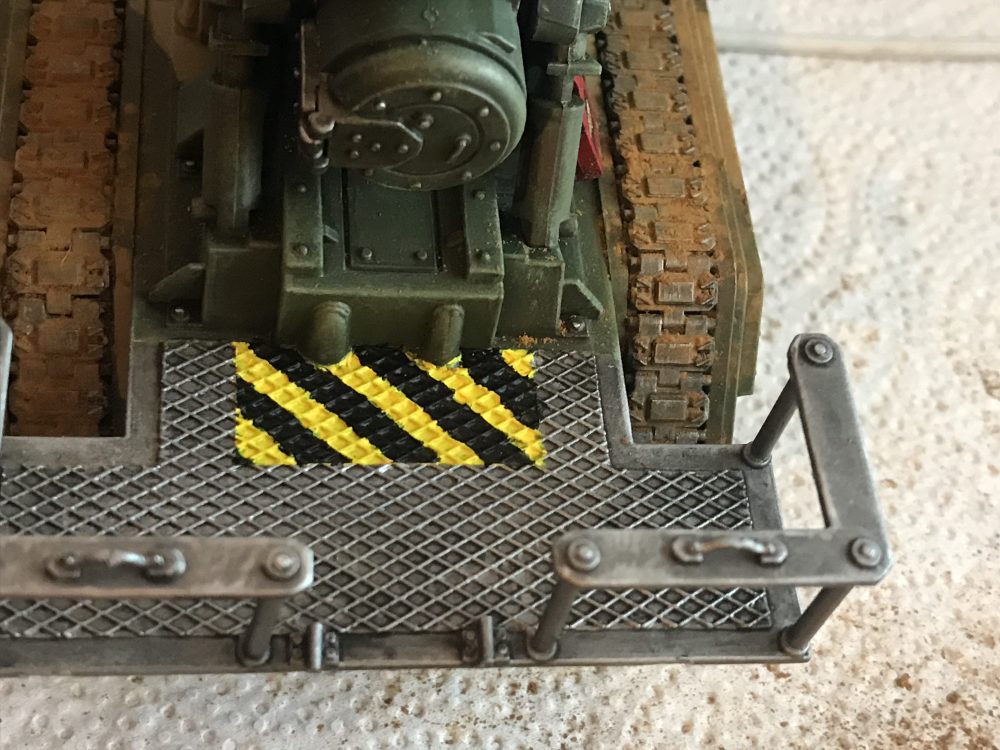
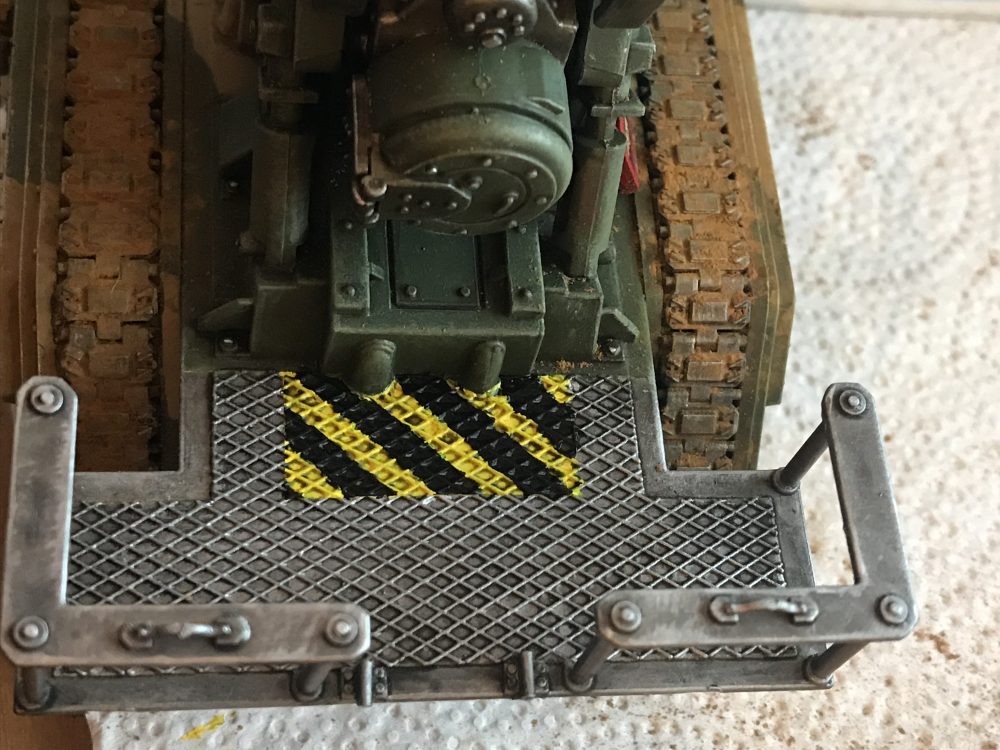
This really was so simple. A simple as masking the area and then painting it. Images are going to explain the process a lot better than words will. Stay tuned for some tips at the end of the article…
Mask Removal Video
Summary
I finished the model off with a pigment – read my quick how-to for pigments.
Next time I will try sealing the tape mask with a varnish. Someone suggested this as it will ensure the tape is sealed in place and reduce seeping under the tape.
Also, a quick tip… I covered the whole area in tape for the stripes. So rather than placing one, missing the second and placing the third. I placed the first, second and third, then removed the second. This made sure my gaps were the same size, rather than guessing the width.
I am unsure when I will get to next use this technique, possibly on my Skitarii – when I get around to painting them. I think there will be a good cause for hazards on those models in some places. I have a Knight, Armigers and Baneblade that are big enough that the odd hazard striping will not be too overbearing.
