
Deathstrike Tactics
This final artillery article looks at Deathstrike Tactics!
In this Tactica article, I’ll be covering one of the coolest and most visually intimidating artillery units in the Guard, the Deathstrike. Rarely seen, this unit comes in to annihilate the foes of the Emperor when everything but an Exterminatus is needed. Enjoy this Deathstrike Tactics article!
Previous articles in this series by Cadian Sergeant Steel:
Over to Cadian Sergeant Steel for this final artillery article on Deathstrike Tactics…
Never miss an article? Subscribe!
Astra Militarum Artillery
Astra Militarum Artillery units are some of the toughest and hardest hitting units in the army. These units smash apart enemy vehicles, turn enemy troop units into dust, and pick out those troublesome units in the backfield and turn them into a memory. Well deployed Astra Militarum Artillery can truly swing the tide of a battle. They are by no means an auto-win but used correctly they can give a commander that extra helping hand.
Today we will be blowing up over the Deathstrike unit.
Deathstrike
The Deathstrike is the most deadly piece of Guard Artillery. It’s Deathstrike Missile can turn your enemy into dust! At 163 points with its regular weapon load-out of a hull mounted heavy bolter, it’s affordable and terrifying.
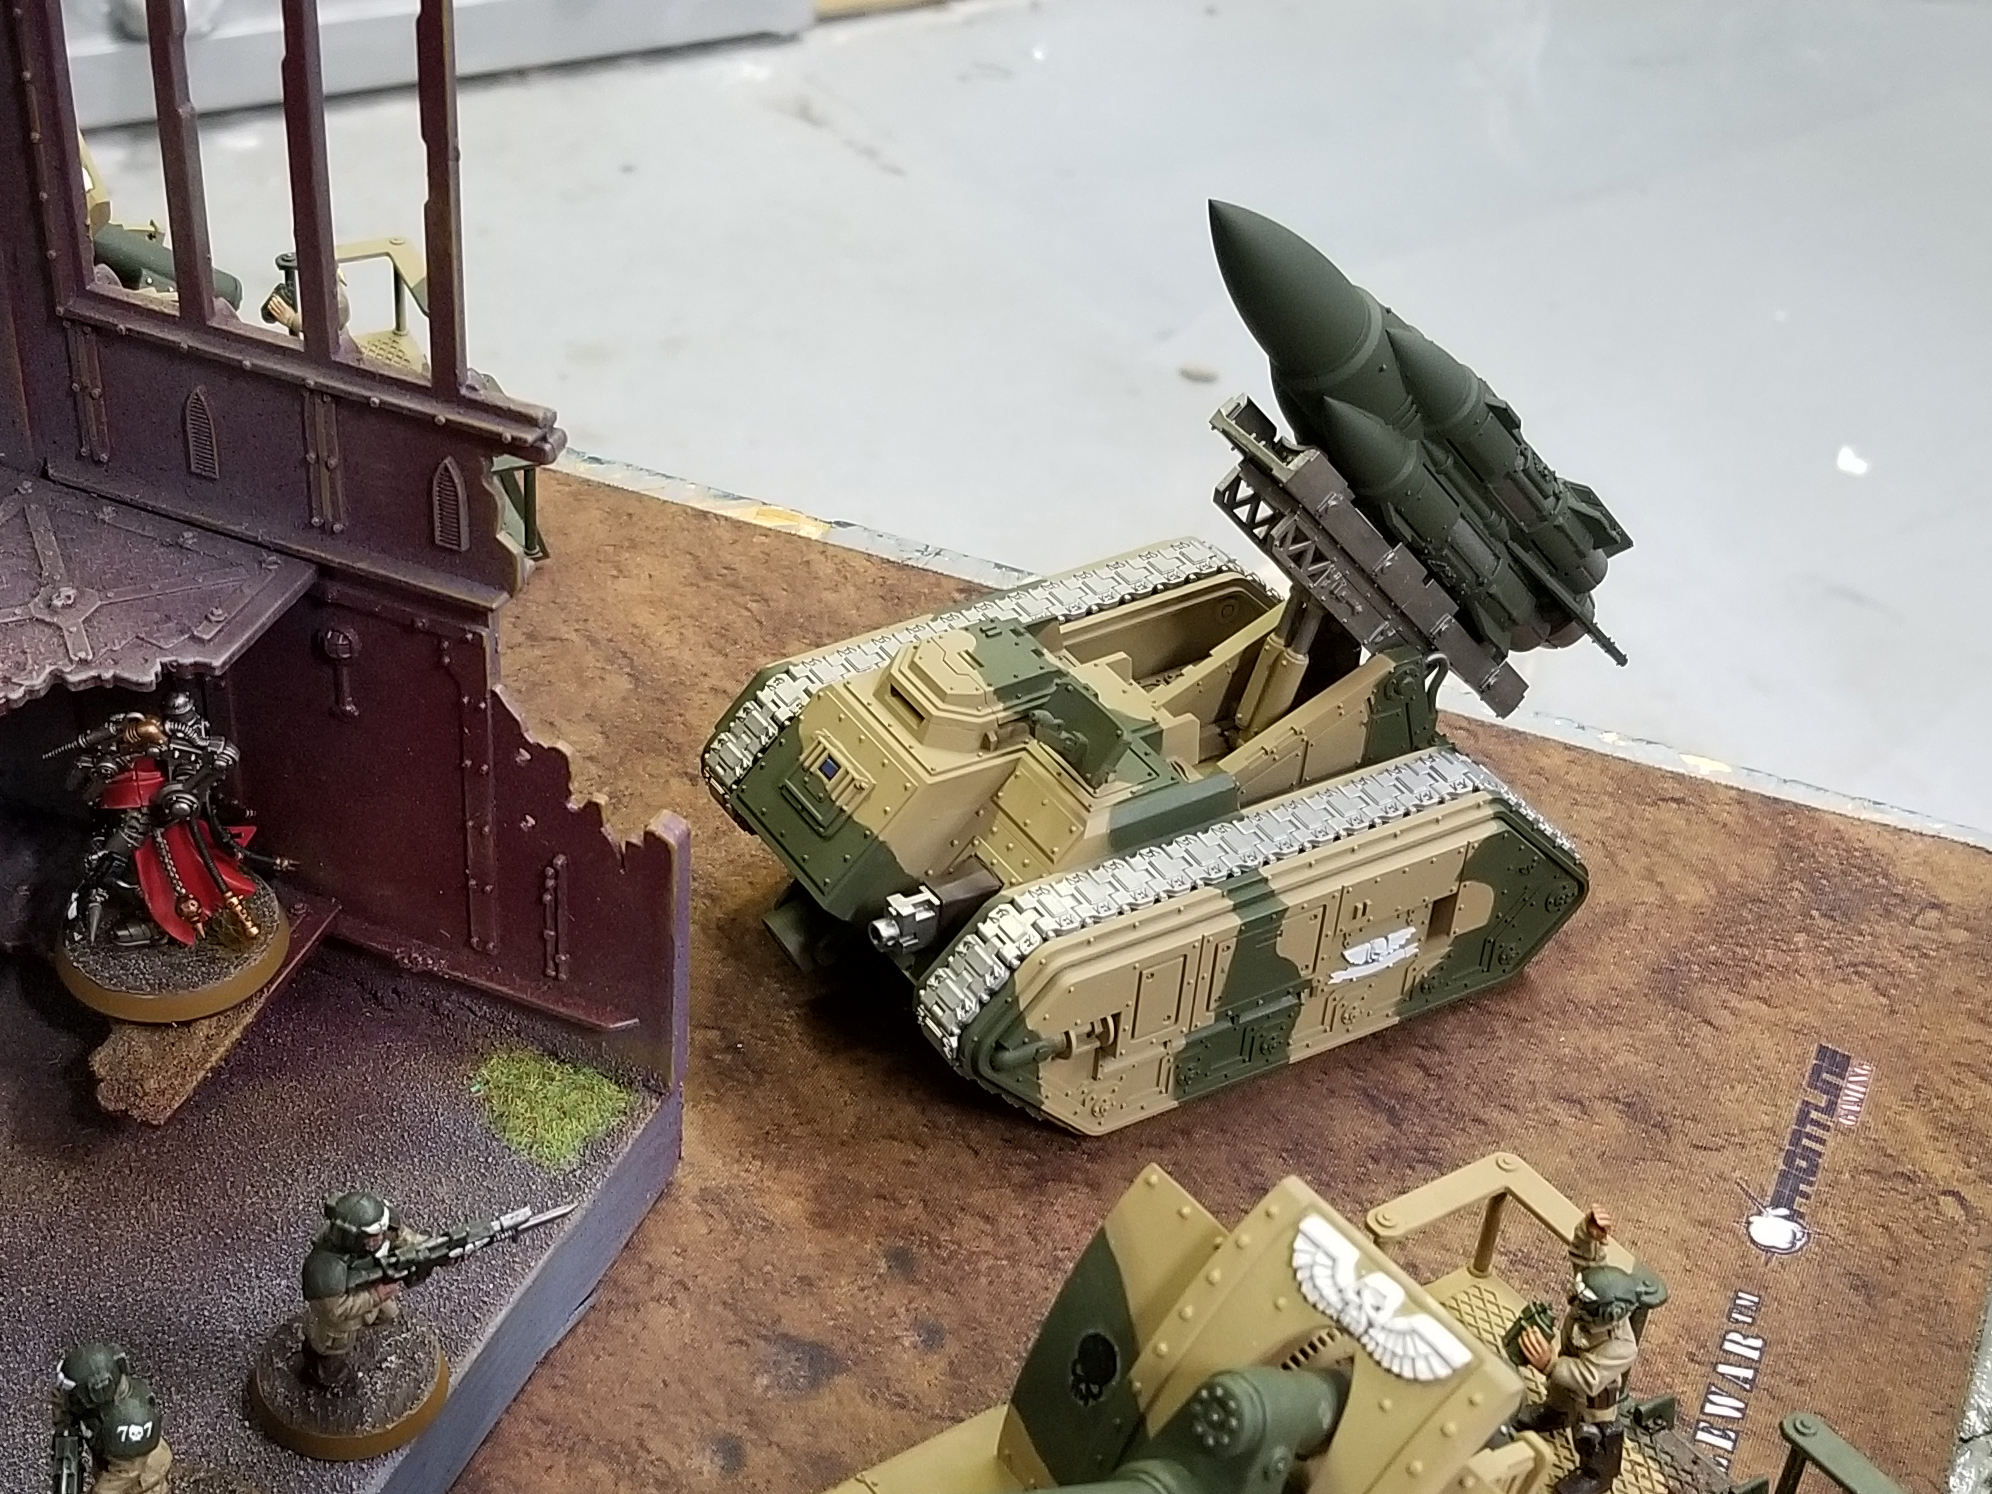
A Deathstrike Missile in the back lines, called forth to rid the planet of Daemons – Deathstrike Tactics
Stat Line and Weapon
This unit’s stats that matter most are Movement 12″, BS 4, S 6, T 7, W 11, Sv 3+.
Its primary weapon is the Deathstrike Missile. It has a range of 200″, one of the longest ranges of the entire Astra Militarum arsenal. It is Heavy 3D6 with no other stats. This missile deals damage through its weapon ability rule.
The Deathstrike Missile weapon ability states it can only be fired once per battle and The Hour is Nigh rule states it cannot be fired in Overwatch. During the shooting phase, each hit with this weapon inflicts a Mortal Wound! That’s right, all you have to do is hit the target. It is one of only a few weapons in the entire Astra Militarum arsenal that can inflict Mortal Wounds. But there is more…
After you resolve the damage on the initial target, you can roll aD6 for each unit within 6″ of the original target. On a 4+, that unit suffers D3 Mortal Wounds. With all of these chances for Mortal Wounds, this weapon could wreak absolute havoc on an opponent.
There is a catch though. The Hour is Nigh special rule only allows this weapon to be fired on a result of 8 or more by rolling a D6 and adding the battle round number to it. The earliest the Deathstrike Missile could be fired is round 2 with a roll of 6. Most likely, this weapon will not fire until turn 4 or later. If you read the lore section of the codex, this goes right along with the fact that by the time this weapon has received all of its blessing ointments, rituals, is loaded onto the artillery vehicle, and aimed, the battles are often long over. But… should the battle still be going when the Deathstrike launches, the enemies of the Emperor will soon resign their will to fight if they survive at all.
Like other Astra Militarum artillery units though, this main weapon can target enemy units that are not visible to the bearer.
Deathstrikes, like Manticores, cannot be taken in squadrons like other artillery.
A Deathstrike comes standard with a hull-mounted Heavy Bolter and can swap it out for a Heavy Flamer.

The Deathstrike Missile range is a little ridiculous – Deathstrike Tactics
How to Use – Deathstrike Tactics
This has to be the most specialist weapon in the Guard range. It can’t be fired turn 1, ever. It will most likely not be fired until turn 4, just passed the halfway point of a game. Sometimes you may never get to fire it at all if your game ends in turn 6 and you’ve had unlucky rolls.
So the best practices for this weapon start out similar to nearly all Astra Militarum artillery: hide it deep in cover, in your backline, where no one can get to it. I would recommend having a Tech-Priest Enginseer as insurance. If your opponent lowers your Balistik Skill by dealing wounds, you will want to use the Jury Rigging Stratagem and the healing ability of the Tech-Priest to keep the Deathstrike in tip-top shape. Not a bad idea to have the Omnissiah worshipper present for your other artillery too.
The Hour is Nigh
Plan ahead. During your opponents turn, analyze the board to see if it is the right time to use the Deathstrike Missile. Is there a chance for mass casualties thanks to tightly packed units needing to stay in an aura? Is there a Warhound Titan devastating your front lines? Or is there a pesky, honorless Nurgle Daemon Prince running away with the vital resources that this battle is being fought over? Has your entire front line crumbled and fled due to lack of faith in our beloved Emperor? Then the hour is nigh, Guardsmen!
If you answered yes to any of the above, roll the D6 at the start of the shooting phase. If you didn’t succeed but definitely need the missile, save those command points and use the Command Re-roll Stratagem for a second chance.
Finally, plan well on how to maximize this weapon’s potential. If you’re Cadian, try to use to Overlapping Fields of Fire stratagem to get +1 Ballistic Skill. Then, if you’re fighting Chaos or Daemons, don’t forget to use the Vengeance for Cadia stratagem to re-roll all failed hit and wounds rolls. If you’re Catachan, don’t forget you can re-roll one of the dice for determining the number of shots with the Deathstrike Missile.
Also, if you achieved launched of the Deathstrike Missile without Command Re-roll to do so, save that command re-roll for one of the 3D6 used for the number of shots. This weapon has spent weeks, possibly months, being prepared for battle by the Adeptus Ministorum. Treat it as such, and give it every buff you can! For the sake of lore, this is amazing. But mostly, for the Emperor!
A Note on Mortal Wounds
Editor’s Note: when reading this at first I felt underwhelmed by the number of wounds that seemed to be dealt. But remember that Mortal Wounds (usually) cannot be saved or stopped. And they pour over onto other models in a unit. So 9 Mortal Wounds is a very crippled Land Raider, a very crippled Monster or 3 dead elite models that have 3 wounds each. These wounds are sort of guaranteed, no Armour Saves nor Invulnerable Saves are taken against them. Now, imagine 9 (or more) Mortal Wounds being dealt against your precious Baneblade. Not so fun!
MathHammer
So let’s use Cadian Shocks’ MathHammer App and see how this stacks up to… well… anything!
Enemy Unit: Doesn’t matter, honestly. The Emperor Protects and they have no faith in him!
- 10.5 shots
- 5.25 hits
- 5 wounds
Wait… you want to question why there are only 3 rows of numbers on the Mathhammer breakdown rather than 5 like I usually do. Well, frankly, if they could put the spirit of Sly Marbo into an explosive, this would be it! It doesn’t care about the saves of the filthy heretic. Unless the enemy is sporting a special rule such as Disgustingly Resilient, these wounds cannot be stopped! Rejoice, trooper! You’ve done 5 Mortal Wounds already. But wait… there’s more!
Let’s say the enemy of the Emperor had three other units within 6” of the one you just vaporized. You then roll a d6 for each unit, and on a 4+ deal D3 mortal wounds to them also. Now you’ve just dealt an extra 3 Mortal Wounds on average if there are 3 other units.
Catachan Regiment Deathstrike
The Catachan Regimental Doctrine Brutal Strength allows each vehicle with ranged weapons that make a random number of attacks to re-roll one of the dice used to determine the number of attacks. That means you roll 3D6 and re-roll your worst roll. That means maximum payload incoming!
If my math is correct, this gives you an average of 12.24 shots!
Then you can add Sergeant Harker, an elite slot choice, who gives all Catachan units within 6″ of him re-roll 1’s in the shooting phase.
So let’s look at it via MathHammer!
MathHammer – Catachan Revisited
With Brutal Strength and Sergeant Harker in place, let’s look at the math again.
- 12.24 shots
- 7.14 hits
- 7 wounds
Averaging 7 Mortal Wounds without using Command Re-roll stratagem is devastating! Can we get three of these to the front line tomorrow?
Cadian Regiment Deathstrike
Cadian Regimental Doctrine Born Soldiers & Stratagem Overlapping Fields of Fire
The Cadian Regimental Doctrine Borne Soldiers allows all Cadian regimental units who didn’t move in the previous shooting phase to re-roll ones during their shooting phase. For 2 Command Points, after a unit from your army has inflicted an unsaved wound on an enemy unit, you can add 1 to the hit rolls for all other units that target that enemy unit this phase. Once you’ve got a wound from your Basilisk through thanks to your other artillery support, time to lay mass destruction upon your opponent’s unit with a 3+ Ballistic Skill! Fire the missile!
MathHammer – Cadian Revisited
With Born Soldier and Overlapping Fields of Fire in place, let’s look at the math again.
- 10.5 shots
- 8.2 hits
- 8 wounds
8 Mortal Wounds! But that isn’t where this ends… oh no! Just because you can vaporize a Daemon Prince in one shot doesn’t mean we shouldn’t add more blessing to this holiest weapon!
Vortex Missile Stratagem – Deathstrike Tactics
In the lore of the unit, the Deathstrike Missile can use different warheads. Some are nuclear, some are chemical, and others are vortex warheads. To reflect the vortex warhead, there is a Stratagem.
For 3 Command Points, you can use the Vortex Missile stratagem. This Stratagem allows you to re-roll all failed to hit rolls when firing the Deathstrike Missile. This gives any regiment without other buffs 8 Mortal Wounds on average!
Additionally, you can also add 1 to the rolls made for units within 6” to see if they take Mortal Wounds on a 4+. This changes your odds from 50/50 to 66/33. I always like better odds.
For the cherry on top, for each model wounded but not slain by this weapon, roll another D6. On a result of 6, they suffer an additional D6 Mortal Wounds! This means, if you were to have to most miraculous shooting ever with this weapon, you could do a potential 24 Mortal Wounds to the primary target.
Master of Ordnance – Re-rolls for All Regiments
The Master of Ordinance is a 30 points Elite choice that allows re-rolls for fellow regiment Basilisks, Wyverns, Manticores, or Deathstrikes when they target enemy units more than 36″ away as long as the regiment unit is within 6″. This model is a good choice for those Regiments that are not Cadian. However, this will only give you less than half of the standard 4’ by 6’ table to shoot at with re-roll 1’s.
The Ultimate and Most Ludicrous Deathstrike Missile
If you just wanted to save all of your punches for the ultimate final blow, this is how I recommend doing it:
- Go Cadian for the chance to add +1 to your Ballistic Skill.
- Use either Vengeance for Cadia, Trojan Support Vehicle, or Vortex Missile to re-roll all failed hits.
- Save your Command Re-roll to maximize the number of shots.
Laugh maniacally (truly not needed and could result in you needing to take the “Am I a heretic or tainted by dark powers?” questionnaire and be closely monitored by your Commissar).
This should result in an average of 11 Mortal Wounds! This doesn’t even take into account the Mortal Wounds that get dealt to the surrounding units of the one you removed with the initial strike.
You could do a possible 18 Mortal Wounds with the main weapon, which may result in a friendly shake of the hand and an early end to a match. However, the likelihood is extremely rare, so try not to worry.
Editor’s note: I am not sure if this counts as “Deathstrike Tactics”, but it certainly is something to scare your enemy. If anyone ever tries this, please do let me know how it goes!
First Experience – Deathstrike Tactics in the wild
I always test play the units before I write about them. So I bought, built, and have started painting a Deathstrike model just for this. I got my buddy from the local shop to play a 1250 point game with me. I had brought with me all Cadians. He brought Nurgle Daemons.
My list was:
- 3 Company Commanders
- 1 Primaris Psyker
- 6 Infantry Squads
- 1 Tech Priest
- 3 Bullgryns
- 1 Priest
- 2 Hellhounds
- 2 Basilisks
- 1 Deathstrike
My opponent’s list had:
- Great Unclean One
- 2 Nurgle Daemon Princes with Wings
- 28 Plaguebearers
- 6 Plaguedrones
- 2 units of 3 Nurglings
The Game
Our game was based on the Open War deck. It was a crazy and cool deployment, the Open War version of Relic was our mission, and we had an amazing twist that allowed us to heal a single unit every turn.
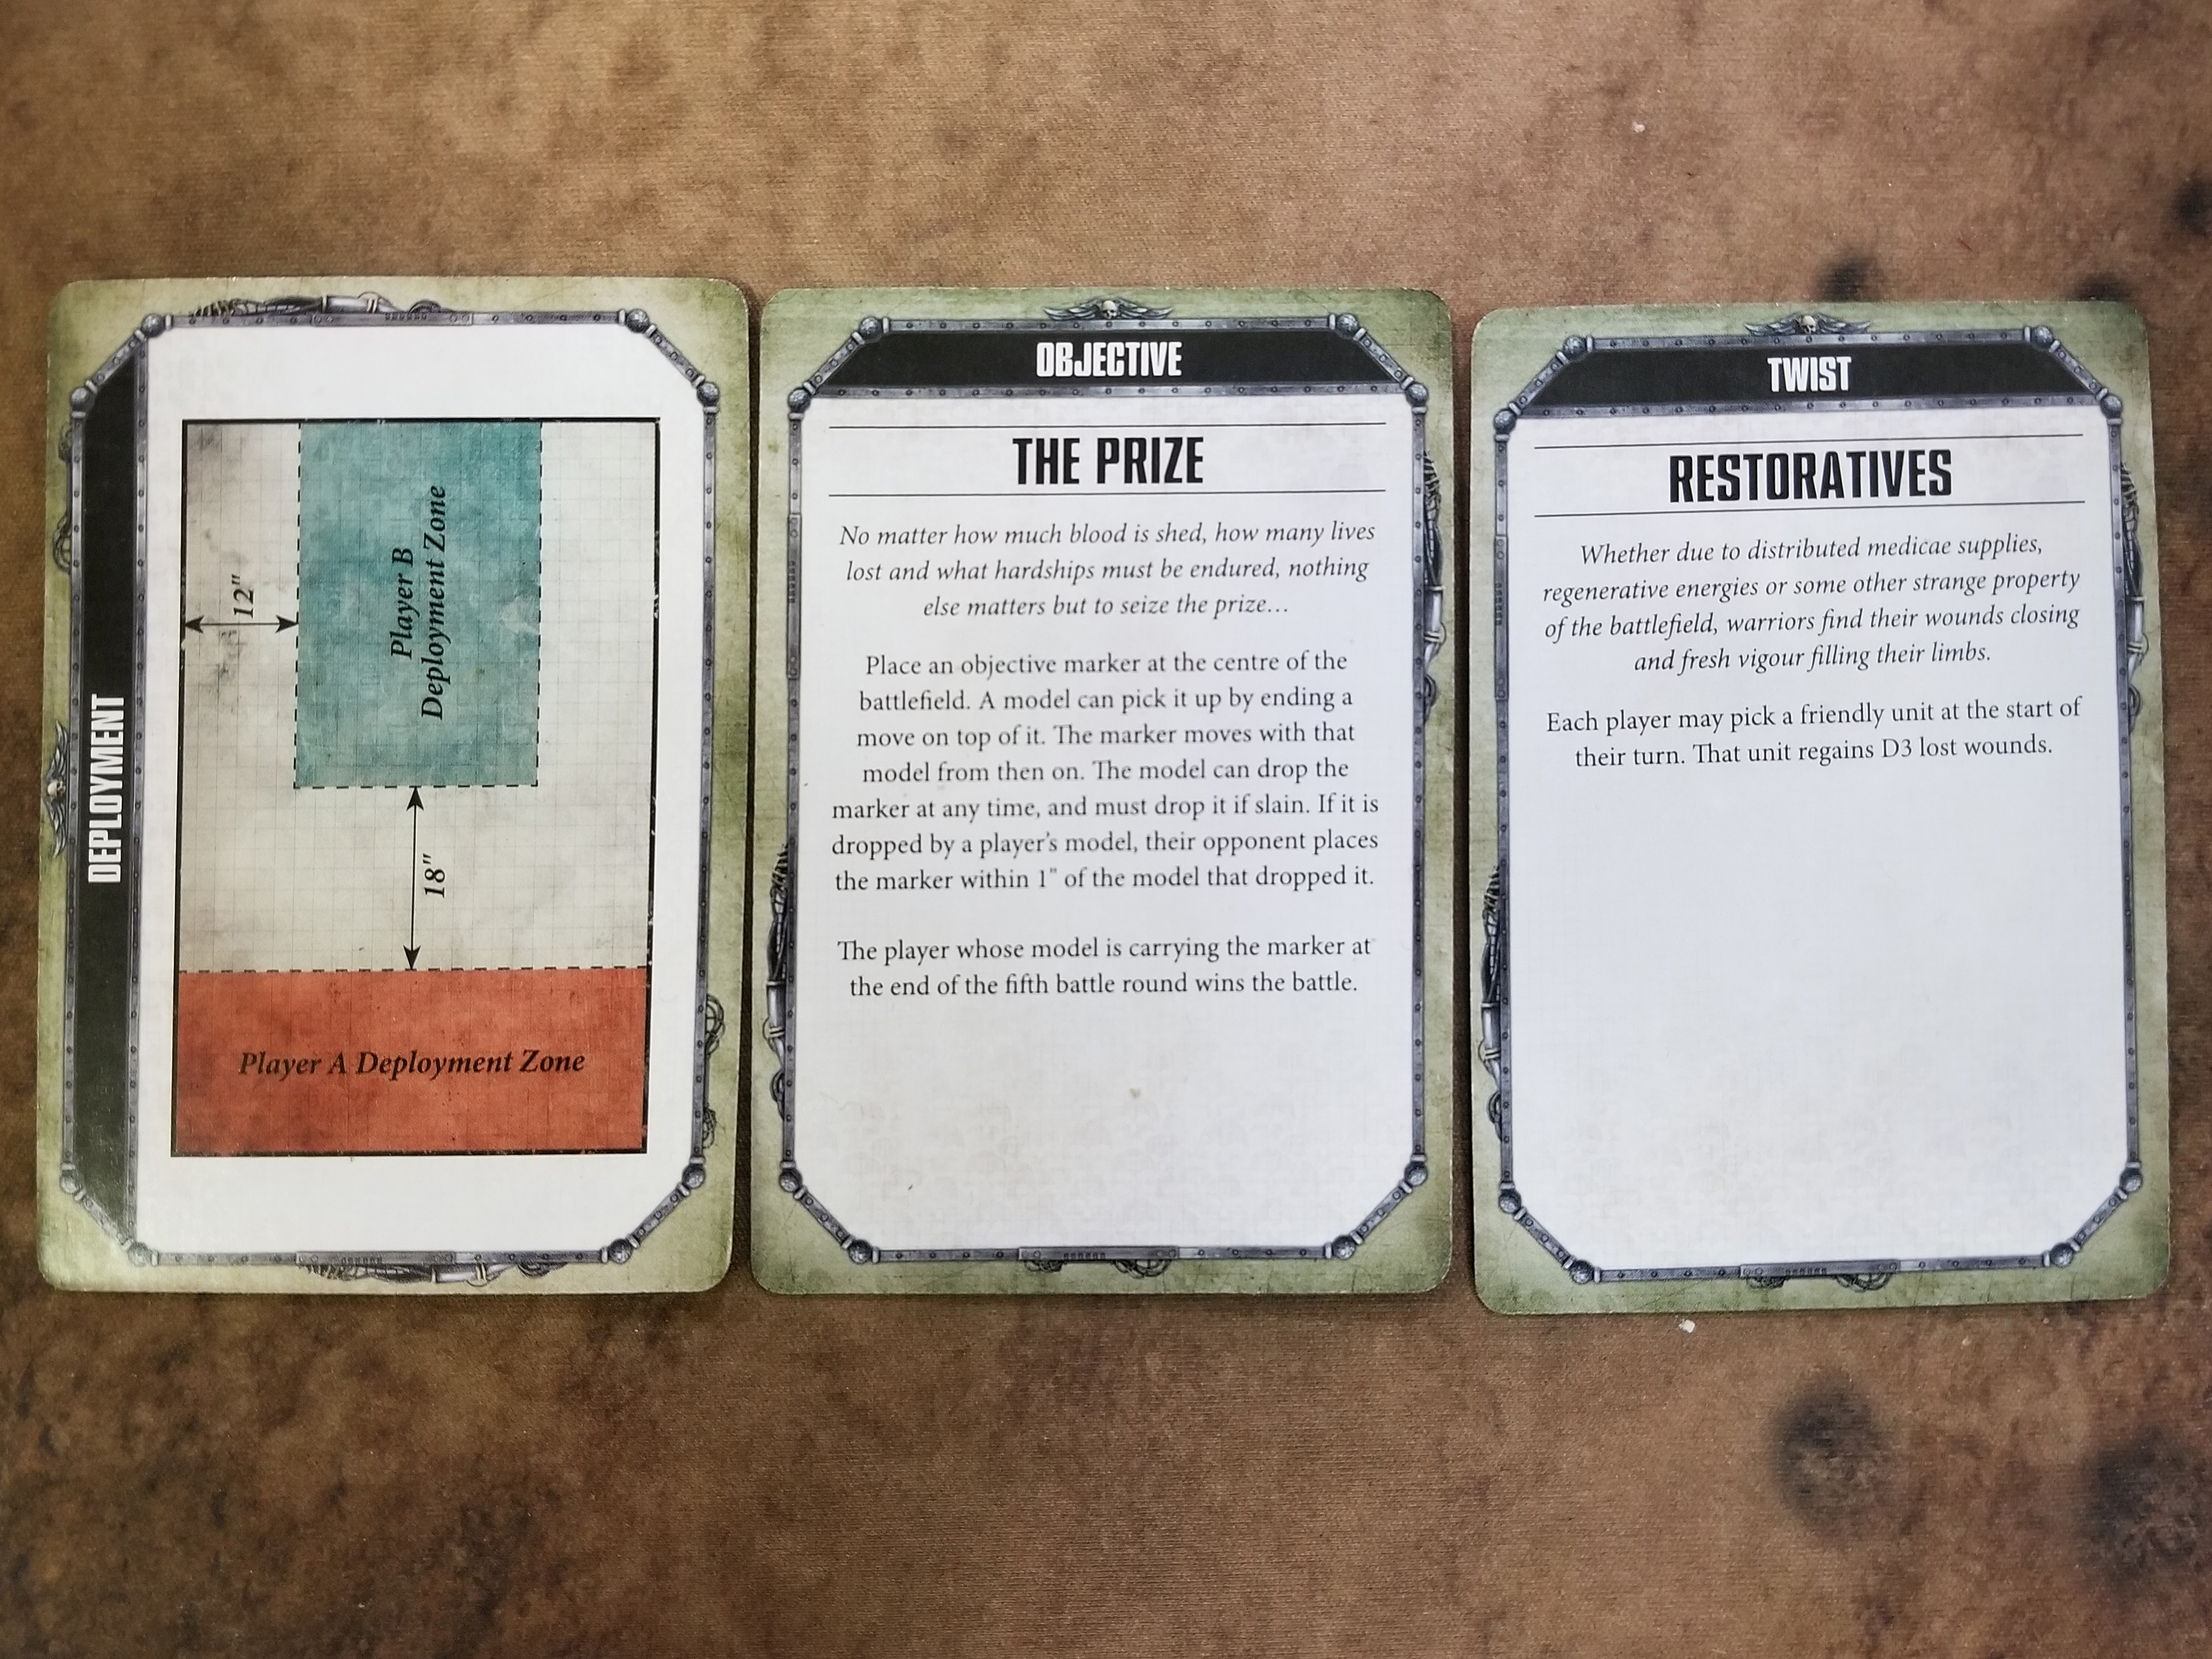
The draw form the Open War deck – Deathstrike Tactics
During the game I was worried about the one major downside to the Deathstrike: it will blow it up before I ever get to fire it. I play Guard. I am used to my favourite stuff perishing all the time in the early game. But I needed to keep the Deathstrike in the game to try it out effectively. So I took the Player A Deployment Zone, bubble wrapped and prevented 9” Deep Strike zones the best I could. I just would have been too vulnerable in Player B Deployment Zone.

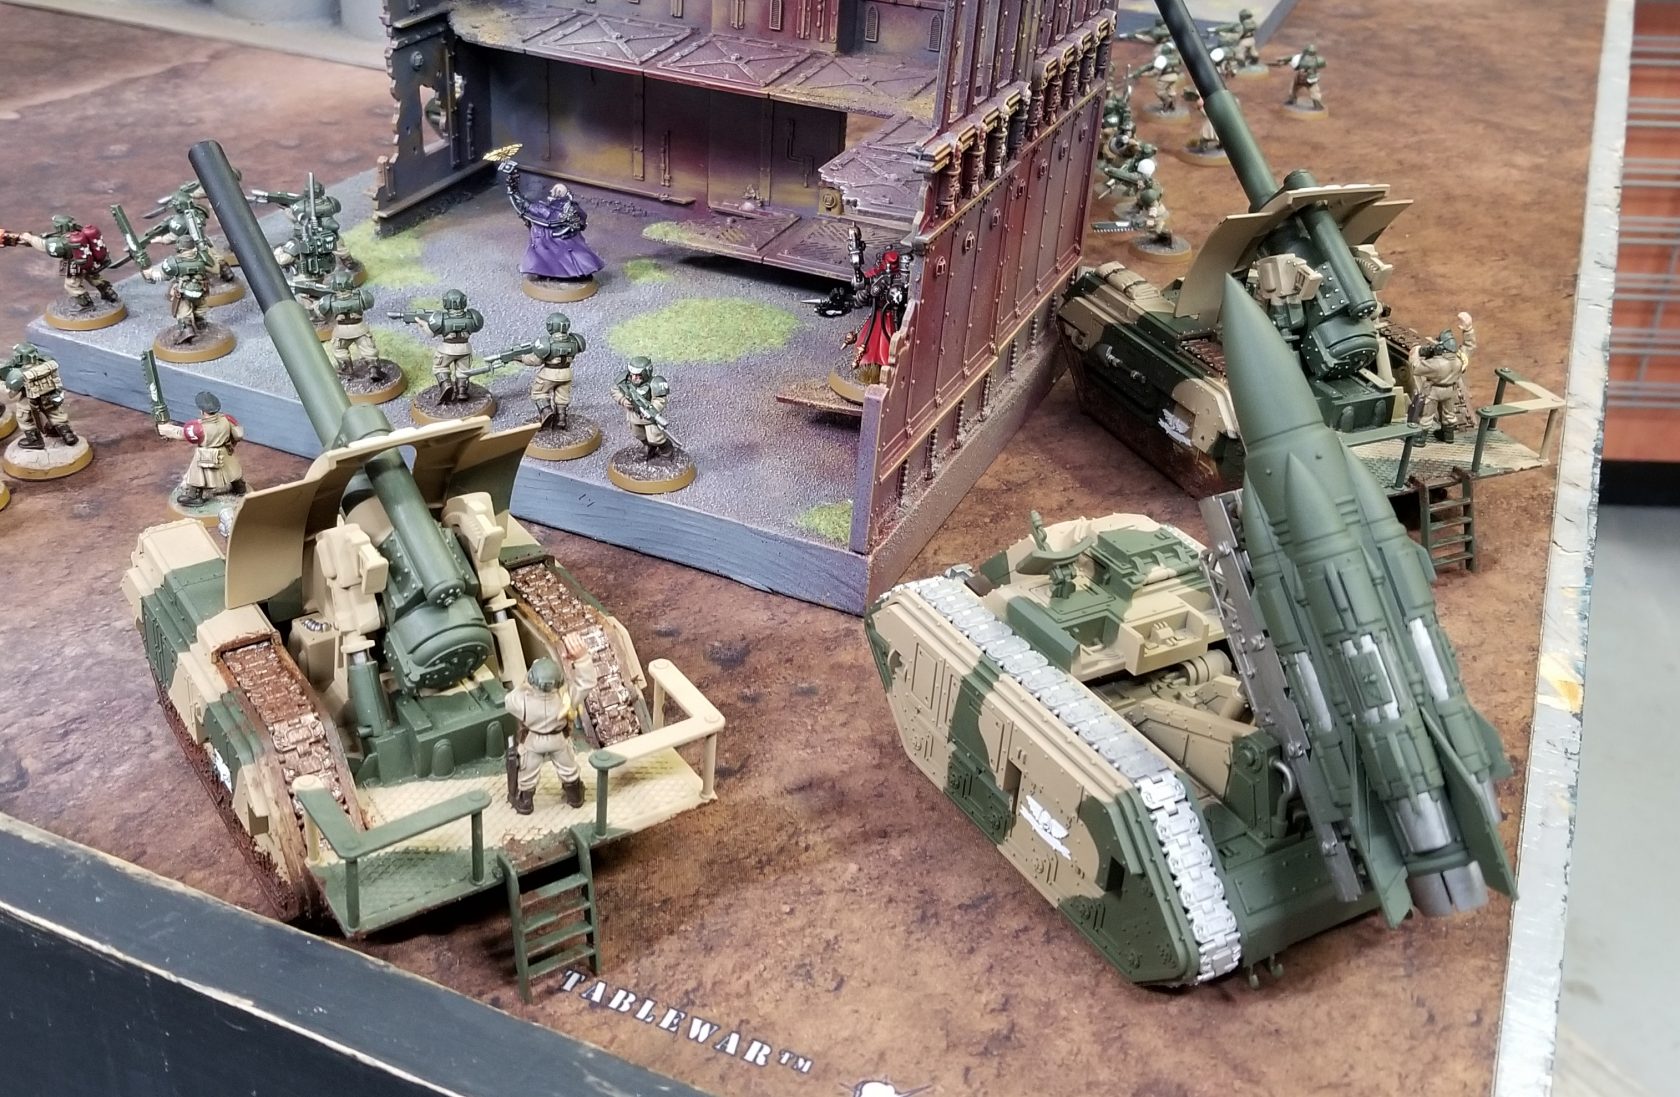
Deathstrike takes its place among two Basilisks with support nearby – Deathstrike Tactics
My strategy proved victorious. The Great Unclean One and other deep striking units couldn’t get behind my lines. Then it was up to my Hellhounds, Bullgryns, and Infantry Squads to hold the Daemons at bay.
I could not get the relic though. One of his winged Daemon Princes swooped in and quickly carried it off behind his resilient and unholy line of troops. My goal was to then push my right flank inward to hopefully run and grab the relic after mid game. That would never happen.
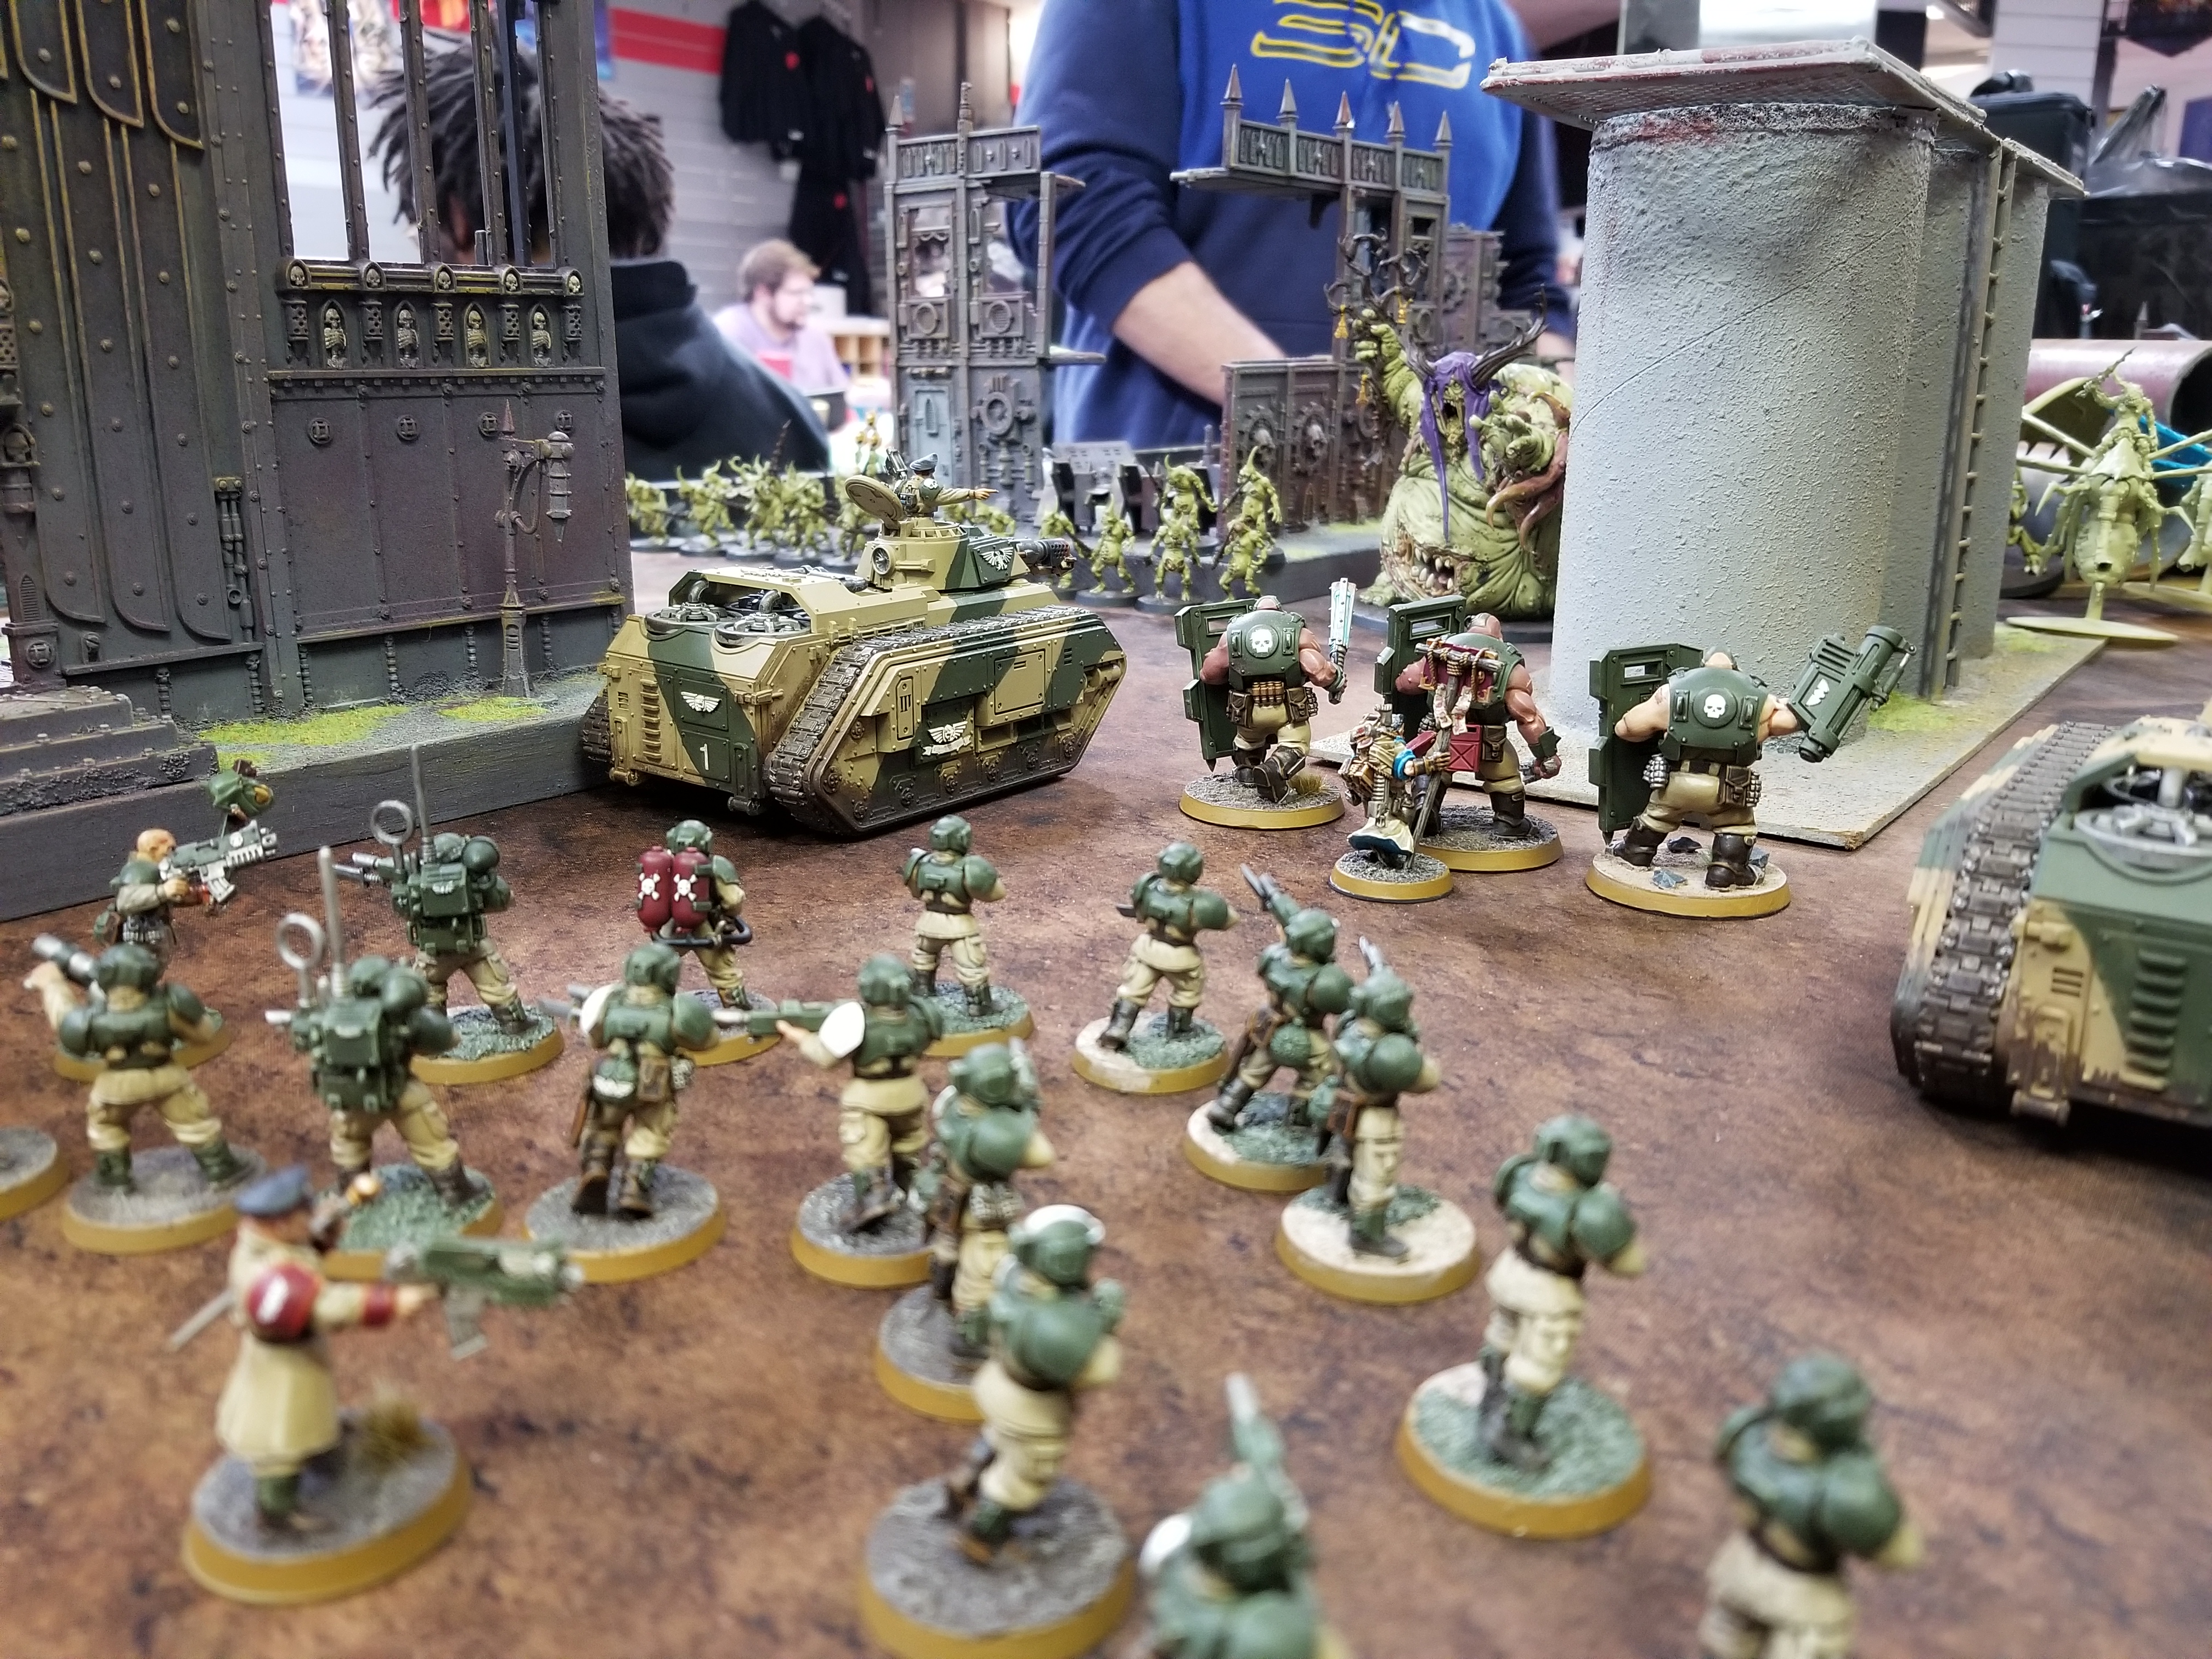
Looking out from the centre of my army; artillery is to the right behind the ruins – Deathstrike Tactics
Luckily for me, my opponent failed all but one of his Turn 1 charges. To follow up my Bullgryns did above average work bashing The Great Unclean One knocking him down to below half health. I attribute this to the battle zeal and prayers of the Ministorum Priest. Turn after turn my troops whittled down the Plaguebearers with order after order of firing and melee attacks. The left side of my line where the artillery was held solid!
My right flank crumbled. Two Daemon Princes, 6 Plaguedrones, and 1 unit of Nurglings decimated the ranks. Soon, I had only 6 out of the 21 models left on my right flank and now the Daemon Prince with the Relic was running away. In round 4, I succeeded on my roll for the Deathstrike Missile to launch, but the Daemon Prince was still too close to my own troops and his own disgustingly resilient allies. I couldn’t risk launching the Deathstrike to kill everything I had nearby and him to pick the Relic right back up off the ground with his other foul Daemons. So I waited for just the right time.
Battle Round 5
In the final battle round, round 5, the Relic was now well secured in the backfield by the very alone Daemon Prince. The game was won by whoever held it at the end of 5. It was a tie otherwise. I went for the tie.
I rolled at the start of my shooting phase to see if the Deathstrike would fire. The result was a one. I saved my command points all game for this. I did the Command Re-roll stratagem. It was a three. Success!
I then fired the Deathstrike Missile, with the Stratagem Vengeance for Cadia to gain re-roll all failed hit and wounds rolls. The Deathstrike only needs the hit rolls to succeed but it was well worth it for the re-roll hits. The re-roll wounds are wasted. I roll my 3D6 and get 11 shots. I then roll to hit.
Two! I only got two hits! I quickly grab up the misses and re-roll them thanks to the stratagem I played.
11 hits. 11 hits! But wait… this is a Daemon Prince of Nurgle! He can ignore mortal wounds on a 5+! He rolls his saves. It looked like my original roll to hit, nearly no successes. The Daemon Prince is slain! The Relic falls!
I would go on to table the Nurgle Daemon army with the Basilisks and the few troops I had remaining. It was no longer a tie! It was a narrow and heart-pounding victory. All thanks to the blessings and ruthless power of the Deathstrike Missile. The Emperor Protects! Deathstrike Tactics fo the win!
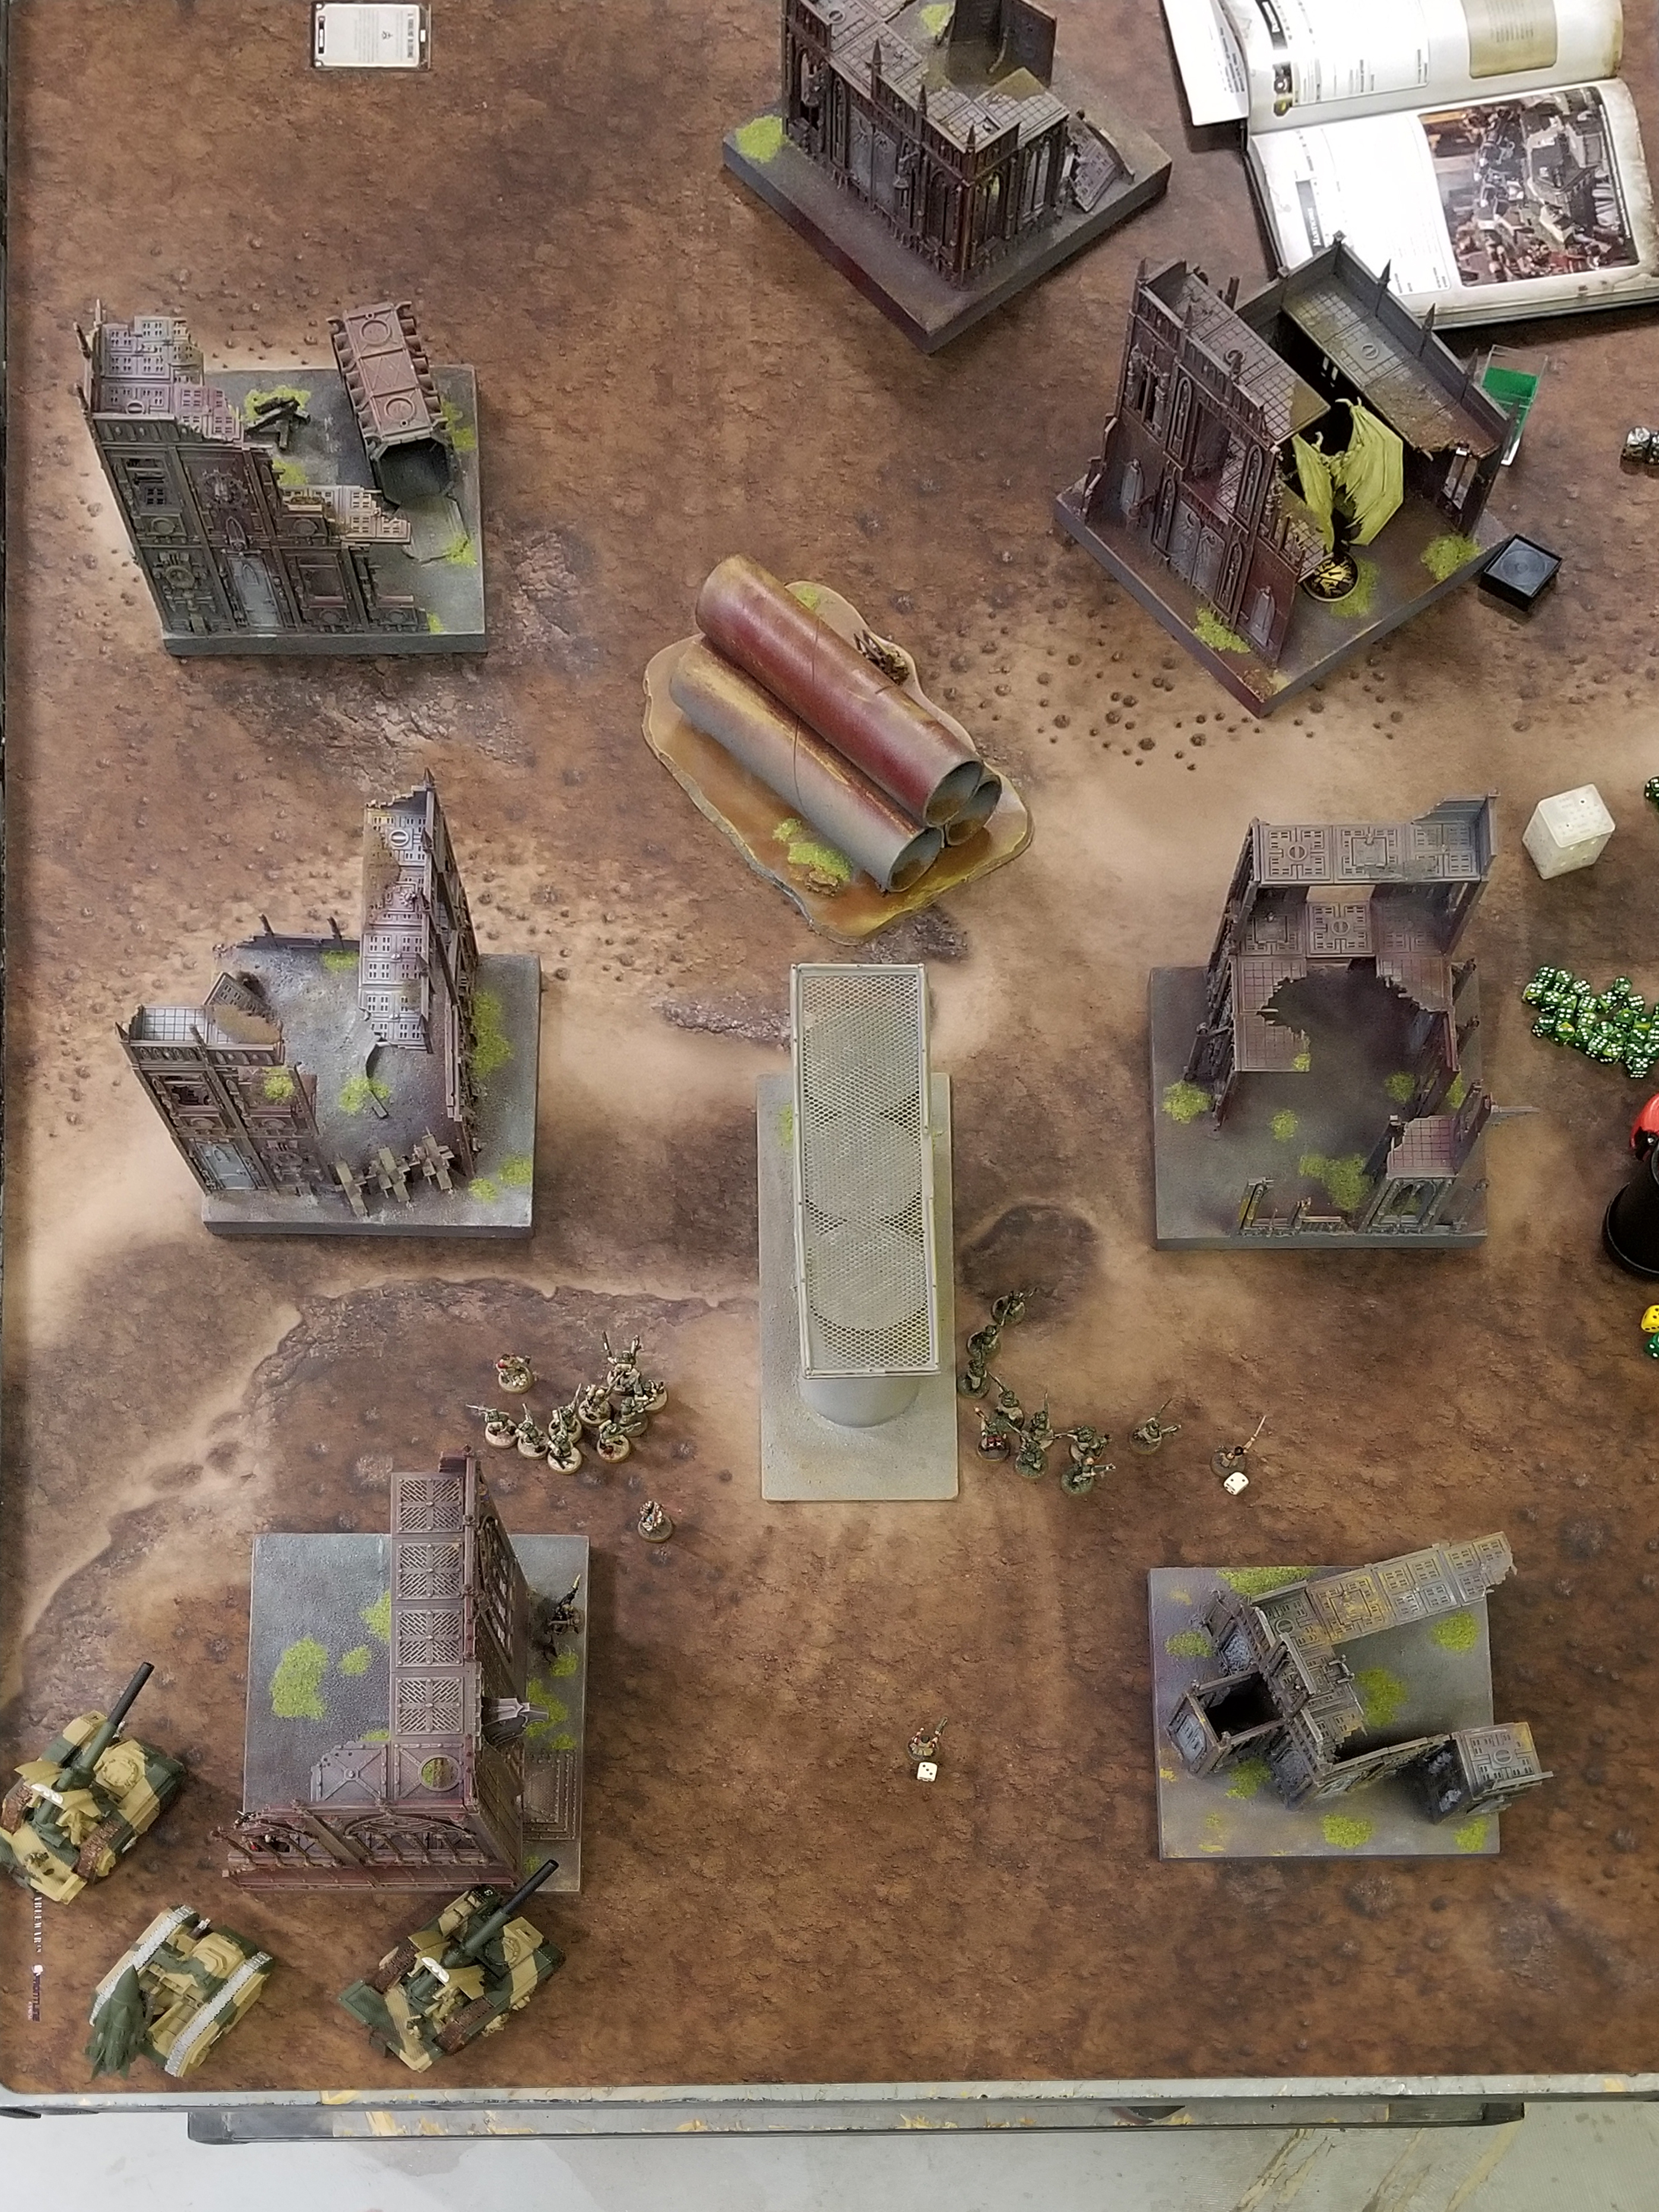
The end of Battle Round 5 – Deathstrike Tactics
The end of Battle Round 5 just after I tabled the Nurgle Daemons; The Nurgle Daemon Prince in the upper right corner of the photo was left to show how far away he was from my force for the sake of this article; my Deathstrike is in the bottom left corner; my remaining troops scattered bottom center.
Had it not been for the Deathstrike Missile, that game would have definitely been a loss. Instead, the might of the Imperium brought all of its furies upon the Daemons and took the day!
Deathstrike Tactics Conclusion
The Deathstrike is a weapon of mass destruction. No opponent is safe from its reach. With all of the buffs possible, this is not a weapon to be ignored. I’ll be sure to bring one to every major Apocalypse event I attend, including the upcoming one at Adepticon2018.
Given how easy things could go wrong, I do not feel this weapon is overpowered. If it was, I’m sure we’d see it spammed in competitive play. However, I feel it could easily swing a game if it went off in the 2nd Battle Round. So I will be a good friend and gamer and discuss the crazy and fun Deathstrike unit with my opponent before fielding it, the same way I do Lord of War.
I hope this MathHammer and in-depth rules breakdown helps you decide how to build your lists moving forward. I appreciate all of you reading my series on Astra Militarum artillery as a guest writer on Cadian Shock’s blog. You all have made me a better game with your feedback. I hope I have also brightened your day a little bit and the days to come as you immerse yourself in the world of Warhammer 40,000. The Emperor protects! Have fun everyone!
Editor’s note: Big, massive, universe-sized thank you to Cadian Sergeant Steel for this series of articles and this final Deathstrike Tactics article. A true Imperial Guard Commander through and through. All articles together come to about 10,800 words! Wow!