
Black Templars vs Astra Militarum – 1,500 Points
Battle report inbound - let us take on the Black Templars!
I have got a new battle report today for you! It’s 1,500 of Astra Militarum taking on the Black Templars – who I’ve never played before. The battle was at Boards & Swords and we used the Urban Jungle Scenery from Go To Ground Wargaming. This battlefield is using 1 Large Set – Go to Ground currently has 25% off on small sets if you wanted to get started.
My little bit of research told me they would possibly be melee focussed because of their ability to re-roll failed charges. But other than that I just expected Marines.
Never miss an article? Subscribe!
Black Templars List
- Emperor’s Champion
- A Chapter Master style Warlord – I think
- 10 Man Crusader Squad with Plasma Pistol, Flamer and lots of Chainswords and Bolt Pistols
- Drop Pod with the Crusaders inside
- 5 Man Terminator Squad with Thunder Hammers and Storm Sheilds
- Land Raider with Twin Assault Cannon and Hurricane Bolters – with the Terminators inside
- Chaplin – also inside the Land Raider
- Crusader Squad with Lascannon and Plasma Gun
- Venerable Dreadnought with Power Fist and Plasma Cannon
- Intercessor Squad of five Marines
This was a Battalion Detachment and so gave the Black Templars 8CP.
Astra Militarum List
Battalion Detachment – Cadian
- Company Commander with Old Grudges (against the Land Raider) and Relic of Lost Cadia
- Yarrick
- Creed
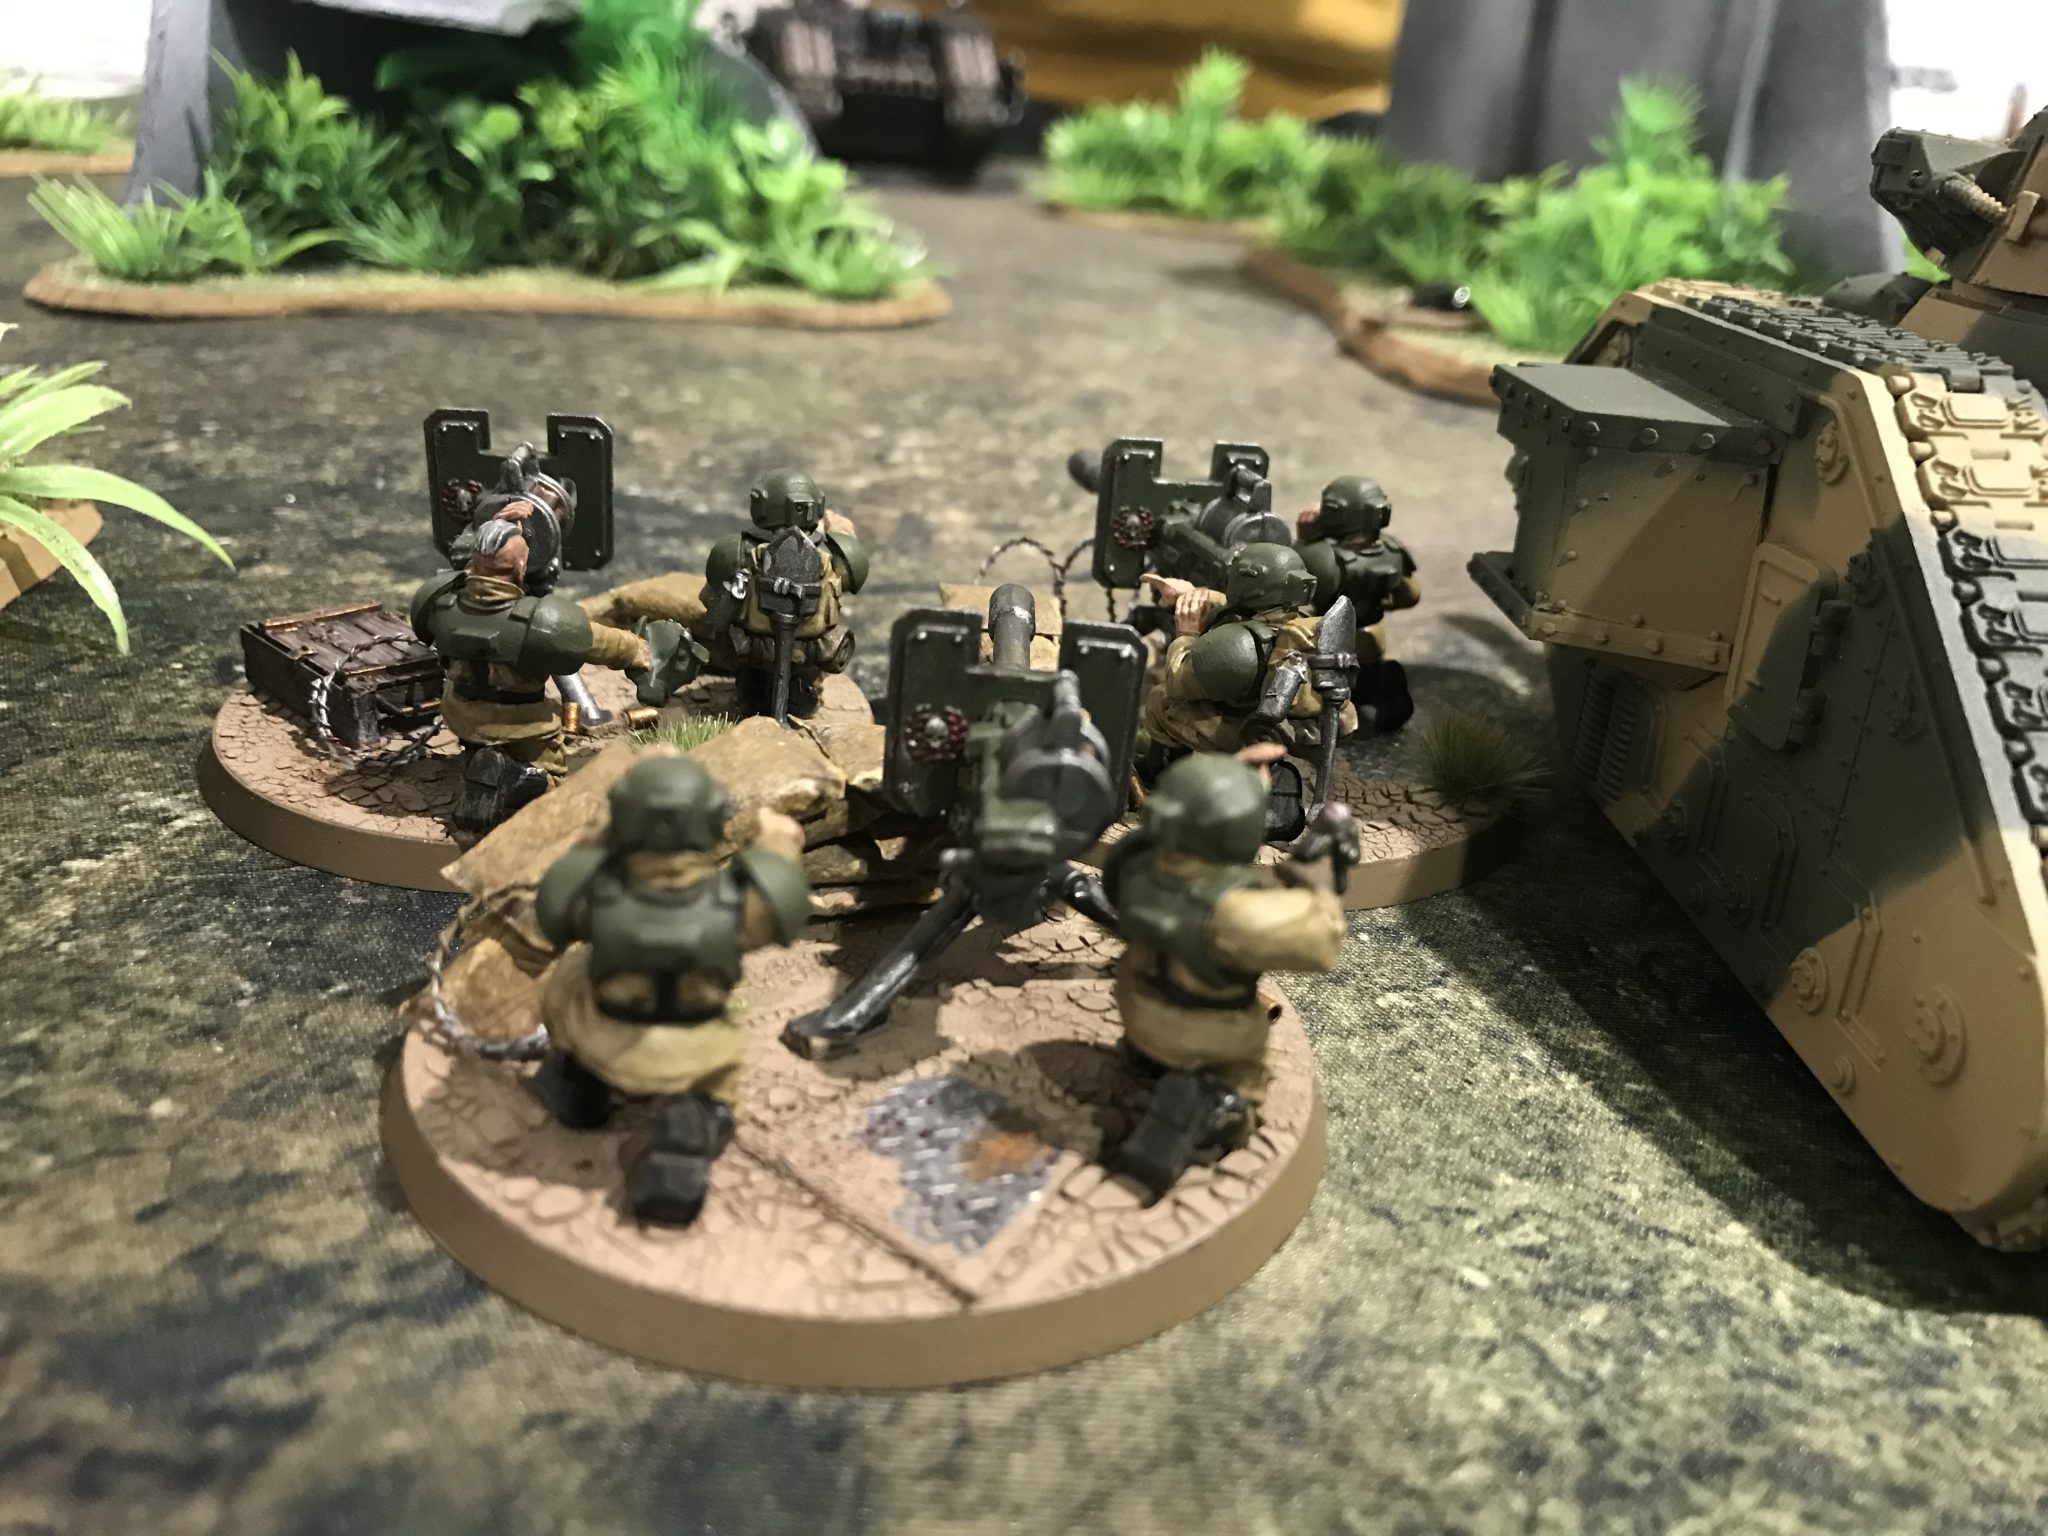
- Heavy Weapons Team with Autocannons
- 2x Wyverns
- 4x Infantry Squads
- 3x Chimera with an Infantry Squad in each
- Two squads of five Ratlings
Spearhead Detachment – Catachan
- 3x Cyclops Demolition Vehicles
- Executioner Tank Commander with Plasma Cannons
This gives me a total of 9CP.
And so today we will find out how the Cyclops Demolition Vehicles do with a screen of Guardsmen and Chimeras.
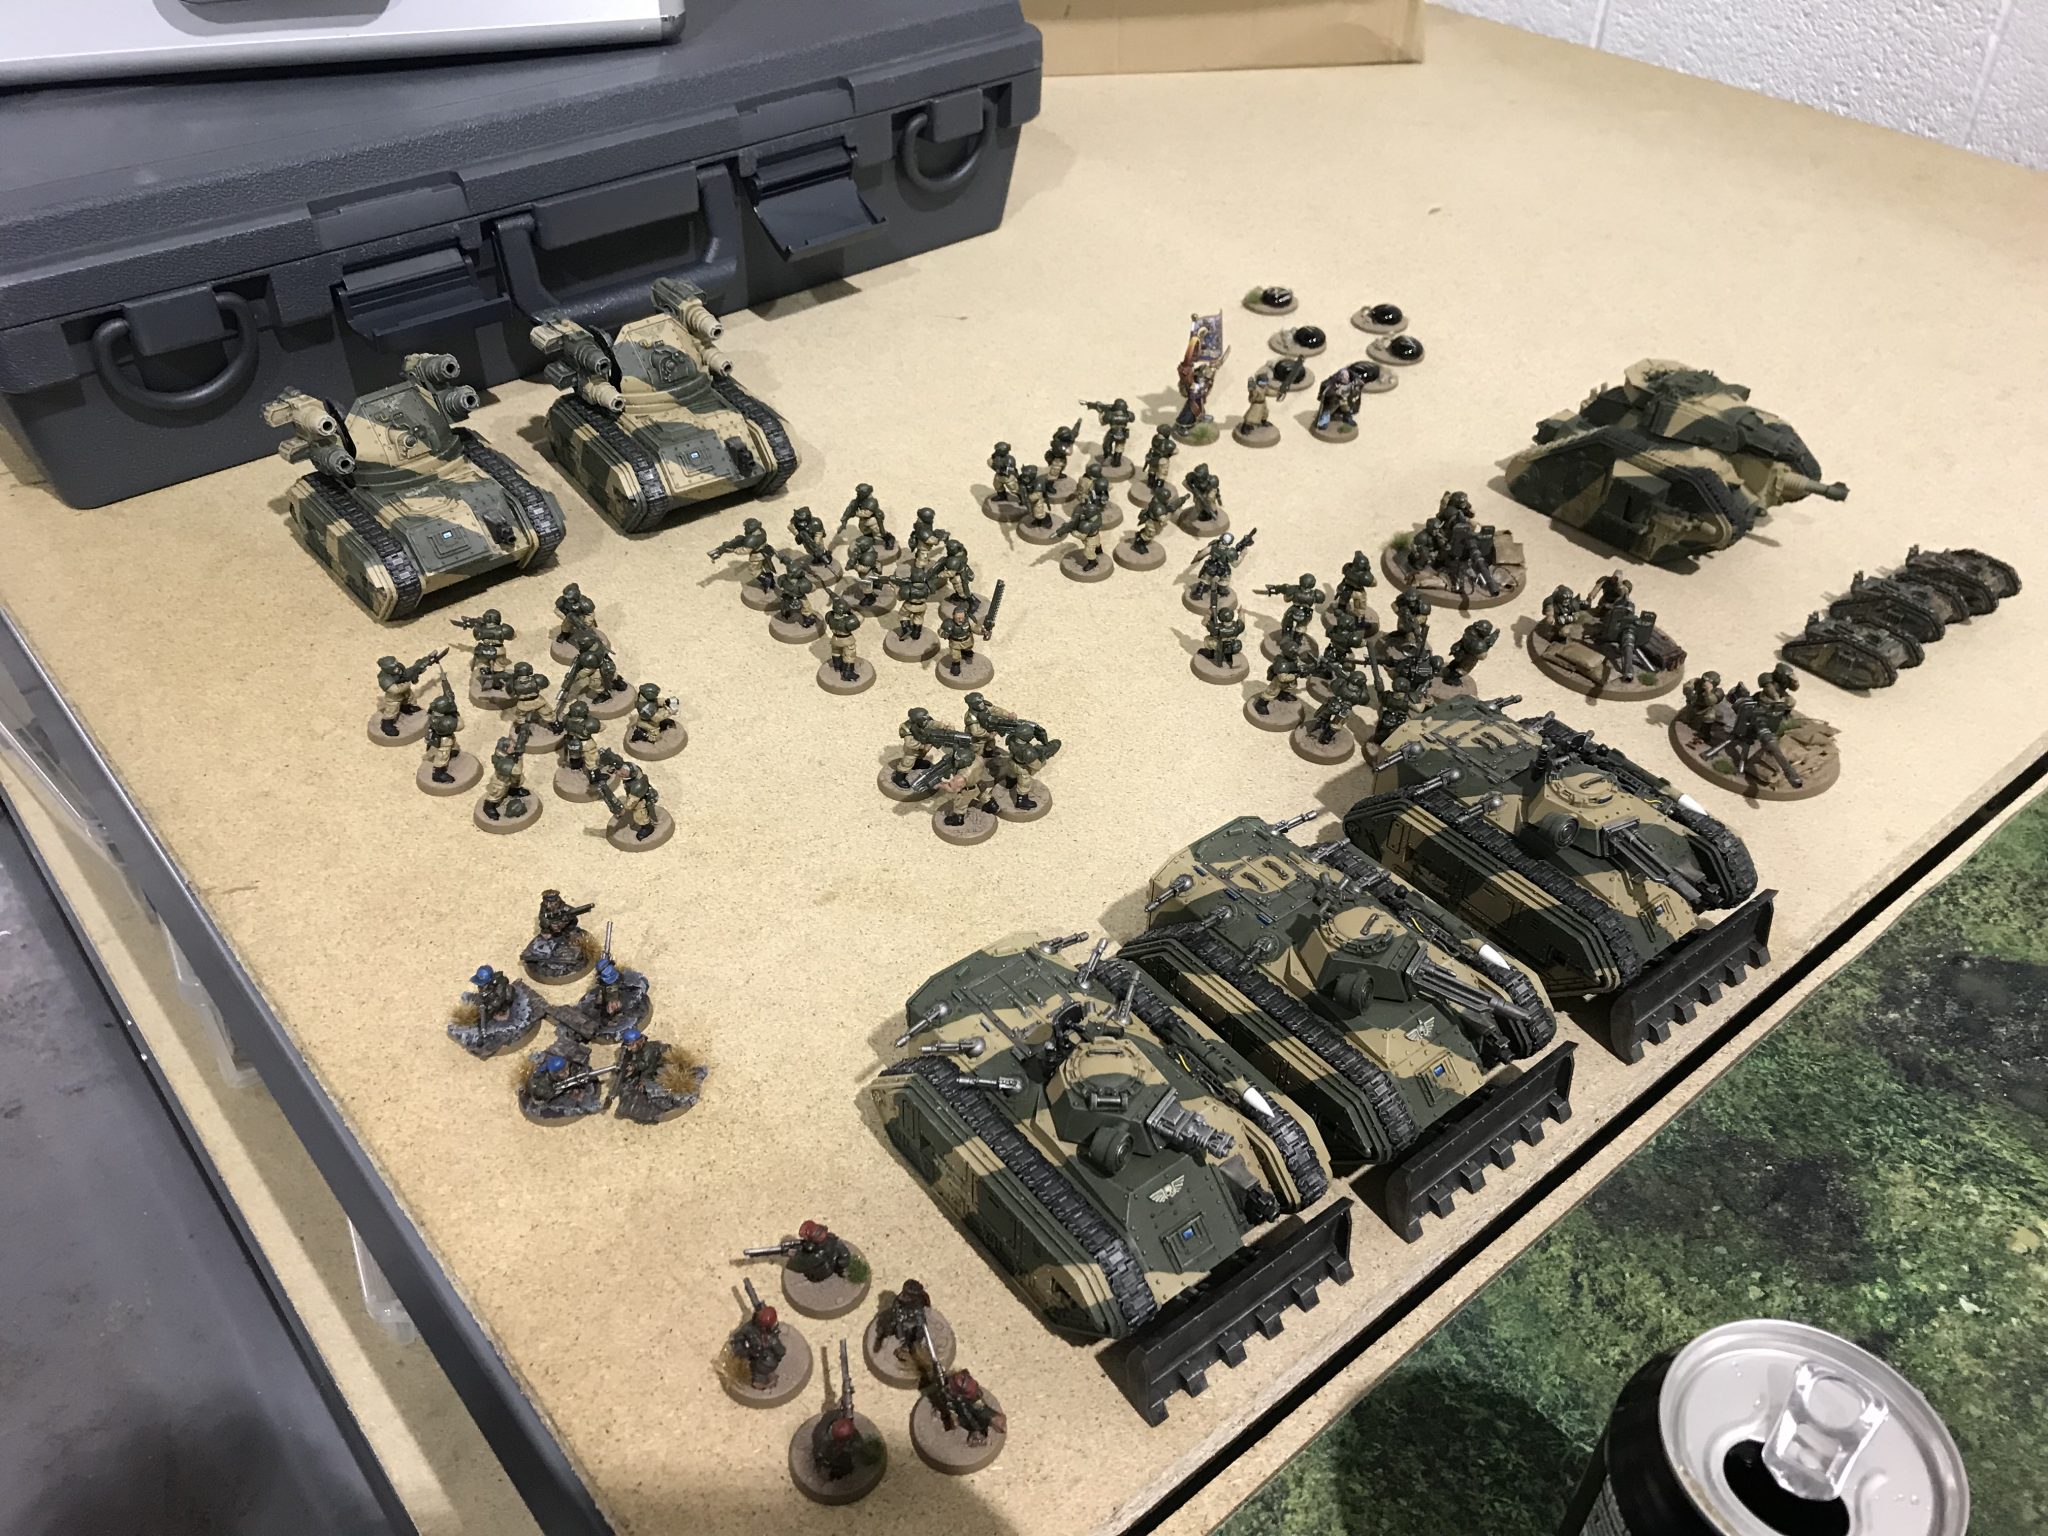
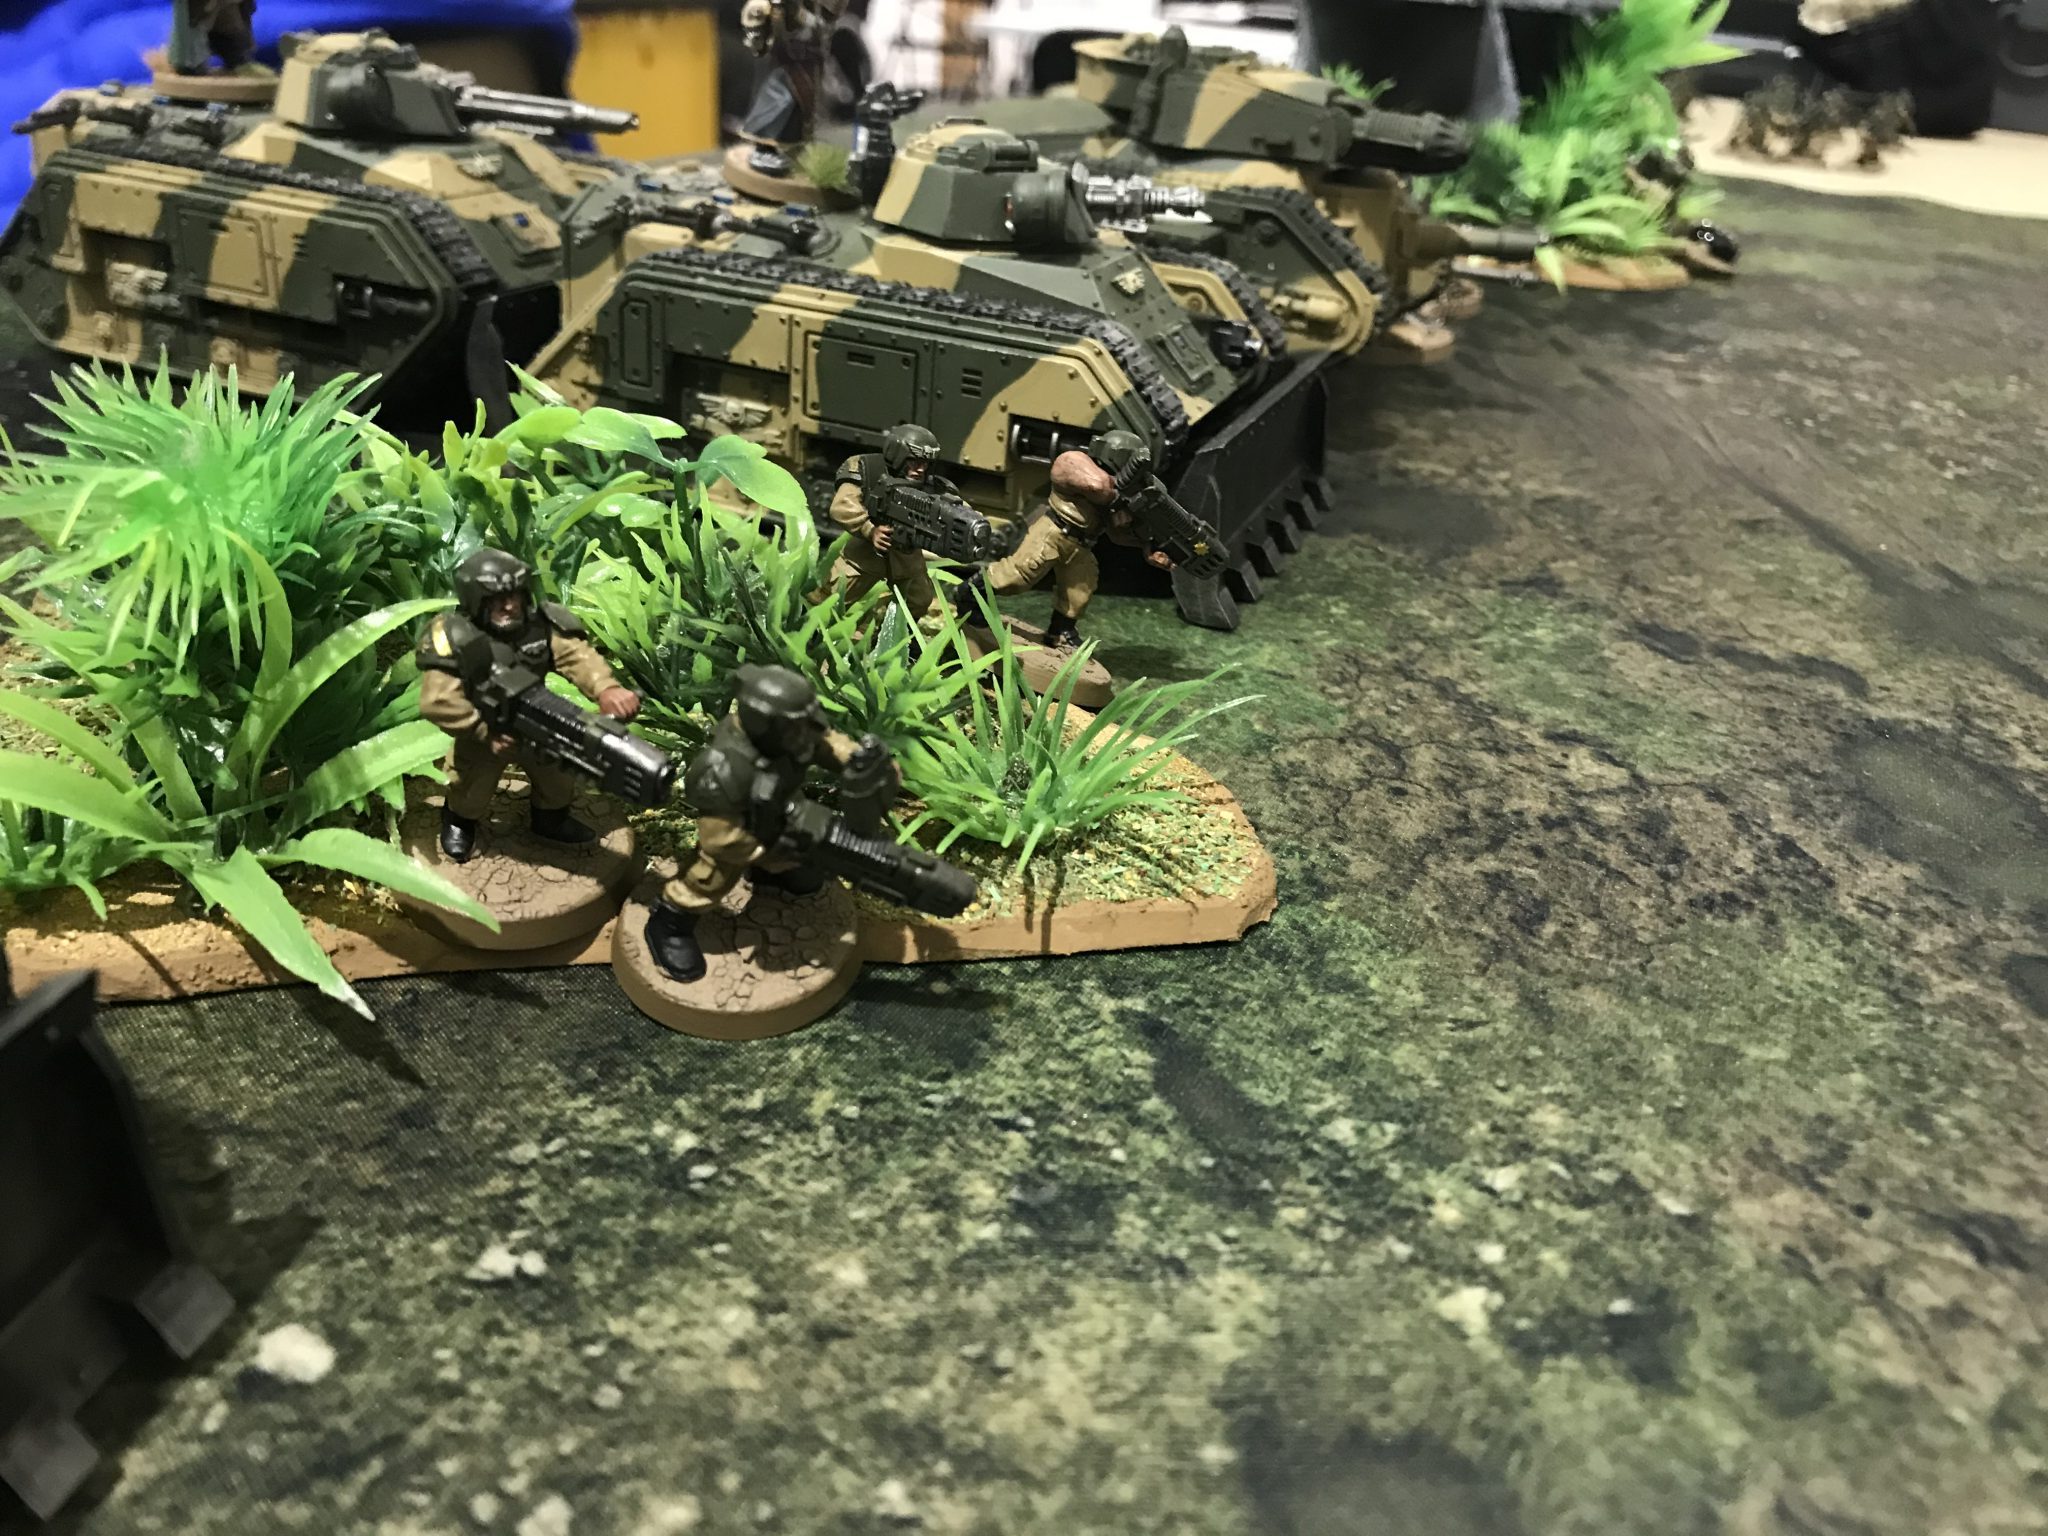
1,500 points of Astra Militarum
Deployment & Mission
The mission was Contact Lost from the Basic Rulebook. We set up along the long board edges because that’s where we were stood.
Contact Lost only lets you generate cards up to the number of objectives you hold. But on turn 1 you just get one card. And so on turn 2 if you hold four objectives you can draw up to four cards.
I finished deploying last and don’t win first turn and I didn’t Seize the Initiative.
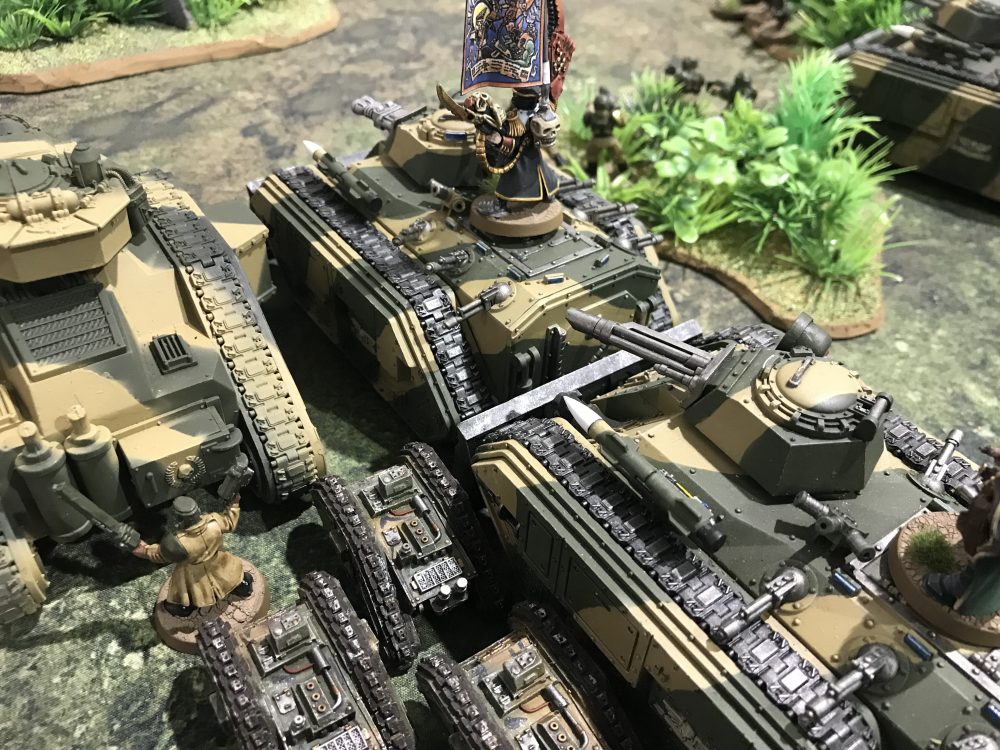
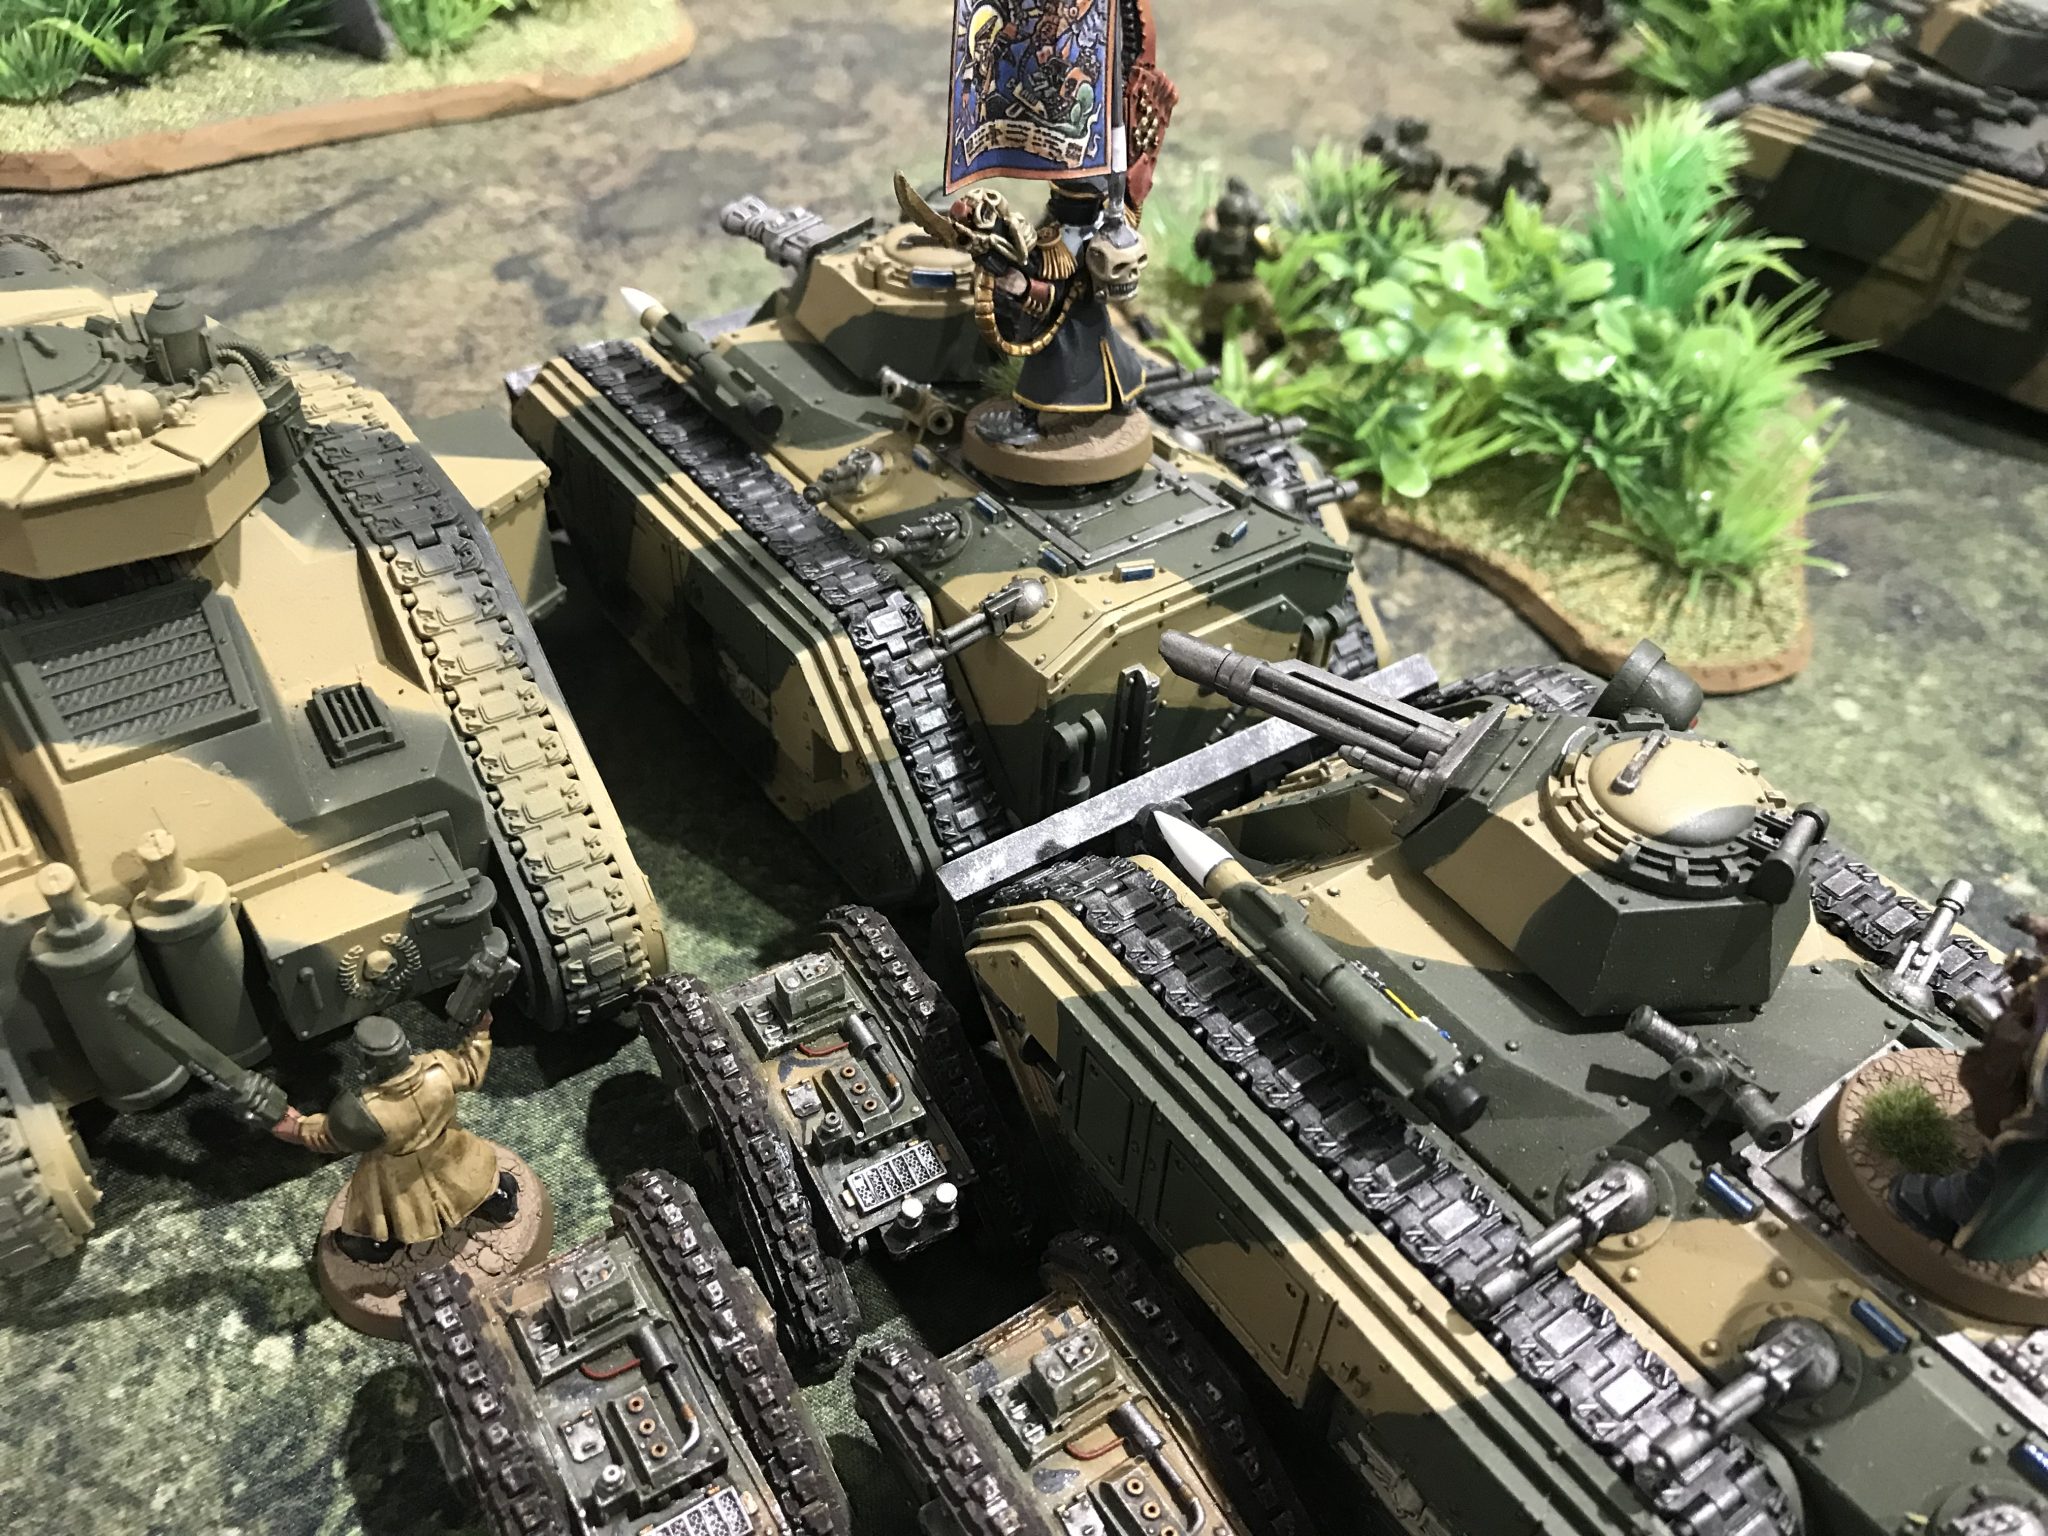
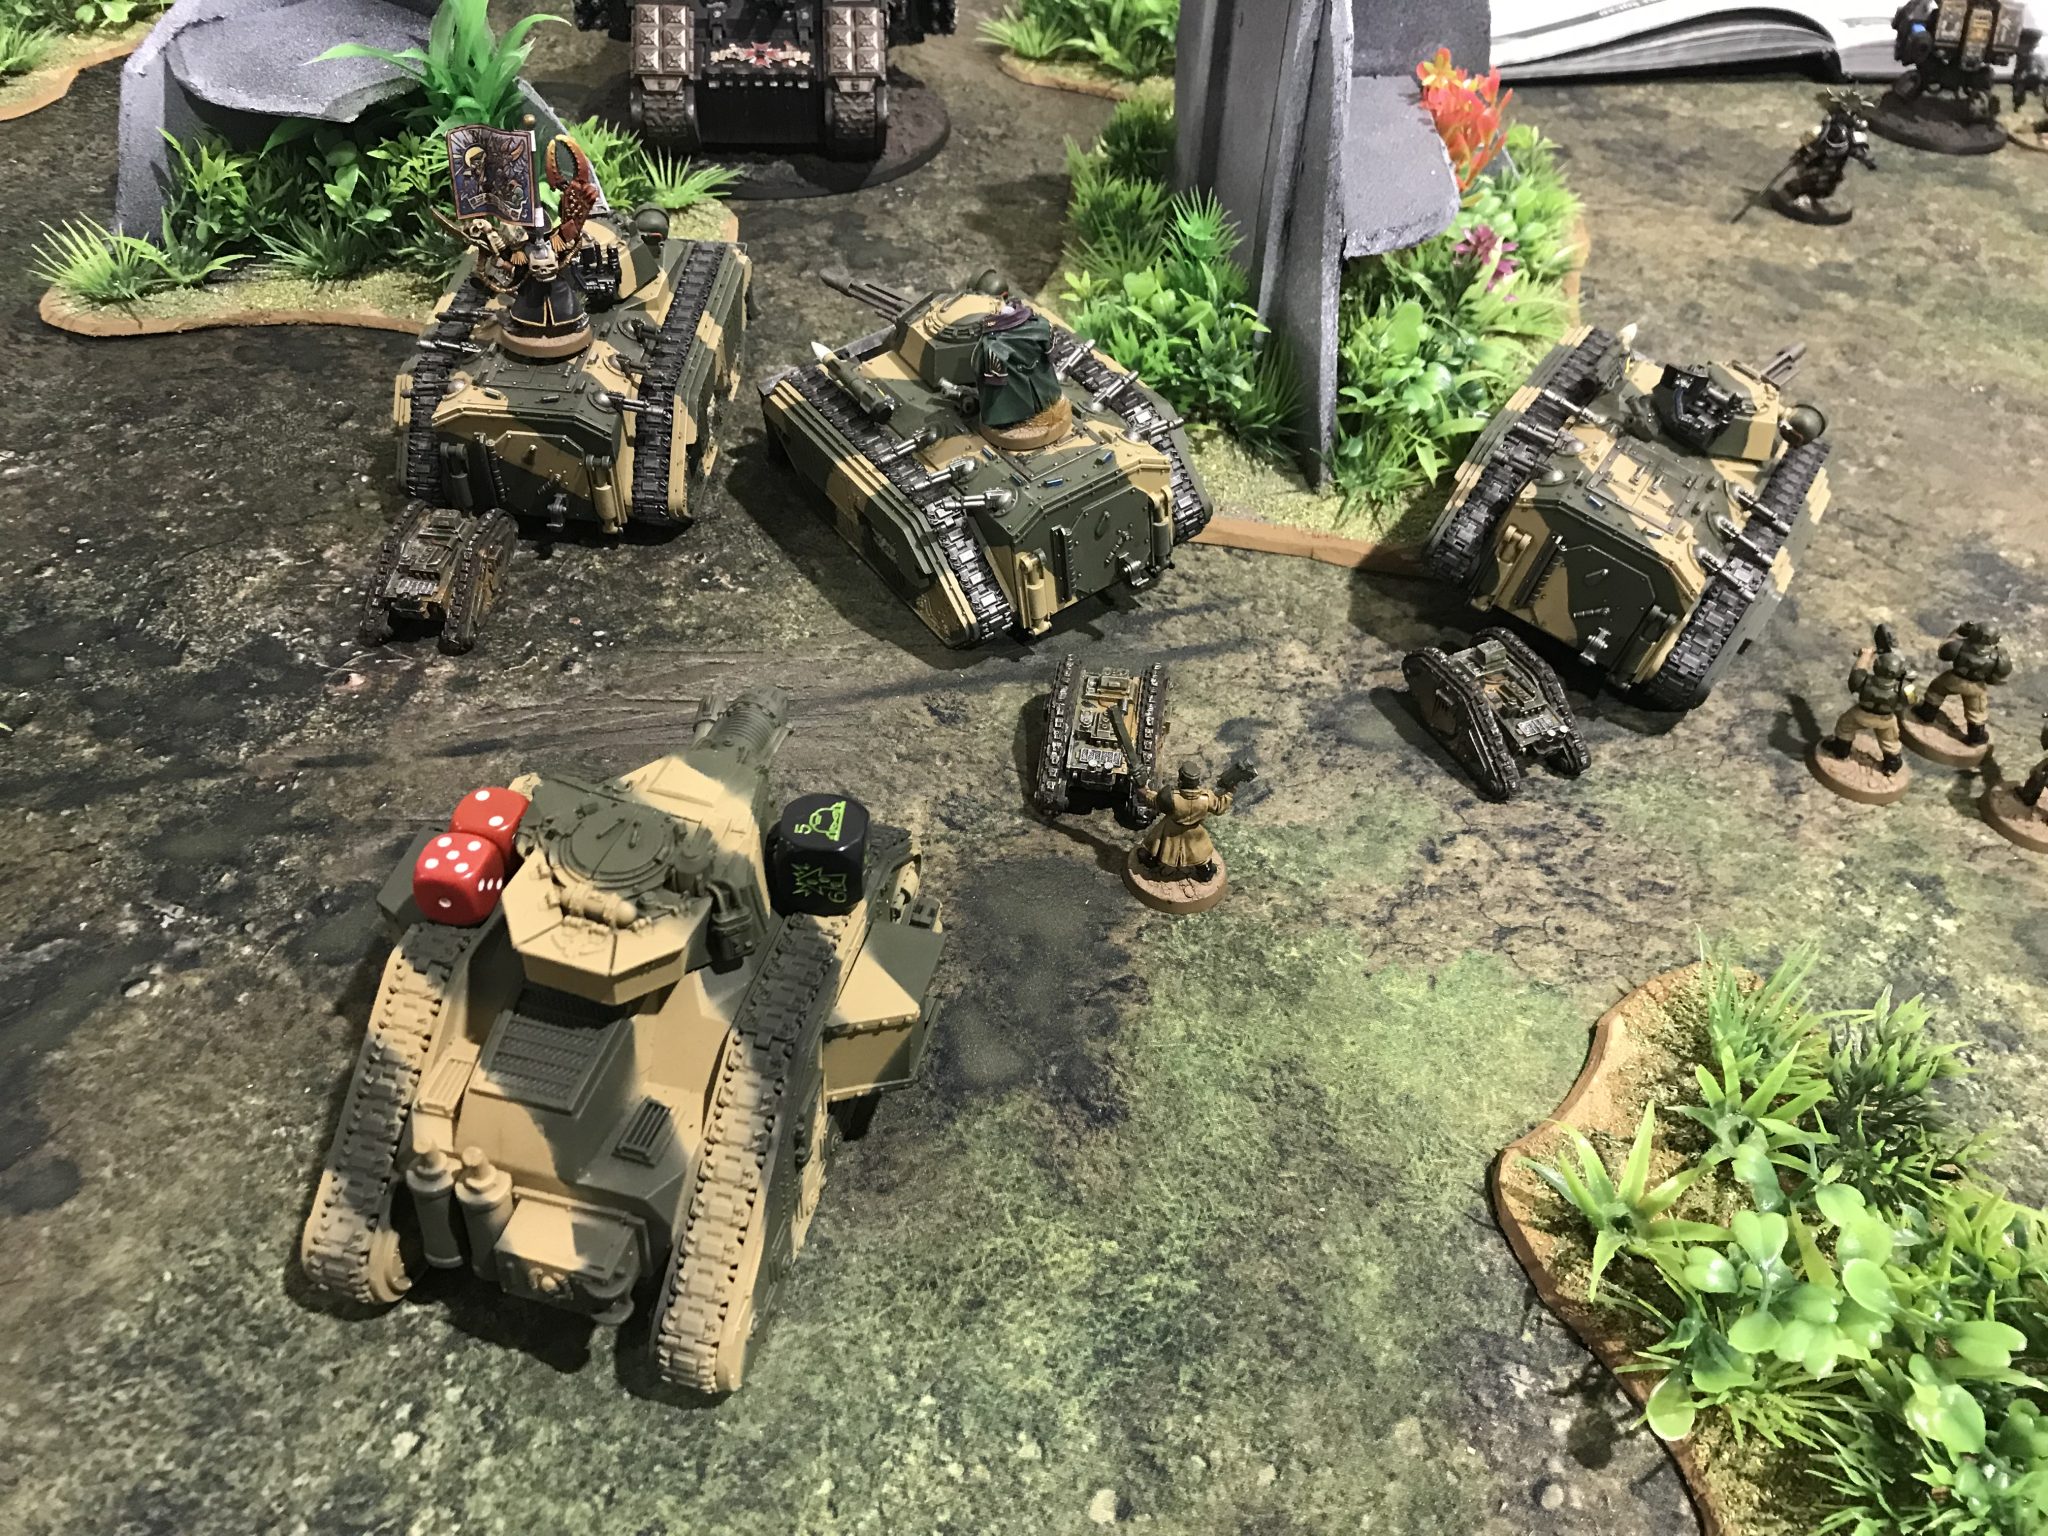
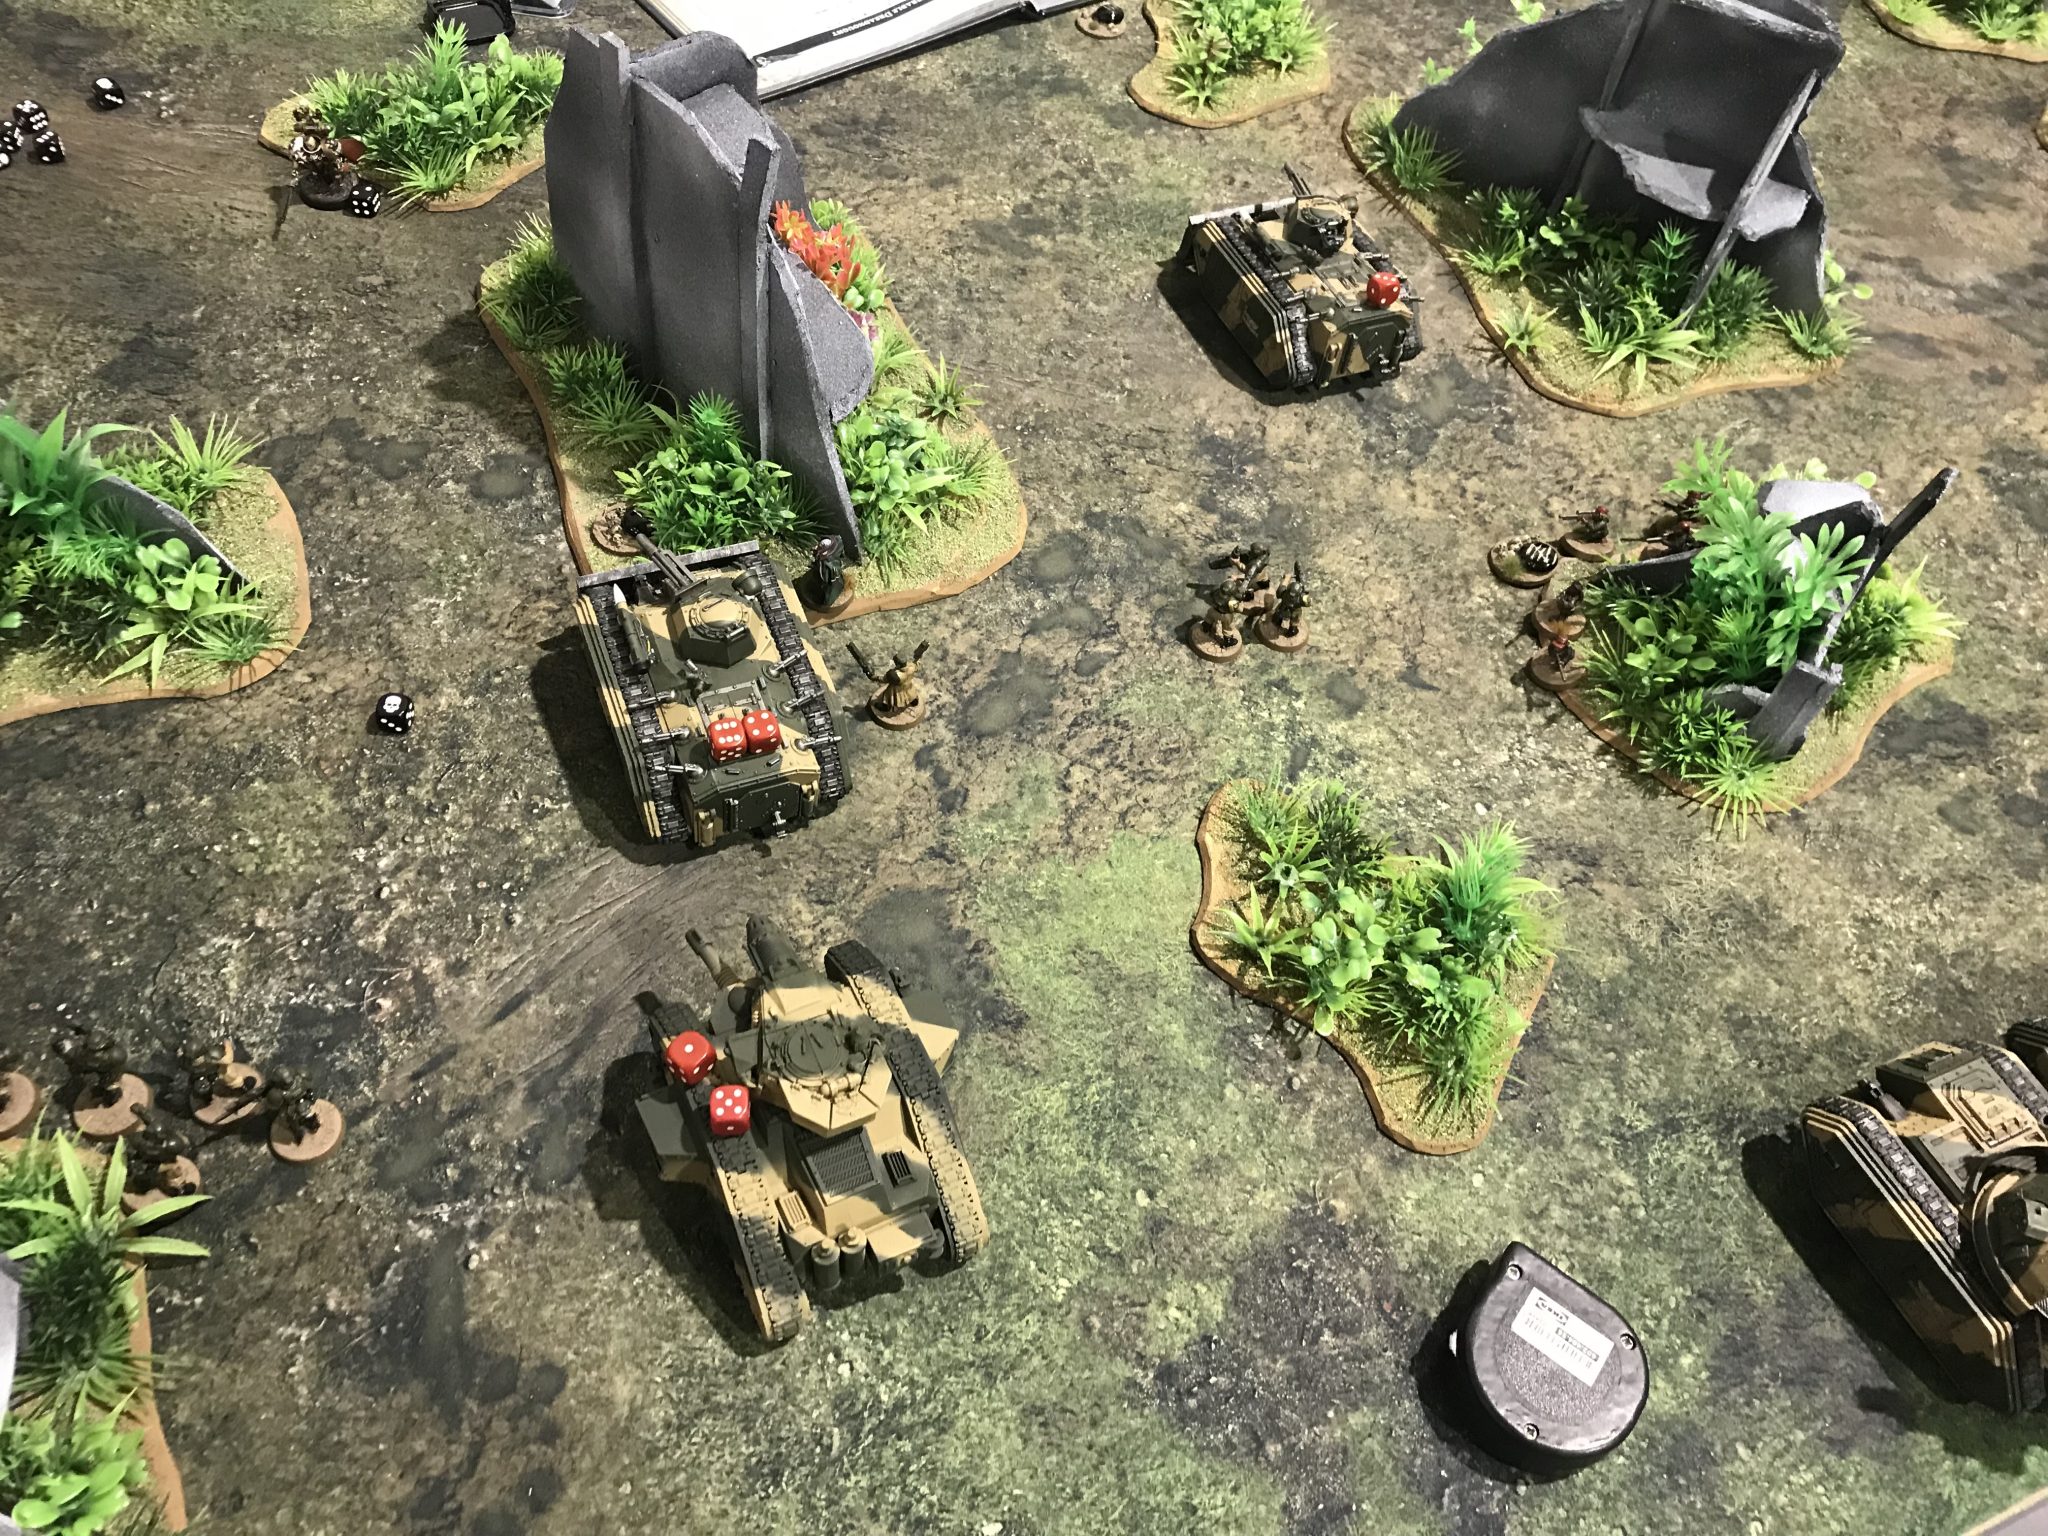
I’d deployed my Cyclops behind my Chimeras and Leman Russ. Out of the line-of-sight of the enemy. The plan was to move forwards and keep them obscured – then let them flow forward in a tide of high explosives.
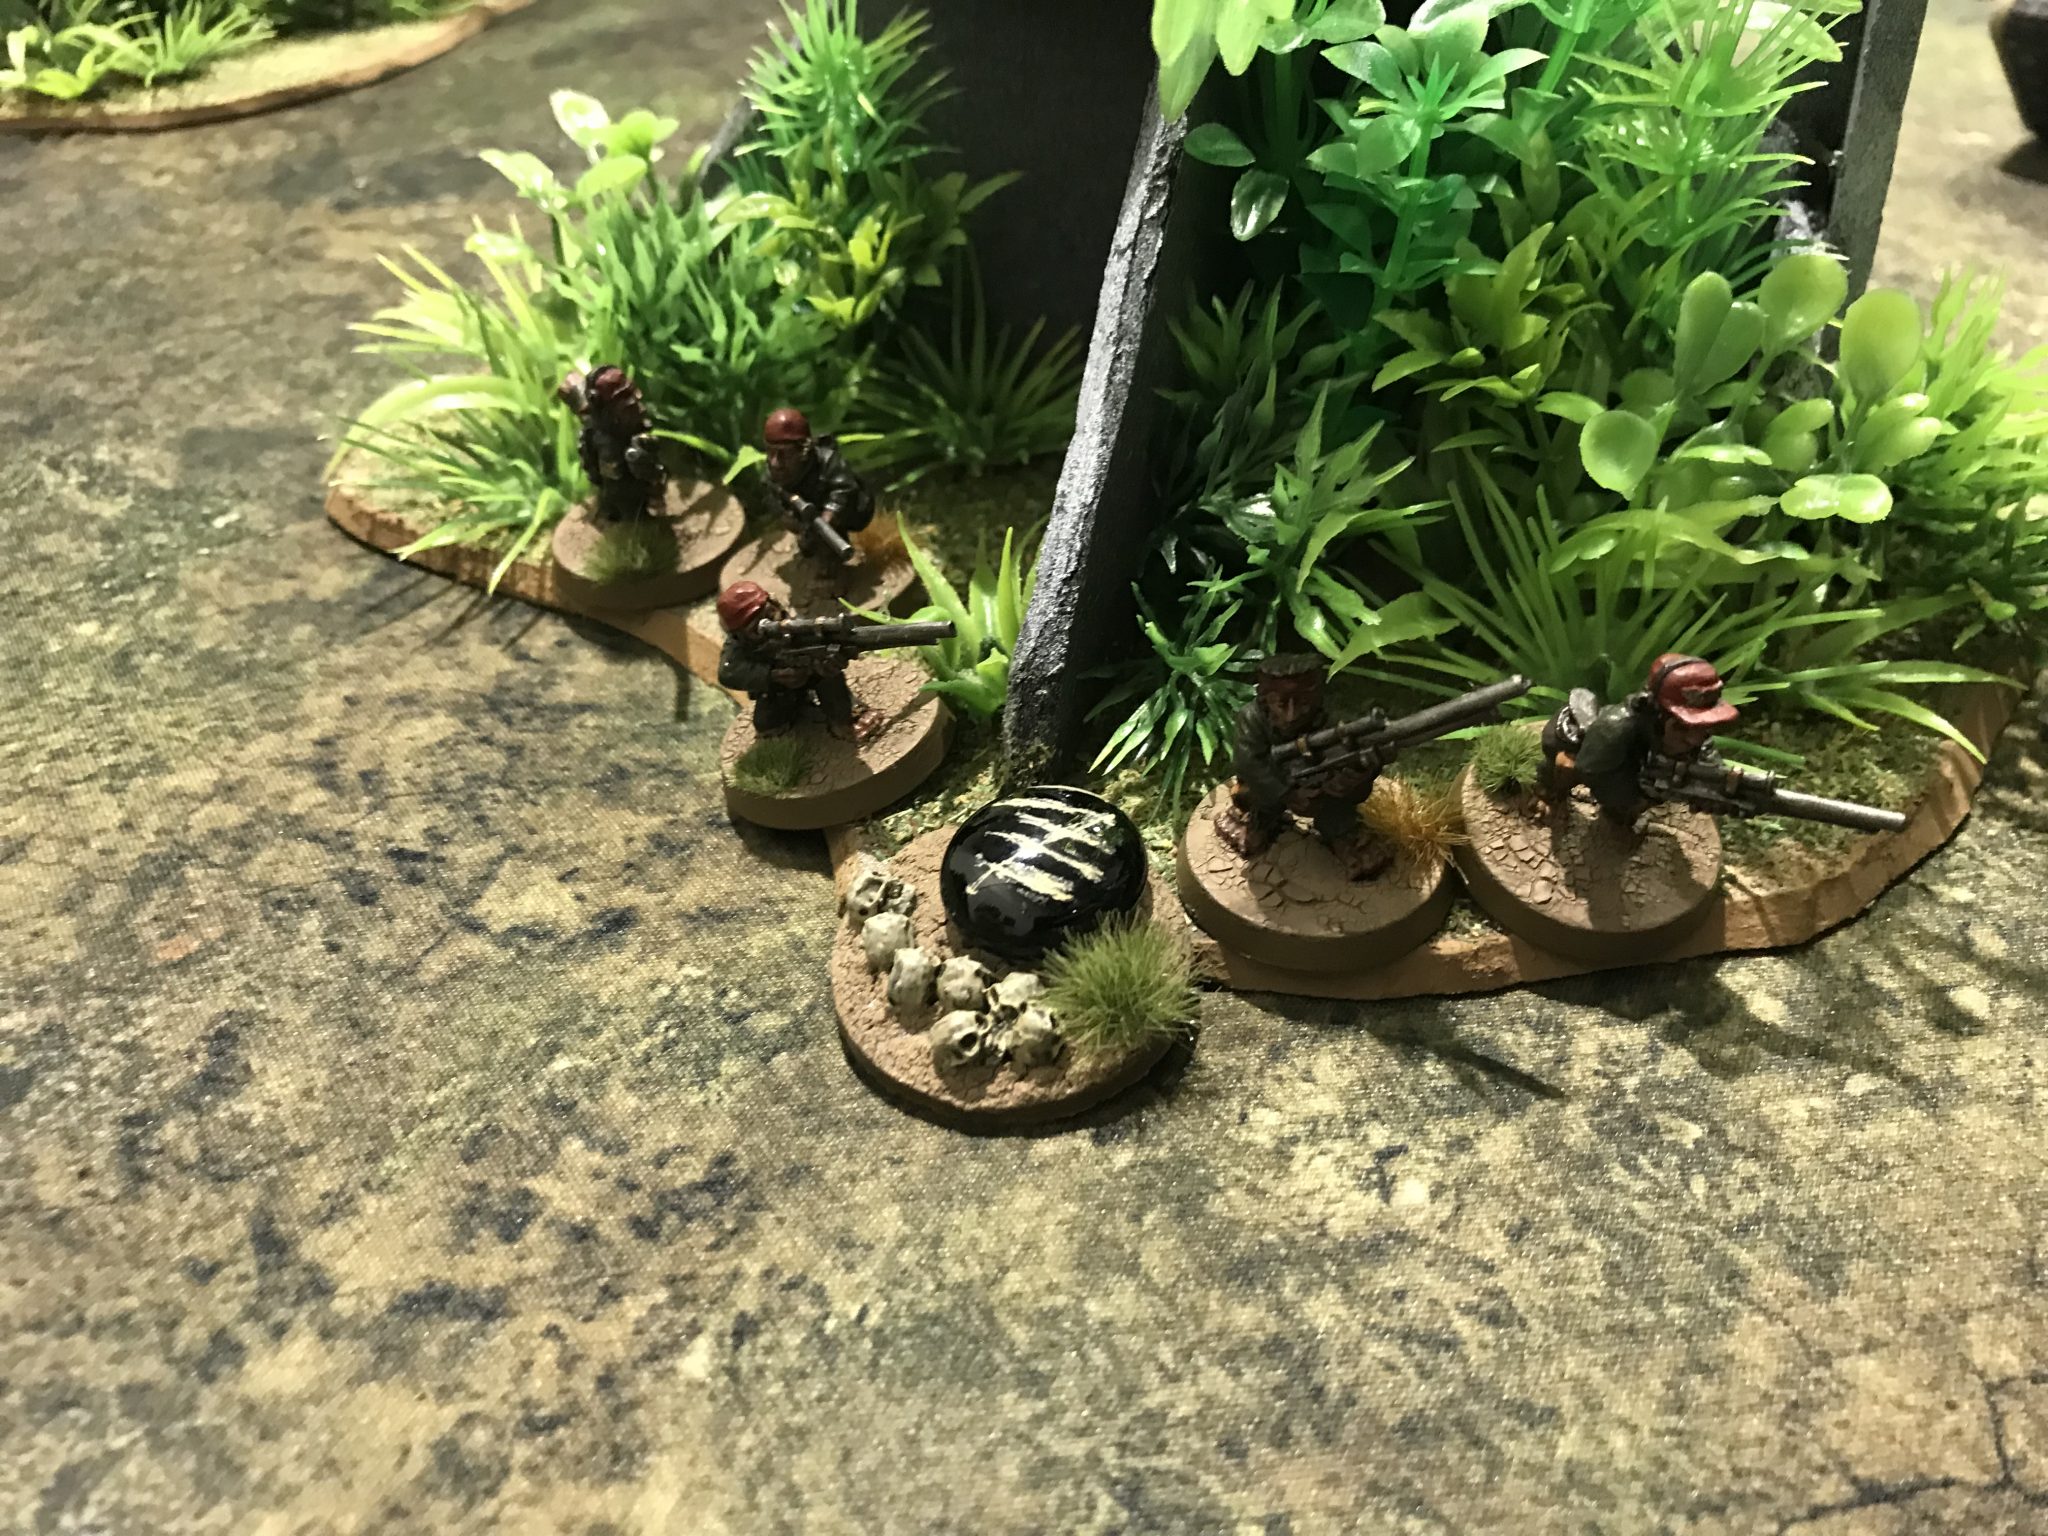
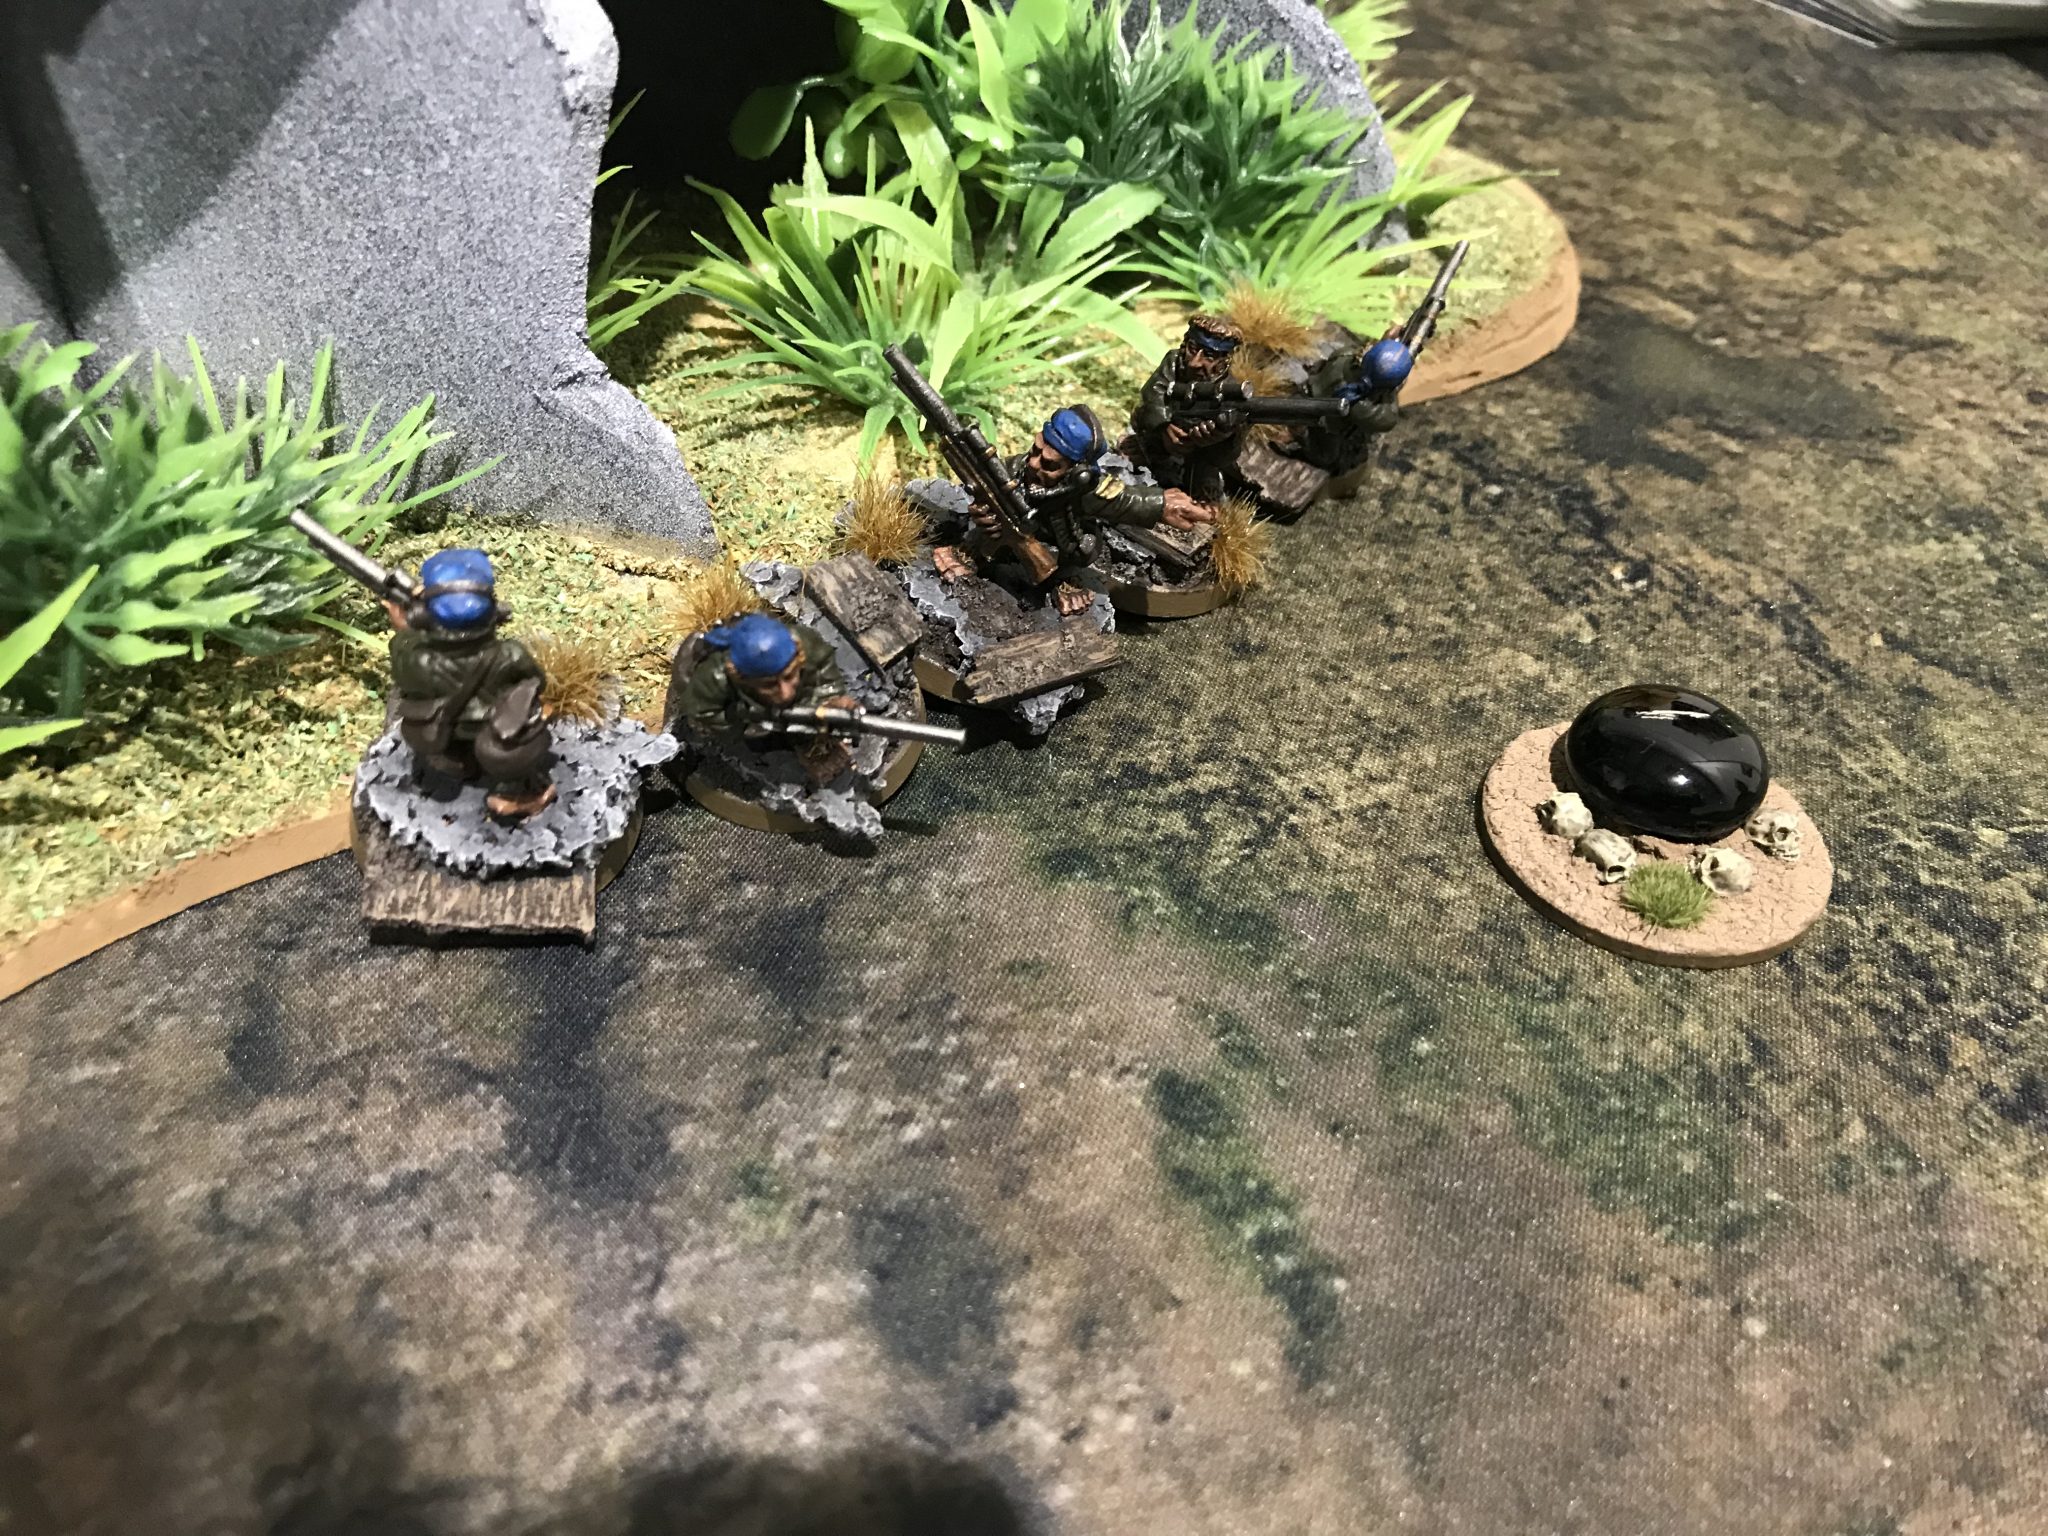
The Ratlings set up on objectives. One squad basically in my deployment zone and the other off to the right flank and hidden.
-

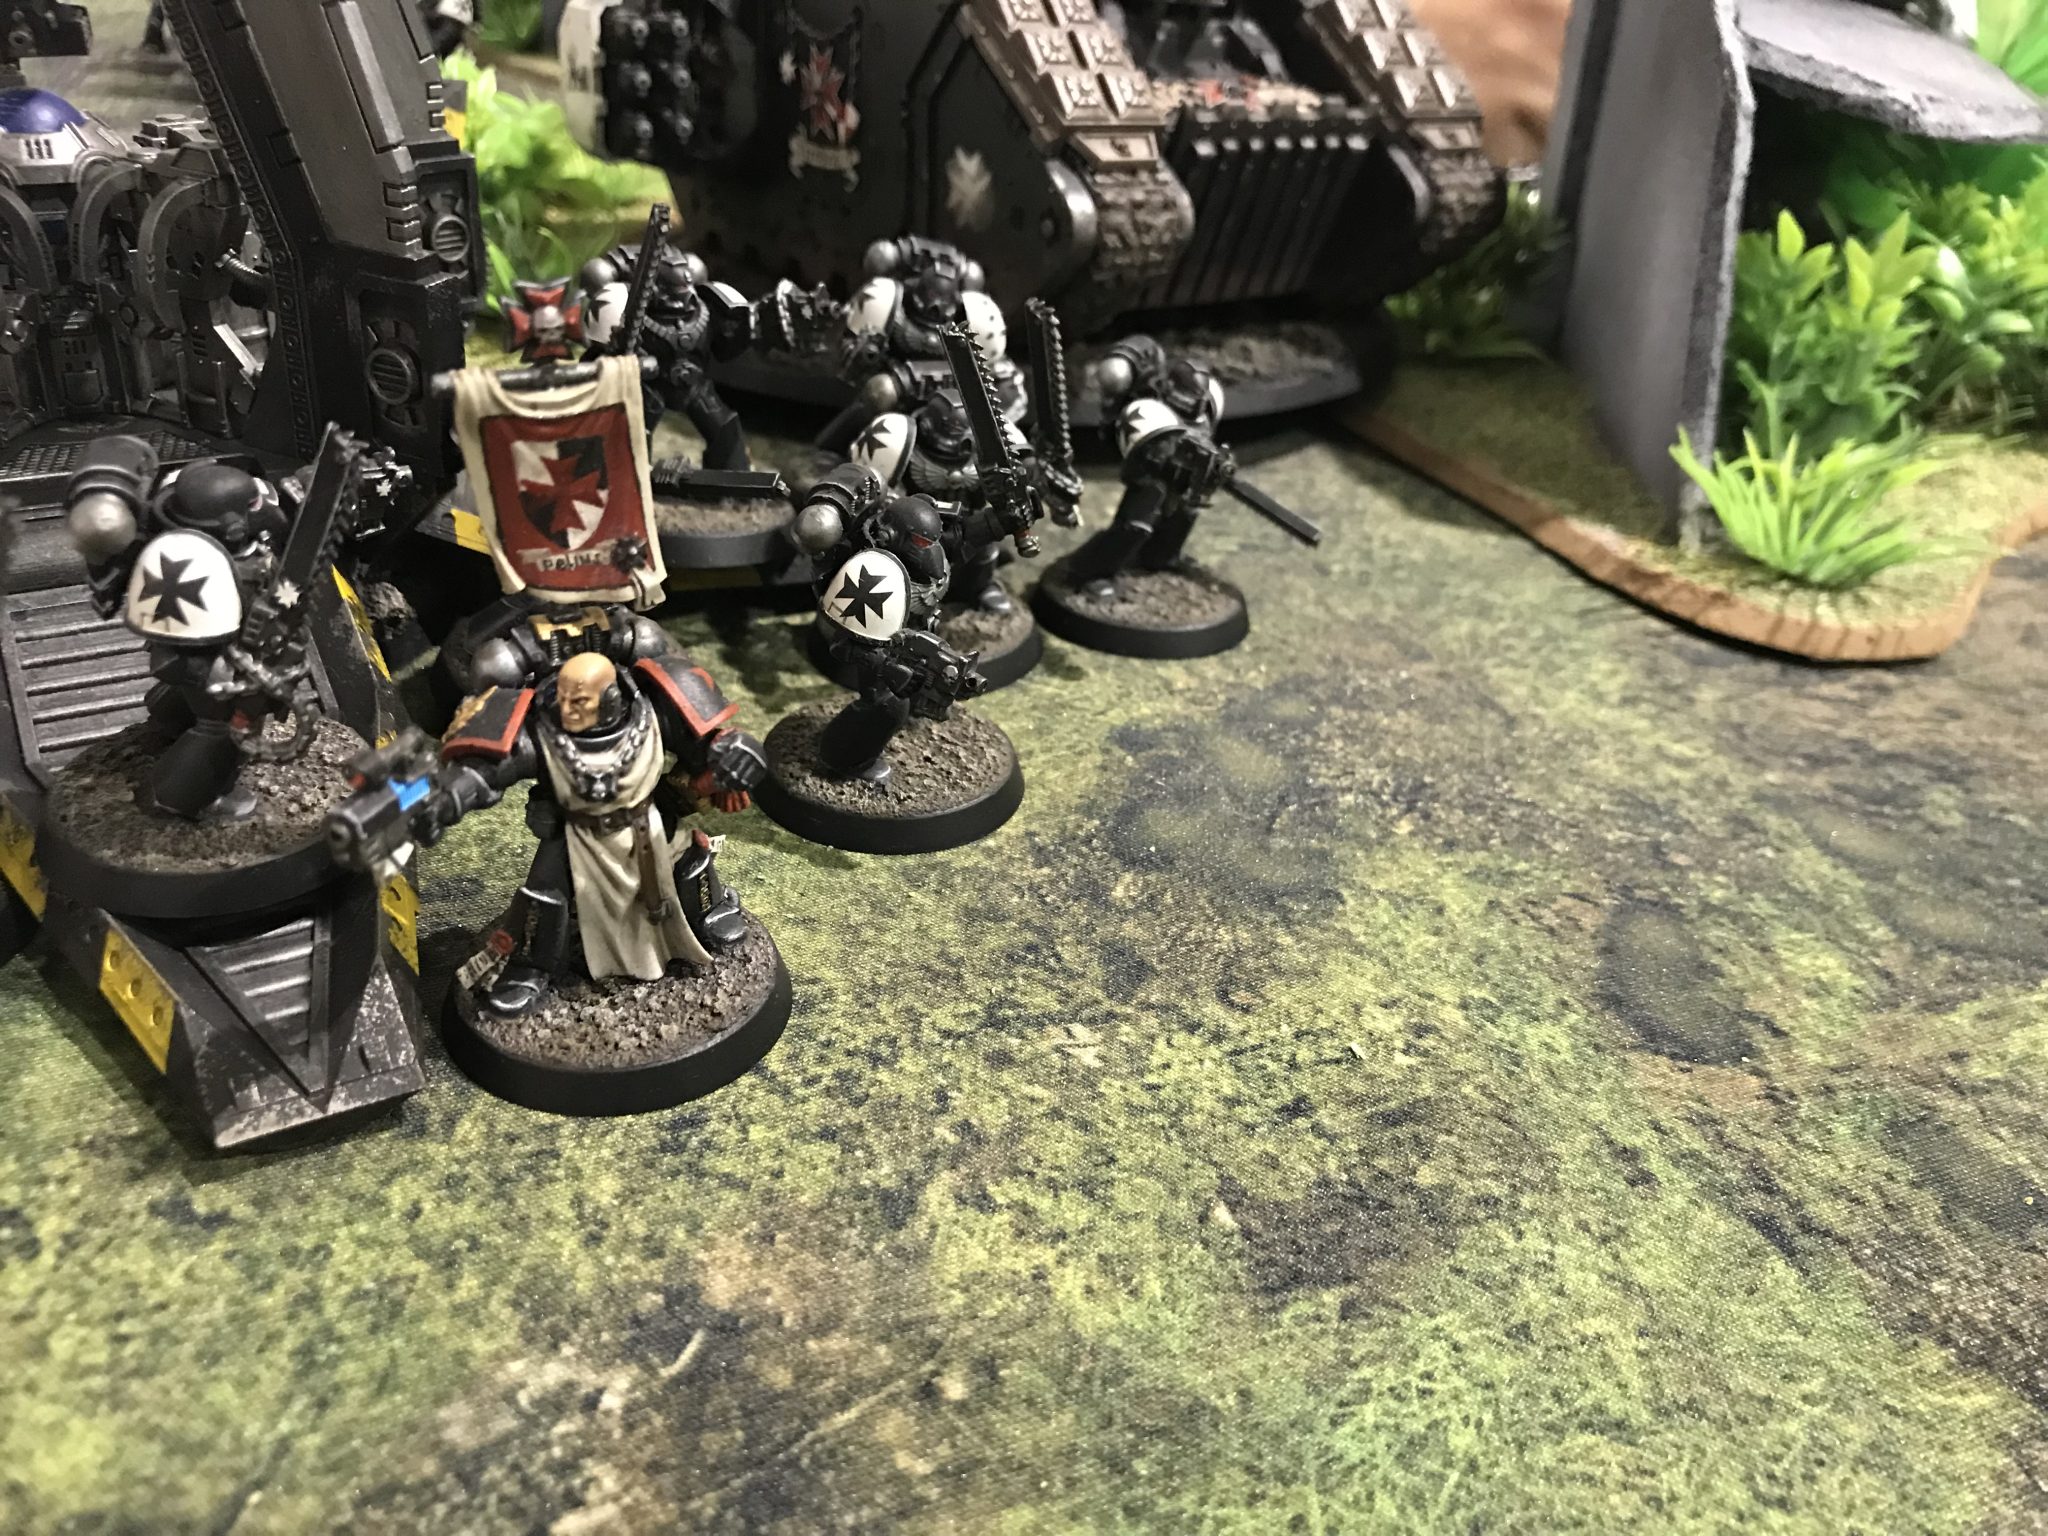
- Packed in tight
Black Templars – Turn 1
Their first card was Defend Objective 3. Which the Dreadnought was happily perched on top of.
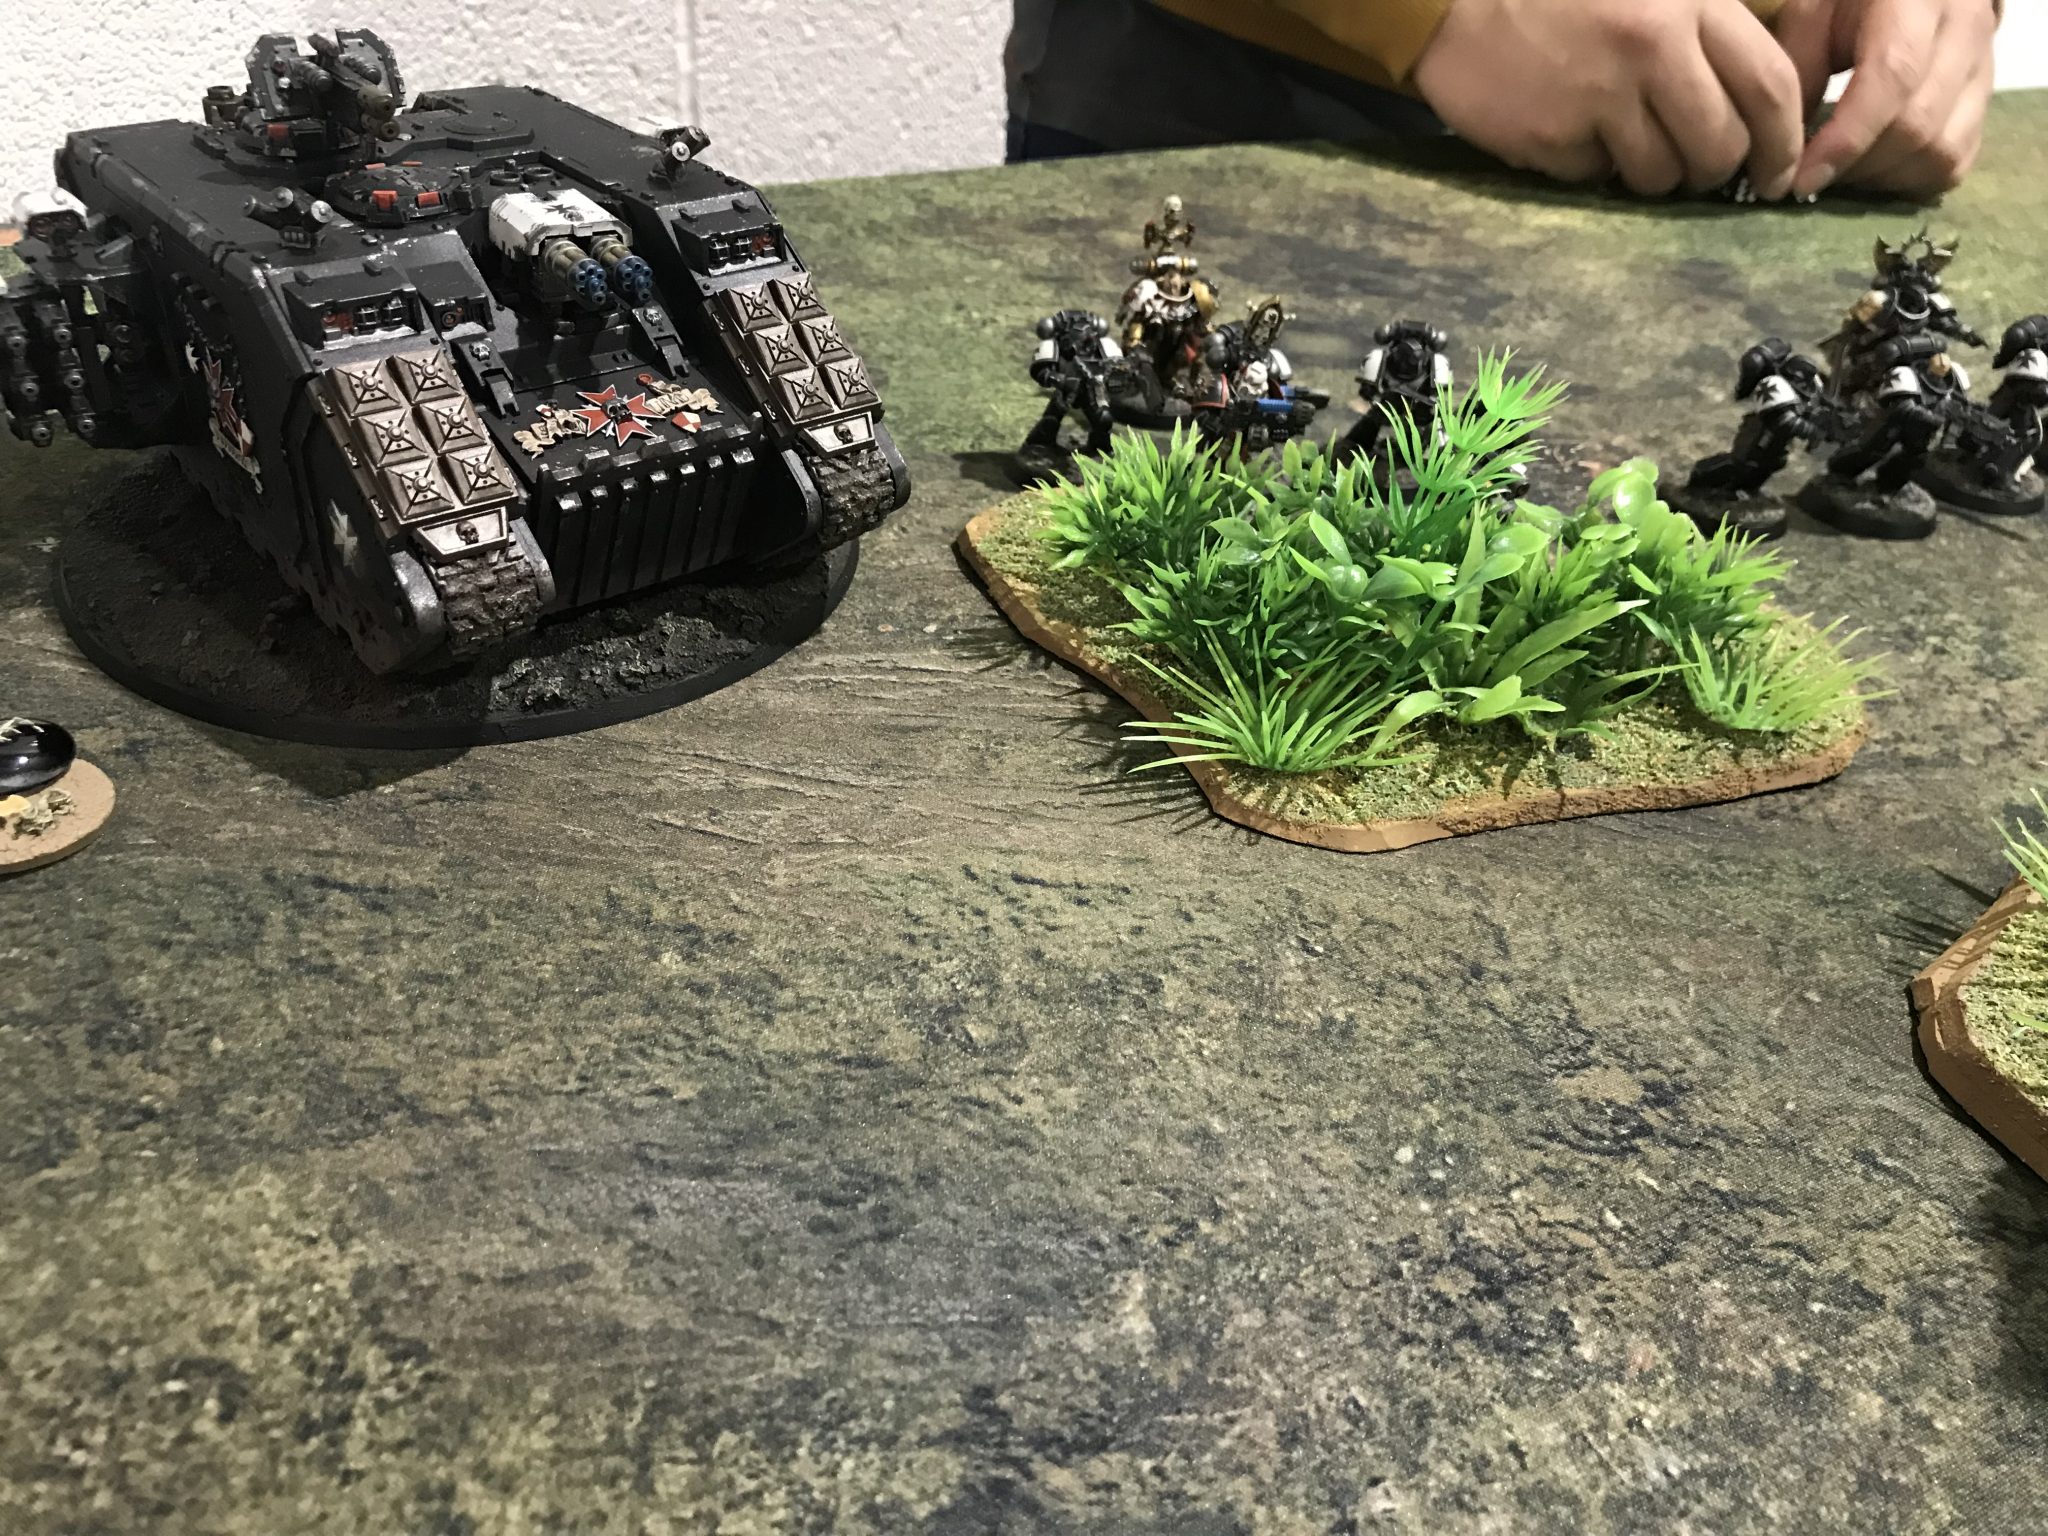
The Land Raider, full of Terminators, is what I feared the most. I was never going to destroy it on my turn 1, therefore, it would move forward and it would then disembark its cargo right into me. This was a given.
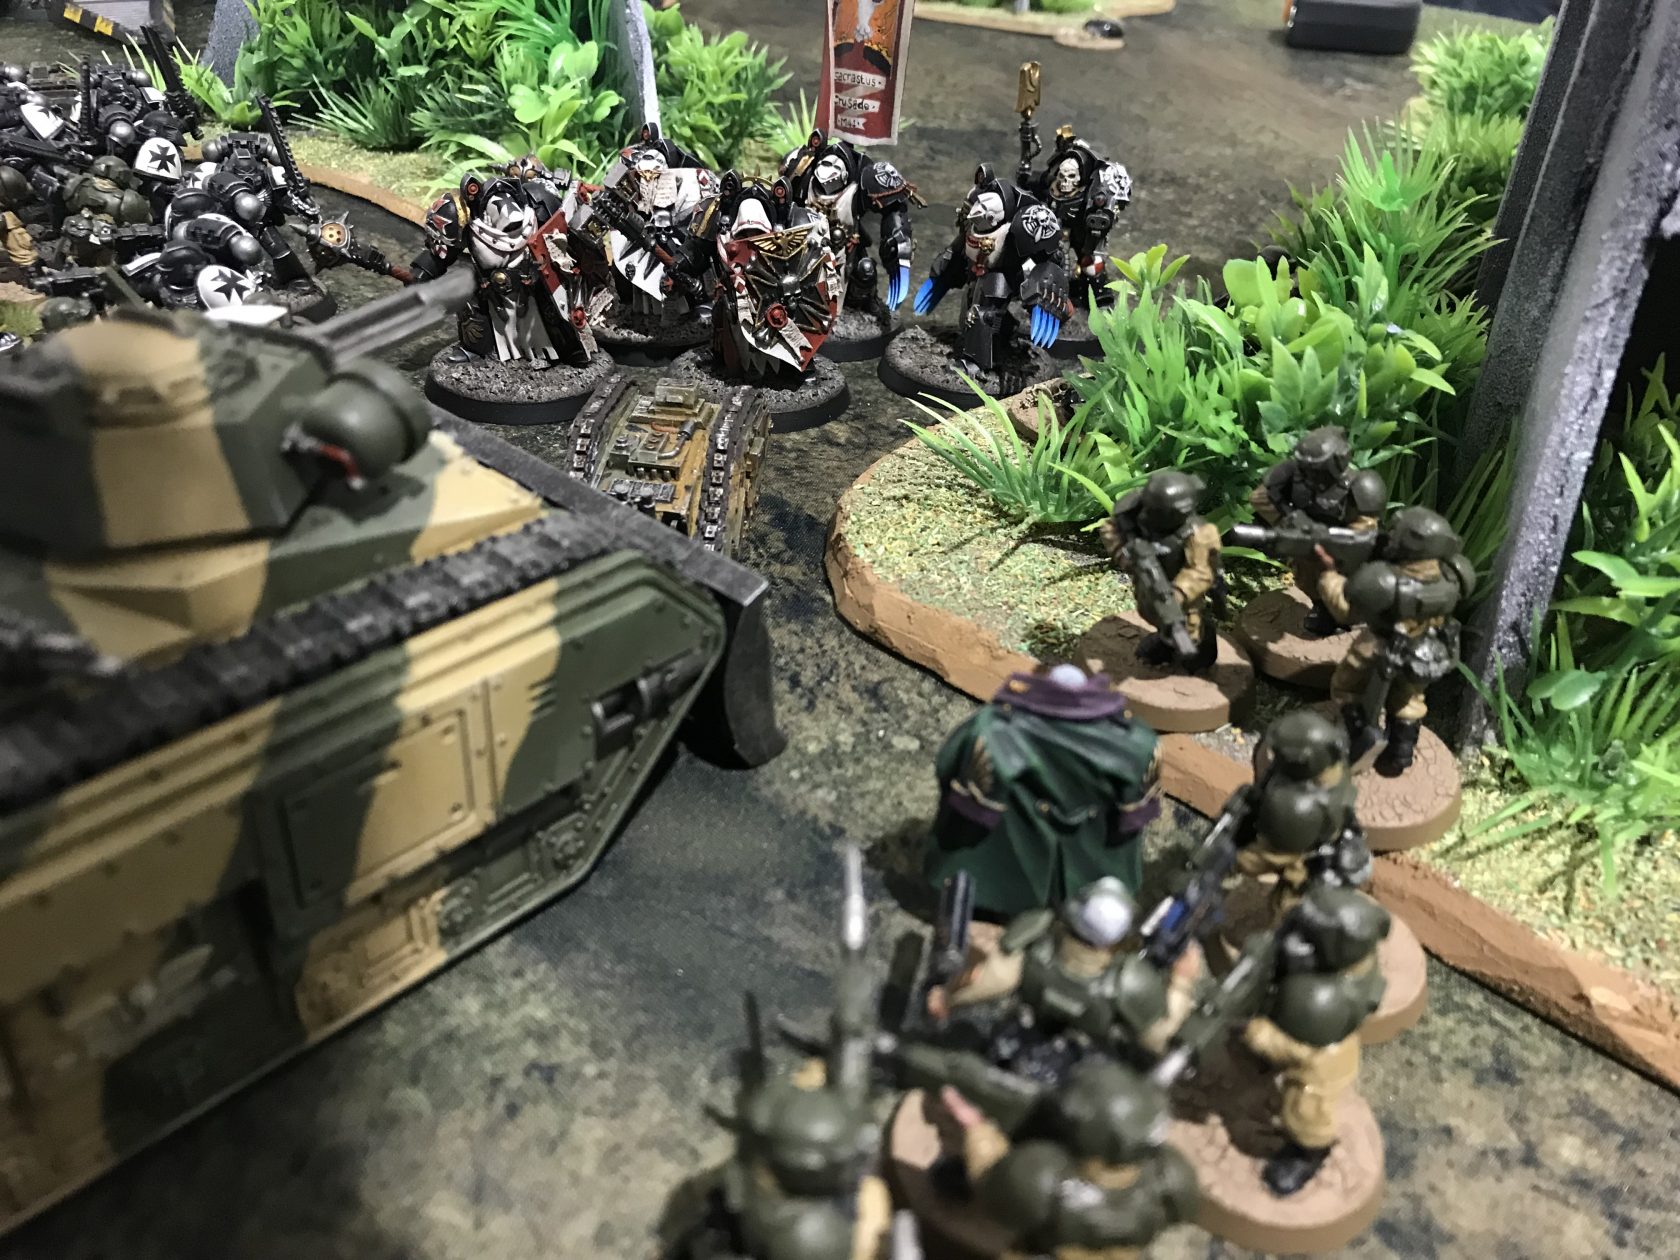
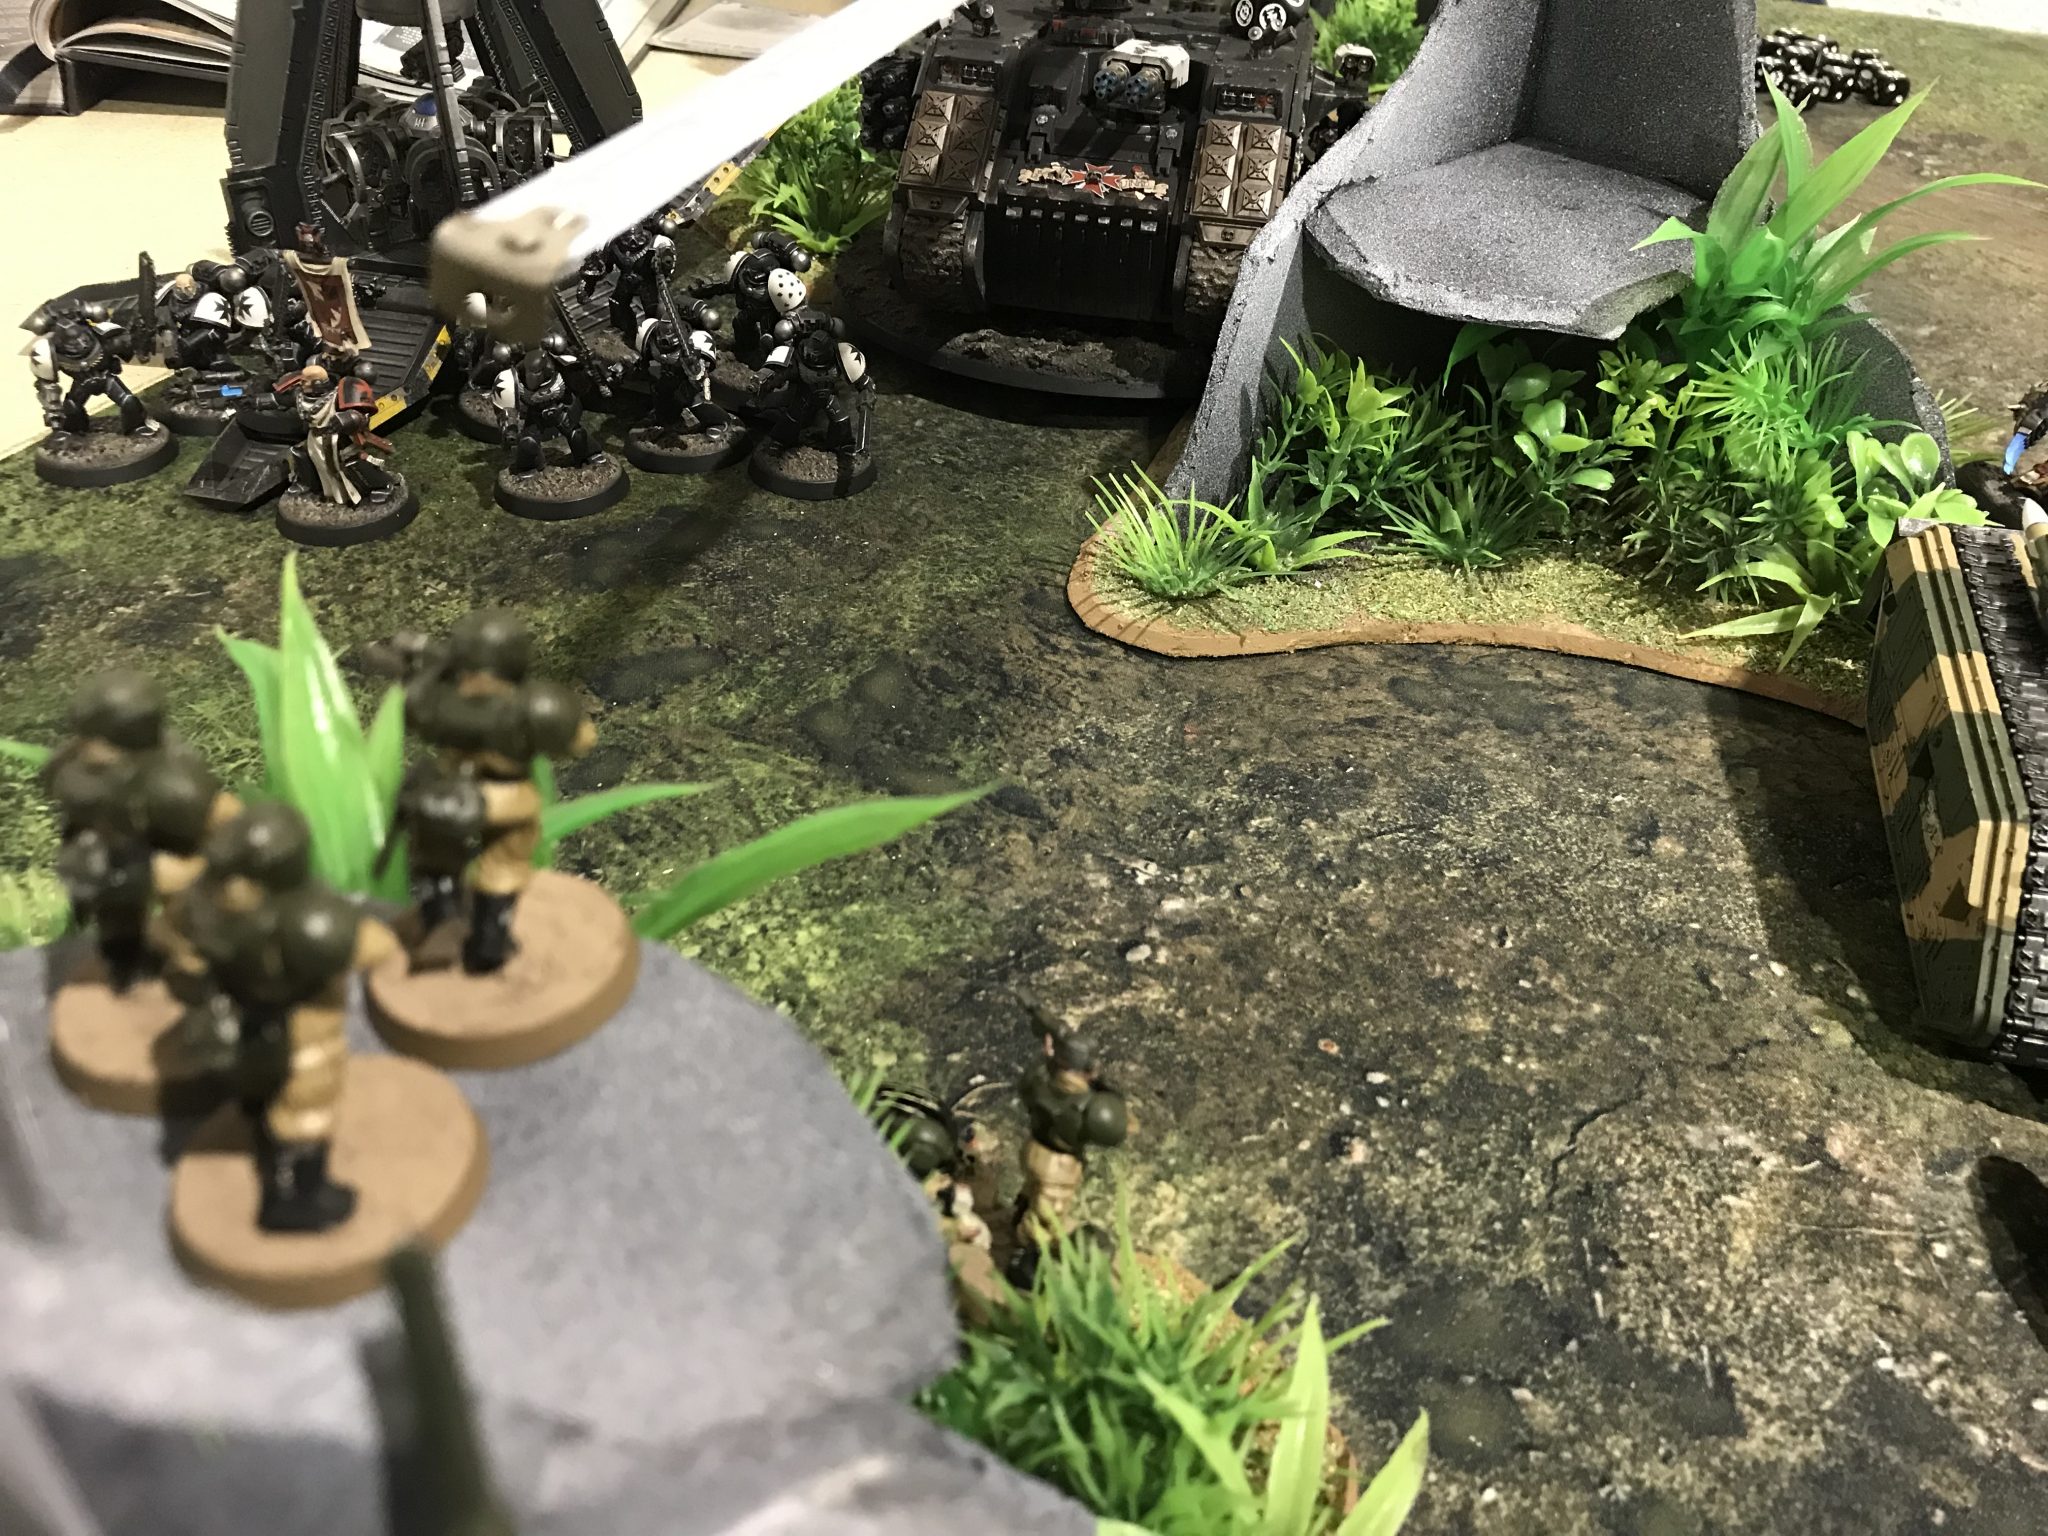
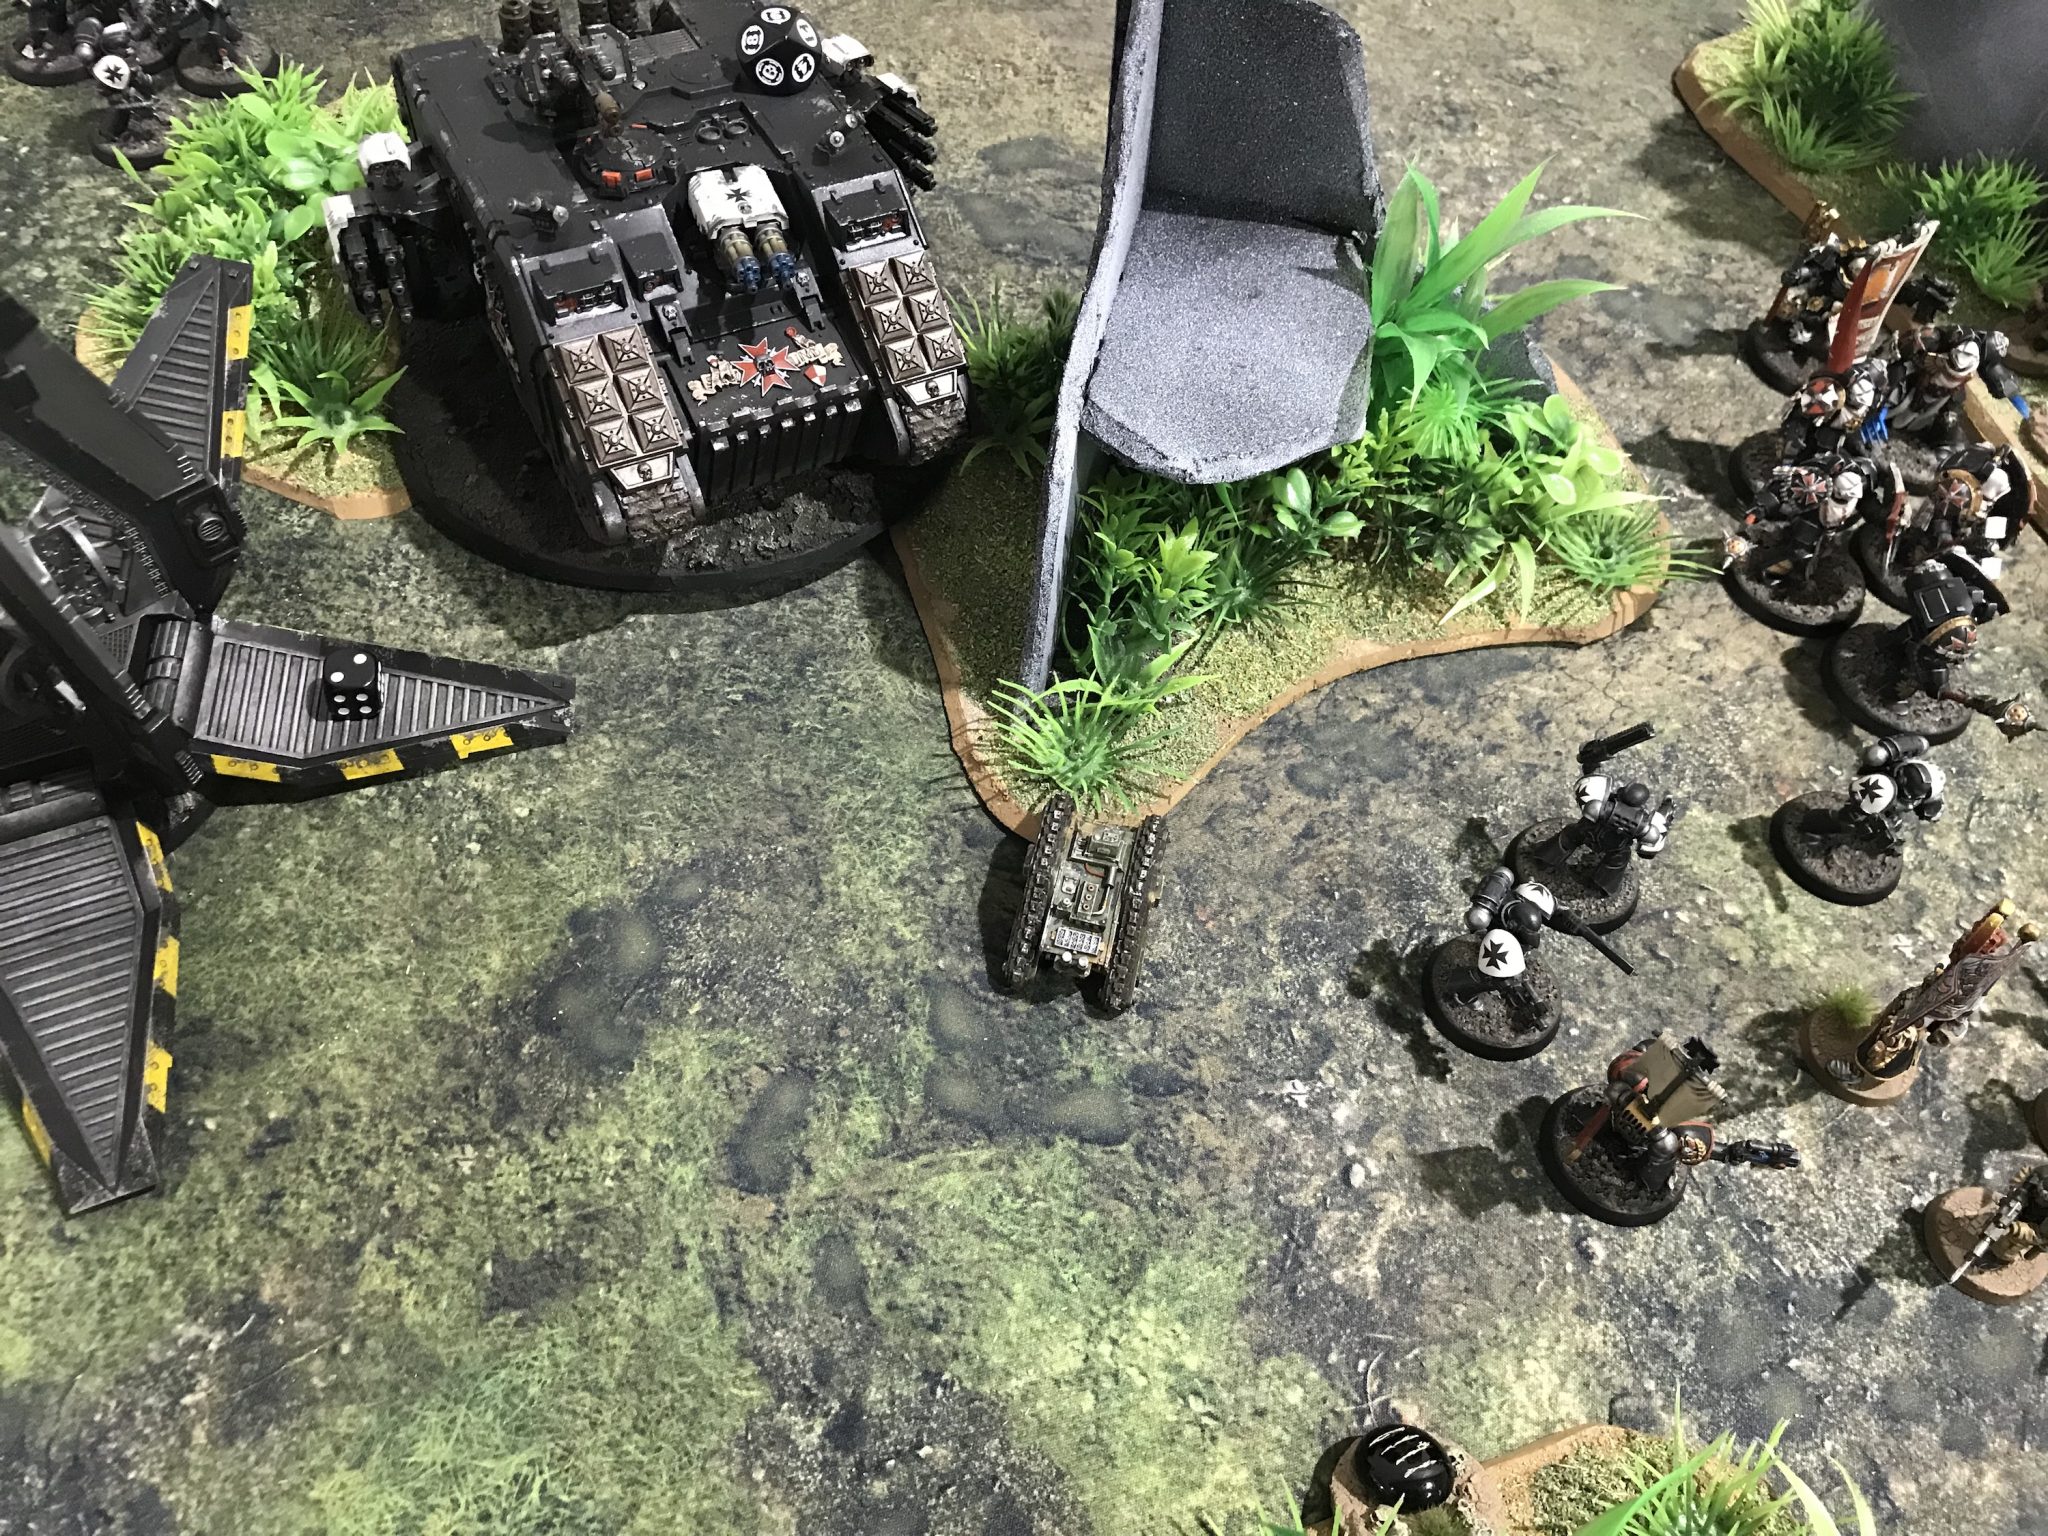
The Black Templars started their turn by moving the Land Raider up – as expected – along with the Emperor’s Champion and a Intercessors.
The Land Raider opened up on the Autocannon Team and wasted them all with ease. First Blood.
The Dreadnought and Lascannon in the Crusader squad went after my Leman Russ. Reducing it to 6 wounds.
A single Command Squad Plasma was lost to Bolt Rifle fire.
So the Black Templars ended their turn with First Blood but no further objectives.
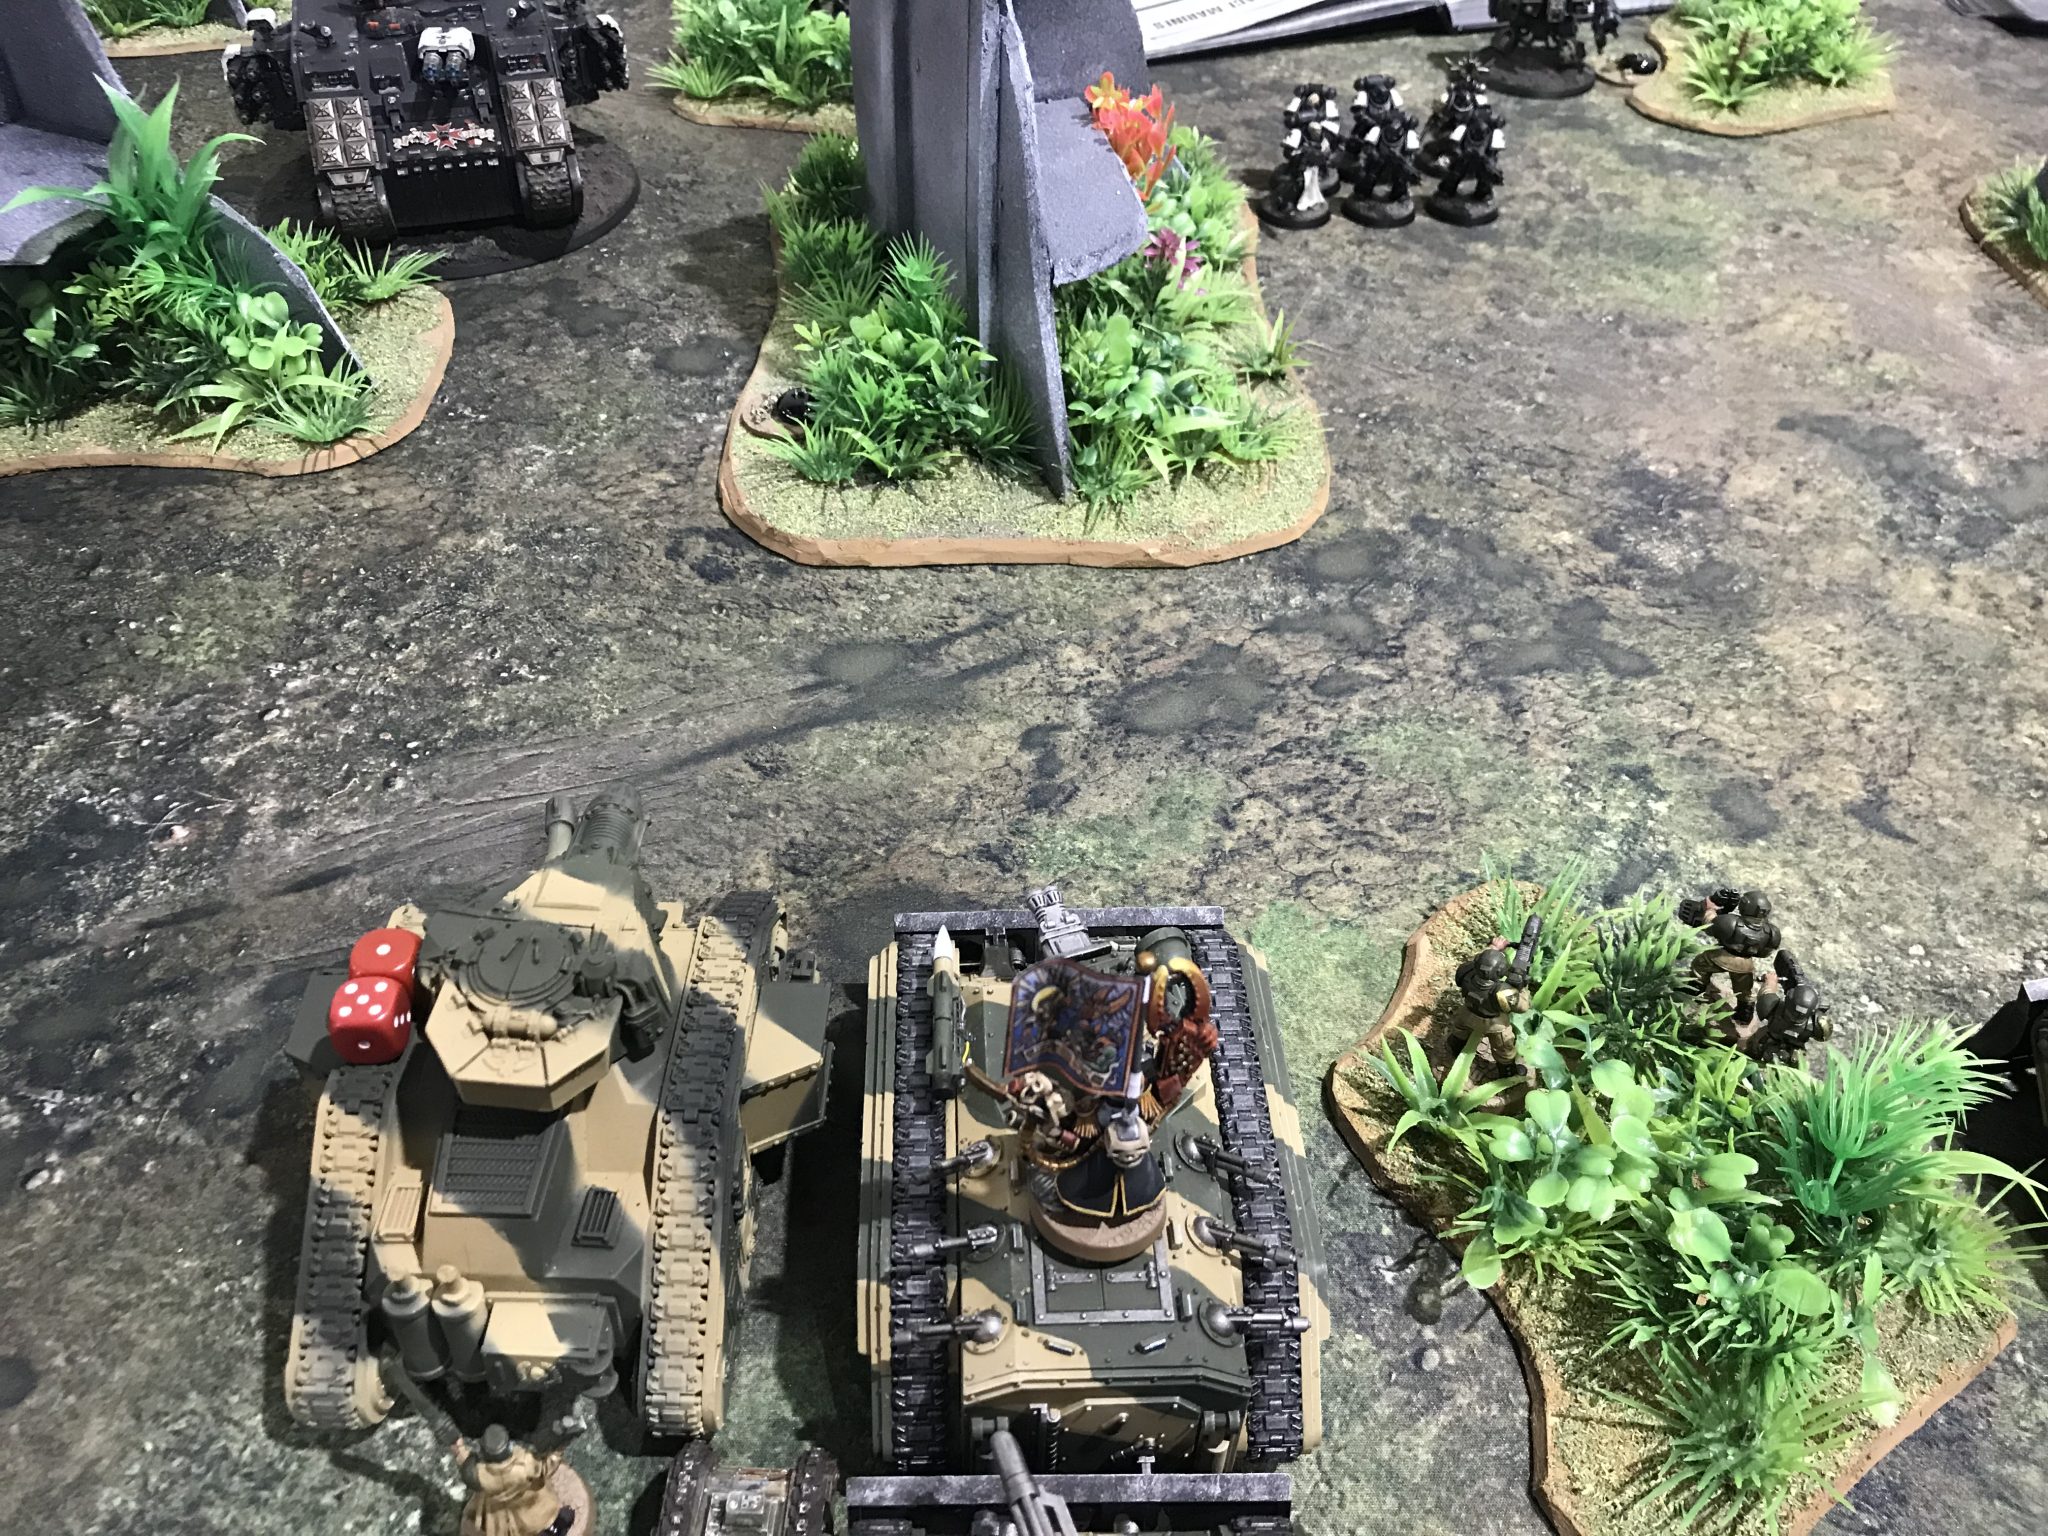
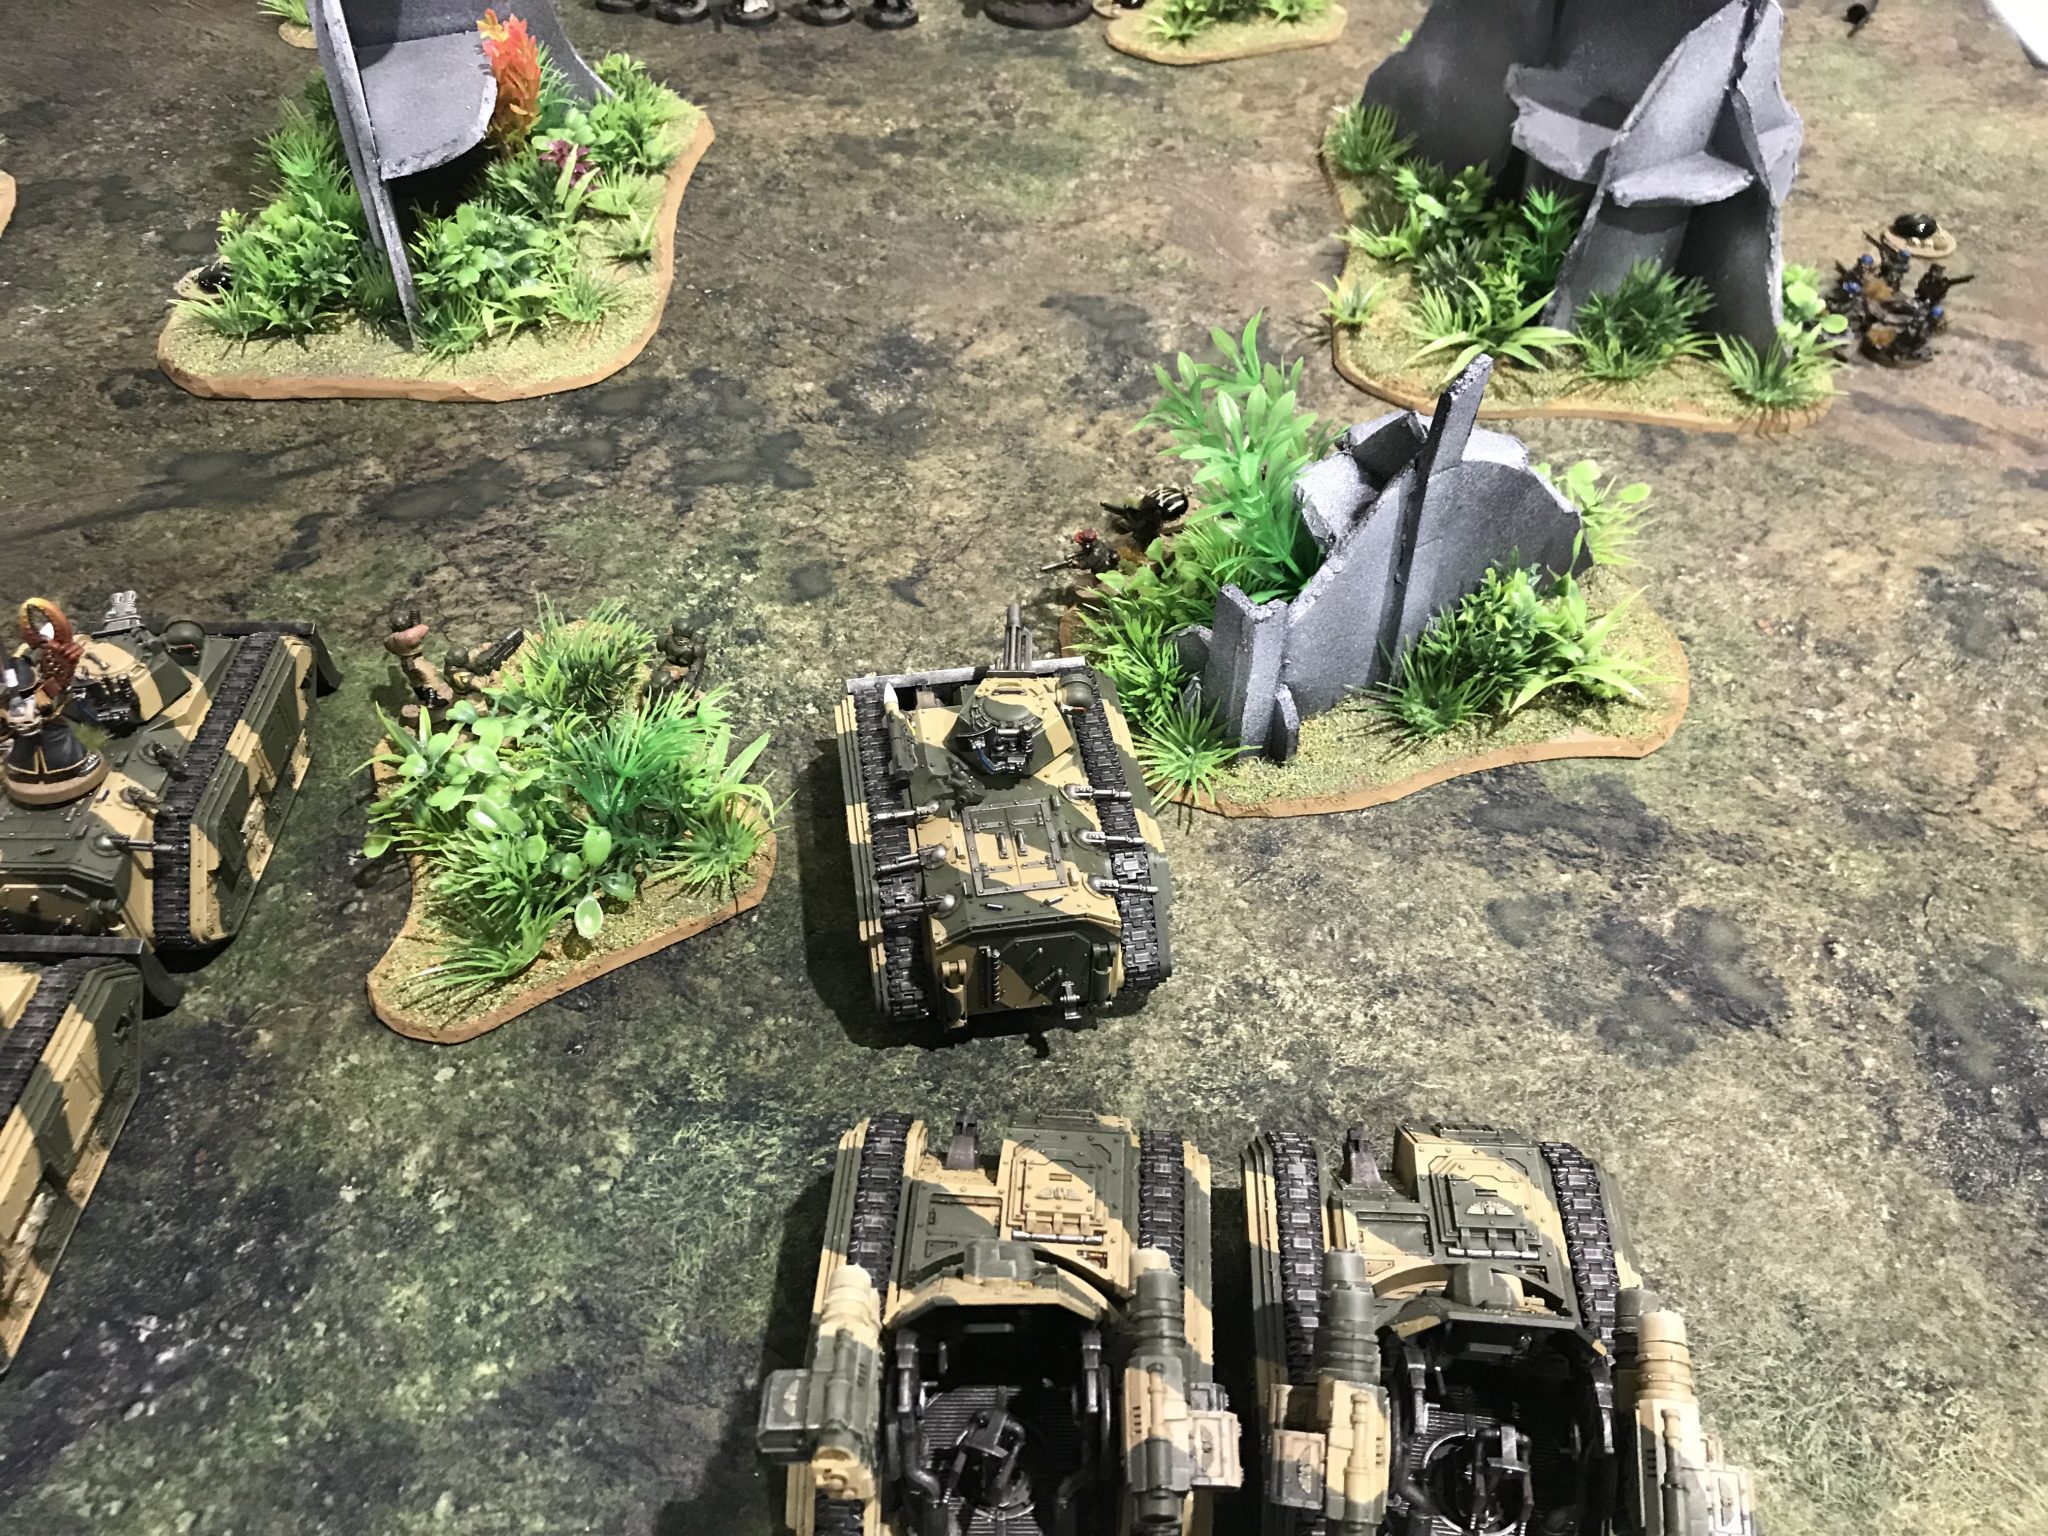
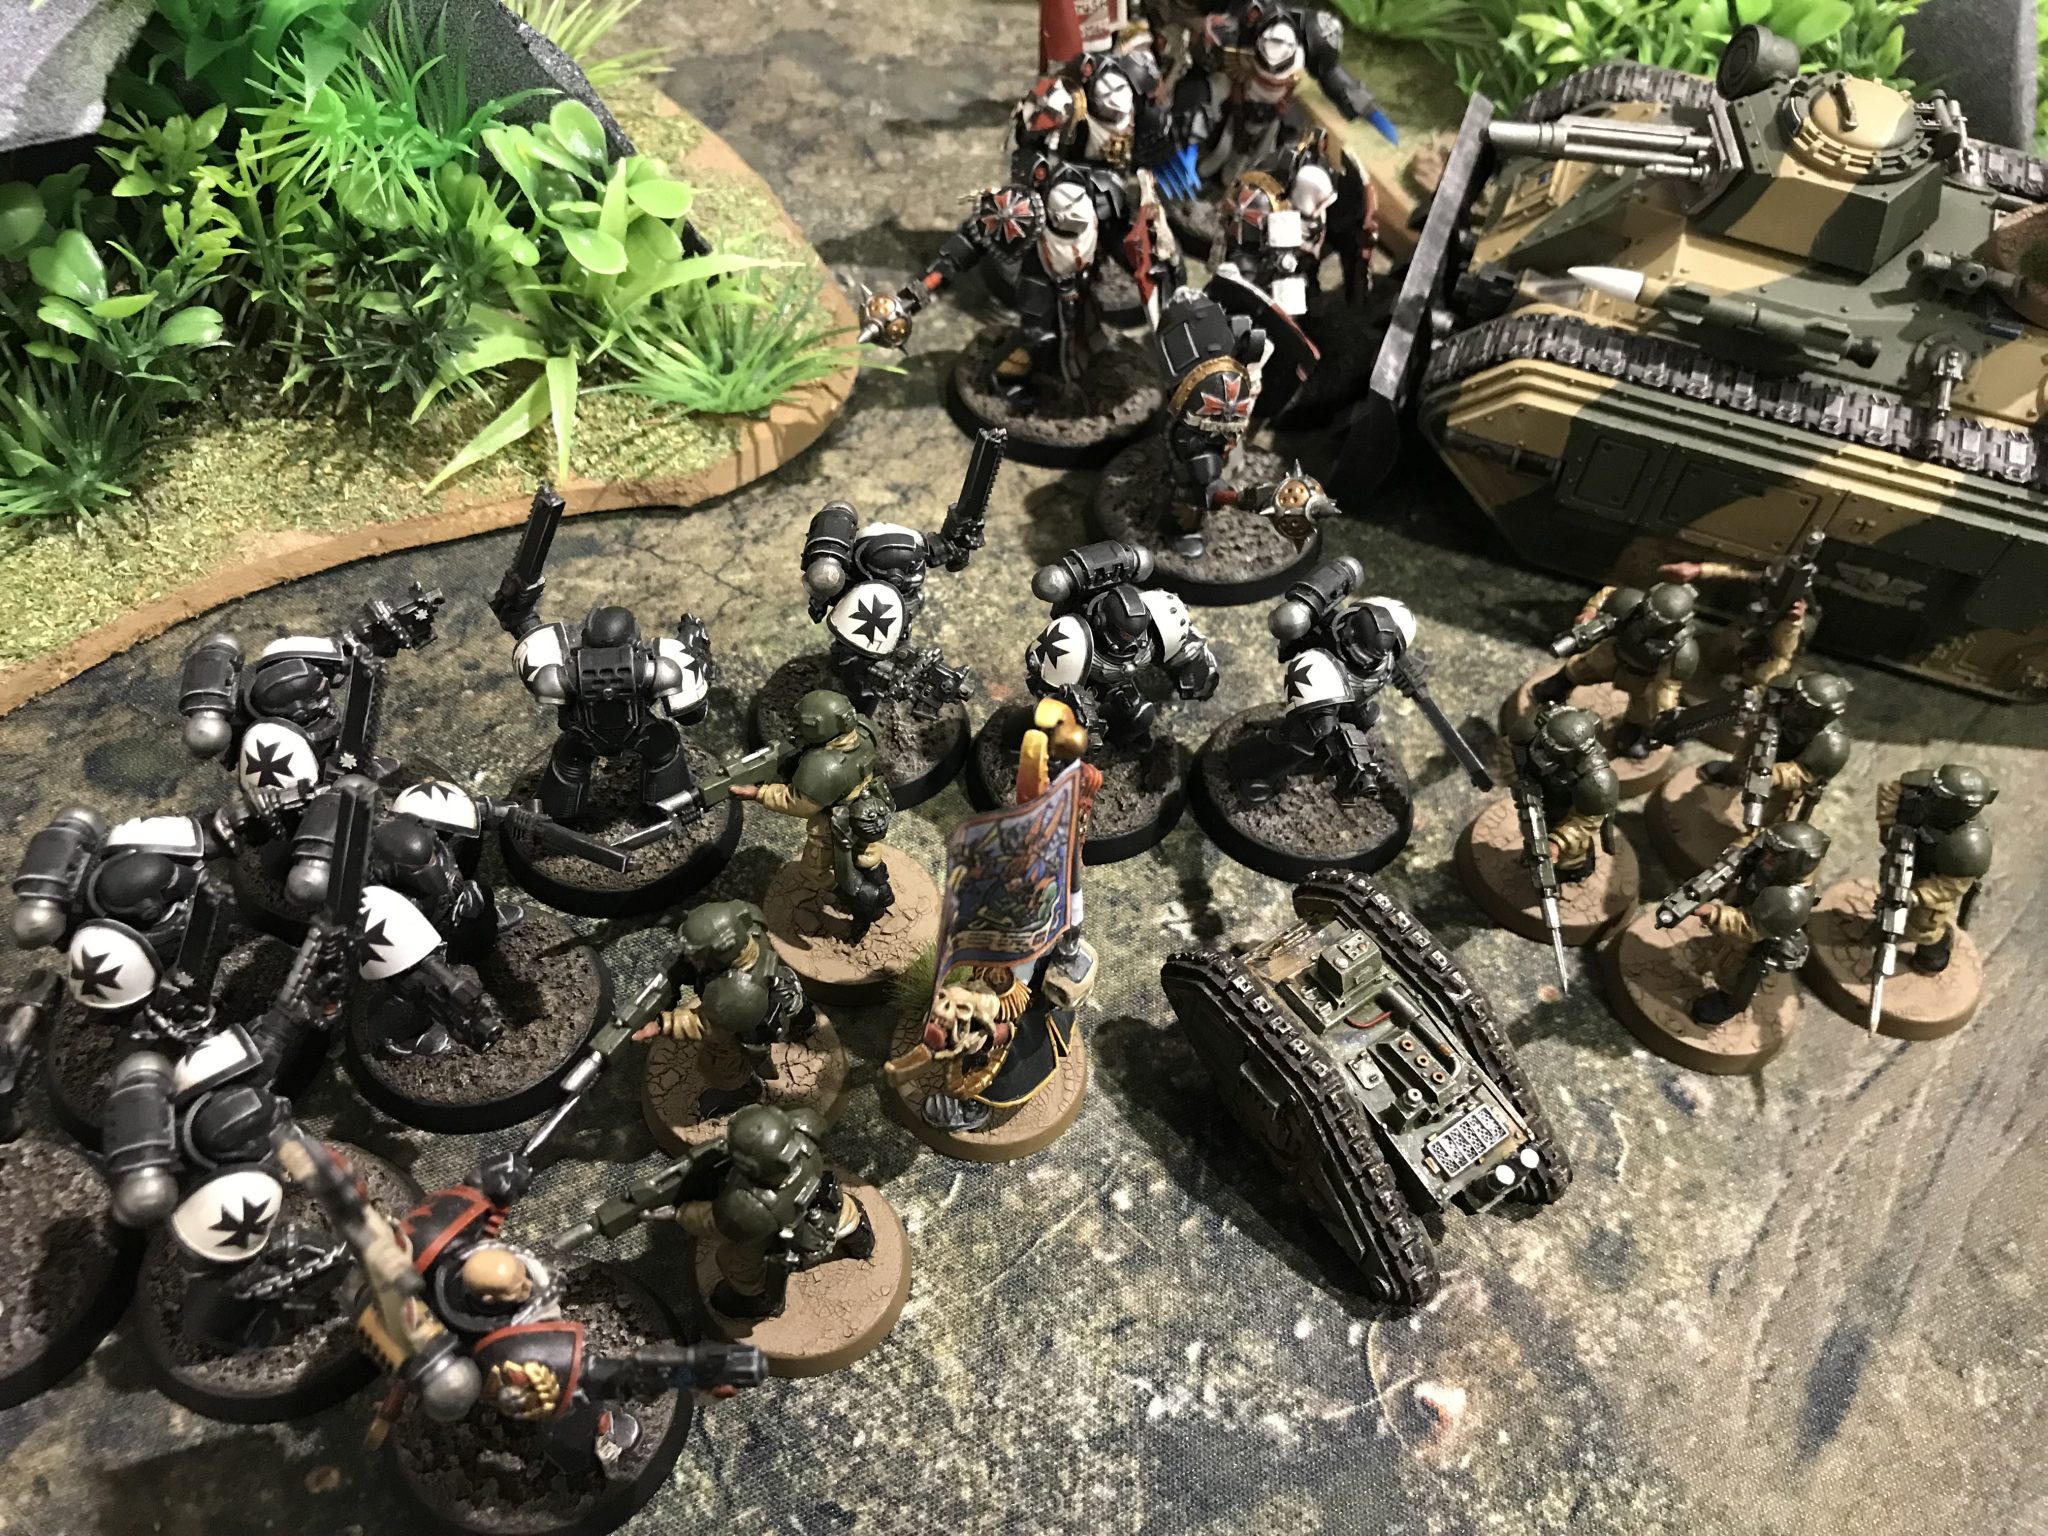
Black Templars rolling up the battlefield
Astra Militarum – Turn 1
I used Jury Rigging to bring the Tank Commander Leman Russ back to 7 wounds and into his top tier of characteristics. So he was hitting on a 3+ again. I’d also drawn Objective 3 which was on the other wise of the board and had a Dreadnought on it.
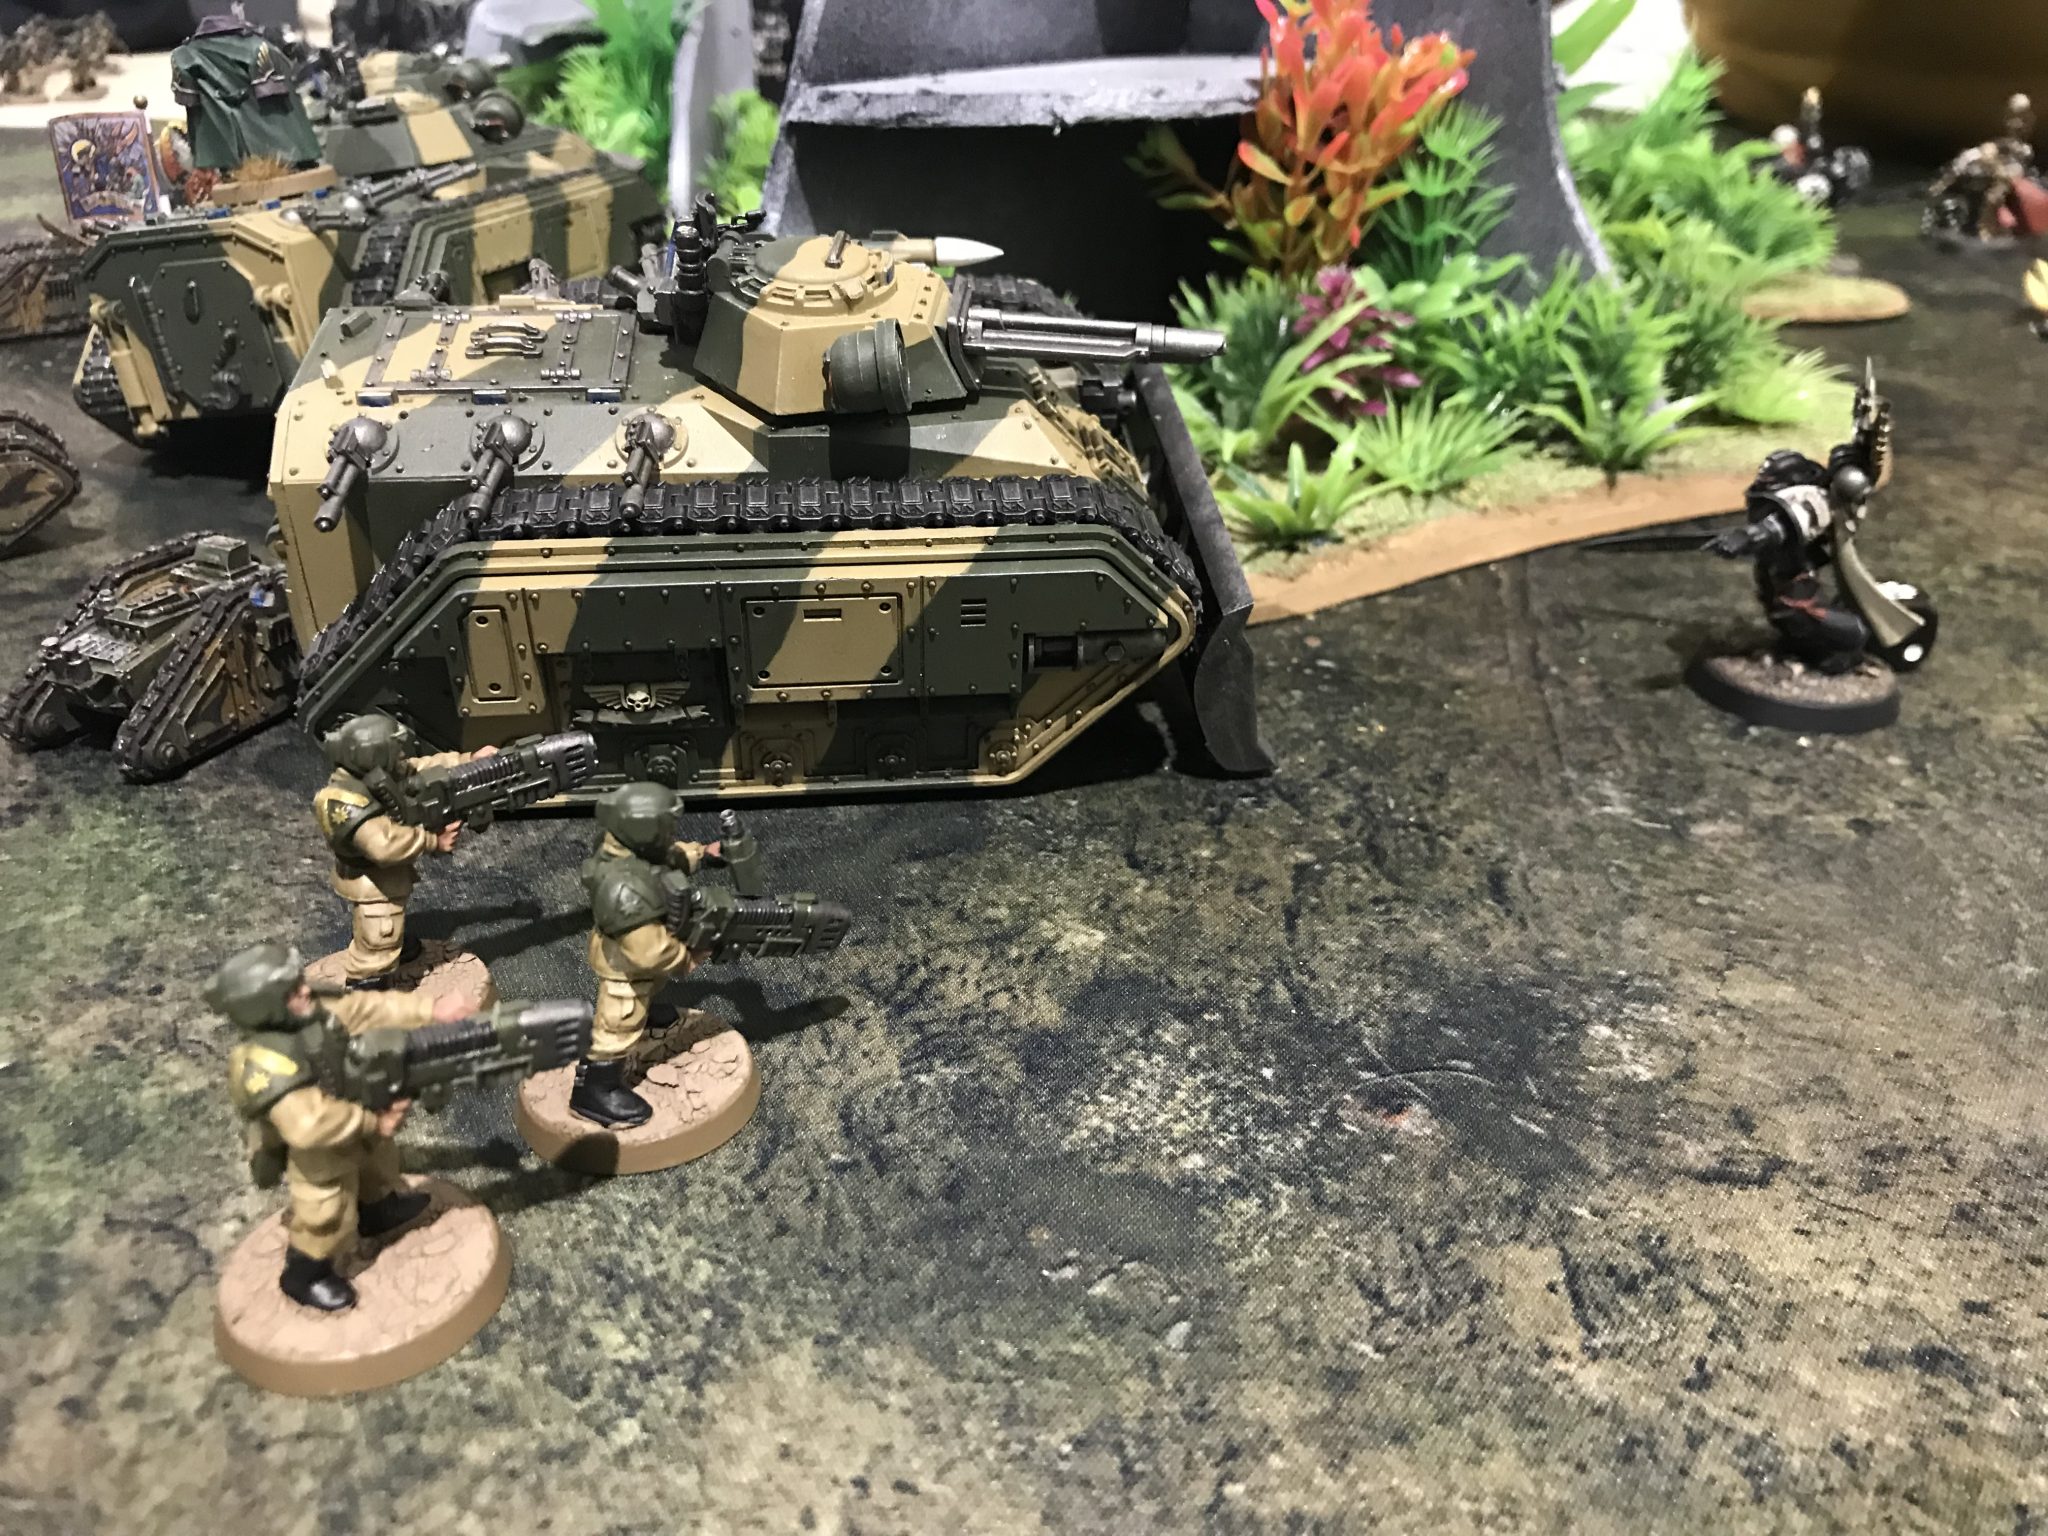
As intended my Chimeras and Cyclops moved up. This put about 12″ between two of my Chimeras and the Land Raider and about the same distance between the other Chimera and the Intercessors.
The Command Squad of Plasma targeted the Intercessors using Overcharge, as did the Wyverns. All five Marines died.
Ratling sniper fire took two wounds from the enemy Warlord. The Crusader Squad with the Lascannon and Plasma Gun to three casualties from the Wyverns.
Finally, the Plasma Tank Commander smashed 10 wounds from the Land Raider. The Catachan Tank Commander is such an awesome thing. Re-rolling all those shots, especially with Grinding Advance, means you’re pumping out about 12 shots.
The Cyclops would have to wait a turn before exposing themselves.
I forgot to discard my objective. Oppps.

Black Templars – Turn 2
With only one objective held the Black Templars drew no new cards. But they would accomplish their current objective at the end of this turn for 2VP.
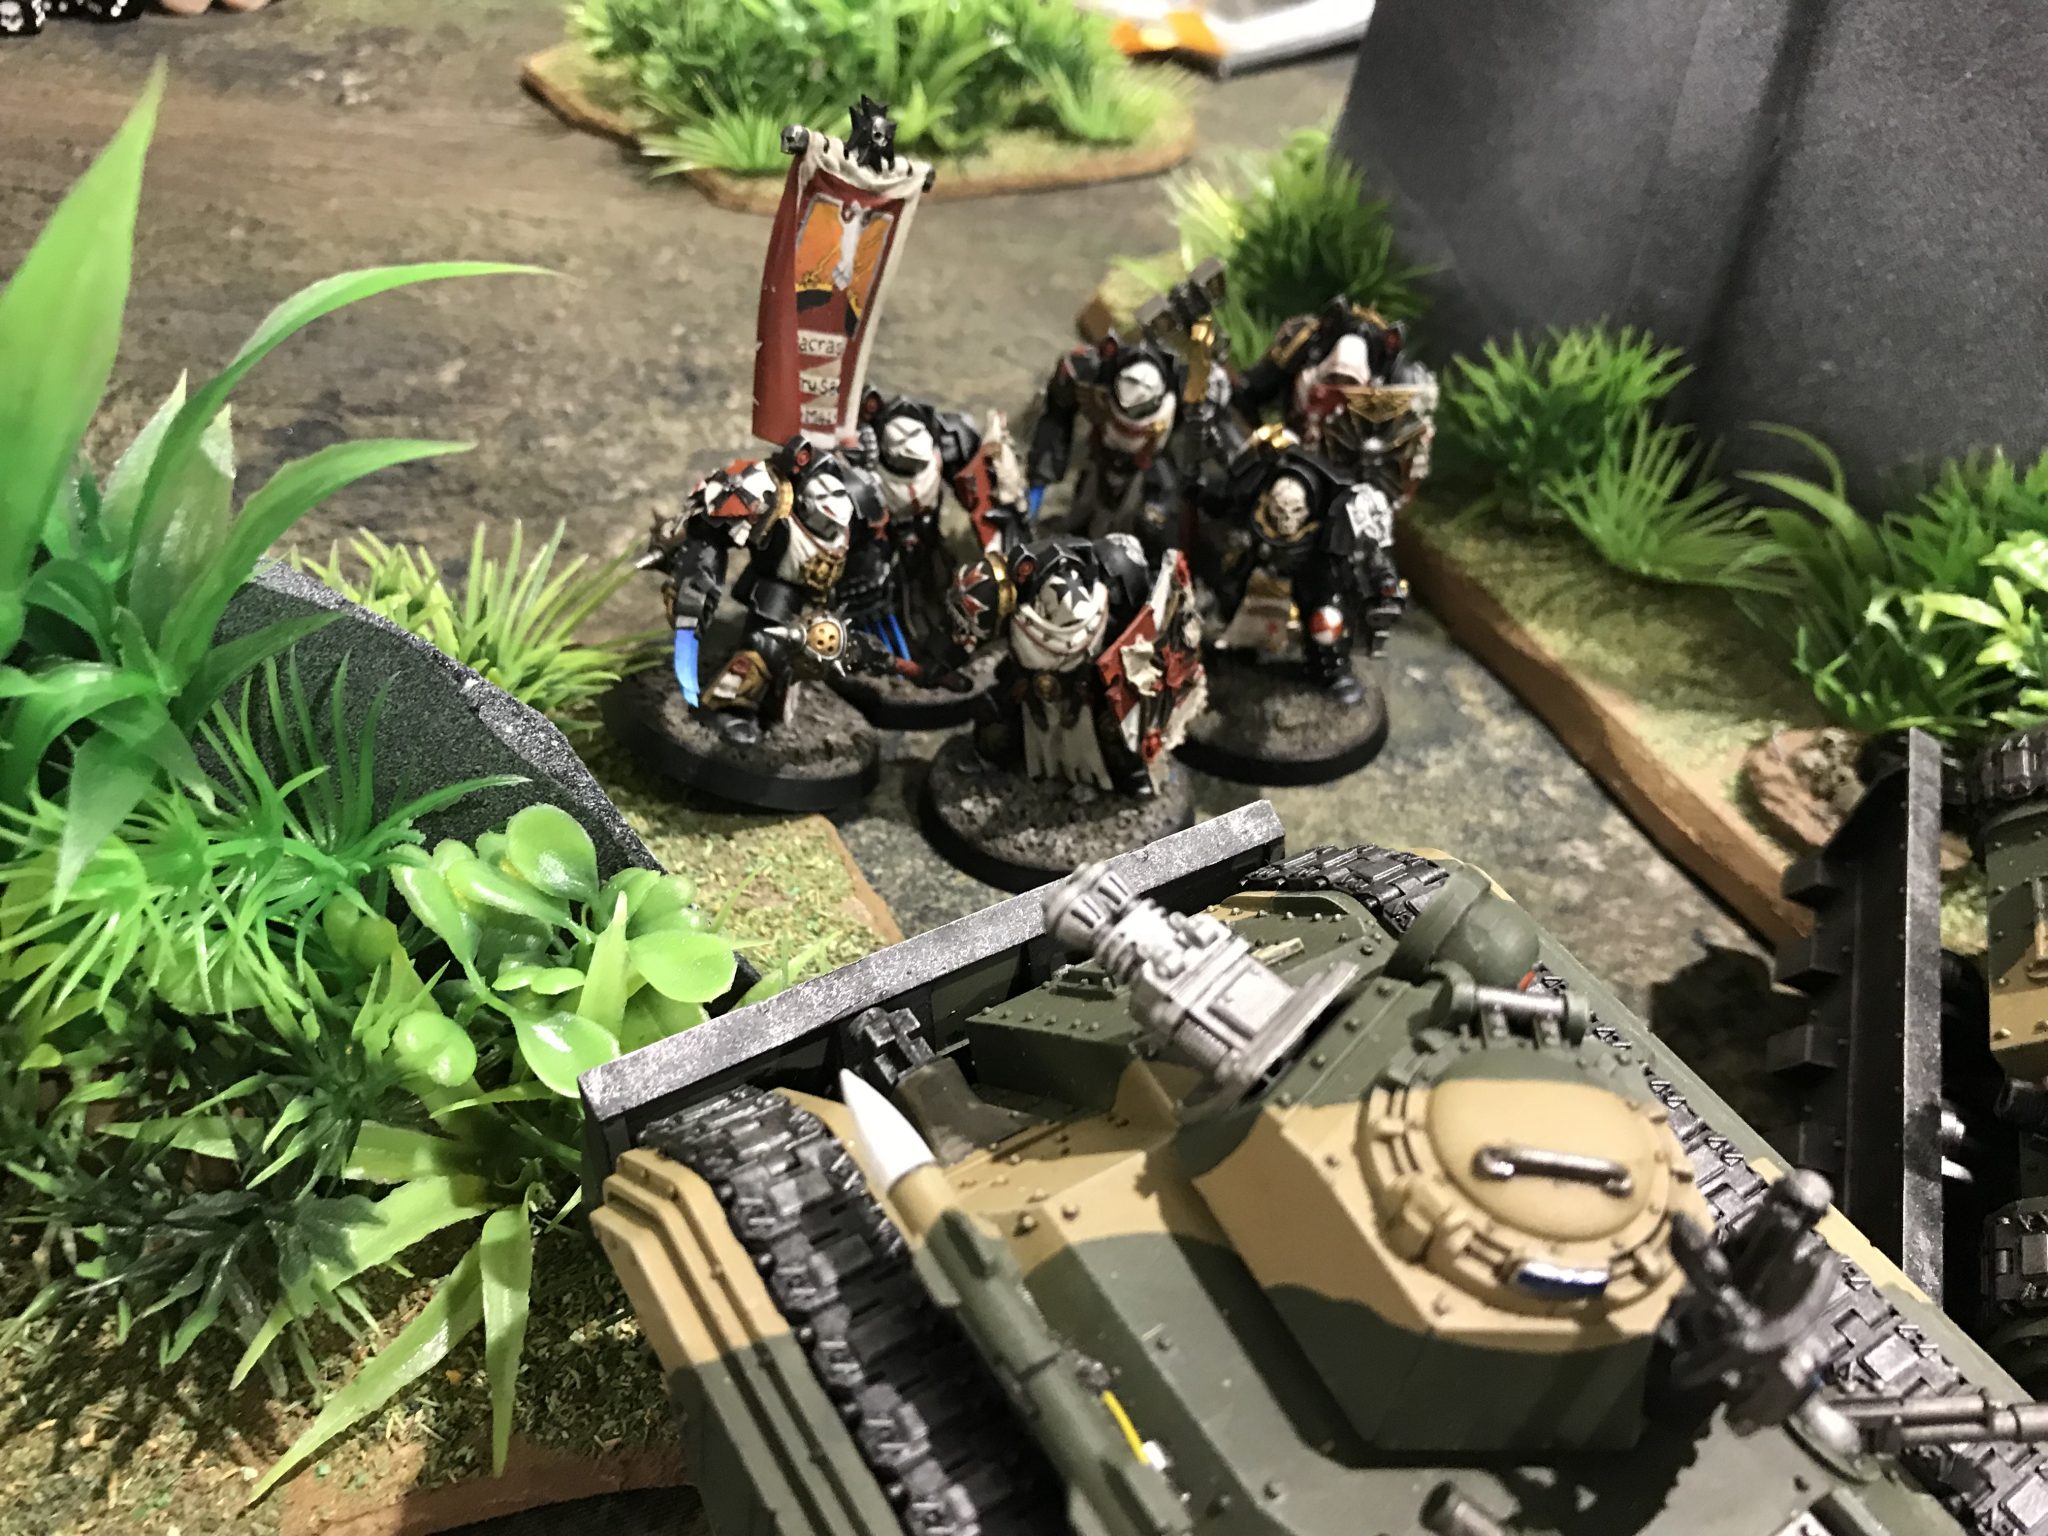
The Emperor’s Champion moved up. The Land Raider as expected disembarked it’s Terminators and Chaplin, then limped away.
The Drop Pod arrived with its 10 Crusaders. The Dreadnought stayed still.
The shooting was decent from the Black Templars and they wiped out a squad of Guardsmen in my deployment zone on an objective from the Land Raider’s shots and the Crusader Bolt Pistols.
The Dreadnought went after the Chimera in front of it and it took some wounds. The Leman Russ survives the Lascannon – thanks to it missing.
No shots went towards my Cyclops.
And now came the charges…
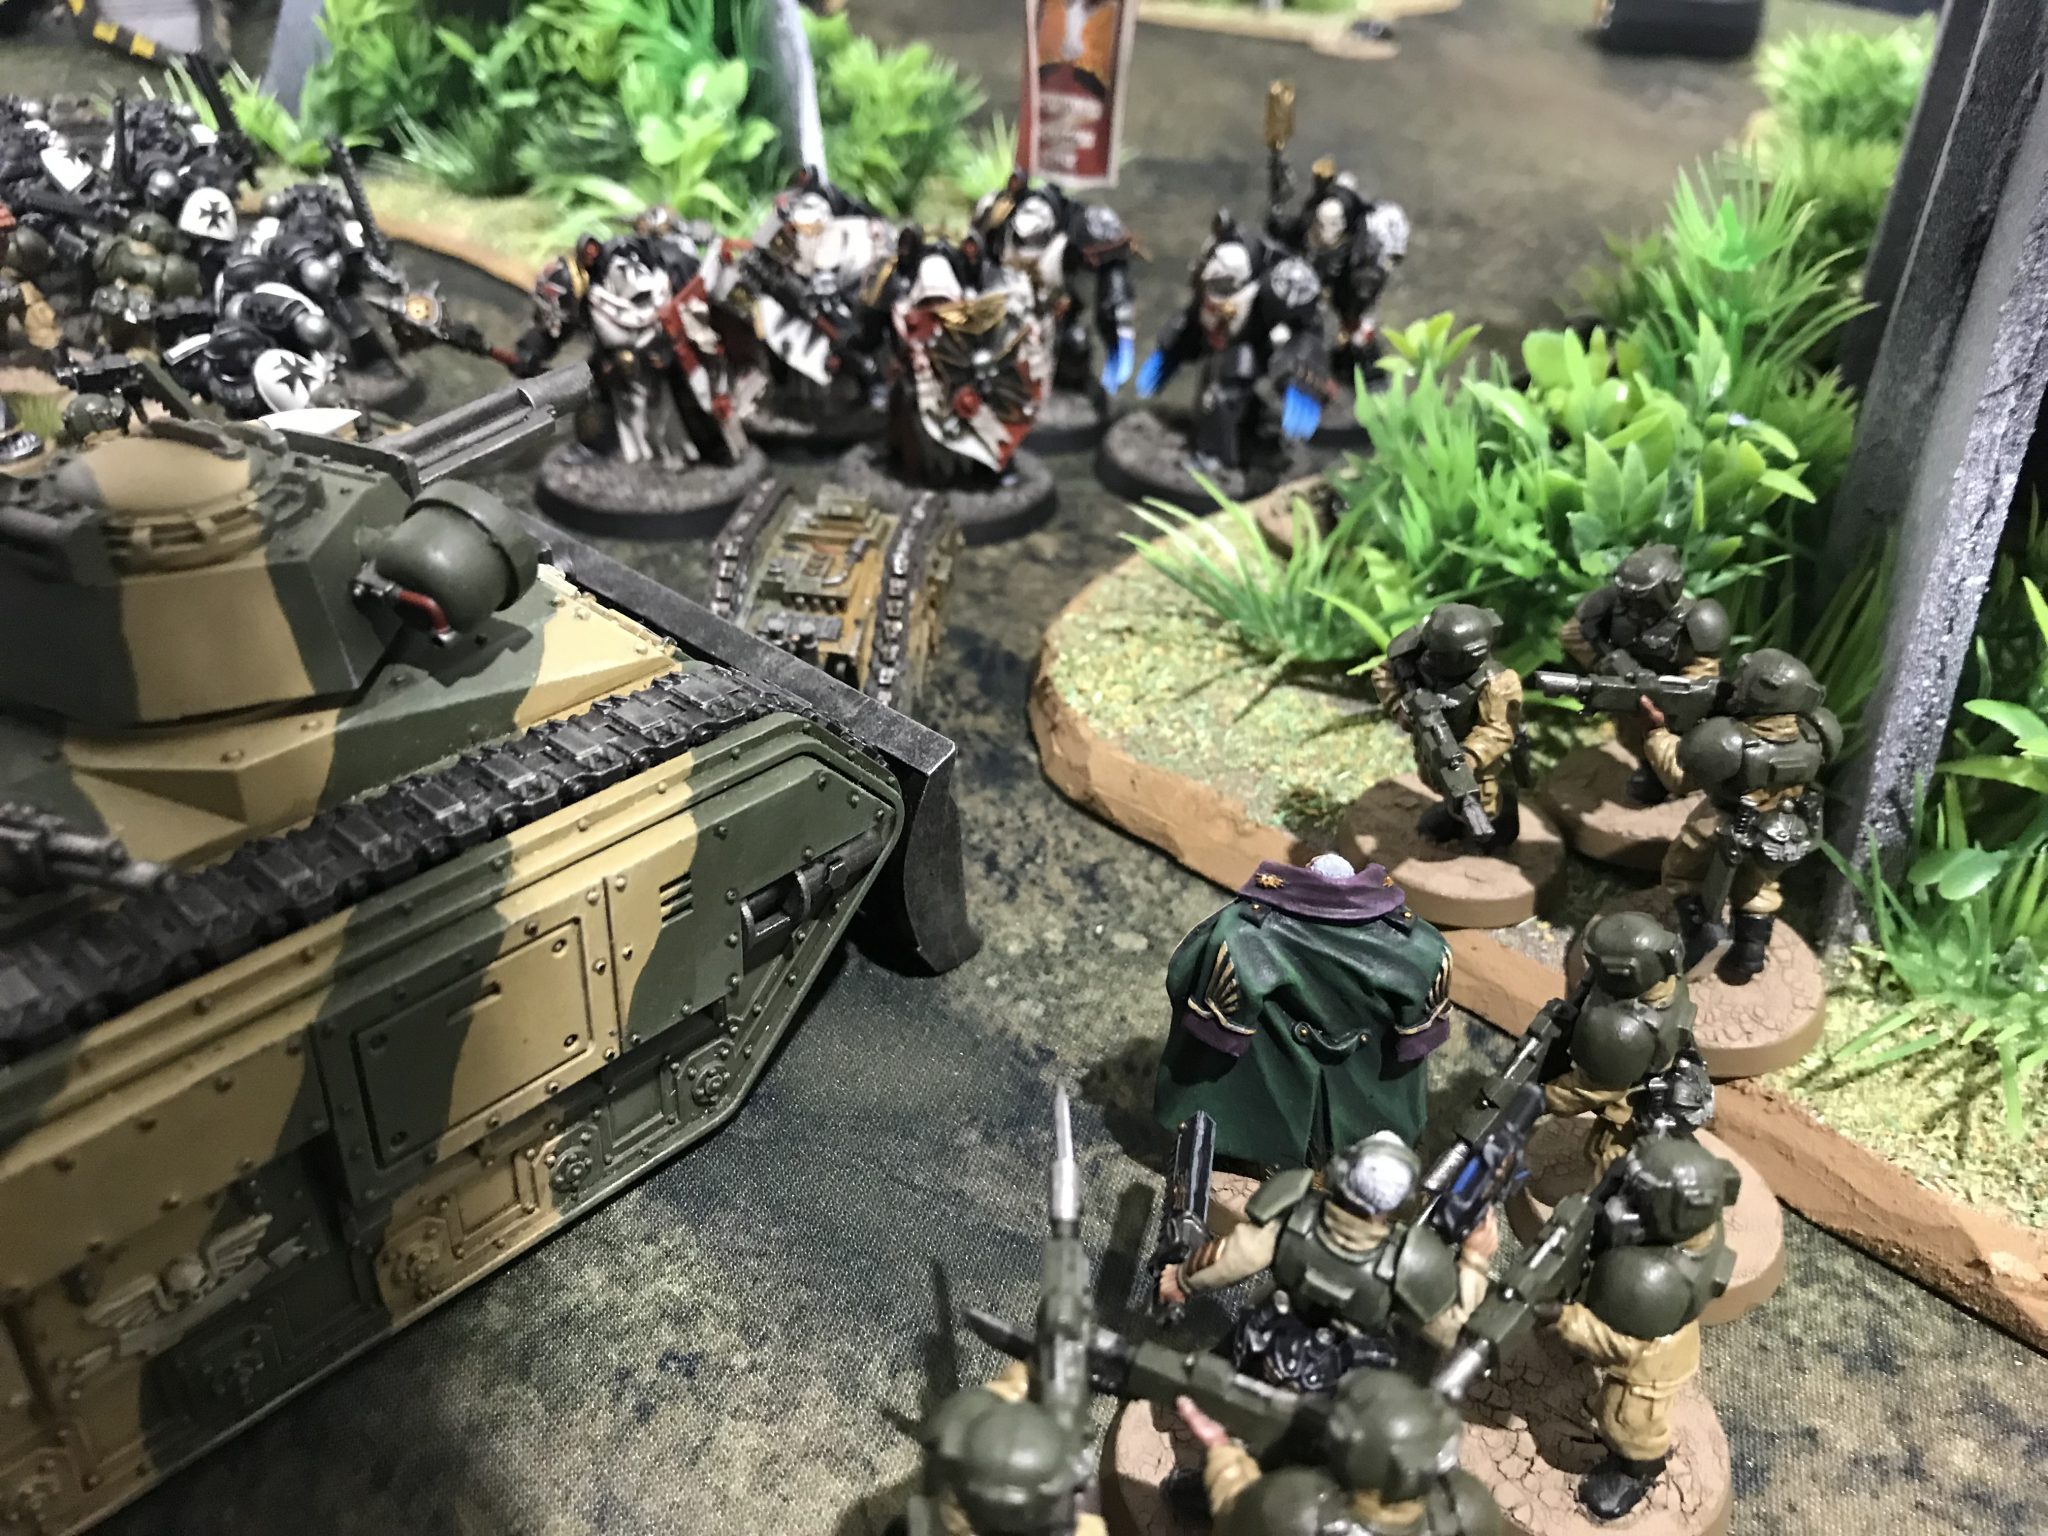
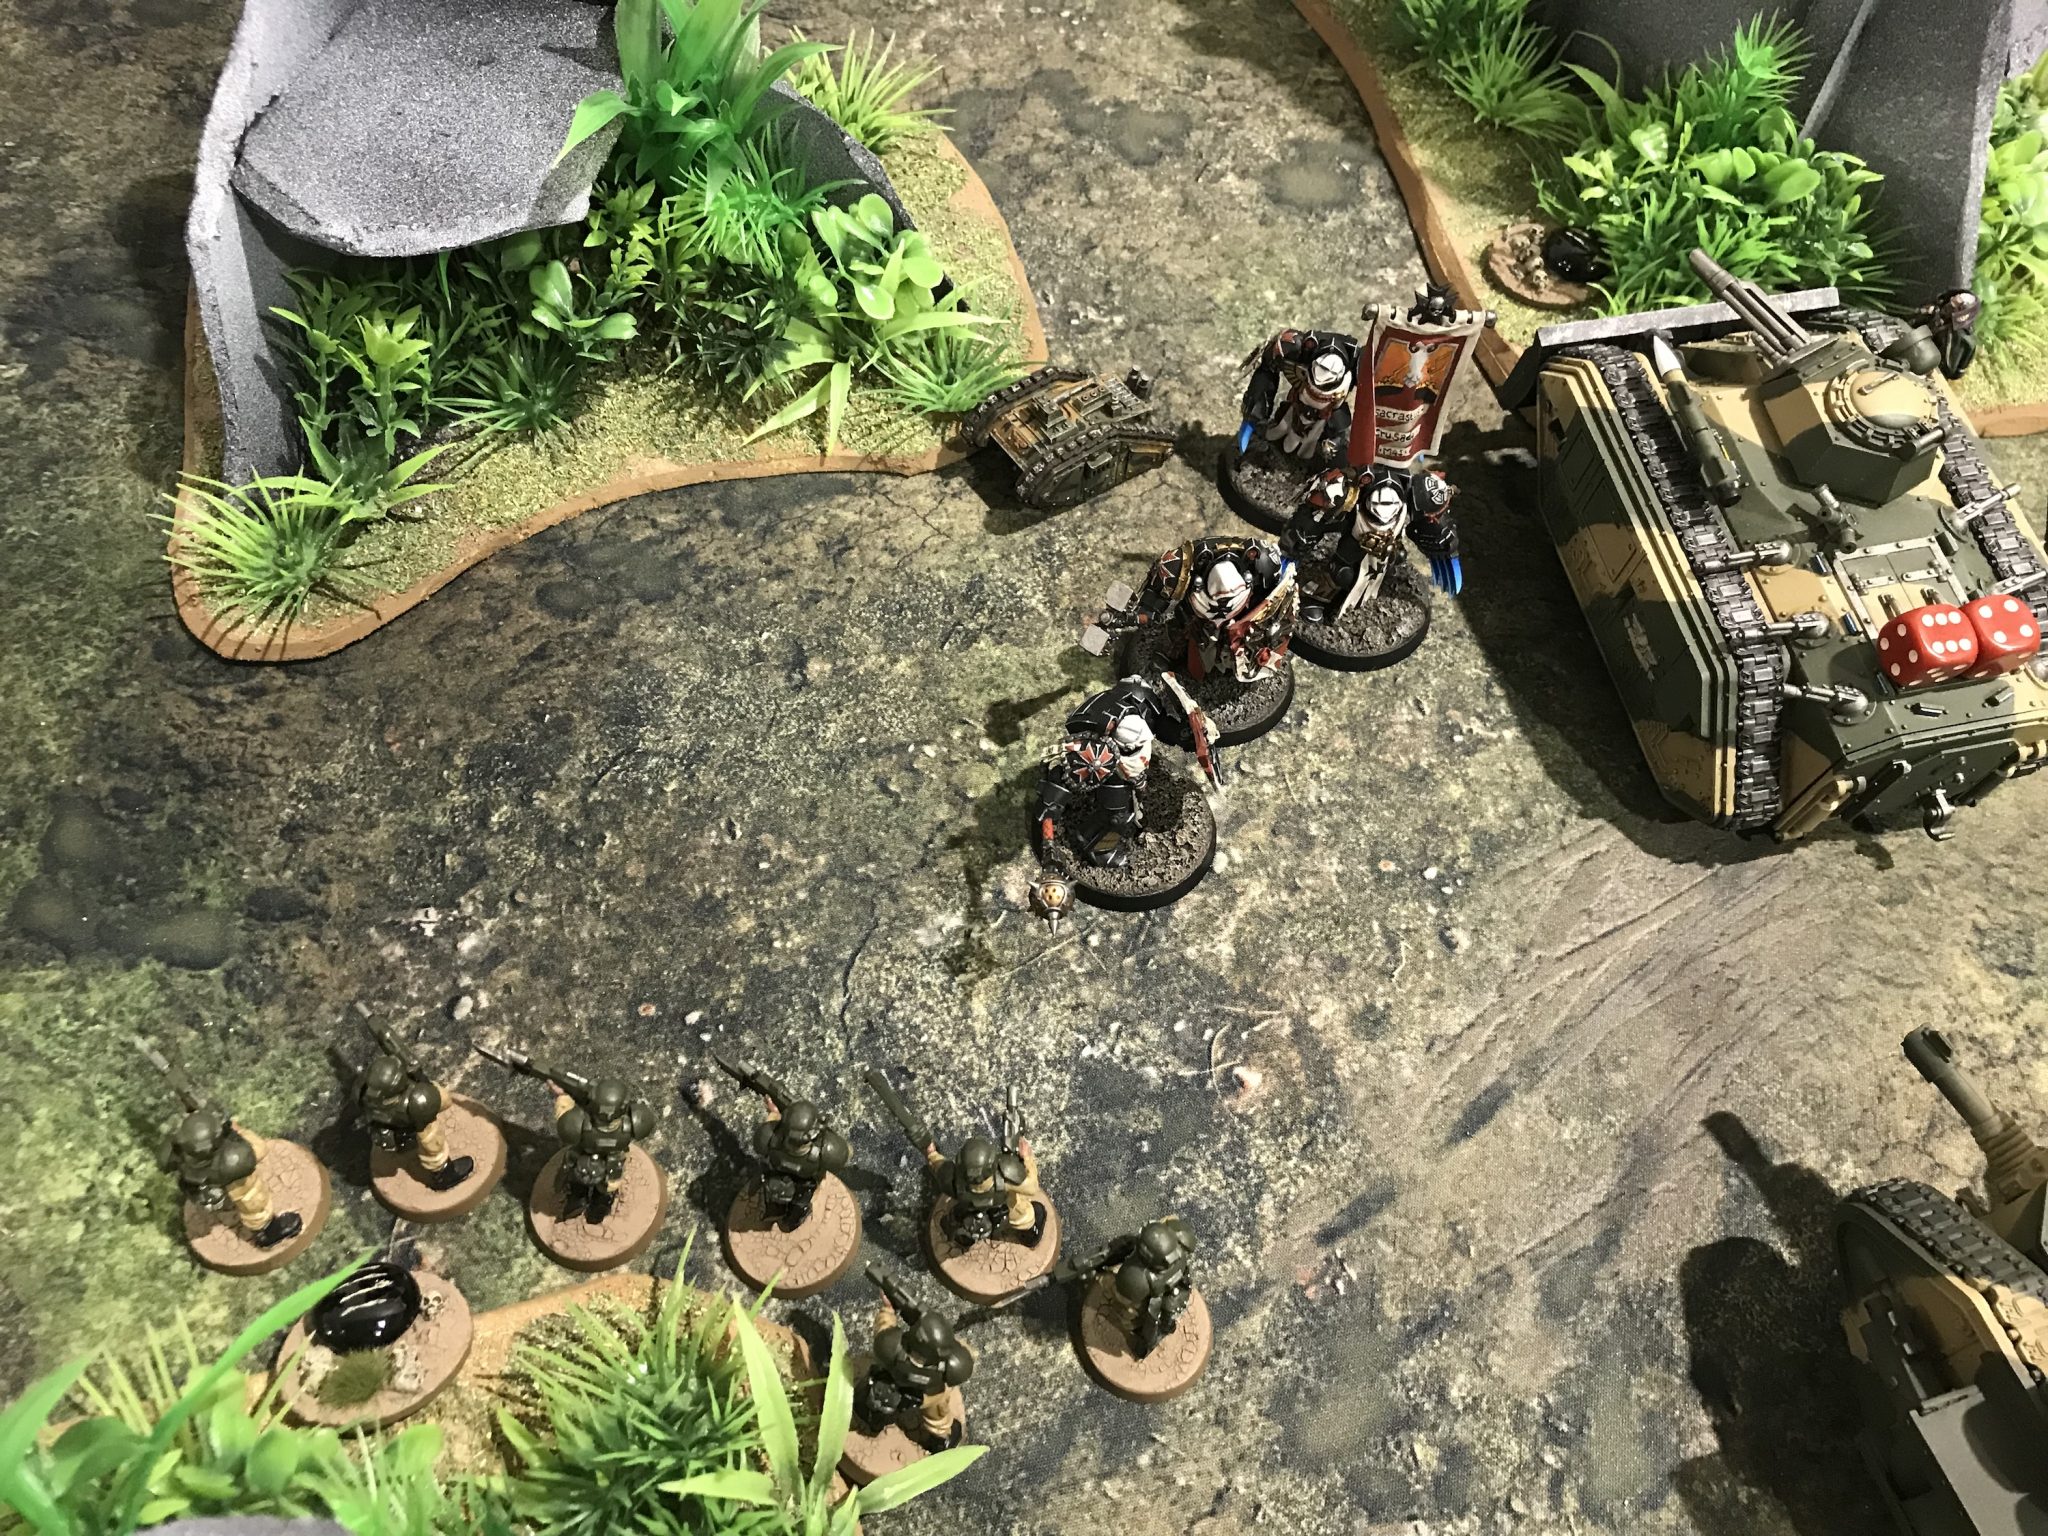
The Emperor’s Champion went for a Chimera. The Terminators went for Yarrick’s Chimera, as did the Crusaders. All charges were successful.
The Chimera with Yarrick in was destroyed and the Guardsmen inside piled out. Before the Crusaders inside even had the chance to strike. The Terminator Thunder Hammers did 12 wounds destroying it with ease.
The Emperor’s Champion didn’t destroy the Chimera he charged.
Astra Militarum – Turn 2
I was able to generate one new card which was Aerial Denial. Easily doable for 6″ but the Dreadnought was within 12″.
Everything that was in combat moved away to expose the enemy units. This gave me space to shoot at the Terminators and the Emperor’s Champion.
The leftmost Cyclops moved into a prime position in order to attempt to hit the Land Raid, Chaplin, Crusaders, Drop Pod and Terminators. But it would also possibly hit a squad of Guardsmen and Yarrick.
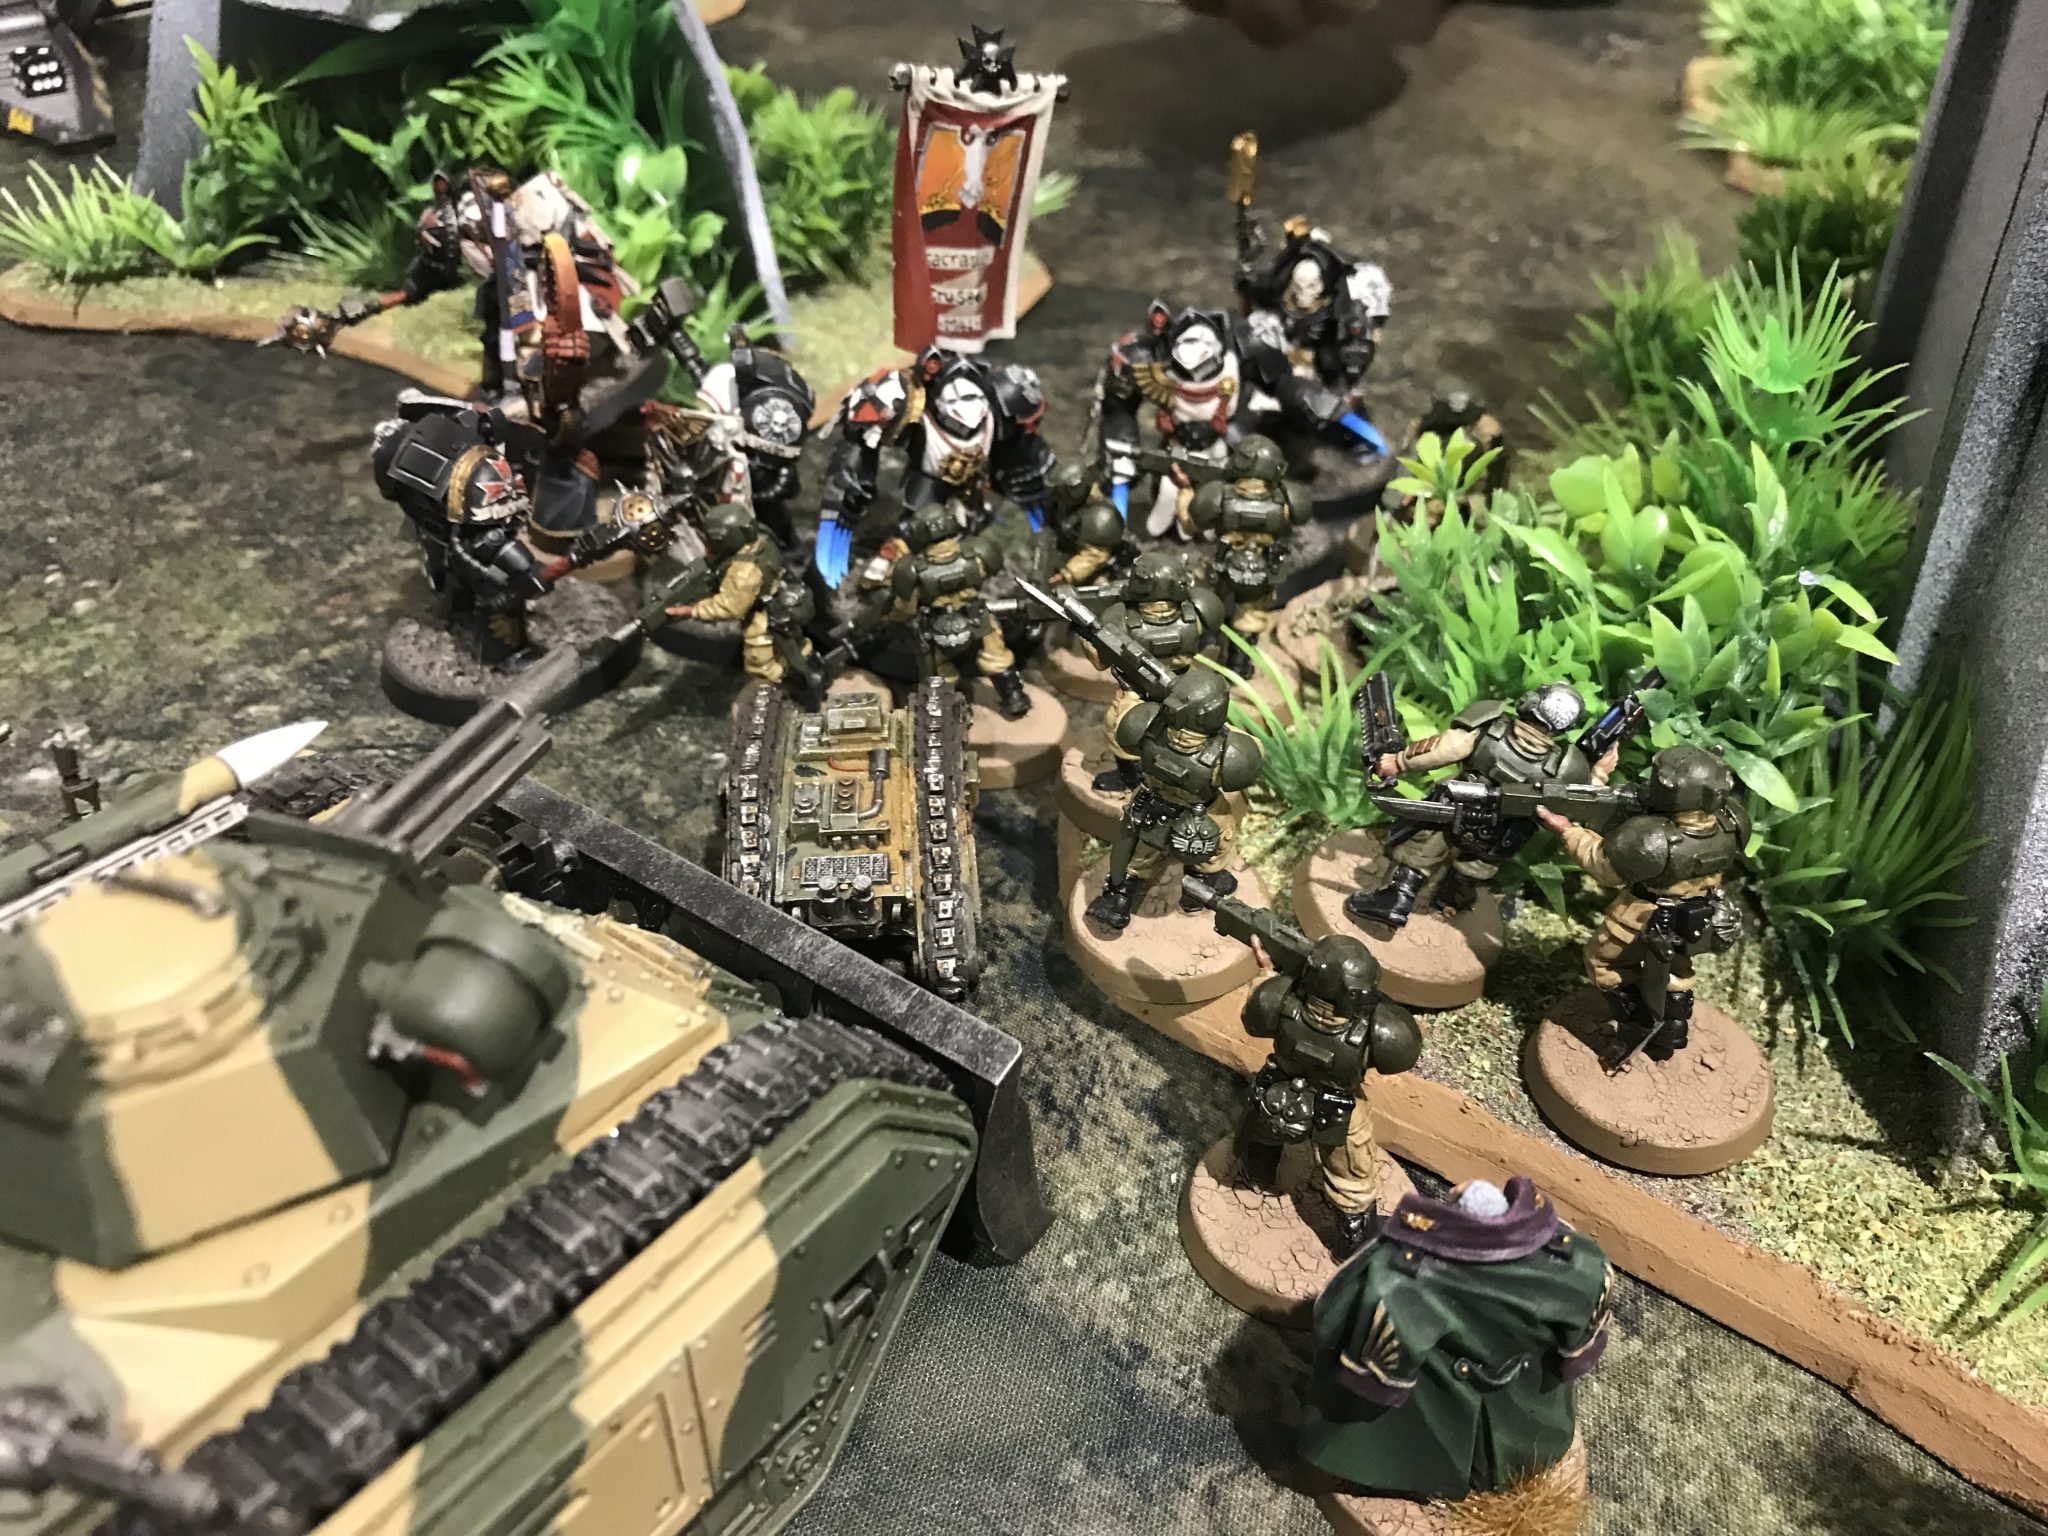
Another moved right into the Terminators ready for a detonation. It could hit Creed, Yarrick, a Chimera, 2 Squads of Guardsmen and my Tank Commander.
The other Chimera containing its troops moved right past the Emperor’s Champion towards the Dreadnought. The Catachan Cyclops followed. Staying close to the Chimera’s much larger chassis.
And so the stage was set. The leftmost Cyclops exploded. Once the dust had cleared a few Guardsmen were caught in the blast and perished. But the Land Raider was now gone, it’s final 6 wounds stripped away. 6 wounds were also dealt against the Drop Pod. 6 Crusaders were vaporised. That was pretty good!
I decided not the detonate the other Cyclops in front of the Terminators. It was too high risk with so many of my units nearby.
The rest of my shooting finished off the Crusaders from the Drop Pod. My Plasma Command Squad killed the Emperor’s Champion. And the Ratlings dealt more wounds to the enemy Warlord – who was down to two wounds now.
I charged Yarrick into the Terminators along with some Guardsmen. Yarrick perished in spectacular fashion after doing no damage. The Guardsmen didn’t do anything either other than screen the Terminators a little from my Tank Commander.
I got Area Denial for 1VP. The Dreadnought was too close for the D3 VP.
-

- Go To Ground Wargaming Review

Black Templars – Turn 3
The Black Templars had to put three units into their deployment zone for a single VP this turn. This was easily doable with the Warlord, Dreadnought and the Crusader Squad with the Lascannon.
The Dreadnought attempted to destroy the Chimera in front of him. It failed after I made a single 6+ save.
The Lascannon went after the Tank Commander and failed after I made a single 6+ save.
The Terminators chomped their way through Guardsmen with ease finishing off the squad.
The Dreadnought charged my Chimera and left its deployment zone, but the Chimera survived! Despite it having just three wounds left.
-
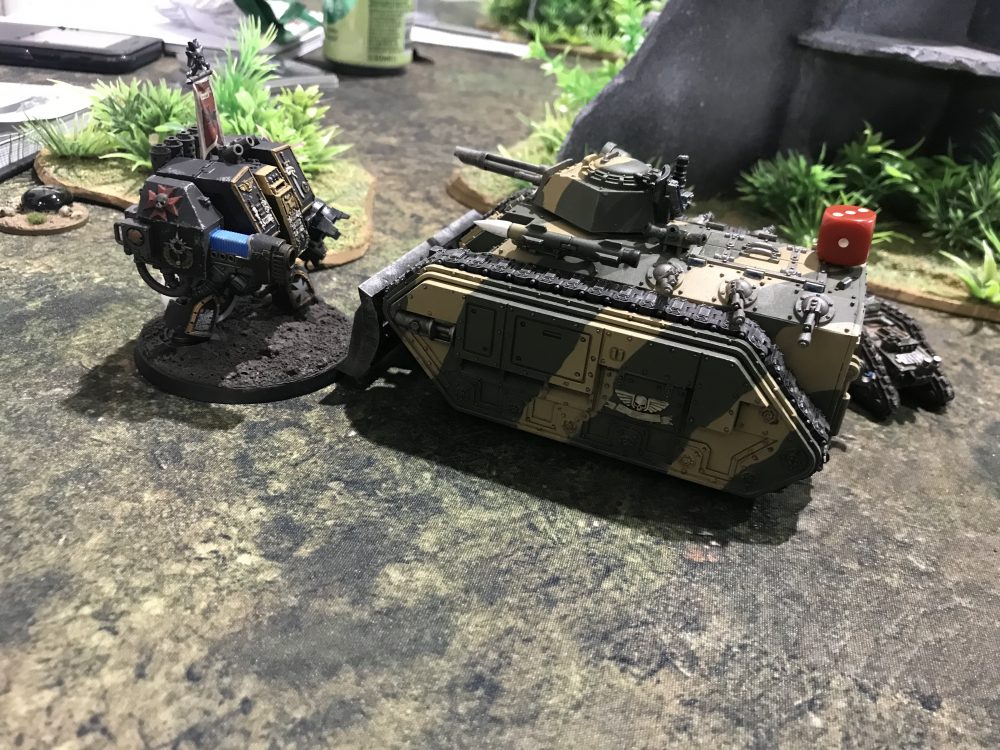
- Dreadnought charging!

Astra Militarum – Turn 3
I picked up Secure Objective 4 and Secure any 3 Objectives for D3. Four was nearby and some Guardsmen easily got to it. This gave me my 3 Objectives for D3.
The Cyclops that had sneaked towards the Dreadnought behind the, now badly Damage, Chimera – moves right next to the Dreadnought and exploded. The Dreadnought was now gone.
The other Cyclops near the Terminators detonated this turn. But only after moving right behind and away from Creed and a Chimera. A few Guardsmen were caught in the blast. The Chaplin died after sustaining 10 hits from the Cyclops and a few Terminators were now just pairs of heavily armoured smoking boots.
The rest of the Terminators met their end via the Plasma Tank Commander.
Finally, the Wyverns dispensed their mortars towards the lone Crusaders with the Lascannon and finished them off.
This left only the Warlord left for the Black Templars and the Drop Pod. The Black Templars conceded and the battle was an Astra Militarum victory!
The final battlefield
Summary
MVP? Cyclops, all day long. Their total points cost is 180 for all three. Their destructive capabilities, if they go unhindered, is massive.
I don’t know how many points of Black Templars they destroyed but it was more than 180. I’m not sure what else can kill so much stuff for the Astra Militarum for so few points. A single Leman Russ costs more than this and will not deal this much damage.
Even the Tank Commander didn’t deal this much damage.
If they had been targeted and killed then the game may have been very different…