
Astra Militarum & Armigers Vs Tau
1,500 points of kill, kill, kill! Astra Militarum & Armigers Vs Tau Battle Report
Welcome to another Battle Report. First outing for my Armigers today! Let’s see how they faired in this Astra Militarum & Armigers Vs Tau battle at Boards and Swords …
Let’s get started!
Never miss an article? Subscribe!
Astra Militarum & Knights 1,500 point list
- 3x Company Commanders
- 2x stock Infantry Squads
- 2x Infantry Squads with Meltagun
- 2x Infantry Squads with Plasma Guns
- Special Weapons Squad with Plasma Guns
- 2x Scout Sentinels
- Rough Riders
- Bullgryns with Bullgryn Mauls and Slabshields
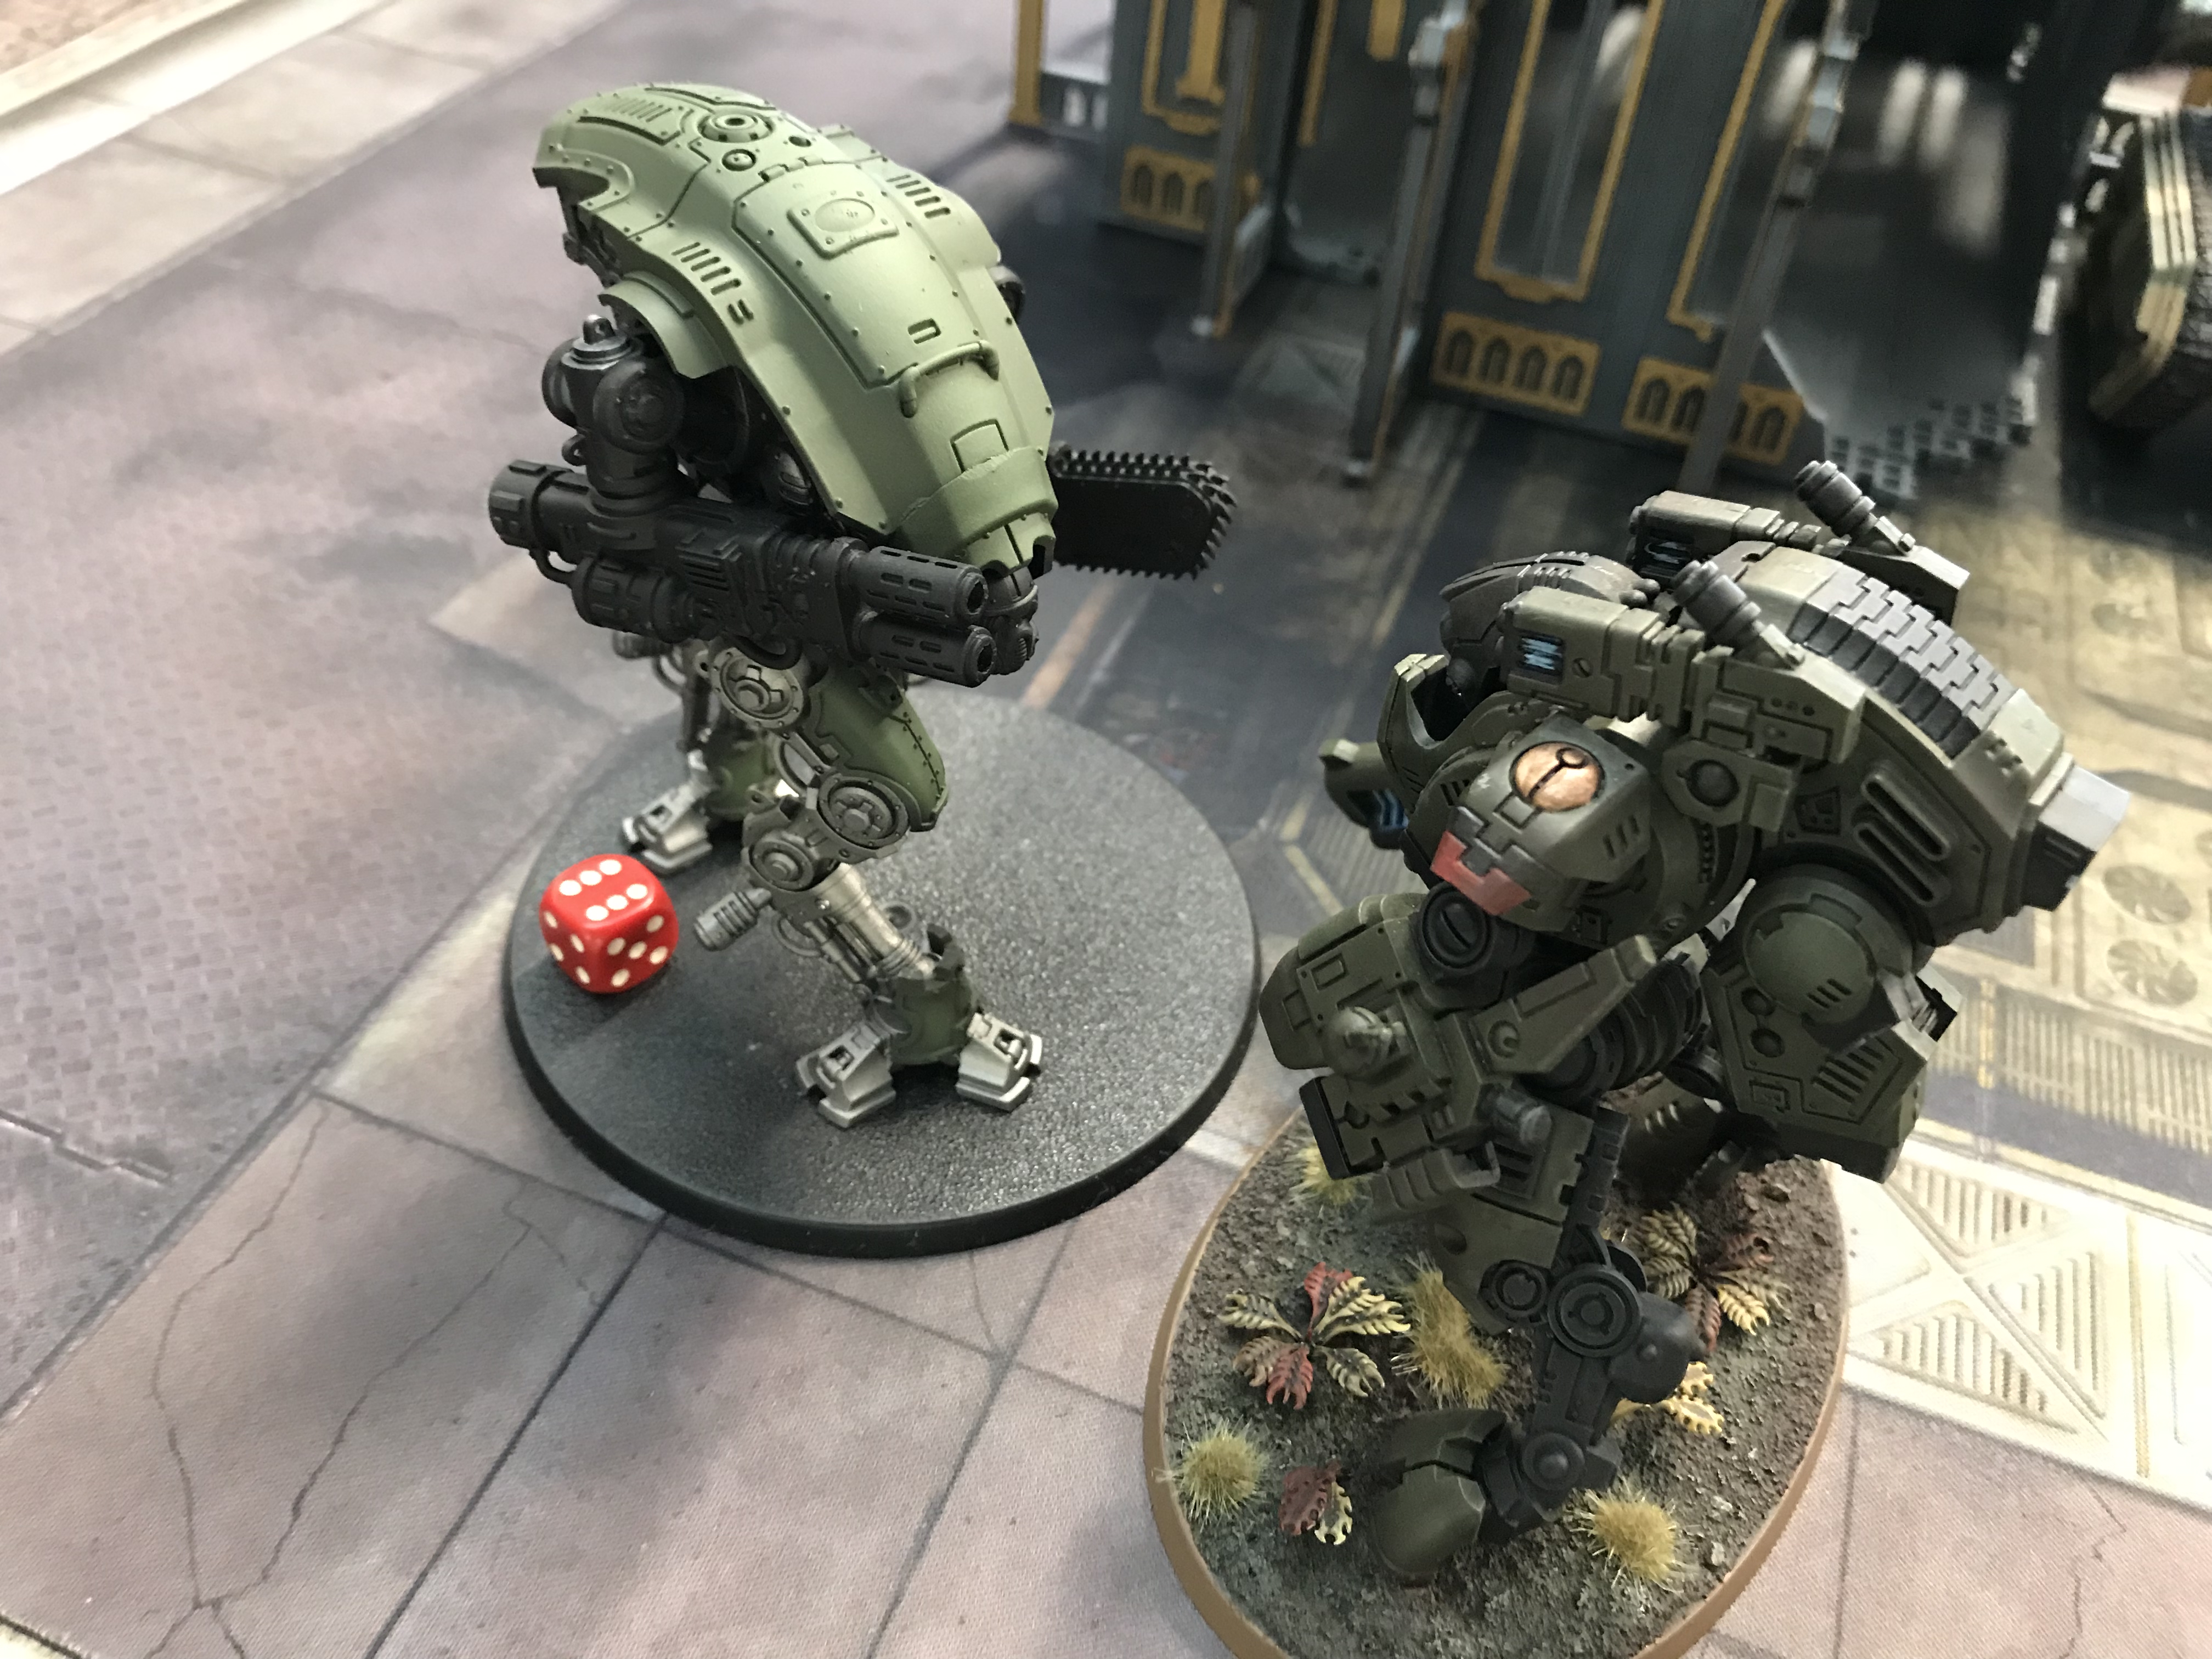
- 2x Armiger Warglaives
- Armiger Helverin
That’s a lot of stuff for 1,500 Points! And my Helverin Autocannons get their first outing too!
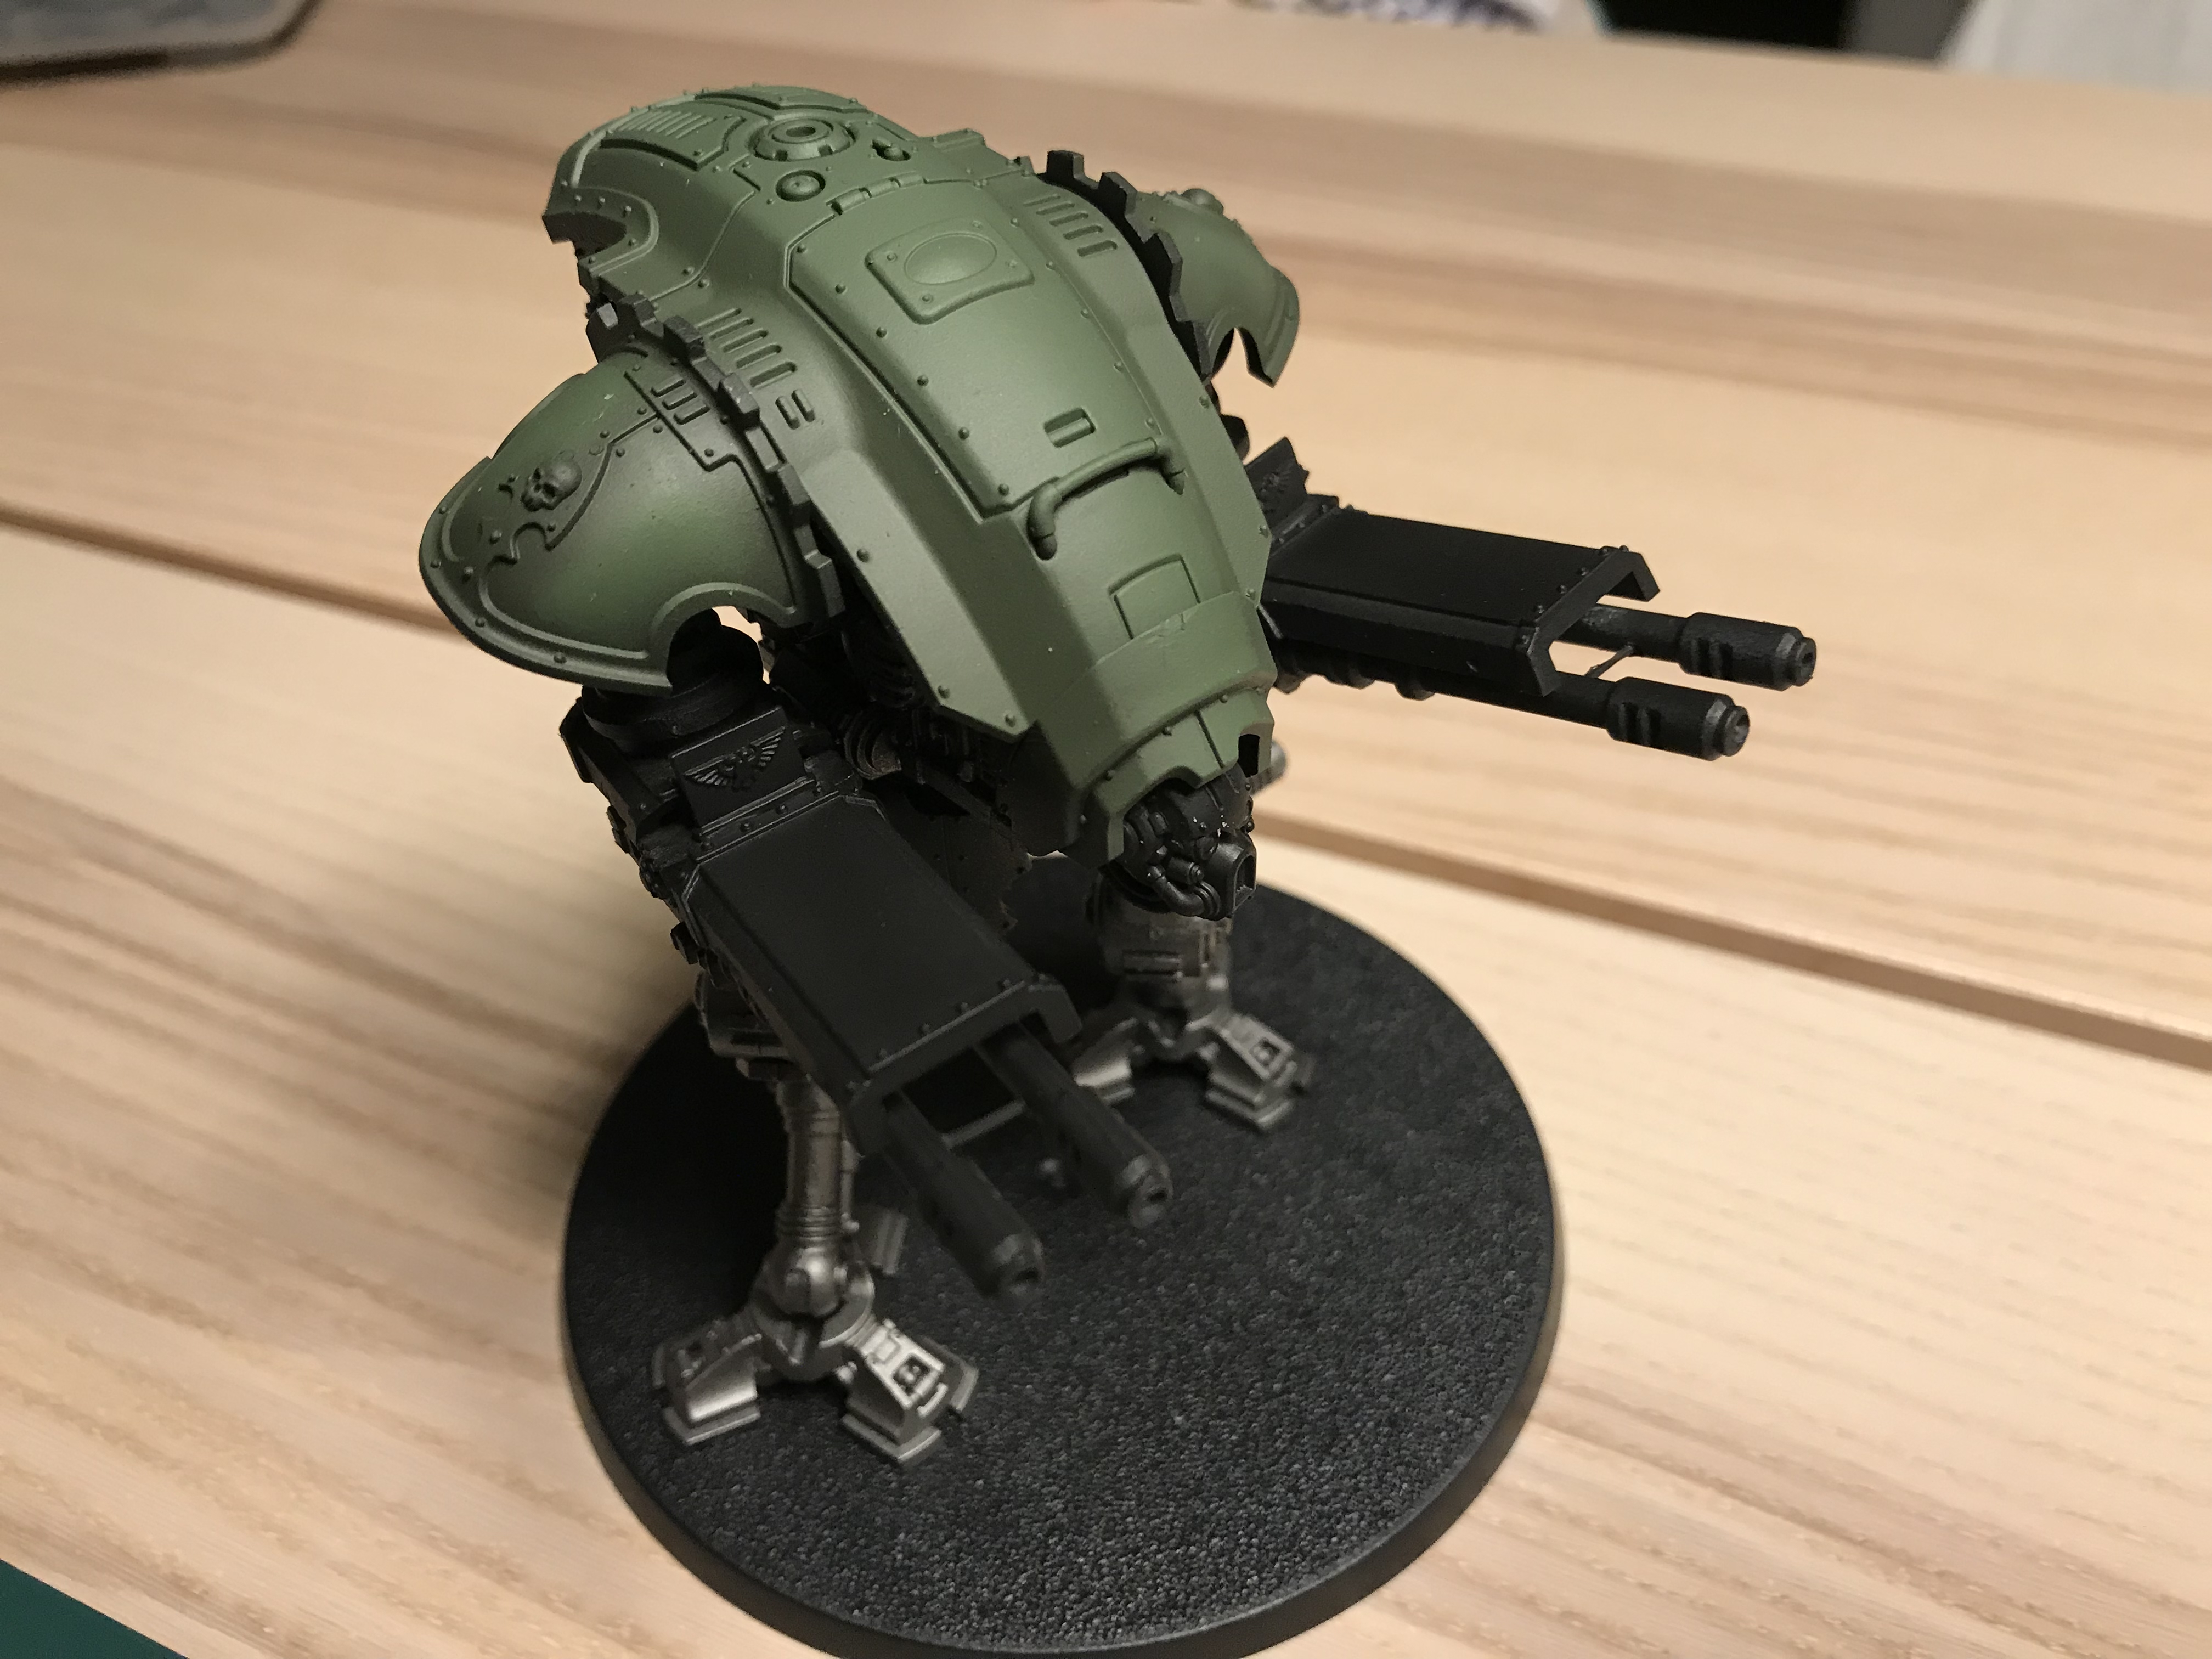
Helverin Autocannons done!
Tau 1,500 Points
- Coldstar Commander
- Cadre Fireblade
- Kroot Carnivores
- 2x Strike Teams of 5 models
- 3x squads of 3 XV25 Stealth Battlesuits, Burst Cannons and Fusion Blasters
- XV8 Crisis Battlesuits with Burst Cannons and Fusion Blasters
- XV95 Ghostkeel Battlesuit with 2x Fusion Blasters, Cyclic ion raker and 2x Stealth Drones
- 3x Broadside Battlesuits with Heavy Rail Rifle

Tau Broadsides – Astra Militarum & Armigers Vs Tau
The Mission – Armigers Vs Tau
We rolled for a mission on Eternal War. And rolled the worst possible result for my list. No Mercy. Which is basically one victory point per enemy unit destroyed. Plus Slay the Warlord, First Blood and Linebreaker.
It’s the worst for me because I have lots of easy to kill units which give the Tau lots of easy victory points. On the flip side, the Tau have survivable units with -1 to hit modifiers and extra cover saves.
It seemed I would need to completely destroy the Tau.
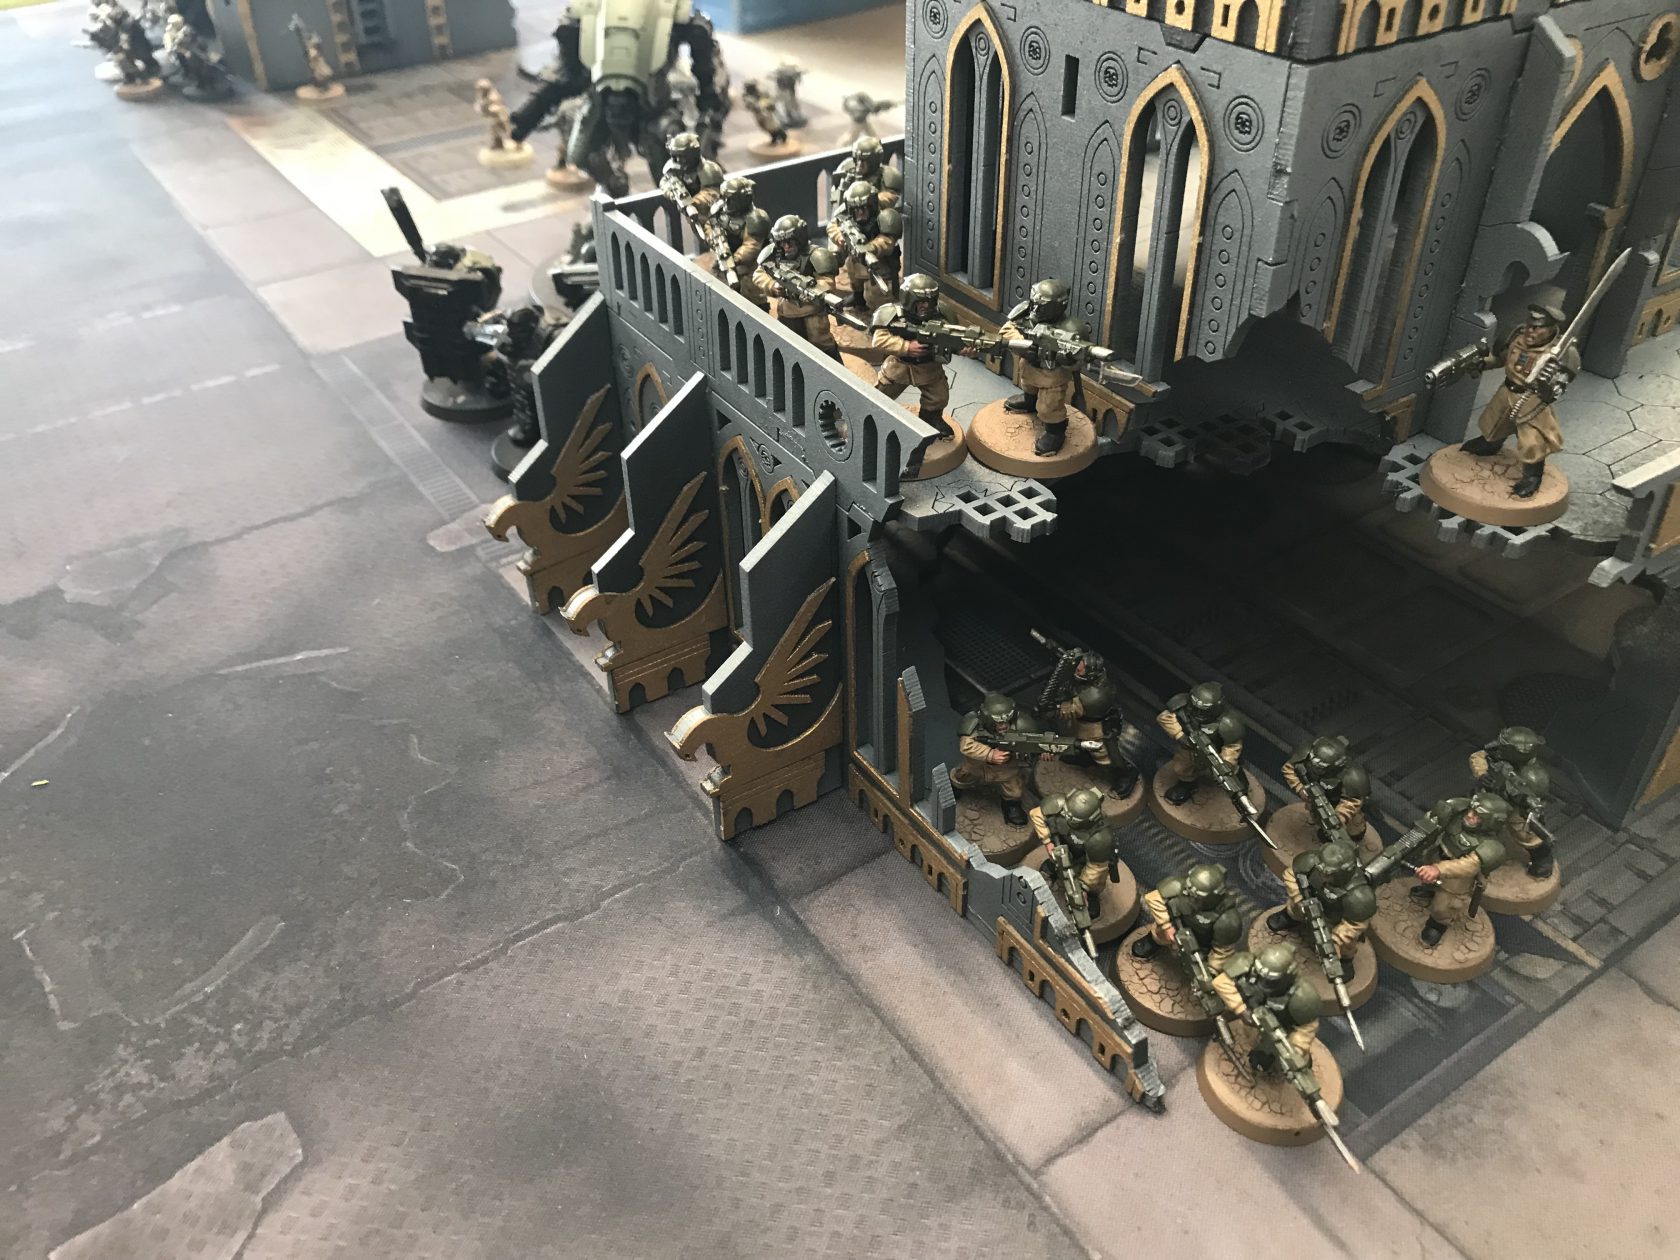
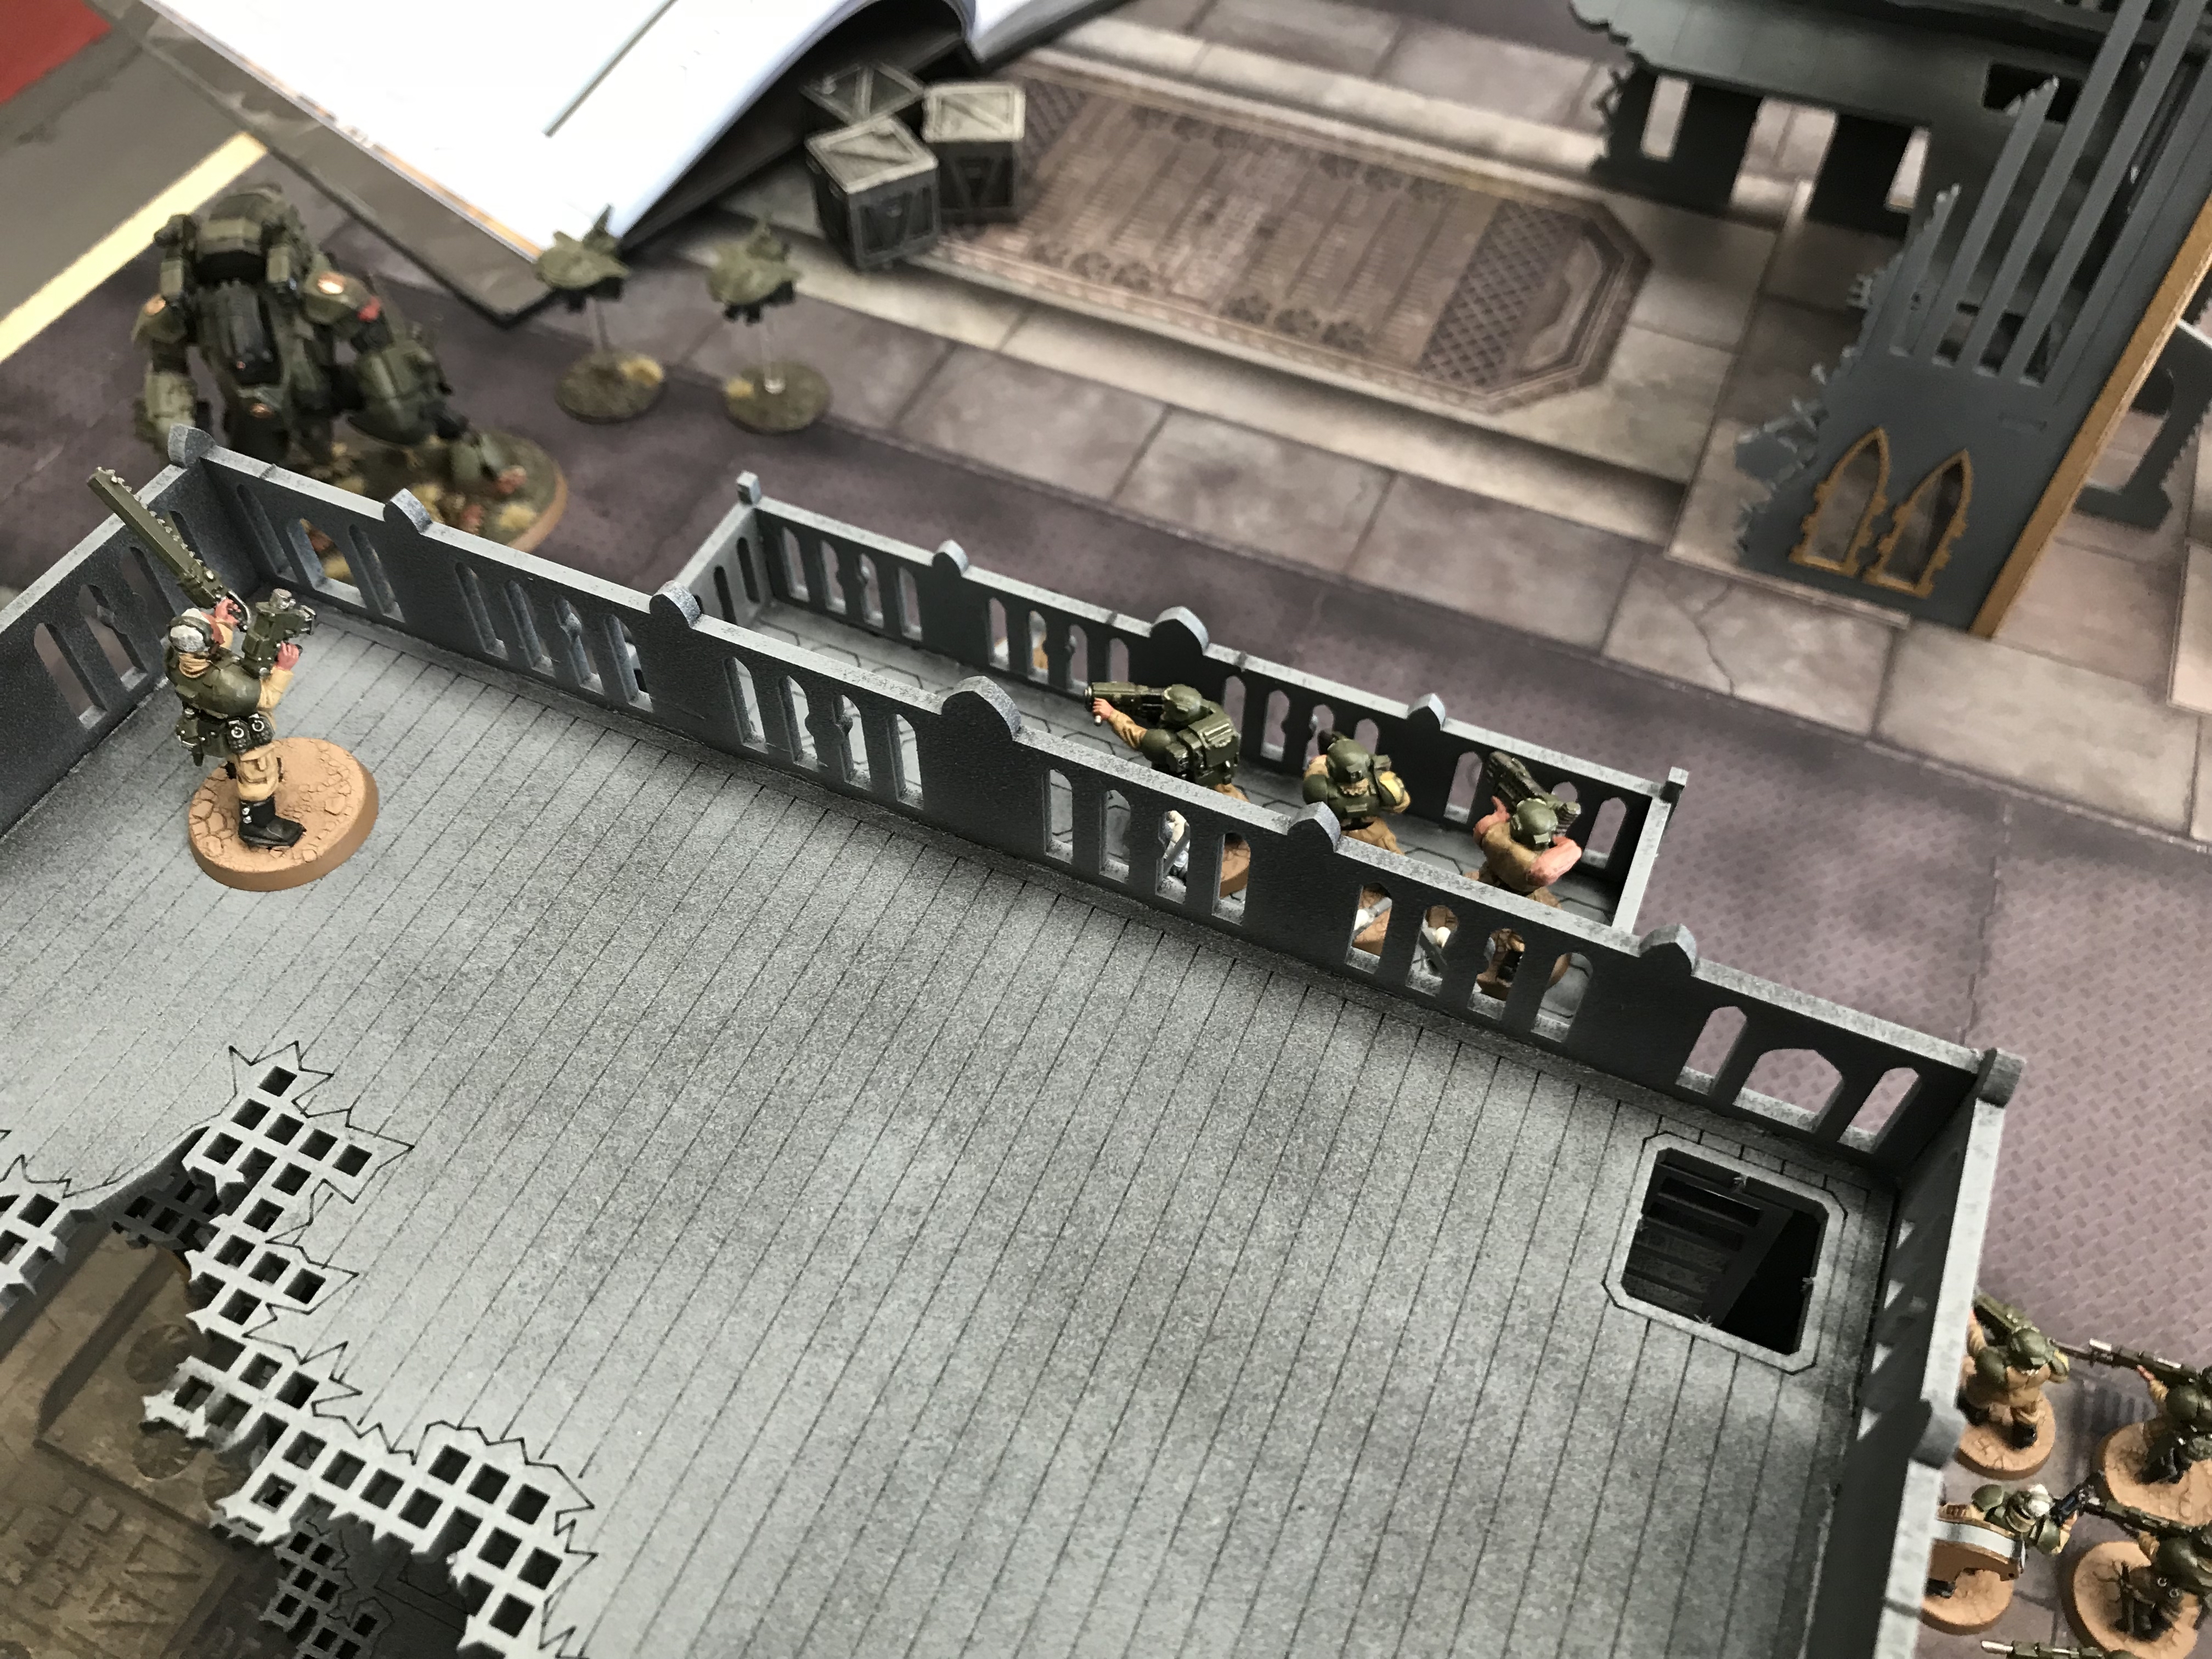
Deployment
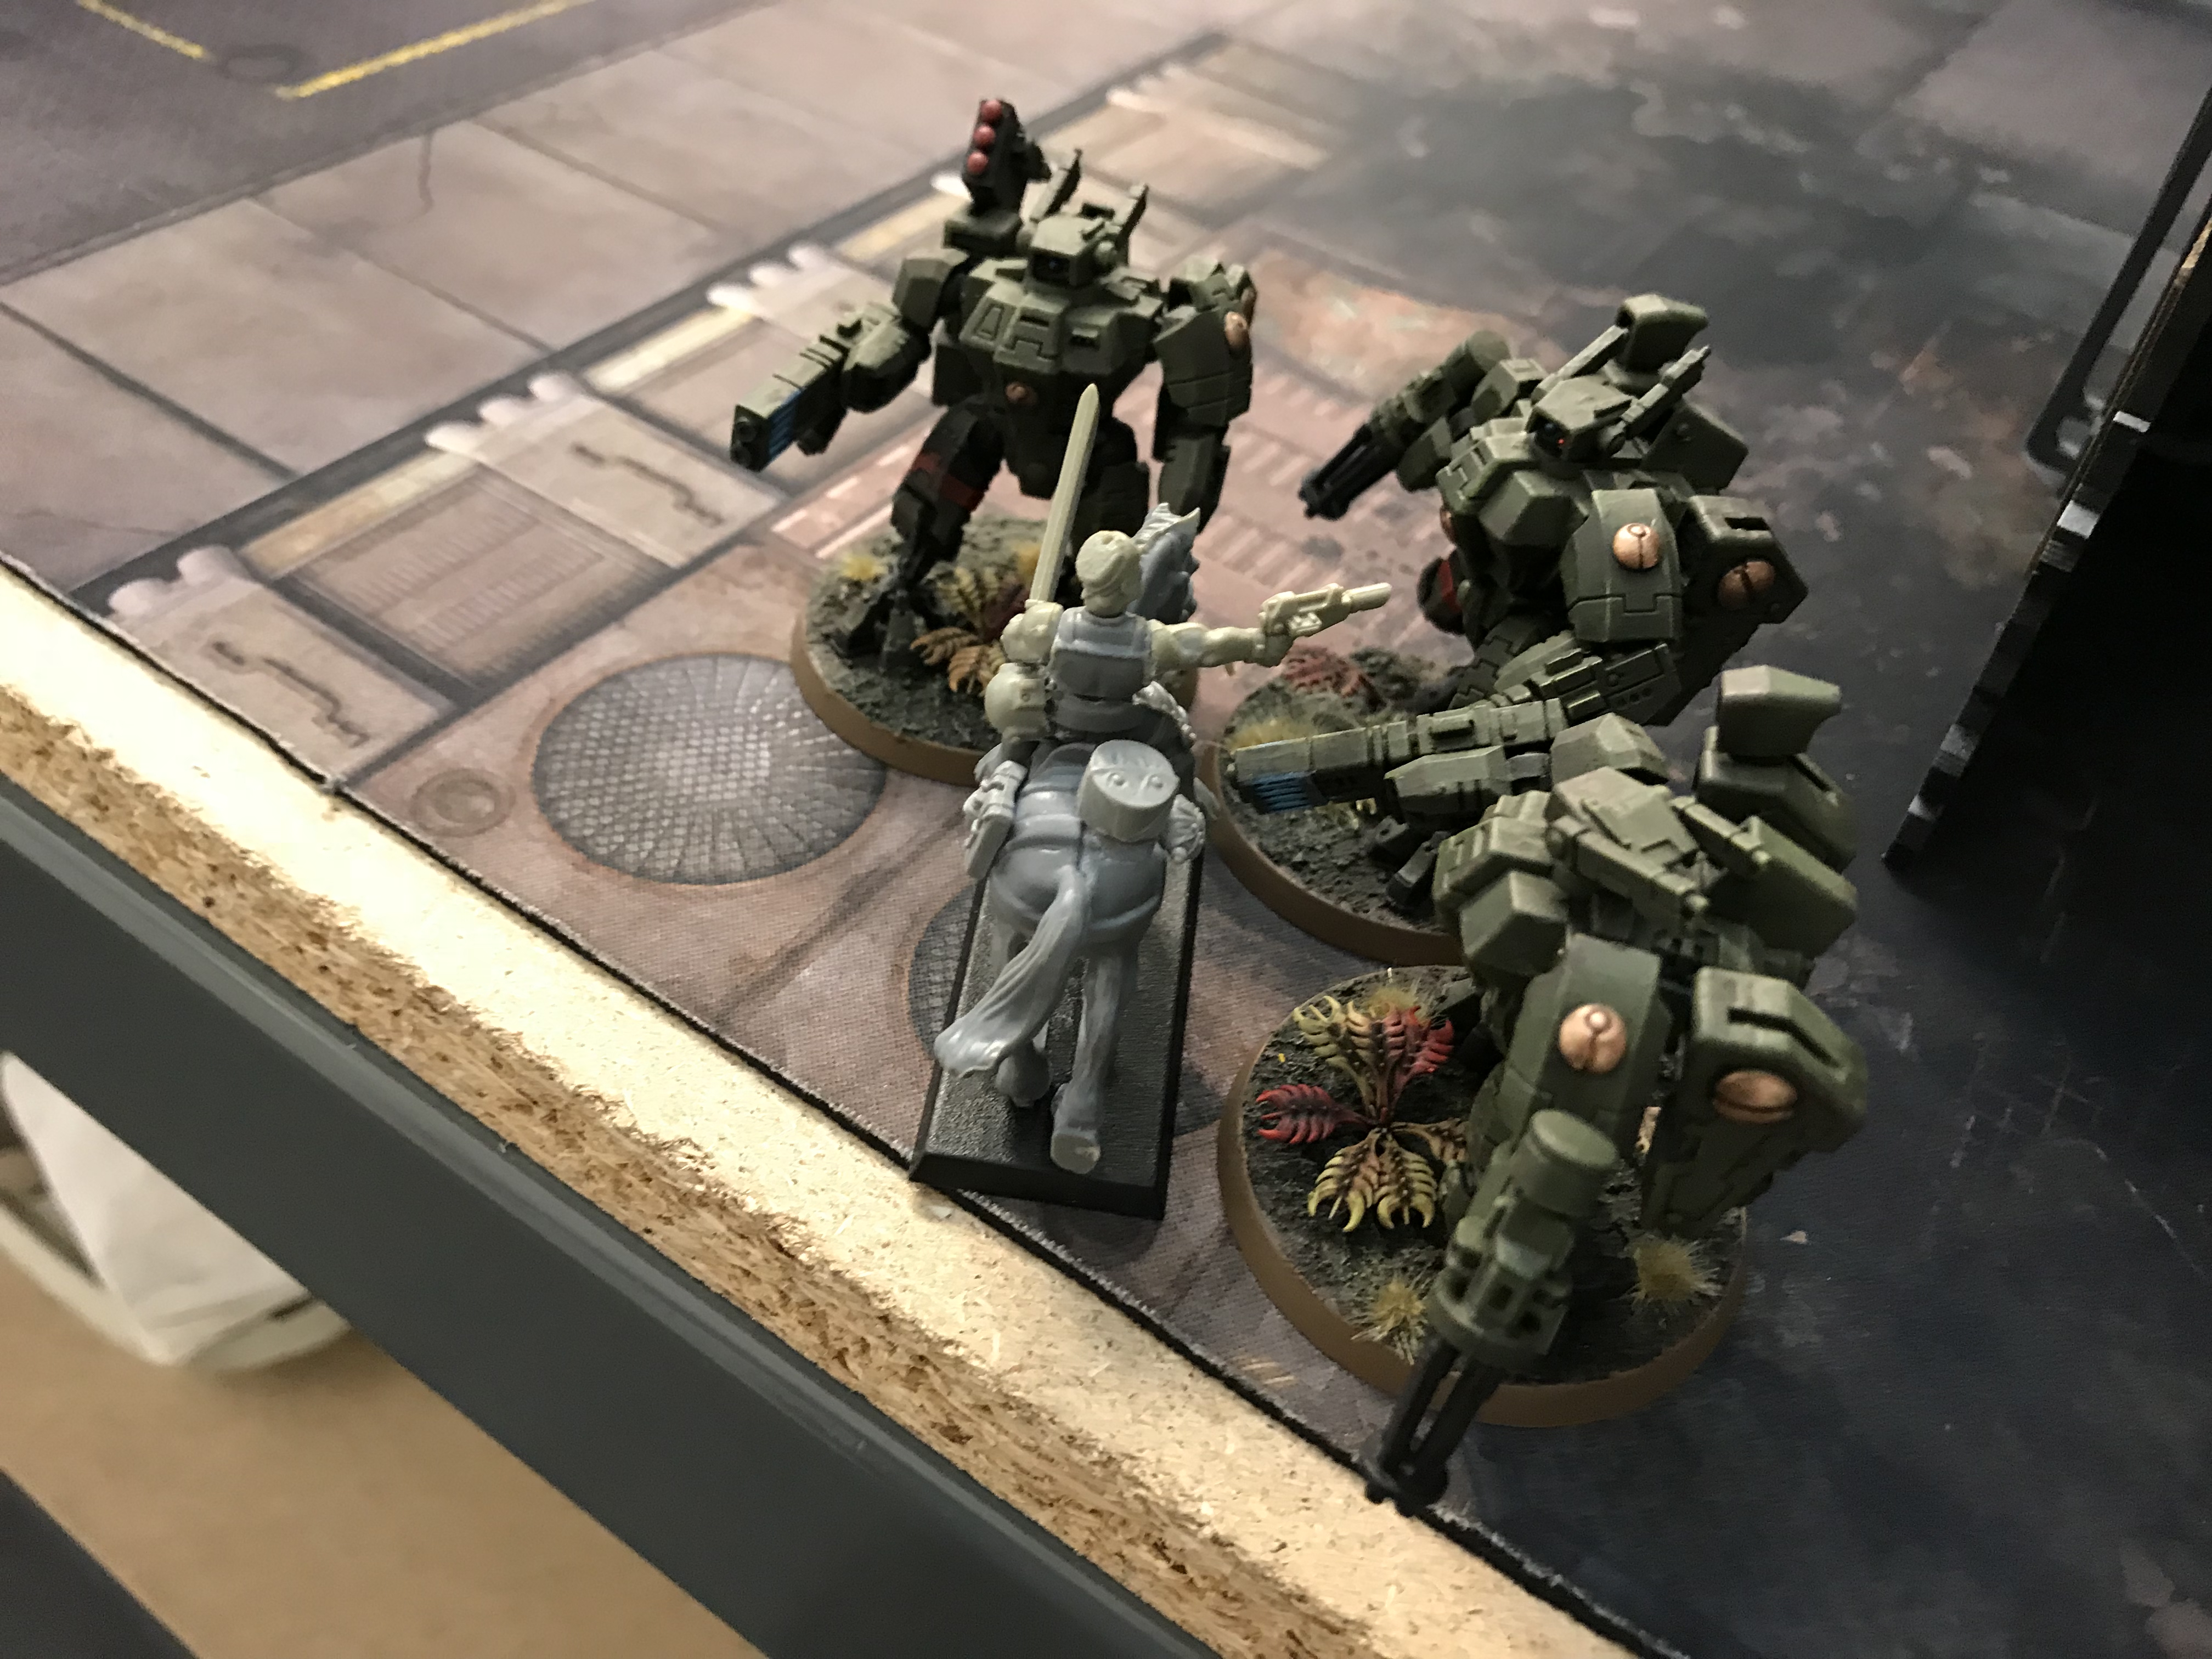
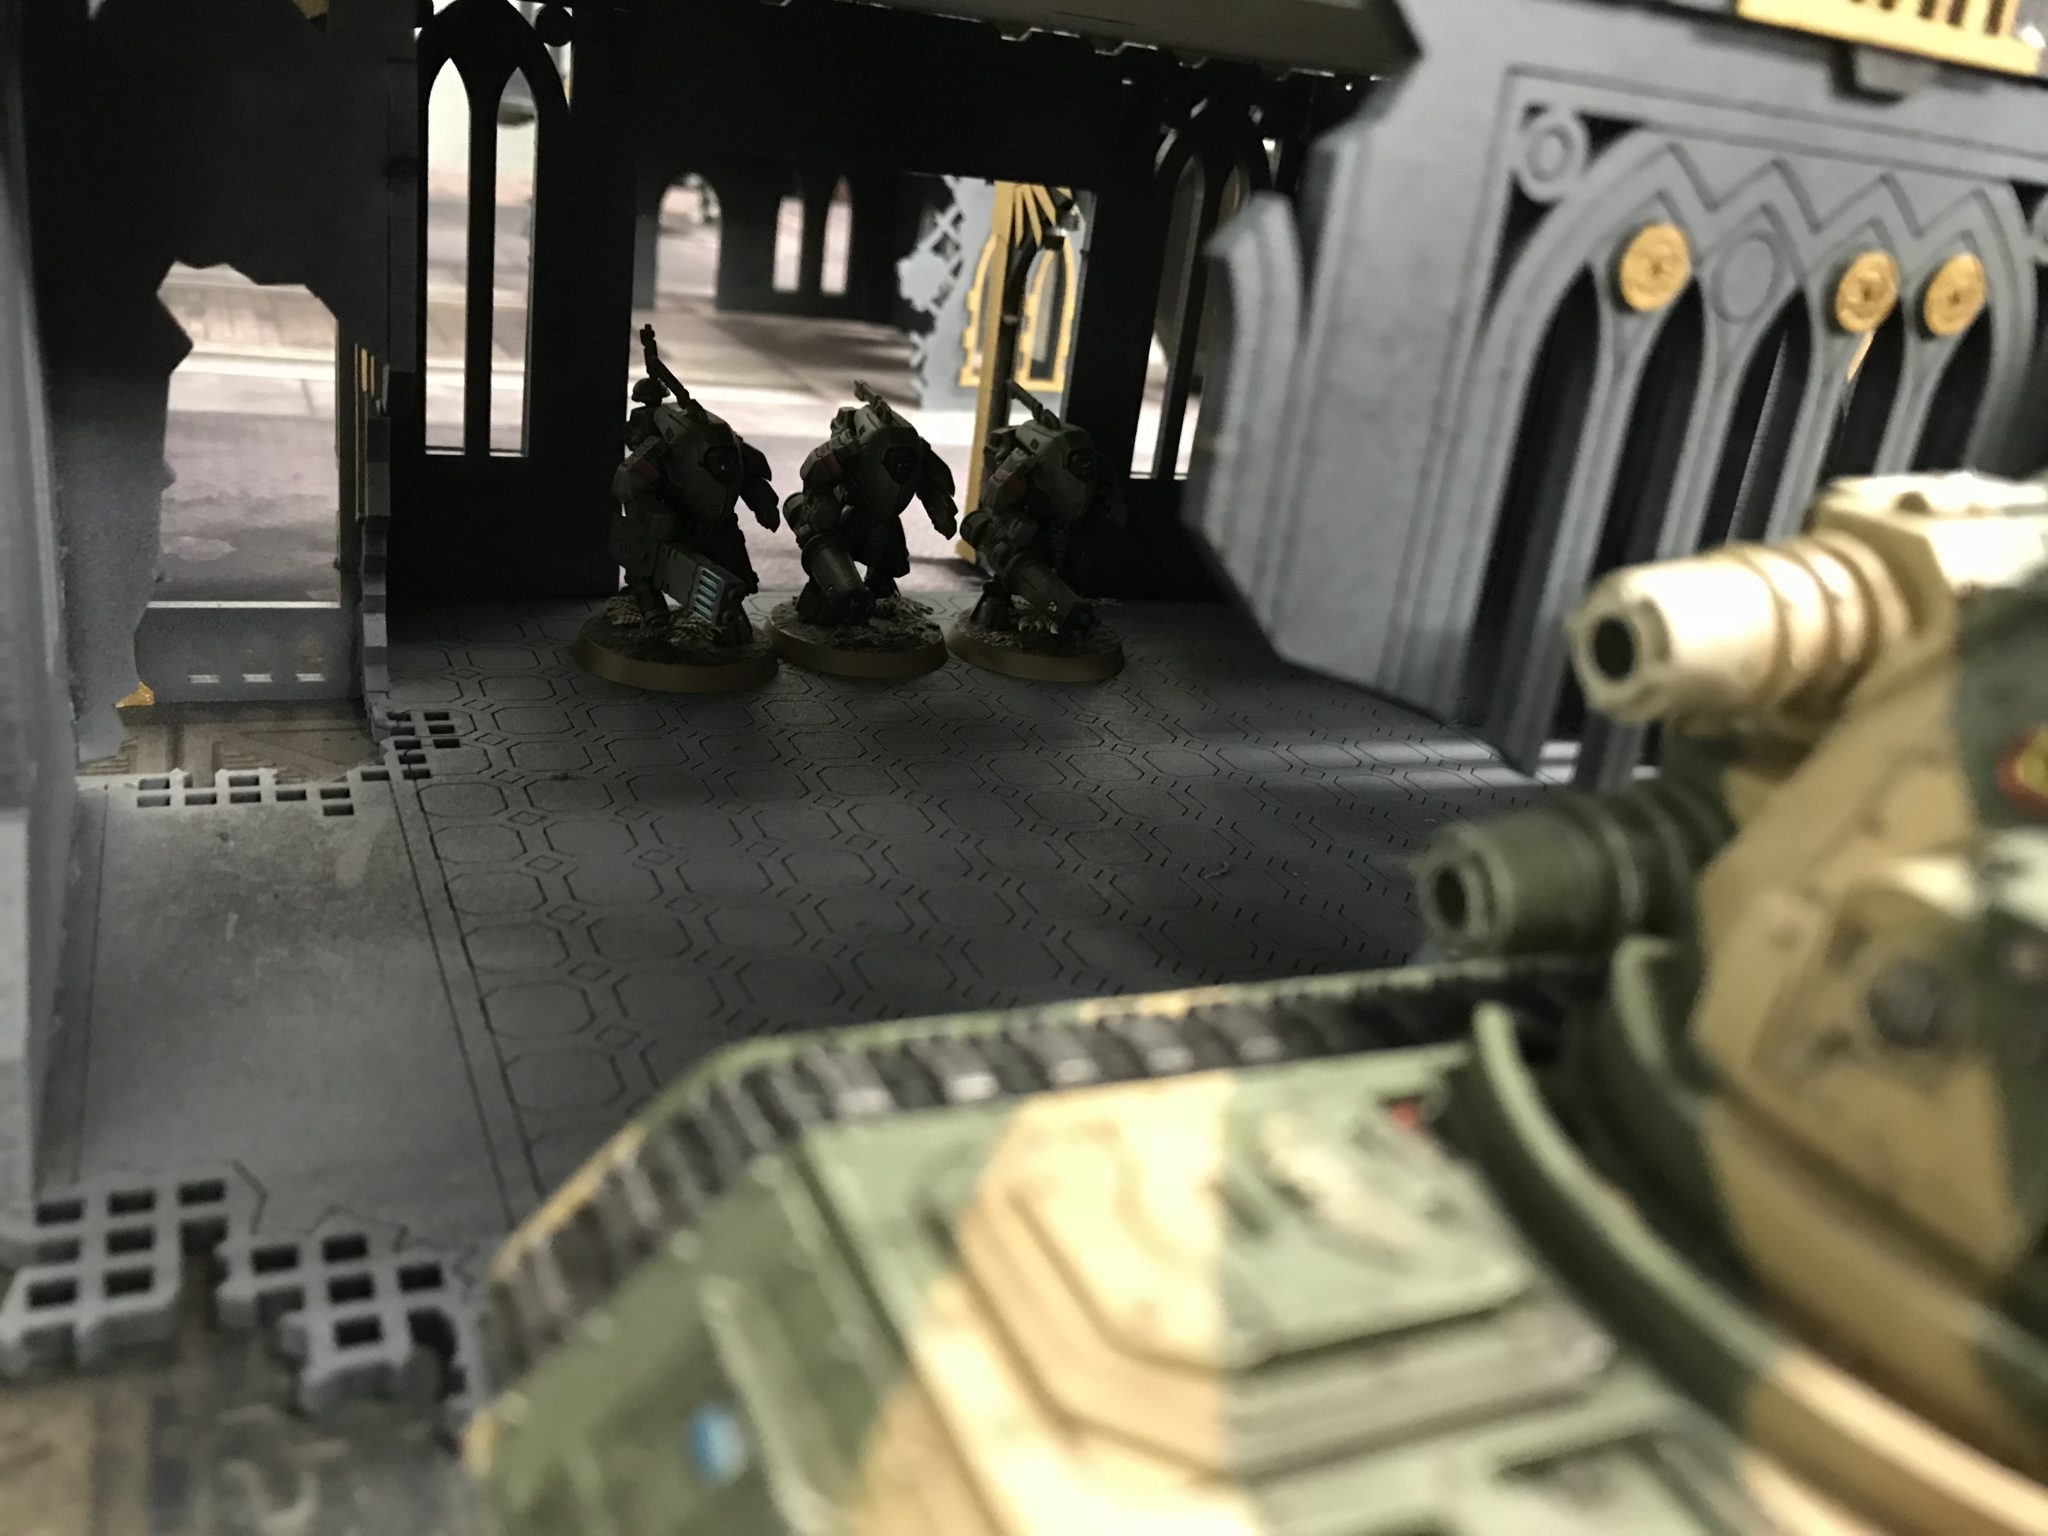
I finished deploying last and spread out all my stuff over my deployment zone. We deployed along the long table edges, Dawn of War deployment. The Tau had a lot of stuff in Stealth suits which could deploy close to me. The Crisis Suits and Commander were in a Manta Strike.
Deployment in progress – Astra Militarum & Armigers Vs Tau
Turn 1 – Tau
Lets get started! With so many units I was bound to go second. But that’s OK.
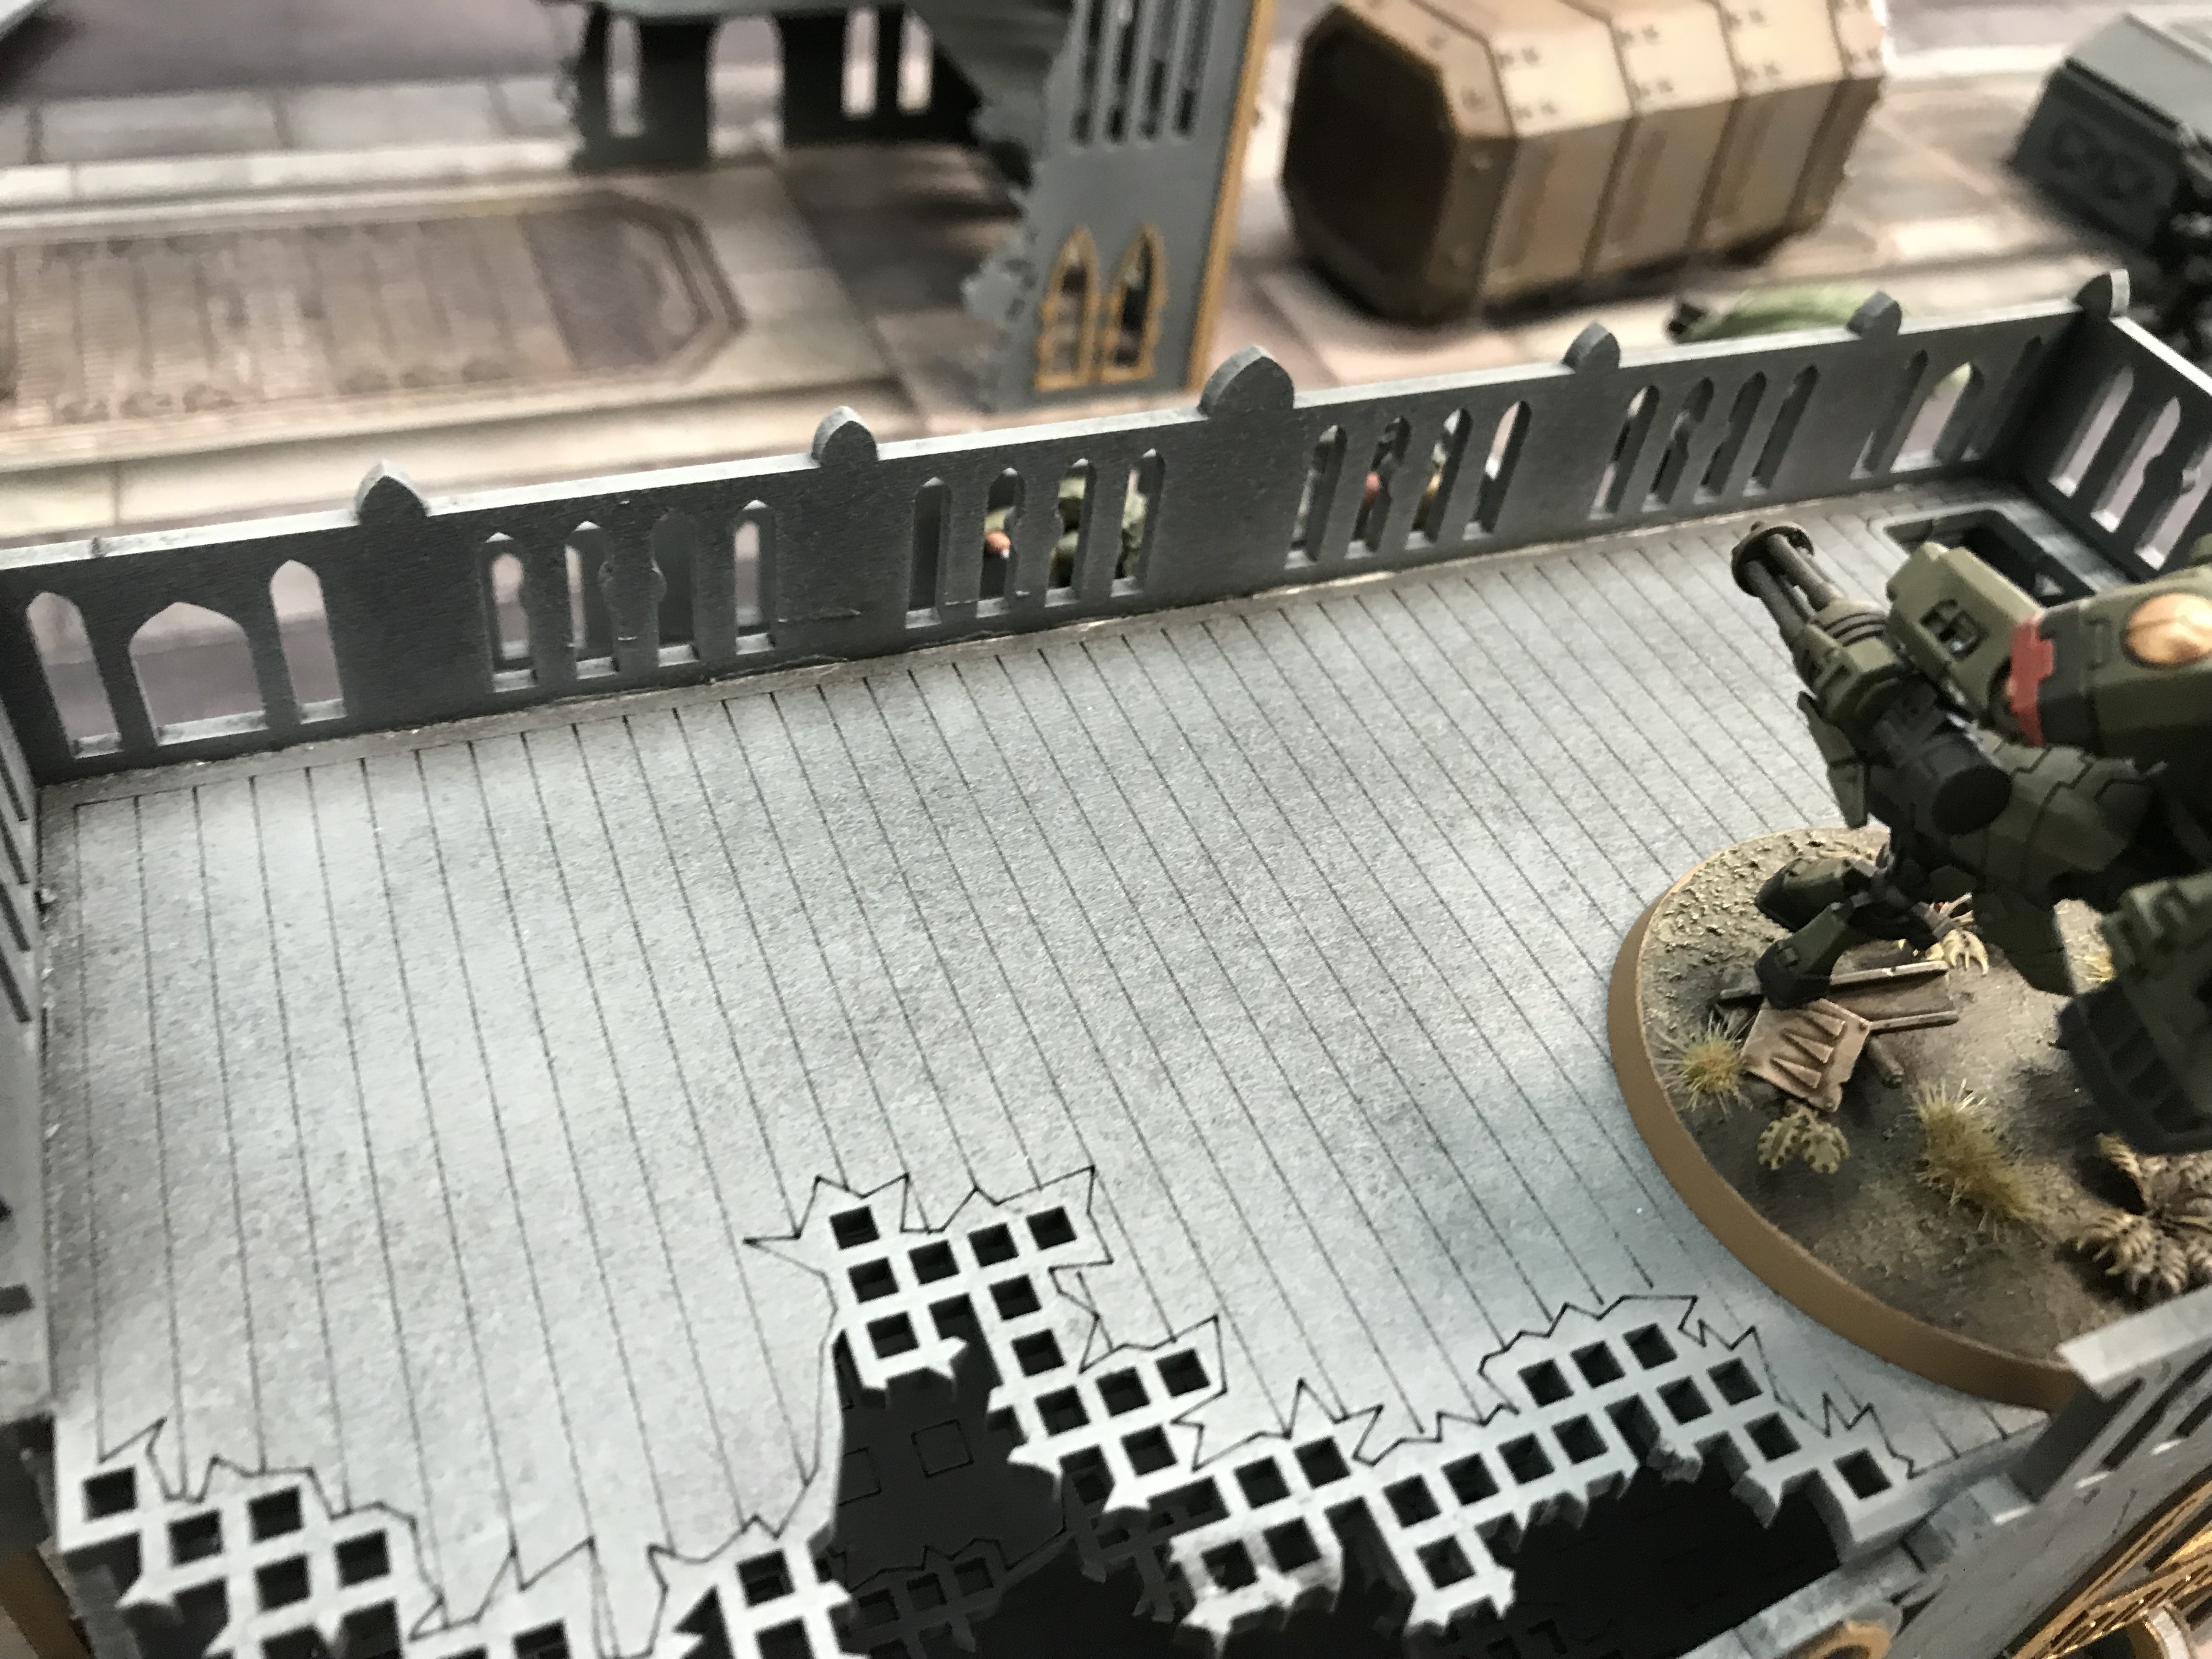
The Tau shooting was relentless and heavy. Having not played at all with the new Codex in 8th I was unsure what to expect. The Stealth Suits and Ghostkeel started very close and were easily able to get shots onto my armour. Including a Wyvern that should have been completely out of sight.
This looks bad – Astra Militarum & Armigers Vs Tau
Below is a photo of my Heavy Bolter Heavy Weapons Team. As you can see they are not there, this is because they are simply all dead. They never even got to fire!
Heavy Bolters – Astra Militarum & Armigers Vs Tau
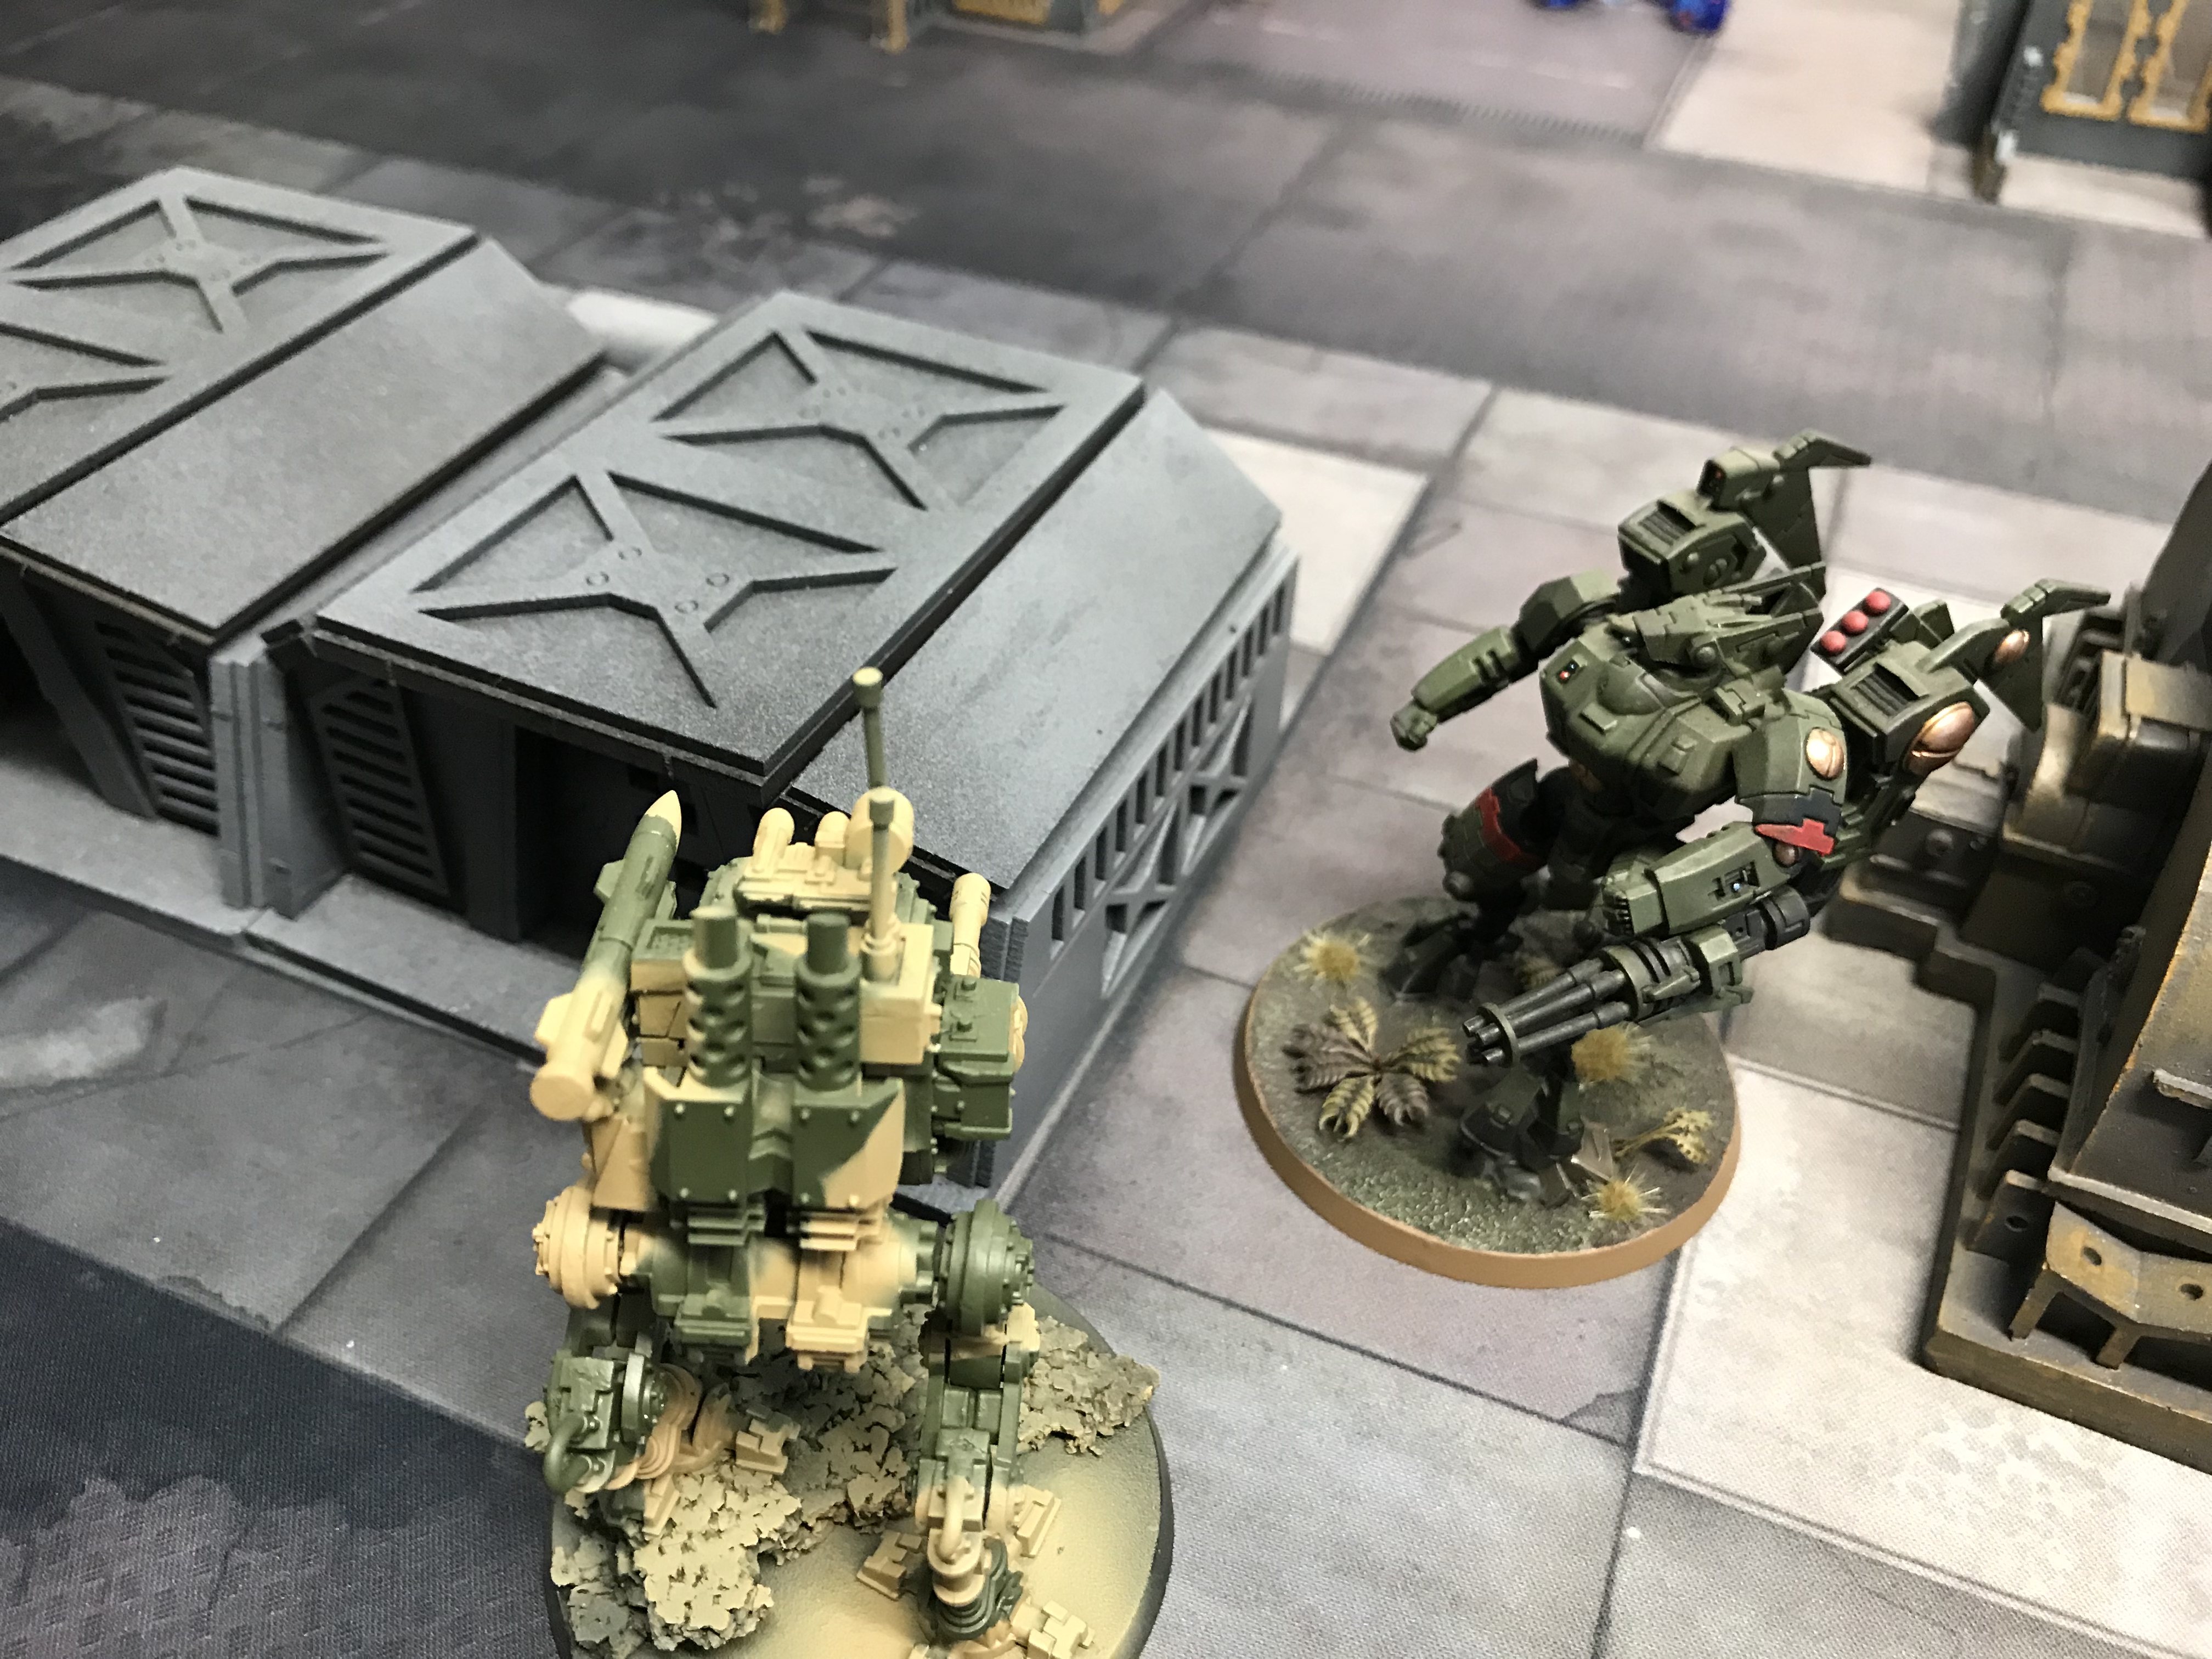
That lost me First Blood. The Broadsides were able to start hammering on my Armigers from range, but their poor rolling meant the Armigers were relatively unharmed – for now.
The Tau’s Commander and Battle Suits arrived too this turn, but thank goodness did not perform as well as they perhaps should have. So my Armigers and Wyverns all survived turn one.
Turn 1 – Astra Militarum
With the Stealth Suits and Ghostkeel so close this should be easy right? I have Plasma and Melta spread all over my force so I should be killing those Suits with ease, right? Wrong. They do not die easily!
I forget their abilities right now, but with them in cover plus a boost to their cover save I think they were saving on a 2+. Also, they are -1 to hit! So Lasguns just pinged off them and they were still getting a save from Plasma Guns.
We see the Xeno scum! Astra Militarum & Armigers Vs Tau
And at two wounds a piece I needed to do two wounds to get rid of any of their models and reduce their firepower.
Wounds gradually peel from the Stealth Suits – Astra Militarum & Armigers Vs Tau
Lots of photos of Stealth Suits, which will happen when I fight nine of the damn things!

These are so hard to kill!
The good news was that the Wyverns managed to delete the Kroot from the battlefield in turn 1. While not a threat it is a VP in this mission.

The Wyvern stands- Astra Militarum & Armigers Vs Tau
Turn 2 – Tau
The Battle Suits used a Stratagem that allowed them to shoot and then move. Which was very useful as it meant they could retreat out of an easy charge range, but still be close enough when shooting to be in their Melta range. Annoying and sneaky Tau!
The Broadsides now started to get their eye in and target down my Armigers. One was now down to 7 wounds from 12. Not quite enough to knock him down to a worse BS.
The Stealth Suits used their Burst Cannons to good effect on my Guardsmen and their Fusion Blasters on the Armigers because the Wyverns were too far away. Even with the Take Cover Stratagem my Guardsmen were dying fast.
Fire starts to pound a Warglaive – Astra Militarum & Armigers Vs Tau
The Commander, with his 30″ movement range including Advancing was able to jump up and kill a Company Commander easily.
The Commander arrives and kills a Company Commander – Astra Militarum & Armigers Vs Tau
The Ghostkeel did very little this turn. The Tau’s shooting seems to be devasting or nothing. I guess that’s what happens when you have lots of D3 or single shot weapons with high Strength, high AP and high Damage. When it works, it works very well.
Turn 2 – Astra Militarum
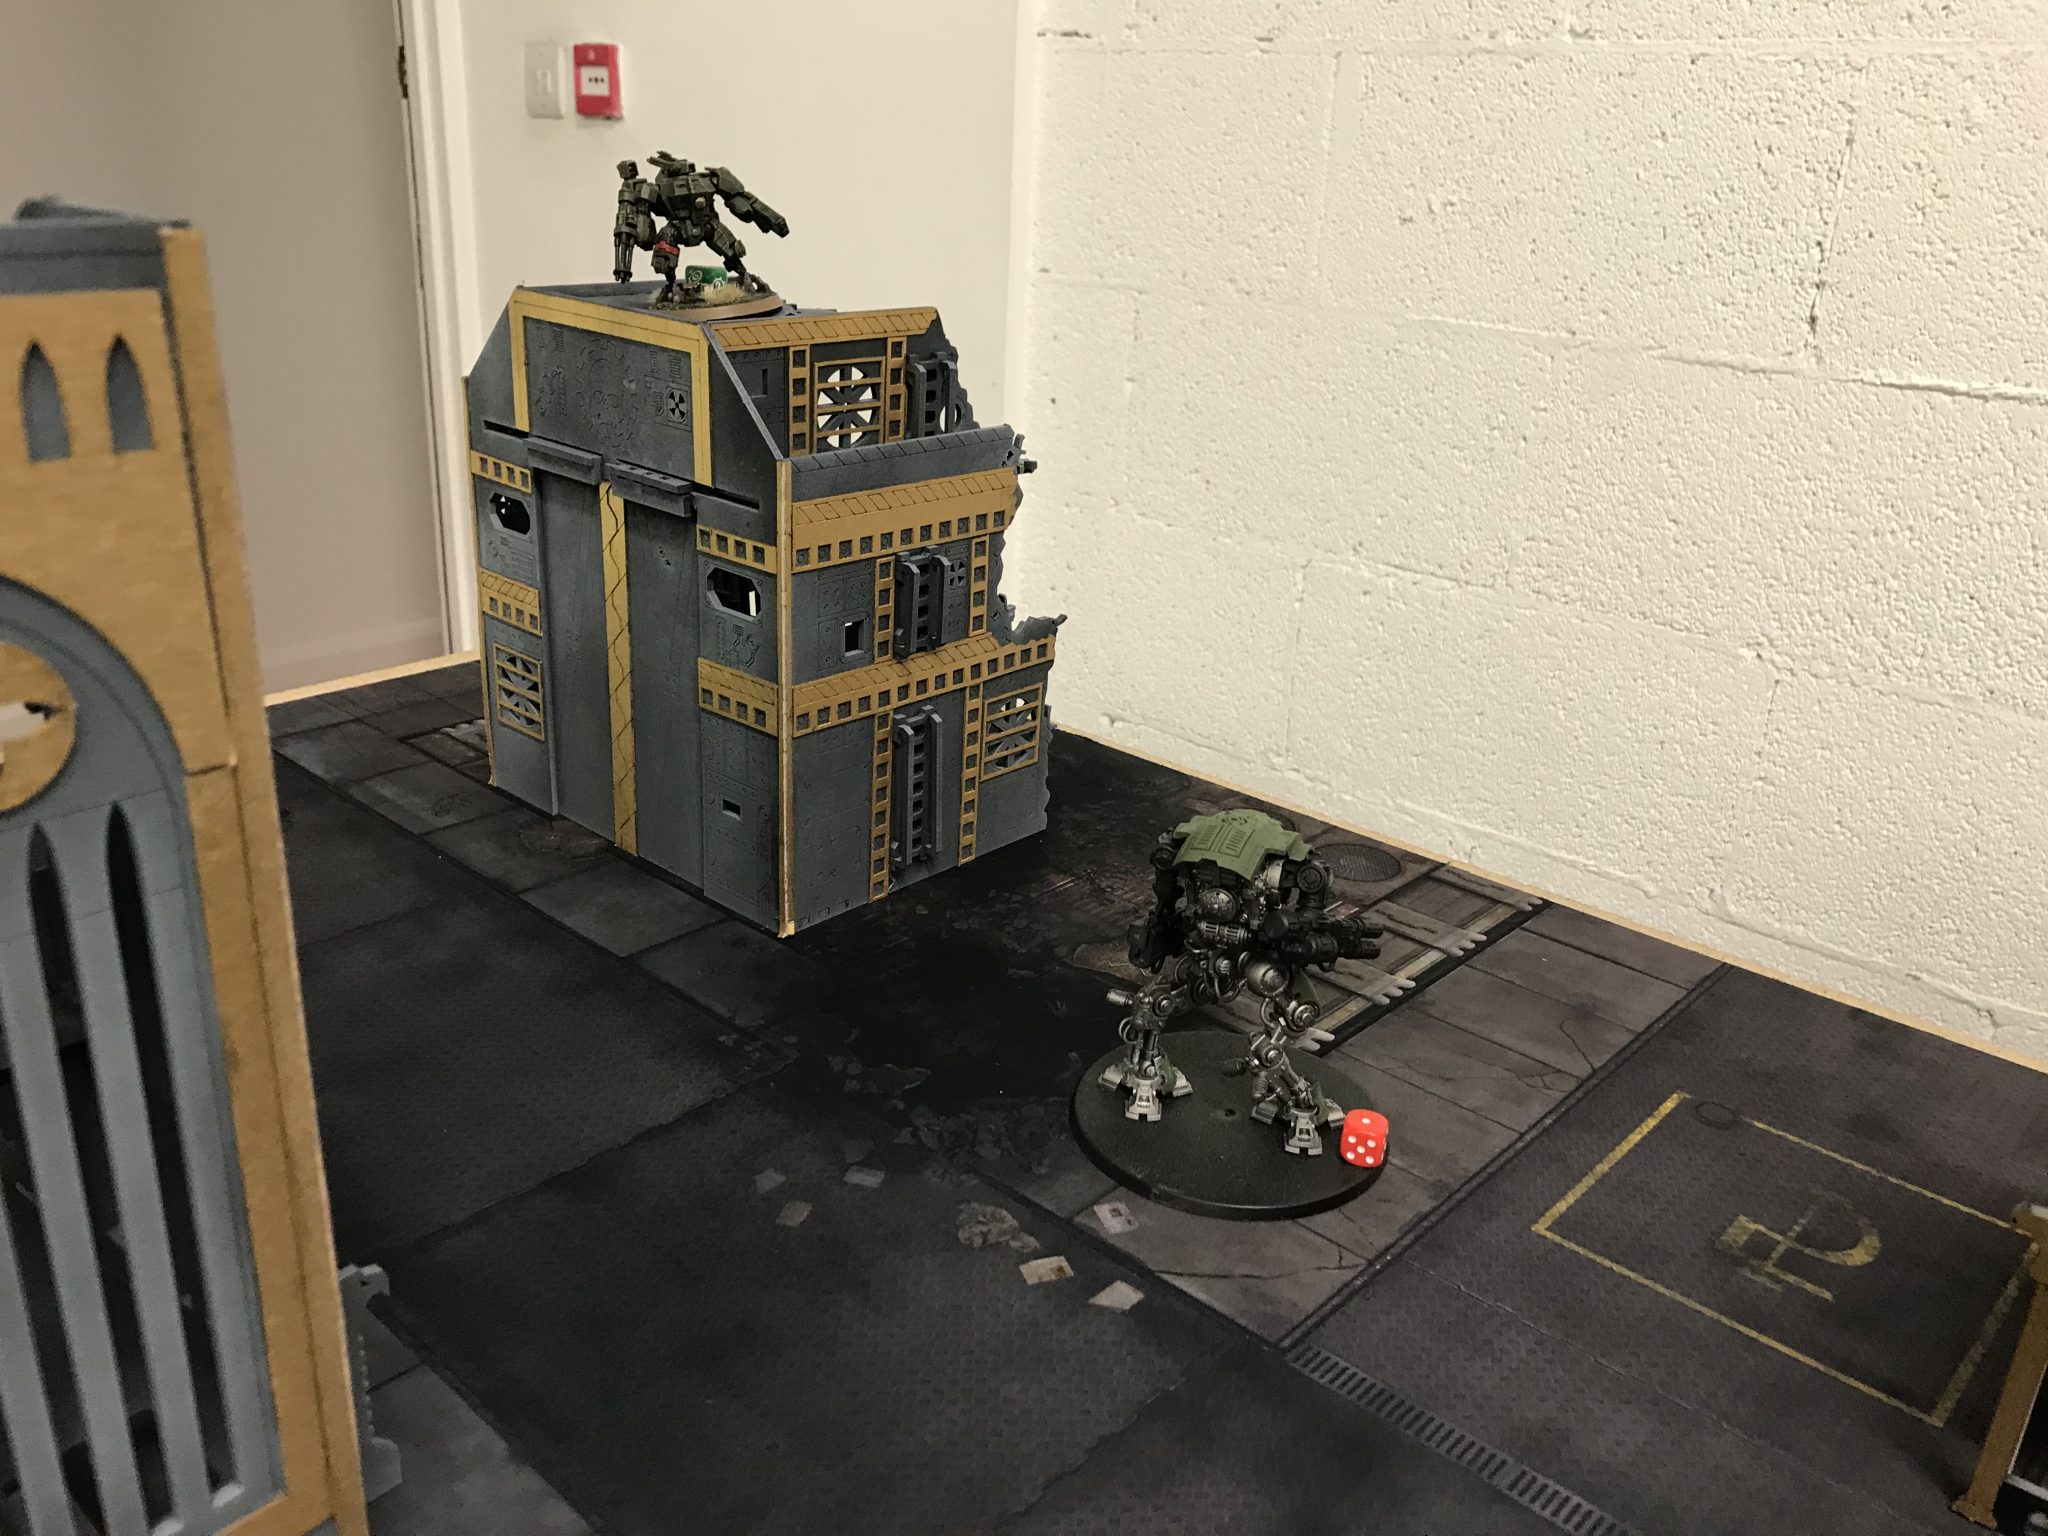
Which brings me onto the Armiger Warglaive. The Thermal Spear – useless. That should actually be obvious now that I look at its stats. It failed to do anything amazing all game.
With MathHammer against a T7, 3+ save enemy they do 0.889 damage on average. So bad. The potential is there for sure, but you have D3 shots, so 2, then 1 will miss and from the 1 that hit it still will be wounding on a 3+ so might fail. The -4 AP is good as it removes most saves on vehicles. But gosh, it is not a great weapon.
SMASH!
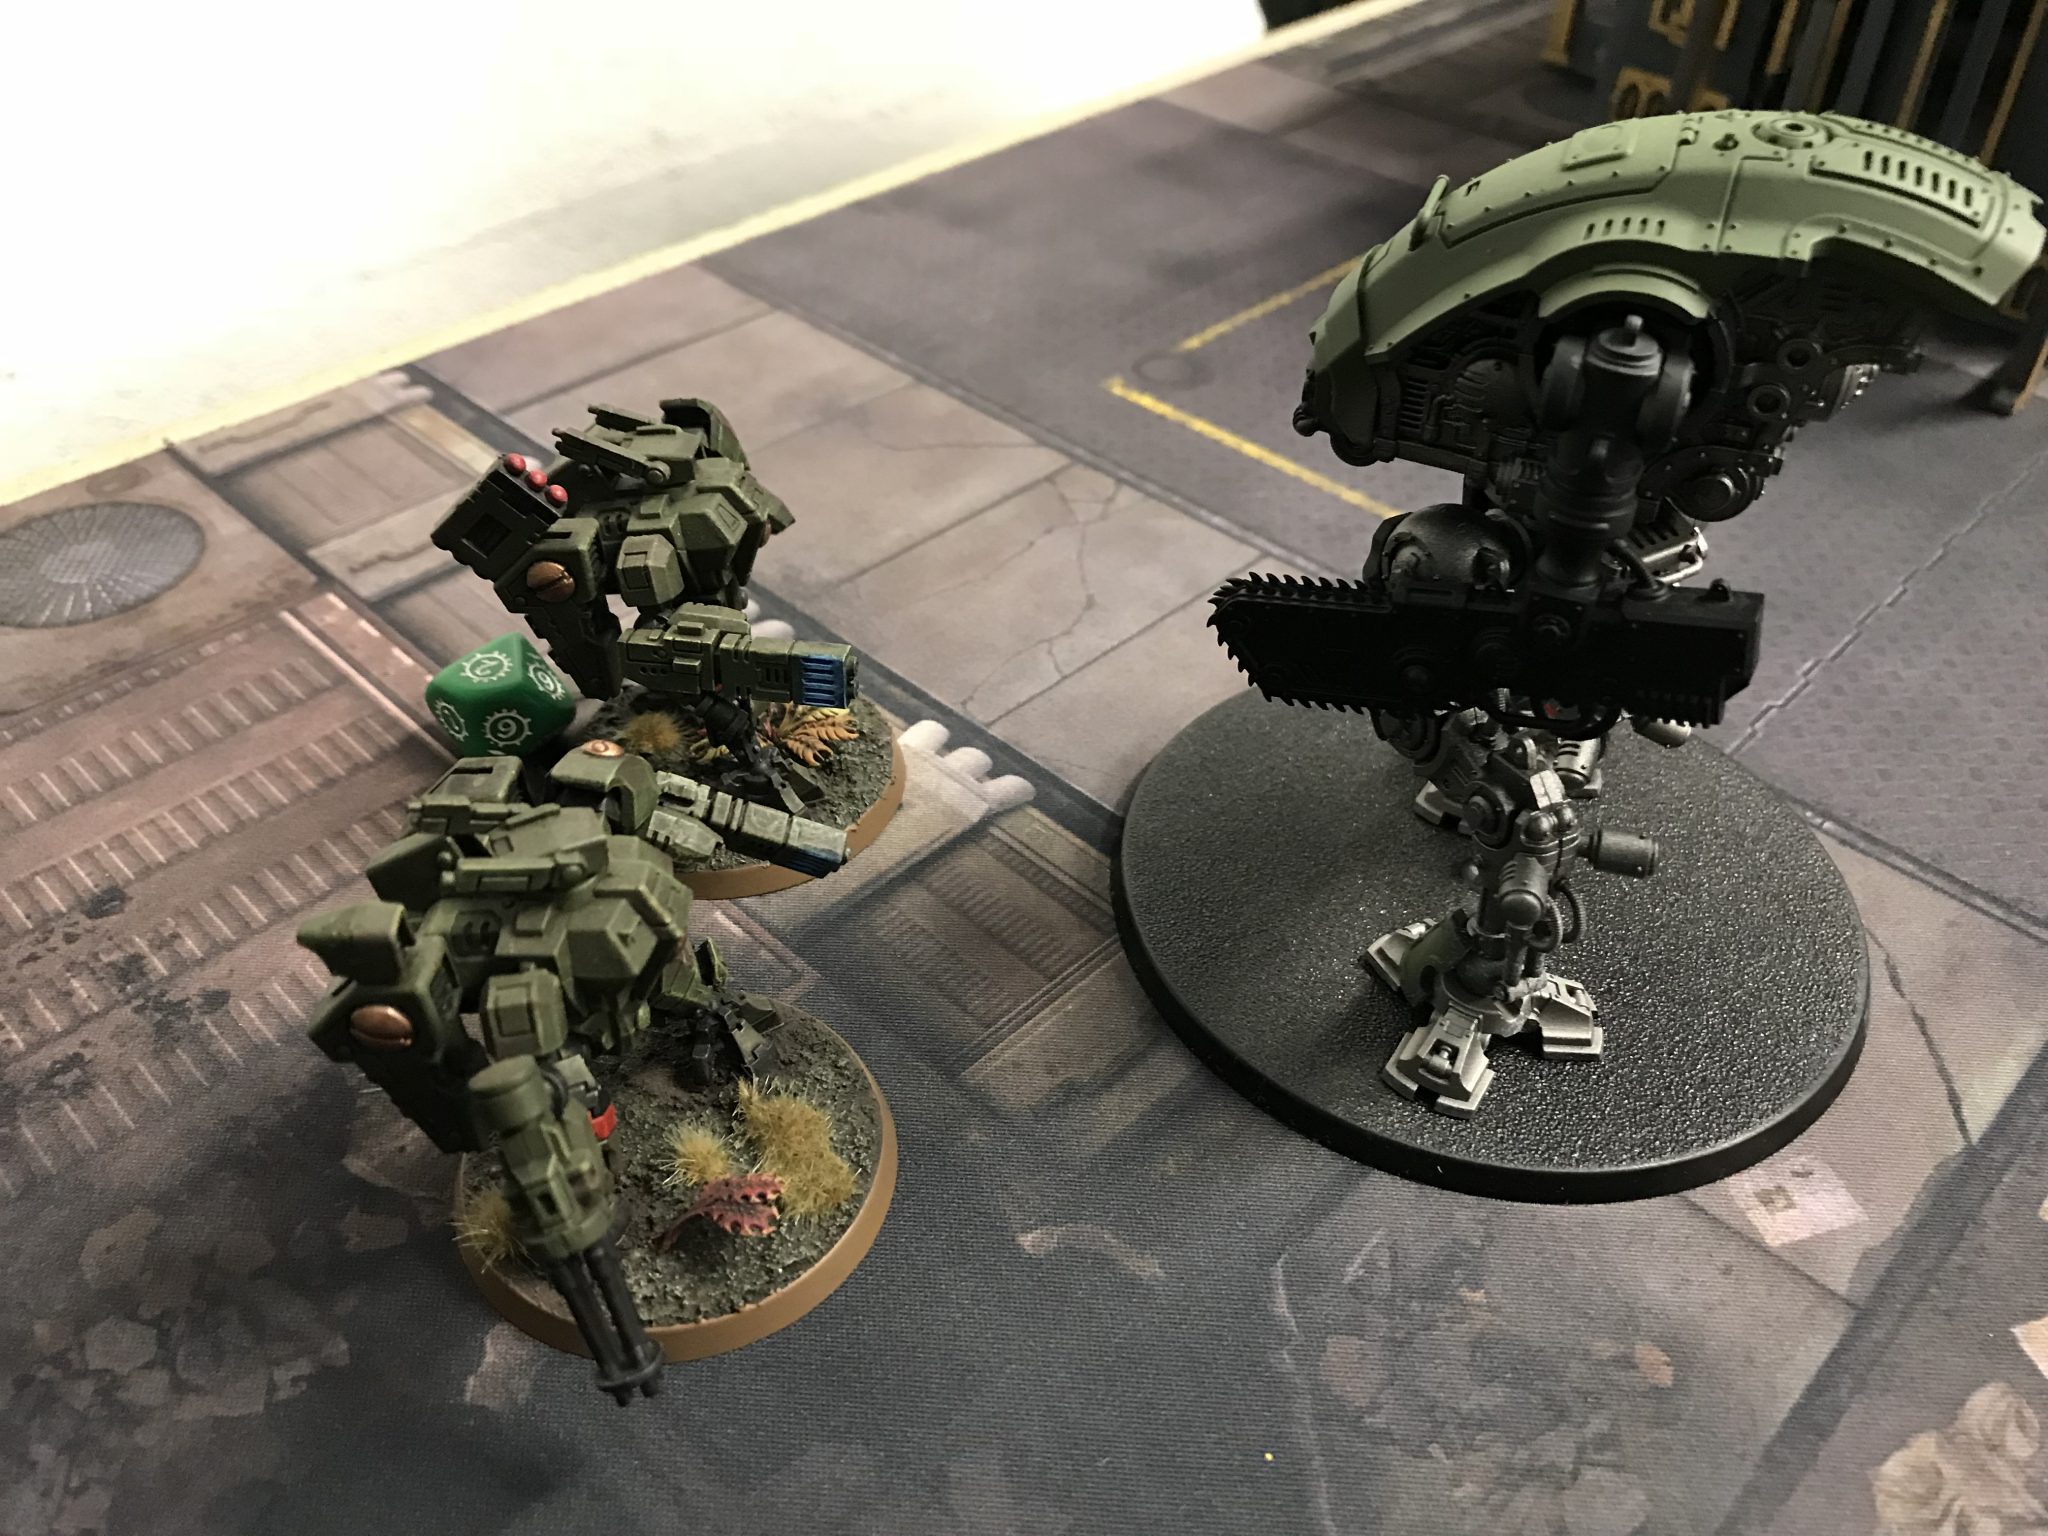
In combat, though this changed, a Warglaive charged the Ghostkeel removing all of its 9 remaining wounds. SMASH!
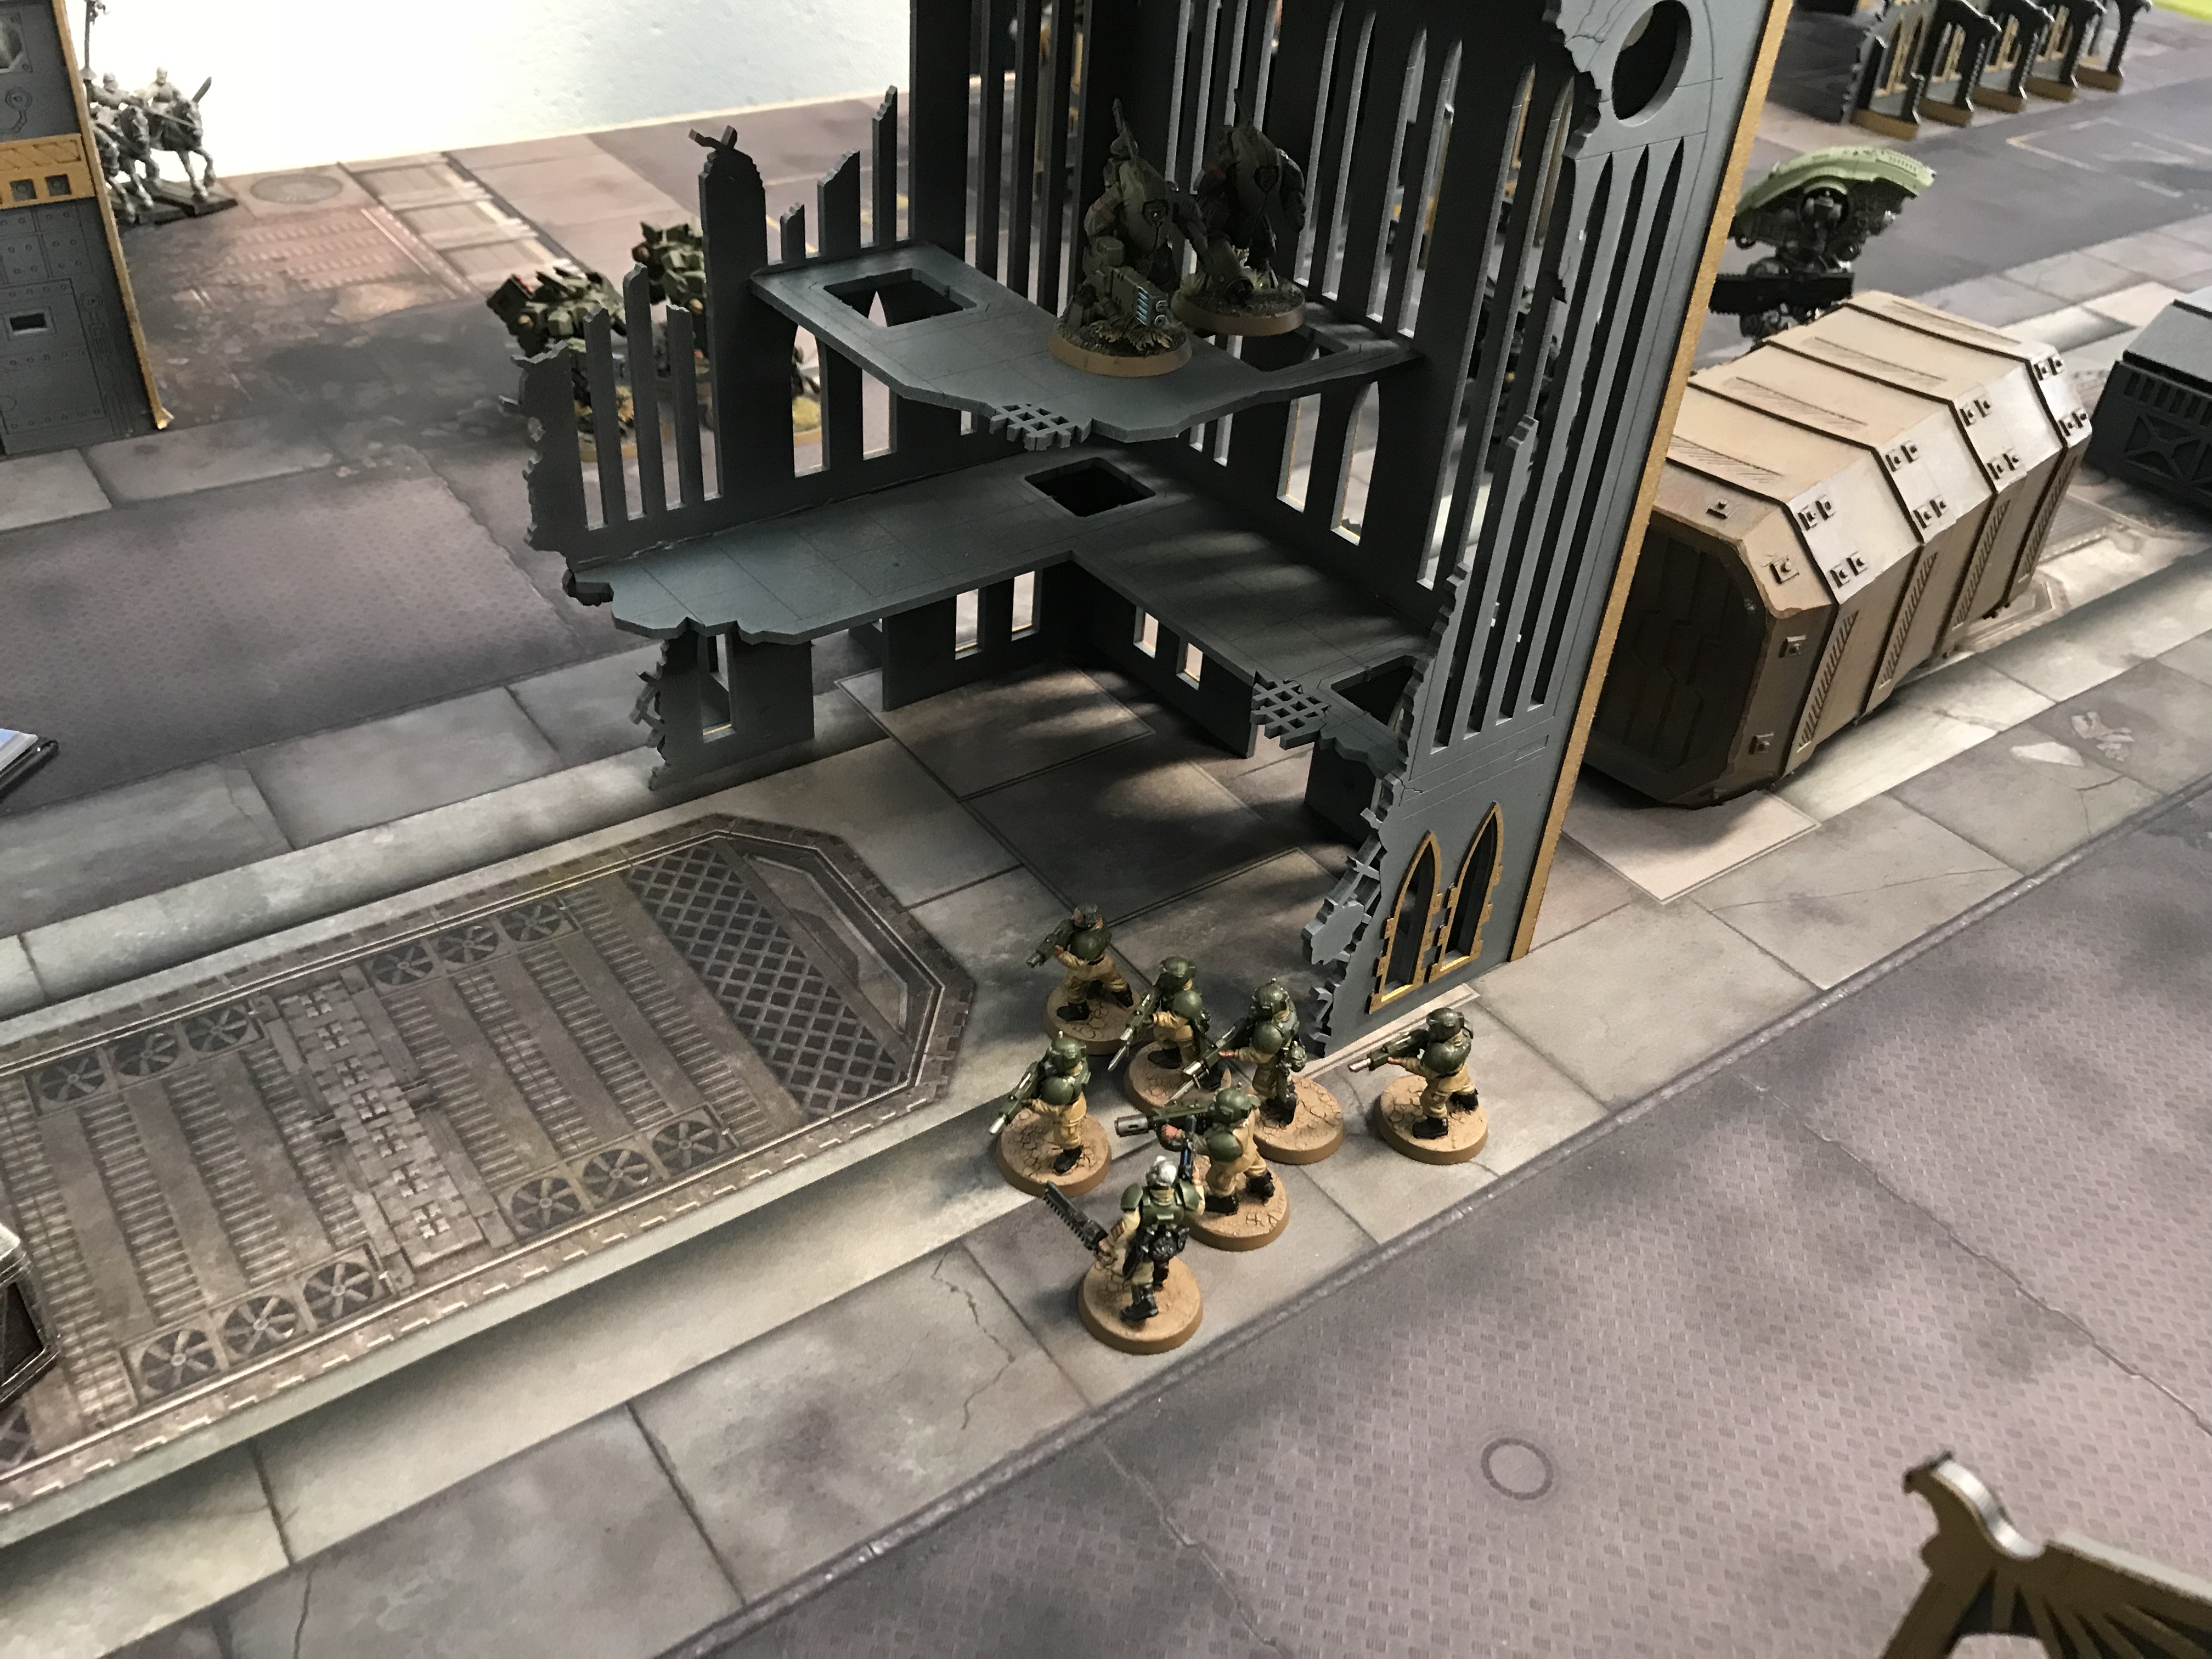
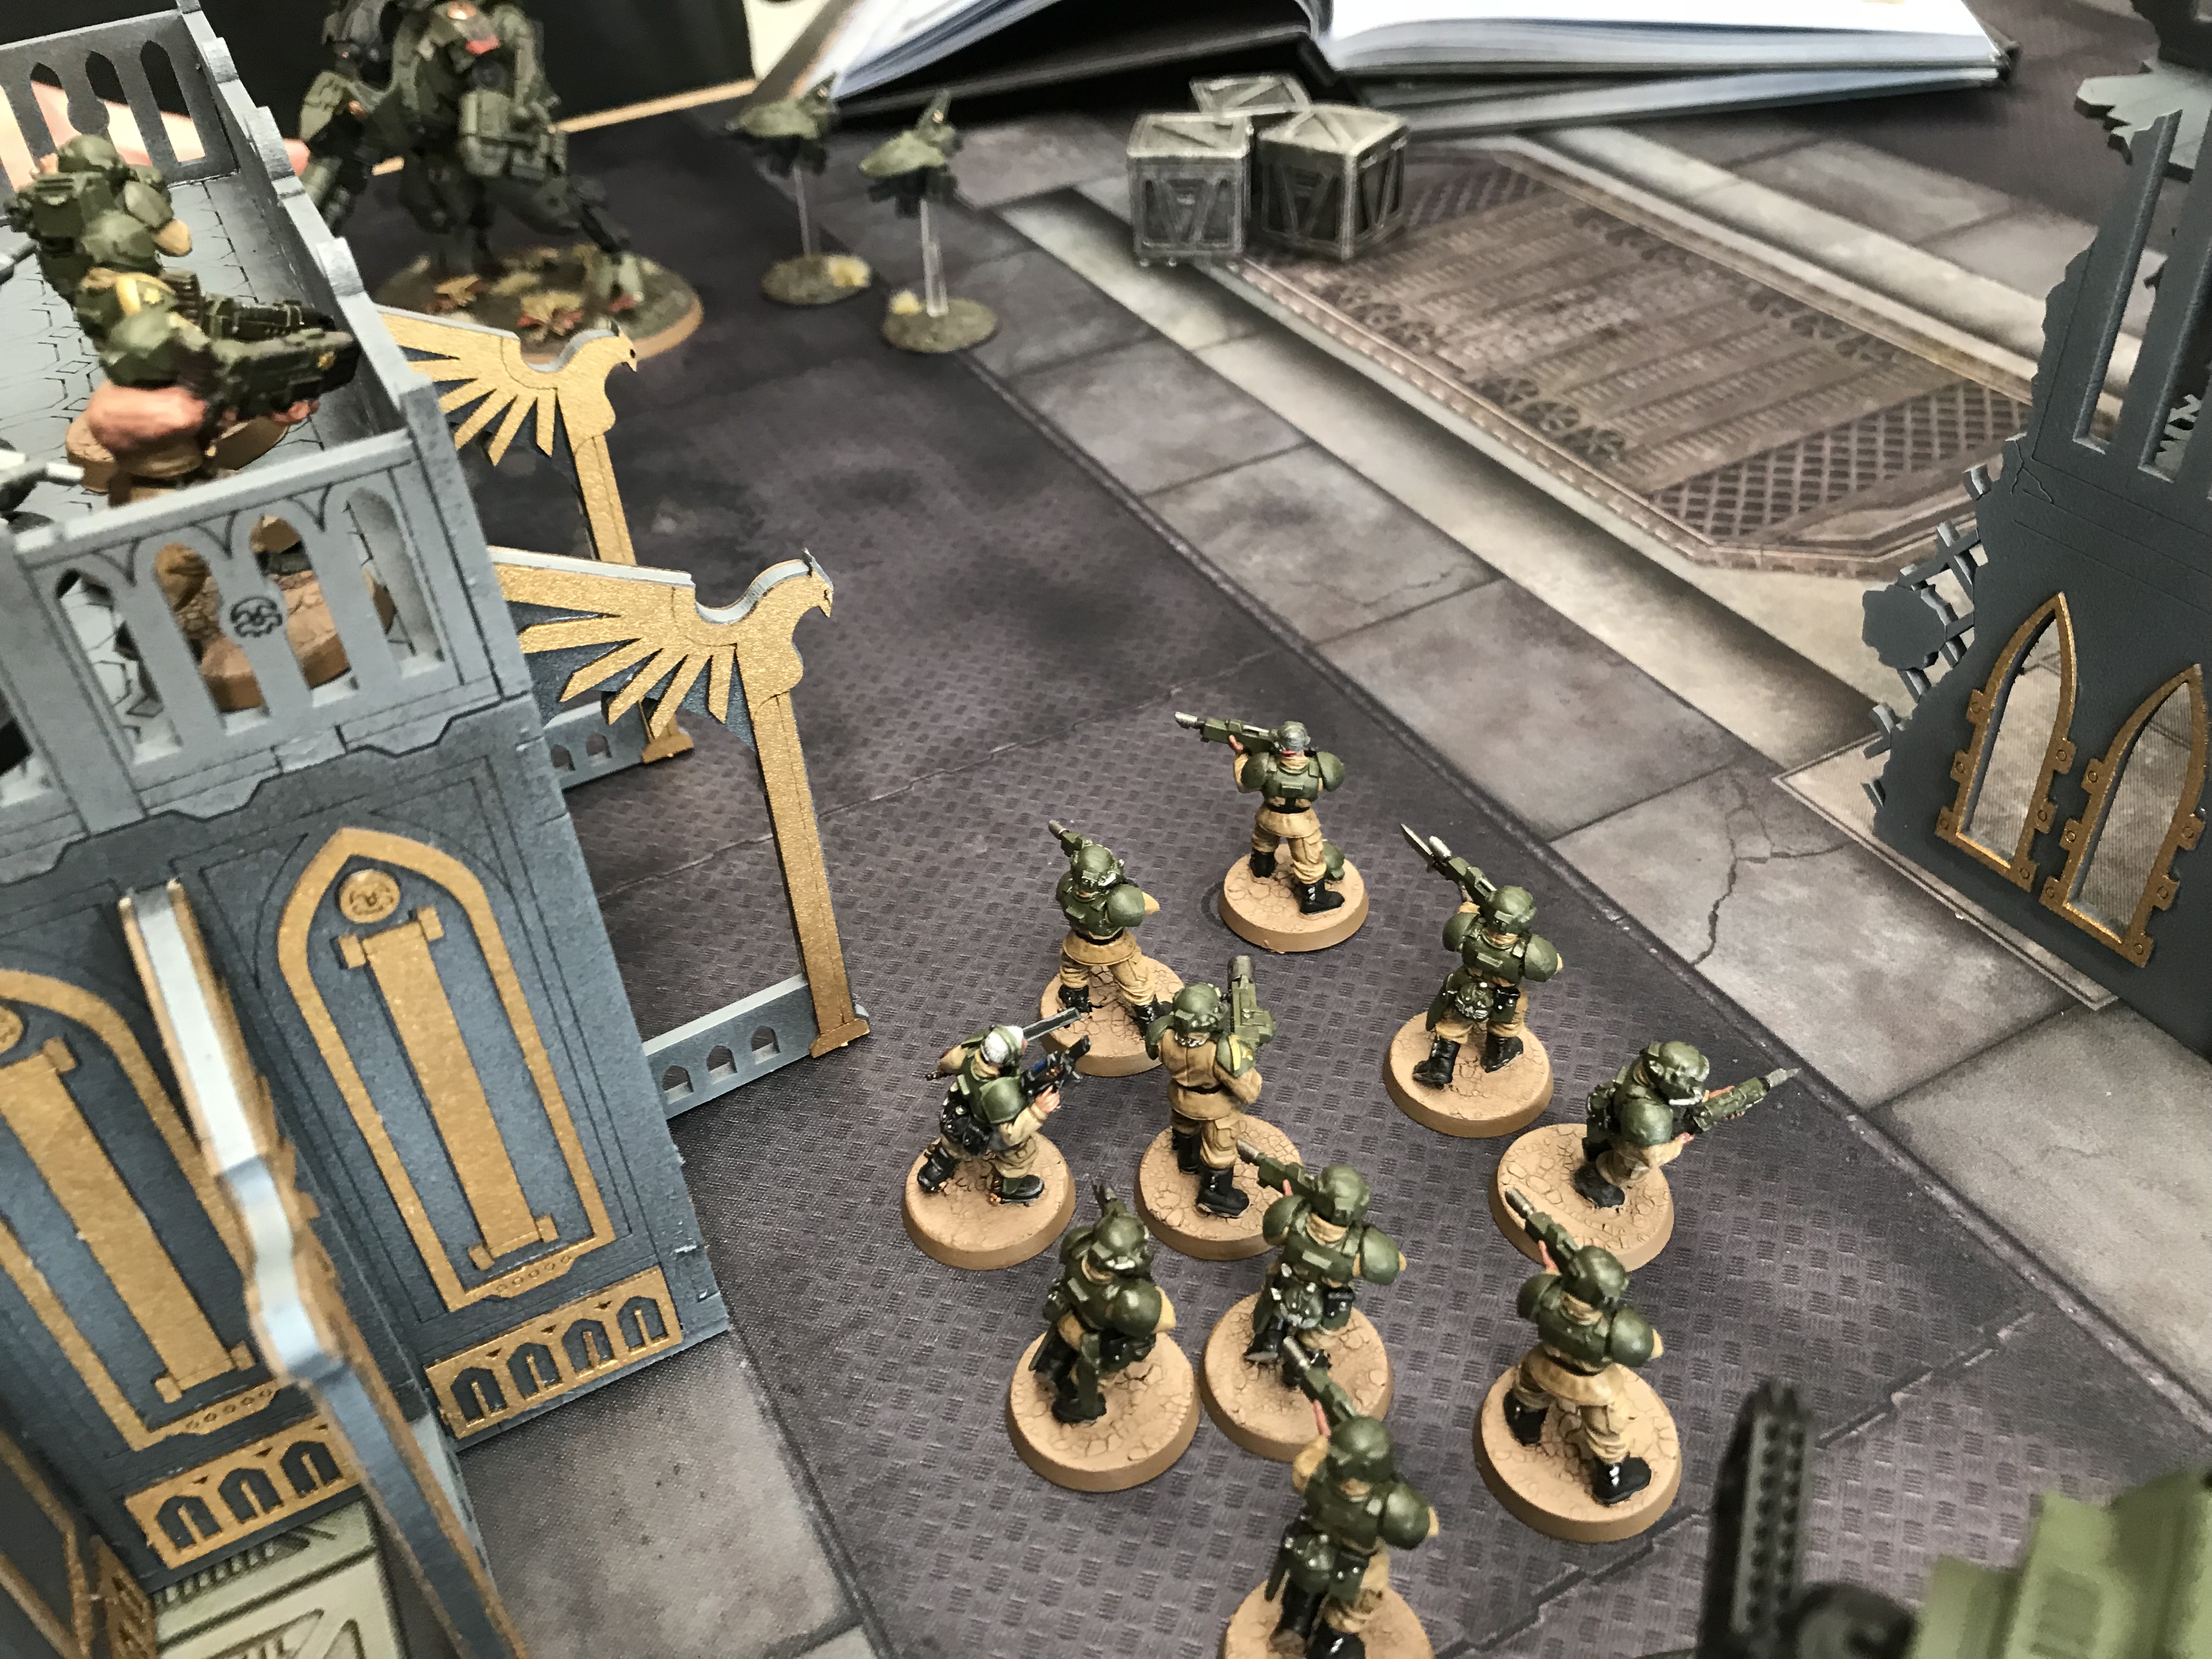
Guardsmen push up and the Rough Riders arrive in the background
Guardsmen began to push up to engage the Stealth Suits, but they have Fly so charging them is a waste of time. And once again the shooting against them was poor thanks to their 2+ save.
The Rough Riders can be seen in the background arriving. They did nothing. Let us leave them at that.
Push up!
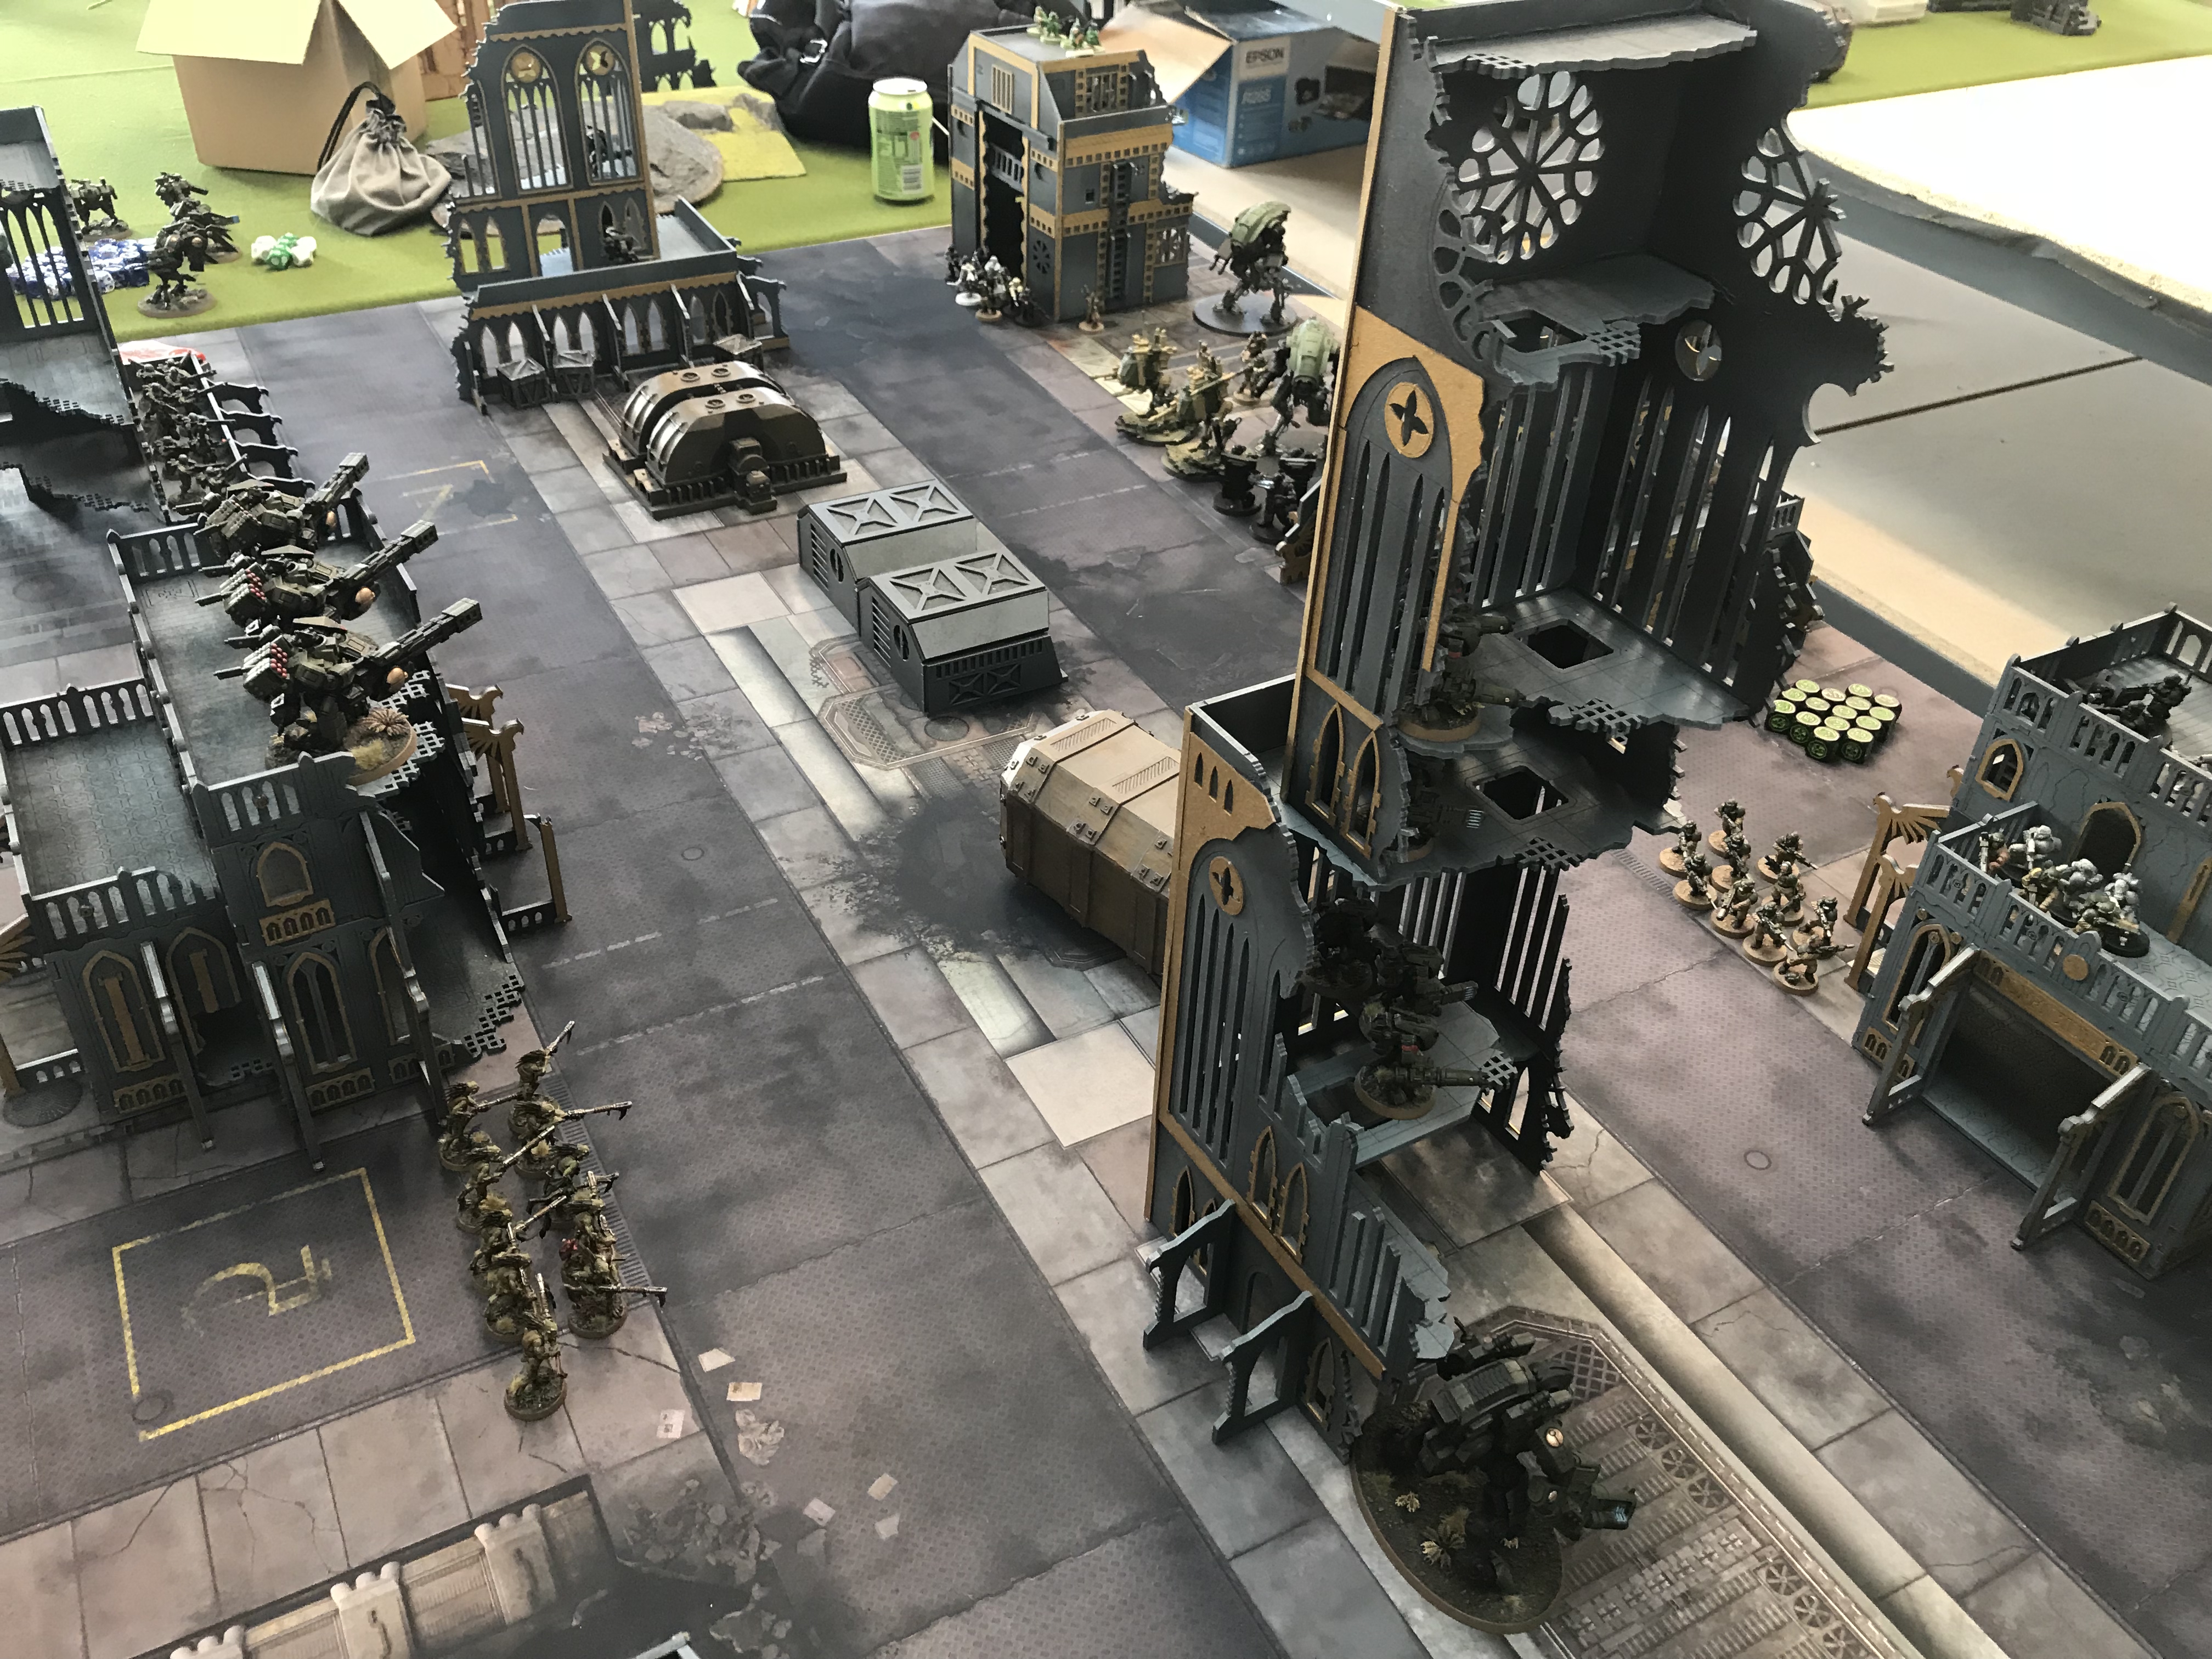
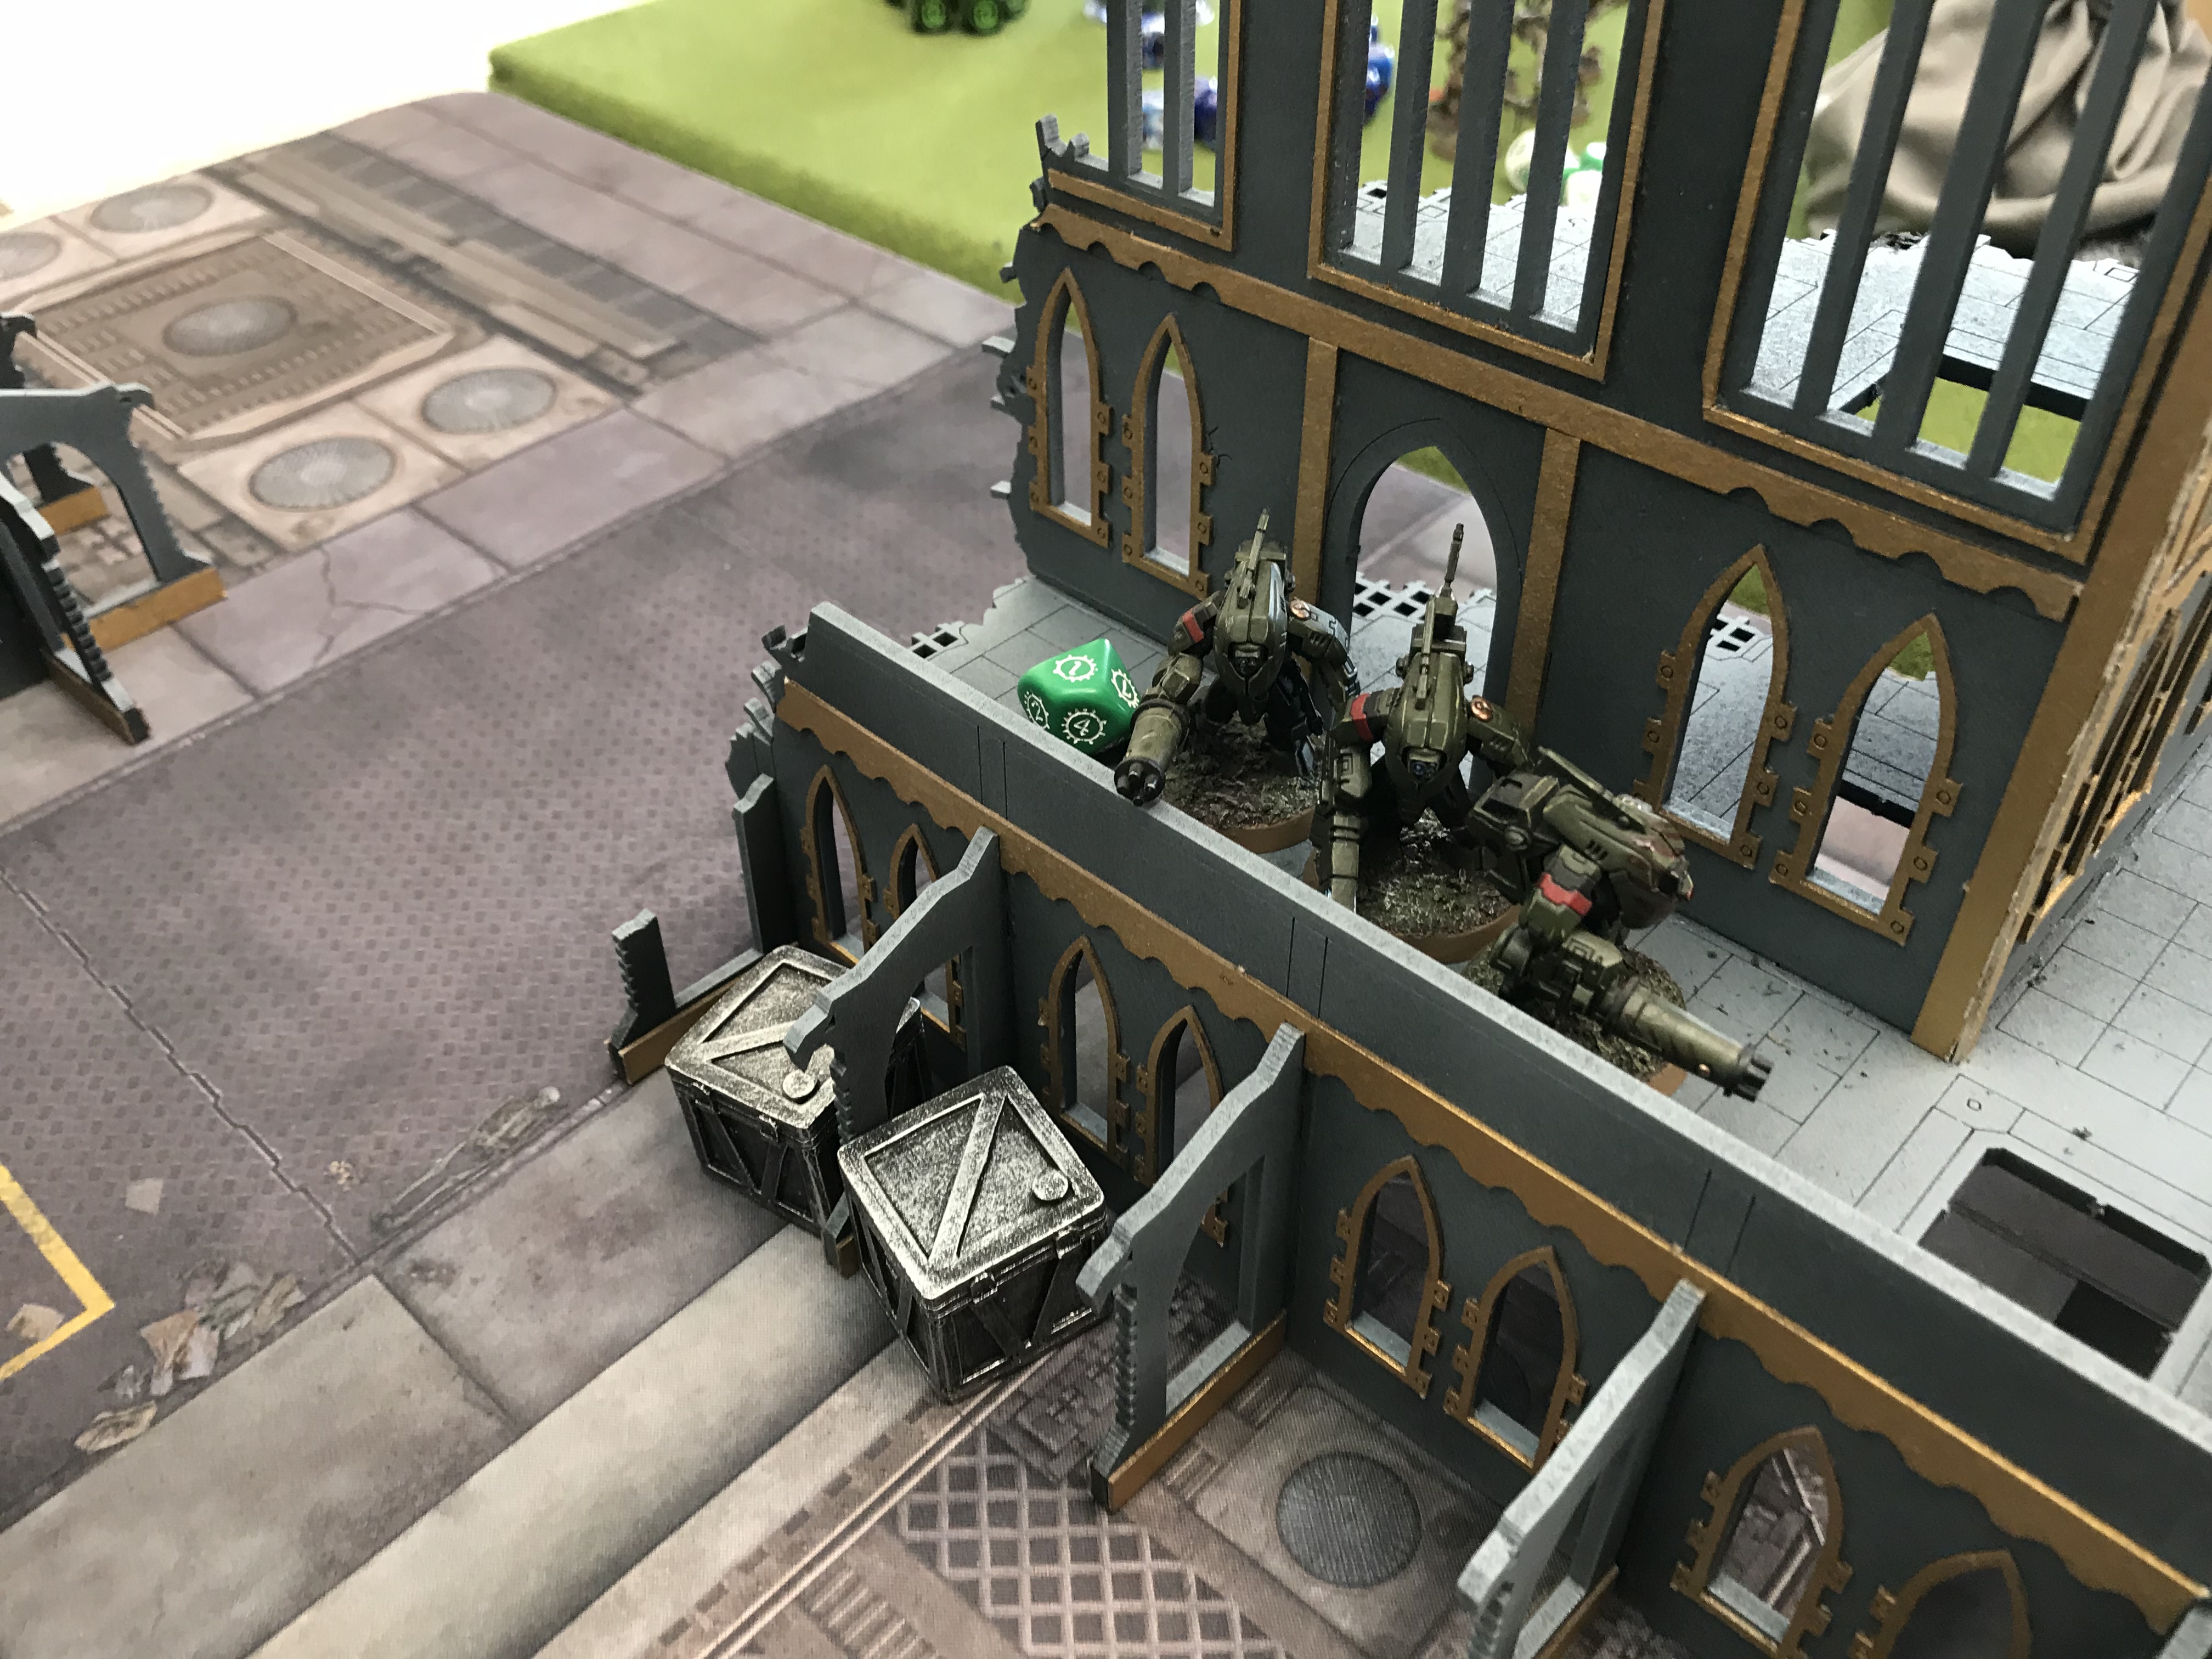
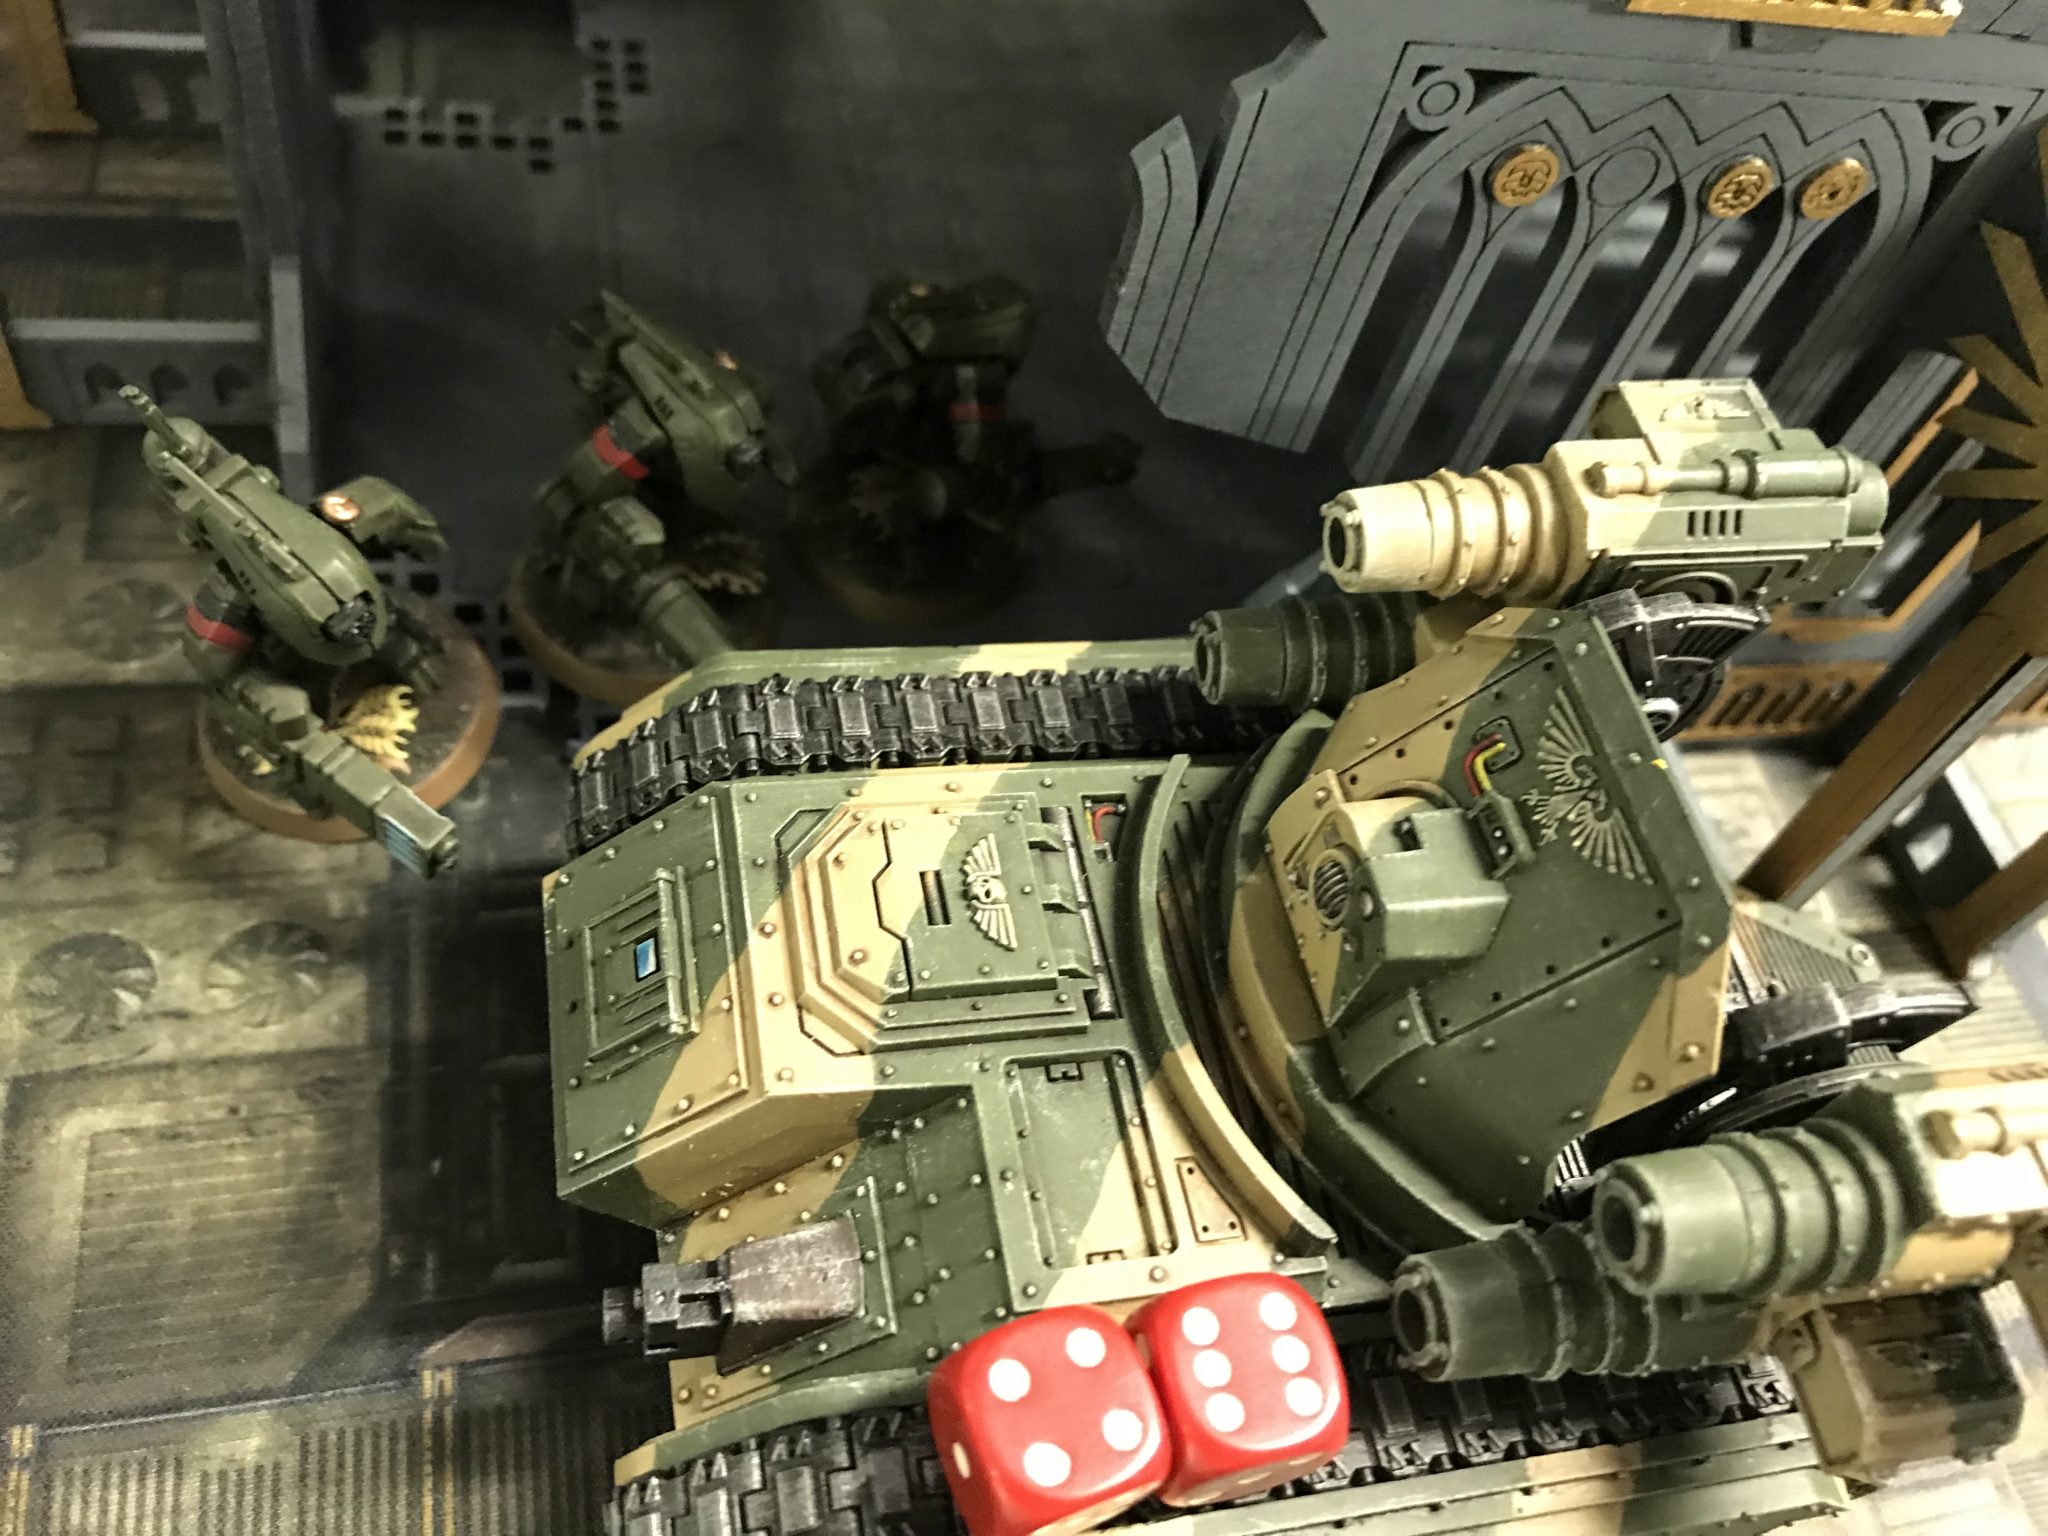
In the centre, my Bullgryns and Warglaive were closing in on the Broadsides and Battle Suits. The Bullgryns just could not catch the Battle Suits thanks to their Stratagem letting them fire and move.
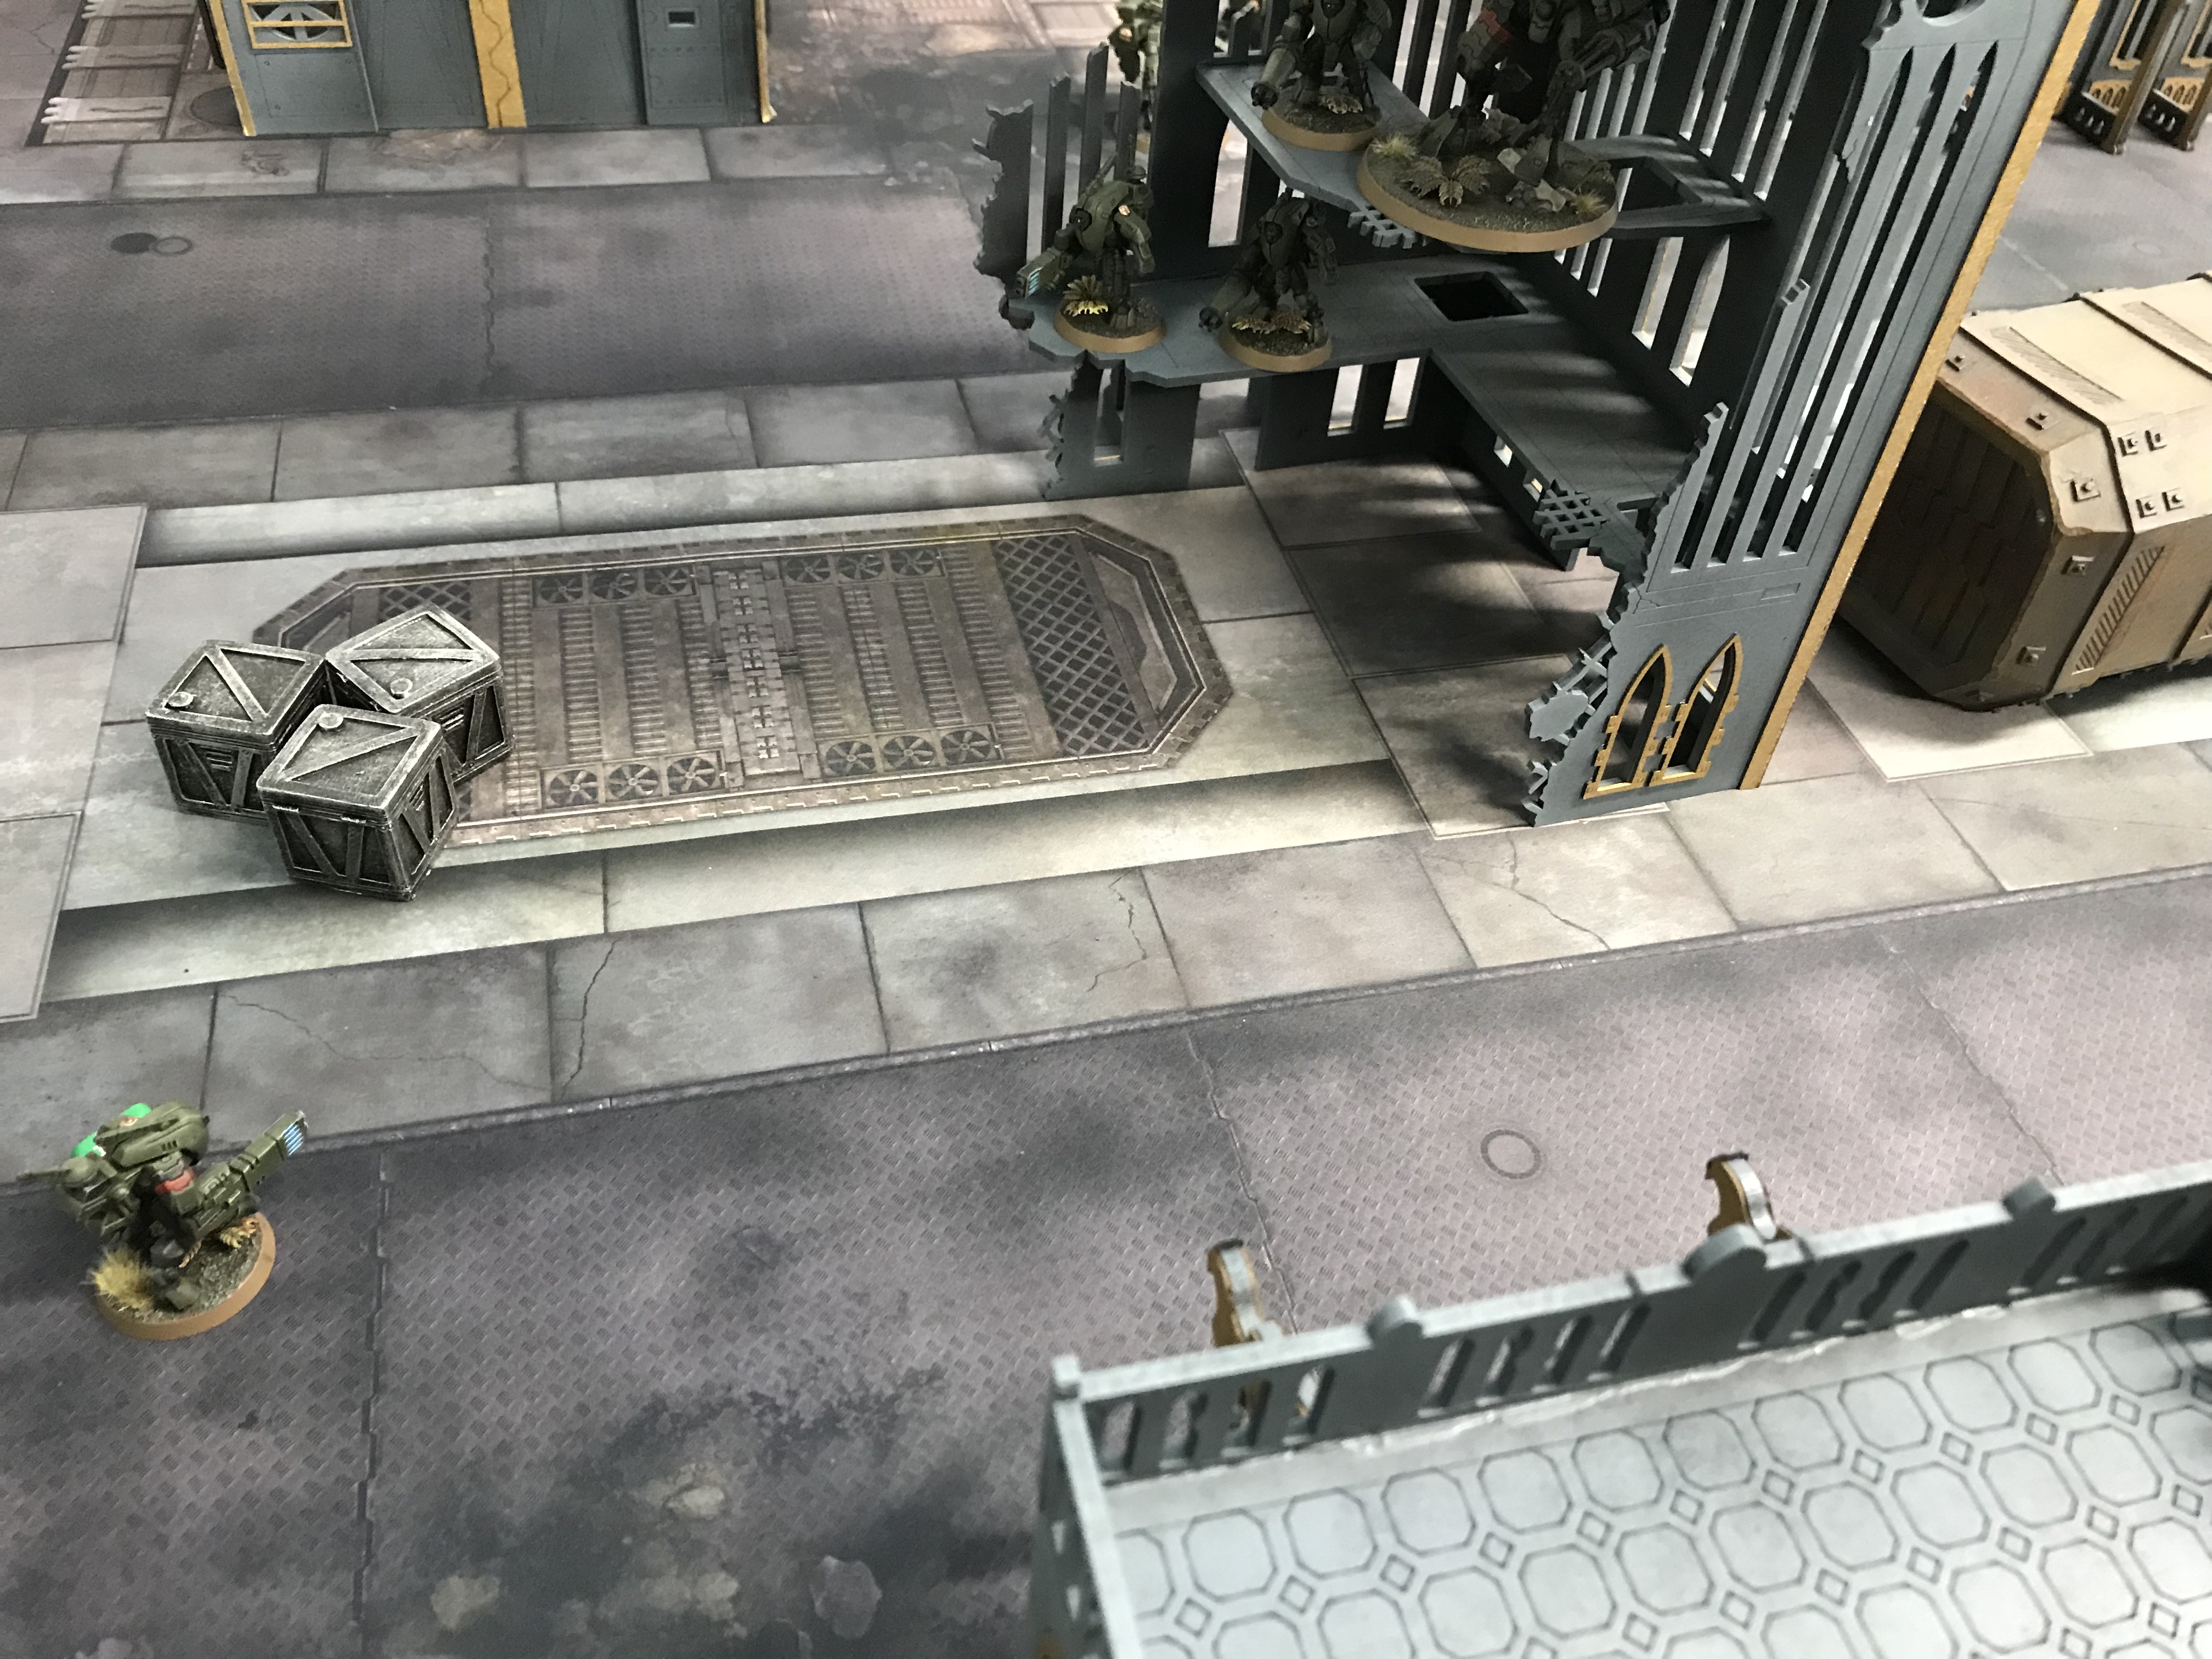
On the right flank which has not been pictured yet was the Helverin, 2 stock Infantry Squads and my Ratlings. The Ratling failed to do much. They just sniped at the Strike Teams and Cadre Fireblade all game. They may be killed 2 or 3 Strike Team members. Again they were in cover and had some mad save for being just infantry.
Turn 3 – Tau
The Rough Riders went bye-bye this turn with ease even against Battle Suits in melee. They need to be T4! At this point, the Tau are racing away with the lead. Guardsmen units are dropping and the Rough Riders are gone. Armigers are also taking wounds. The number of VPs available to the Tau is high. I need to kill more Tau and more quickly!
This has gone bad!
Turn 3 – Astra Militarum
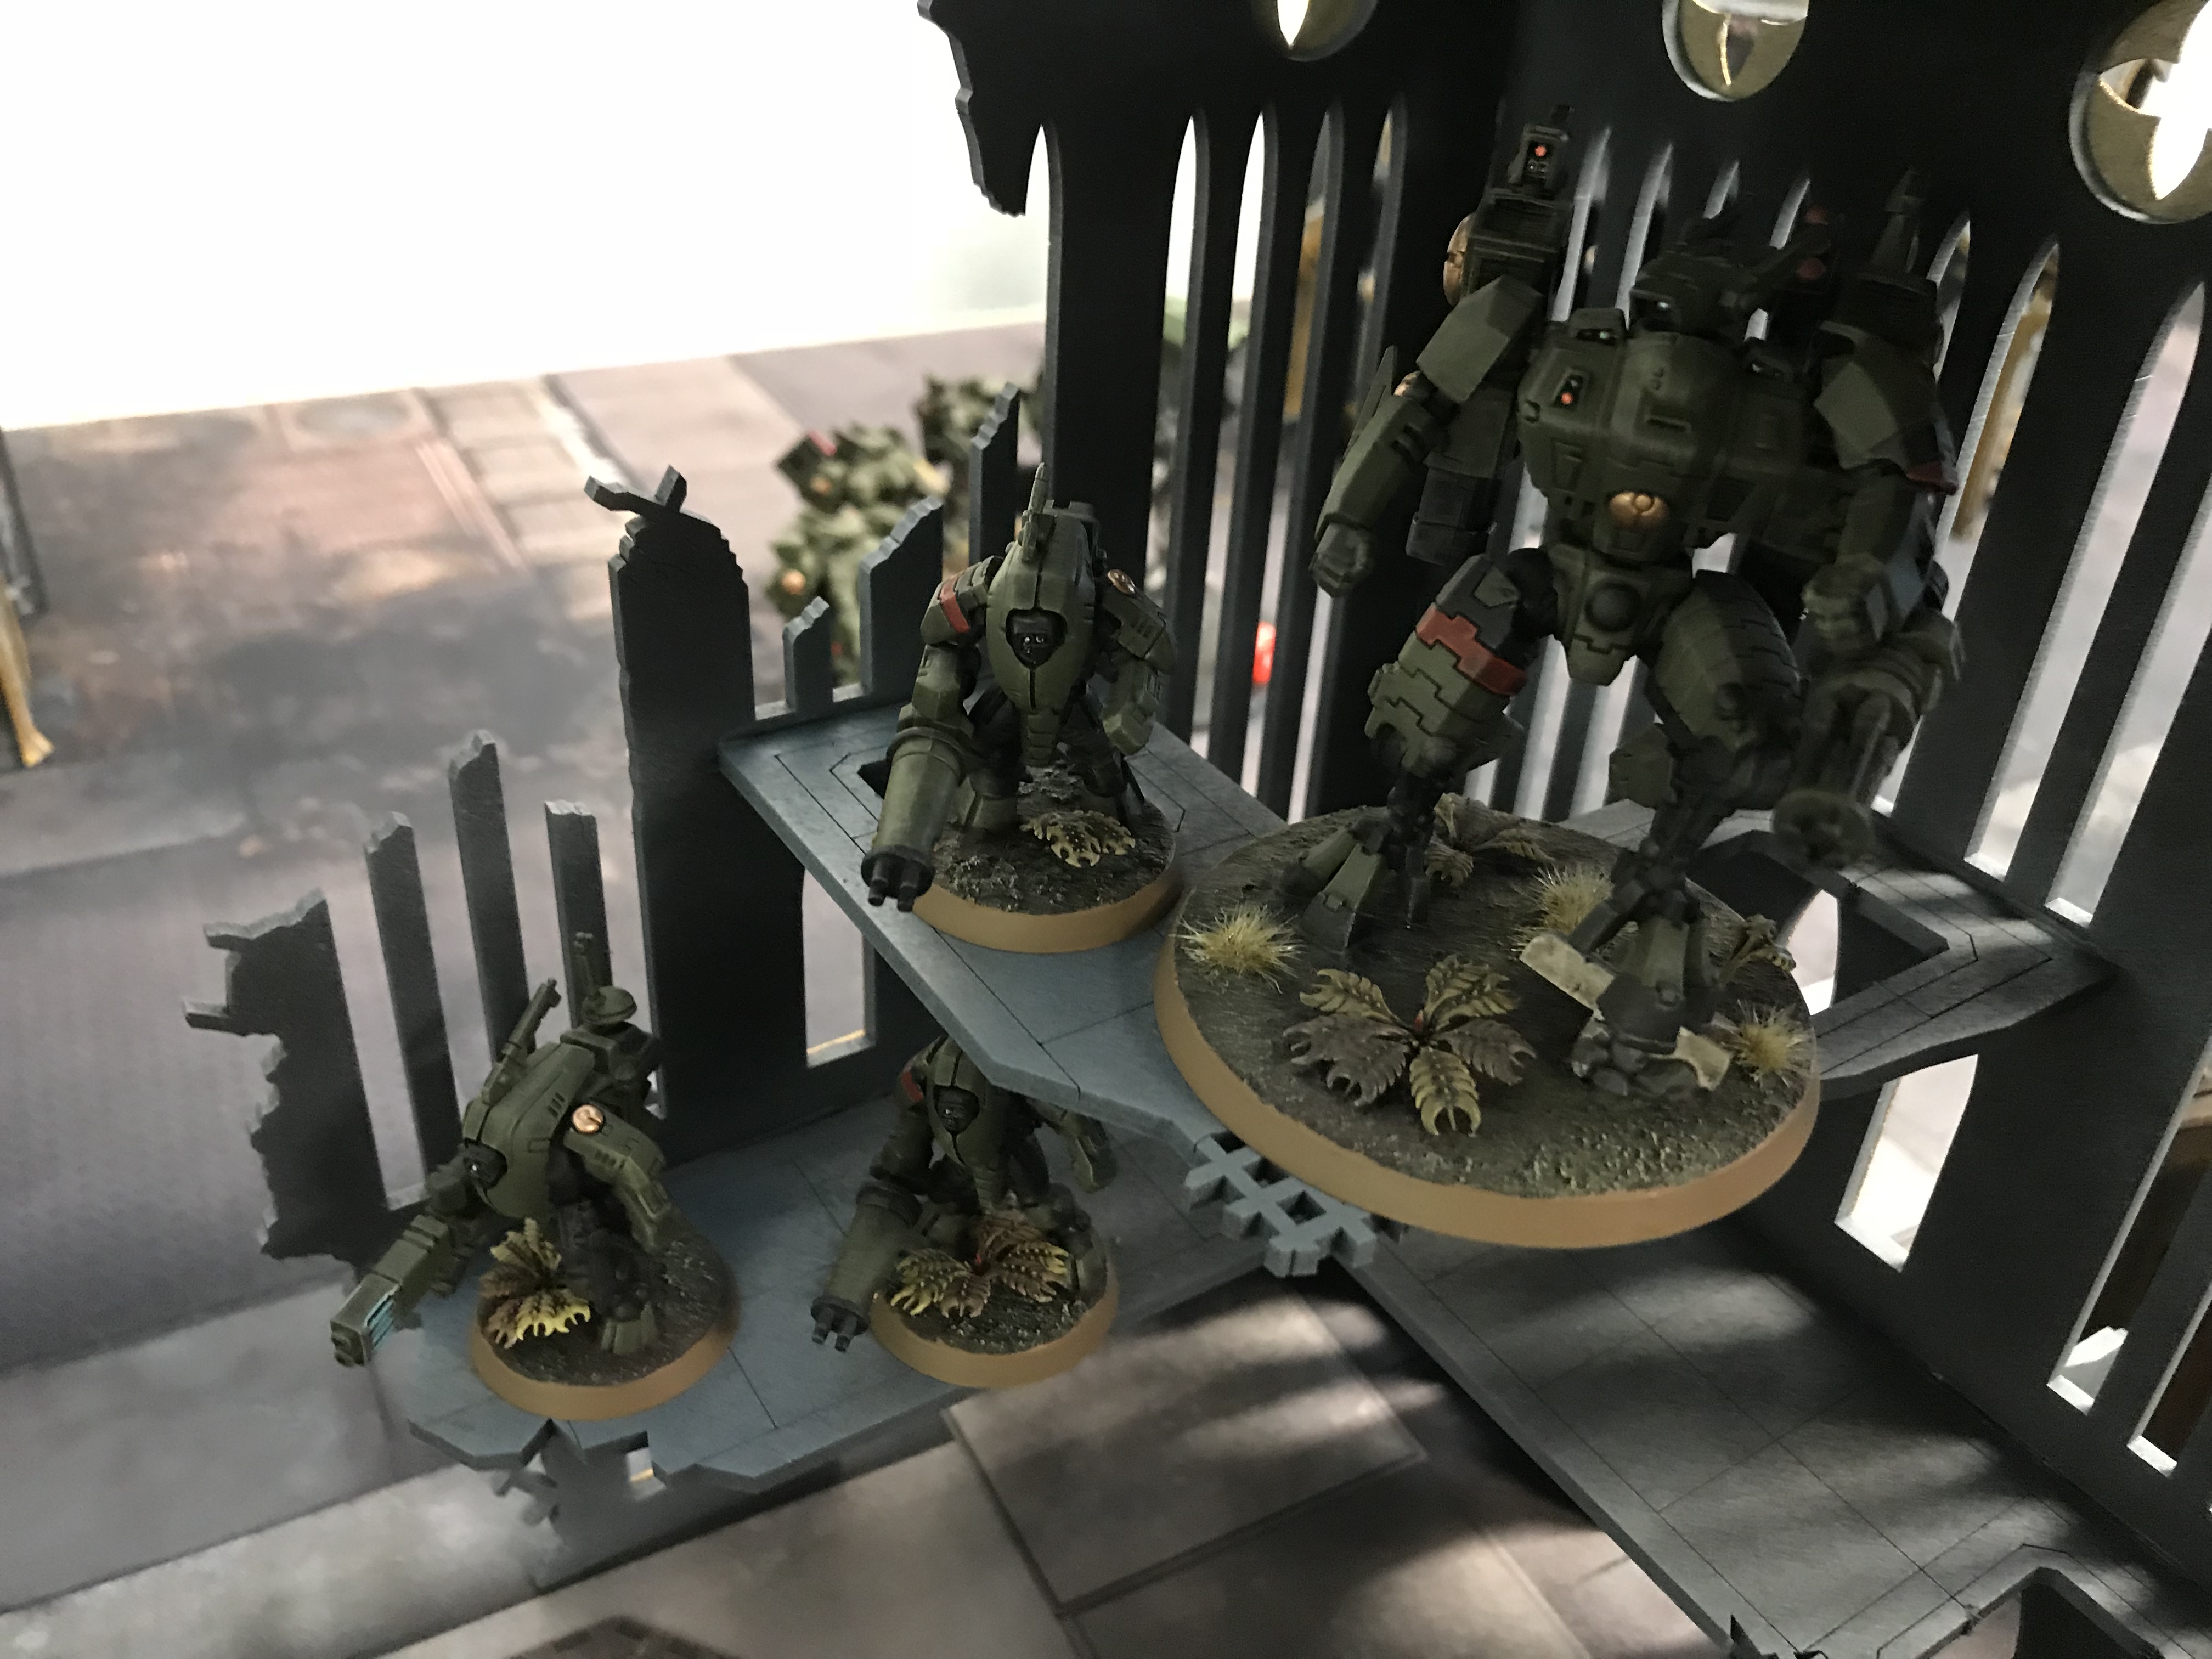
After this turn, it feels like I might still be in the fight. A Stealth Suit team is gone now on the right flank thanks to concentrated Autocannons from the Sentinels and Lasgun fire!

The Stealth Suits on the right flank are finally dead!
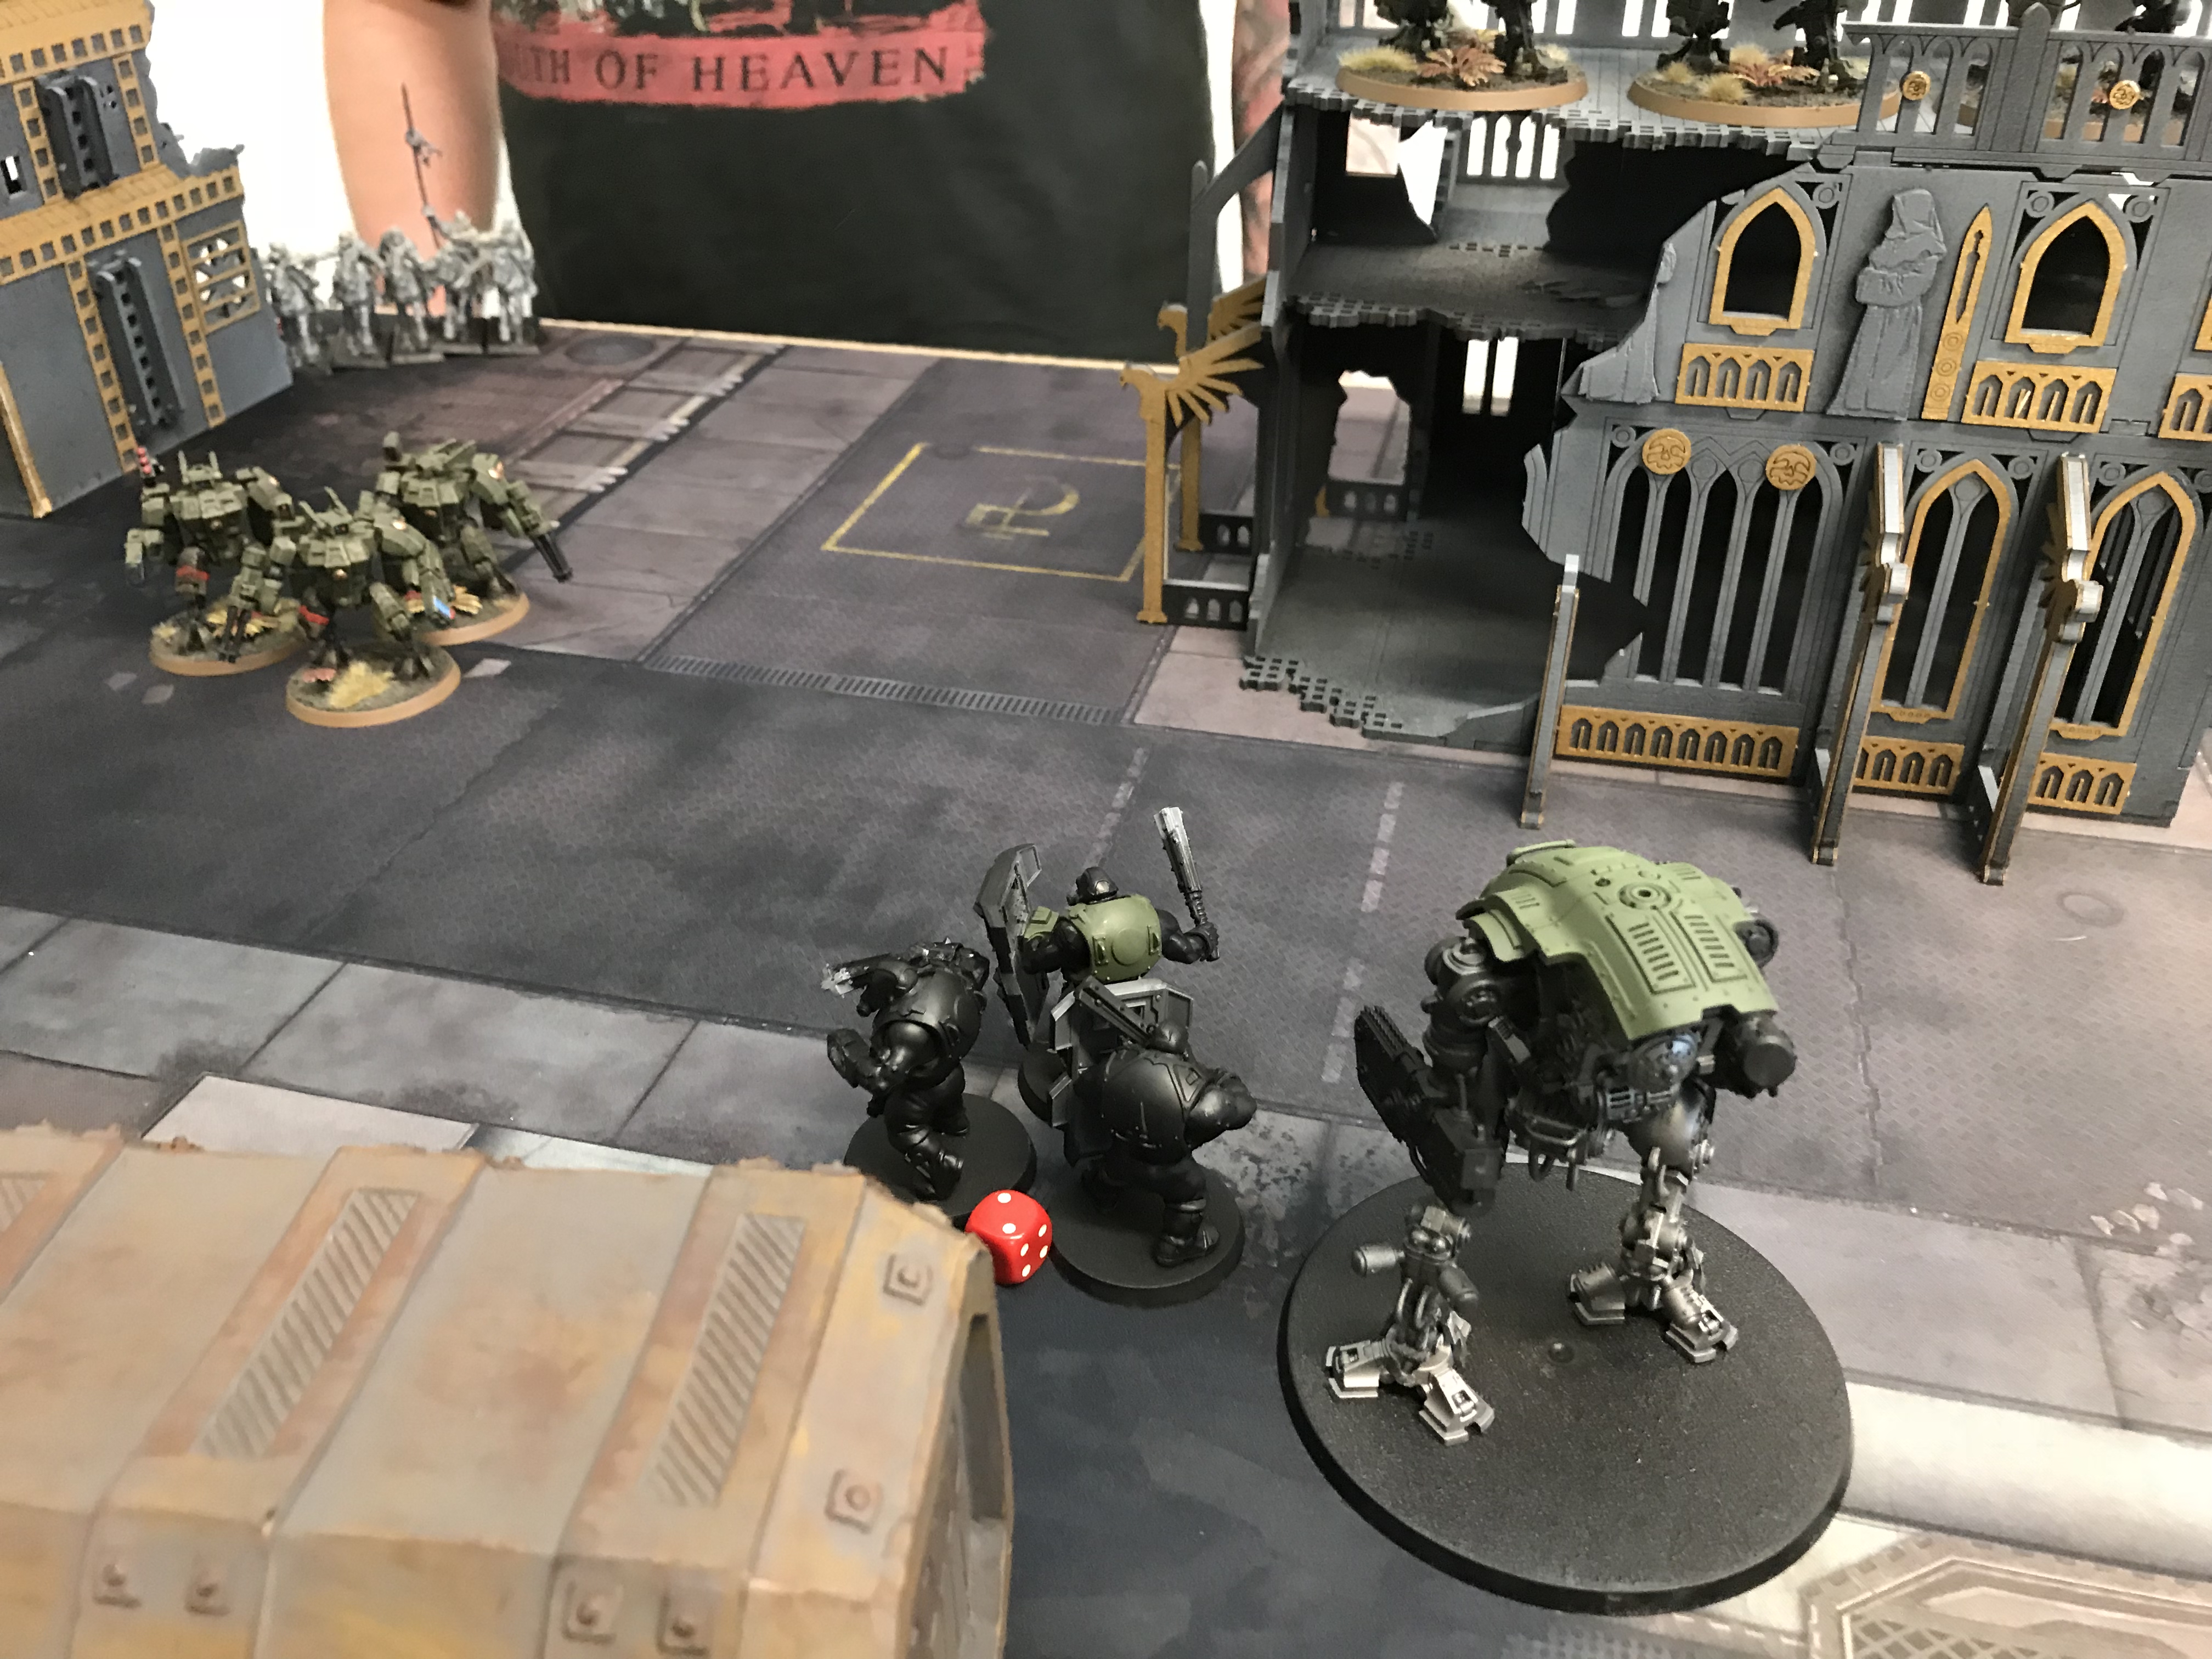
The Broadsides are starting to die too. The Bullgryns have done a good job of drawing fire while the Armiger Warglaive gets in closer but they never even got to swing their sticks in anger. :-(

The Broadsides finally take casualties – Strike Team can be seen in the right of the picture – Astra Militarum & Armigers Vs Tau
Turn 4 – Tau
And now the tides turn back to the Tau. The Warglaive that mowed down the Ghostkeel dies to Commander fire and a lot of Steal Suits. The left flank is now crumbling badly. Guardsmen are dying, the Special Weapons Squad that was here no the left is gone too. Only a Wyvern, hidden, remains.
The Armiger on the left flank is now gone – Astra Militarum & Armigers Vs Tau
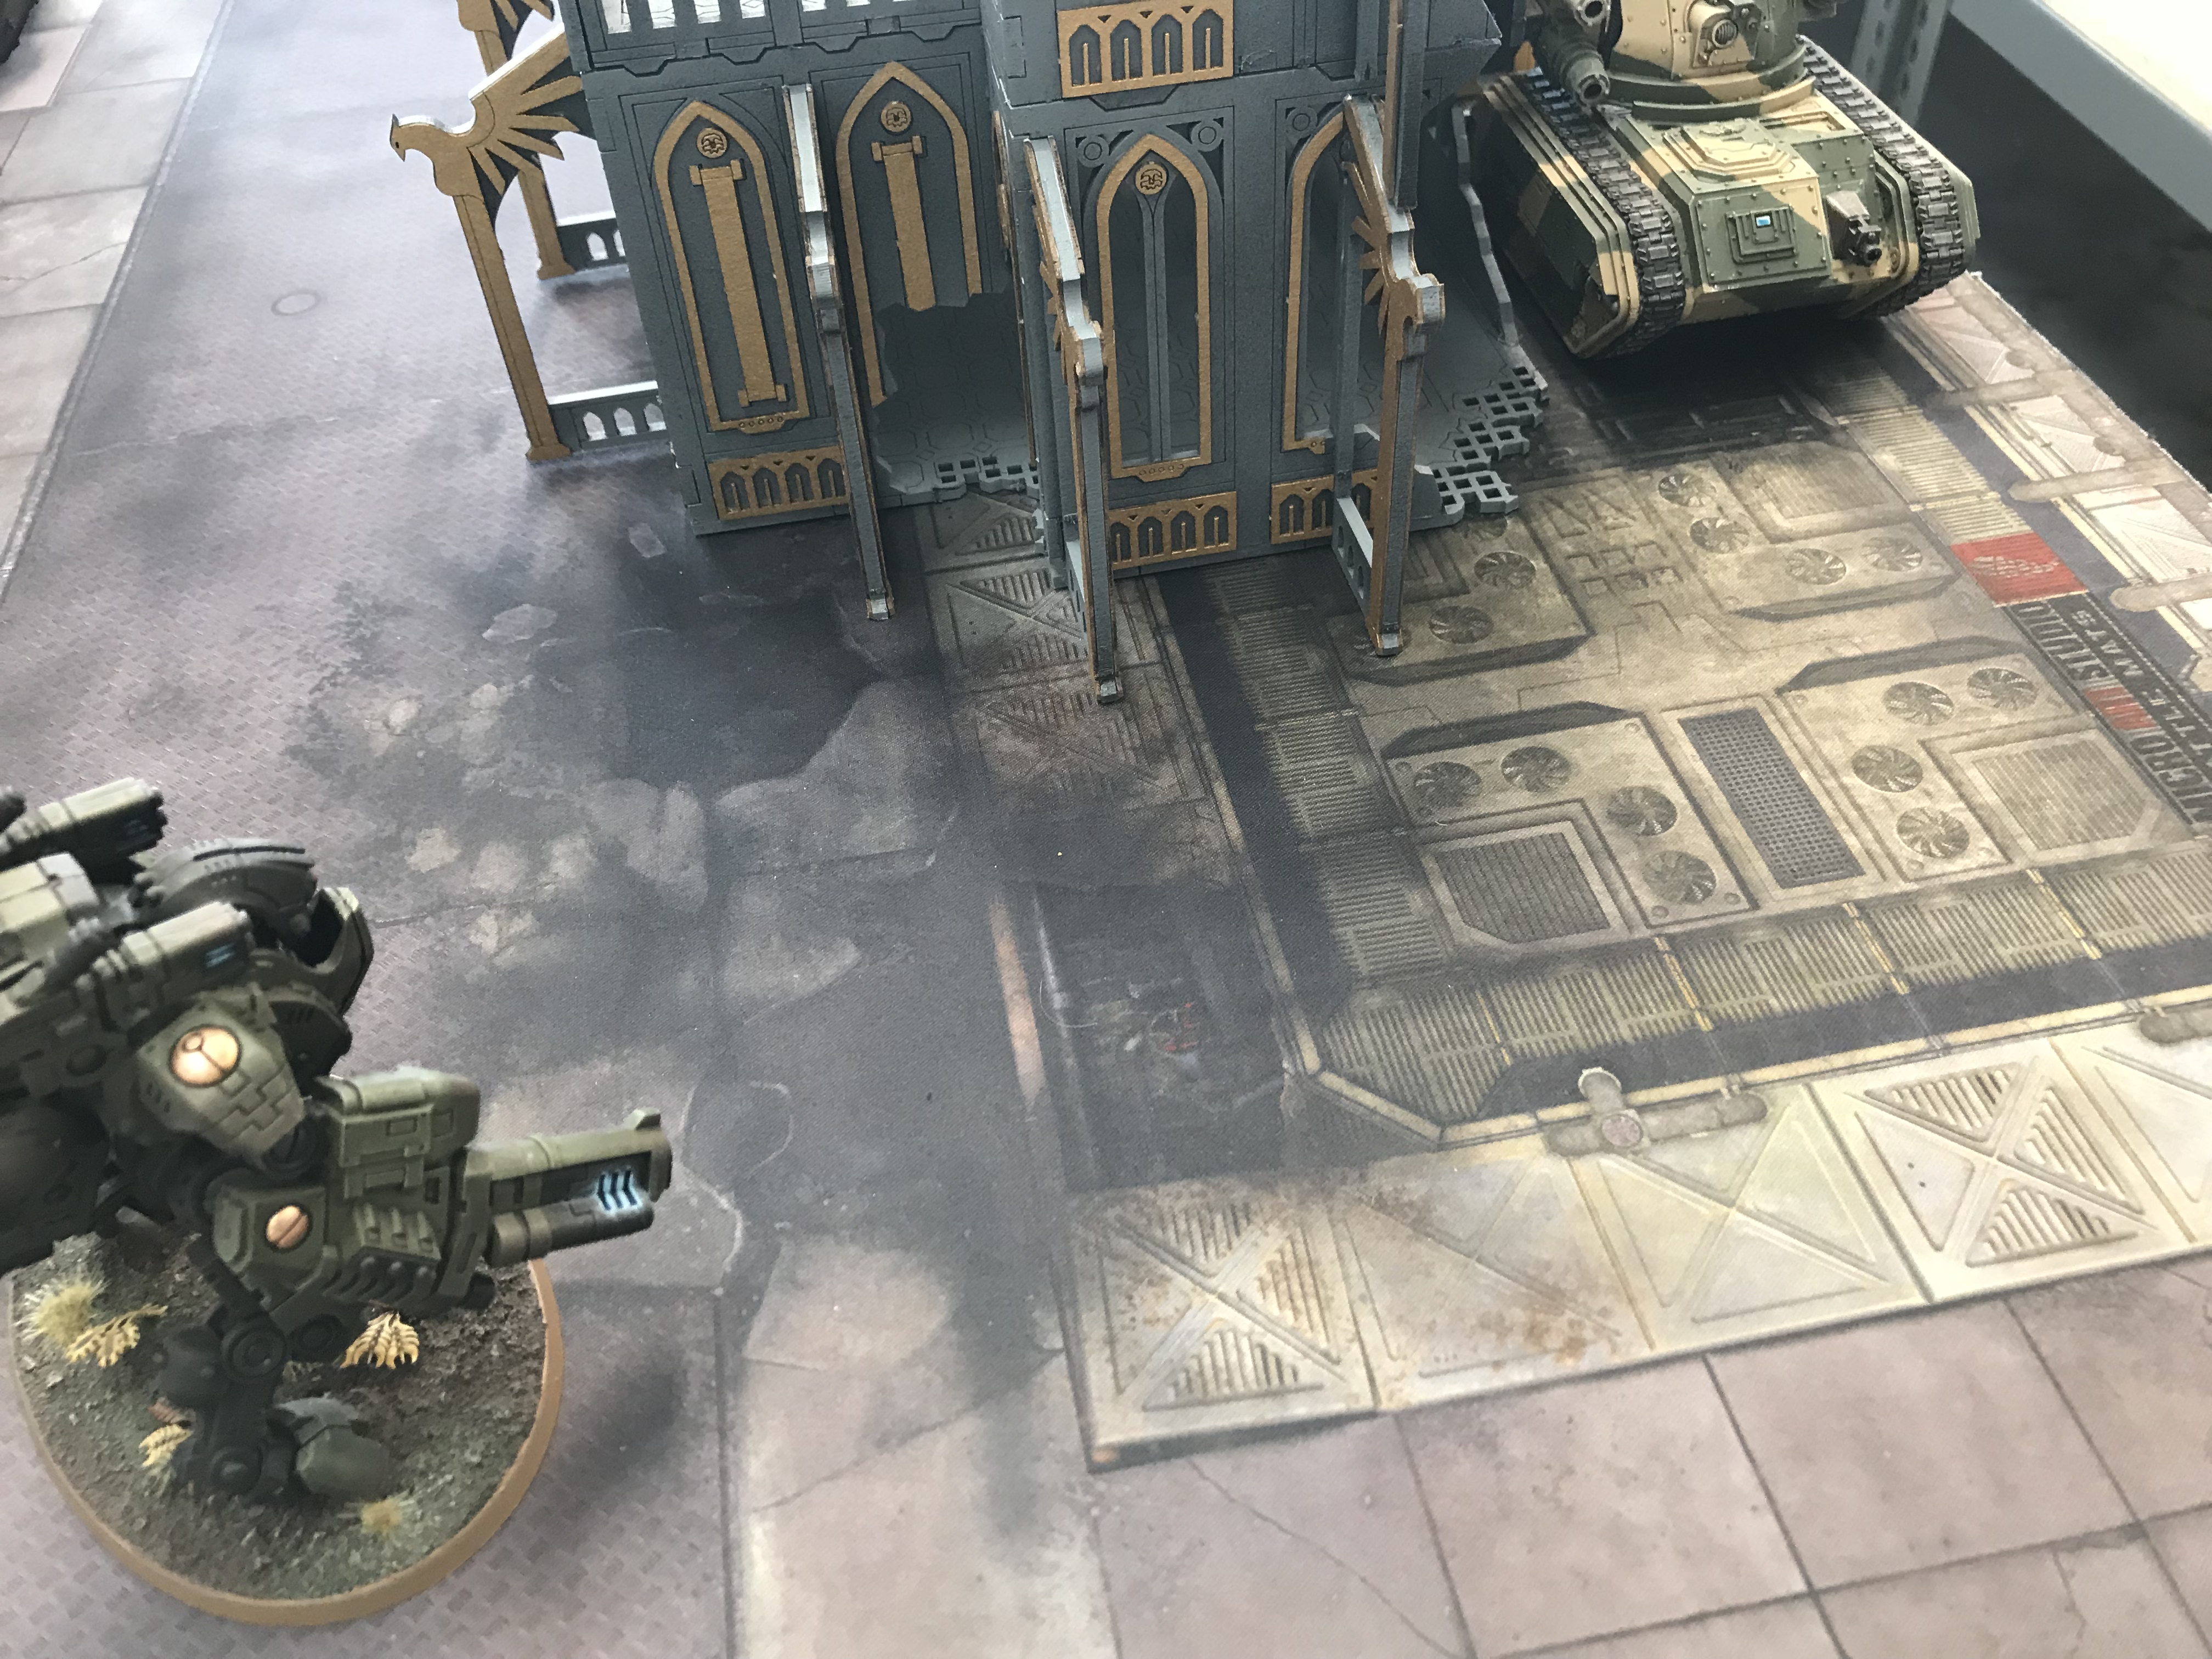
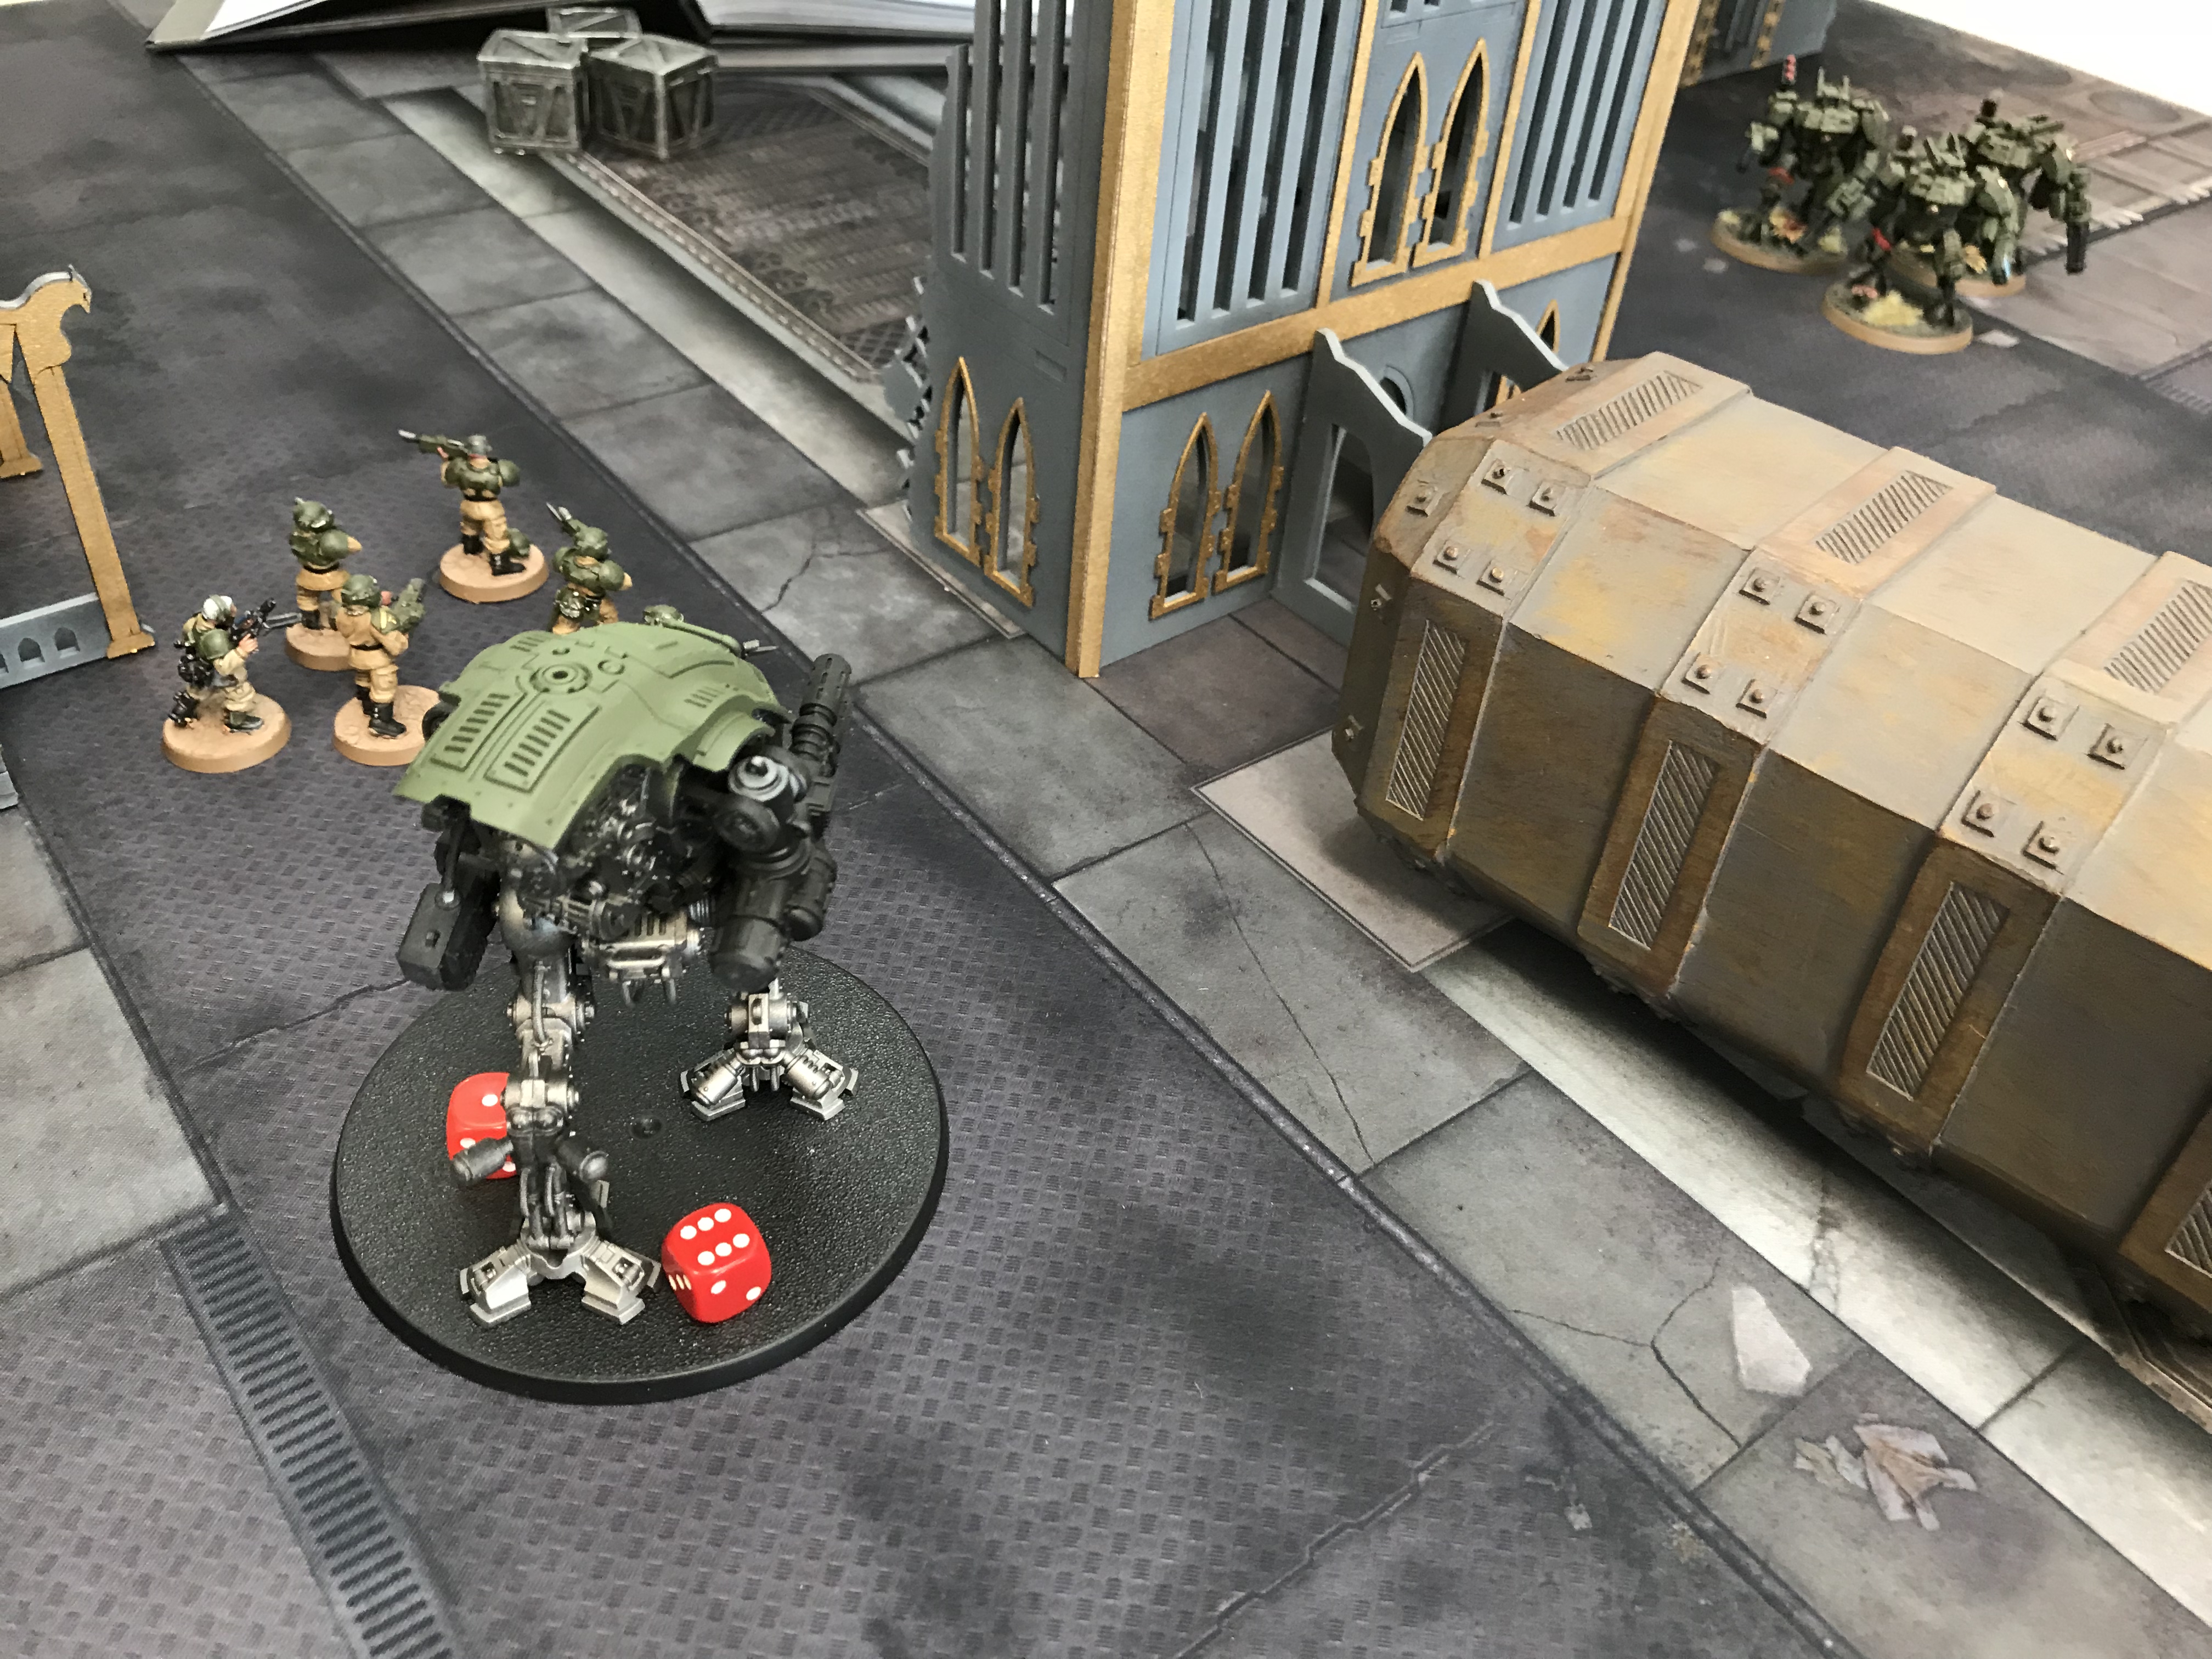
In the centre, my Sentinels are dying off too Heavy Rail Rifle rounds pick them off. The Broadside missiles are gradually killing my final Bullgryn too.
Sentinels are dying too :-(
Turn 4 – Astra Militarum
Its crunch time for the Astra Militarum as the Tau gain more points again. The Warglaive in the centre makes a charge against the Battle Suits now the Bullgryns are dead – it kills one. No! The Warglaive is heavily injured too, reducing its WS.

More chain action from the Warglaives!
I am now starting to think that the Tau are a formidable force in 8th Edition. They do not die easily and they hit hard with various buffs ensuring they damage output is always slightly more than their enemy’s.
This is too much Tau to be alive in Turn 5
Turn 5 – Tau
The Commander swoops across the board to the table centre to finish off the last Sentinel for another VP for the Tau. They are now just picking off the weakest units. Clever Tau!
Commander shoots Sentinel. Sentinel dies.
Turn 5 – Astra Militarum
Commander dead!
But! The Armiger Helverin ploughs all it has into the Commander, killing it! Yeah, Warlord kill! It’s worth noting here that the Helverin has been on 1 wound now for about 3 turns. Re-rolls and lucky rolls have kept it alive when it should have died long ago.
This is slow progress
My firepower has been reduced heavily now and I am struggling to finish off units that should be easy to kill. I have finally managed to kill a Strike Team but it was far too hard. Even with a Wyvern shooting at them their save in cover was just too tough.
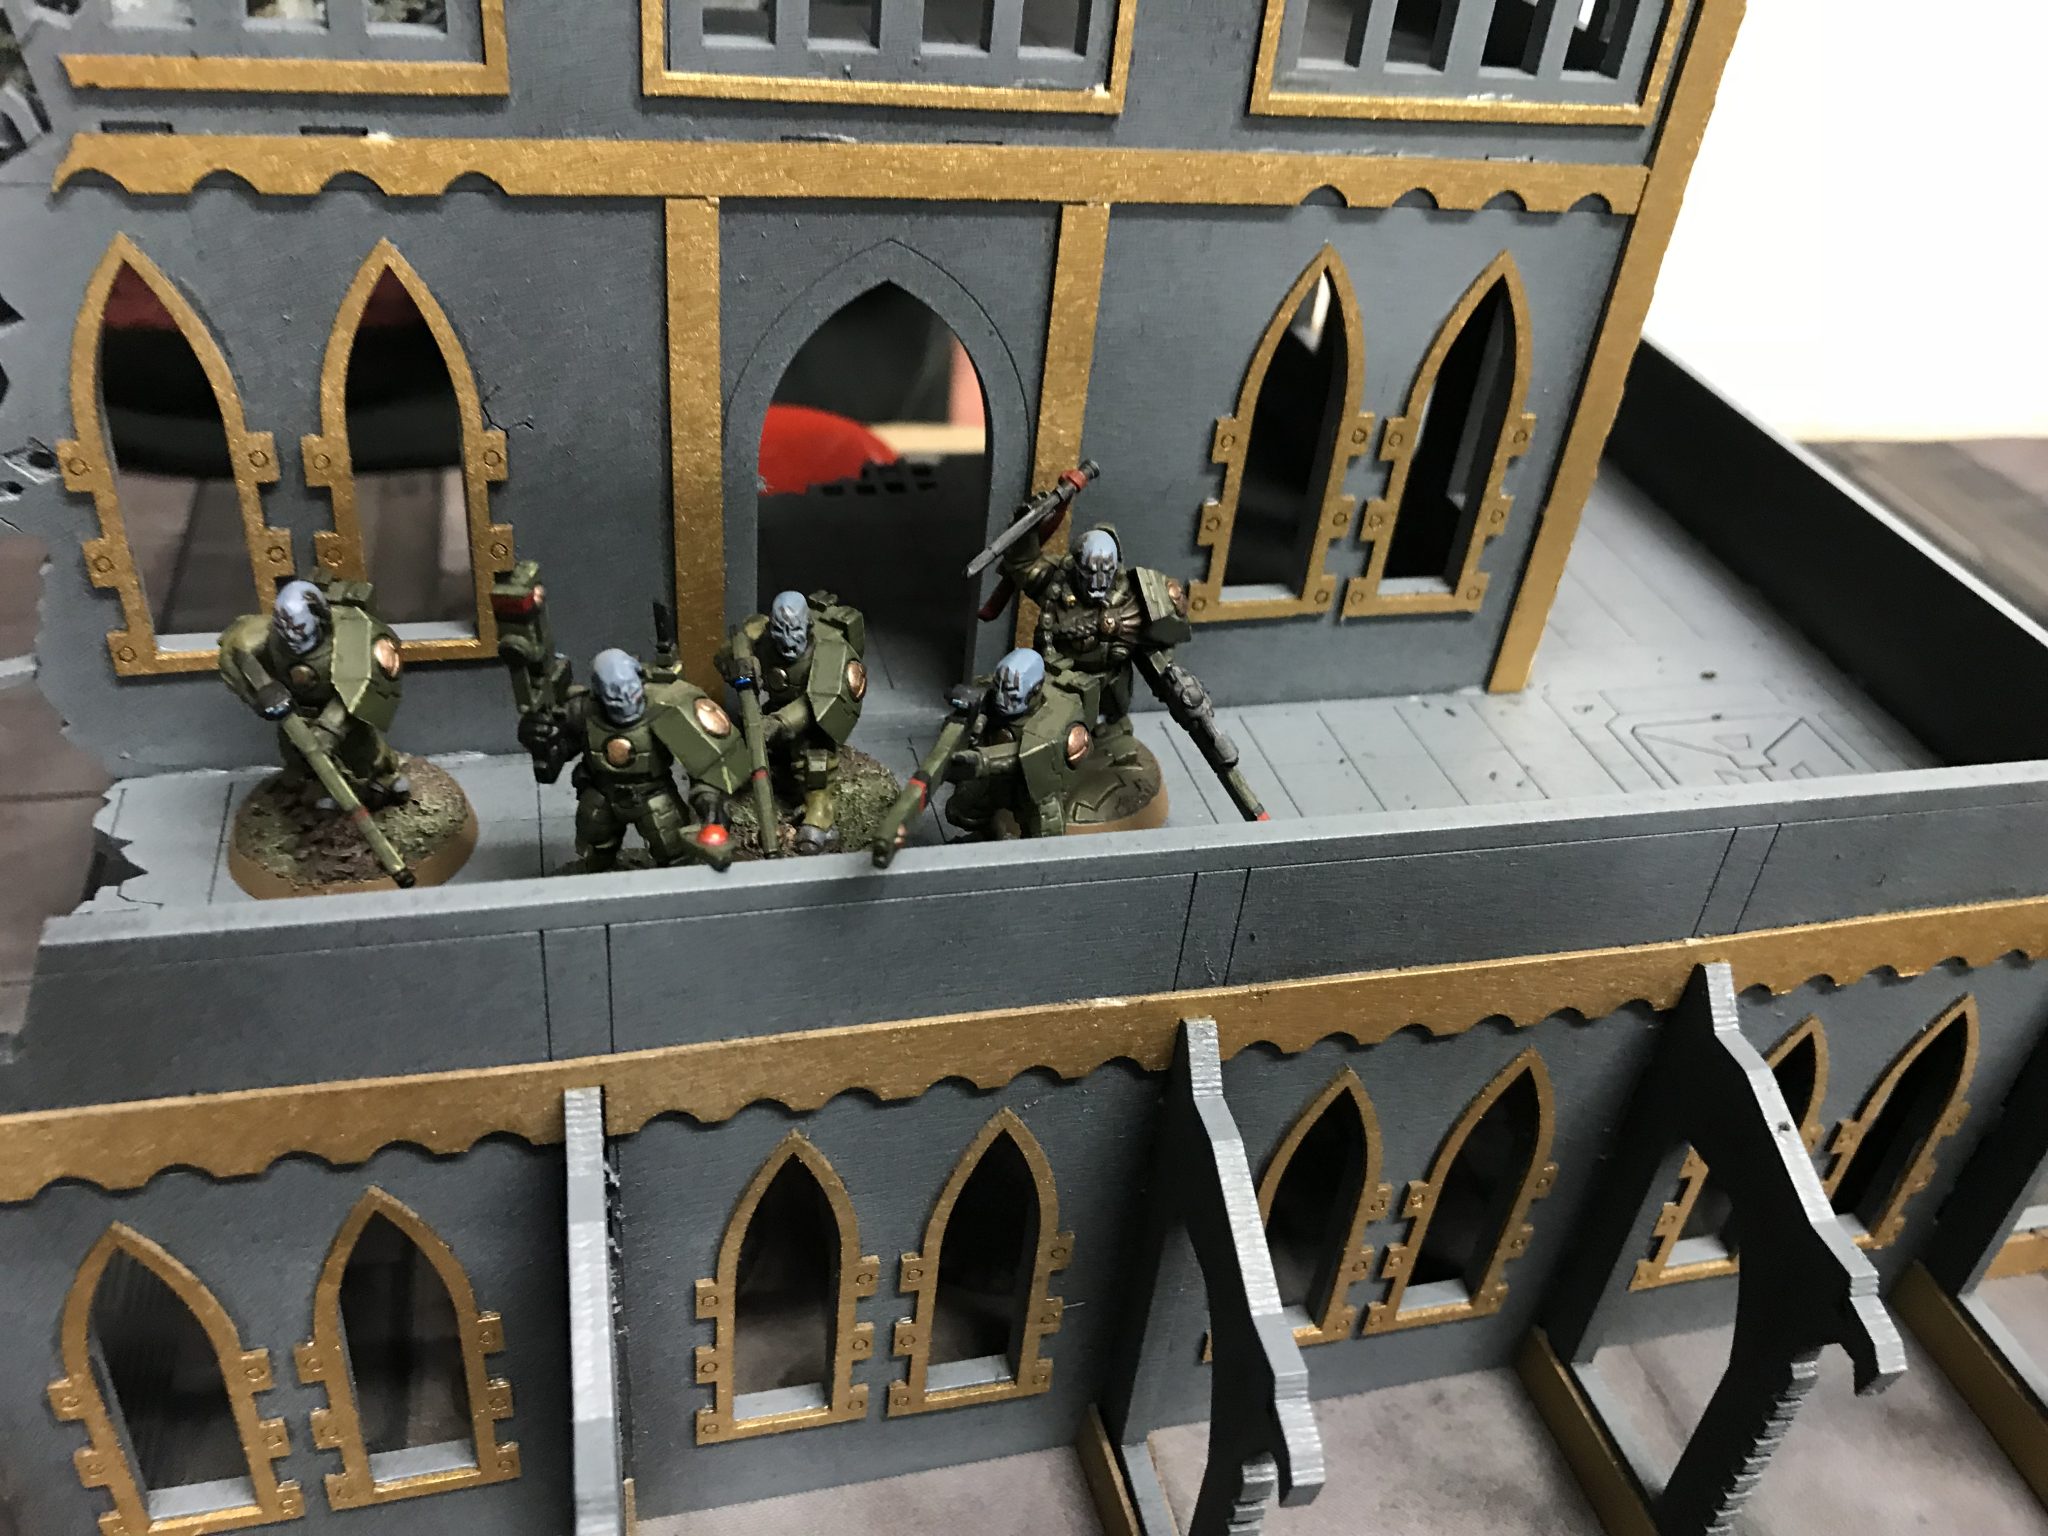
Finally, a Strike Team goes down
Turn 6 – Tau
The game is called a Tau win at the end of turn 6, we are out of time and the Tau have too many points. I also have too few units to counter the number of points the Tau have.
Sneaky sneaky Tau
The Battle Suits just run away and run away again
The Armiger will die before it ever catches that pesky Suit.
:-(
Summary – Armigers Vs Tau
A great game which was always being won by the Tau. There were glimmers of hope for the Astra Militarum though. I think I needed more multi damage weapons like Lascannons maybe. The Thermal Spear is just awful. I feel I should have put all my Armigers in the table centre. Left the Helverin in one place. Then moved the Warglaives around together. Charging down one unit at a time.
Tau won, 9-6, I think. It was a good lead what ever it was!
Most Valuable Unit – Astra Militarum
Tough call, nothing really shined here for me. The Wyverns probably, again.
Most Valuable Unit – Tau
For me, it would be the Stealth Suits. Yes, they miss with the Fusion Blasters, but they are tough, versatile and have Fly. They are a source of firepower that cannot be ignored. I am unsure how to deal with them?
Painting for Next Game
And as you can see, I completed my challenge set in my last battle report to complete my Wyverns!
Completed Wyverns
For my next game, I am going to complete my 10 Ratlings

Ratlings