
Wet Blending – Primaris Psyker Painting
I am having a go at Wet Blending today...
With my Cyclops Demolition Vehicles done, time to move on. I’m going to do my Primaris Psyker next. I have two but I’ll do one for now. Because I often take them in my lists – it’s only right they get a paint job. I thought I would try wet blending, or rather what I’ve come to think of as wet blending. This is not a tutorial, but a log of my experience and findings. I hope it will help others and make others want to try a new technique.
Never miss an article? Subscribe!
Intro – Wet Blending
I decided to head right outside of my comfort zone for this. Because that’s the only way I’ll improve – right?
And so I set out to try and see how I could make the cloak look better than plain fabric with a bit of a wash.
I settled on wet blending, although as I quickly found out, that seems to be a rather loose term for a few very similar techniques
I watched some videos on the subject. All of which were useful in some way.
- BitzBox did cloaks and Wargamer Online started with black and then used a colour – red.
- RobPaintsModels only used a brown which isn’t as striking but the technique was solid.
- IDICBeer was wet blending a shoulder pad trim! Which was a very small area, not like a cloak, but was still very handy.
- And finally one video from The Beasts of War was a plain and smooth area which wasn’t like a cloak but because the surface was so uniform it was easy to see why the light was in some places and not others.
To Start
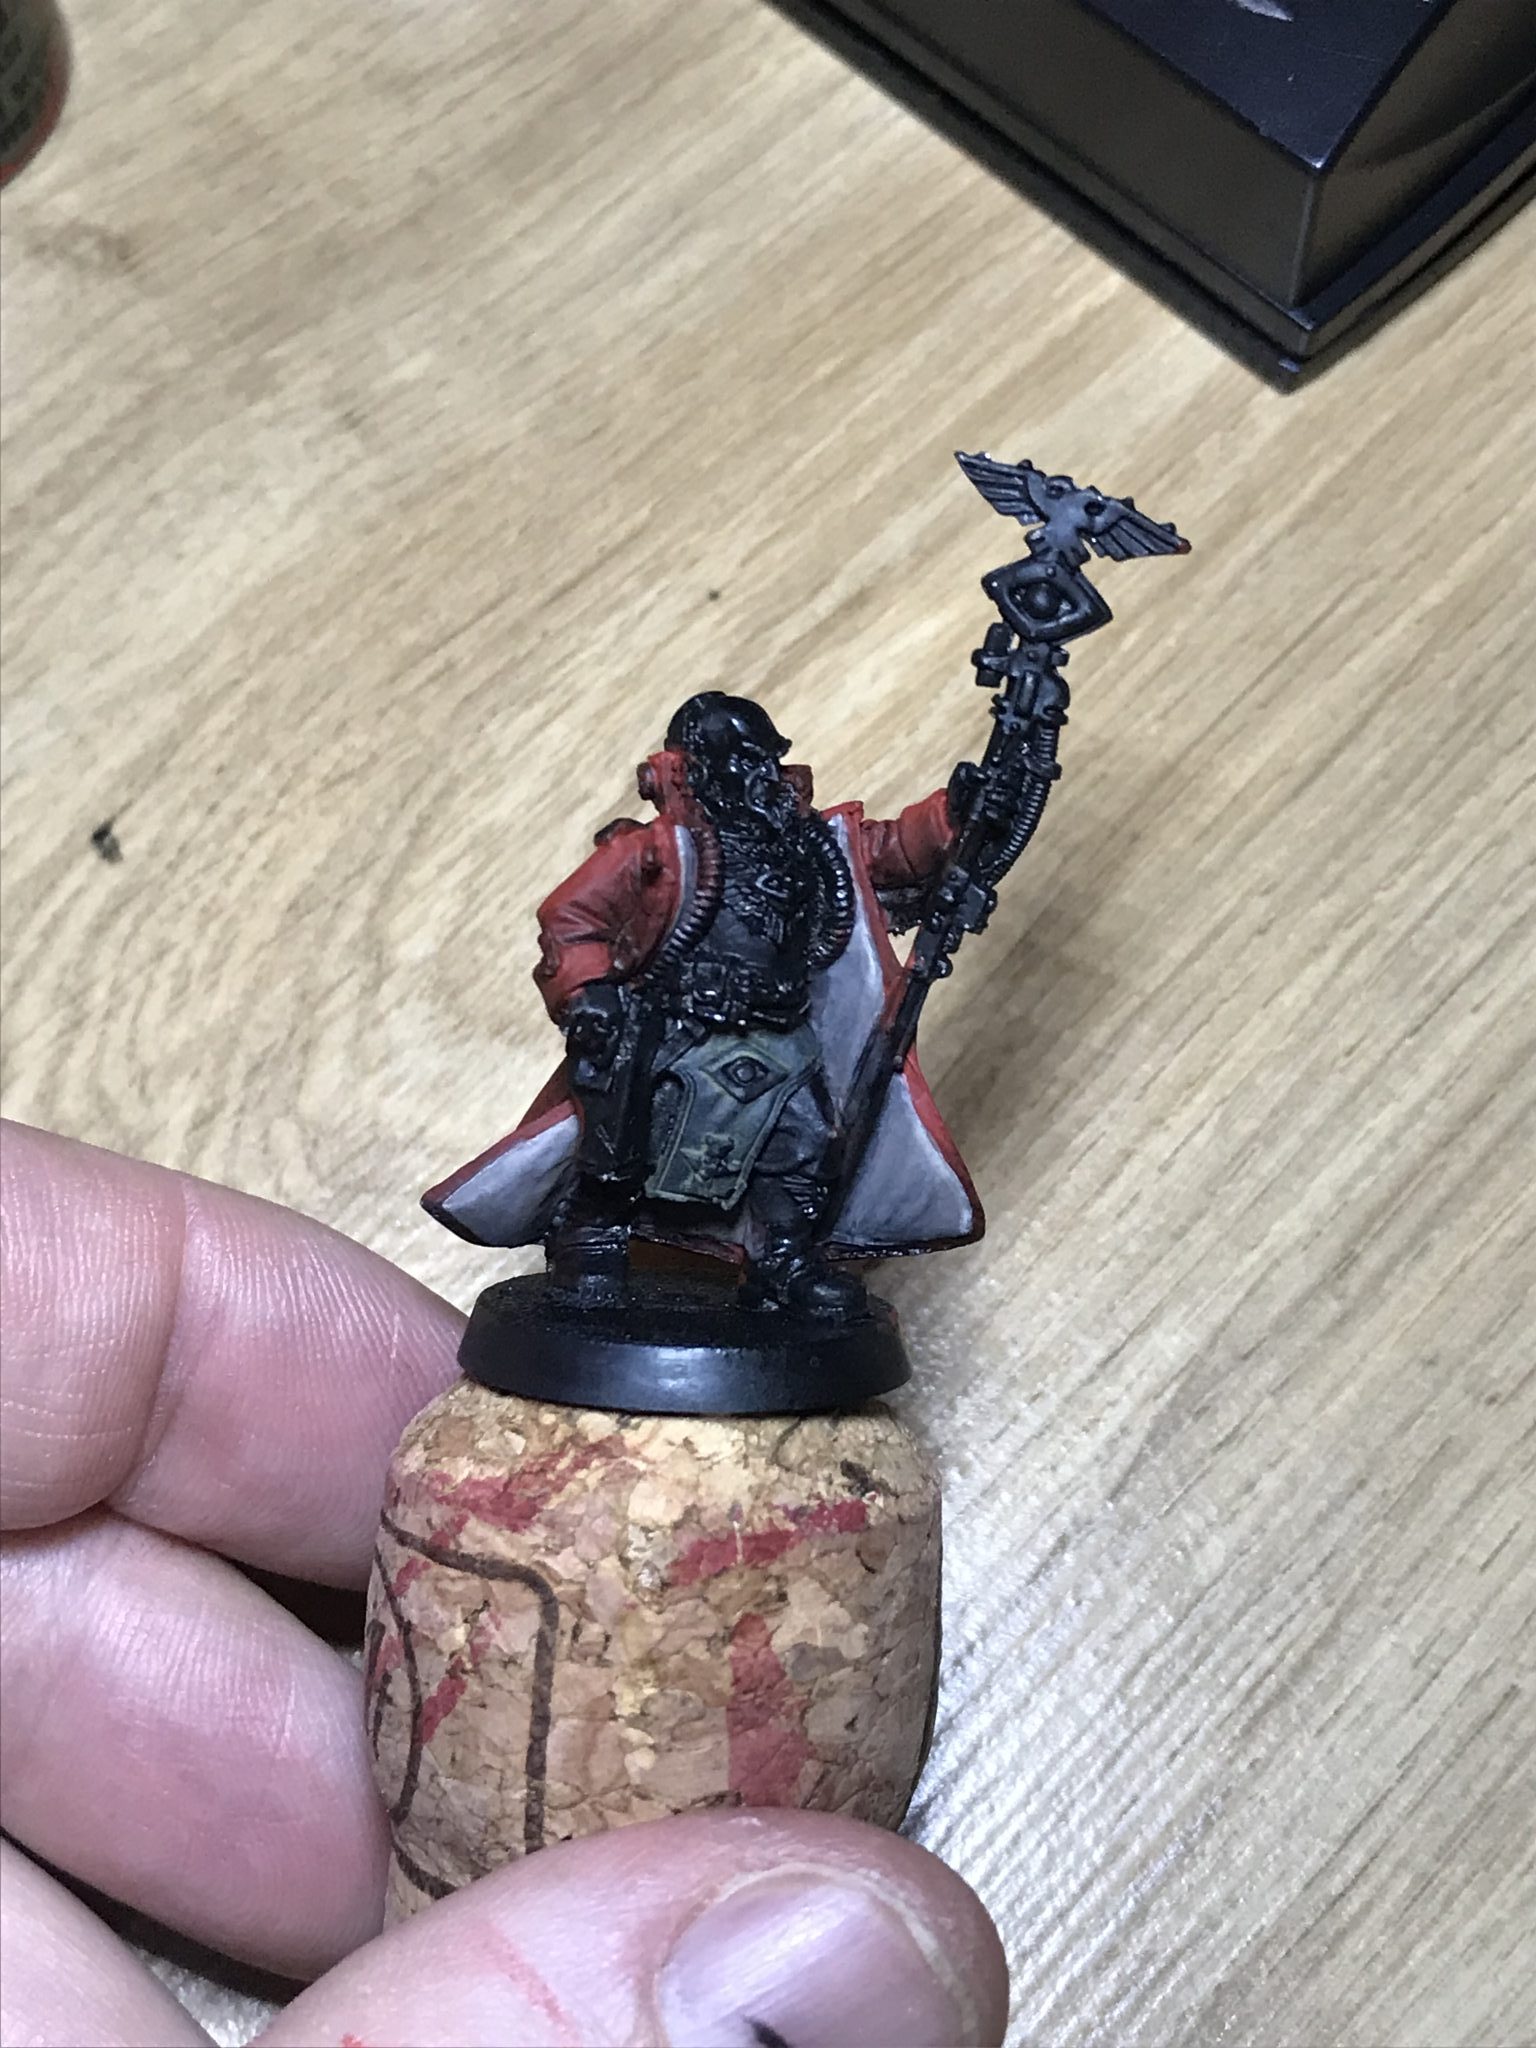
Armed with this knowledge I set about painting the cloak.
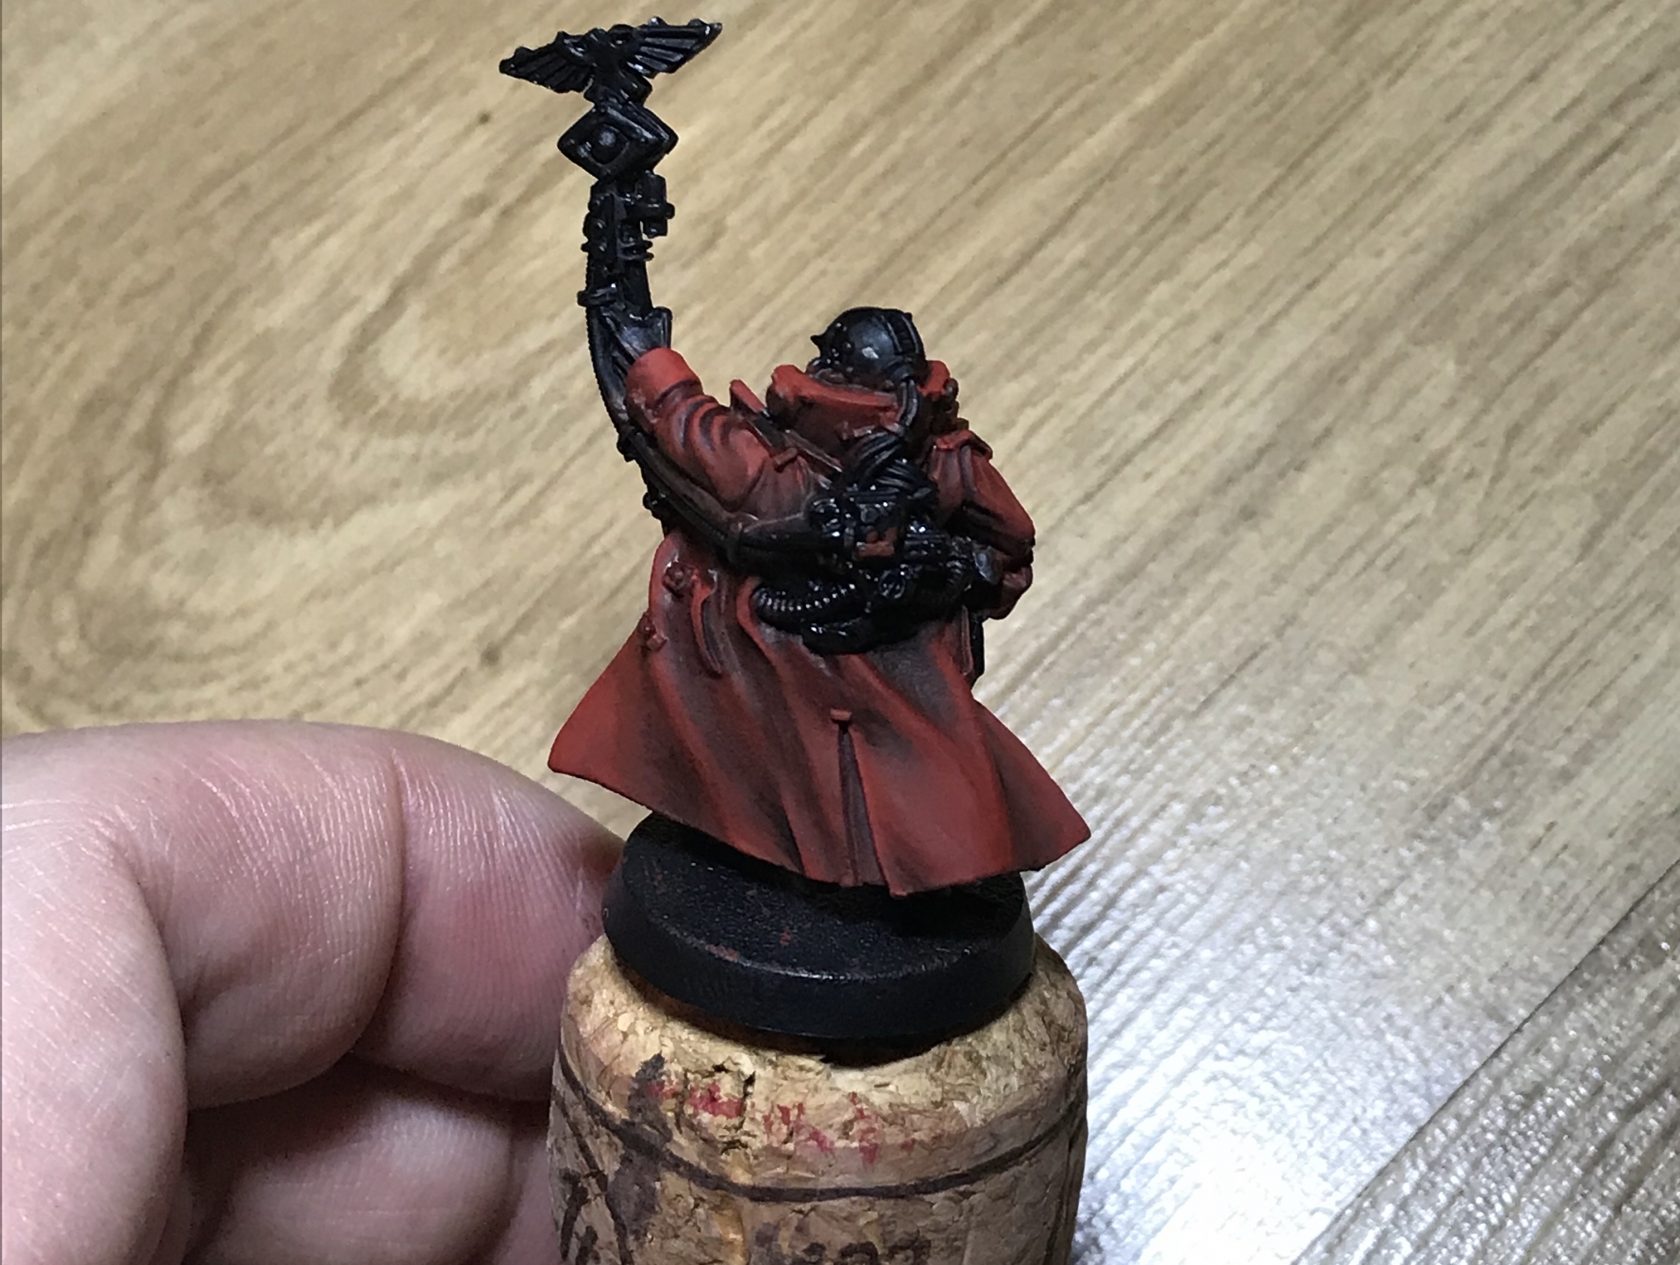
I primed the model in black, then did three very thin coats of Mephiston Red. I used Liquitex Slow-Dri Fluid Retarder mixed in with the red. Doing this has two outcomes;
- The paint takes a lot longer to dry
- It thins it down greatly
Each of these thin coats went less and less into the shadowy areas. So I was left with more and more read on the raised areas of the cloak. It seemed to be going OK. The first and second coat (one video warns of this) look awful. It’s so thin that it just looks a mess.
By the third coat, it’s starting to look better.
-
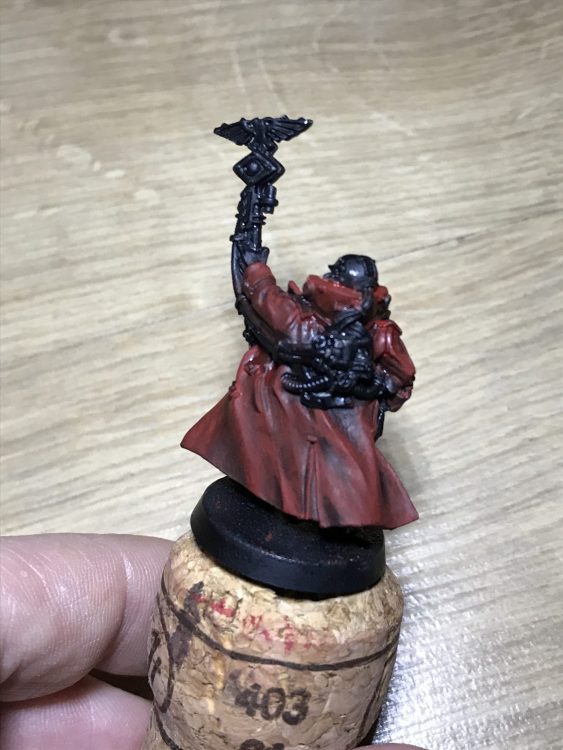
- First layer – Wet Blending Attempt 1

-


- Second layer – Wet Blending
-

- Third layer – Wet Blending
Also, consider using a hair dryer on a low heat between layers. It can take a long time to dry. Using a hair dryer means it takes a minute to dry and you can get on. Be careful! If it gets too hot it can melt/warp resin, metal and plastic. No hotter than your hand can stand is probably OK.
Blending
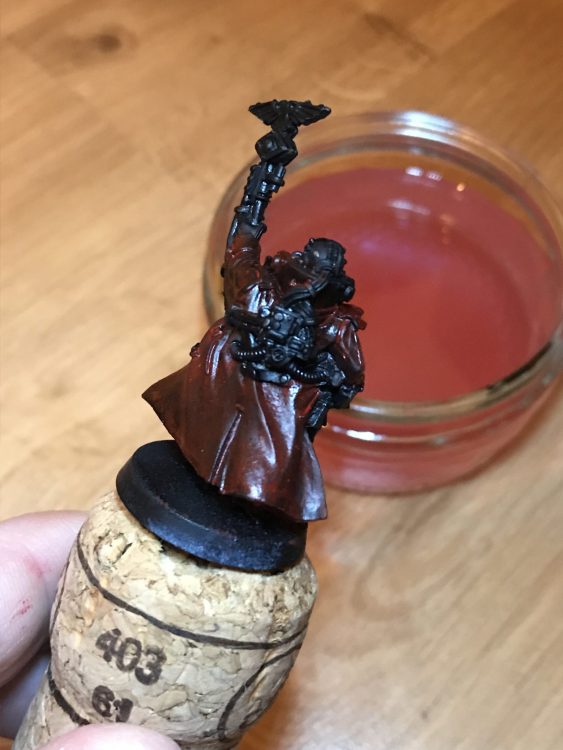
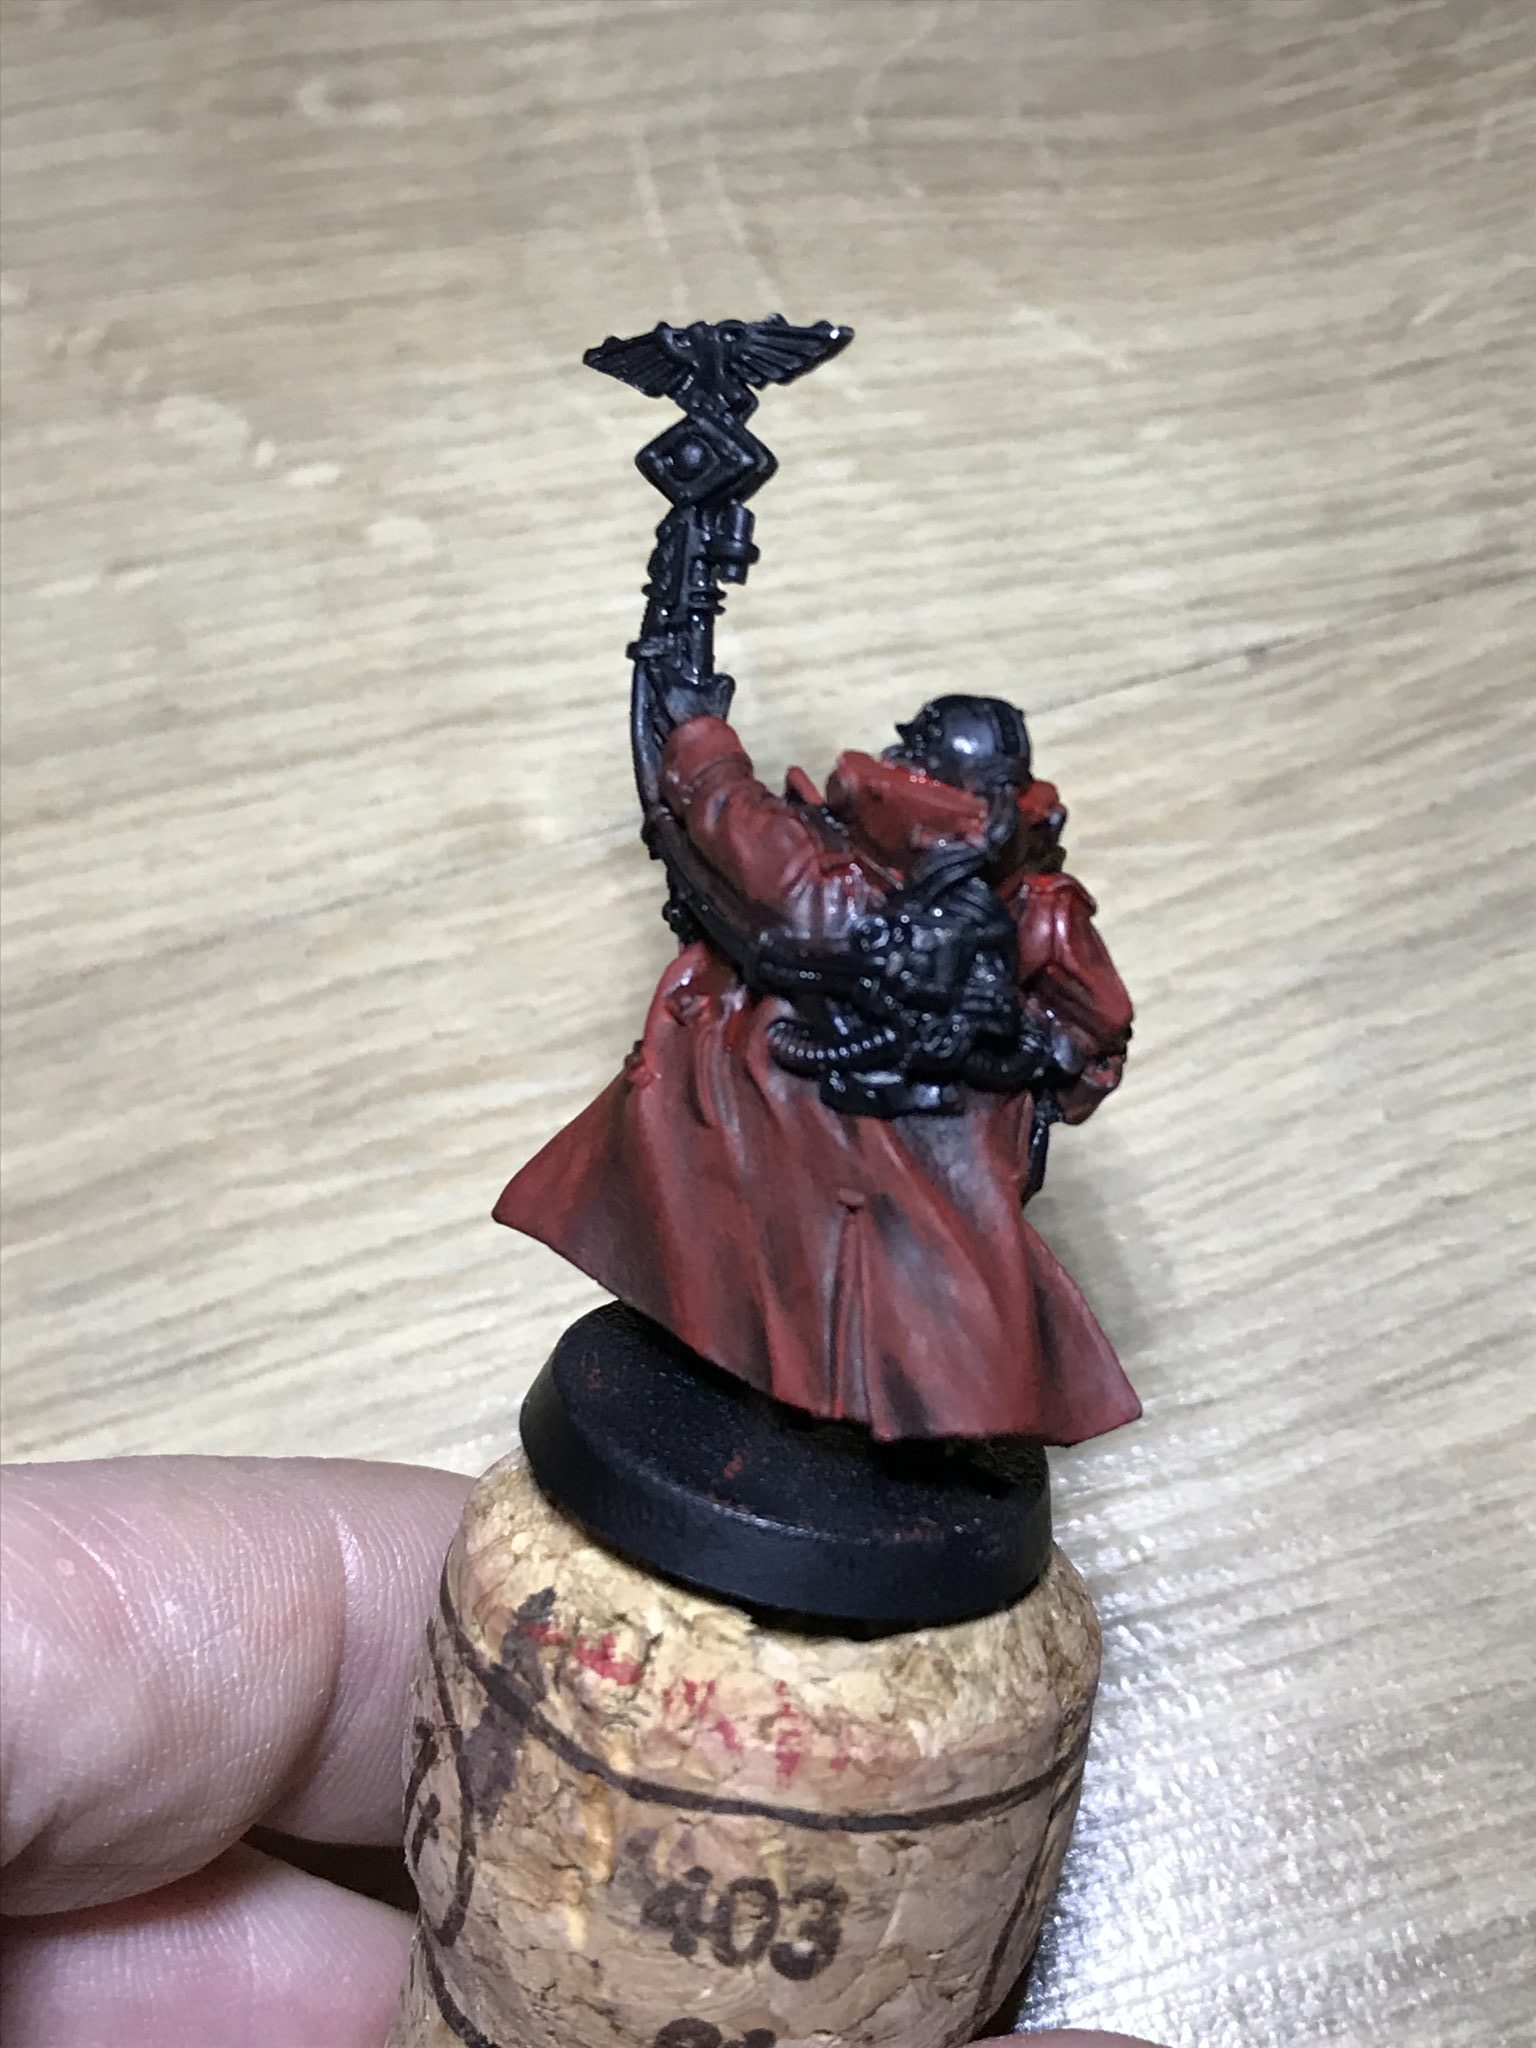
After letting these coats dry I realised that my shadowy areas were now looking red! No! So I set about correcting this by thinning down some black and placing it into the shadowy areas. Note the red is still wet at this point. It takes nearly an hour to dry on the model I found.
With the black in place and the red wet, I could bring them together to create a transition from red to black. The paints mix and blend together to give us the effect you see here.
-

- Fourth layer – Wet Blending Attempt 1

-
- Fifth layer – Wet Blending
-
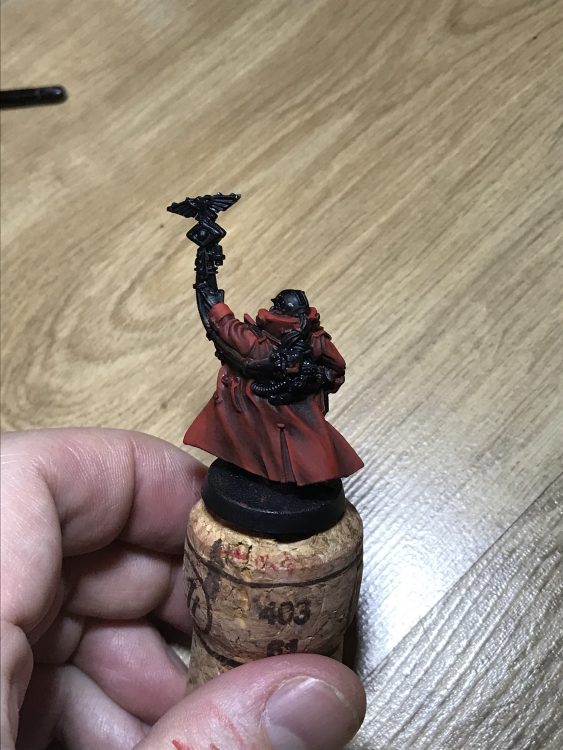
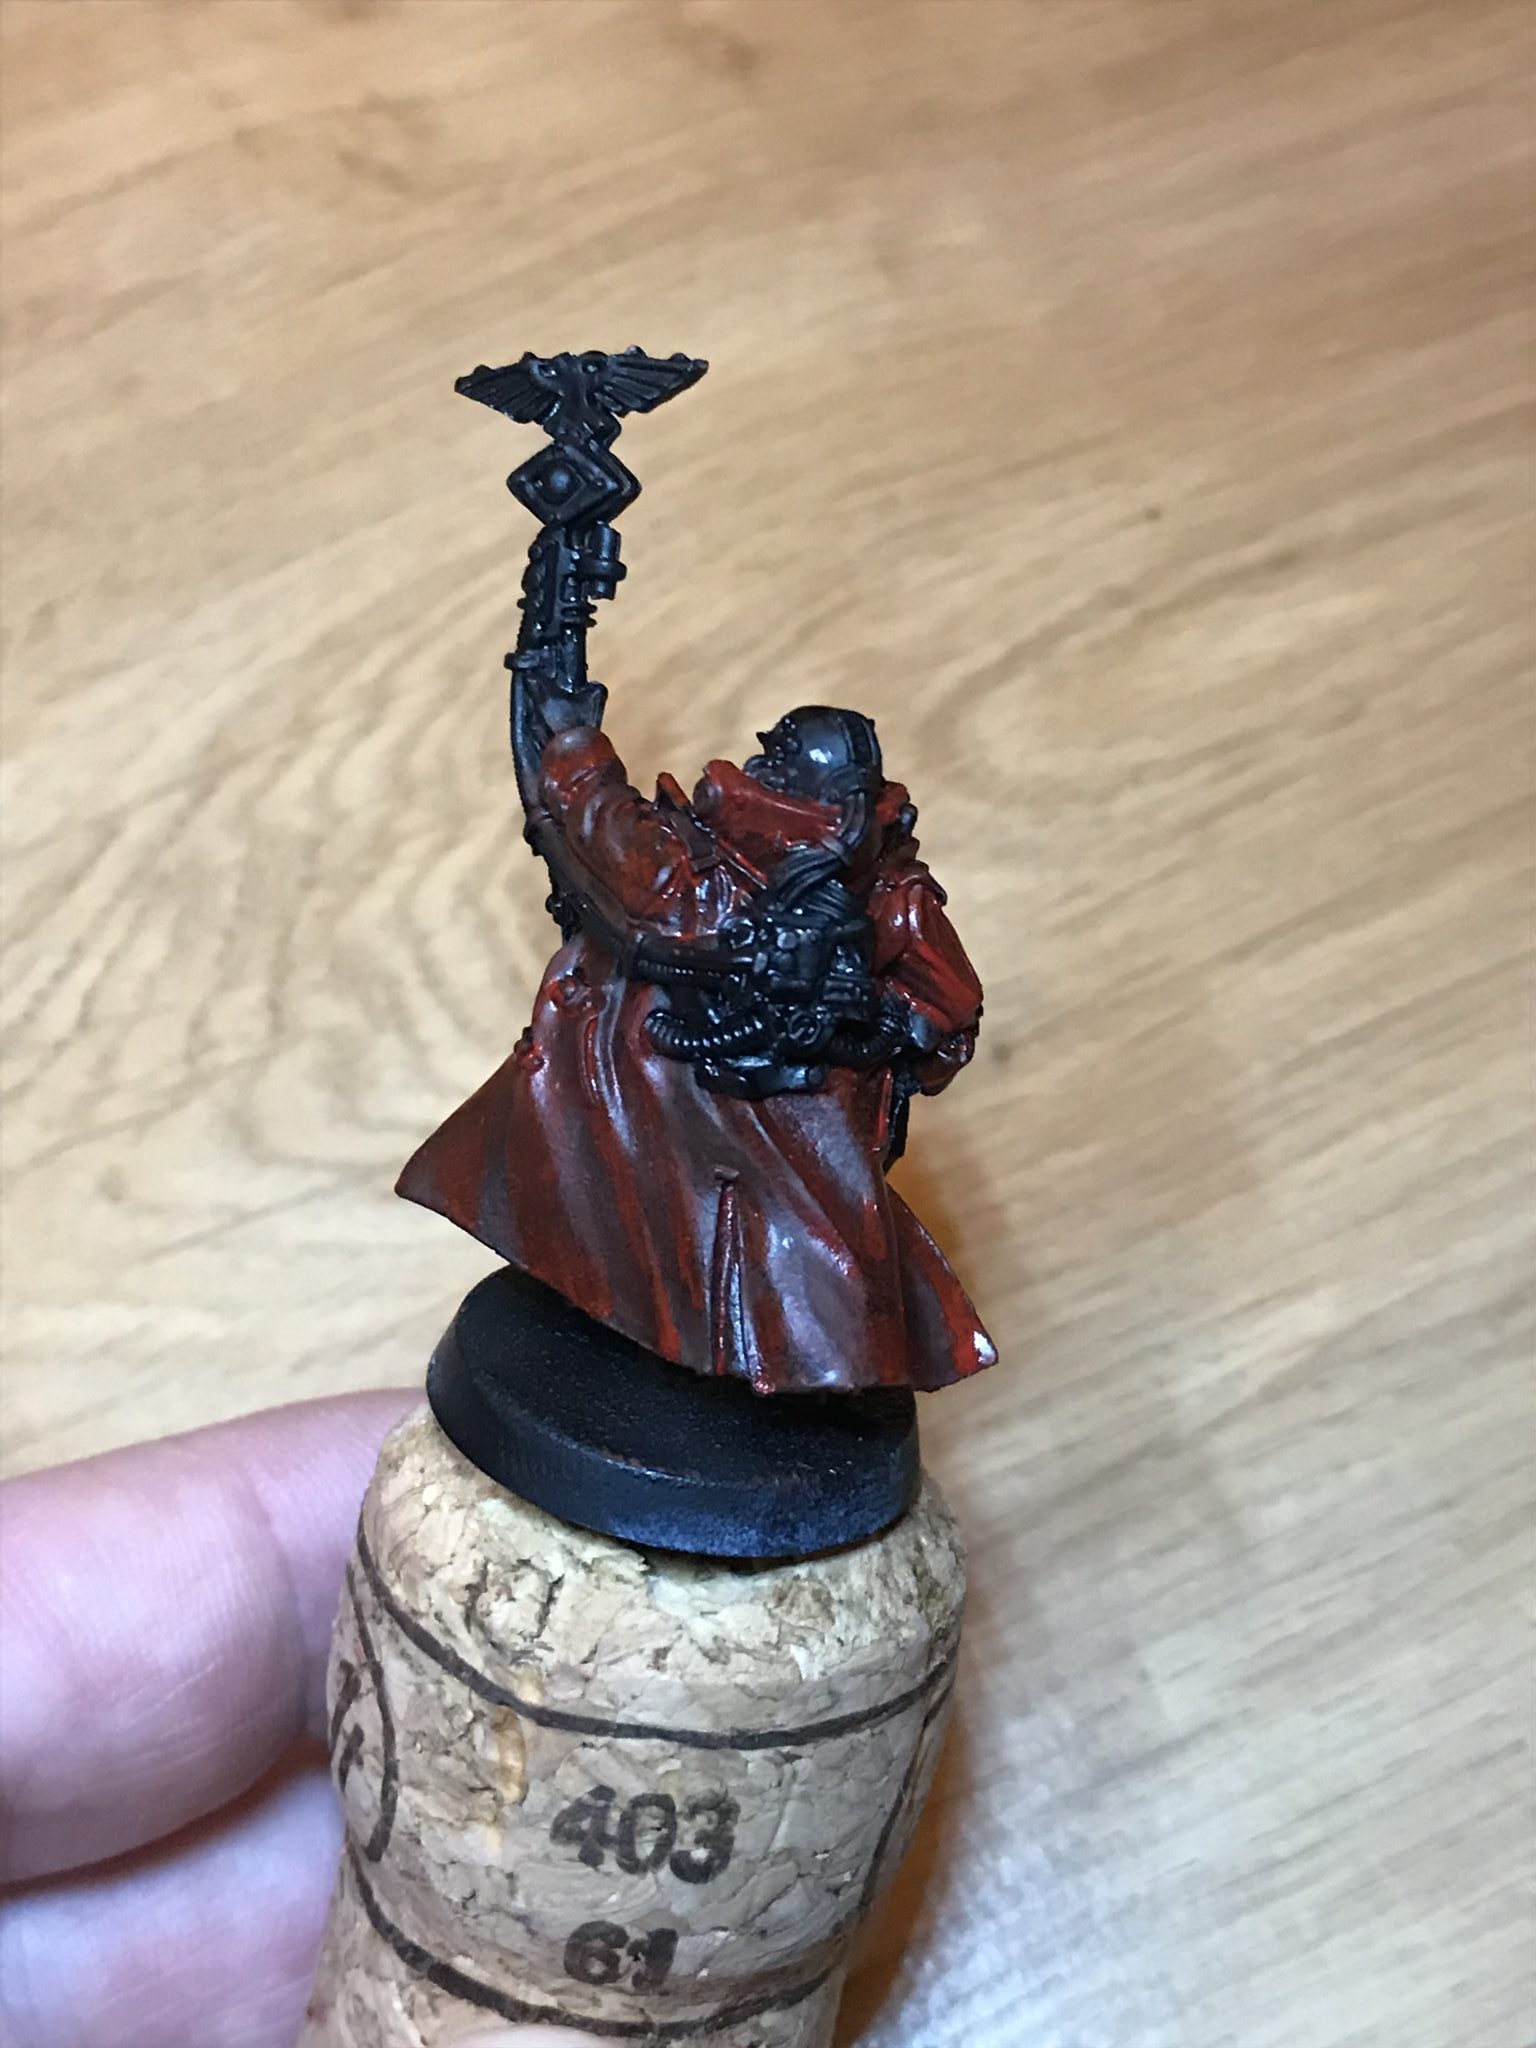
- Sixth layer – Wet Blending

Top Layer
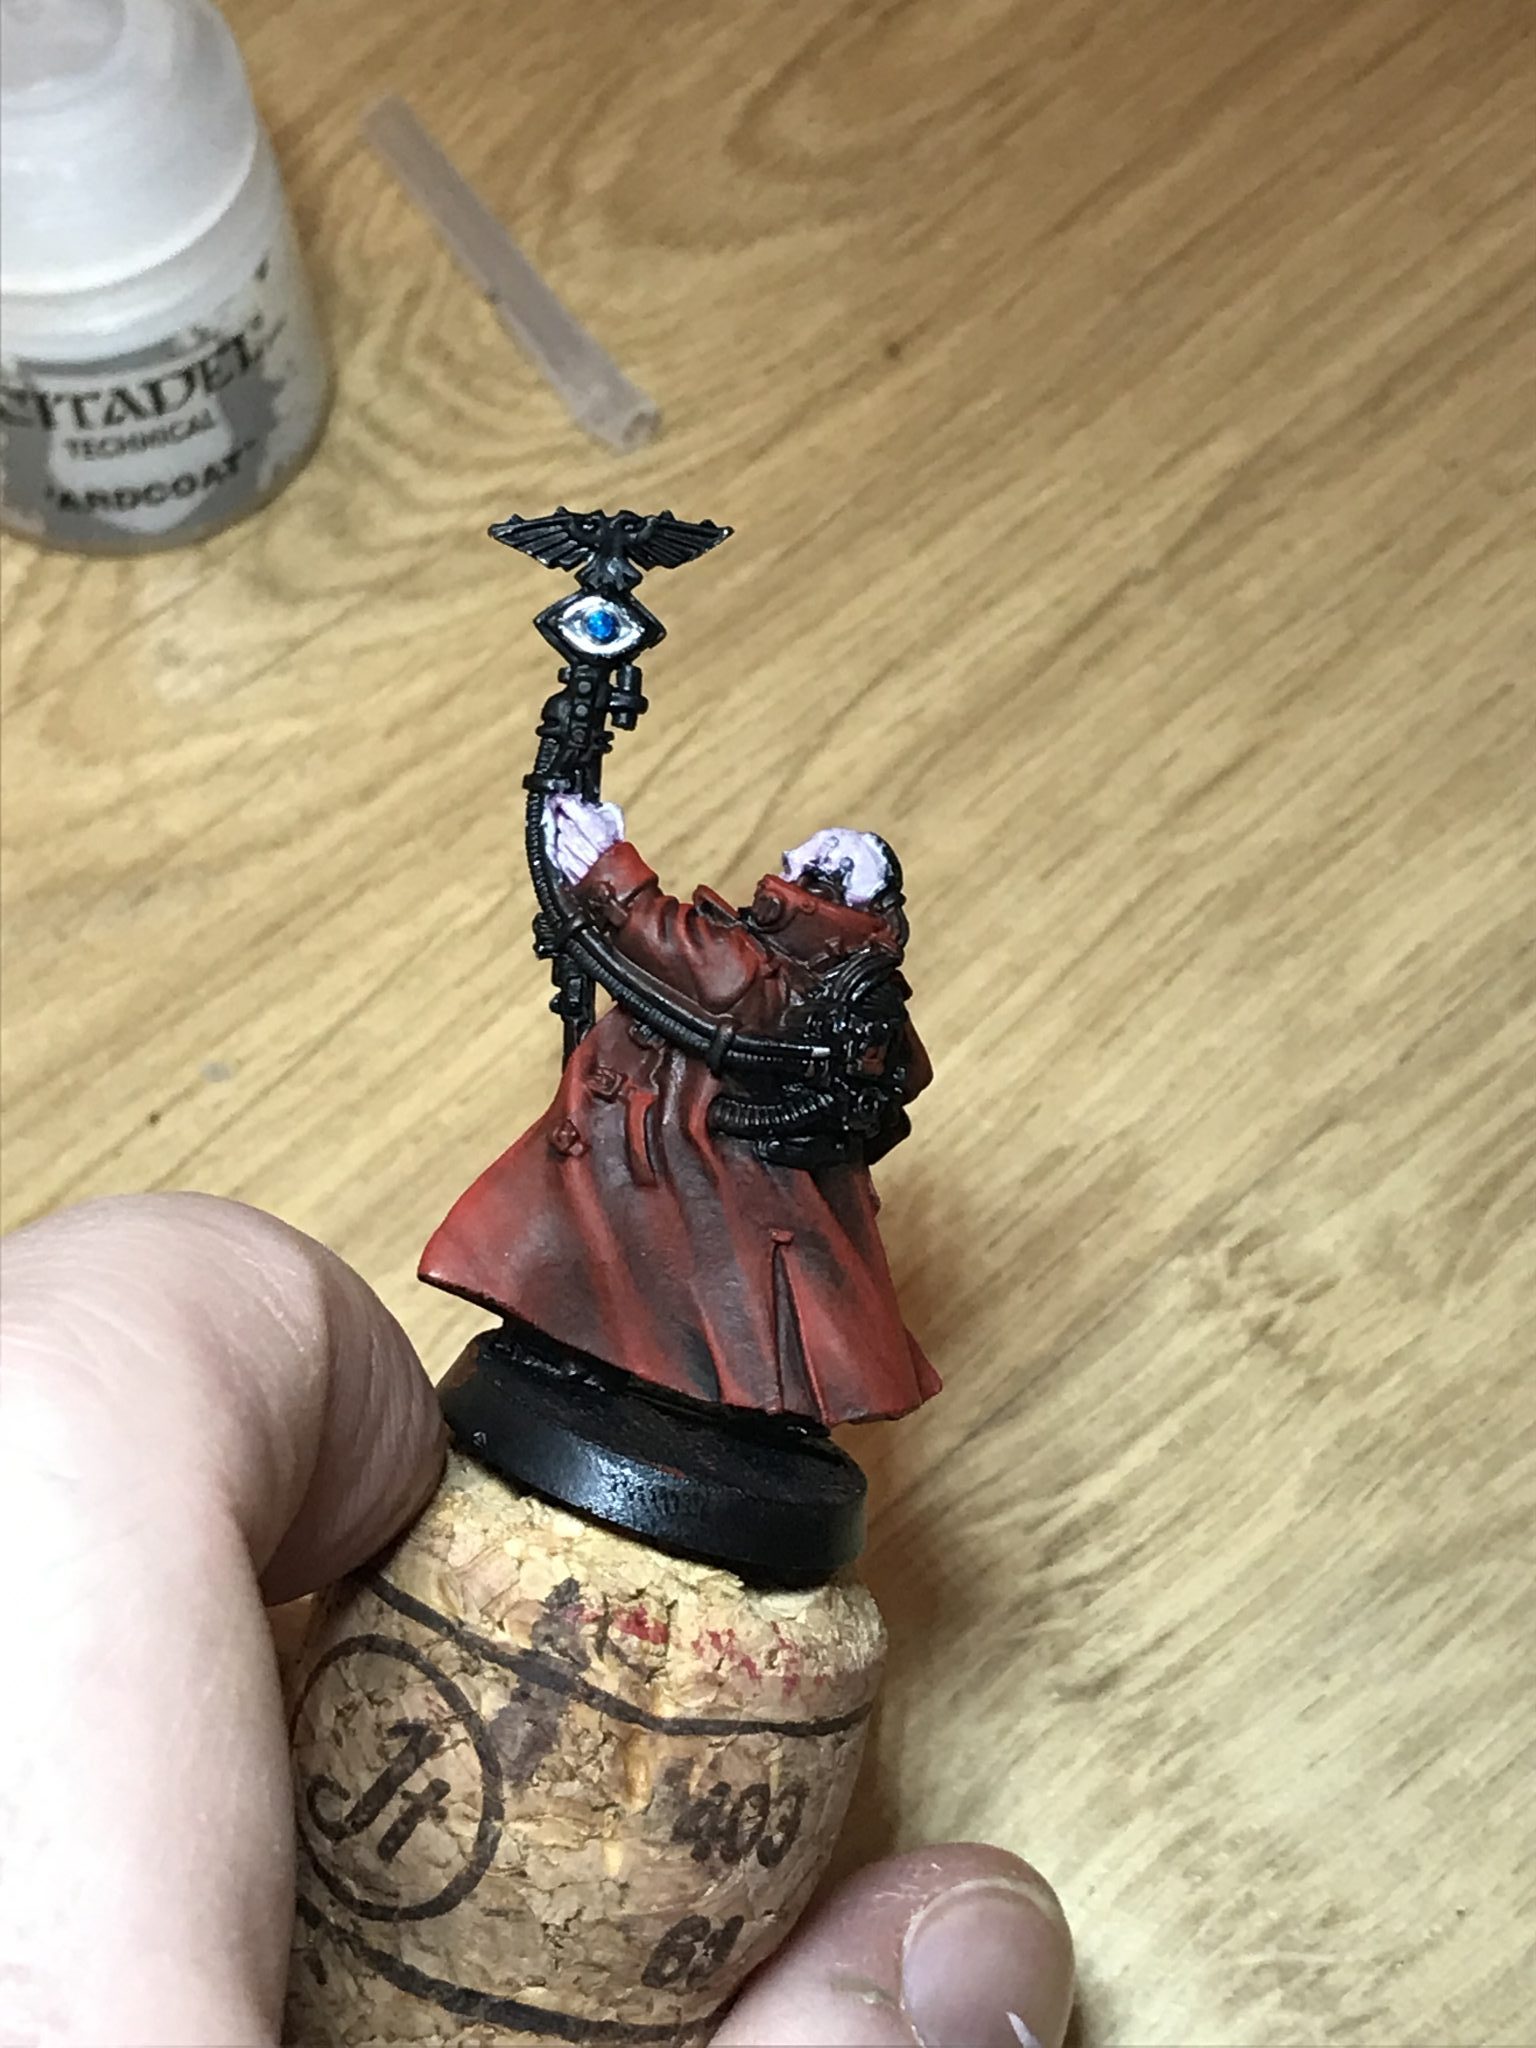
Once I was happy with the Mephiston Red I went to Evil Sunz Scarlet – which is brighter. This was then used on the most raised areas of the cloak and particularly on the left arm and cowl.
I used Mephiston Red to blend this new layer of brighter red into the existing transition. And then a little more black to blend it all together.
Summary So Far
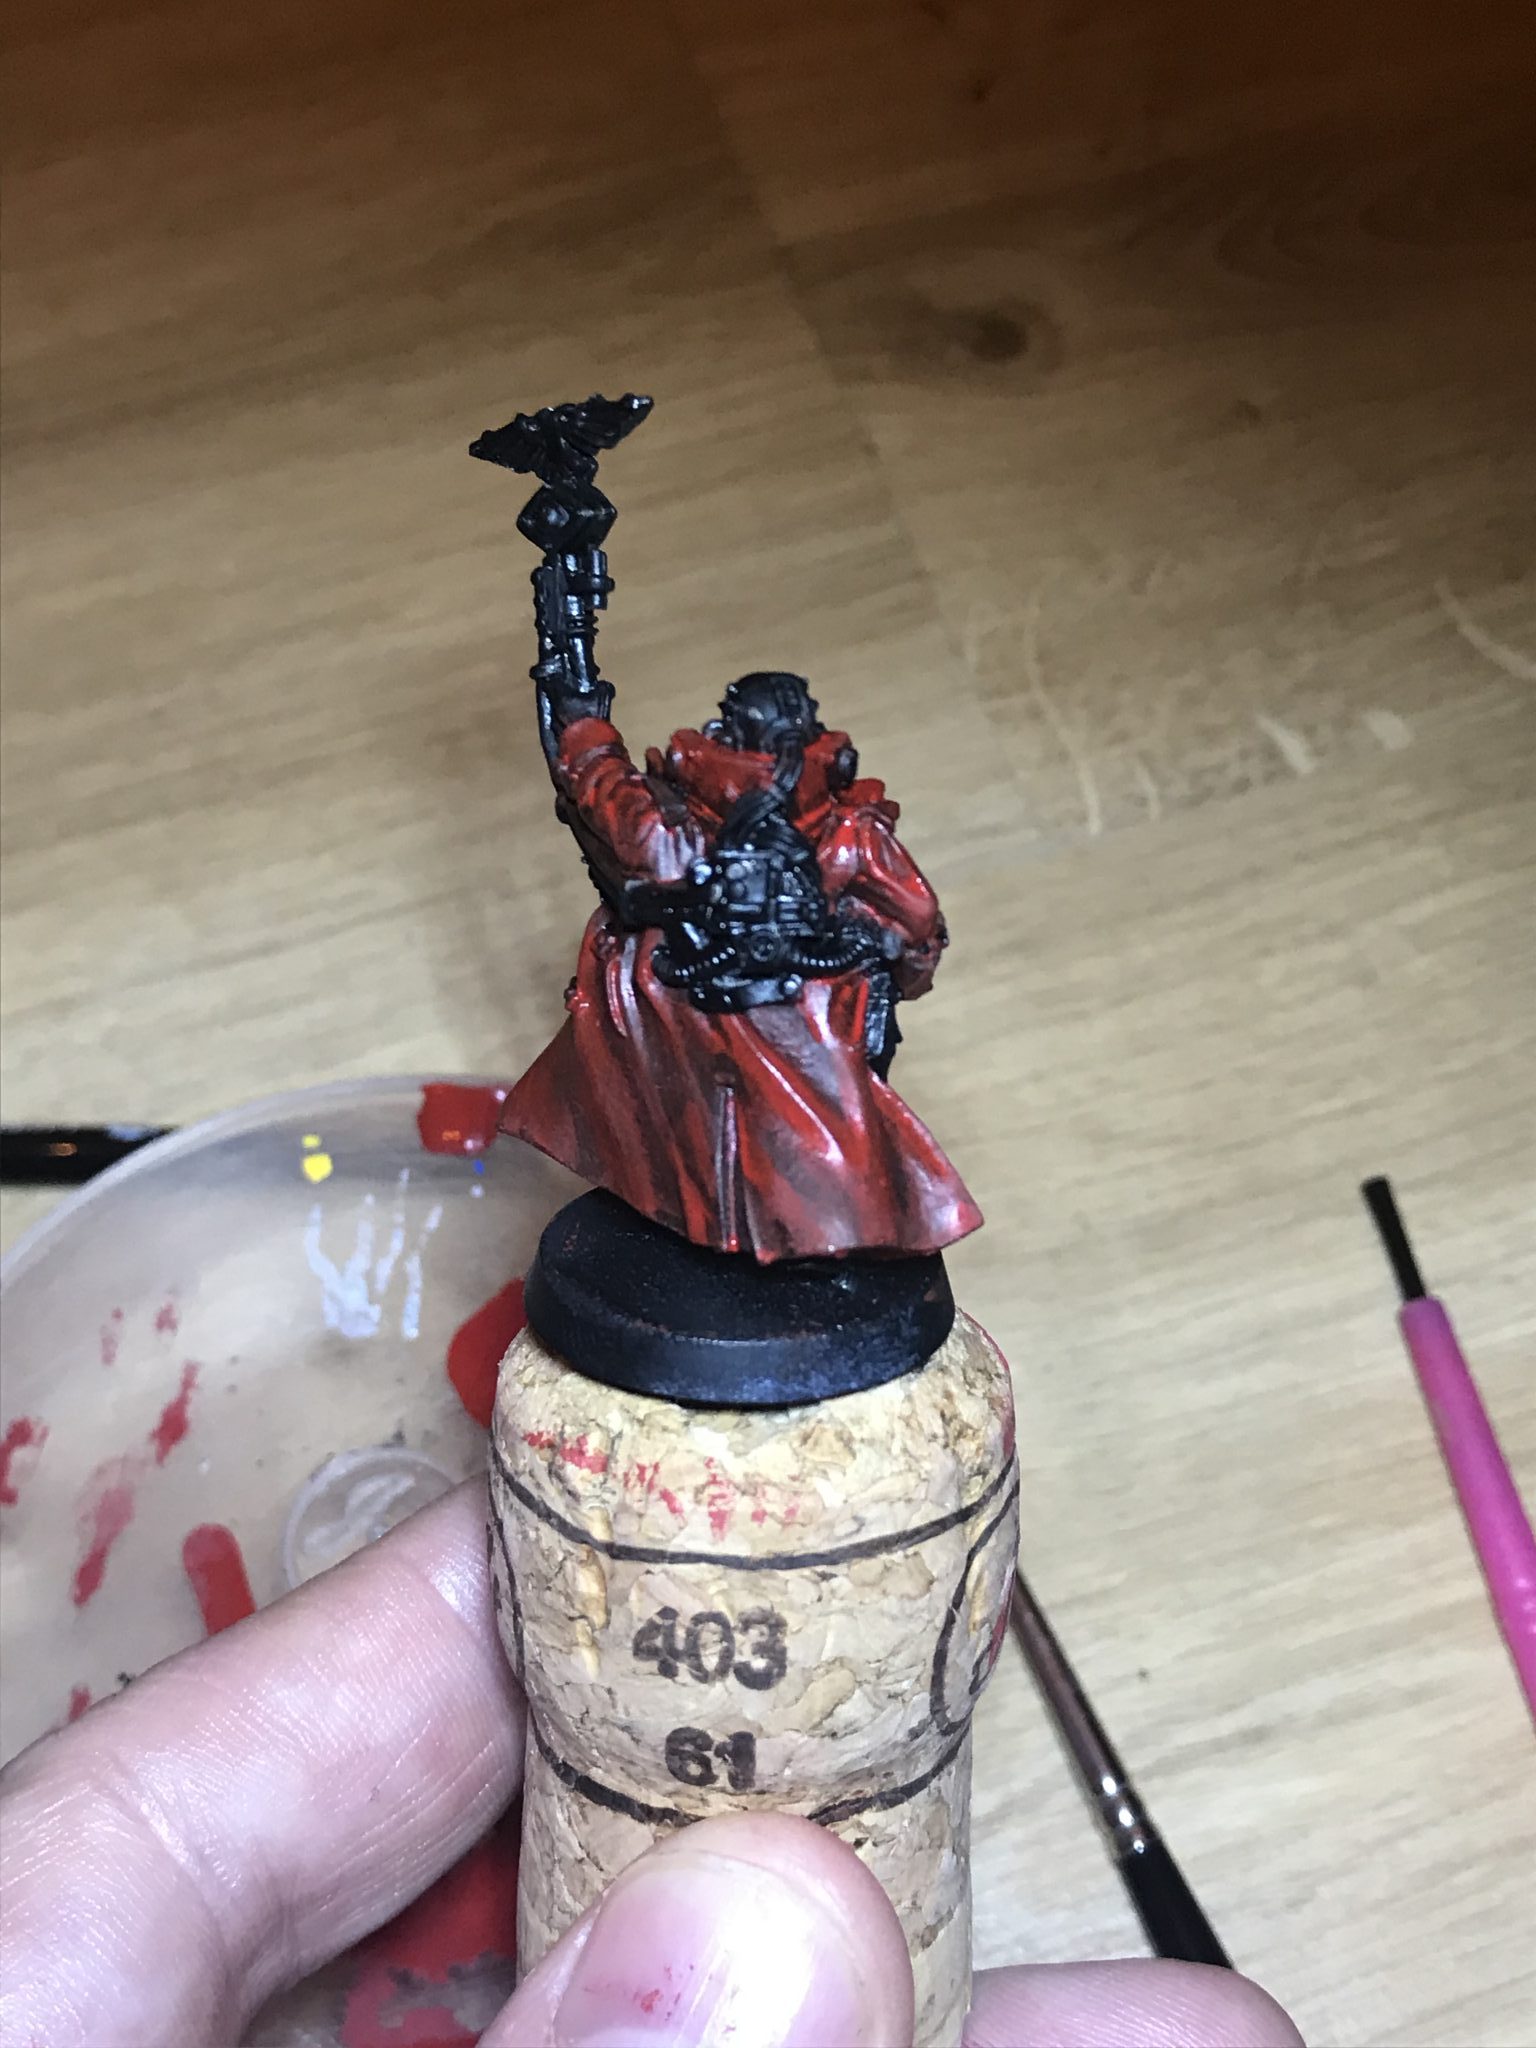
This so far is very trial and error. Once the first three layers were down I started using very small amounts of paint to do small areas. I’d then use a very thin layer at the very end – over most of it – to bind it all together and to try and remove any straight lines where the transition is perhaps not as good as it could be.
I also started to use just the slow dry fluid to blend the paint into a very transparent mix on the model. This worked pretty well and this is what I mean by trial and error. I hadn’t seen this used anywhere but I felt like it might work – and it did!
I would highly recommend that you try this method of painting if you haven’t already. It’s a lot easier then I expected and I’m really impressed with the results.
Finishing the Red
I finished off the red with a sixth layer and called that completed. I was in danger of going too far and trying to do things I wasn’t ready for. Such as a final white highlight to give the appearance of a shine on the most exposed edges.
So I decided to leave it here for this model and his red cloak.
Cloak Inner
The inner was red up until this point. I had been using the same technique on the inner as you can see from the photos.
But after reviewing many photos online I decided to make the inner its own colour. And I’m glad I did! It really makes a difference to the model.
I used Baneblade Brown as the first colour and then used Screaming Skull around the edges. With it all fading into black at the bottom.
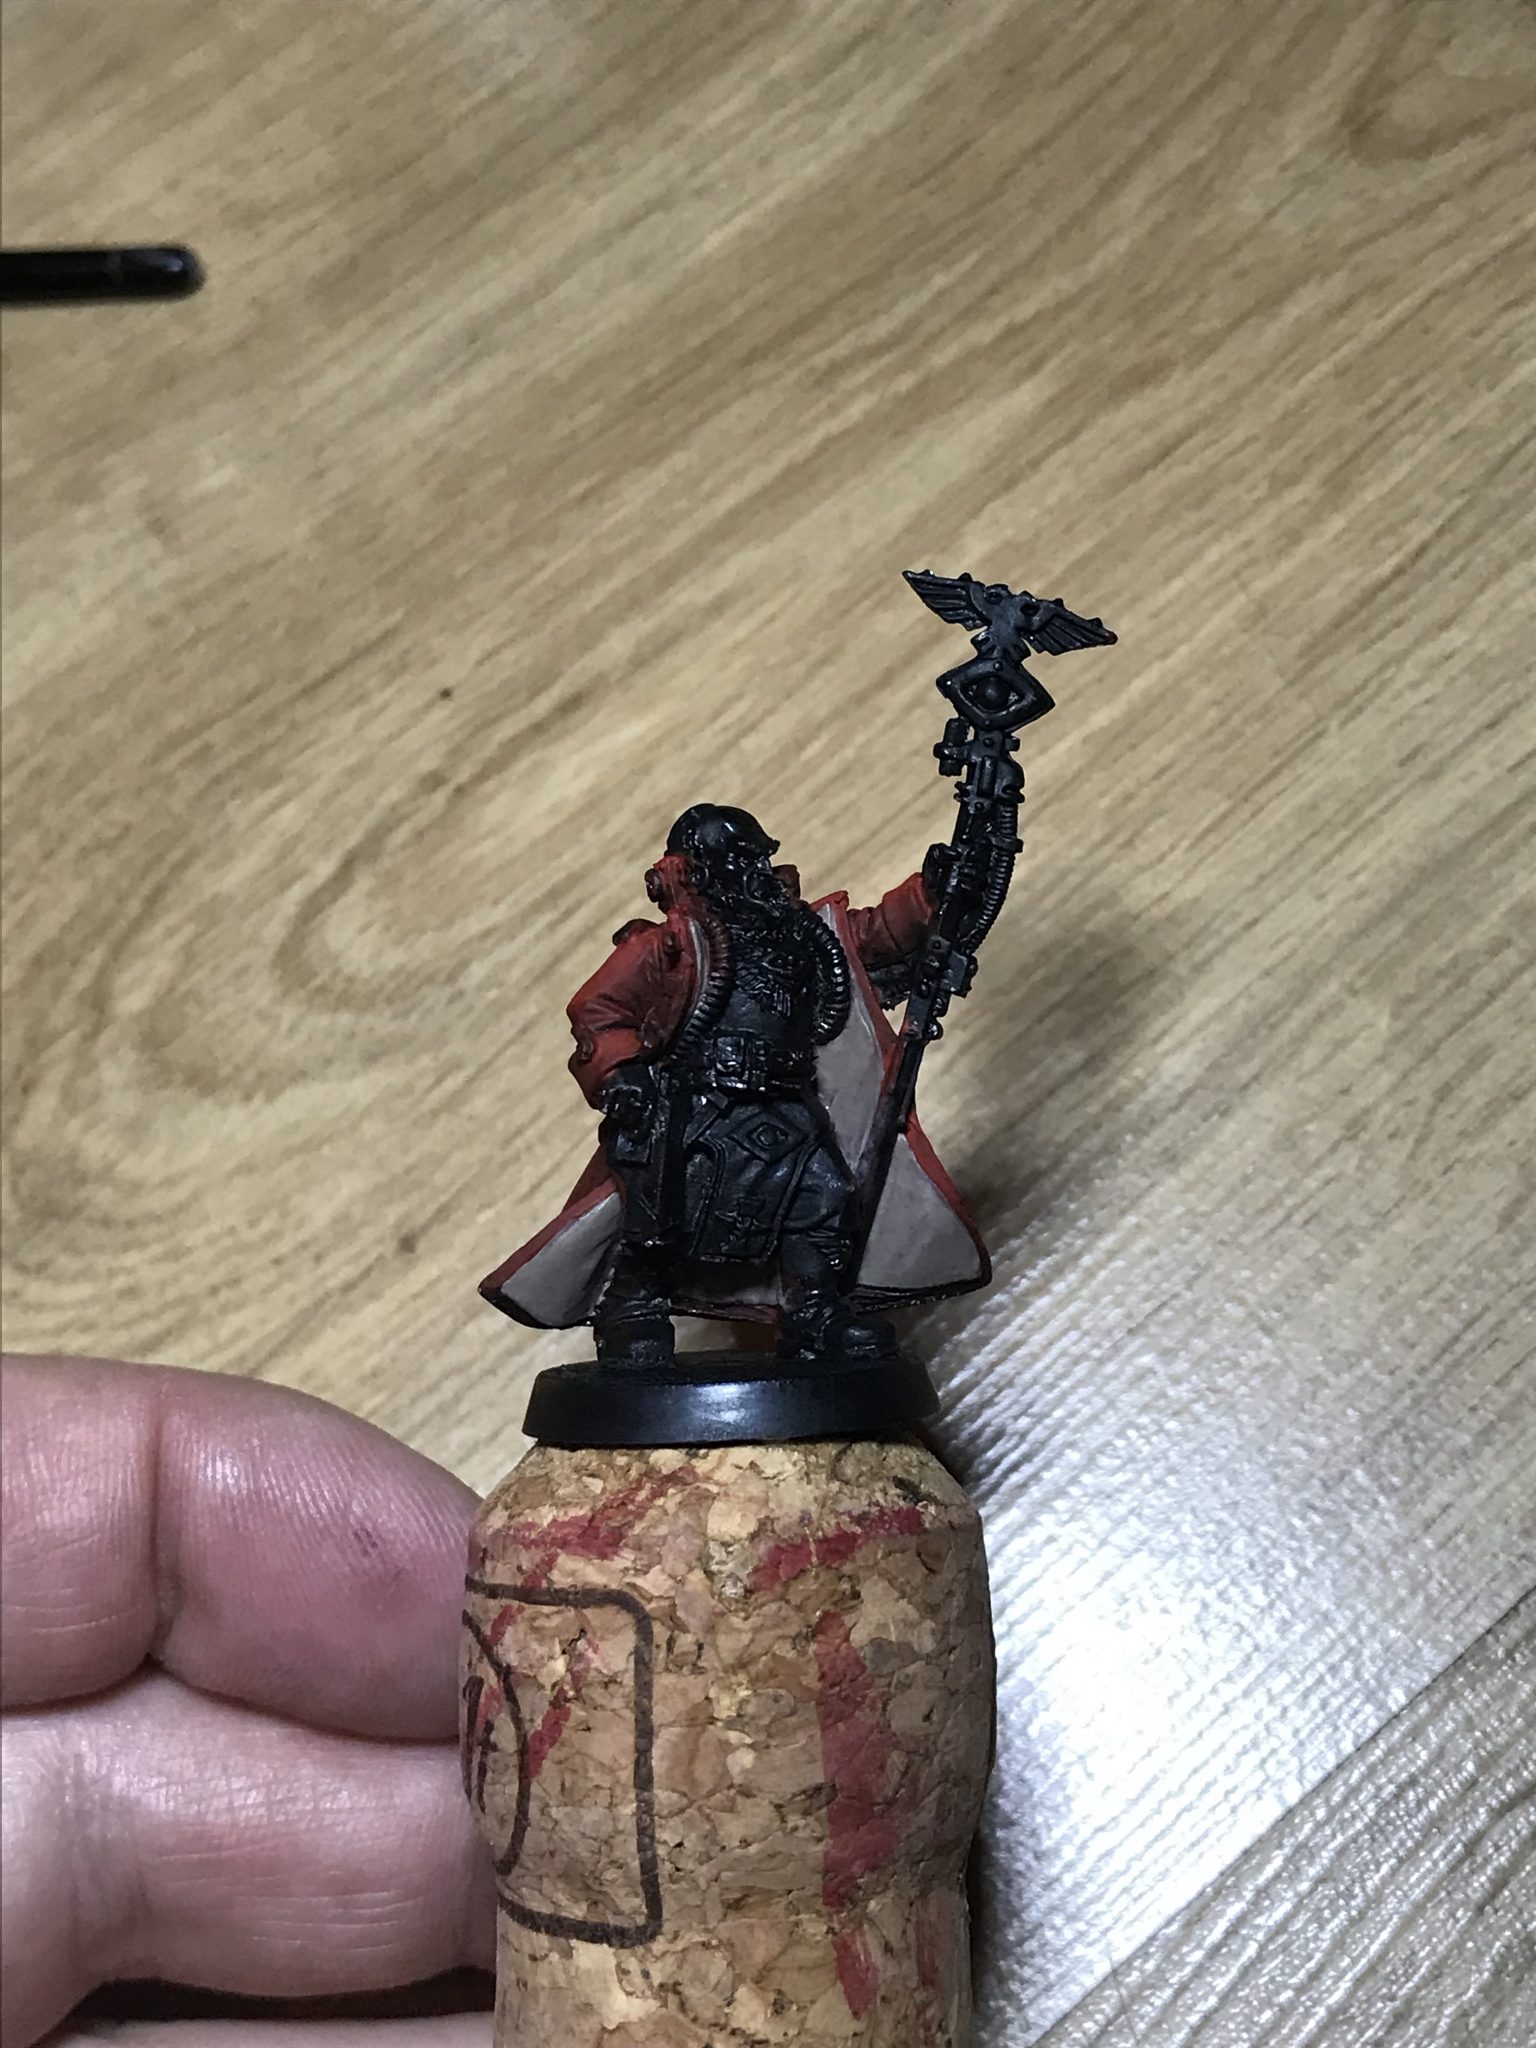
Inner cloak started – Wet Blending
Front Section & Trousers
The front section I did green, I started with Death World Forest. It was much paler than I expected. But it seemed like a good starting point.
This part was very hard. The folds and pleats are very small and slight. So making them defined was a lot of back and both.
I used Skarsnik Green to highlight and Castellan Green for the darker green. Everything just seemed too dark on the green at this point because there isn’t as much area to do the transition. And because I’m not that good at it, the smaller areas on this front section seemed to have no transition- they were just greenish. So I moved to Ushabti Bone to give more of a highlight. Which seems to have worked.
The trousers I did with Steel Legion Drab and black for the shadows. More to do there I think.
Details had begun now so hopefully the next time you see this model on my 40K blog – he’ll be done!
Front section in green
Final Tips
Some final tips and points of note from my experience;
- Thinner is better – aim for a skimmed milk consistency of fluid and paint
- Be patient with your layers – take your time and do many layers
- Use a hair dryer to dry layers much more quickly
- Look at lots of other people’s models to try and see where you should be doing your highlights and lowlights
- Use the slow dry fluid on its own, on the model to really thin down paint and blend it over an already dry area
- Use small amounts of paint on a detail brush, I think it’s perfectly possible to use this method more quickly with a bigger brush – but I’m not there yet
- Small areas are hard – I think I need a new method for these – such as this green front section of clothing
Primaris Psyker progress at the time of publishing