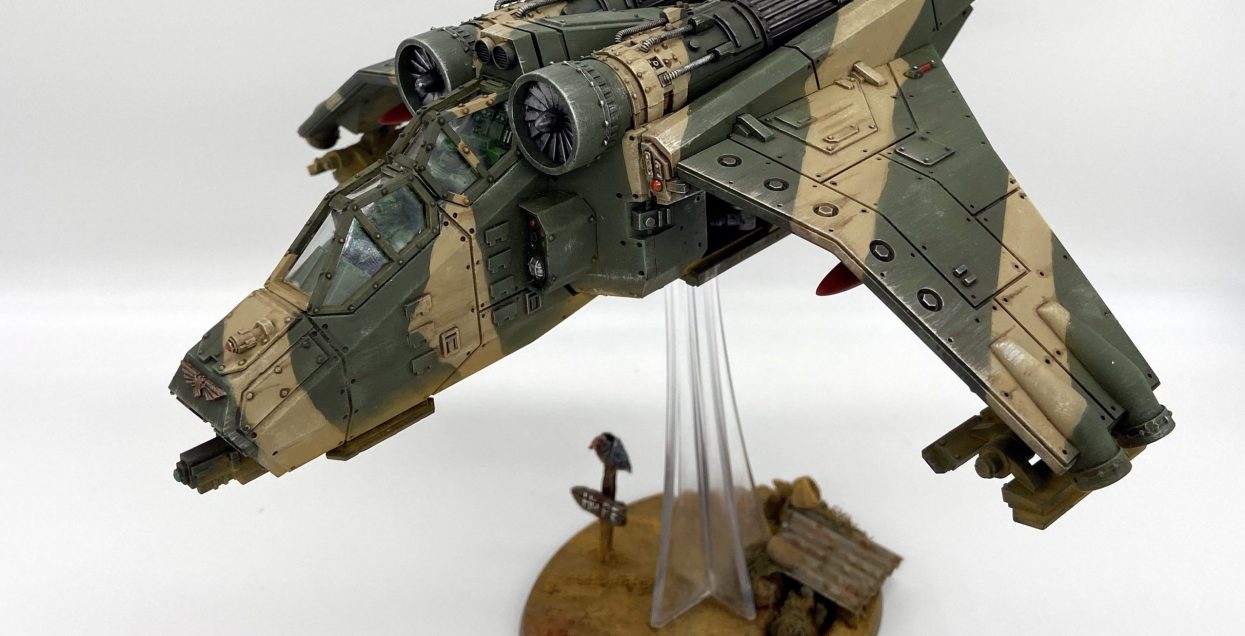

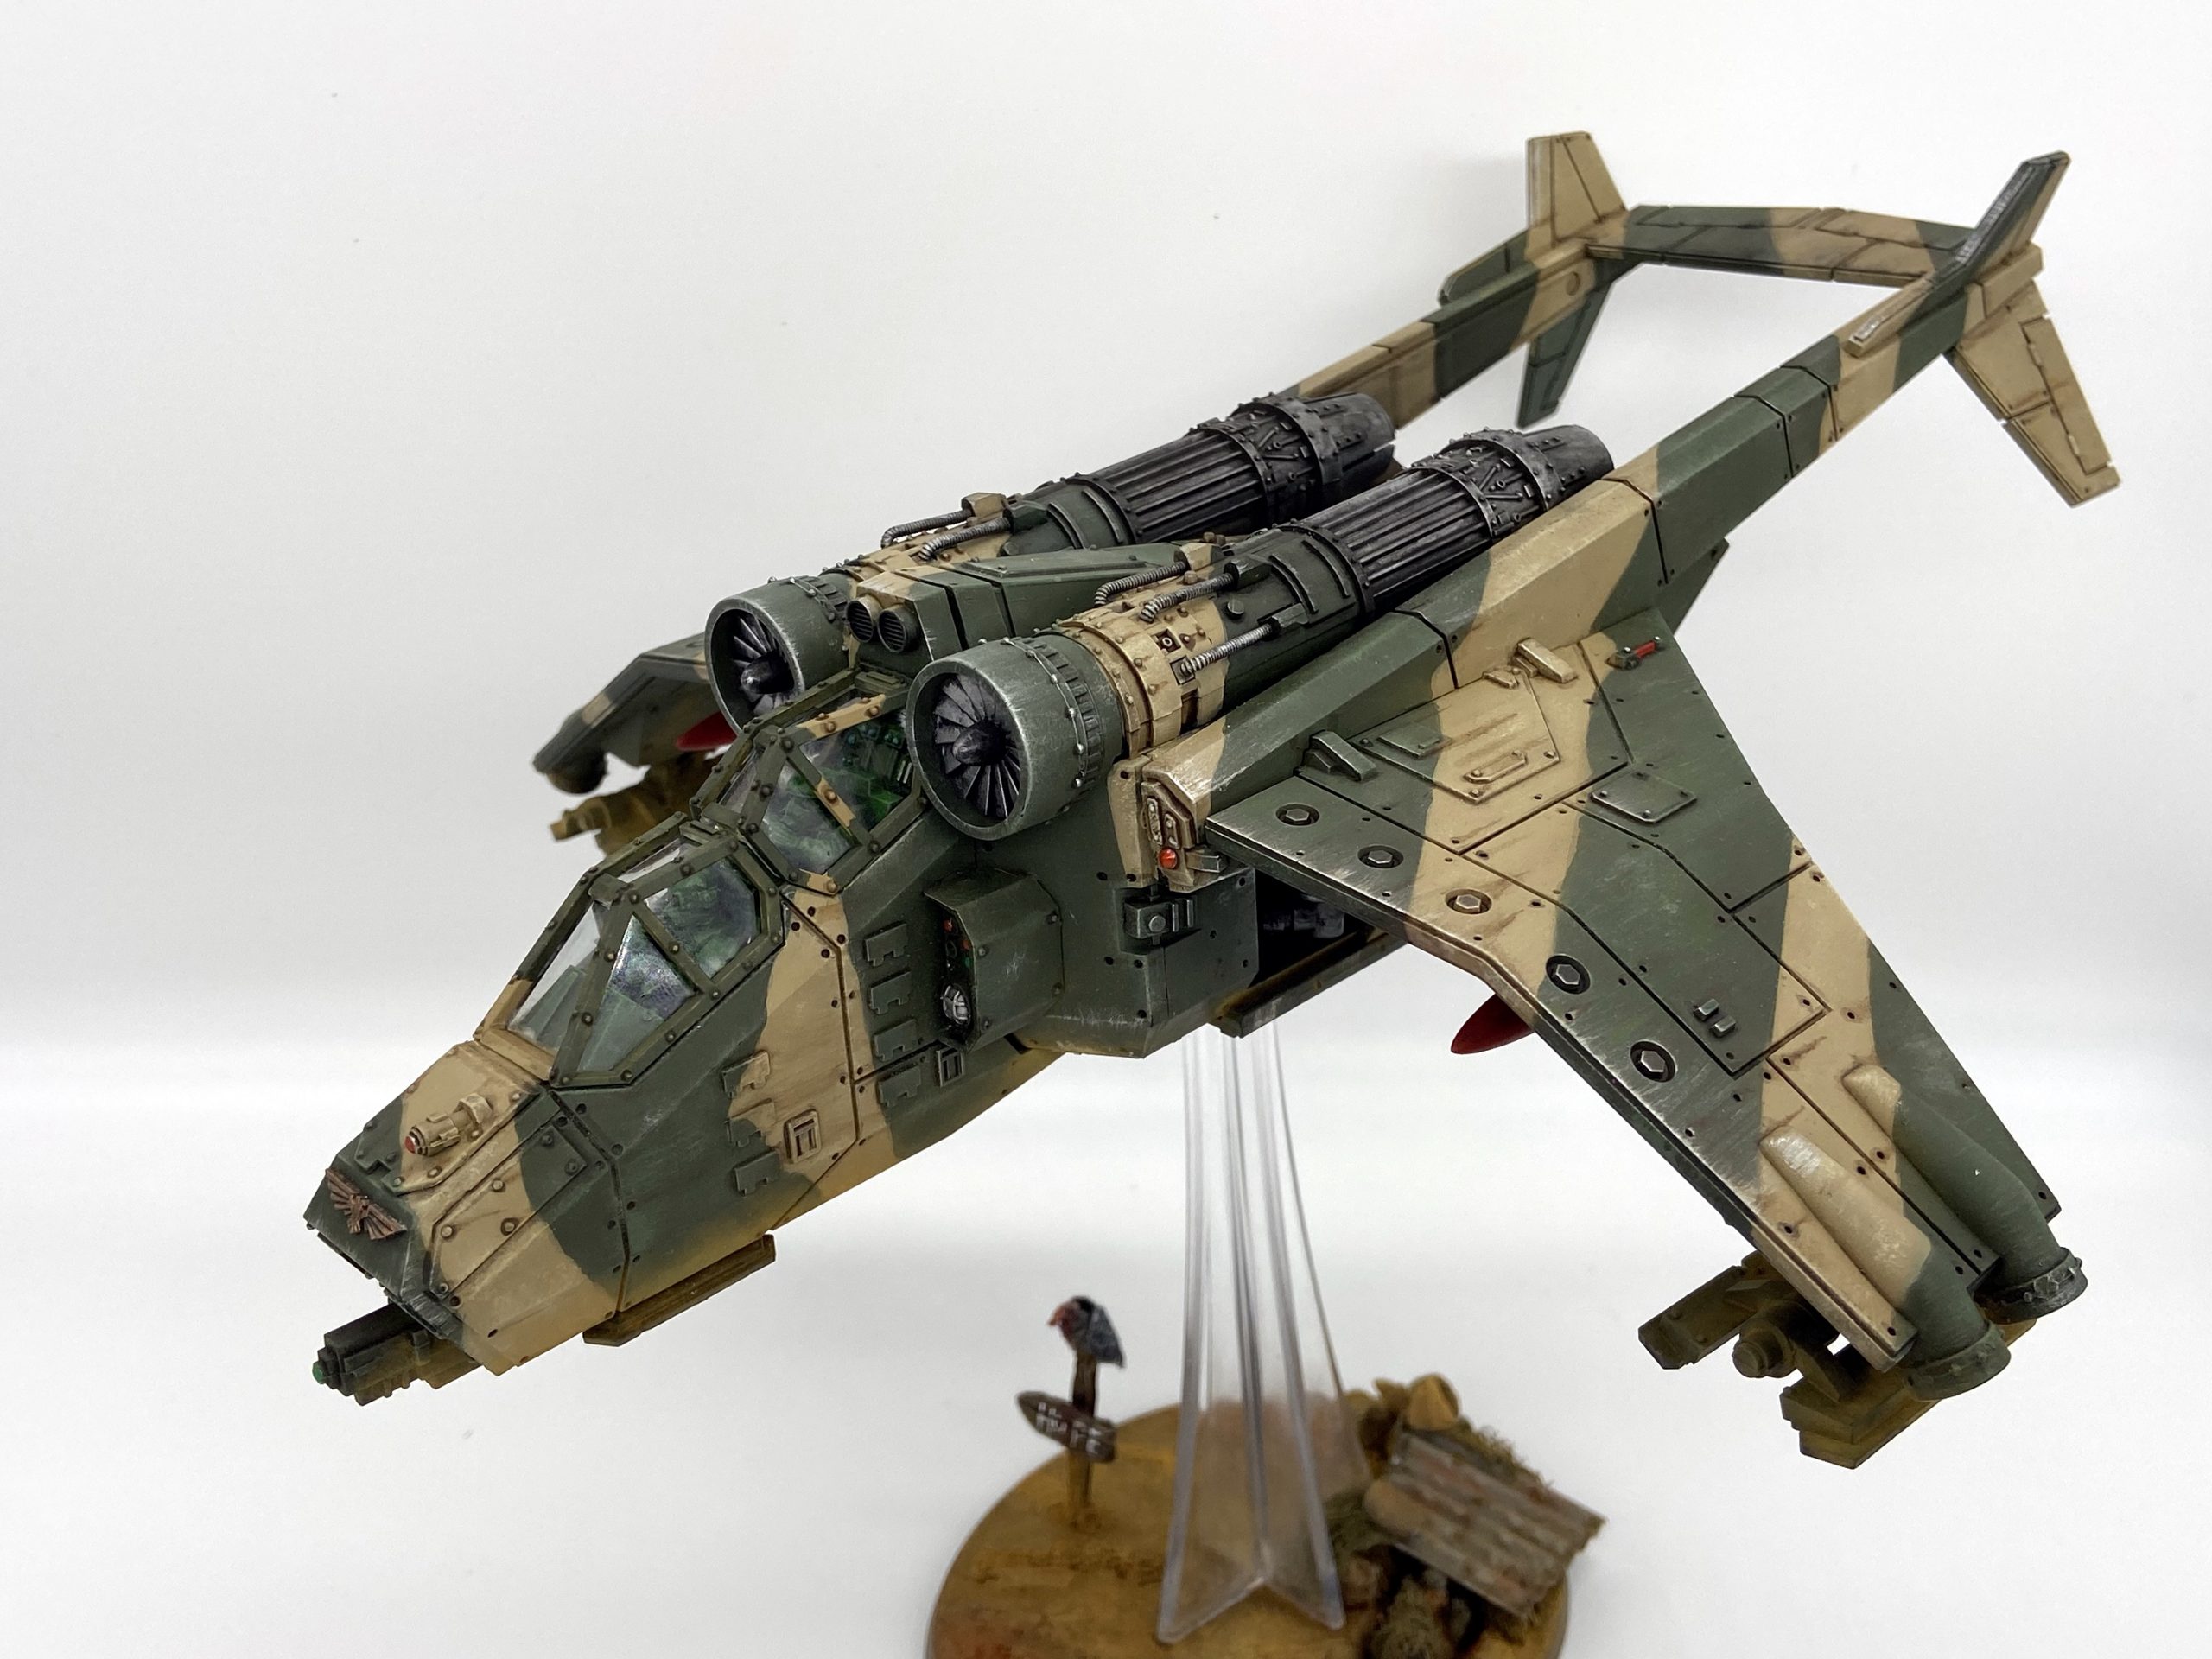
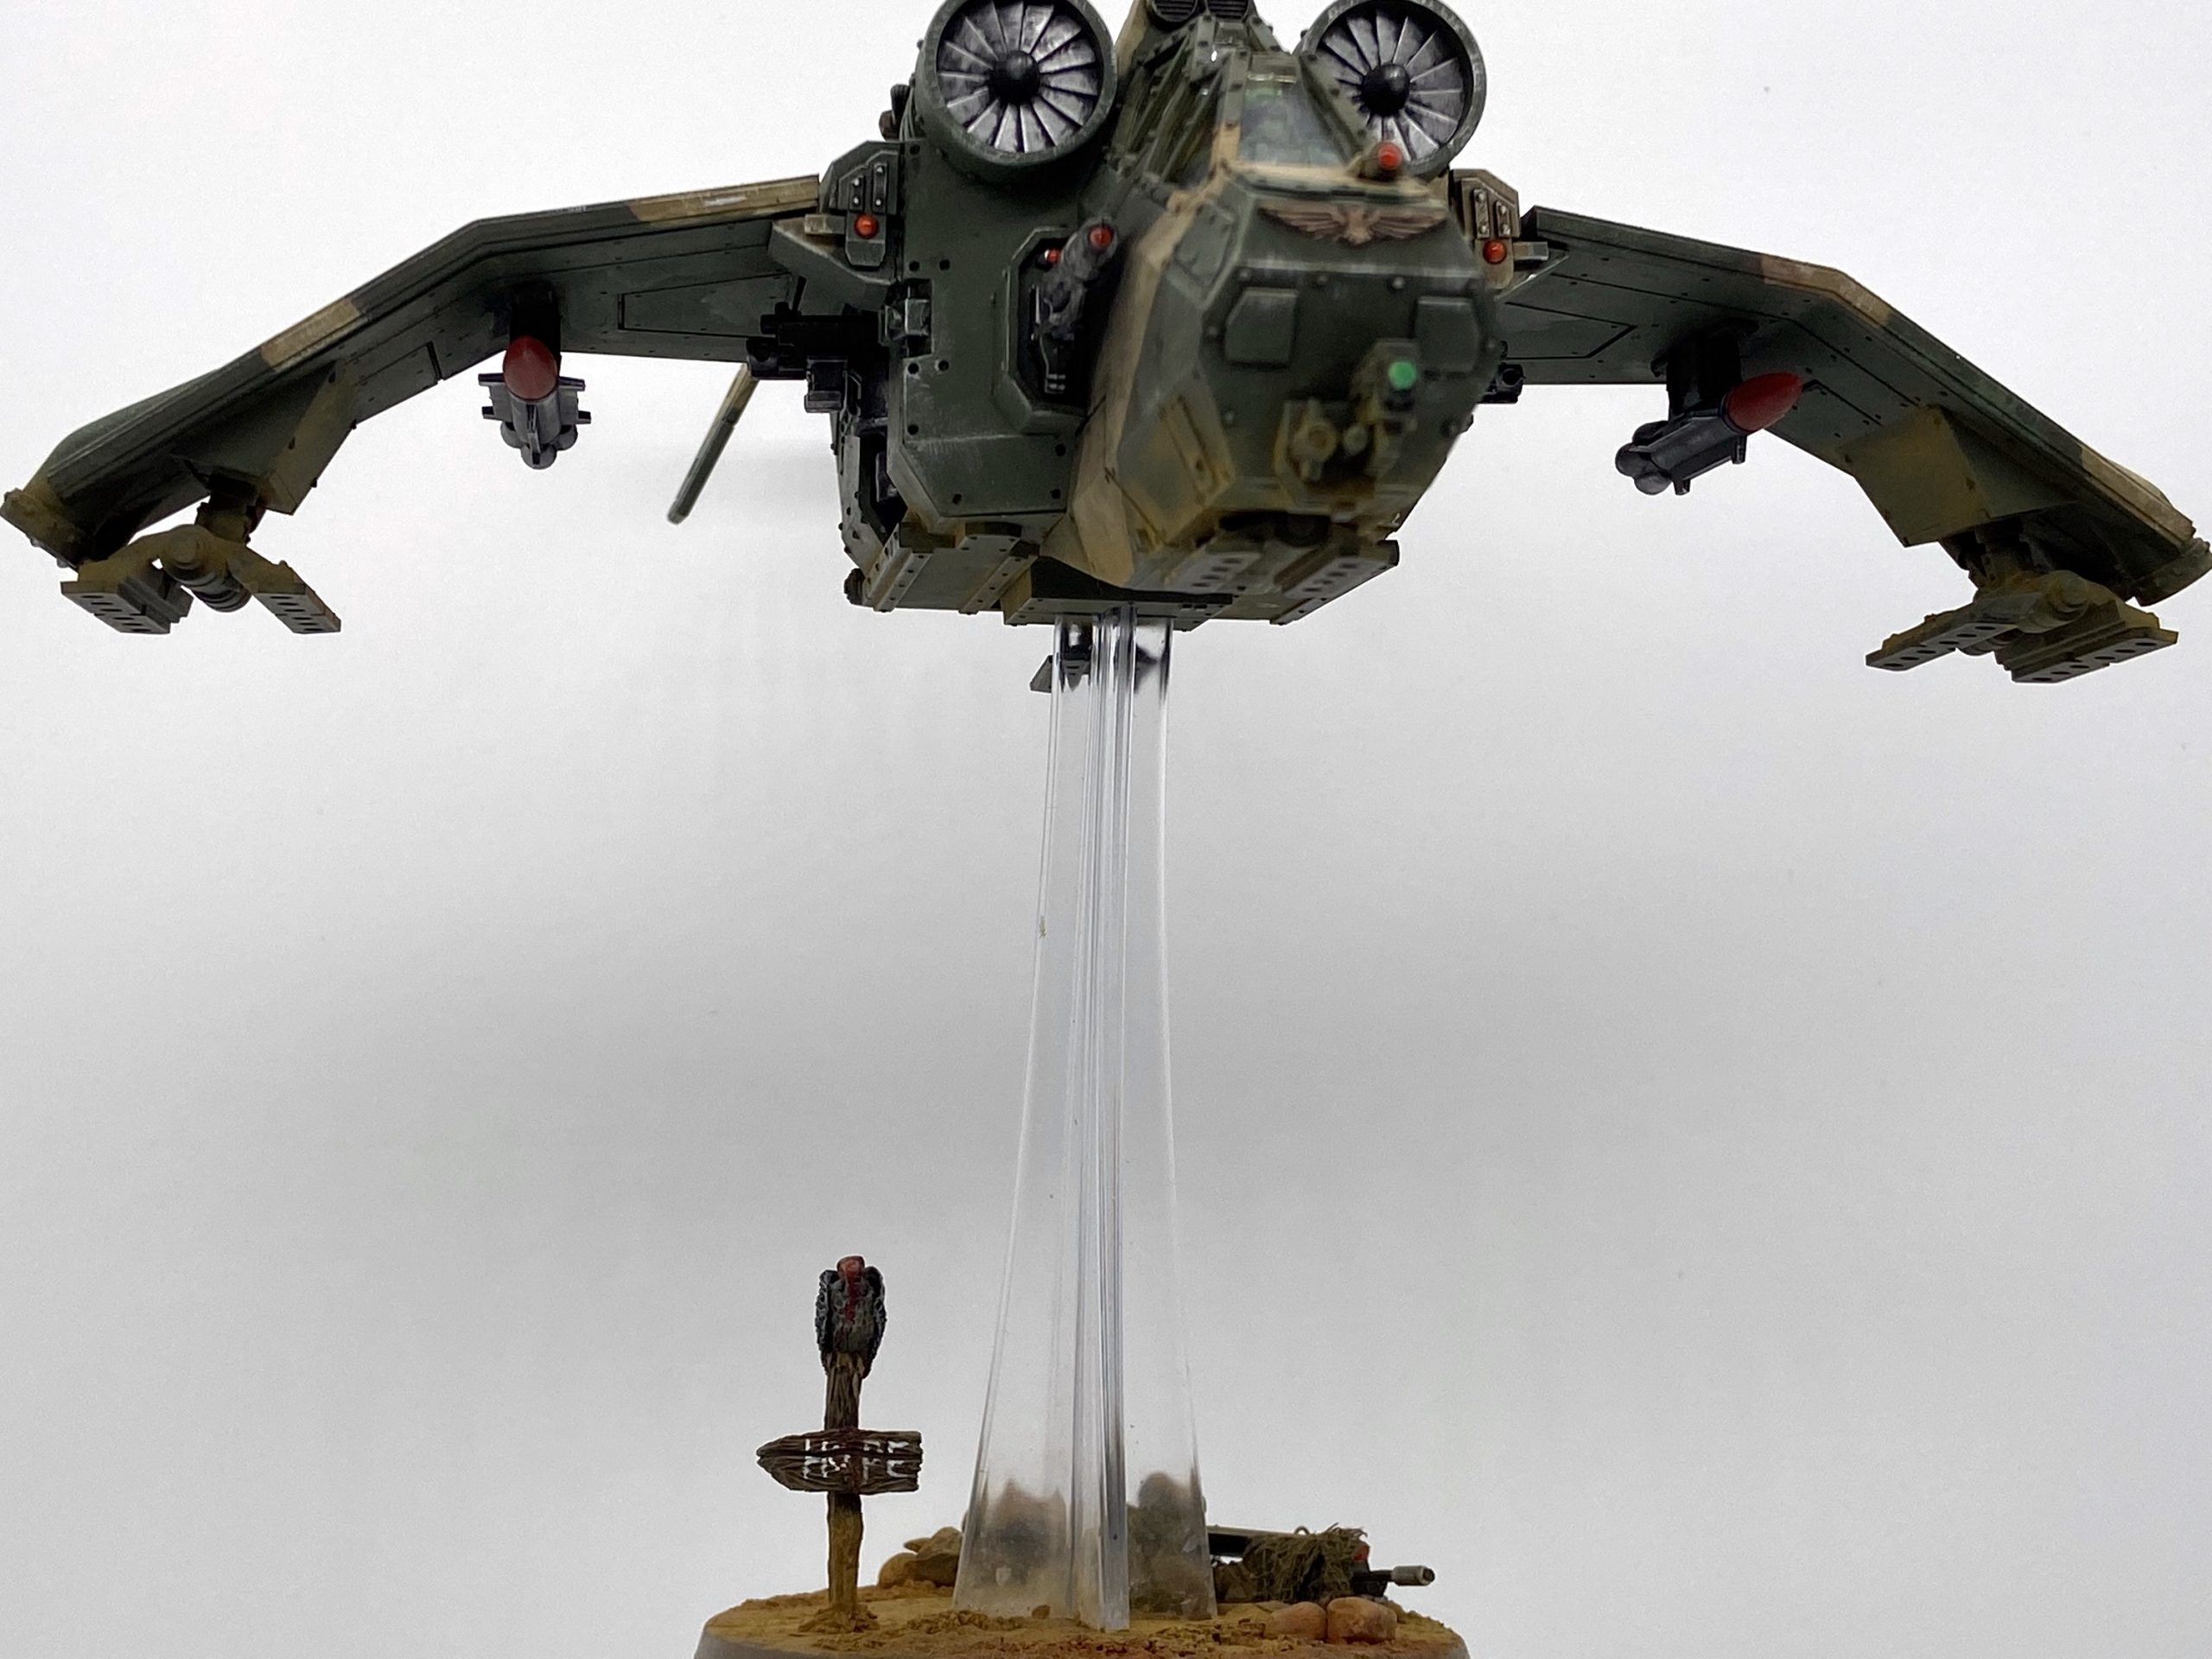
Valkyrie Completed
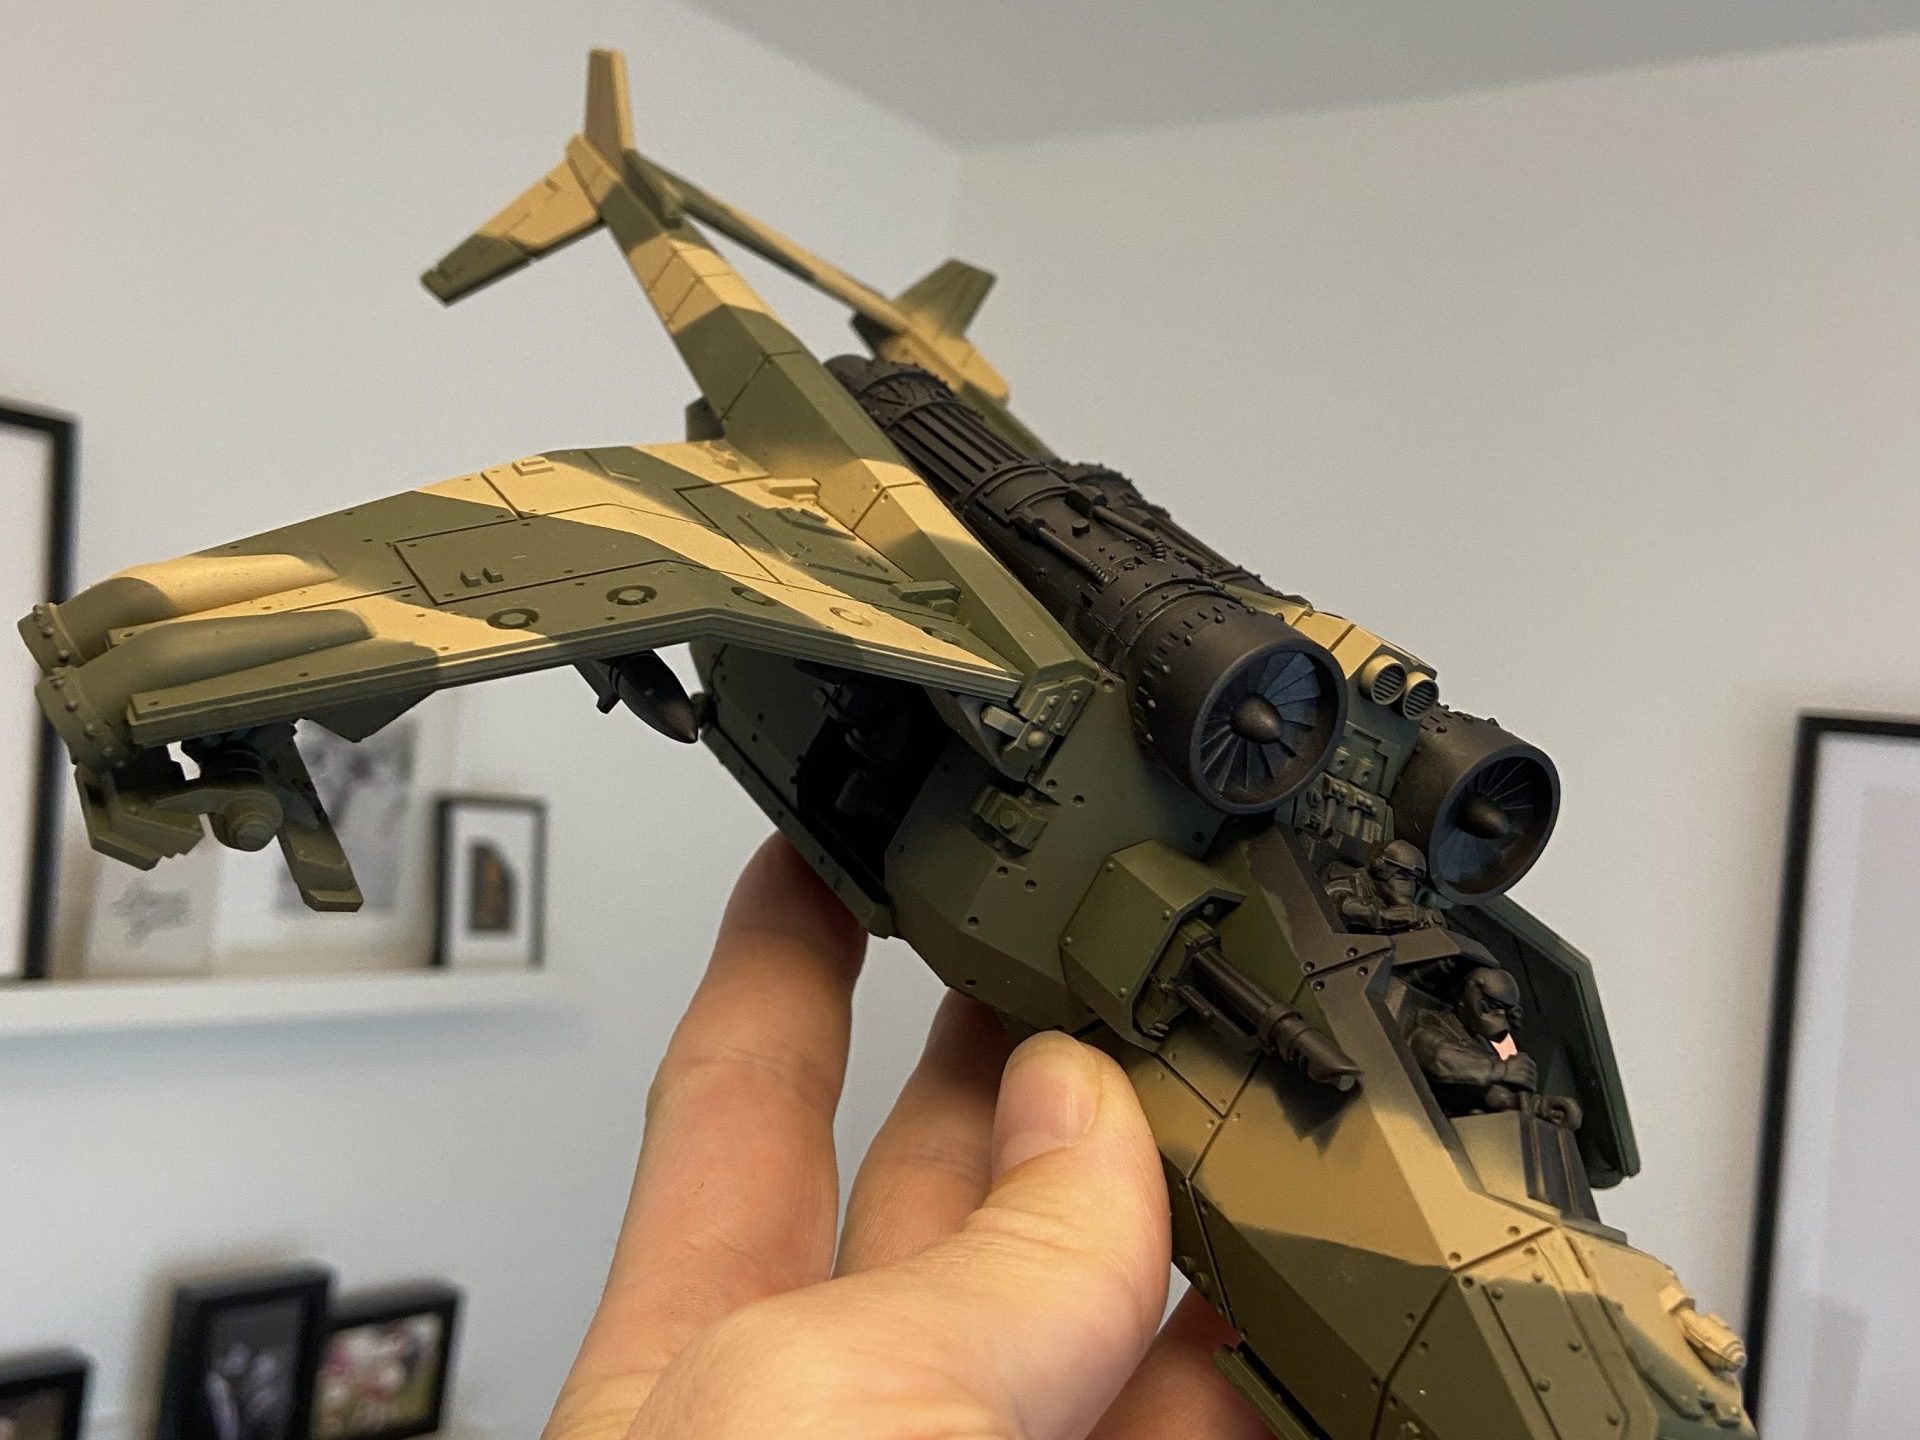
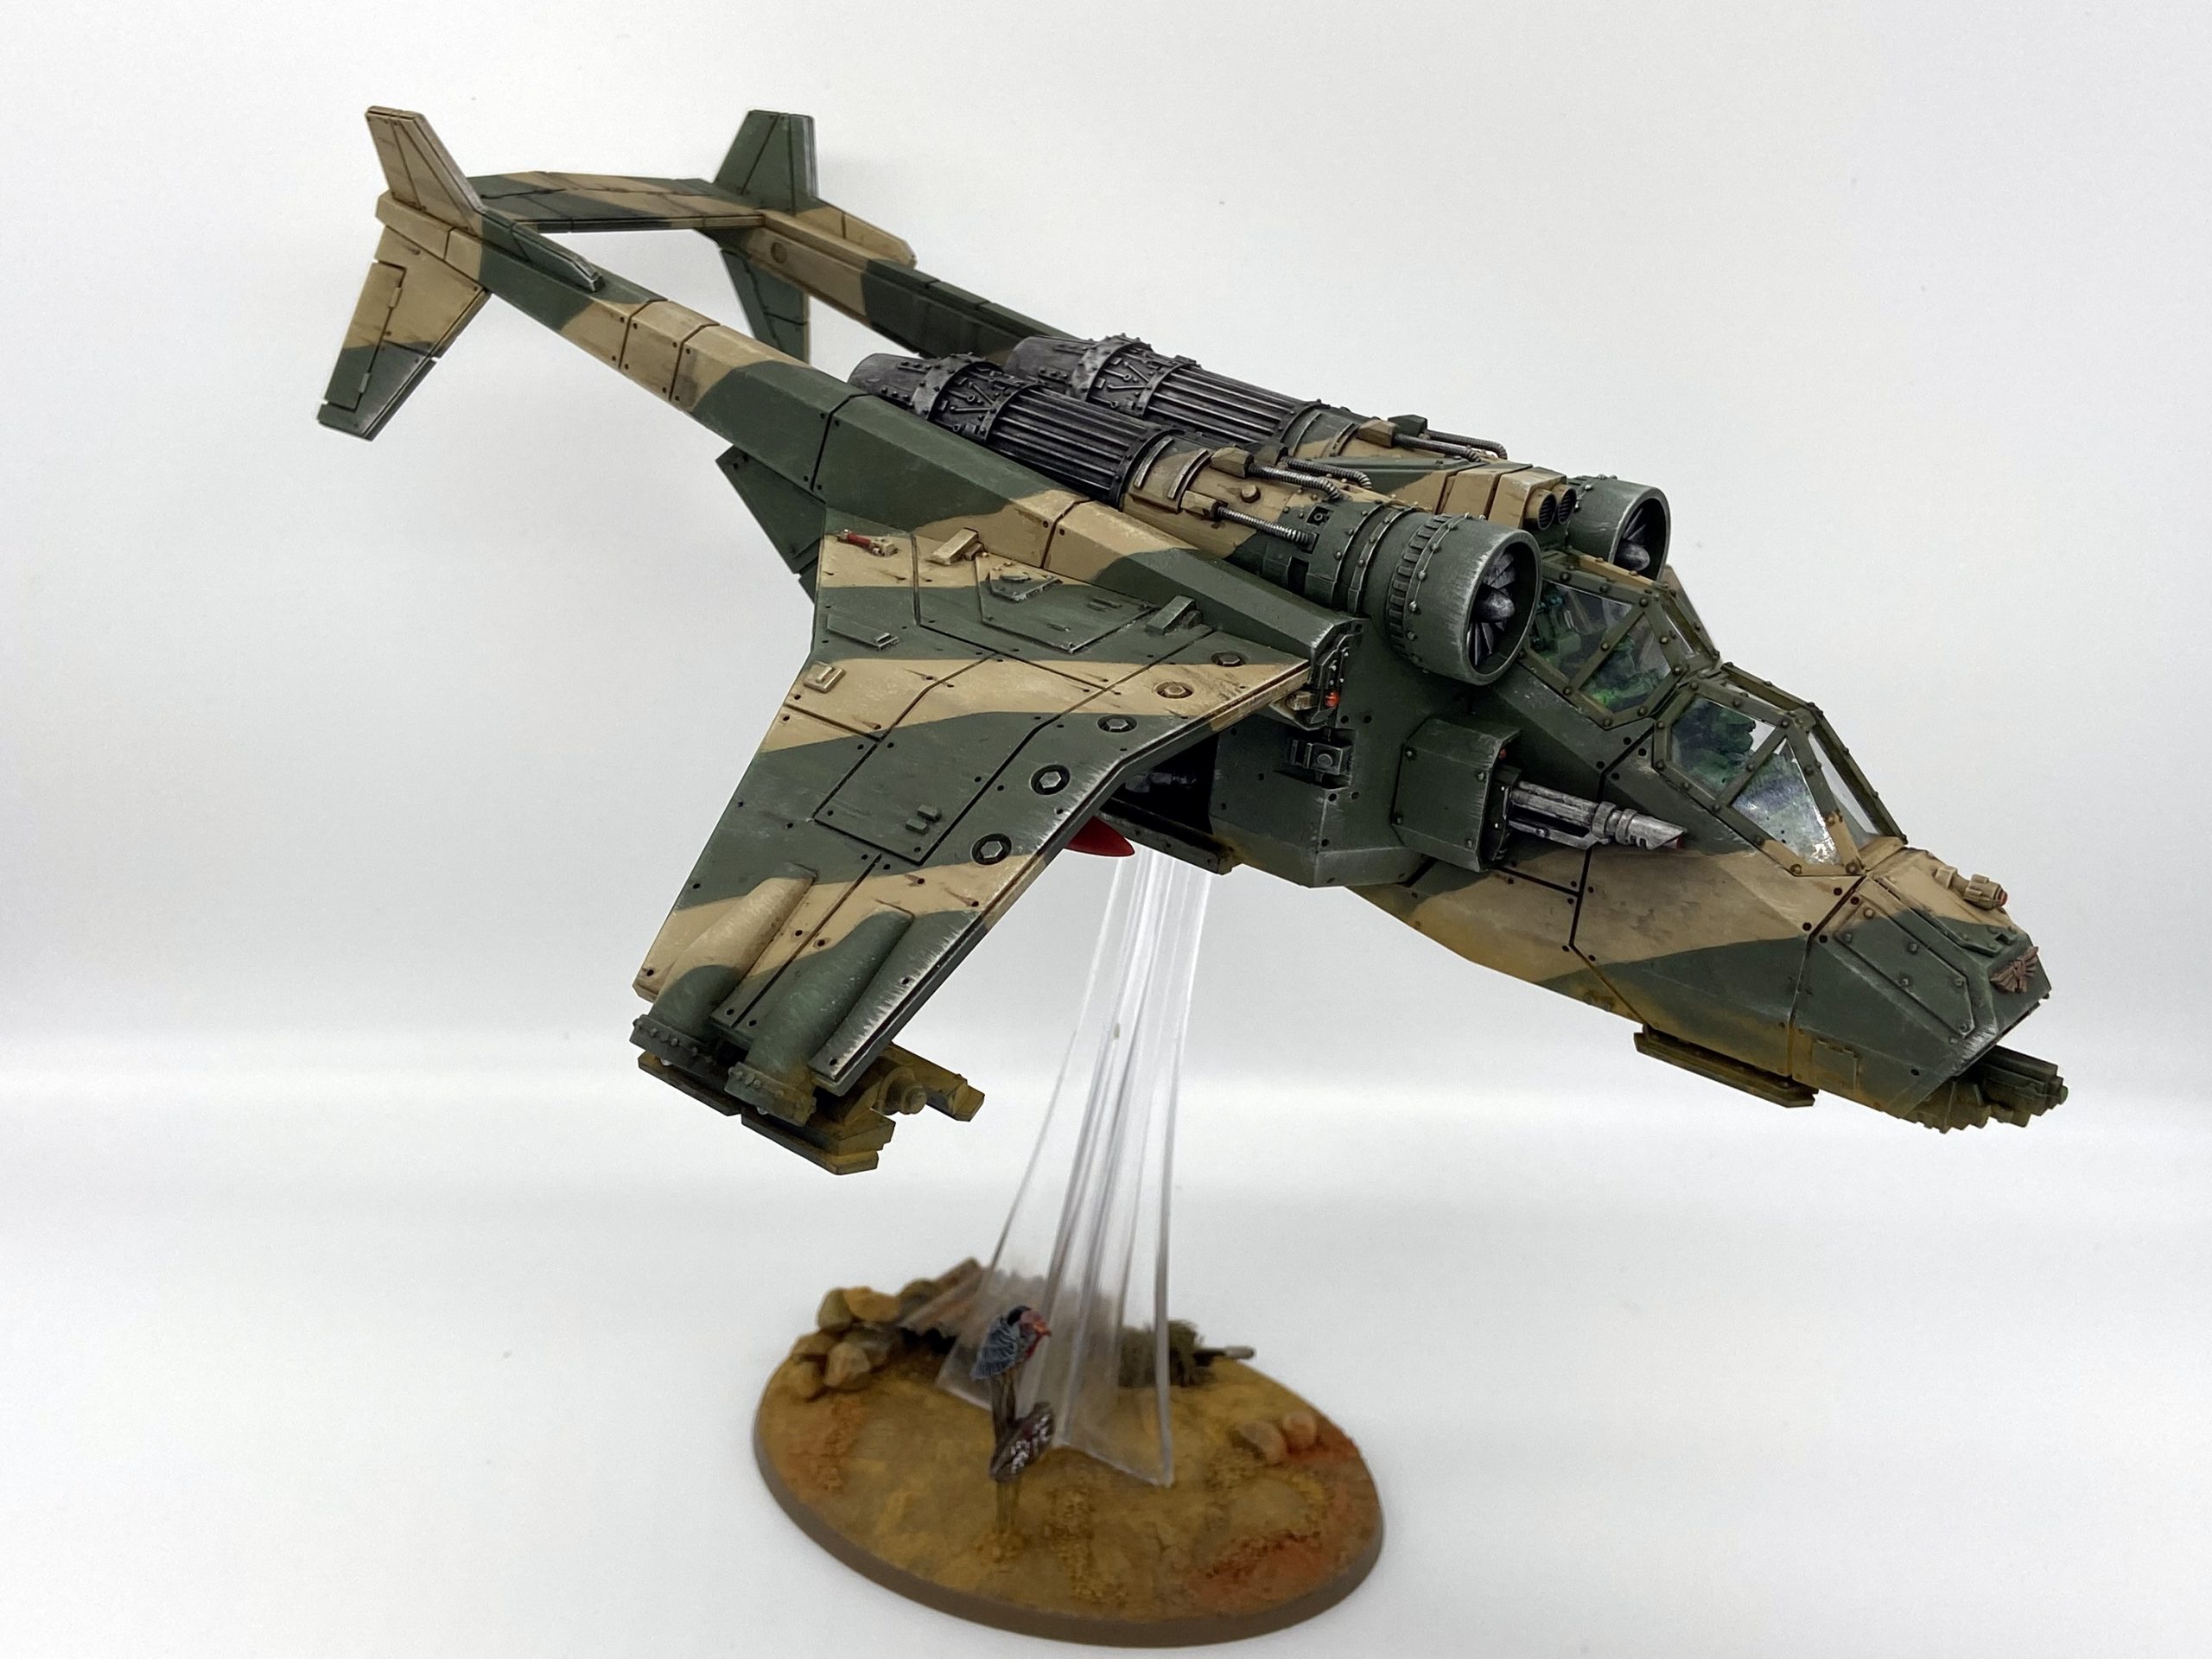
Let us take to the skies! My first Valkyrie is complete!
This is my first Valkyrie and my first flyer, the build is a bit iffy as I did it so long ago – and have come a long way since then. I am really happy with the paint job though especially the wings and the striking effects.
Never miss an article? Subscribe!
Valkyrie Completed Gallery


Valkyrie – Techniques Utilised
For those wanting to try some of the techniques used, here they are summarised along with the various tools/products I used.
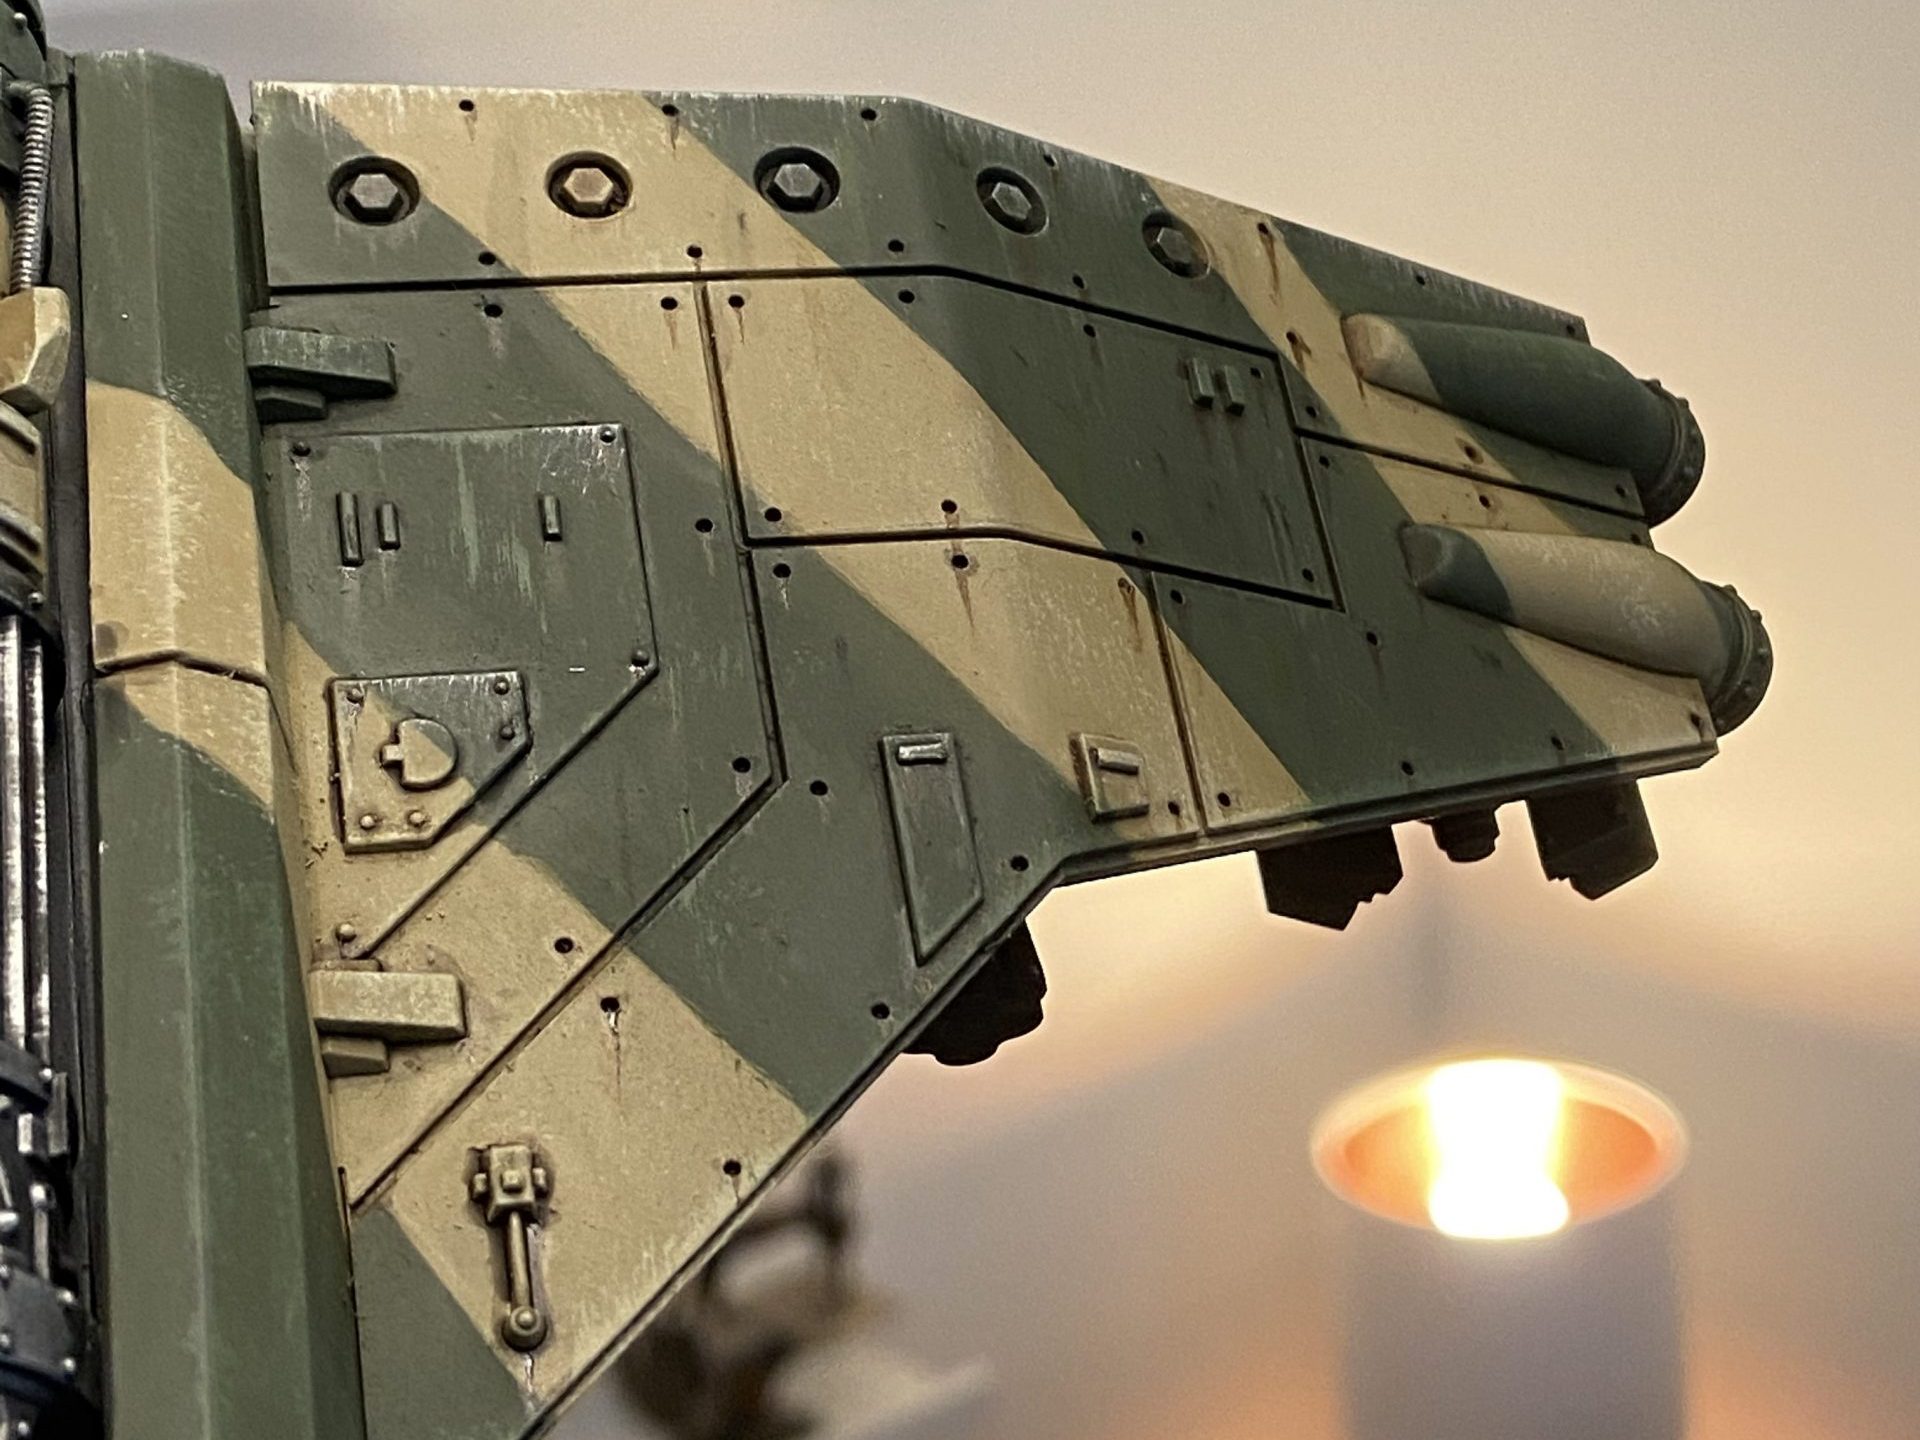
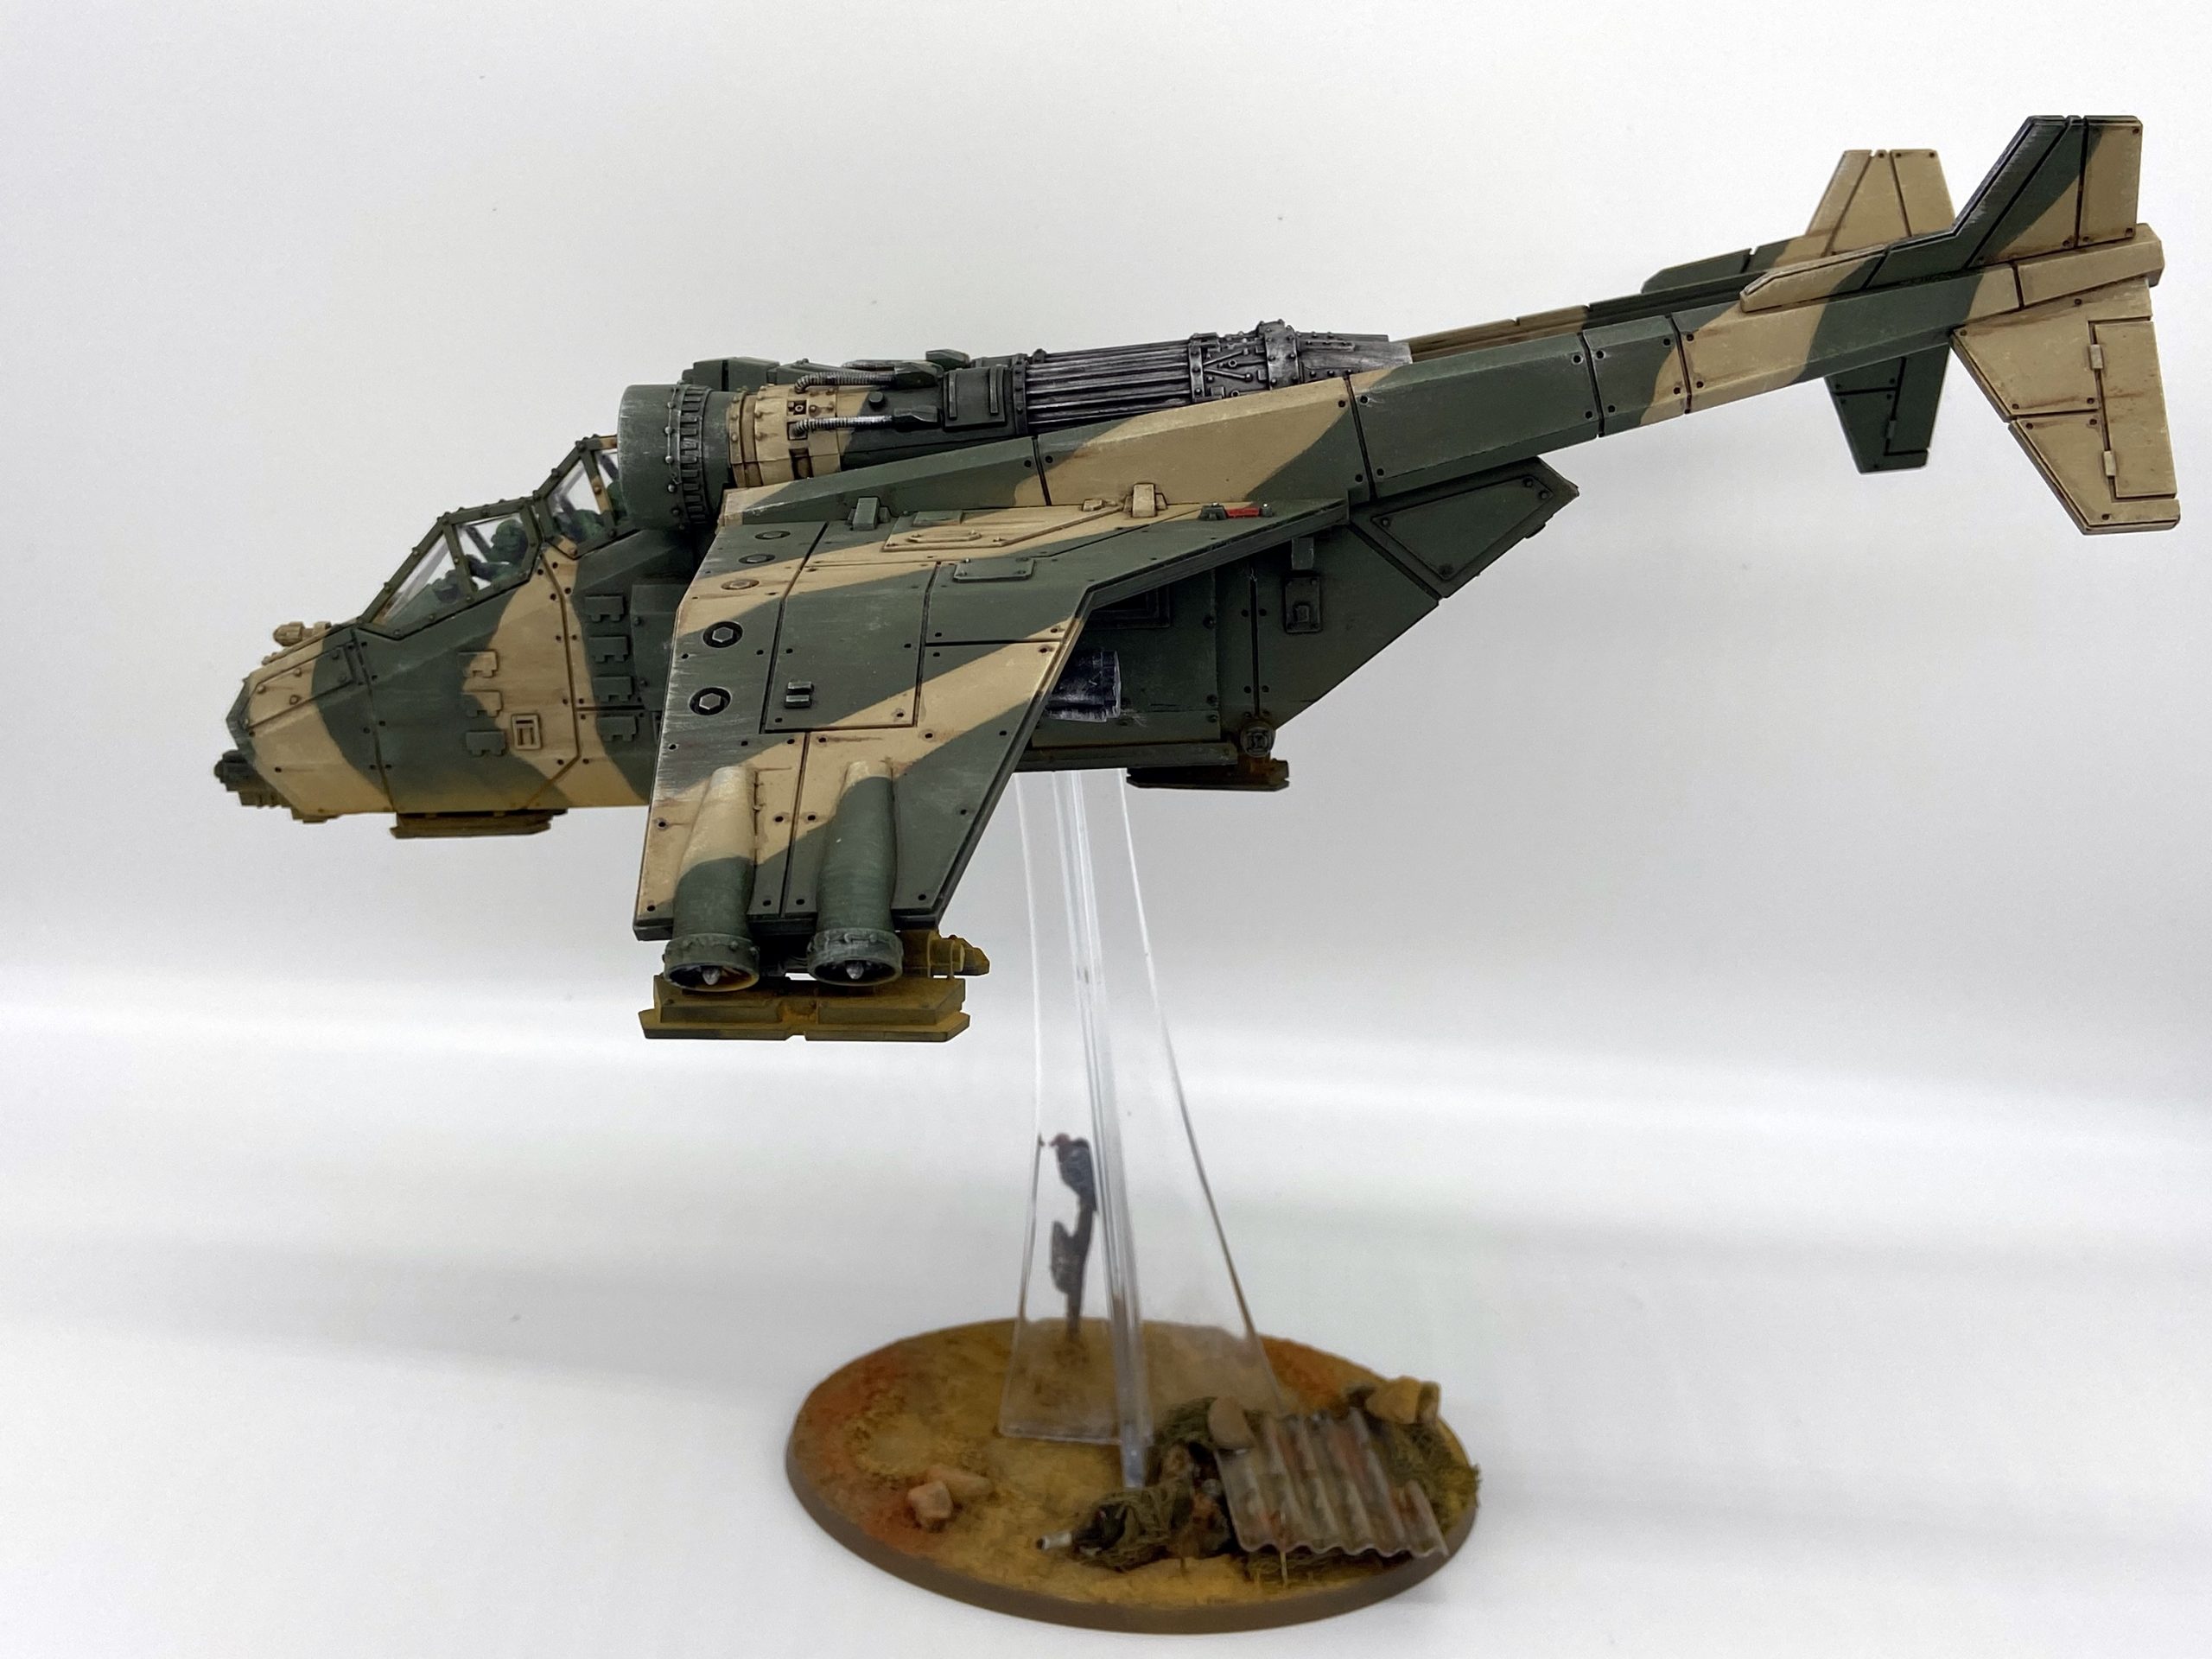
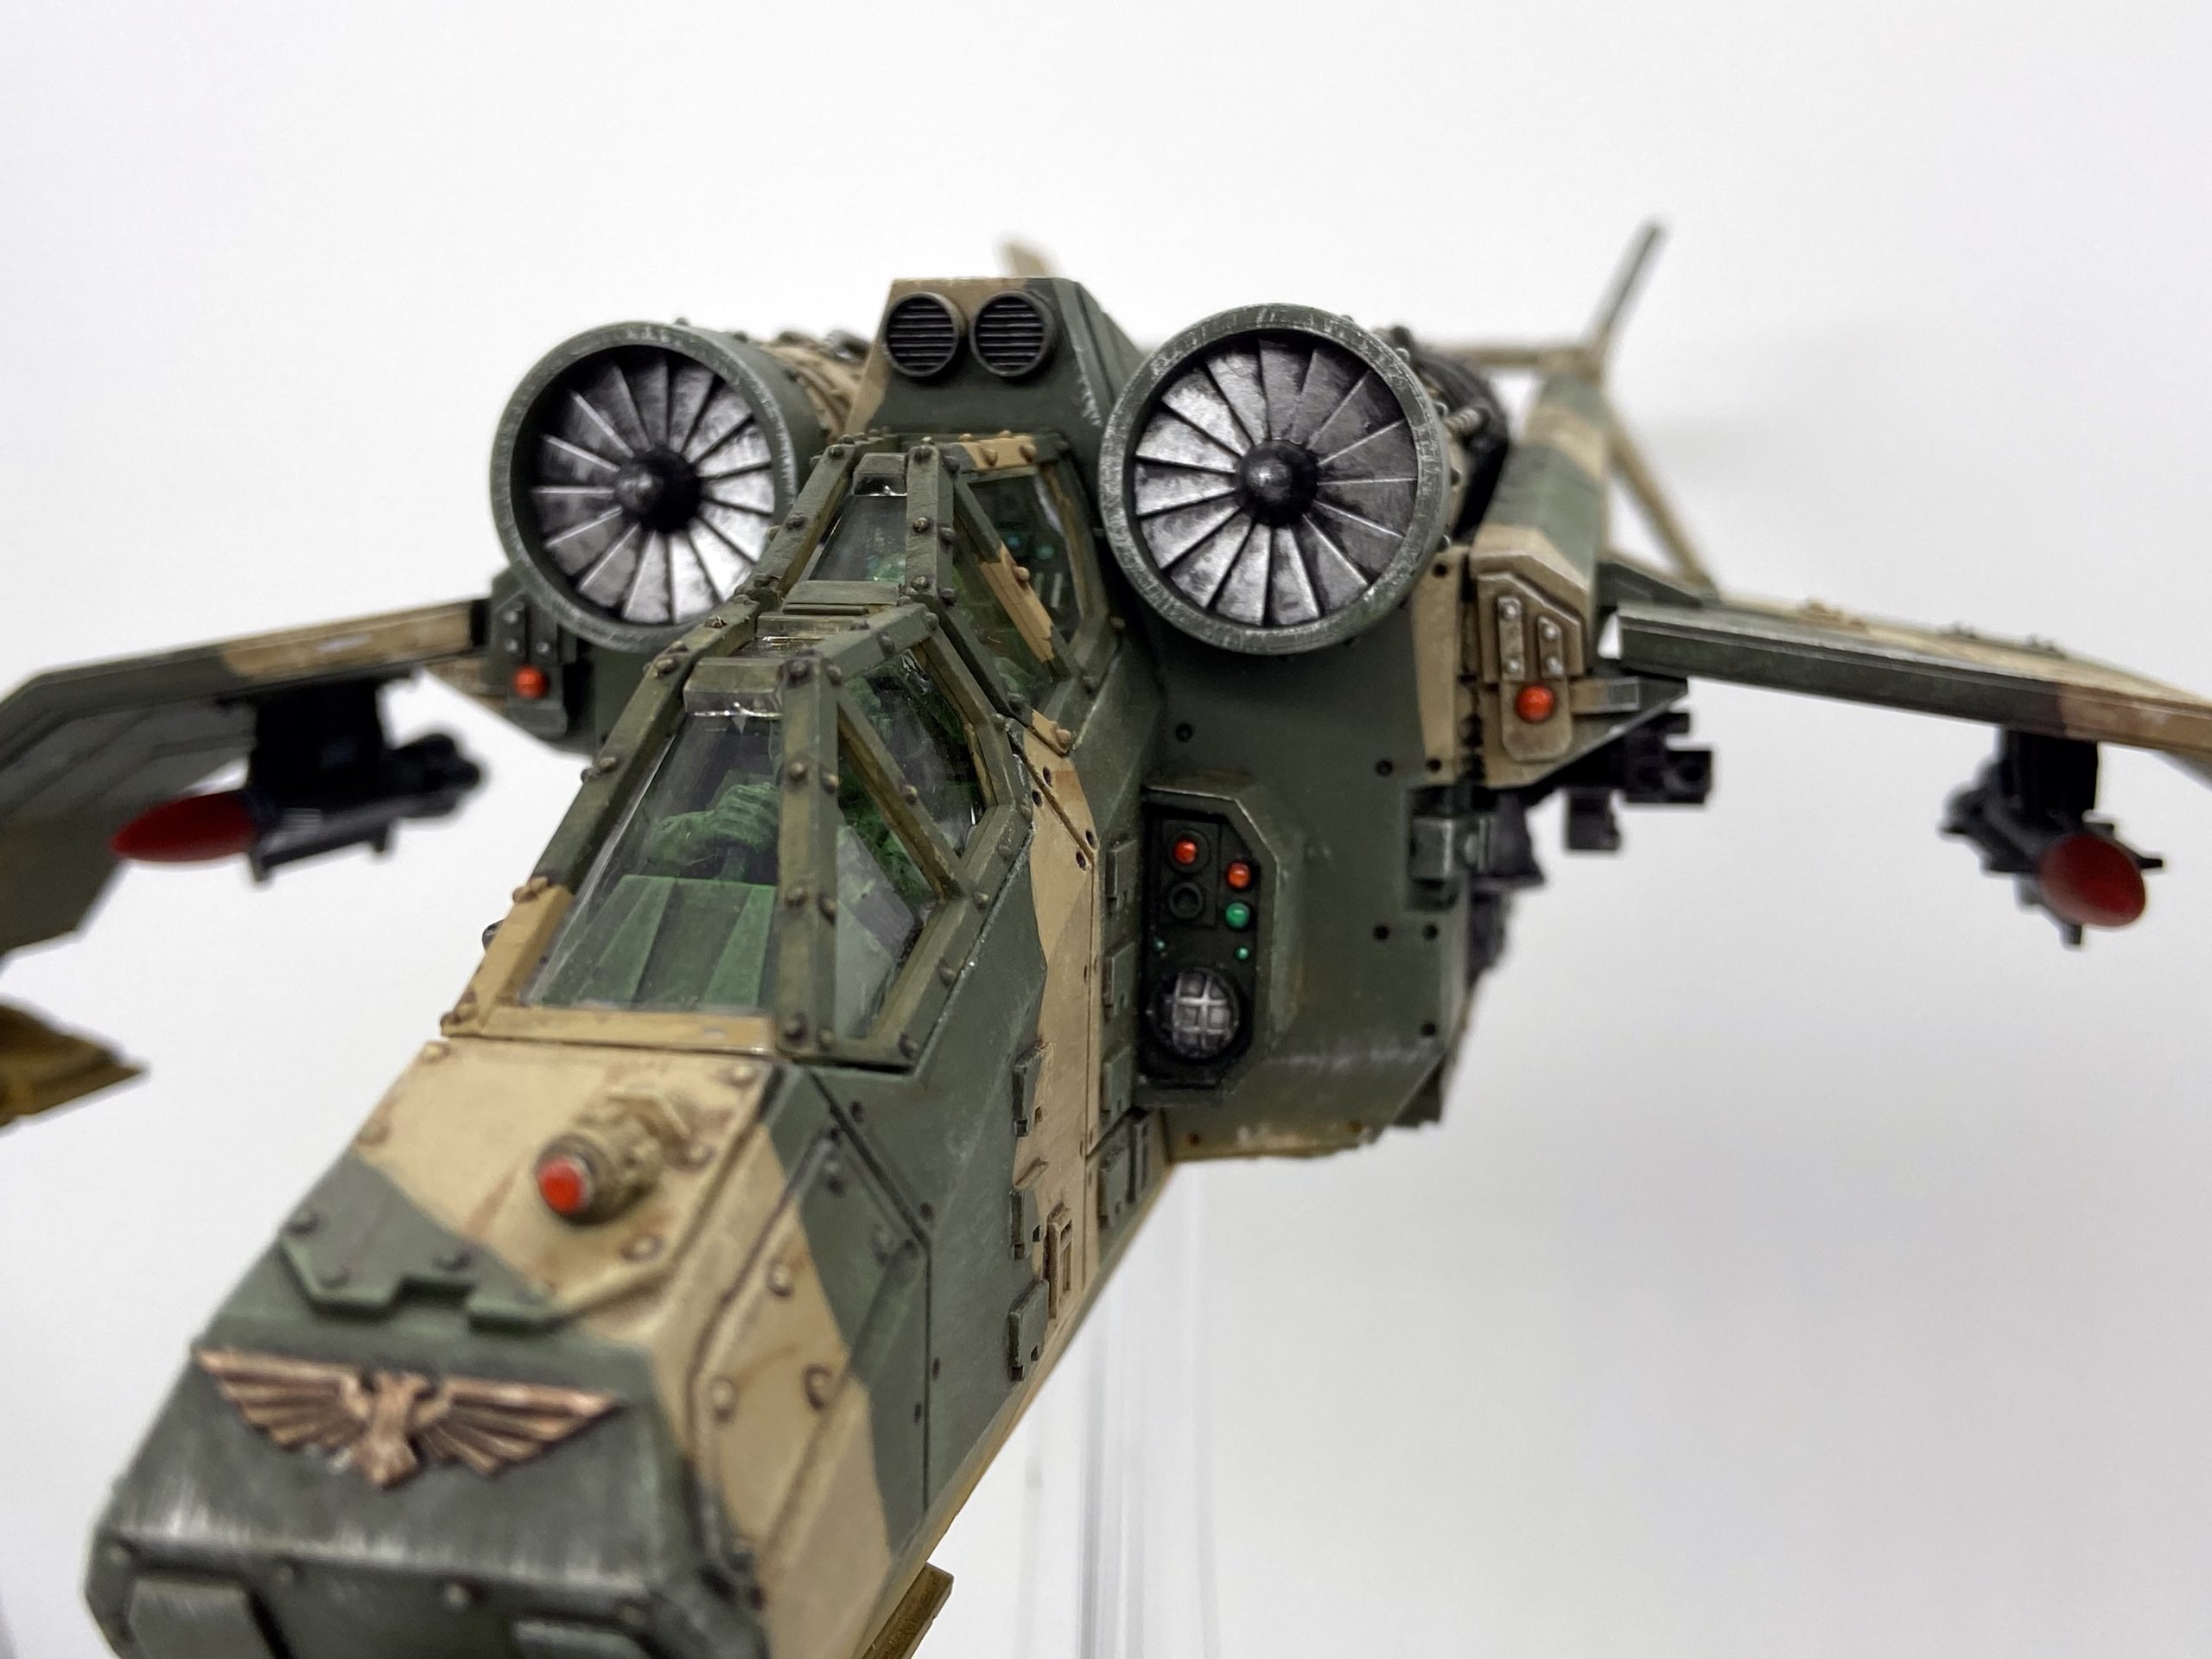
Standard Cadian Camo
I started out with my standard Cadian Camo scheme…
- Prime Black
- Zandri Dust from a spray can
- Apply masking tape
- Airbrush Castellan Green
- Touch up with a brush
- Wash with Agrax Earthshade
- Dry brush within the lines with Loren Forest and Ushabti Bone
There is sometimes a slight deviation on that last step, sometimes I do Terminus Stone dry brush all over instead of dry brushing those two other colours within the lines of the camo. It’s just quicker and works well on tanks that will have pigments on them in the end anyway. But here I went back to the individual colours on the upper hull as it would have no pigments.
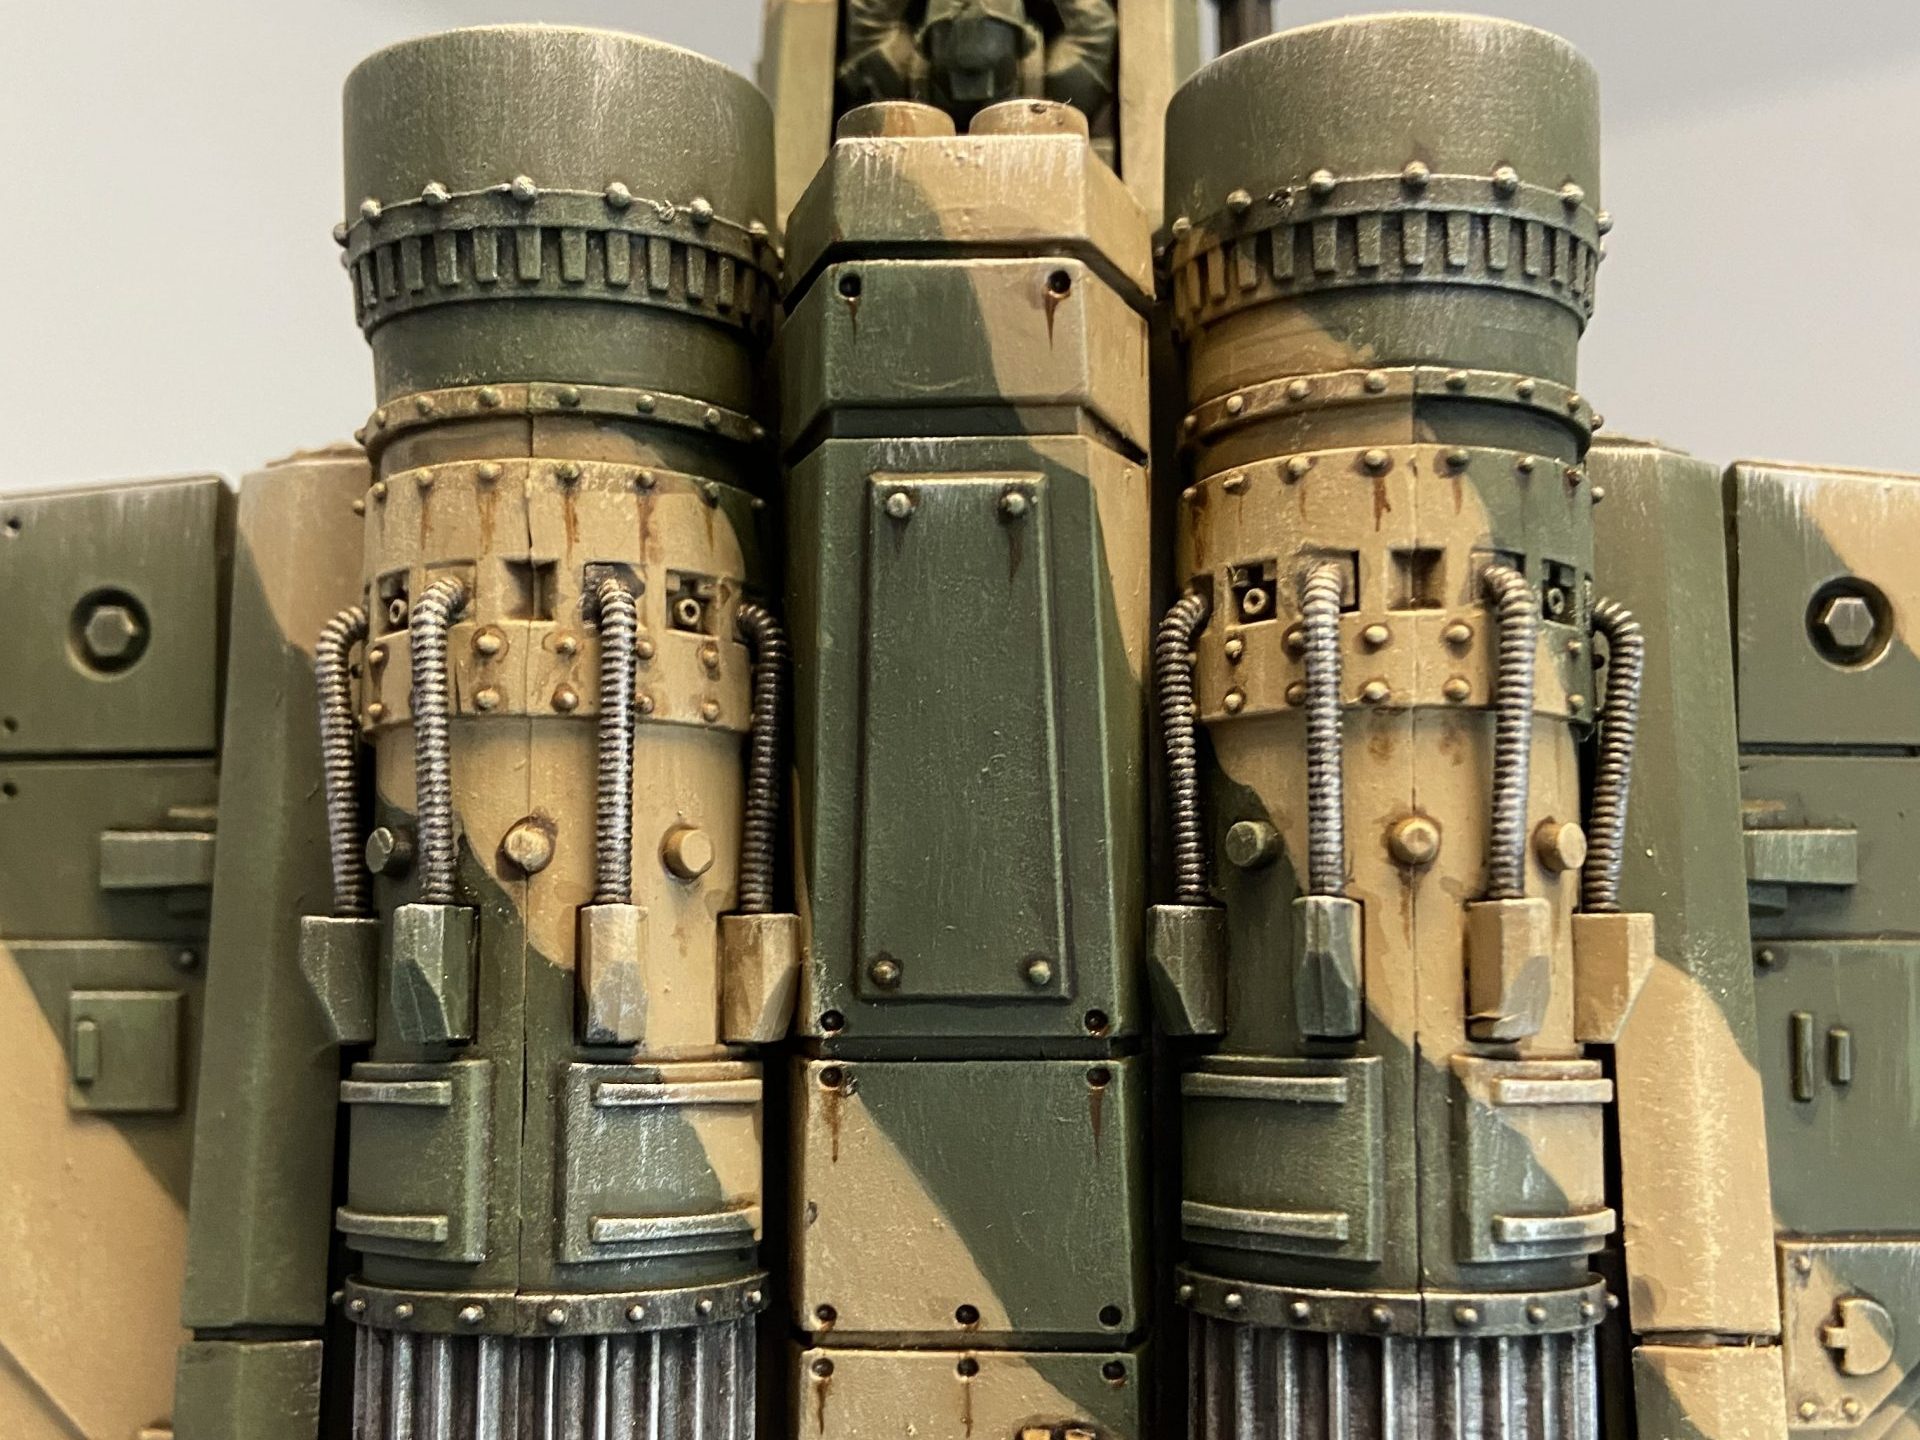
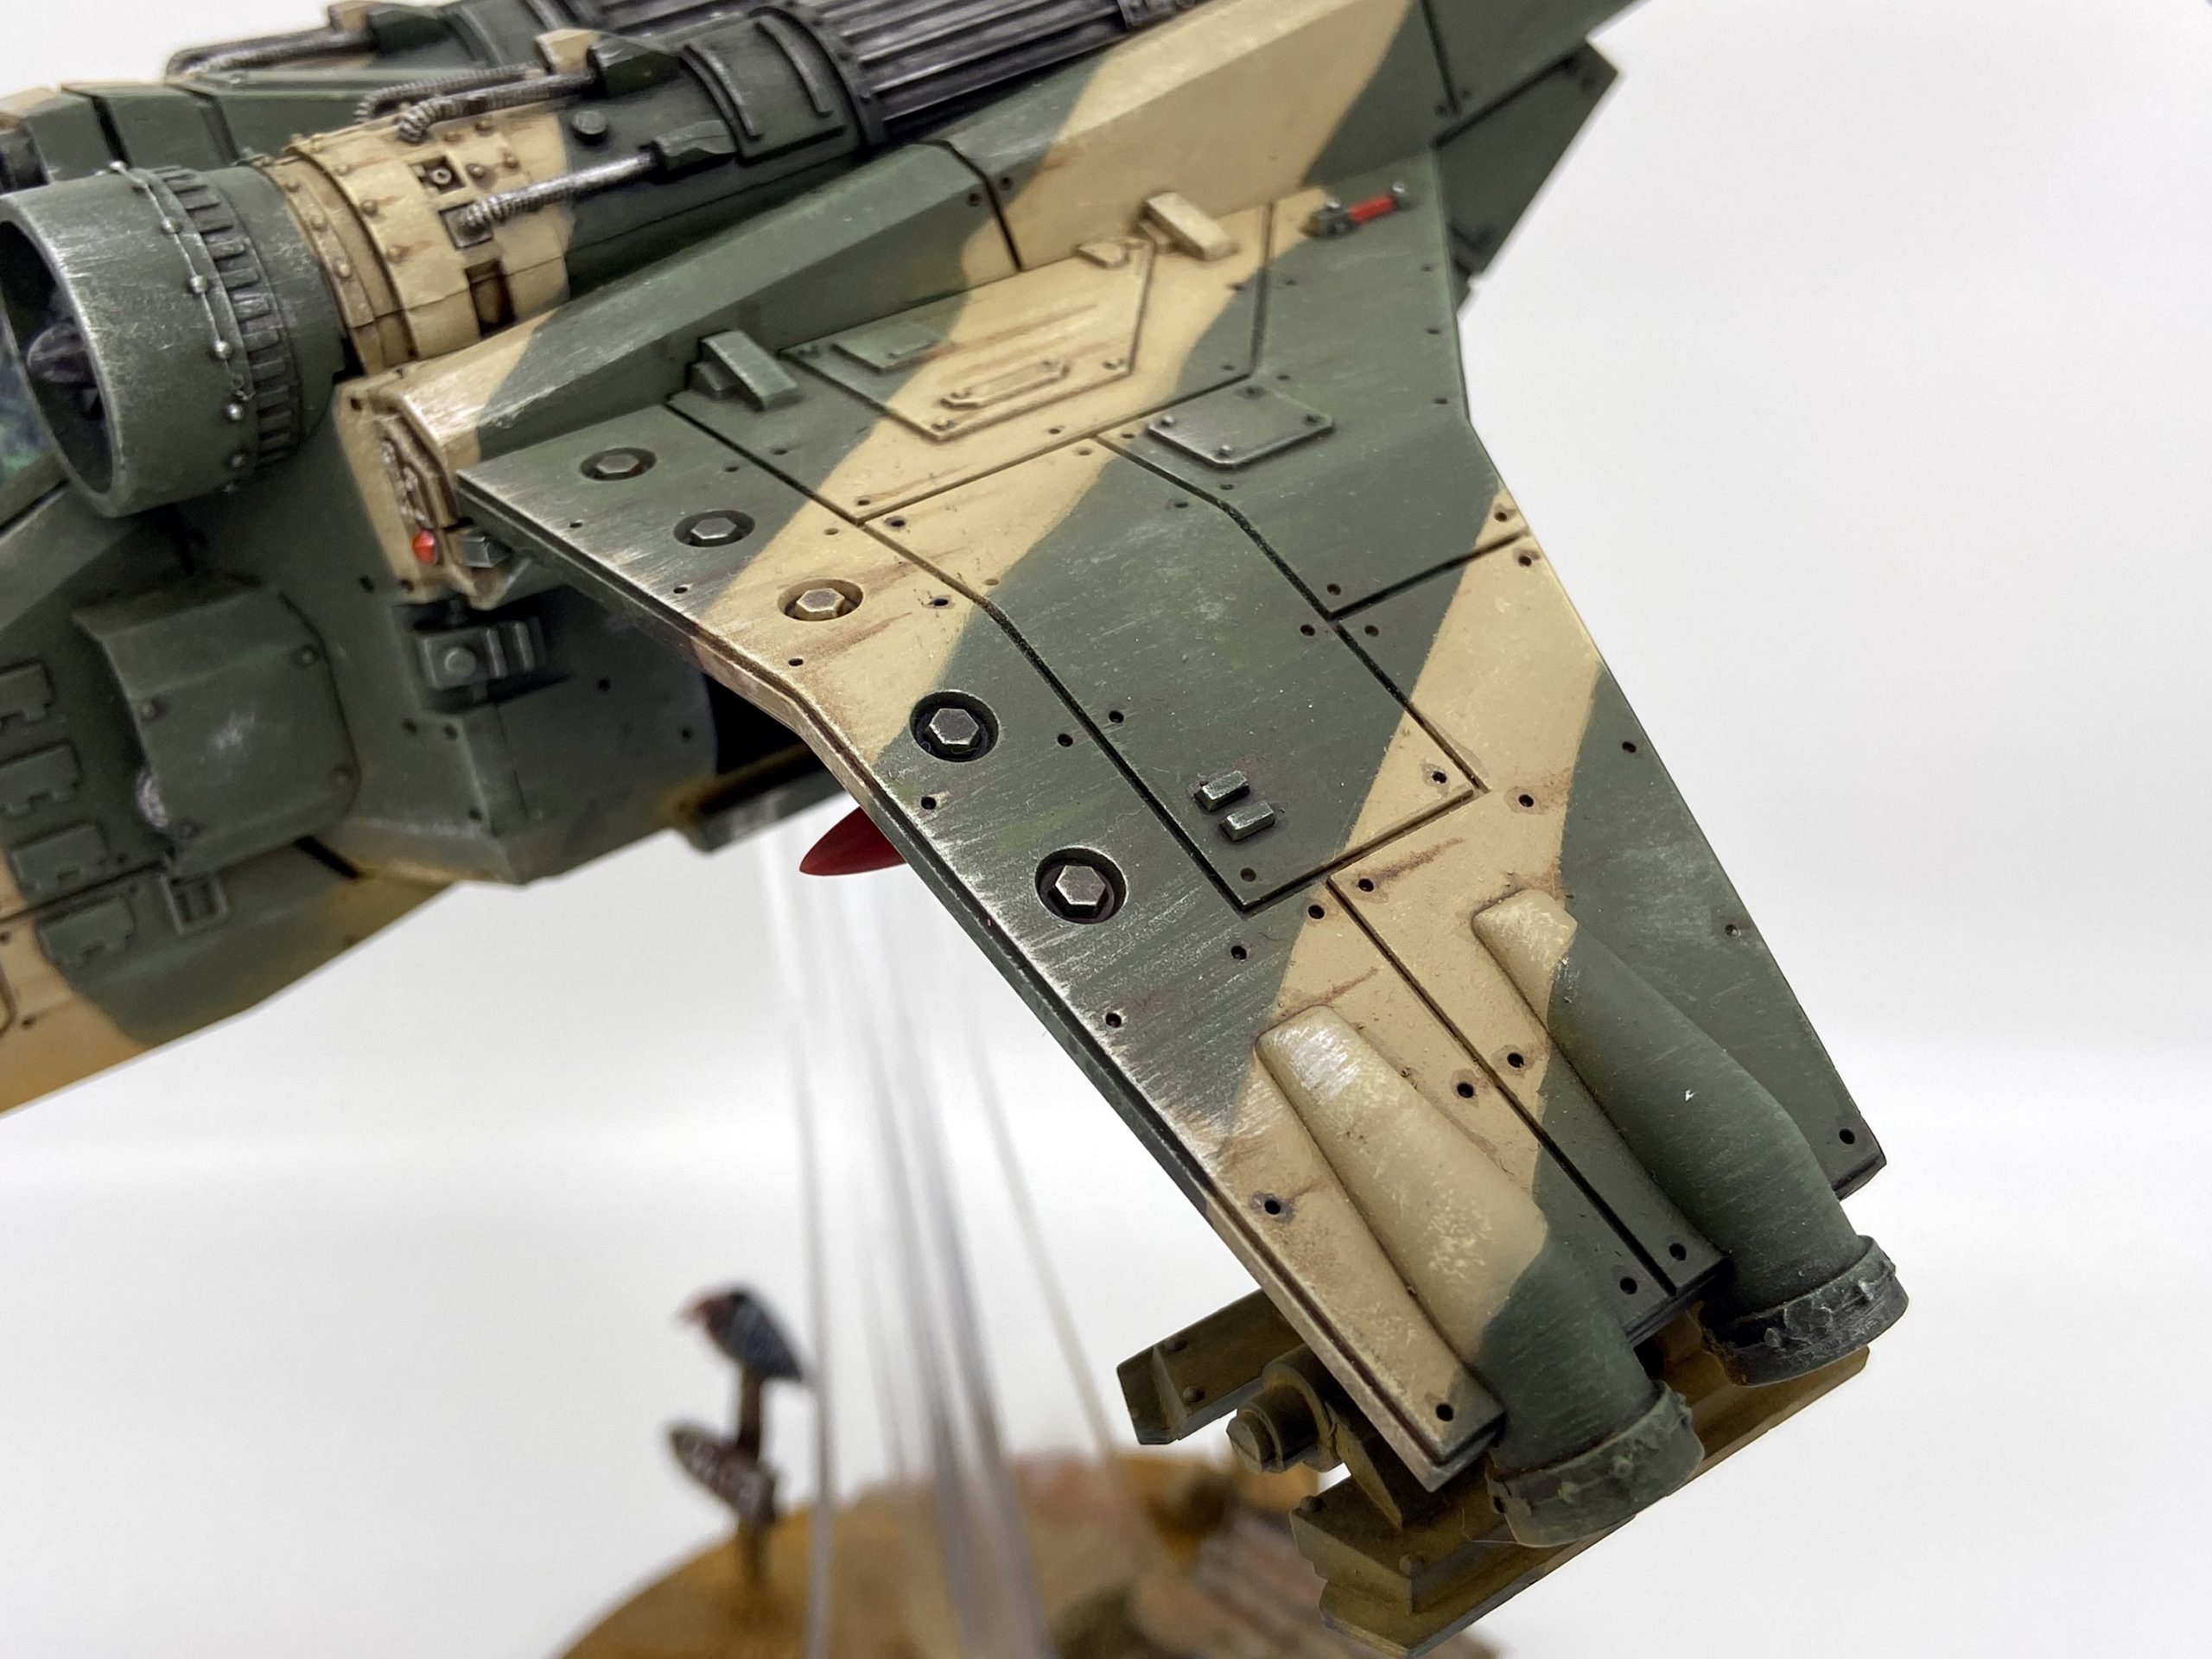
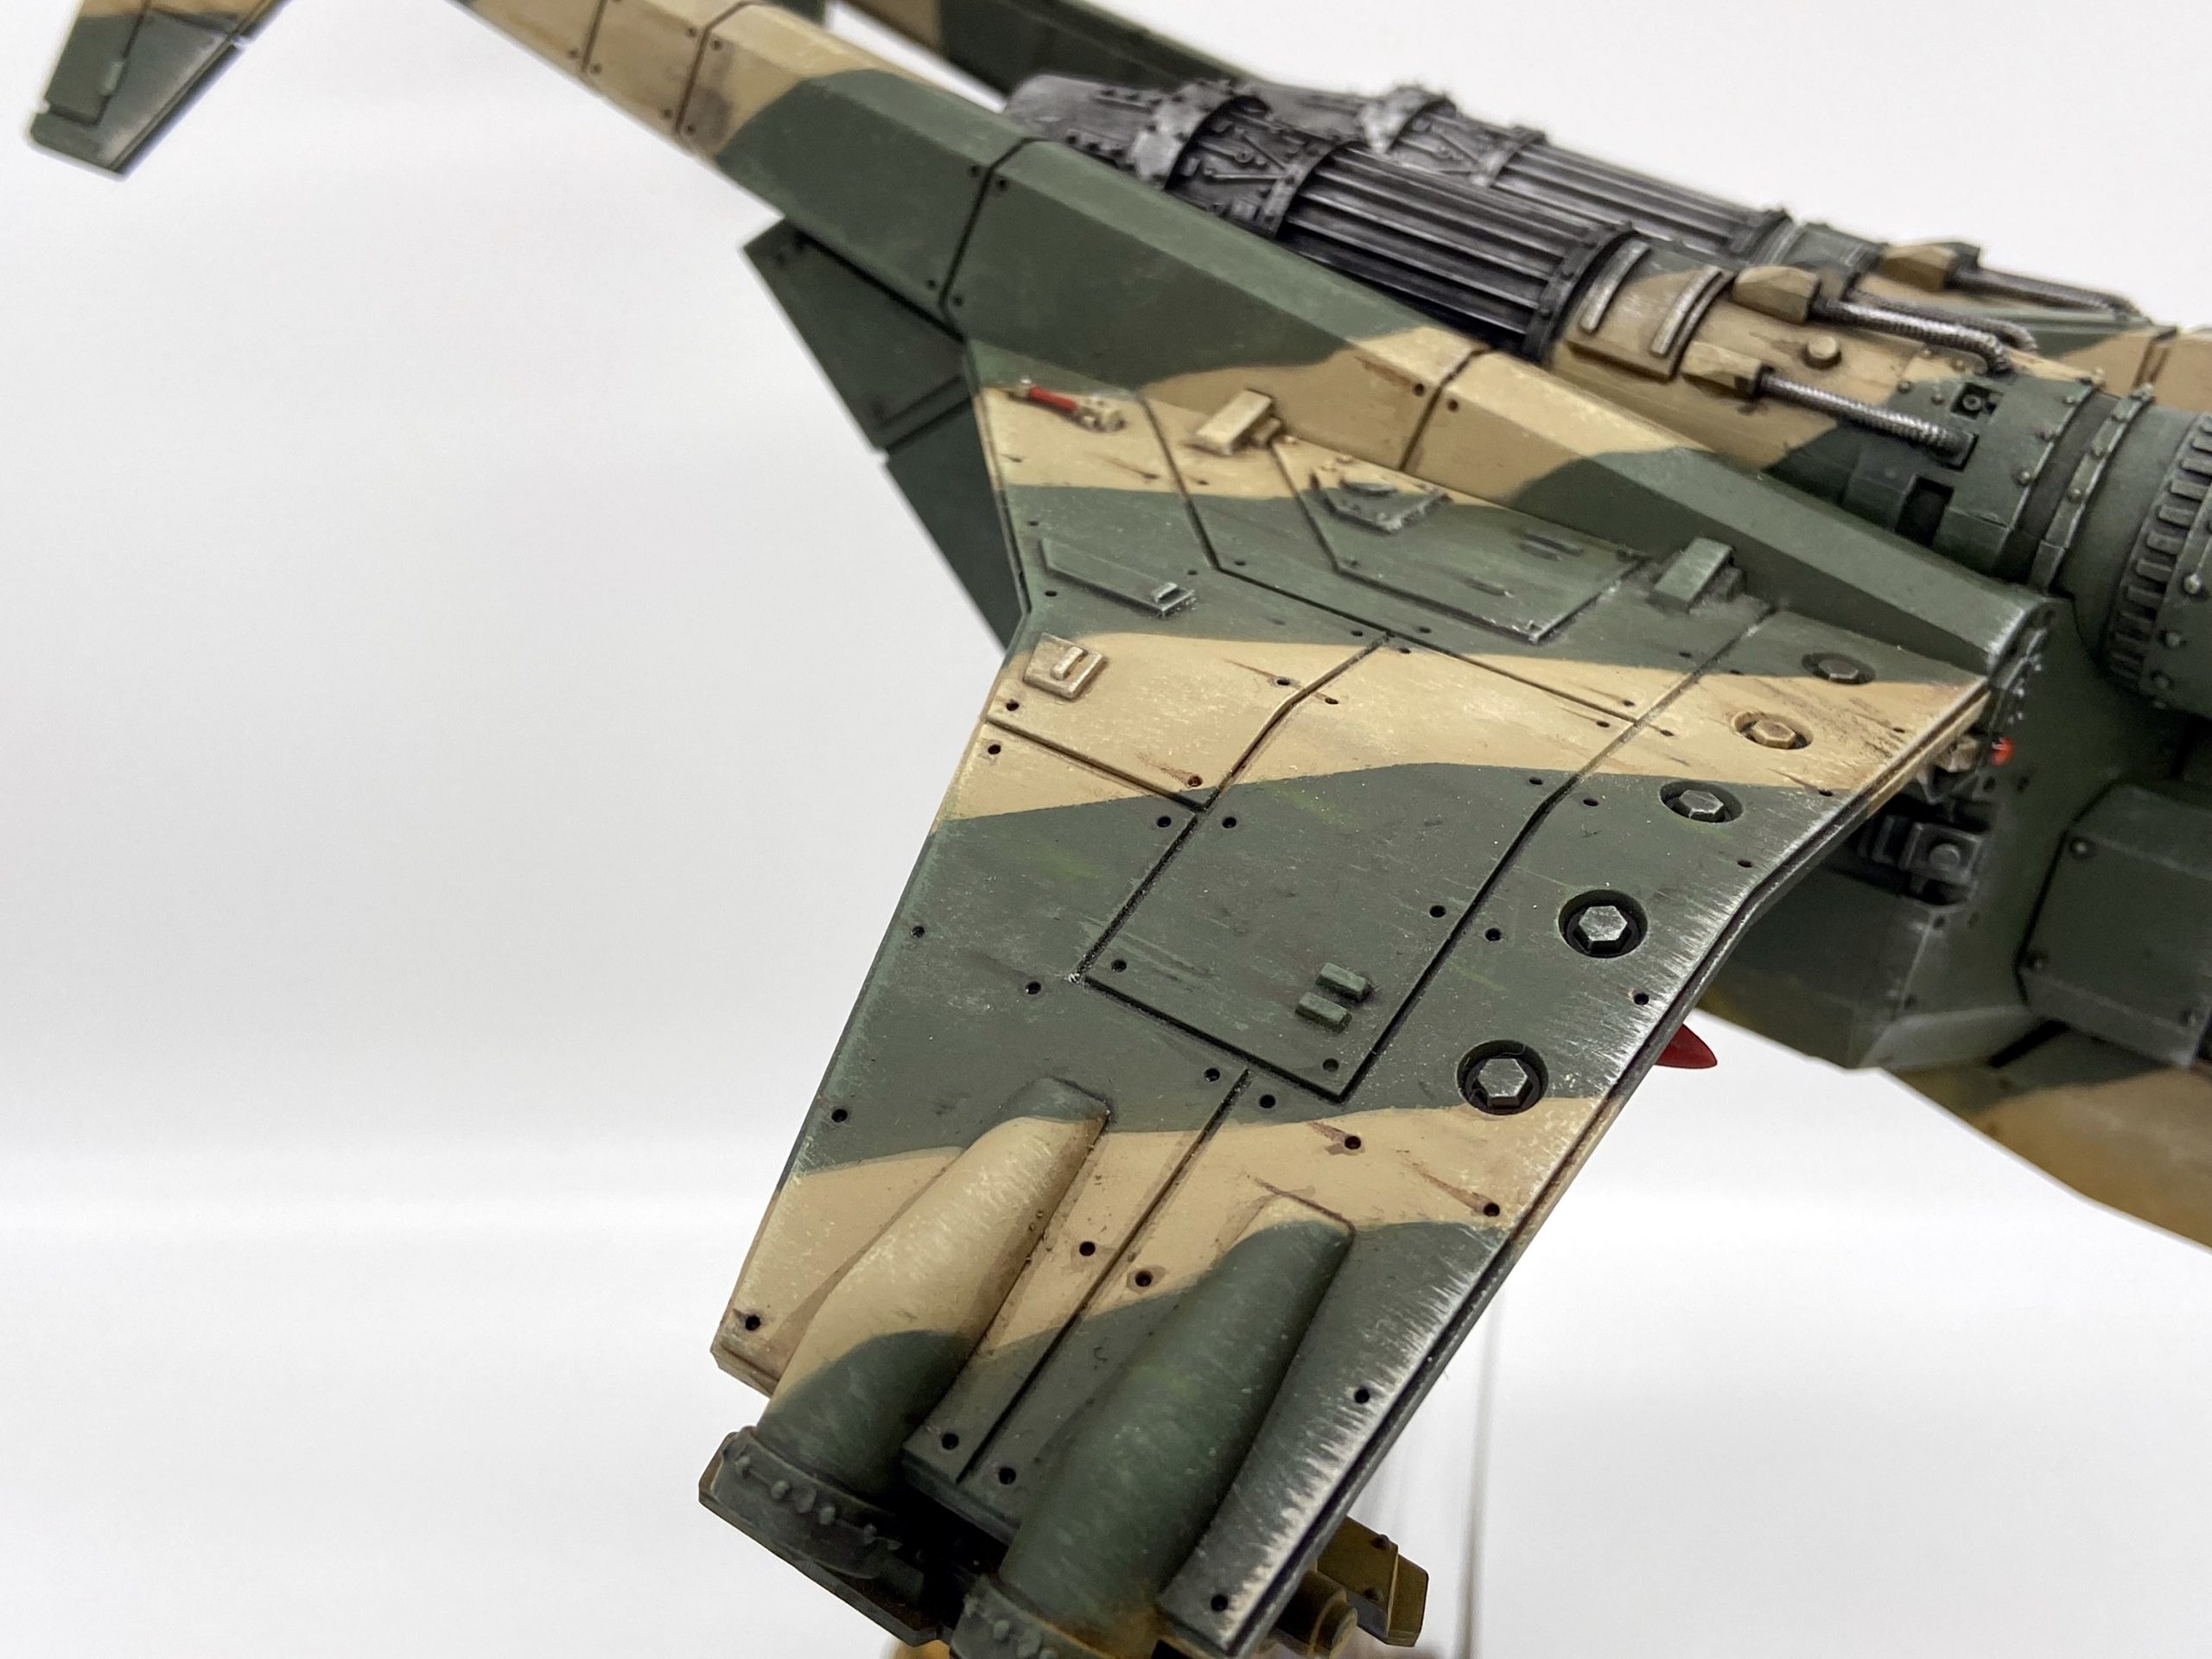
Oil Paints and Streaking
The steaks were done with Abteilung 502 oil paints. Using oil paints is a game-changer both in terms of usage and the final result – they are not like any Games Workshop paint at all.
I used a range of colours, some more than others. The main one was Mud Brown for all the rivets and streaks on the wings. I used a bit of pure black, especially as a was on the engines.
I then started to experiment with a green and grey on the wings to give some slight variations in colour on the Castellan Green and Zandru Dust areas – but doing that was scary, so I did not do it much.
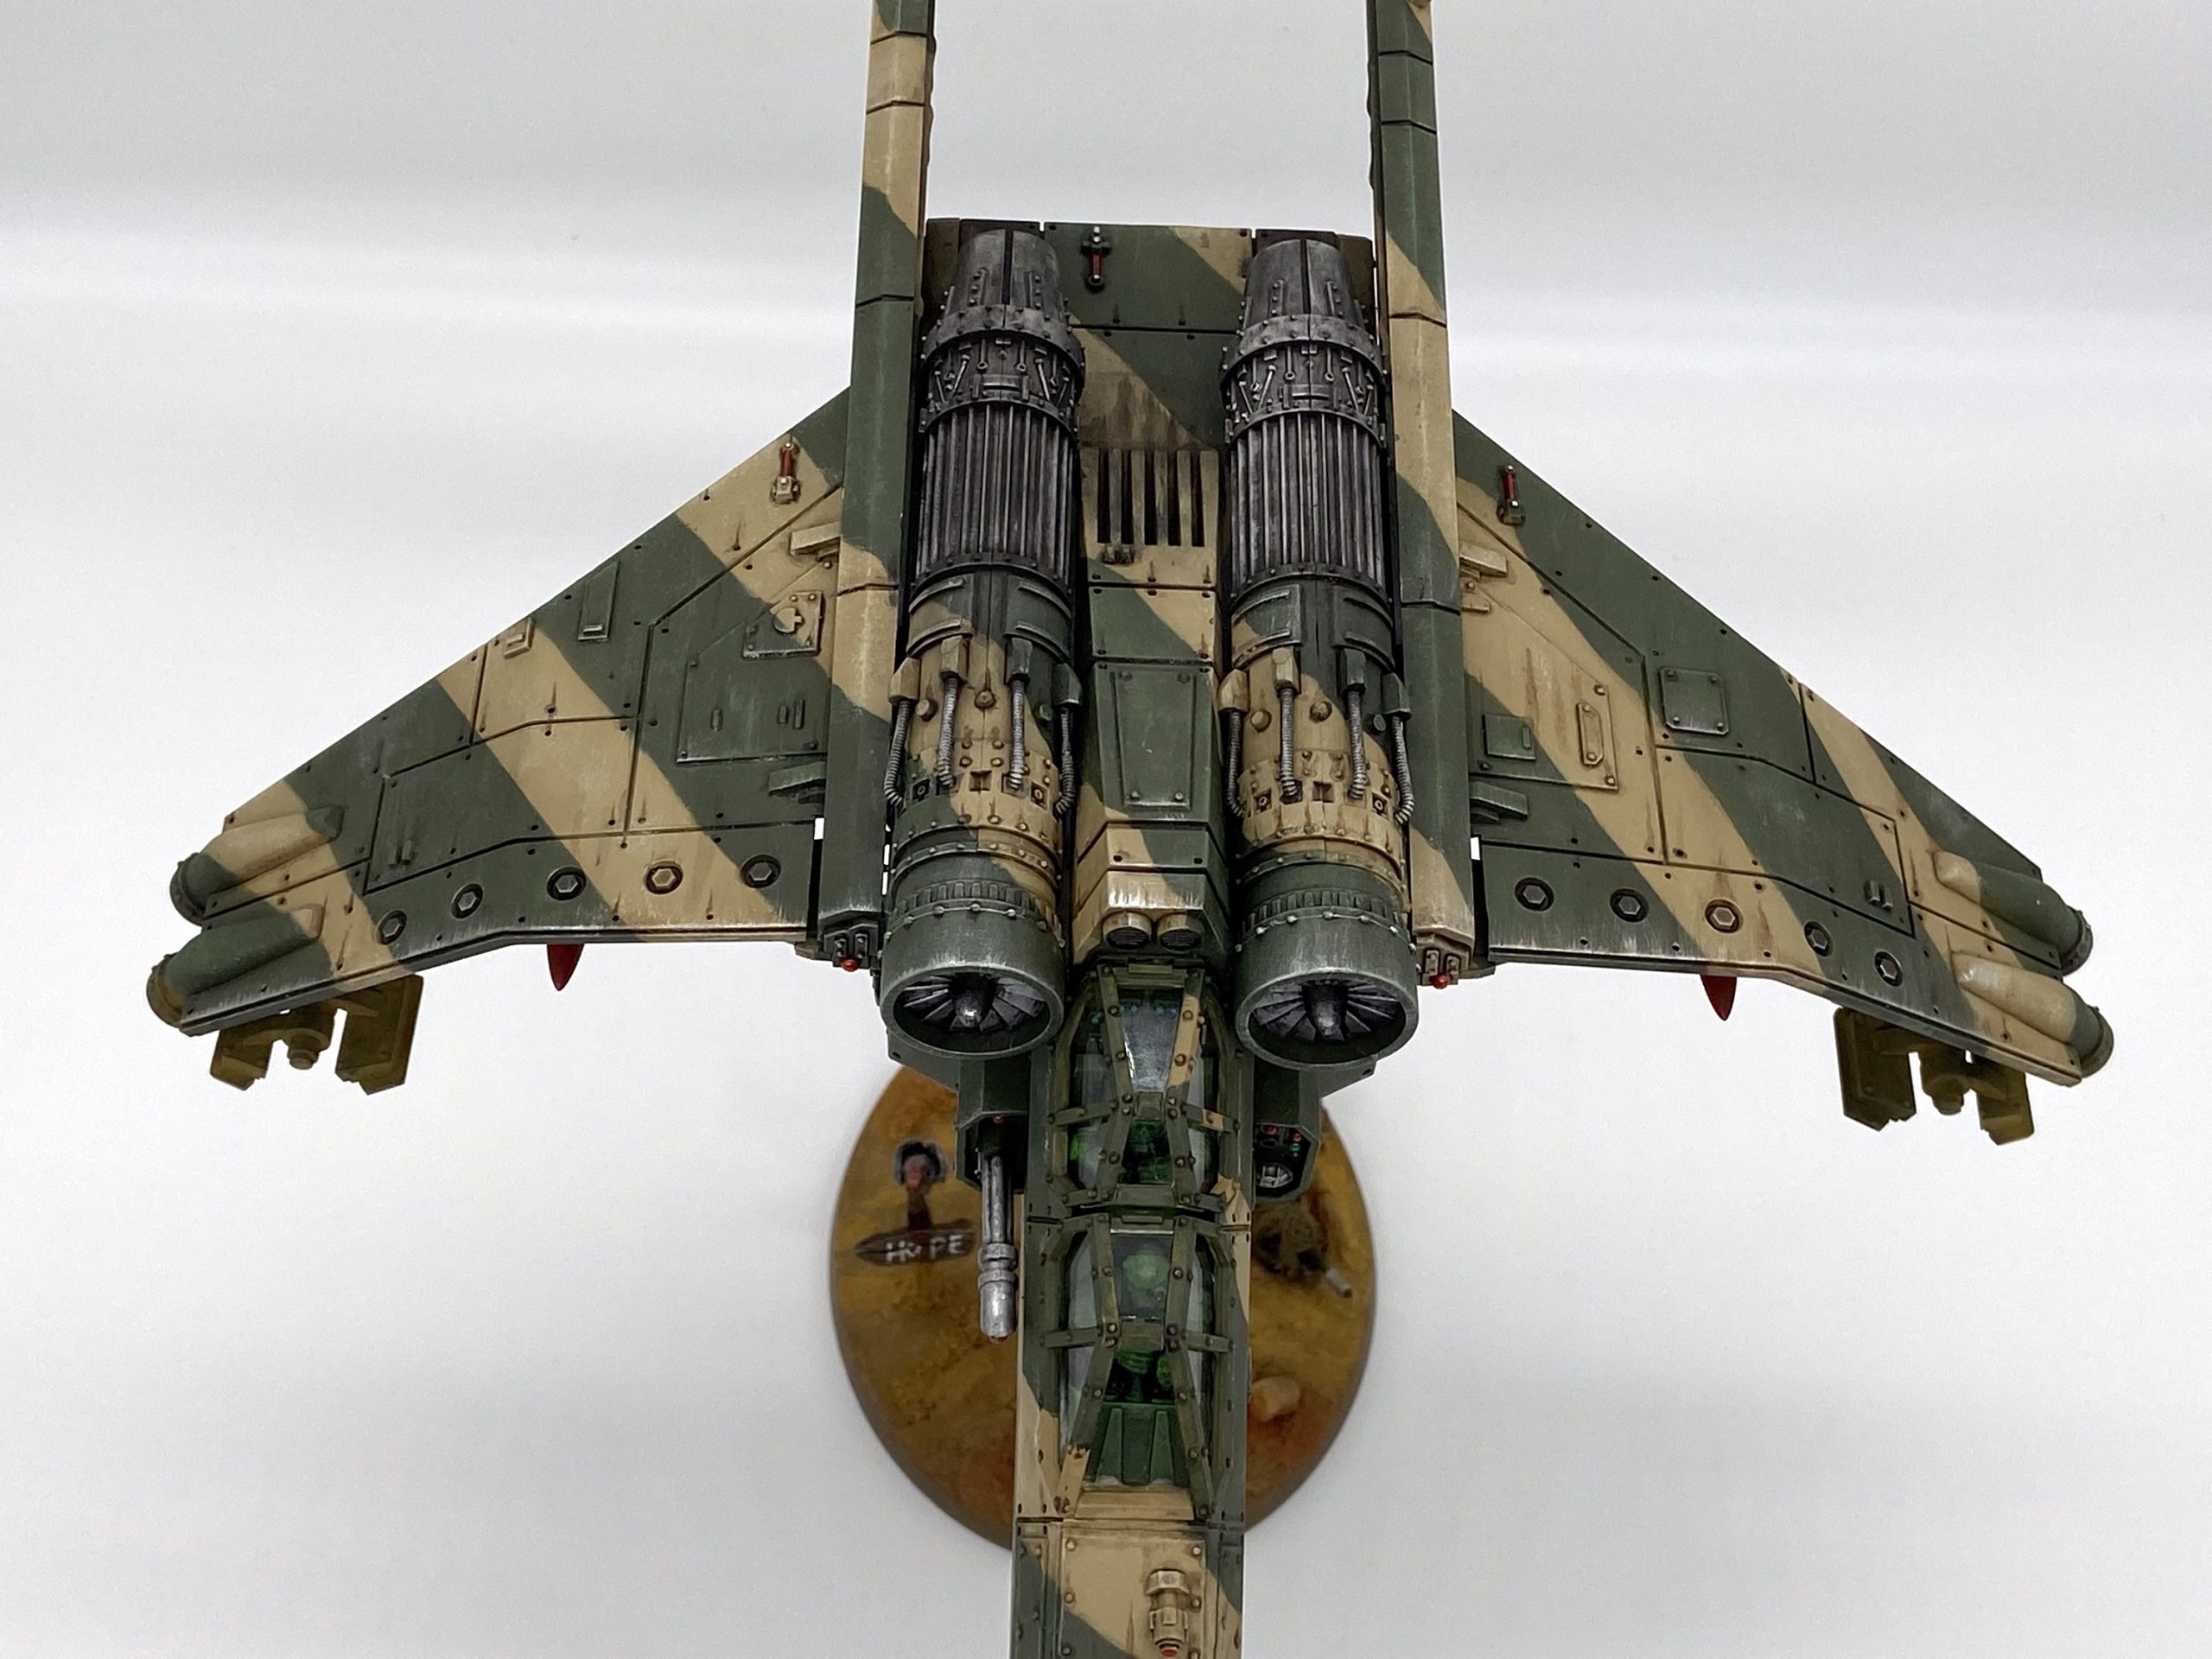
Metallics
Most of the metallics were done with Dawnstone Grey as a base, then Leadbelcher or Vallejo Metal Color. The Vallejo Metal Color range is amazing and I would highly recommend them. I used the Aluminium colour for the leading edge of the wings, applied it with a very fine, wide, makeup brush.
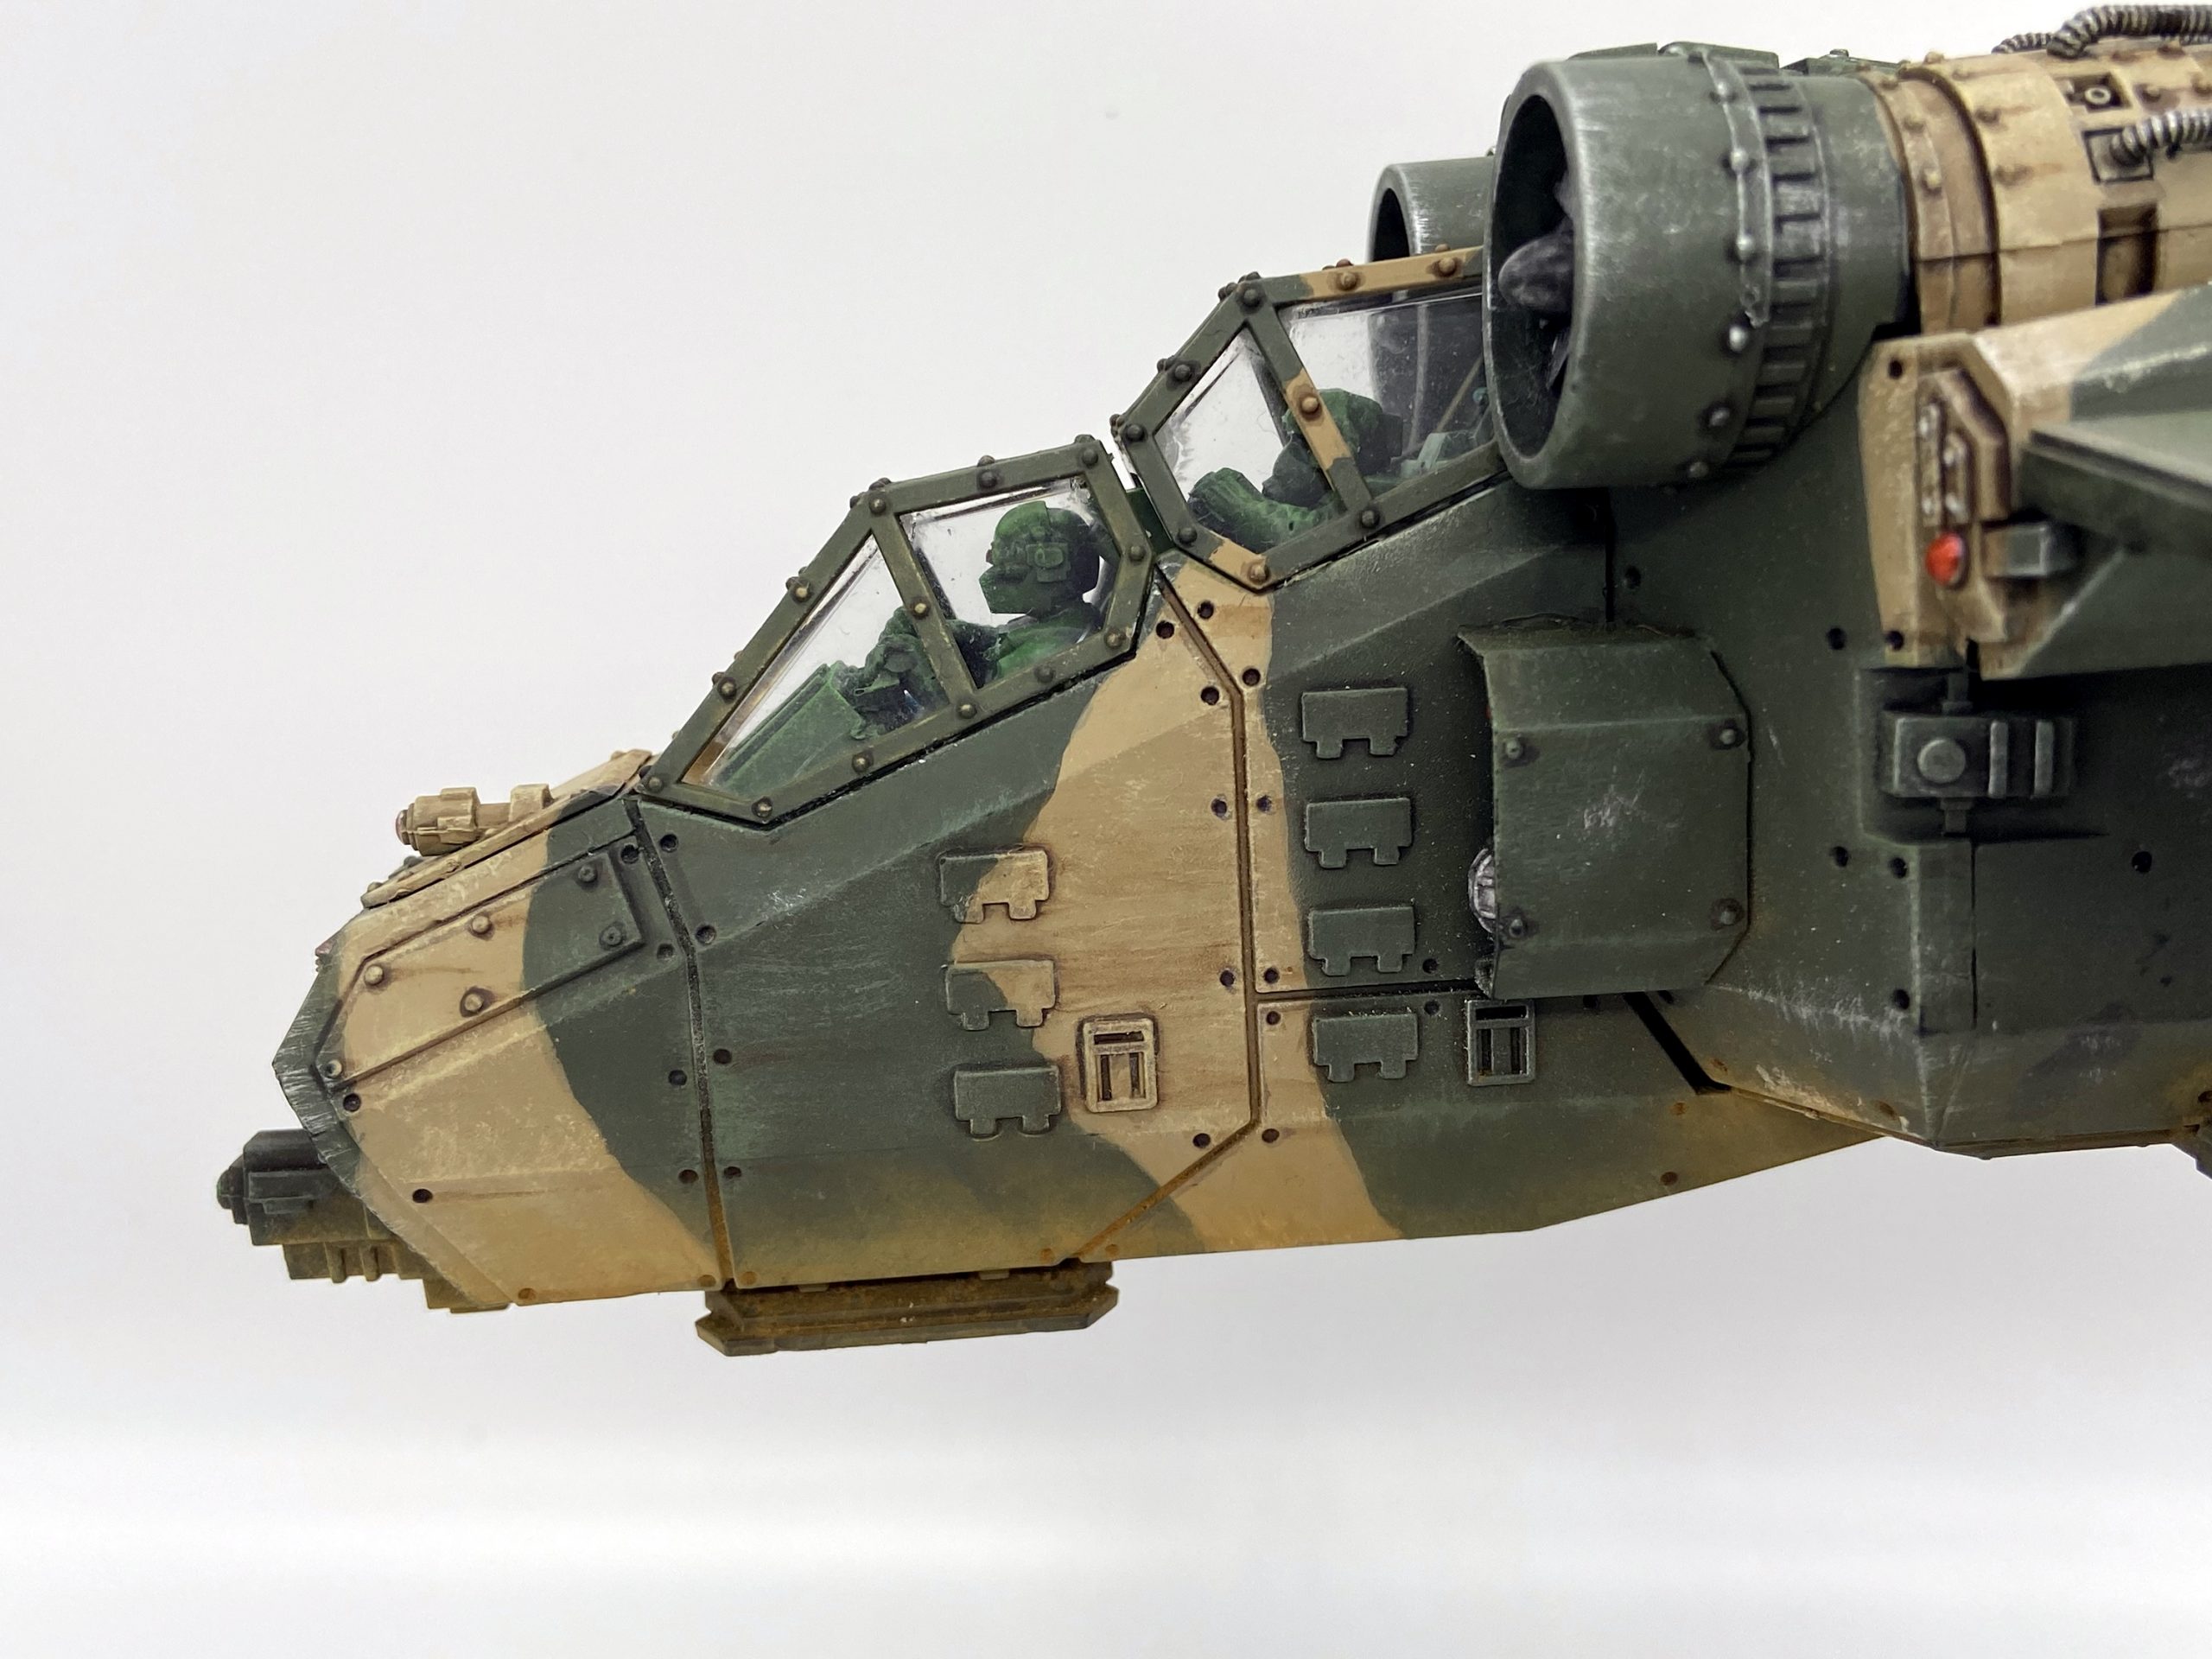
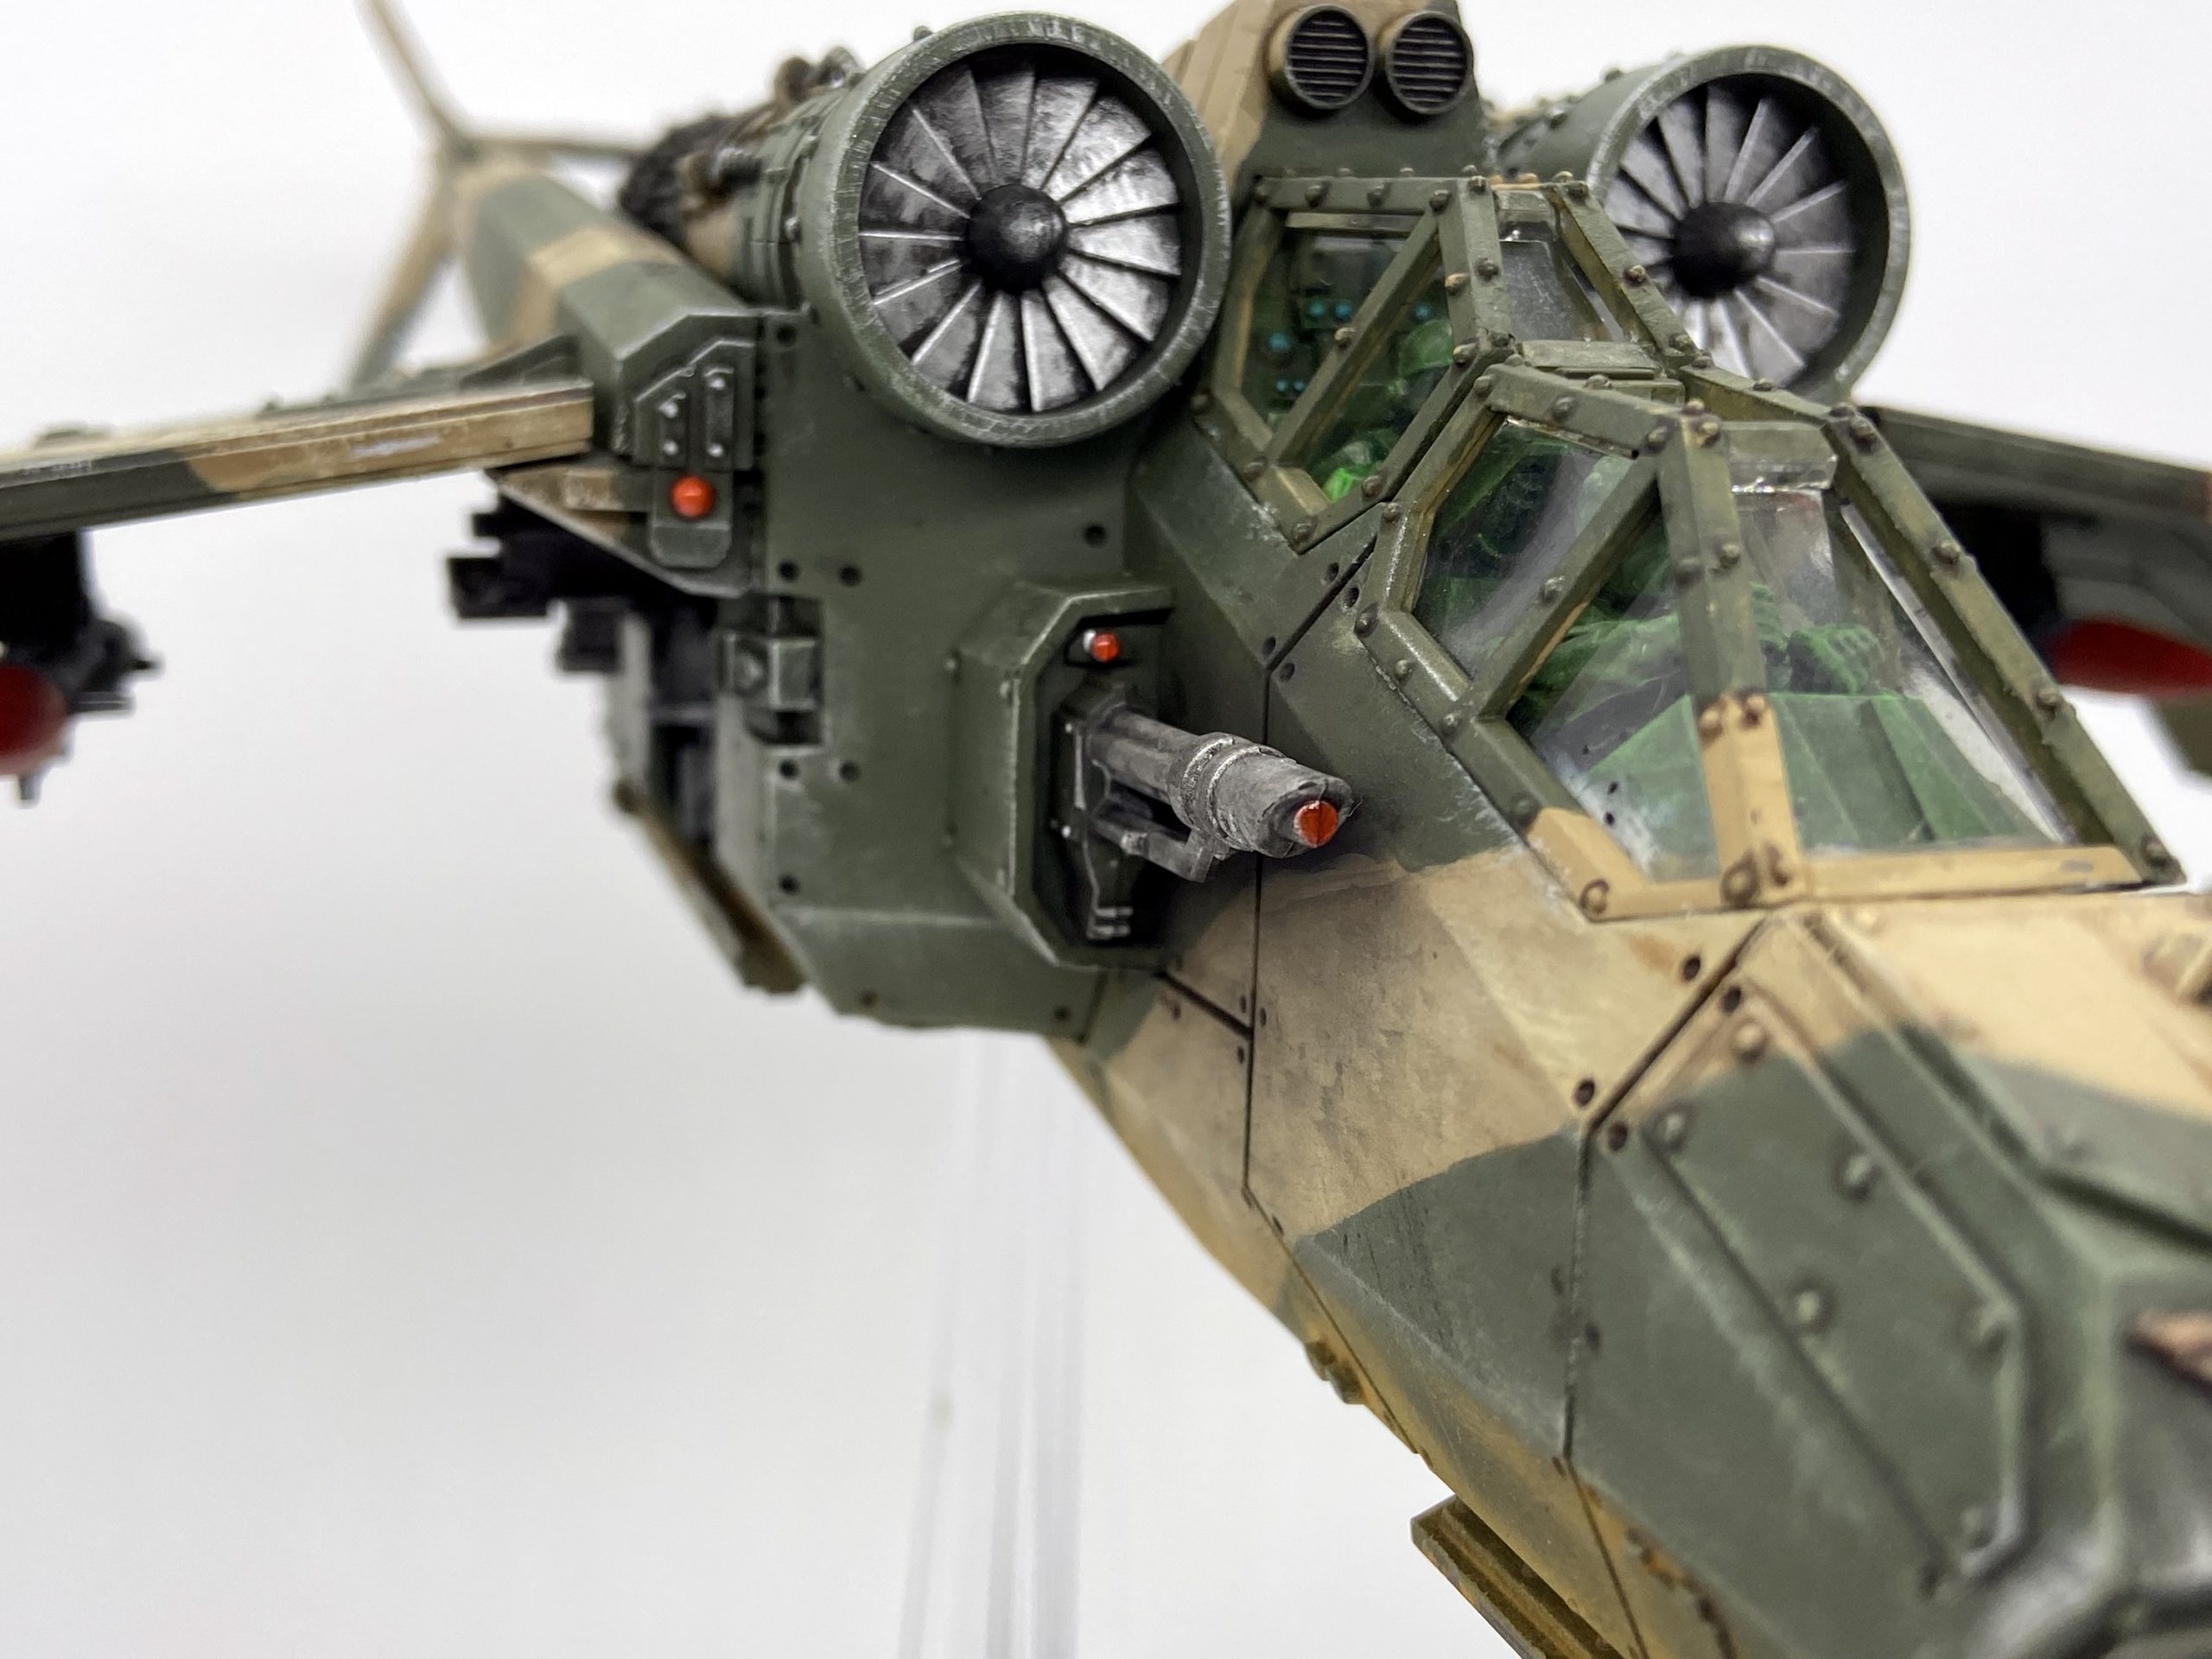
Cockpit Glow
This was my second time using Vallejo Fluorescent Green, the first time was on a Necron Overlord. This time I used it to get a very subtle glow in the cockpit, look close enough and you can just see it! I spent a long time on this to start with, with glazing and edge highlighting but it was taking ages to build up any sort of glow. So I just started glazing it all over the pilots – which worked OK and was a lot quicker.
This is why I did one Valkyrie first and not all three (plus the Vulture) in one batch, I can cut corners on the other flyers now when it comes to the cockpit. There is no need for all that slow glazing and highlighting because it’s barely visible on the final model.
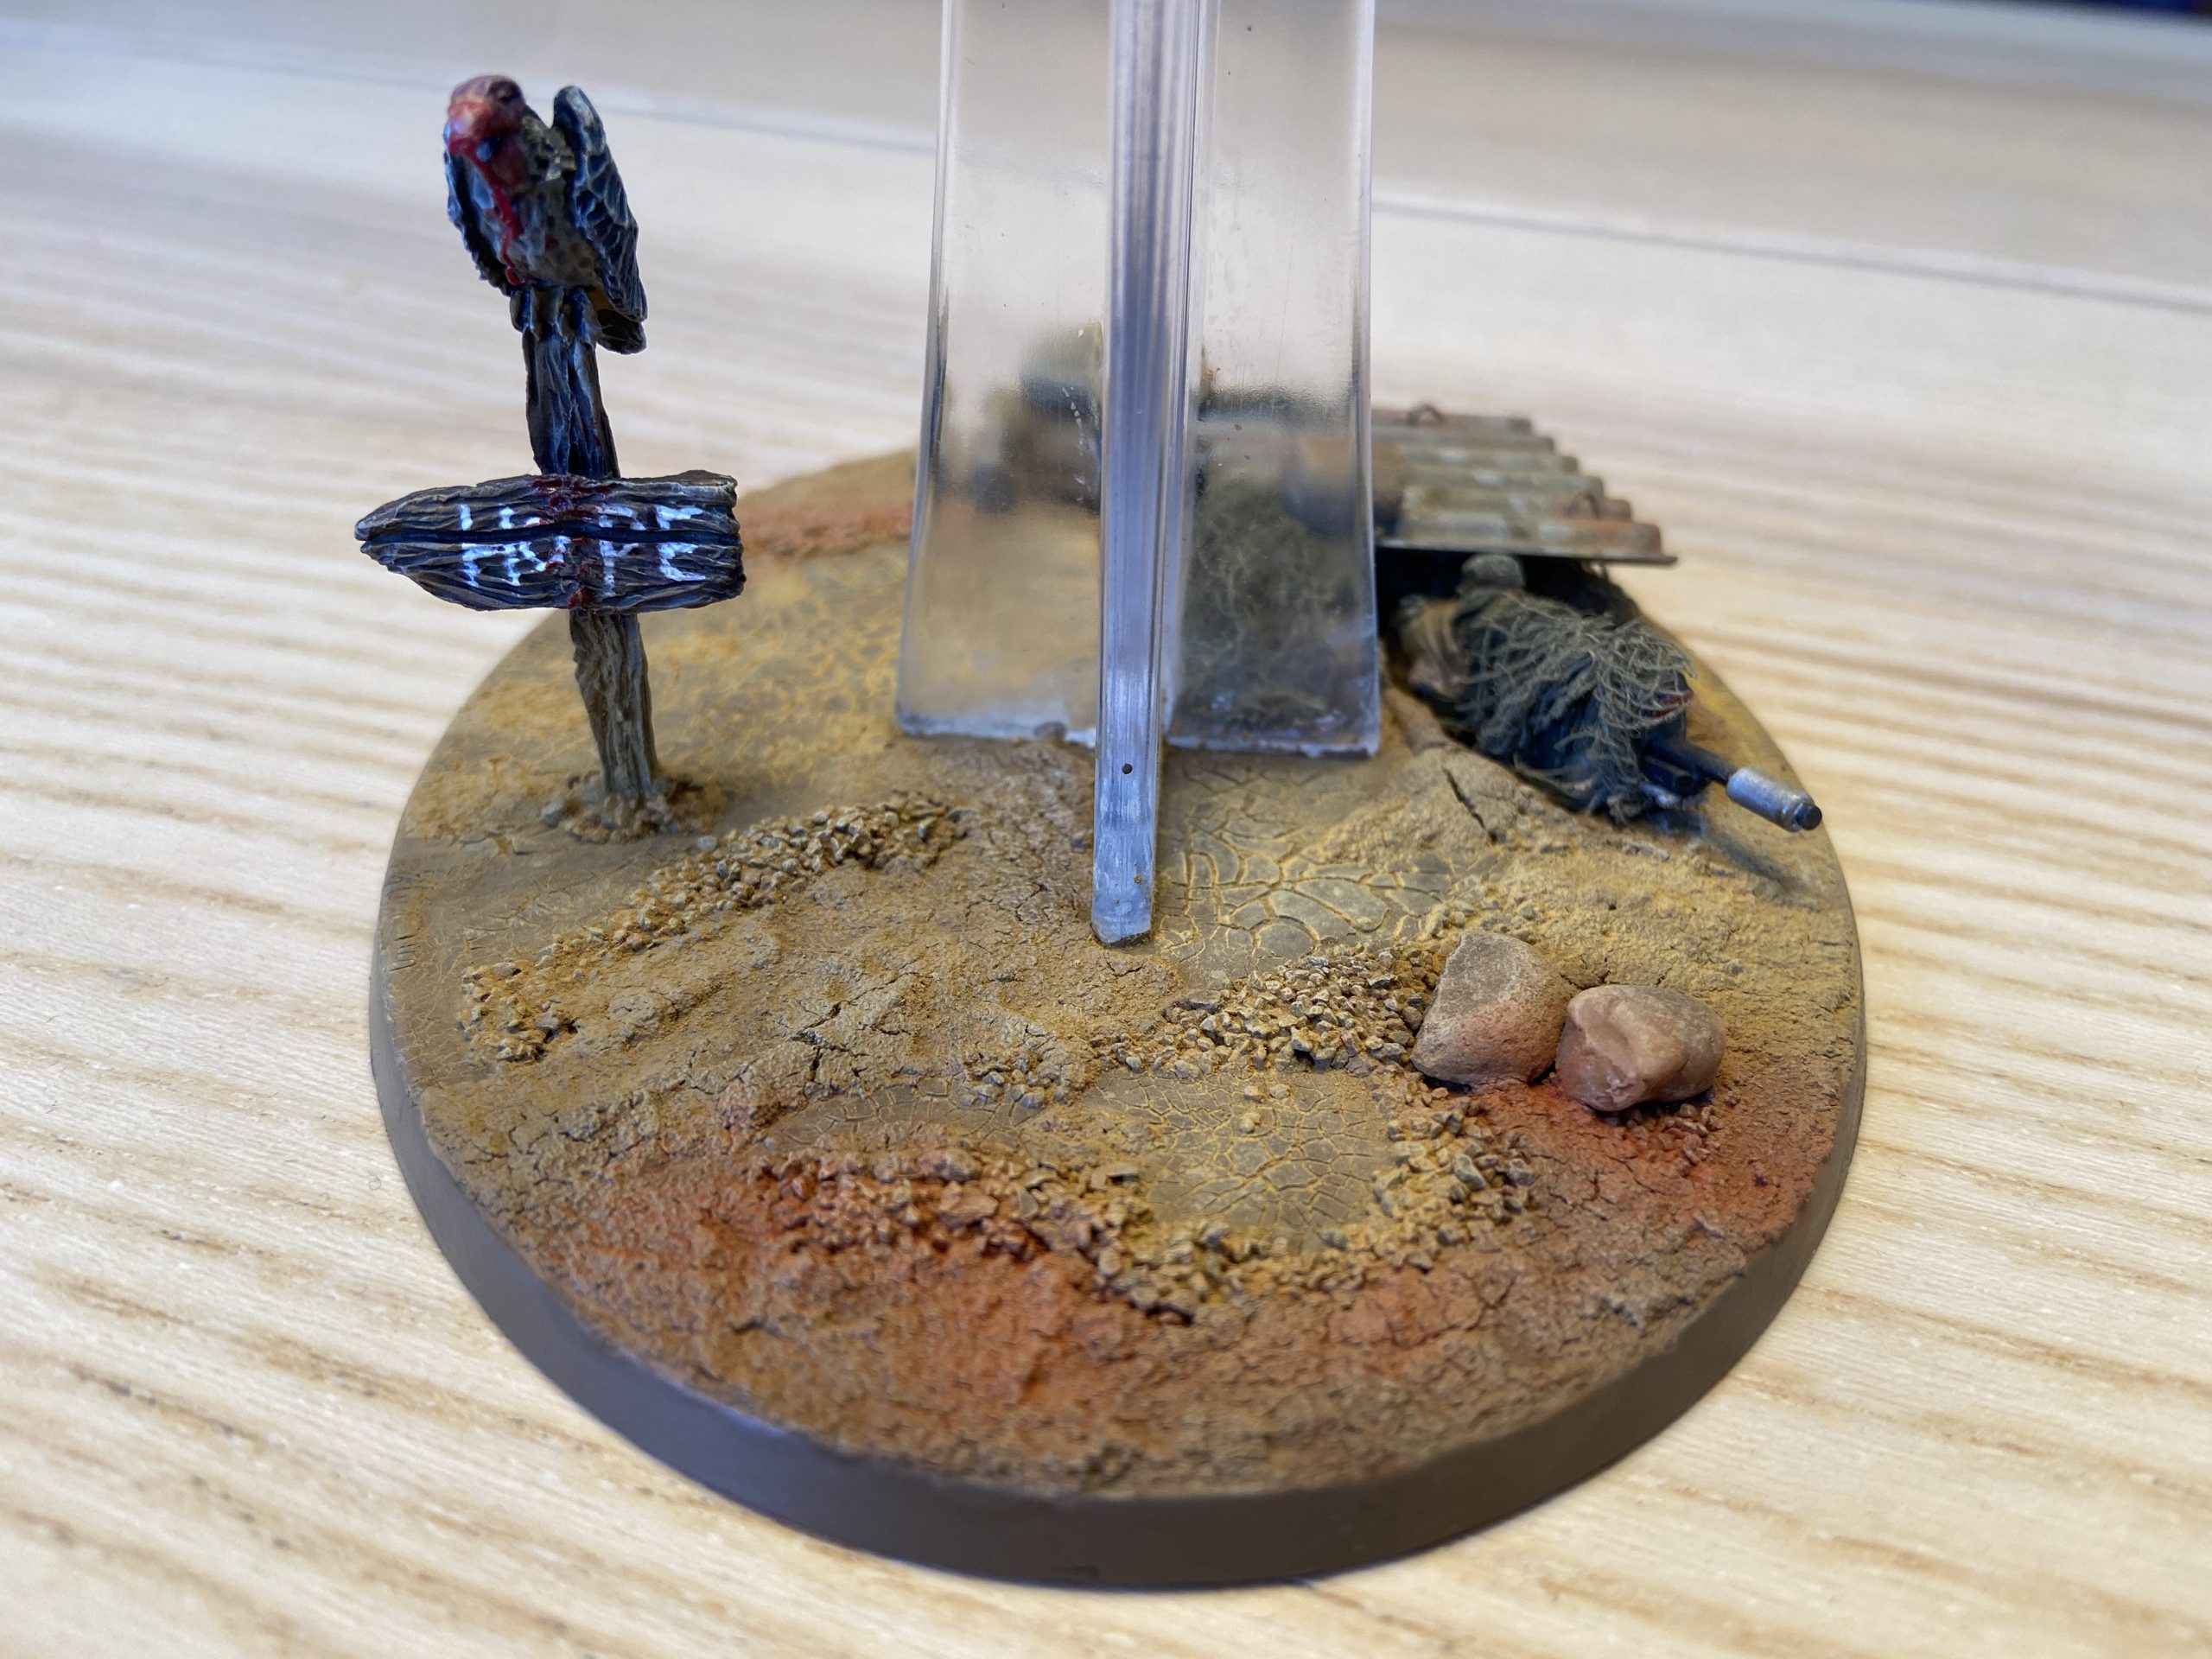
Pigments
I used Vallejo Pigments on the engines and the feet of the Valkyrie. I usually use it all over my tanks, but as this is a flyer any dust should be limited to the parts that touch the ground, right? So this is what I did. I just added the pigments to very specific parts of the model to give that dusty look to the lower areas. The engines and the runoff from the engines had black pigment.
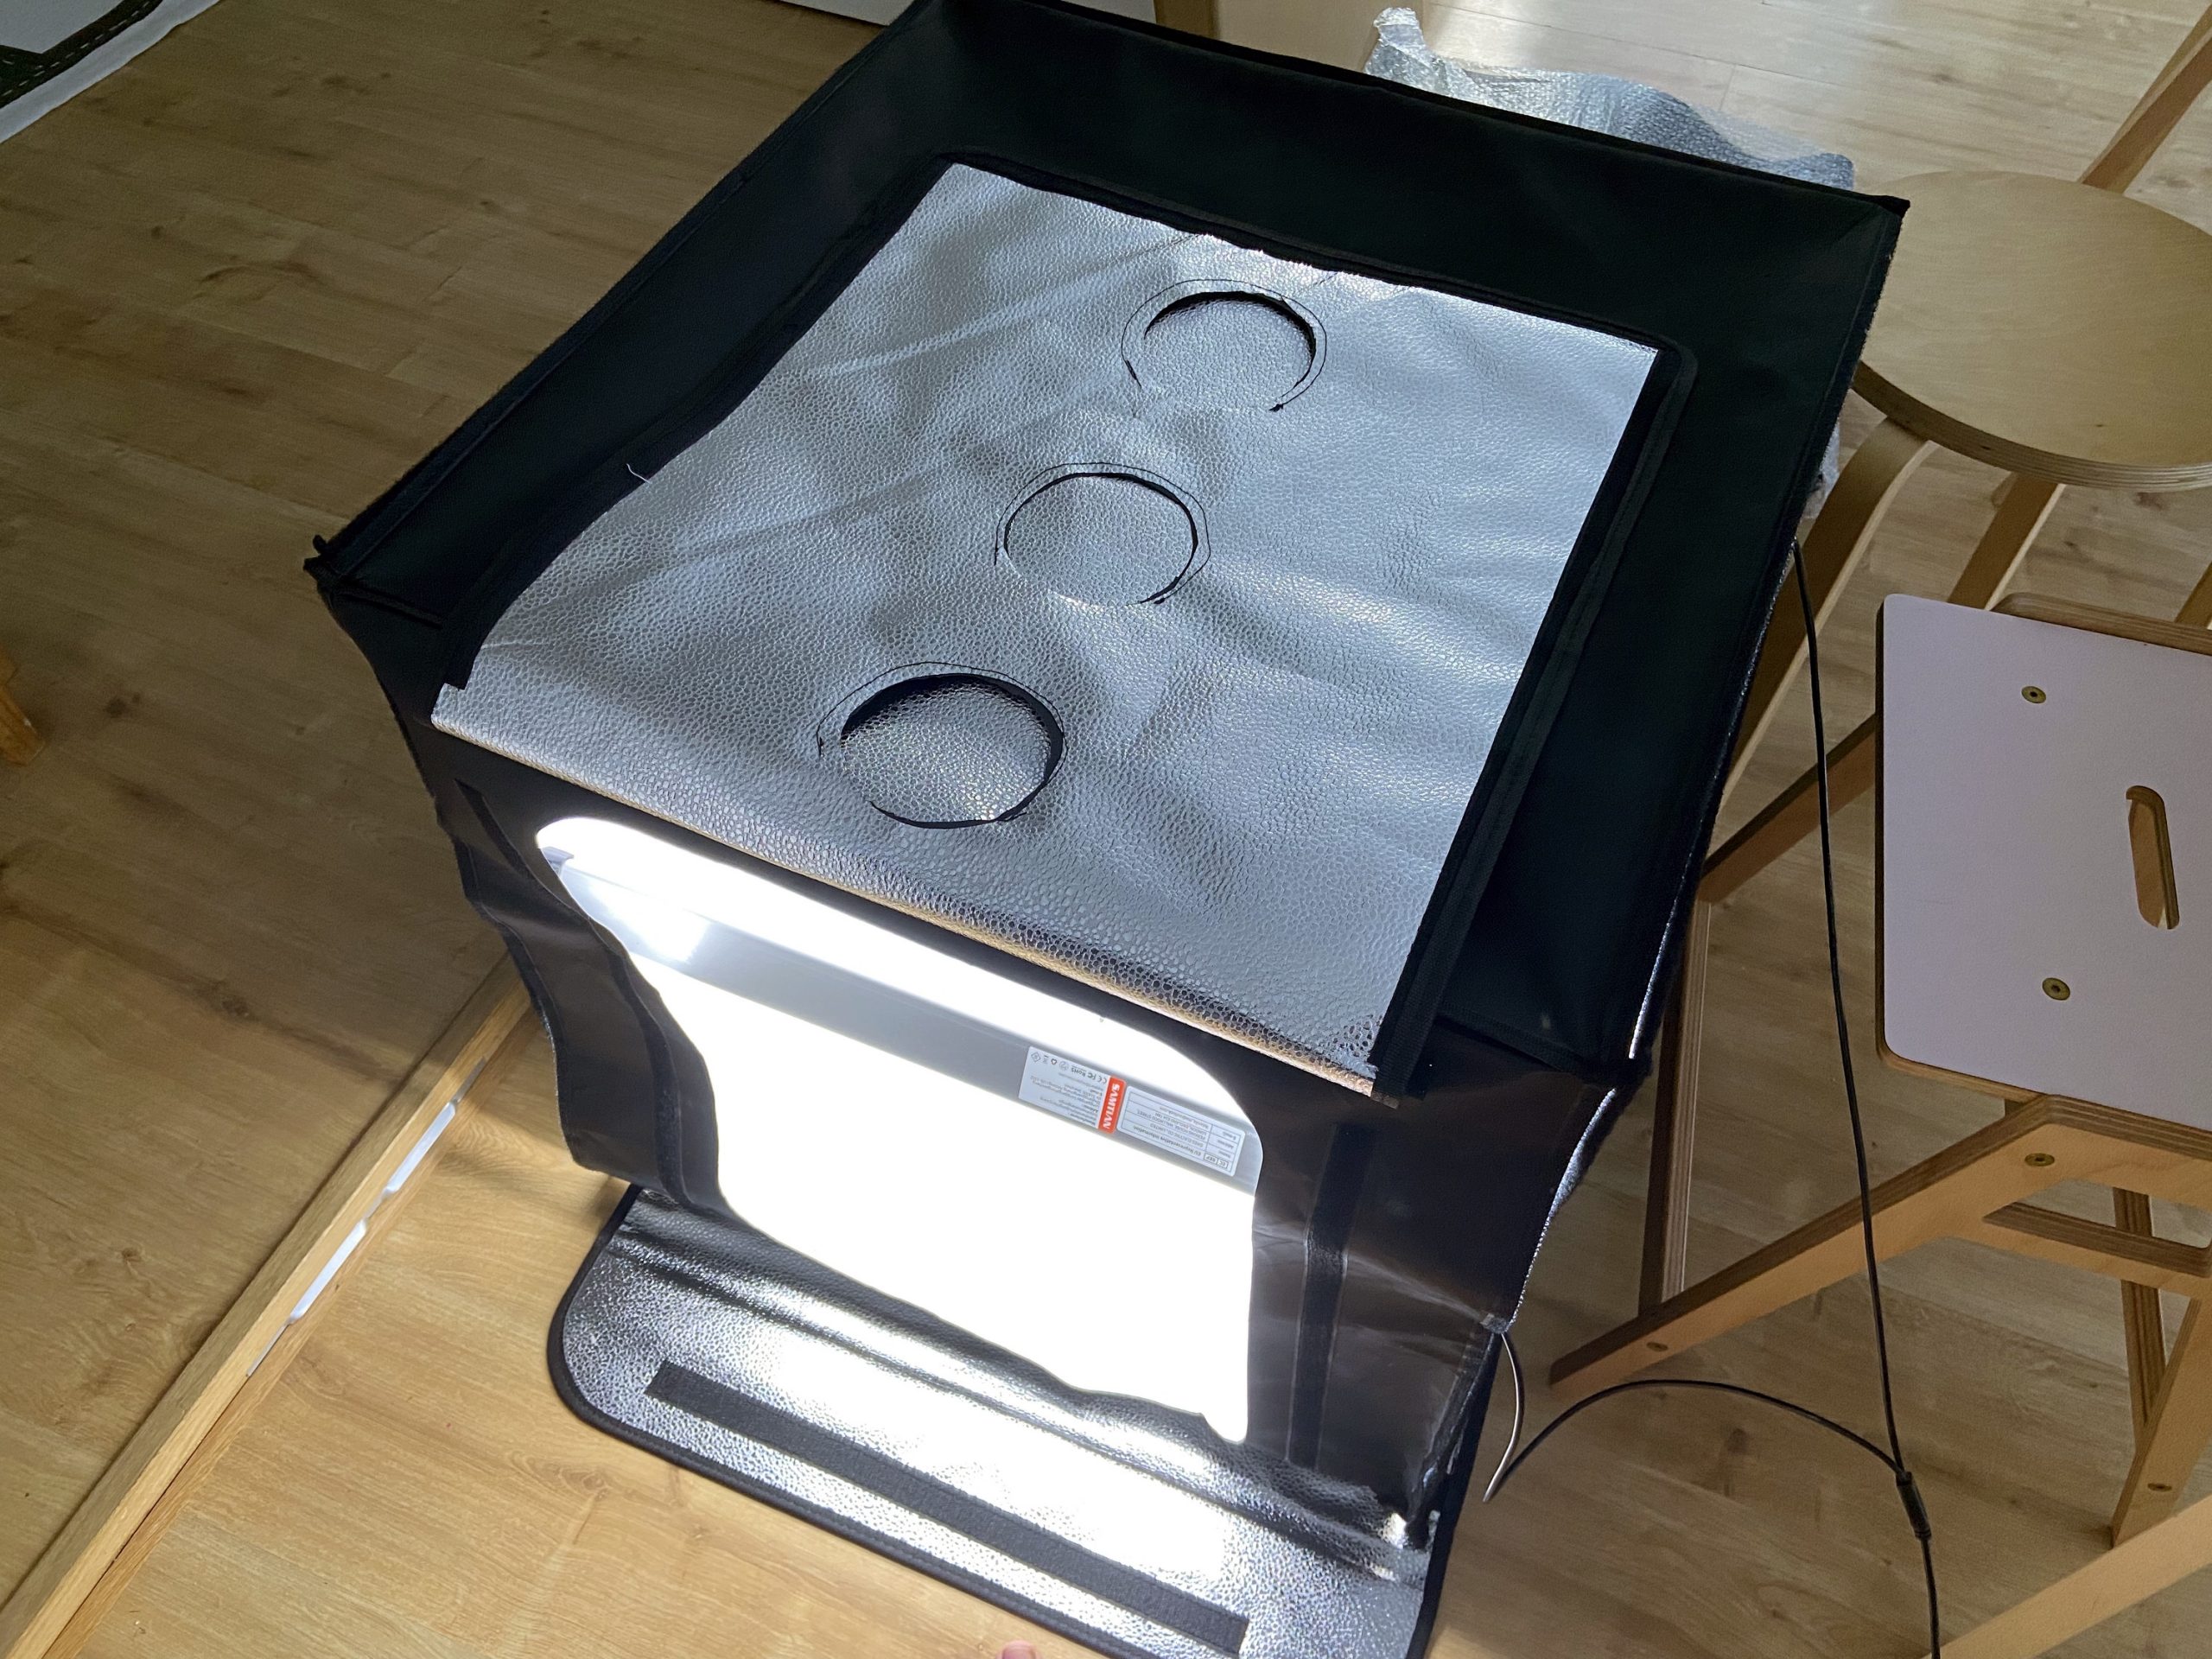
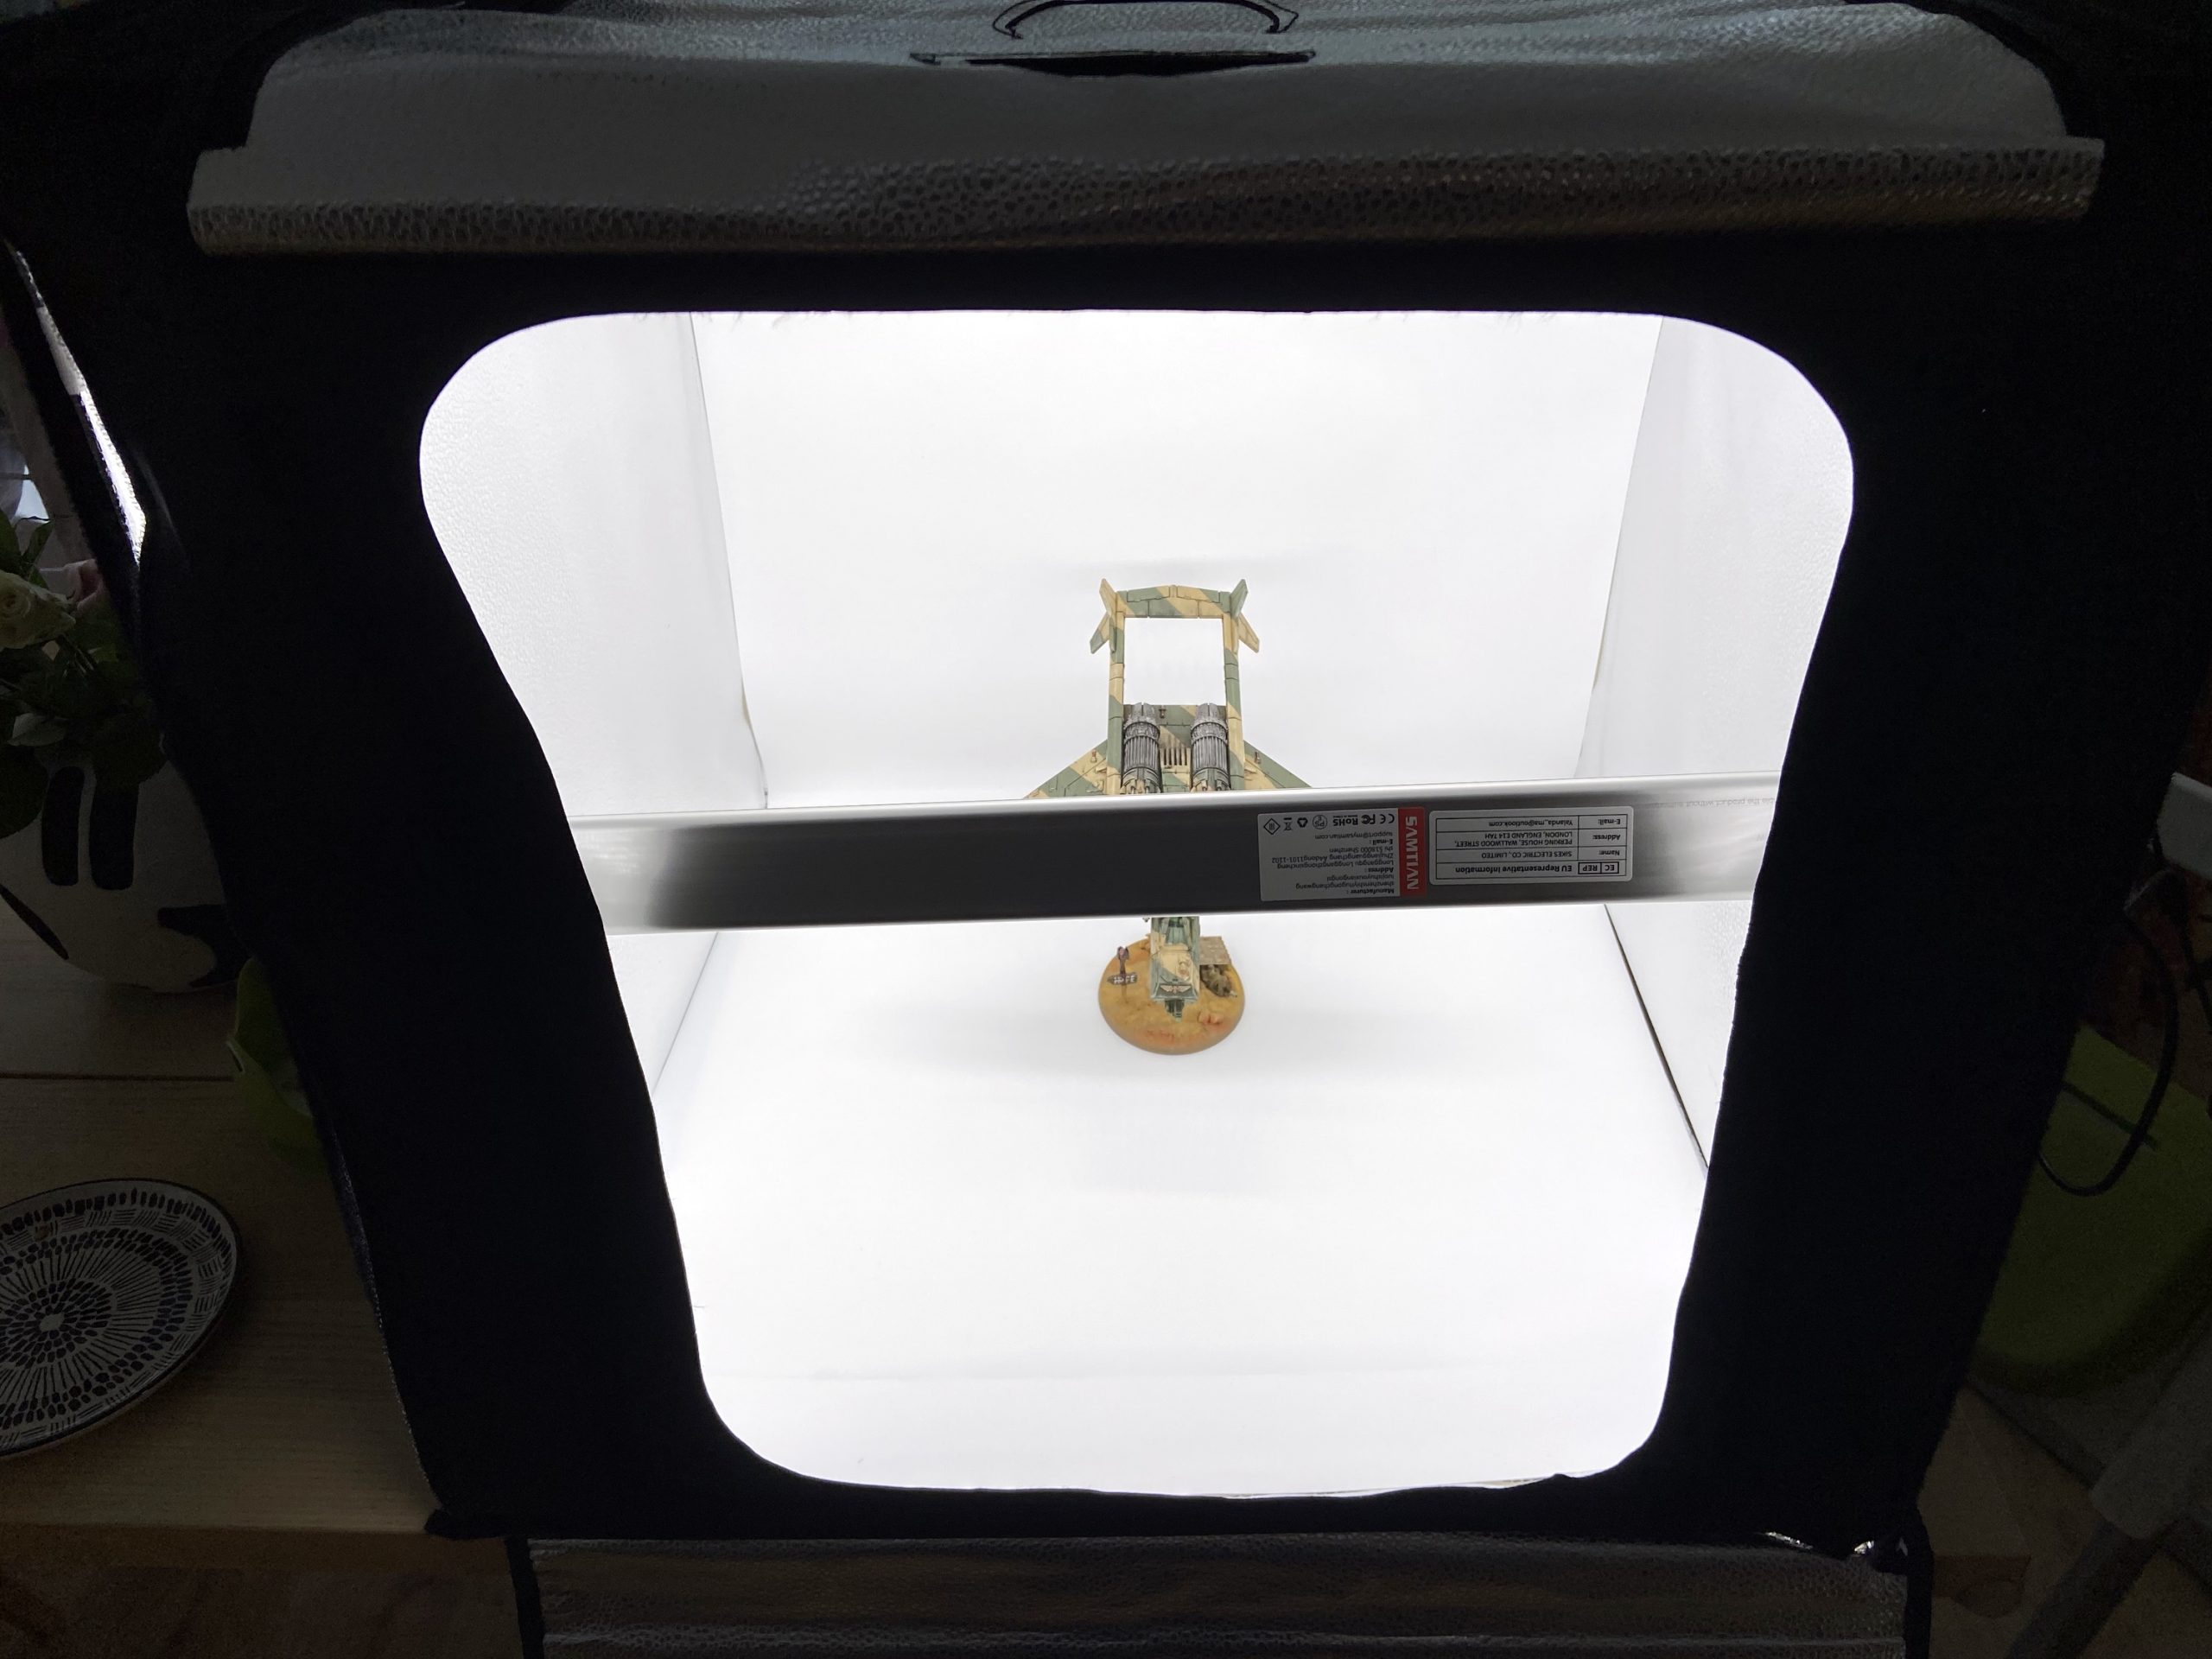
Lightbox
New lightbox, better photos!? This is the Samtian 60cm x 60cm x 60cm Lightbox.
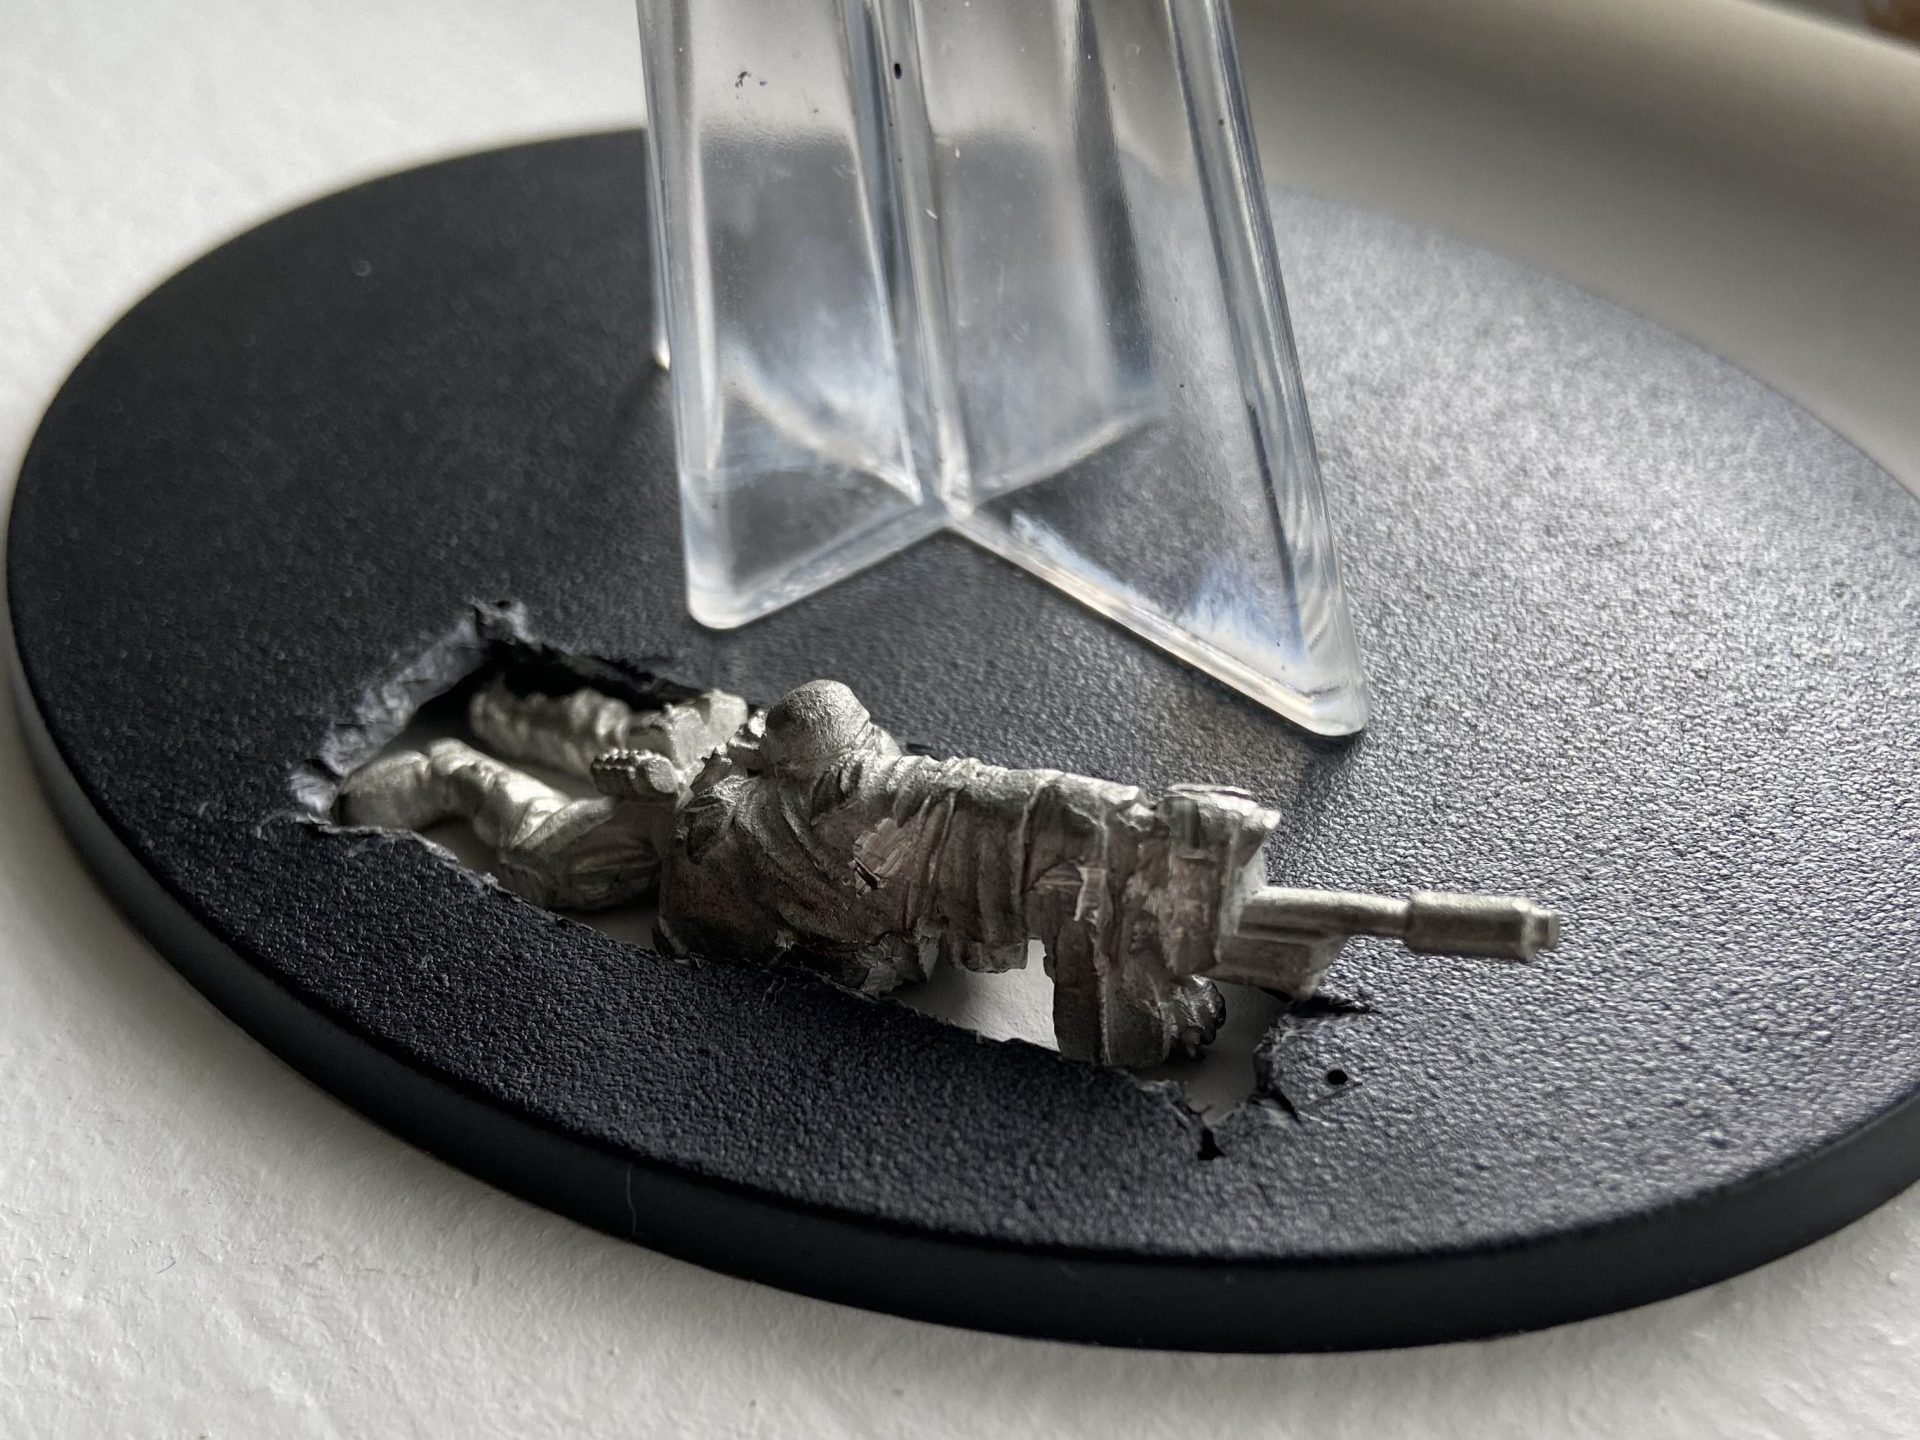
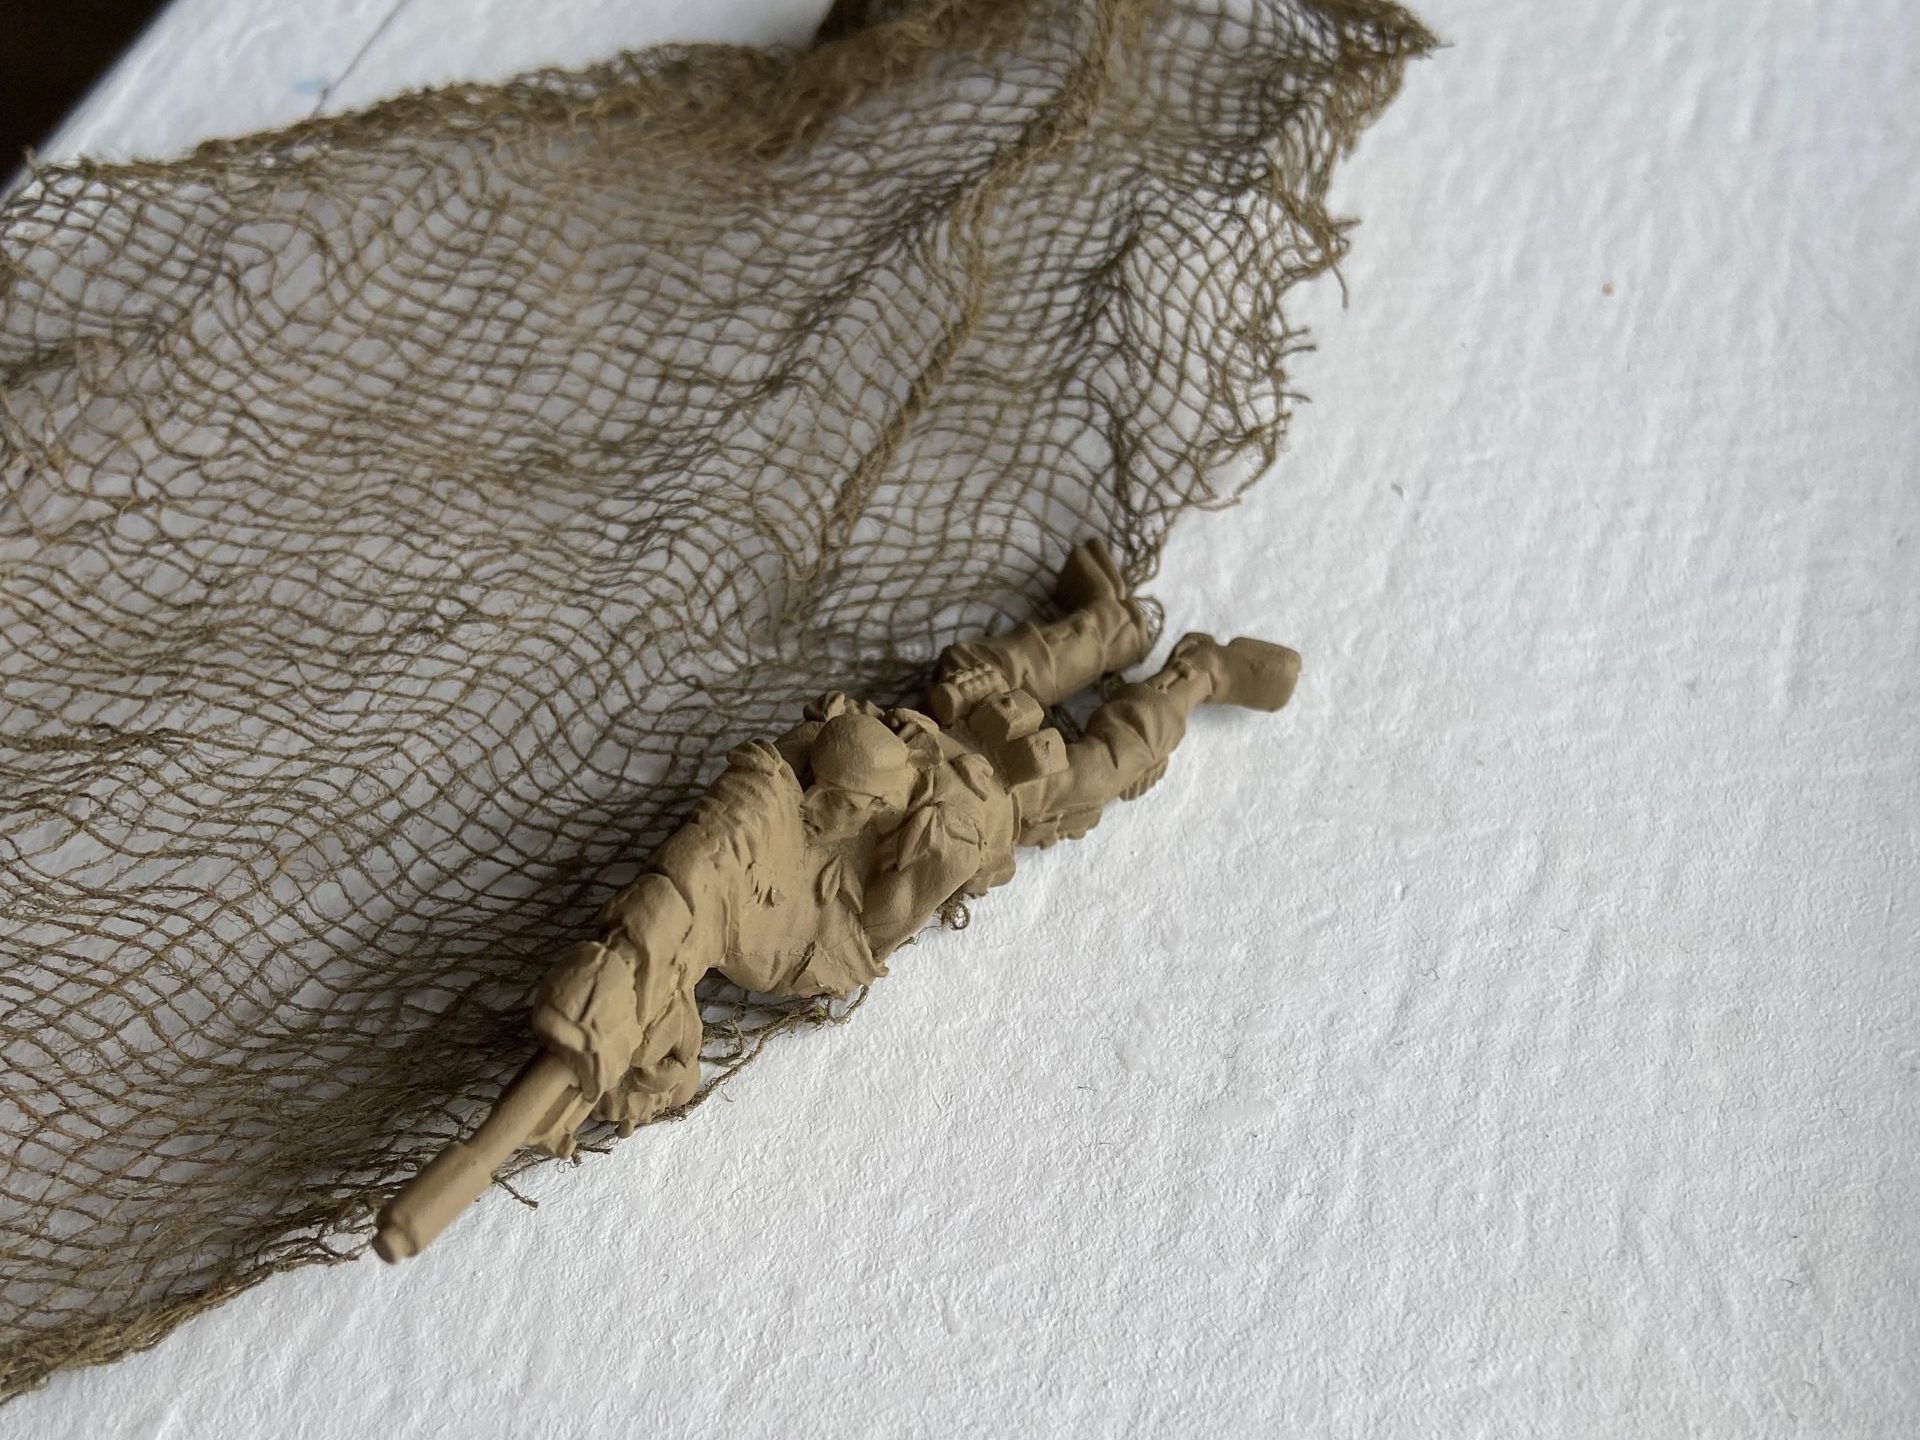
Valkyrie WIP Gallery
As always, I present a verbose WIP gallery for your eyes…