
Sponge Weathering & Mud
Mud glorious mud! And weathering of course...
Let us take a look at sponge weathering and mud today. This article is a request from somehow described themselves as the lowest common dominator when it comes to painting. I disagree with them! They can sure paint! But we all start with zero experiences everything and it takes a little push to get us out of comfort zone and into a new method/technique.
This type of painting technique is especially hard to throw yourself into because it’s the last, or nearly the last, step on a model. Everything is perfect and now you’re going to potentially ruin it with a new technique.
Never miss an article? Subscribe!
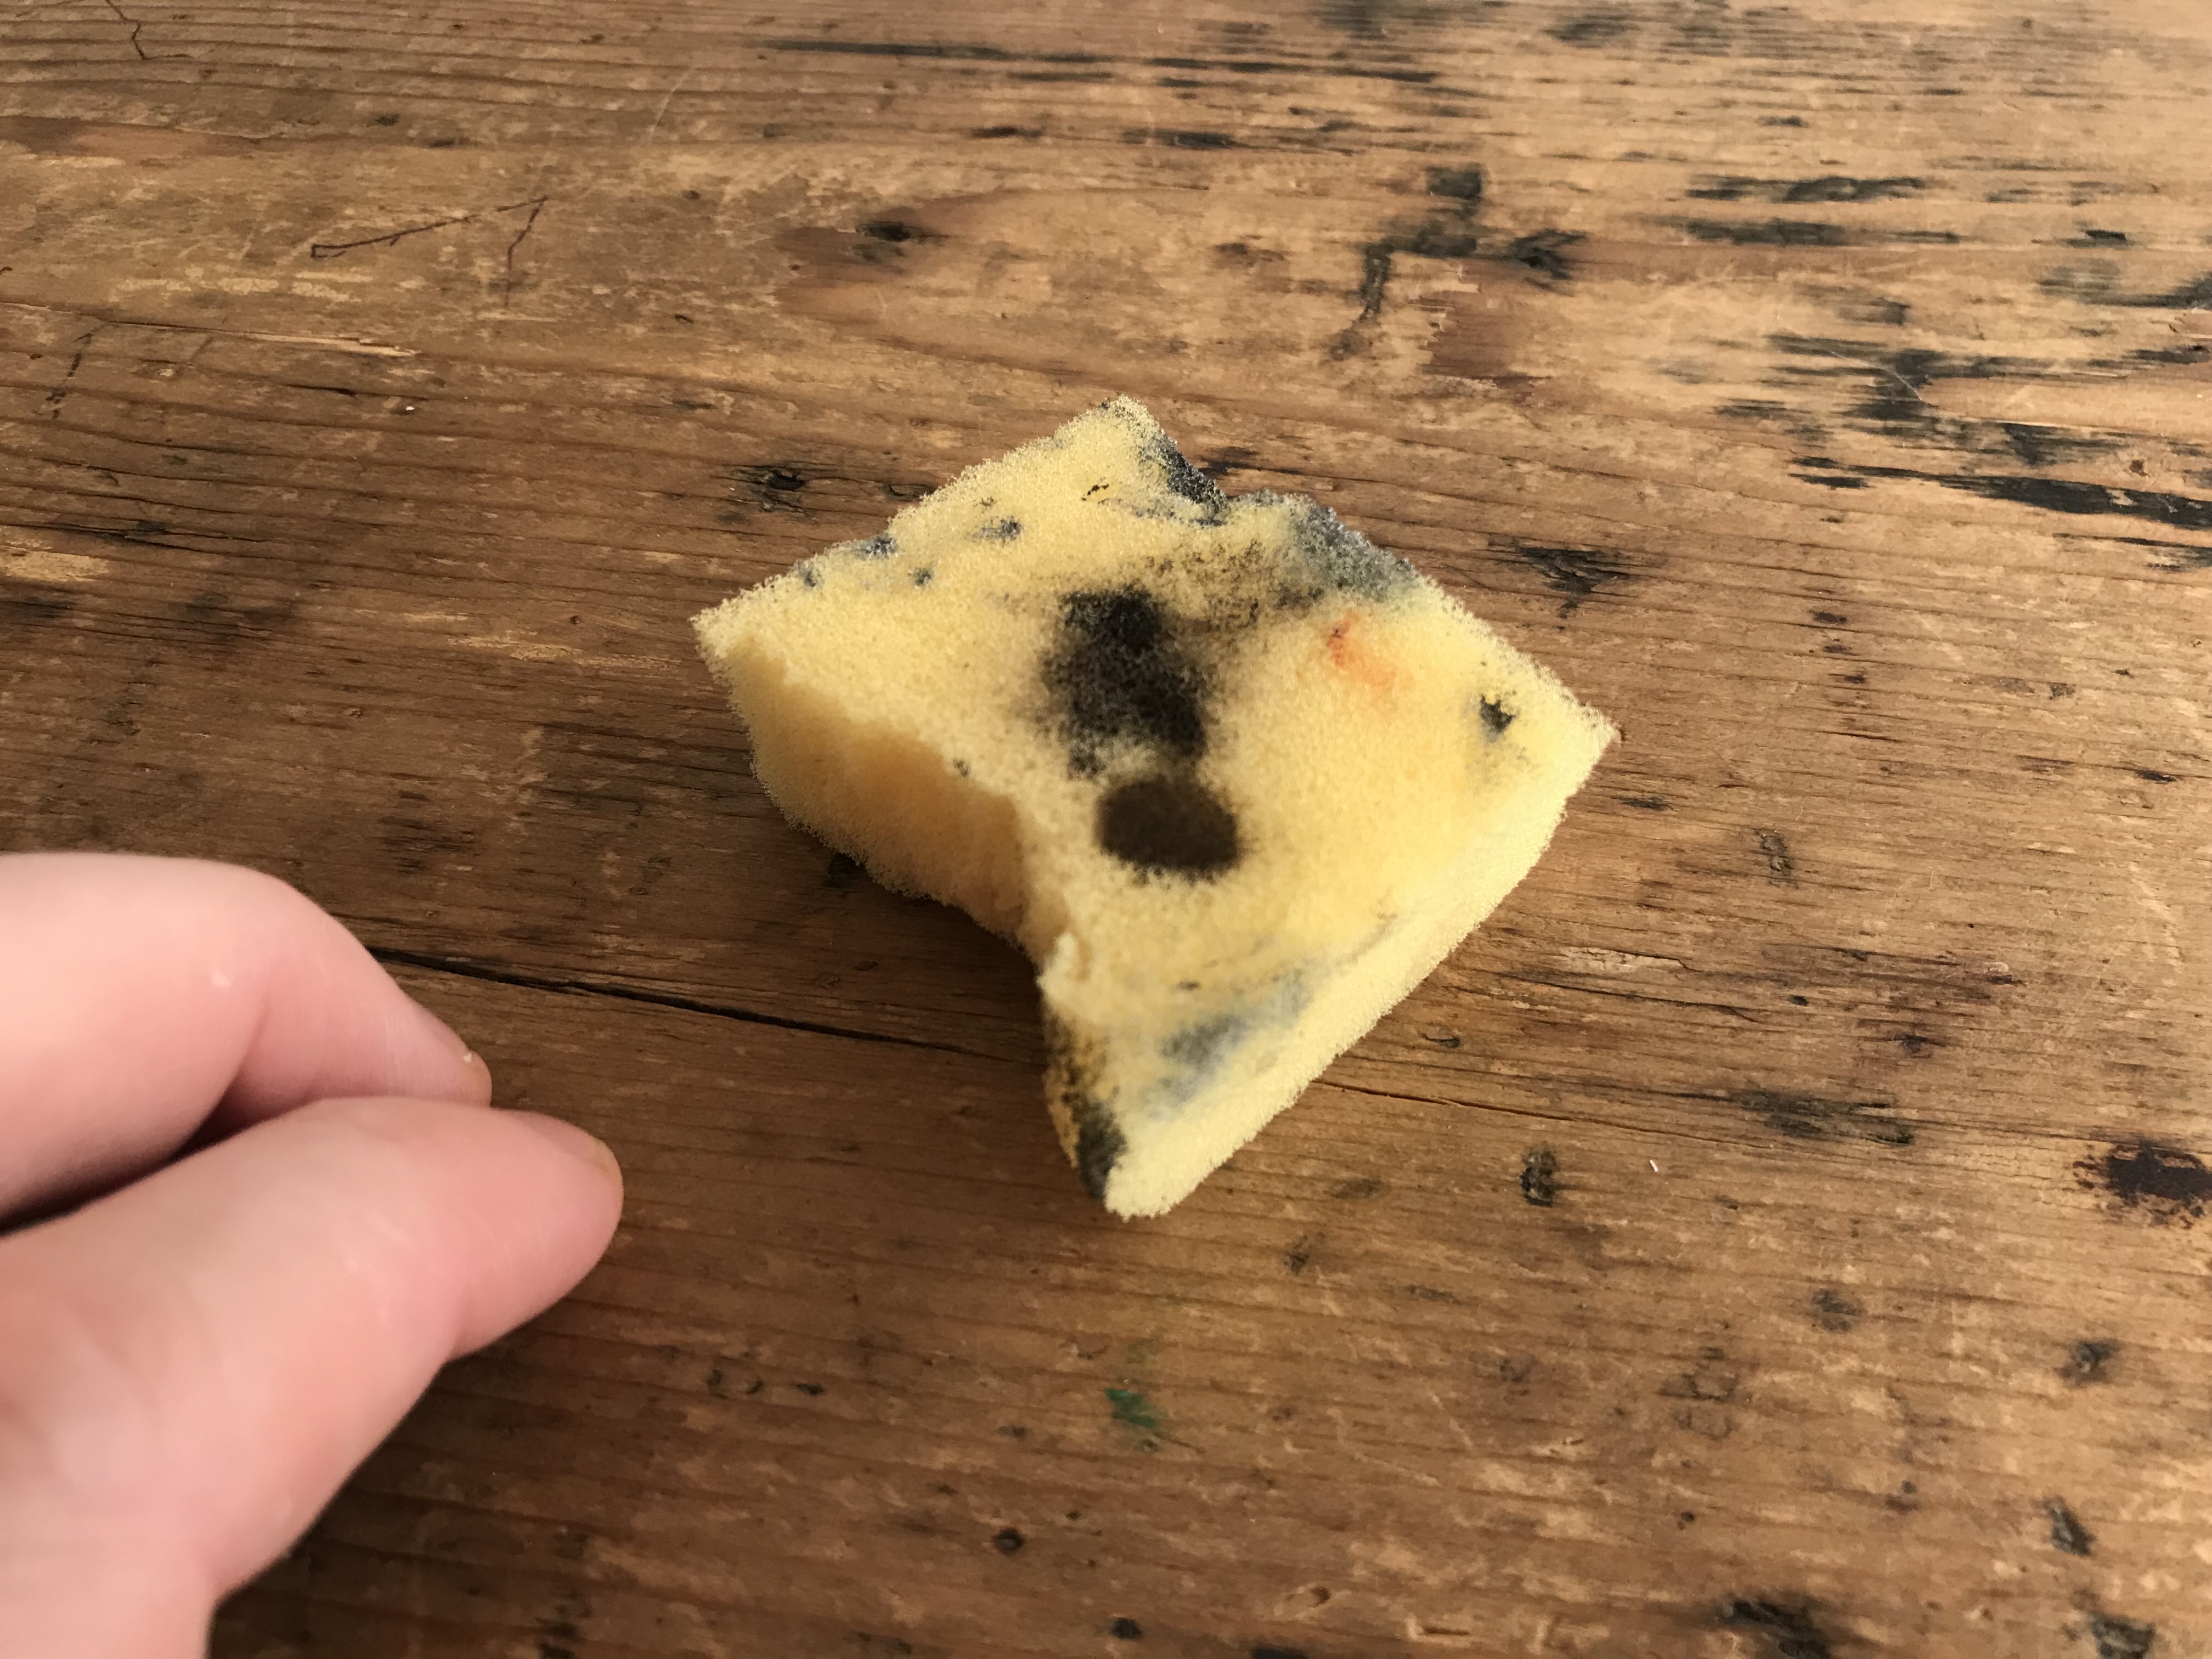
My Trusty Sponge
Testing with a Sponge
With this being a final step the risk is high. You should spend some time testing out these methods before going at a model with them. Better to use 30 minutes doing a test than ruin a model you’ve spent four hours on.
The test can be simple. Take something and prime it, then paint it in the base colours you have already. Just do it quickly to get it to the right colours as your model. You can use a piece of card for flat areas like armour or a piece of sprue for complex areas.
Prepare a test piece that’s bigger than you think you’ll need. This will enable you to try a few methods in one go and see them side by side easily. It also means if your first attempt is a failure you have plenty of room to try again and perfect the method.
The Sponge
I find that a regular sponge you use for doing the dishes works fine. Or some foam from a miniatures case.
I find I hold it very tightly between my middle finger, index finger and thumb. This creates a sort of slightly curved surface which you can dip into your paint. I say dip, I mean lightly touch.
Lightly touch the sponge onto the paint, or wash. Remove excess on a paper towel, try it on something that isn’t your model – I use my hand. Then apply it to the model.
Trying it on something first is a must. Sometimes you’ll get a pocket of just pure wet paint in the sponge. You don’t want this. Keep dabbing on the paper towel to remove this. I’d do a test on your hand every time, just to make sure.
- Touch paint
- Paper towel
- Hand
- Model
- Repeat
That test every time will save you. Trust me.
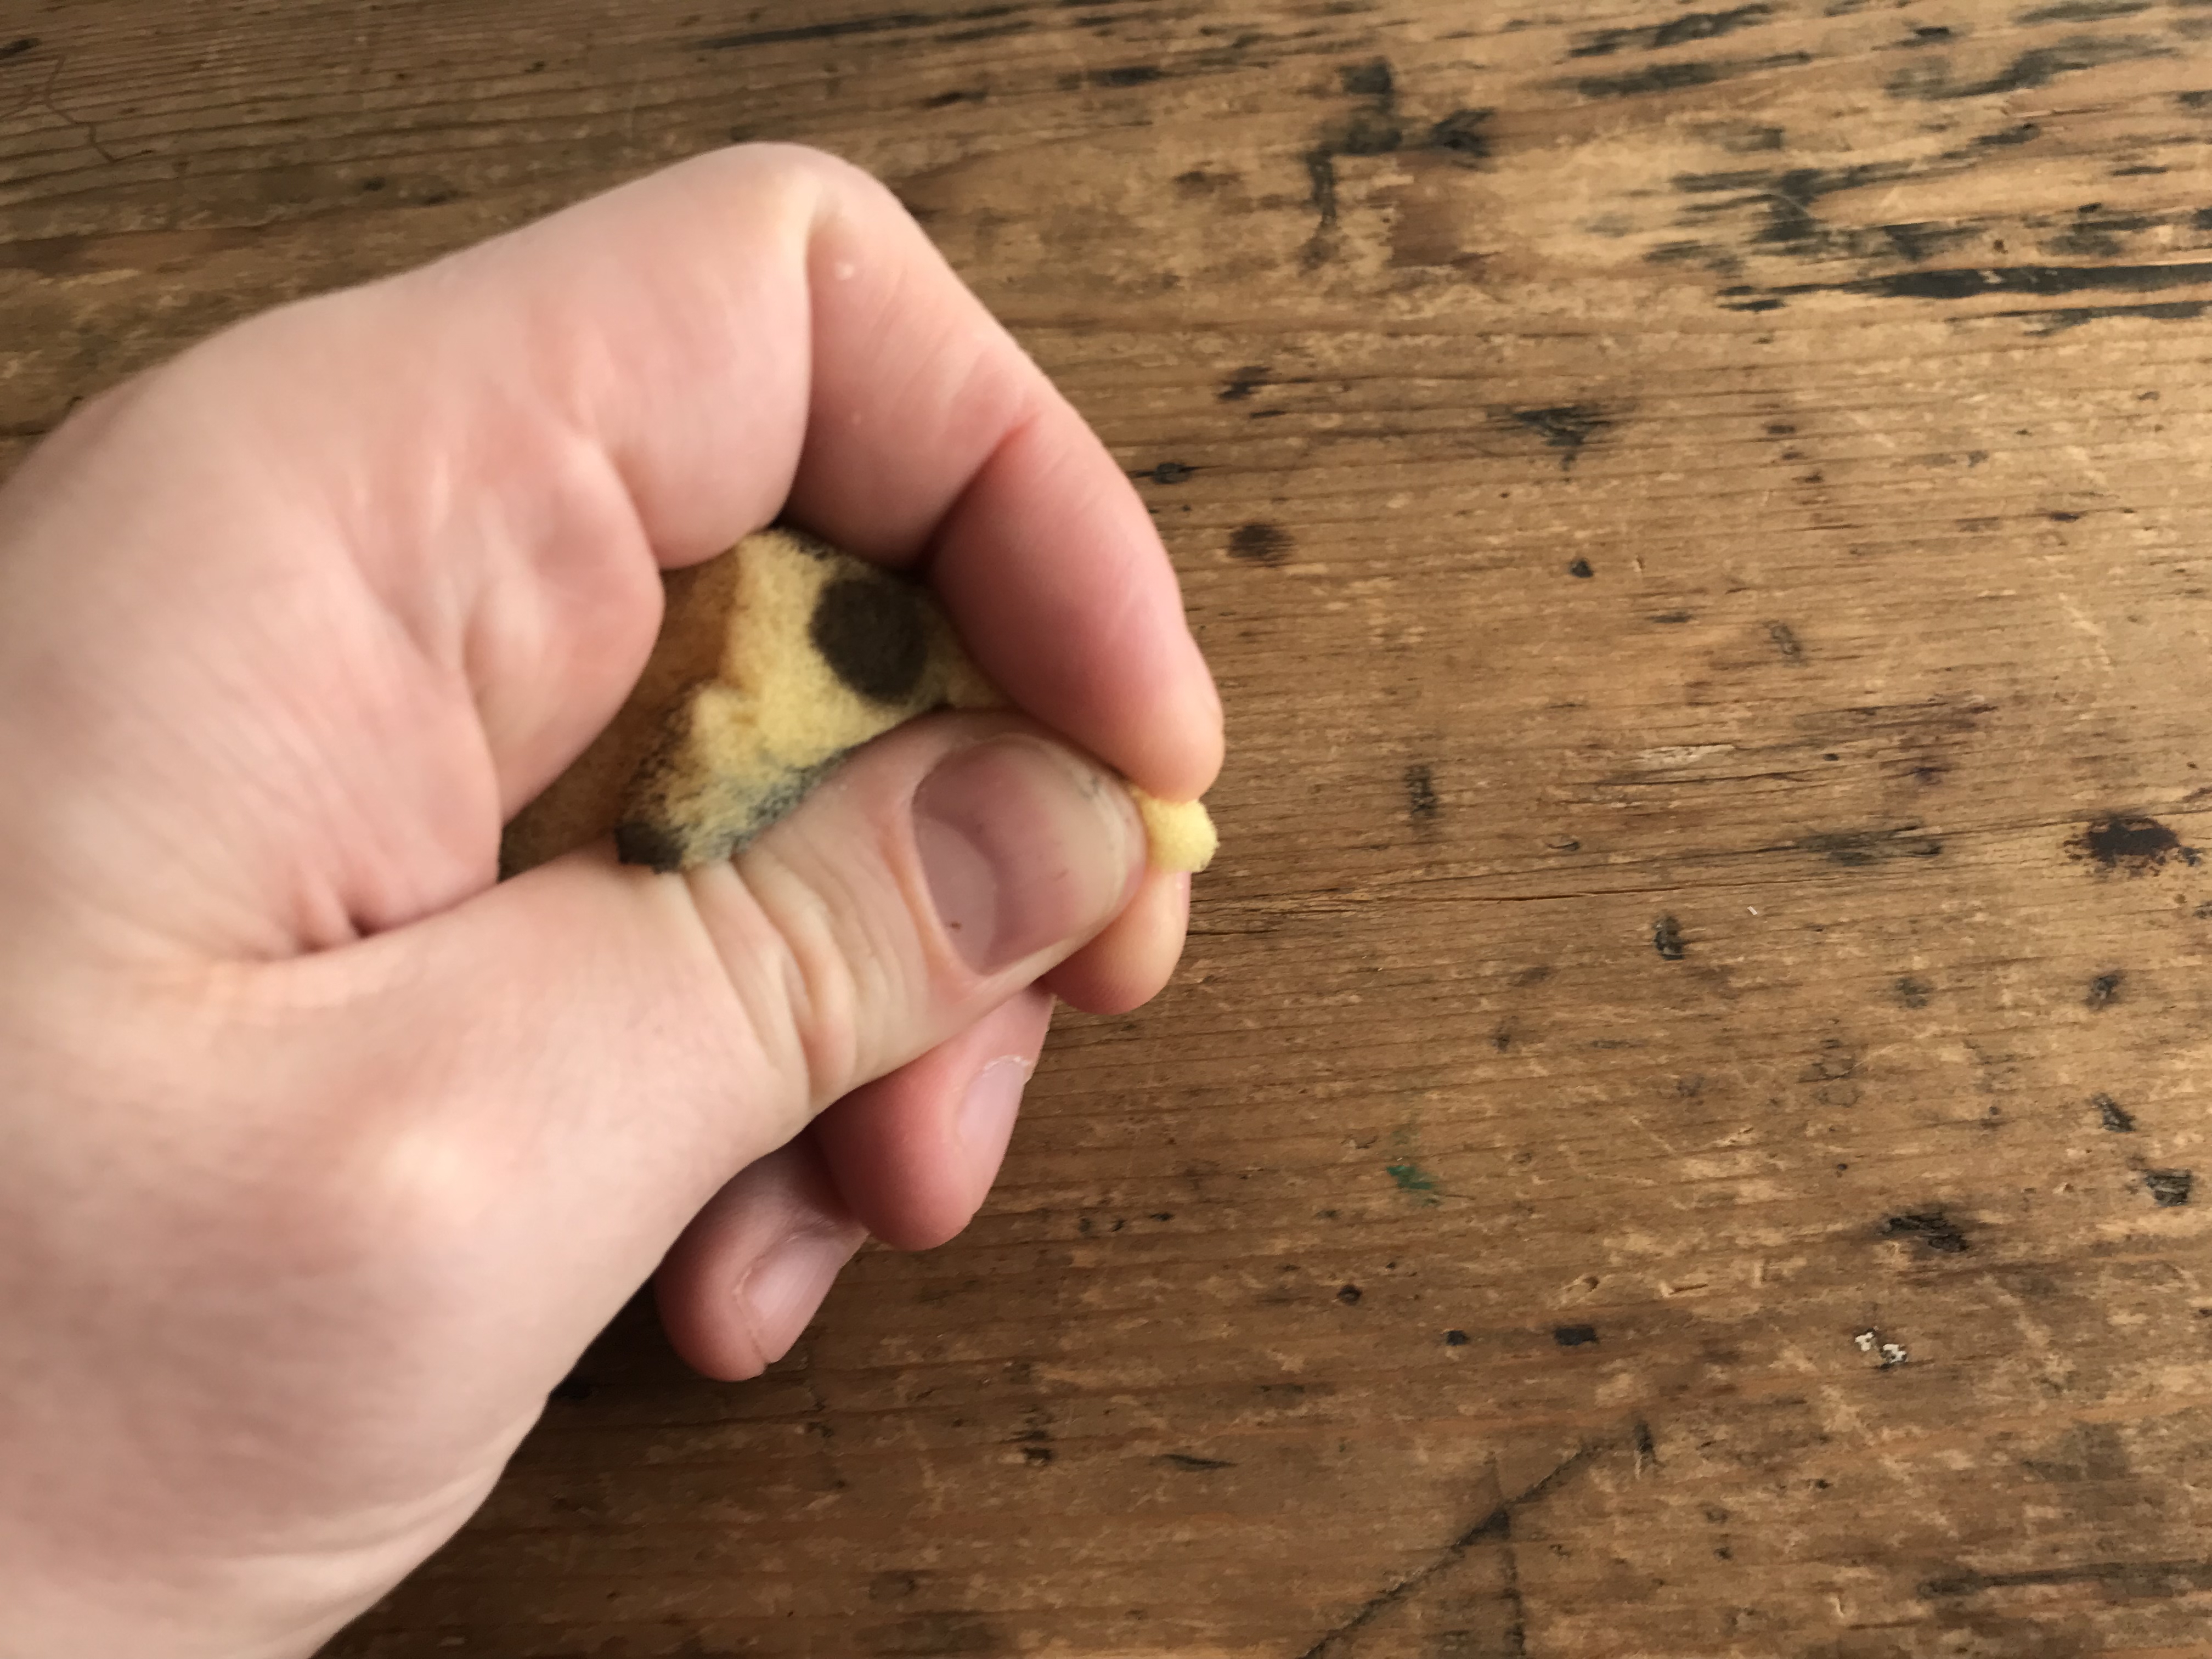
Holding the sponge
Paints & Washes
I’ve used a sponge with paints and washes. Washes soak up a lot, so be careful and make sure you remove excess. Using a wash is probably a poor use of the wash because you waste a lot.
Watering down a regular paint is probably better. But again, test it to make sure it’s the colour you want.
Paint doesn’t soak up as much but still needs to be spread out and dried out a little on a paper towel before use.
Different Surfaces
I’d use a different method on different types of surface. The two main ones will be;
- Flat areas of hard material – like armour or buildings
- Soft areas with grooves and complex surfaces – like clothes
-


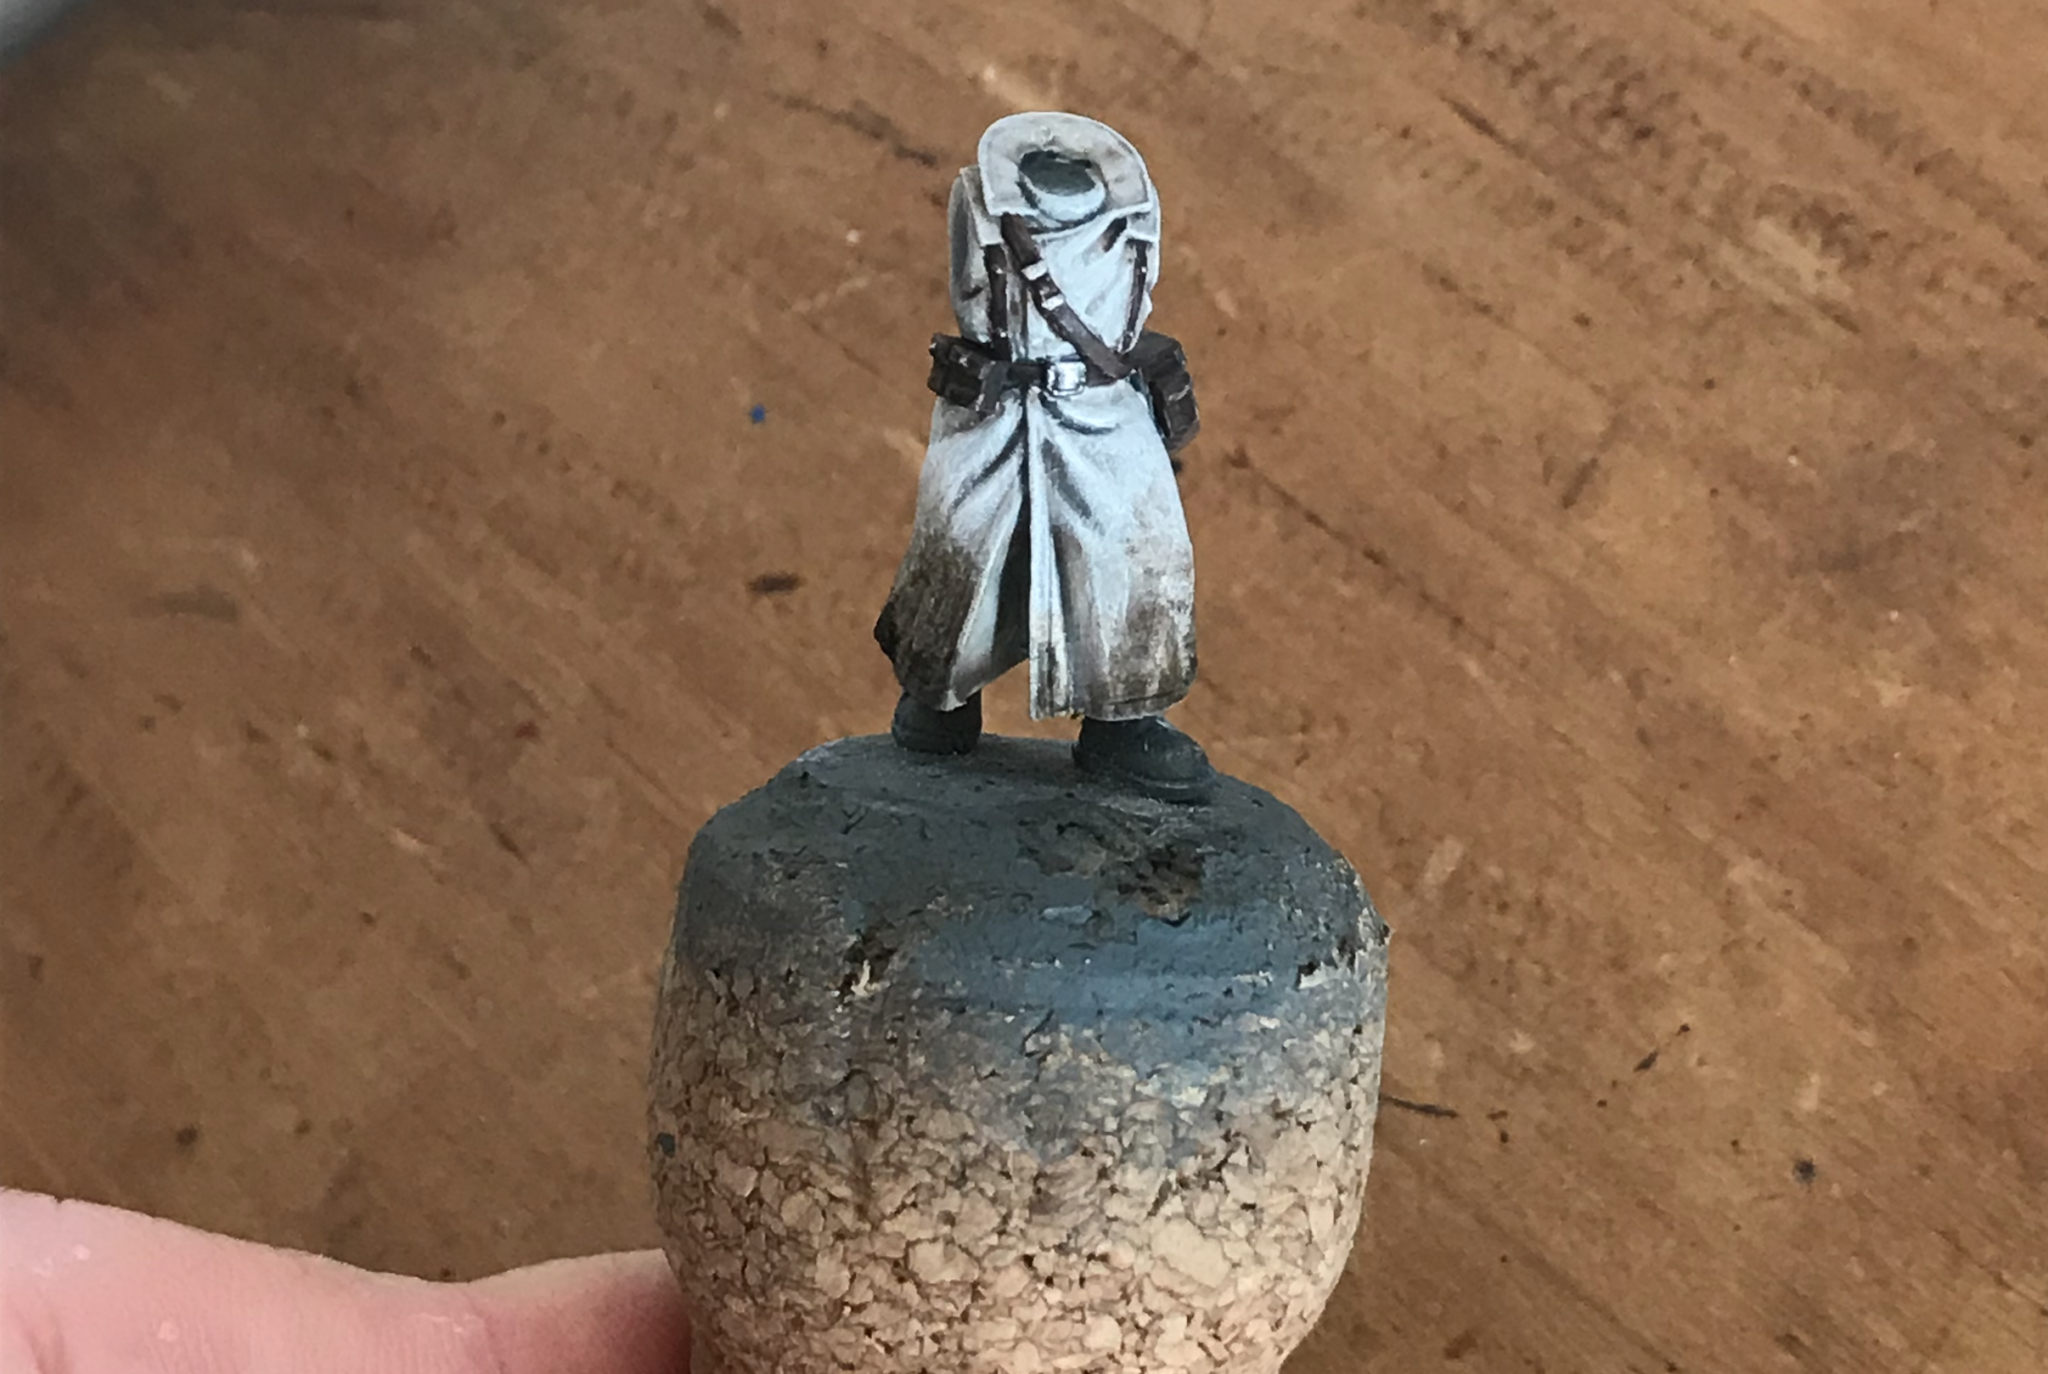
- Clothing done with a sponge
-
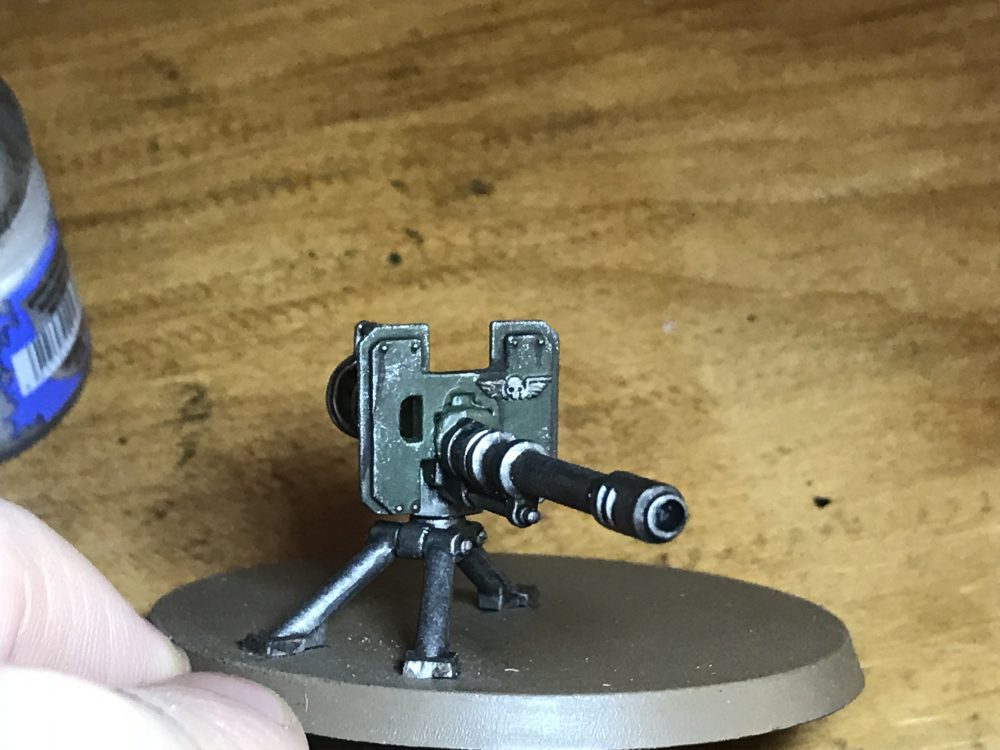

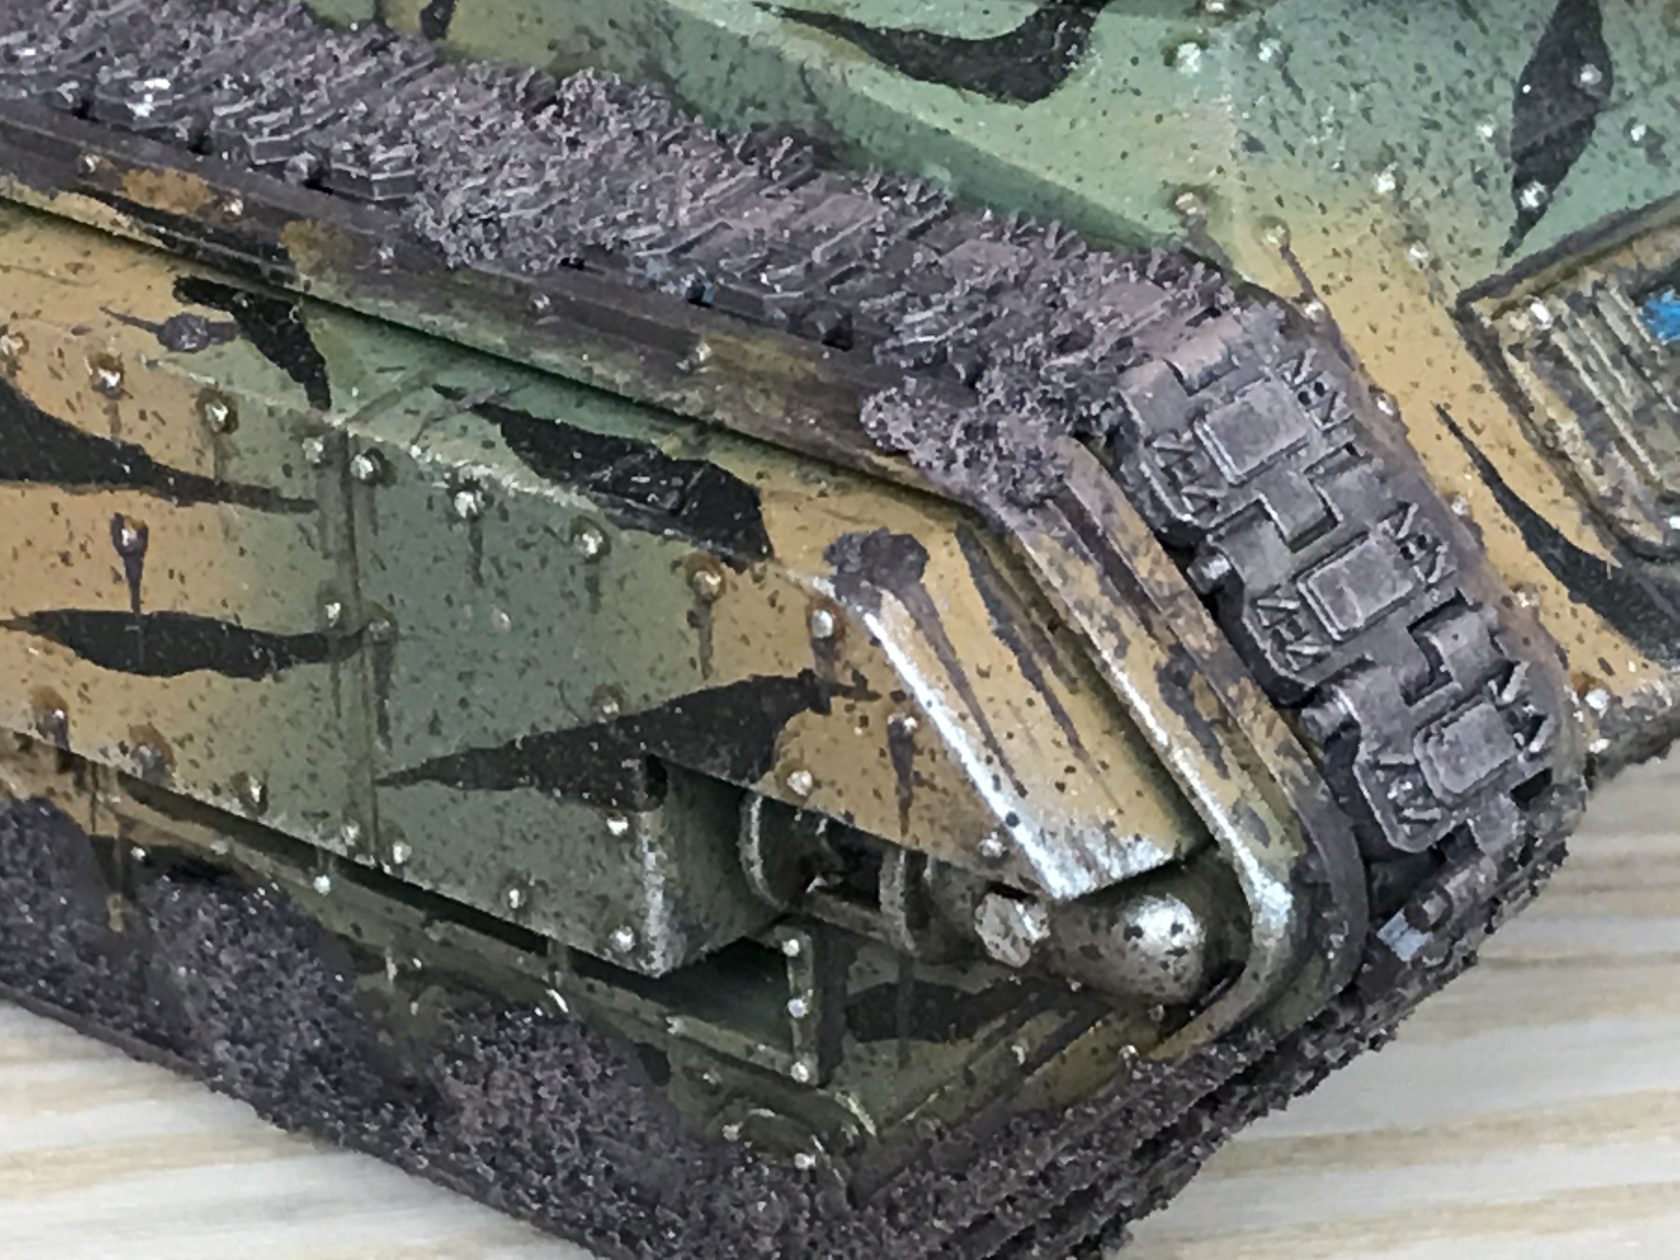
- Autocannon plating done with a sponge

Armour
When doing armour I place the sponge onto the model and then remove it in one straight line. It goes on at 90 degrees to the surface and off at 90 degrees. There is no angling or movement.
This gives you a cleaner effect from the sponge. The paint goes on in little dots and patterns and stays there. This is how I’d imagine it being deposited on a vehicle’s armour – it goes on and it stays there, it doesn’t soak into the armour.
It may drip or run down the armour though, more on this later.
For armour, it’s a fairly robotic movement. On and off.
Clothes
Clothing is slightly different. It can be less robotic and a bit more organic. Dabbing and patting the sponge on in multiple locations and at multiple angles.
You’d expect the muck to soak into the fabric and create less of a dotty or patterned effect. And more of mucky smudge on the clothing.
I did this with my Valhallan test model using Seraphim Sepia, Agrax Earthshade and Nuln Oil. I made a conscious effort to put Nuln Oil at the base of the coat, Agrax at the base and just above the base, and finally a very small amount of Sepia just above the Agrax and nowhere near the bottom of the coat. This worked well in the end and gave a variety of browns from the base of the coat and up. With little effort.
Sponge Weathering
The above for clothes and armour covers mud and the general muck of the battlefield. You can also do weathering and chopping effects quickly with a sponge on armour.
Before you do this, you should Google for rusted tanks, weathers metal, etc. What these actually look like compared with what we think they look like can be startling.
-
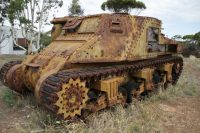

- Weathered Tank

-


- Weathered Tank

If you’re going to weather and chip a part of a vehicle consider these quick questions;
- Should I be weathering corners, grooves, flat areas or all three?
- Should I be doing panels facing toward the sky, sideways or downwards?
- How will the weathering effect rivet heads?
- Is there other mucky, rust and detritus that will collect on the armour?
- Will the forward motion of the vehicle mean muck is collected in some places and not others?
I’m no pro and I’m not going to pretend I can answer all those accurately about my vehicles and then paint them according to my assumptions. But it’s worth looking into and just giving yourself an extra bit of time to consider your weathering effects.
With the lecture over. We shall proceed.
Colours
The paints you use for weathering and chipping armour will either make or break the effect. Test. Test. And test again to get it right.
In the past, I’ve used Drayad Bark first to do most of the area I’m weathering. This is a dark brown and gives the appeared of muck, dirt and decayed paint before the bare metal is shown.
I then use Leadbelcher which is a darkish silver. Use this over the Drayad Bark but do not cover all of the Drayad Bark. Leave some of it showing so the Leadbelcher is towards the centre of the weathered area. This gives us some paint that’s worn away to metal.
Finally, use Runefang Steel sparingly. Again over the Leadbelcher and towards the centre or main area of weathering. This gives some bright spots of silver where the paint has worn away and the weathering has continued to buff and shine the underlying metal.
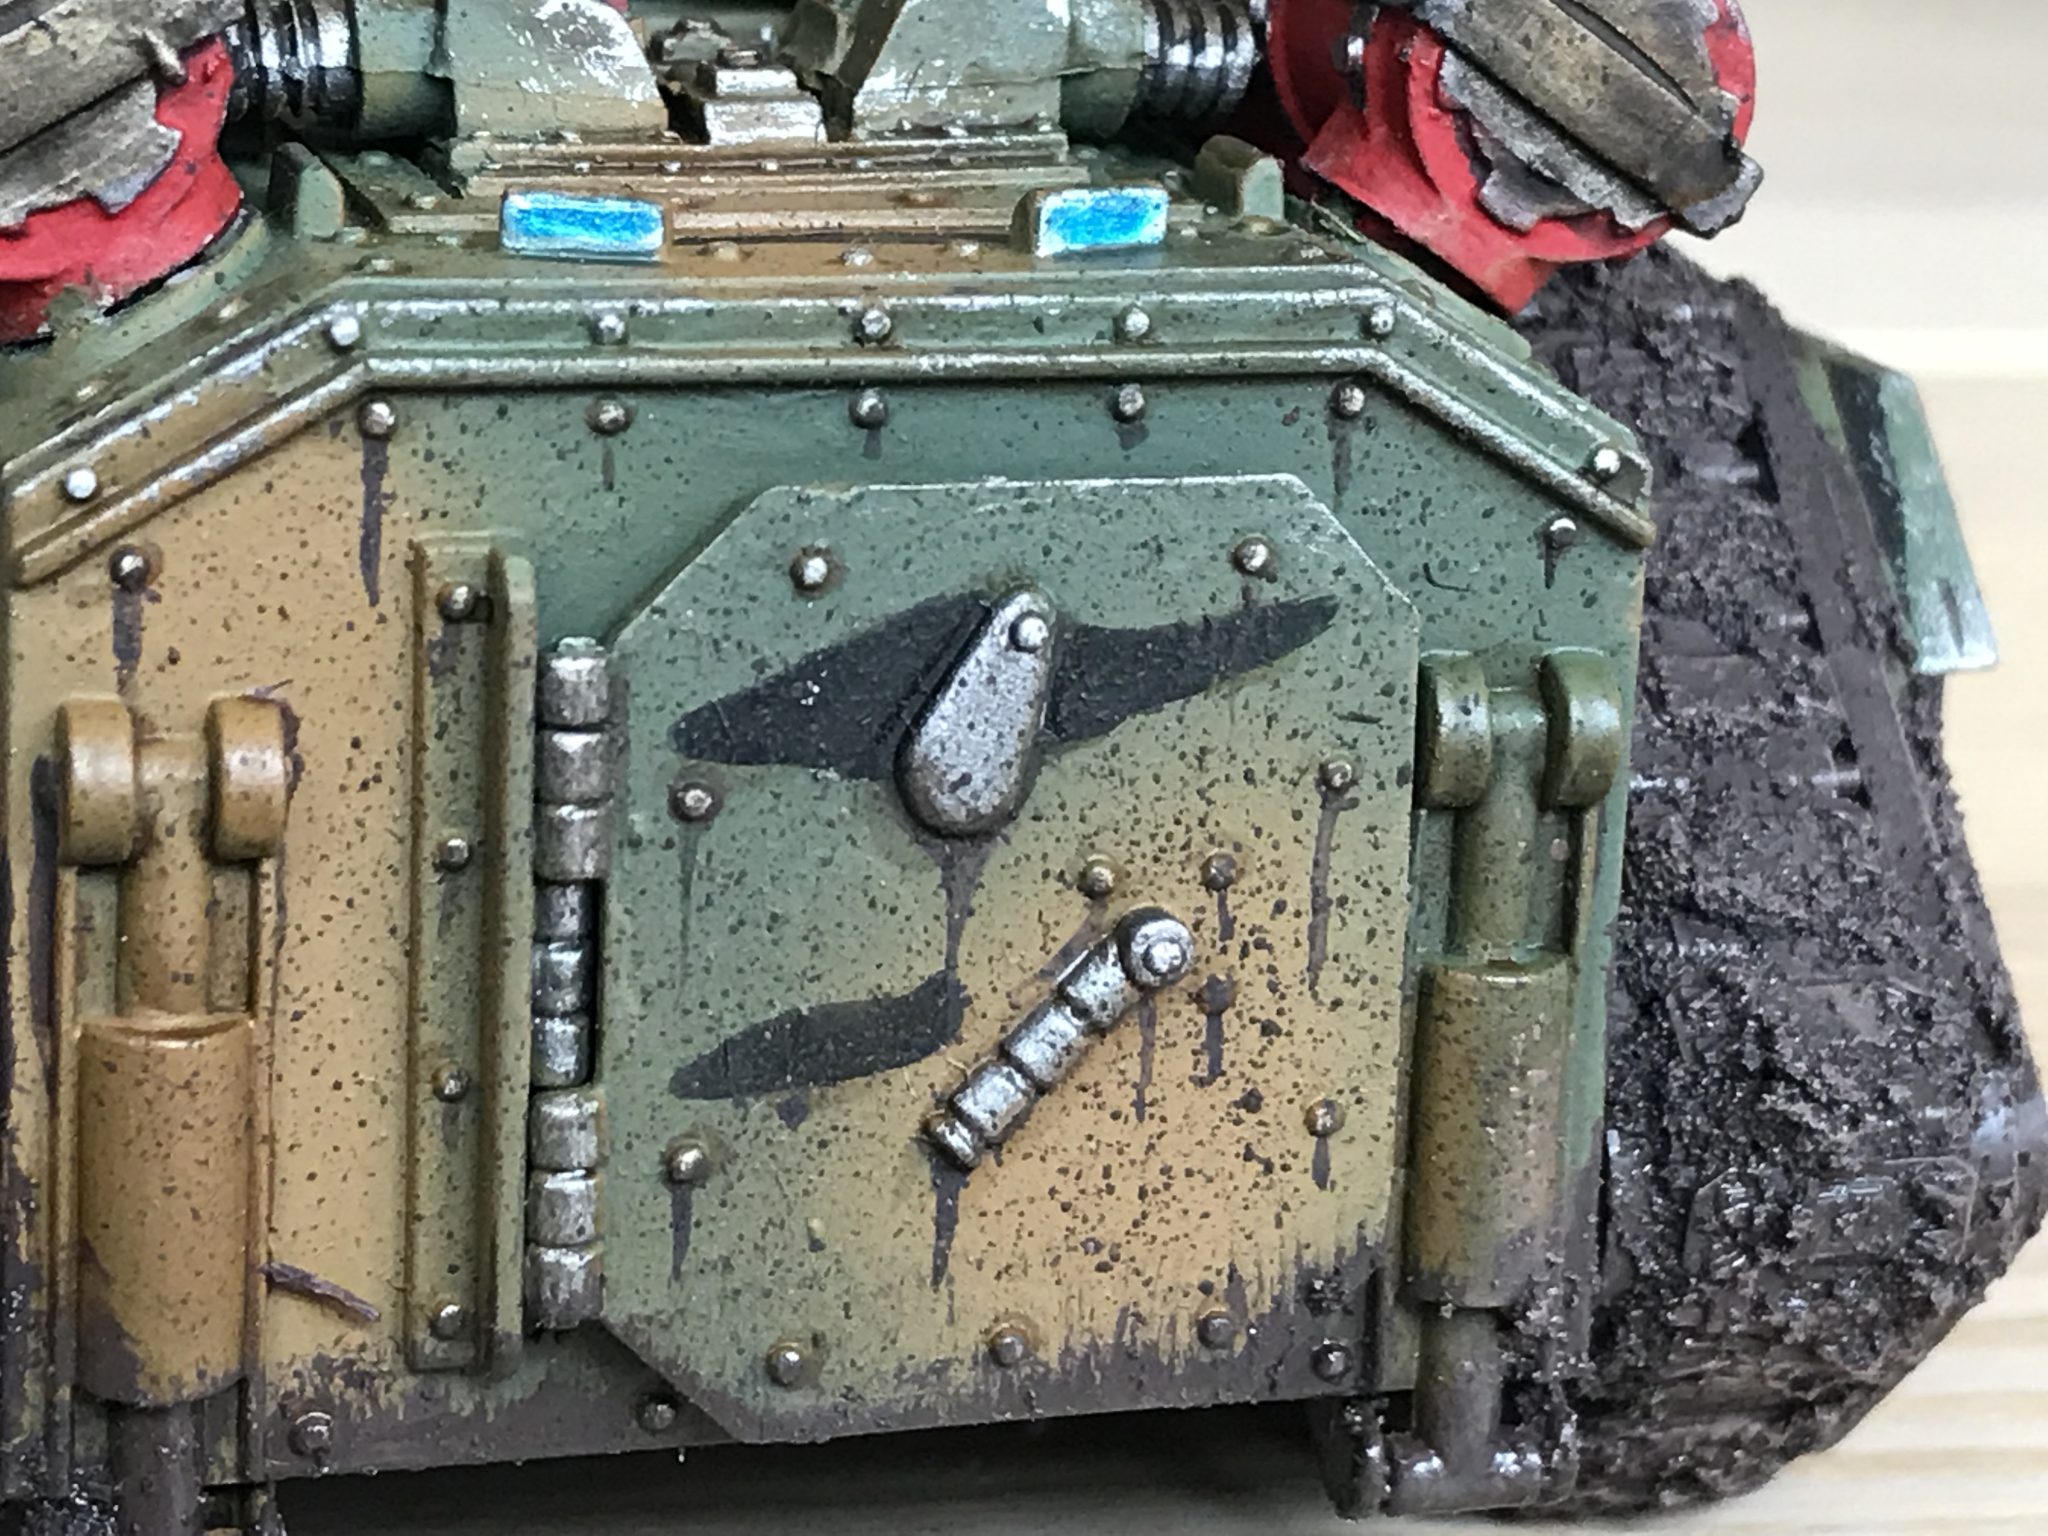
Drips
I’ve used Typhus Corrosion before for mucky drips on vehicles. It’s very easy to do;
- Place a small brush onto the area where the drip starts. Perhaps a rivet head.
- And then pull the brush downwards – dragging the Typus Corrosion down, away and into a thin trail of grime.
It works really well, you can read about it more on my Hellhounds article.
That is all for now folks!
Drips