
Quick Plasma Effect – Dry Brushing
Today I share my quick and easy Plasma Coil Effect...
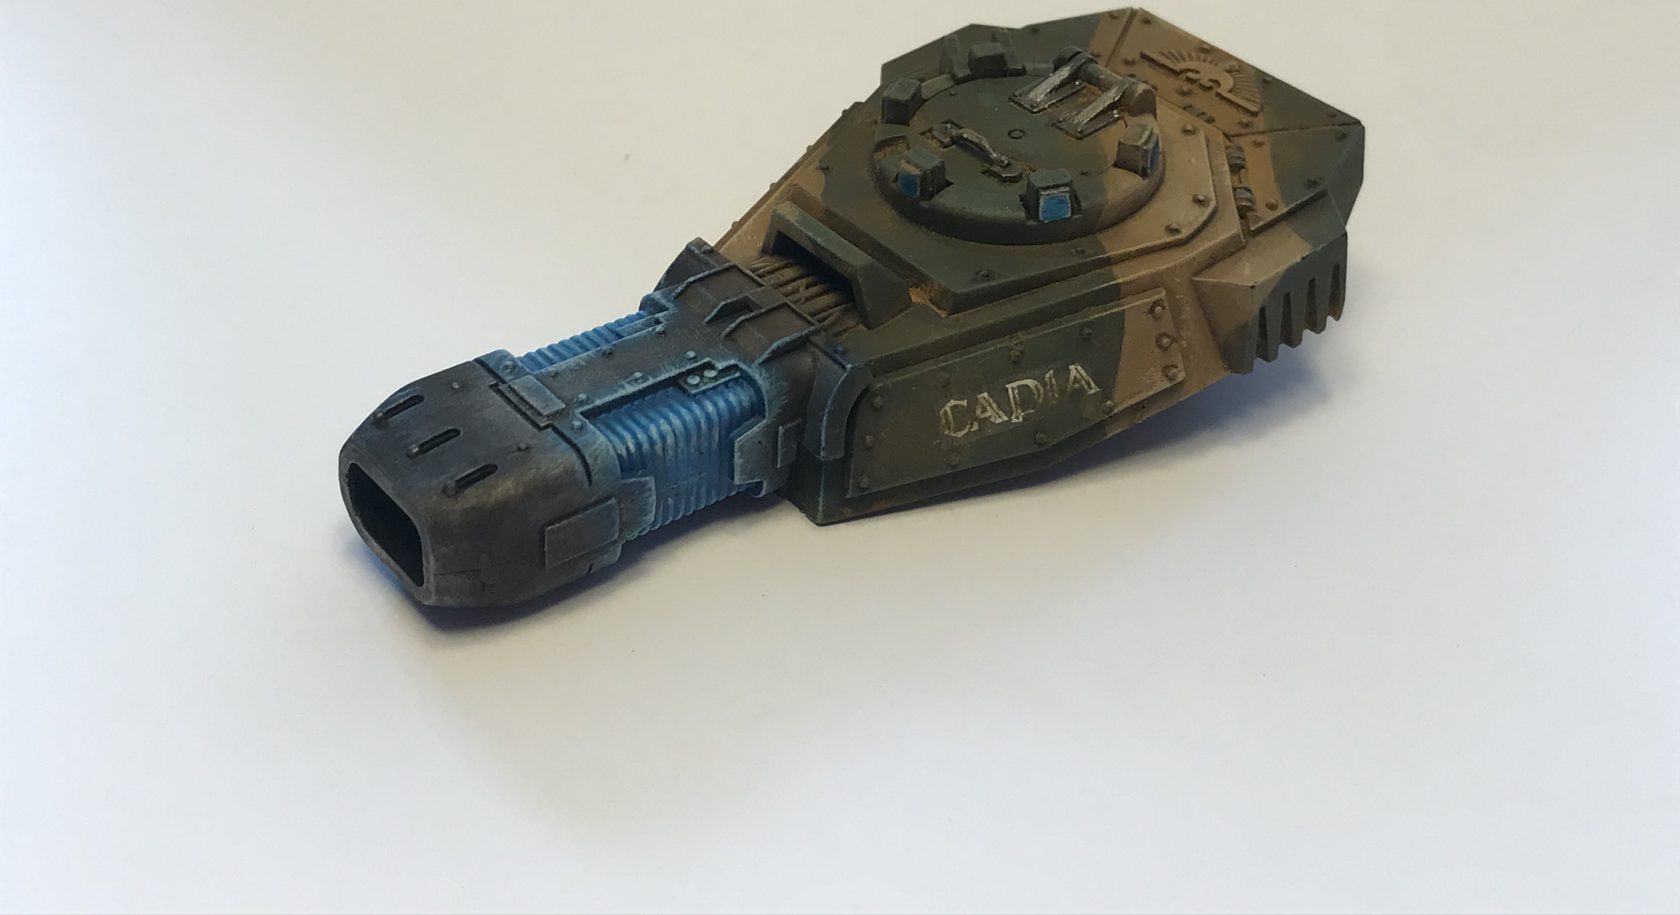
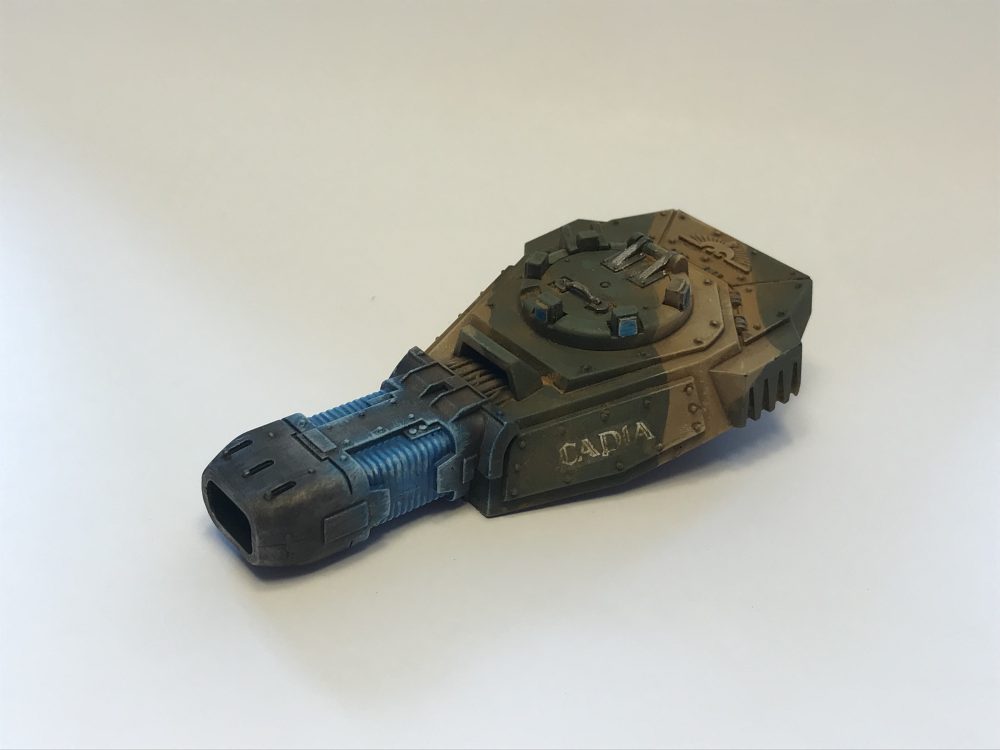
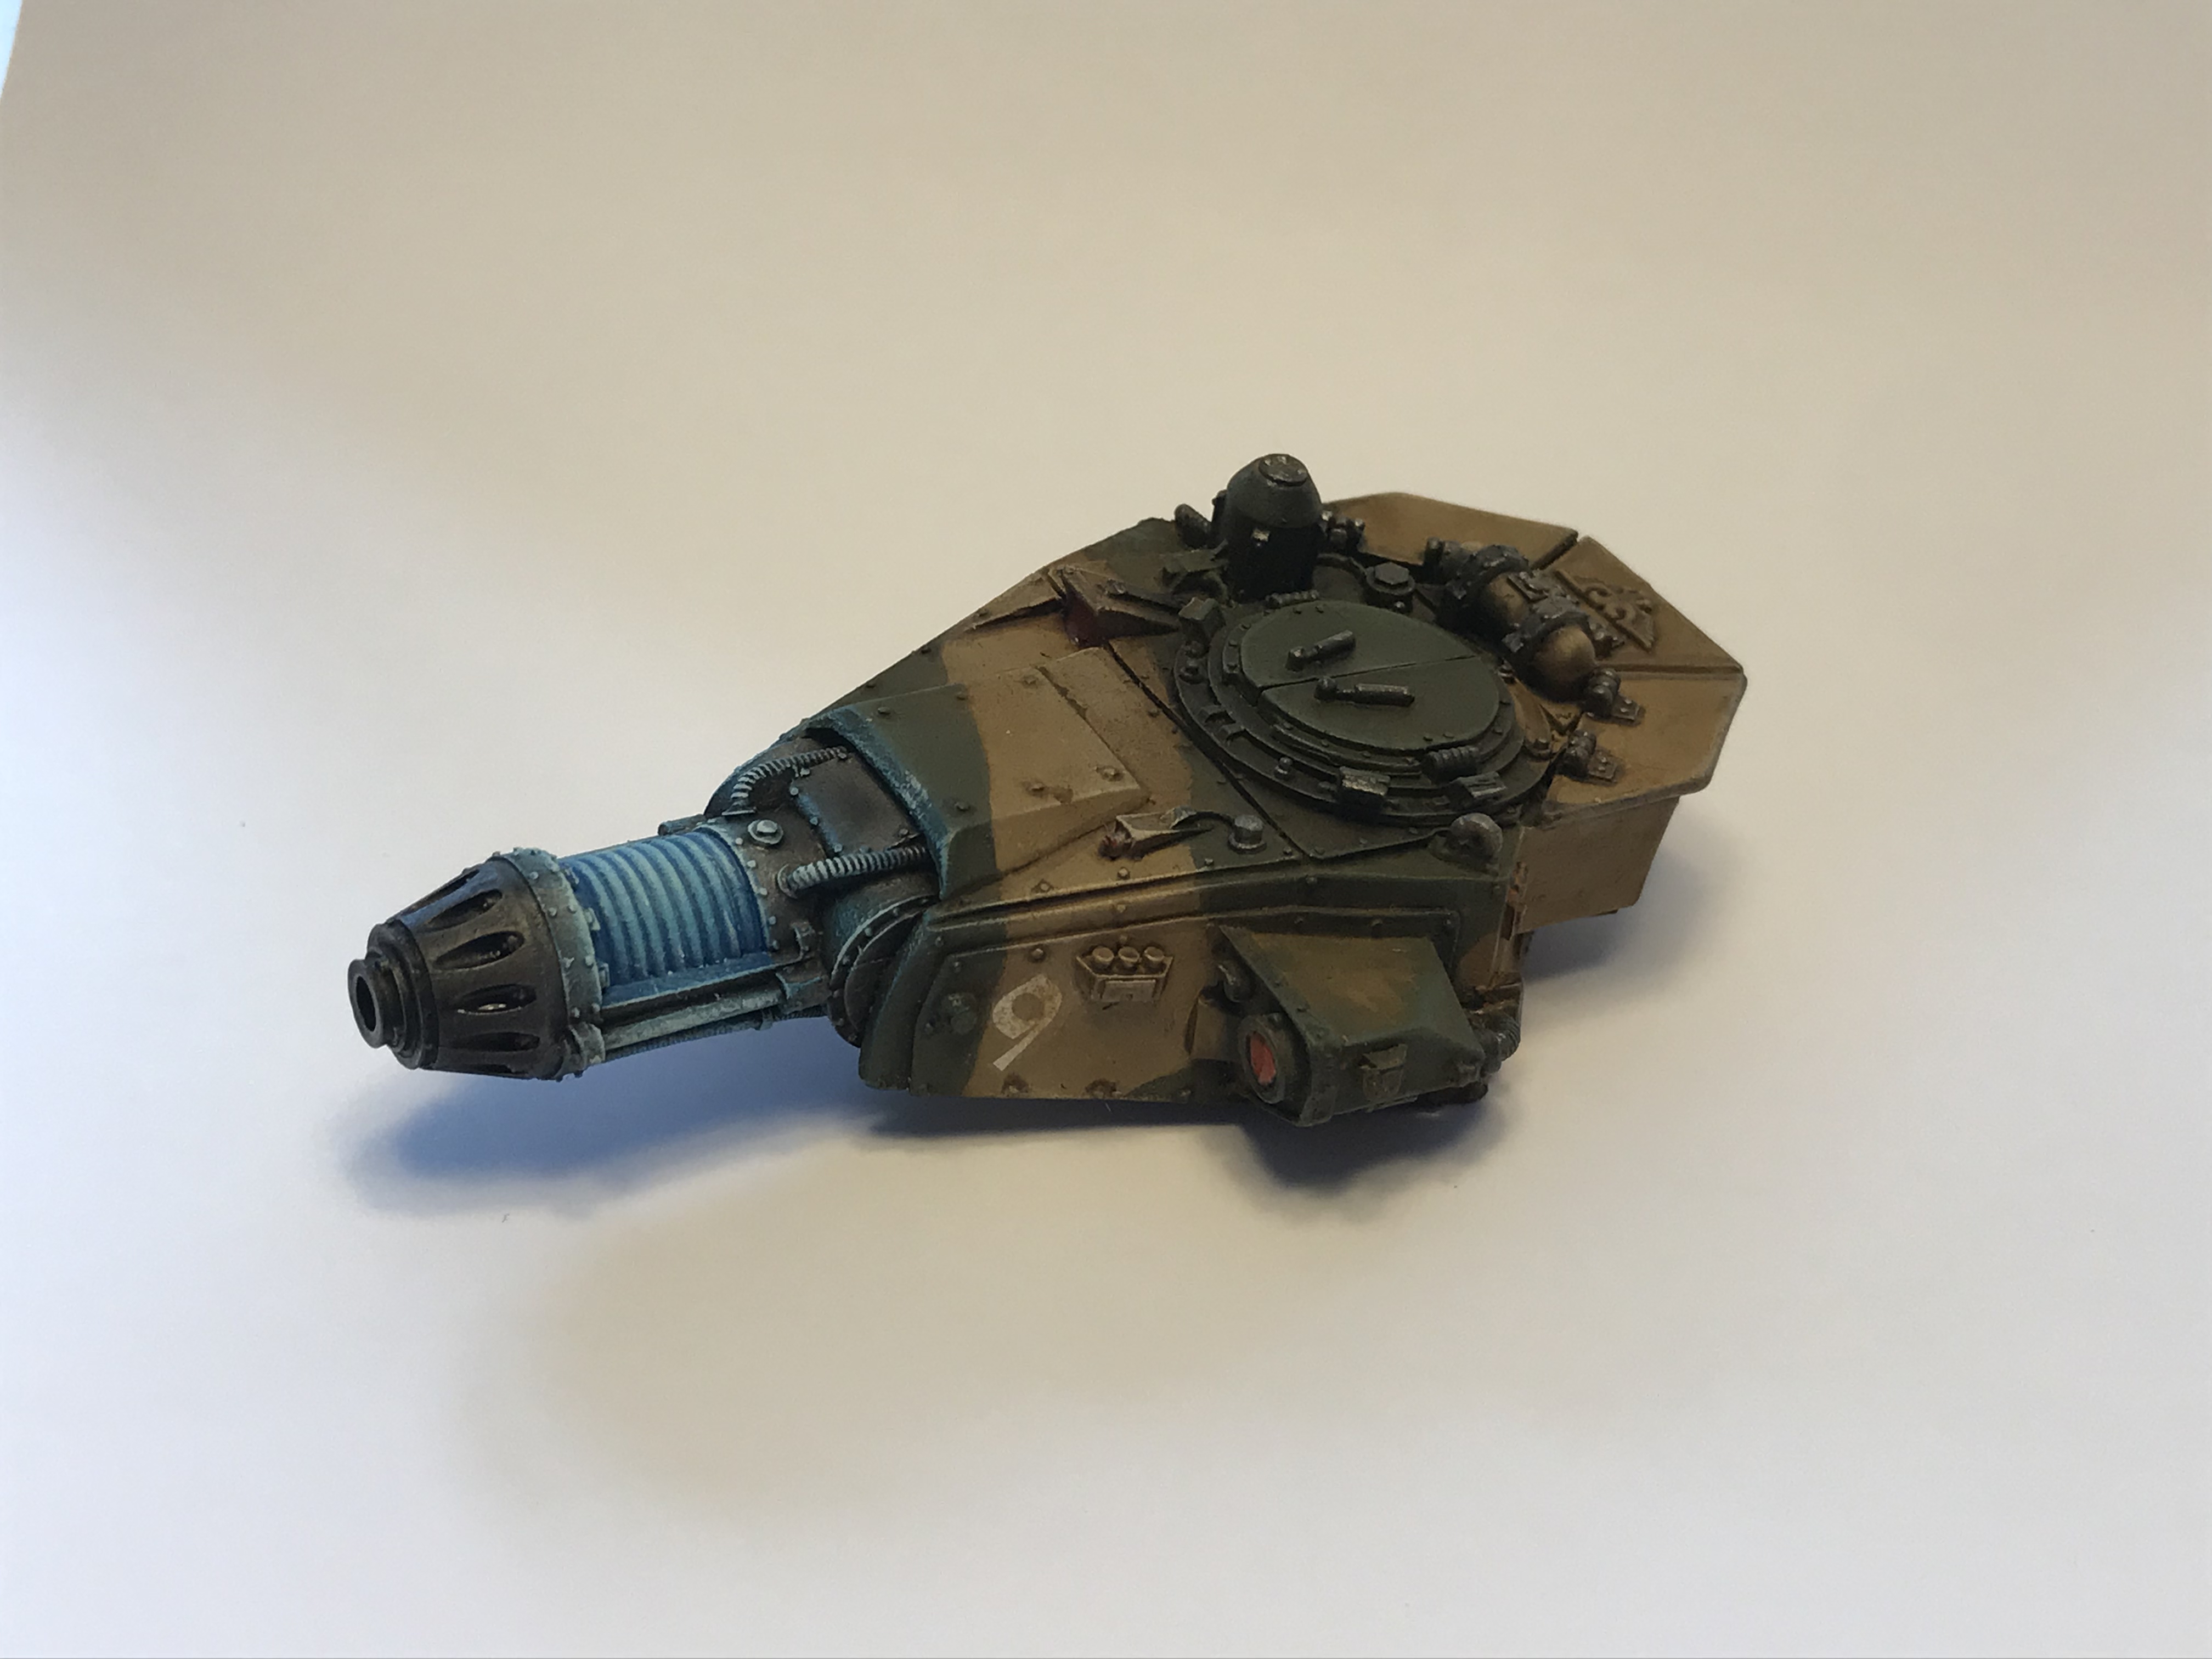
I have another new technique to share with you today. A quick plasma effect which I tested out on my two Leman Russ Executioner turrets. One is the standard turret and the other is a Forgeworld version. Oh, I also have a quick how-to on Punisher Cannon heat burn in this article.
This technique uses dry brushing and not an airbrush. The first one I did (the standard Leman Russ Executioner turret) took about half an hour. The second turret I did took about 10 mins.
Never miss an article? Subscribe!
The second was quicker because I knew the methods I would use and I knew the endpoint I was aiming for.
Quick Plasma Effect
I used three paints to do quick Plasma effect.
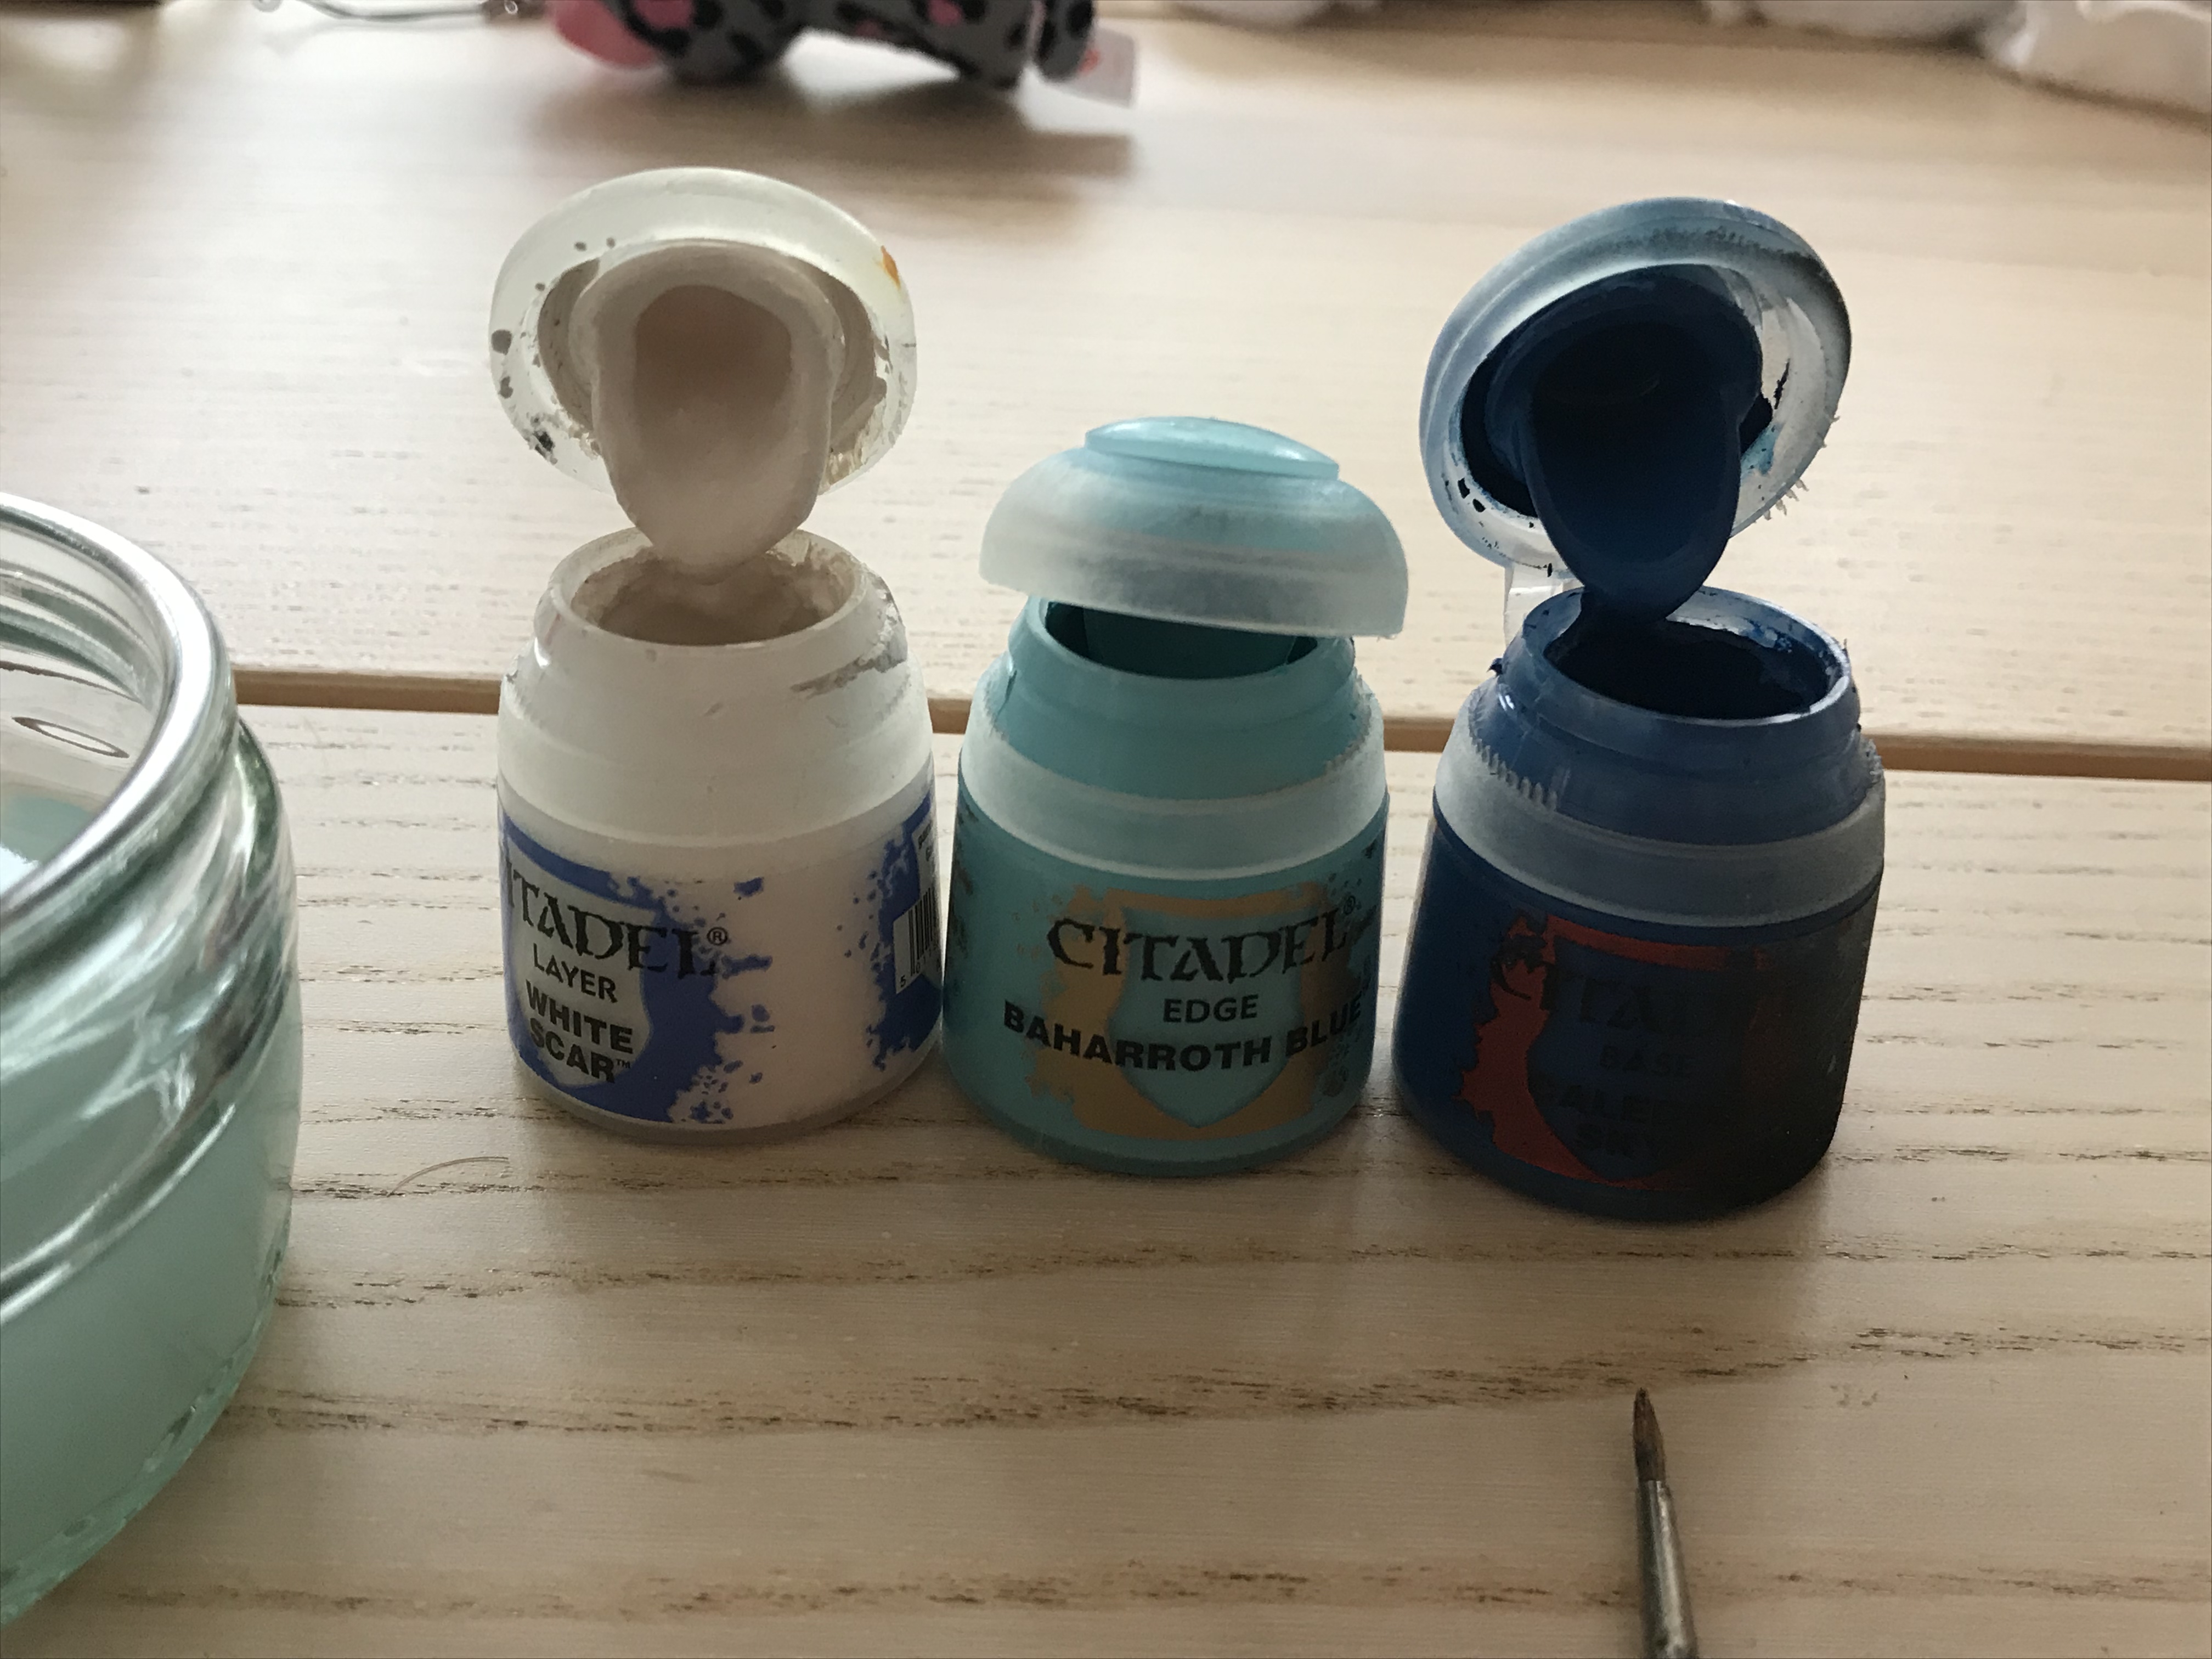
Quick Plasma Effect Paints
Quick Plasma Effect Process
- I started by painting all the coils and the edges directly next to the coils Caledor Sky. This is the darkest blue I have.
- Then dry brush Caledor Sky around the area of the coils to start to build up the glow of the coils.
- Then do the same dry brushing lightly on the coils and the surrounding area again using Baharroth Blue.
- Repeat this last process but mix a little White Scar into the Baharroth Blue. I did this step twice – each time getting a lighter blue to dry brush with.
- Finally dry brush White Scar very lightly. I used a 000 brush to do some of the coils White Scar because I couldn’t get in to dry brush them.
- I finished off with some Soot Pigment at either end of the barrel. But only very lightly.
-

- Starting point

-
- Caledor Sky blue

-
- Dry brush begins

-

- Lighter blue
-
- And then a lighter blue

-
- And again
Correcting Mistakes
Knowing how to correct your mistakes with any method is very handy. It also means you can be more confident and adventurous with your new painting methods. And this quick plasma effect is no exception…
If I dry brushed too much of a lighter colour then I used a heavily watered down Caledor Sky to darkened the area slightly and also re-darken the recesses is the coils.
I also used this same wash all over the coils at the end to unify them all. Before I did that it just didn’t blend together all that well. But the final wash helps to bring them all together. It’s strange to explain but it really works.
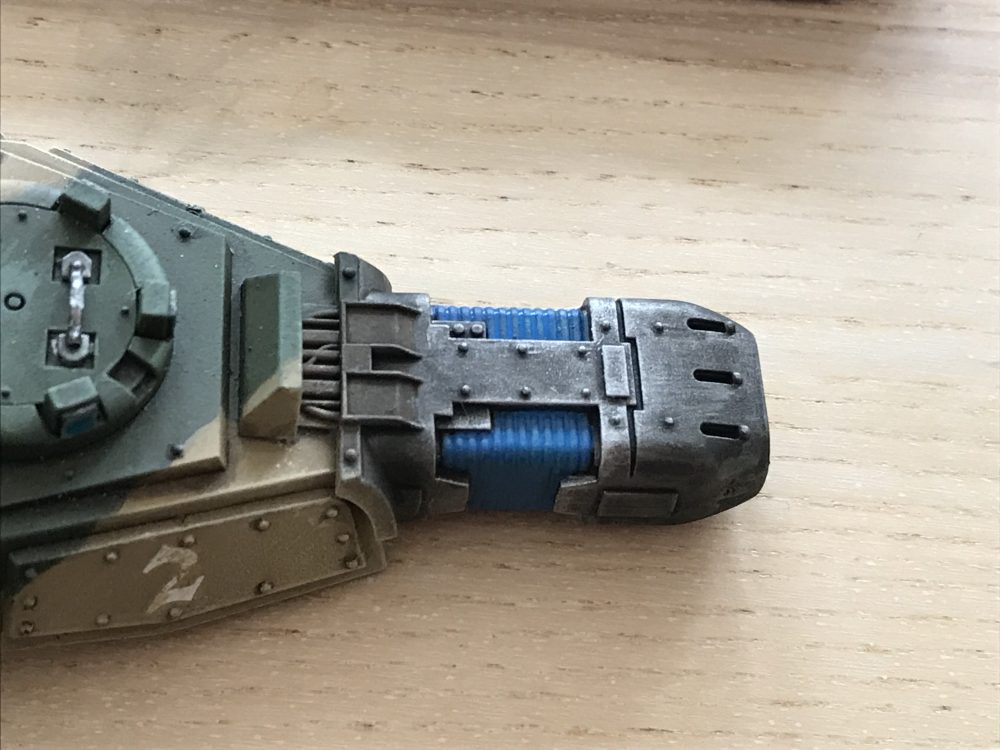
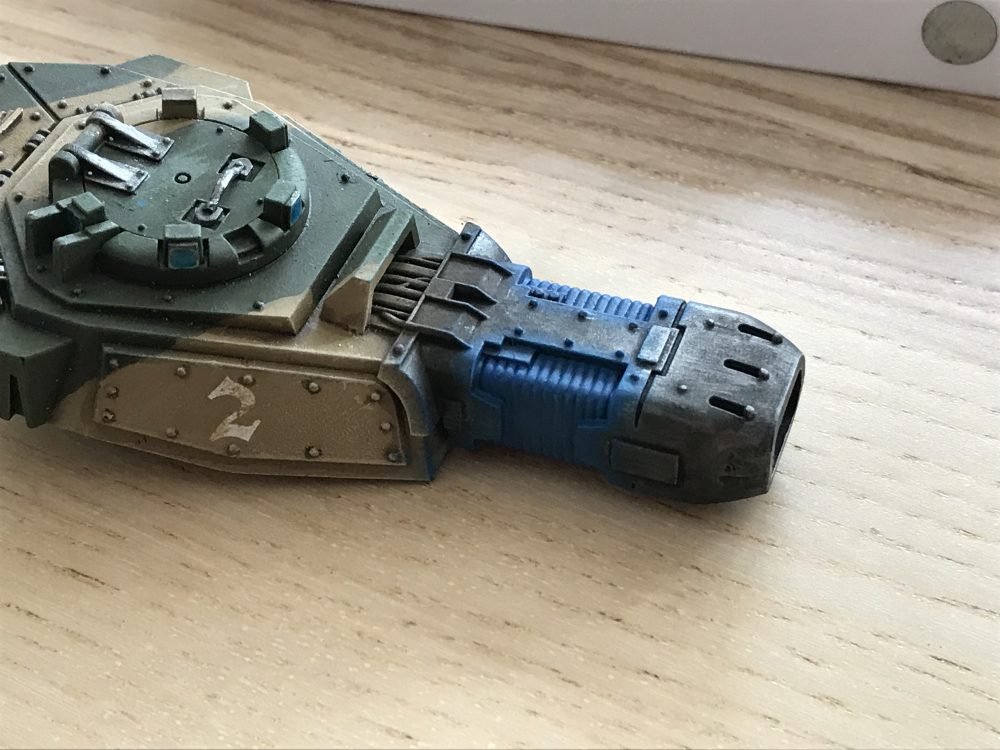
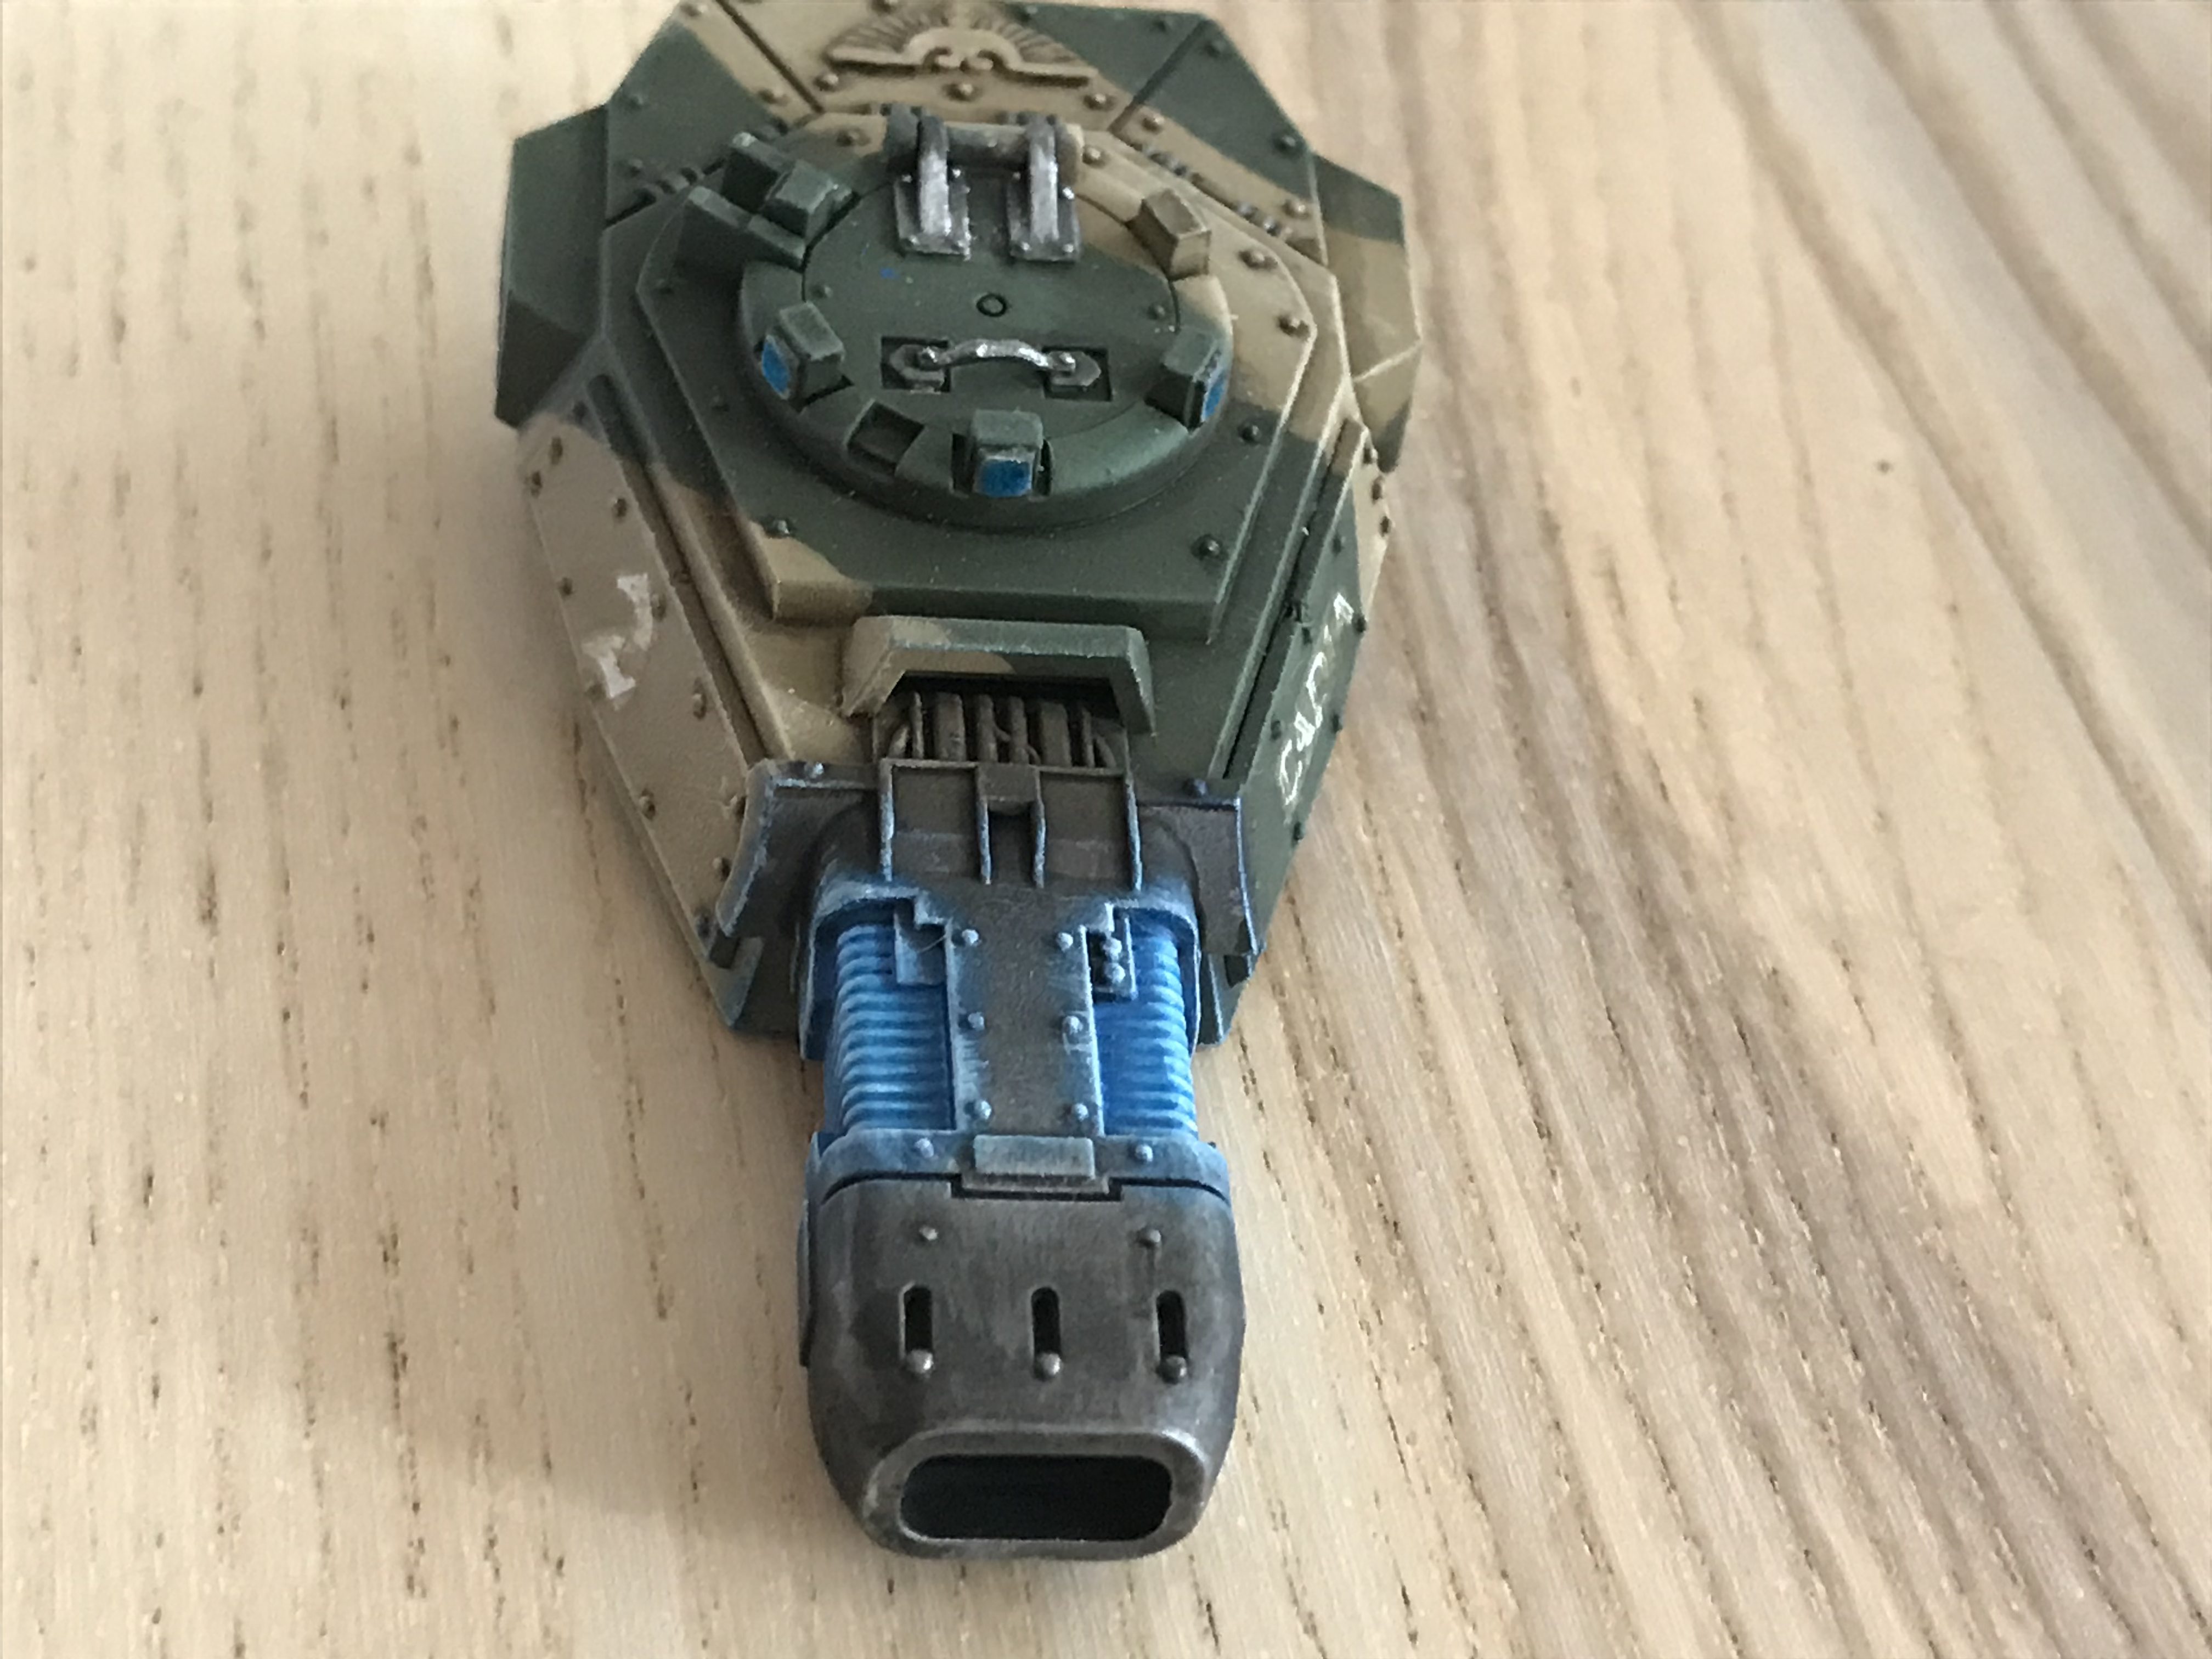
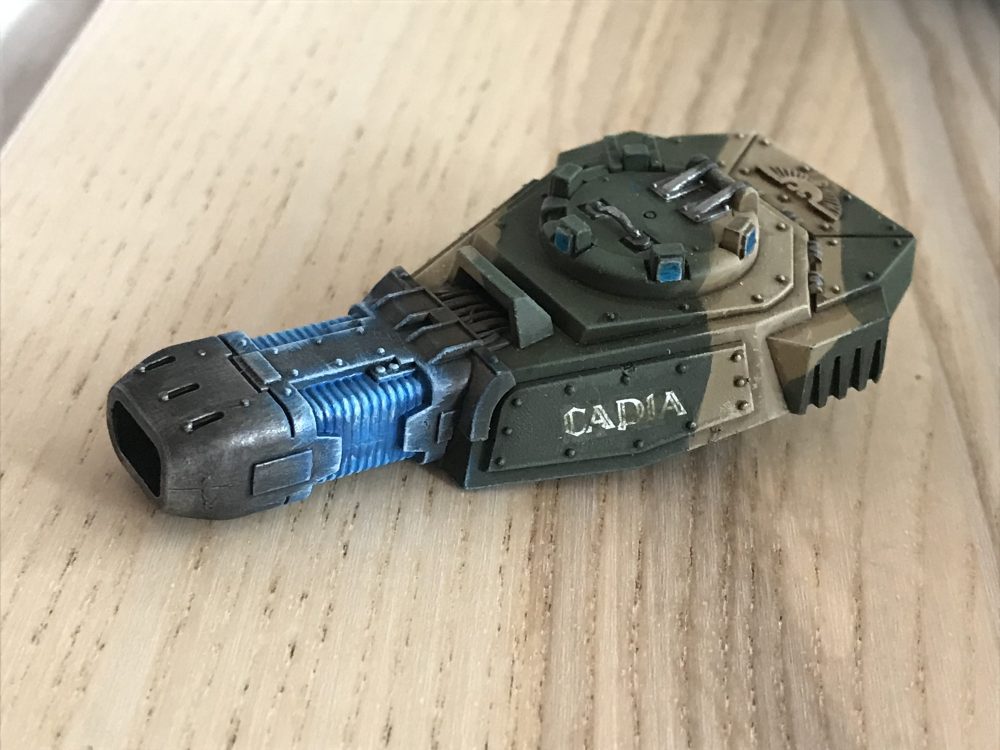
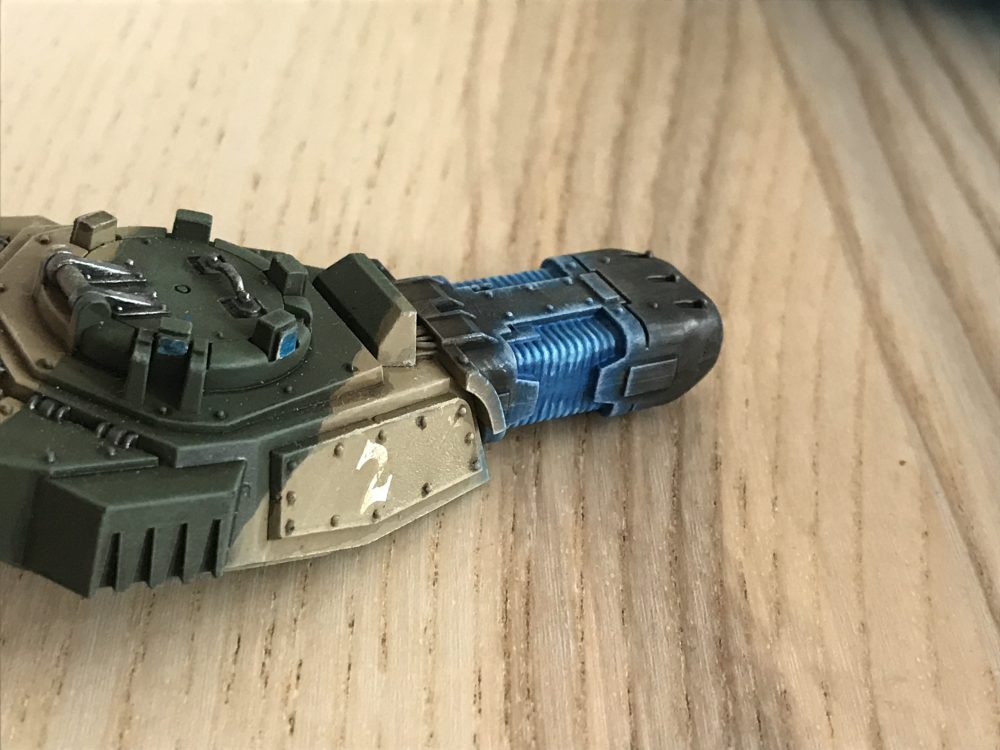
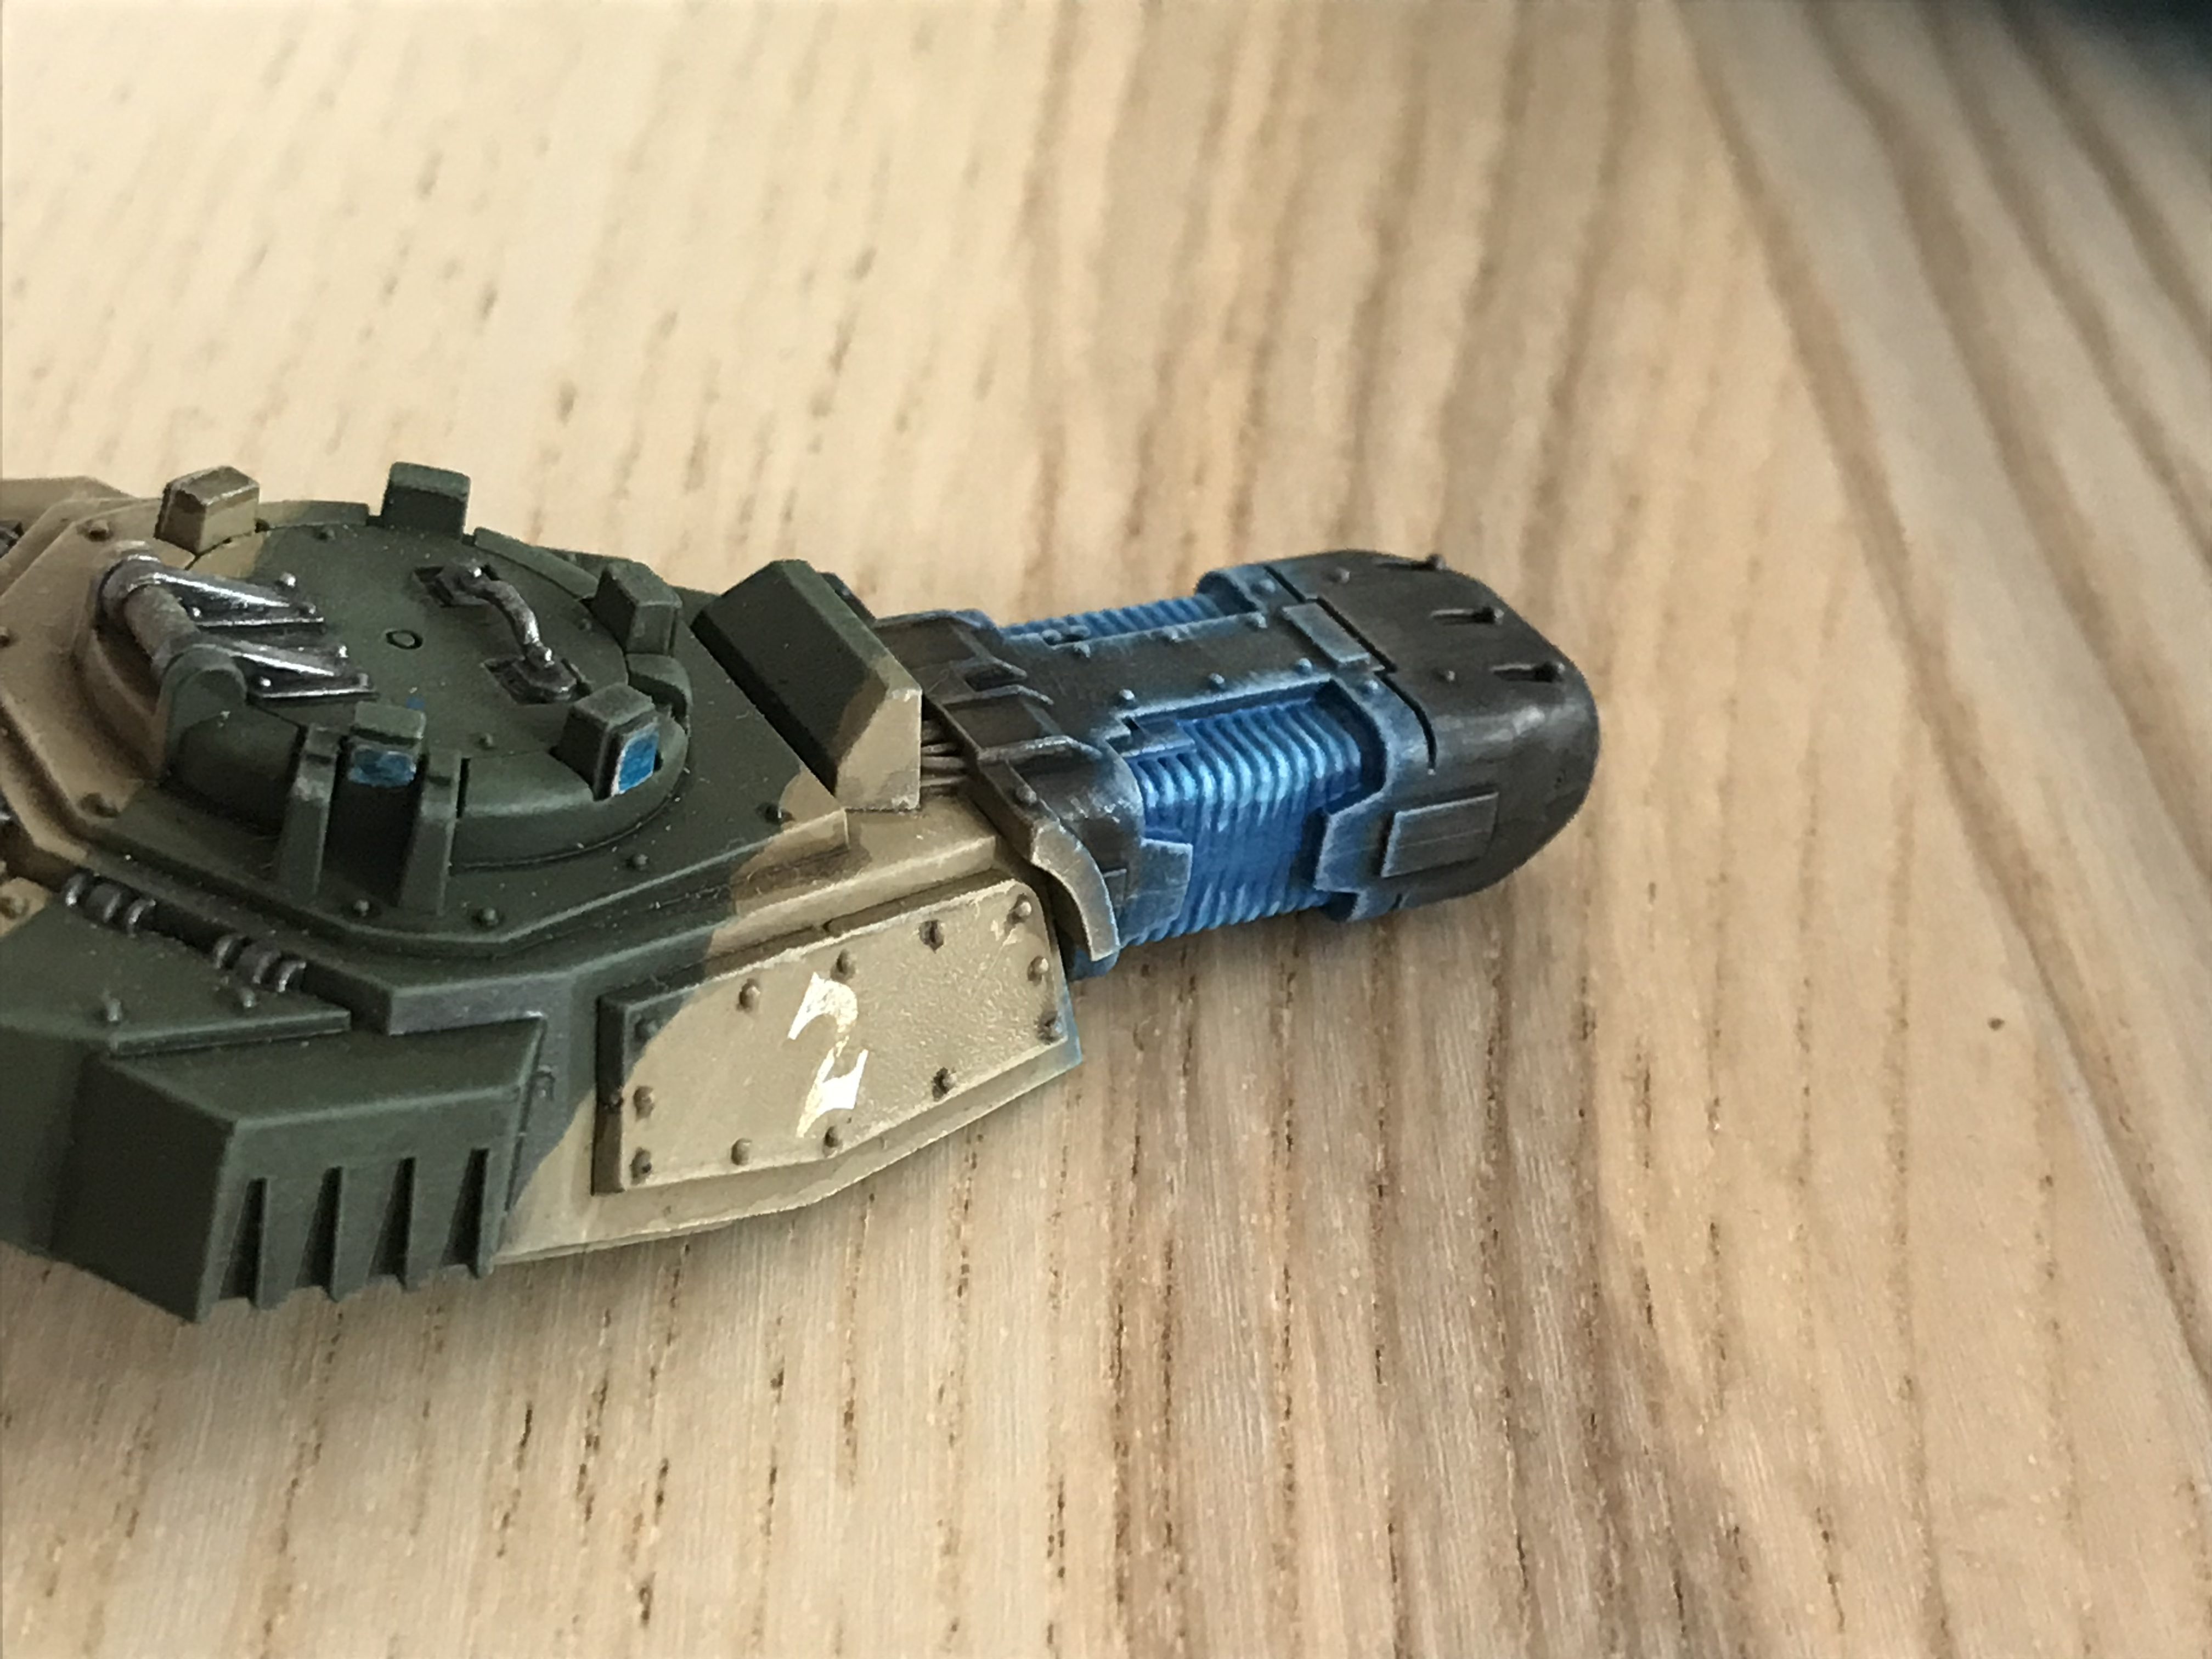
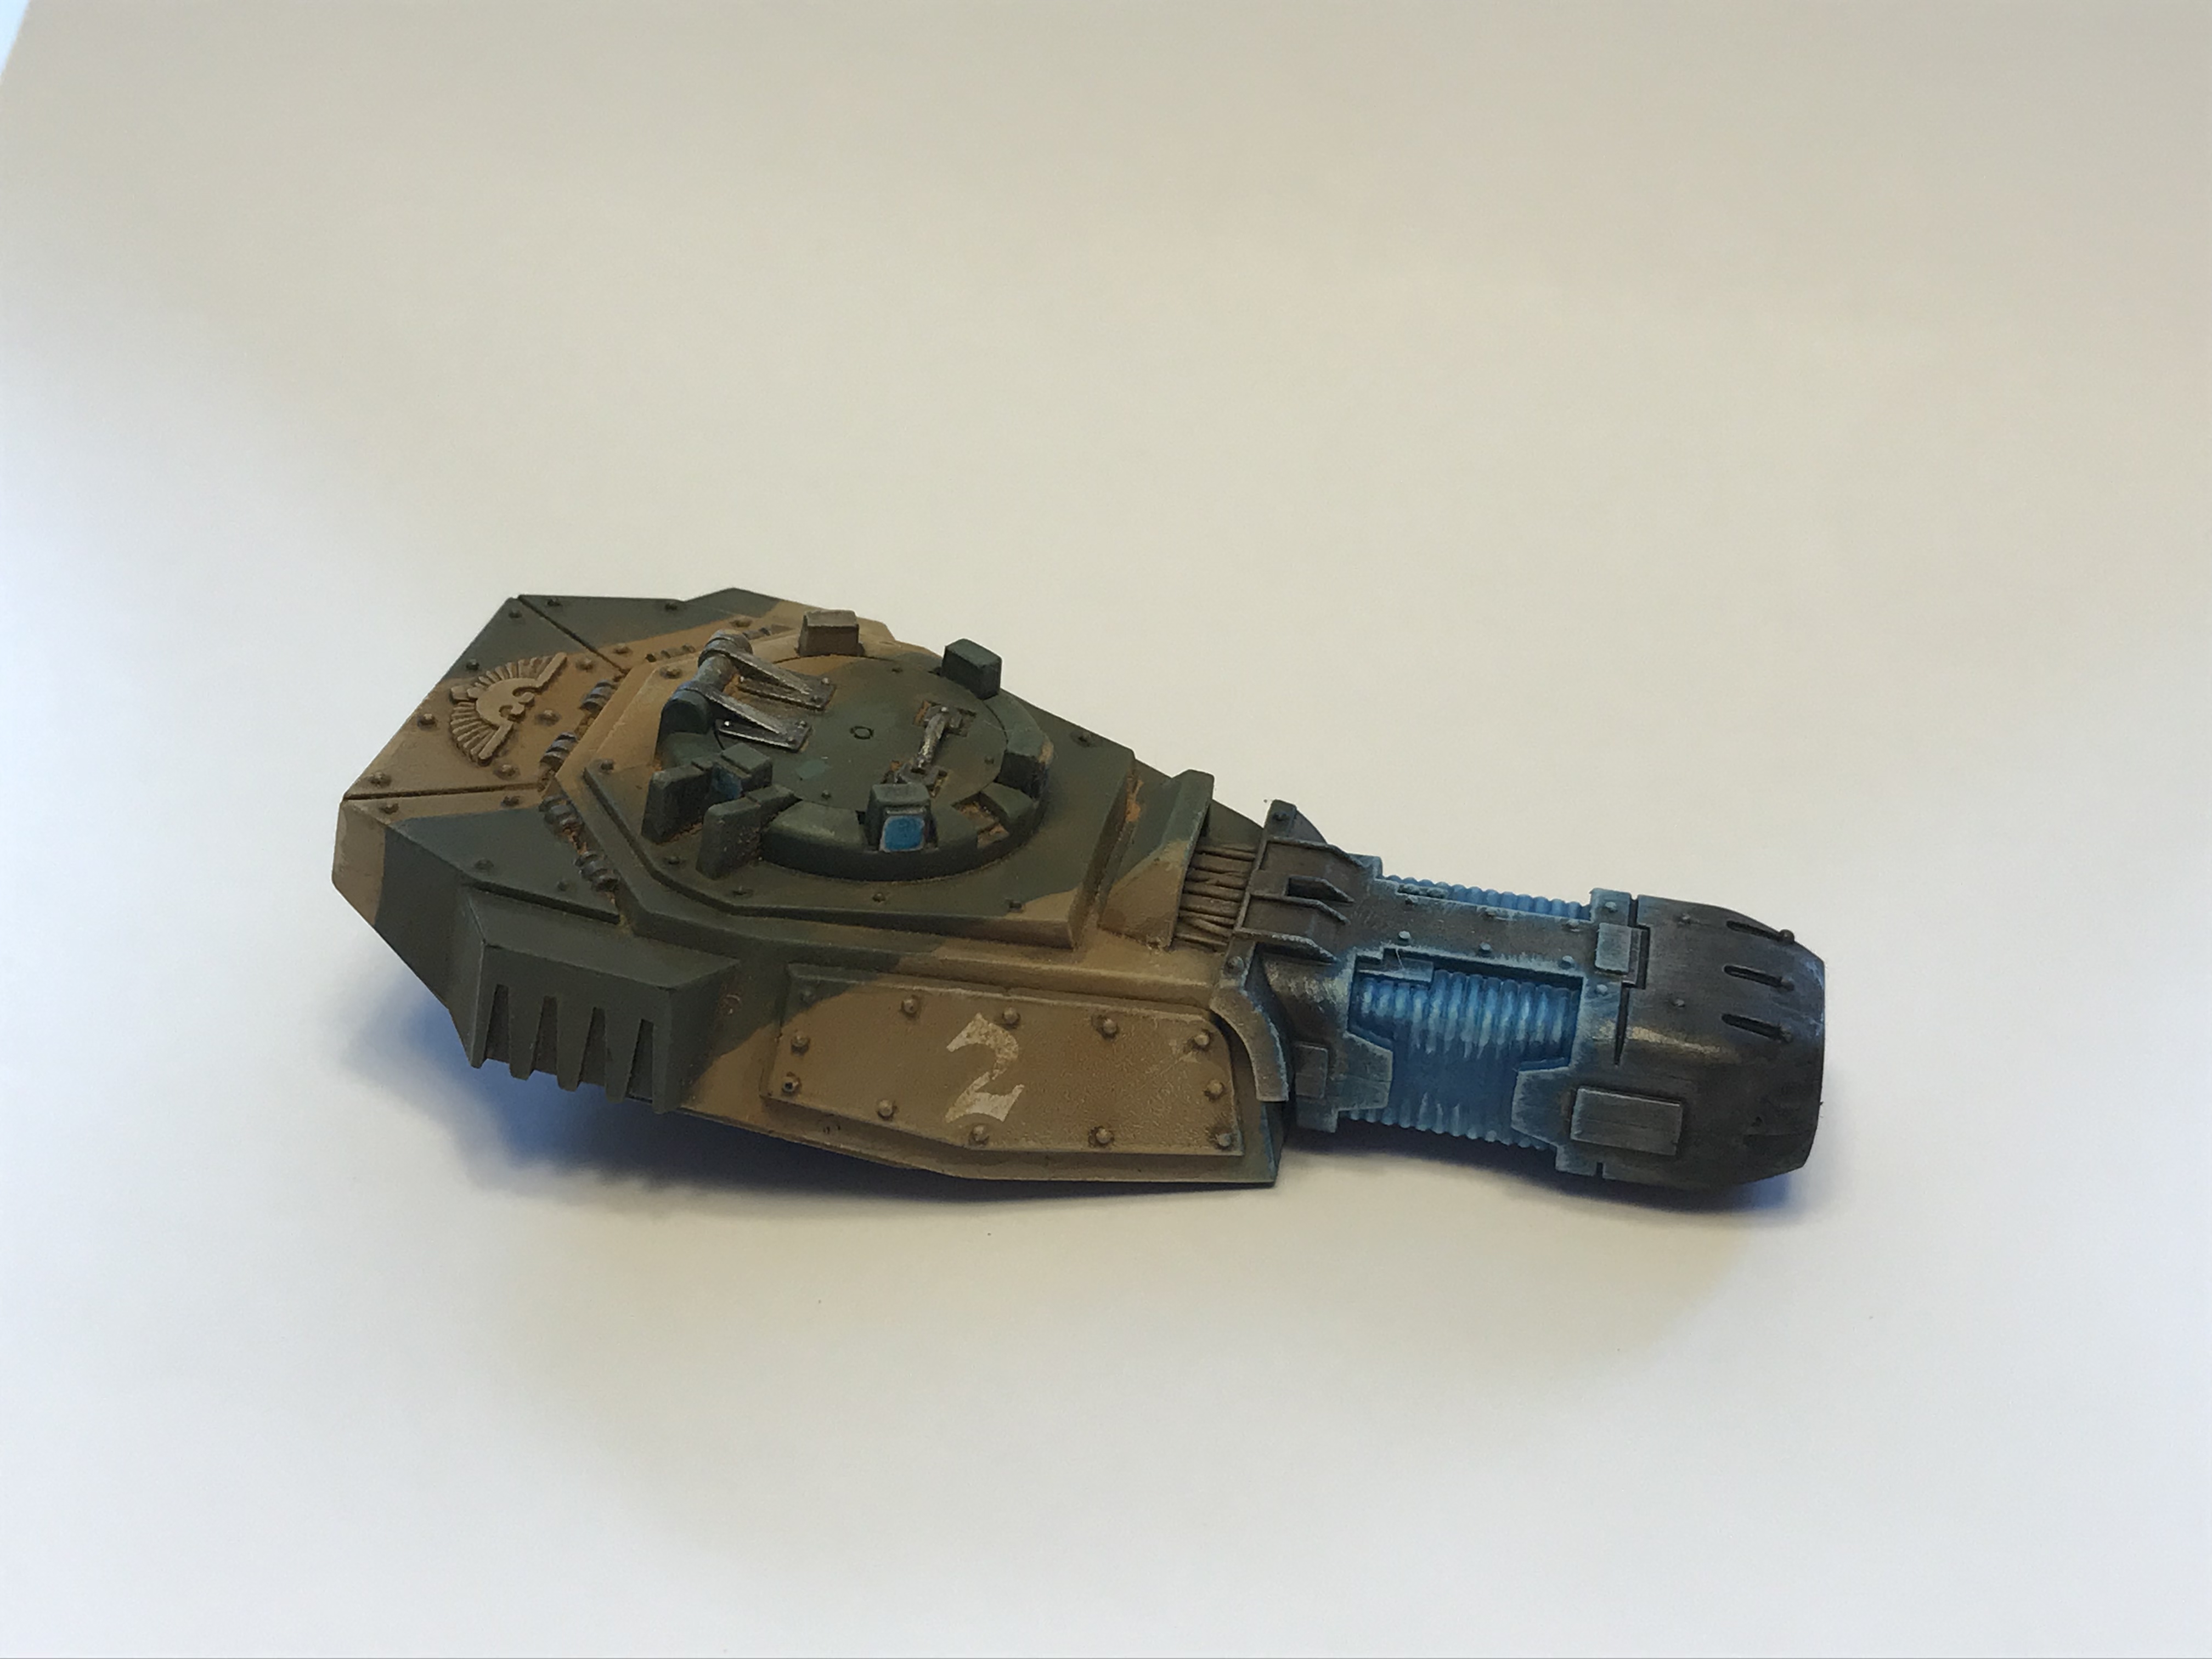
Quick Plasma Effect Gallery
-

- Quick Plasma Effect Done
-
- Quick Plasma Effect Done
-
- Quick Plasma Effect Done

-

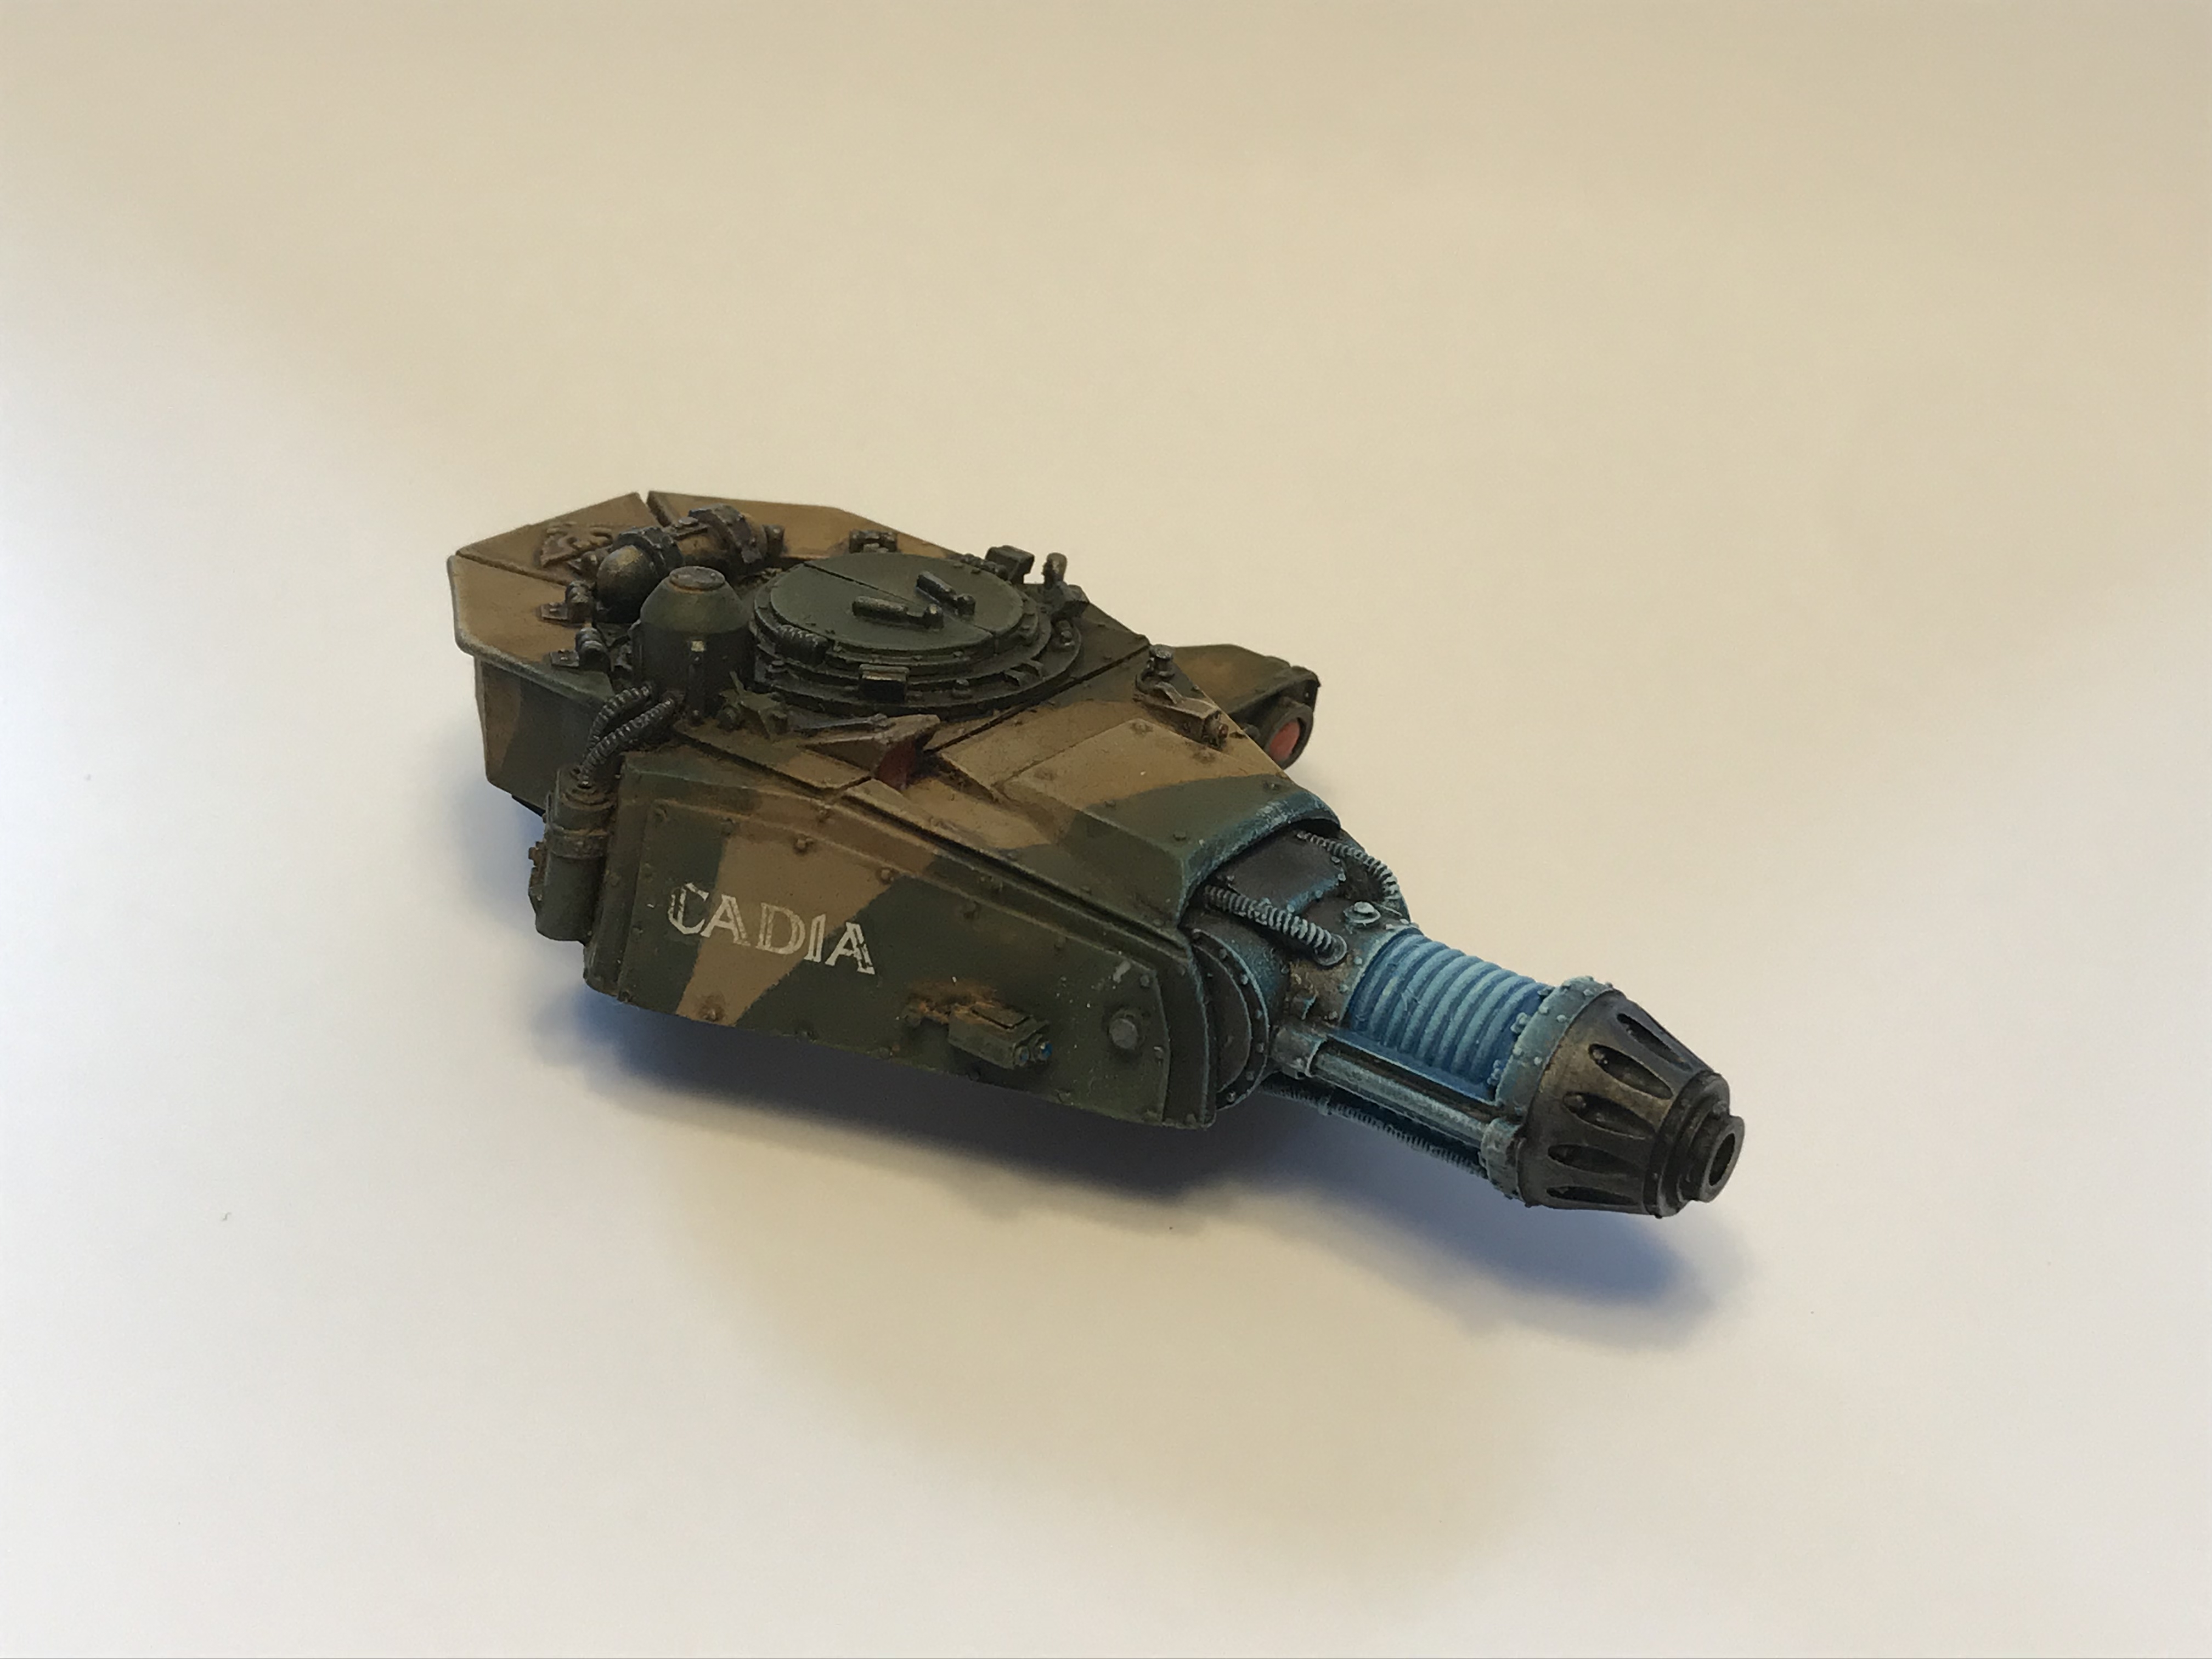
- Forgeworld Plasma Done
-
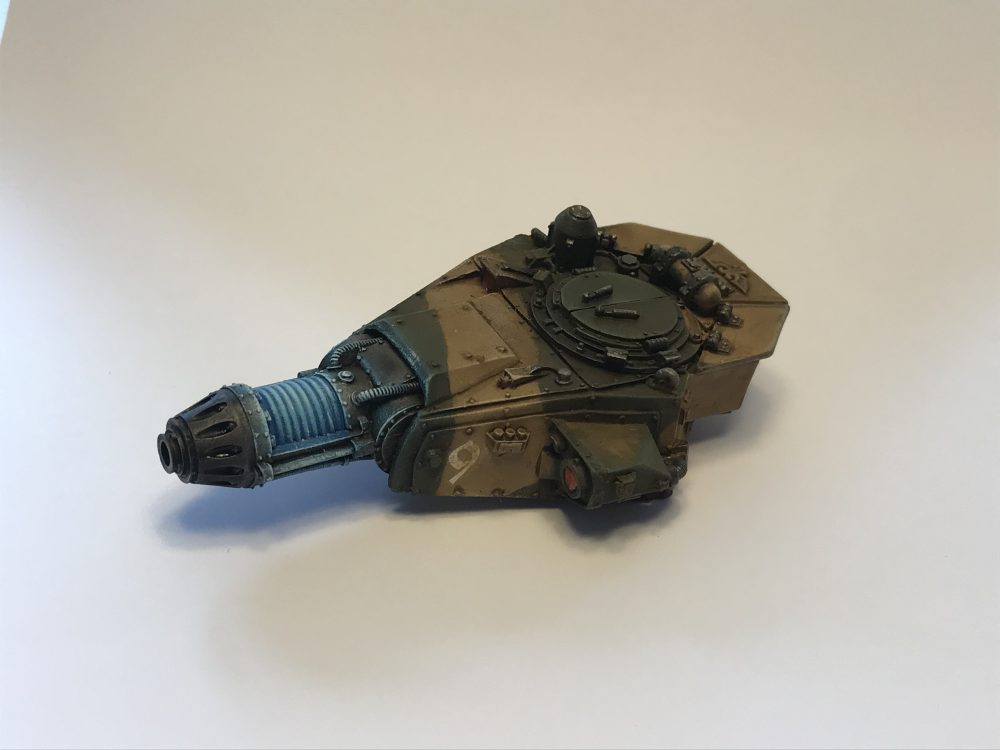
- Forgeworld Plasma Done
-
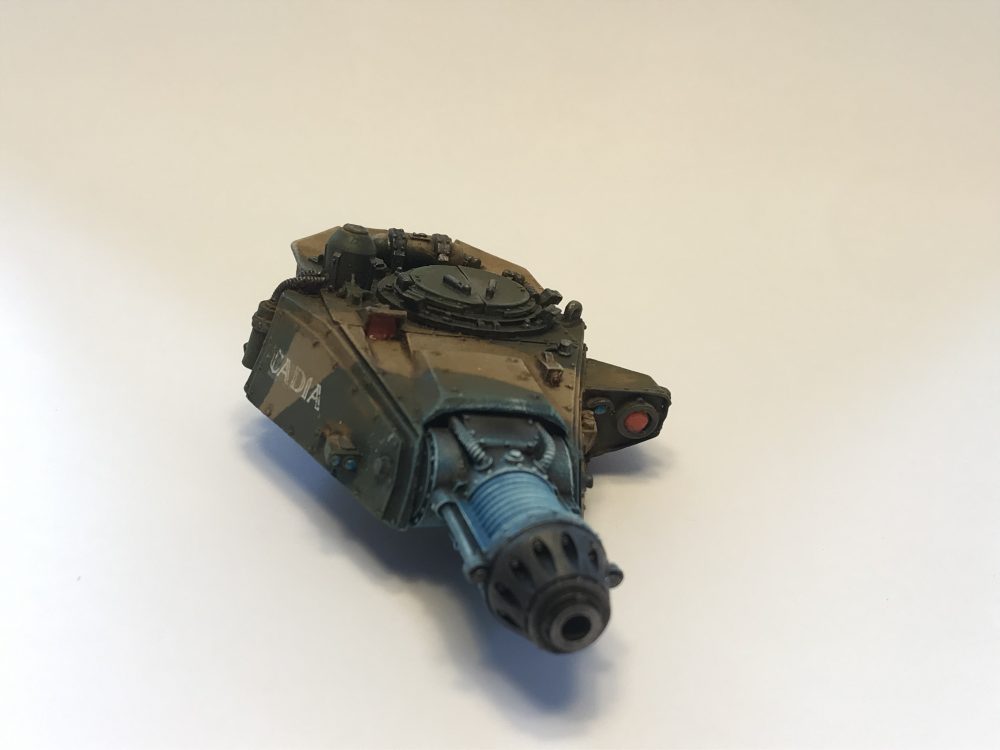
- Forgeworld Plasma Done

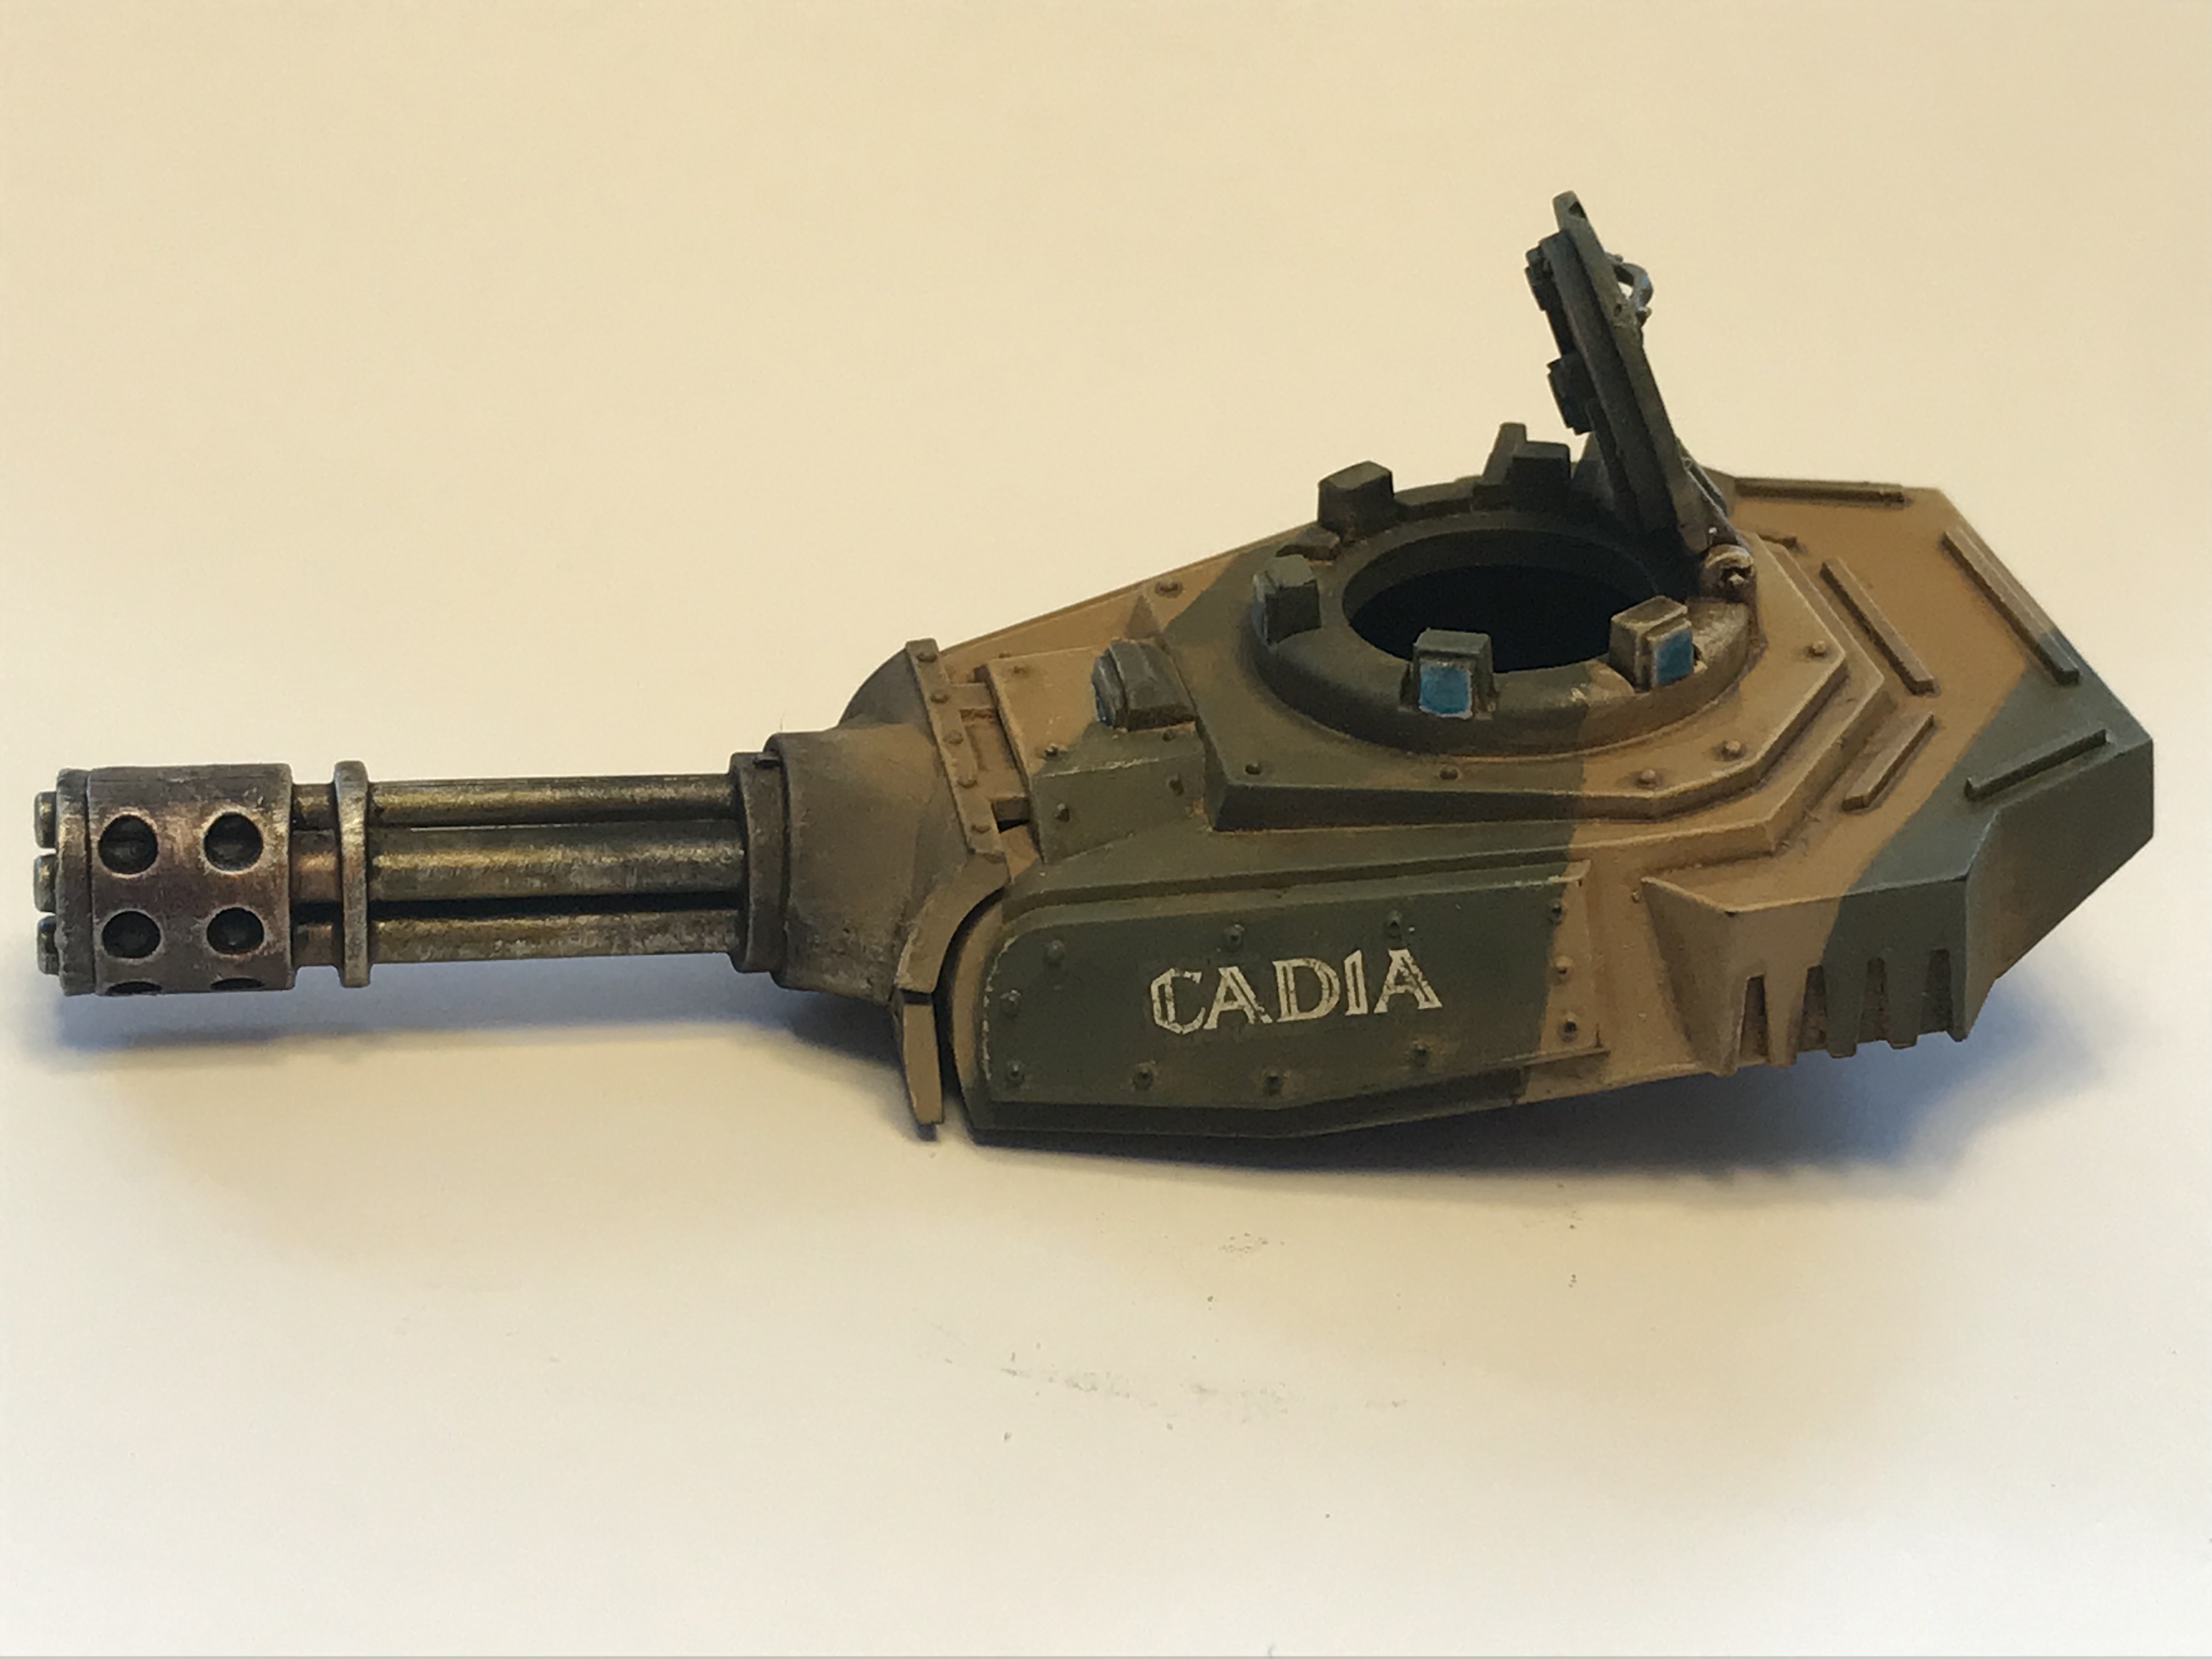
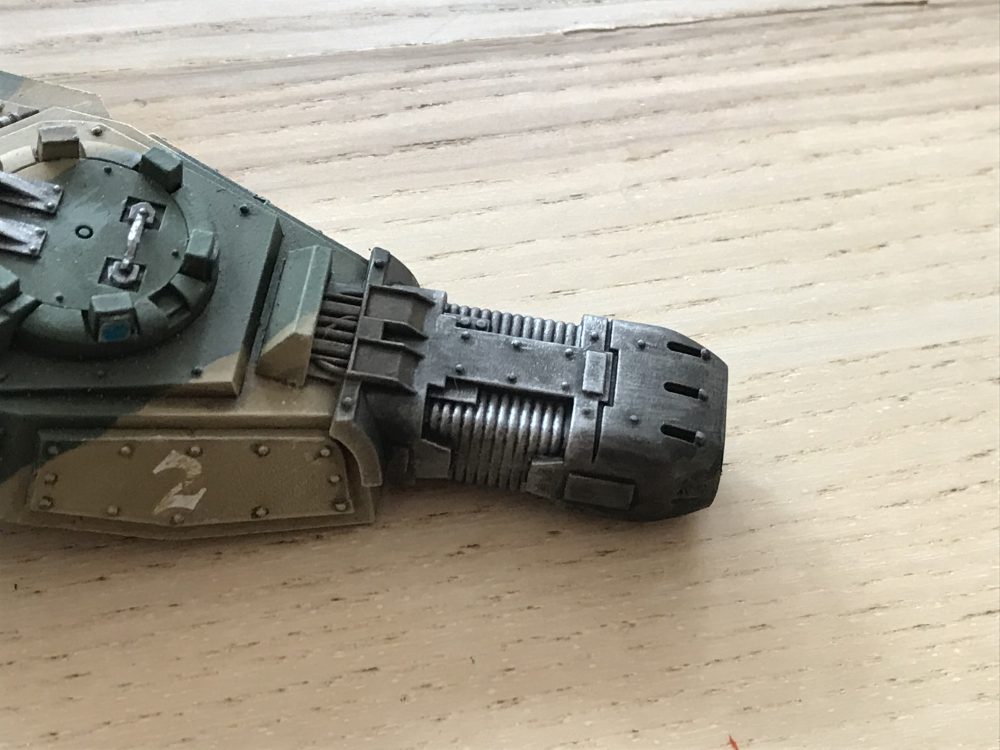
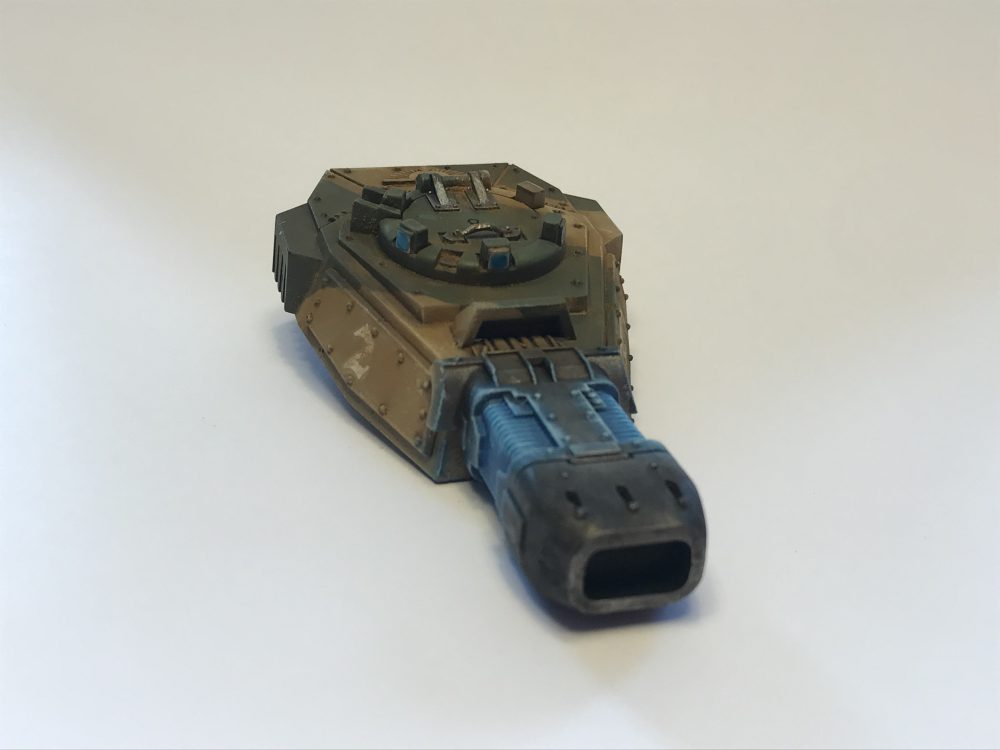
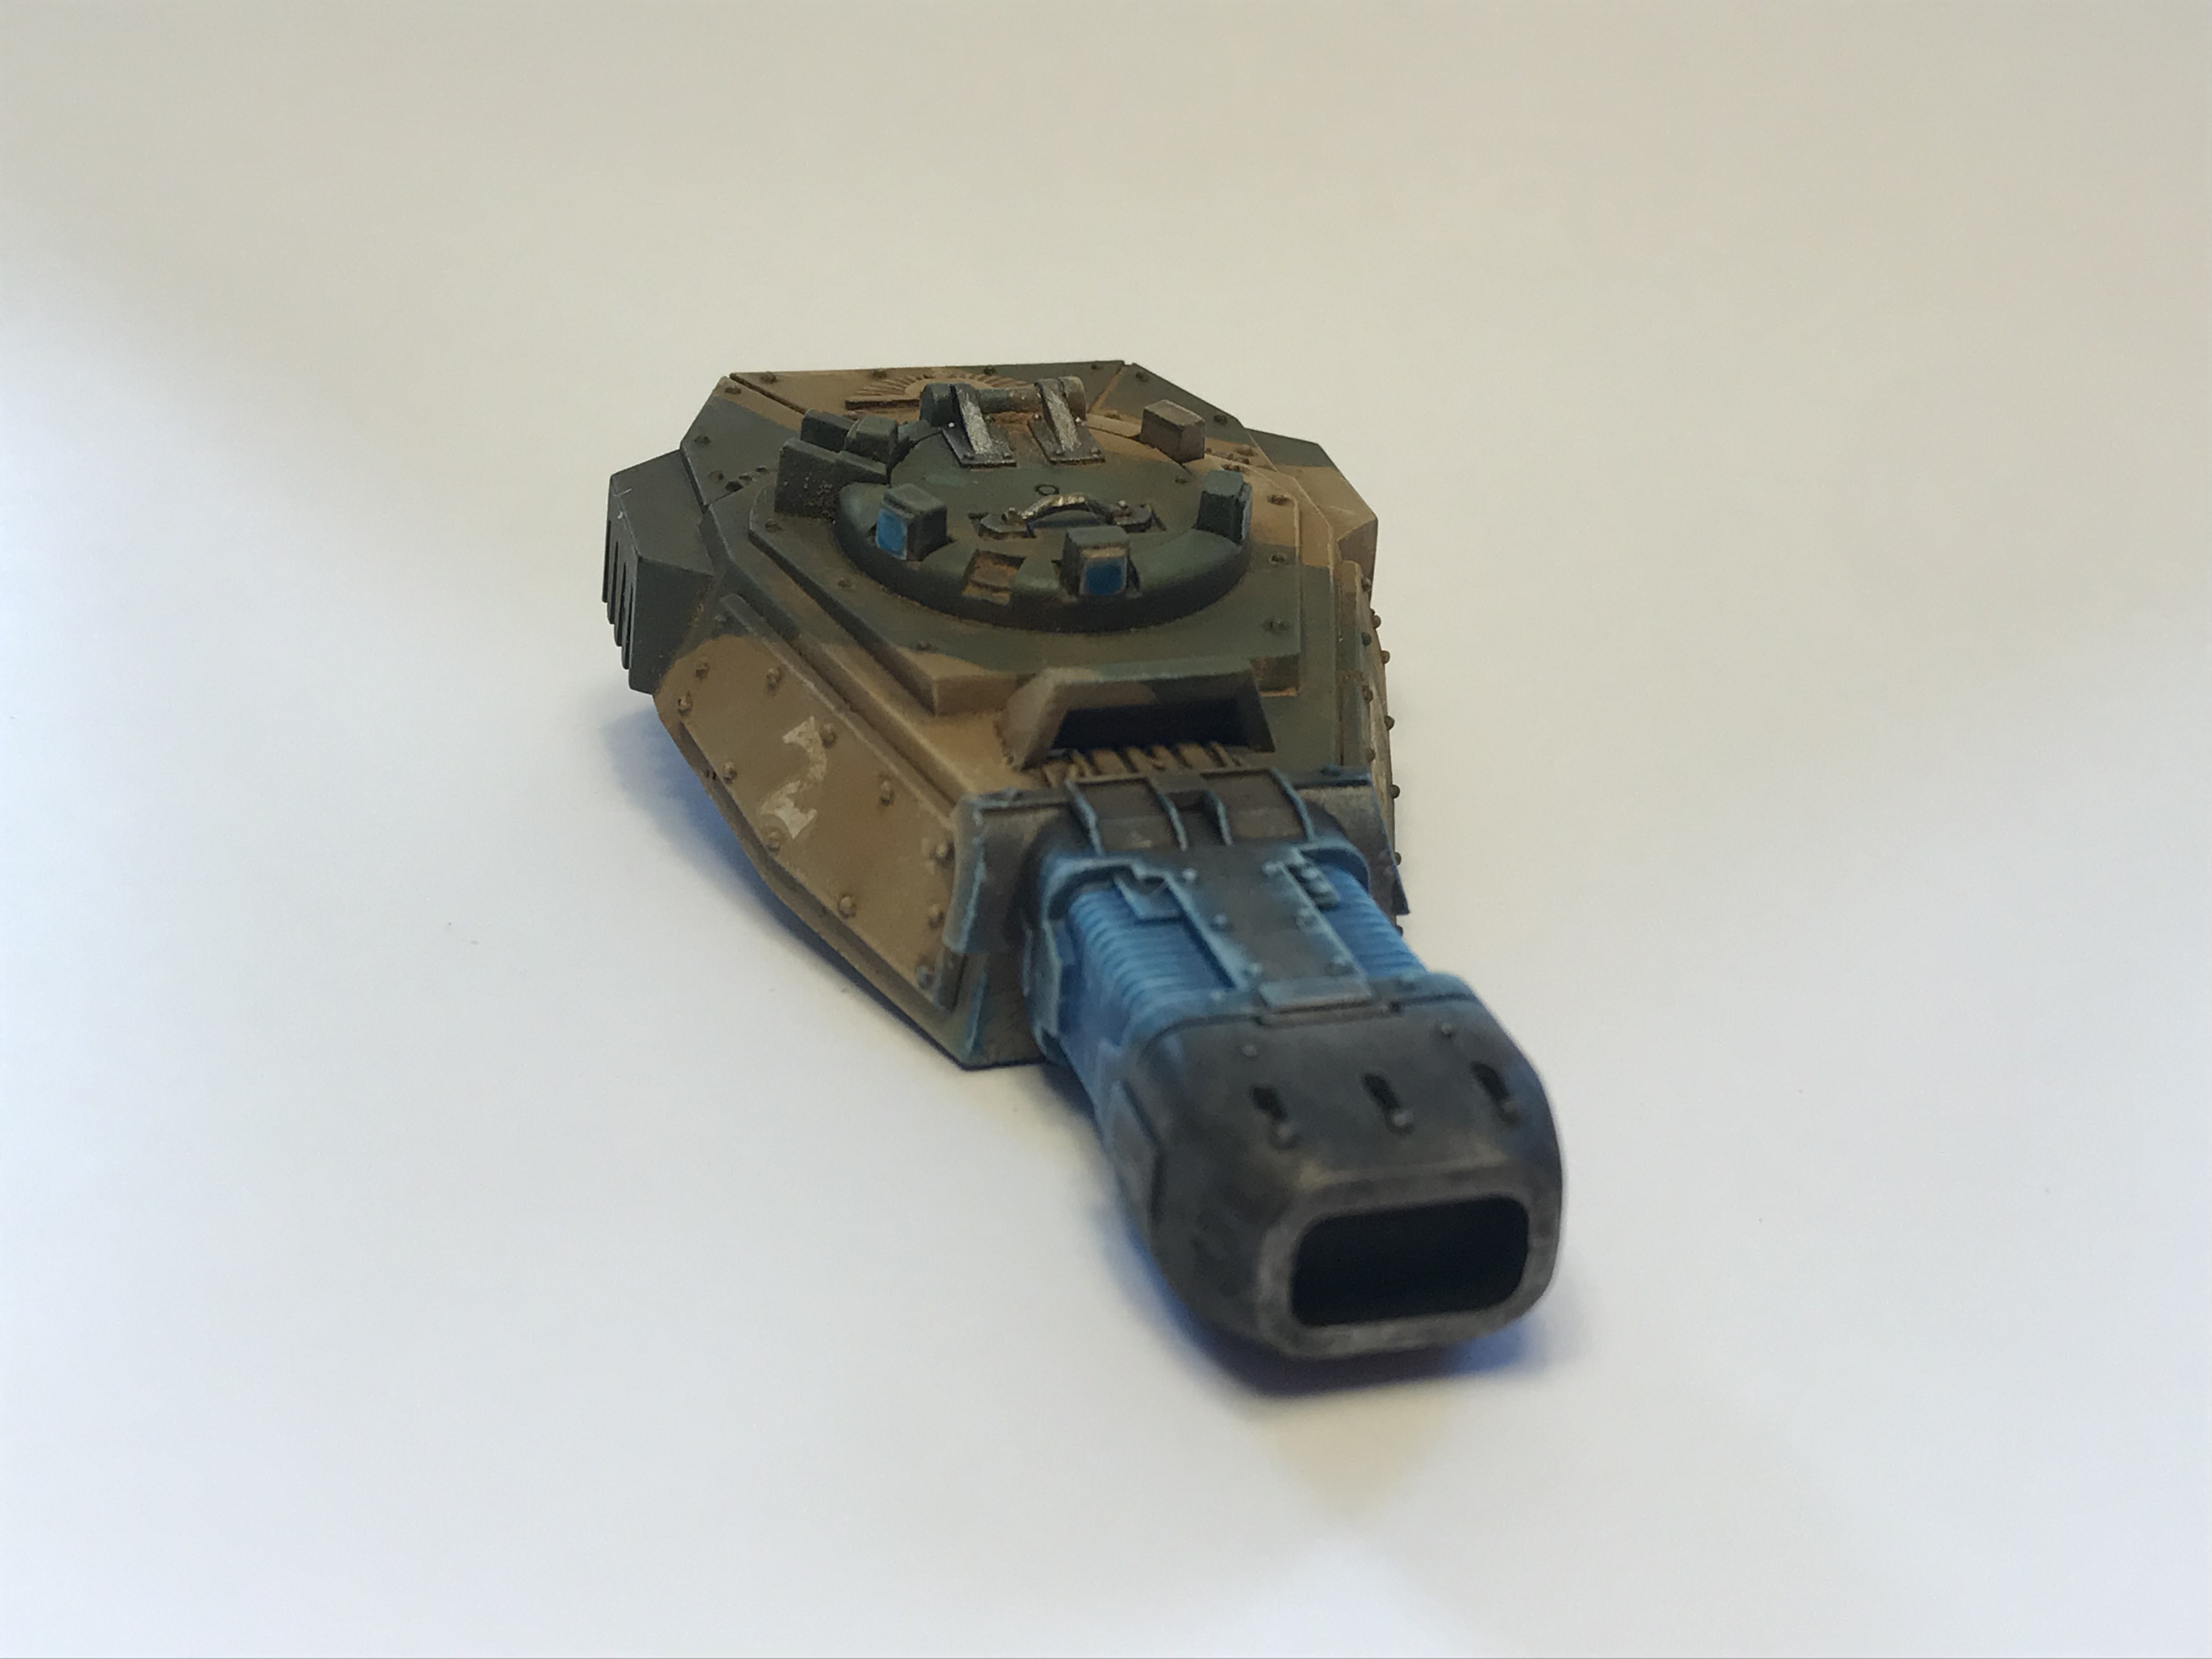
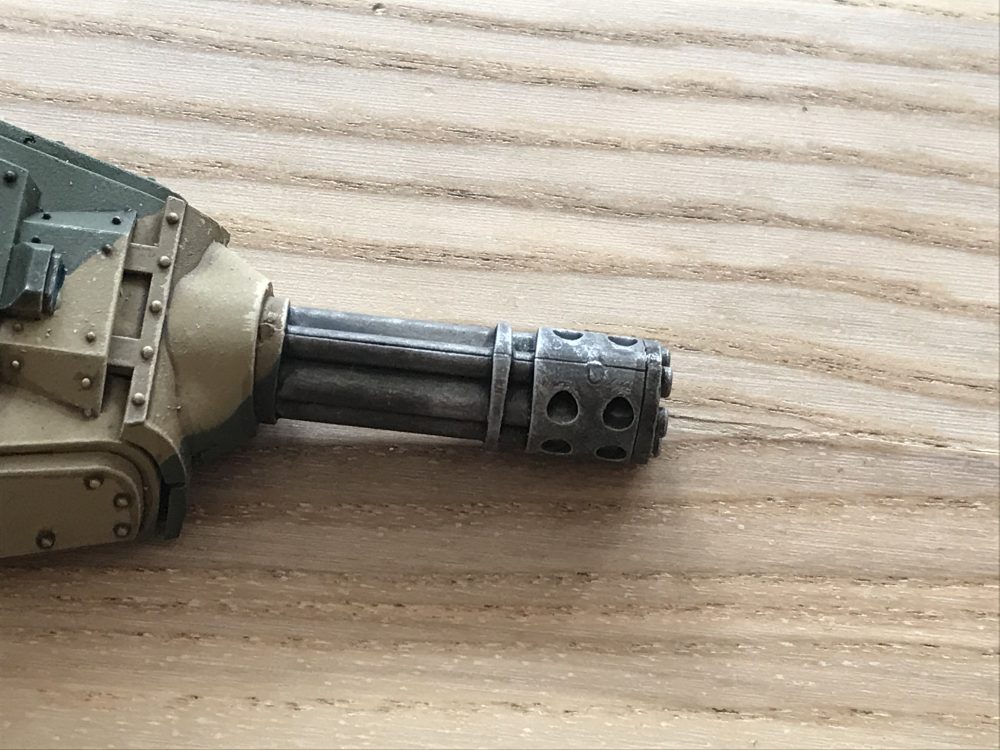
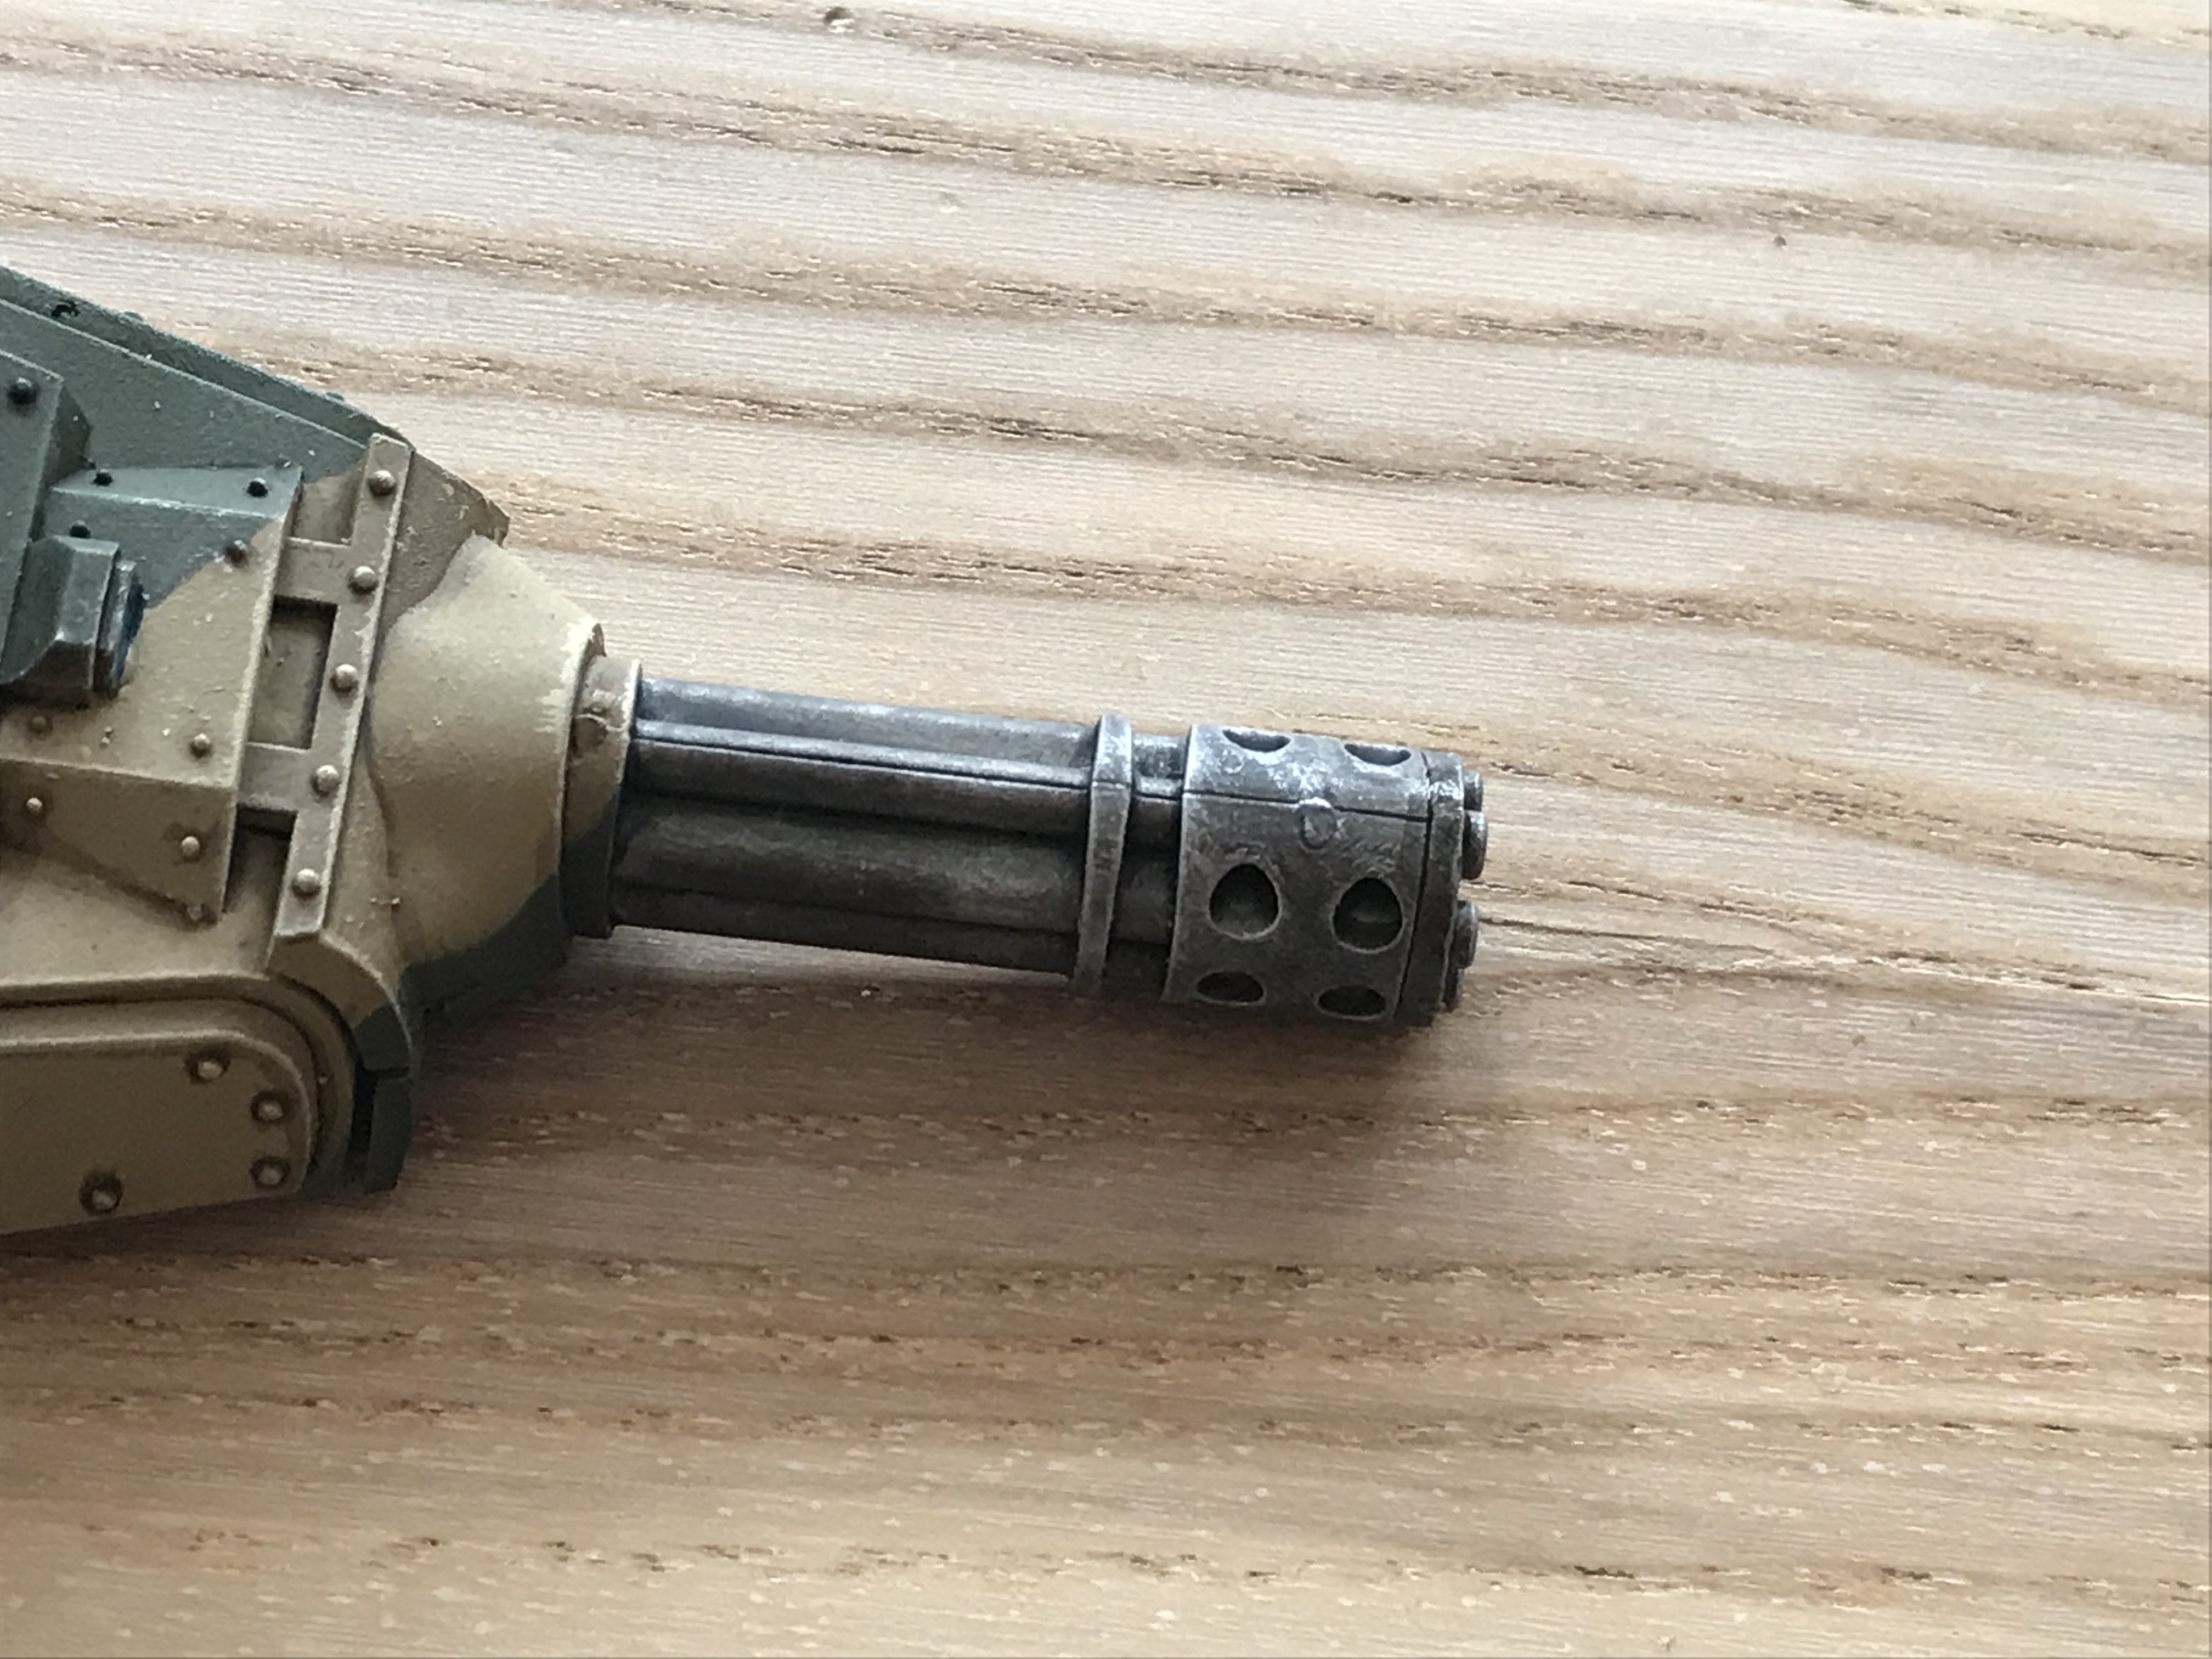
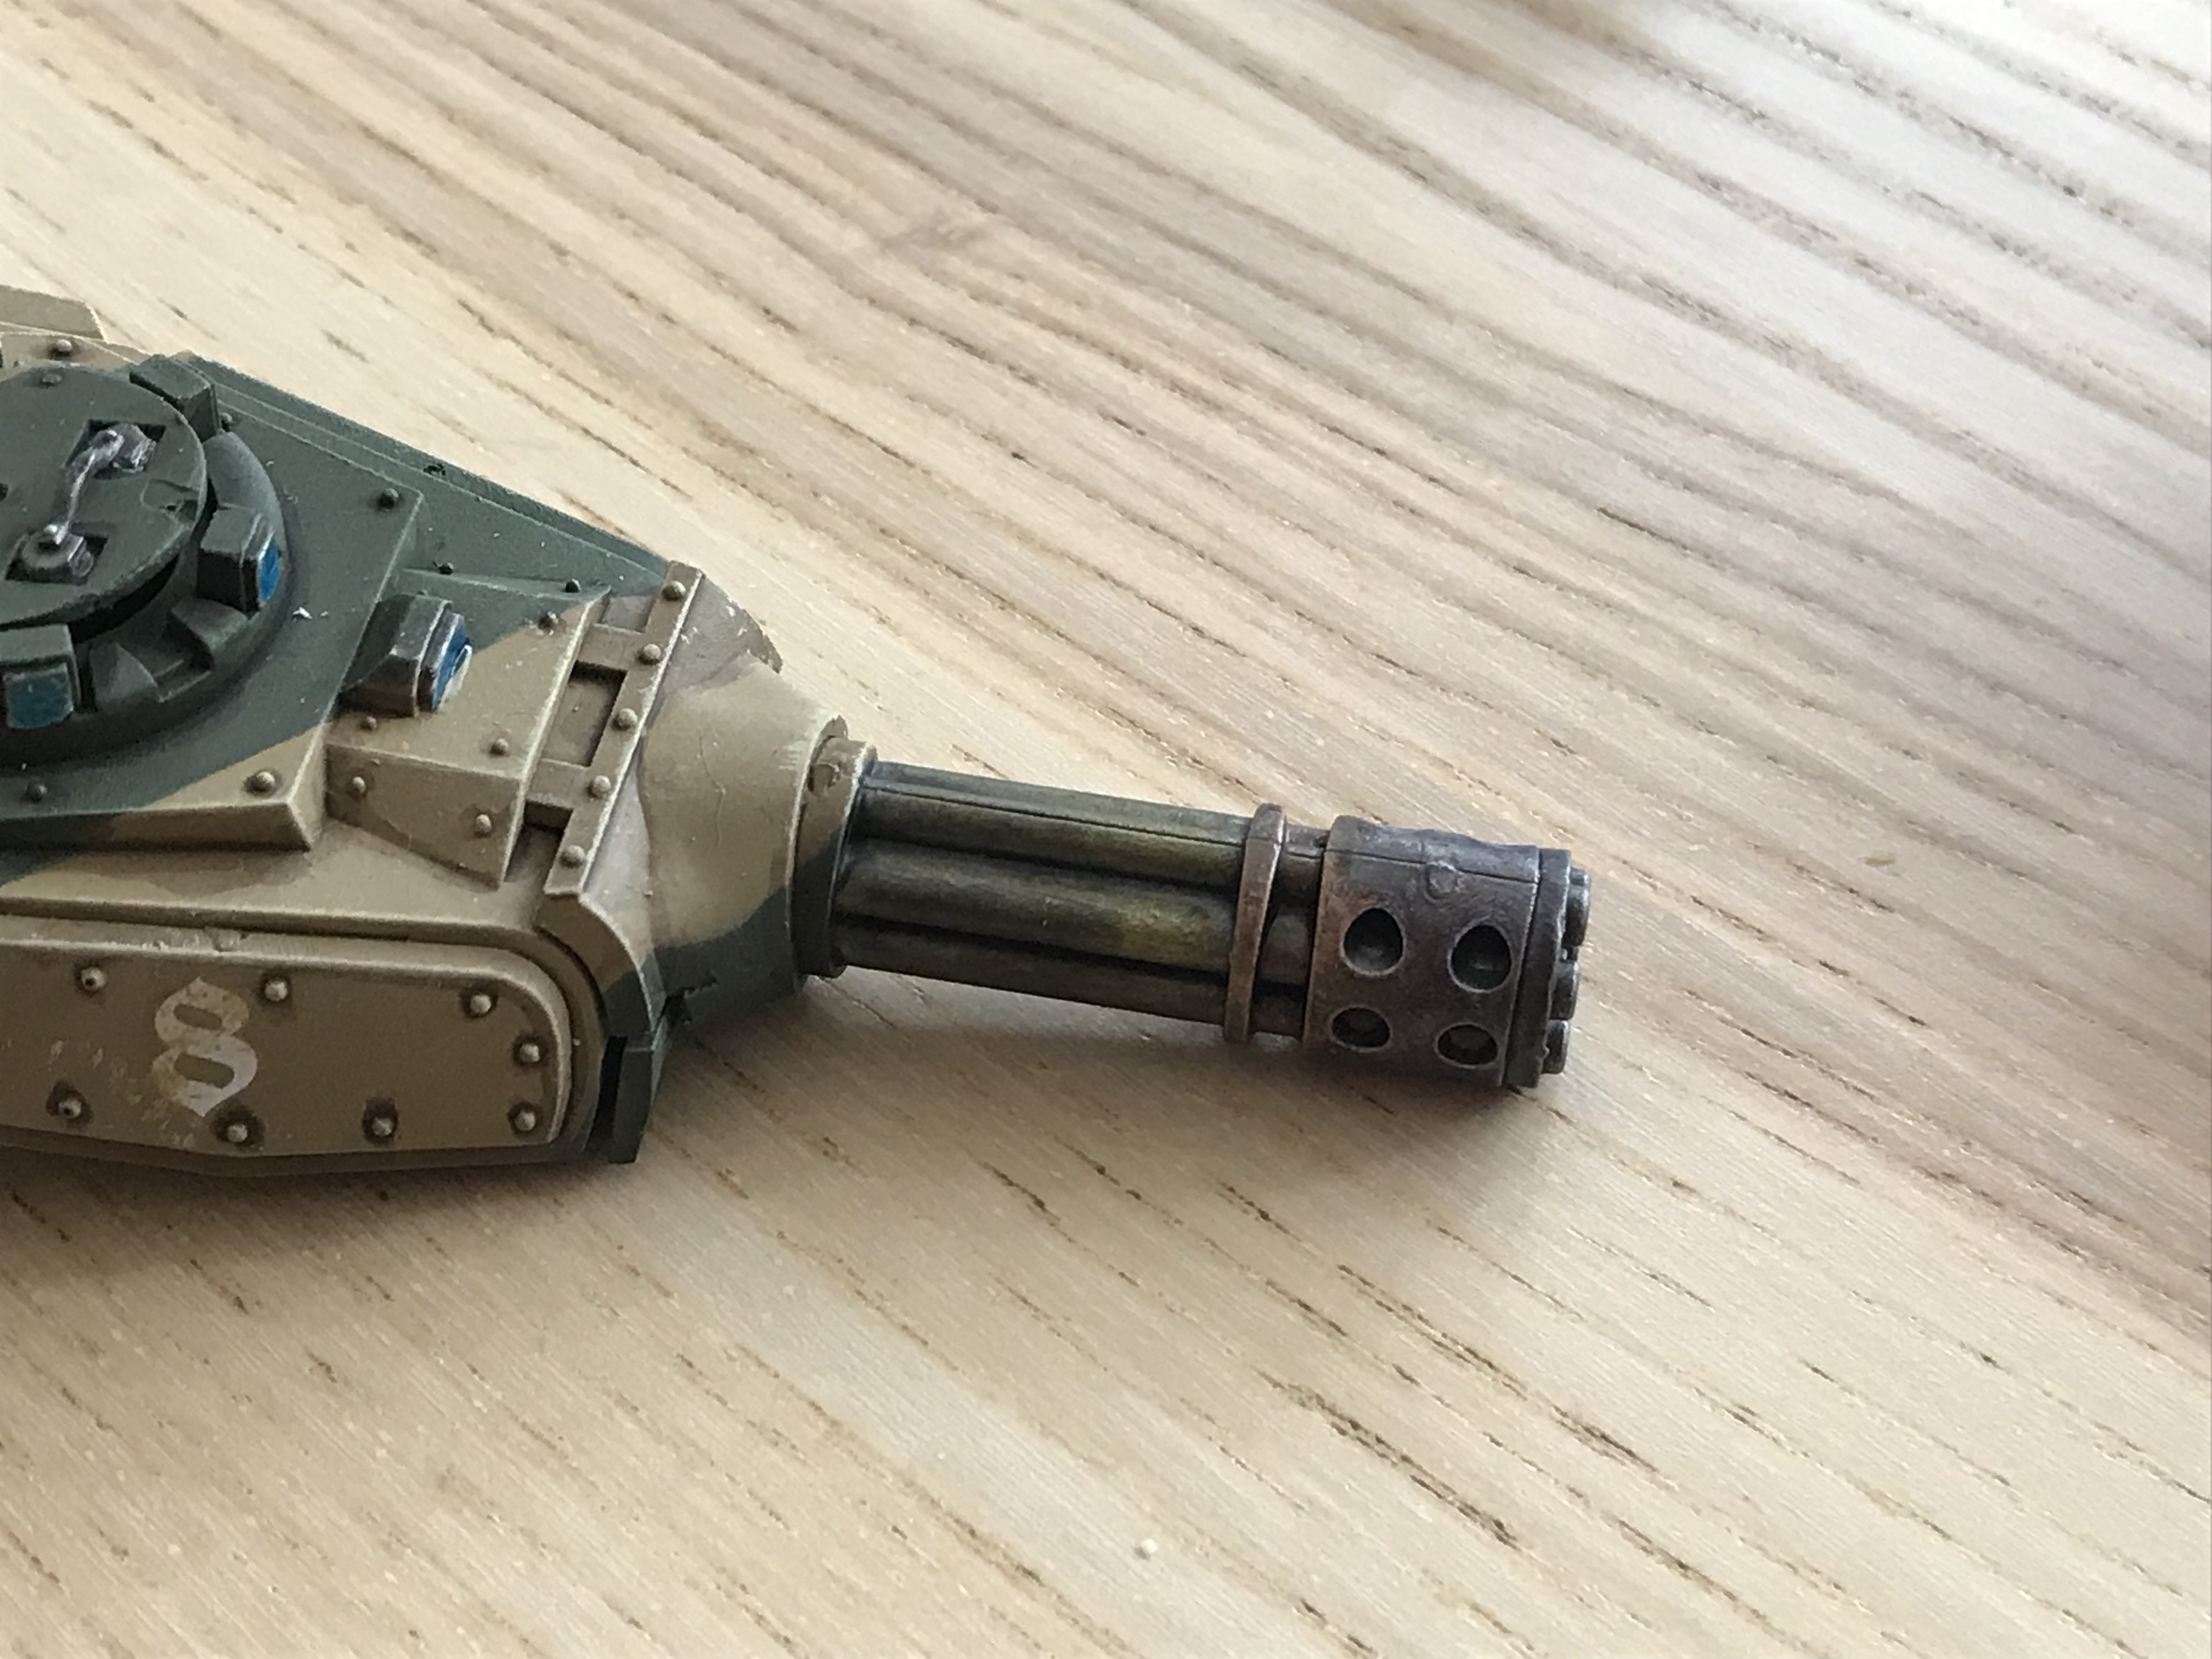
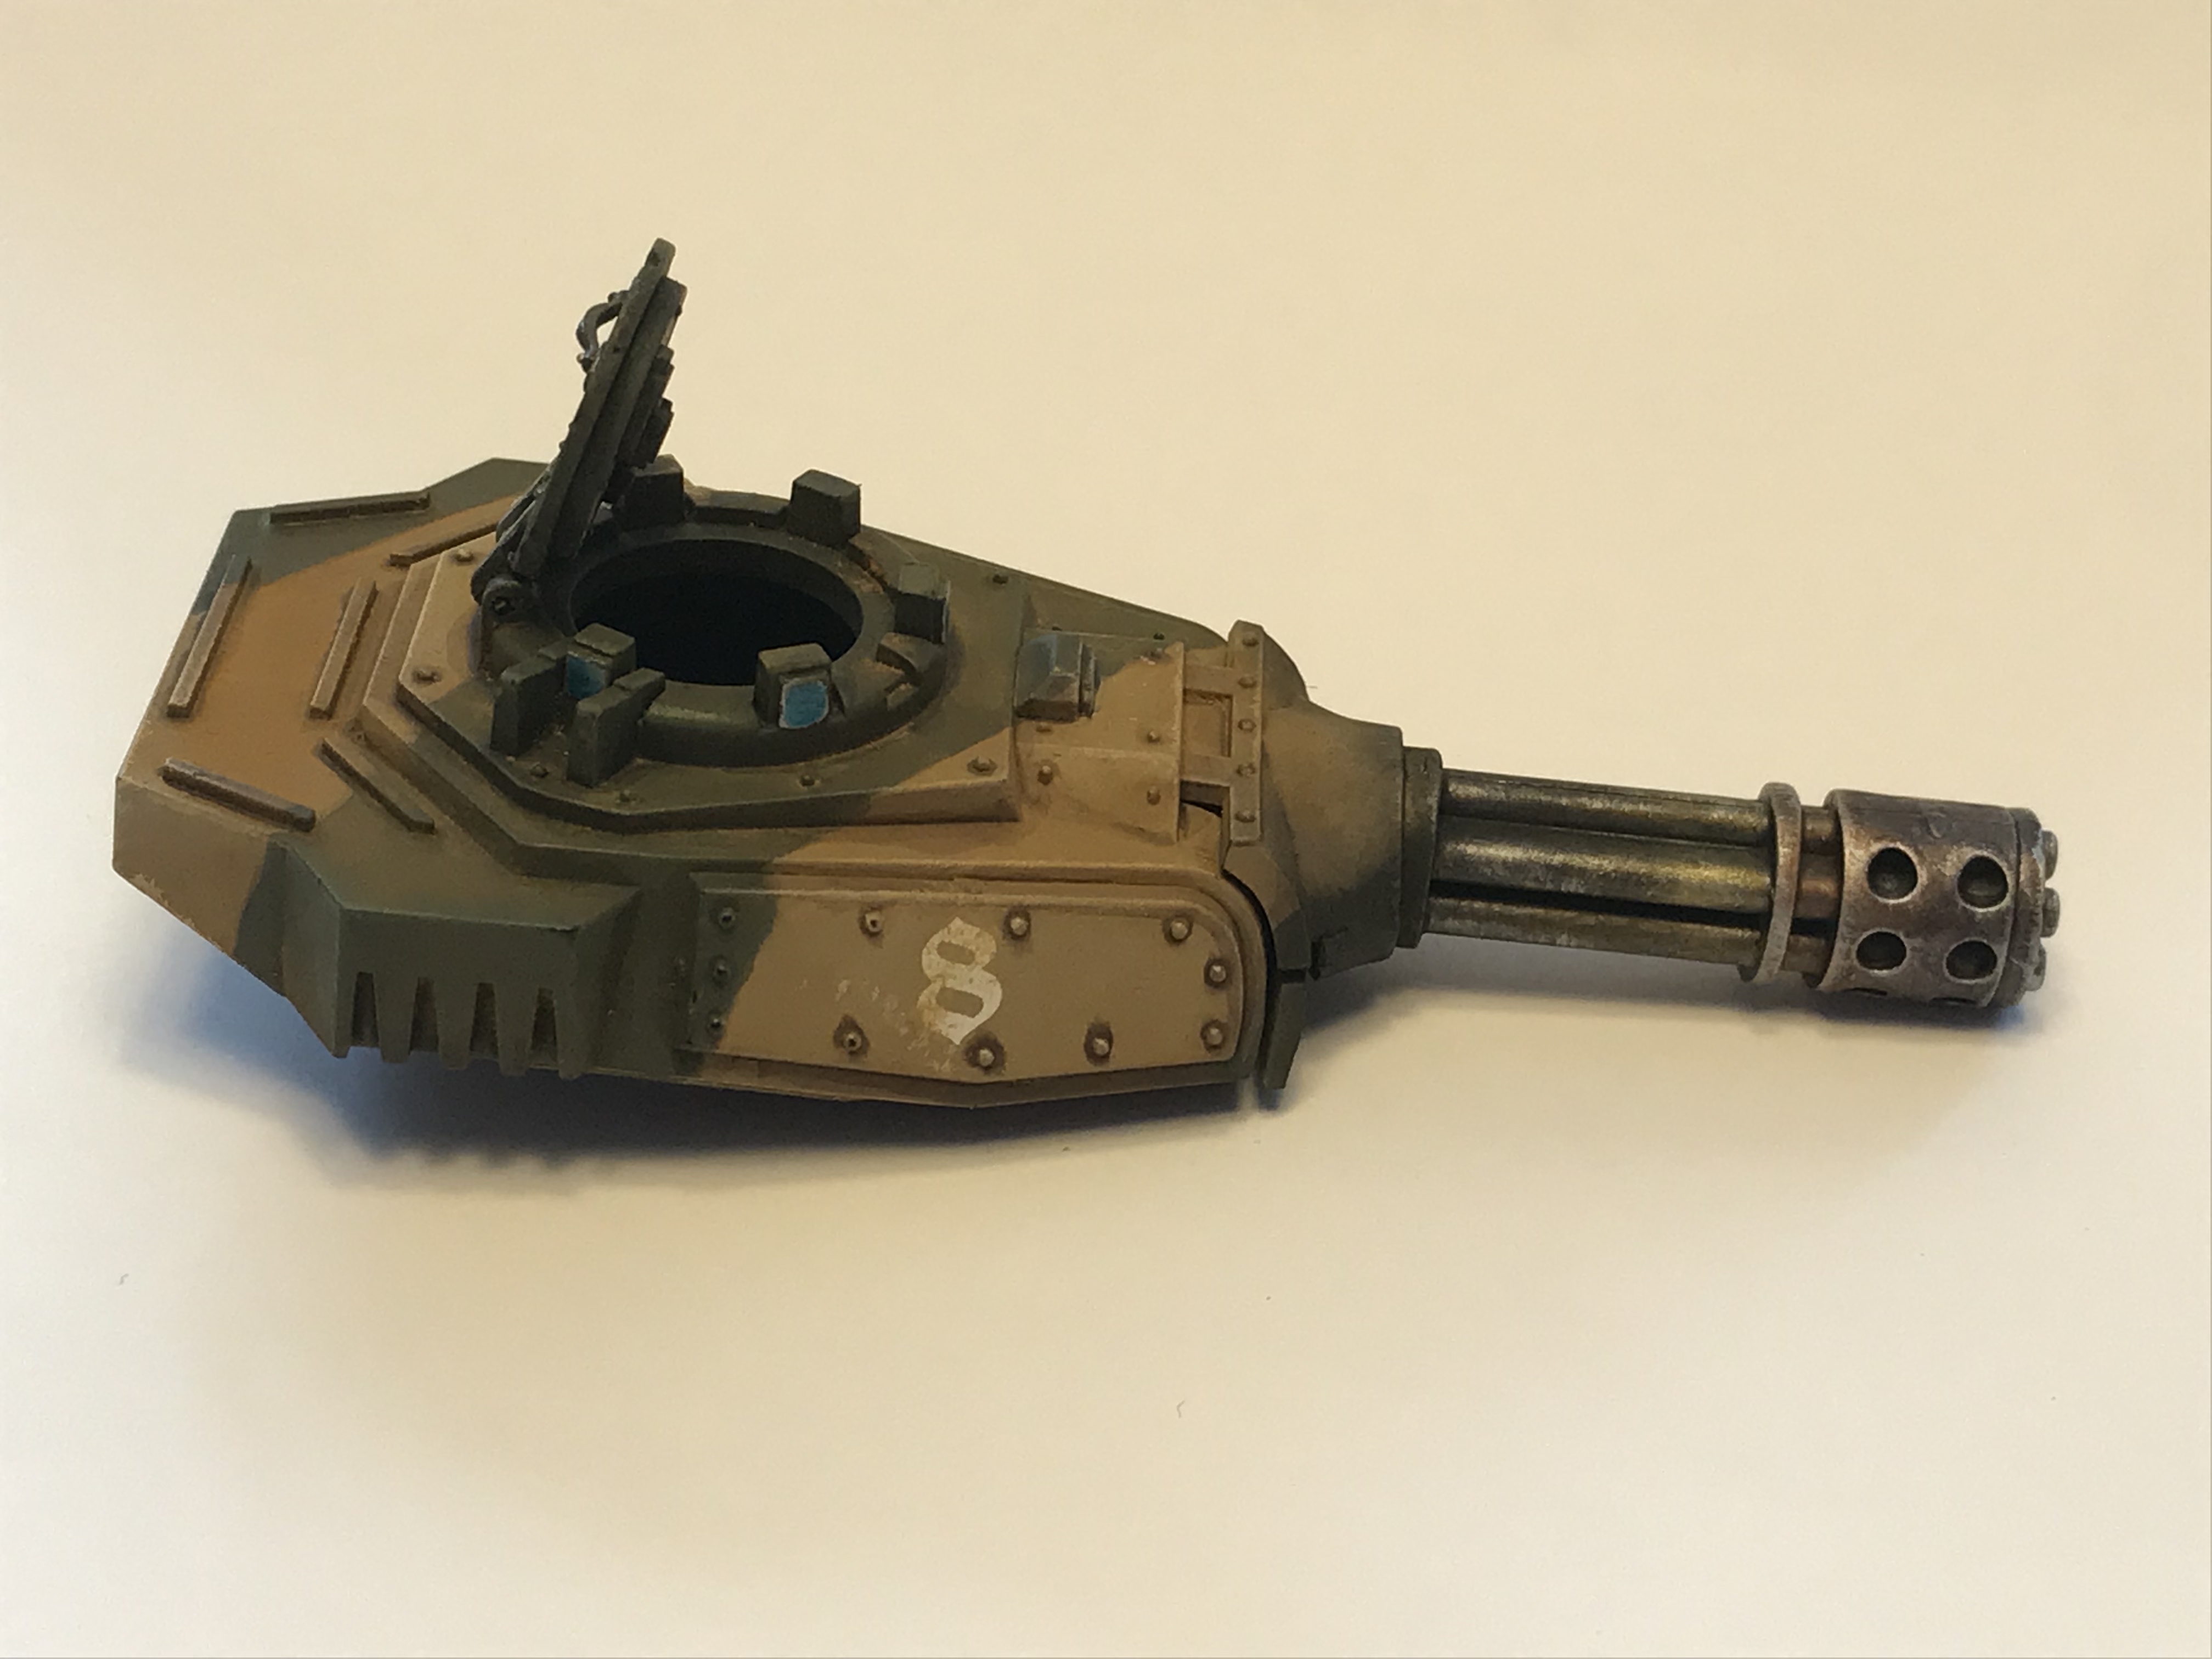
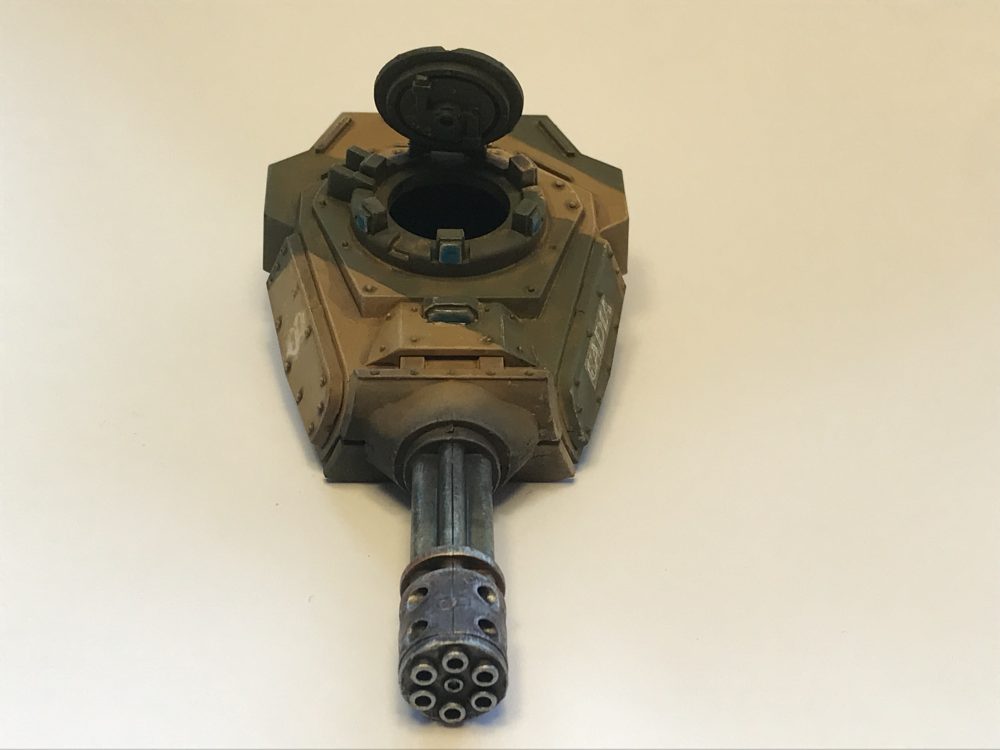
Punisher Cannon Heat Burn
A quick bonus for you here on a Punisher Cannon now we have the quick plasma effect out the way.
This was my third try at a heat burn effect. All other attempts were on Flamer type weapons.
I used the same technique as before but just did one layer of each wash. I was in a hurry. The effect is actually pretty good considering how little time it took.
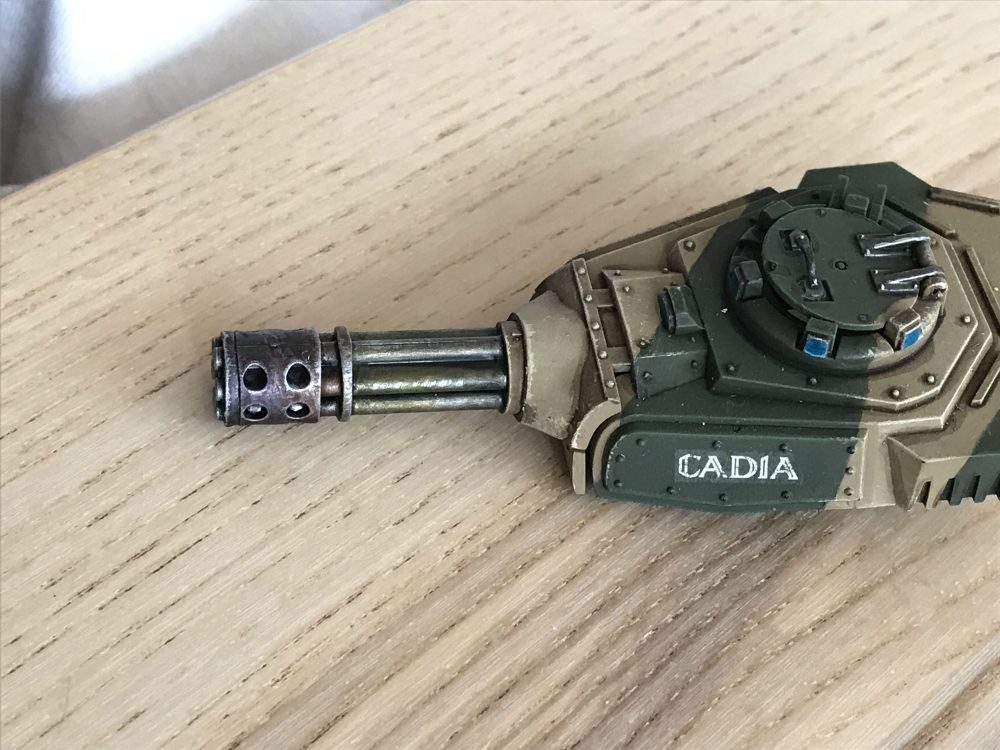
Make sure the barrel is bright when you start. I used Leadbelcher then Nuln Oil with a final Runefang Steel dry brush as a starting point. I maybe should’ve gone bright met though with a heavier Runefang Steel dry brush.

Heat burn paints
From the end of the barrel towards the turret body I used;
Then at the turret body, I used a little Soot Pigment to darken it and blend the barrel into the turret body.
Finally, I very lightly dry brushed the end of the barrel to give the venting holes a little bit of a silver pop as well as the other edges.
-
- Starting point
-

- Colours in place
-
- Dry brushed

-
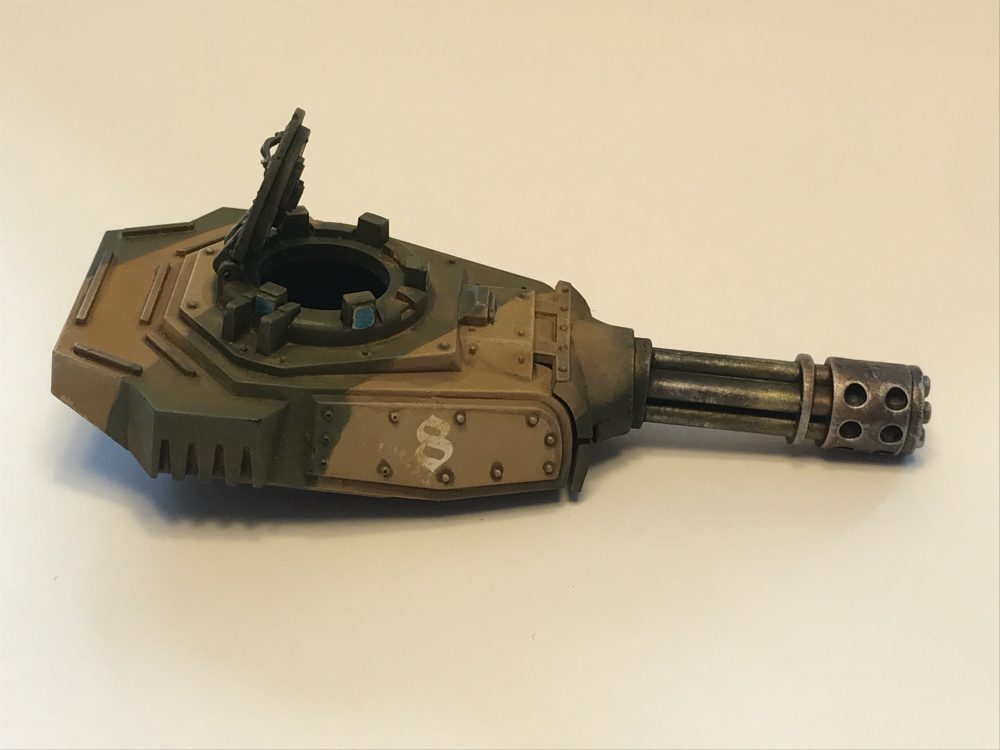
- Punisher Cannon Done
-
- Punisher Cannon Done

-

- Punisher Cannon Done