
Pinning Models to Bases
A little how to on pinning your models to their bases...
There are a few, no – there are many techniques in this hobby that are mysterious. Well at least to me – Pinning Models to Bases. You see the odd picture on Facebook or Instagram of someone doing something. But you’re always left wondering…
Why and how do they do that? Should I be doing it?
One such technique that falls into this category for me is pinning models to their bases. You can glue the model to the base sure. But I’d seen people pinning the model to the base. And now I know why and how – let me share my experience with this method.
Never miss an article? Subscribe!
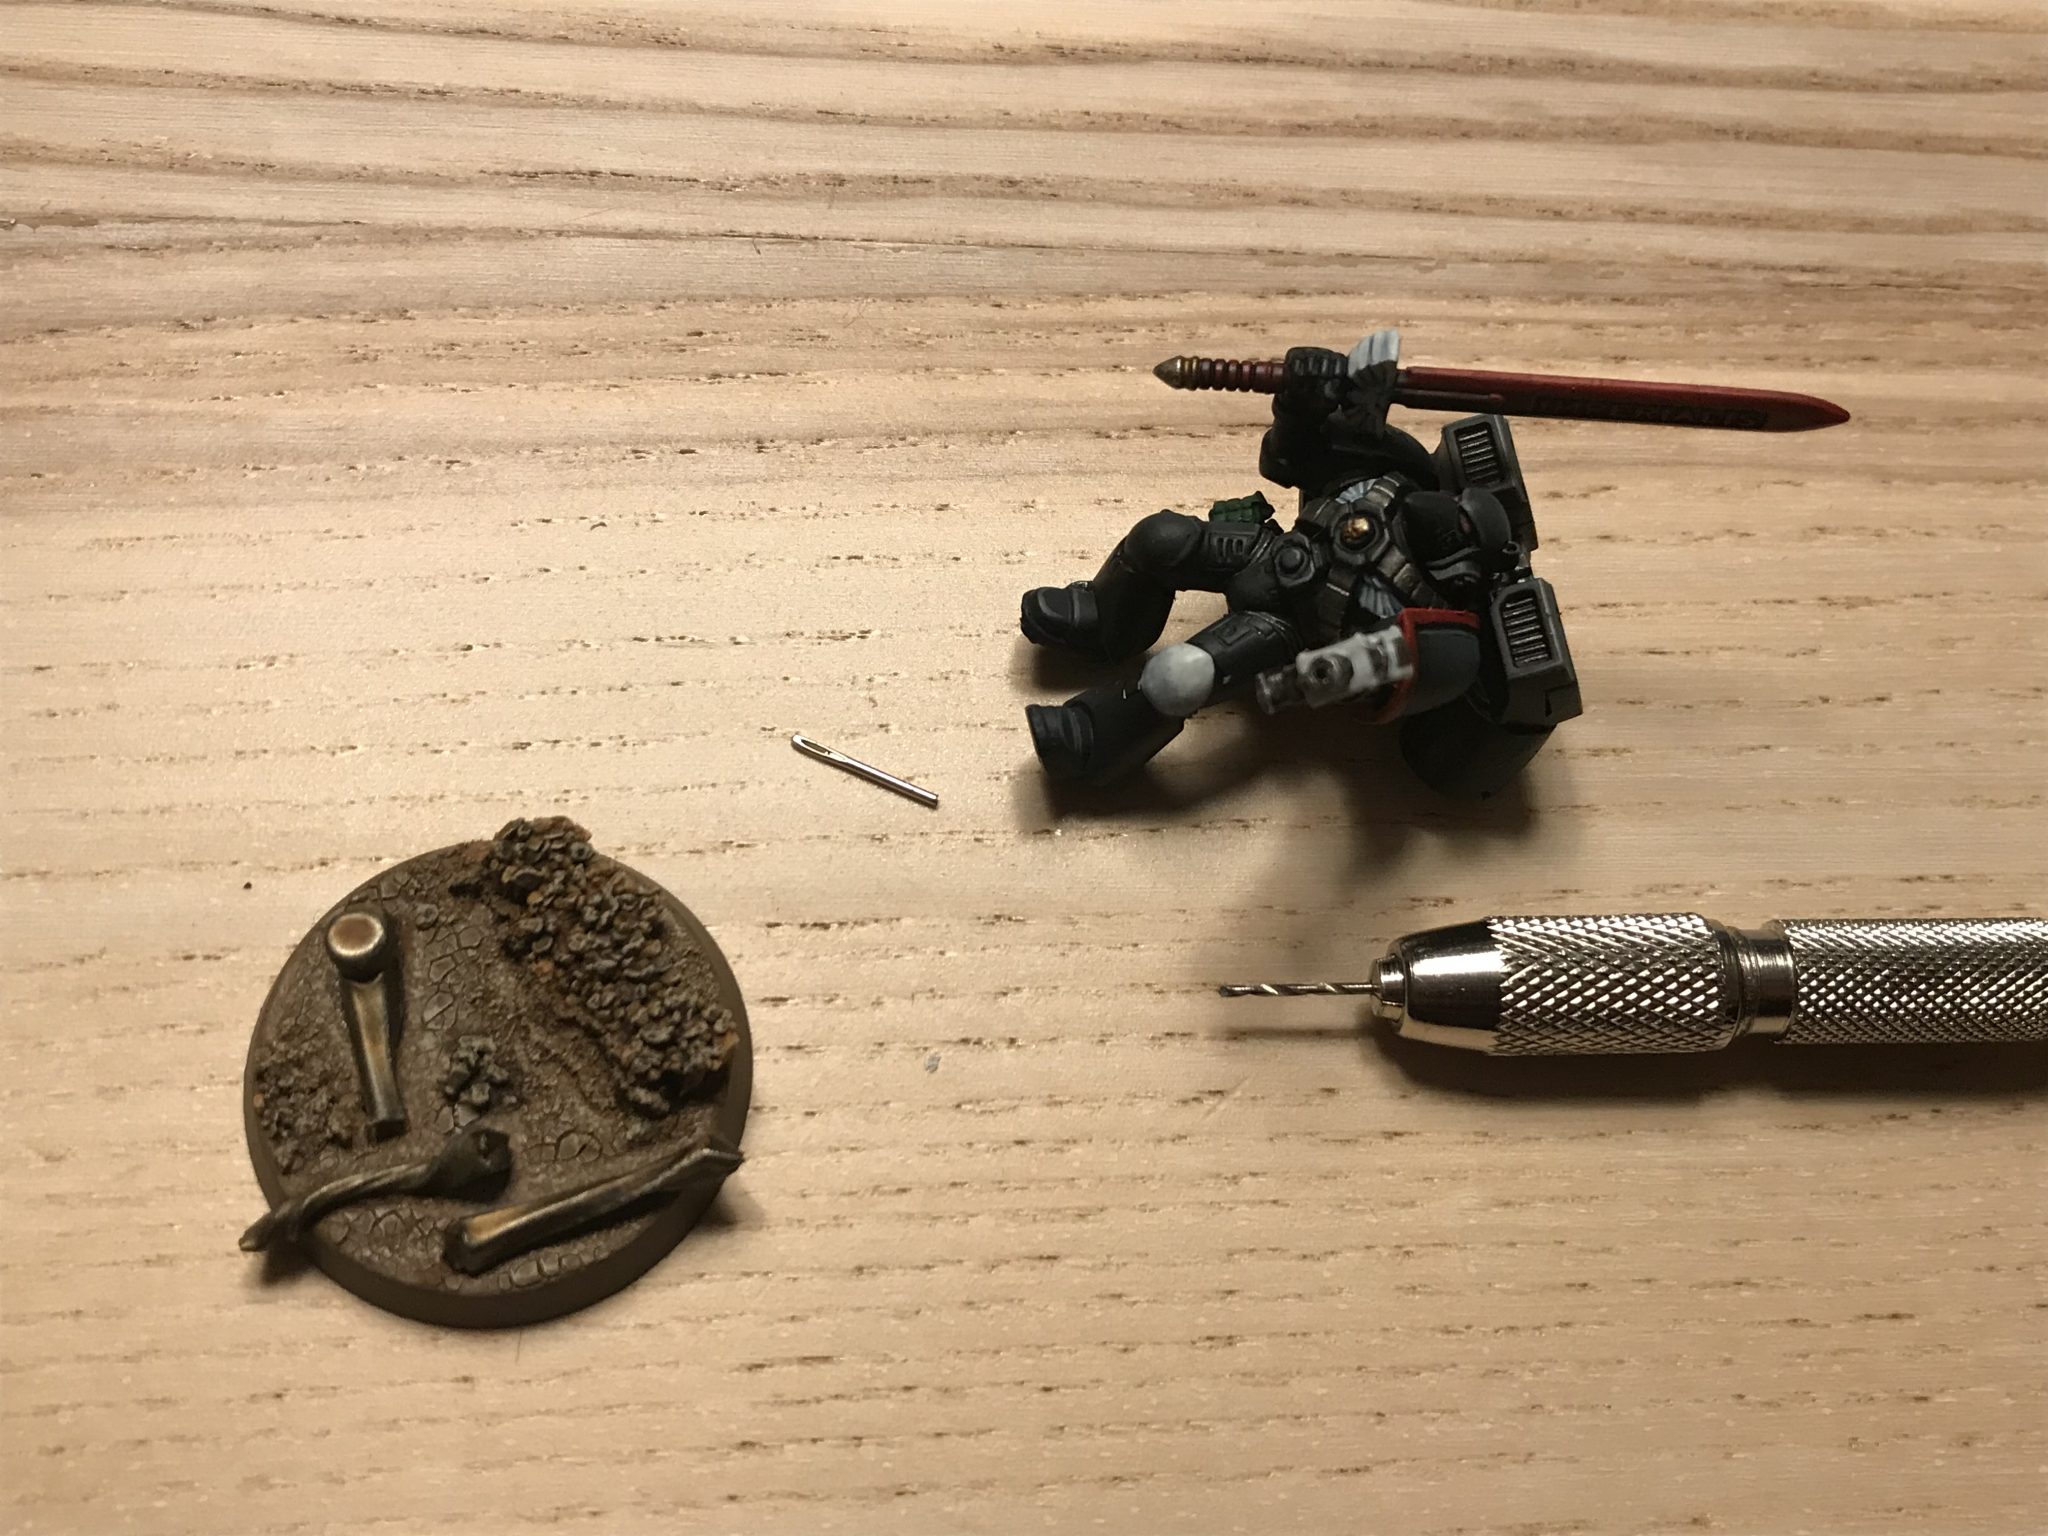
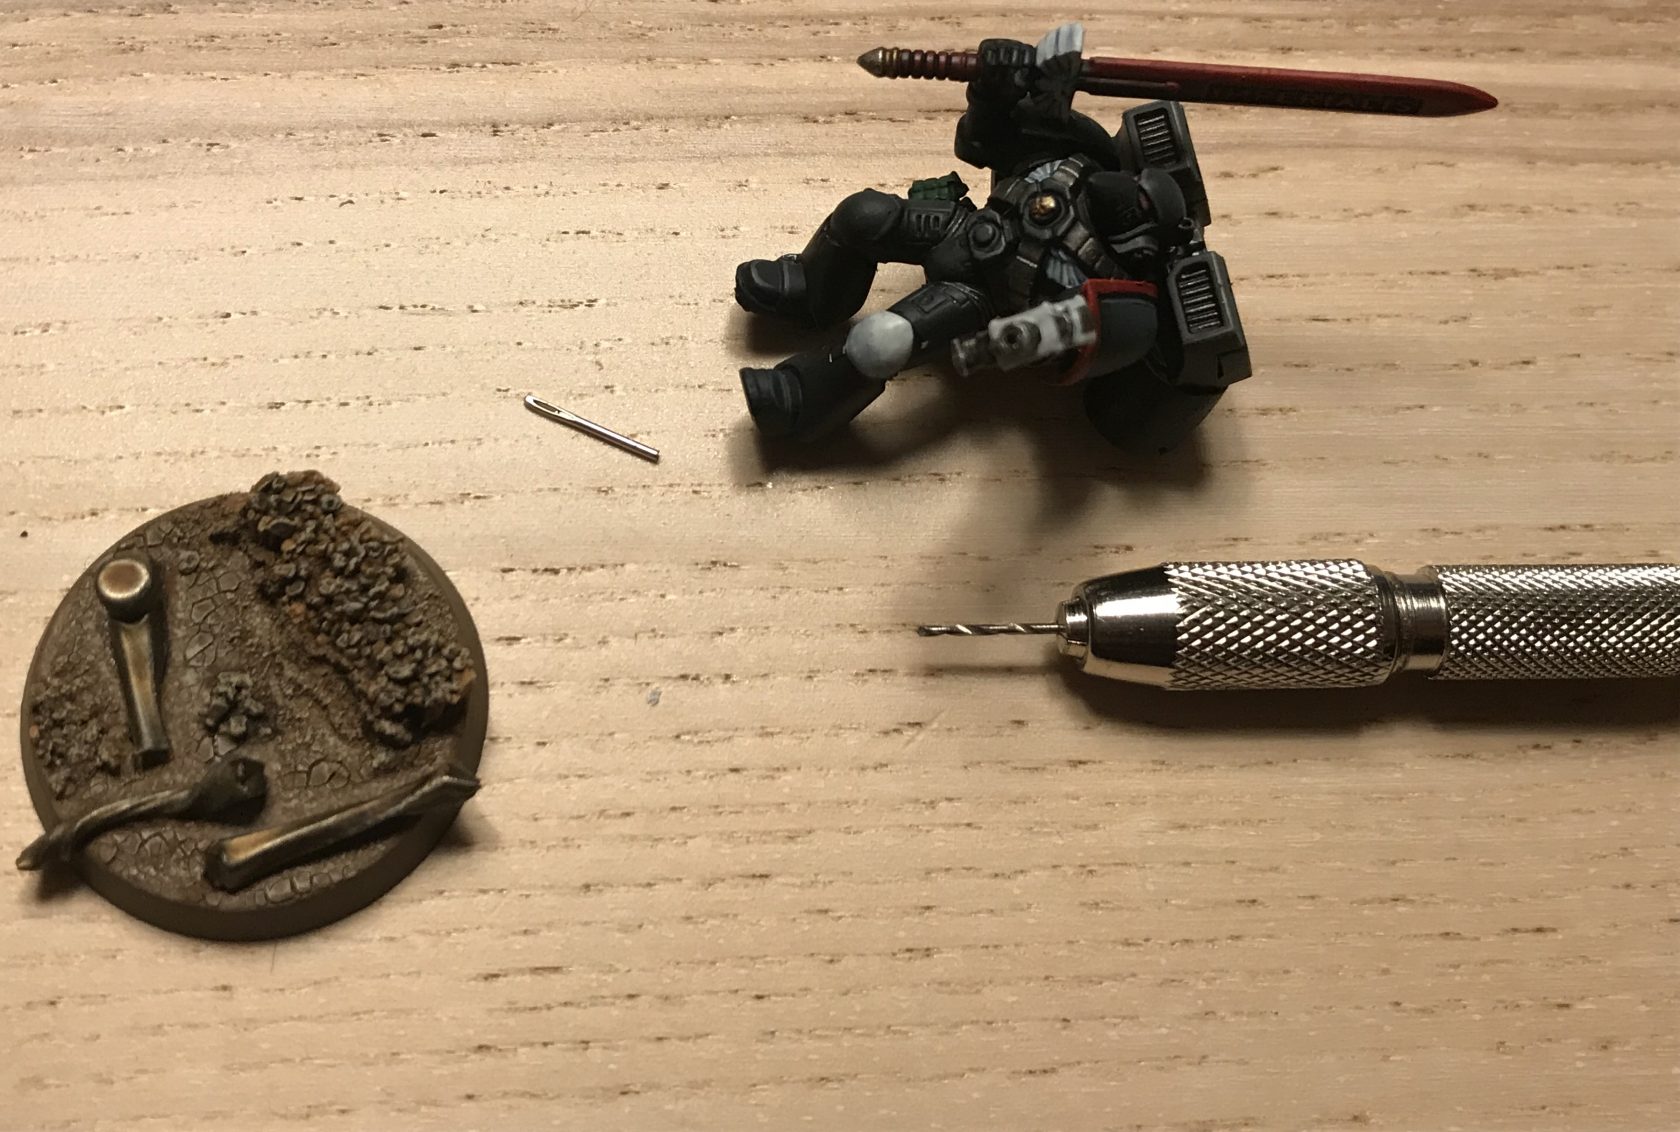
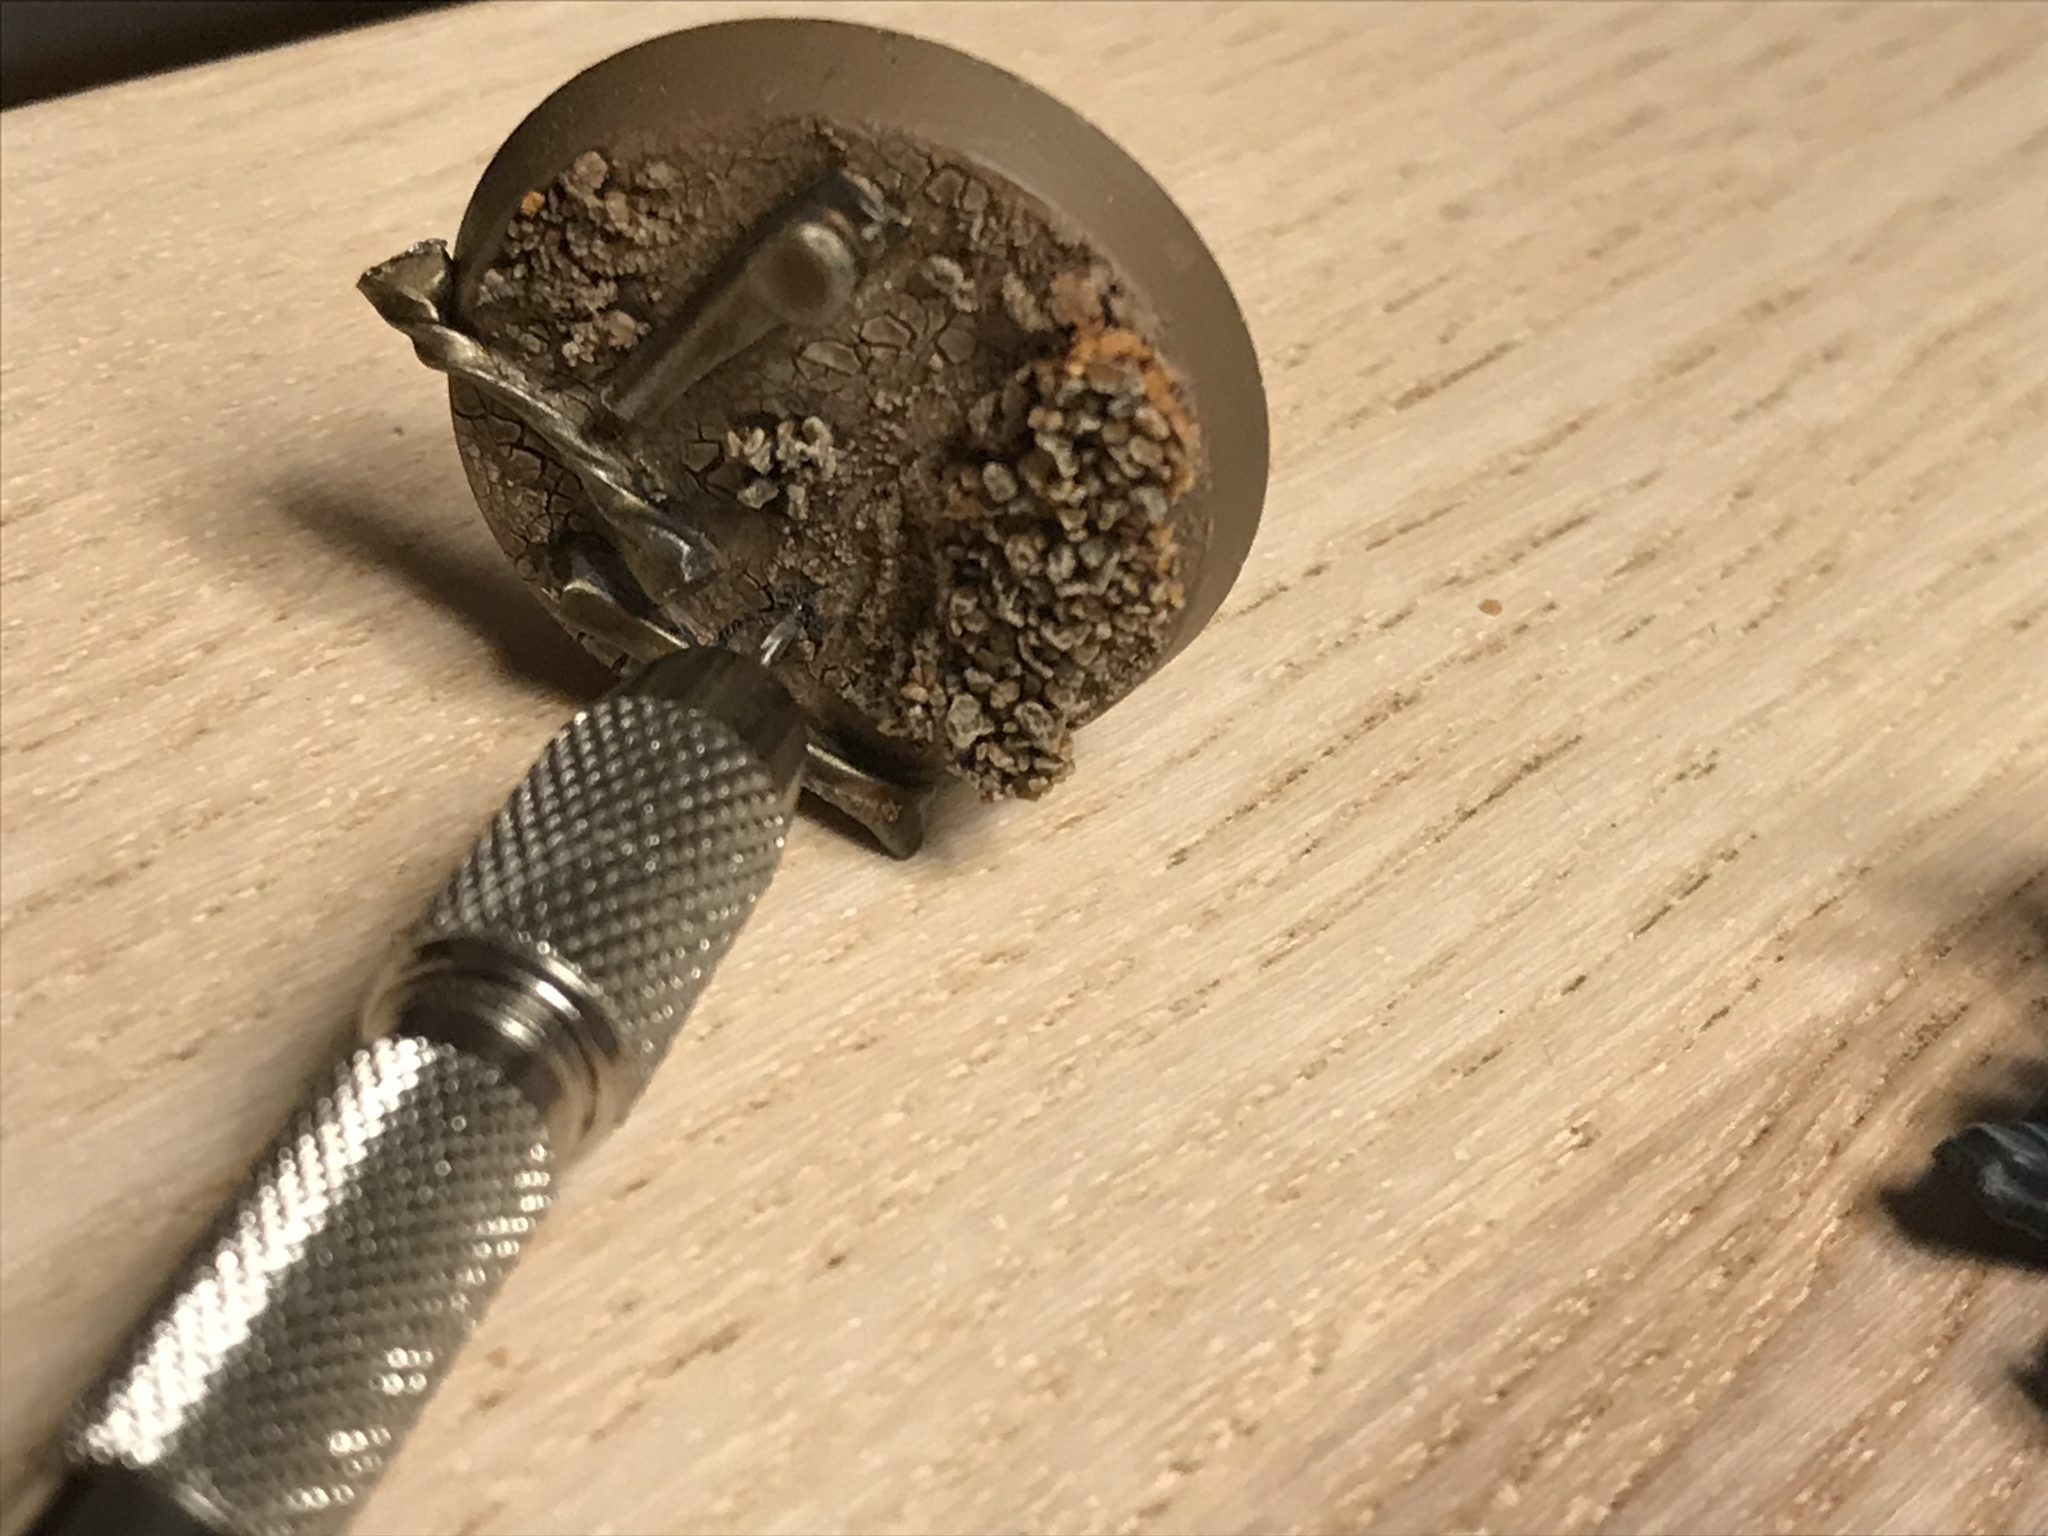
Setup, don’t use a needle, see below – Pinning Models to Bases
Pinning Models to Bases – The Reasons
I’ve come across a few reasons for pinning models to bases…
Basing with no model
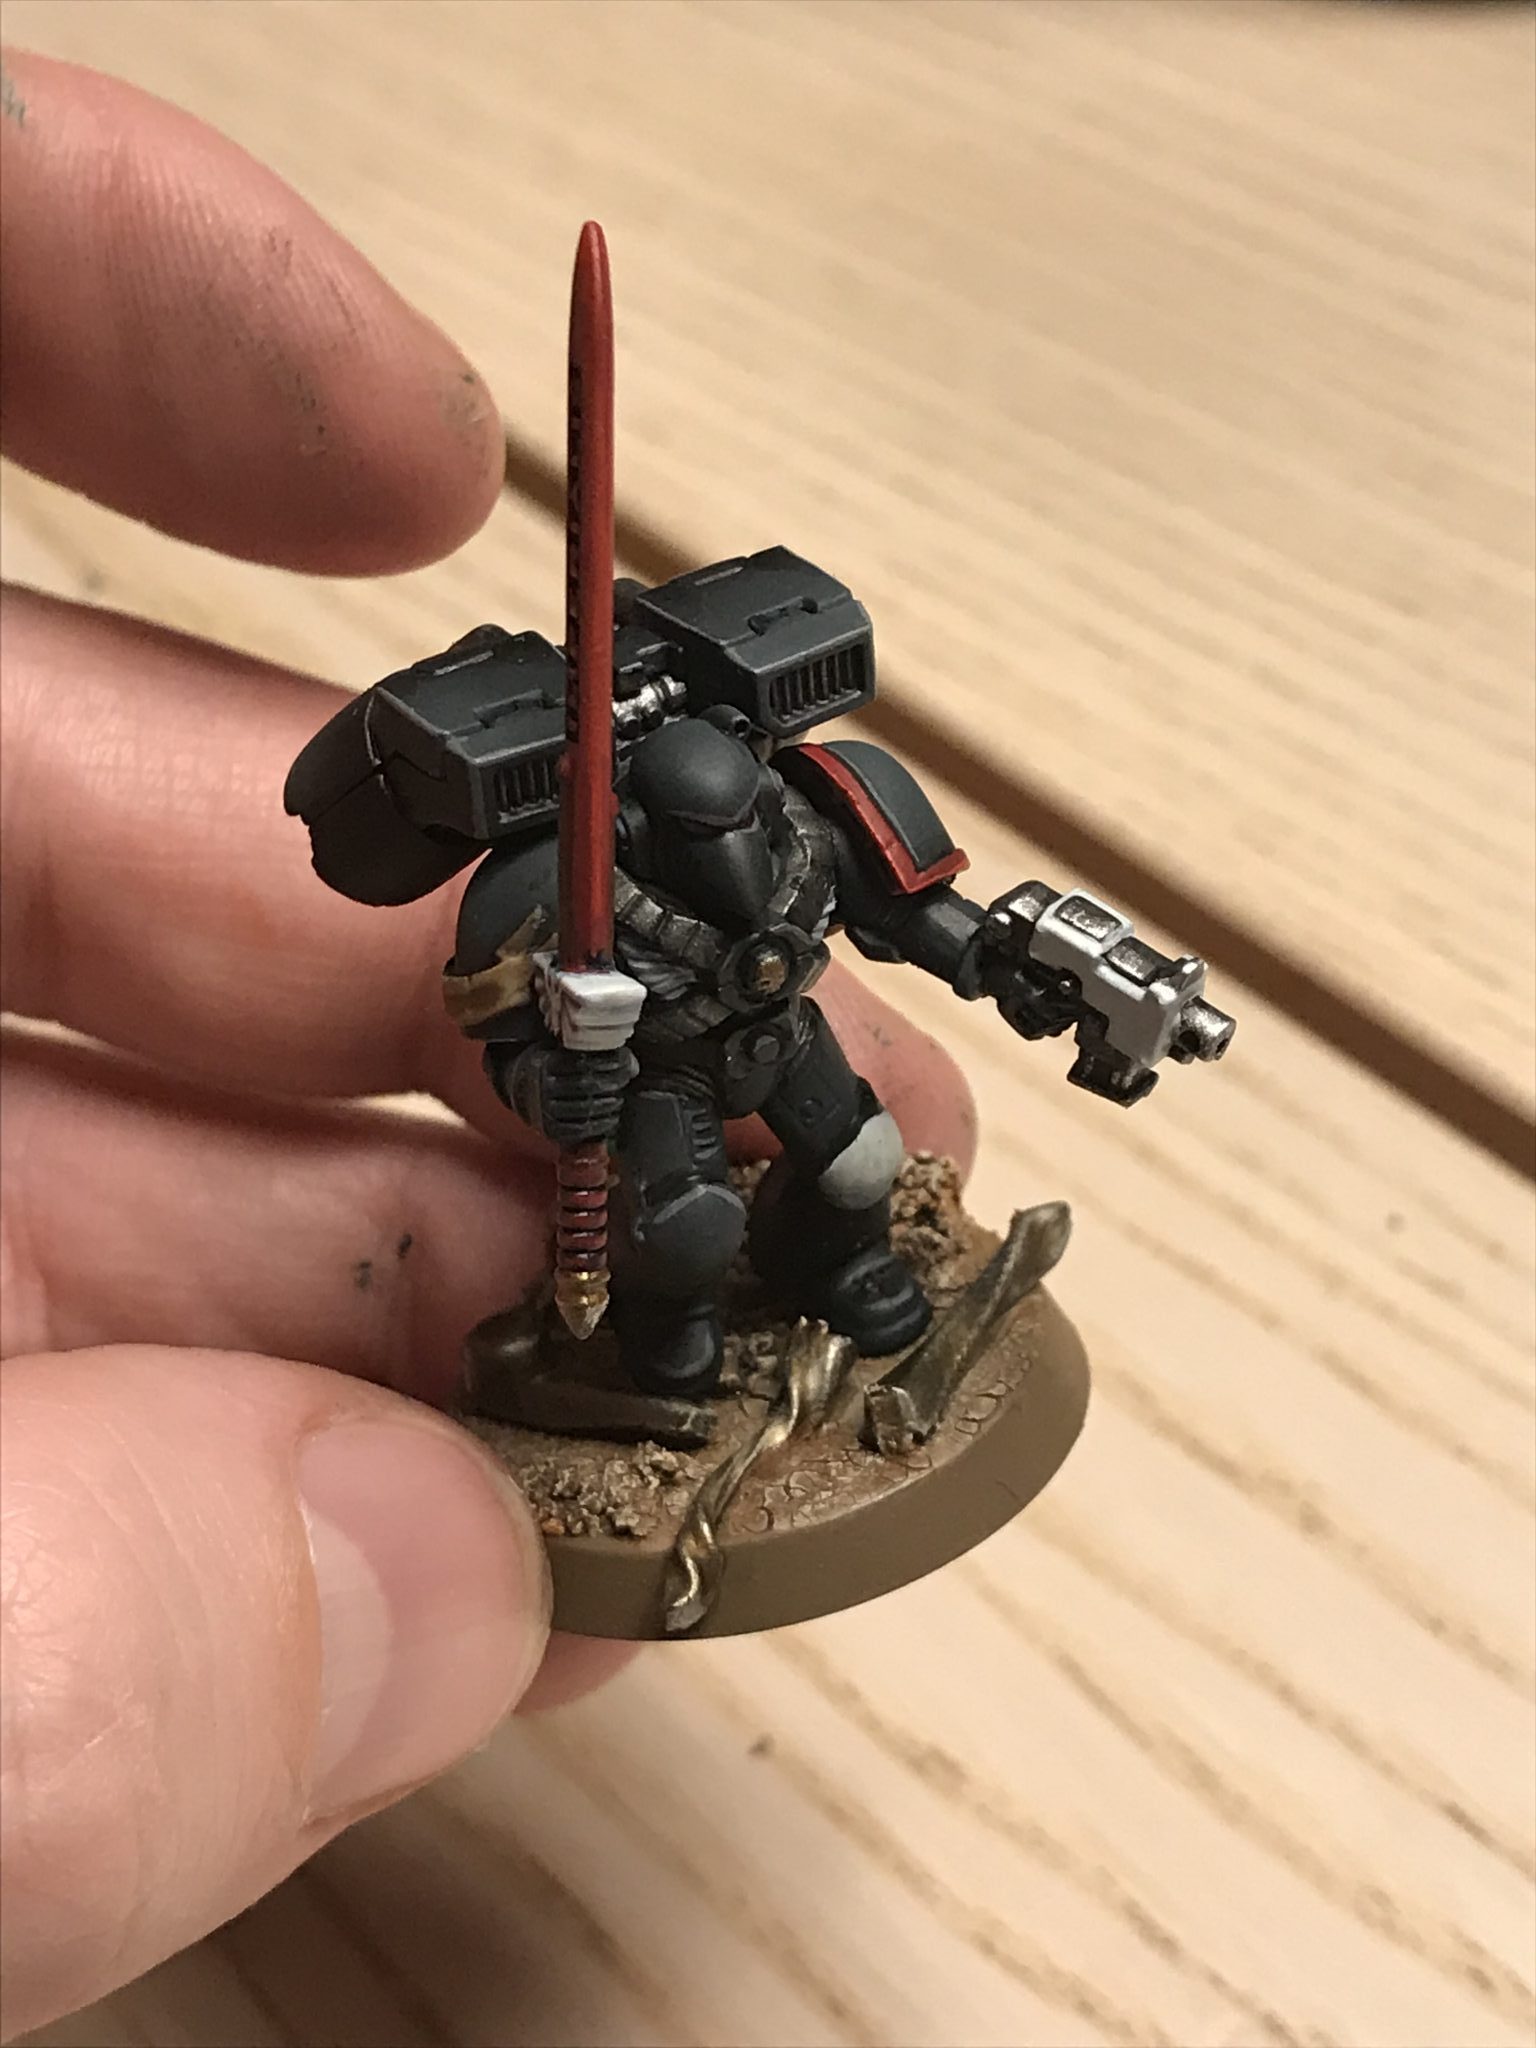
In this case, I had done my bases independently from the models. The models are Raven Guard Vanguard Veterans which were painted by Red Eagle Studio. The models went off to be painted while I did the bases.
This meant I could more easily do the Dry Mud Bases without boots and legs being in the way.
More Realistic
I think it gives a more realistic mounting of the base. If you base your miniatures after they are glued to the base it can be easy to get basing material on the model’s feet. This is especially true for clumsy me and if you’re using texture paints.
It’s not the end of the world but it can look a little off. Especially if you get Agrellan Earth on the top of a boot. It dries like an arid desert. This wouldn’t happen on a boot!
By pinning the model to the base it ensures the model is above your basing material. As the model would be in real life. Of course, if you’re doing thick, wet mud it’s different. But most of the time for dry bases, grass, lava, etc the model would be on top of the material.
Strong
If you have completed the base and then glue the model to the base then the bind will be weak. You’re only really glueing the model to your basing material which isn’t flat and is prone to coming off. Therefore your model will be prone to coming off and will lift some of the material off with it.
Pinning ensures the model is stuck to the pinning material which in turn can be more securely fastened to the base.
Additional Effects
I haven’t done this. But with pinning, you can suspend the model in mid-air and then build up around your pinning material. Eg to make it look like a Harlequin is leaping from a small cliff or little mound of skulls.
Tools & Materials
These are the tools and materials you’ll need;
- Paper clips
- Clippers
- Super glue
- A pin drill
- Green stuff (optional)
A note on paper clips. In my photos, I used a needle. Don’t do this! It’s just what I had to hand at the time. I say don’t because;
- They don’t cut easily but need to be snapped and it’s easy to lose bits and lose an eye.
- They don’t bend so you can’t use them for funky positioning on bases.
If you use Paper Clips then your normal Sprue Clippers with cut through them. I do this inside a fist. To ensure I catch both bits.
Also, don’t use coated Paper Clips. Some are coated with plastic to colour them. If you use these types then the plastic sleeve can come away and then your left with a wobbly model.
Method
After your base is complete then we can begin.
Position
It’s important to position your model on the base before drilling. This is especially true if your base is complex or has a specific feature you want to show or hide.
To position the model on the base and note where it fits.
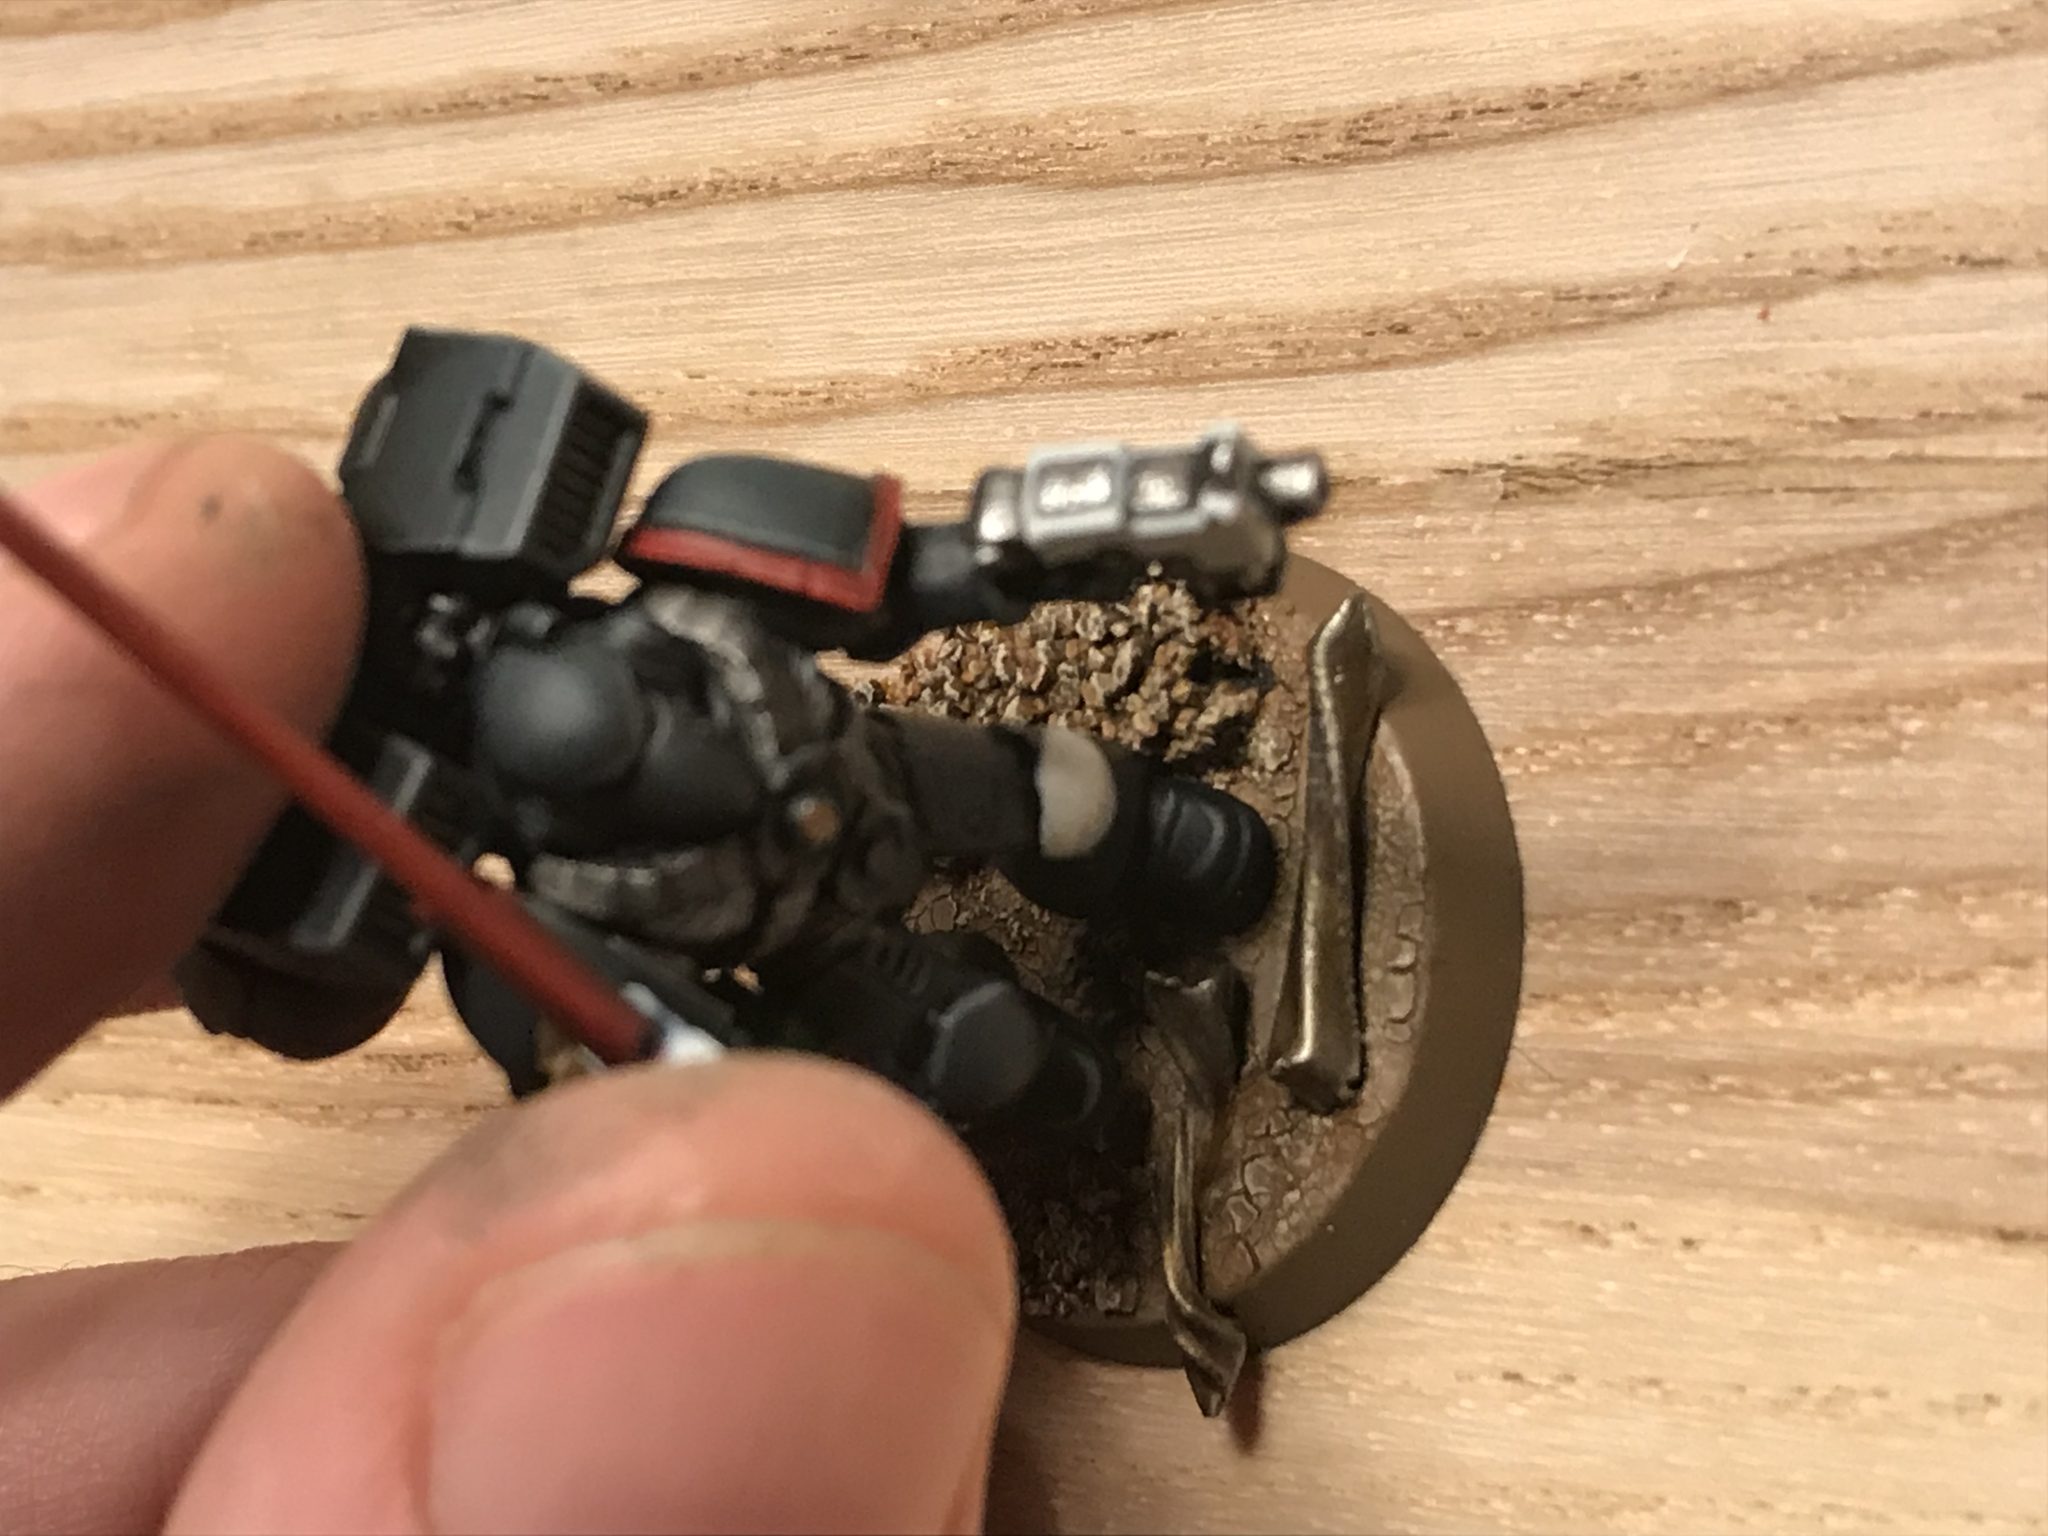
Position – Pinning Models to Bases
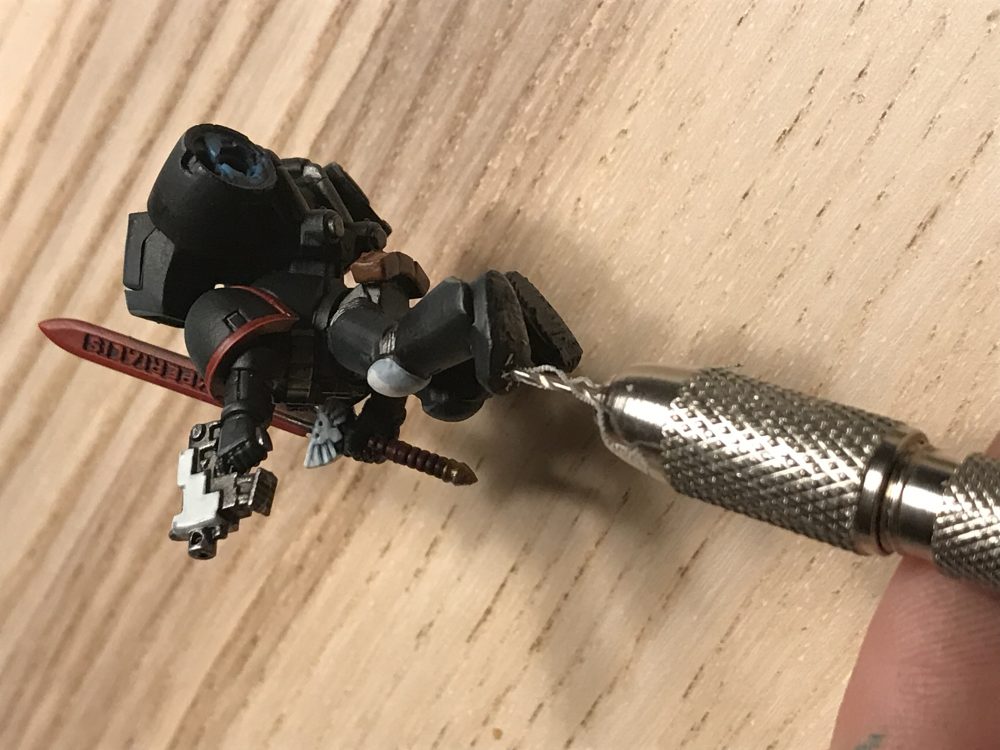
Drill
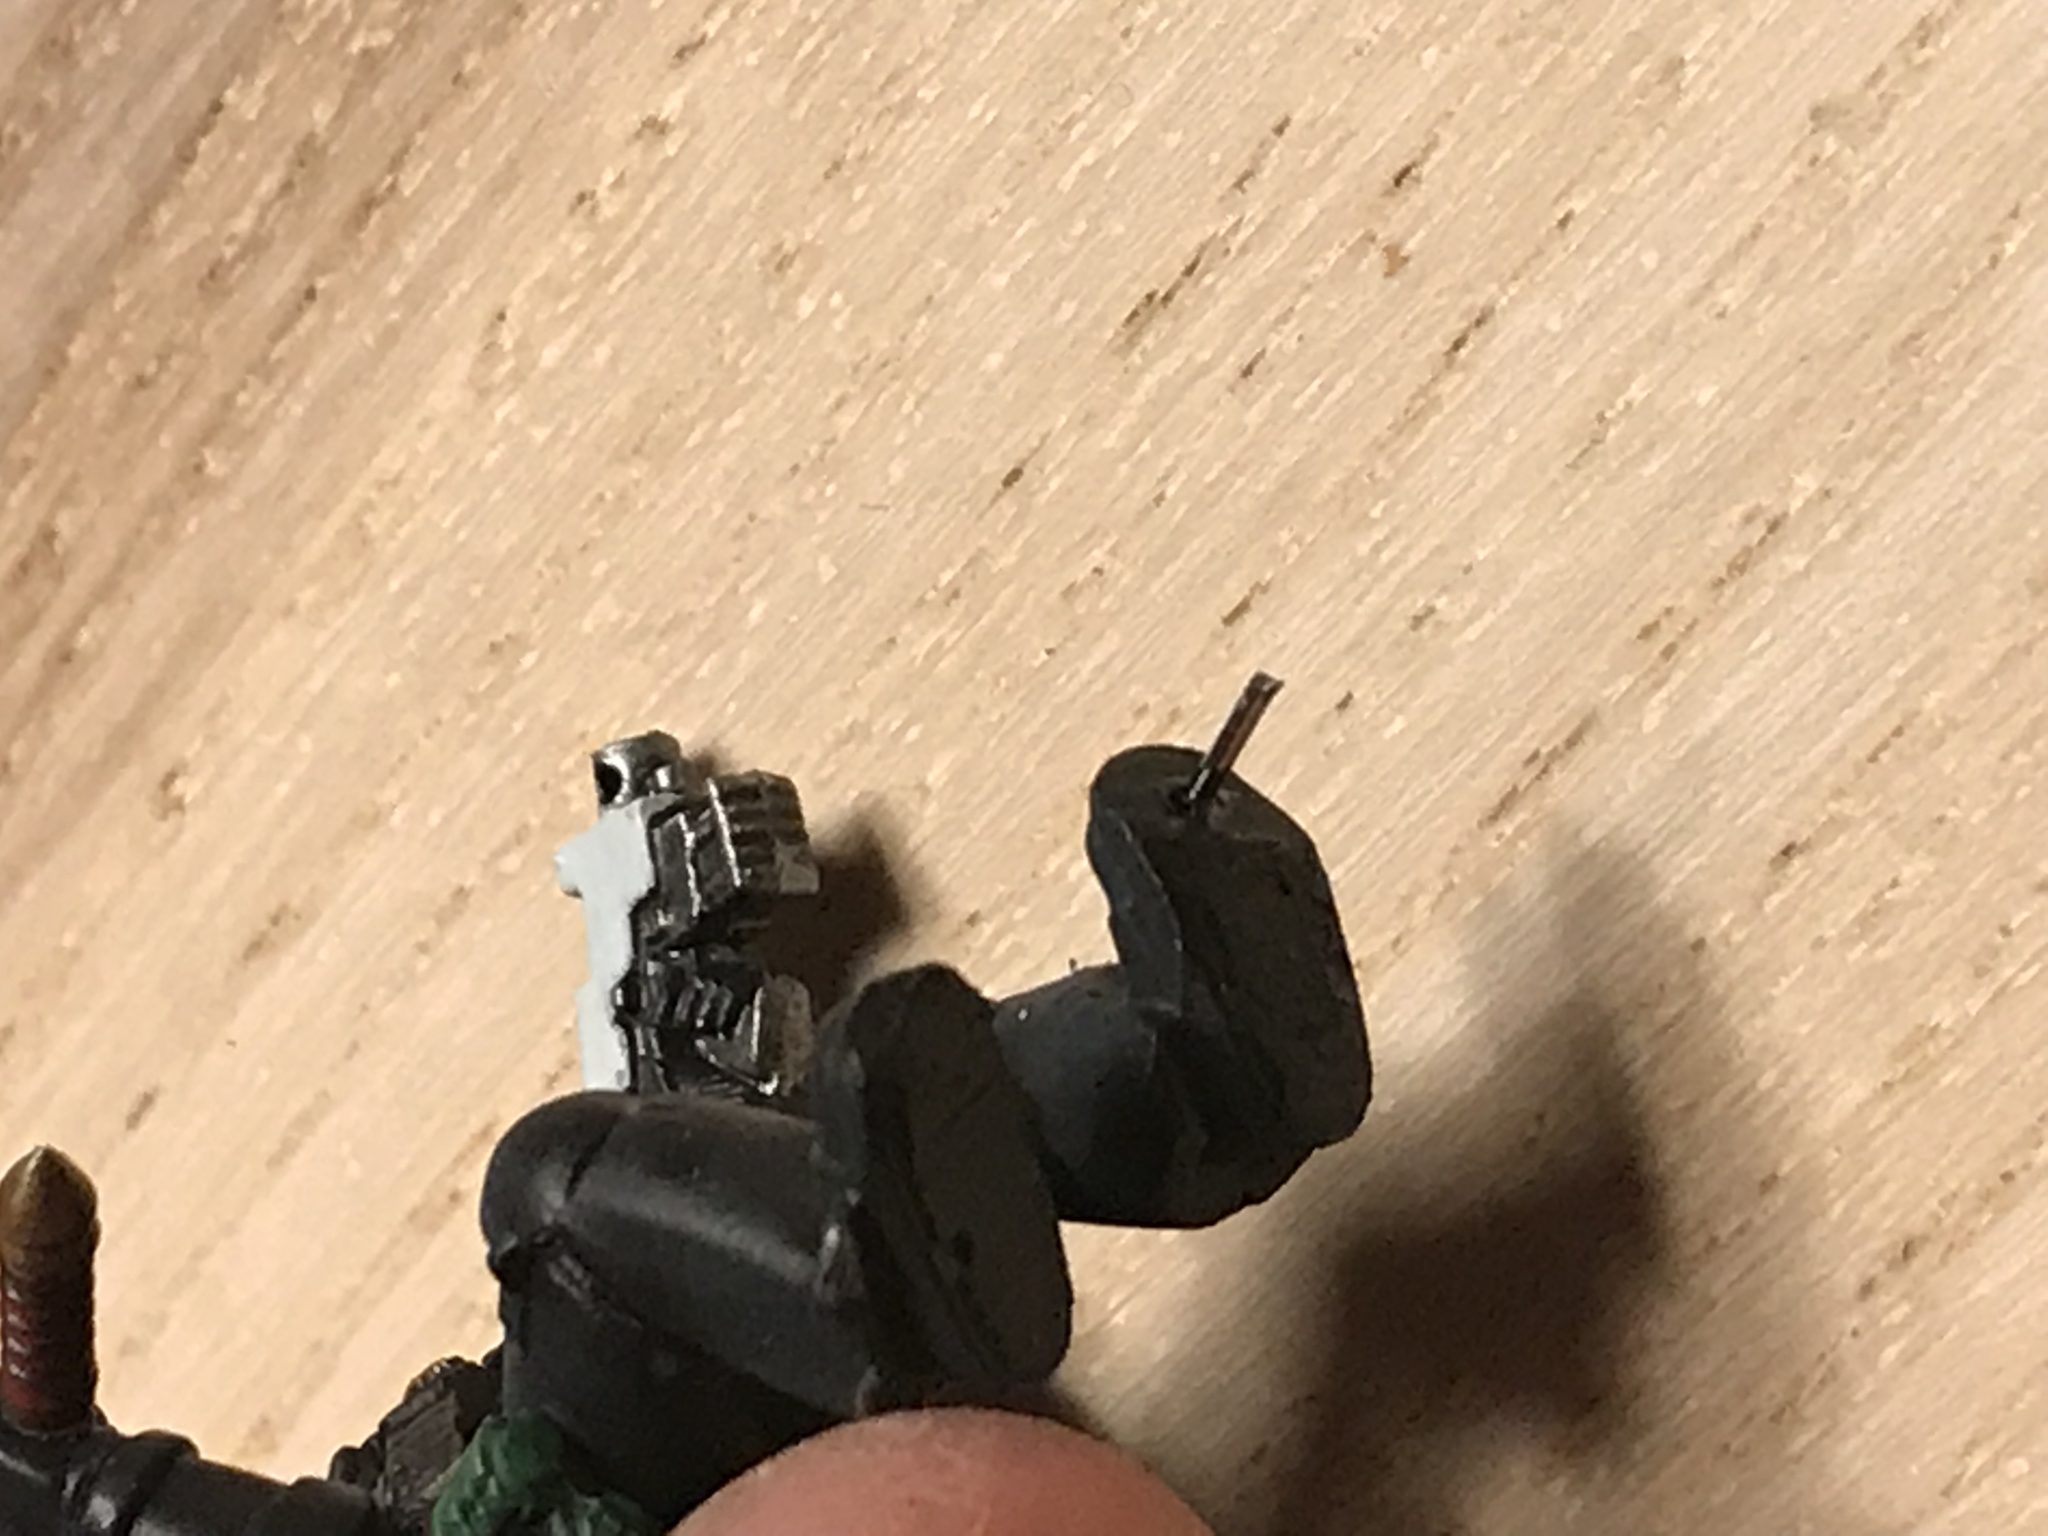
Drill into the model’s foot. Ensure you don’t go too deep and out through the top of the foot or shin. You may need to go in at an angle too. This was true for my Vanguard Veterans because they’re all jumping so their legs and feet are not in a nice straight line.
Drill into the base where your model needs to be positioned. Note the angle of your drilled foot. If you’ve had to drill into the foot at an angle do the same for the base.
This is very important to ensure the pin fits and especially important if your base is thick because of extra basing material. Like the cork in mine.
-

- Pinning

-

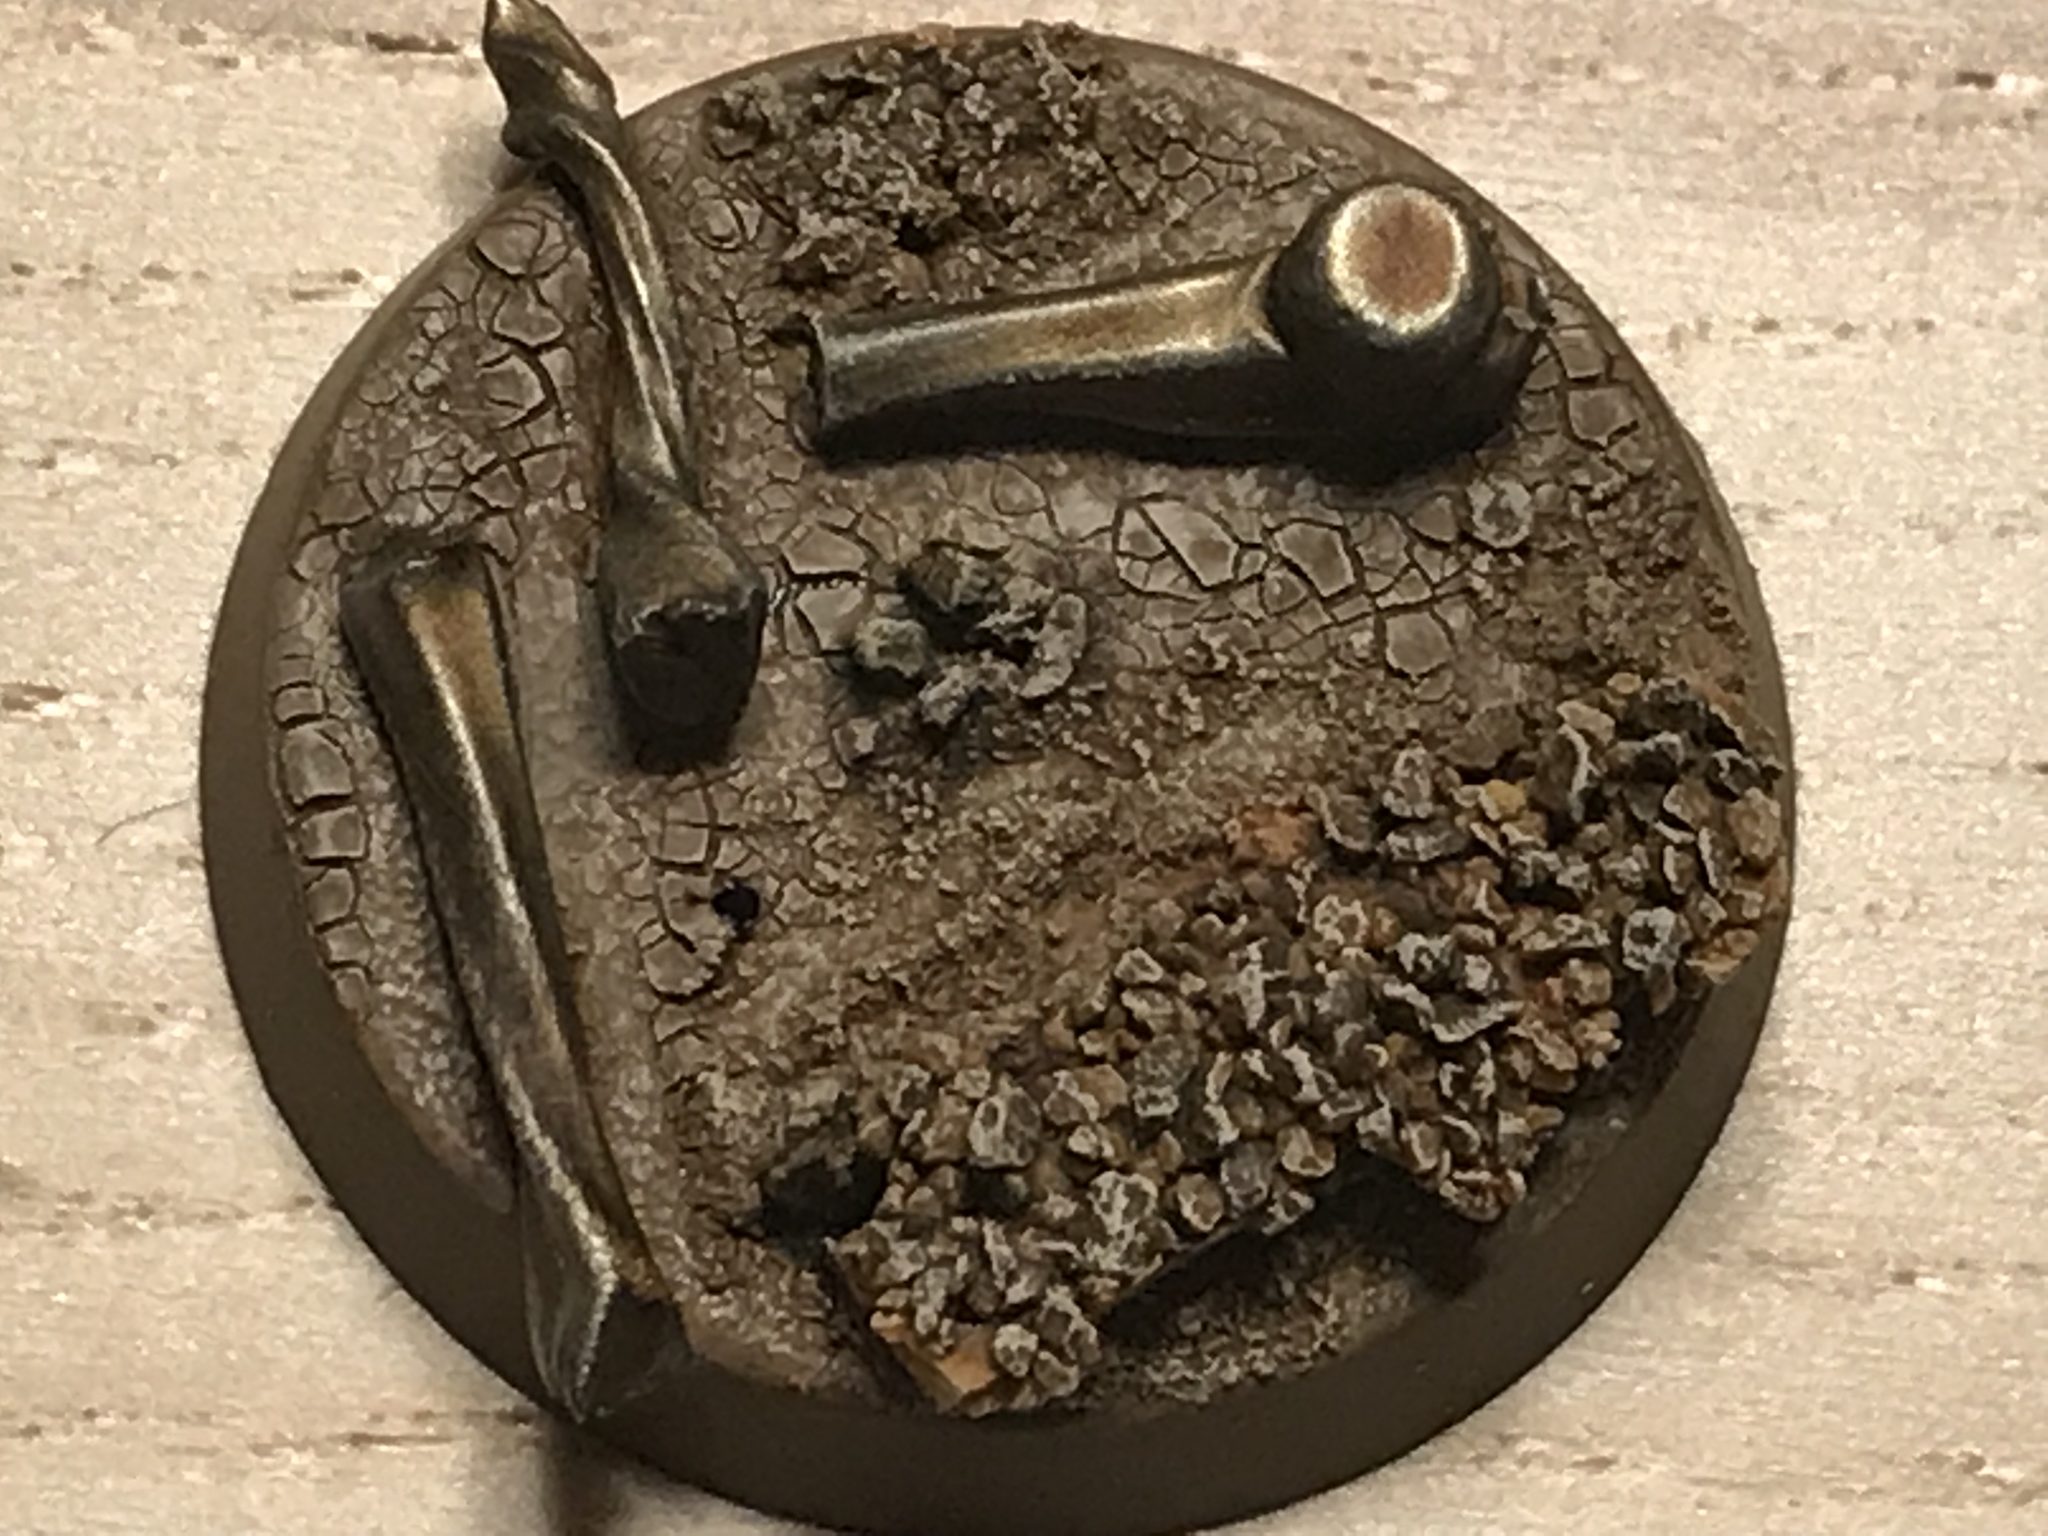
- Drill Base
-
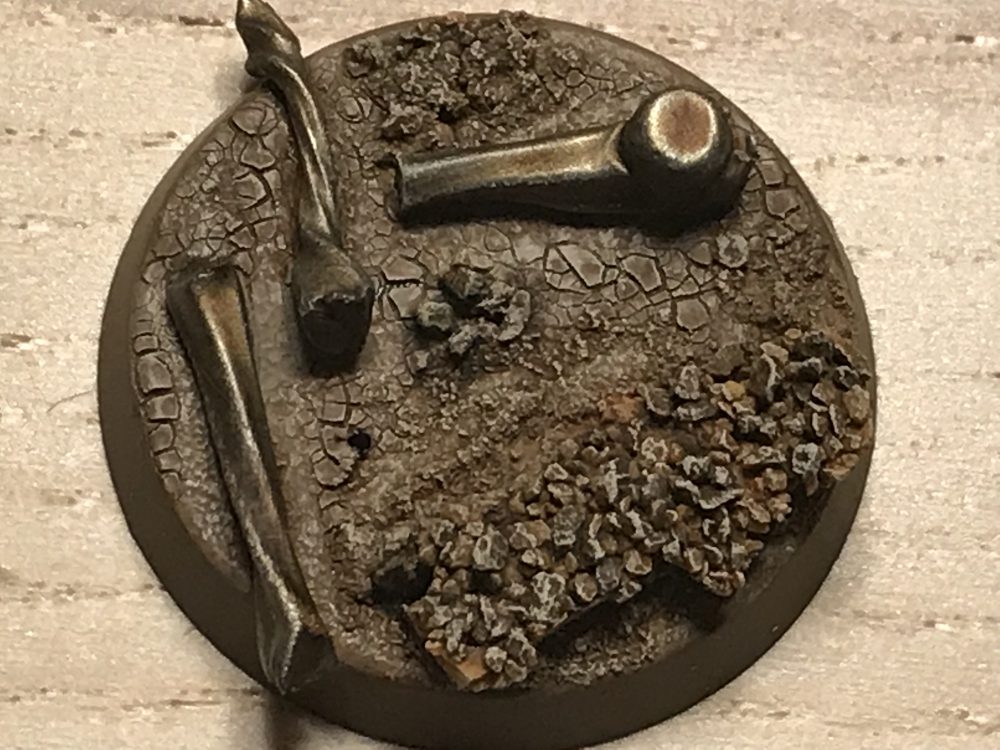
- Drilled Base – can you spot it?
Cut Pin
Place the pin (paper clip) through the base and into the drilled foot. Note the length so it doesn’t protrude from the bottom of the base. It can be trimmed afterwards, another reason not to use a needle, but the strain could dislodge it.
Glue & Green Stuff
I added glue to the end of the pin then inserted it into the foot. The same again with the other end and place it into the base. Now then, if your base is thin, which many are, you won’t get a good binding between the pin and the base. The surface is just too small.
This is where Green Stuff comes in handy. Use a small ball of it to fix the pin in place on the underside of the base. You can also try to bend the pin on the underside of the base too to ensure it stays put.
Pin Glued
Pinning Models to Bases – Finish
And that’s it. Consider some extra details on the base where perhaps things didn’t pan out as you expect. For example, if the foot isn’t as flush to the base as you want, you can use grass to cover over that area.
And you’re done!
Done – Pinning Models to Bases