
Imperial Guard Infantry Update
Update on Imperial Guard Infantry for 8th Edition...
I have a guest post today from Guard Daddy – an update on Imperial Guard Infantry. His last article in Astra Militarum Infantry proved very successful and remains one of the most popular articles on this 40K Blog.
Playing a pure Imperial Guard Infantry or an infantry heavy list has a number of benefits.
Firstly, and perhaps most importantly is the rule of cool! For me, the attraction of the Imperial Guard has always been the feeling of cheering for the little guy! A Guardsman is clearly just a human in the battle against the monstrous horrors of the 41st millennium. He has nothing but his faith, and his buddies, to get him through.
Never miss an article? Subscribe!
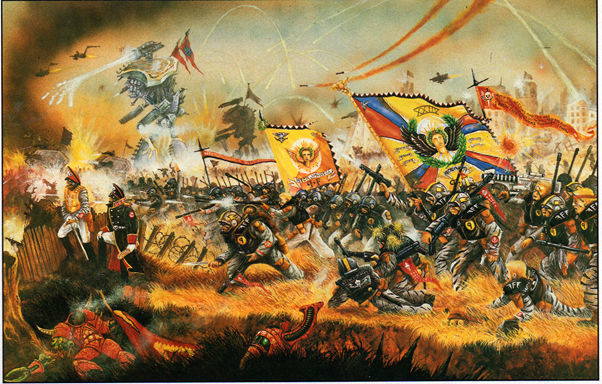
This artwork from when I started playing 40k (1st Edition) has always been core to what I want an Imperial Guard army to be.
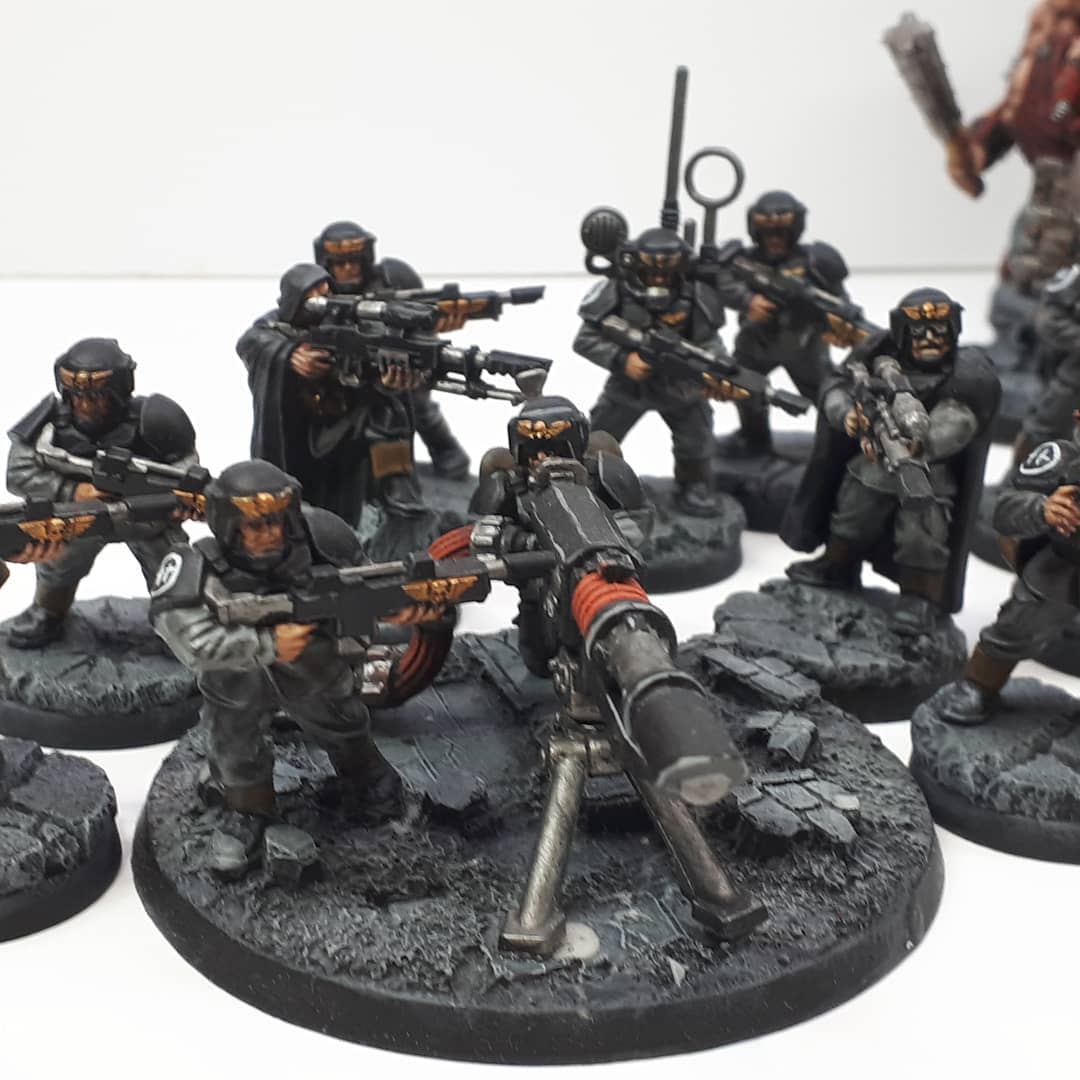
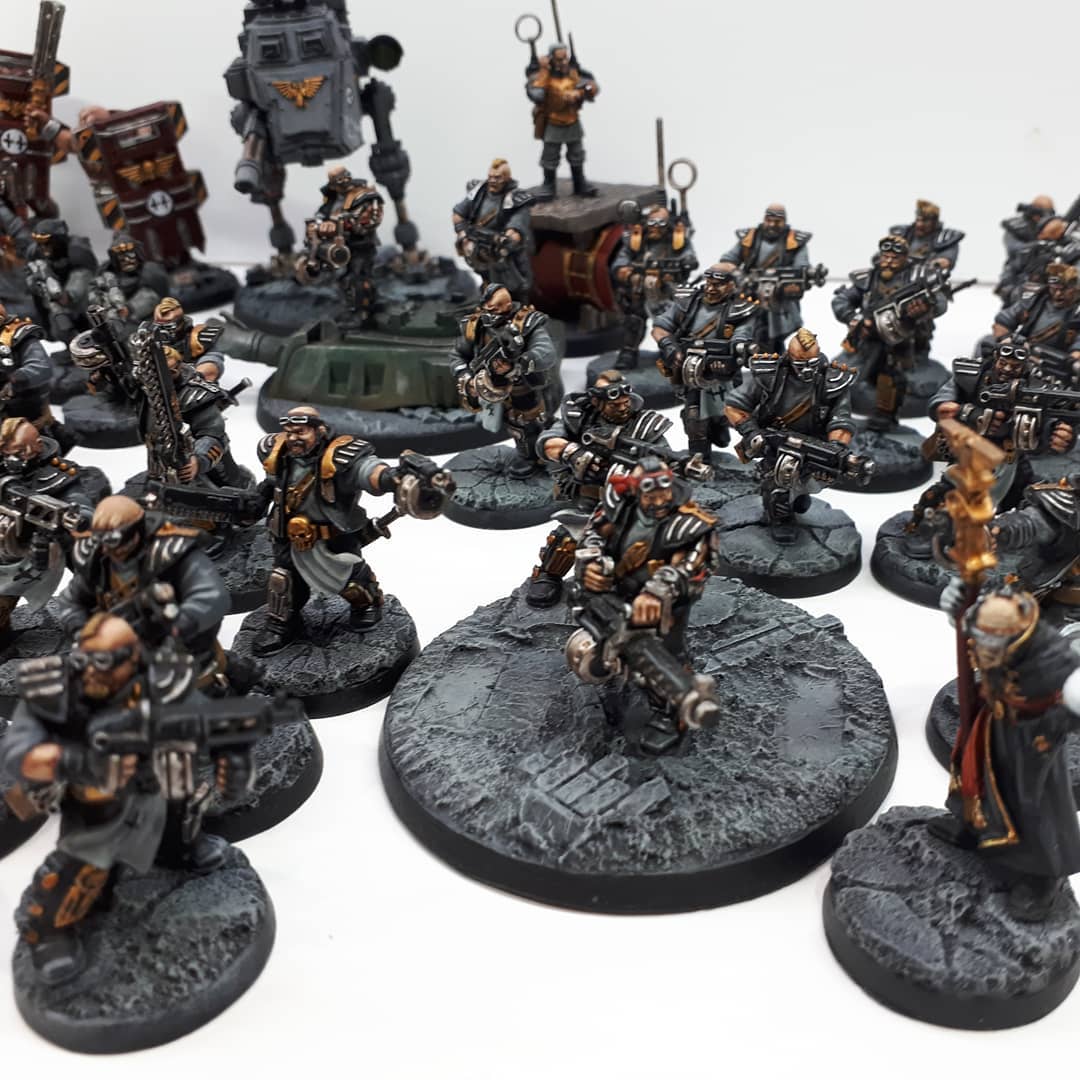
Imperial Guard Infantry
Beyond the ‘fluff’ however, mass infantry in 8th edition has a number of specific advantages:
Wound Anything
In 8th Edition, the ability of any weapon being able to wound anything, meant that infantry vs vehicles and monsters received a massive buff.
However, there was no balance to this. Vehicles and monsters did not gain additional bonuses vs infantry. This tipped the advantage towards infantry.
Ignore the Big Guns
We can even find advantage in the fragility of the Imperial Guard Infantry as single wound models.
They benefit from wounds not rolling over. Essentially this means the more powerful a weapon is (strength/damage) the less effective it is proportionately at targets made up of multiple single wound models. This is why Lascannons aren’t used to shoot infantry squads!
An Imperial Guard Infantry list takes these principles to the extreme! An all infantry list effectively makes a large portion of an enemy’s points redundant almost immediately. The targets that multi-wound weapons are good against are protected by the character mechanic, and this is something within your control. The only multi-wound models in an all infantry list are characters. Your enemy cannot easily bring their Lascannons to bear on your Company Commander for example.
In 8th Edition the choice of casualties within a squad is yours. We can use this to keep our big guns firing. Heavy weapons in infantry squads have 8 wounds to work through before we remove the Heavy Weapon. Think of it as a squad being told to keep a gun in action at all costs, hauling the bodies of their comrades aside as they keep it in action in a hail of incoming fire!
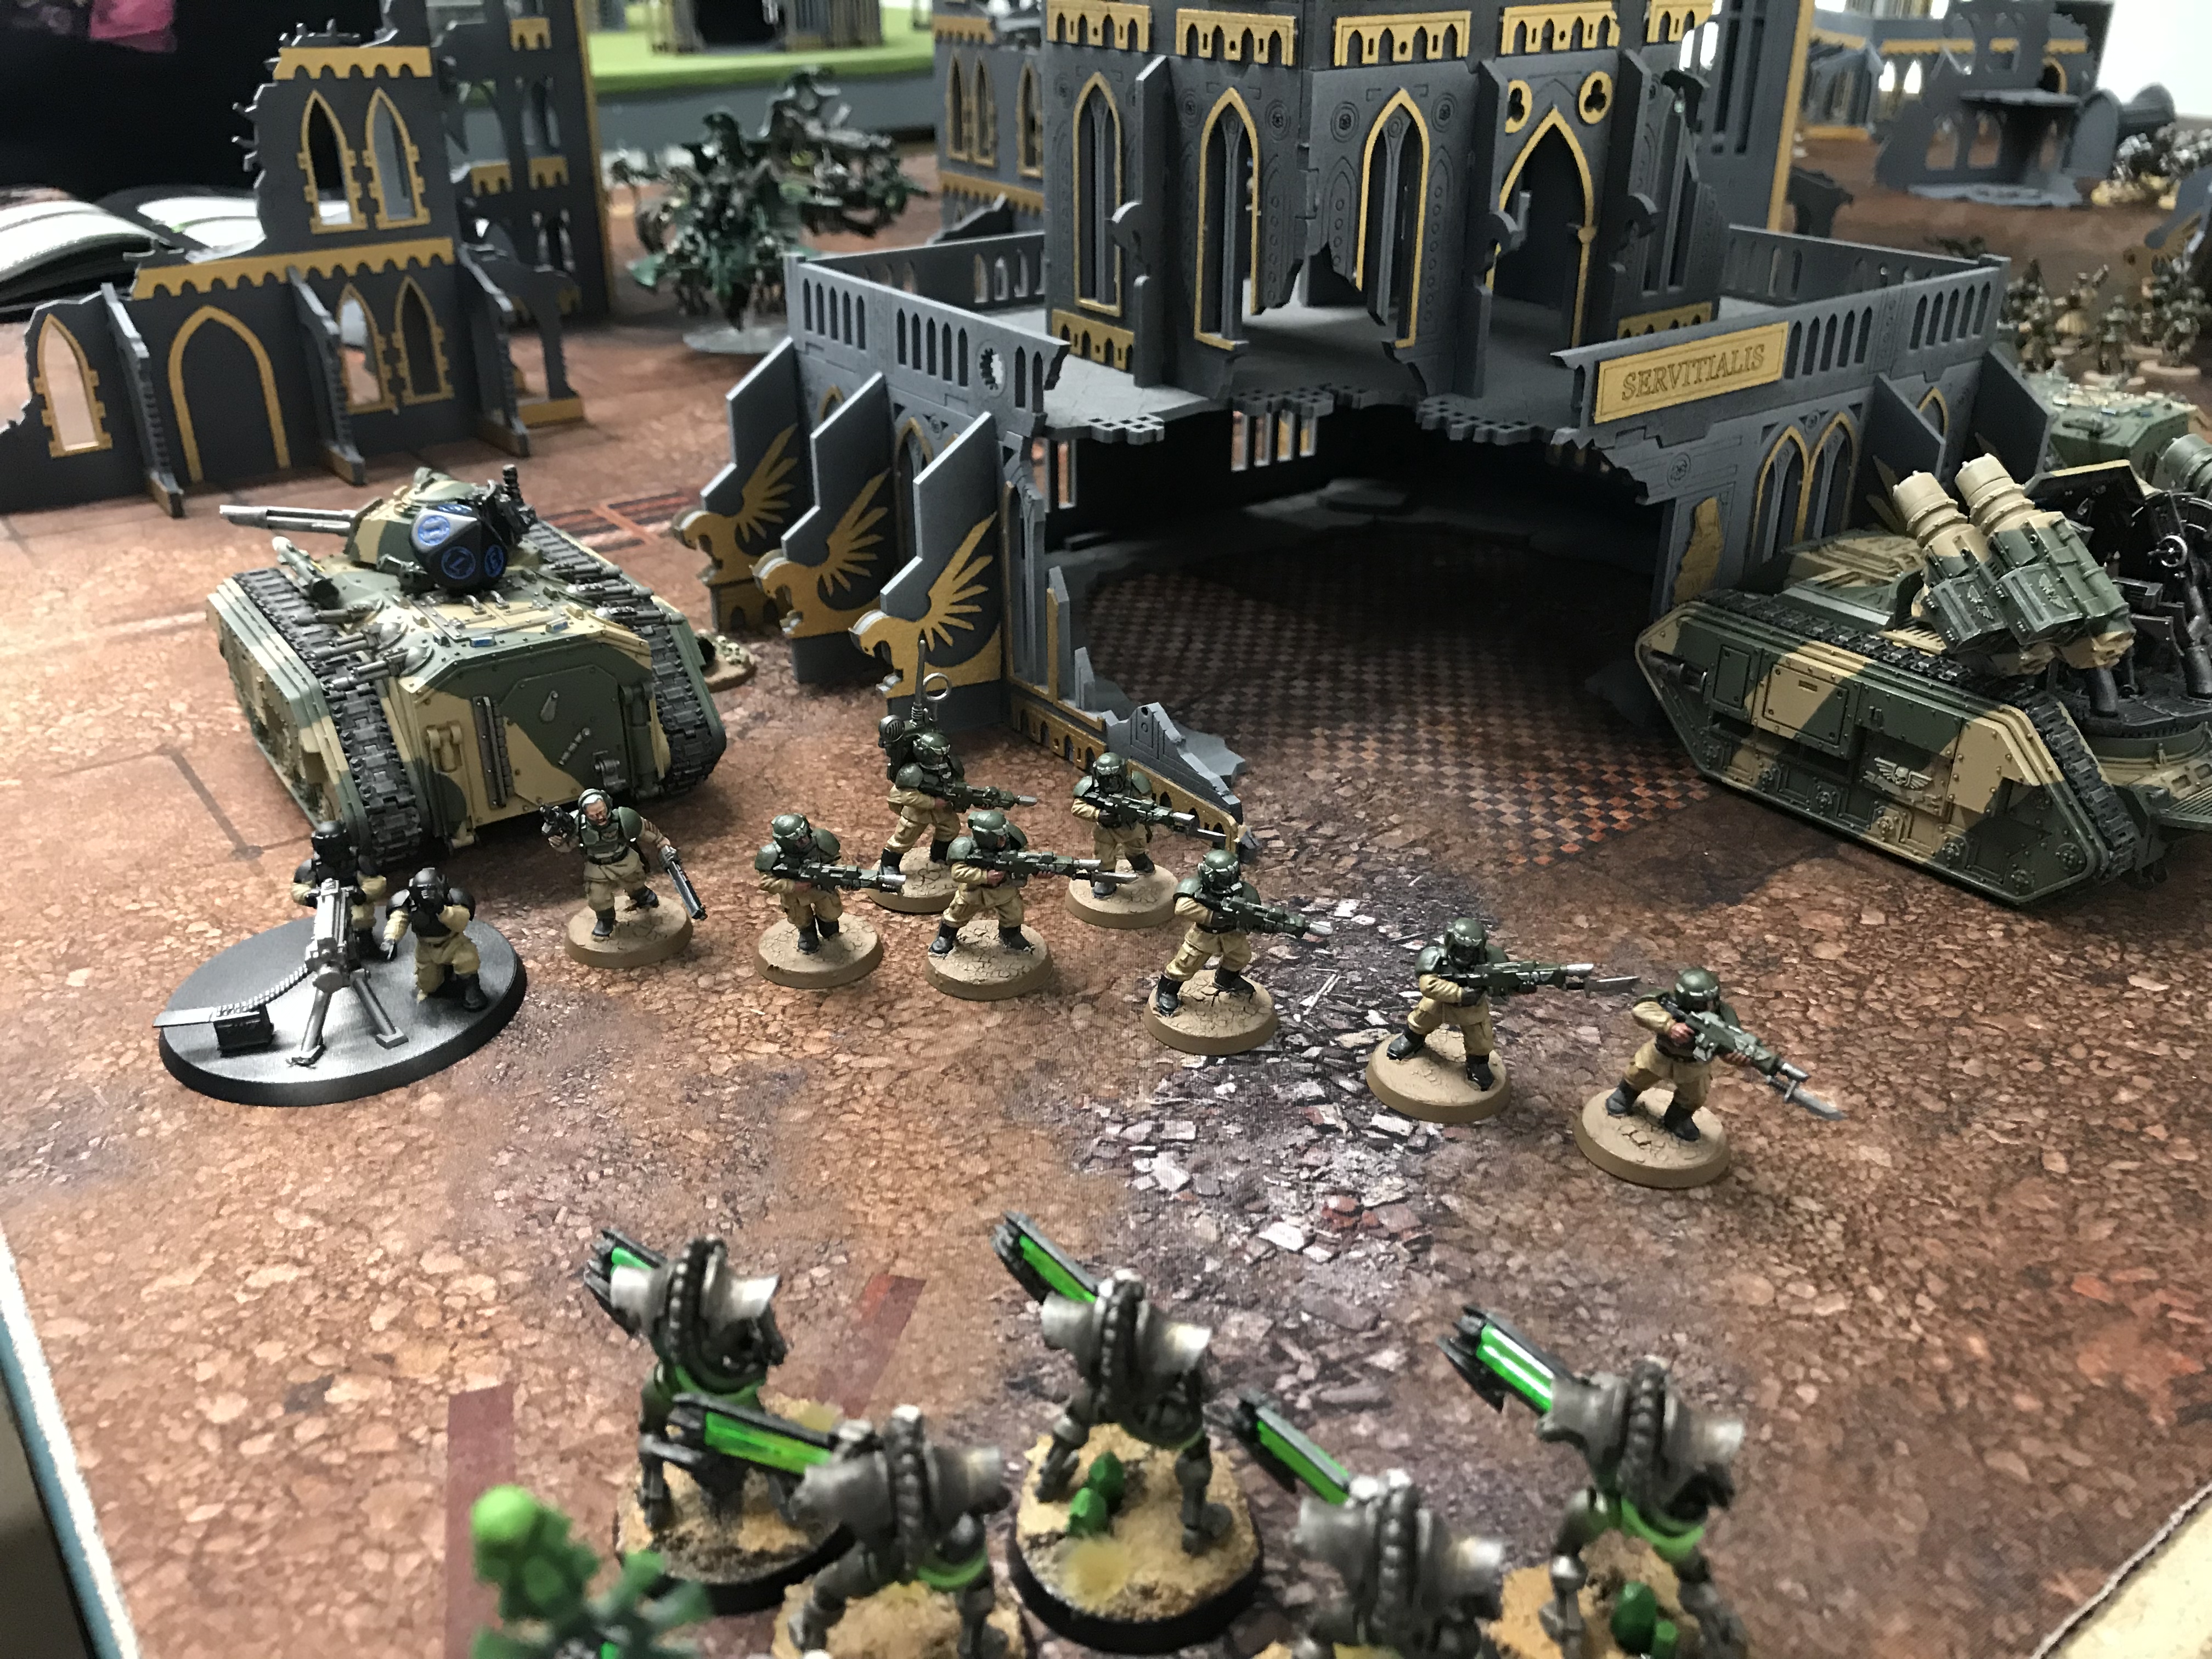
Guards Daddy’s Imperial Guard Infantry
Alpha Strike Resilience
A further benefit relates to Alpha Strike. Most anti-infantry weapons are relatively short ranged, or much less effective at longer ranges. The entire Rapid Fire subset of weapons are, by definition, less effective at longer ranges (normally turns 1 and 2).
Editors note; although this is now less true due to the new Bolter Beta rule. The Bolter’s reach is now extended.
8th Edition is also the most scenery heavy edition. The development of the ITC and tournament gaming has changed the expectation of what constitutes a ‘good’ battlefield. Line-of-site blocking terrain, and more terrain in general play into the strengths of infantry, as infantry is much more flexible at:
- Passing through terrain
- Gaining the cover benefits when in terrain
This gives us the ability to survive the intense first round of fire common in games with enough to punch back with.
Movement Control = Win
The development of 8th edition has seen a move to controlling the board to win games. Even ‘tabling’ your opponent does not guarantee victory with the latest batch of missions.
Combined with the early changes to objective secured, and coupled with orders, we have the ability to control the board and rack up points.
Crucial to mastering Imperial Guard Infantry is to recognise the need for mobility. Movement controls where combat happens dictates range, and controls the board. The PRIMARY goal of a horde army is to use our models to constrain and dictate our opponent’s movement. This allows us to control where we can overwhelm our opponent.
It also allows us to protect our firebase. Our goal is to have our opponent tied up fighting our screen whilst our firebase picks them apart.
Screening
Firebase
Part of our army will have to remain static due to our low BS. The aim of our firebase is to leverage everything we can into buffing our firepower.
Orders
Orders are the single best thing about the Imperial Guard. They give us the ability to very flexibly manage our force. In my experience, three orders are the most effective across the board.
First rank fire second rank fire doubles the effectiveness of Lasguns. Under 12” the volume of fire one squad can put out makes the lasgun effective. Outside of this range… the lasgun is basically decoration! Again note that movement is key here. We use movement to control range. Don’t rely on your opponent to close the distance!
Move, Move, Move is broken! It’s amazingly powerful. In a game where movement is king, this order is huge. Two movement phases give us a movement of between 14” and 24” It can be used to set aggressive screens miles (well inches…) away from your lines.
Get back in the fight lets you keep fighting the enemy as you roll back from combat, and encourages you to keep the screen up close to the enemy.
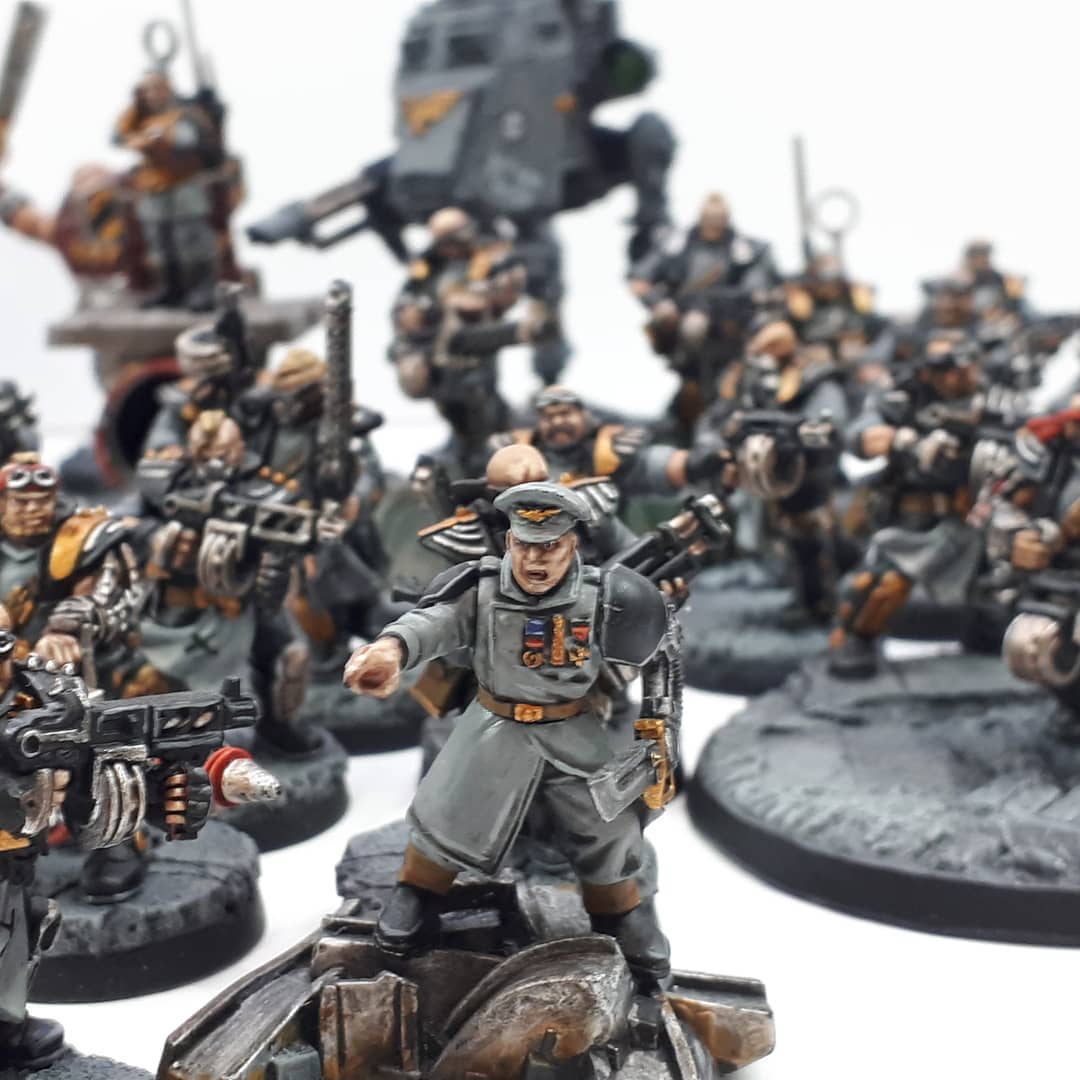
Guards Daddy’s Imperial Guard Infantry
Stratagems
In 8th Edition perhaps the biggest change has been the introduction of Stratagems. This is where the fluff/feel of an army increasingly comes from. Rather than being written into core rules, players are able to deploy special abilities via Stratagems. This requires battle forged detachments to access additional Stratagems over the baseline 3.
The single biggest barrier in terms of building lists that make use of the higher Command Point detachments are the troops. With an all Imperial Guard Infantry list it is very easy for you to make use of the bigger detachments as you are by default going to be taking the basic building blocks required. 3x Battalion, or Brigade and 2x Battalion. Between 18 and 25 CP is baseline. Basically, there is nothing you can’t afford to do, over and over and over again, and you have no need for a CP farm.
Hold the Line!
Morale is the mechanic designed to counter horde armies. They should melt away as casualties are caused. As guard however we have a number of ways to counter this. A guard unit normally has to take one morale check in the game. This is because they die so fast! Once a morale test has been passed there are normally so few models left there is no chance of failing again, or the squad is simply wiped out.
We should be able to create bubbles of boosted leadership to assist us (Commissars, Regimental Standards), and have 3 morale pass mechanics available:
- 2 CP auto pass morale,
- 1 CP fight to the death – D3 not D6 on morale roll – work out what a 3 added to morale looks like. If you have the leadership to pass on this, use this first
- Mental Fortitude Psychic Power – auto pass for next turn (harder to use as requires knowing which unit is going to get hit)
Guards Daddy’s Imperial Guard Infantry
Tactics & Tips – Imperial Guard Infantry
Aggressive screen
Get into enemies face. If facing a close combat army run part of screen TOWARDS them!
Move, Move, Move towards the enemy, with the goal of being just over 1” away. This reduces enemy movement towards your lines. You have minimised their move to a short charge and consolidate (3”). If you had stood still to screen they would have had their movement plus a charge distance to get forward. This can easily be a net gain of 20”. Basically, we know we are going to die in close combat….. but we can choose WHERE we die.
Scout Sentinel can do this with ‘Go Recon’ Stratagem too.
Transport Popper
Look for opportunities to exploit your numbers and the disembark rule. If you surround a transport in a ring 1.5” away it is not possible for its troops to disembark. Not only can you trap models inside, if it’s destroyed all contents are slain. Some armies, Drukhari, Harlequins for example often transport units right up to your lines and are prime targets for this.
Deep Strike Denial
You should have the models to zone out large chunks of the board. The 9” away from enemy models rule still applies to most units arriving from Reserve. Two units can comfortably deep strike deny this. Aim to at a minimum deny enemy from your half of board by end turn 1.
Regiment Combinations
Use different regiments for different roles. For example, Cadian excels at being a firebase. Note that you have to ensure you aren’t crossing regiments rules over illegally. For example ‘Overlapping Fields of Fire’ only helps Cadian units, not all units.
You will also need to think carefully about your Officers, as Officers can only order their own regiment, and the rule of three is a barrier when building a list.
I like to use Cadians supported by Creed as a backfield firebase. Then Tallarn as my screen as they are fast moving.
God Squad
Imperial Guard Psykers are actually very good points value. Before they have cast a single power they are valuable to deny enemy powers. They do this as well as a Demon Prince. Astropaths cast powers as well as any other Psyker, except for Smite. So think of your Primaris as Smiters and Astropath as power casters.
Clocking In
The advent of chess clocks in competitive play is increasingly the norm. This is not an issue as long as we are aware of it. In fact, the success of horde armies despite chess clocks has countered the traditional ‘they take to long’ argument.
Movement trays help immensely as do simple load outs. Simple shooting with relatively few weapon types is fast, consider the Games Workshop dice app for volume fire. We don’t have multiple saves to do, or indeed any saves! And certainly no ‘Feel No Pain’ shenanigans. Guard close combat is also… brief!
Gameplay
Cheap small coloured rubber bands can be draped over models to clearly separate squads without additional painting being needed. This is a godsend when units are operating close to each other.
Lay dead models on their side when killed, don’t remove until end turn – makes tracking morale much easier.
Get order tokens made up, simple cards with MMM for Move Move Move, or FRFRSRF for First Rank Fire, Second Rank Fire etc. This makes it easy to manage and is a courtesy to your opponent.
Example List – Imperial Guard Infantry
This list is about 2,000 points, 200 plus models and has 25 CP!
Cadian Brigade (Firebase)
- 3 HQ – Creed [Warlord] – Company Commander – Primaris Psyker
- 6 Troops – 6x (Infantry Squads – Lascannon)
- 5 Elites – 3x (Veteran squads – Lascannon – 3 Sniper Rifle), 2x (Command squads – Banner, 3x Sniper Rifle)
- 3 Heavy Support – 3x (Heavy Weapons Team – Mortars)
- 3 Fast Attack – 3x (Scout Sentinel)
Tallarn Battalion
- 2 HQ – Yarrick – Company Commander
- 5 Troops – 5x (Infantry squad – Meltagun – Vox)
- 3 Elites – Astropath, Ministorum Priest, Bullgryns
Tallarn Battalion
- 2 HQ – Company Commander – Primaris Psyker
- 5 Troops – 5x (Infantry squad – Meltagun – Vox)
- 3 Elites – Platoon Commanders