
Hobby Haven – The Siege of Hive Hyperia
A whole weekend of Warhammer!
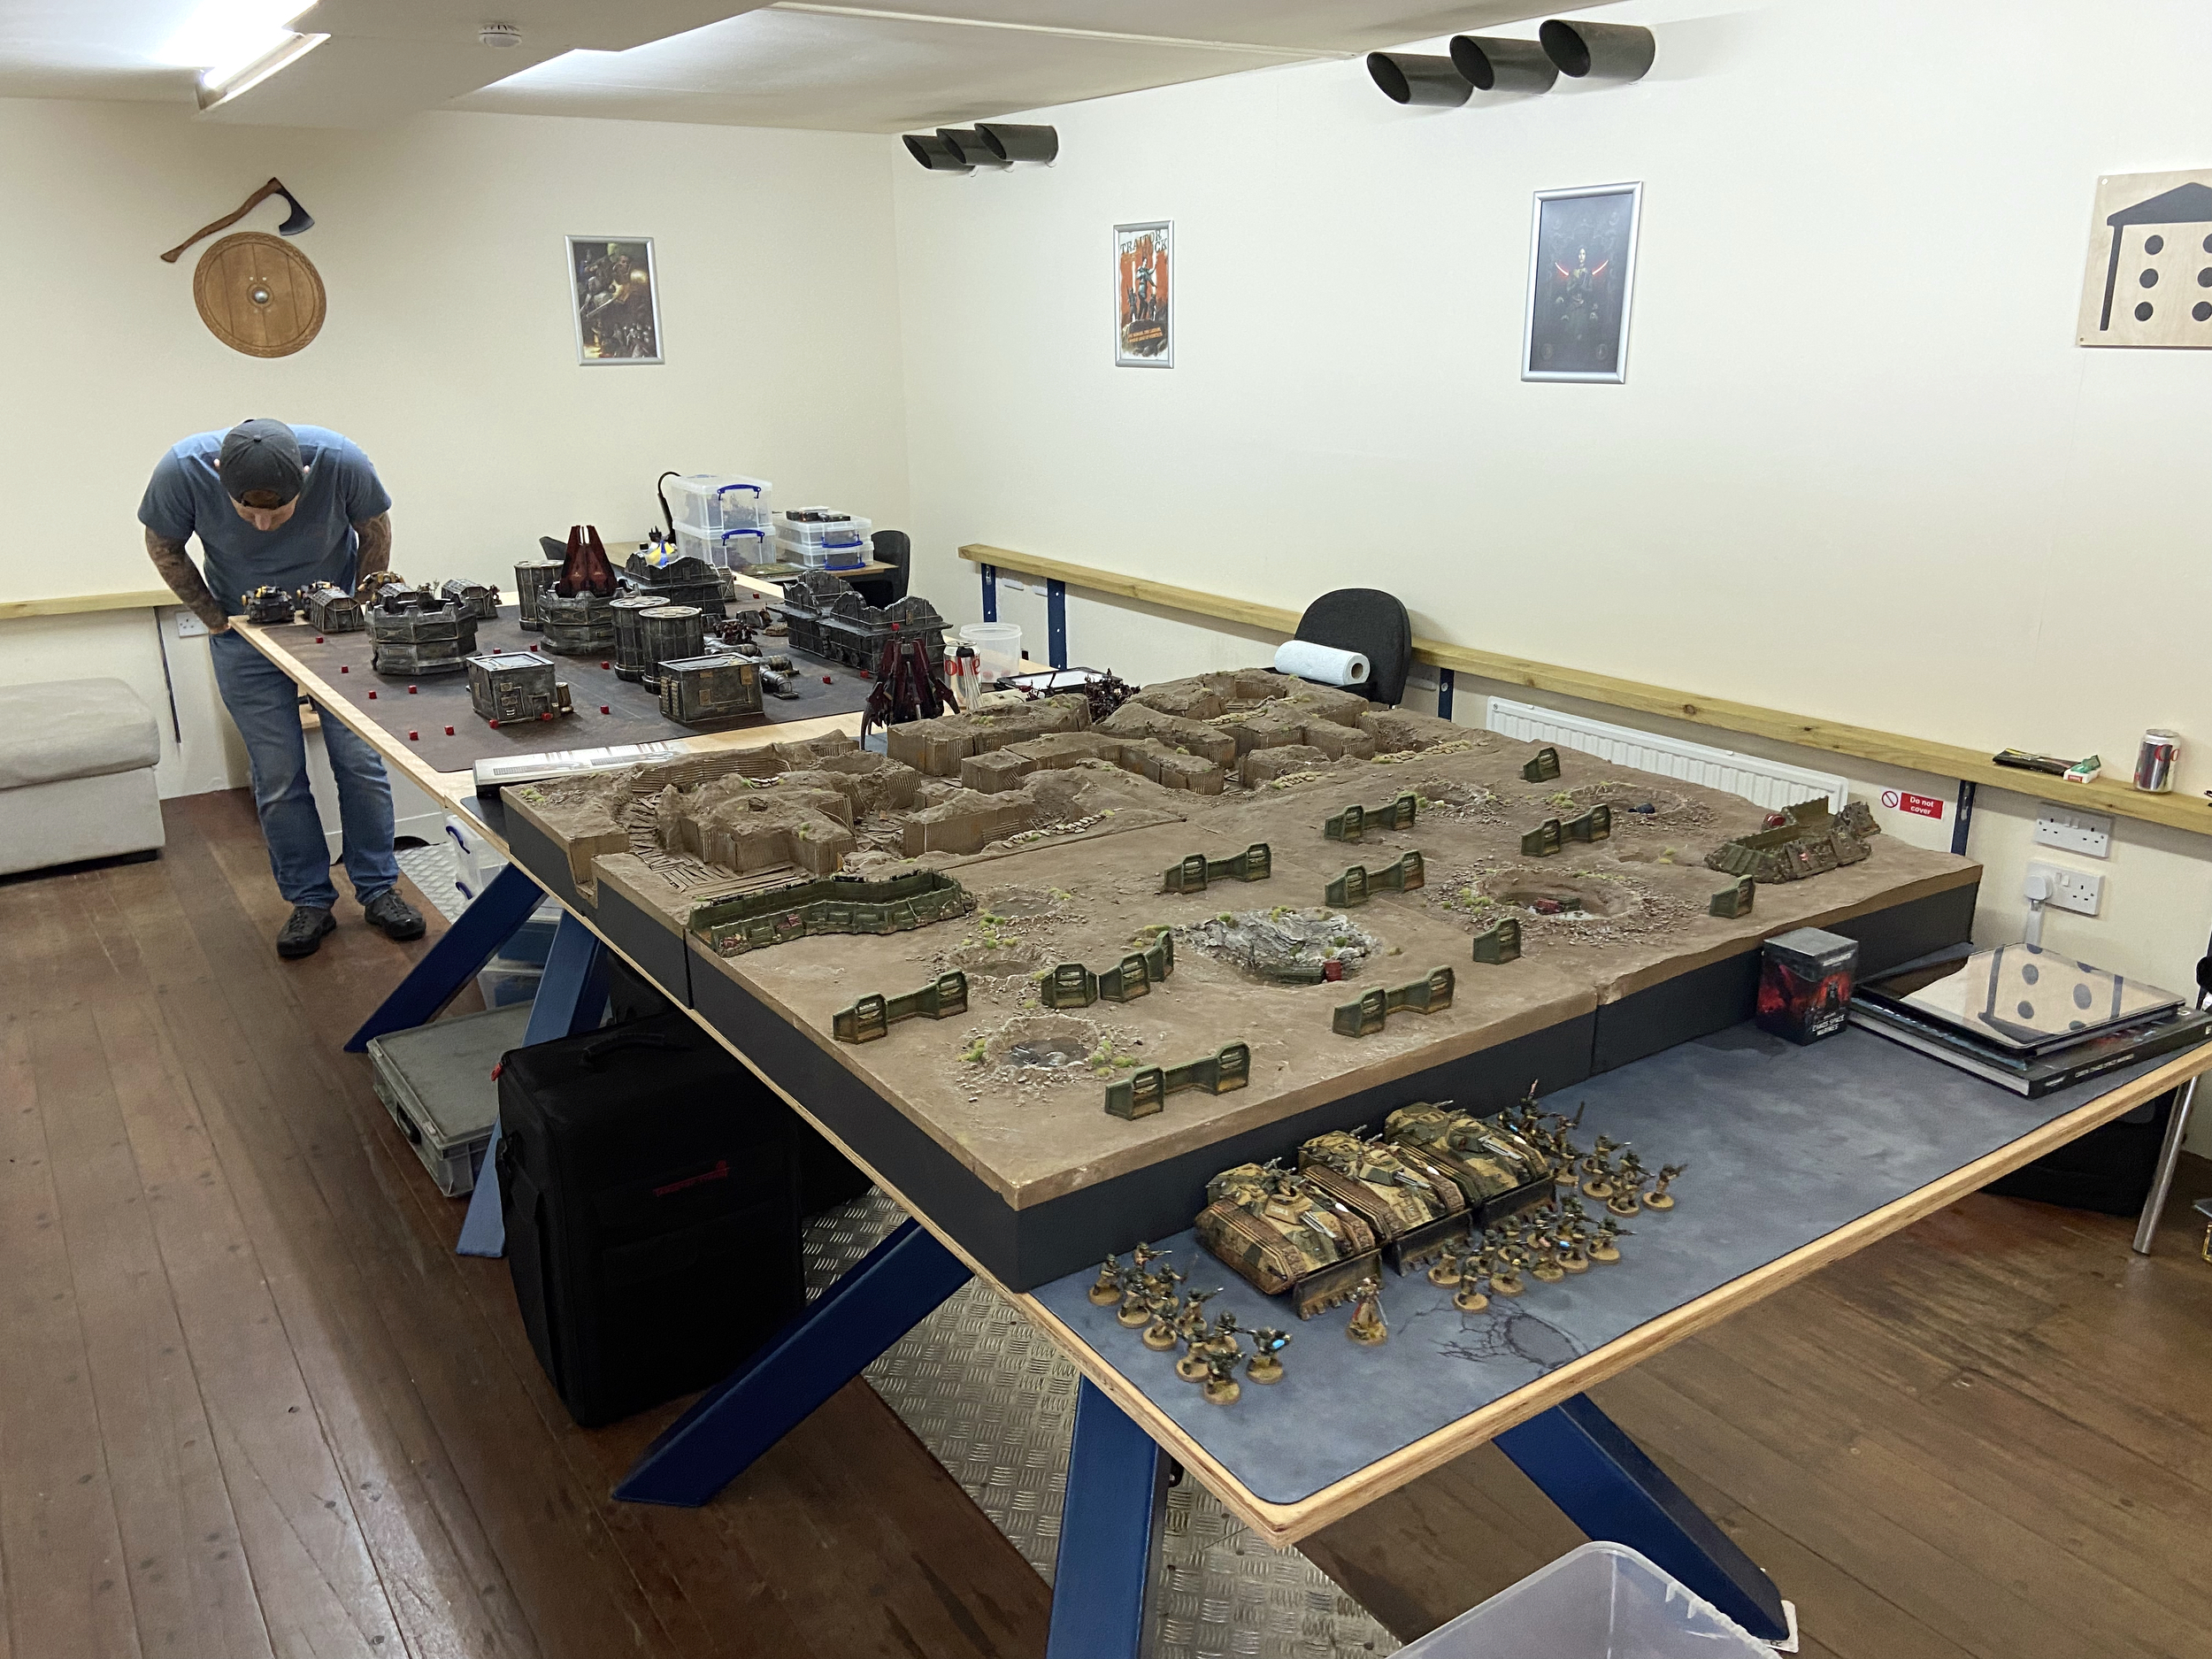
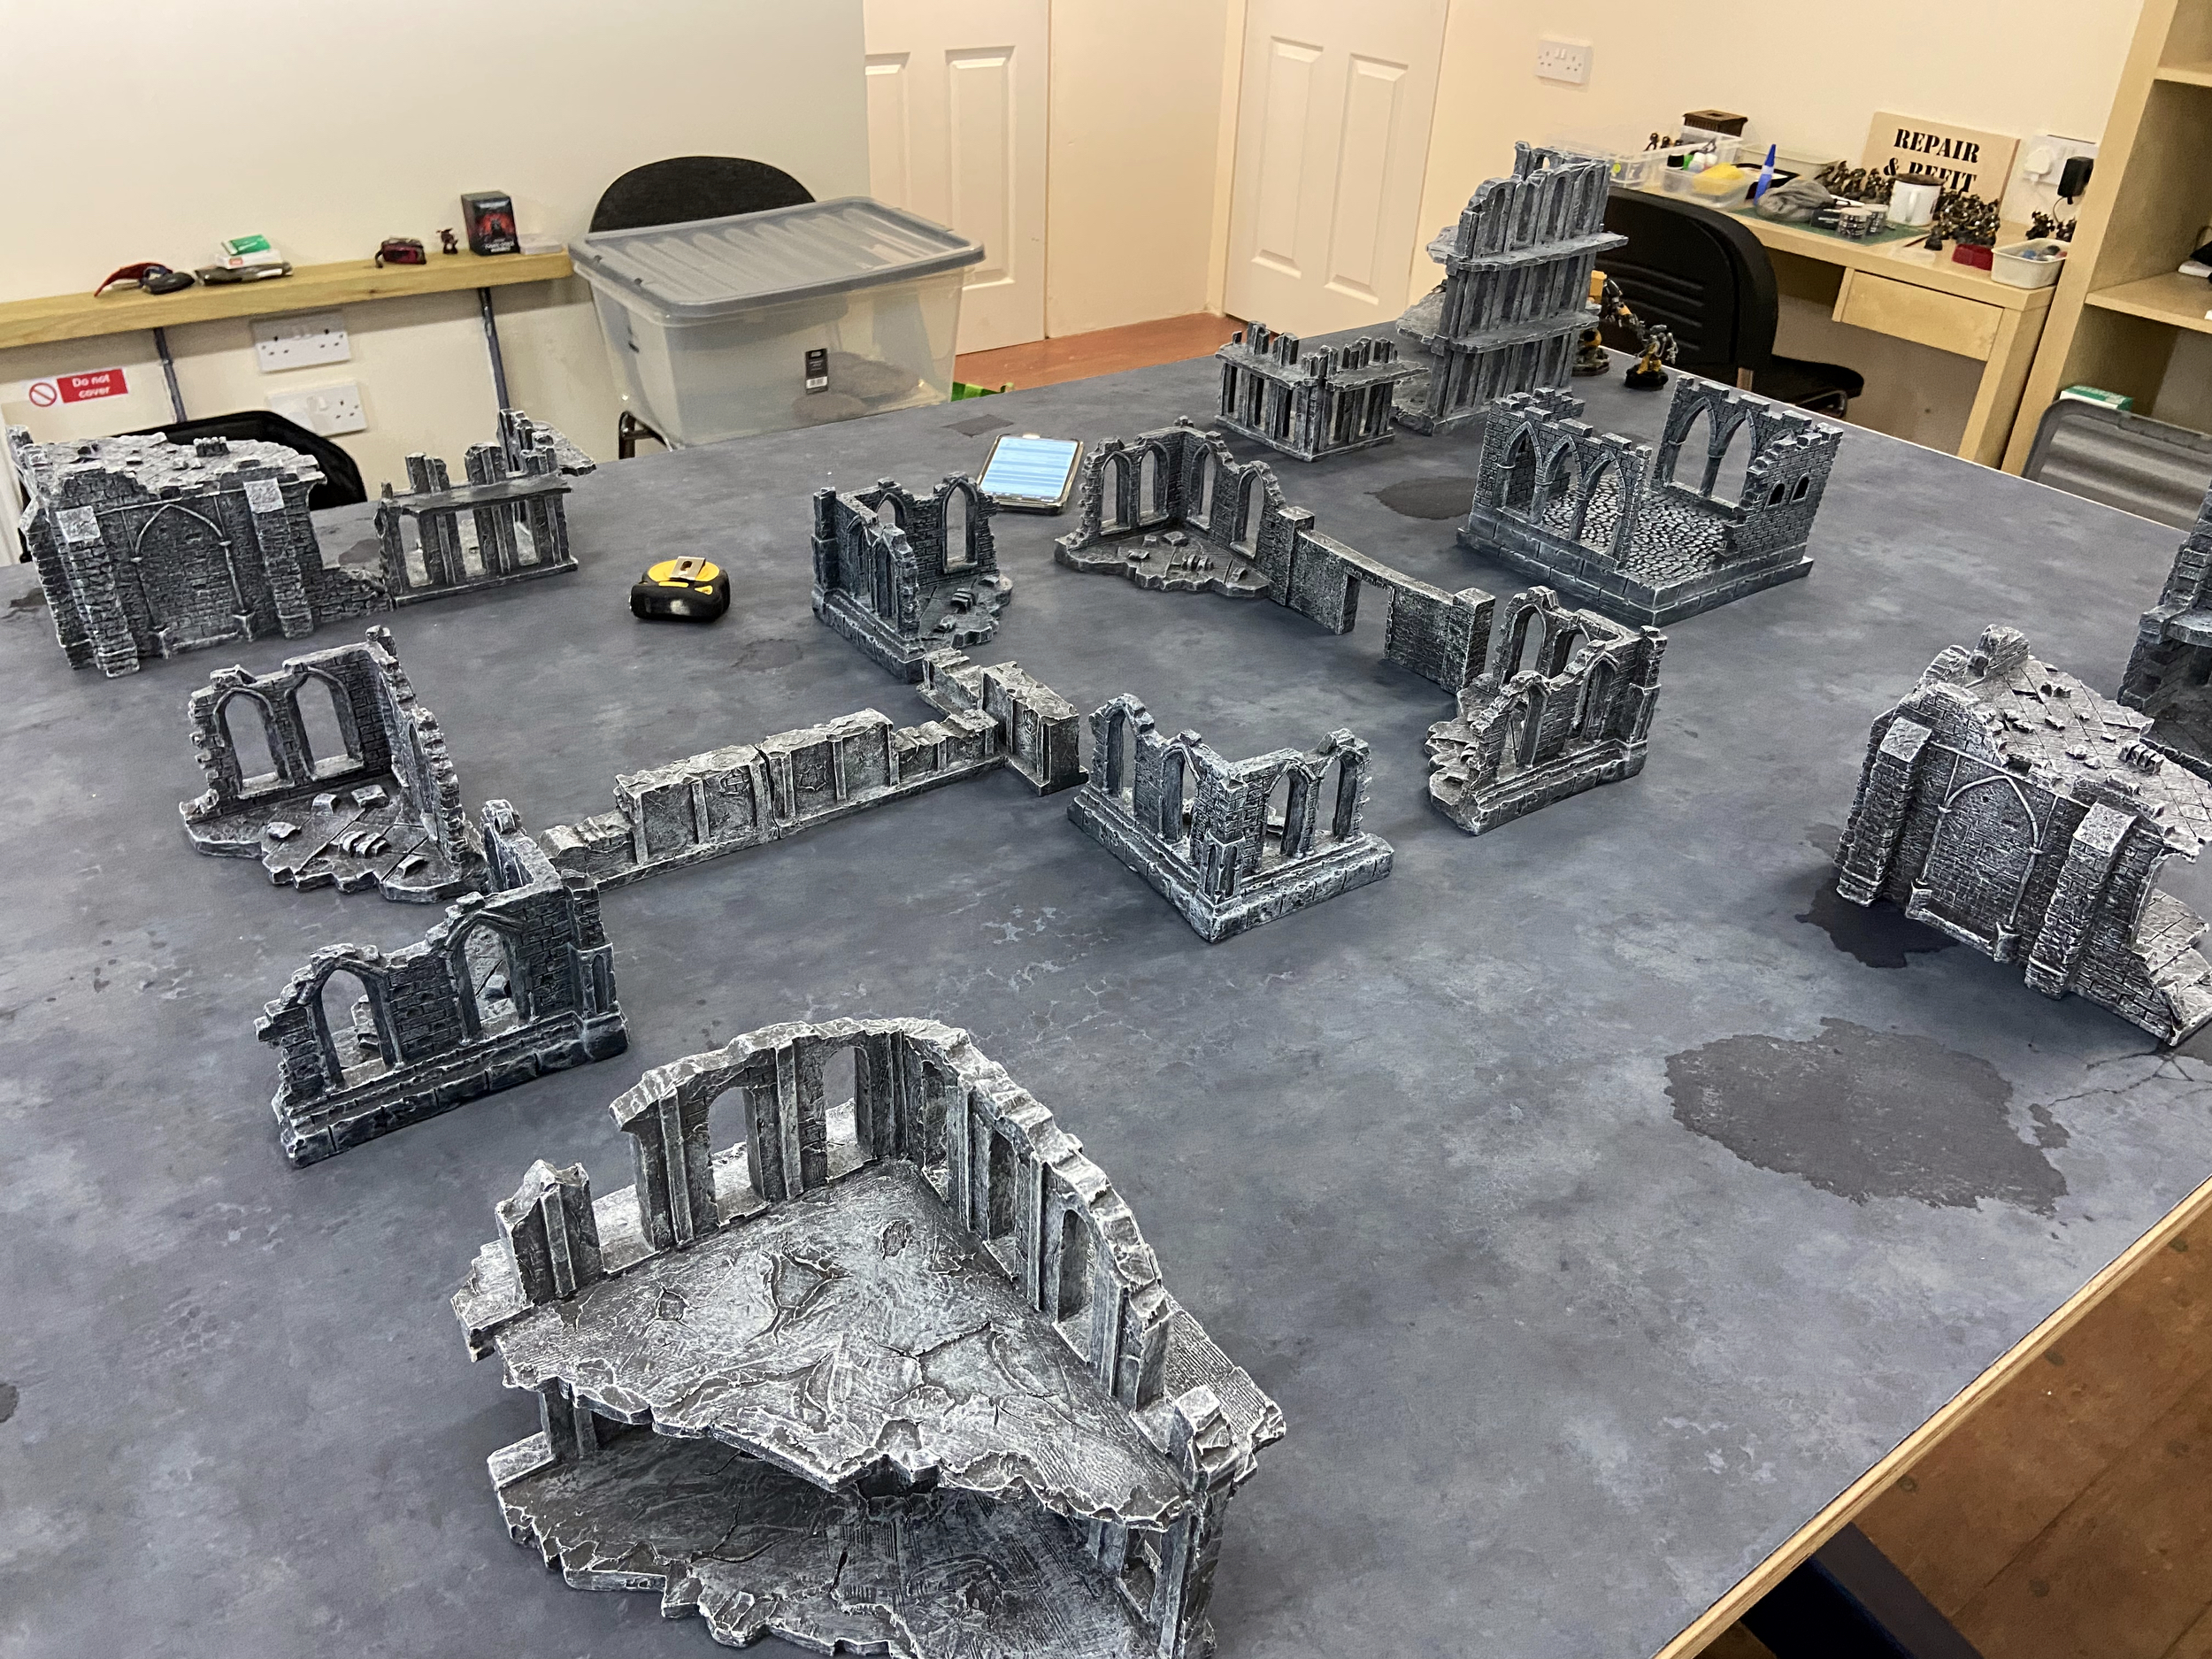
A few weeks ago, I had the pleasure of a stay at the Hobby Haven in Worcestershire, UK. It is essentially an AirBnB for Warhammer. There are four beds, a kitchen, two 6 x 4ft tables, and a load of terrain. The final battle is at The Final Siege of Hive Hyperia.
You can get 10% off your stay using the voucher code CADIA at Hobby Haven.
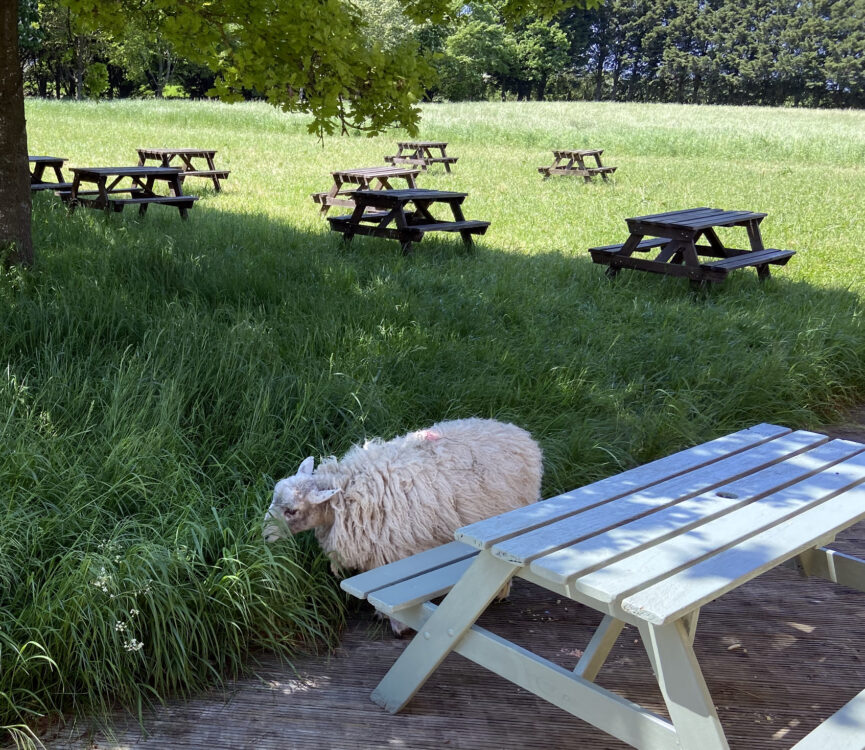
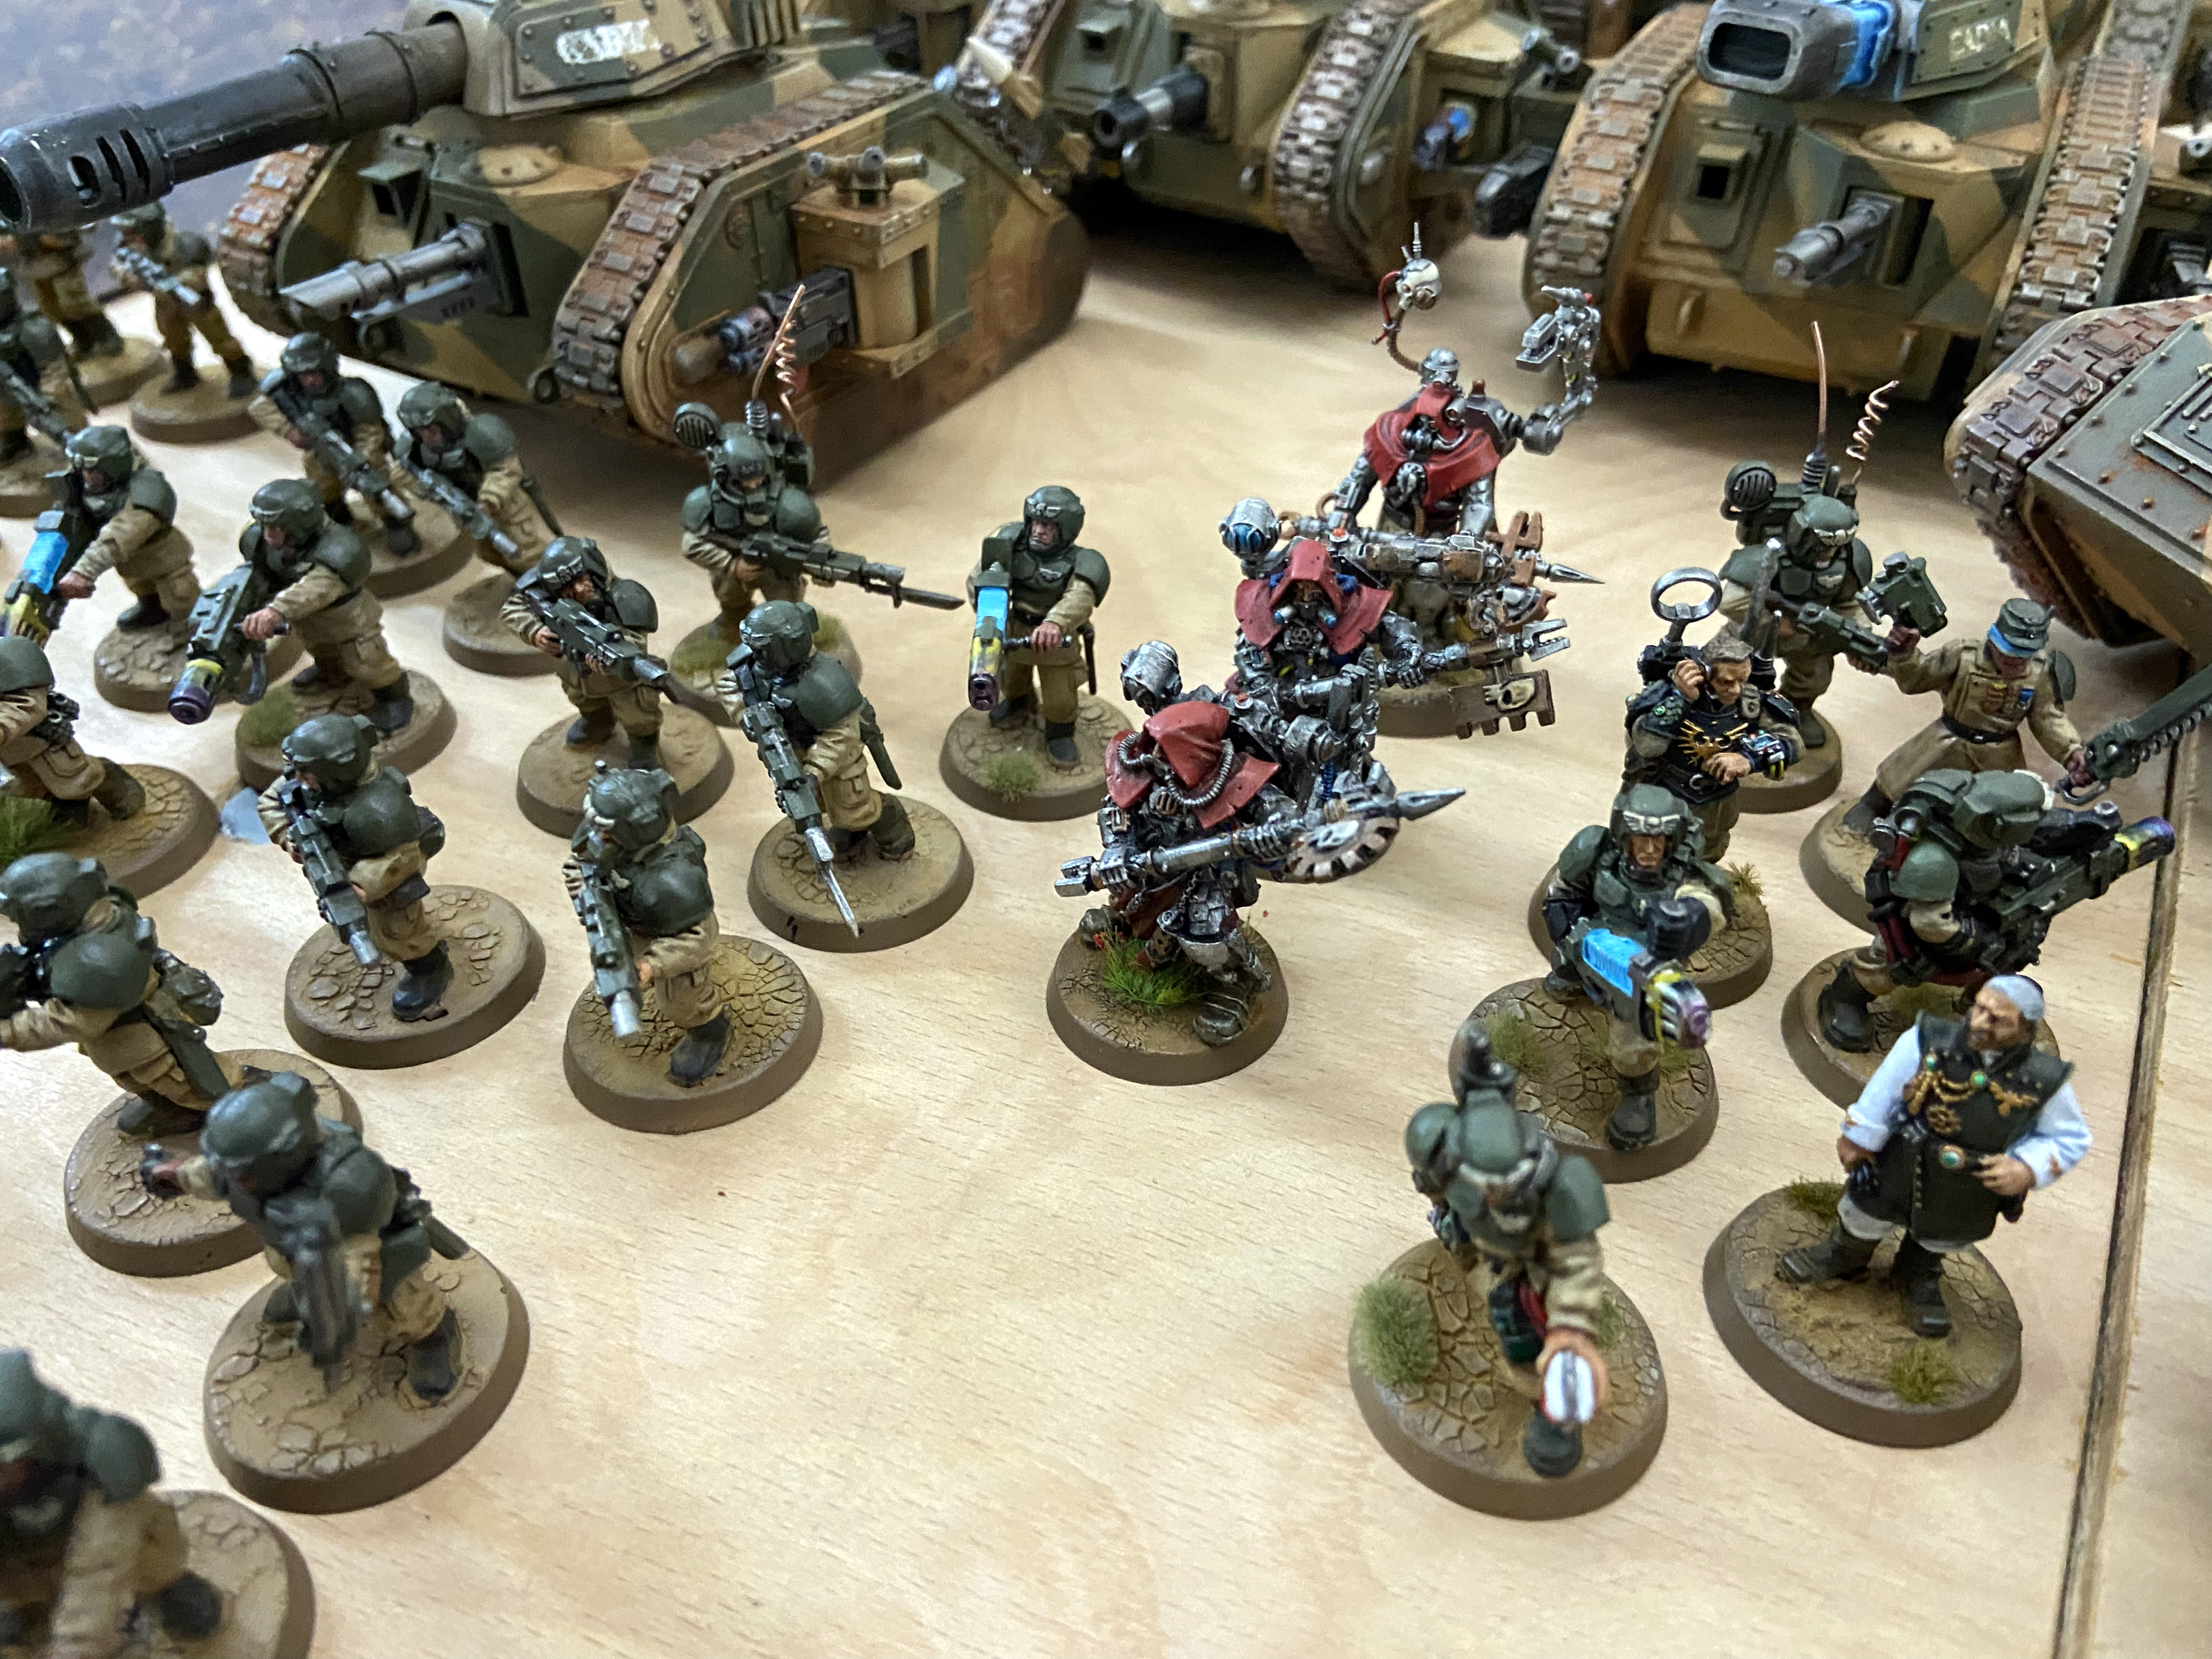
The locals are friendly
Never miss an article? Subscribe!
And that is it! You book for the whole weekend from 4 PM on the Friday until 4 PM on the Sunday. You eat, sleep and play Warhammer (or any other miniatures game) for the weekend.
For the weekend I was there, I put together a campaign to play;
- 500 points on Friday
- 1,000 points on Friday
- 3x 2,000 points games on Saturday
- 1x big game with all four players, using 3,000 points each
You can read the Full Campaign.
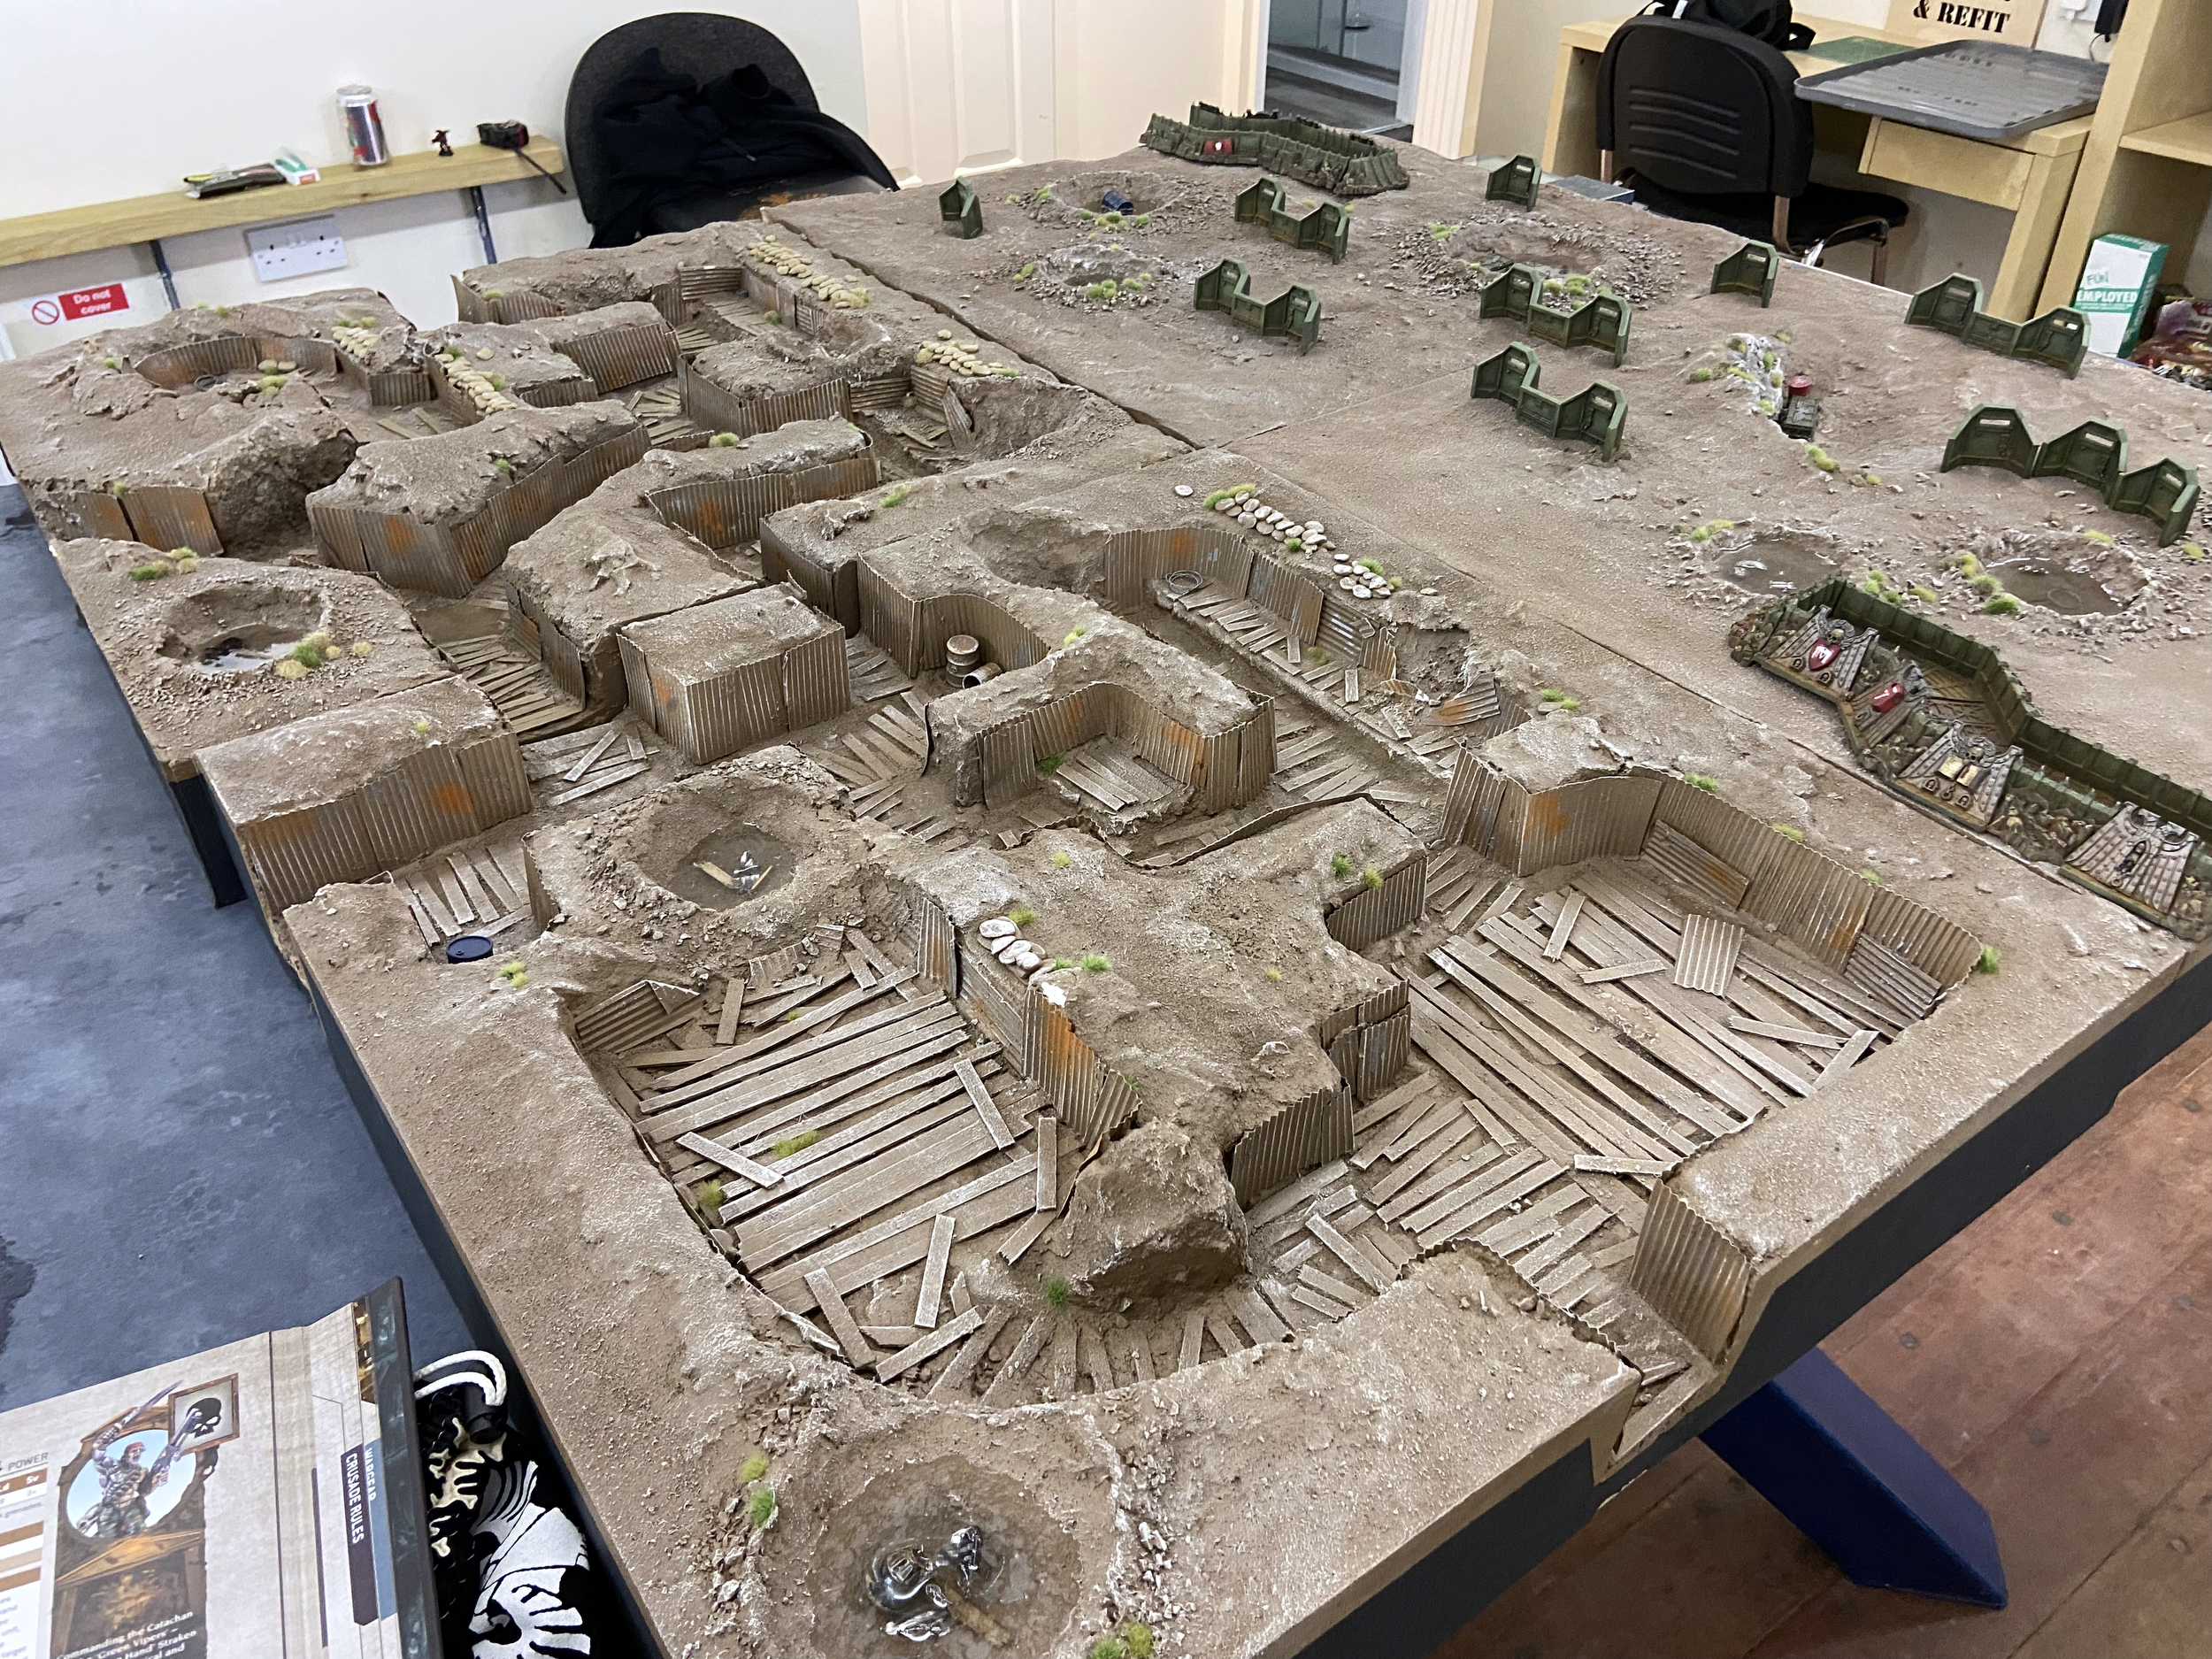
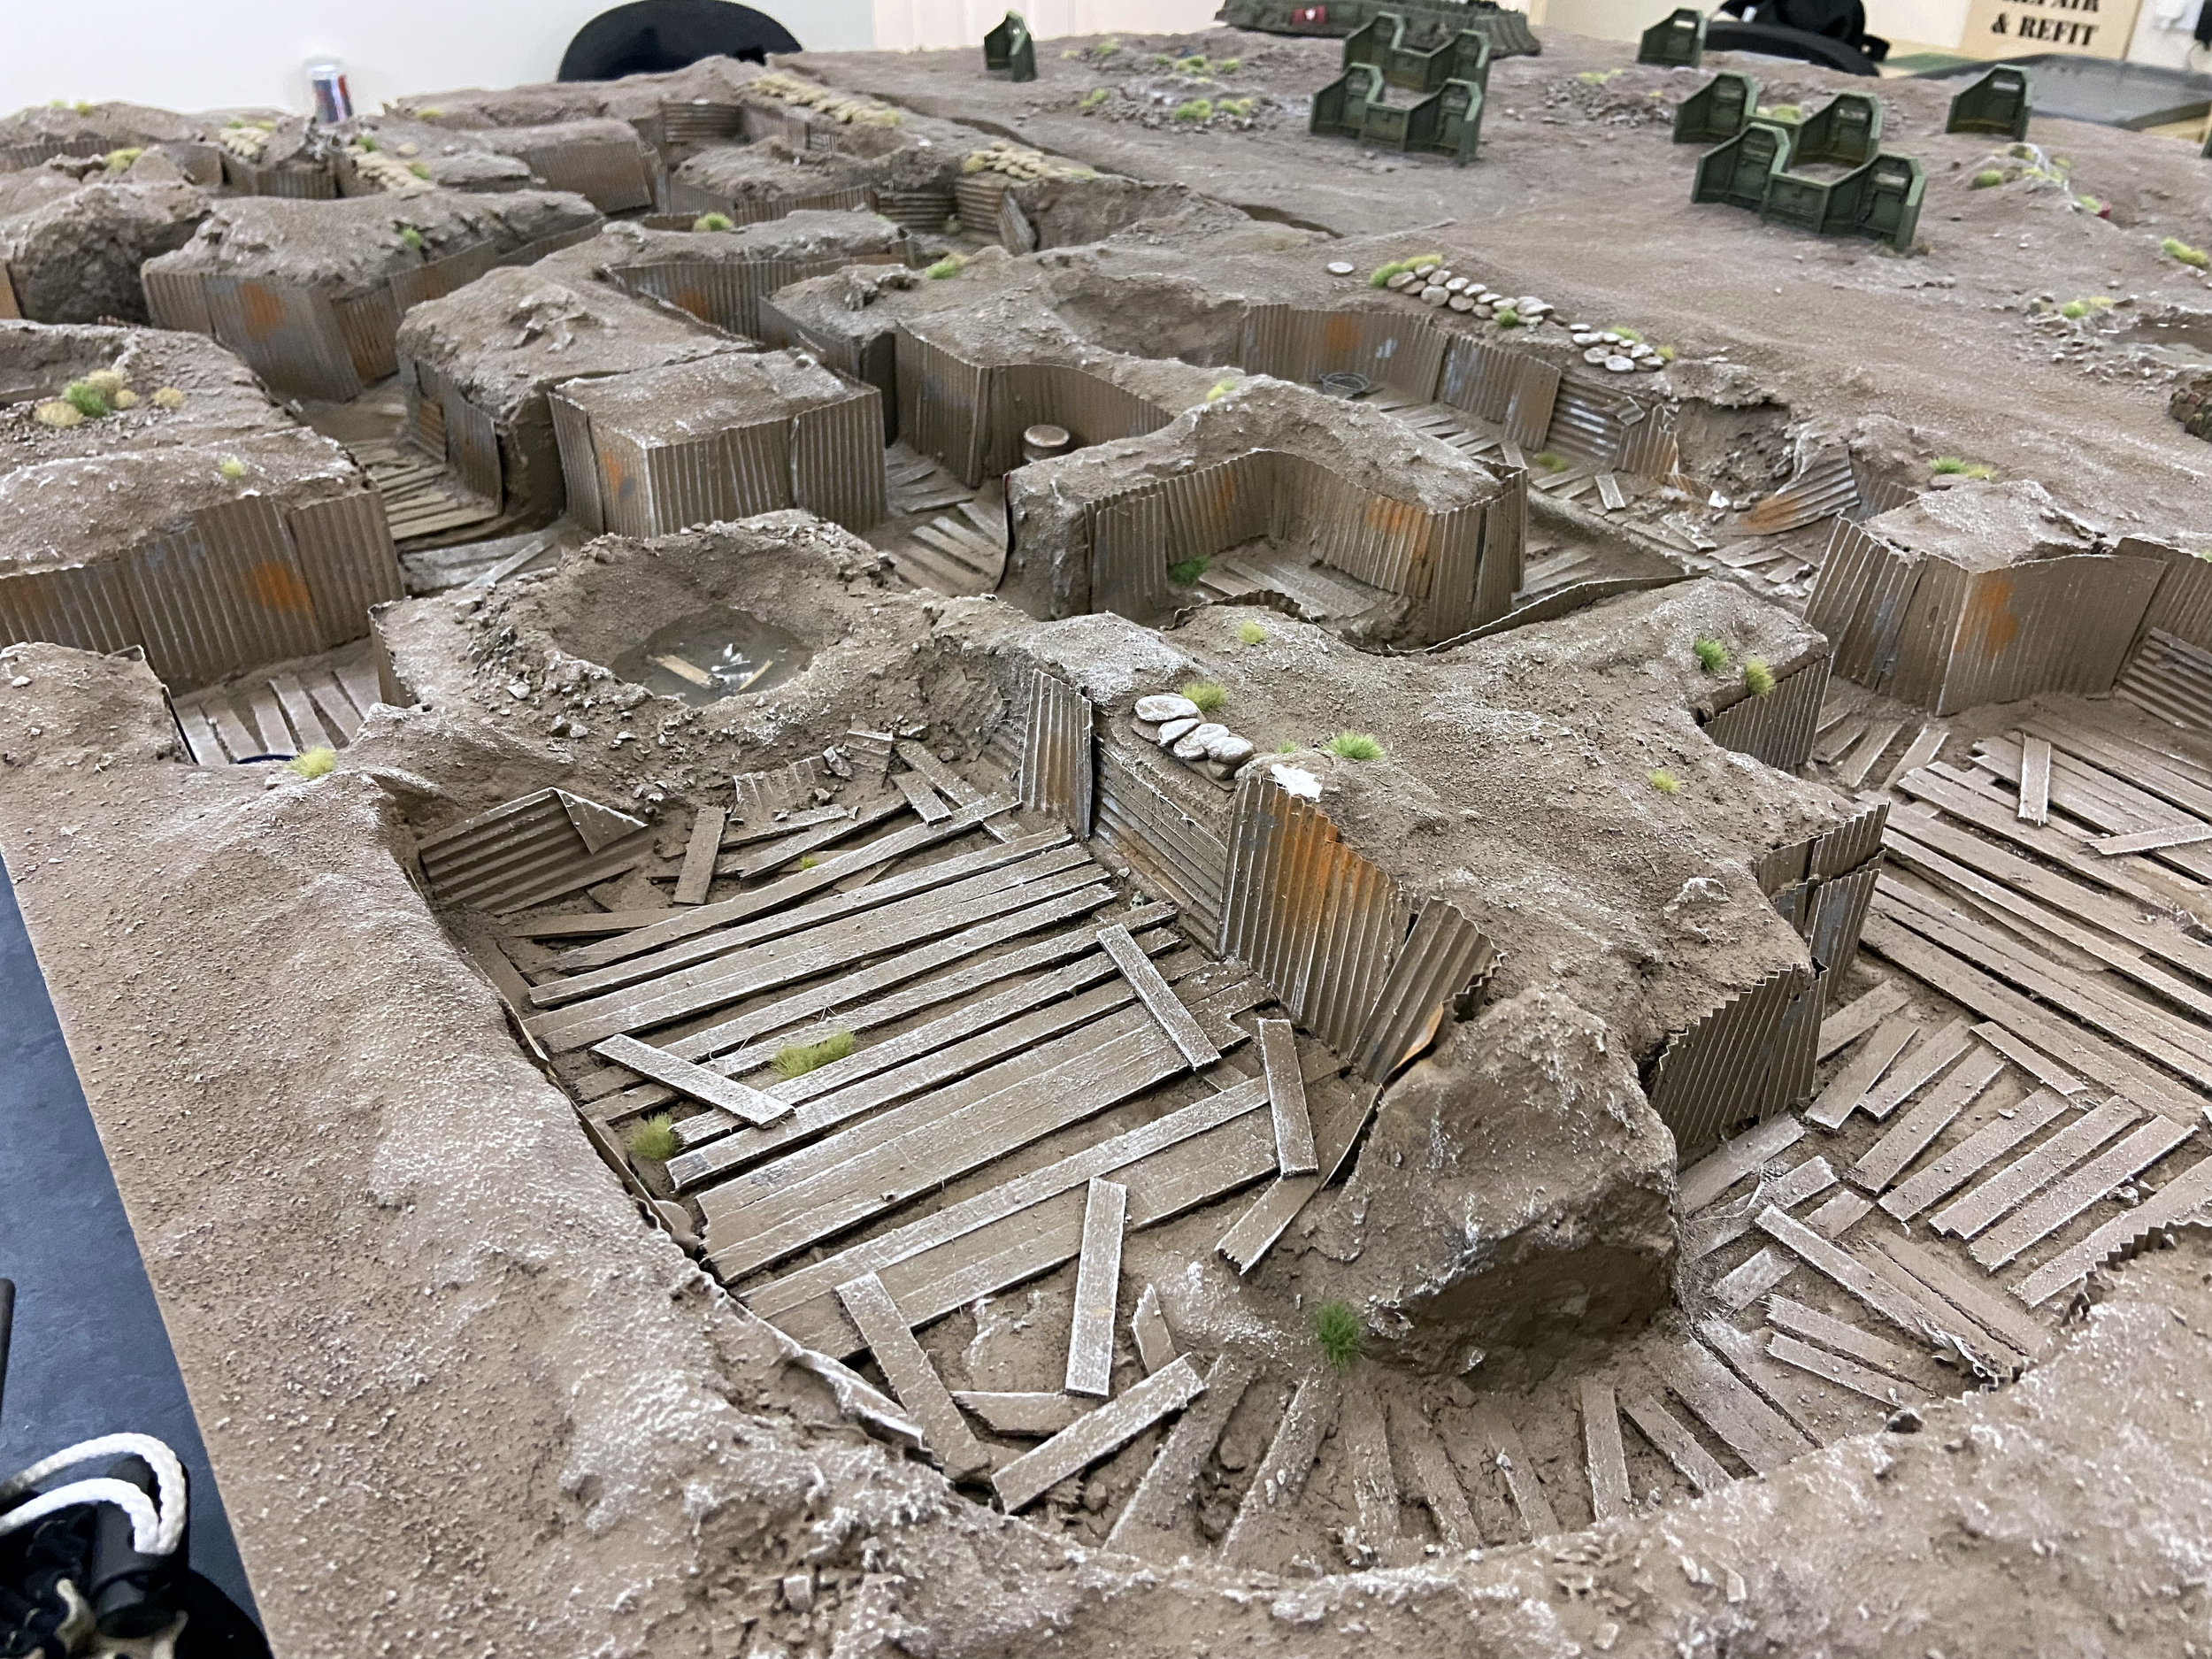
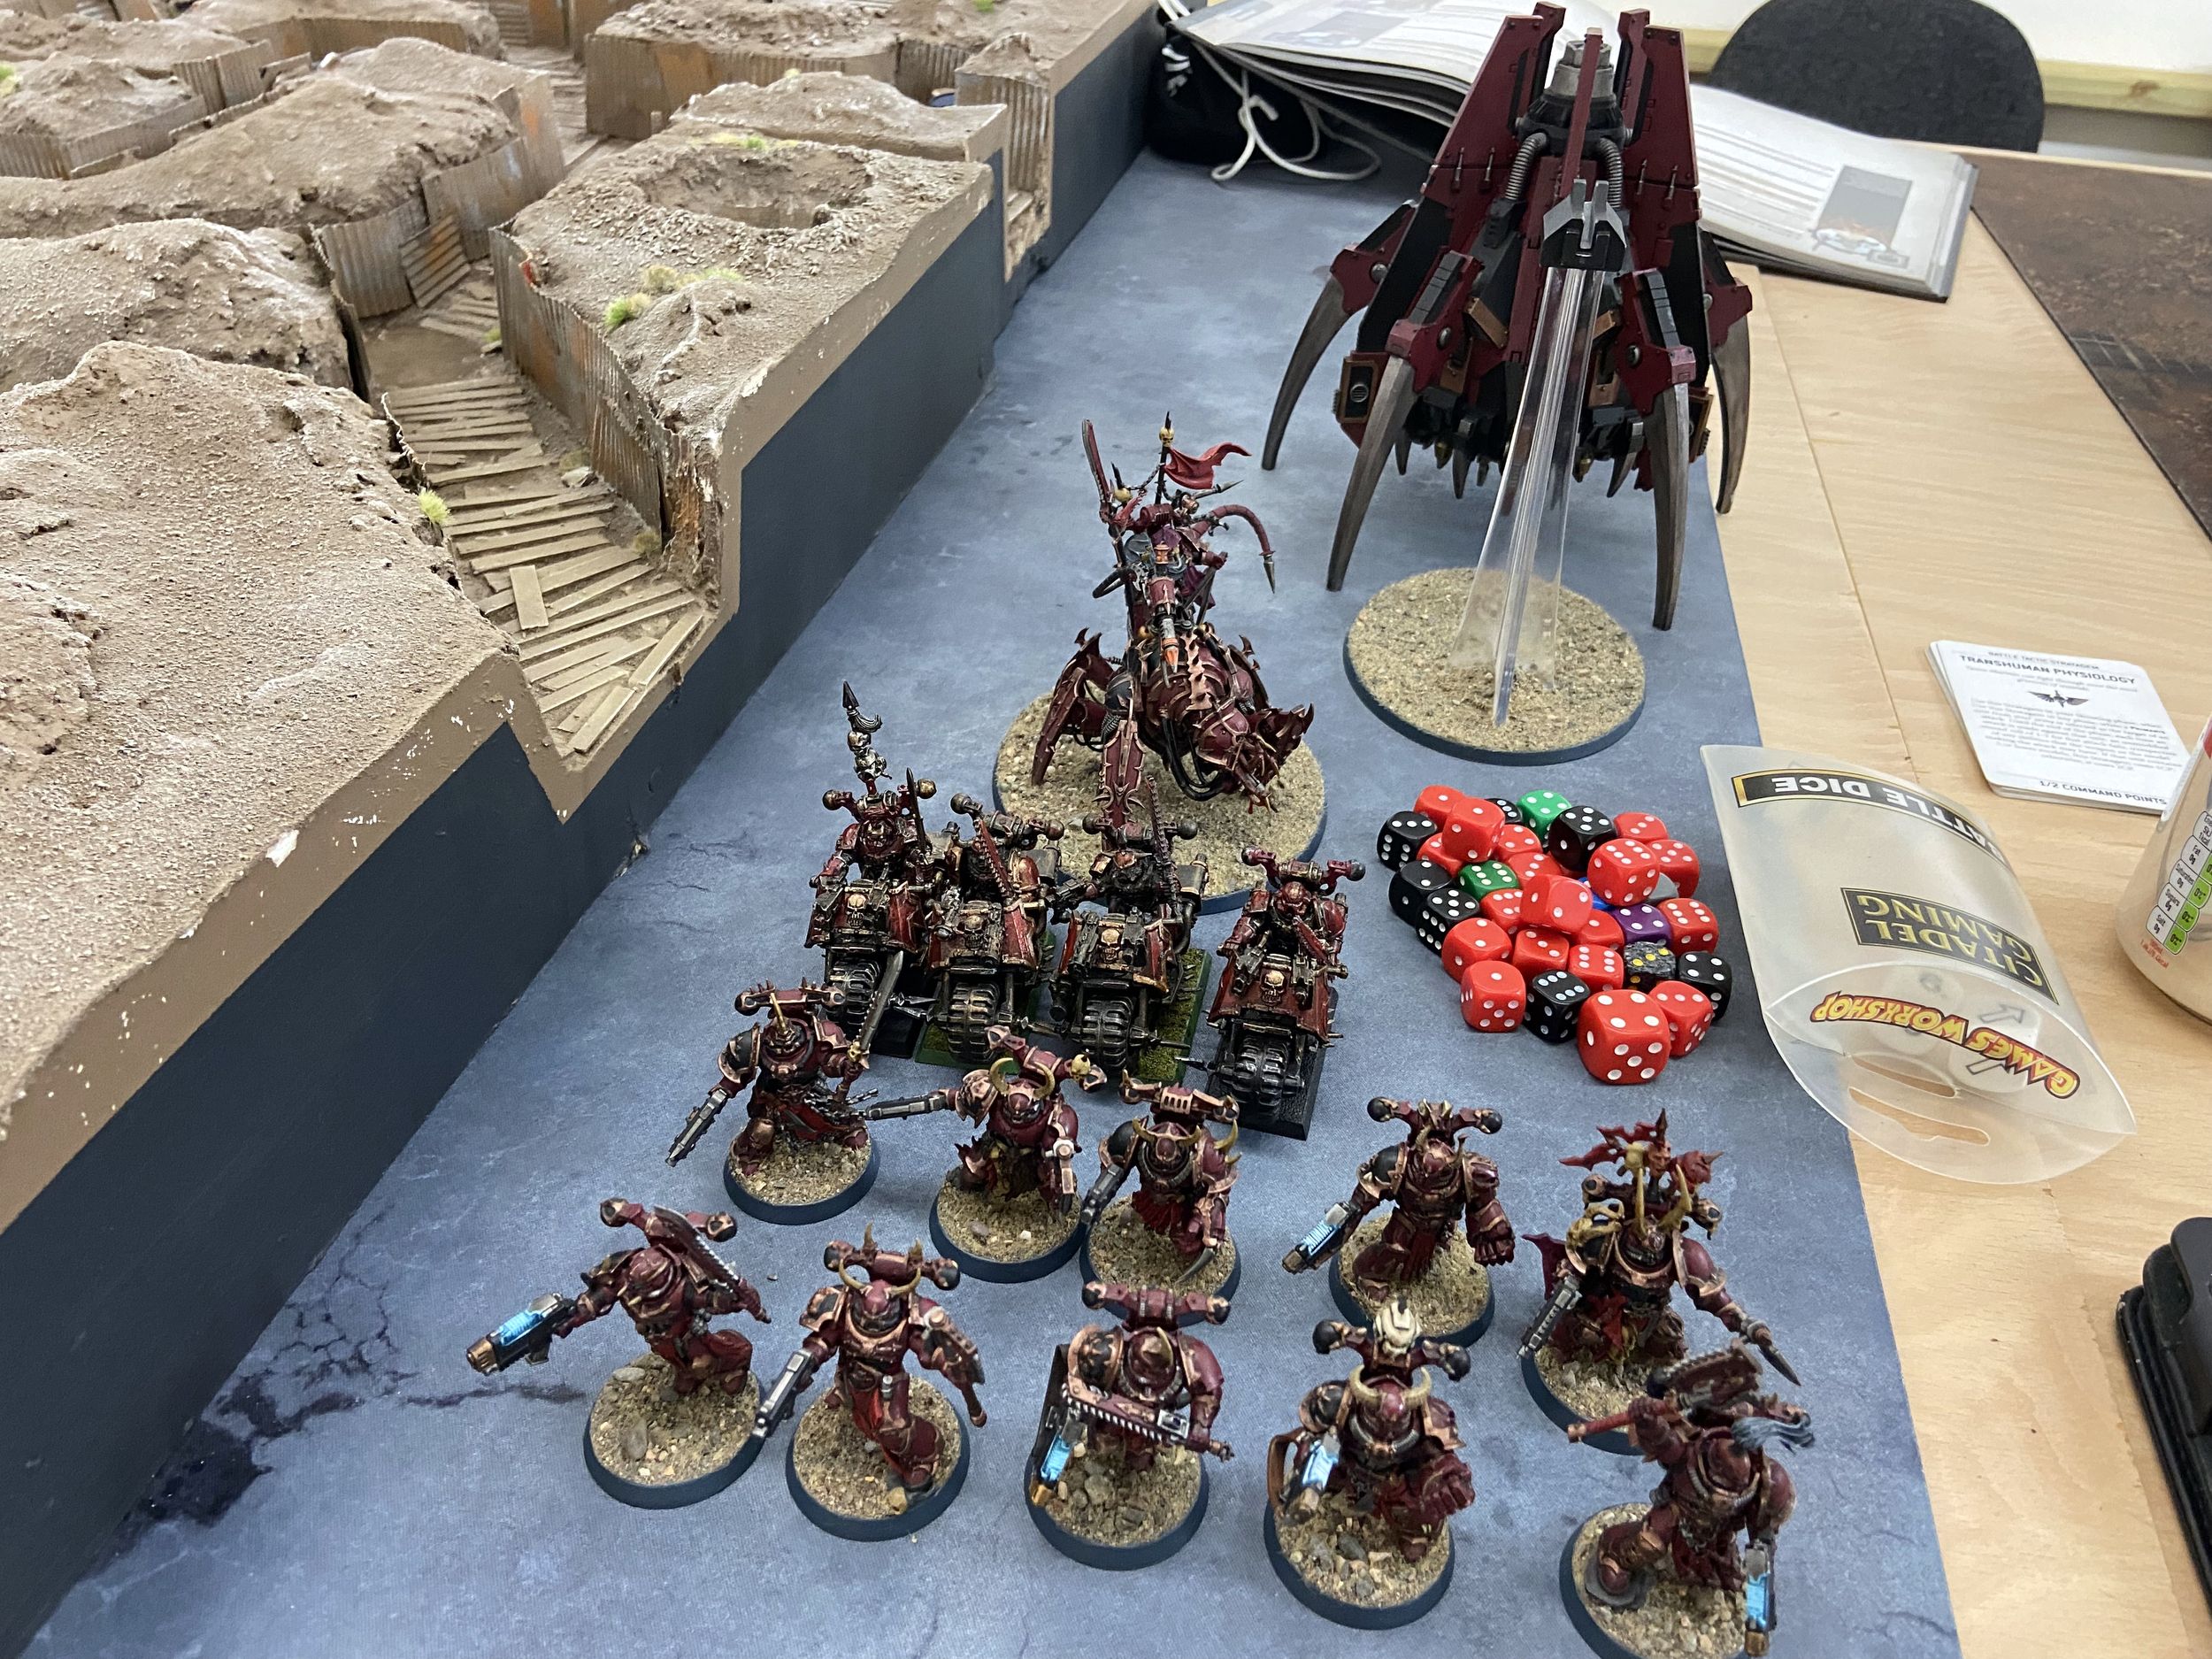
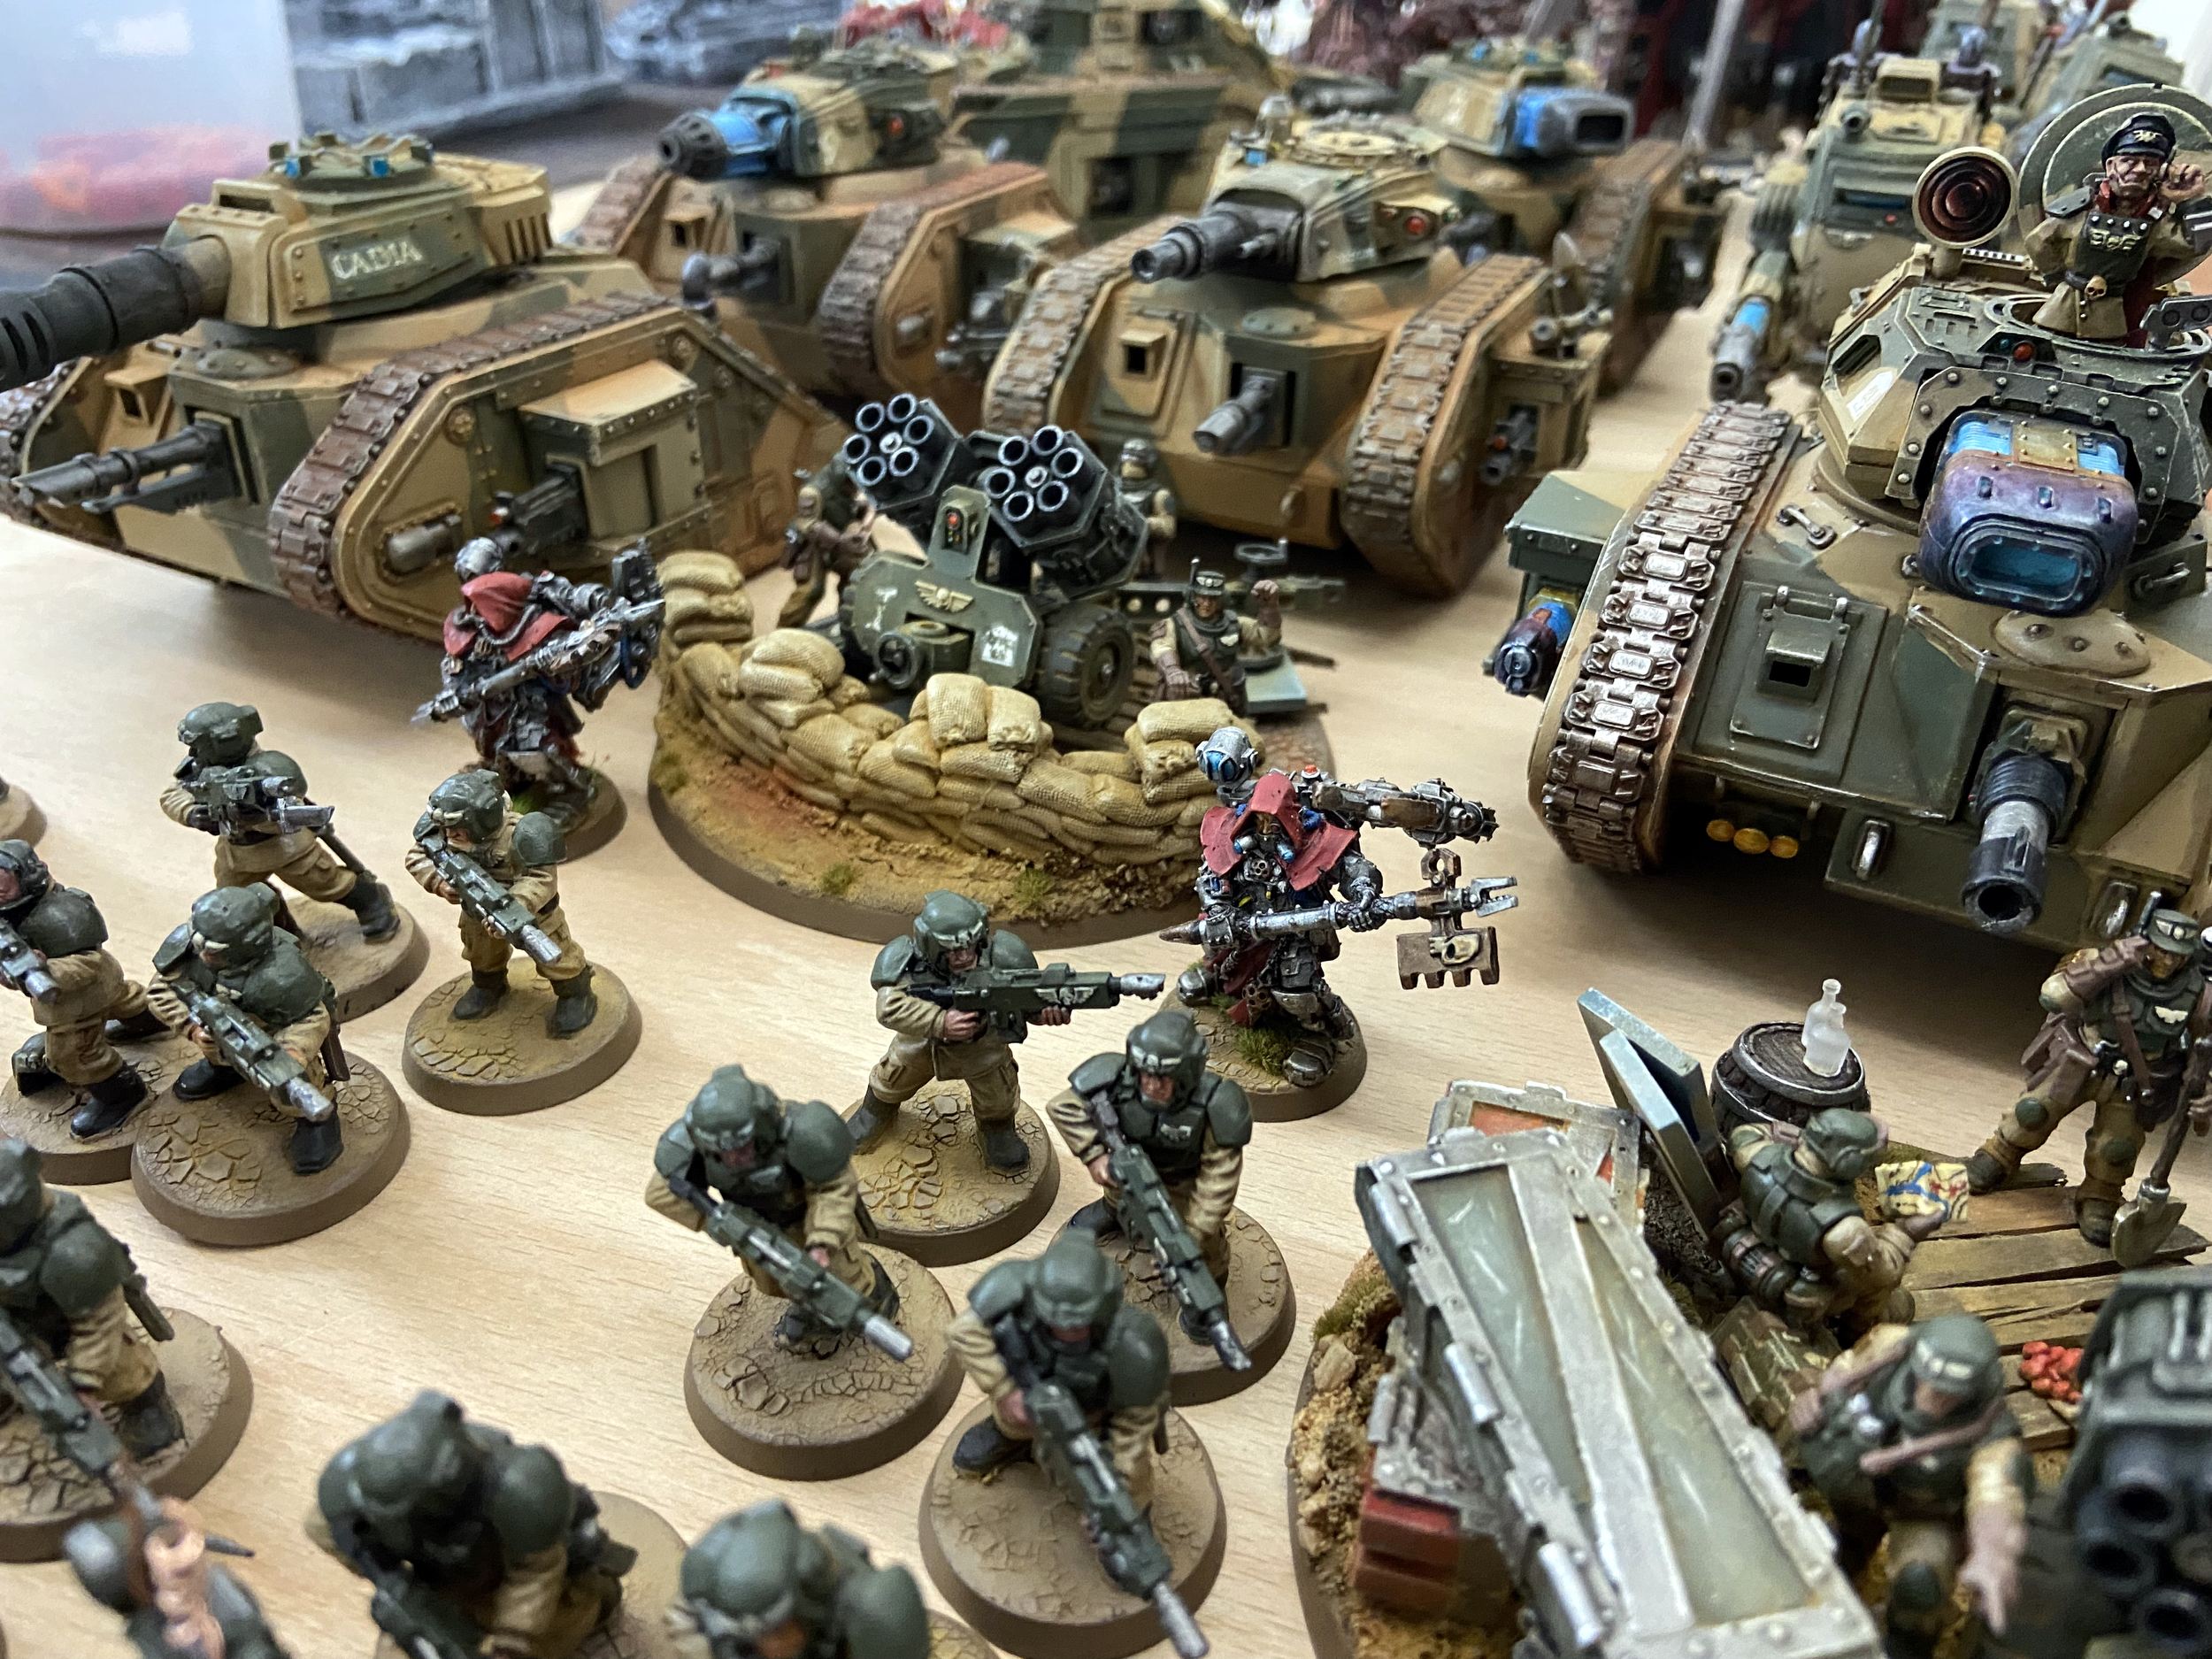
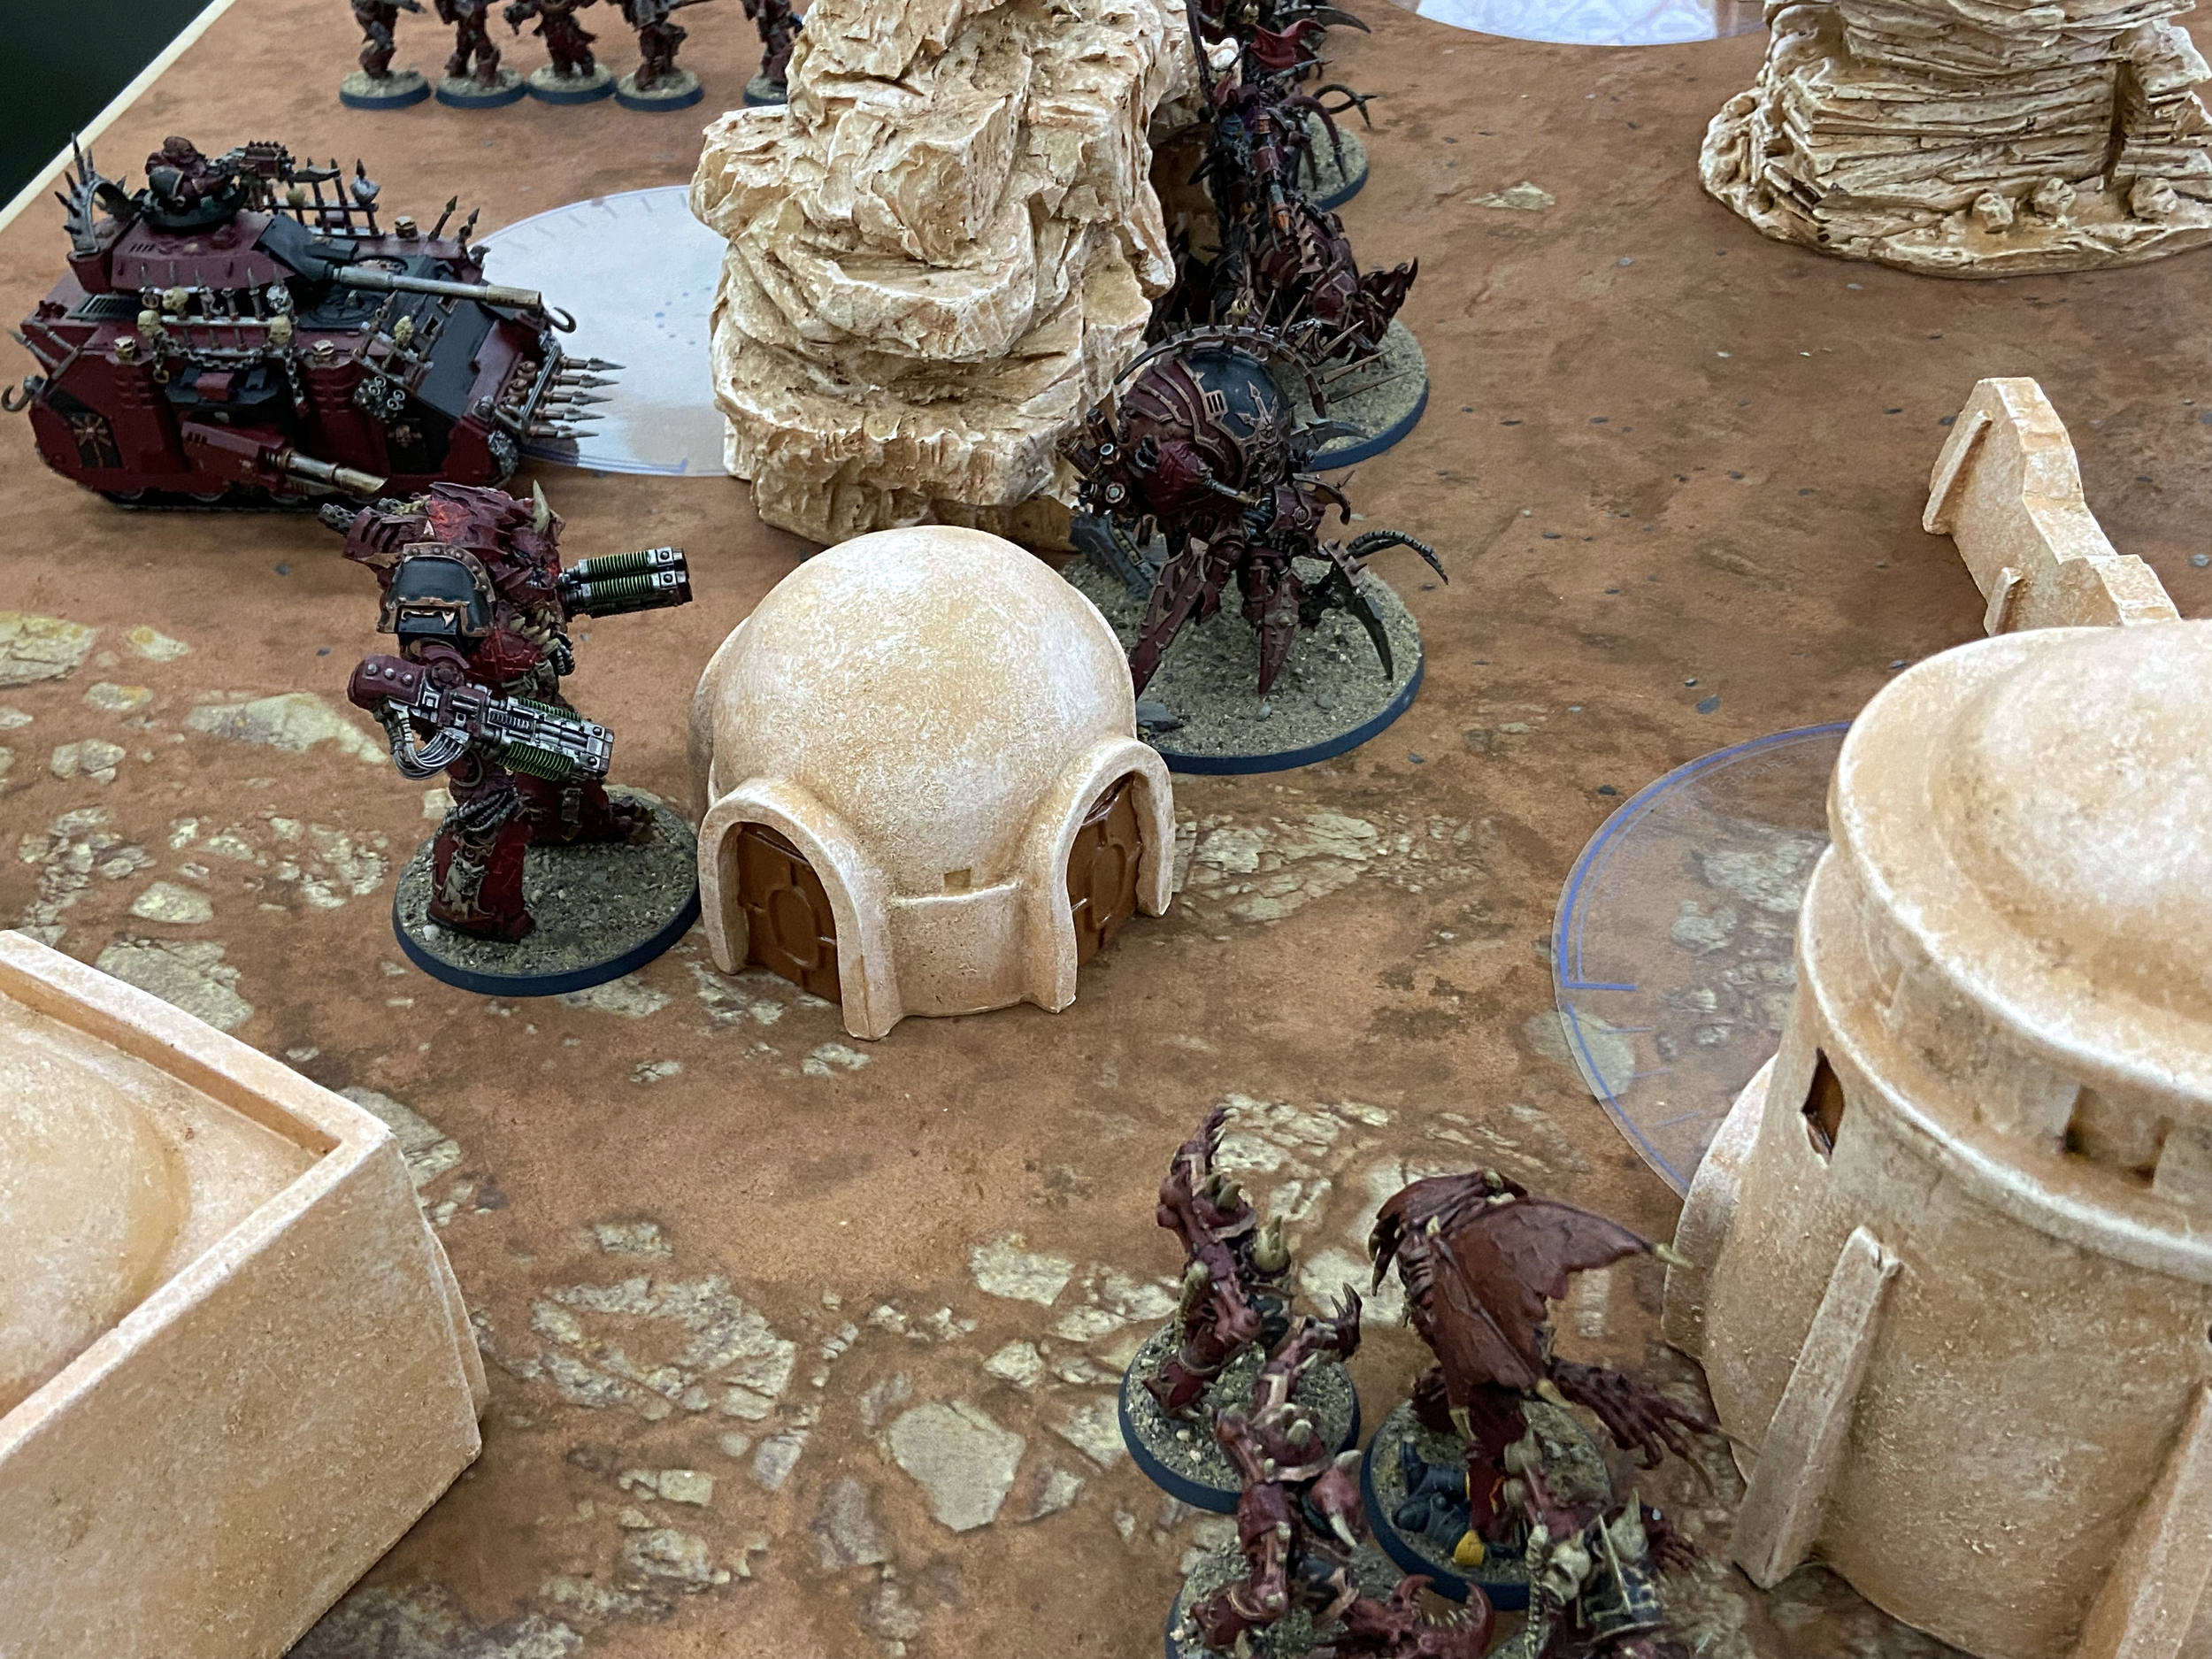
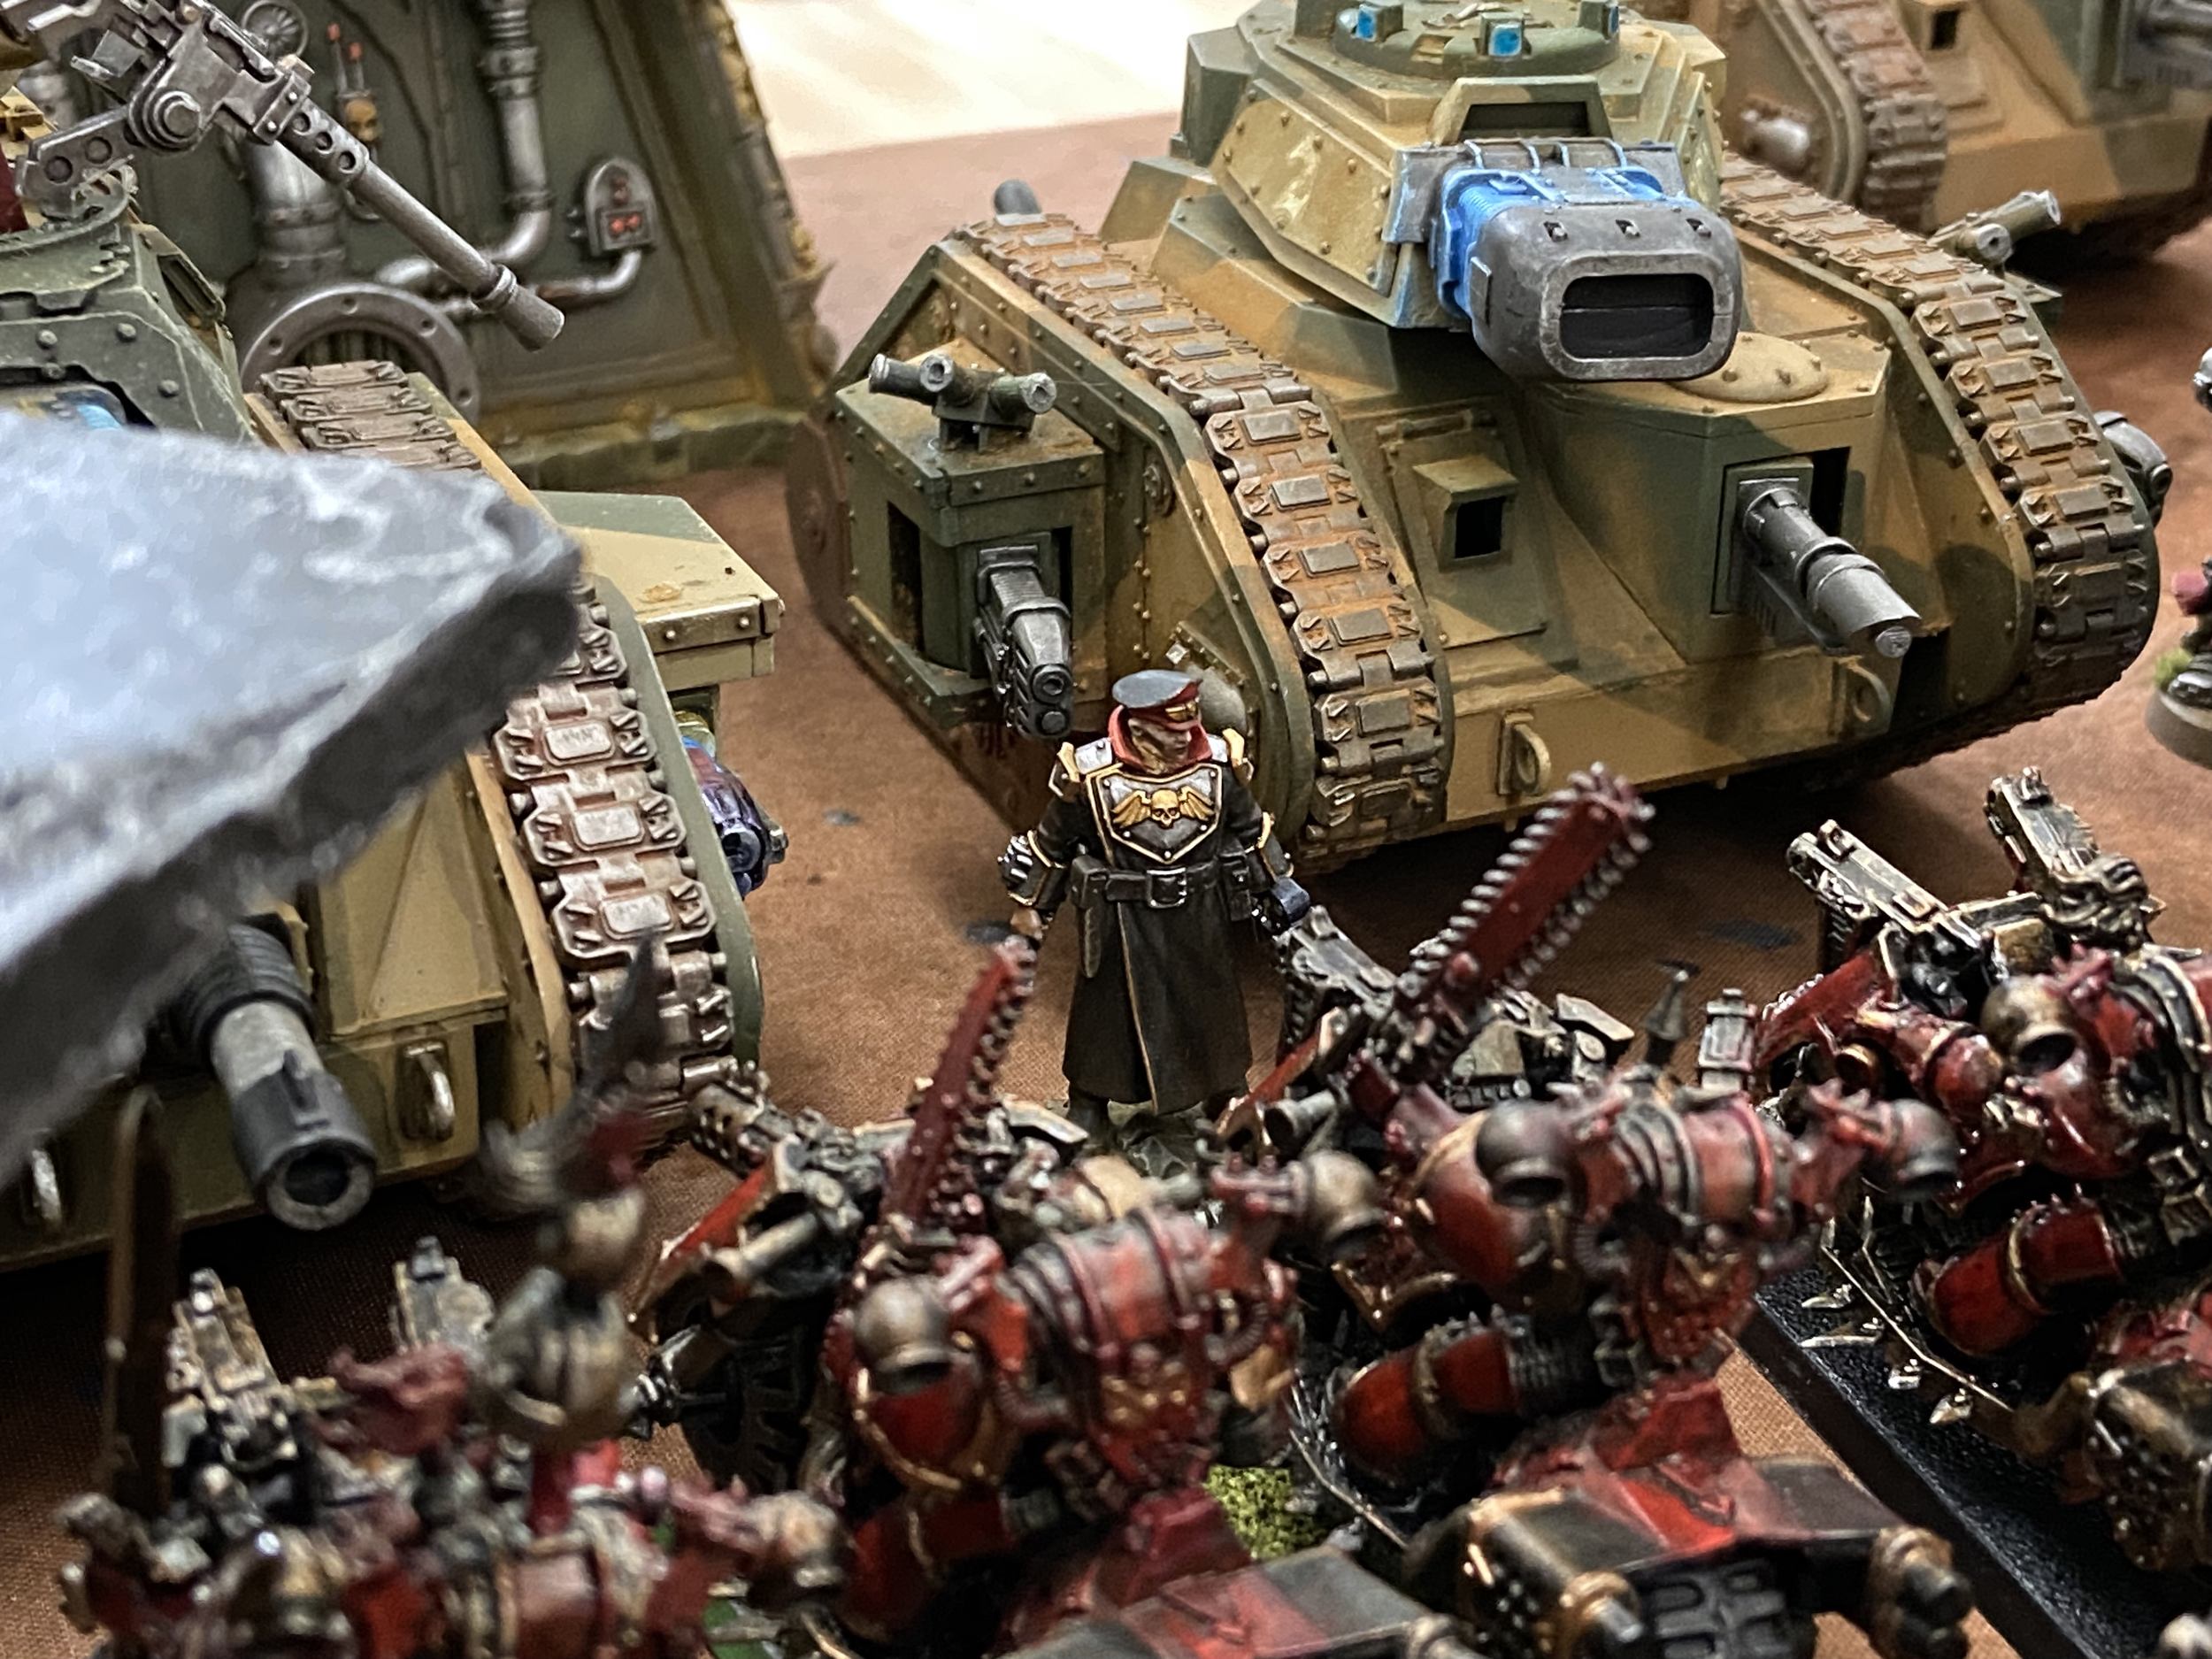
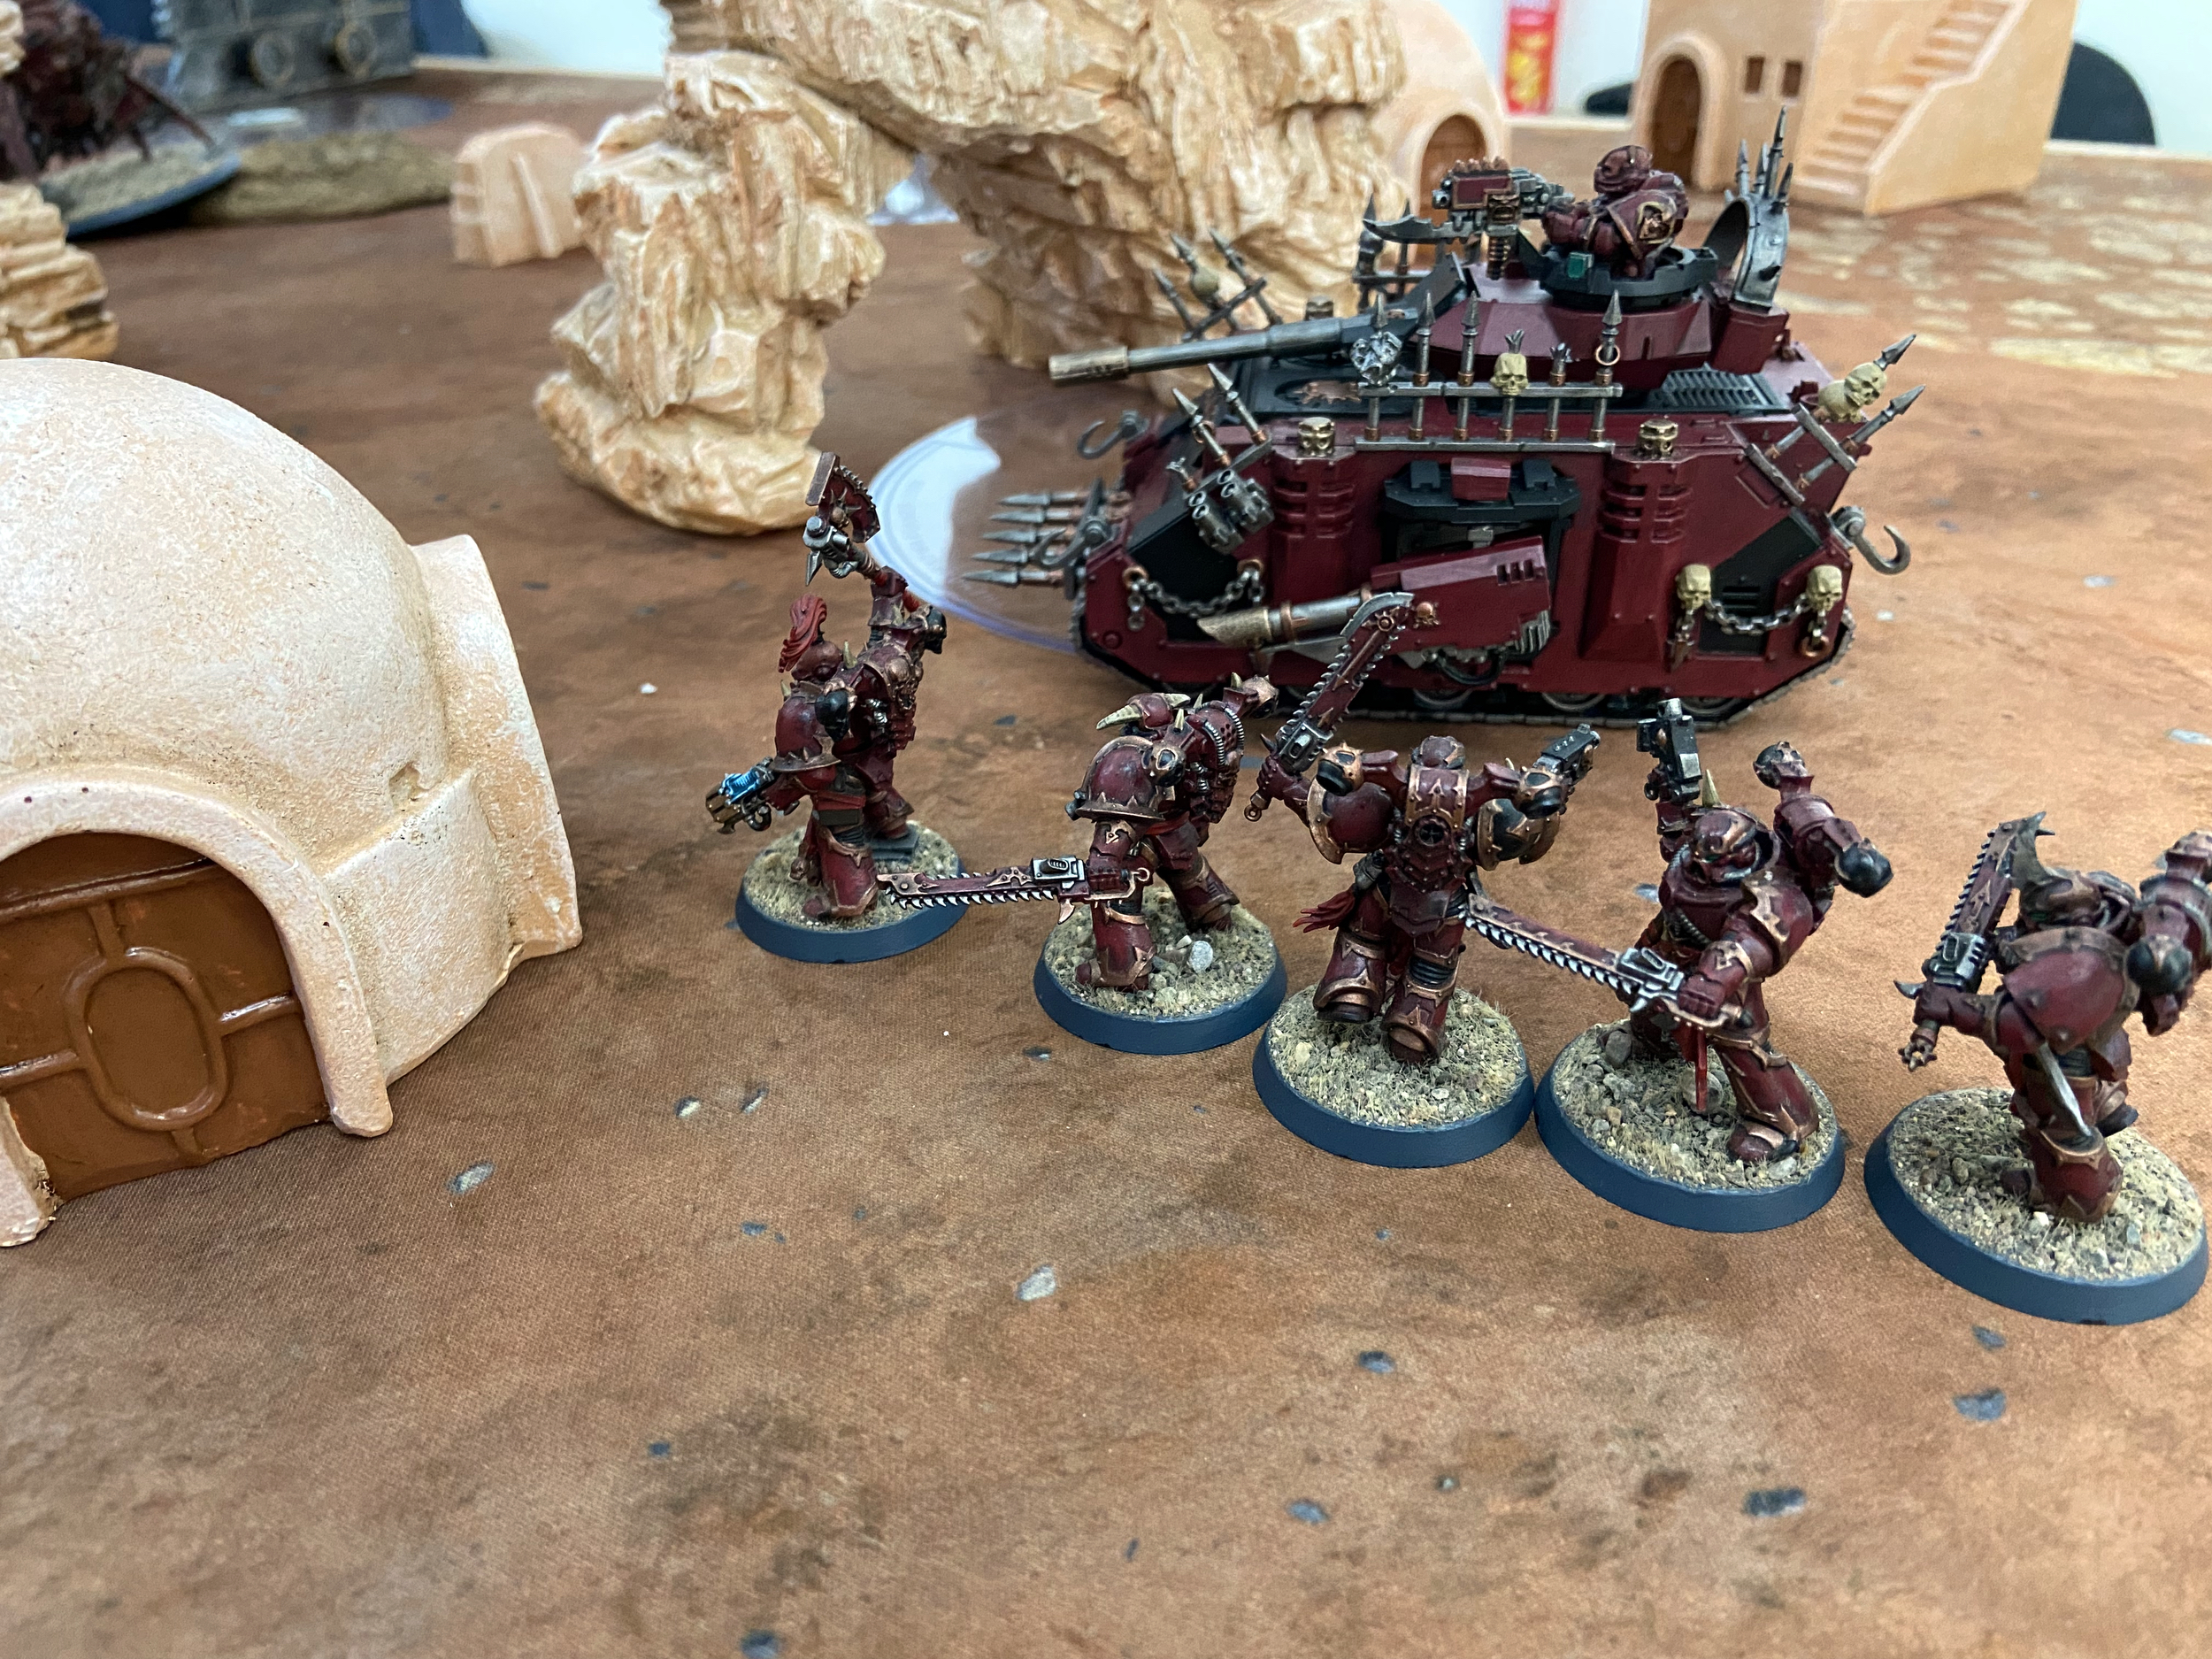
Game 1 – 500 vs 750 points vs Red Corsairs
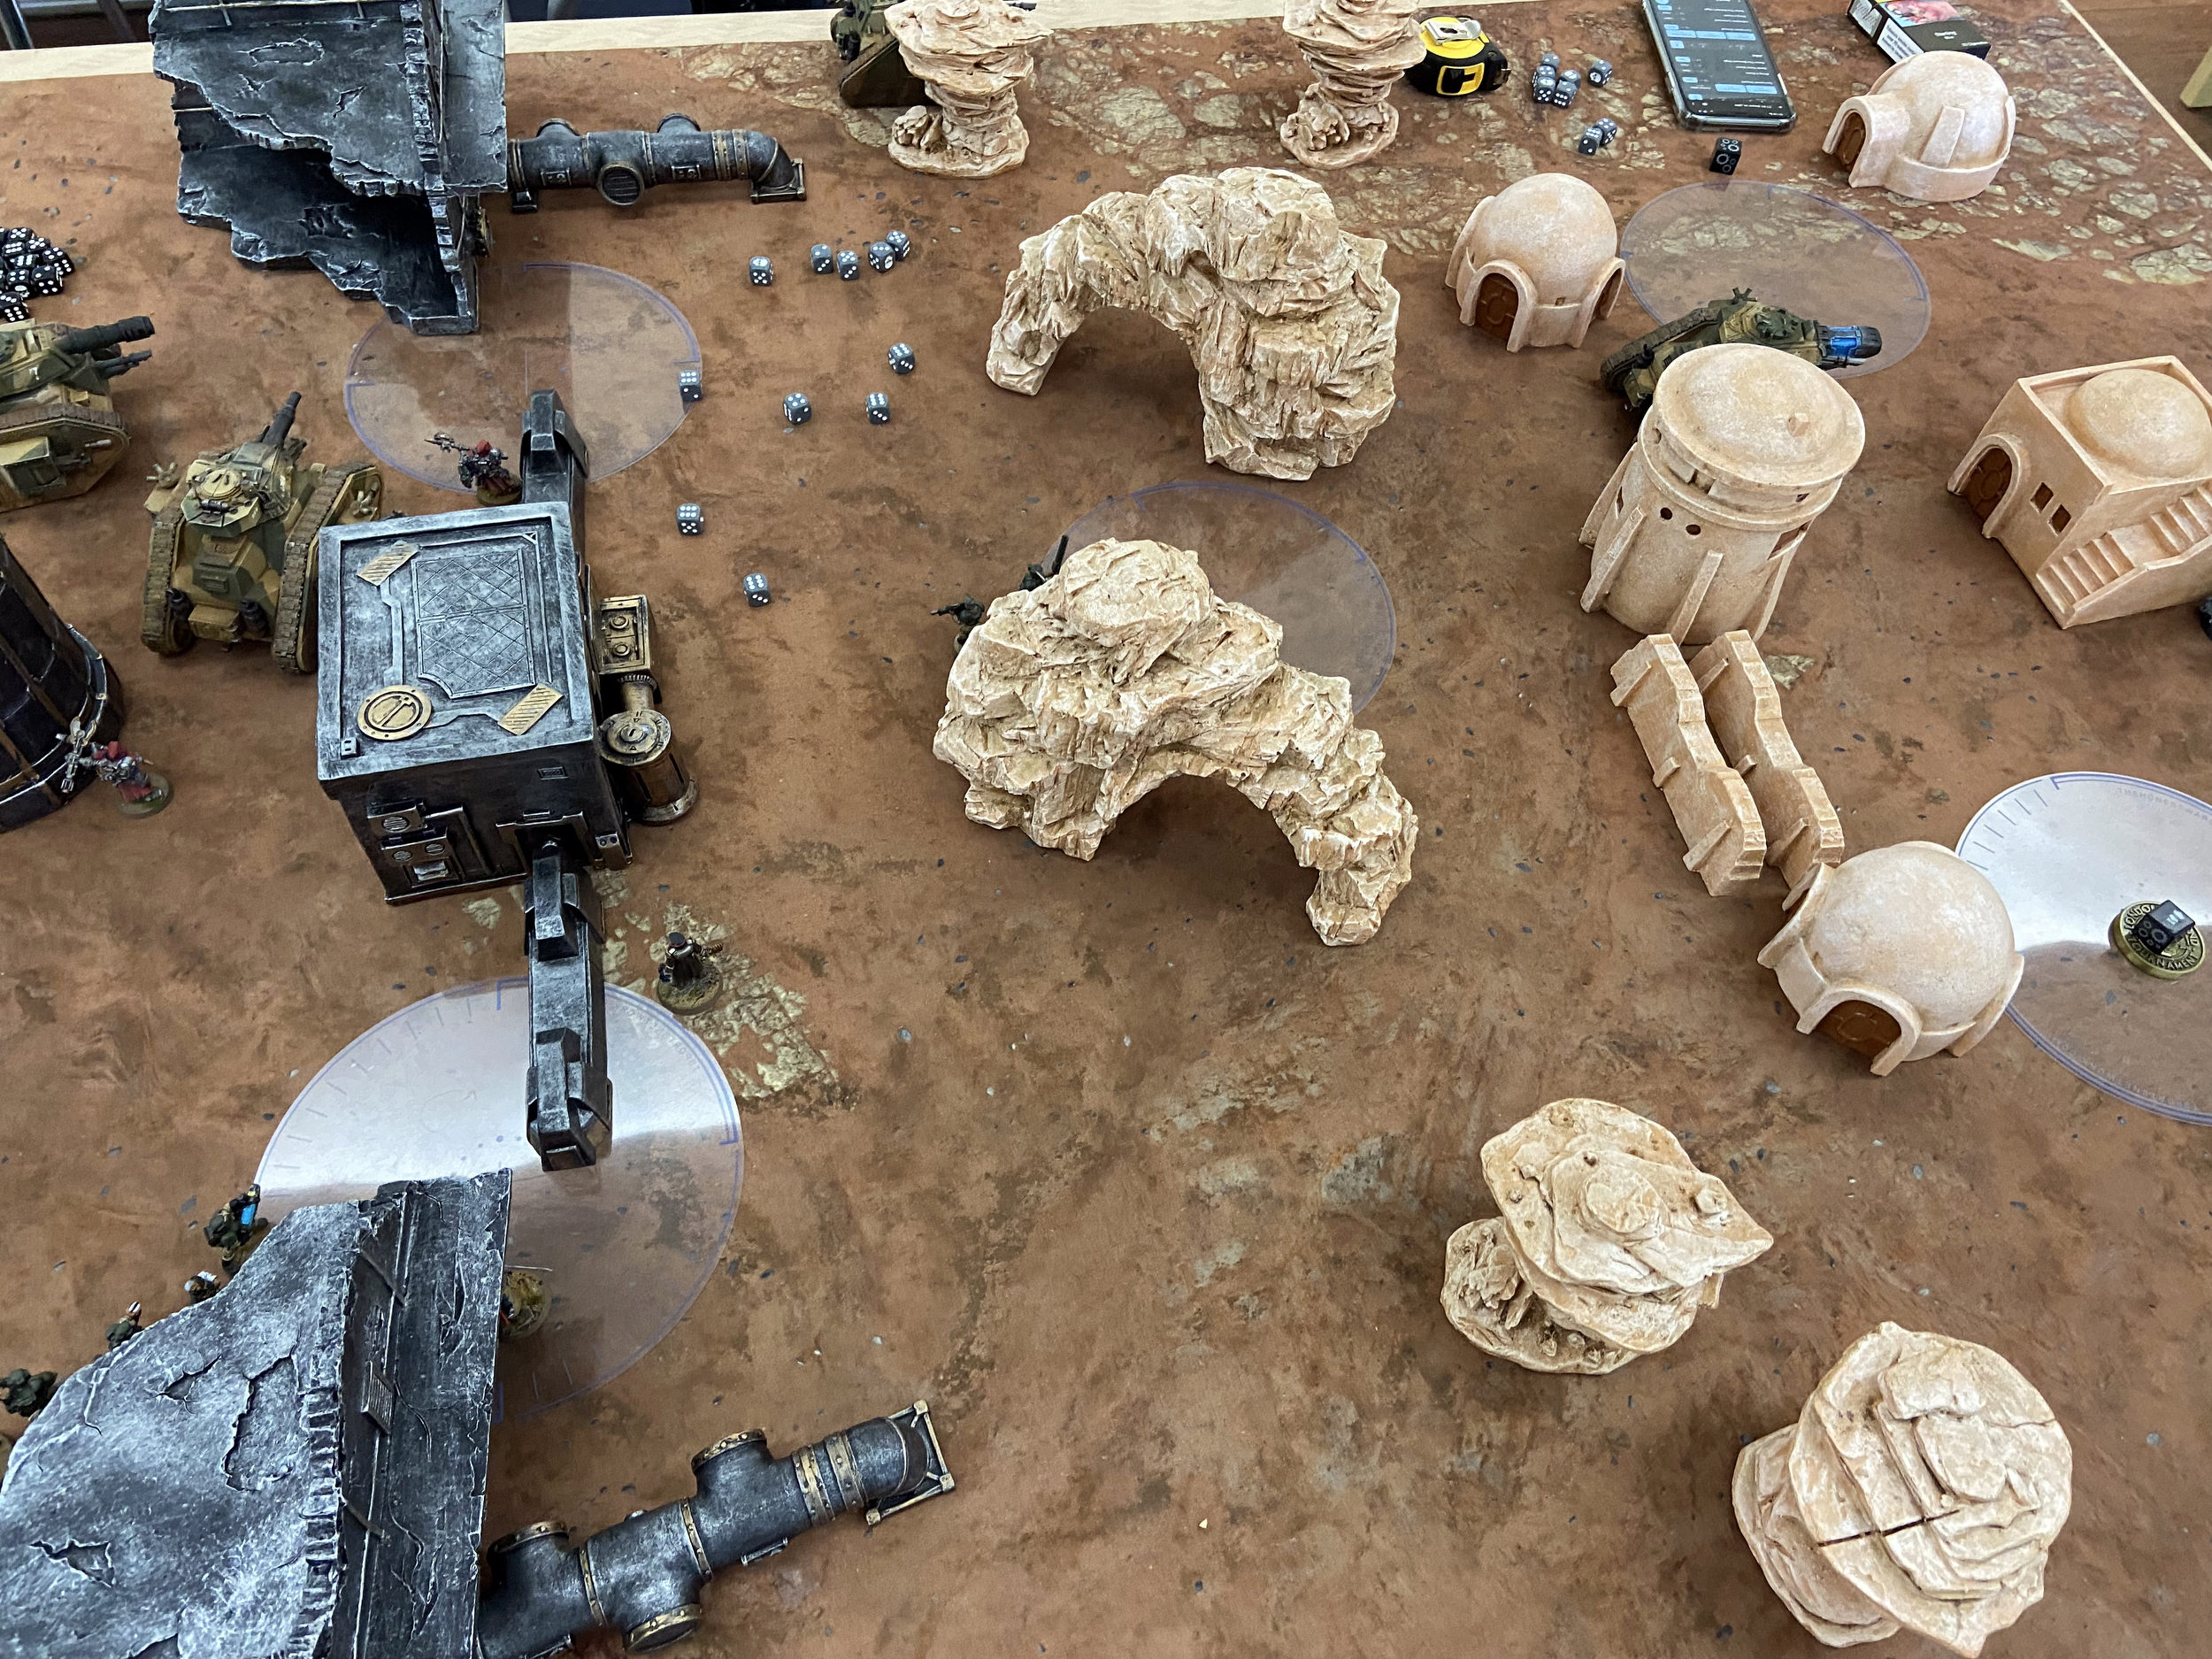
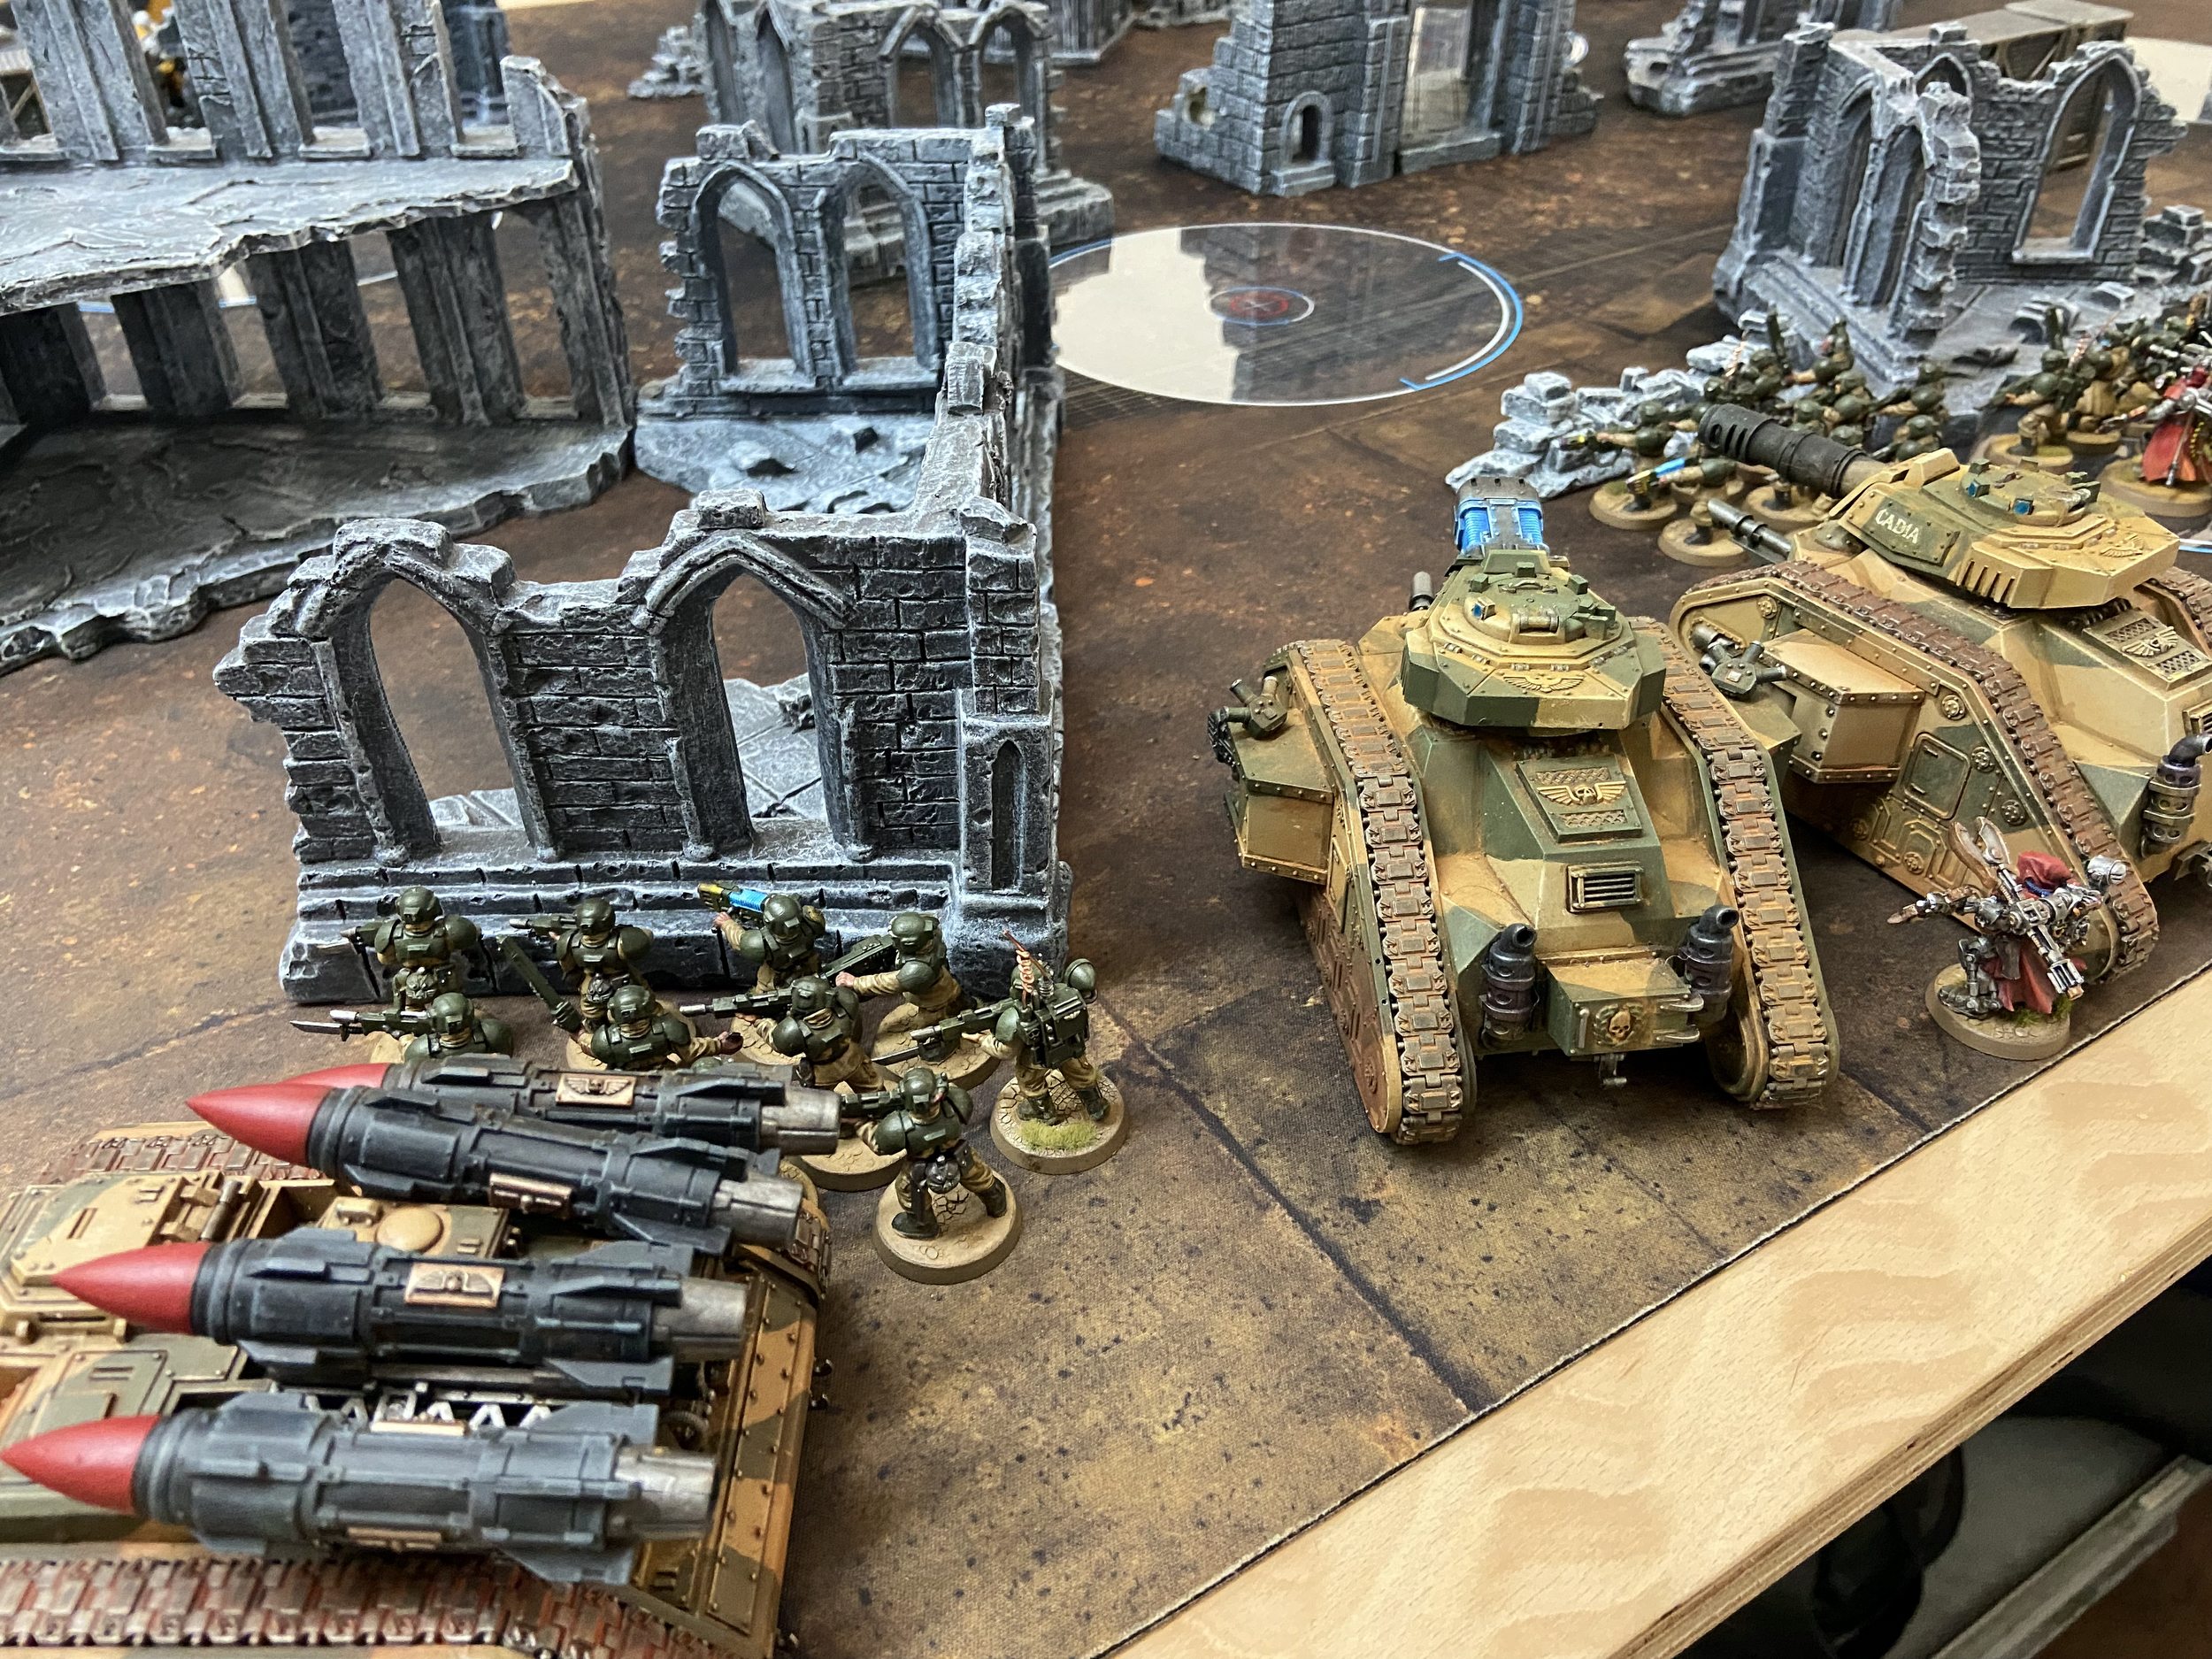
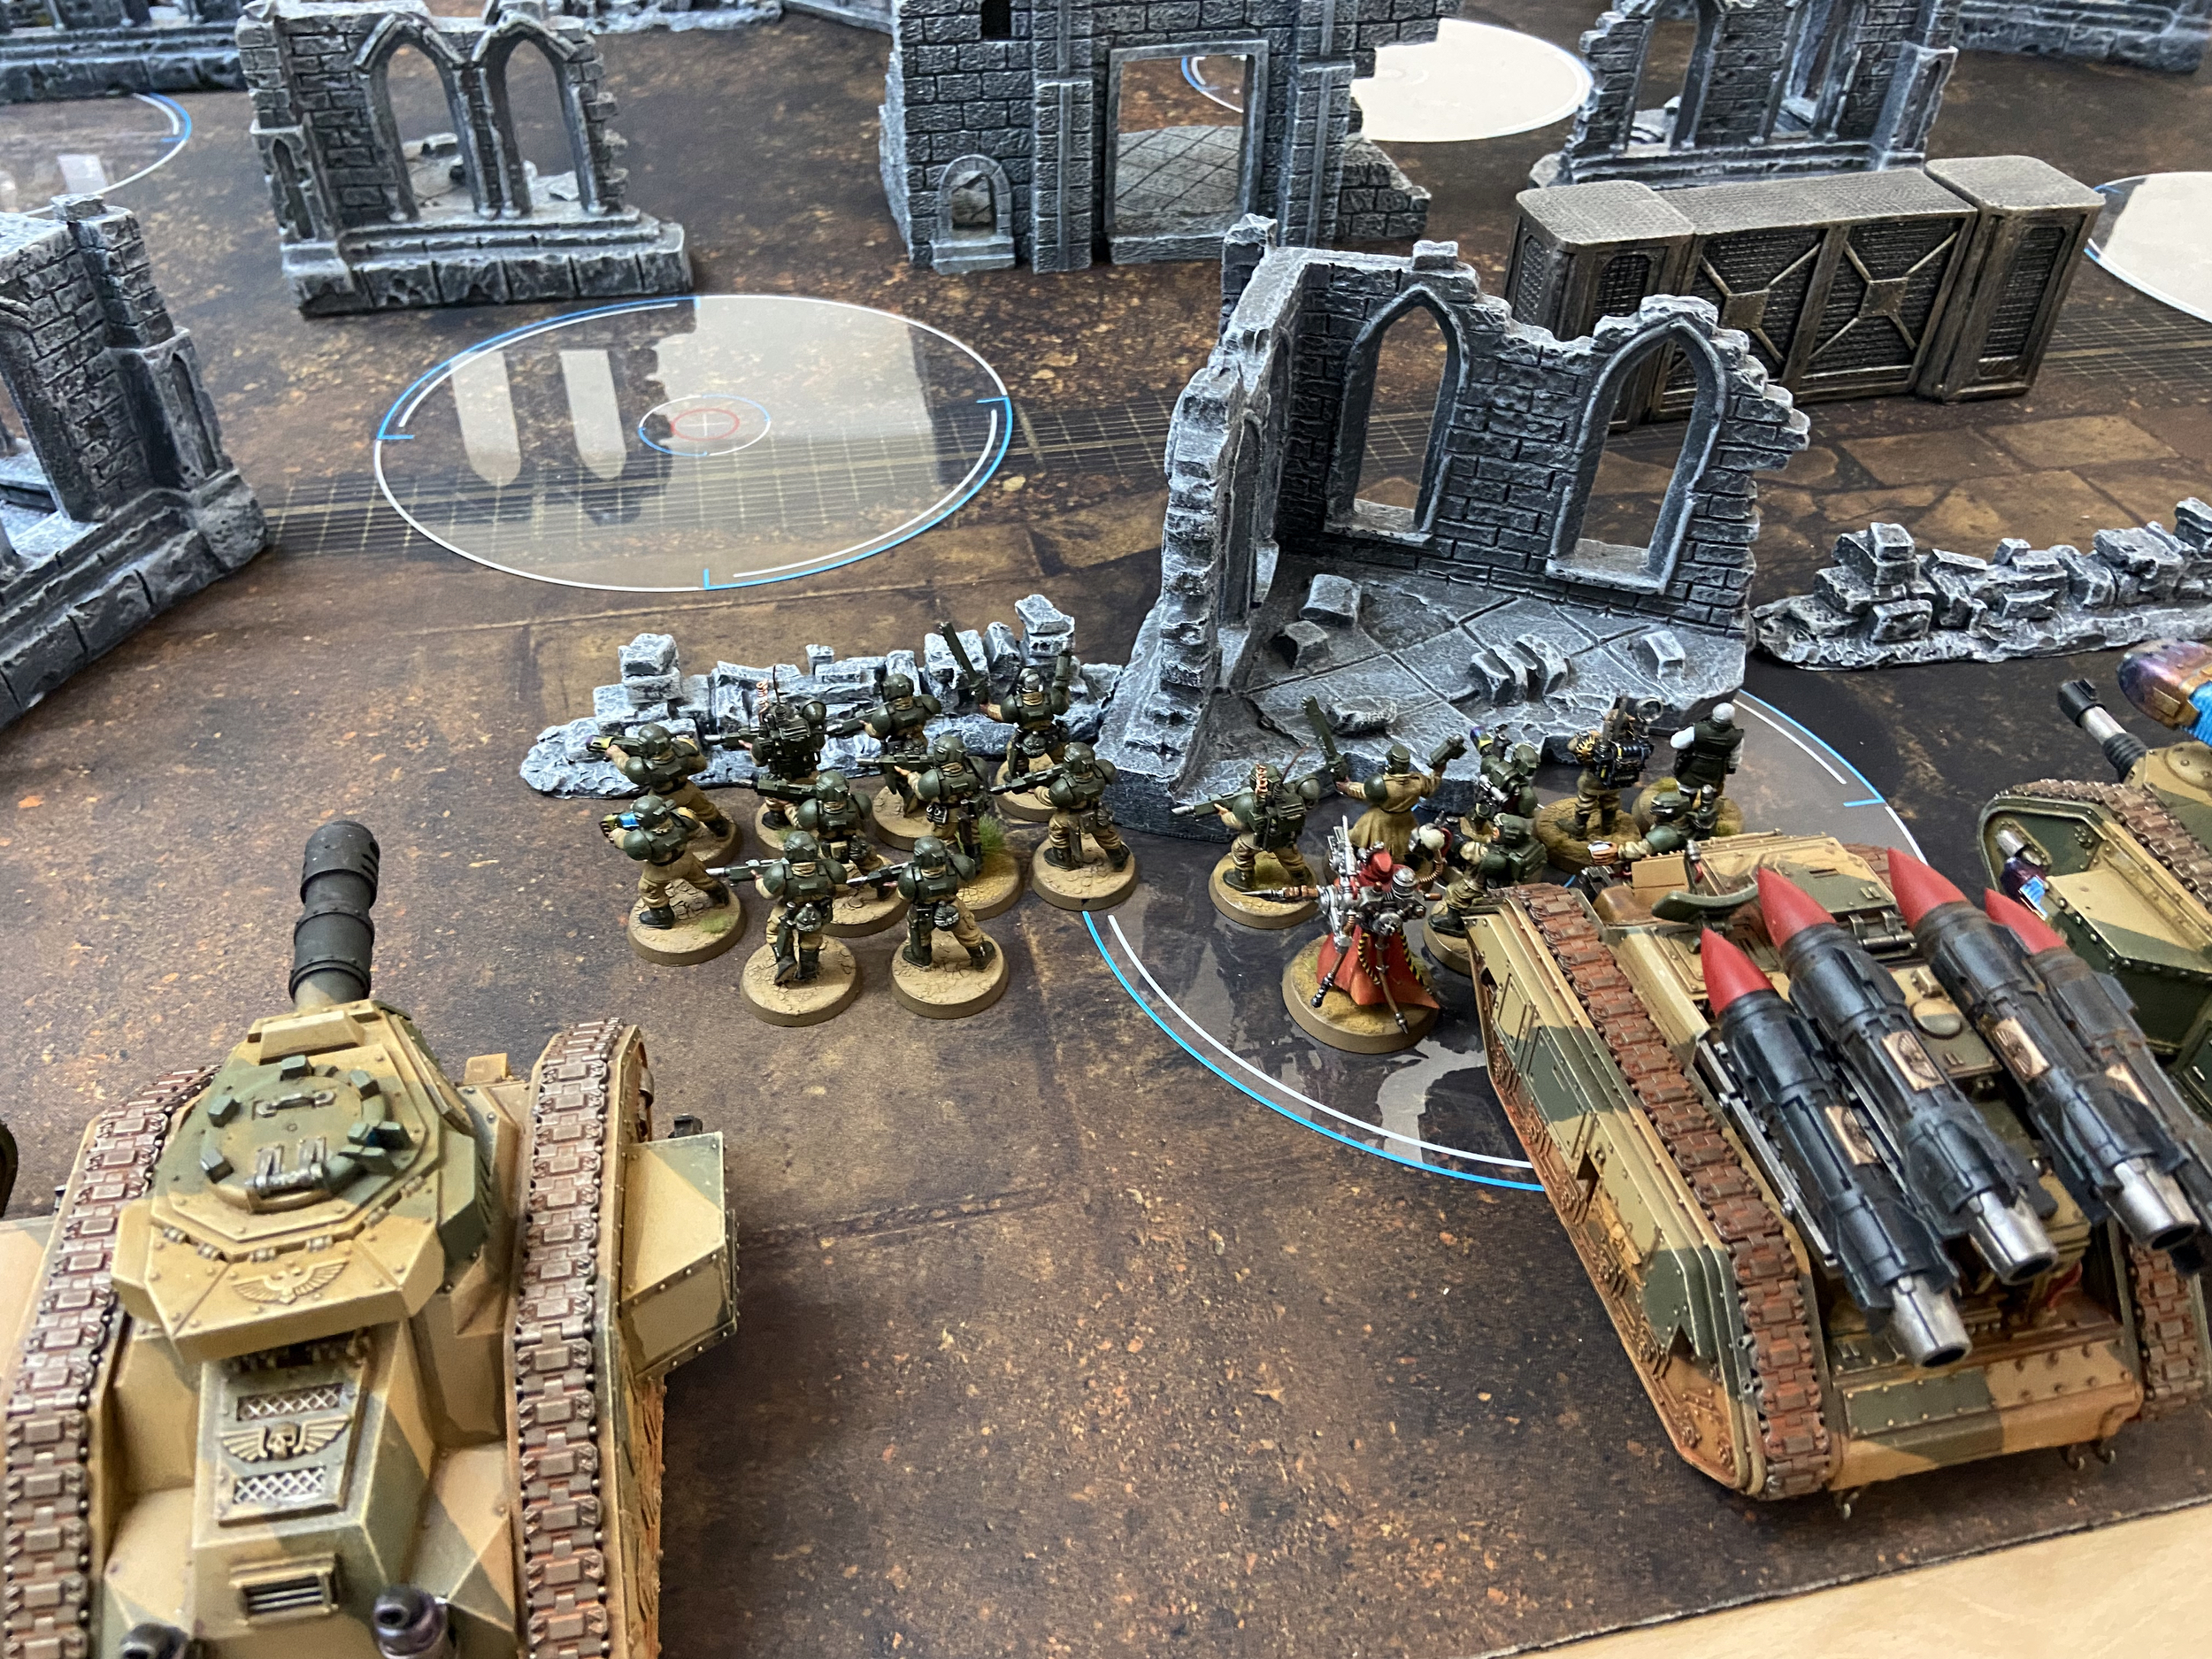
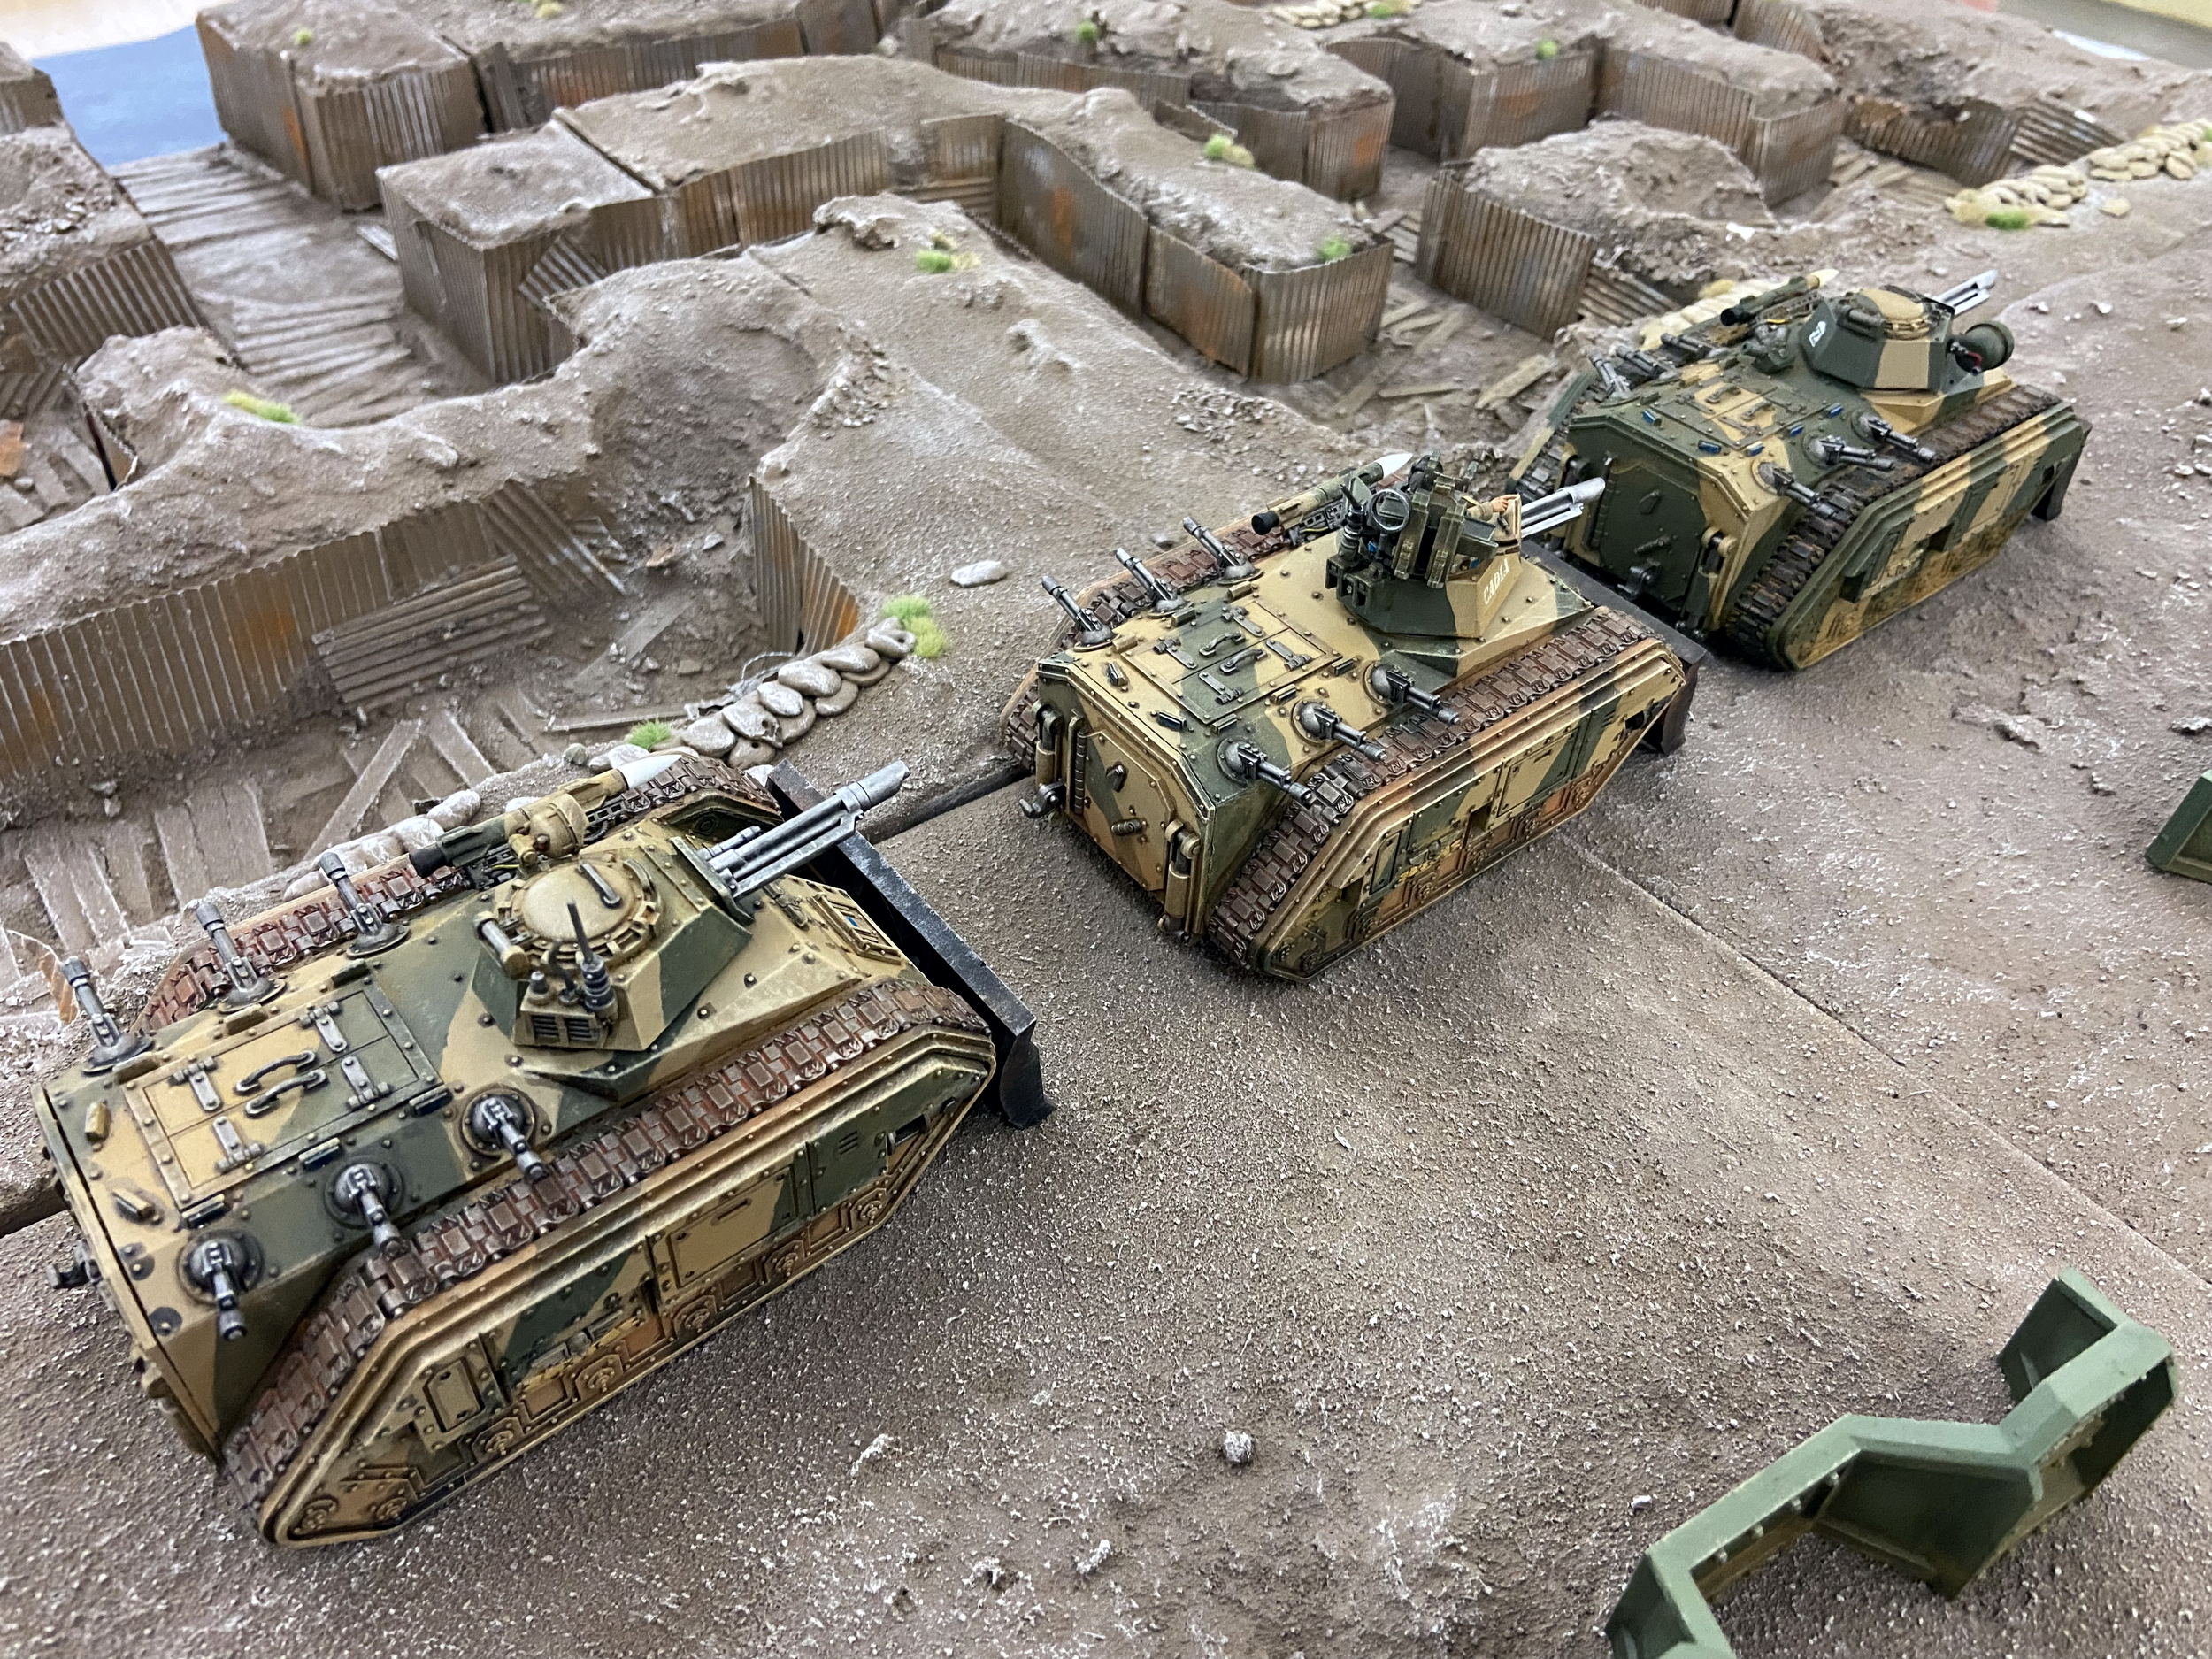
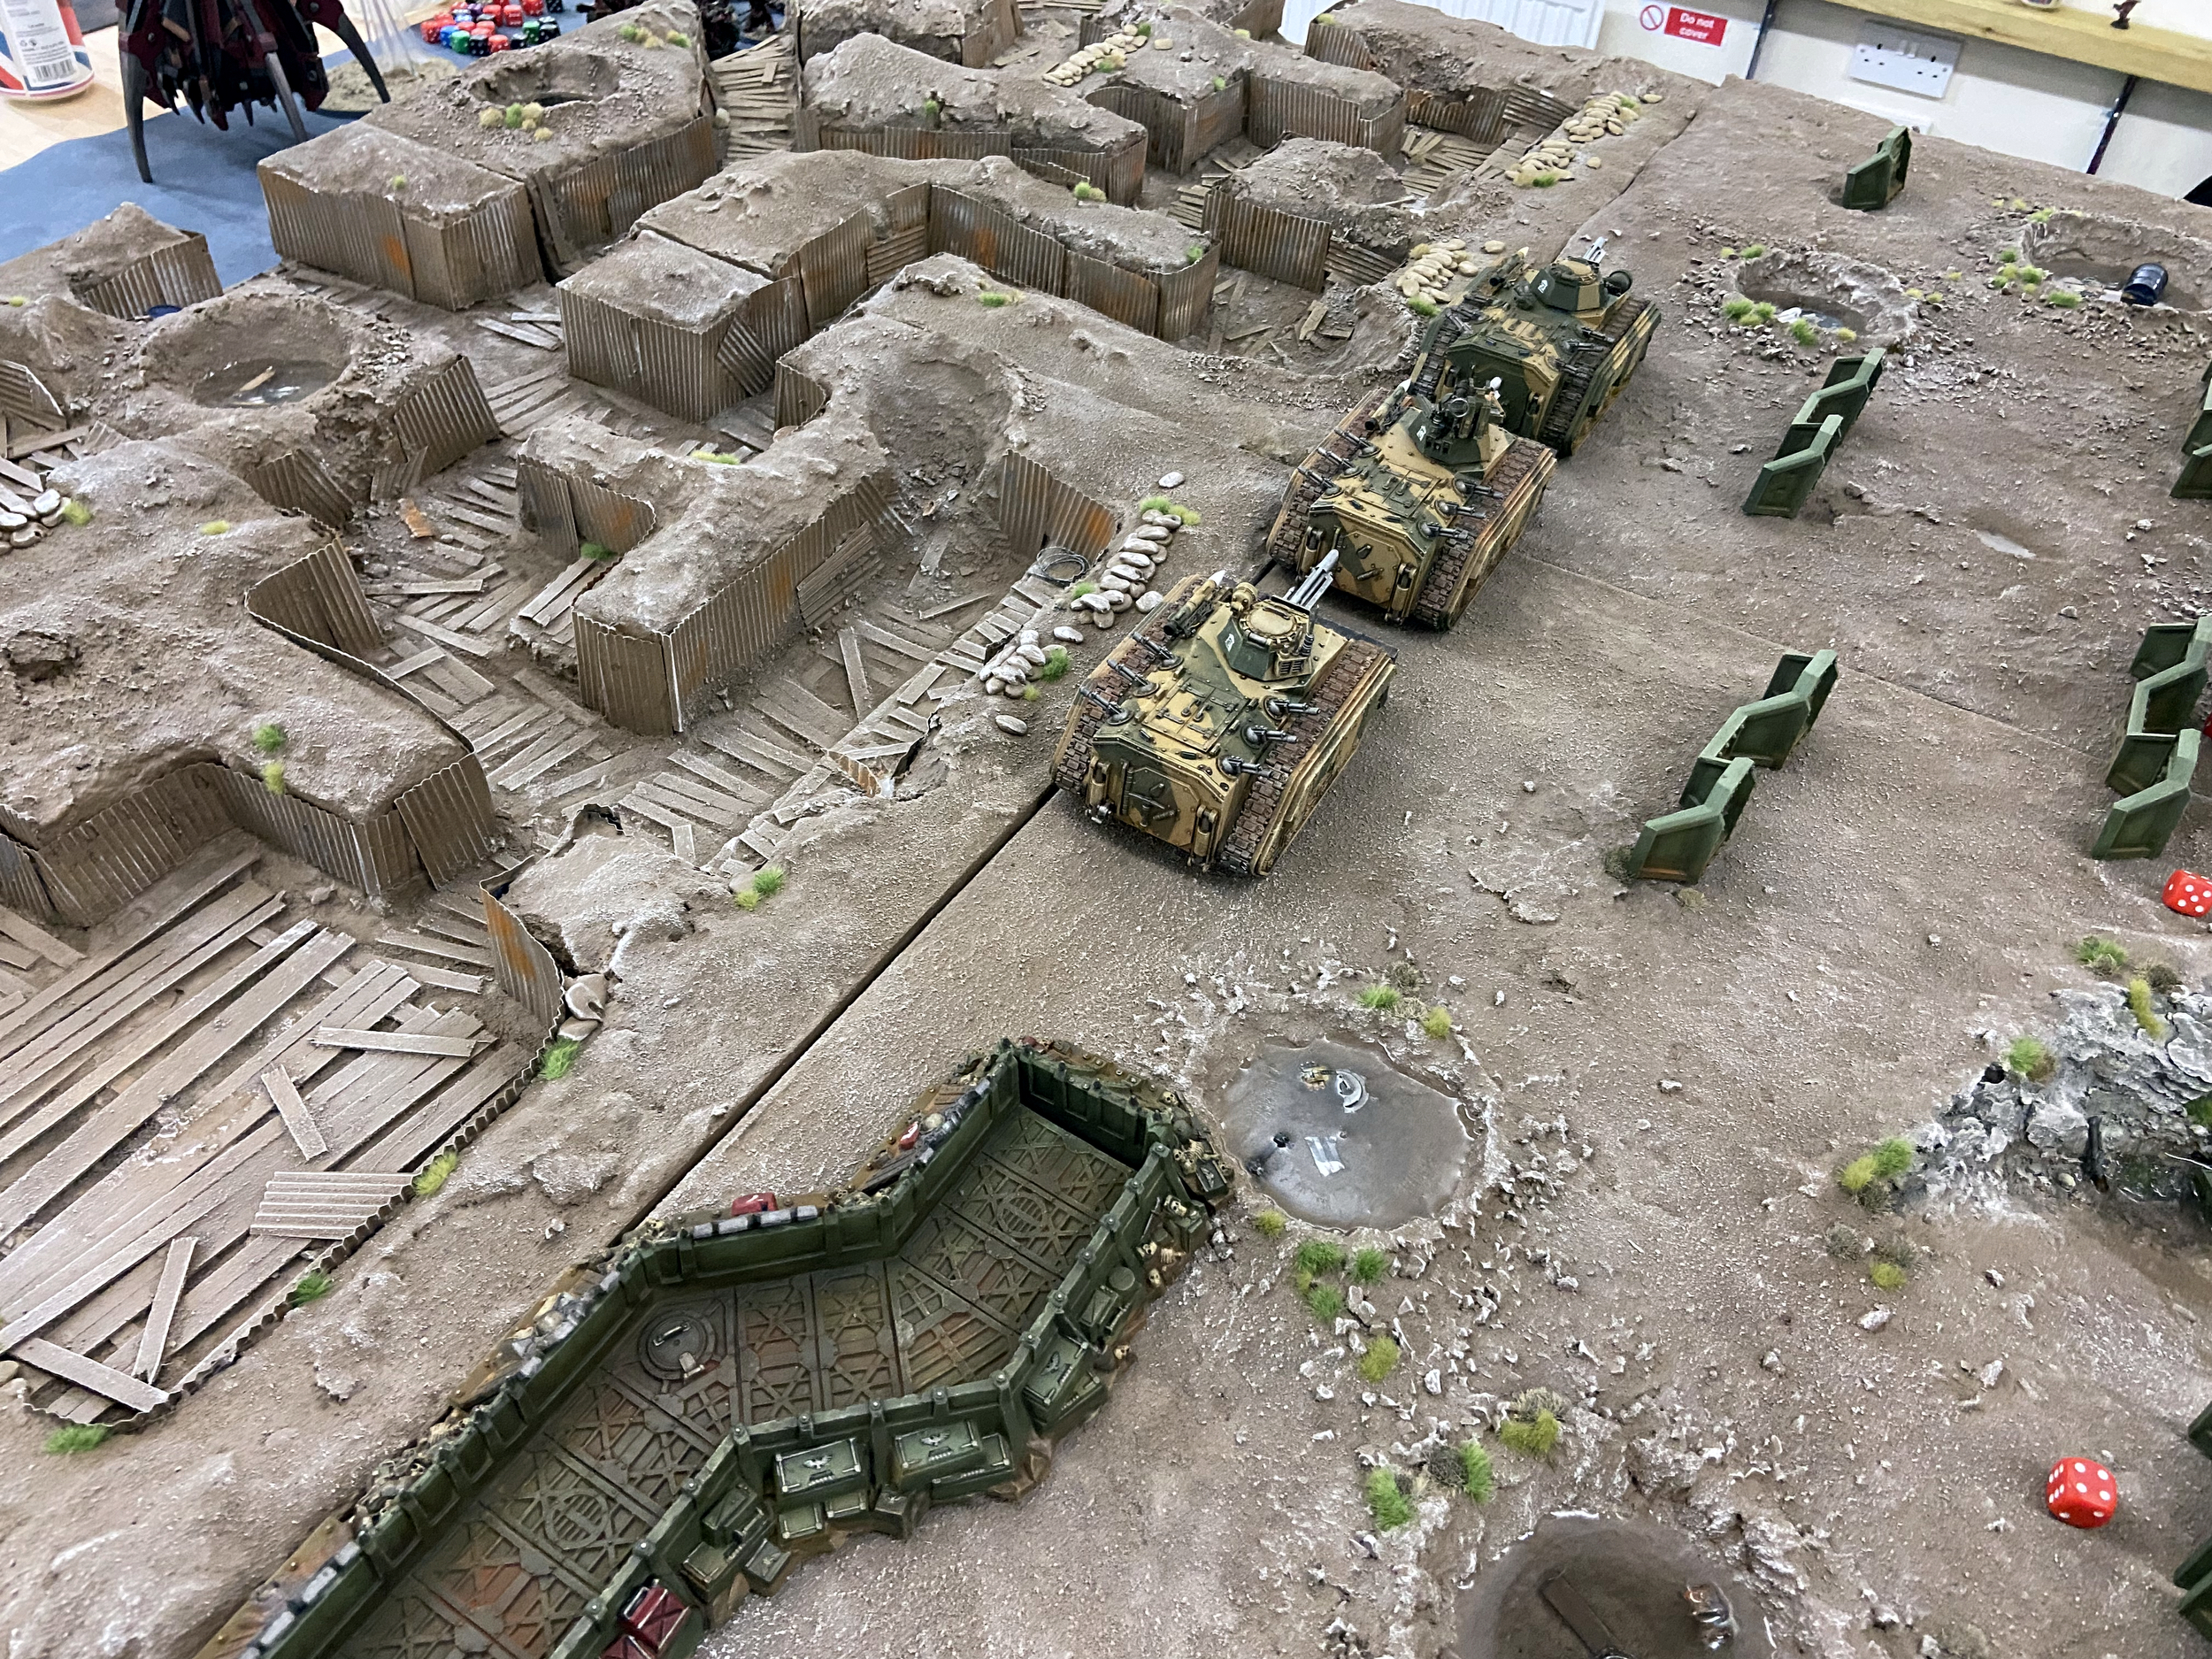
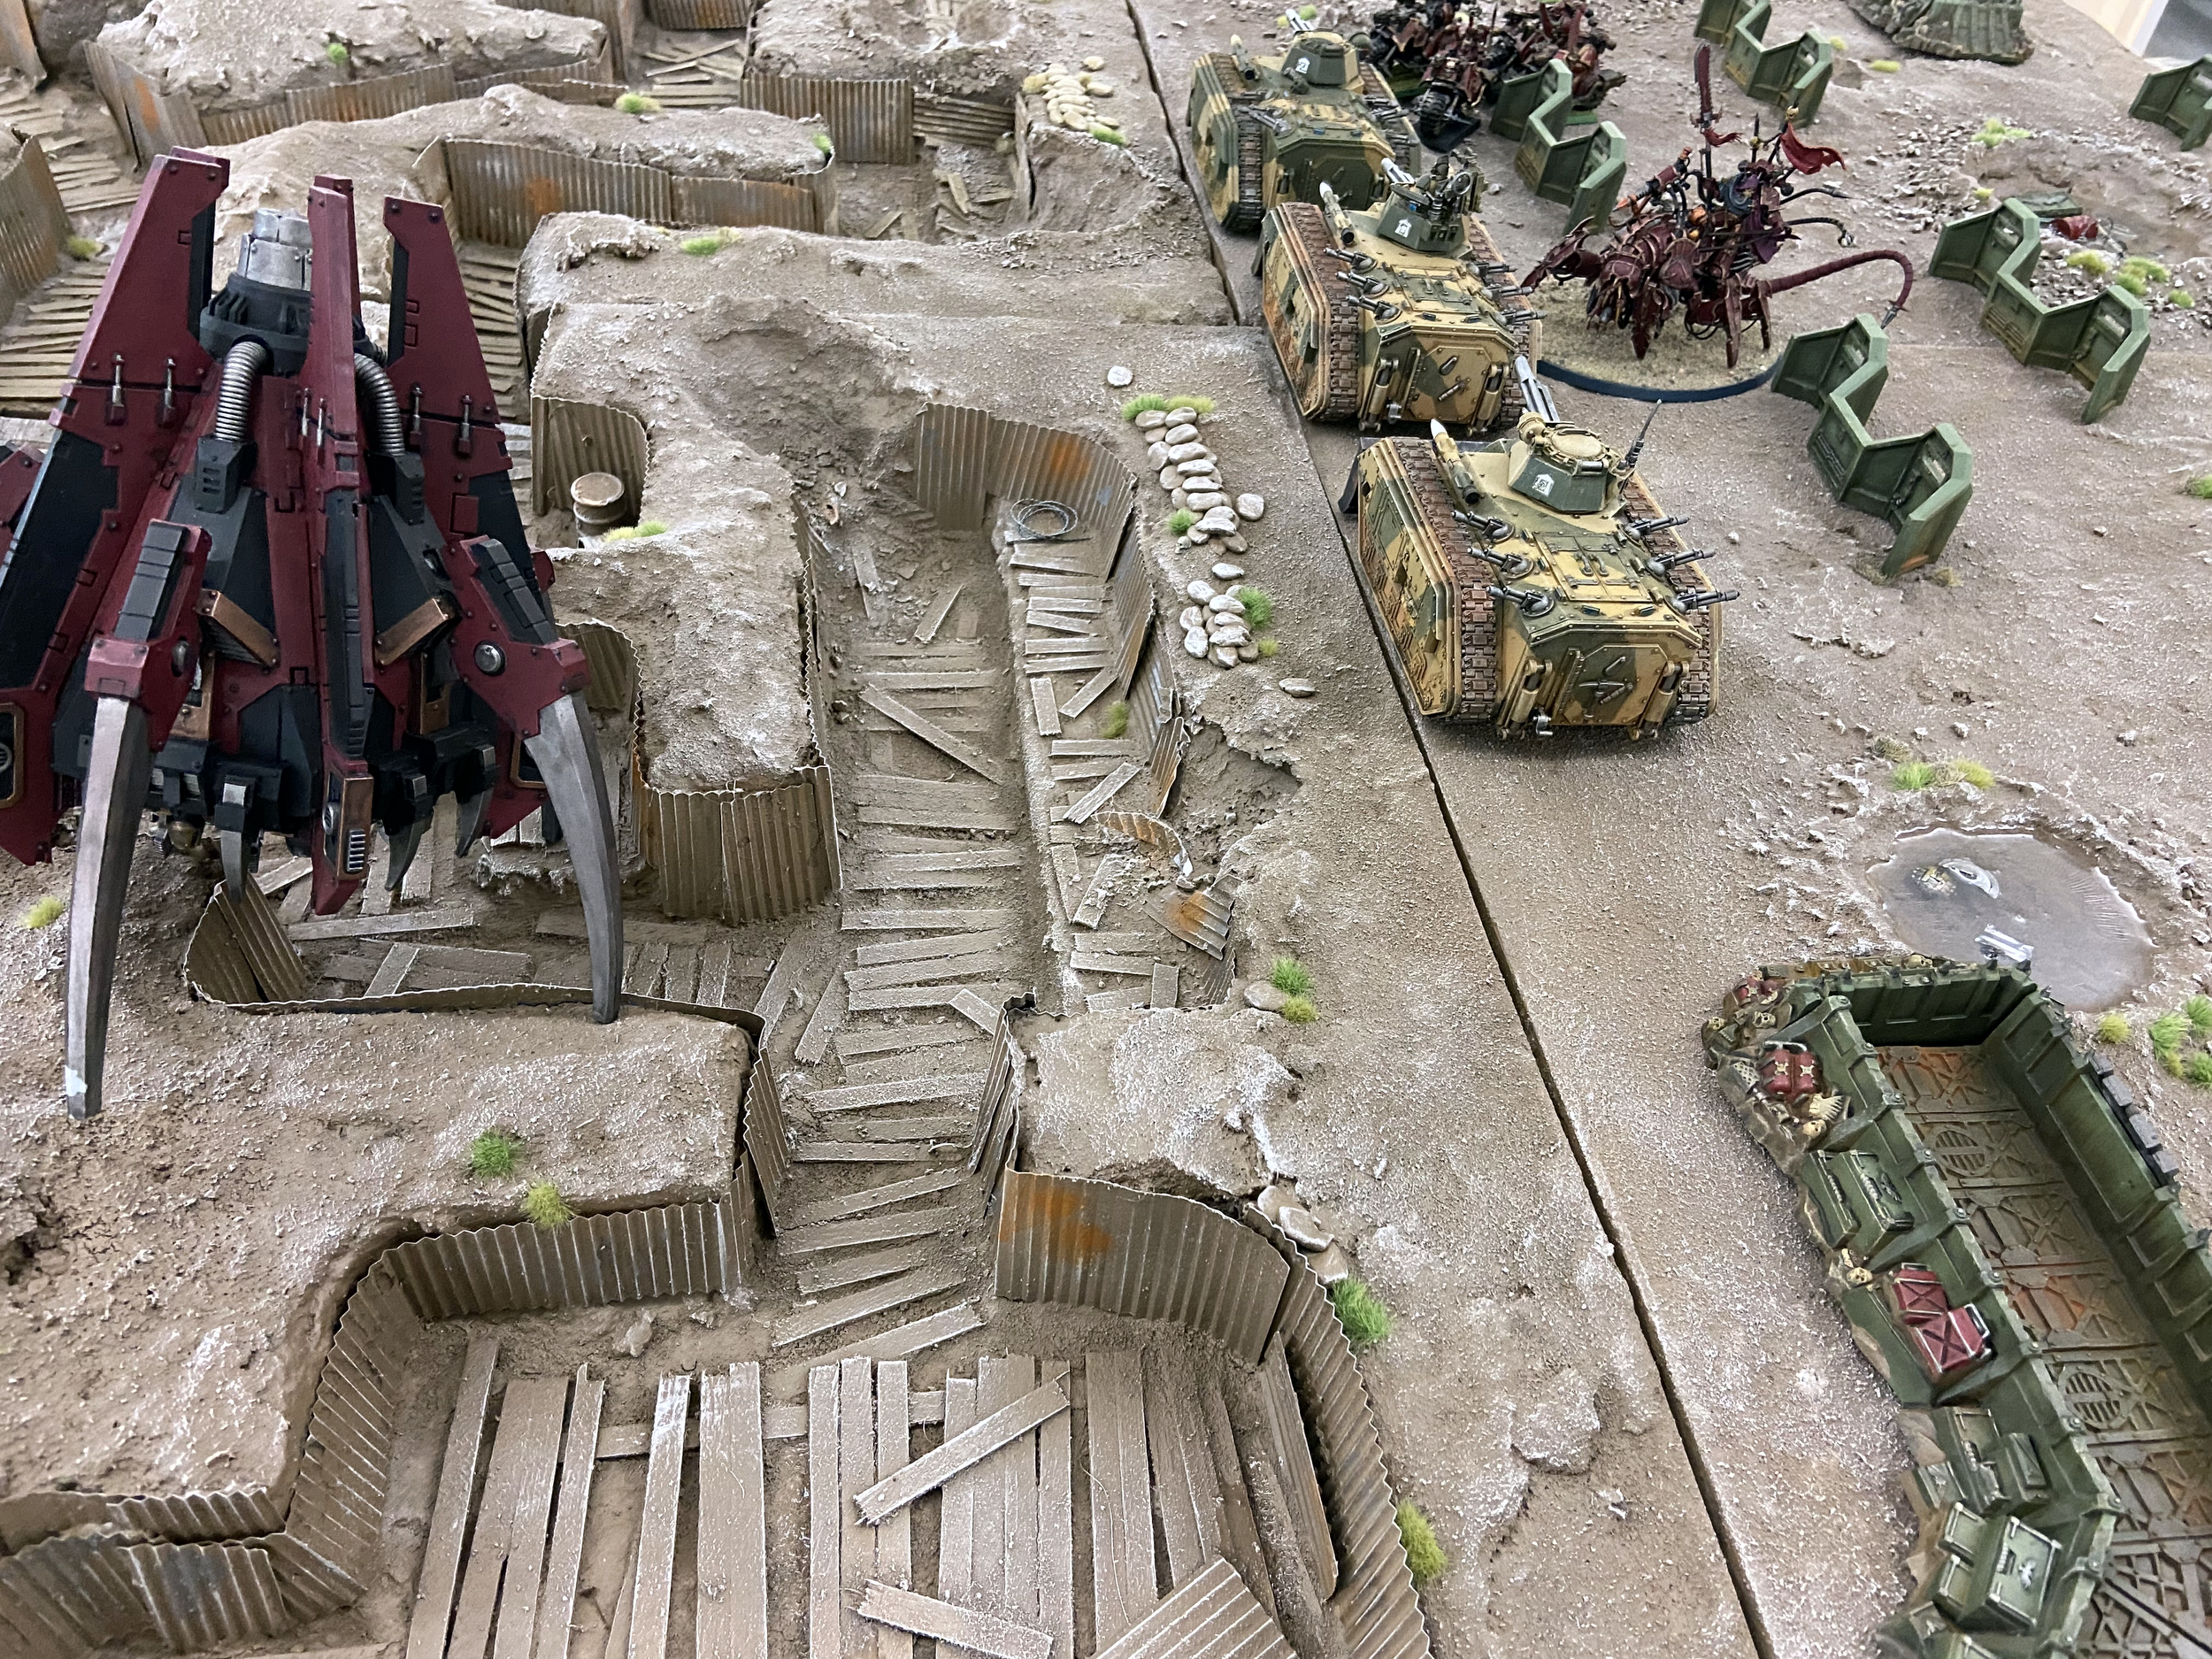
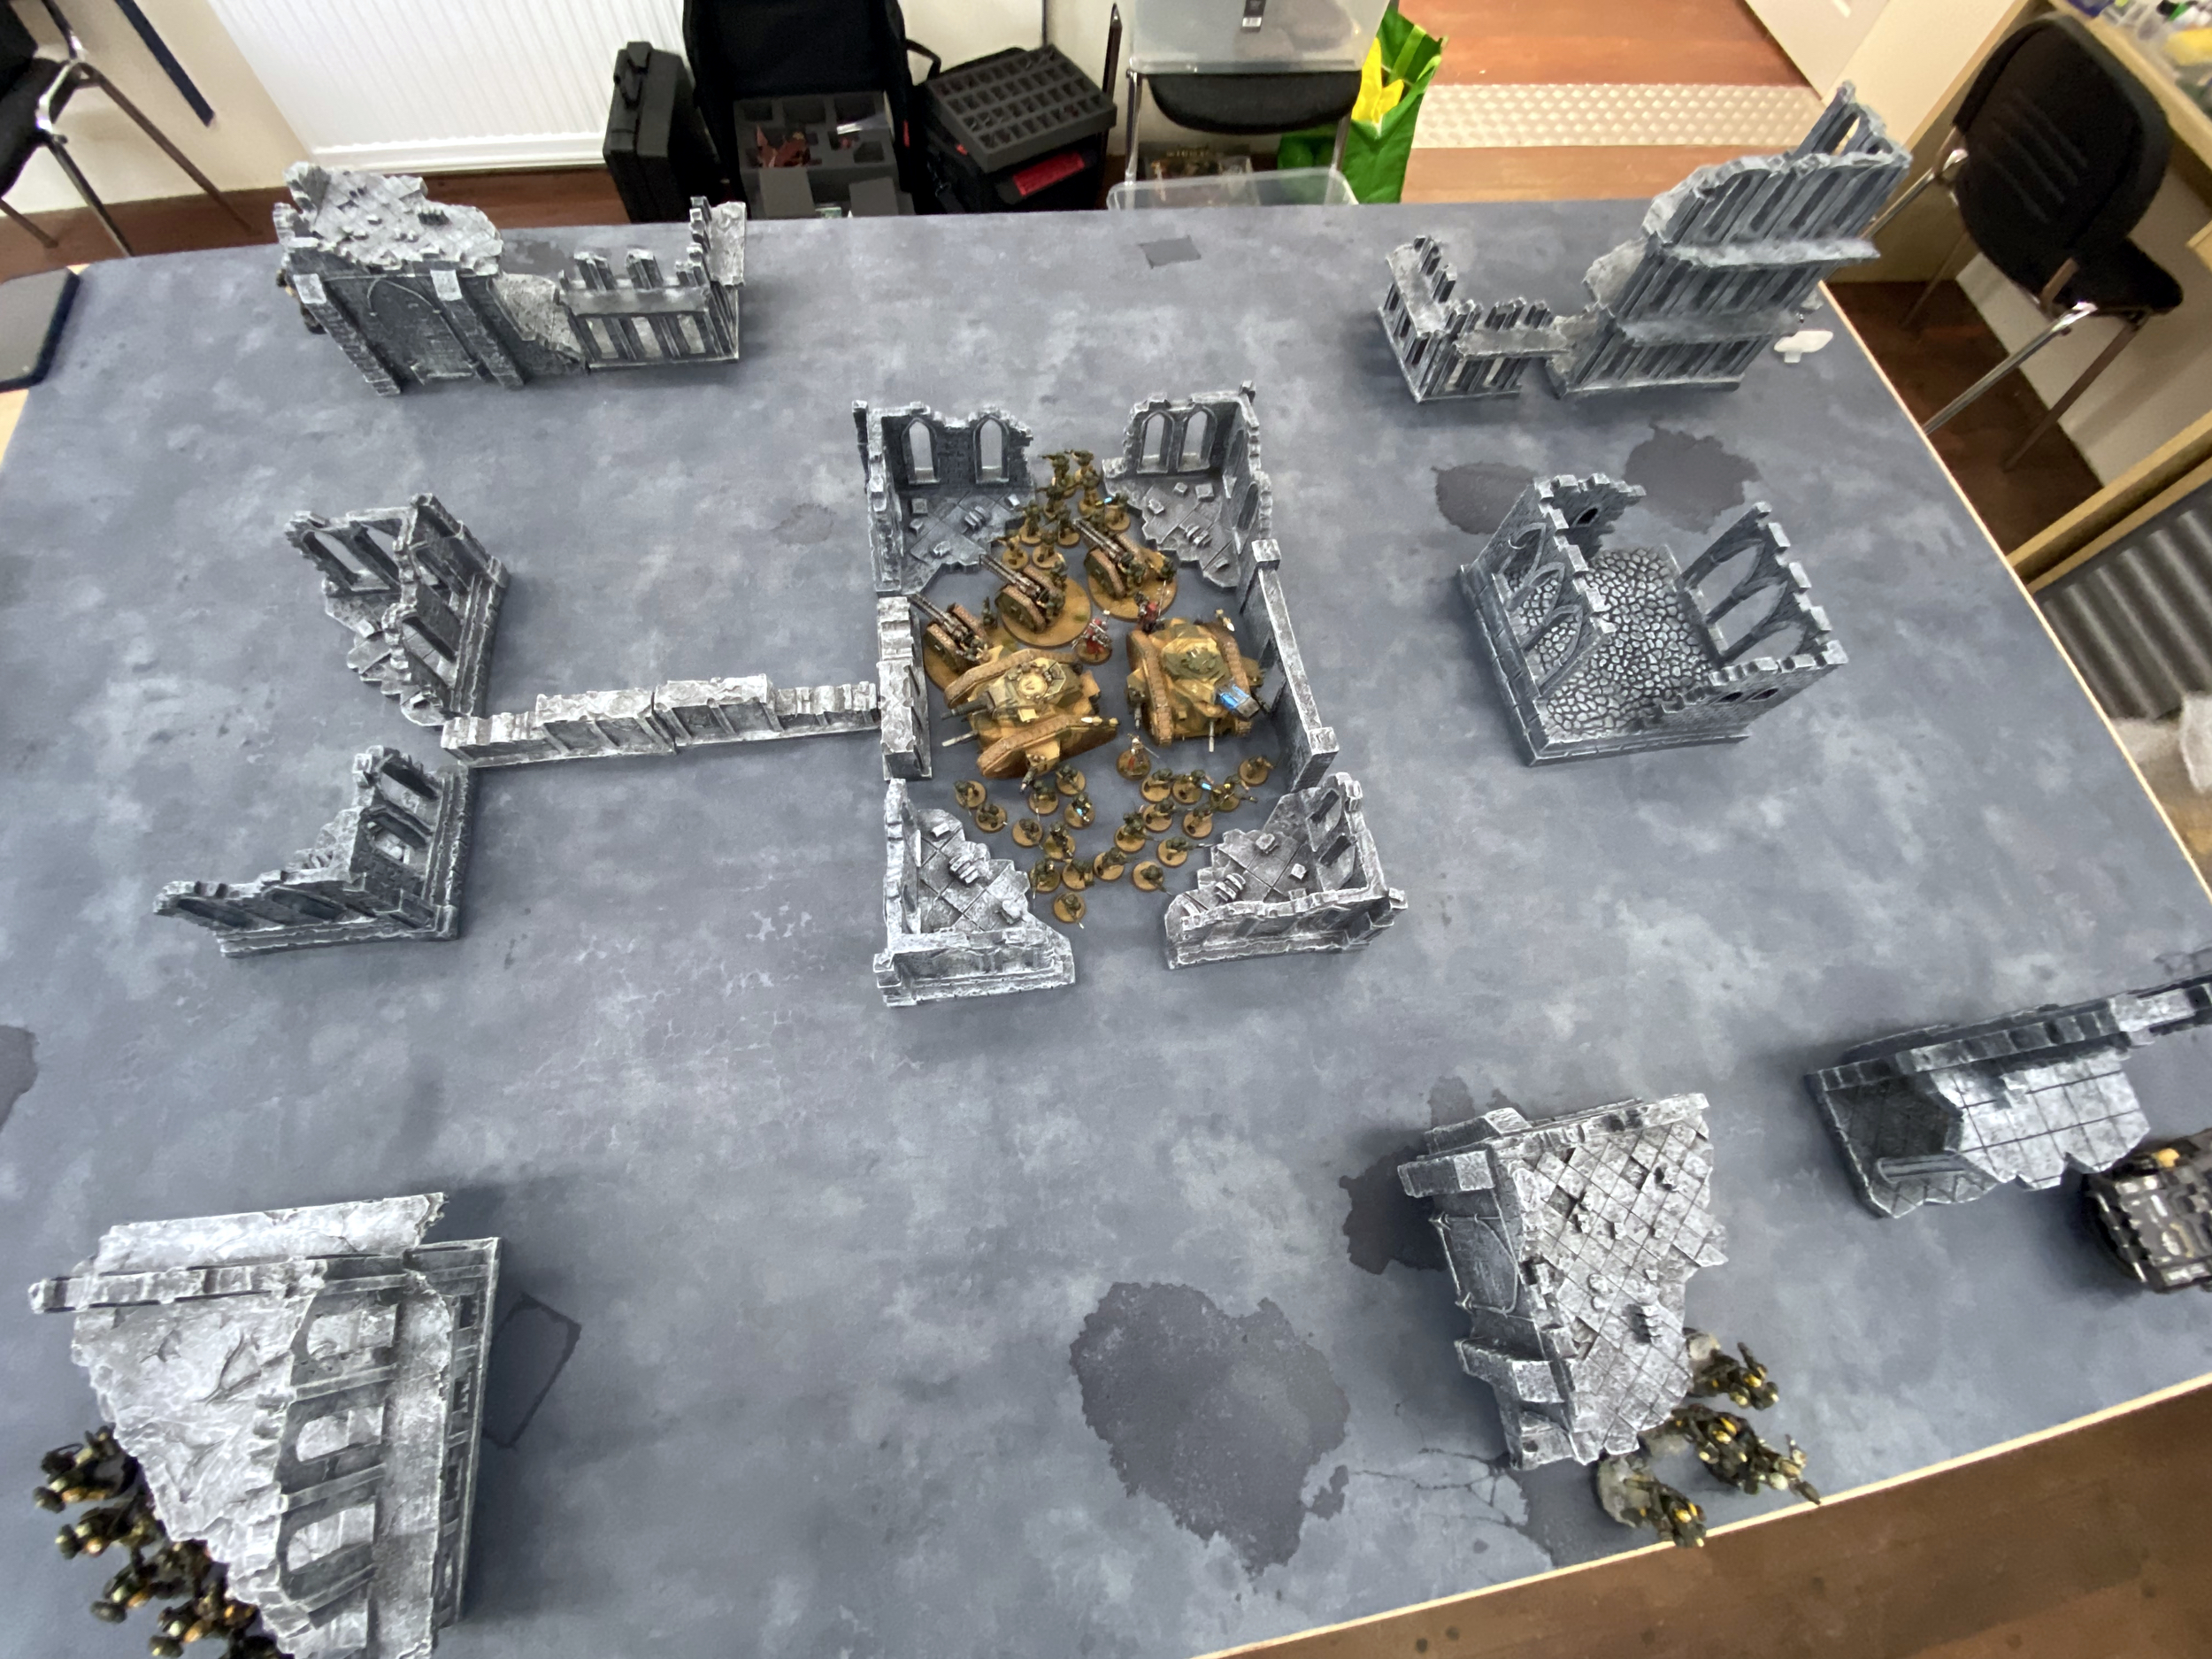
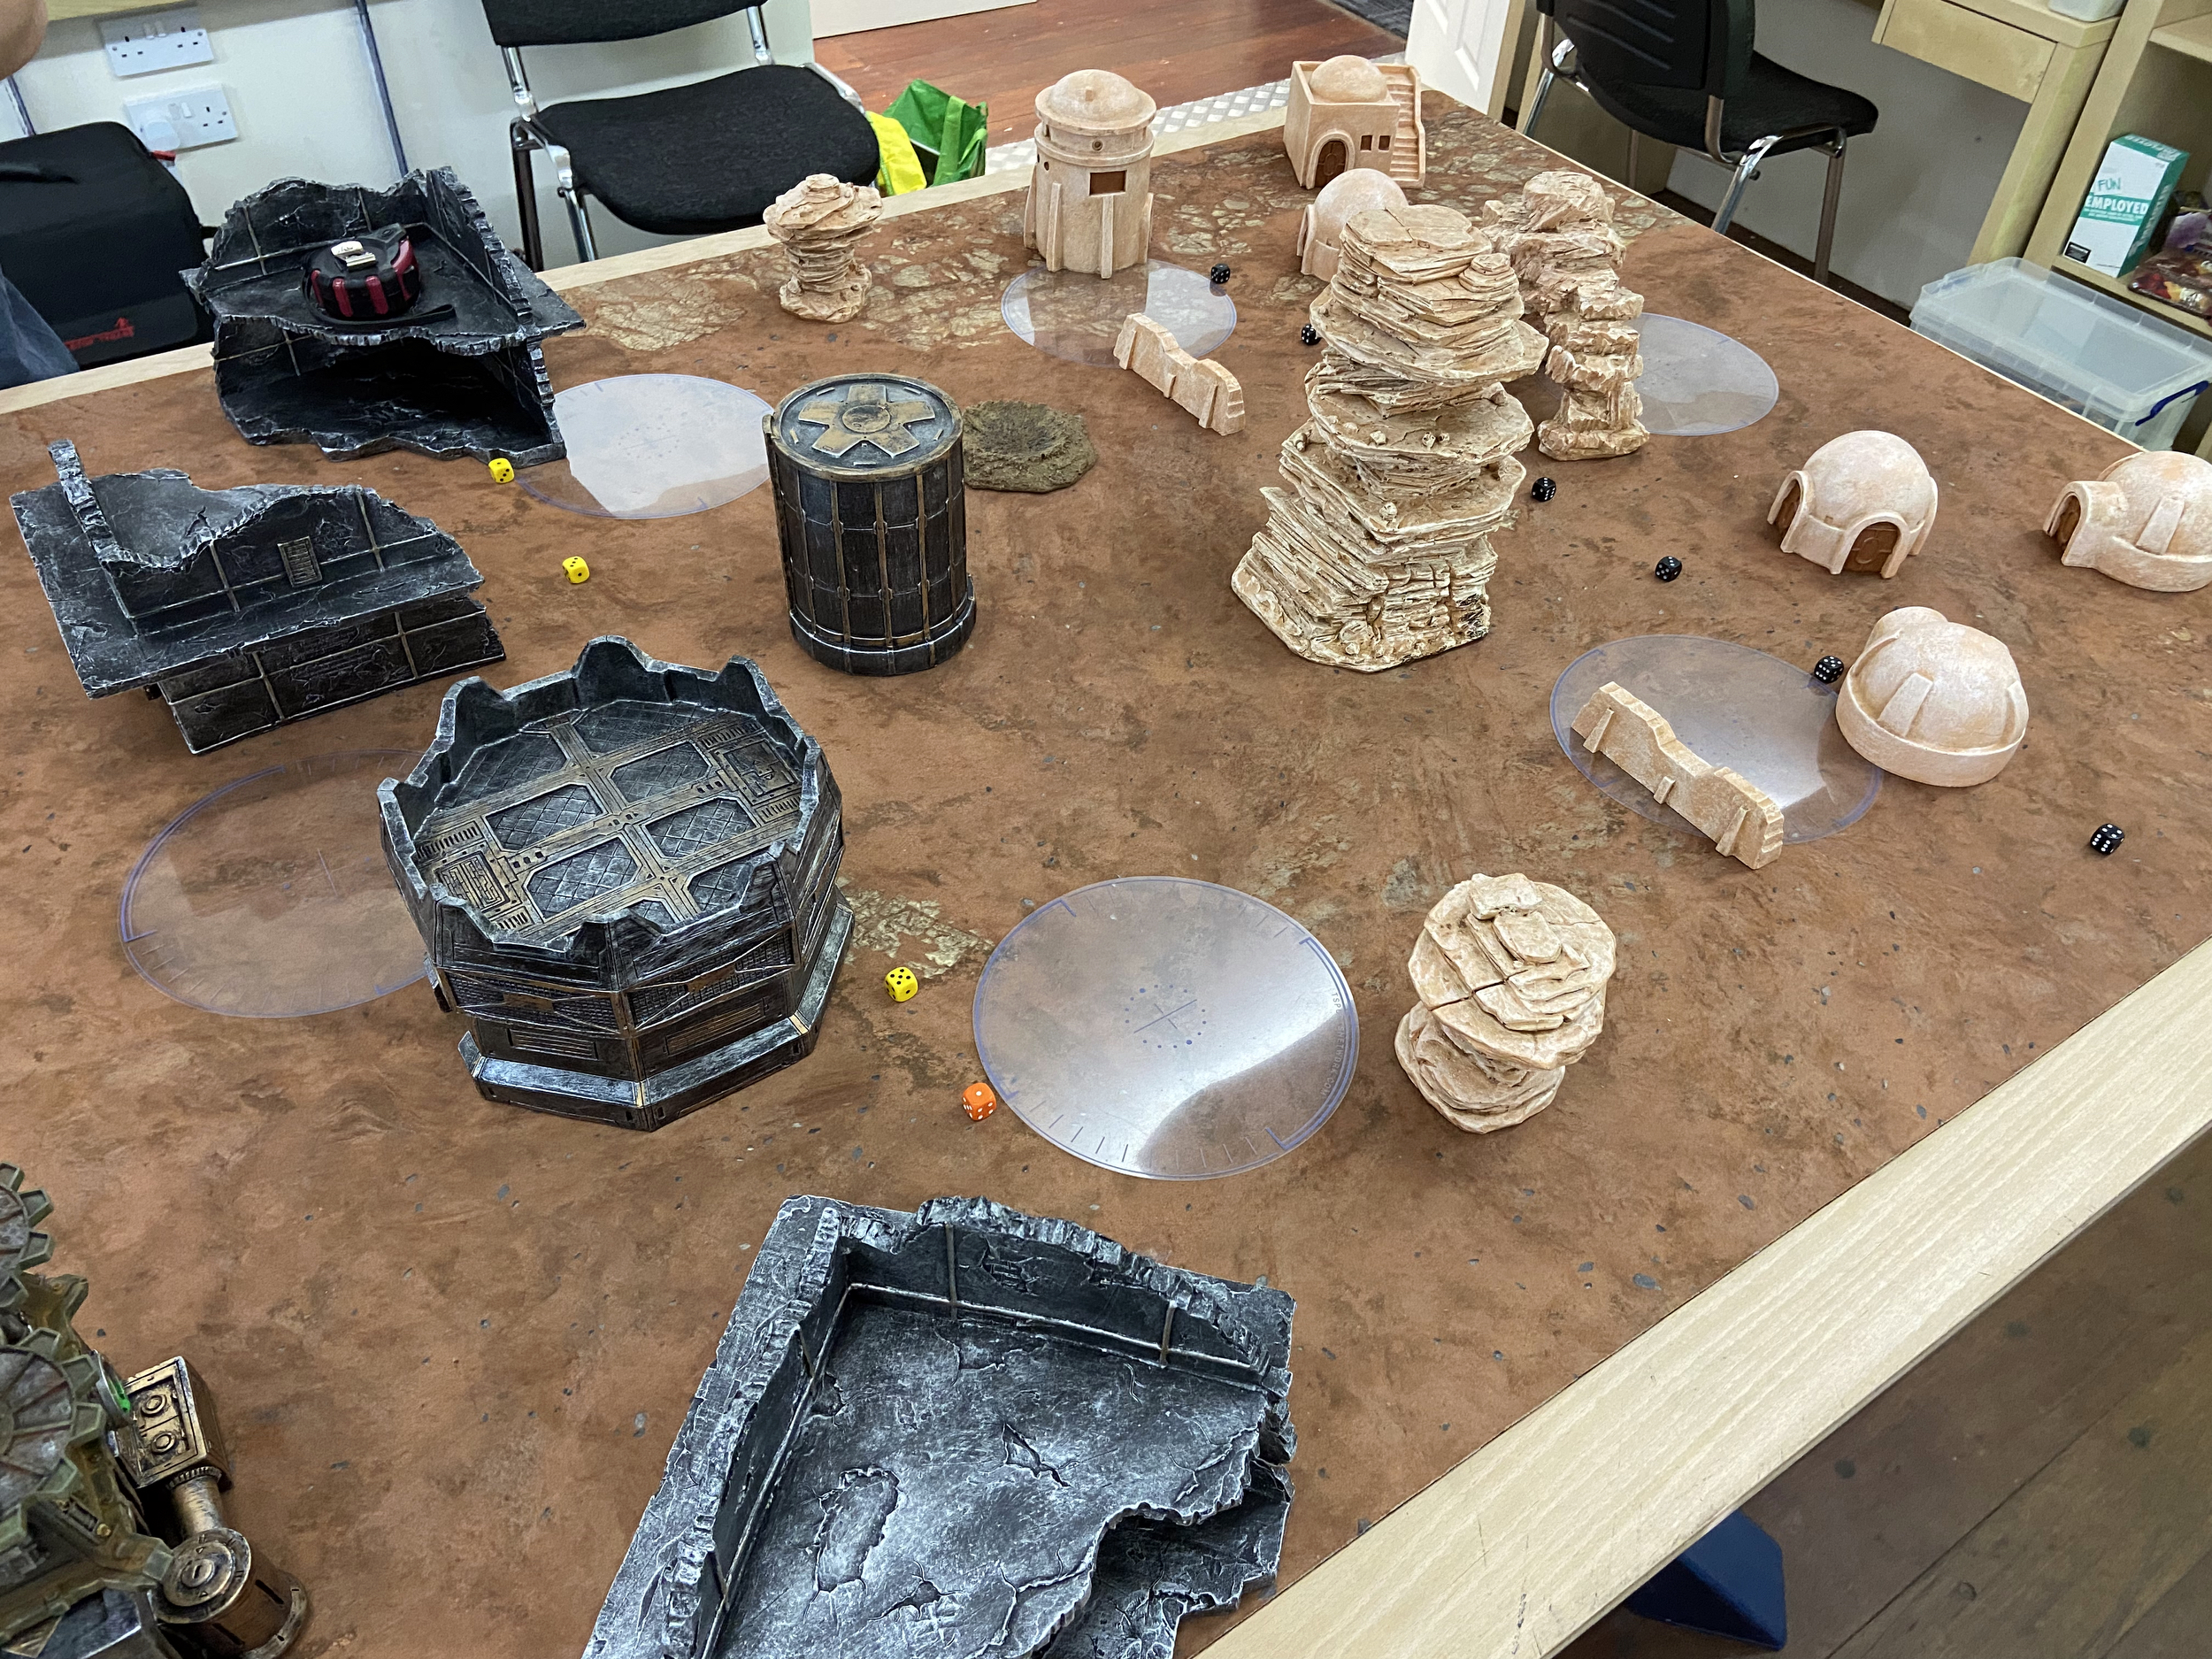
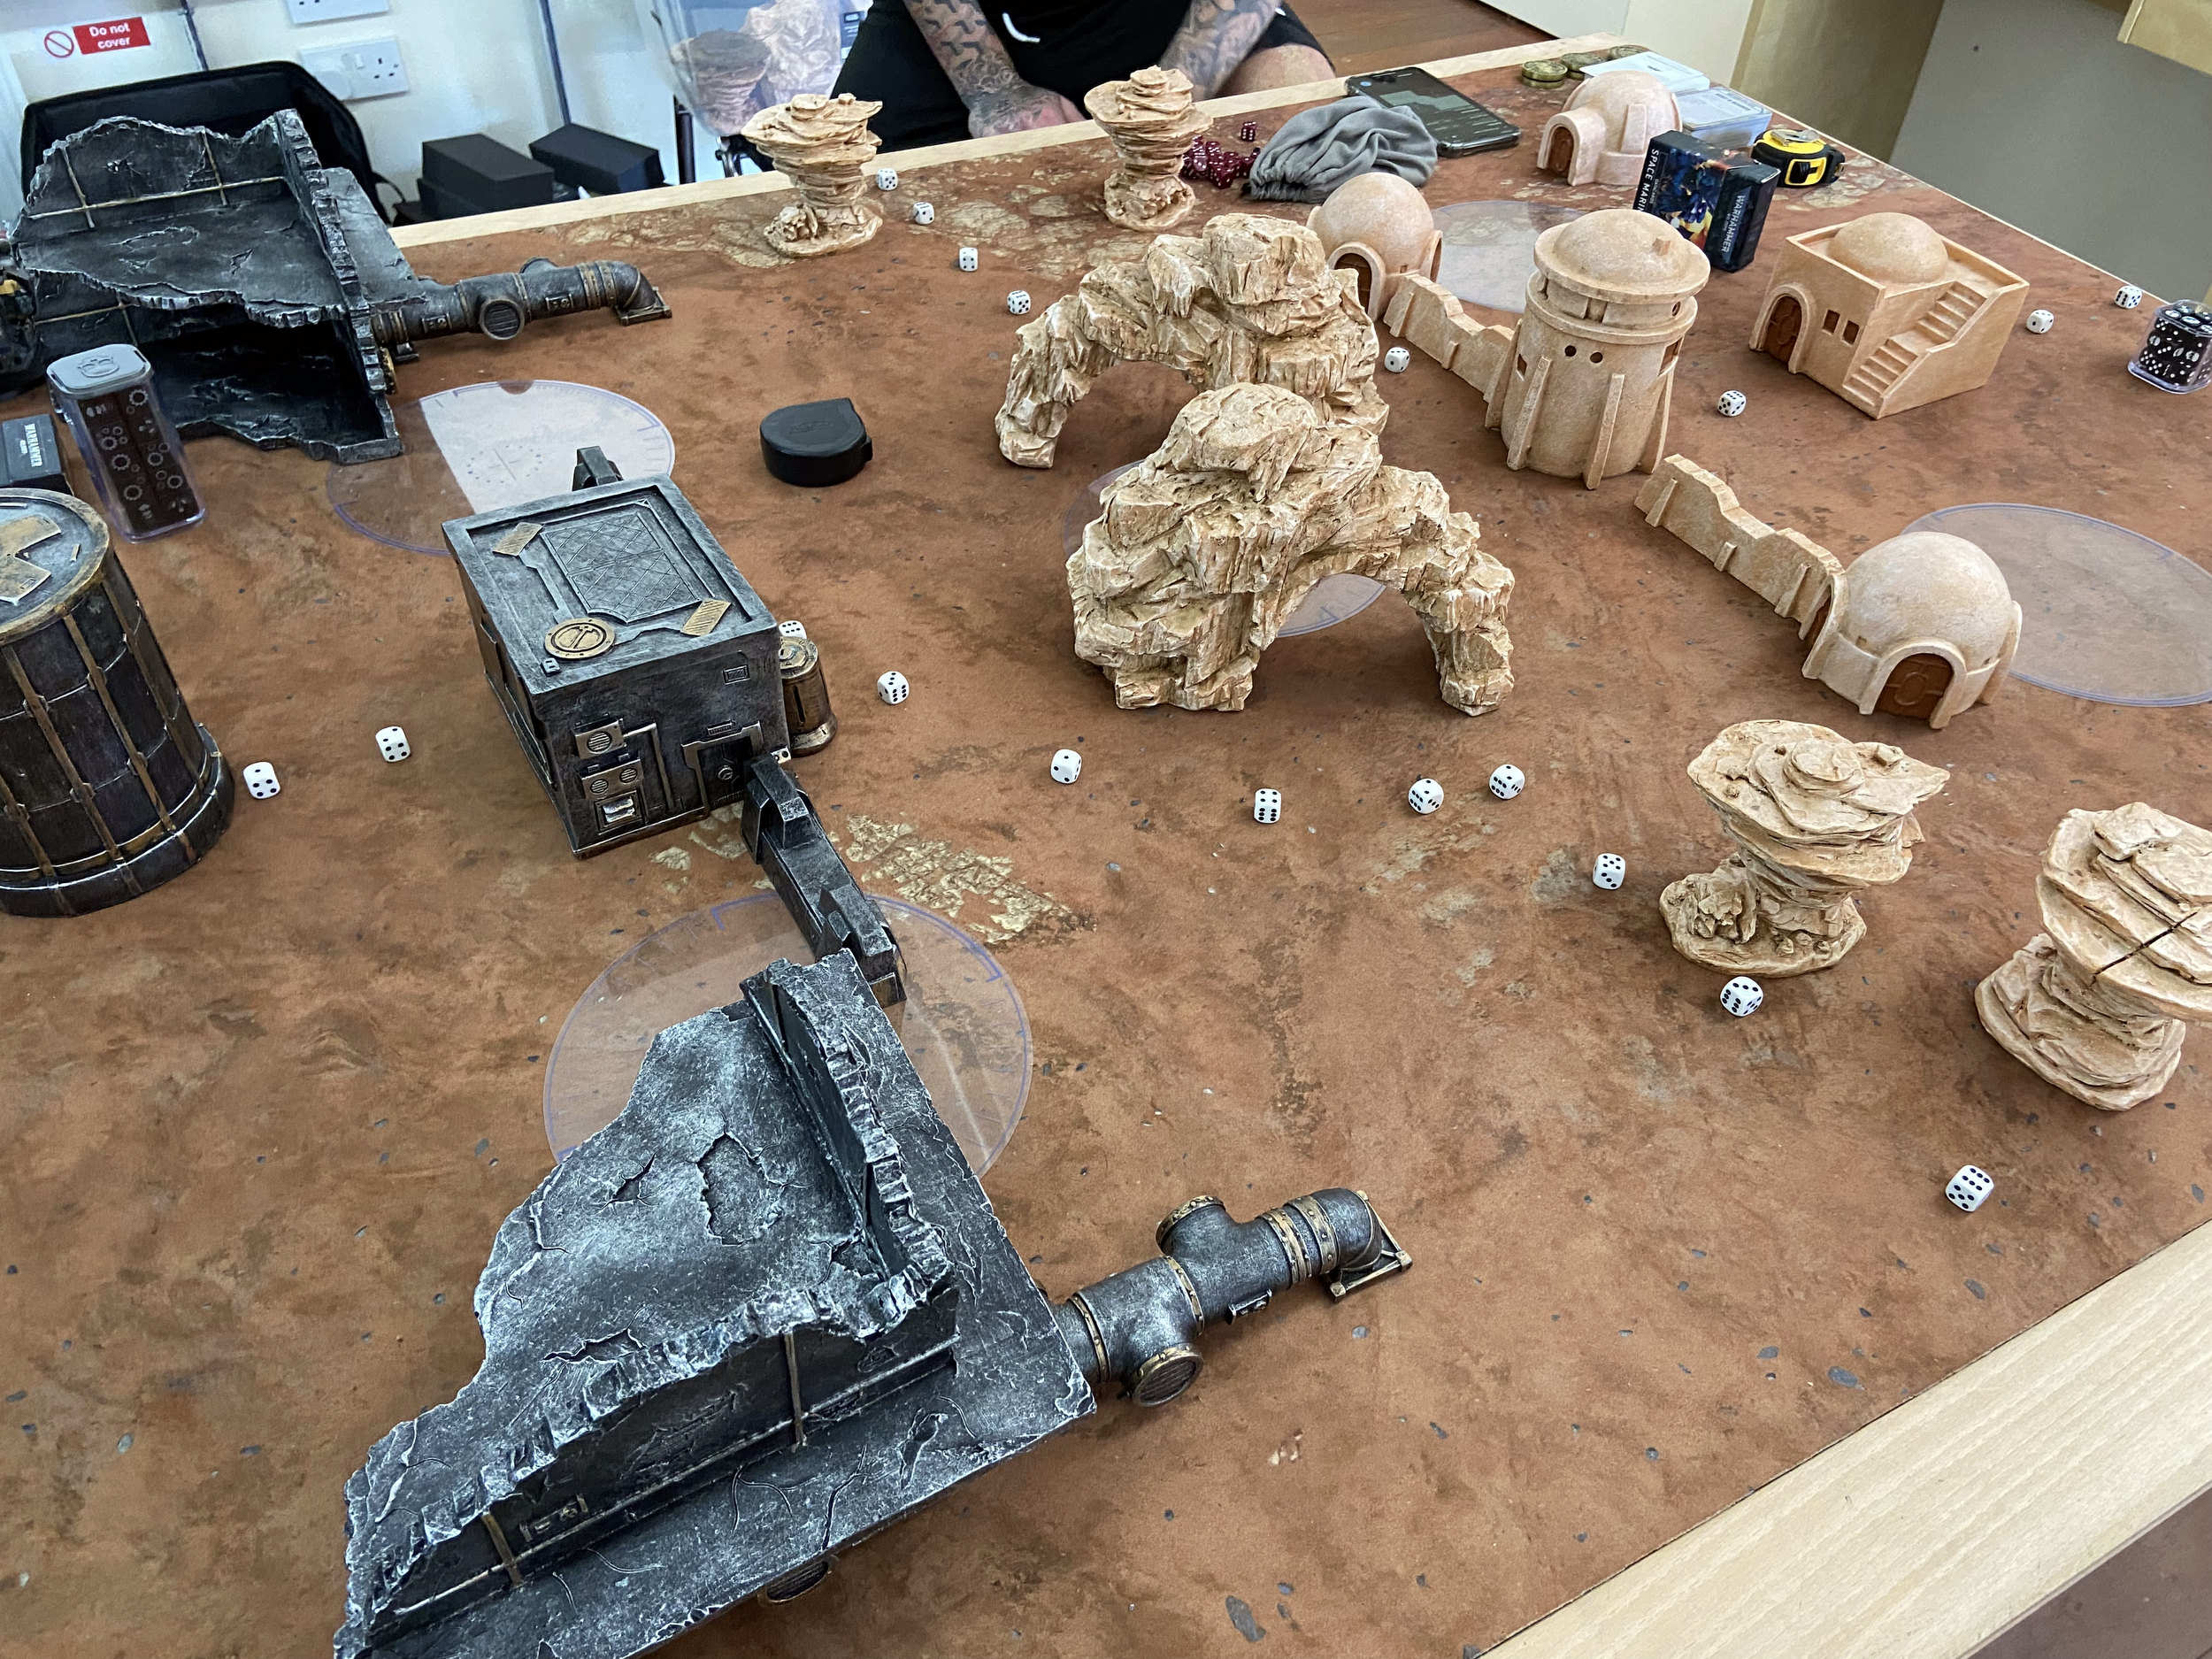
The excellent Trench Board was by Battle Forged Boards. This board was unique, and it was a shame I did not get to revisit it during the rest of the Campaign. Another two boards are coming for it too. So at some point, it will fill a full 6x4ft table.
My first game would be over the Spaceport Zone, Zone 1. Meanwhile, the Blood Angels would be fighting over Zone 3.
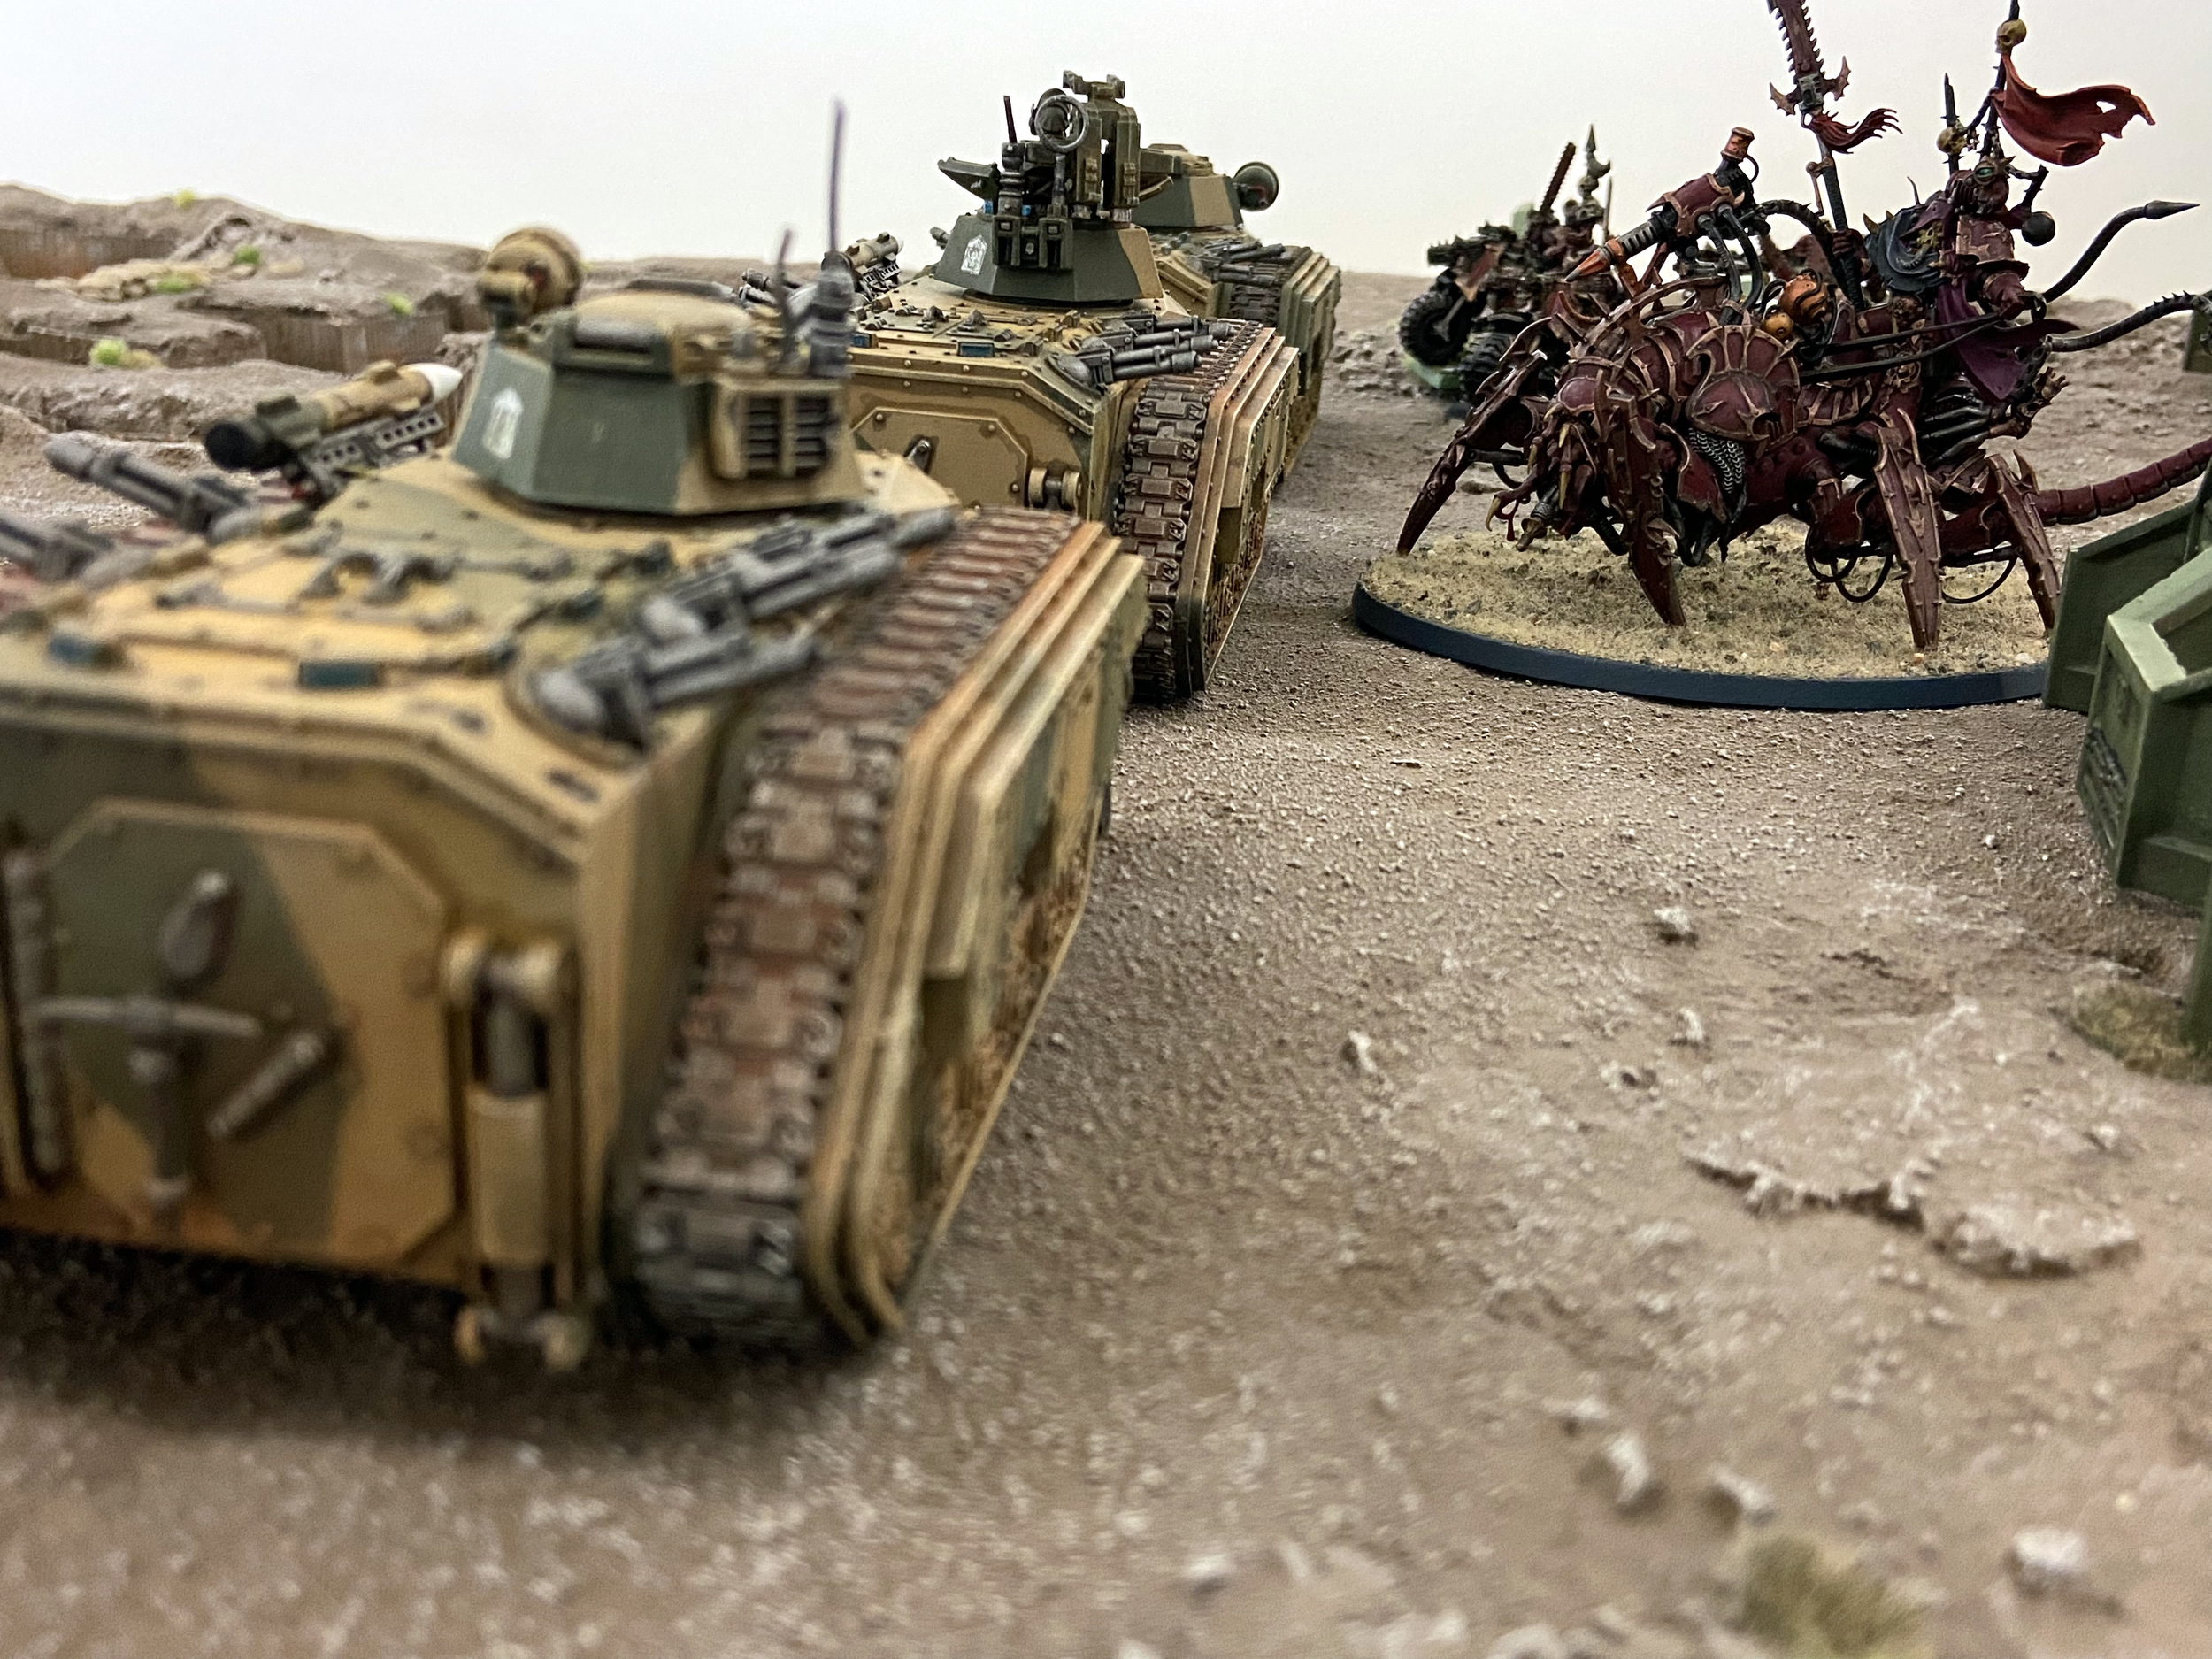
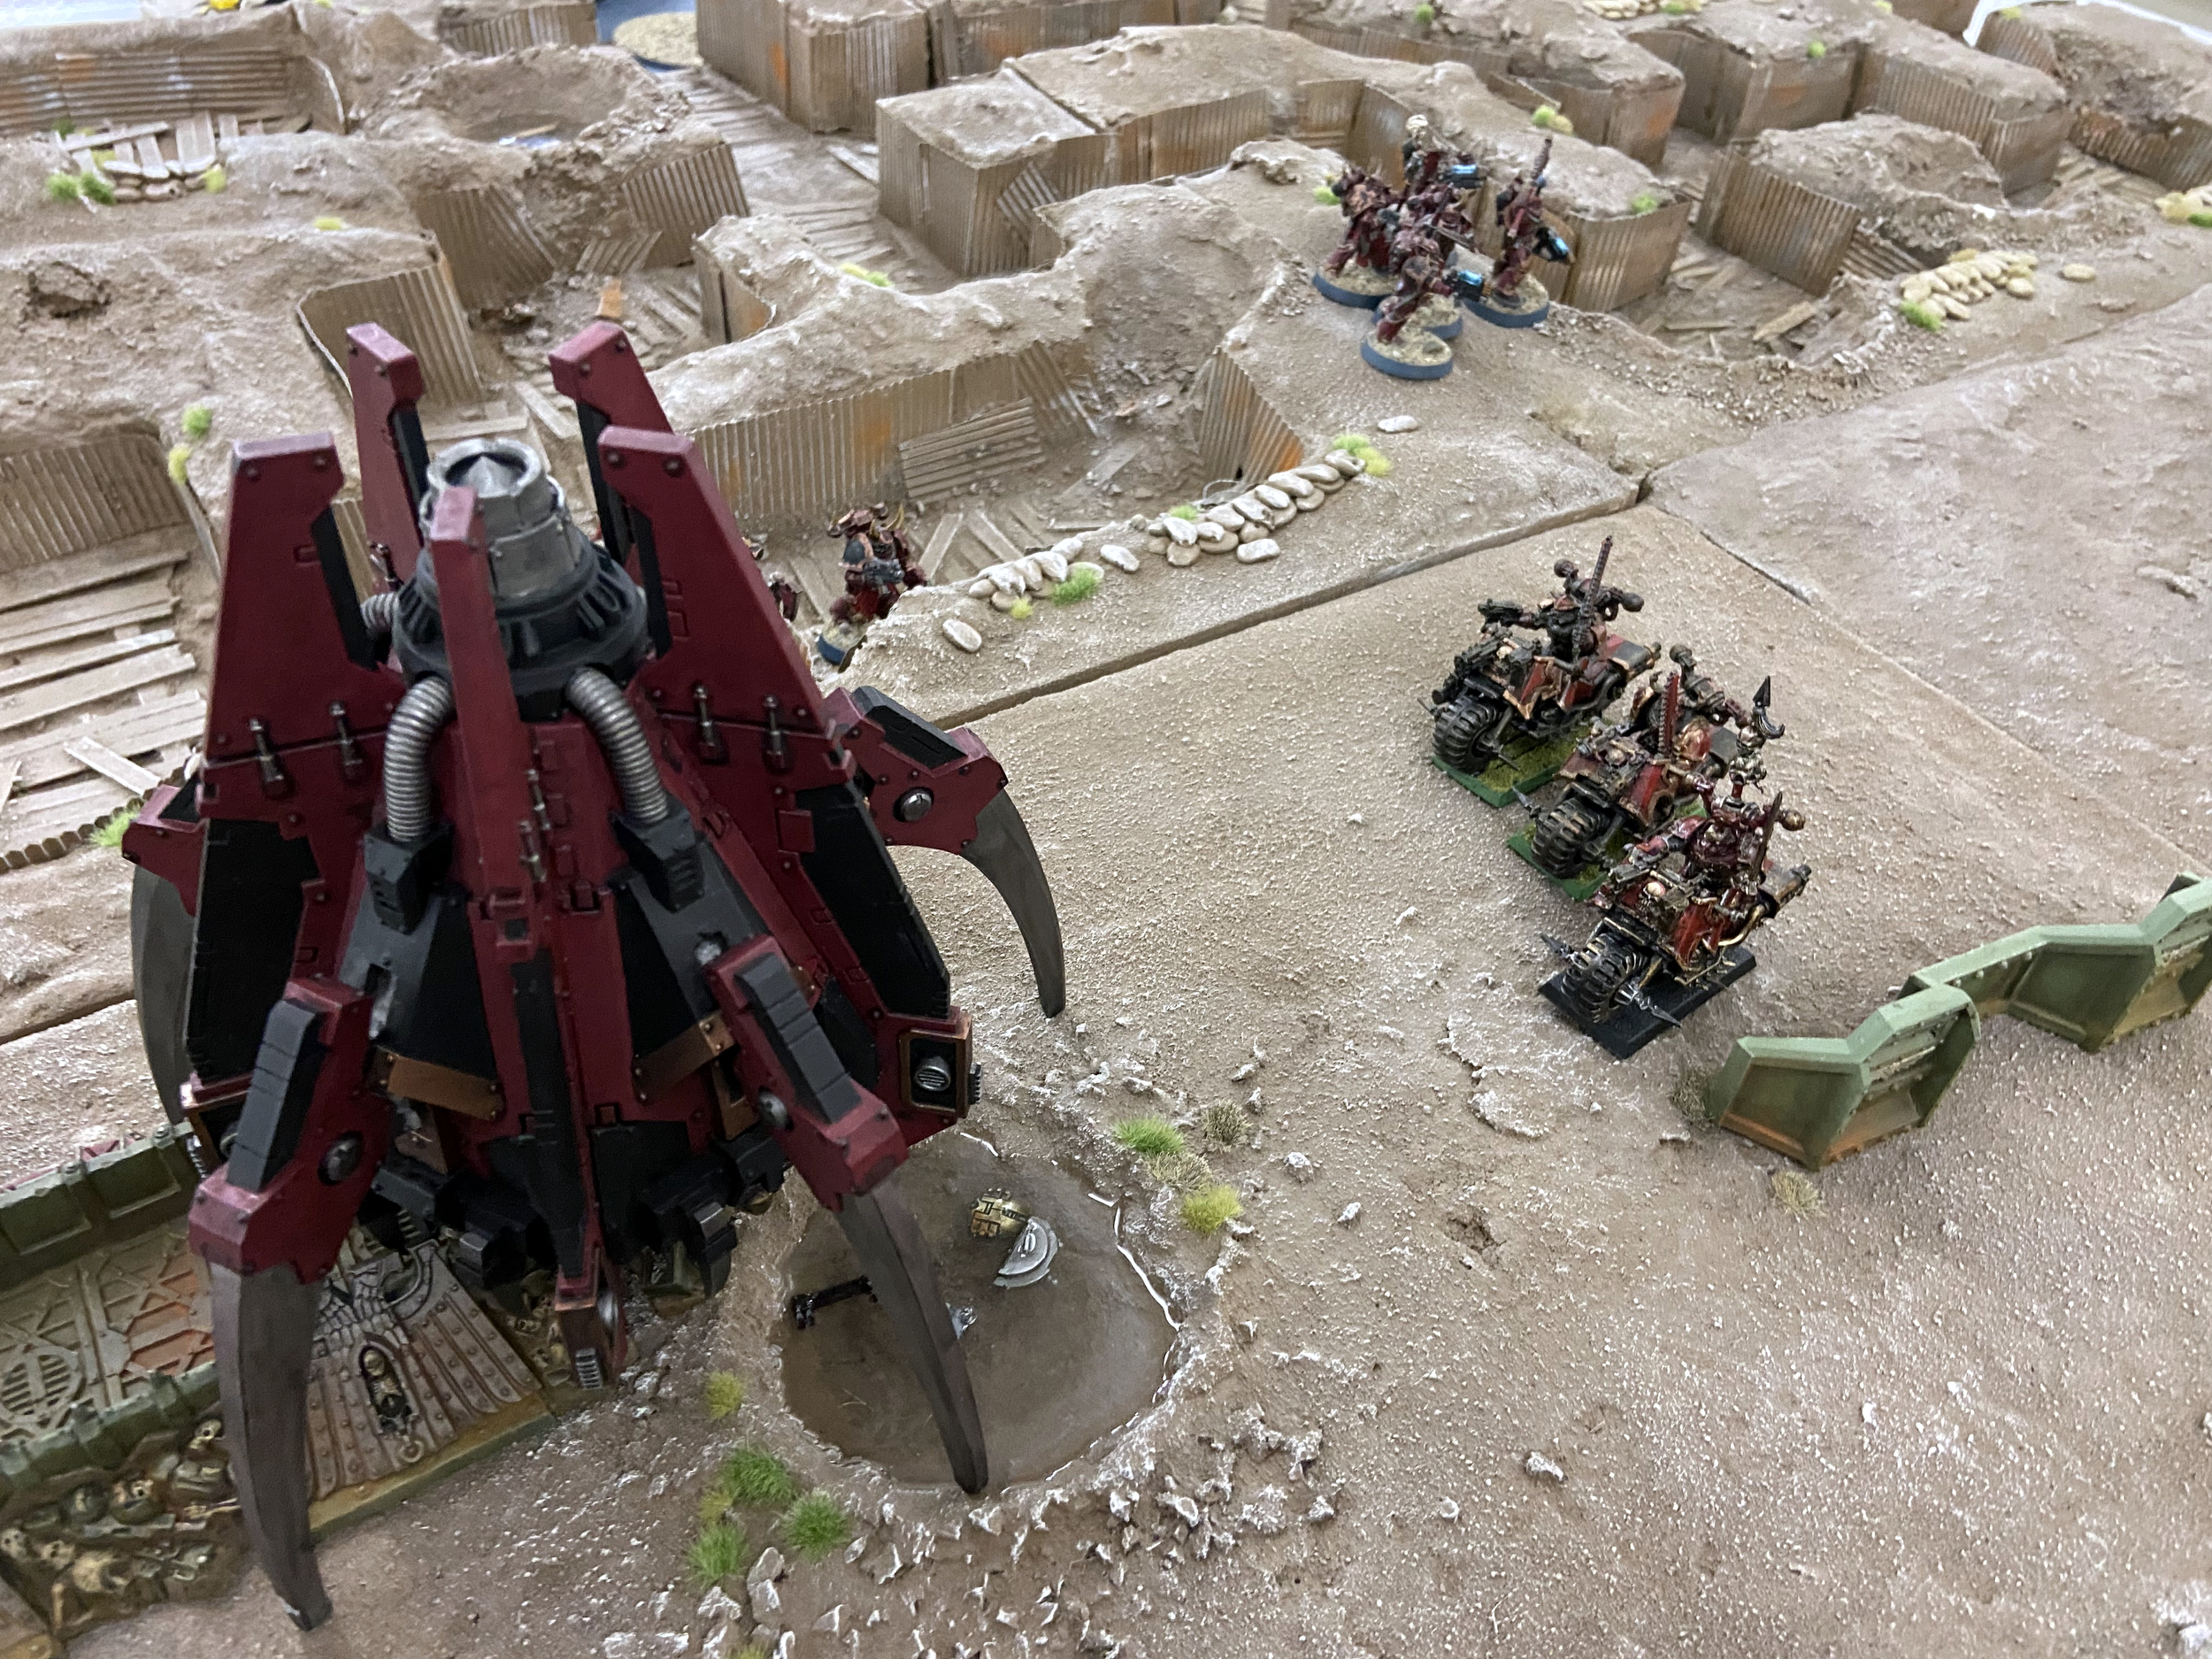
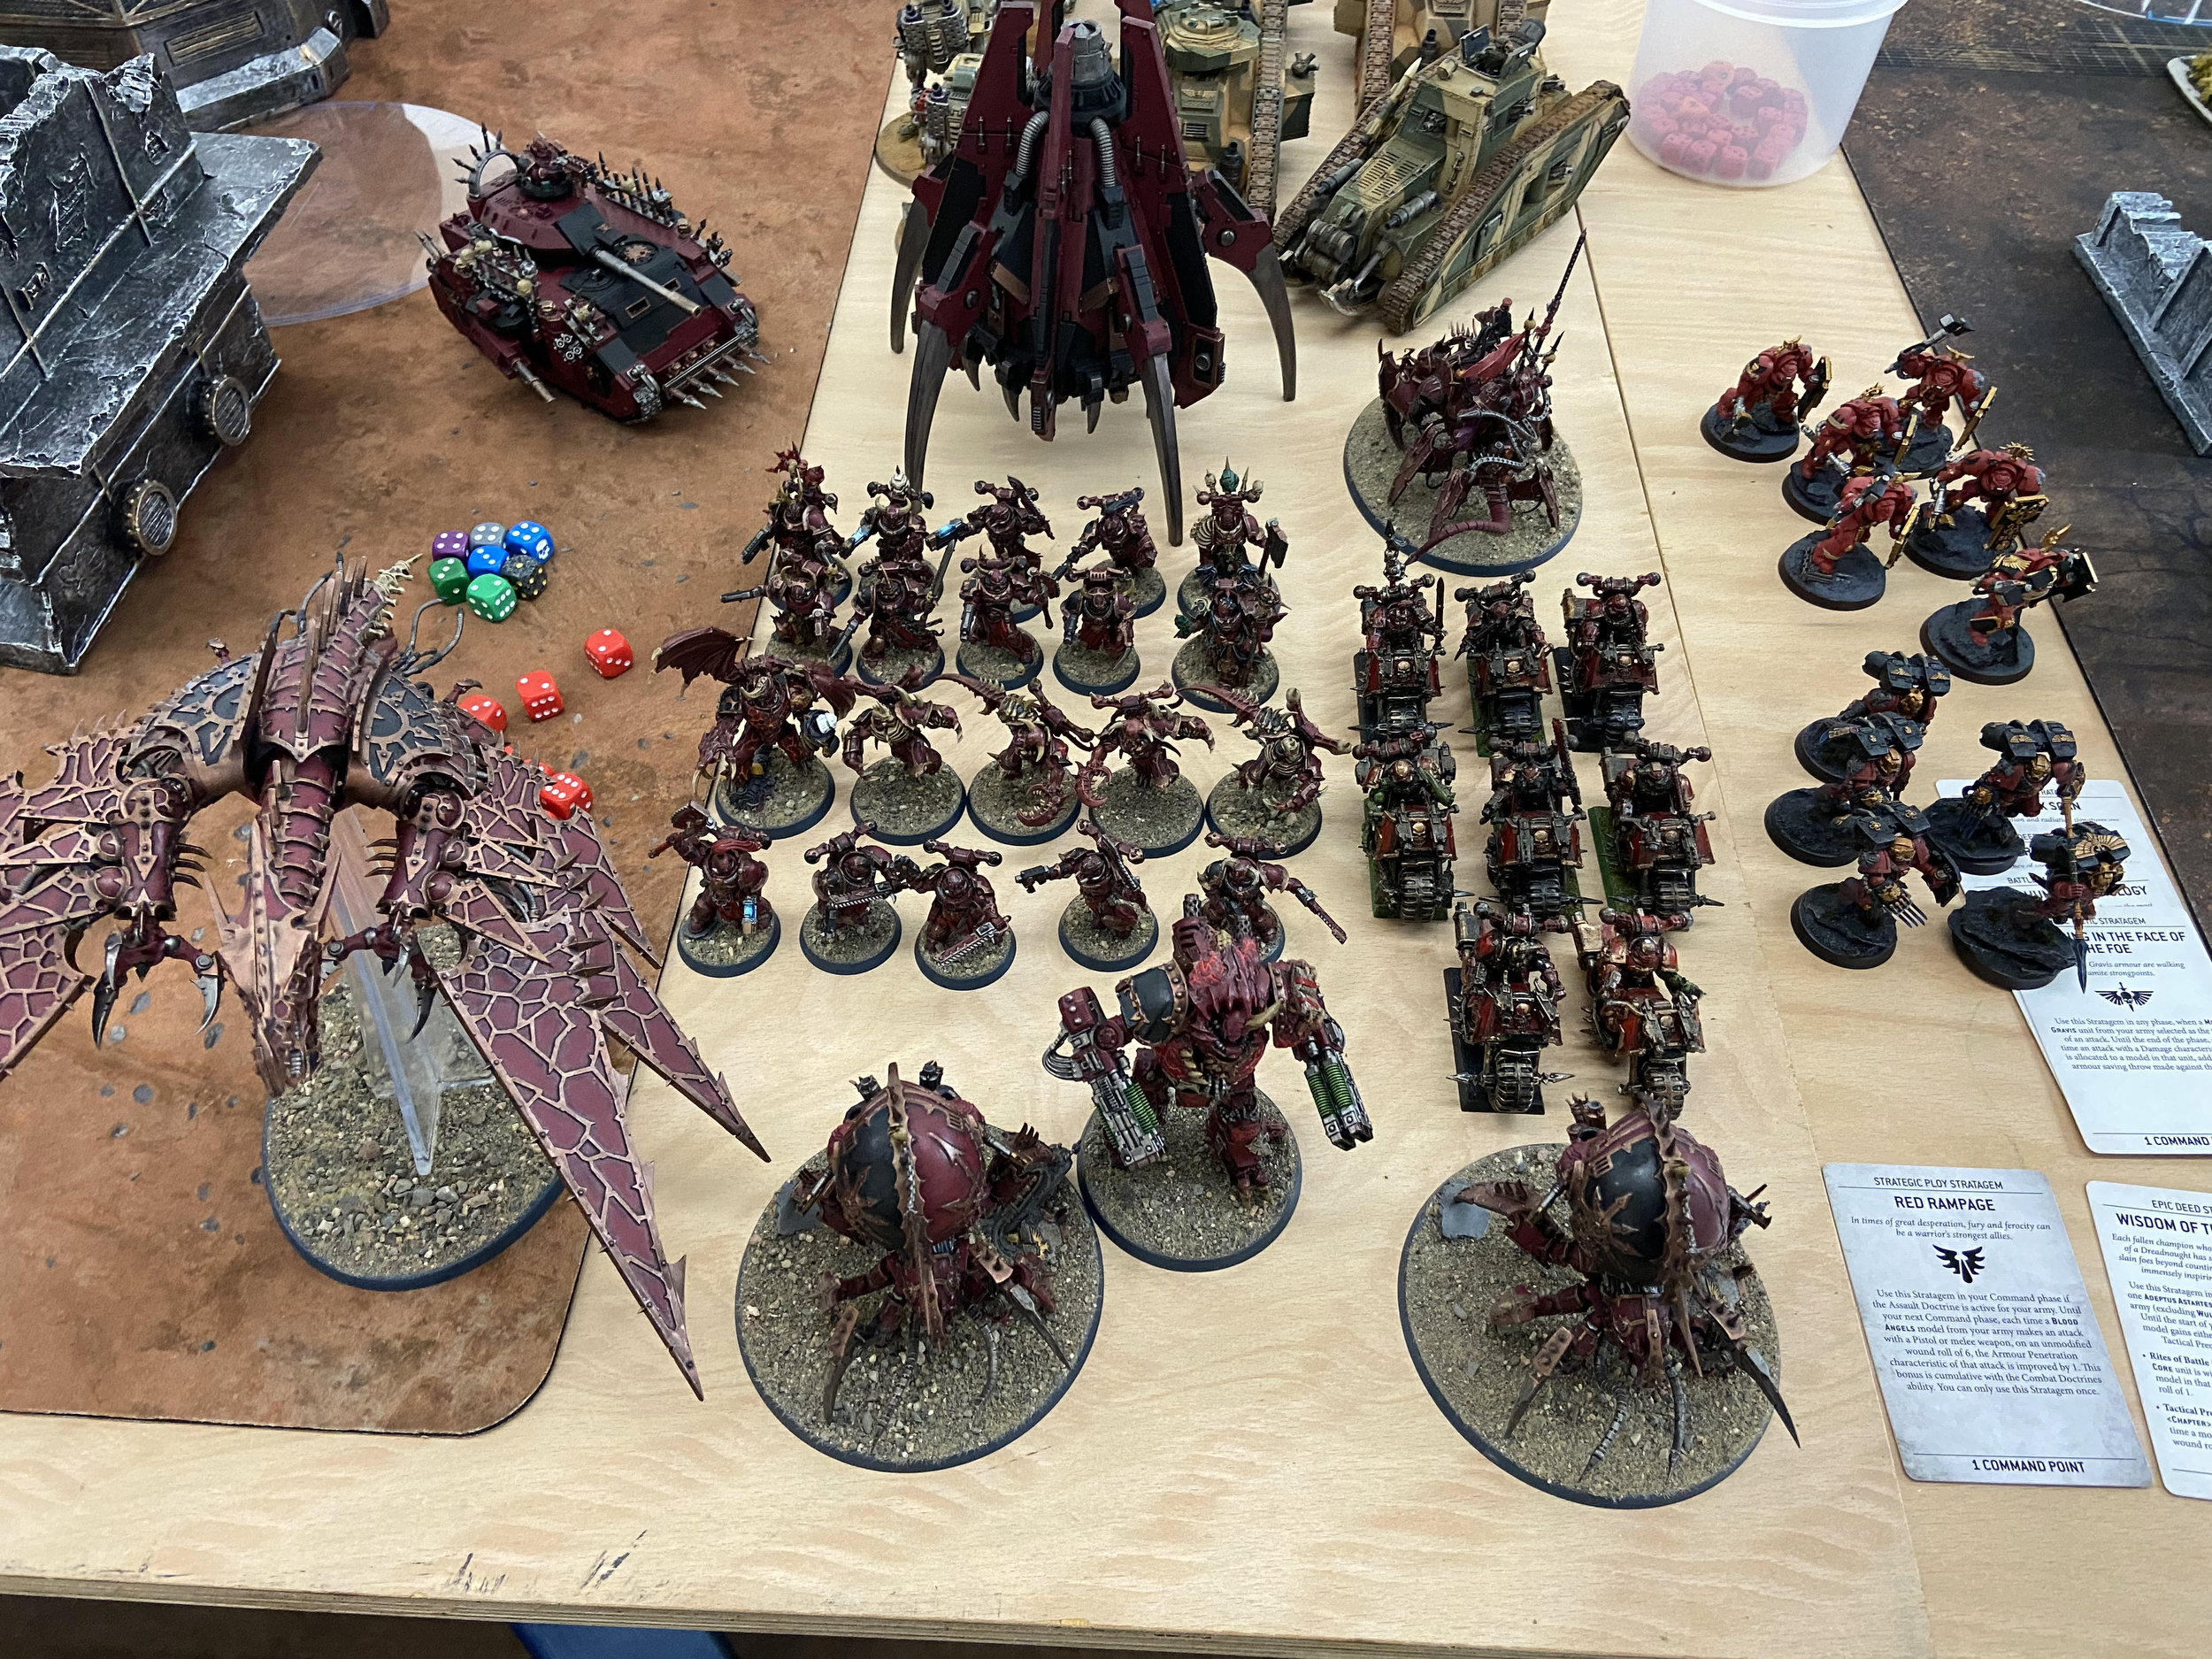
The idea of the first two games, as should be evident from the points, as the attacker, the Red Corsairs win and begin to get a foothold within the city. And this was most certainly the case.
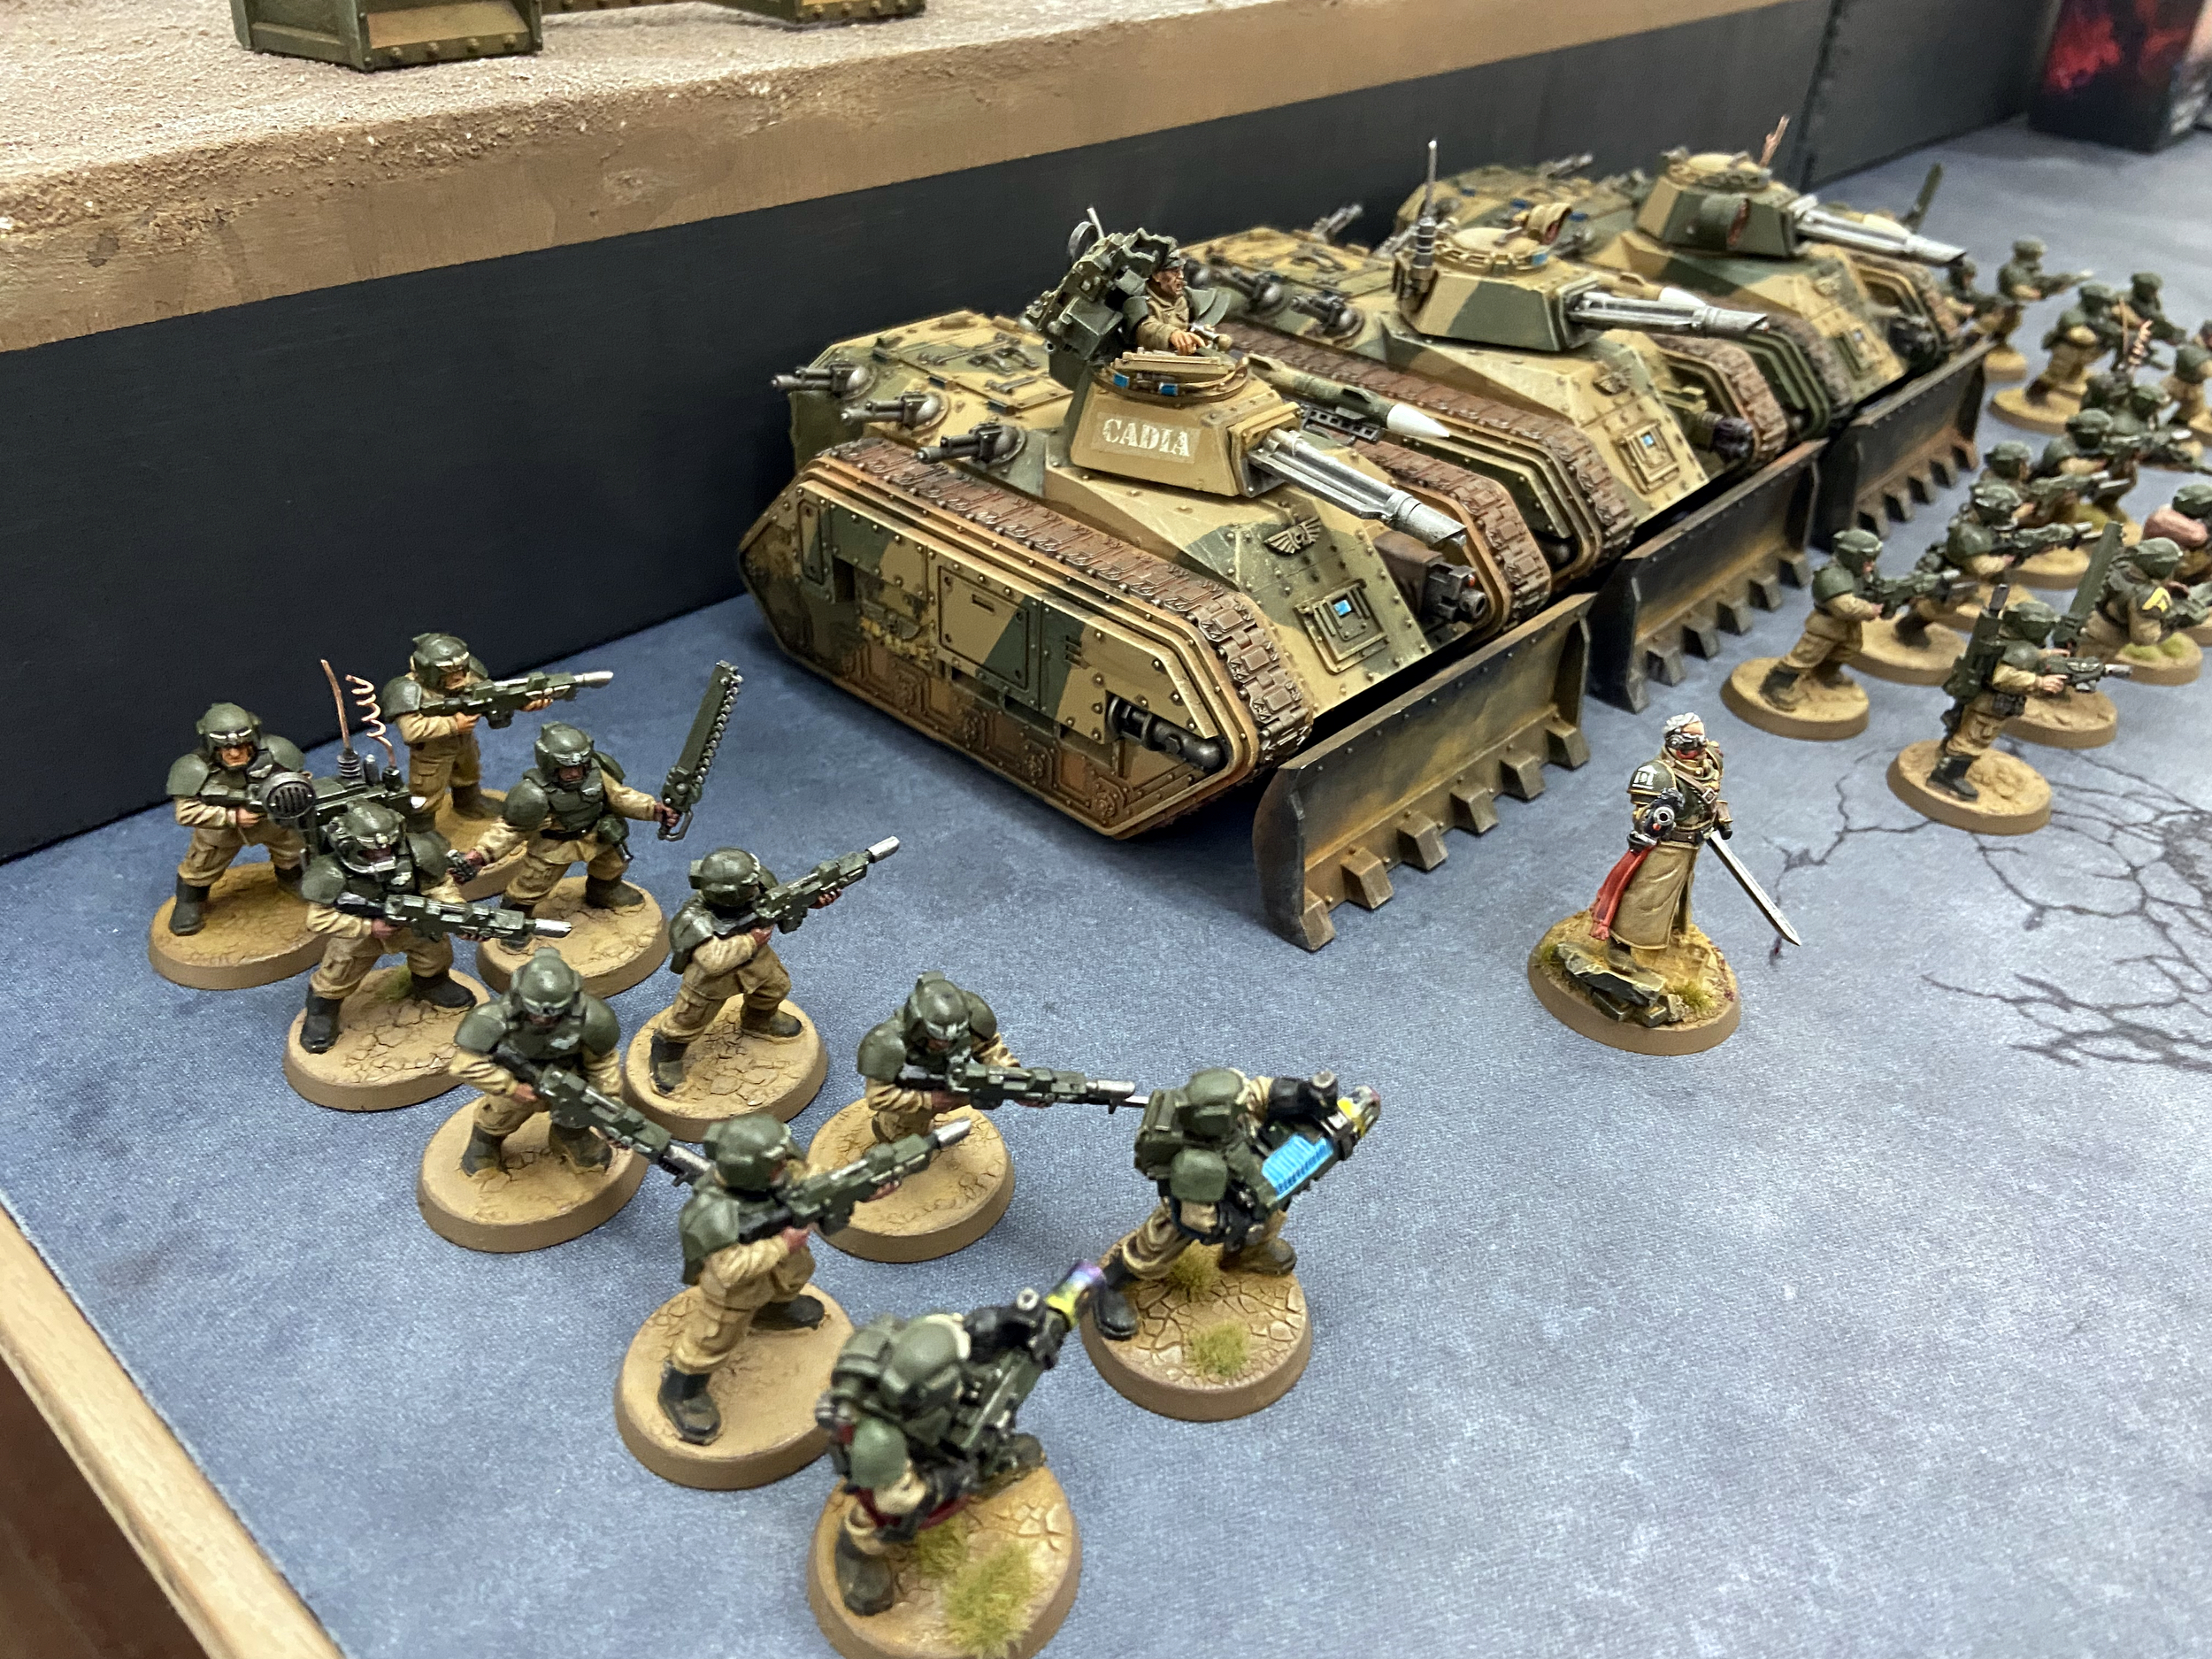
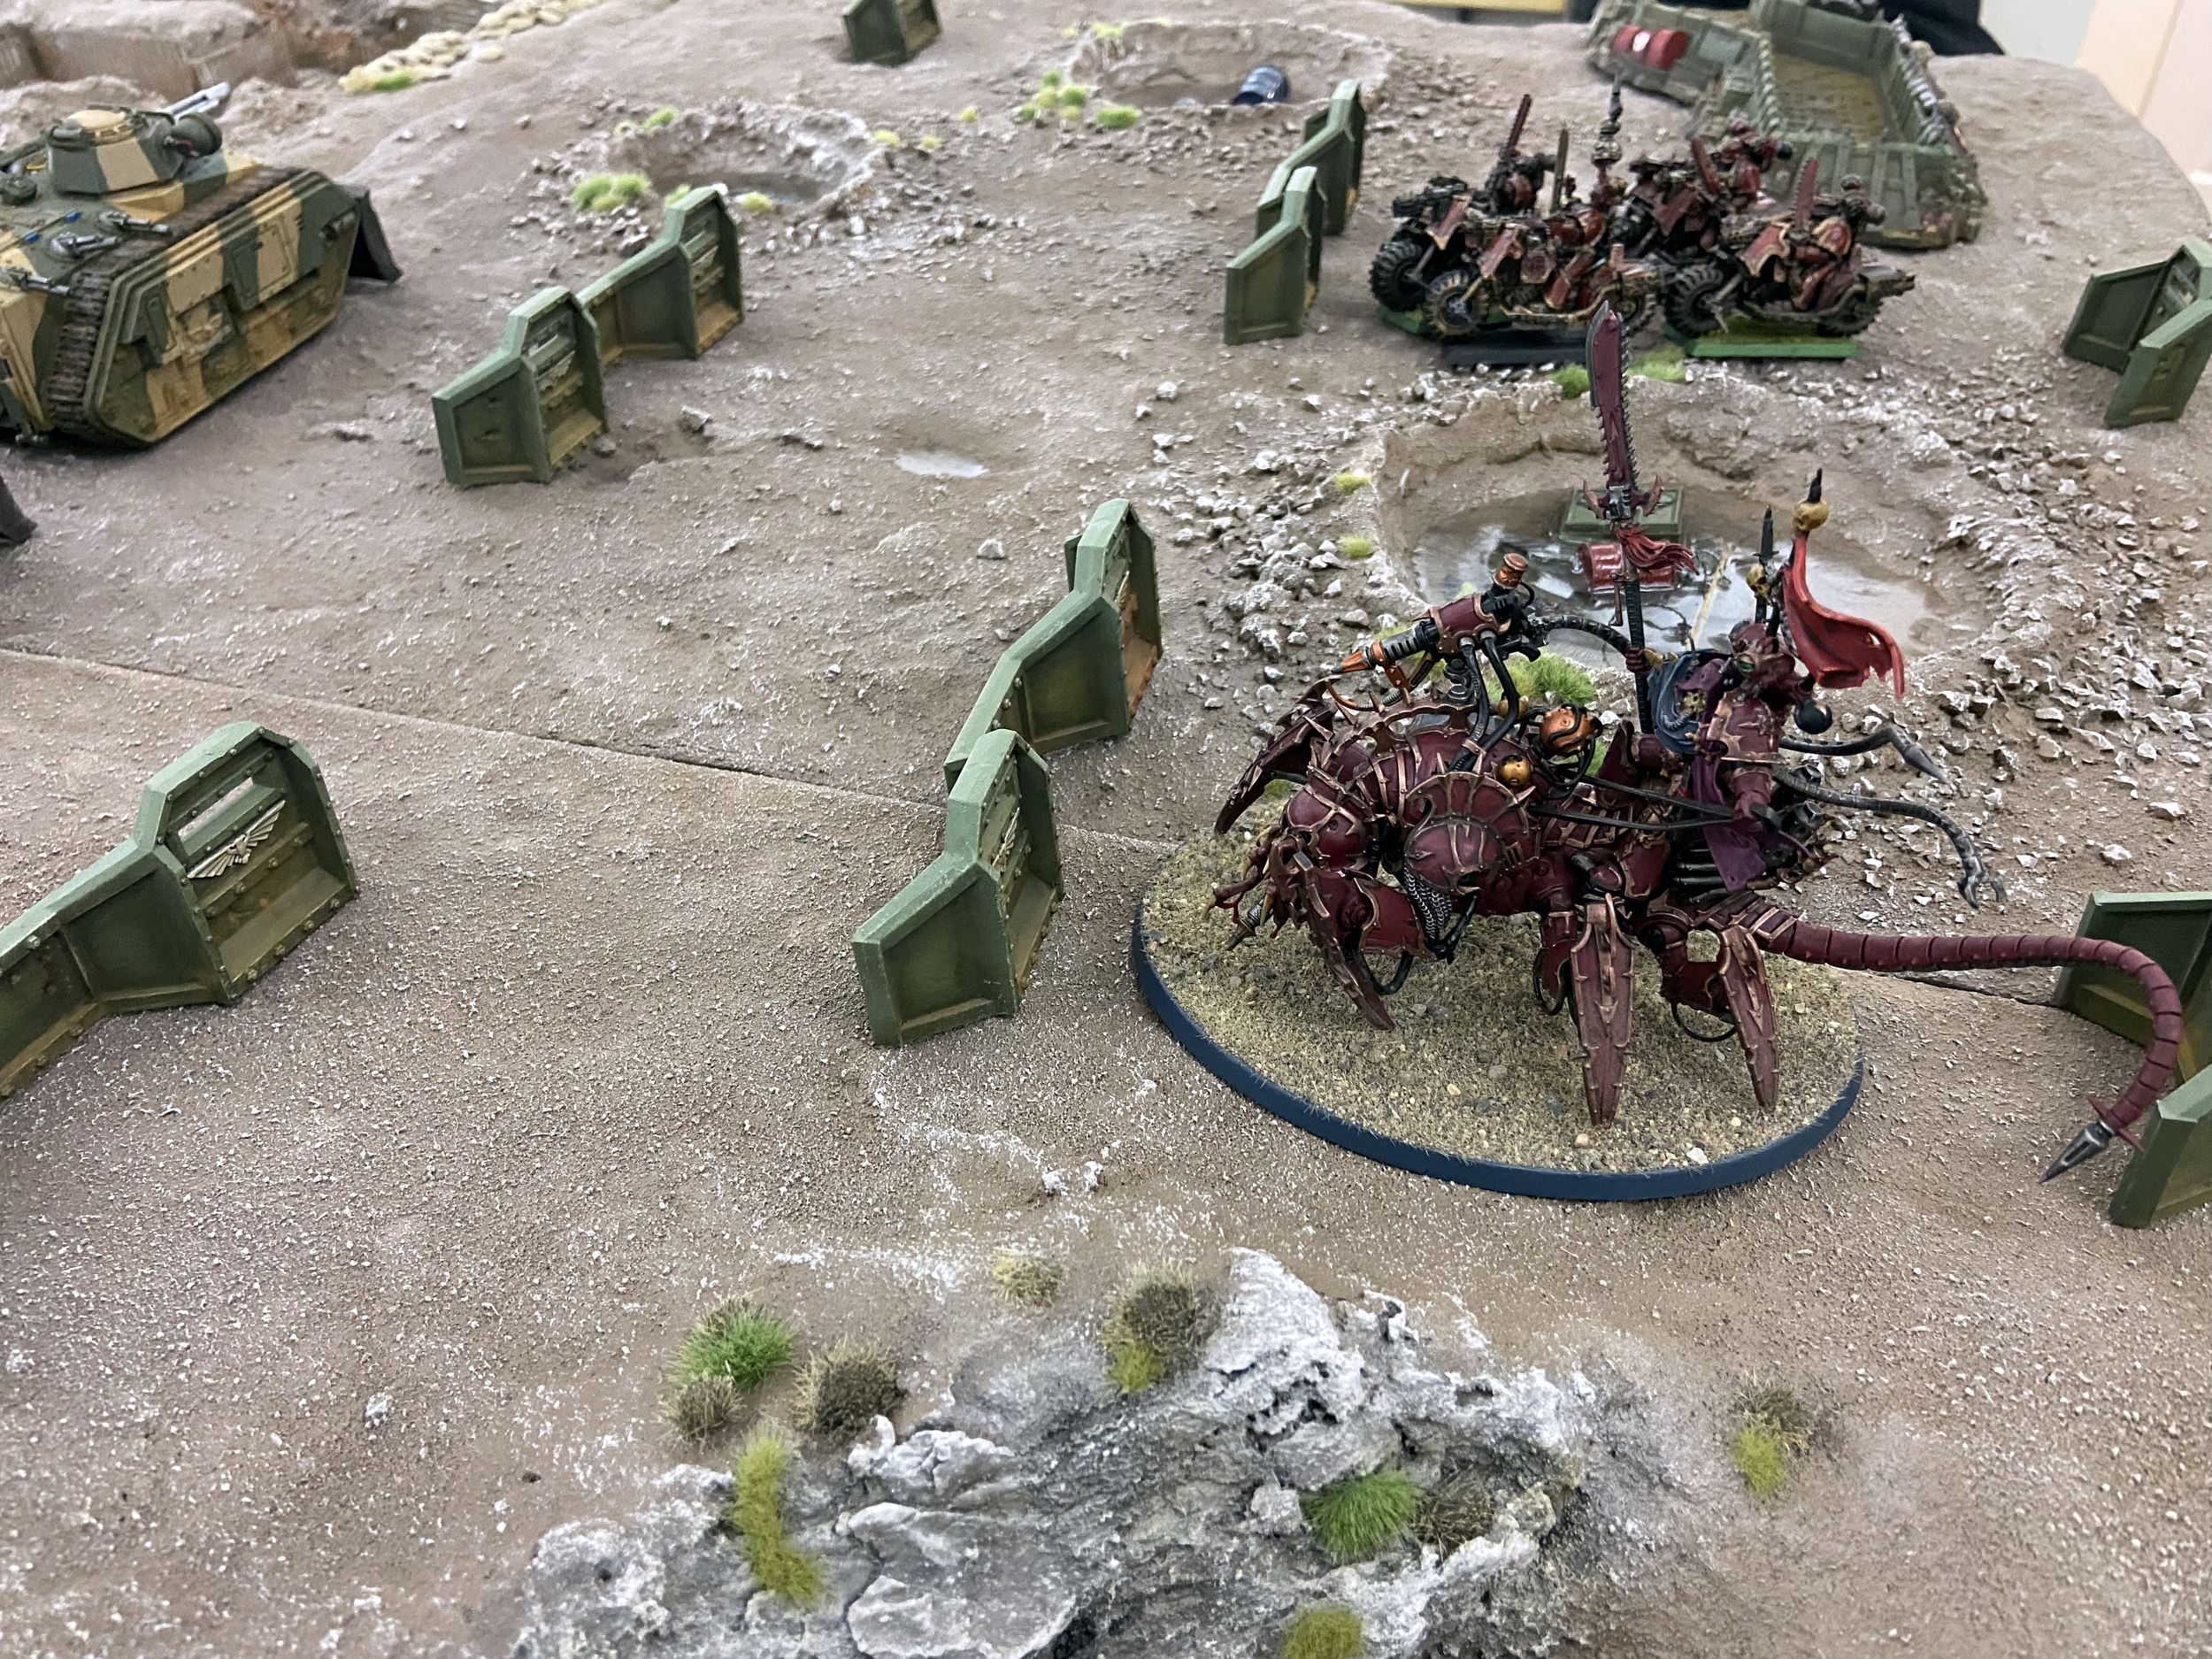
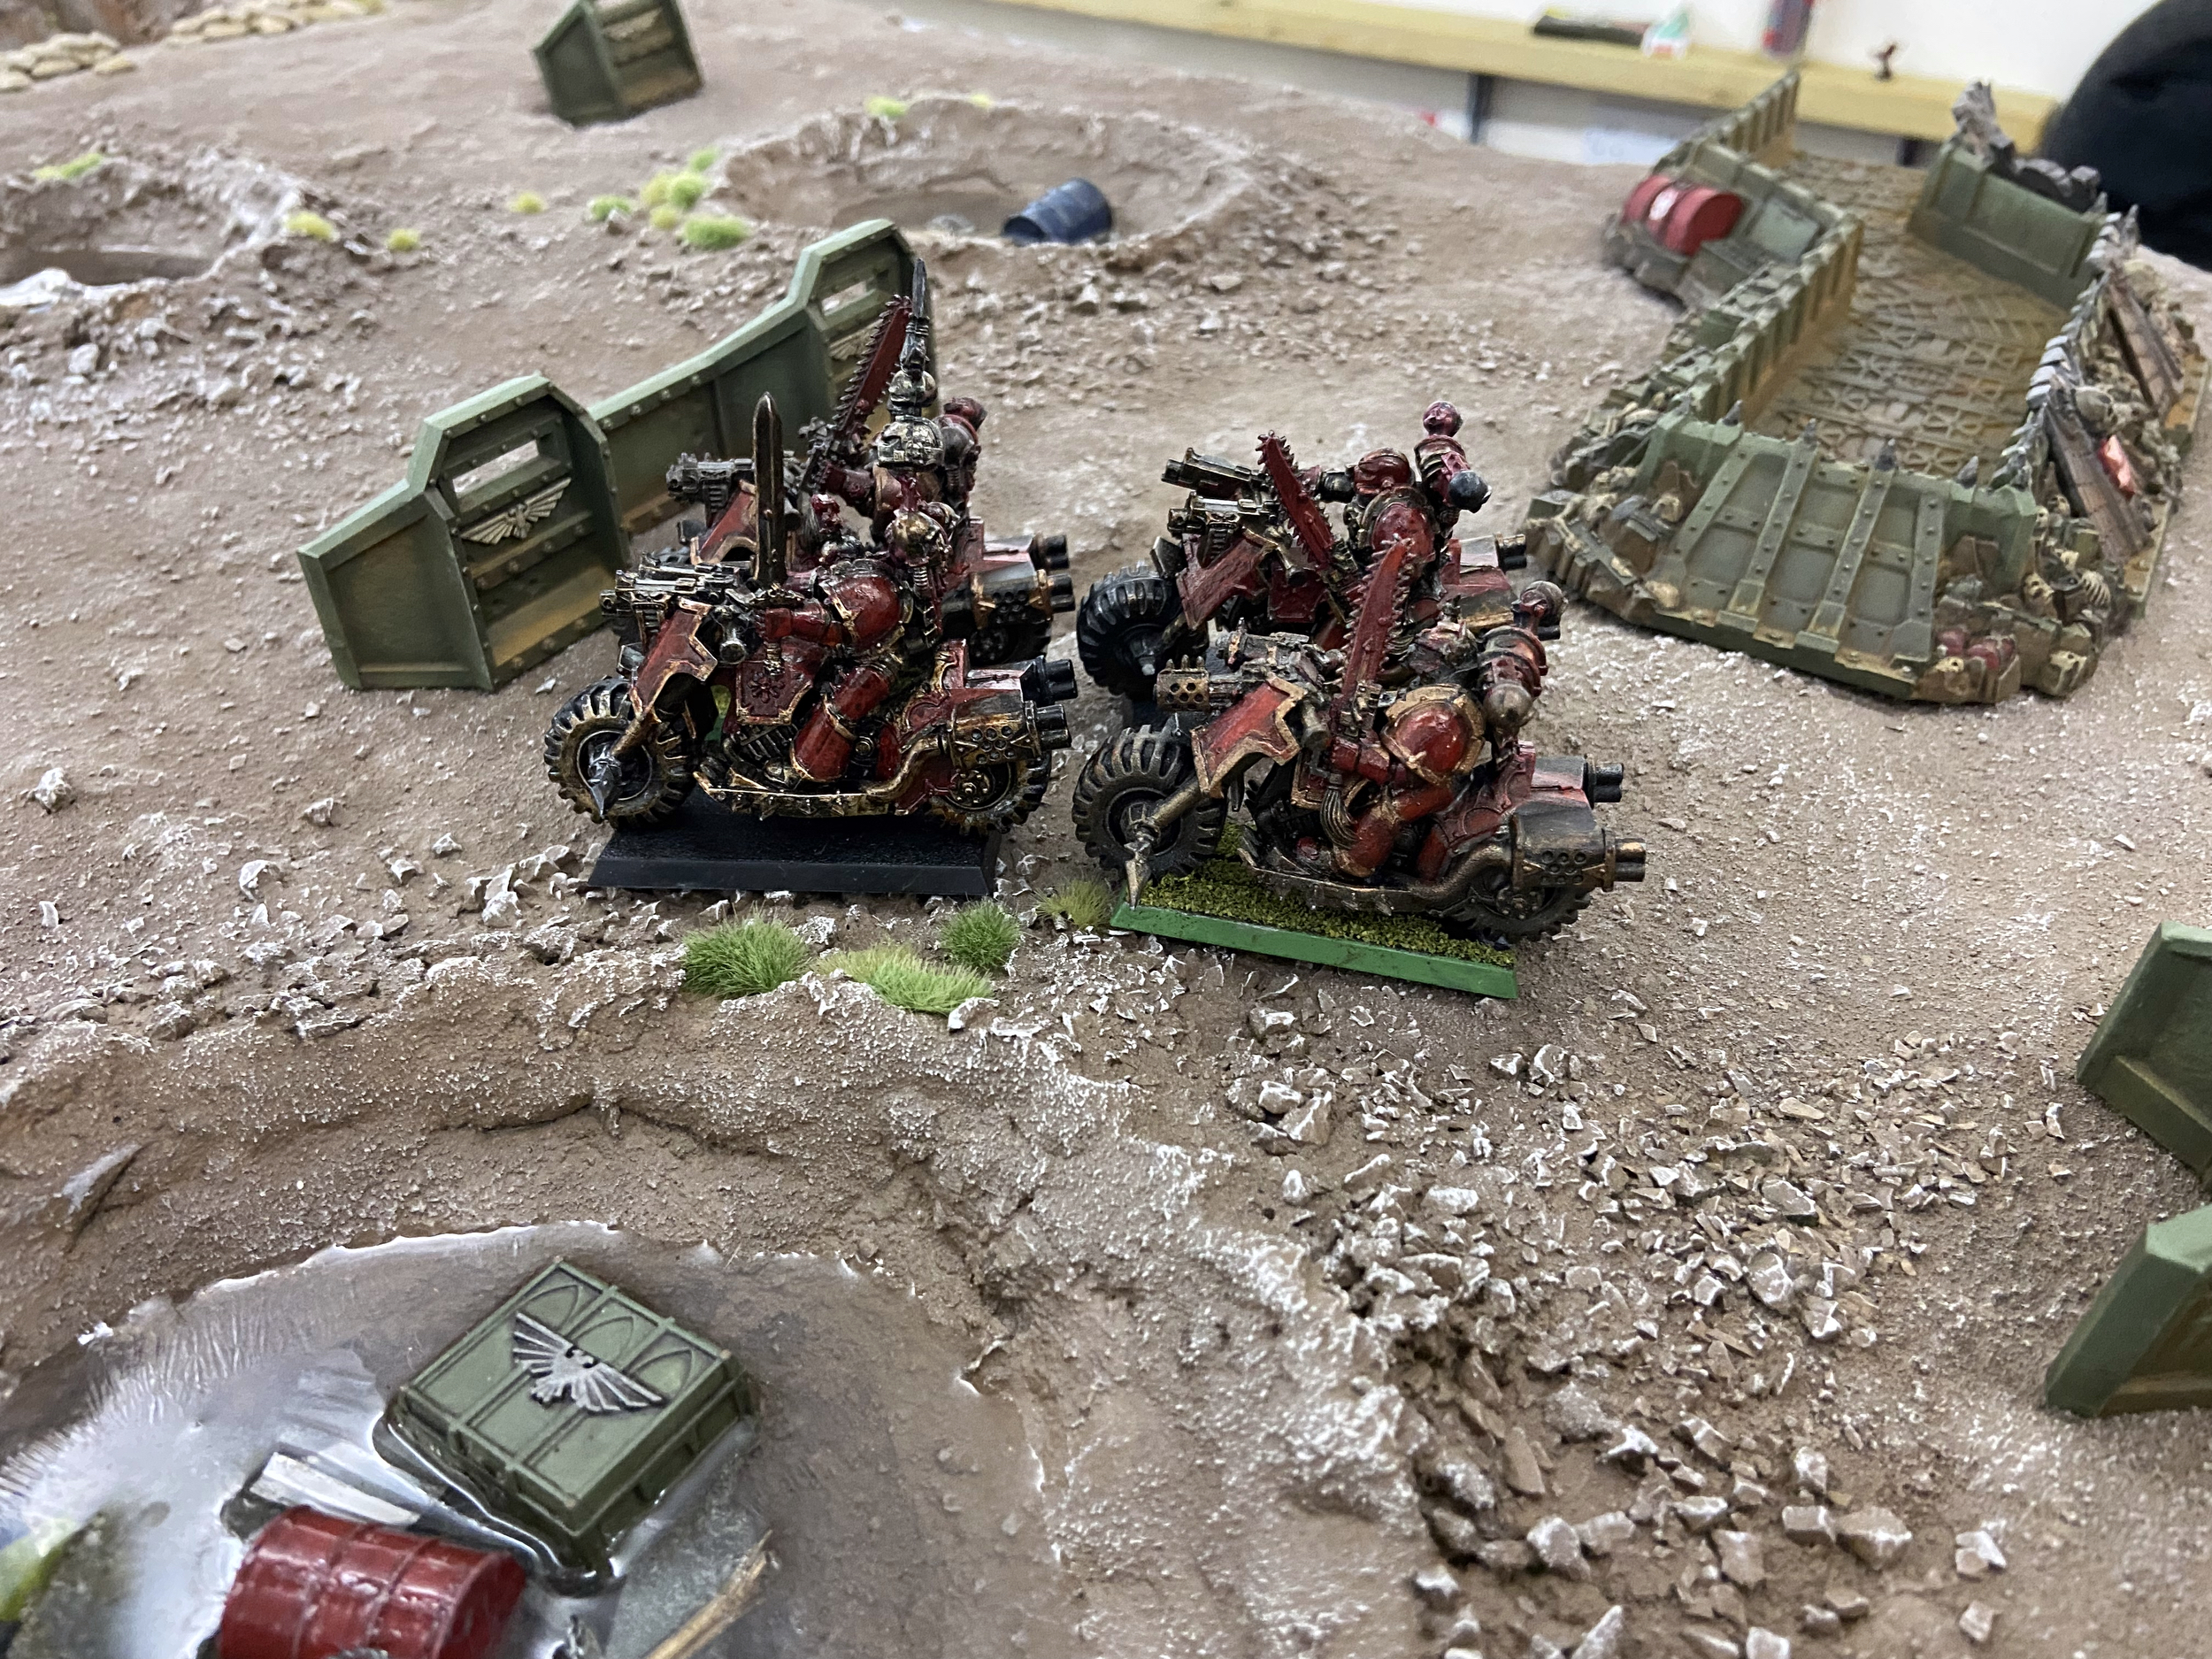
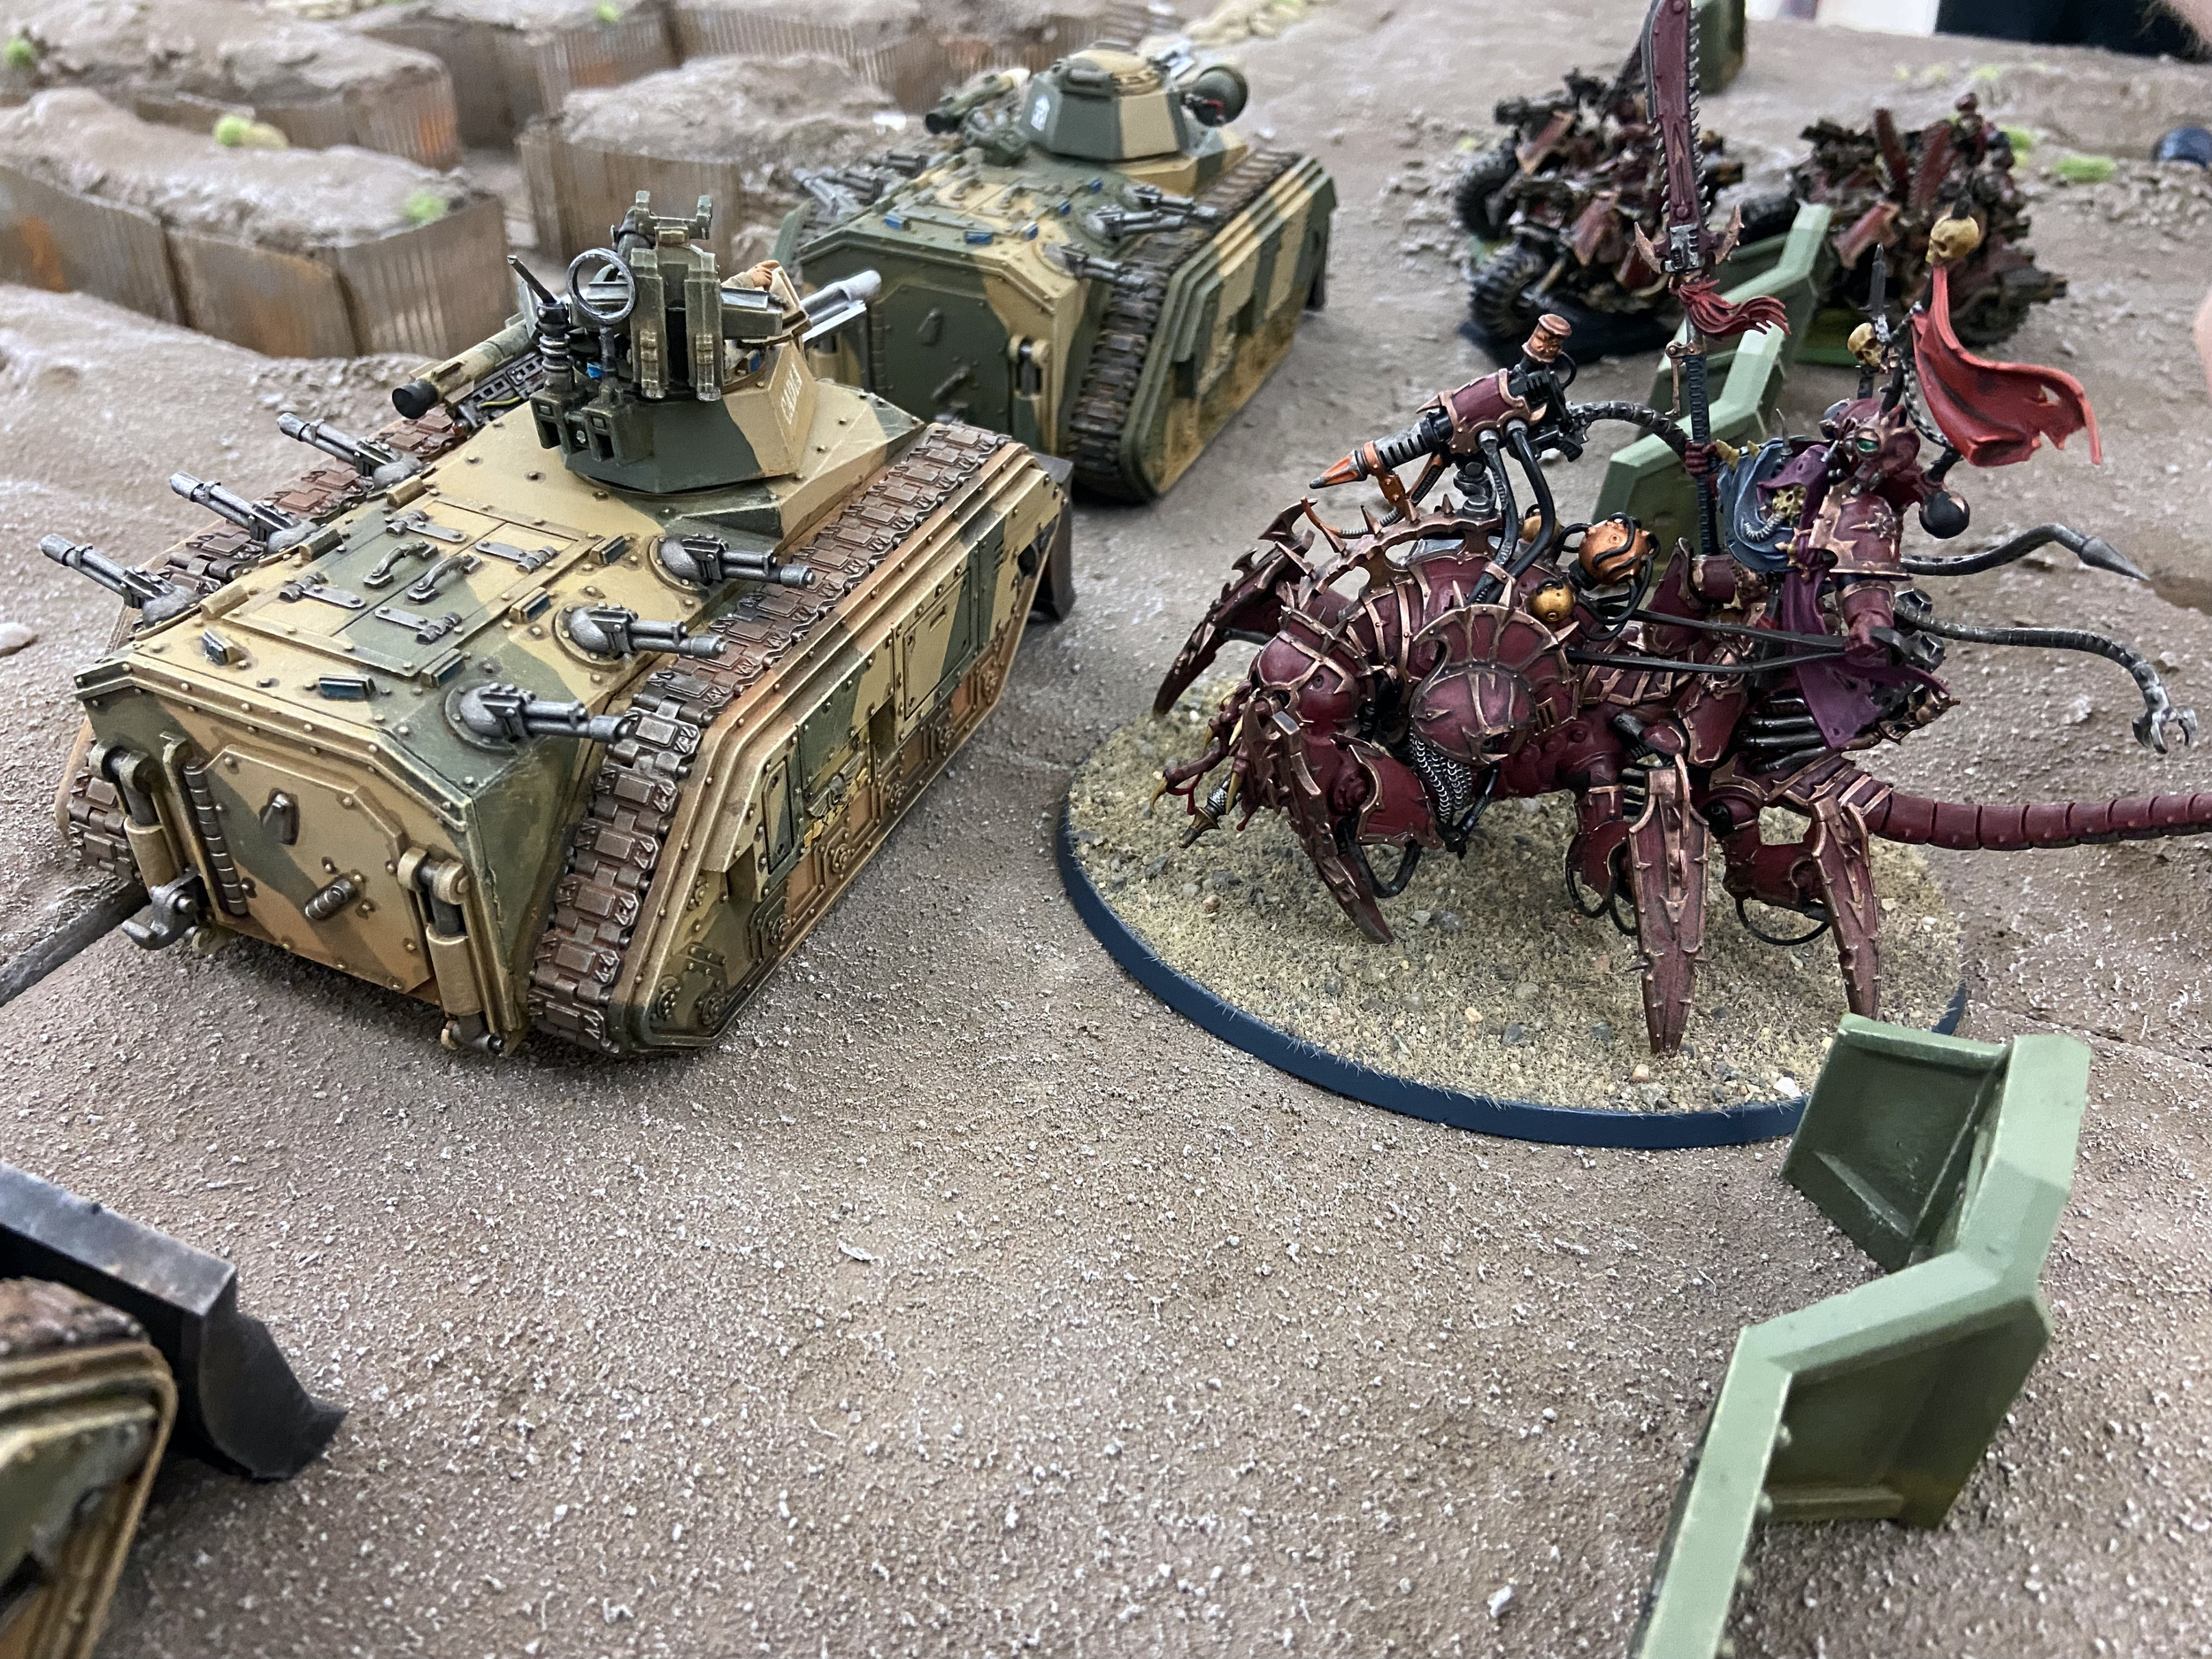
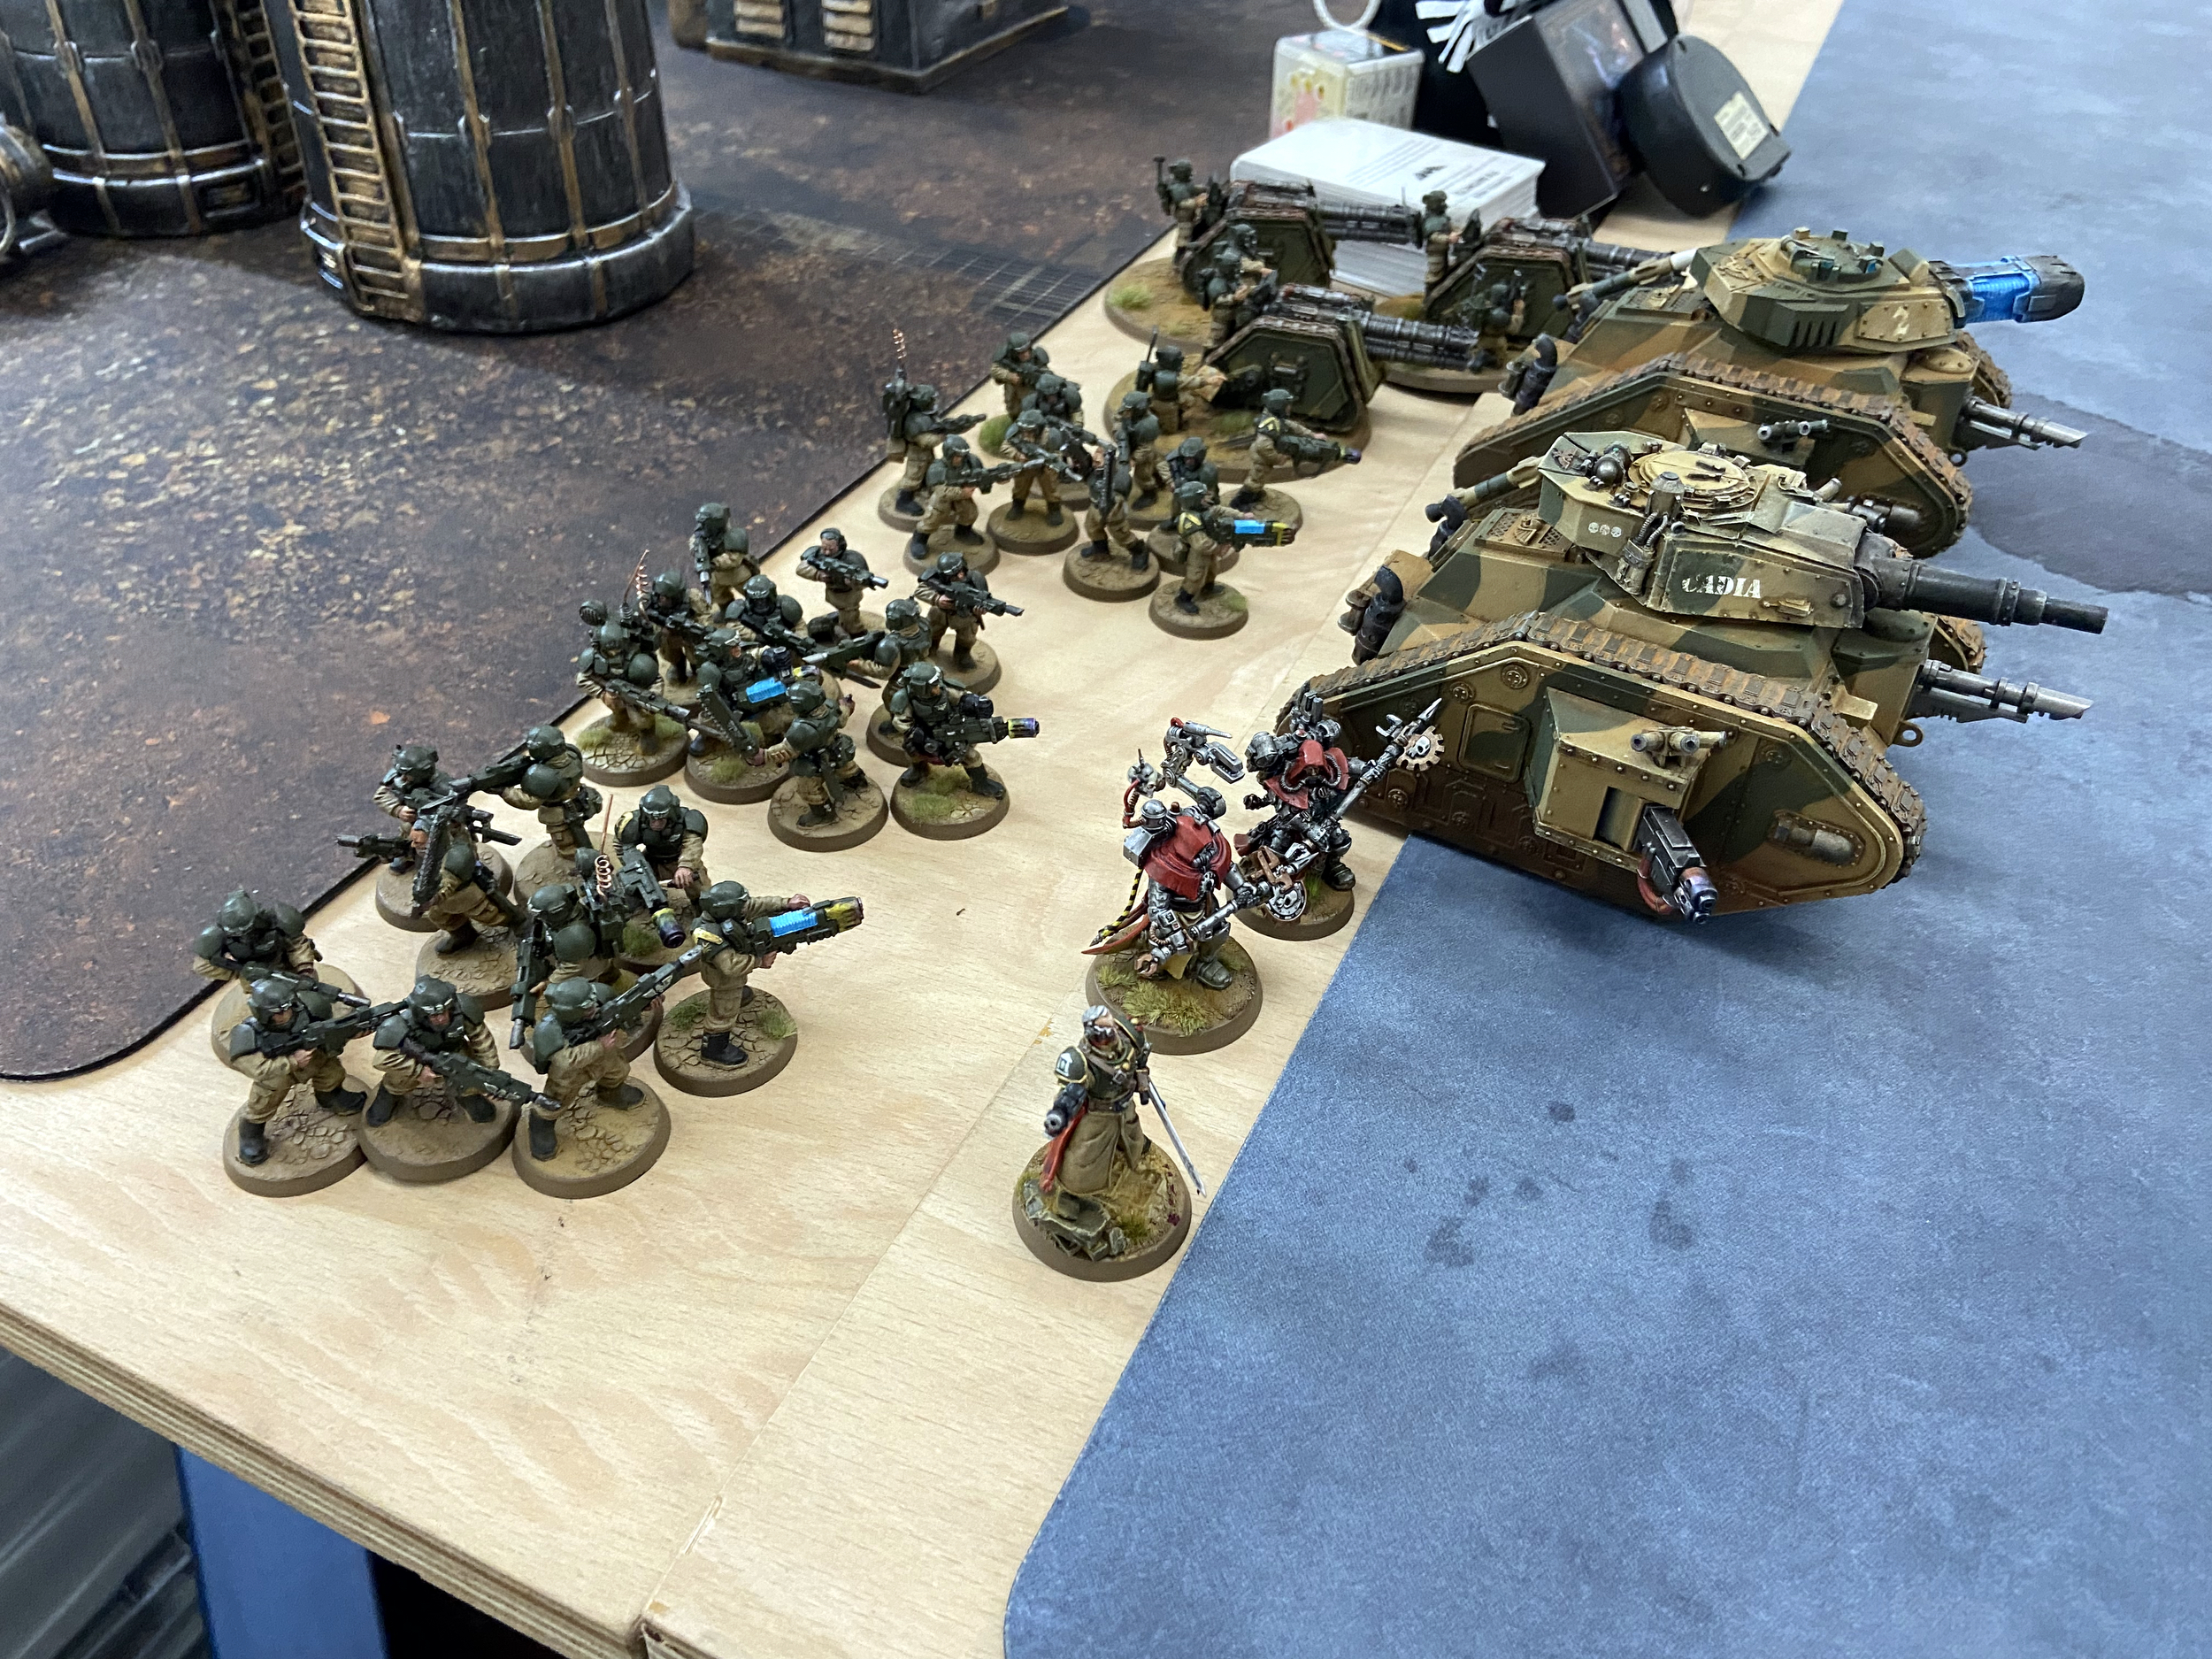
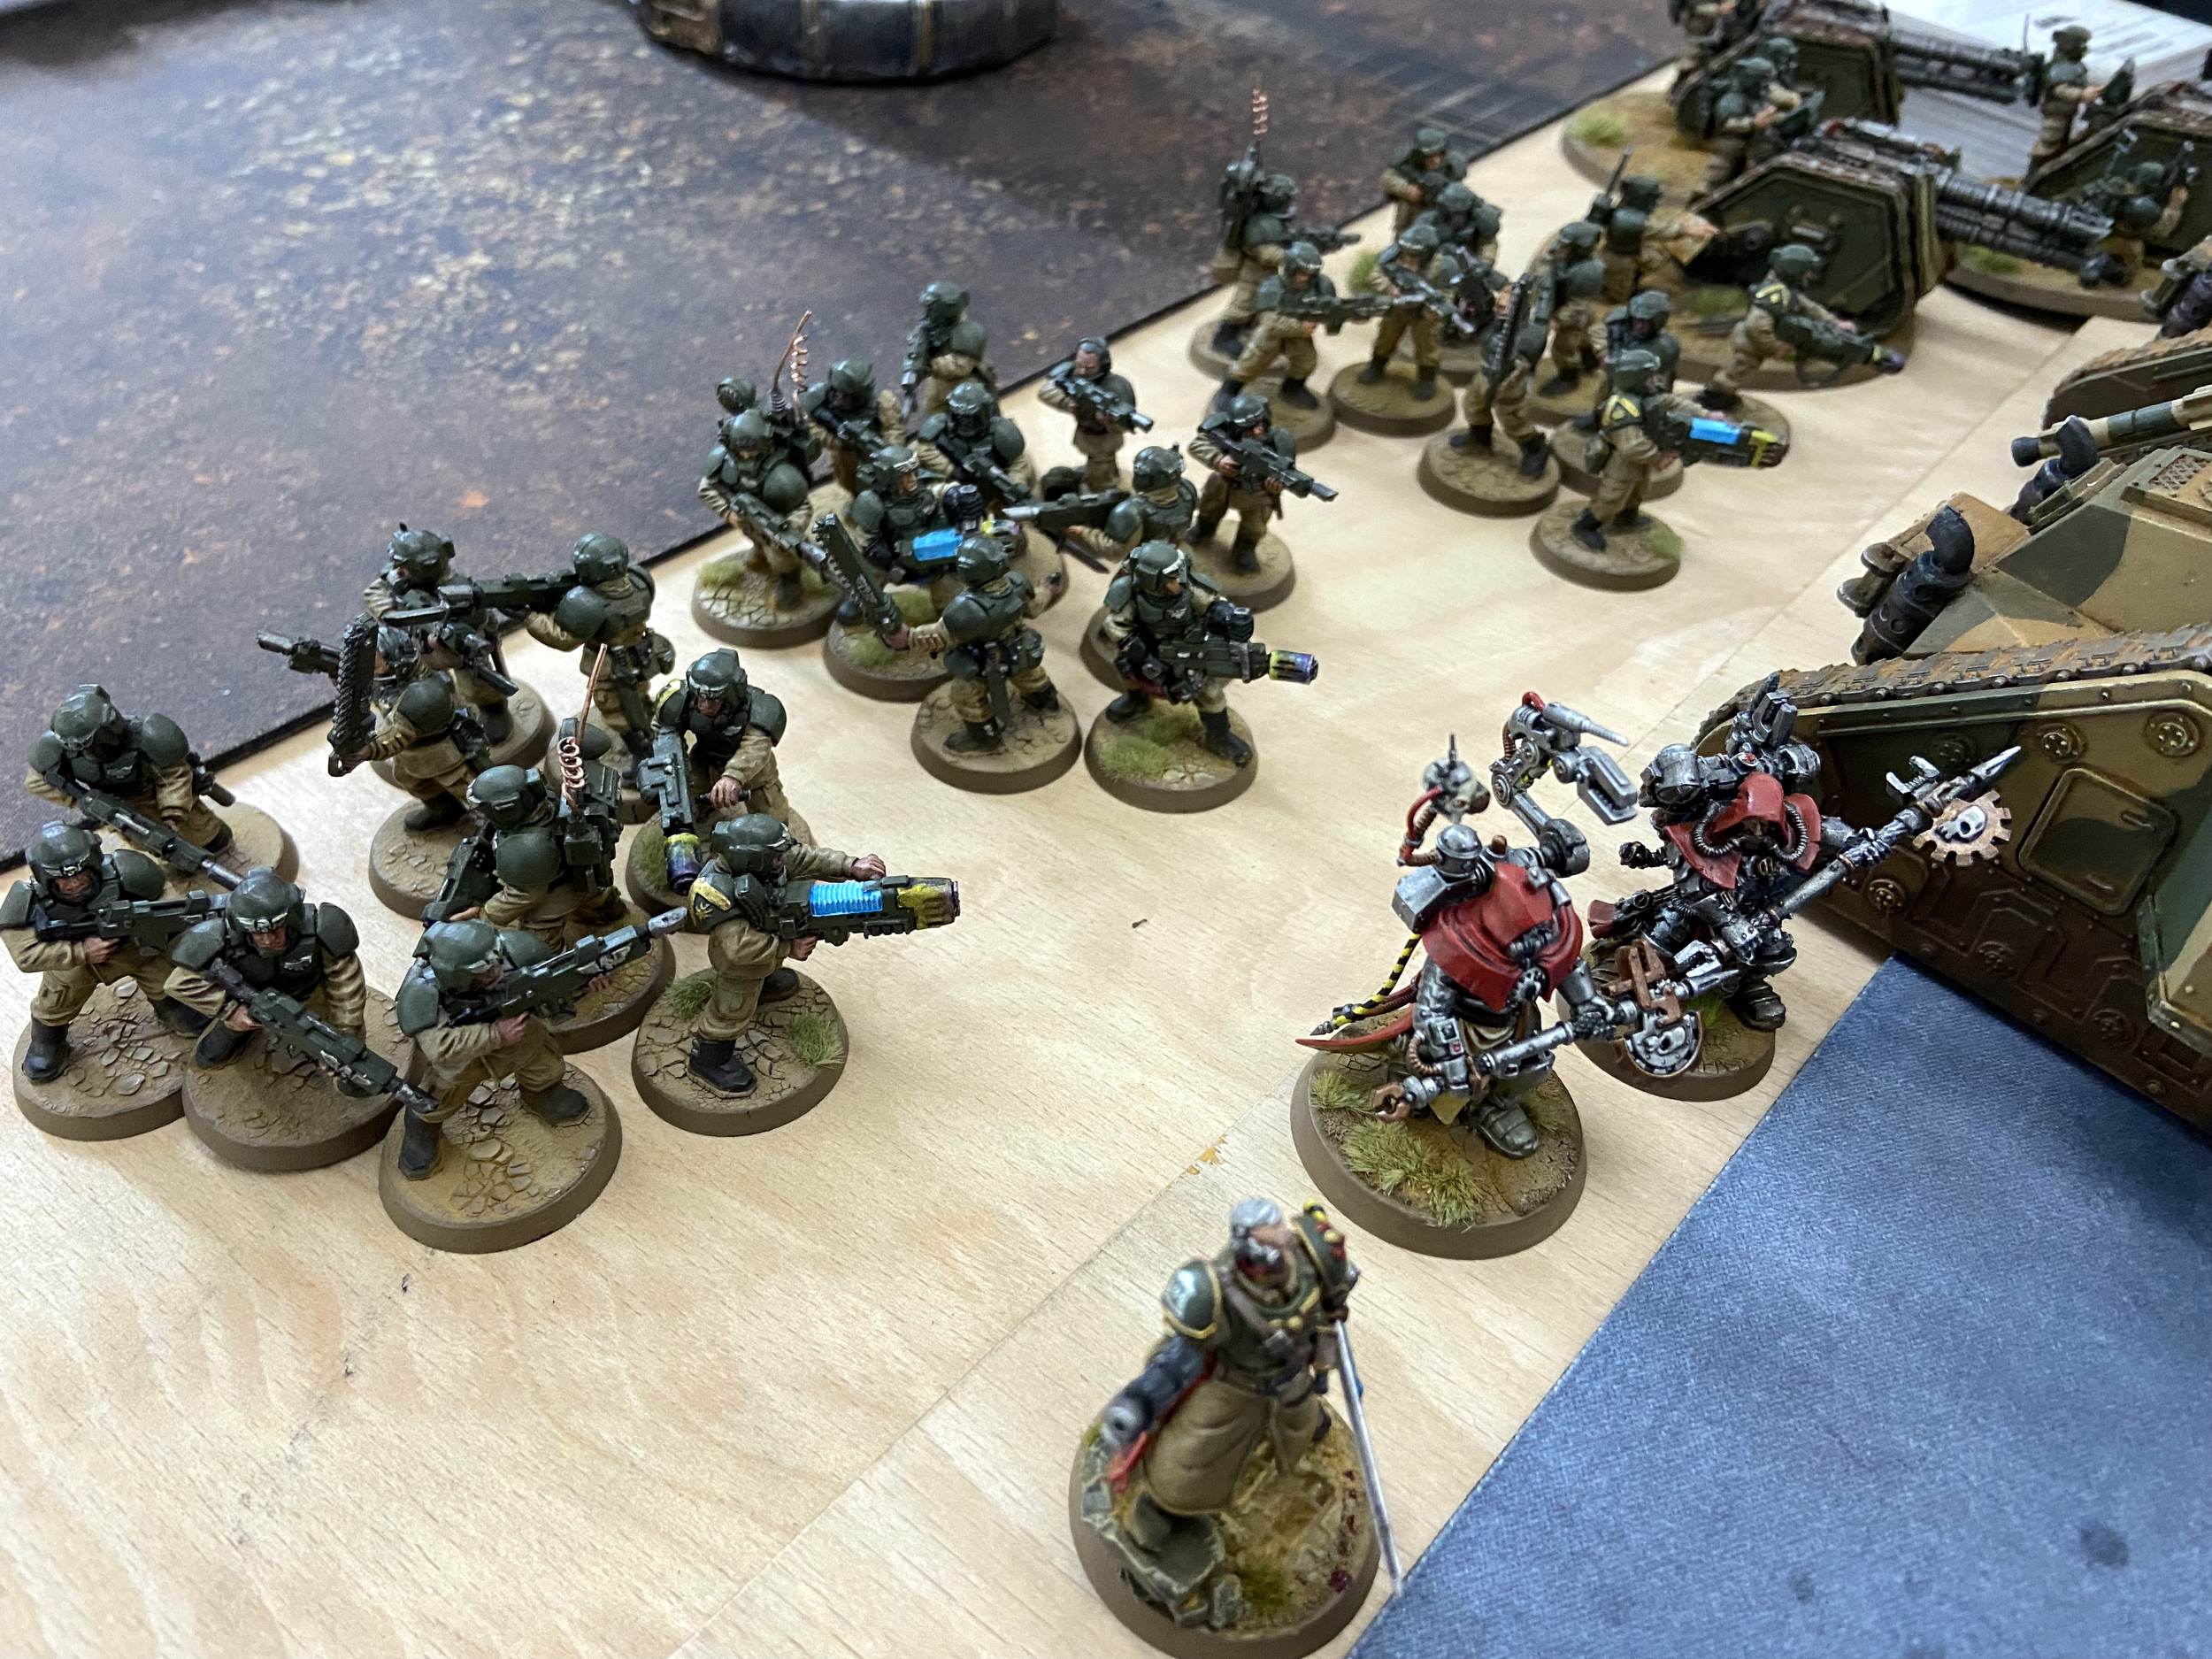
The Red Corsairs came into the Guard lines and ruined them. I did not stand a chance. But… after losing all three Chimeras in turn one, the squads inside were ordered to Take Aim and destroy the enemy Warlord. Which they gladly did. The Lord Discordant was dead, meaning he could not participate in the Campaign’s next battle against the Blood Angels.


The Blood Angels also lost their game. This gave the enemy two Zones to start their assaults.
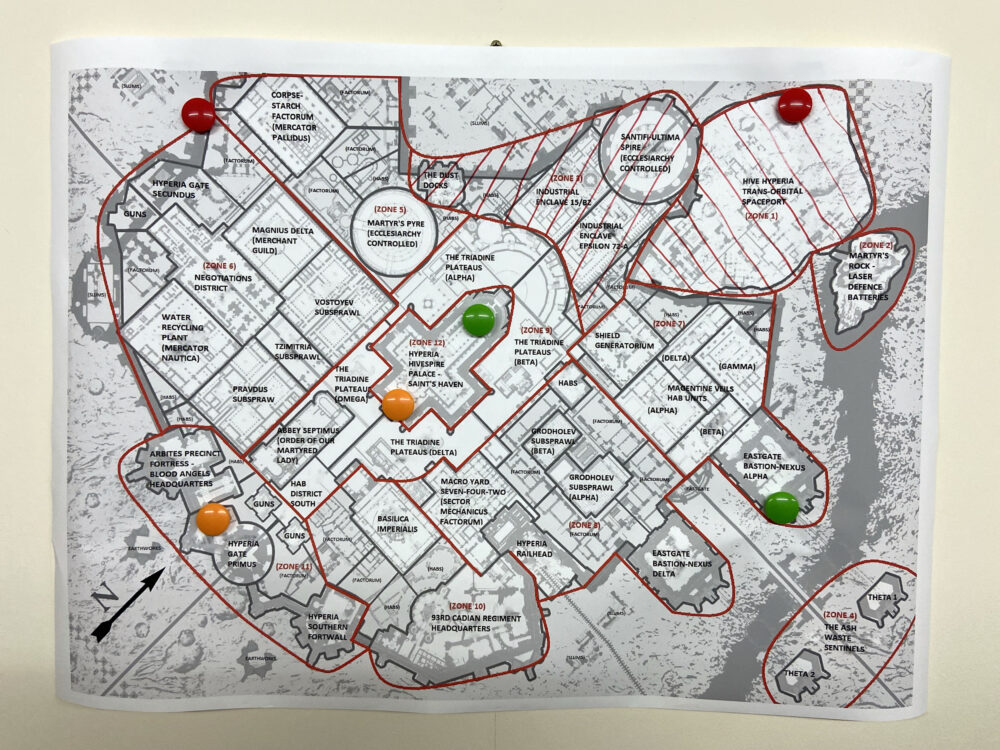
Map after the first battle, Zone 1 and 3 were lost to Chaos
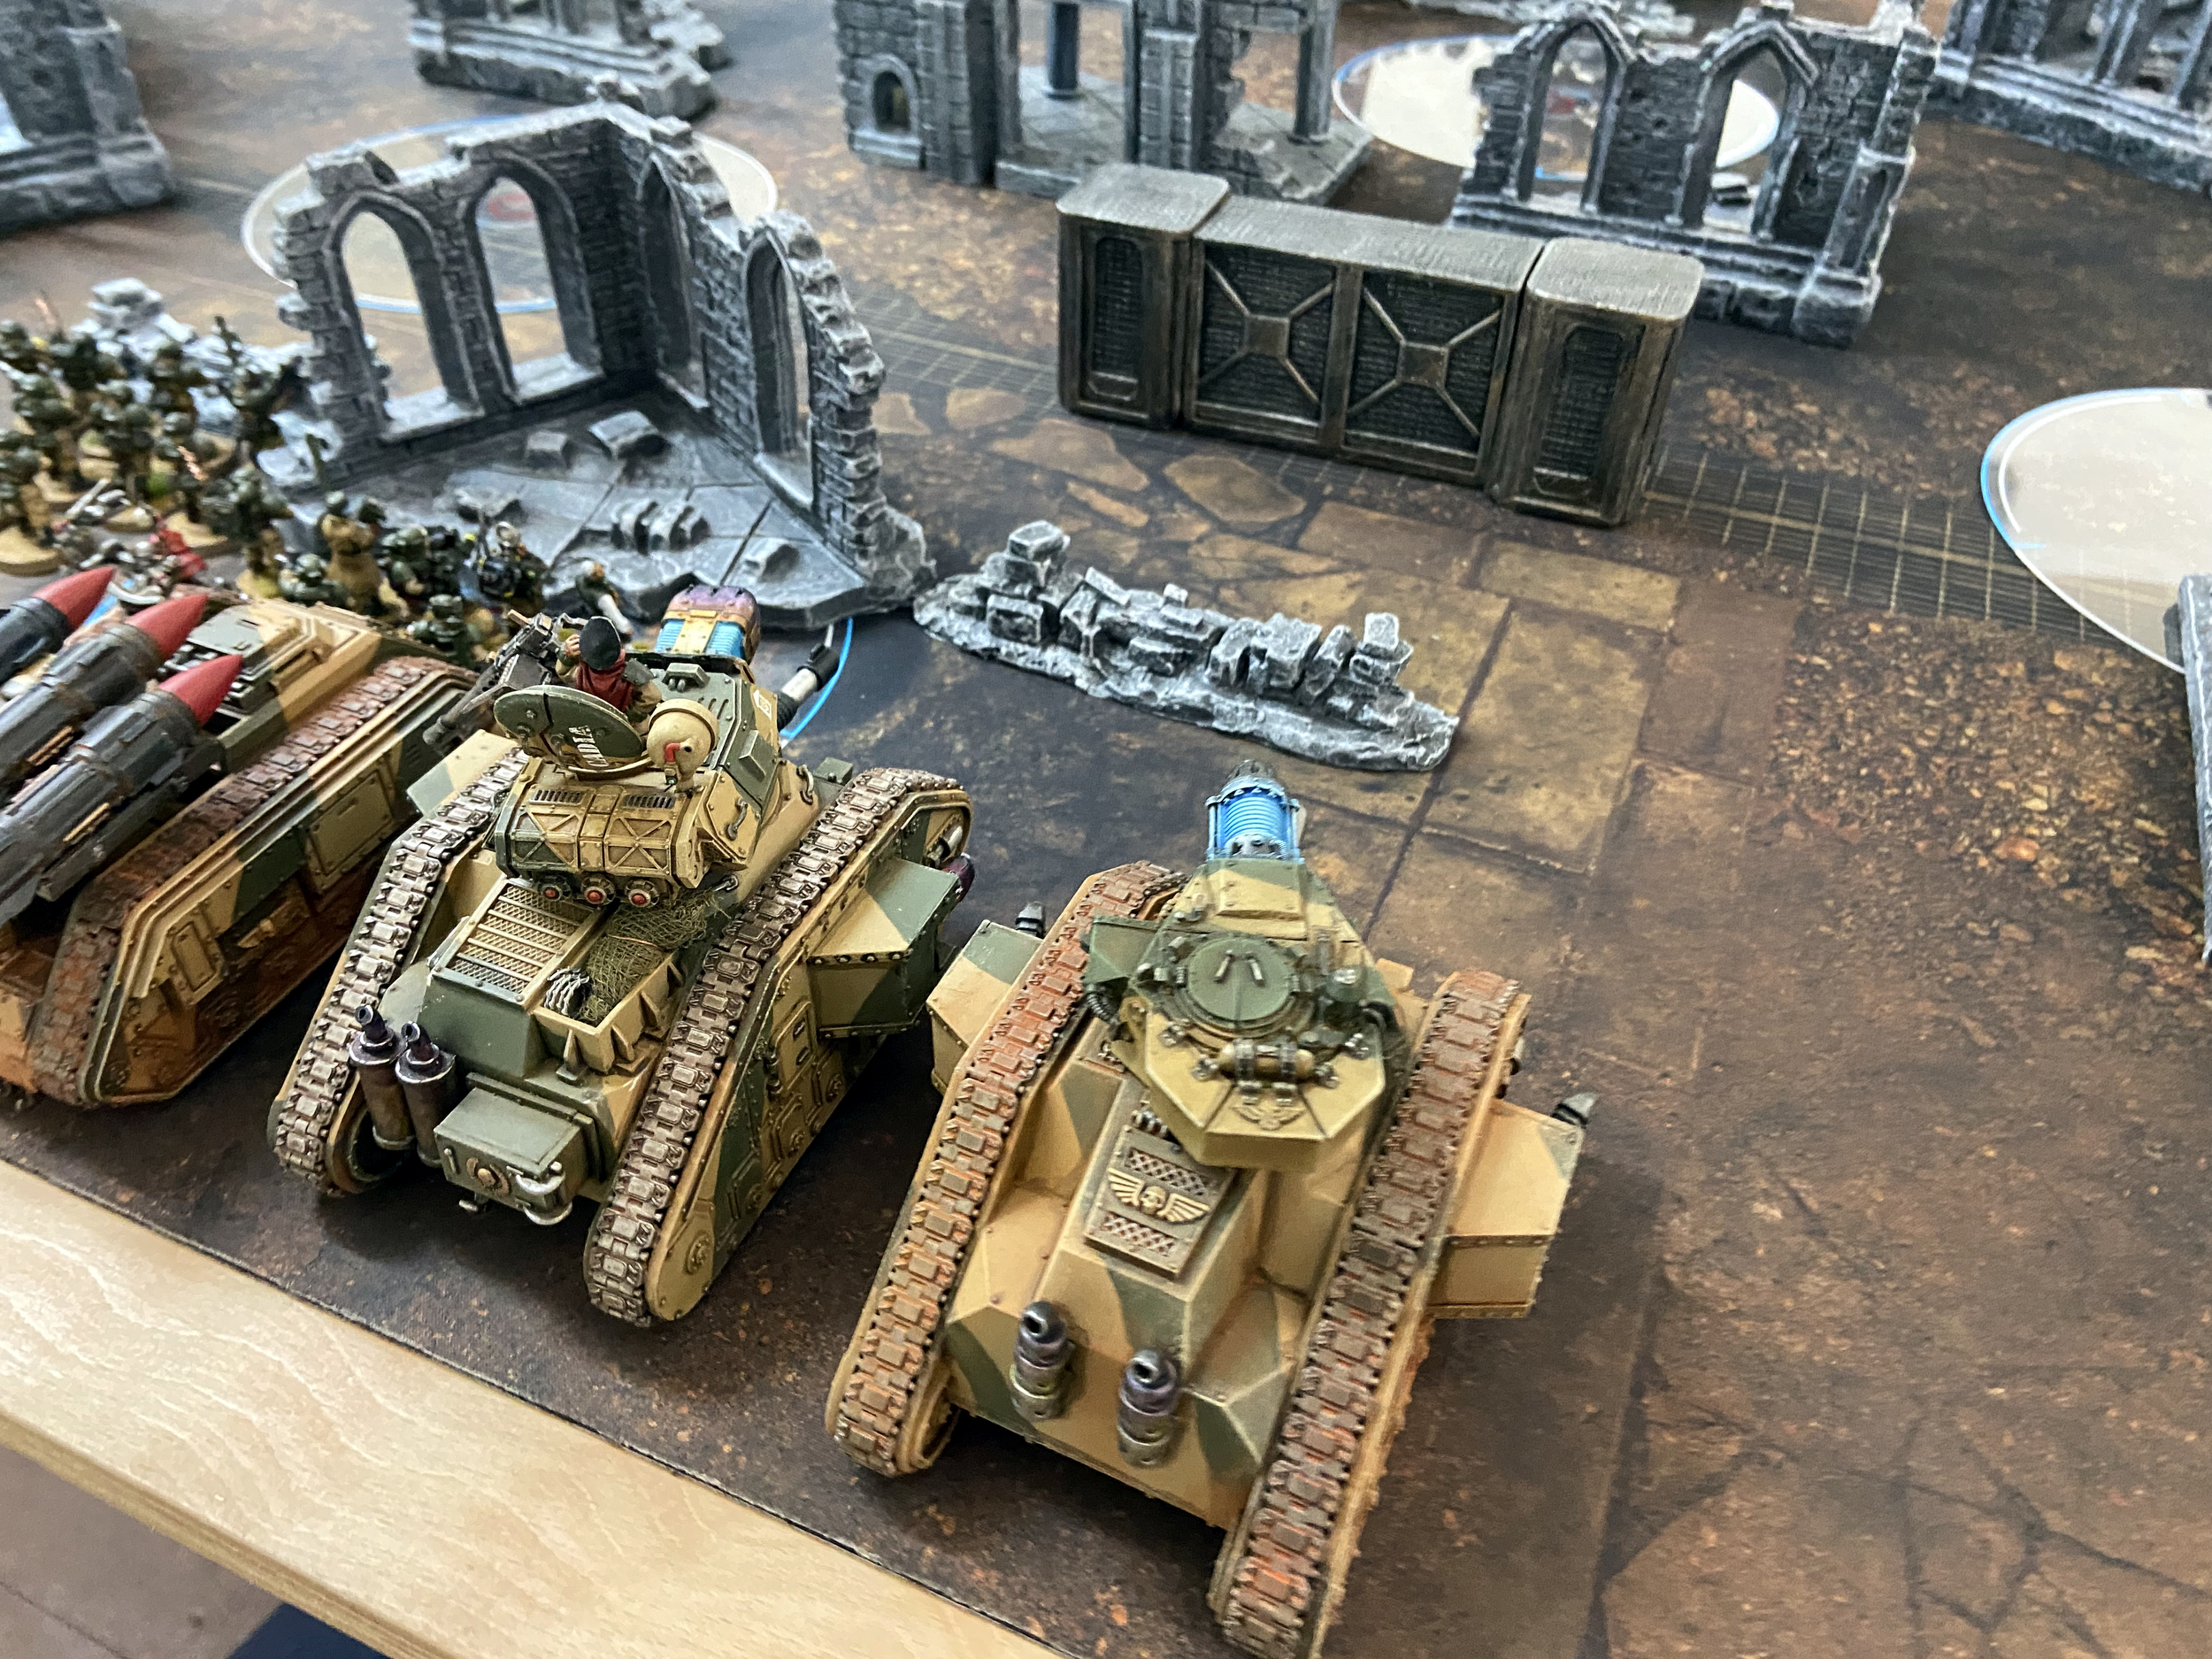
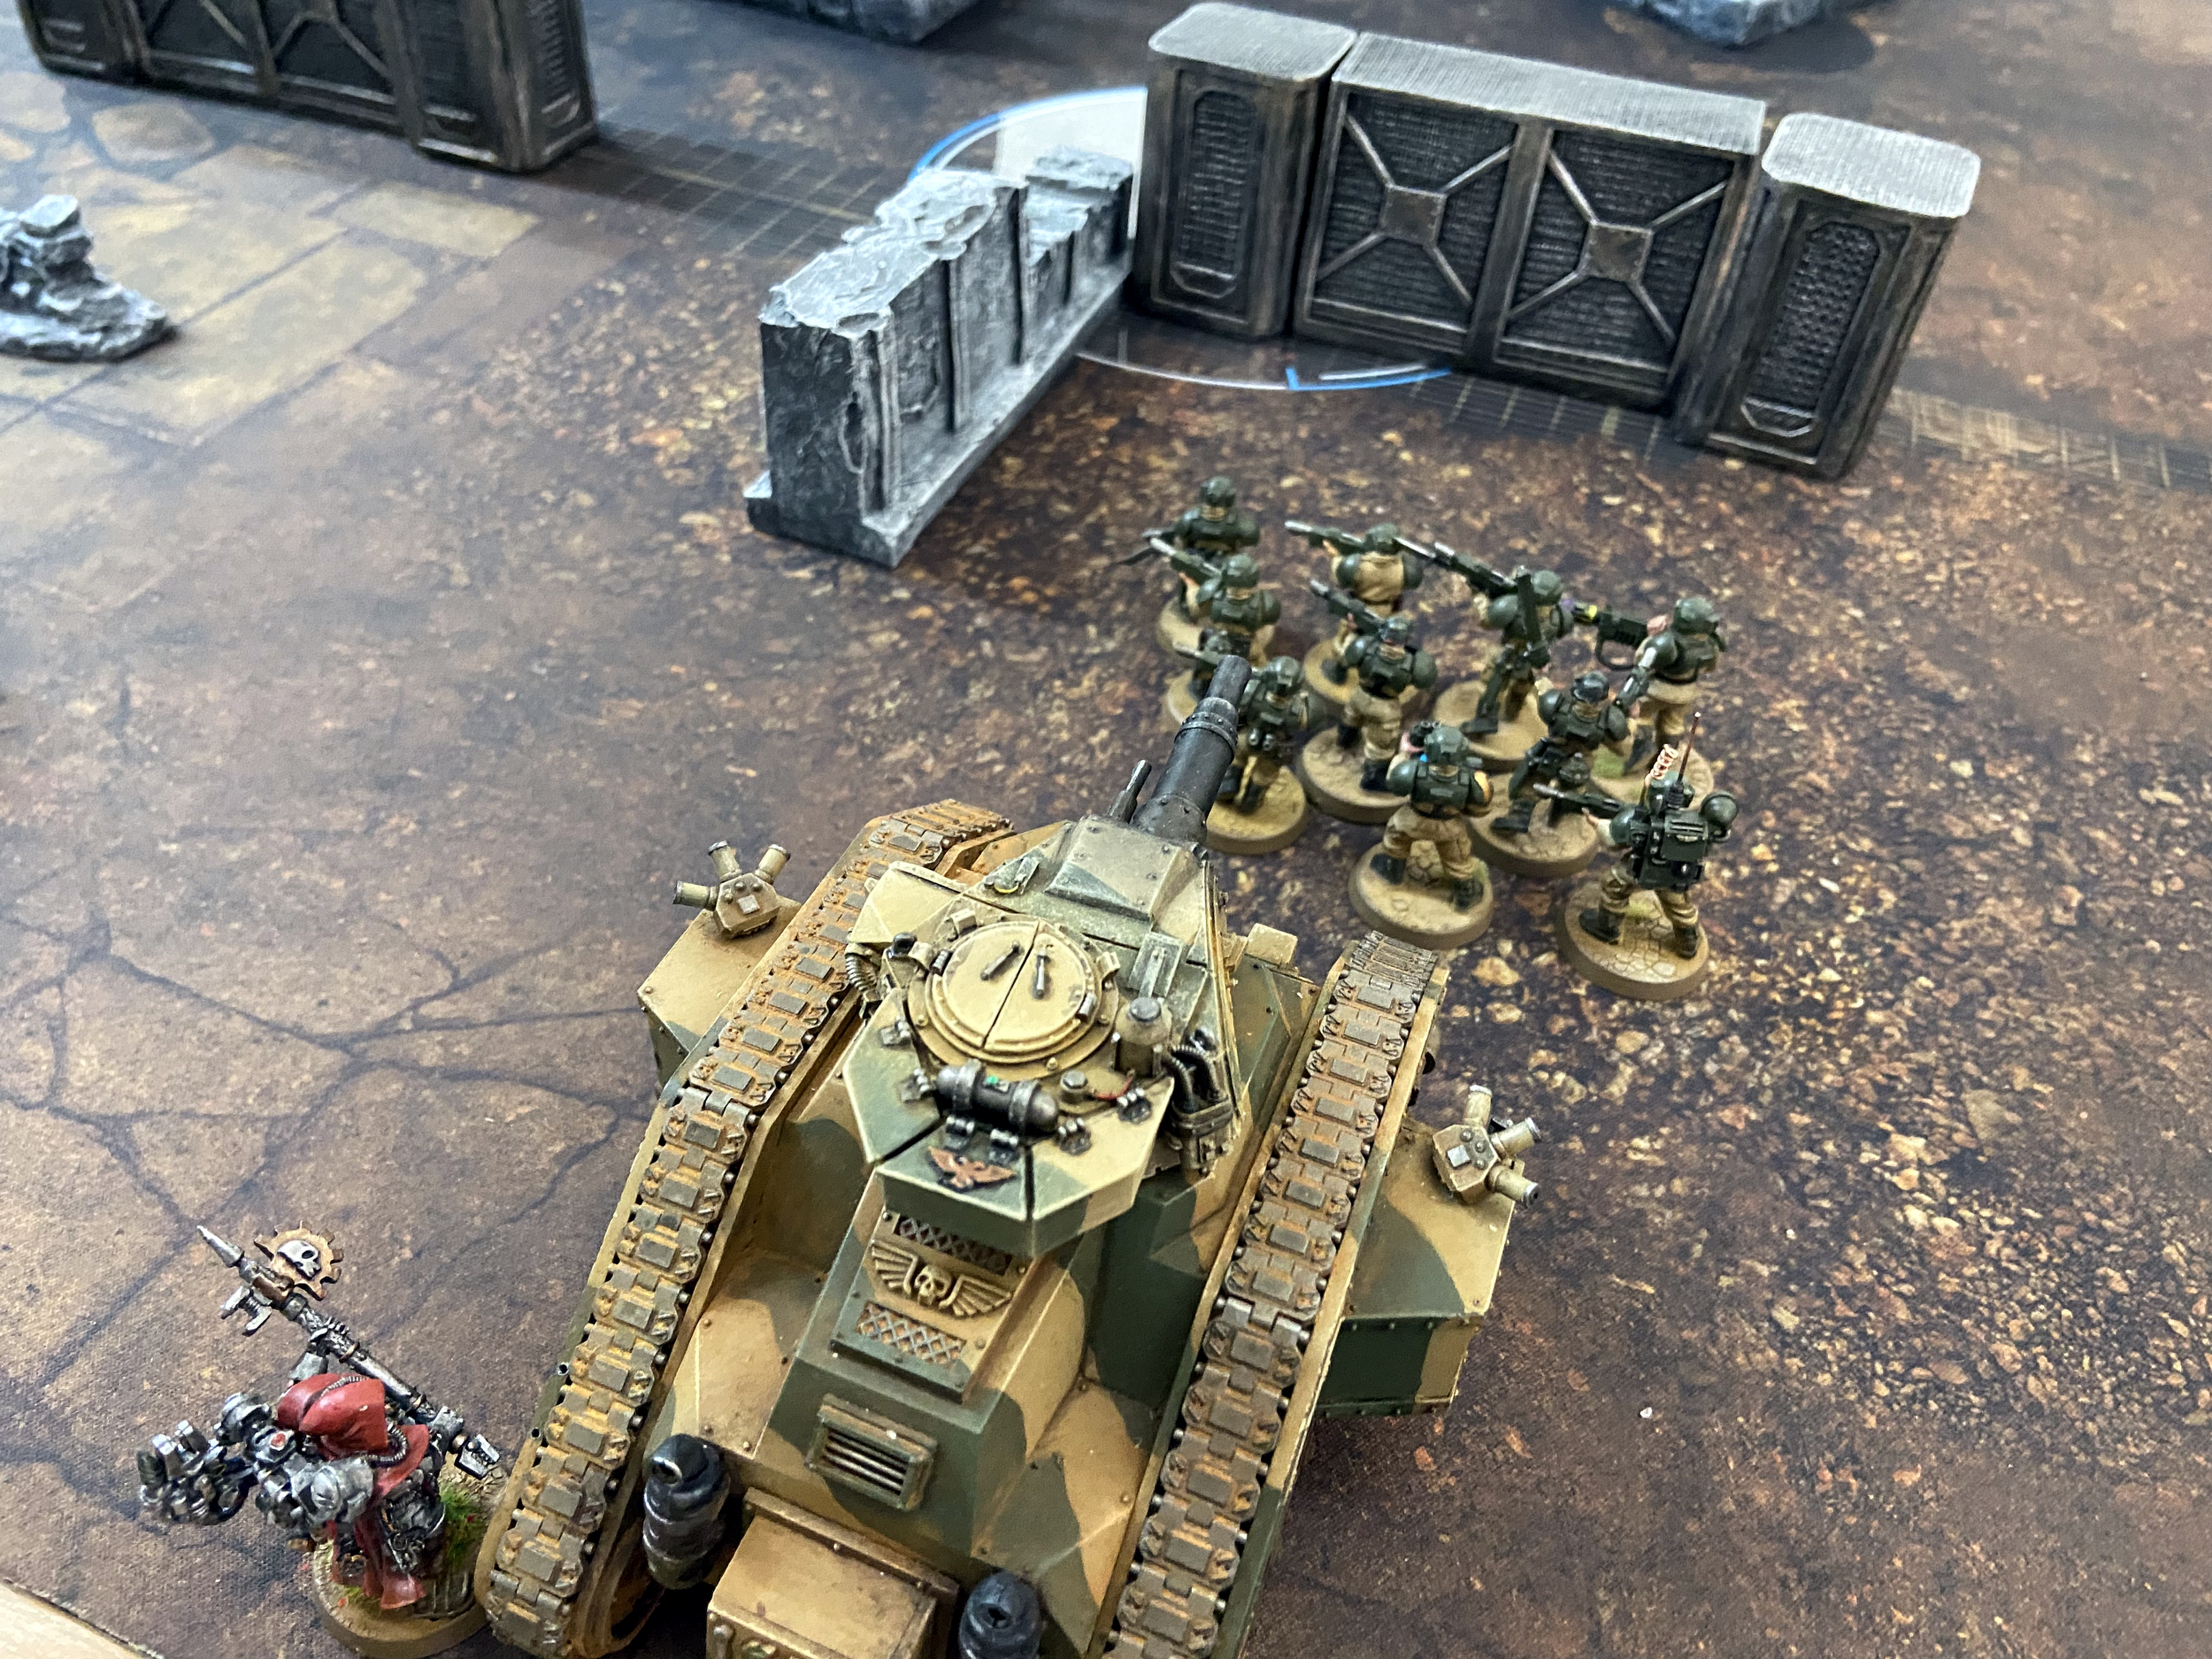
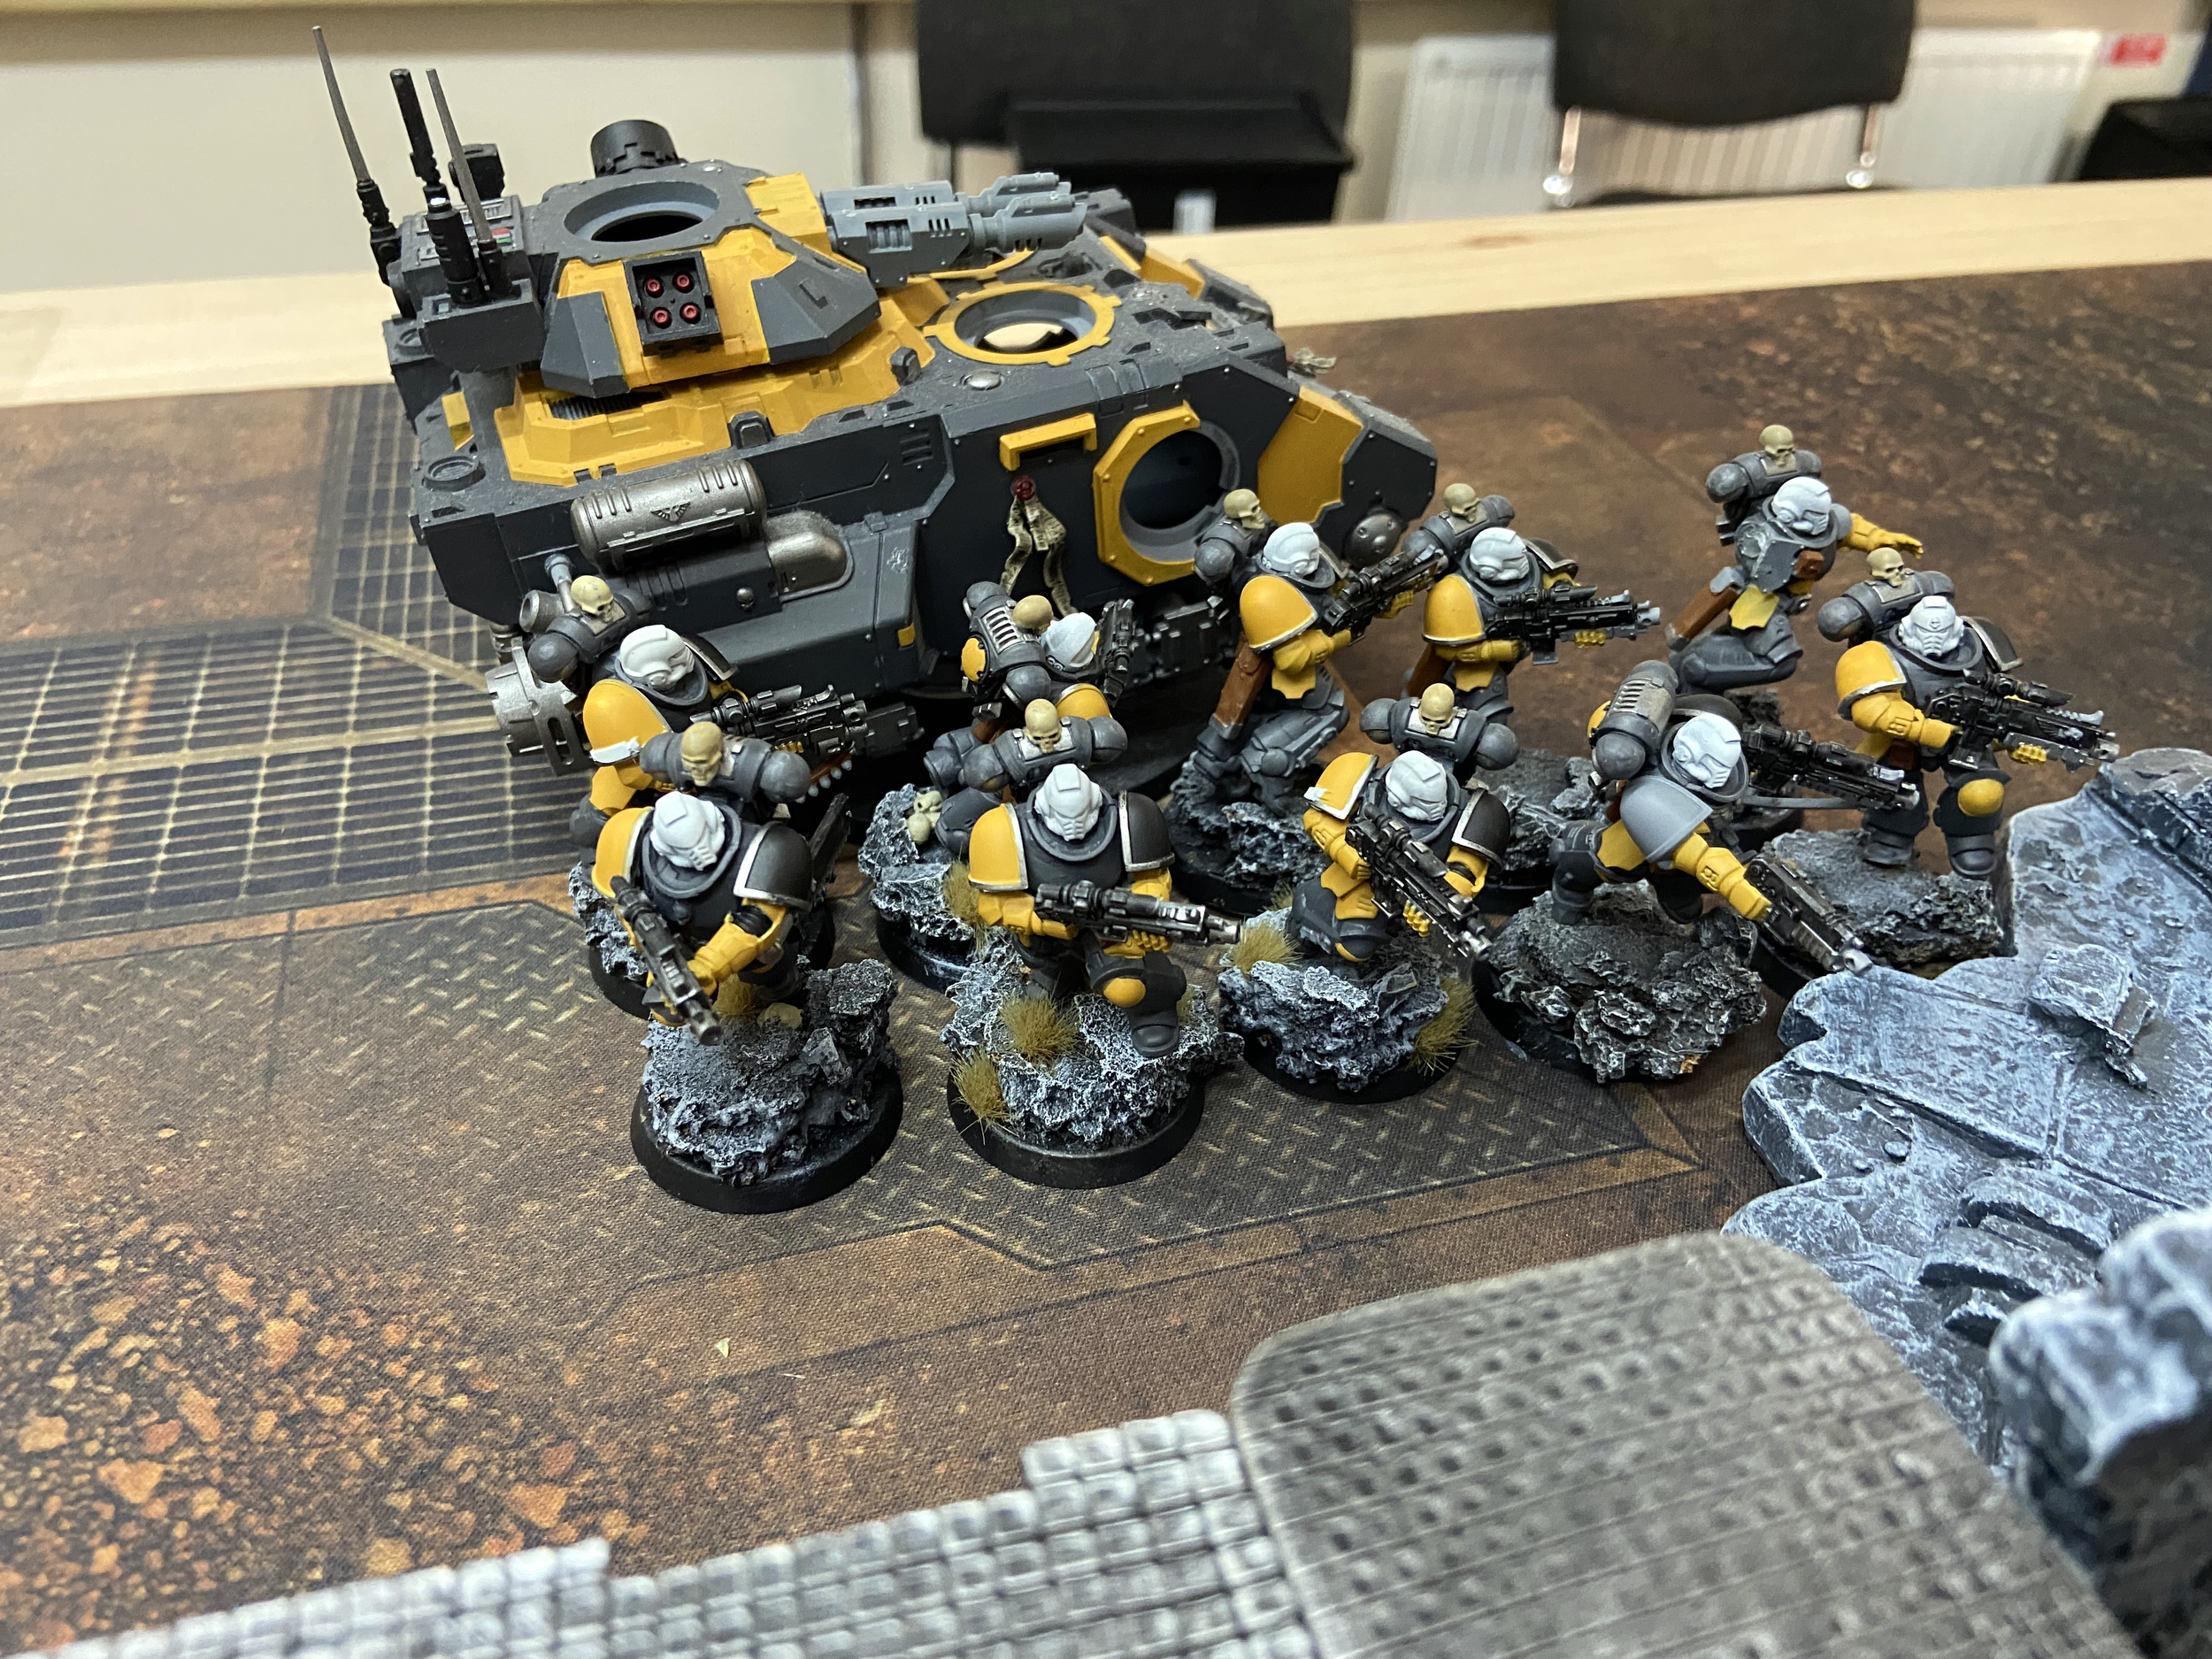
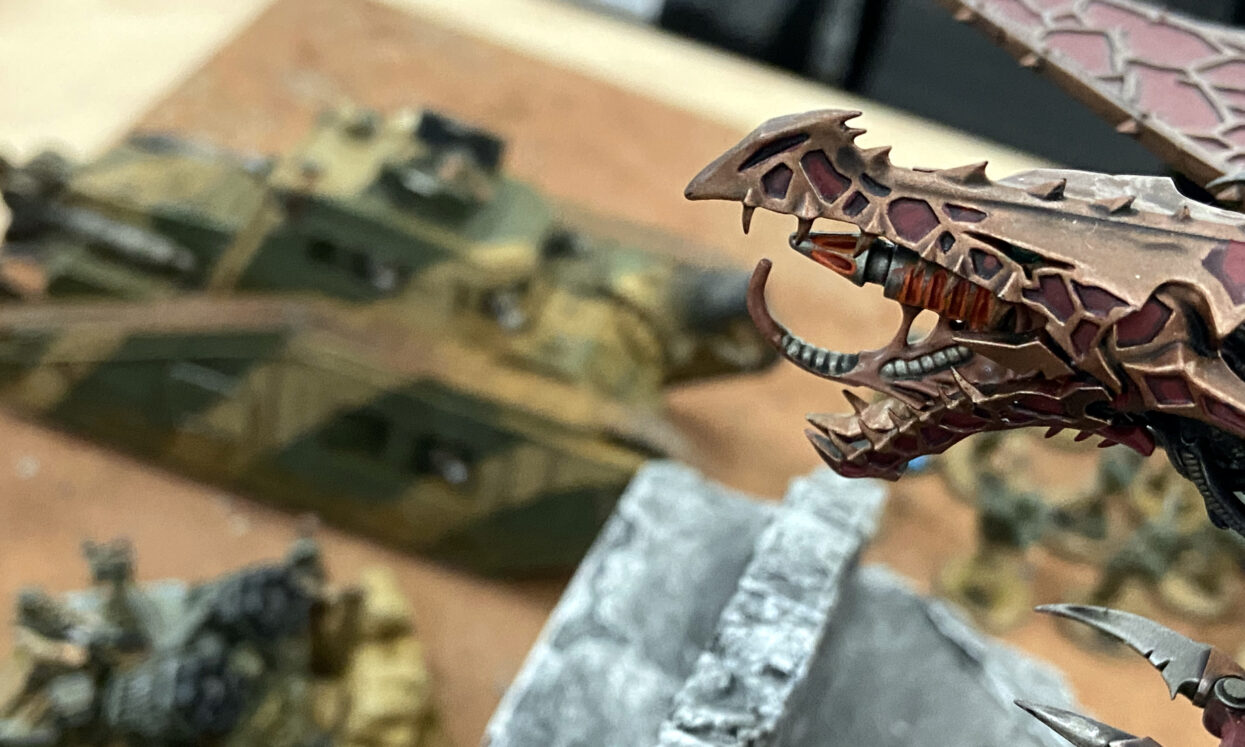
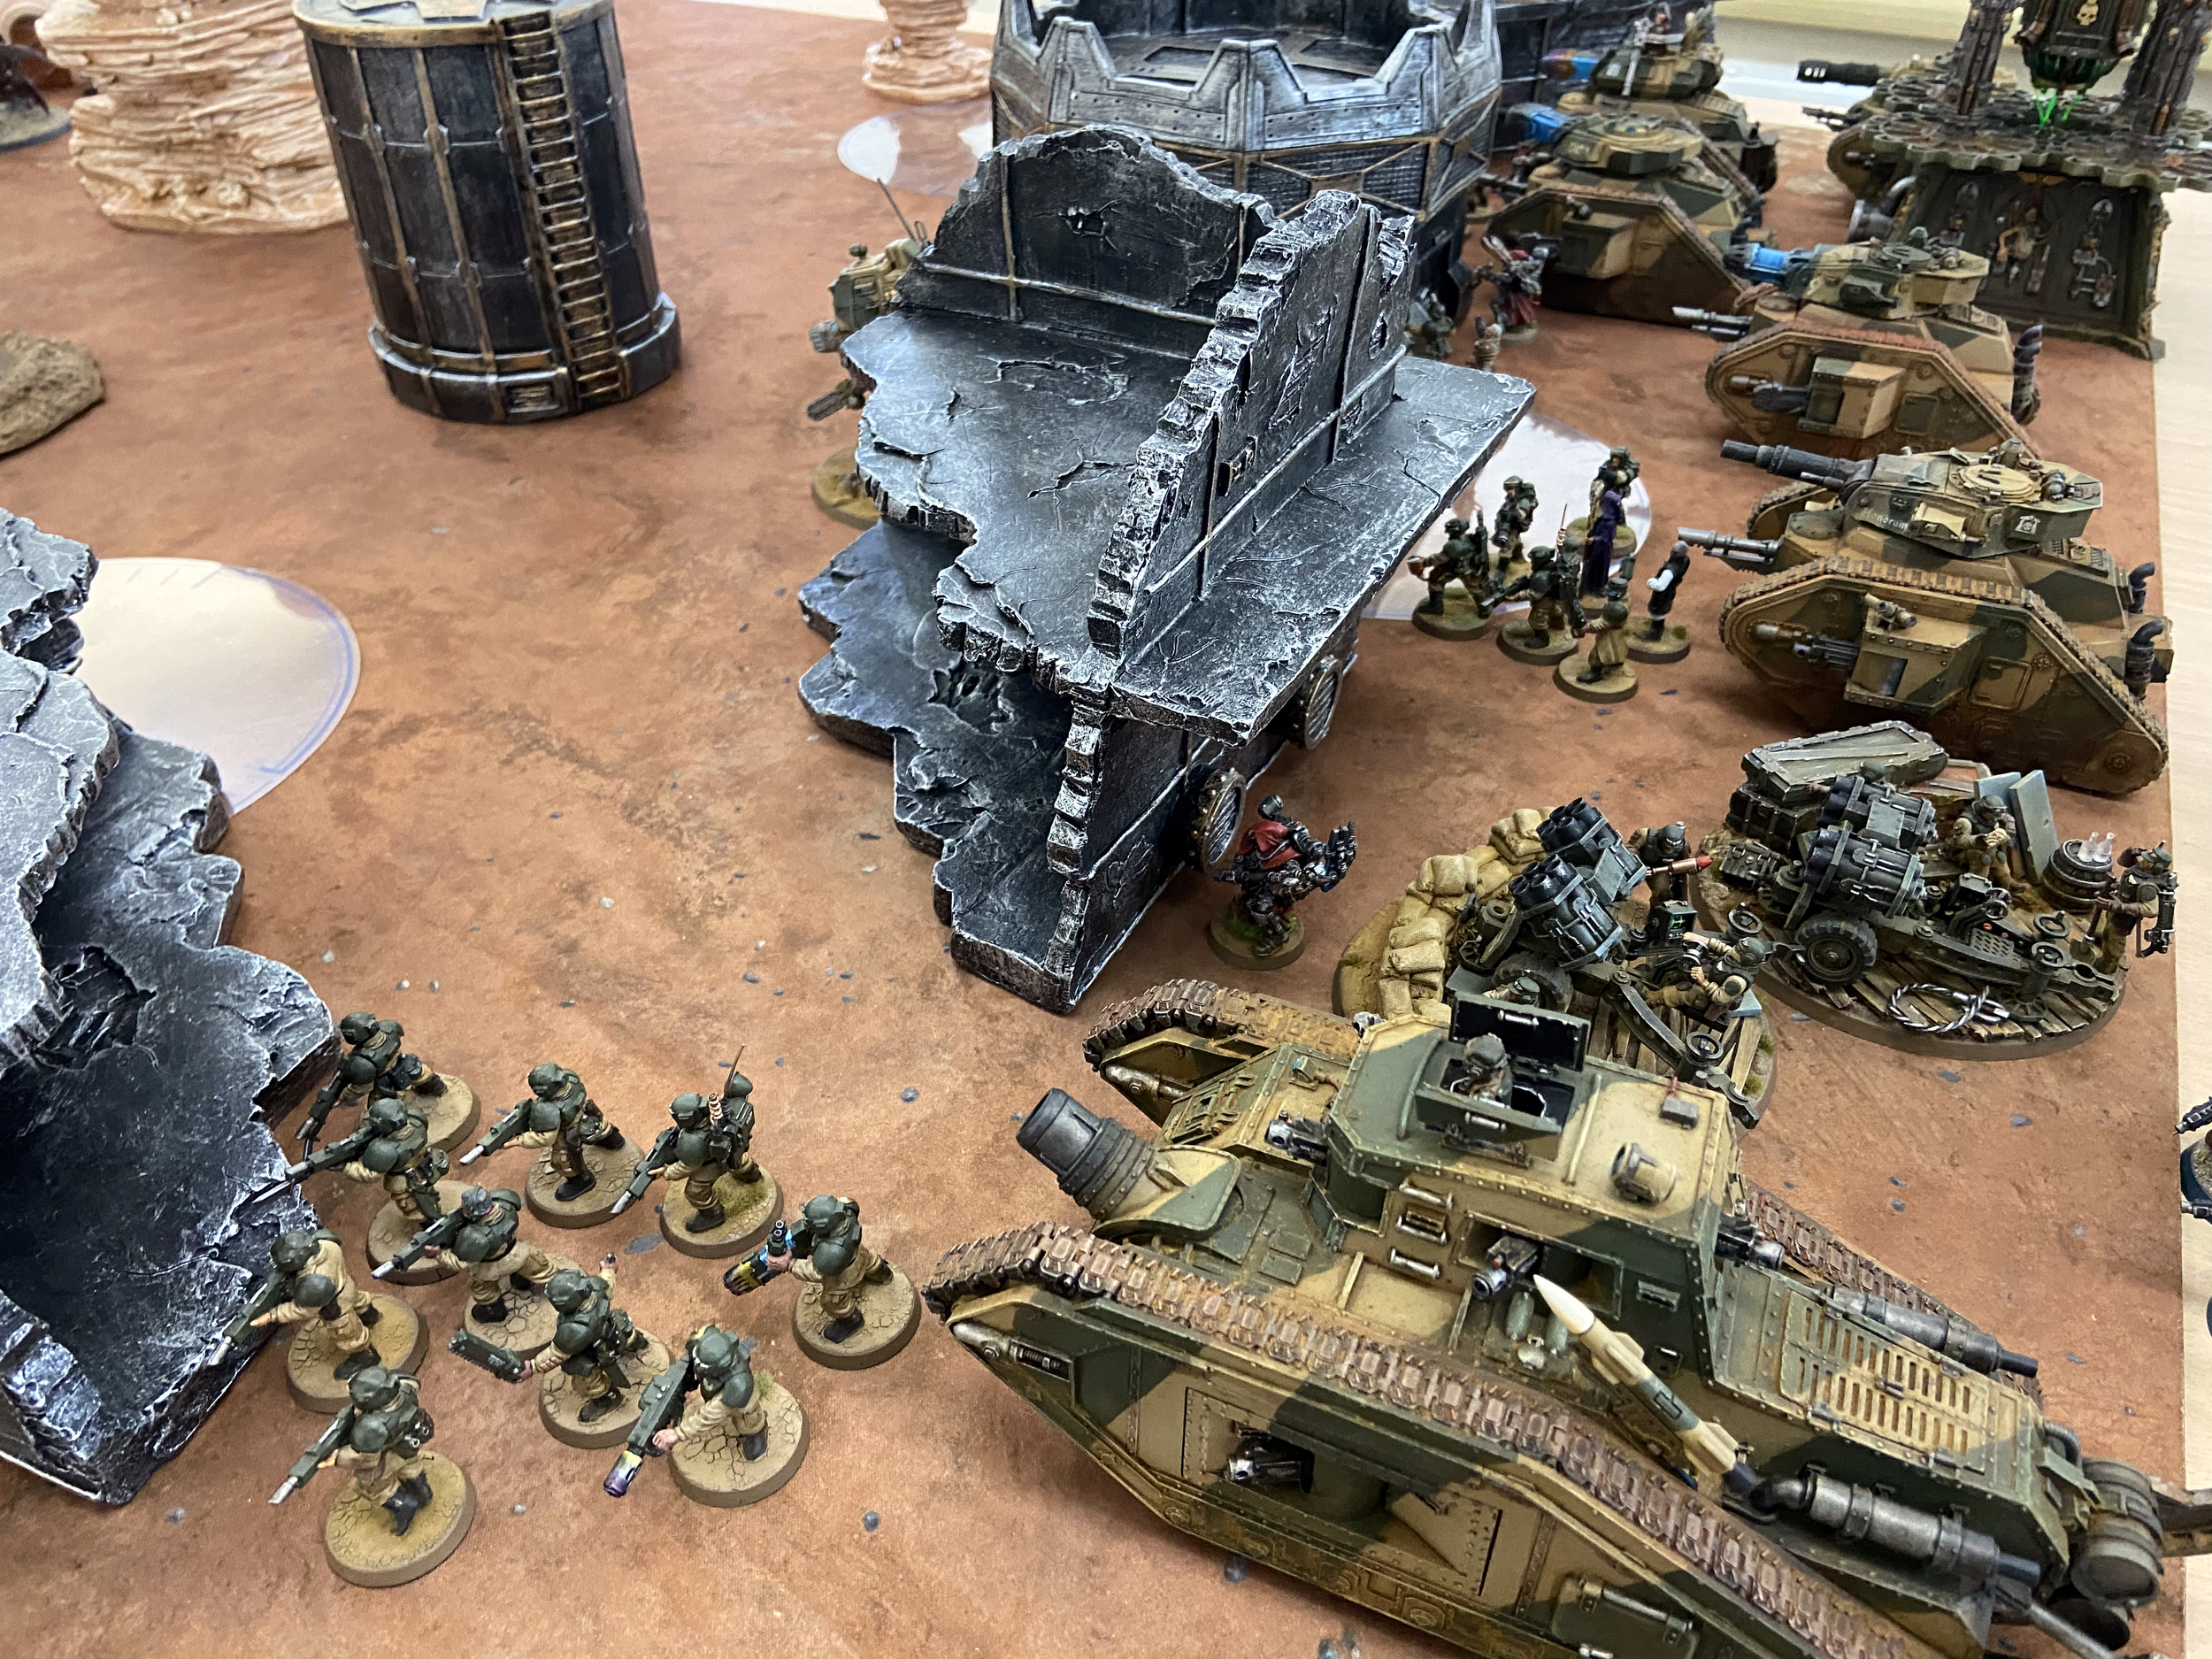
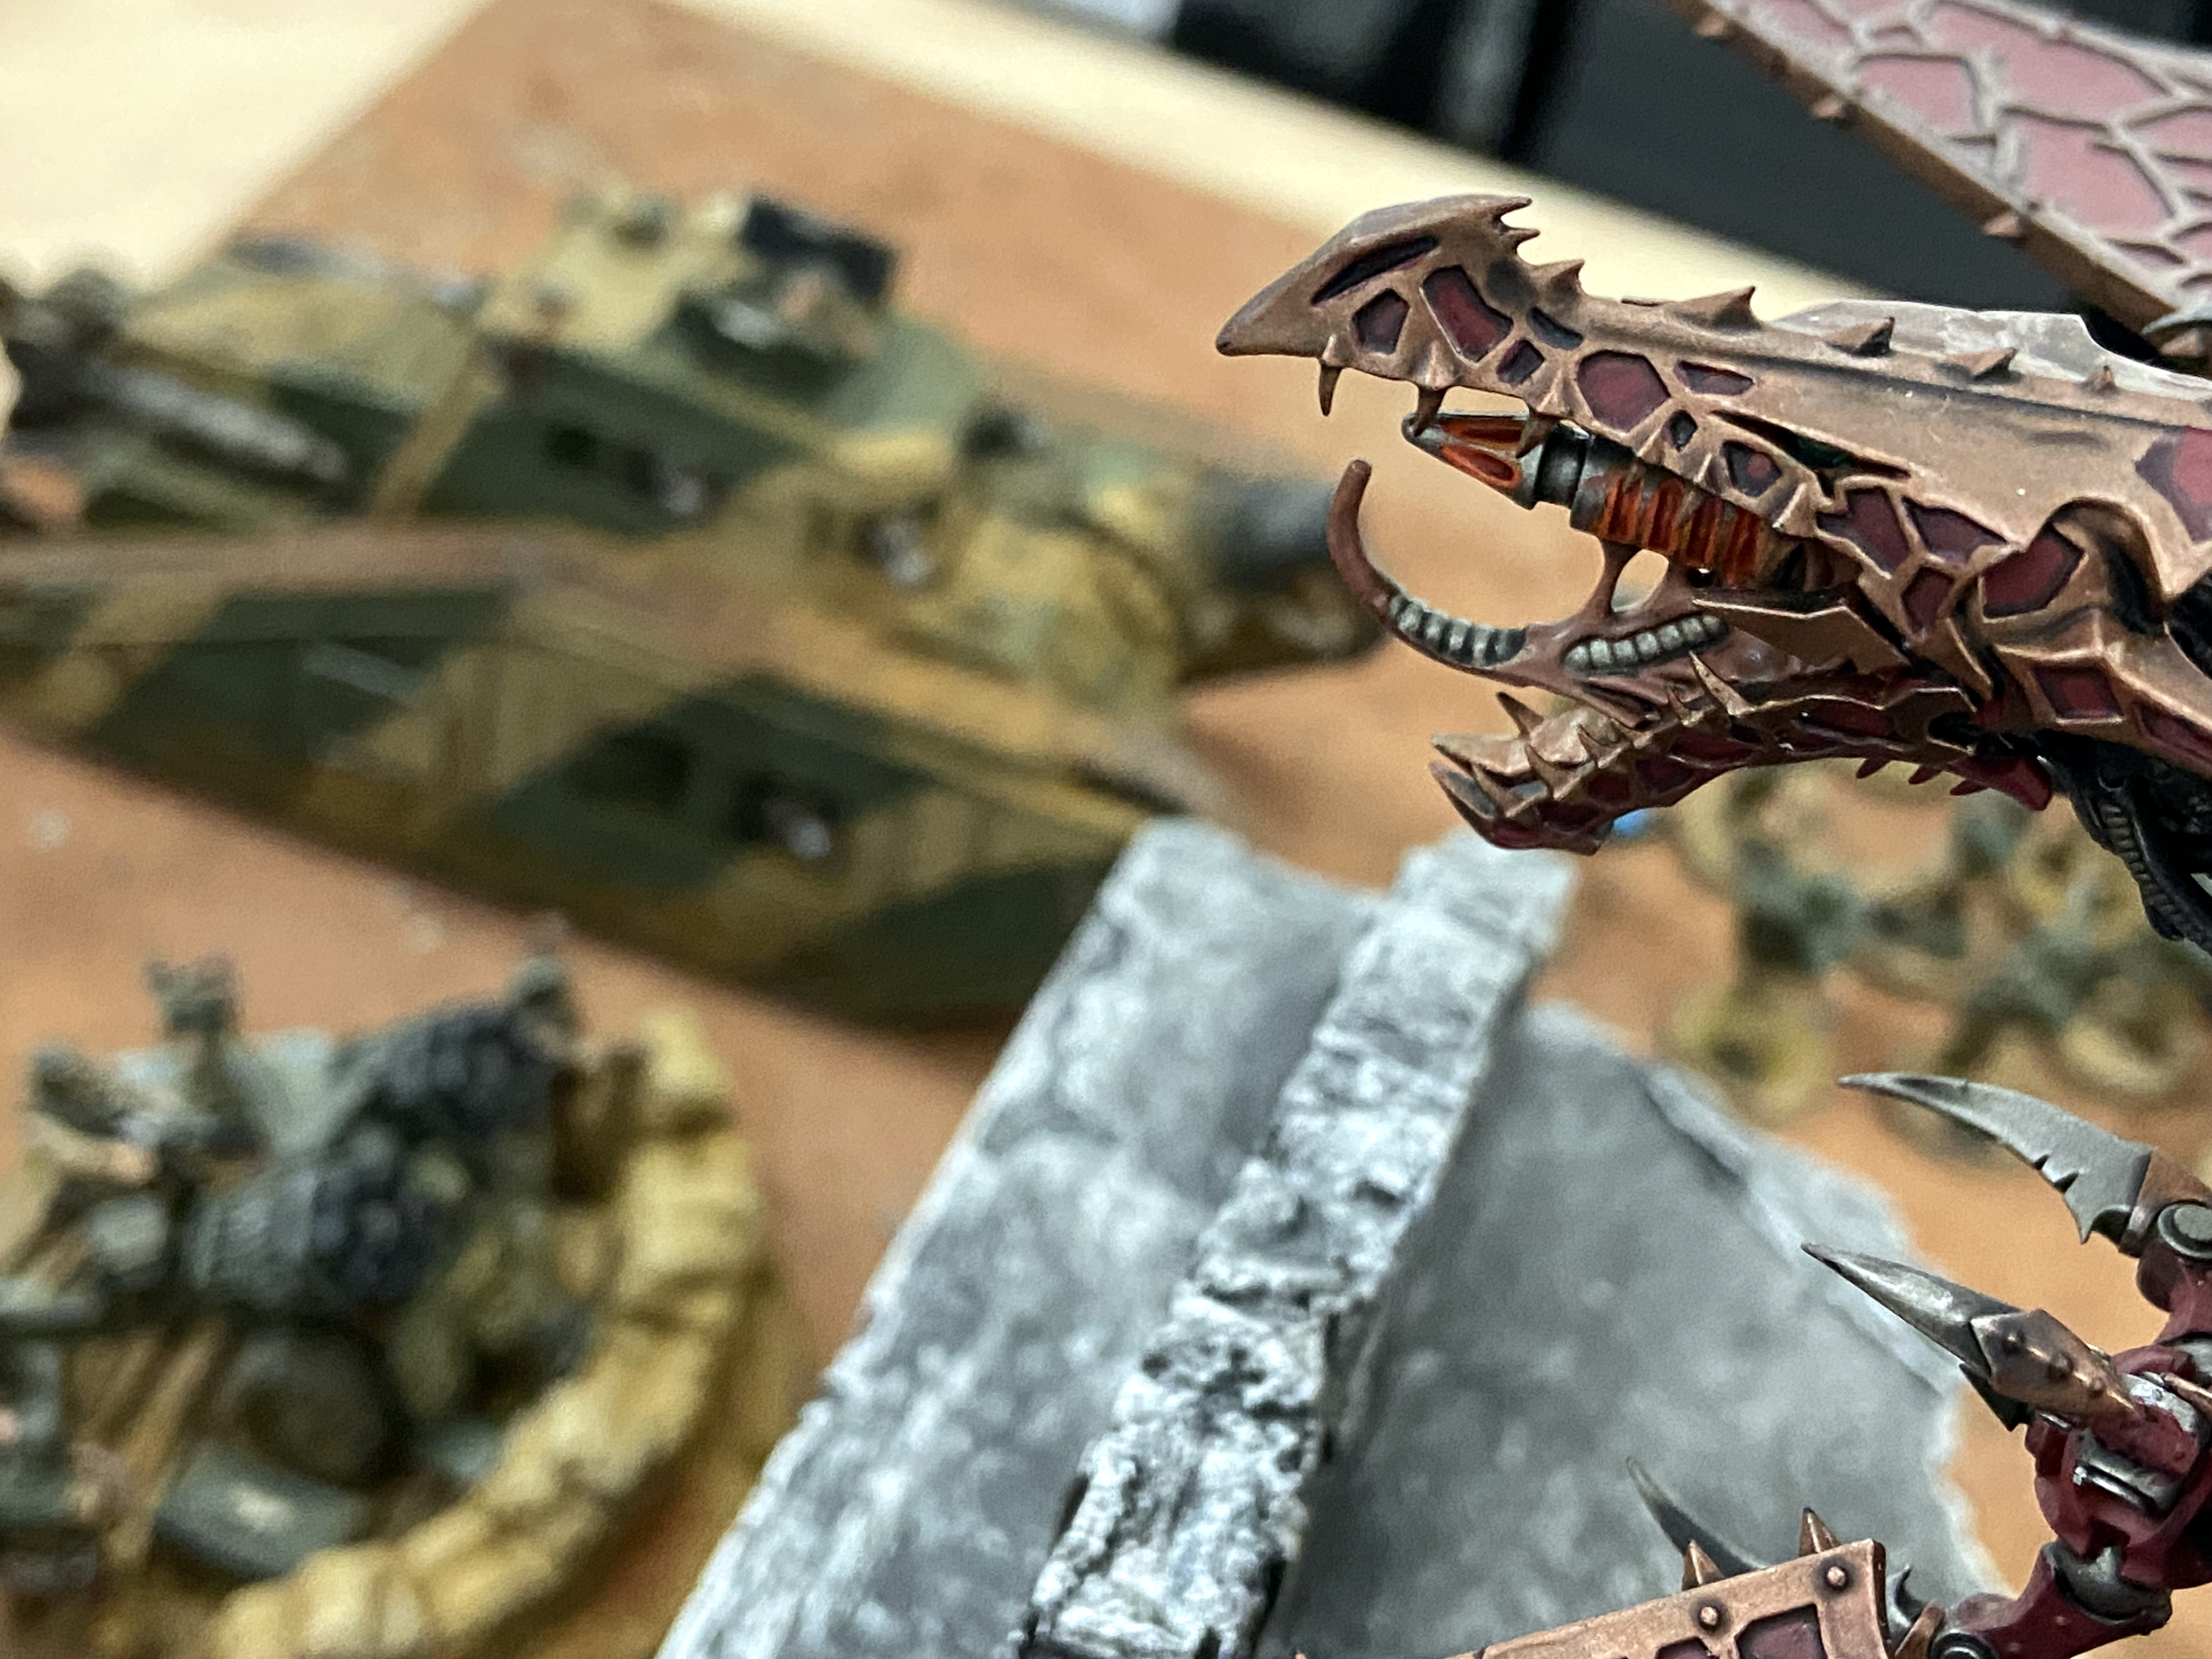
Game 2 – 1,000 vs 1,250 points vs Iron Hands
In this game, I would defend Zone 9, the area around the main Hyperia Hivespire Palace. The Hyperia Hivespire Palace was reserved for the final battle on Sunday.
I would be surrounded, penned in as the enemy closed in on the Hive.
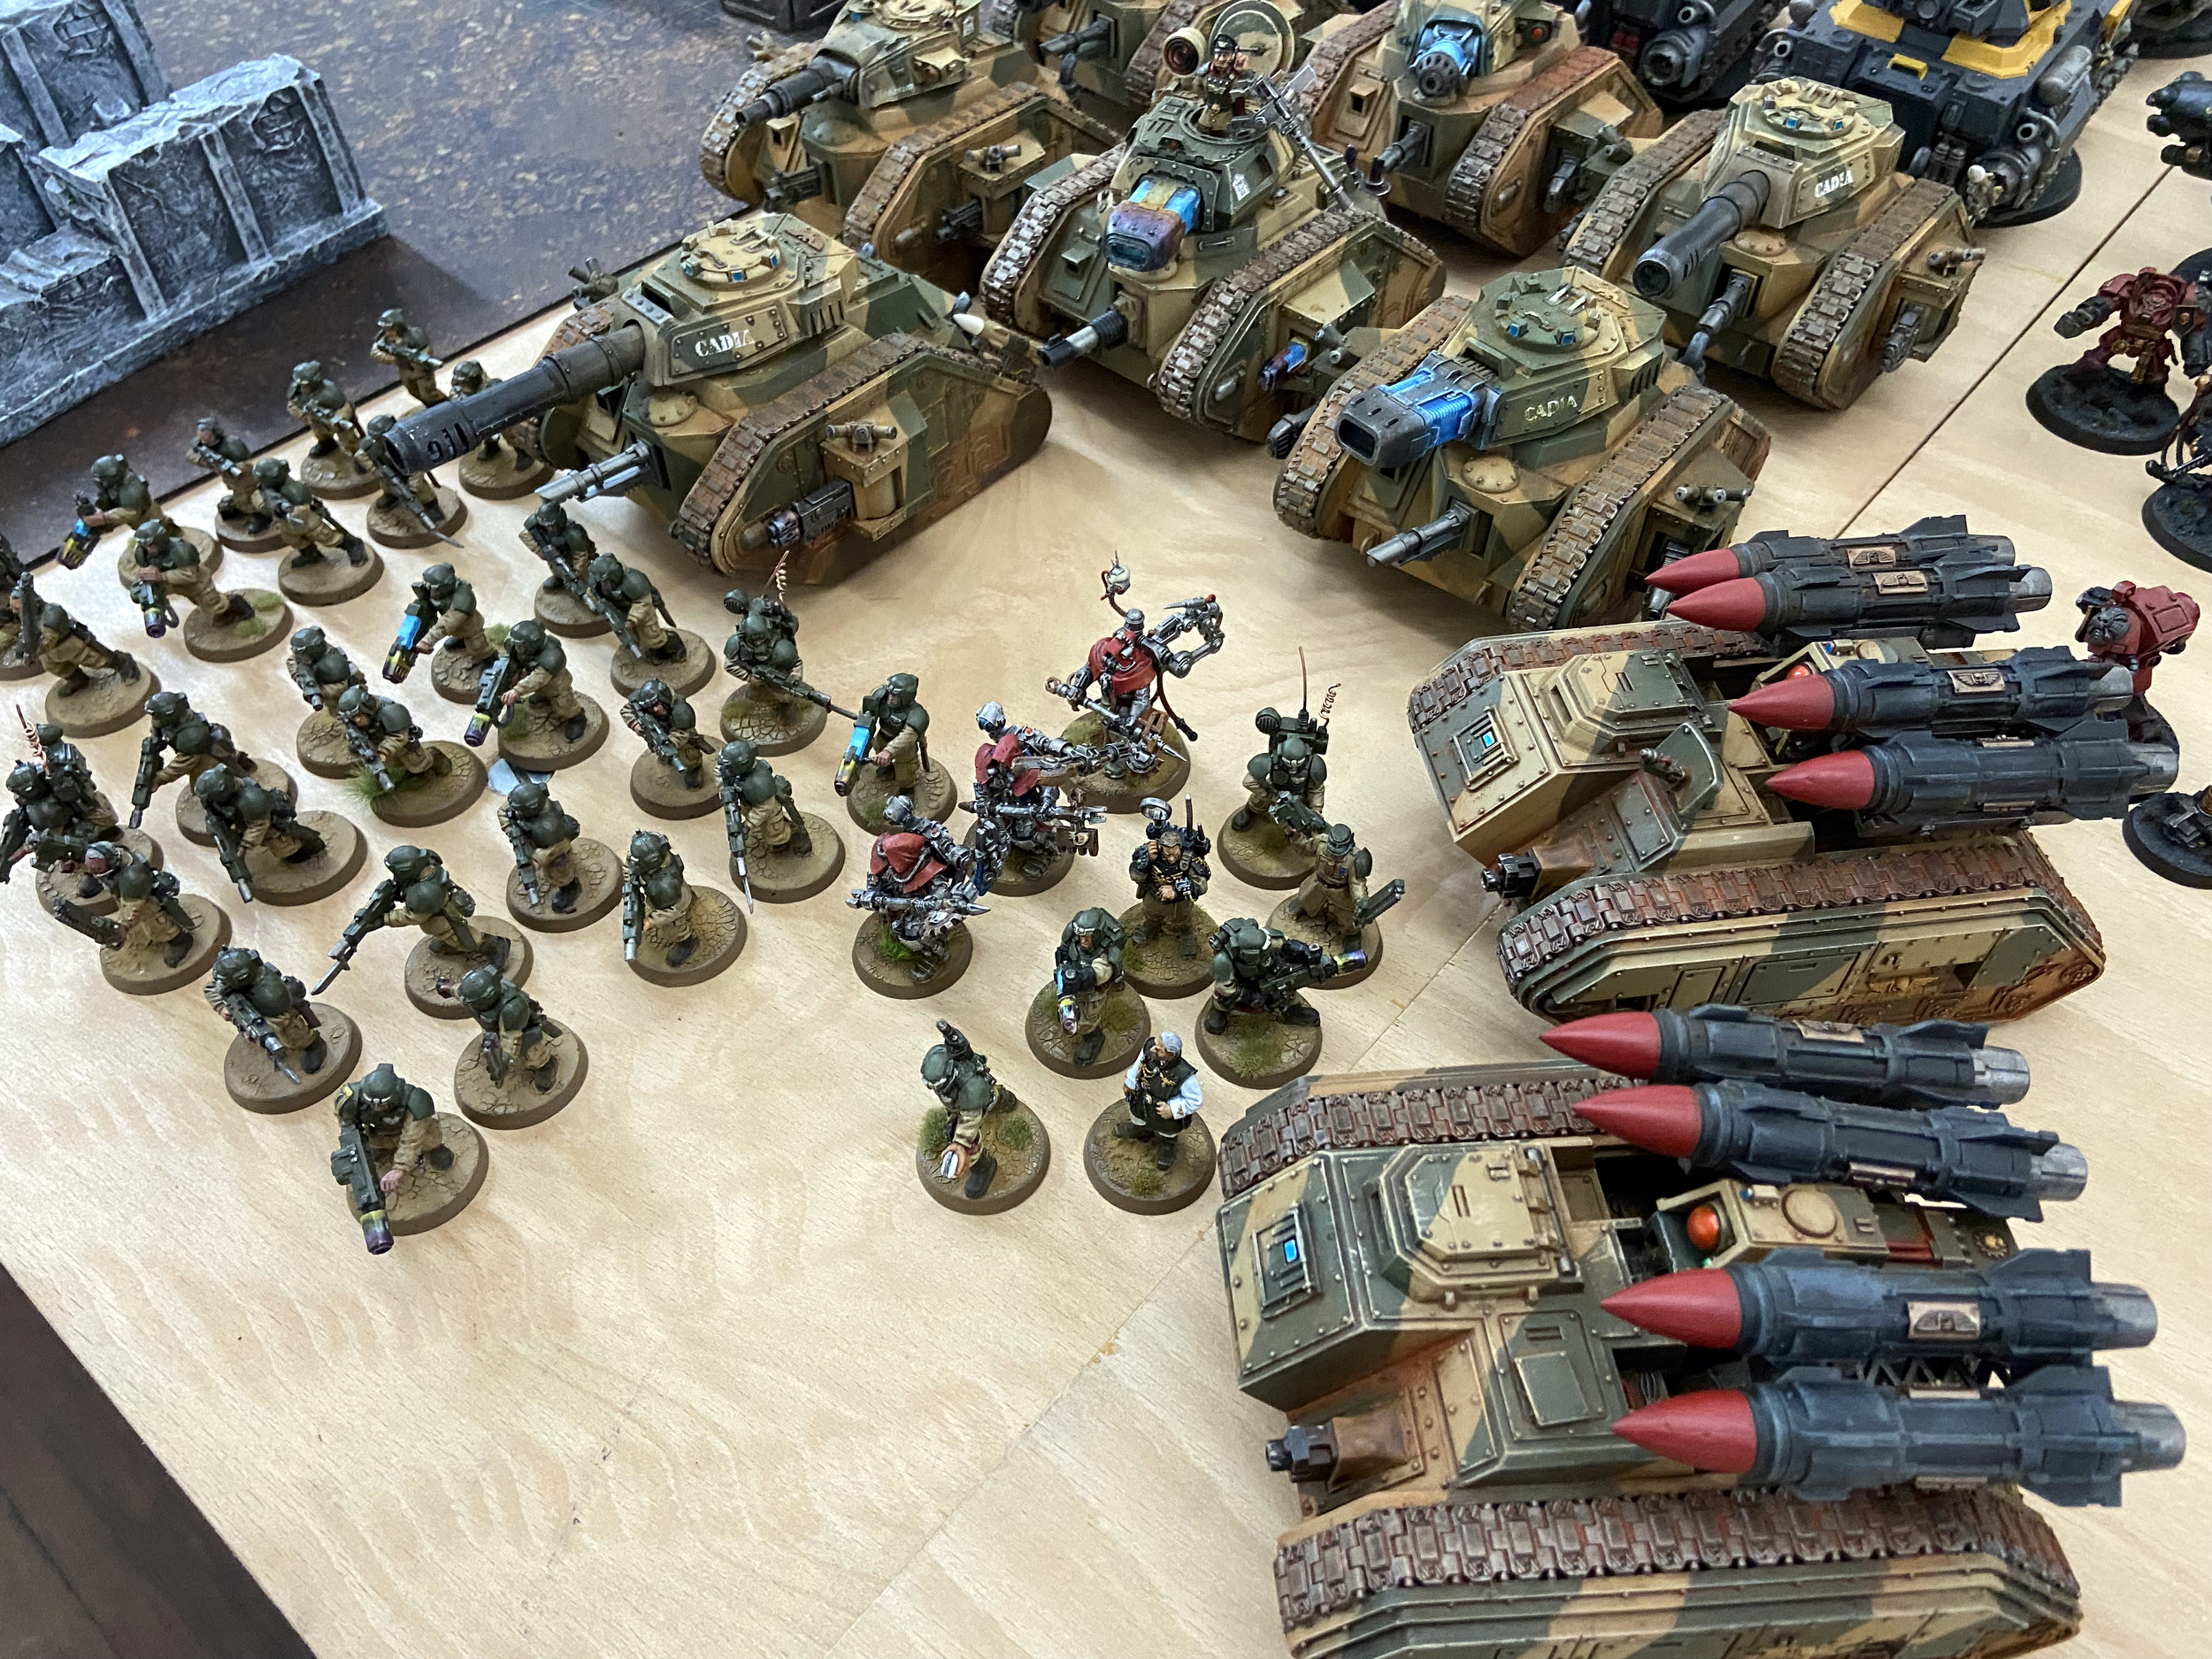
I stood my ground for three turns but was eventually smashed to pieces. The Rapier Laser Destroyers had their first battle ever in this game. While they were destroyed, they did a hefty amount of damage to an enemy Iron Hands tank, destroying it in one volley.


With another loss from myself and the Blood Angels, the enemy was now well established within the Hive.
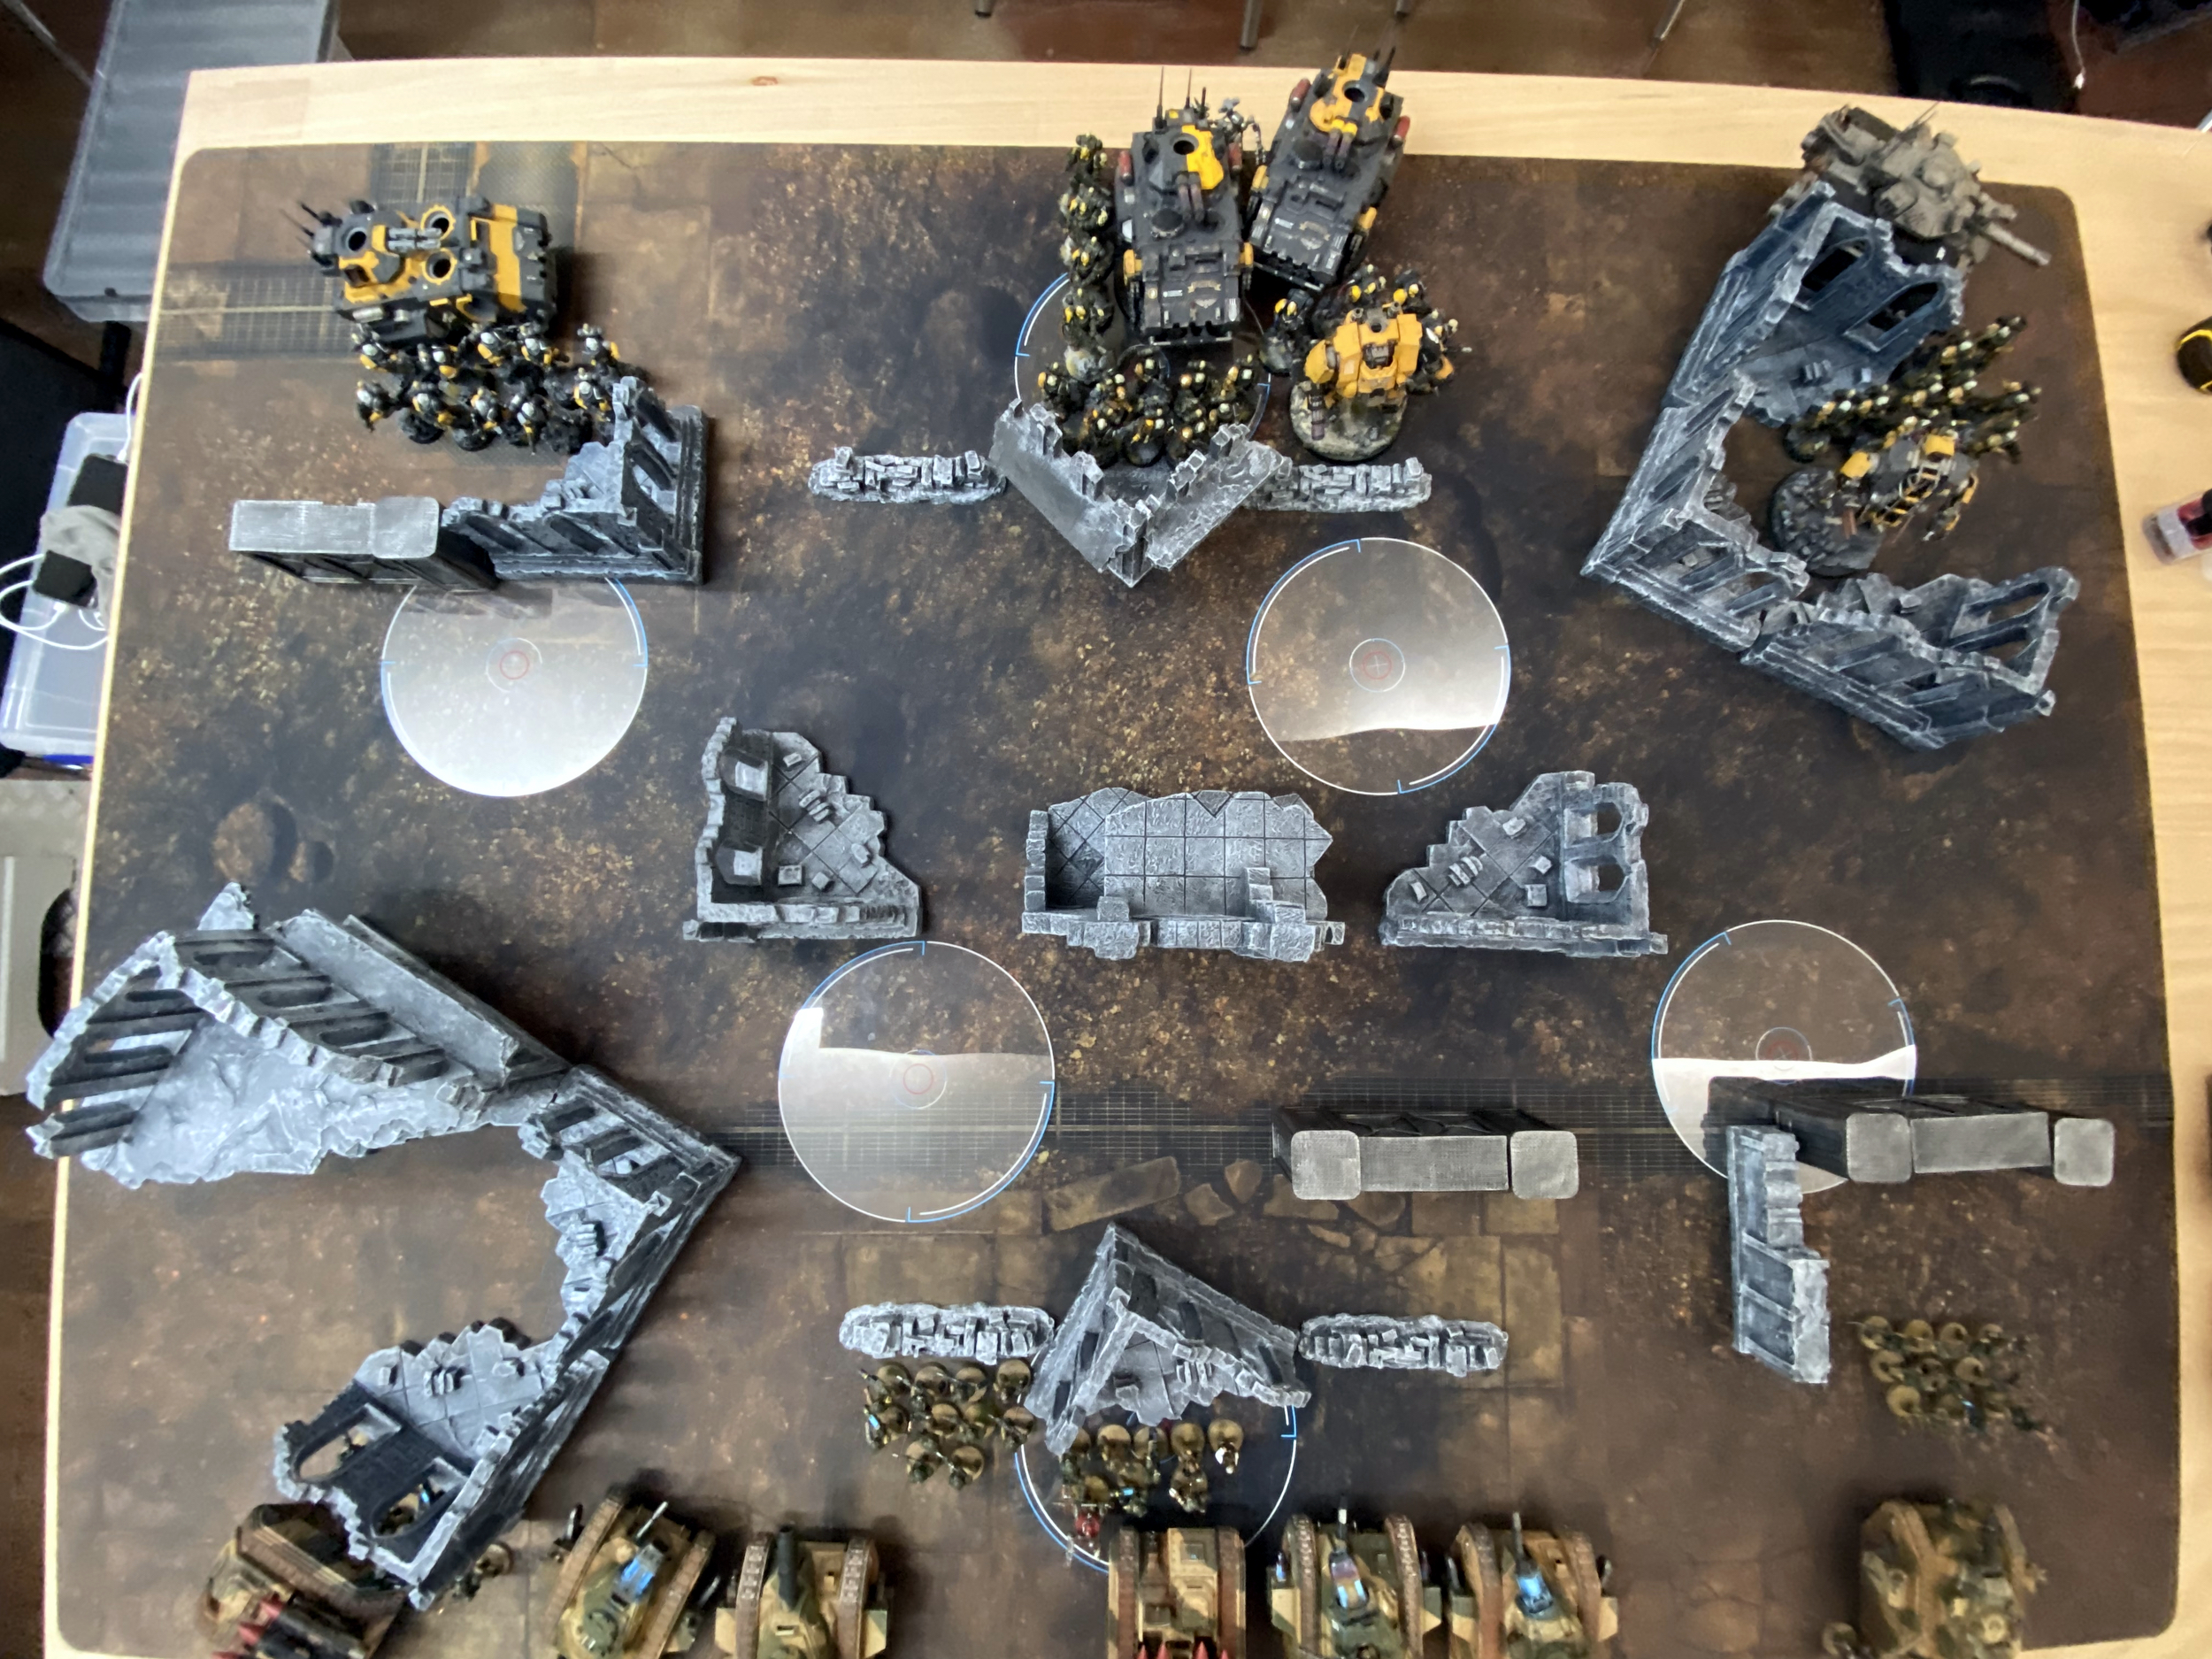
We now moved into Saturday, where three 2,000 points games would occur.
I would play the Iron Hands twice and the Red Corsairs once.
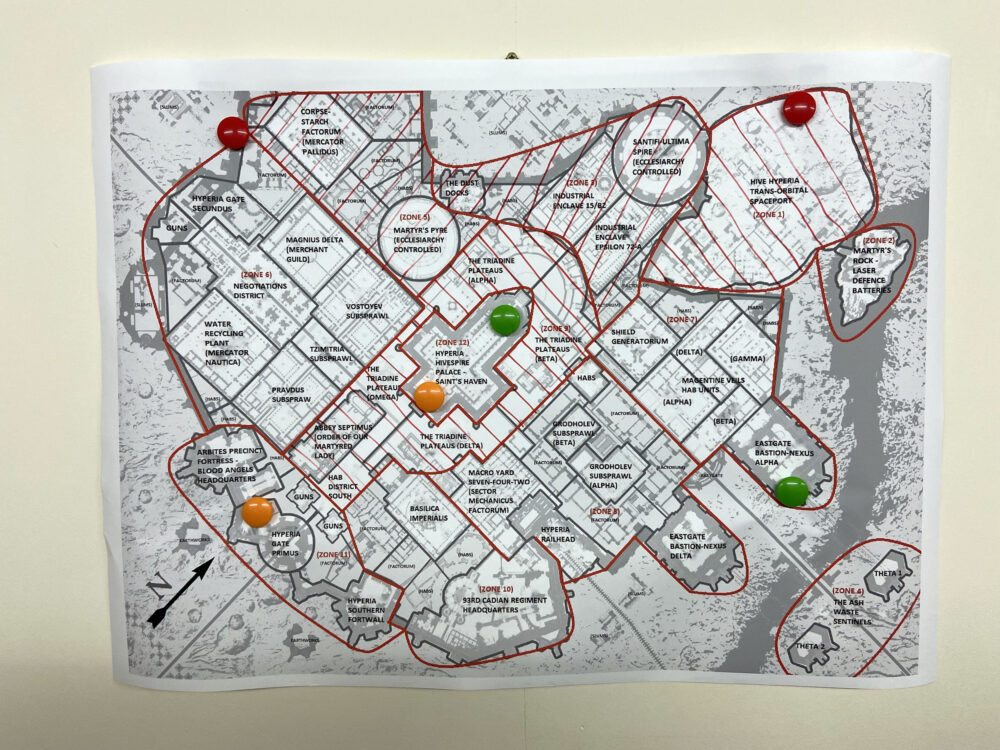
Map after the second round of games
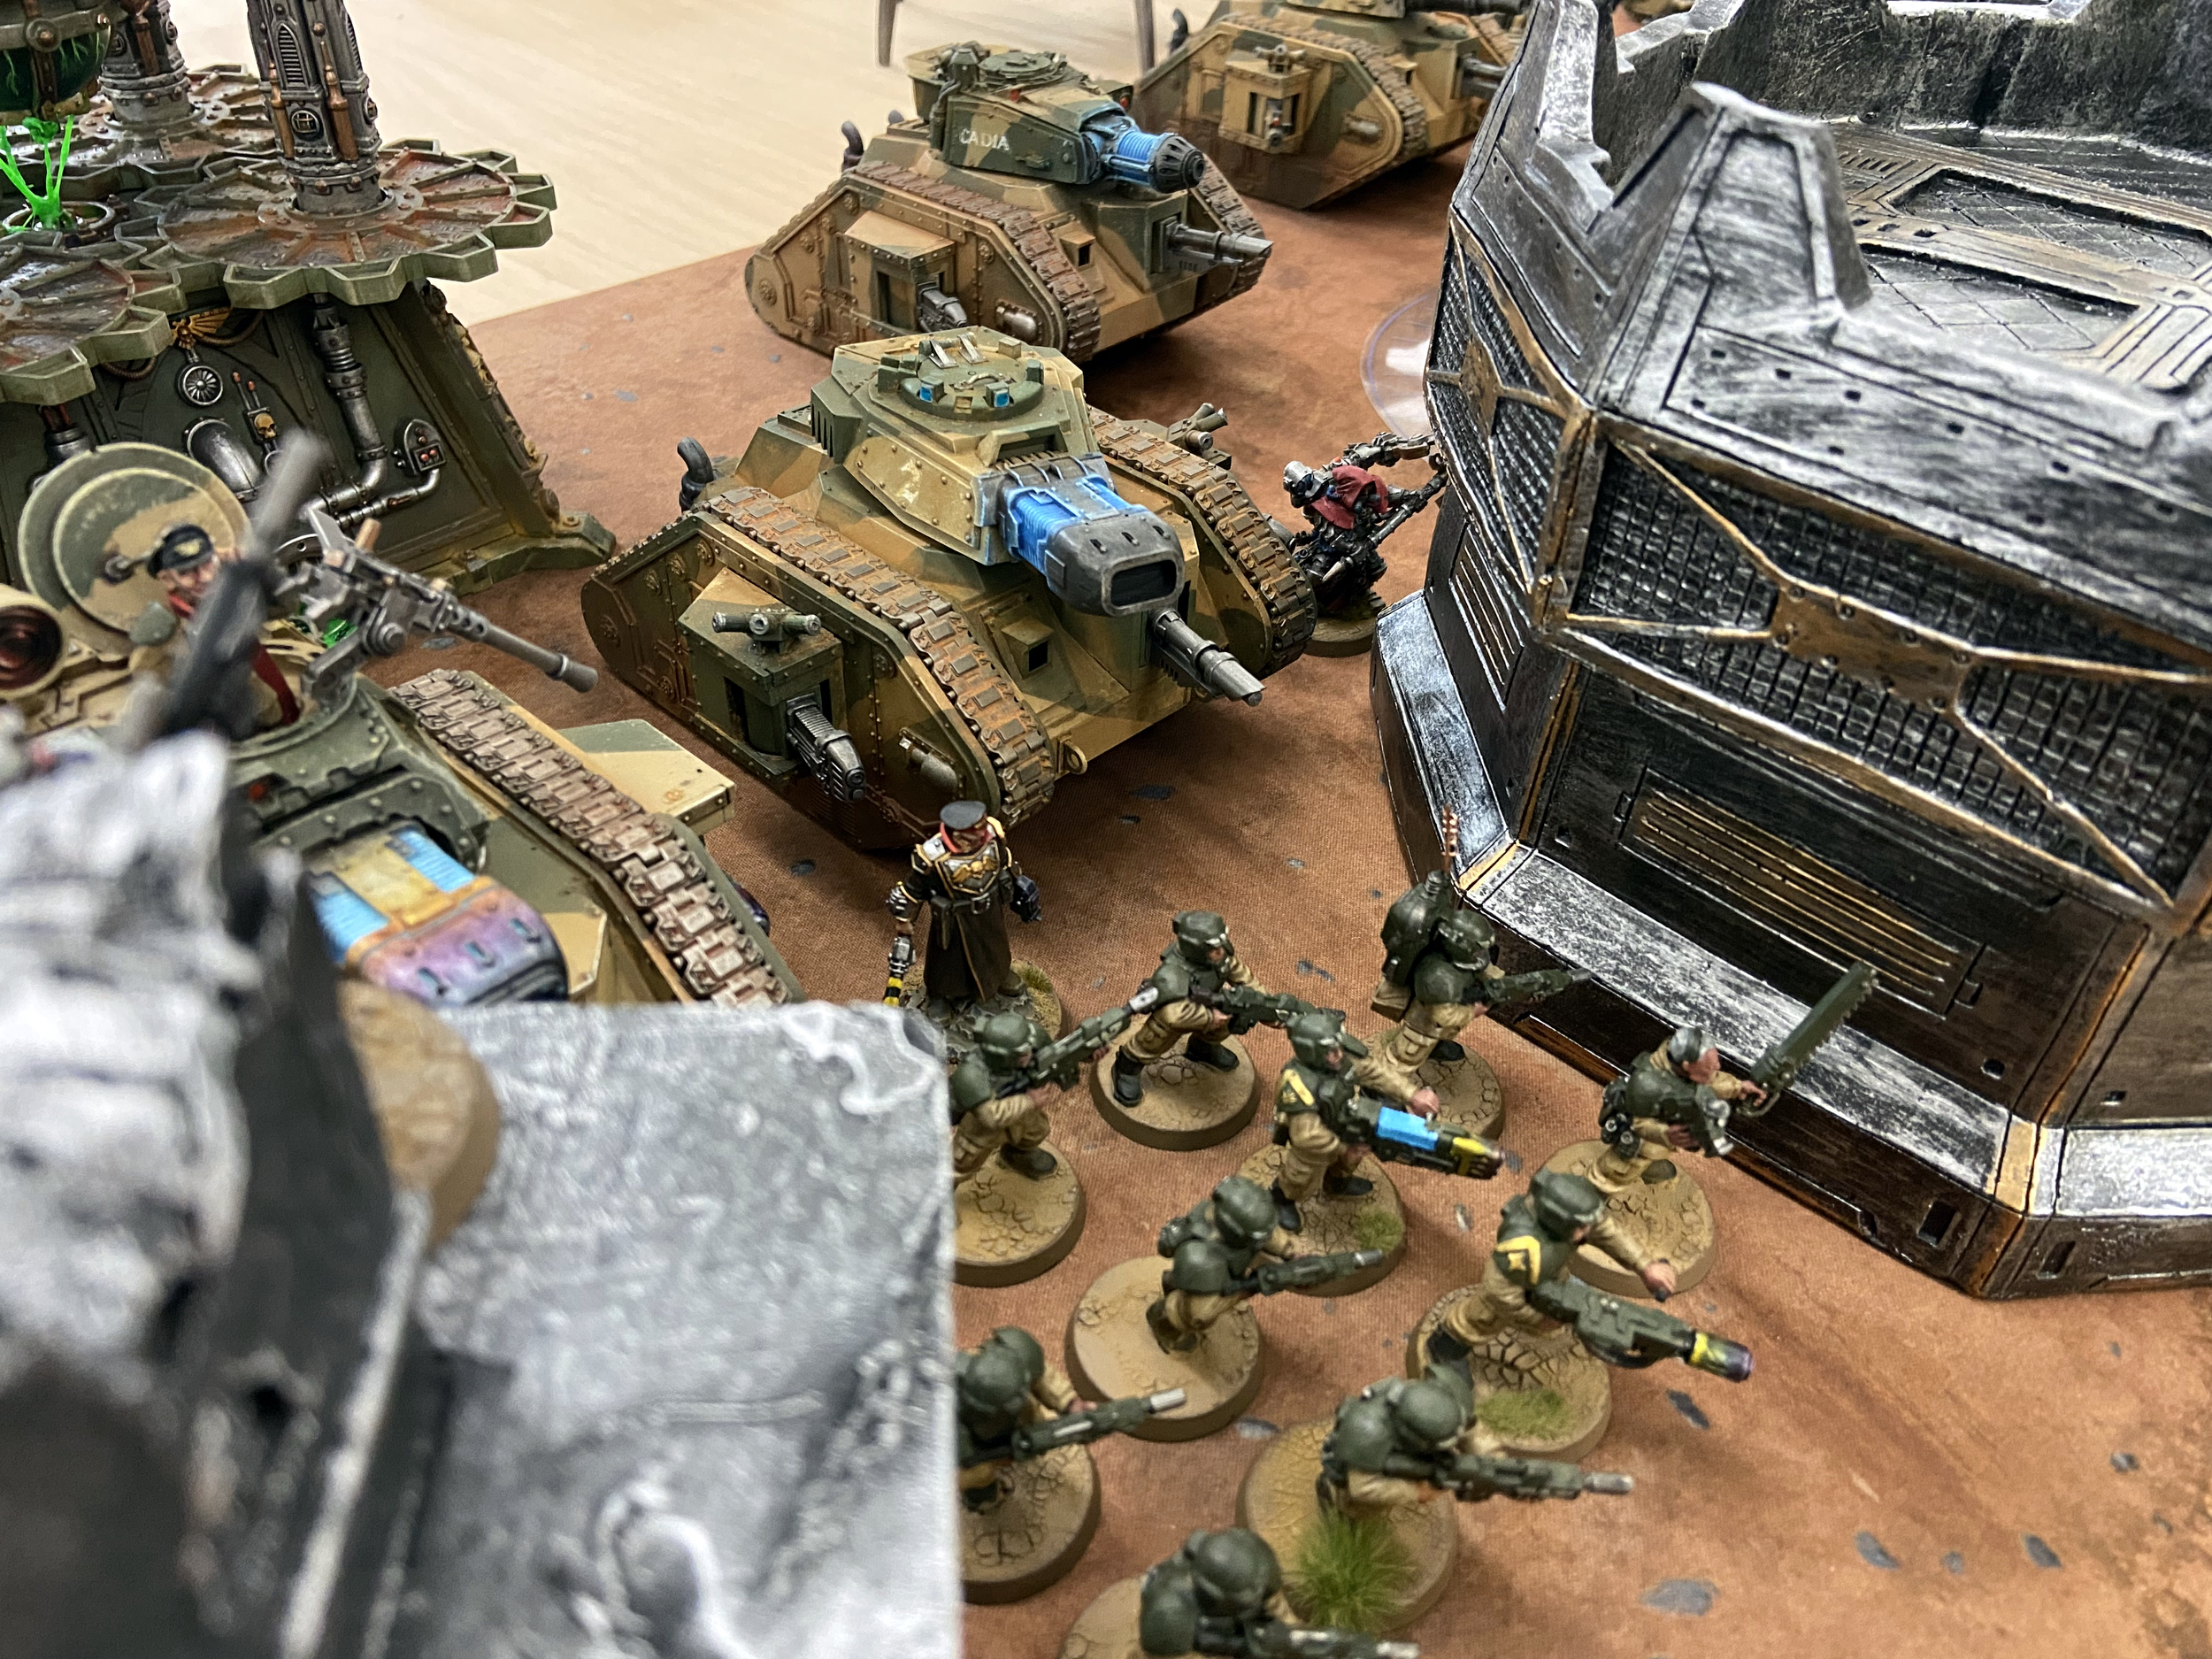
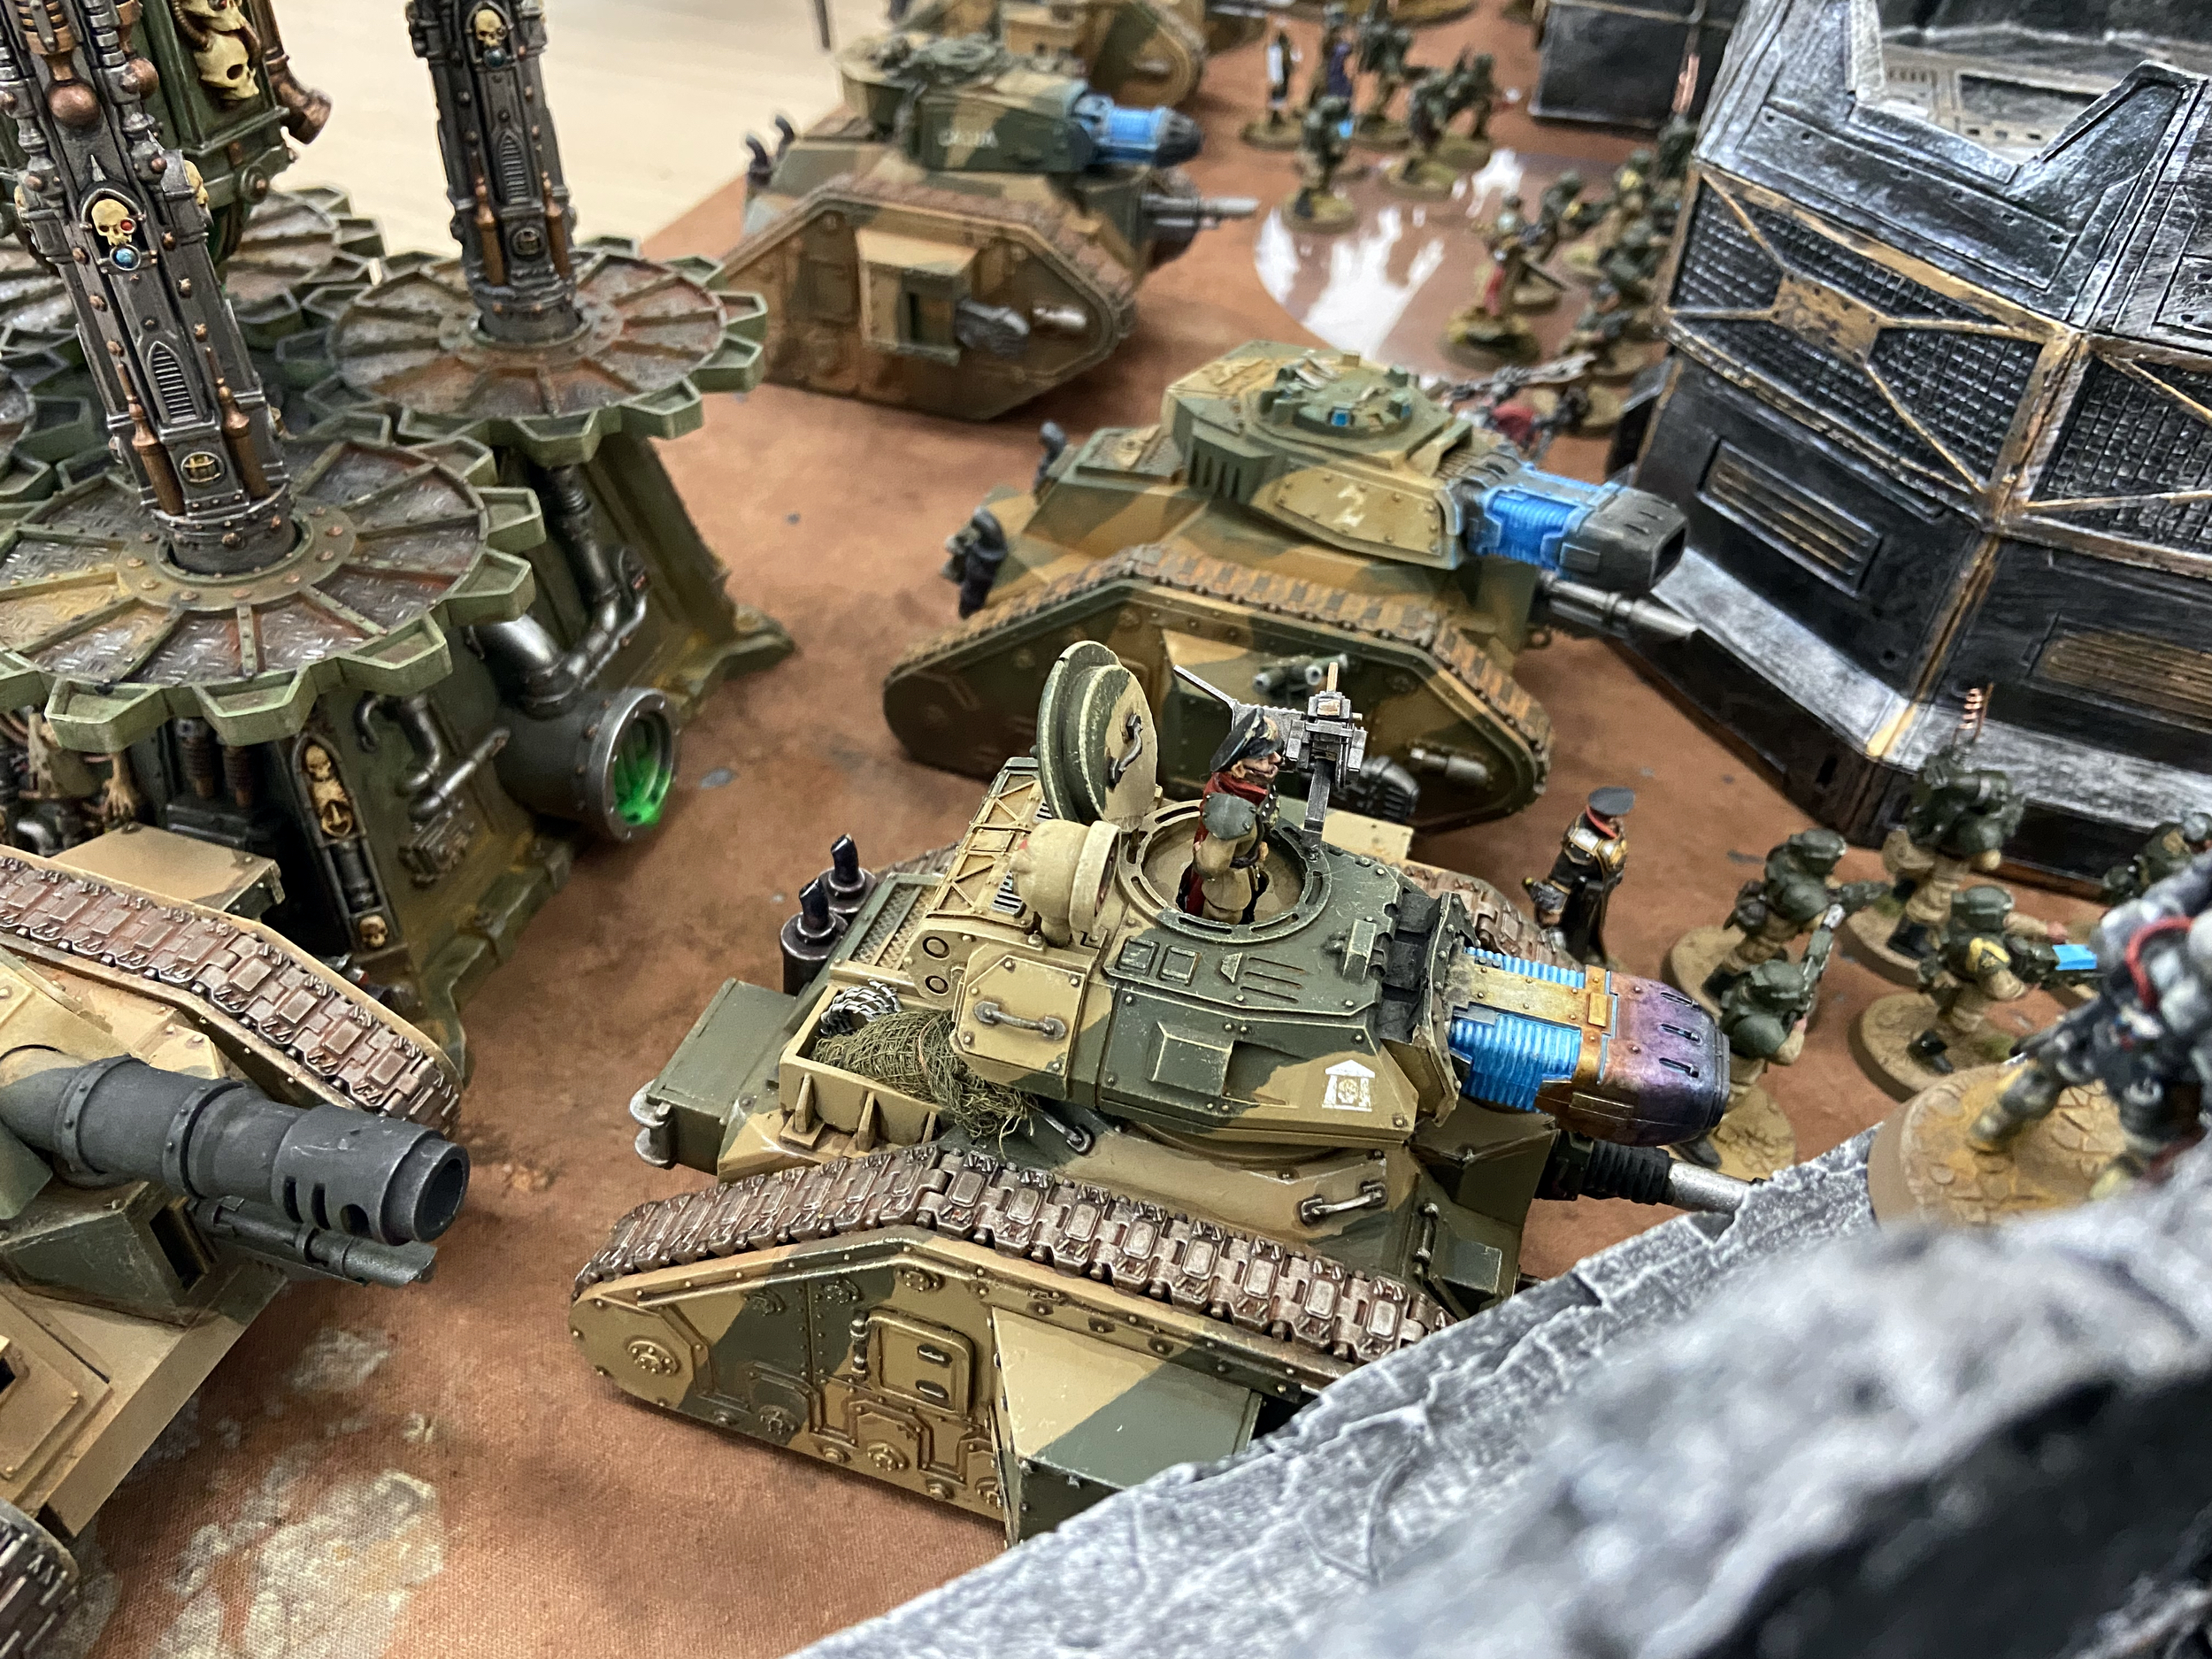
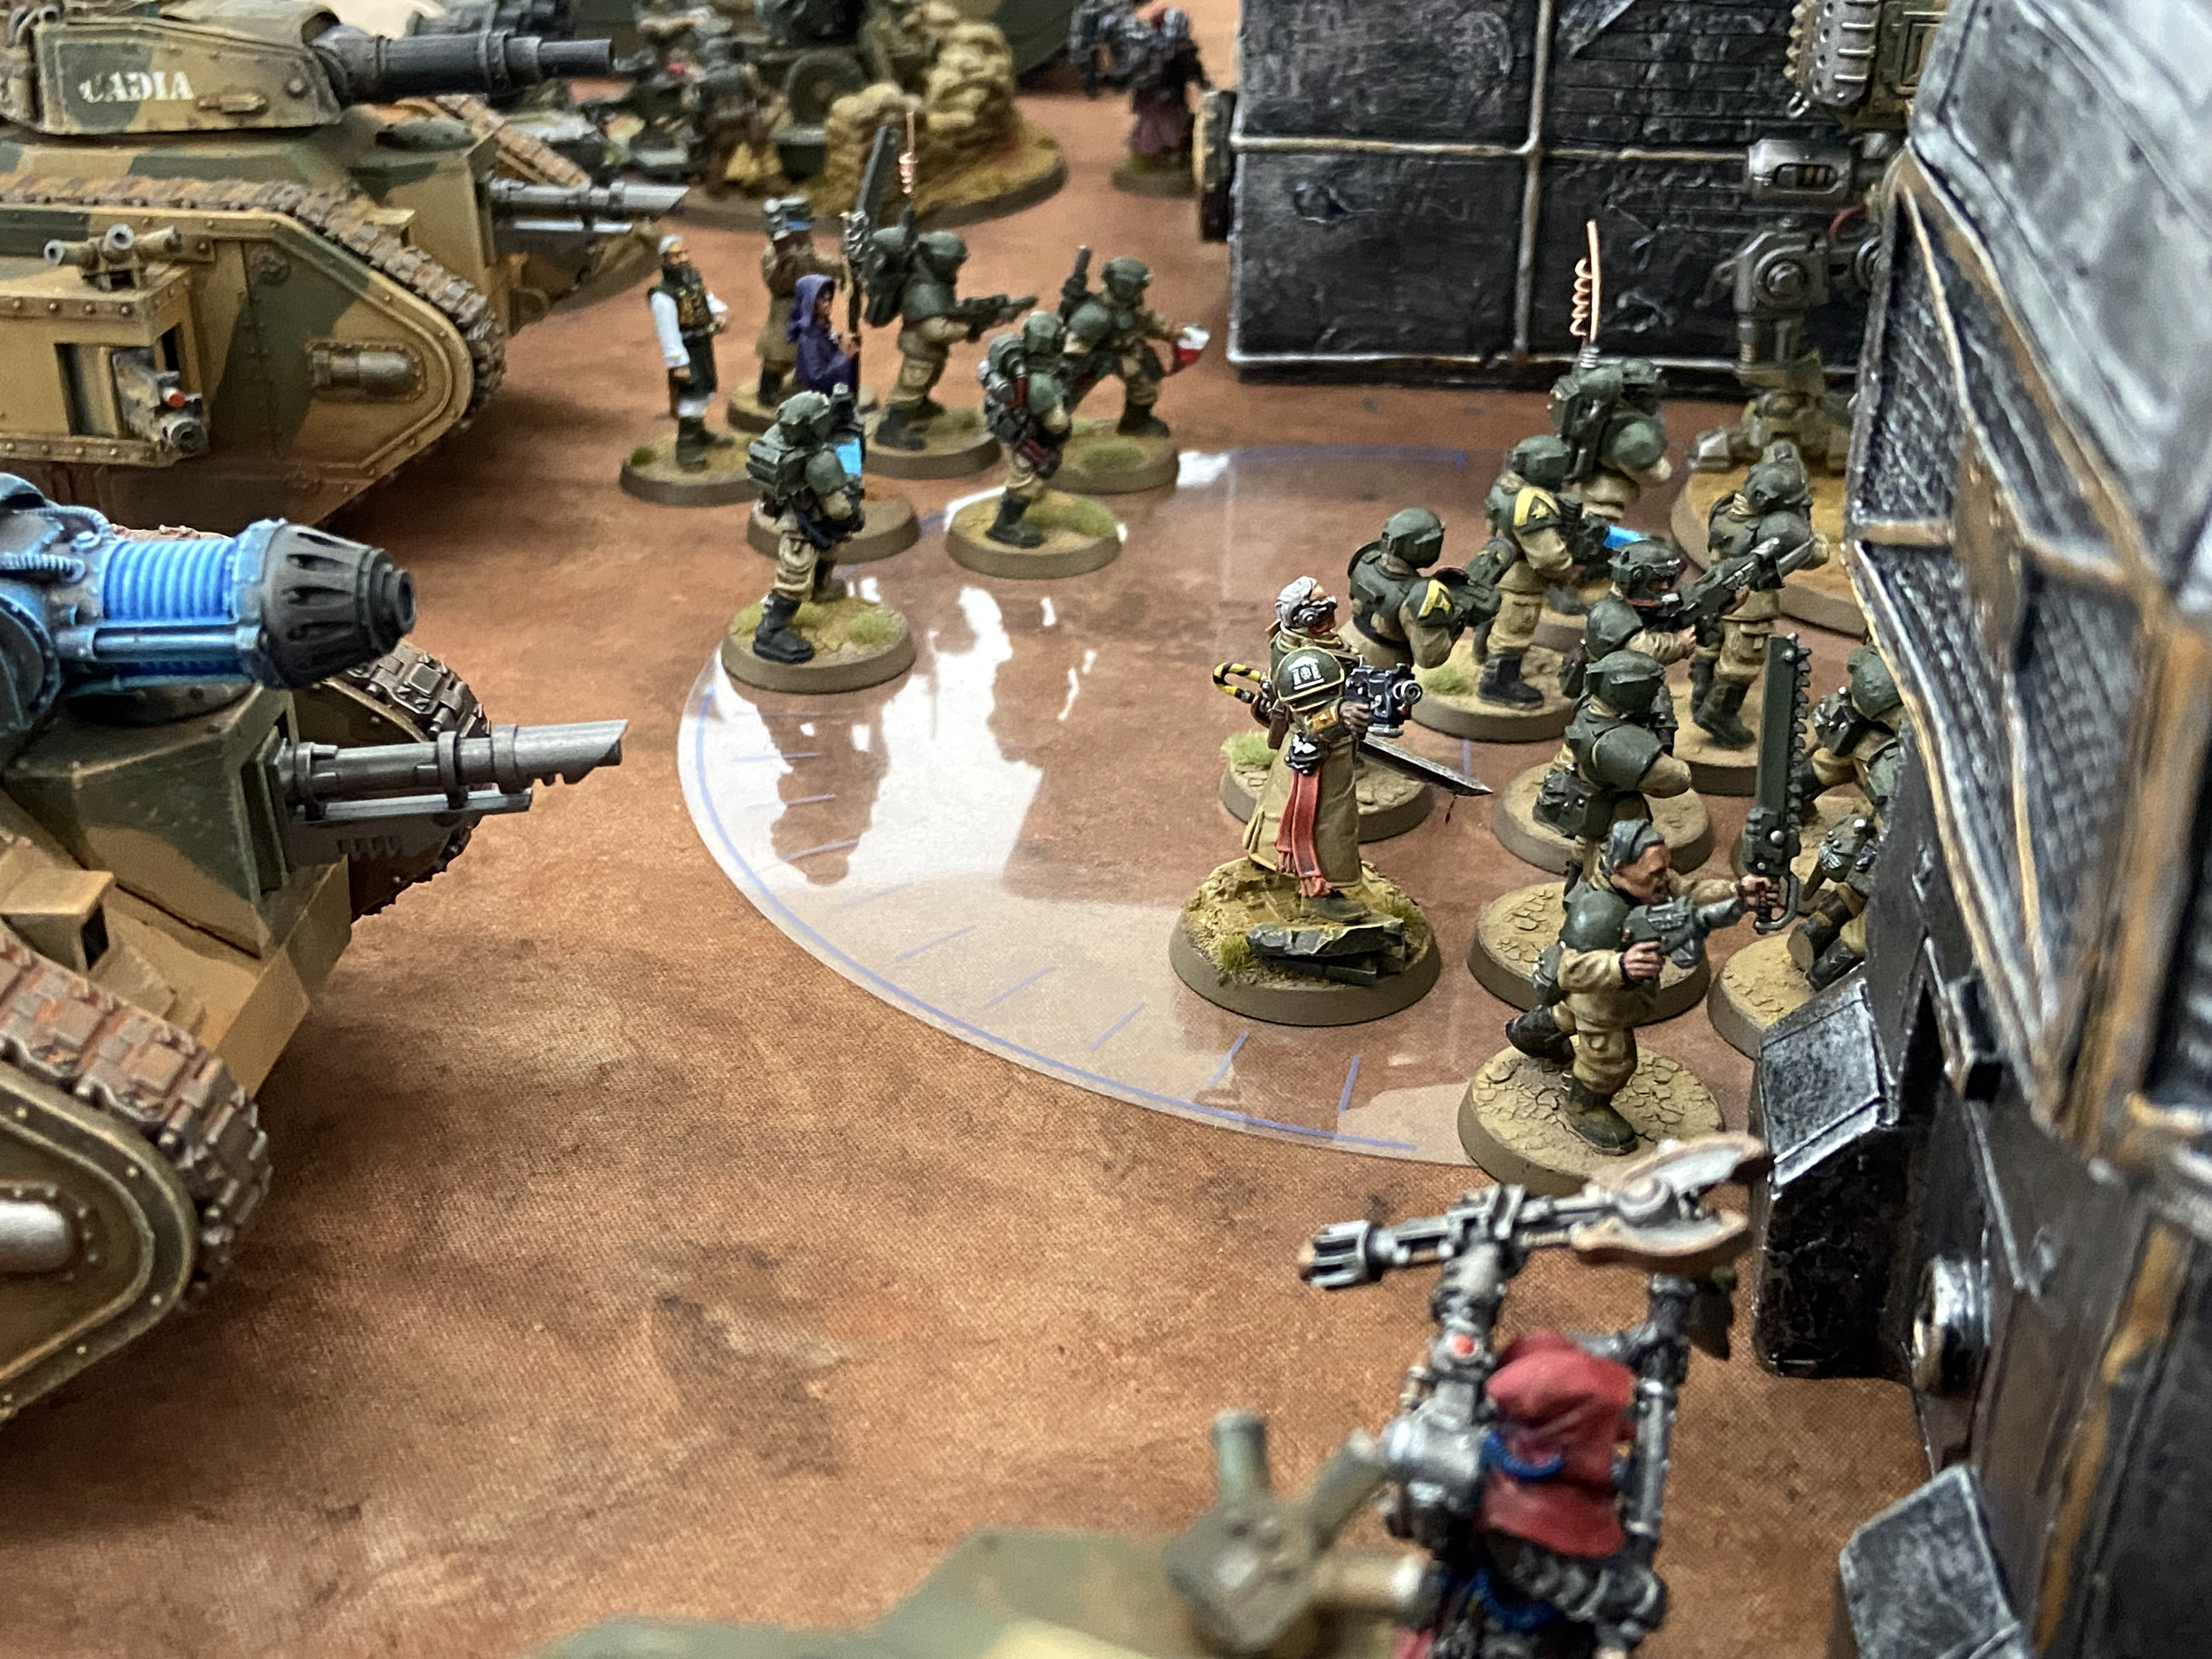
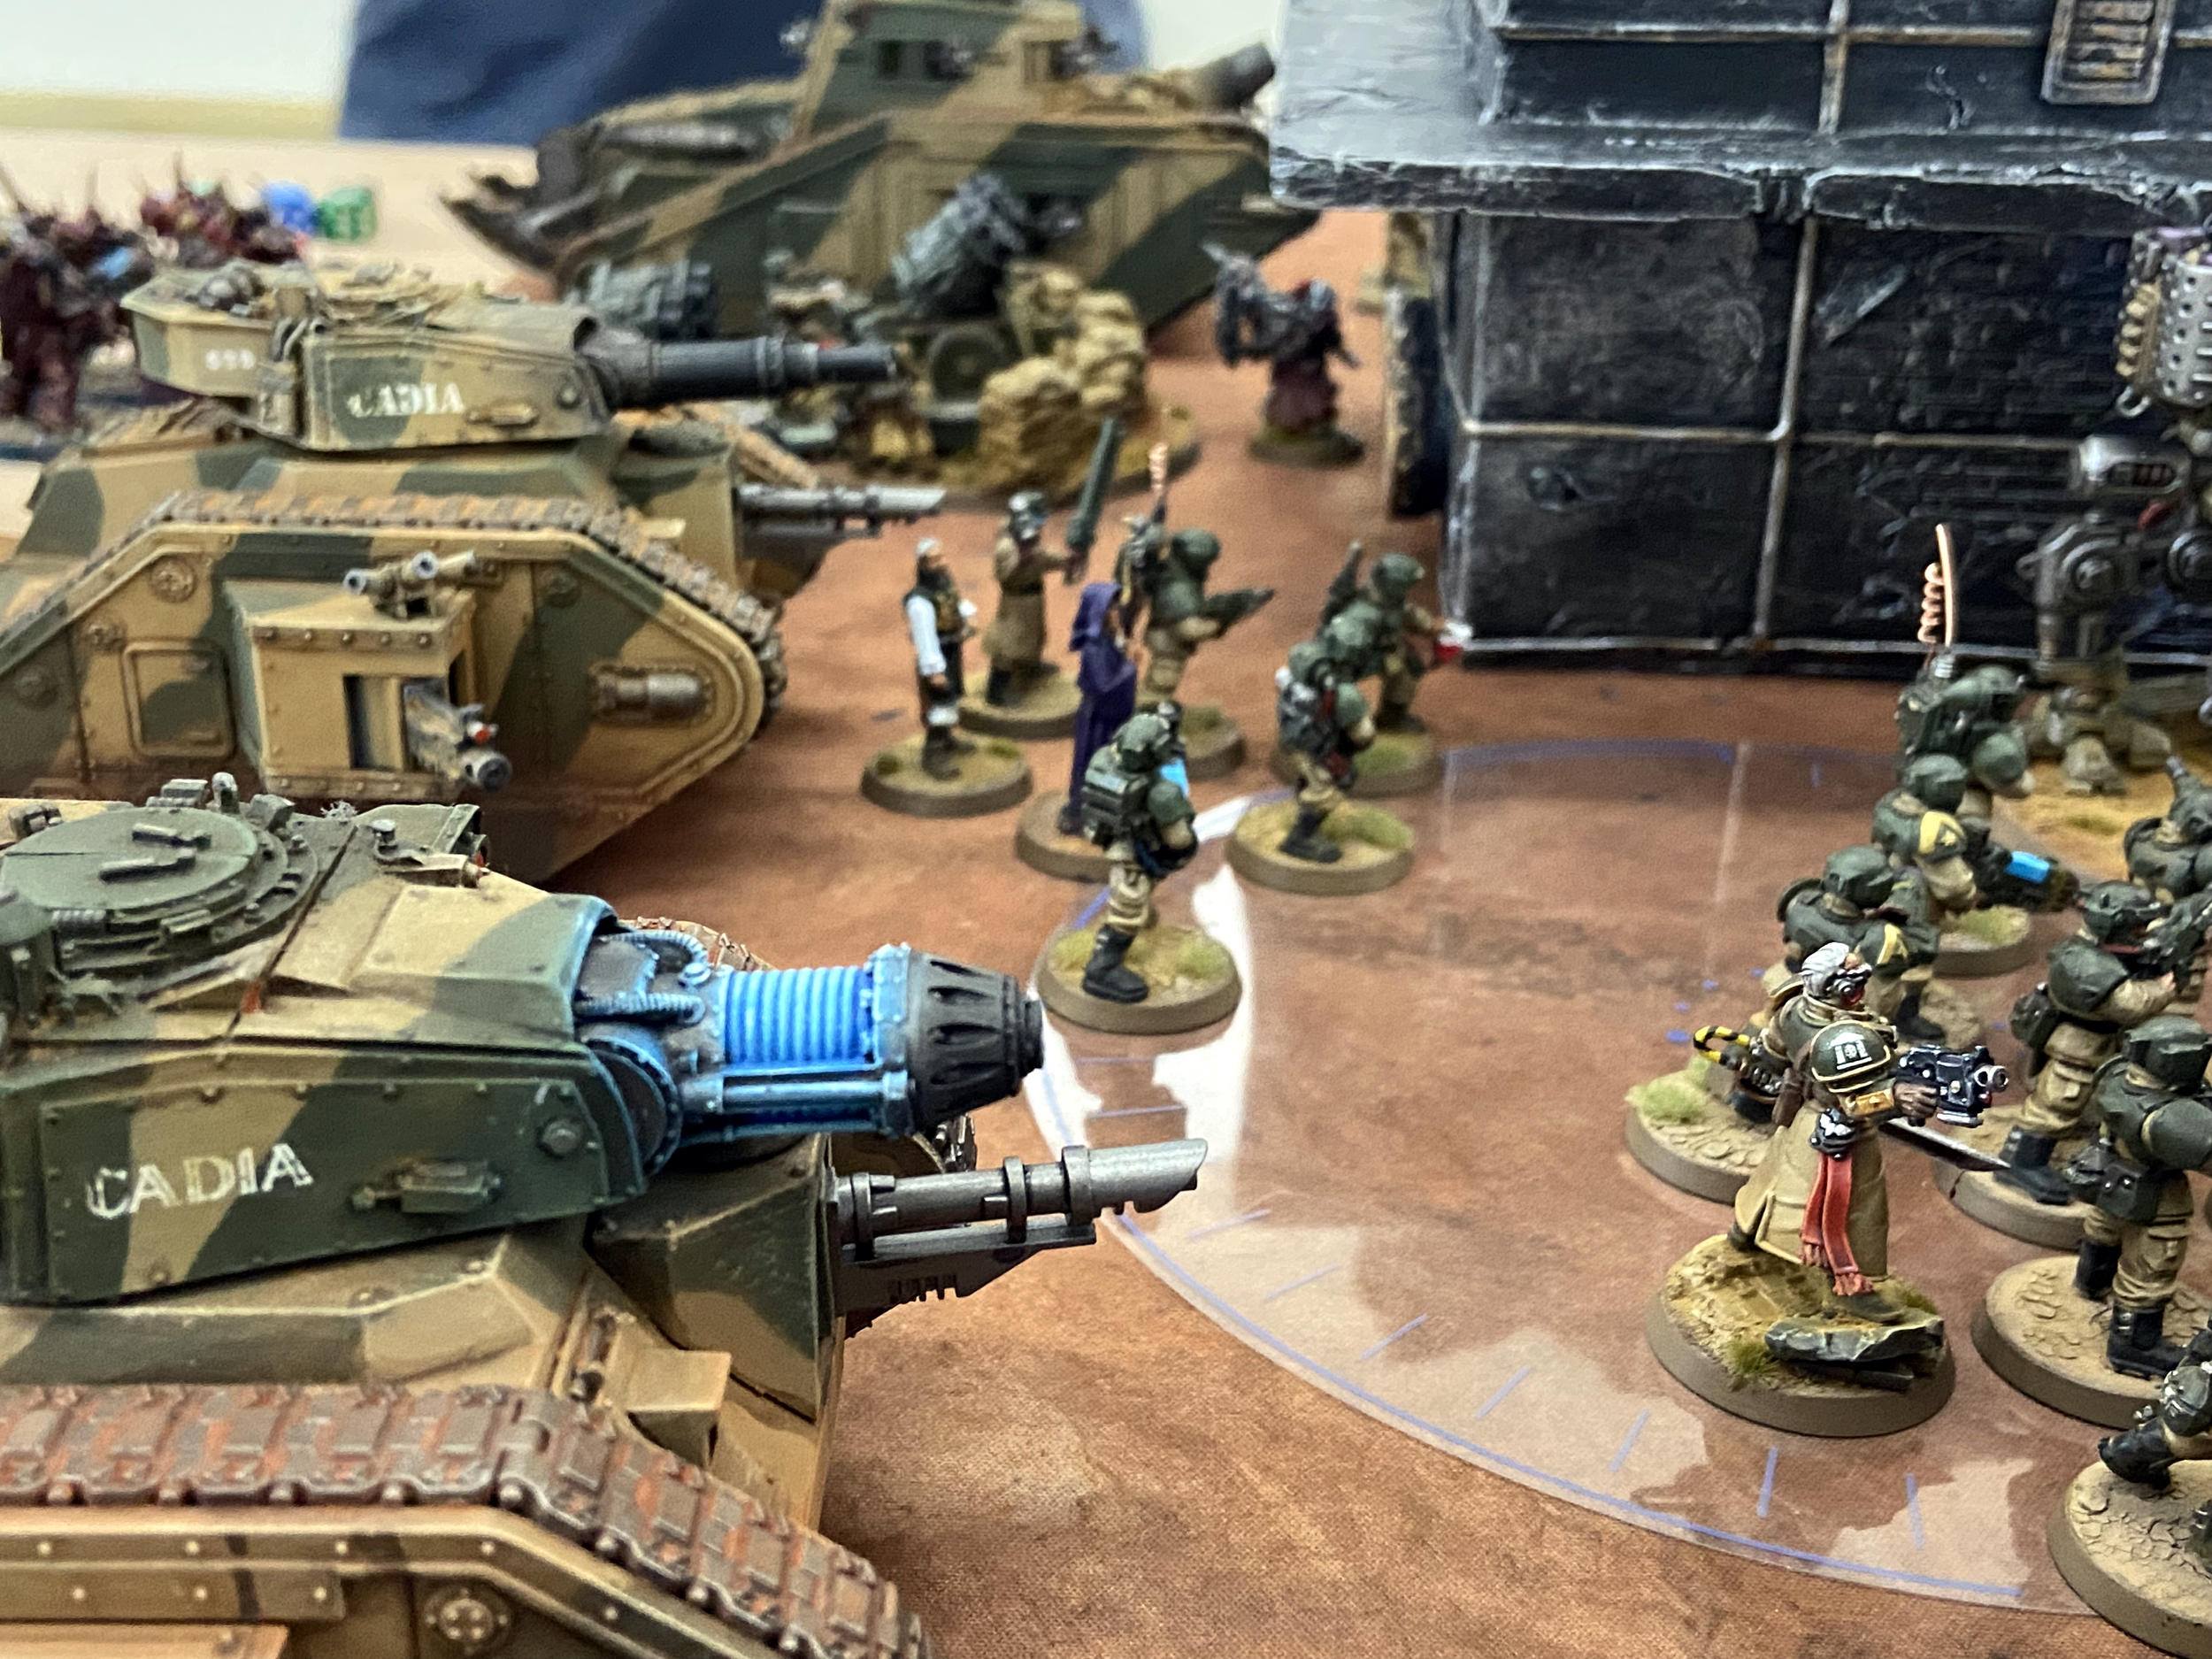
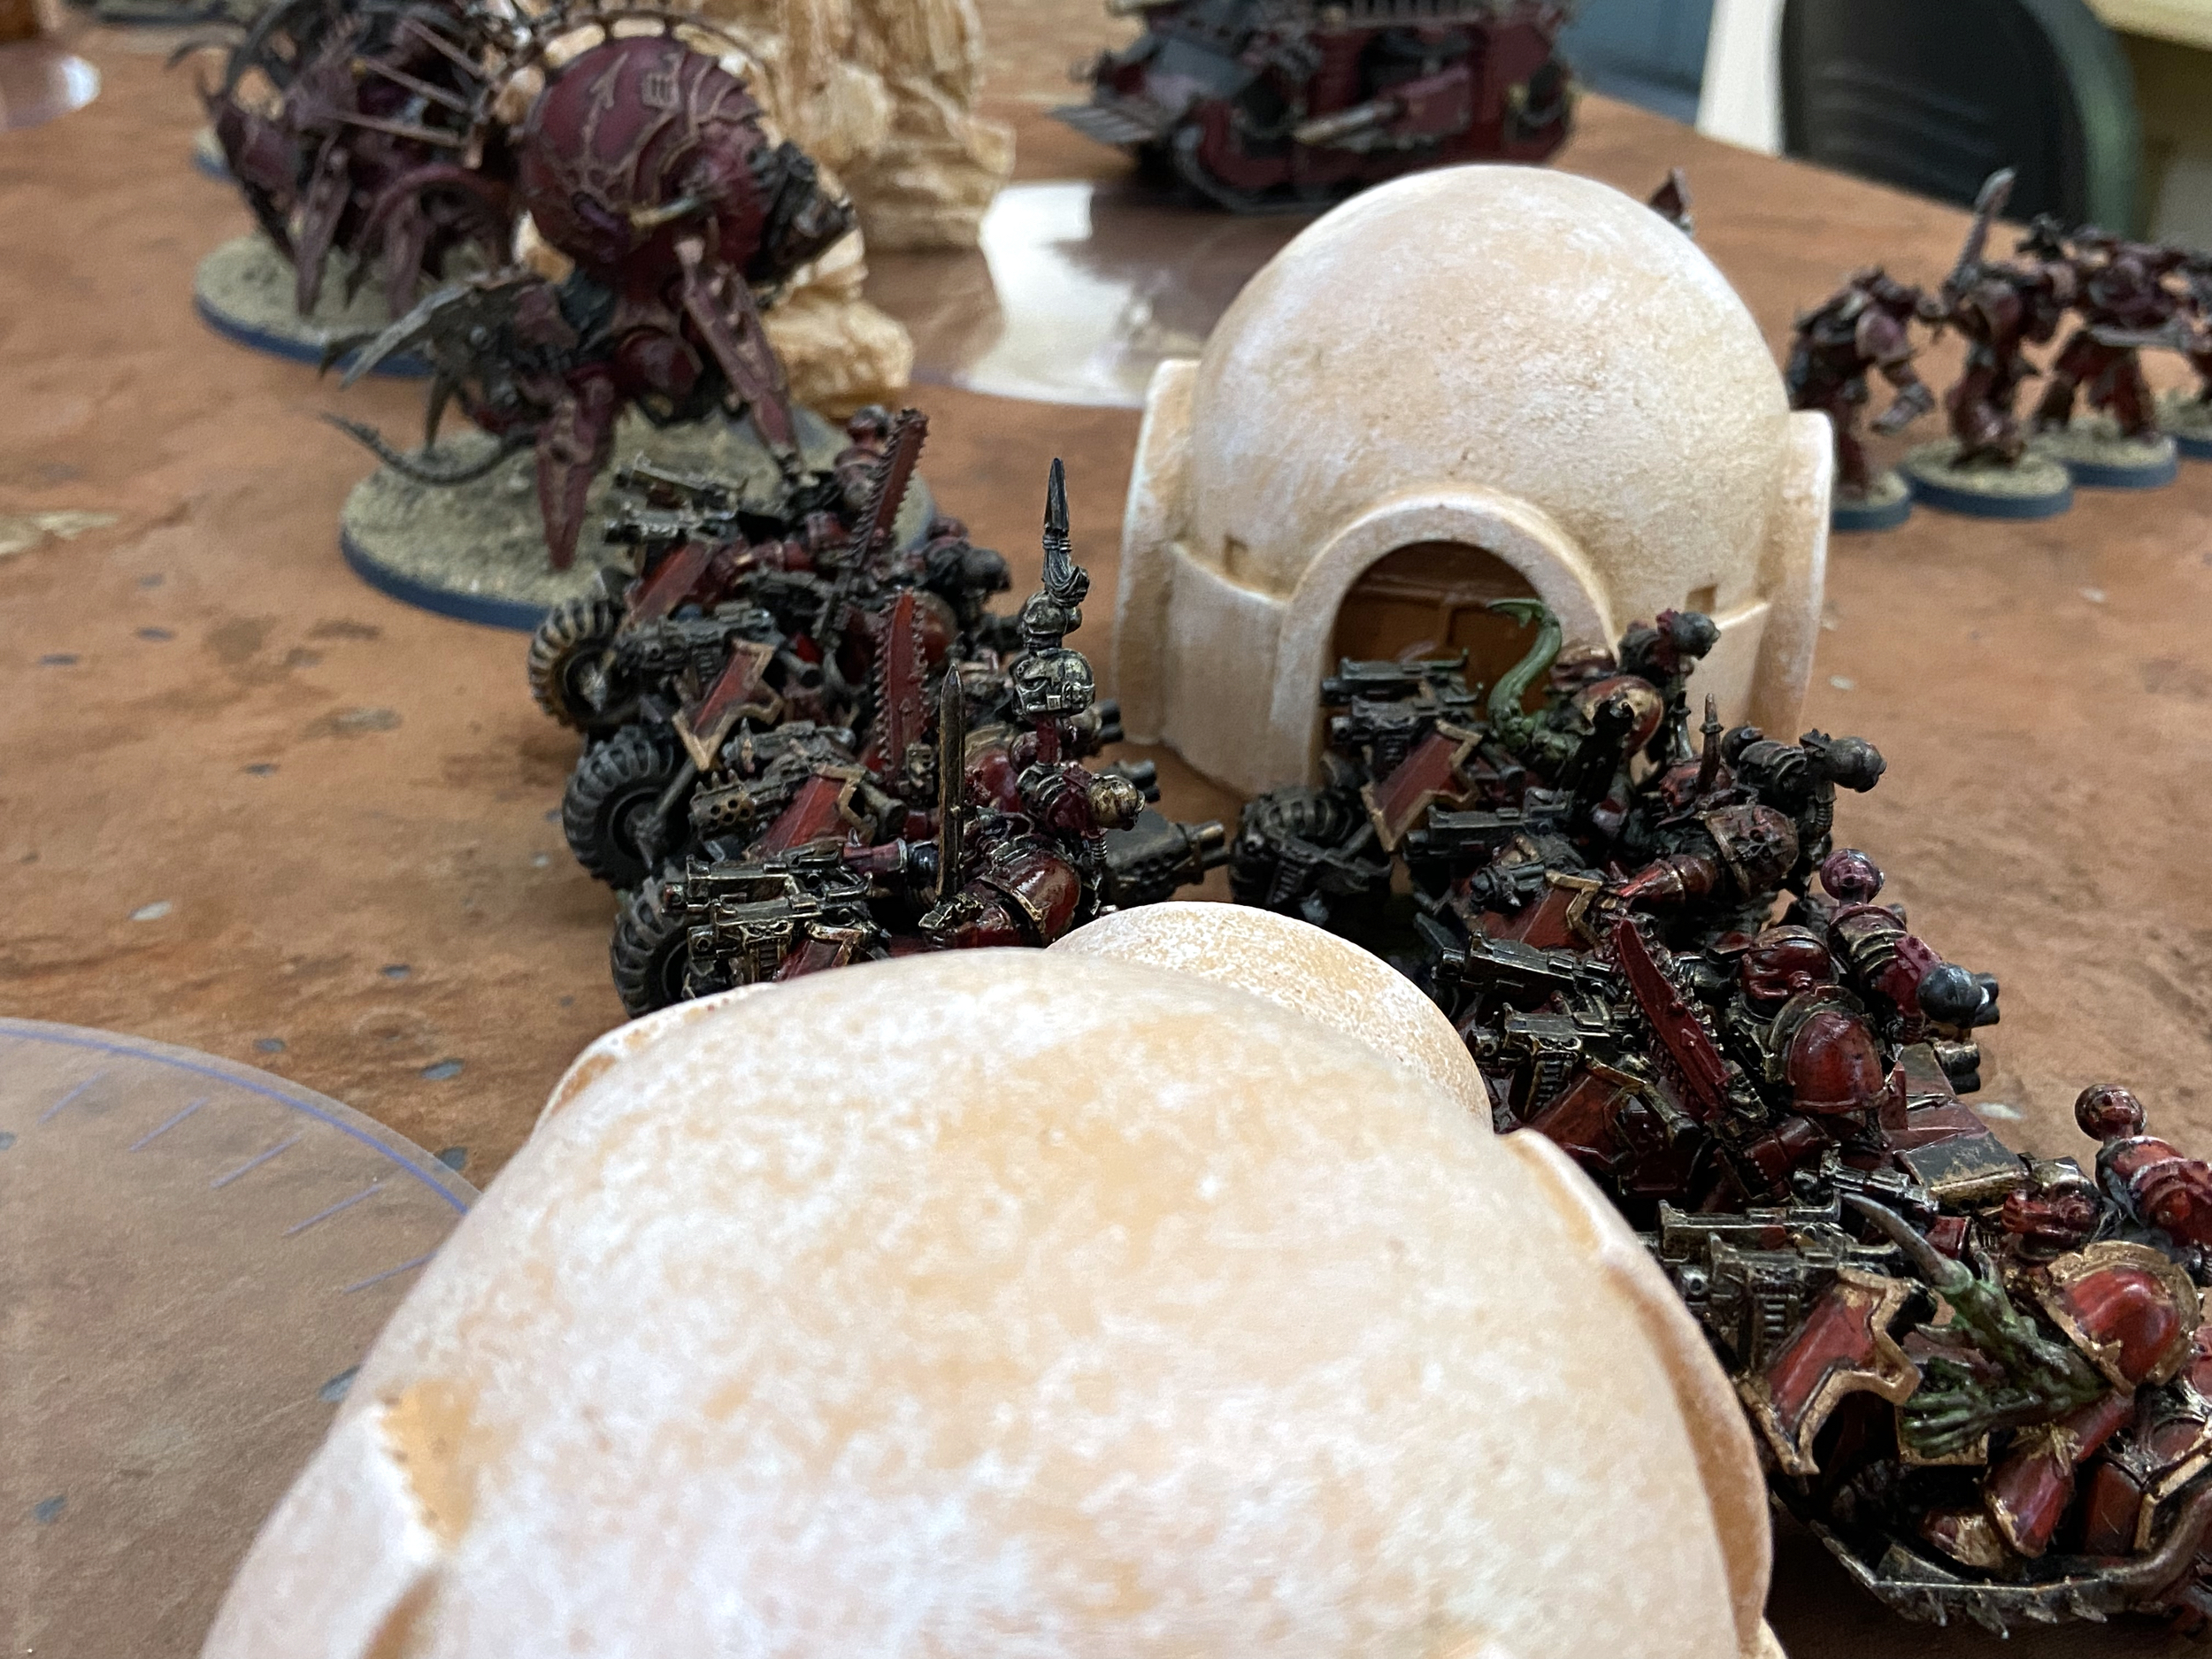
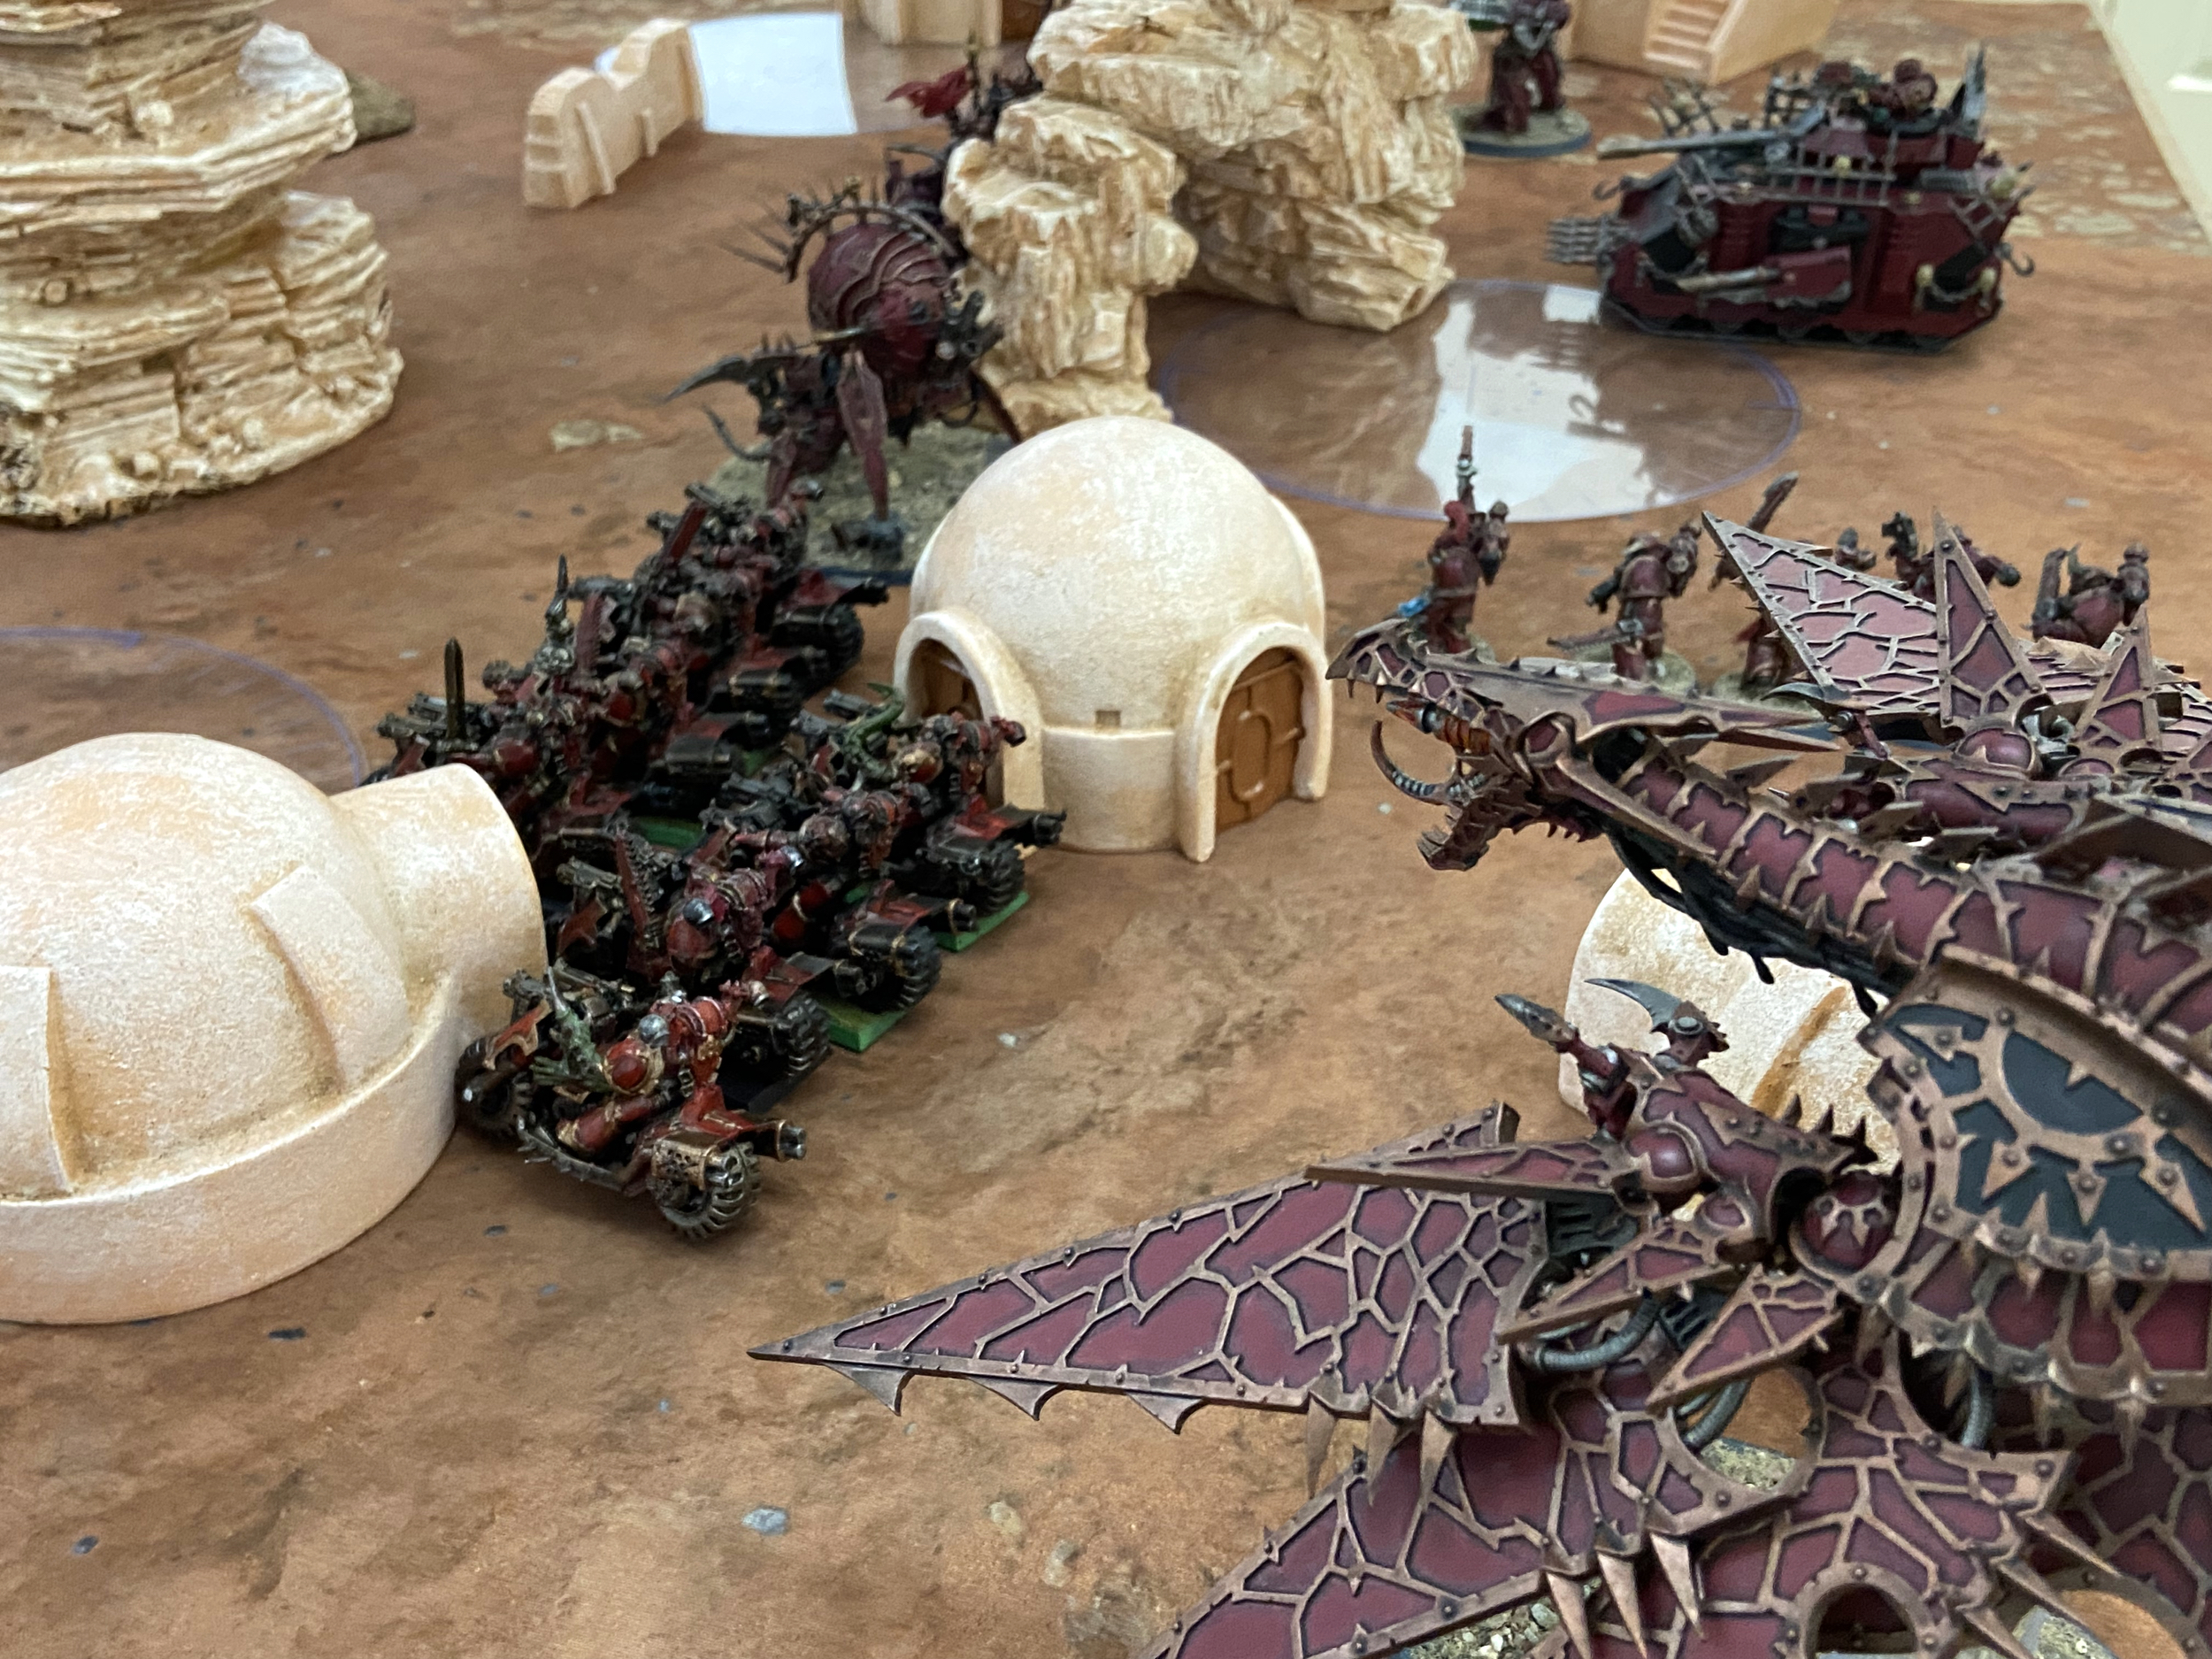
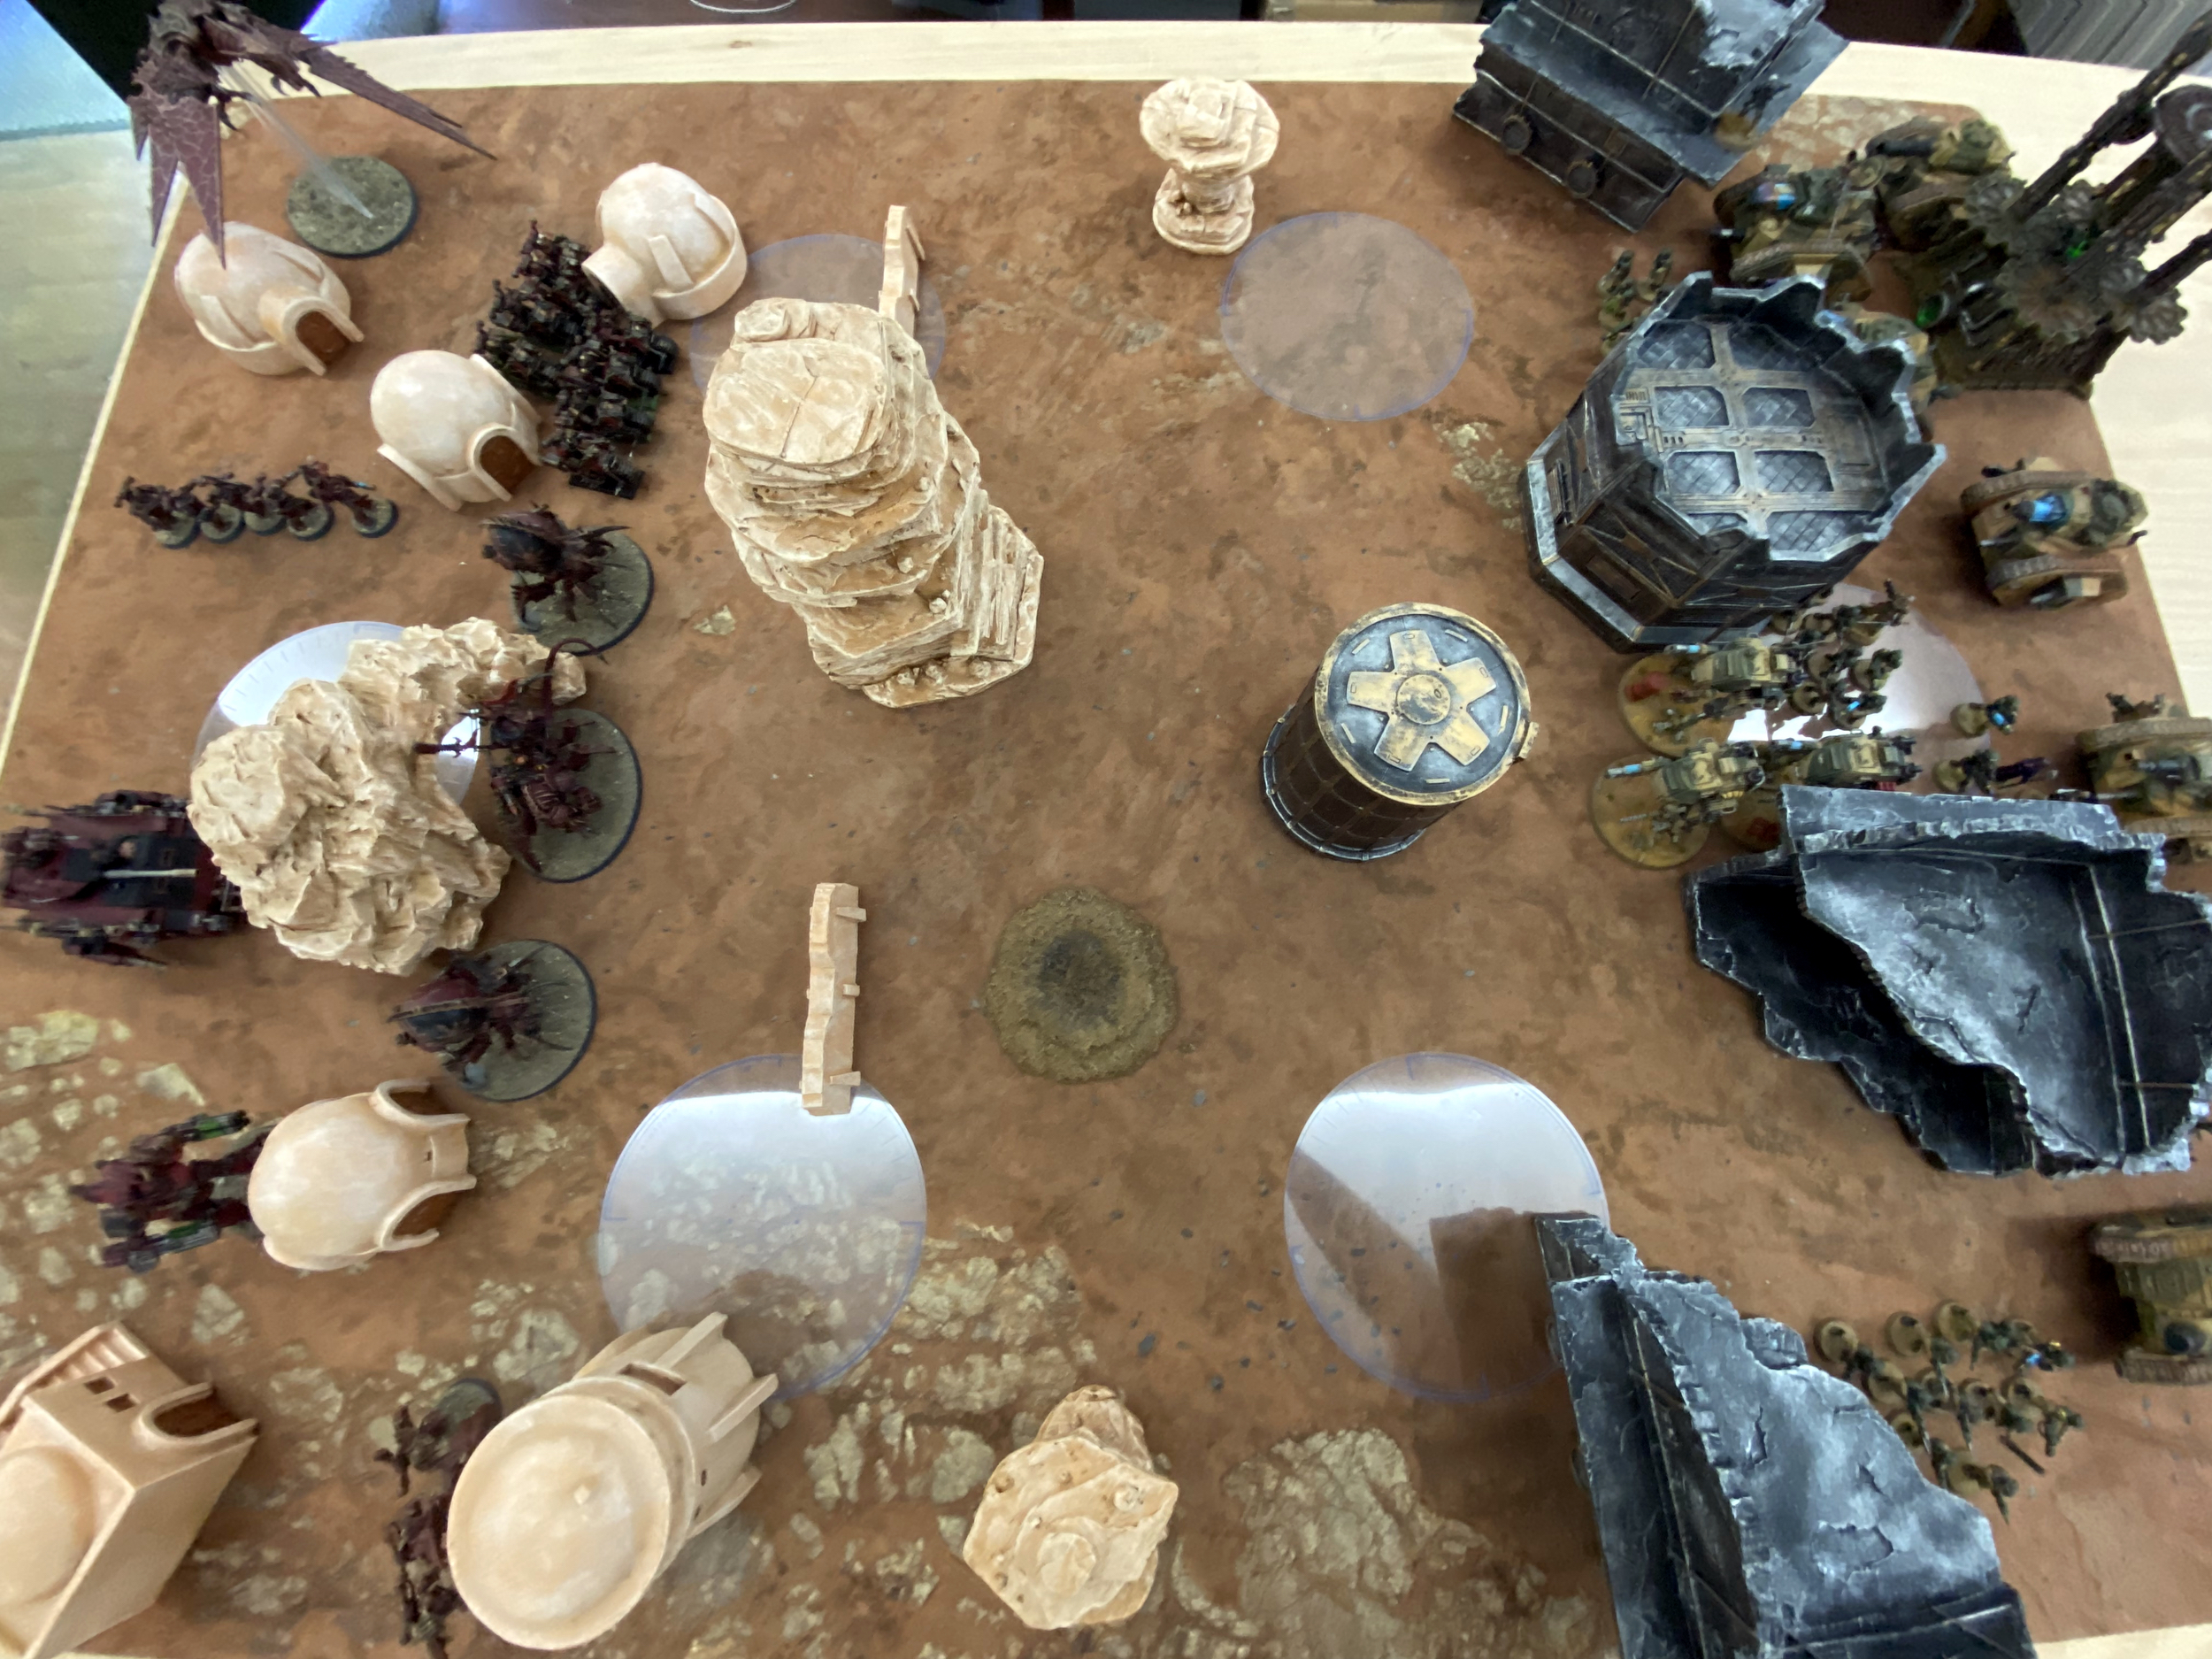
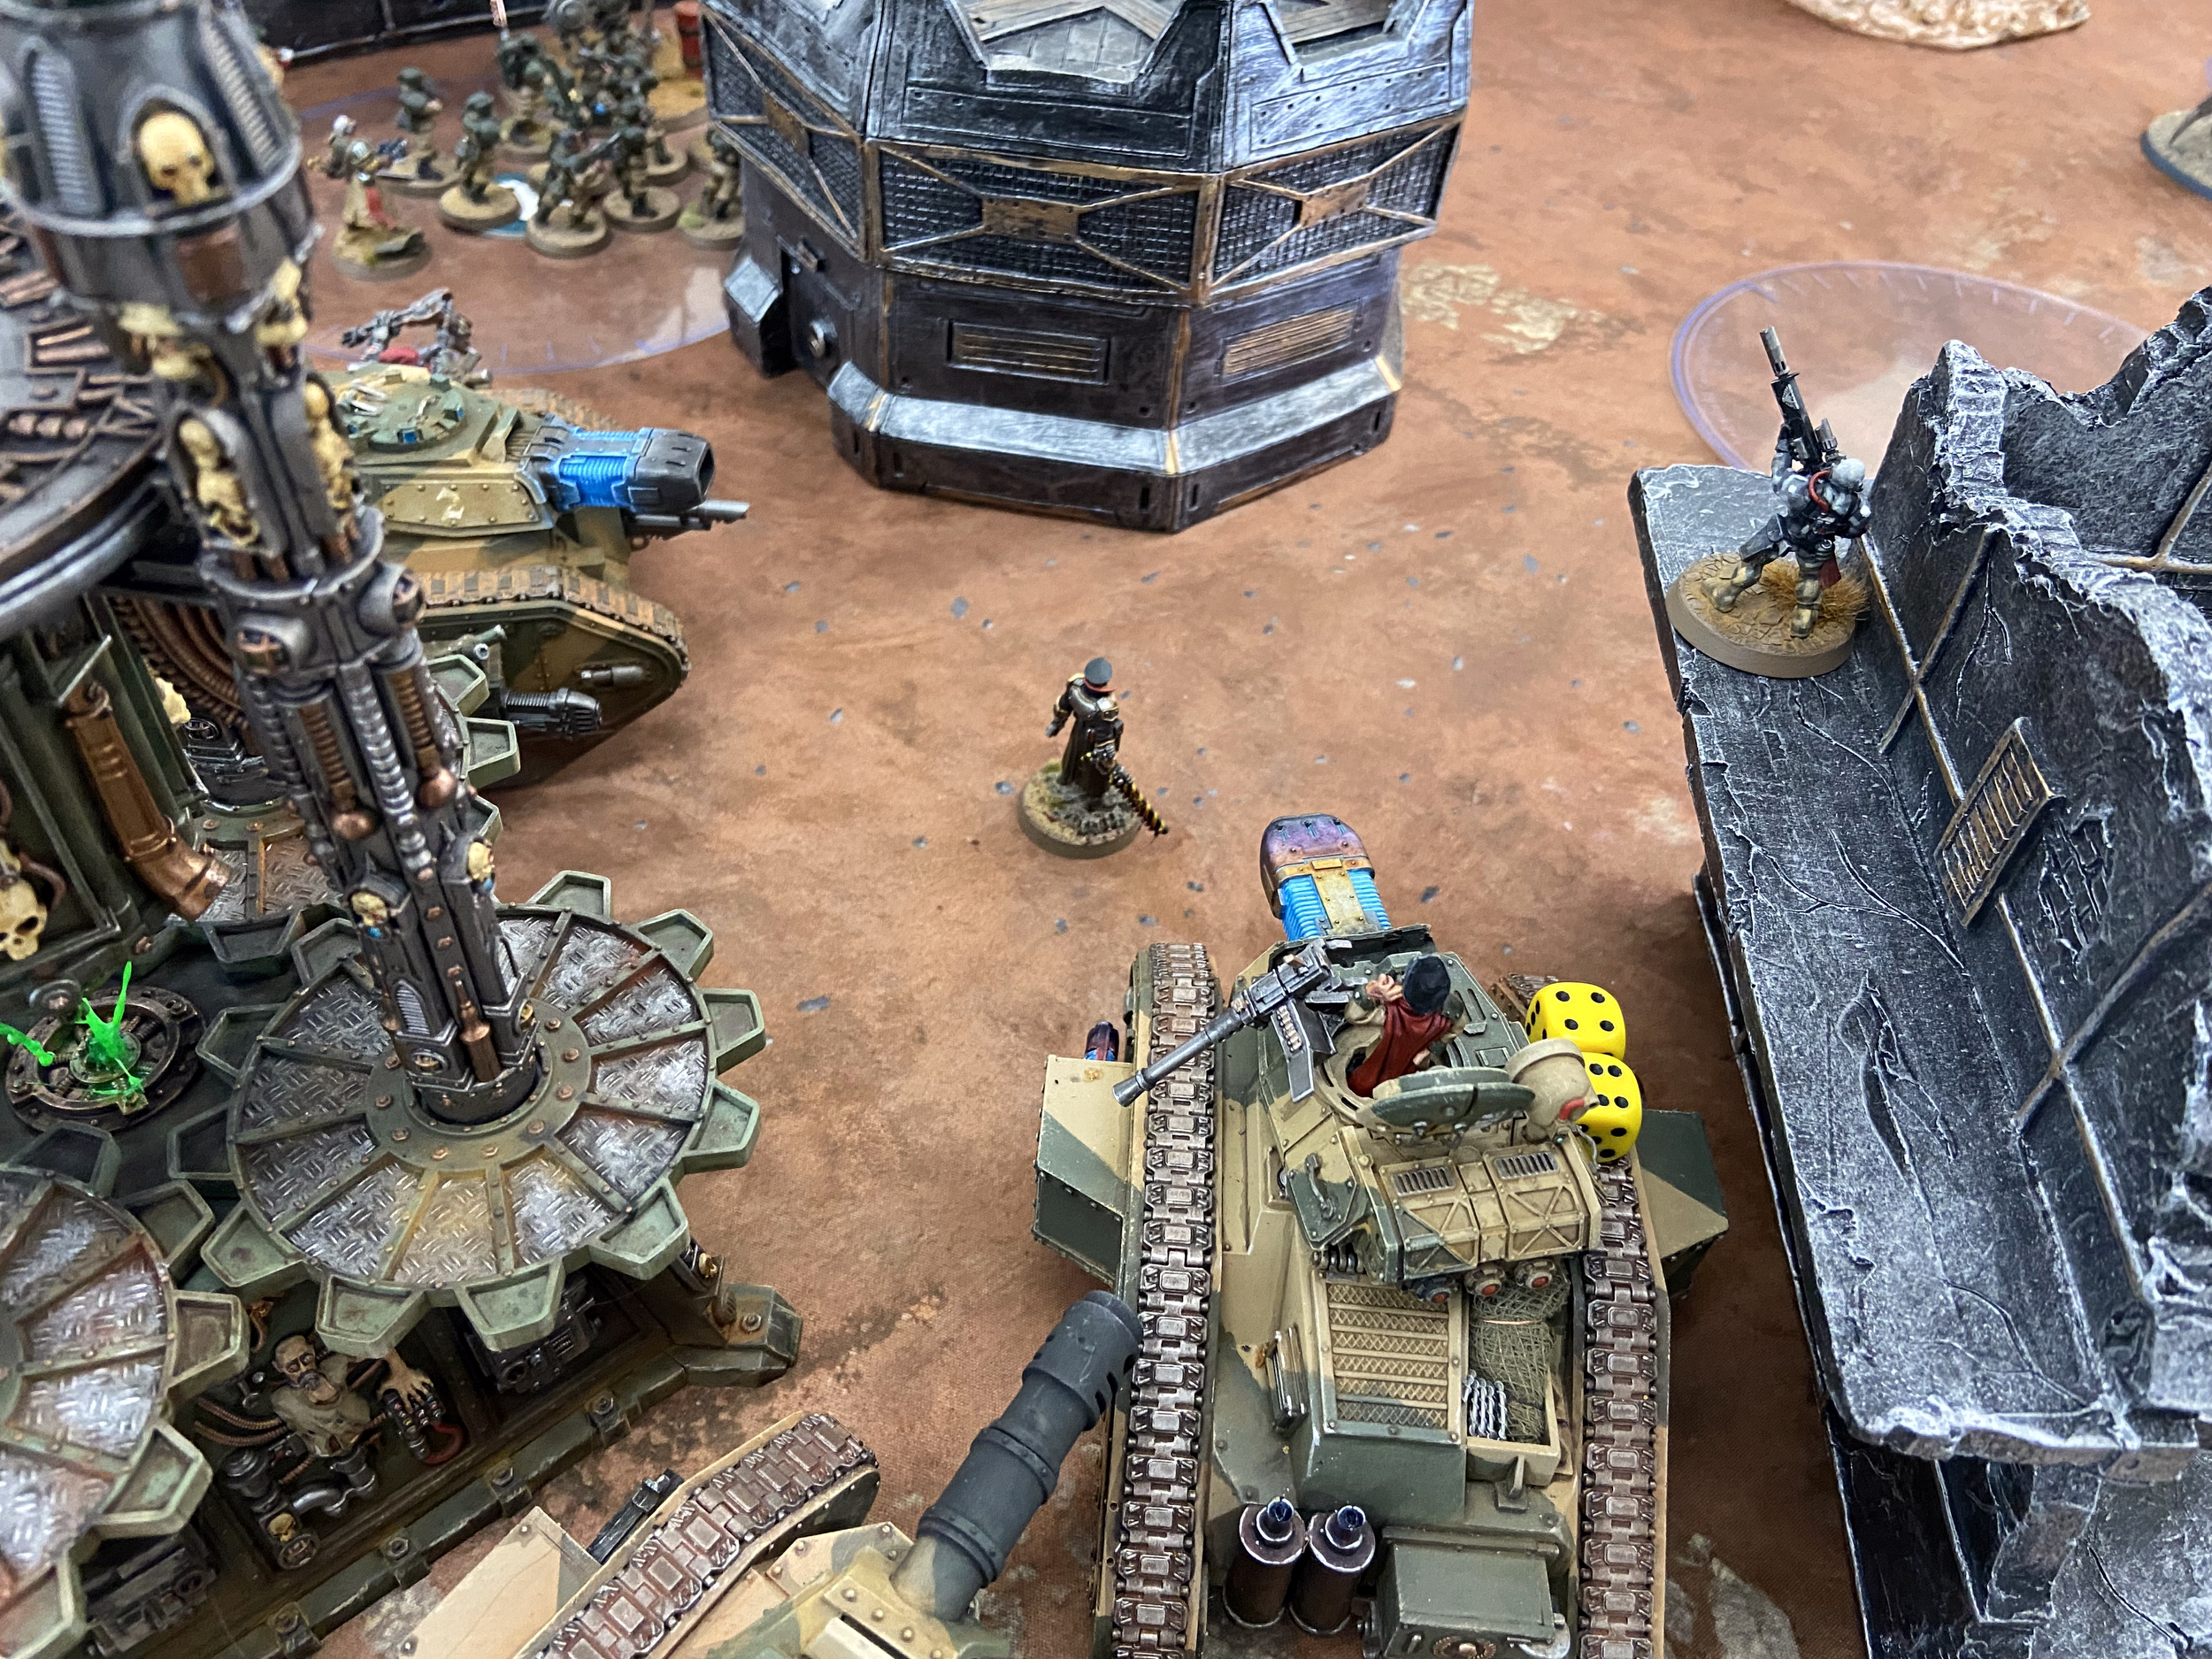
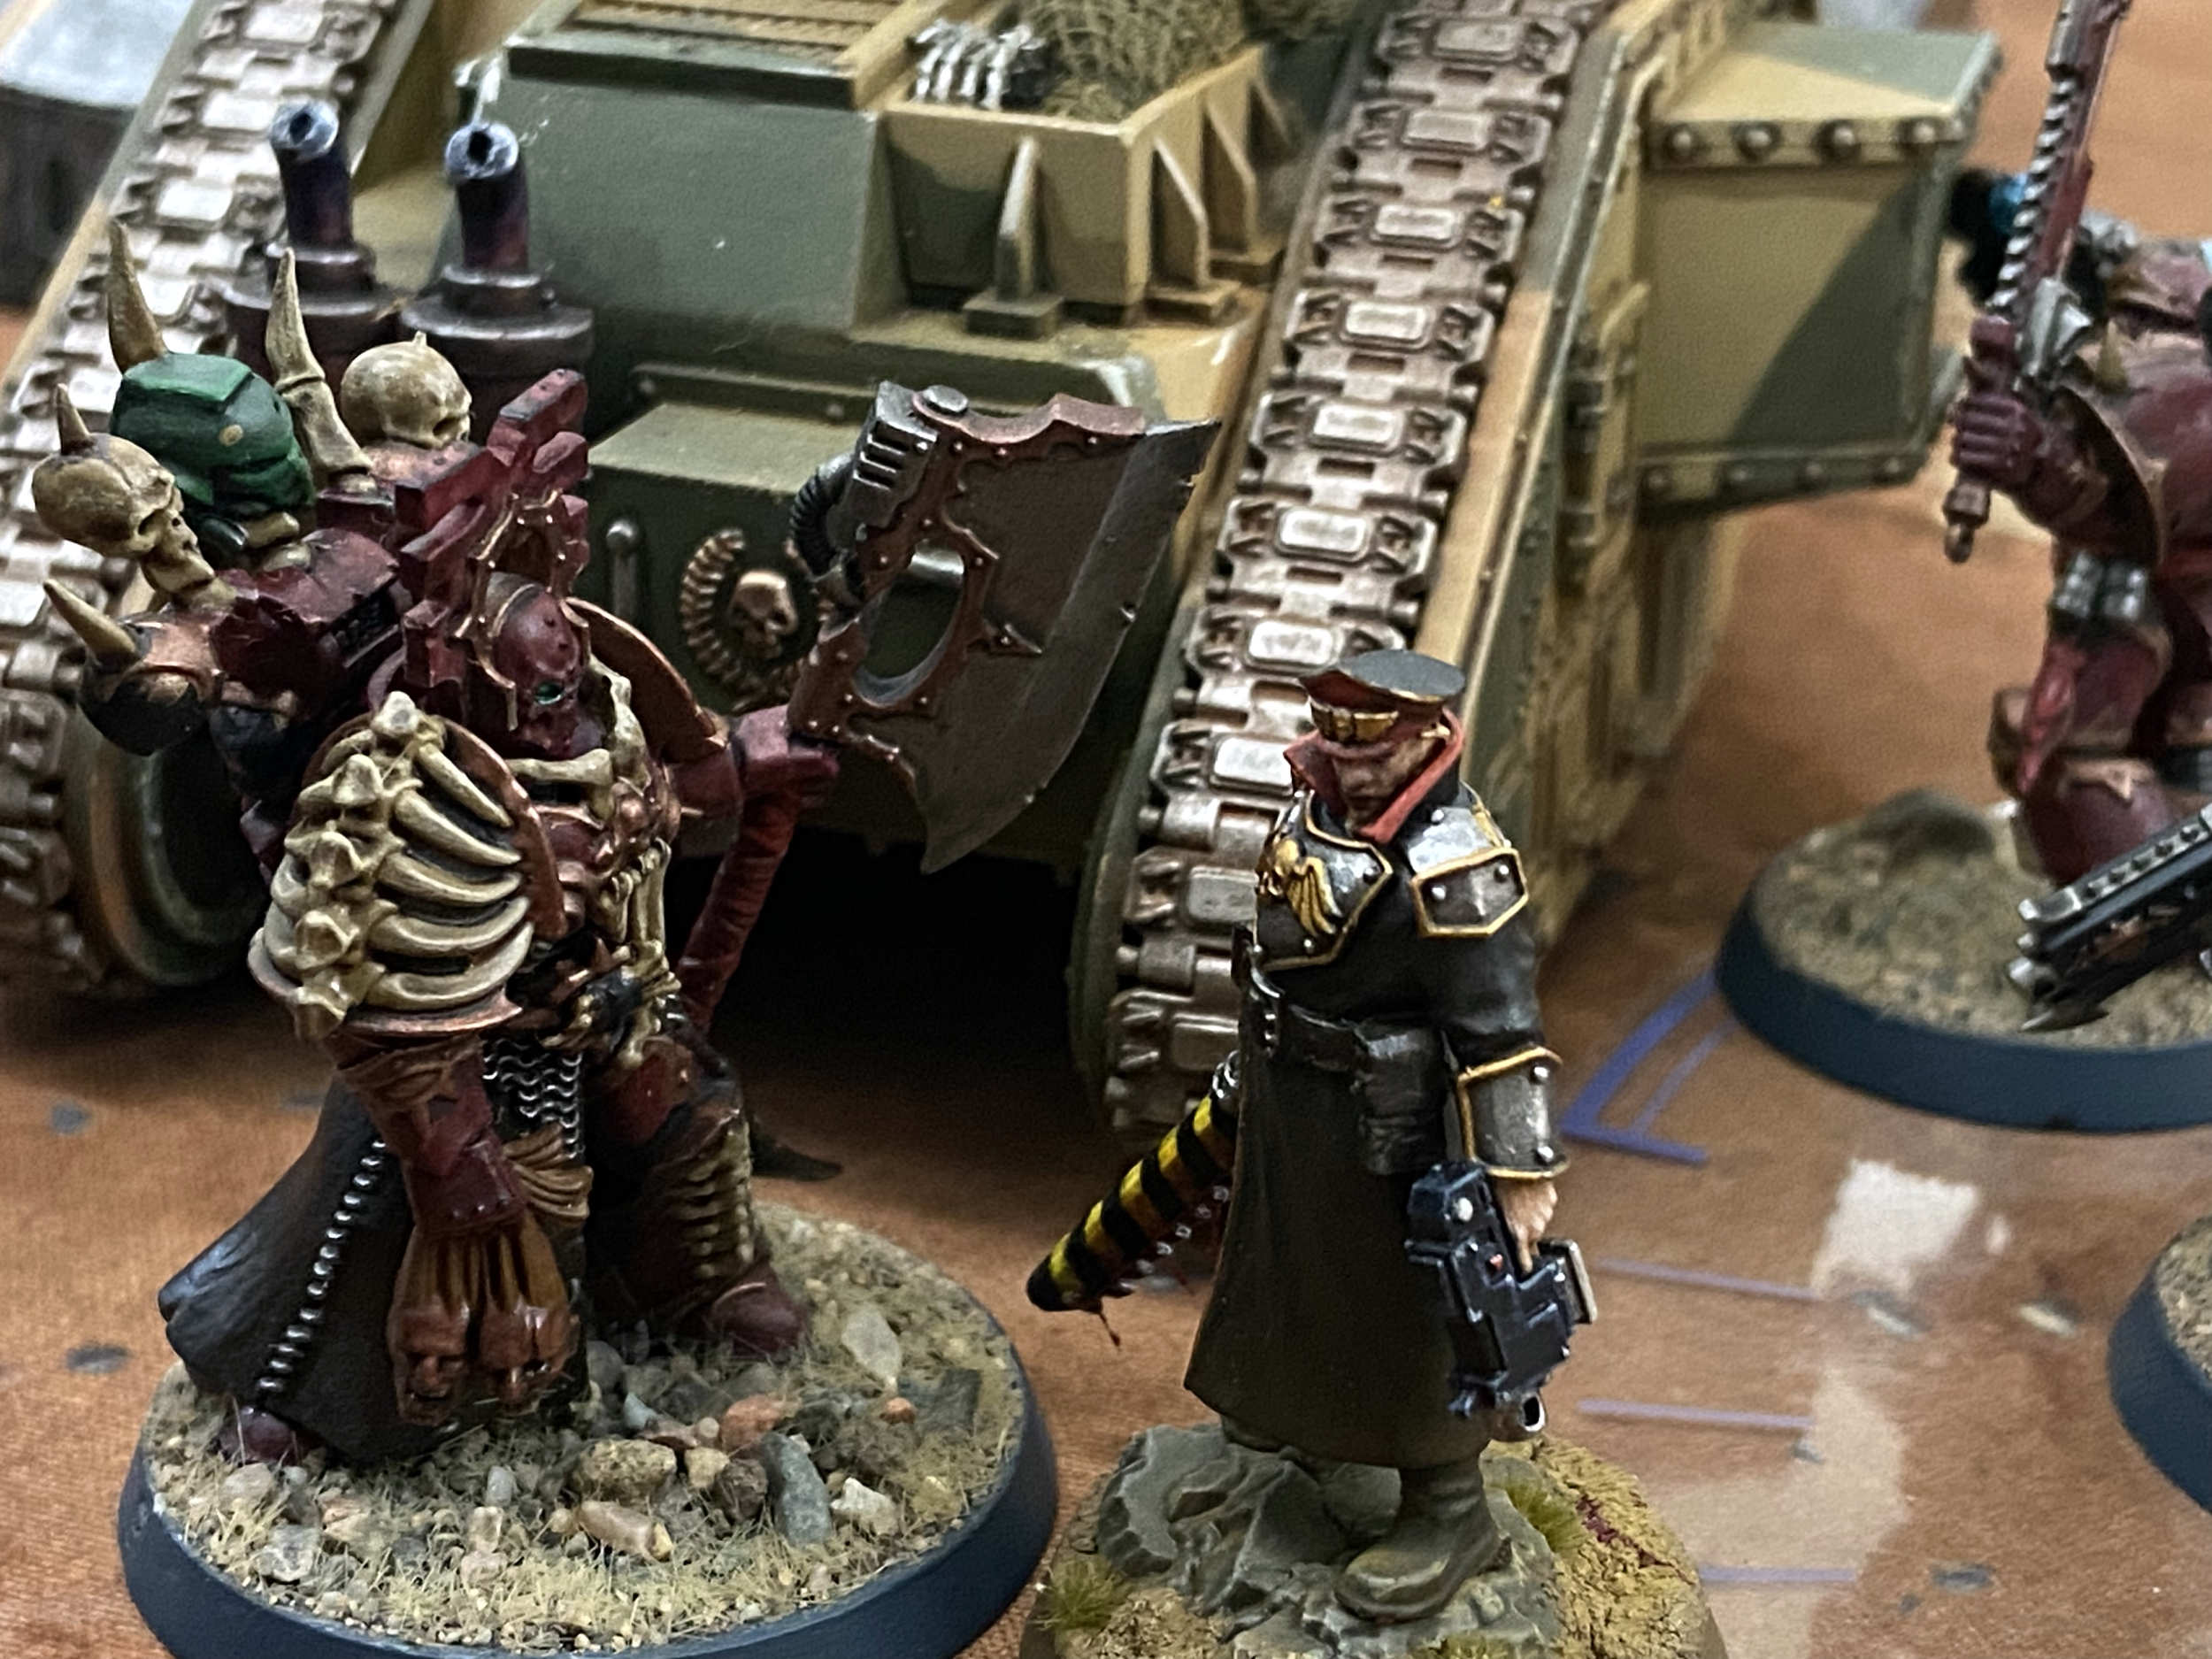
Game 3 – 2,000 points vs Red Corsairs
This game signifies a pivotal moment for the Astra Militarum, as they have finally reached a level playing field with their formidable enemy forces. In the aftermath of the initial assault, the Blood Angels and Astra Militarum swiftly regrouped, bolstering their defences and fortifying their positions to repel the ongoing onslaught from the enemy effectively. Their improved preparedness and coordination instil renewed hope and determination among the ranks as they stand united in their mission to fend off the relentless attackers.
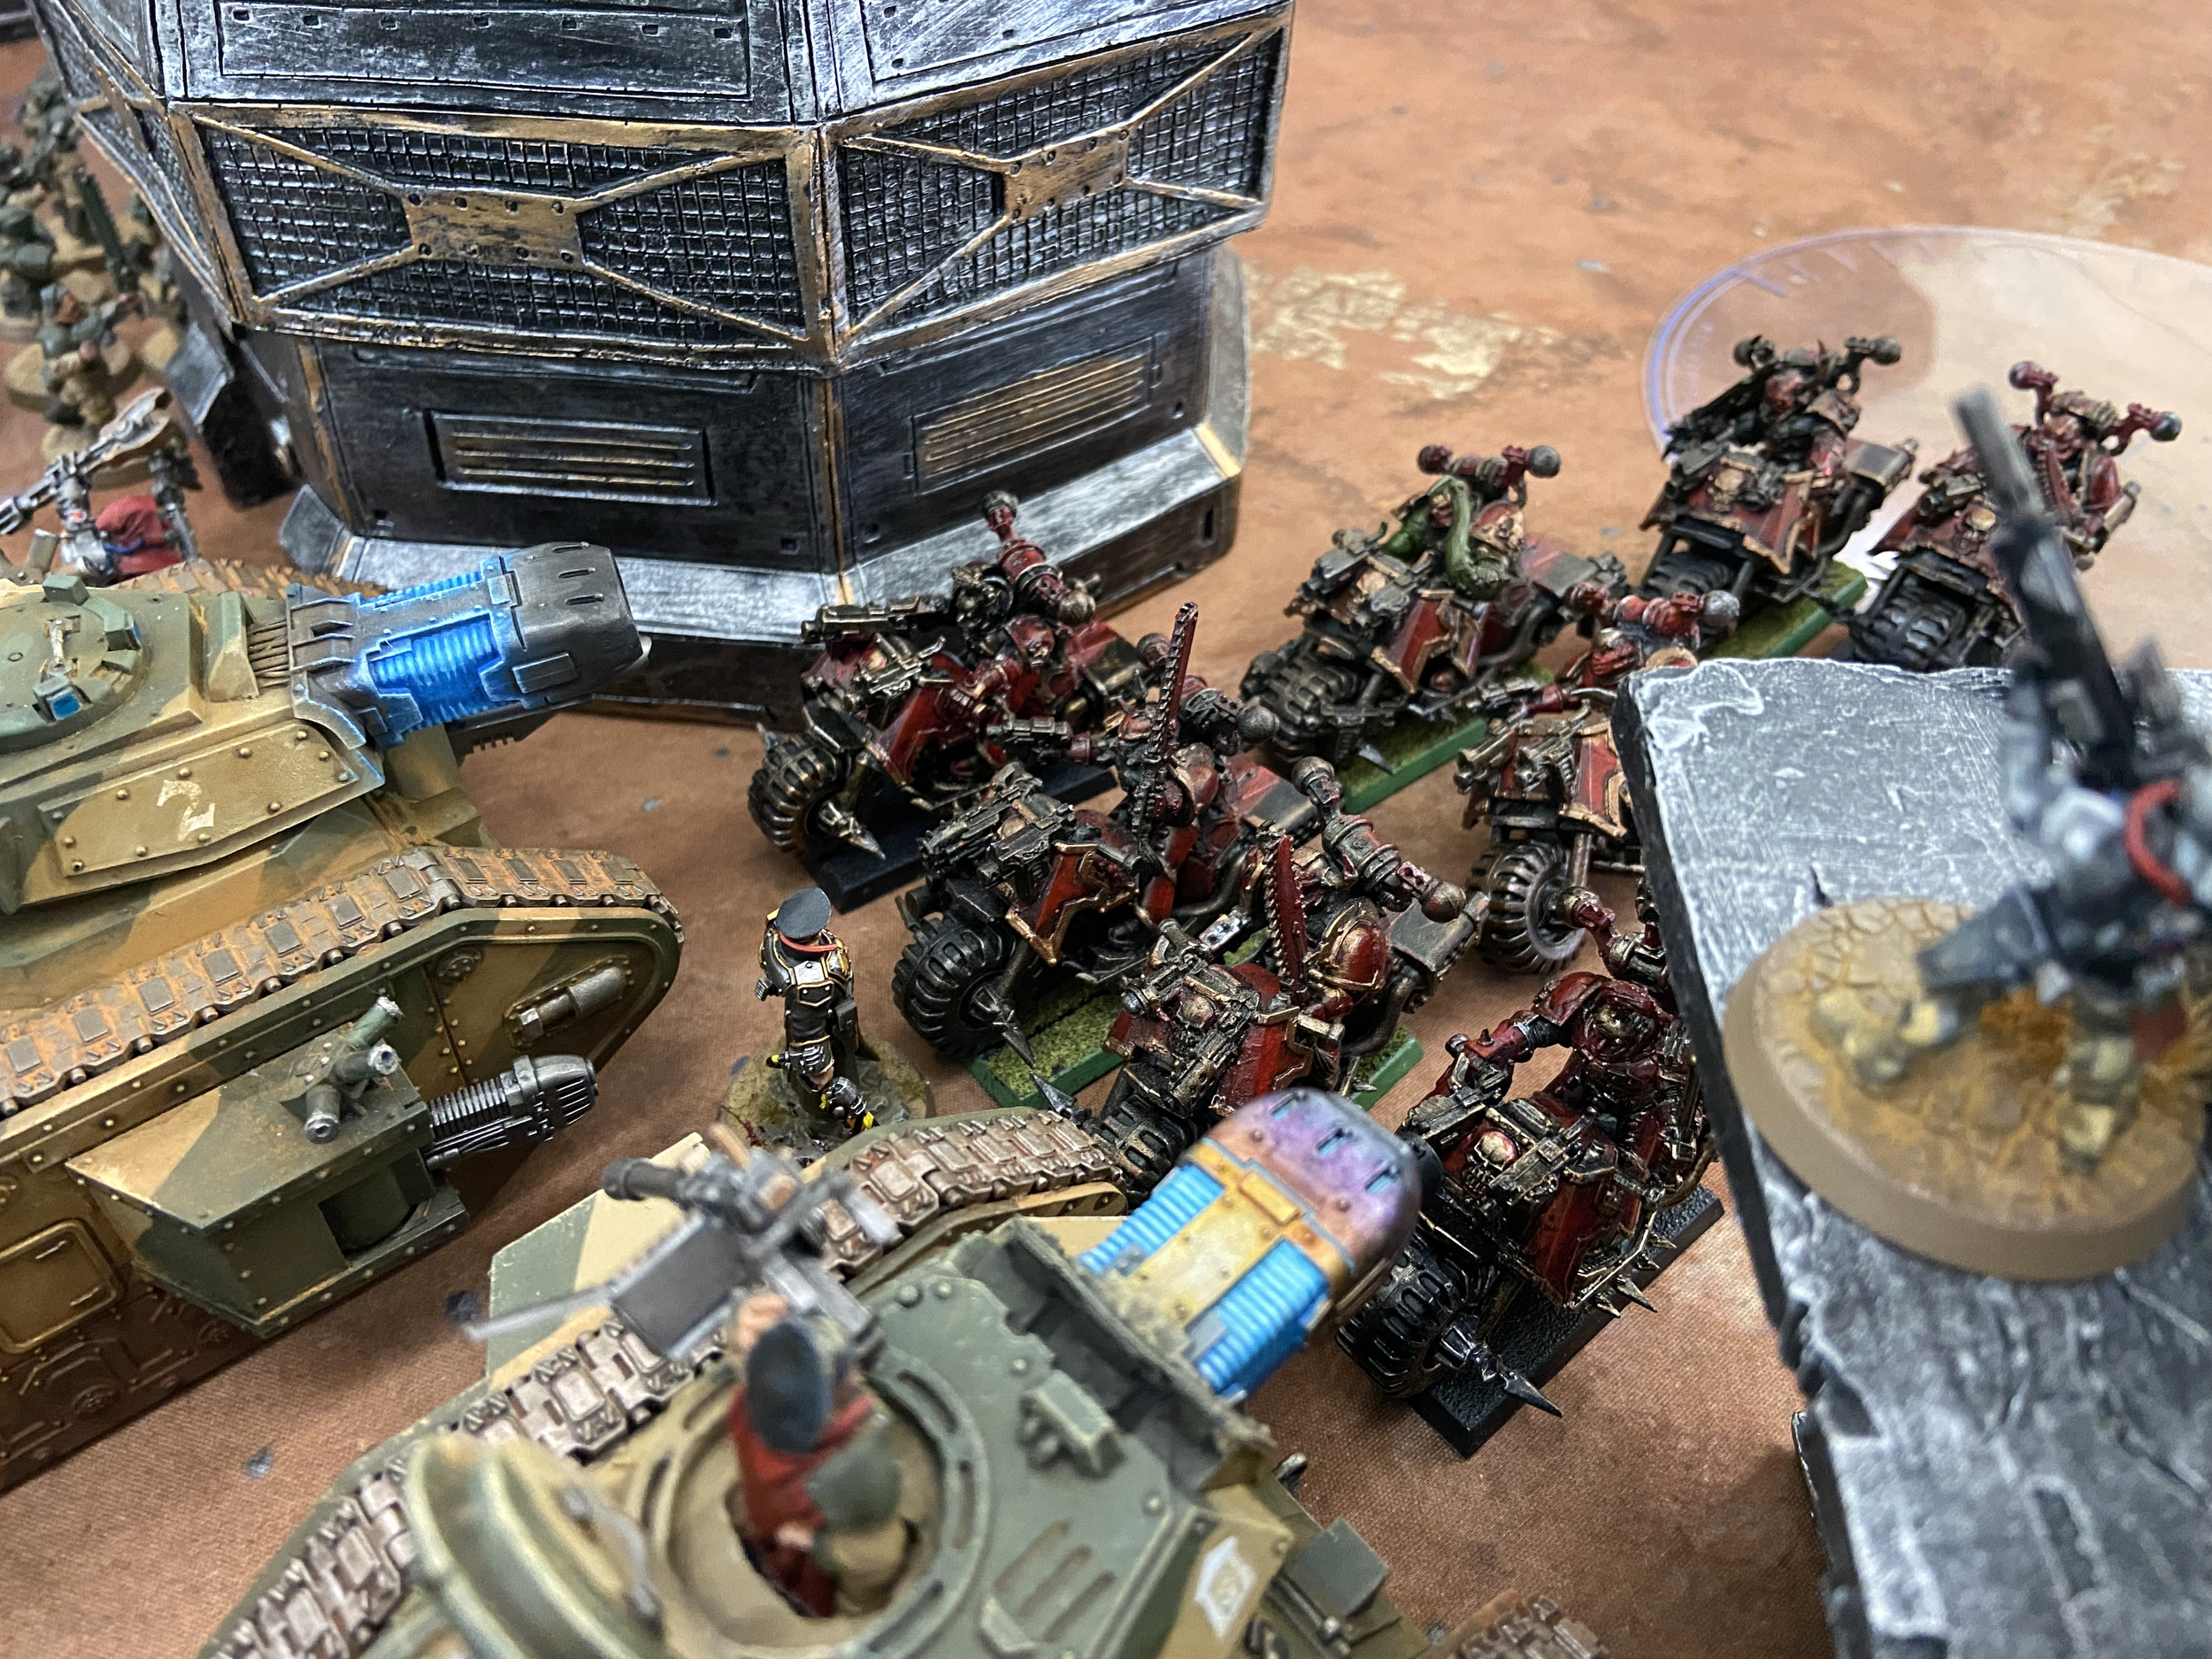
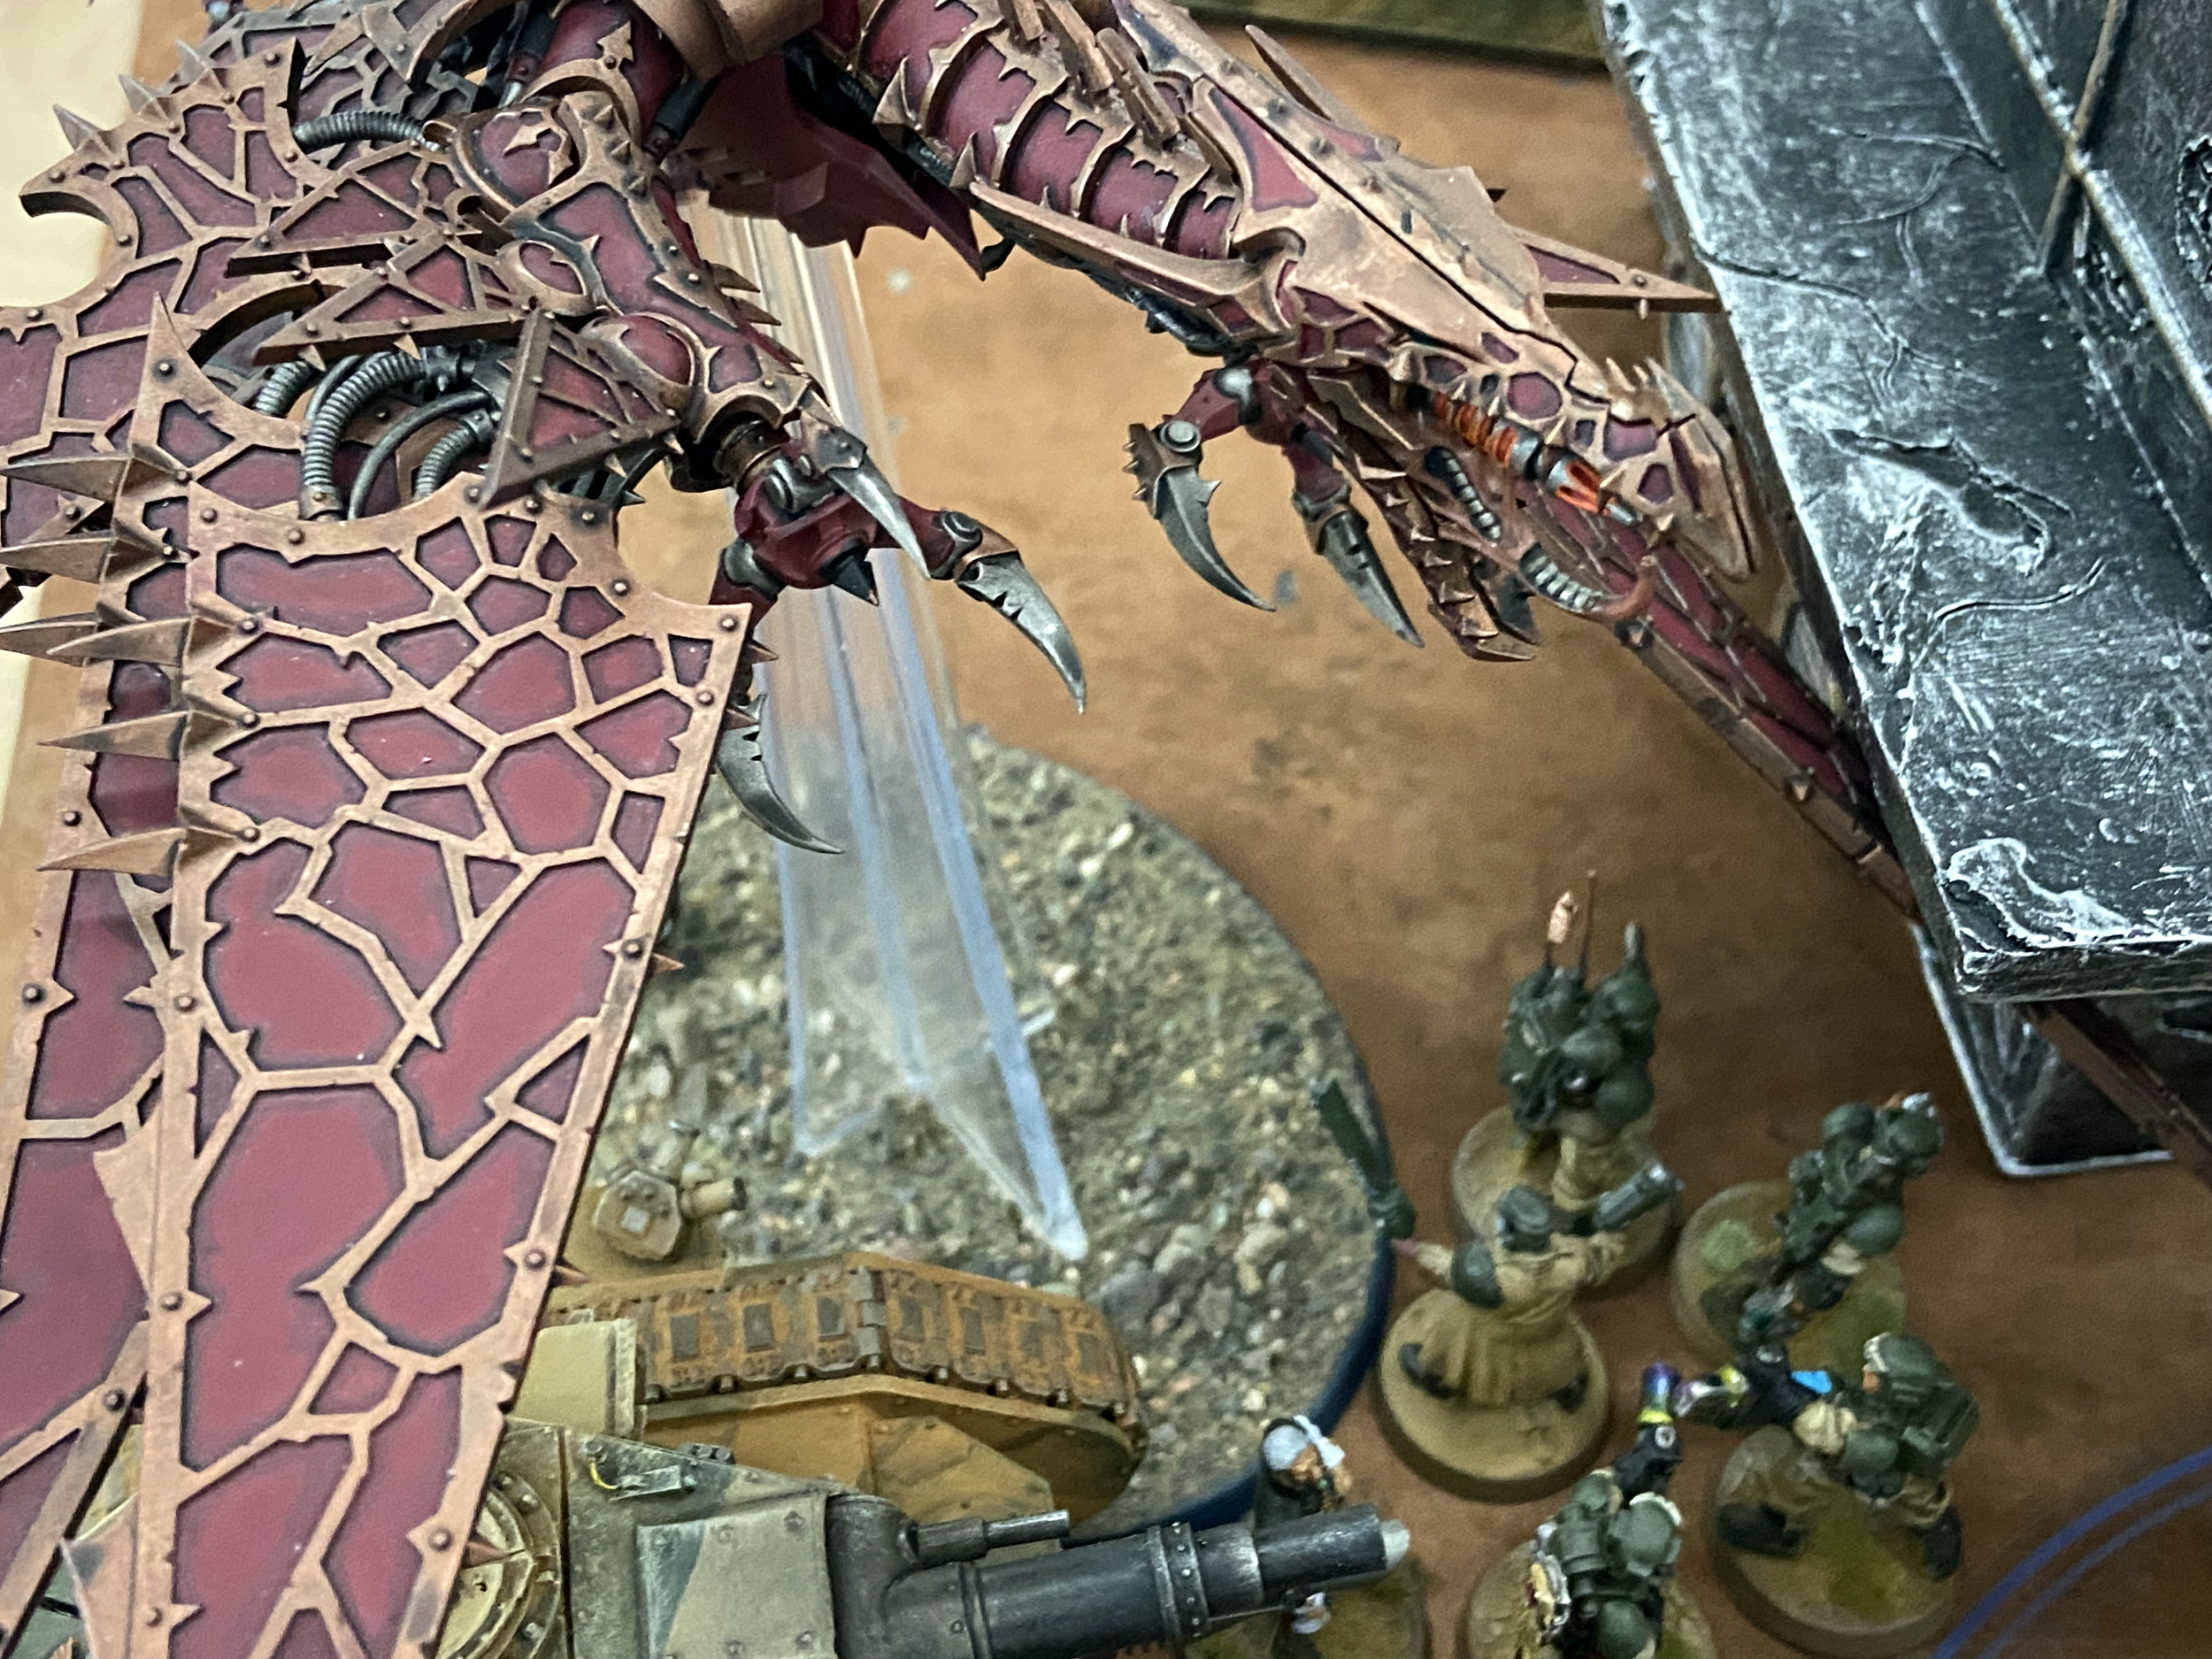

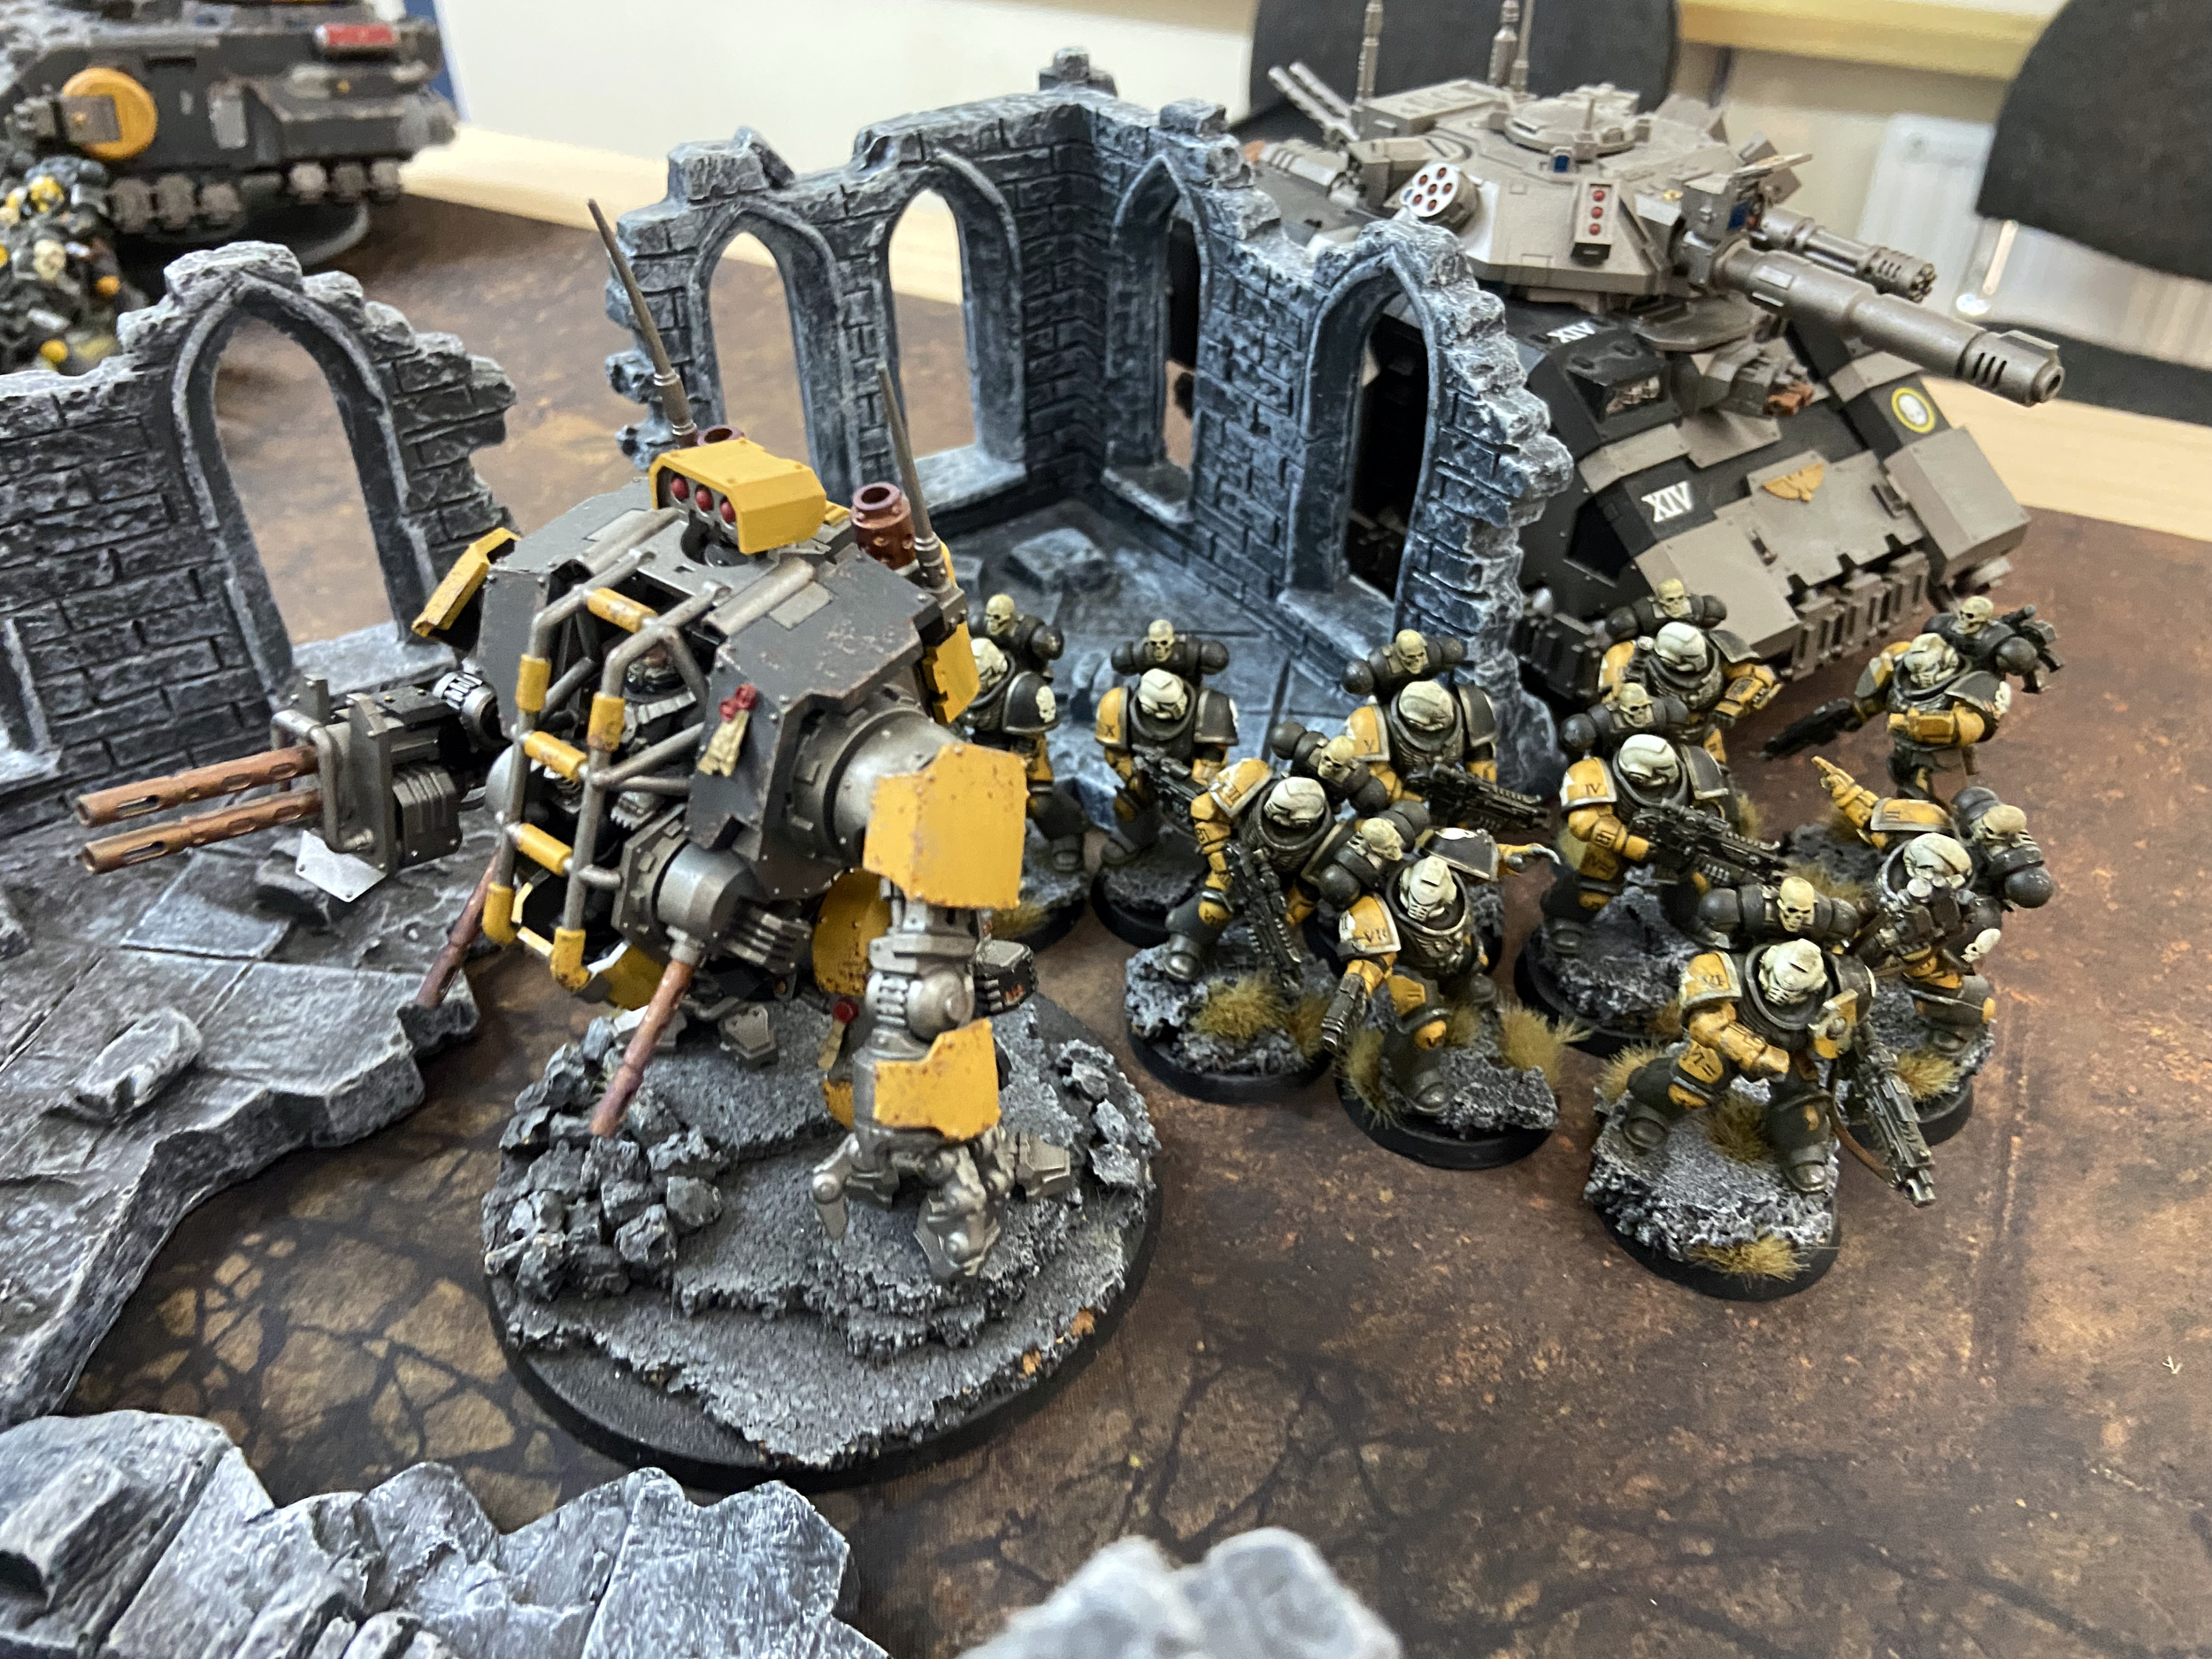
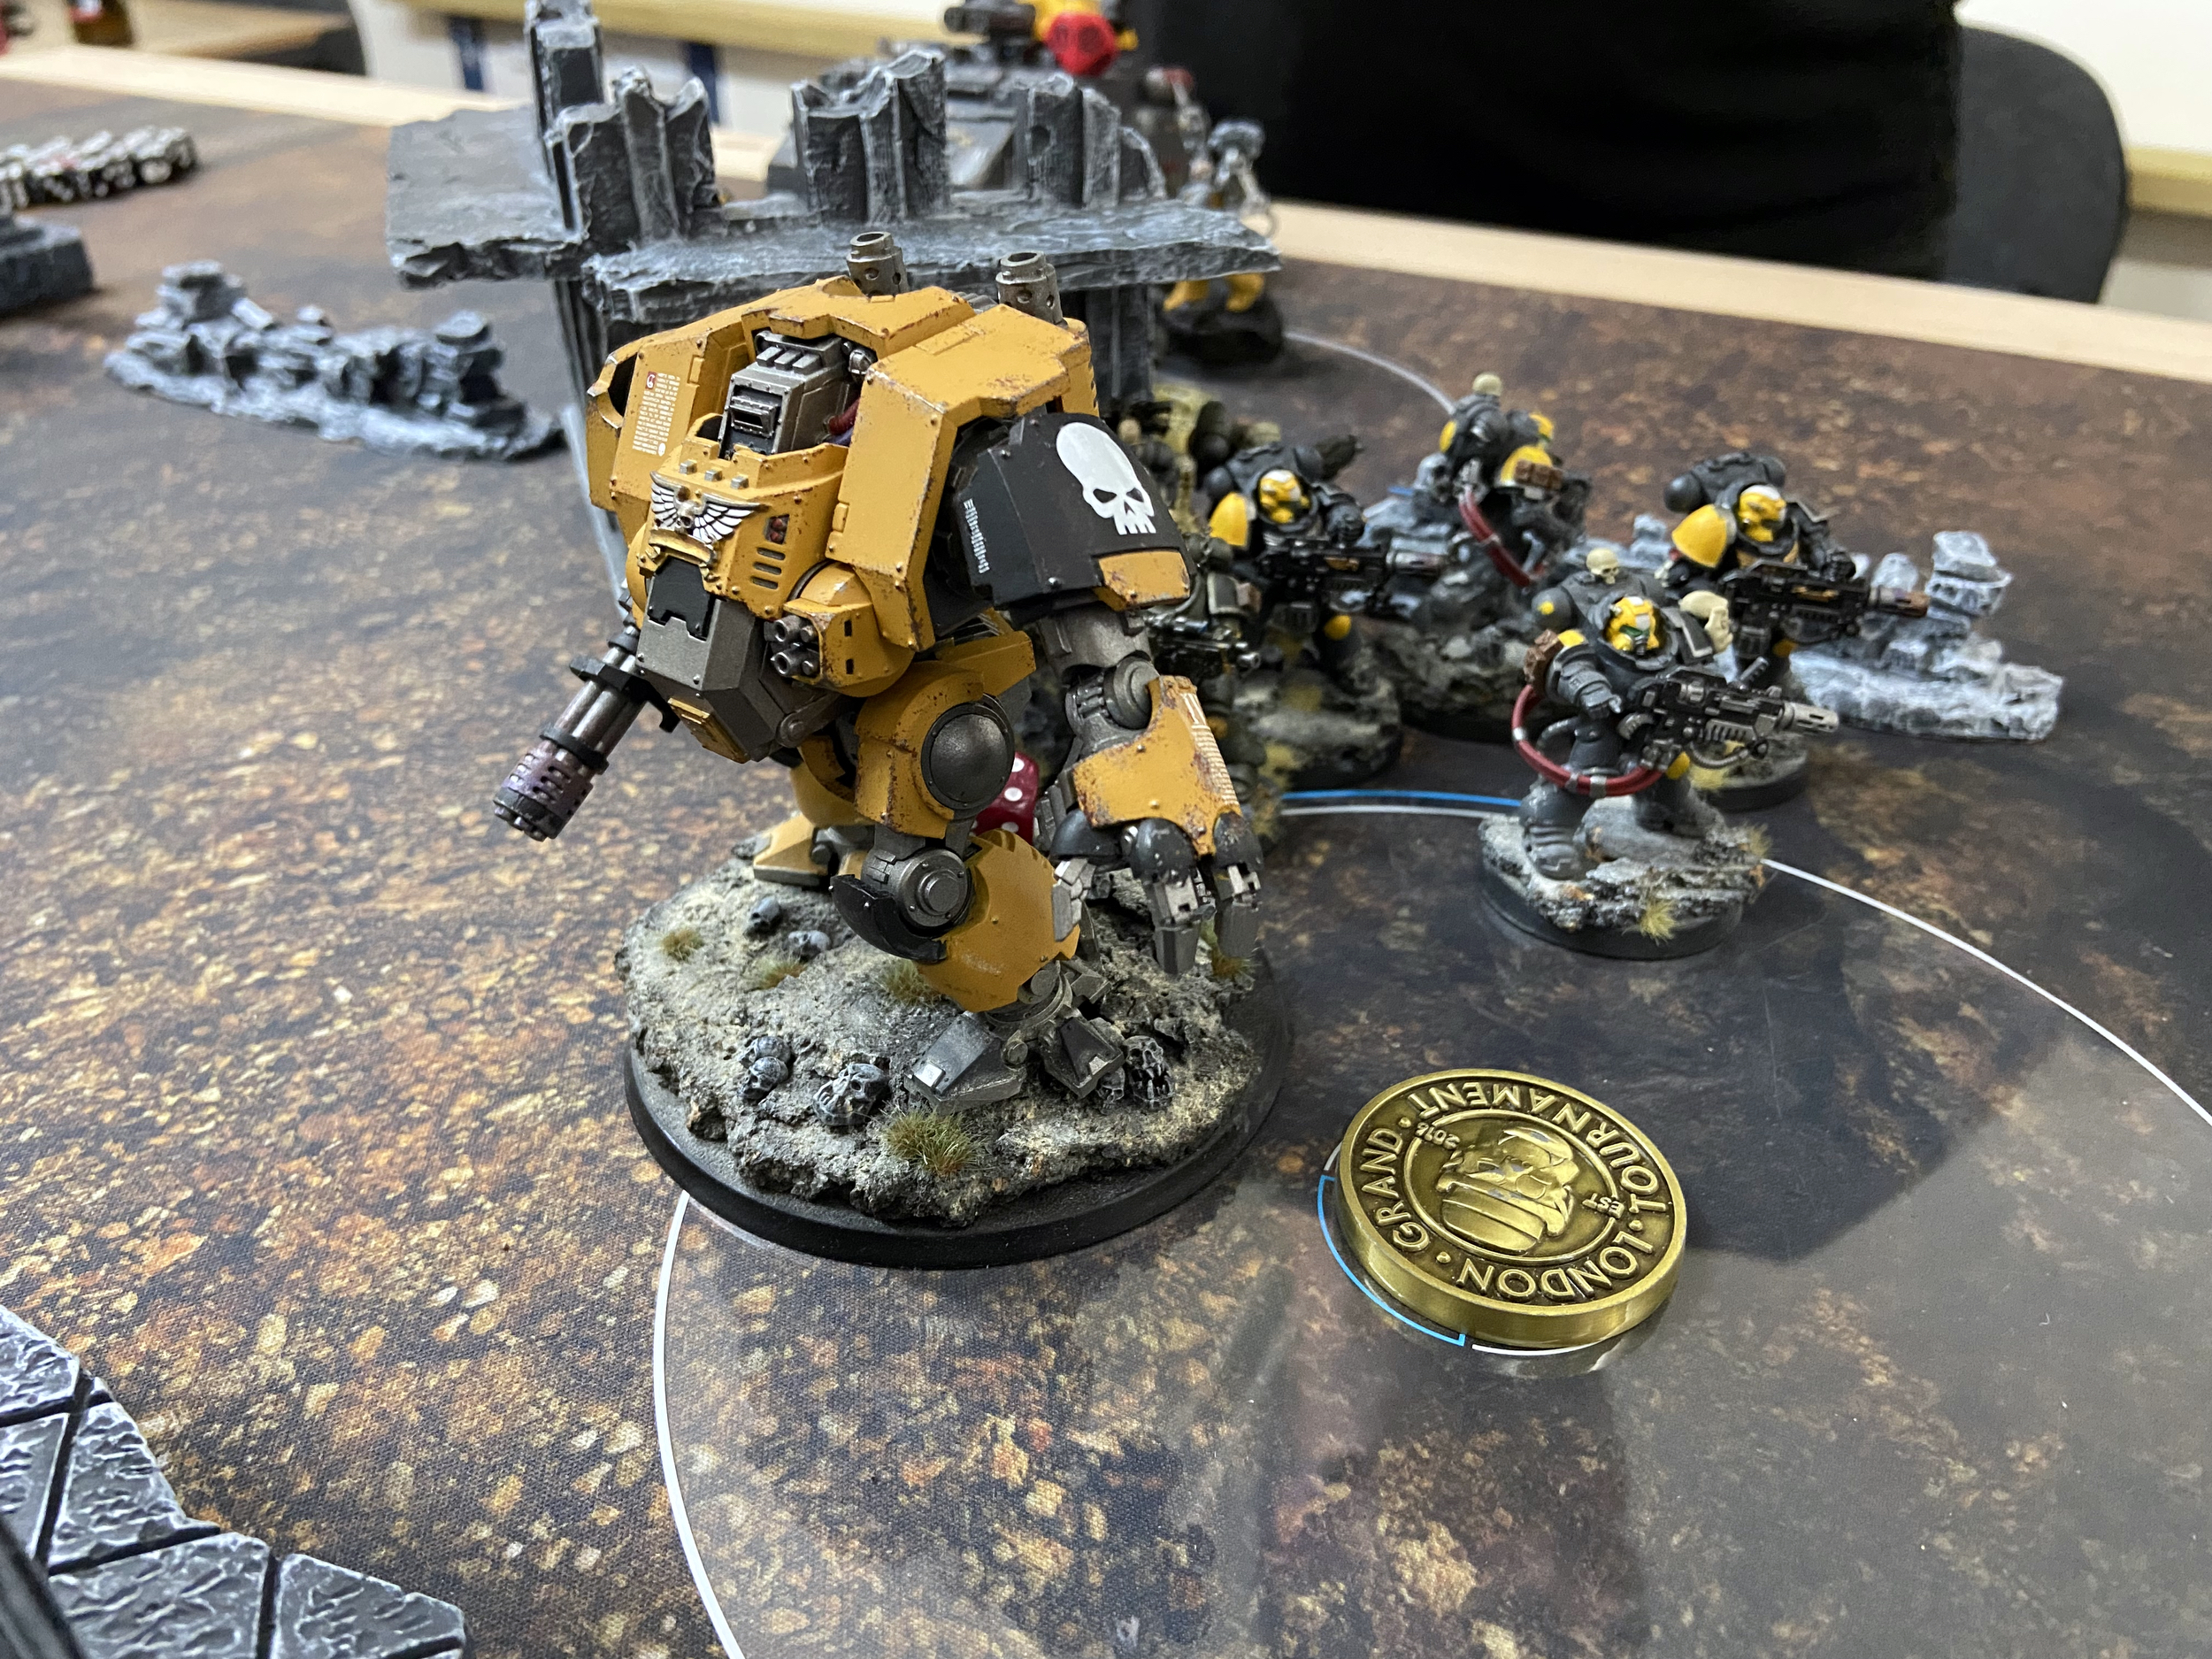
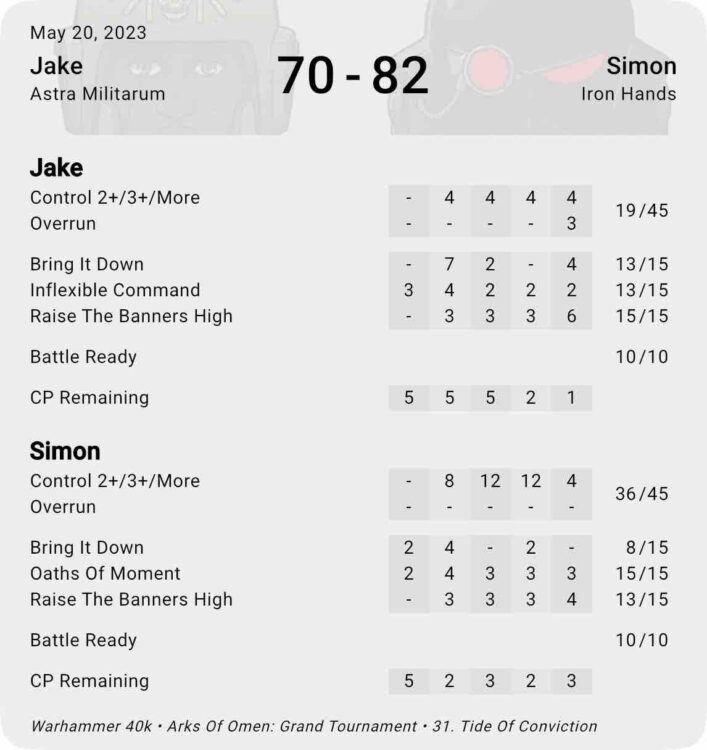
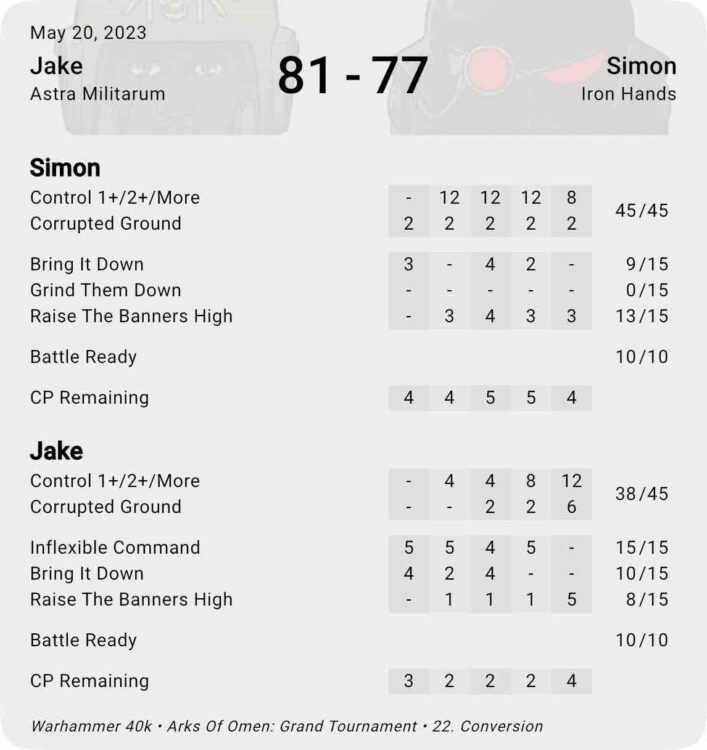
Game 4 – 2,000 points vs Iron Hands
This was one of the most intense and close games of 40K I have ever played; you can tell because I took just two photos throughout the game.
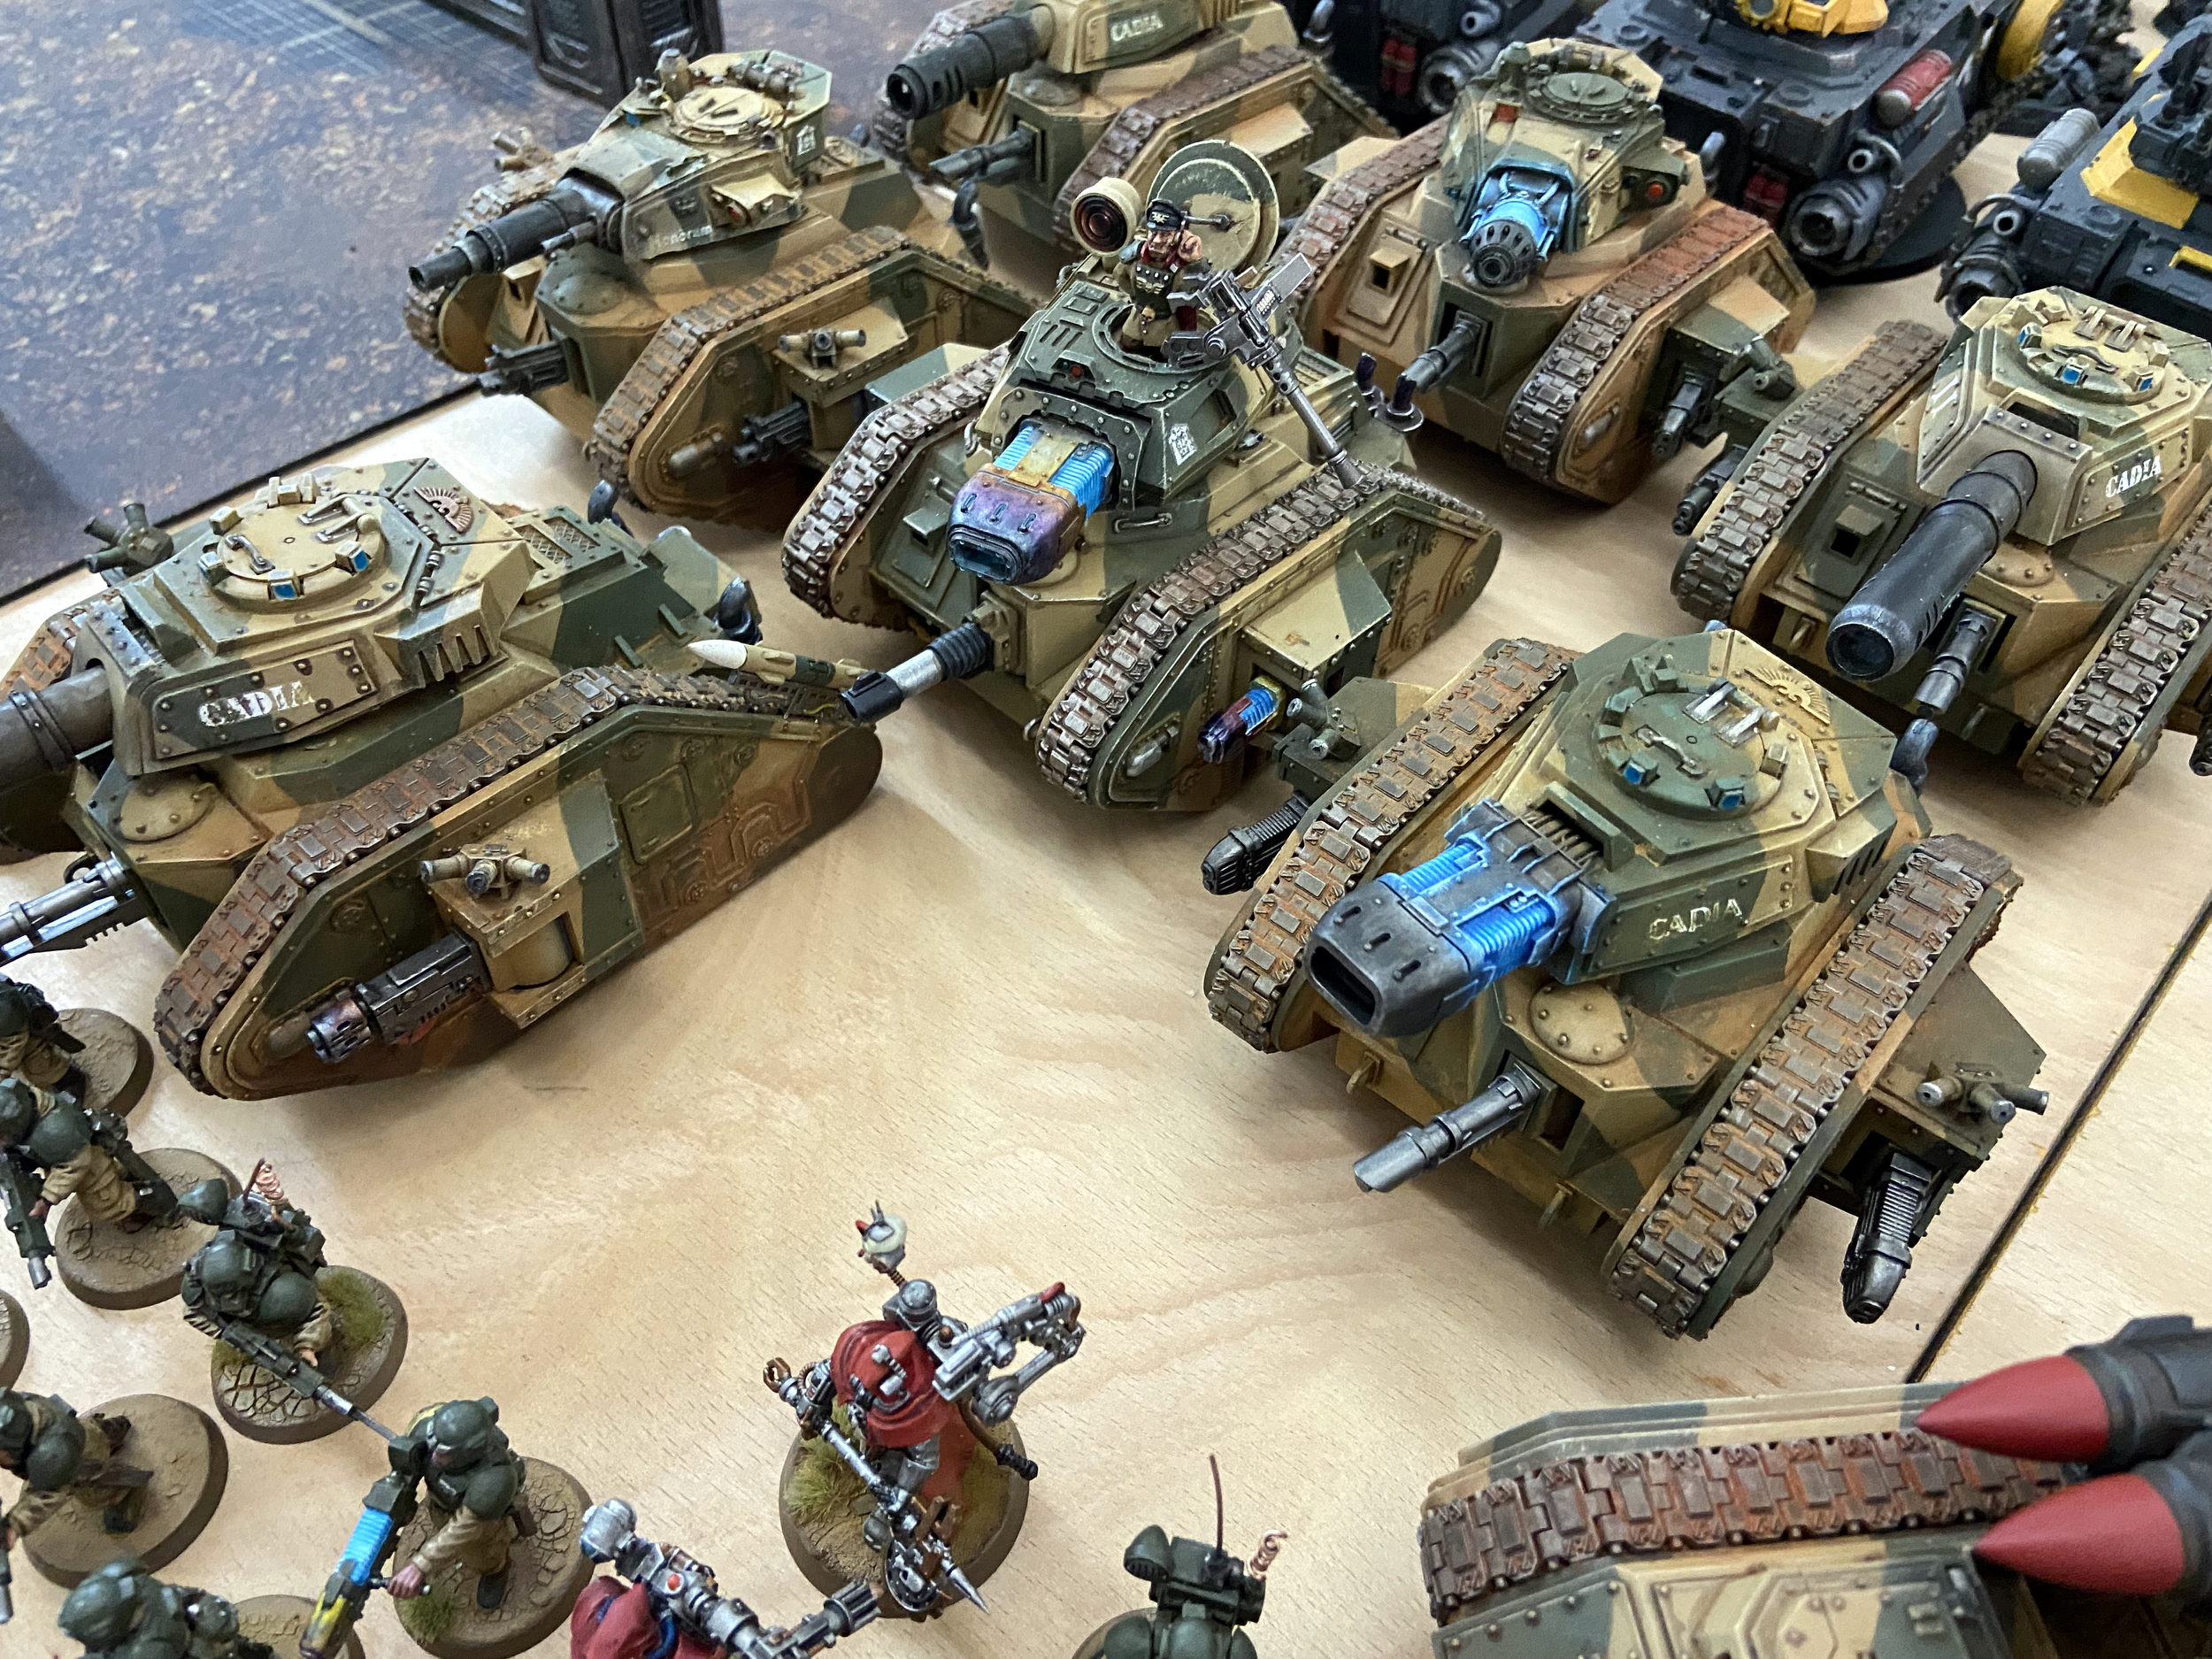
I won, just. It came down to one Advance move of a Leman Russ and how far he went. If he made it, he would take an Objective from the enemy, gain me an Objective and remove a Banner. This resulted in a swing of nine Victory Points at the end of the final turn.
This meant we kept Zone 7 and the Shield Generatorium.
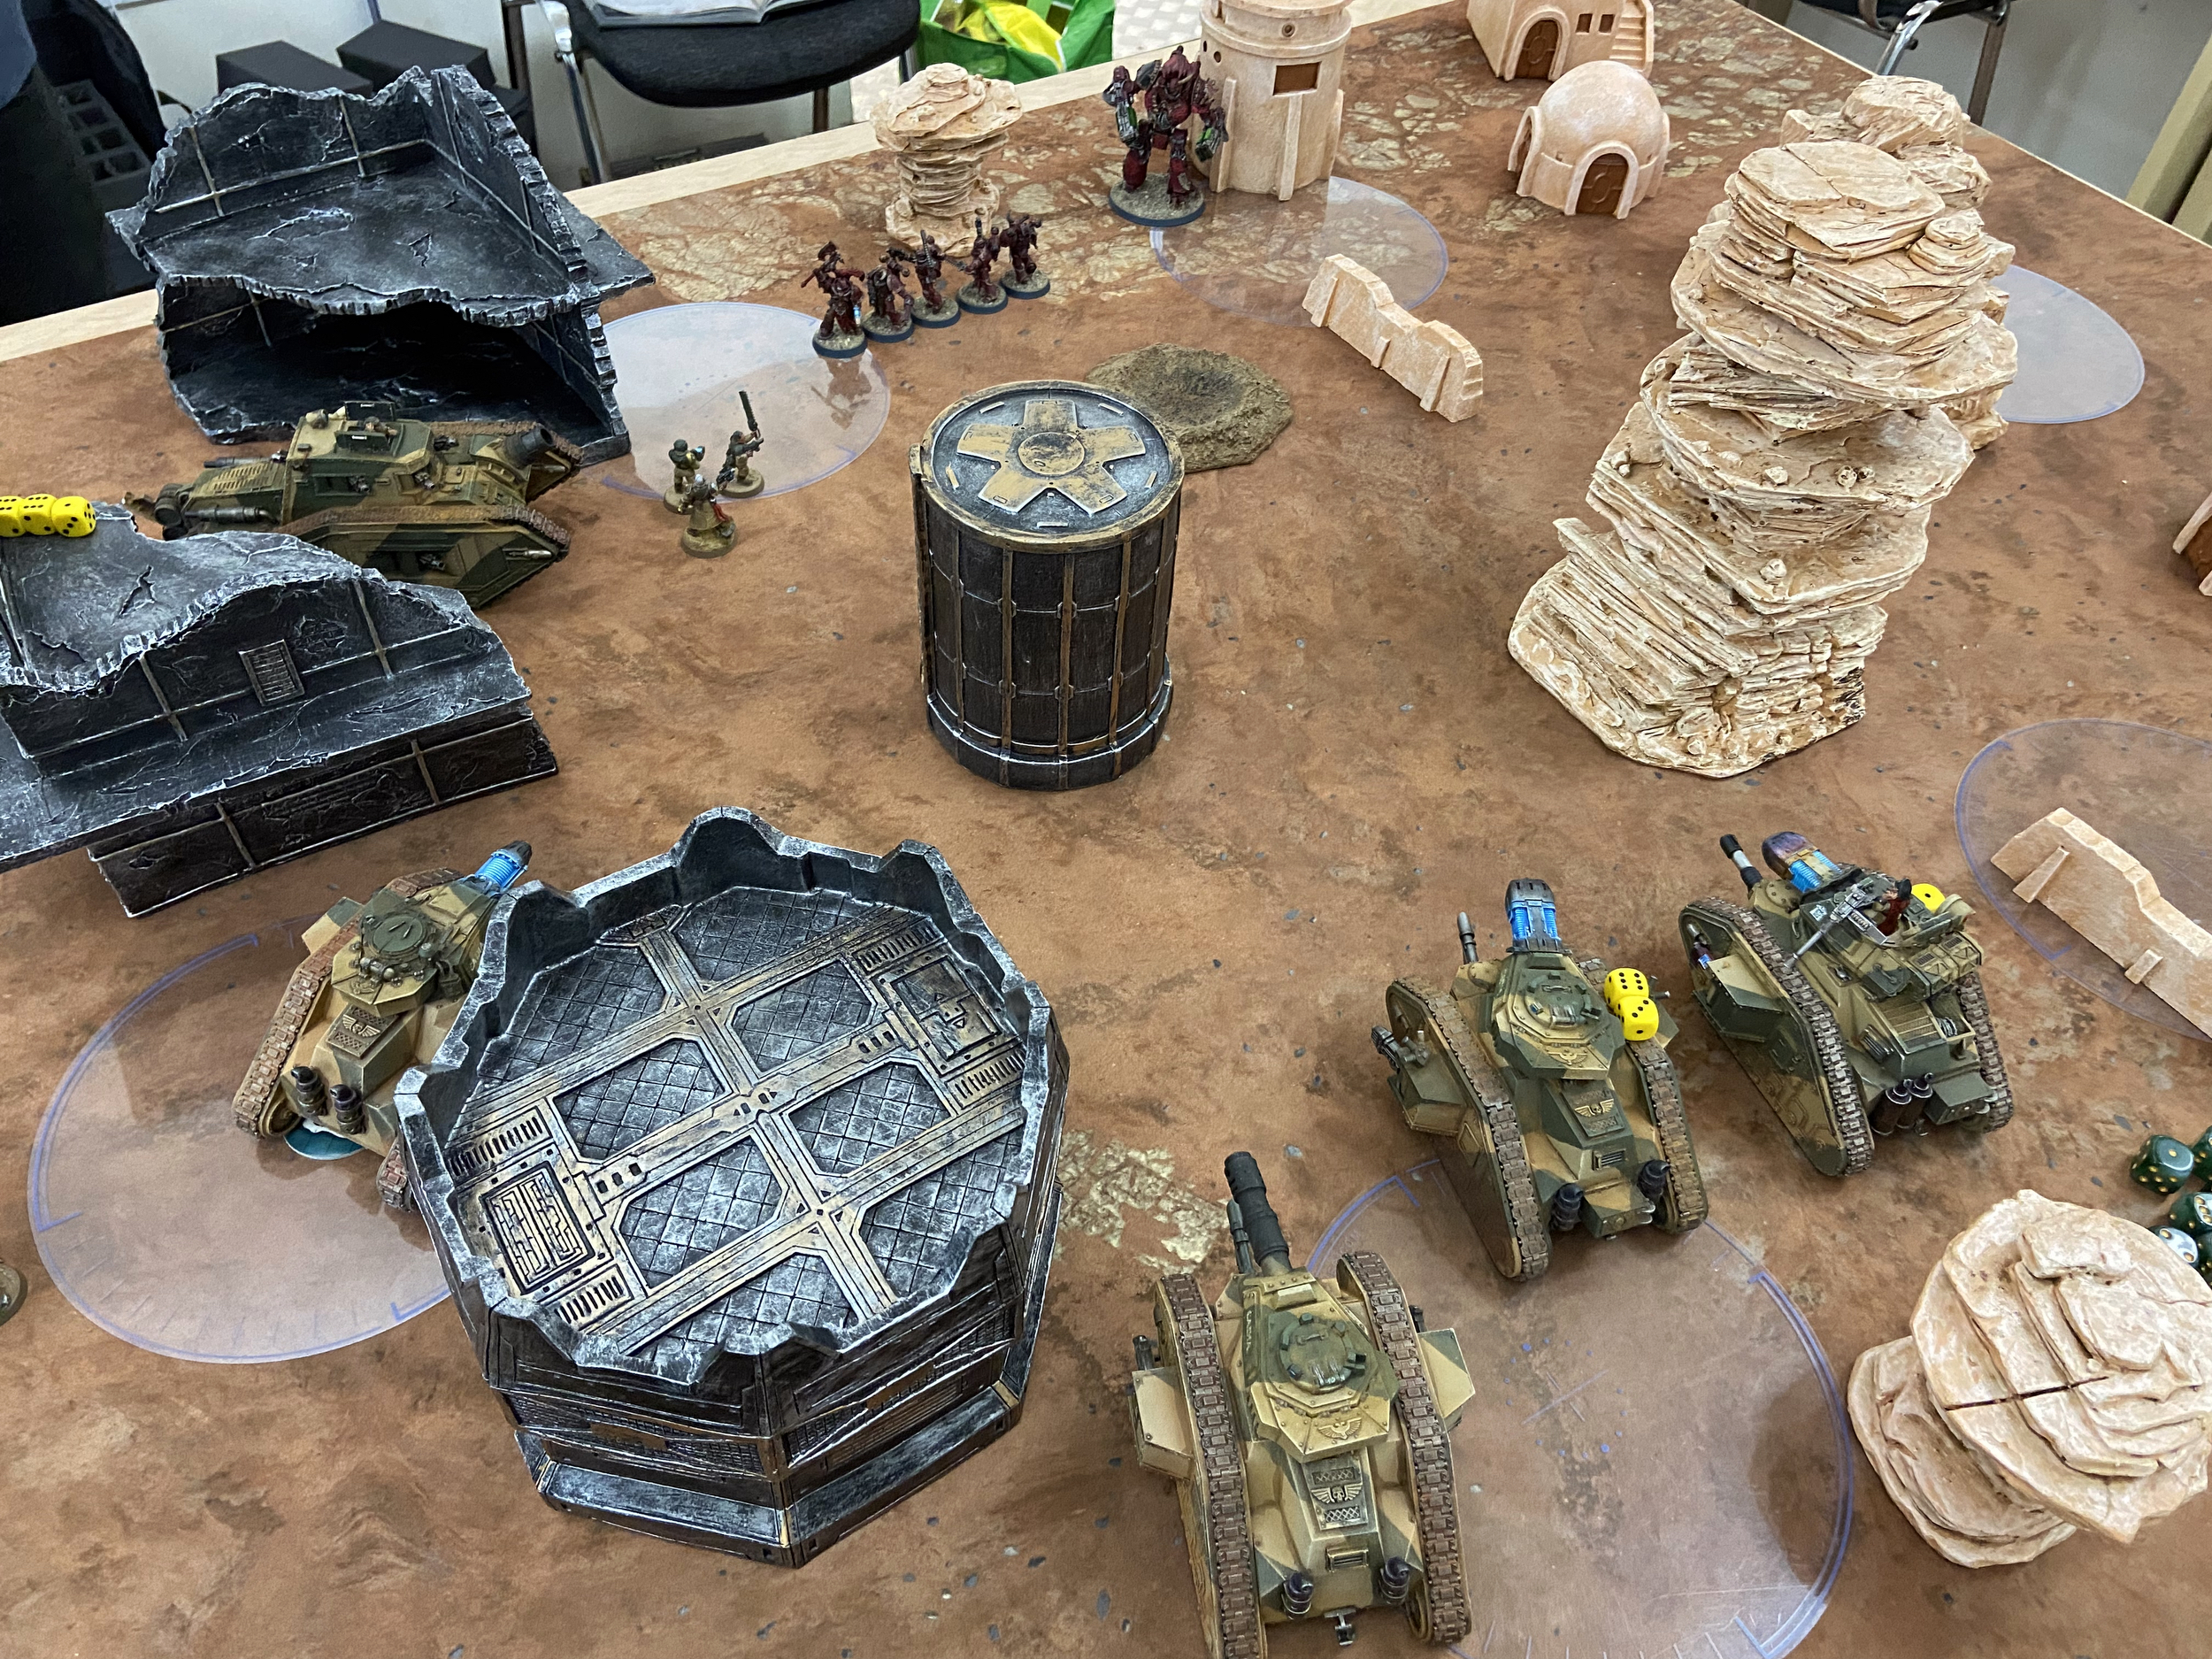
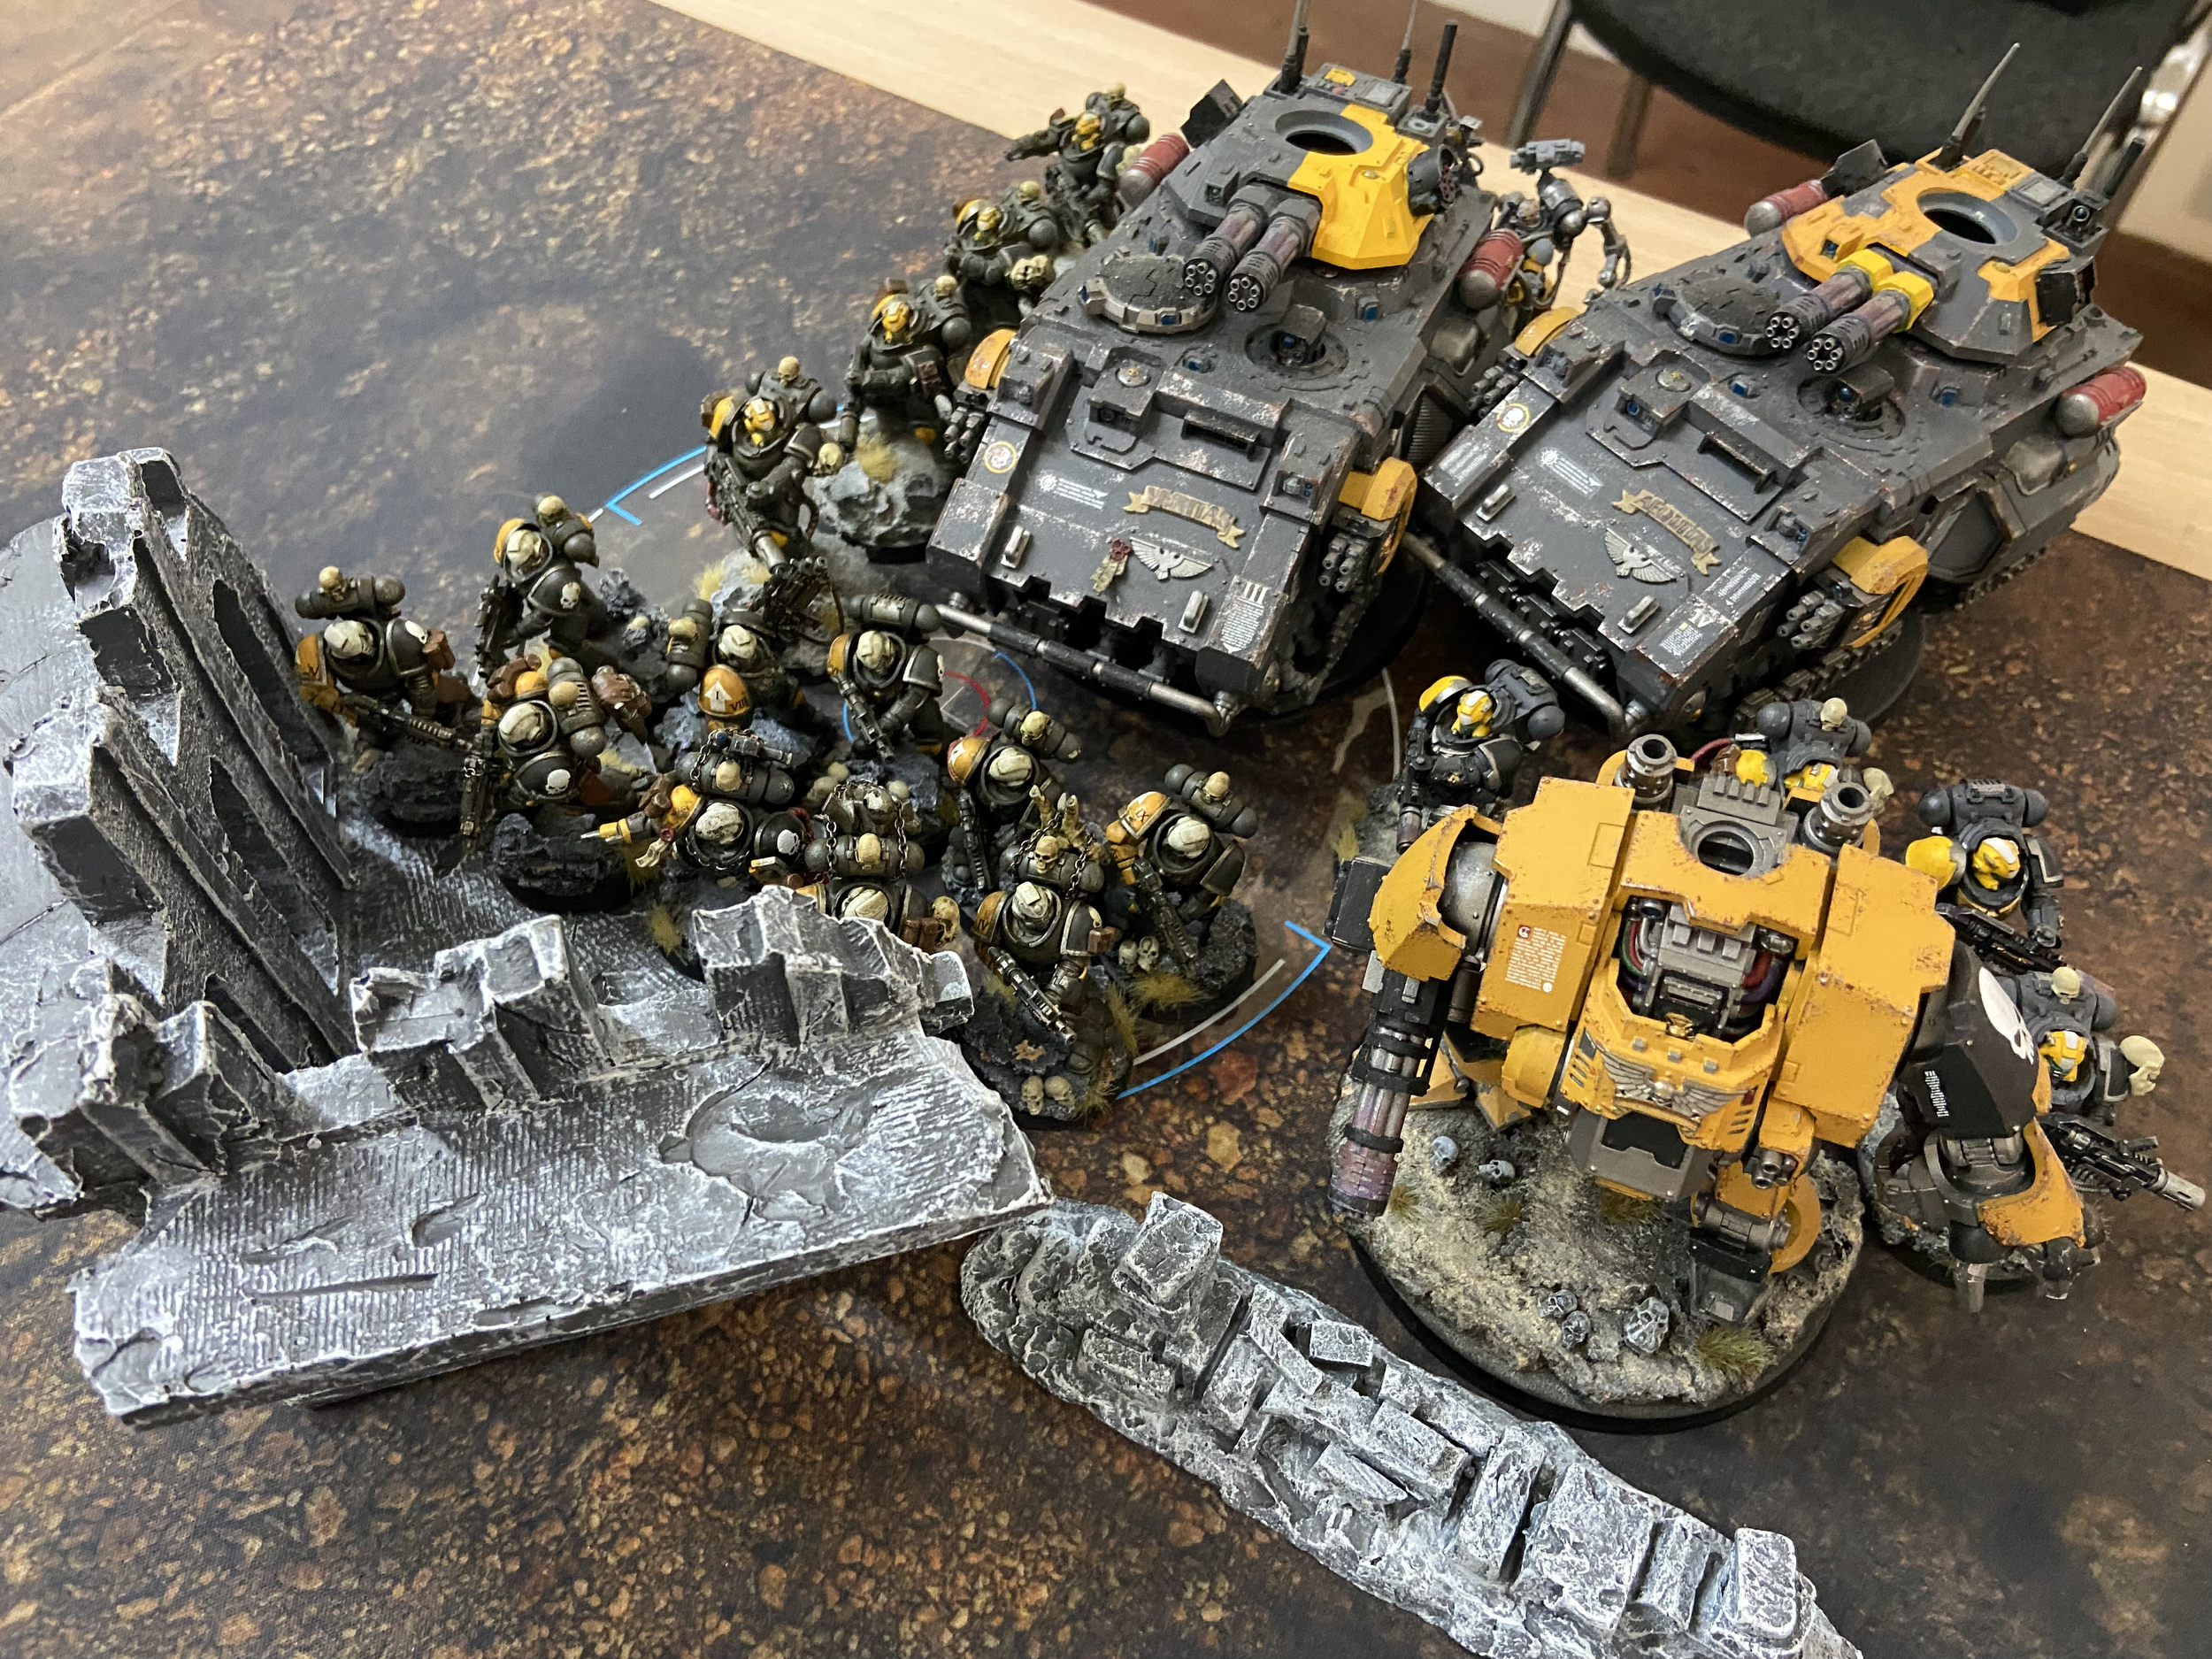
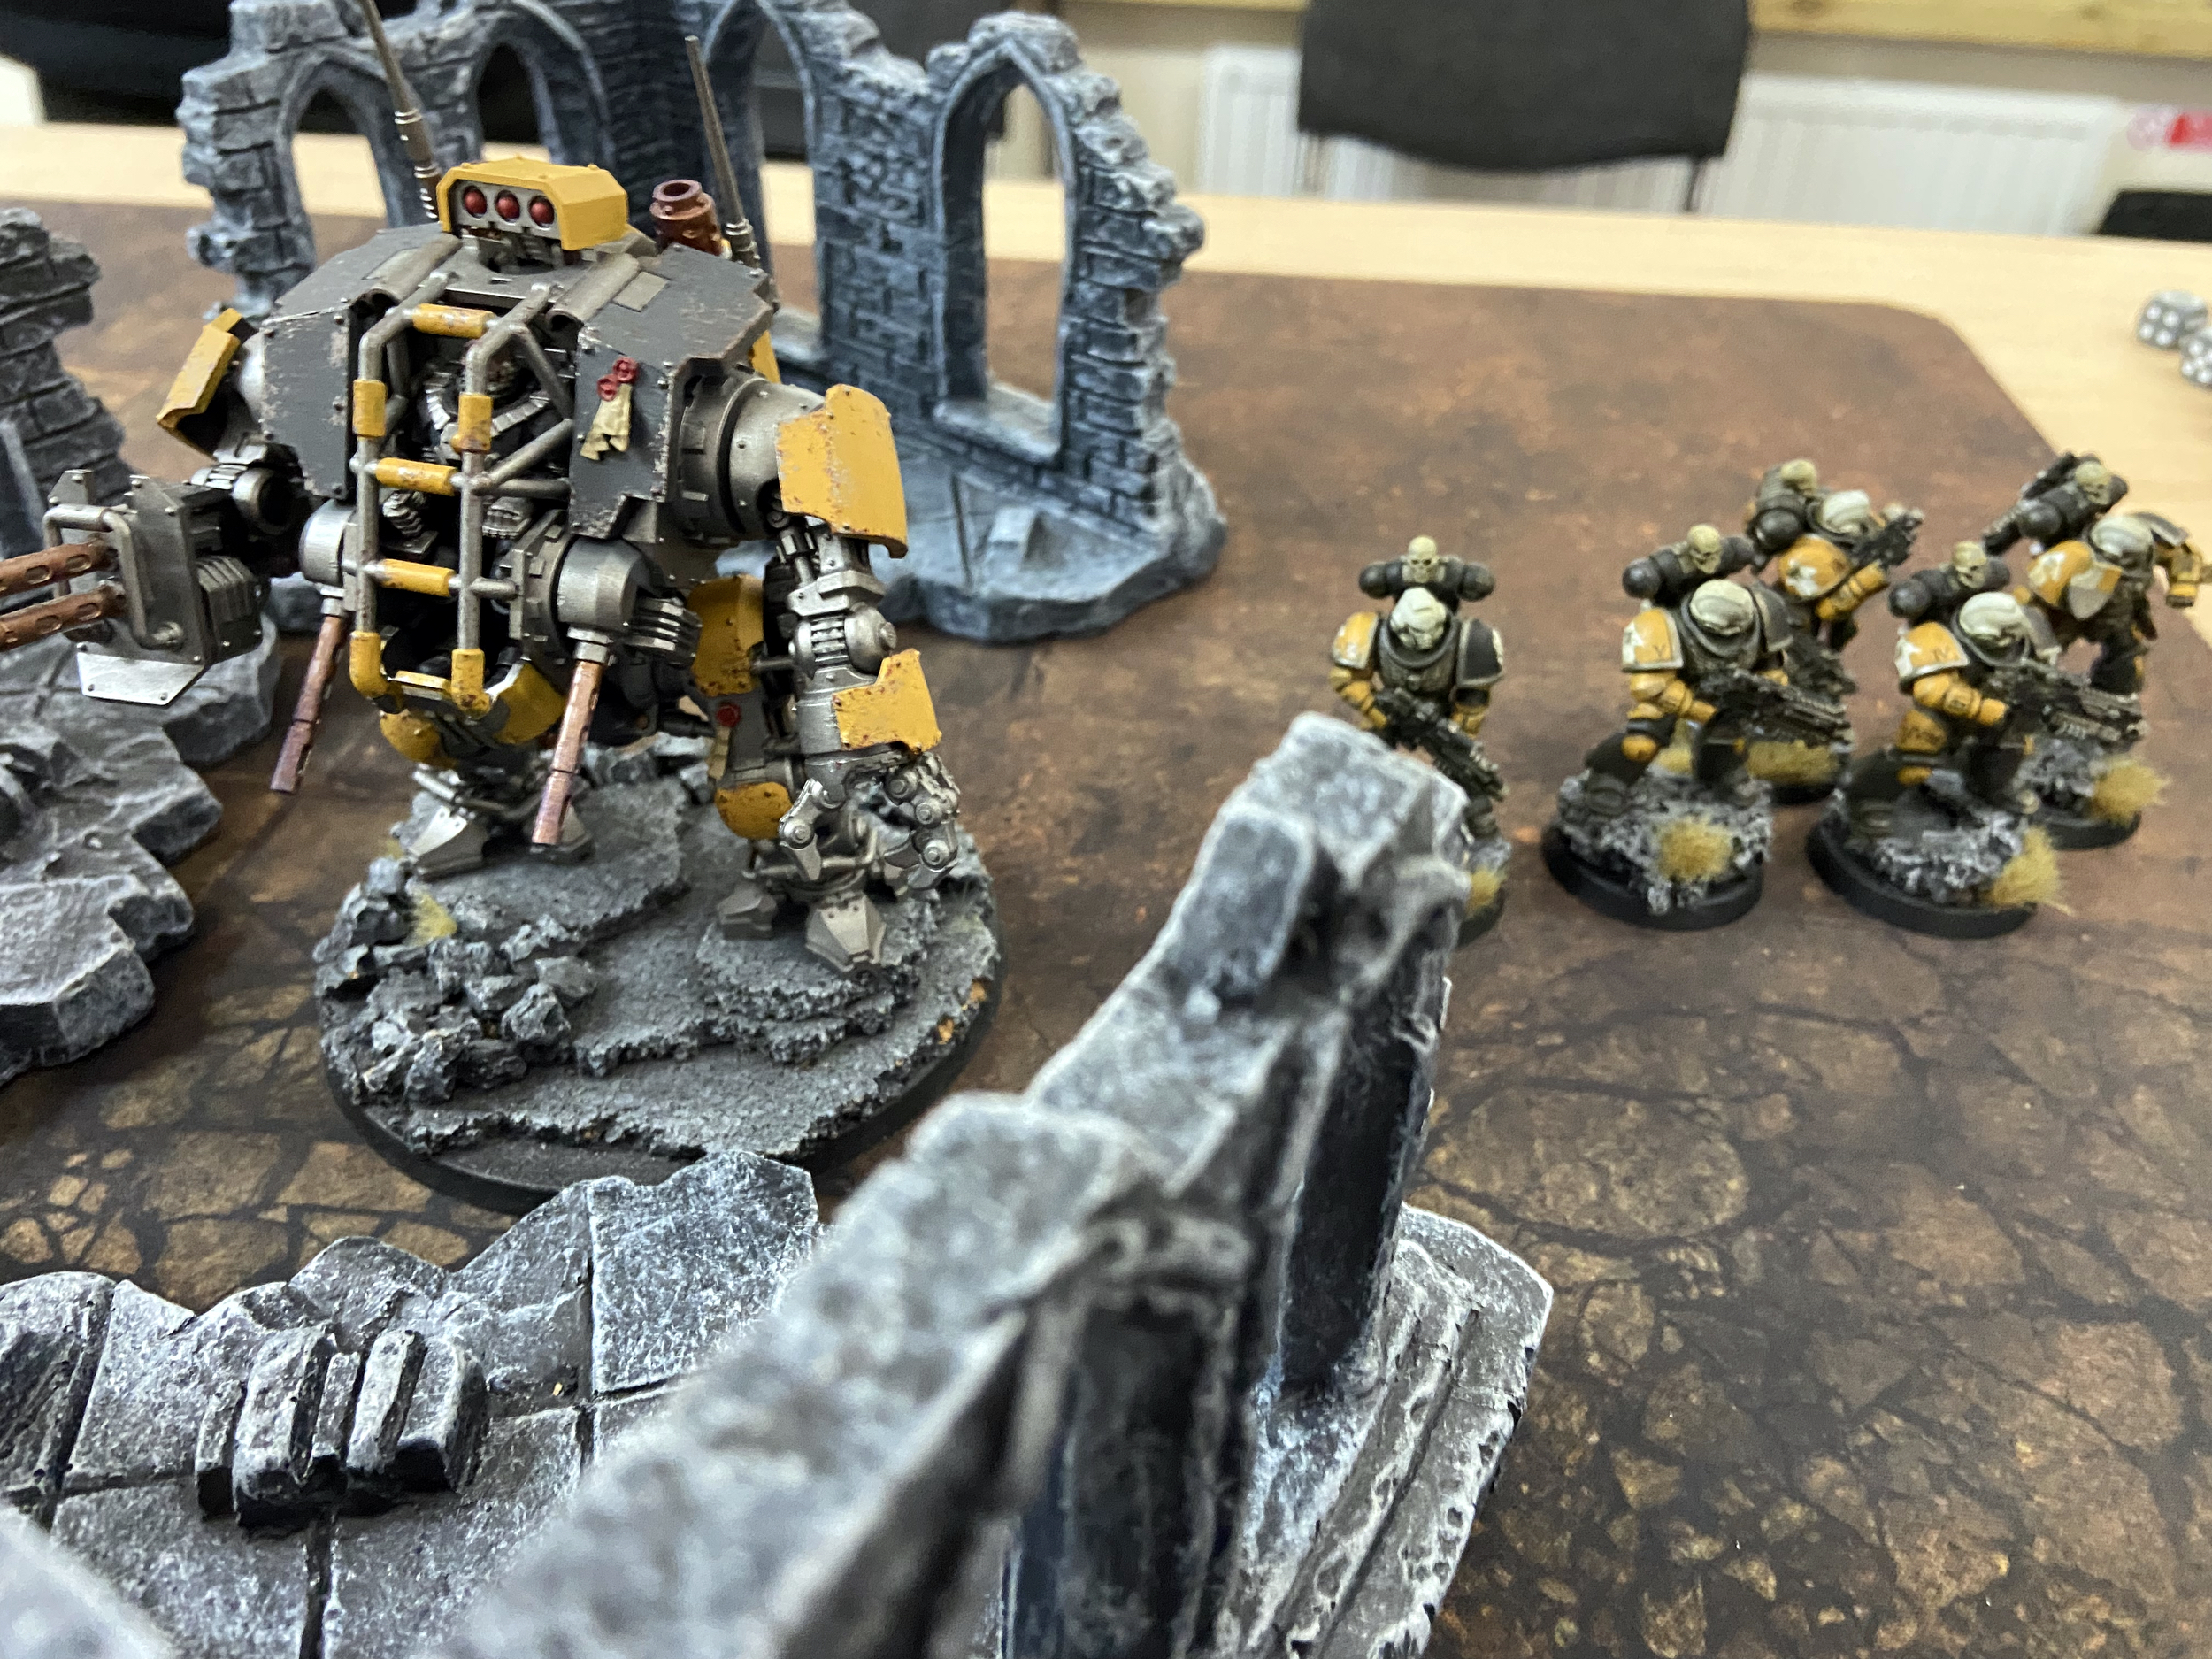
Game 3 – 2,000 points vs Iron Hands
My final game was against the Iron Hands, but it would be more challenging this time. Deploying on the long table edges rather than in quarters meant we started much closer together and I would have fewer units to pad out my tanks from enemy attacks.
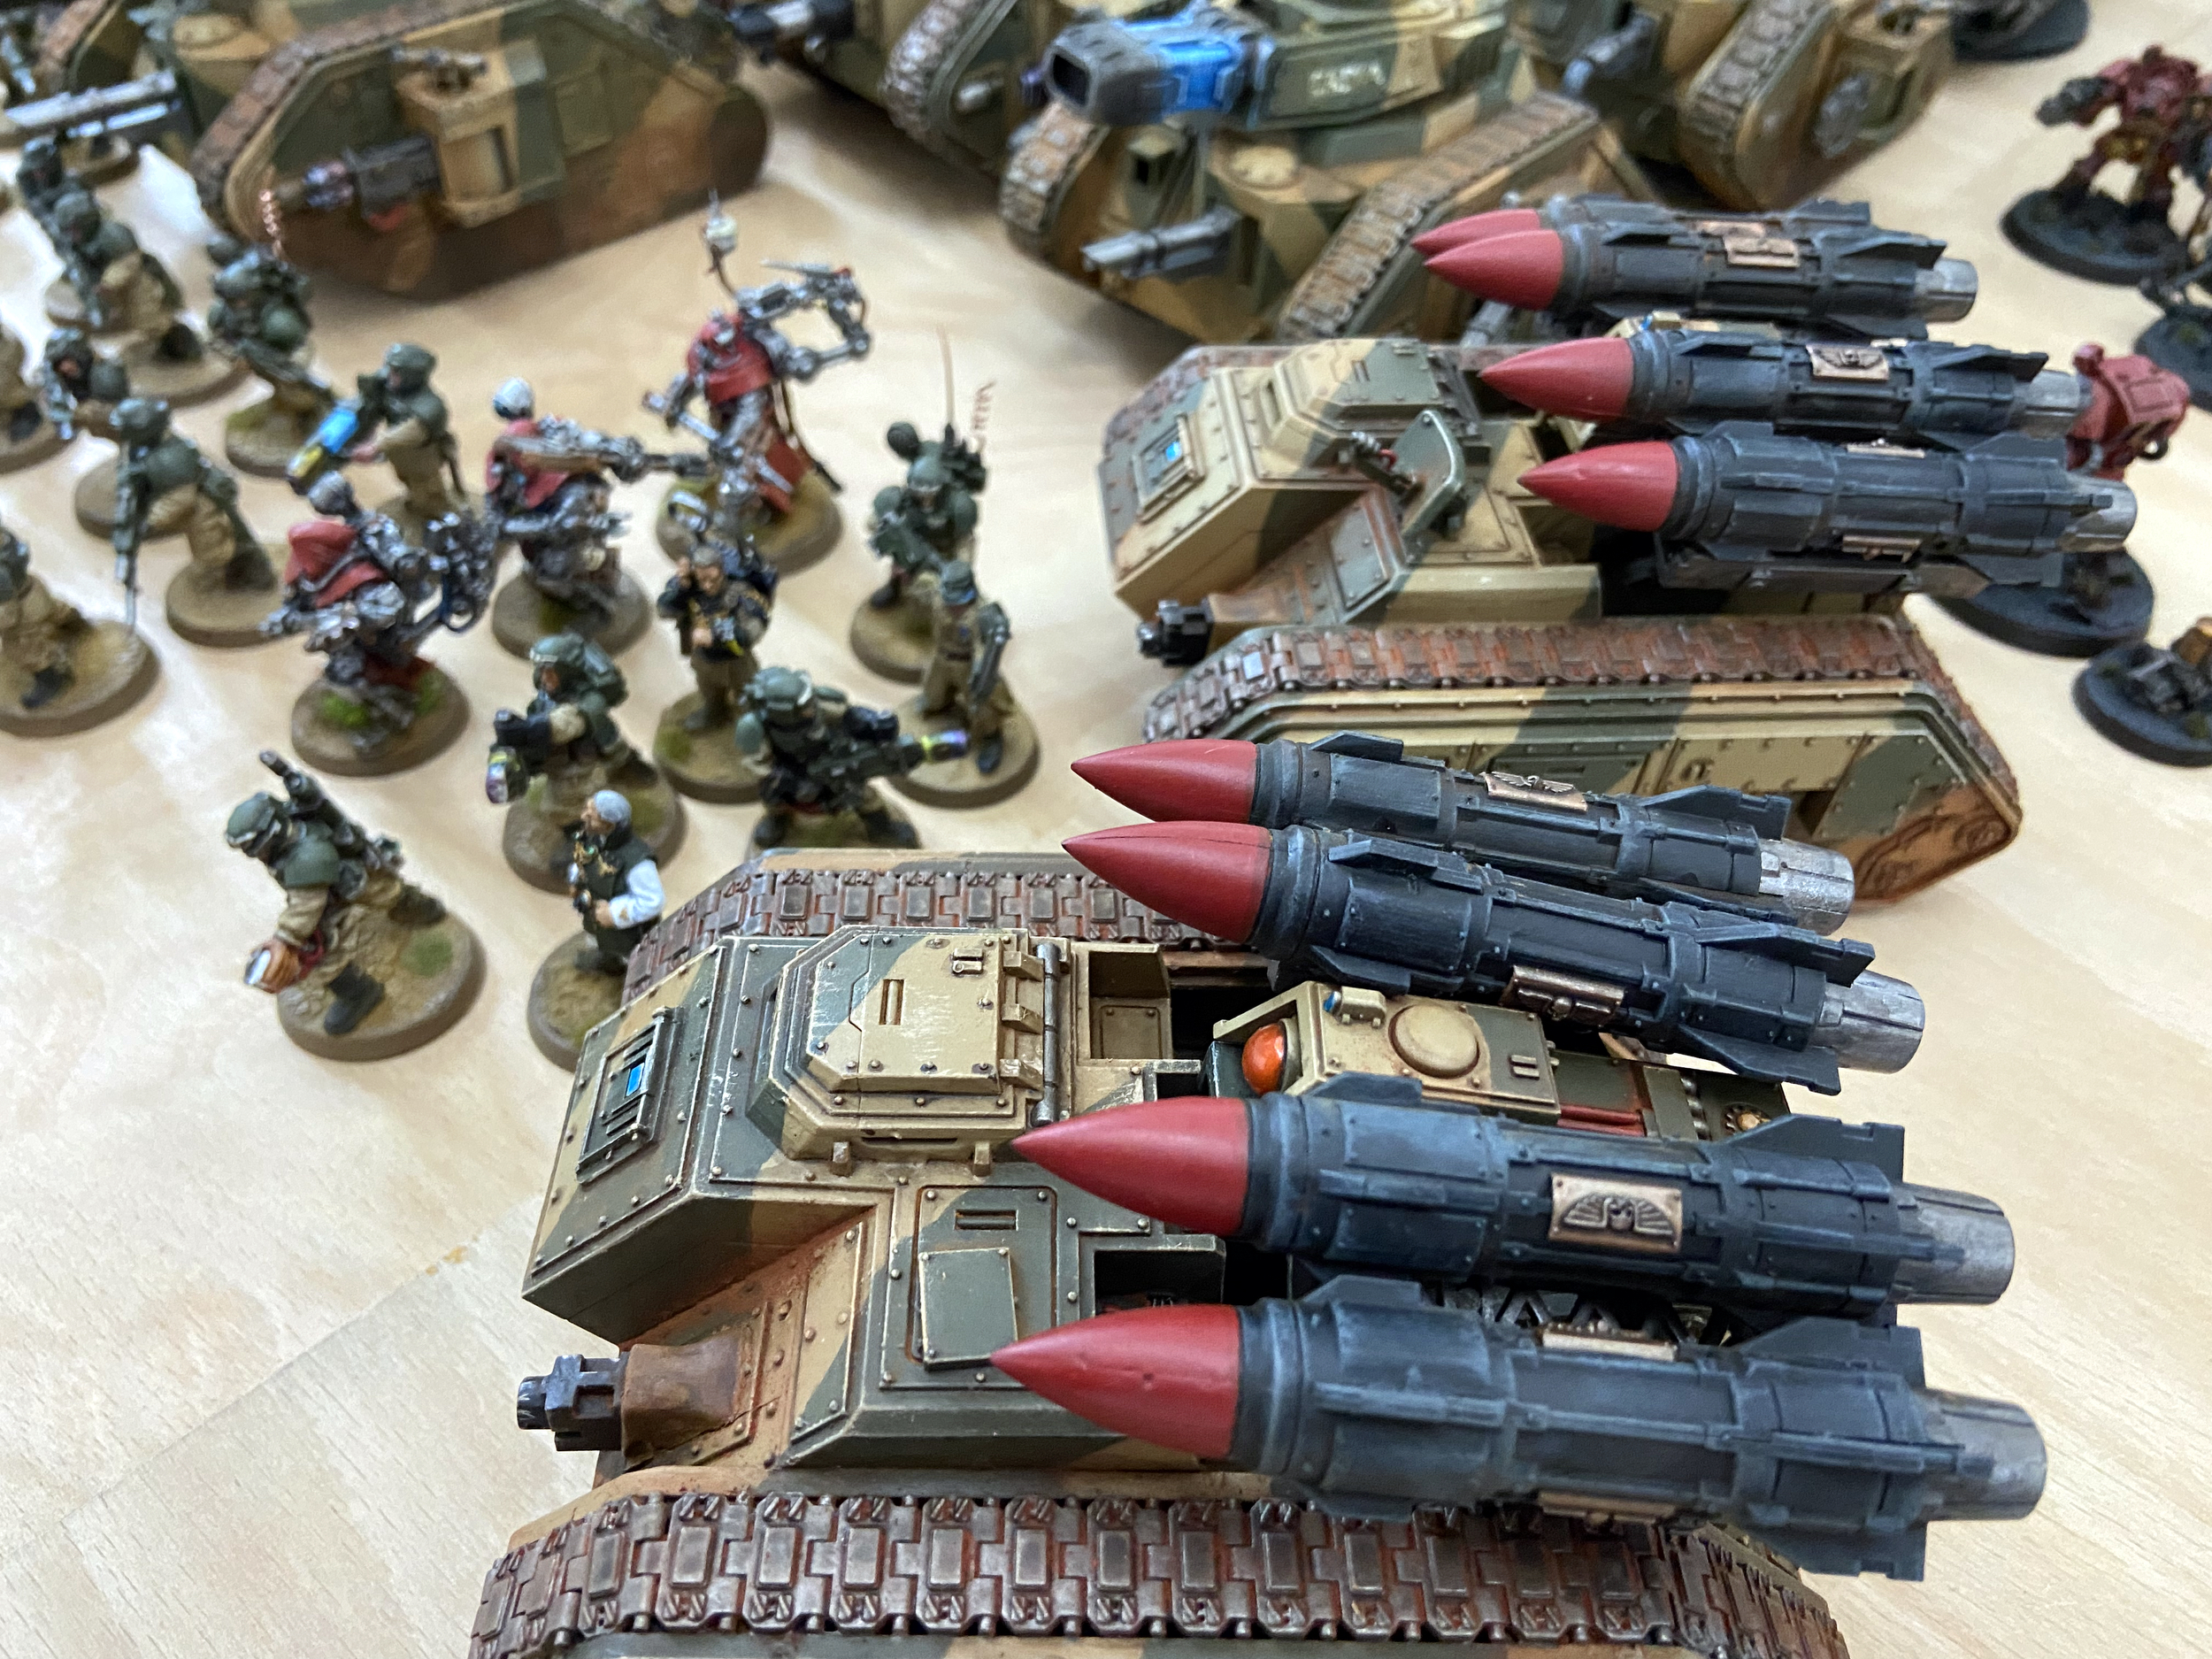
I changed my list, to keep things interesting, which was maybe a mistake because the Manticores did not do very well.
A loss this time for the Cadians.