
Death Guard vs Cadians – 1,500 Points
I am back to fighting Mark's Death Guard, for the first time in a year!
This Death Guard vs Cadians game has been a long time coming! It is my first match against Mark’s Death Guard in a year, my last game vs Death Guard was against Ryan and I won, surprisingly! I wonder how I will fair this game.
Never miss an article? Subscribe!
A quick change to the site for this game and all past bat reps of this type. On a computer Desktop, there is a Table of Contents in the top right corner, in the past, this showed all Headings, including the game outcome and the final score. This is now gone! So no spoilers from using the nifty Table of Contents! ;-)
Cadian Battalion Detachment – 1,500 Points
Starting CP: 12
Tank Ace -1CP
Imperial Commander’s Armoury -1CP
I will have 10CP to start the battle with.
- Callidus Assassin
- Warlord Company Commander with Kurov’s Aquila
- Demolisher Tank Commander with Lascannon, Hunter Killer Missile, Multi Meltas and Slow & Purposeful Tank Ace
- 3x Infantry Squads with Plasma Guns
- 5 man Scion unit with 2x Plasma Guns, Tempestor with Plasma Pistol and Power Fist
- 5 man Scion unit with 2x Meltaguns, Tempestor with Plasma Pistol and Power Fist
- Night Shroud Astropath
- Psychic Barrier Astropath
- Mental Fortitude Astropath
- Platoon Commander with Dagger of Tu’Sakh
- Command Squad with 4x Meltaguns – to come in with the Platoon Commander with the Dagger of Tu’Sakh
- Manticore with Hunter Killer Missile and Full Payload Tank Ace
- Valkyrie with Multilaser and Hellstrike Missiles, an Infantry Squad will be inside
- 2x Chimeras with Hunter Killer Missiles with an Infantry Squad inside each
- Trojan Support Vehicle with Hunter Killer Missile
- Cyclops Demolition Vehicle in the Trojan
Secondaries
- Retrieve Octarius Data
- Engage On All Fronts
- Bring It Down
Stratagems of Note
- Experienced Eye
- Hail of Fire
- Direct Onslaught
- Take Cover
- Overlapping Fields of Fire
- Relentless
- Defensive Gunners
- Supreme Deception
- Vengeance for Cadia
Astra Militarum Summary
Looking at this list I think I’m going to lack damage output. Especially if I’m facing Dreadnoughts and/or Plageburst Crawlers.
The Manticore will do well, as will the Tank Commander, especially when coupled with Vengeance for Cadia. The dream would be two Hunter Killer Missiles from the Manticore with flat 6 damage thanks to Full Payload, plus Vengeance for Cadia! Note two missiles, because the Trojan can reload the Hunter Killer Missiles.
I was going to take the Weapon Expert Tank Ace on the Tank Commander, for an AP-4 Demolisher Cannon, but realised that is useful vs the Invun Saves that the Death Guard are likely to have. Therefore I changed it to Slow & Purposeful – to re-roll ones to Wound if the tank has moved less than half its max distance.
The game will be won or lost though with the infantry for this Astra Militarum force. I have the ability to score well for Retrieve Octarius Data and Engage on all Fronts straight out of the gate with almost no luck and no skill. Low luck and low skill work well for Guard (and me)!
The Valkyrie speeds forwards and drops off its Infantry Squad. A Chimera then speeds forward on the opposite flank to secure all four quarters for Engage on all Fronts. A table quarters deployment would be ideal!
I then have my Command Squad with Meltaguns to come in with a Platoon Commander using the Dagger of Tu’Sakh. These guys can secure a quarter in turn 2 for Engage on all Fronts, but doing the Retrieve Octarius Data action might be a step too far because if they do this, they would have to give up their shooting. That task might have to be delegated to one of the two deep striking squads of Tempestus Scions.
The Cyclops is there because I just completed the Trojan and it is holding a Cyclops. So the rule of cool won here! The Cyclops cannot shoot in the turn that it disembarks, so it is probably as good as dead.
I have my trusty trio of Astropaths too. All have defensive based powers.
Death Guard – 1,500 Points
- Typhus
- Deathshrouds
- Foul Blightspawn
- 2x units of Poxwalkers
- Bloat Drone
- Hellbrute
- A Demon Prince with Wings
- Terminators
- 2x Plagueburst Crawlers
- A Chaos Spawn
Secondaries
- Spread the Sickness
- Grind Them Down
- Minimise Losses
These objectives Mark brought are fantastic!
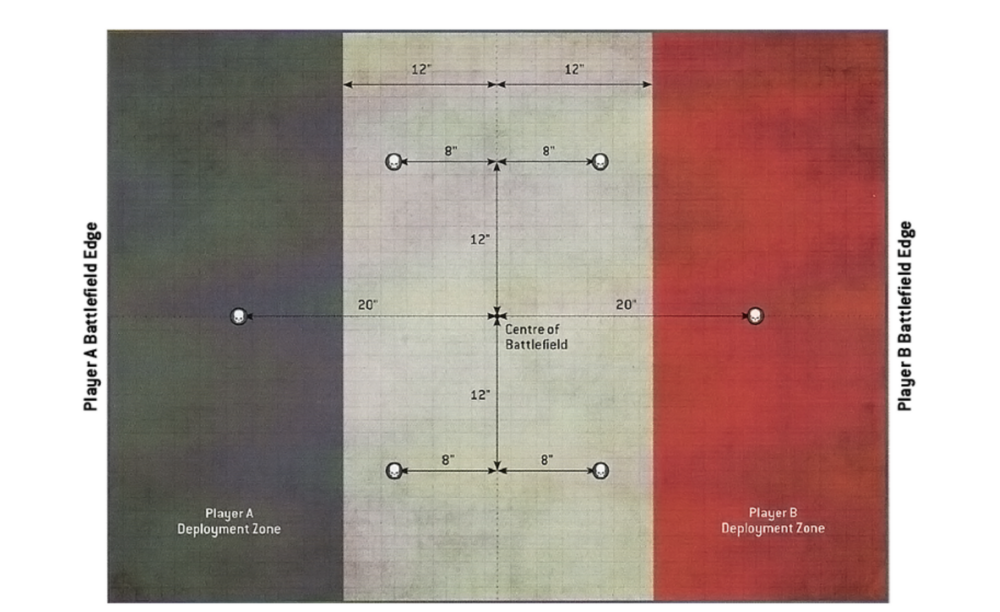
The Mission – Retrieval
The Death Guard did take the mission-specific secondary in this game. Minimise Losses – in short, survive.
Something the Death Guard do well. Depending on the proportion of the army that survives a number of VPs are scored.
- 75% = 15 VPs
- 50% = 10 VPs
- 25% = 5 VPs


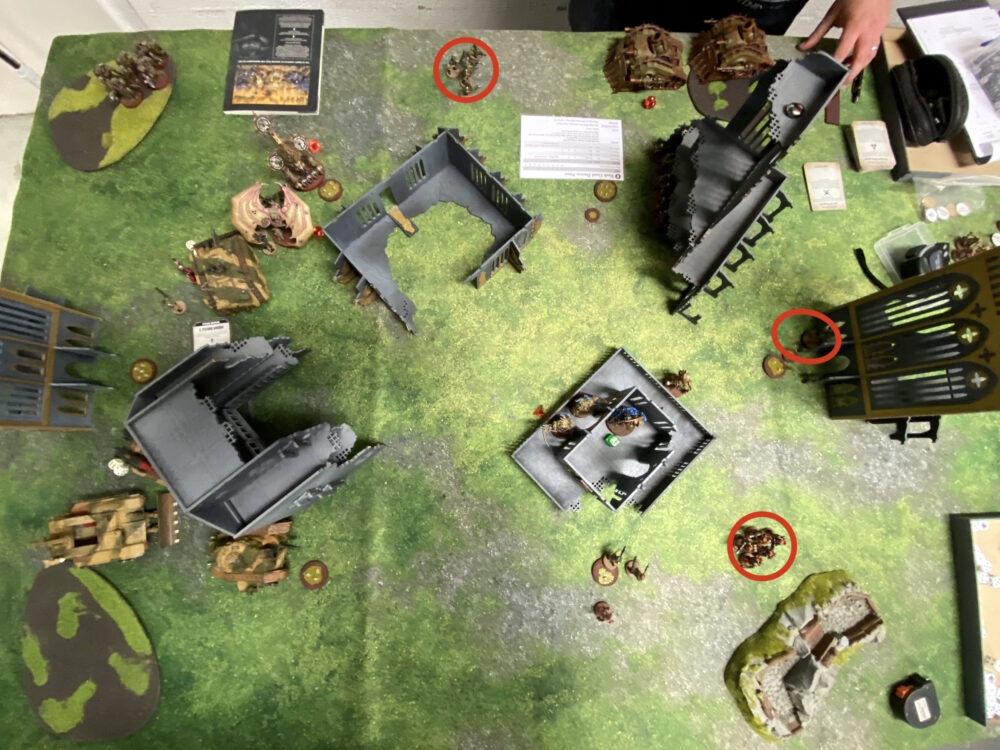
Deployment – Death Guard vs Cadians
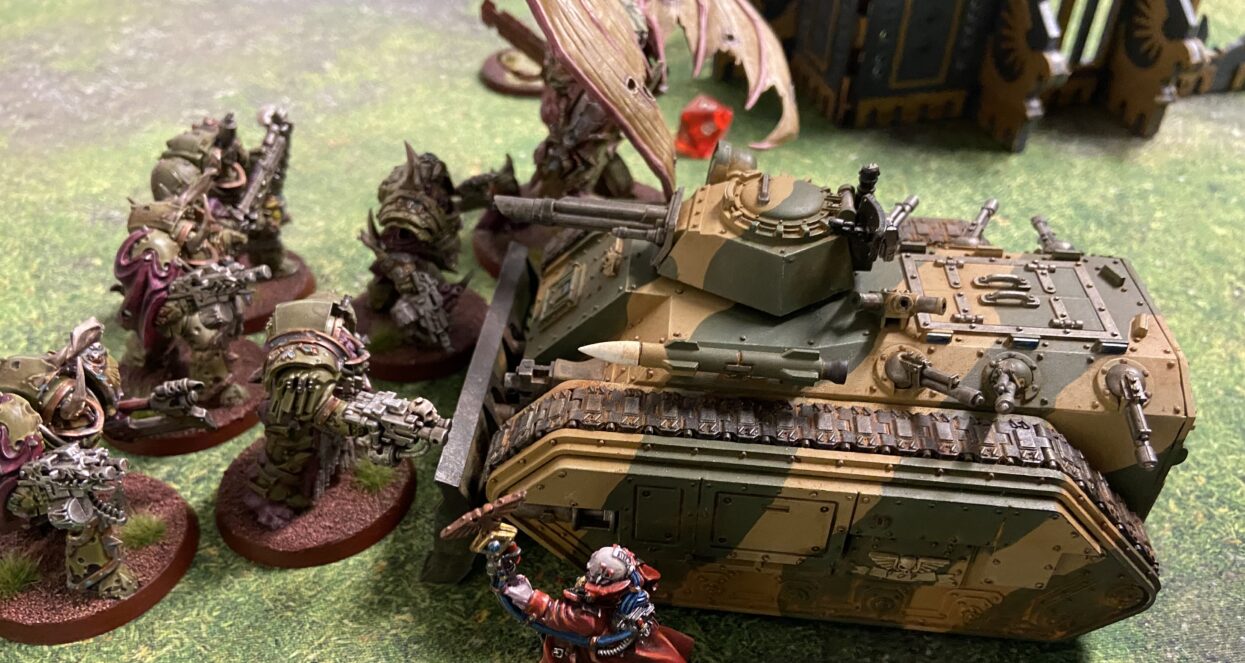
The Death Guard grouped together up into one flank, the opposite flank from where my Manticore, Trojan and Demolisher were parked. I had placed my Chimeras and Valkyrie on the front line to speed forward to get my secondaries.


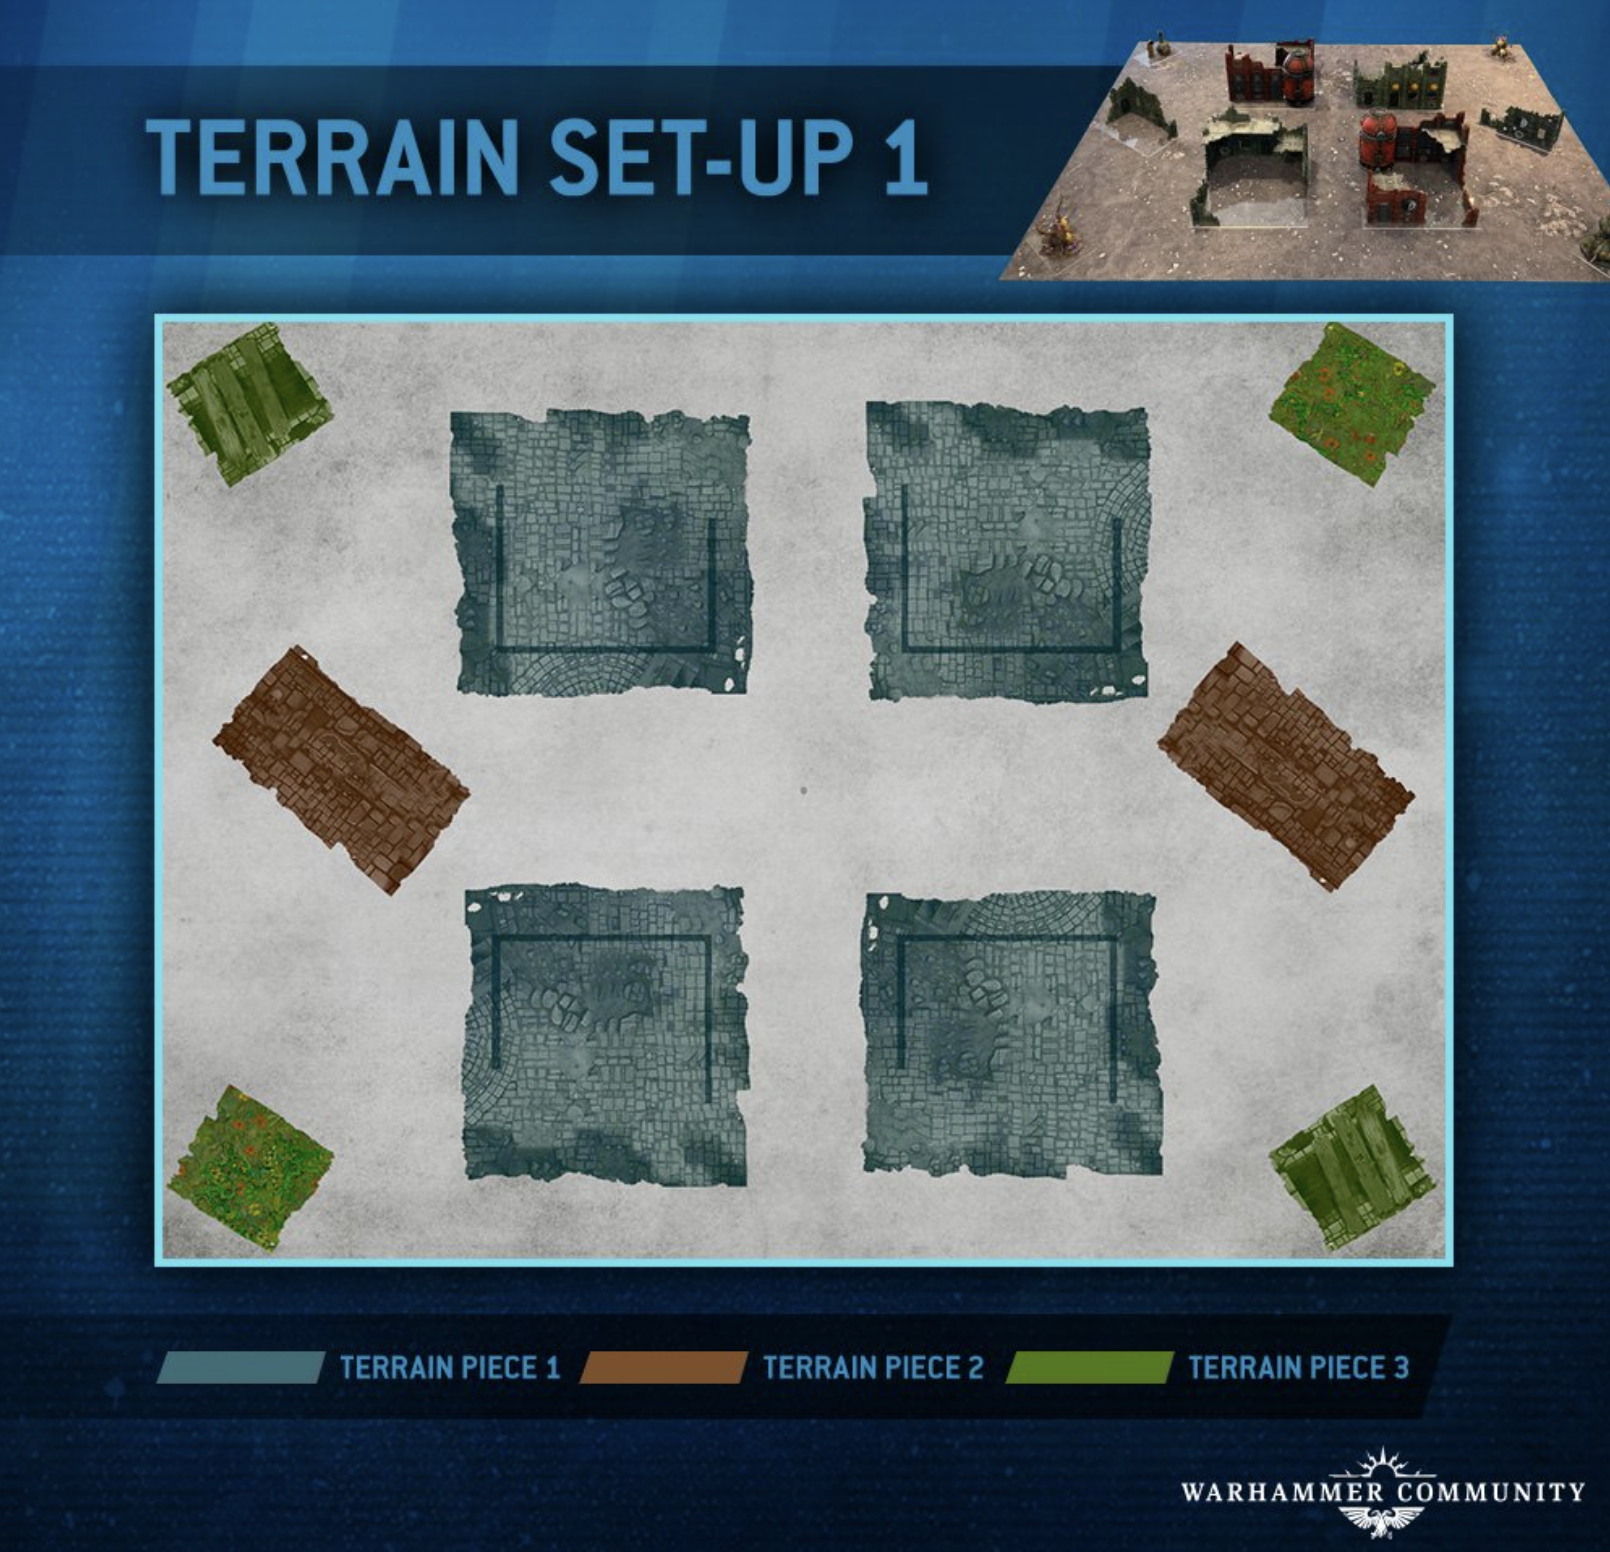
We use Terrain set up 1 for this game… from the Games Workshop article on building balanced battlefields.
Turn 1
Death Guard took the first turn and was somewhat limited in their ability to hurt me due to cover and range. Thank goodness. Mark’s army was kitted out for melee mainly and the only long-range threat was from the Plagueburst Crawlers – the Hellbrute was melee only.
I did take a couple of Wounds on my Manticore and lost a Chimera though. The loss of the Chimera was a blow because it reduced my ability to get forward for two of my secondaries. The Manticore was not bracketed.
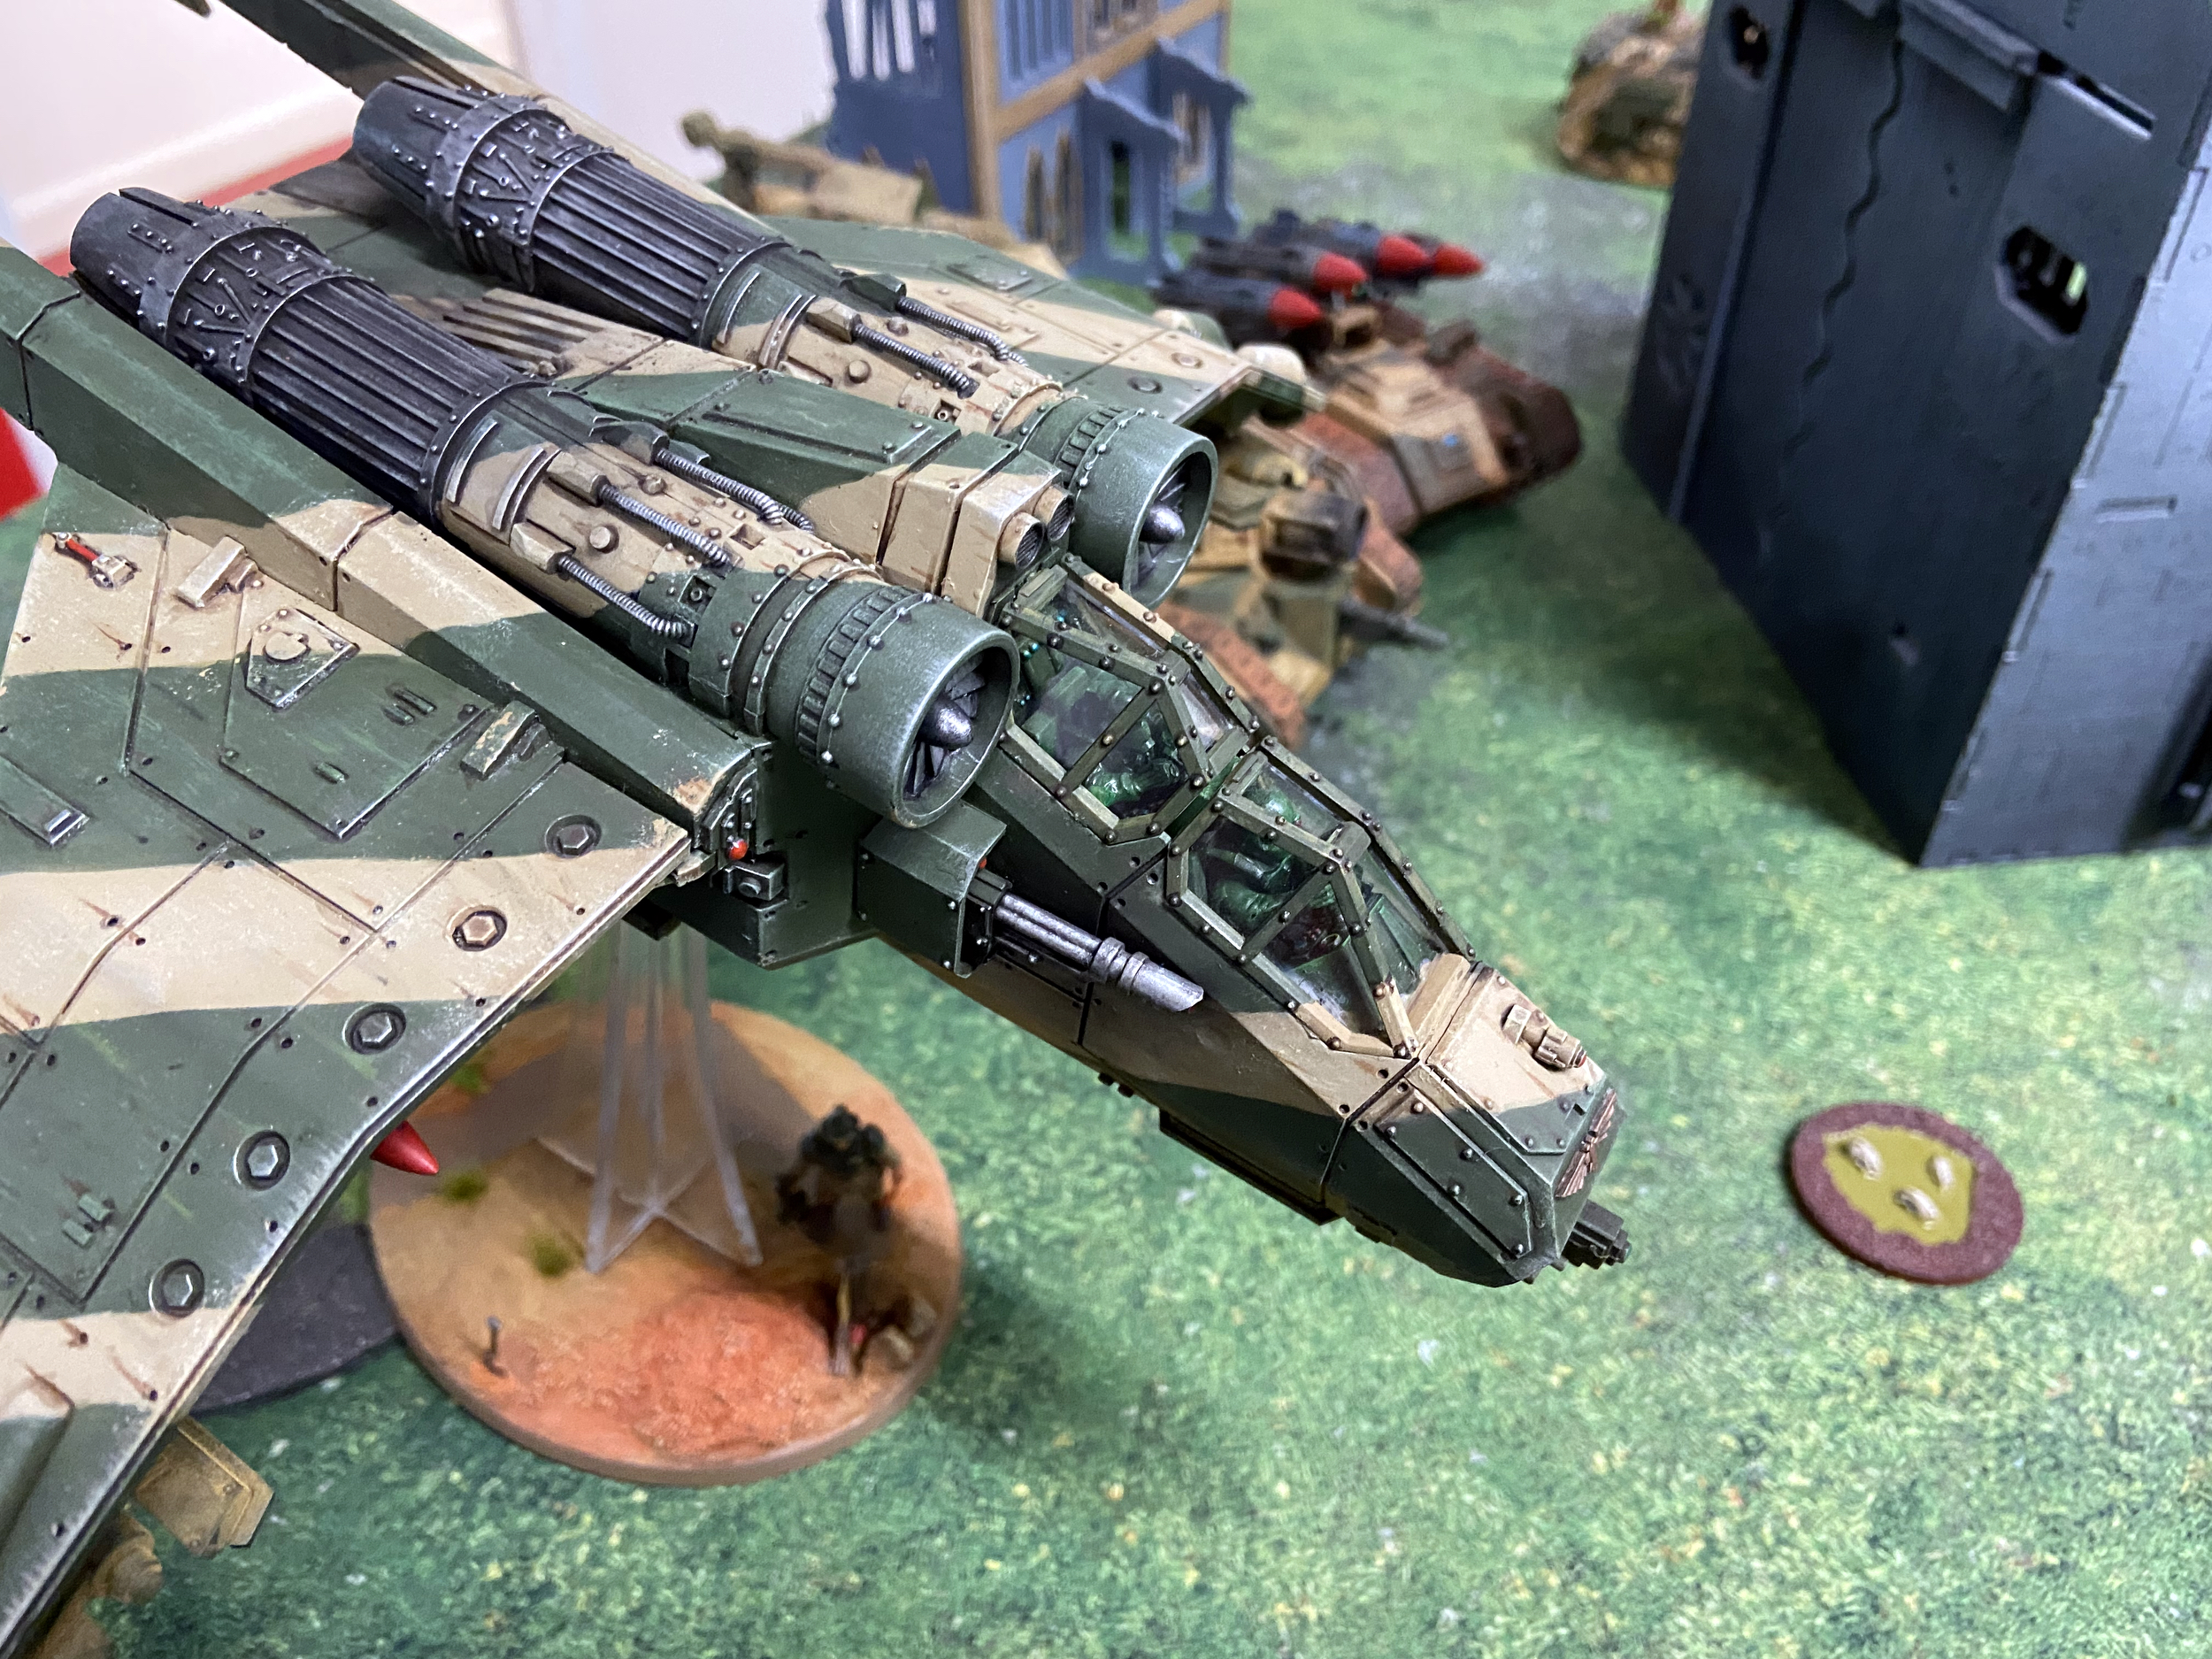
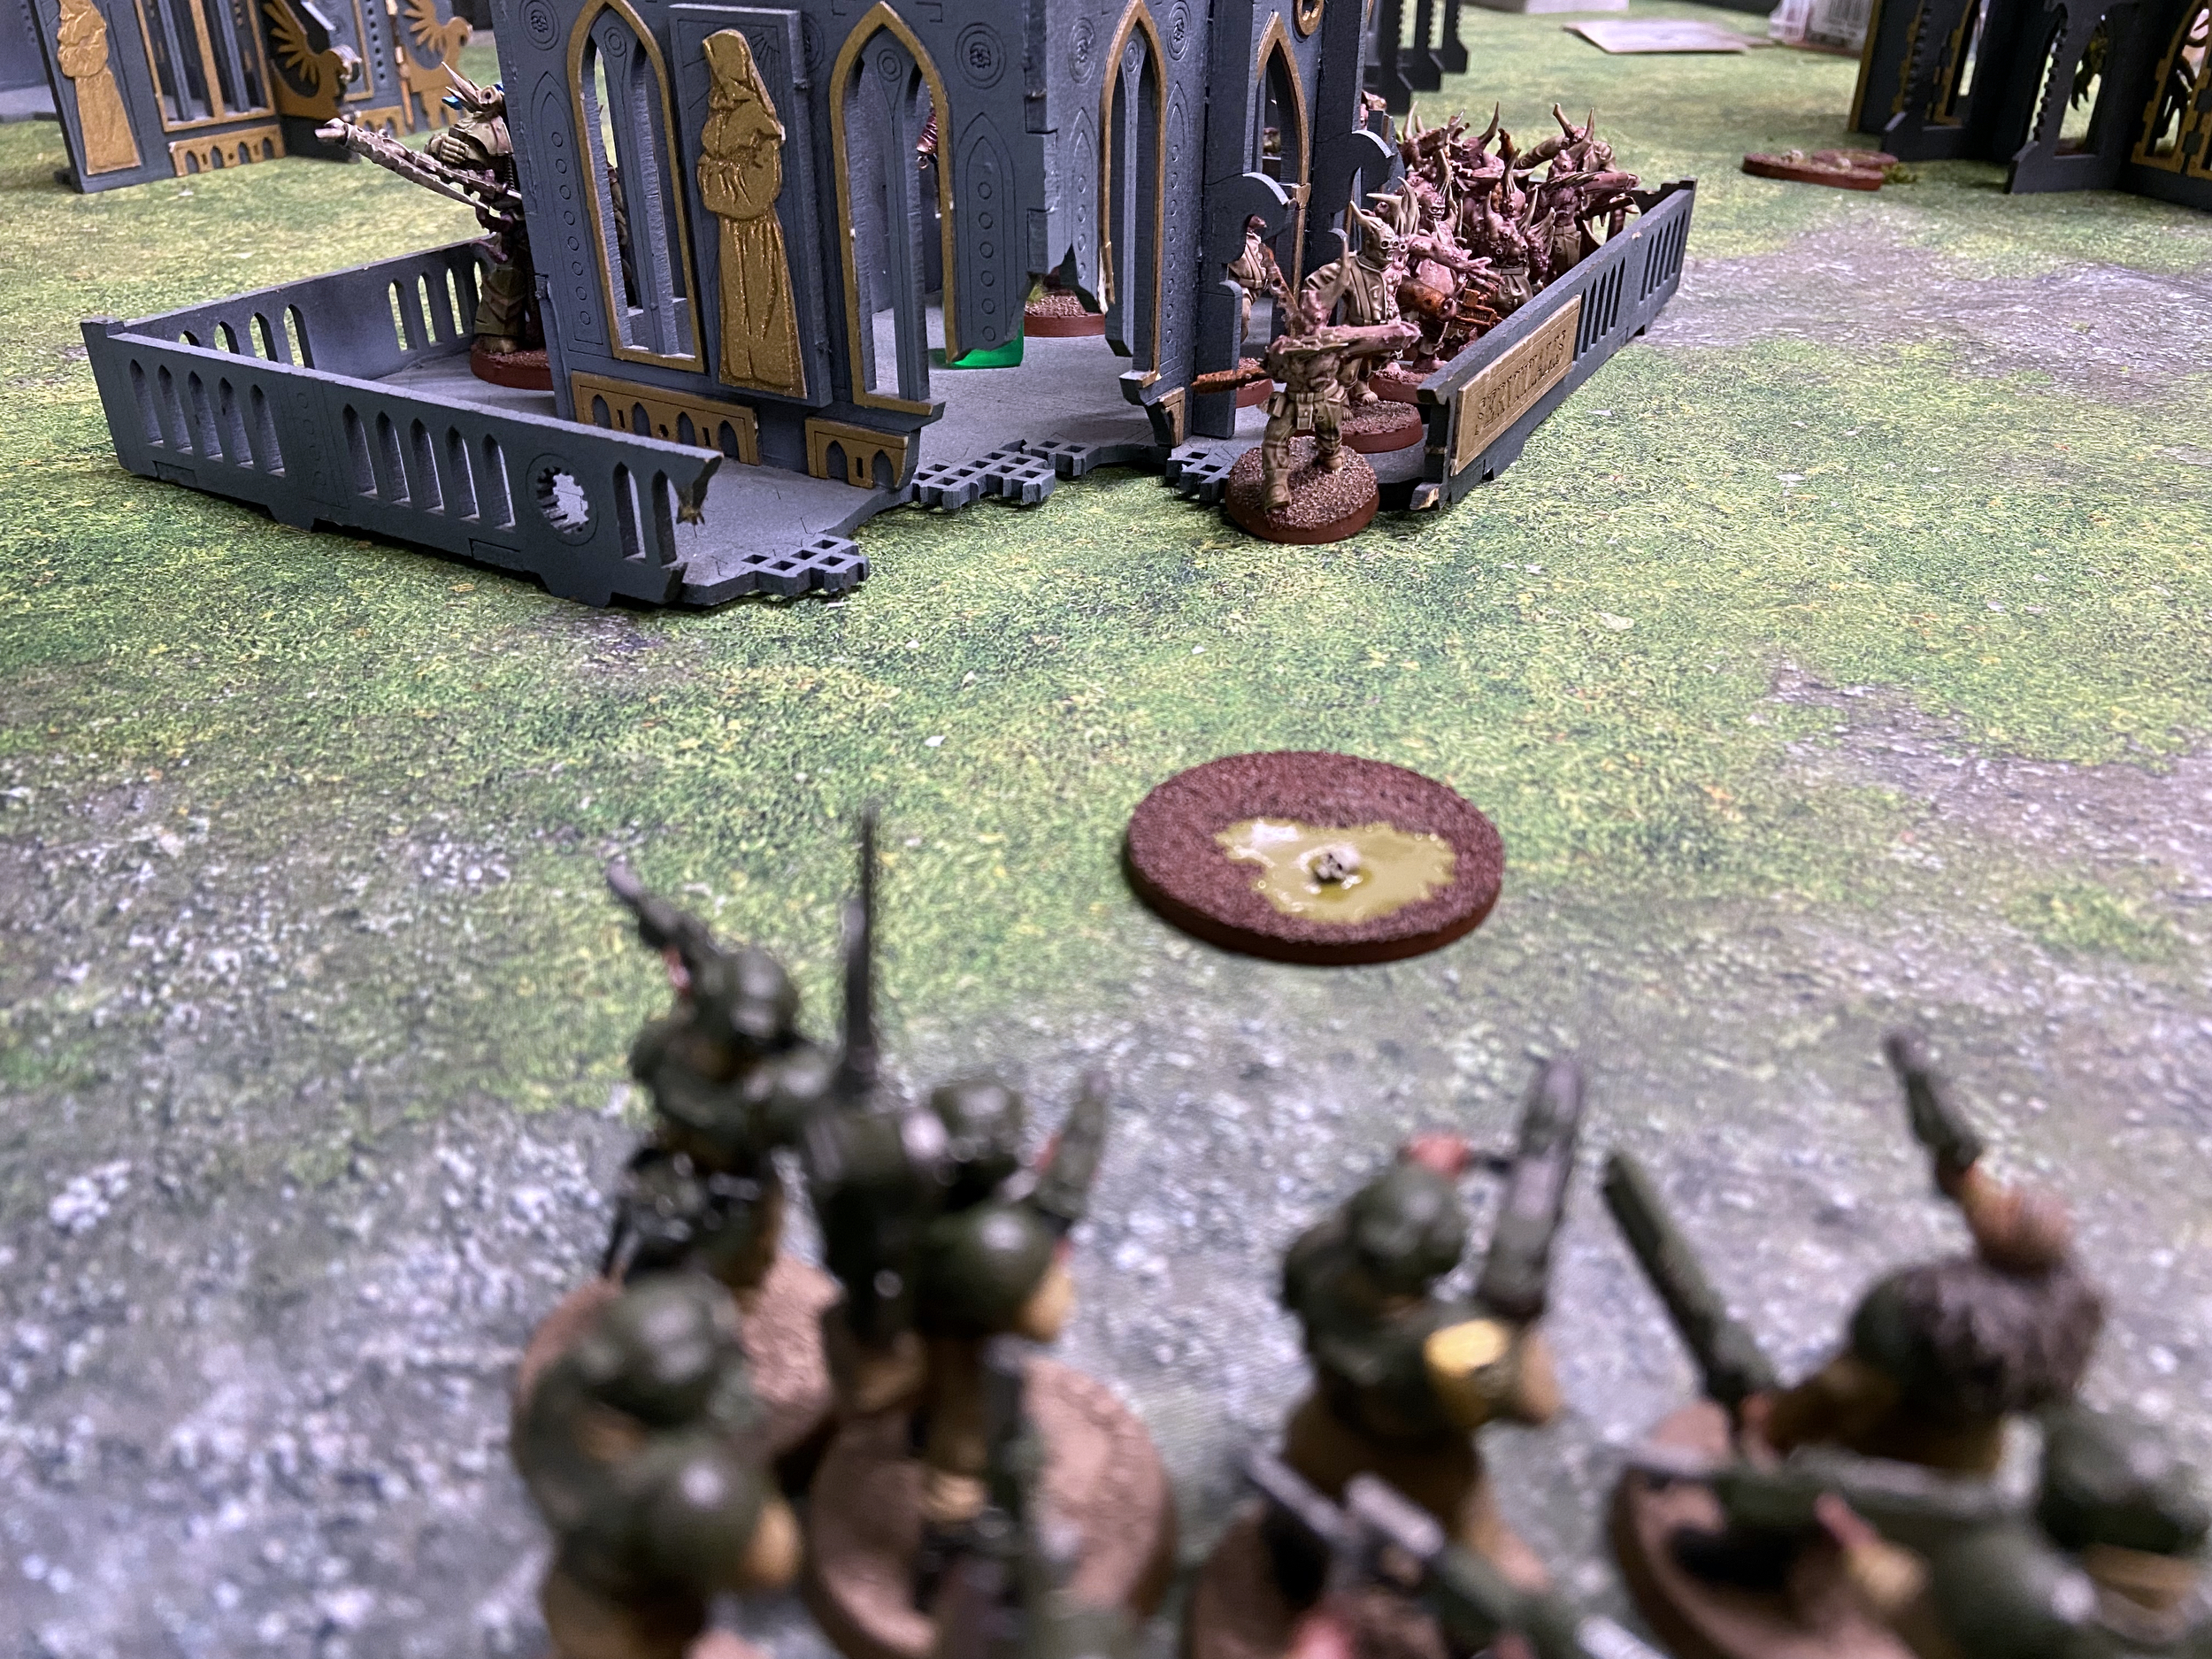
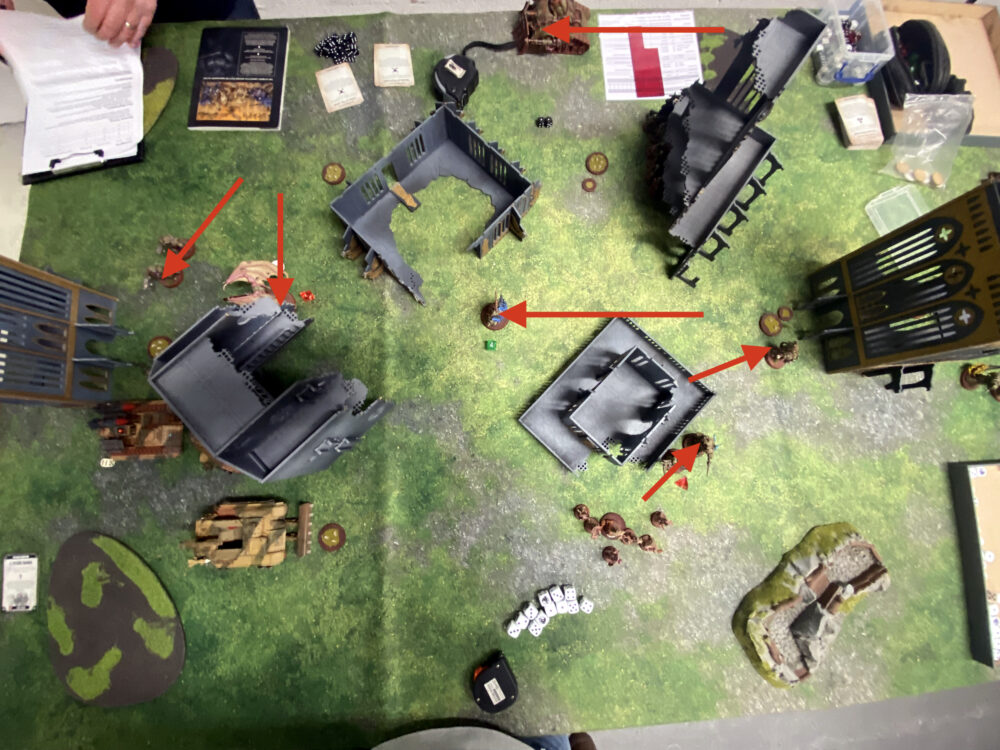
In my turn, my Valkyrie went forward and dropped off its Troops onto an objective on the near side of the overview below. They did Retrieve Octarius Data. A couple died on the way out. I could not really move forward on the far side because I had lost my Chimera and I was staring down a Drone, Demon Prince and Hellbrute.
I stayed back a bit and on an objective as best I could.
The Cyclops popped out to increase my deep strike denial range.
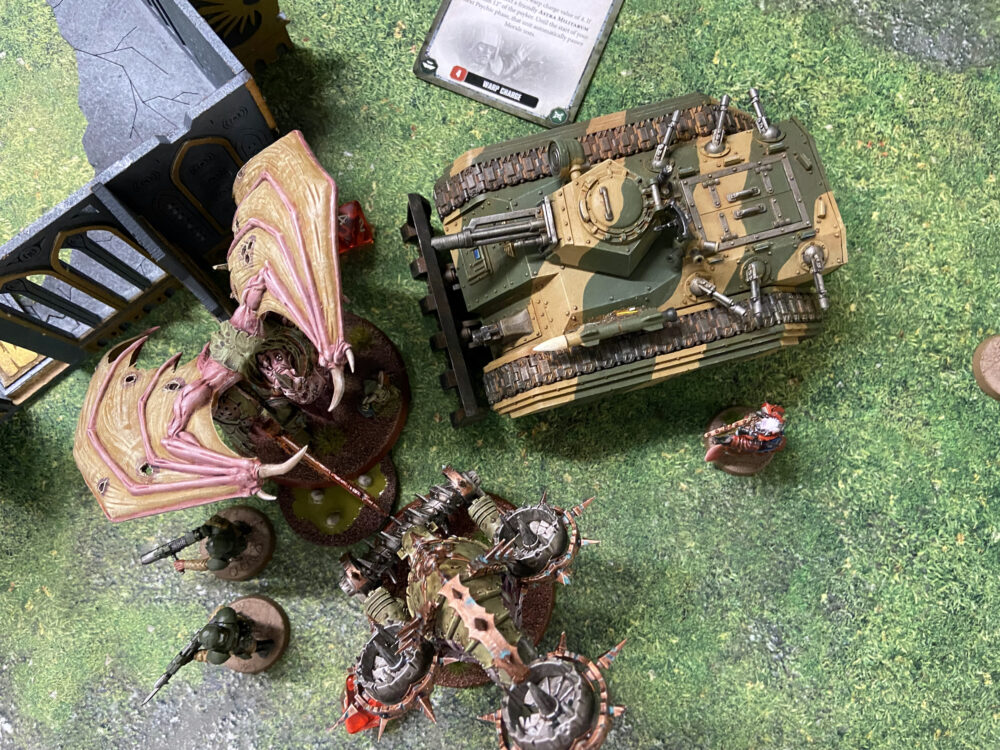
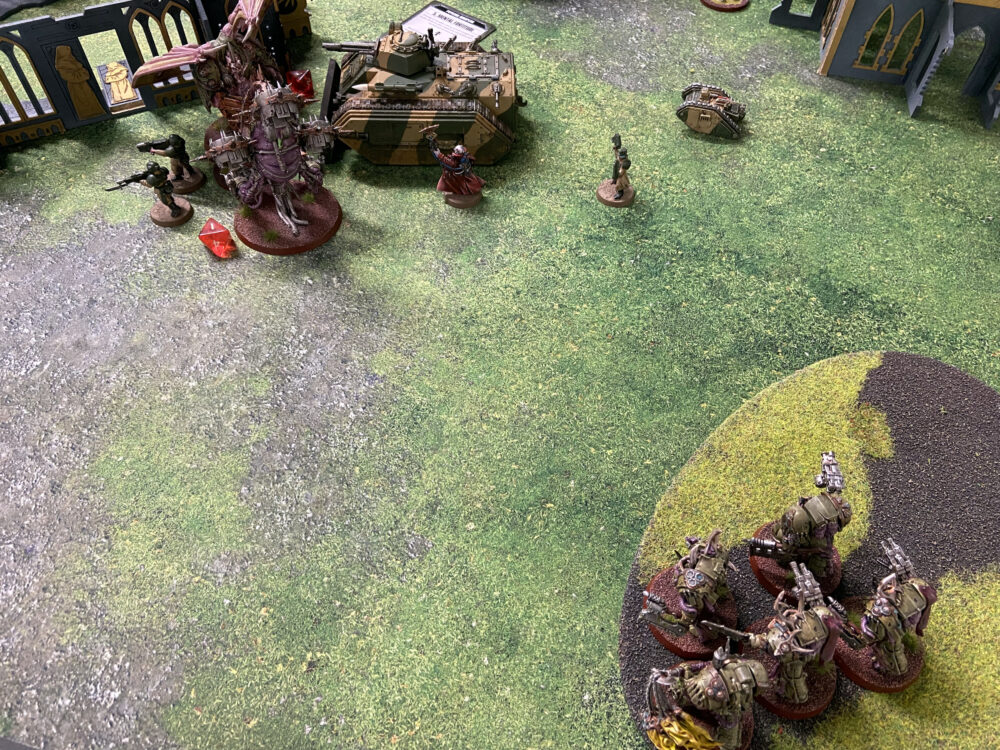
I peaked my Demolisher forward a little to spy the Hellbrute in the centre, it was quickly dealt with thanks to Hail of Fire. The Manticore did less well and failed to remove the Drone, it was on one Wound. It has no tiers either so it is as good on full Wounds as it is on one. I even used Vengence for Cadia on the Manticore and it did badly.
-


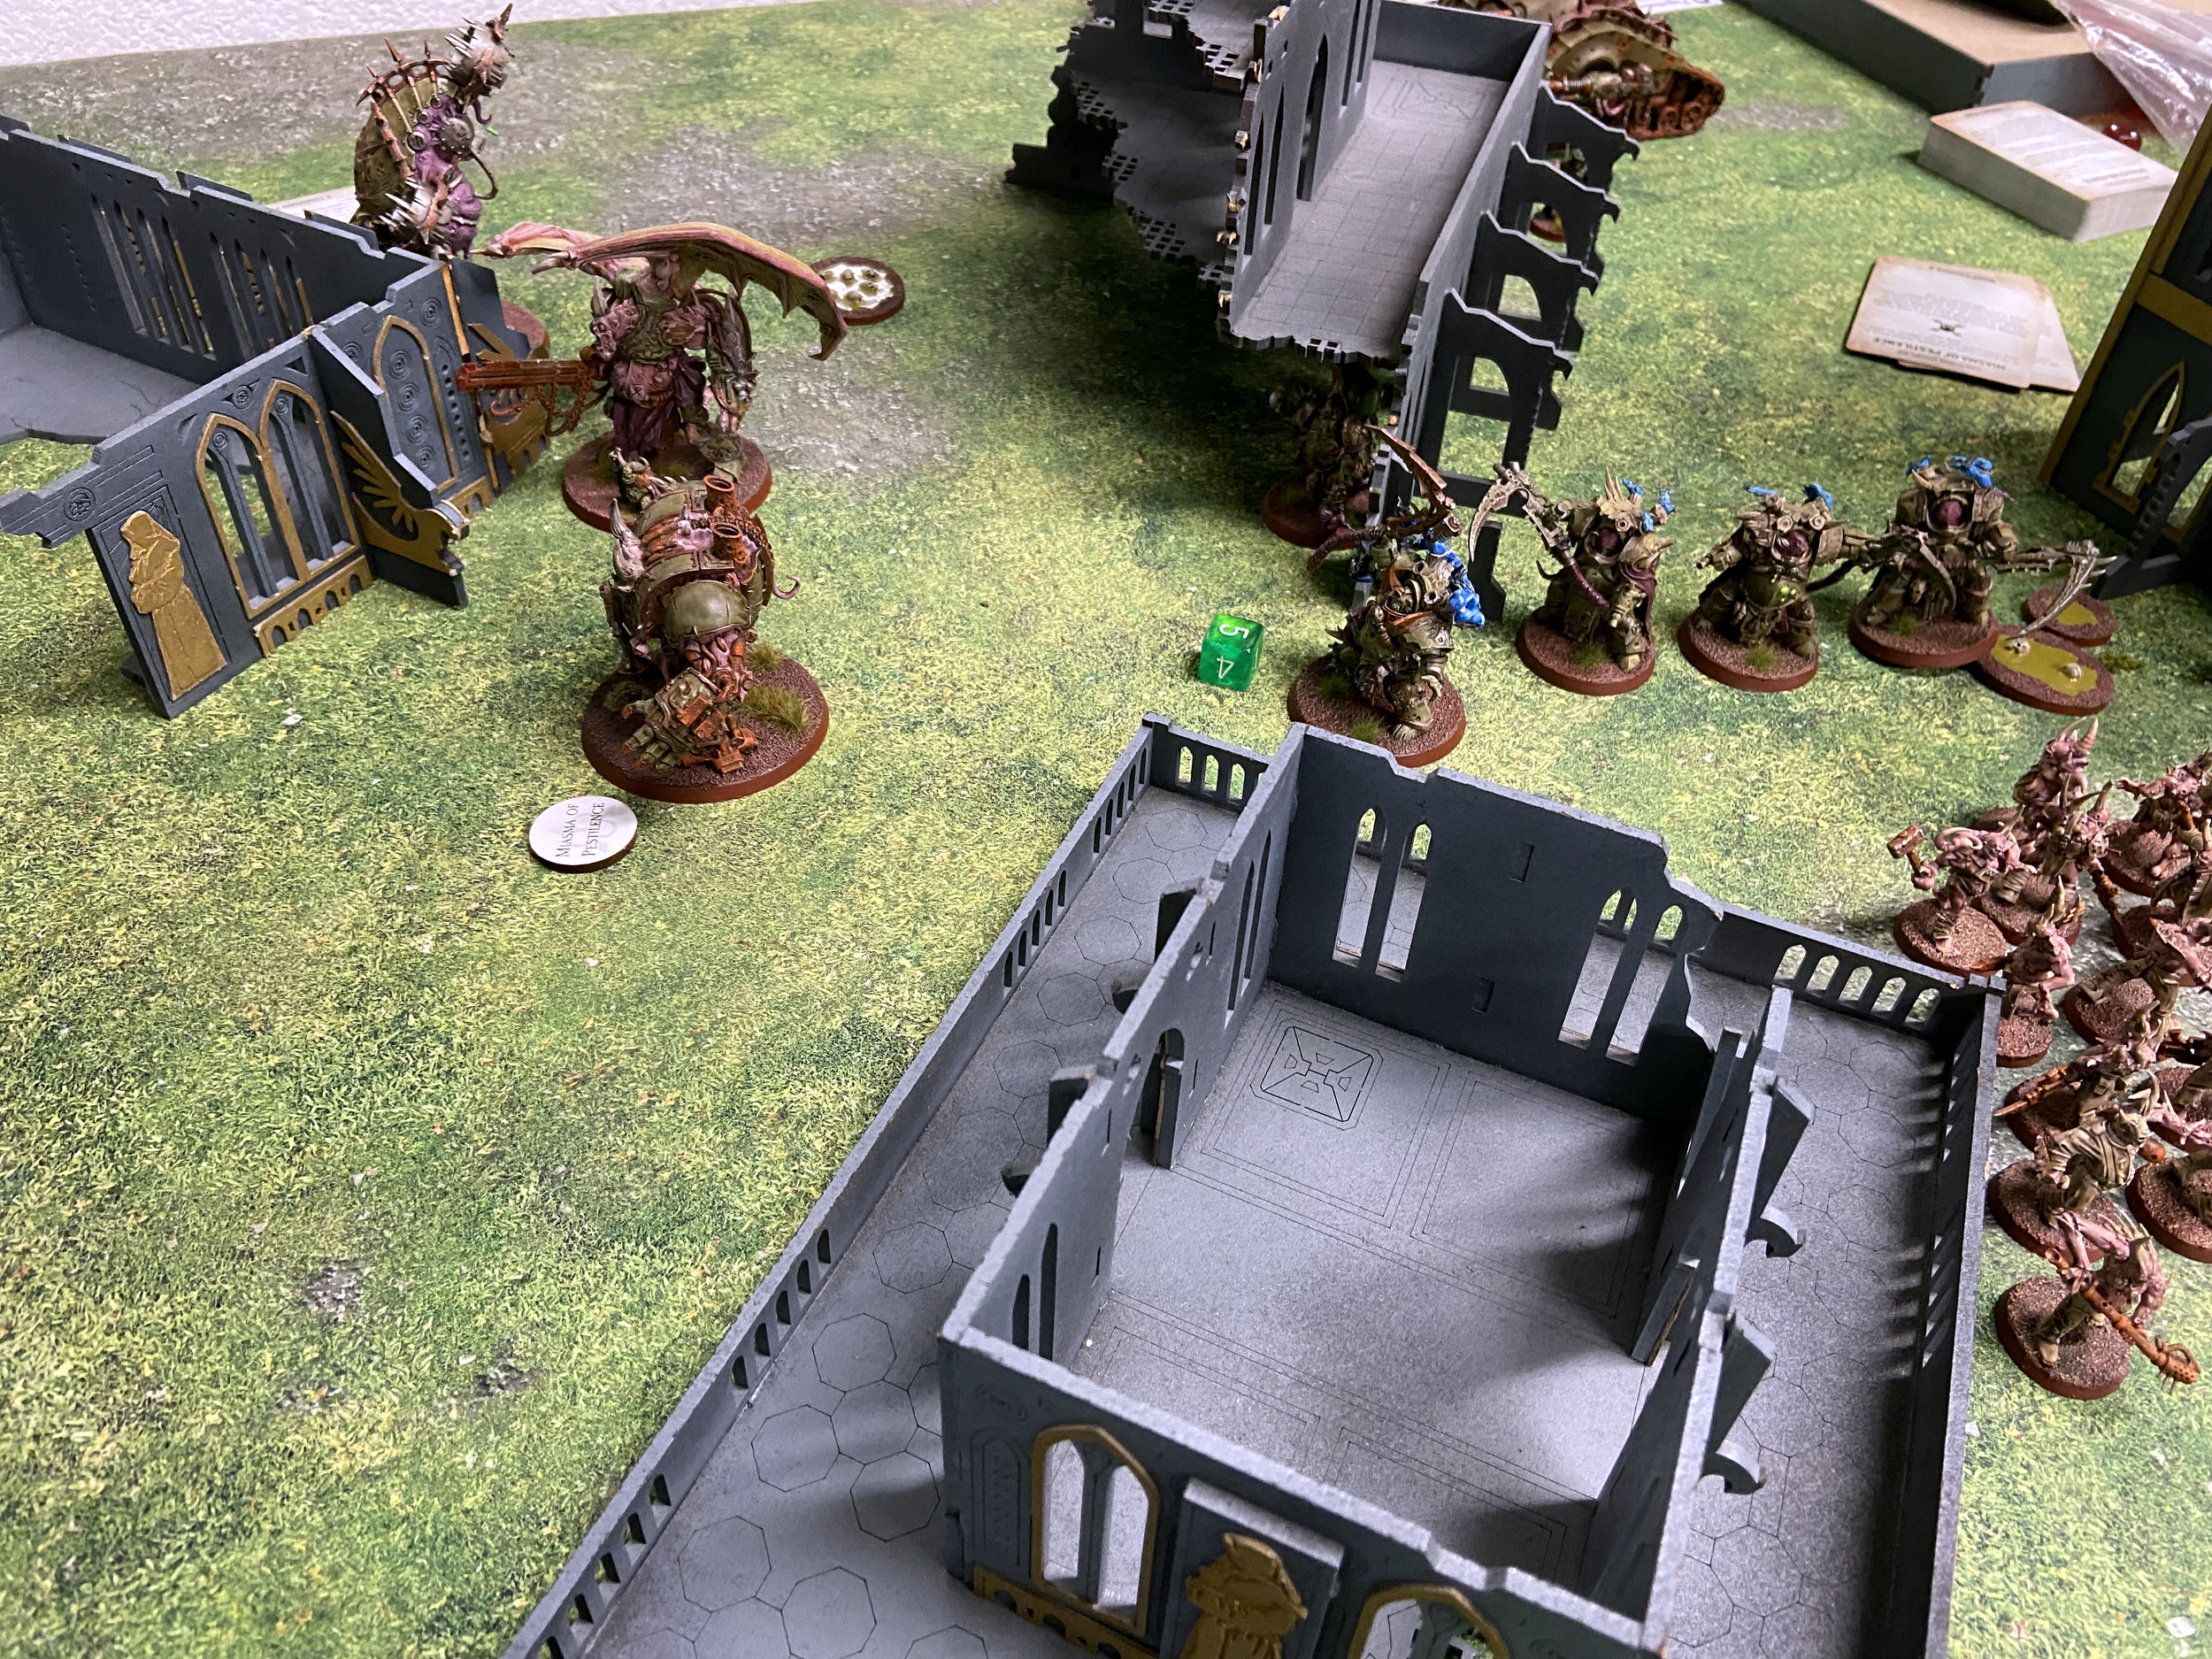
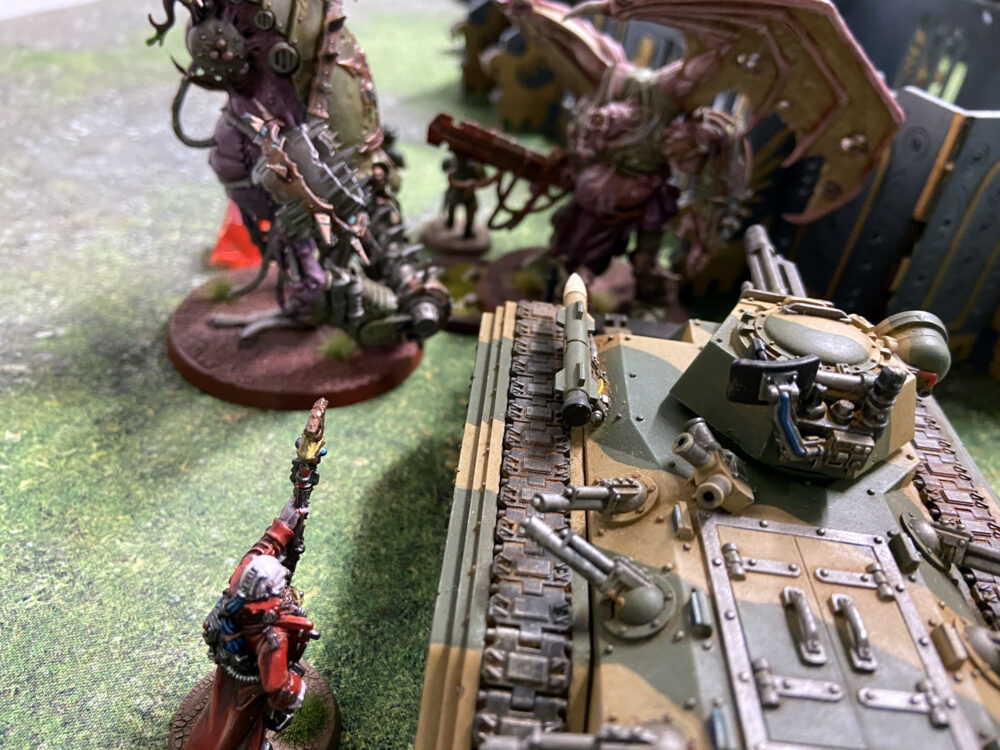
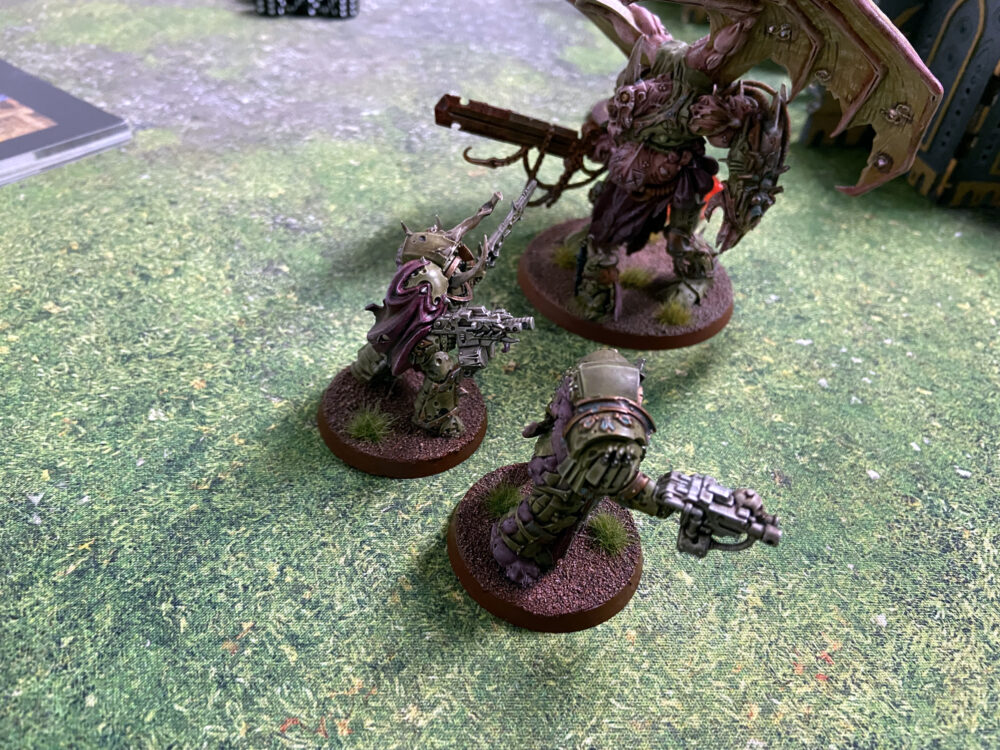
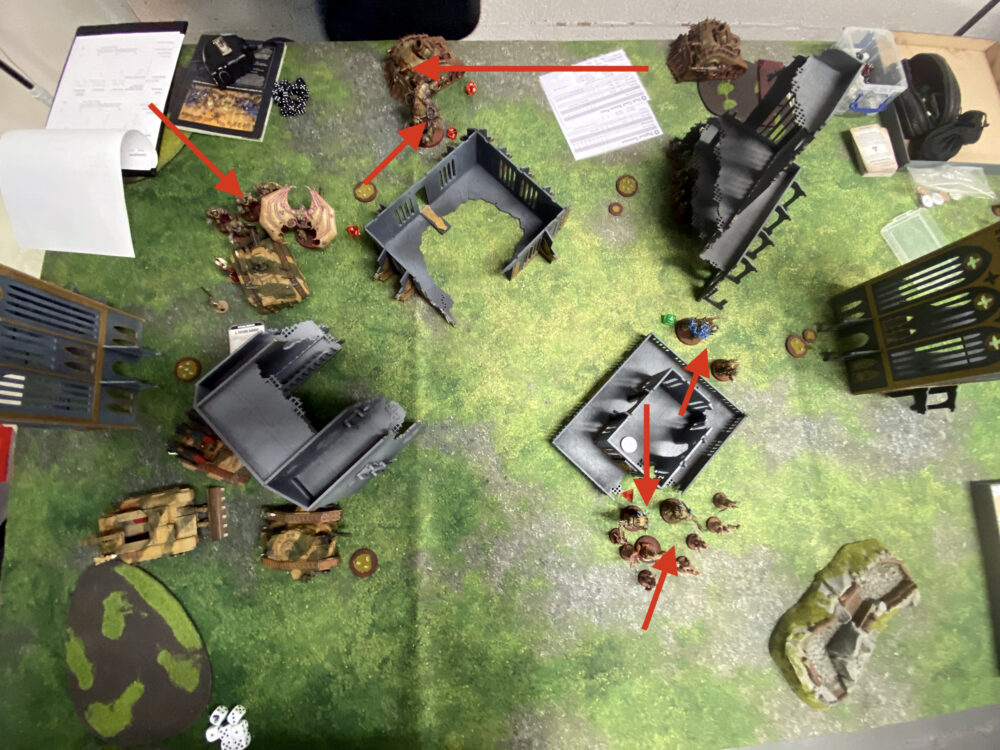
- Death Guard move forwards
-
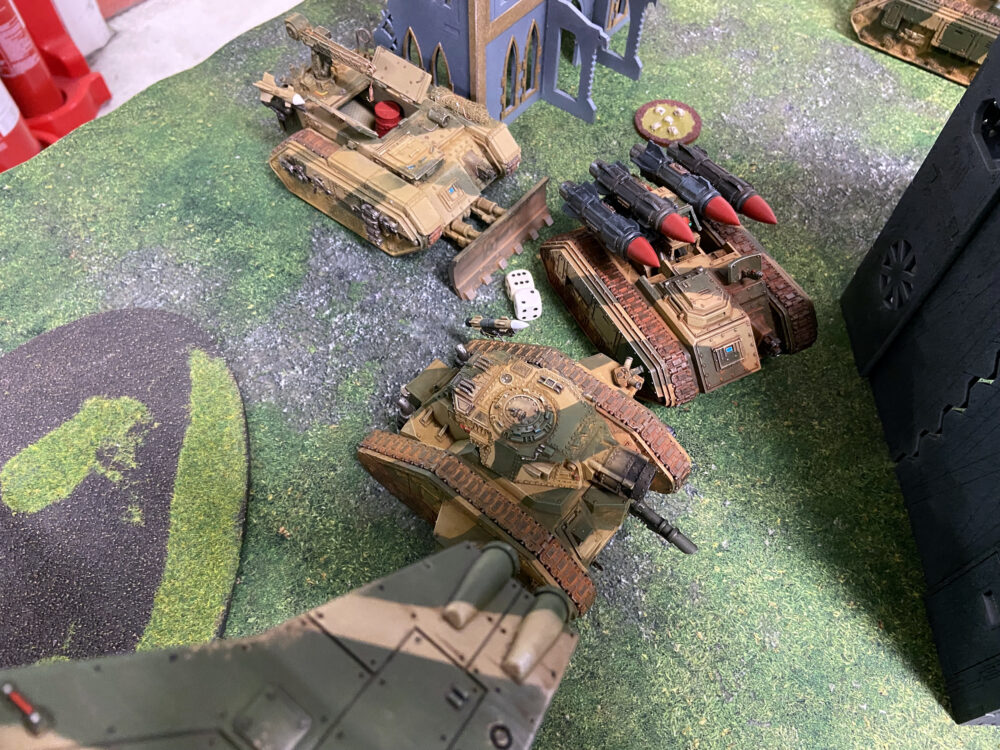
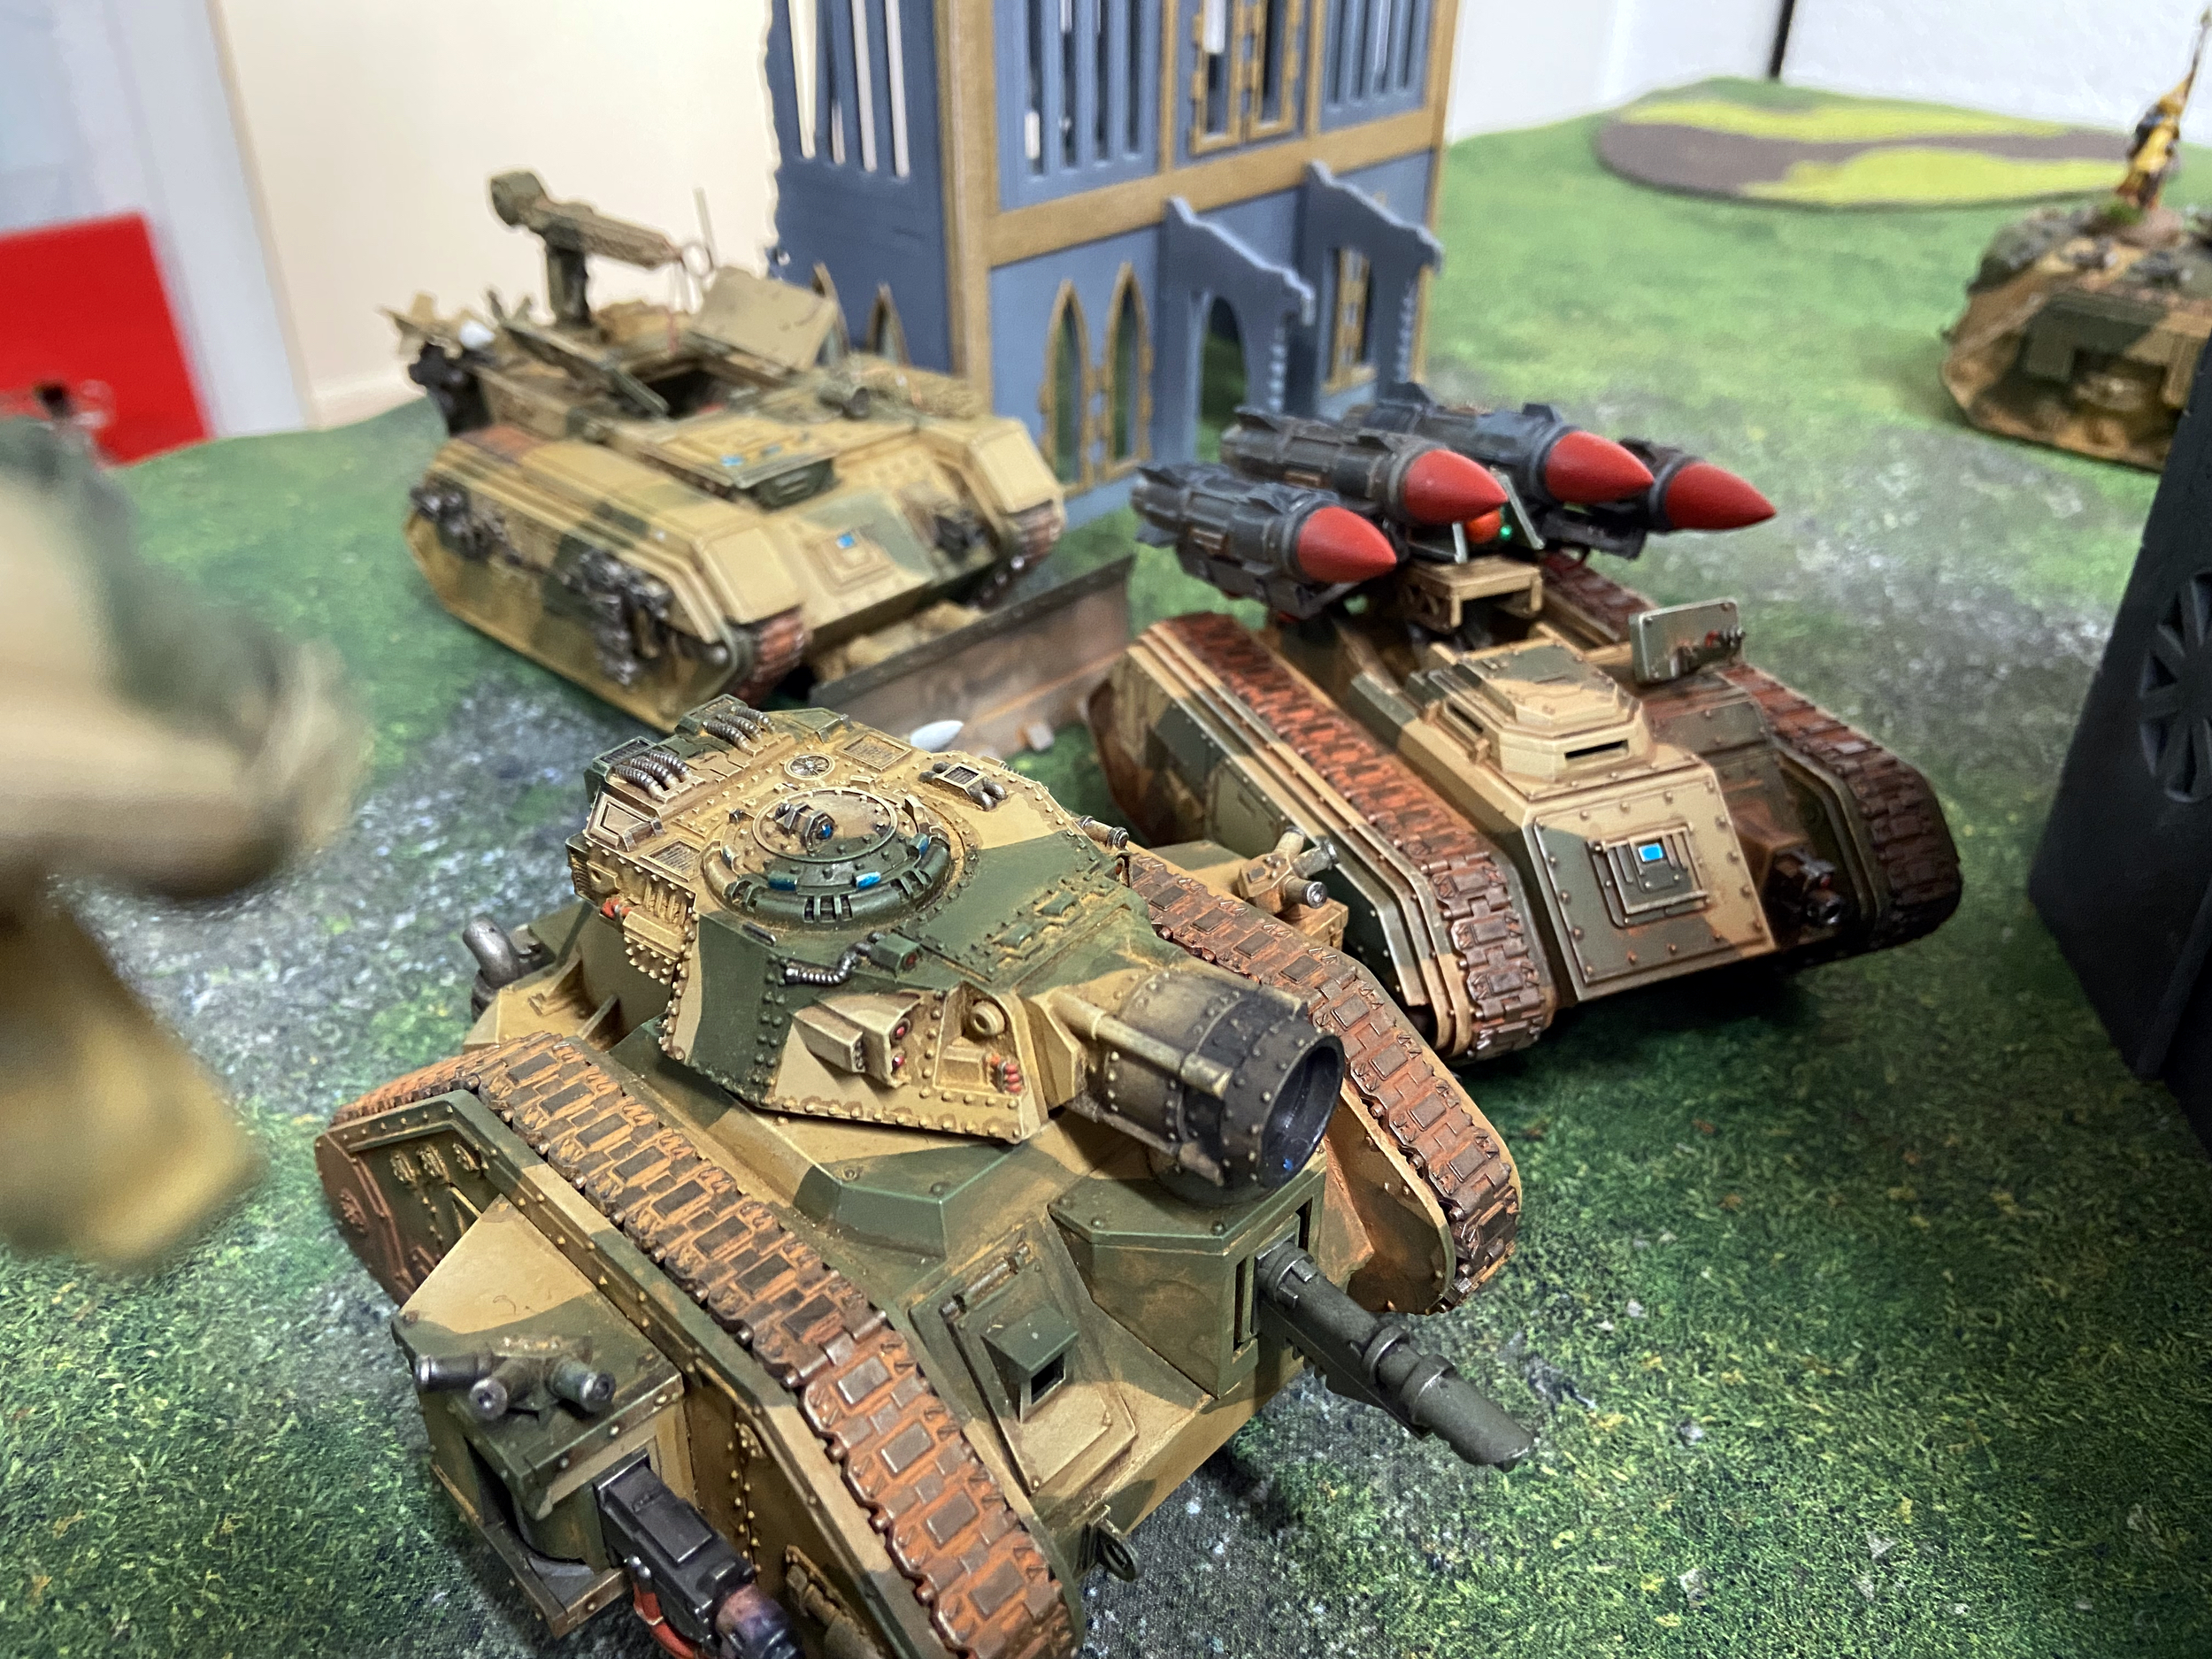
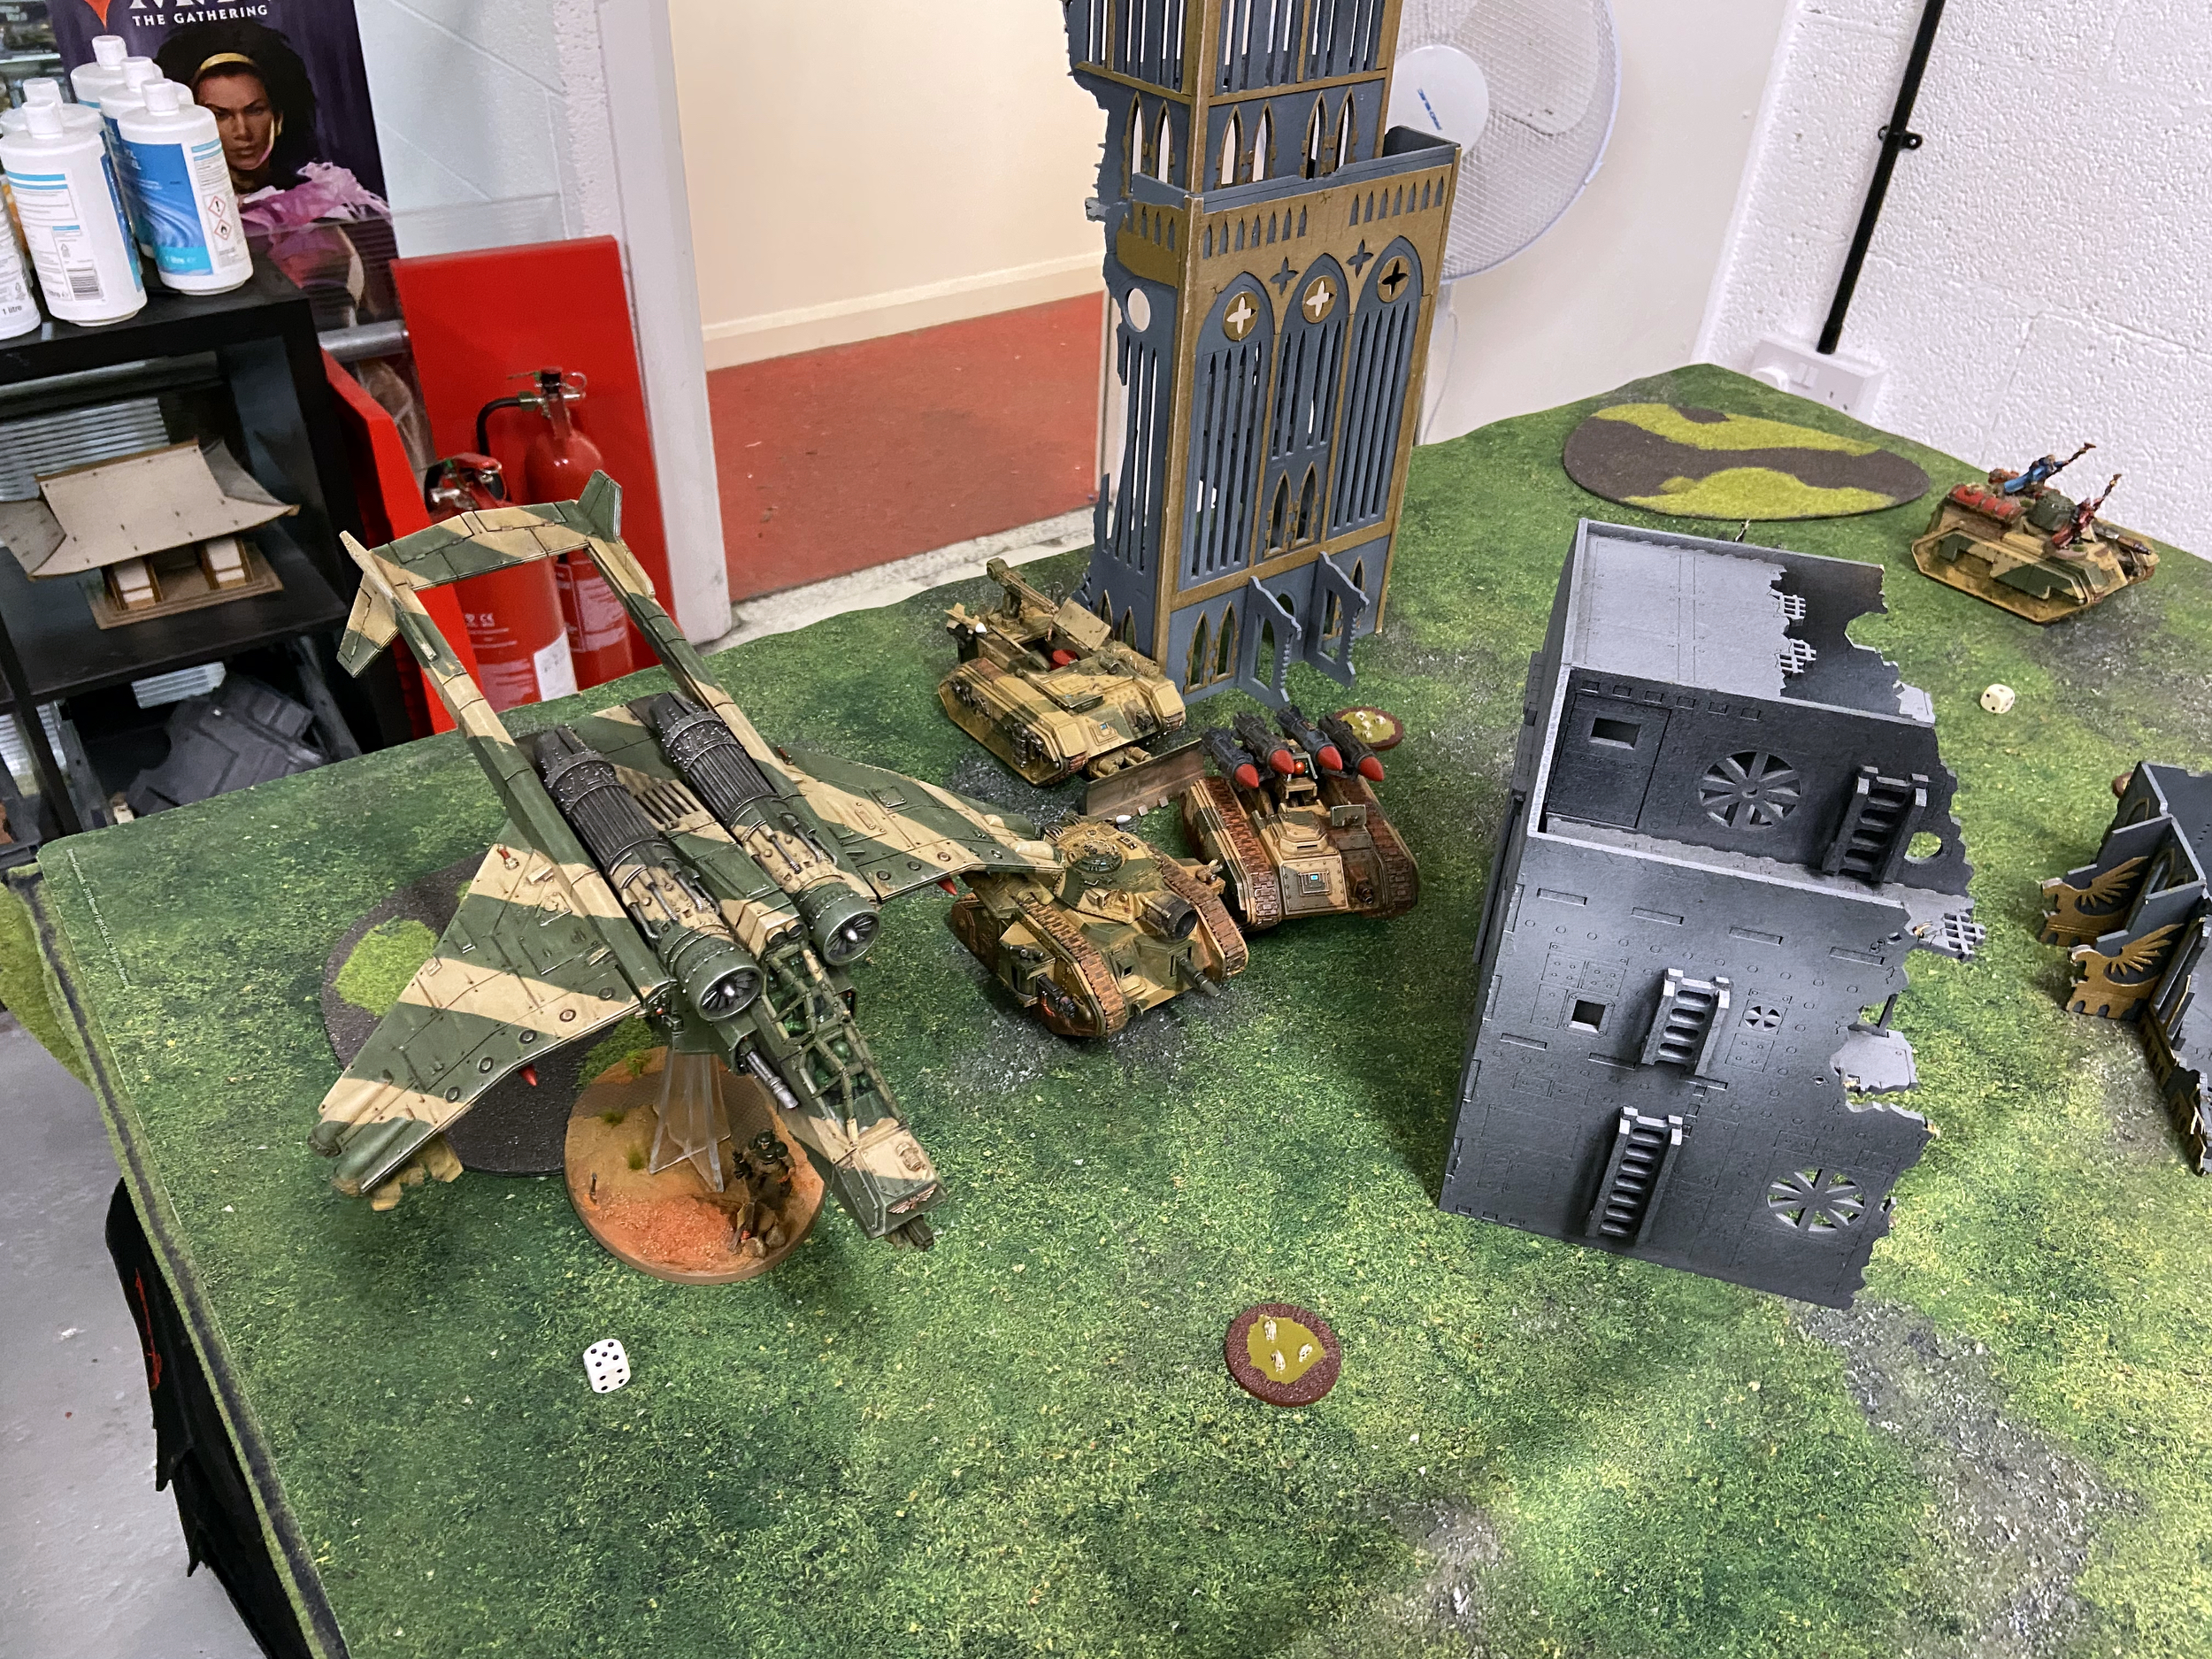
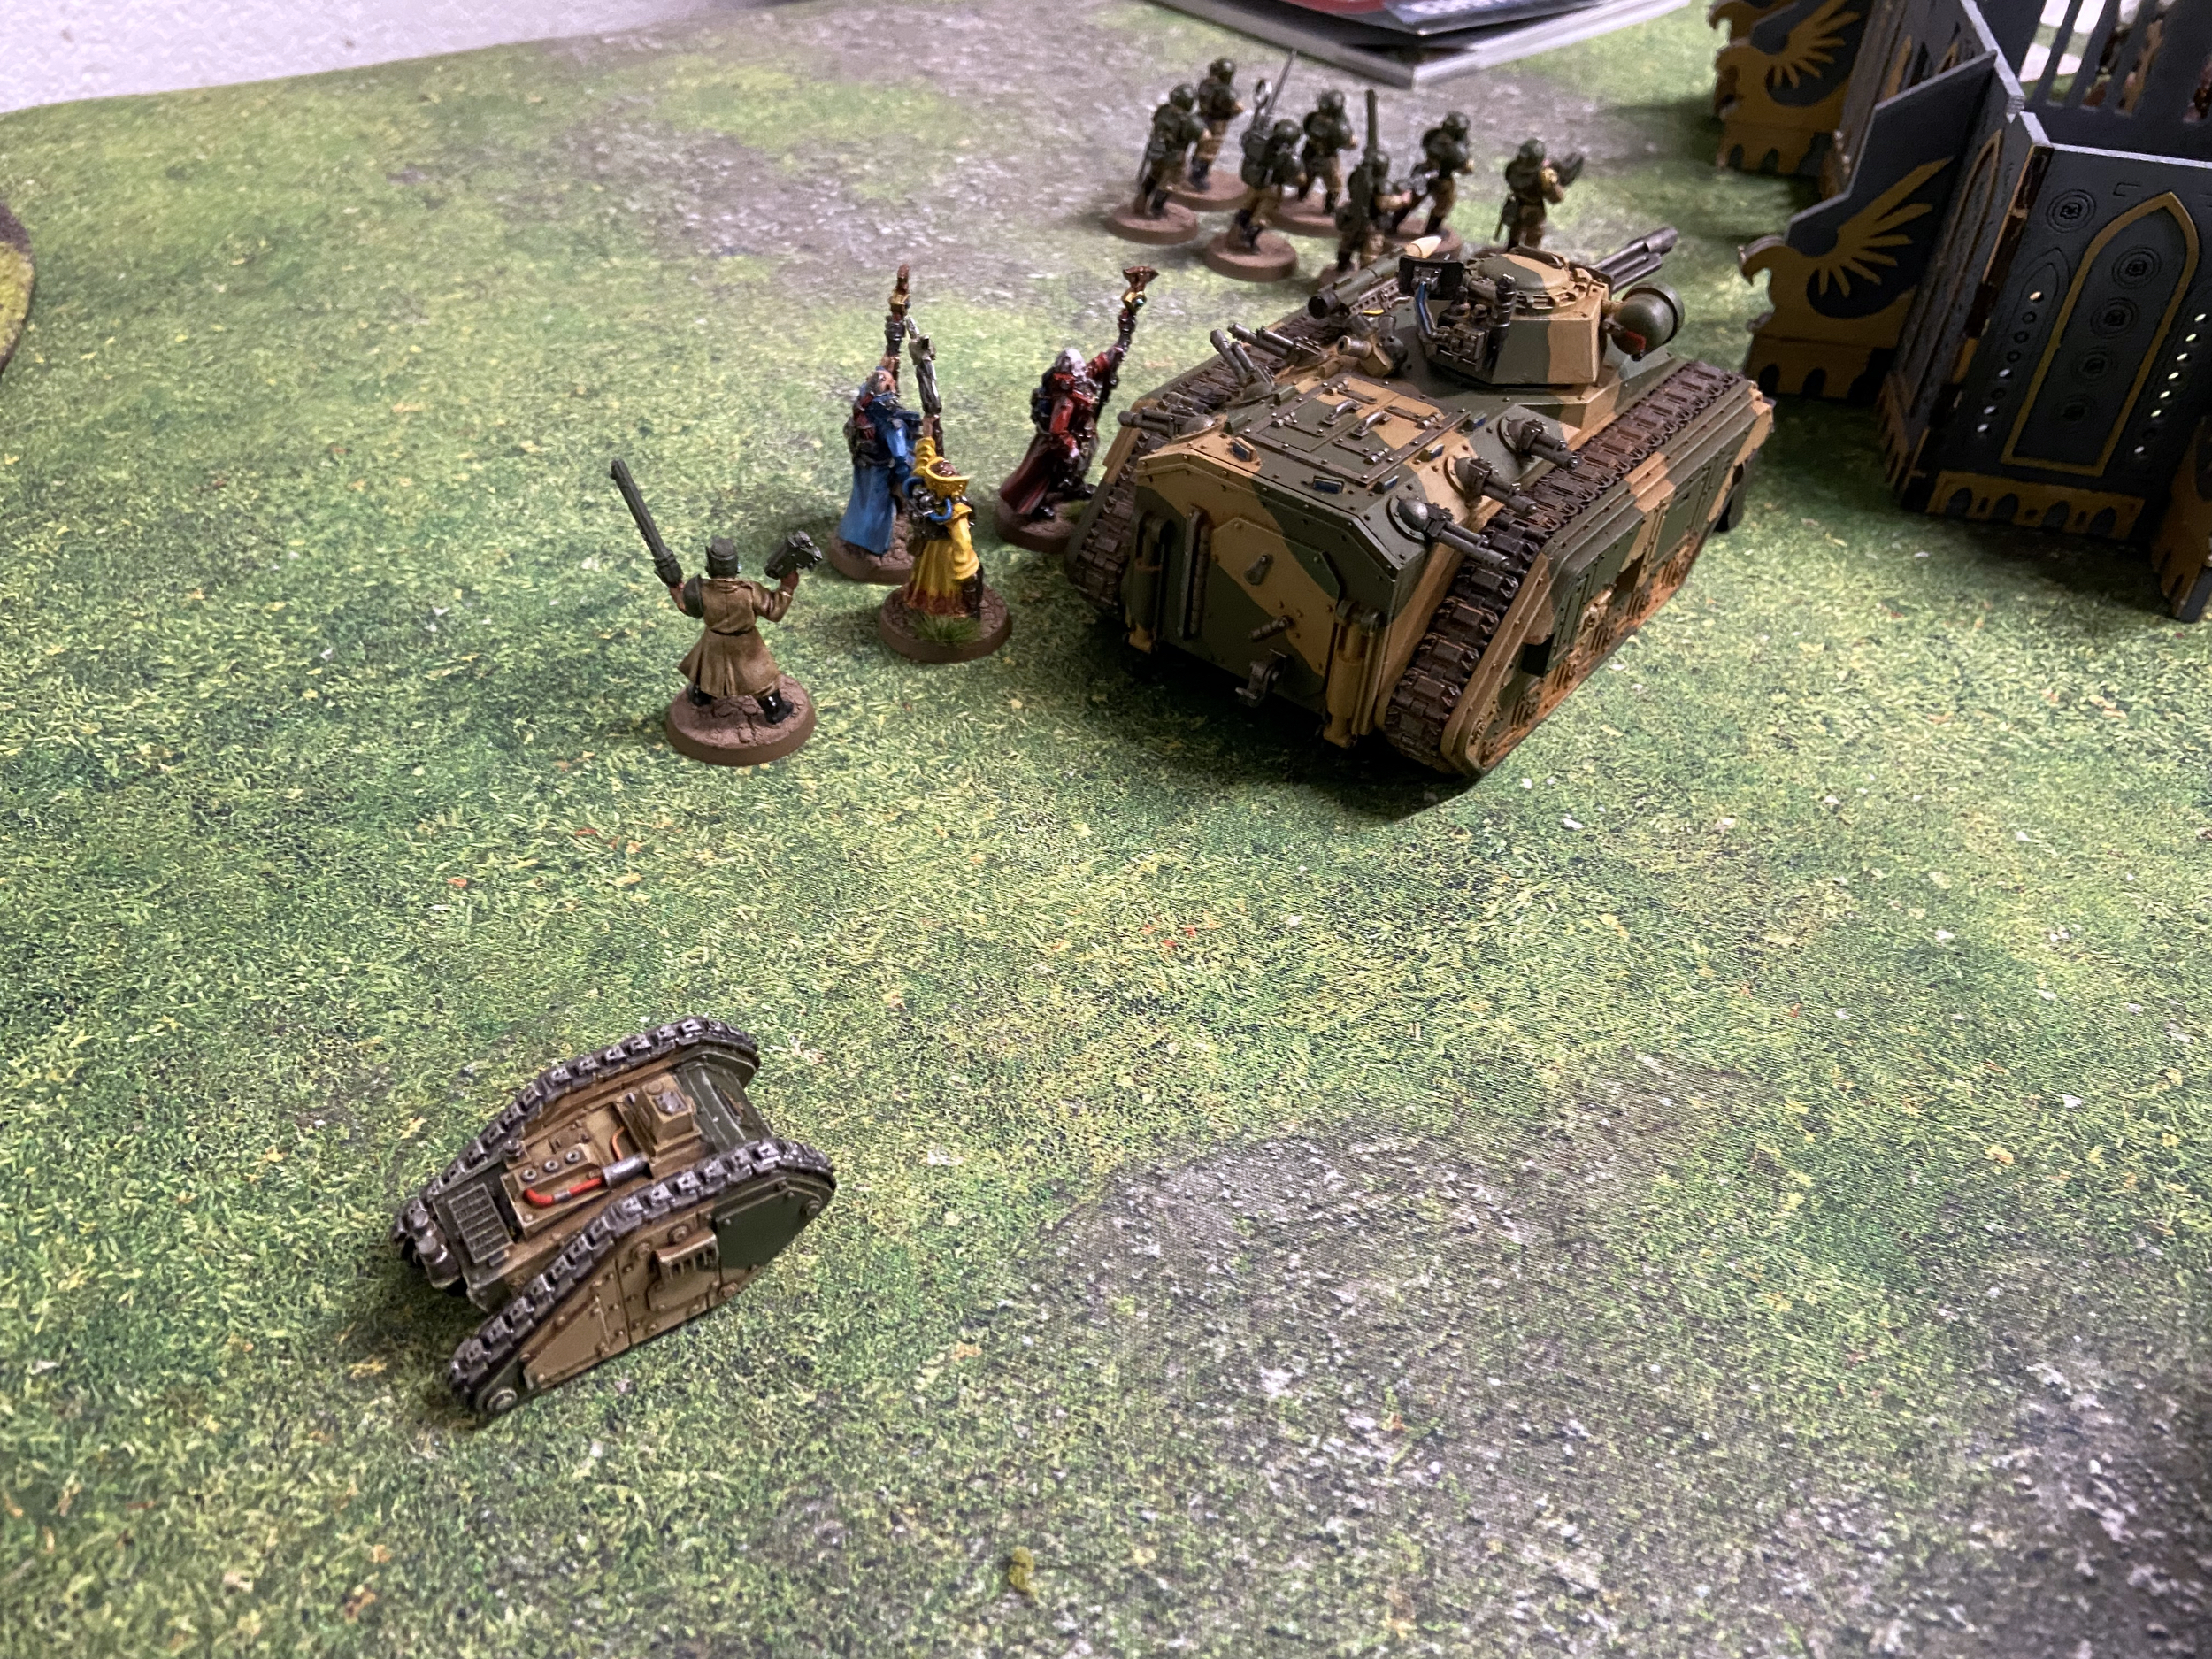
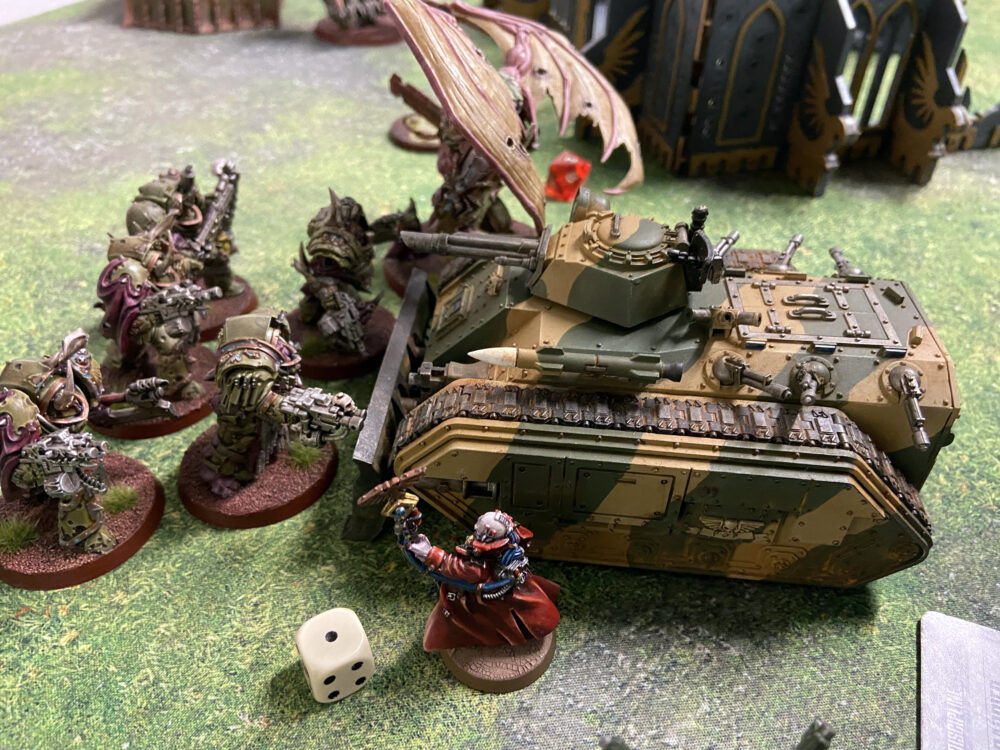
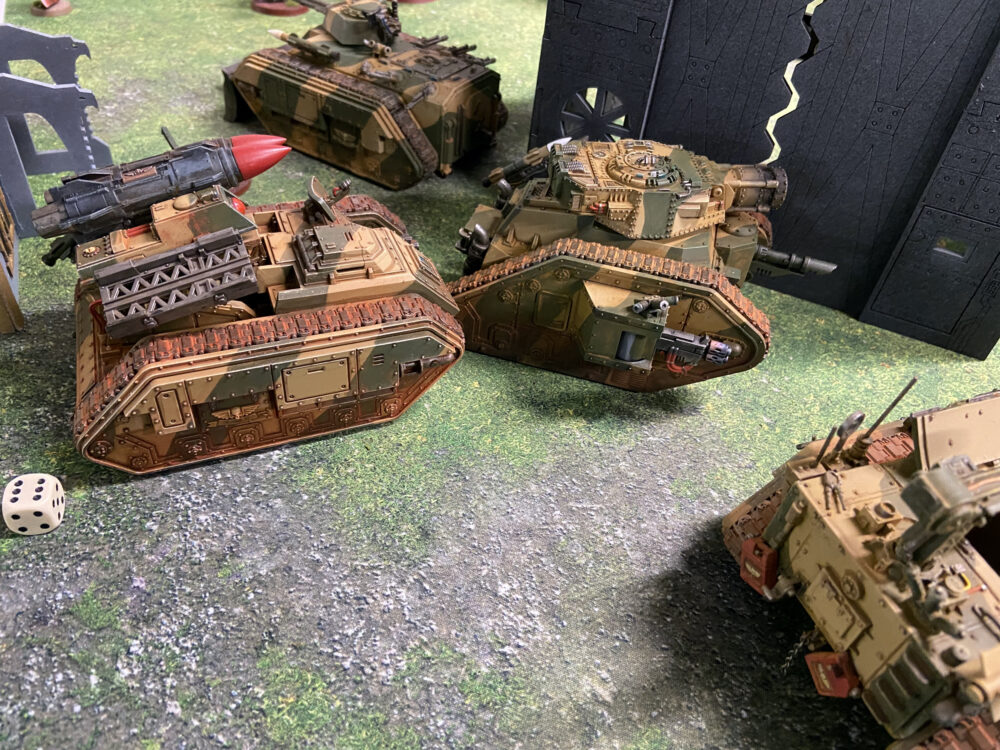
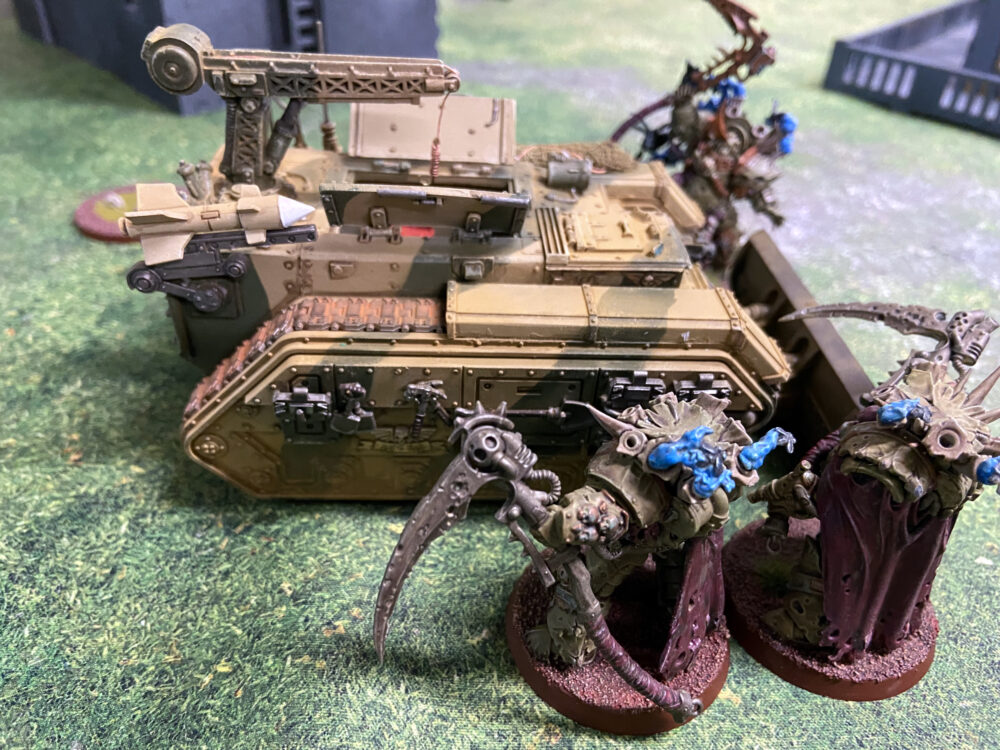
- My tank park

-

- The aftermath after losing my Chimera
-
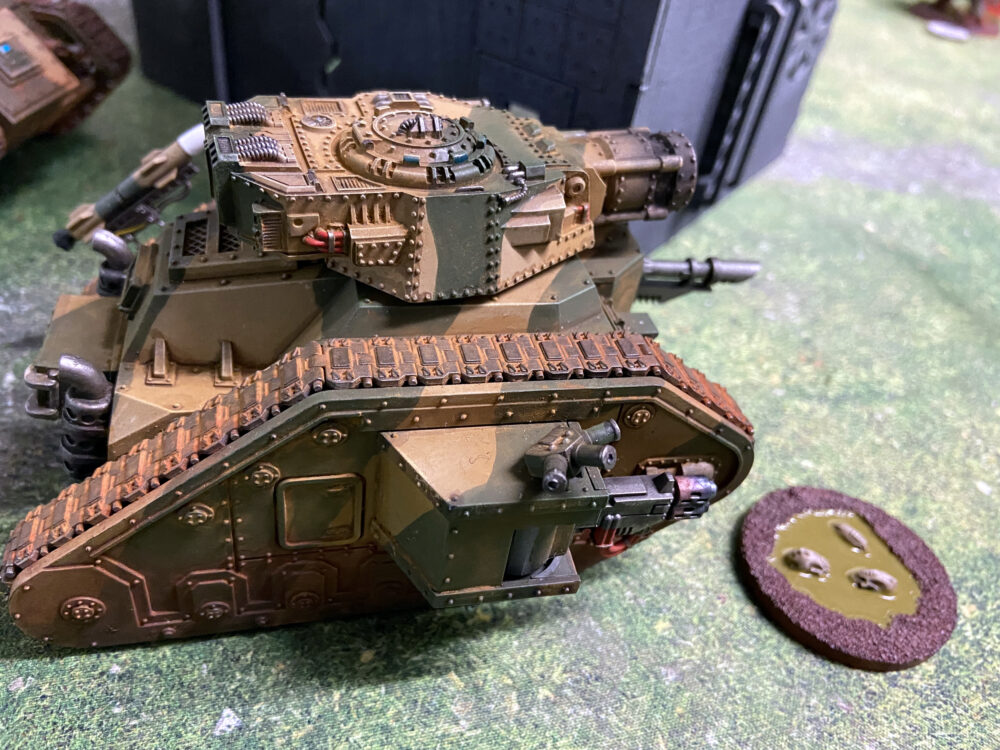
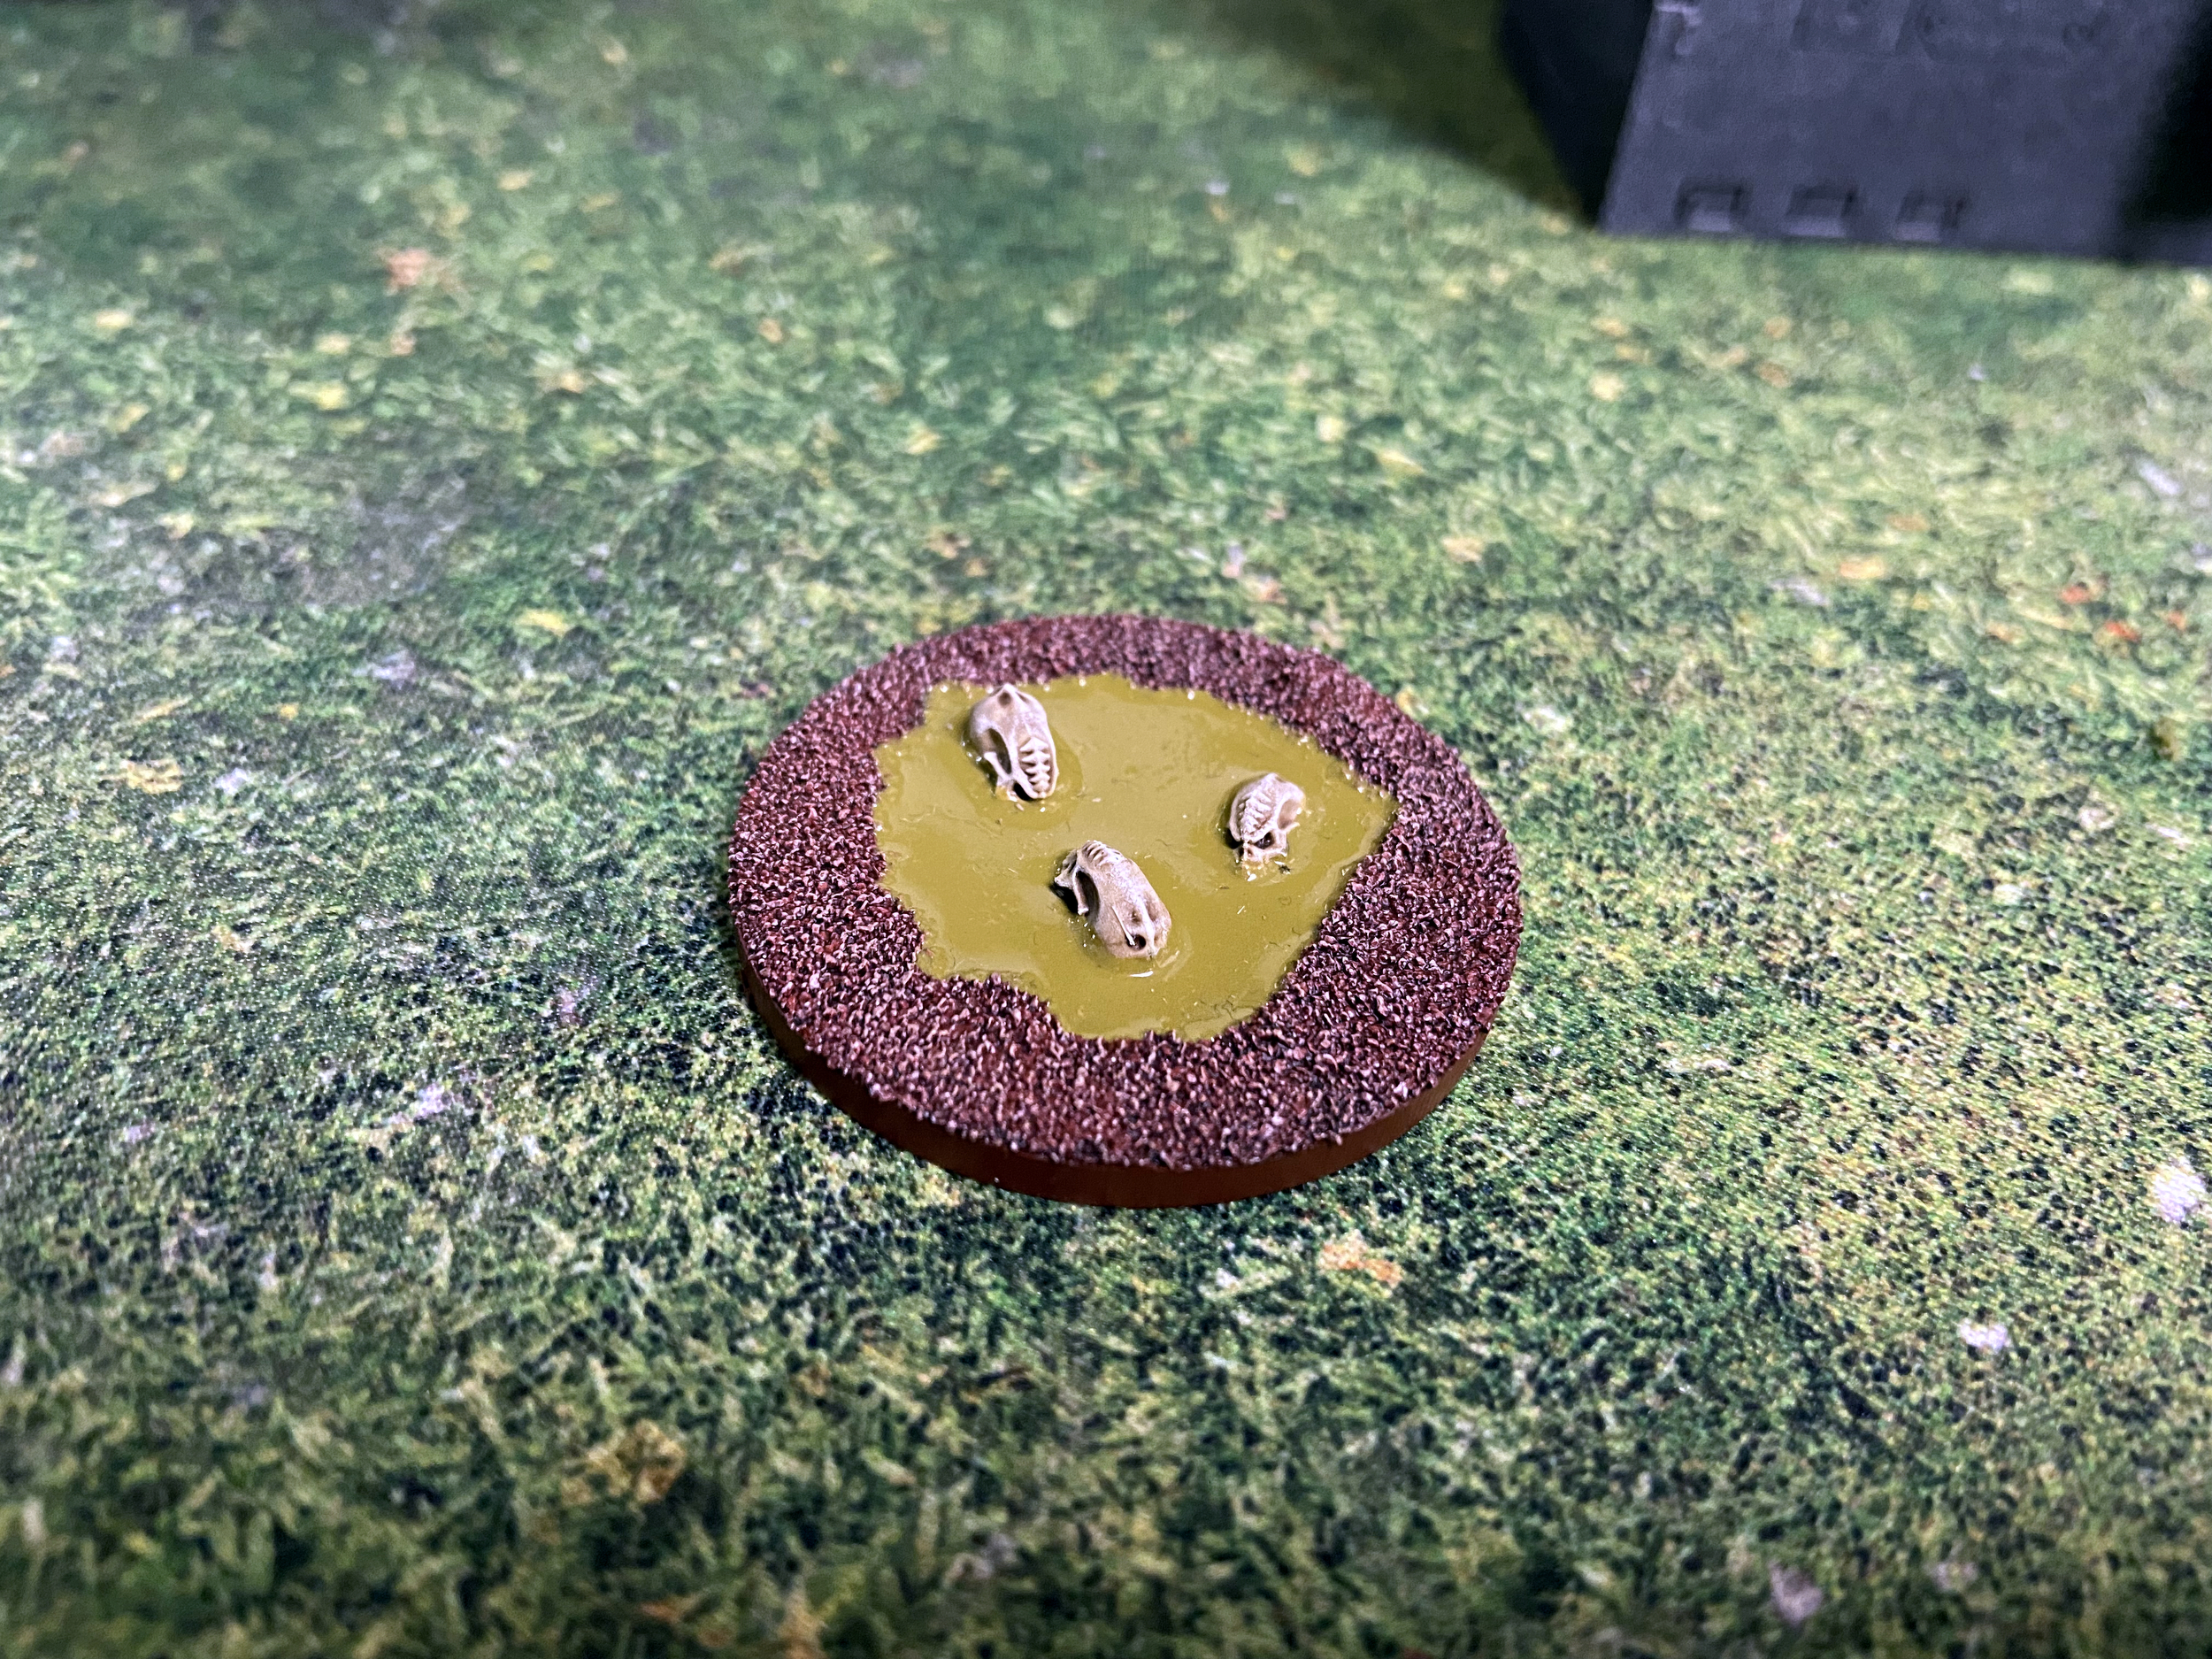
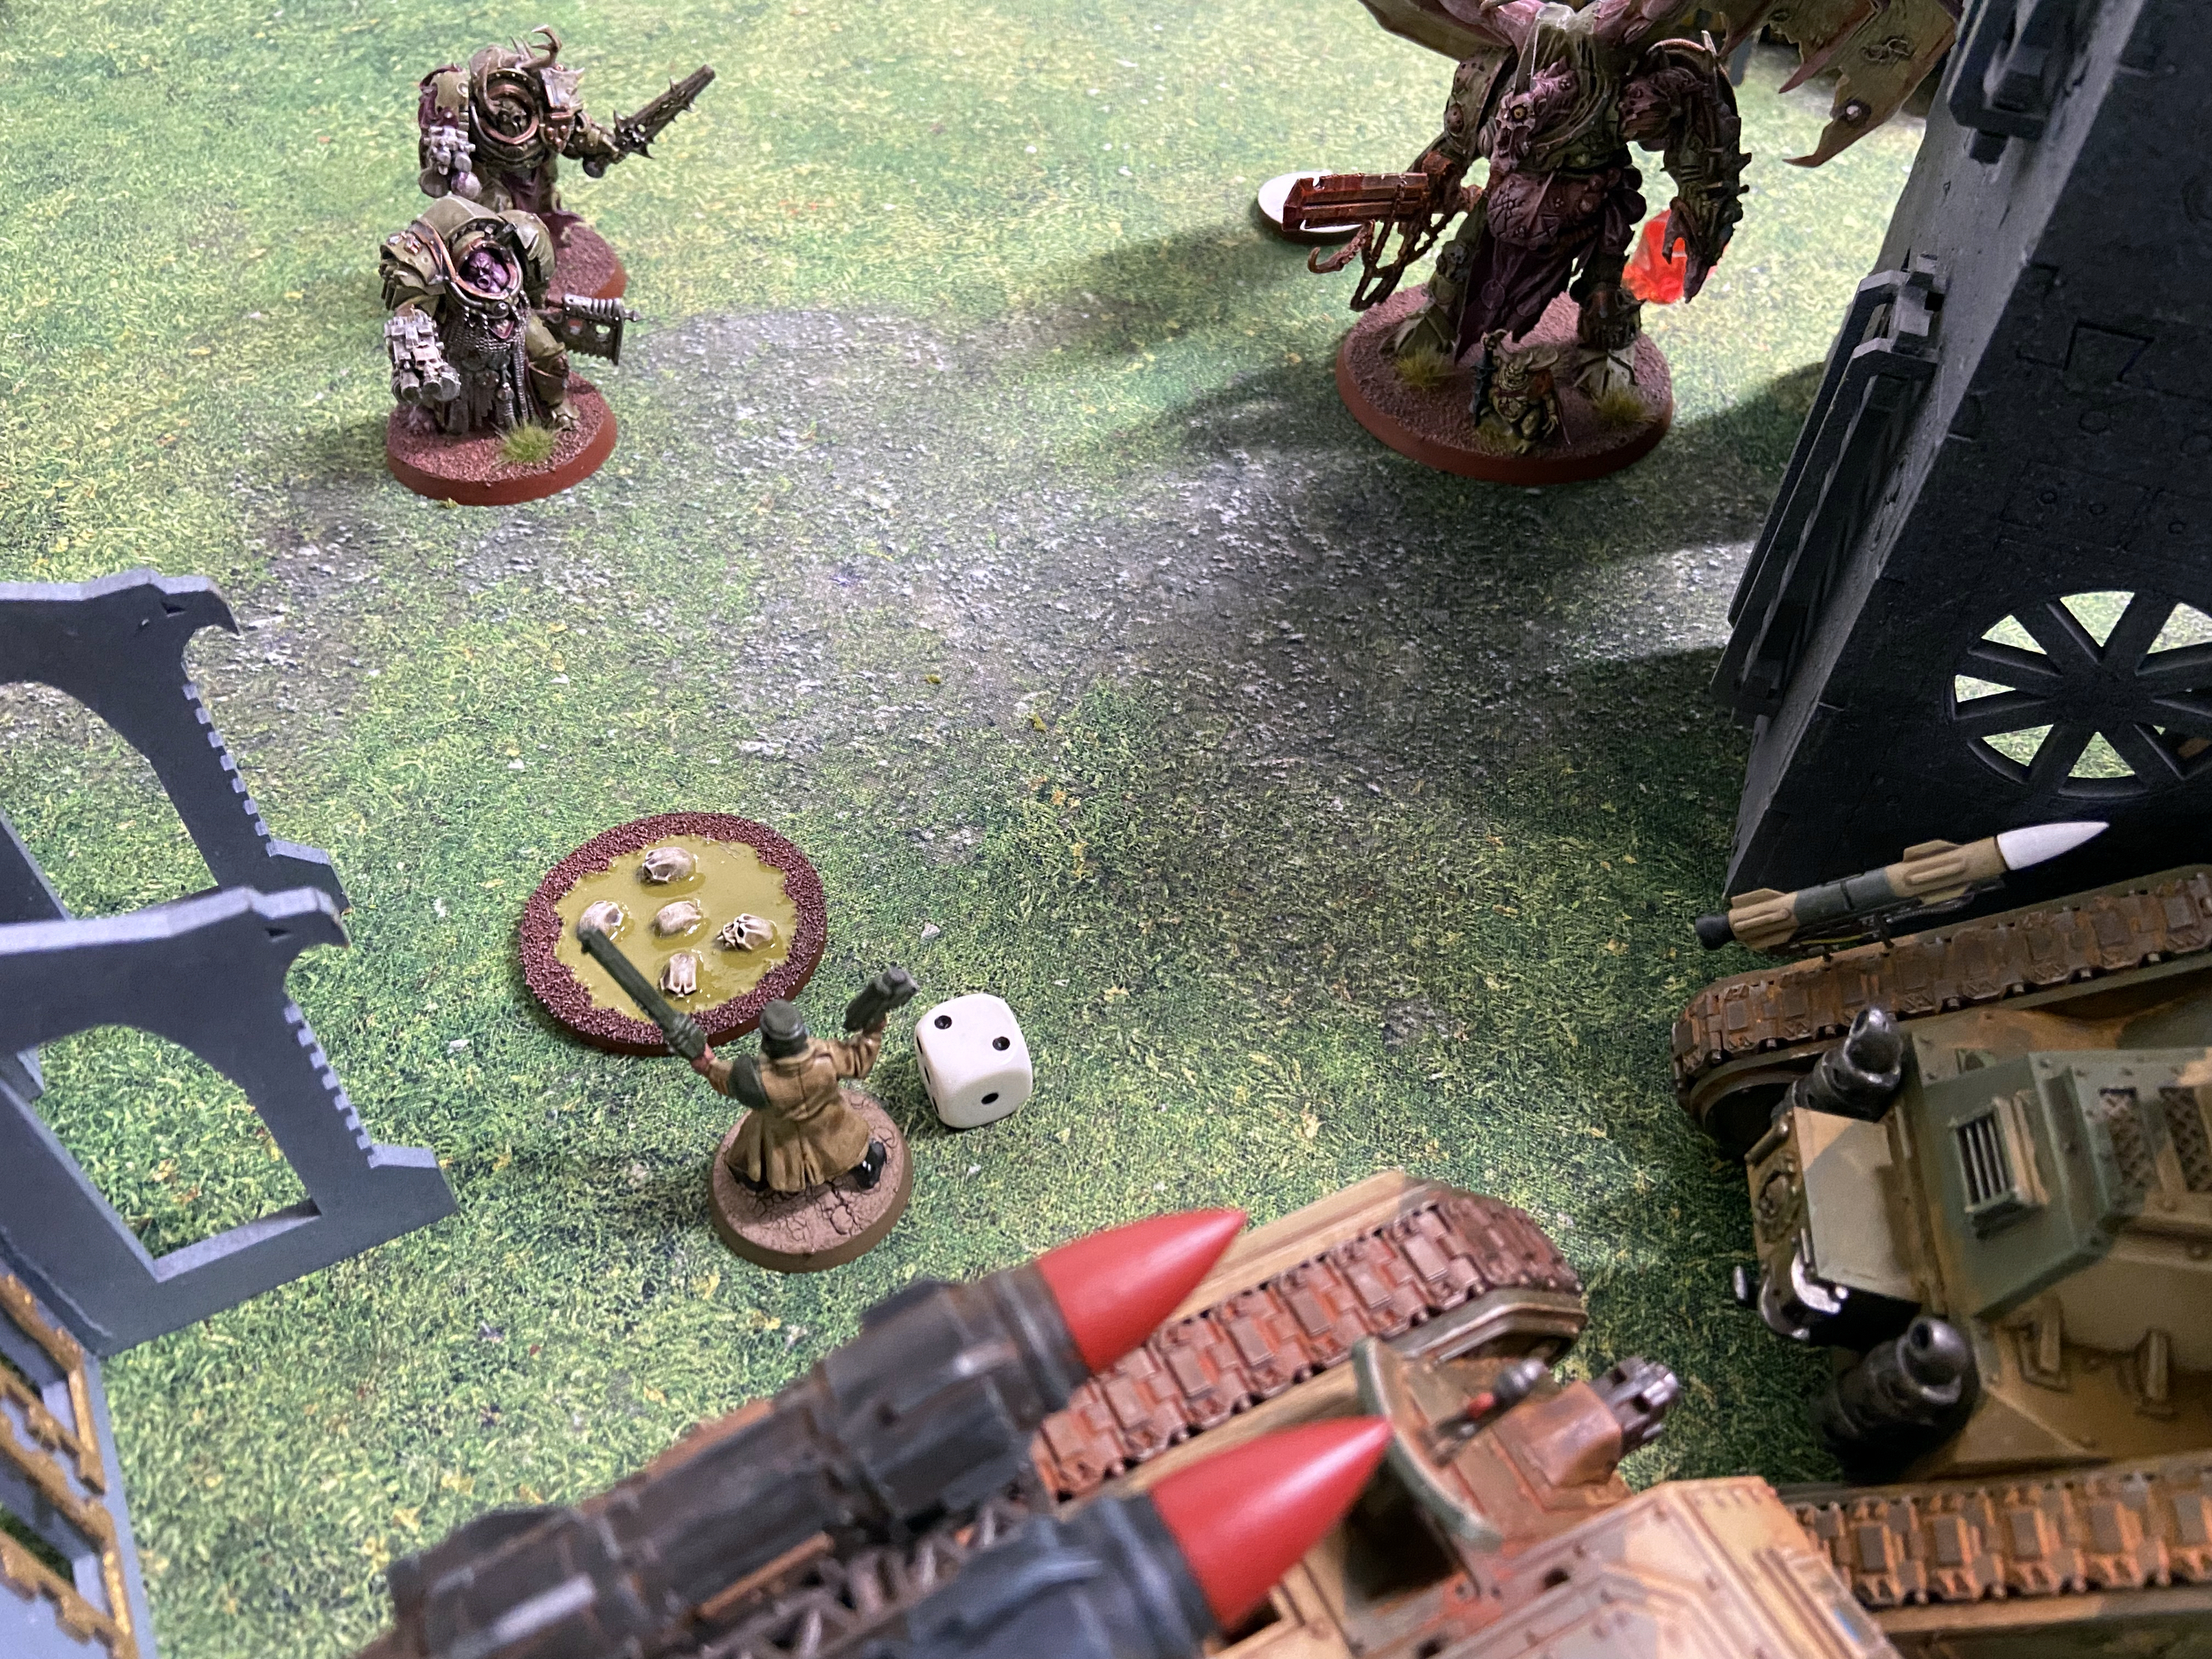
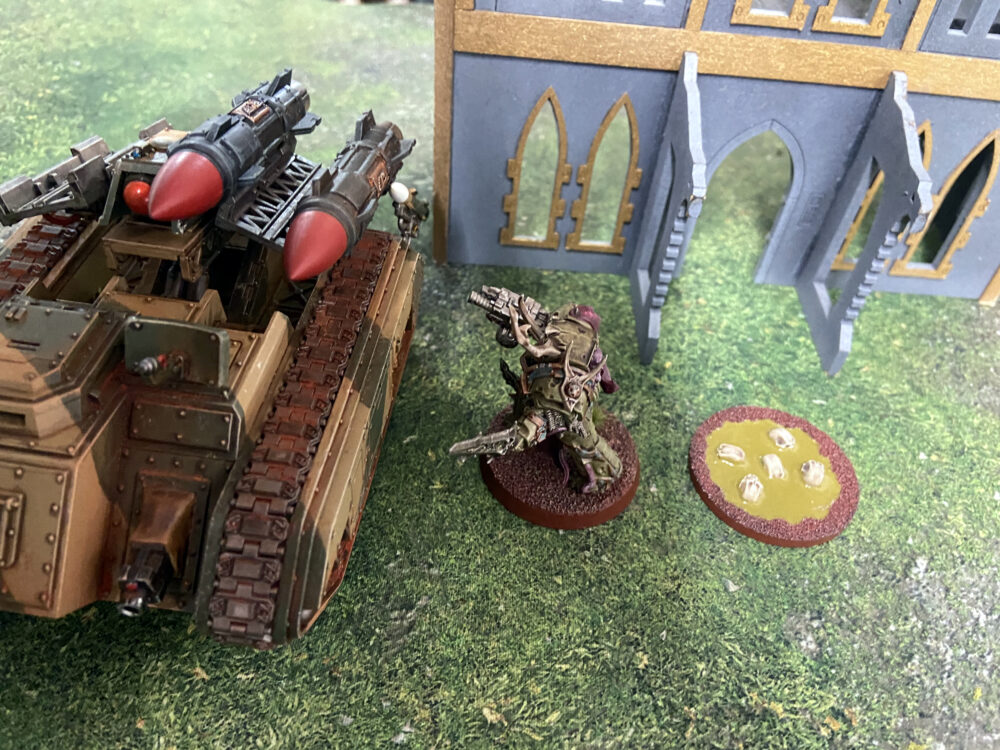
- Demolisher holds a stinky objective

-
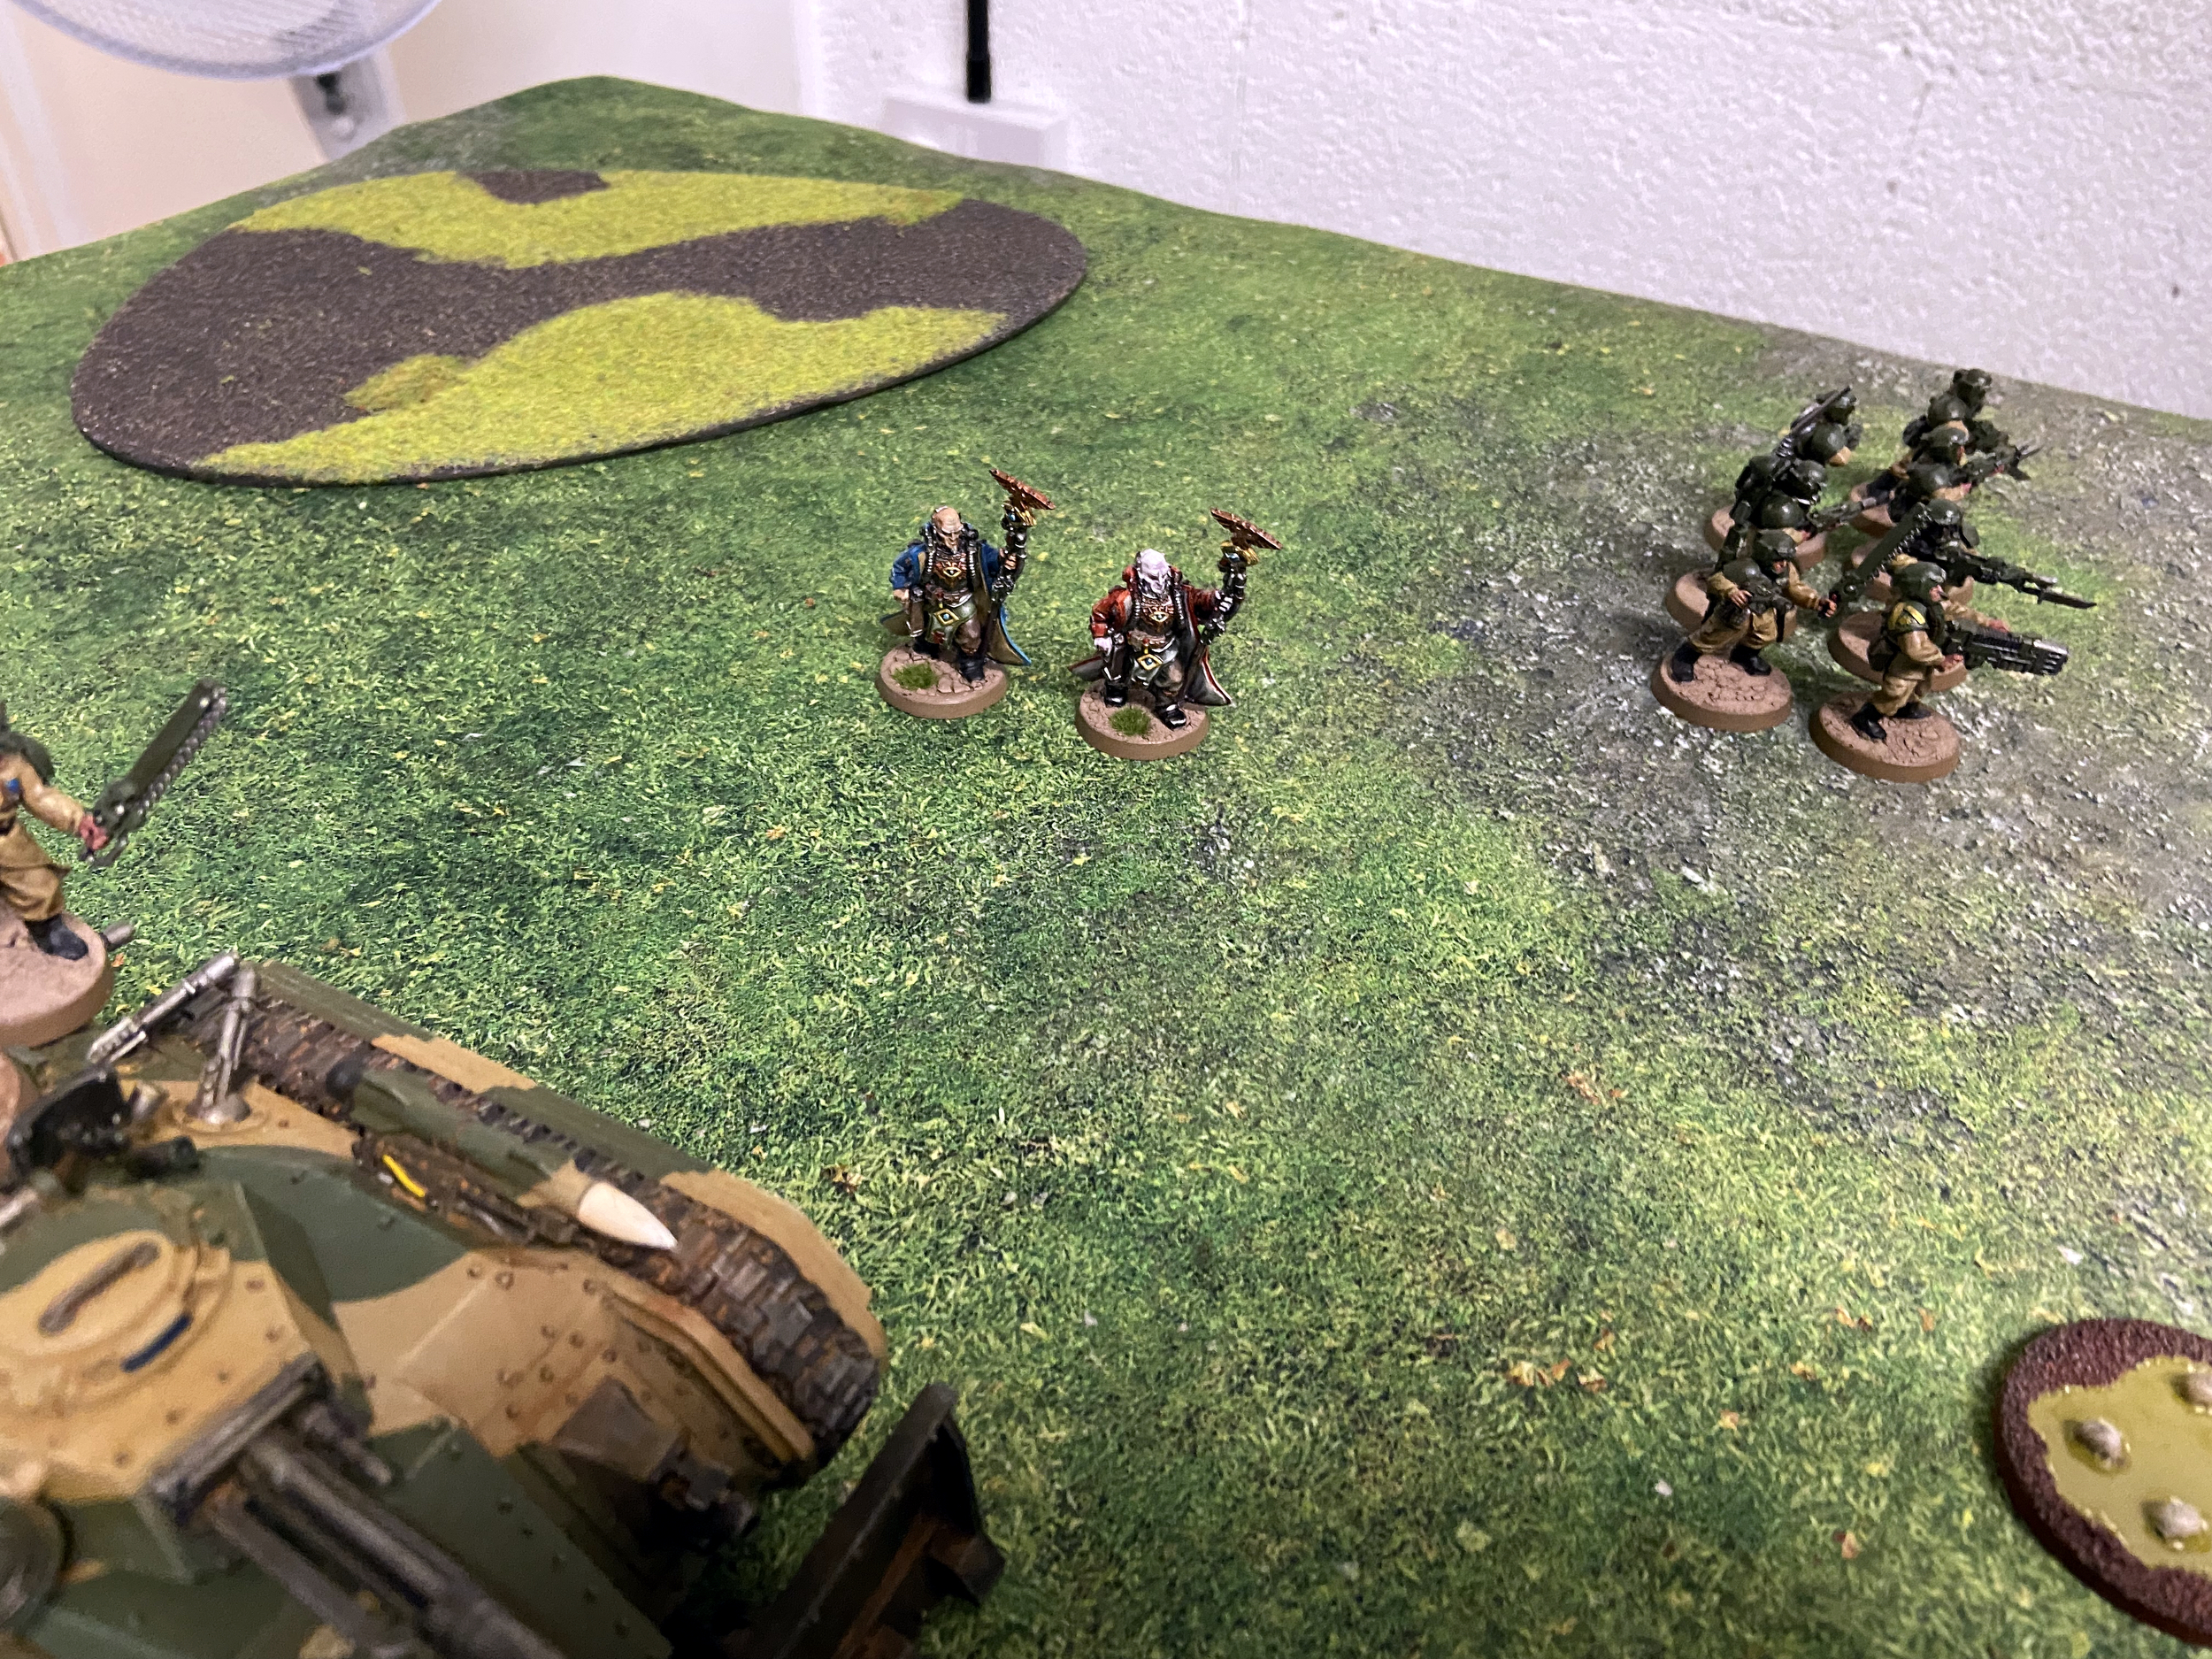
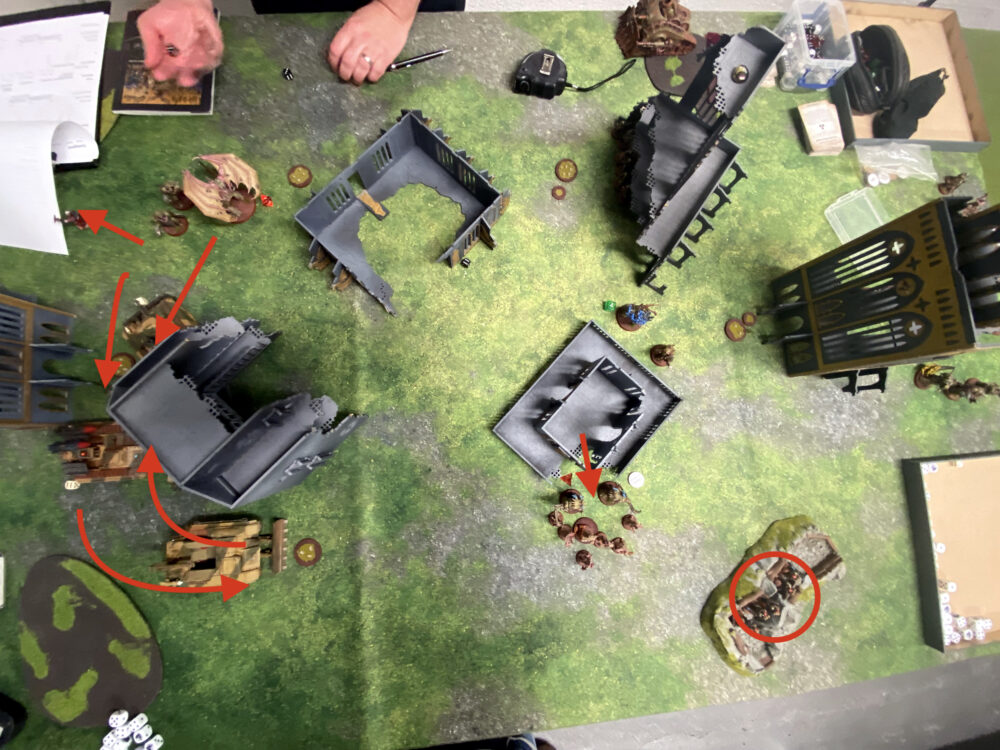
- Grav-Chuted Infantry from the Valkyrie

-

- The Cyclops acting a deep striking denial
-

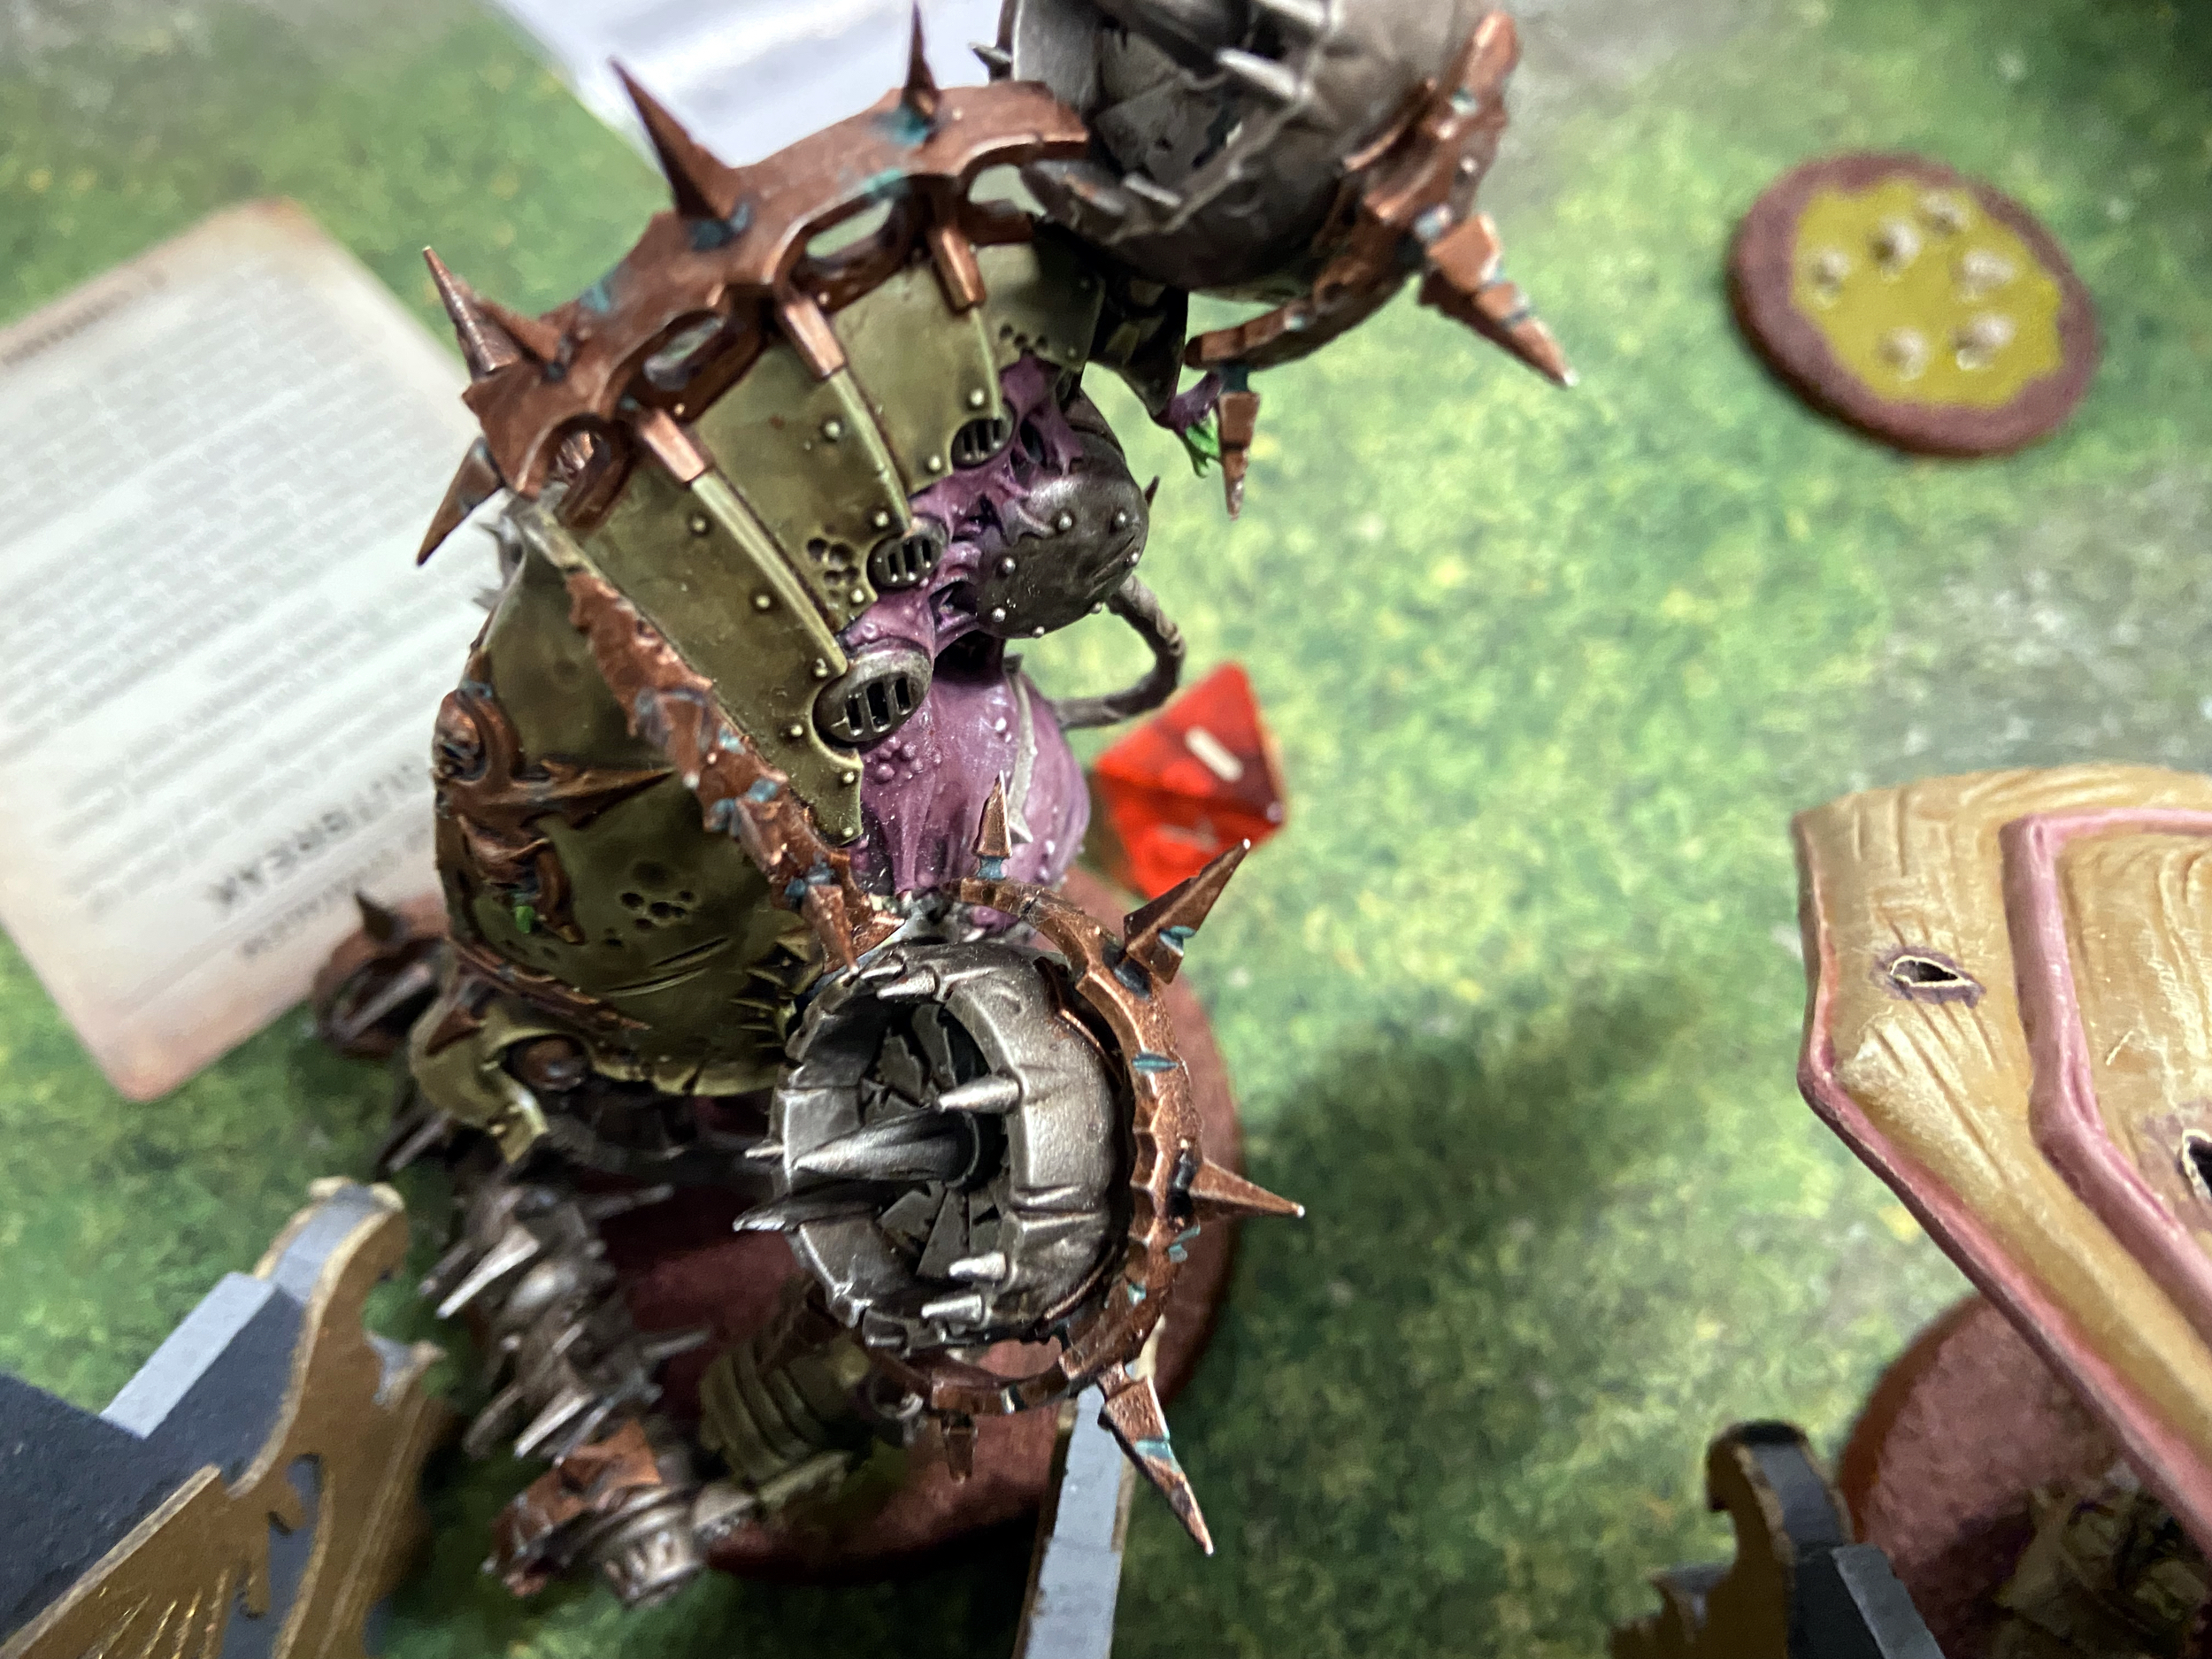
- Bloat Drone on a wound!
-
- Death Guard turn 1 overview

Turn 2
I popped Reign of Confusion up for another turn for 2CP from my Callidus. This worked well over turns 1 and 2 as Mark spent a total of 10CP in the first two turns with very little gain.
The Death Guard were into me now! I somehow did not lose the Manticore from the PBC shooting and the Tank Commander was not shot at all. The Drone and Prince did get into my far side and started to eat up my infantry with ease. The Poxwalkers charged the dropped in Infantry Squad, killing all but two and wrapping them up.
I lost my Valkyrie this turn from the Entropy Cannons on the PBCs and the Foul Blightspawn which auto hits.
The Terminators failed their charge. Which was a bit annoying, had they made it I could have got the Drone, Demon Prince and Terminators with my Cyclops!
I used Desperate Breakout for 2CP on my wrapped Infantry Squad, this allowed them to get out and stay on the objective. The Pox Walkers can now be shot at.
The Callidus arrived and killed the Chaos Spawn hiding right in the back, who was on an objective. My Command Squad of Meltaguns arrived on the far side and my Scion Meltaguns arrived on the near side. Both these Melta units whiffed and killed nothing.
The Manticore moved a little to see the Demon Prince and Drone, and the engaged Infantry Squad and Chimera Fell Back. The Squad inside the Chimera got out first to try and stay on the objective and keep it from the enemy.
My shooting was not great again, despite using Vengence for Cadia on the Manticore again. The Drone did not die nor did the Demon Prince! Sigh. I think I went for a PBC on this turn and did 4 Wounds to it with my Manticore Missile. A poor showing.
The Demolisher had similar luck, killing all but one Poxwalker and one Deathshroud. A load of Poxwalkers would come back in the next turn too! In case you are wondering why there are more in turn 3.
The Cyclops went for the Terminators and it killed none. Boo! I think I could have actually used it more effectively as a speed bump and just placed it in their way to stop their movement and charge into my stuff in turn 3.
Retrieve Octarius Data, Piling In and Actions
There was a weird turn of events in this turn. The Infantry Squad on the far side from the serving Chimera got out and started Retrieve Octarius Data. Then in the Charge Phase, the Demon Prince Heroically Intervened as he was within 3″ of this Infantry Squad and we thought this would stop the Retrieve Octarius Data action. So this action was cancelled.
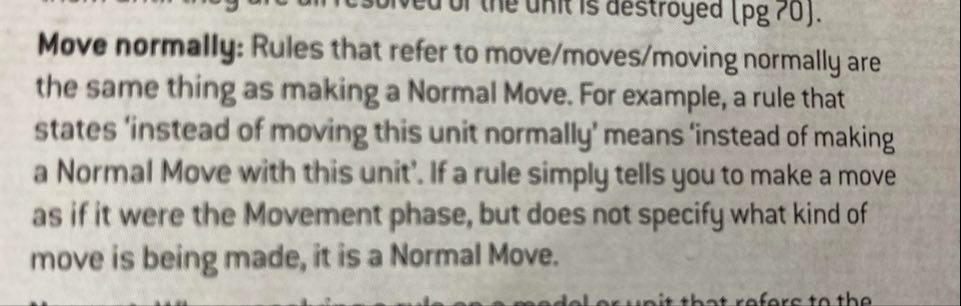
But after the game, I realised that fighting in melee does not stop an Action.
The other interaction we needed to clear up was “is a Pile In Move a Normal Move” – because if it was a Normal Move this also stops Actions. The Retrieve Octarius Data action starts in my turn and ends in my turn, all of this was happening in my turn. After reading what counts as a Normal Move, specifically this from the glossary of the Grand Tournament 2021 book – it would seem that Piling In is not a Normal Move and the Retrieve Octarius Data action worked.
So the action was a success. This Retrieve Octarius Data was my second successful one of the game, after the one in turn 1.
-

- The far side was getting messy
-
- Oh no!

-
- Things gonna get dead

-
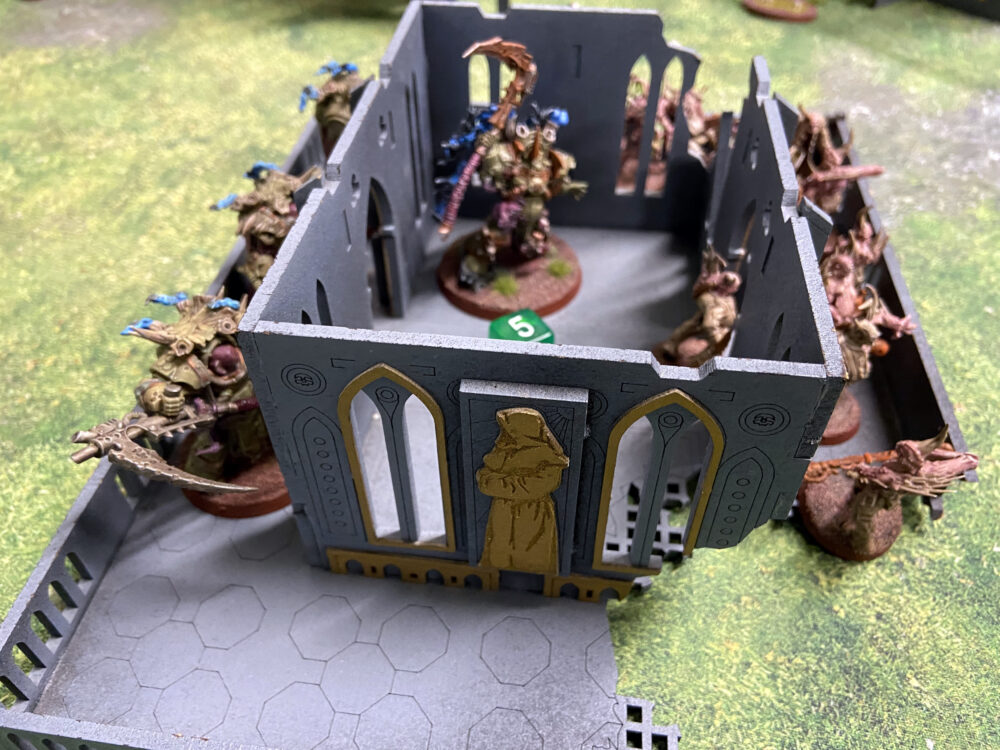
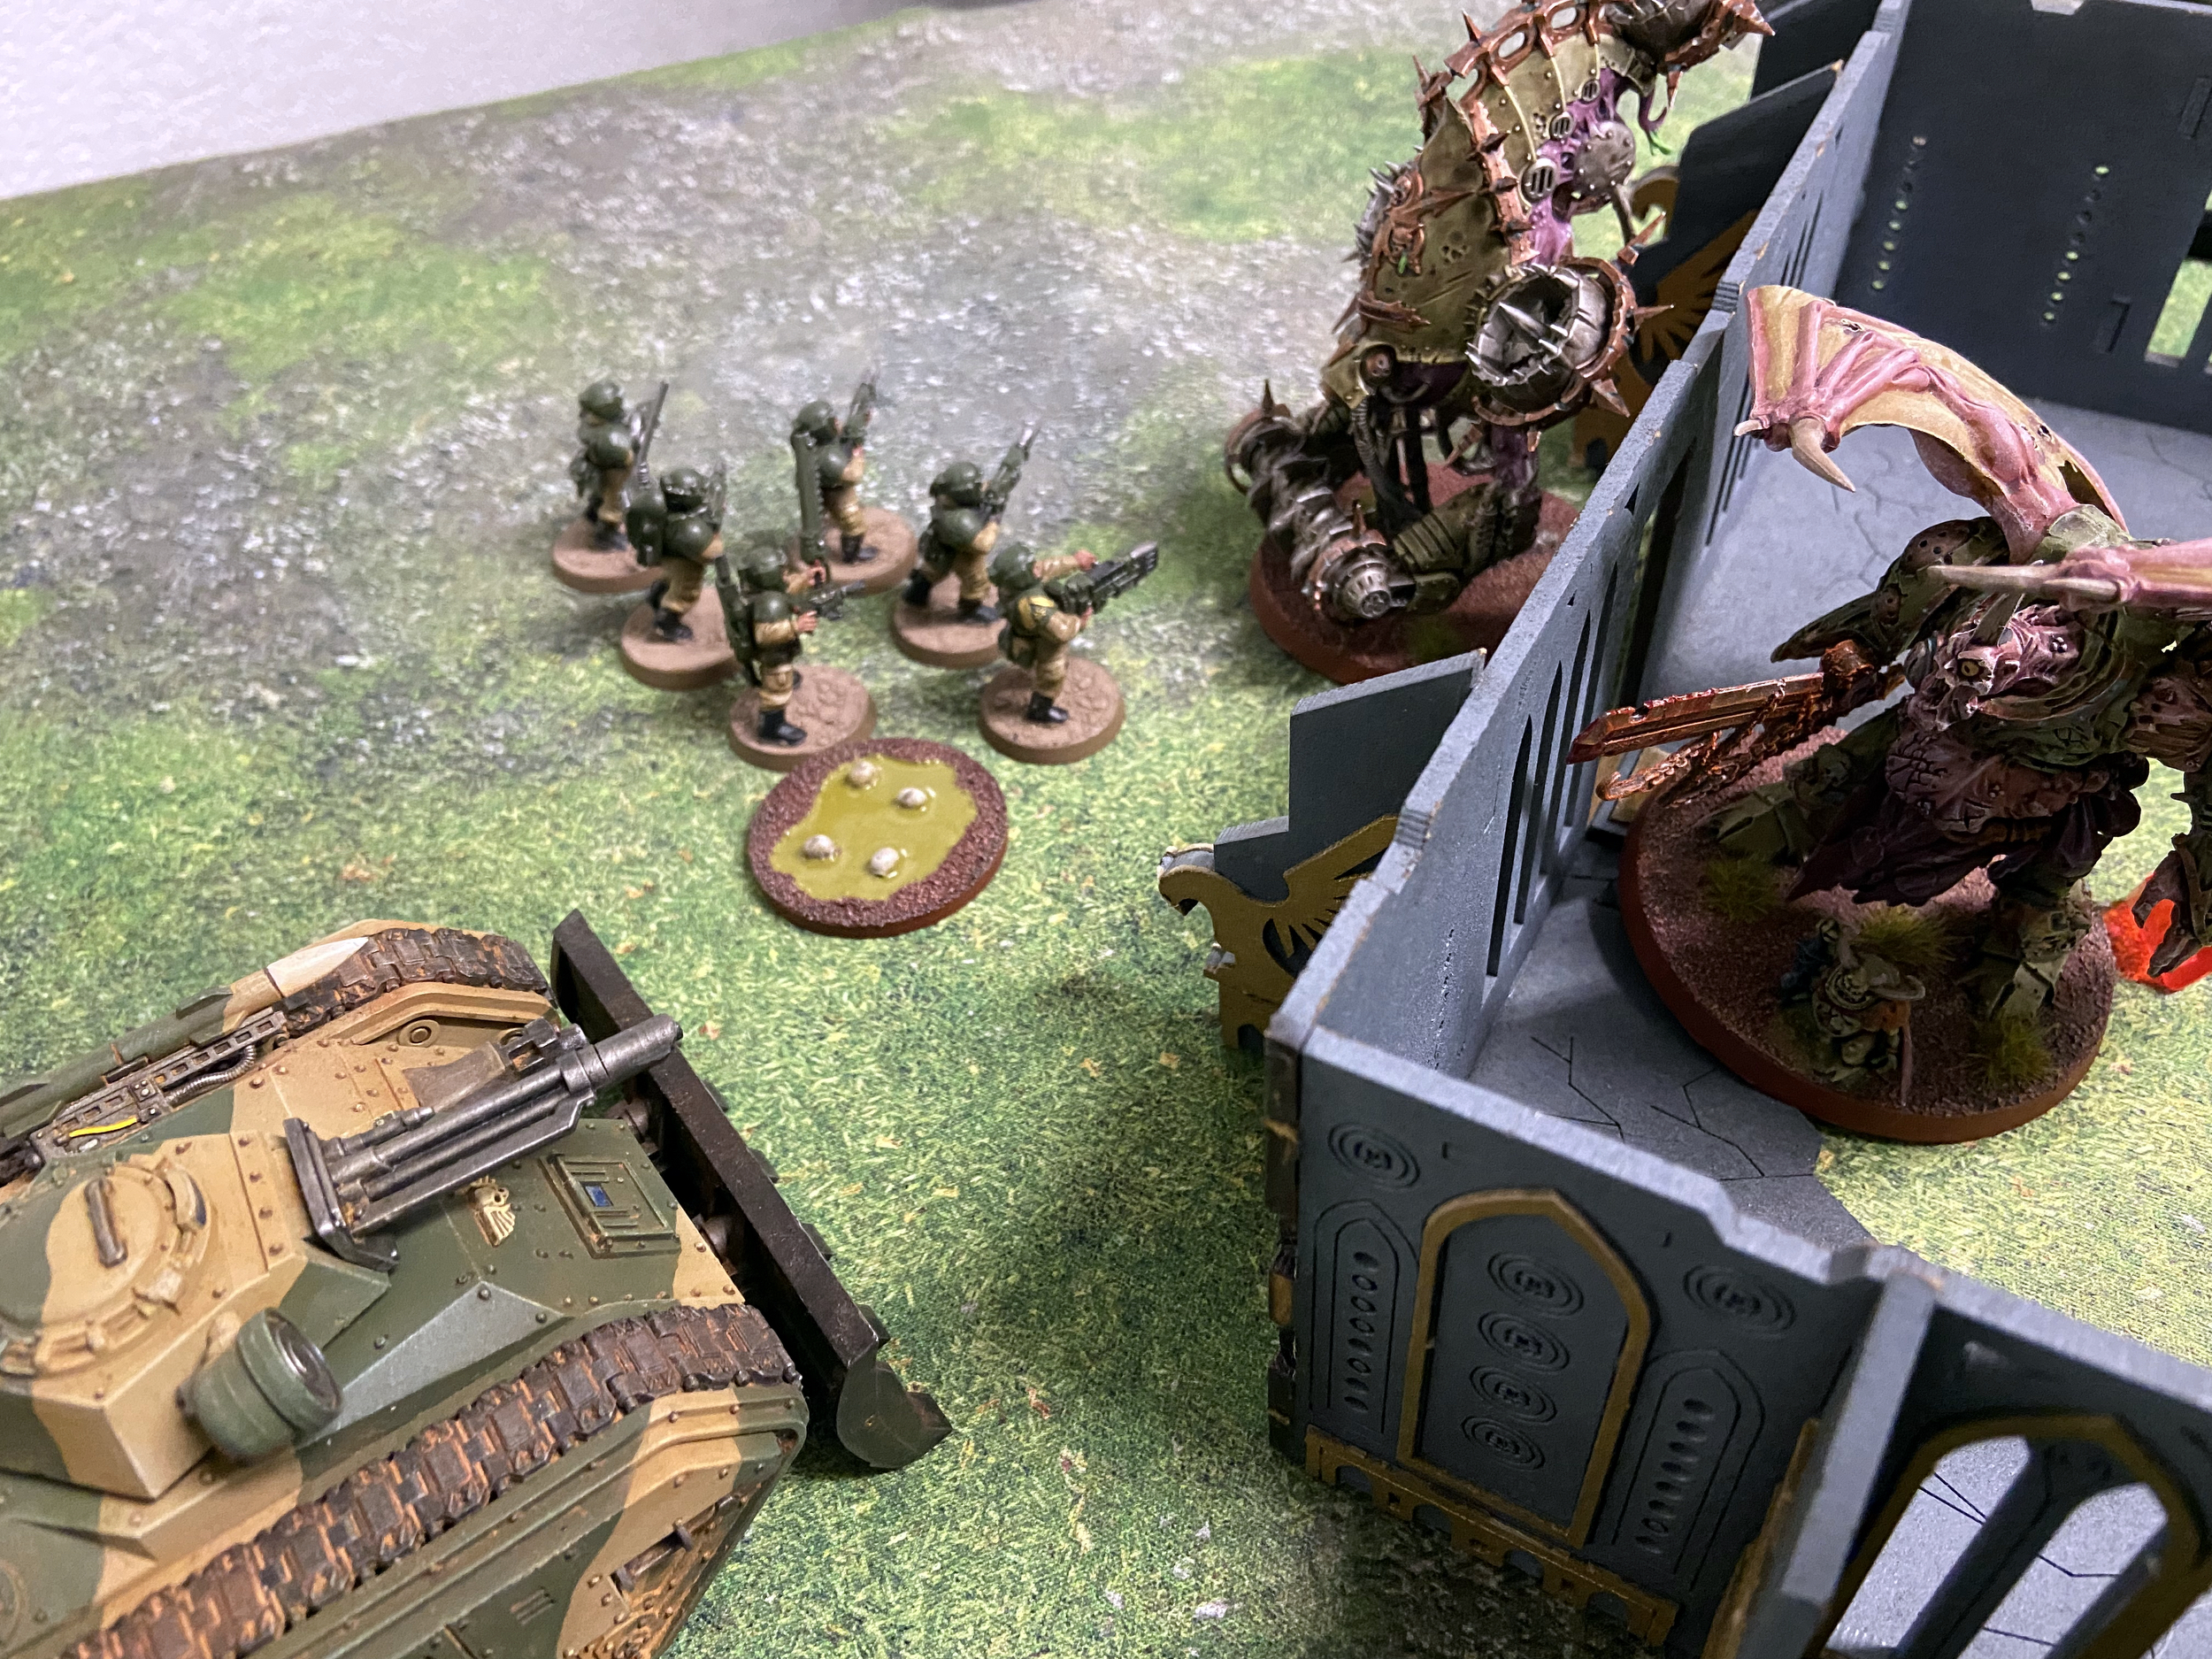
- Typhus and co moving up

-
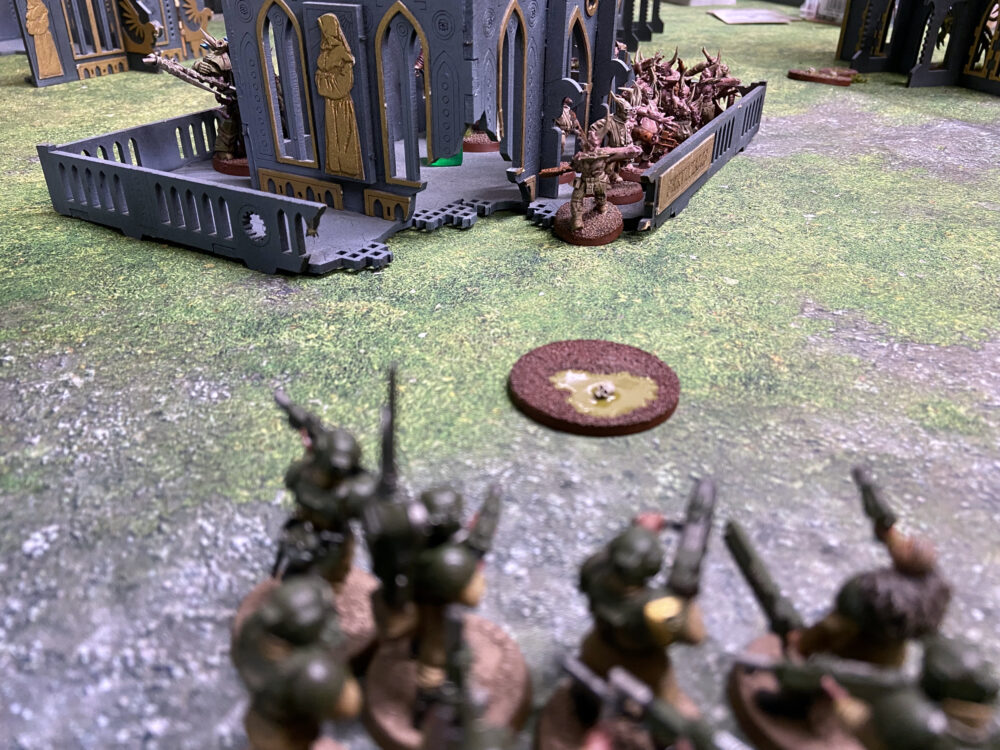
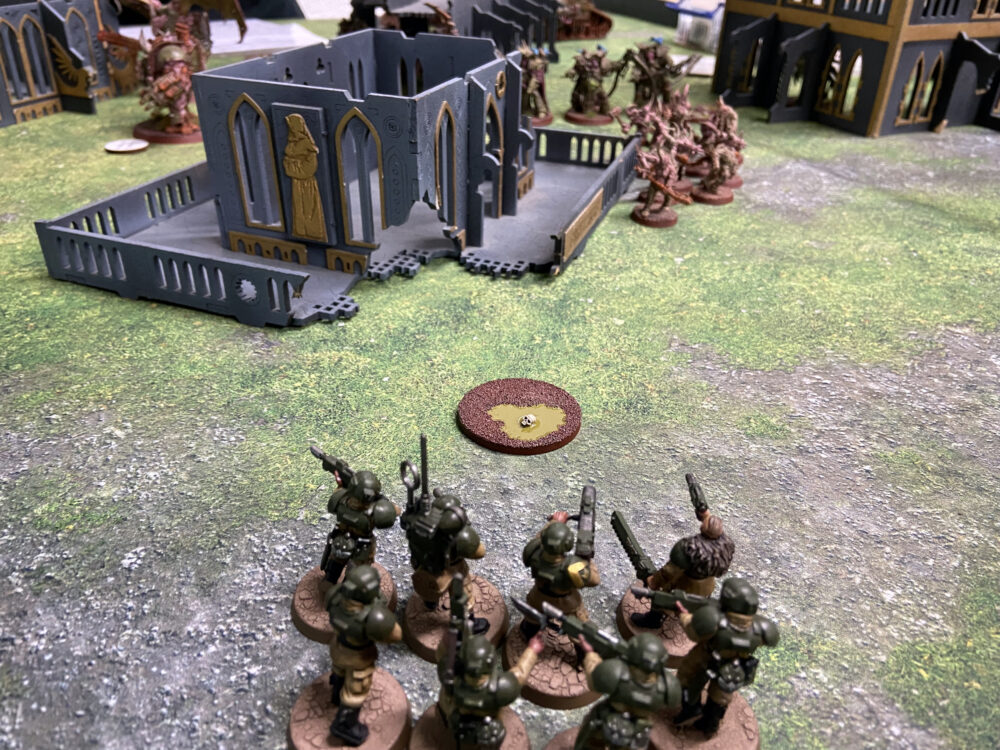
- My dropped Infantry Squad brace for a Poxwalker charge
-
- Terminators drop in, but fail their charge

-
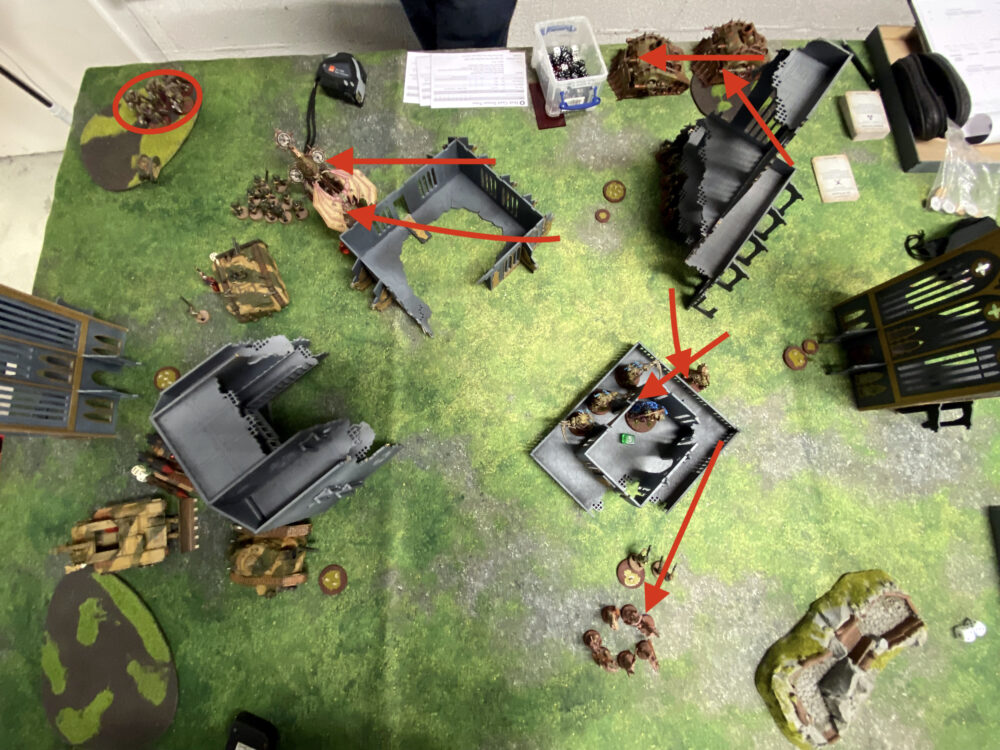
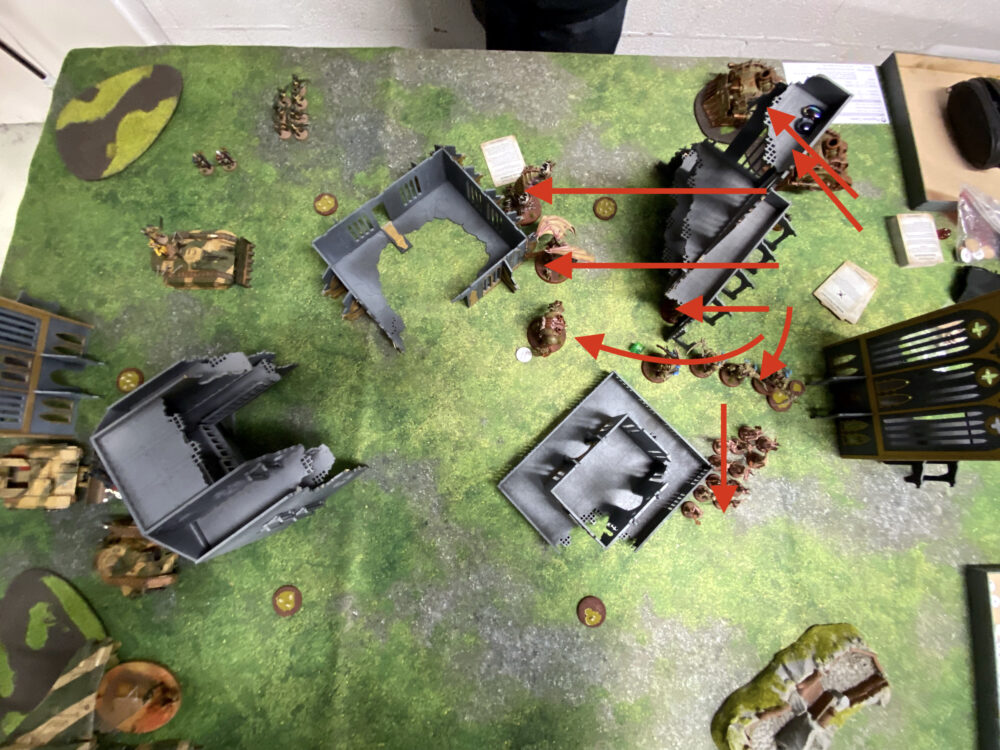
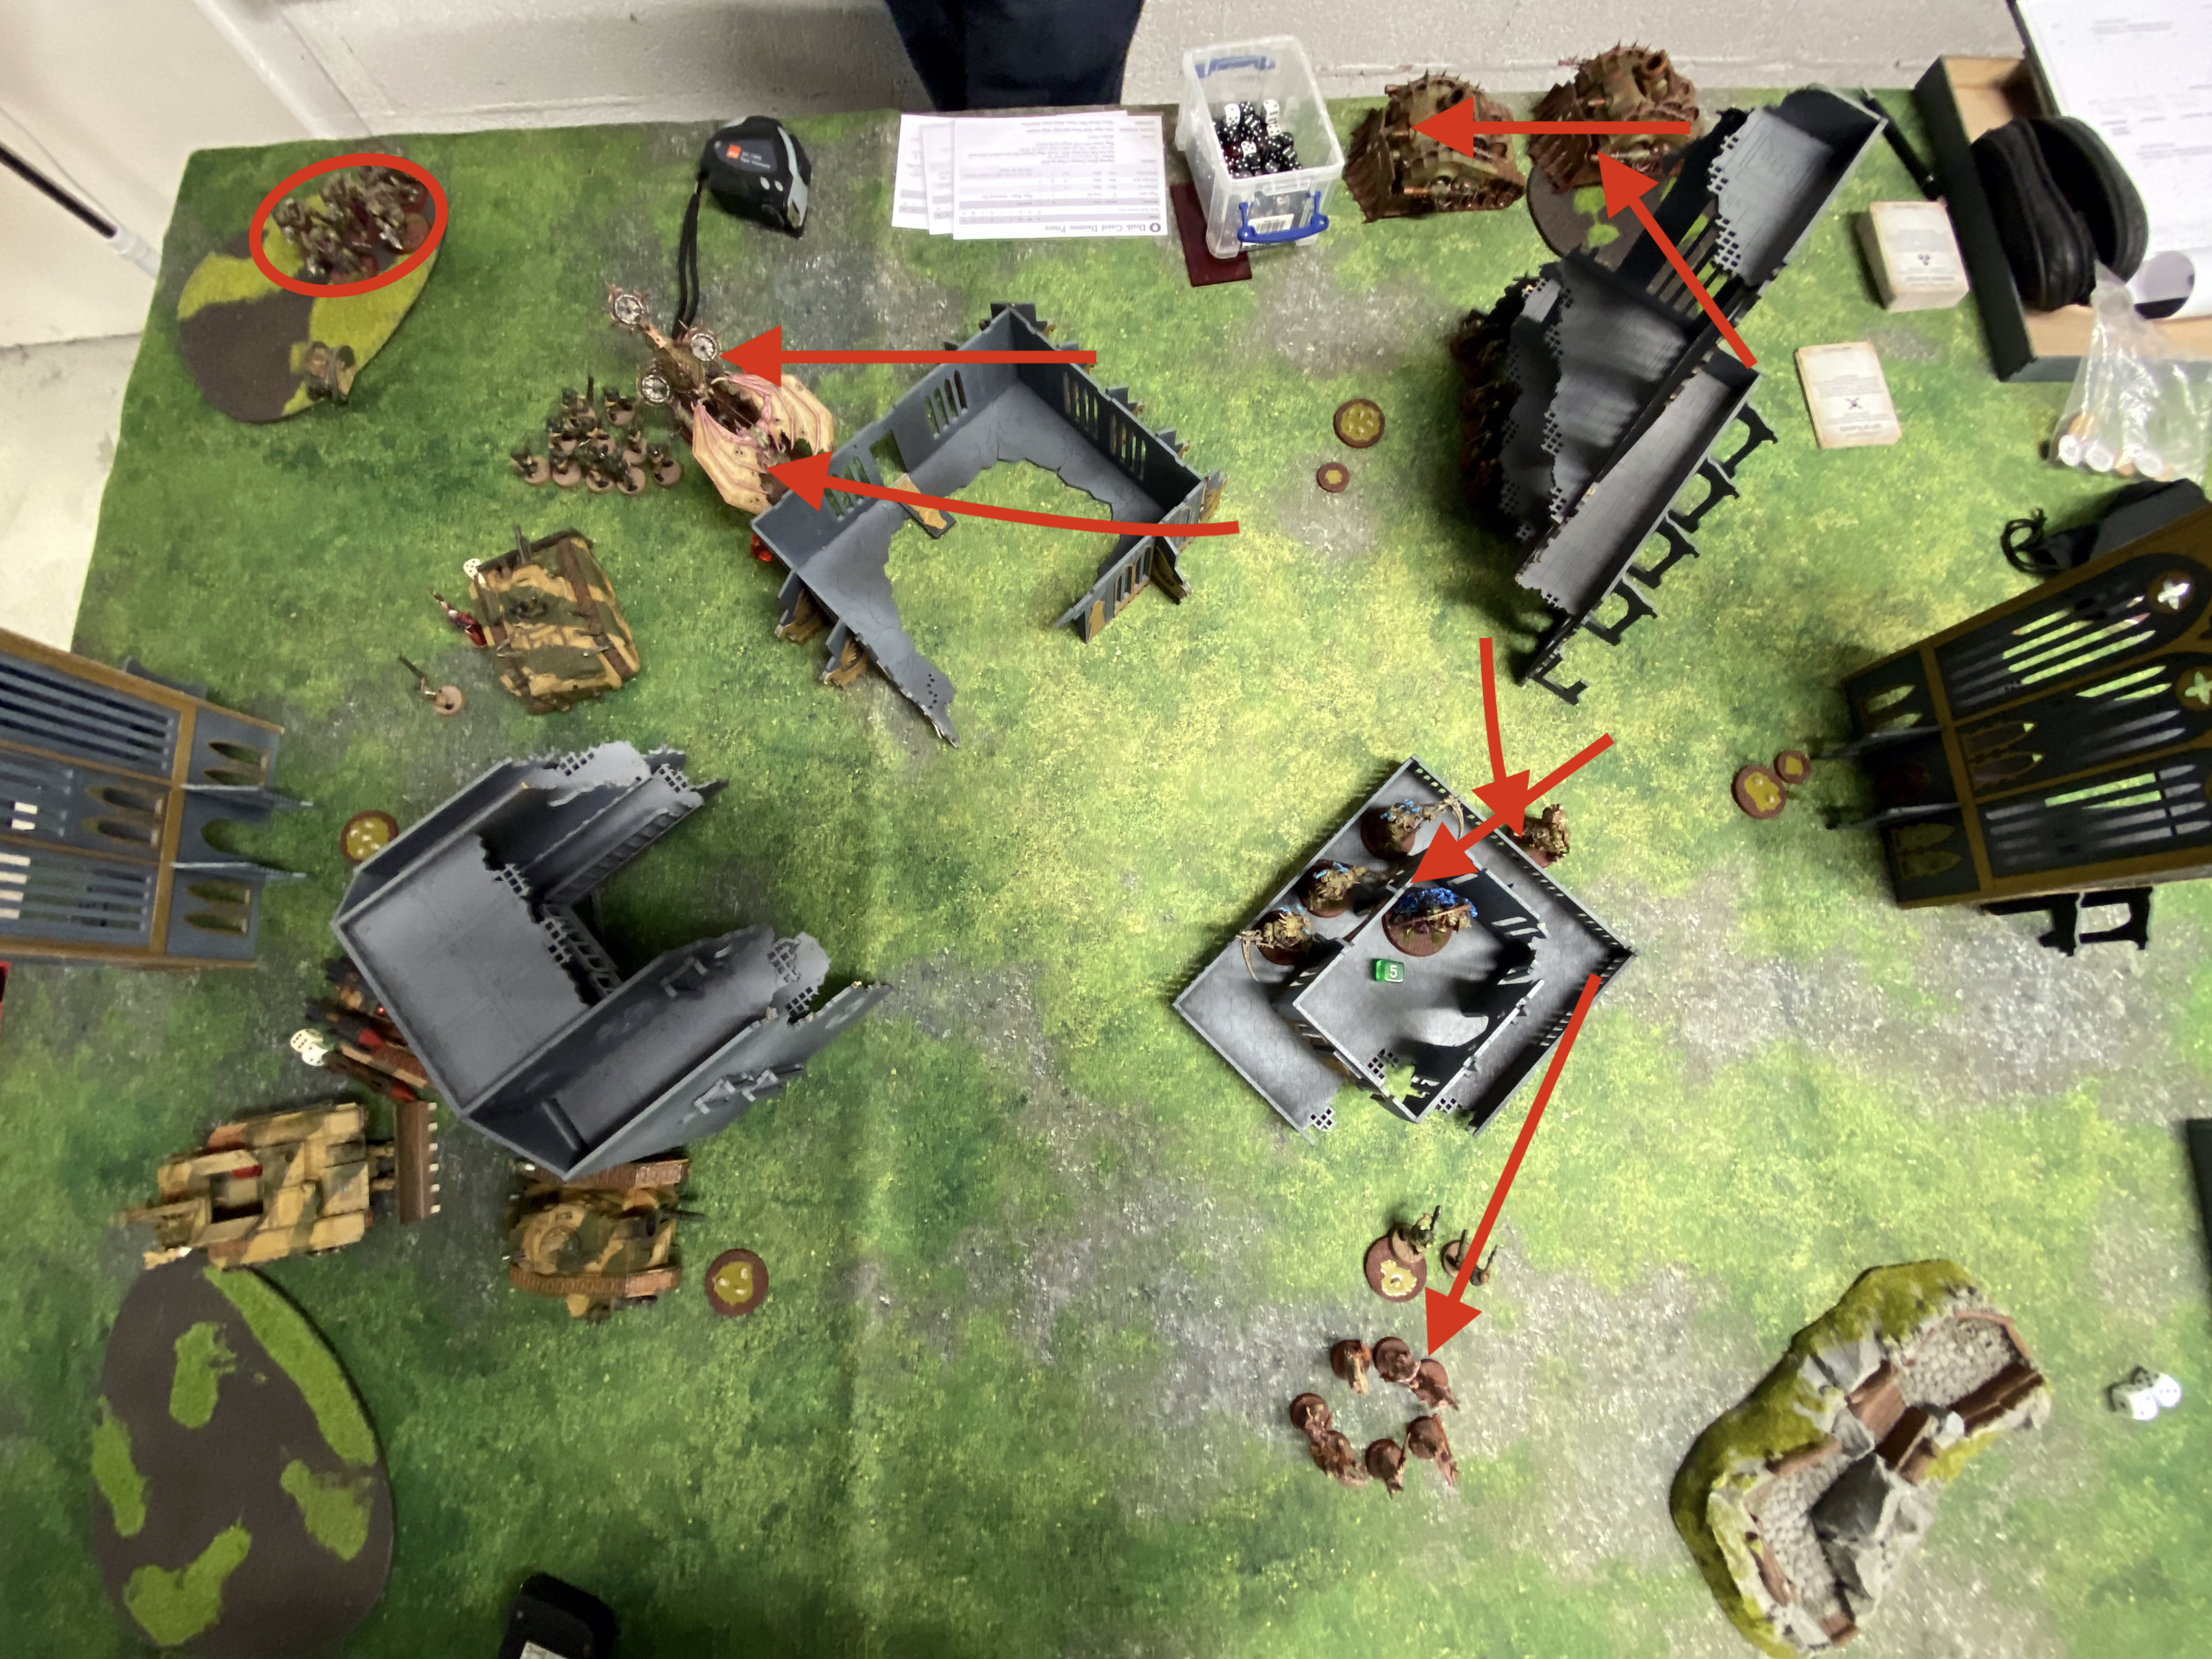
- Death Guard turn 2 overview
-
- Astra Militarum turn 2 overview

Turn 3
I survived the shooting from the PBCs, these were the biggest threat for my Tank Commander and Manticore as they have their line-of-sight ignoring mortars.
I lost the Infantry Squad from the Valkyrie this turn, plus the Callidus and Command Squad of Meltaguns. The Callidus had done her job, she had forced the Death Guard to spend more CP and come in and sniped a single model from their backline – which was on an objective. She took the objective too and forced Typhus and the Foul Blightspawn back to deal with her.
The Meltagun Squad was a waste, it should have done Retrieve Octarius Data and hidden somewhere. Instead, they came, did no damage and died. The Scions with Meltaguns did the same.
The Terminators made it into my Chimera and Infantry Squad and quickly cleared them out. The Chimera survived on a Wound though! They were well on their way towards my Manticore and Tank Commander.
It is worth noting here that over the course of the game so far, in my turn 2 and now turn 3 Movement Phases the Trojan was reloading a missile on the Manticore and then the Hunter Killer Missile on the Manticore. He would reload the Tank Commander Hunter Killer Missile on turn 4 and his own Hunter Killer Missile on turn 5.
I ran an Astropath off into a table quarter on his own to get me 2VP for Engage On All Fronts. That poor guy!
I moved things around in my tank park to allow the Tank Commander to see the Drone and a PBC. I popped Vengence for Cadia and smashed both of them. The single Lascannon killed the drone, Hail of Fire on the Demolisher killed the PBC and the Multimeltas killed three of the five Terminators. That -1 Damage for the Death Guard is not so great when you are taking on many Multimeltas!
And just like those before them, my Plasma Gun Scions came in and killed nothing. The Command Squad and two Scions did help me get Engage On All Fronts more often than I would have otherwise. So they were not completely wasted.
I had really tried to maximise my ability to keep the objective in my Deployment Zone, it is just by the Manticore. The Manticore was near it, as was my Company Commander, the single Wound Chimer and the Tank Commander. There was also no room for the Demon Prince with Wings to fly up and over and into them all. They would have to get chew through it all to get to the objective.
-
- Terminators make it into Combat

-
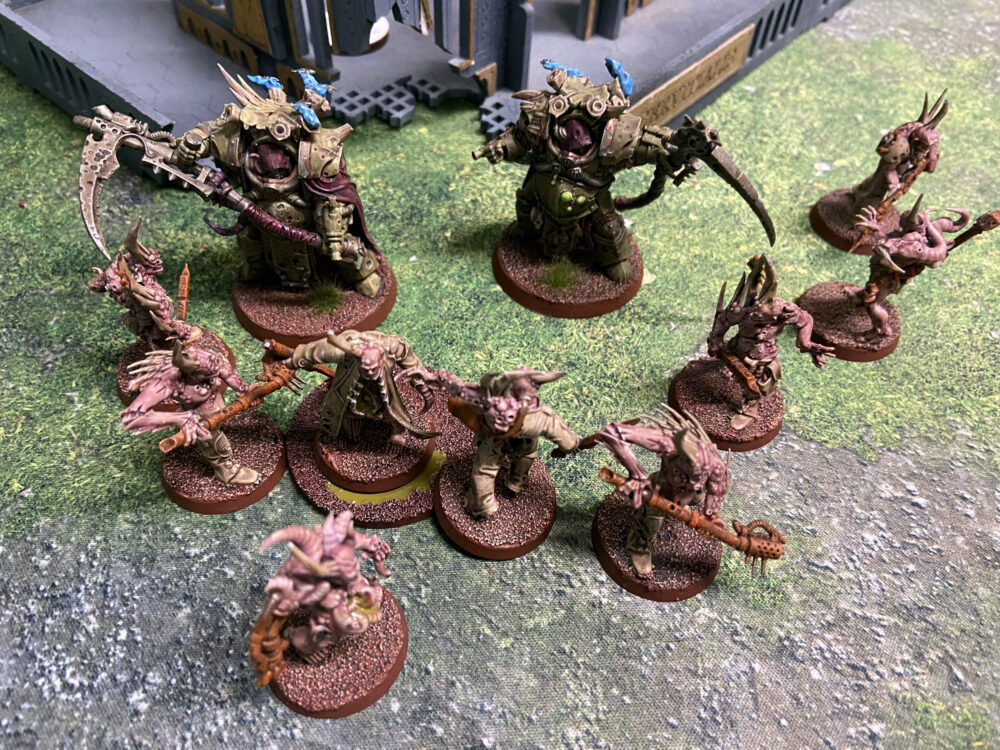
- Deathshrouds & Poxwalkers move in

-
- The clean up crew going about their business

-
- My tank park is still intact!

-
- Death Guard turn 3 overview

-
- Astra Militarum turn 3 overview

Turn 4
The backline Death Guard units cleared out my Plasma Scions in a trench and then moved onto objectives.
The Terminators and Demon Prince moved towards my Manticore and Tank Commander, preparing to take them on and wipe out my most powerful units.
The Chimera died this turn, along with my Company Commander. The Manticore and Tank Commander survived though.
I moved my Trojan up to try and get it onto an objective on the other side of the battlefield, to get Control More on the Primary.
The Demon Prince died this turn to the Tank Commander, but I was unable to get rid of the PBC.
-

- Melee units are bearing down on me
-
- Turn 4 overview

Turn 5
In the last turn, we both had very little left.
It basically came down to;
- Can the Death Guard kill things to get Grind Them Down?
- Can the Death Guard survive to get Minimise Losses?
- Can I get onto numerous objectives in turn 5 to score the Primary?
- Can I kill the Death Guard to deny Minimise Losses and Grind Them Down?
- Can I kill the Death Guard to get Bring It Down?
The Trojan died, so I could no longer get Control More for the Primary. I was down to two units, the Manticore and the Tank Commander. The last Terminators failed to kill the Manticore, it had 2 Wounds and it took 1. So lucky!
I destroyed the PBC for Bring It Down and wiped the Terminators to secure that objective with my Manticore. With the Trojan dead, I was only able to get two objectives.
And that was that!
-
- Deathshrouds tearing apart the Trojan

-
- Terminator vs Manticore

Death Guard vs Cadians Summary
It was a Guard victory! Just!
And only just. We left the game not knowing I had scored Retrieve Octarius Data twice for 4VP. That meant the score was 69-70 to Death Guard. Upon clarifying how Actions work with the Charge Phase and Fight Phase – and ensuring that the Demon Prince did not wipe my unit out – I did complete the second Retrieve Octarius Data action. That swung it to an Astra Militarum win, 73-70.
This was an incredibly close game, and a great game too.
Neither of us knew who had won when it ended, and at that point, there was just 1VP in it.
Without the Vengeance for Cadia Stratagem I would have been steamrollered. That was the one thing that kept me in the game and be able to reliably kill things. Reloading the HKMs is cool and being able to fire a Manticore once more than normal is really handy.
We both made a lot of mistakes in this game, we both admitted this and talked about it afterwards. I threw away my infantry units trying to kill things instead of going for my Retrieve Octarius Data action. And I also failed to realise that using Vengeance for Cadia on the Manticore is a lot worse than on the Tank Commander. The Tank Commander can order himself to re-roll the number of shots on his Demolisher to maximise its effectiveness. But the Manticore cannot.
I am sure we will meet the Death Guard again soon…
I originally scored this game as a 73-70 win for me, but I miss-scored Bring It Down, after correcting it I lost 70-68.
Well played Mark!
Final Score
Astra Militarum – 68
Death Guard – 70
Death Guard Victory
