
Creating Puddles
Let us get wet and muddy! it is puddles o'clock!
I’ve now done with creating puddles for my Forgeworld Heavy Mortars. And so it’s time to document the process for me and for others to learn from.
Never miss an article? Subscribe!

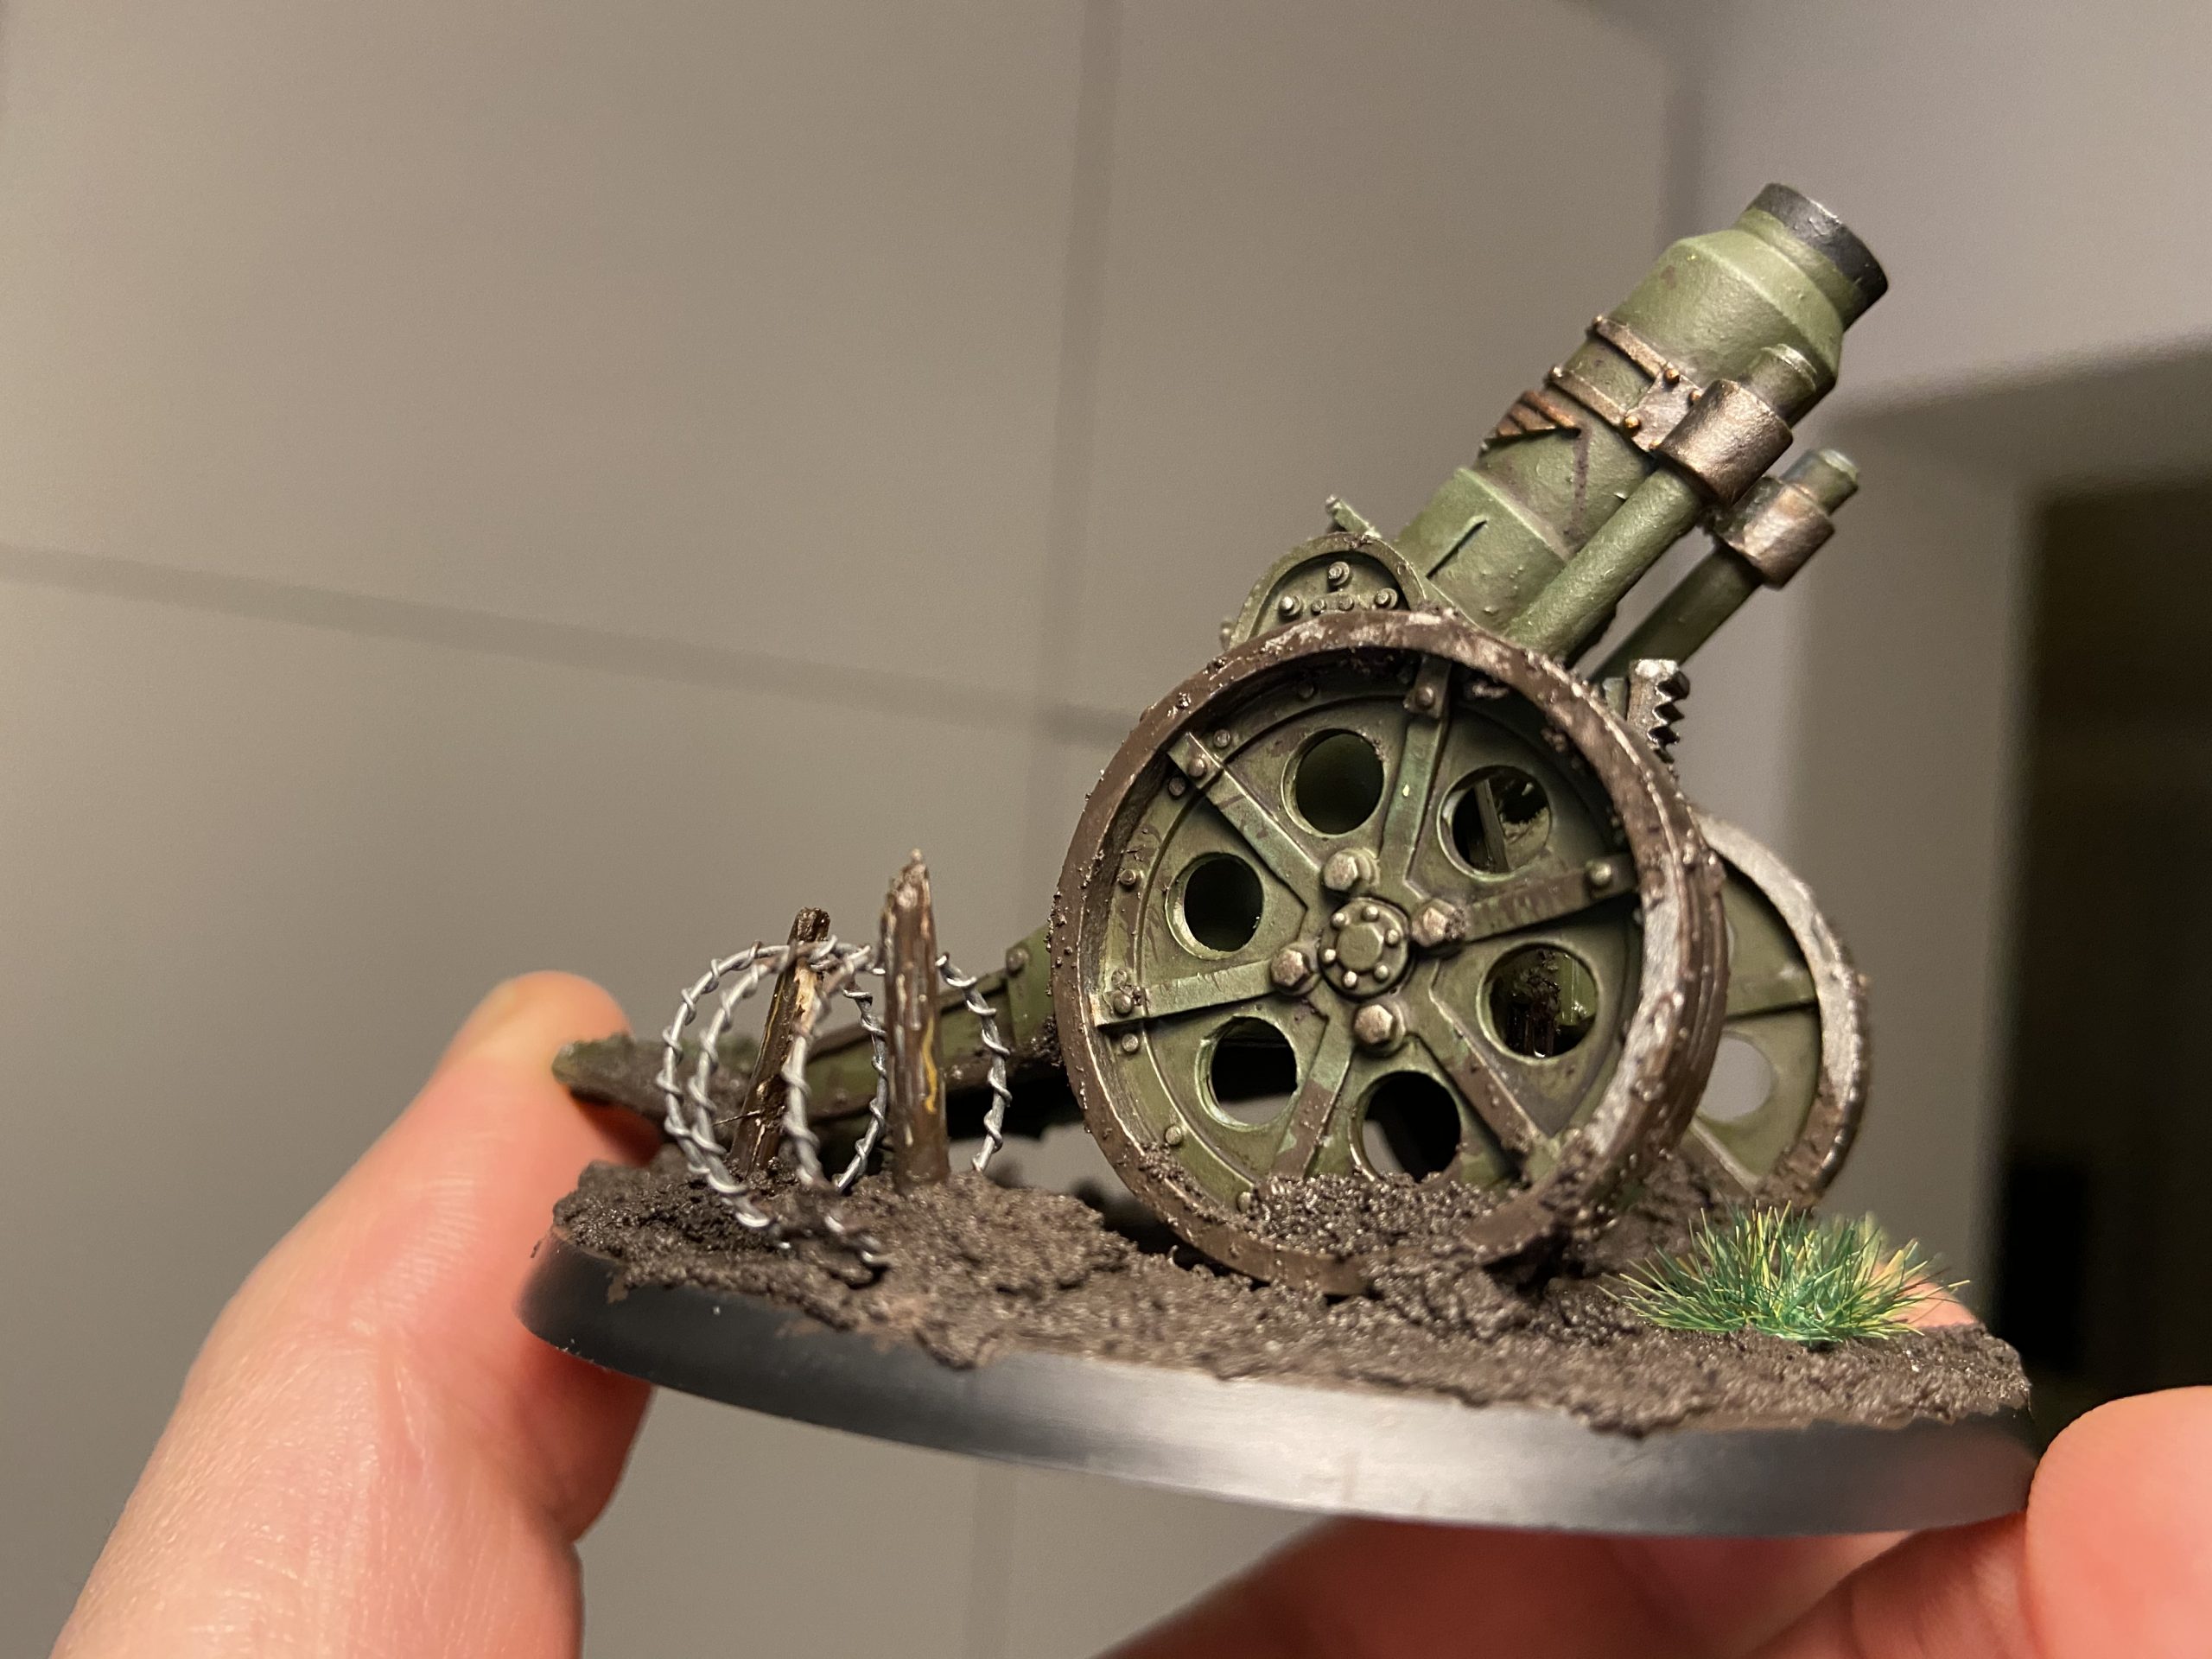
Creating Puddles – the final effect
Creating Puddles – Equipment & Materials
This is an exhaustive list, alternatives are available and not everything is required. But I’ll get to that later.
- AK Interactive Puddles
- AK Interactive Wet Effect Fluid
- A Base – I am using an 80mm one from Games Workshop here
- Stirland Battlemire
- Paper Towel
- Tooth Picks
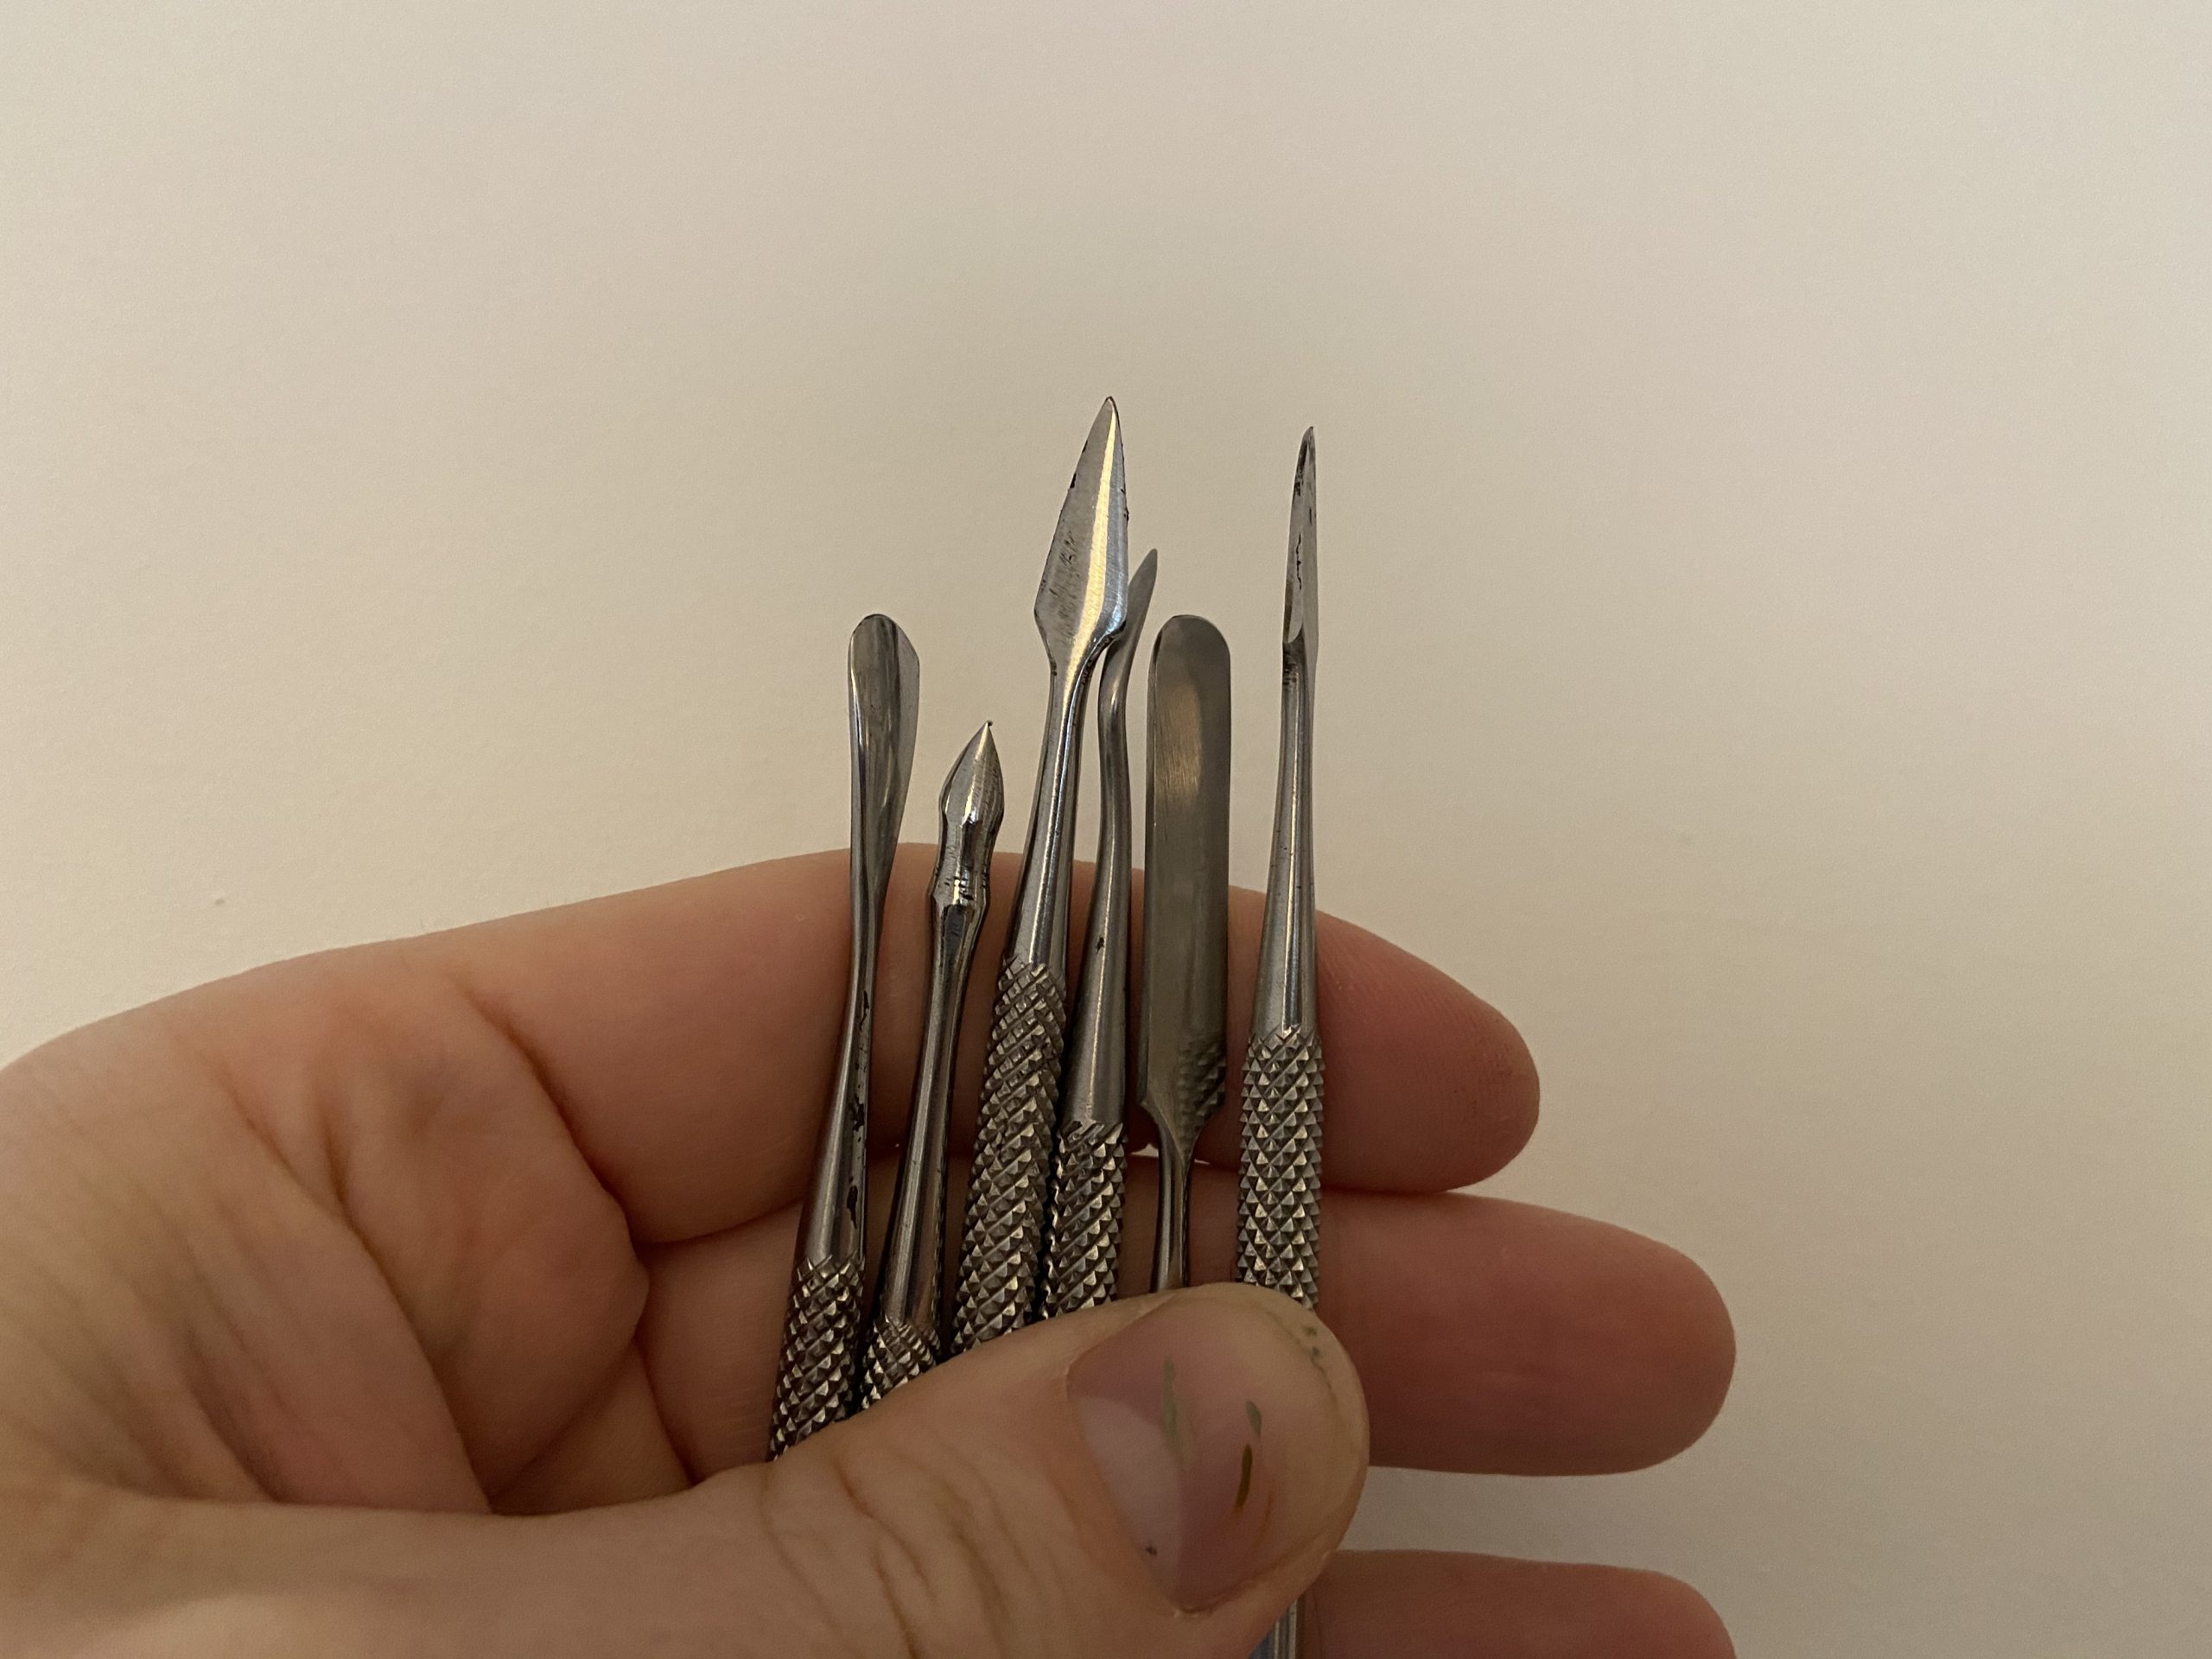
- Clay Tools
- Plasticard
- Super Glue
- Hobby Snippers
- A Knife
- Green Stuff
- Brown Paint
- A Pin Drill
- Paper Clips
For each section, I will explain and then bombard you with photos of my work in progress. The photos will help a lot! but do ask questions in the comments if needed…
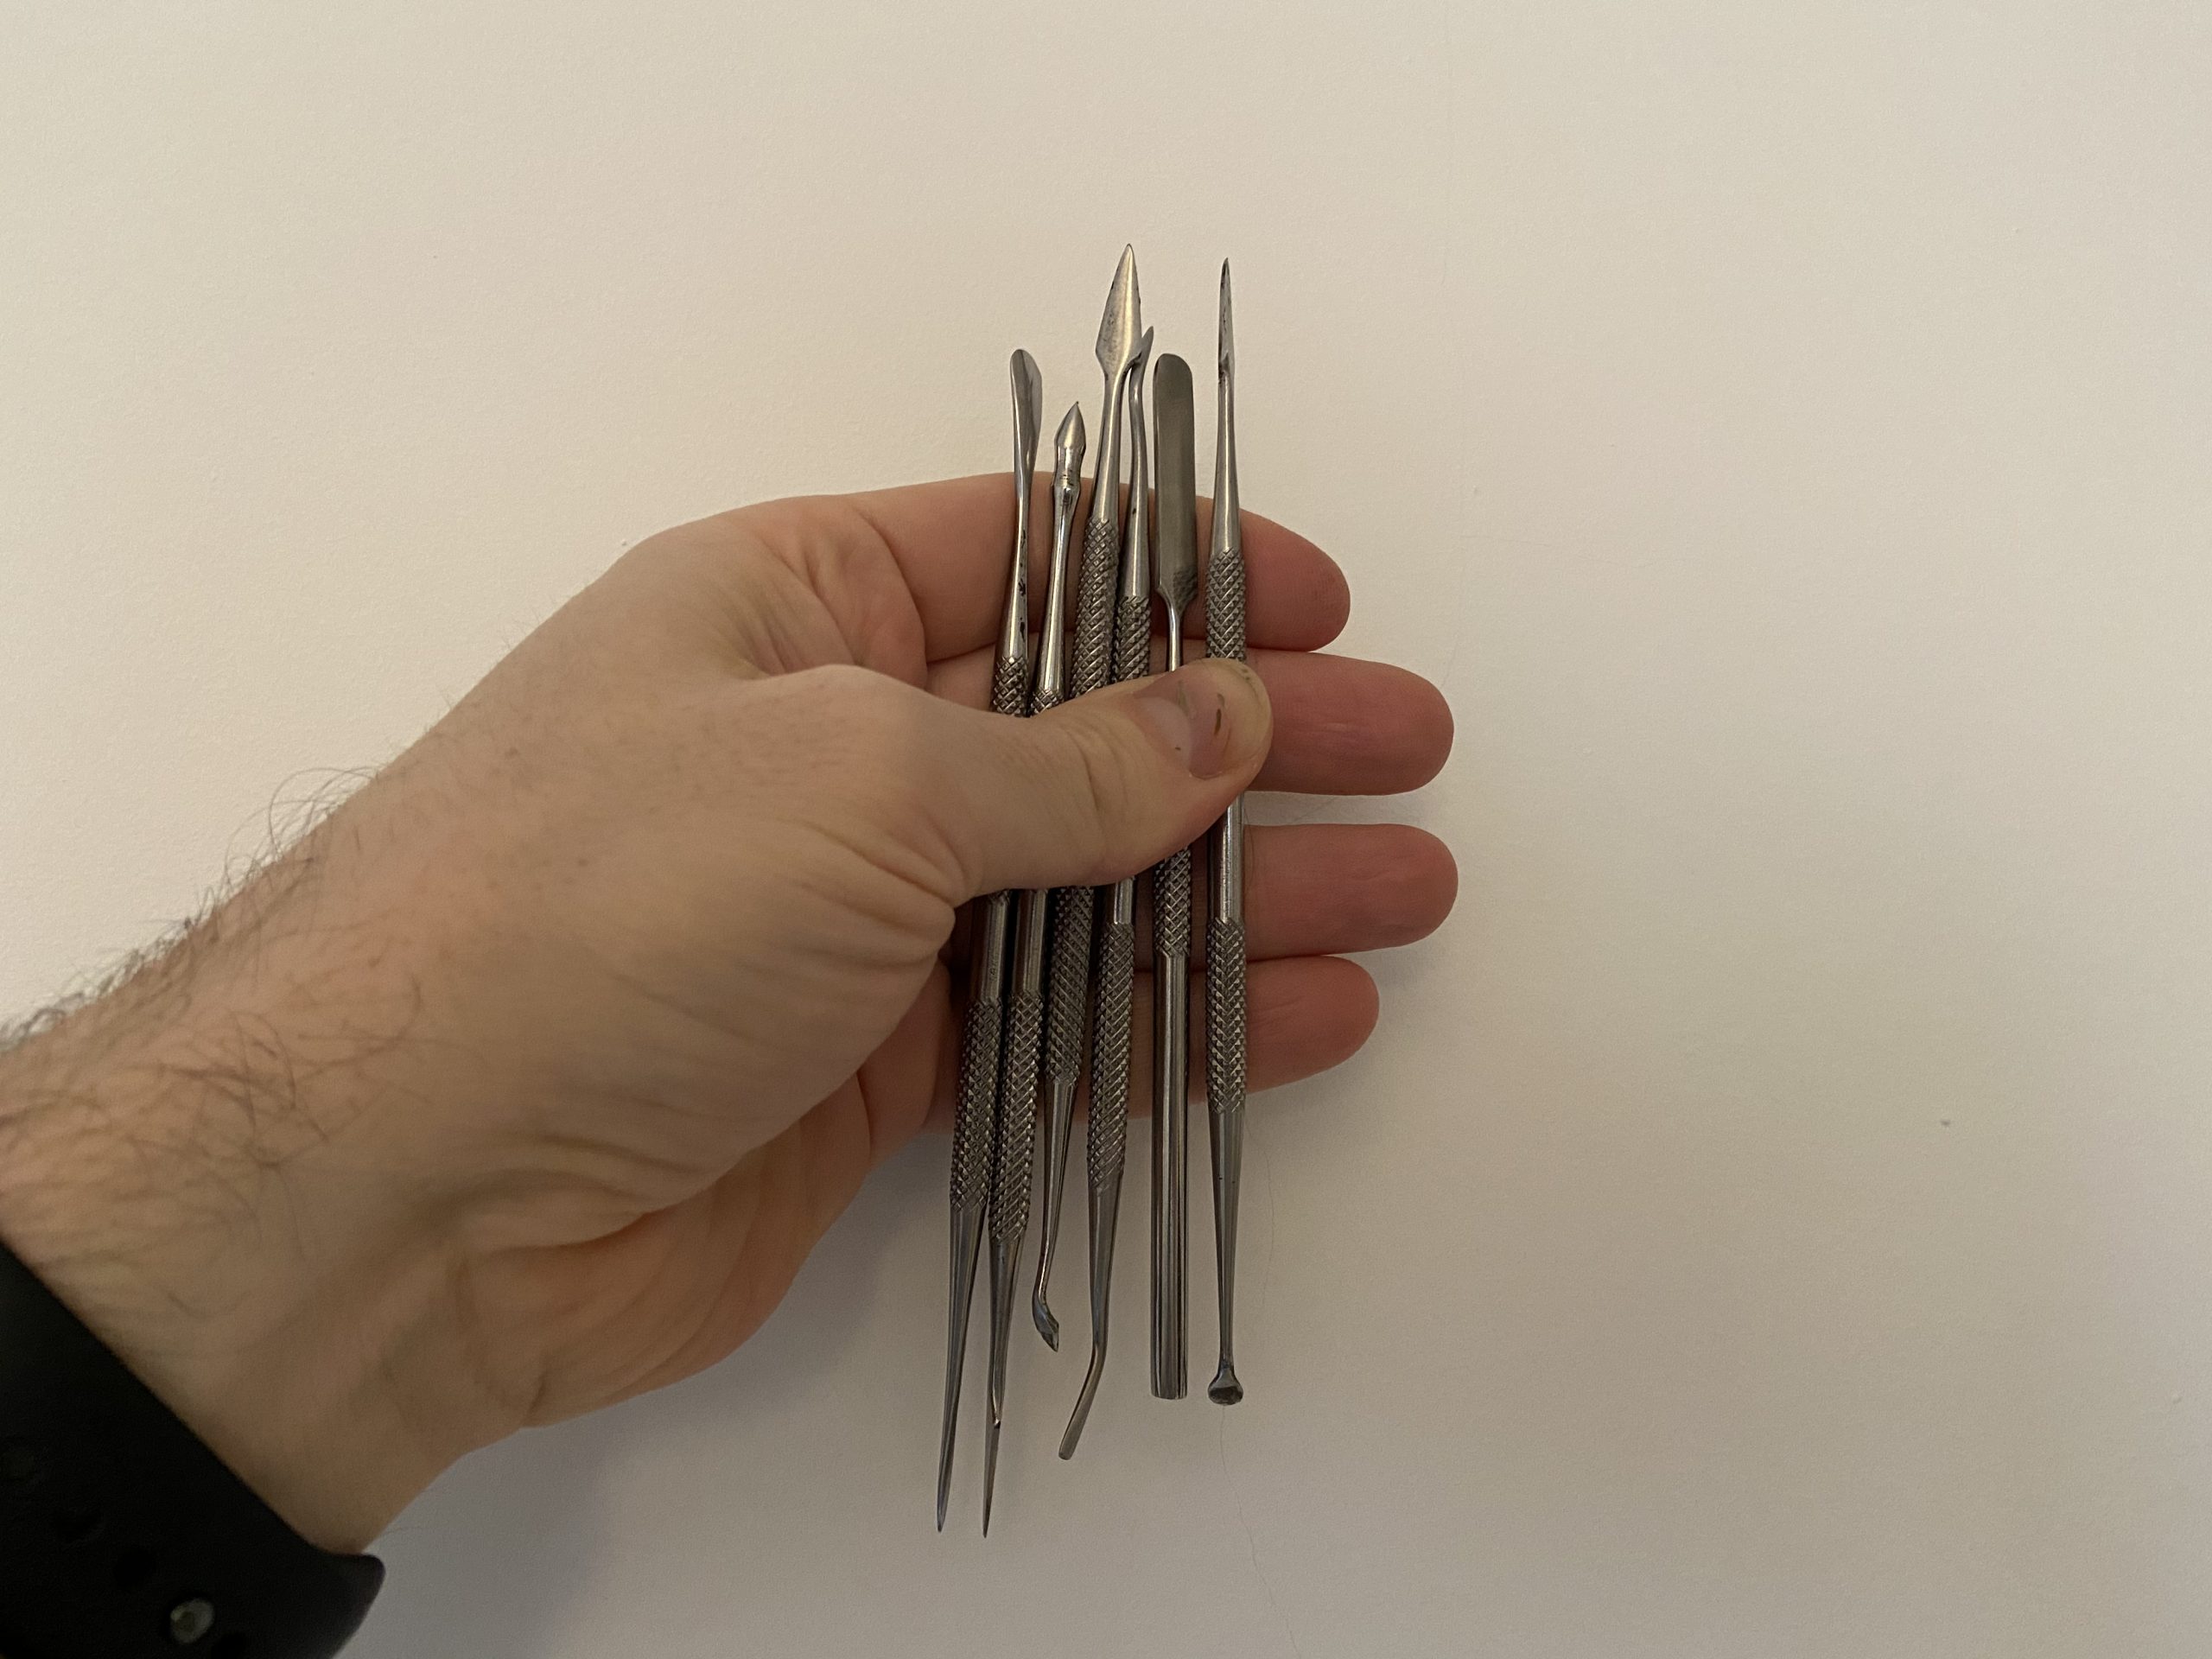
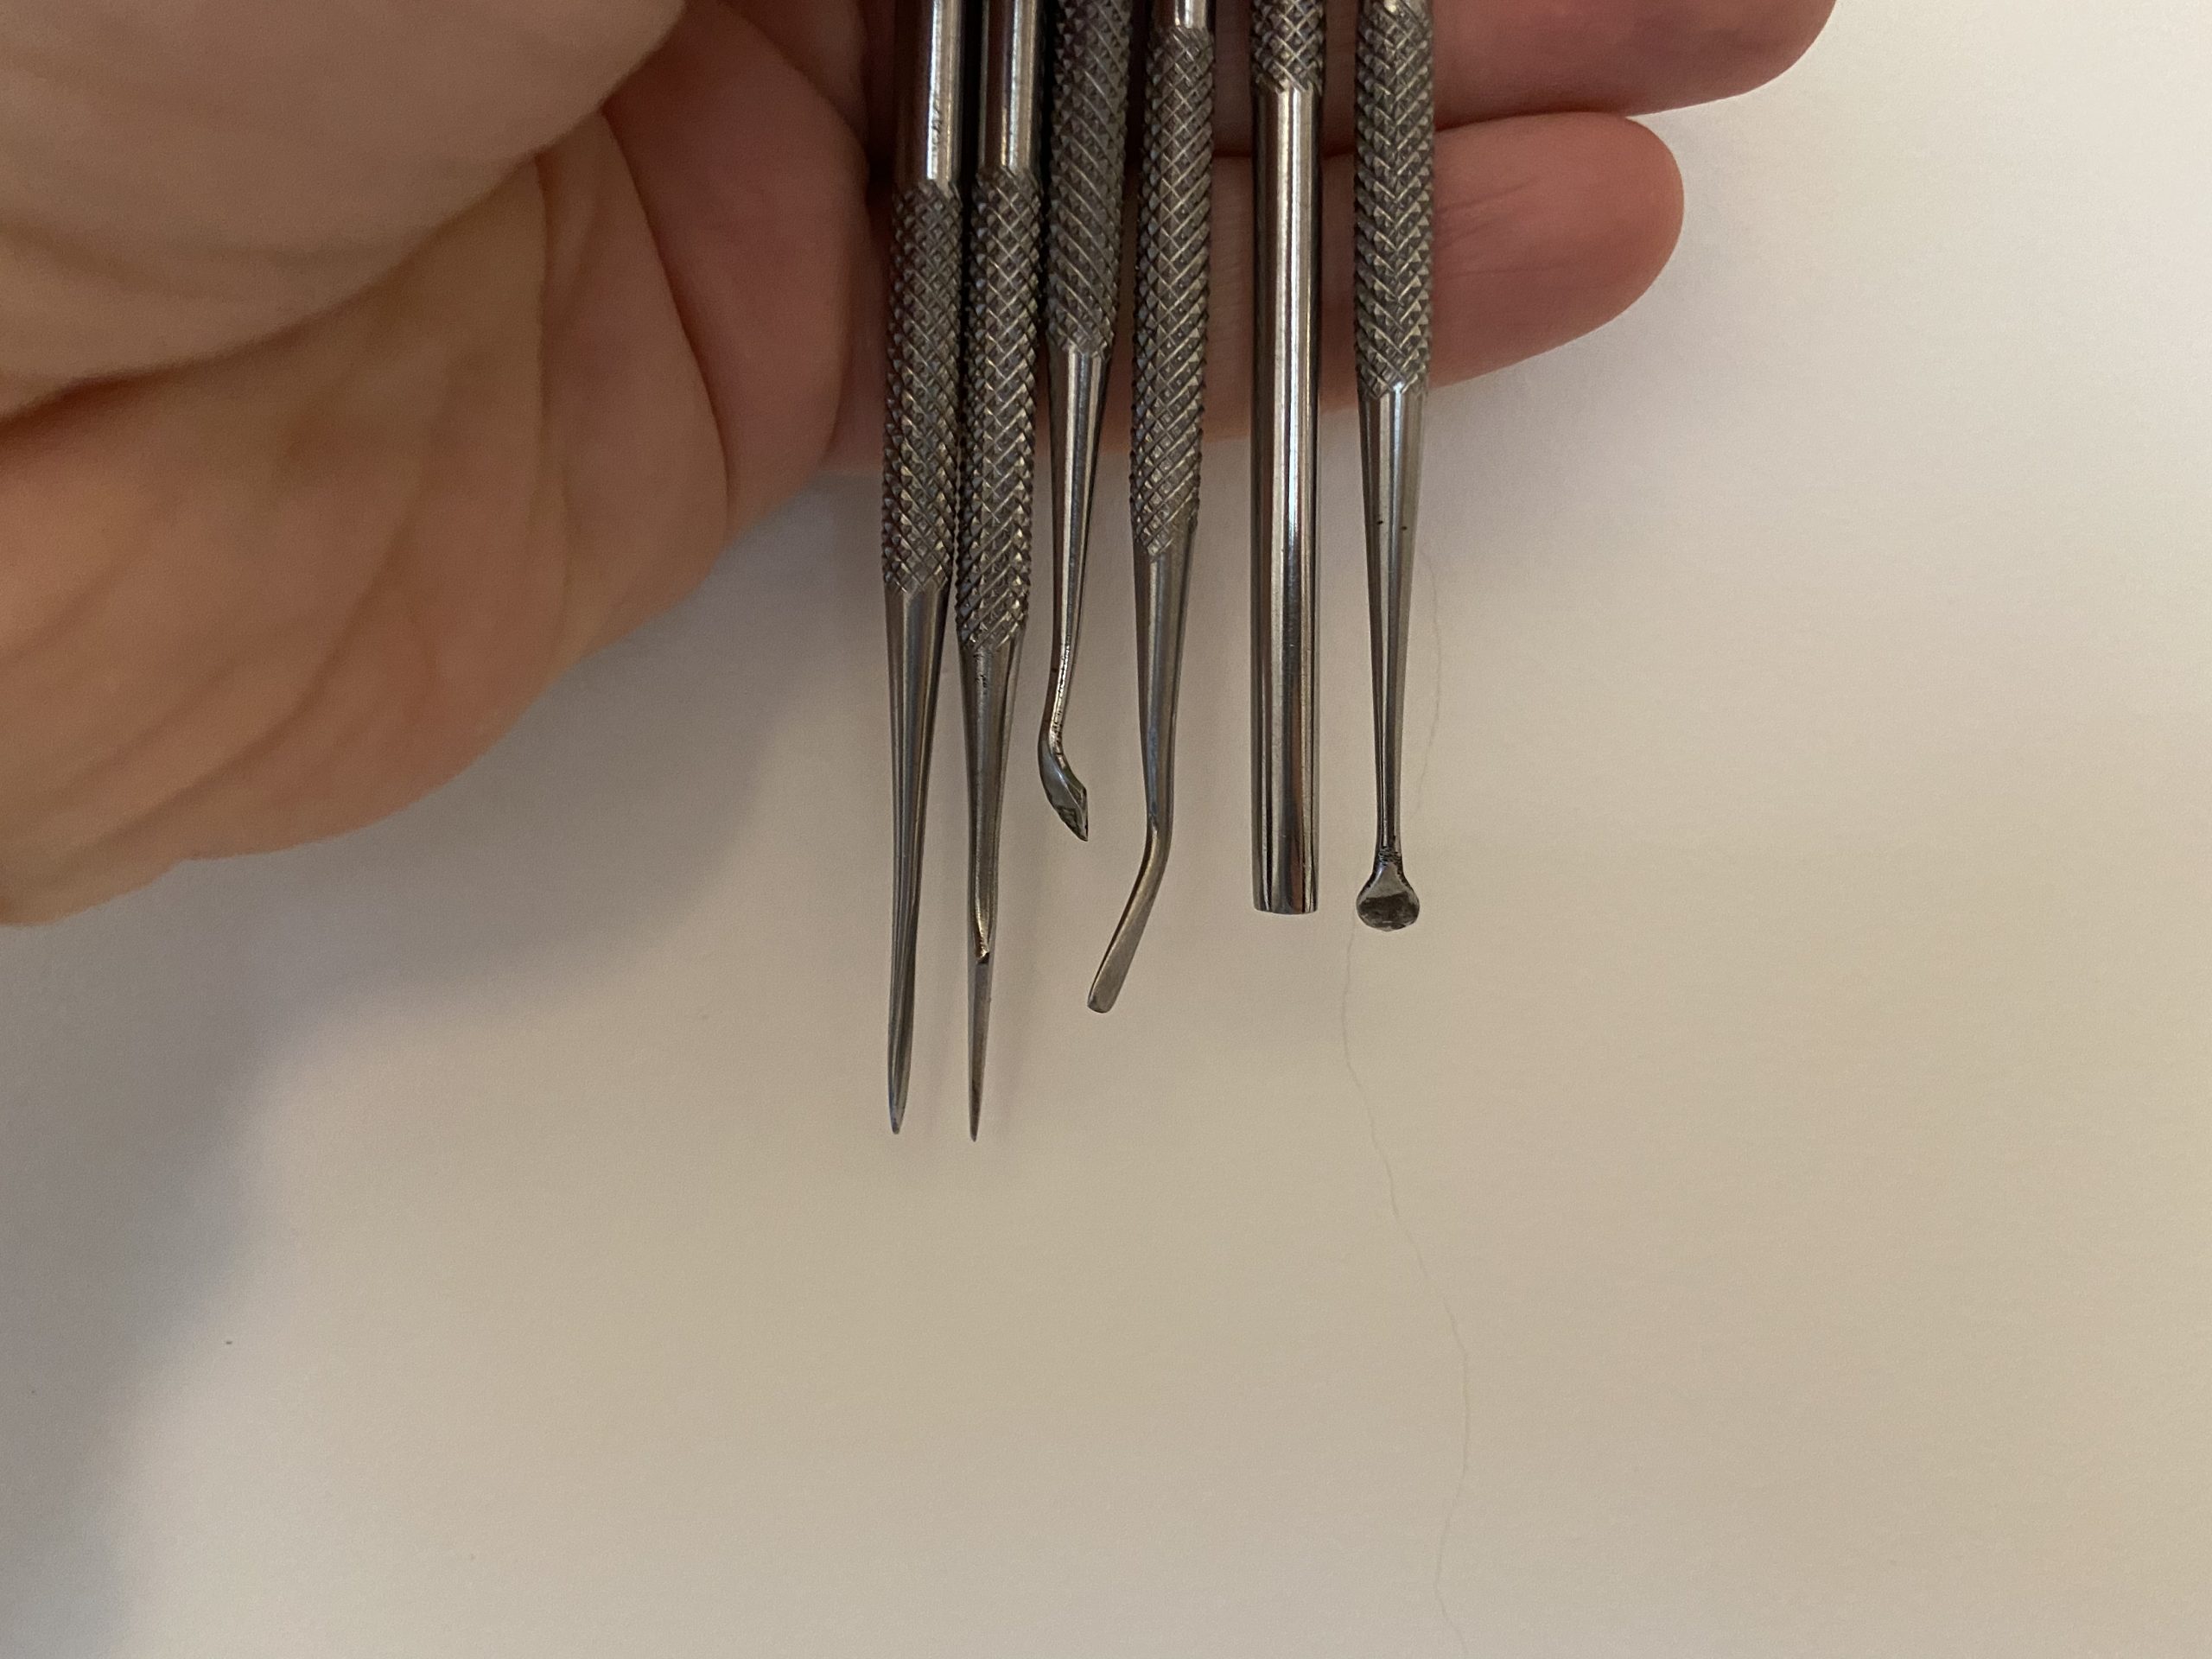
These are the clay tools I use. They are cheap and very handy for shifting around texture paint on a base. There are all shapes and sizes – which is very useful for getting into hard to reach places. Especially later on when you are trying to place your last bit of Stirland Battlemore around wheels and barbed wire.
Preparing the Base
Firstly we need to create holes in the base to give us the depth for the puddles. I use this method because it just looks more realistic.
You can build up the puddle from mud, but that isn’t how puddles are formed. They are formed by taking away from what is there – not adding a specific ring of material to form a pool.
Anyway, you need to make your holes. Be mindful of the model that will be placed on the base at the end. E.g. leave space for feet or tracks or wheels and put the puddle where it can be seen.
I used a knife and snippers to do my holes. Brute force. But you may want a pin drop to start them as the base can bend and warp. Be careful.
Once you have your holes, trim them so you don’t have jagged plastic sticking up on the top side of your base.
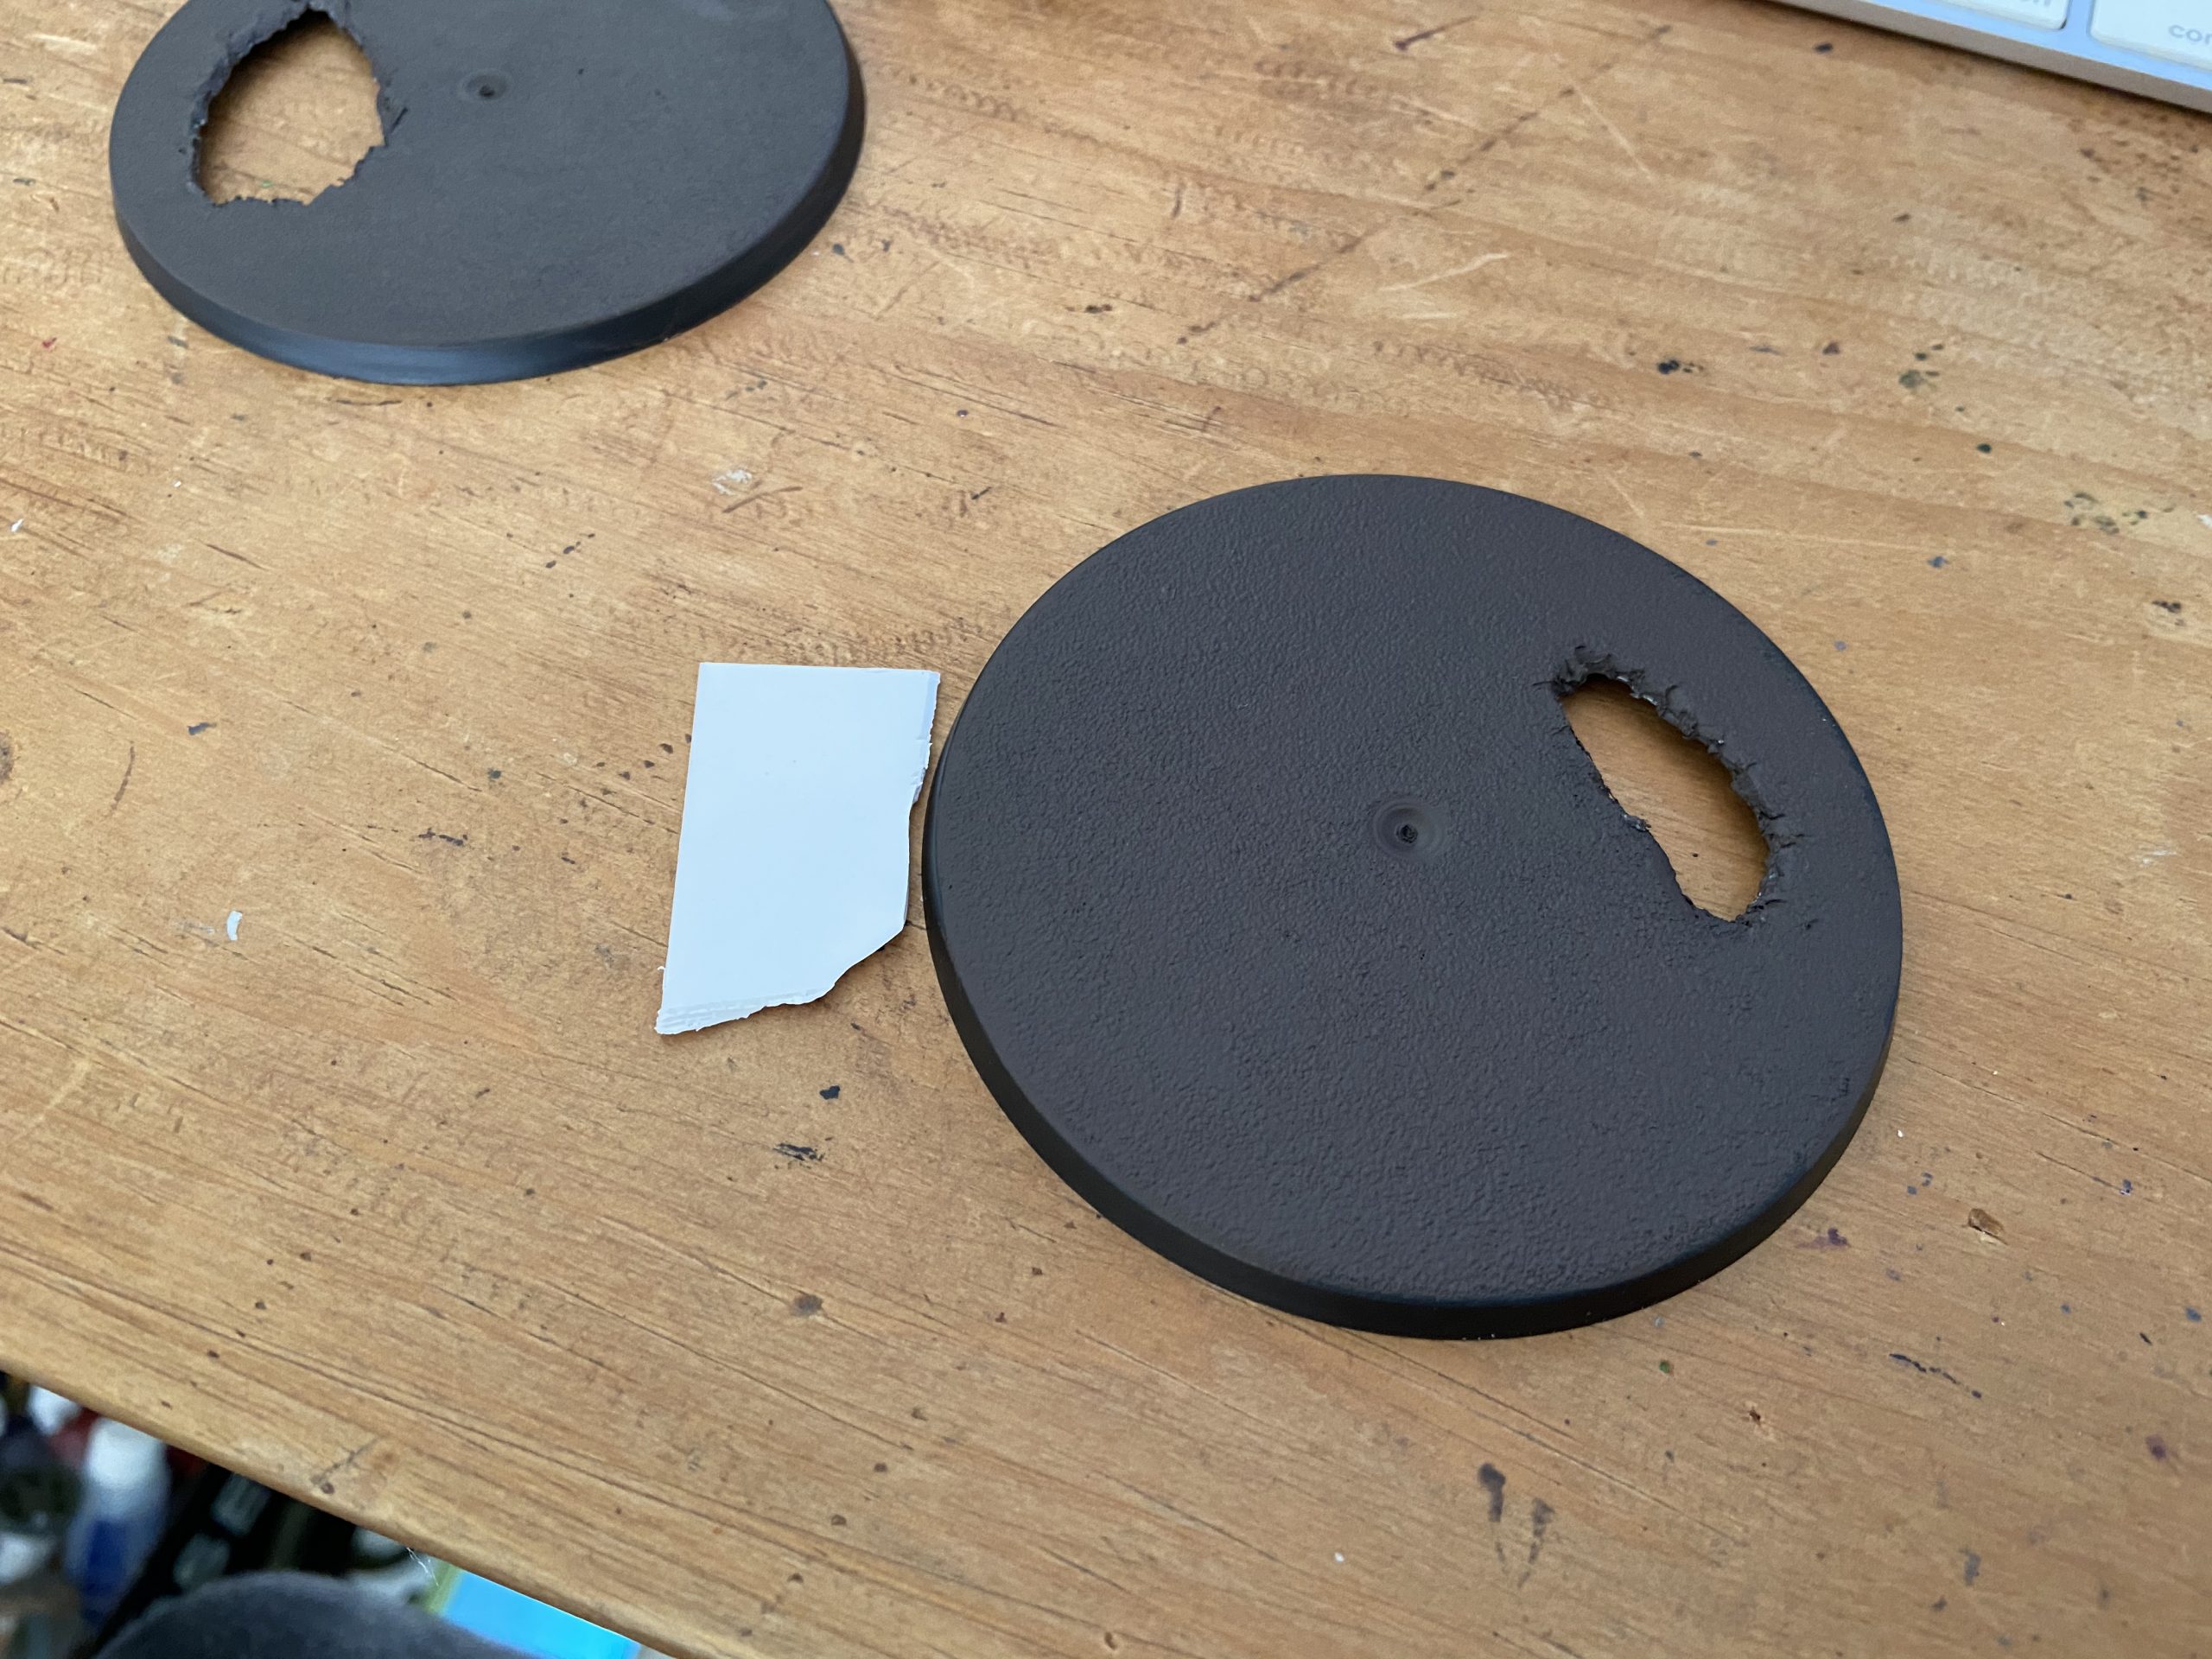
Next, you’ll need to cut your material for the new base. I use plasticard. It needs to be slightly bigger than your puddle hole. It doesn’t need to be neat or that accurate to be honest.
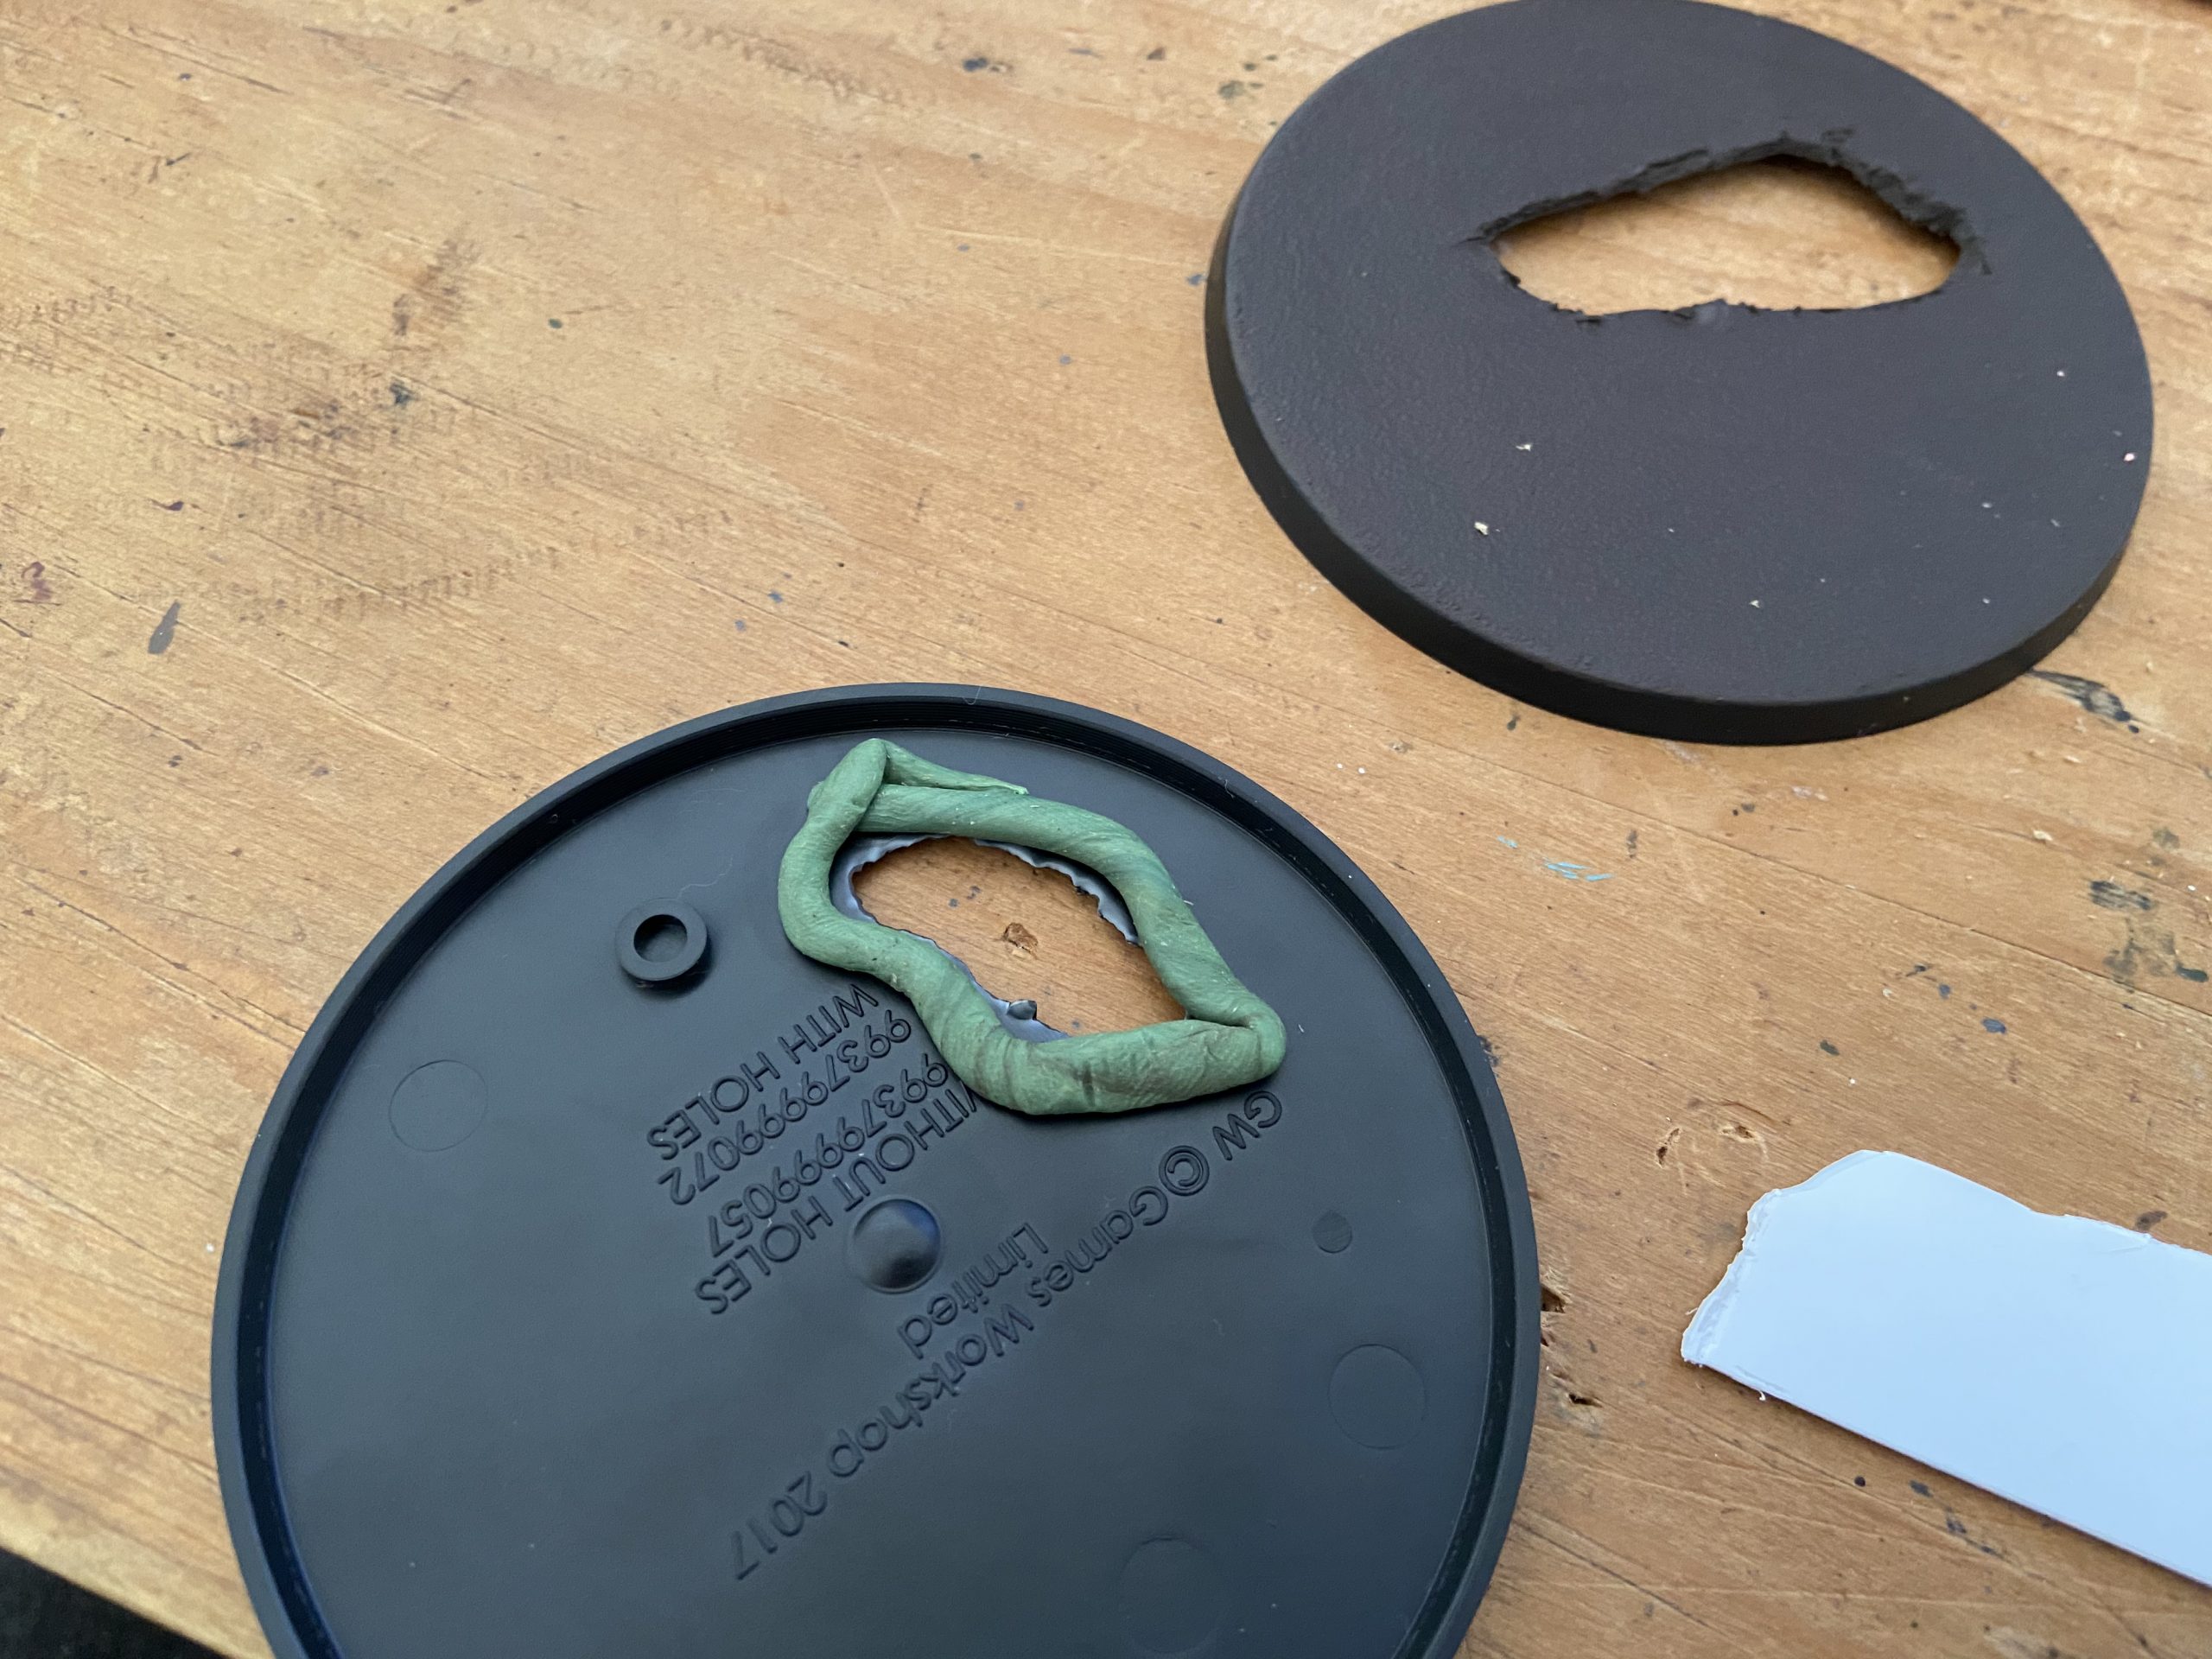
Now prepare your Green Stuff. You’ll need enough to fit around the outside of your puddle. Prepare the Green Stuff and then roll it out. It’ll need to be about 6 or 7mm in diameter – about the depth of the recess on the underside of your base. I use my big piece of remaining plasticard to roll out the Green Stuff – it is flat and large.
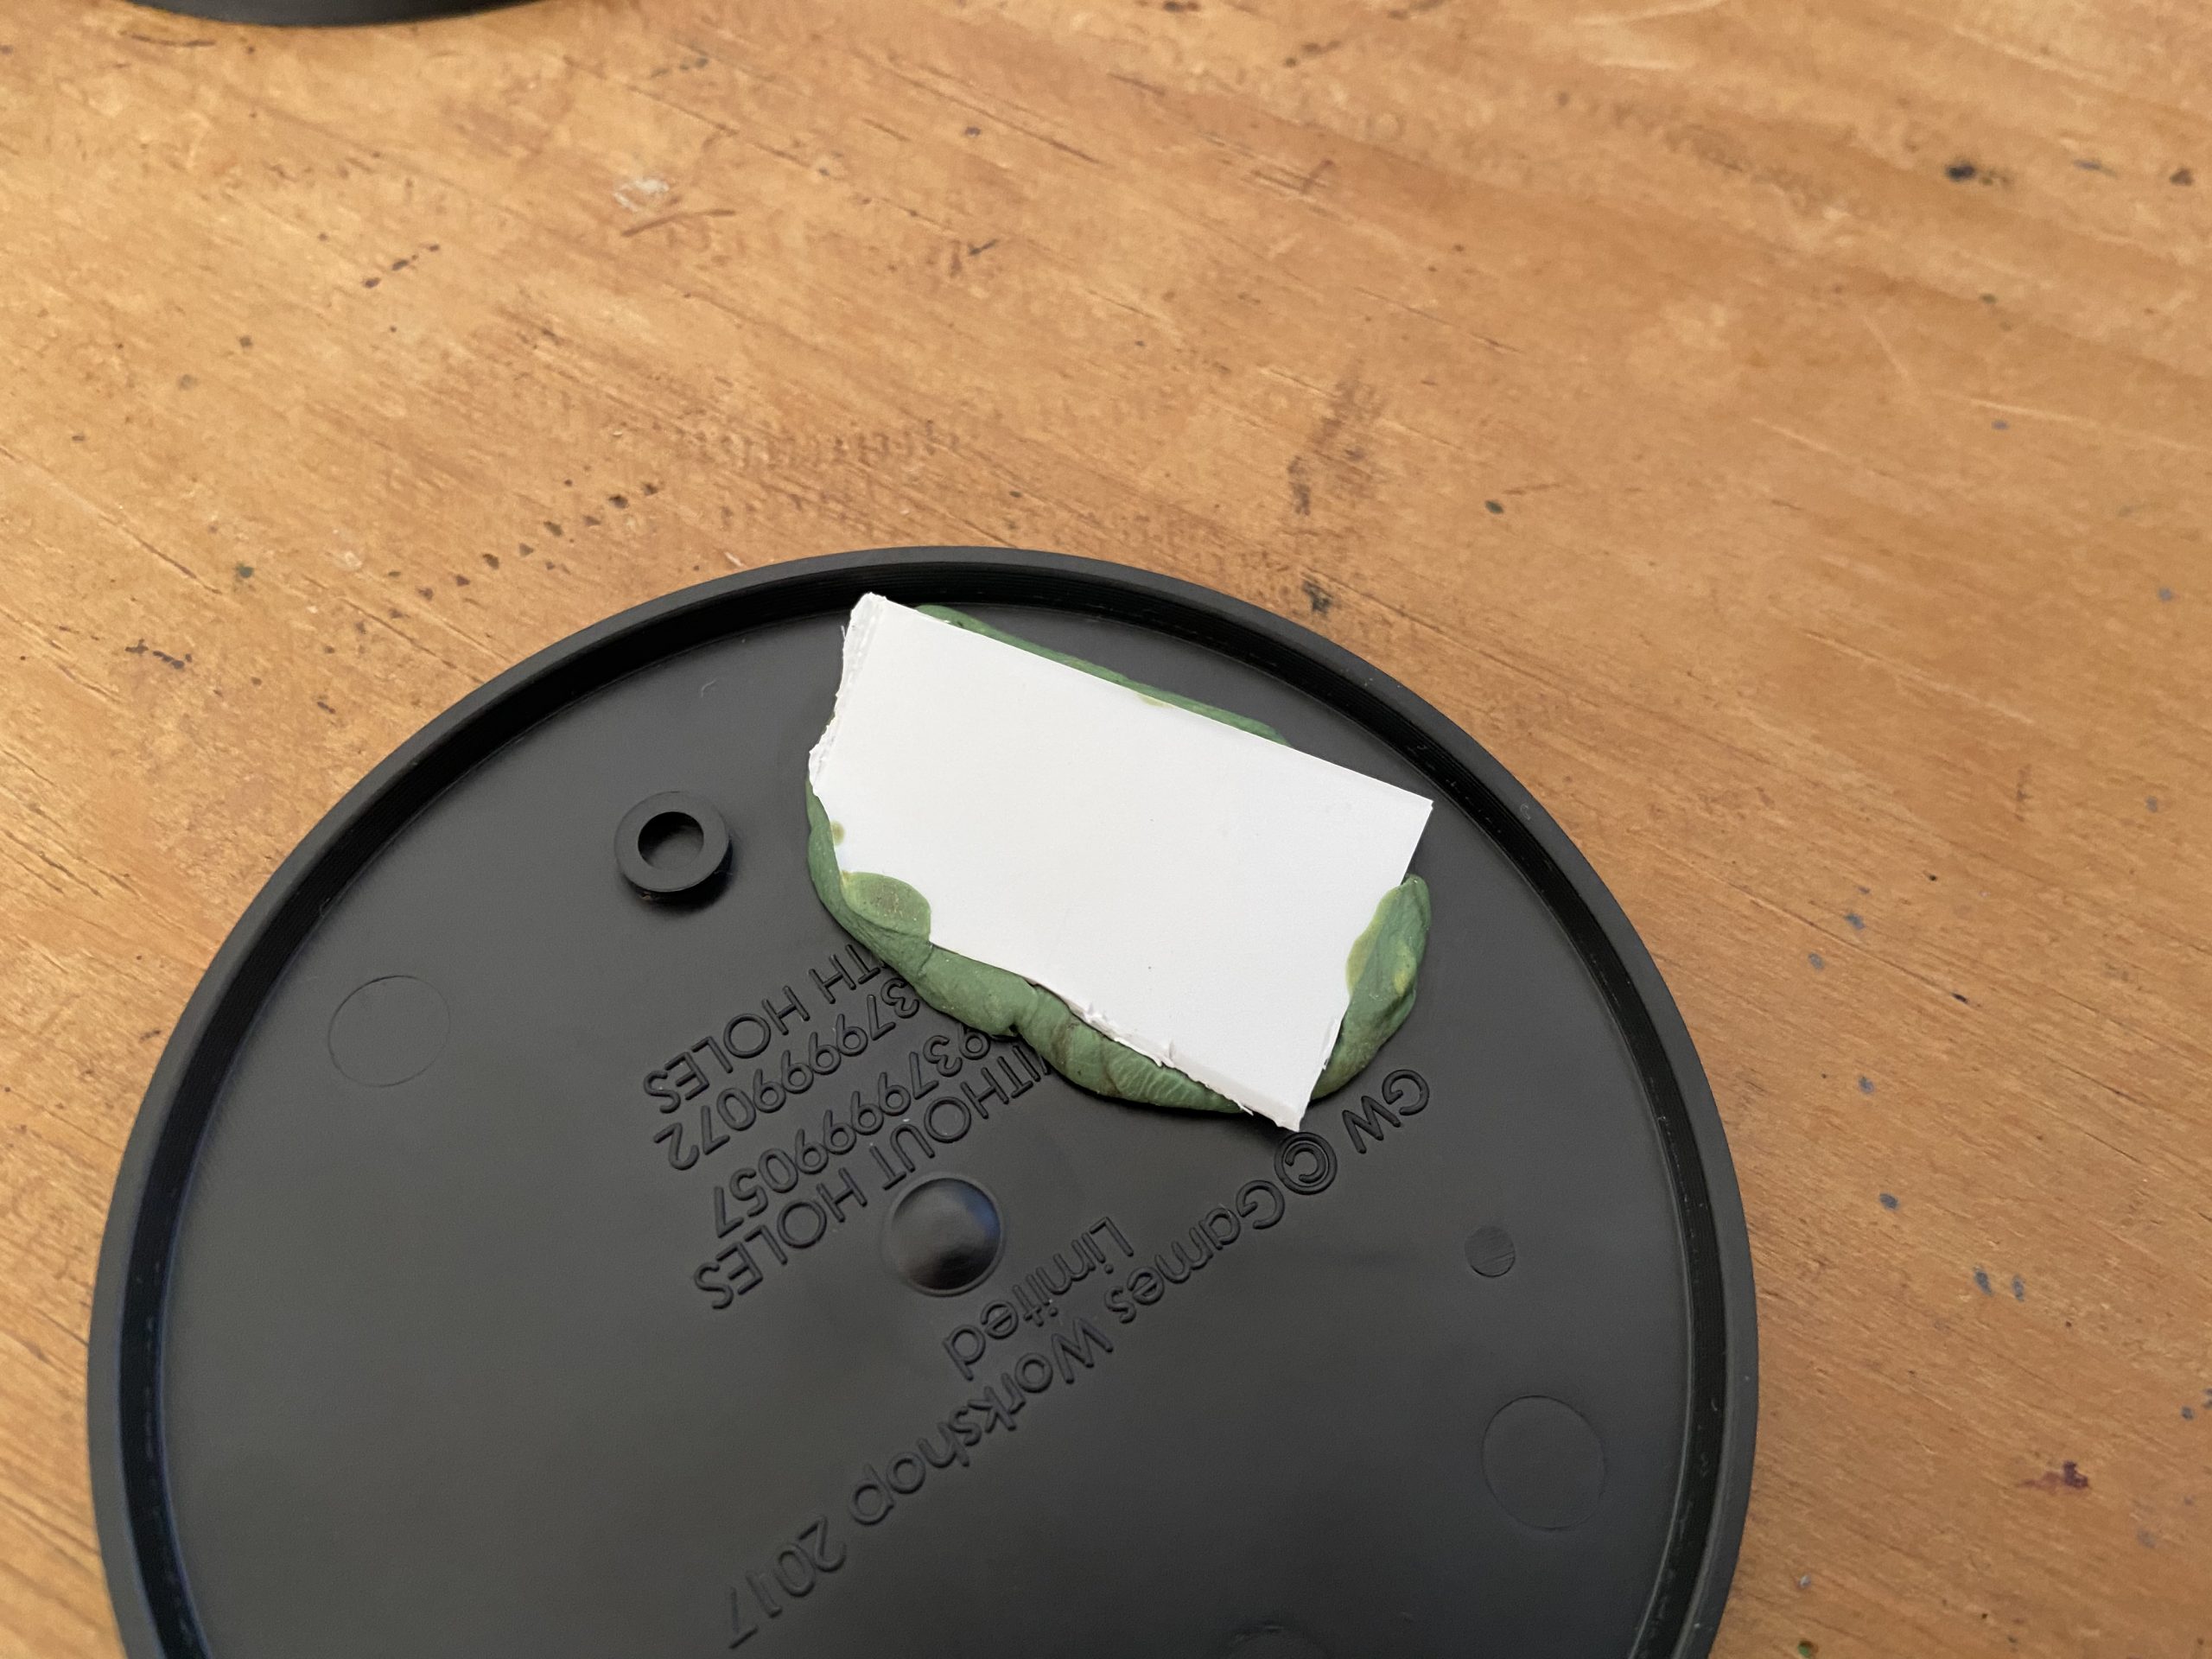
Finally, apply it to the underside of your puddle and press the plasticard into it to form a seal and the basin for your puddle. Check and re-check that your new basin doesn’t protrude out from under your base. If it does then your base will wobble. Make sure you push the plasticard into the Green Stuff enough to force it into the recess of the base.
Do this now and check again and again. It is a lot harder to once the Green Stuff is hardened.
Your puddle basin is done.
-
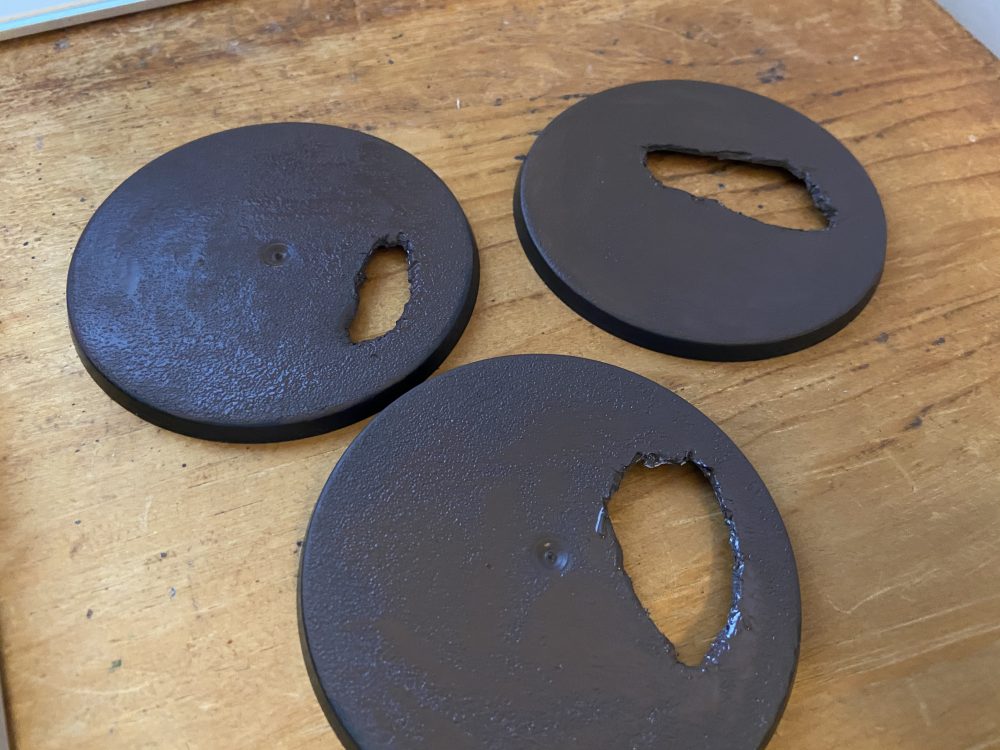

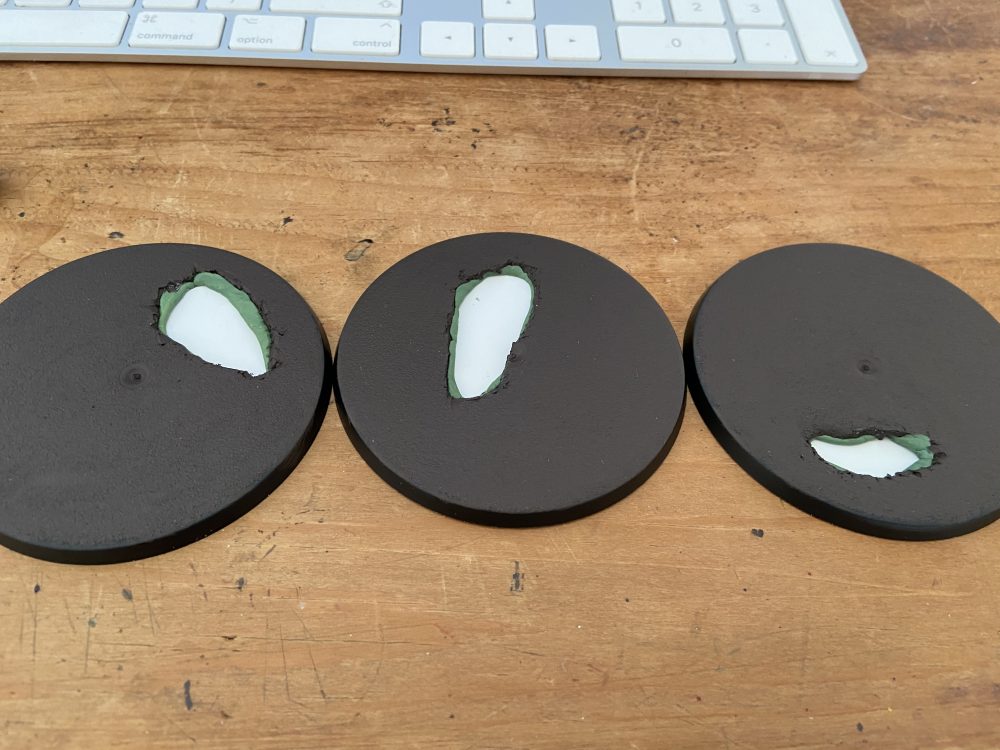
- First, cut your puddle shaped holes

-

- Cut puddle shaped plasticard
-
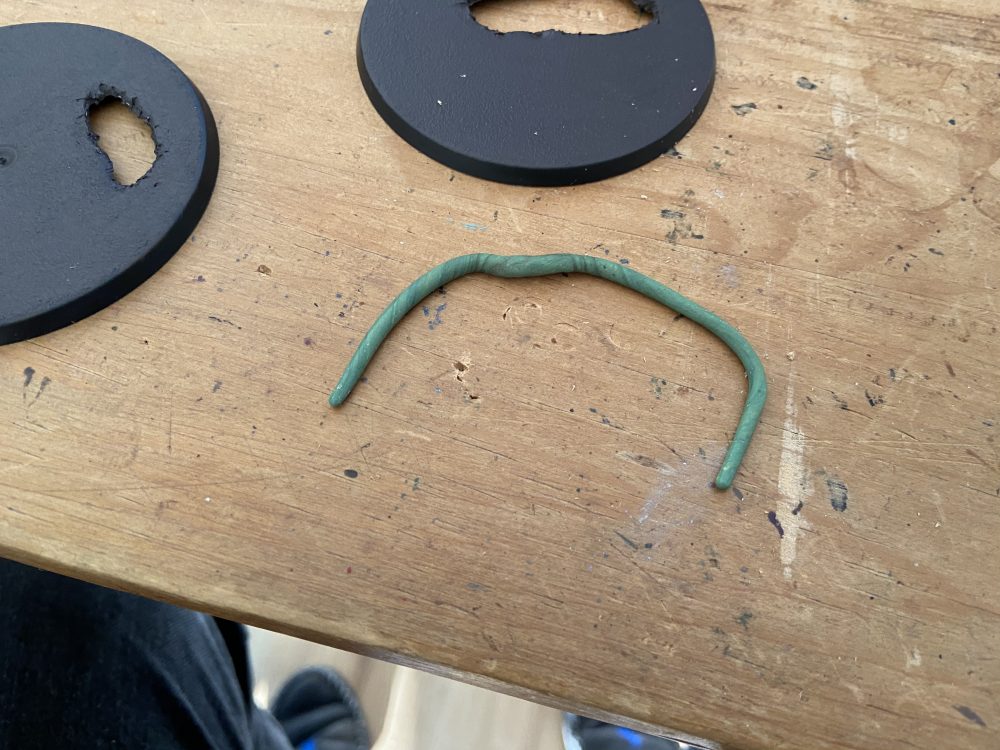
- Mix and roll out your Green Stuff

-

- Wrap it around your puddle hole on the underside of the base
-

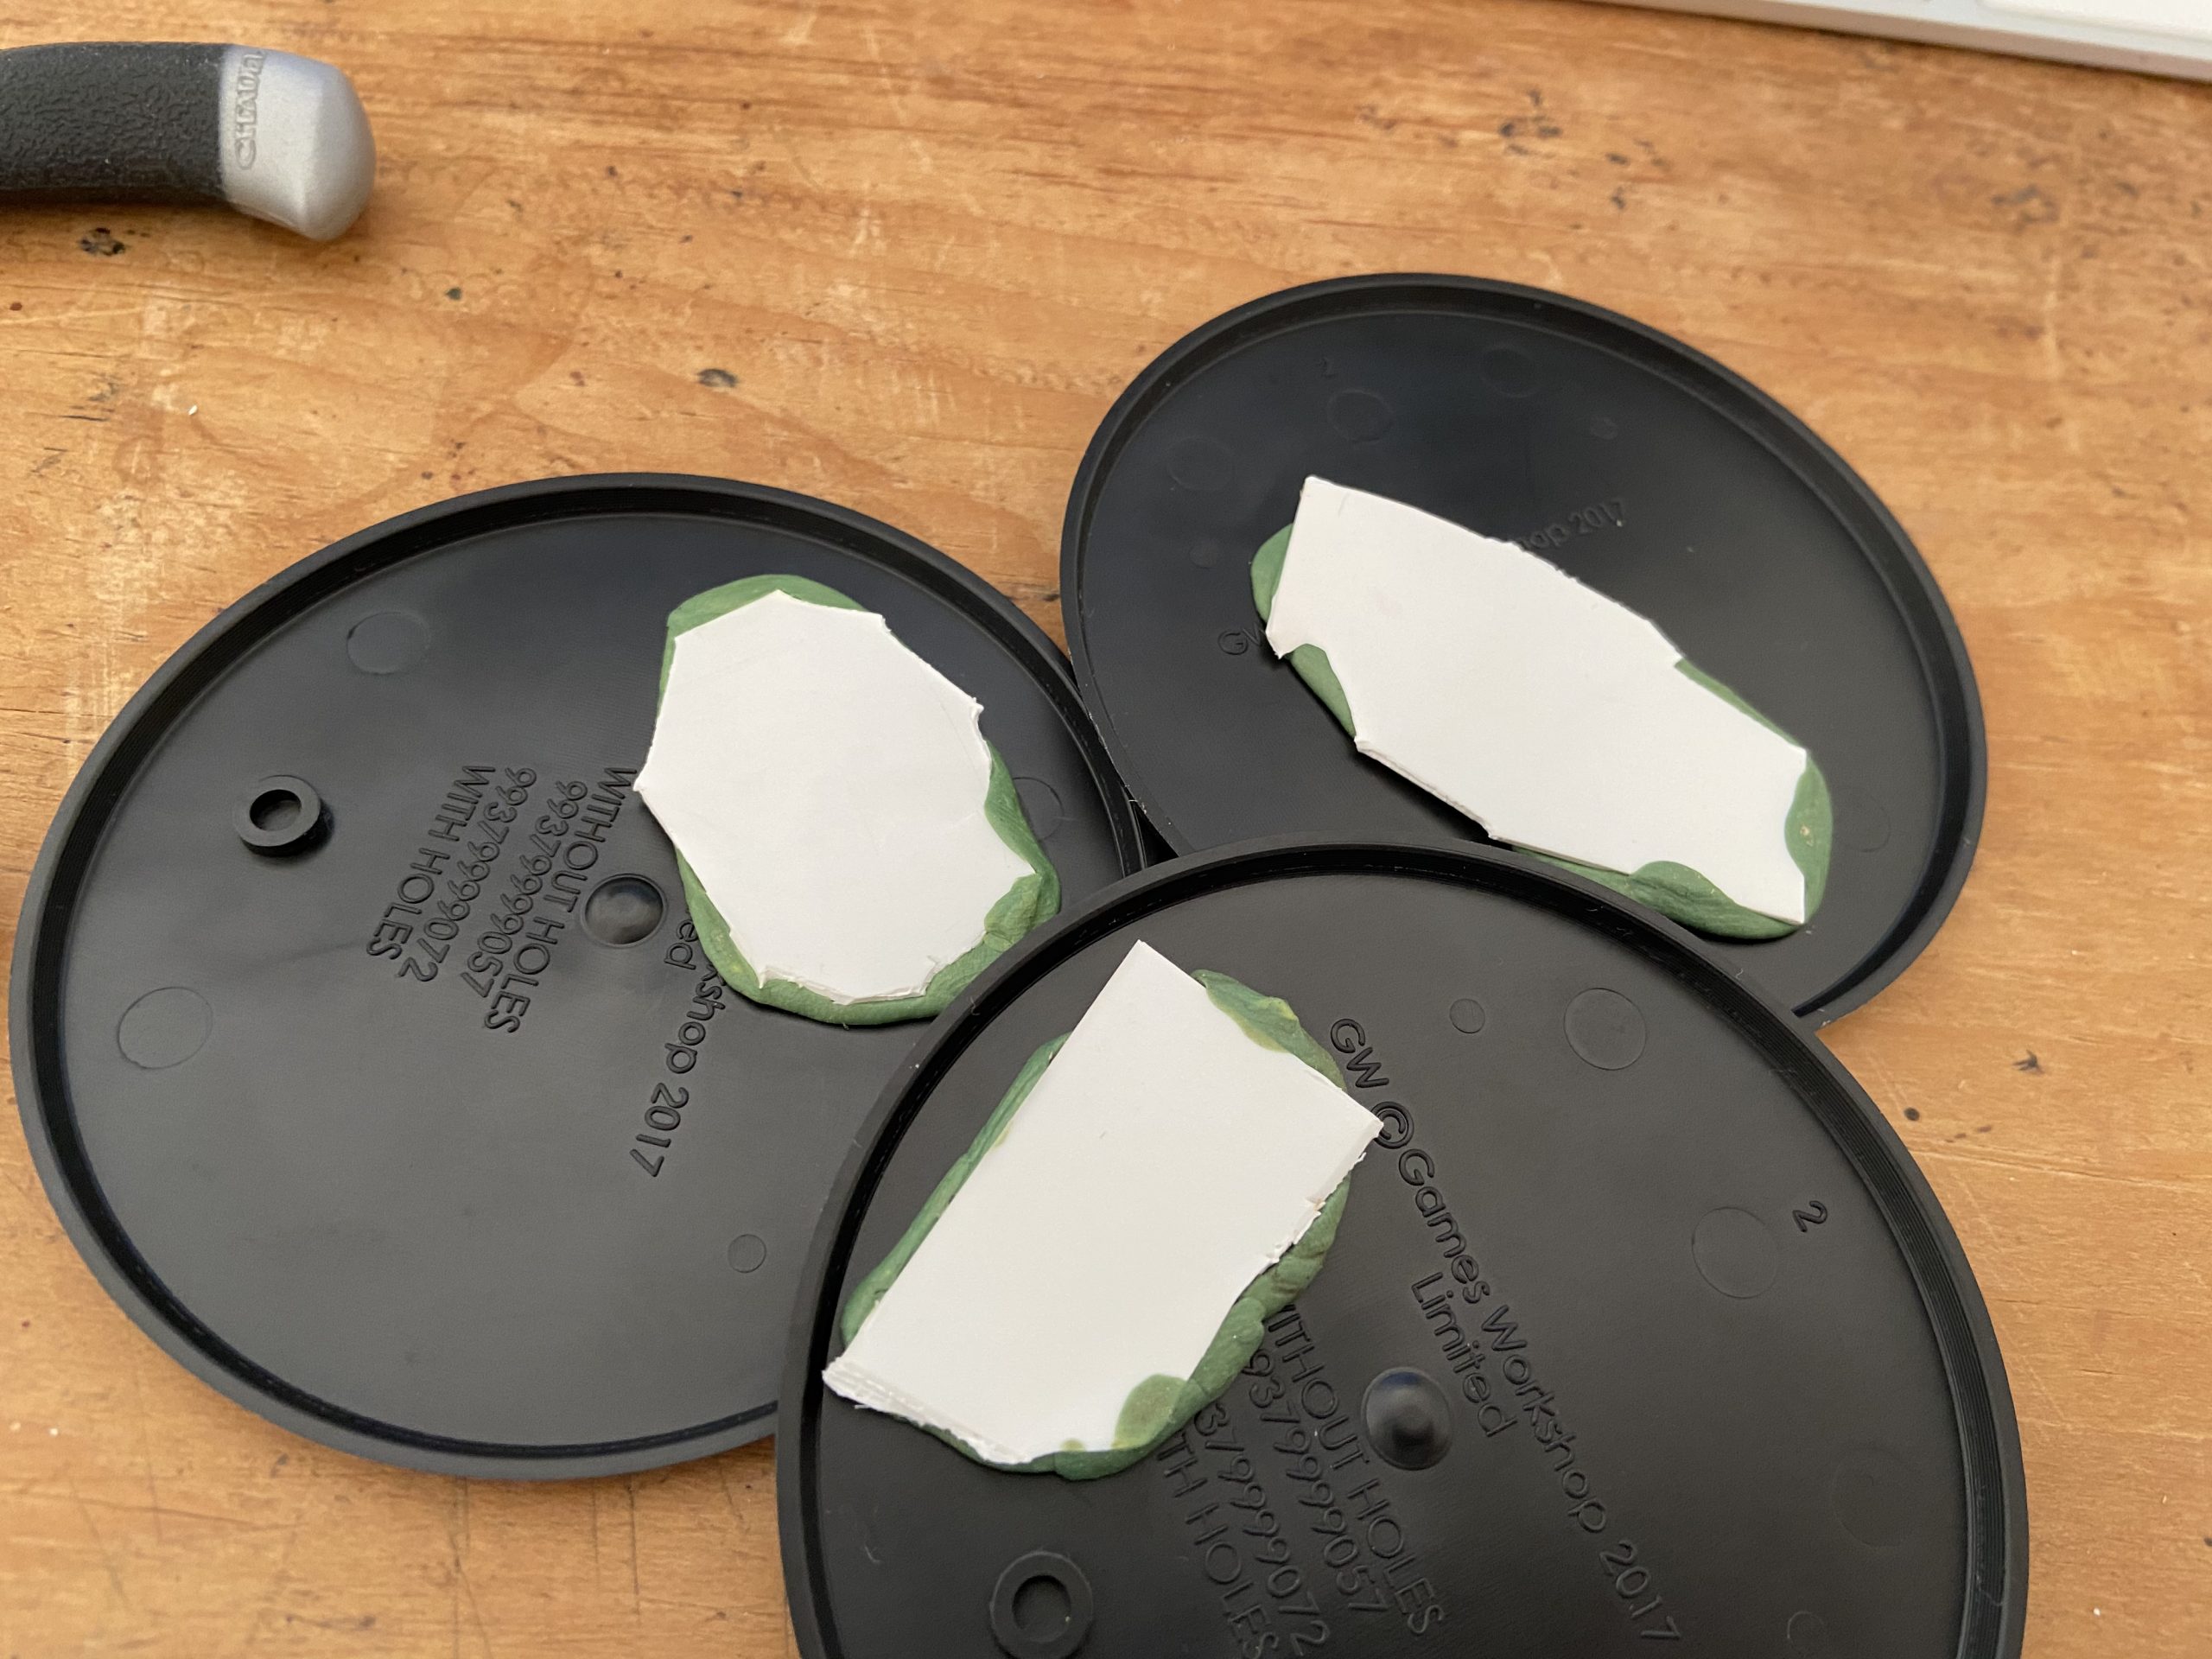
- Squash in the plasticard to form your puddle basin
-

- Underside
-
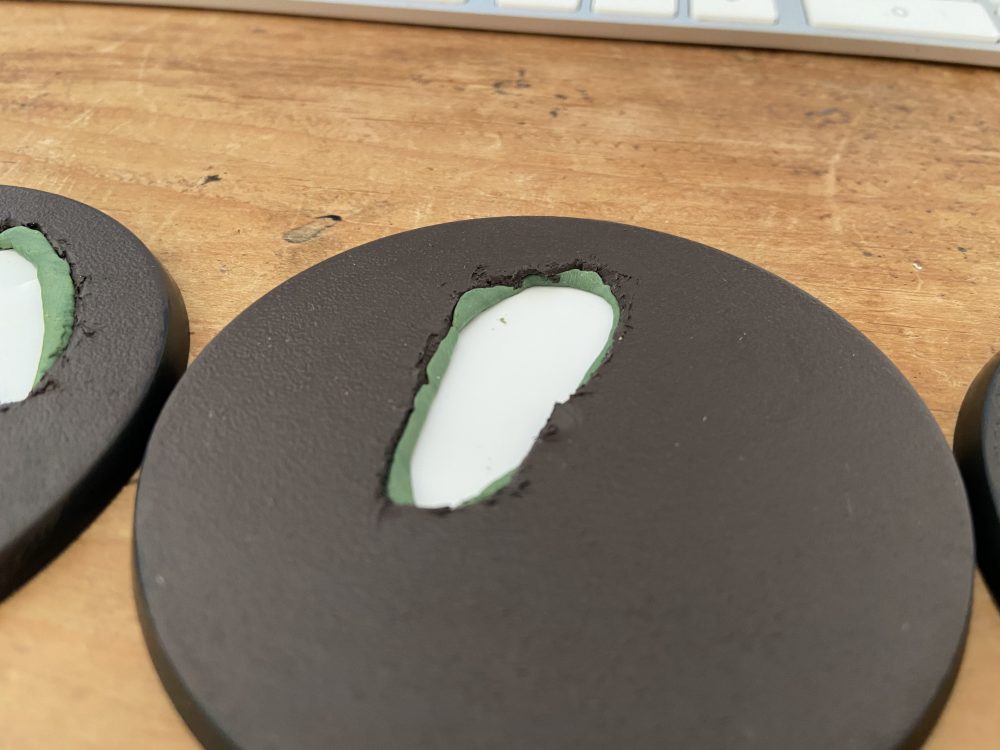
- Done closeup

-
- All done

Applying Texture
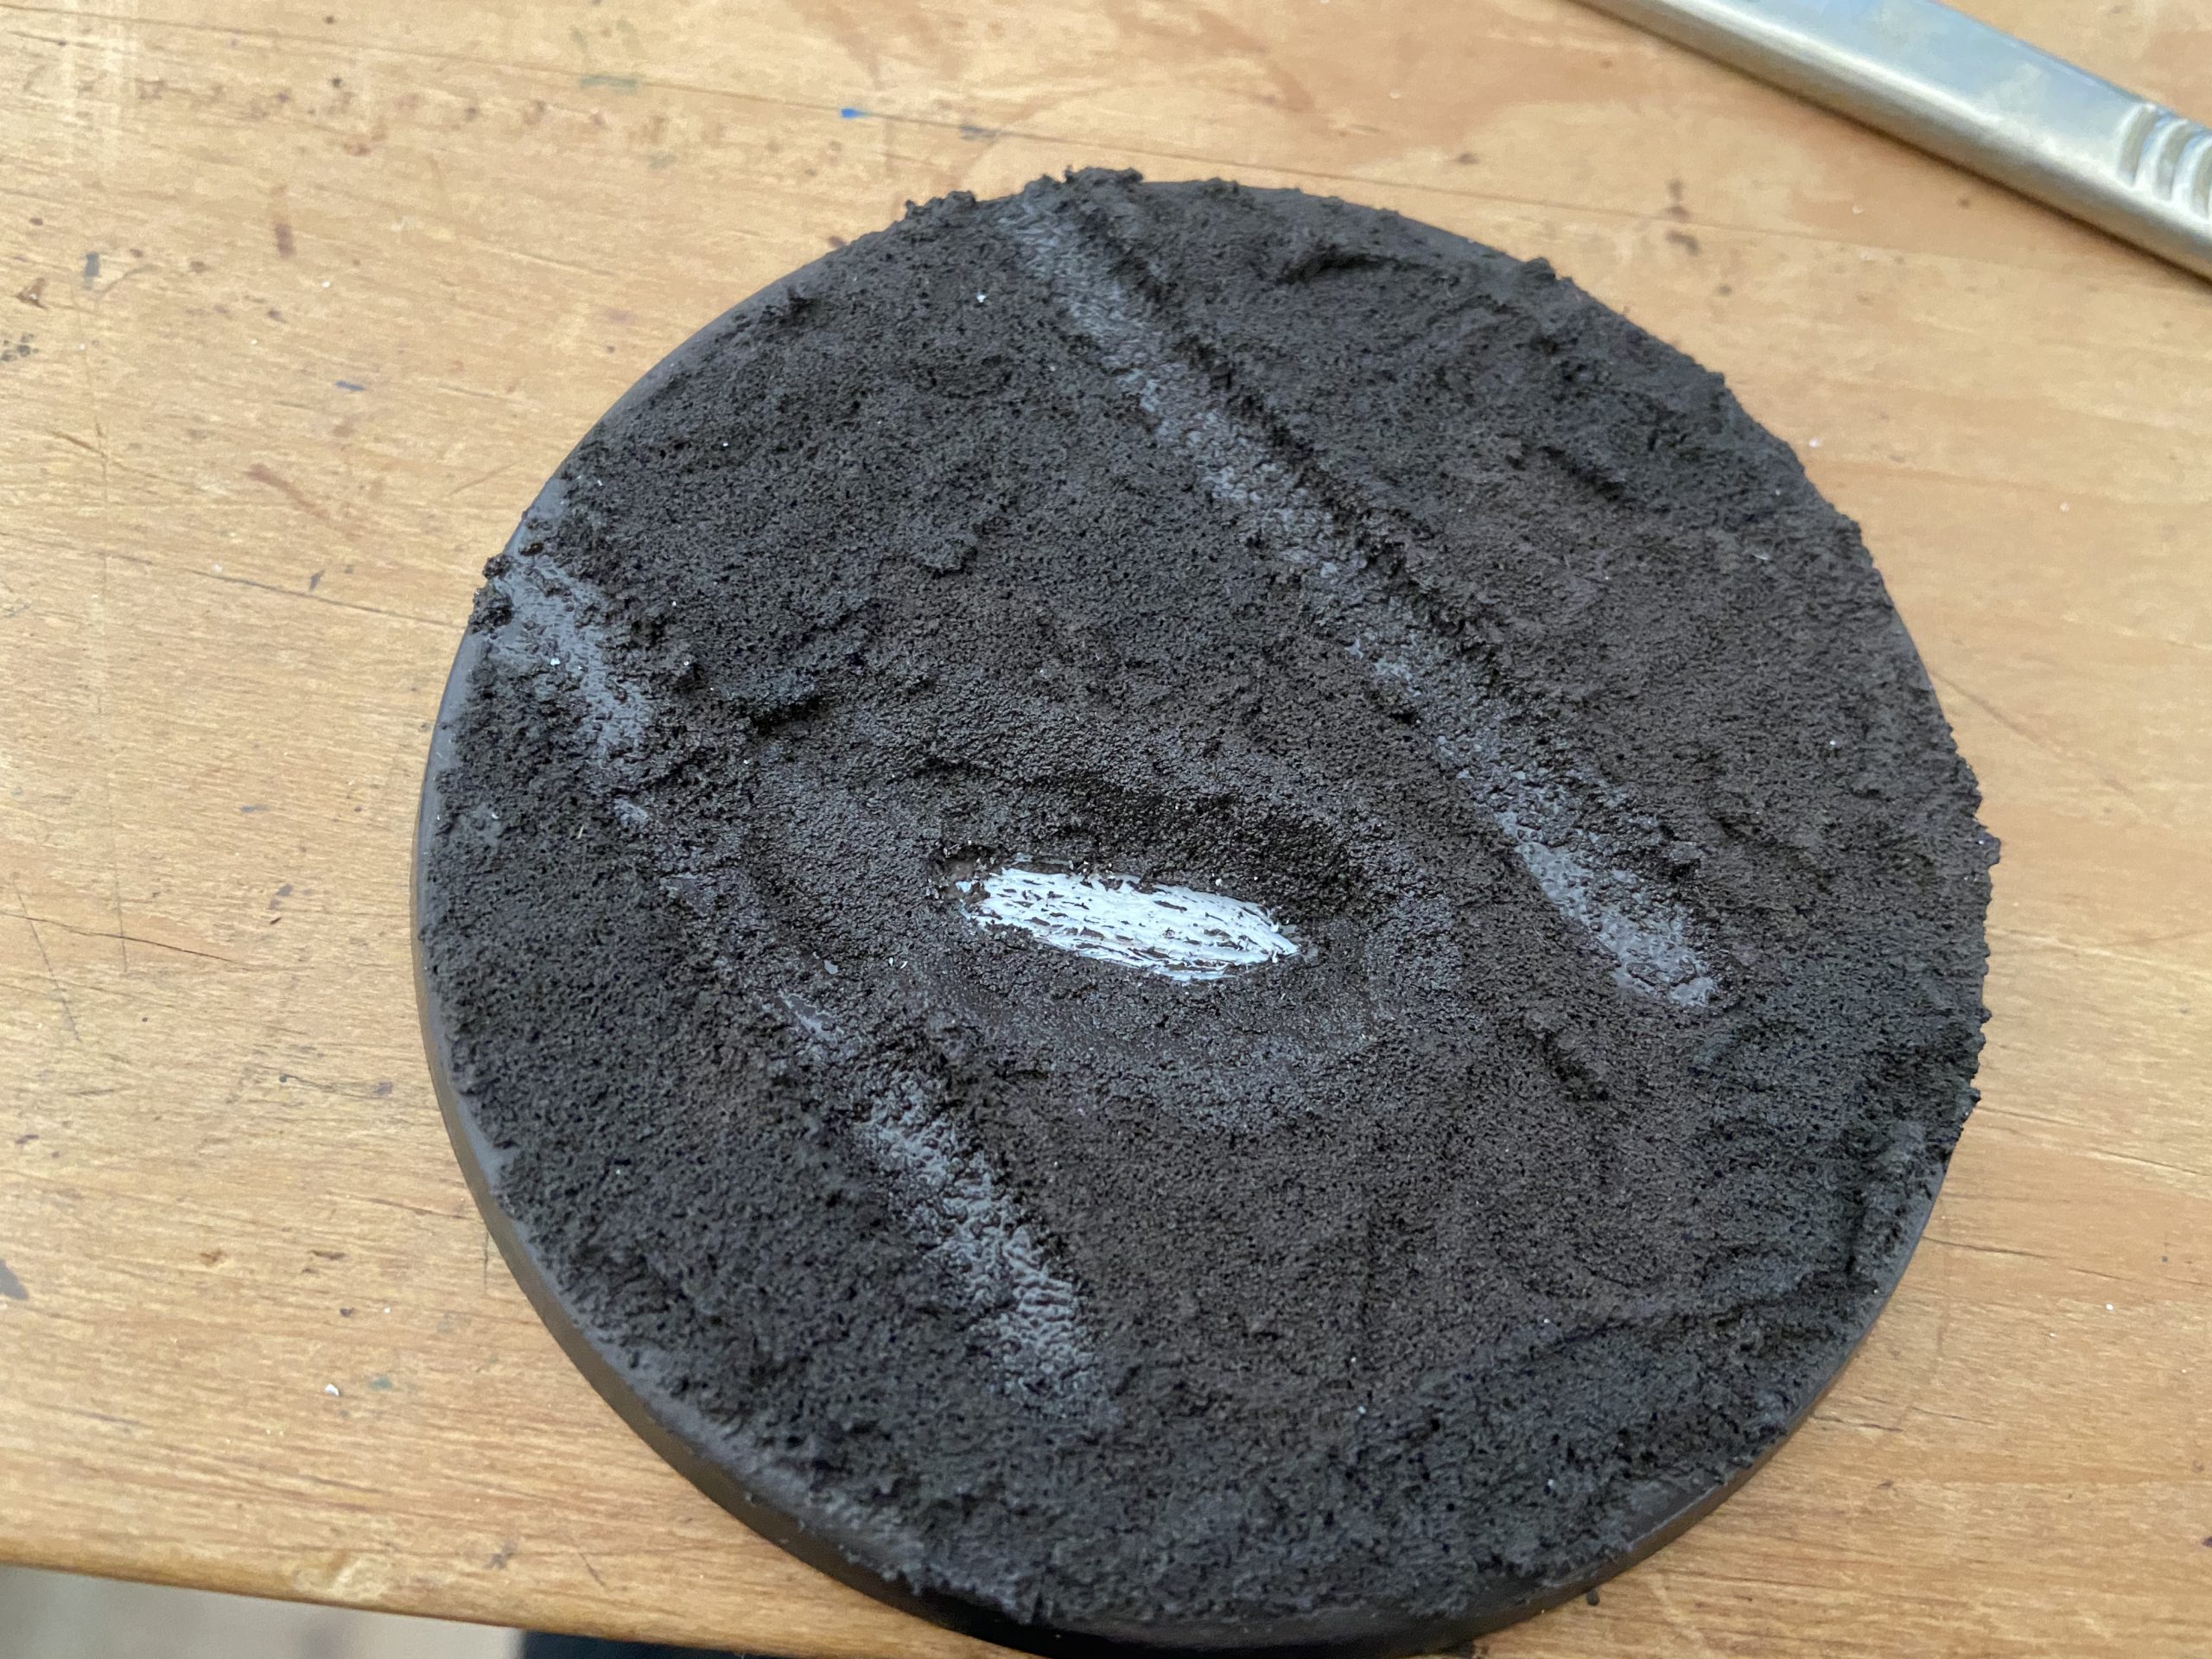
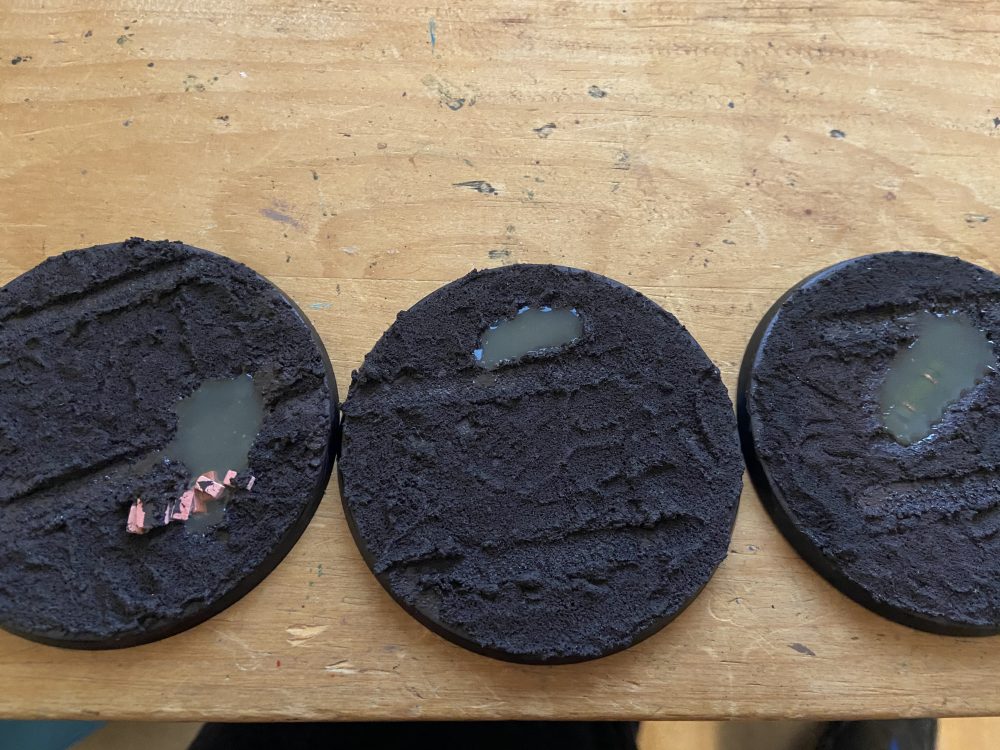
Before we can fill in the puddle we need to start to apply our final basing material or texture to the puddle basin. The bottom of the puddle will probably be the same as the rest of the base – so go ahead and paint it brown, apply sand to it or some sort of texture paint – I used Stirland Battlemire.
What you use doesn’t matter, but it would probably match the rest of your base. It would look very odd to have a puddle with a white plasticard floor!
You should apply this material/texture around the puddle too at this stage. Once this is dry I applied AK Interactive’s Wet Effect Fluid to the area around the puddle. This will make it look wet. It may need multiple applications if your texture absorbs lots of moisture. Doing this now means it’s done and you don’t need to go and do it once you have completed your puddle. I don’t know how the Wet Effect product would work on the final puddle. Best not risk mixing the two.
So now your puddle basin is ready.
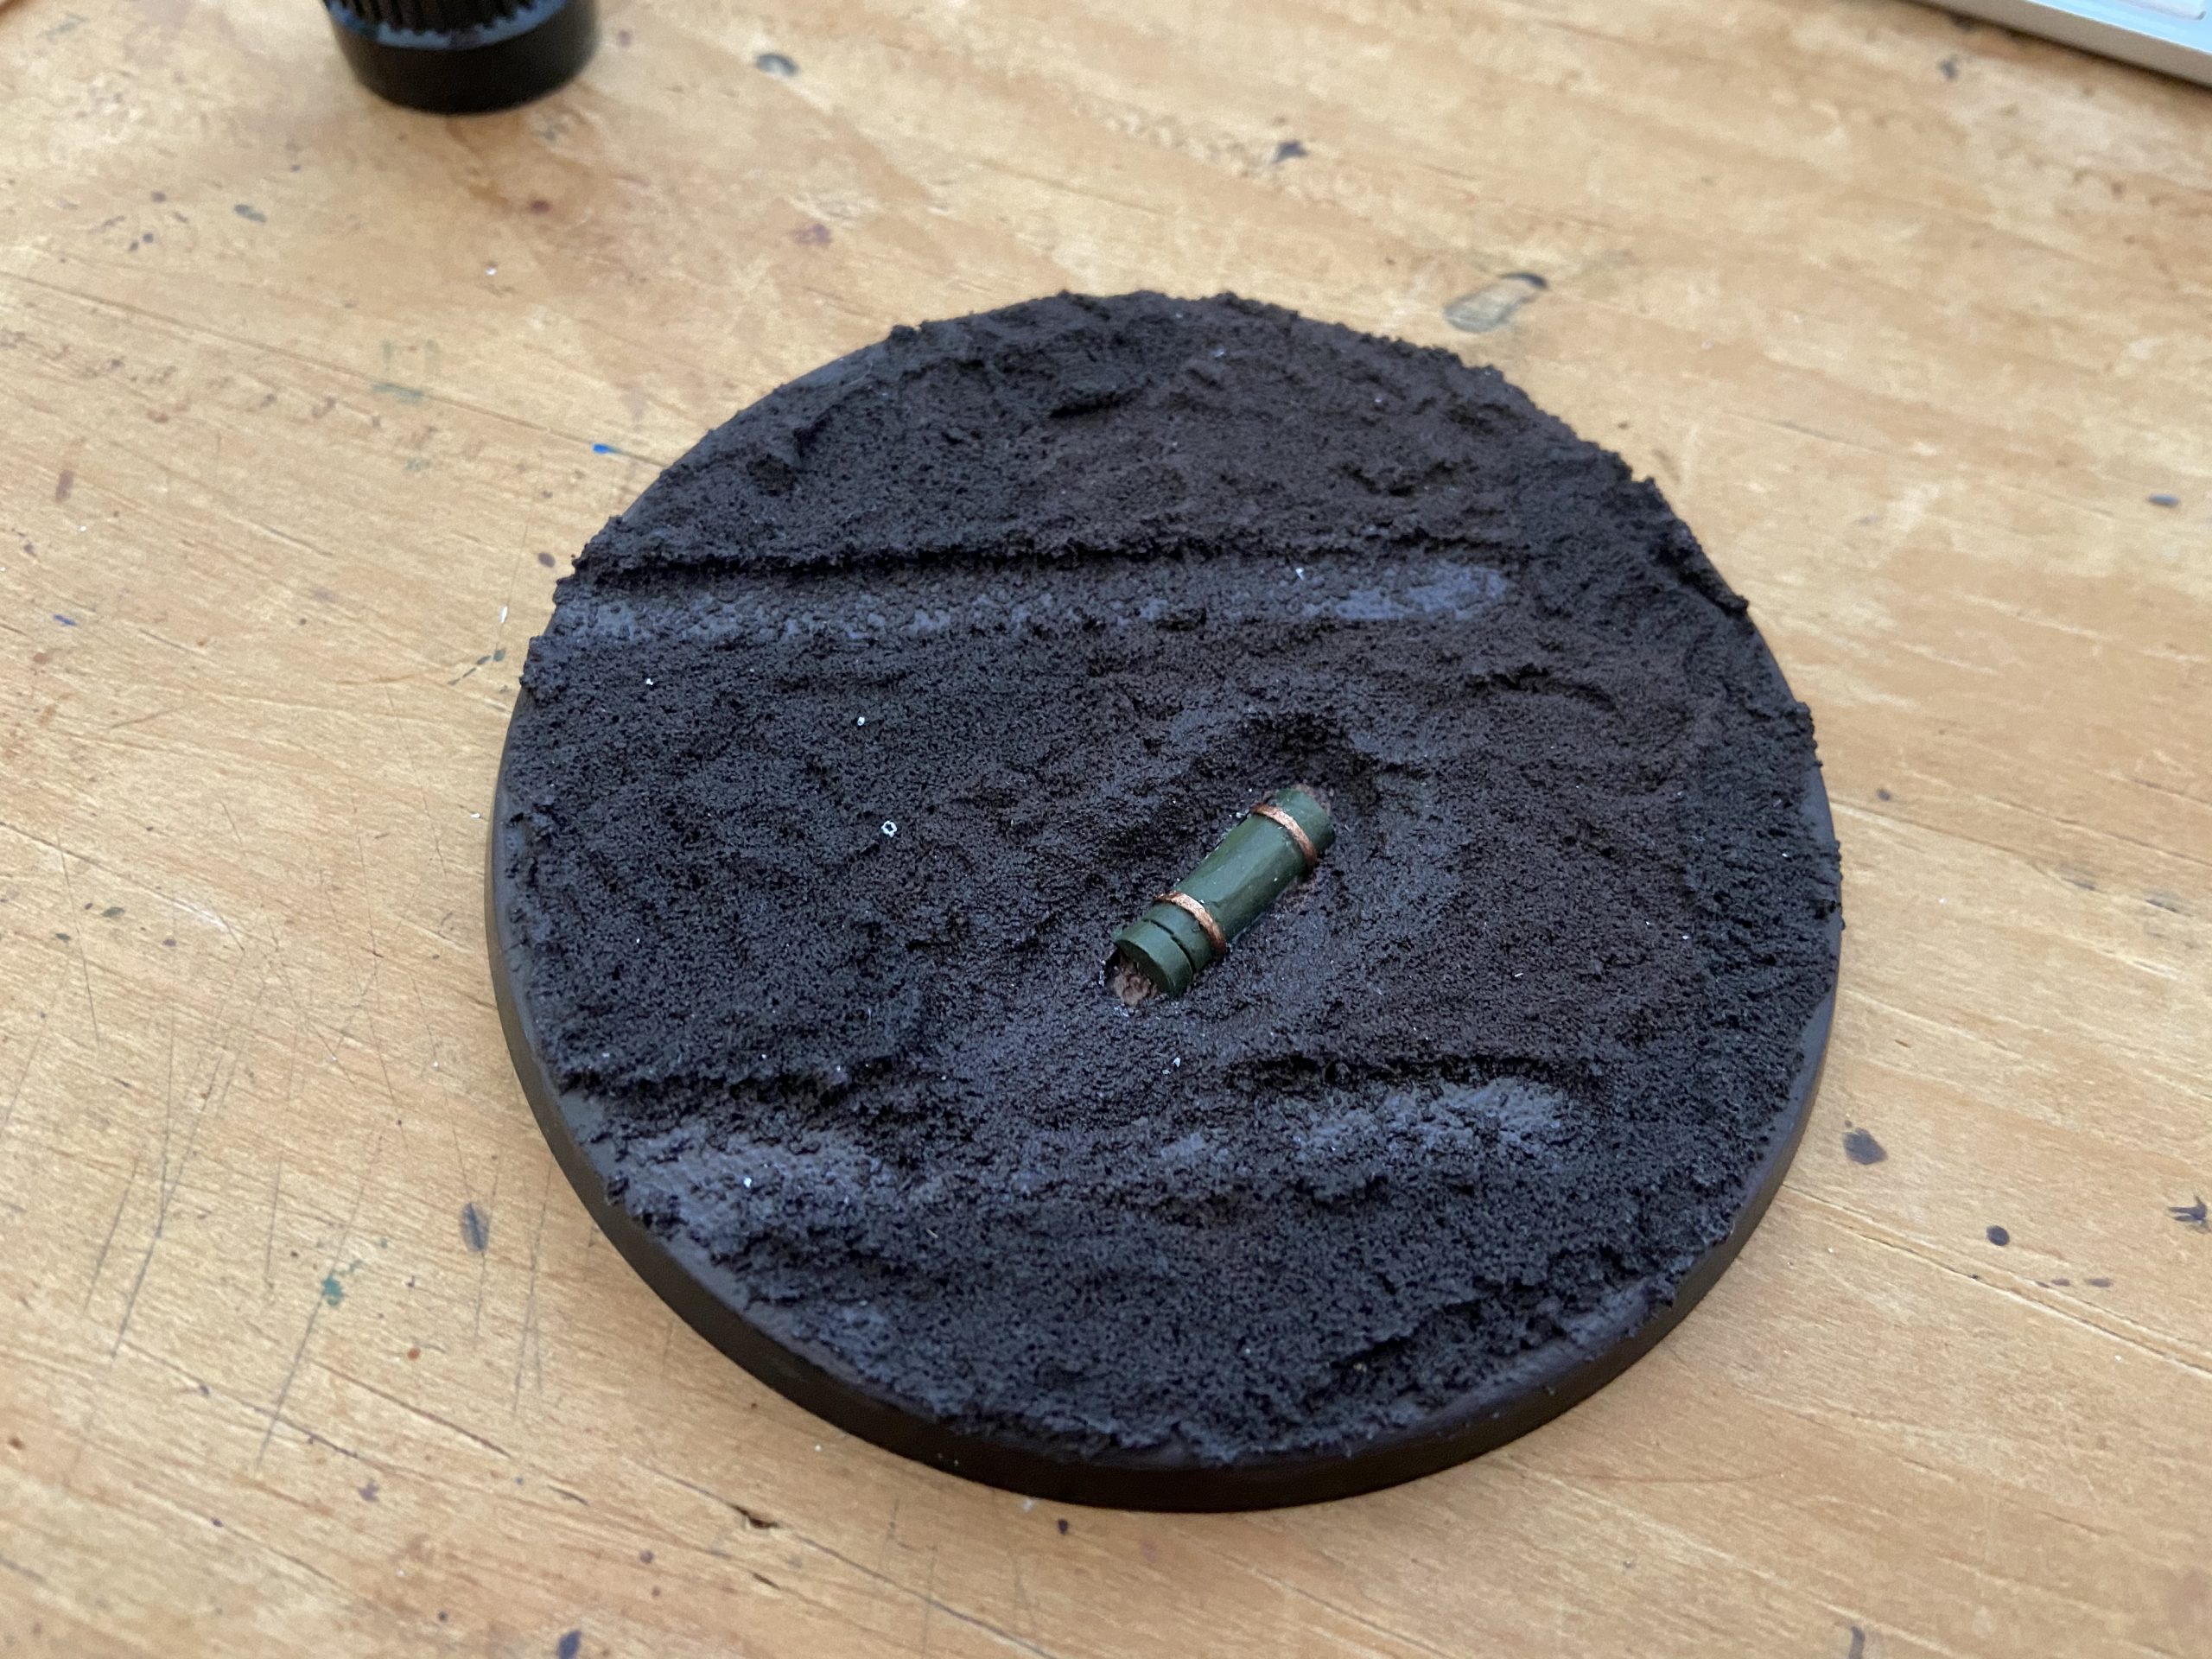
At this point, you should paint and glue any battlefield objects into your puddle. Skulls, people, parts of people, ammo, weapons, etc.
Be aware that I’ve found it very hard to make items look correct that are both in and out of the puddle. E.g. those that break the surface of the puddle. When I have done this the puddle resin tends to pull up to the item so you get a weird hugging effect of water onto the object. Either submerge it completely or leave it out.
-

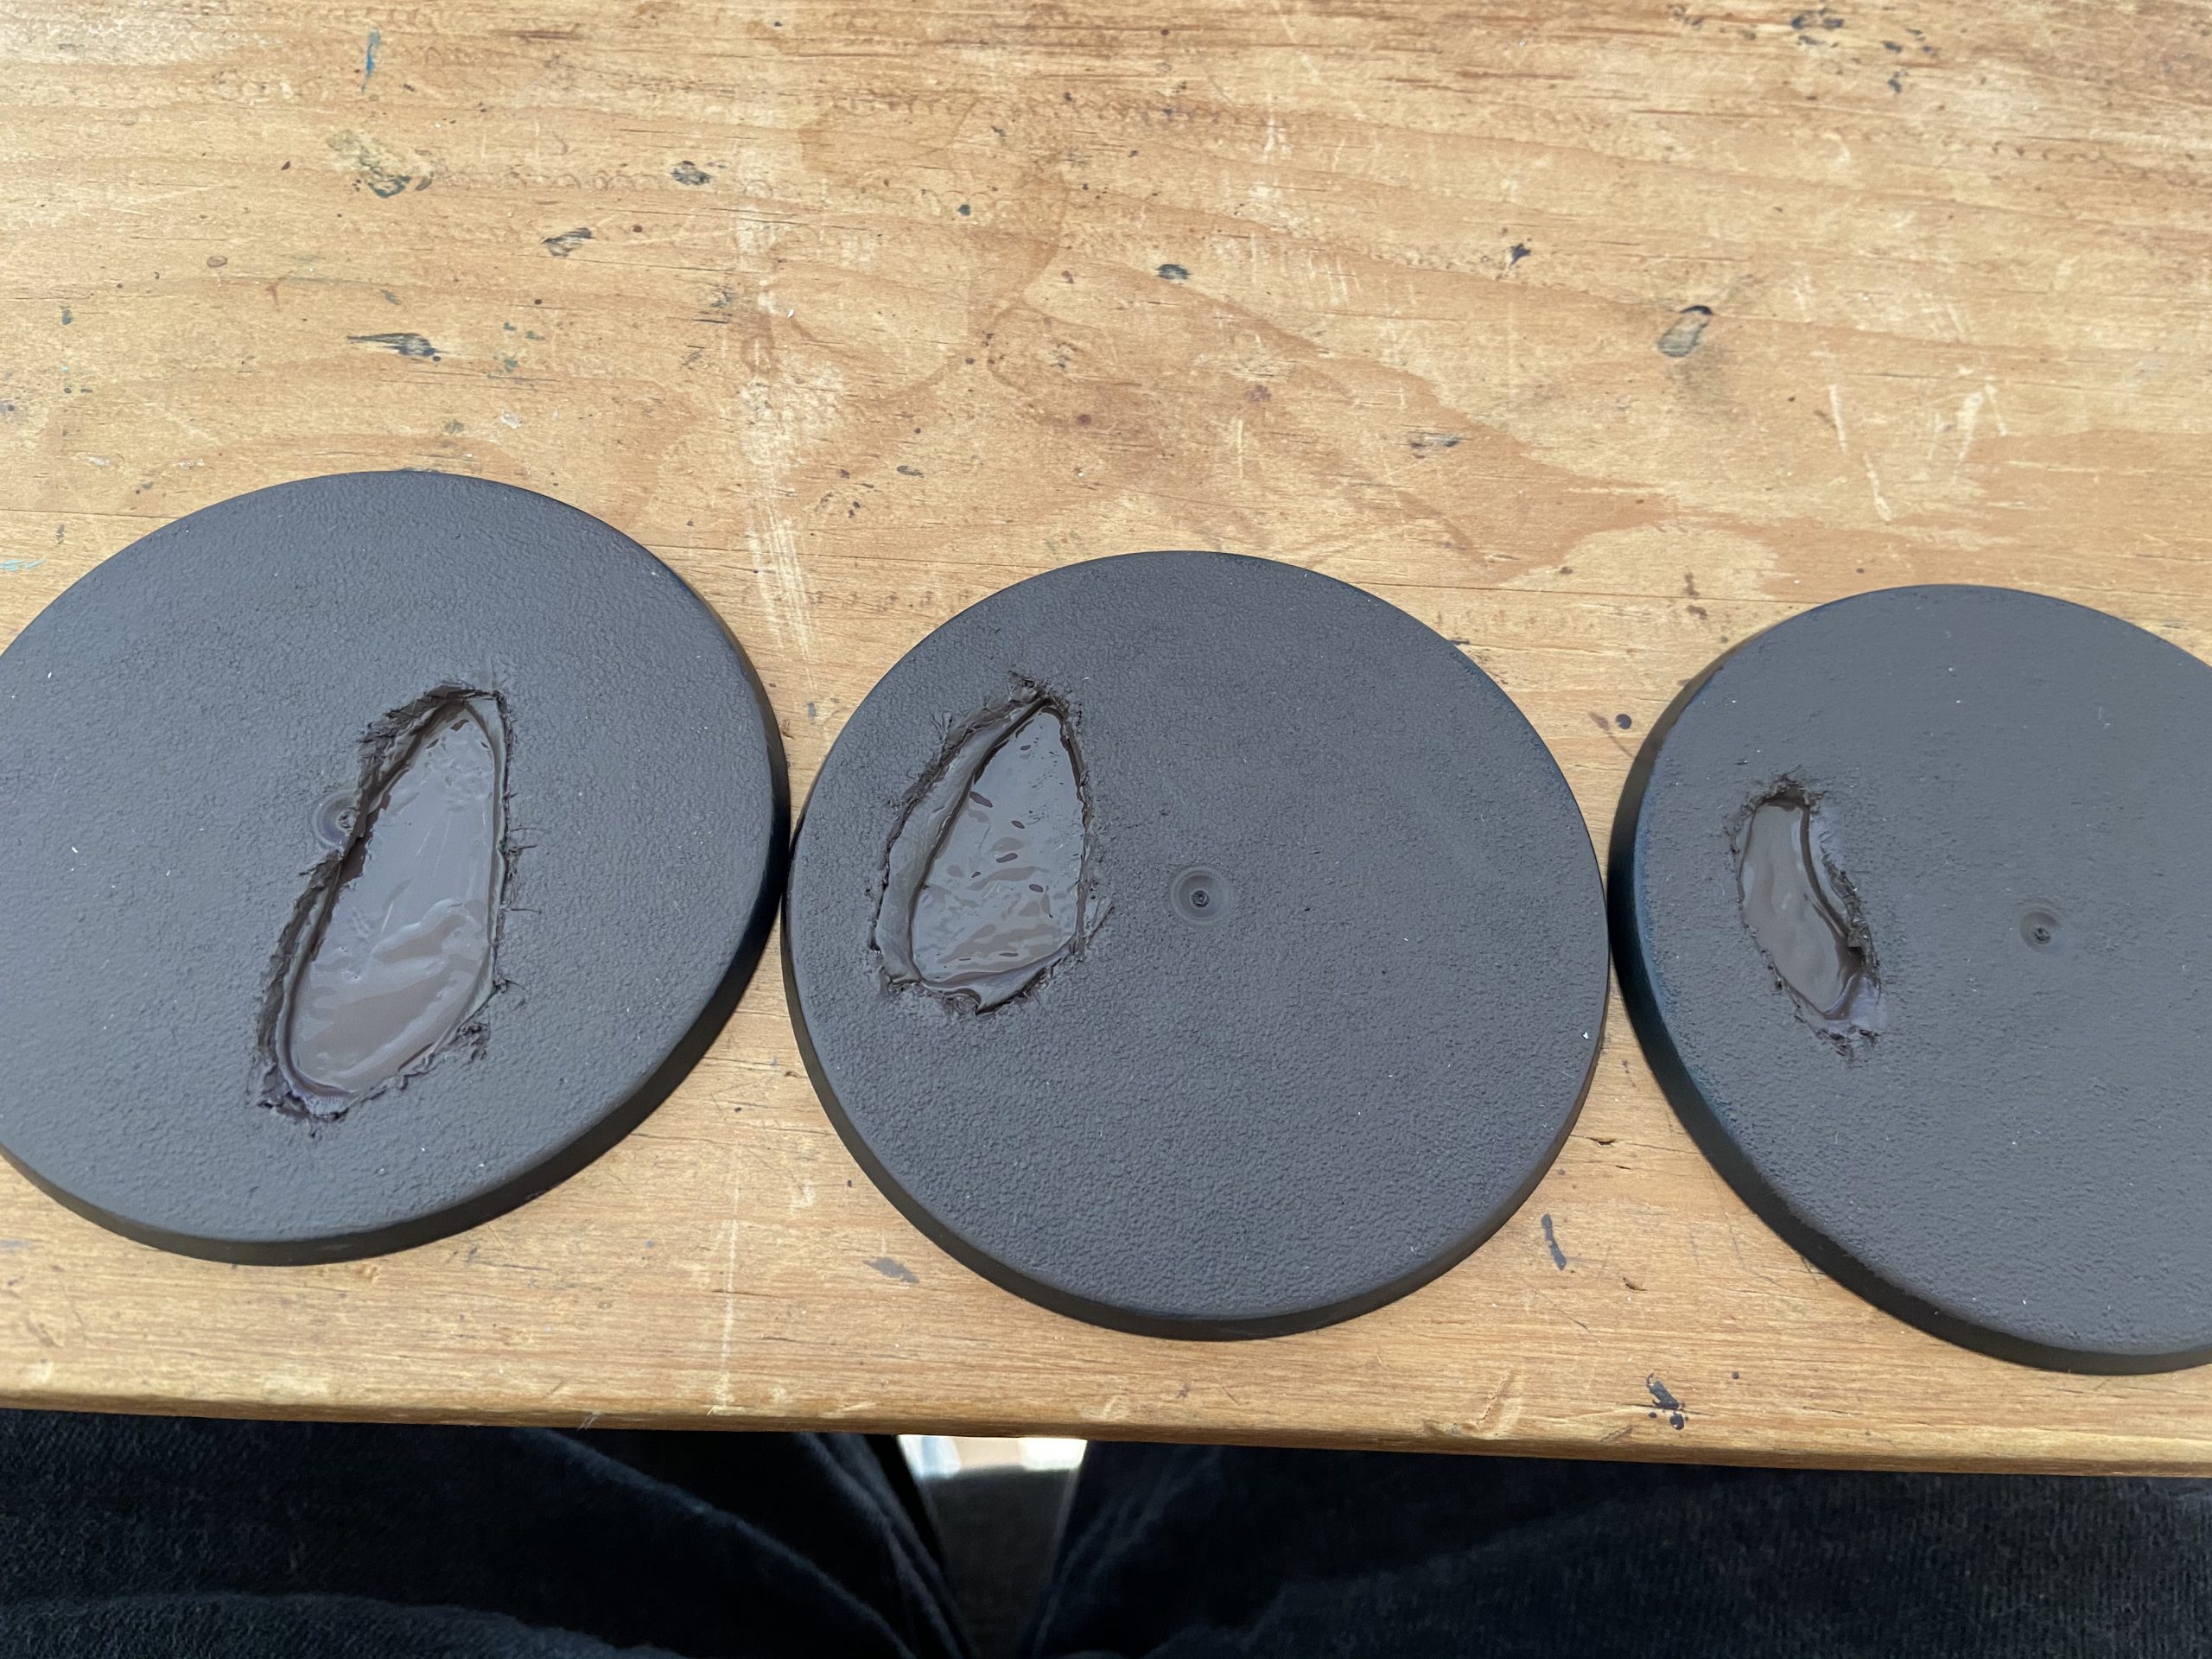
- Paint the bottom of your puddles!
-

- First attempt using Stirland Battlemire – note the ruts
-

- Wet Effect Fluid is on the ruts
-

- Preparing for a mortar round in the bottom of the puddle
-
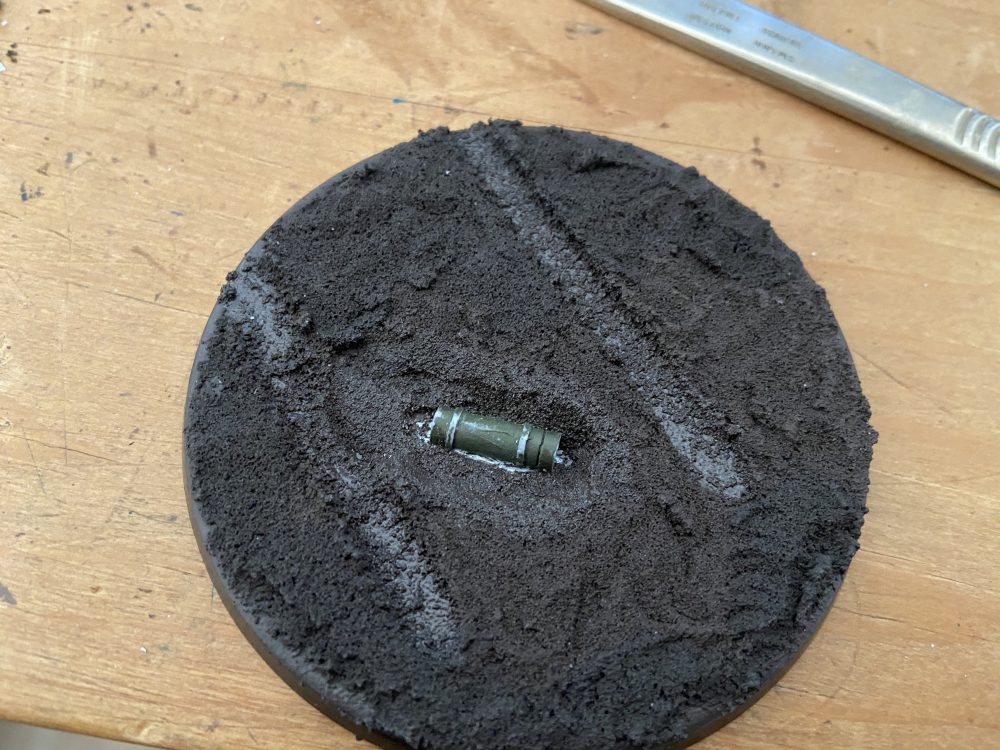
- Glued in place

-

- Painted and ready to be submerged
Creating Puddles
Now it’s time to create your puddle. Get some paper towel ready and a cocktail stick. Shake the puddle product.

Puddles
You don’t want bubbles in your puddles. This is how I remove them…
- Start to squeeze the puddle acrylic onto the paper towel. This will remove the bubbles that you always get at the start in the nozzle.
- Once they have left the bottle keep the pressure of the squeeze on – to keep the mixture at the tip of the nozzle.
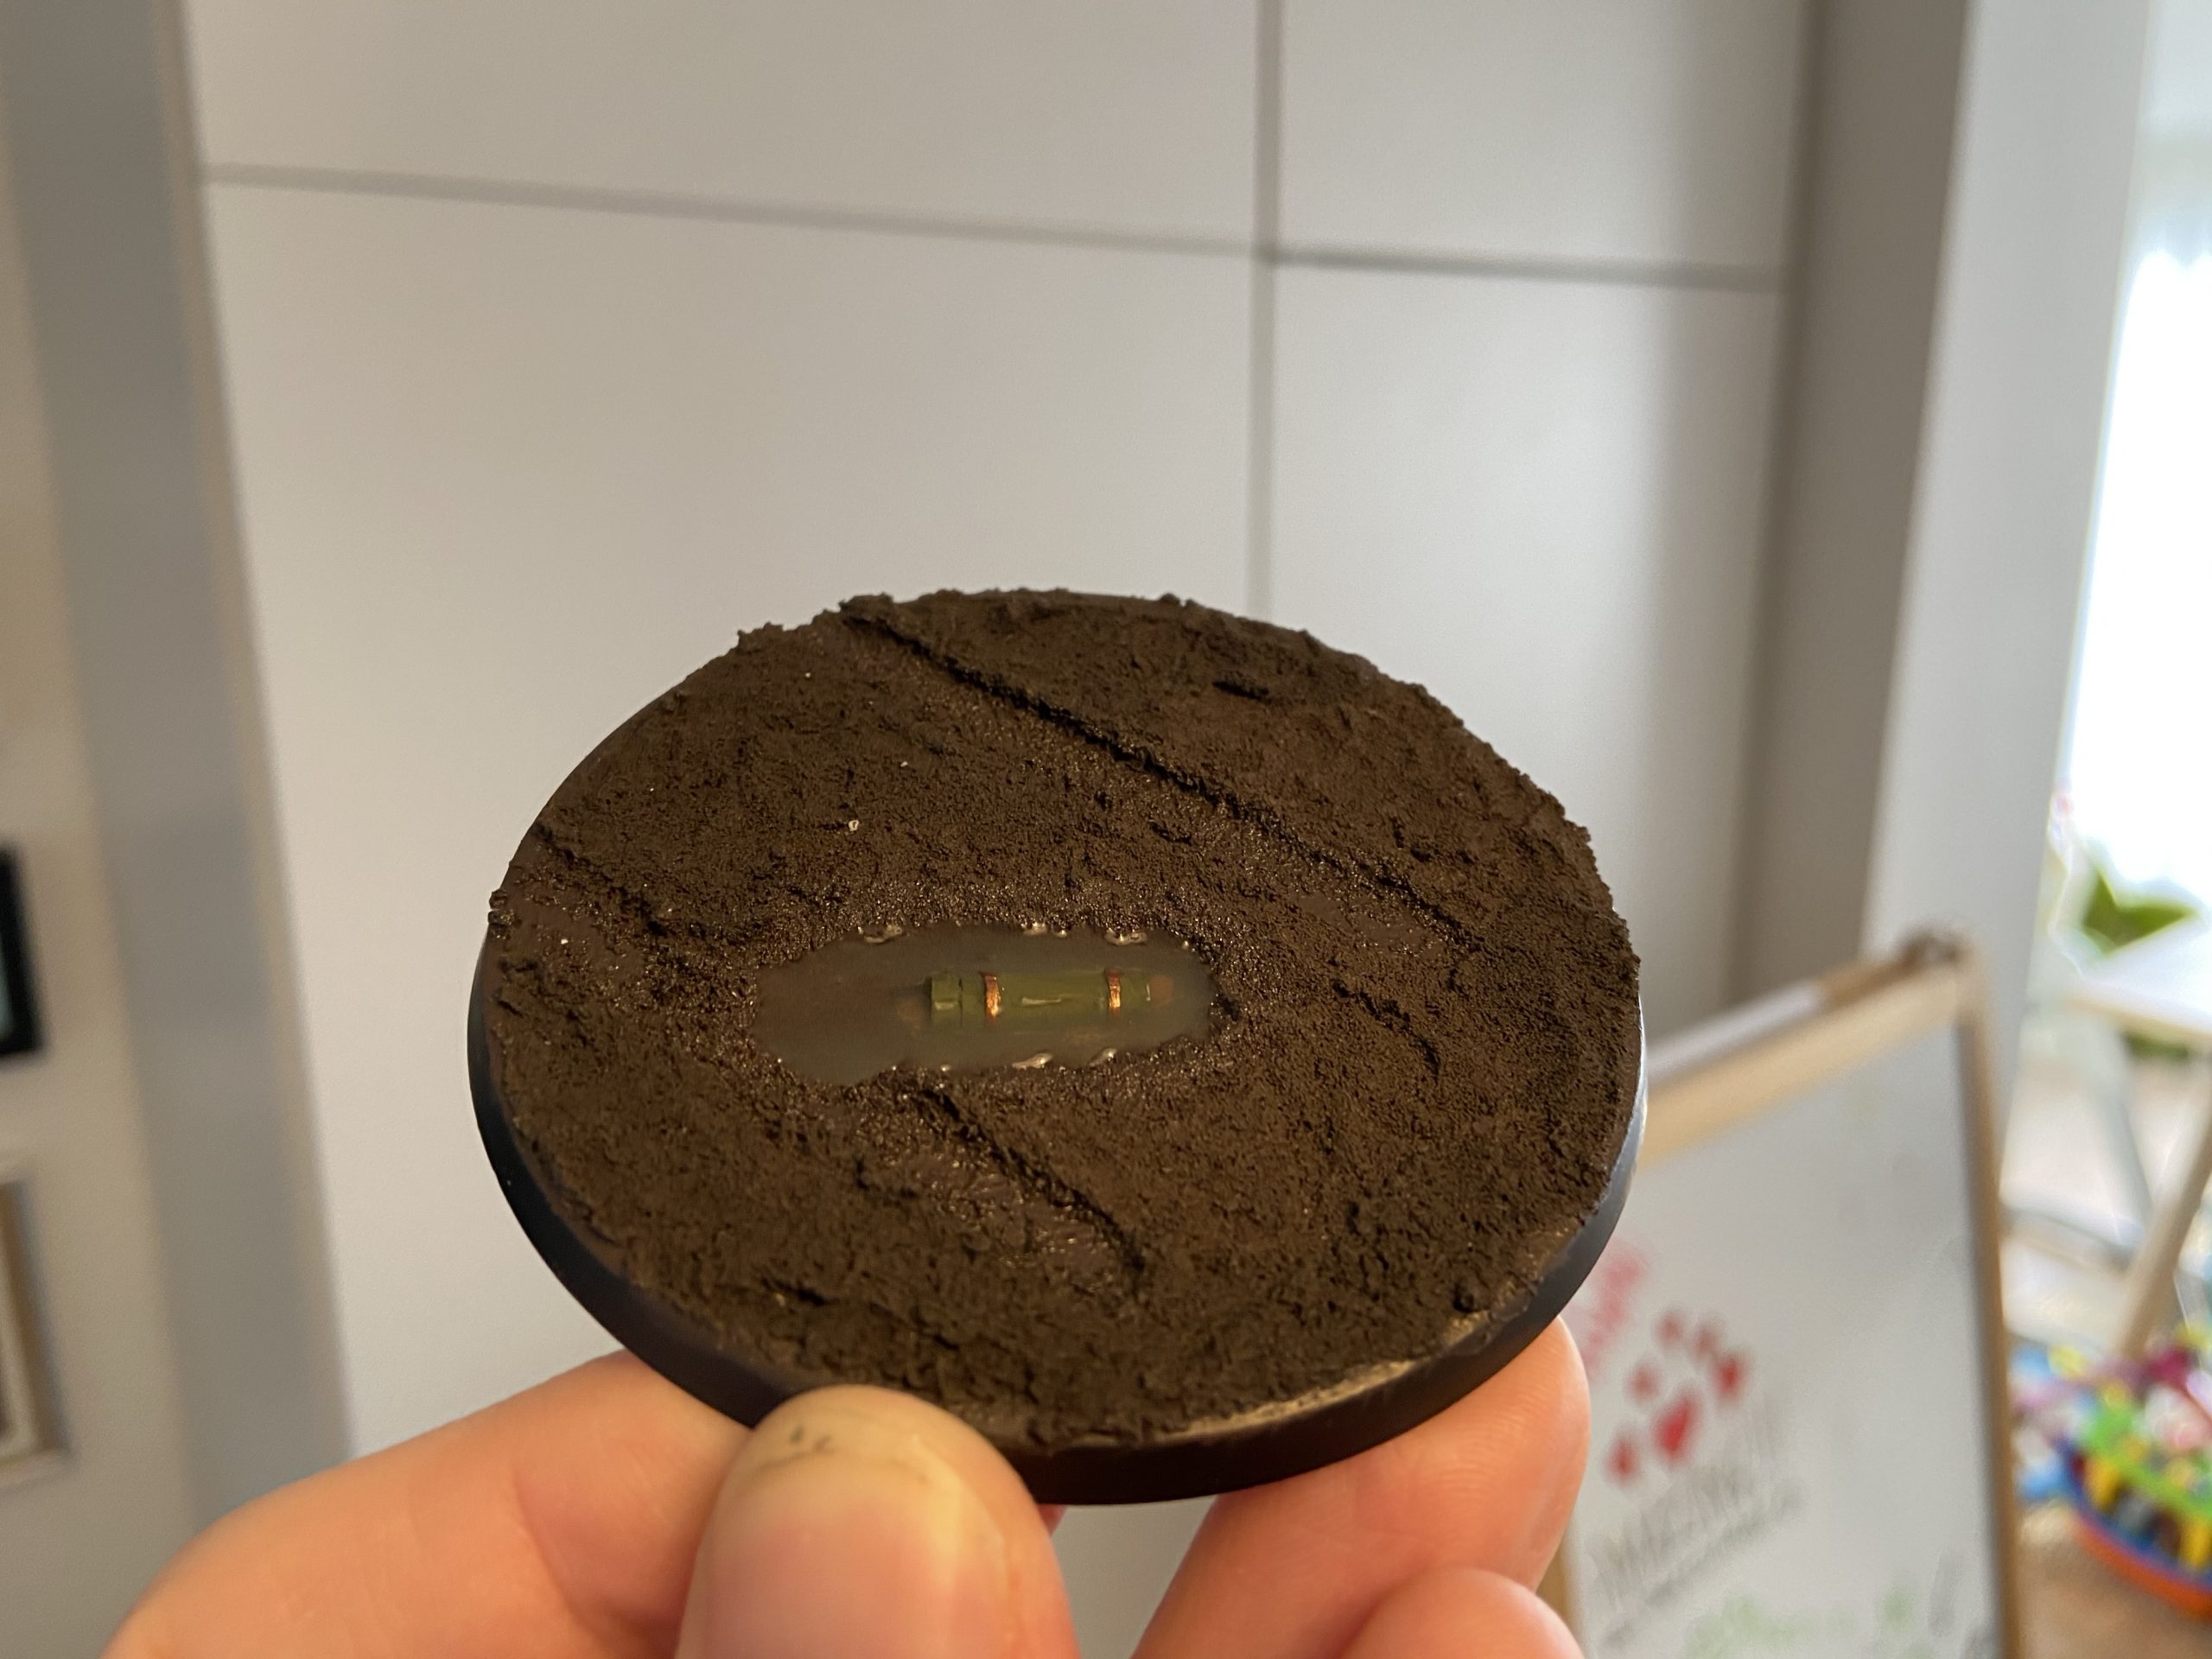
- Now move over your puddle and squeeze enough mixture out to cover your puddle, but only enough so that it’s 2mm deep.
- Use the cocktail stick to tease any bubbles to the surface. And use a little roll of paper towel or a corner of paper towel to get the bubble out. The mixture will stick to the paper towel and bring the bubble with it.
- Again use the cocktail stick to tease the mixture out and into the recesses of your puddle’s sides.
- Let it dry on a flat surface.
- Now repeat the process once the last layer has dried. It’ll build up and create your puddle!
-

- Adding AK Interactive Puddles
-
- The ruts are obvious here

-

- I added some bricks for some interest

Finishing Off
There are a couple of things you should consider to finish off your puddle base.
- Now your base is mostly done, you should probably pin your model to the base rather than glue it. The superglue will stick to the texture, but the texture can peel away. Pinning will ensure your model stays put.
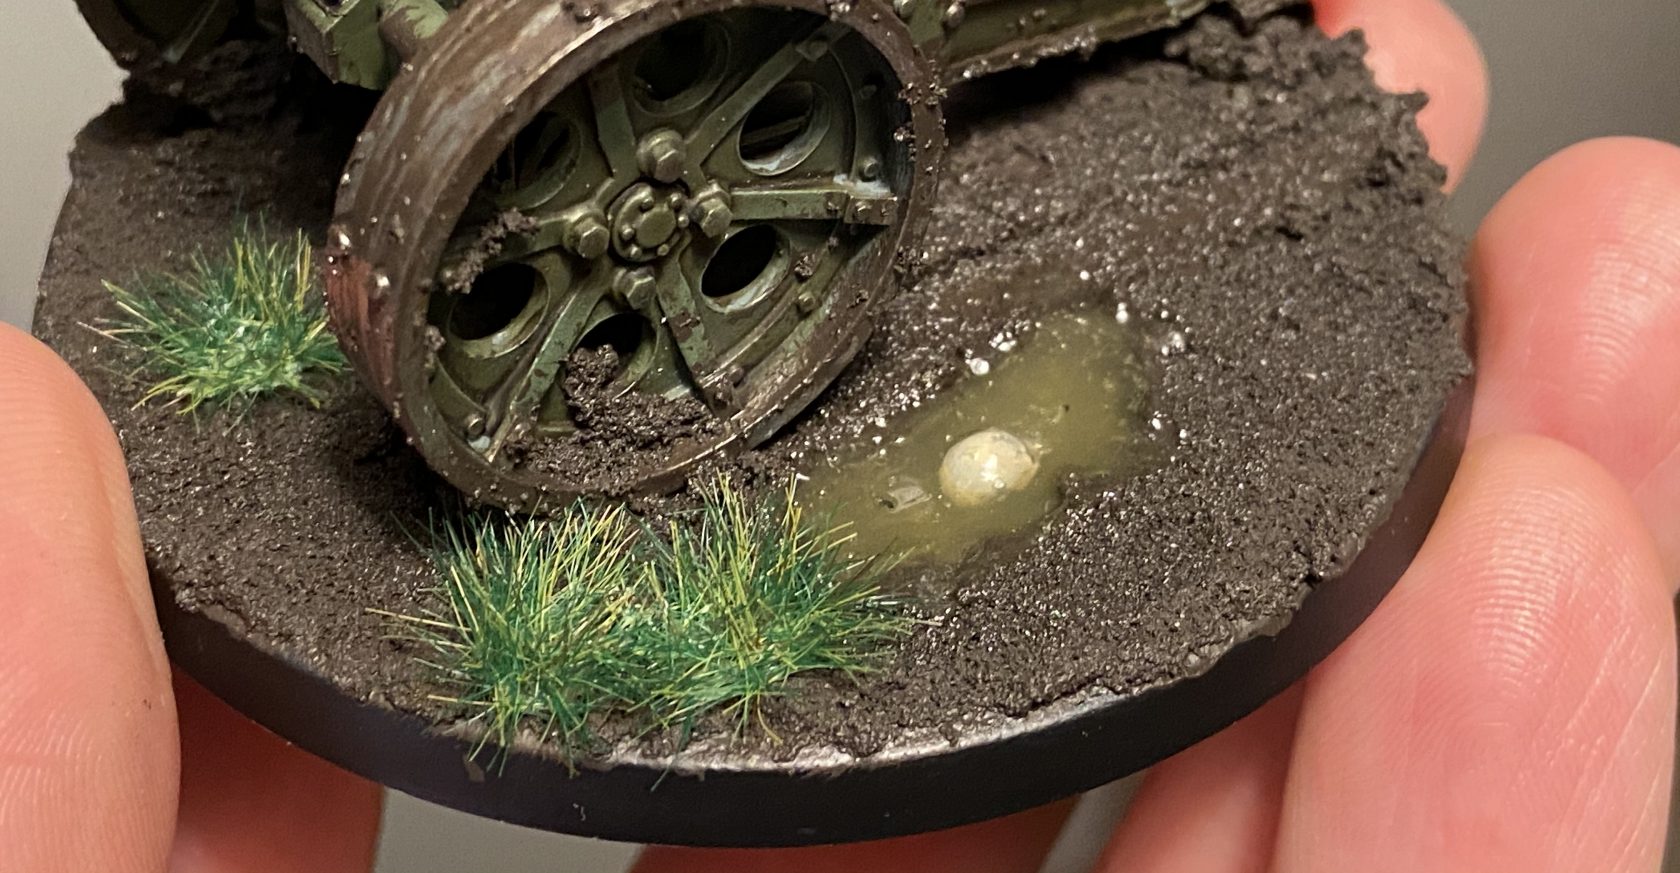
- Consider making the water seep out of the puddle where it would naturally. E.g. where the sides are lower.
- Place vegetation around the edges of the puddle to make it look permanent and more like a stagnant pool.
- Apply more Wet Effect Fluid on the base. Especially if it’s a muddy base where everything will be wet.
- Also, Wet Effect can be applied to your model; feet, tracks, wheels etc to make those things look wet too.
- Add others bits and pieces of the battlefield to your base as normal.
And that’s it!
Creating Puddles – Final Gallery
-
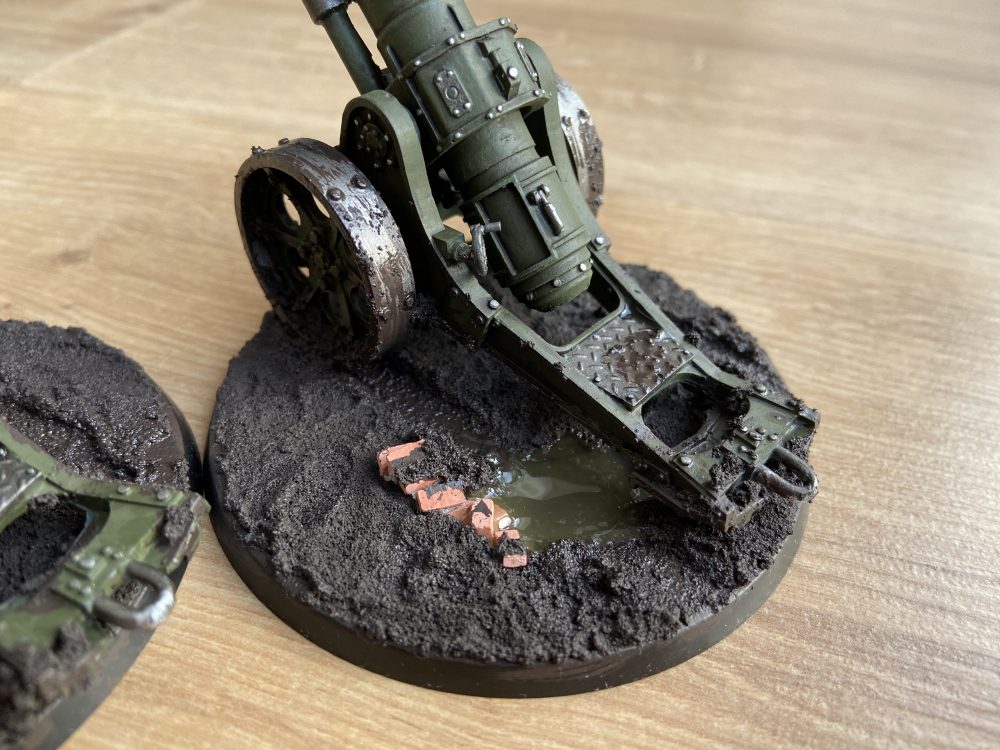
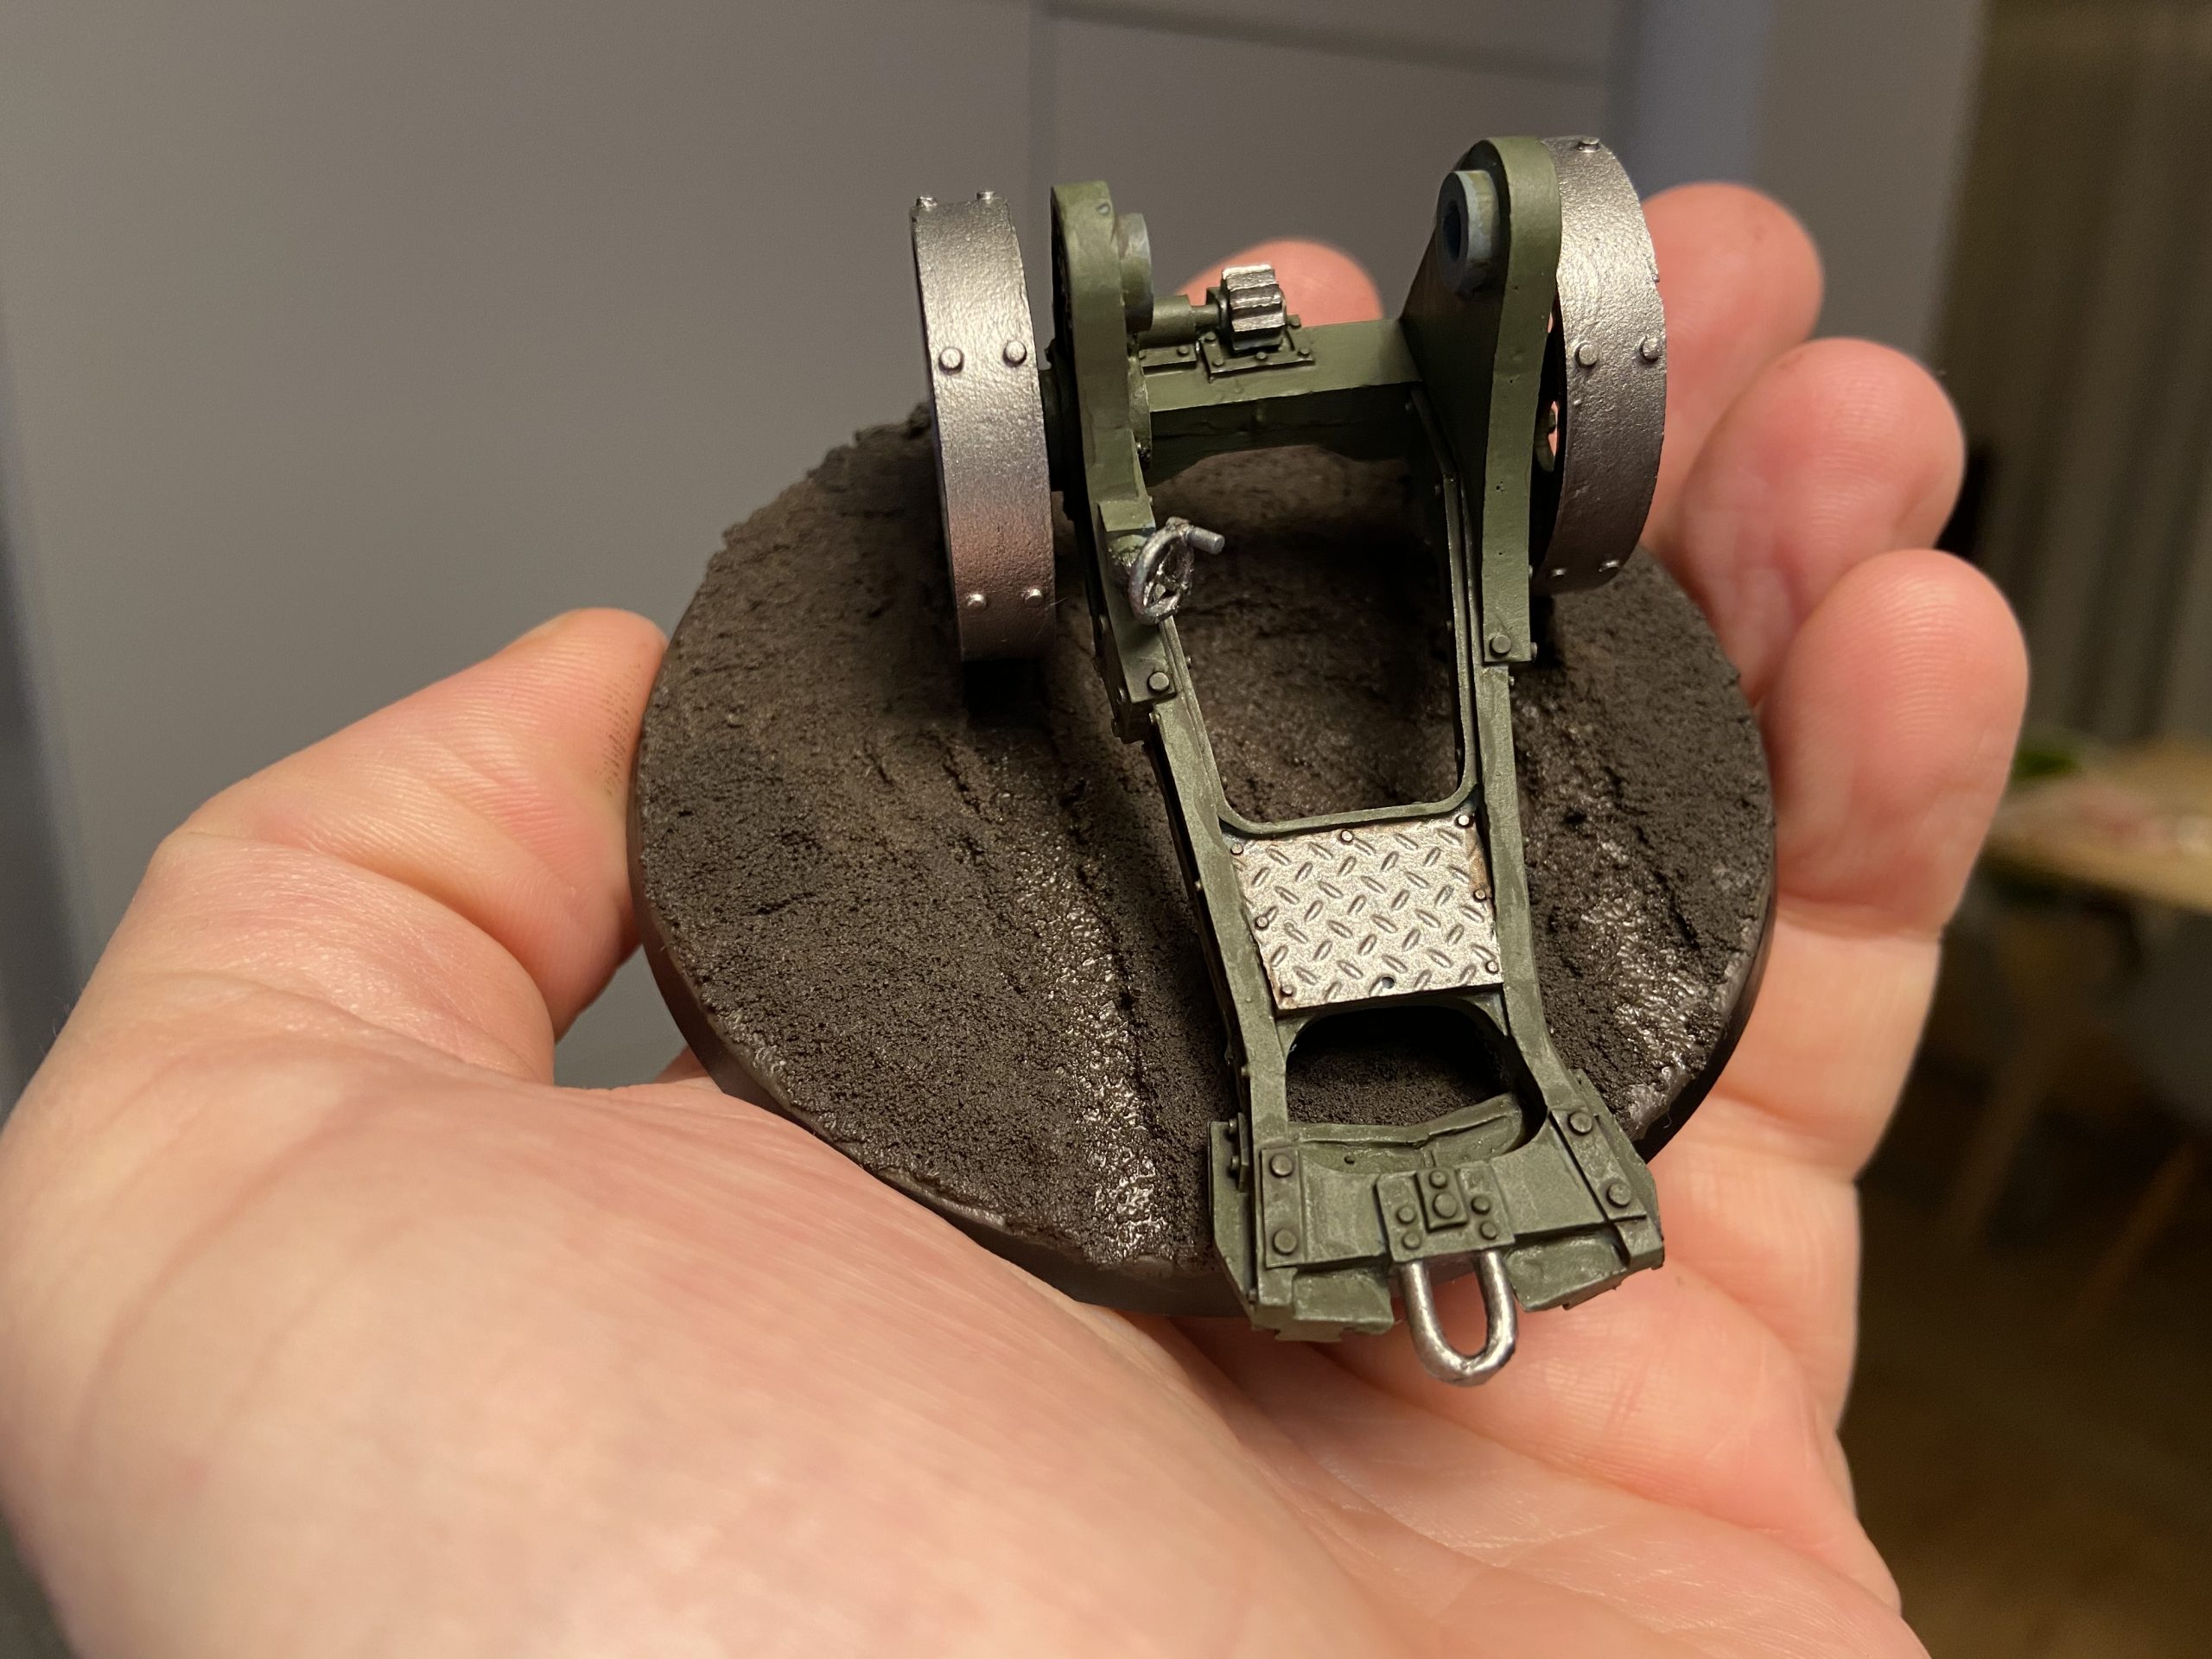
- Here I start to add the model

-
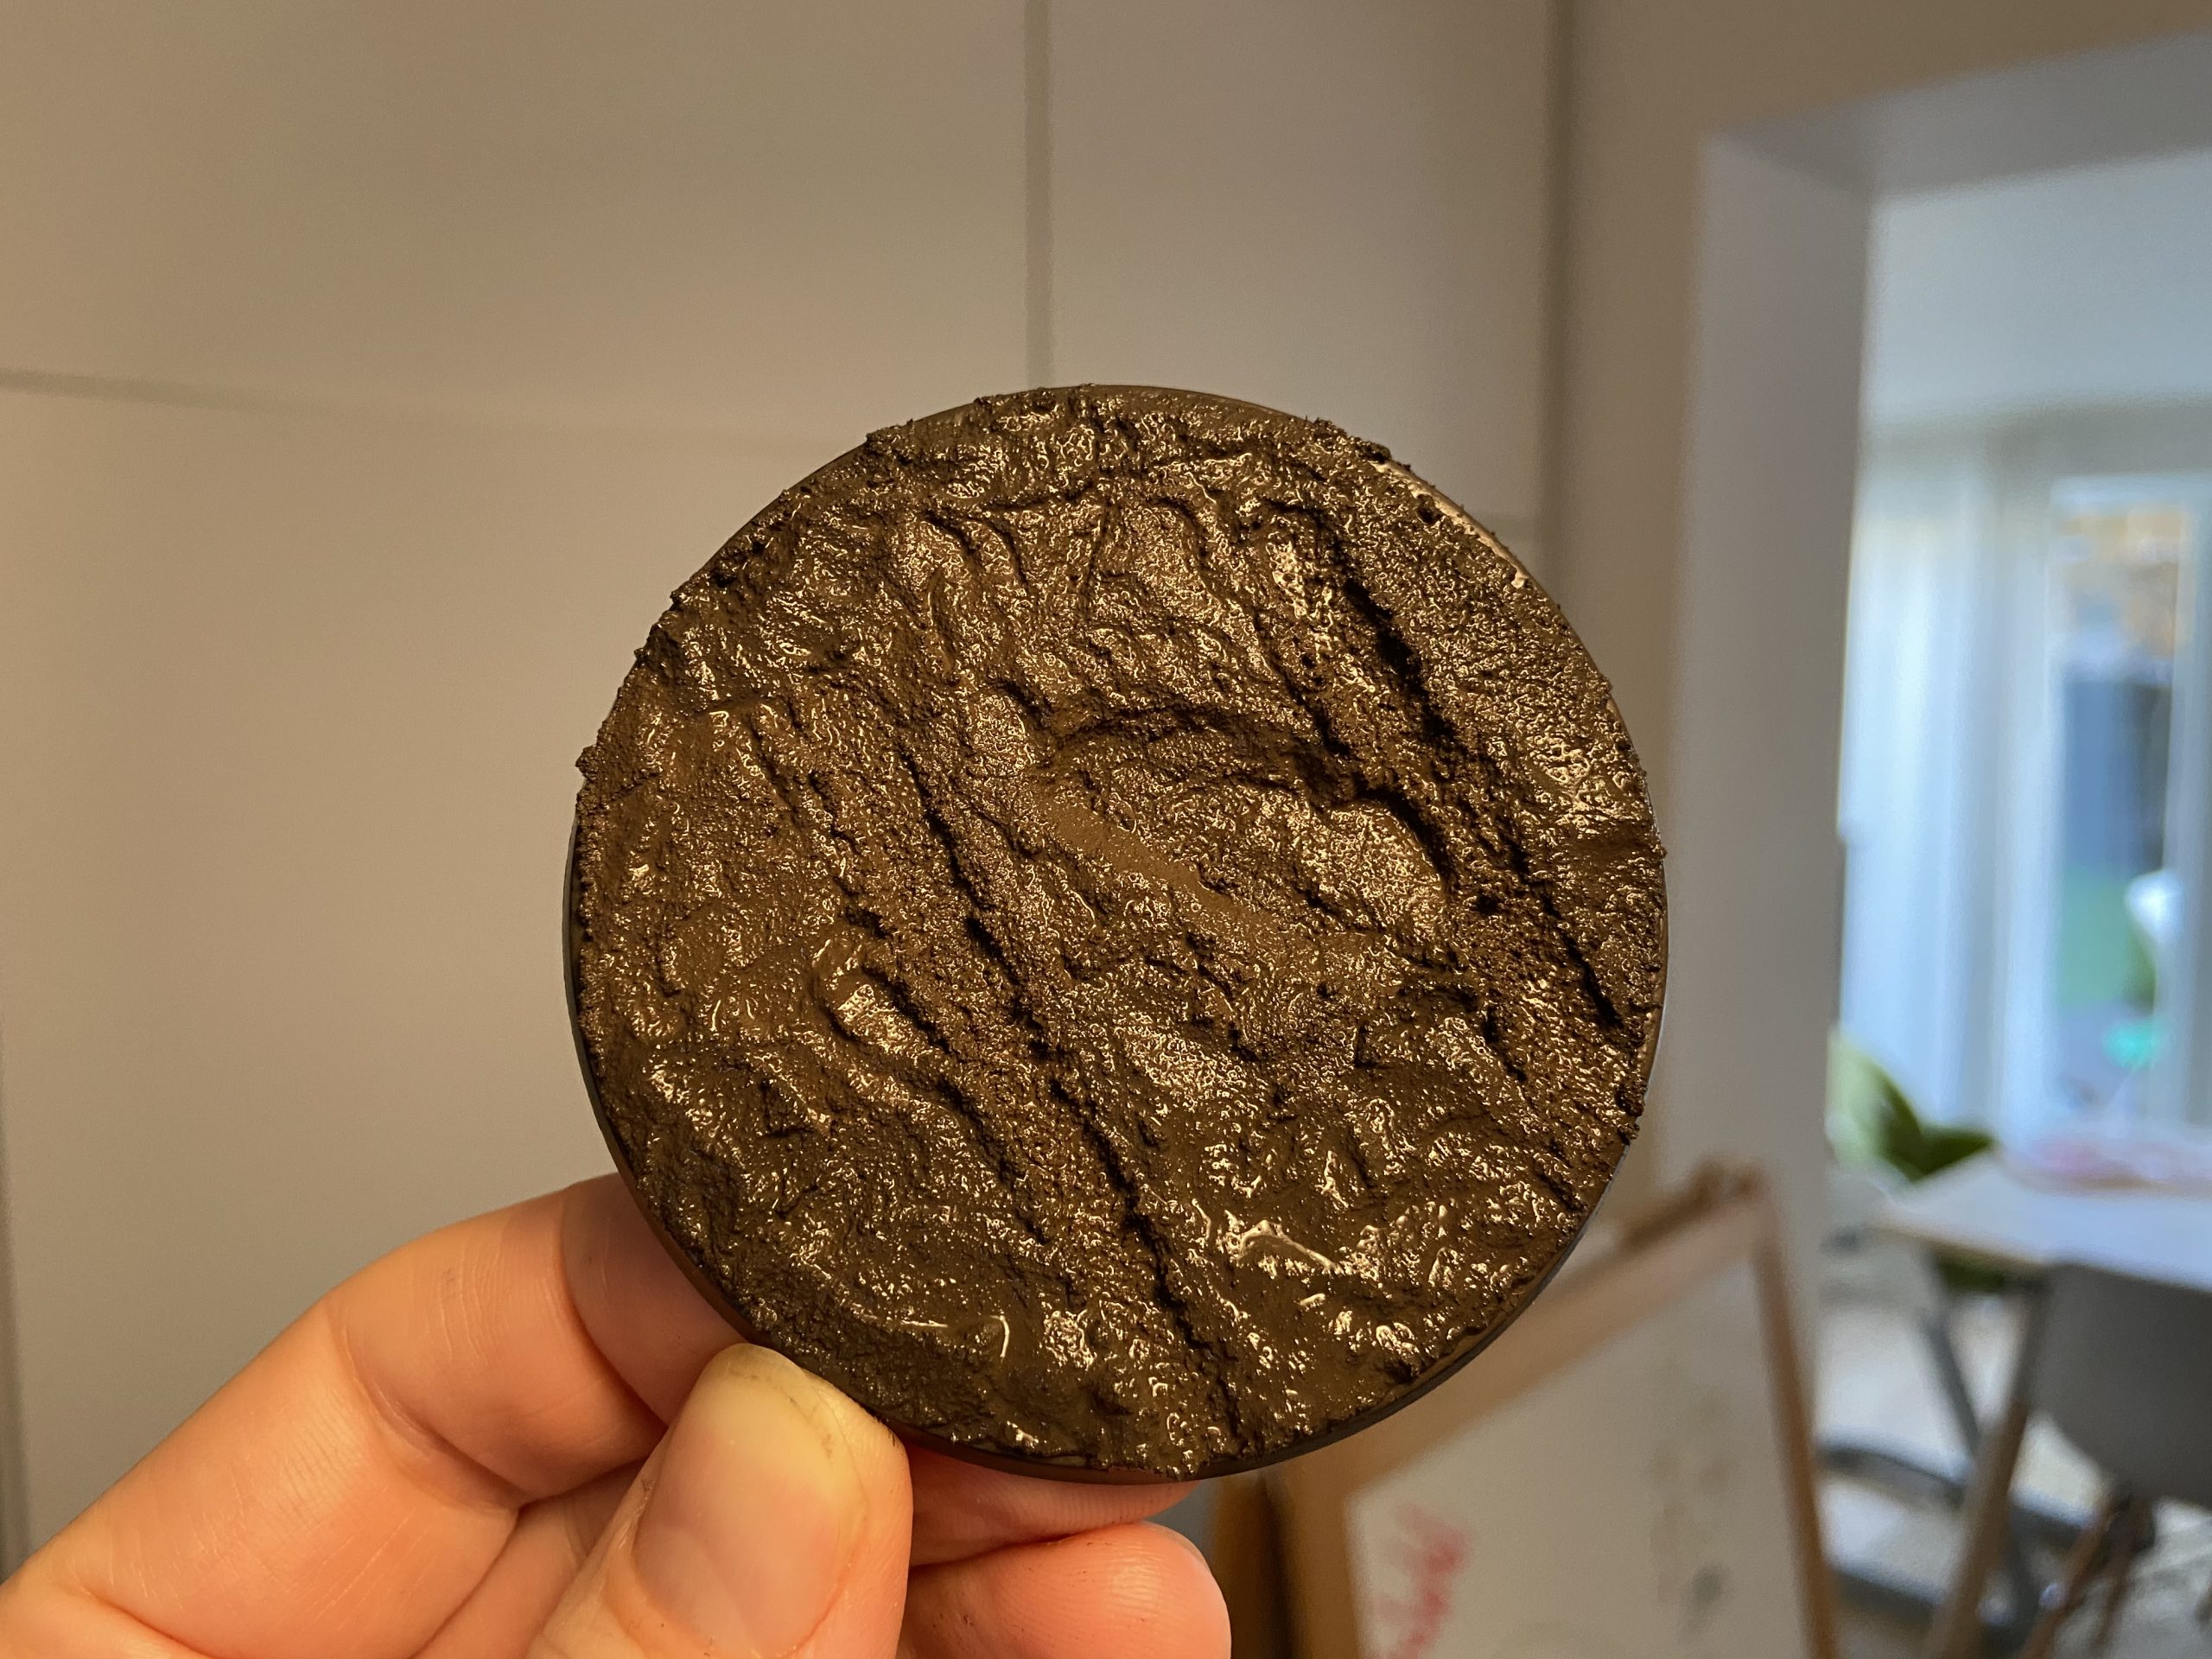
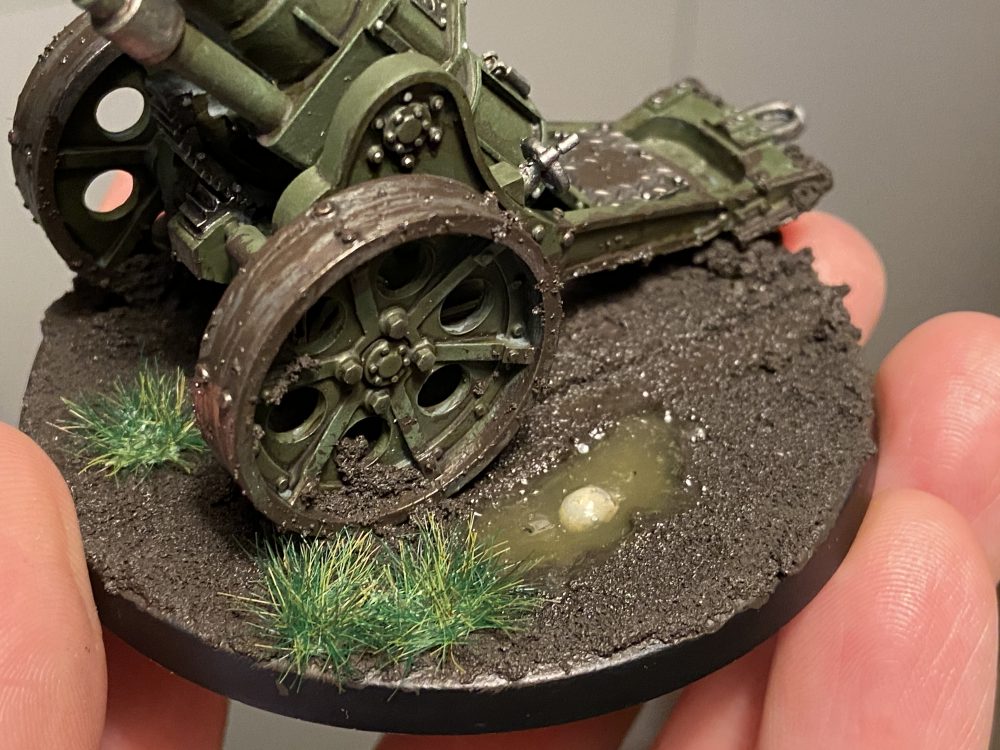
- And add mud to the model to make it look like it belongs on this base

-
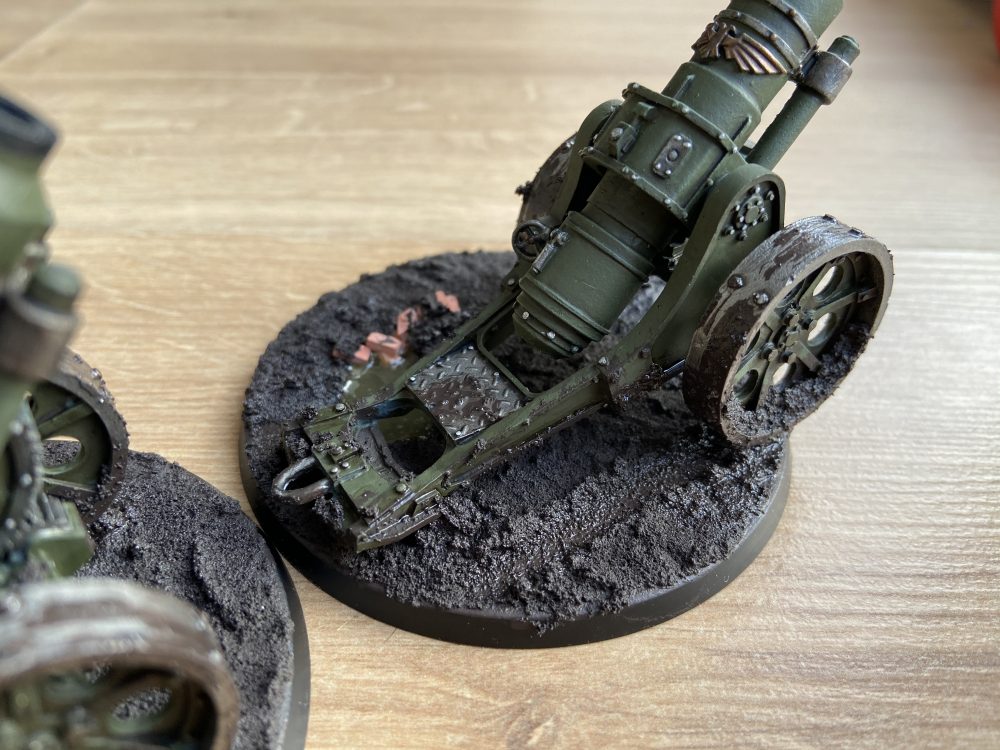
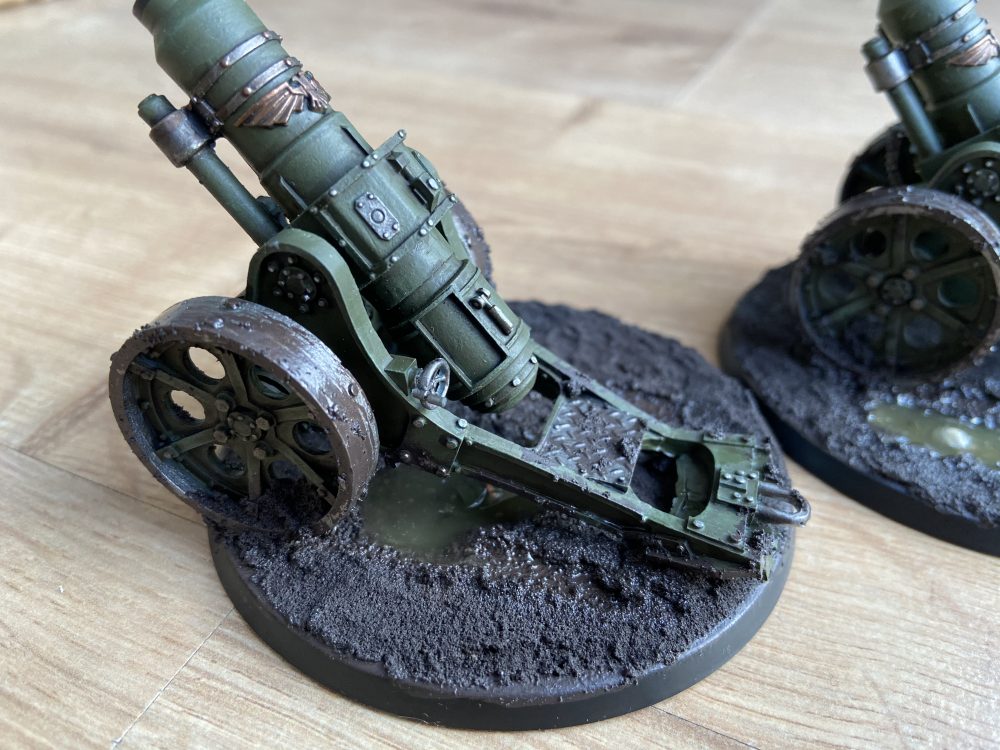
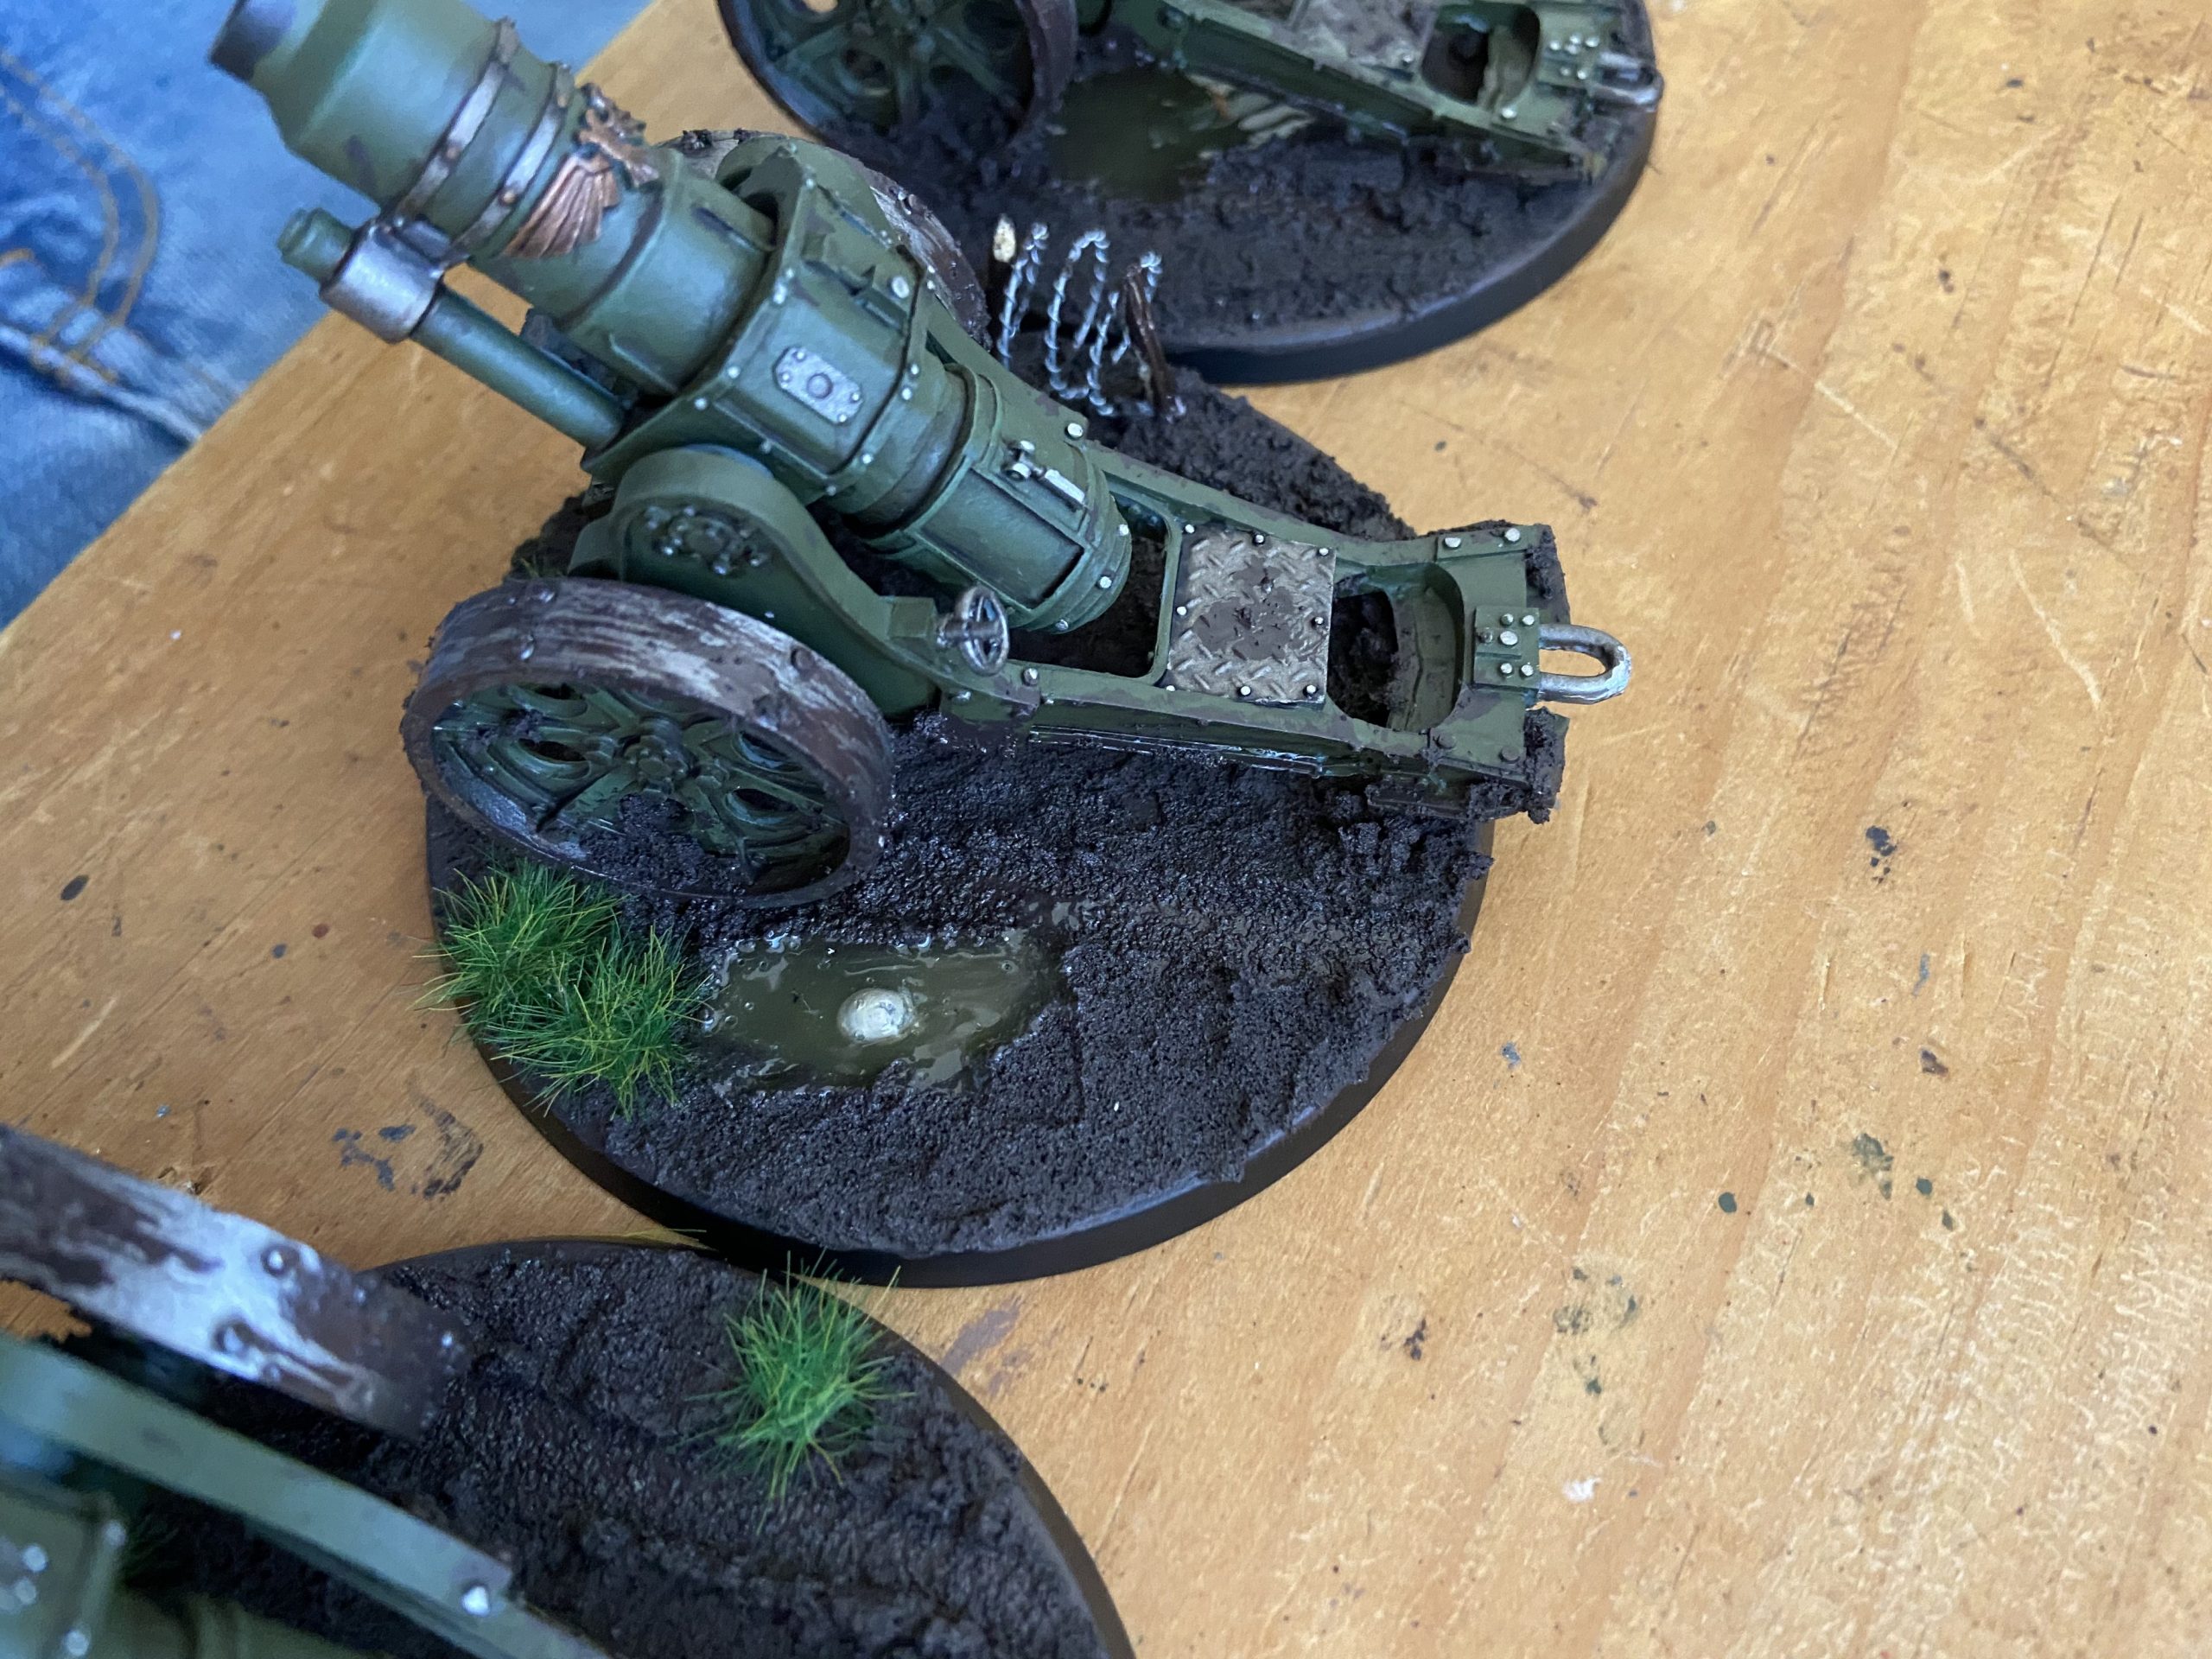
- The ruts worked well!

-
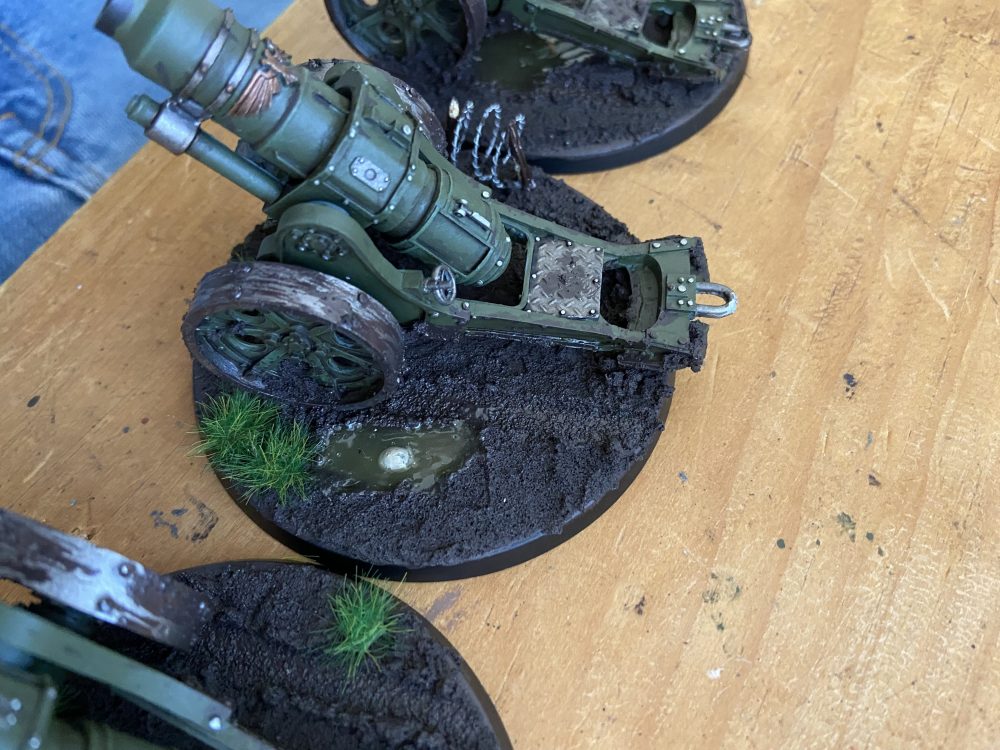
- Adding more details
-
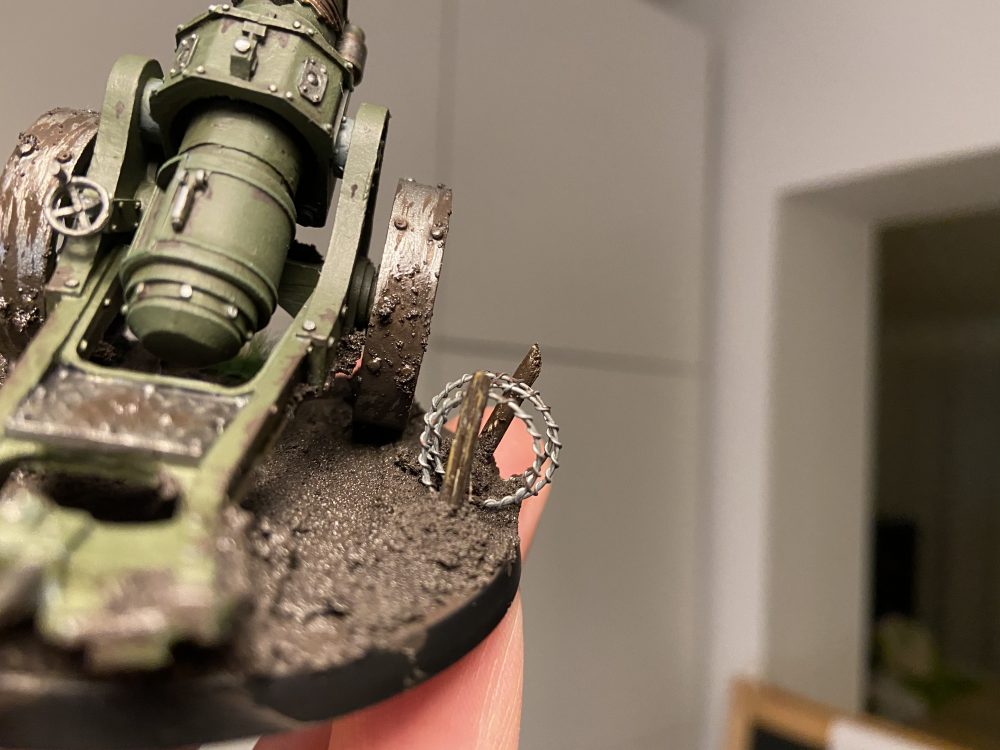
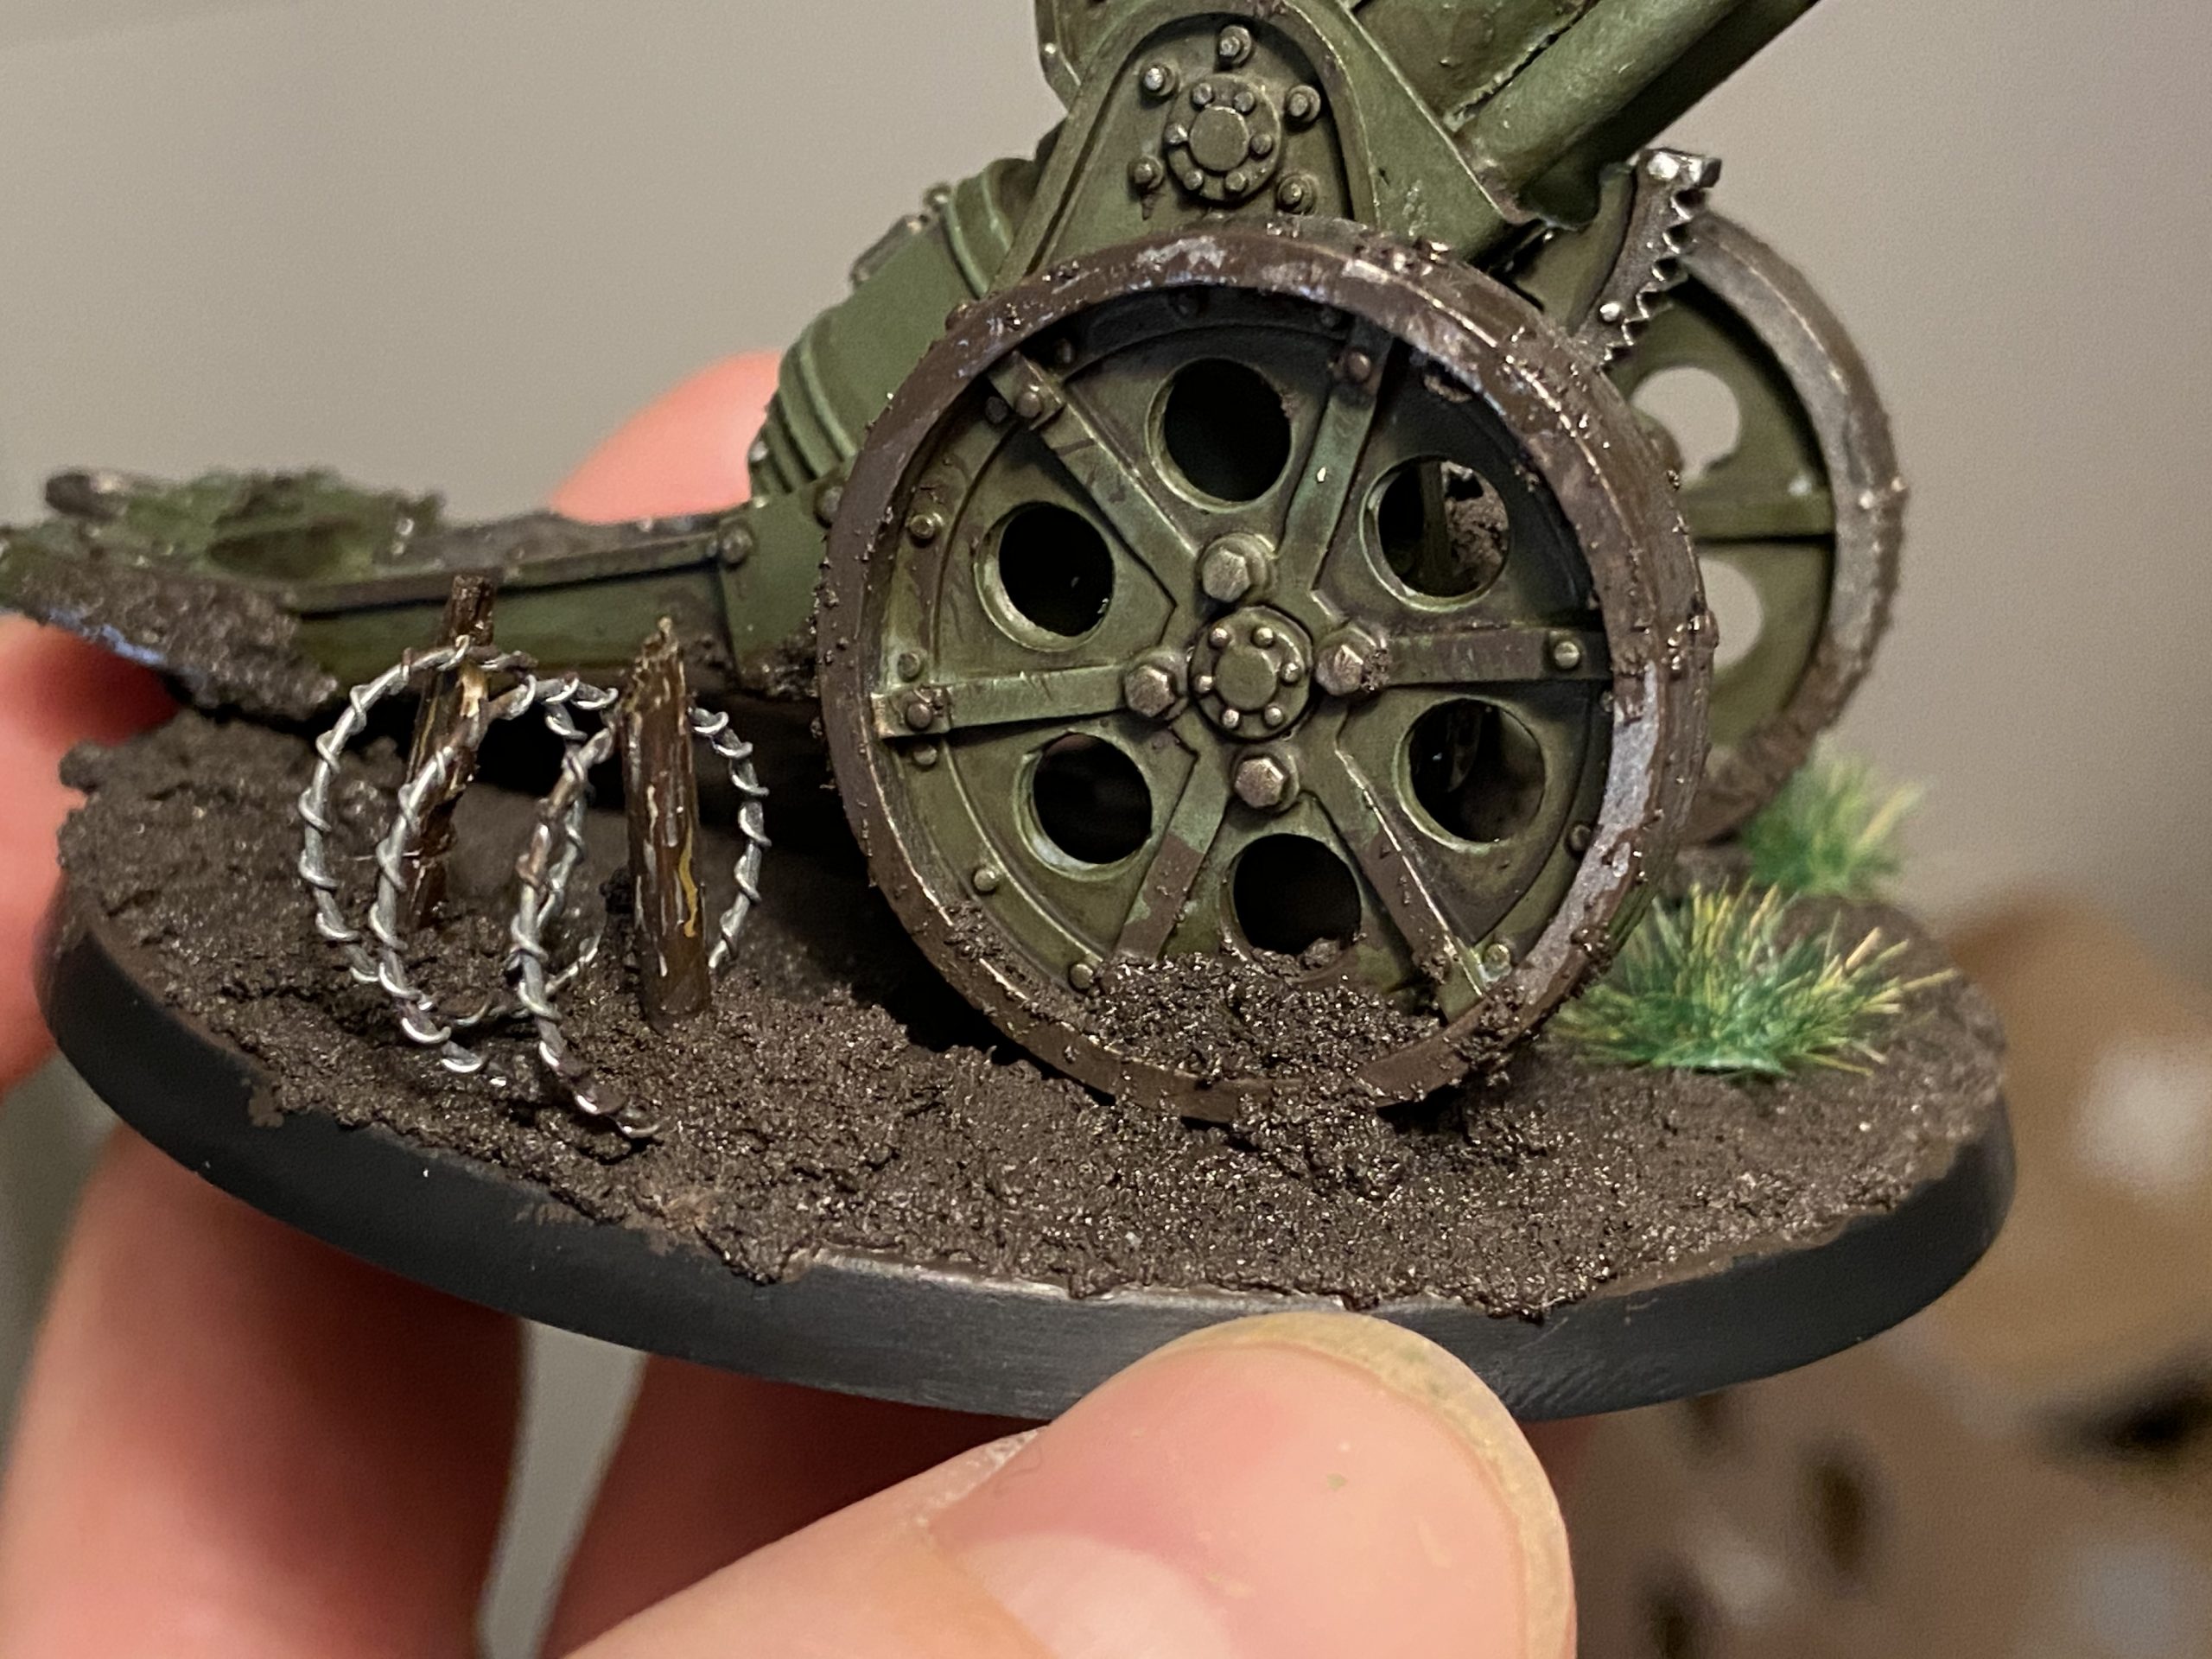
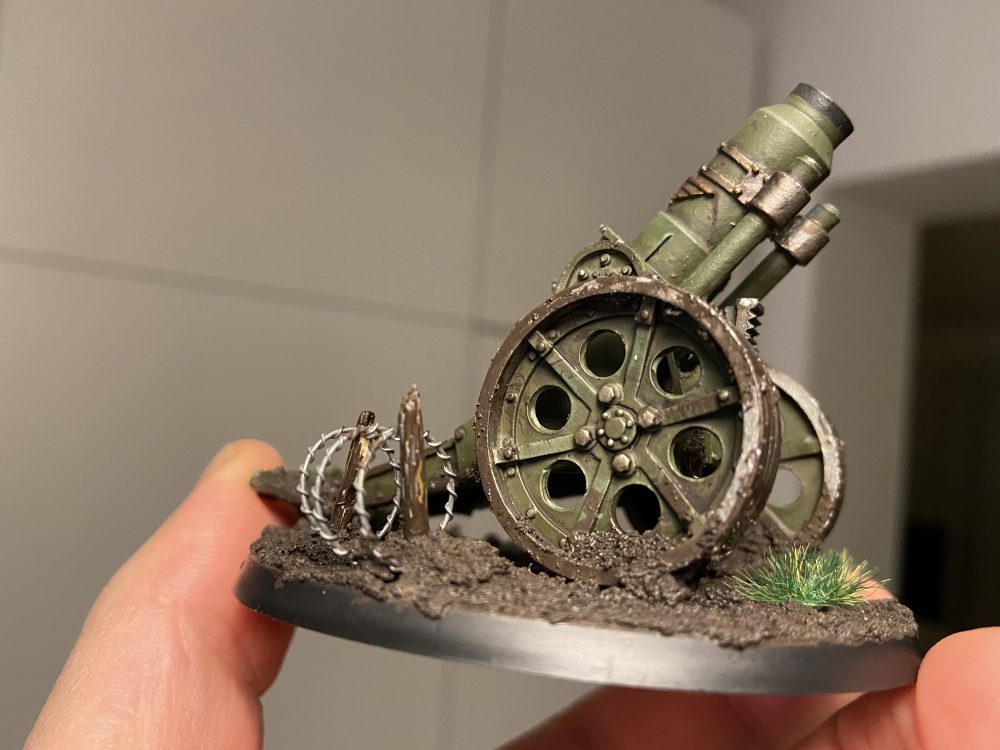
- Barbed wire with cocktail sticks as the posts

-
- I need to tidy the edge
-
- I am happy with this!

-

- Muddy wheels help to