
Cadians Vs Necrons – 2022 League – 2,000 pts
The third full game of the 2022 League...
My third game of the 2022 League is underway, this is 2,000 points of Cadians Vs Necrons! This is my second league after the Hammer of the Emperor rules appeared.
The full details and results of the 2022 League can be found here.
Never miss an article? Subscribe!
This game was played at Boards and Swords.
Cadian List
My list can be seen here on my 2,000pts Cadian page for the League.
I get one additional Warlord Trait and Relic as normal on top of my special League List. For this game I took; Kurov’s Aquila and Gifted Commander on my Demolisher Tank Commander.
Cadian Secondaries
- For The Emperor
- No Prisoners
- Raise the Banners High
Necrons List
And Rich’s Necrons here.
Necrons Secondaries
- No Prisoners
- Retrieve Nachmund Data
- Assassination
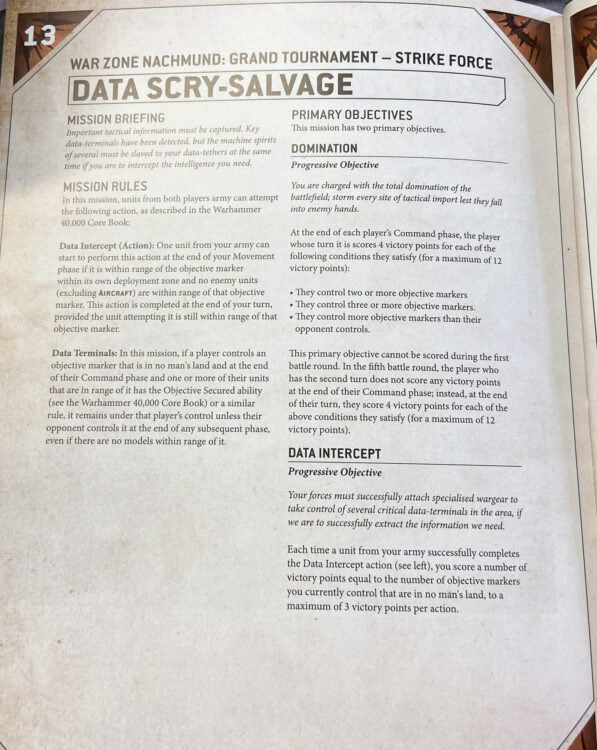
The Mission – Data Scry-Salvage
Score 4VP for each other the following;
- Control 1 or more Objectives
- Control 2 or more Objectives
- Control more Objectives than the enemy
And then another Primary shown below is direct from my book…
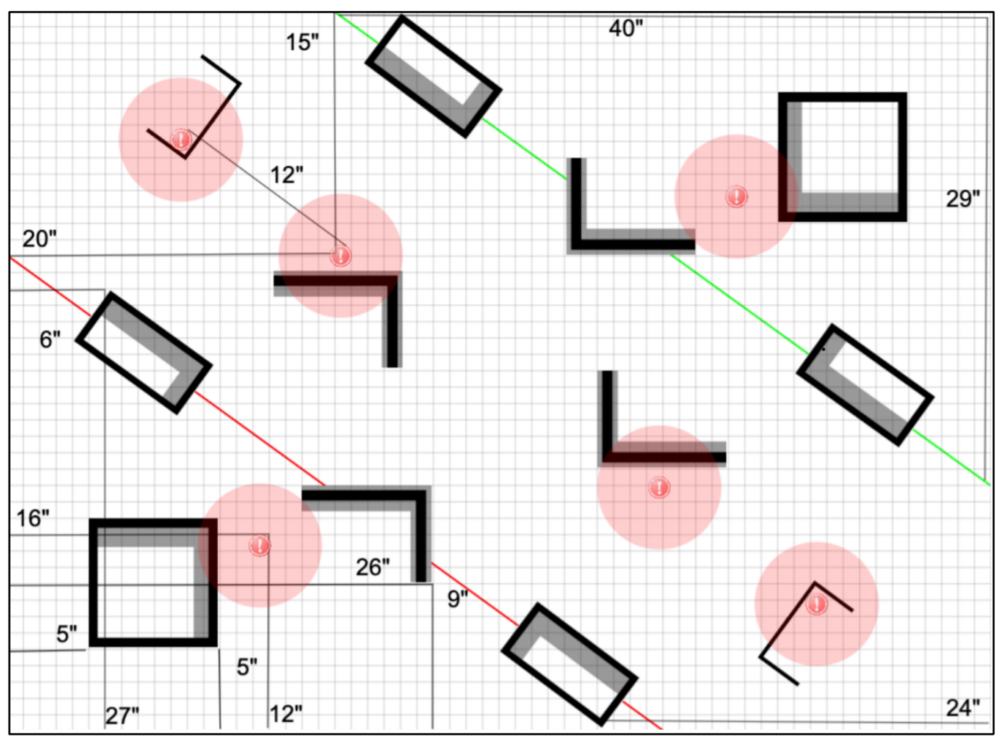
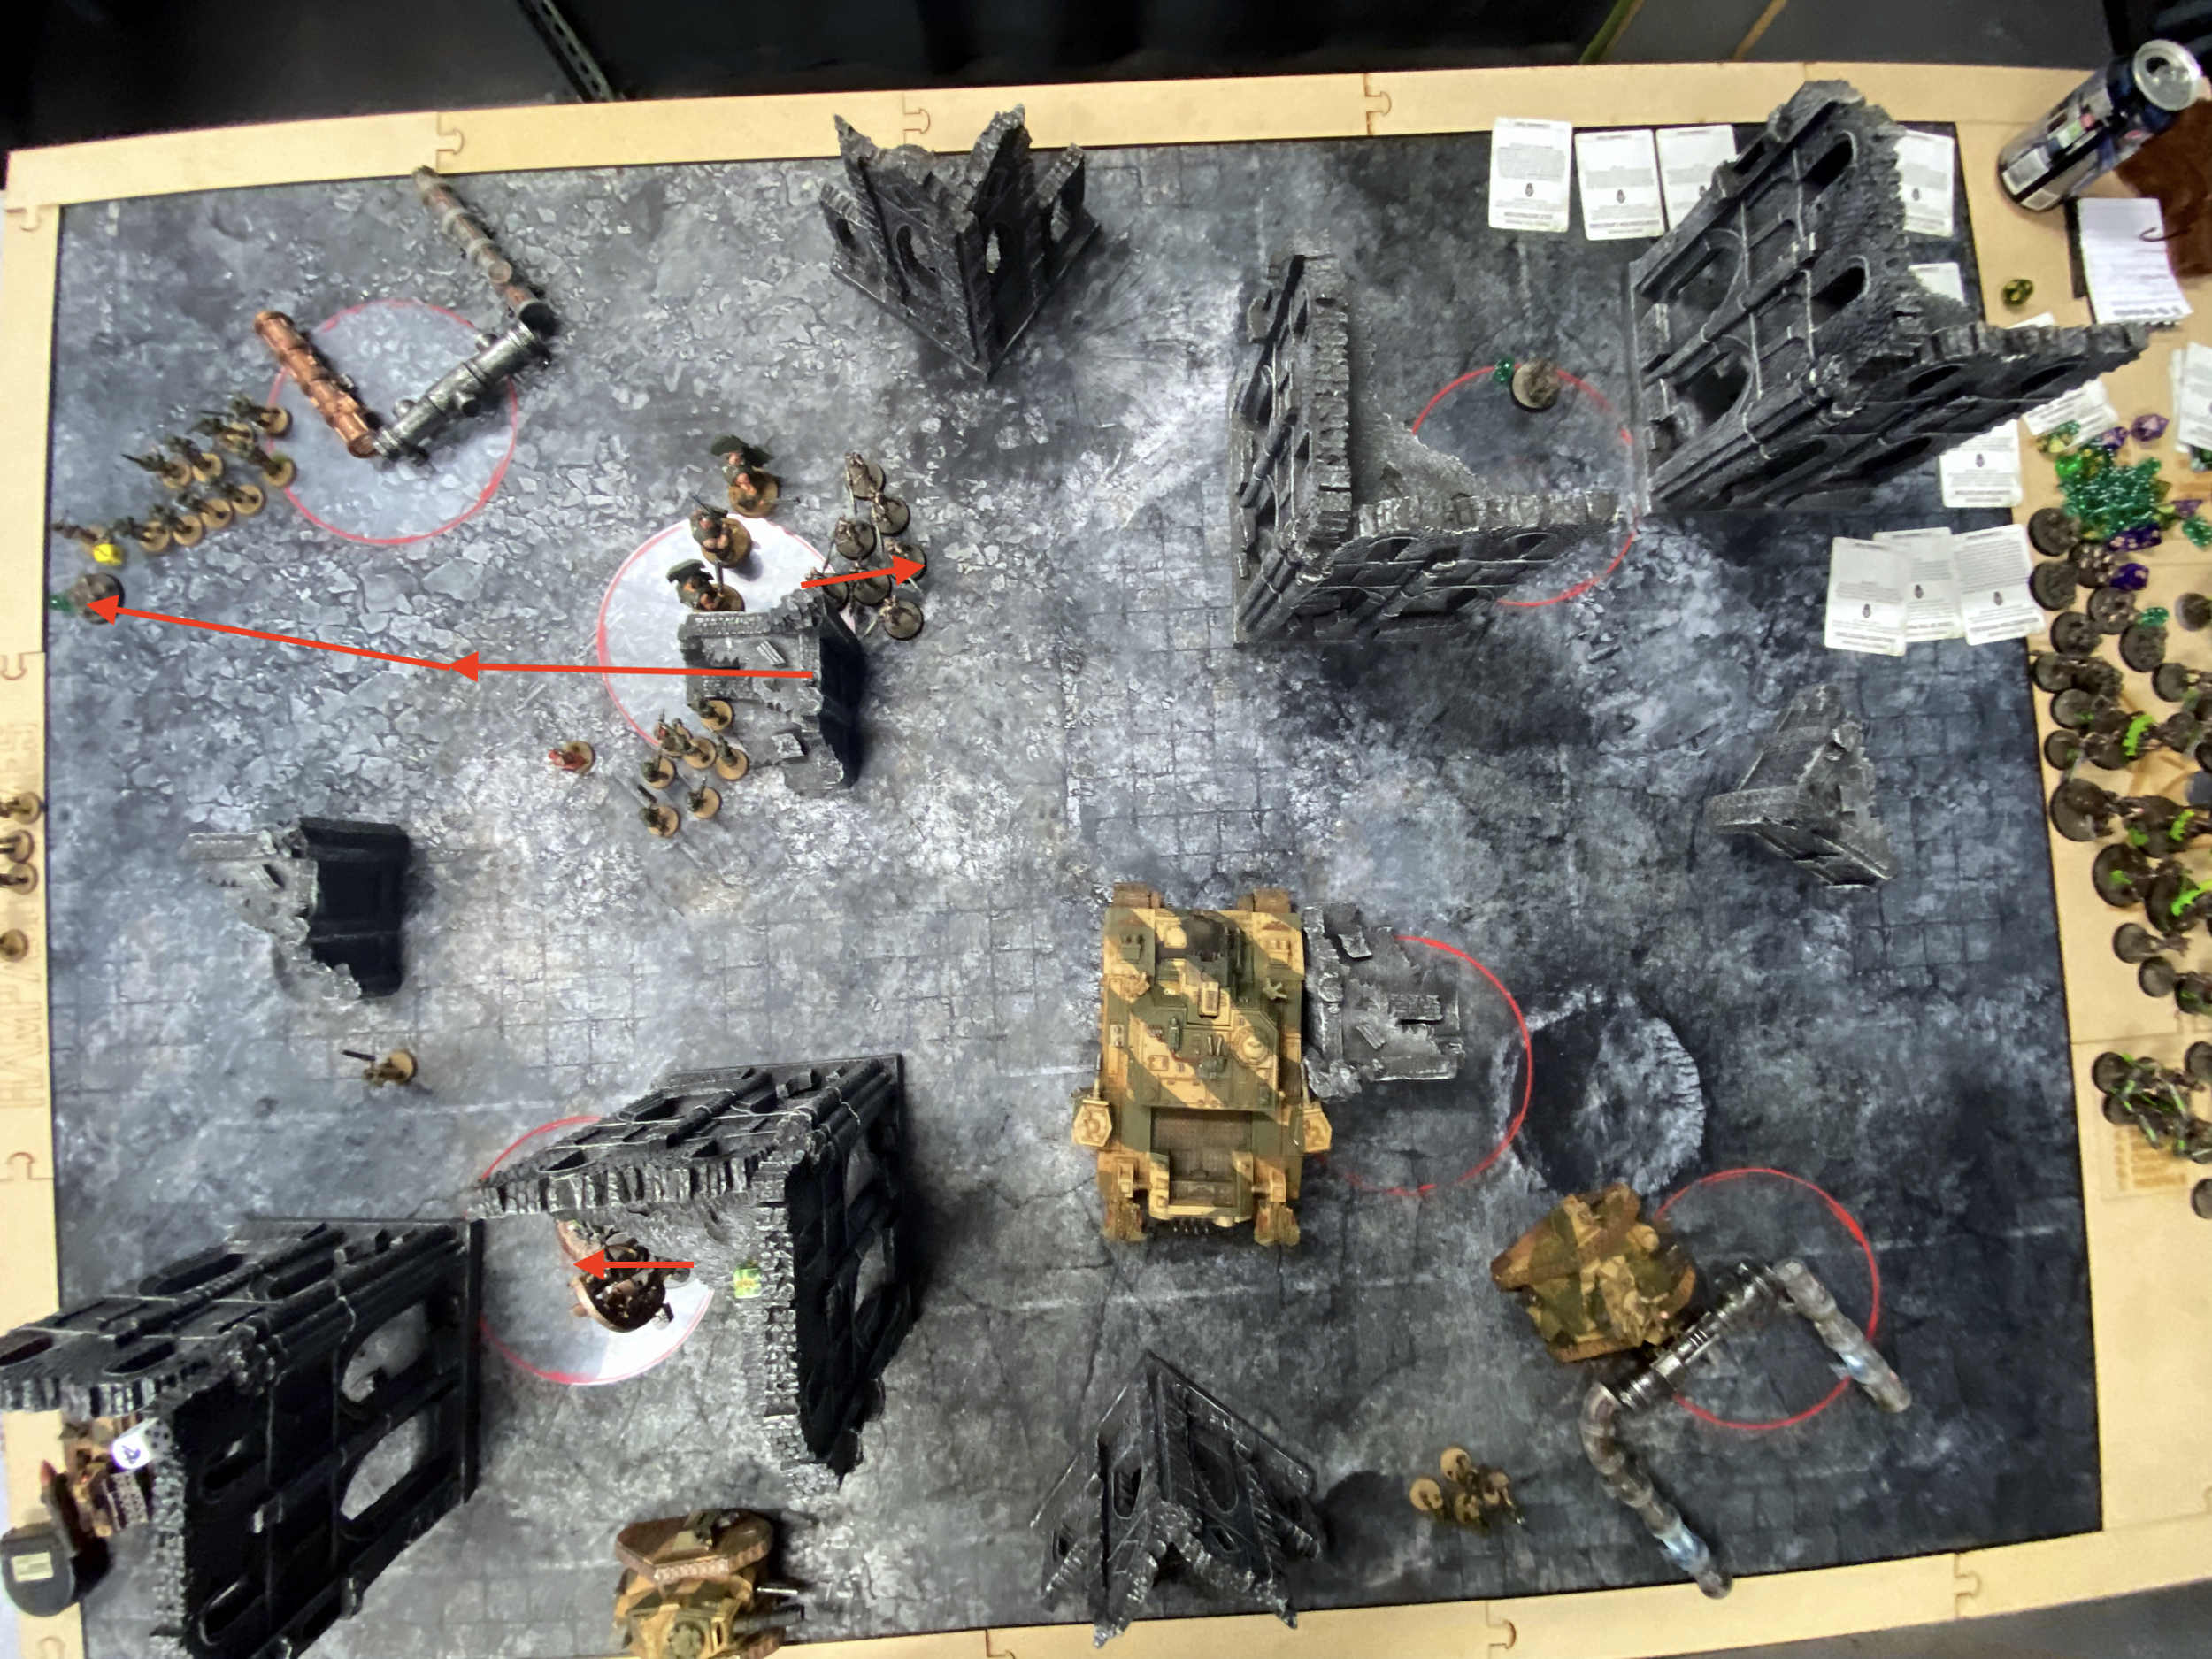
The Battlefield
This is a very similar layout to the last game I played against Blood Angels as part of this League – I lost that game fairly badly. The line-of-sight blocking terrain is very similar and therefore so are the areas to deploy and hide in. Although that will be less of an issue in this game as Rich’s Necron List is not very shooty, especially at range.
Necron Threats
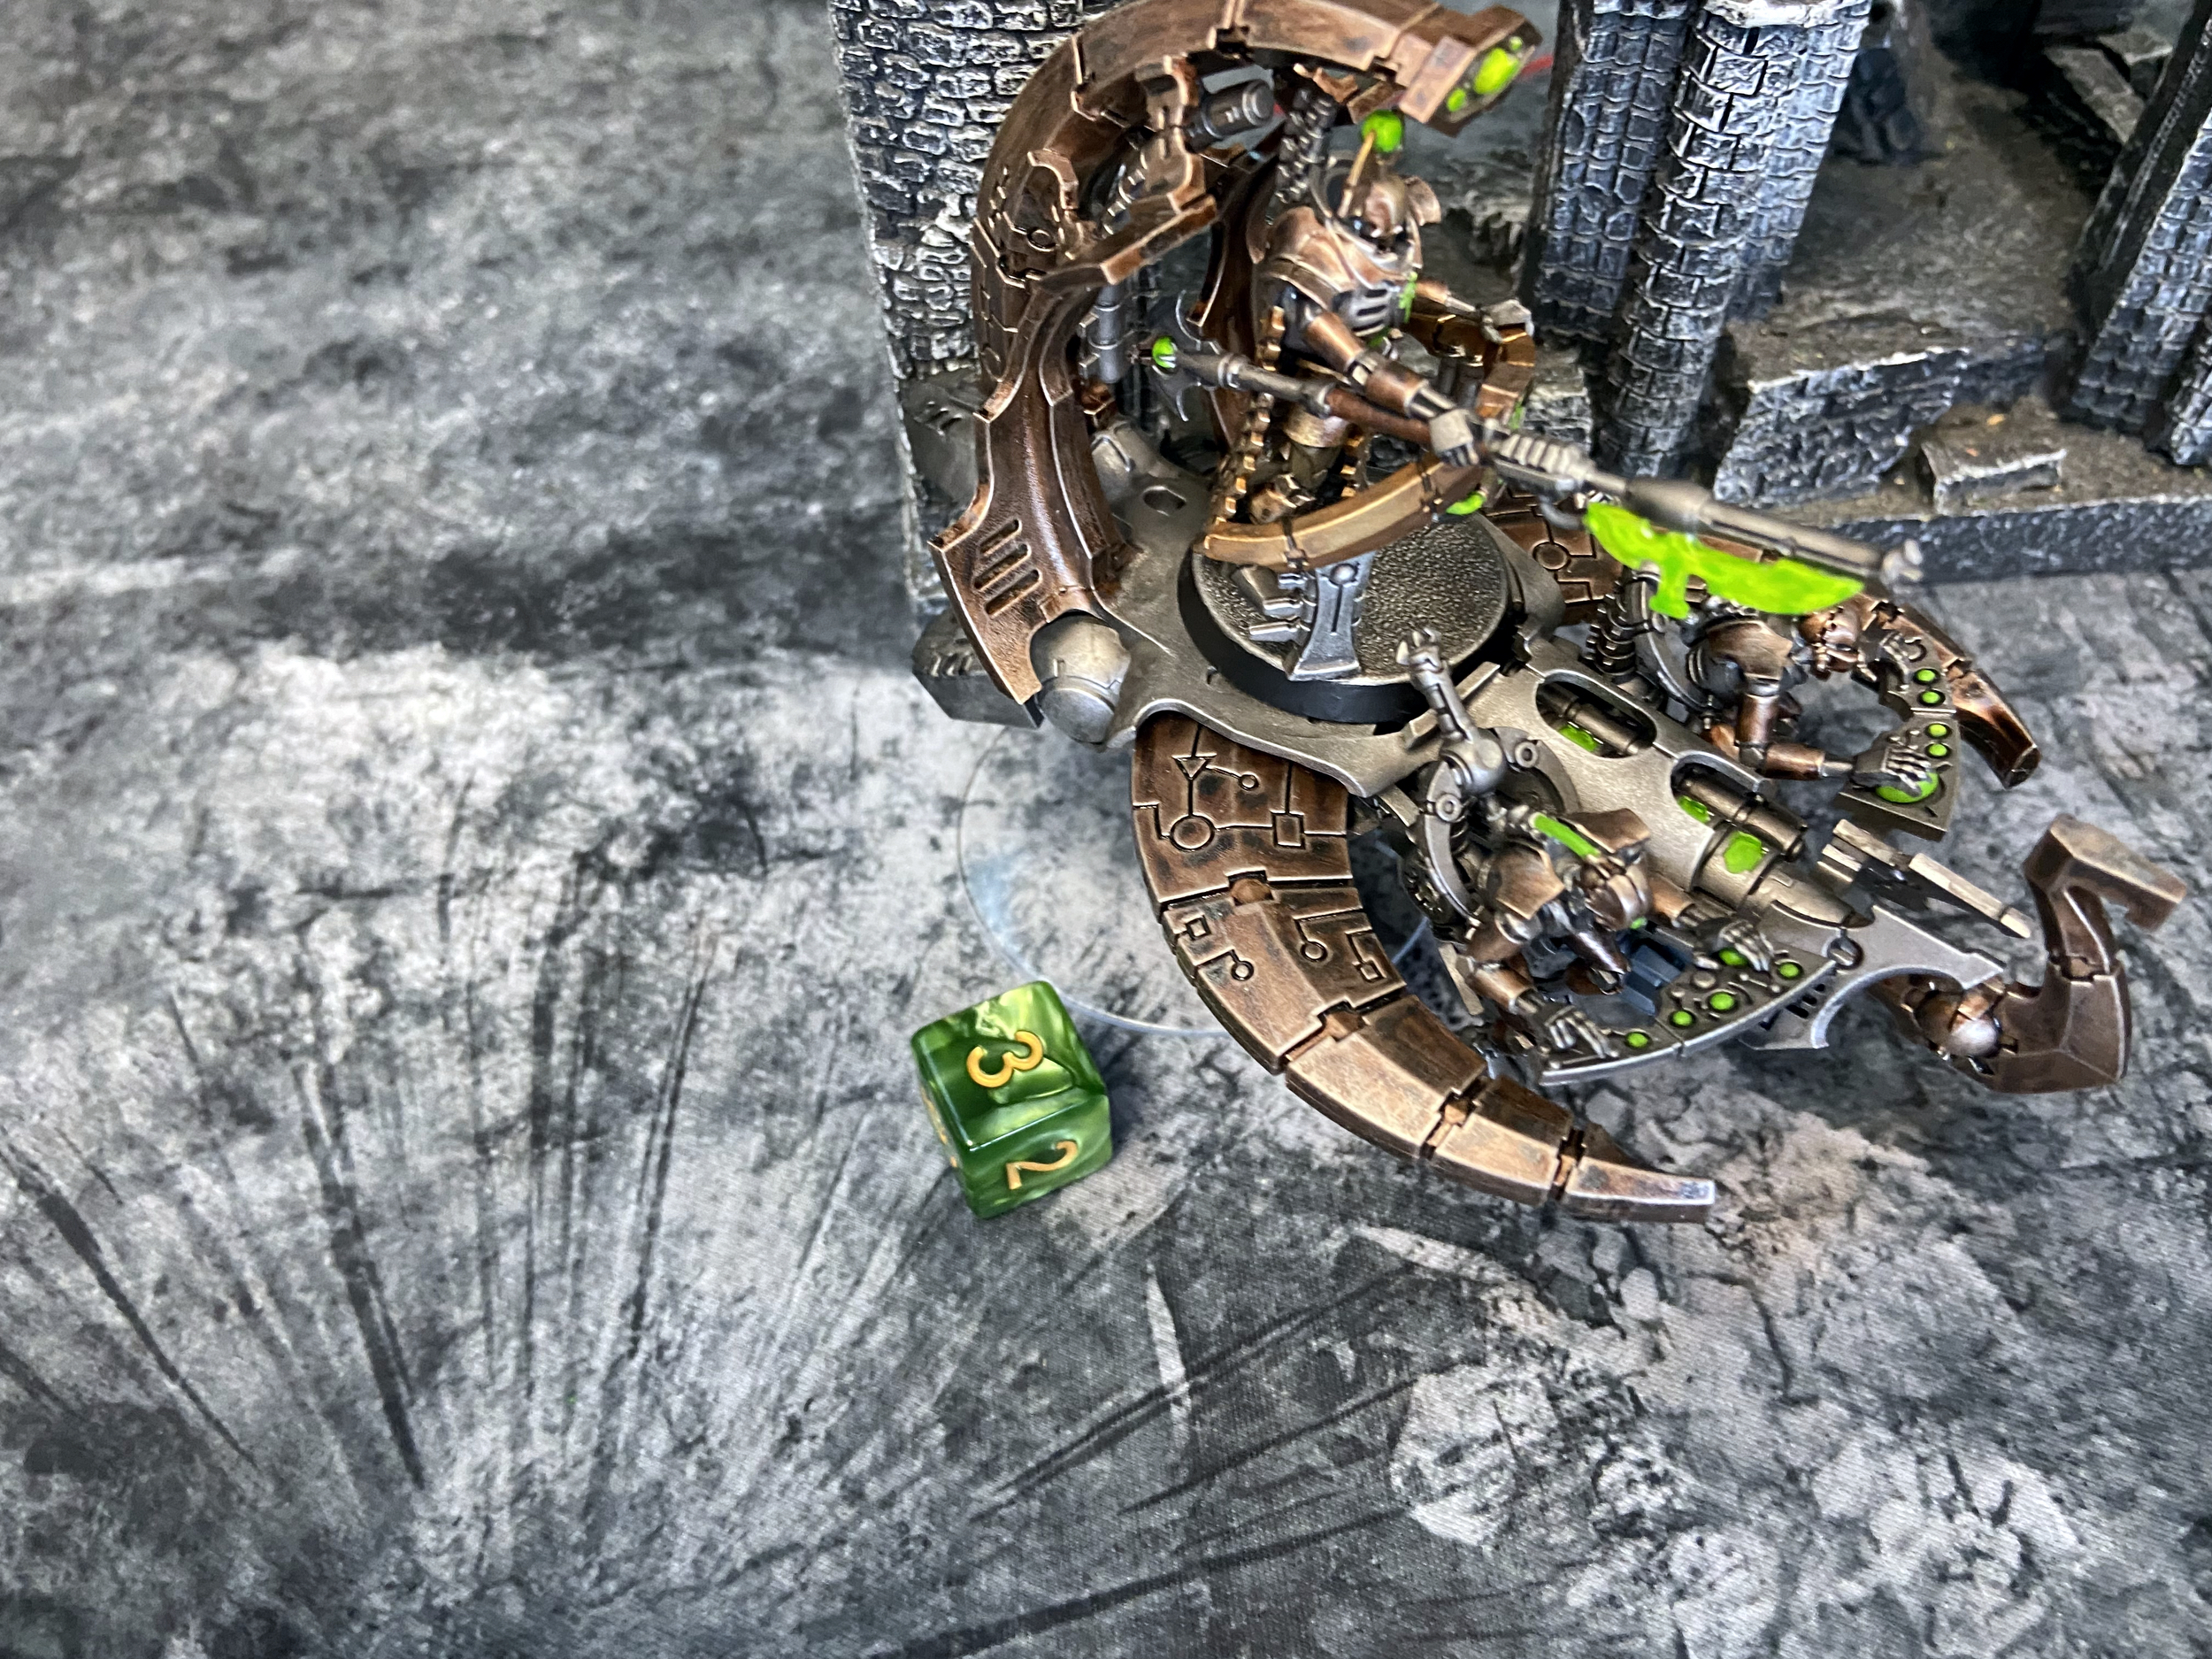
C’tan Shard of the Nightbringer
This thing scares the heck out of me. The max of 3 Wounds lost per turn, being 9 Wounds and gaining a Wound is a real worry. I also have no way of doing any real damage in the Psychic Phase – the Astropaths Smite on 1D6.
At best I can do 3 Wounds in the Shooting Phase and 3 in the Fight Phase, that leaves it on 3 Wounds. It will gain 1, taking it to 4 Wounds. That means I must then take another Shooting and Fight Phase to get those last 4 Wounds off. Nightbringer, and nightmare!
My best bet, ignore it for as long as possible I think while plinking off Wounds in the Shooting Phase for as long as possible. An 8″ move means it will struggle for a Turn 1 charge. With some decent moving or screening – it’s Turn 2 could be hampered.
The best tool for the job will be – Move, Move, Move and run!
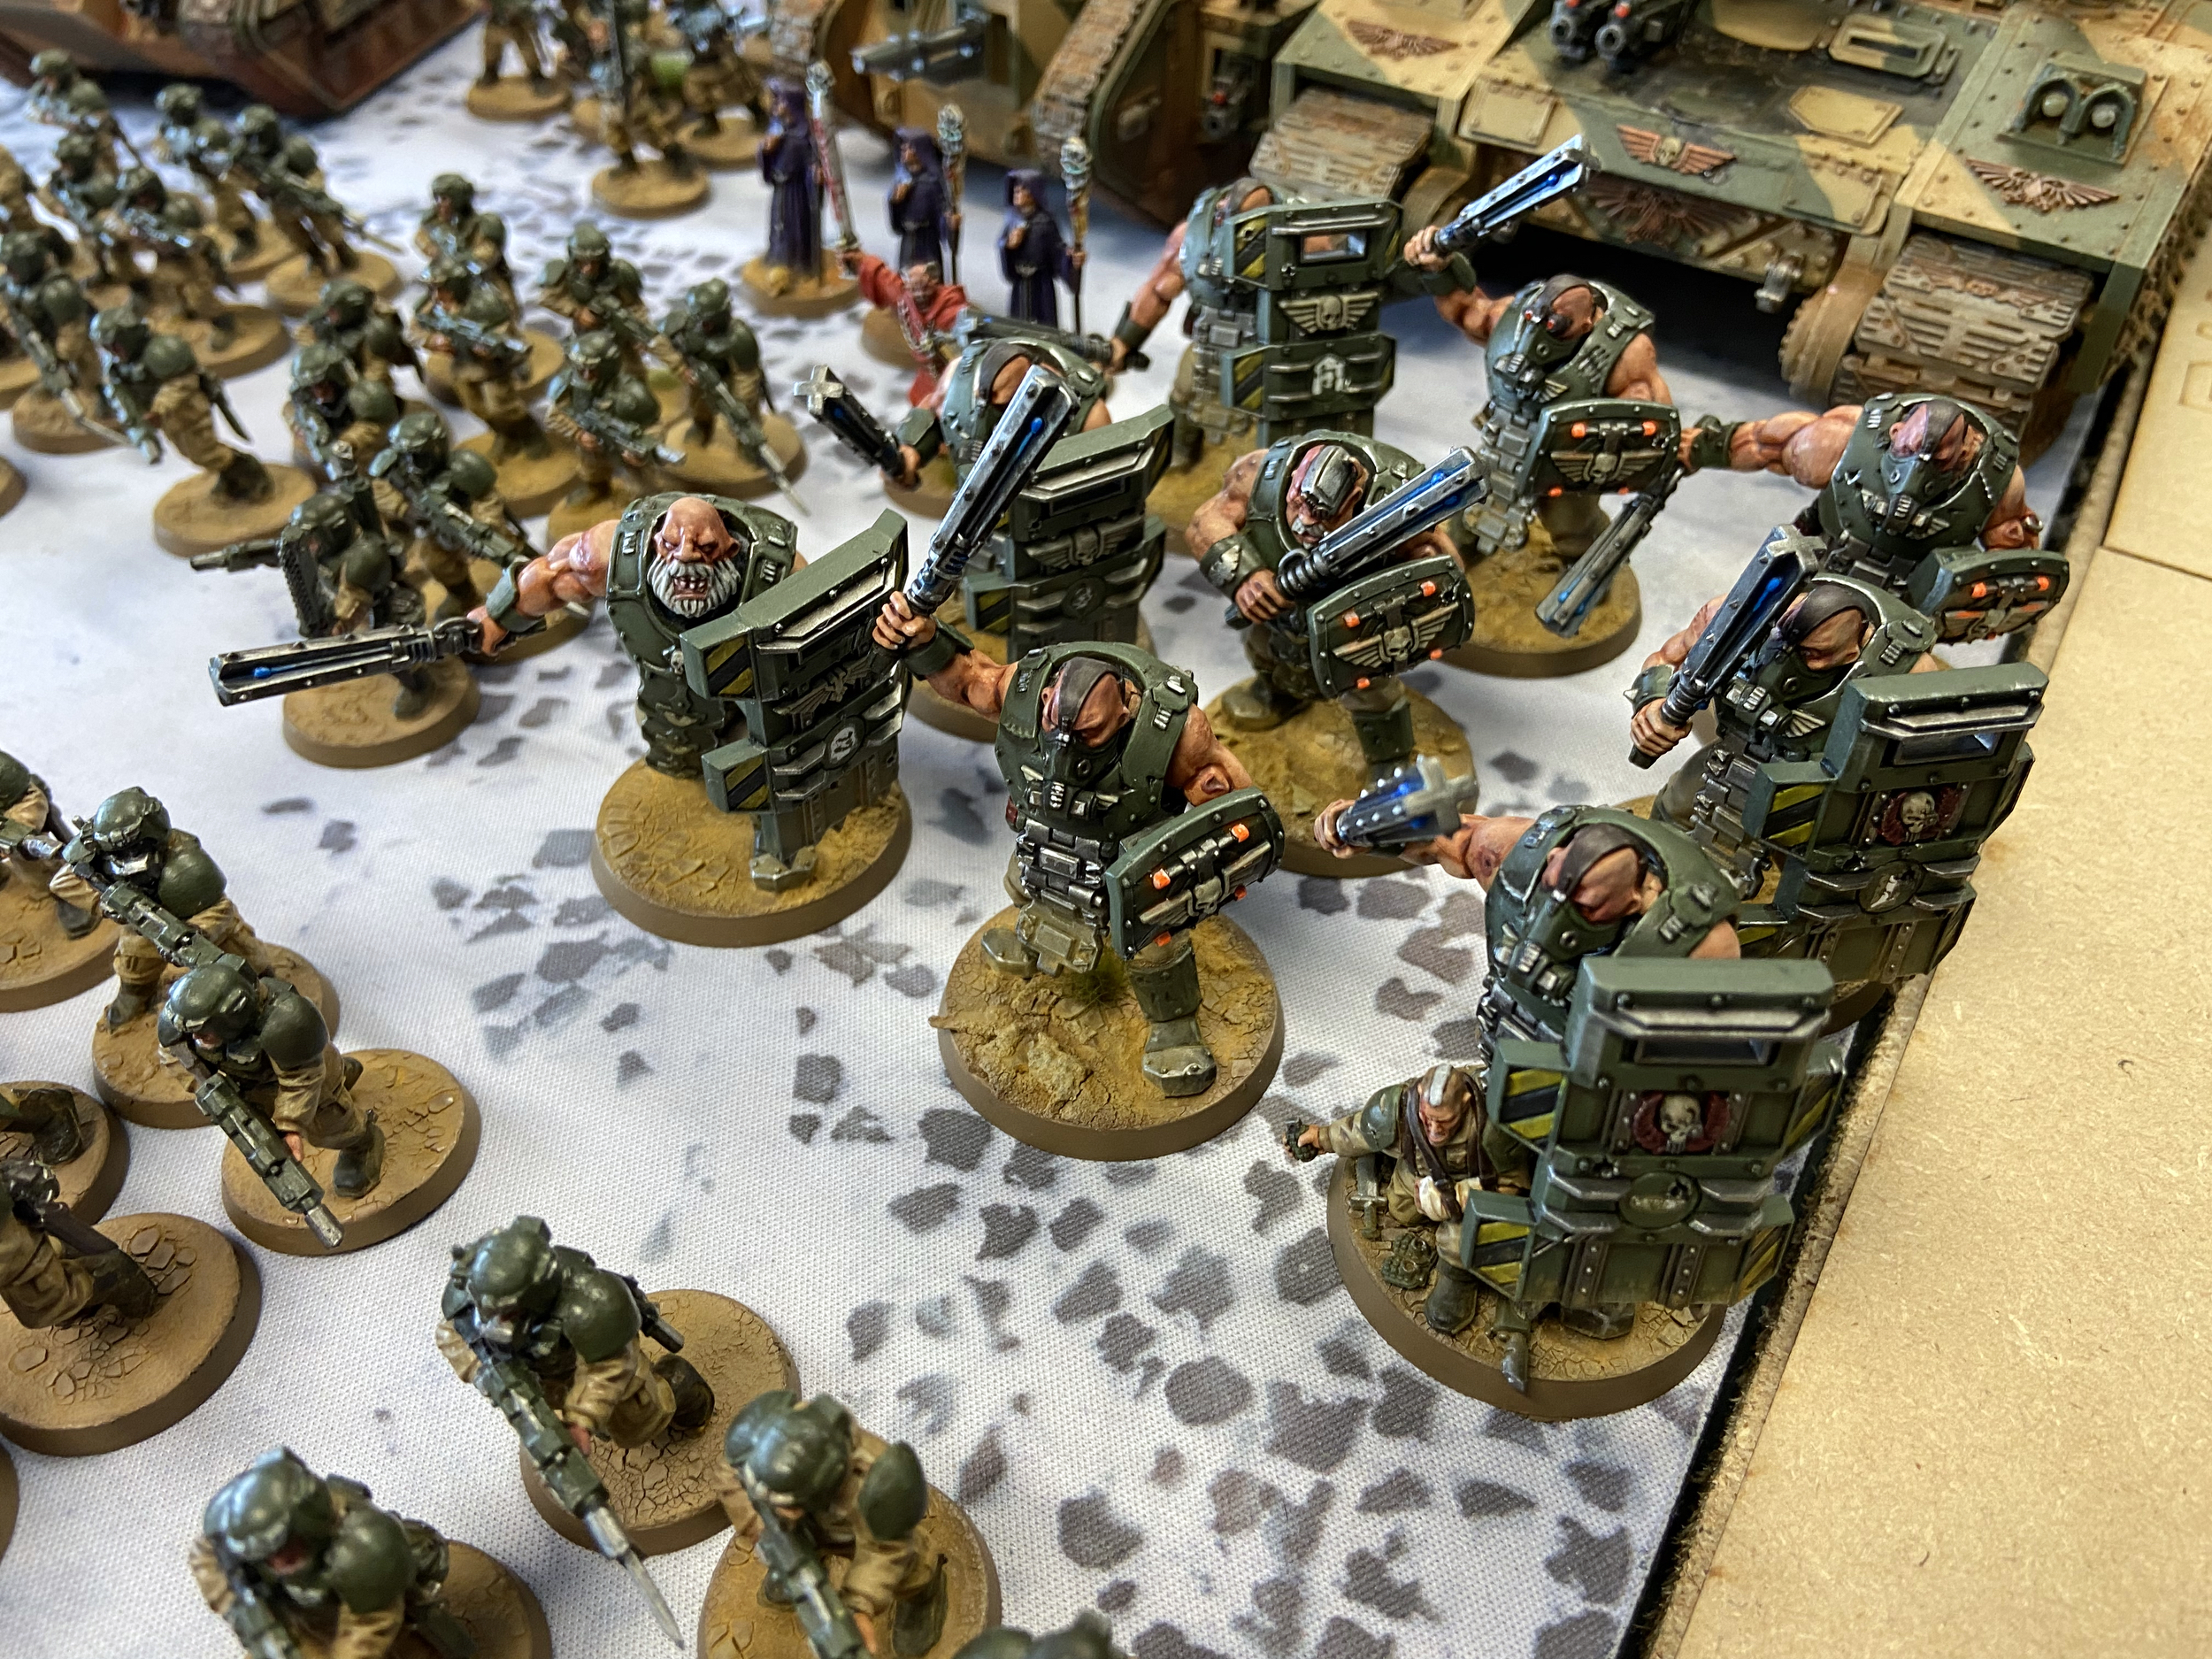
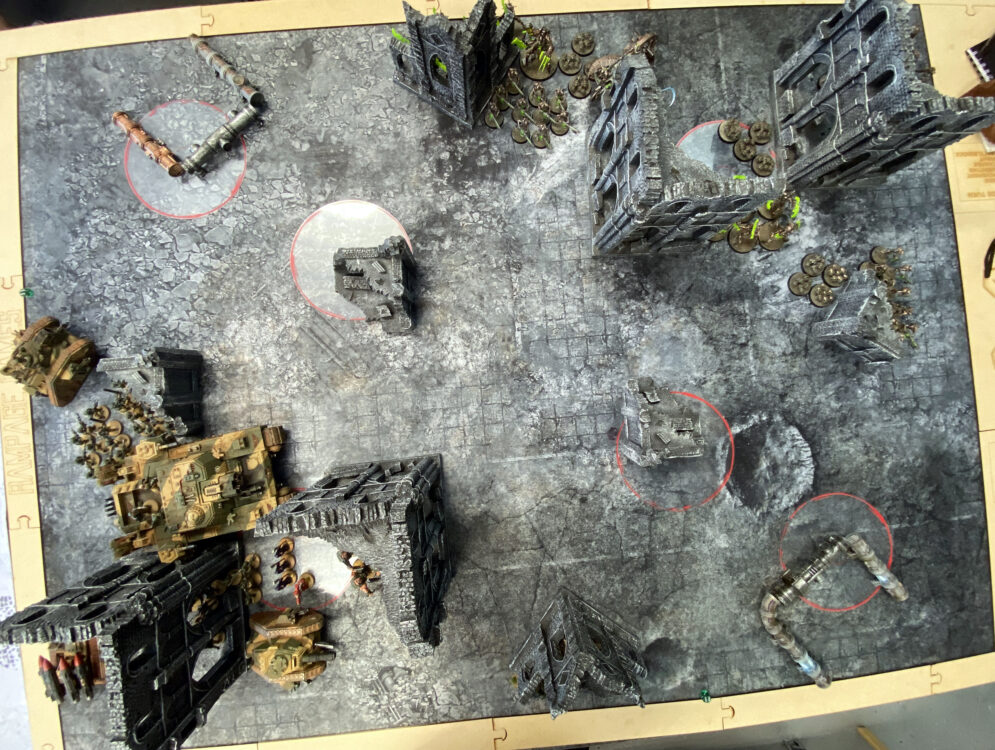
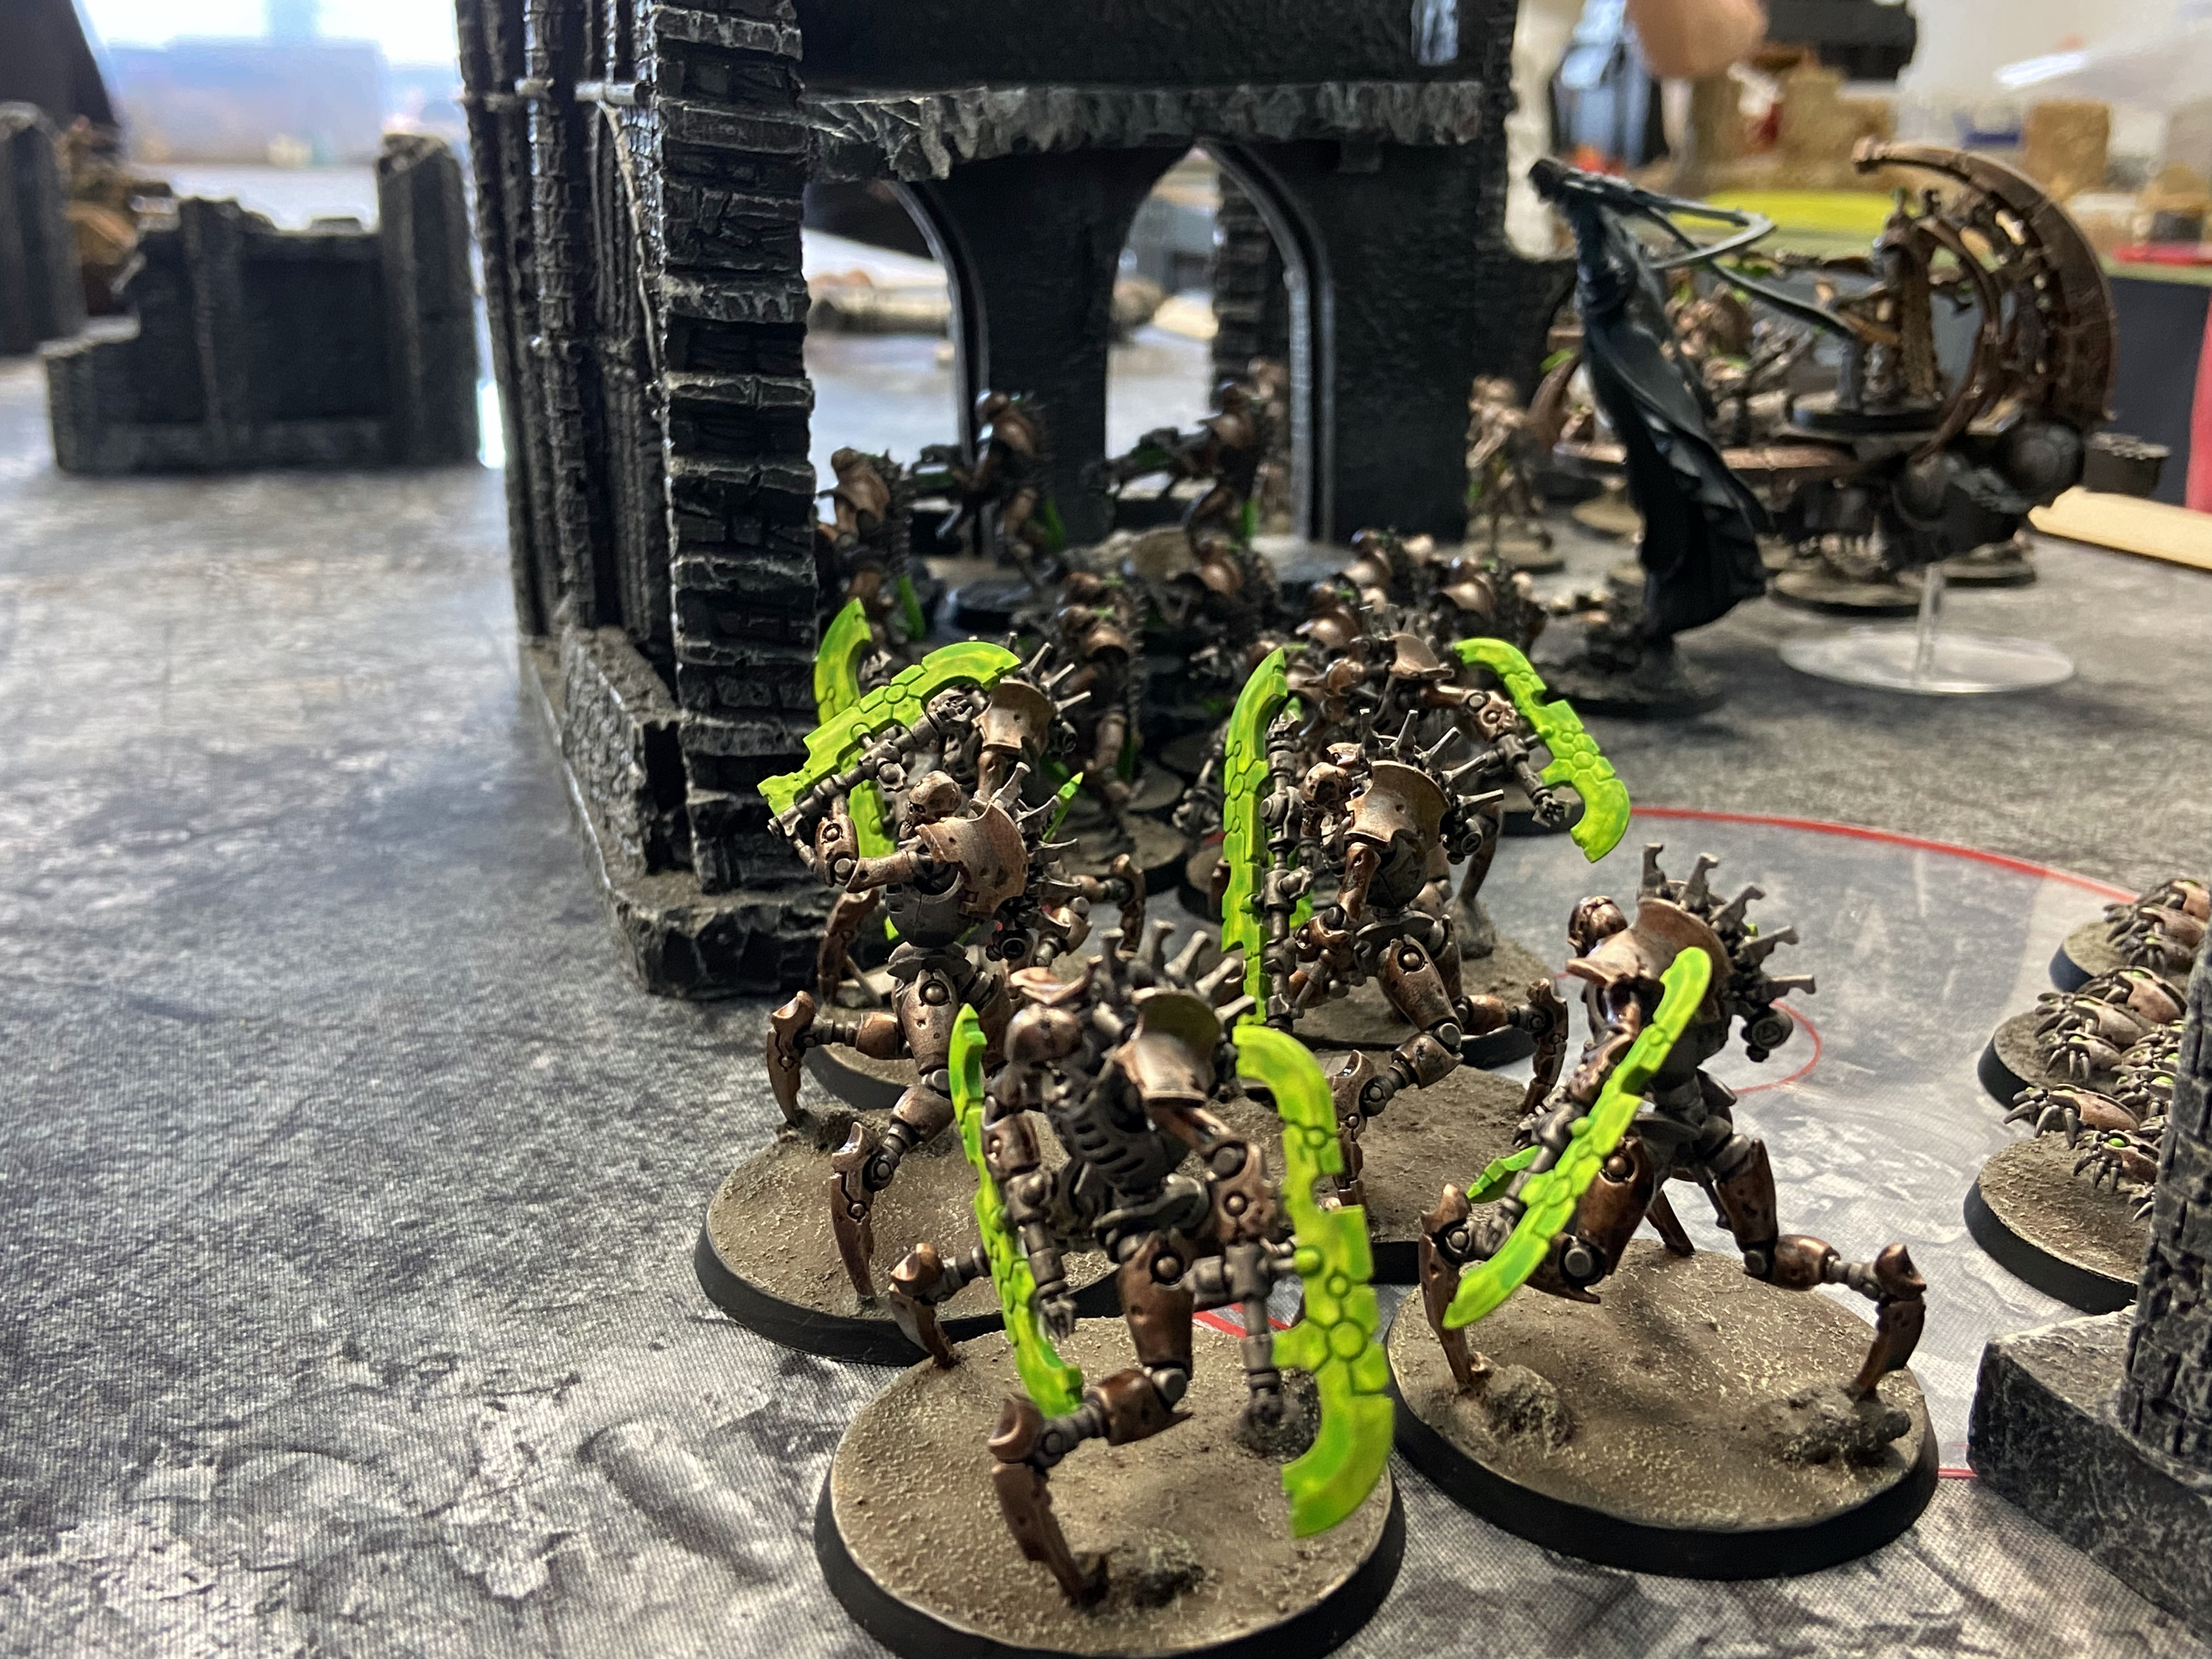
Massed Infantry
My main worry here is killing most of them and then having loads come back, closer. I need to overkill these things each time I shoot at them. The smaller units are less of a worry, they will take Objectives and melt my infantry given half the chance. I can cope with that for a turn or two until I can get the Bullgryns into them.
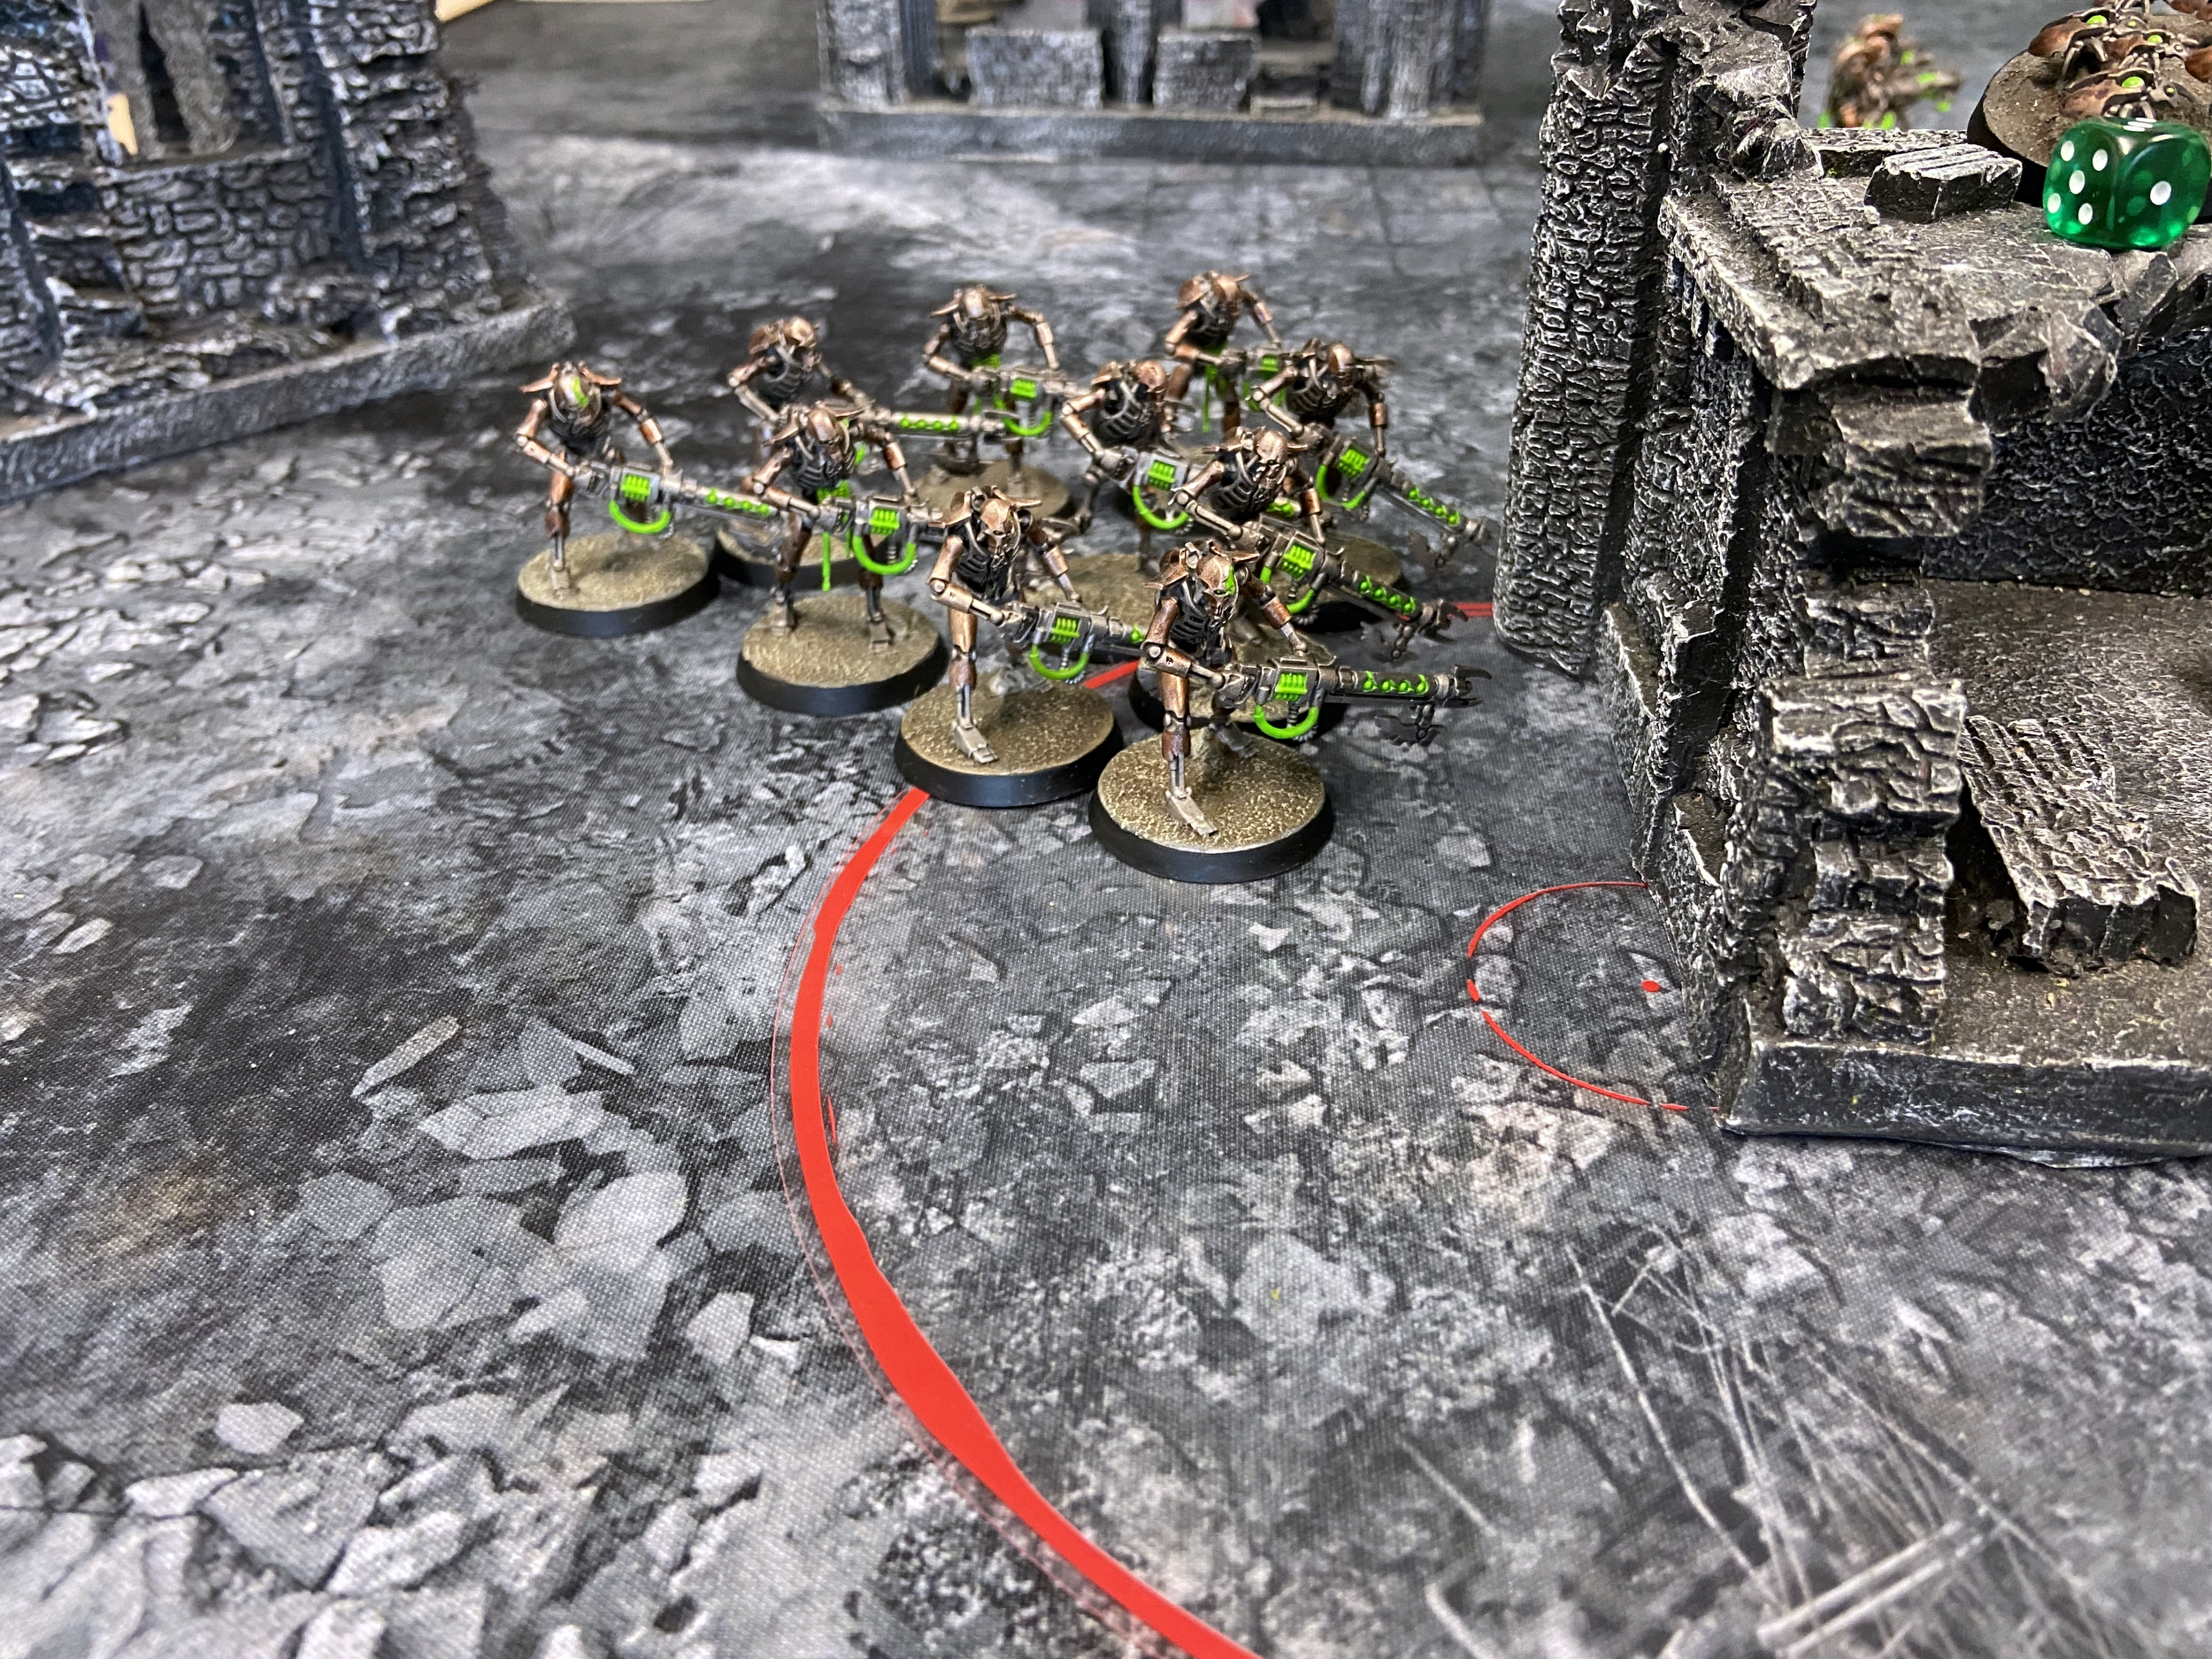
The blob of 20 Warriors is particularly scary thanks to the Veil of Darkness on the Royal Warden – effectively giving them a Turn 1 Deep Strike. A decent screen or bait will be needed here to draw them in and then smash them all in one turn.
The best tool for the job will be the Stormlord and Bullgryns.

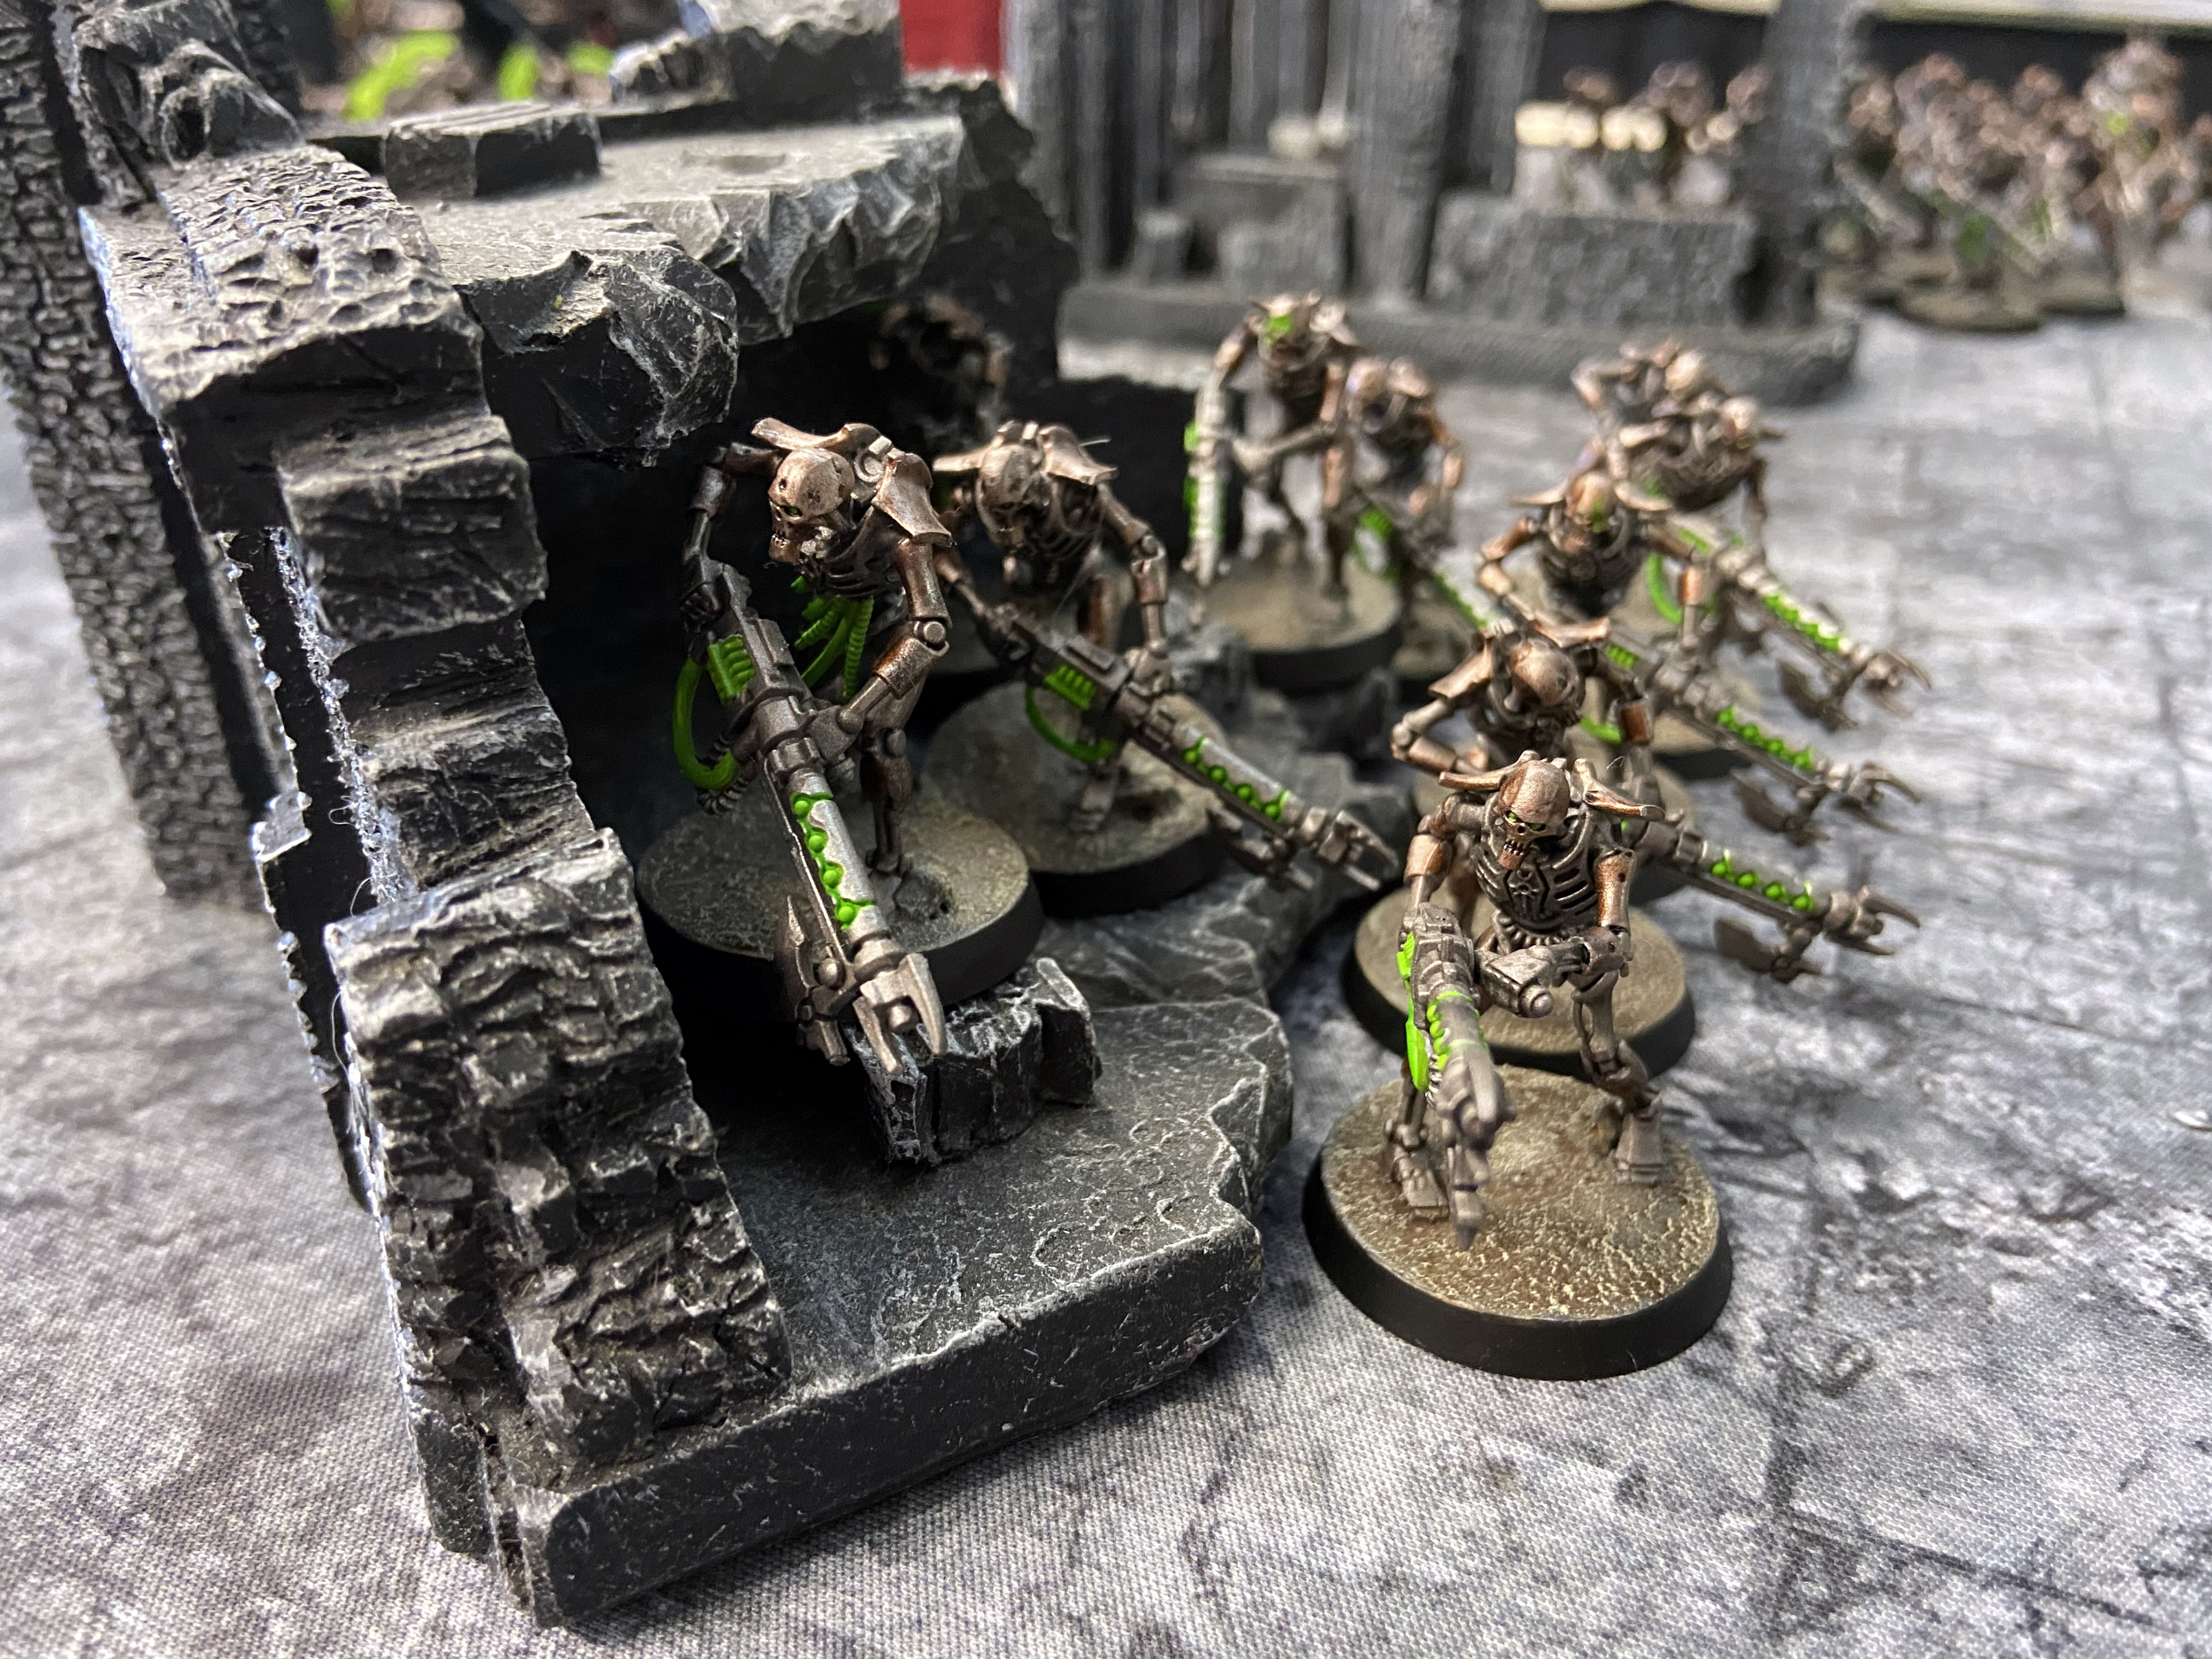
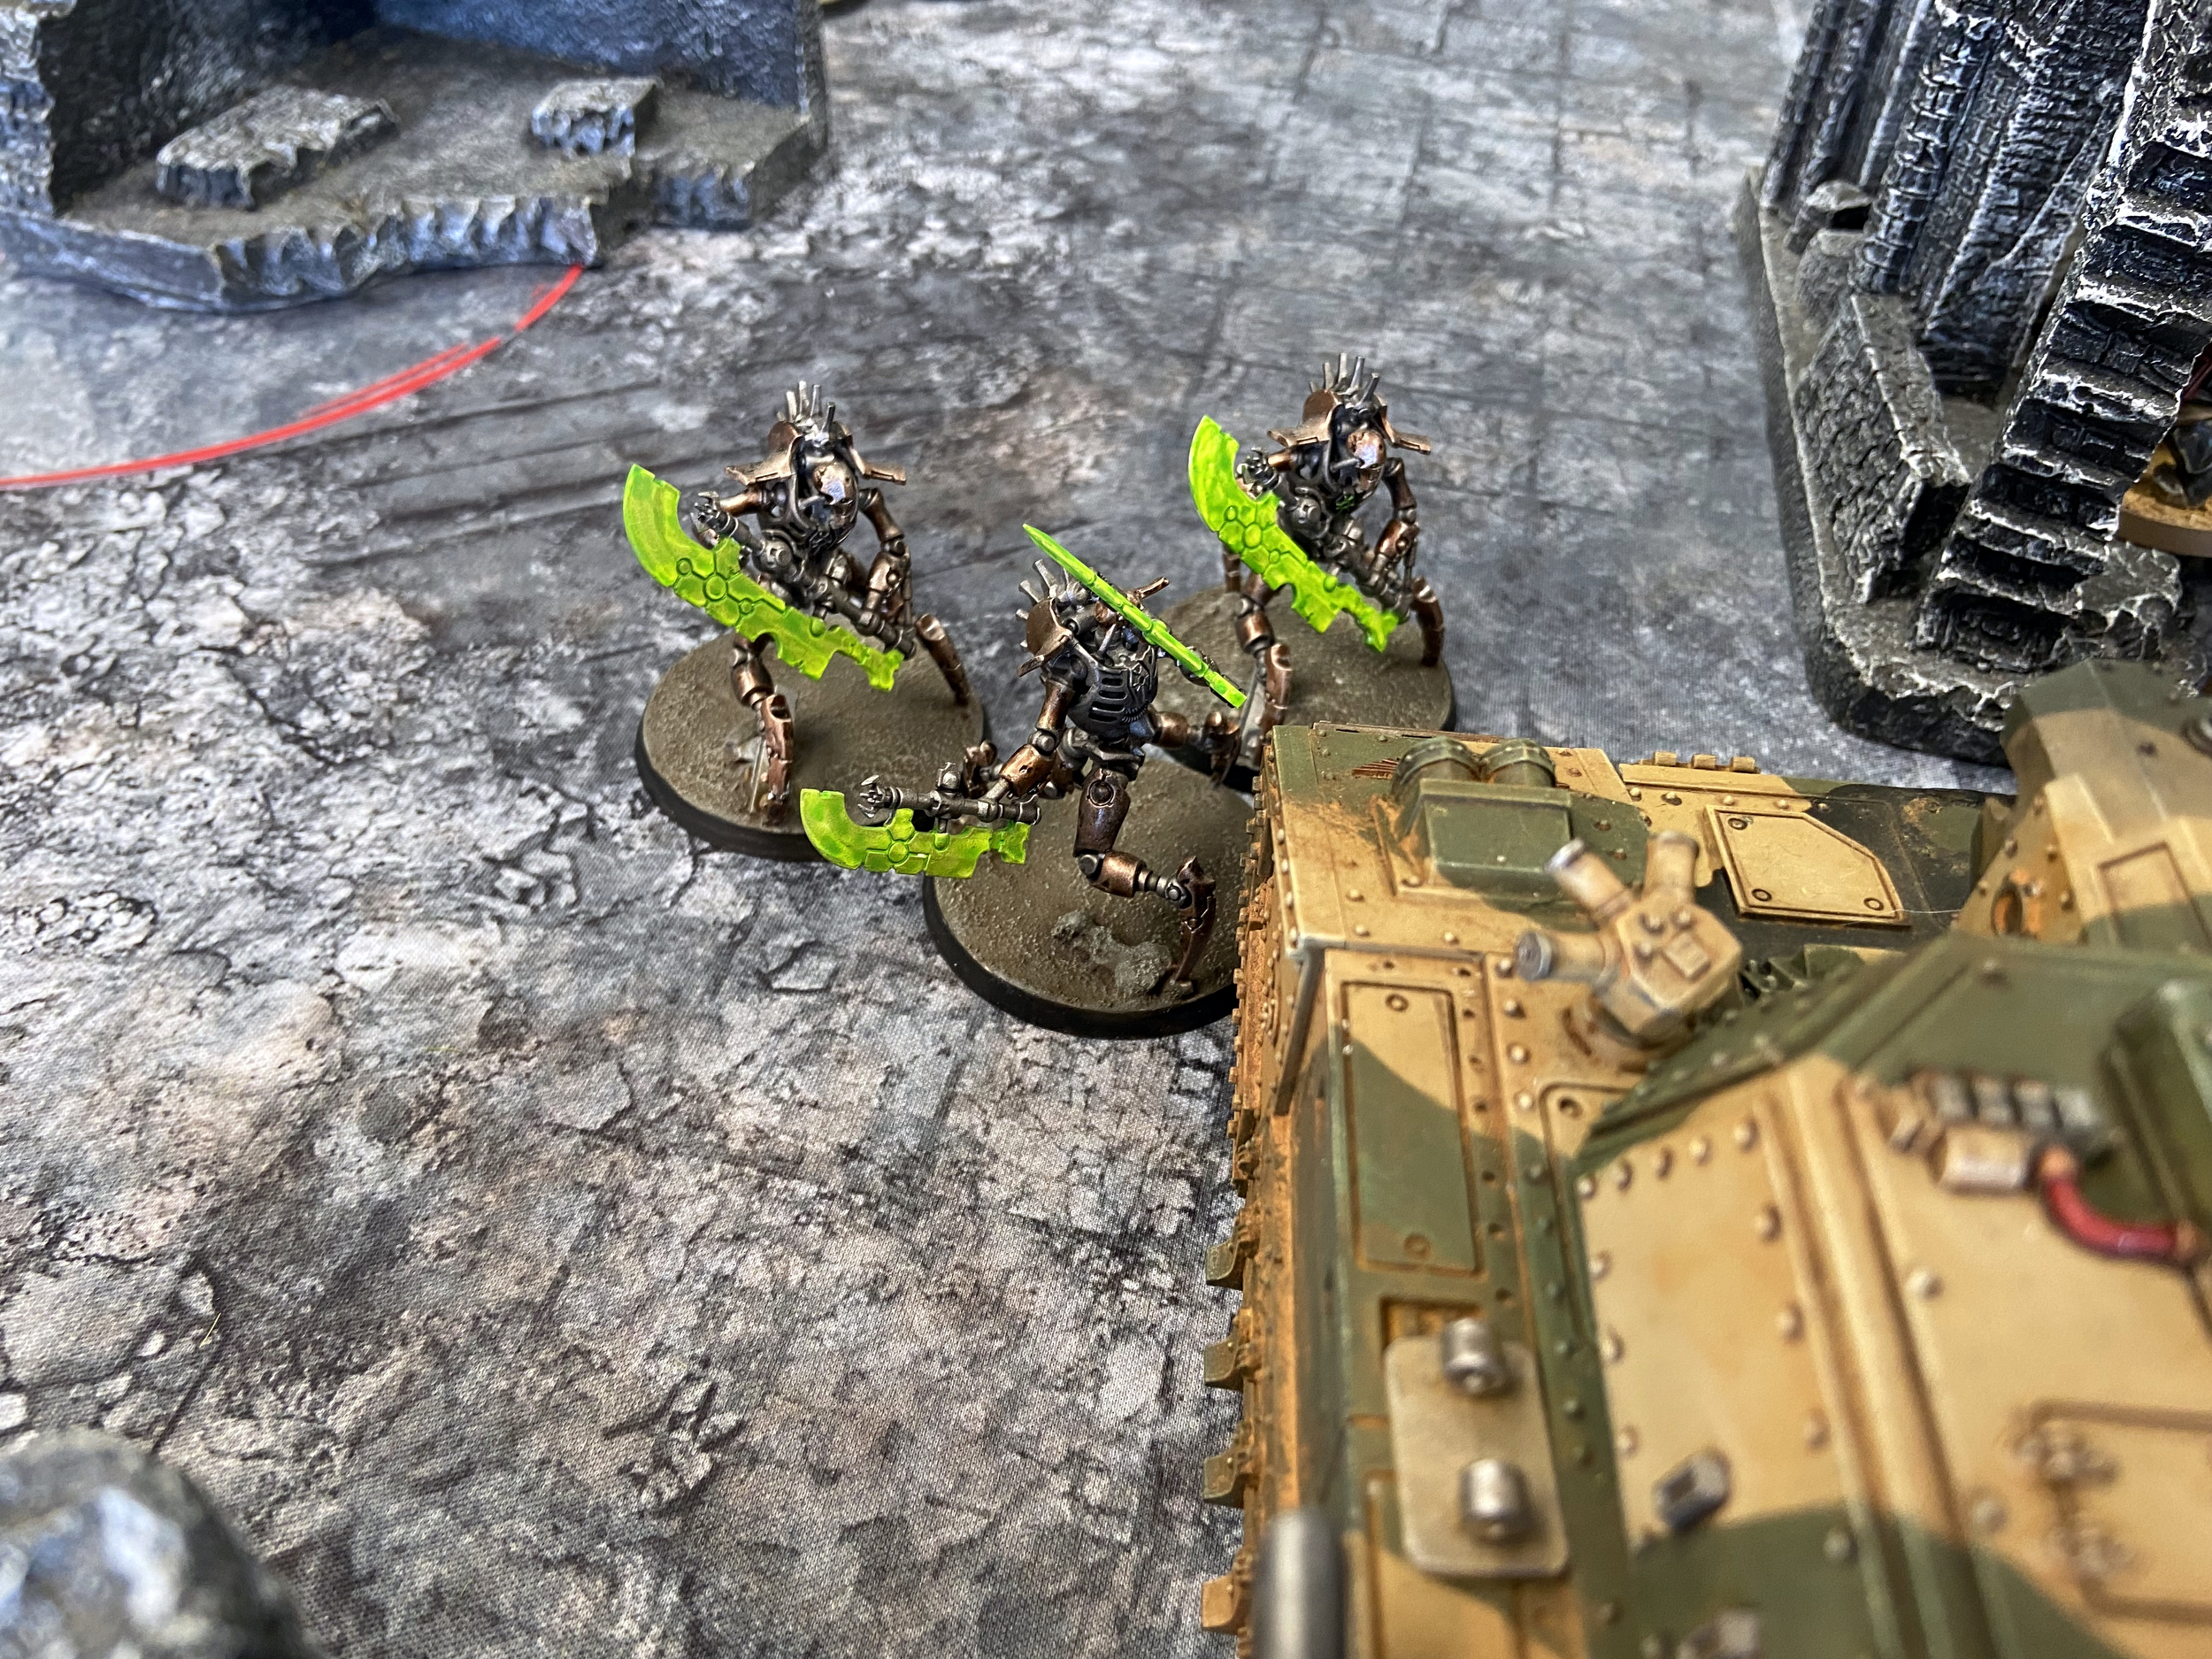
Skorpekh Destroyers
I have faced these guys a few times before and they kill everything – Bullgryns too. Tanks, certainly. I will have to keep away from them and screen them out for as long as I can. Then hit them hard to get rid of them in one go.
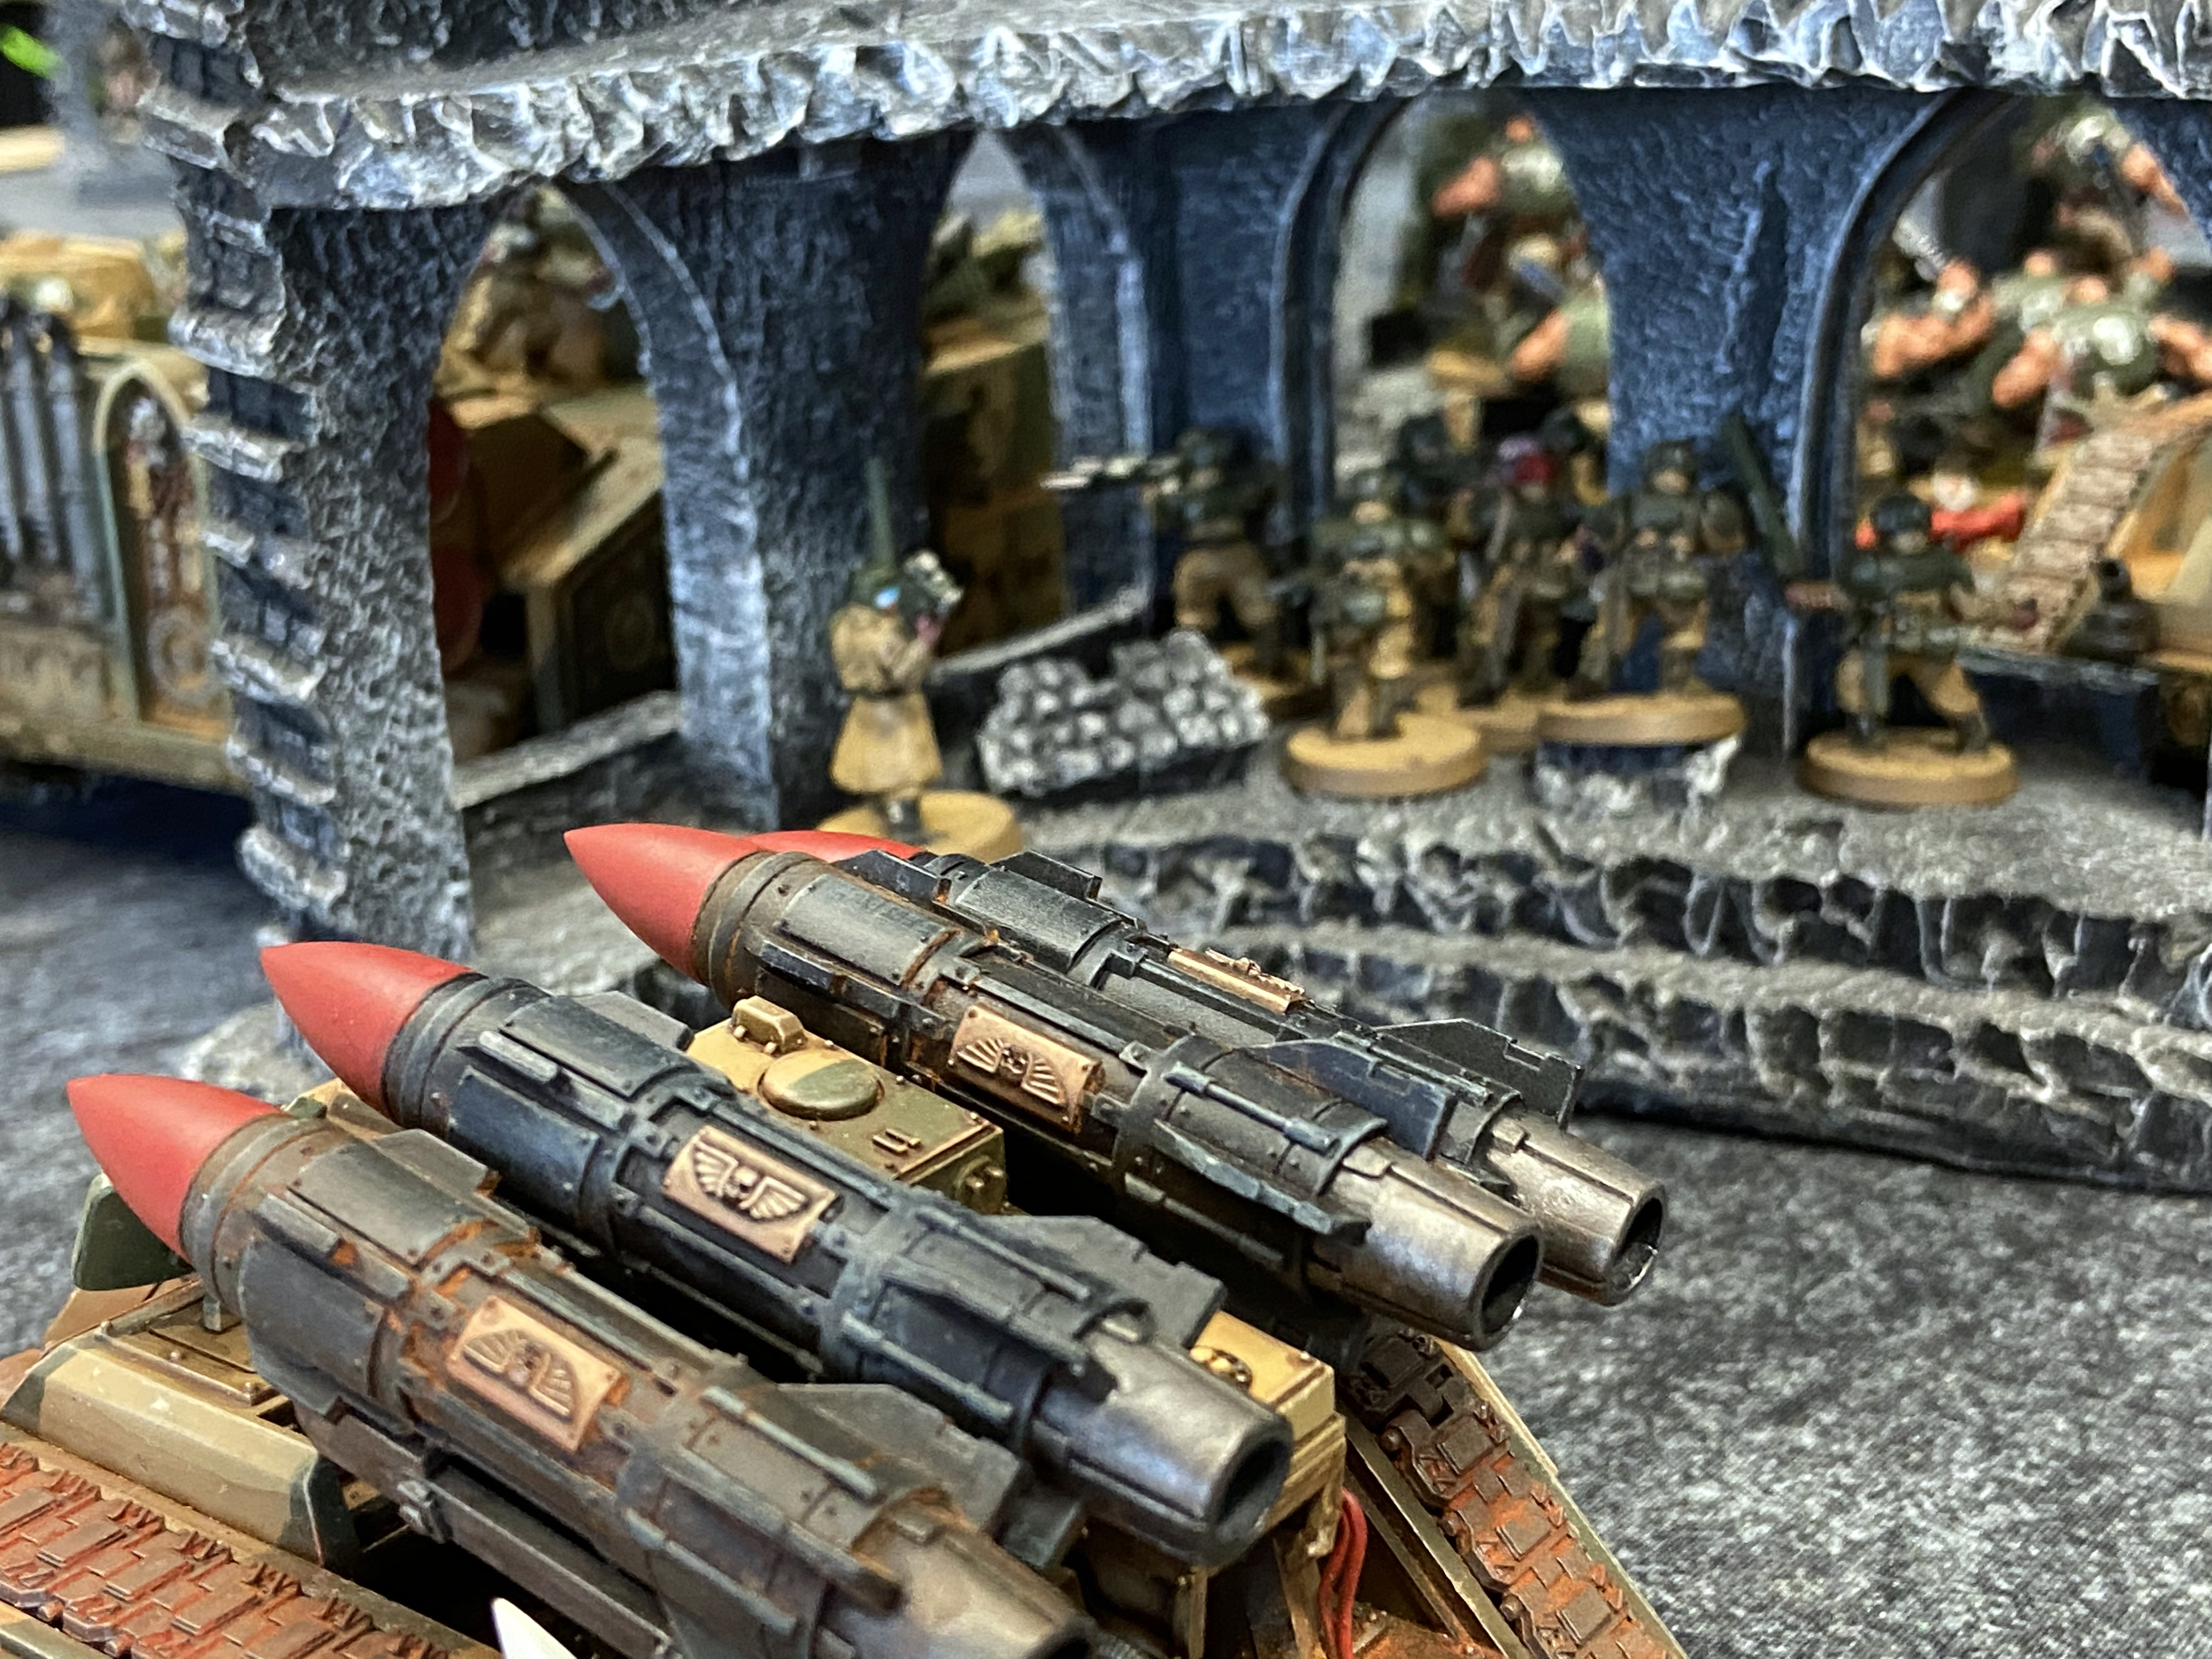
The best tool for the job will be Gatekeeper and the Manticore with their Damage 3 for their 3 Wounds.
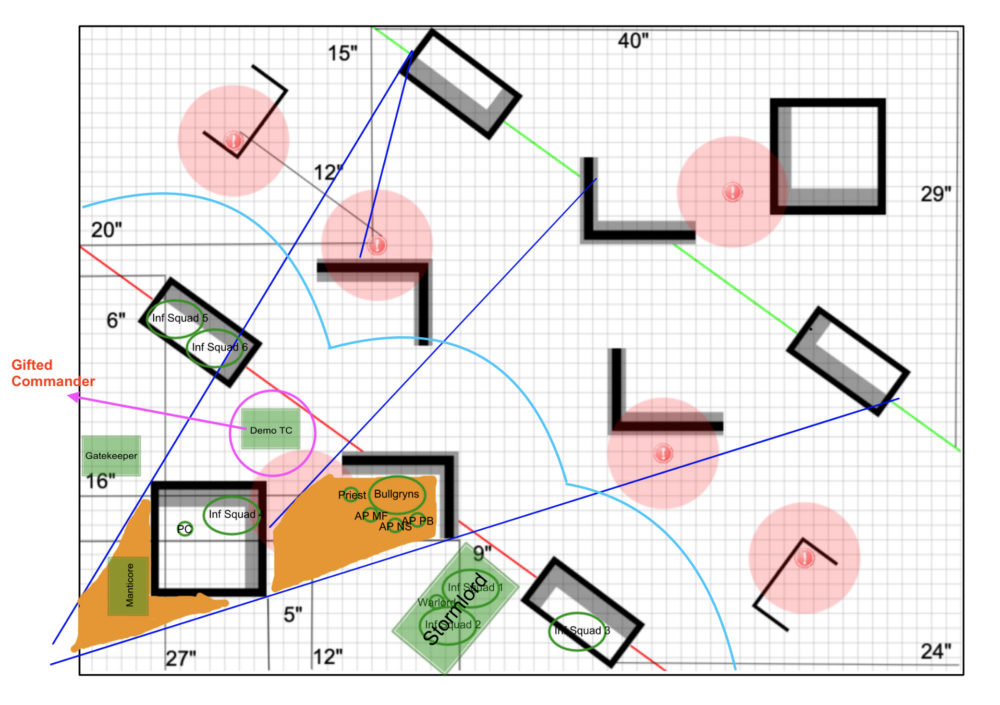
Cadians Vs Necrons – The Battle Plan
Below the areas in orange are the places to hide. I say that range is less of an issue with this Necron force being shorter range shooting – but they do get a 6″ Normal Move at the start of the game – which is a problem.
I will Gifted Commander the Demolisher Tank Commander off the battlefield before the first turn.
The light blue line shows my Deep Strike denial at Deployment and Turn 1 – if I go second. My Vehicles are safe, with the exception maybe of the Stormlord. This is less of a worry because if it is charged by 20 Warriors coming in from Veil of Darkness then it will not die, it can still shoot and will have some fantastic Overwatch thanks so it’s weapons and the men inside firing too. I can then mop up with the Bullgryns for a counter charge in my turn.
There might be an area for Deep Strikers behind my Stormlord, but those 20 Warriors are a big footprint. So I should be OK there.
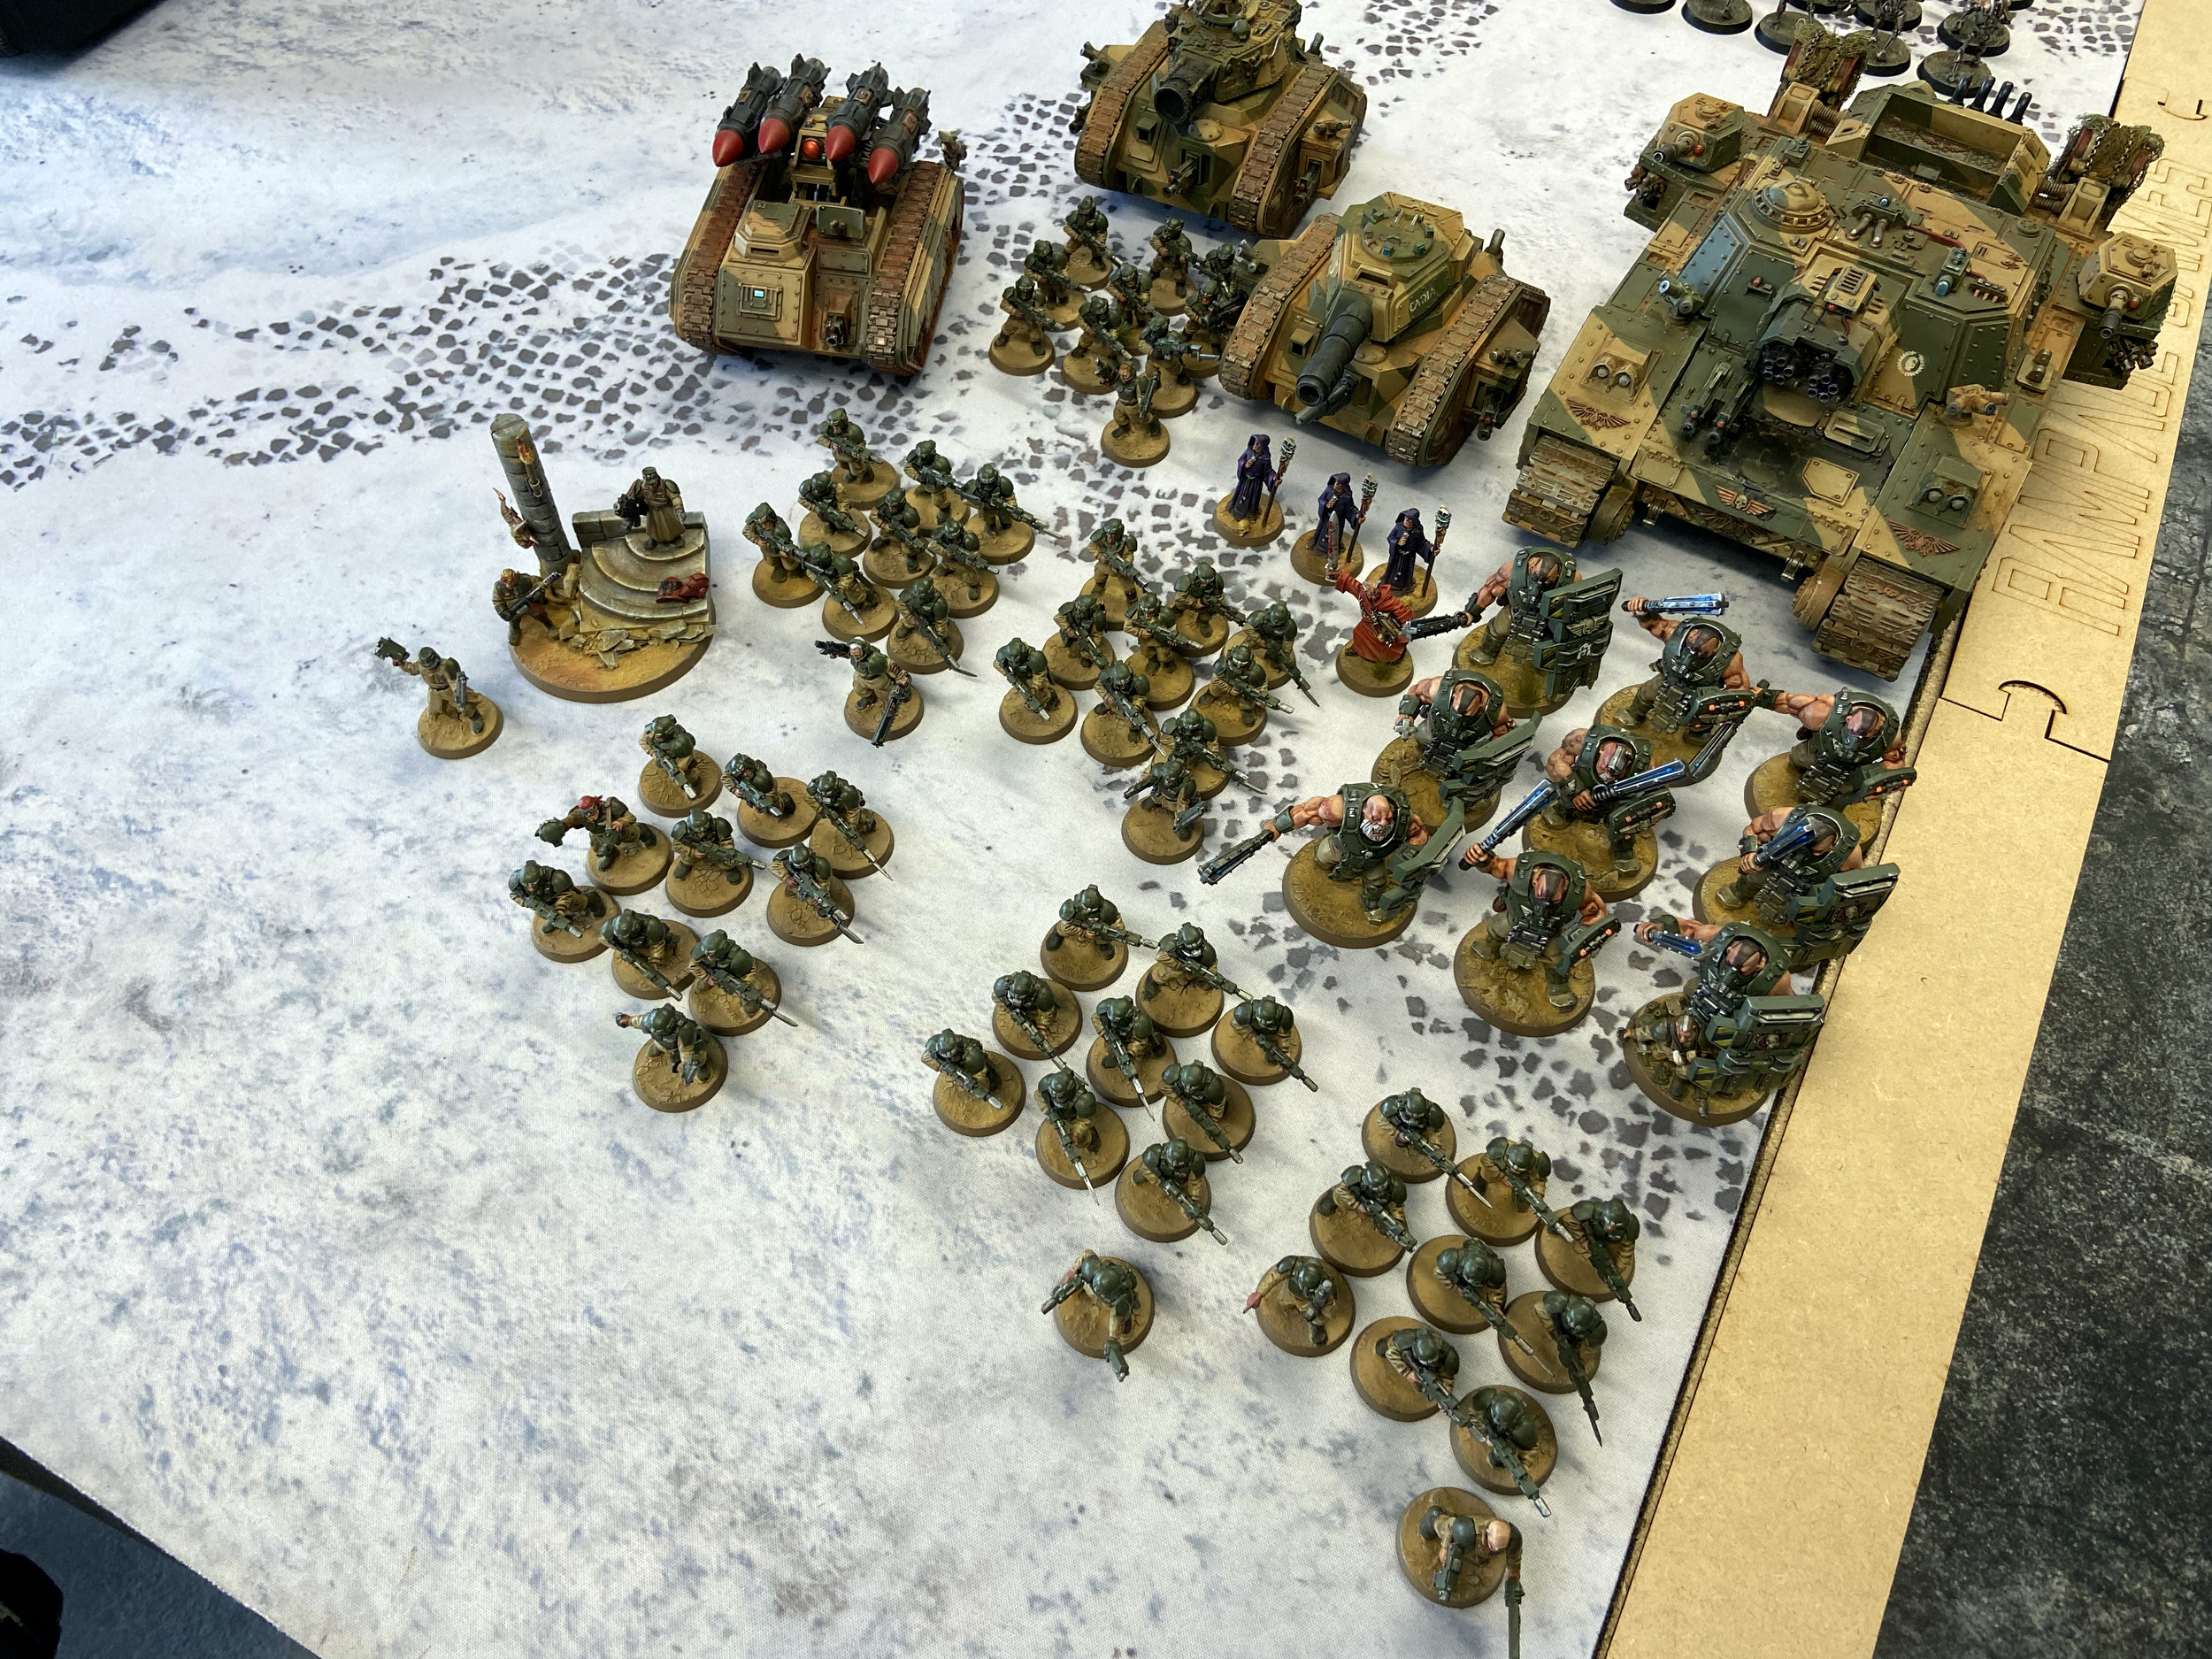
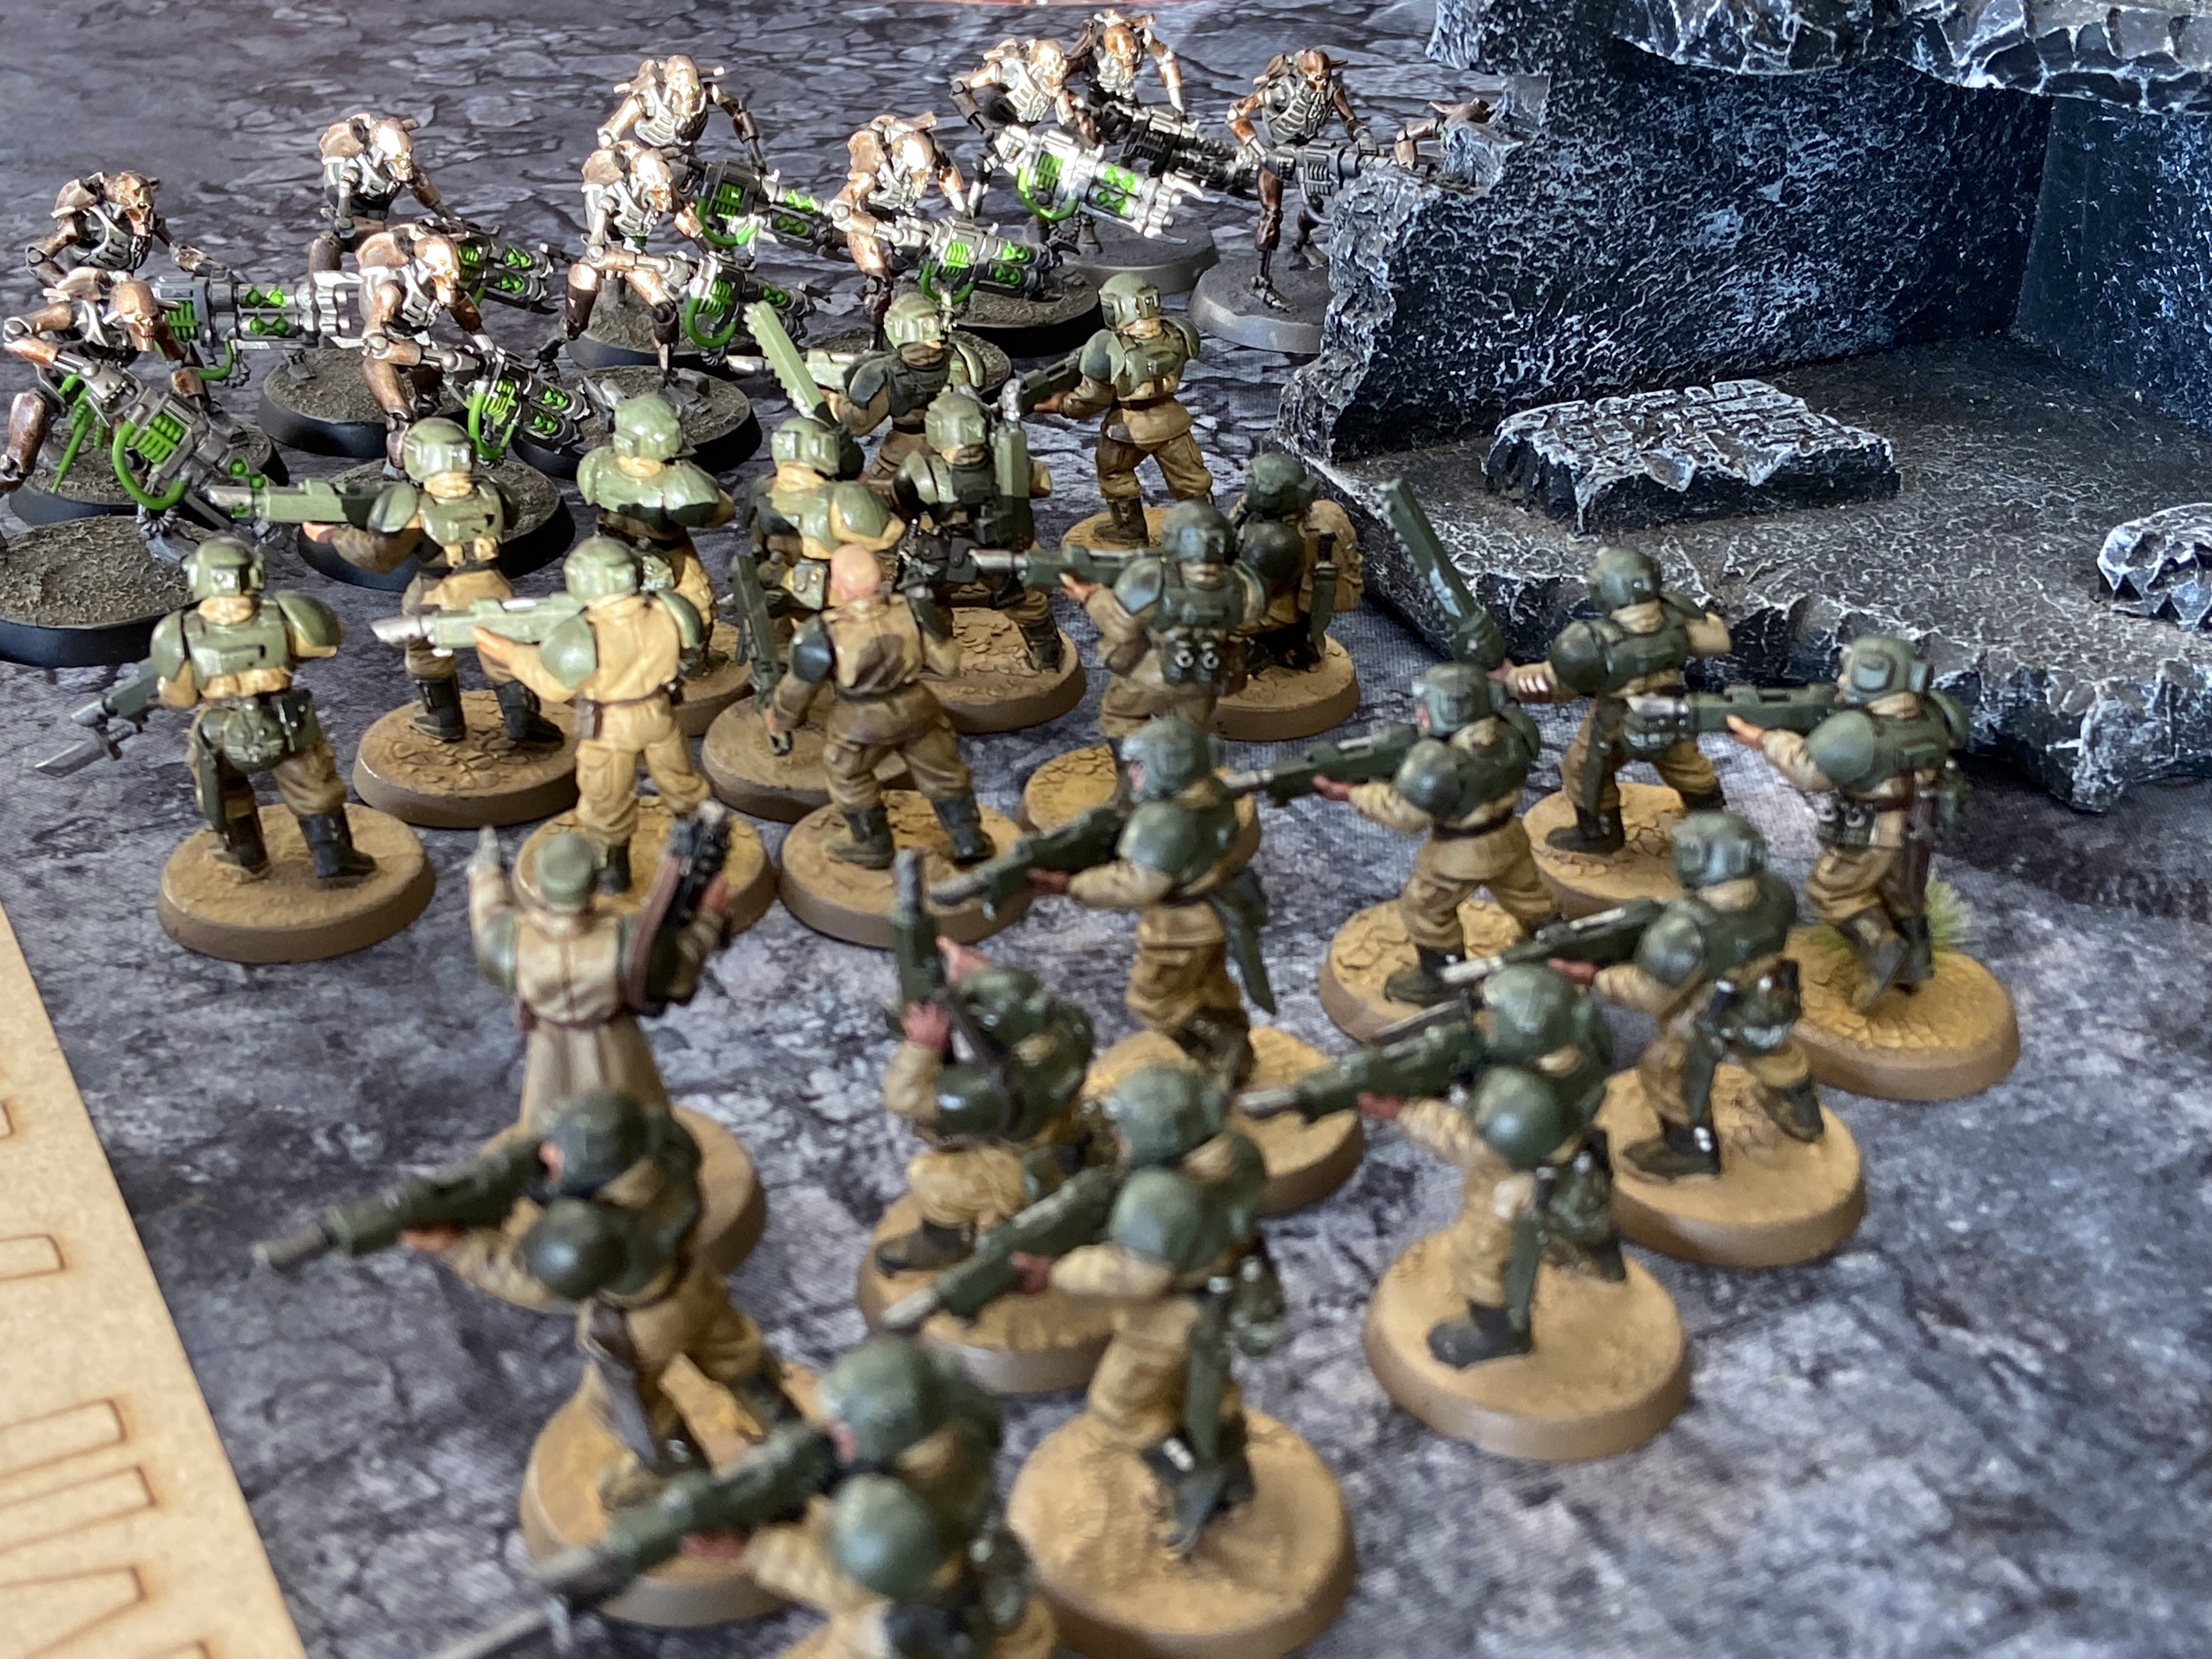
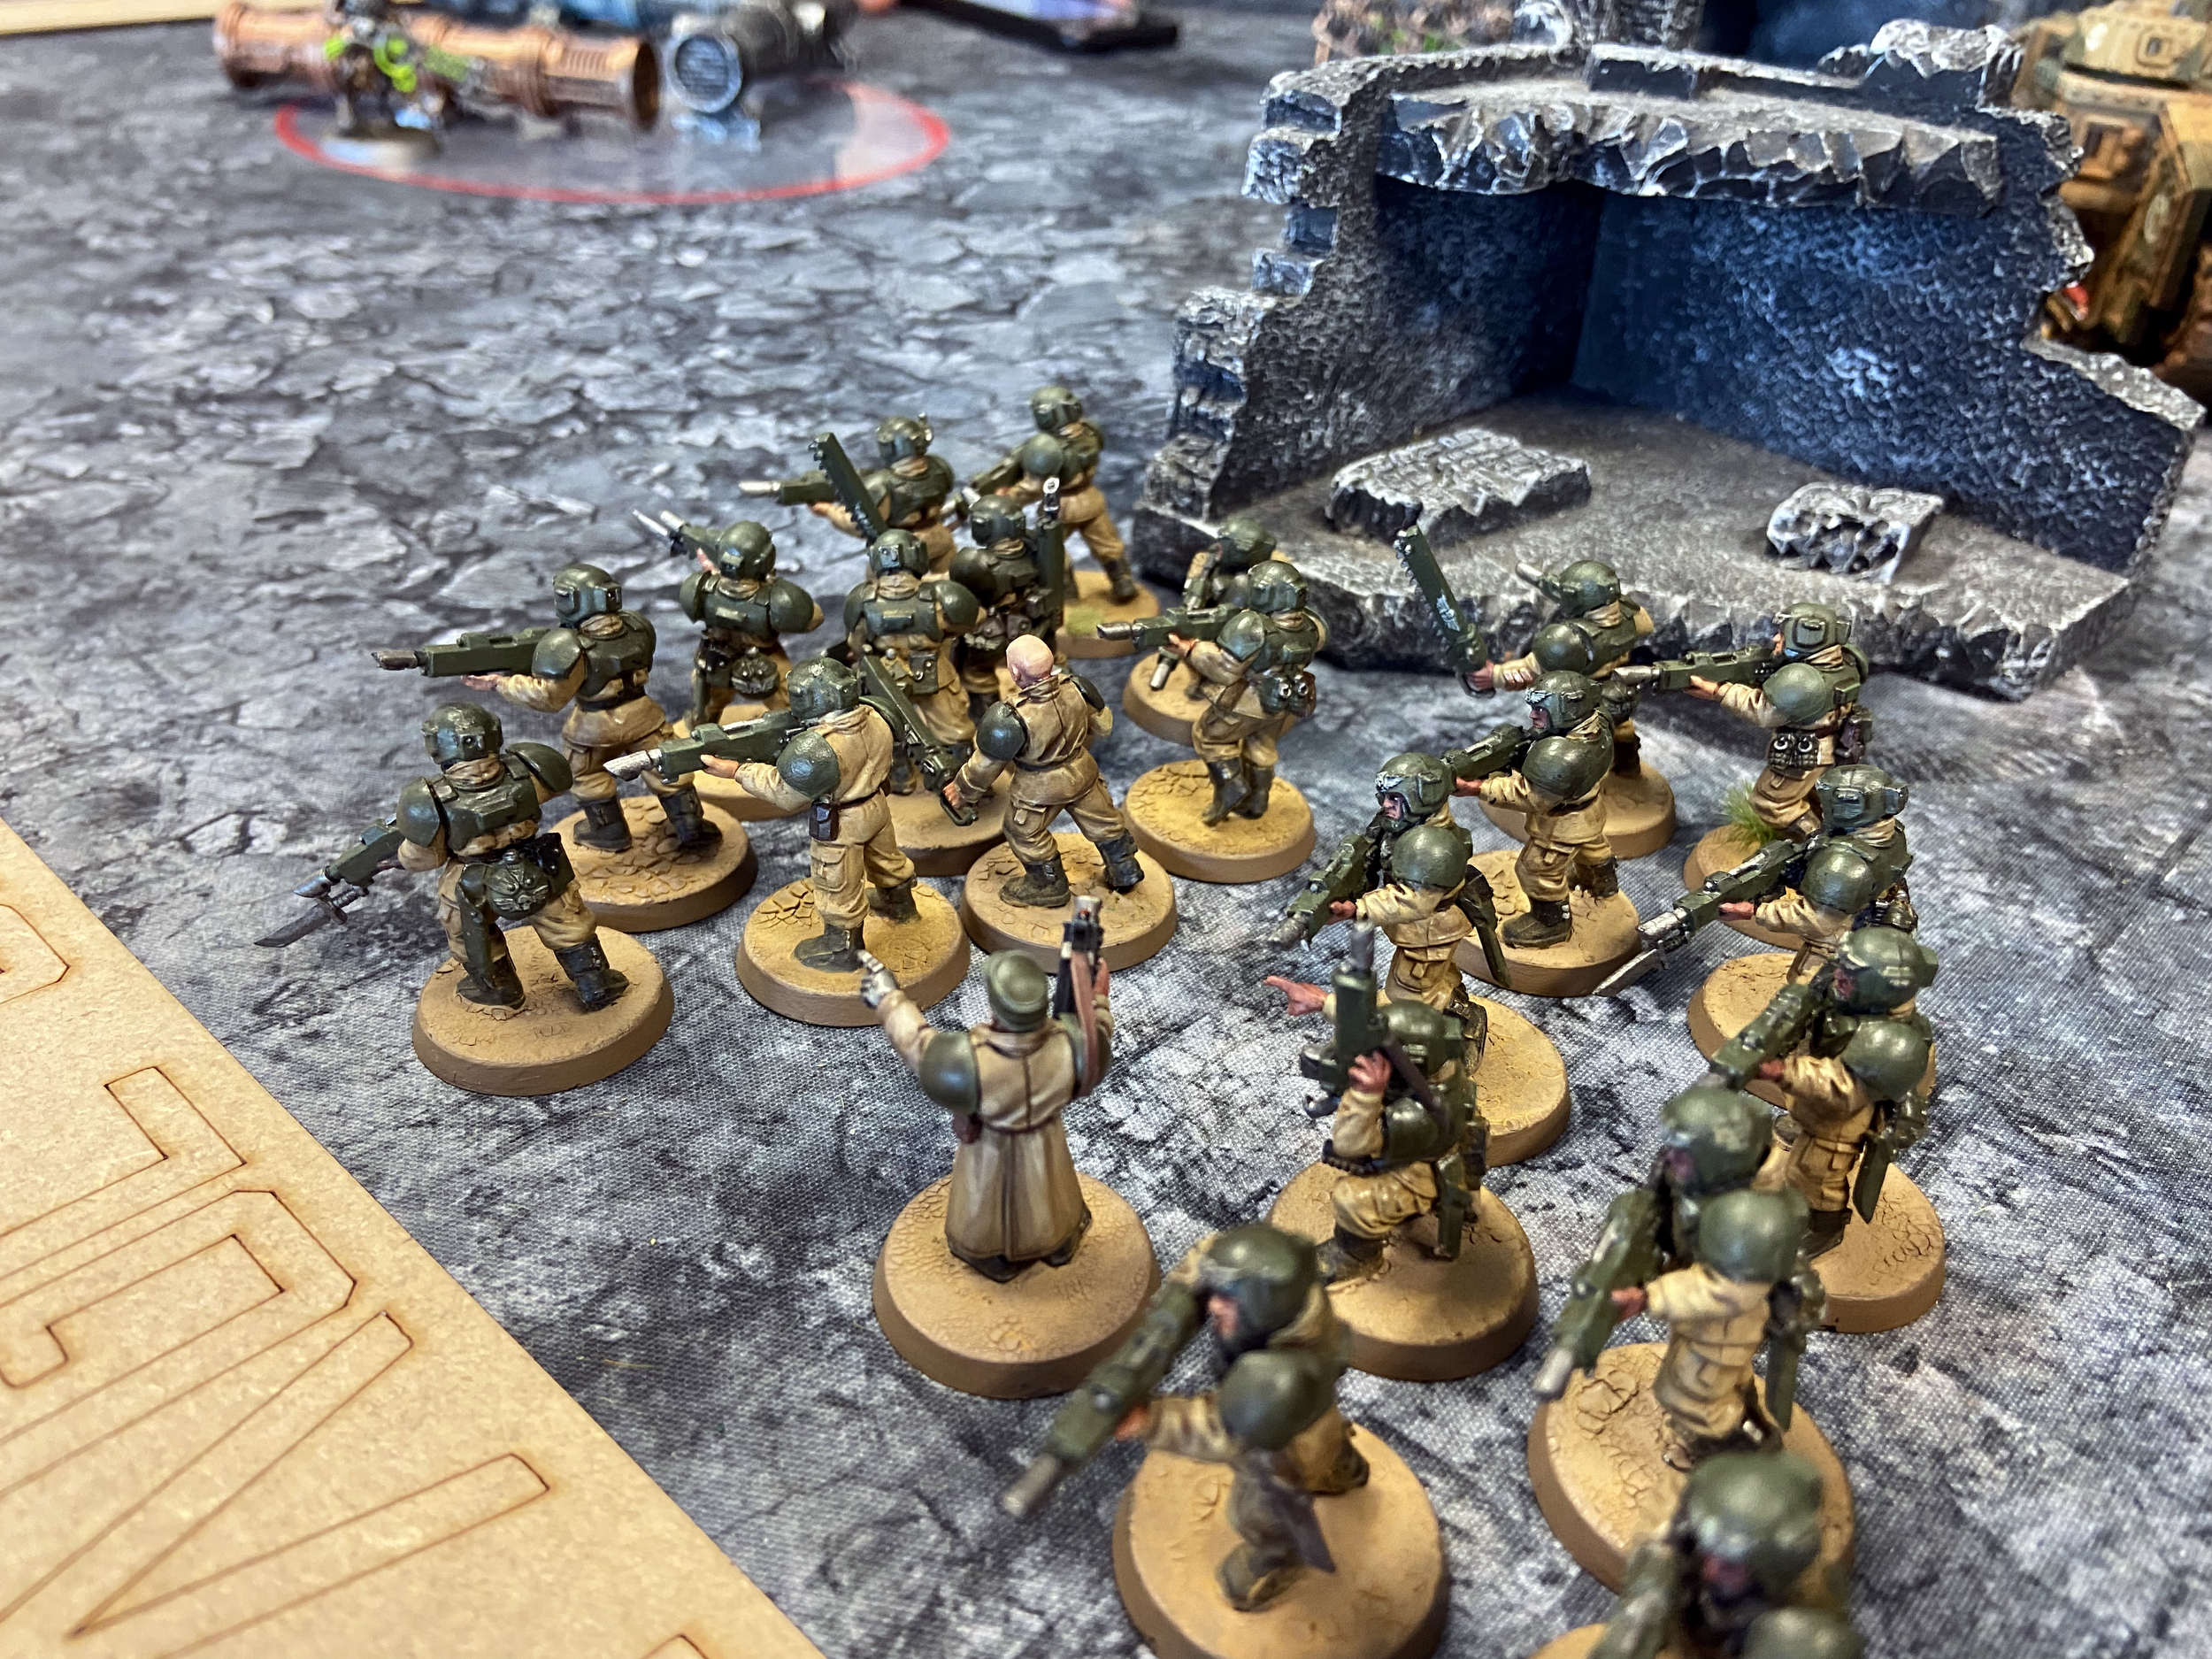
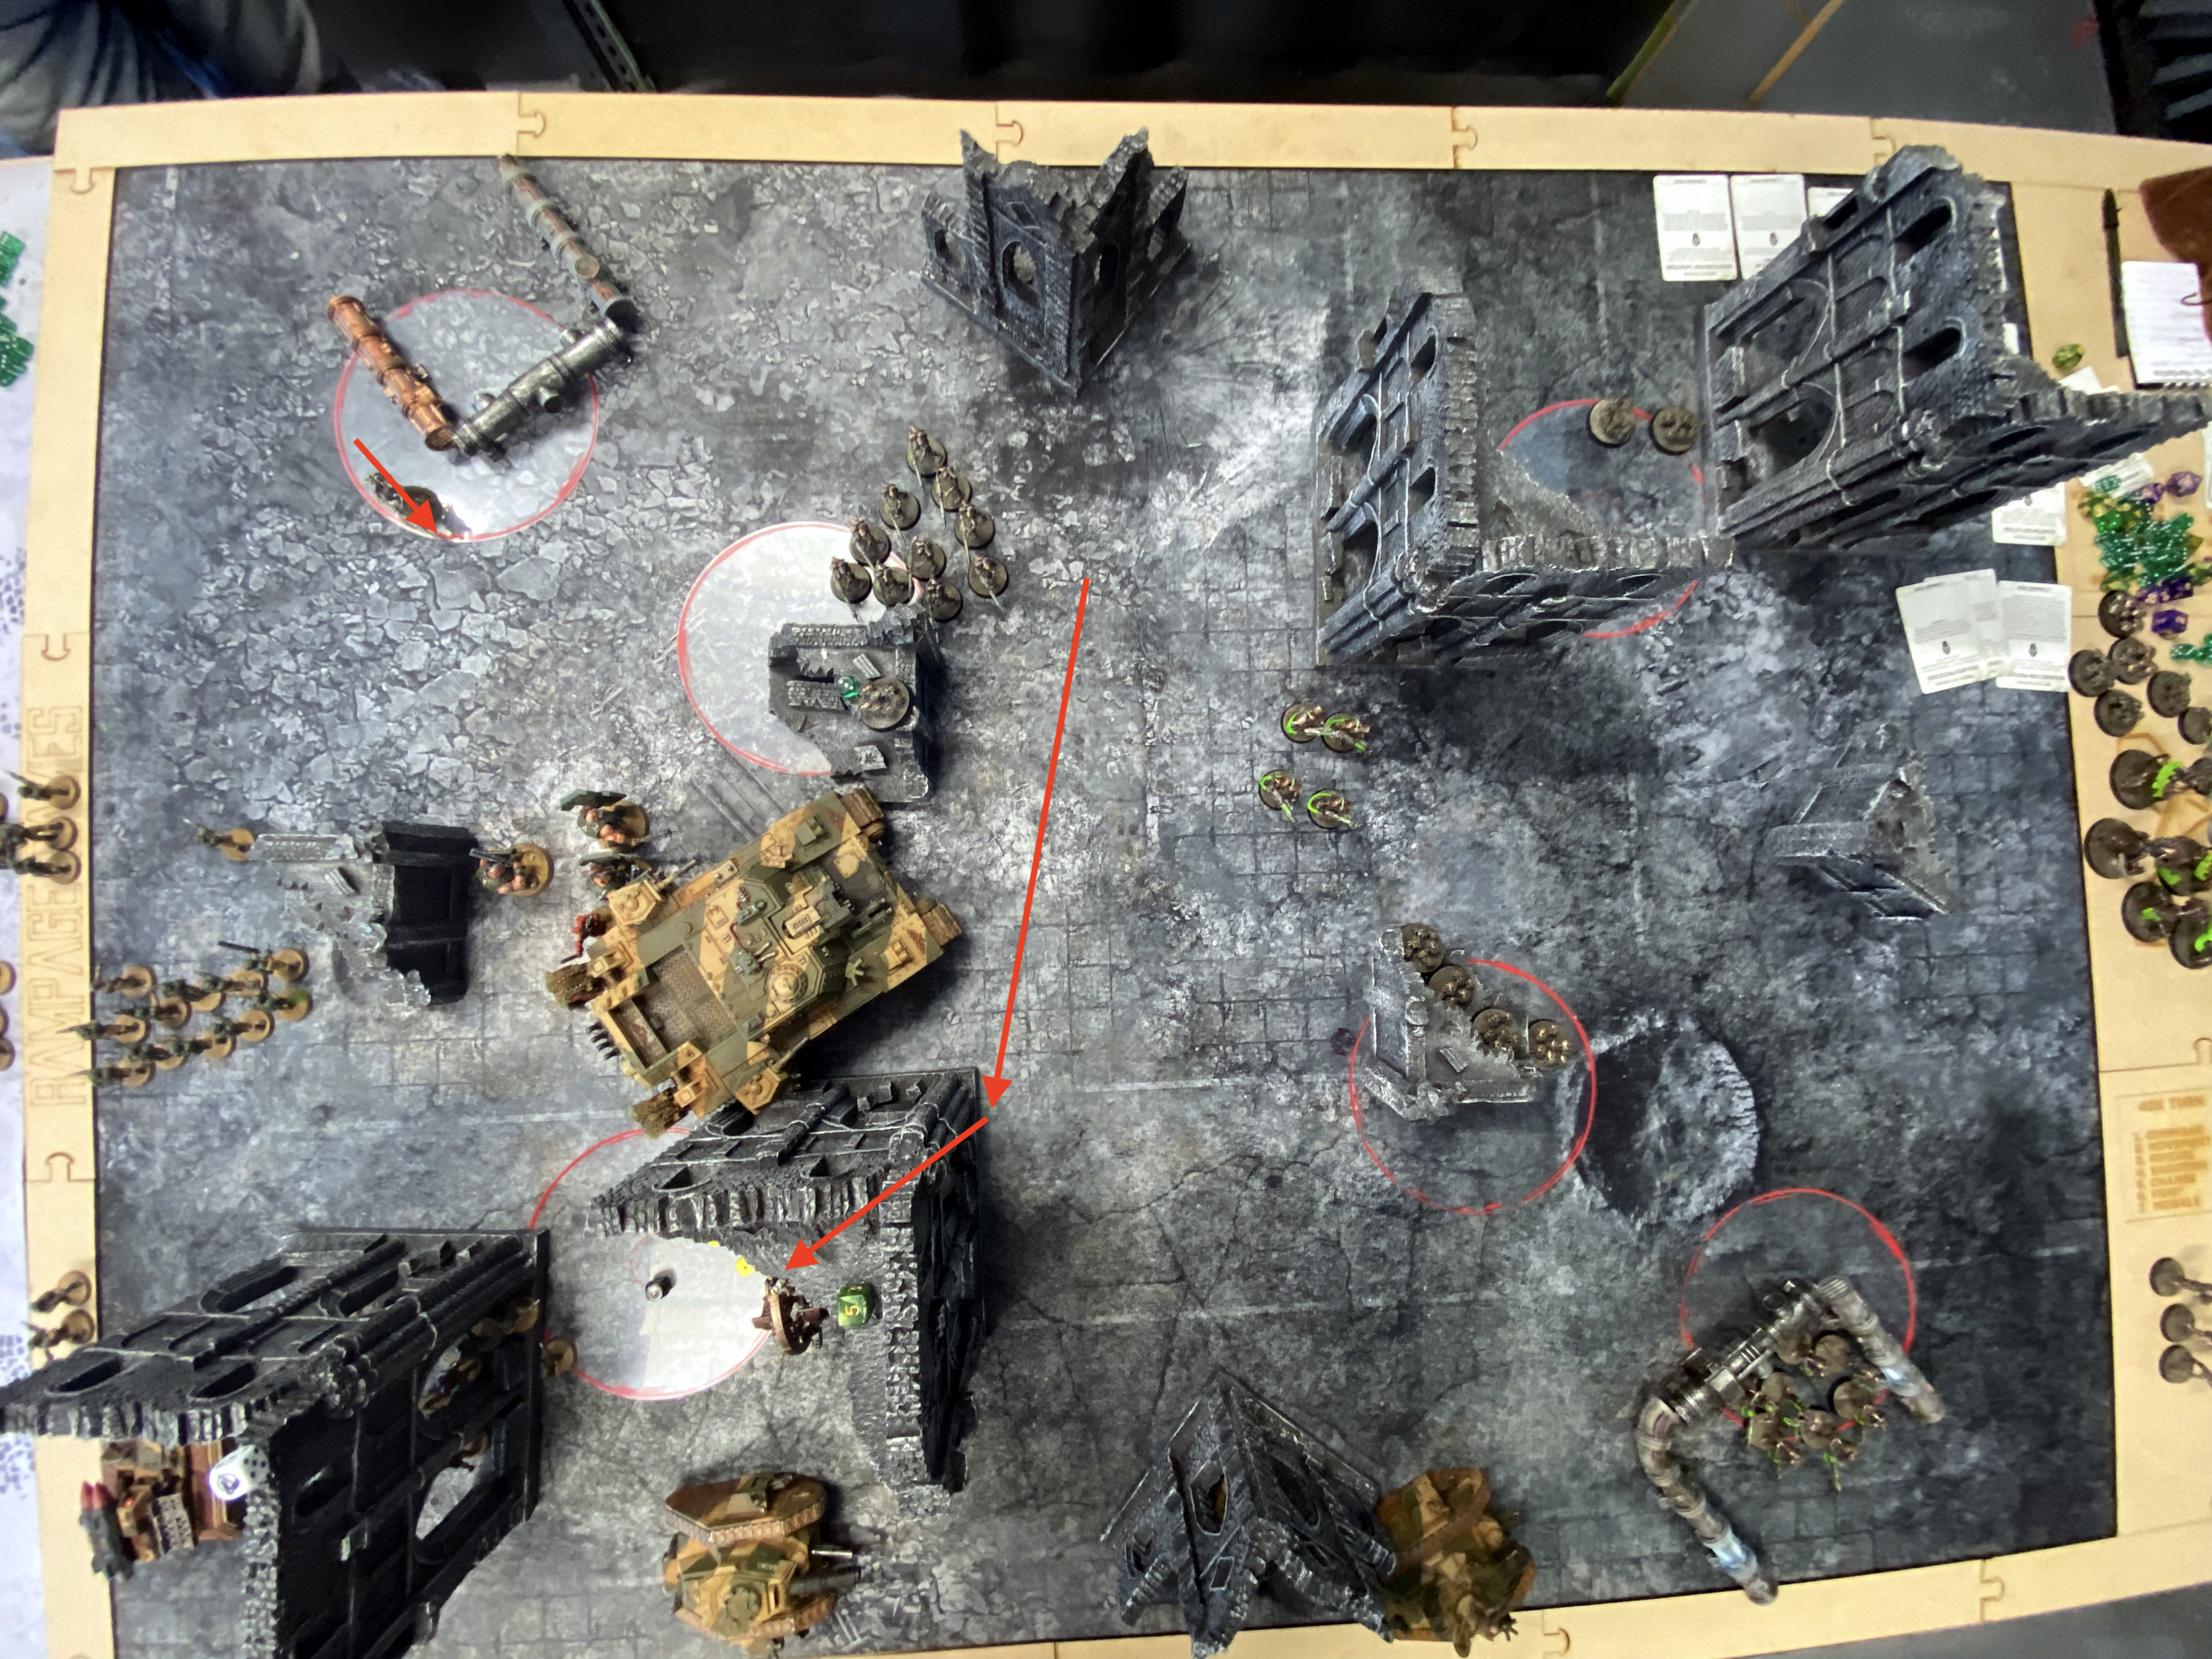
Deployment
Cadians Vs Necrons – Turn 1 Plan
I have two options on turn 1 I think;
- Do nothing
- Move backwards
Anything the Necrons touch will die in melee and they have ObSec, and anything with ObSec already counts as double models. So I cannot compete up close. My vehicles and infantry will die up close and will lose Objectives to their ObSec. So I think just keeping away is the best bet for this first turn.
Get them to come to me, leave their rear objective open ready for a Manticore strike to remove it and remove their ability to complete the Primary Action, Data Intercept. Divide and conquer.
Having a unit run backwards to secure that rear objective and do the action would be an ideal situation – that is one less unit running towards me.

Turn 1 Plan
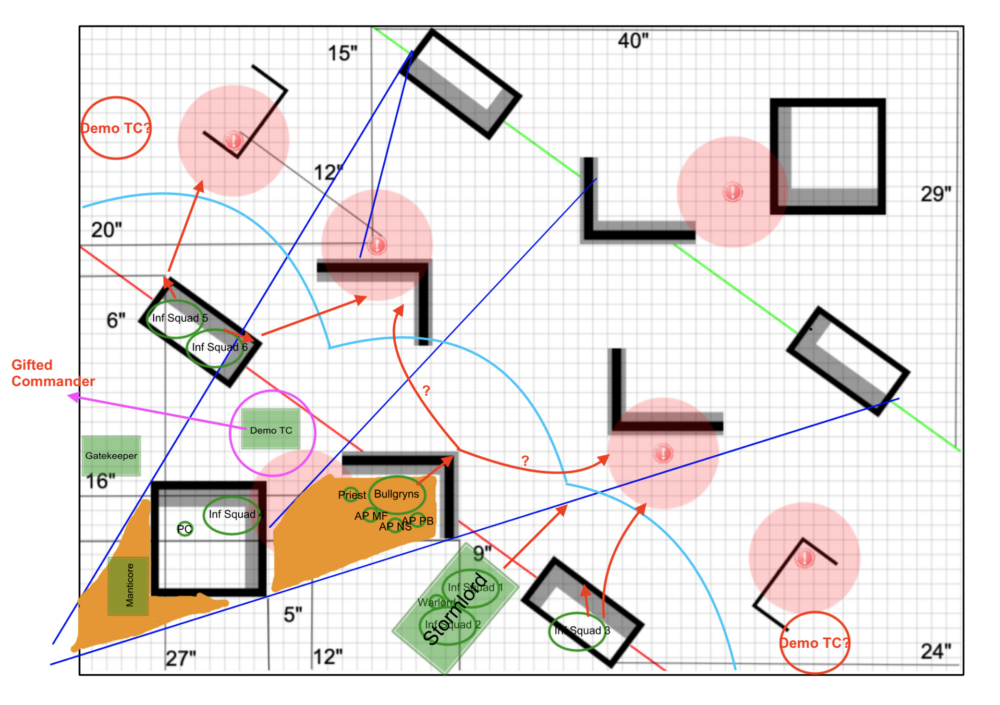
Cadians Vs Necrons – Turn 2 Plan
Turn 2 is where things get tricky I think. Depending on where the Necrons move to and how my shooting goes will determine a lot of turn 2.
The Demolisher Tank Commander can come on where it is needed most and hopefully just delete an unsuspecting enemy unit. If it can clip an Objective too (in the bottom right corner) that would be ideal too.
There are two ways the second turn will go I think;
- I have done enough damage with my shooting and one side of No Man’s land is safe, plus an enemy unit has had to turn and head back to the Necron home Objective. I can then move out from my Deployment Zone and start grabbing territory for the Primary Objectives. The Demolisher can support areas that are not safe and the Bullgryns can move in and do the same.
- The Cadian shooting goes poorly and No Man’s Land is a fluster f*** of Necrons. In this situation, I think I will need to pull back more and hold on to a castle while I clear out the main Necron threats – while splitting out where I can to a safe area to grab objectives. I think this aspect of the game is where I need to get better, it is more likely to happen this way than the other way.
Turn 2 Plan
The Execution
Everything before this point was written pre-game… here goes.
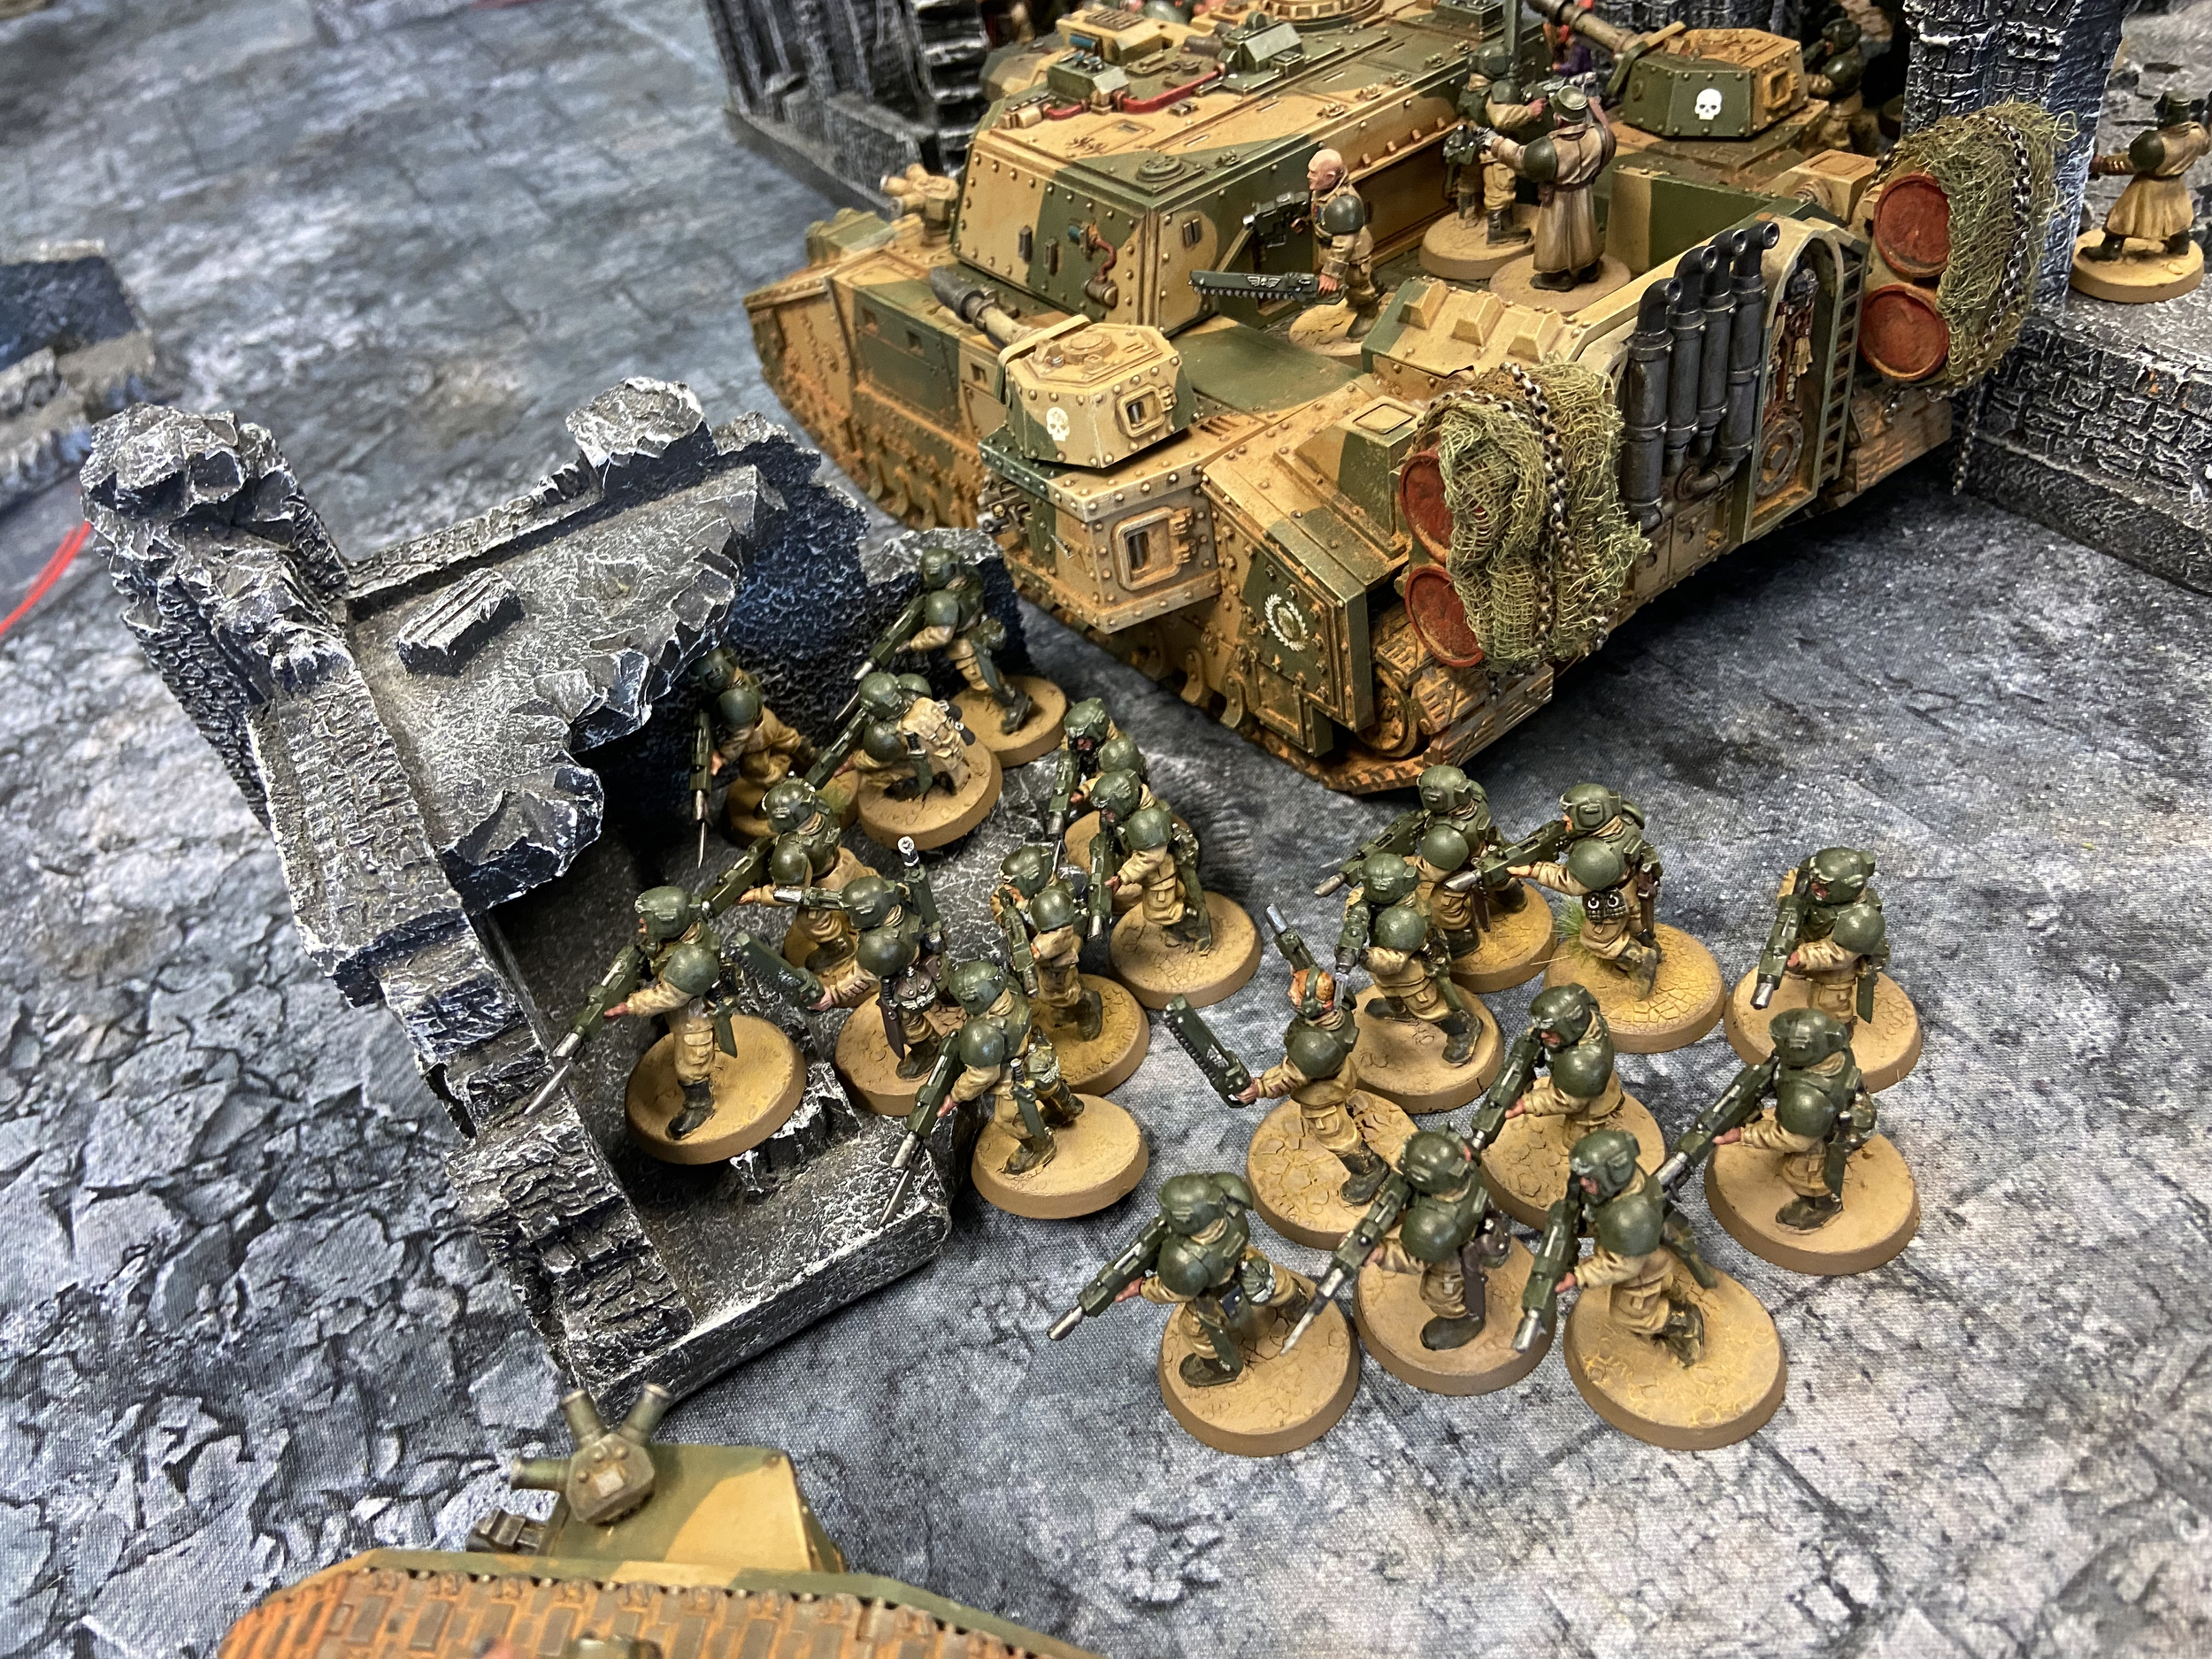
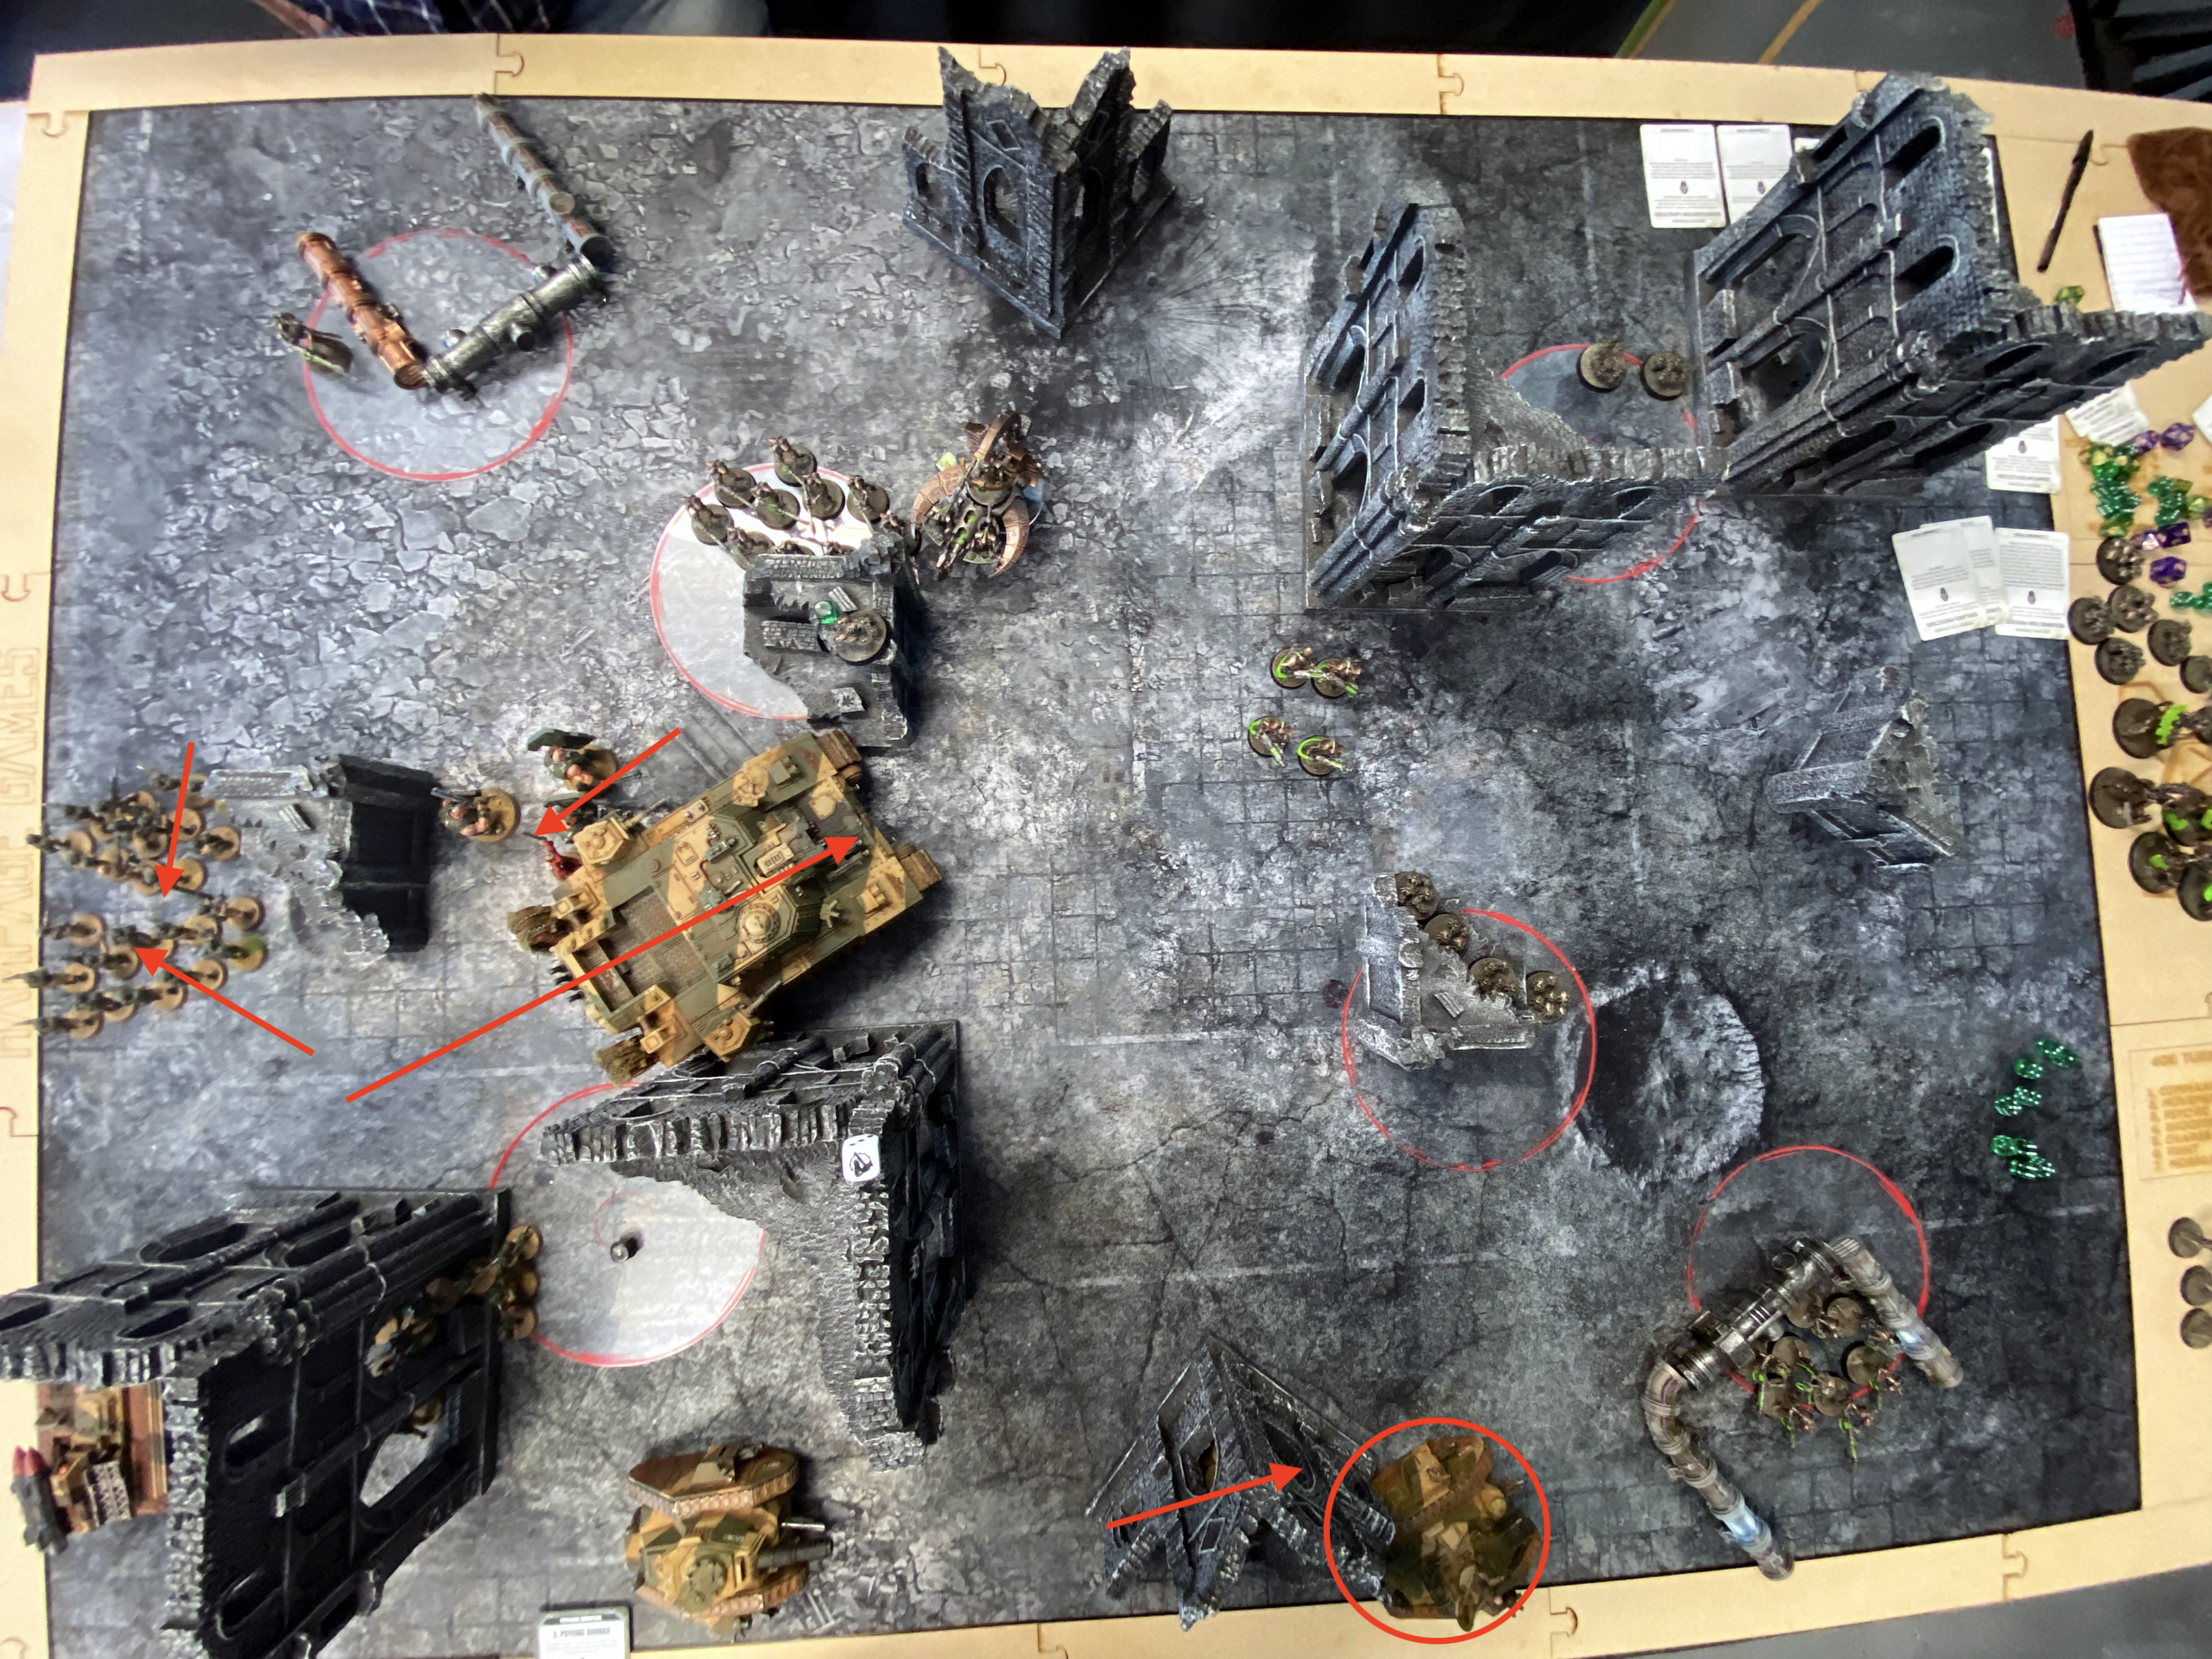
As you can see I got everything where it was meant to go and the Stormlord switched from the right-ish flank to the left side. There was just more room and it felt better to have that extra space than not – and be just stuck on the frontline.
The Tank Commander Demolisher on the left went into Strategic Reserve thanks to Gifted Commander.
This was before the Necron’s 6″ pre-game move

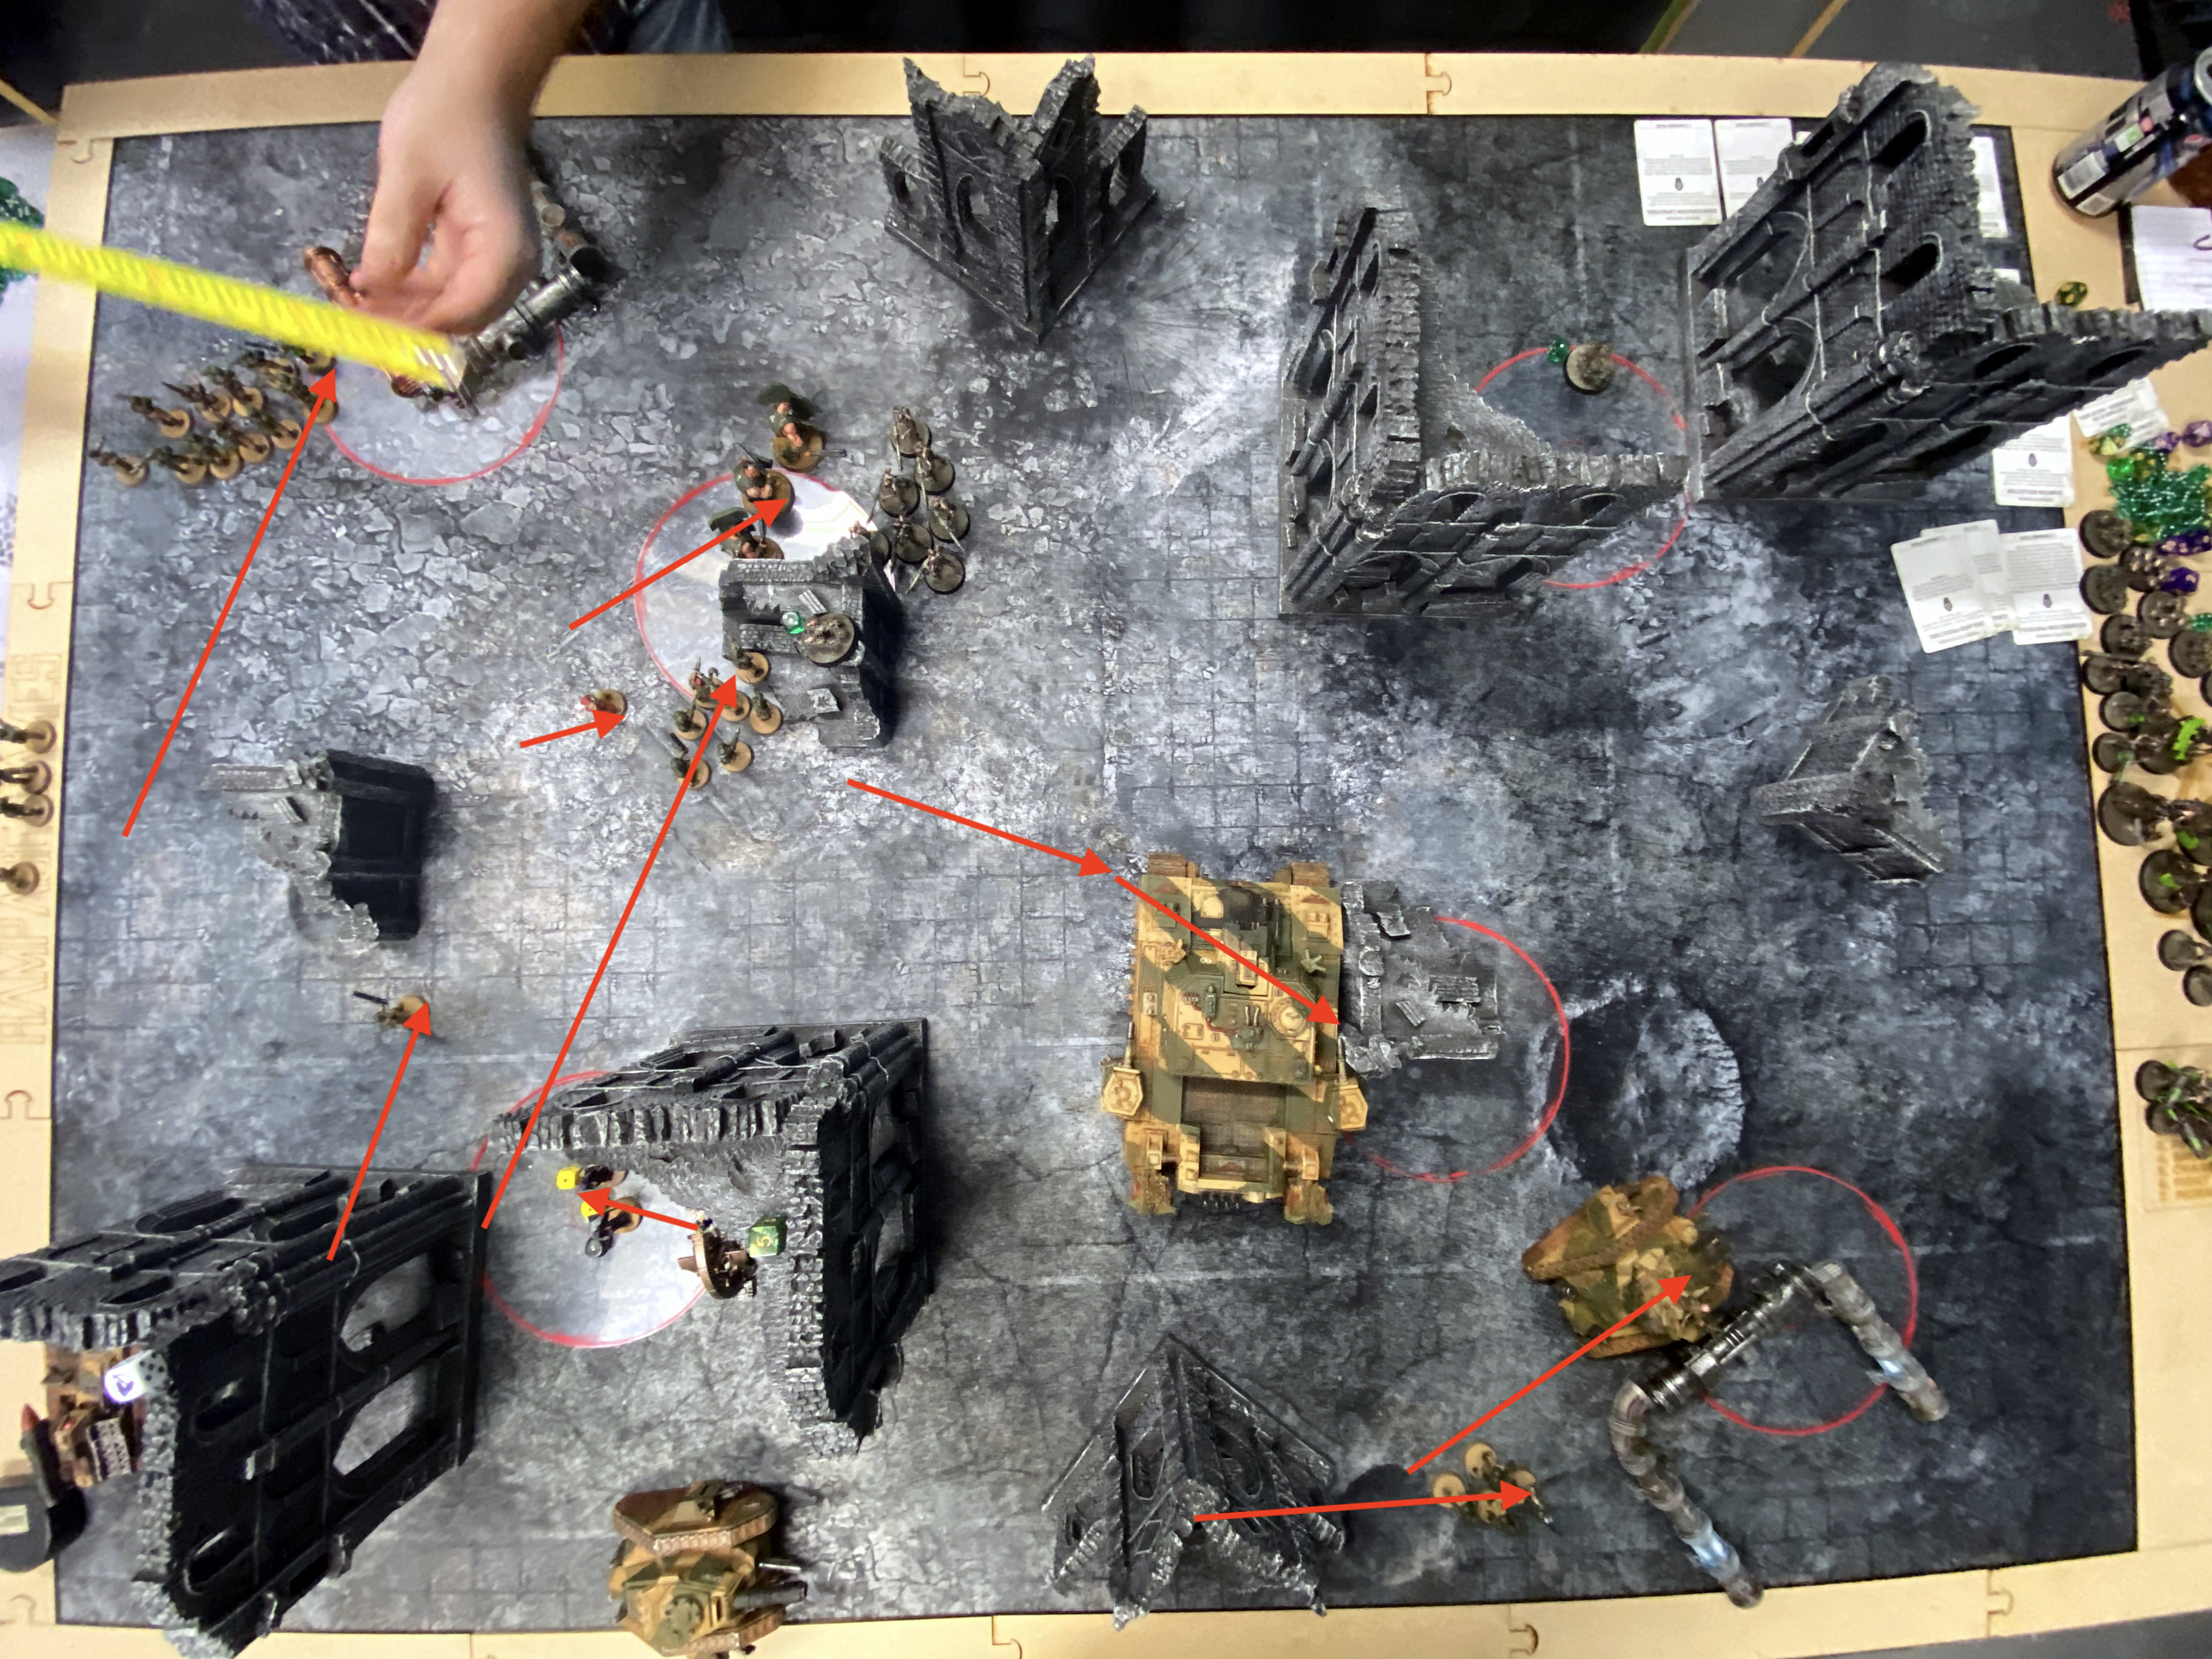
Turn 1
Necrons
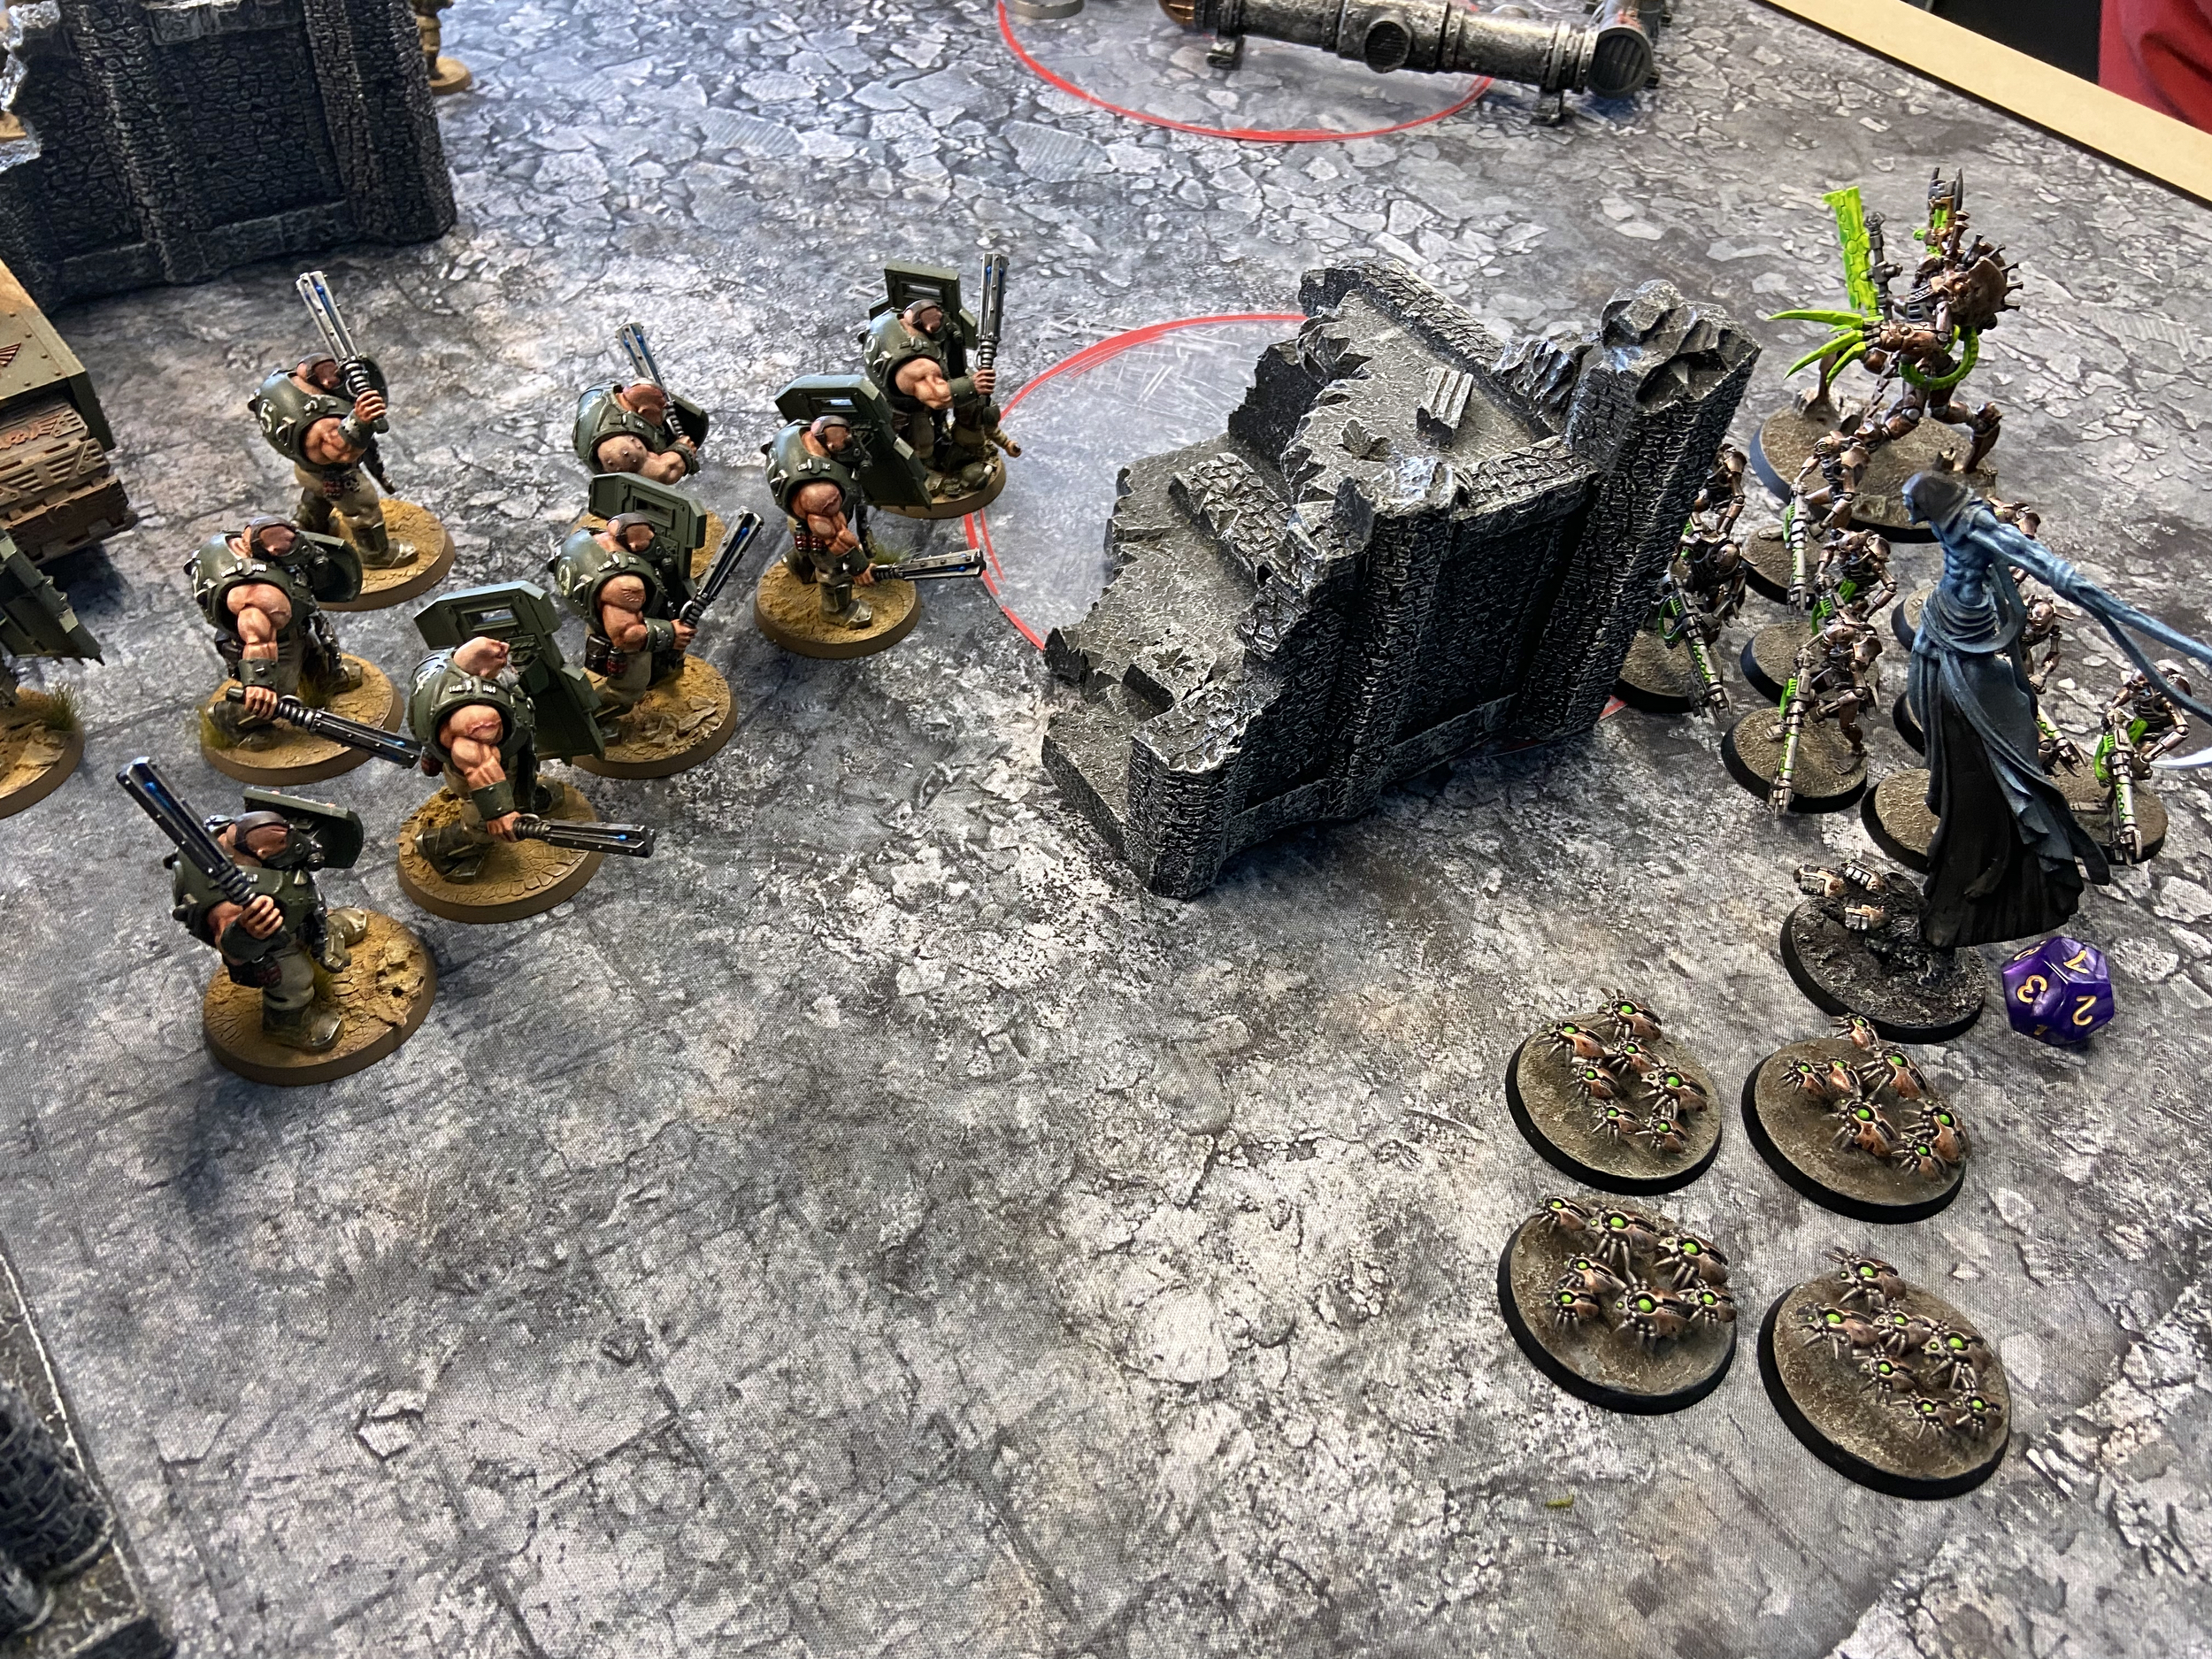
Those pesky Necrons and their 6″ pre-game move! There was a lot of moving forward and the middle of the table was pretty much full of them by the end of the Movement Phase. The big blob of Warriors used Veil of Darkness to shift to my far left flank.
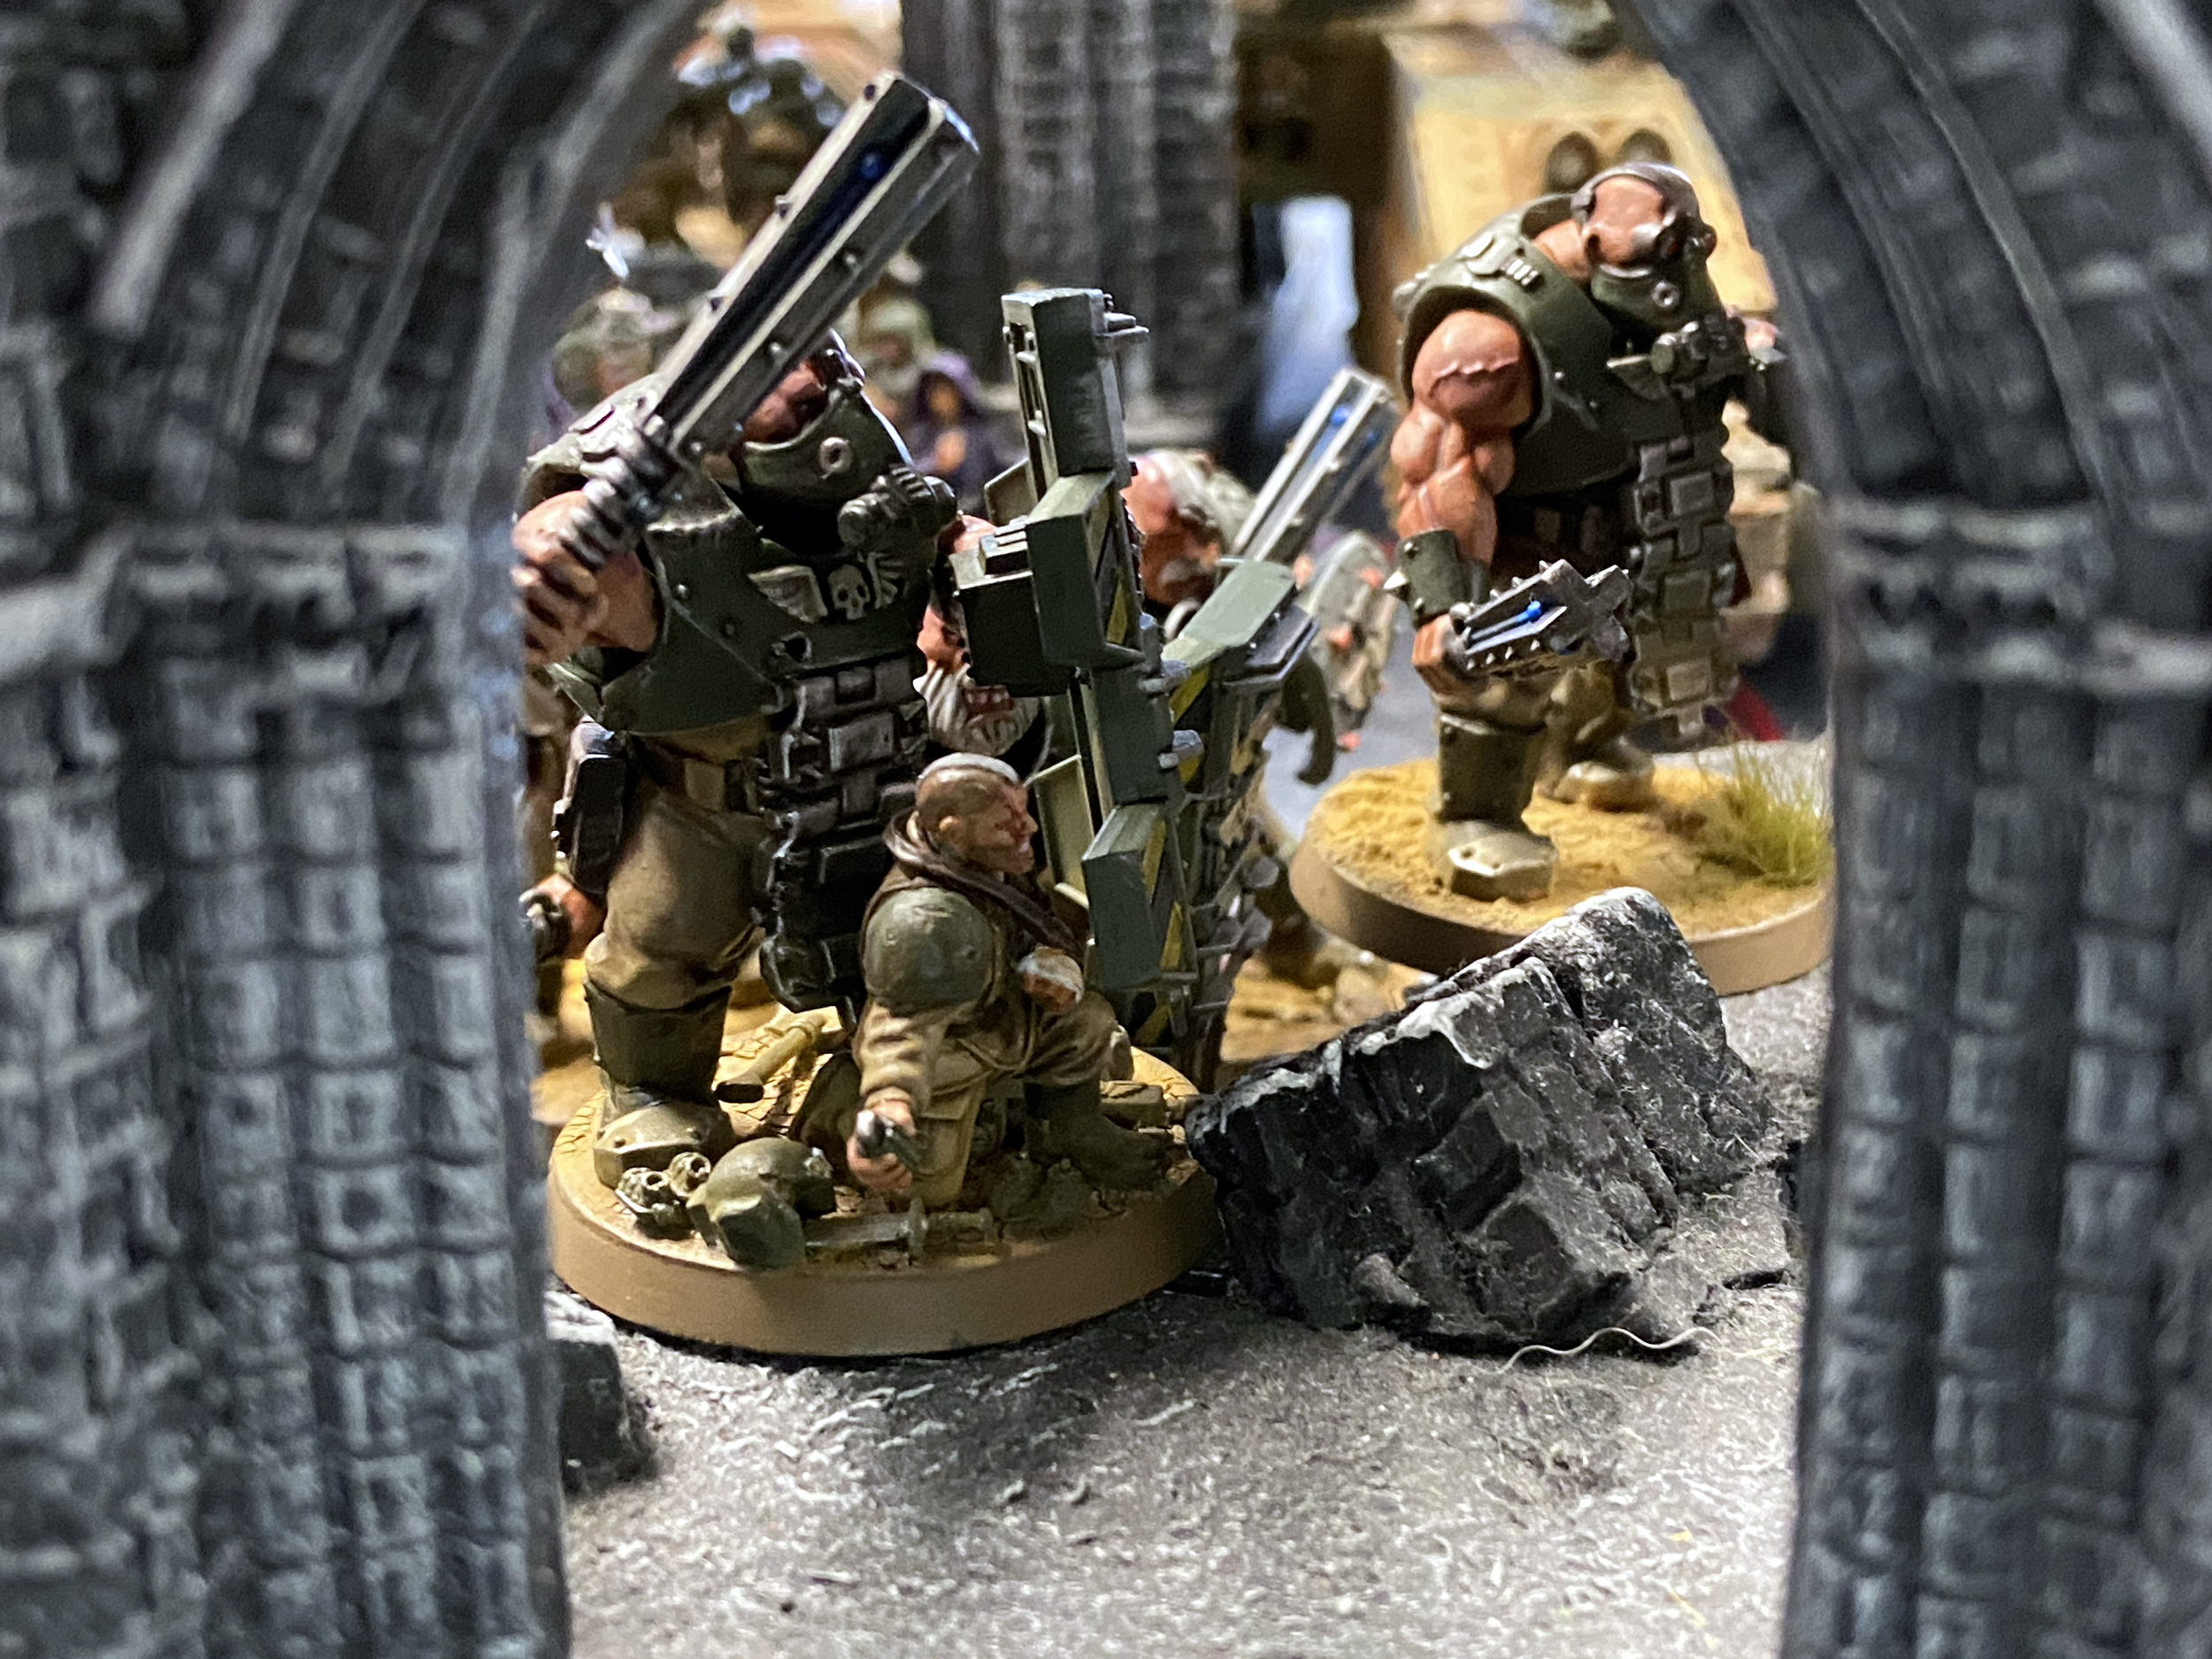
The Shooting Phase was OK, to be honest. A lot of my stuff was hidden and my Demolisher was off the battlefield. I did lose an entire unit of Guardsmen on the left side after the 20 Warriors opened up on them. I lost maybe three more Guardsmen on my right flank in the ruin at the bottom of the images.
But all told, I was OK.
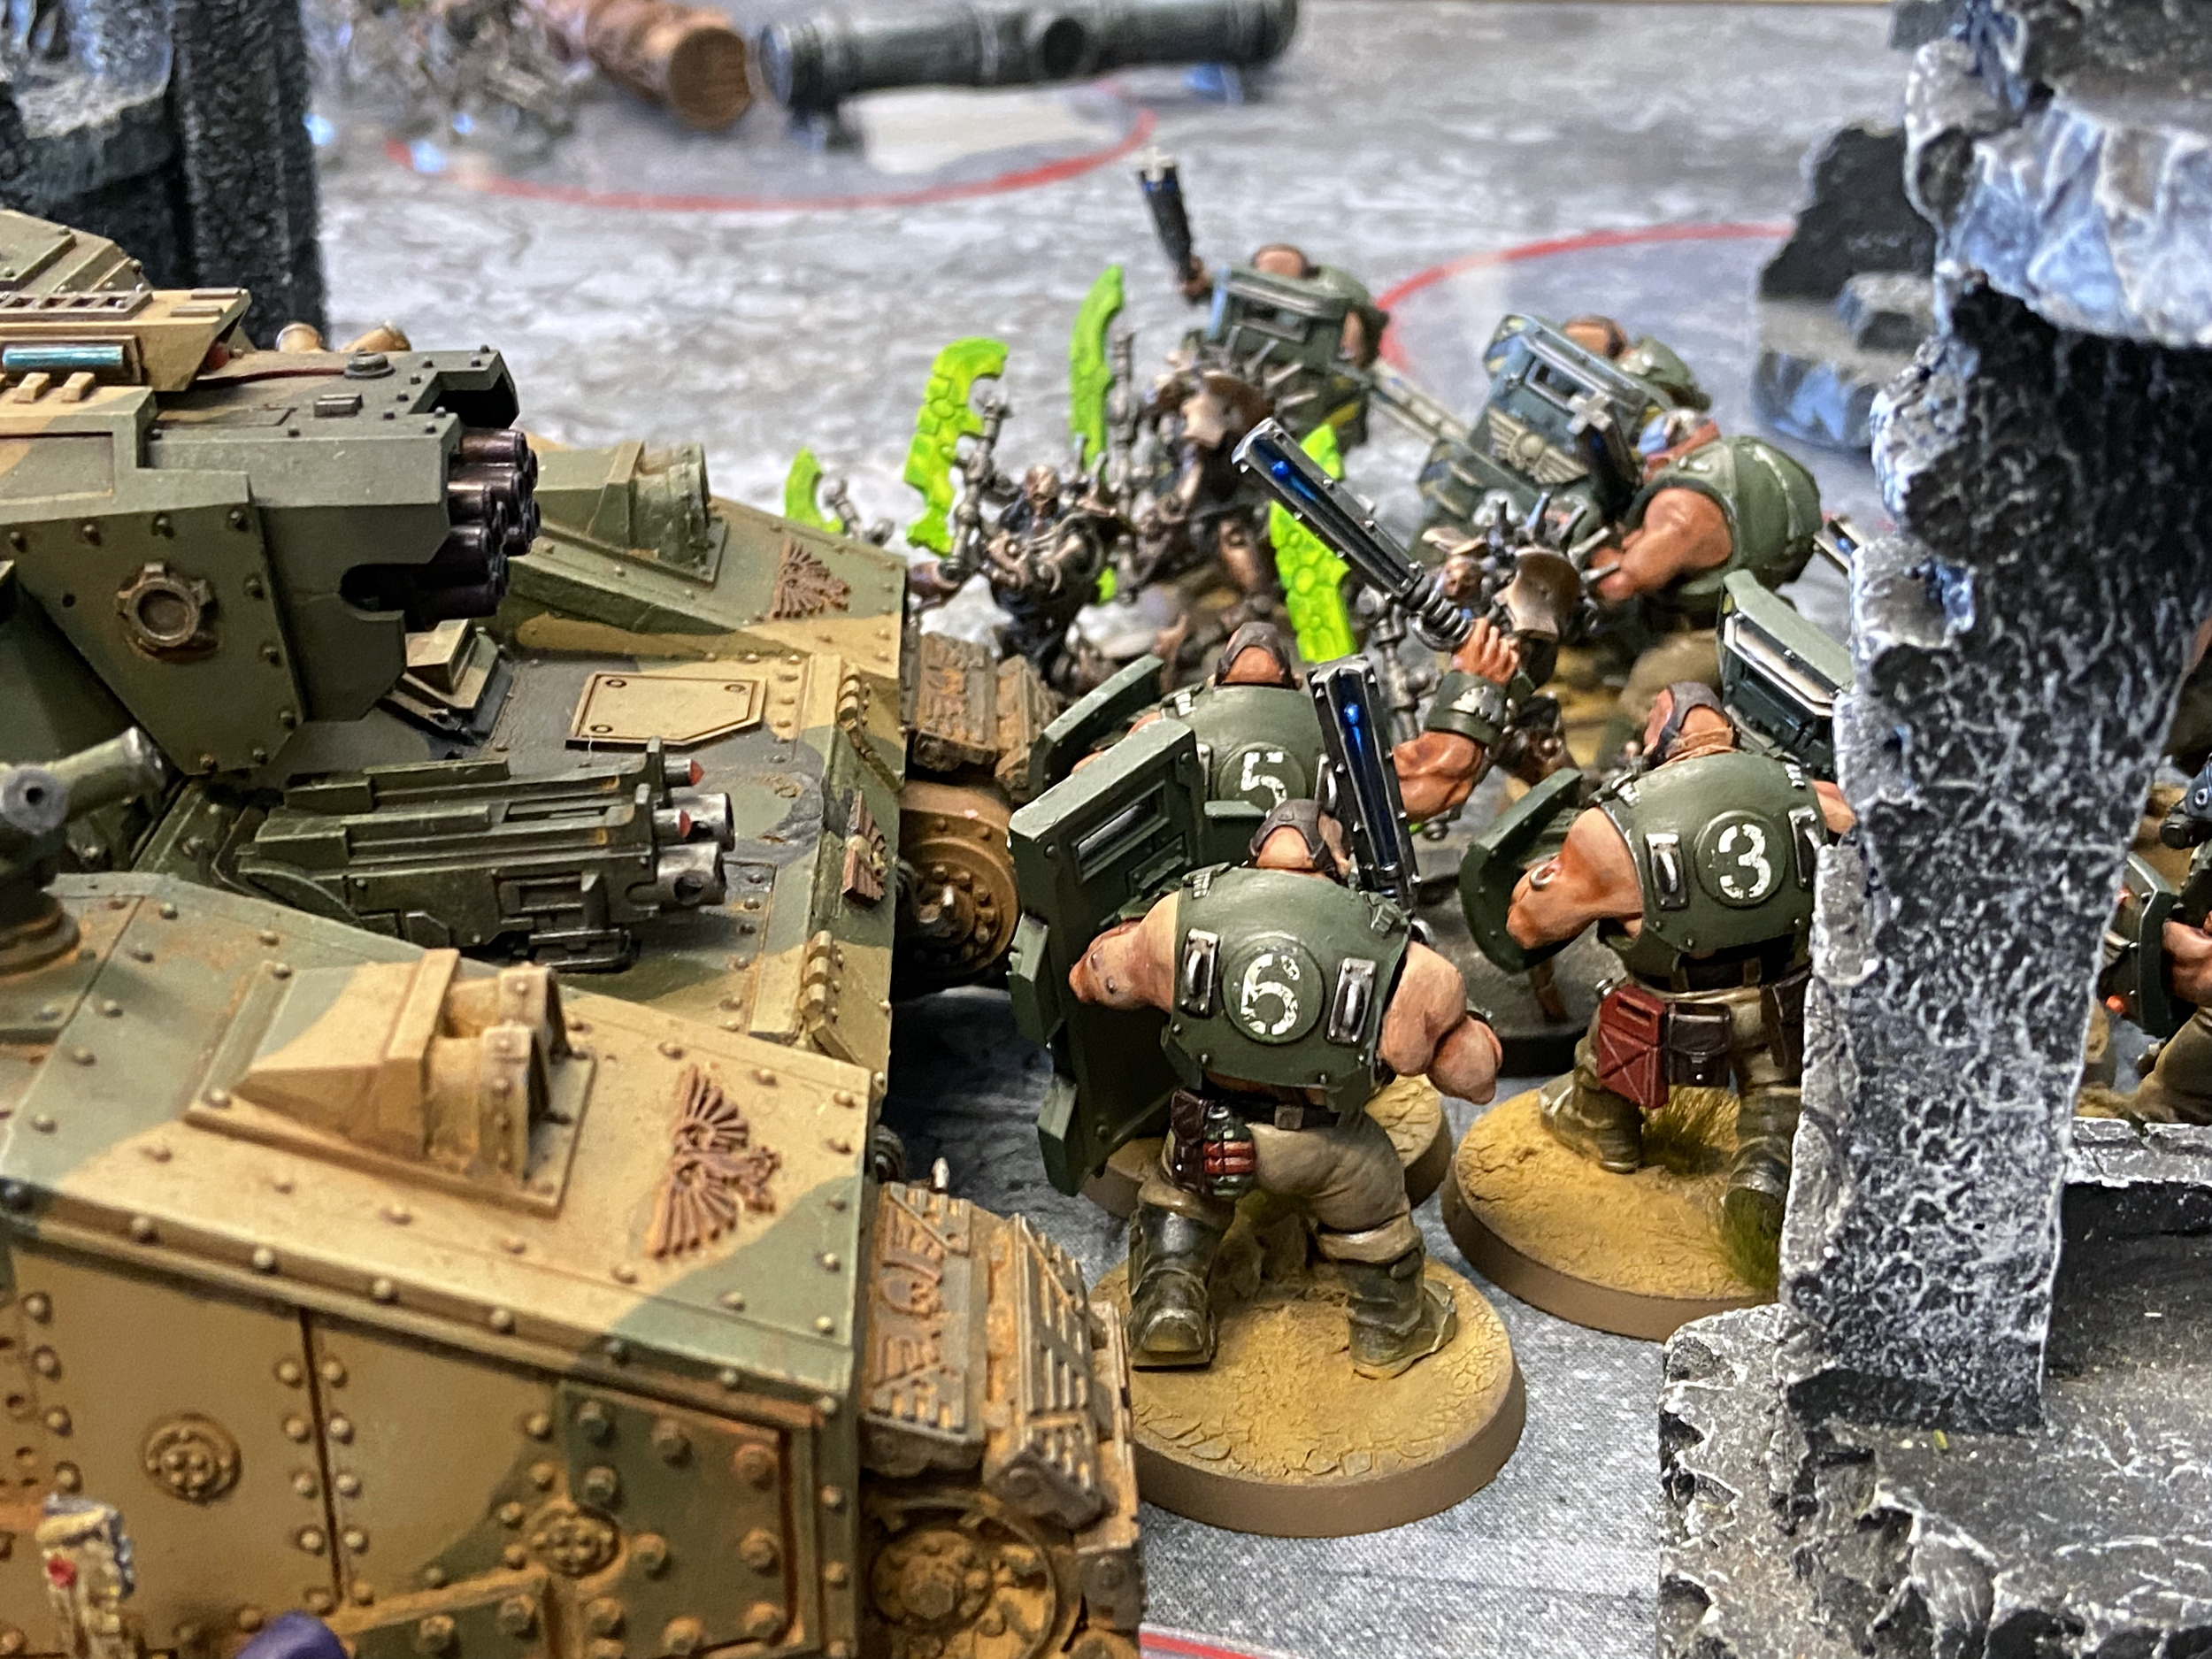
The Skorpekh Destroyers came in now though and needed a blistering charge across the battlefield of 10″ into the Stormlord. But not after I used Overwatch and Defensive Gunners to kill four of the six Skorpekh Destroyers as they came across No-Man’s Land. One came back to life which made that 10″ easier – they made it.
The Stormlord took a few Wounds, maybe six – but was OK. He did nothing in the returning combat – or maybe he did. Either way, between the Overwatch and the crushing Stormlord three of the six, were gone.

Astra Militarum
The Cadians needed to come out fighting now. With those Skorpekh Destroyers on the Stormlord, there was work to be done to survive and push the Necron threat back. The plan was to stay still and get the killing done now and not move up too much. Veil of Darkness had been used so there was no threat of any Deep Strikers now. I could move as I needed without worrying too much about screening out Deep Strikers. But I did not want to move up too much to give the enemy easy charges. Especially into my vehicles or Guardsmen.
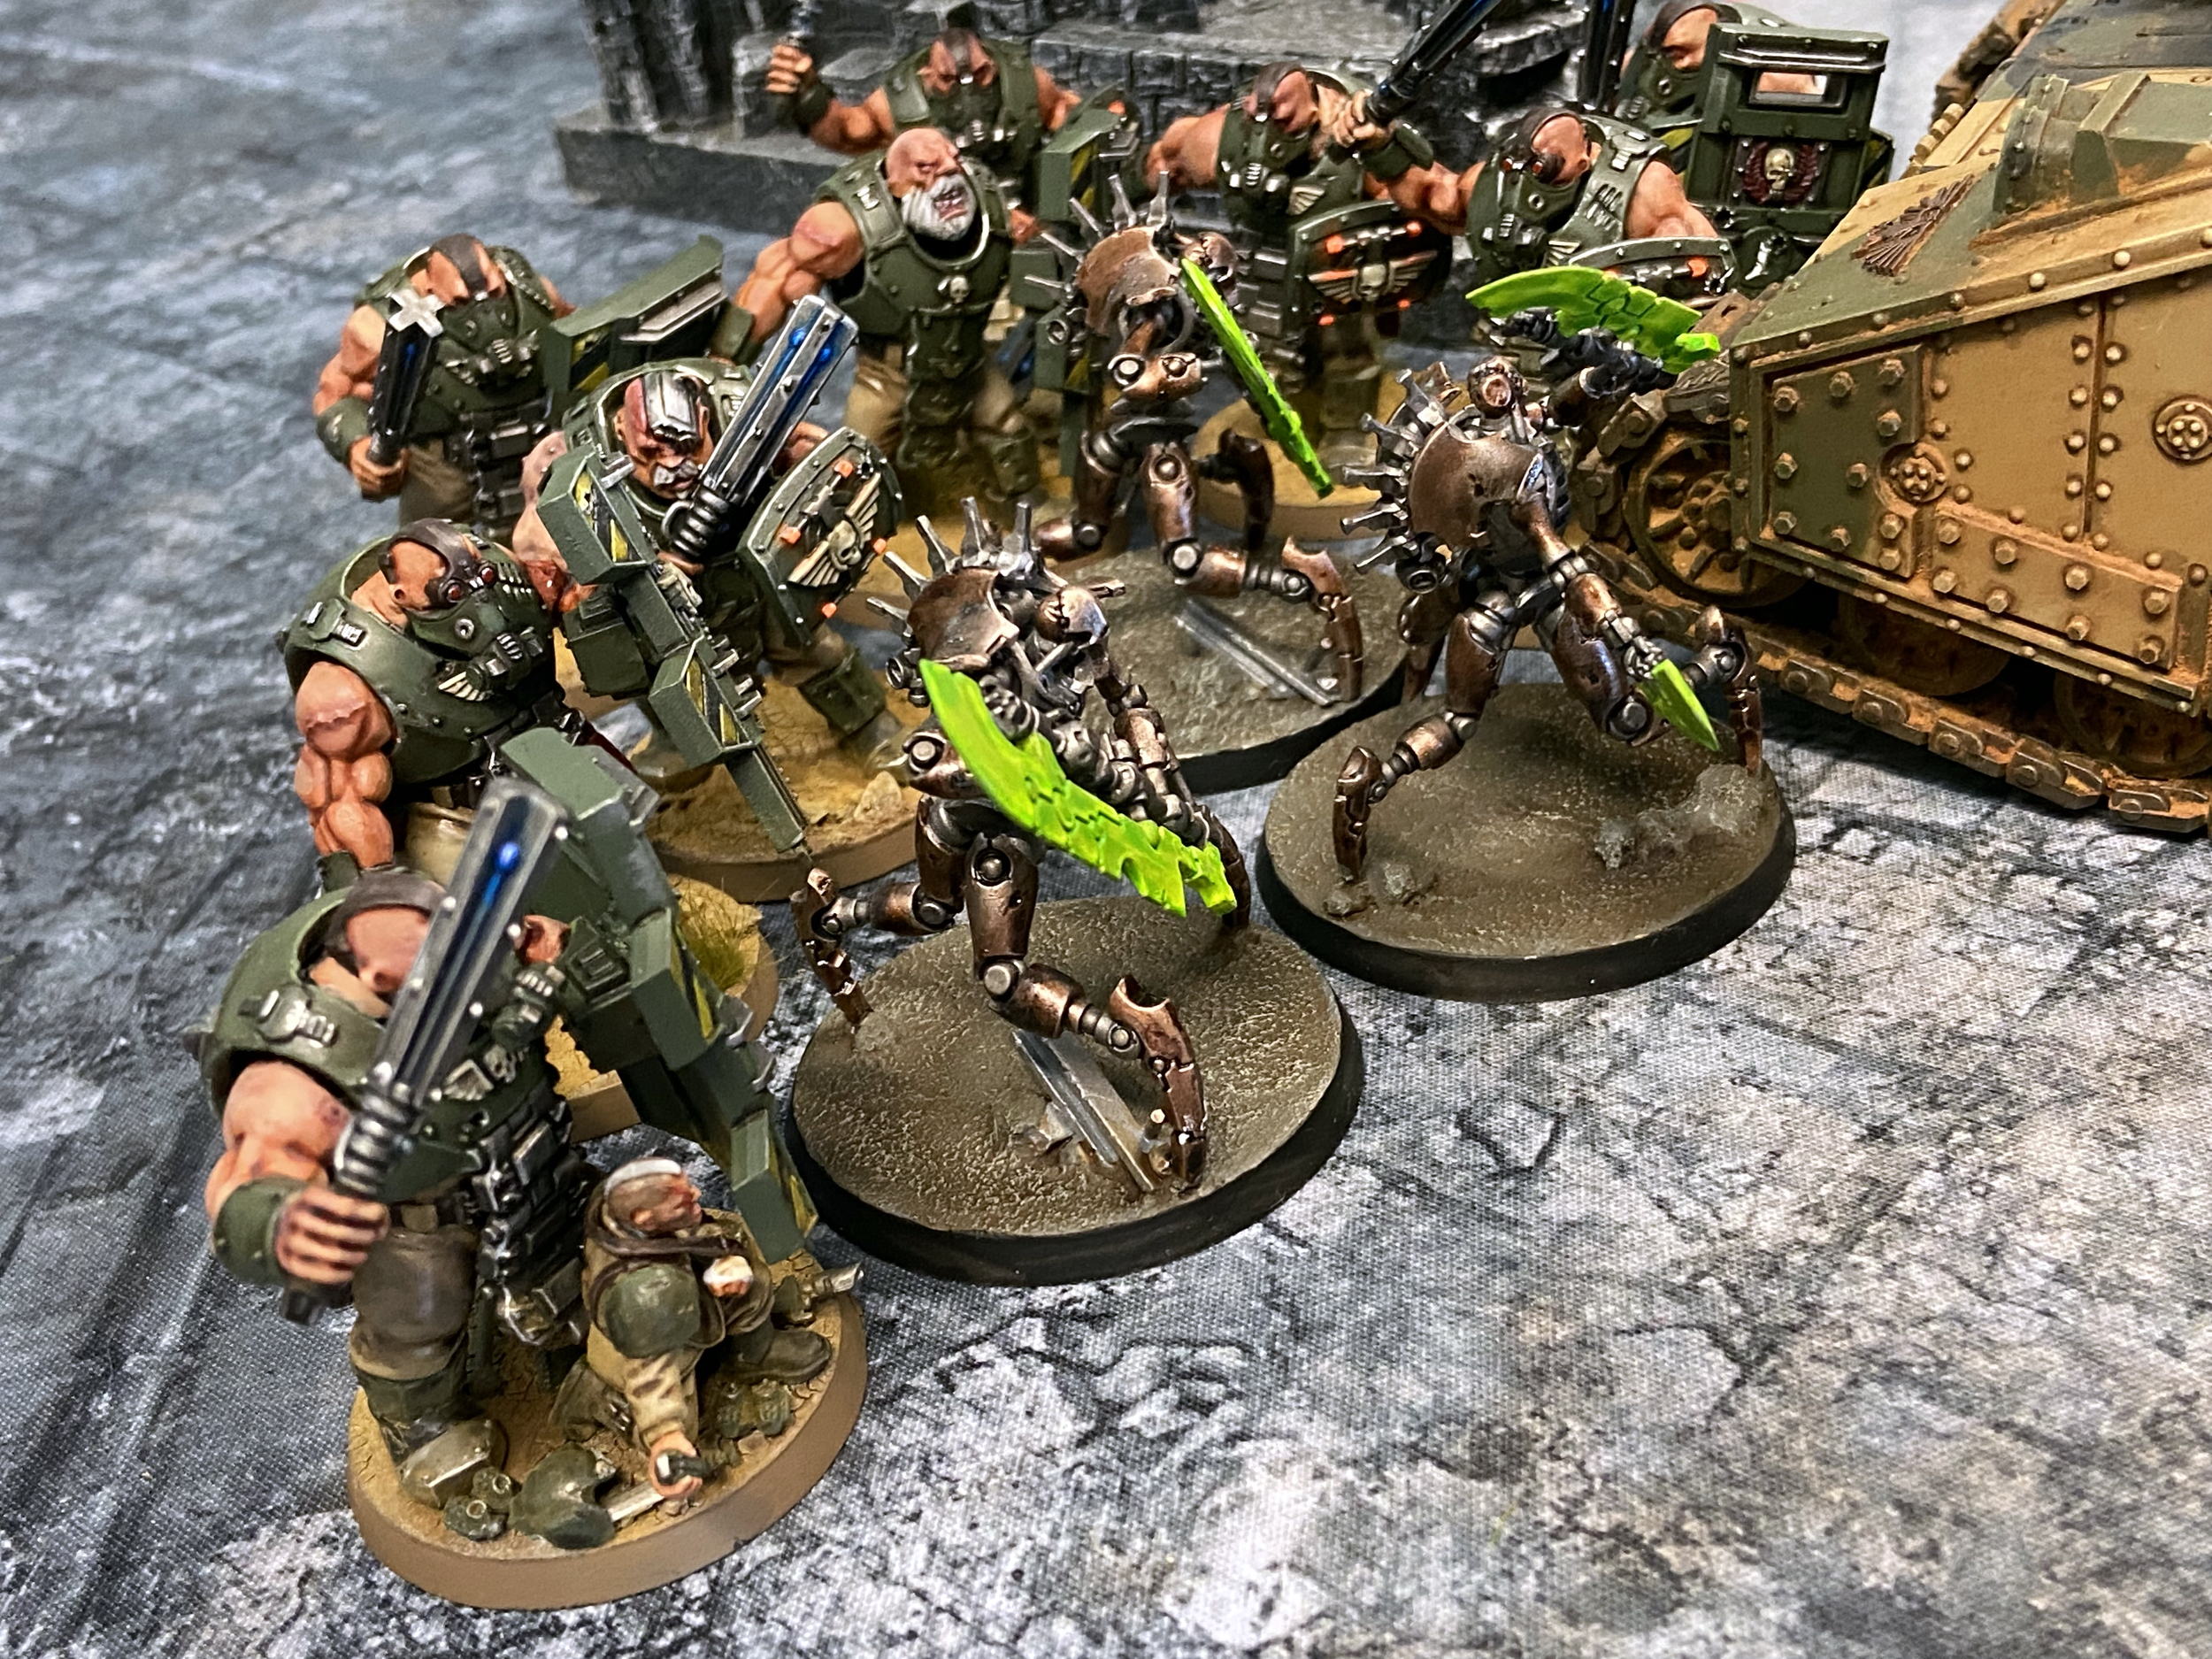
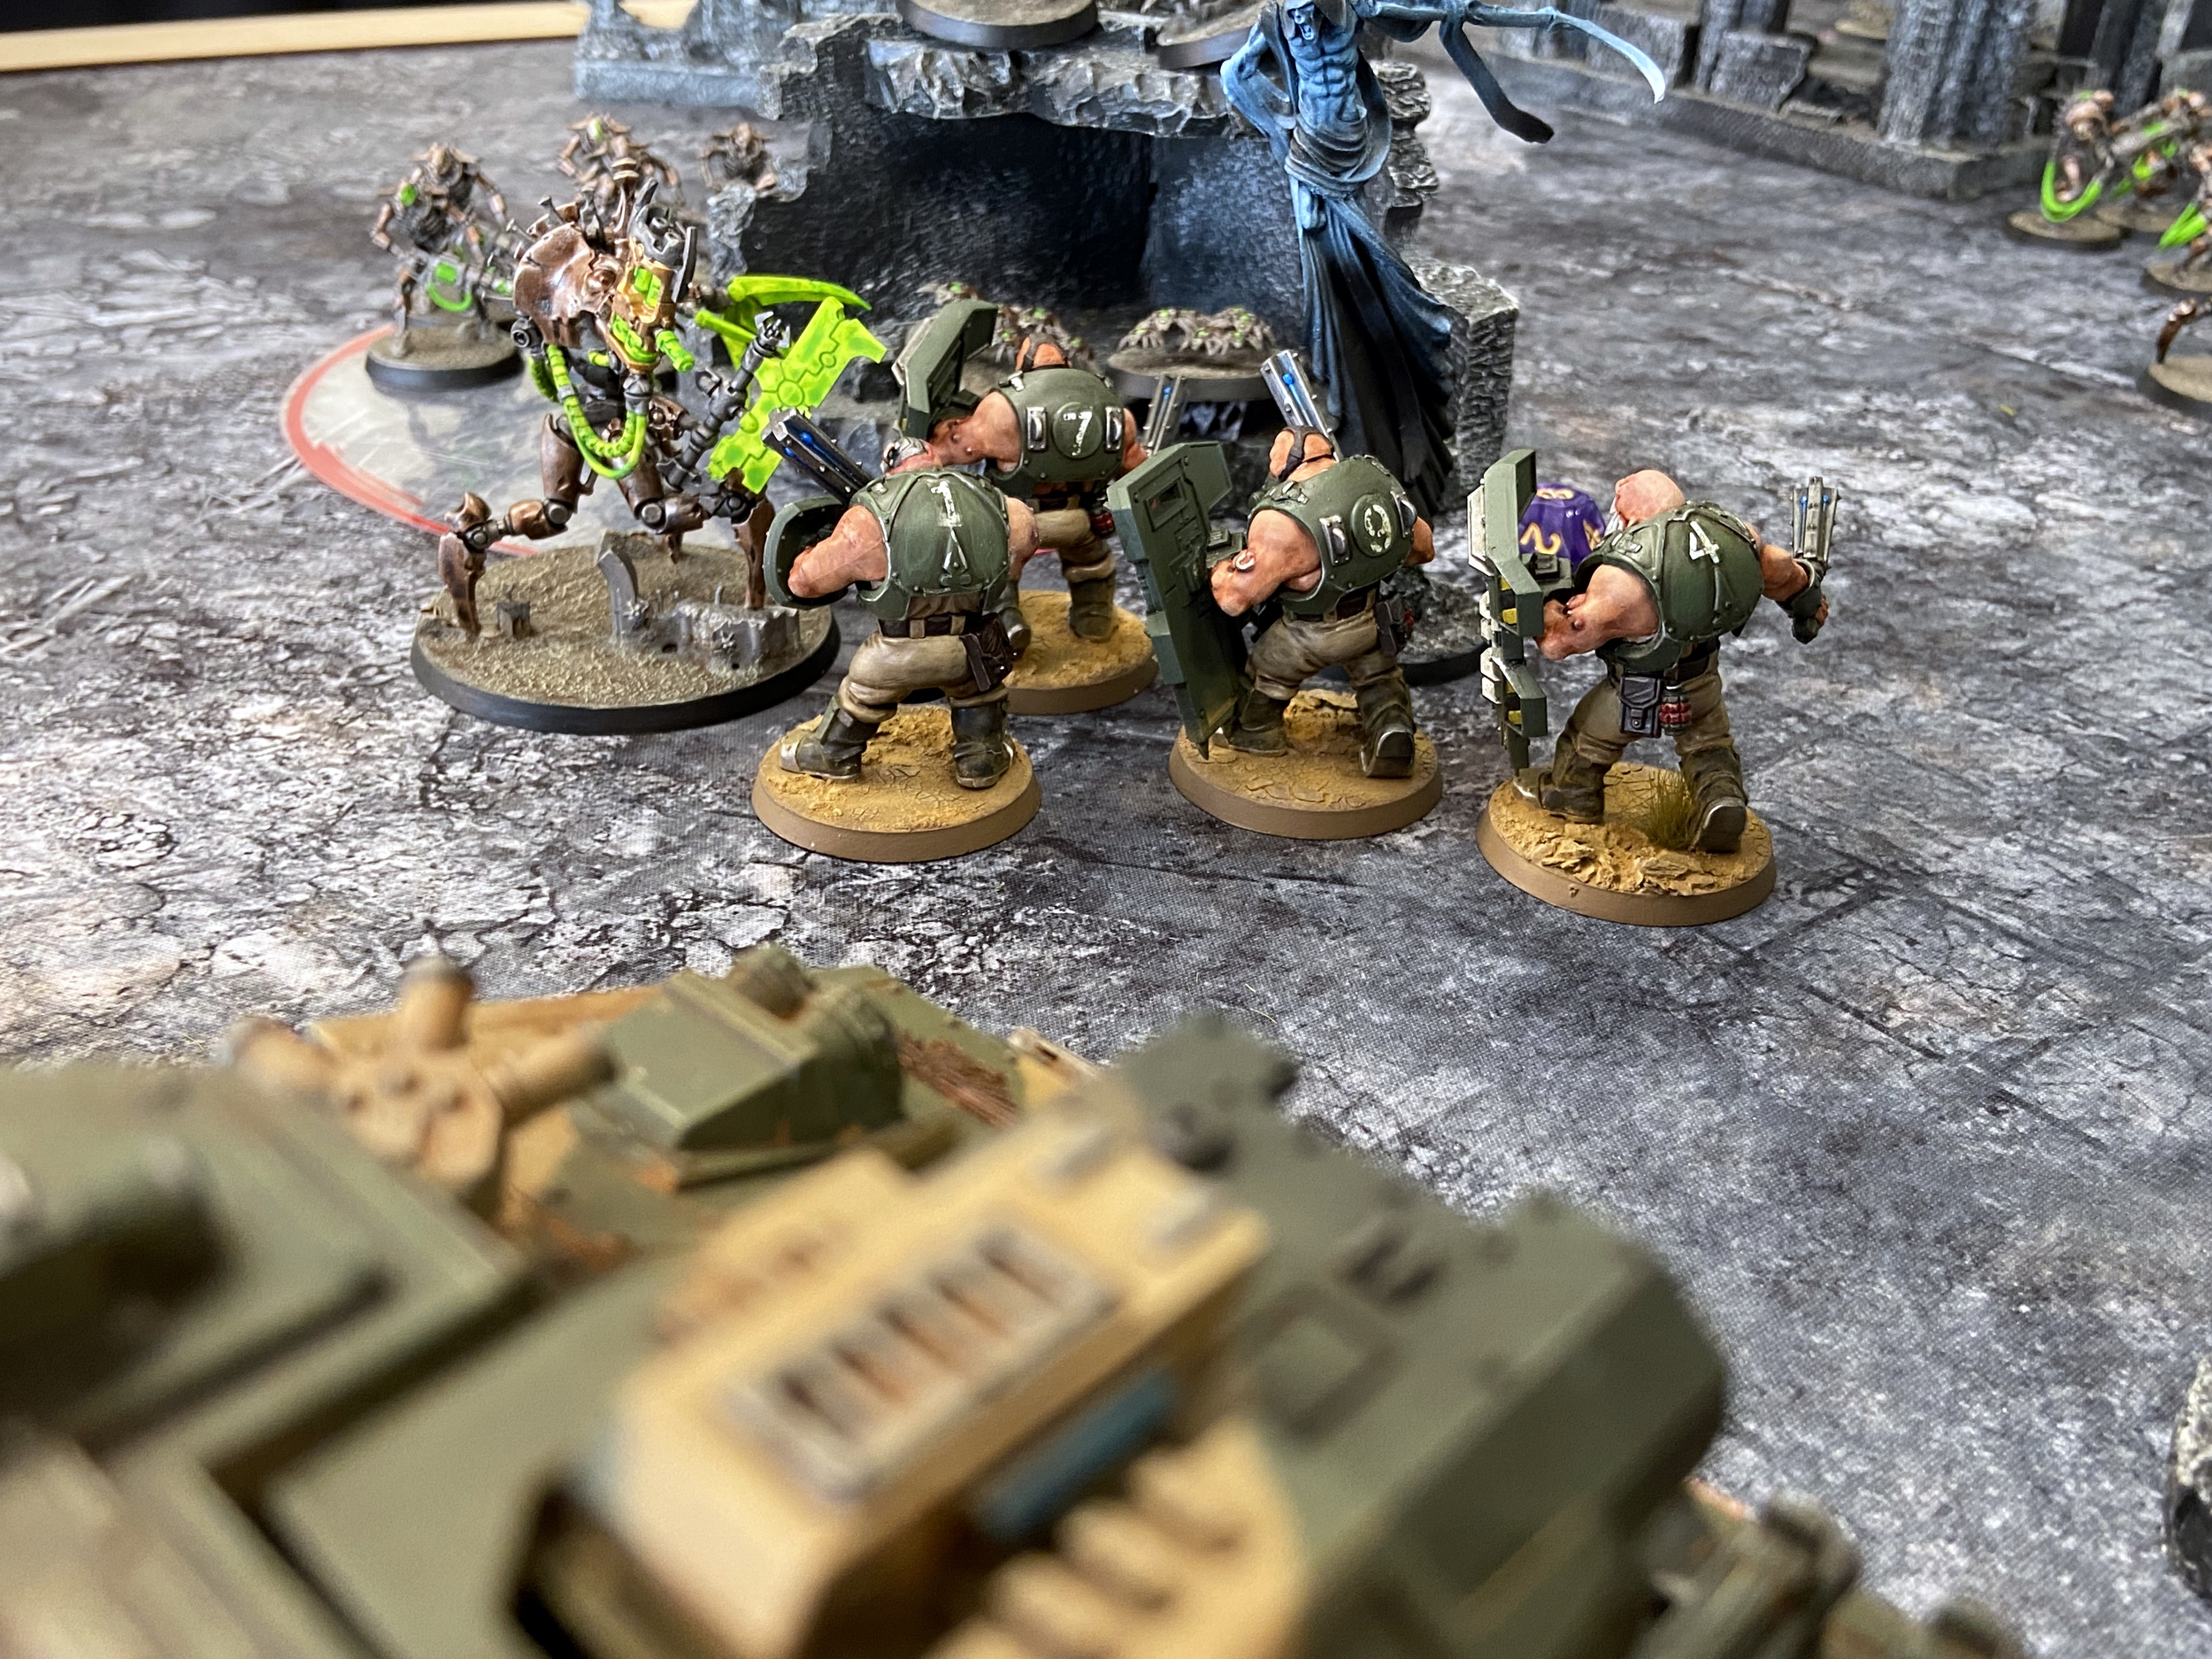
The Bullgryns got out, ready to countercharge the Skorpekh Destroyers. And an Infantry Squad got out of the Stormlord to join the surviving unit in front of the big unit f Warriors. I pulled back my Infantry Squad on the right flank and moved the Gatekeeper Tank Commander into a position to see the other unit of Skorpekh Destroyers.
My Shooting Phase went decent enough with several of the Warriors on the left dying along with 6 of the Immortals in the centre of the battlefield. The death of the Immortals meant the Command Barge was now not covered by Look Out Sir as dead models had been removed and placed back somewhere else after they re-animated.
The Manticore went in for the snipe on the Command Barge, reducing it to 3 Wounds. One more failed save and it would have been toast. Close! The Gatekeeper Tank Commander killed a couple of Skorpekh Destroyers but one came back.
Finally, my Bullgryns charged into the three remaining Skorpekh Destroyers killing them all and then consolidating towards the centre of the table.


Turn 2
Necrons
The Necrons all shuffled forward with the remaining Skorpekh Destroyers gunning for a long charge into my Bullgryns. The C’Tan did the same along with Skorpekh Lord.
The Necrons Shooting Phase was not too punishing, I lost several Guardsmen to the Warriors and a couple on that right flank I think. But nothing too drastic.
On the left flank, the Warriors moved up and then charged. I used Overwatch and Grenadiers which went well and several were mown down. The Skorpekh Destroyers failed their lengthy charge but the C’Tan and the Skorpekh Lord got into combat. I lost 5 Bullgryns in all! But did get my 3 Wounds into the C’Tan for the Fight Phase.
He was on 6 Wounds remaining.


Astra Militarum
The final unit of Infantry got out of the Stormlord to assist their brothers in combat with the Warriors. The unit in combat Fell Back. The Stormlord moved up to charge the C’Tan. I would shoot it to take it down to 3 Wounds remaining then charge it to finish it off. For those unaware, the C’Tan starts on 9 Wounds and can only take 3 Wounds per phase.
The Bullgryns pulled back to open up shooting into the Skorpekh Lord and the C’Tan.
To try and ensure I killed the C’Tan an Astropath stepped up to Smite it in the Psychic Phase. He only Smites on 1 D6, so needed a 5+. He failed.
His co-worker now stepped up, needing a 6 on the single D6. A 6! He had done it, now for damage… another 6! Praise the Emperor! That was 3 Wounds done in the Psychic Phase and it was down to 3 Wounds remaining.
The Stormlord finished it off in the shooting phase, as well as the Skorpekh Lord.
The infantry squads on the left finished off the Warriors with a punishing volley of Lasguns and Grenades!
The last unit of Skorpekh Destroyers left in the open after their failed charge died this turn too to Gatekeeper.
The Manticore started to pick off a unit of Scarabs in the Necron Deployment Zone, on their Objective.
Oh, the Demolisher arrived on the right flank but failed to inflict any meaningful damage on the nearby Warriors.
And finally, the Stormlord charged the scarabs in the middle, calling all but one.
Turn 3
Necrons
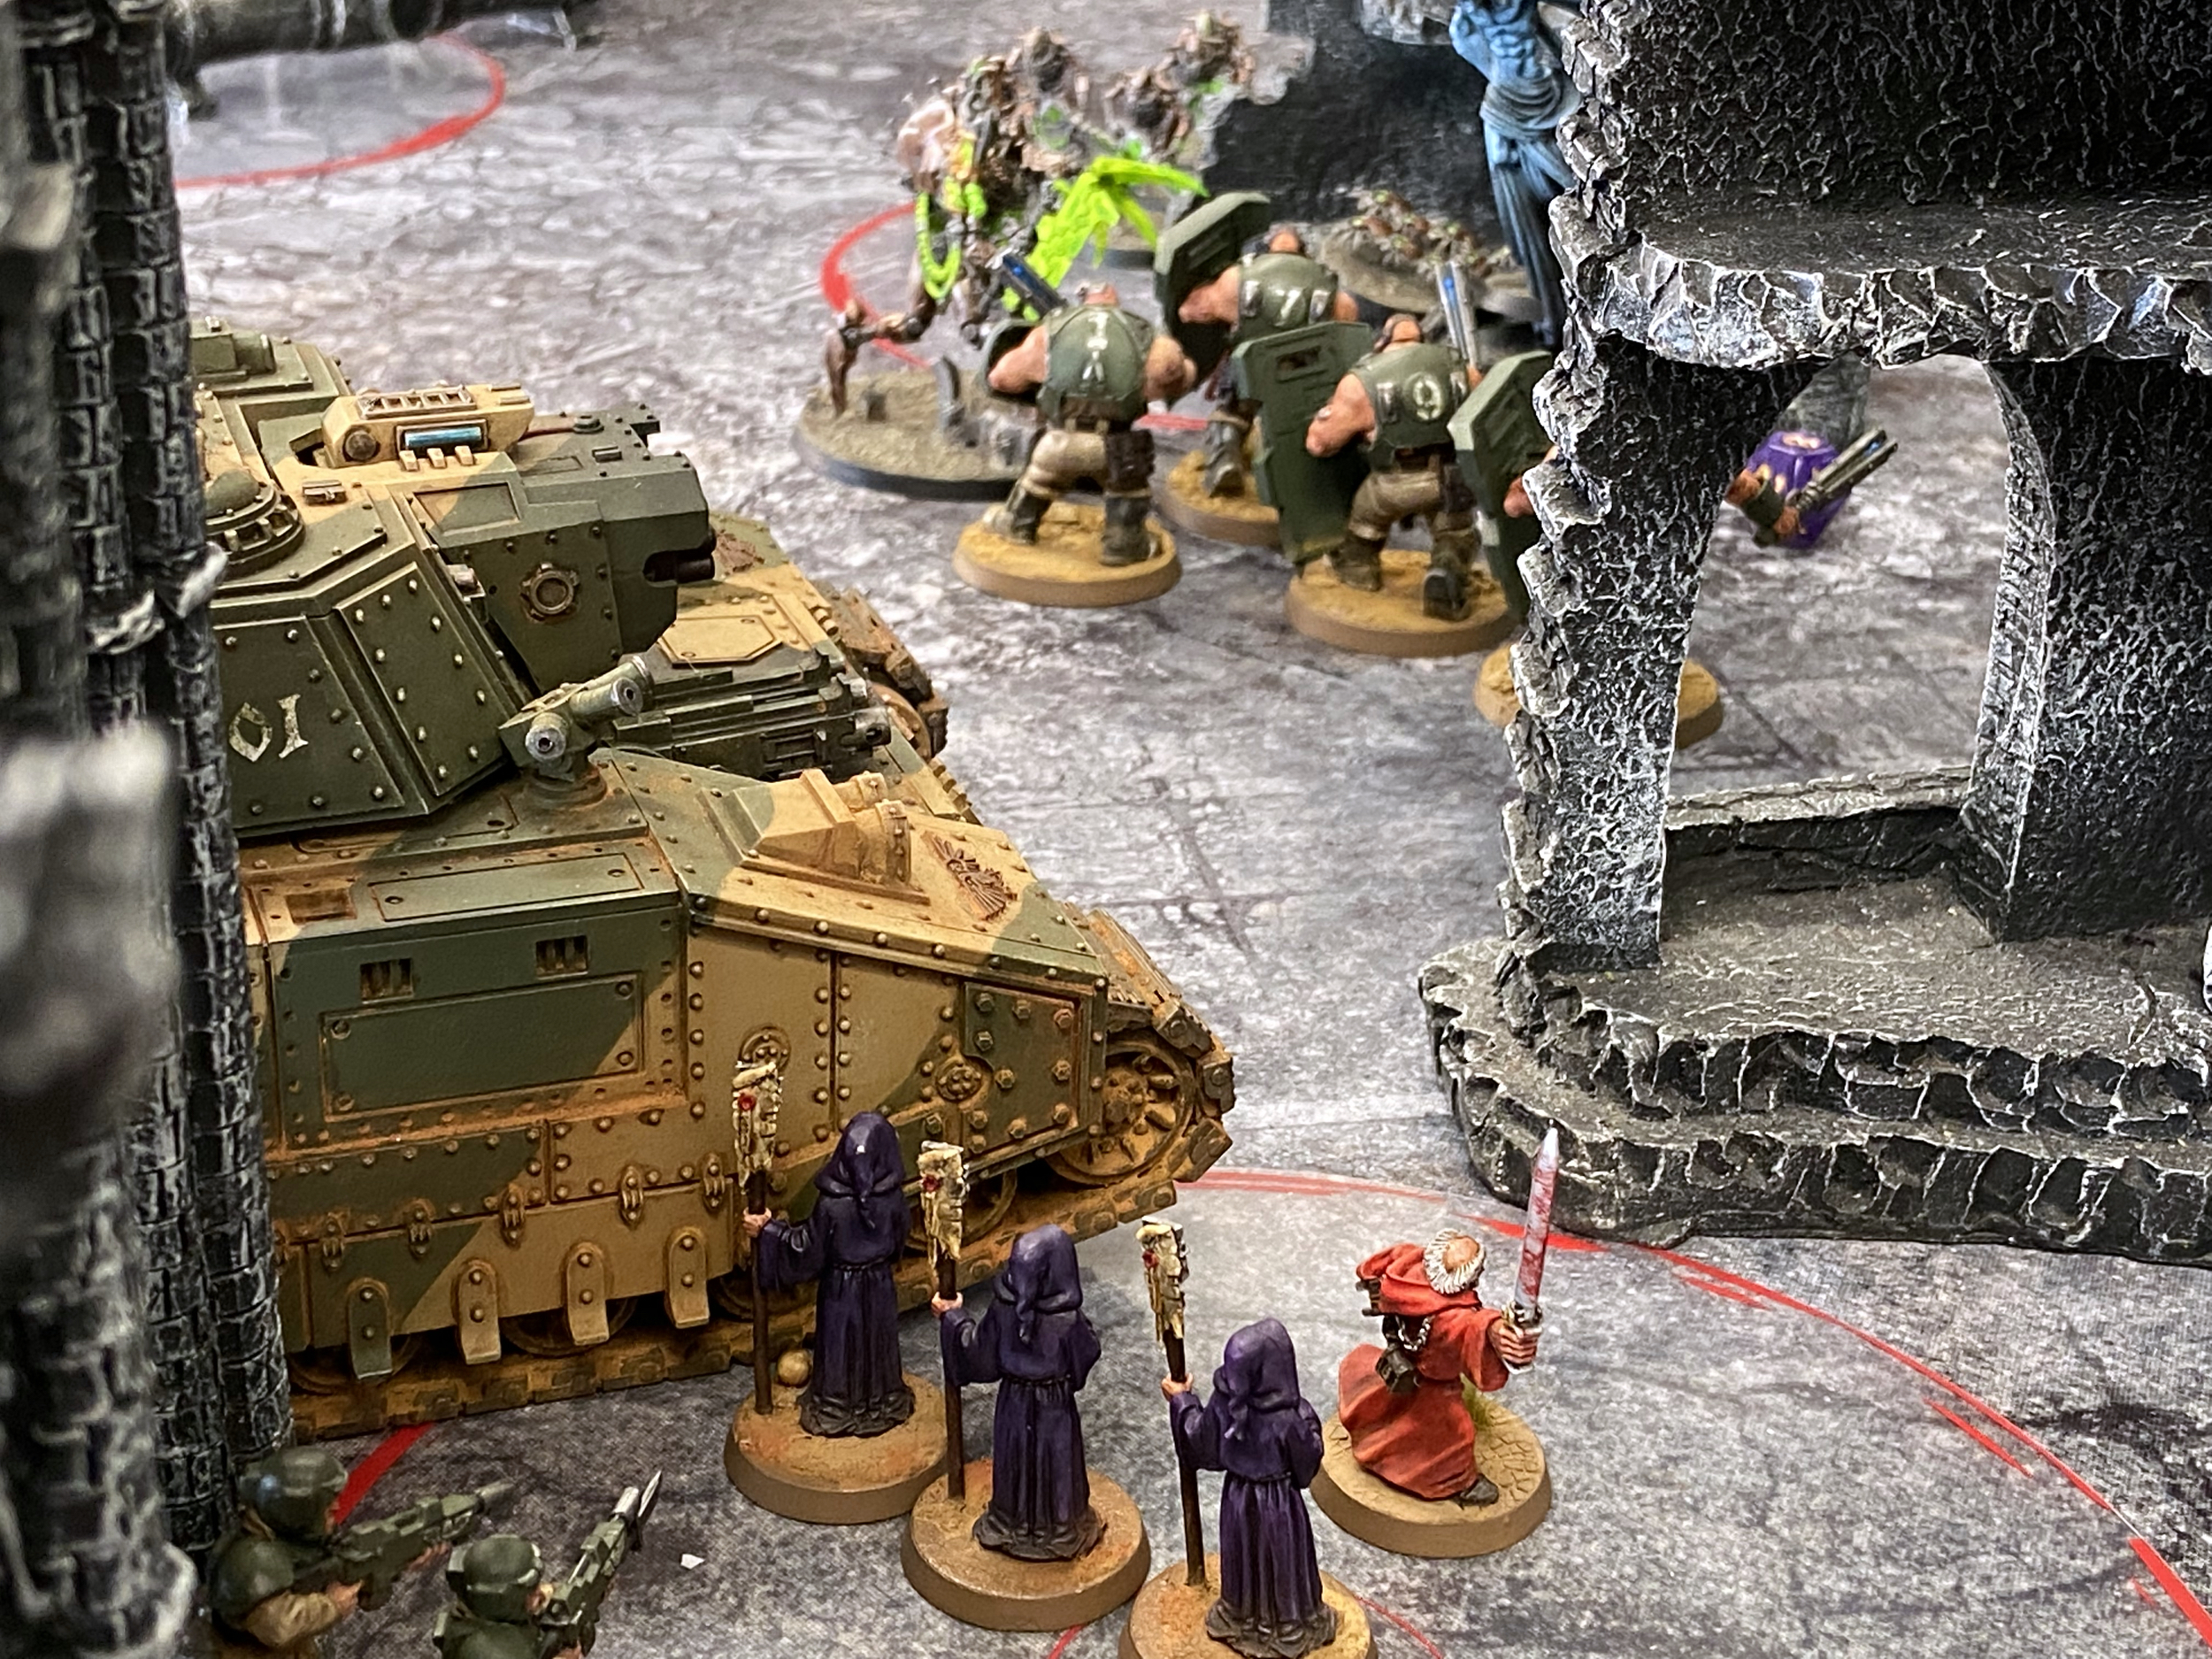
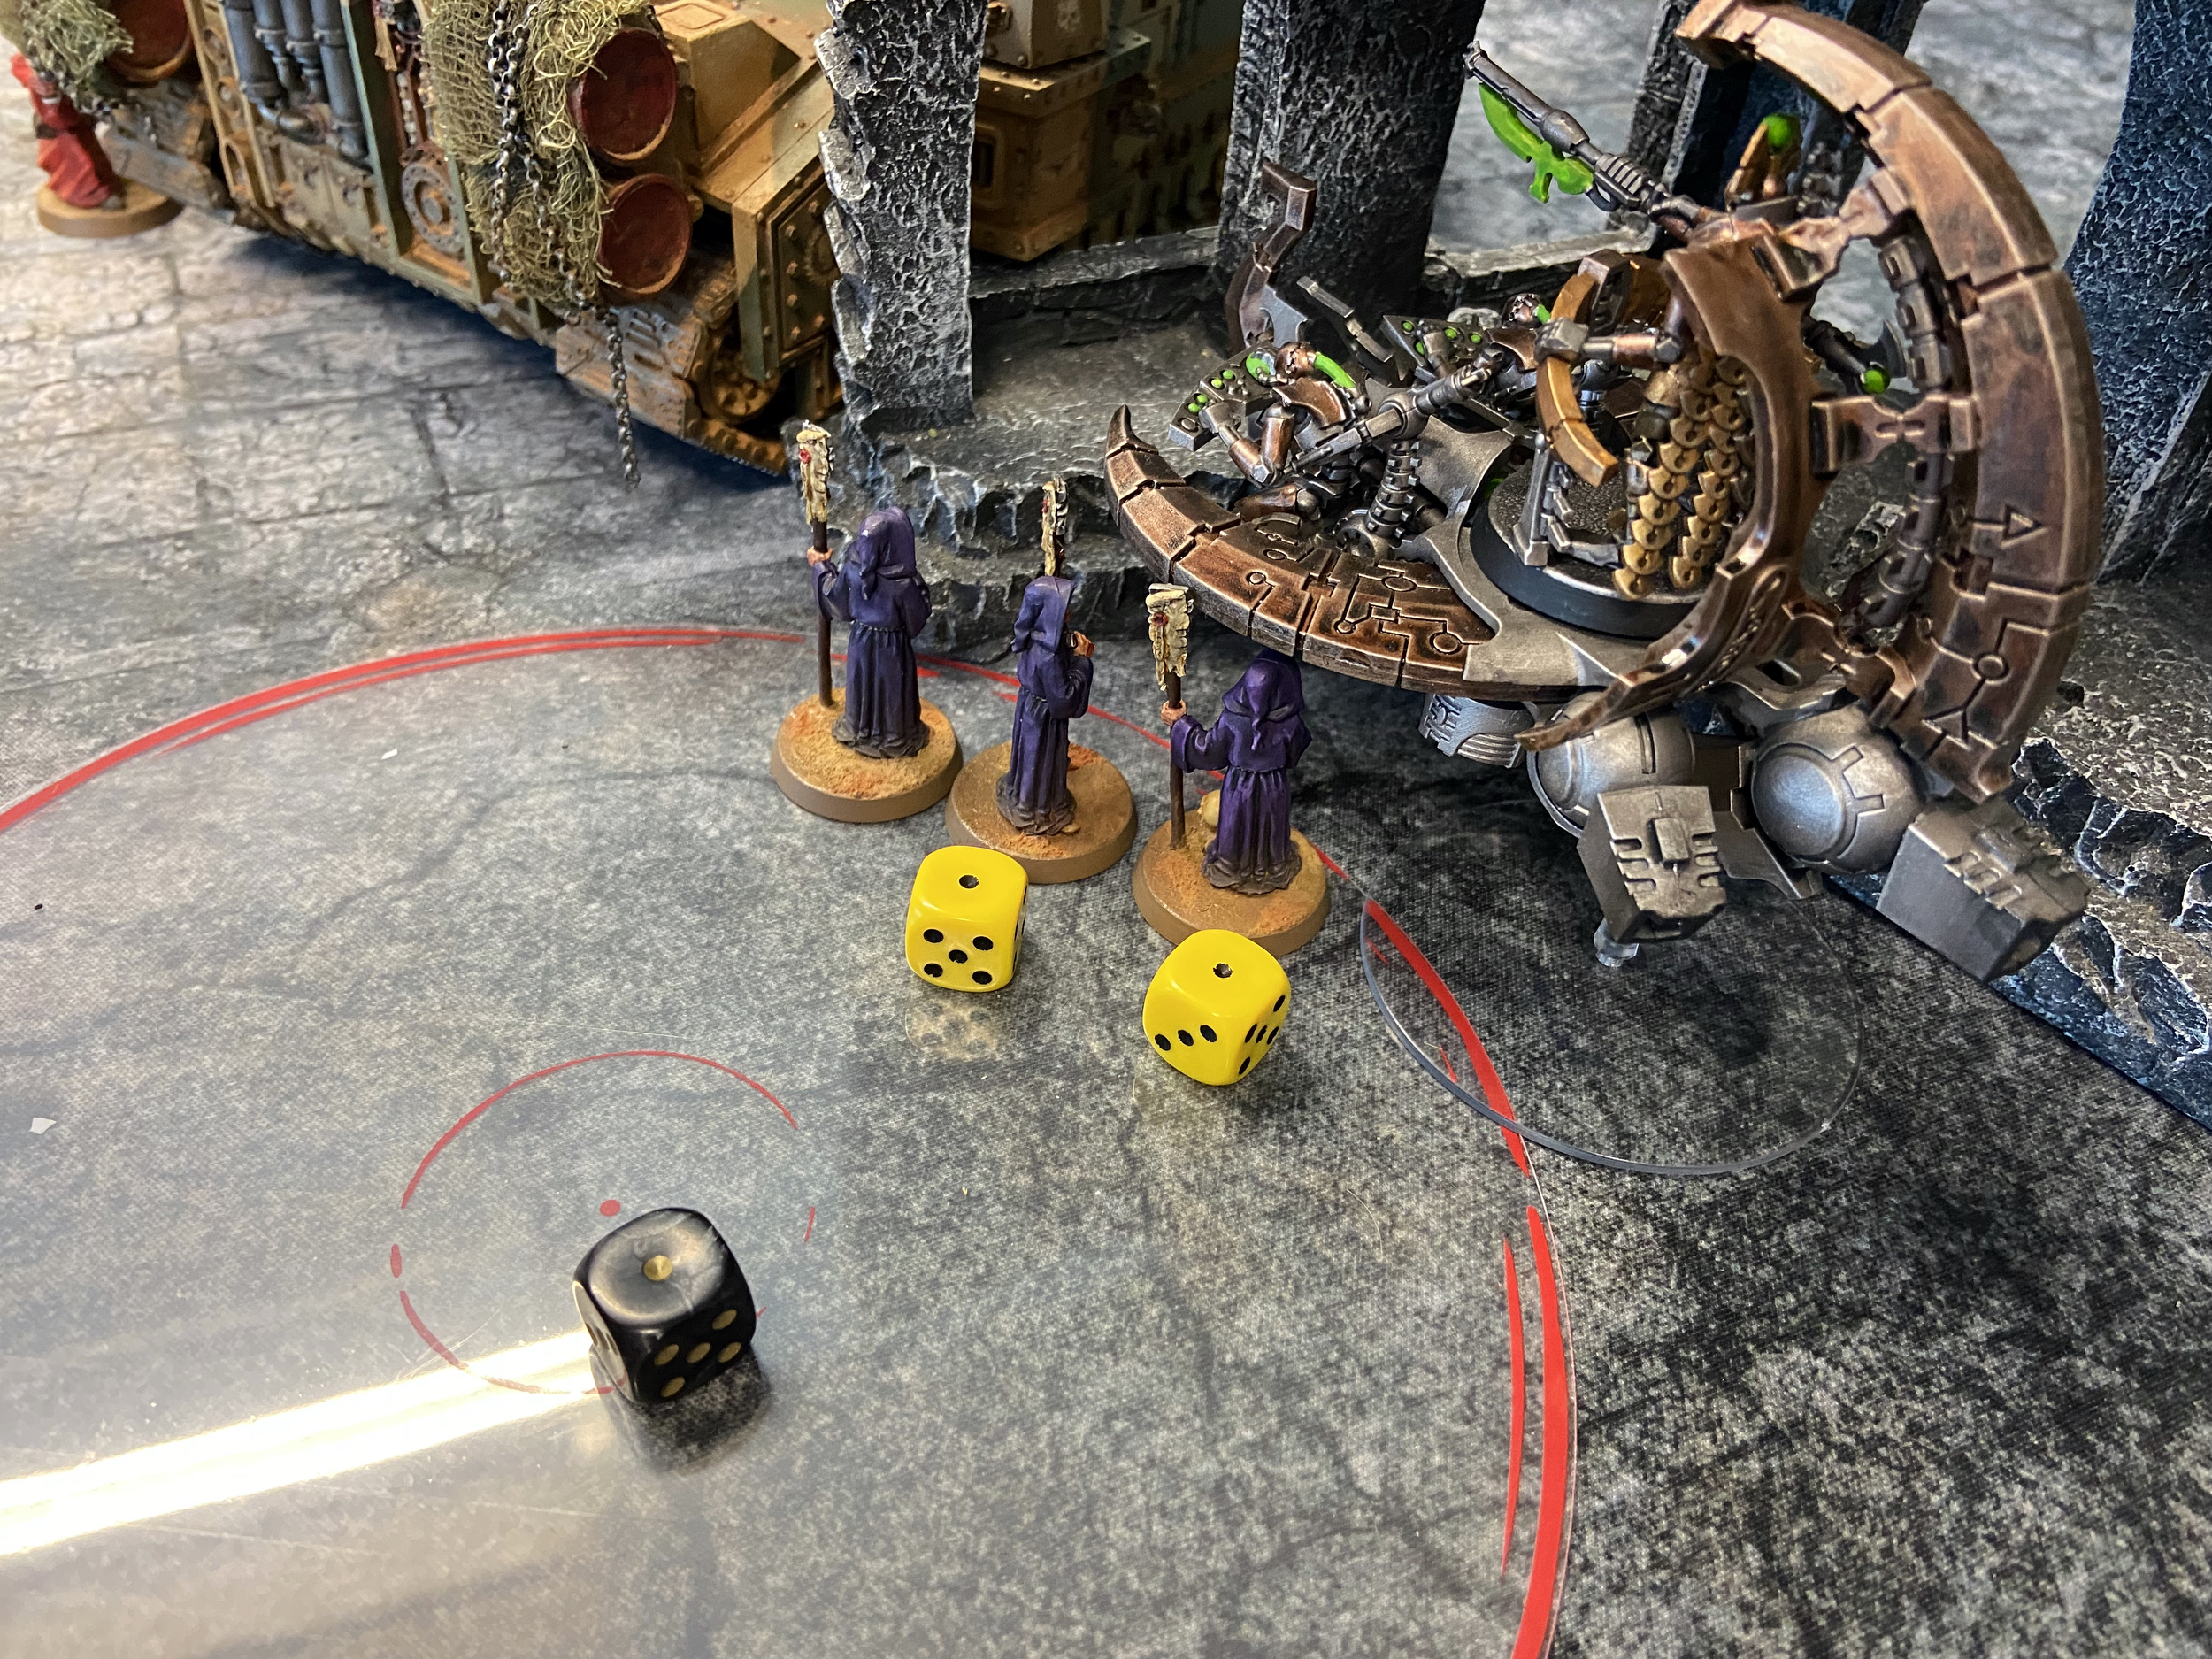
The Command Barge which has been healing this turn and last turn, up to 5 Wounds now sped forward to engage my now exposed Astropaths. There was some other shuffling, but not much else.
The Astropaths all survived, and were charged! I did not lose anything else.
Astra Militarum
I moved out now that the Necron threat was diminished. I was losing at this point, but that was the plan. I Move, Move, Moved my units out and onto objectives.
The Demolisher Tank Commander moved up, wiping out the Warriors on the right flank and taking their objective too.
The Bullgryns charged the last unit of Warriors in the centre and the Stormlord did the same to the last unit of Scarabs on a No-Mans Land Objective.

Turn 4 & 5
The last Scarab from the first round of Stormlord combat made a beeline for my Warlord, then charged him! He shrugged off the attacks and Emil Thanz killed them!
I lost all three Astropaths this turn to the Command Barge, which was worth 9VP for Assassination for the Necron forces!
I tabled the Necrons in turn 4 and turn 5 was just adding up the scores to see if I could catch up with their lead over the first two turns…

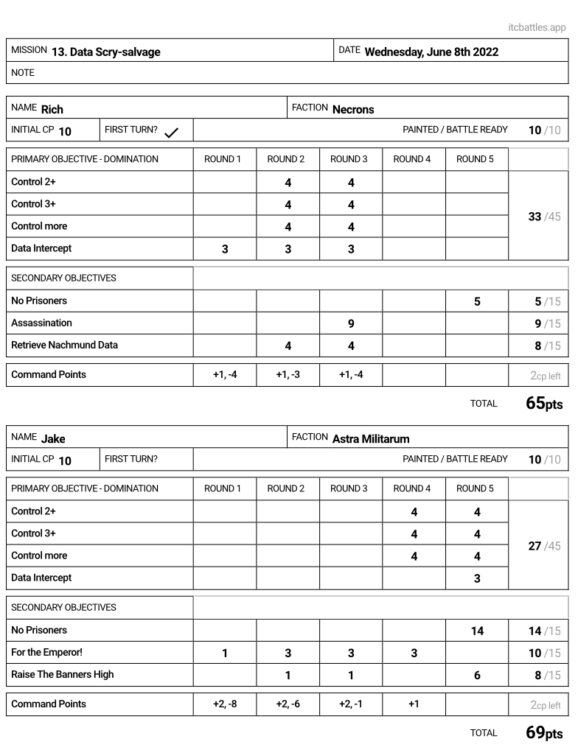
Cadians Vs Necrons – Summary
This game was very close and very fun, so thank you Rich!
A win for the Cadians just, see below. As you can see the Necrons ran away with it in Turns 2 and 3. In Turn 4 and 5 I just came back – helped significantly by No Prisoners.
This is my first win in the League, which was nice!
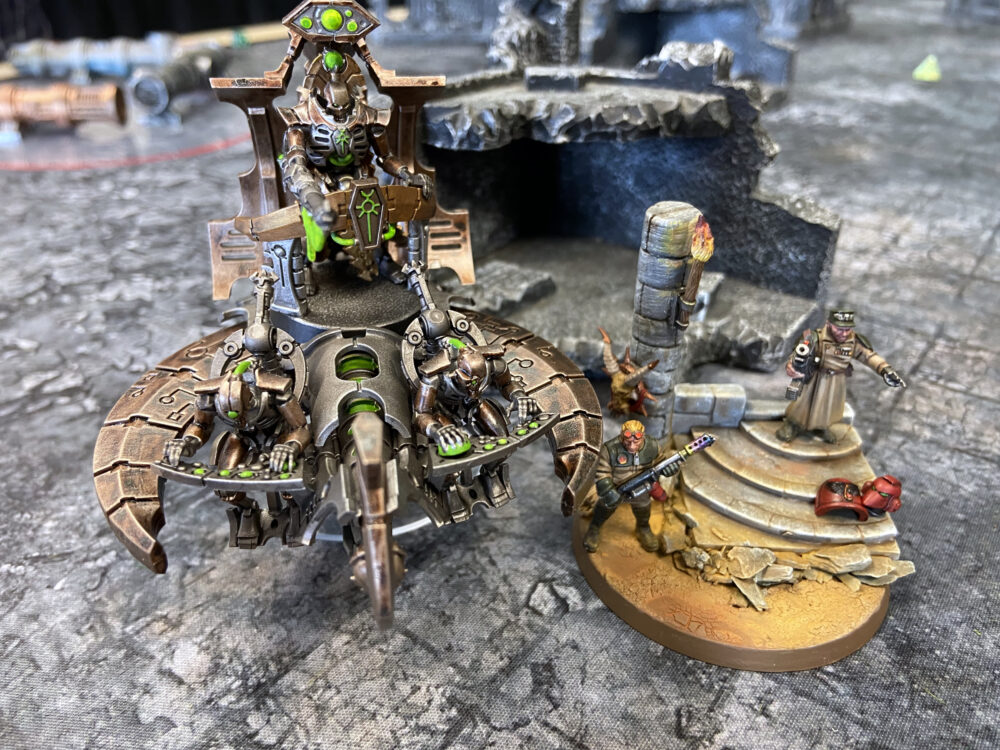
Warlord pic