
Cadians vs Death Guard – Chapter Approved 2019 – 1,750 points
The final game of the year is here...
I think this may be my last game of 2019 – so it’s fitting that I take my Cadians out to take on the Death Guard one more time – welcome to the final showdown of Cadians vs Death Guard in 2019. I’ve played Mark’s Death Guard five times this year and won once.
Never miss an article? Subscribe!
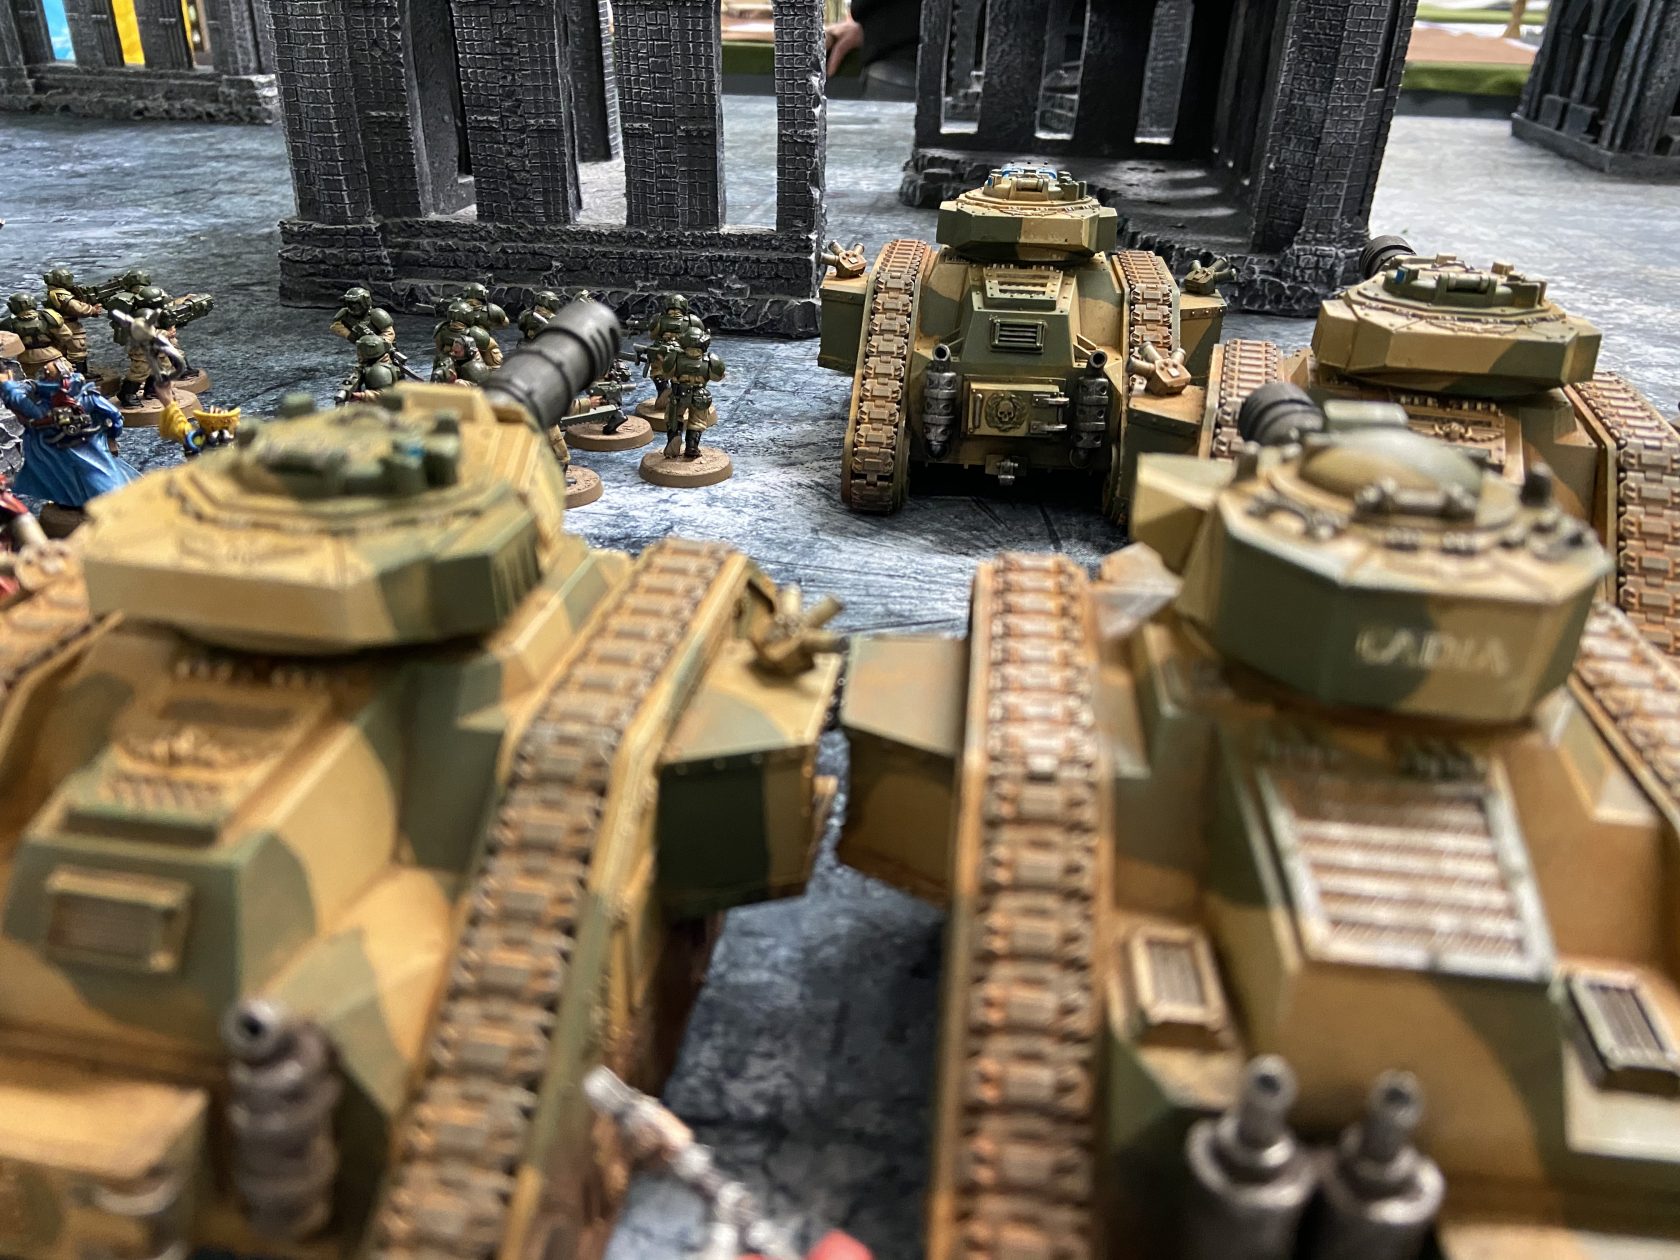
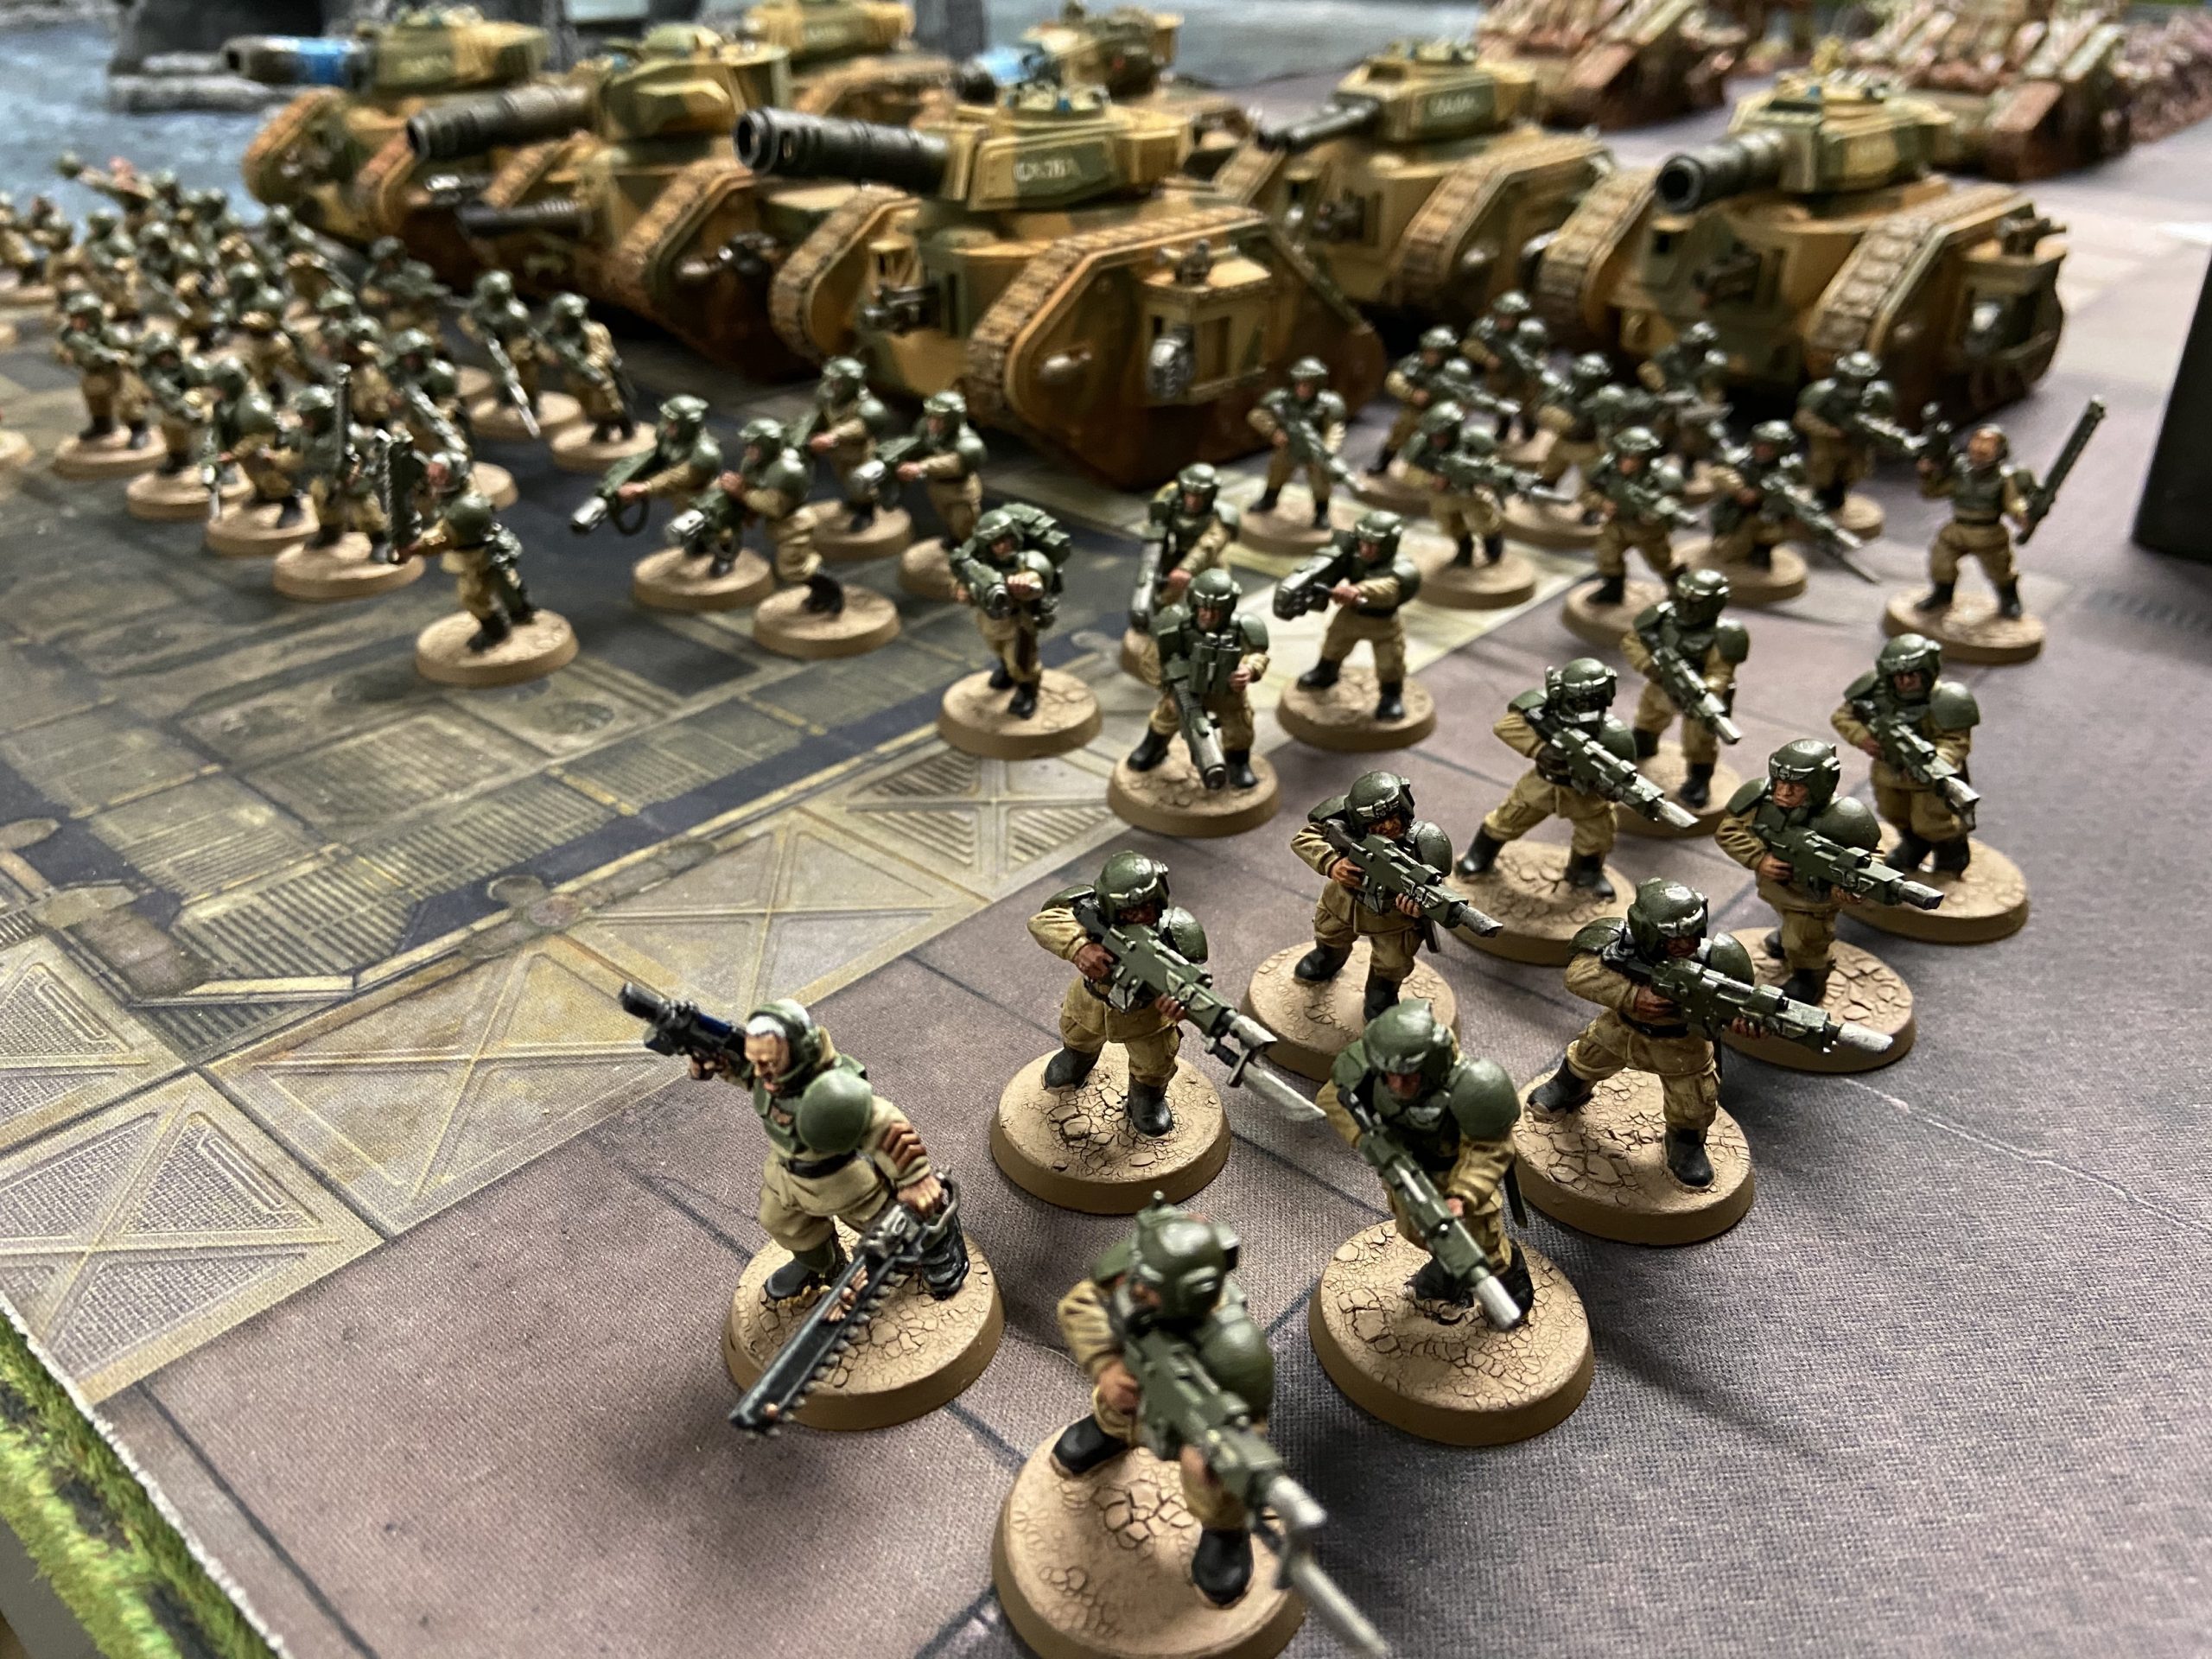
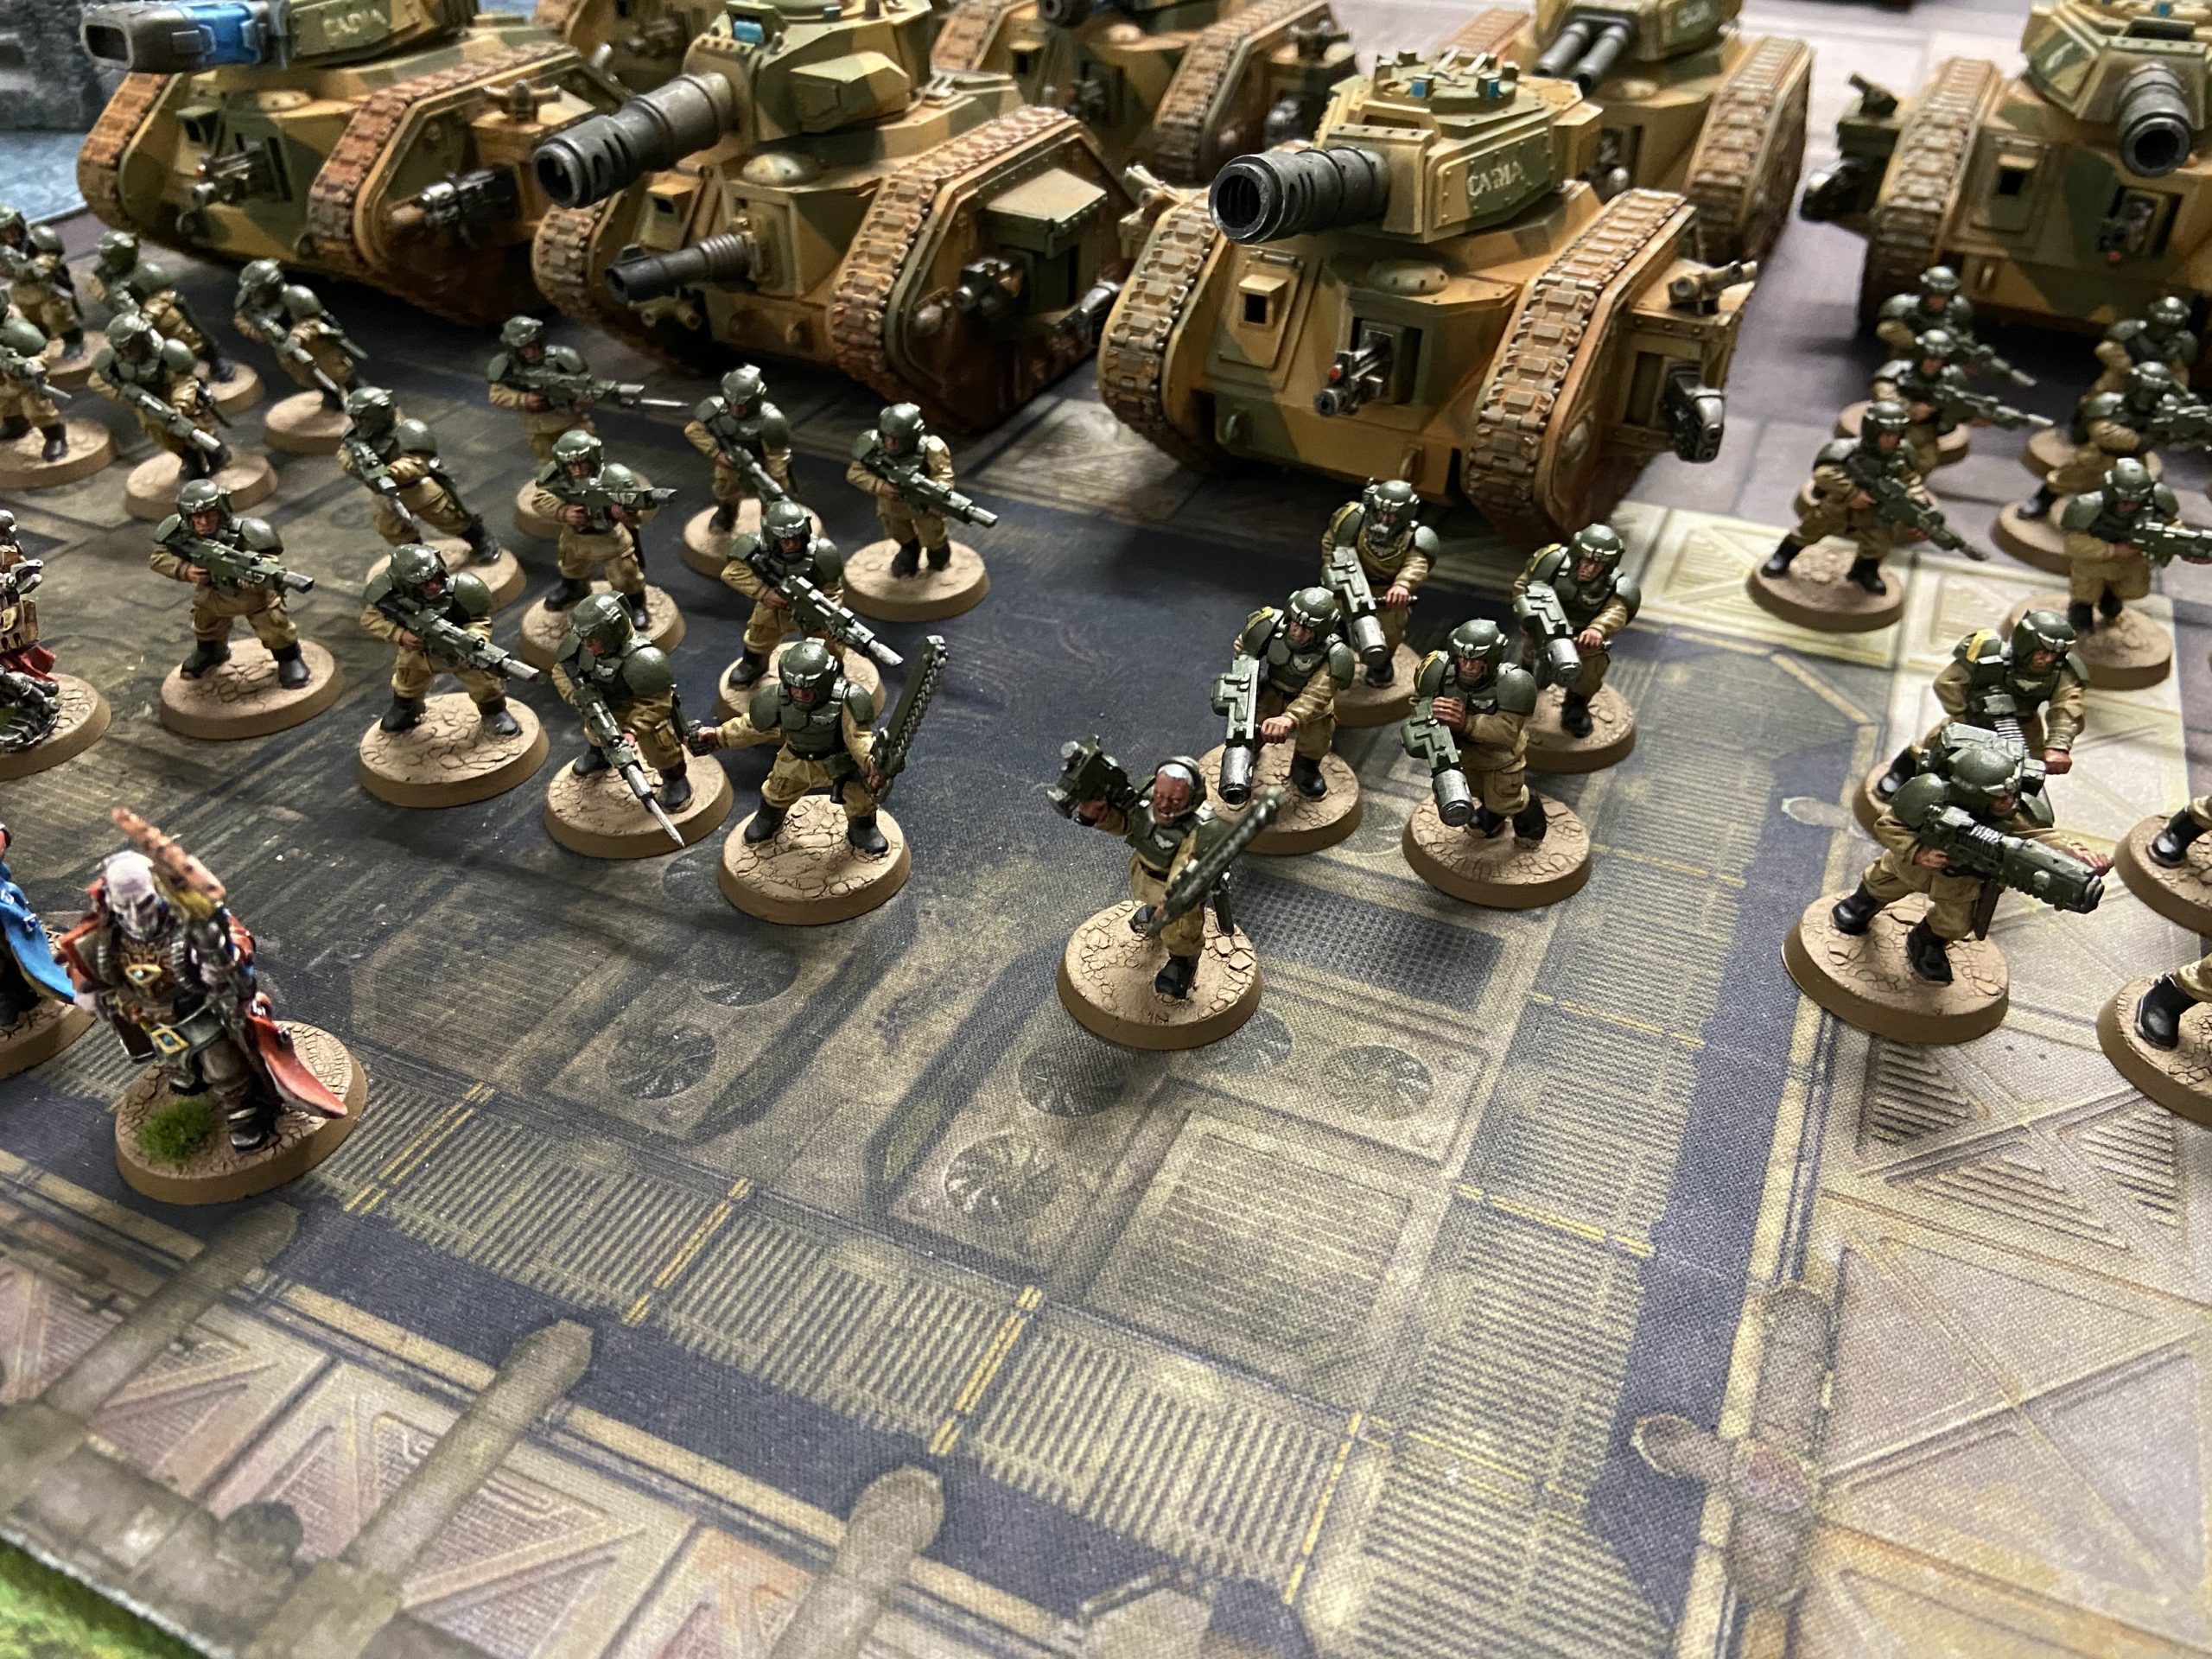
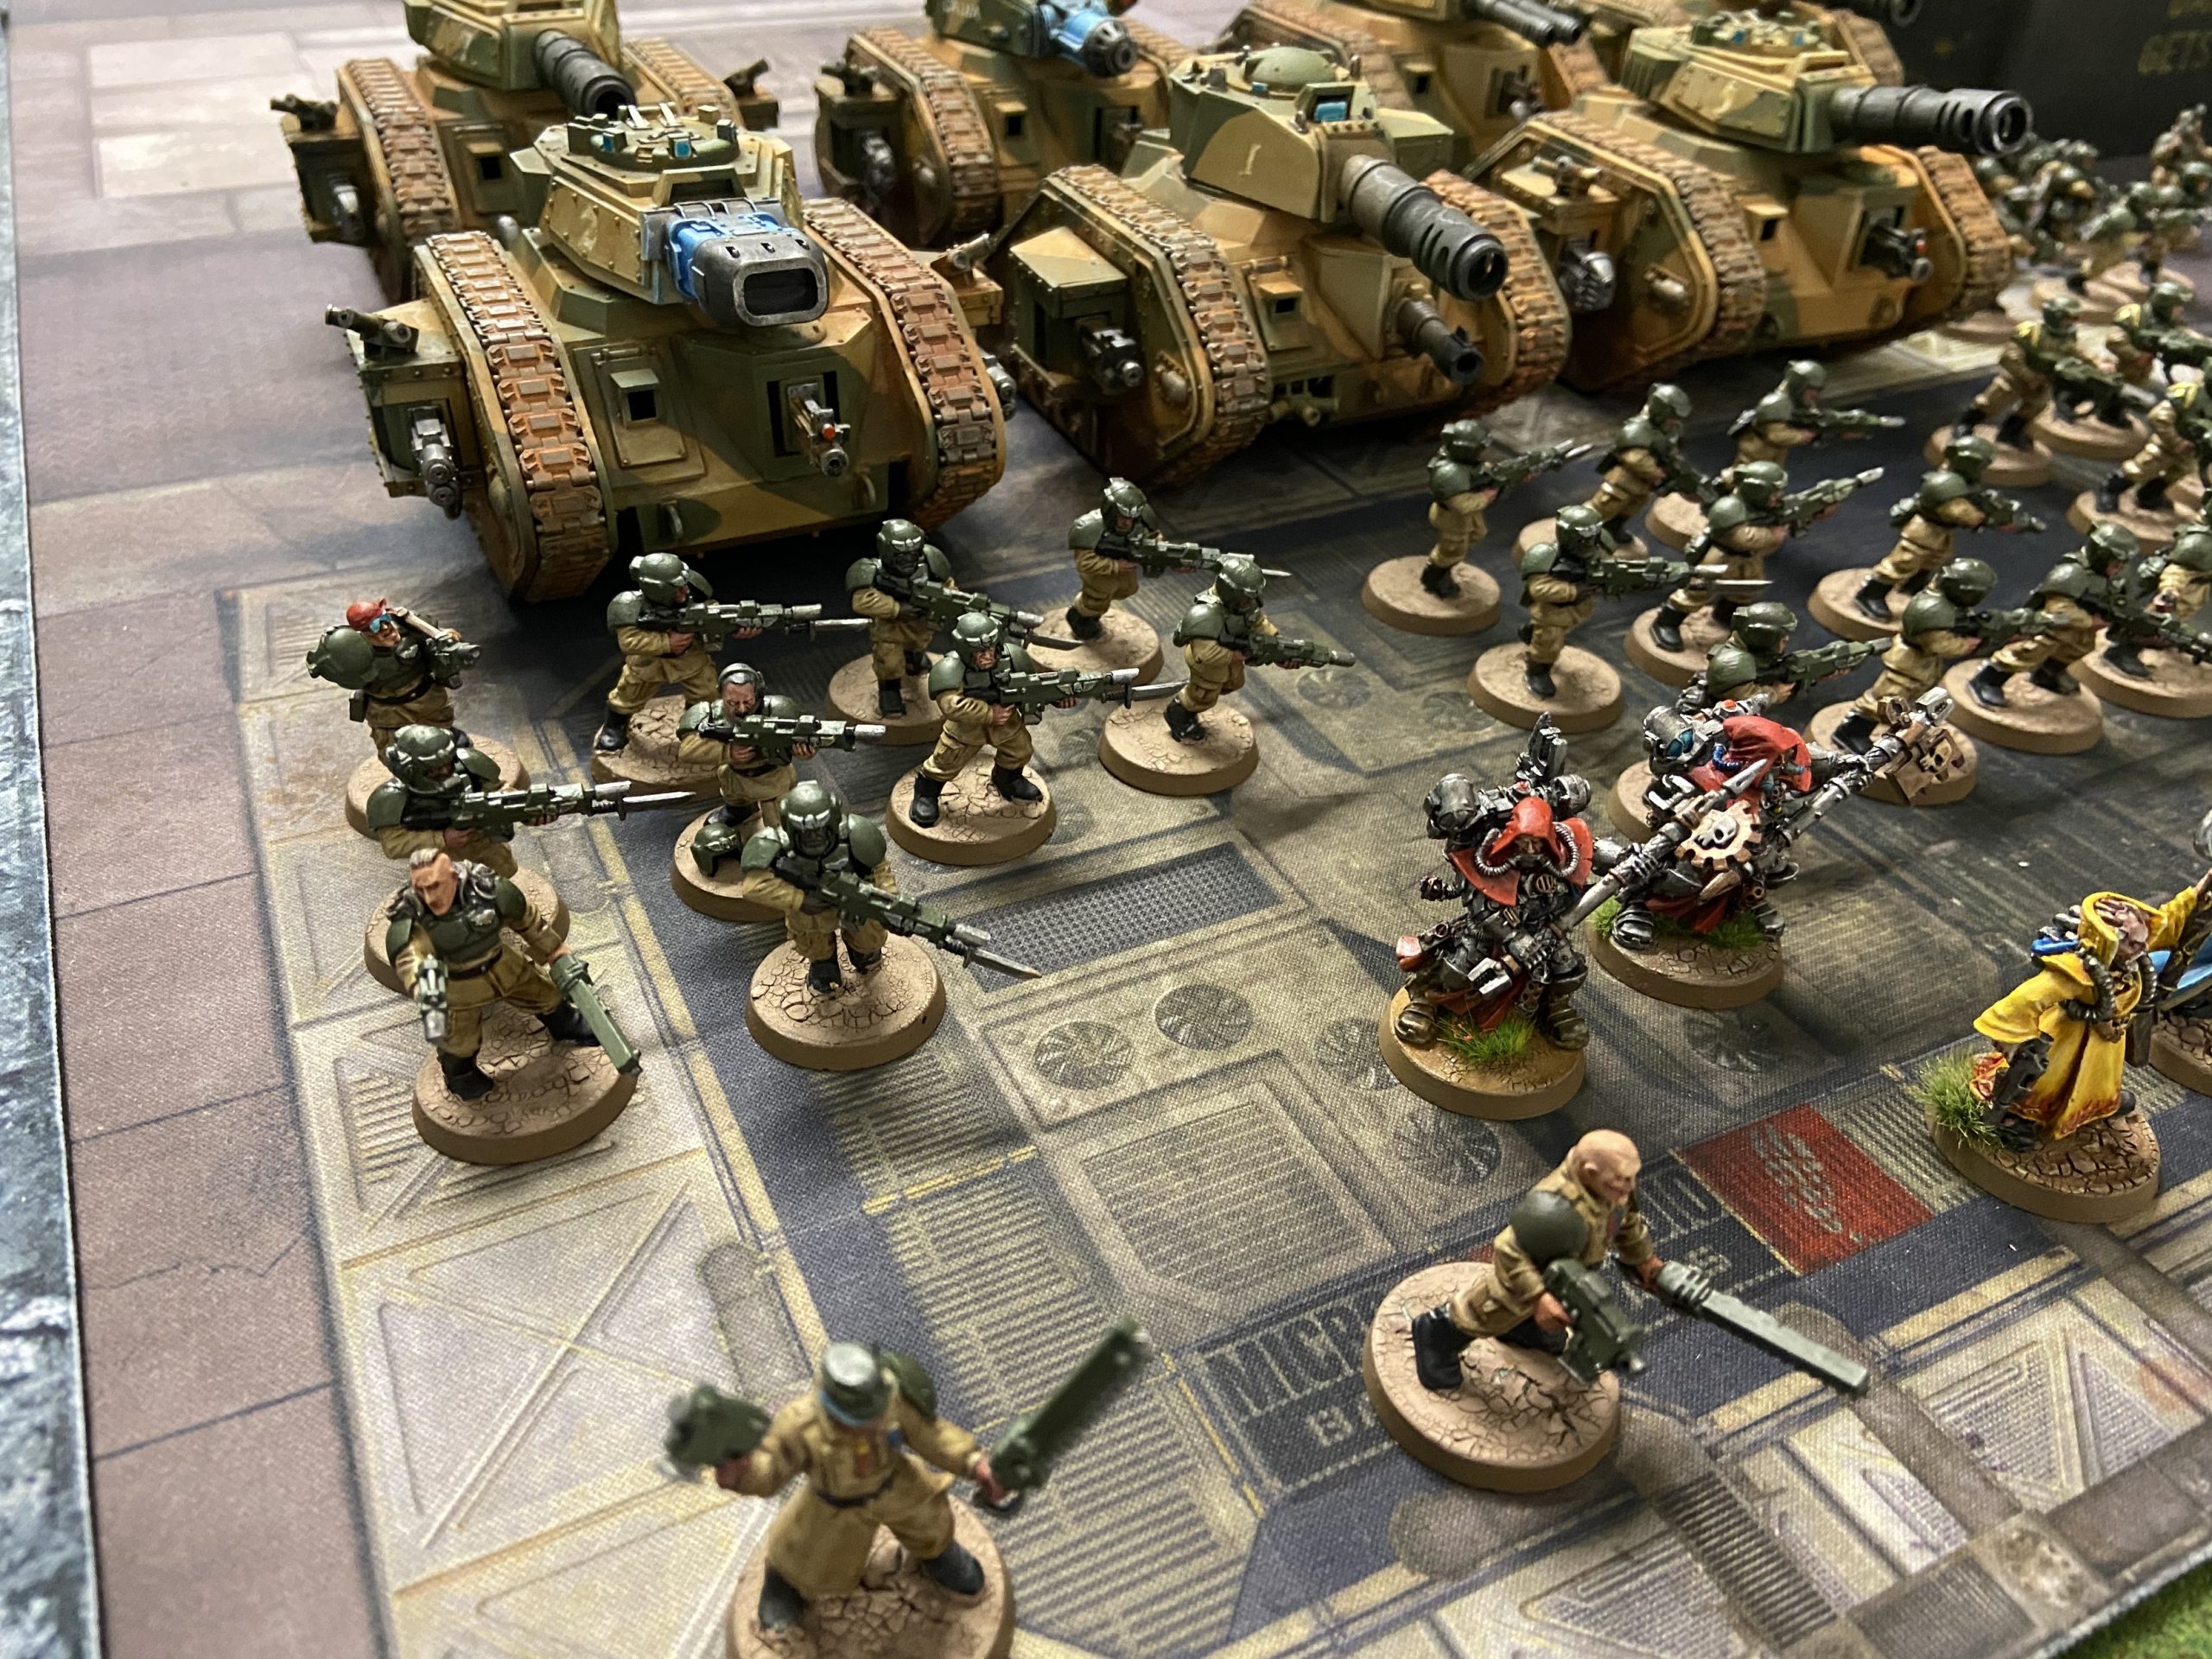
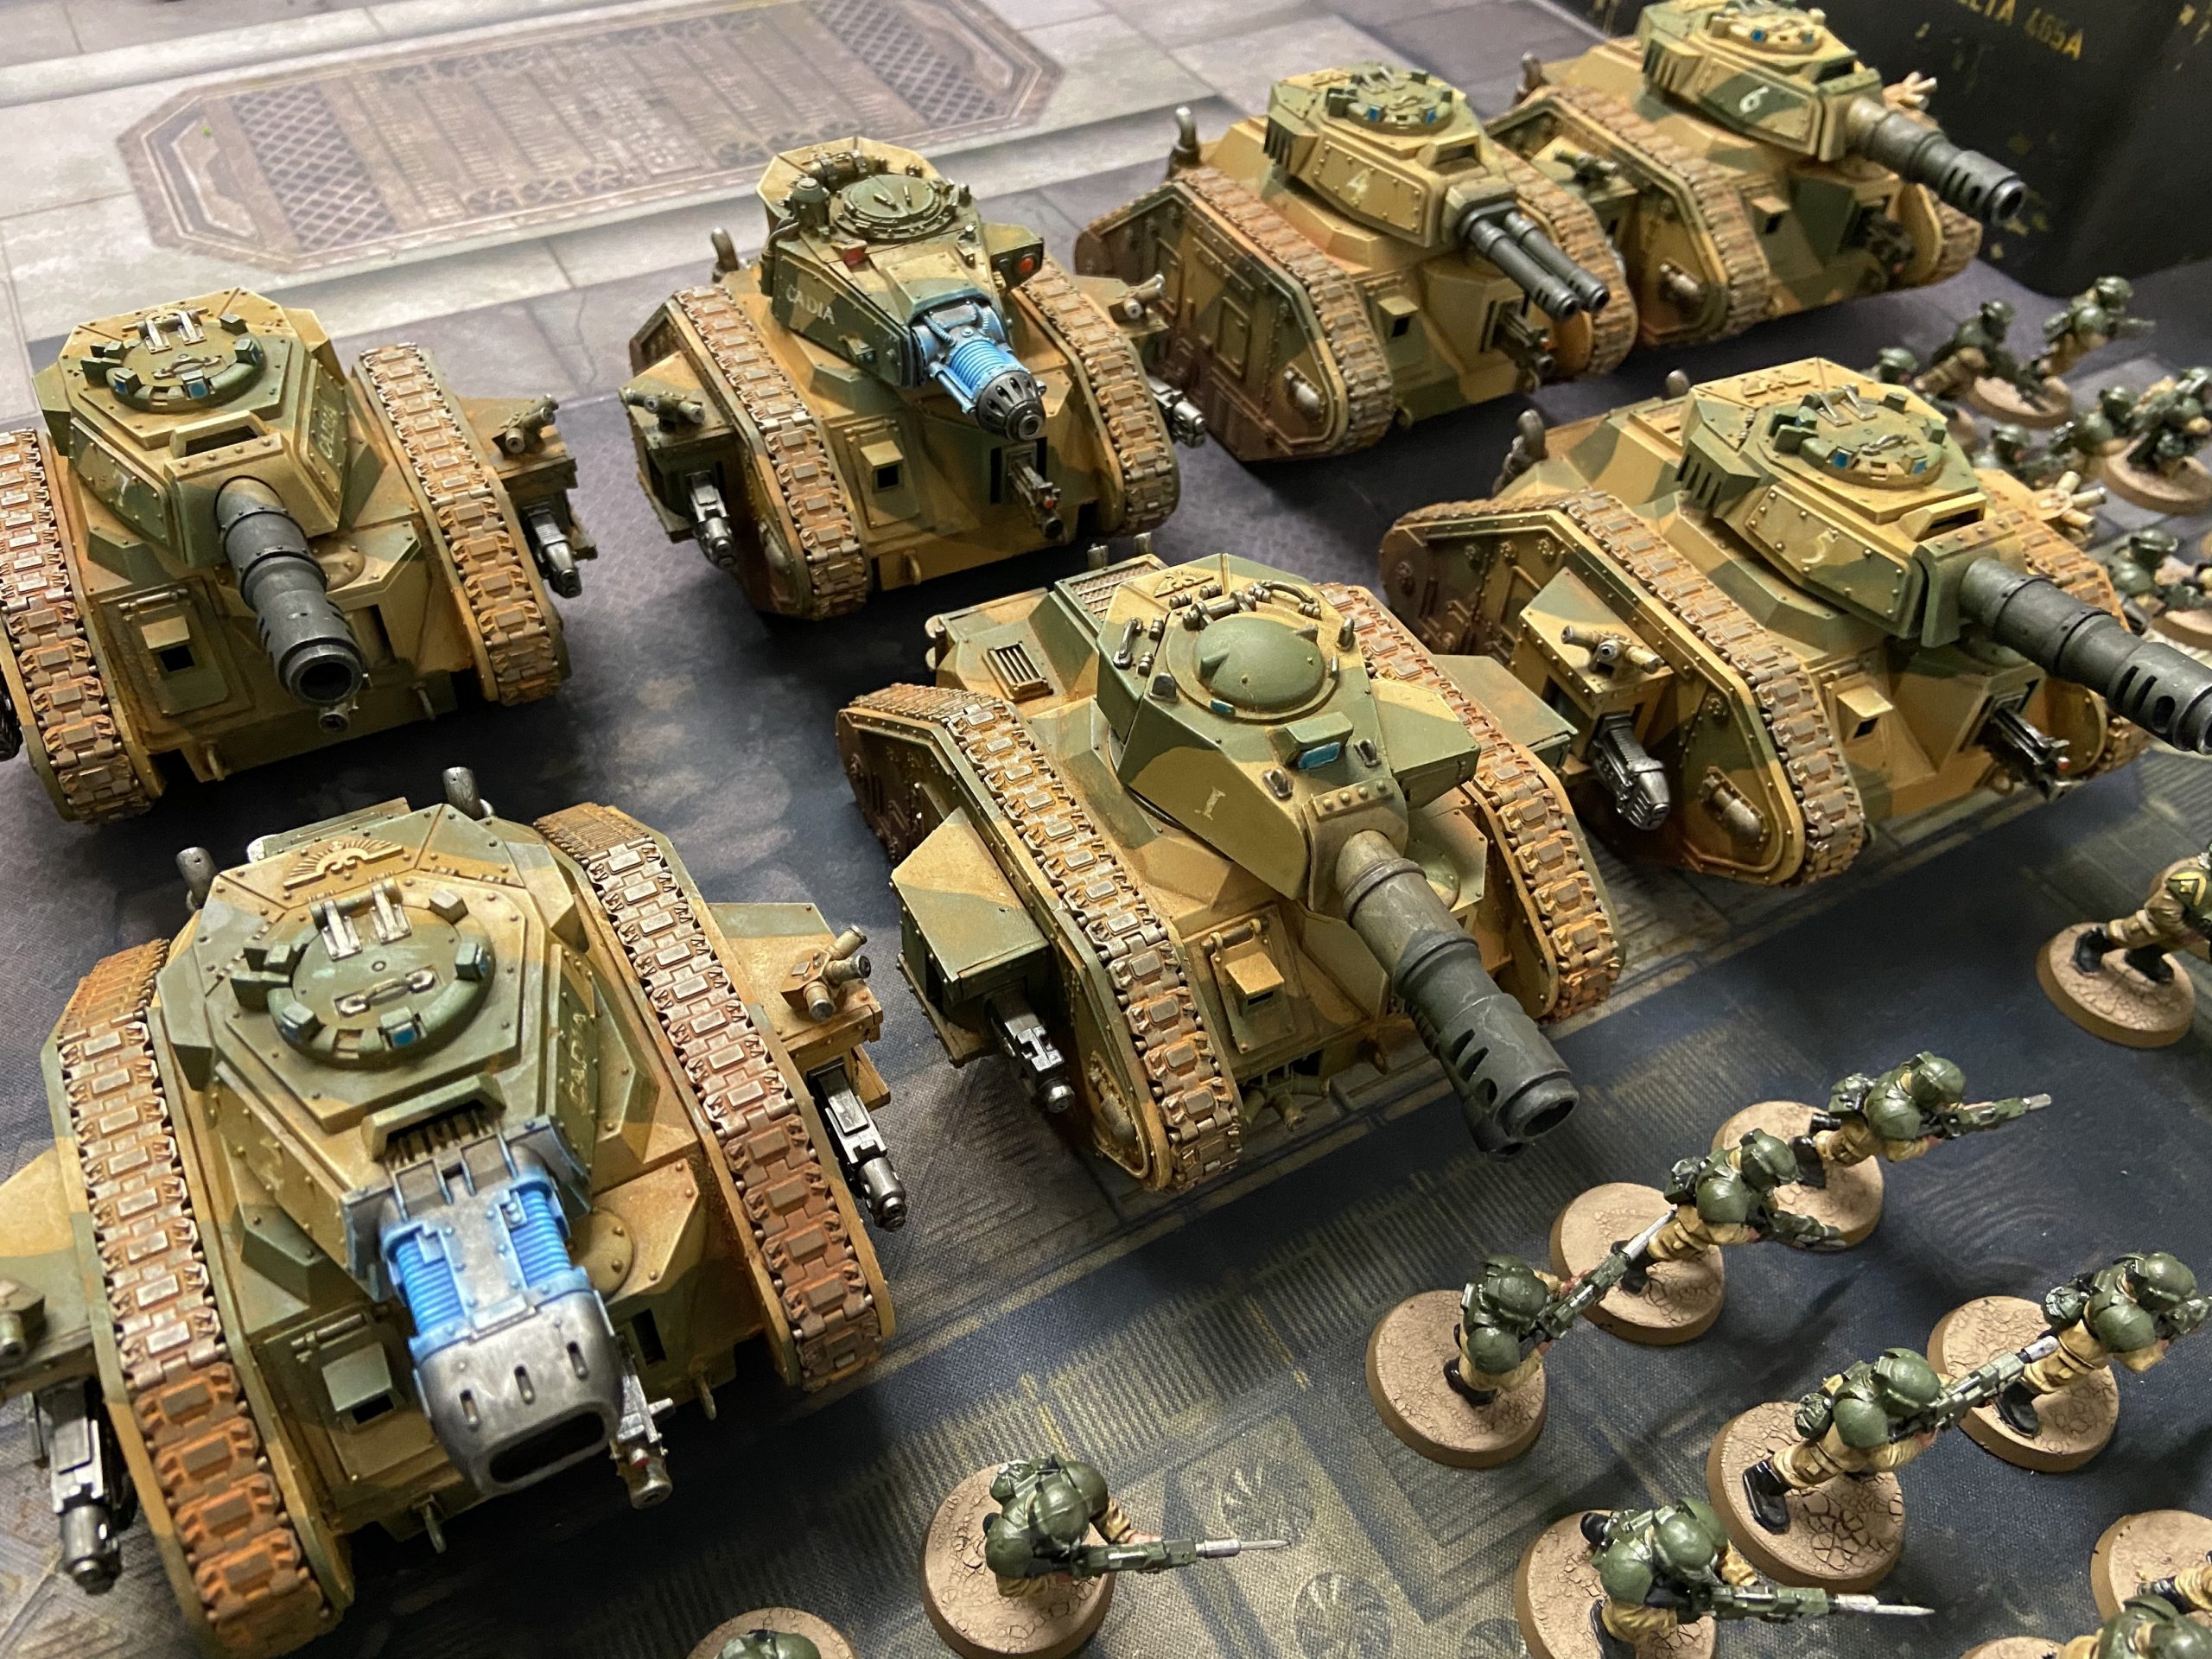
1,750 points of Cadians
Cadian Battalion Detachment
- Company Commander with Grand Strategist Warlord Trait and Relic of Lost Cadia
- Company Commander of Laurels of Command
- 4x Infantry Squads
- Melta Command Squad
- Plasma Command Squad
- Platoon Commander with Dagger of Tu’Sakh
- 2x Tech-Priests
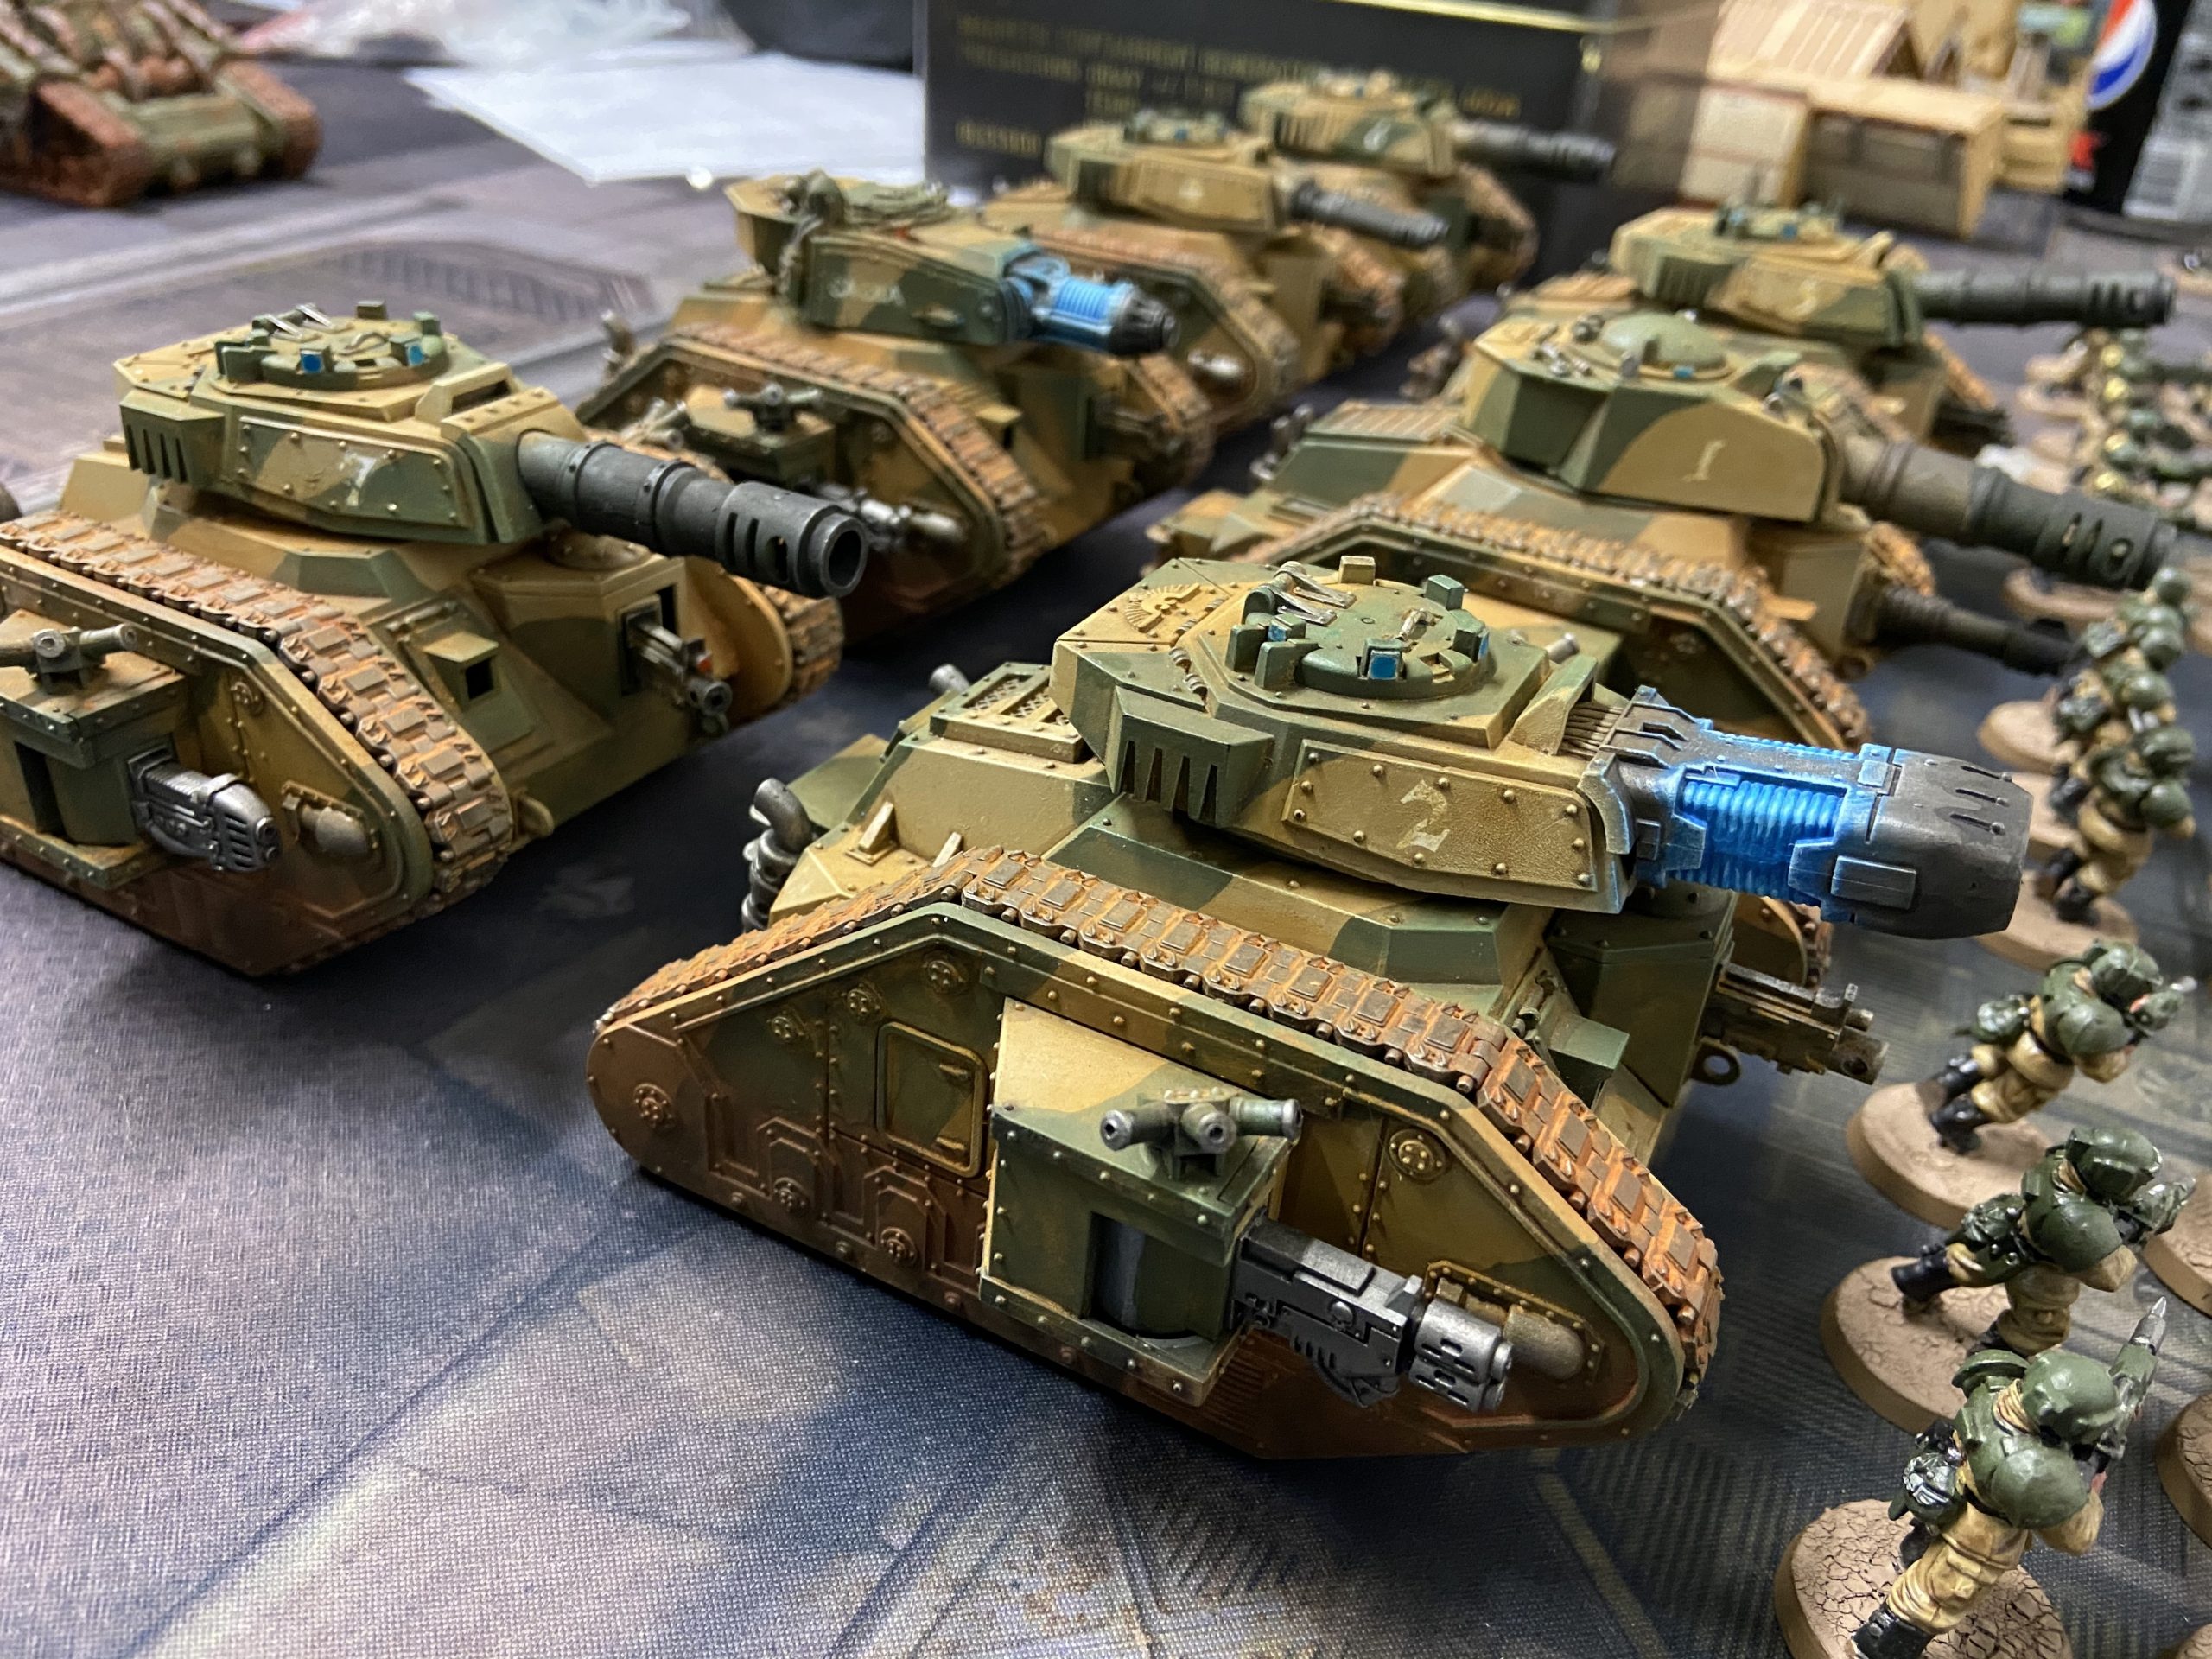
Cadian Spearhead Detachment
- Knight Commander Pask with Battle Cannon, Lascannon and Plasma Cannons
- Primaris Psyker
- 3x Leman Russ with Battle Cannons and Plasma Cannons
Cadian Spearhead Detachment 
- 2x Primaris Psykers
- 2x Executioner Leman Russ with Heavy Bolter and Multi-Meltas
- Leman Russ Exterminator with Heavy Bolter
This gives me 7CP.
3 + 5 + 1 + 1 – 3
It’s not zero and it’s not loads. And it’s a lot less than the 22CP I had in my last game!
I’m going to use 2CP for Overlapping Fields of Fire for sure. Maybe turn two after the effects of the Lost Relic of Cadia have gone.
I dare say I’ll need 2CP for passing a Morale check at some point – to keep an objective.
That leaves me 3CP for Vengeance for Cadia and Command Rerolls. I do have a reroll wrapped up in the Grand Strategist Warlord Trait too. That will be useful for a missed shot from Pask’s Lascannon – then use the Command Reroll for the Damage result.
The Psyker spam might make a big difference too. Pask with Smoke and Shroud, Nightshroud and Psychic Barrier will be very hard to kill. He’ll have a 2+ Save and be -2 to hit. Being able to deny enemy powers will be a nice treat too.
Leman Russ Thoughts
I can hear some of you now…
Why Multi-Meltas on the Executioner Leman Russes?!
My reasoning is, the Plasma Executioner has a range of 36″. It’s fairly short range. The Multi-Melta is 24″ – short range for a tank. So the Plasma needs to be close – that is its main weapon – it can shoot twice and doesn’t suffer a -1 for moving and shooting.
The Battle Cannons have a range of 72″ – the whole battlefield. They can sit back and use their main weapon with ease. When the enemy gets closer they can open up with Plasma Cannons. This is a problem for the Death Guard. They can struggle to reach out that far across the battlefield.
If I deploy right back I’ll have 12″ of my deployment zone, then 18″ of No Man’s Land. That’s 30″, but take away 5″ for the Leman Russ chassis. So I’ll have a 25″ buffer – it could be over 30″ depending on the deployment map.
Dreadnought Lascannons can reach out over that distance, as can the Wardog Autocannons. But at that distance, lanes of fire become narrower and it’s harder to draw line-of-sight. And if they want to get closer to be in range and to get line-of-sight then they’ll have the two Leman Russ Executioners with Multi-Meltas staring right back at them.
Finally, if line-of-sight is harder for the enemy then it’s also harder for me too. Yes, this is an issue. If I’m hiding Pask from the enemy Wardogs then Pask will also struggle to get a good view too.
But, my Plasma Cannons and Battle Cannons are very good for splatting all types of Death Guard unit; Drones, Plague Marines, Plague Bearers, Terminators, Rhinos and Dreadnoughts. Even single wound models need multi-damage weapons to ensure I get through their Disgustingly Resilient save. So, I think my Leman Russ will more easily be able to find a valid target – but the enemy won’t. They won’t want to spend Autocannon and Lascannon shots on Guardsmen. Meanwhile, I can happily kill Plague Marines with Battle Cannons.
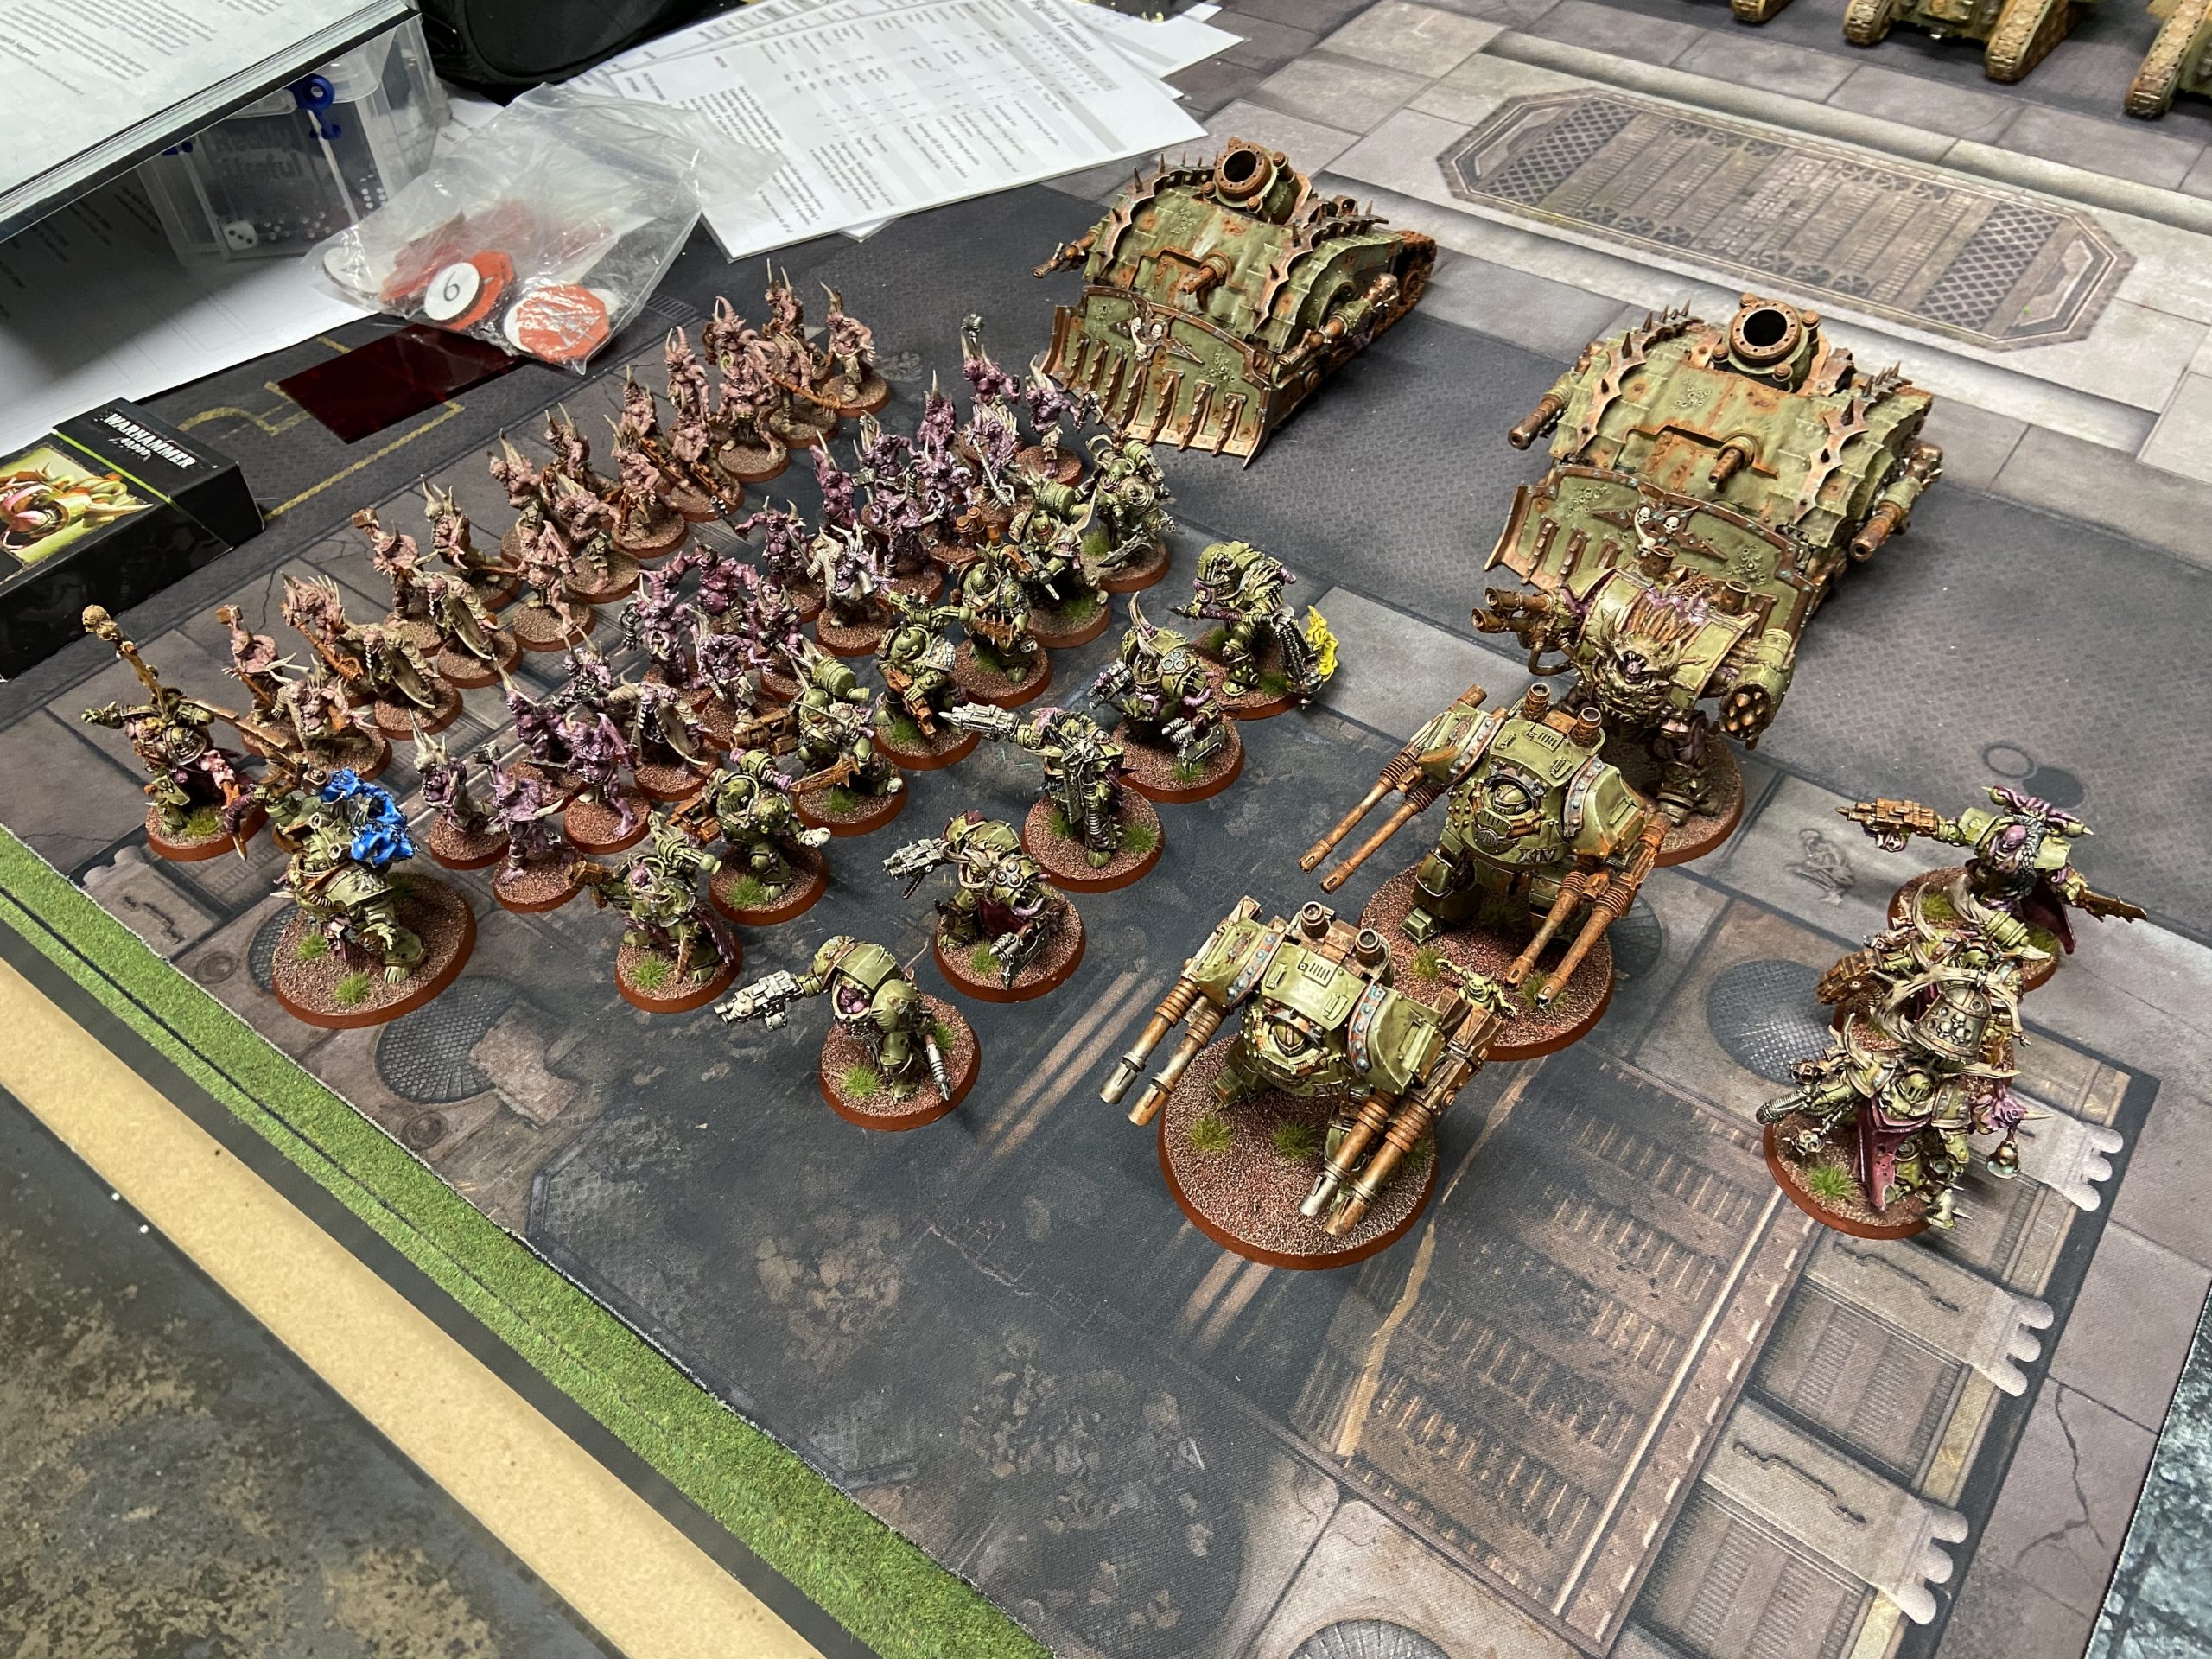
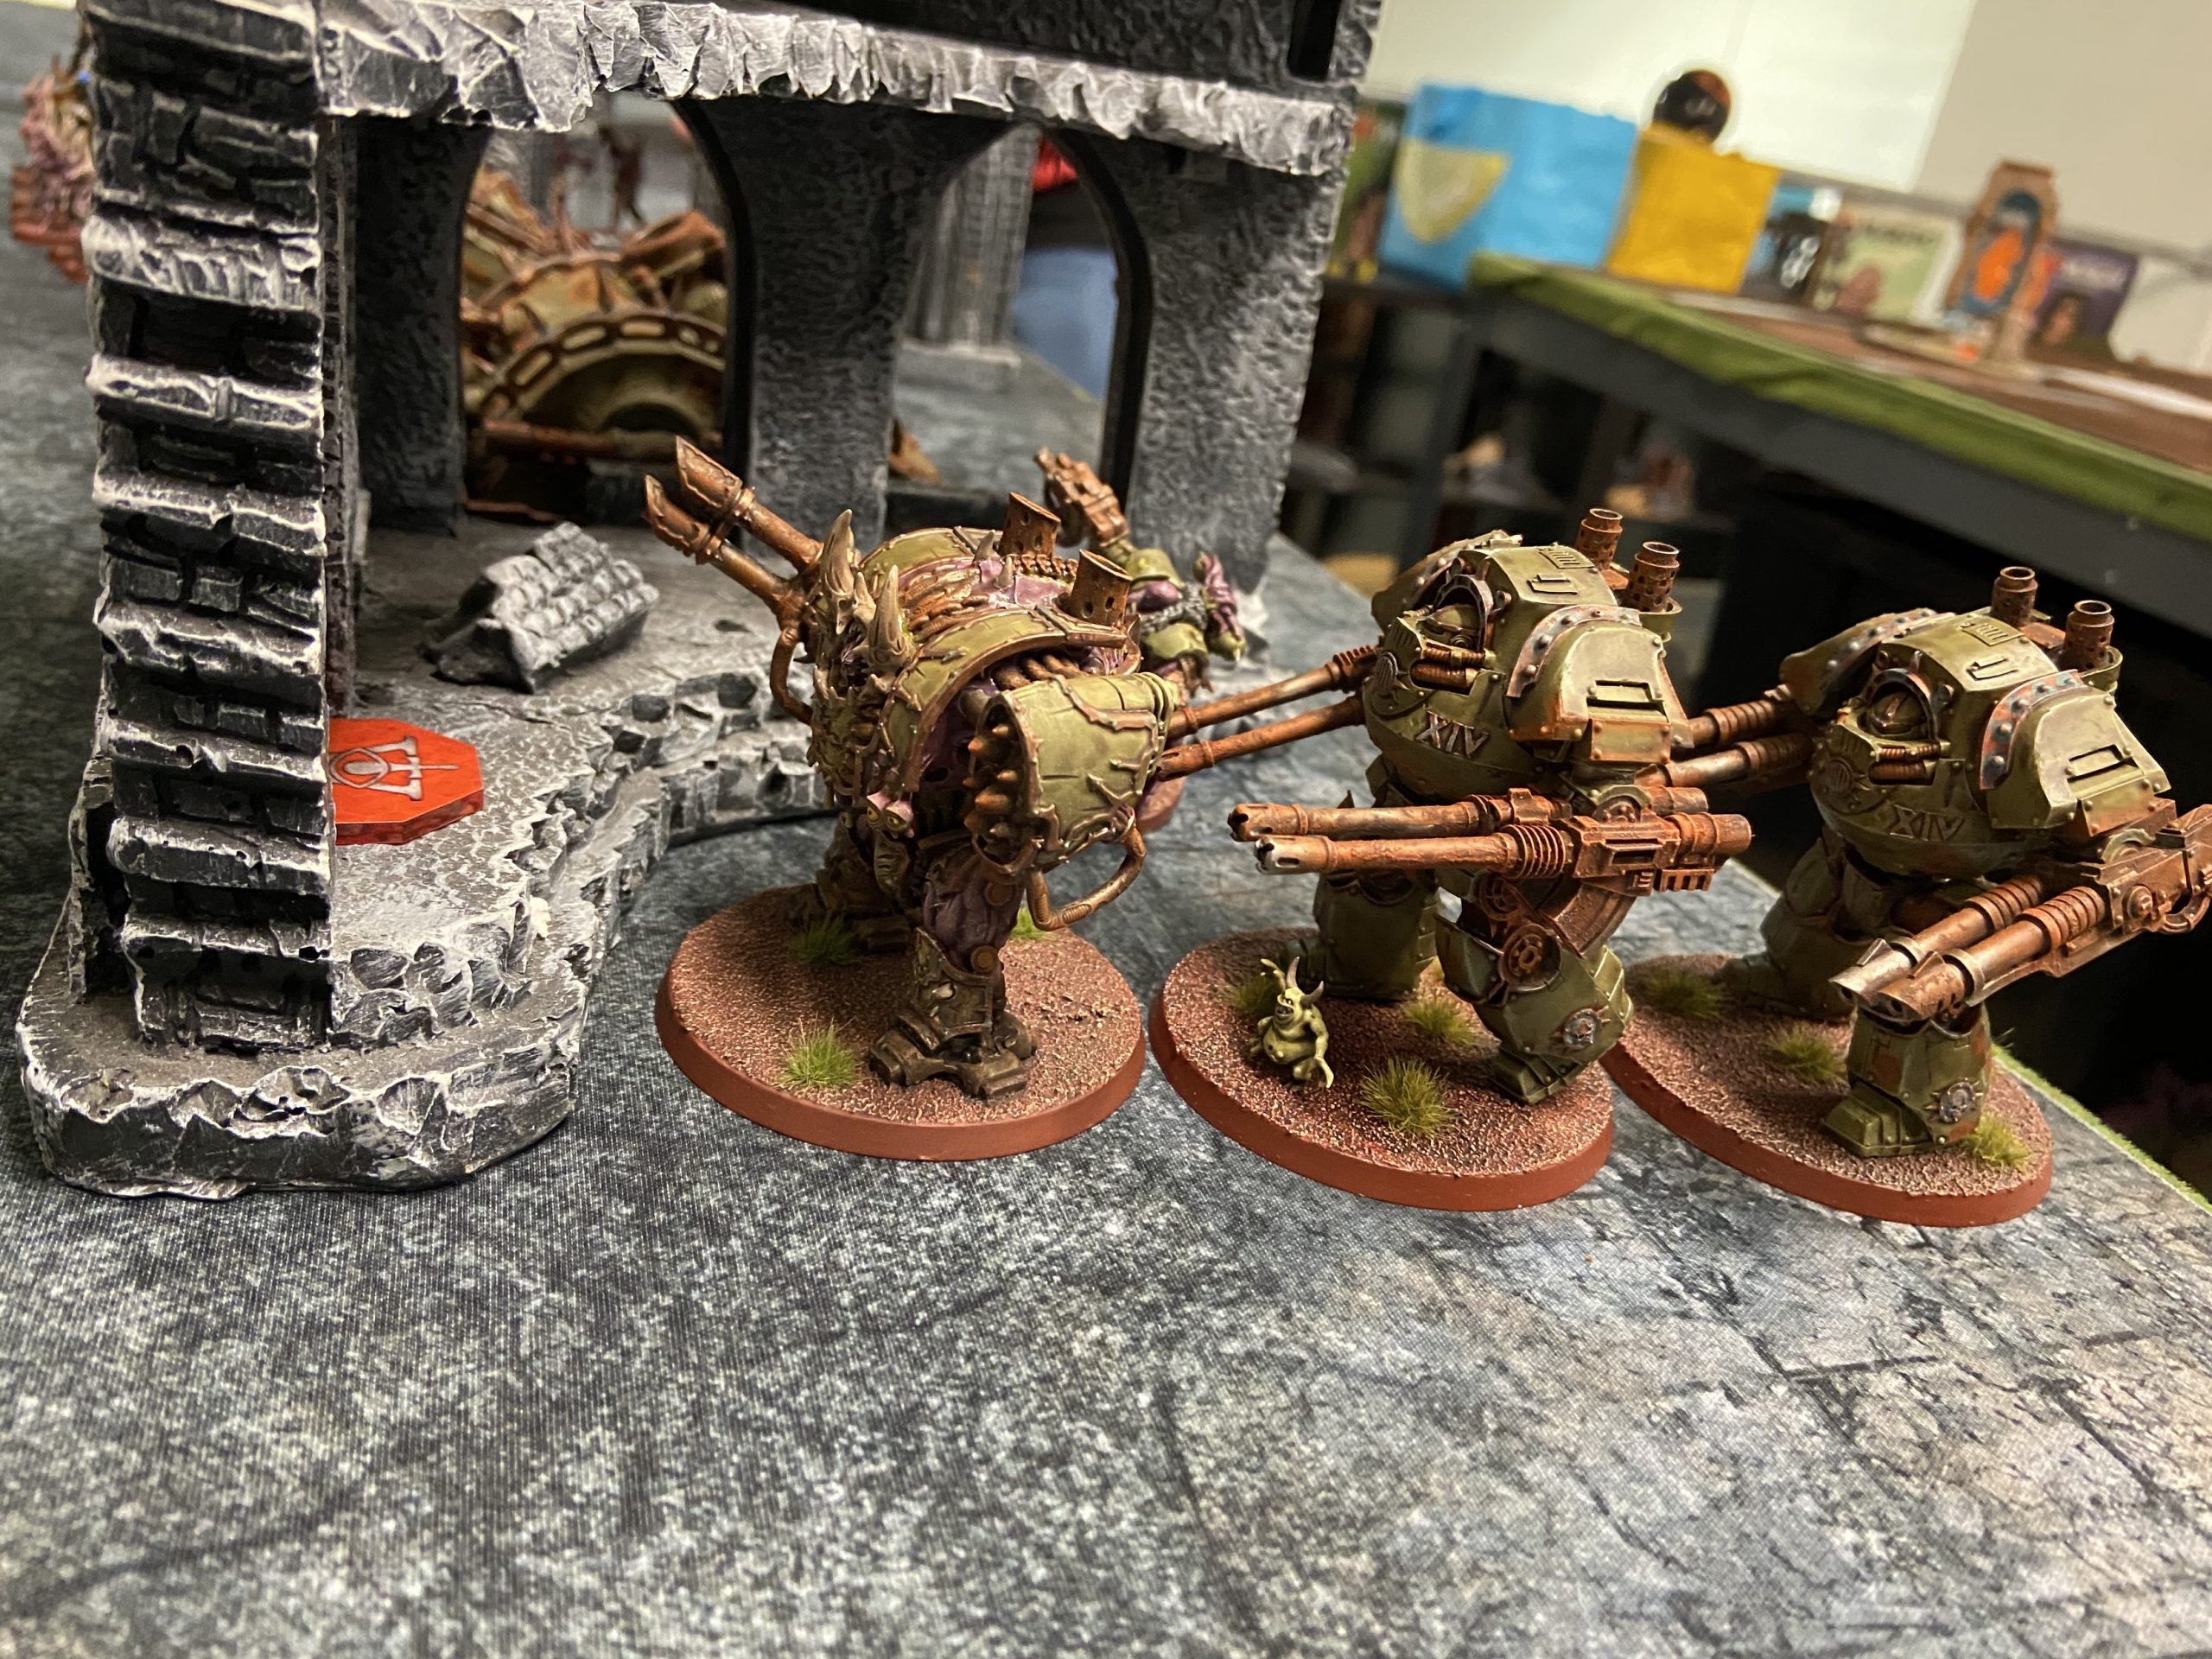
Death Guard List
- Typhus
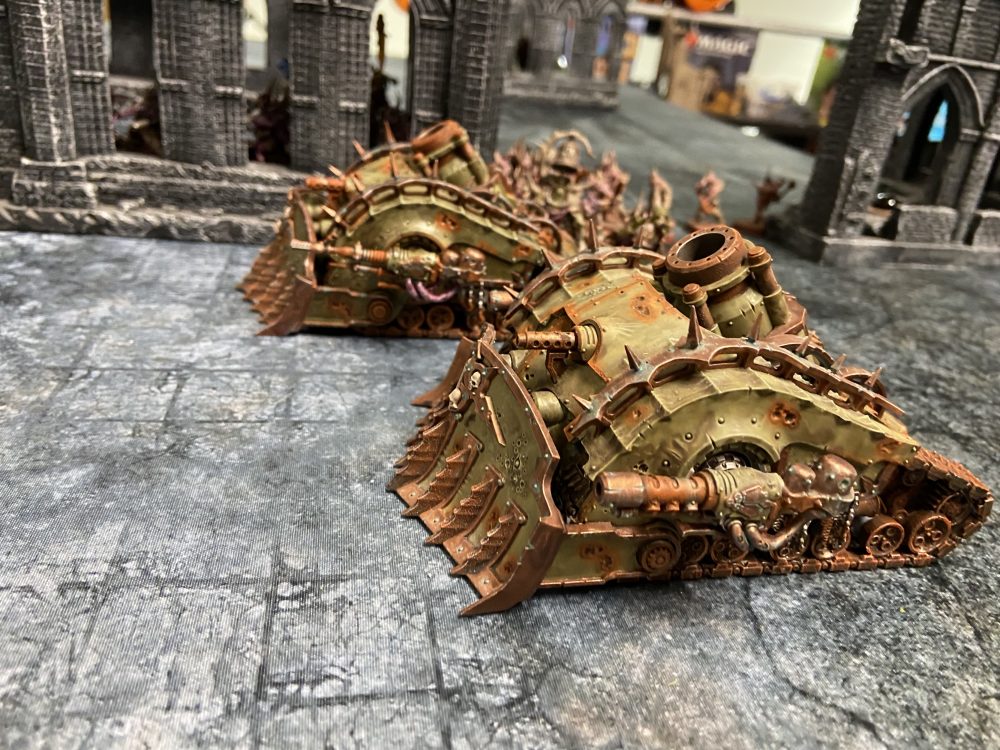
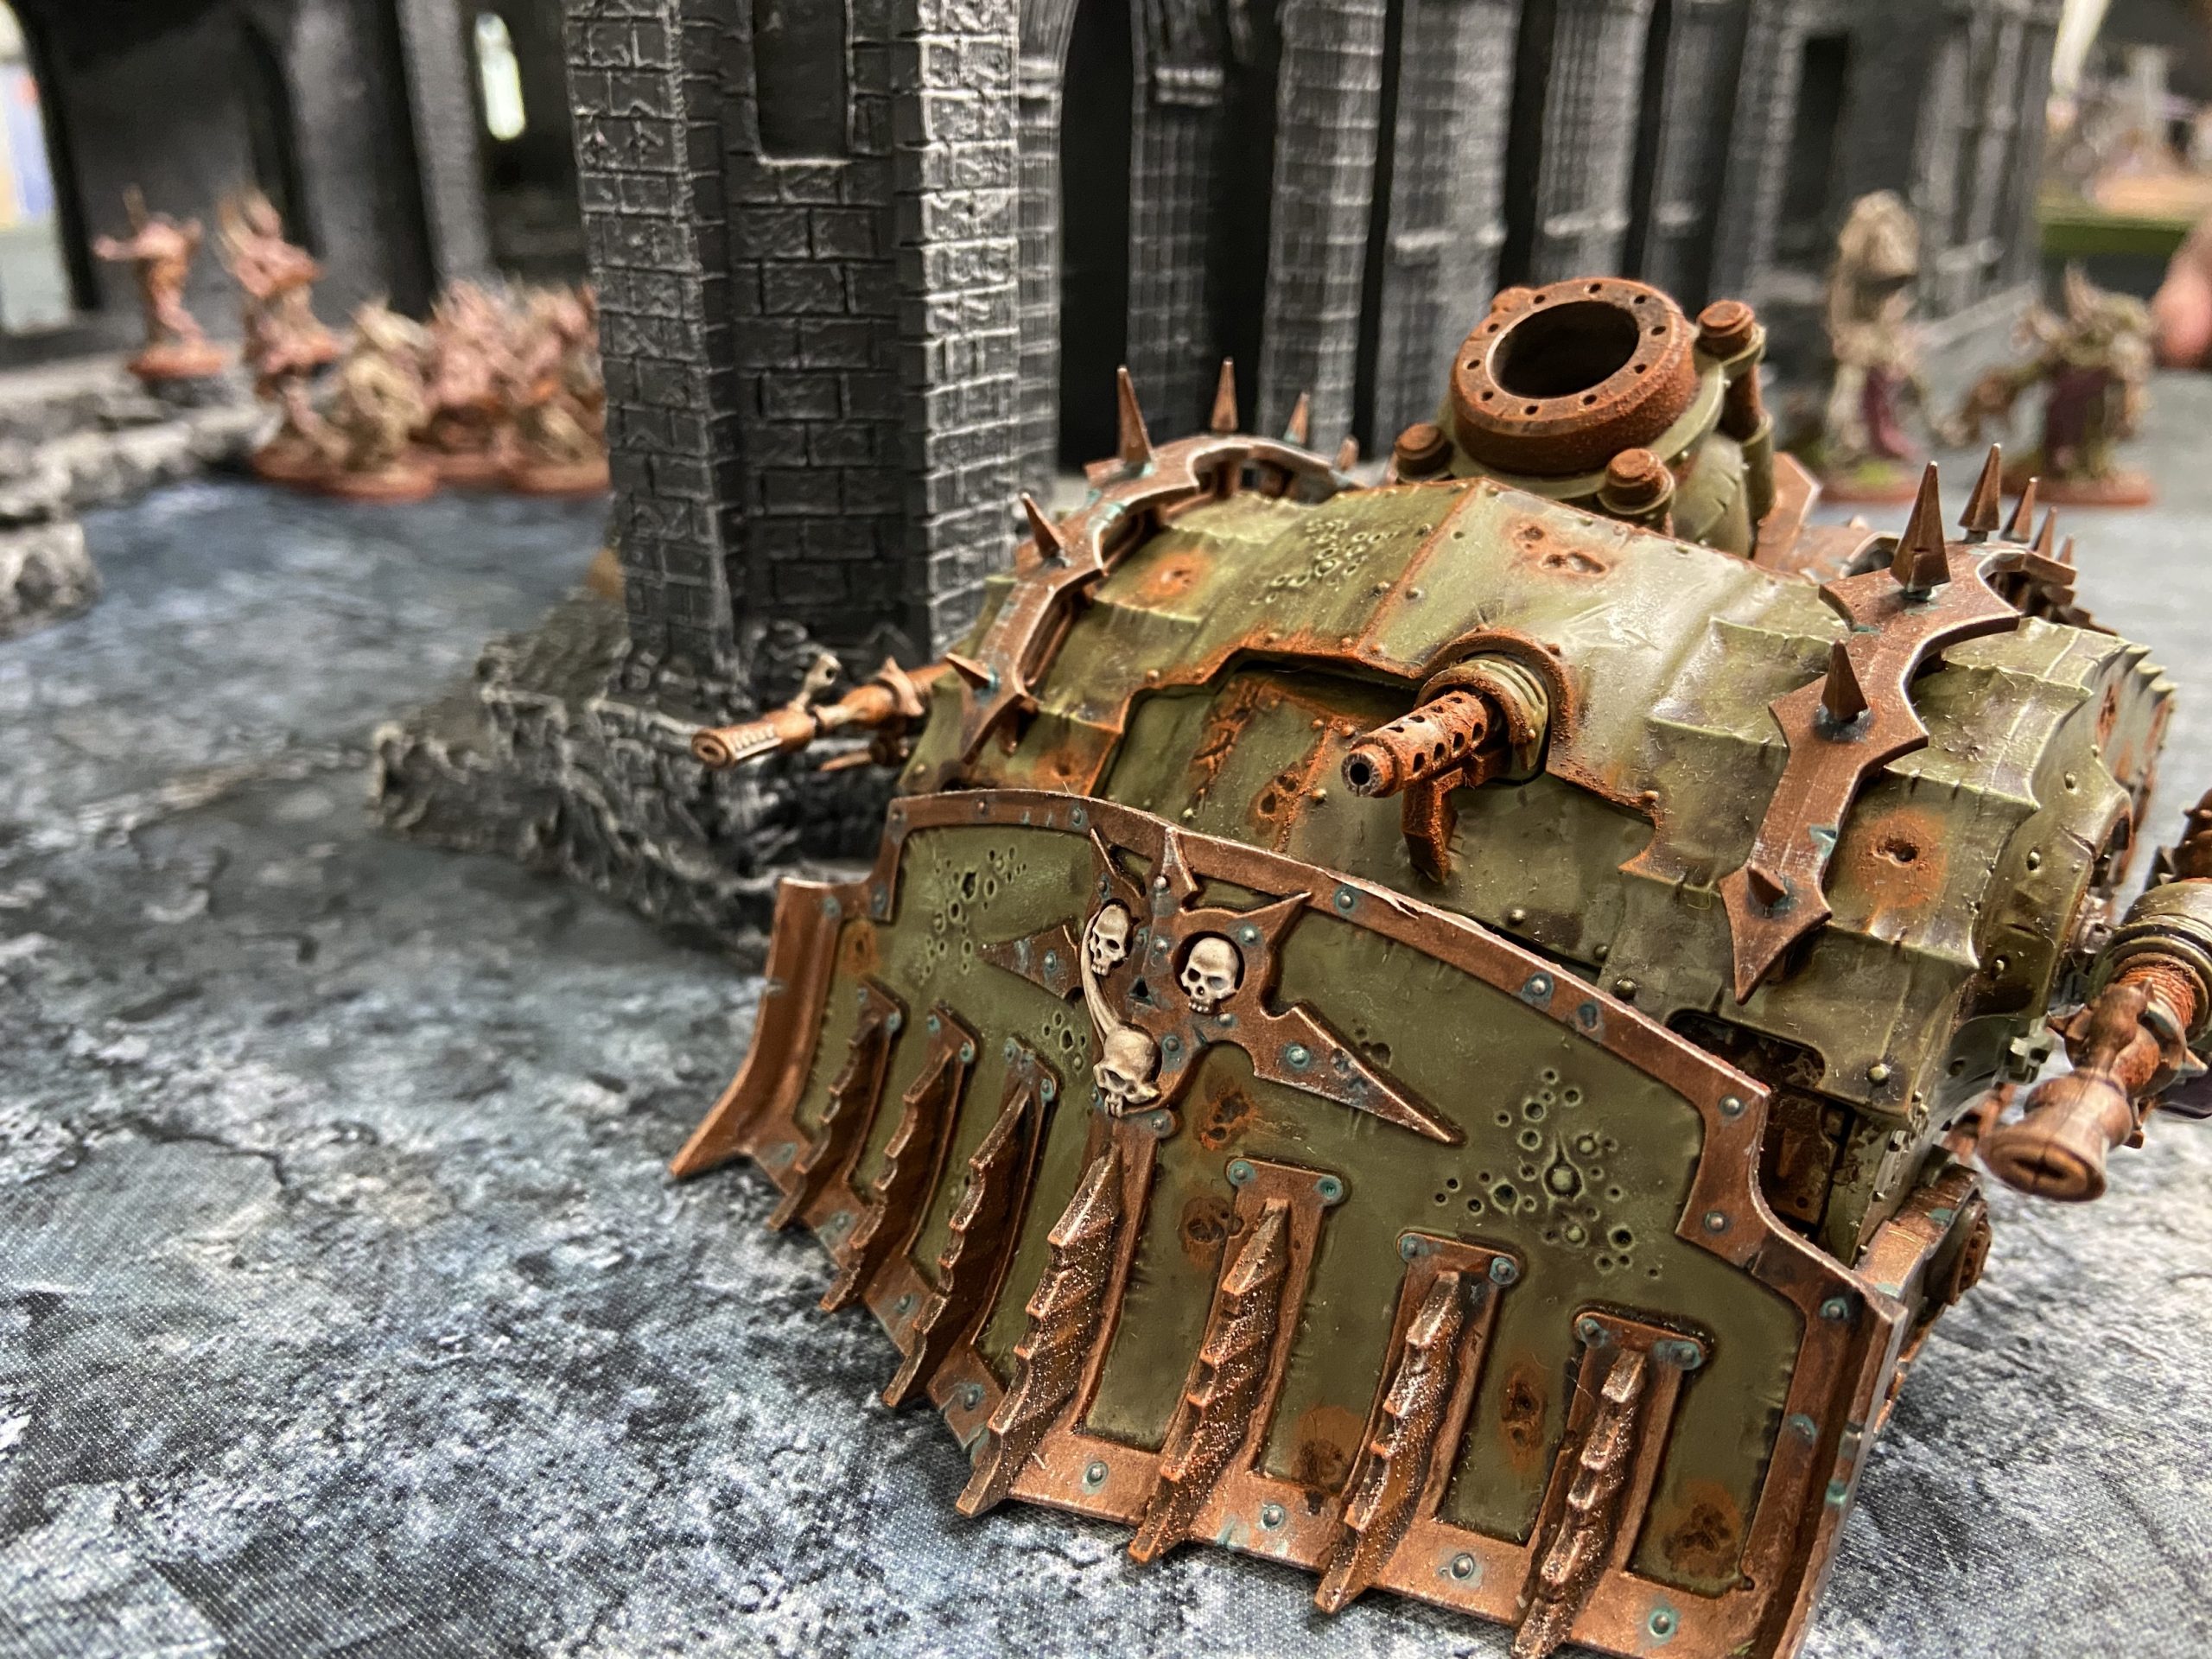
- 2x Plagueburst Crawlers
- Terminators
- Plague Marines
- Two units of 20 Poxwalkera
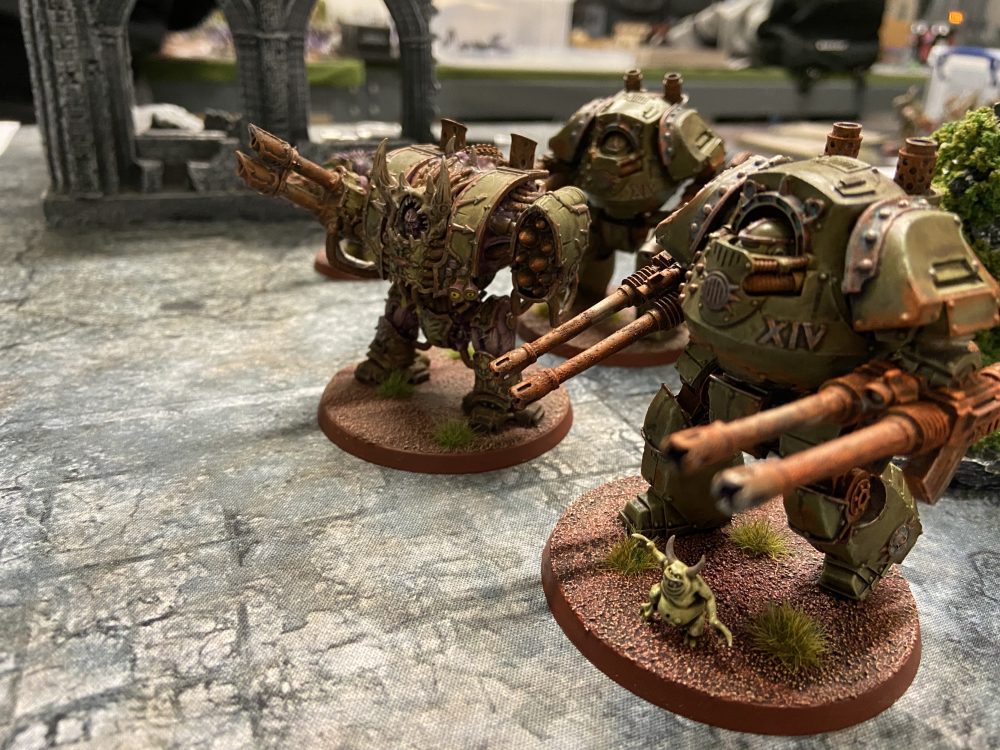
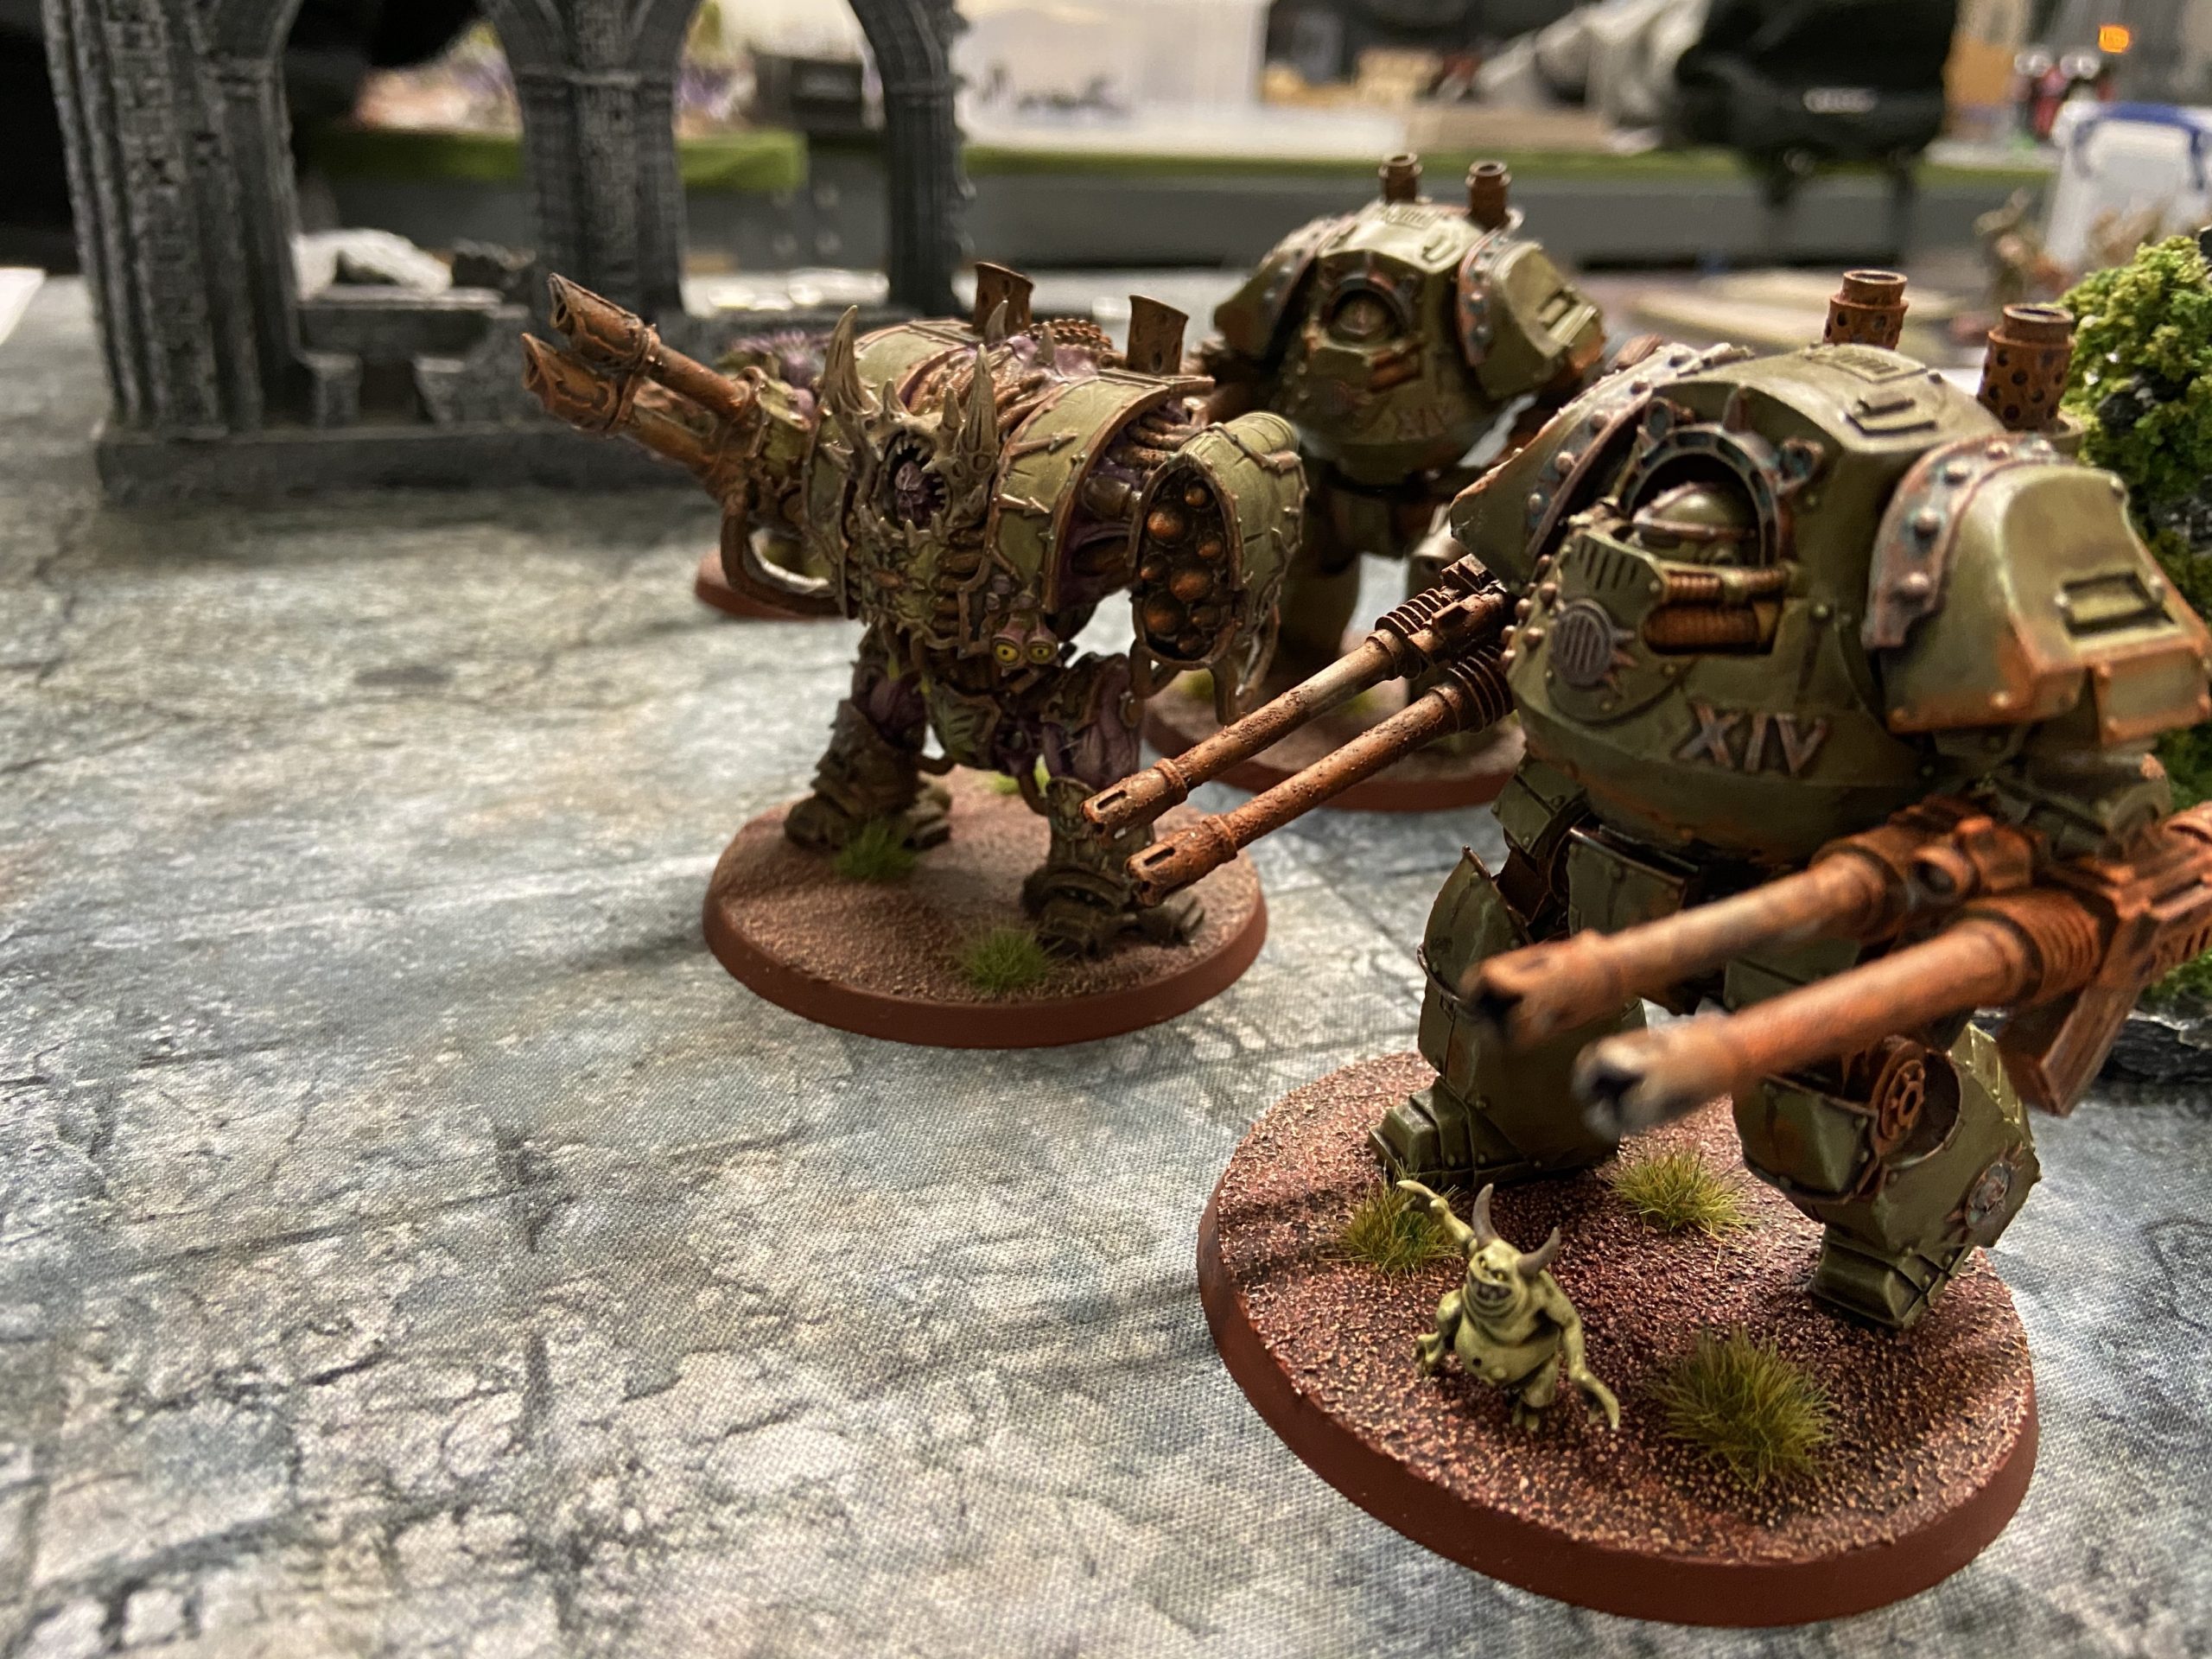
- A Contemptor Dreadnought with two Twin Lascannons
- A Contemptor Dreadnought with Butcher Cannons
- Hellbrute with Twin Lascannon and Missile Launcher
- A Chaos Lord
- A host of other nasty characters
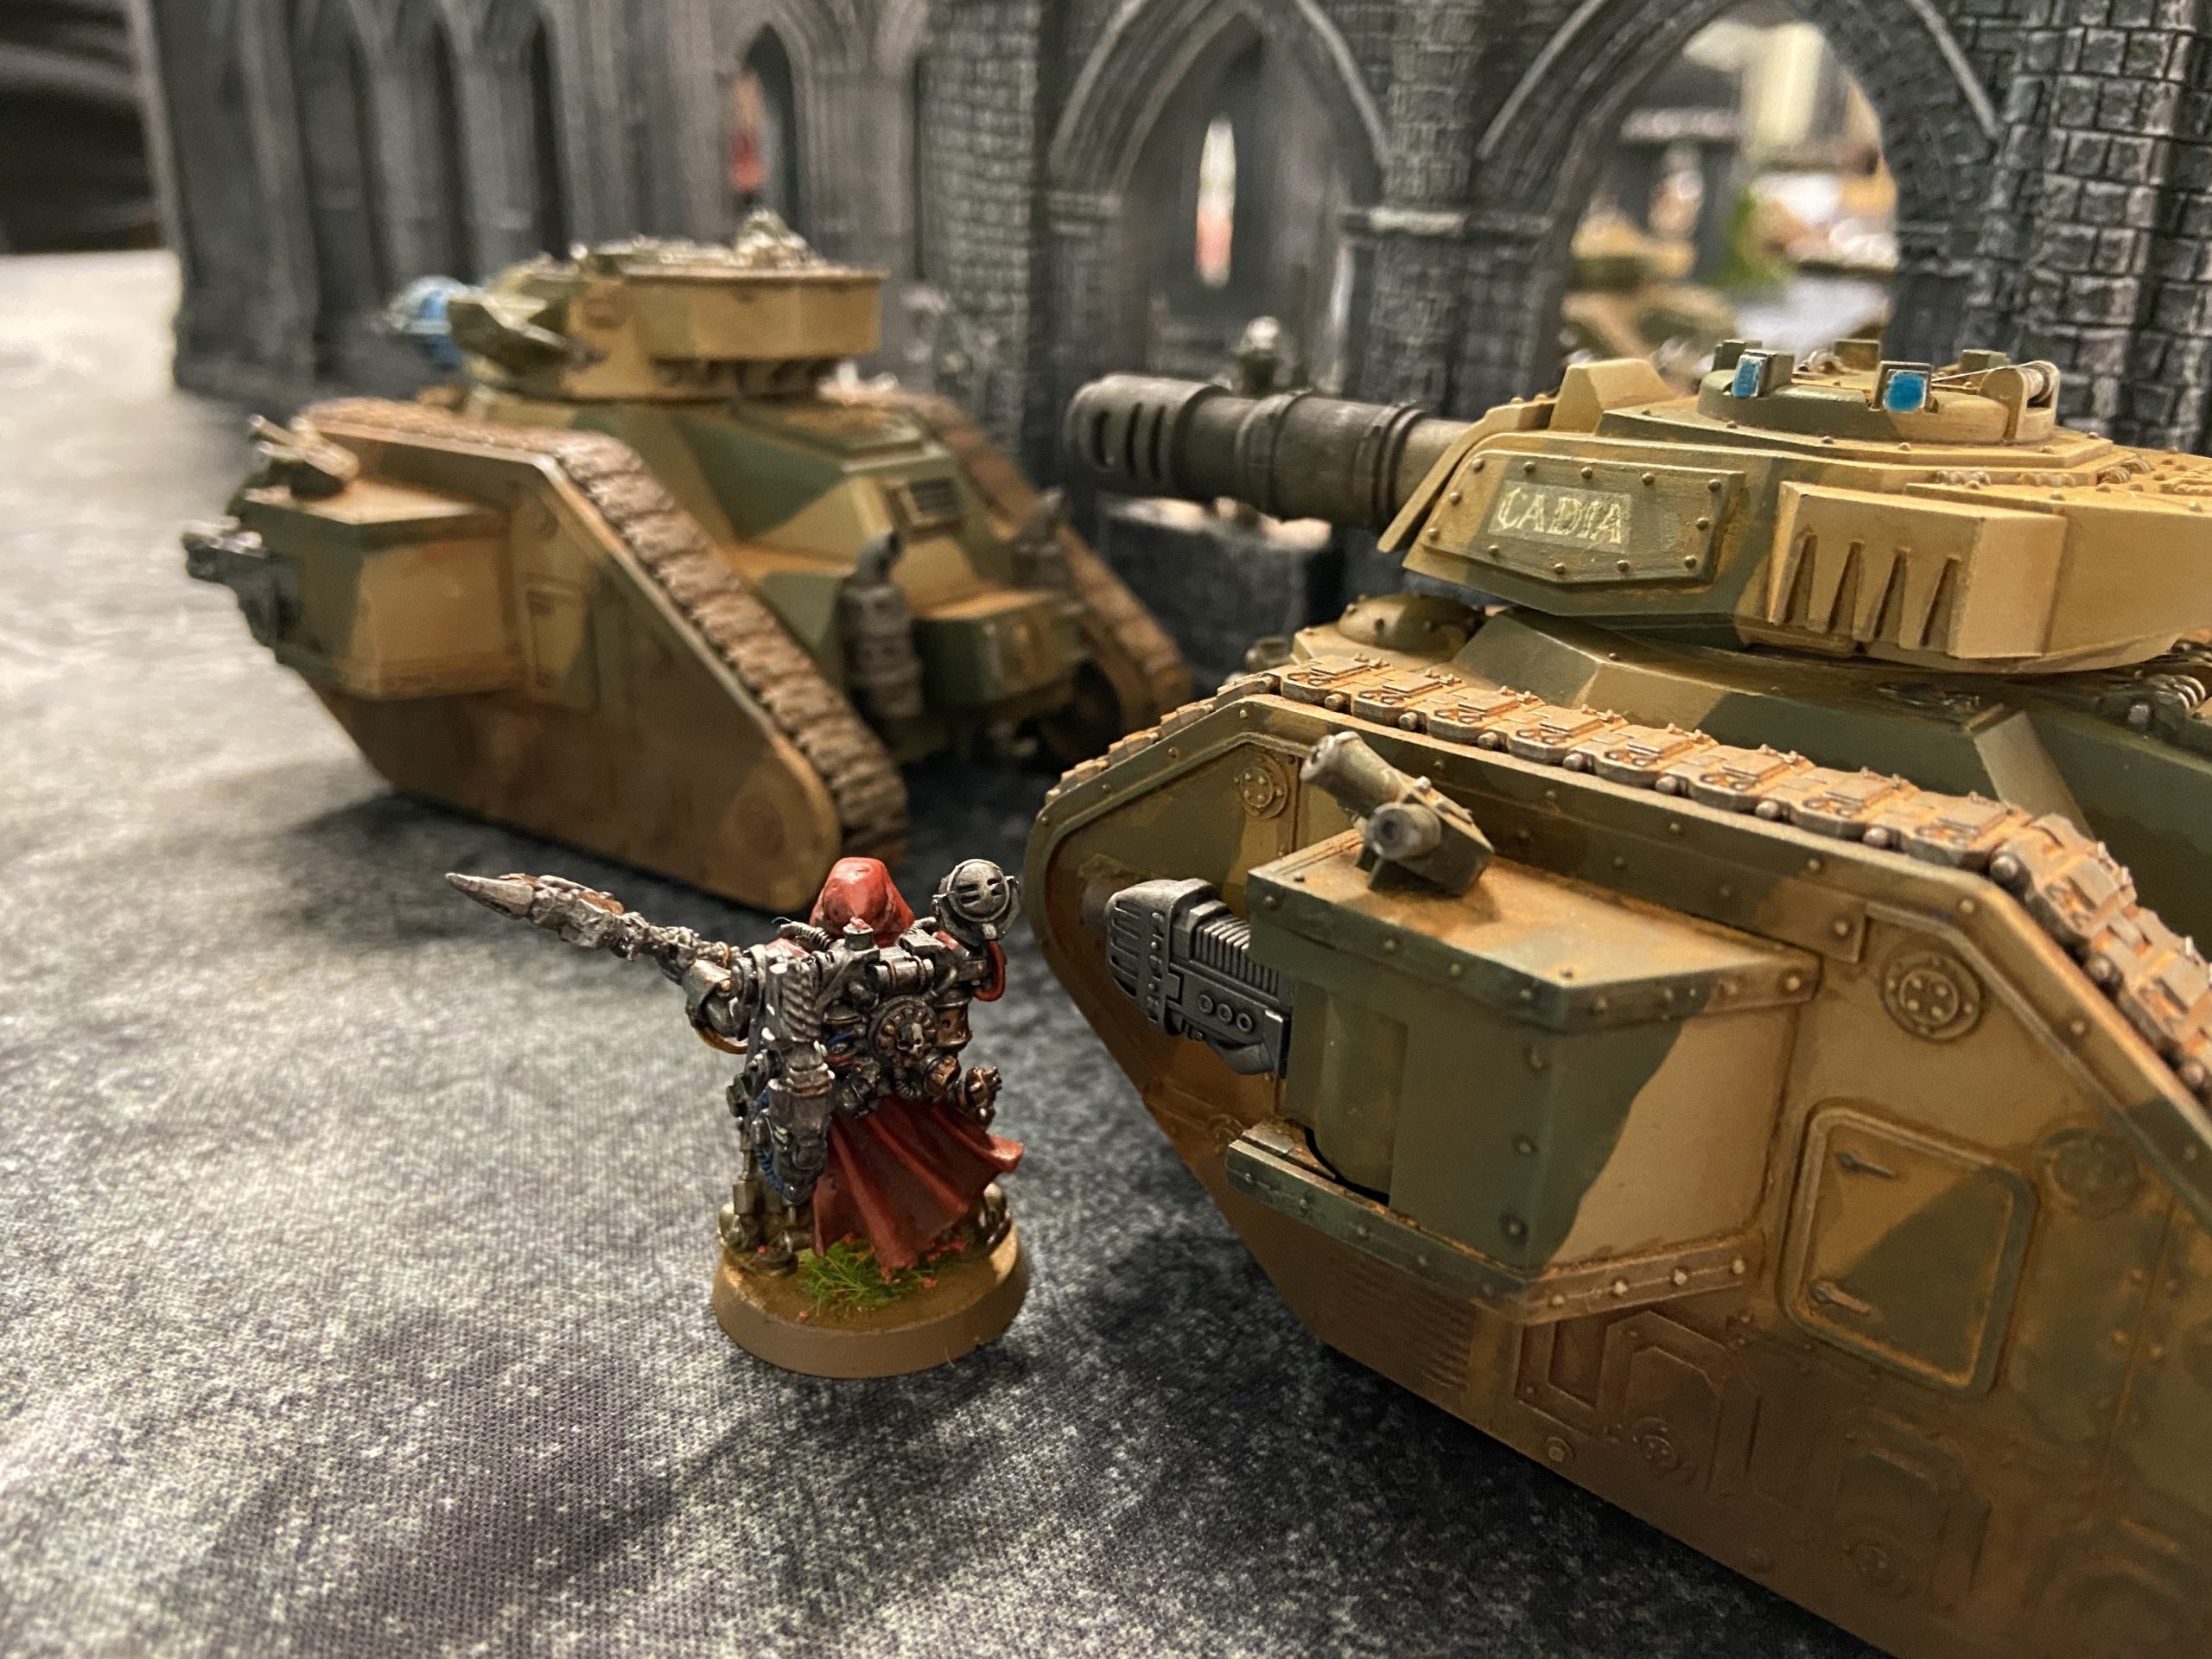
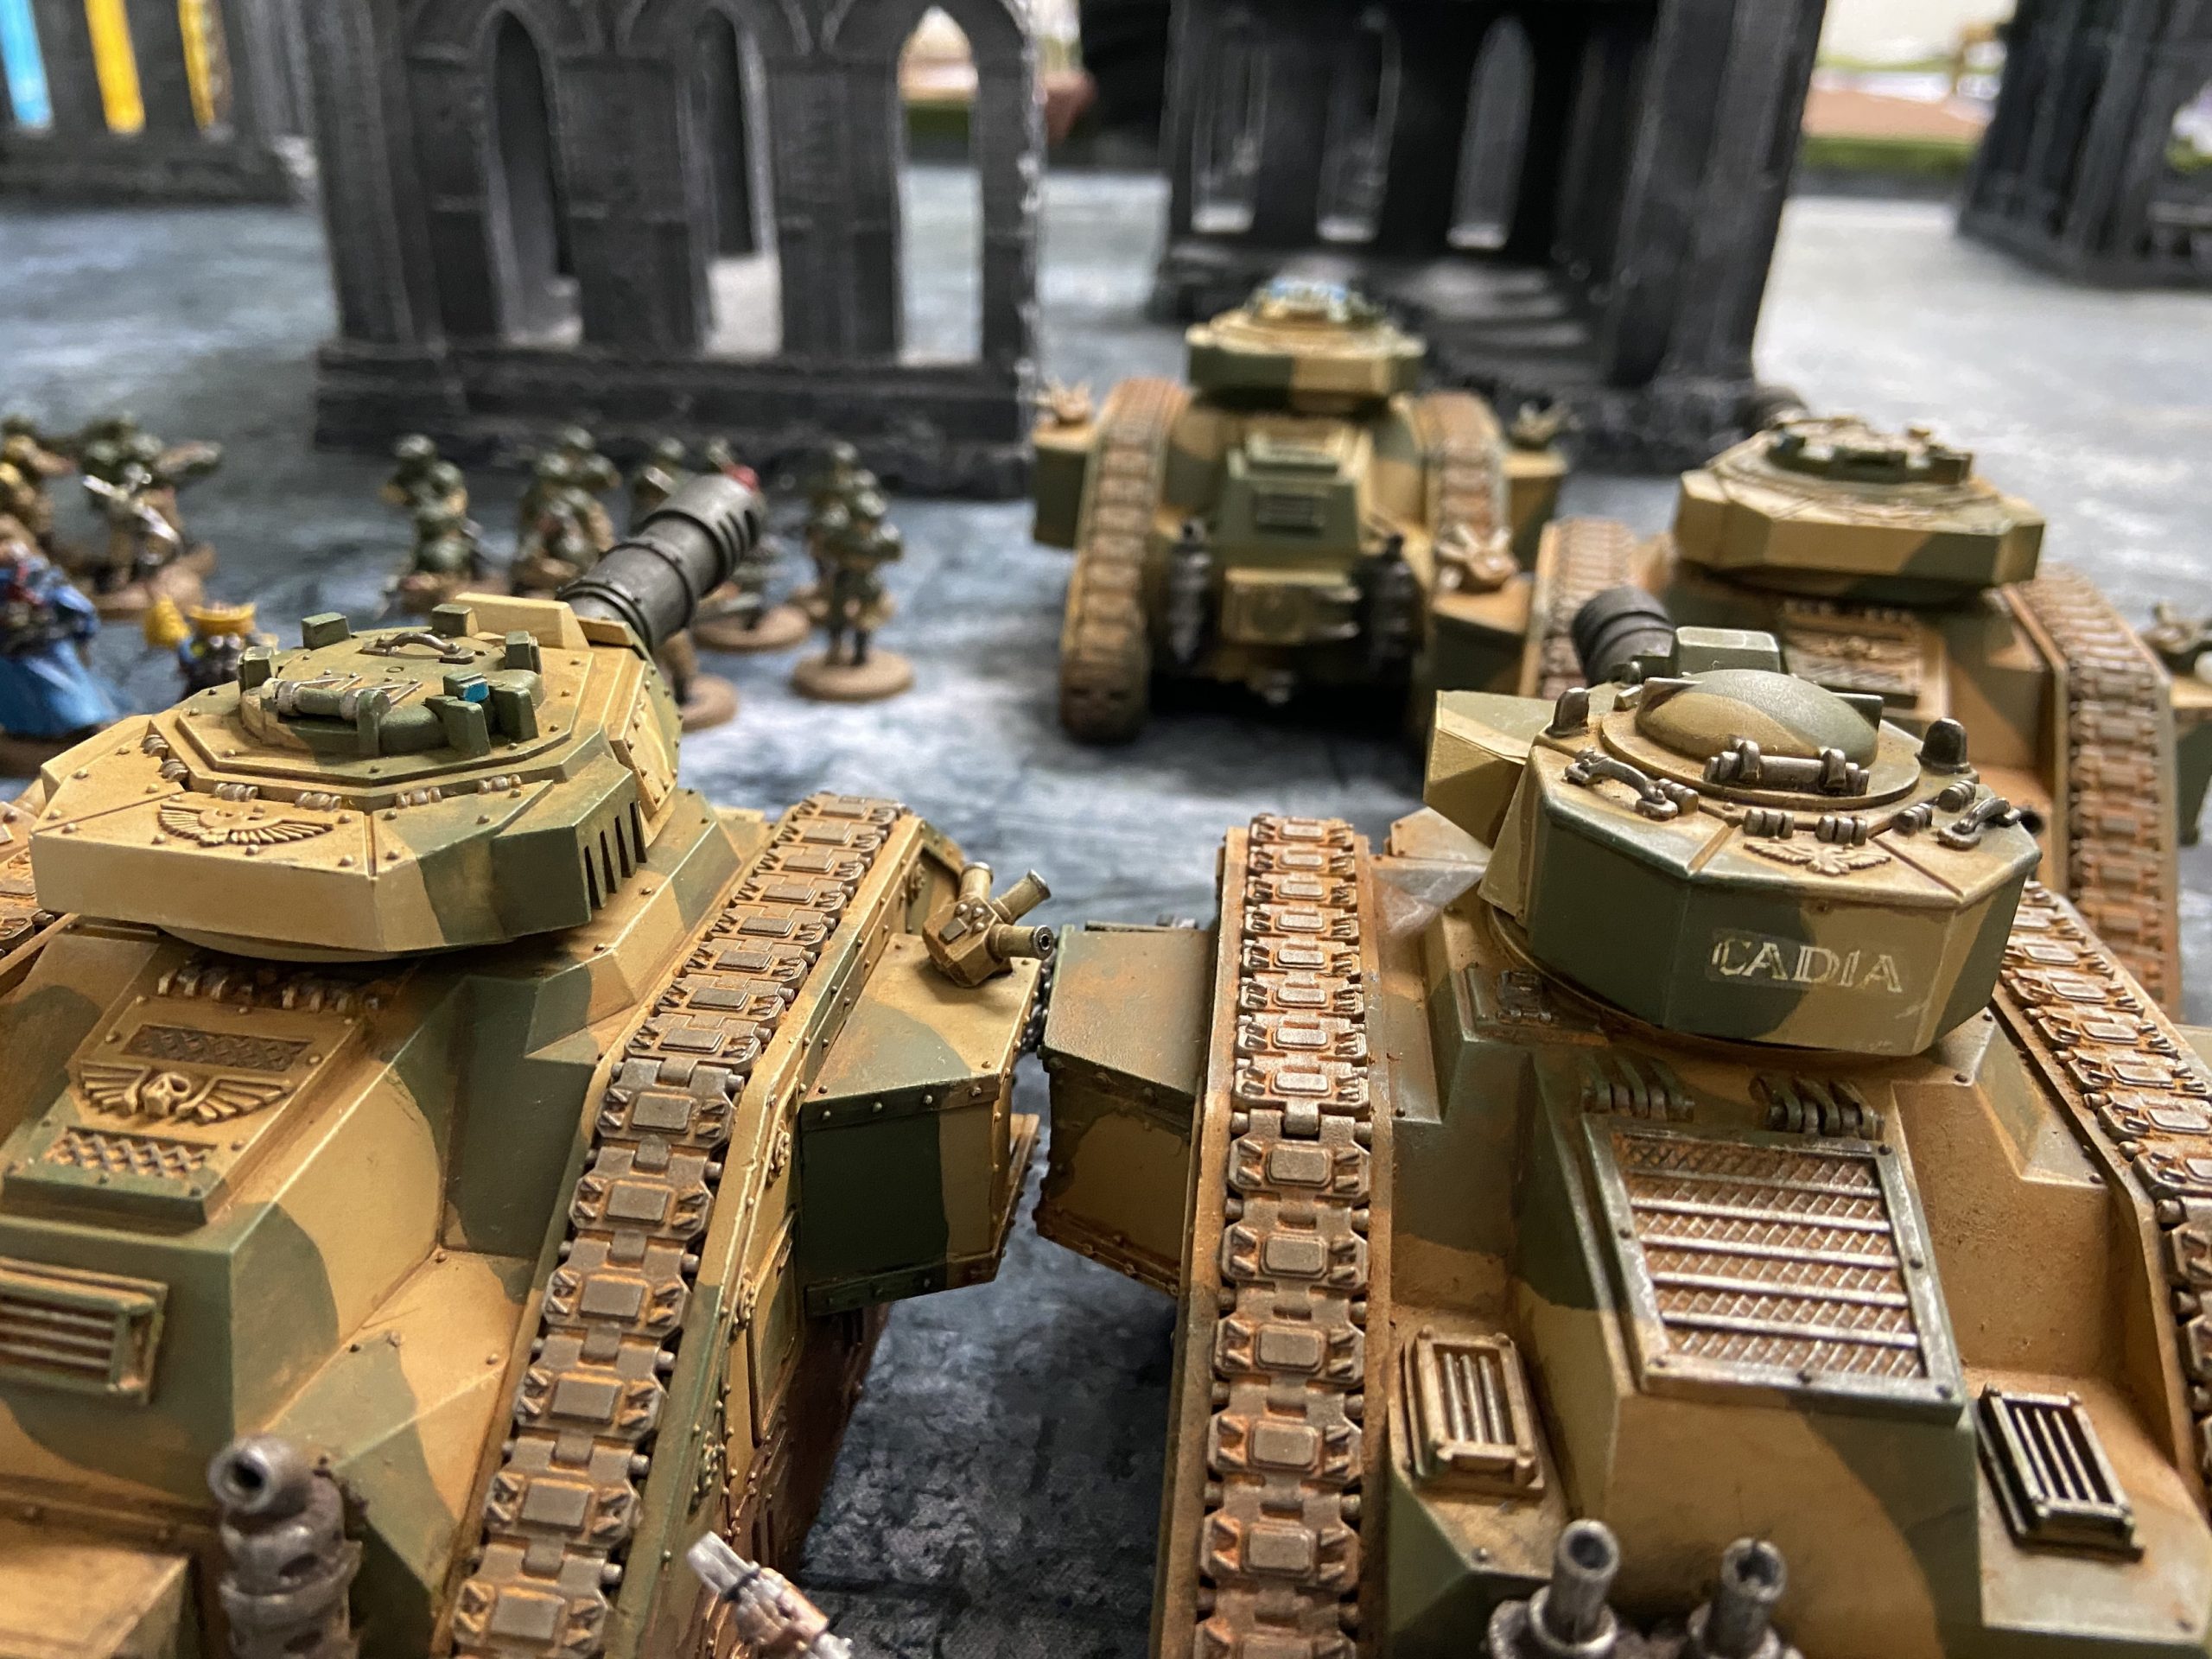
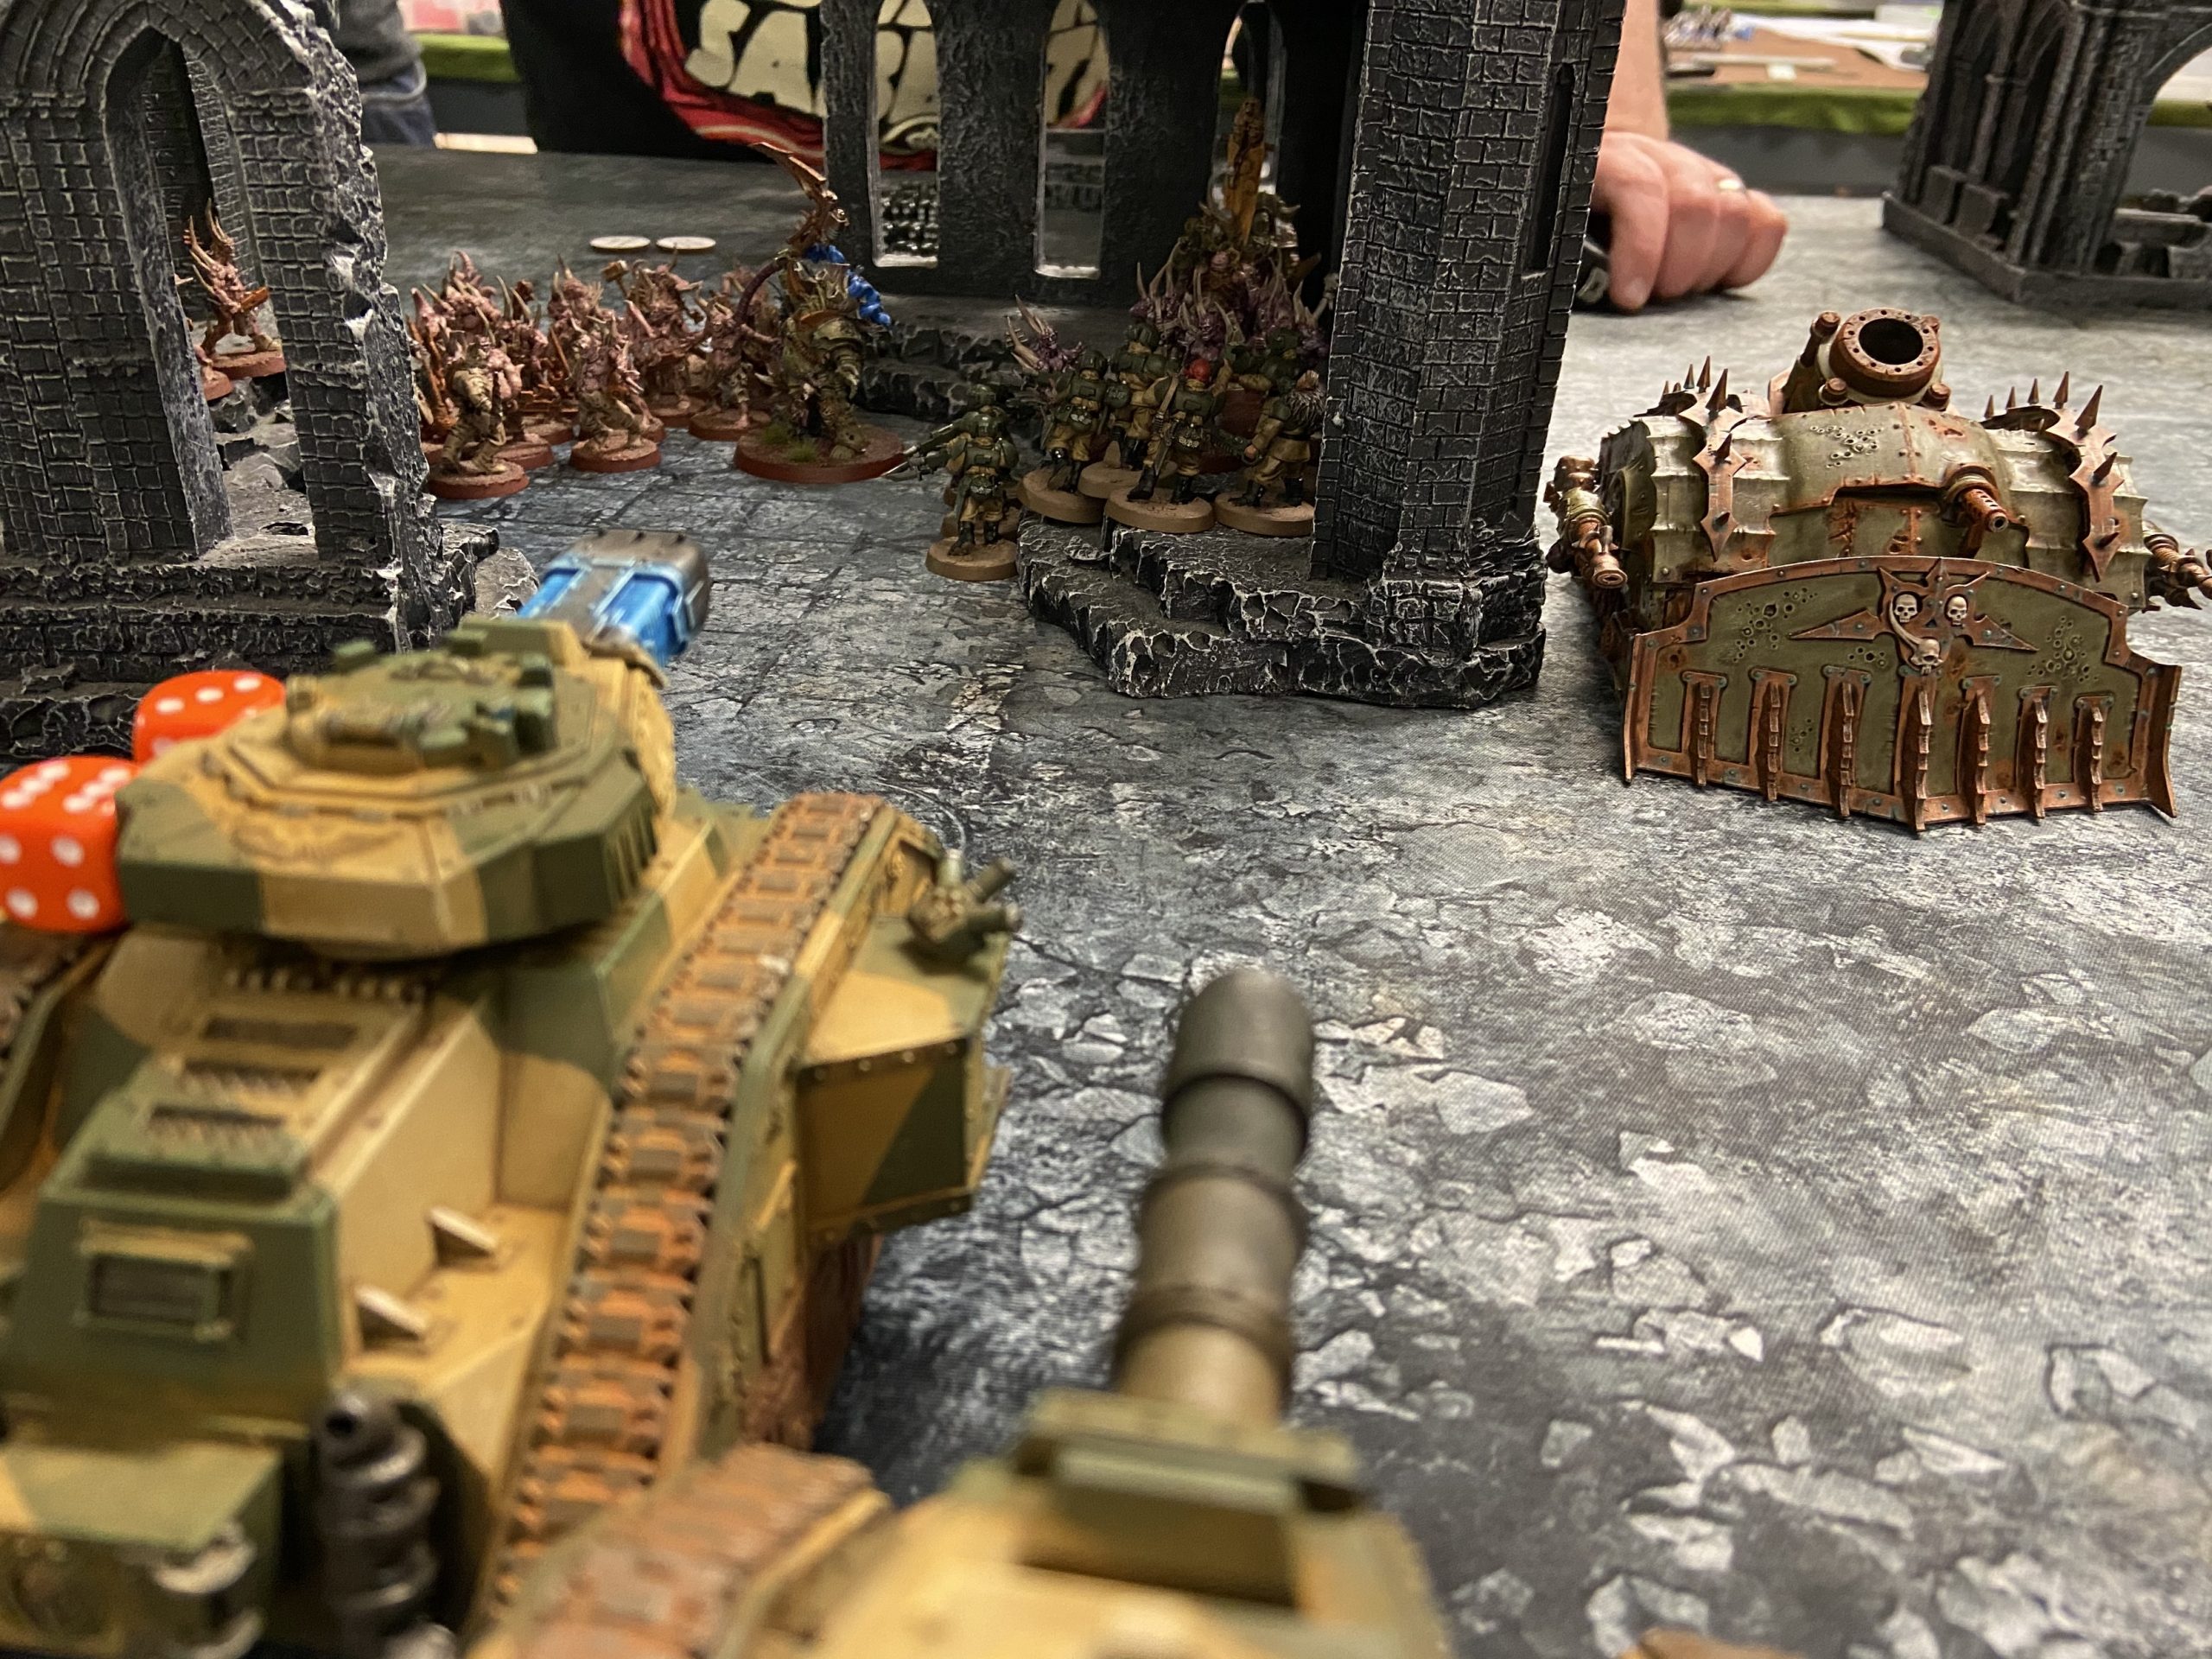
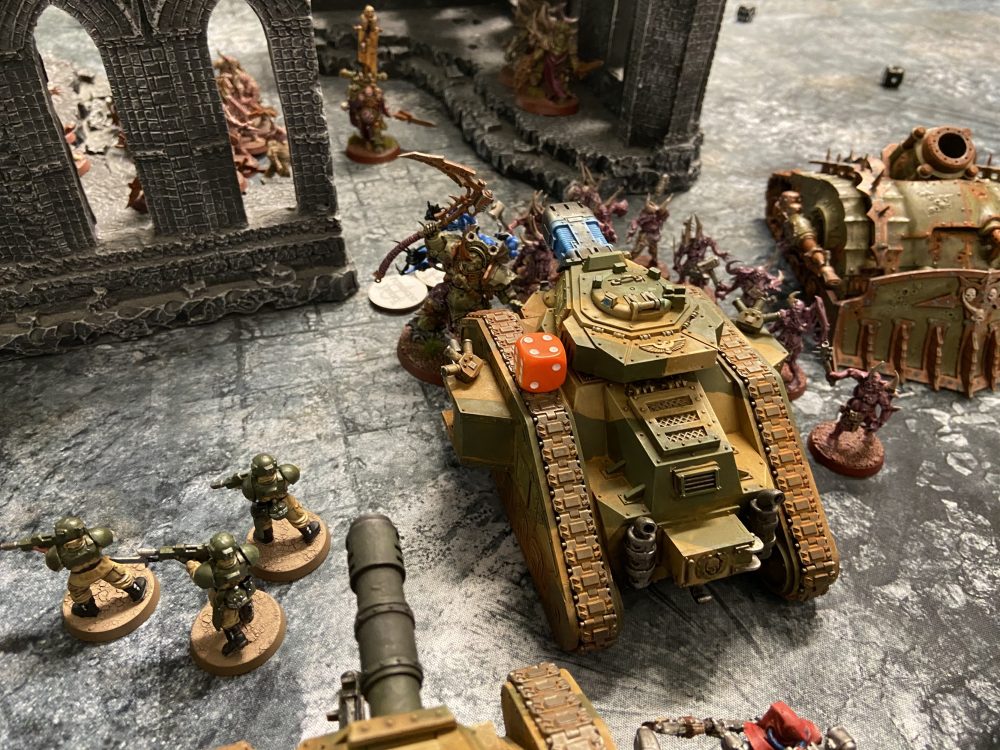
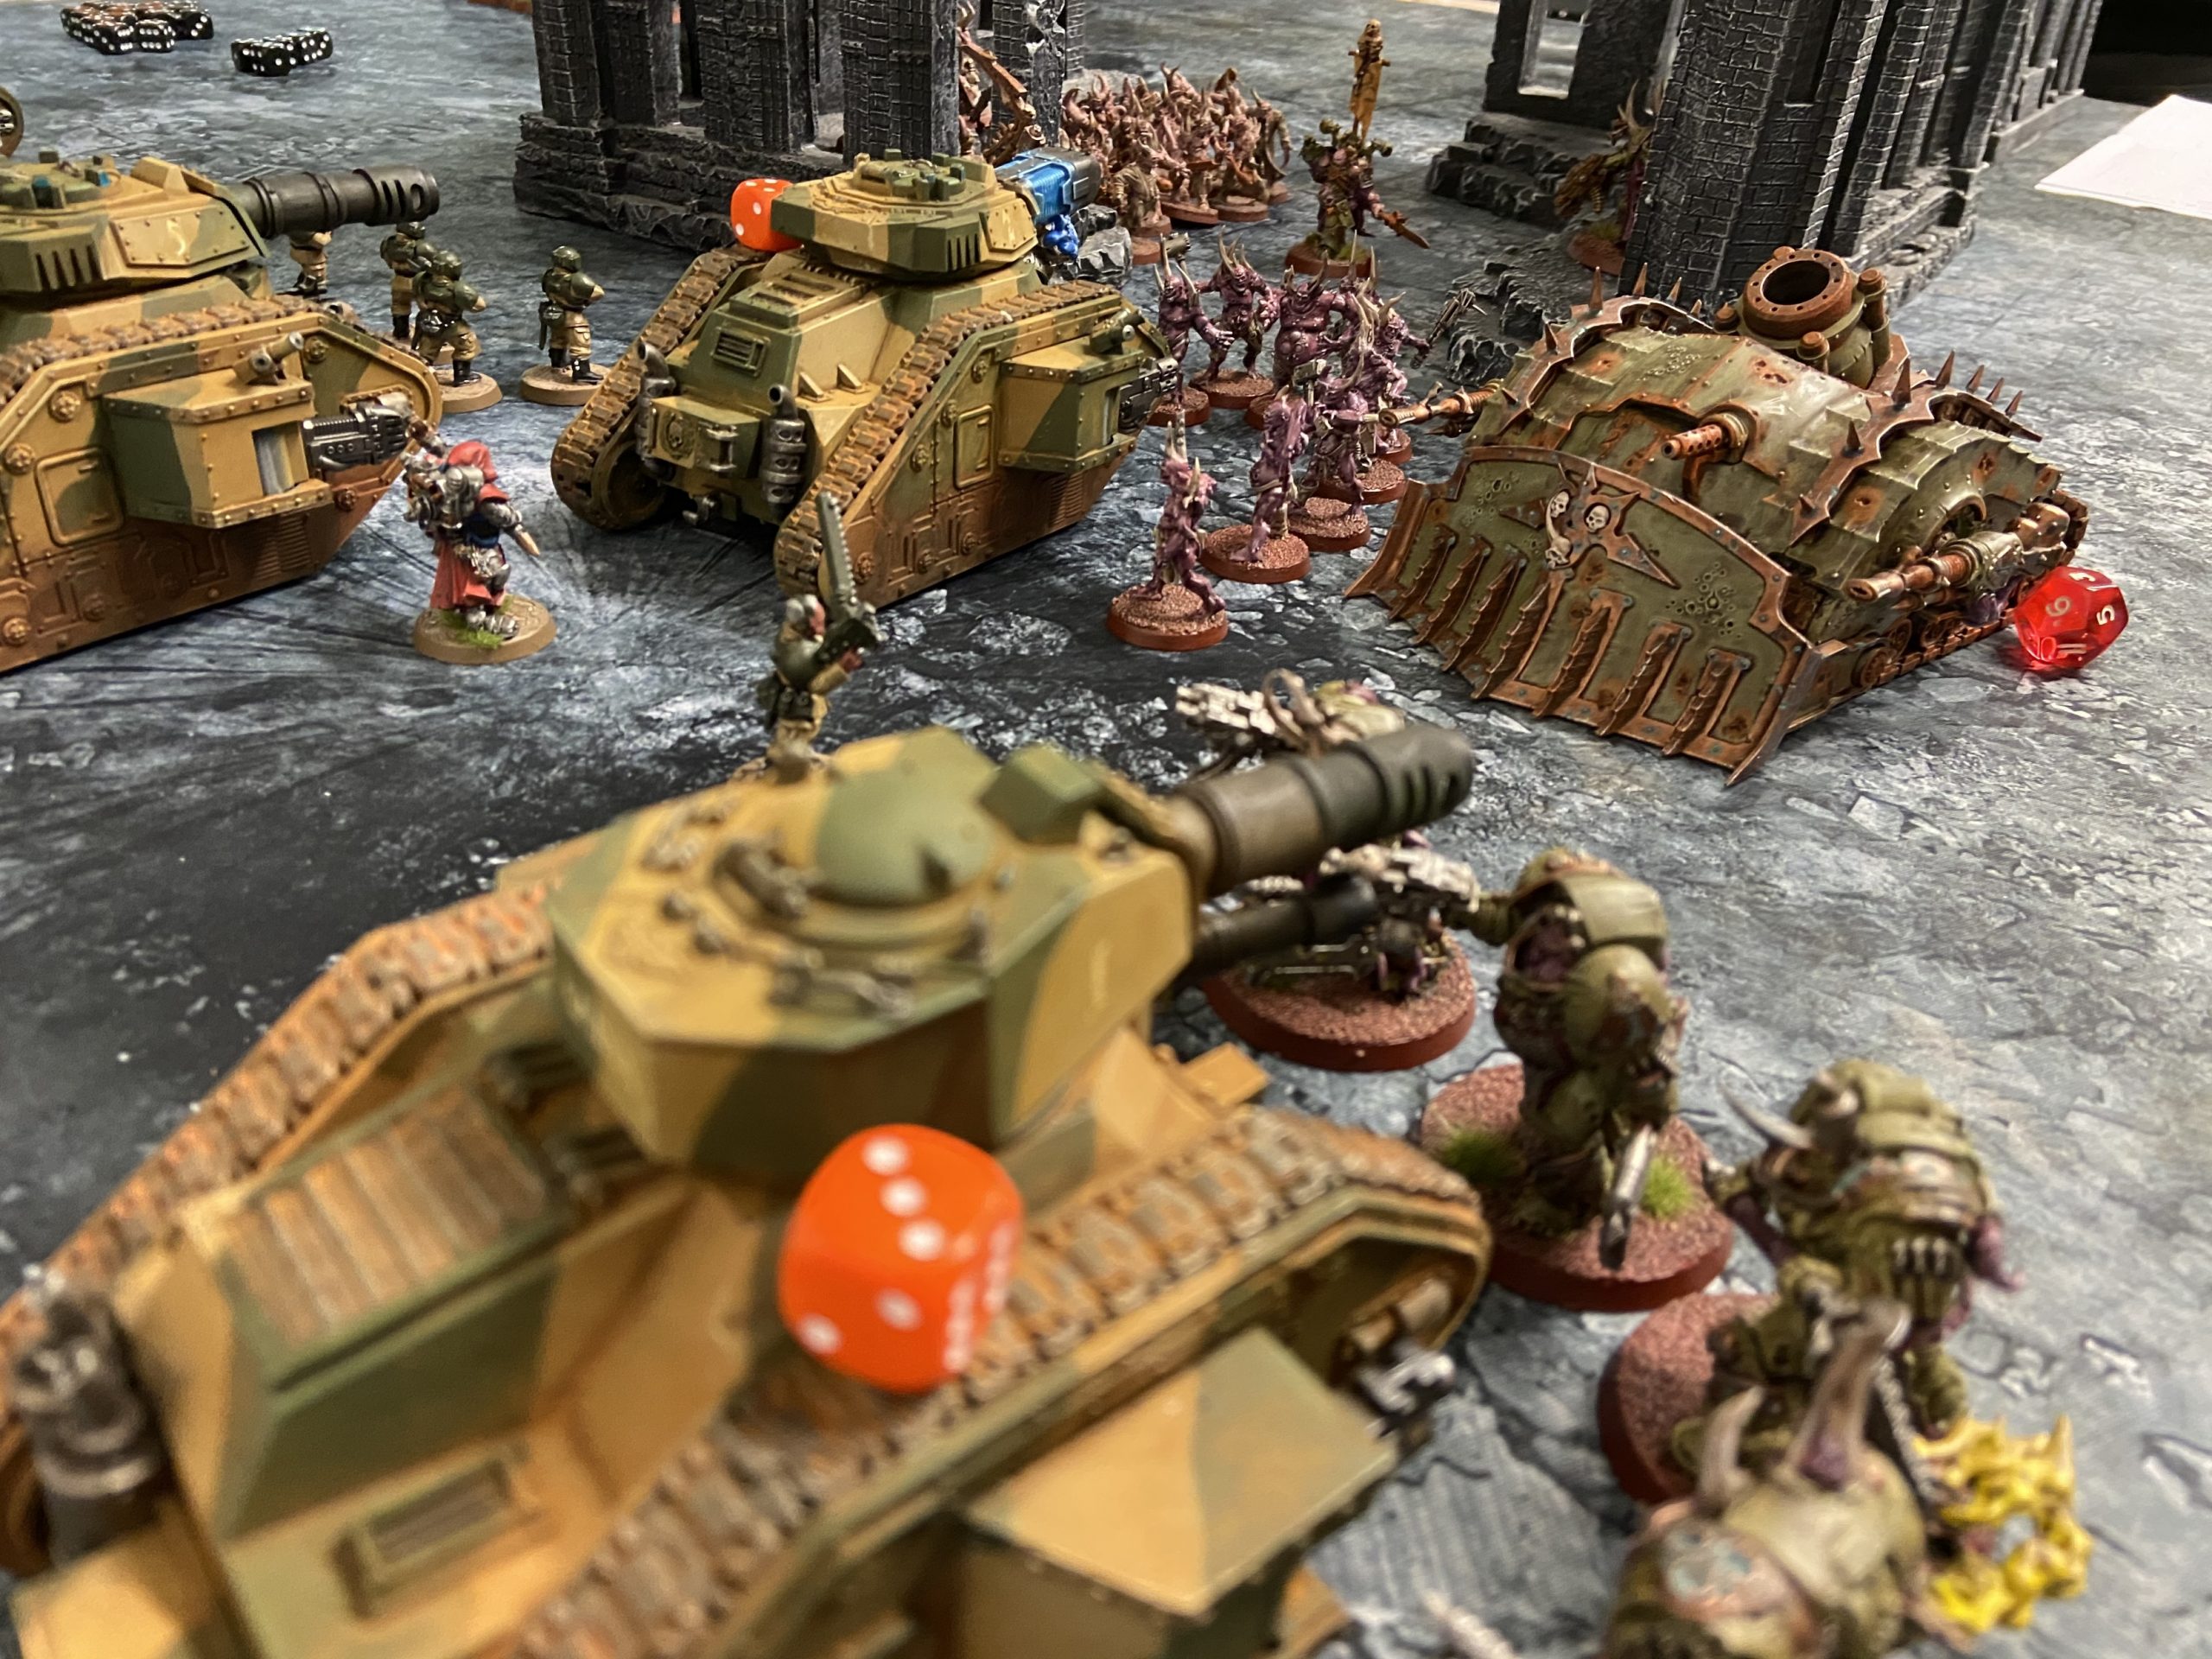
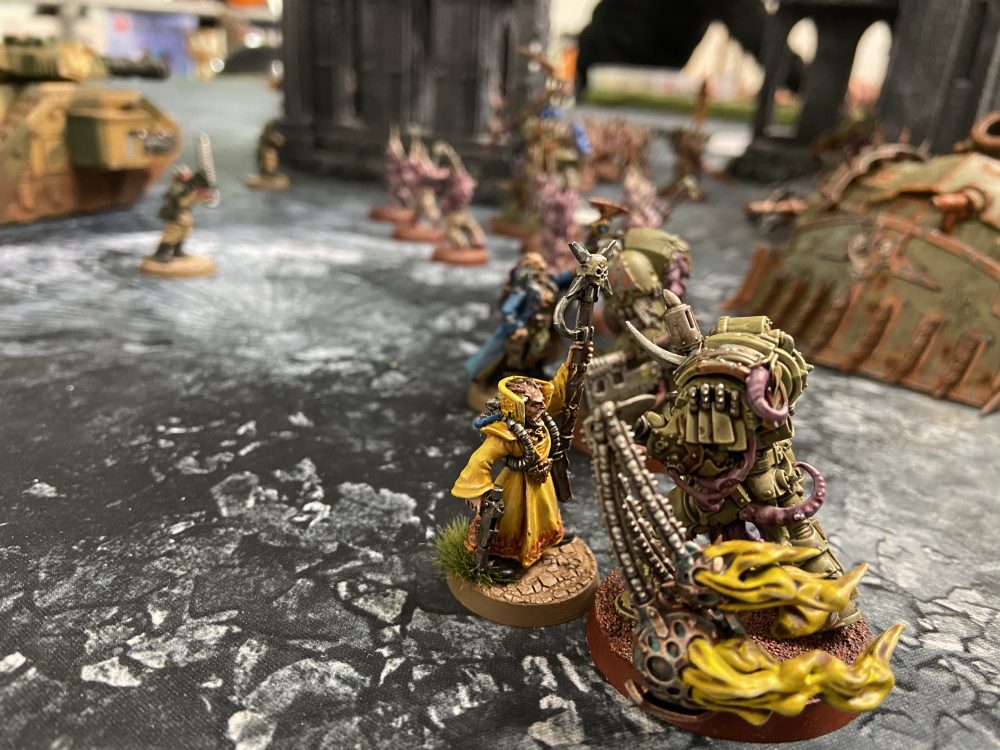
Cadians vs Death Guard Pre-Game Gallery


-


- Image for attention!

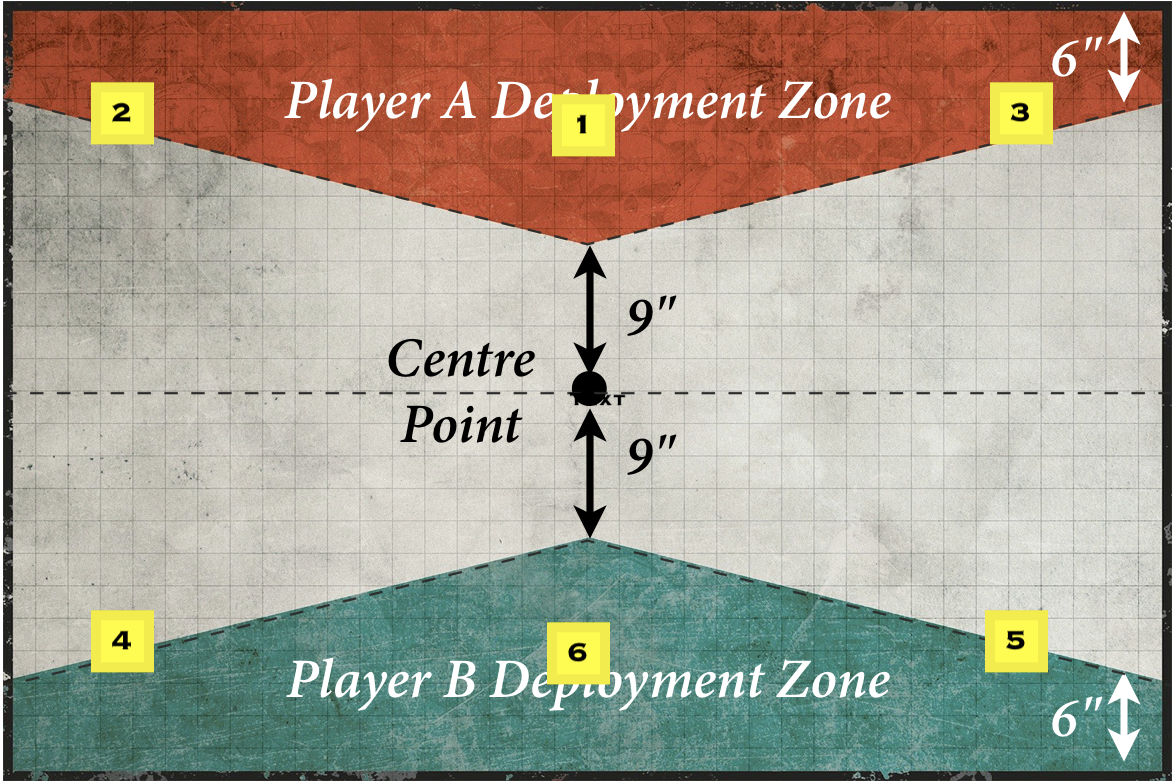
Lockdown Mission – Chapter Approved 2019
I’ll do my best to explain this…
Six Objectives are placed by us both. The player that goes first chooses an objective to be numbered one. And the other player chooses an objective to be number six.
You roll a D6 for each other objective to number them 2, 3, 4 and 5. Re-rolling numbers that have already come up.
We Now have our six numbered objectives.
Starting from the second battle round objective number 2 is removed. Then, at the start of the battle round three objective 3 is removed, etc.
Objectives one and six are never removed.
You score VPs at the end of your turn. One for each objective you hold and then one more if you control more than your opponent.
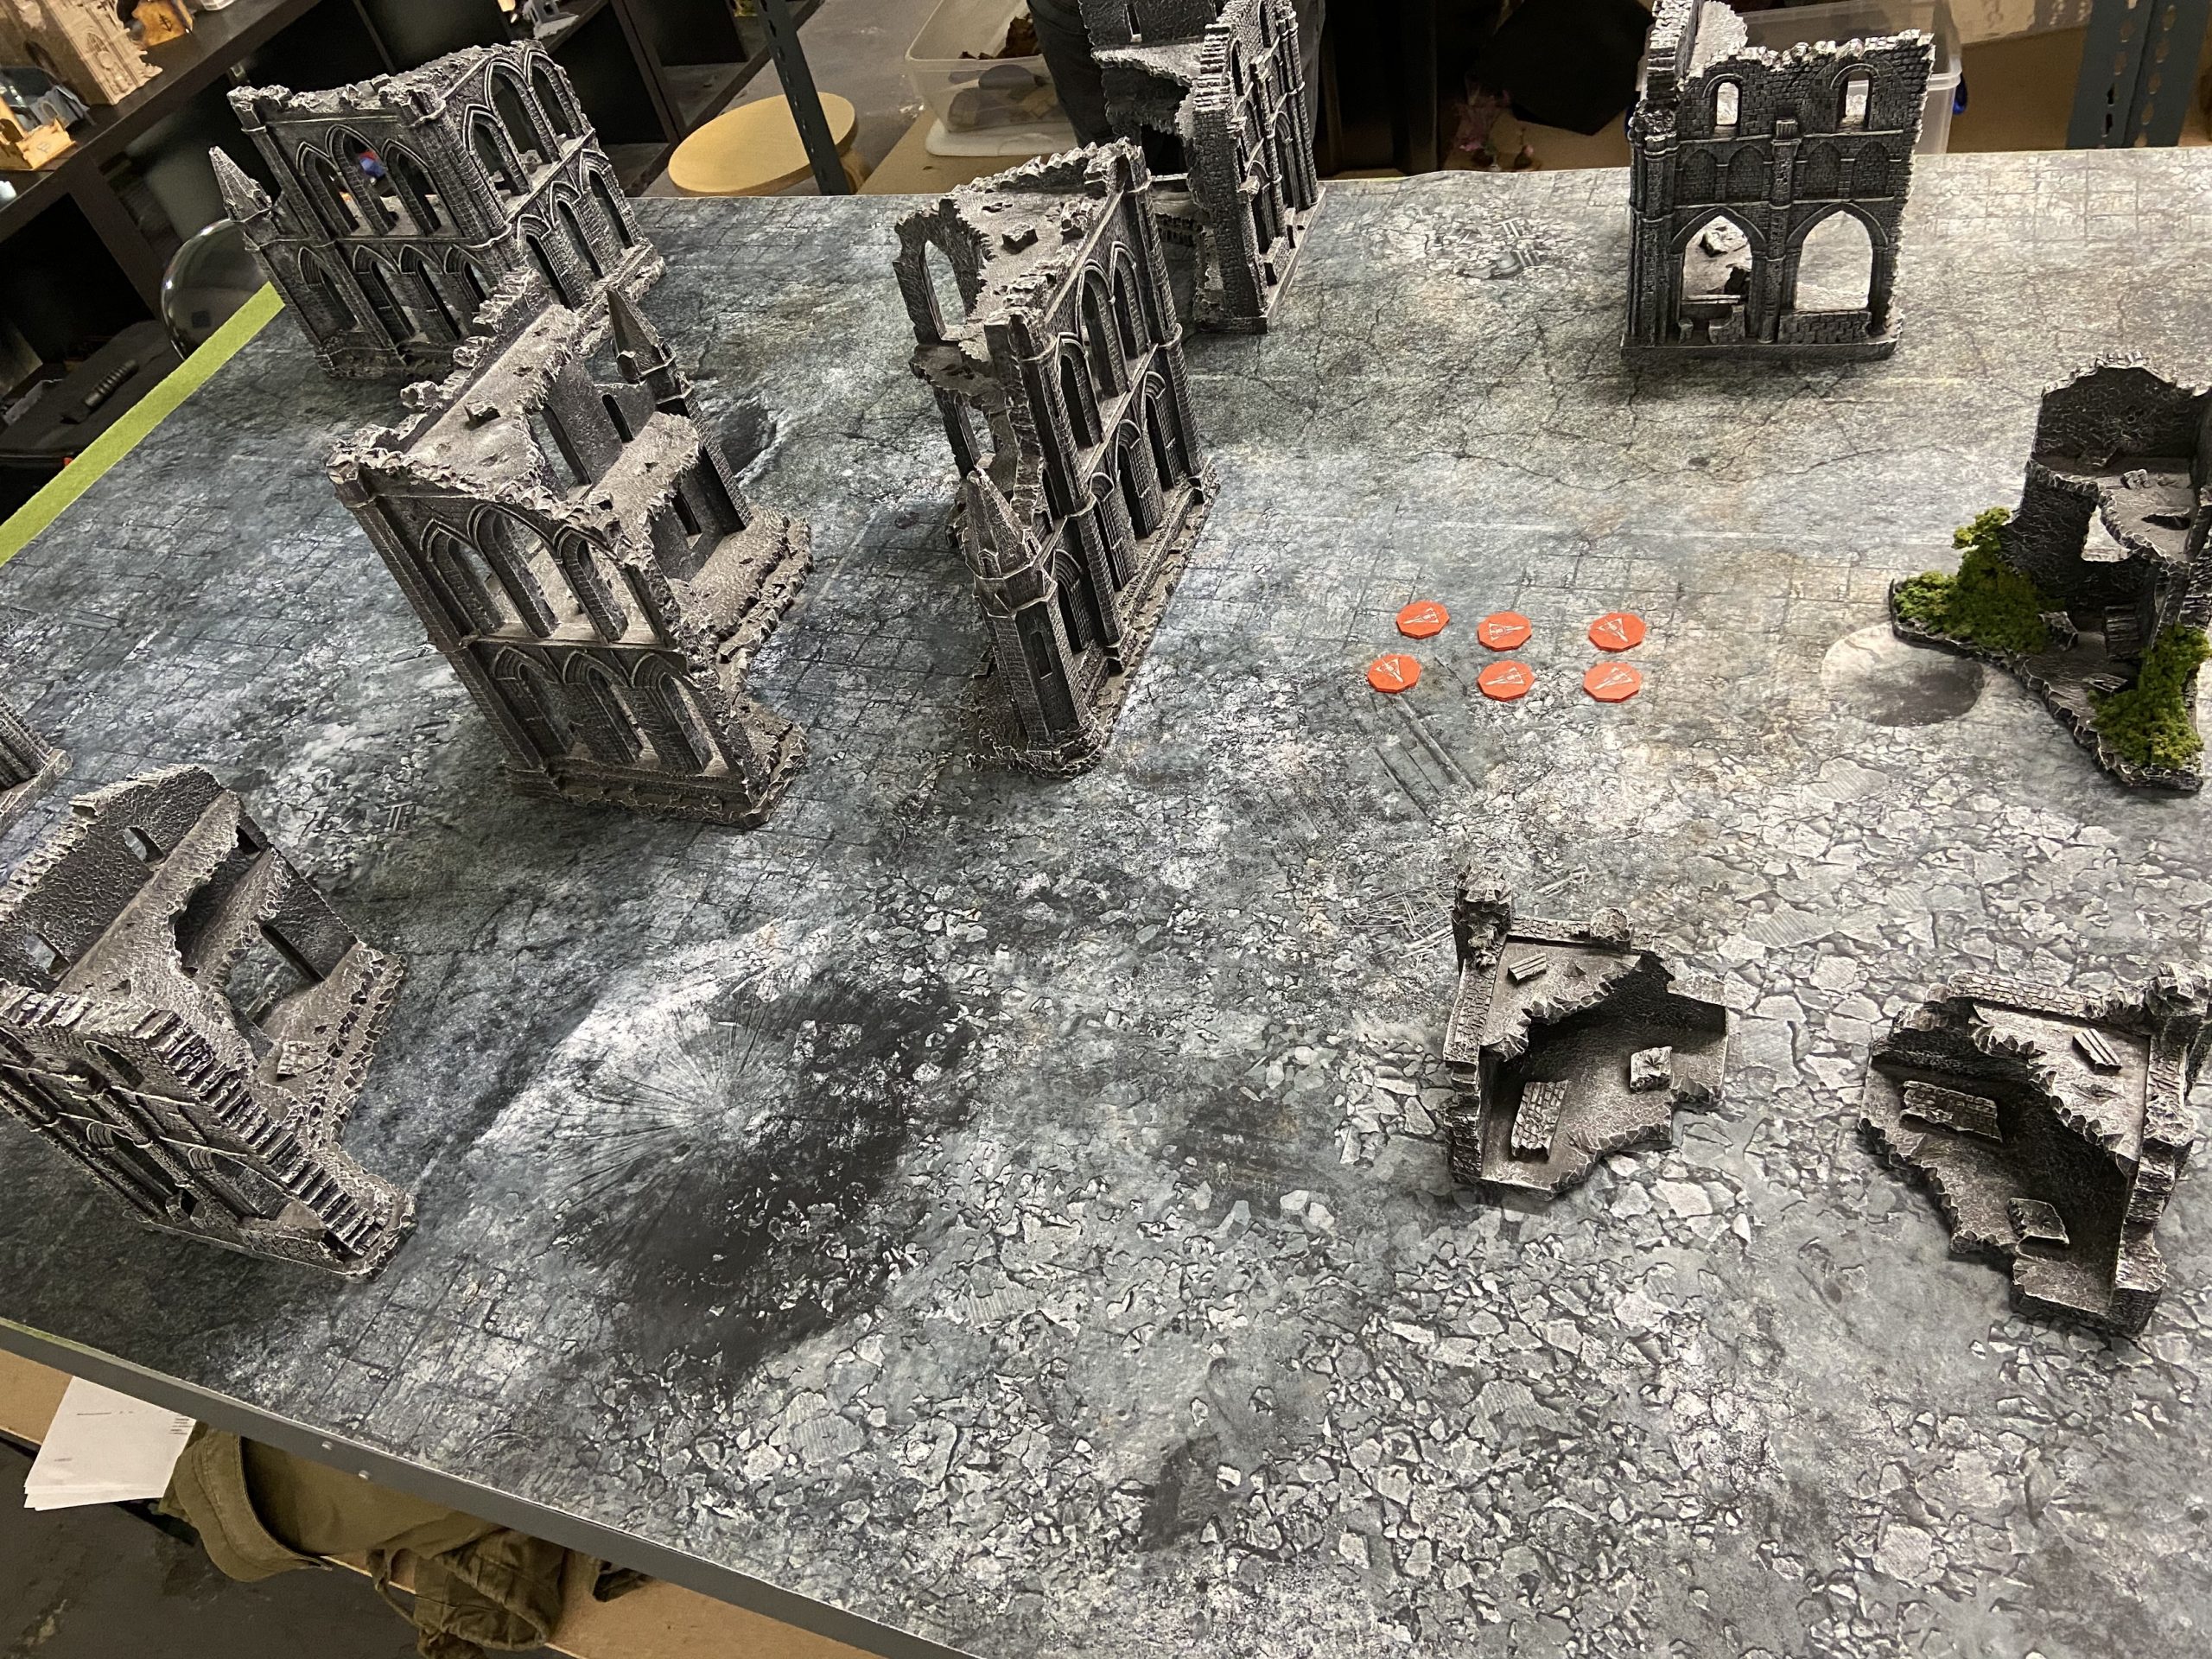
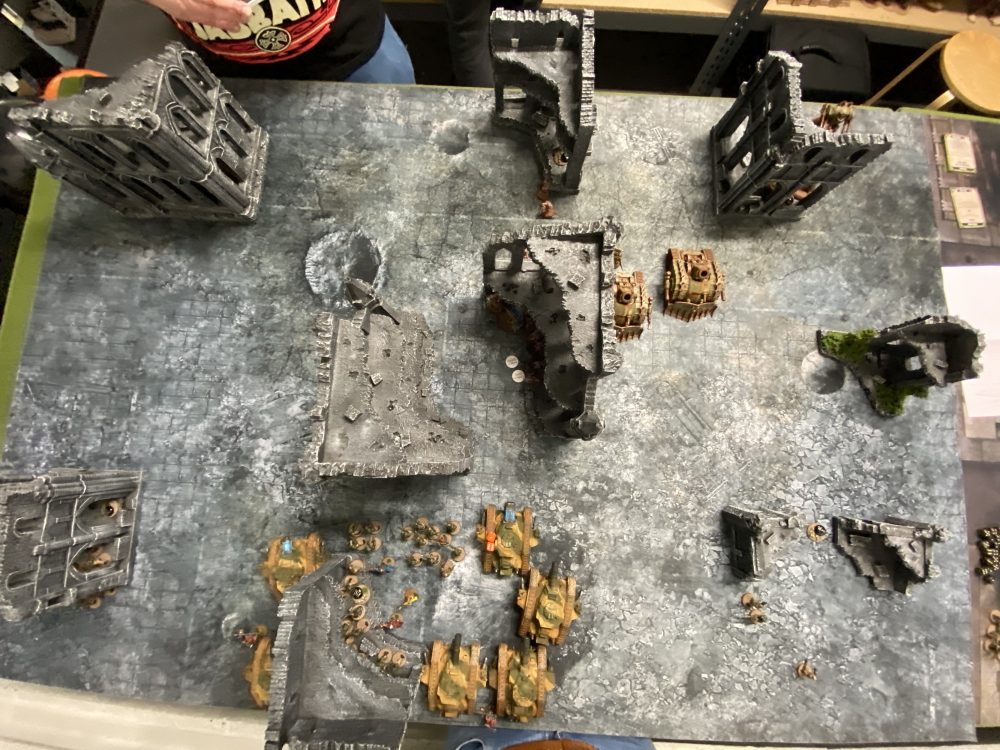
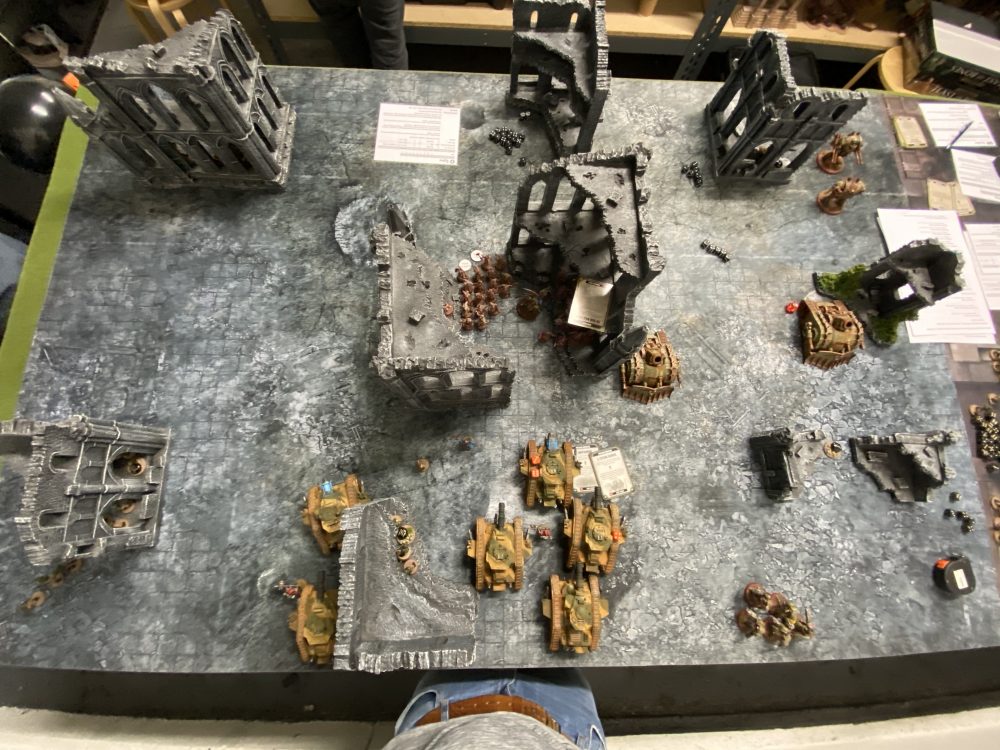
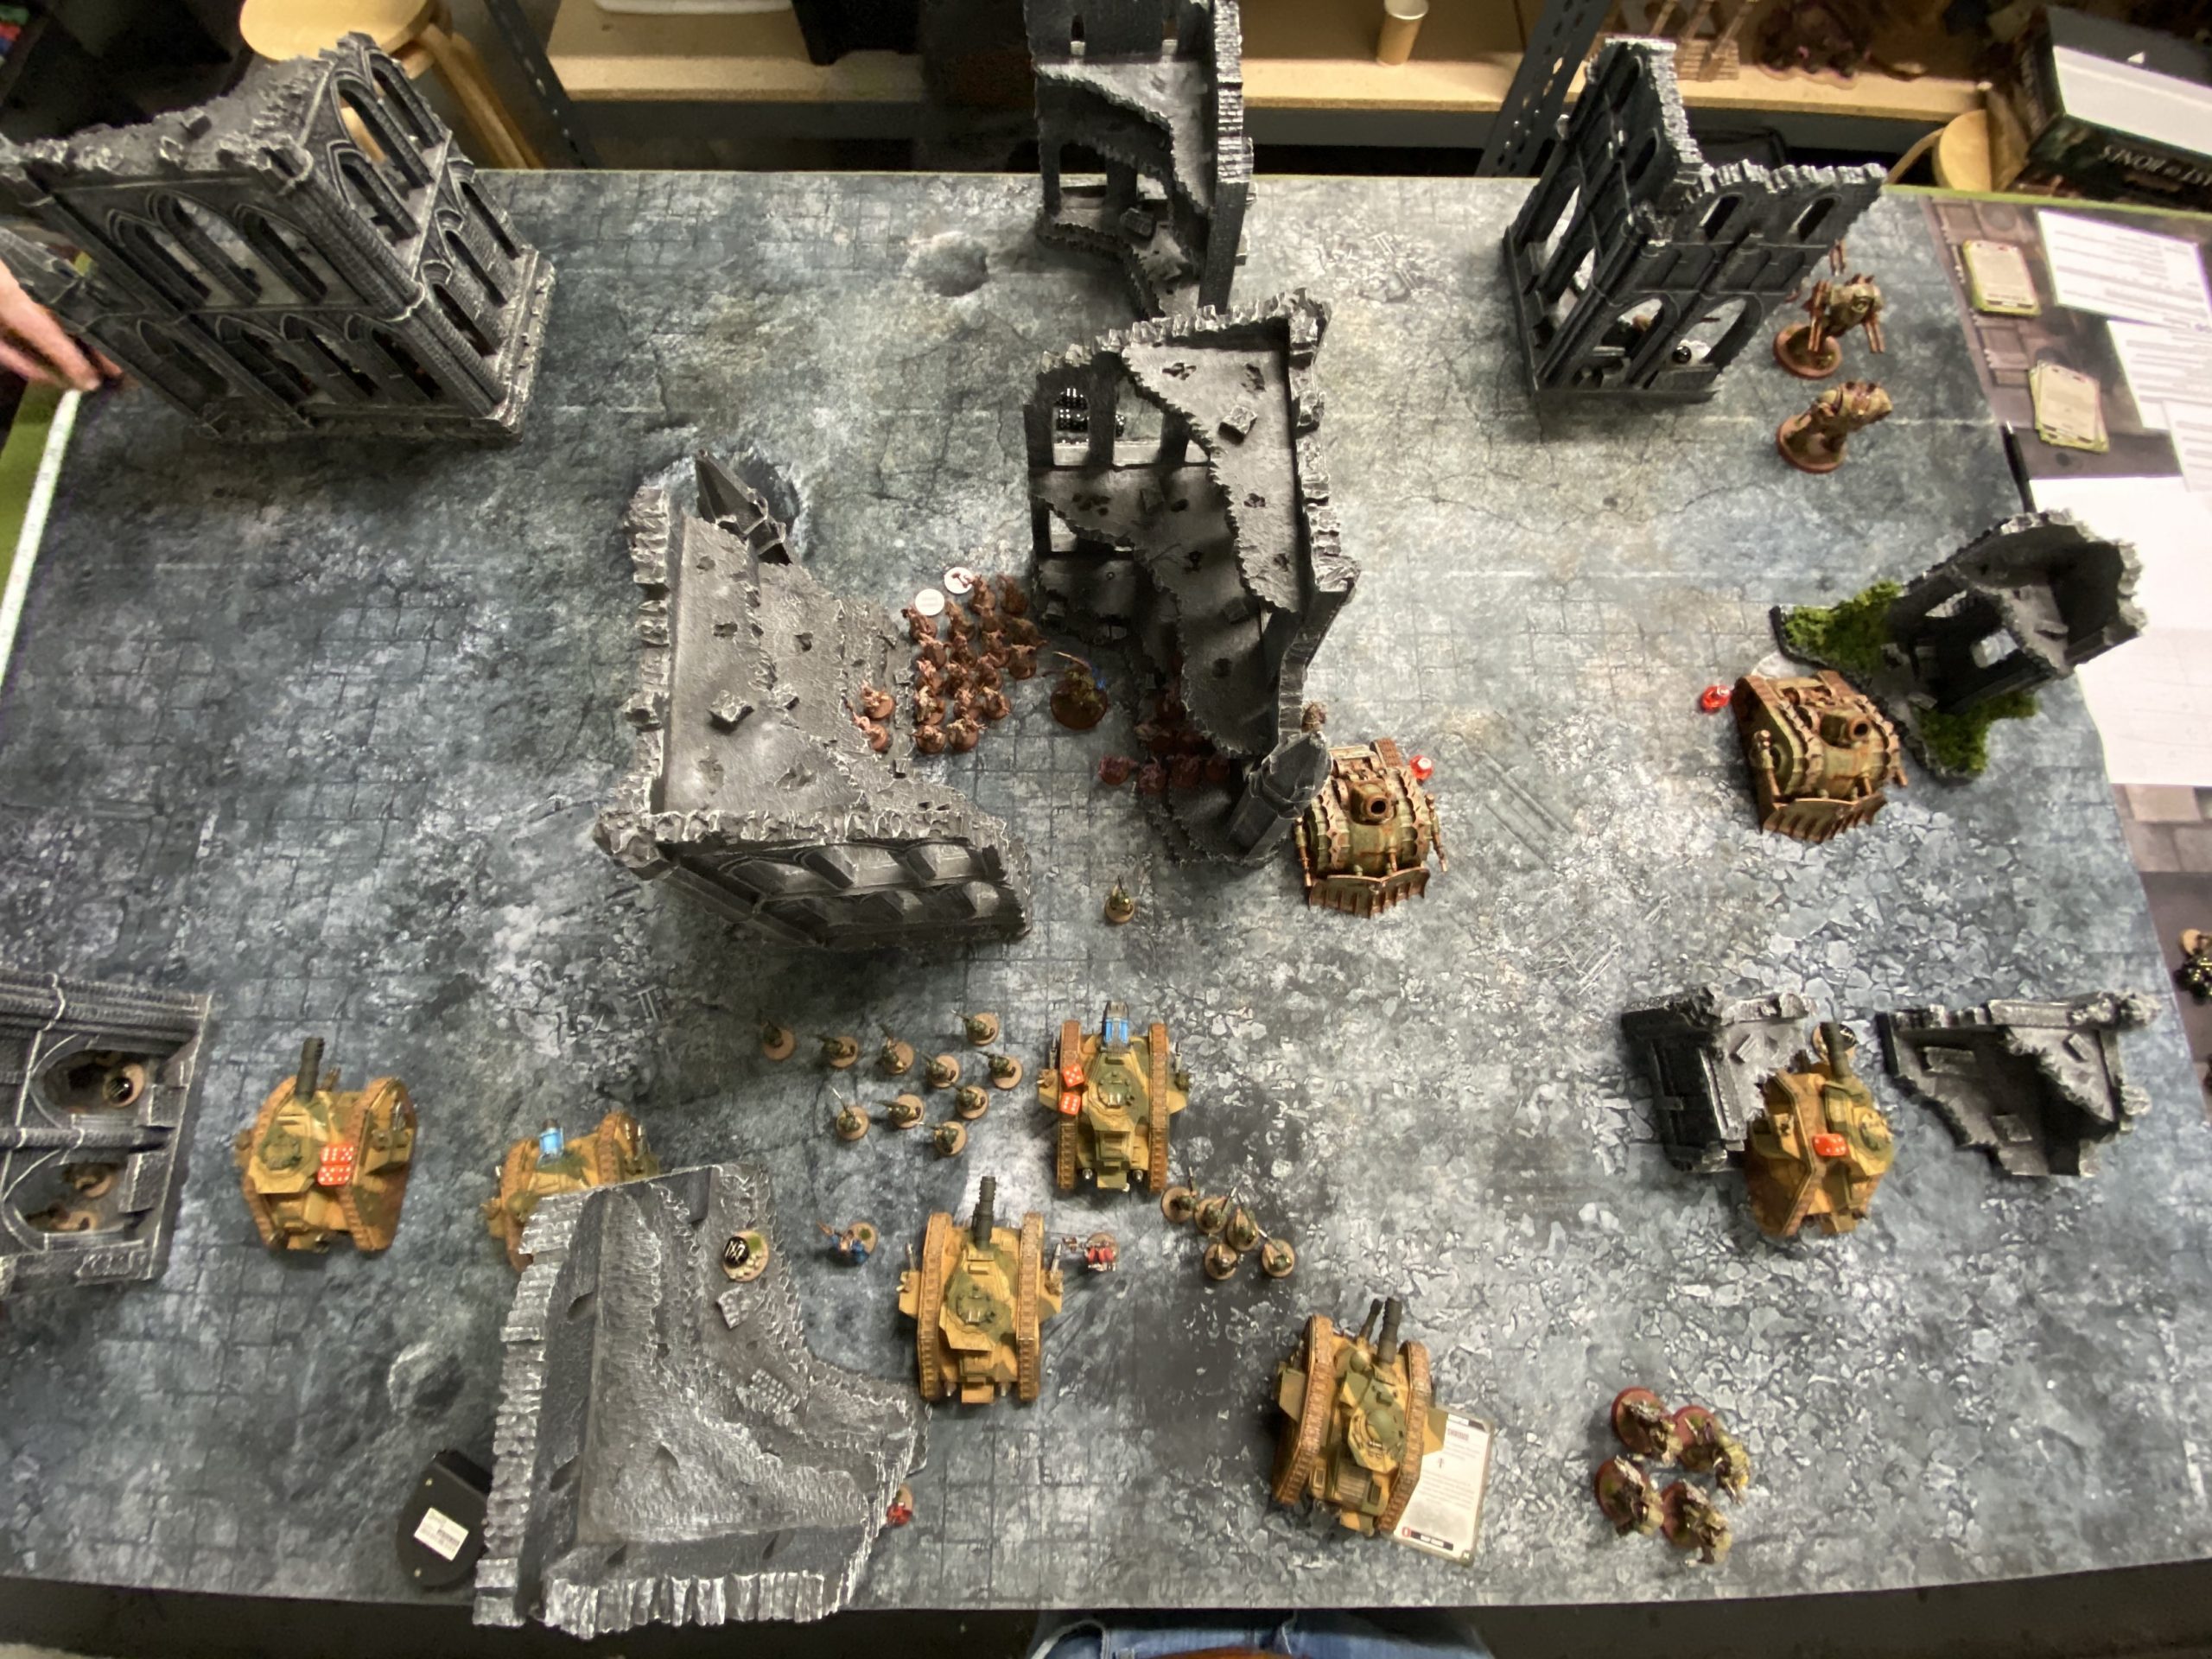
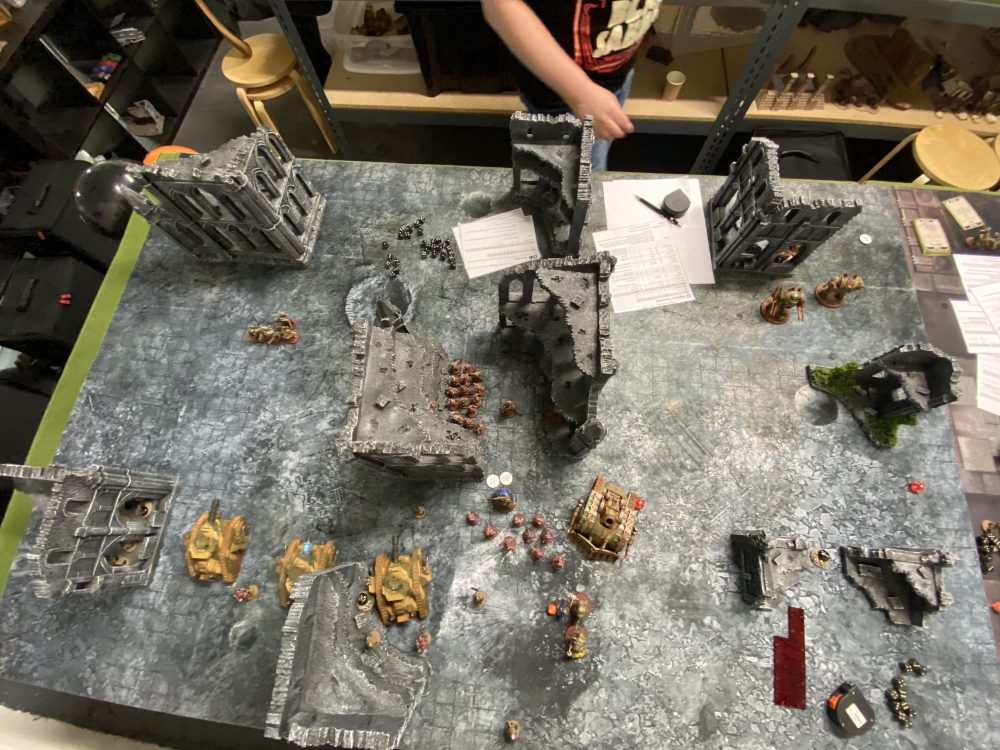
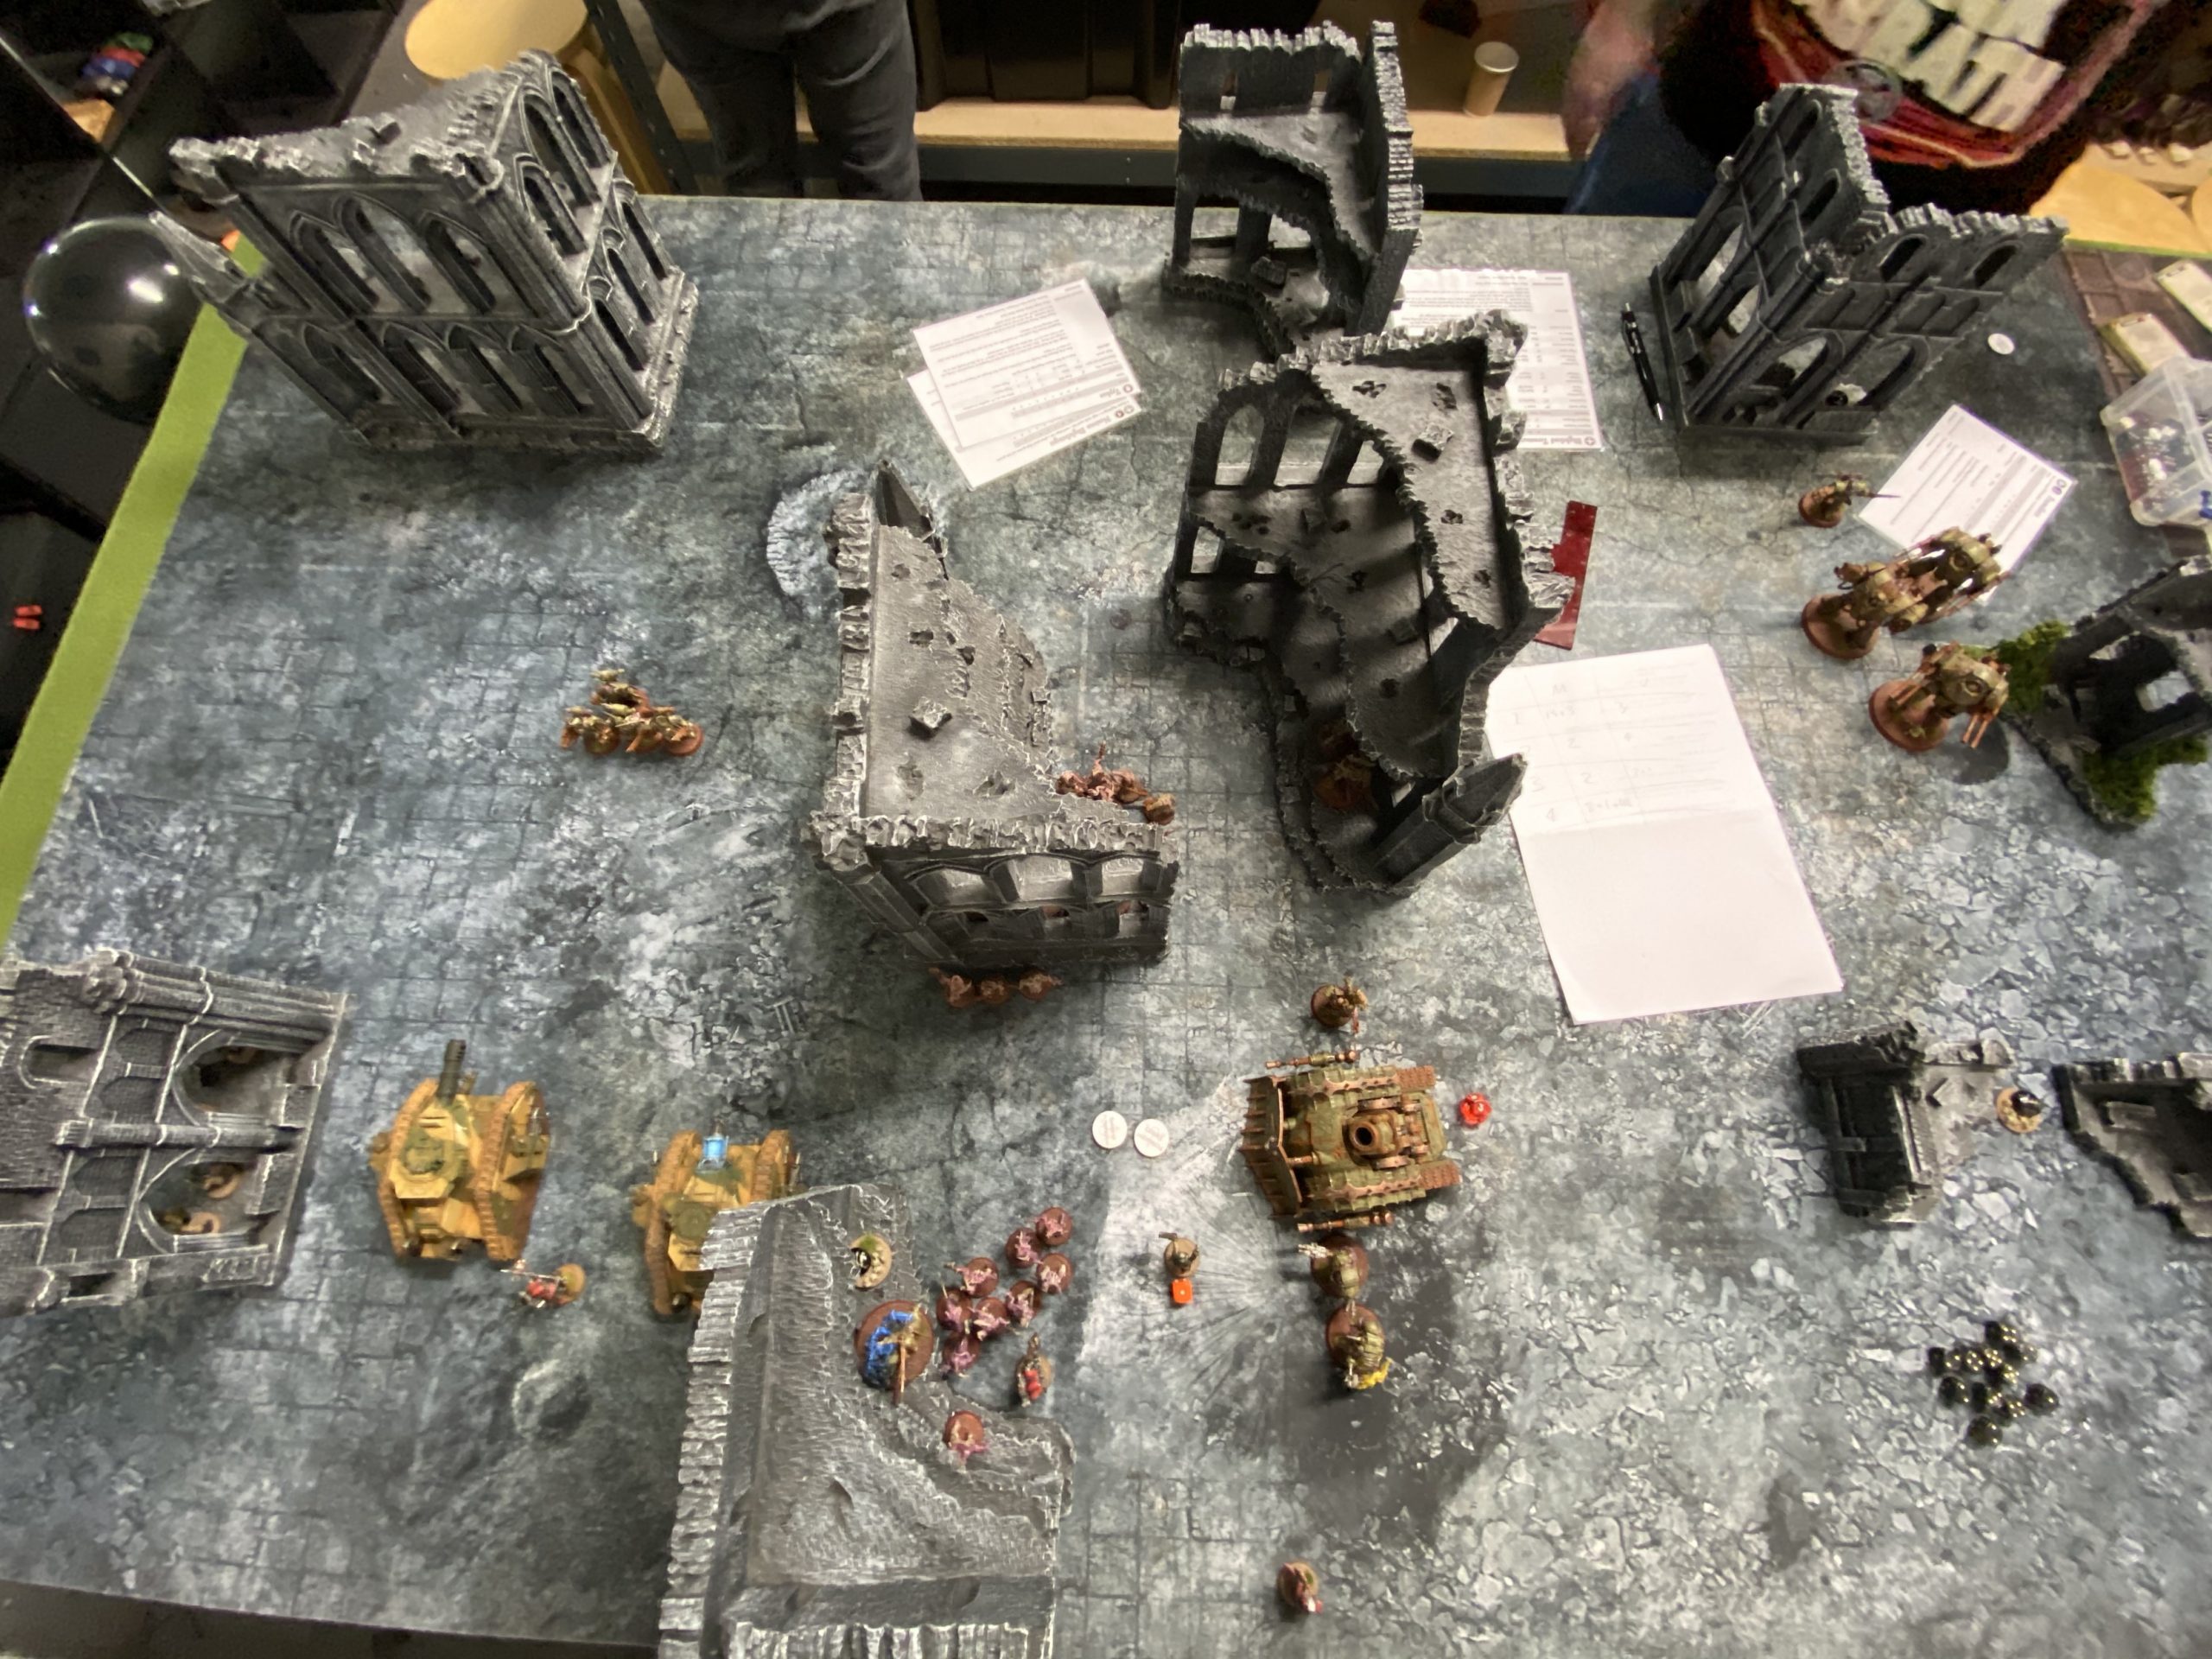
The table before objective placement – Cadians vs Death Guard
Deployment – Cadians vs Death Guard
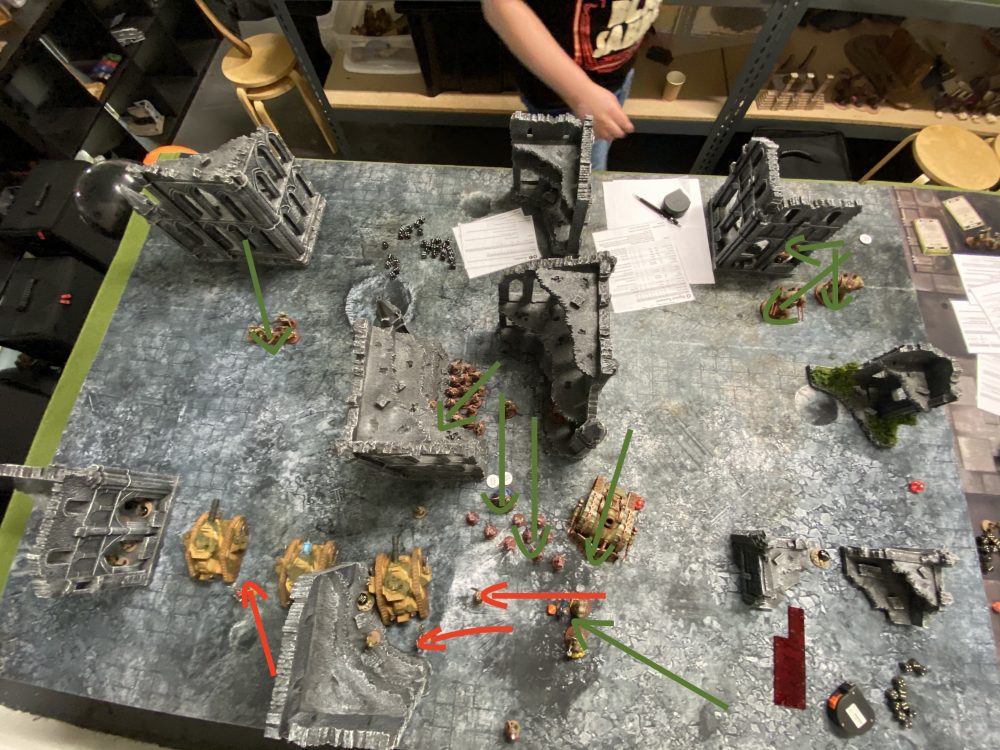
Deployment was Frontline Assault and the objectives were positioned as follows. I deployed where Player B is denoted.
This means the Death Guard would lose two objectives fairly early on – in turns 2 and 3. While I would keep objectives through turns 4 and 5.
Remember, 1 and 6 never disappear.
I piled up around objective 6 and gave a squad to objective 4 and 5.
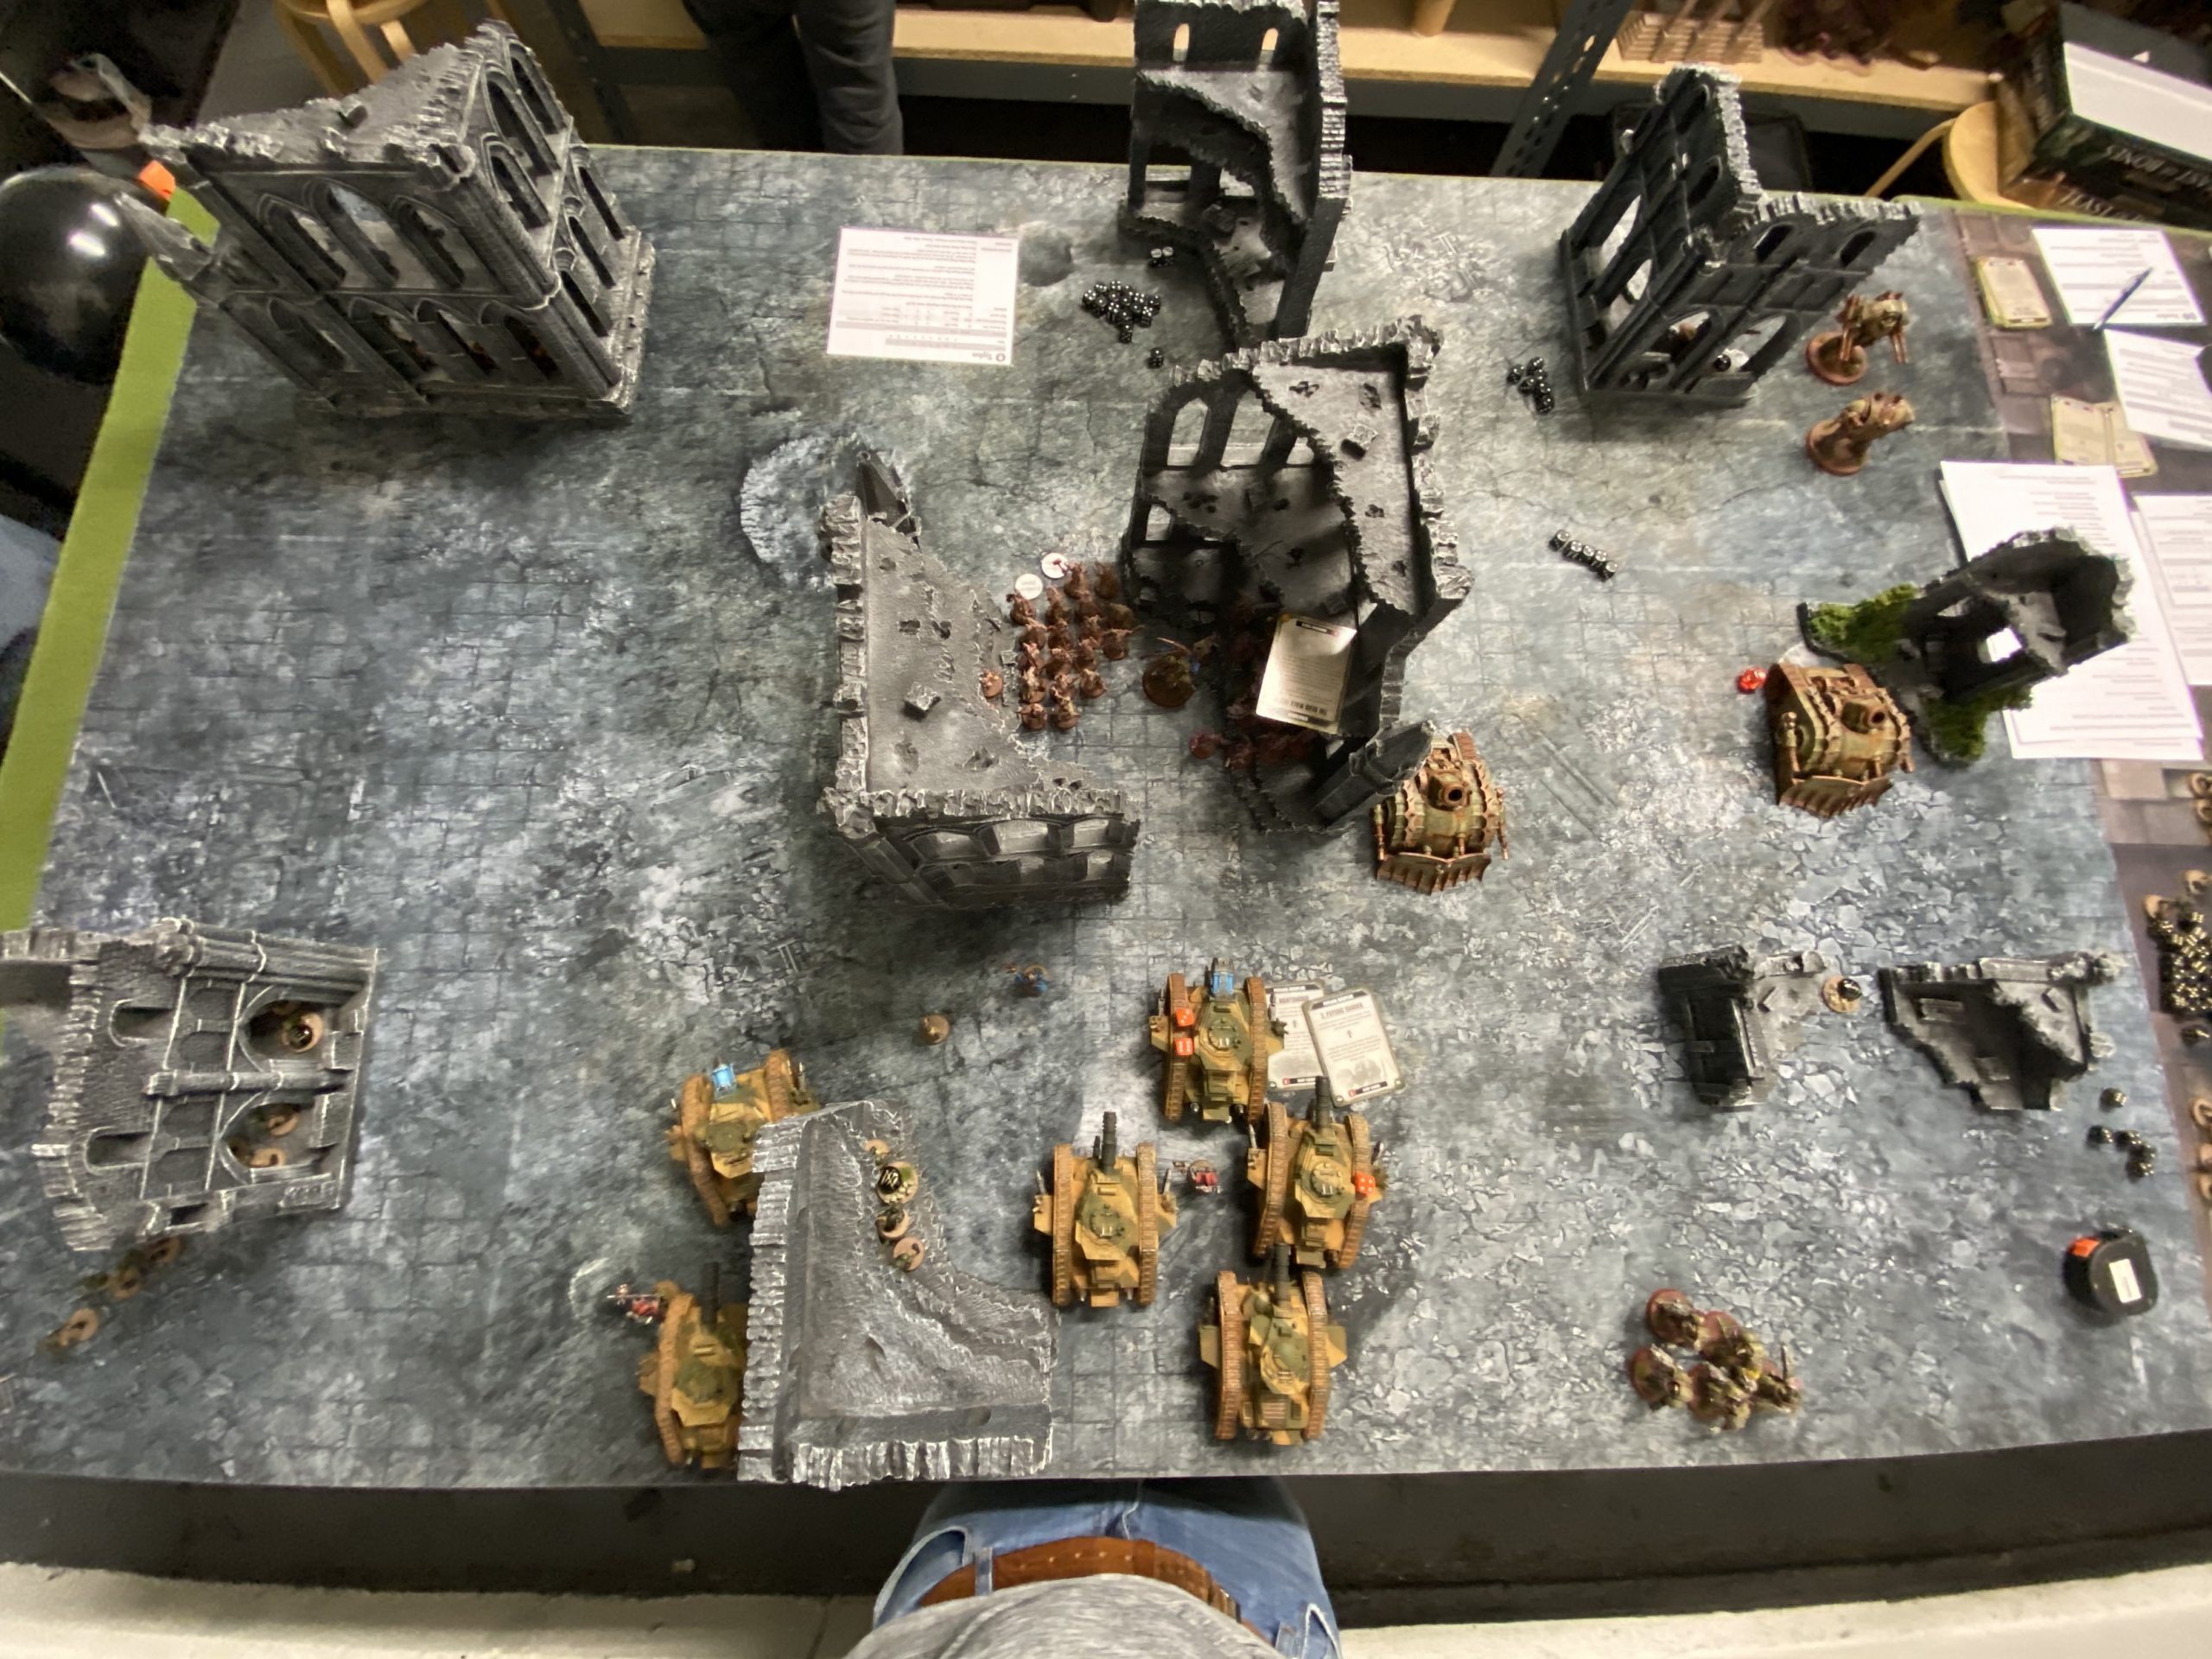
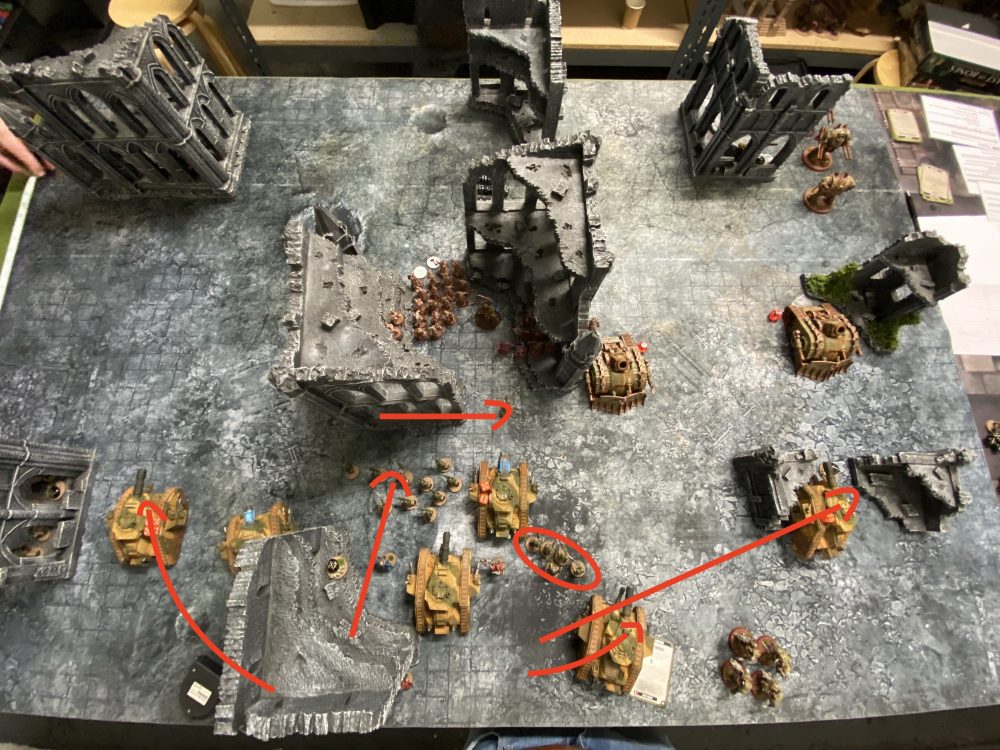
Deployment Map – Cadians vs Death Guard
Cadians vs Death Guard Deployment Gallery


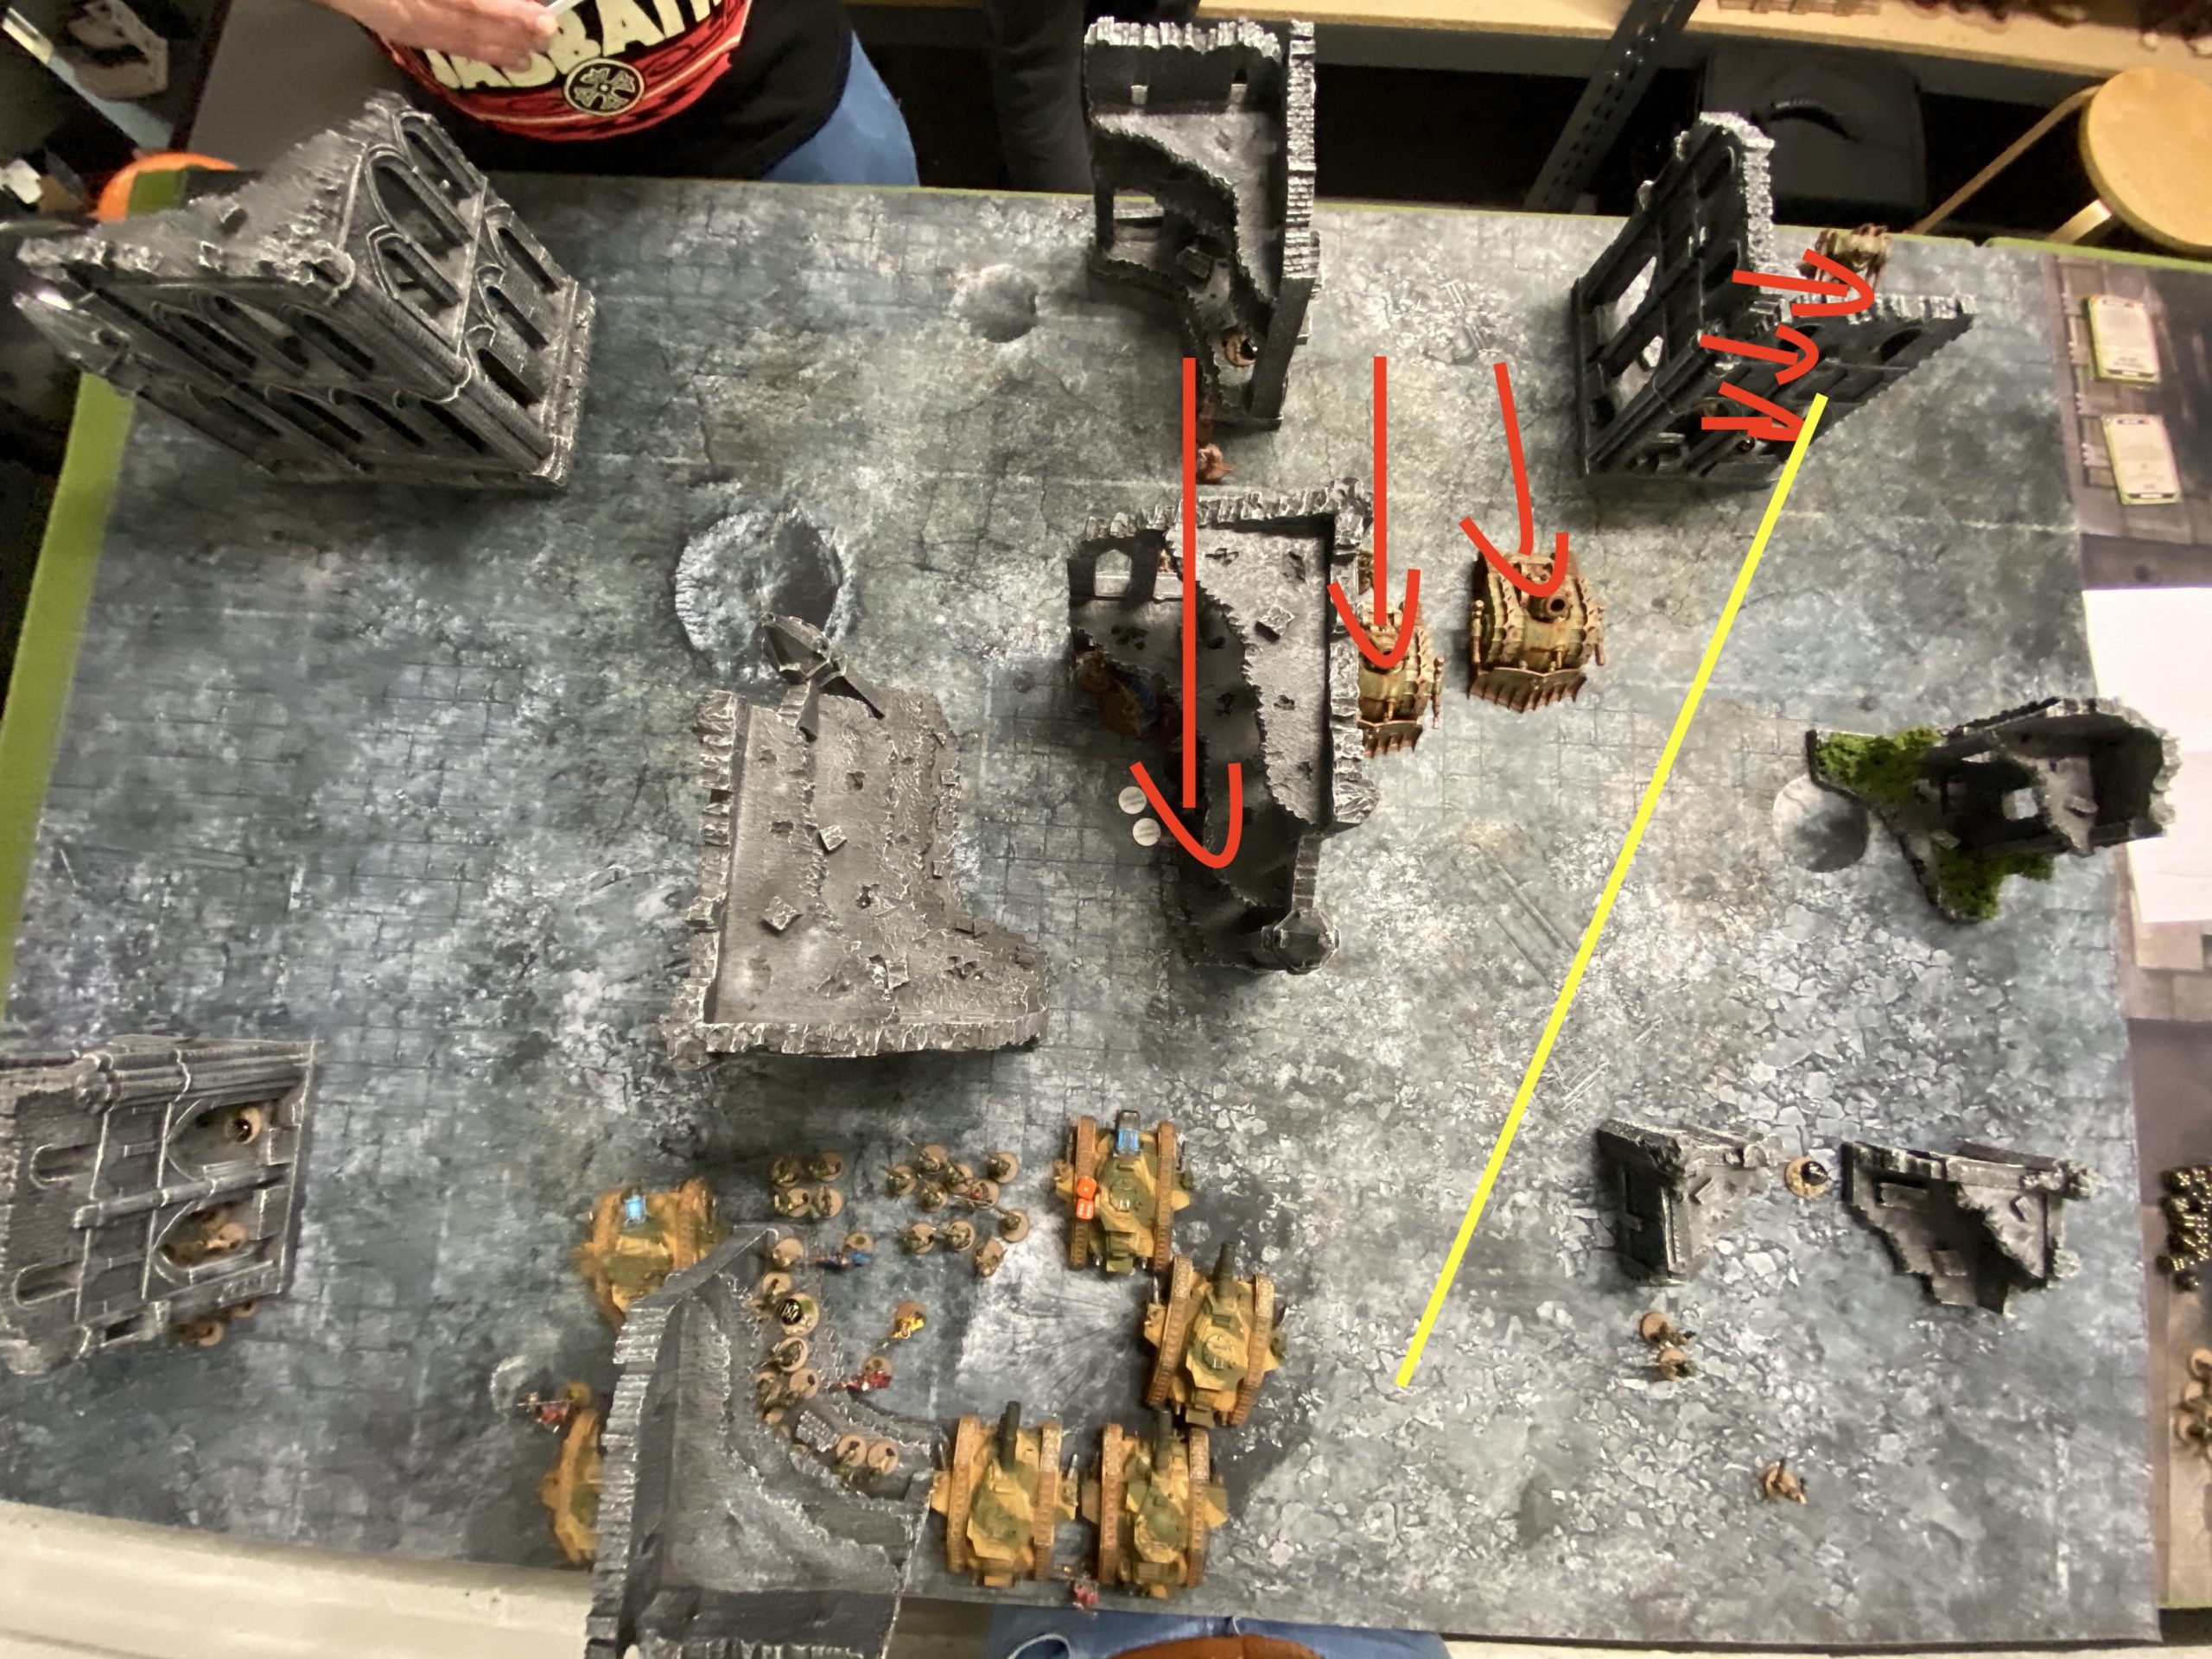
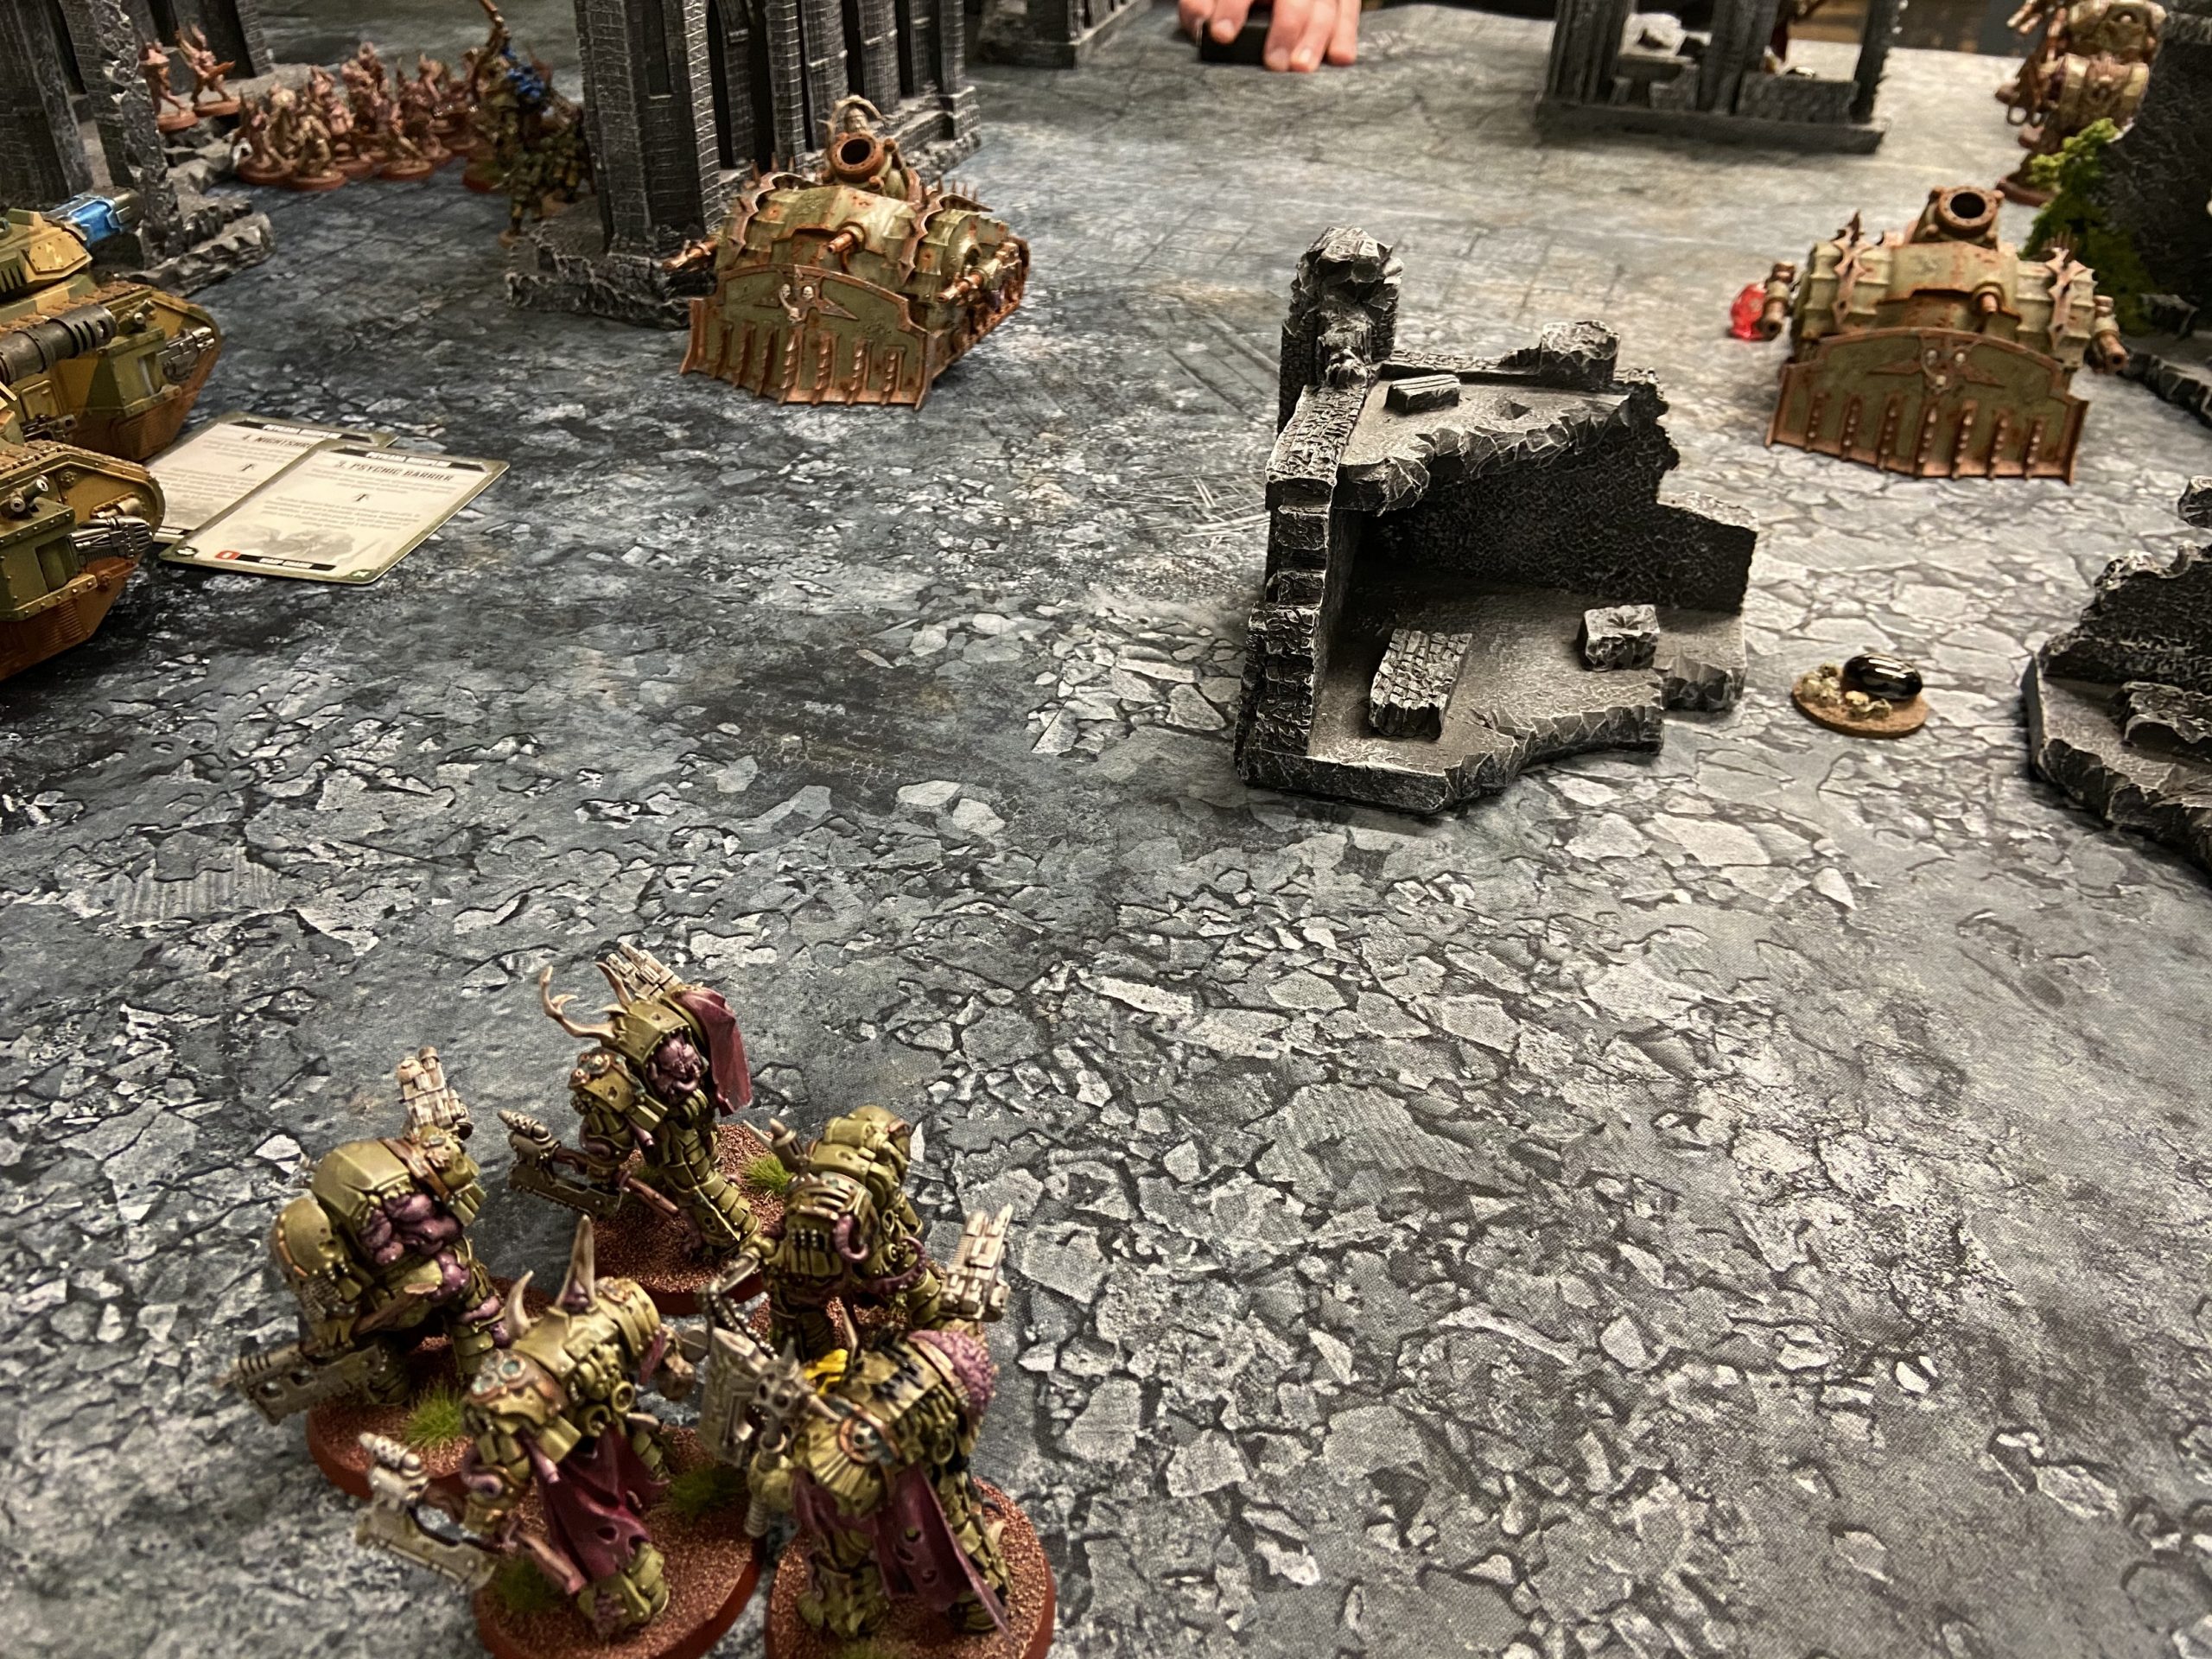
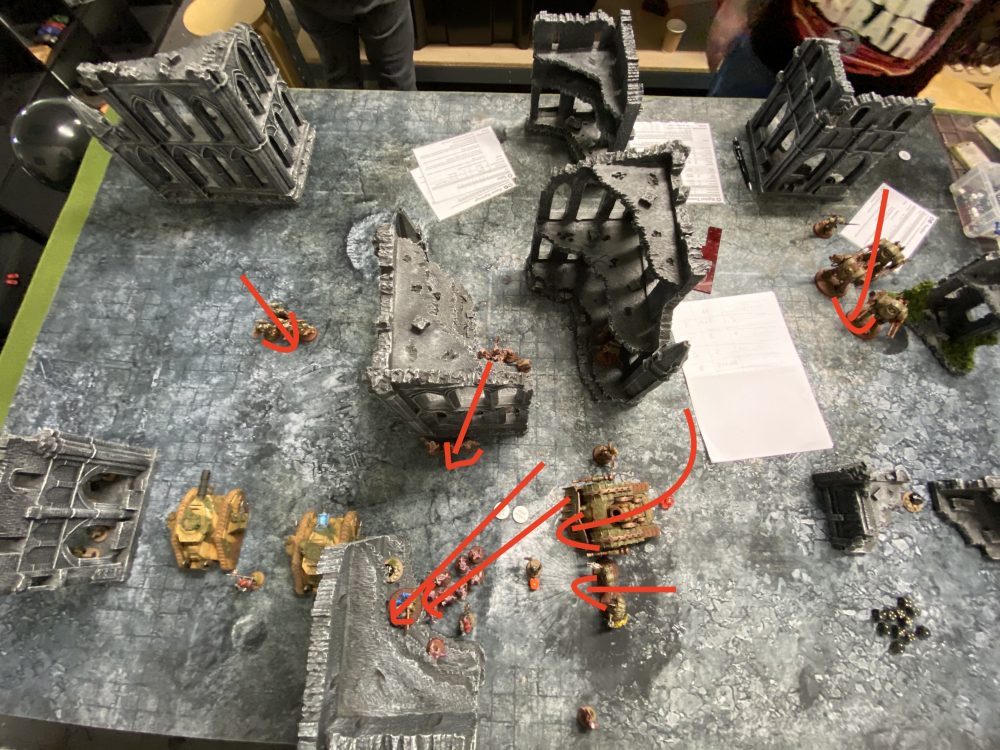
Death Guard – Turn 1
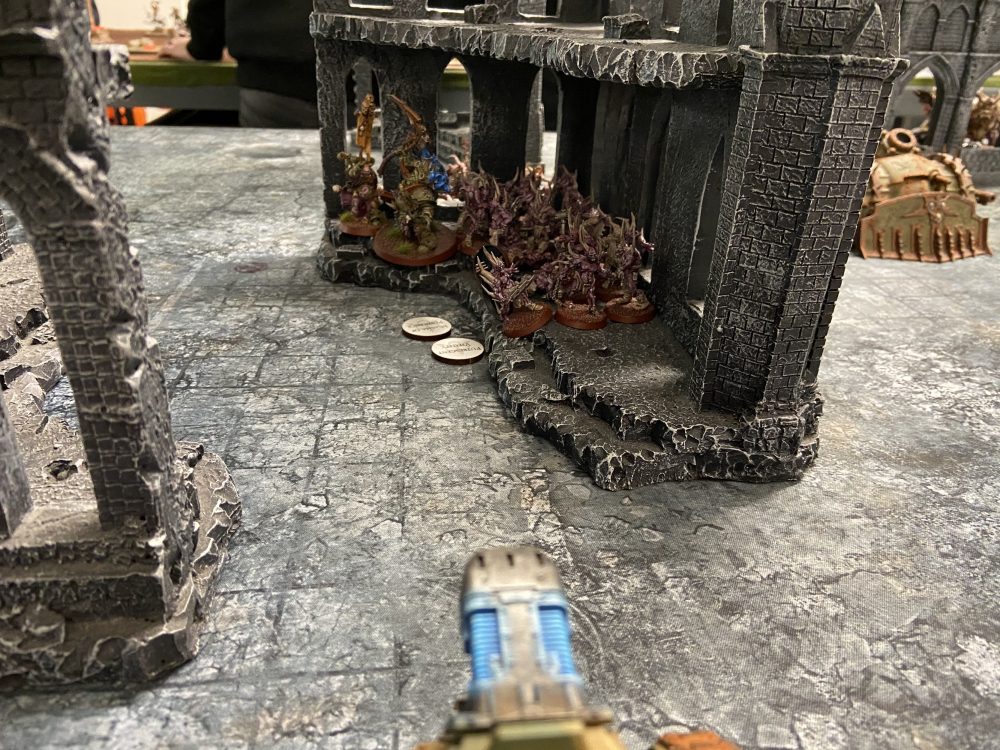
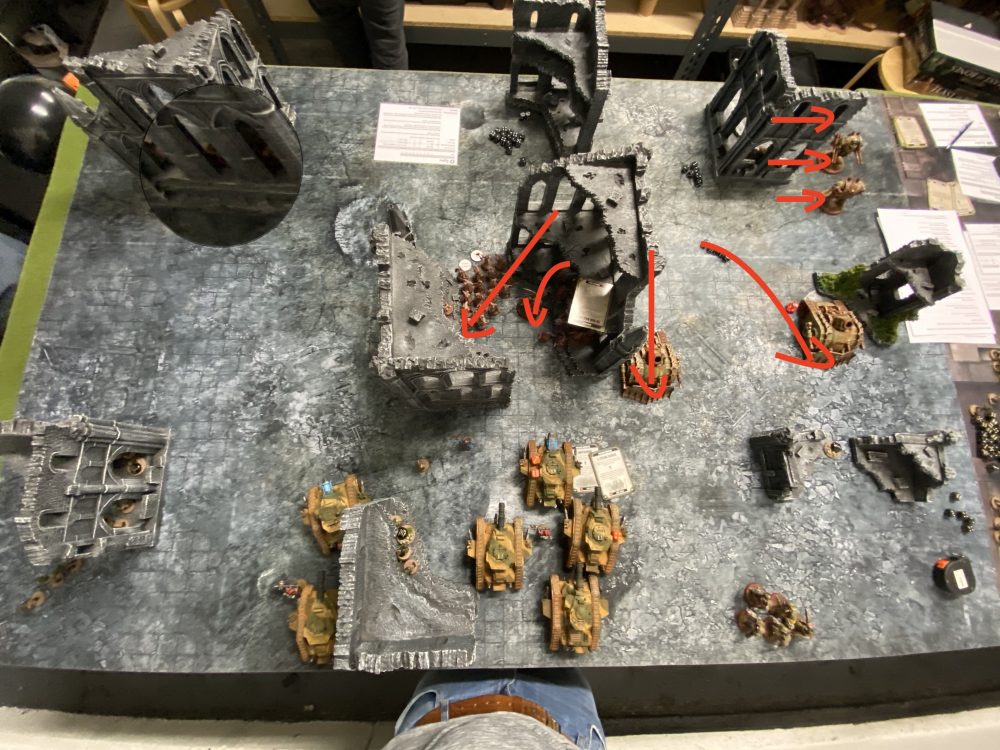
I gave away the first turn. I set up first and had the choice of going first or second. I went second because I had no targets to speak of at this point in the game. Lower floors were line-of-sight blocking. I could not see much and that should be obvious from the images below. Imagine the Death Guard had not moved – the Dreadnoughts were hidden completely and the Poxwalkers were all hidden too behind the central ruin.
The Death Guard crept forward and the Dreadnoughts all nudged out to get line-of-sight onto the Exterminator Leman Russ – which died. The Poxwalkers all Advanced and could not get a first turn charge off – which was good and planned by myself during my Deployment.
The Crawlers did some wounds on the front most Leman Russ. But nothing major. Because of so much line-of-sight blocking terrain, there was not much that either of us could see.
They held all the objectives on their side and also got First Strike.
Show Score
Death Guard: 4
Astra Militarum: 0
-
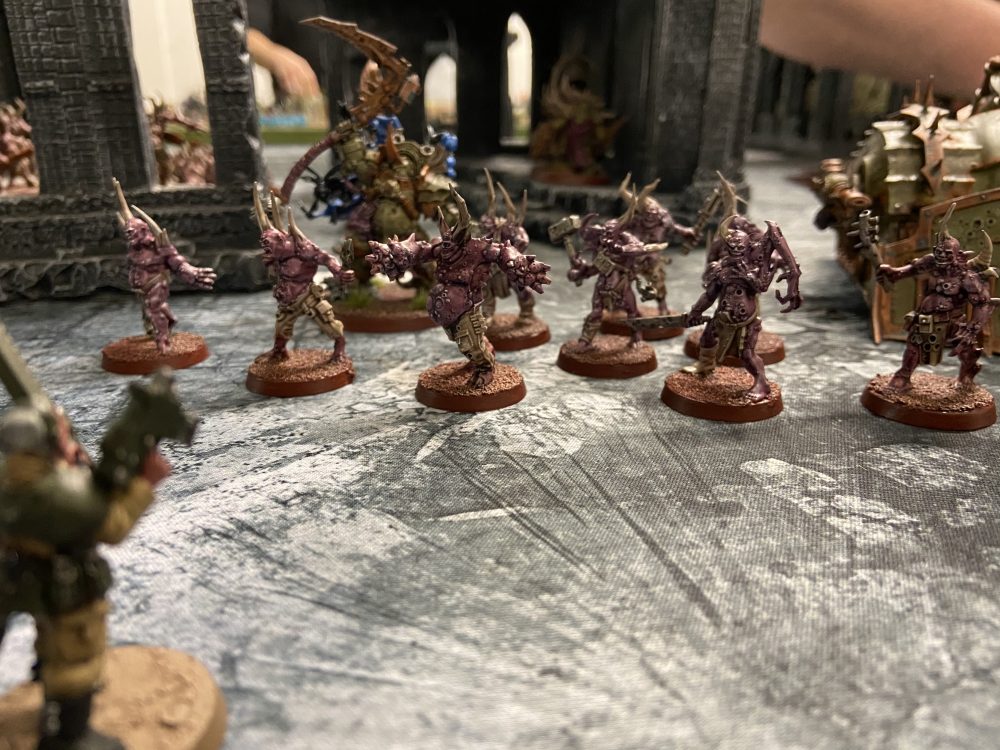
- Poxwalkers Advance
-
- Plagueburst Crawlers Advance

-
- End of Death Guard Turn 1

-

- Red is the Death Guard movement and the yellow shows the line-of-sign they had to my now dead Exterminator Leman Russ
Astra Militarum – Turn 1
With the objectives coming my way and disappearing from the enemy’s side of the battlefield there was little point in me going forward. I would be dead before I reached their permanent objective and the other objectives would all be gone by the start of turn 3.
I, therefore, mainly stayed put. They would come to me.
I popped Nightshroud and Psychic Barrier onto the wounded Leman Russ. Then healed it up three wounds using a Tech-Priest.
I popped the Lost Relic of Cadia off which gave me re-roll of hits and wounds. It was at this point I saw how the game could go. I failed to kill a unit at this point. In this first turn, with only one Leman Russ destroyed, I was at my most powerful. Plus I used Lost Relic of Cadia so my force was buffed to the max too. I failed to finish off a Plagueburst Crawler and the unit of Poxwalkers.
Pask did 5 wounds against one of the Crawlers with his Lascannon. Only 2 went through thanks to Disgustingly Resilient. So not only were the dice not working for me, they were working for Papa Nurgle. I also had five shots at the Poxwalkers with Pask. He was -1 to hit because of a power cast onto the enemy unit. He missed every single shot.
The Crawler I did go after was down to 5 wounds.
Show Score
Death Guard: 4
Astra Militarum: 3
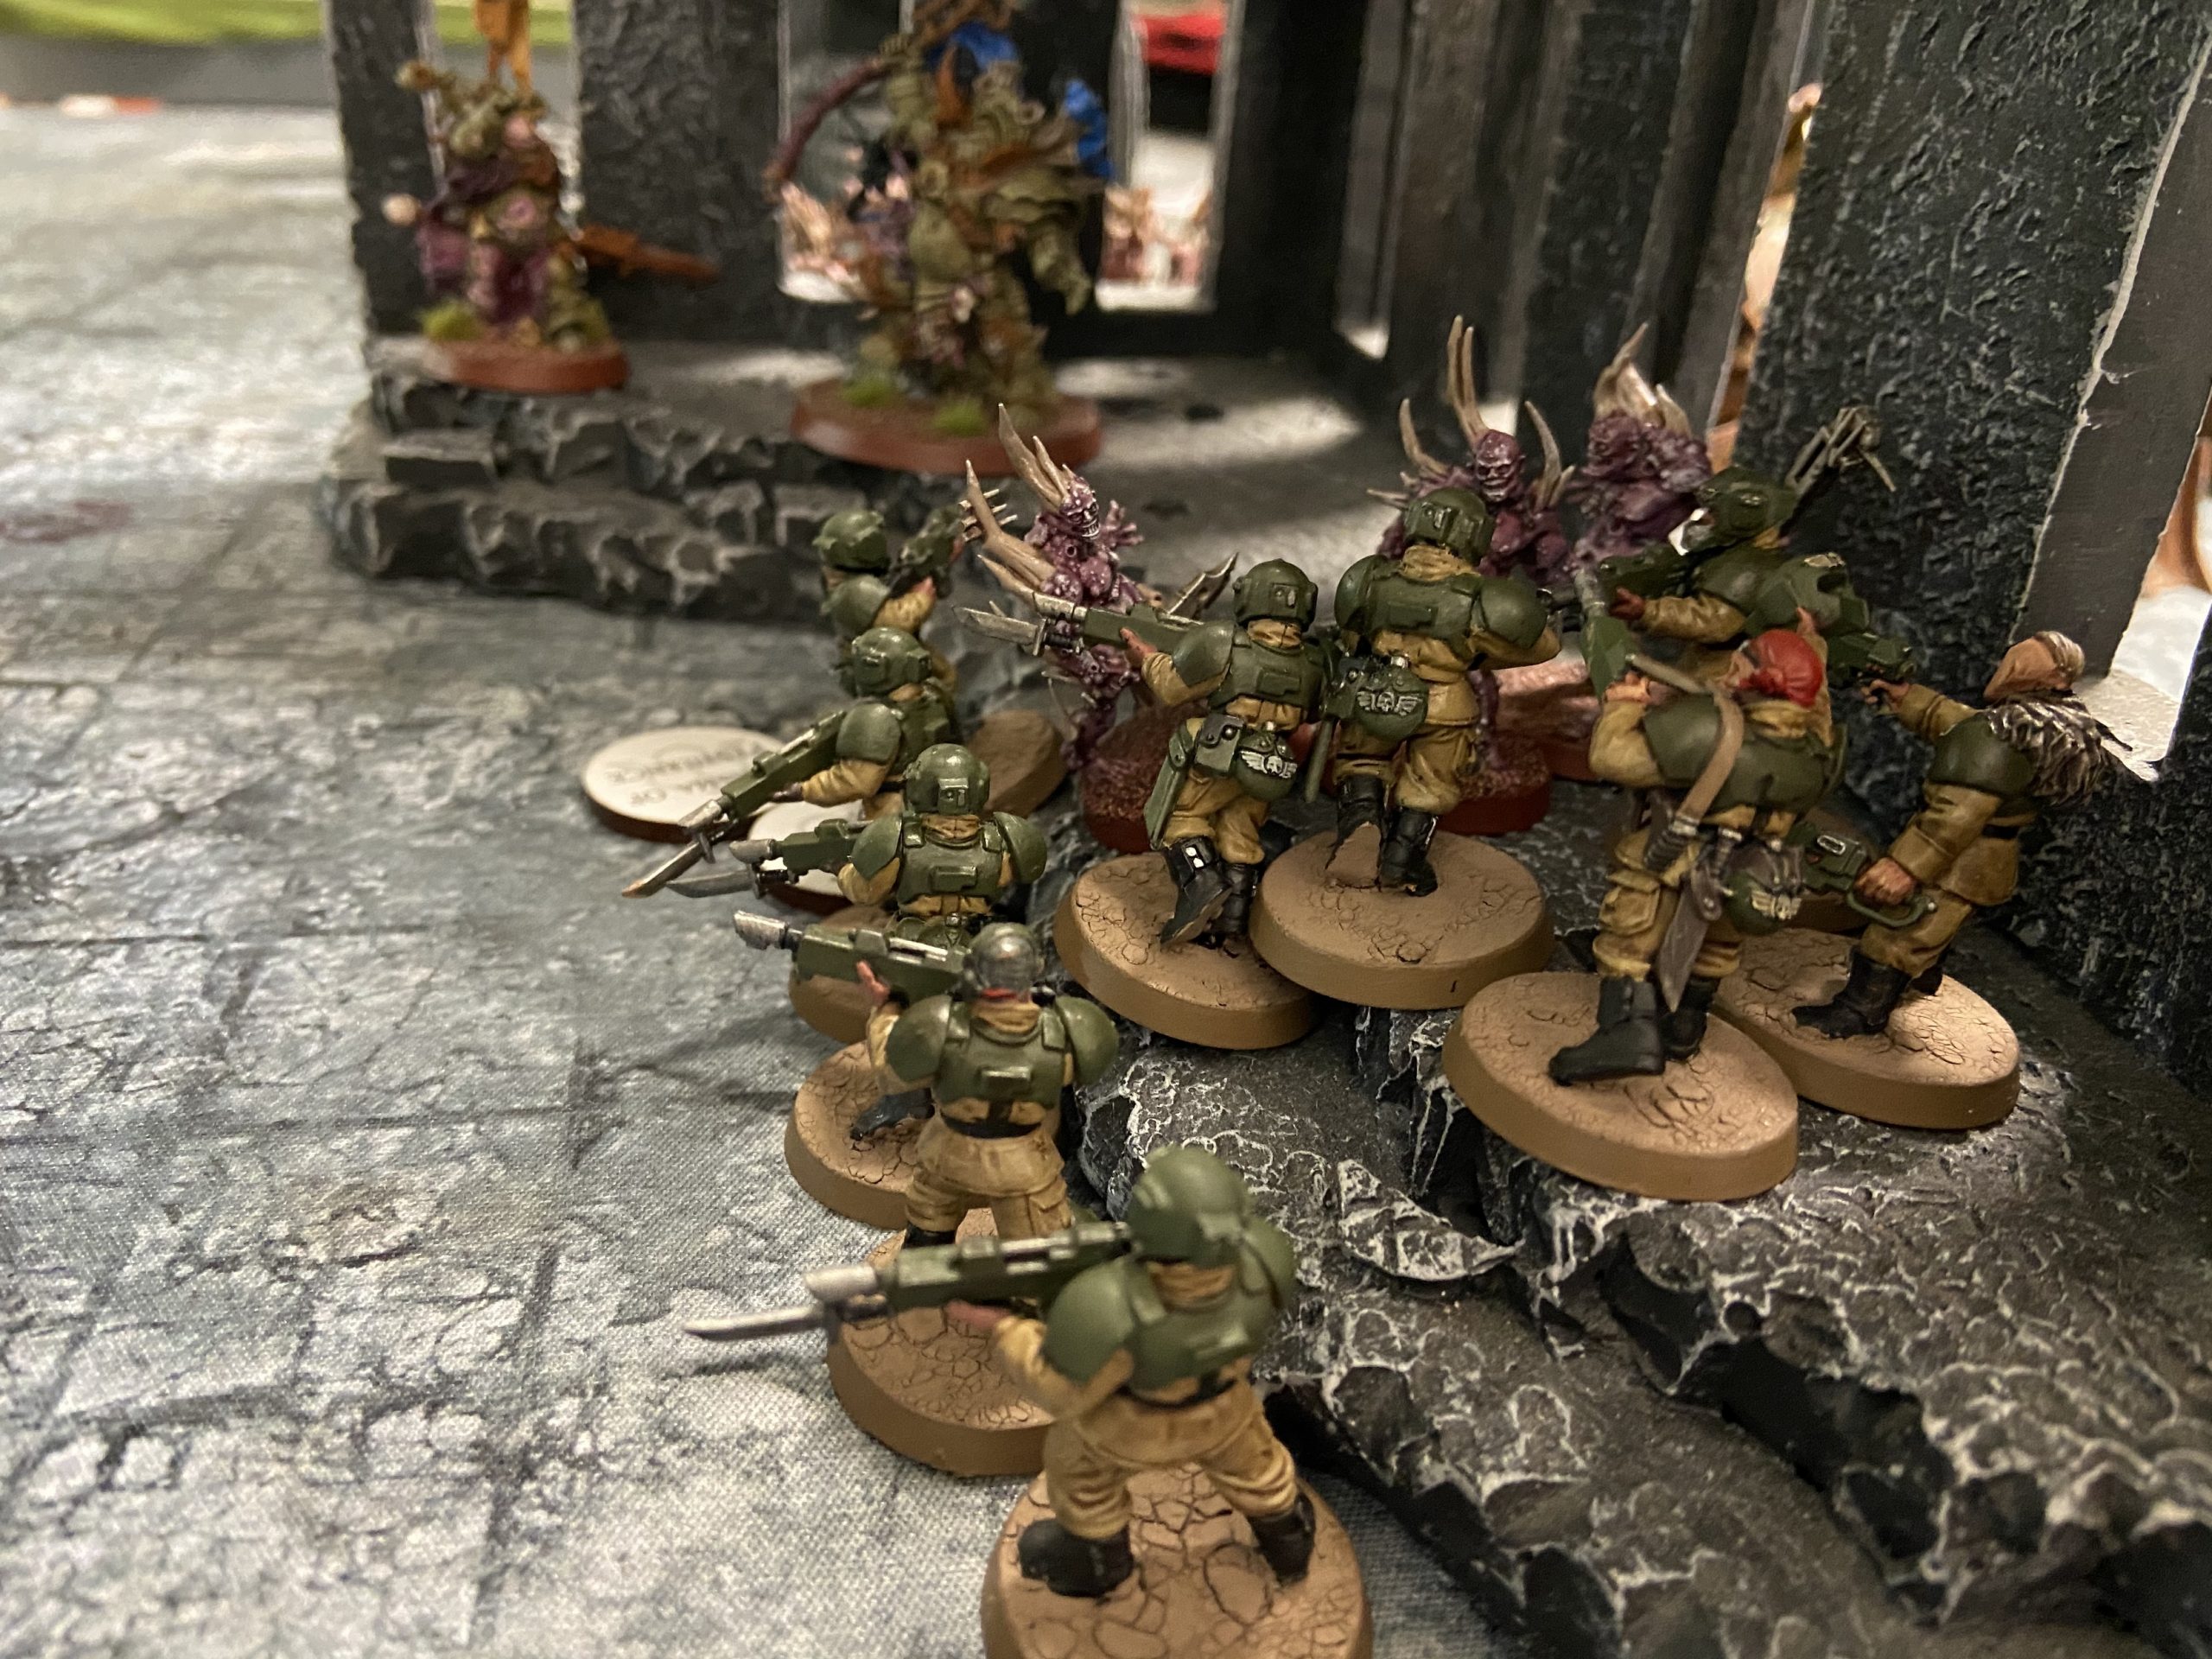
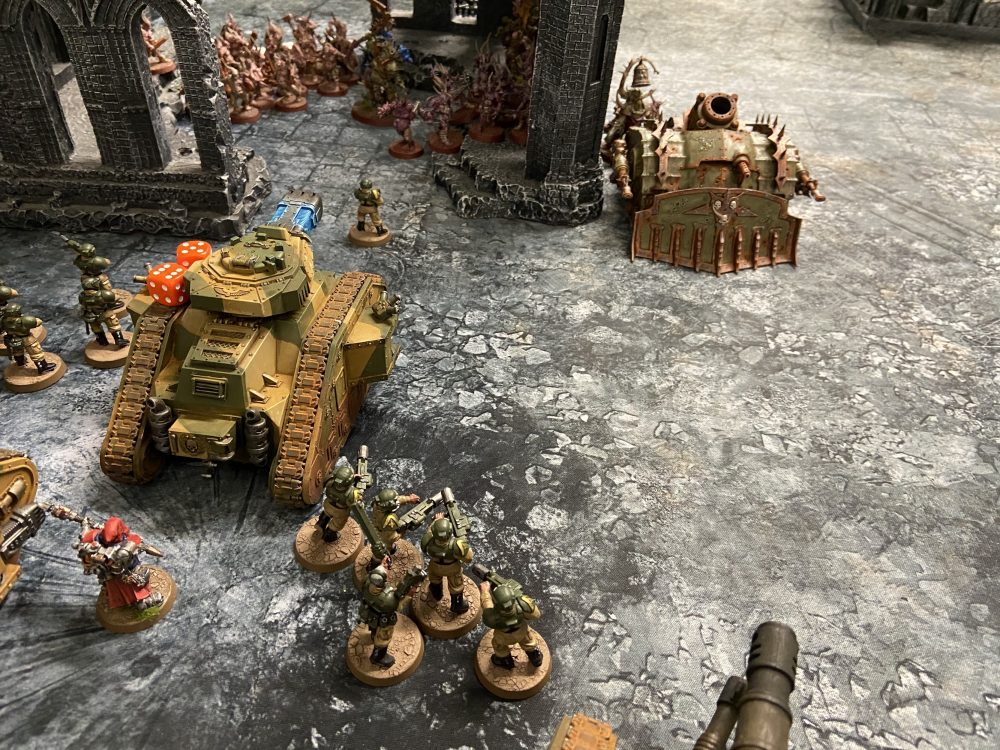
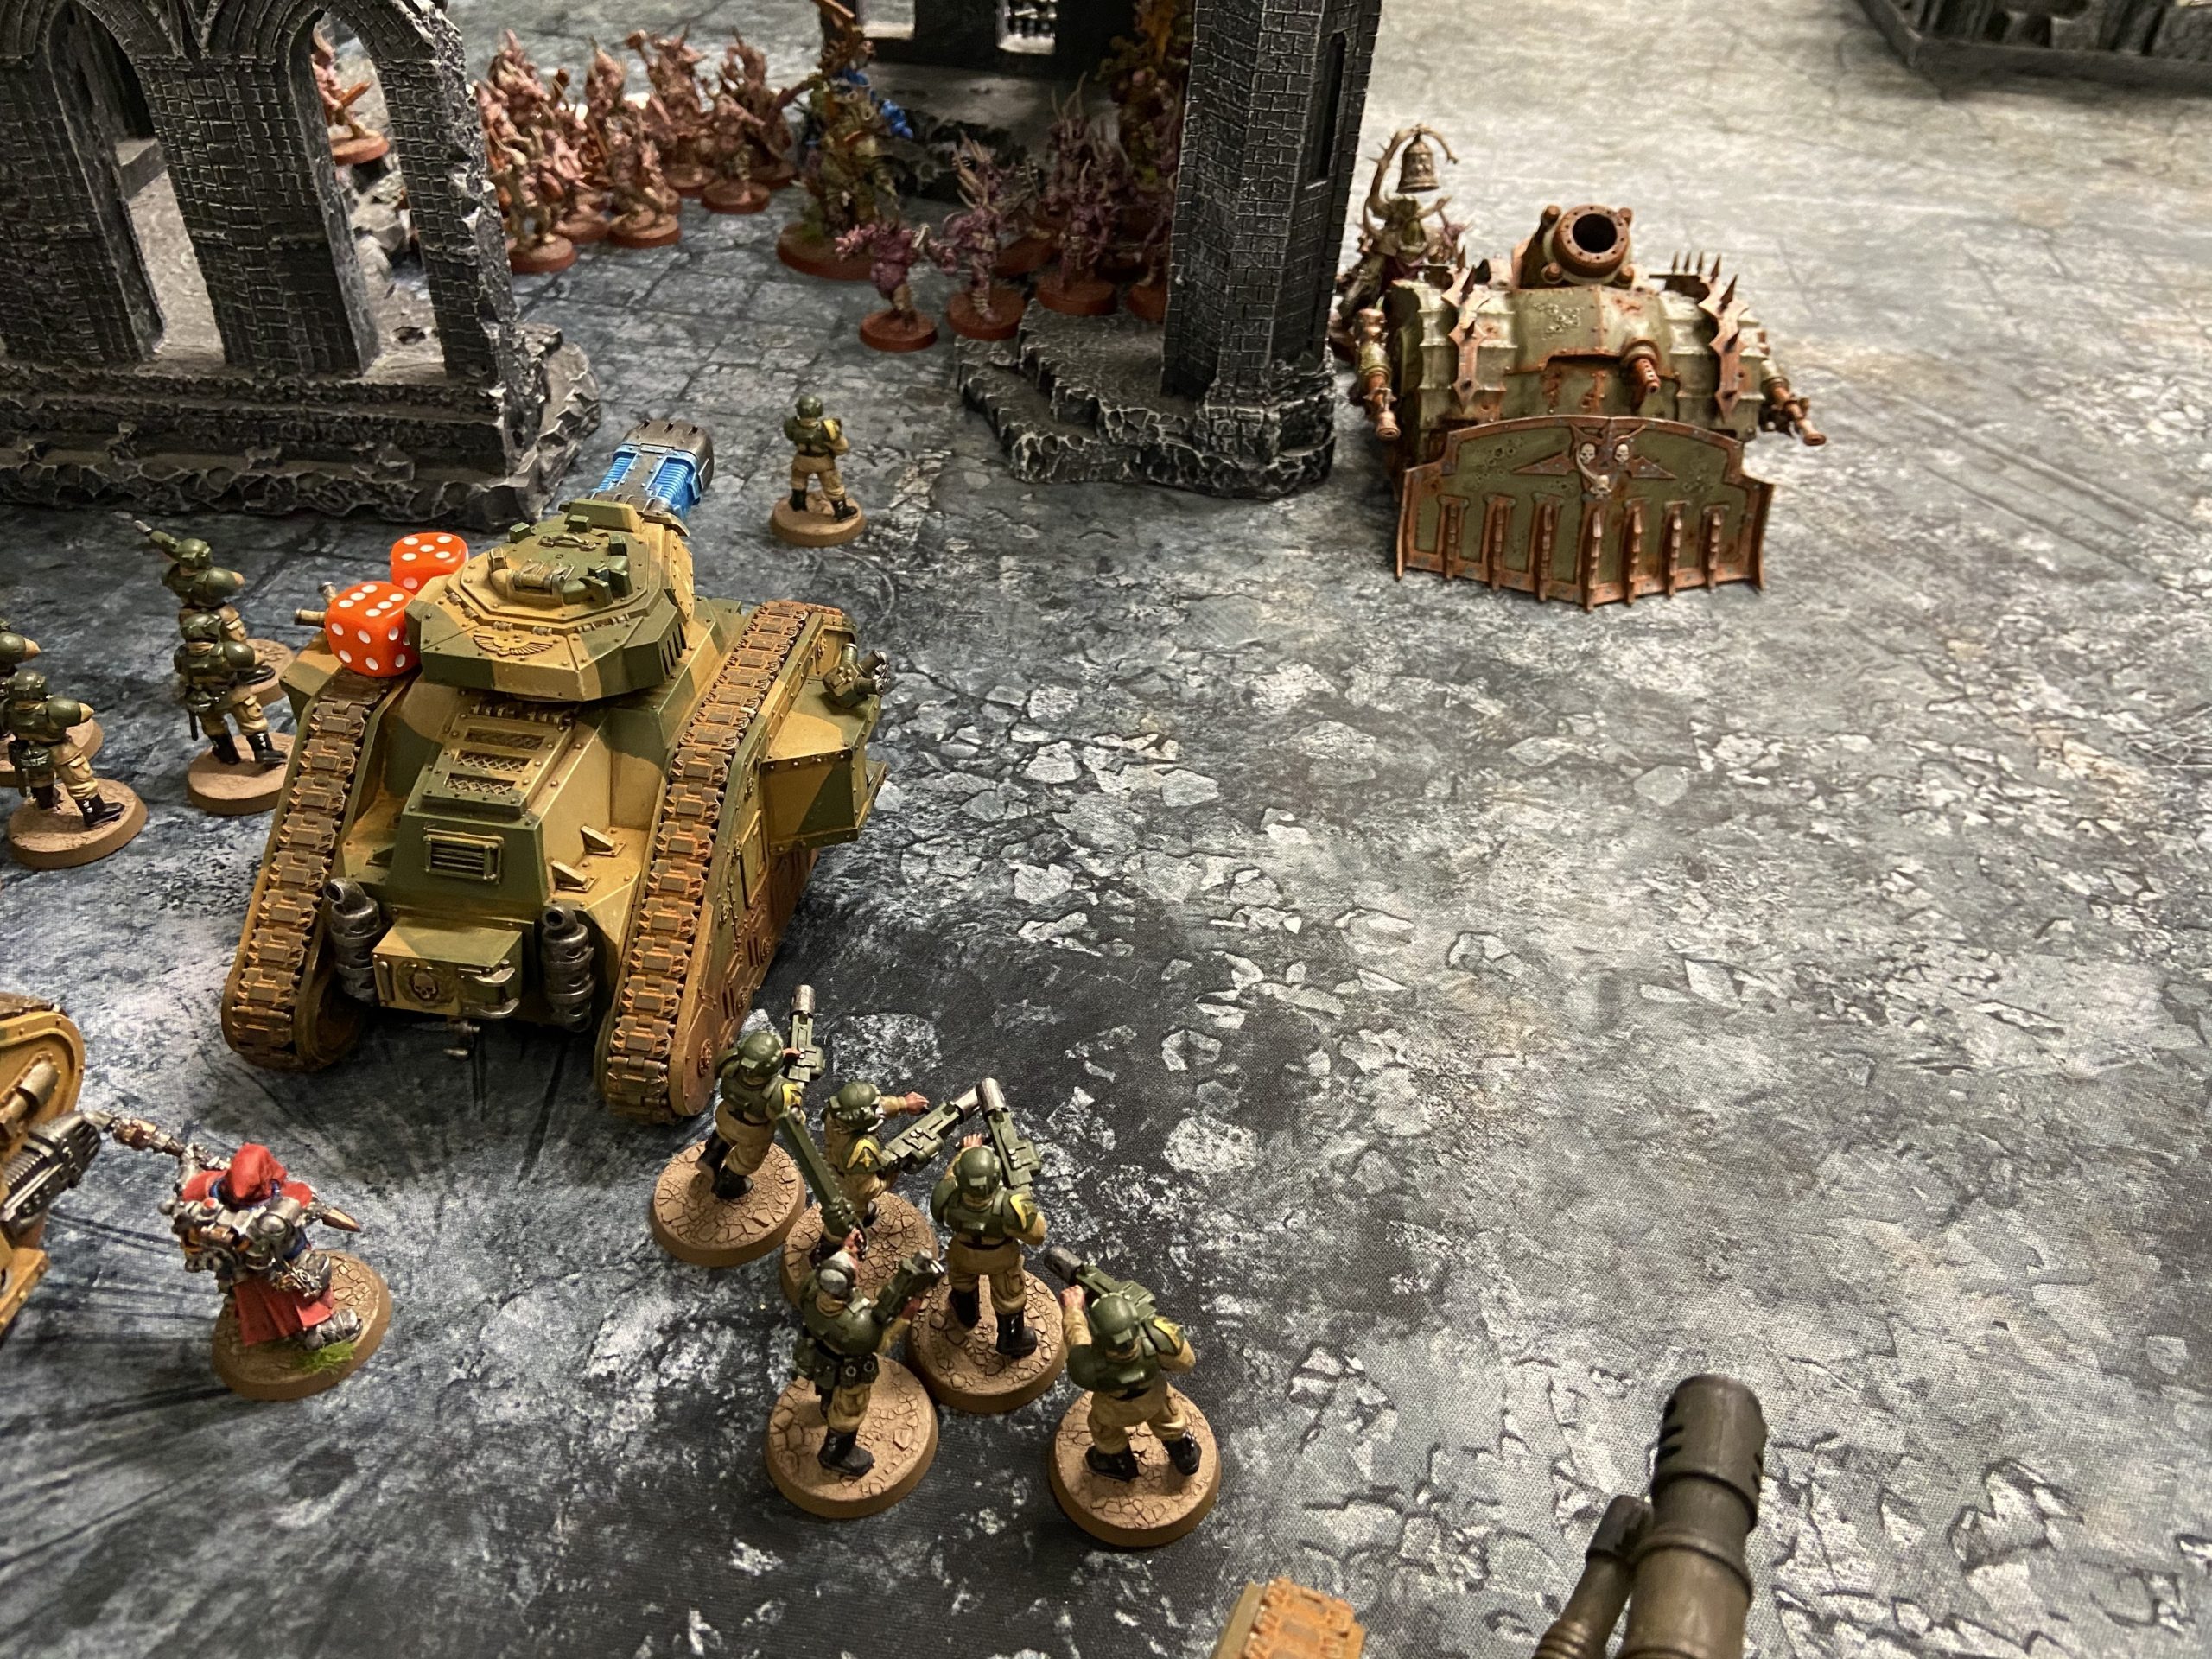
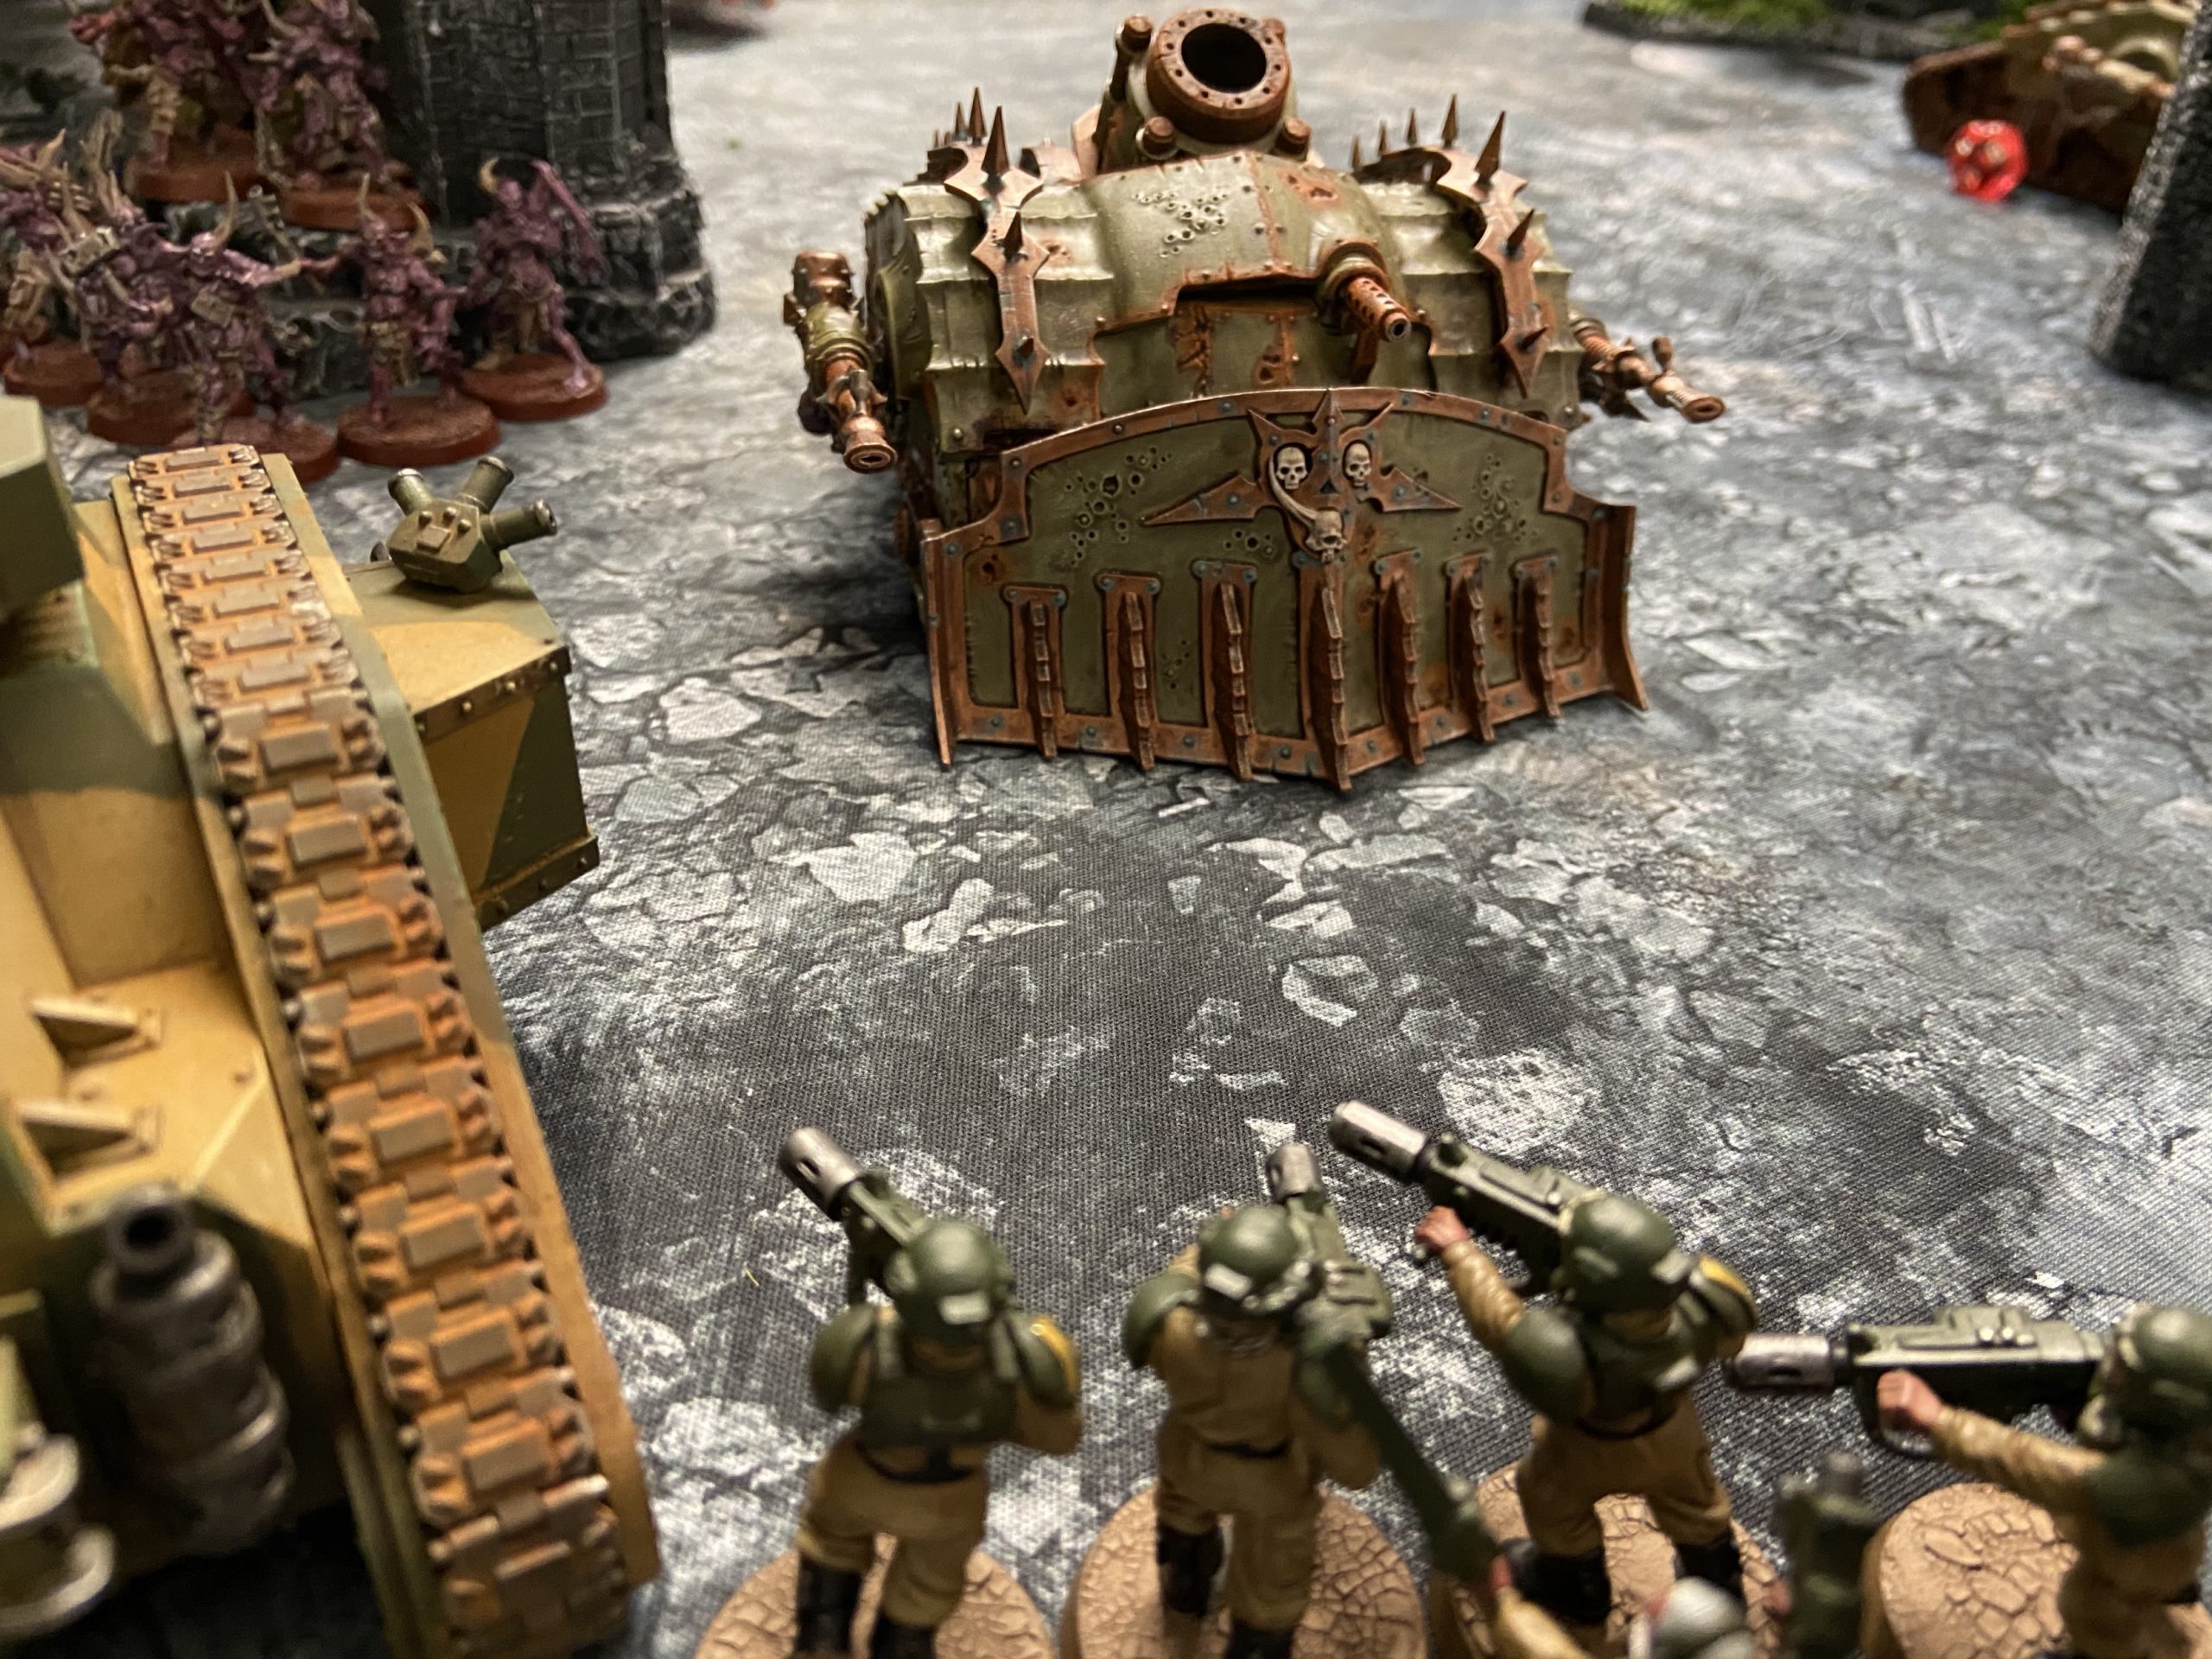
My Guardsmen charge forward to slow the Poxwalkers
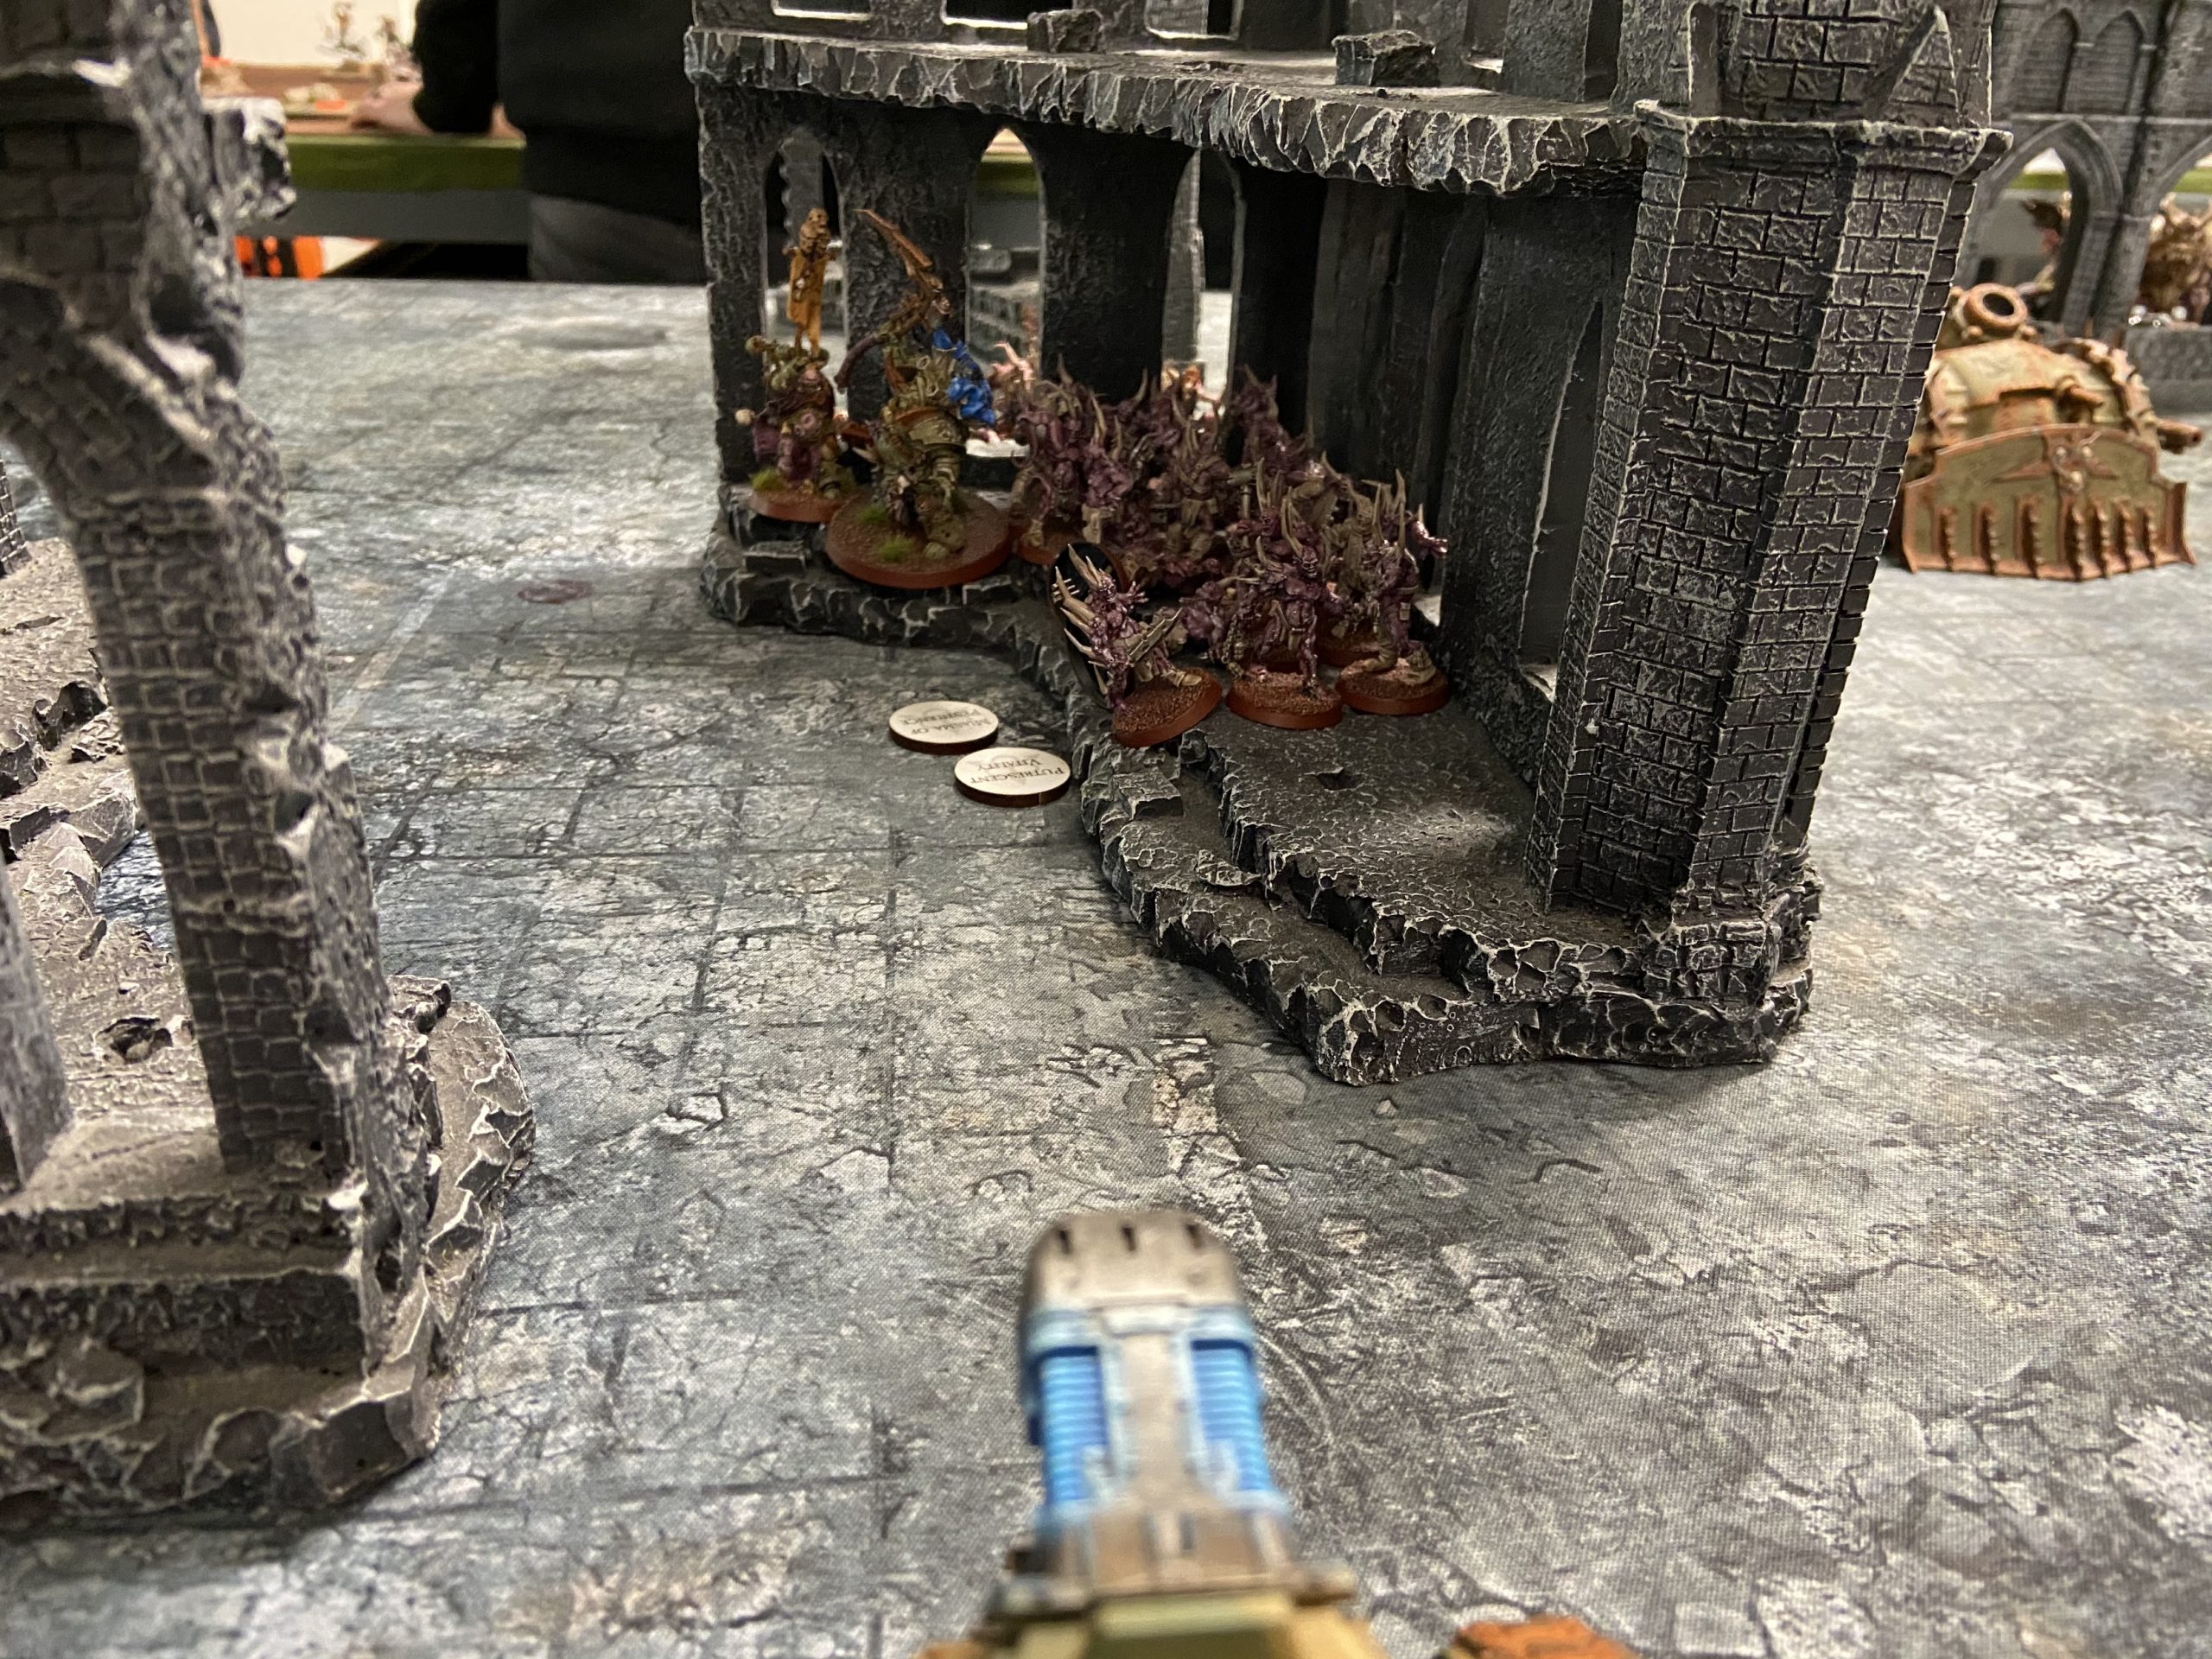
Death Guard – Turn 2
The Death Guard once against came forward, as they had to do because their objectives were disappearing. They popped a Stratagem that let them bring back dead Poxwalkers when enemy infantry dies within 7″ (I think). So that blob of Powalkers I nearly killed and then charged was probably going to come back a bit.
Having so many Pyskers again, it was nice to try and Deny the Witch so often. It works sometimes and sometimes it does not. But when it does it feels like a great thing as you’re stopping the enemy from playing the game they want to play.
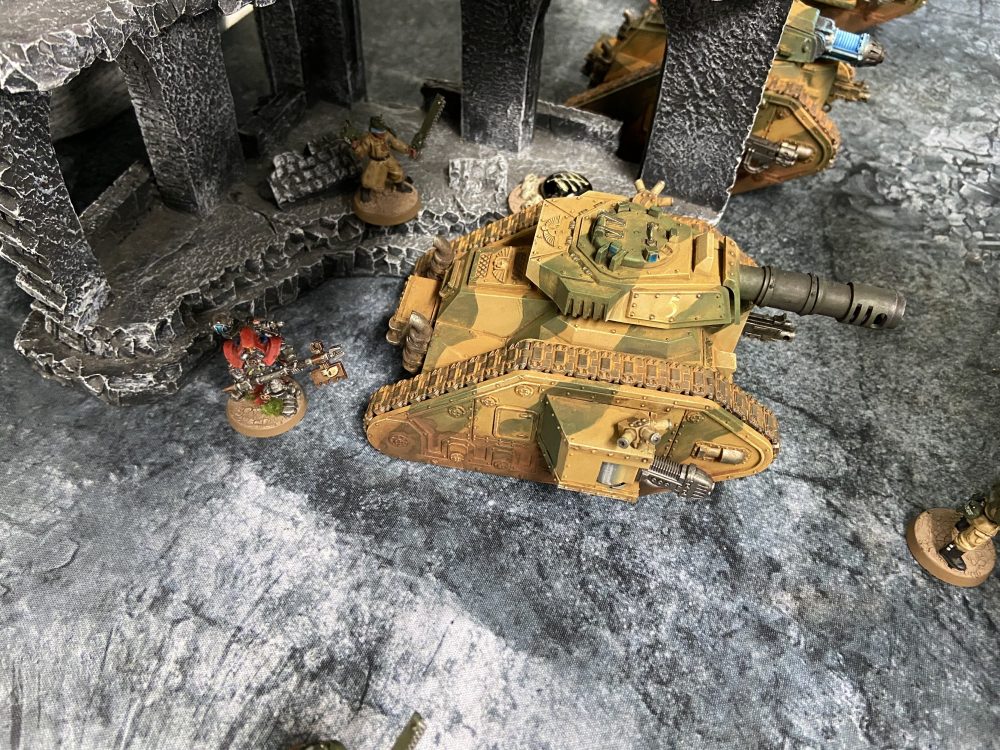
The Terminators arrived on my right flank, near objective 5 and Pask. But fail their Charge. Between them and the closest Crawler, they do finish off my last couple of infantry models on that right flank. No one has that objective now.
I think I manage to take on the Death Guard shooting fairly well and do not lose a Leman Russ in this turn. One does suffer and goes down to four wounds.
My Guardsmen in the centre die to the Poxwalkers and Typhus and they come back as new Poxwalkers.
Show Score
Death Guard: 6
Astra Militarum: 3
-

- Crawler
-

- Guns face forward!
-

- Terminators arrive
-
- Battlefield at a local store
-
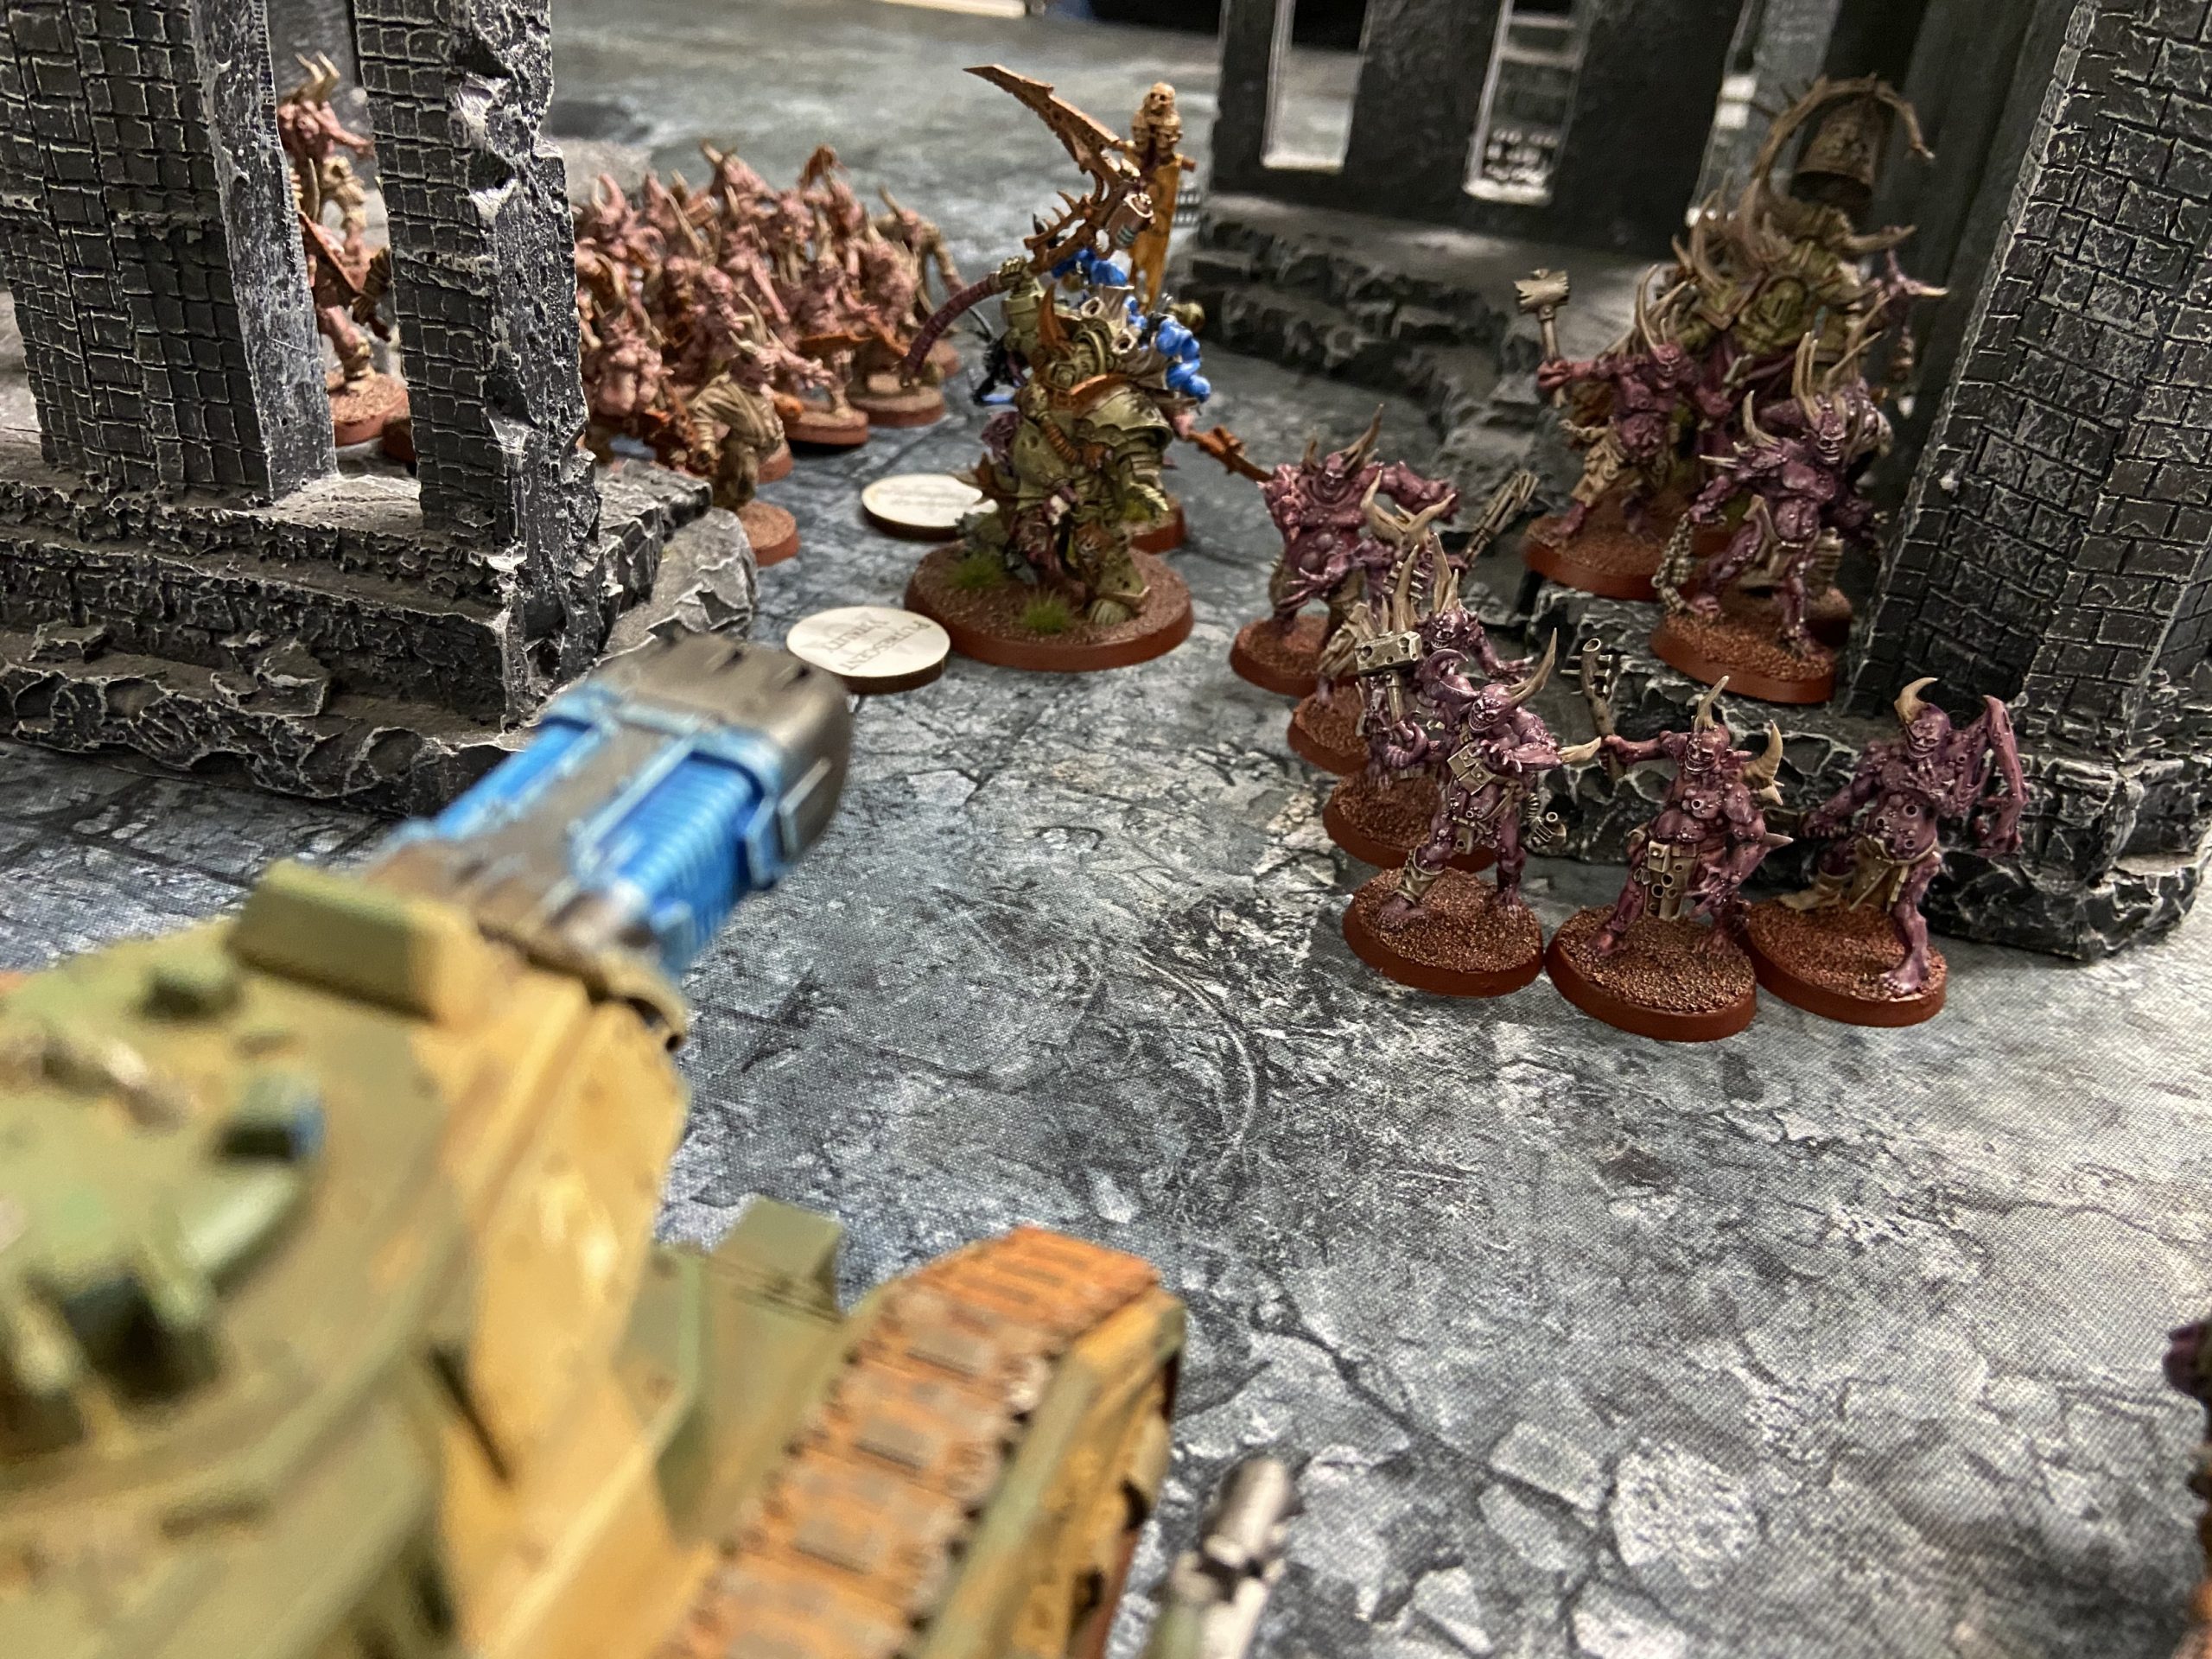
- Death Guard movement, note the hidden Plague Marines in the top left

Astra Militarum – Turn 2
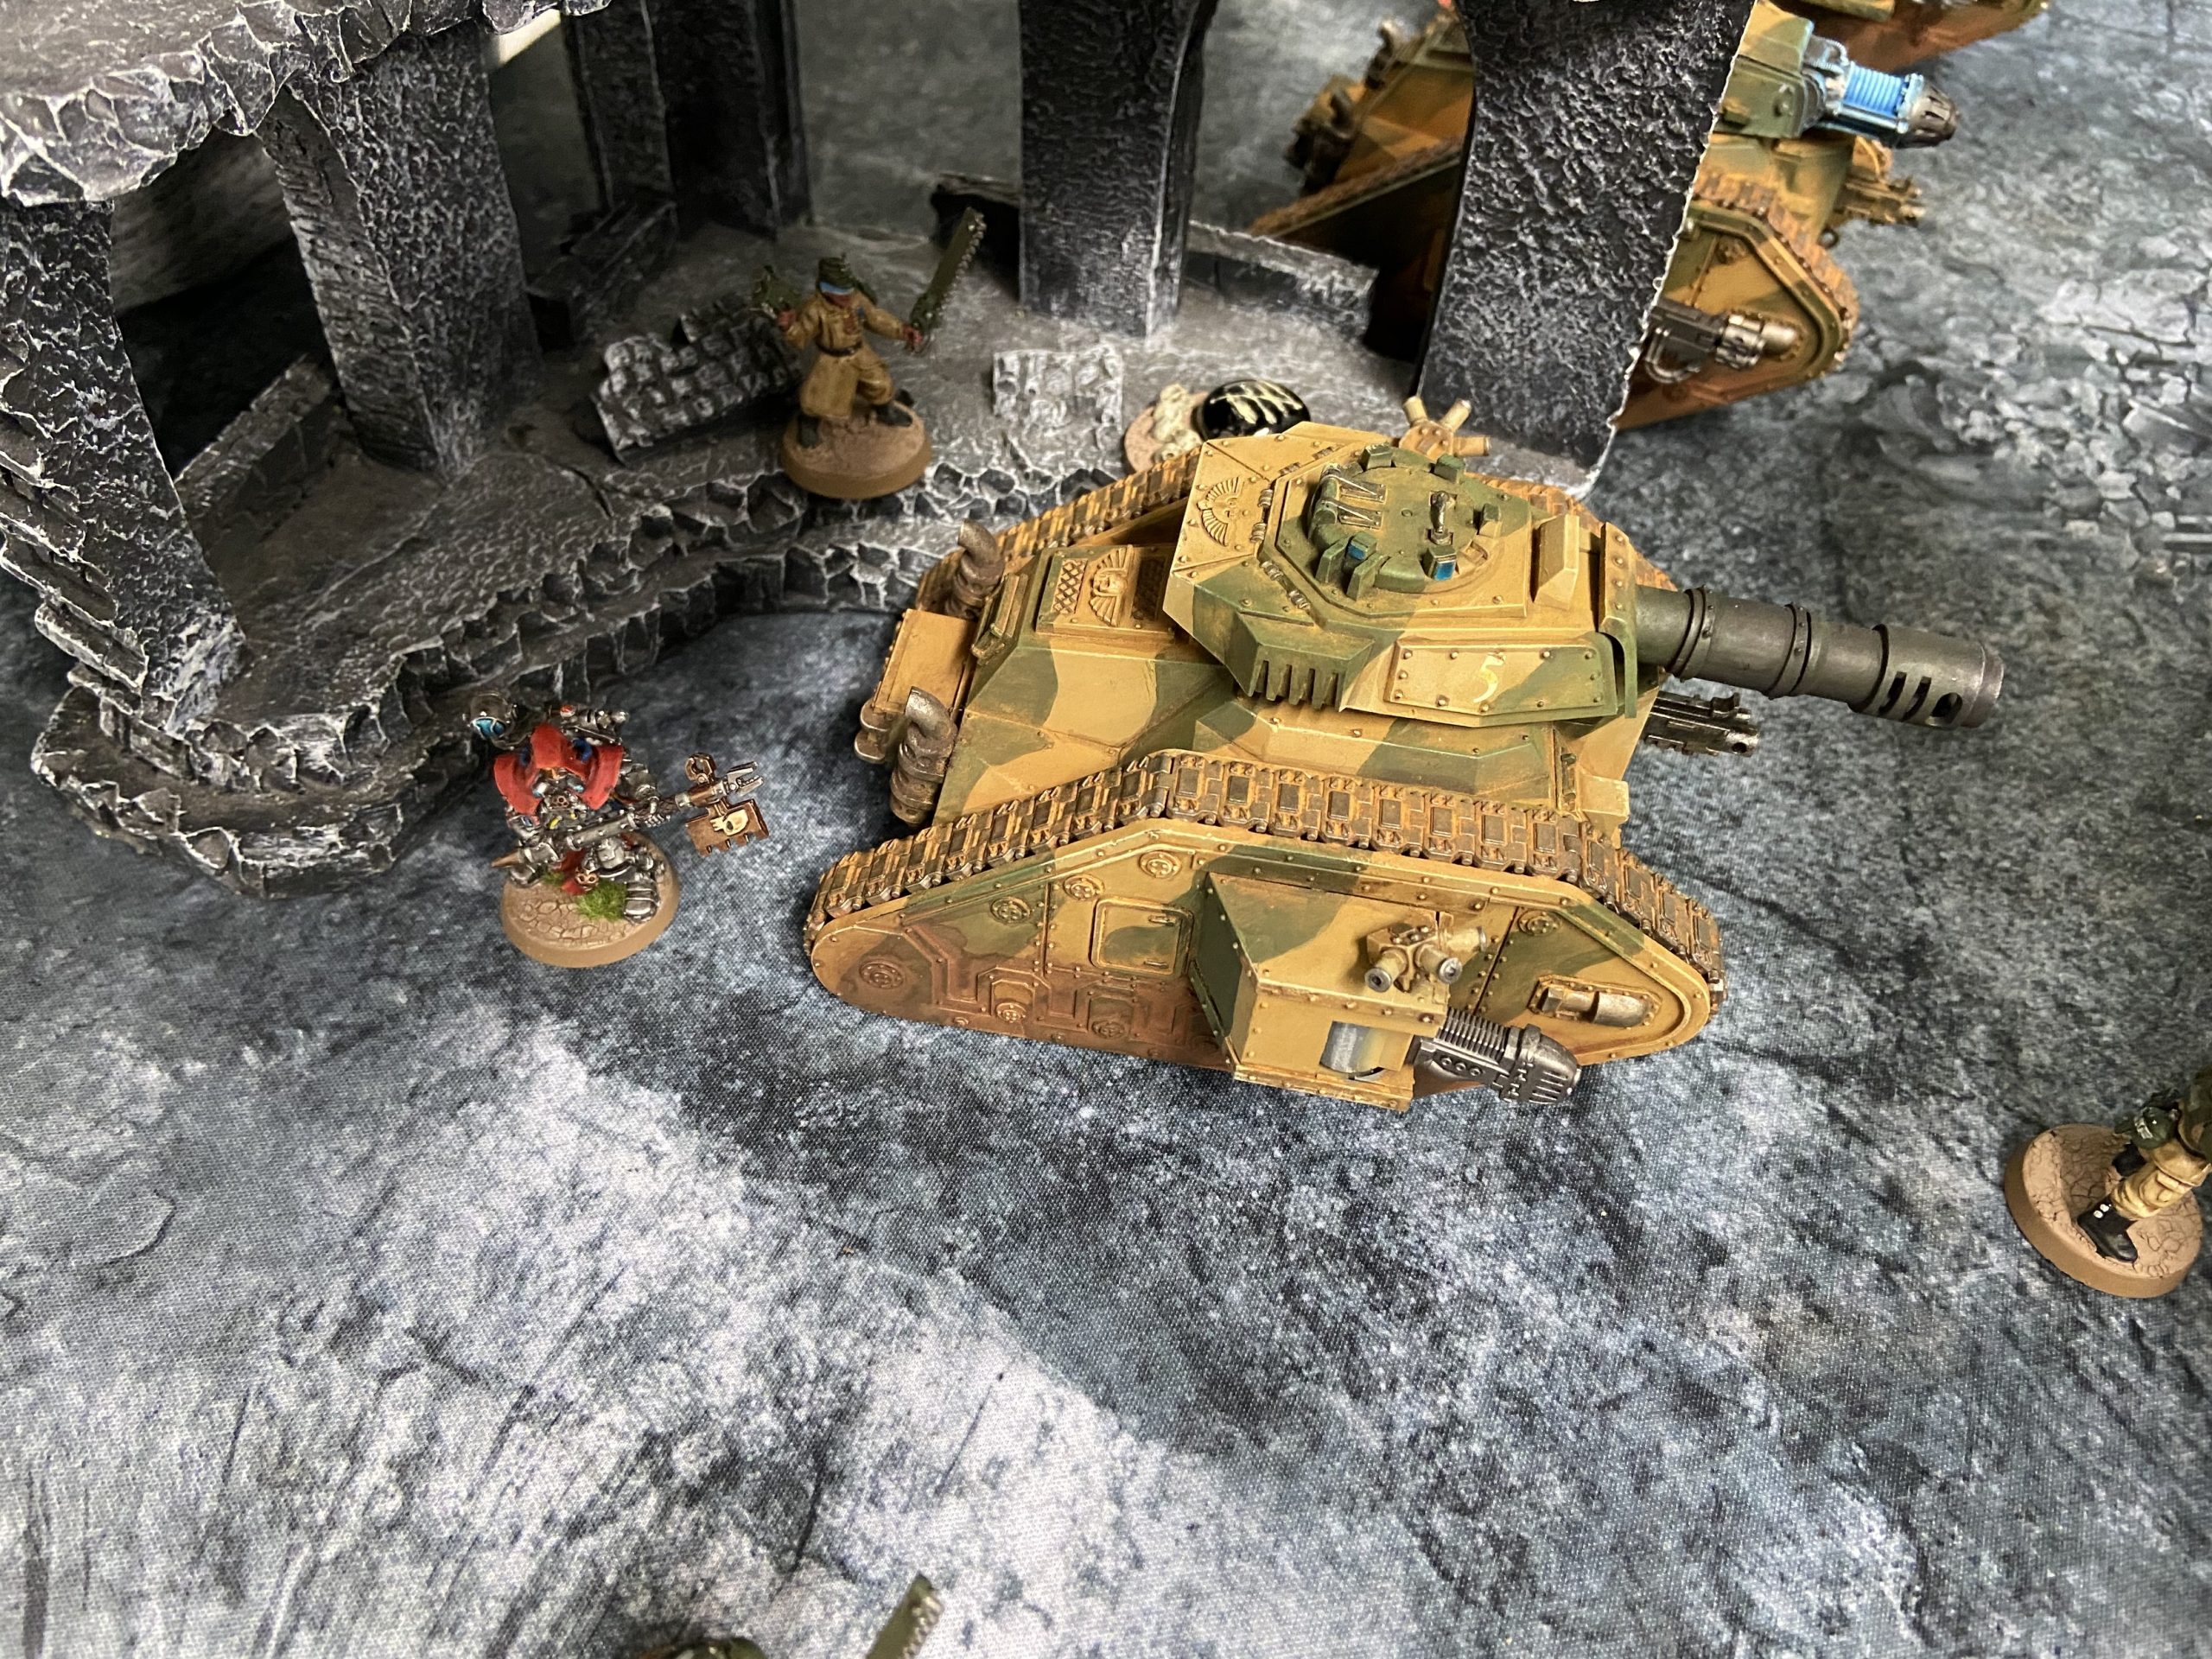
I can now spread out a bit to try and get line-of-sight onto some more targets. I also need to head back over to the right side to gain that objective again. The wounded Leman Russ moves over towards that side and Pask follows him. Pask orders him to Move and Advance again in the Shooting Phase and the Leman Russ gets there, despite his 4 wounds.
My Melta Squad arrives in the centre to try and stop the onslaught. I could not get them in and around the Dreadnoughts in the corner. There is a Chaos Lord in the ruin near them which is making the 9″ bubble of Deep Strike rather big and away from the juicy Dreadnought targets. He is also giving them re-rolls of 1.
I do finish off the first Crawler – which should have happened in the first turn. Once again the dice are against me and it takes nearly all my Leman Russ to do 5 final wounds to the Crawler.
I do manage to get all of the objectives on my side though, thanks to the Rapid Russ. This also gives me more than the Death Guard – bagging me an additional VP.
Show Score
Death Guard: 6
Astra Militarum: 7
-
- Melta Arrives
-
- My current gun line

-

- Guard overview
-
- Guard movement

Death Guard – Turn 3
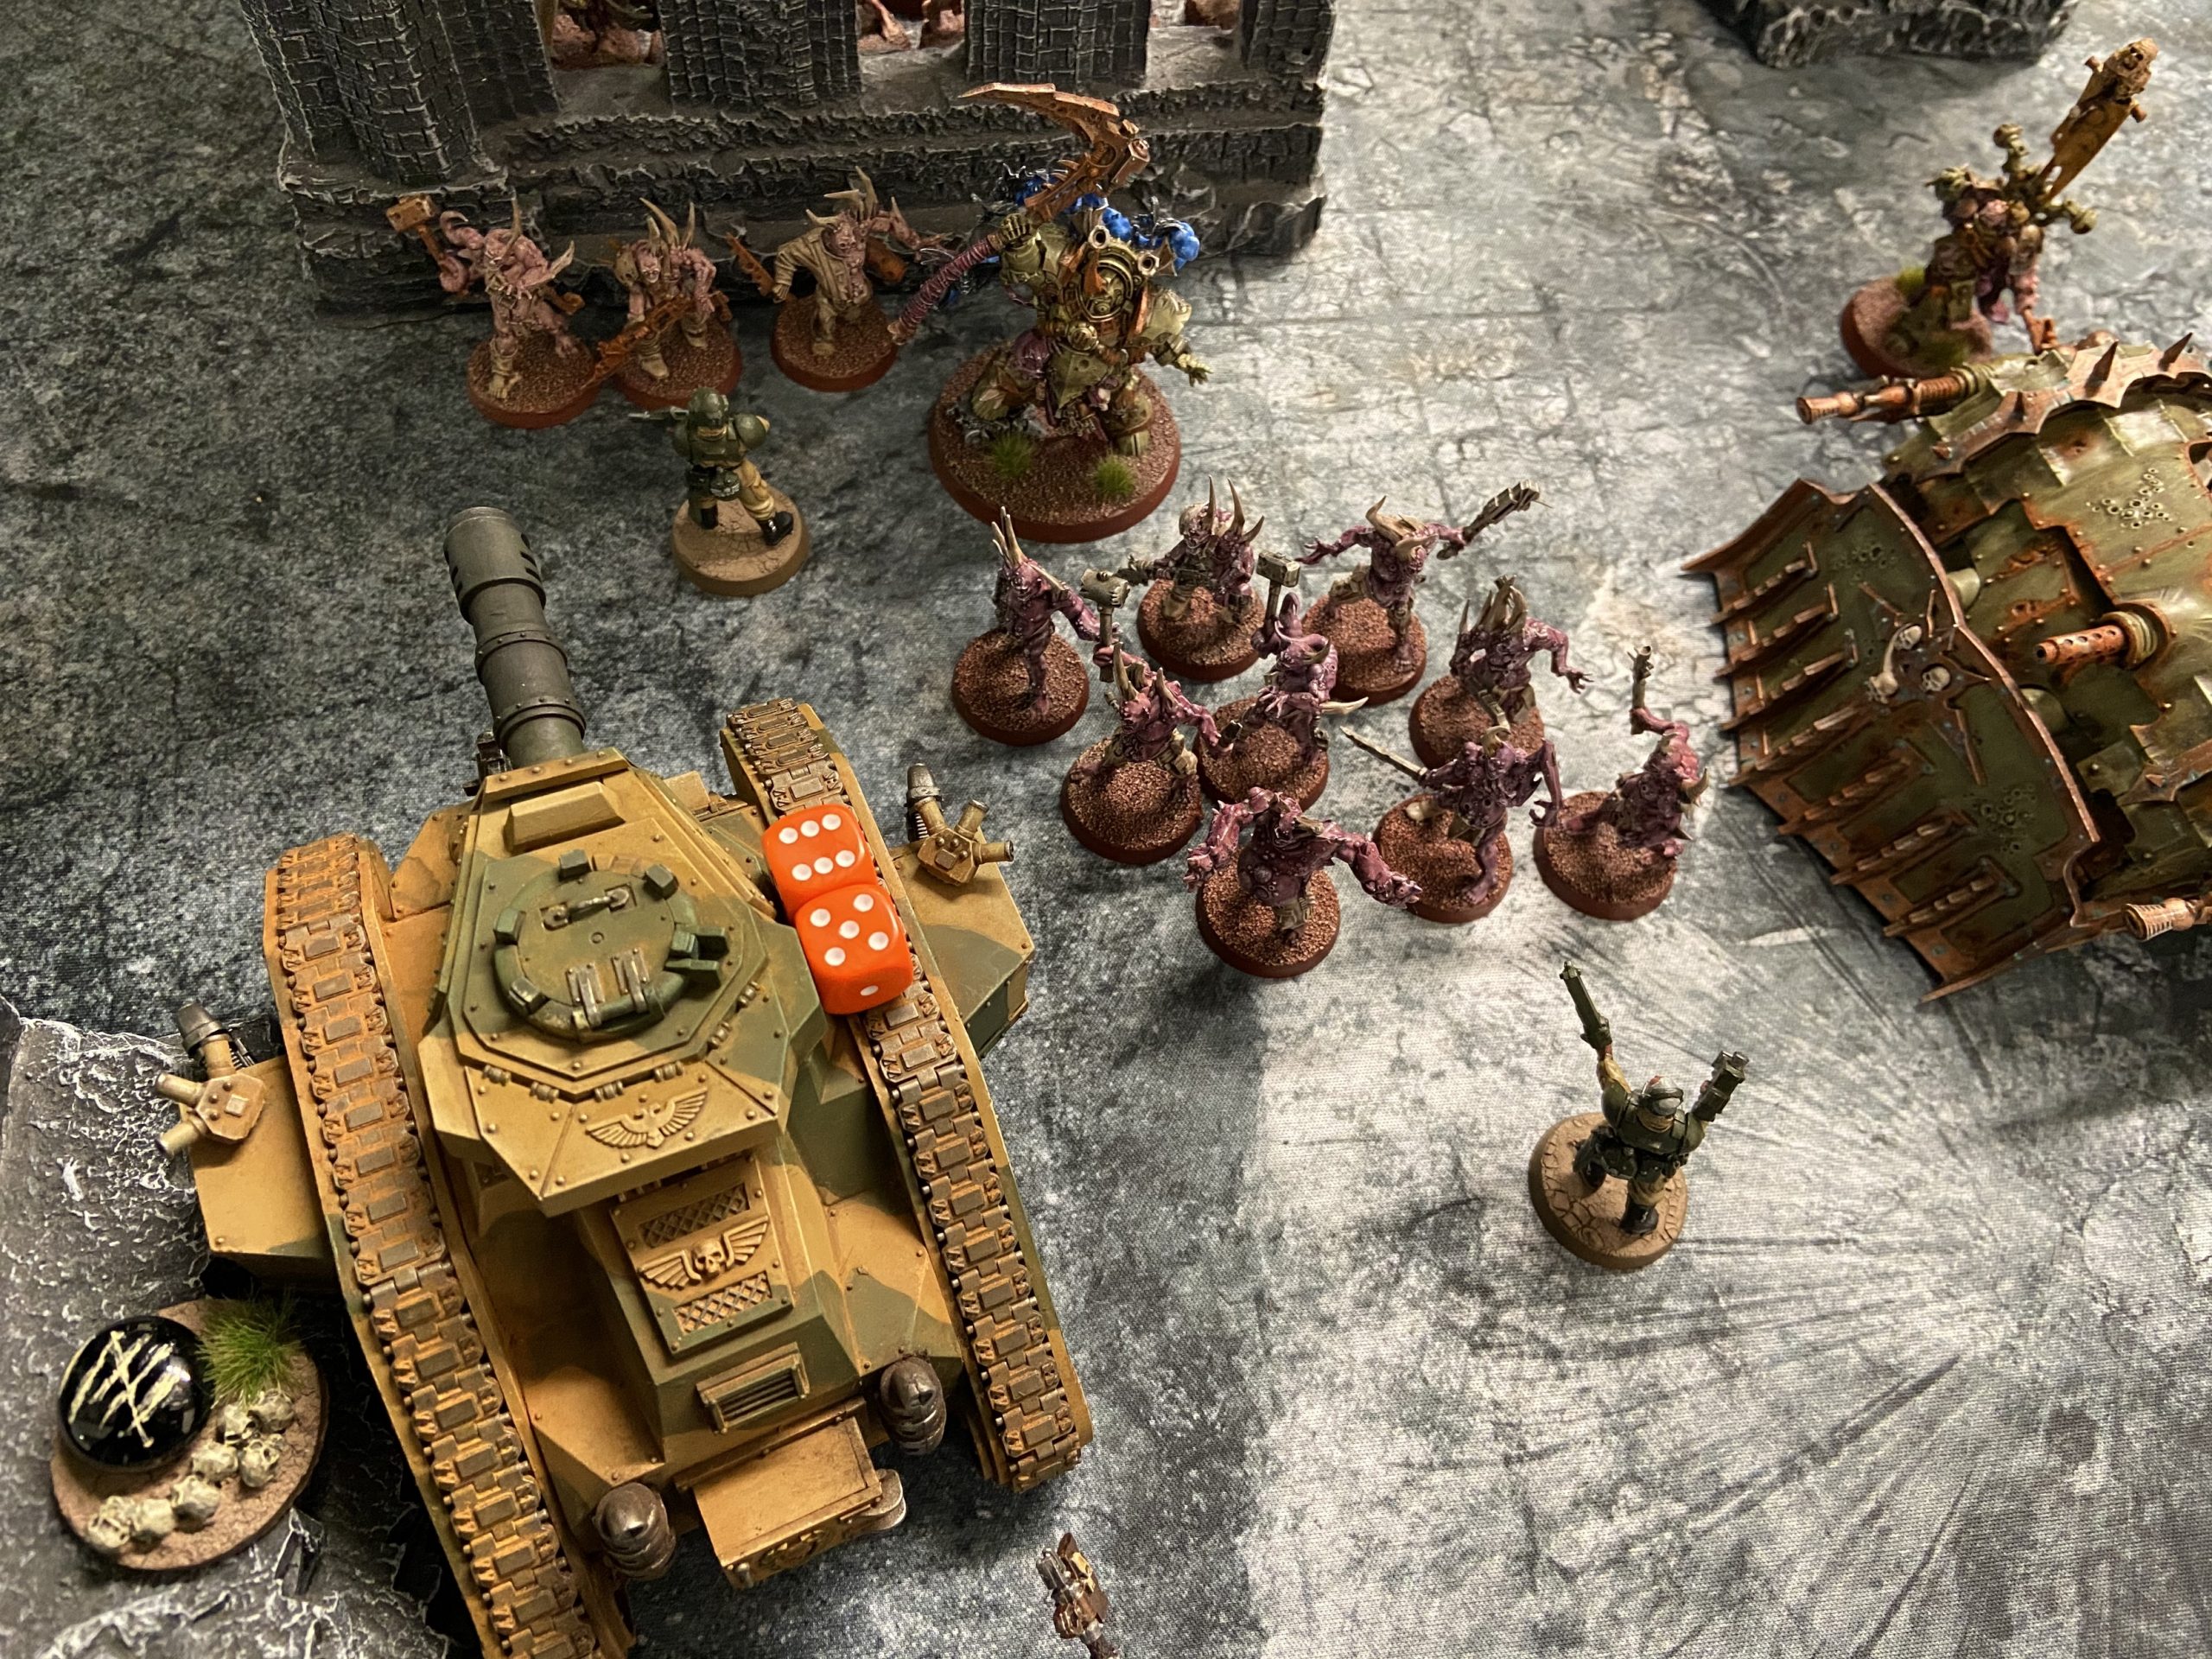
Now the inevitable grind towards my positions happens, as the Death Guard try and reach the final objectives. Everything comes forward and everything that can charge me charges me.
I lose Pask, the wounded Leman Russ on the objective, my Meltas, a Plasma Leman Russ and an Infantry Squad. Maybe more.
But with the objectives disappearing and the Death Guard moving onto objective 6, they do not get the now empty objective 5 on my right, or 4 on my left.
Show Score
Death Guard: 7
Astra Militarum: 7
-

- Pre-charge
-

- Pre-charge
-
- Post-charge

-

- Post-charge
Astra Militarum – Turn 3
It is now a race for me to try and hold on to as much as I can for as long as I can while the Death Guard tighten their grip on my positions.
Sadly it is hard work because I have lost 4 Leman Russ now, including Pask.
I try and slow their advance with some valiant charges by my Psyskers, who will die next turn anyway, but it comes to nothing. Although they did make some great photos!
Objective 4 on the left will disappear next turn so I need to just keep 6 in the middle of my deployment zone. I cannot get to objective 5, it is covered by 3 Dreadnoughts and a Crawler.
Show Score
Death Guard: 7
Astra Militarum: 10
-
- Halt!

-
- My deployment zone

-
- Poxwalkers

-
- Objective 6
-
- Turn 3 Overview

-
- Turn 3 Movement

Turn 4
I could not hold on in turn 4. The Death Guard were still present in their masses and they had three Dreadnoughts on me. We had to stop here due to time, but they were now on objective 6 and their own objective 1 (where the Dreadnoughts were). They had left objective 5 and instead come for me.
They held objective 5 and 6, plus held more than me giving them 3.
Show Score
Death Guard: 11
Astra Militarum: 10
-
- All Dreadnoughts, unhurt
-

- Death Guard approach
-

- Turn 4 Overview
-
- Death Guard Movement

Cadians vs Death Guard Summary
Despite my rolling, the game ended up being closer than I first thought it was going to be. Mainly due to the objectives going from the enemy’s side of the table and forcing all the points to myself. I should have used my left most Leman Russ better and shifted them into the middle of the table earlier and then shifted onto objective 5 too. Just to keep hold of it for longer.
But moving the Leman Russ feels like such a loss of firepower. You cannot shoot twice with the main weapon and all your other weapons are -1 to hit. Although with my rolling I was not killing anything anyway. Despite the Lost Relic of Cadia.
You can read Mark’s write up of the game here.
Final Score
The Death Guard also got Linebreaker at the end.
Show Score
Death Guard: 12
Astra Militarum: 10