
Bullgryn Tactics – Warhammer 40K Blog
It is Bullgryn Tactics time again!
Welcome to my first 8th edition tactics article. My last article was a decent success I think when I wrote it three years ago on this very same topic. Time for an update. Today we will tackle the big boys of the Astra Militarum. Let us dive into some Bullgryn Tactics!
Never miss an article? Subscribe!
Update: Possible further reading after this Bullgryn Tactics article, should include Buffing Astra Militarum Infantry – The Complete Guide also on this blog.
Bullgryn War Gear
It seems there is a major change now in the way we can kit out our Bullgryns and therefore this affects our Bullgryn tactics.
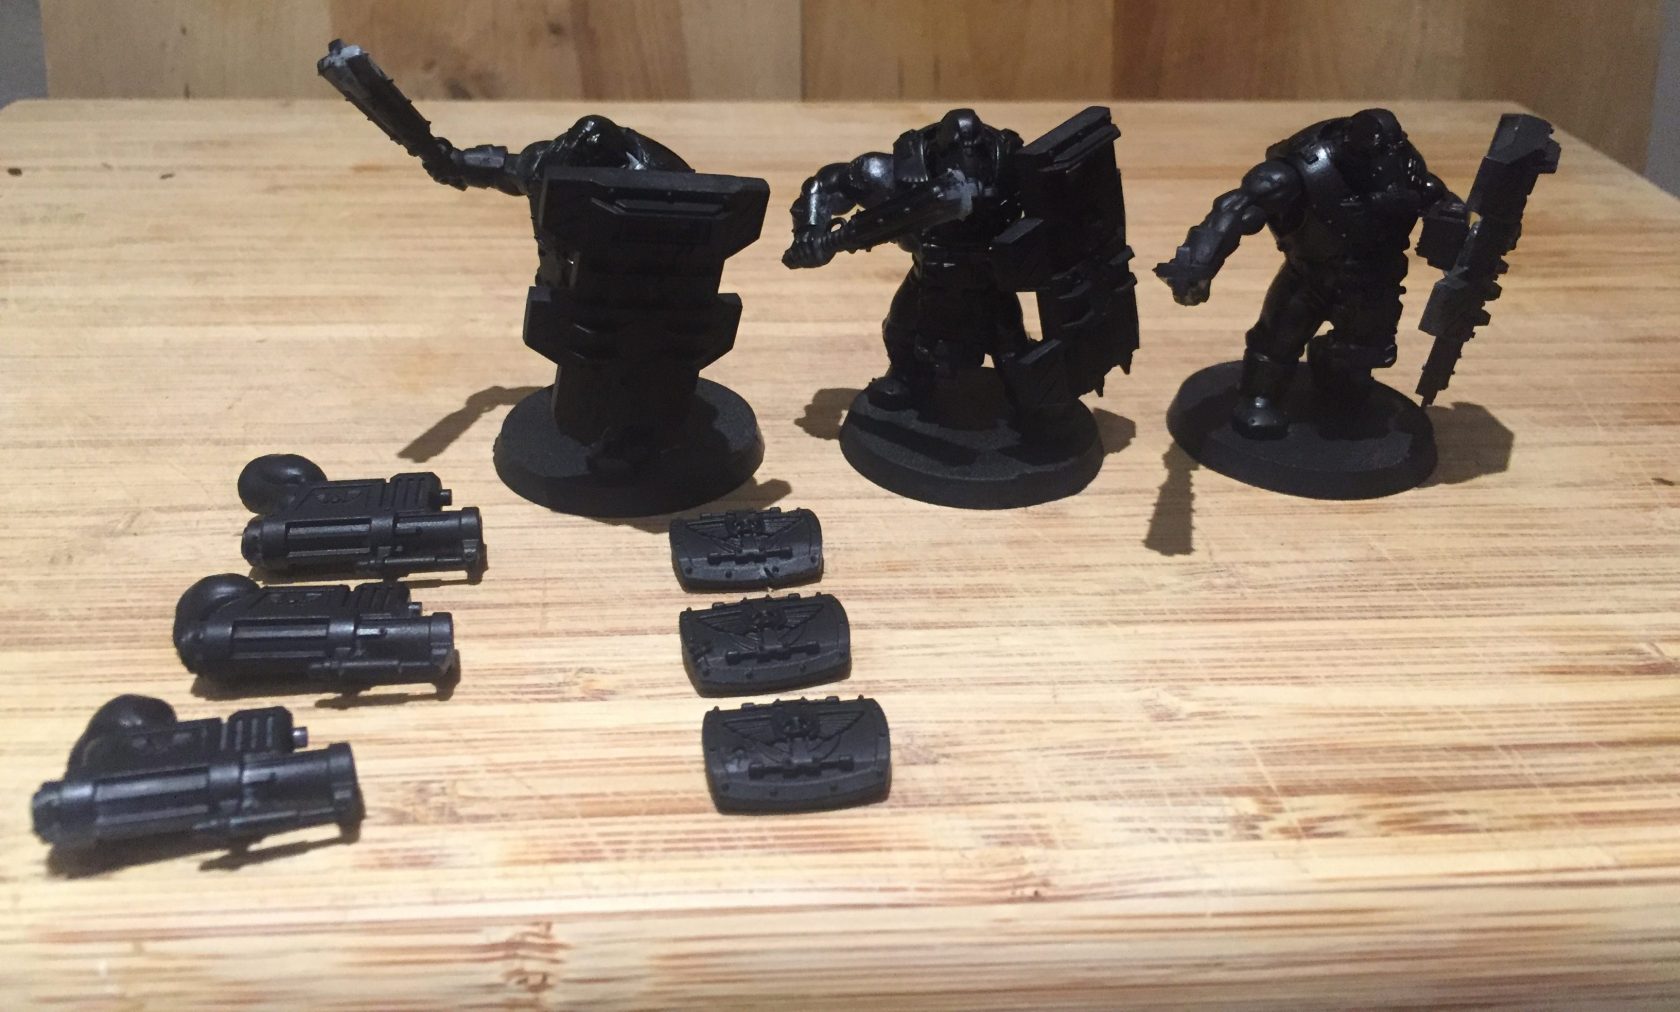
The Old War Gear
In the past, we had one loadout or the other. These two load outs had two very specific purposes.
- Grenadier Gauntlet and Slabshield
- Power Maul and Brute Shield
The former gave the Bullgryns a short ranged grenade launcher with a 3+ armour save if they were in base contact of one another. The Slabshield also provided a +1 cover save to troops behind them. Effectively this gave you a decent shield of T5 to help protect your infantry against ranged attacks. This has now changed.
The latter loadout gave Bullgryns slightly improved melee with an Invulnerable Save, no ranged weapons and a great big stick to beat infantry up with. But not vehicles or heavier infantry. Bullgryns always used to struggle against Terminators and even Tactical Marines. The 7th edition AP4 Power Maul was baaaad!
The New War Gear
Now we can mix and match the equipment to some extent. E.g. you can now take a Slabshield with a Power Maul (now called a Bullgryn Maul) or a Grenadier Gauntlet with a Brute Shield. Happy days! Especially considering that I have magnetised all 12, yes 12, of my Bullgryns and some Ogryns!
Thanks to Wyddr, but the Bullgryns always get Frag Bombs. While they lack range it does mean that your Bullgryns have a ranged attack even when you take the Bullgryn Maul and a shield of some sort. They are 6″ range and D6 hits, Strength 4, AP0 and 1 Damage. Could be handy in a right spot to thin out some enemy hordes.
So now we have some more freedom regarding how we kit out our Bullgryns. More on this below…

Magnetised Bullgryns – Bullgryn Tactics
Bullgryn Tactics
The base unit of two Bullgryns and a Bone ‘head is a formidable force. Lets firstly look at the stock options and some obvious ways of running them in your army.
Grenadier Gauntlet & Slabshield / Grenadier Gauntlet & Brute Shield
As a unit they are fairly middling I feel. BS4+ with 3x D6 Assault shots could result in a wasted unit of Kroot per turn – it could also result in zero dead Kroot. It is a unit that is not really kitted out to do one job really well. The 2+ armour save is a nice thing to have and will force your opponent to throw a lot of dice at them before they die. The 4++ could be handy too. The type of shield you go for might determine where you deploy your Bullgryns. Avoid Lascannons if you’ve got the Slabshield for example. Or avoid massed Gauss/Lasgun/Bolter/Shoota fire if you’ve got the Brute Shield.
For me the short ranged Grenadier Gauntlet is just too circumstantial and random. Could be 3 hits, could be 18 hits. And when you’re only hitting on a 4+ you need all the shots you can get. At S4 and D1 it’s not going to be downing heavy infantry and even soft infantry will still get their saves. But you’ve more chance of hitting than in 7th edition.
It is worth saying that because the Grenadier Gauntlet is an Assault weapon you can Advance and fire. You’ll be hitting on 5+ but you’ll have moved an extra D6″ – closing the gap on your enemy and mitigating that 12″ range as soon as possible.
Bullgryn Maul & Slabshield / Bullgryn Maul & Brute Shield
The decision between Slabshield or Brute Shield ultimately comes down to the type of enemy you will be throwing your Bullgryn against. Take the Slabshield for massed low AP fire and take the Brute Shield against high AP fire.
The Bullgryn Maul changes the Bullgryn tactics for me a lot in 8th edition. It has an AP of -1. The AP in 7th edition meant that heavy infantry still got their save, even Tactical Marines. But now all models you hit will have a save that is one worse than normal. Land Raiders and Terminators now get a 3+ save and not a 2+ save. And the Bullgryn Maul does 2 Damage!
The Bullgryn Maul bumps the Bullgryn up to S7, AP-1 and D2. Your base unit of Bullgryns will operate like so on the charge:
- 13 attacks thanks to Avalanche of Muscle (could be 16 with a Priest, more later on this)
- Hitting on a 3+ with Strength 7 (could be re-rolling 1s with Yarrick)
- Wounding soft targets (Eldar, Tau, etc) on 2+
- Wounding tougher infantry (Orks, Necrons, Tactical Marines and Terminators) on a 3+
- Most vehicles (which seem to be Toughness 7) will be wounded on a 4+
- Tough vehicles such as Leman Russ and Land Raiders will be wounded on a 5+
- Ap -1 reduces the save of the target by one
The 2 Damage is a really nice addition to this weapon. It feels like its useful now for smashing Terminators to death with one successful hit. So while you have 13 attacks on the charge you have the potential to kill 13 single wound models or 13 double wound models (e.g.Terminators or Intercessor Marines).
Against vehicles, it feels like you might be able to really cripple a vehicle with these attacks even if you do not manage to destroy it outright in one charge.
Buffs – Bullgryn Tactics
Let’s have a little look at fine-tuning your Bullgryns to get the most out of them. I have the Imperium 2 Index – so I’ve scanned and searched for enhancements and buffs that effect The following keywords:
- Astra Militarum
- Imperium
- Militarum Auxilla (this is the Bullgryns Regiment)
Priests
With a Priest and their +1 Attacks, you’re getting an extra attack per Bullgryn. Which, in a unit of three is just three more attacks. That’s a 25% increase in attacks when you’re charging. But it’s nowhere near as impressive when used with a Conscript blob of 50. Because that results in a 100% increase in their attacks.
So the Priest is nice for sure. But he perhaps is not as attractive as he may have seemed at first glance. The Priest now has no buff to Leadership or Morale. That’s worth remembering, especially for Conscripts.
Yarrick
With the dawn of power levels, I can see myself taking more characters like Yarrick. Even though he may not be amazing. He’s a nice fluffy character and a nice narrative focal point for a battle.
For the Bullgryns he can allow them to re-roll 1s to hit in shooting and melee. As long as Yarrick is within 6″ of their unit. Yarrick lets you re-roll all failed to hit rolls versus Orks, circumstantial but decent when used. This is not bad at all. Bullgryns are only hitting on a 4+ and with their completely random number of shots you need all the help you can get. With some good rolling, I can see the Grenadier Gauntlet doing decent damage every so often versus soft targets.
Yarrick is expensive, sure, but he is cool! He also buffs their Leadership – more on Leadership this below.
Orders
Bullgryns cannot be ordered because their Regiment keyword is Militarum Auxilla, which will always differ from anyone who can give out an order.
Leadership
As far as I can tell Leadership is nowhere near the issue it once was for Bullgryns. A Bullgryn has a Leadership of 7 and the Bone ‘ead has a Leadership value of 8.
Under the new Morale Phase if you lose one Bullgryn (and it will not be the Bone ‘ead because you decide which one dies) then your remaining Bullgryns will still be Leadership 8. If you roll a 6 then you cannot lose another one as the maximum you can roll is 7. Even if you lose two Bullgryns and the Bone ‘ead remains and you roll a 6 this adds up to 8 under the new rules. This 8 equals your Leadership so you’re safe again from taking additional casualties from failing a morale test.
The only time Leadership would become an issue is if one of these is true:
- The Bone ‘ead is somehow dead
- The enemy has an effect that negatively effects your Leadership
- You take more than three Bullgryns in a unit
But it seems that you no longer need to take Leadership buffs for Bullgryns at all. While that does not affect your Bullgryn tactics much, it does save points and somewhat limits Yarrick’s bonus to just being able to re-roll 1s.
Psychic Powers
The two powers that would benefit the Bullgryns; Psychic Barrier and Nightshroud. Both improve the durability of Bullgryns, by either giving them +1 to their save or -1 to hit. Maybe use both?!
Medi-Pack
Thanks to PacketBoy, the Medi-Pack with the Command Squad is a nice addition. It a friendly Astra Militarum units within 3″ to regain a wound it had previously lost on a 4+. This is great! Makes those Bullgryns even more durable.
Discussion
I posted on Reddit about Yarrick’s ability and the Invulnerable Save boost from Psychic Barrier. What do you think? Let me know in the comments on this page.
Transports – Bullgryn Tactics
This is a game changer I think for Bullgryn tactics. In the past vehicles were less mobile, less durable and you could not assault out of them. Well, not any Astra Militarum ones. This has now all changed.
No Transport
Keep your squad of Bullgryns in your back line with you Leman Russ and Wyverns waiting for those pesky “deep striking” units. Counter with a Bullgryn punch.
Chimeras
Any mechanized Astra Militarum army uses the sturdy Chimera. It can hold 12 models. Or 4 Bullgryns. Or 3 Bullgryns and 3 characters. With no Leadership buff now needed we can place 4 Bullgryns in a Chimera no problem safe in the knowledge that you probably will not lose any to a Leadership failure. Although the chances increase by having 4 Bullgryns as opposed to 3 Bullgryns – because it now becomes possible to lose 3 models and then fail a morale test by rolling a 6. But this would be rare, you would need to lose all 3 in on turn for this to happen AND even then roll a 6 for the morale test.
Anyway, 4 Bullgryns in a Chimera is amazing. I want to leave my office right now and play this right now!
- Chimera gives the Bullgryns Toughness 7 padding with 10 wounds
- 4 Bullgryns have 17 attacks on the charge hitting on a 3+
- They can move 3″ out of the Chimera and then charge
The Chimera’s 12″ movement gives the Bullgryns some excellent reach across the battlefield. Couple this with an Advance move and your Bullgryns are moving up and away from your firing line 13″ to 18″ on turn one. From here they are well positioned to jump out in turn 2, remain within 3″ of the Chimera (this gives 3″ disembarkation gives them a little more movement), then move 6″ and then charge the enemy as they push forward towards your gun line.
Or move then forward to interceptor enemy units that scouted forward towards you as part of their deployment.

Bullgryn Limo
Taurox
A similar tactic can be engaged here as to the Chimera but the Taurox has Toughness 6. It can move 14″ though and has an Autocannon which will be hitting on a 5+ when you’re moving about so much. It only has a capacity of 10 too, so you cannot fit in 4 Bullgryns, just 3 Bullgryns and a character – maybe Yarrick or a Priest?
Valkyries and Vendettas
This is where things get a little crazy I think. Because of two bits of wording for Valkyries and for Vendettas. Each can carry 4 Bullgryns.
The first is in regard to Grav-chute Insertion. Badness can happen when you use Grav-chute Insertion, if you roll a 1 for a model when it deploys out of the Flyer then it is slain – outright. A Command re-roll might be handy here. The wording states that this happens when the Flyer moves over 20″. But the Flyer can move exactly 20″? Therefore the badness cannot happen?
Secondly, the Valkyrie and Vendetta can now move 20″ when using the Hover Jet ability. When using this feature the movement characteristic becomes 20″ – therefore it cannot move over 20″. Thus eliminating the badness roll for Grav-chute Insertion. You do lose Airborne, Supersonic and Hard to Hit though. The worst thing about this is that the Flyer will now be hit using the enemy’s unmodified BS. But now you can use Grav-chute Insertion safely with no risk to the deploying Bullgryns being slain and this saves you a Command re-roll – maybe.
Whichever method you use for Grav-chute Insertion; using Hover Jet, the sneaky regular version but move exactly 20″ or the normal way and move over 20″ you now have a delivery mechanism for 4 Bullgryns to be placed into a Charge on turn 1. You have to disembark more than 9″ away from the enemy and providing you do not use your Command re-roll for the turn on not getting a Bullgryn slain – why not use a Command re-roll to make the charge. Although the unit can move after its drop out of the Flyer, so while it must deploy out over 9″ away it can still move 6″. Making that 3″ charge almost impossible to miss with a Command re-roll.
Pure Meat Shield Beat Sticks – Bullgryn Tactics
This is how I want to run mine.
- 2x Chimeras
- 4x Bullgryns in each Chimera
- Each Bullgryn with Slabshield and Bullgryn Maul
Pound them up the battlefield close to each other and wait for the enemy to advance. Once I am sure of a charge in turn 2 or 3 unleash the Bullgryns from the Chimeras. Chimeras charge to soak up Overwatch – providing there is the room to do so. Then charge the Bullgryns in. I think the key here is to have them smash something to death completely as soon as possible and then consolidate into another combat. I fear that against an enemy unit that is great at melee they will suffer loses. But against soft targets or light vehicles, you can be sure of doing excellent damage. I would not charge 50 Conscripts or 20 Boyz with them as I think the sheer number of attacks back will get them killed.