

Bullgryn Tactics
Note: I have a new article about Bullgryns Tactics in 8th edition!
Element Games managed to make me buy a box of three Bullgryns by running their recent birthday competition. I didn’t win.
When I first read the rules on these guys I got very excited and thought of a few uses for them. But now I find myself with three of these big fellas so I need to be clear on their uses and to do this I’ll need more than 140 characters. So here I am writing about Bullgryn Tactics.
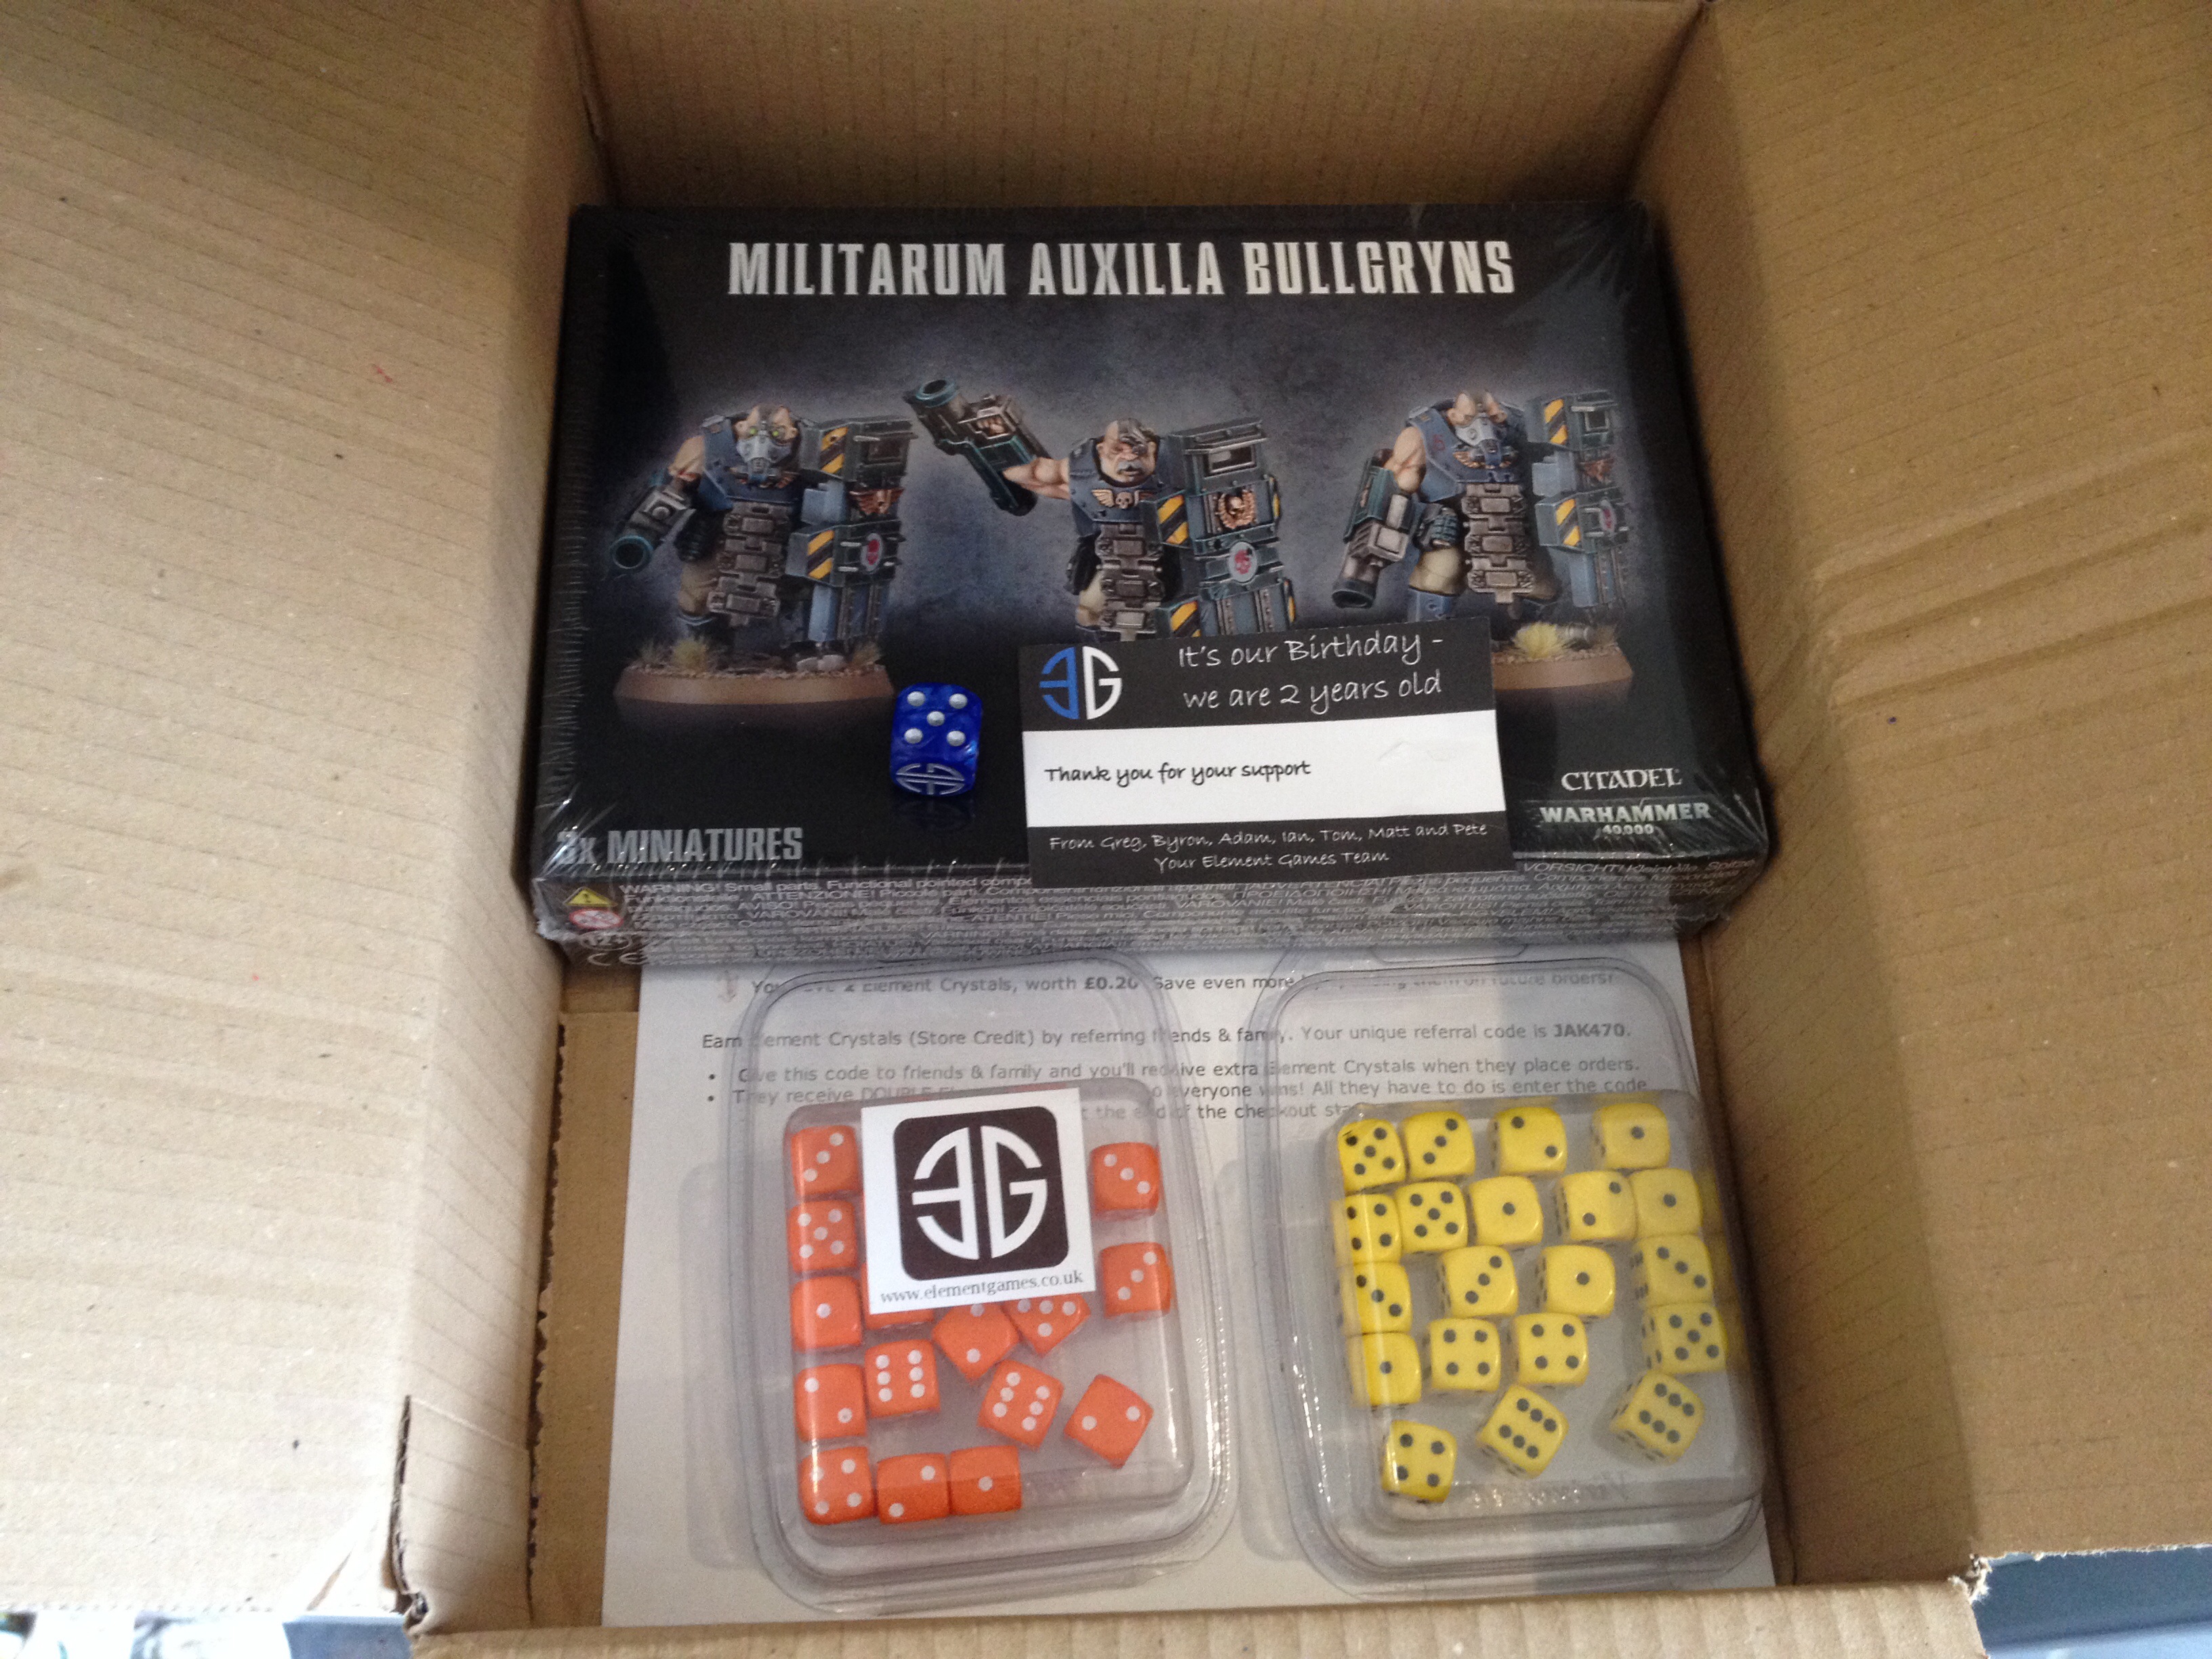
Birthday order from Element Games of Bullgryns & dice
One disclaimer; I’m a new player so these Bullgryn Tactics are just theory and could well be complete nonsense. If its wrong (or great) please do let me know via the comments or on Twitter.
Proposed Bullgryn Tactics
Grenade Gauntlet & Slabshield
This is the default configuration for Bullgryns and cost 145 points for three. That seems a lot of points for three models in a Guard army.
At face value I see a “tanker”; a unit that is able to soak up damage, it takes the punishment so that your guardsmen don’t have to. At T5, W3 and Sv4+ they can take on some decent firepower before they start to fall down reliably. I play a lot against Tau so I see these guys being able to soak up Pulse Rifle fire fairly easily.
Where I got excited about this unit was their Slabshields, in base-to-base contact with each they will get a Sv3+ for armour, this is really good and makes them even stronger and a better “tank”. Also any other model partially obstructed by a model with a Slabshield also gets +1 to their cover save. When I initially saw this I thought “mobile aegis defence line”.
Could you use them to move guardsmen up the board onto an objective, while still keeping them in cover? Answer, probably not. The points cost is a lot for this and its a high risk strategy. One decent shot from a template weapon and you’re in real trouble. The cover save would be 4+ (the normal 5+ and then the extra 1+) which is fairly good considering its mobile cover.
You could go even further with this – make the guardsmen veterans (with Forward Sentries) and get them camo cloaks, now we’re onto a 3+ cover save. Go to Ground gives you a 2+ cover save, then finally if you can bring in a successful order and your grounded troops get back up. That is pretty good!
This is all theory and high risk, but the options are there. I think in this default configuration you need to be making active use of the Slabshields for guardsmen. The unit’s weapons are poor, a 12″ grenade launcher (with S4 Ap6) which lets face it is a complete waste of time. It can’t damage vehicles (reliably) and is relatively weak against troops.
For 145 points you’d need to be dead clear on why you’re taking this unit and what it is going to do during a game. To use this strategy effectively you my want more models too. So that 145 points suddenly goes up to 235 for 5 Bullgryns.
Brute Shield & Power Maul
So a close combat only Bullgryn unit. I haven’t given this unit type as much thought as the default configuration. As I said I play against Tau and their awesome firepower is a problem. A unit of 3 Crisis Suits with 3 burst cannons (12 shots, S5, AP5) eats guardsmen up easily so any additional armour or cover saves I will take over added CC ability. Against another enemy you might want to rethink this unit. The Tau are terrible at CC so a normal Bullgryn squad would be able to kill Tau in CC easily. So the additional CC weapons are not really needed, but the cover save is.
Either way this configuration is an option, chuck these guys in a Valkyrie, grav chute them in and you’ve given your opponent a big problem.
Their even more expensive than the regular Bullgryns so you’re looking at 190 points for three.
Combi
Thanks to @PVasiljevic for this suggestion.
A combination of both types, Slabshields upfront with Power Maul variant behind. This gives added cover and a boost to CC. This would come in at an additional 120 points over the initial investment of 145. For 120 points you can nearly get a veteran squad with a chimera.
The more I read, play and ultimately learn – the more I’m realising that the meta game is almost as important as the dice rolls and unit positioning. The combinations of units and their various special rules and effective ranges are extremely important. Now, how do I give these guys Feel No Pain?
Summary
I will be taking the slabshield version of Bullgryns rather than the CC version. They just fit better with me and my play style. I will do another write up once I have used them to see if my battle plan survives turn 1.
What are your thoughts?
Follow Up
I’ve now had a game with my new models. I’ve made them magnetised so I can use them with Slabshields or with Power Mauls. I’ll post pictures another time.
My game was 1,500 points against the Tau. We played a Battle Mission from the book. The mission was Counter Attack – a kill mission rather than objective based. We also played using line breaker, first blood and slay the warlord.
I was unsure how to play my Bullgryns, in this mission, I took three for 145 points, all with Slabshields. As there were no objectives I couldn’t really use them to get my weaker troops onto objectives. The mission was to kill and survive. My opponent had commander Farsight. A HQ that can deep strike with no scatter and who can cut tanks in half, let alone men. So the task of my Bullgryns was to stay behind the Aegis and await Farsight’s arrival.
This they did. And sure enough Farsight arrived and landed inside my Aegis right next to my two Basilisks and in a prime spot to assault my HQ in later turns.
While my Bullgryns didn’t have Brute Shields or Power Mauls they were my best bet at countering Farsight. I had however made one miscalculation. Their leadership is rubbish. I had accidental accounted for this by bringing a Regimental Standard with my HQ which would allows me re-rolls on failed morale checks.
The first turn of CC was OK. We caused the same number of wounds I think and not one model was lost. It was rather uneventful. The second round I lost, by a single wound. The Bullgryns failed the first morale check and the re-roll. They fell back and off the board.
So, argh! It was so annoying. A model I really wanted to use, I’d thought about what their role was and then this happens. But sometimes the dice gods are not on your side. I felt I did everything I could’ve, by using the re-roll but it wasn’t to be.
RIP Bullgryns.
June 23rd New Follow Up Article
I have written a new follow up article about Bullgryn Tactics.