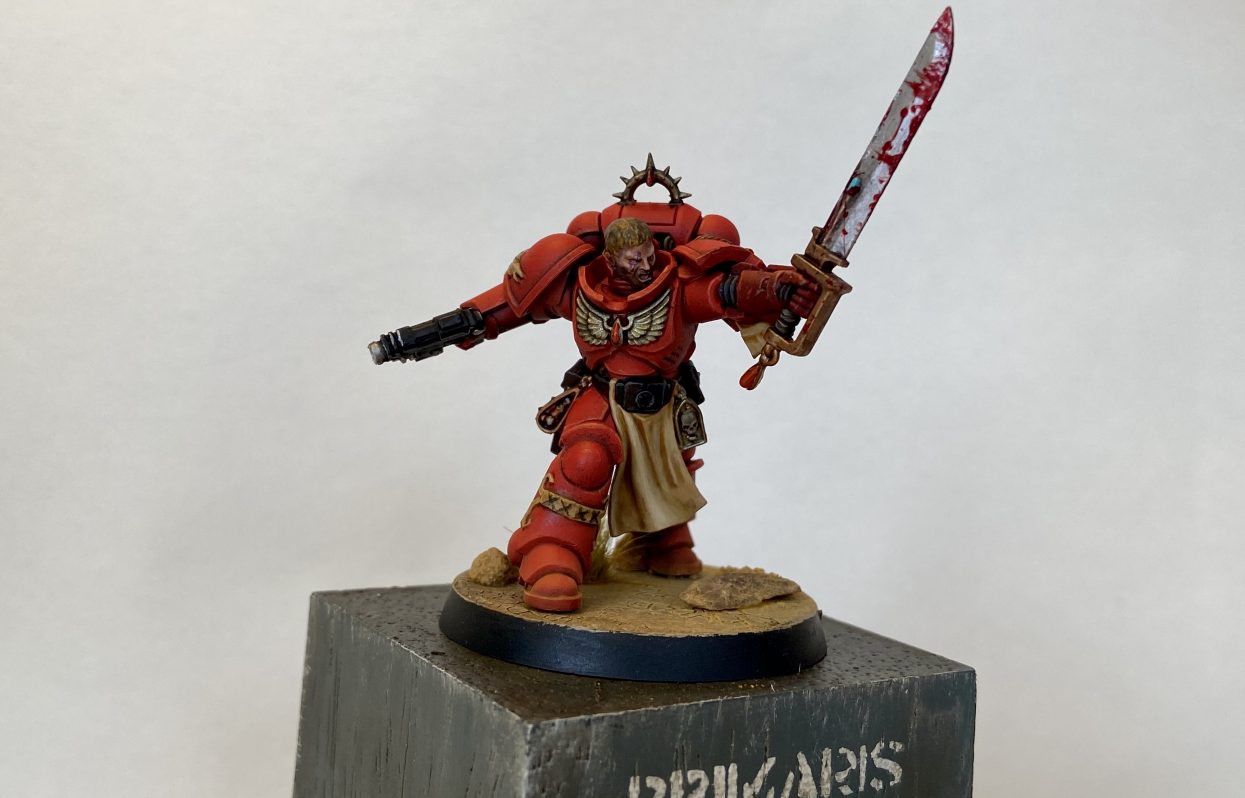

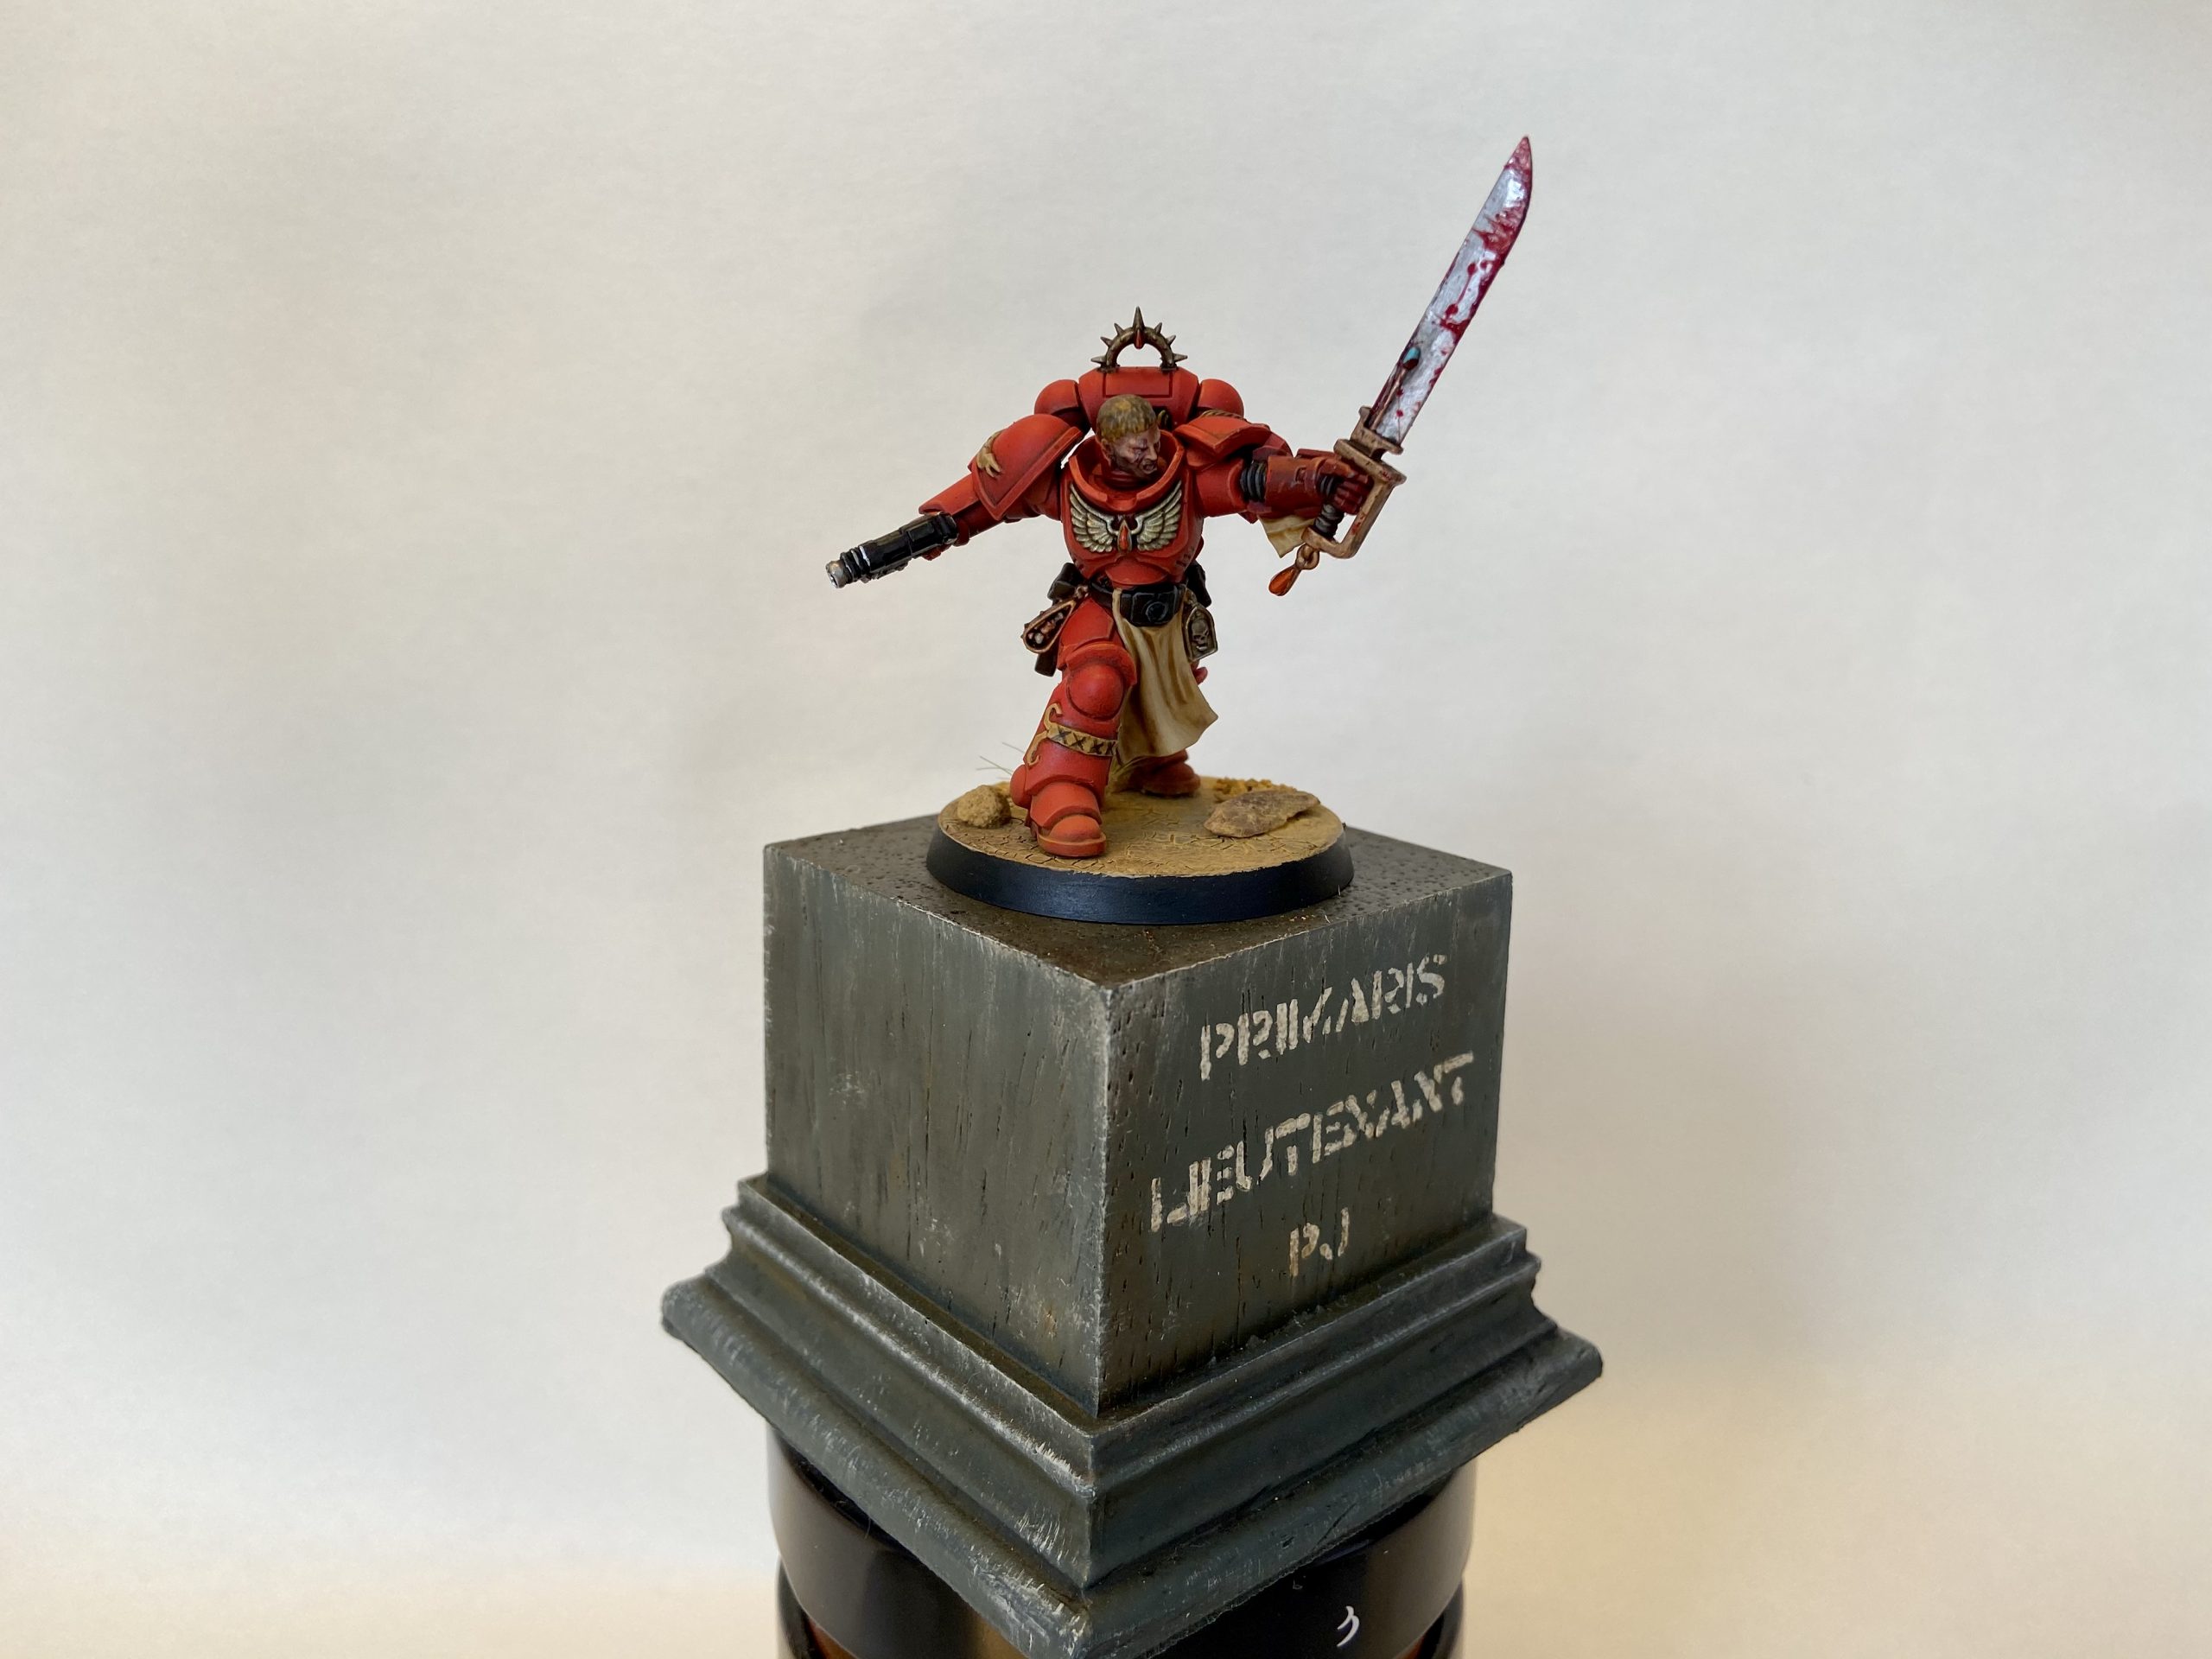
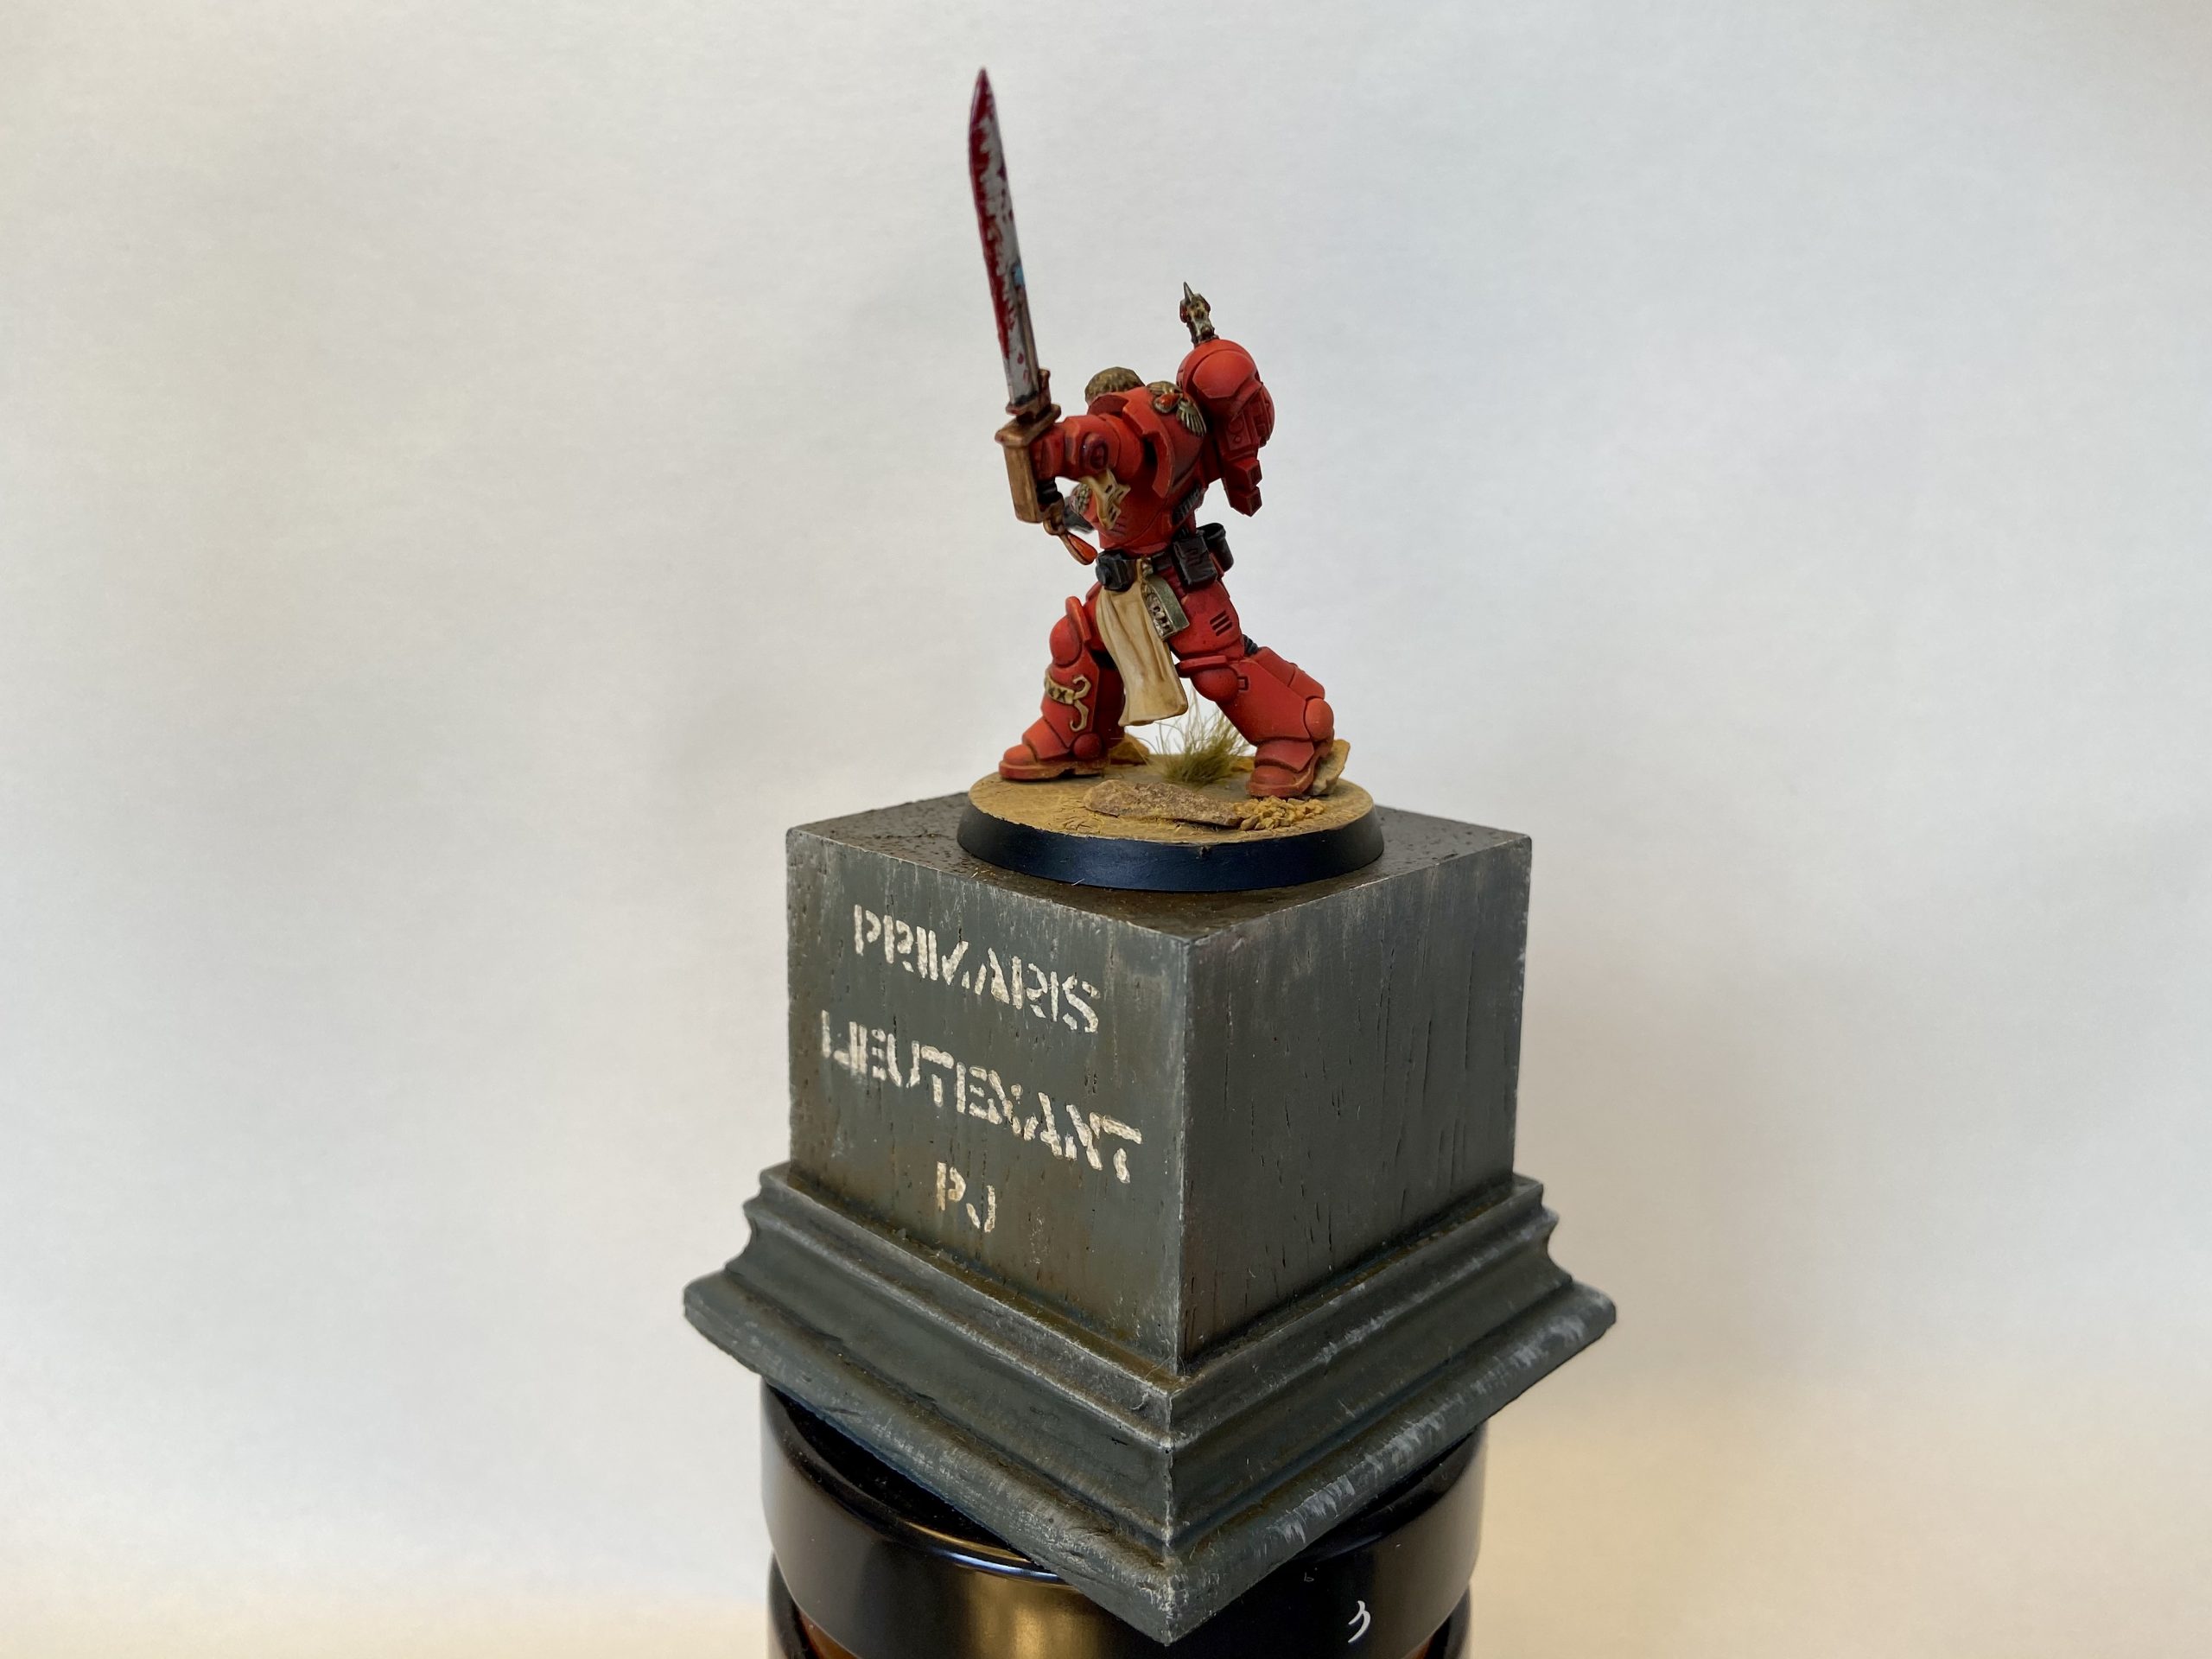
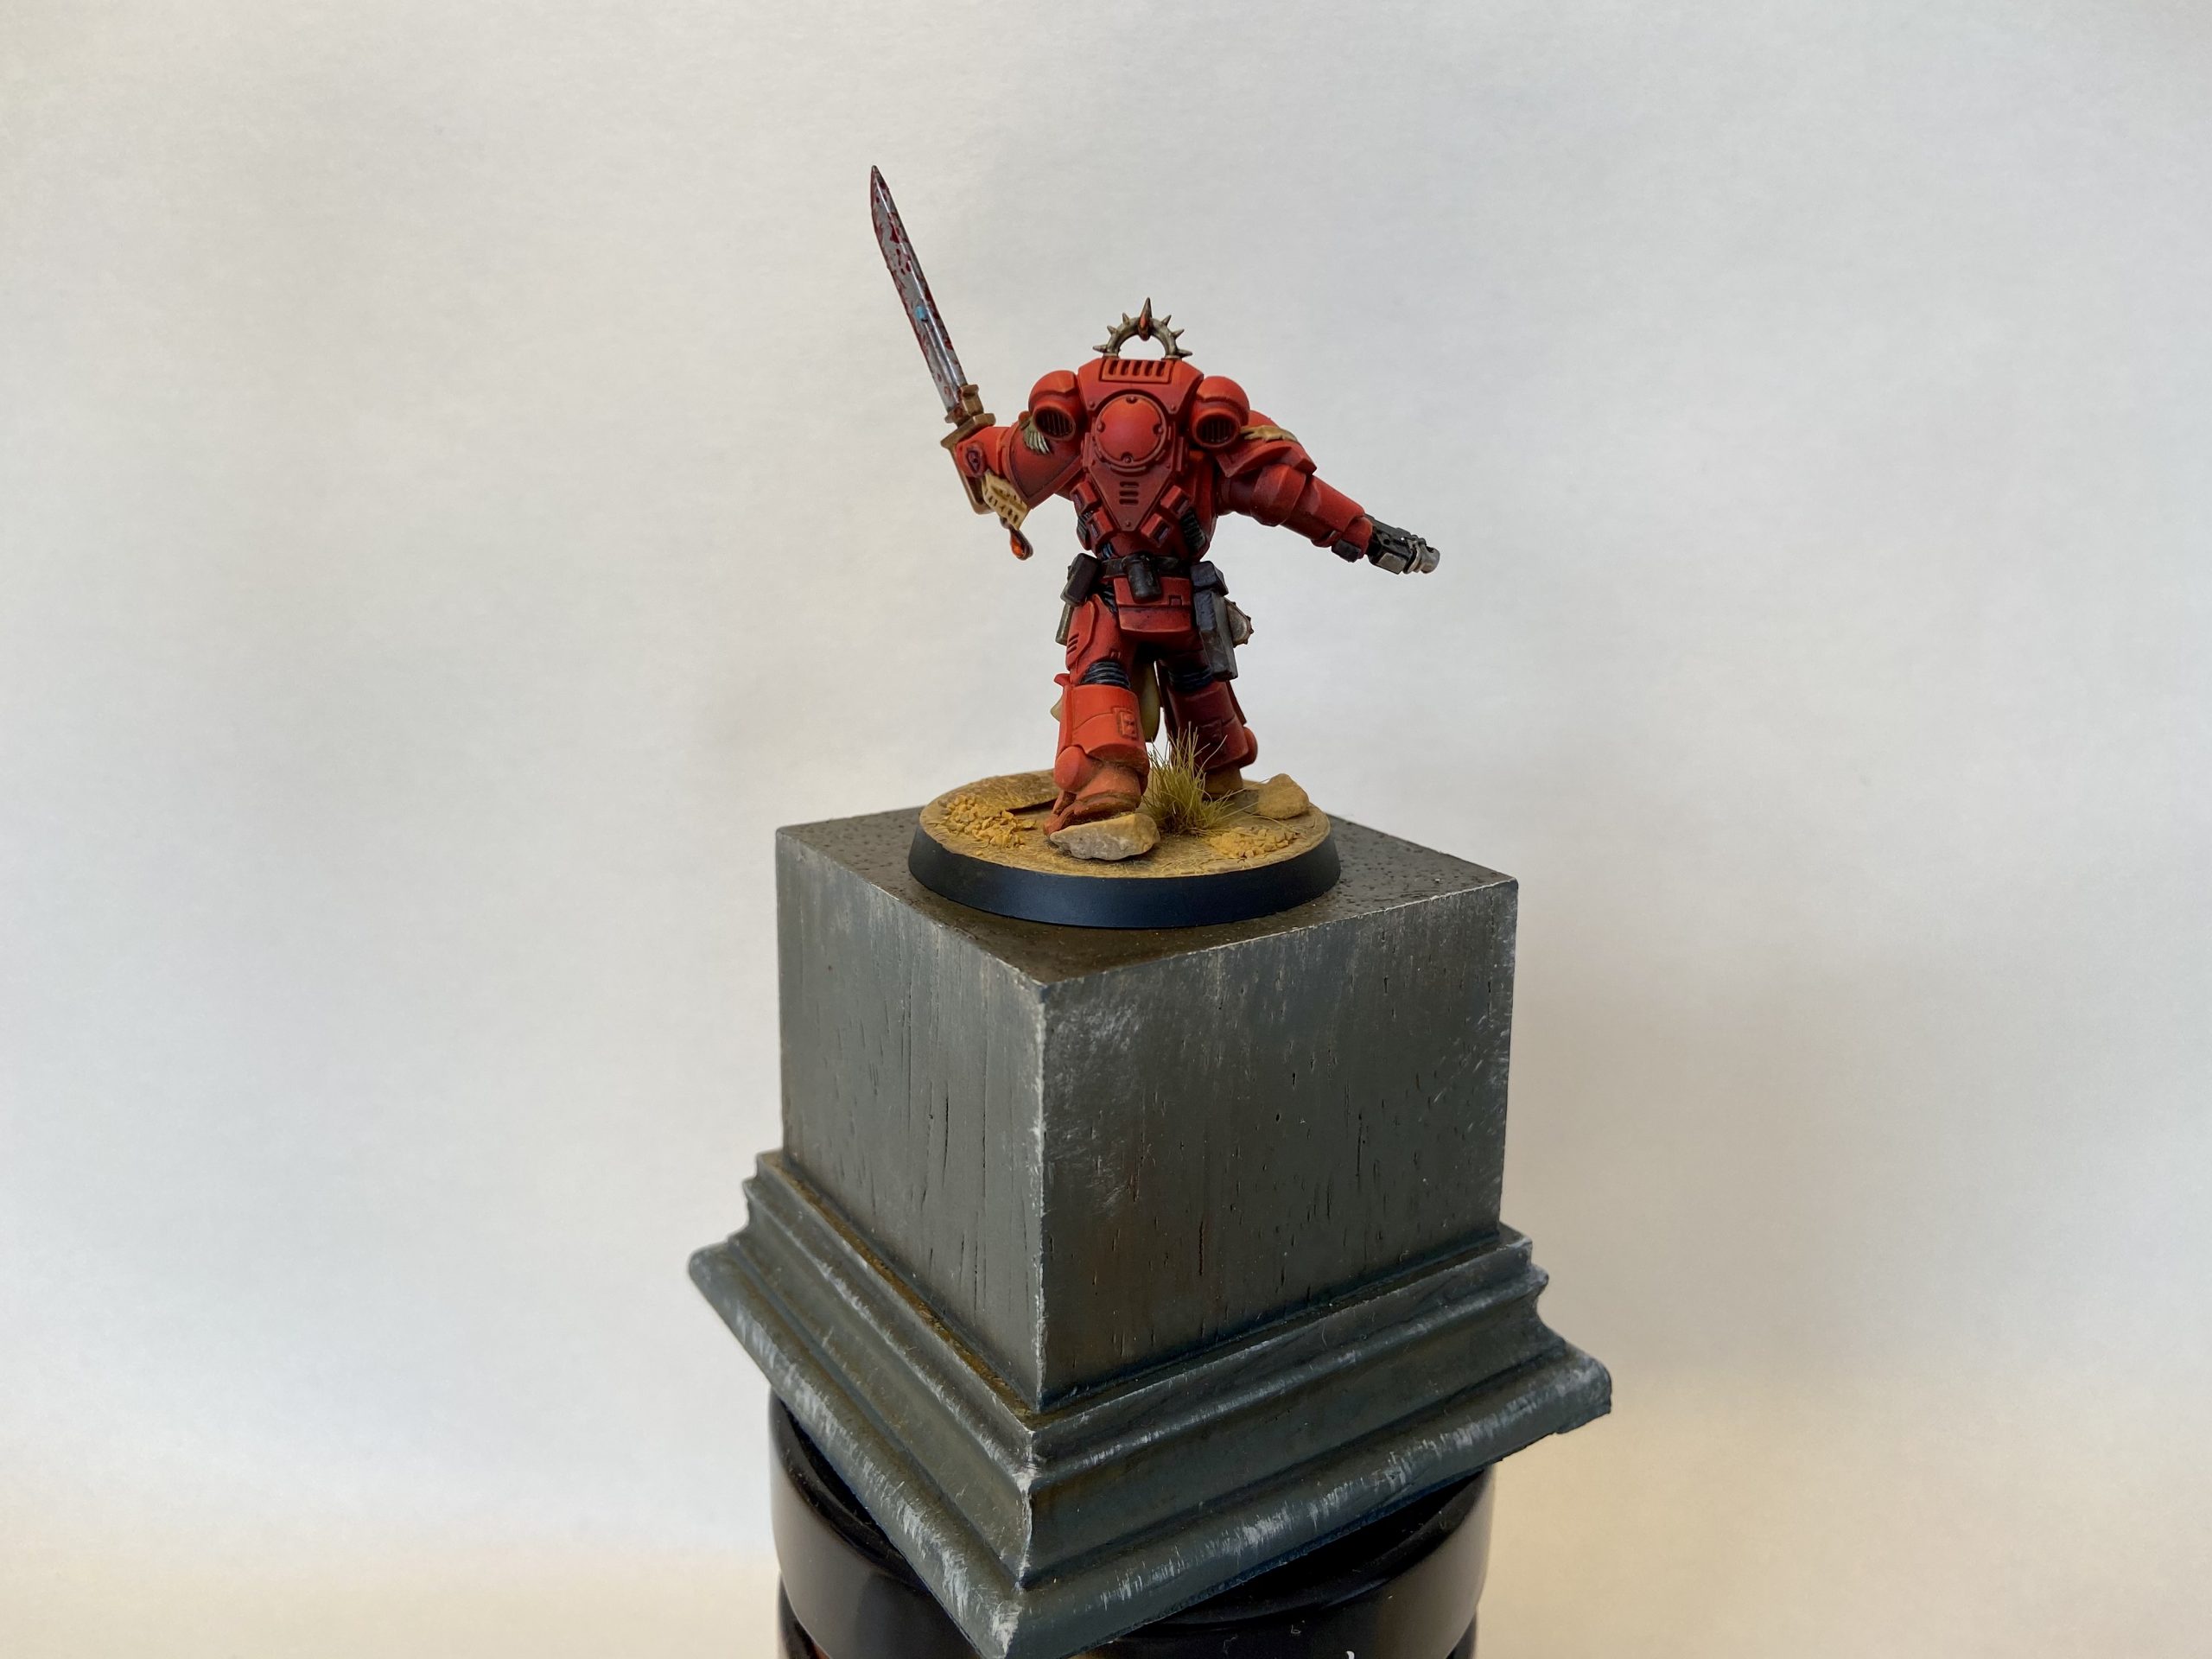
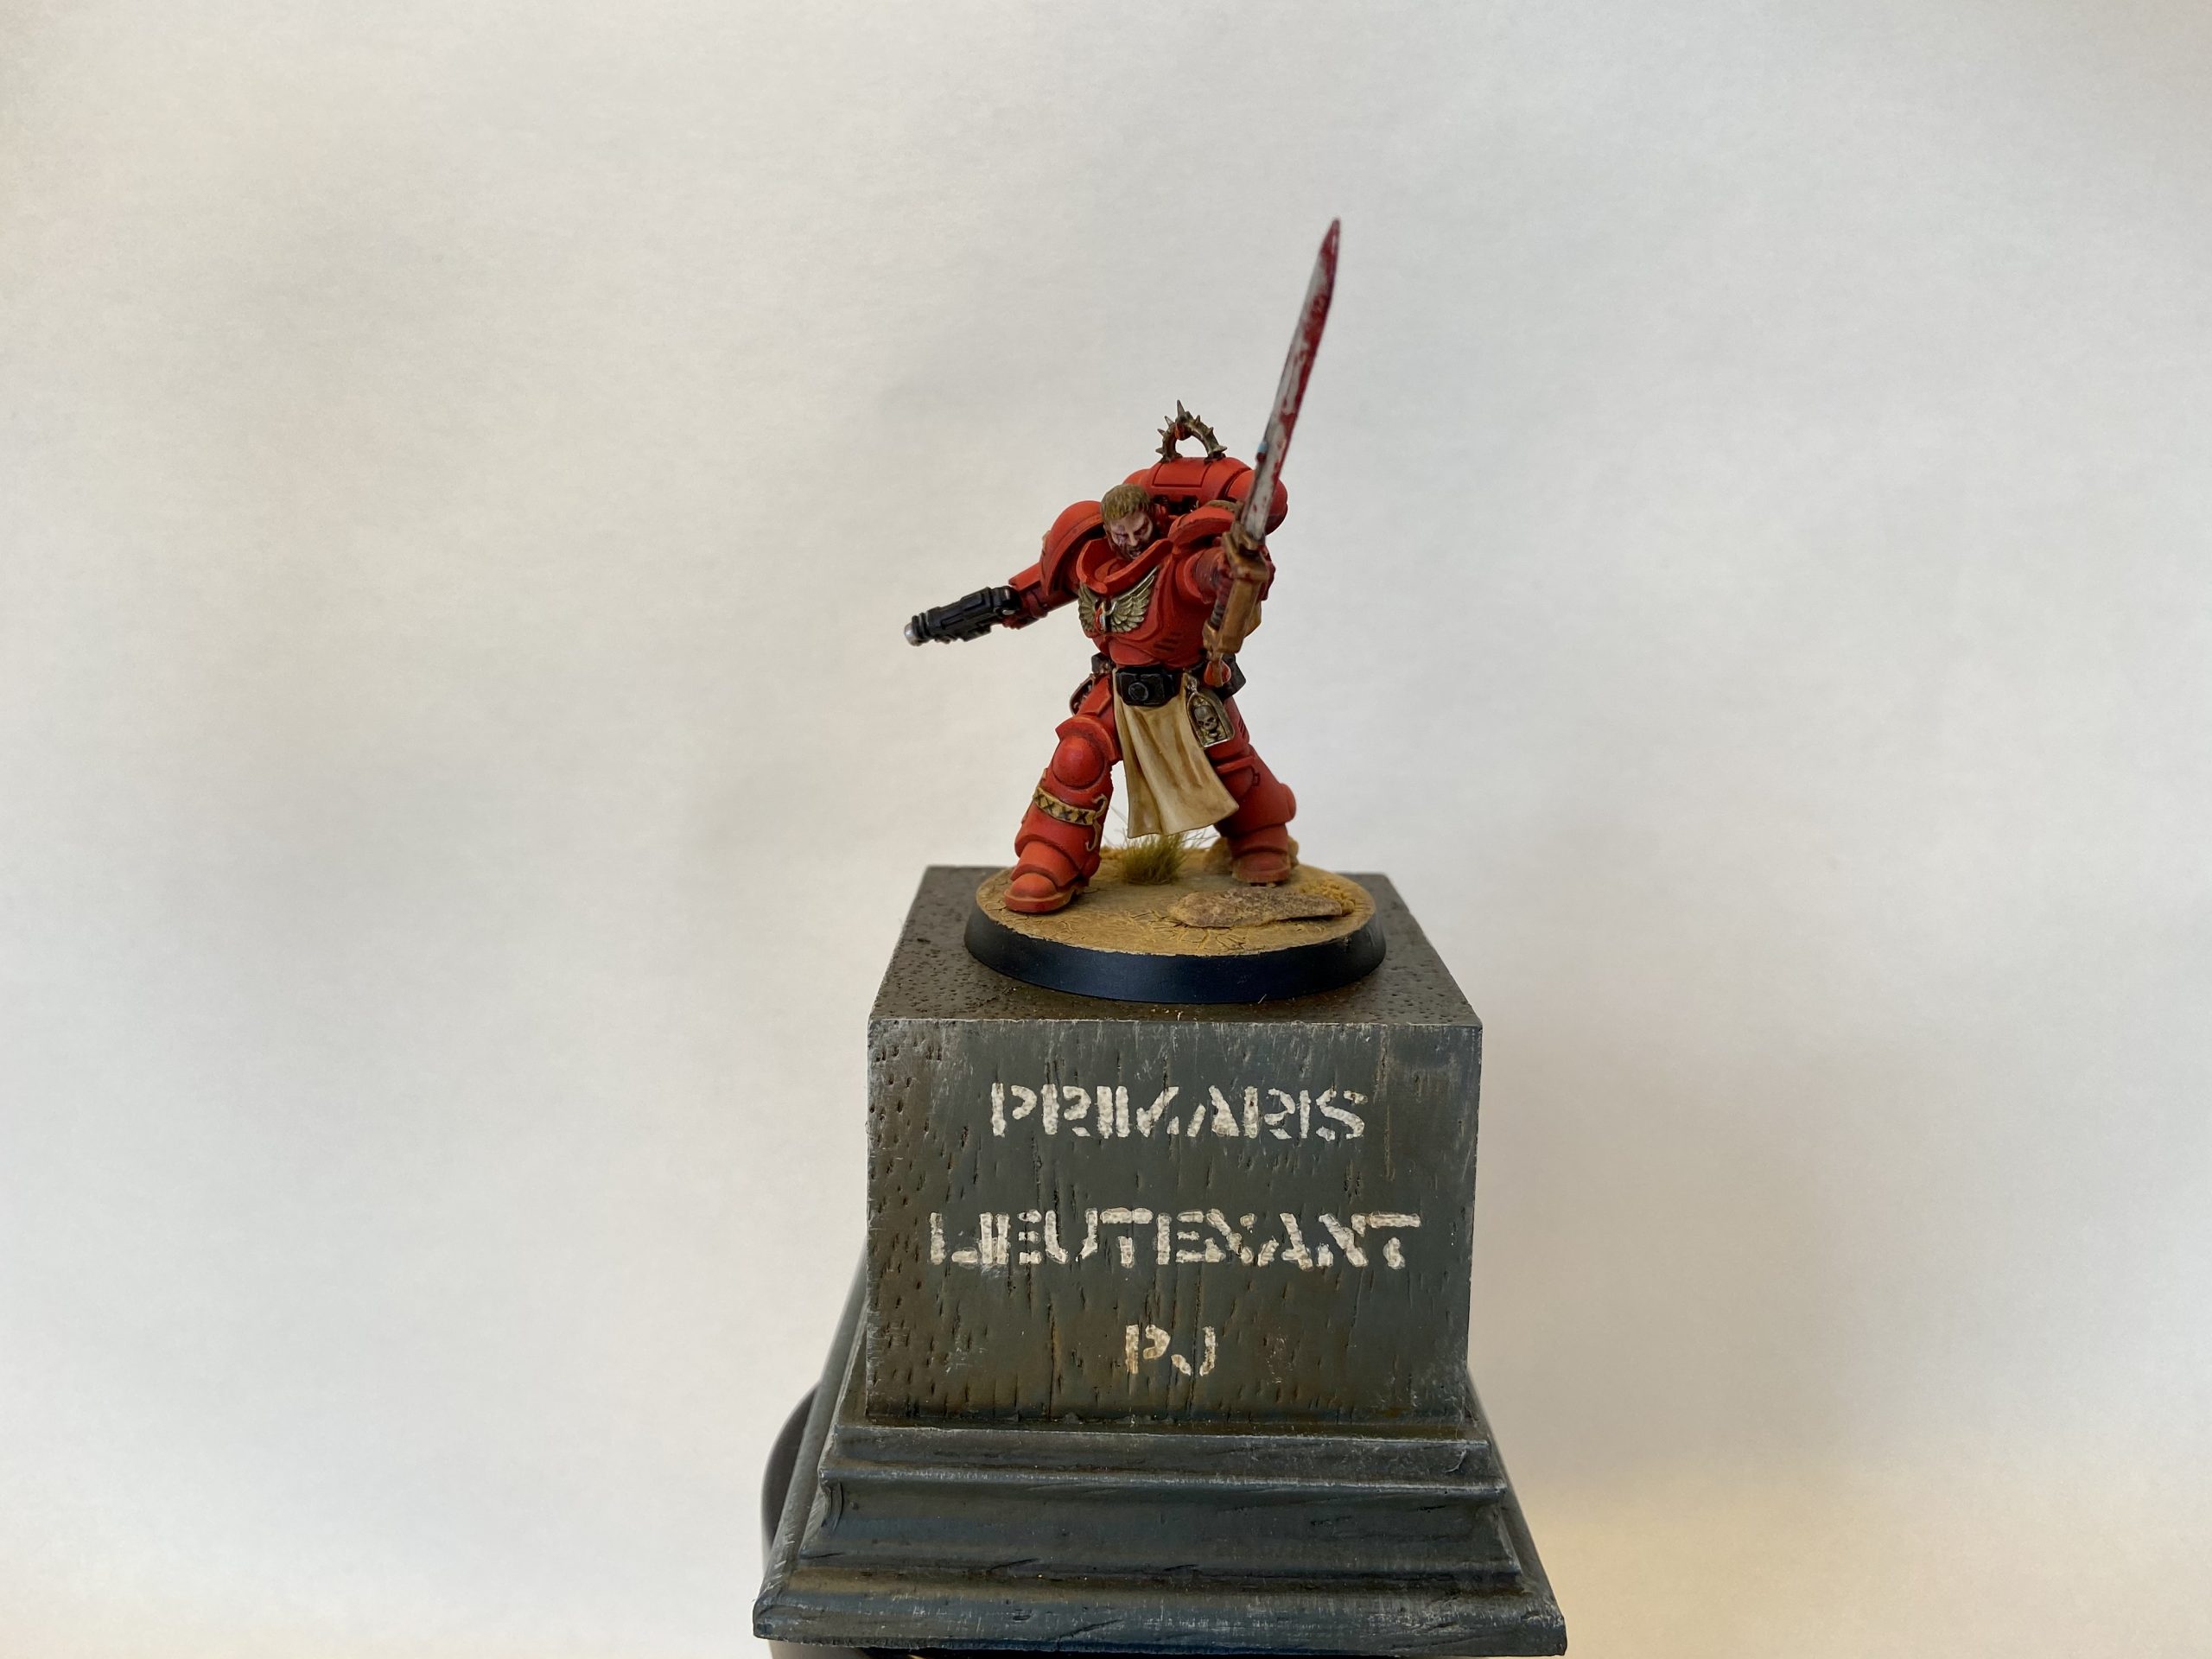
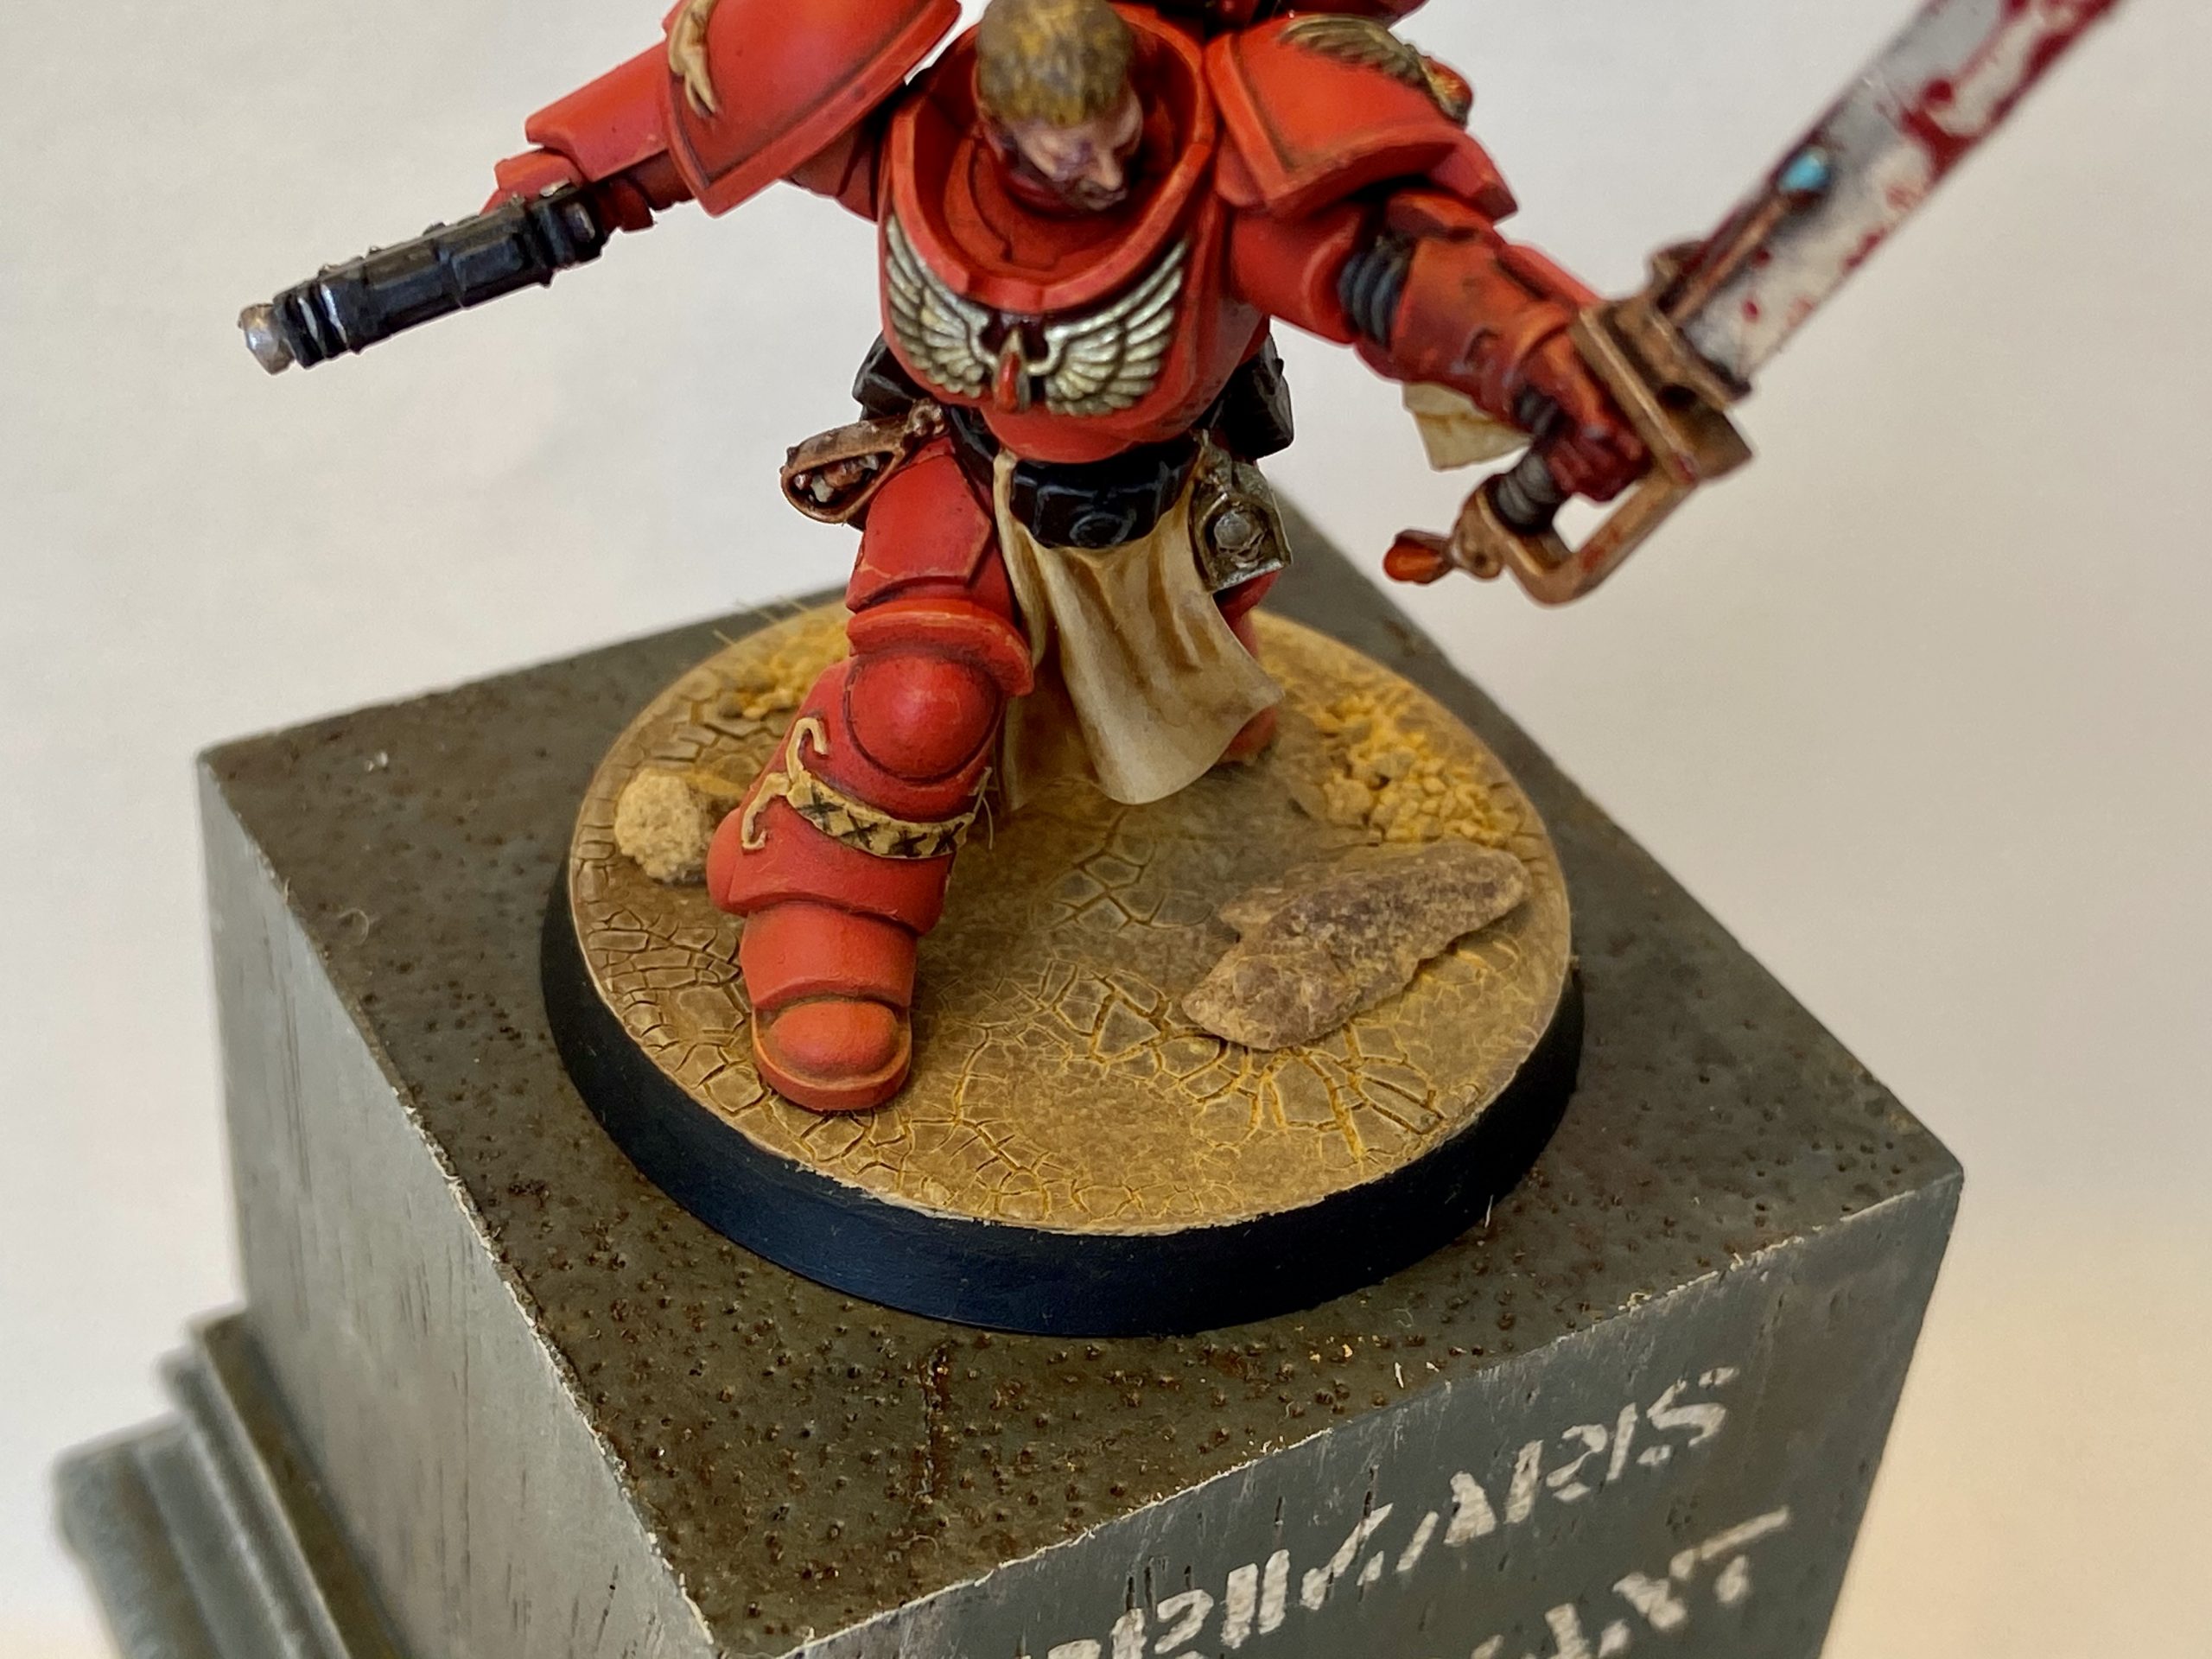
Blood Angel Primaris Lieutenant Tolmeron – Primaris PJ
My first Blood Angel paint job! A gift for a friend's 40th Birthday!
Today I have something different for you; I have painted Blood Angel Primaris Lieutenant Tolmeron for a friend’s 40th Birthday as a surprise. I hope he likes it!
Never miss an article? Subscribe!
Big thanks to @docandy40k for their tutorial on painting Blood Angels armour. This popped up on my feed the day I ordered this model – what are the chances! I have not done as many highlights as @docandy40k – but the general approach is similar.

Blood Angel Primaris Lieutenant Tolmeron – Primaris PJ
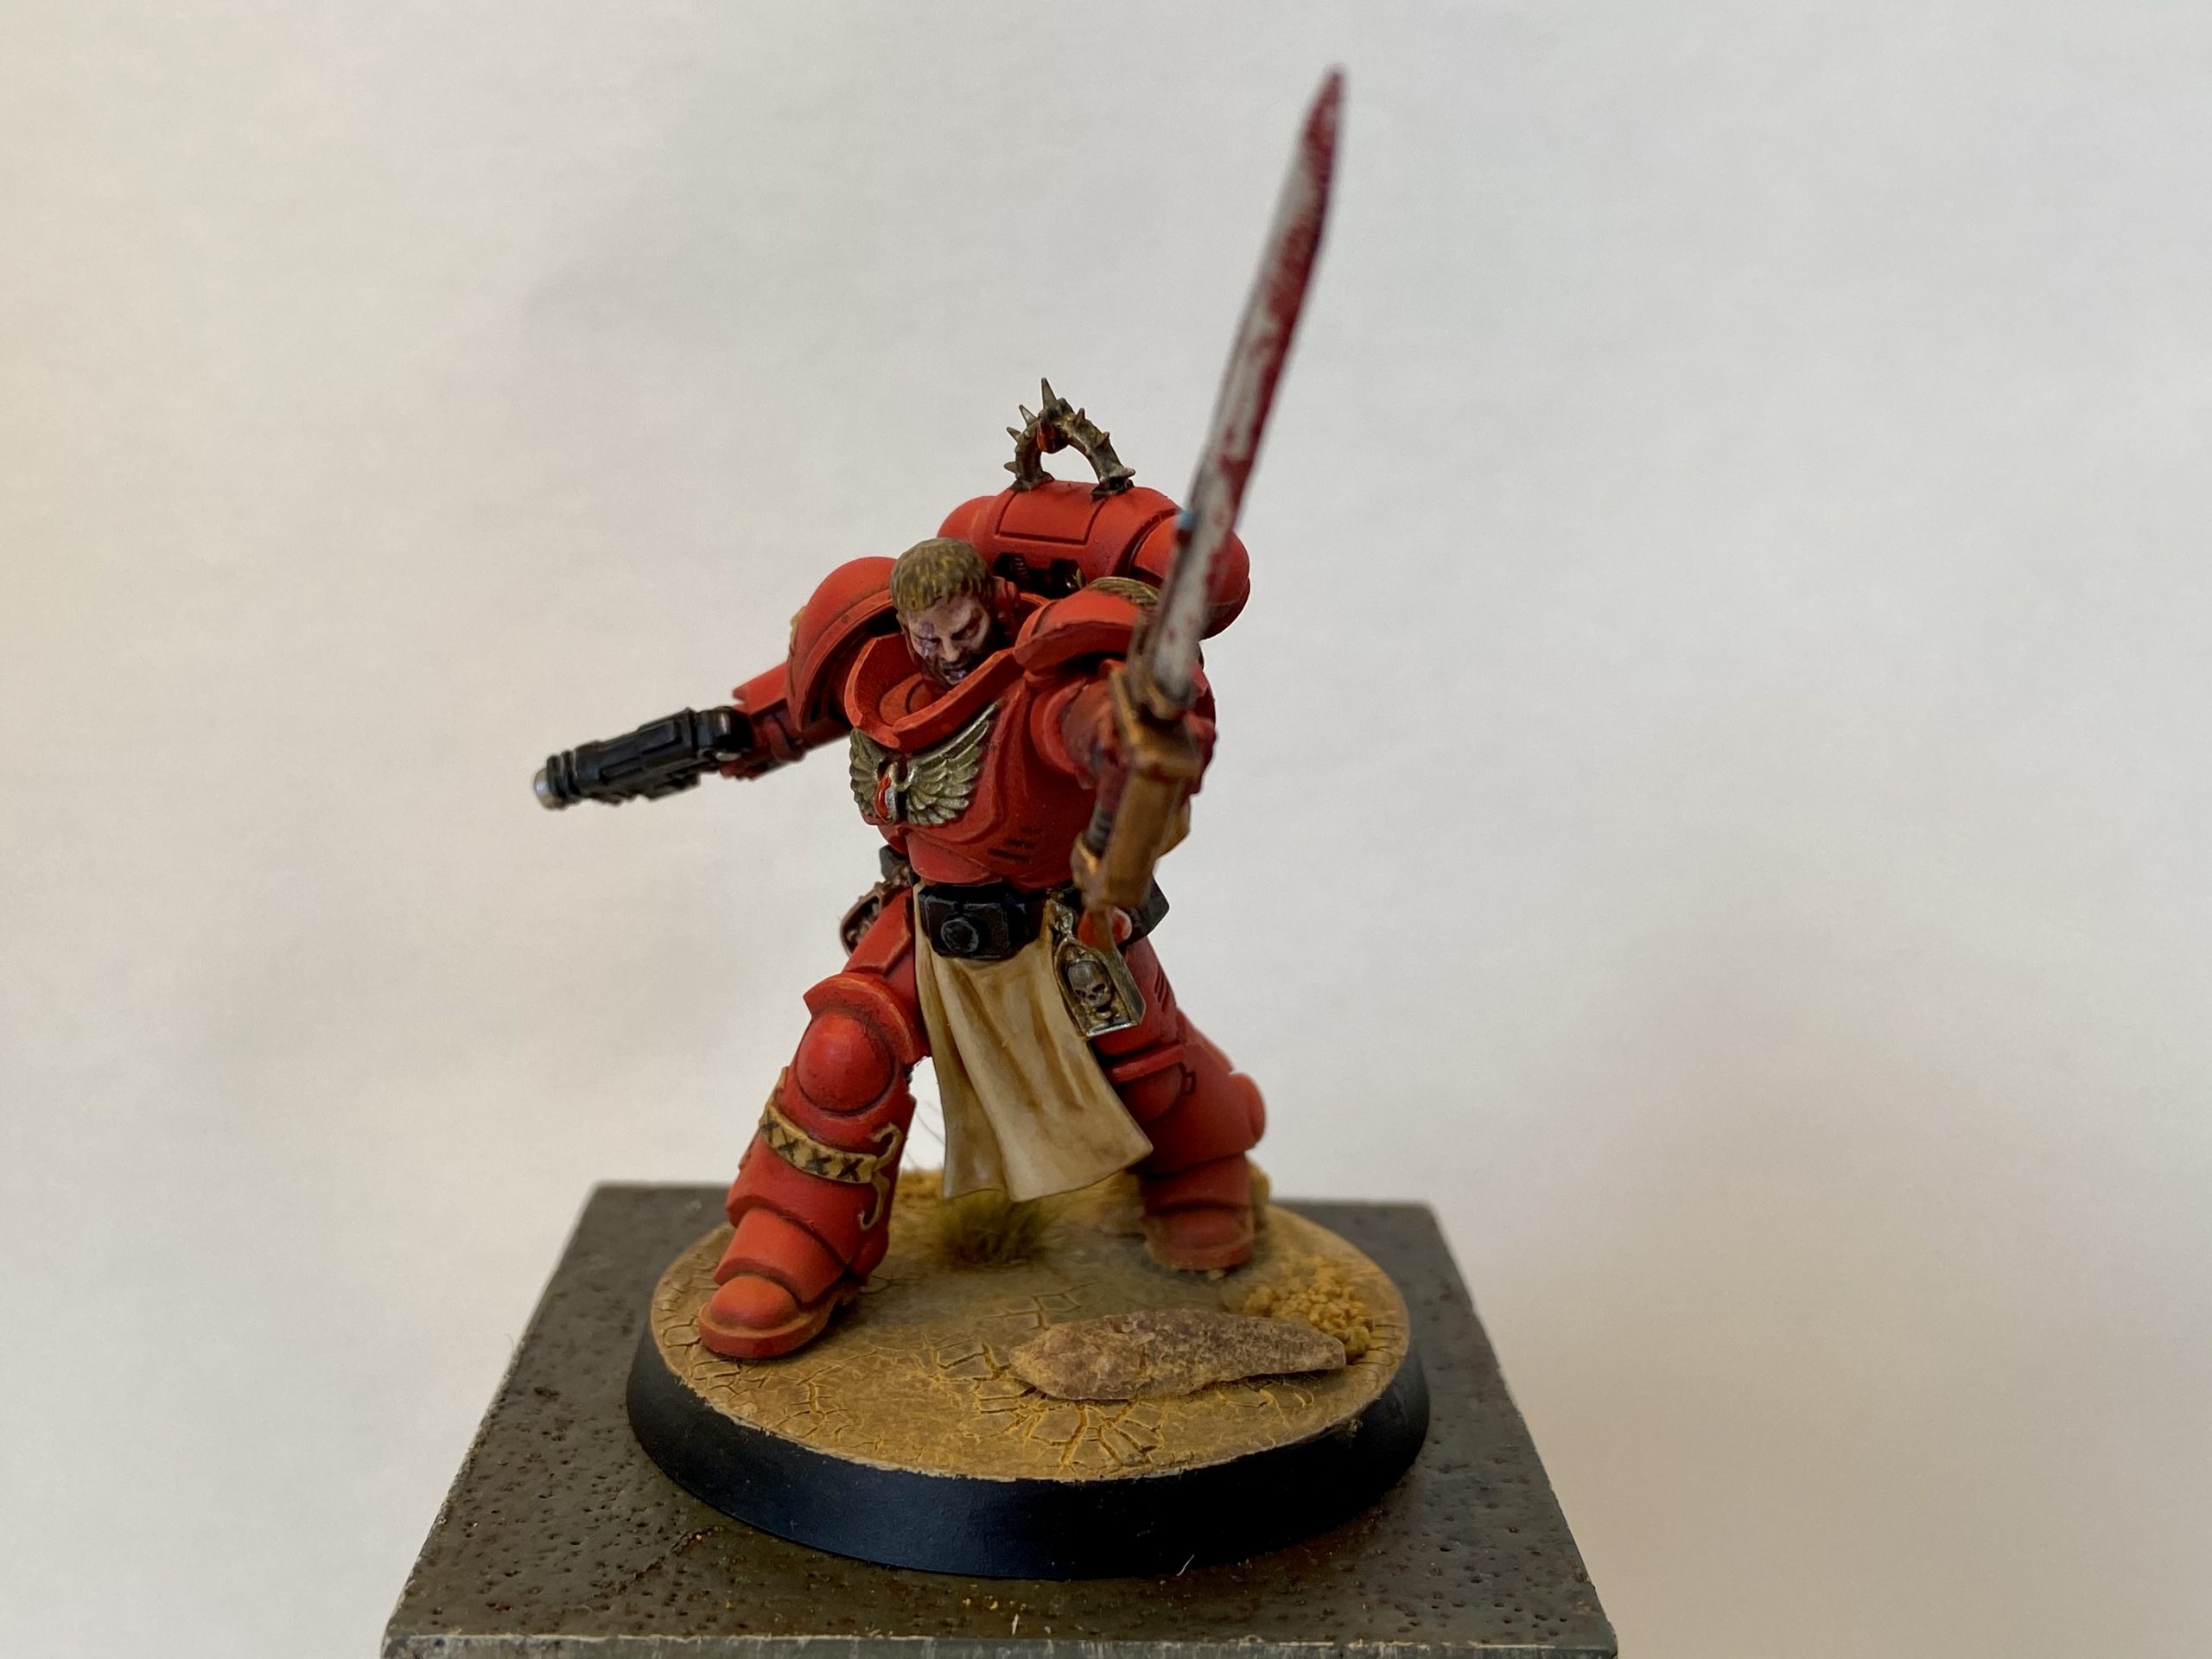
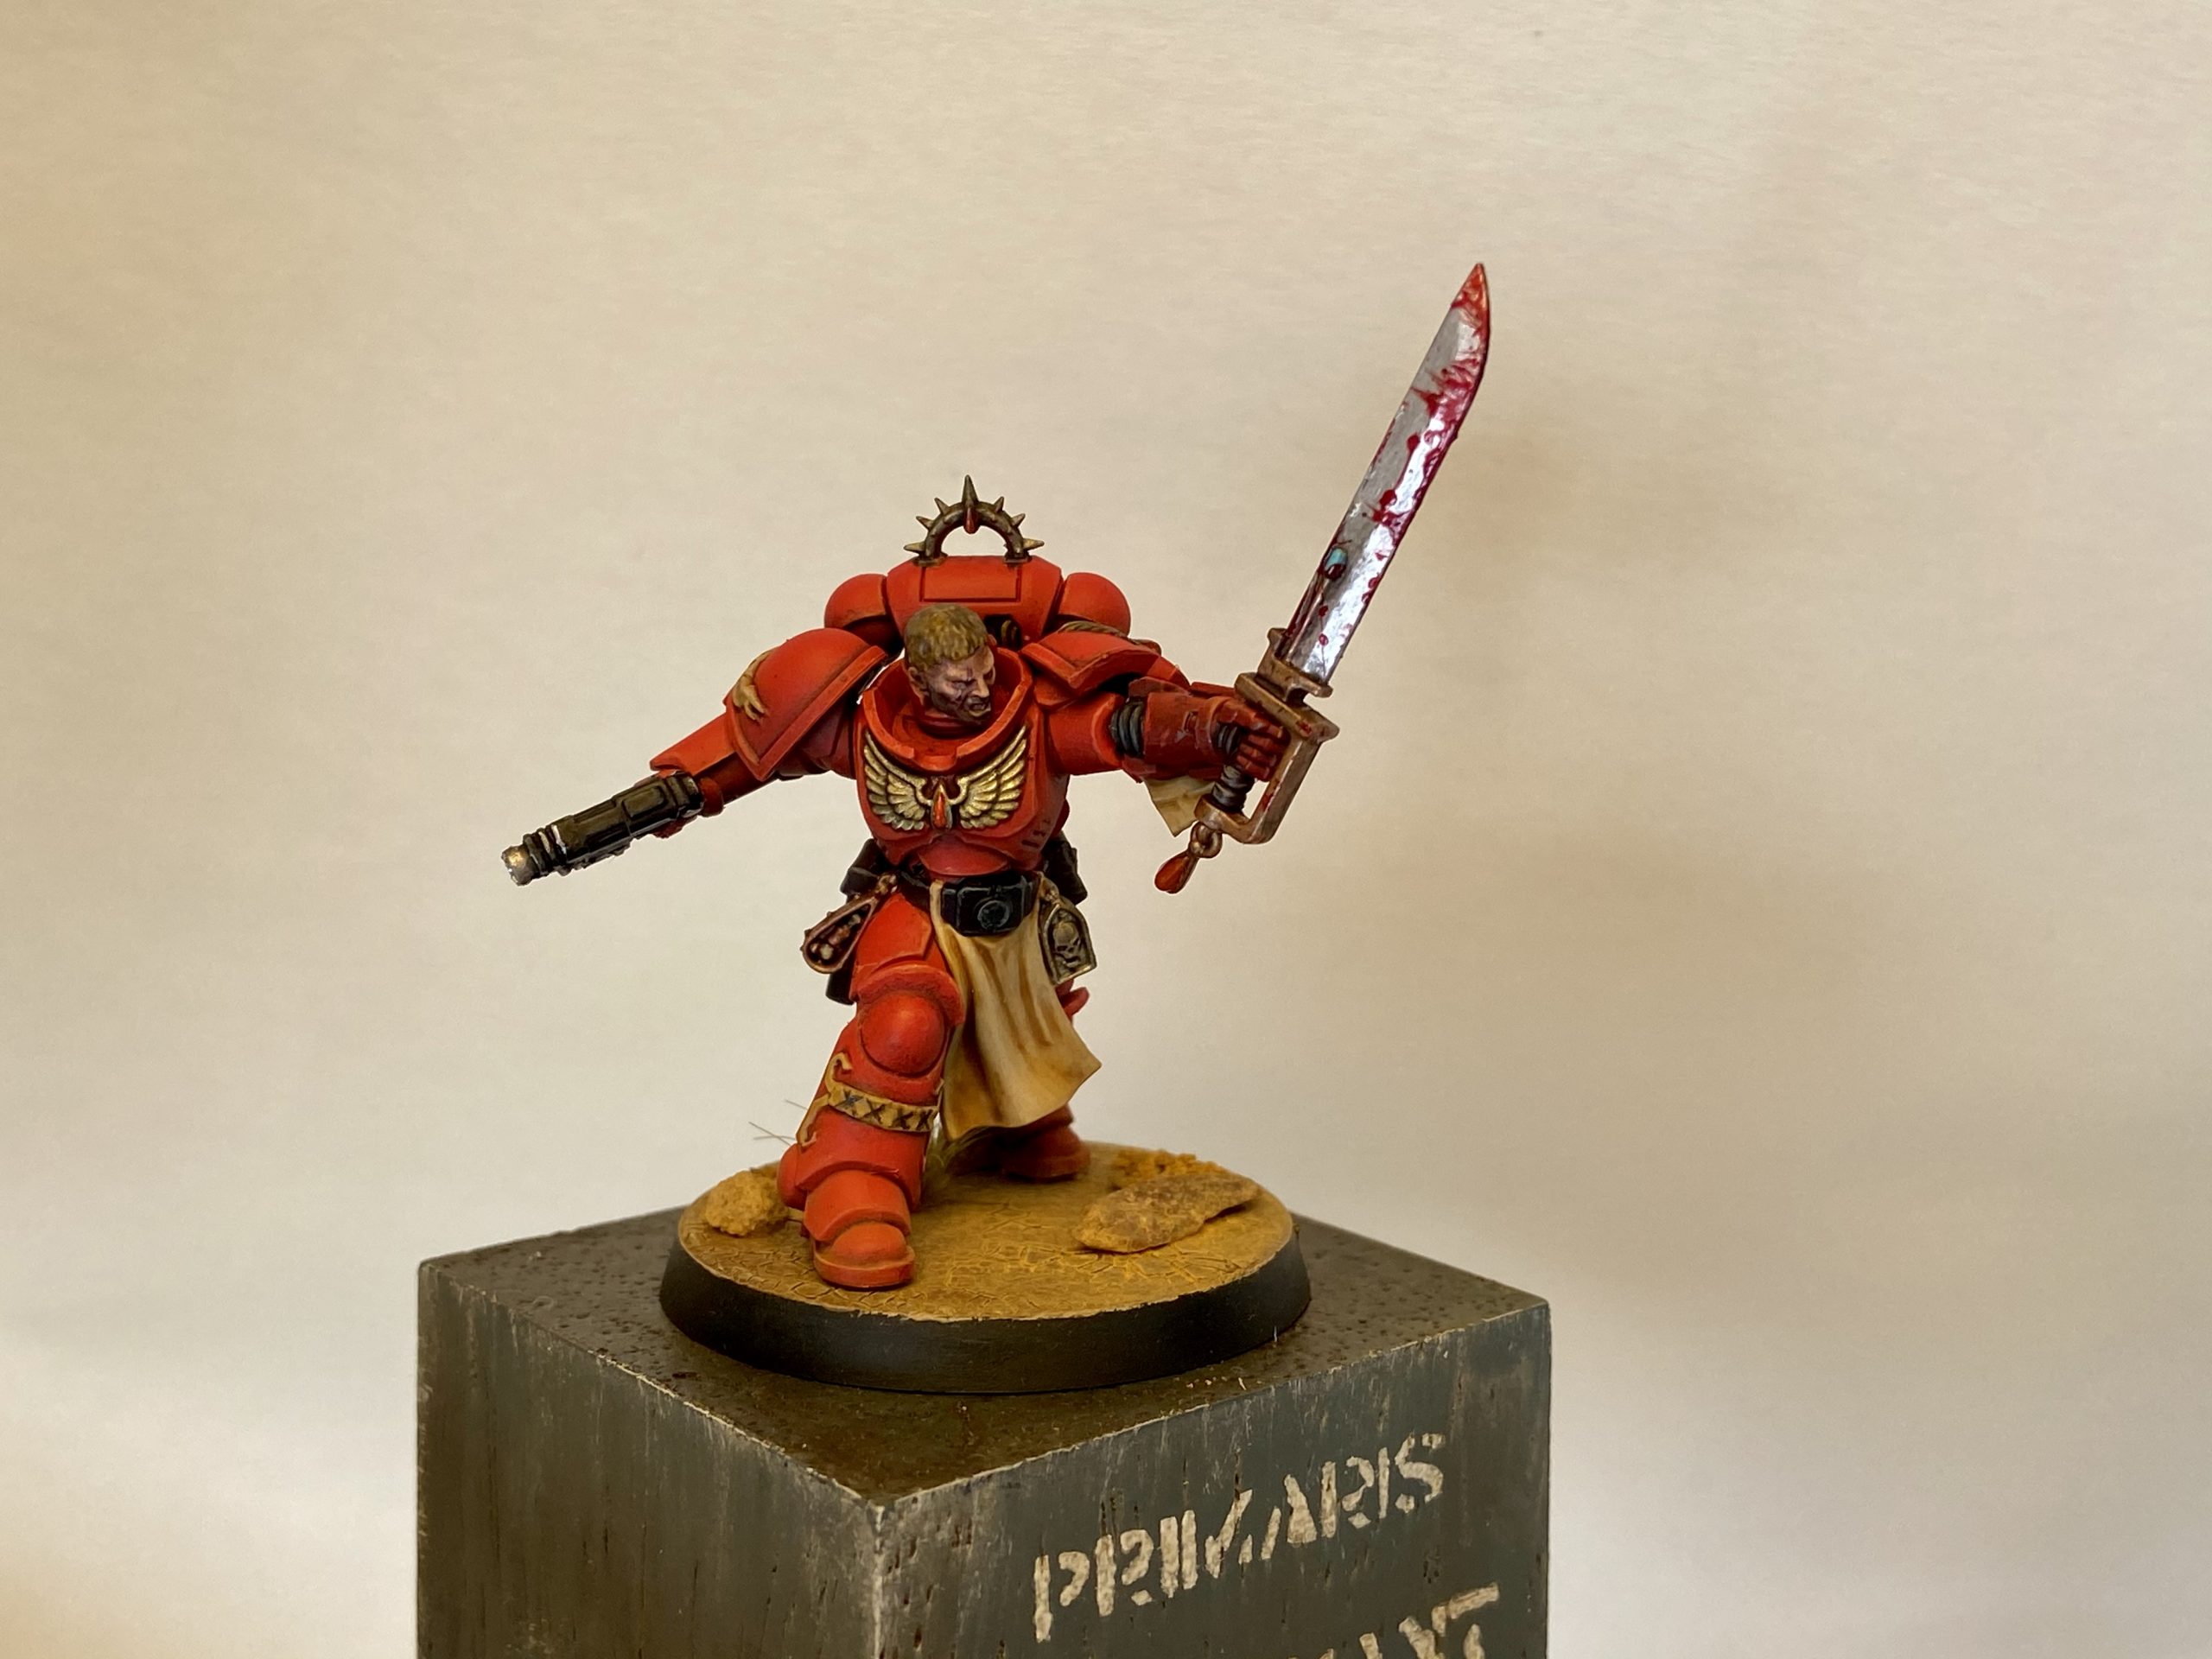
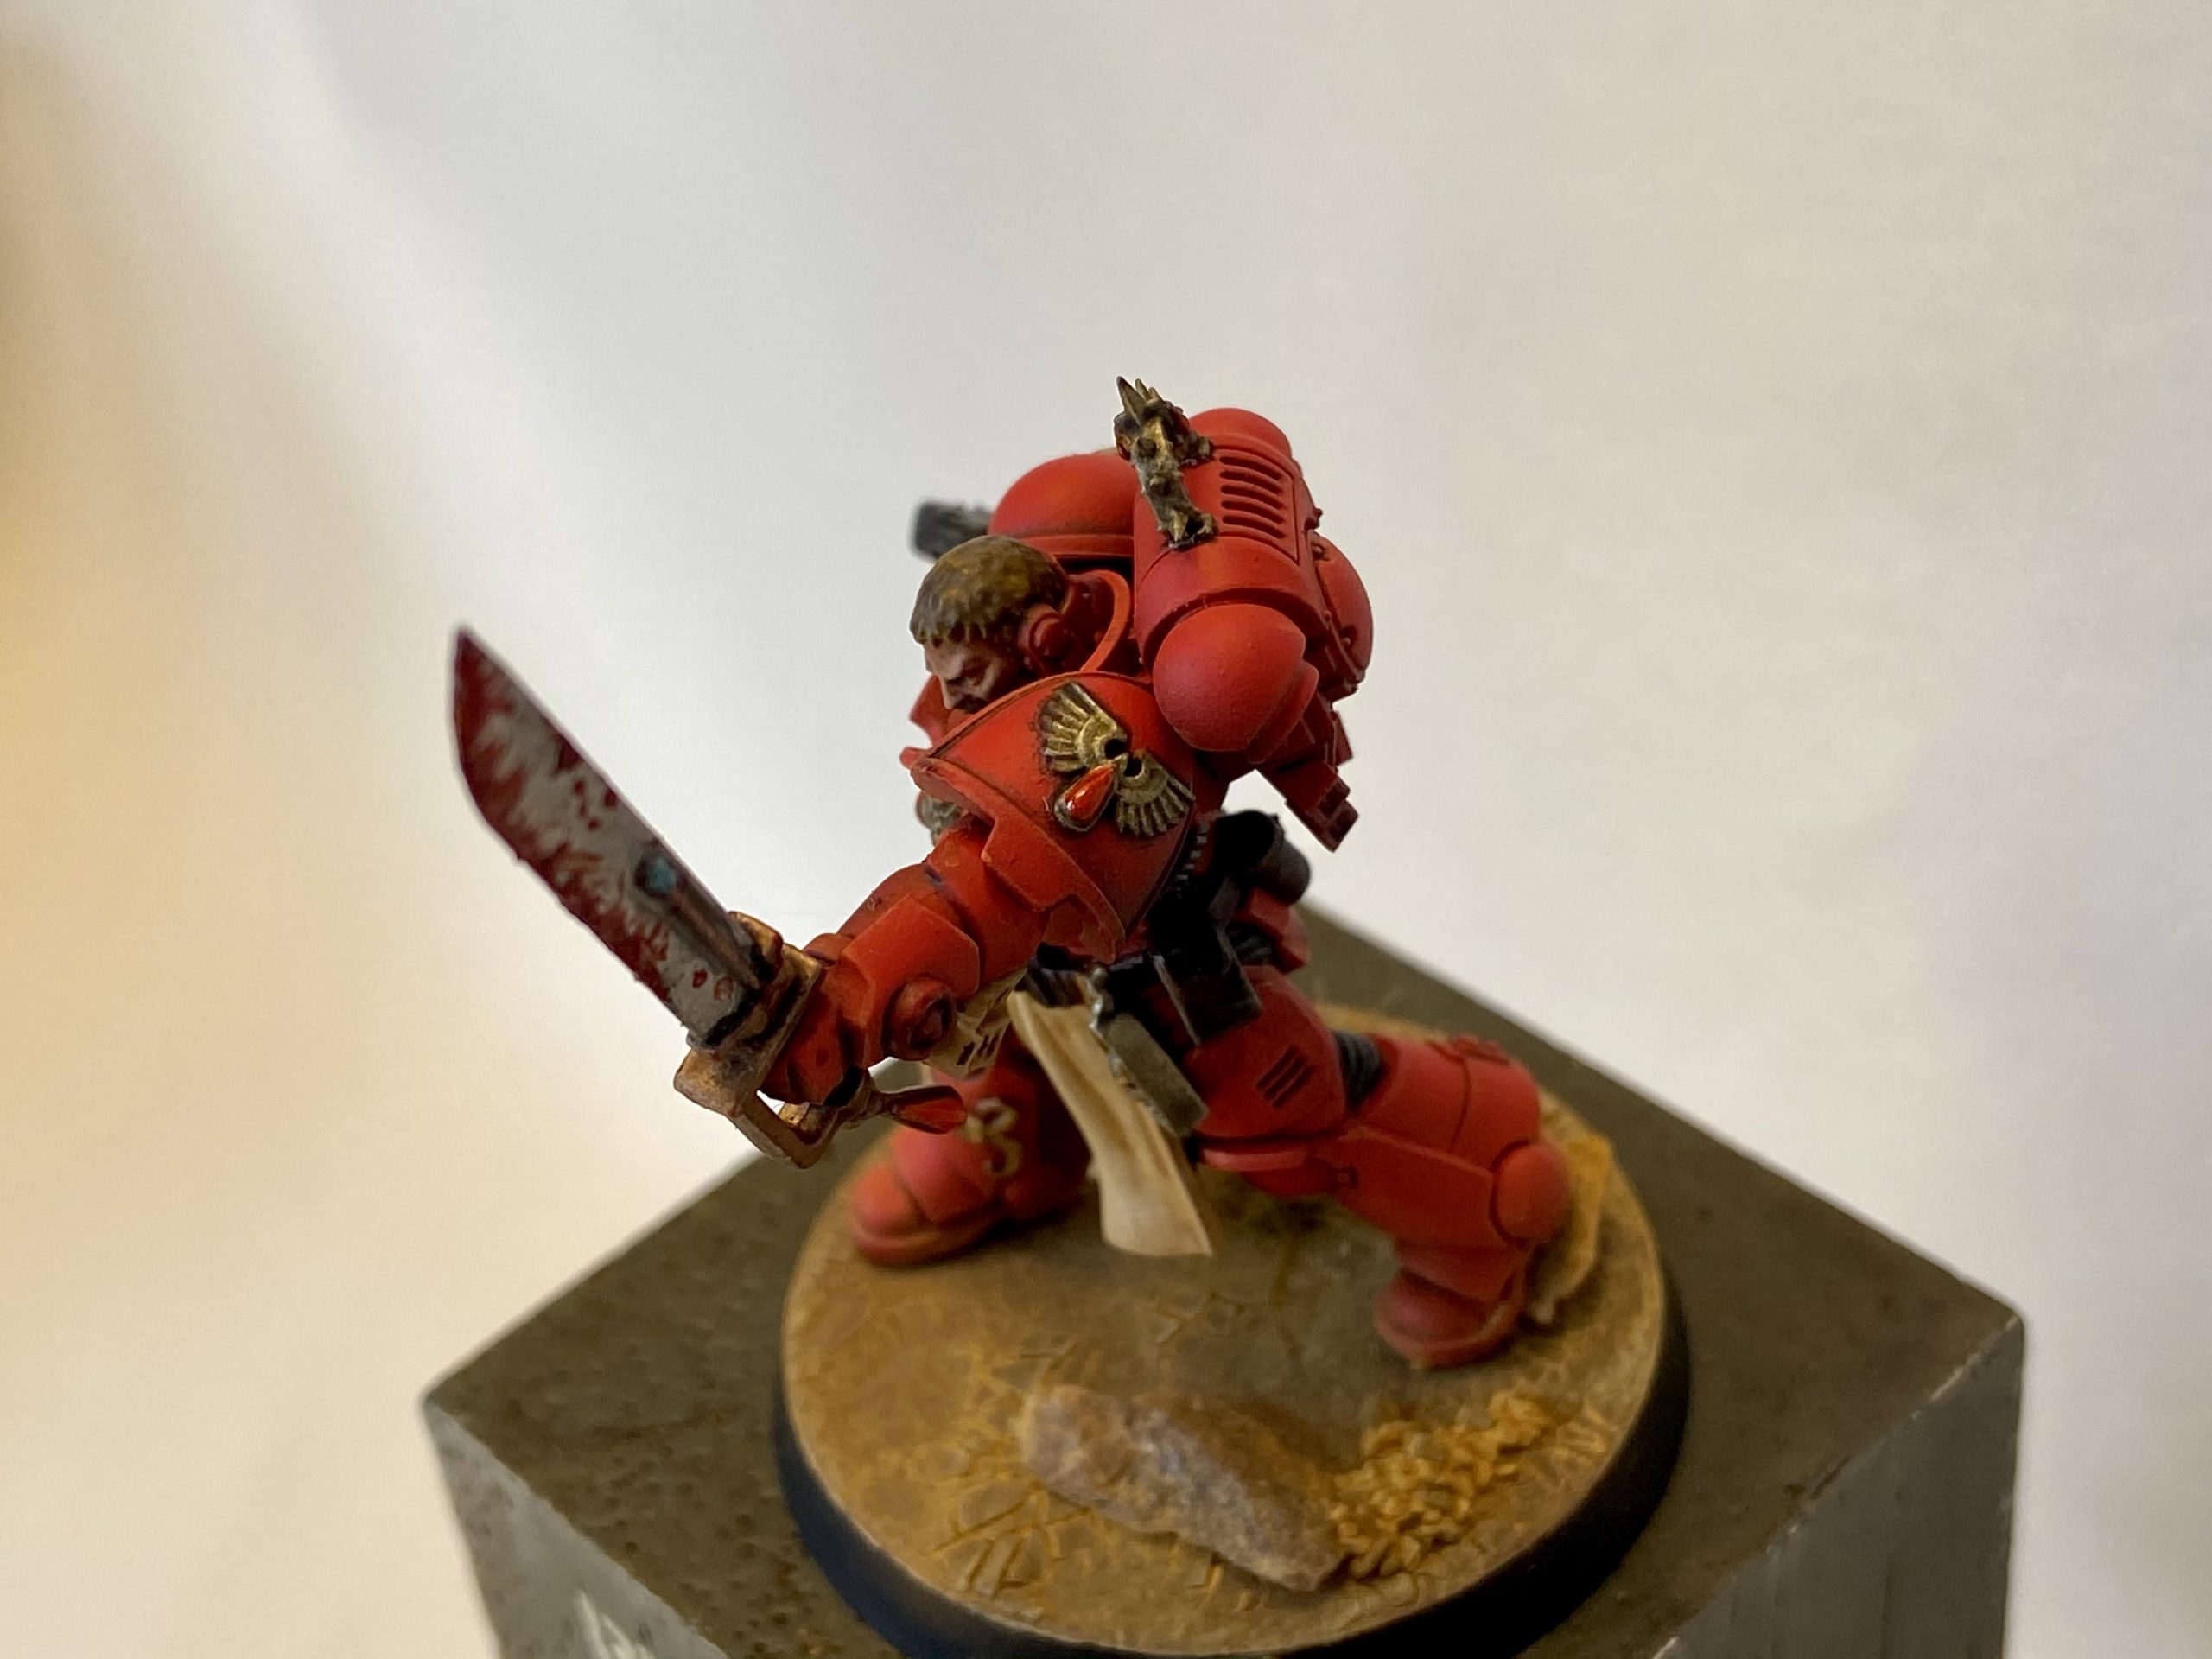
Blood Angel Primaris Lieutenant Tolmeron
I really wanted to make this special, so I set out from the start to do a few things;
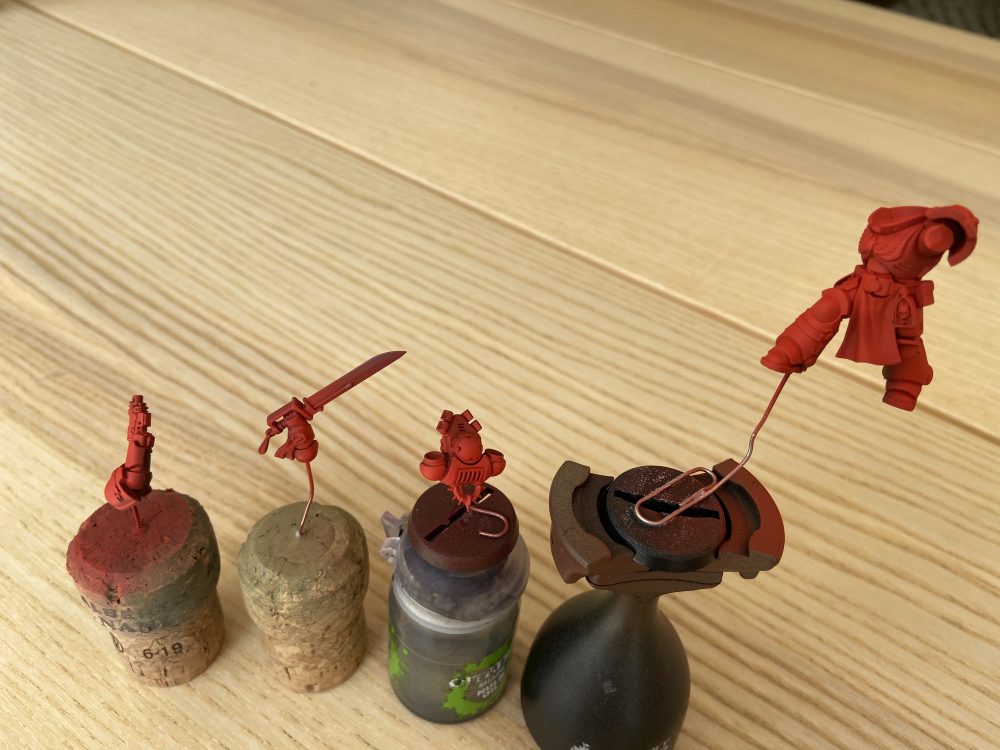
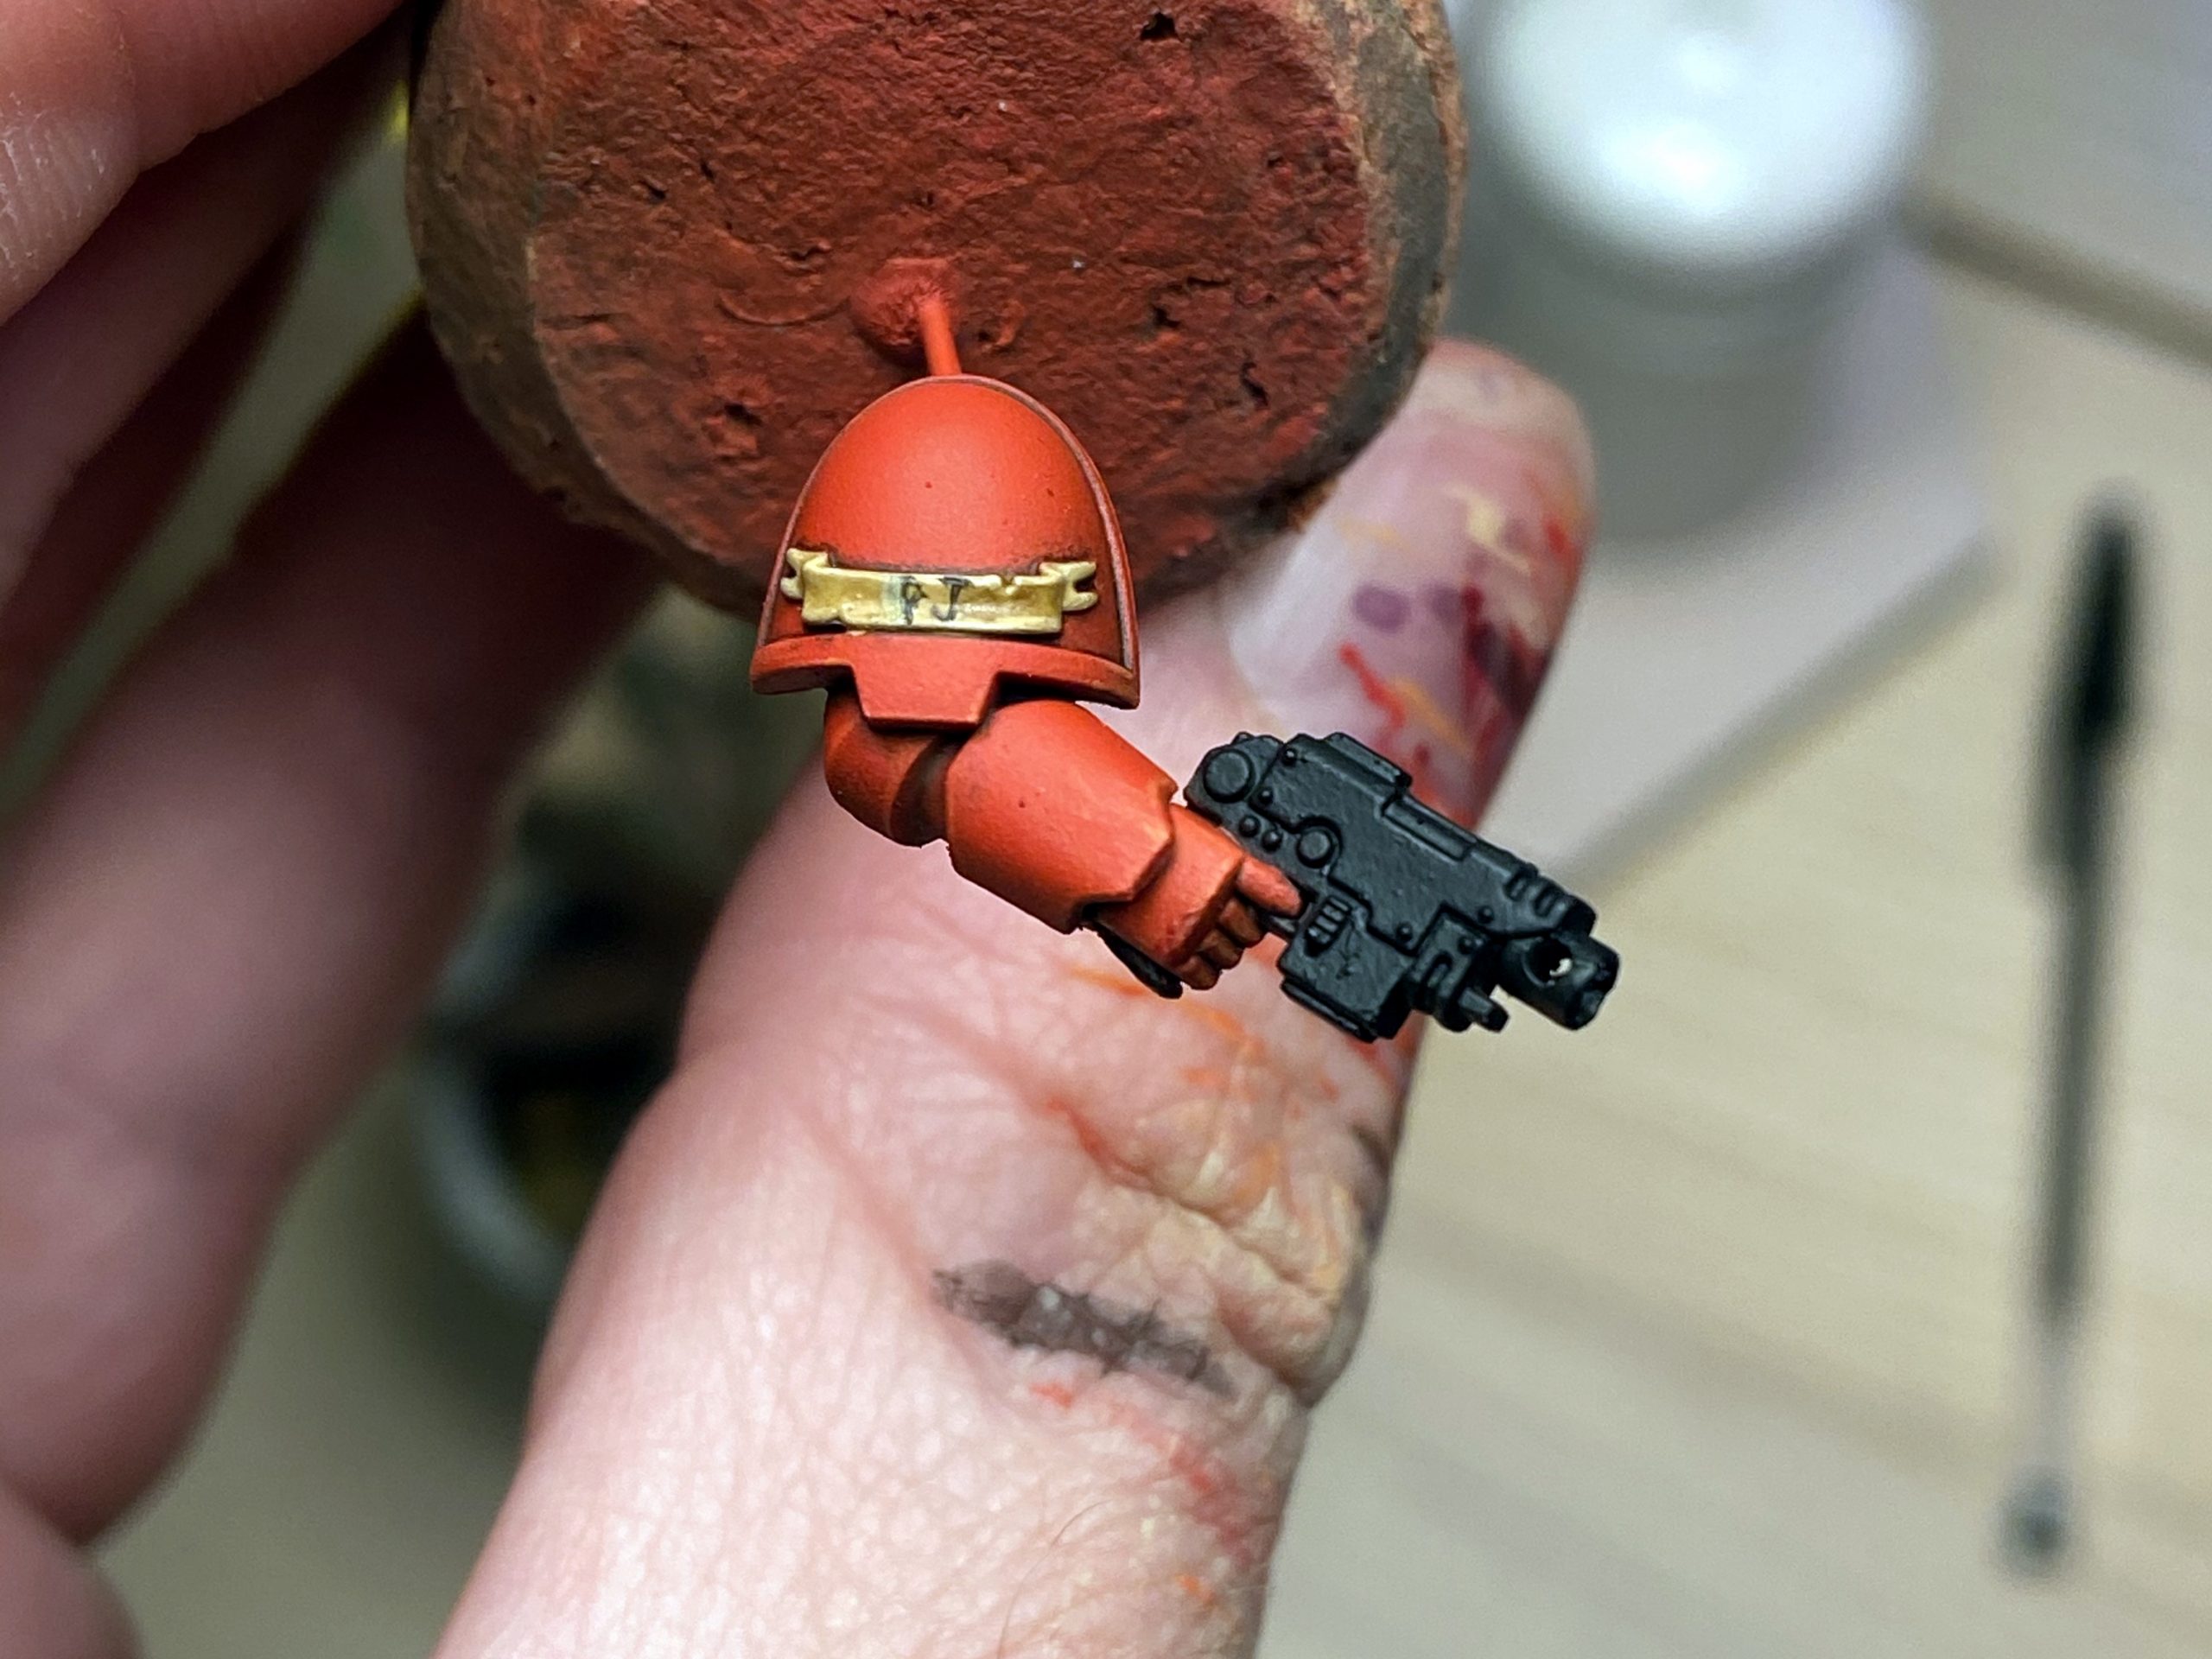
- Paint in all sub-assemblies to make my life easier and to maximise my ability to paint details.
- Use the mini-compressor airbrush as much as possible for a smooth finish – especially for the red.
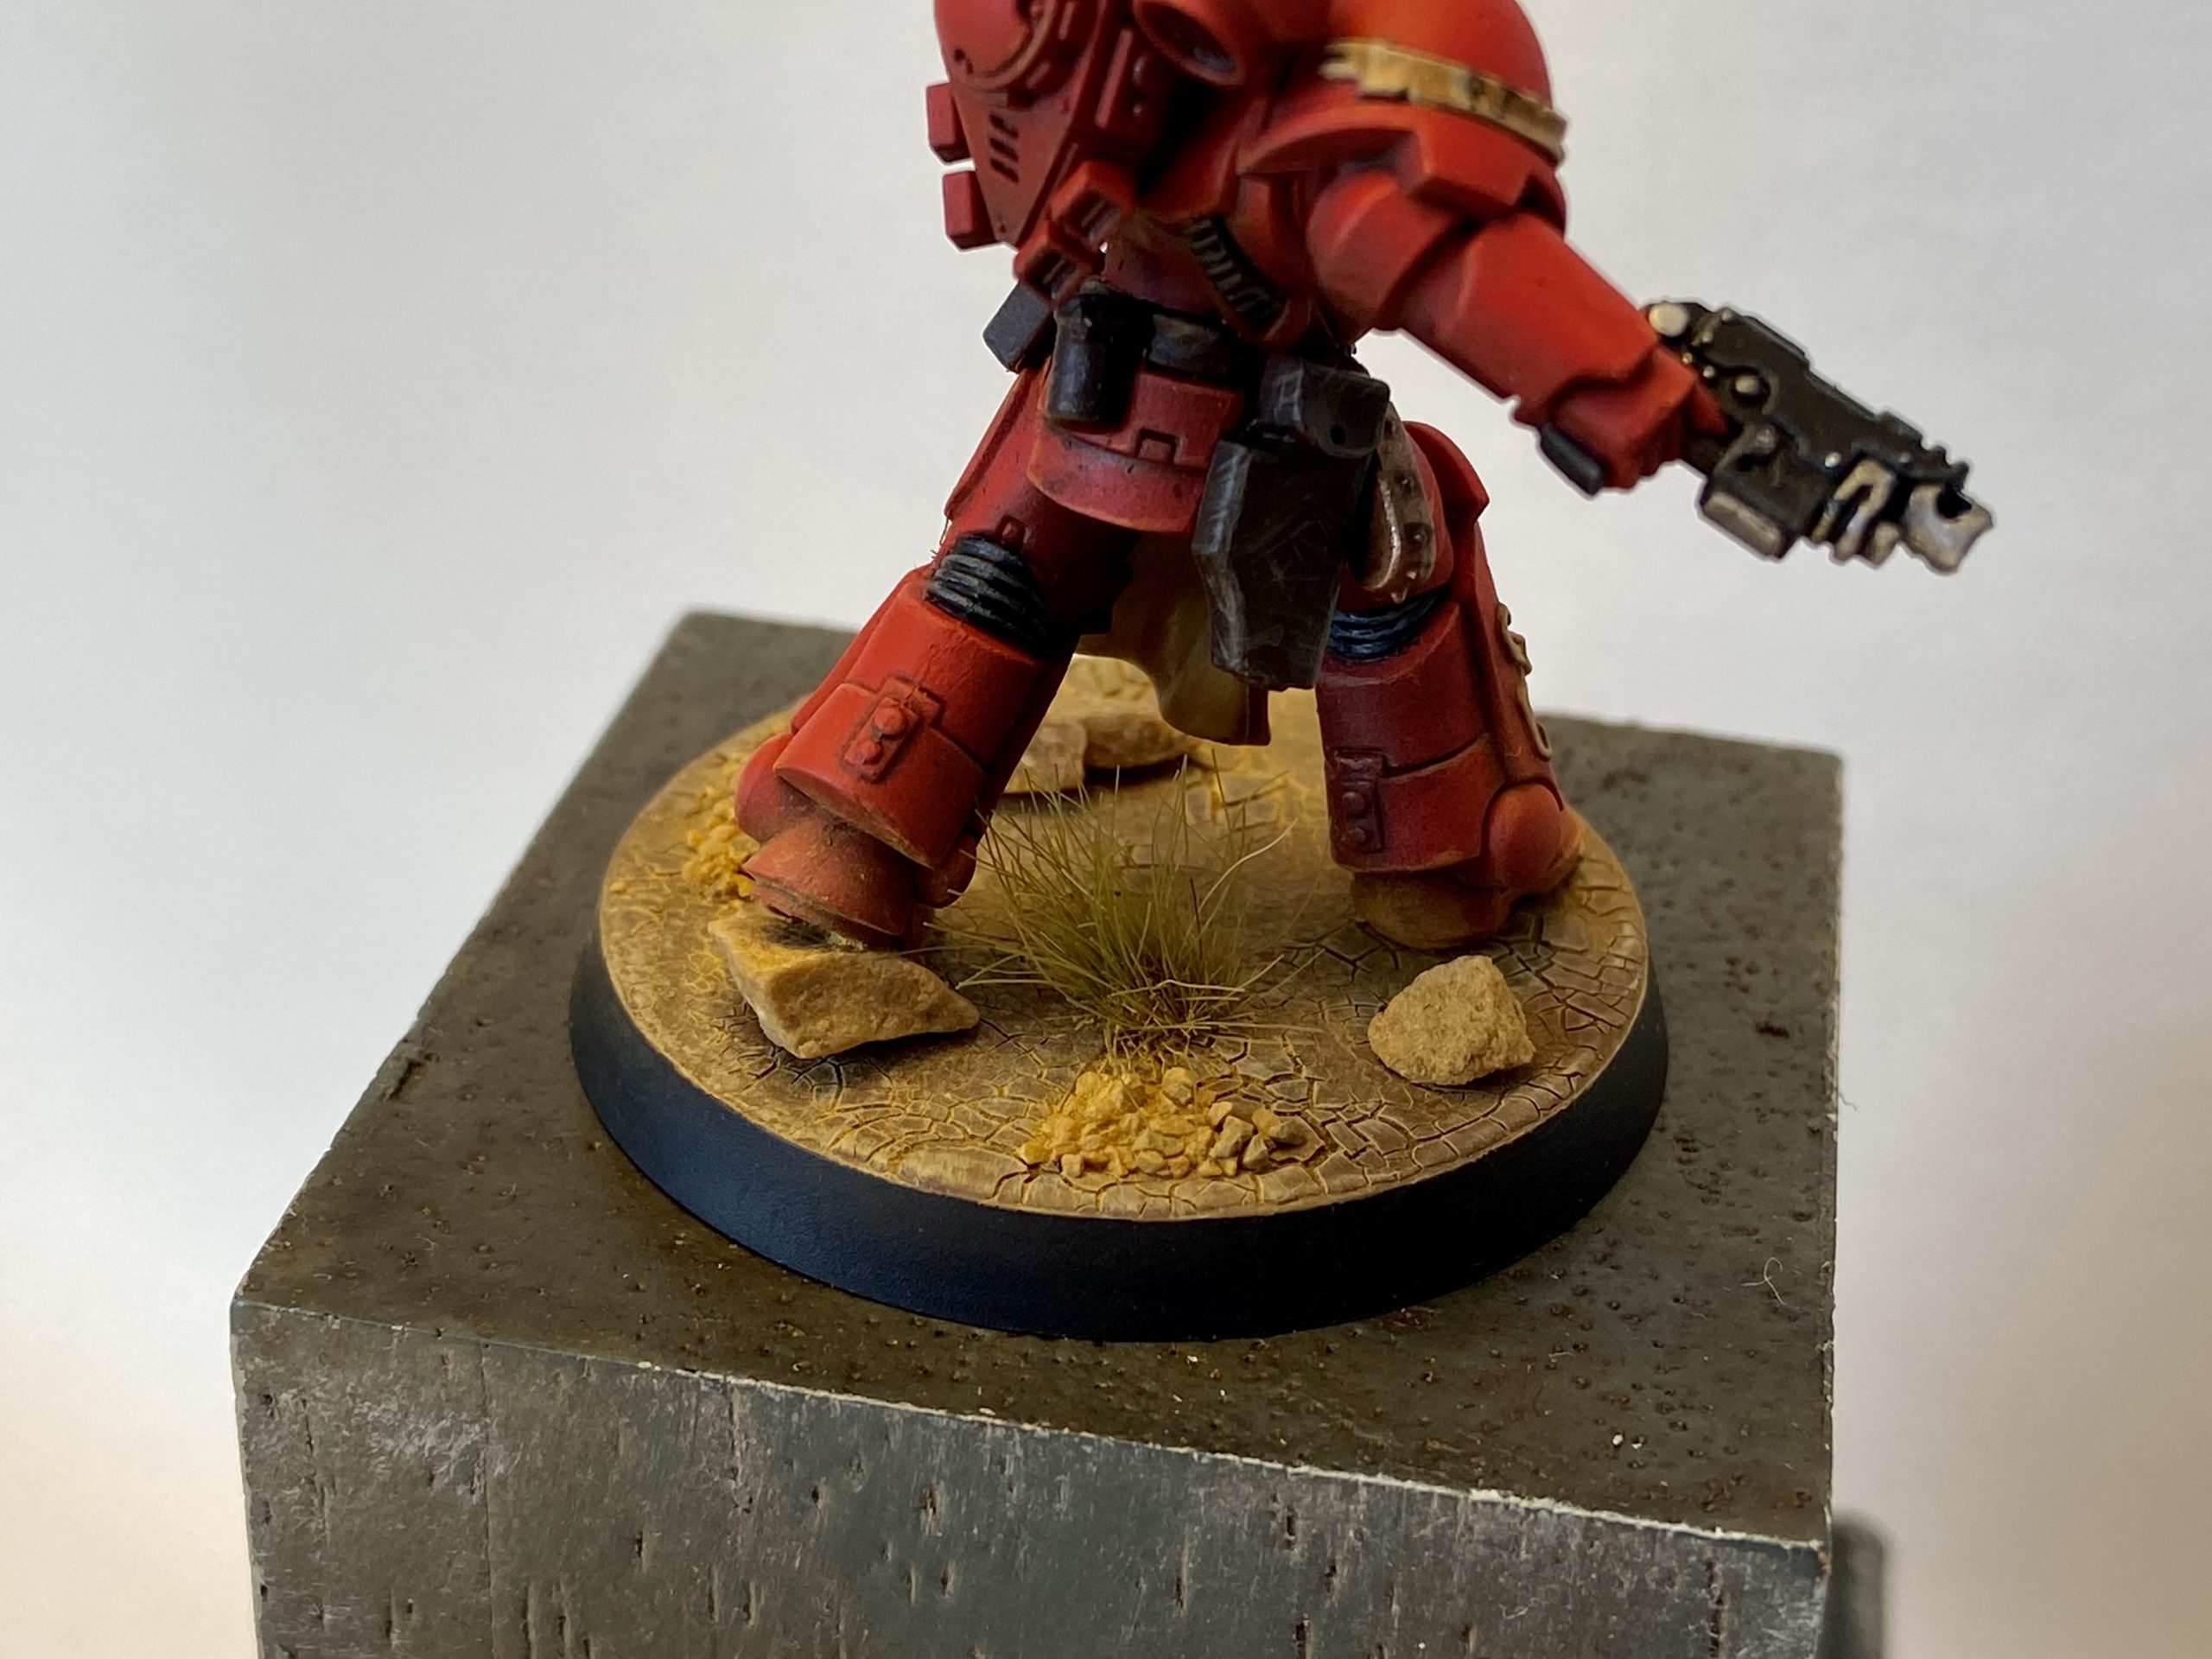
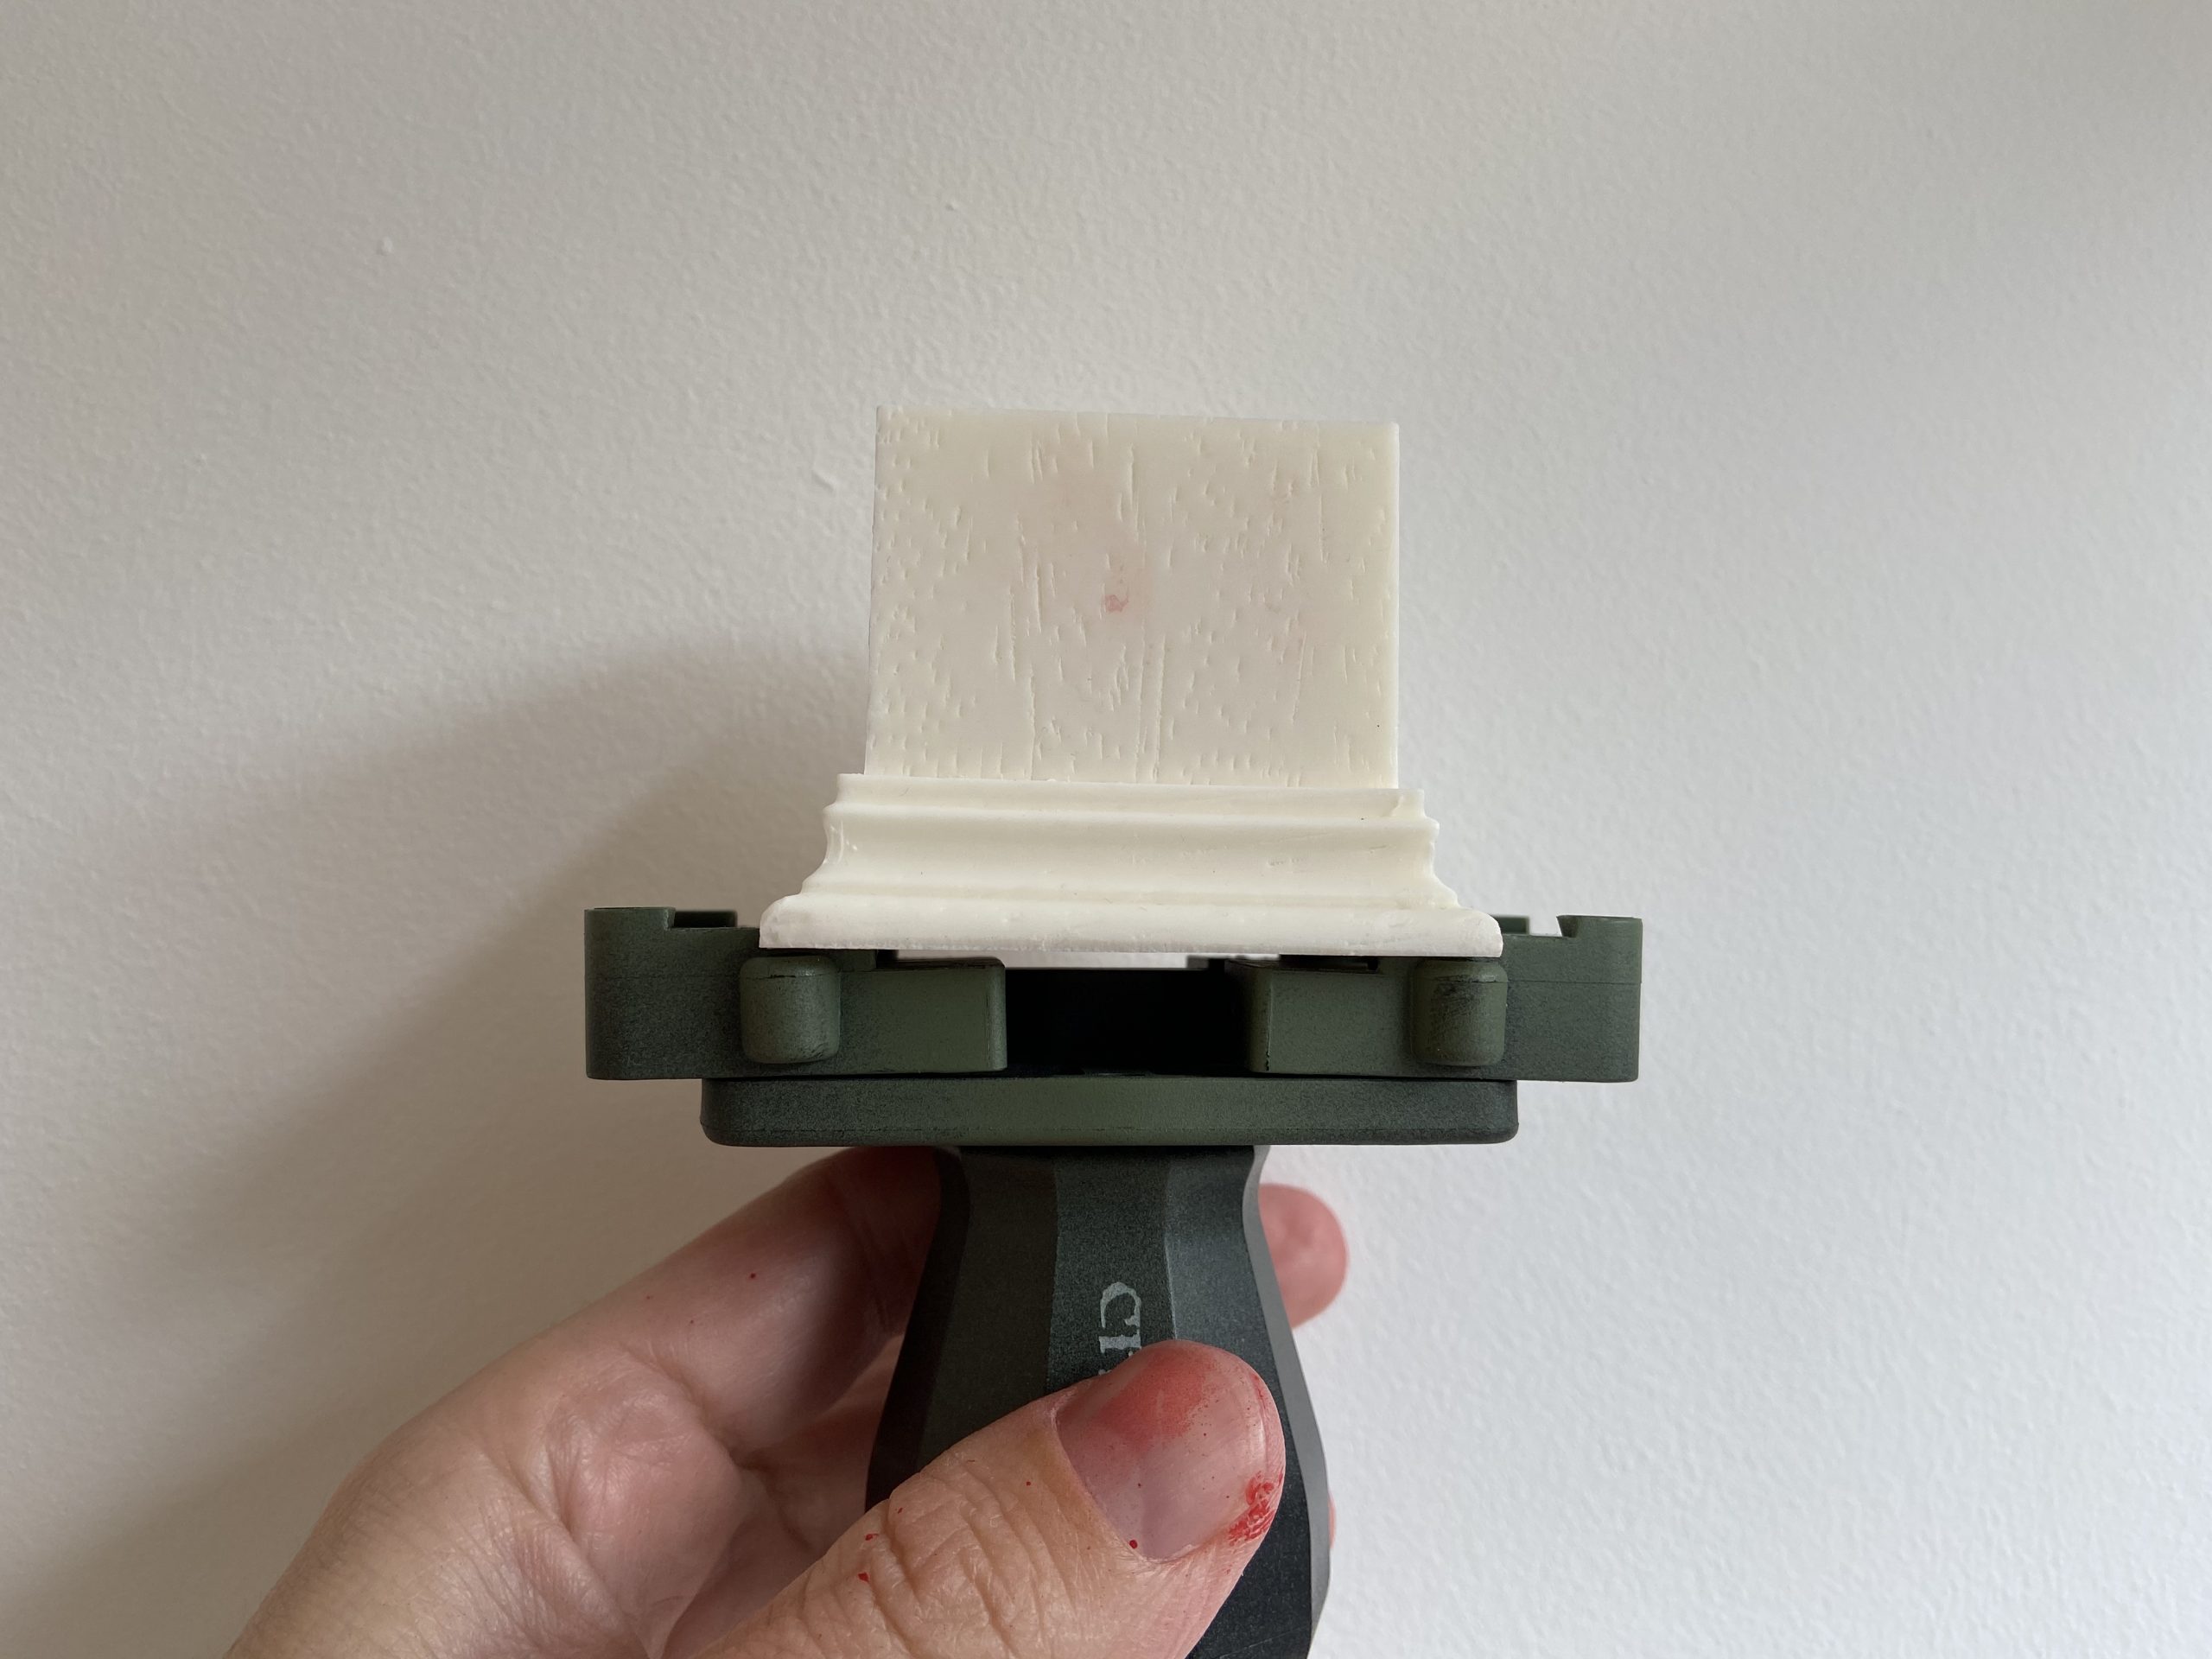
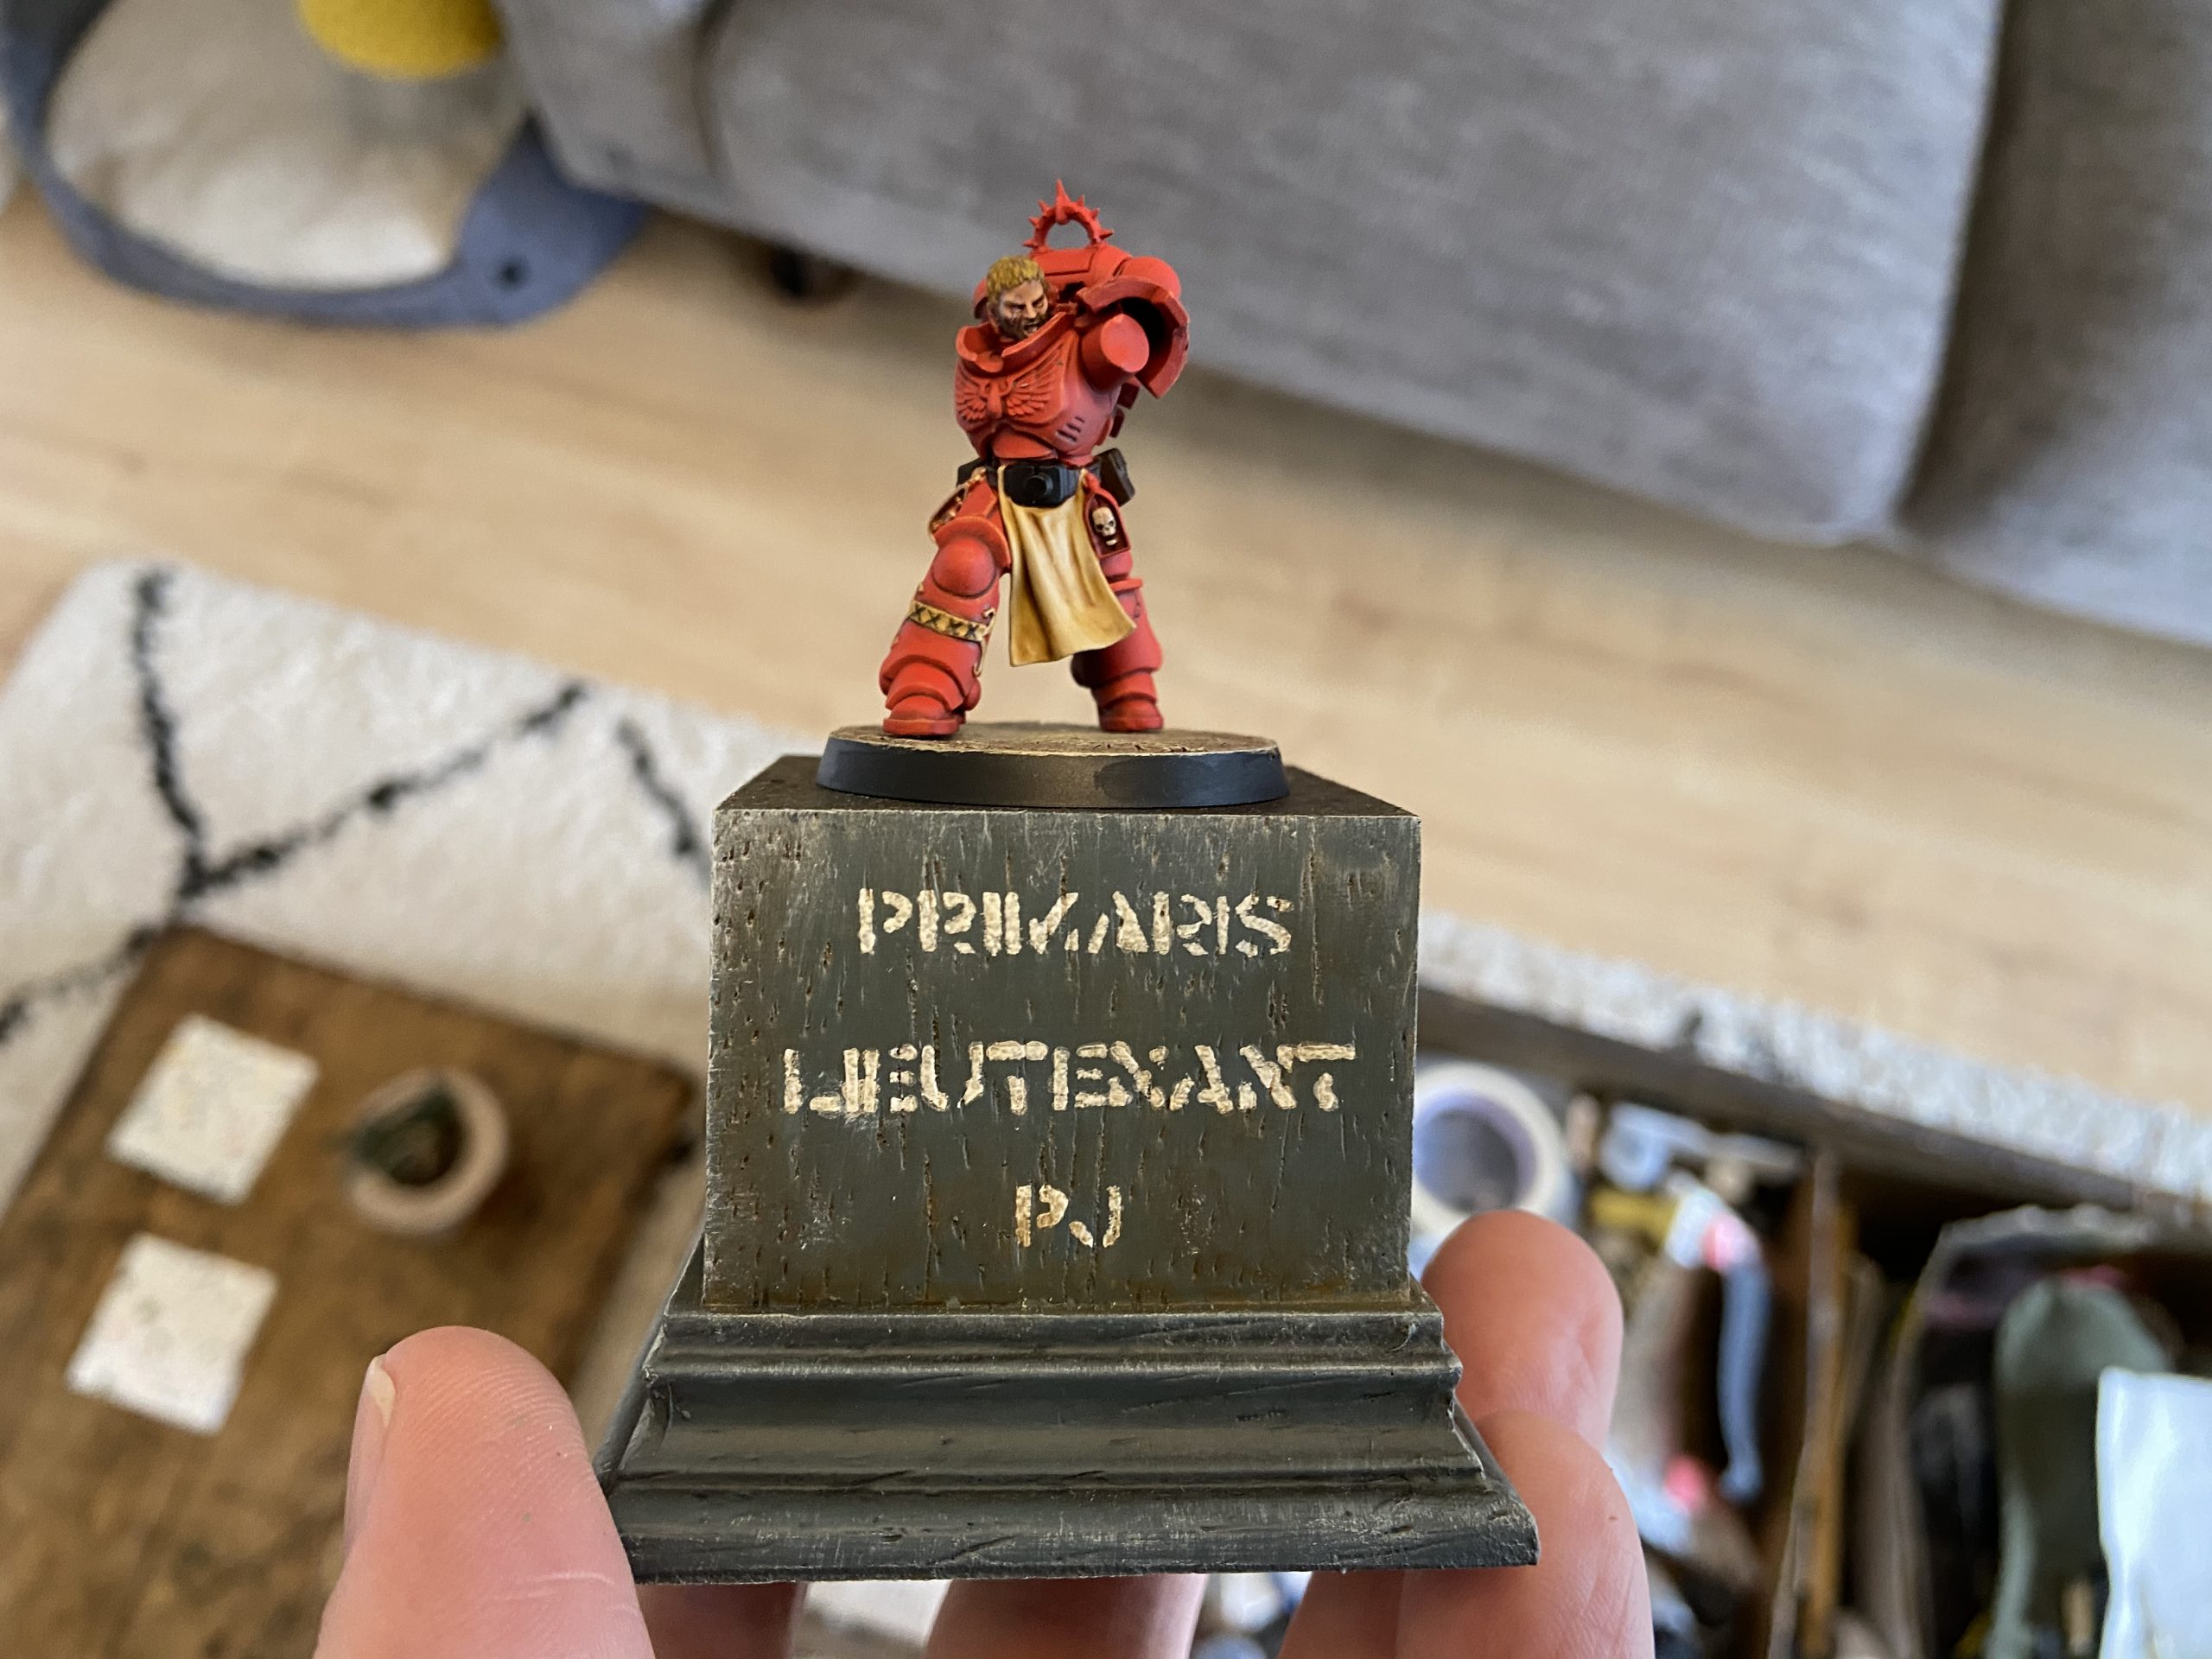
- I bought a plinth for the first time to attach the finished model to using magnets – so it is still playable.
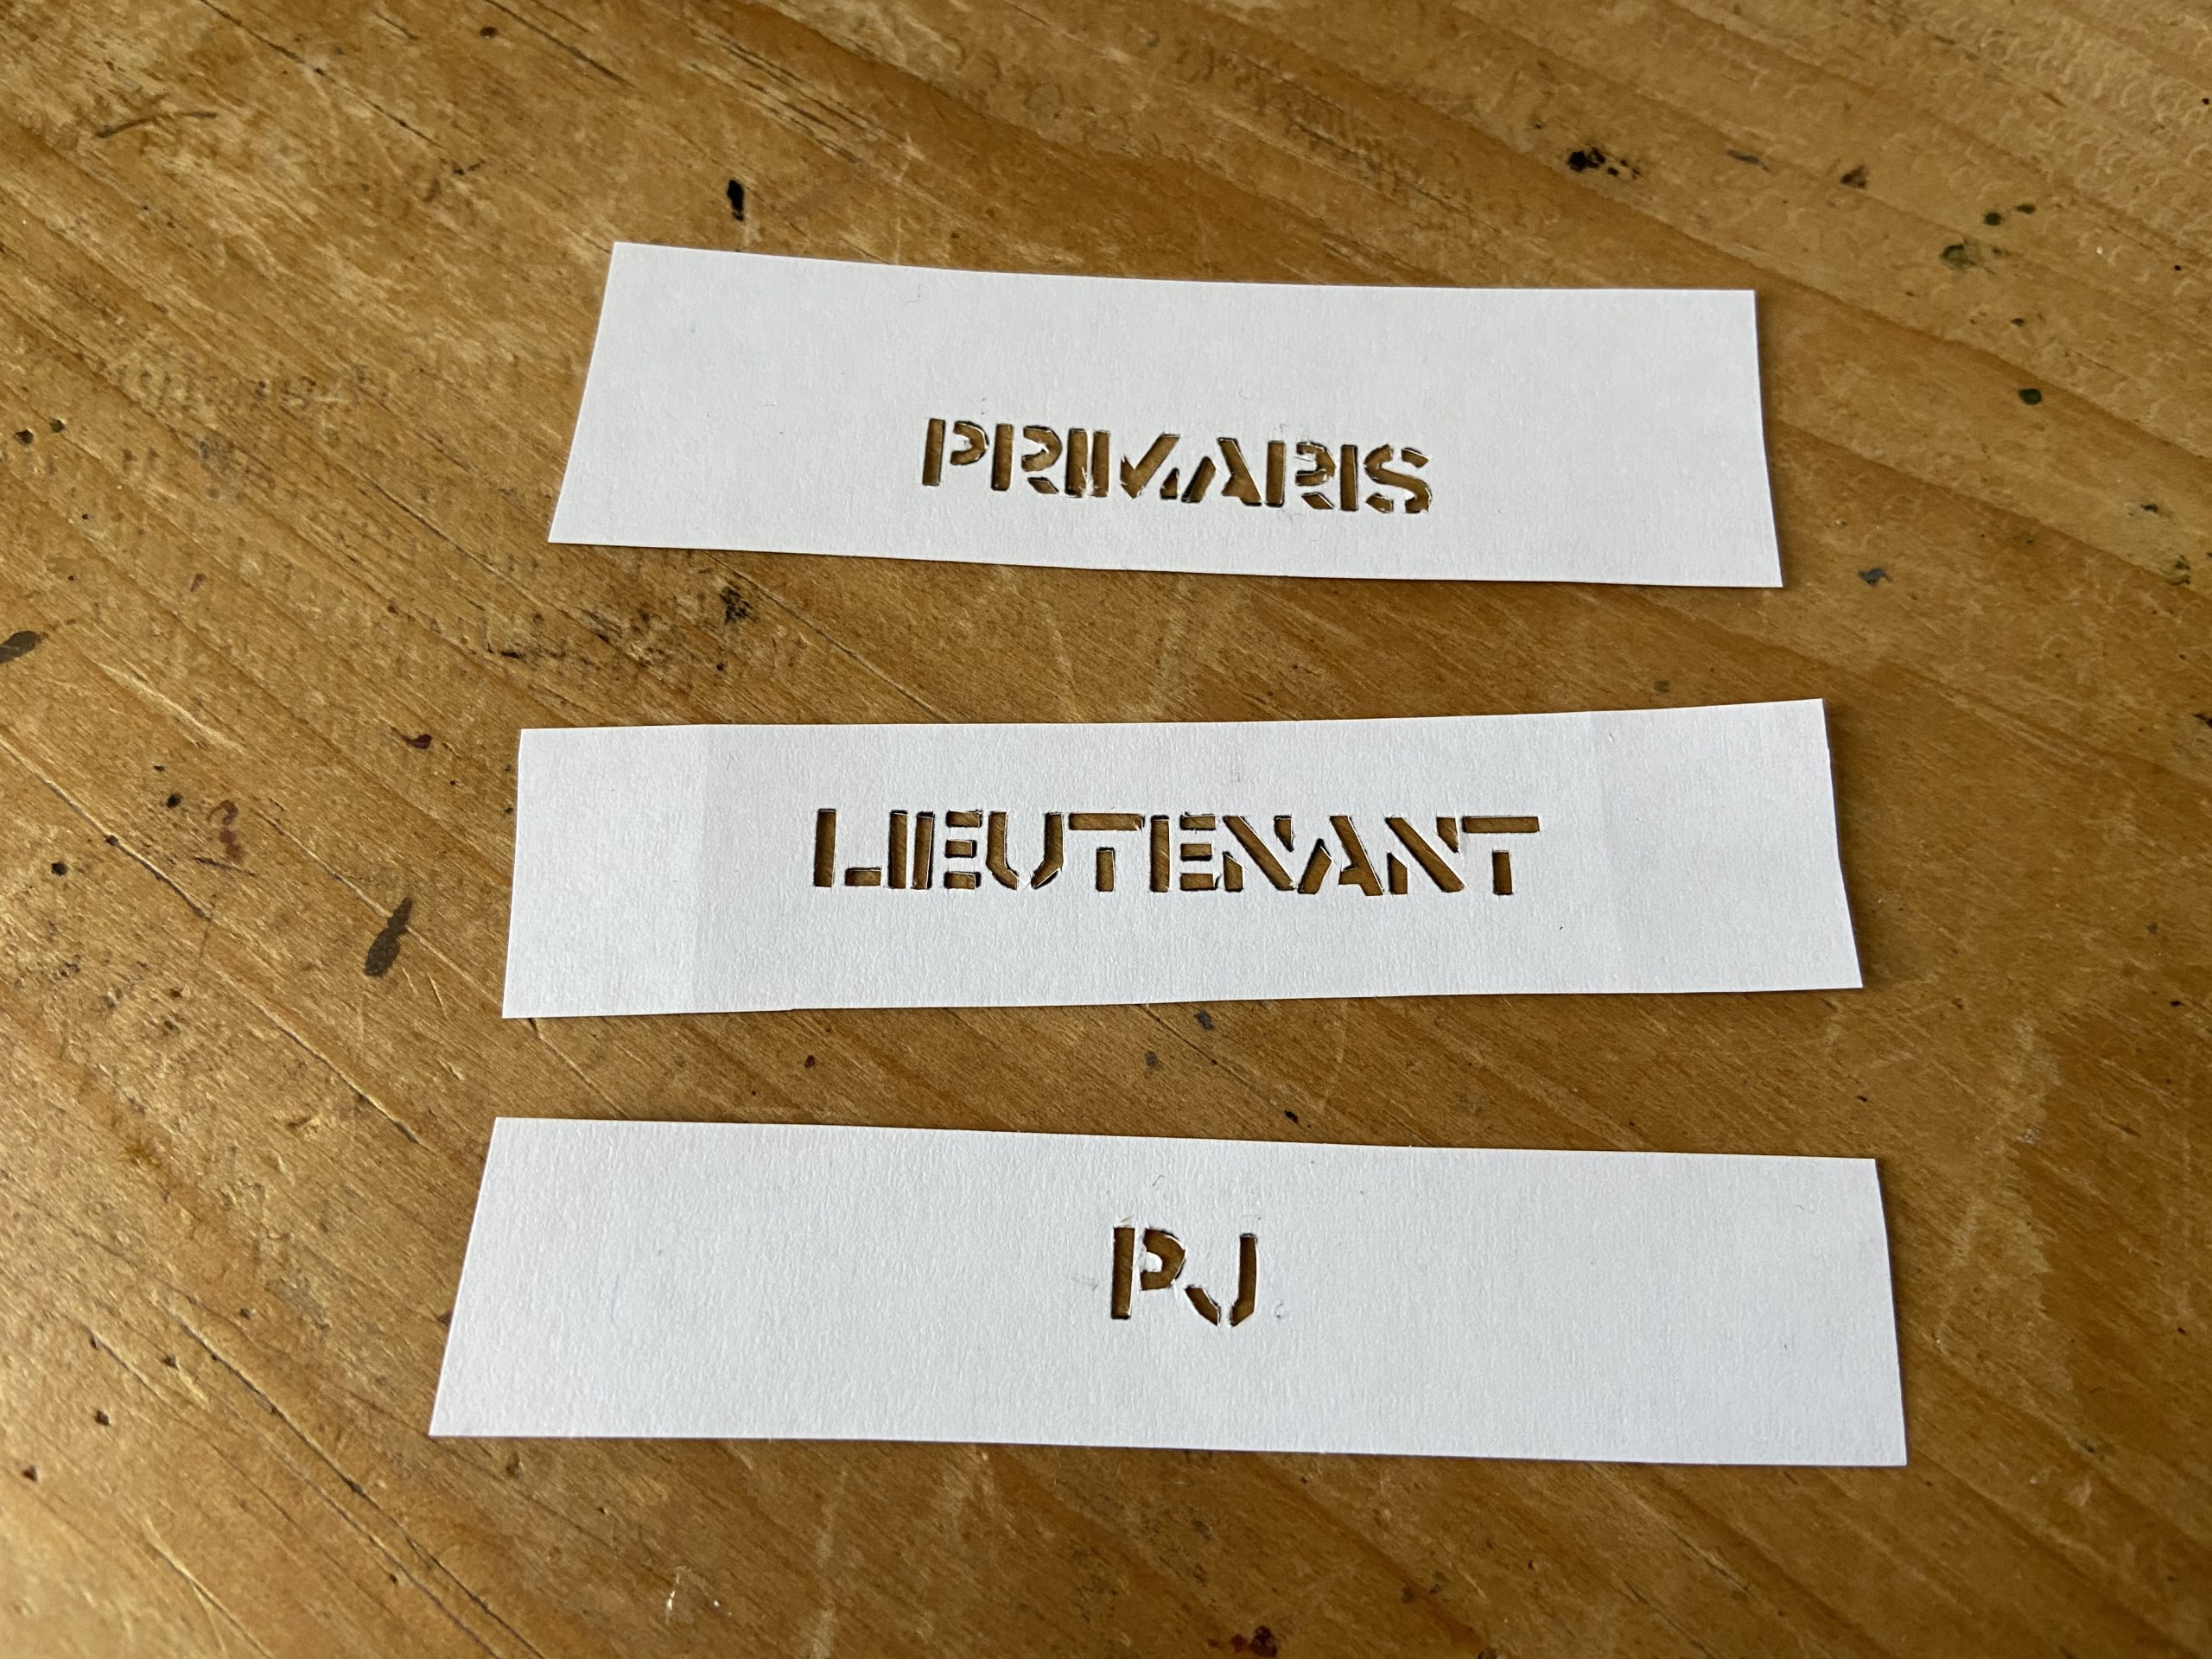
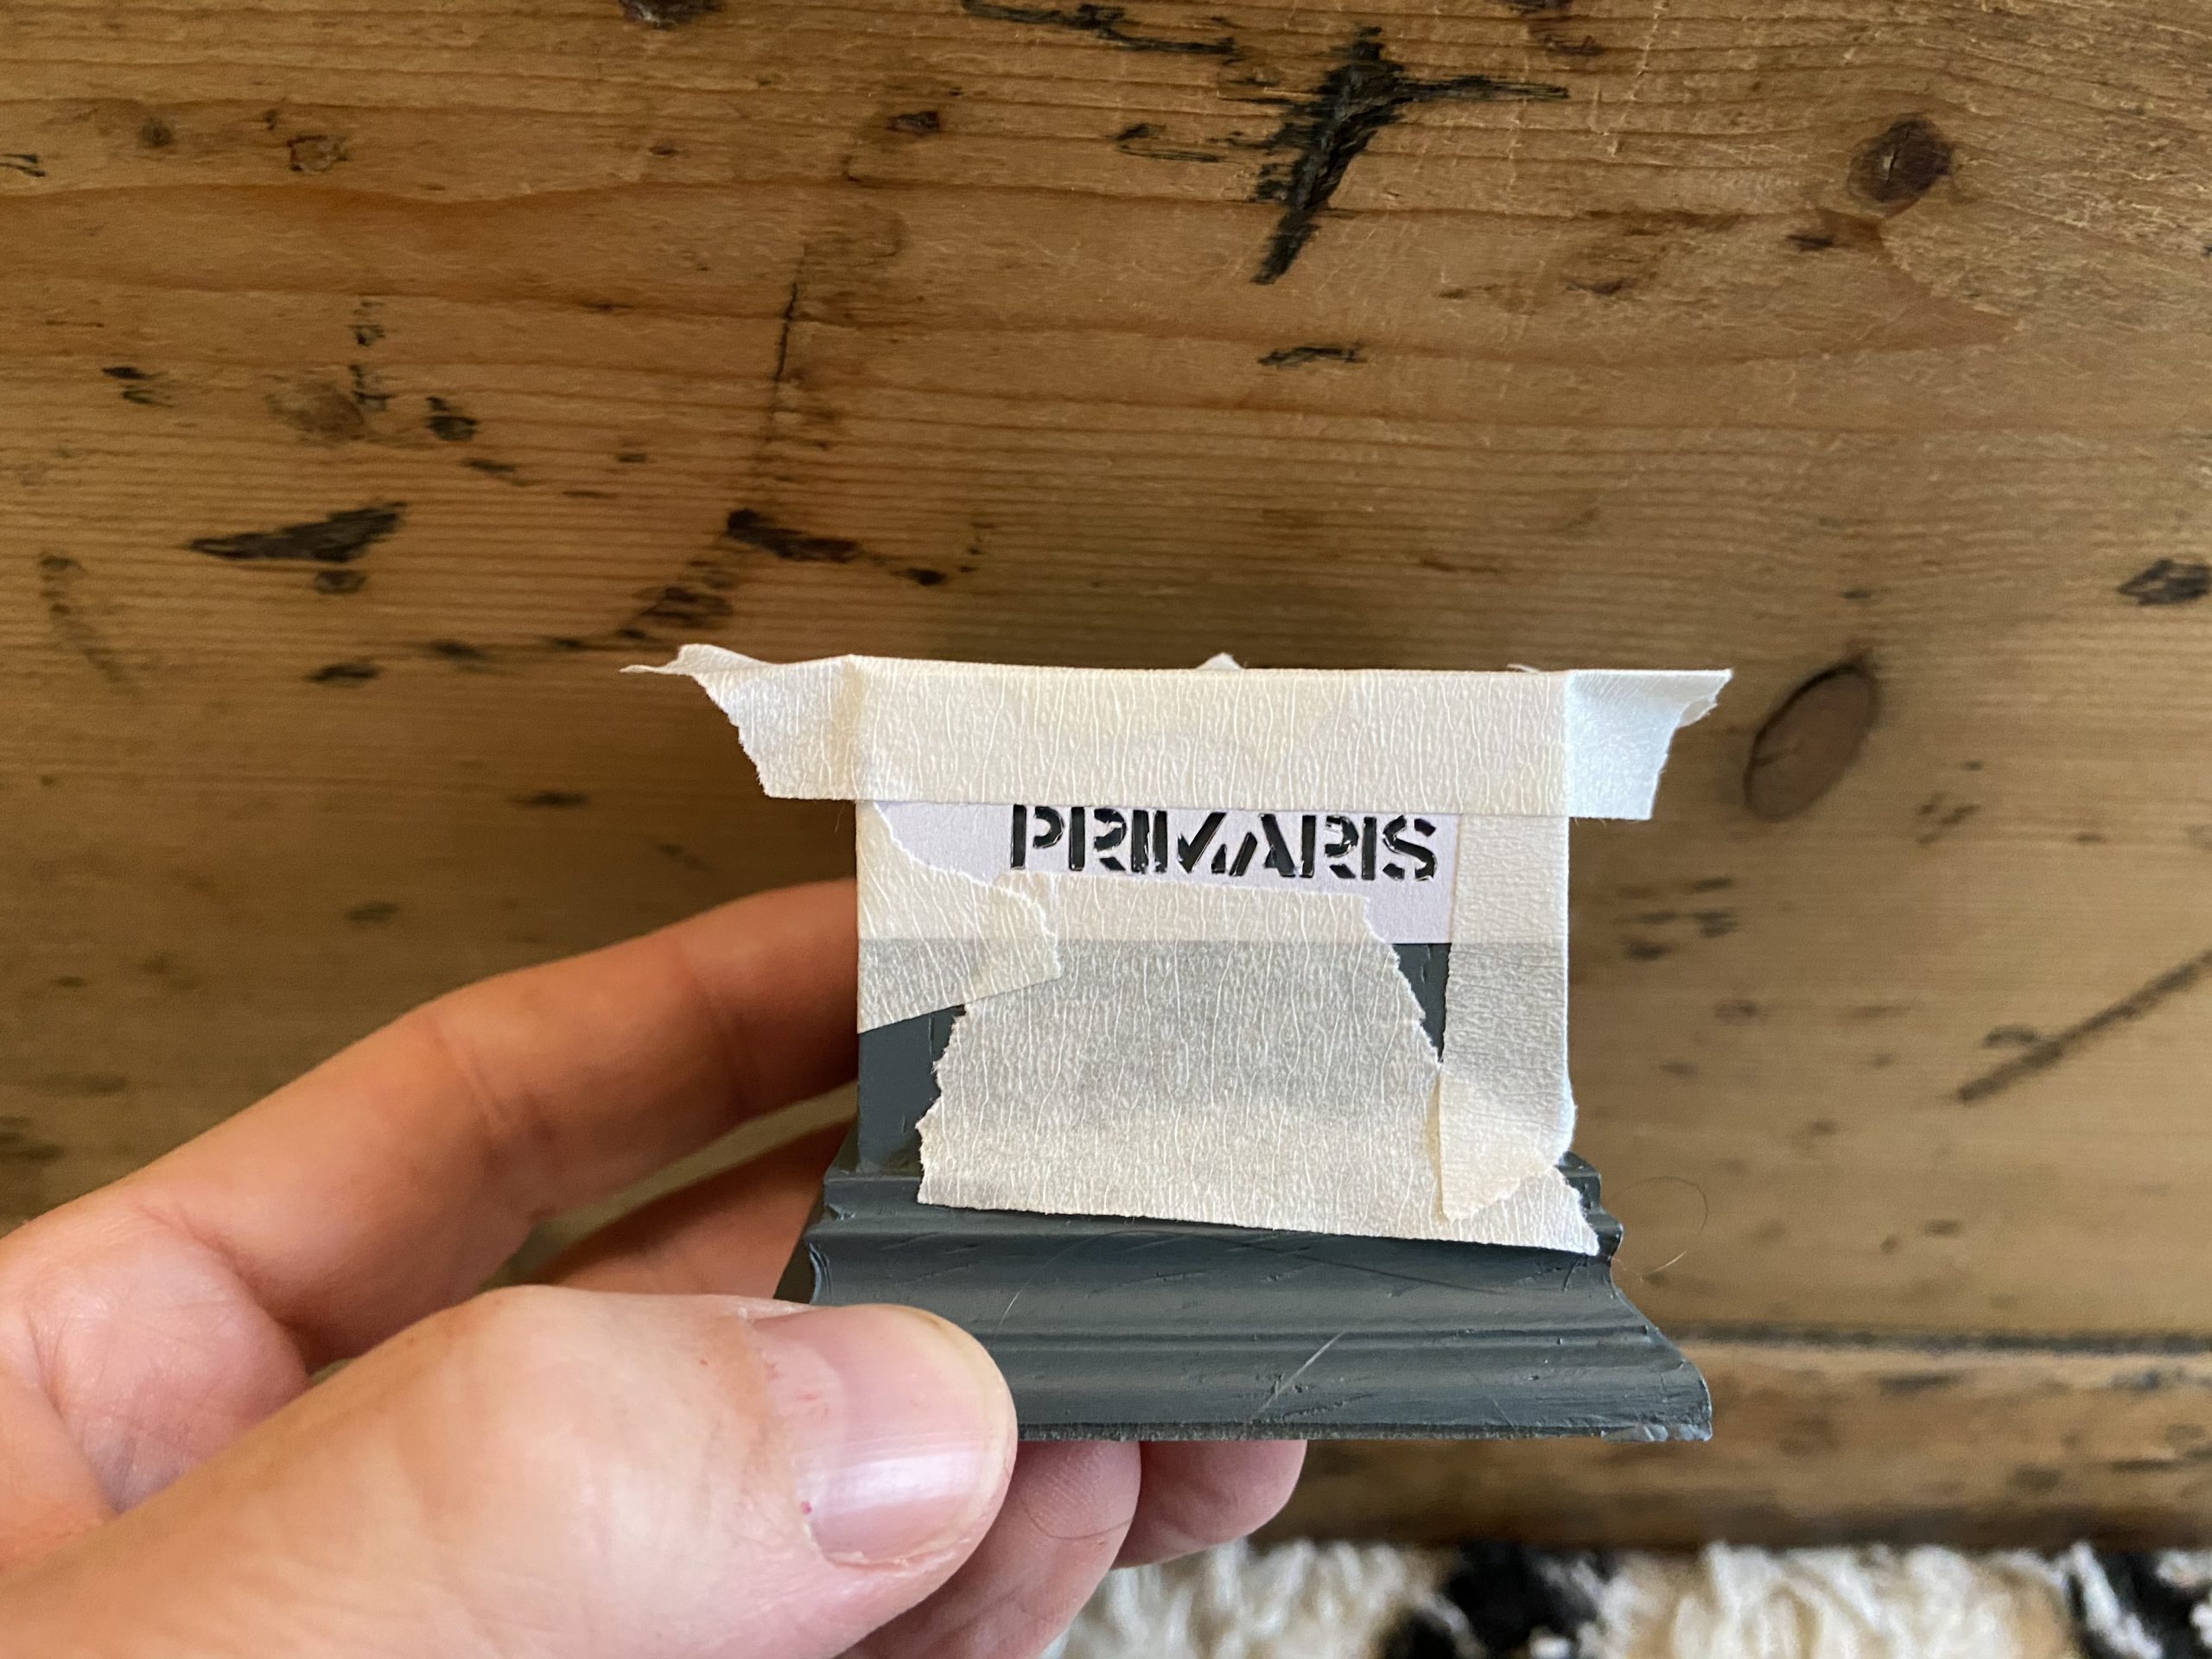
- Paint the plinth in stone grey with customised stencils
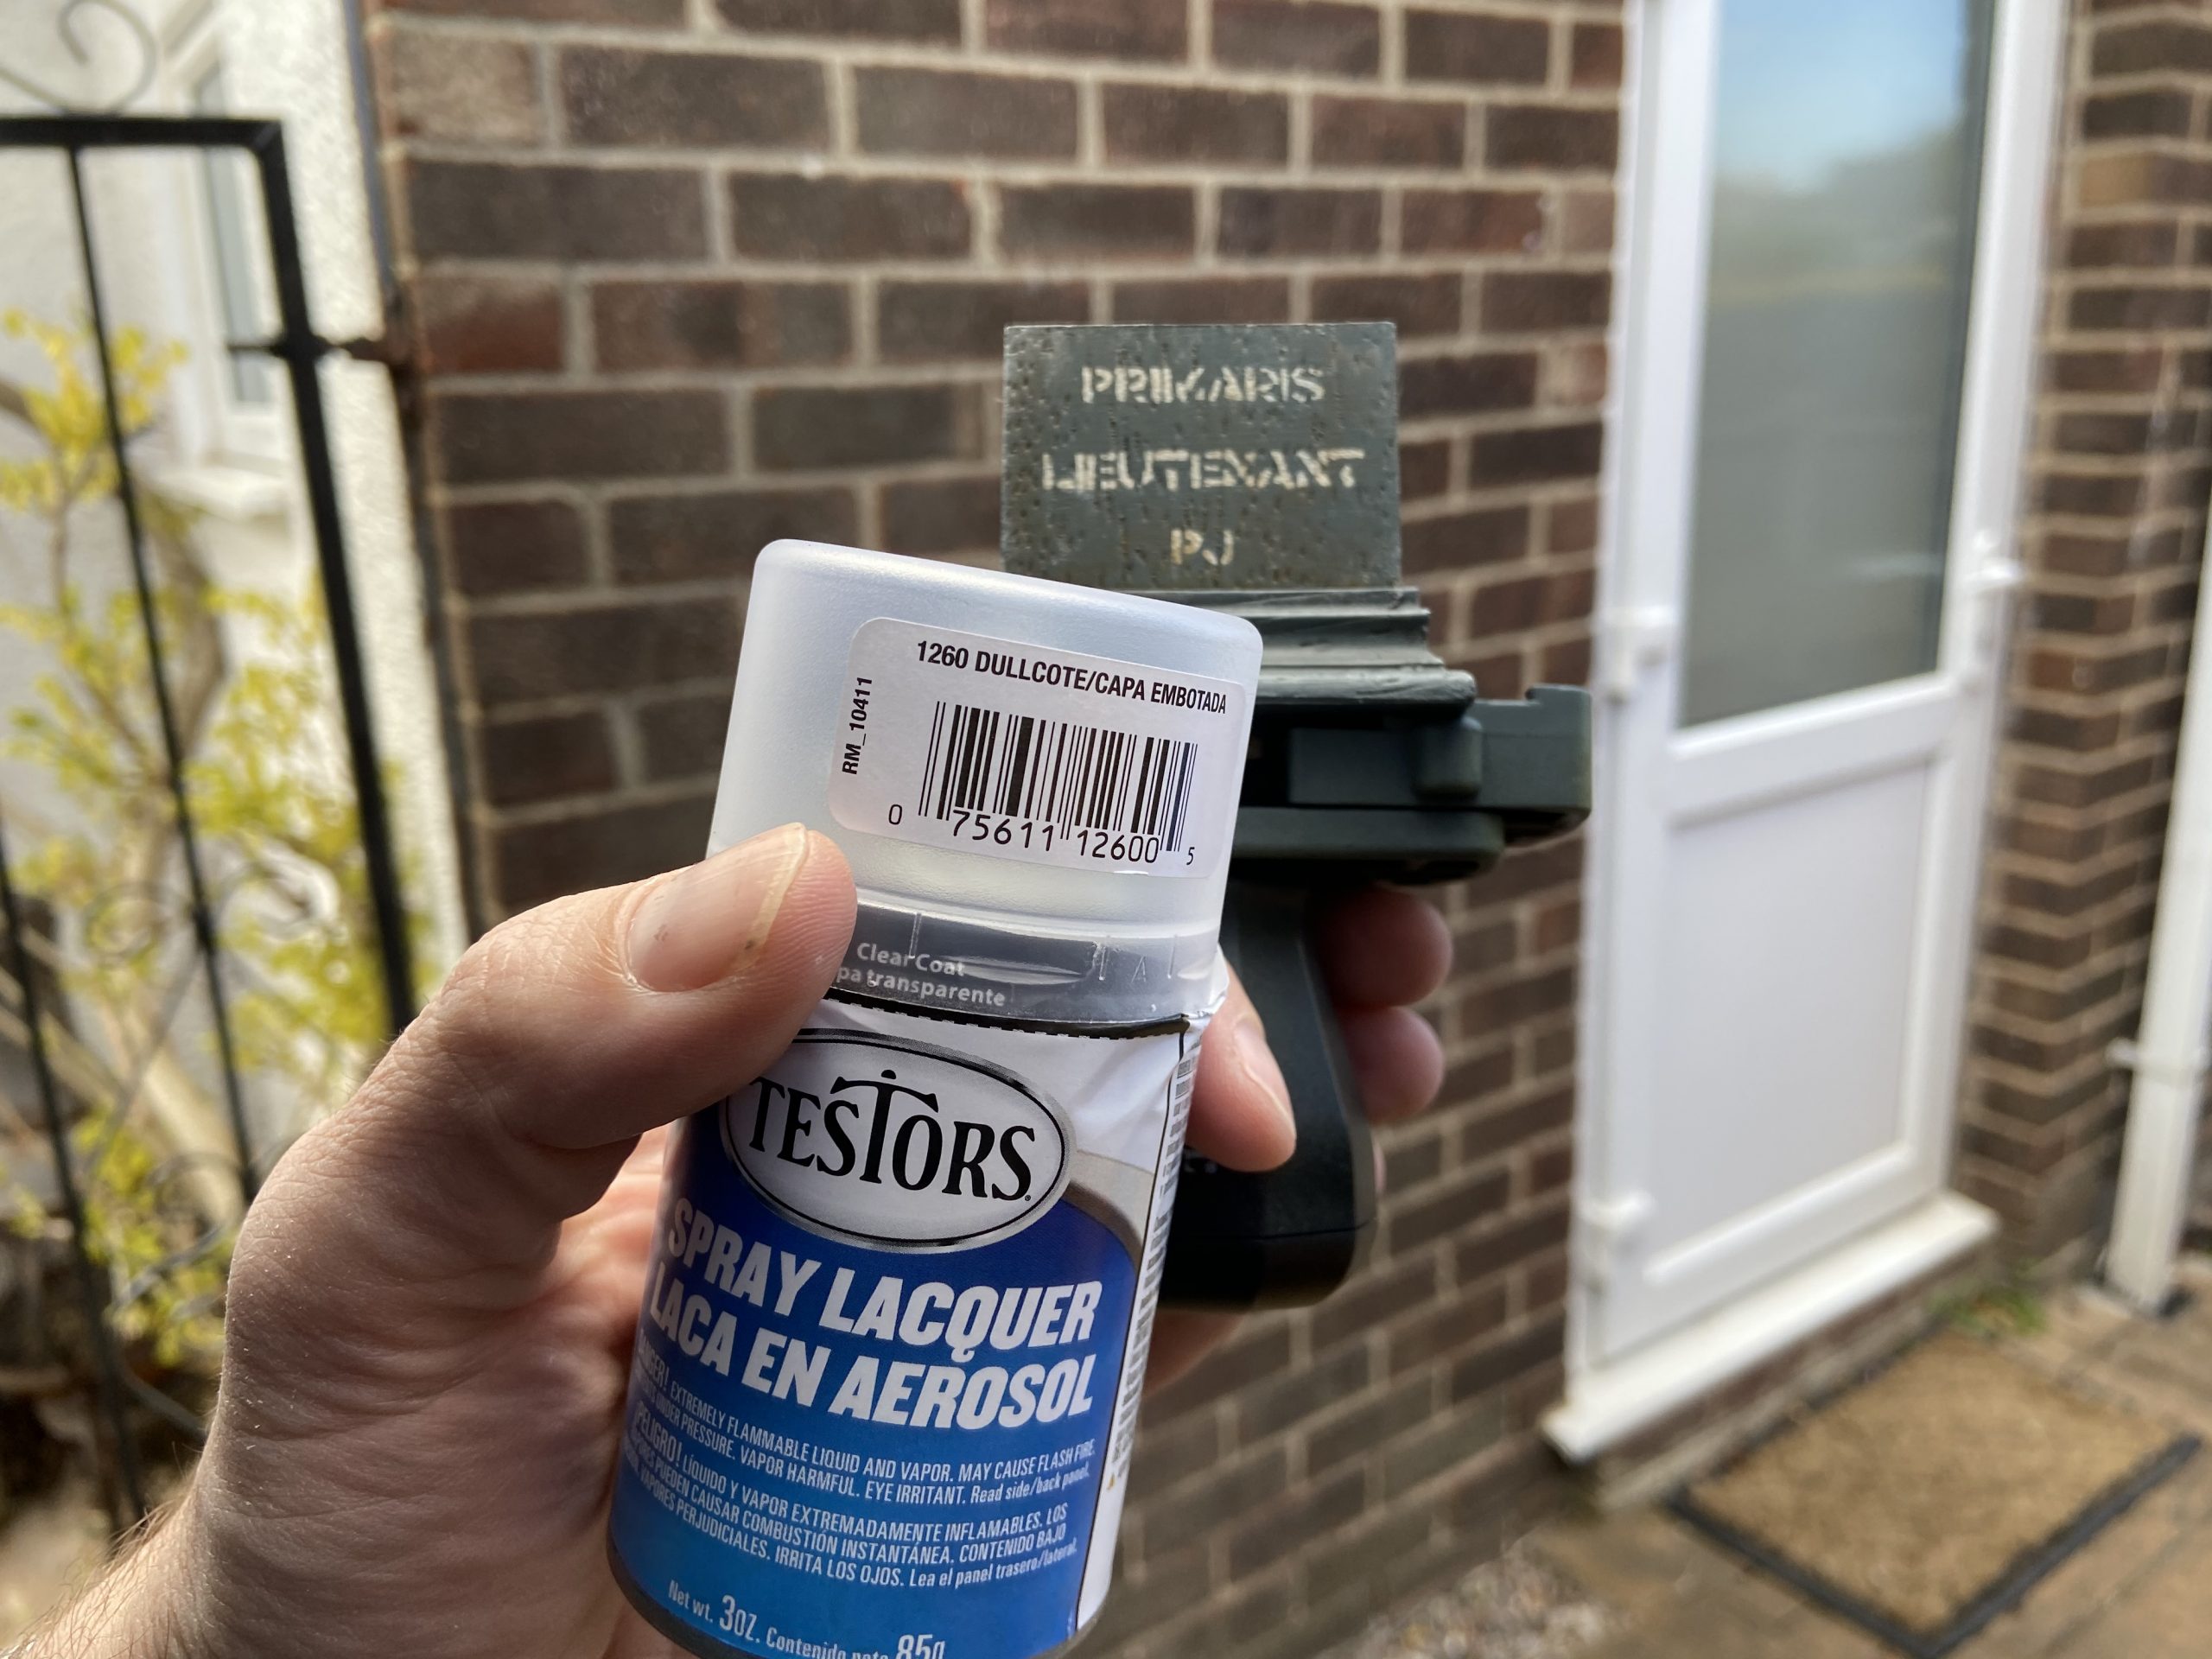
- Varnish the model in Testors Dull Coat at the end
I had ordered the model from Element Games on Monday, April 26th, and I had to have it done by about May 7th! That is less than two weeks, so I was up against it a bit! I am not a fast painter and rarely get a chance to sit down for hours and paint, so this was going to be a push!
I hope you like it! And I will be back to Guard models now – do not worry, Comrades! Tempestus Scions, I think…
Blood Angels Armour
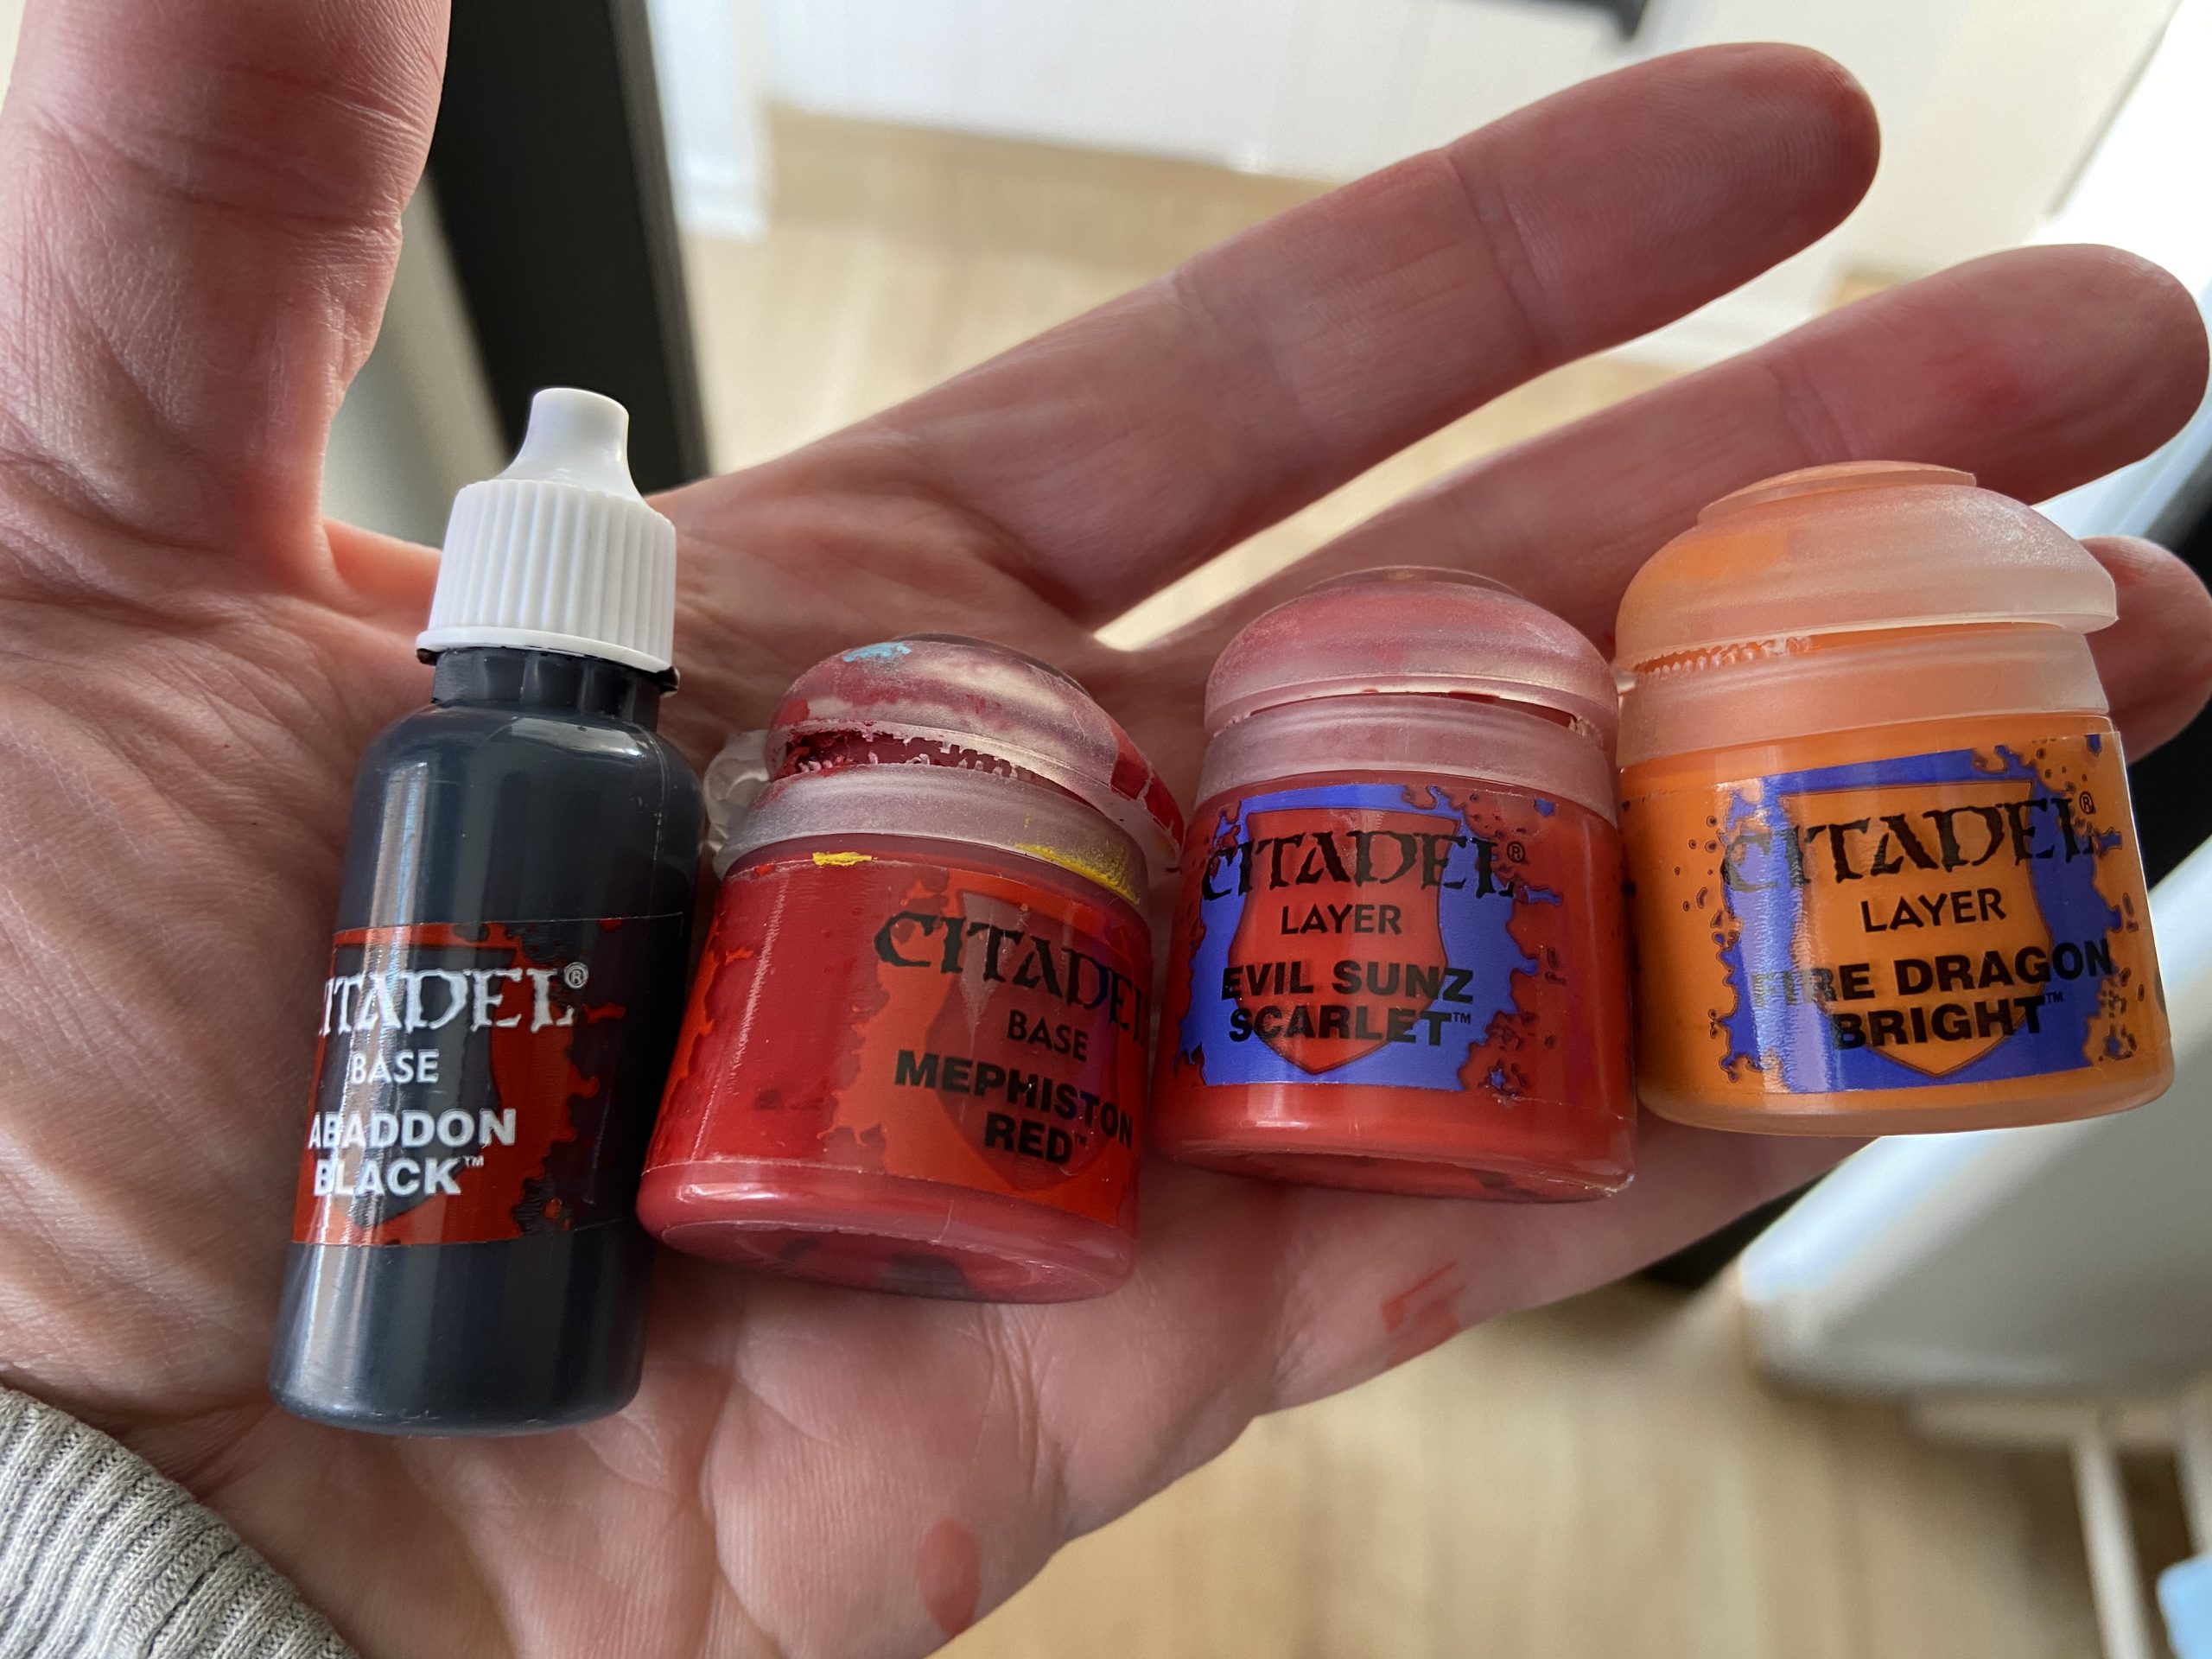
I used my Mini Airbrush Compressor for the Blood Angels Armour, along with these Games Workshop paints;
Blood Angels Armour
And the process was as follows;
- Base in Mephiston Red.
- Evil Sunz Scarlet from the top to give a hint of a brighter red.
- Evil Sunz Scarlet mixed with Fire Dragon Bright, again from the top to give an even brighter red.
- Repeat step 3, but with more Fire Dragon Bright.
- Mephiston Red with a little Abaddon Black from the bottom to create the shadows – do not use too much black. It starts to turn the Mephiston Red into a dark purple!
- The wash stage – @docandy40k uses Agrax Earthshade, but I used a dark brown oil pin wash instead.
- Once the oil was dry, I used Evil Sunz Scarlet and Fire Dragon Bright to highlight the edges of the armour.
- Done!
Full photos of various stages of this process are in the WIP gallery below.
-


- Paints used for my Blood Angels Armour
-
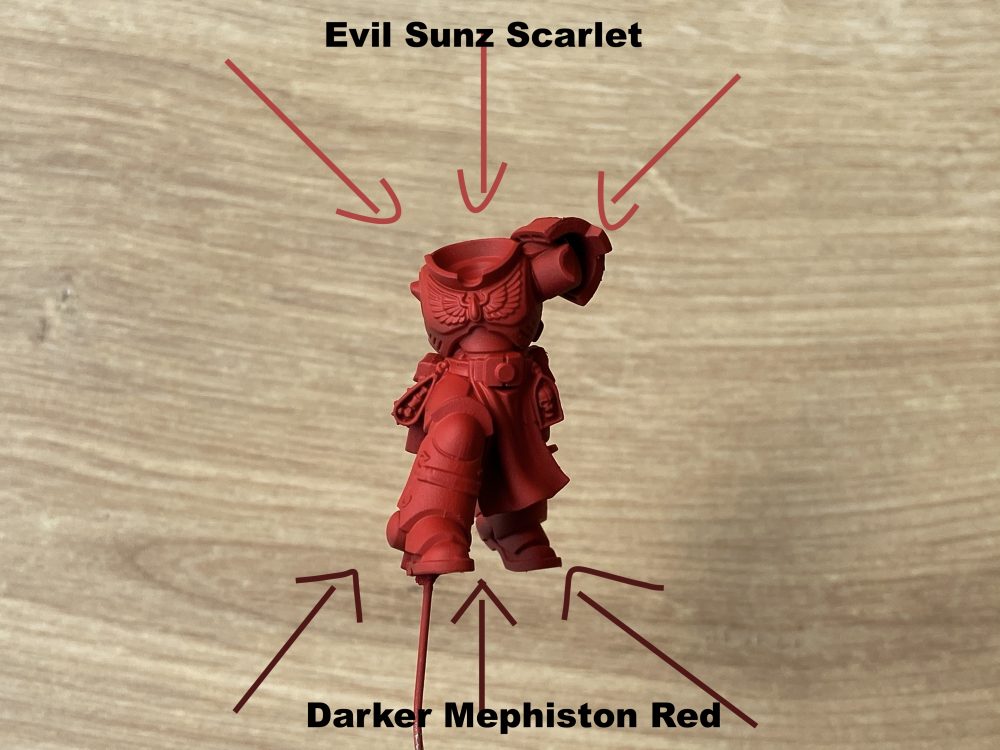
- Paint Directions

Blood Angels Armour Video
This is a quick video that shows the brighter and darker areas of armour I achieved.
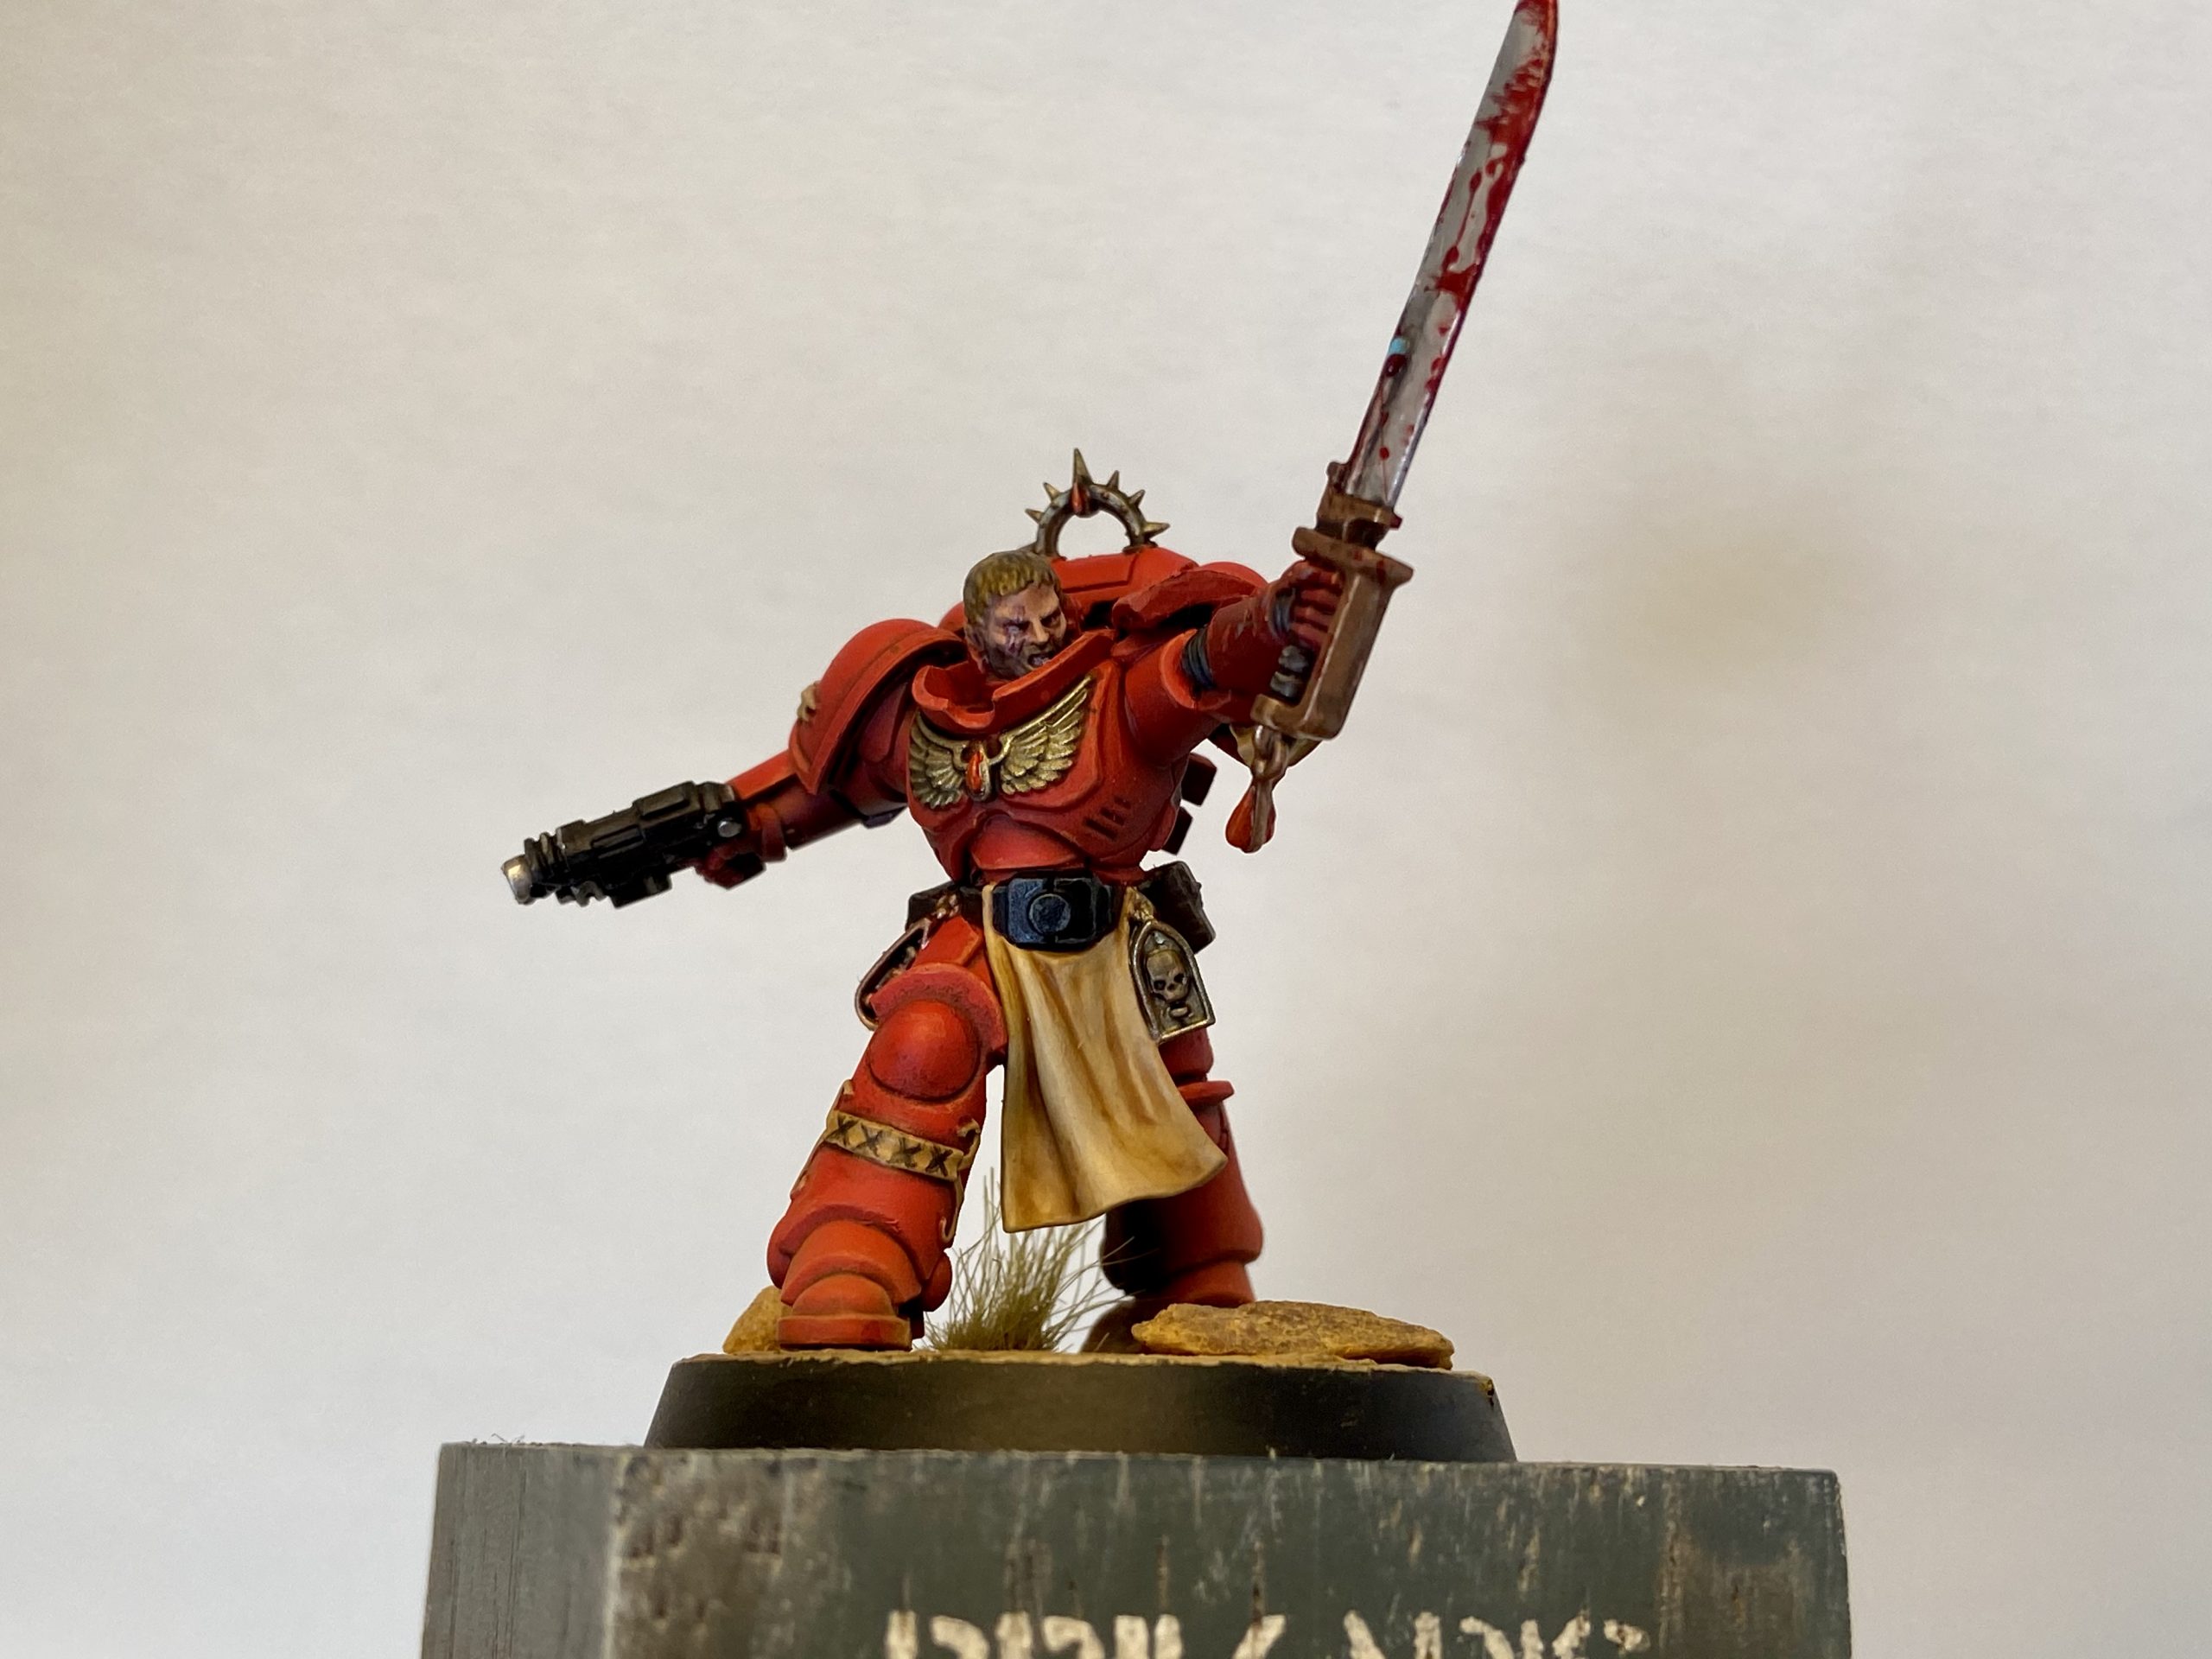
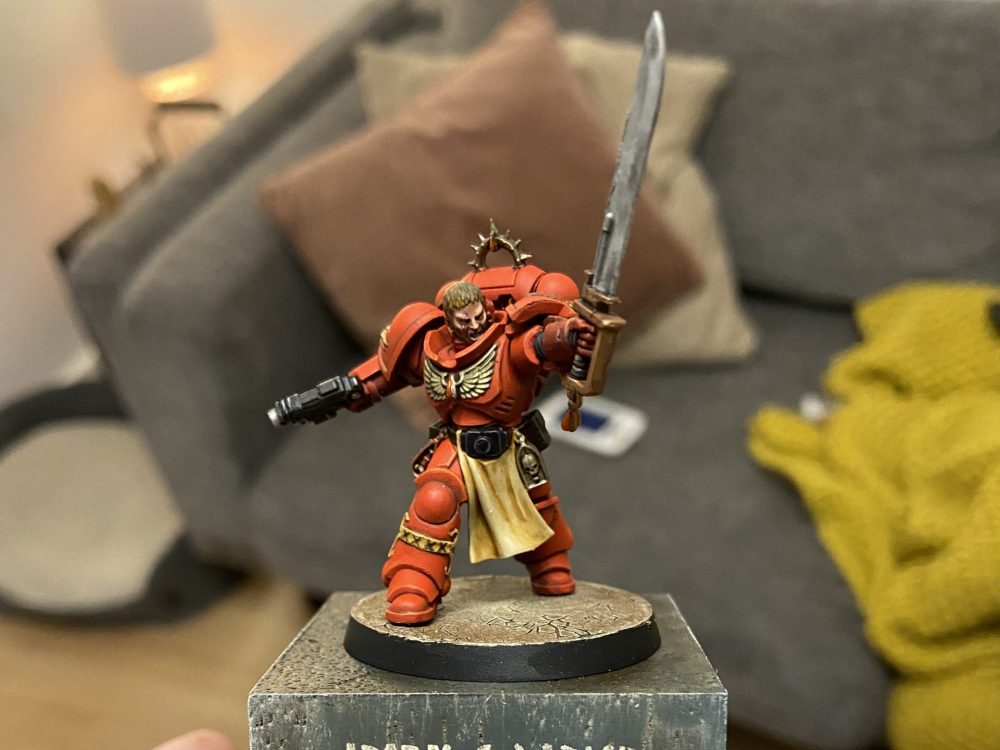
Blood Angel Primaris Lieutenant Completed Gallery


Blood Angel Primaris Lieutenant Completed Video
Blood Angel Primaris Lieutenant WIP Gallery
I once again bring you a lengthy and complete WIP gallery! Enjoy the progression people…
-
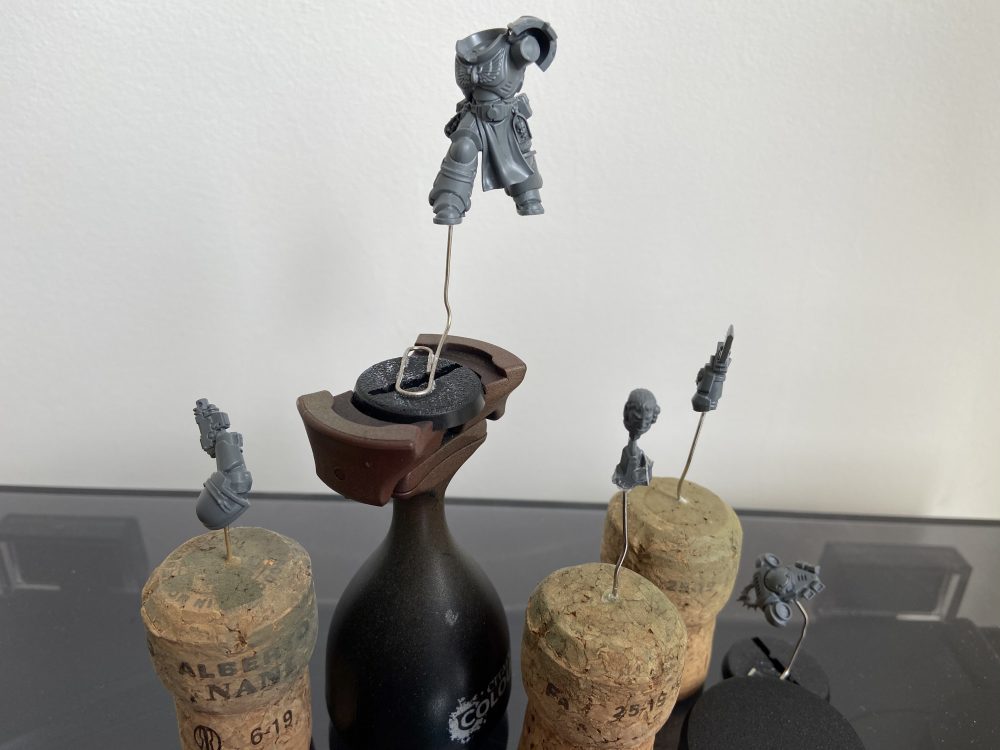
- Sub-assemblies

-

- The Plinth!
-
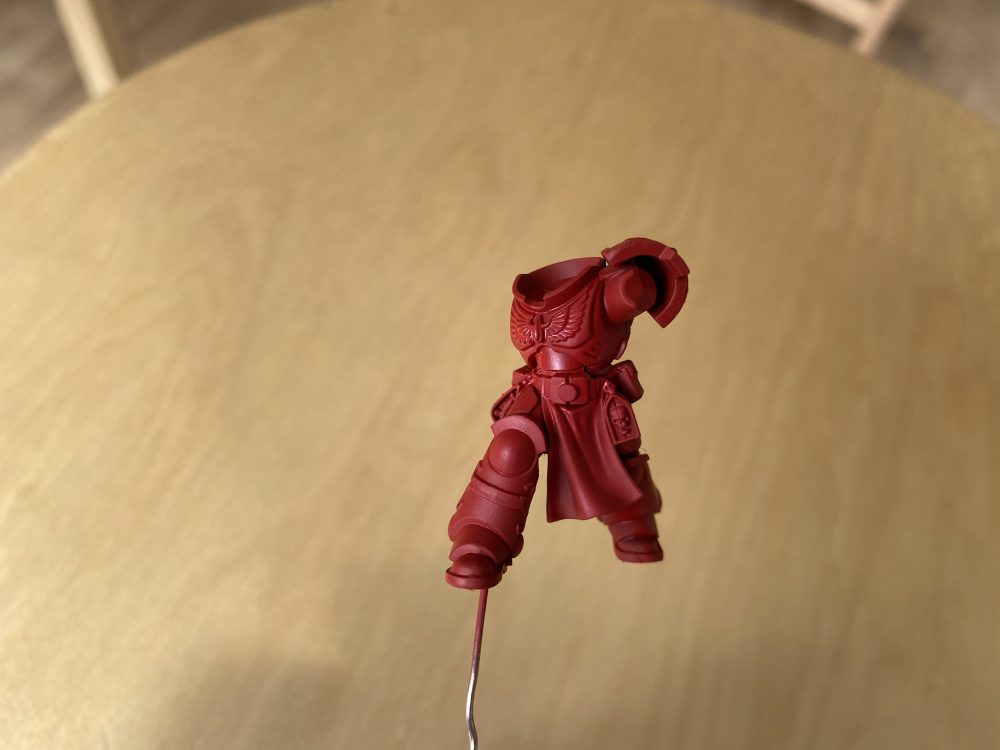
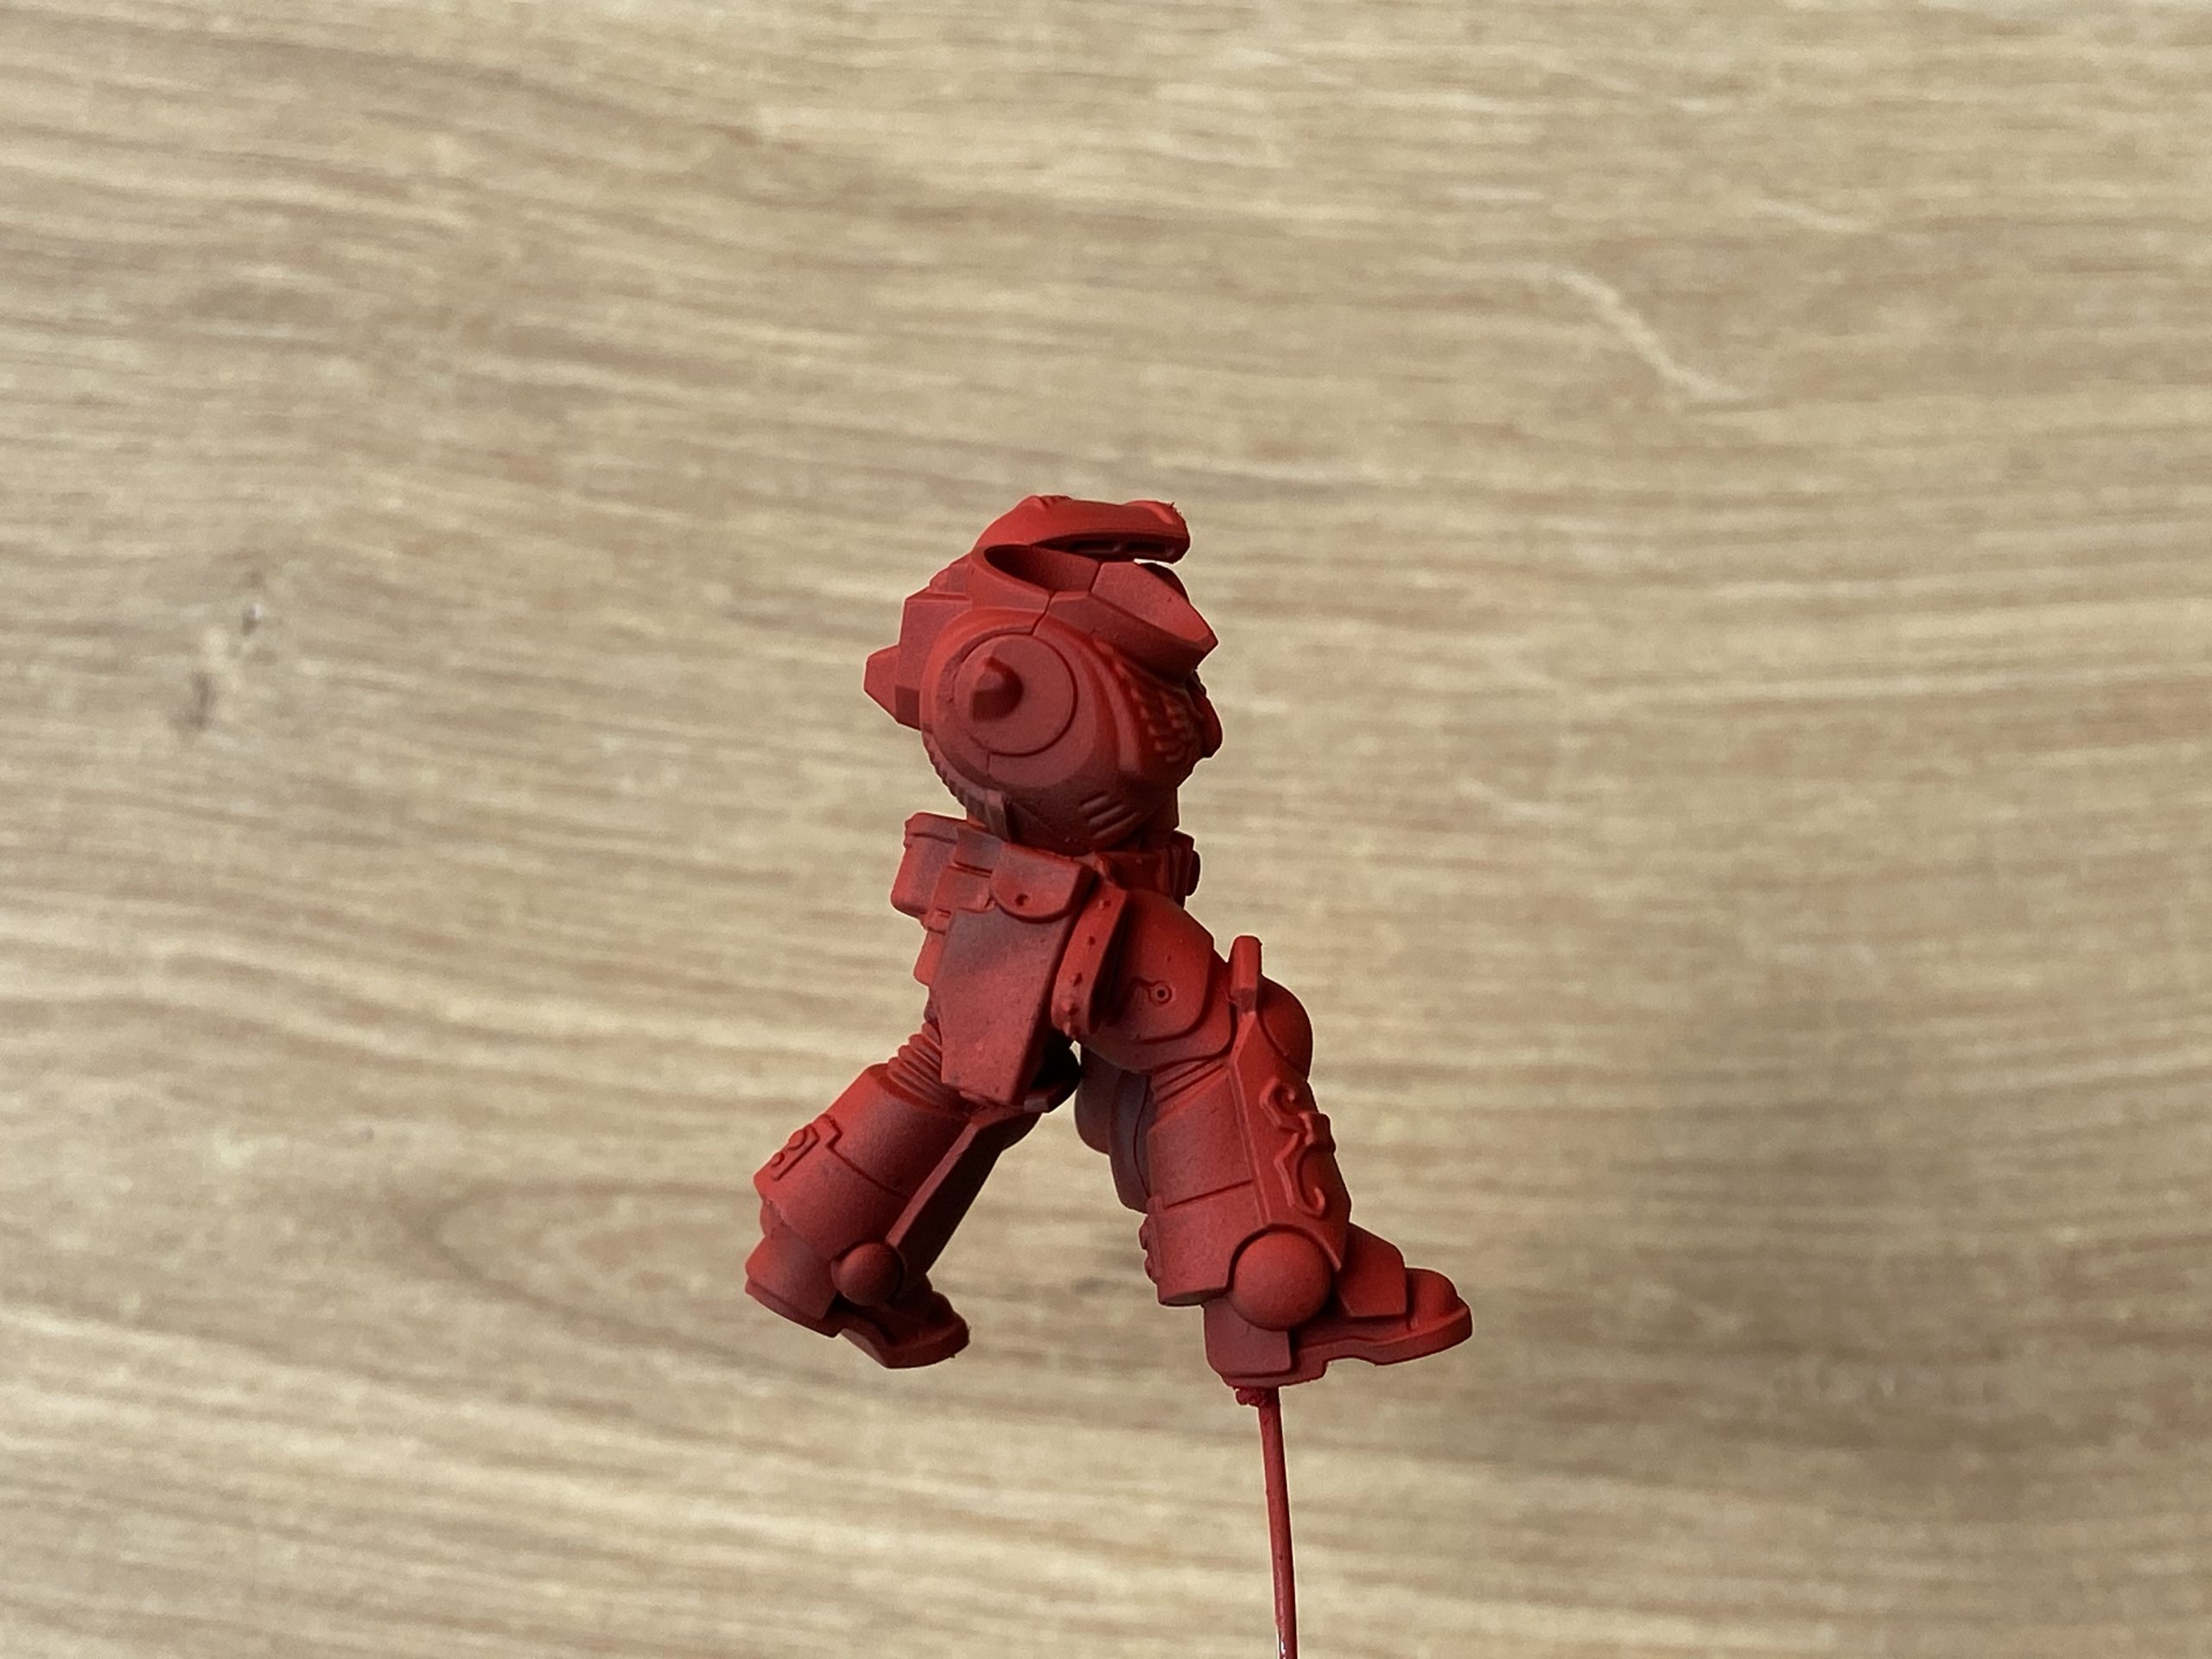
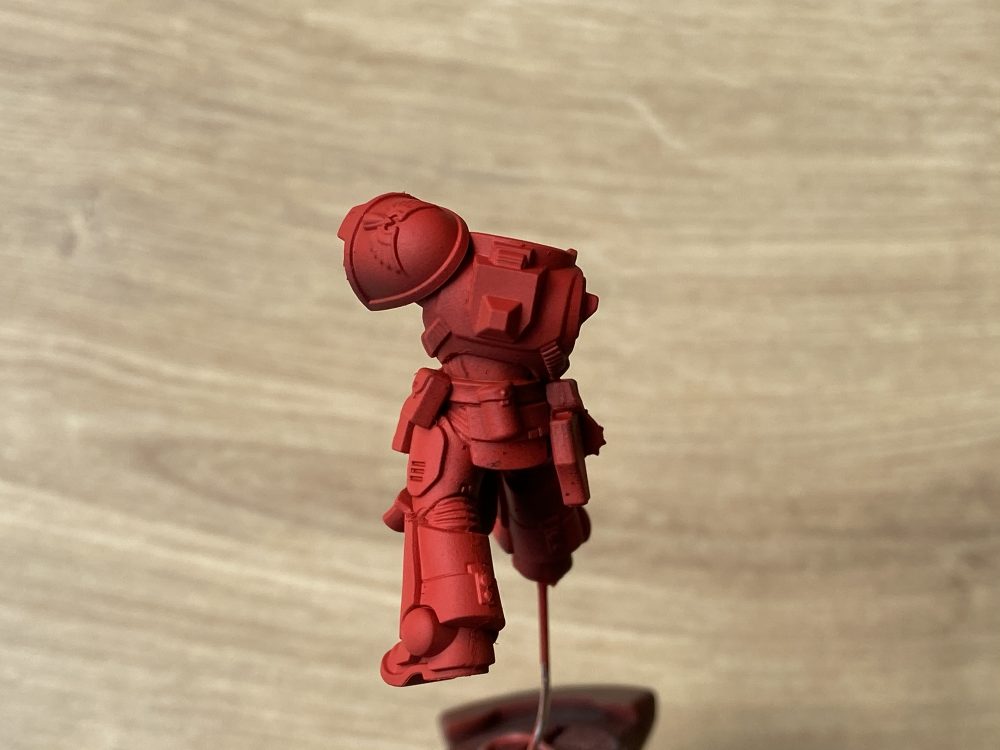
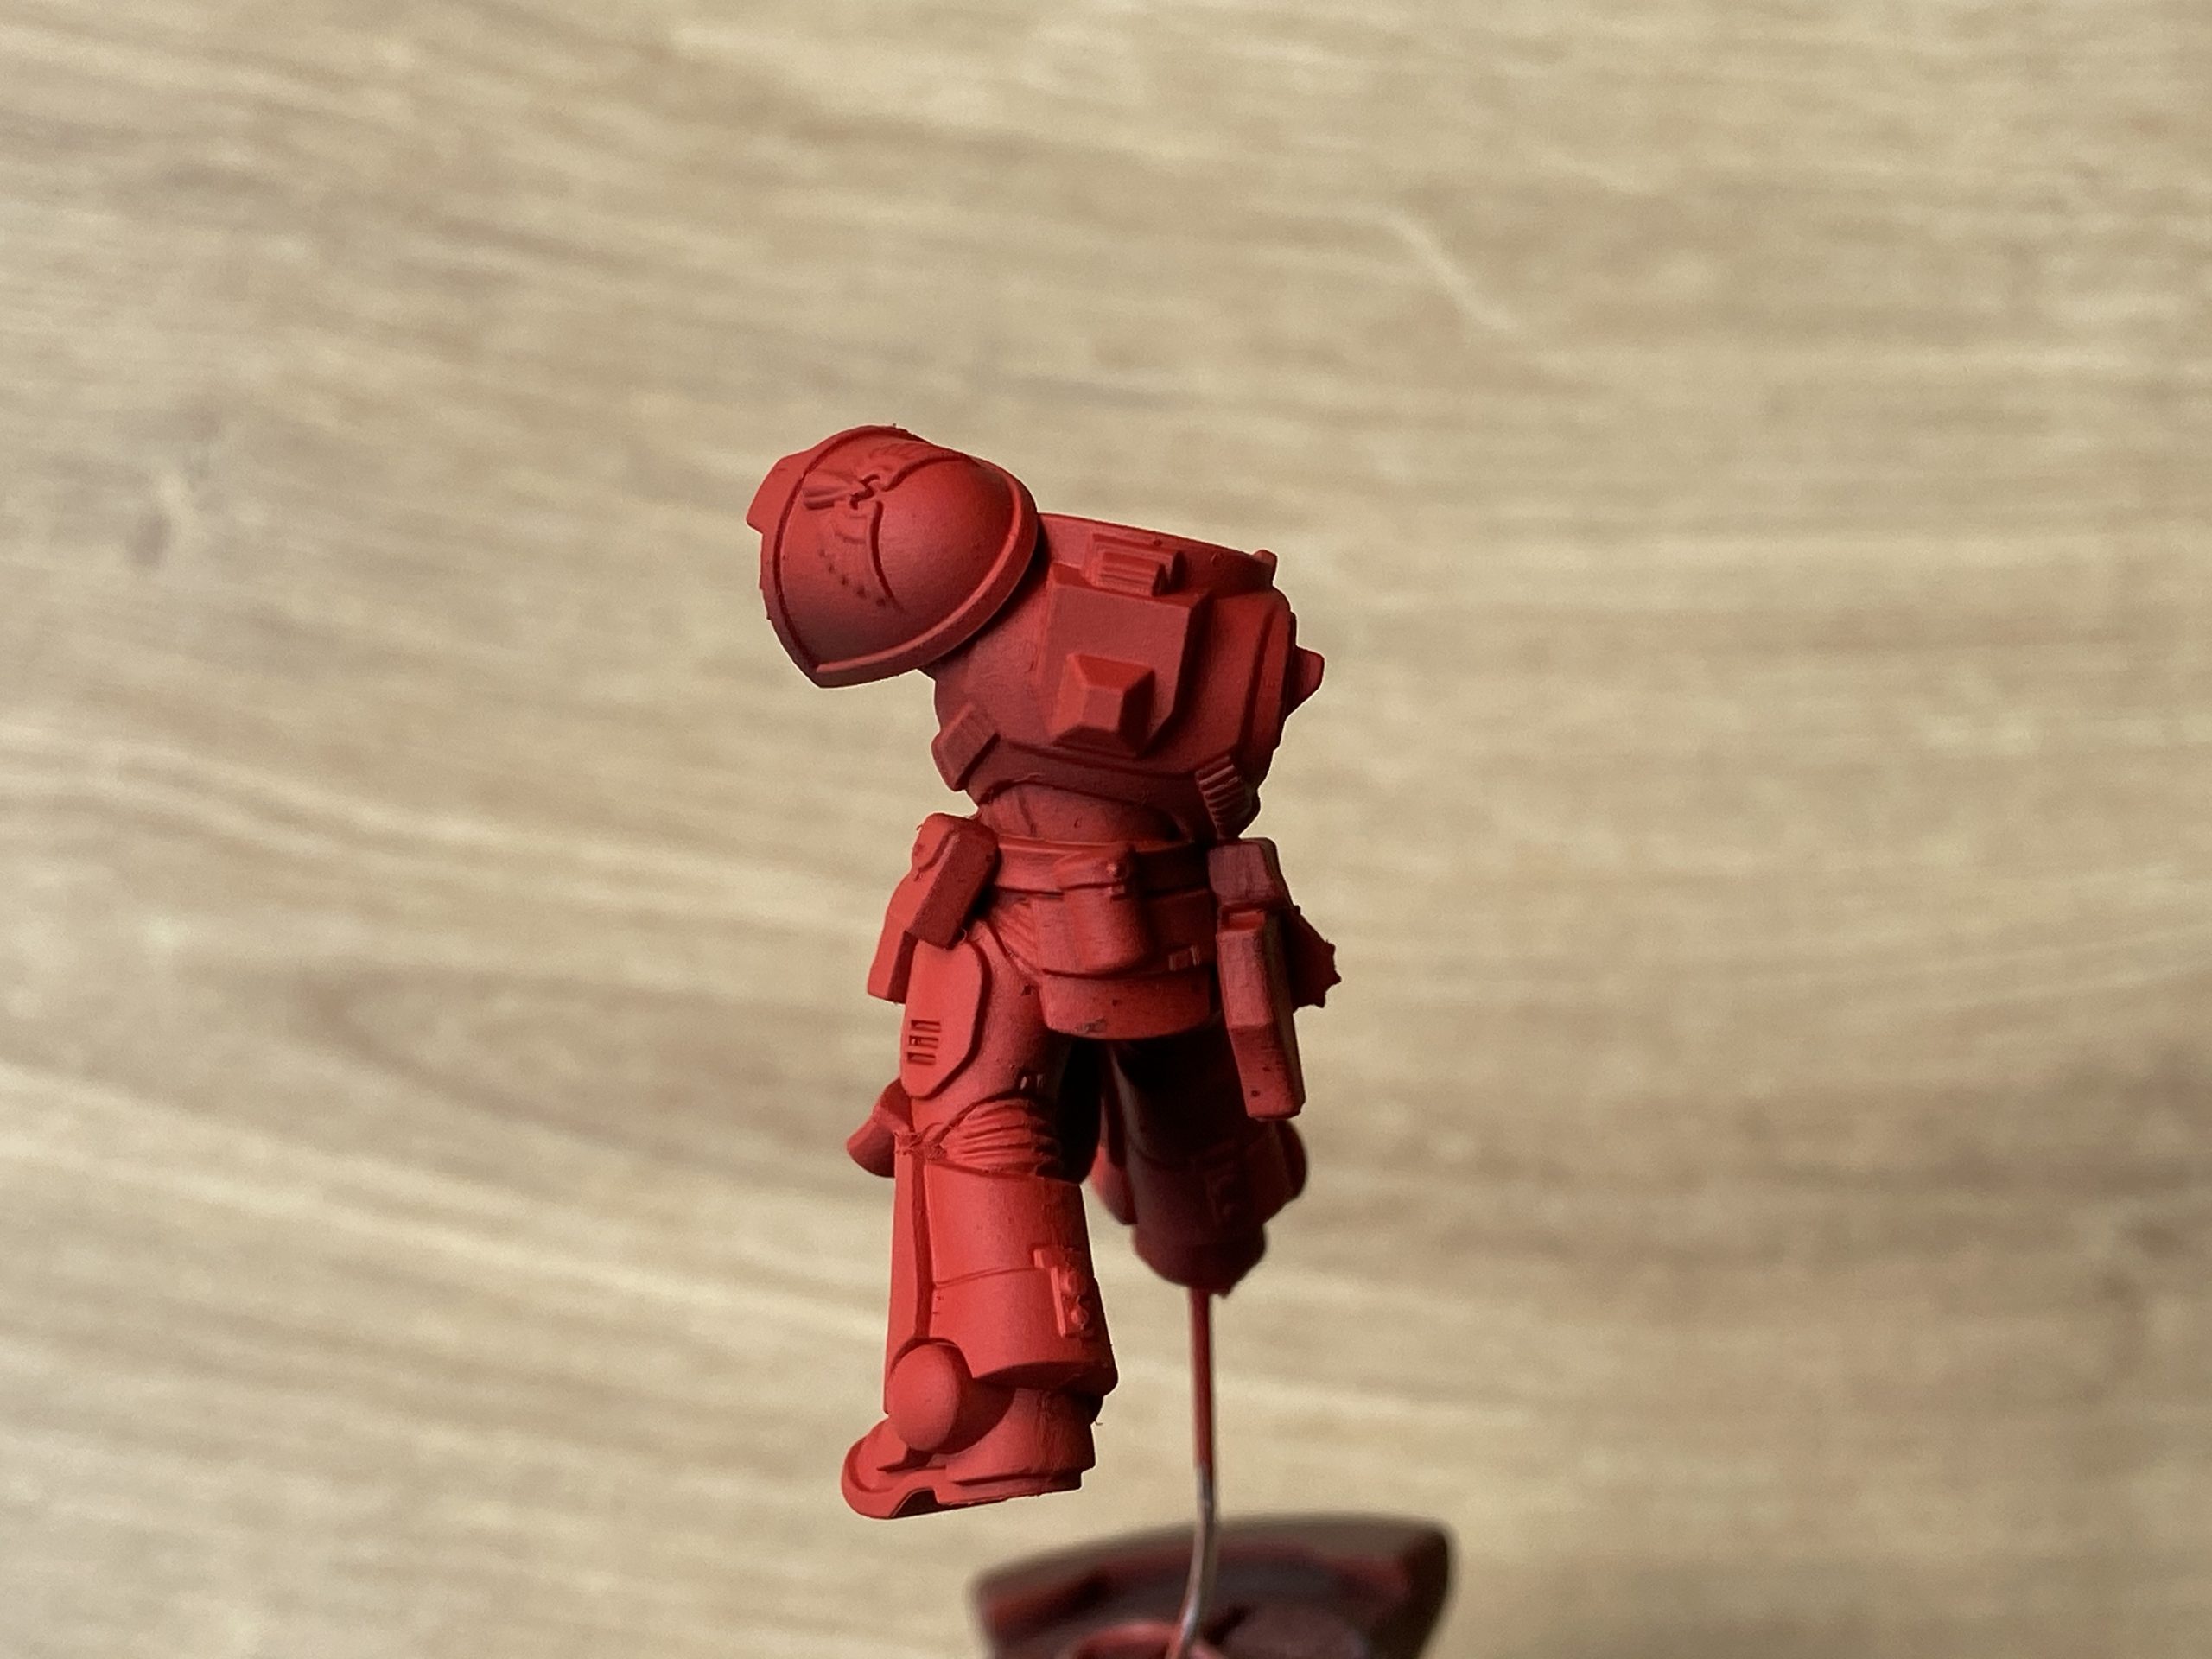
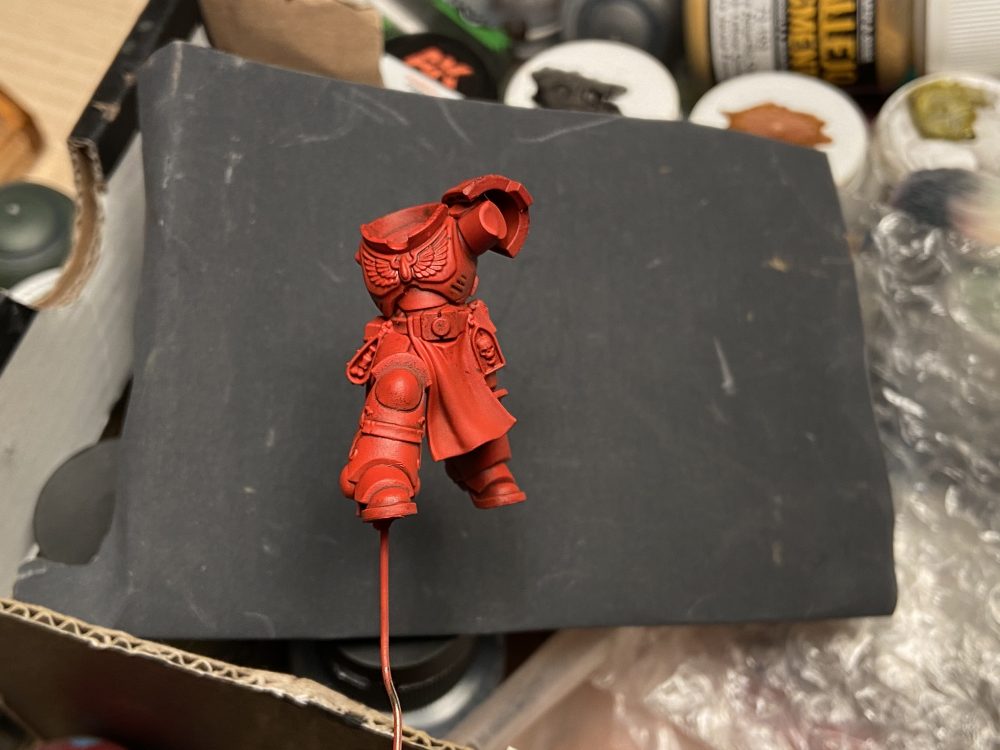
- First base coat of Mephiston Red
-

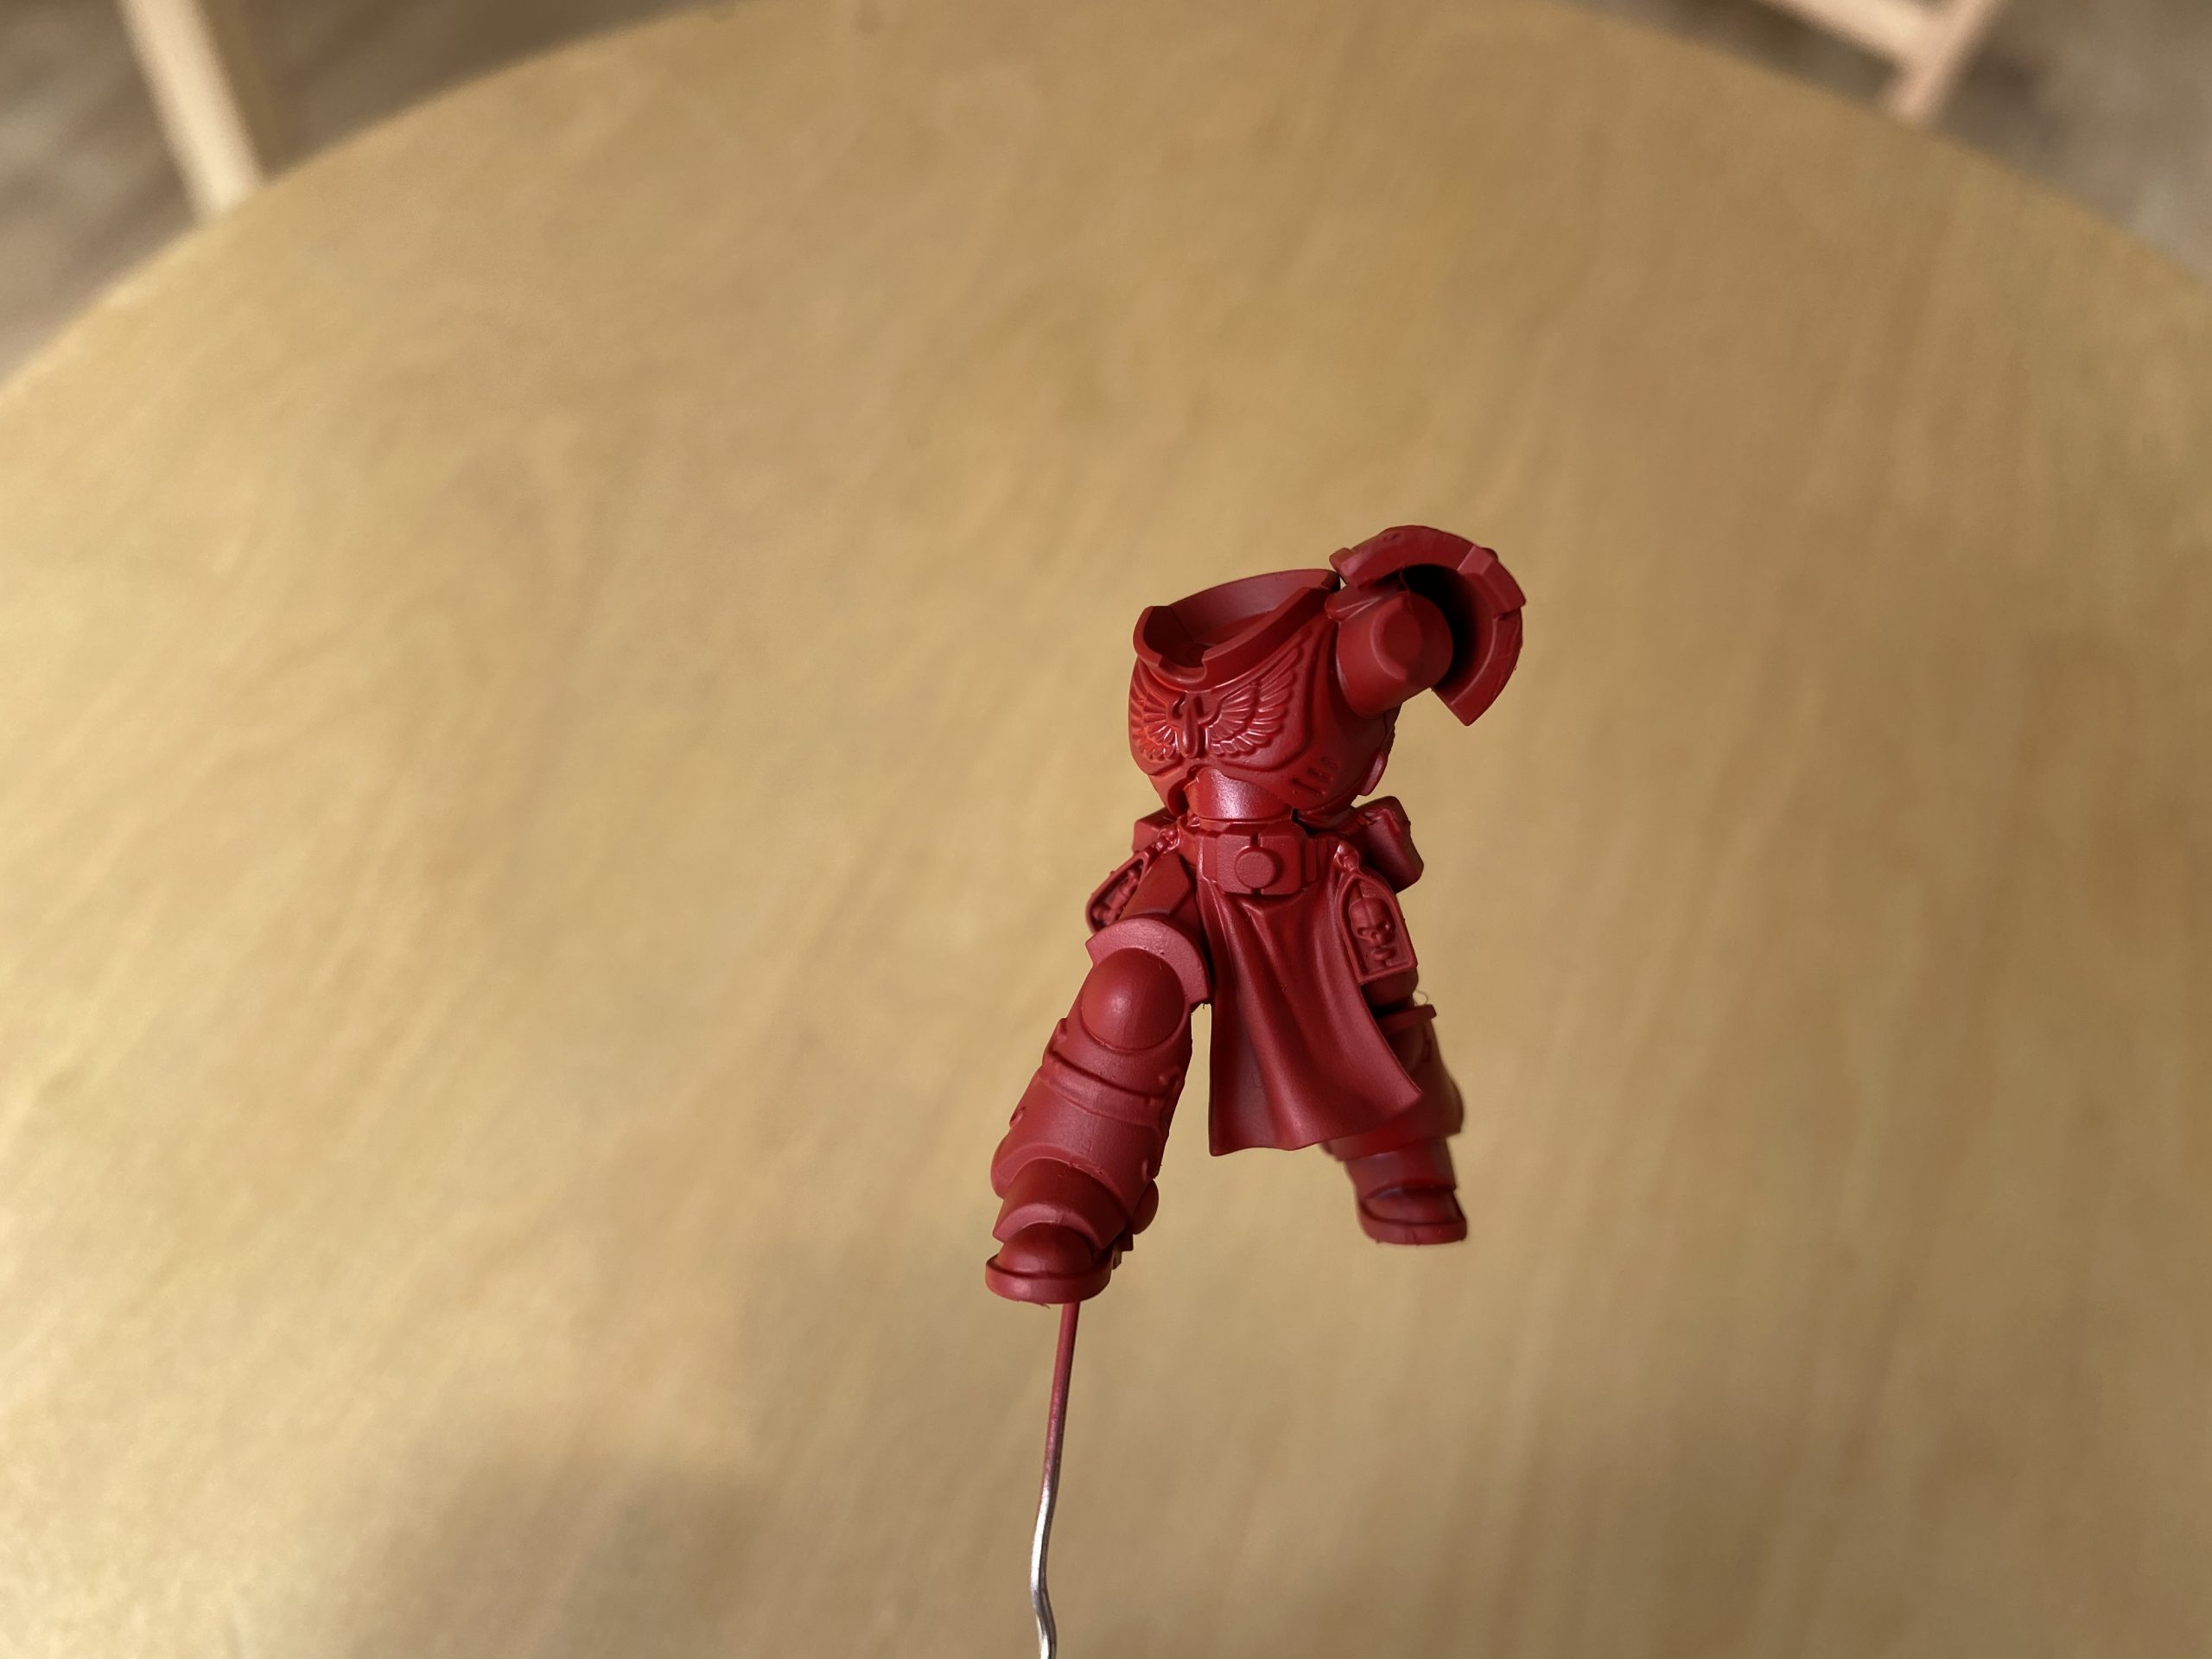
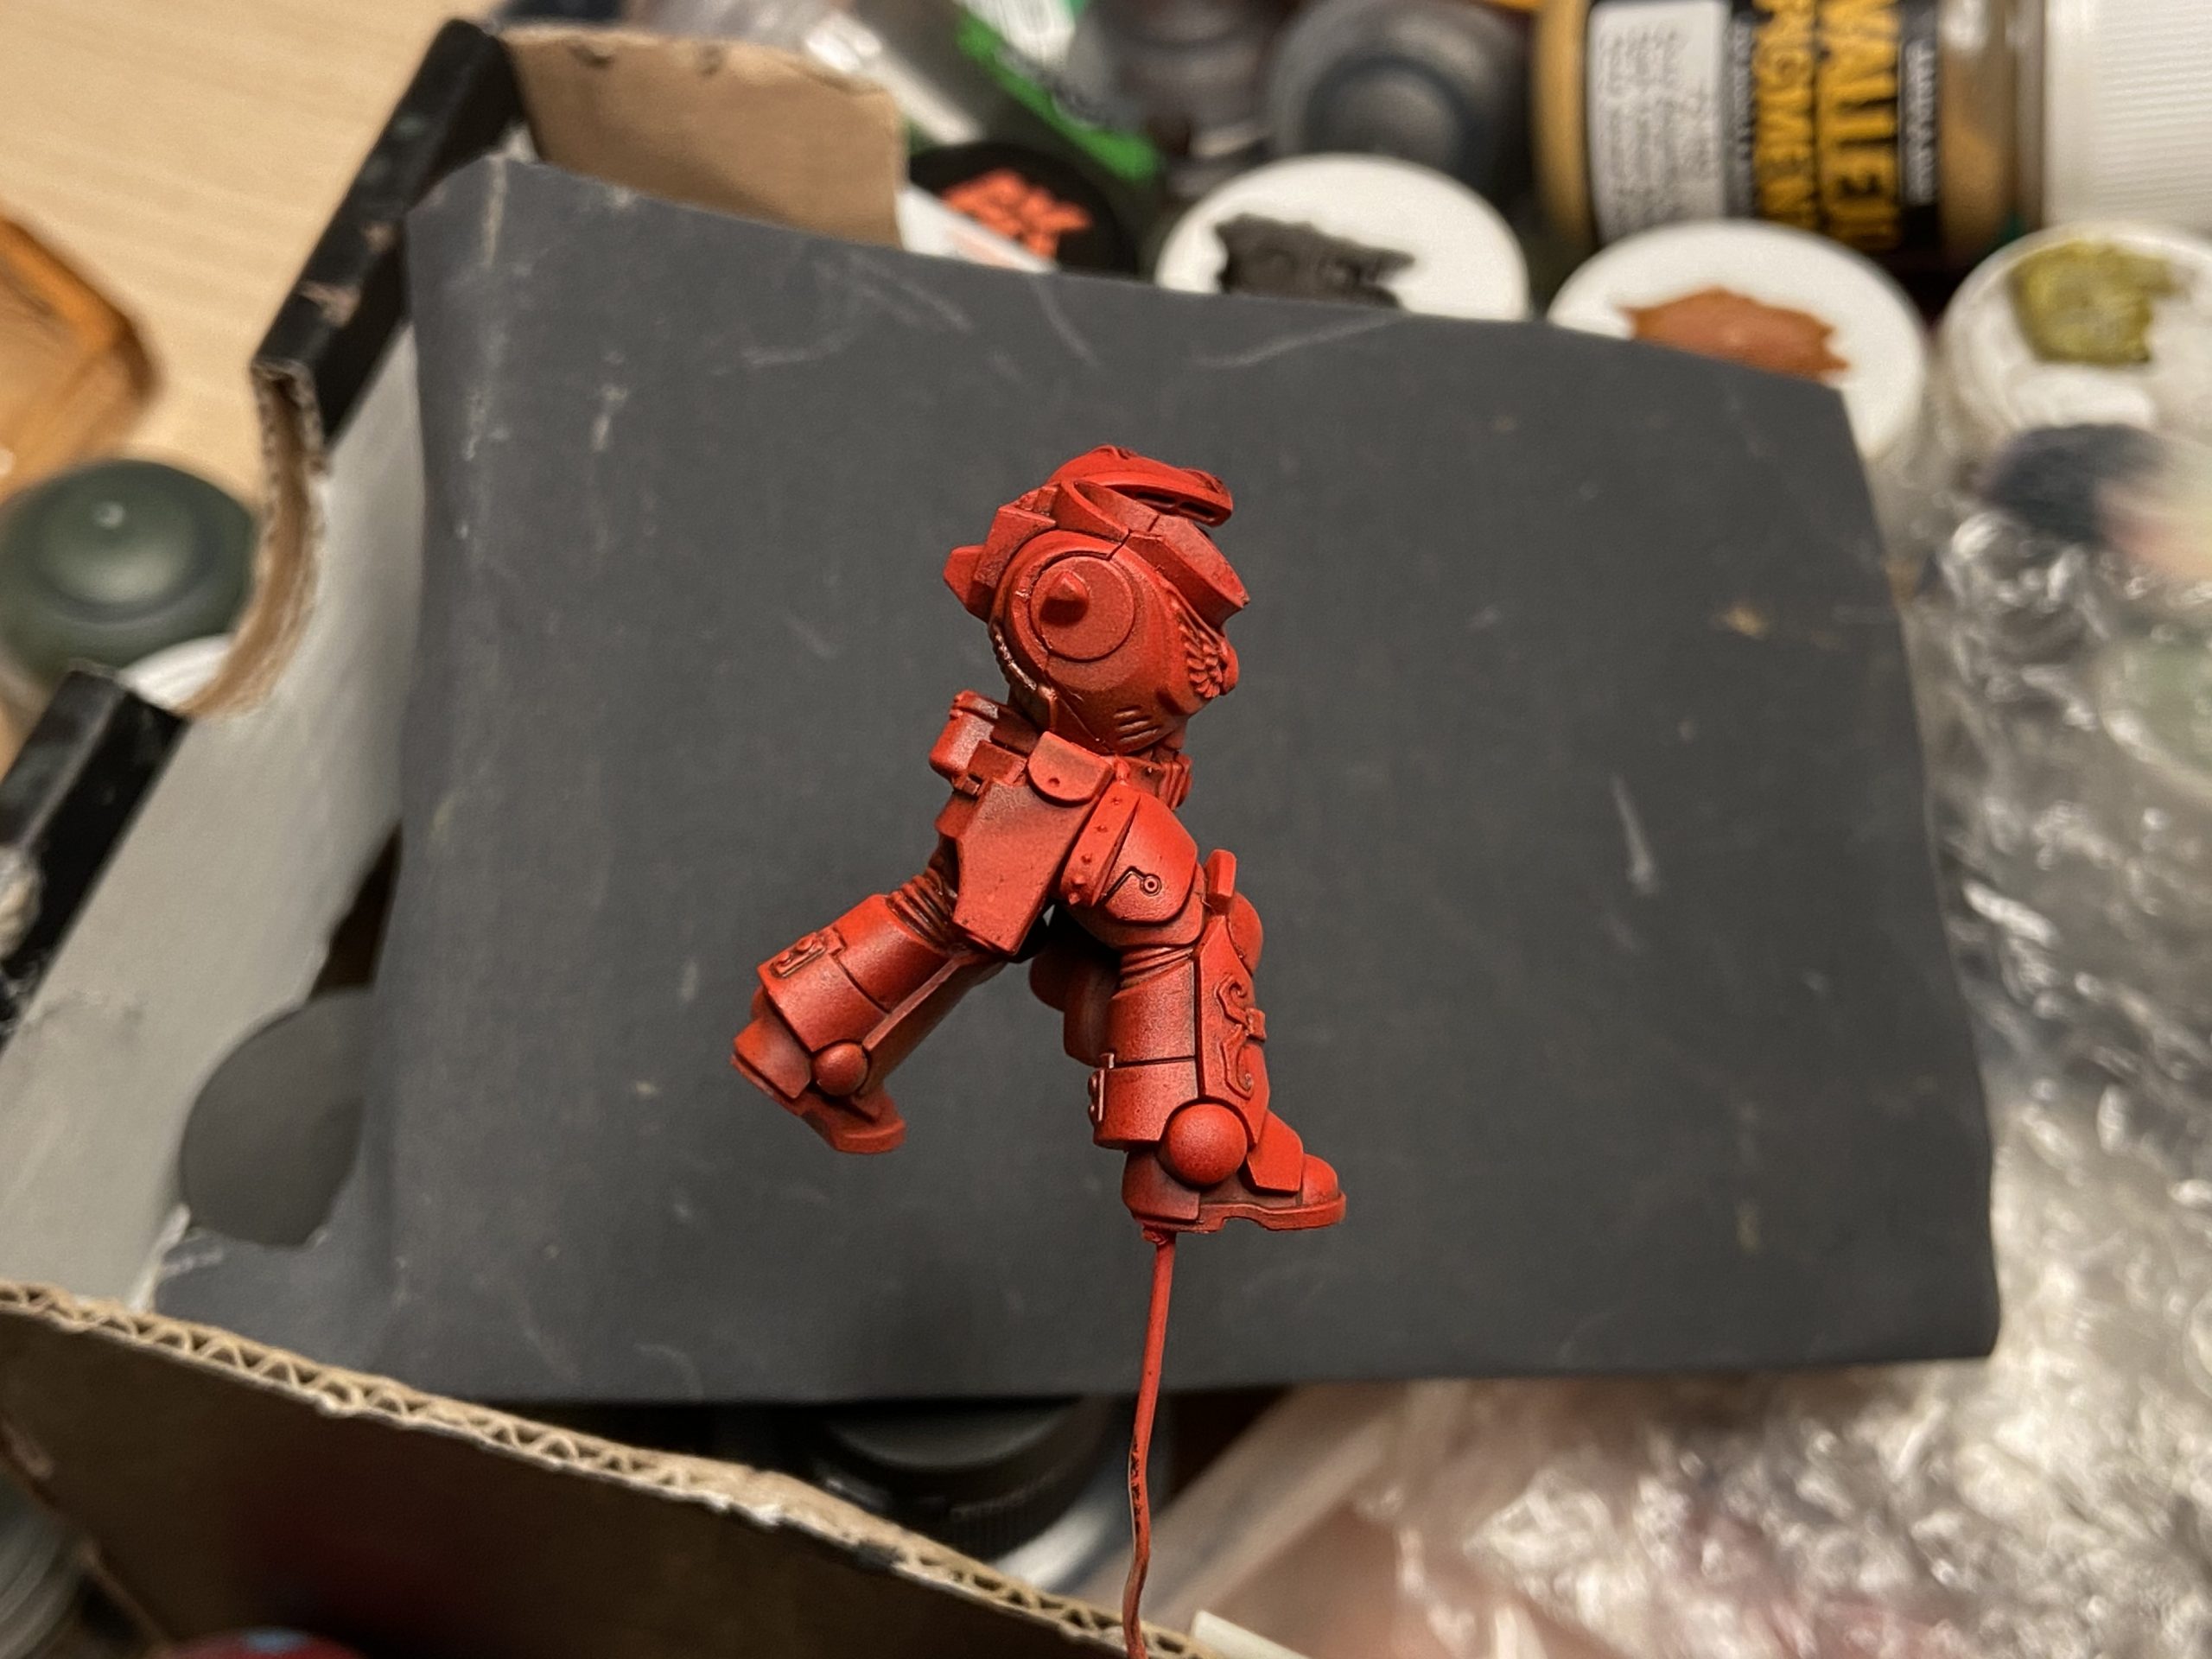
- Front – Highlights Completed
-
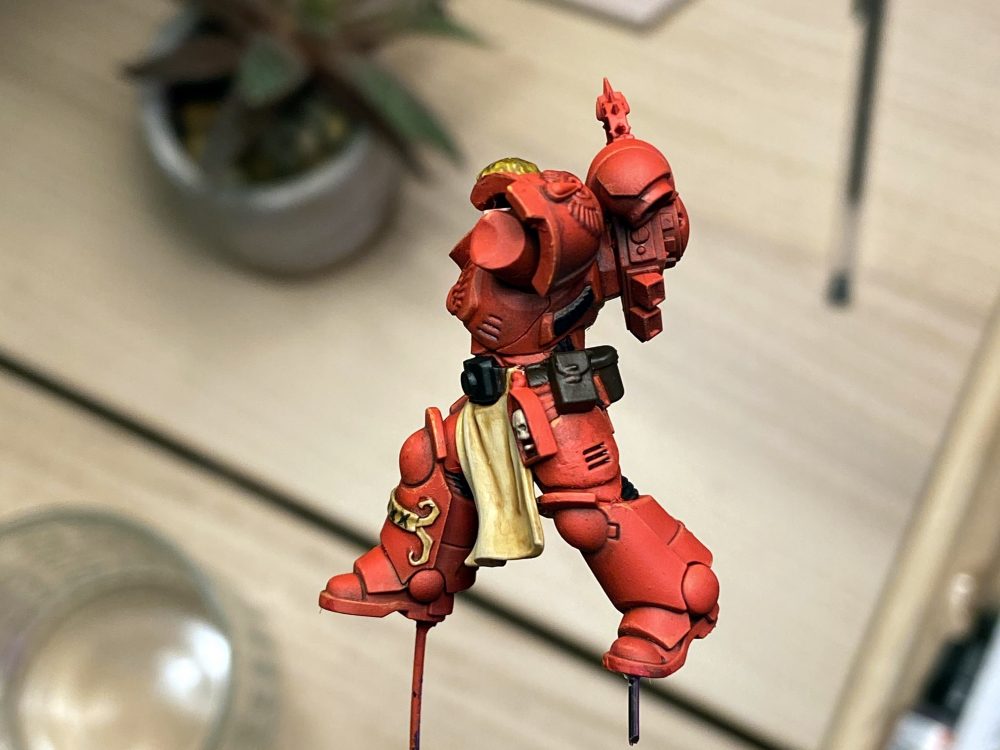
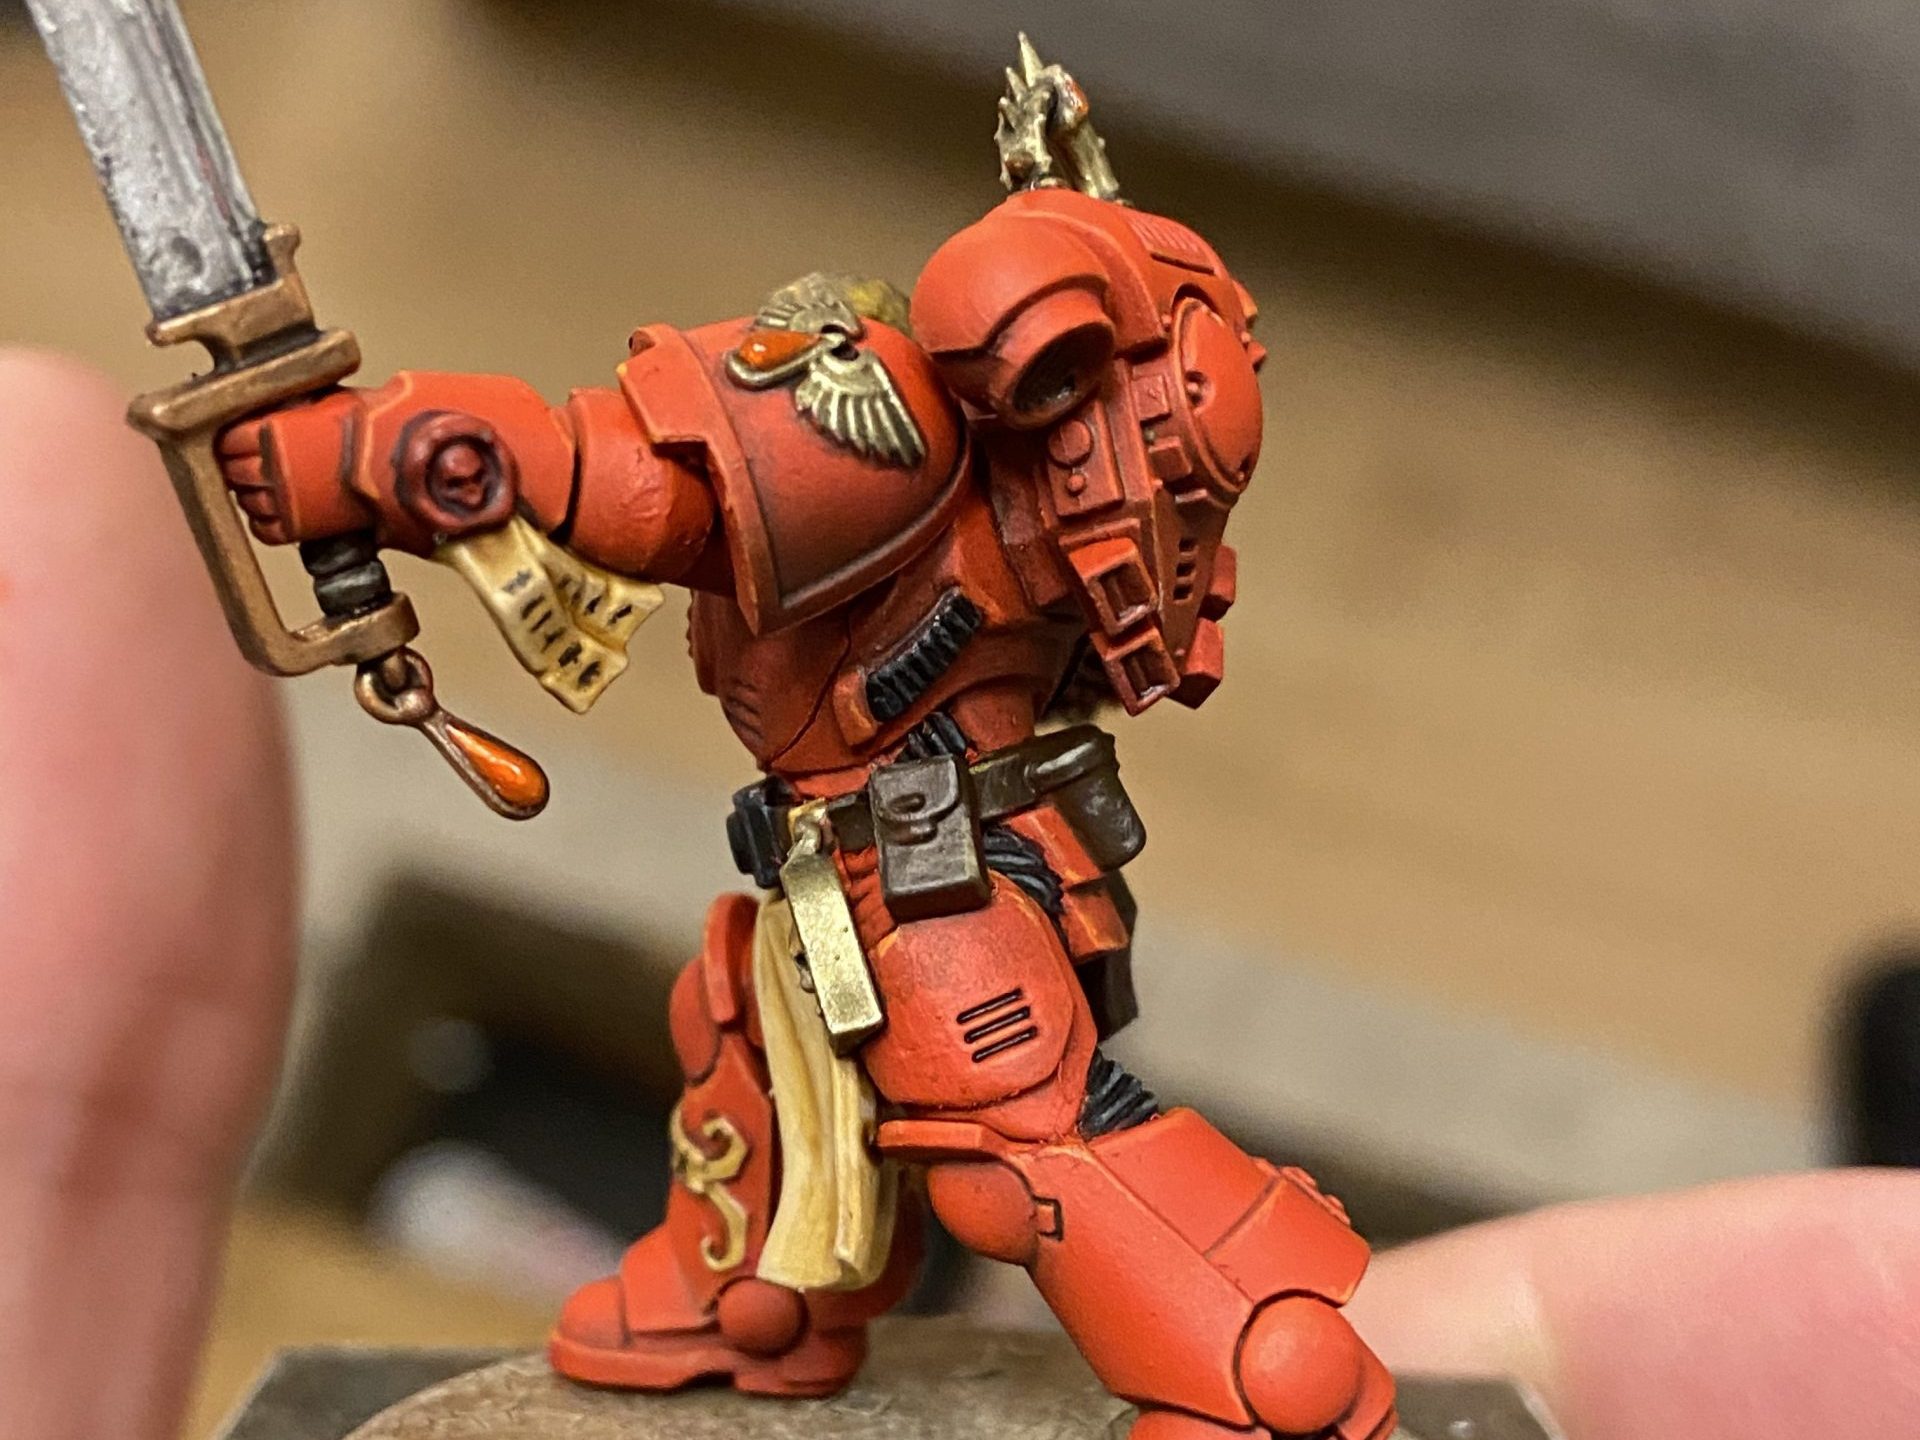
- Left – Highlights Completed

-

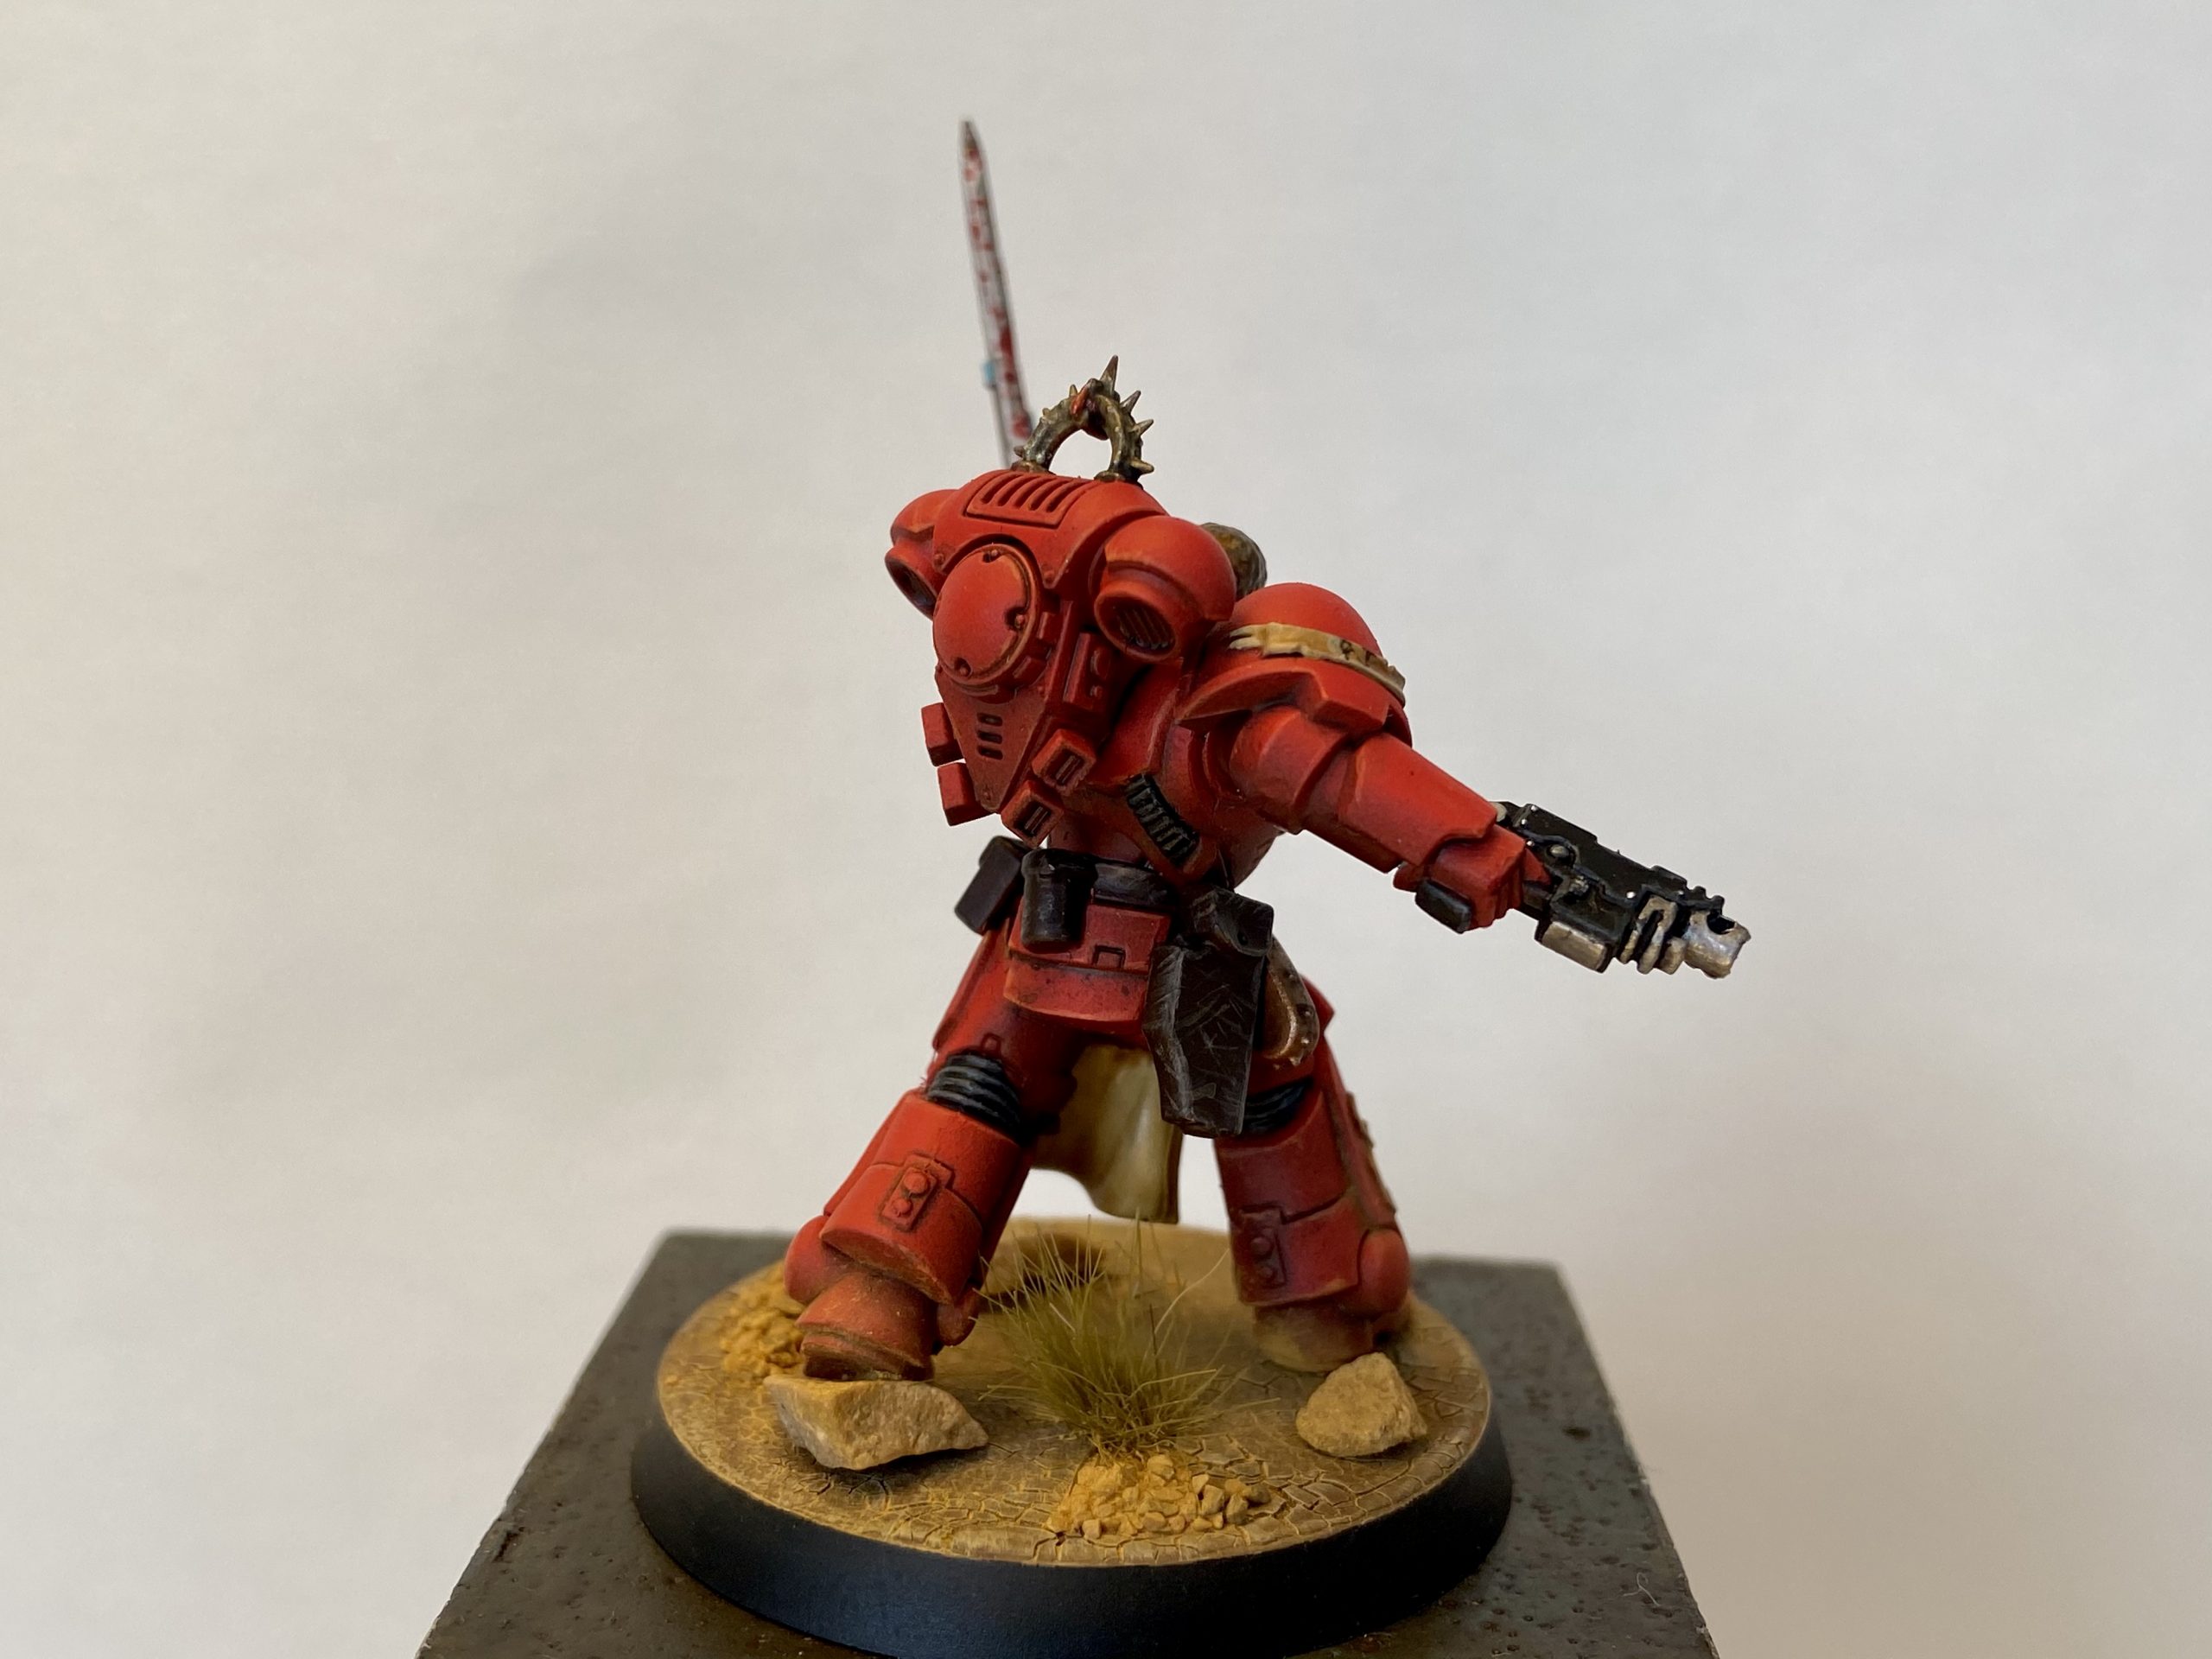
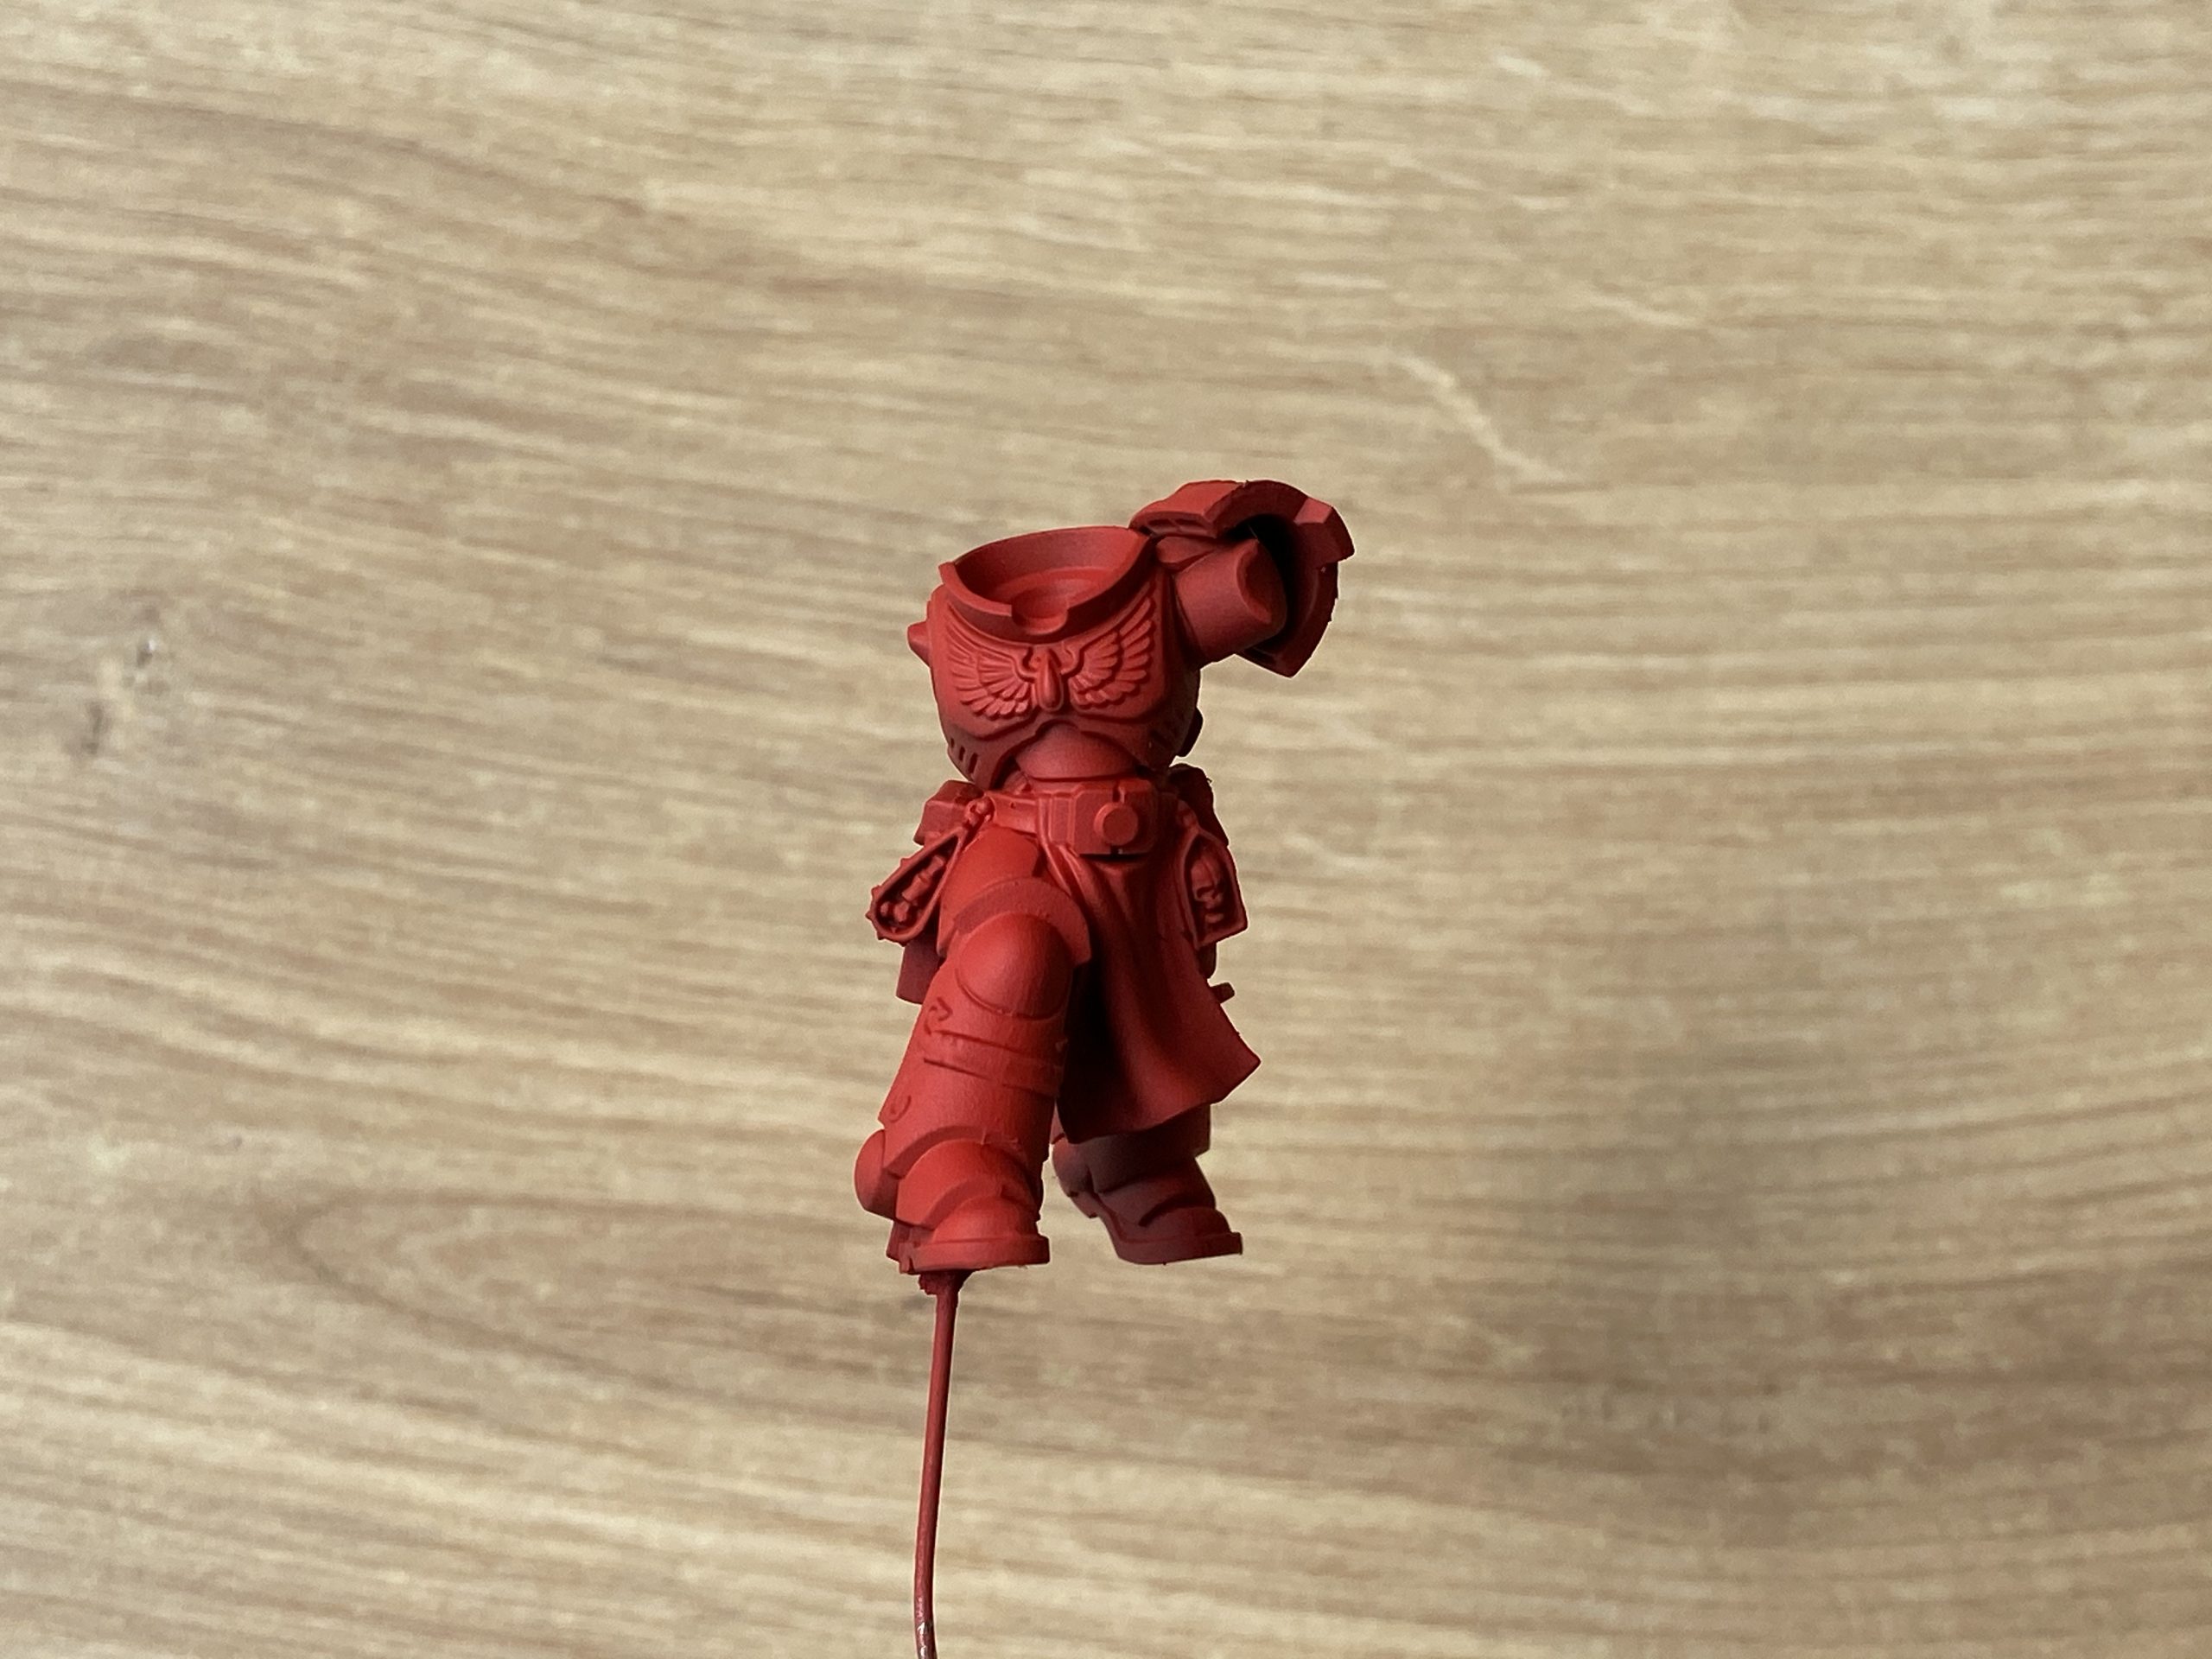
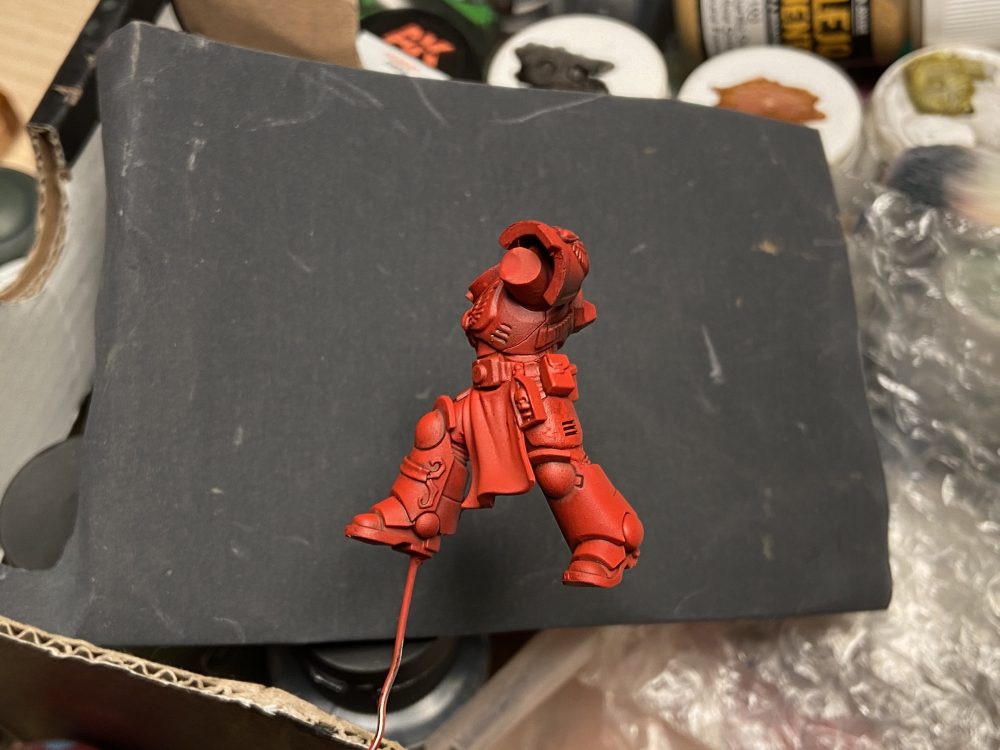
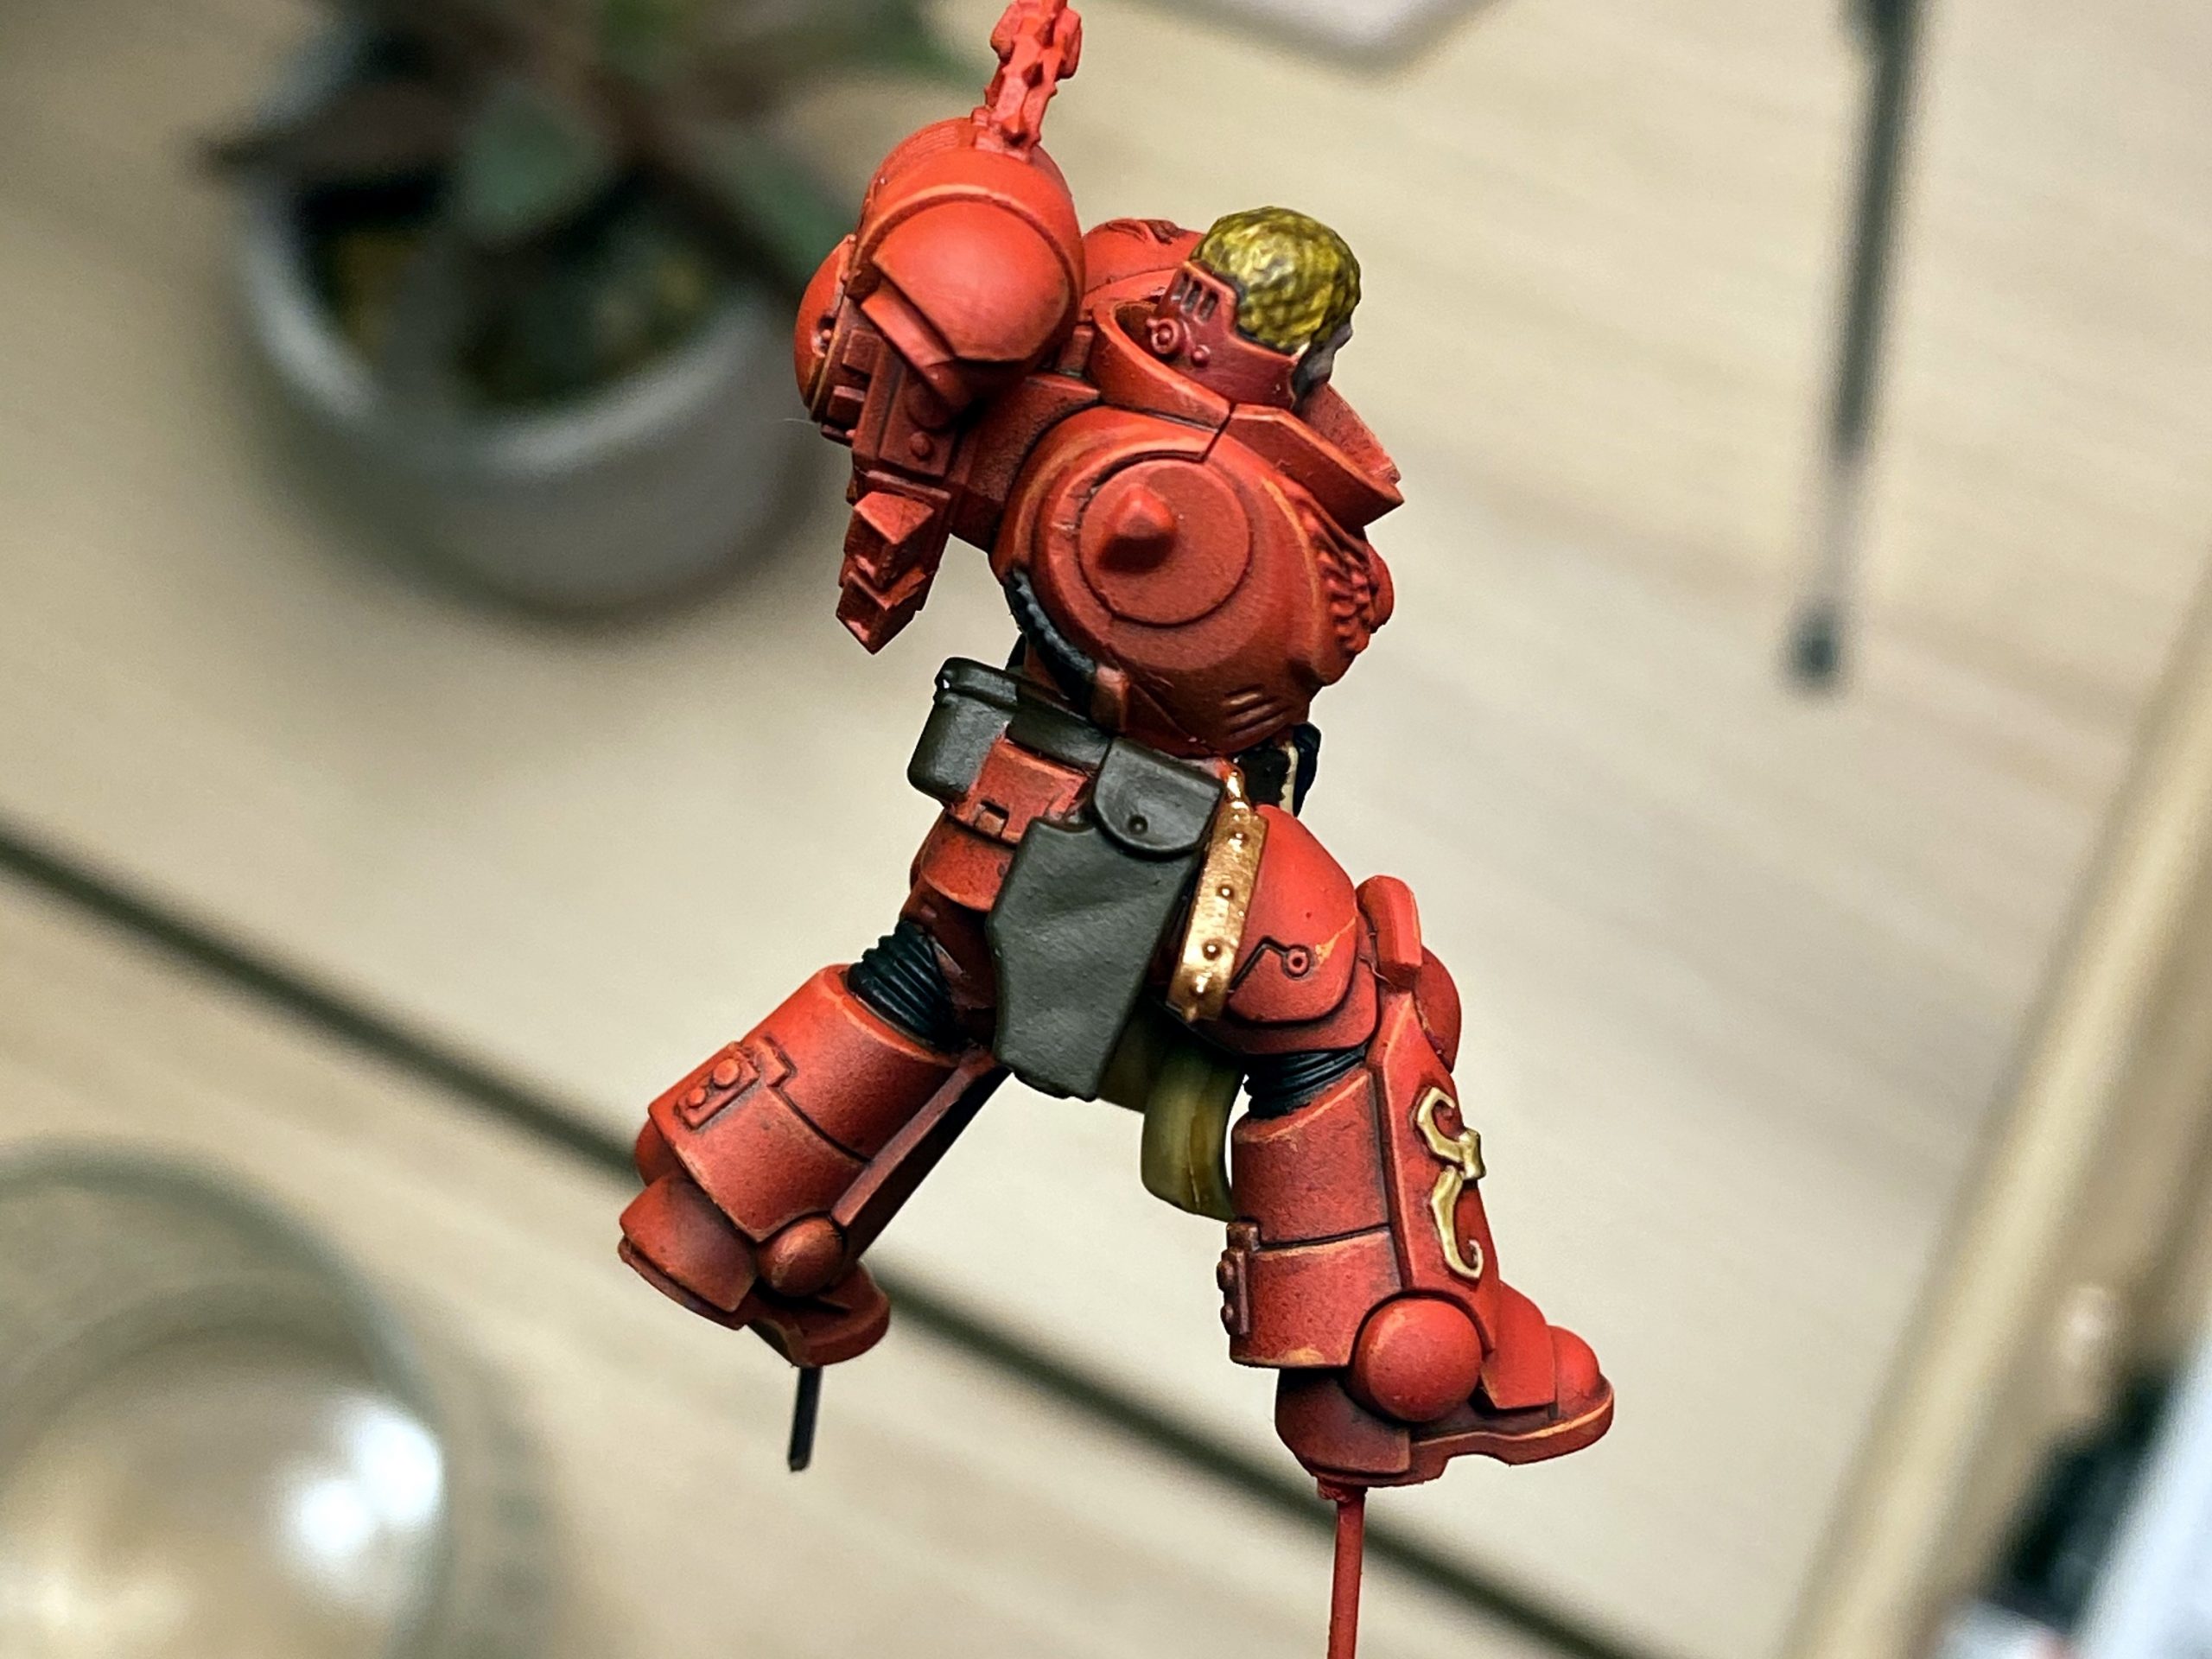
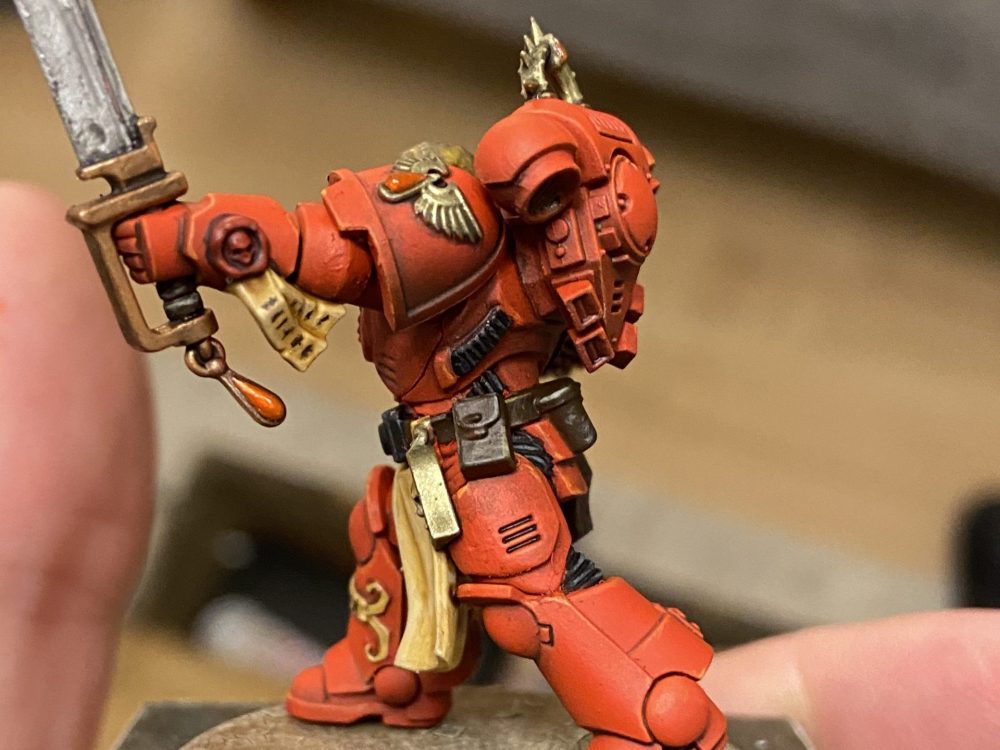
- Right – Highlights Completed
-
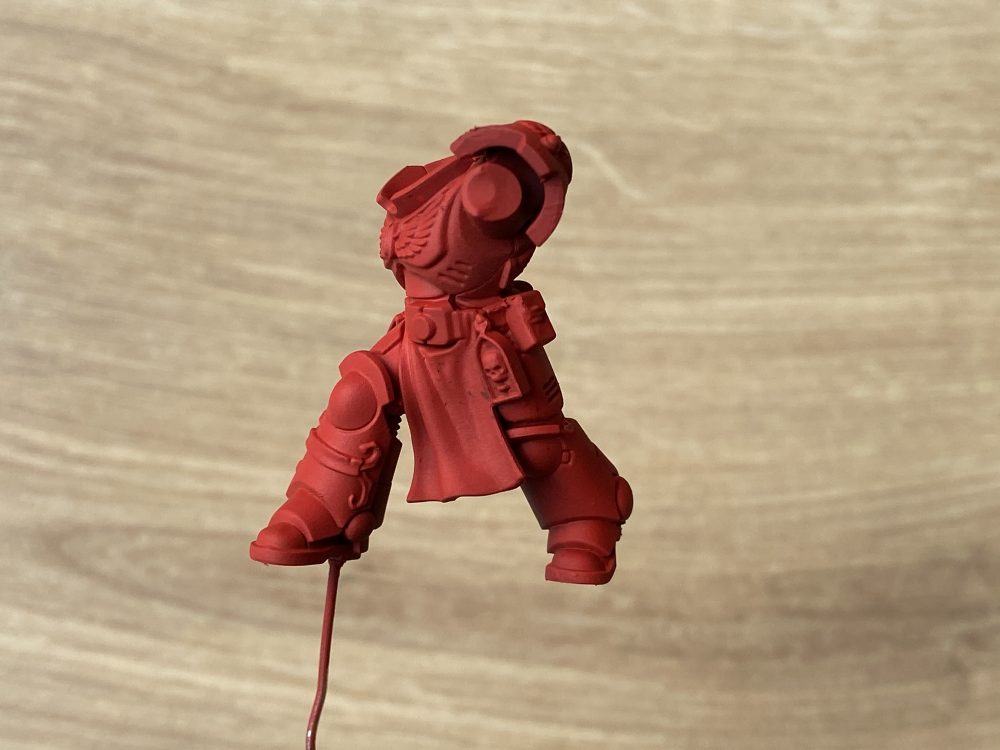
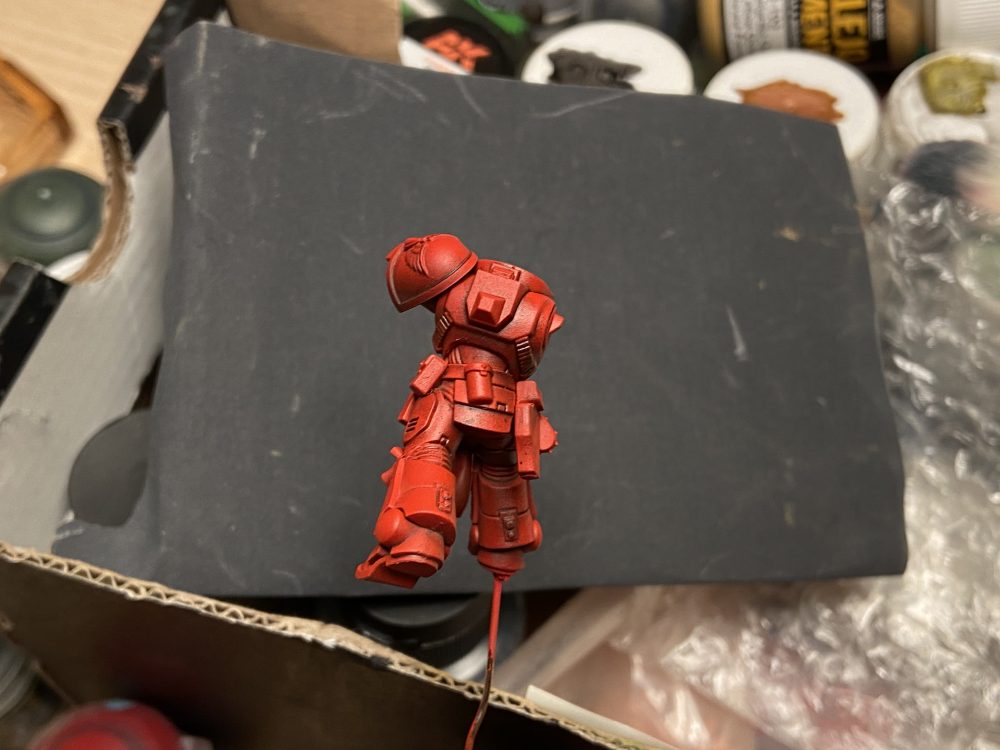
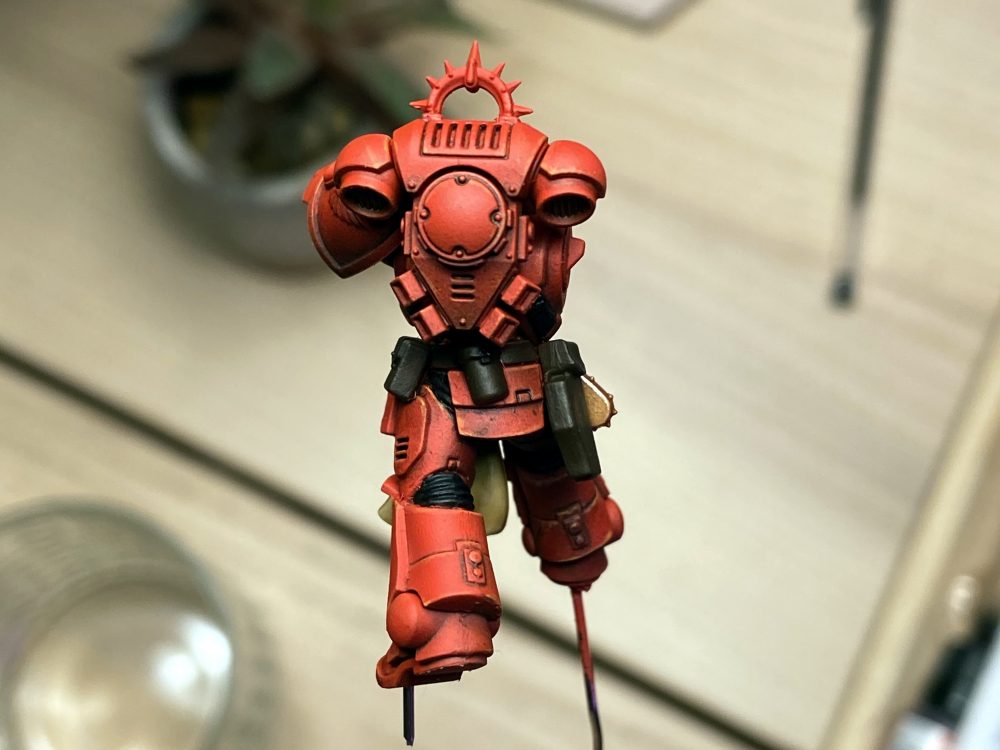
- Rear – Highlights Completed
-
- Group Shot

-
- Post Oil Wash – Front

-

- Post Oil Wash – Right
-
- Post Oil Wash – Left

-
- Post Oil Wash – Rear

-

- Home Printed Stencils
-

- Stencil Applied
-
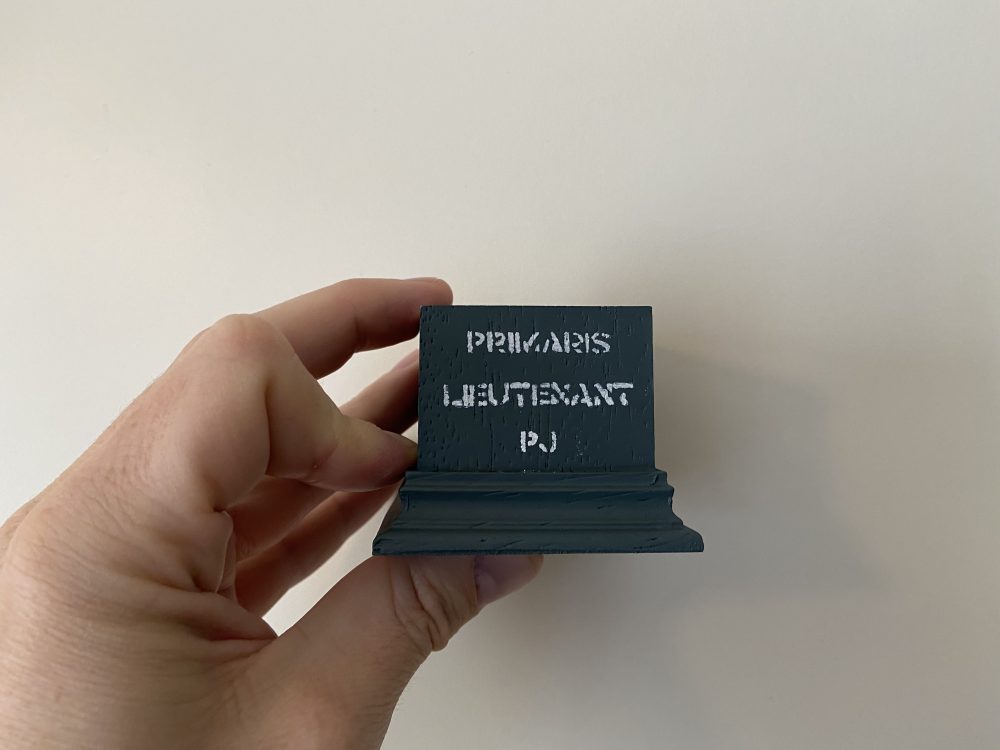
- Final Result

-
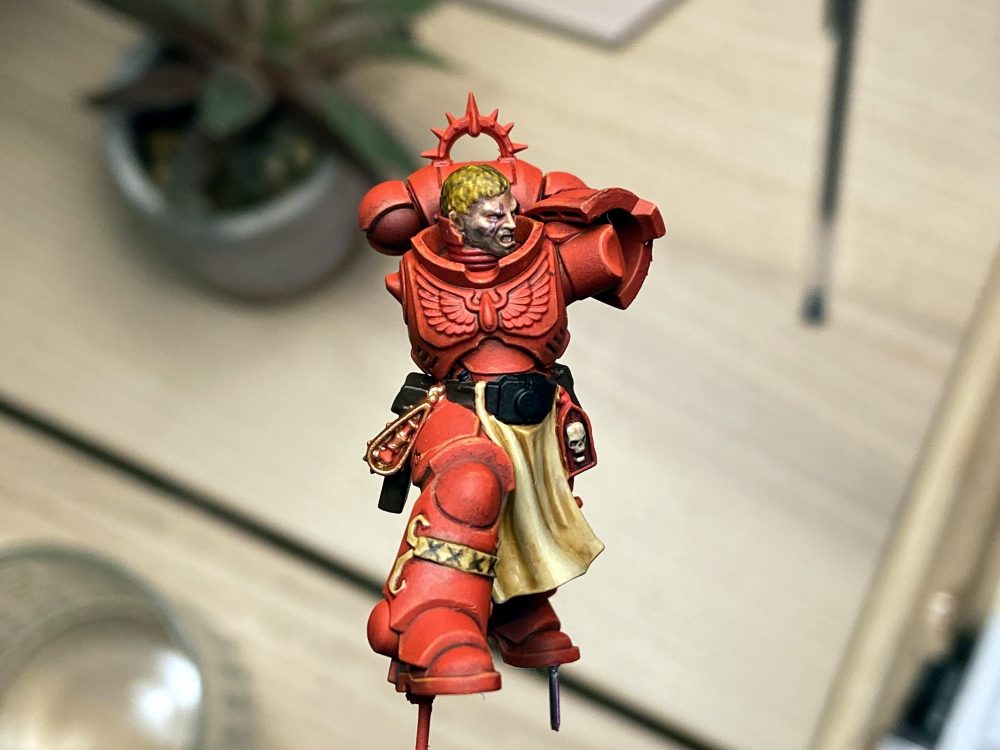
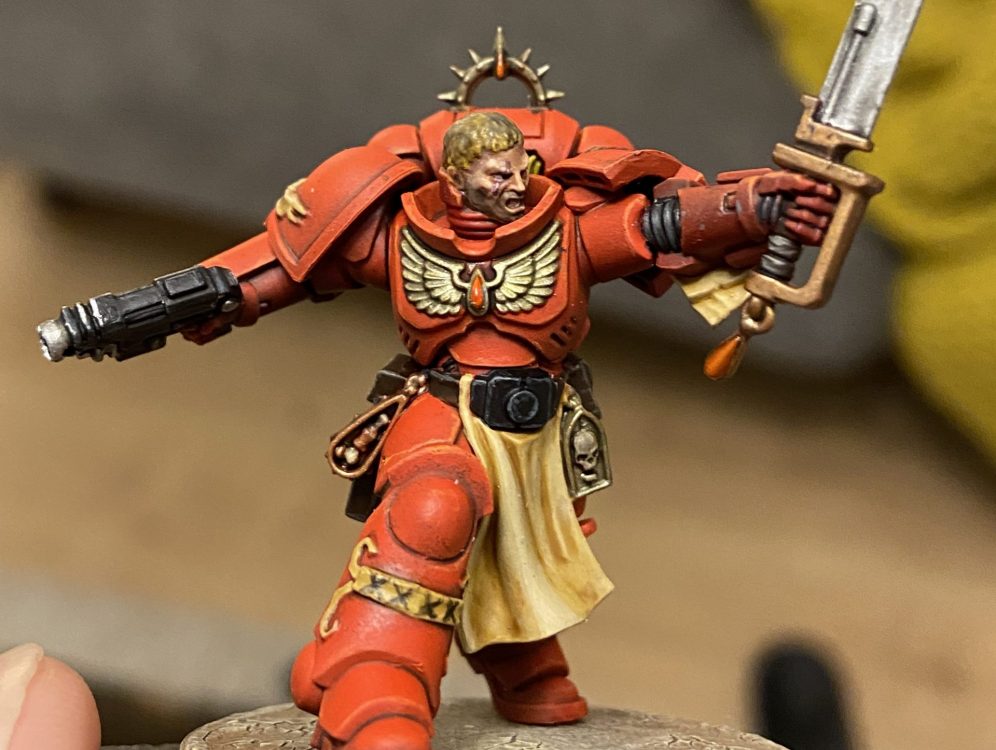
- Front with face

-
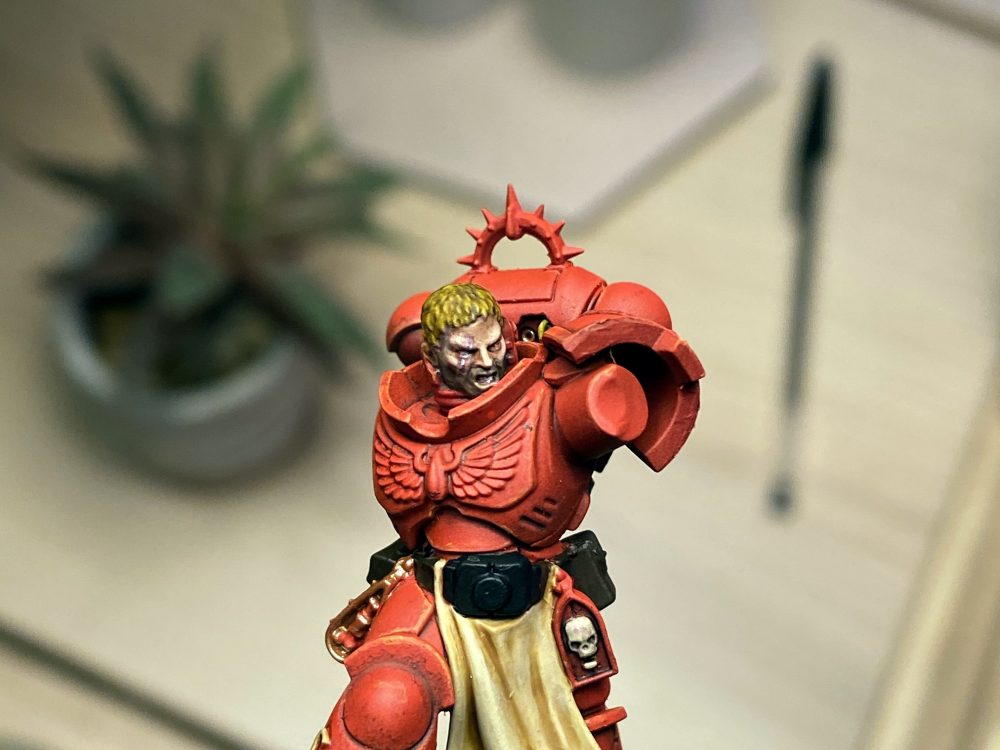
- Front with face – close

-

- The right side with details started
-
- The rear with details started

-
- The left side with details started

-

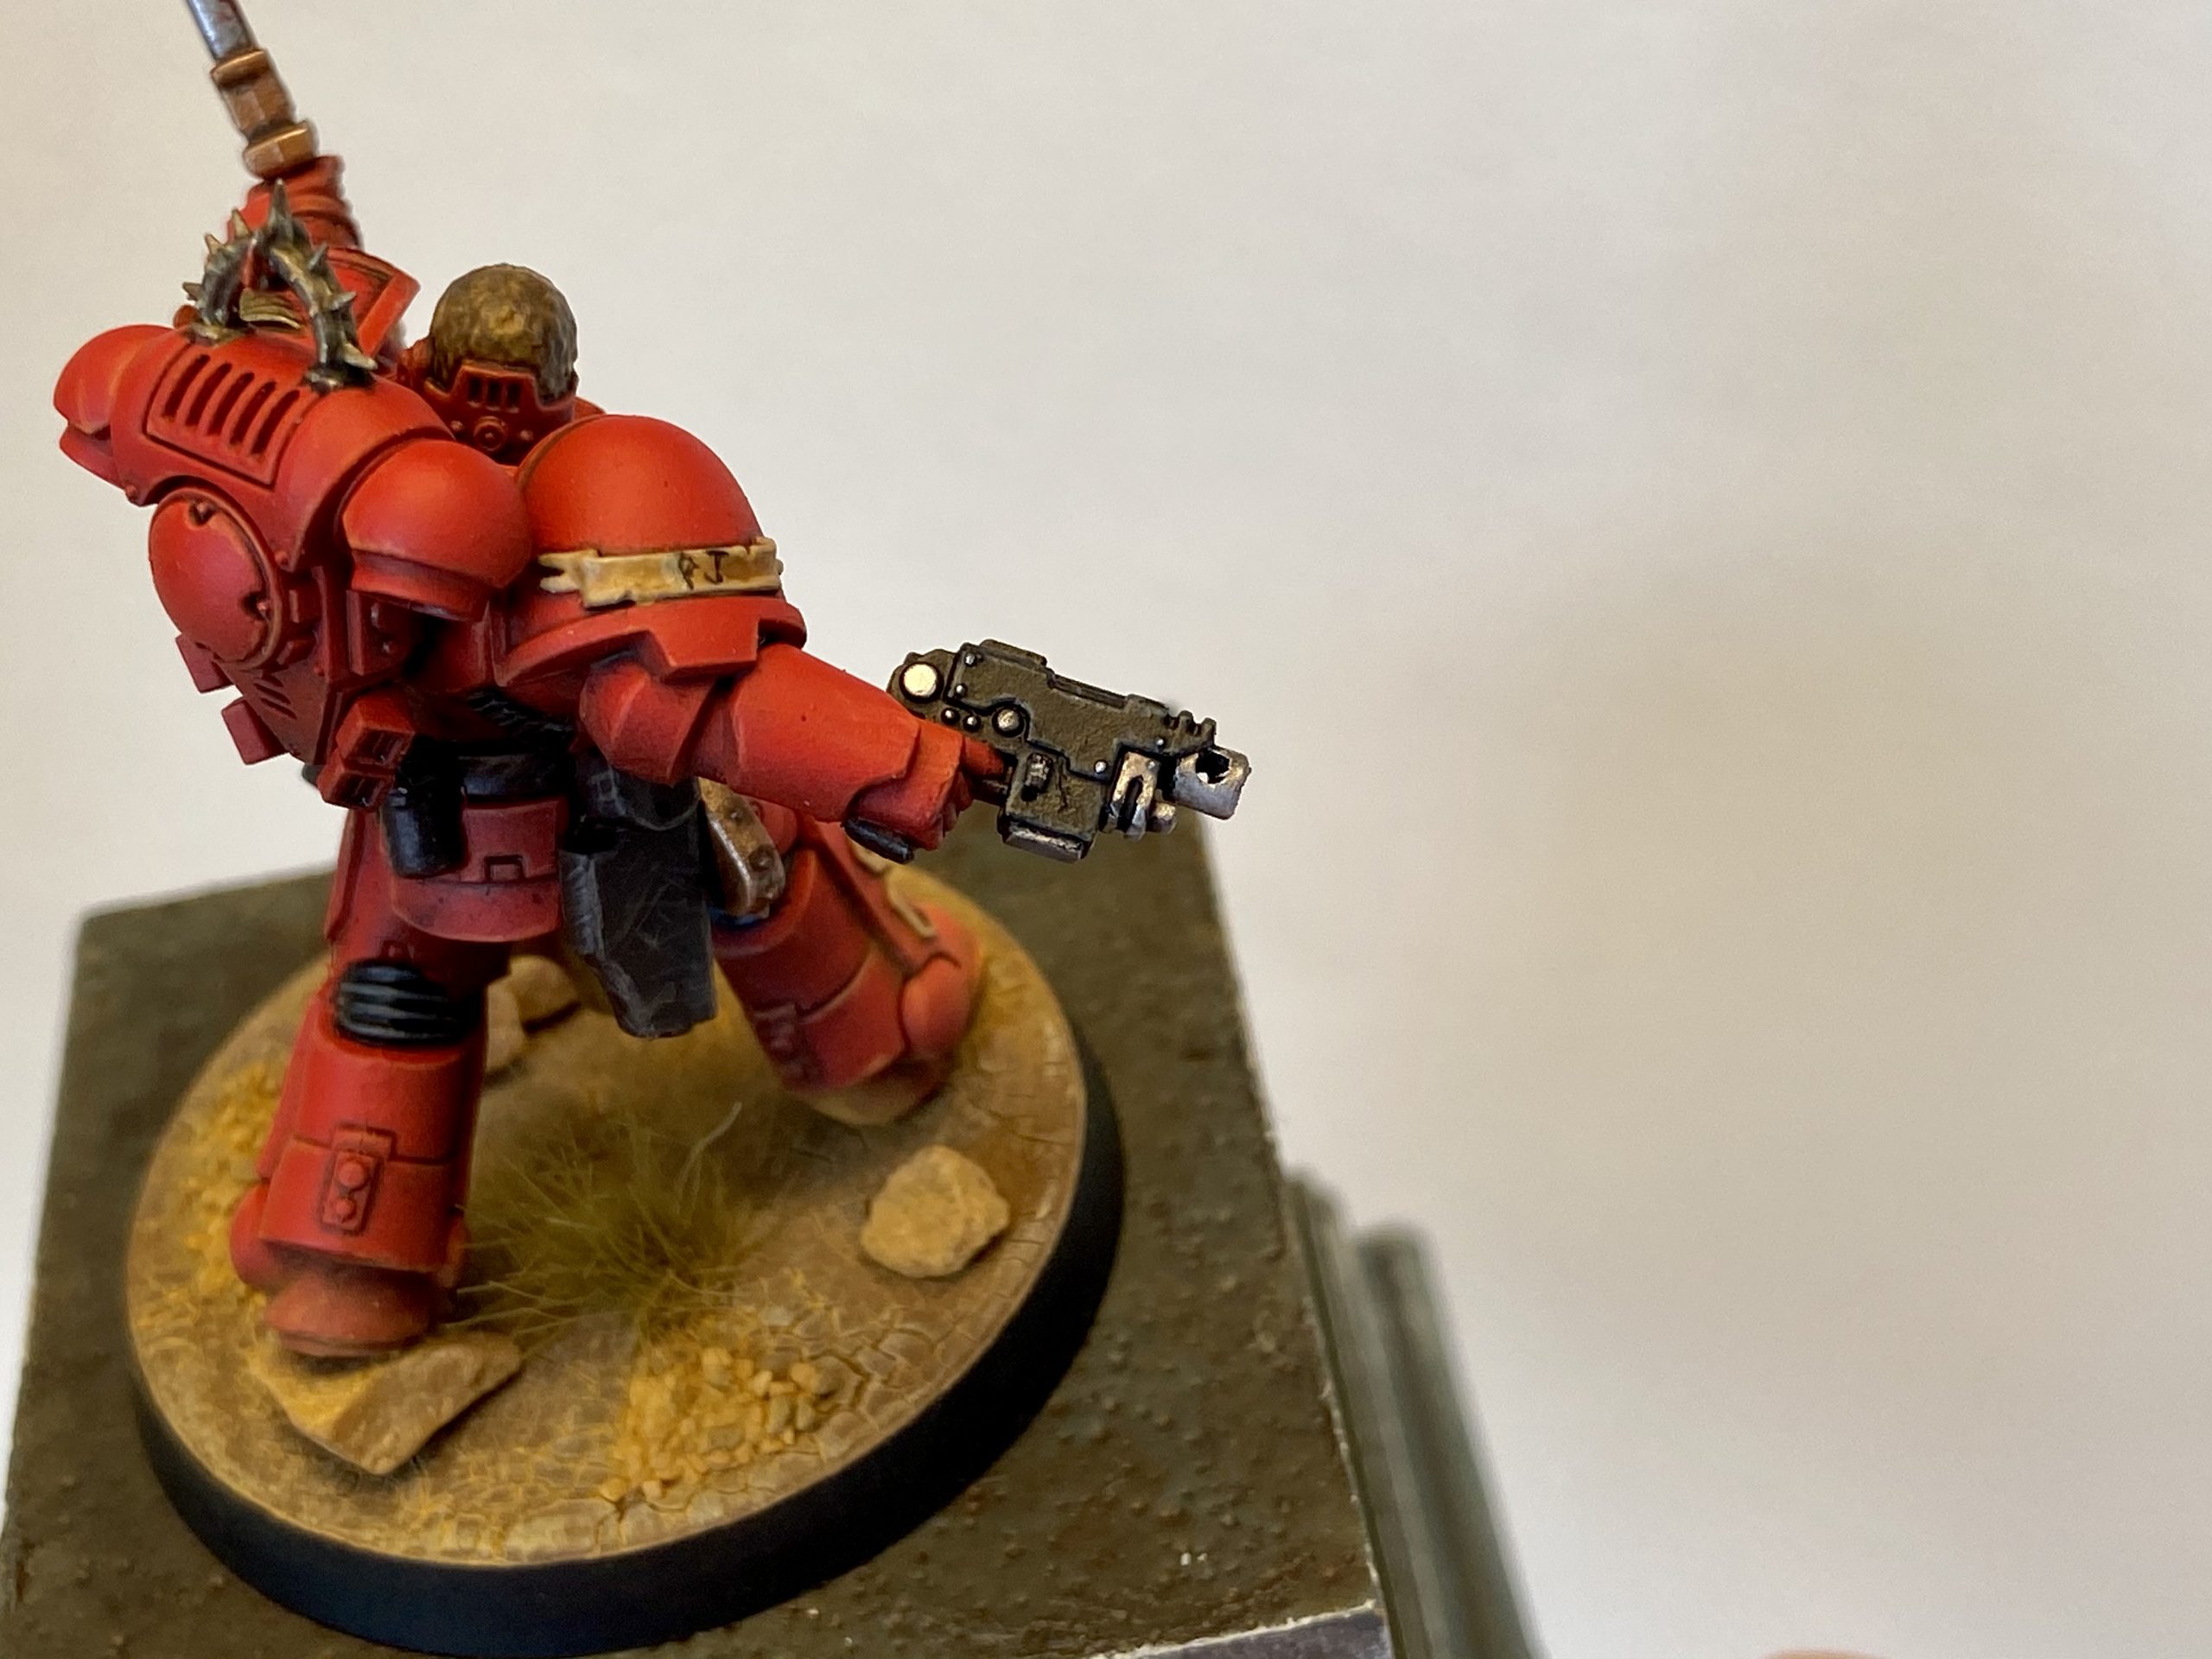
- Right arm
-
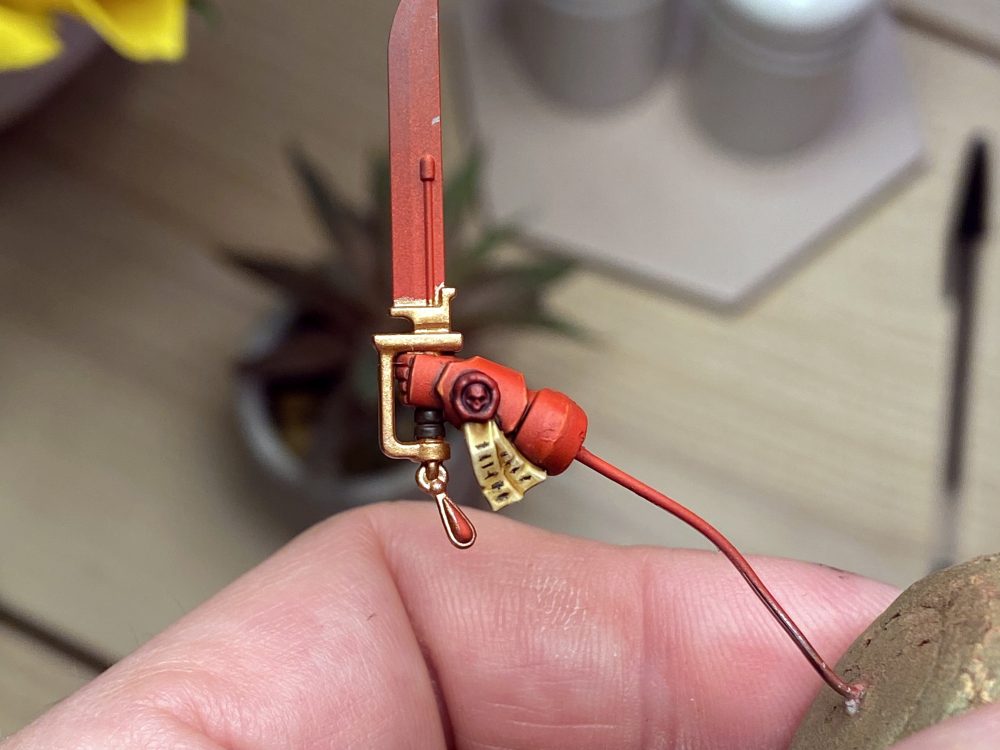
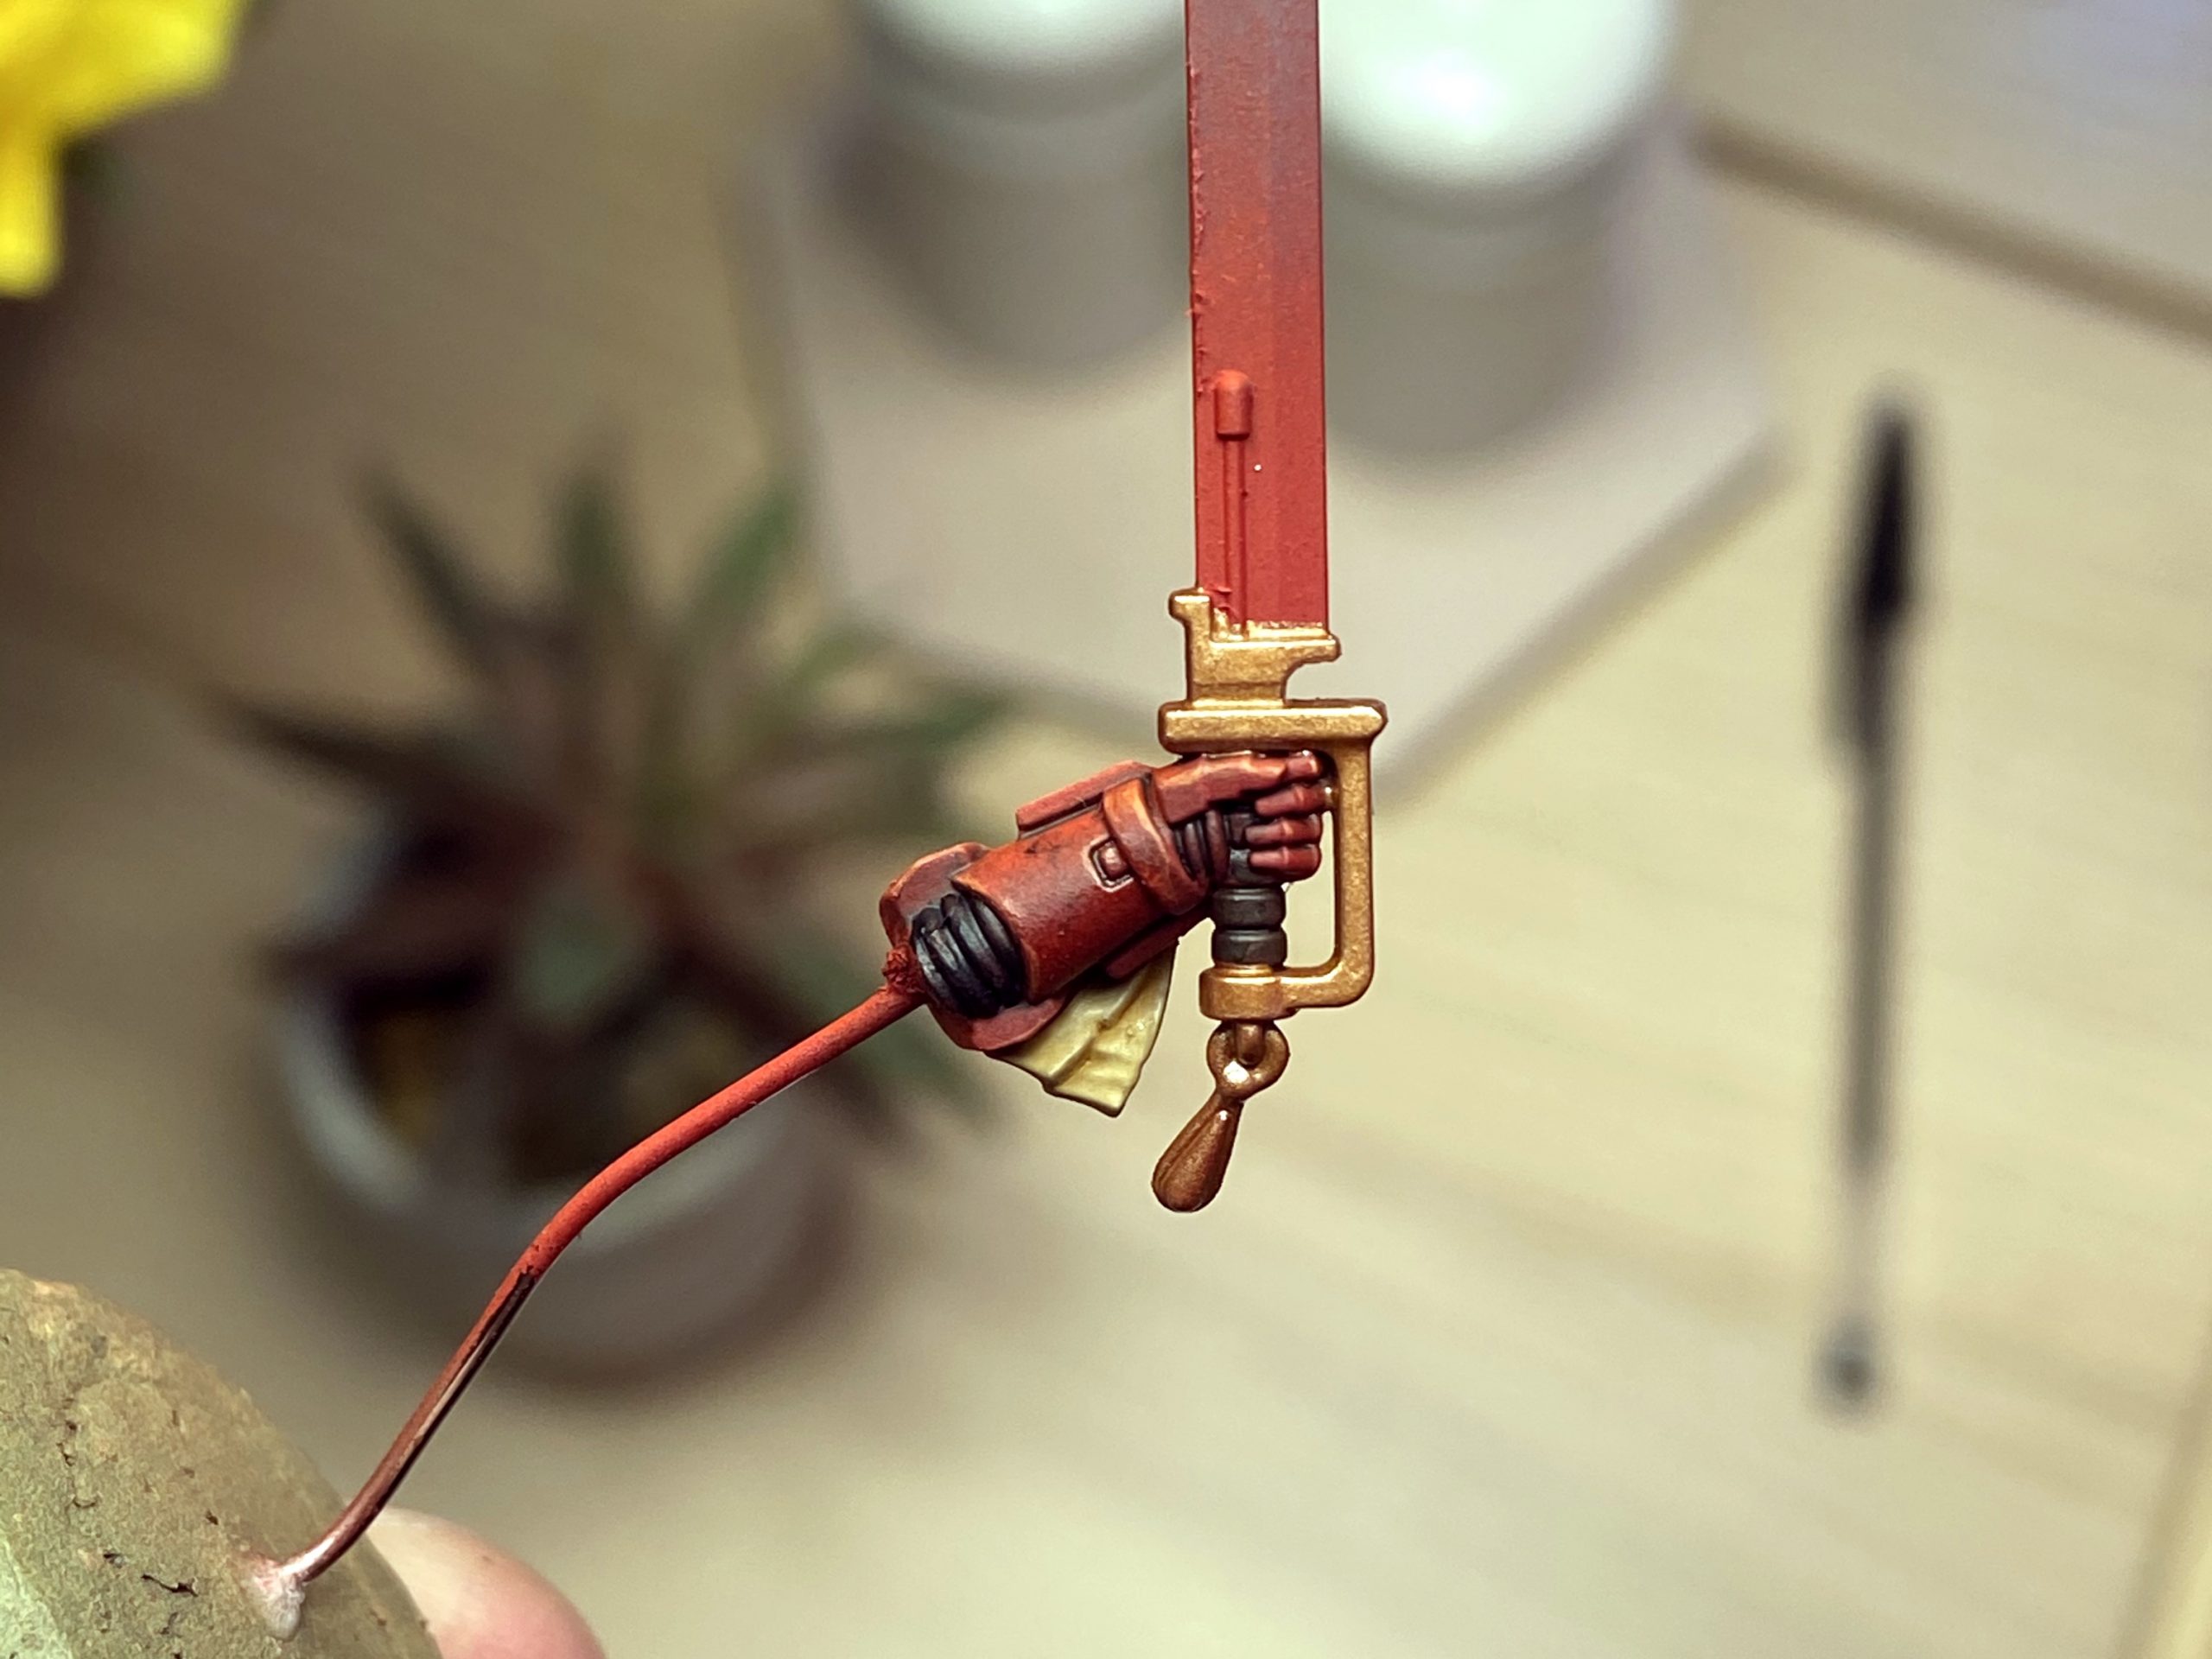
- Left Arm

-

- Left Arm – Reverse
-

- The magnets for the base are now in place
-

- Here I have painted the gold and silver areas brown and grey over the red for improved coverage

-
- Gold is now in place along with the gemstone paint over the silver
-

- I did the same with the central chest plate

-
- Just the sword and final pigments left to do

-
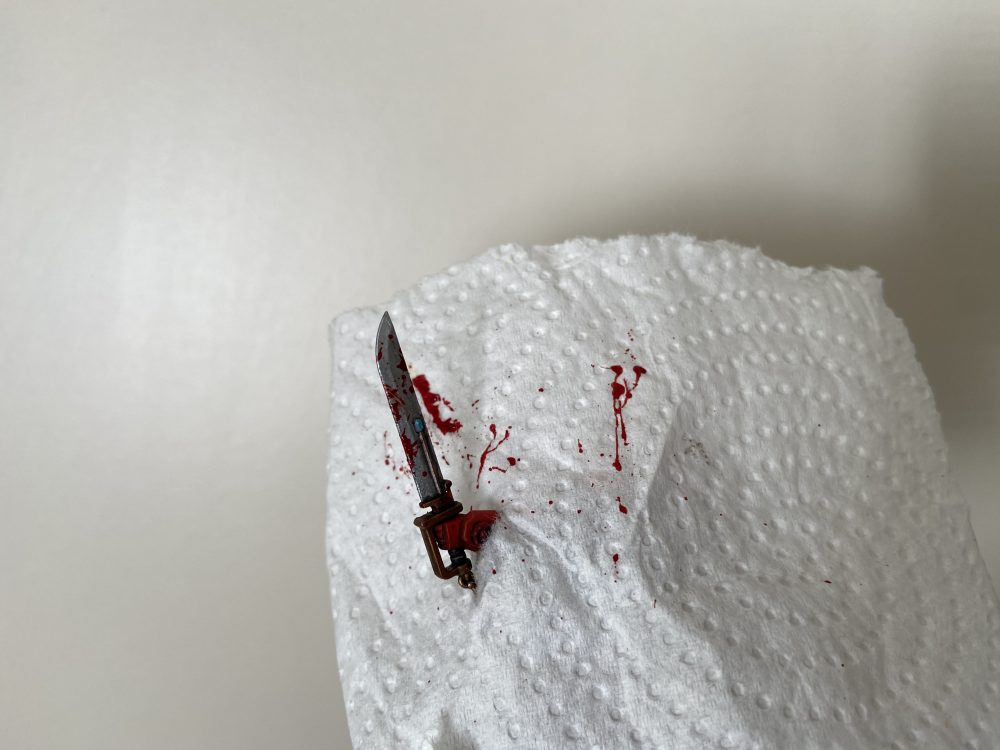
- A very basic mask for protesting the model while splatting the blood

-
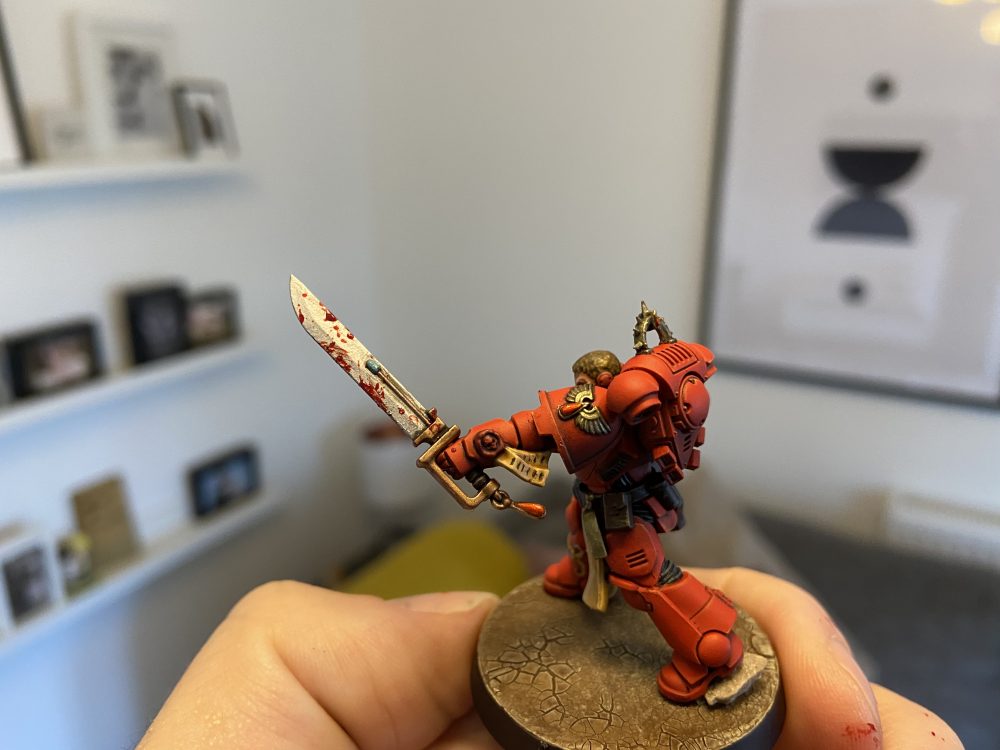
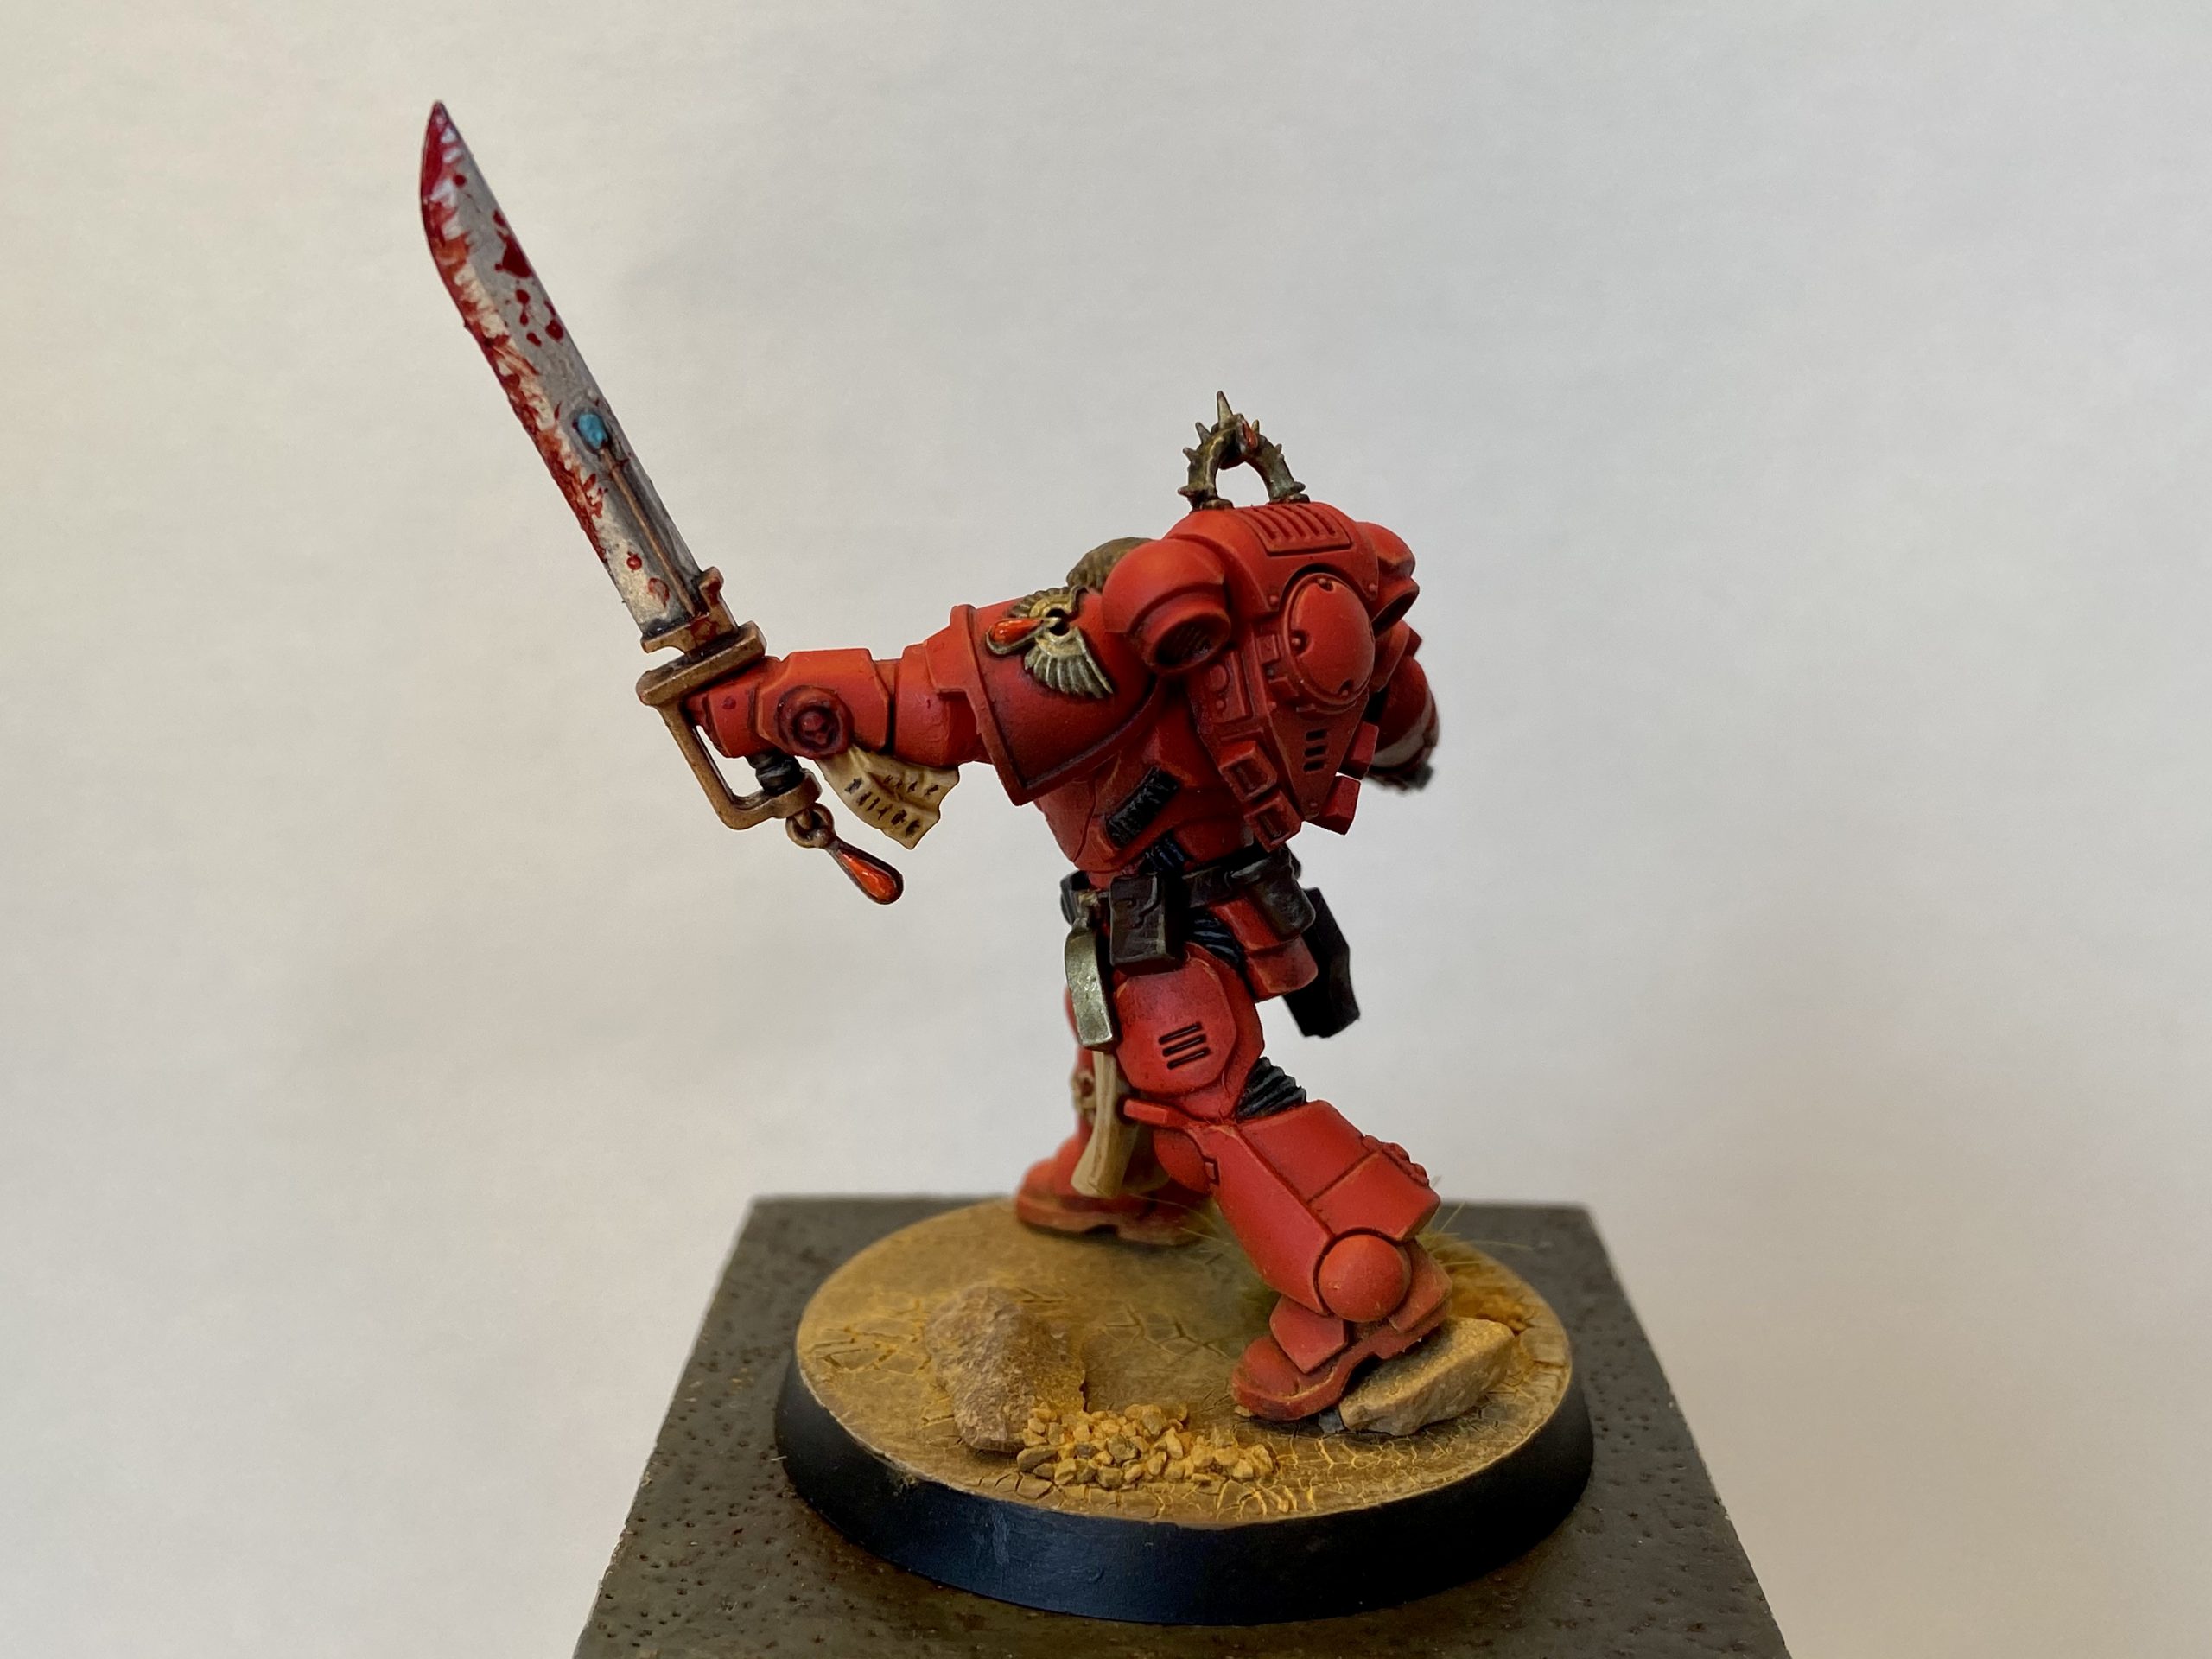
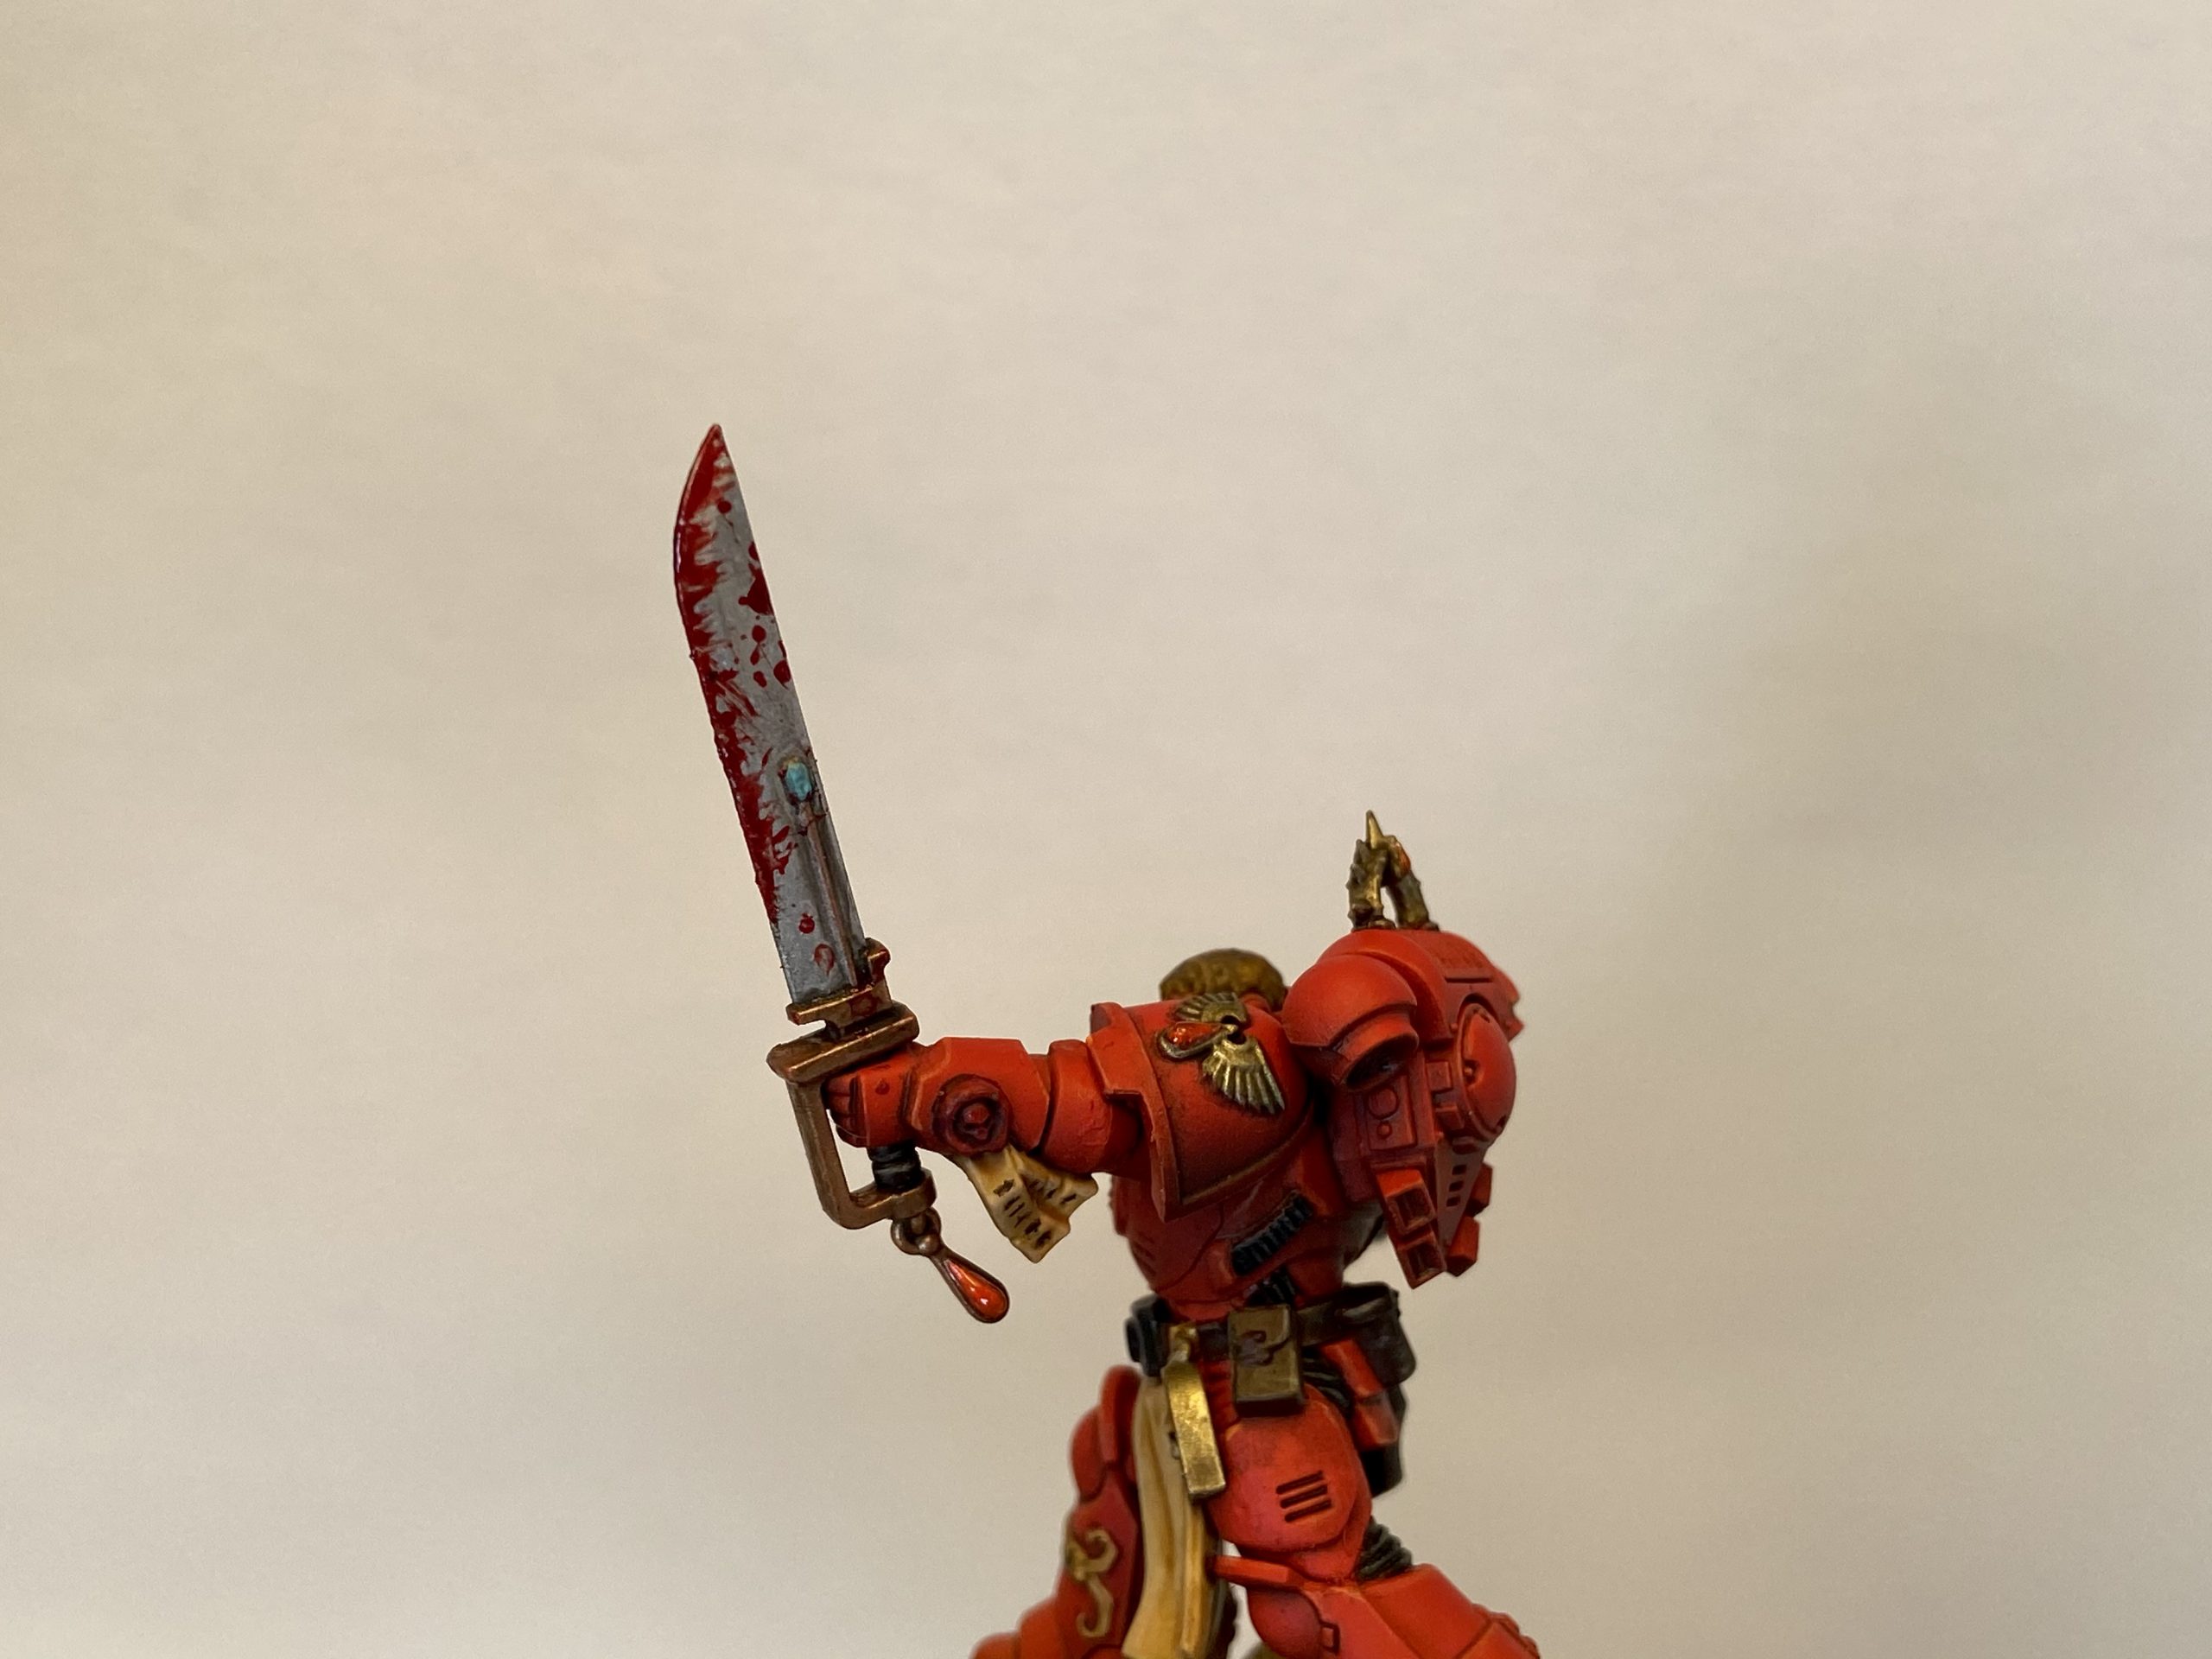
- Bloody Sword

-

- Bloody Sword
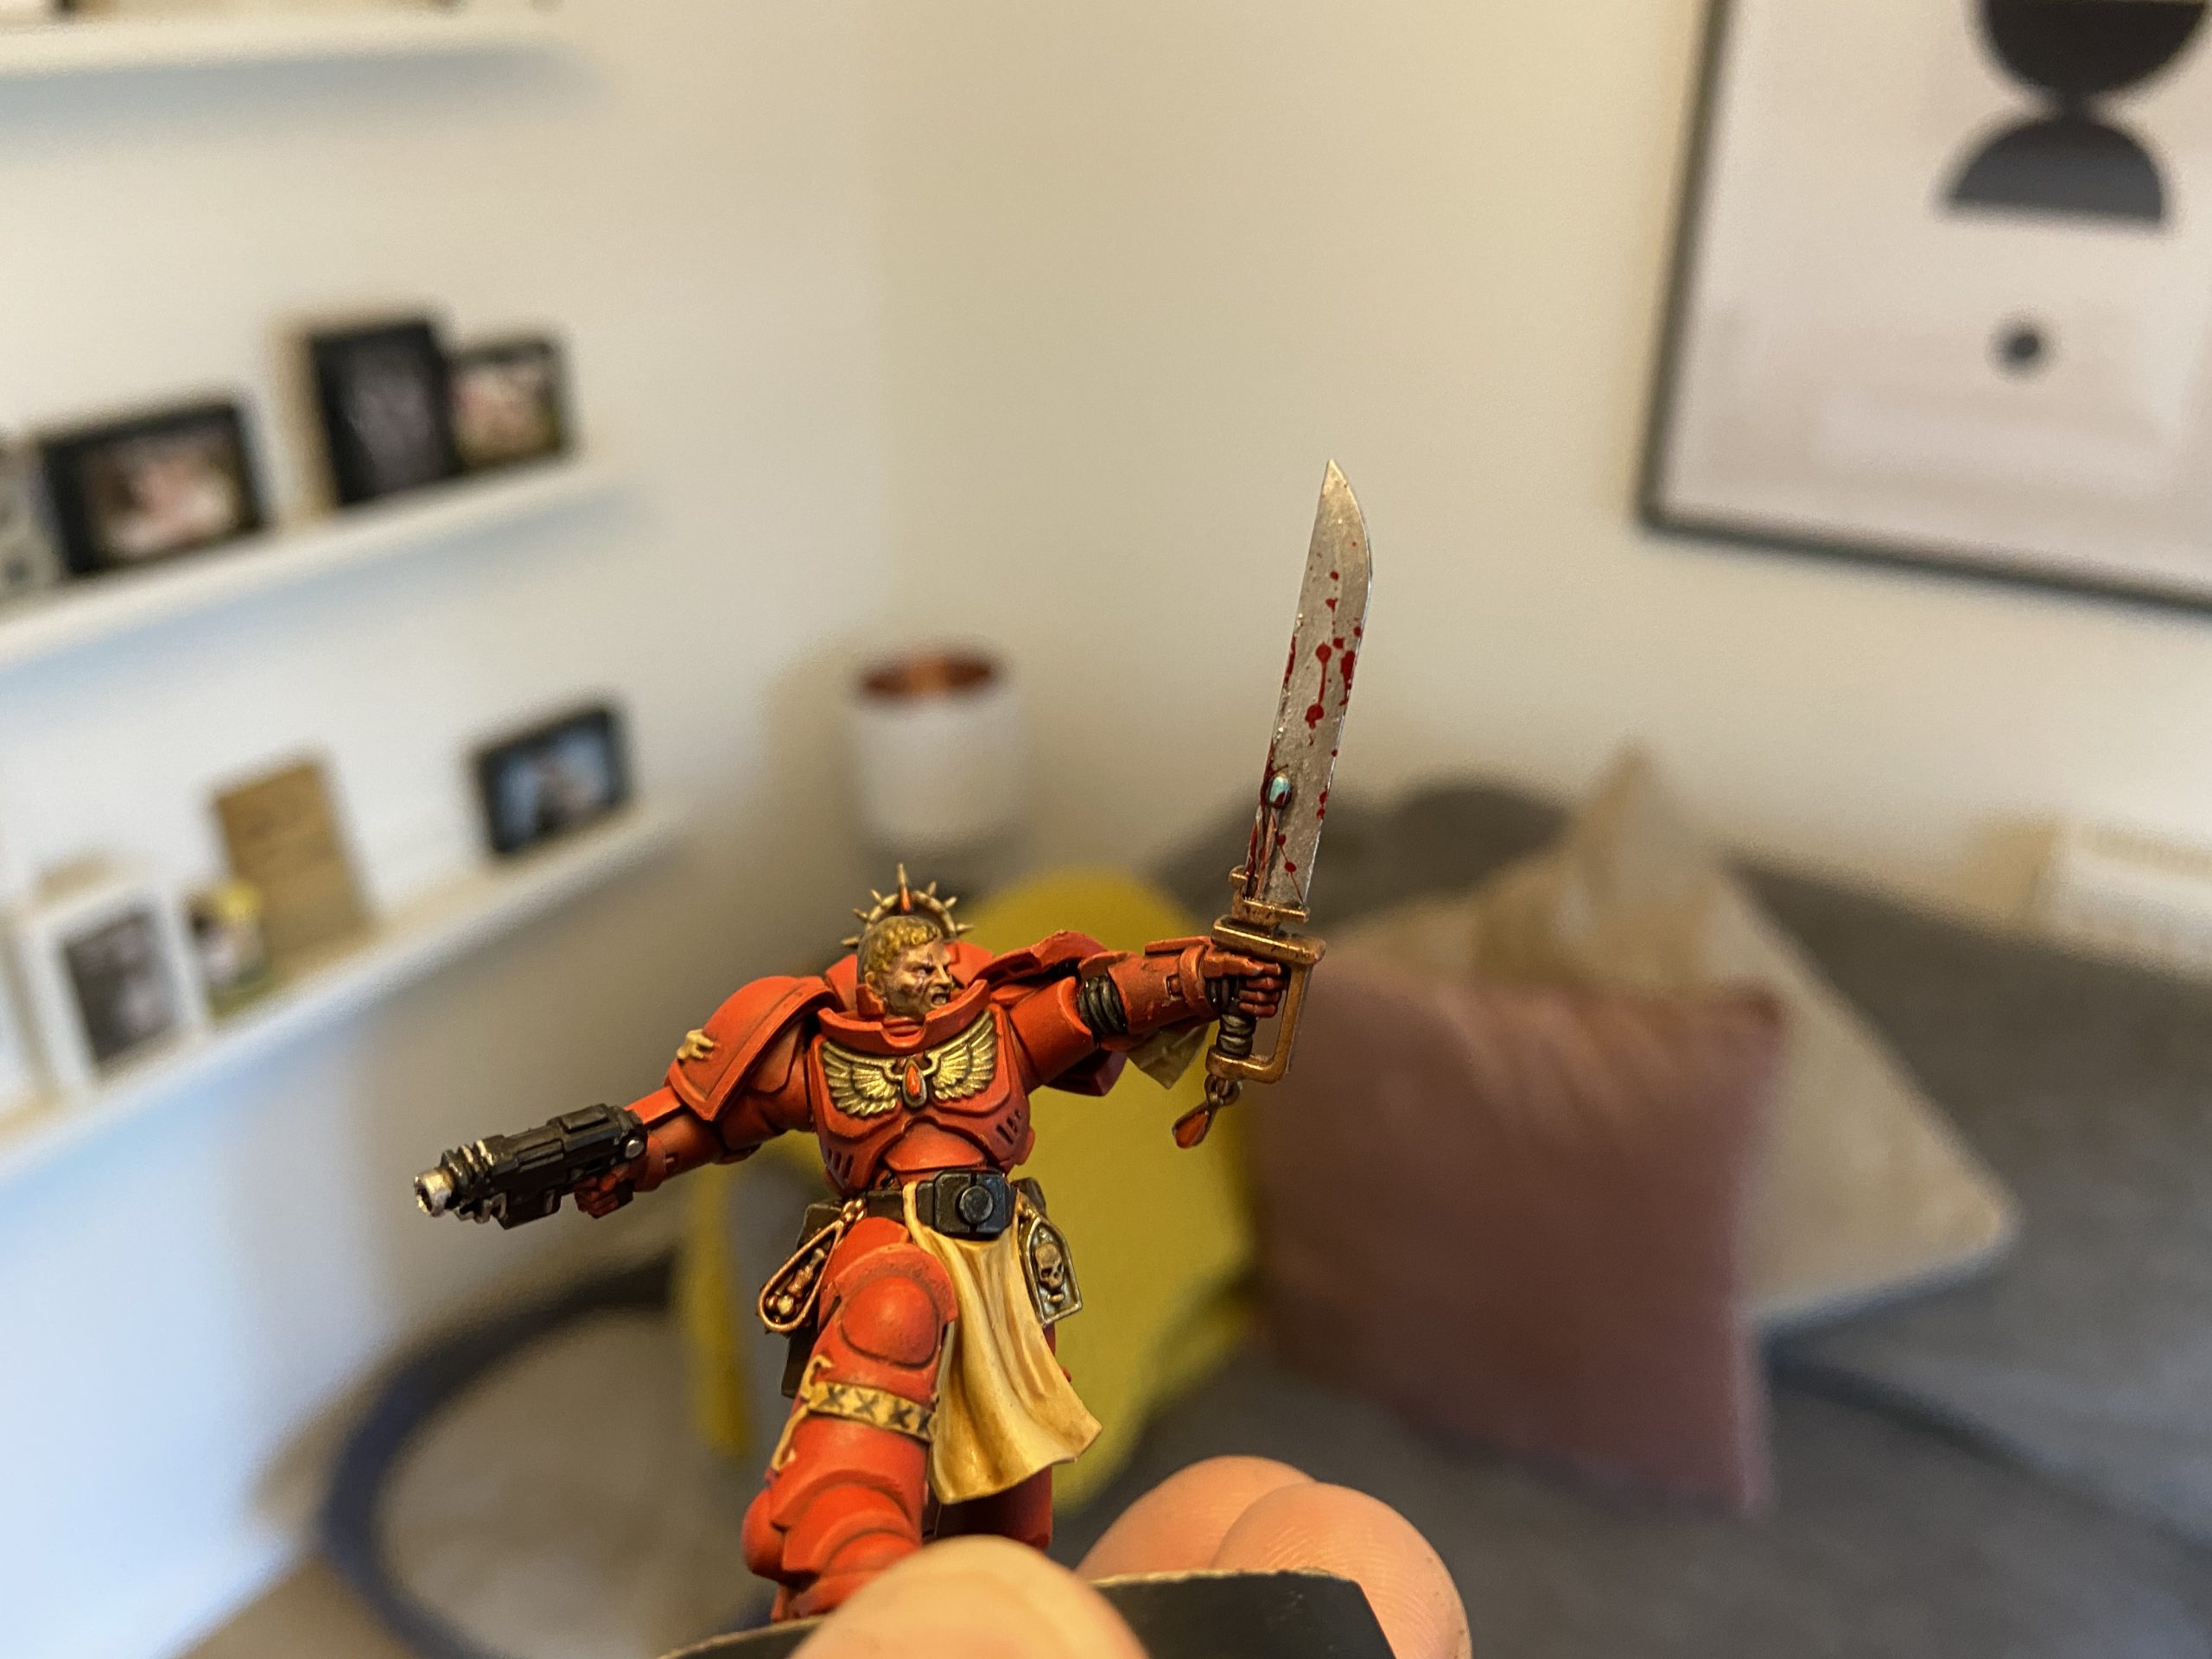
-
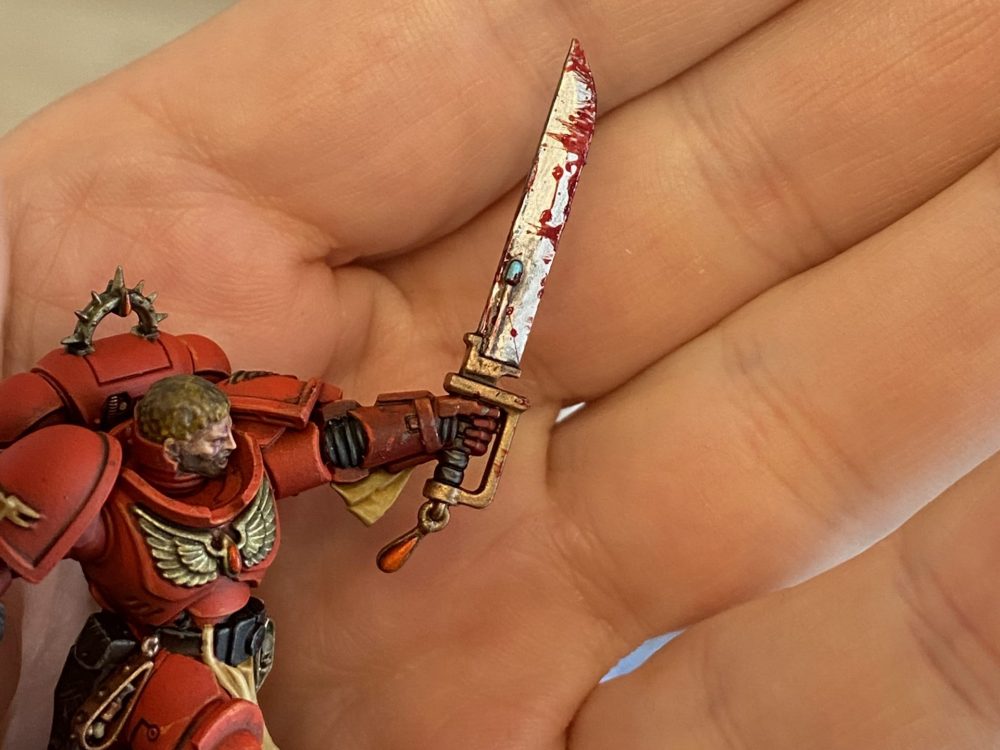
- More sword blood, with streaks now

-

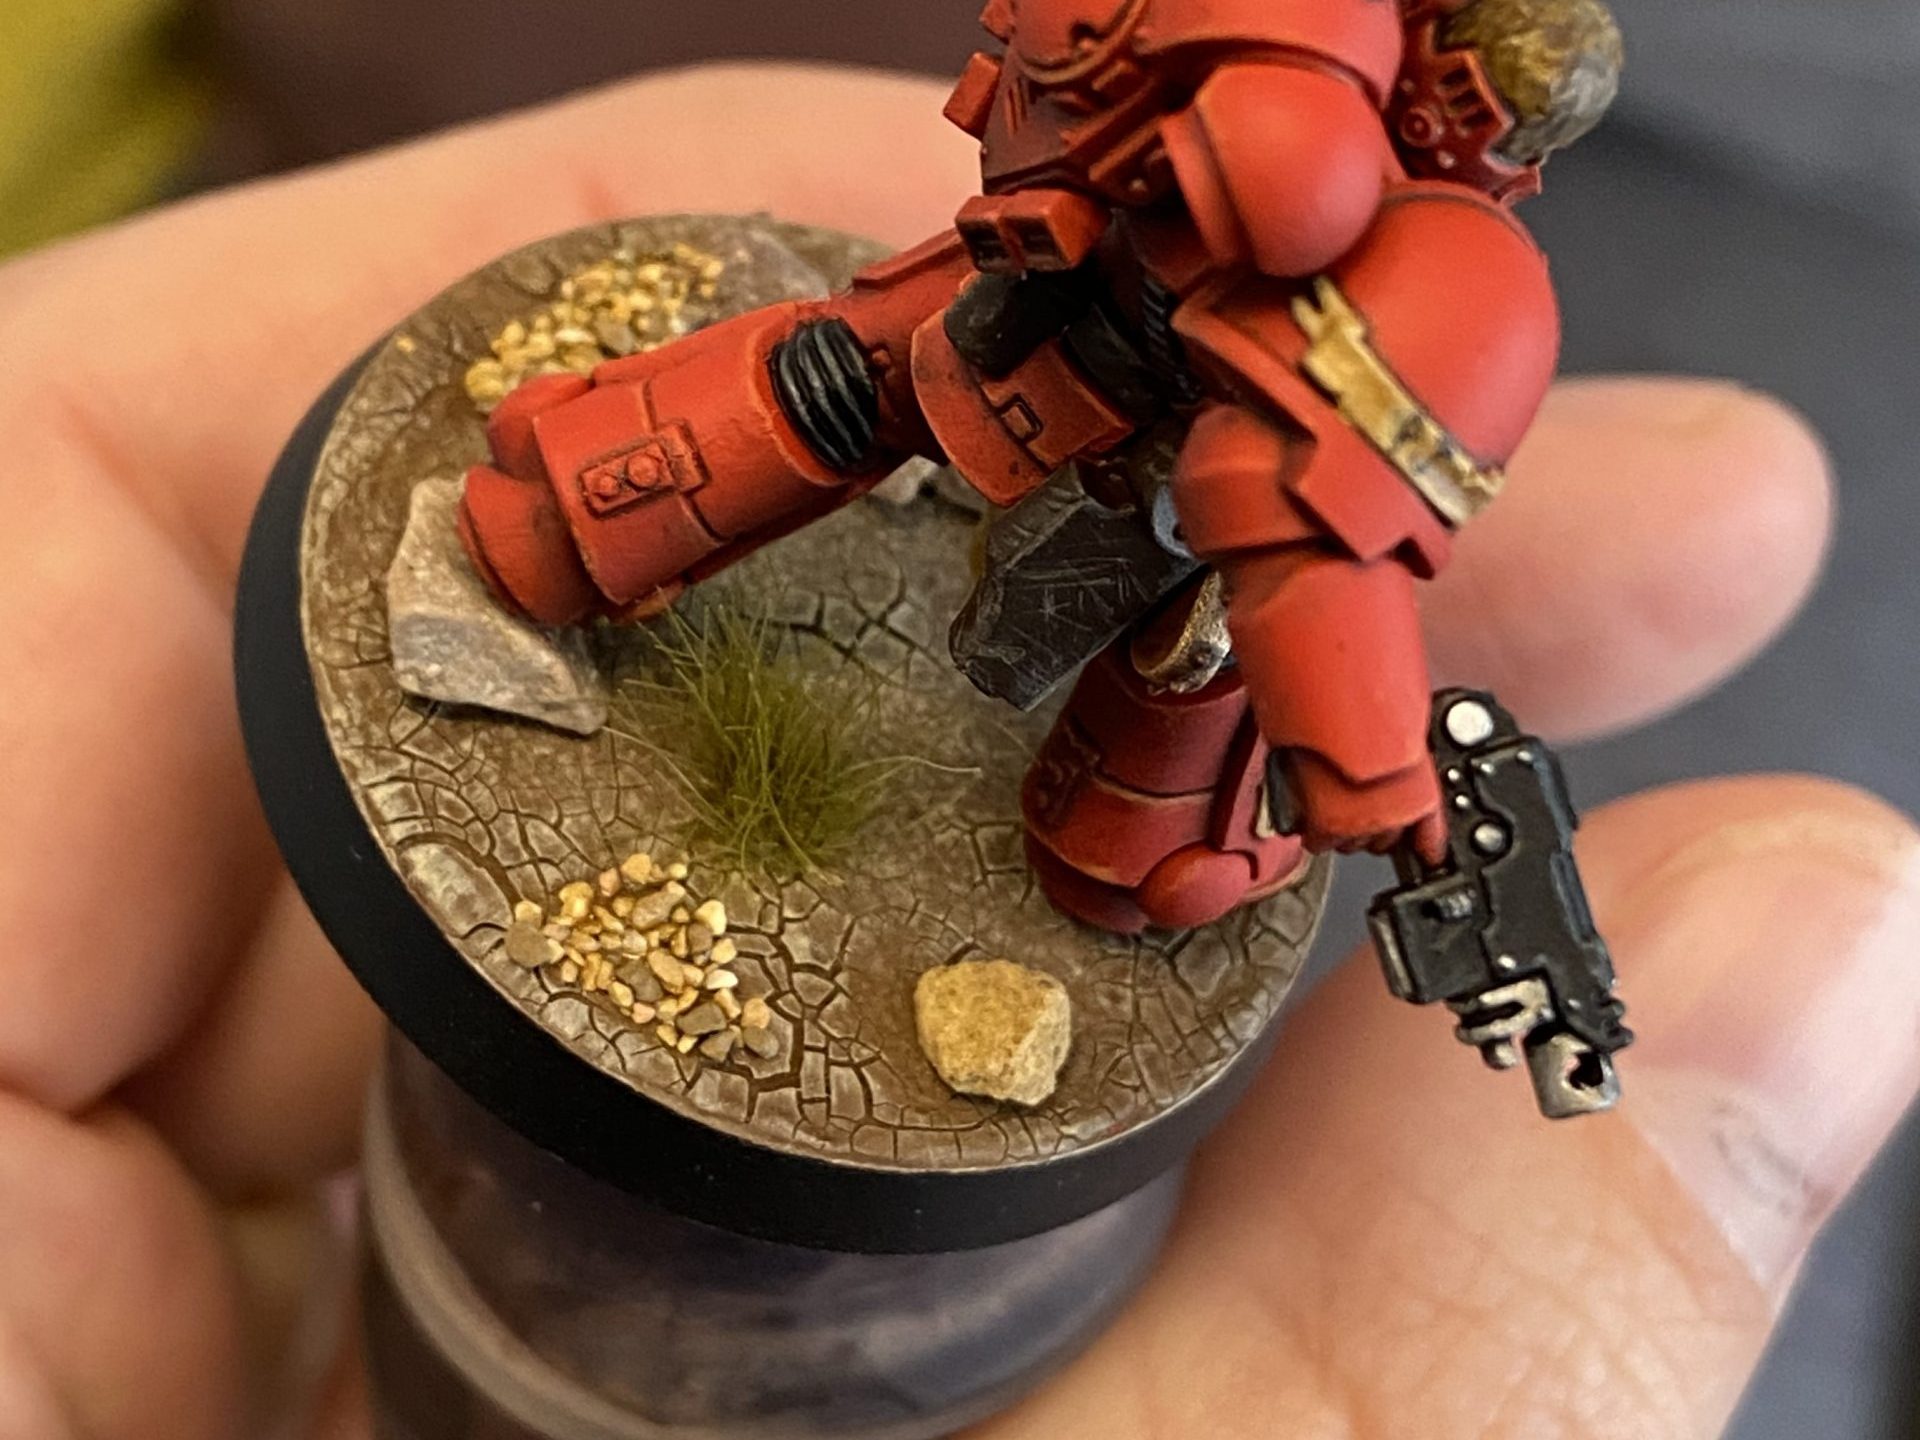
- The base, before pigments
-

- Sealing the plinth