
Astra Militarum vs Astra Militarum – 1,750 Points
Only one of us is the heretic - but who?
I have a brand new army to take on so today it’s Astra Militarum vs Astra Militarum! A big thank you to my opponent Apostolos for travelling to me for this game and for giving me such a great game with an amazing looking force!
We played at Boards & Swords here in Derby. The store recently turned 2 years old and every time I go it seems busier than the last time. It’s going from strength to strength it seems – which is great to see. Well done Ian and Rob!
A quick glimpse of what is to come – Astra Militarum vs Astra Militarum
Never miss an article? Subscribe!
My Astra Militarum Army
Cadian Battalion Detachment
- Company Commander with Grand Strategist Trait and Laurels of Command
- 2x Primaris Psykers
- 4x Infantry Squads
- Plasma Command Squad
- Platoon Commander with Dagger of Tu’Sakh
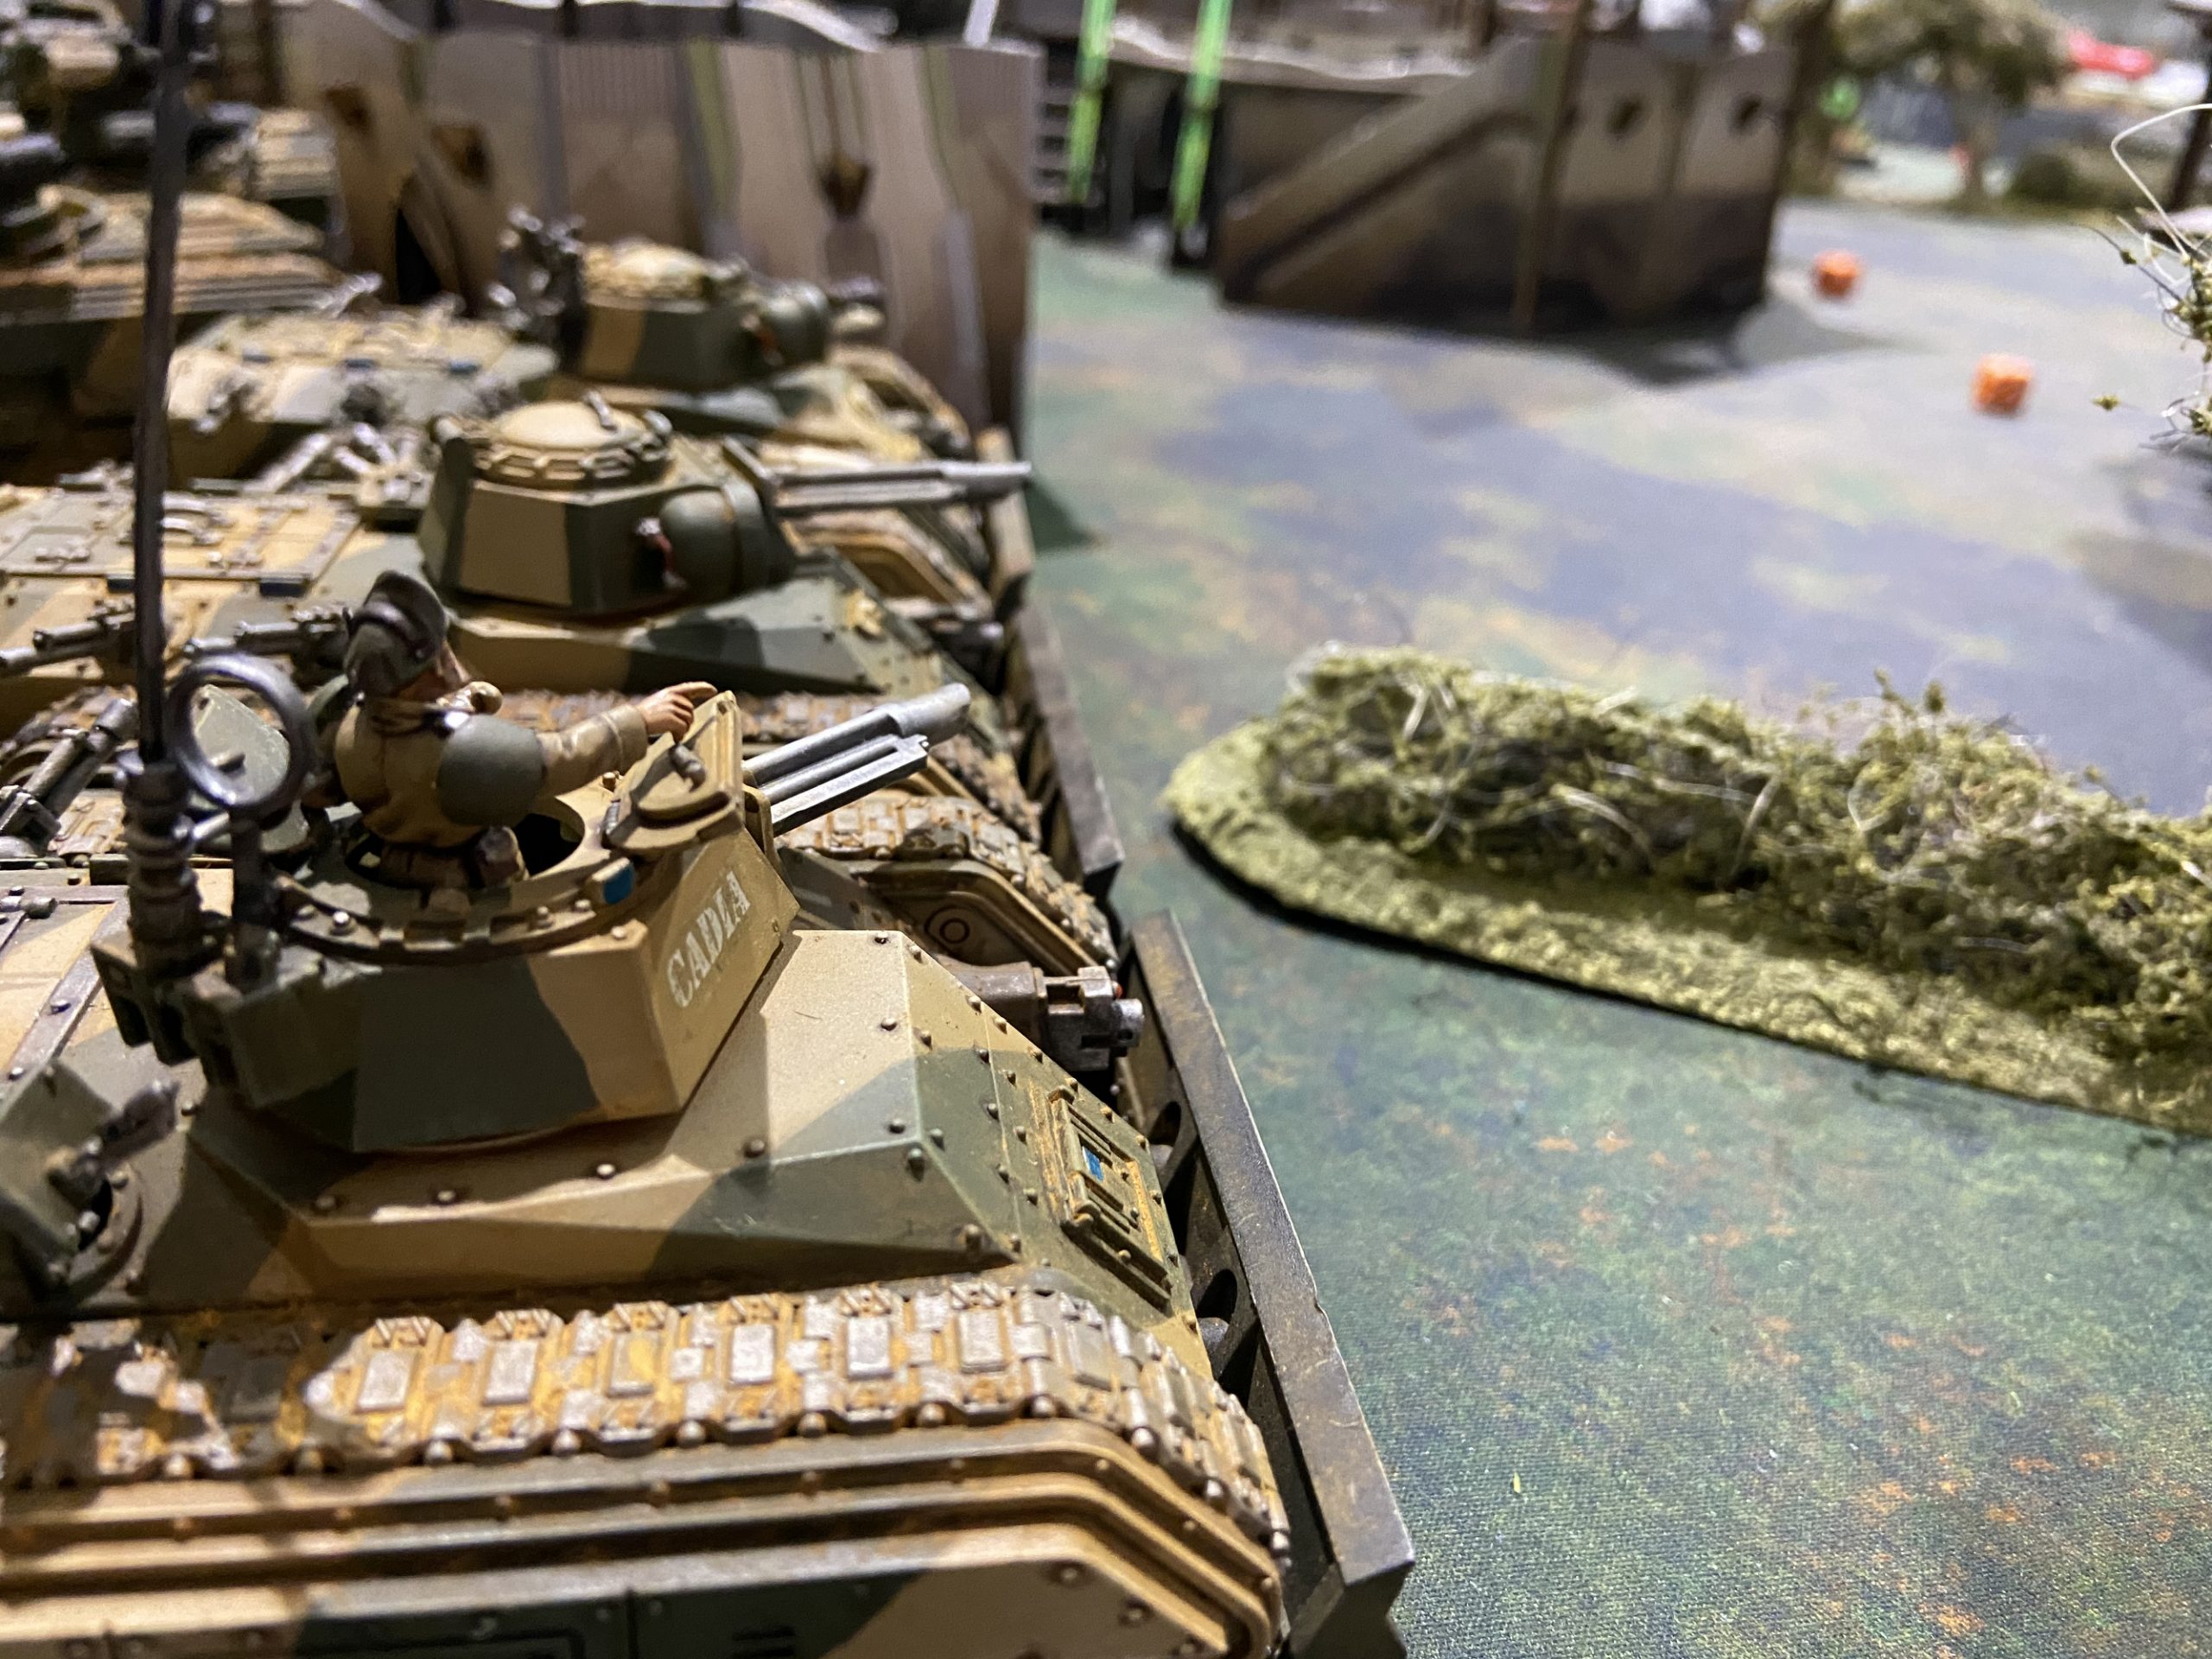
- 4x Chimeras
Cadian Spearhead Detachment
- 2x Executioner Tank Commanders with Heavy Bolter and Plasma Cannons
- 2x Basilisks
- 2x Wyverns
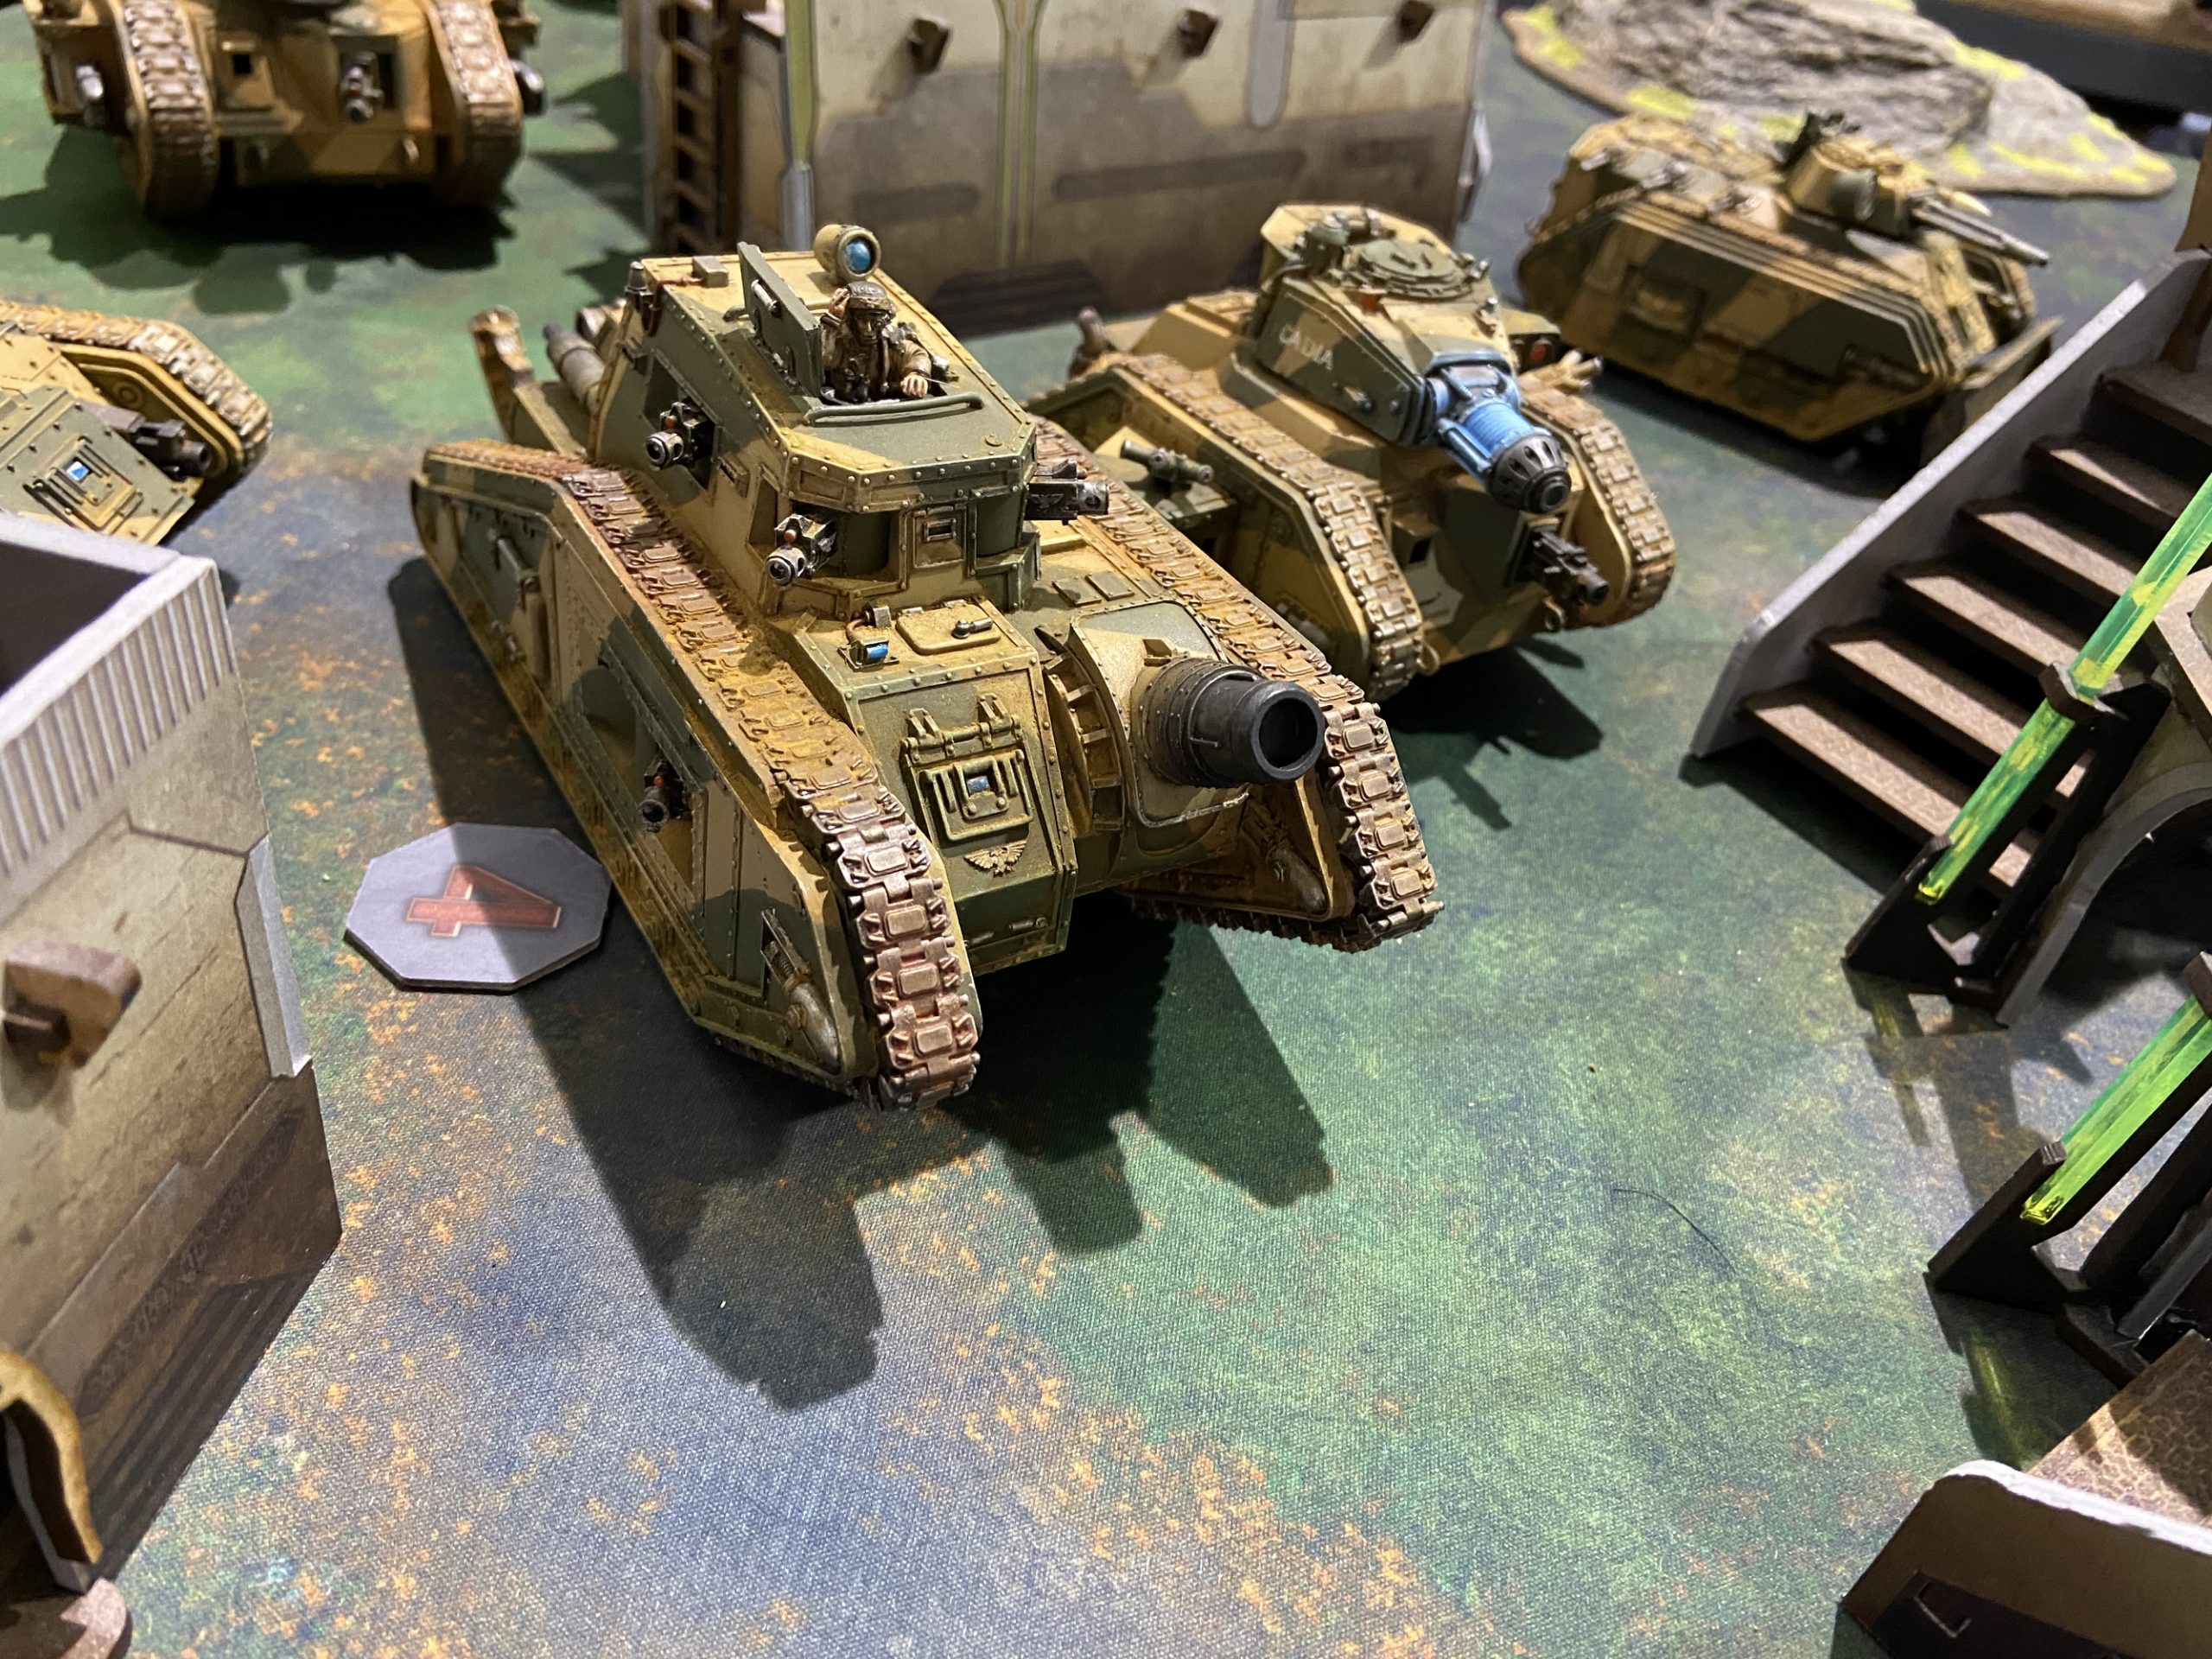
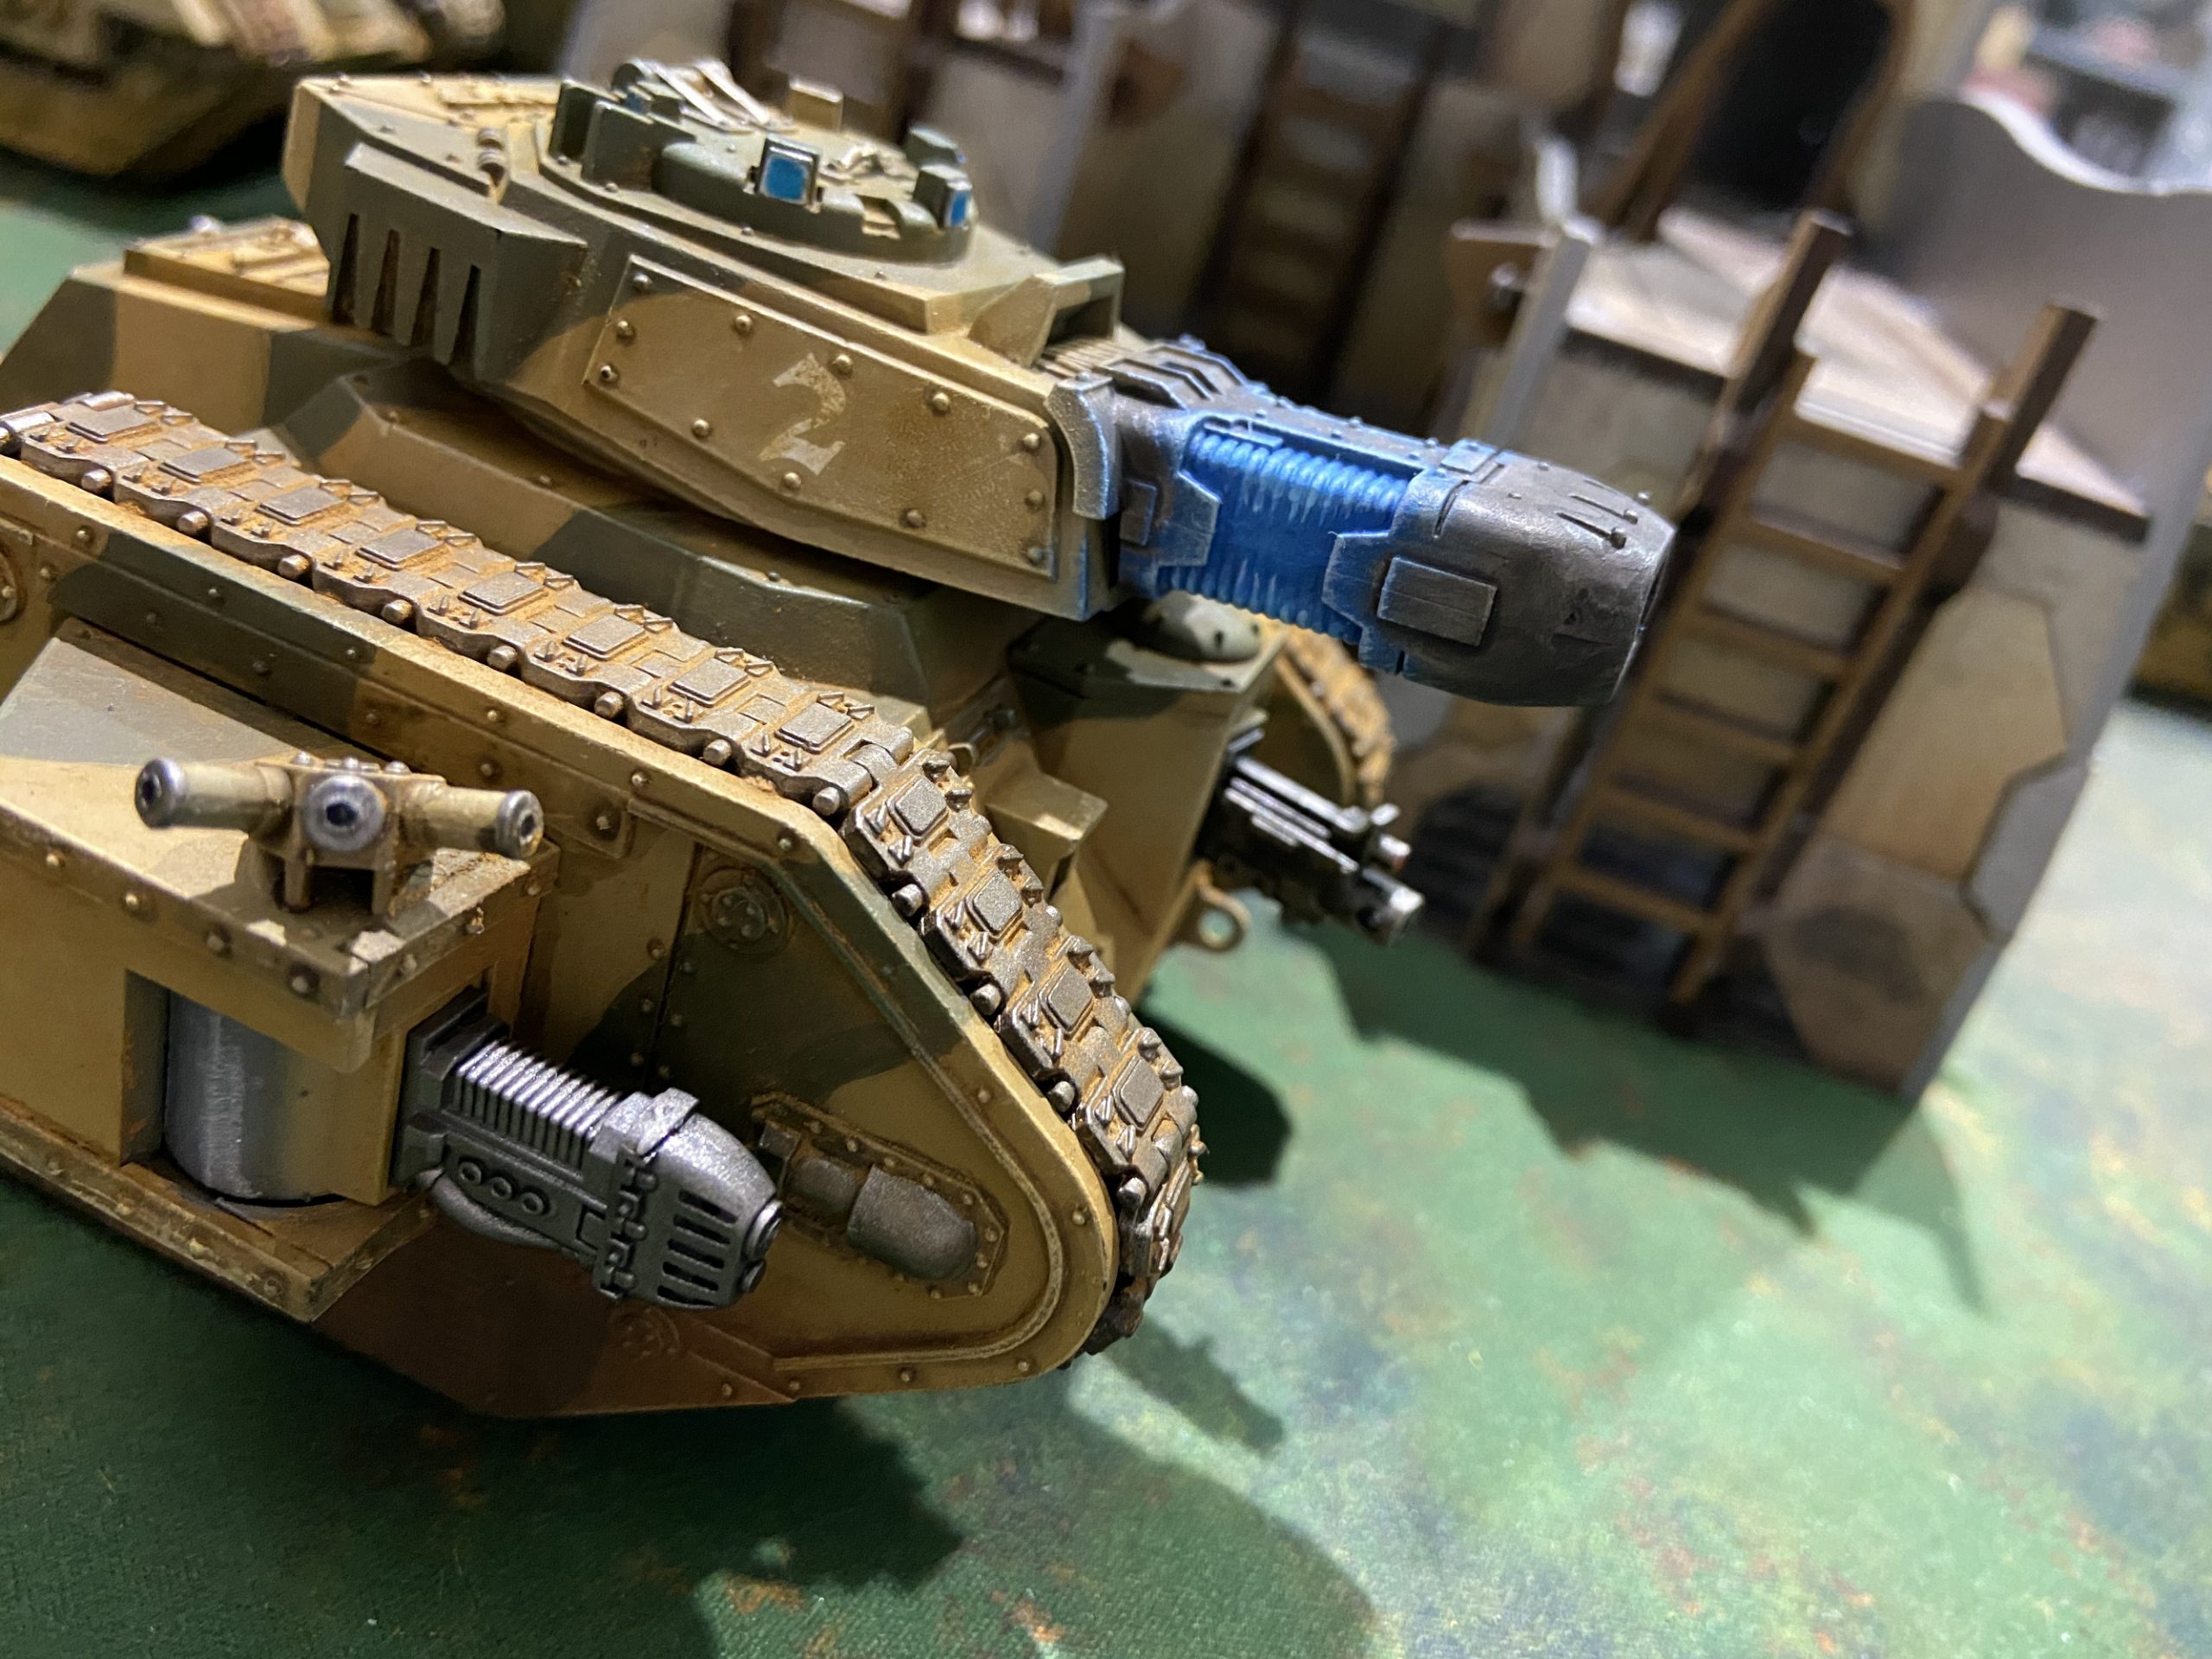
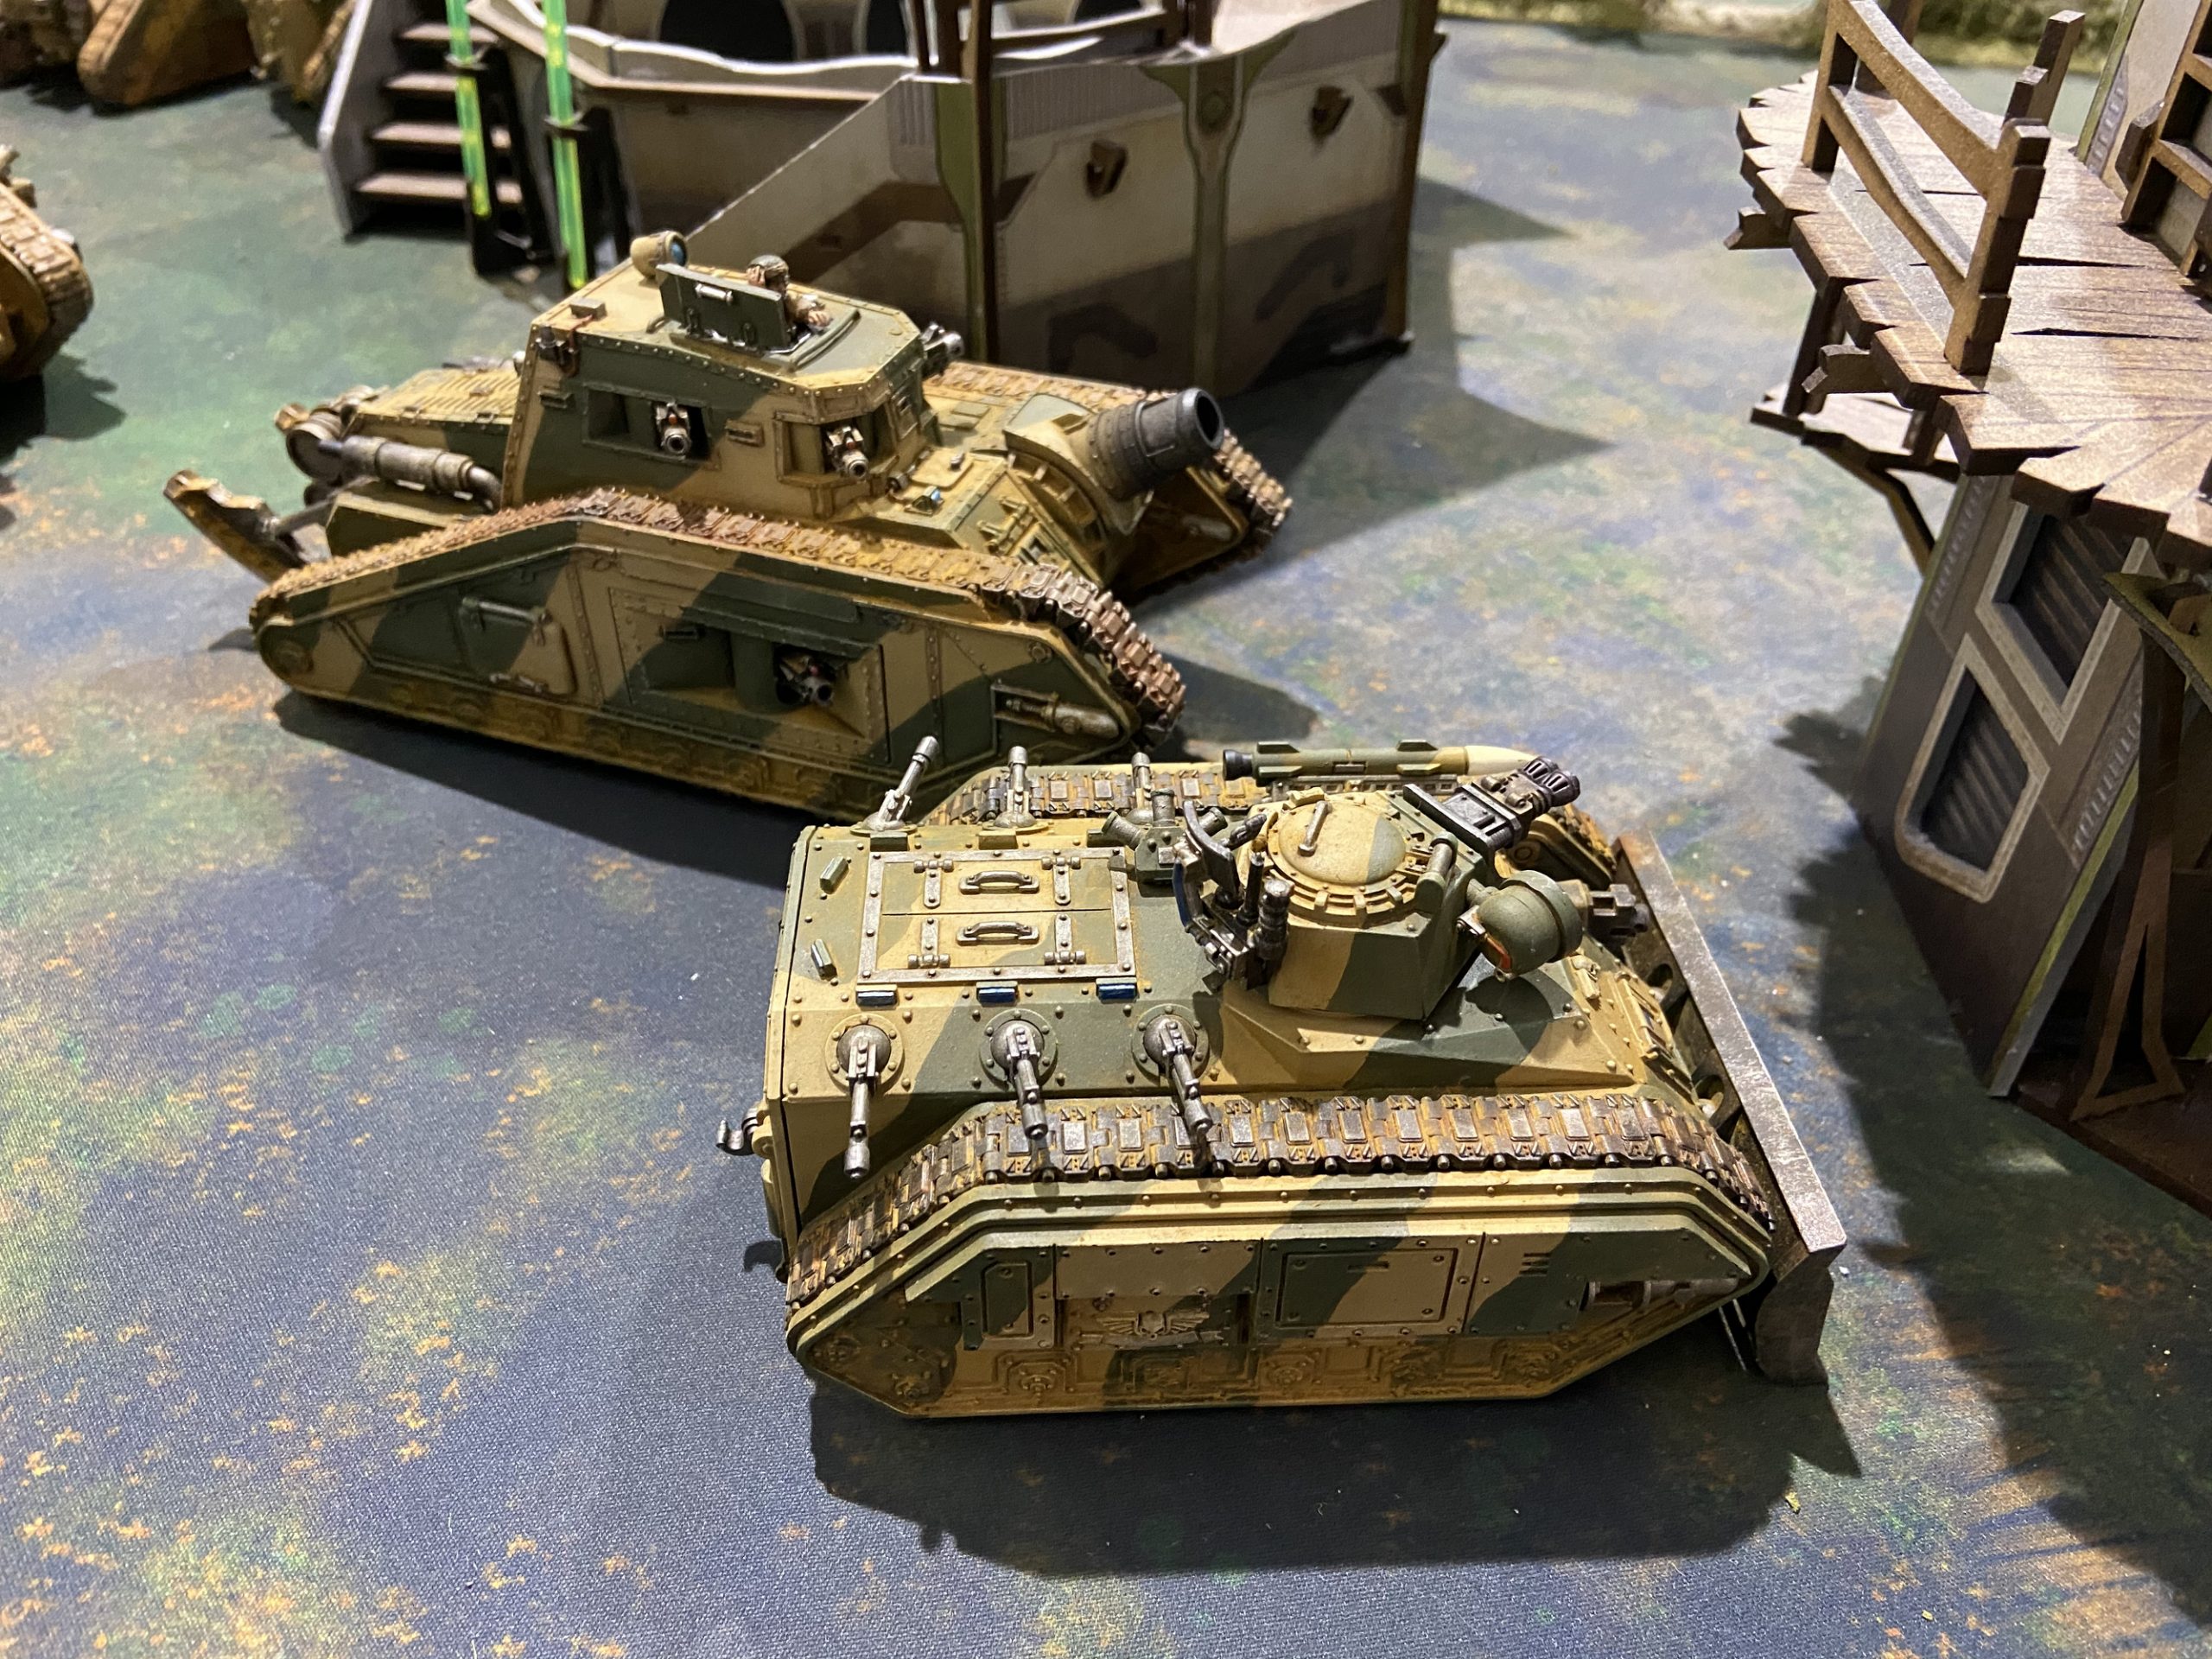
- A Malcador Defender
This gives 8CP.
5 + 3 + 1 – 1 = 8
Apostolos’ Astra Militarum Force
Militarum Tempestus Scions Battalion Detachment
- Tempestor Prime with Plasma Pistol, Power Fist and The Deathmask of Ollanius
- Tempestor Prime
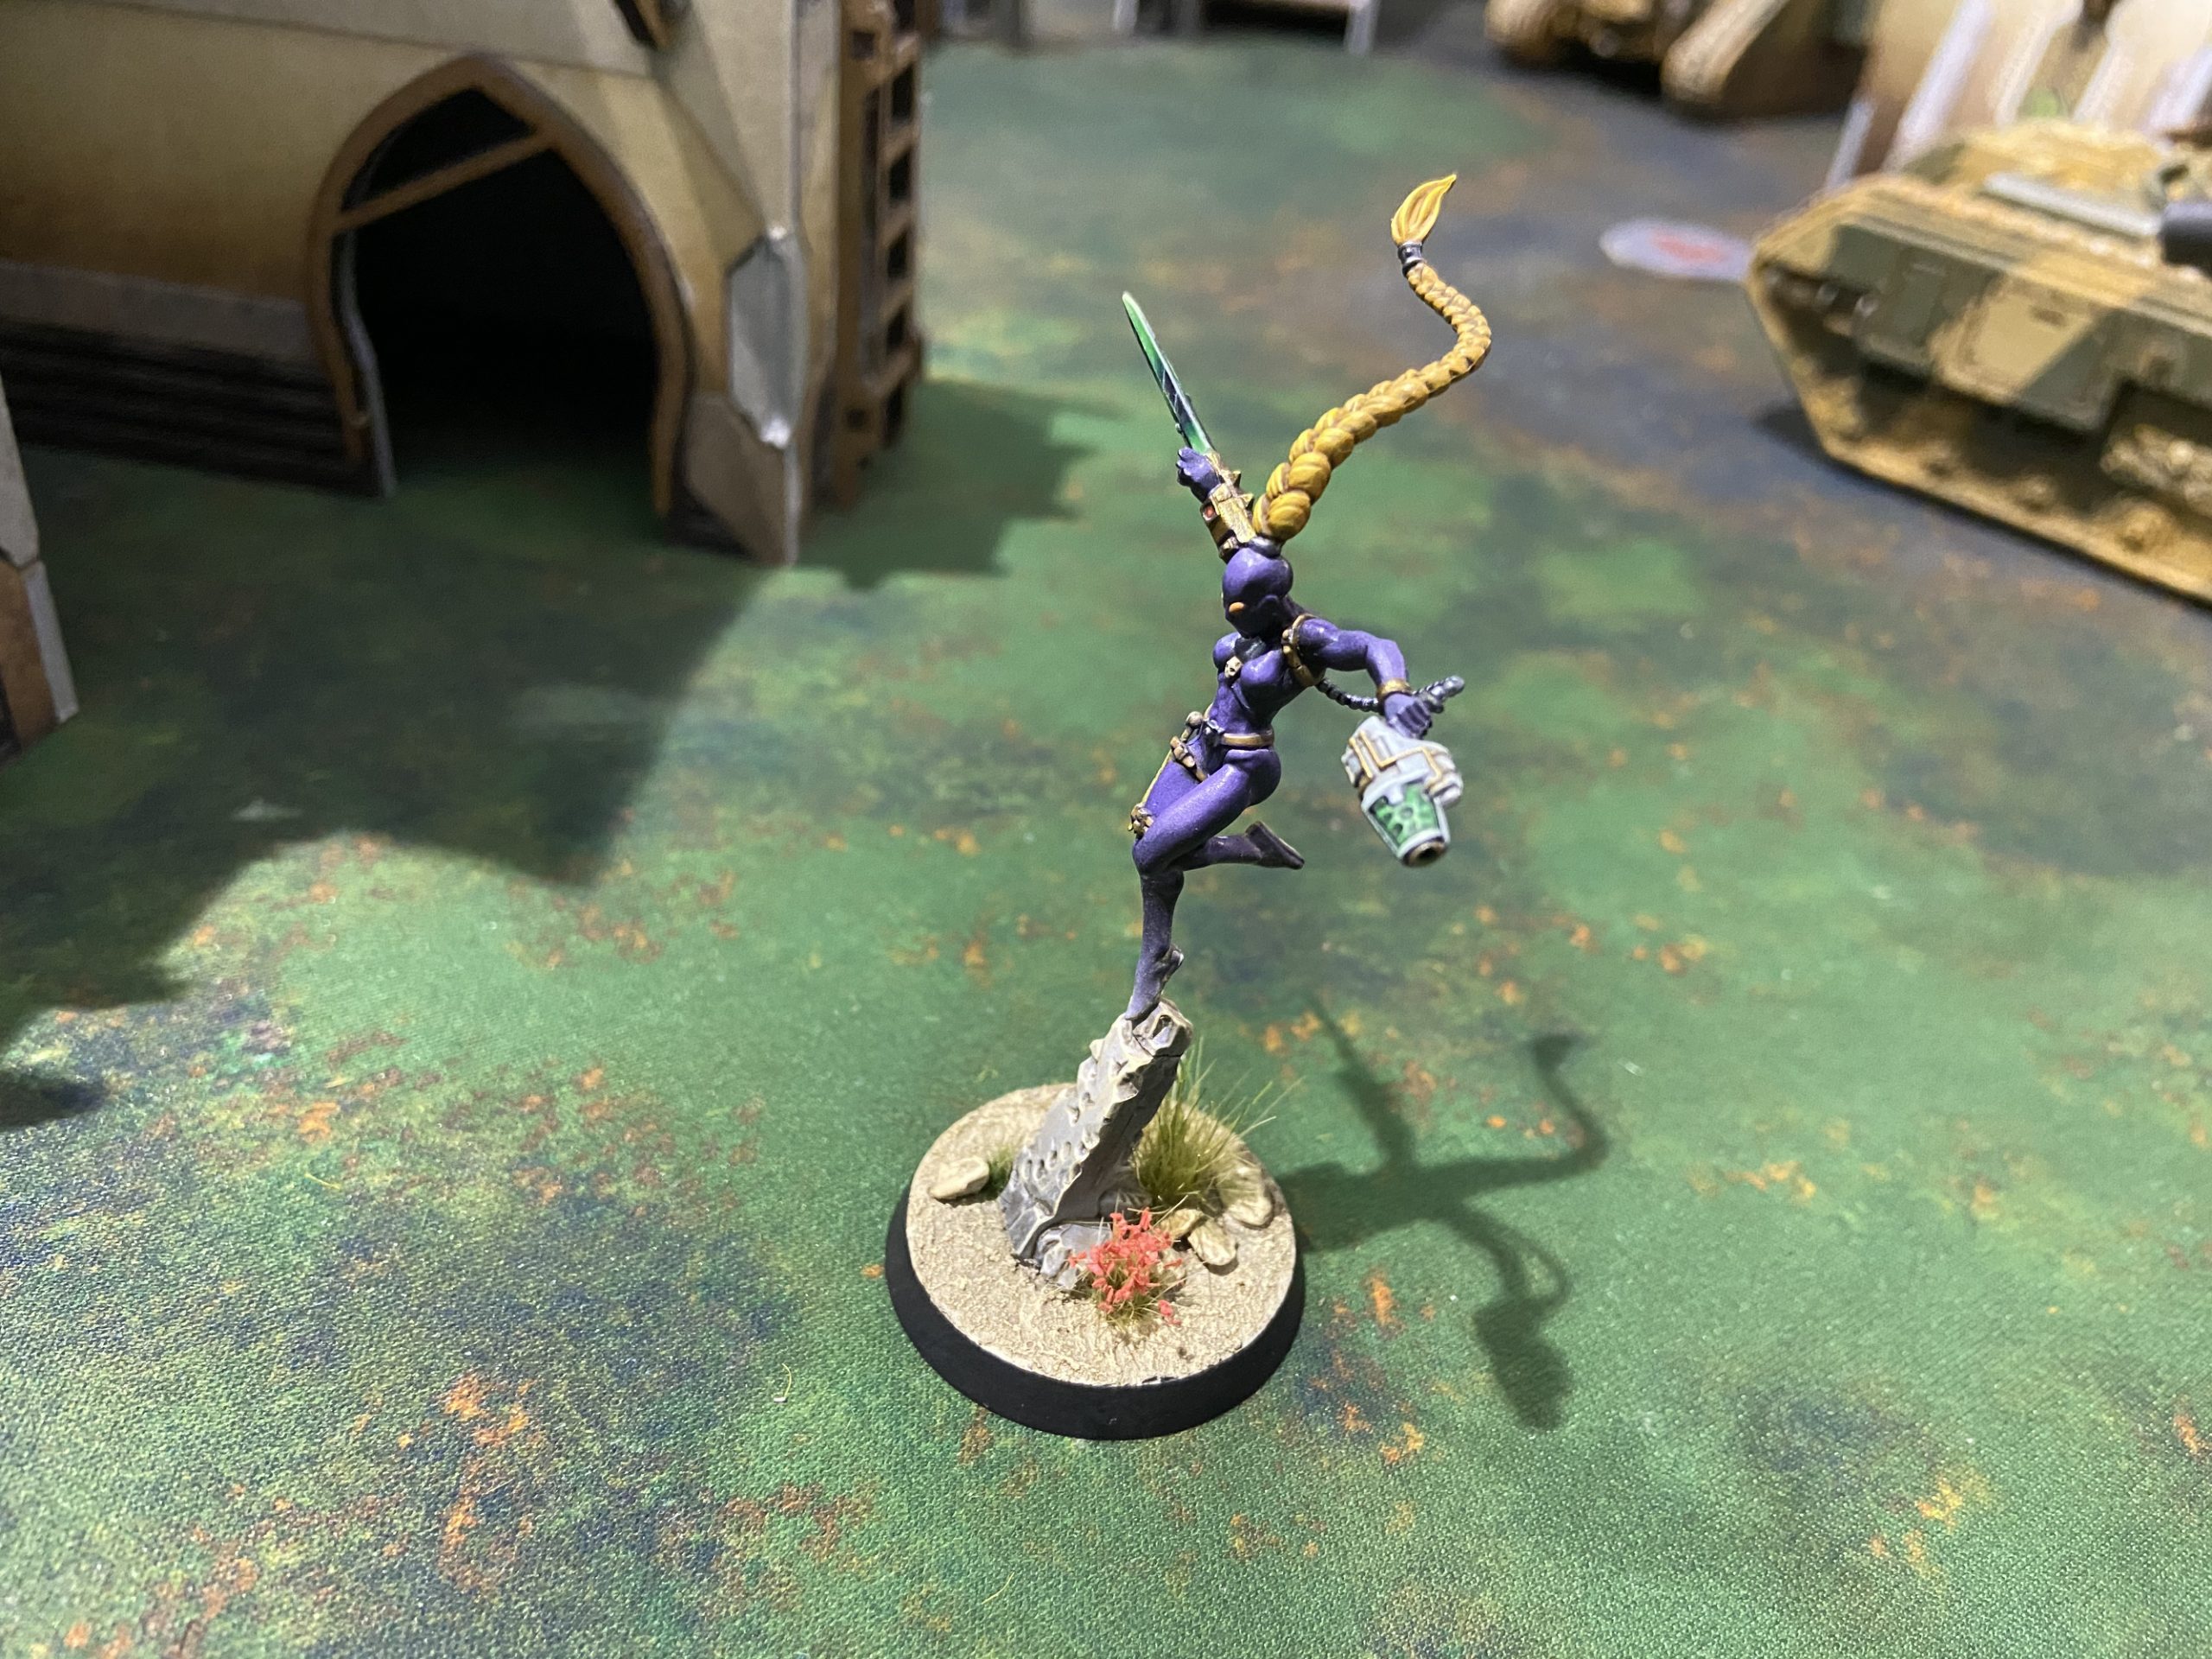
- Callidus Assassin
- A squad of 10 Militarum Tempestus Scions with Plasma Guns
- 2x squads of 3 Militarum Tempestus Scions with Plasma Guns
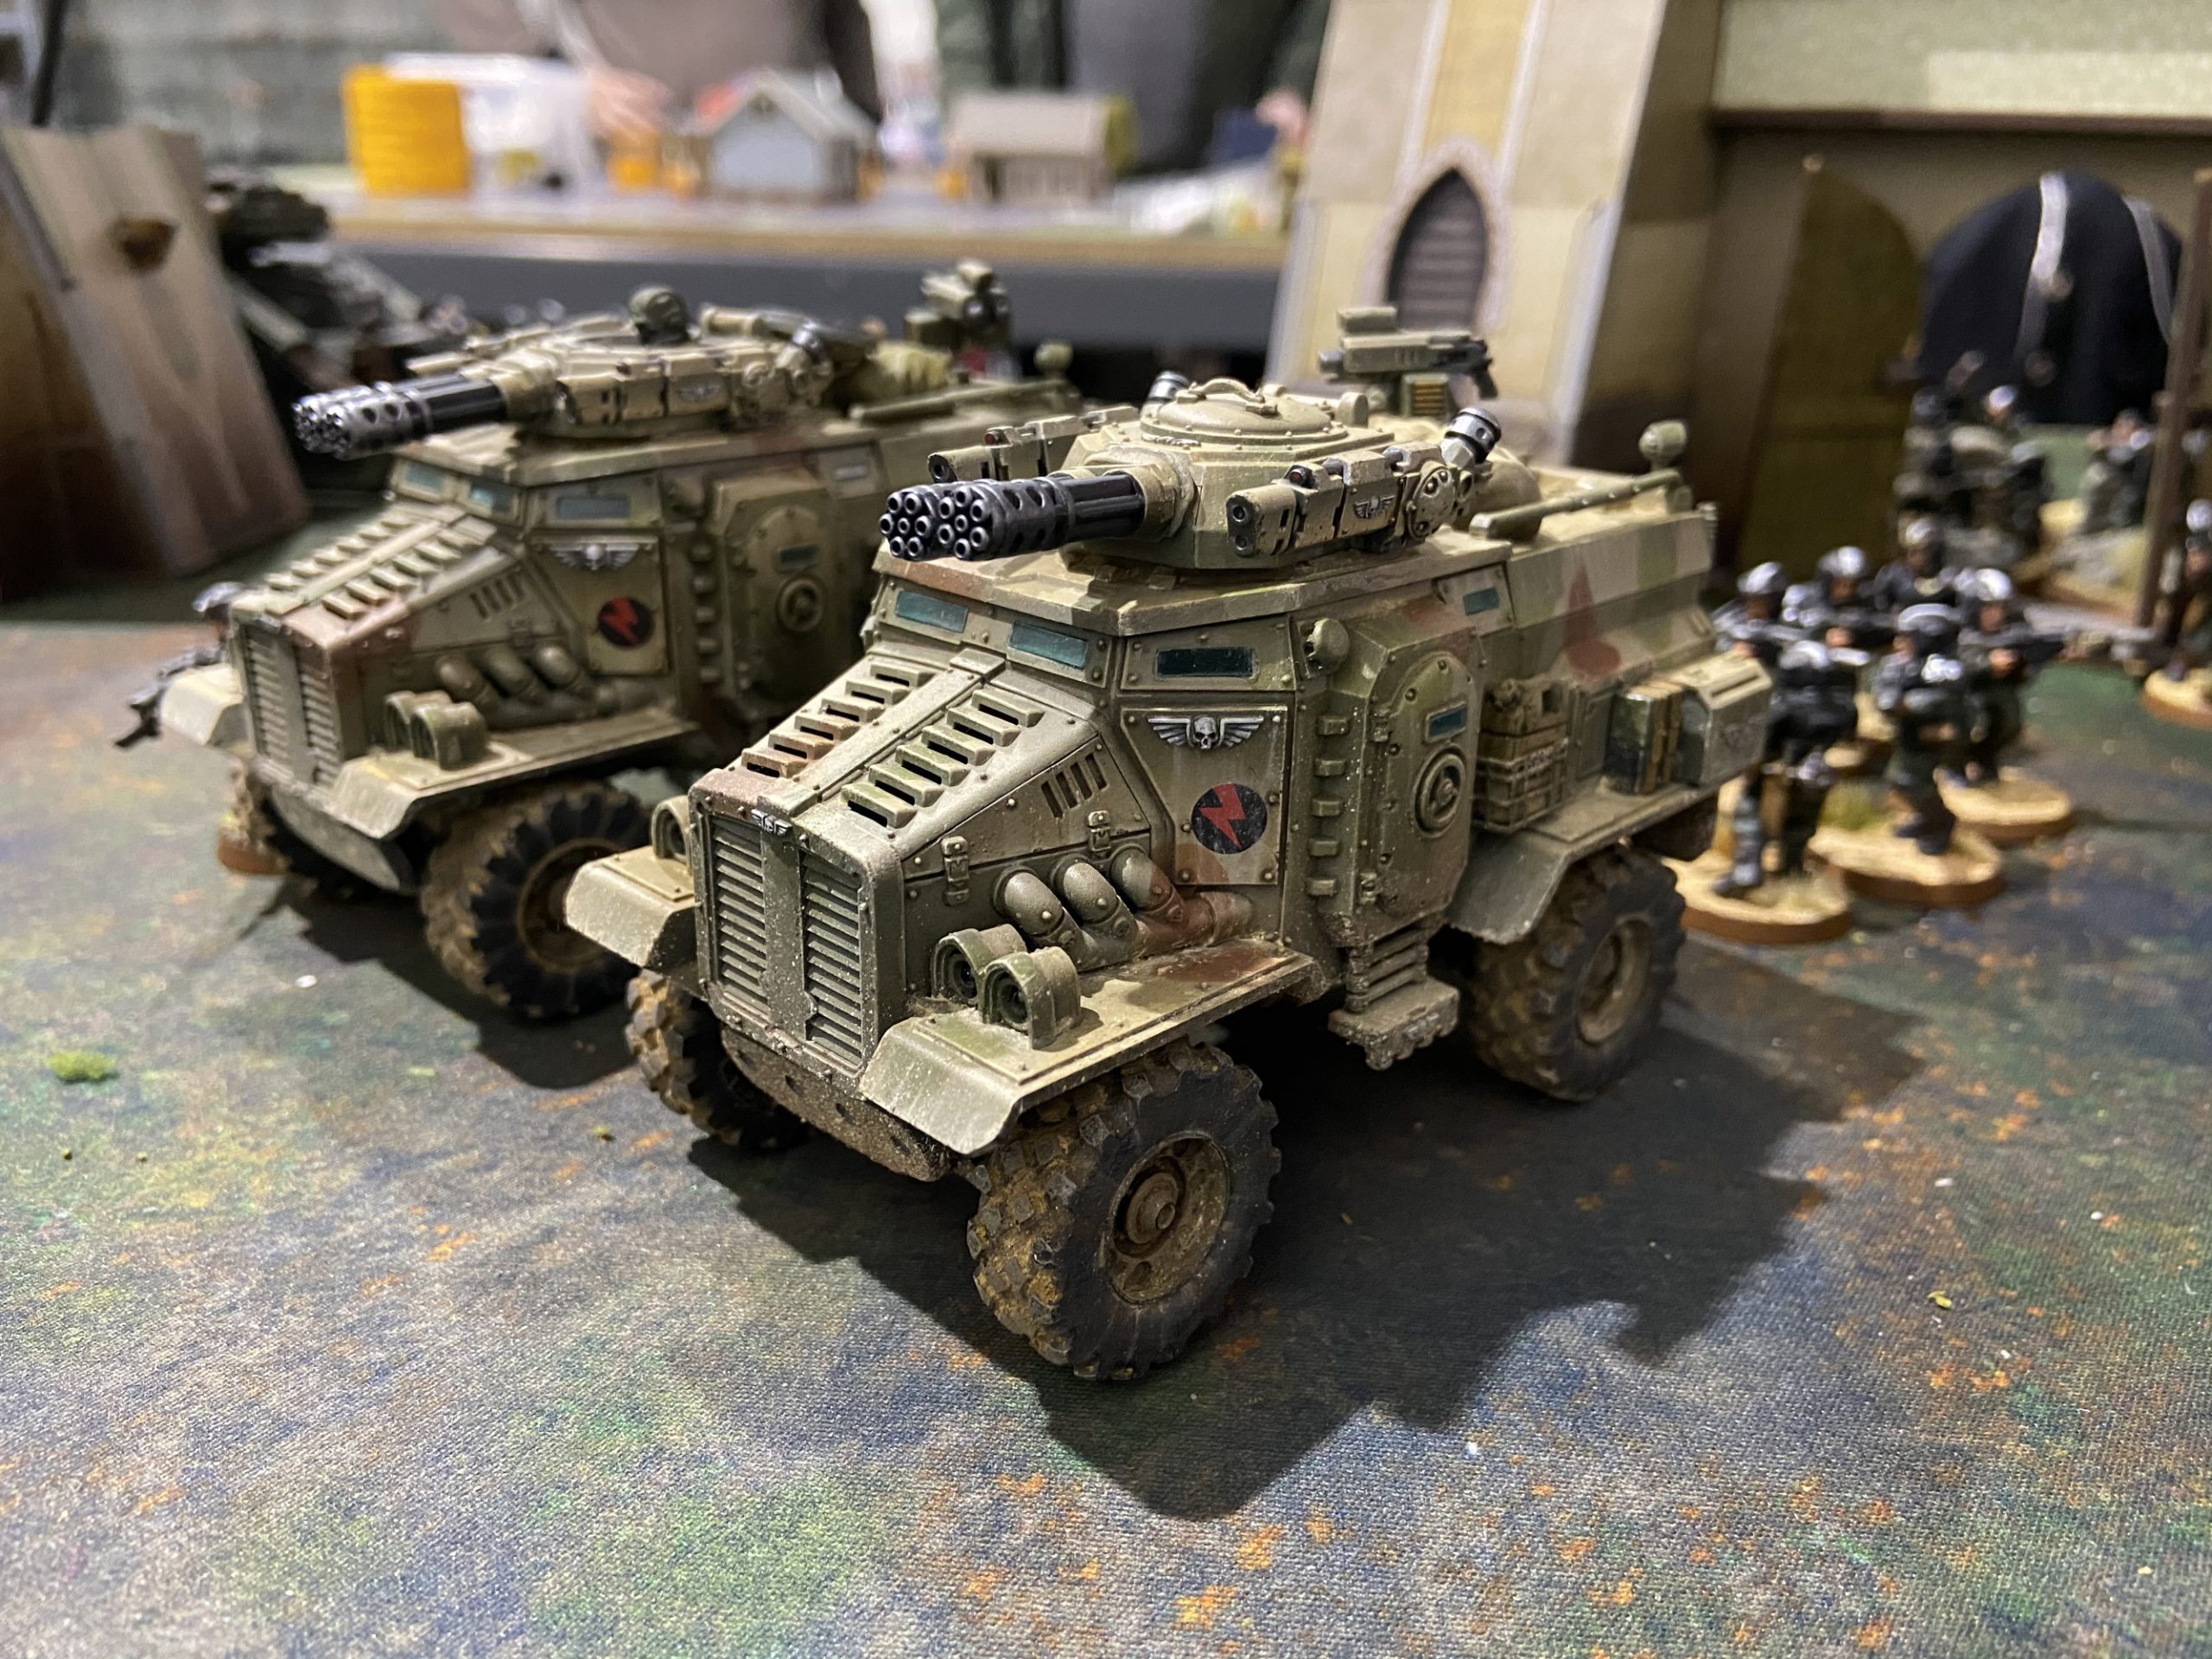
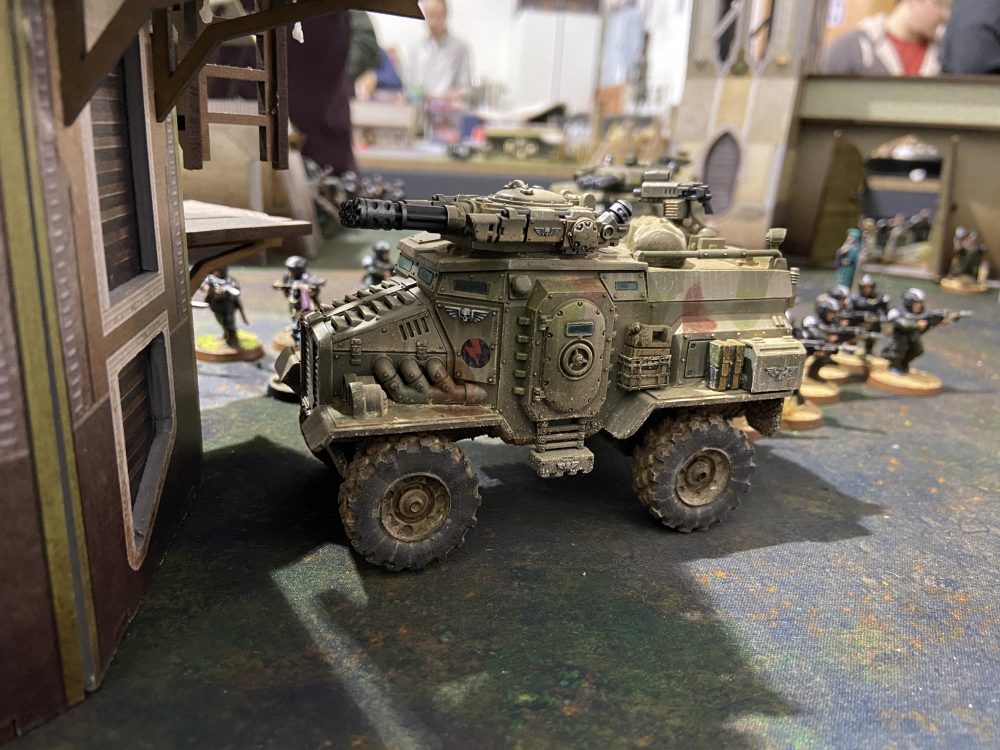
- 2x Taurox Prime
This list might be off slightly. But it was legal. However, you do a Battalion of Scions with a load of plasma.
Cadian Battalion Detachment
- 2x Company Commanders
- 5x Infantry Squads
- 3x Astropaths
- A Tech-Priest Enginseer
- A Hellhound
- 2x Heavy Weapons Teams of Mortars
Cadian Supreme Command Detachment – Emperor’s Fist Tank Company
- Pask with Lascannon and Battle Cannon
- Tank Commander with Hammer of Sunderance and Lascannon
- Demolisher Tank Commander
This gives 8CP.
5 + 3 + 1 + 1 – 1 – 1 = 8
The Mission
Both of us had played one mission from Chapter Approved 2019. We didn’t want to replay a mission so we rolled and would re-roll duplicates. We rolled a one for Eternal War. This was the mission named Crusade. It’s a pretty simple format with all the usual extras in place:
- Slay the Warlord
- Linebreaker
- First Strike
There are six objectives which we took turns placing. You score a single VP for each objective you control at the start of your turn – starting from turn 2.
Sound simple. But it means staying in place for the whole enemy turn before you score.
Deployment
We rolled Vanguard Strike.
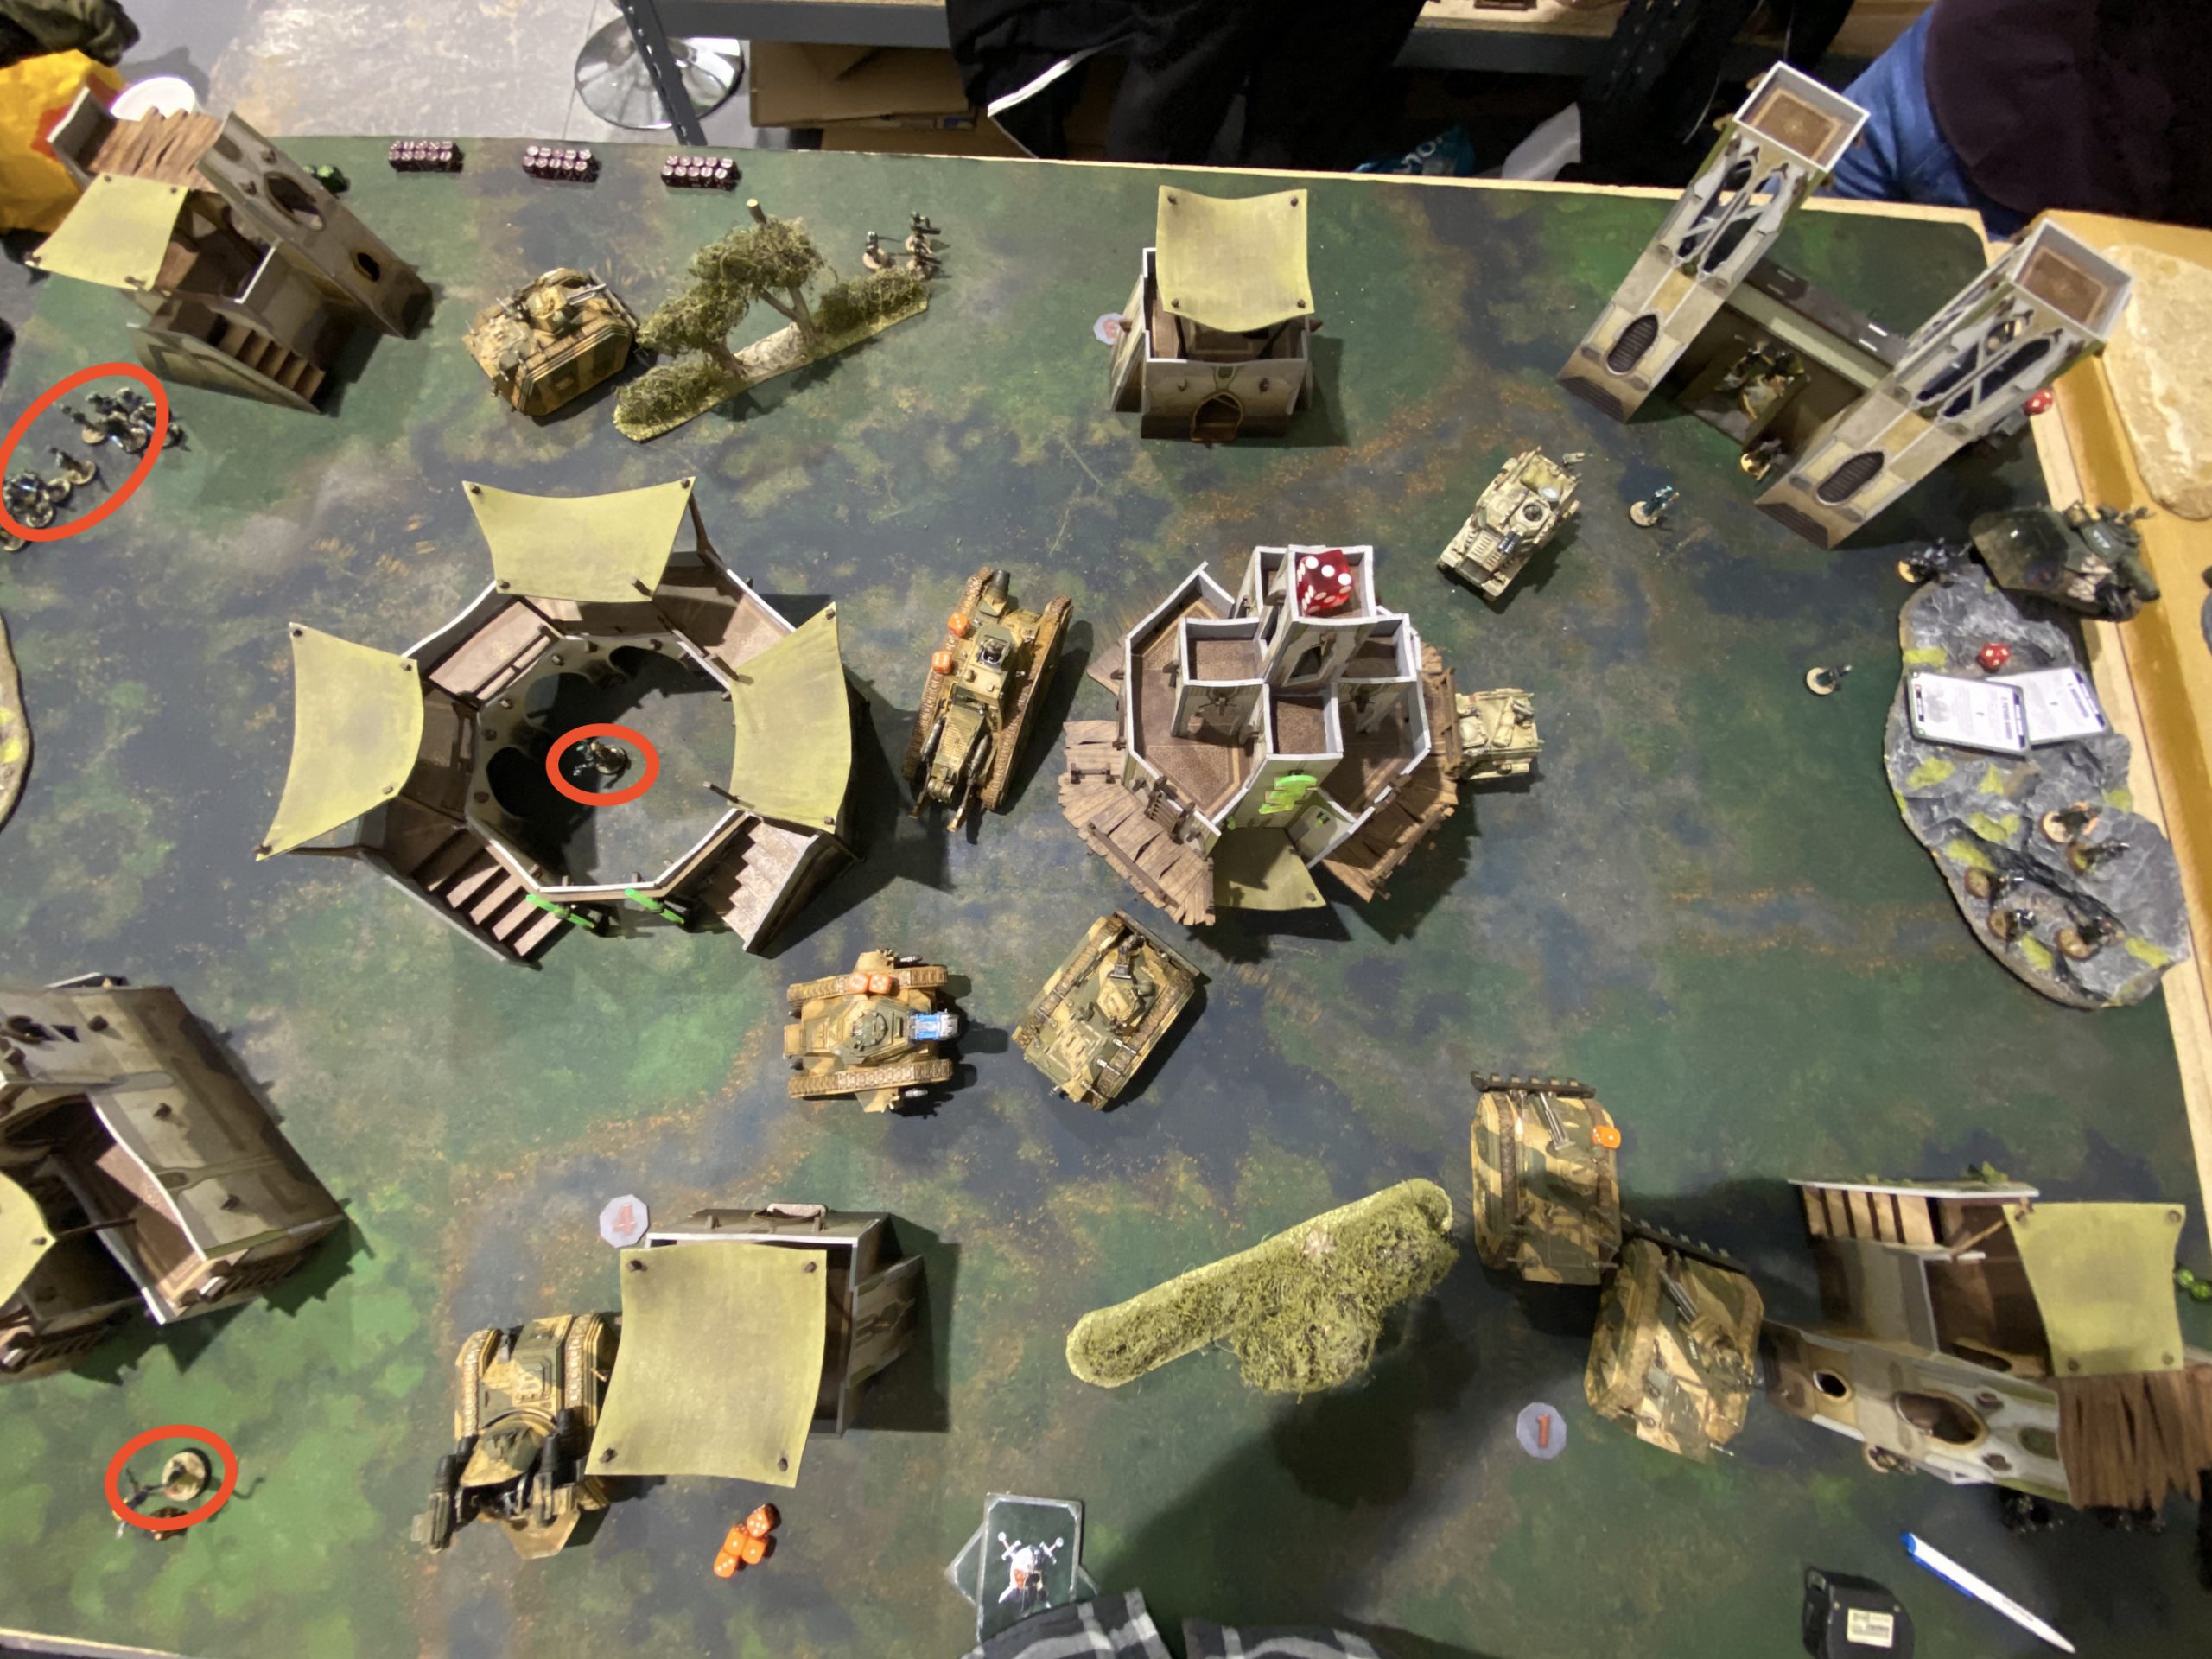
I was deemed the Attacker after winning the roll-off. Aspostolo picked the deployment side that had a nice three objective markers in it. This left me the deployment zone with two objective markers in it. The third objective was just outside of my deployment zone.
I deployed first in full. Then Apostolos deployed in full. All his Scions went into Deep Strike along with the Callidus Assassin. My Command Squad and Platoon Commander went into Deep Strike too.
I struggled a bit for space but deployed aggressively with everything but the Basilisks and Wyverns right up to the deployment zone front.
Both of us deployed well hidden. The buildings were line-of-sight blocking and tall. My artillery was well back and so were the enemy mortars and Battle Cannon Commanders.
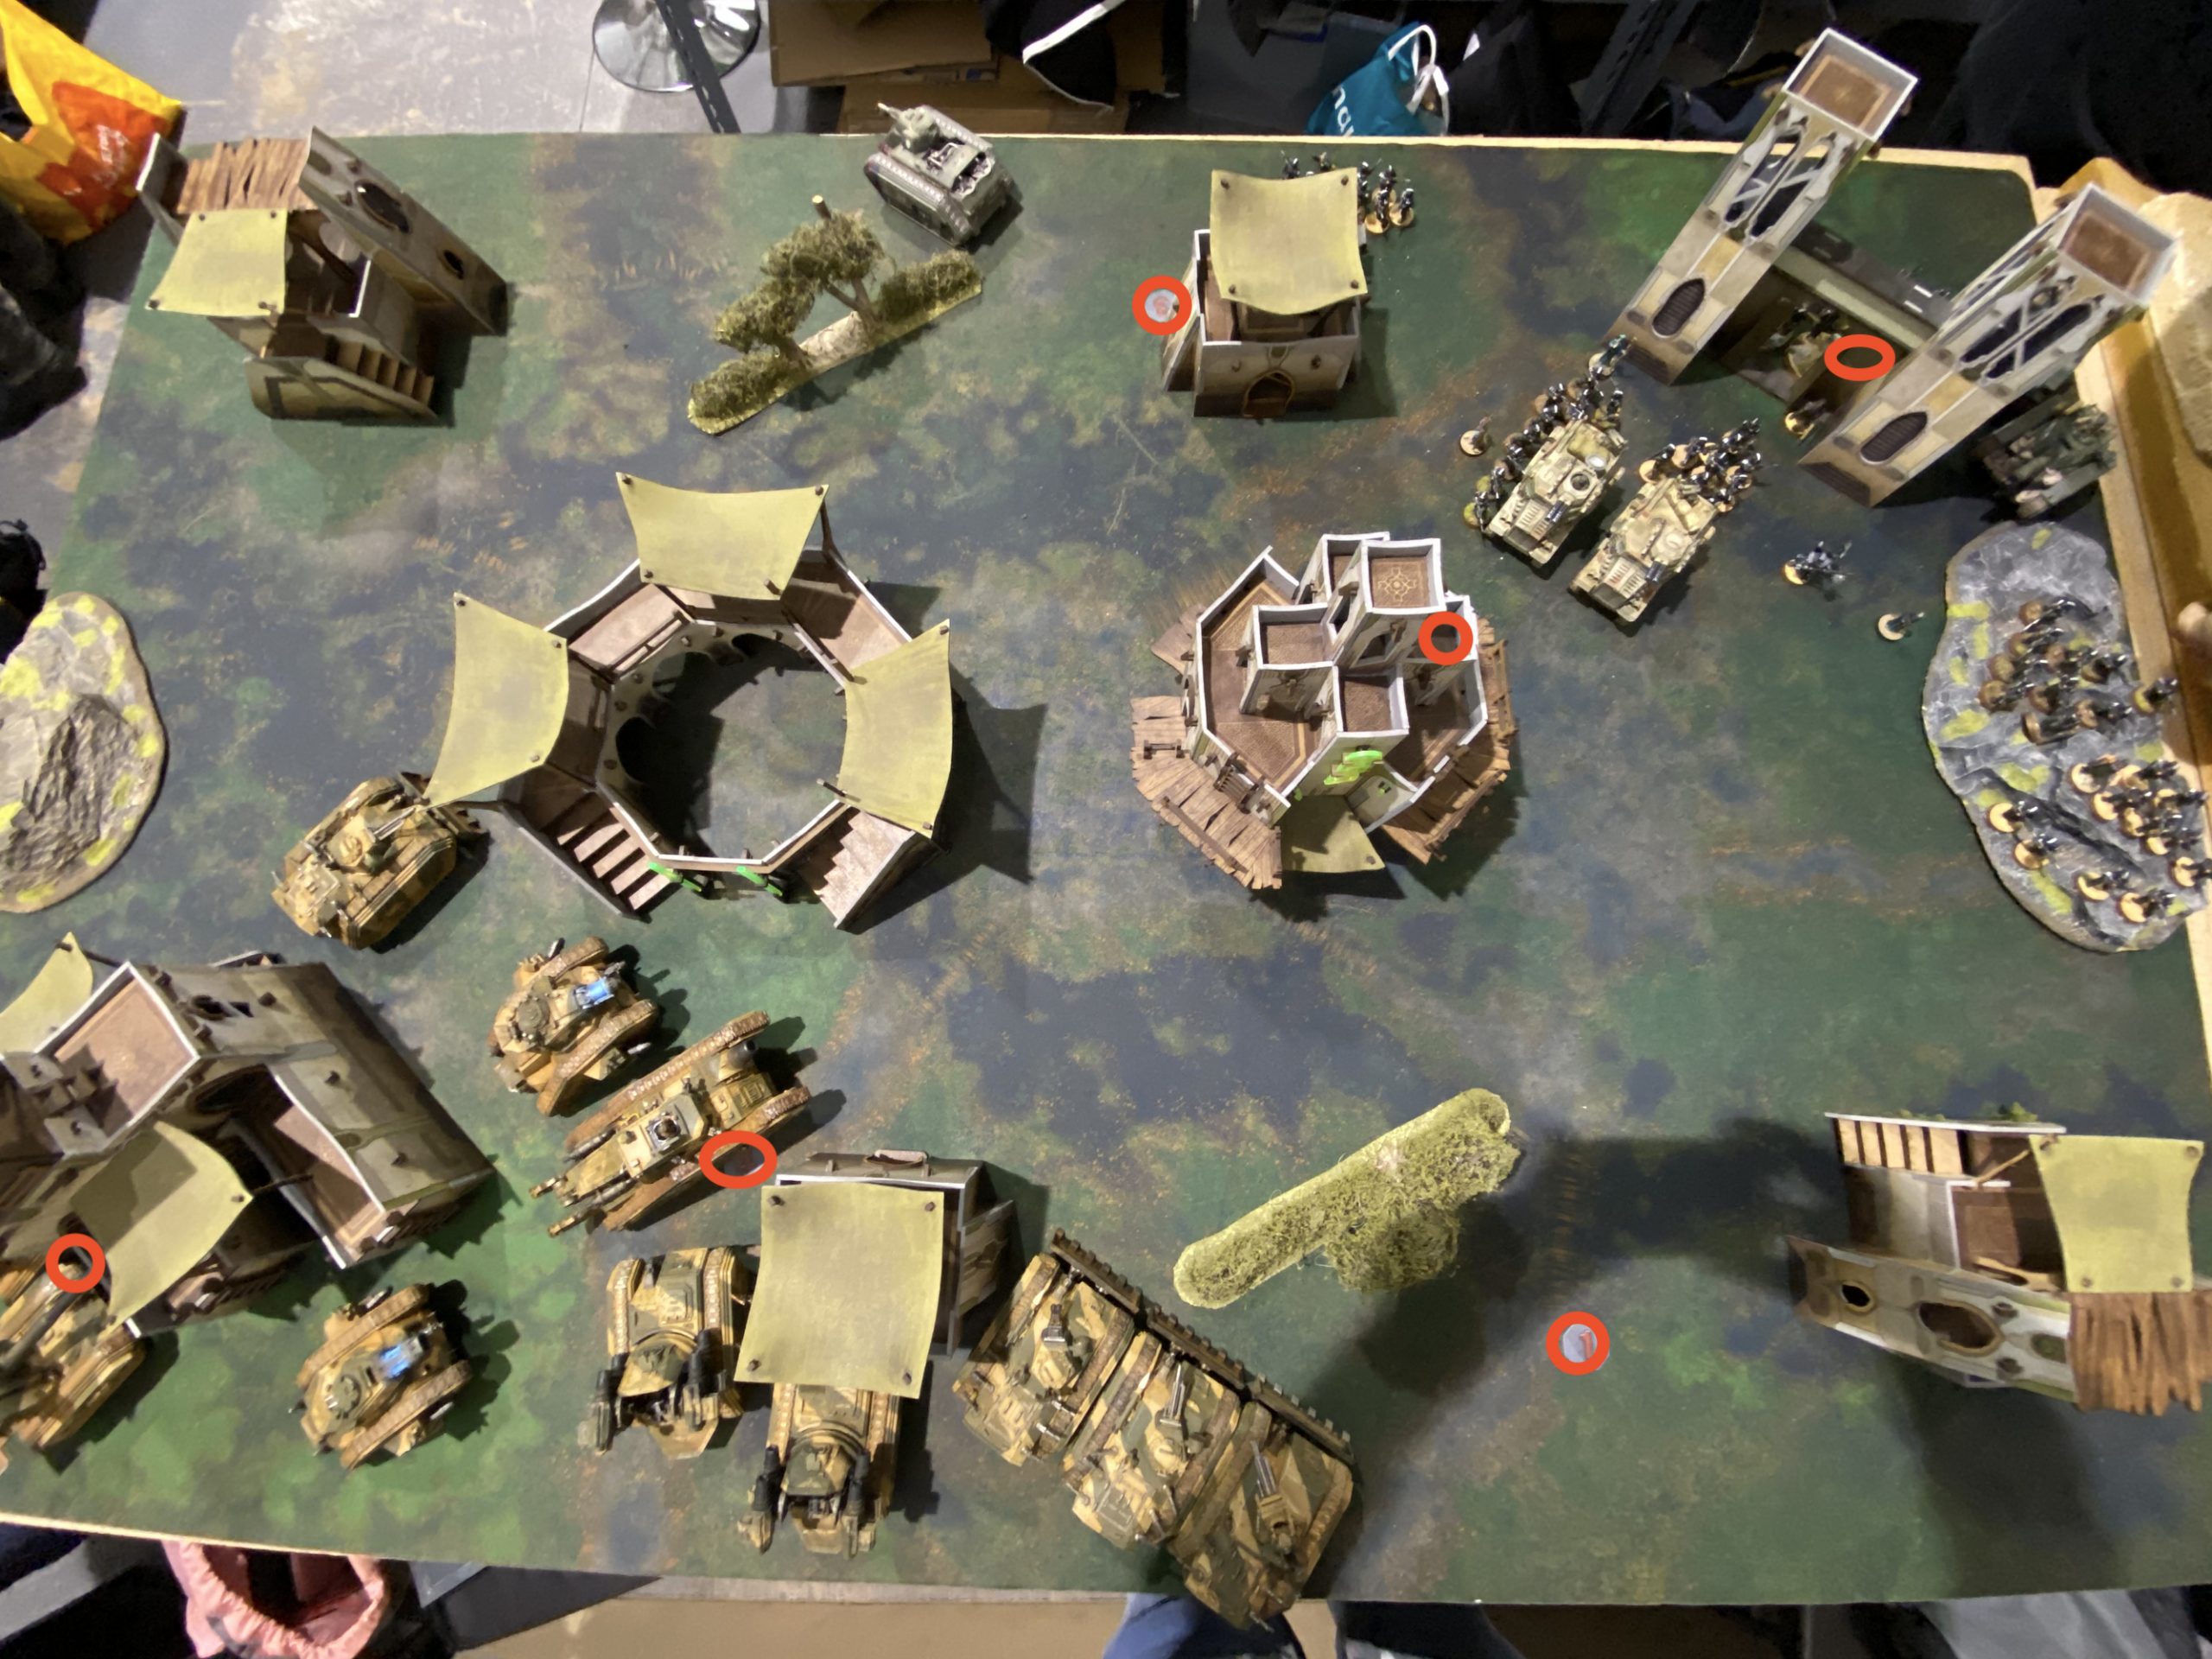
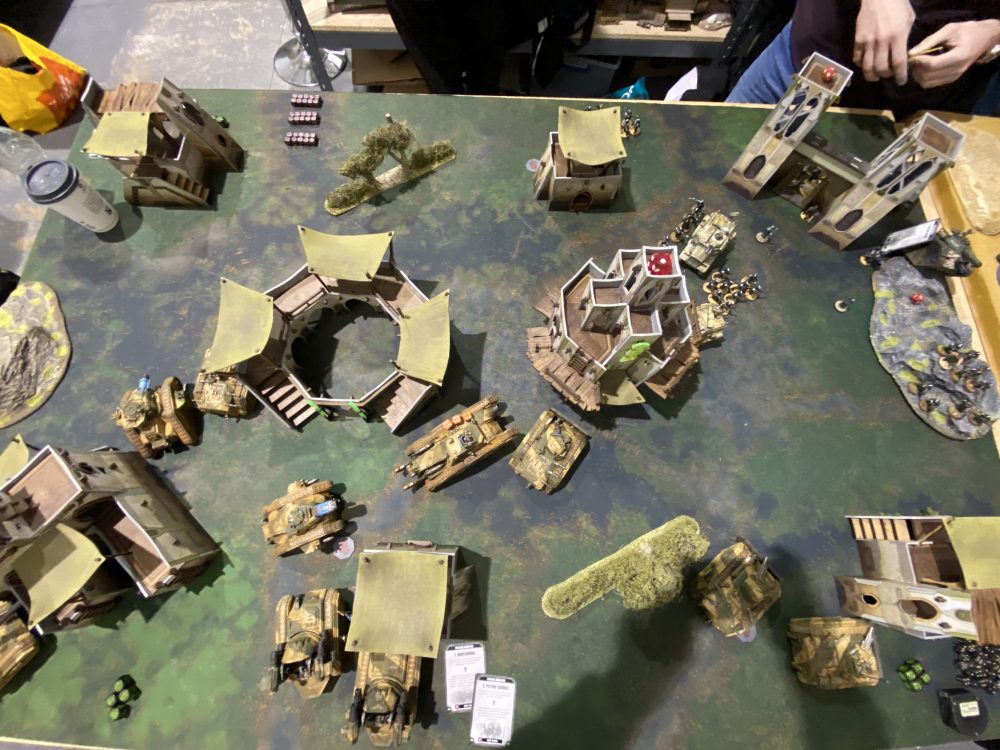
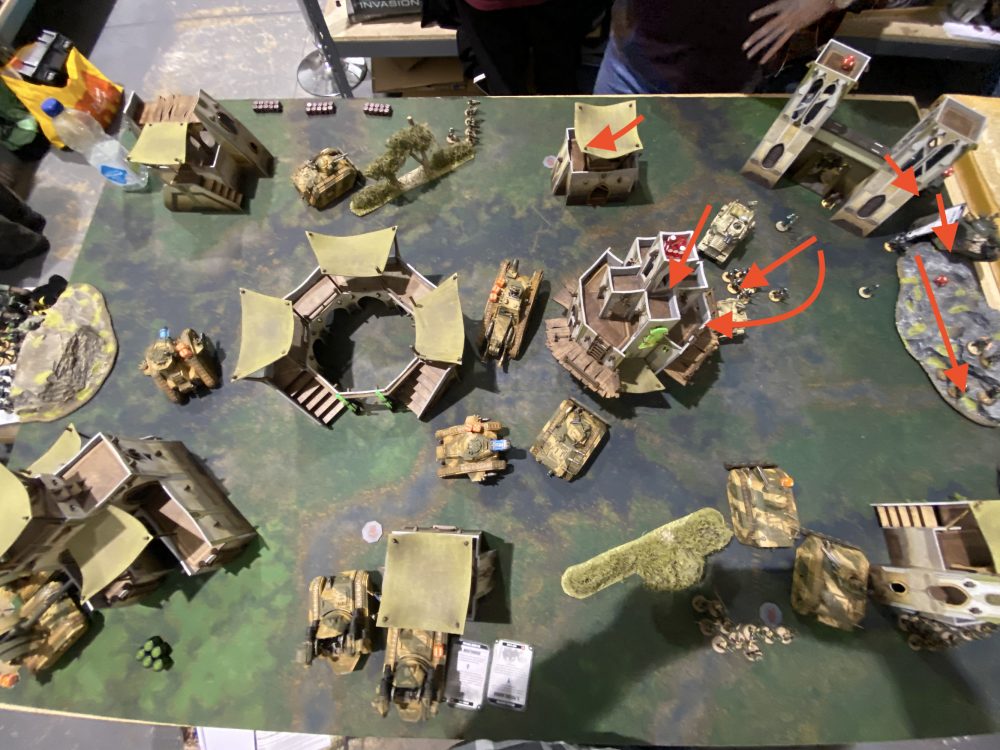
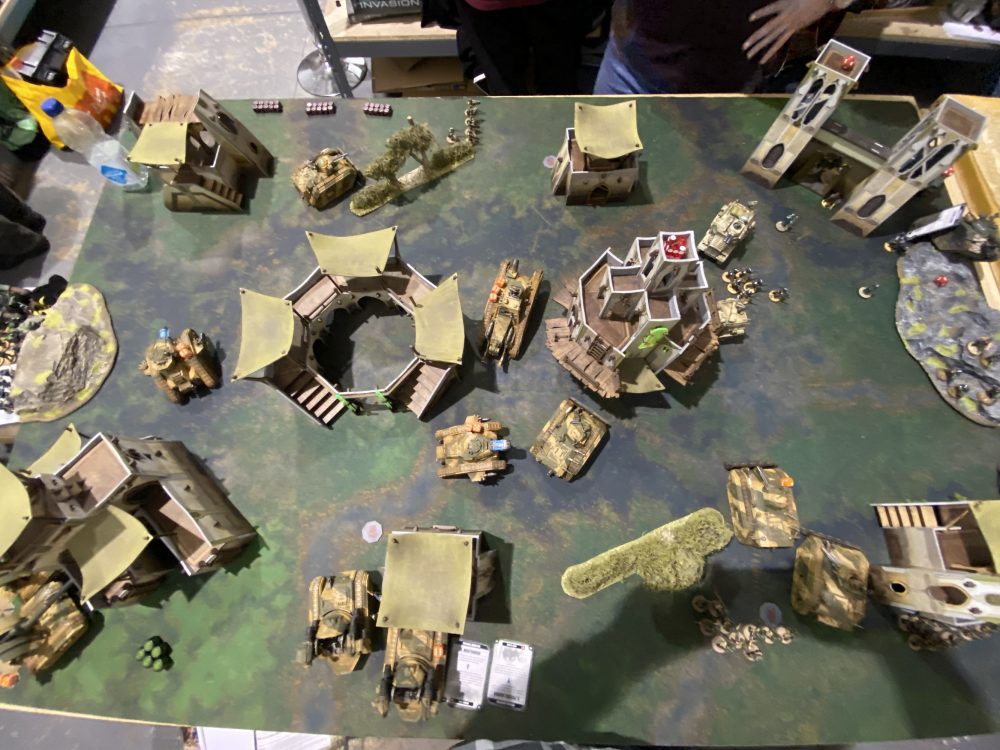
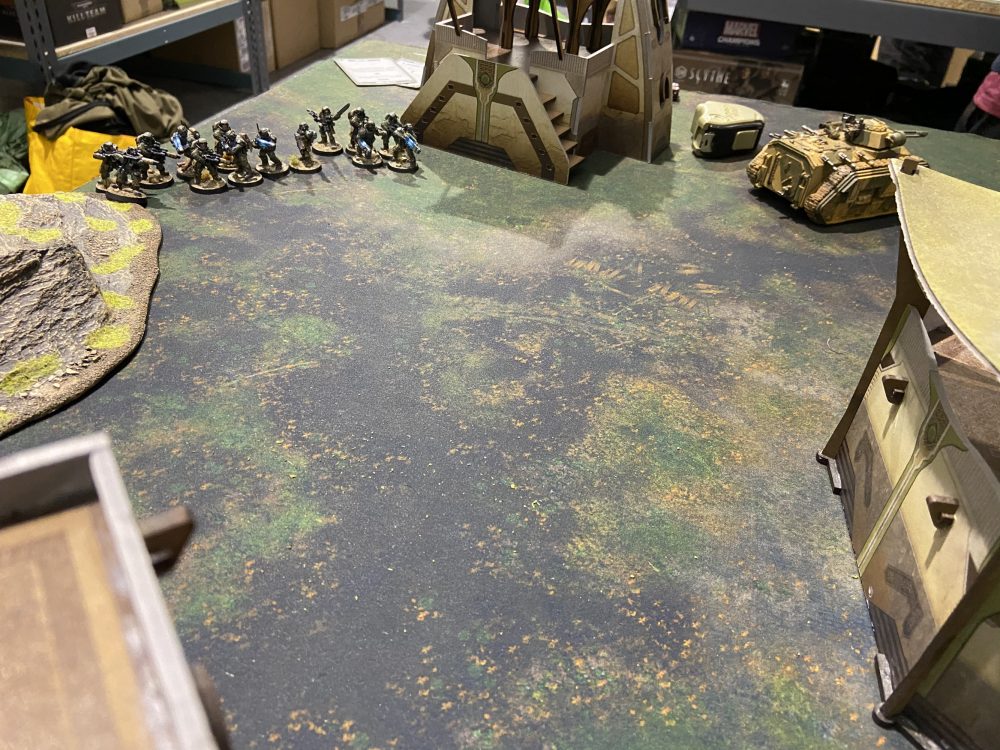
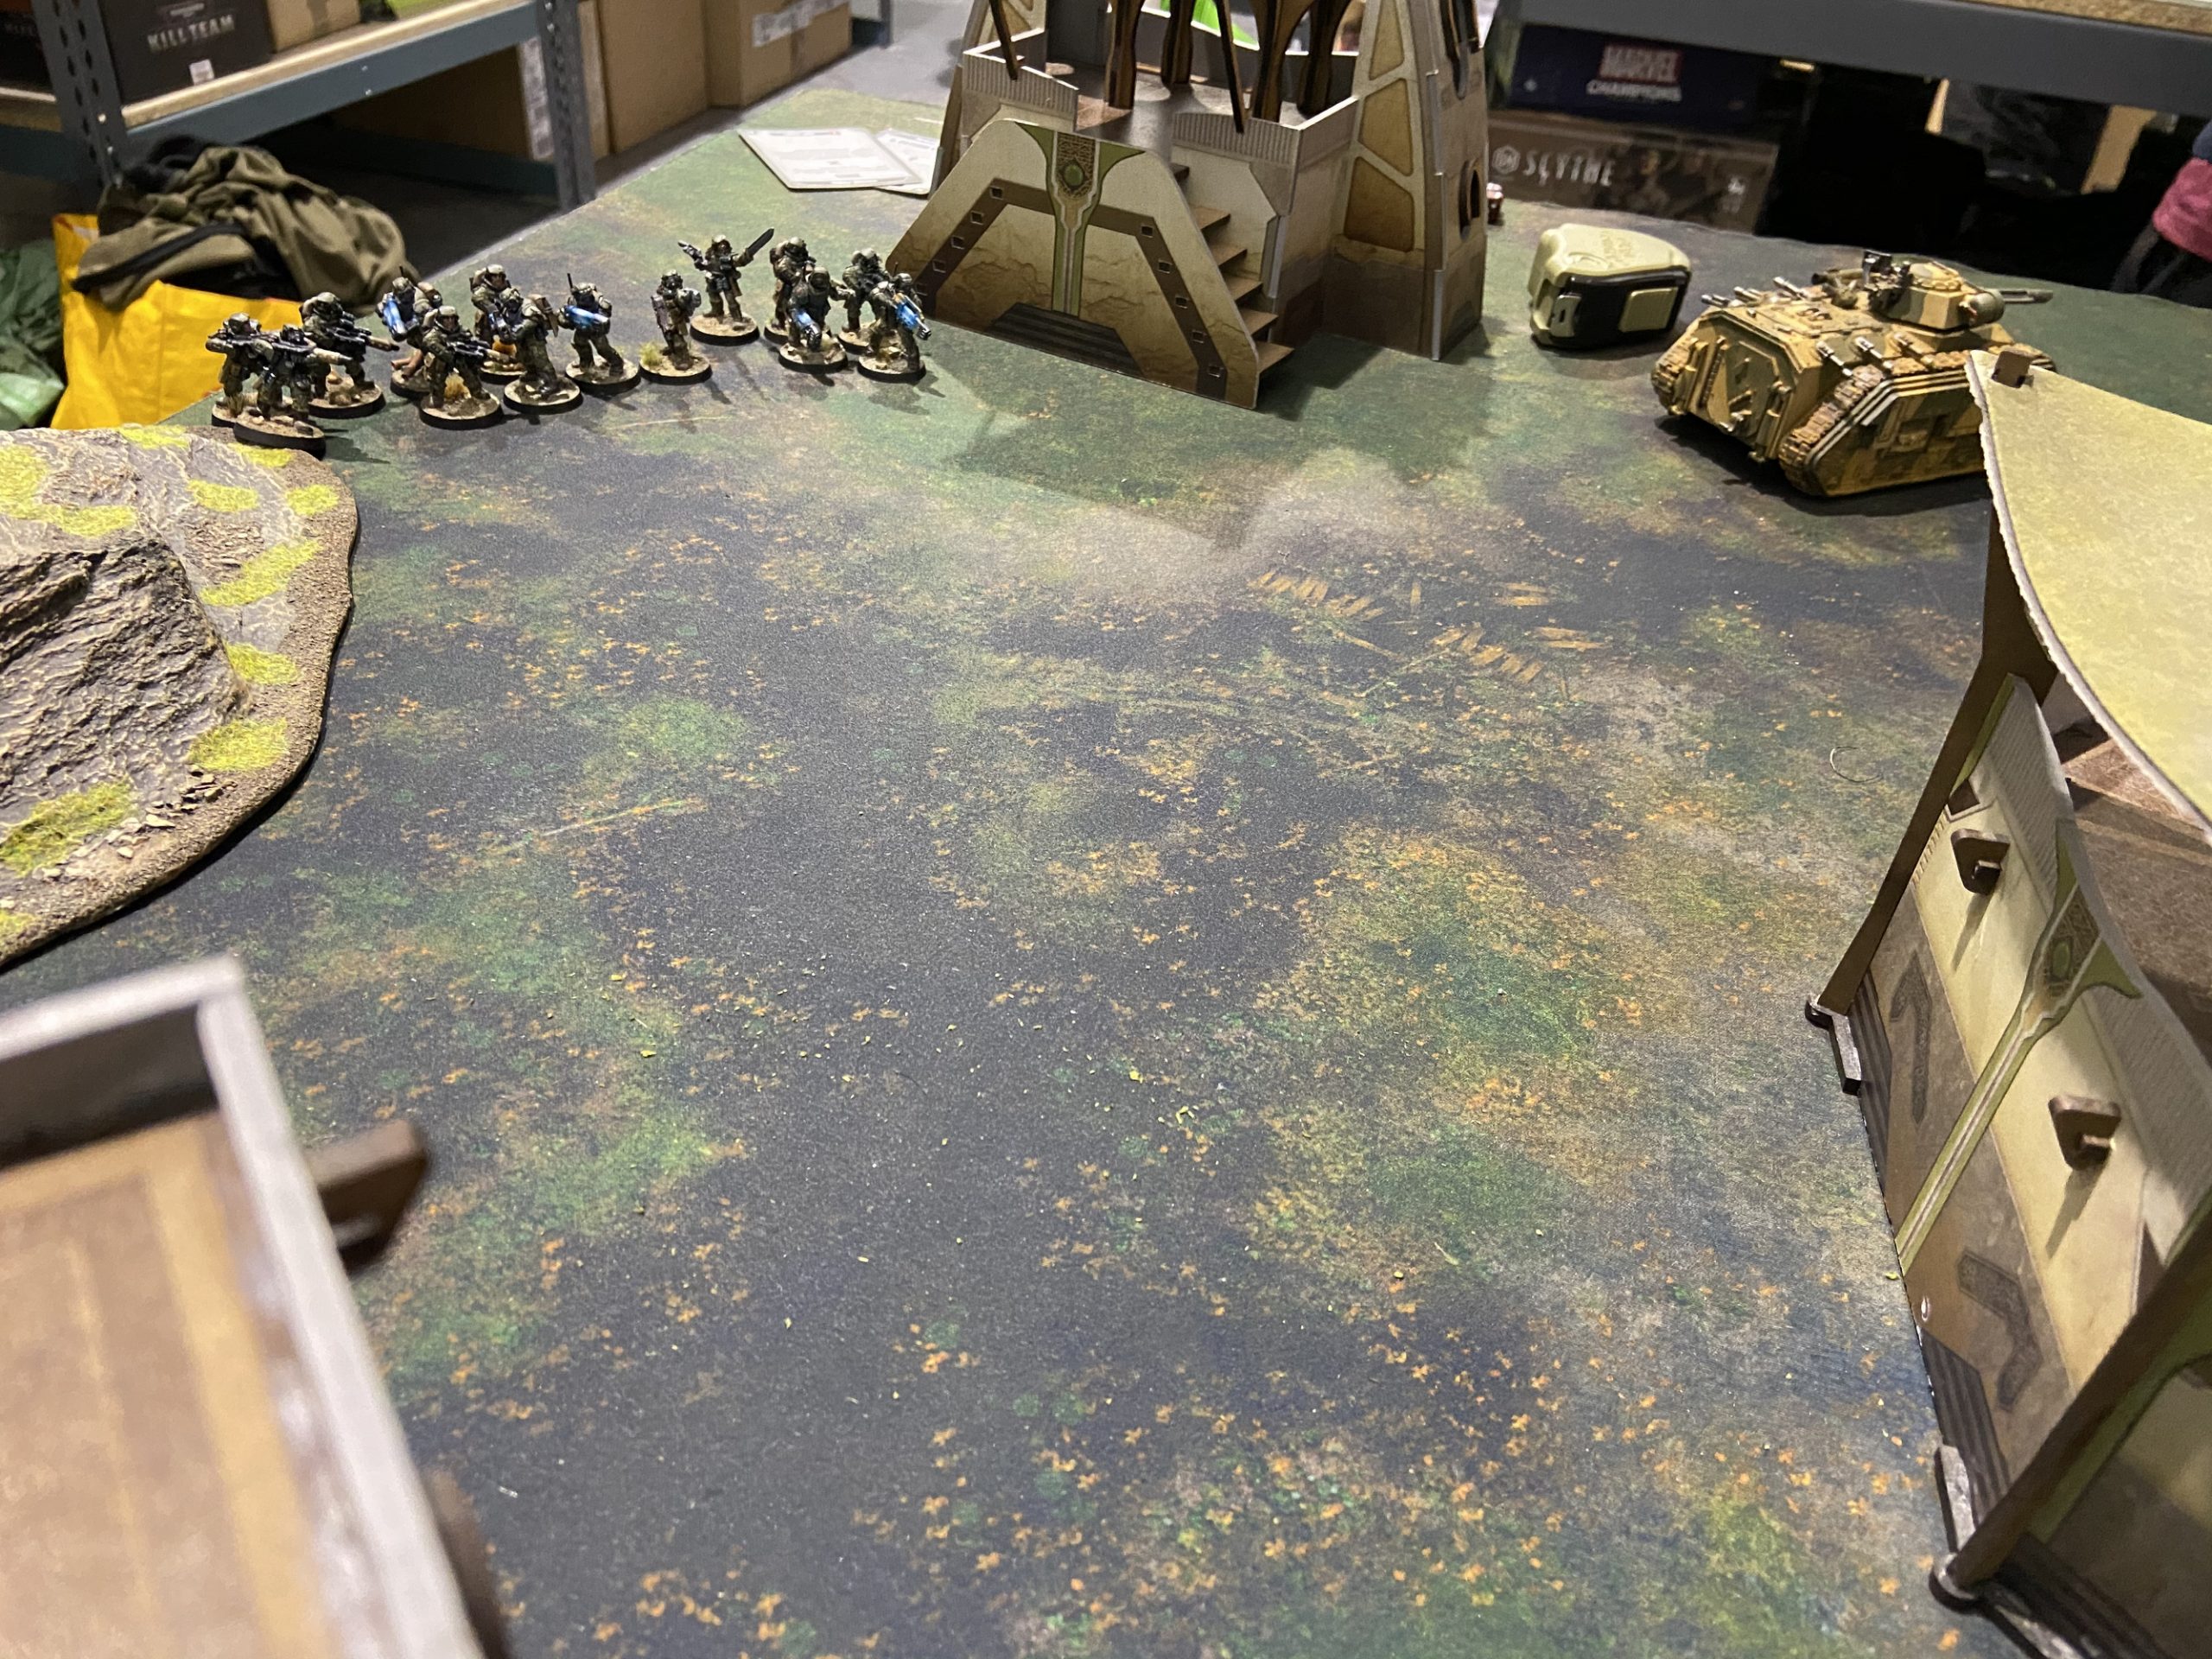
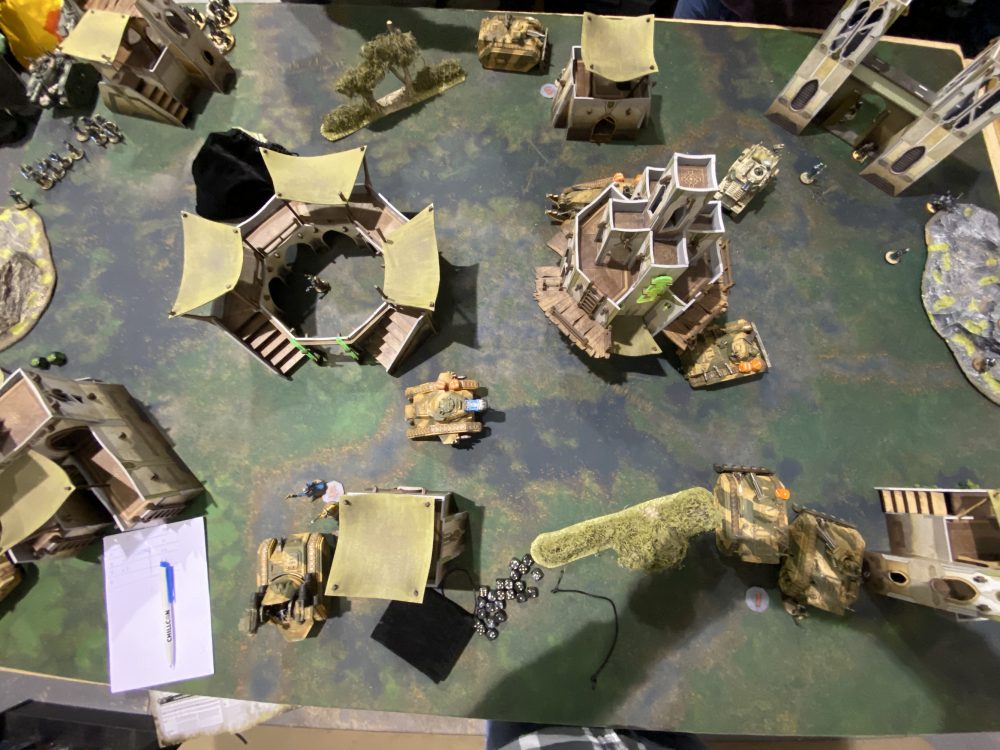
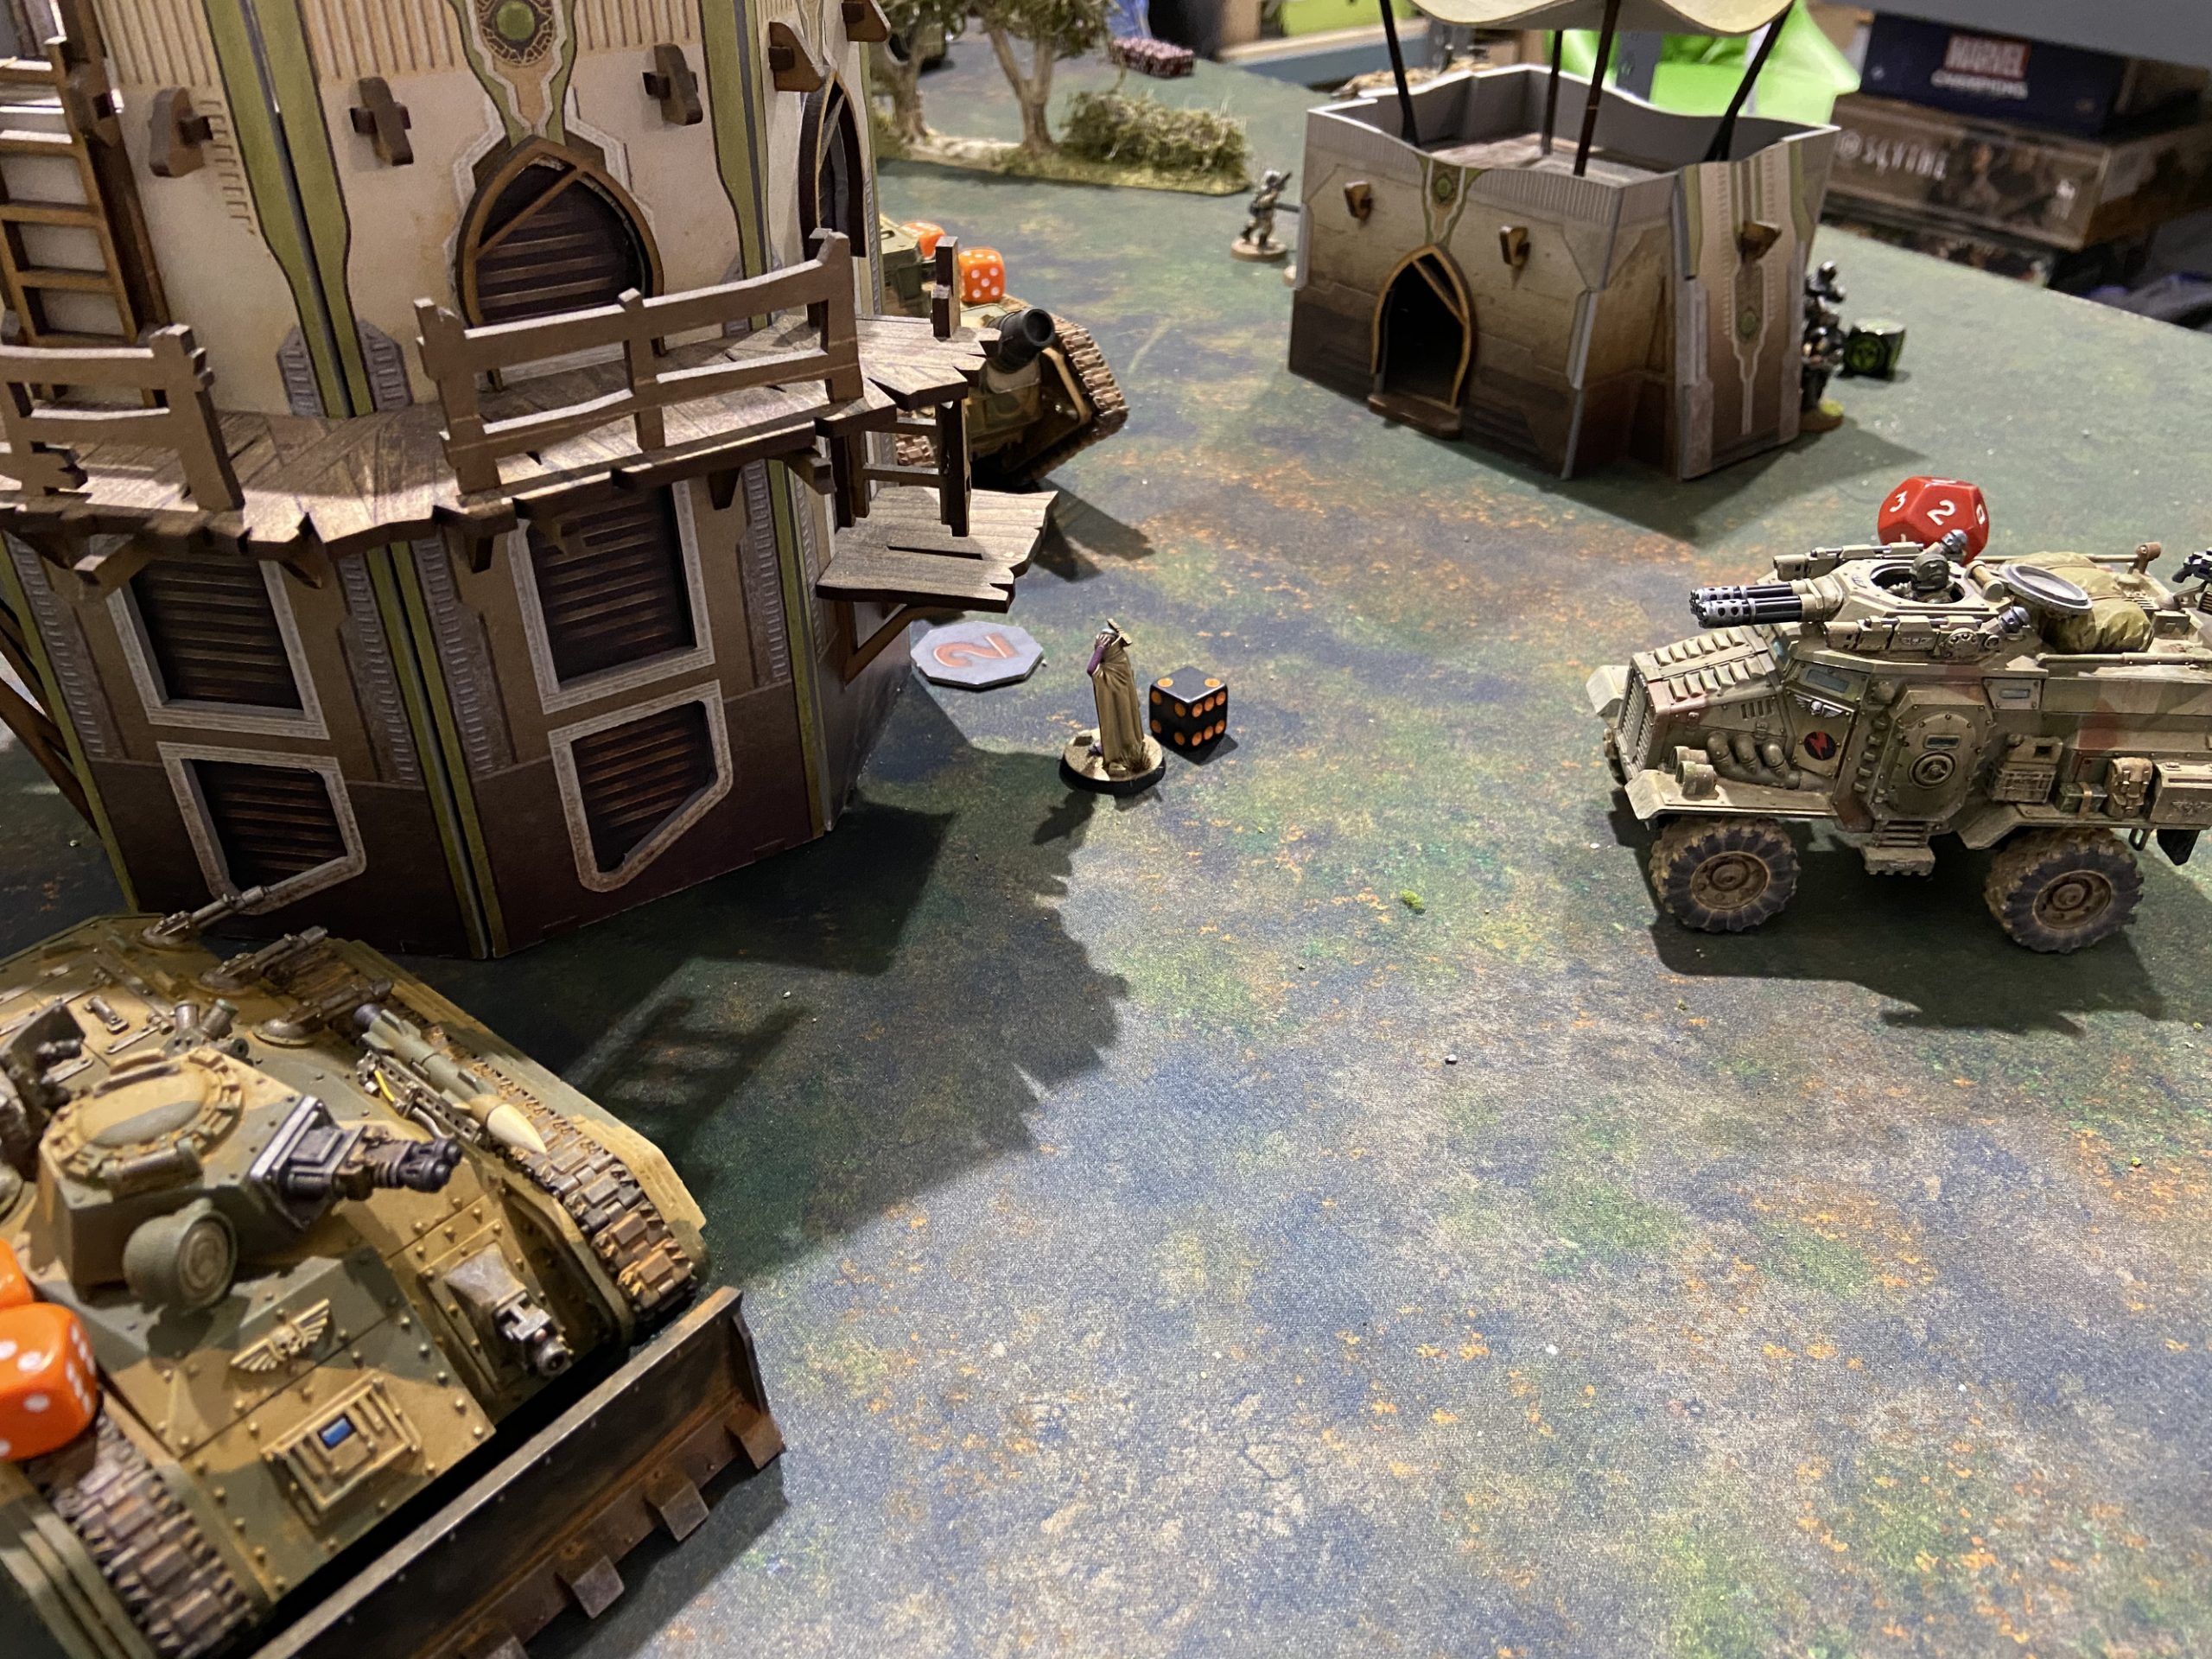
I highly recommend studying these overview style images in the battle below. They should give a very good idea on what is happening.
Deployment Overview – Objective Markers are shown in red – Astra Militarum vs Astra Militarum
Astra Militarum vs Astra Militarum Deployment Gallery

-


- A quick glimpse of what is to come – Astra Militarum vs Astra Militarum

My Turn 1
I went first and Apostolos didn’t Seize the Initiative and he used Prepared Positions.
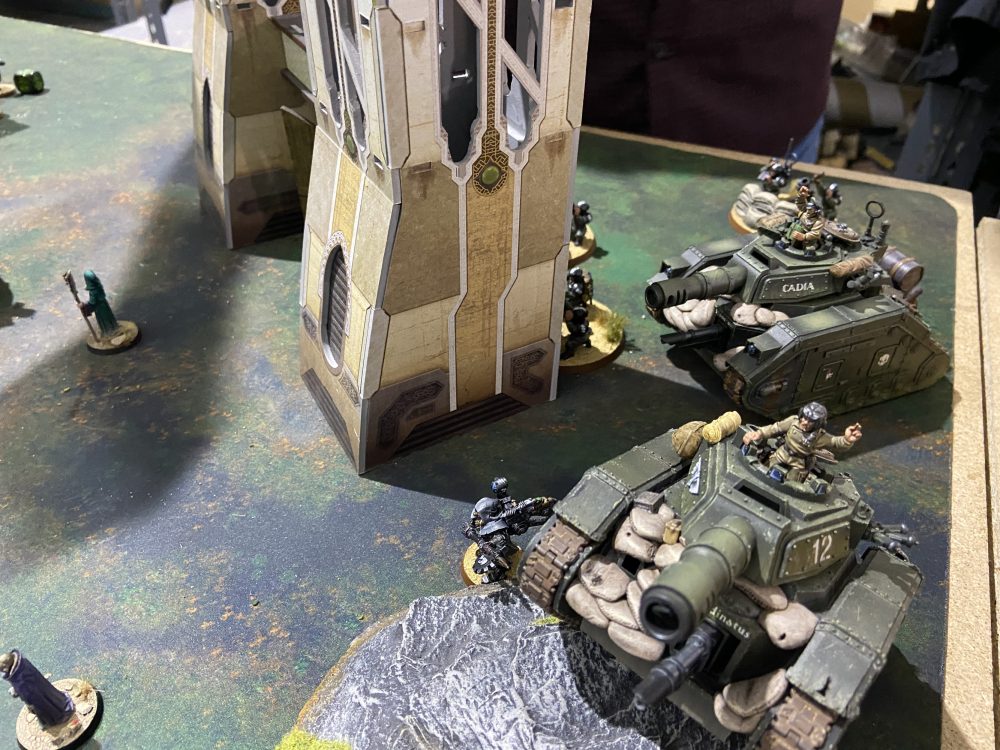
All my Chimeras moves out. Two to the right towards the closest objective, one towards the centre and one around the left and top side of the battlefield. The Malcador also steamed forward to see the Hellhound as did a Tank Commander. All my artillery remained stationary.
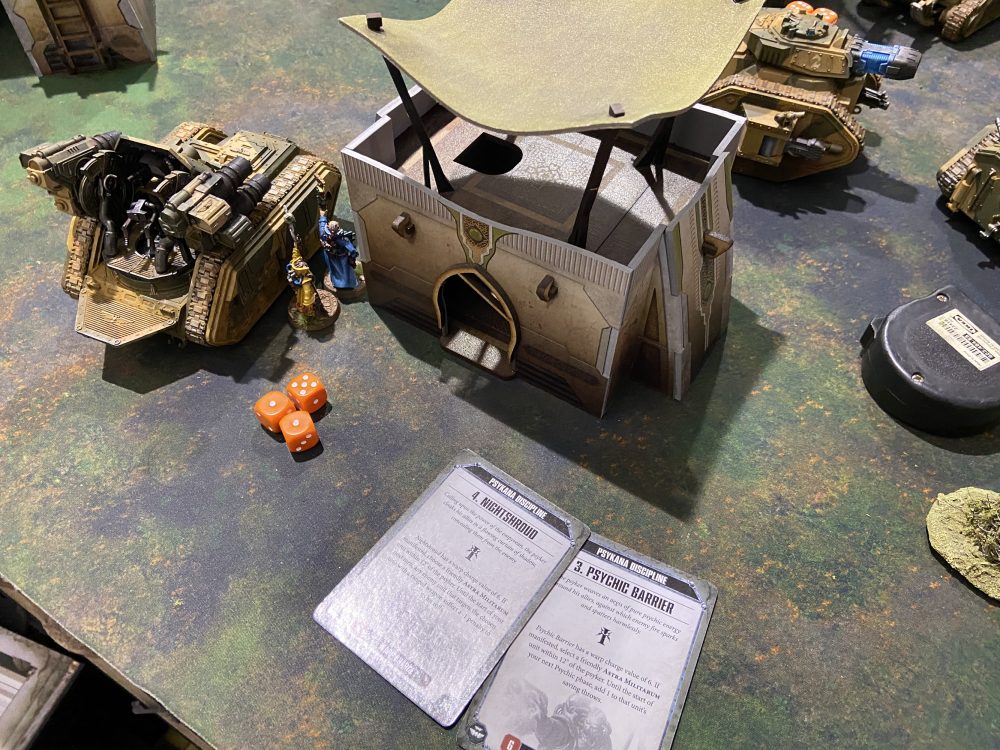
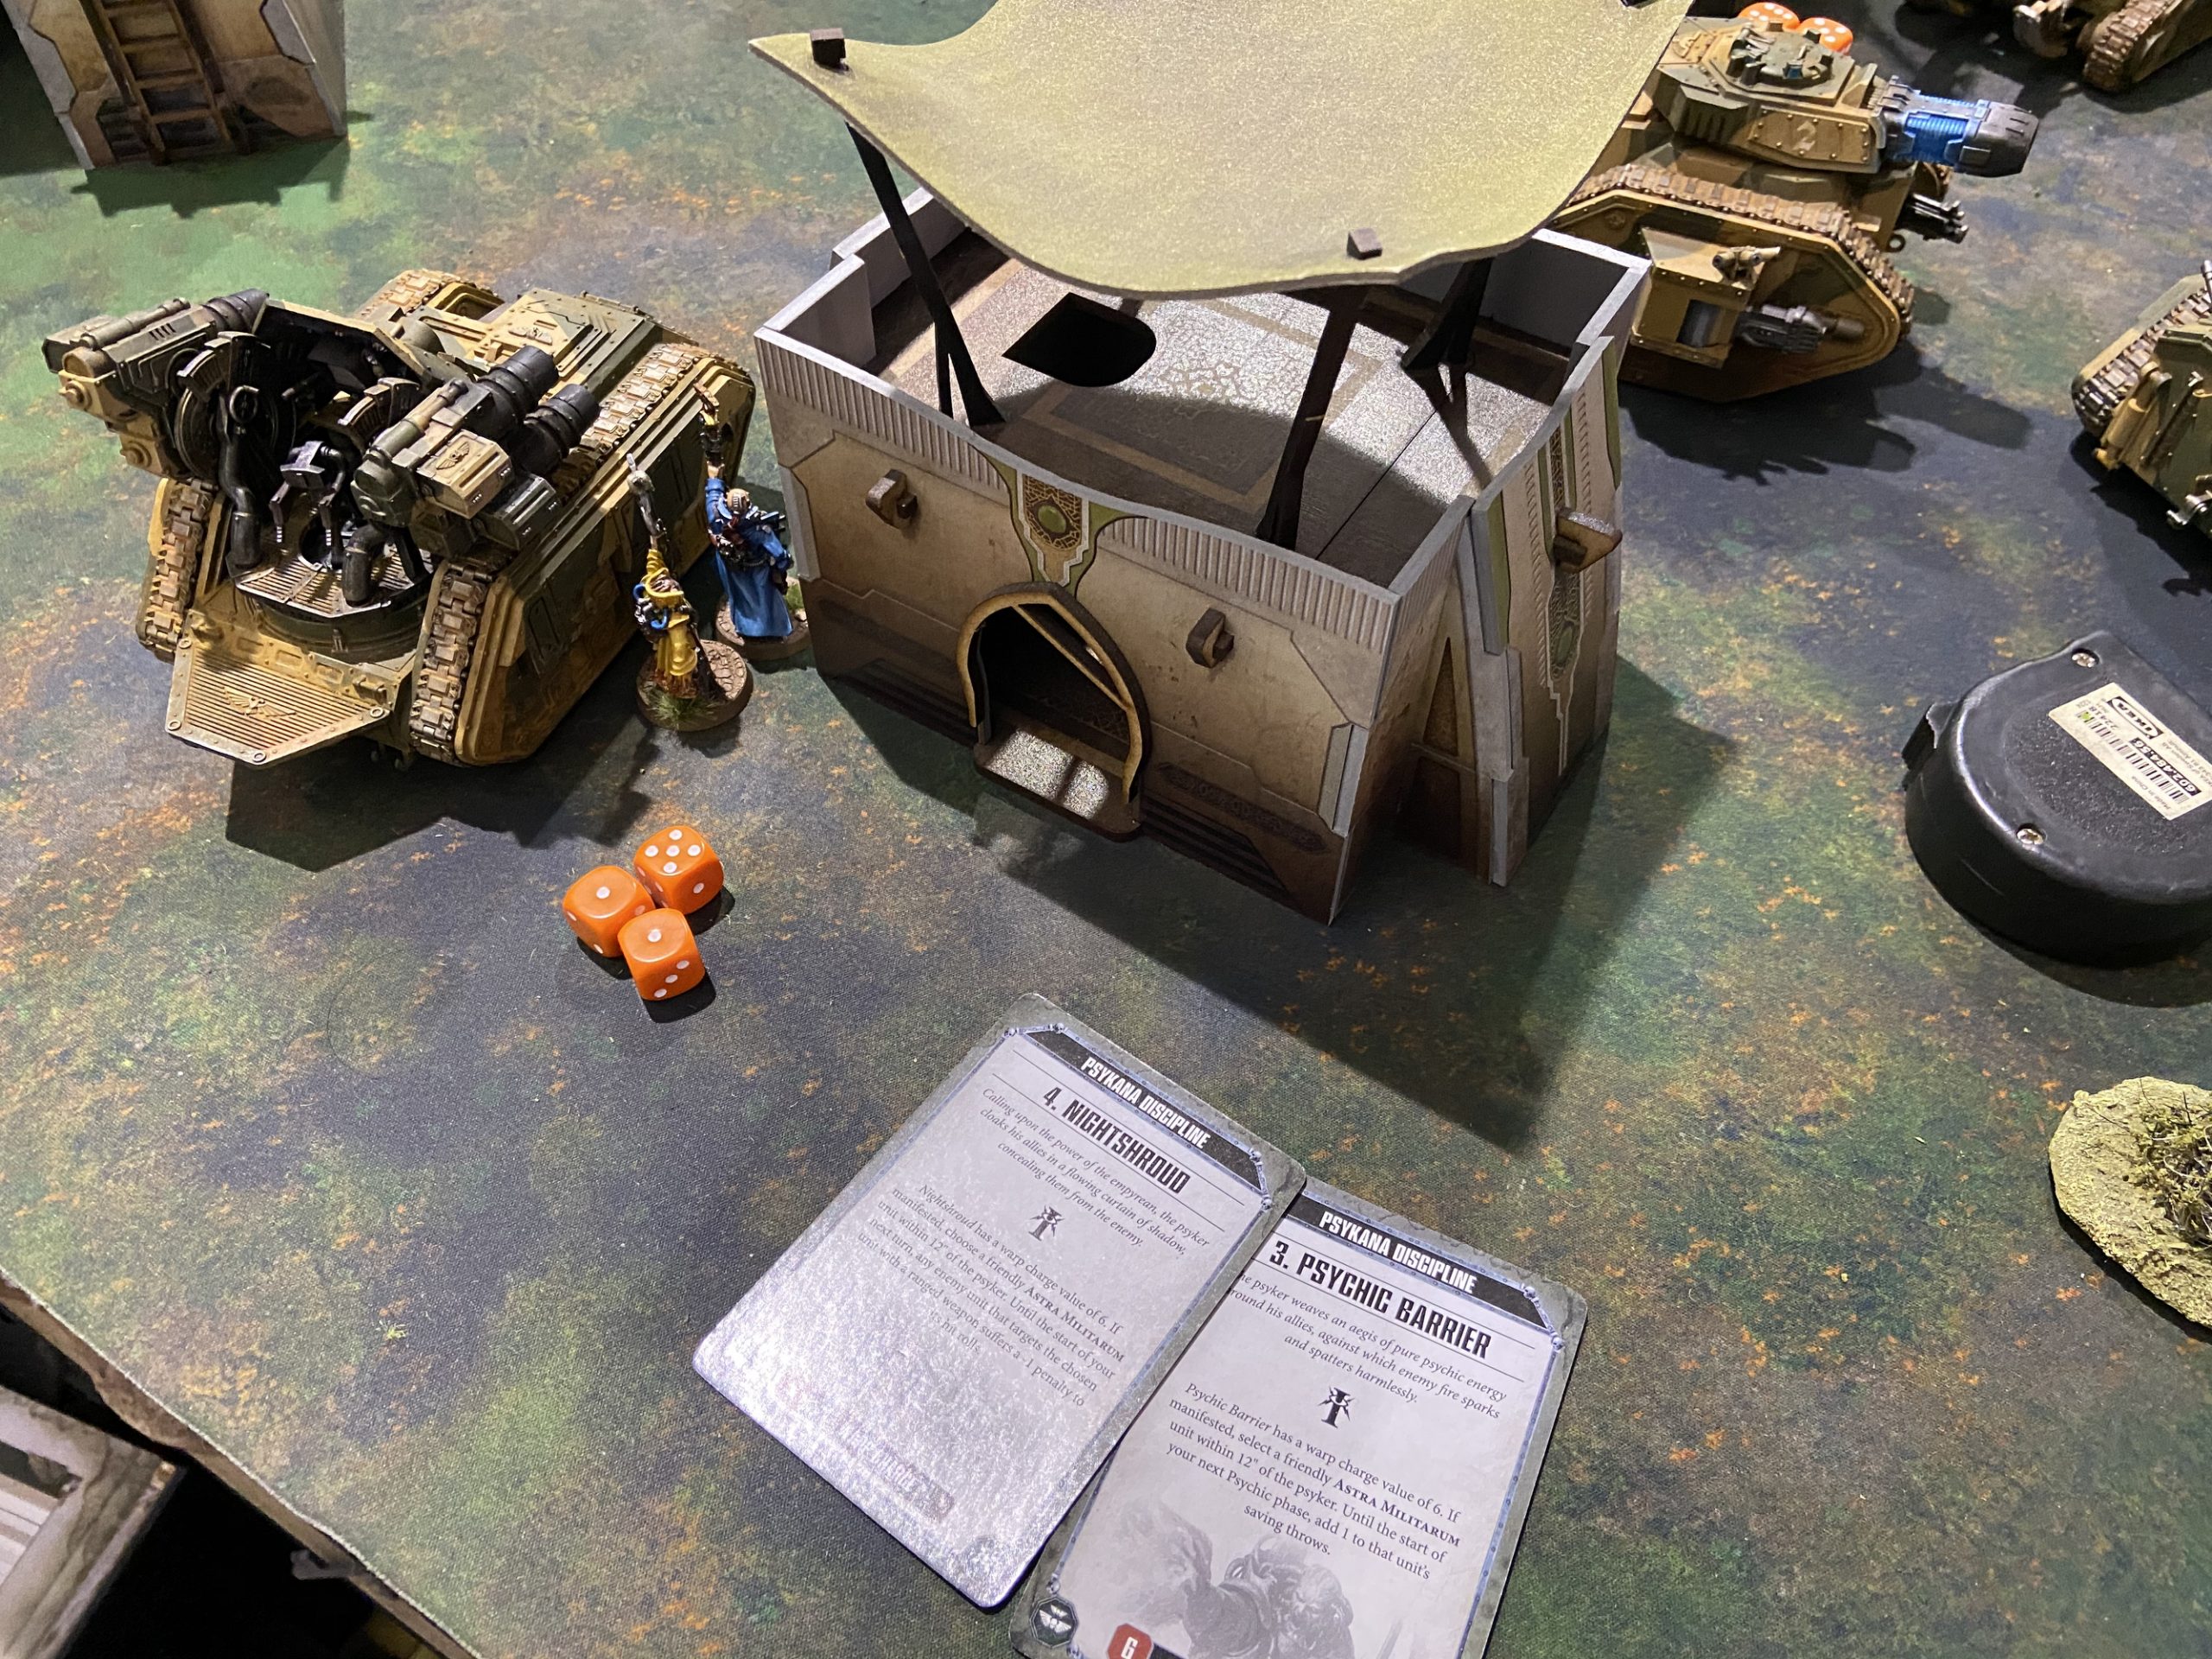
The psychic phase went perfectly. I got Nightshroud and Psychic Barrier off onto the Malcador – it was now +1 Save and -1 to hit.
Shooting wise I did decently enough. I tried to kill a squad of Guardsmen on a hill to my right but failed despite throwing two Chimera’s worth of firepower and two Wyverns at them. There was another Guardsmen squad on this hill too.
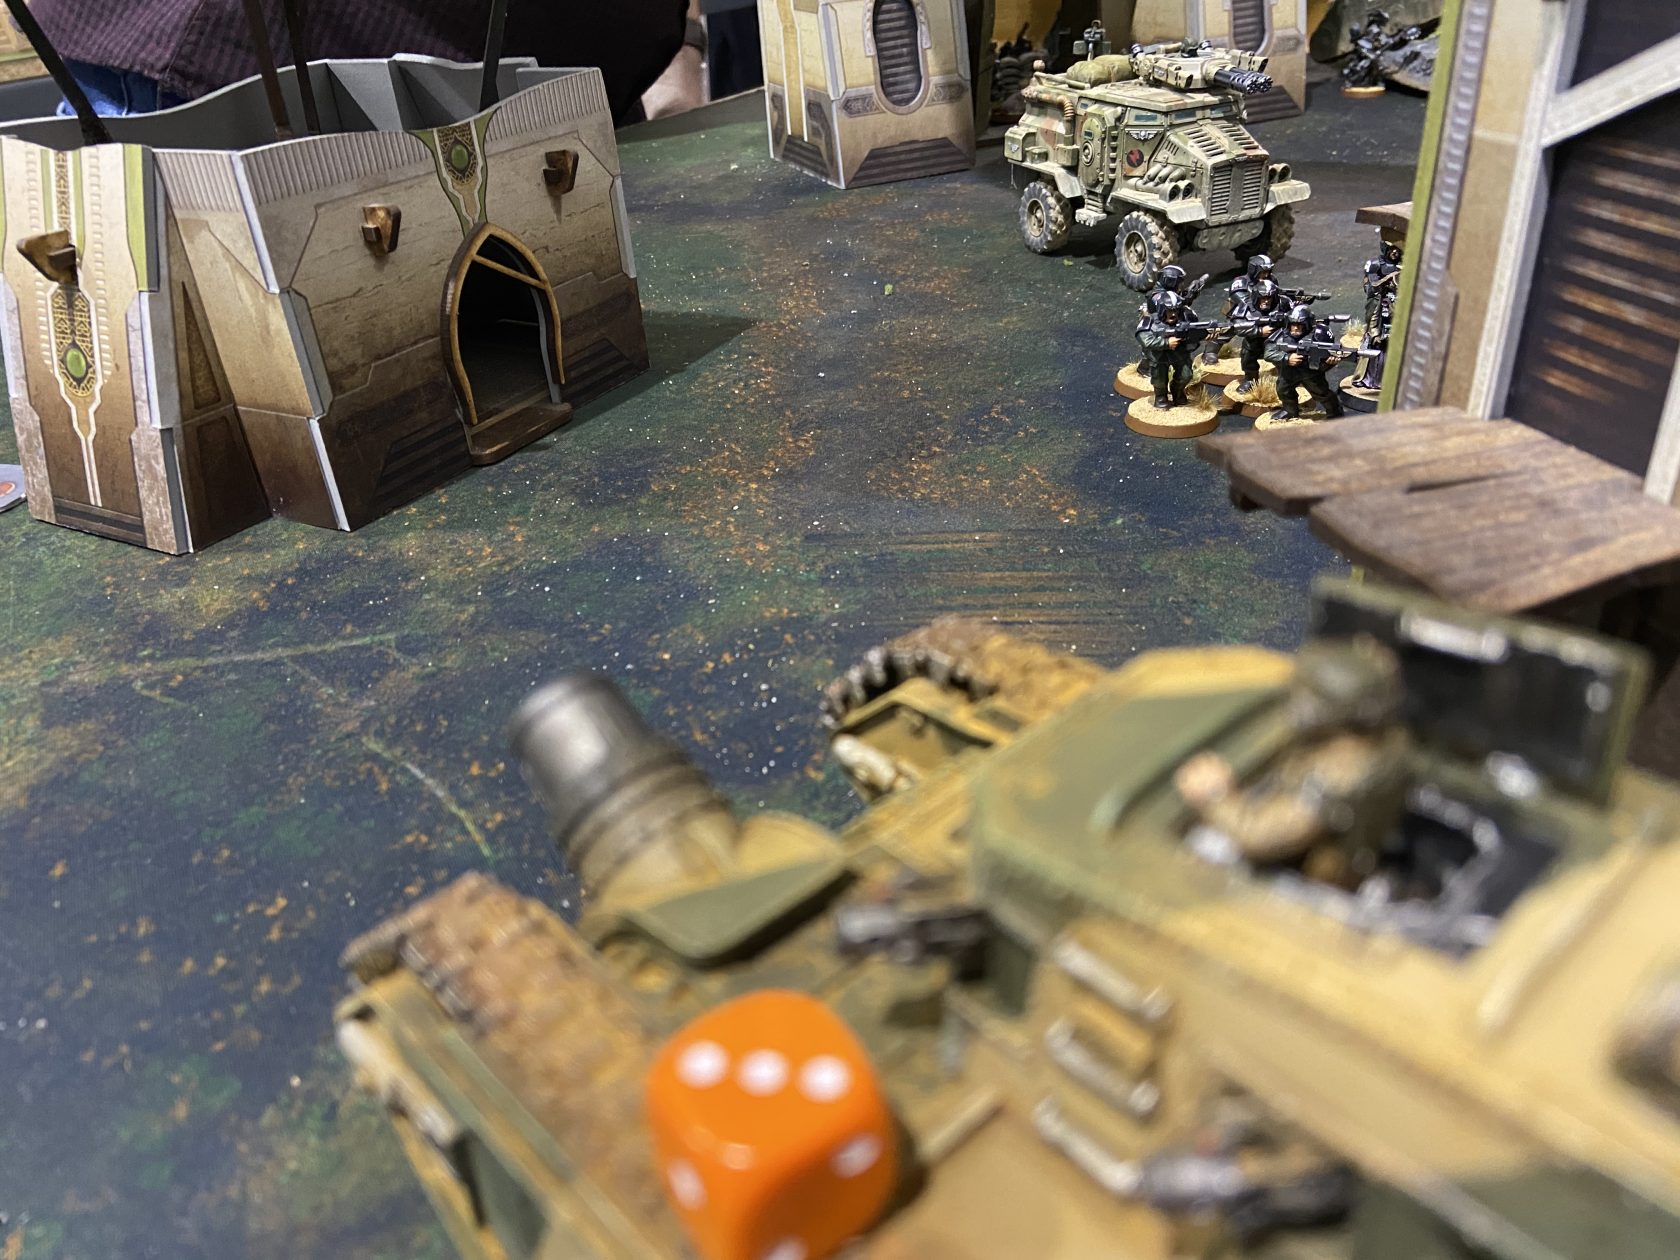
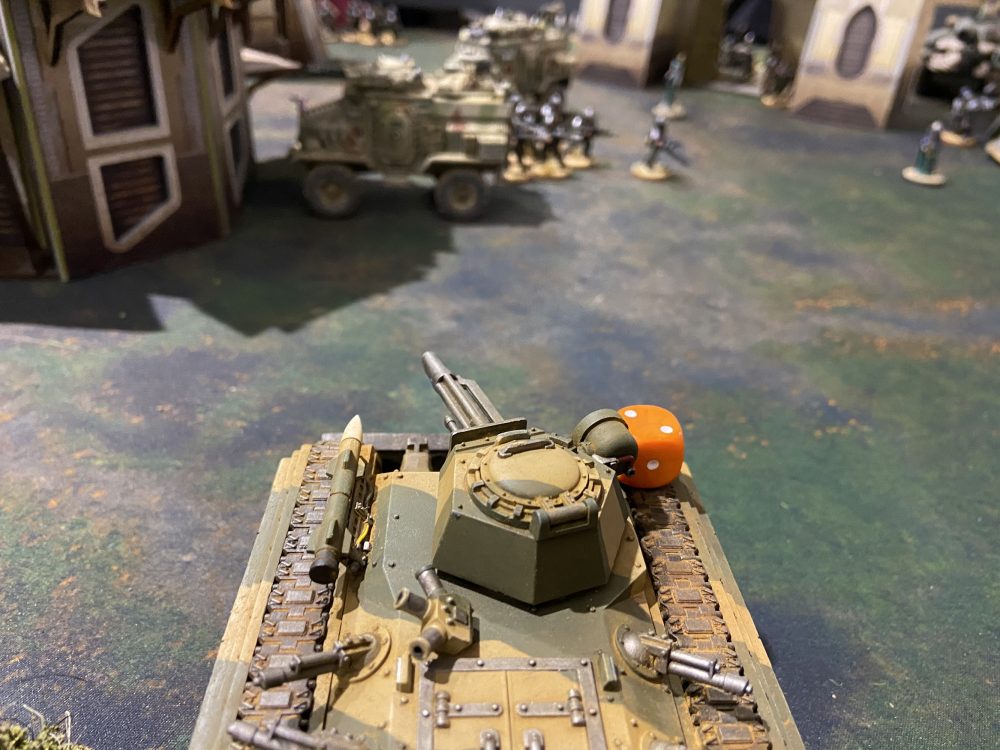
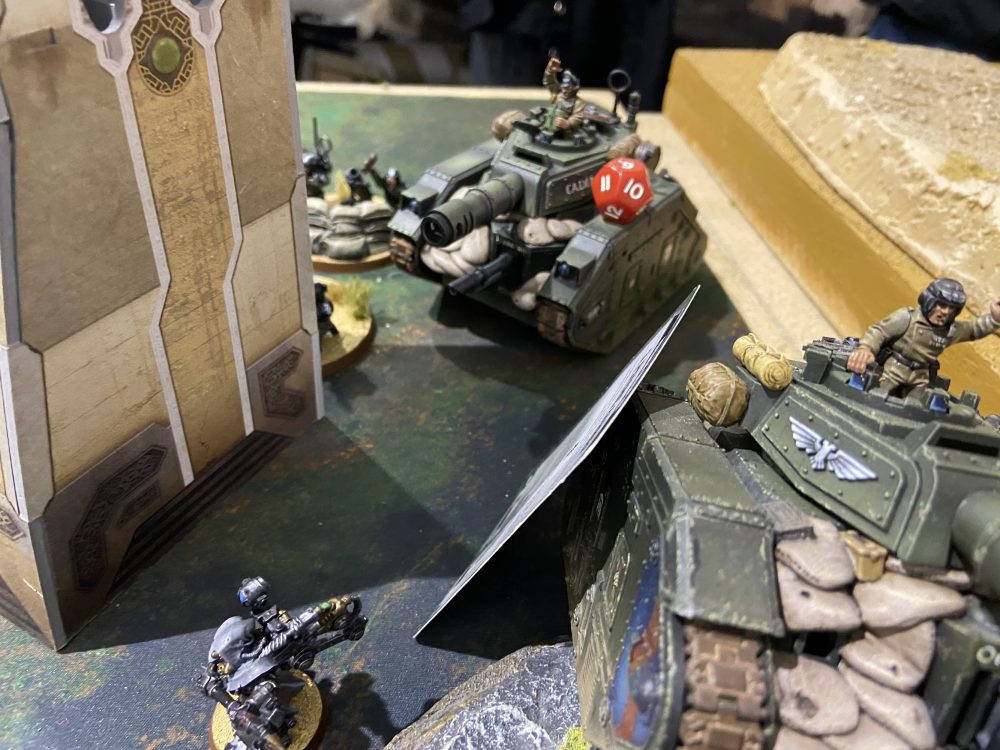
I then turned my attention to the Hellhound on the other flank. A Tank Commander has come forward to see the Hellhound as has the Malcador. The Malcador’s Demolisher did a bit of damage I think. I overcharged my Plasma Tank Commander despite him moving and therefore causing Mortal Wounds on 2s for the Sponson Plasma Cannons. It wiped out the Hellhound. The Tank Commander only lost a single wound from overheating.
The Callidus’ Reign of Confusion cost me an extra CP this turn – I paid 3CP in total for Overlapping Fields of Fire against the Hellhound. I did get 1CP back though from my Grand Strategist Trait.
Show Score
Me: 1VP
Enemy: 0VP
-
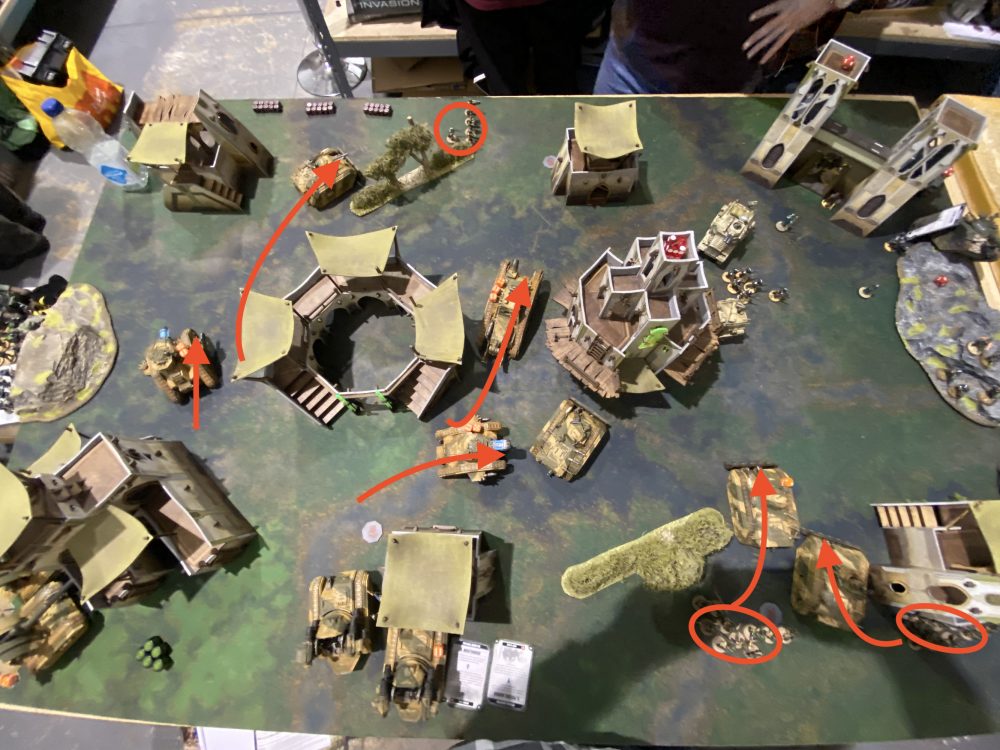
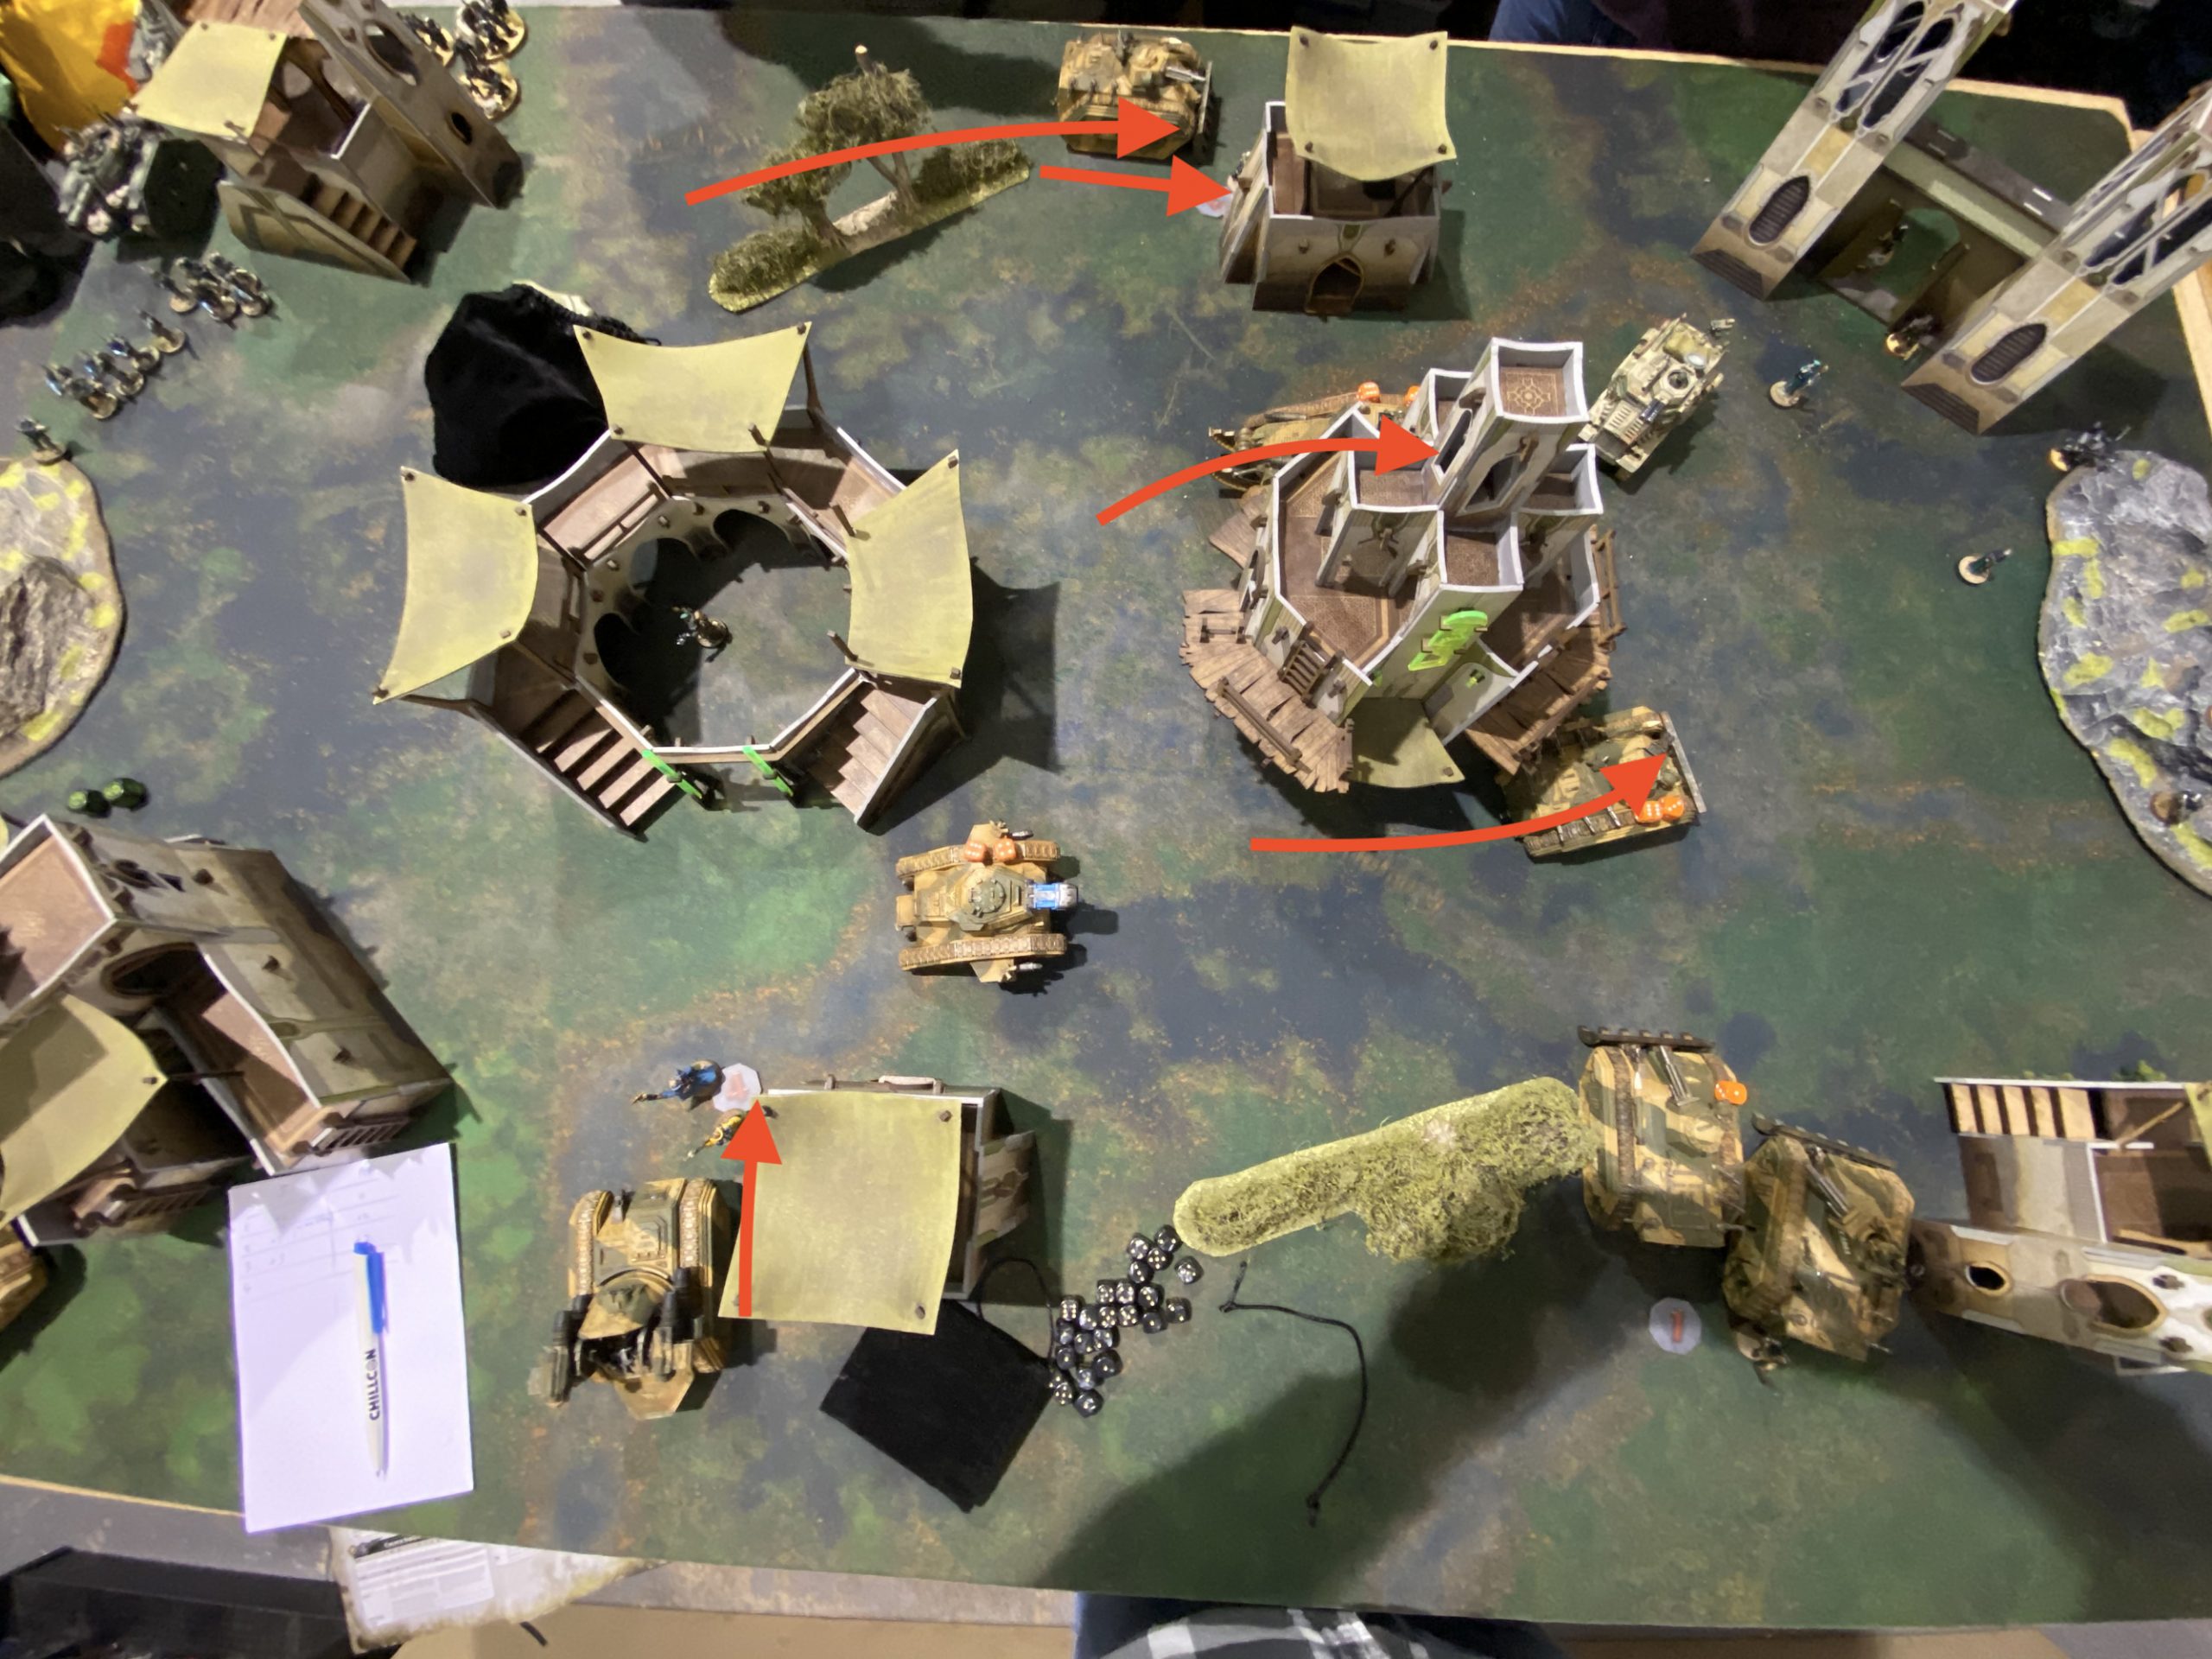
- Turn 1 Overview

-
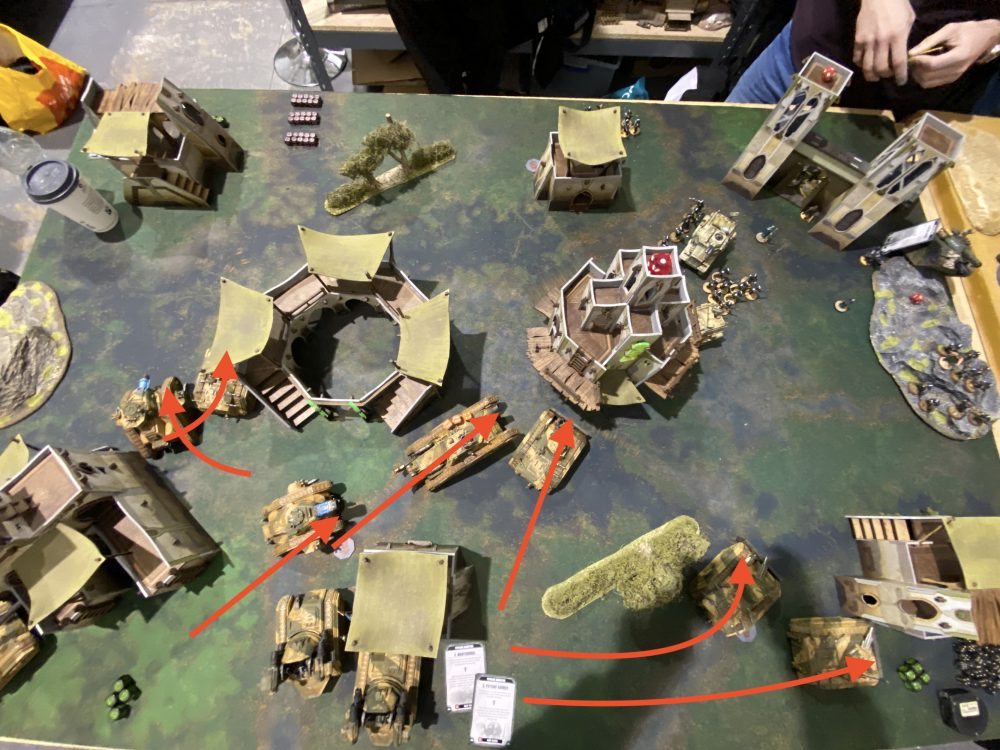
- Turn 1 Movement

-

- The Malcador and a Chimera grind forwards
-
- Tank Commander and Chimera going up the left flank
Enemy Turn 1
Apostolos moves the Taurox’s forwards towards the centre to secure his third objective ready for turn 2 – when the scoring would begin. Pask and the Hammer of Sunderance Tank Commander moved around for line-of-site. The fast-moving Hellhound which wanted to be moving and close was gone of course. Two squads of Guardsmen follows the Taurox Prime towards the table centre.
I managed to hold out for the enemy shooting phase. A single Chimera was hurt the most and was taken down to 2 wounds. A Basilisk took a few wounds but remained on its top bracket, the same happened to a Wyvern. The Malcador faired well too and took only two wounds. I got off very lightly here I think.
Most of the enemy’s shooting was wasted at this stage. The anti-infantry of the Mortars and Taurox Prime’s couldn’t be brought to best of any of my infantry at this time. Also at this stage, neither of my Tank Commanders were exposed to the enemy Tank Commanders – we’re both playing safe for now. This somewhat limited any real crippling blows that either of us could do.
Show Score
Me: 1VP
Enemy: 0VP
-

- Turn 1 Overview

-
- Turn 1 Movement

-
- Taurox Prime moved up to the cover of the centre building

My Turn 2
At the start of this turn, I held the three objectives on my side of the battlefield. Apostolos opted to use Reign of Confusion again, at a cost of 2CP.
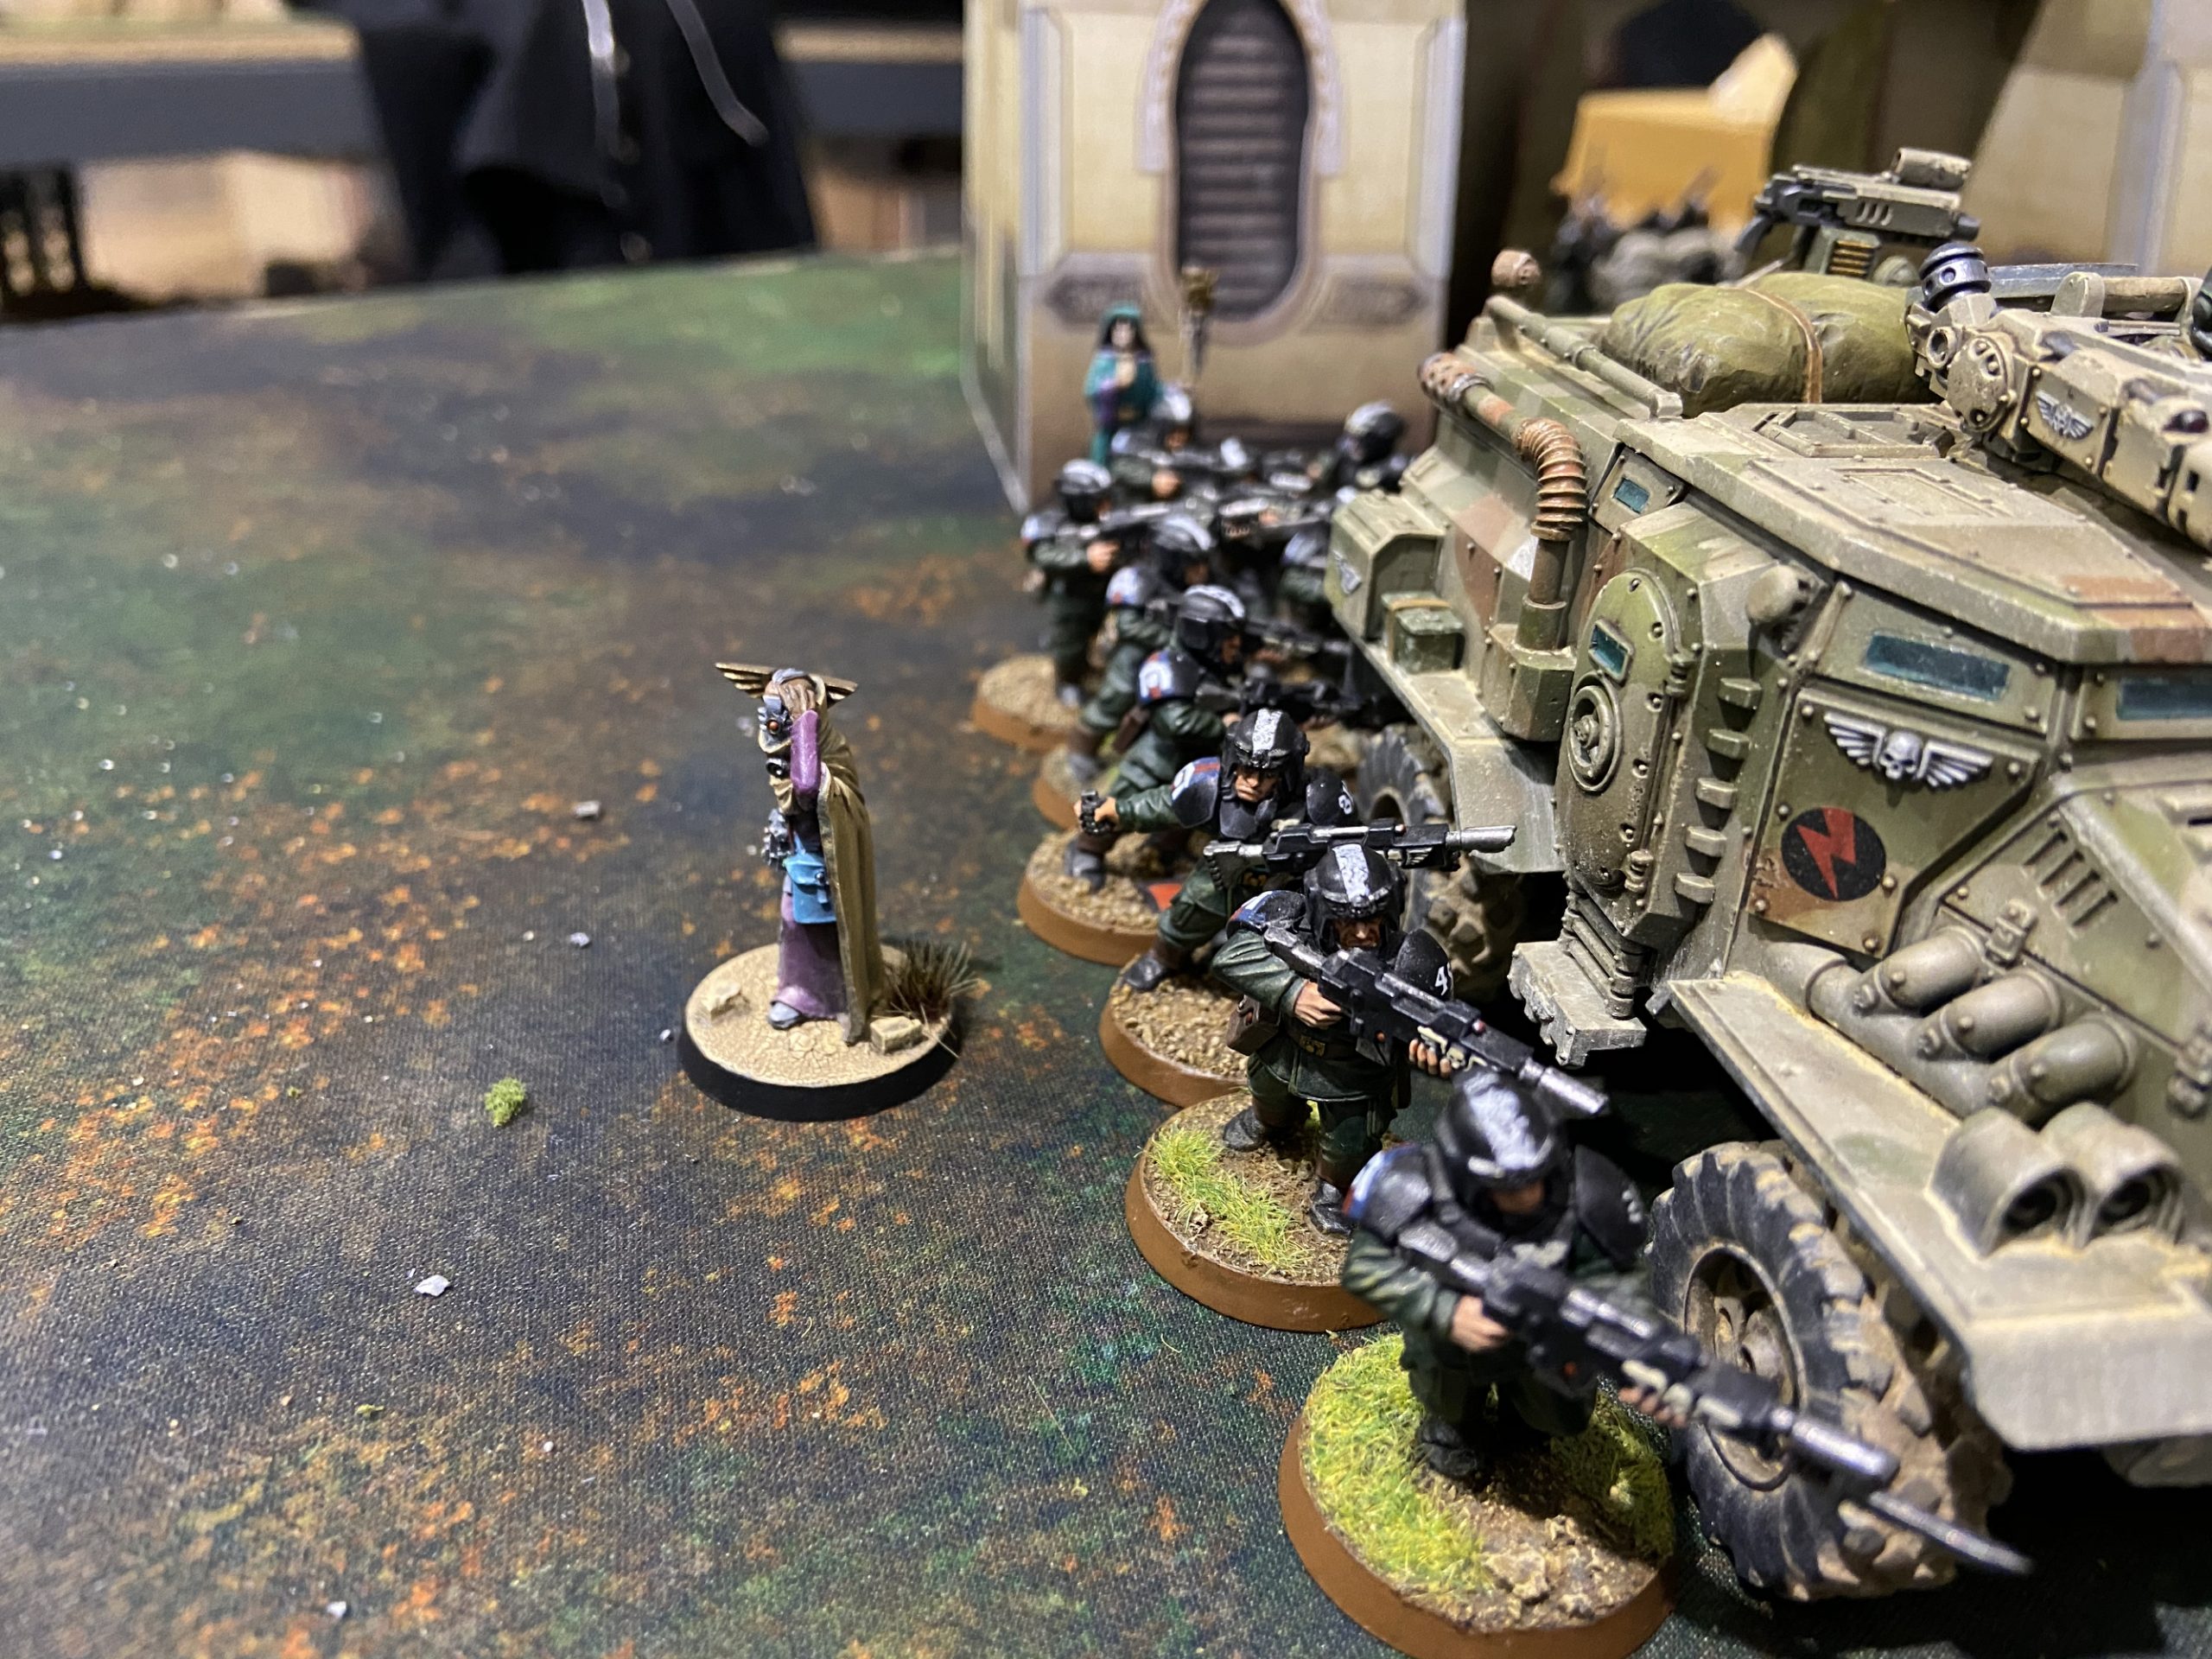
I once again was moved up aggressively with my Chimeras and Malcador Defender. The Tank Commander’s were being more cautious. All my artillery stayed in place. My Plasma Command Squad came in at the top of the battlefield in front of a Demolisher Leman Russ which I do not have an image of. But it was hidden behind a building for the first turn. My infantry squads on the right flank both got out.
My psychic phase went off again with perfection. Placing -1 to hit and +1 Save onto the wounded Wyvern.
With my movements forward done, onto shooting. The Tank Commander on the left was slowly moving around that circular central building and picking off enemy armour. During the last turn it was the Hellhound, and this turn it was the Demolisher. This Tank Commander once again overcharged as did the Command Squad – that finished off the Demolisher. This removed the control of that objective on the top side on the battlefield away from the enemy.
The Malcador whiffed against a Taurox Prime, but its Heavy Bolters proved effective against a Squad of Guardsmen that had moved forward and were tucked behind the tall central building. With the infantry moving forward my Wyverns were able to come into play and start removing Guardsmen. The Basilisks opened up against the Hammer of Sunderance Tank Commander at the back dealing some damage and taking him down a bracket – this would be undone by the Tech-Priest.
I think Reign of Confusion cost me another CP this turn when using Aerial Spotter on my Basilisk against the Hammer of Sunderance Tank Commander.
I was now looking at 70% board control, but the enemy Deep Strikers were coming…
Show Score
Me: 4VP
Enemy: 0VP
-
- Turn 2 Overview

-
- Turn 2 Movement

-
- My heavily wounded Chimera let its occupants go

-
- Pask taking damage in the backfield

-

- My right flank now with infantry
-

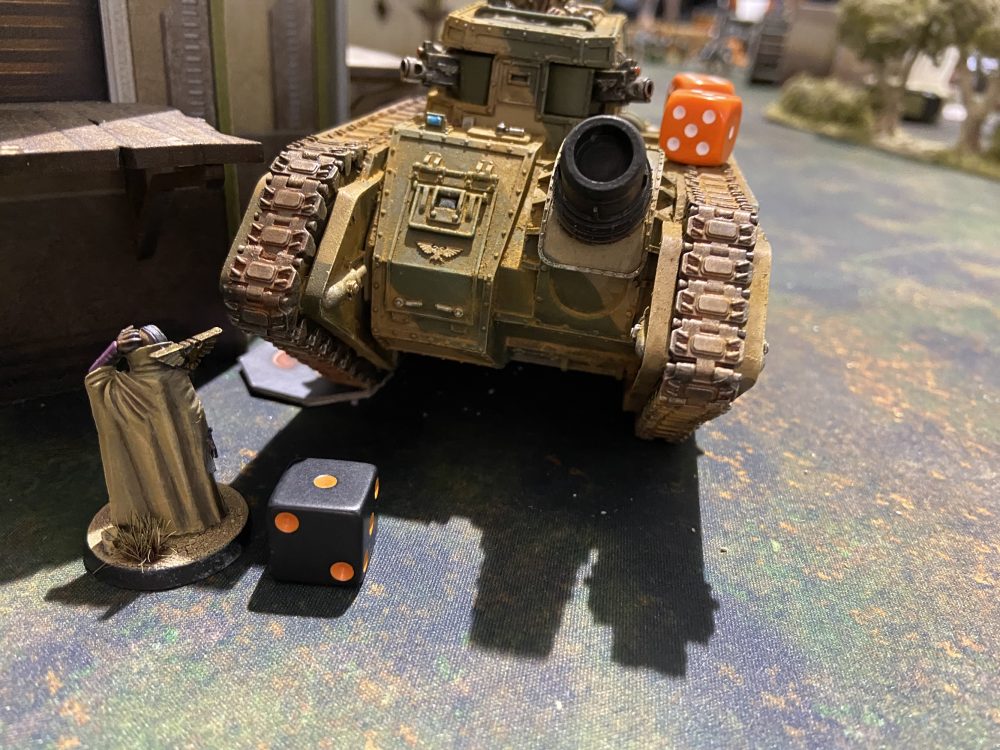
- The imposing Malcador
-
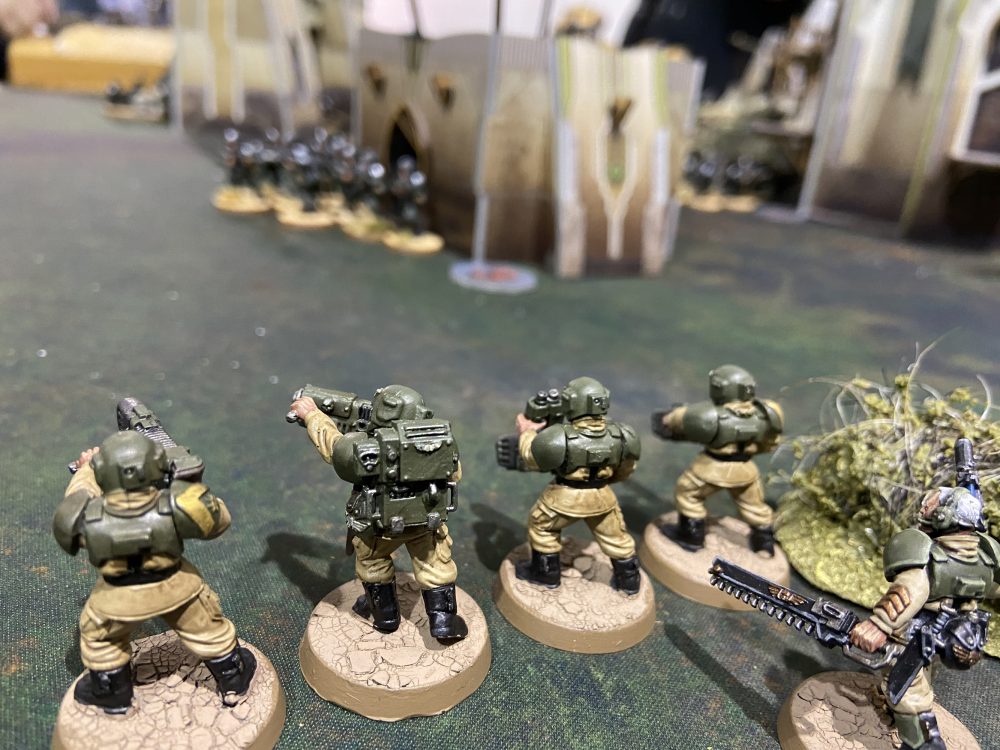
- Command Squad arrives to wipe out the Demolisher Tank Commander

Enemy Turn 2
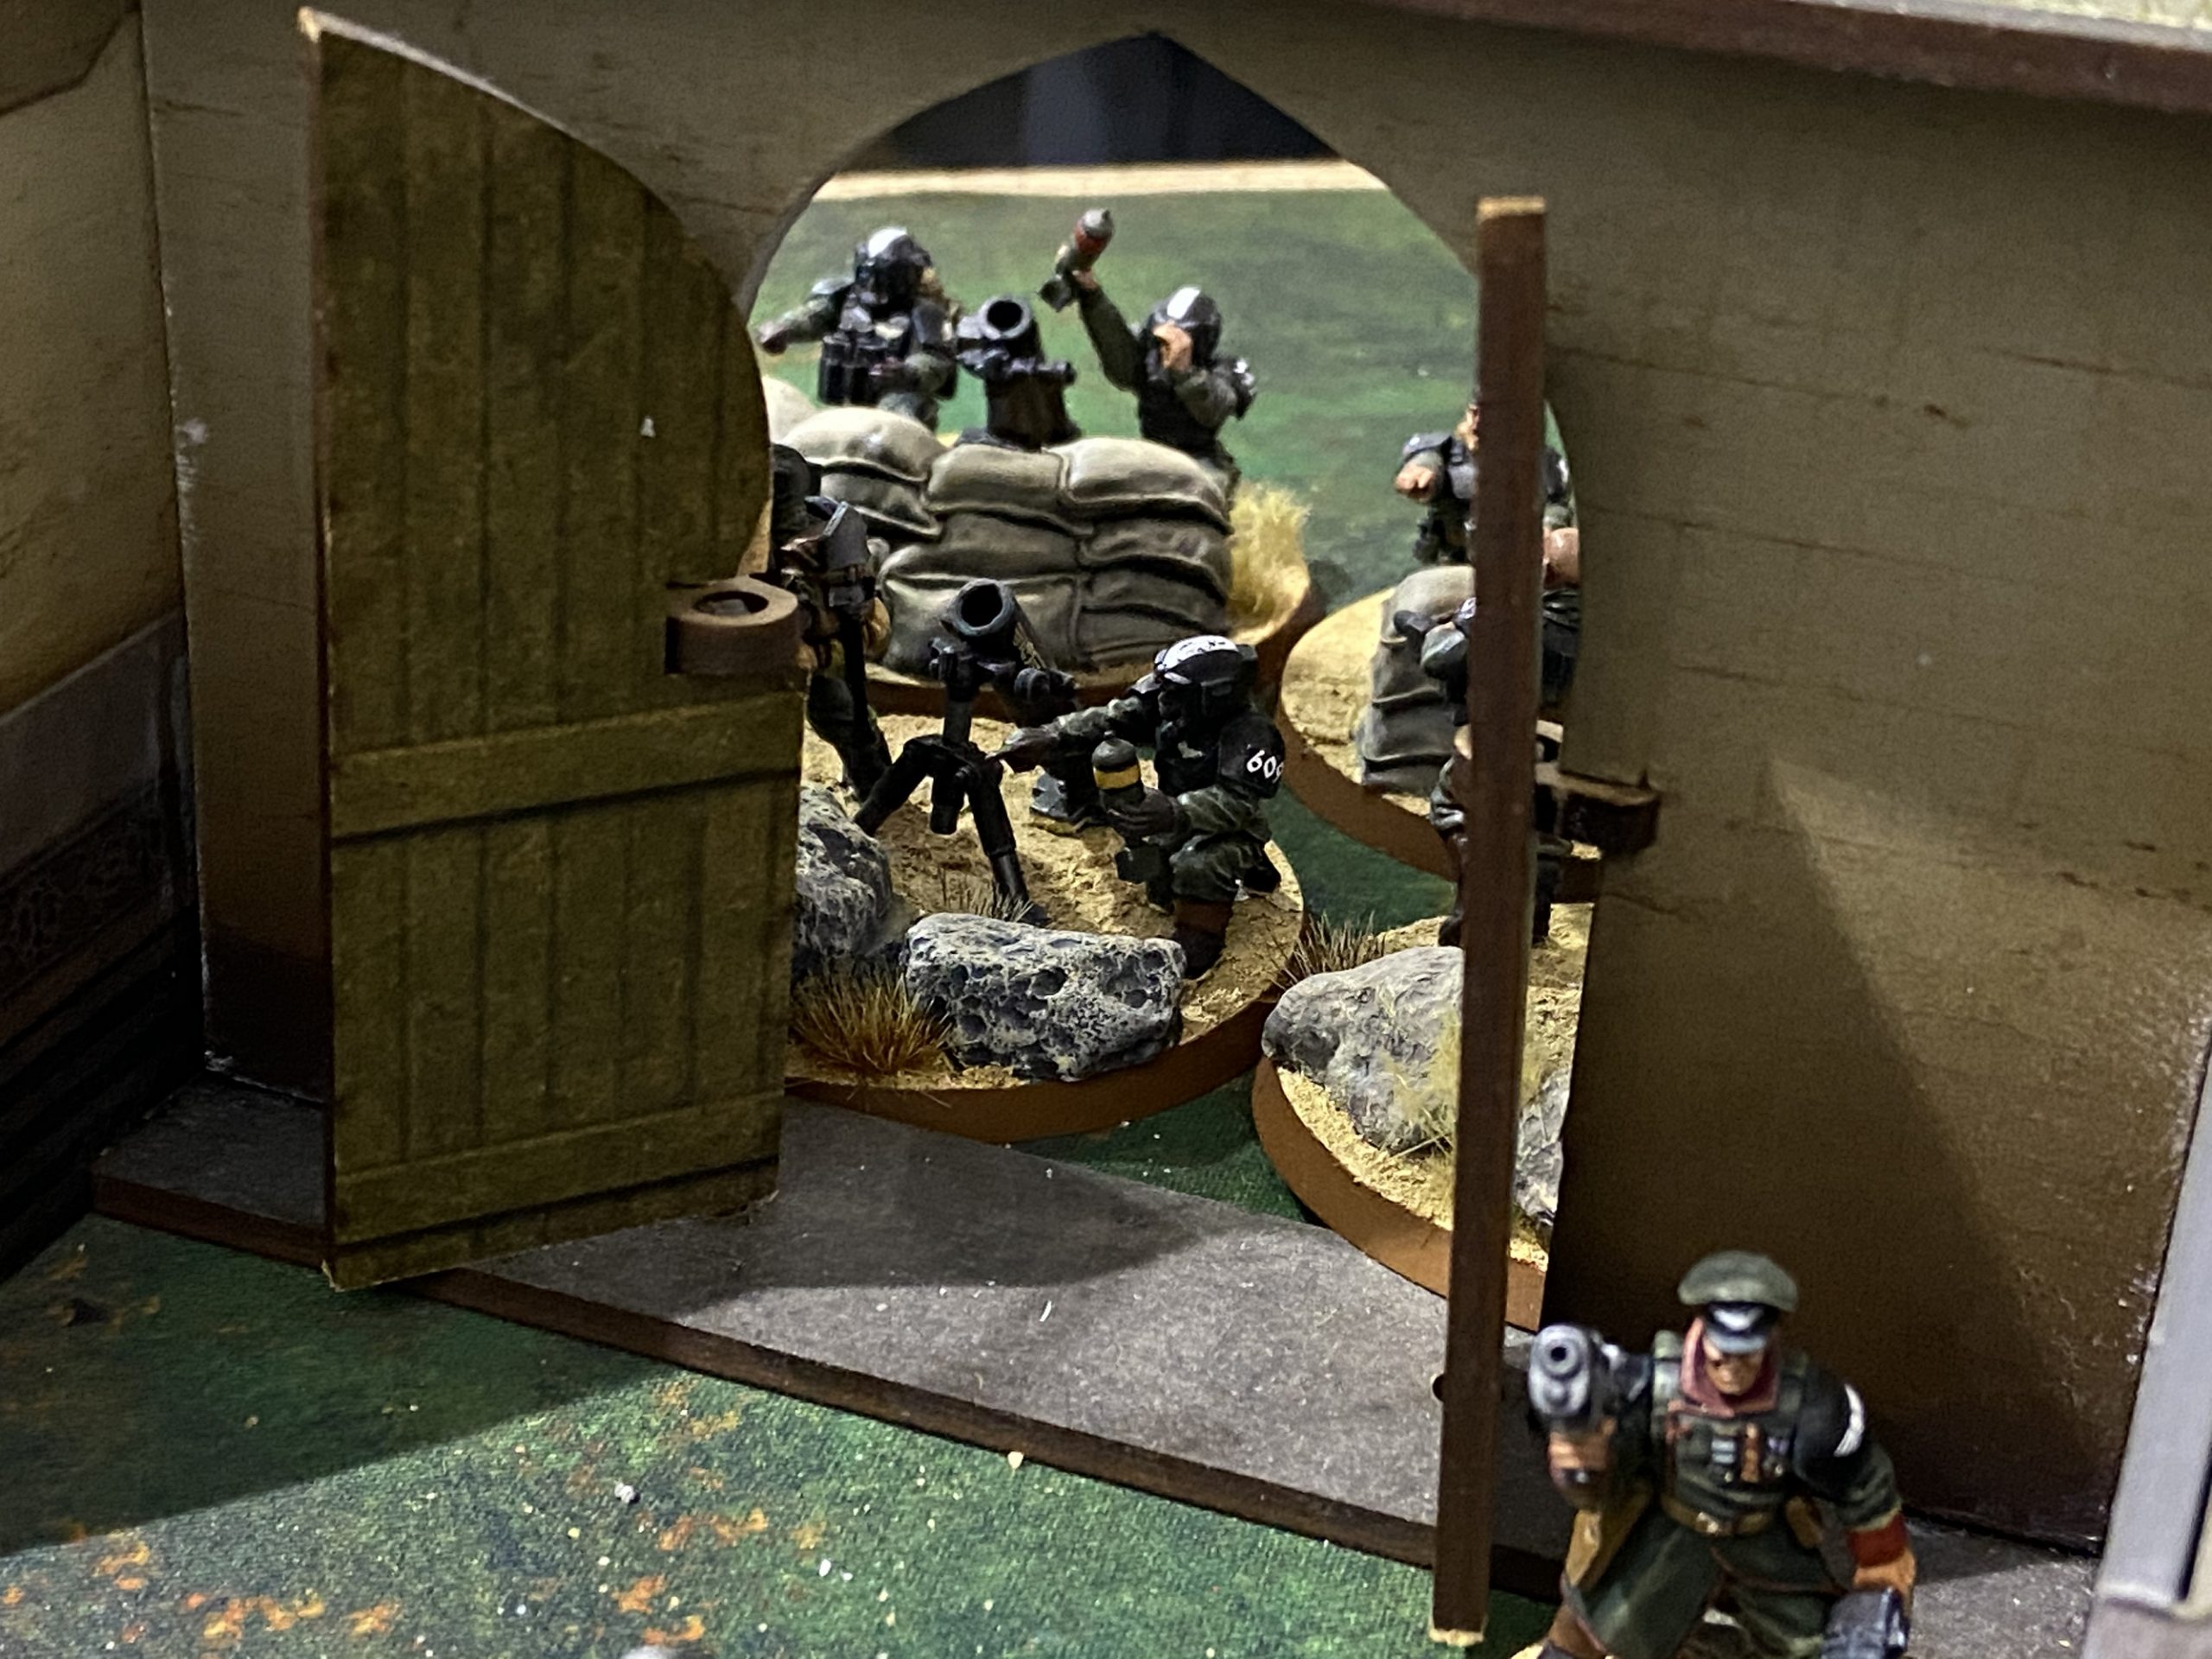
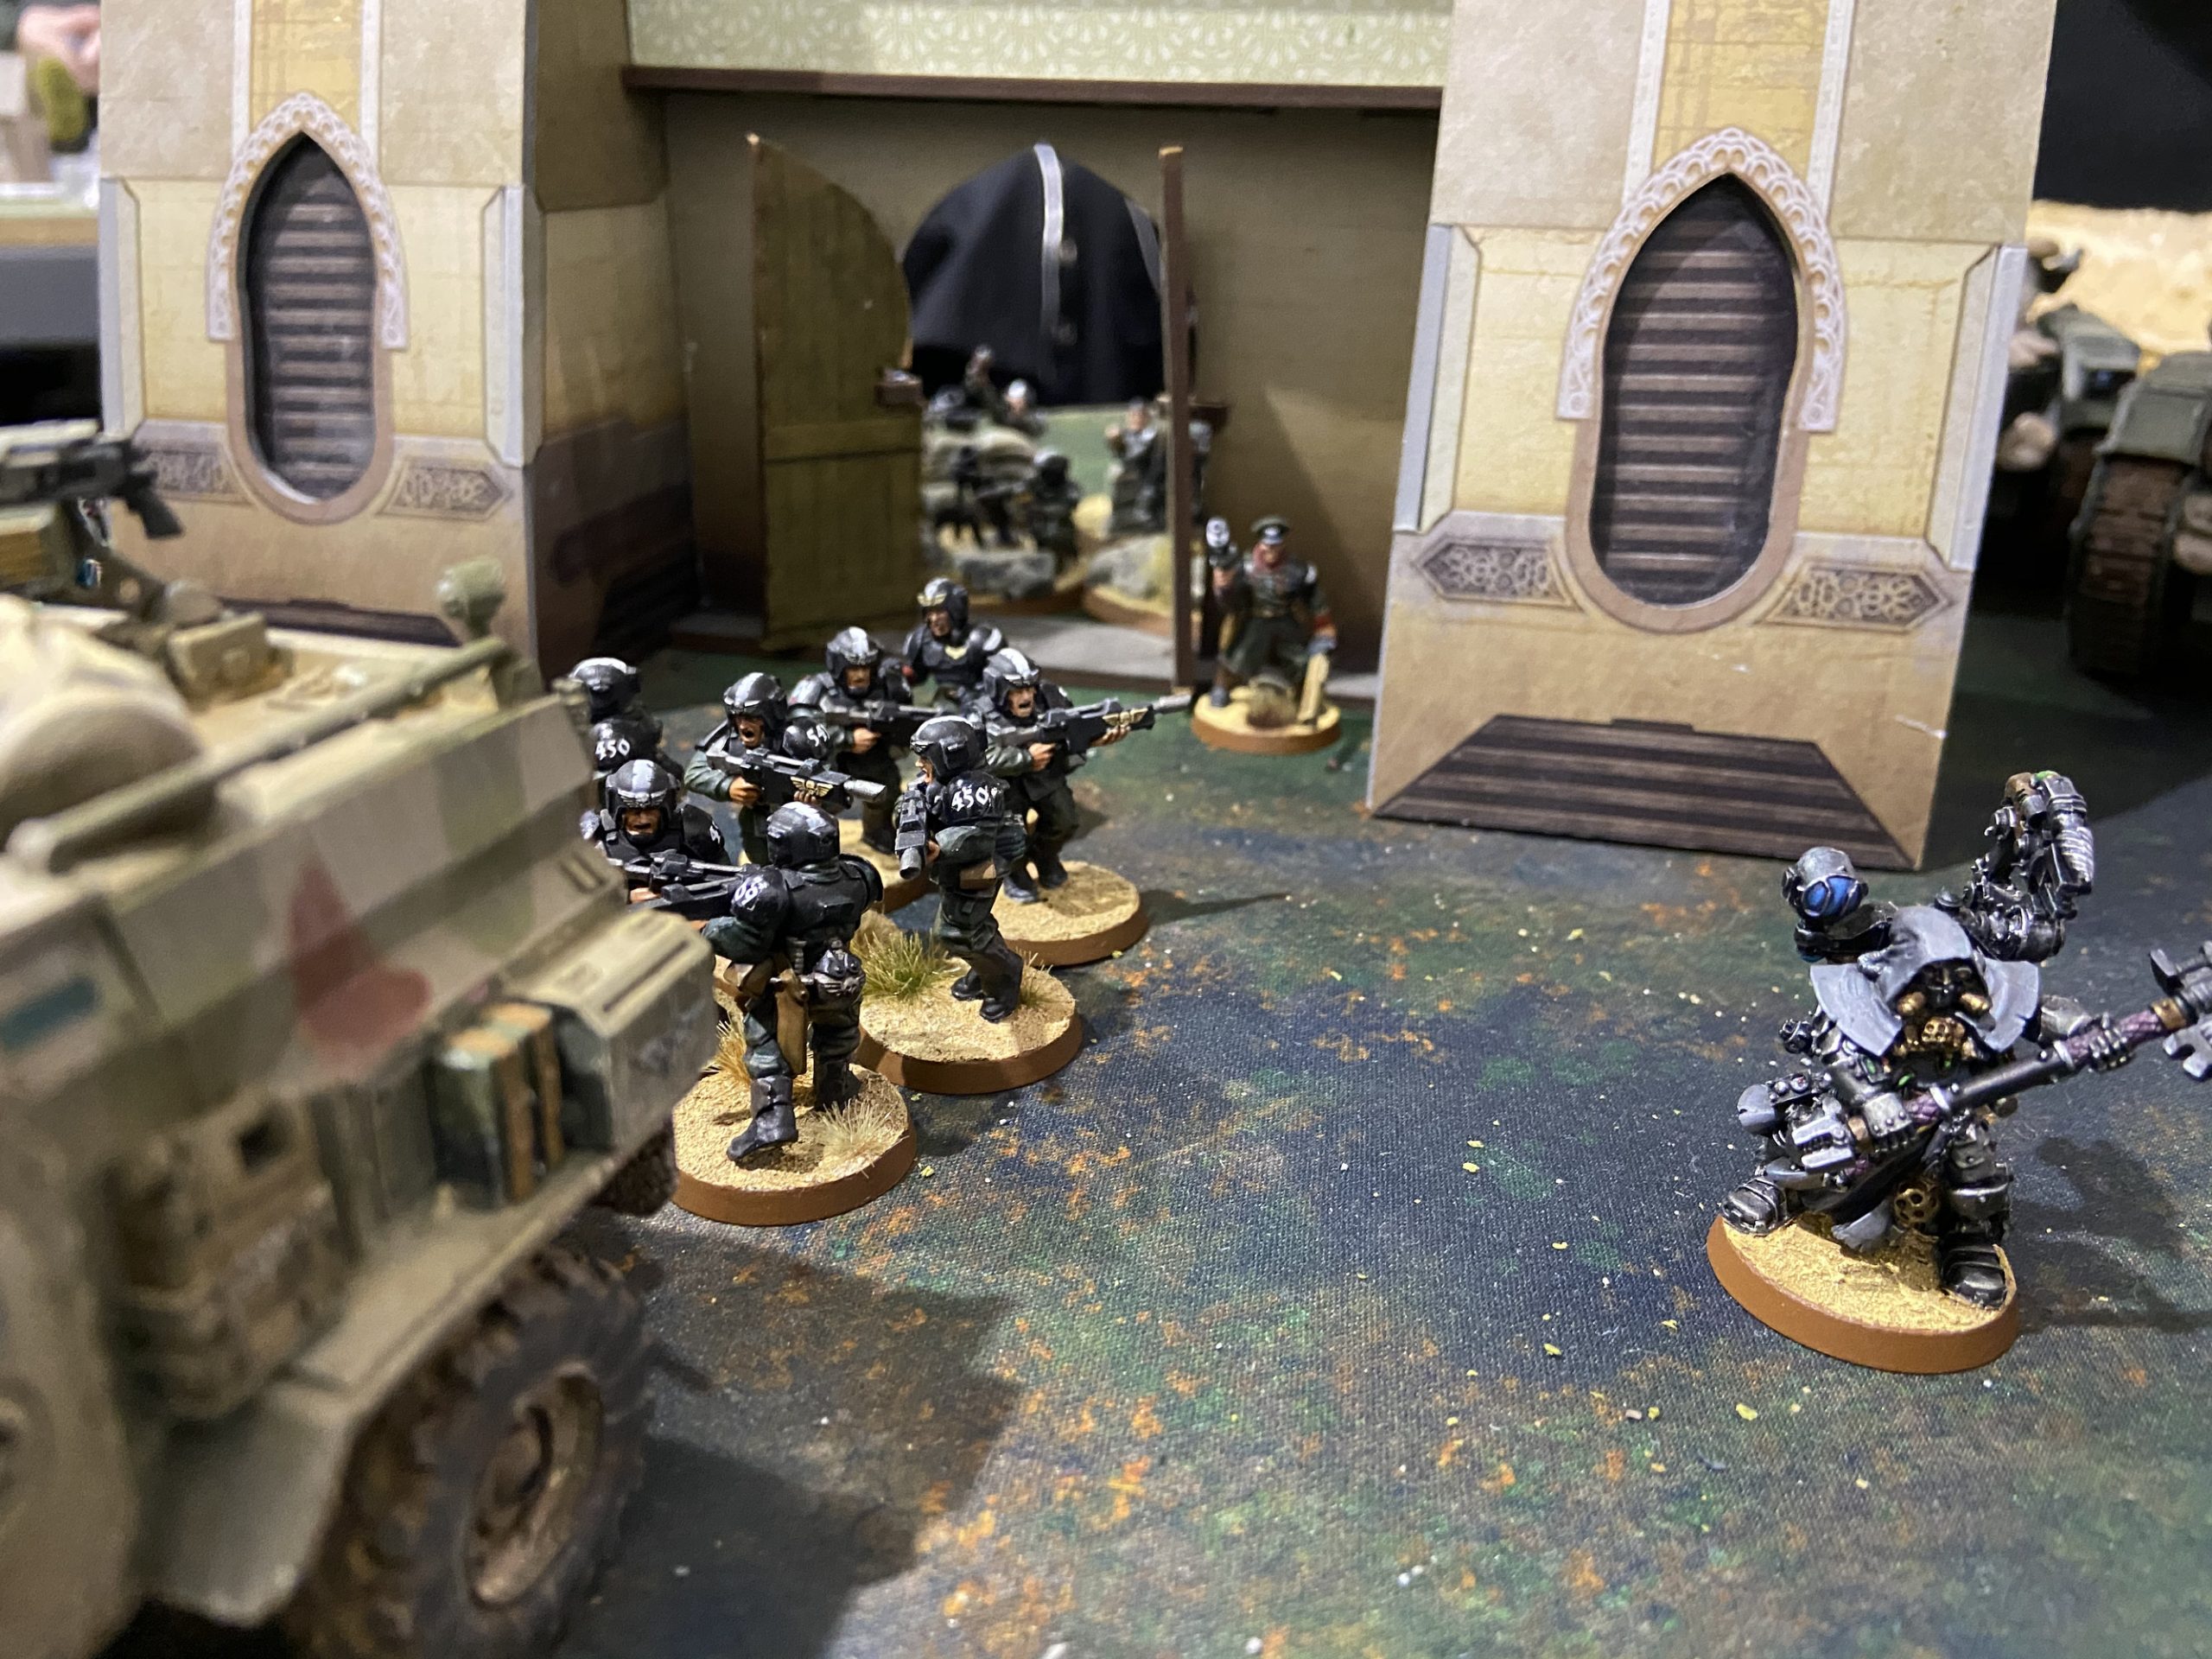
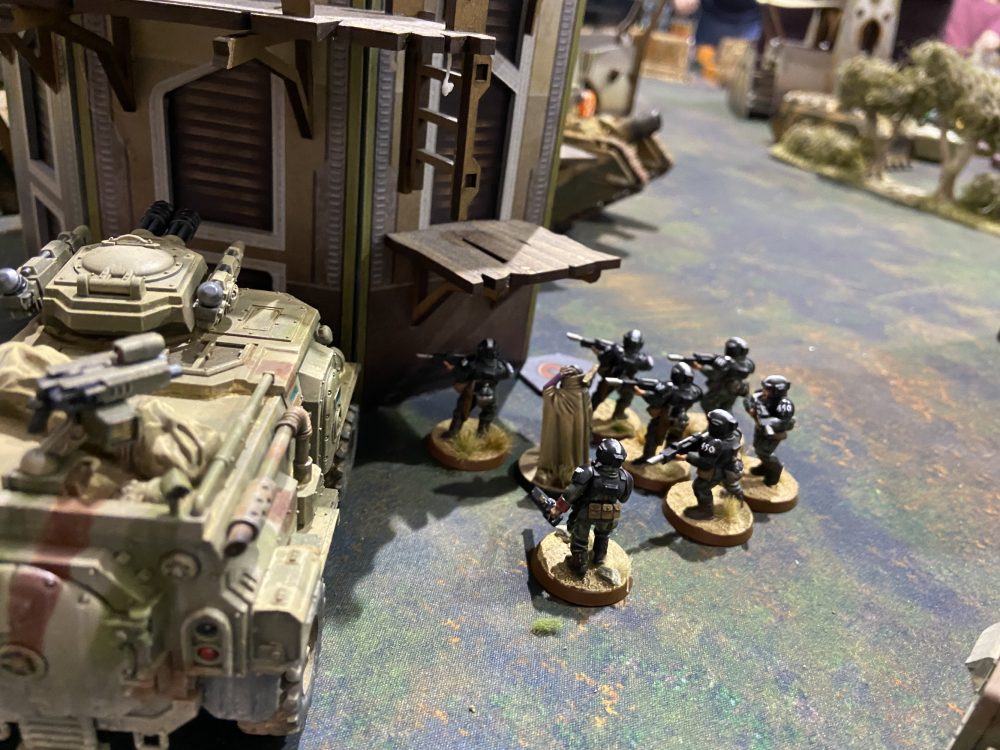
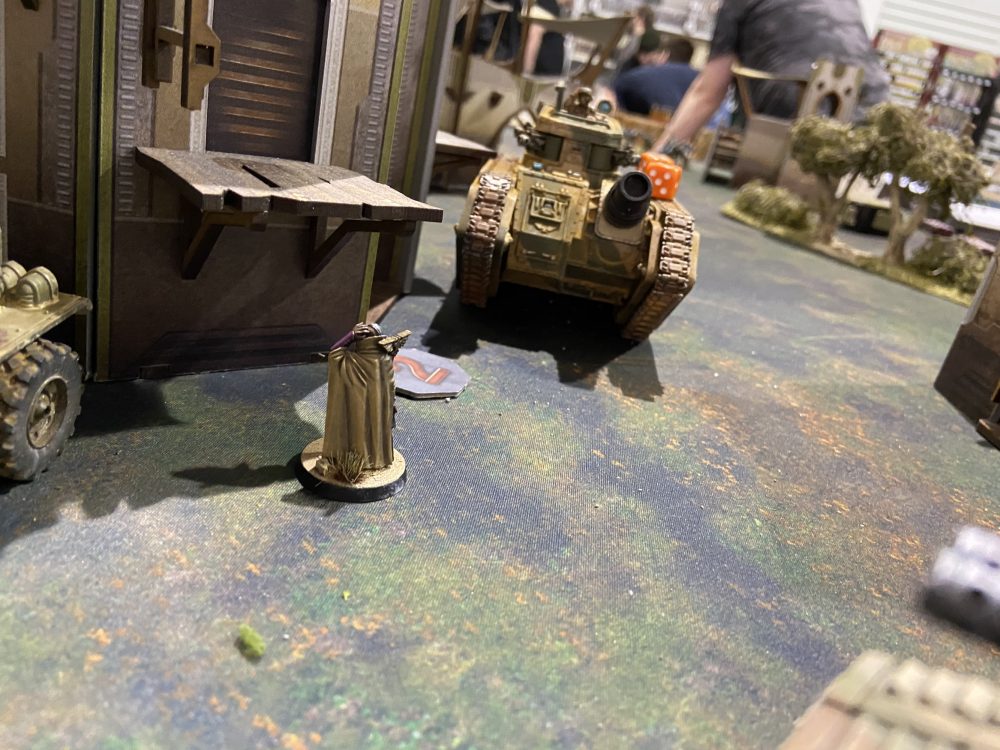
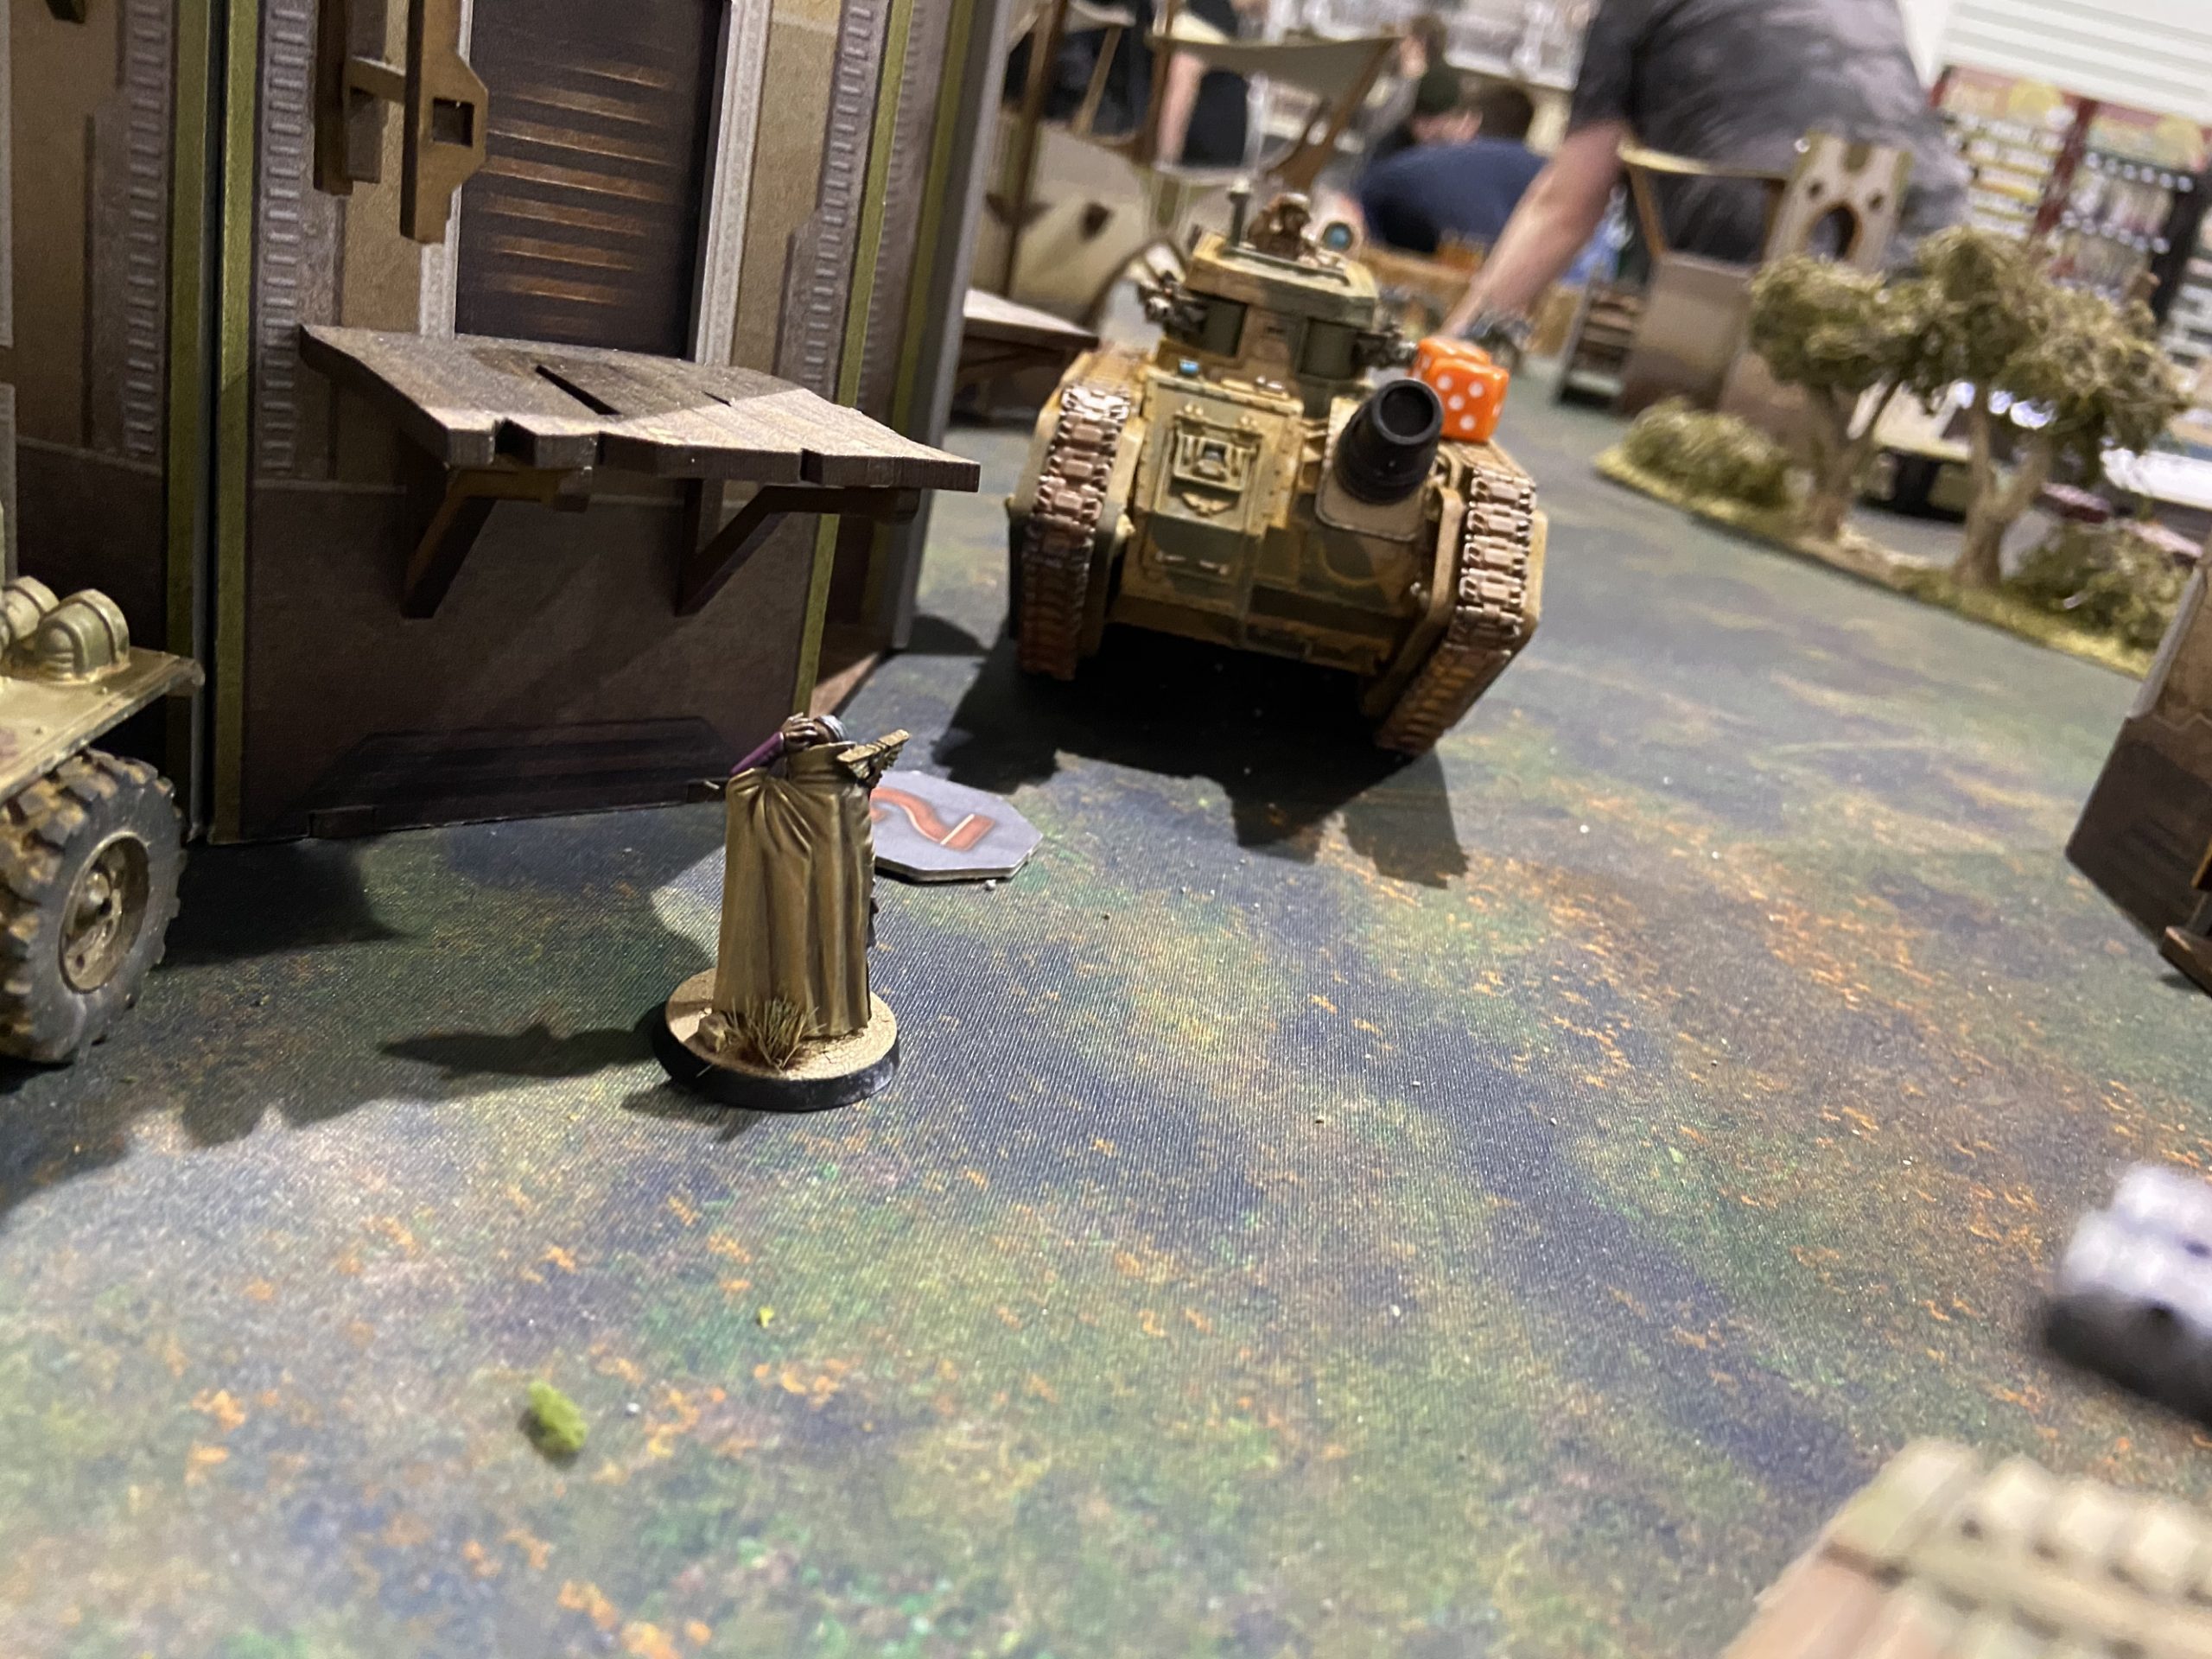
The movement phase was minimal for Apostolos this turn. But all the Scions and the Assassin arrived. Note on Tempestus Prime arrived in the centre of the circular building. Away from the rest. Any movement that did occur was towards that central objective on the far side of the central building.
The Scions quickly munched through my prized Tank Commander who had destroyed the Hellhound and the Demolisher Tank Commander. Bye-bye, good friend :-( However, during this engagement the enemy warlord with a Plasma Pistol fired and overcharged. He was re-rolling ones to hit, but a one was rolled and another one was rolled. The enemy warlord was slain! The Deathmask of Ollanius could not save him here!
Pask zeroed in on the Wyvern that was wounded and destroyed it, despite it being -1 to hit and having +1 to its Save. The Hammer of Sunderance went for the Malcador and did some damage along with some small arms fire – I think. This placed the Malcador on its middle bracket.
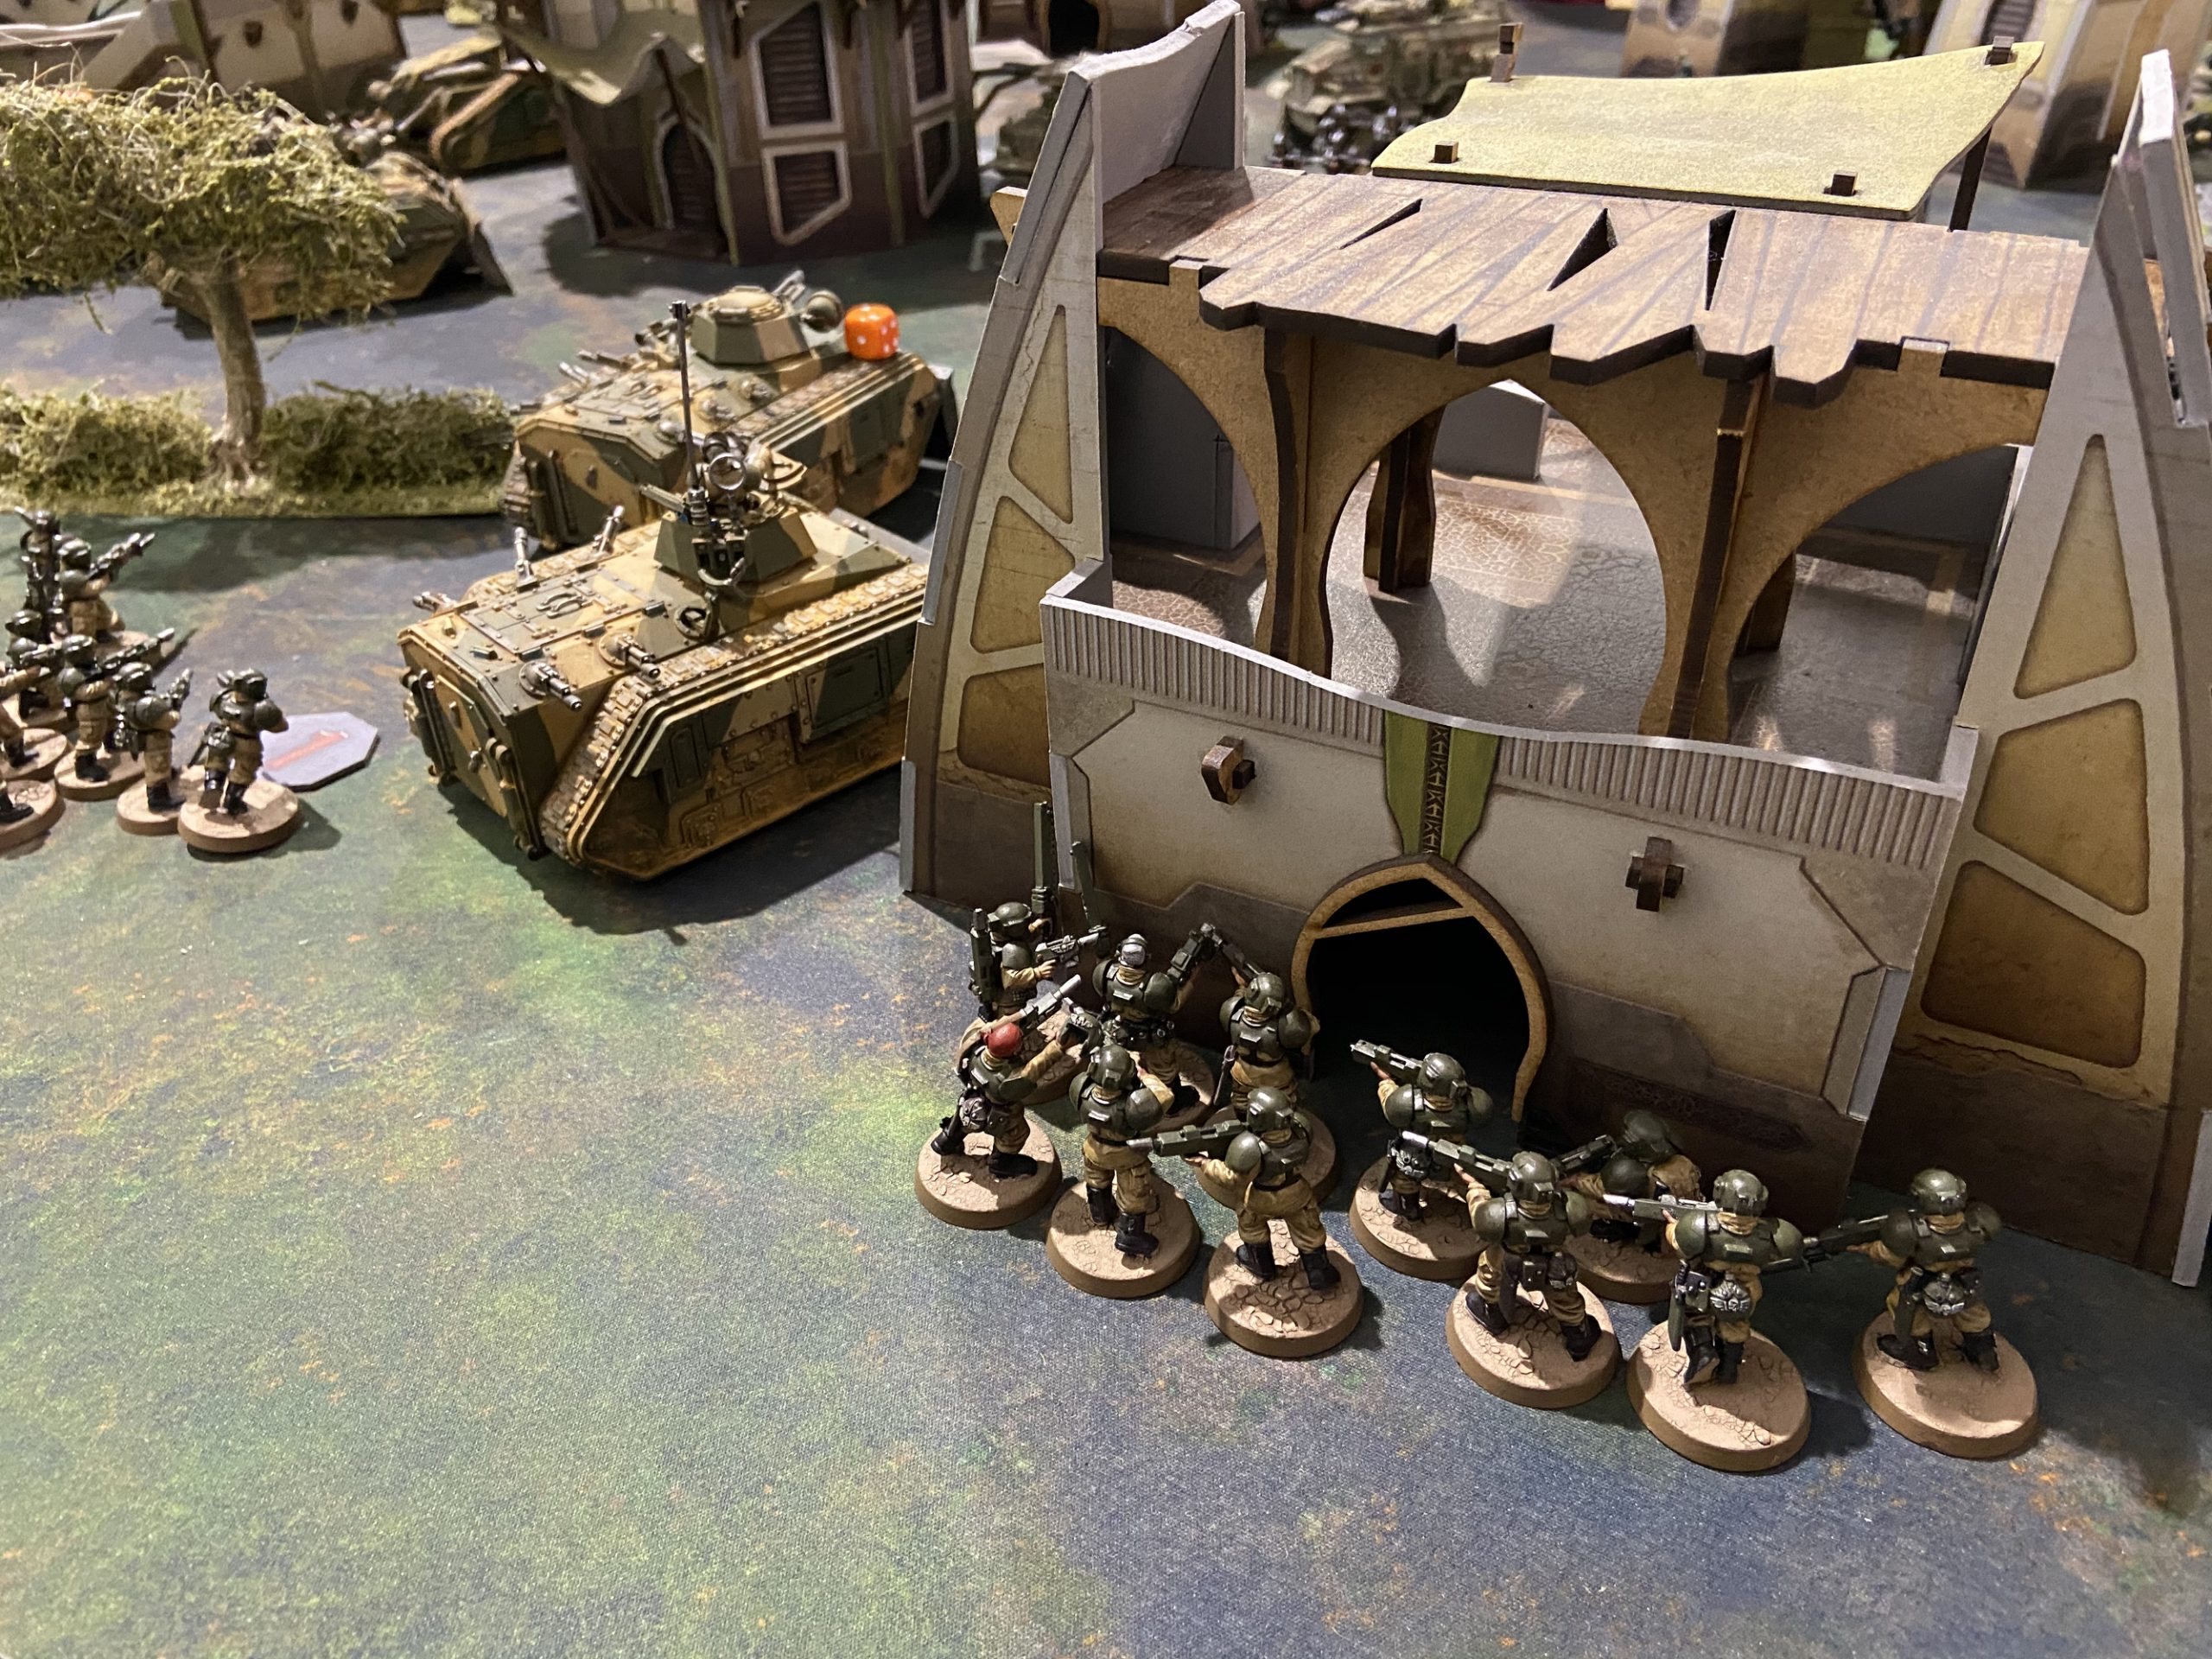
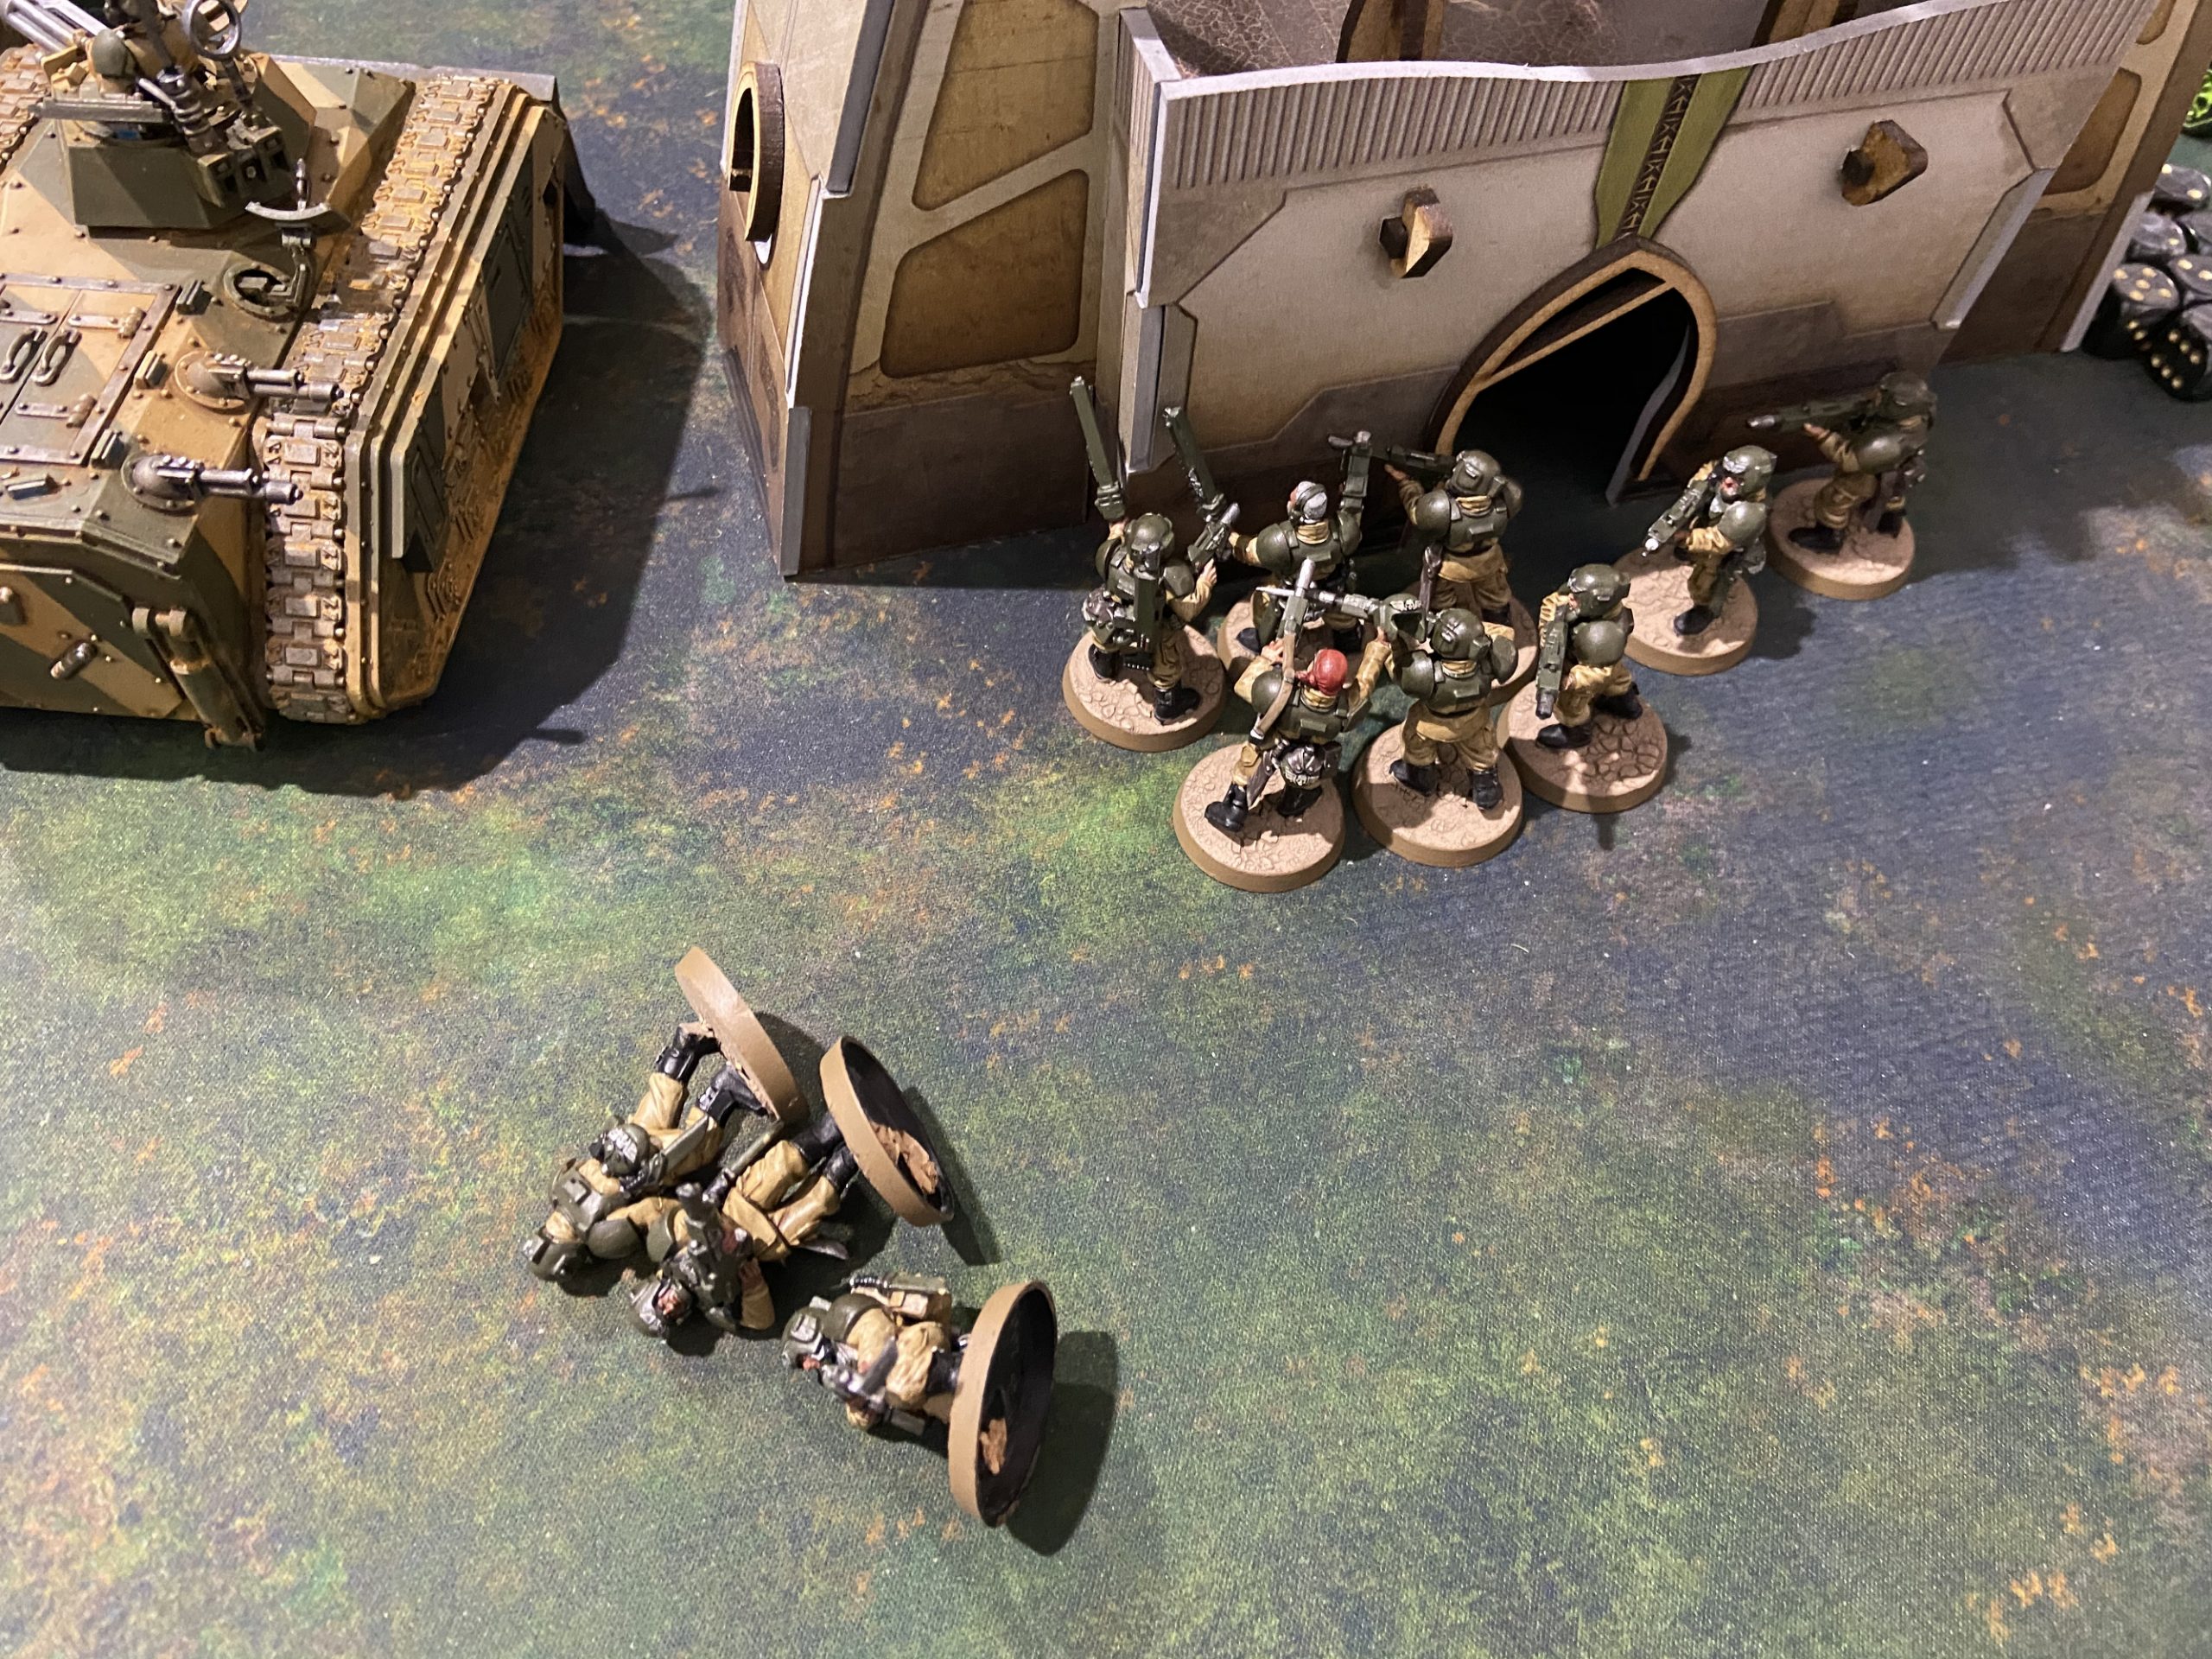
The mortars and Taurox Primes were now able to get to targets and destroyed the two units I had disembarked on the right flank. My Chimeras remained though on that right objective marker.
Finally, the Callidus charged and took 2 wounds from the Basilisk after I used Defensive Gunners. The charge distance failed. The charge also failed from the Tempestus Prime with a Power Fist against my remaining Tank Commander.
Show Score
Me: 5VP
Enemy: 2VP
-

- The Scions arrive on the upper left, left of centre and the Callidus on the lower left
-
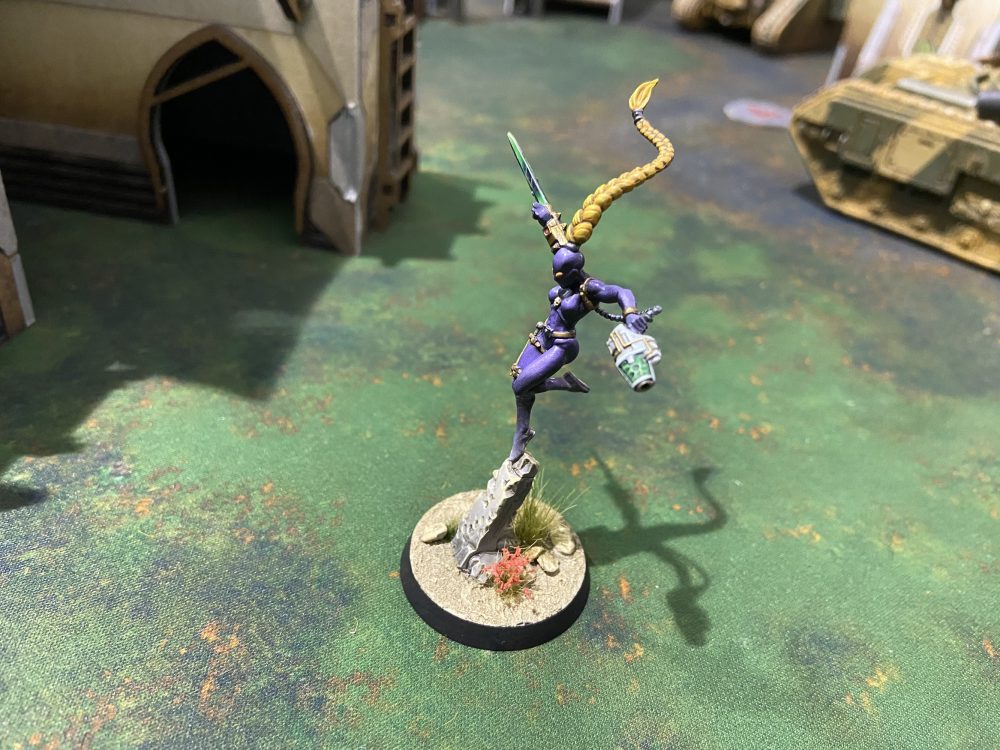
- Such beauty, such deadly
-
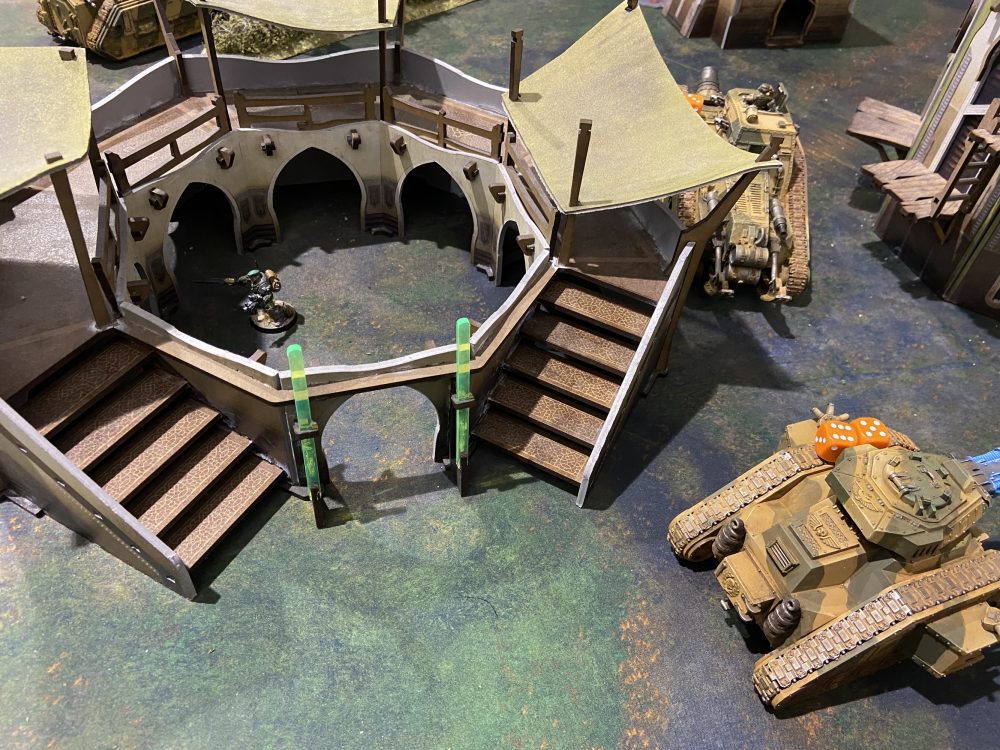
- Tempestus Prime arrival

-
- The enemy forces continue their push into the centre

-

- Scions arrive

-
- A hole is left where my Tank Commander was
-
- A Wyvern is taken from me, despite having +1 Save and -1 to hit
-

- The Malcador takes damage

-

- My infantry on the right flank starts to take damage
-

- And more damage

My Turn 3
I held 3 objectives at the start of this turn.
Once again I moved forward where I could to place pressure onto the enemy and the objectives in their table half. The Chimera with its 10 Guardsmen still inside that had just moved and Advanced the whole game finally arrived at the top objective. The centre Chimera, that was hidden, now peaked out ready to unload its cargo onto the central objective. The right flank remained secure with my other two Chimeras. The Malcador once again chugged forward.
I had moved my two Psykers out from the safety of the remaining Wyvern to see the Callidus. A Smite went off and her final 3 wounds her removed. The other Primaris Psyker used Nightshroud on my Tank Commander.
The shooting this turn was devastating. A Taurox Prime was lost in the centre – I forget how this happened though. Possibly the Malcador Defender. My Wyvern went for the Guardsmen in the centre and so did the Heavy Bolters on the Malcador Defender – that killed them all.
The remaining Tank Commander was just in range of the Hammer of Sunderance Tank Commander, I took him down to one wound. Damn! A Basilisk went for Pask using Aerial Spotter. Pask was on 8 wounds I think at this point, he did not survive the barrage. Pask died, and EXPLODED! Apostolos was out of CP at this point so the explosion could not be prevented.
This removed the final wound off of the Hammer of Sunderance Tank Commander, killed a mortar model from both mortar squads and did a wound or two to the Tech-Priest and a Company Commander. That was incredibly lucky and look the enemy’s effective shooting down to just about zero.
Finally, the Malcador charged the Astropath in the centre and killed him. My Command Squad also charged the Guardsmen hidden at the top side of the battlefield, as did the Platoon Commander. They killed a few bu my Command Squad was finished off.
Show Score
Me: 8VP
Enemy: 2VP
-
- Turn 3 Overview

-

- Turn 3 Movement
-
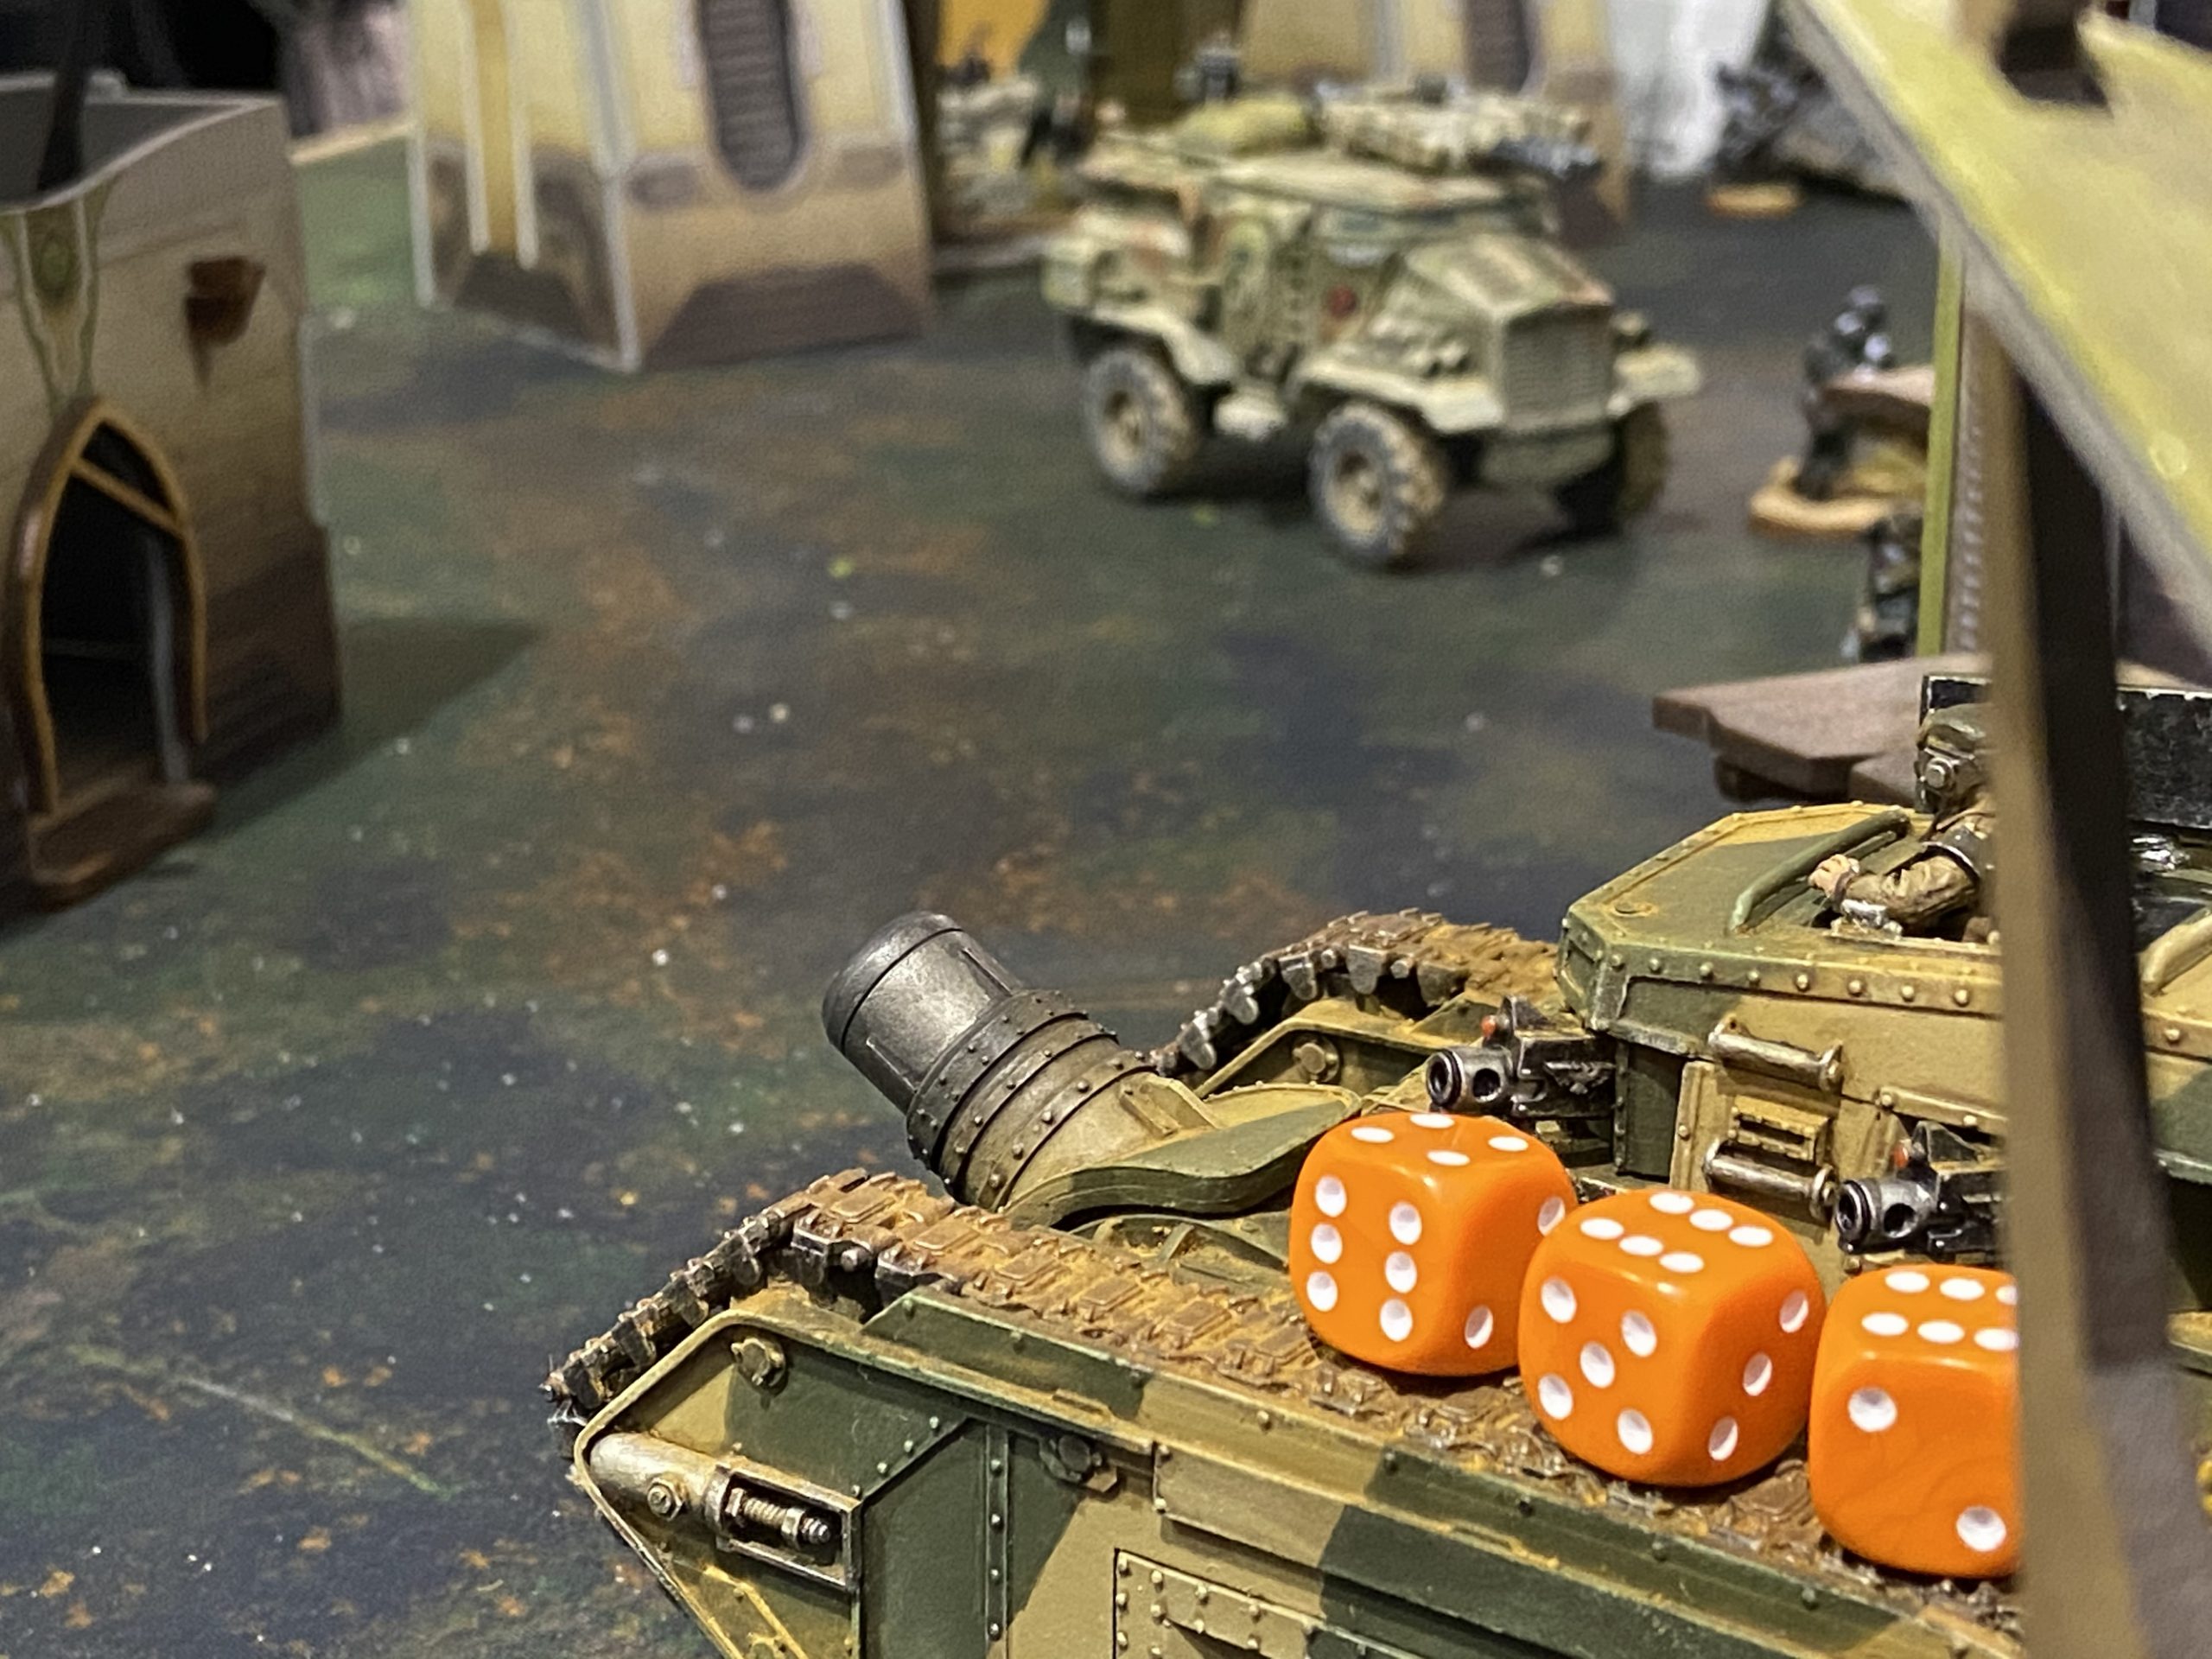
- The enemy backfield before its wrecked

-
- The Malcador eyes up its prey
-
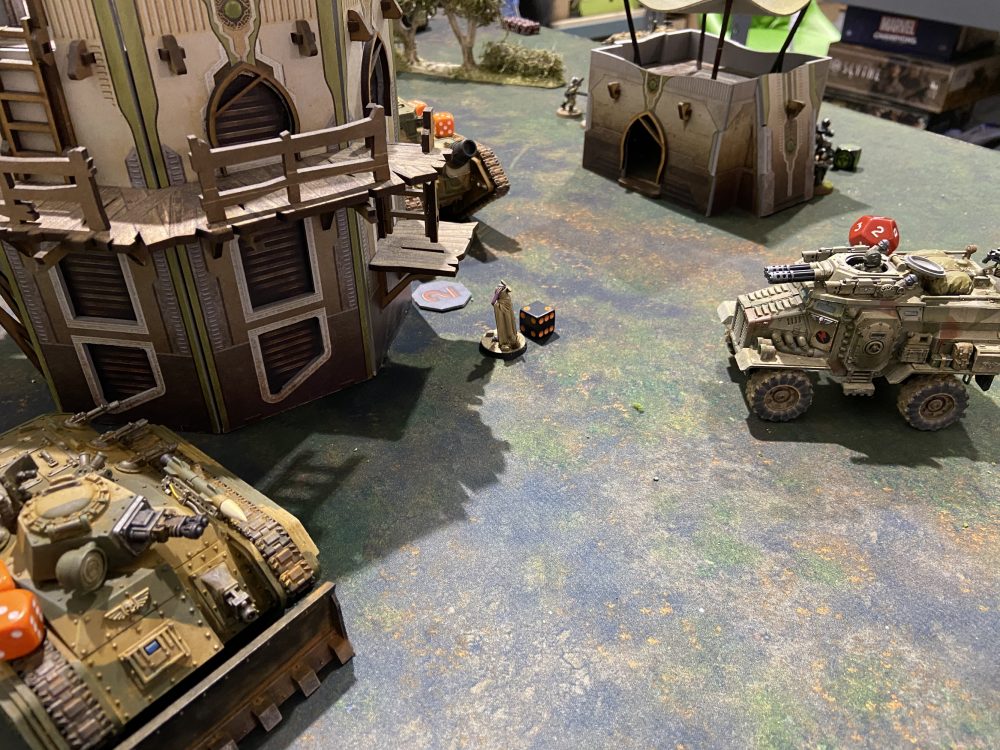
- A Taurox Prime in the centre is lost
-
- The Malcador makes its charge

Enemy Turn 3
Apostolos held the objective at the very back corner and the top side objective, as he had Troops on it. The centre one was lost after the Malcador made it there and all the Troops were removed.
We called the game at this point. Had we continued into Turn 4 I would have scored another 3 or 4VPs with no way back for the enemy forces.
Show Score
Me: 8VP
Enemy: 4VP
Astra Militarum vs Astra Militarum Summary
Final Score at the end of Turn 3…
Show Score
Me: 8VP
Enemy: 4VP
A word from Apostolos…
To start with, this was the first time I played against another Guard army and I must admit it was an eye-opener.
Another first for me was facing a fully mechanized list. The fact that my anti-infantry capability was negated, unless I first popped open one of those Chimeras, meant that in turn one I was facing a 1,750pt army with basically 500pt of mine. It should be noted that I am taking into account line-of-sight blocking but as things were, the majority of my opponent’s units could fire against their optimal targets, if not under optimal circumstances.
As much as I love my Scions I must admit that having to suffer two rounds of shooting and then be able to dish out some pain really hurt my army. I need to find a way to make them useful Turn 1 or otherwise I might as well get some heavy artillery myself. (Ride of the Valkyrie playing on the background)
I was really impressed with Executioners this game. My opponent used them in a bold manner, overcharging them every single time and boy did they pay dividends. I do love my Battle Cannons and their immense range but even with Hammer of Sunderance that AP-2 can be a bit of a hindrance against +3 saves.
The use of an Assassin should be utilized only when you have all 4 available. This was the second game in a row that I was rather unlucky with my Callidus but the cost of 4CPs per game in order to make your opponent think twice when to spend a CP proved to be as troublesome for them as is was for me. Maybe in a 2,000 point game or maybe with more starting CPs the use of an Assassin might be more justifiable.
Last but not least, a more mission based tip. The Eternal War: Crusade mission is a rather low scoring one, especially during the first two or three turns. Note to self, it is very important to secure First Strike and maintain some significant presence on Objectives in order to be able to score VPs on your next turn.
Overall I had a great game, my opponent was an absolute gent and a pleasure to play against. I hope we will meet again soon in the field of battle.
The Emperor protects…
The game I think was won on movement and that I have to chalk up to my Chimeras. They enabled me to take board control and move my Troops in safety. Even though they do not do masses of damage, and the same goes for the Malcador Defender, just the threatening presence on objectives makes a difference in a game. The enemy has to pick between losing objectives to incoming vehicles or taking out key targets like Tank Commanders, Wyvern and Basilisks.
Malcador Defender
I get asked a lot about the performance of the Malcador Defender…
- Does it perform as well as a Demolisher Tank Commander? No!
- Does it perform as well as a Demolisher Leman Russ? No!
- Is it an imposing model on the battlefield that is hard to remove? Yes!
- Does it chew through Toughness 3 infantry? Yes!
- Does it look awesome? Yes!
So it’s now overpowered and it will not be destroying enemy’s left, right and centre. But it is a great looking model and is really good at just going forwards and making your opponent re-think everything they do as an 18 Wound, Toughness 8 tank bears down on them.
Also, might they be getting new rules?
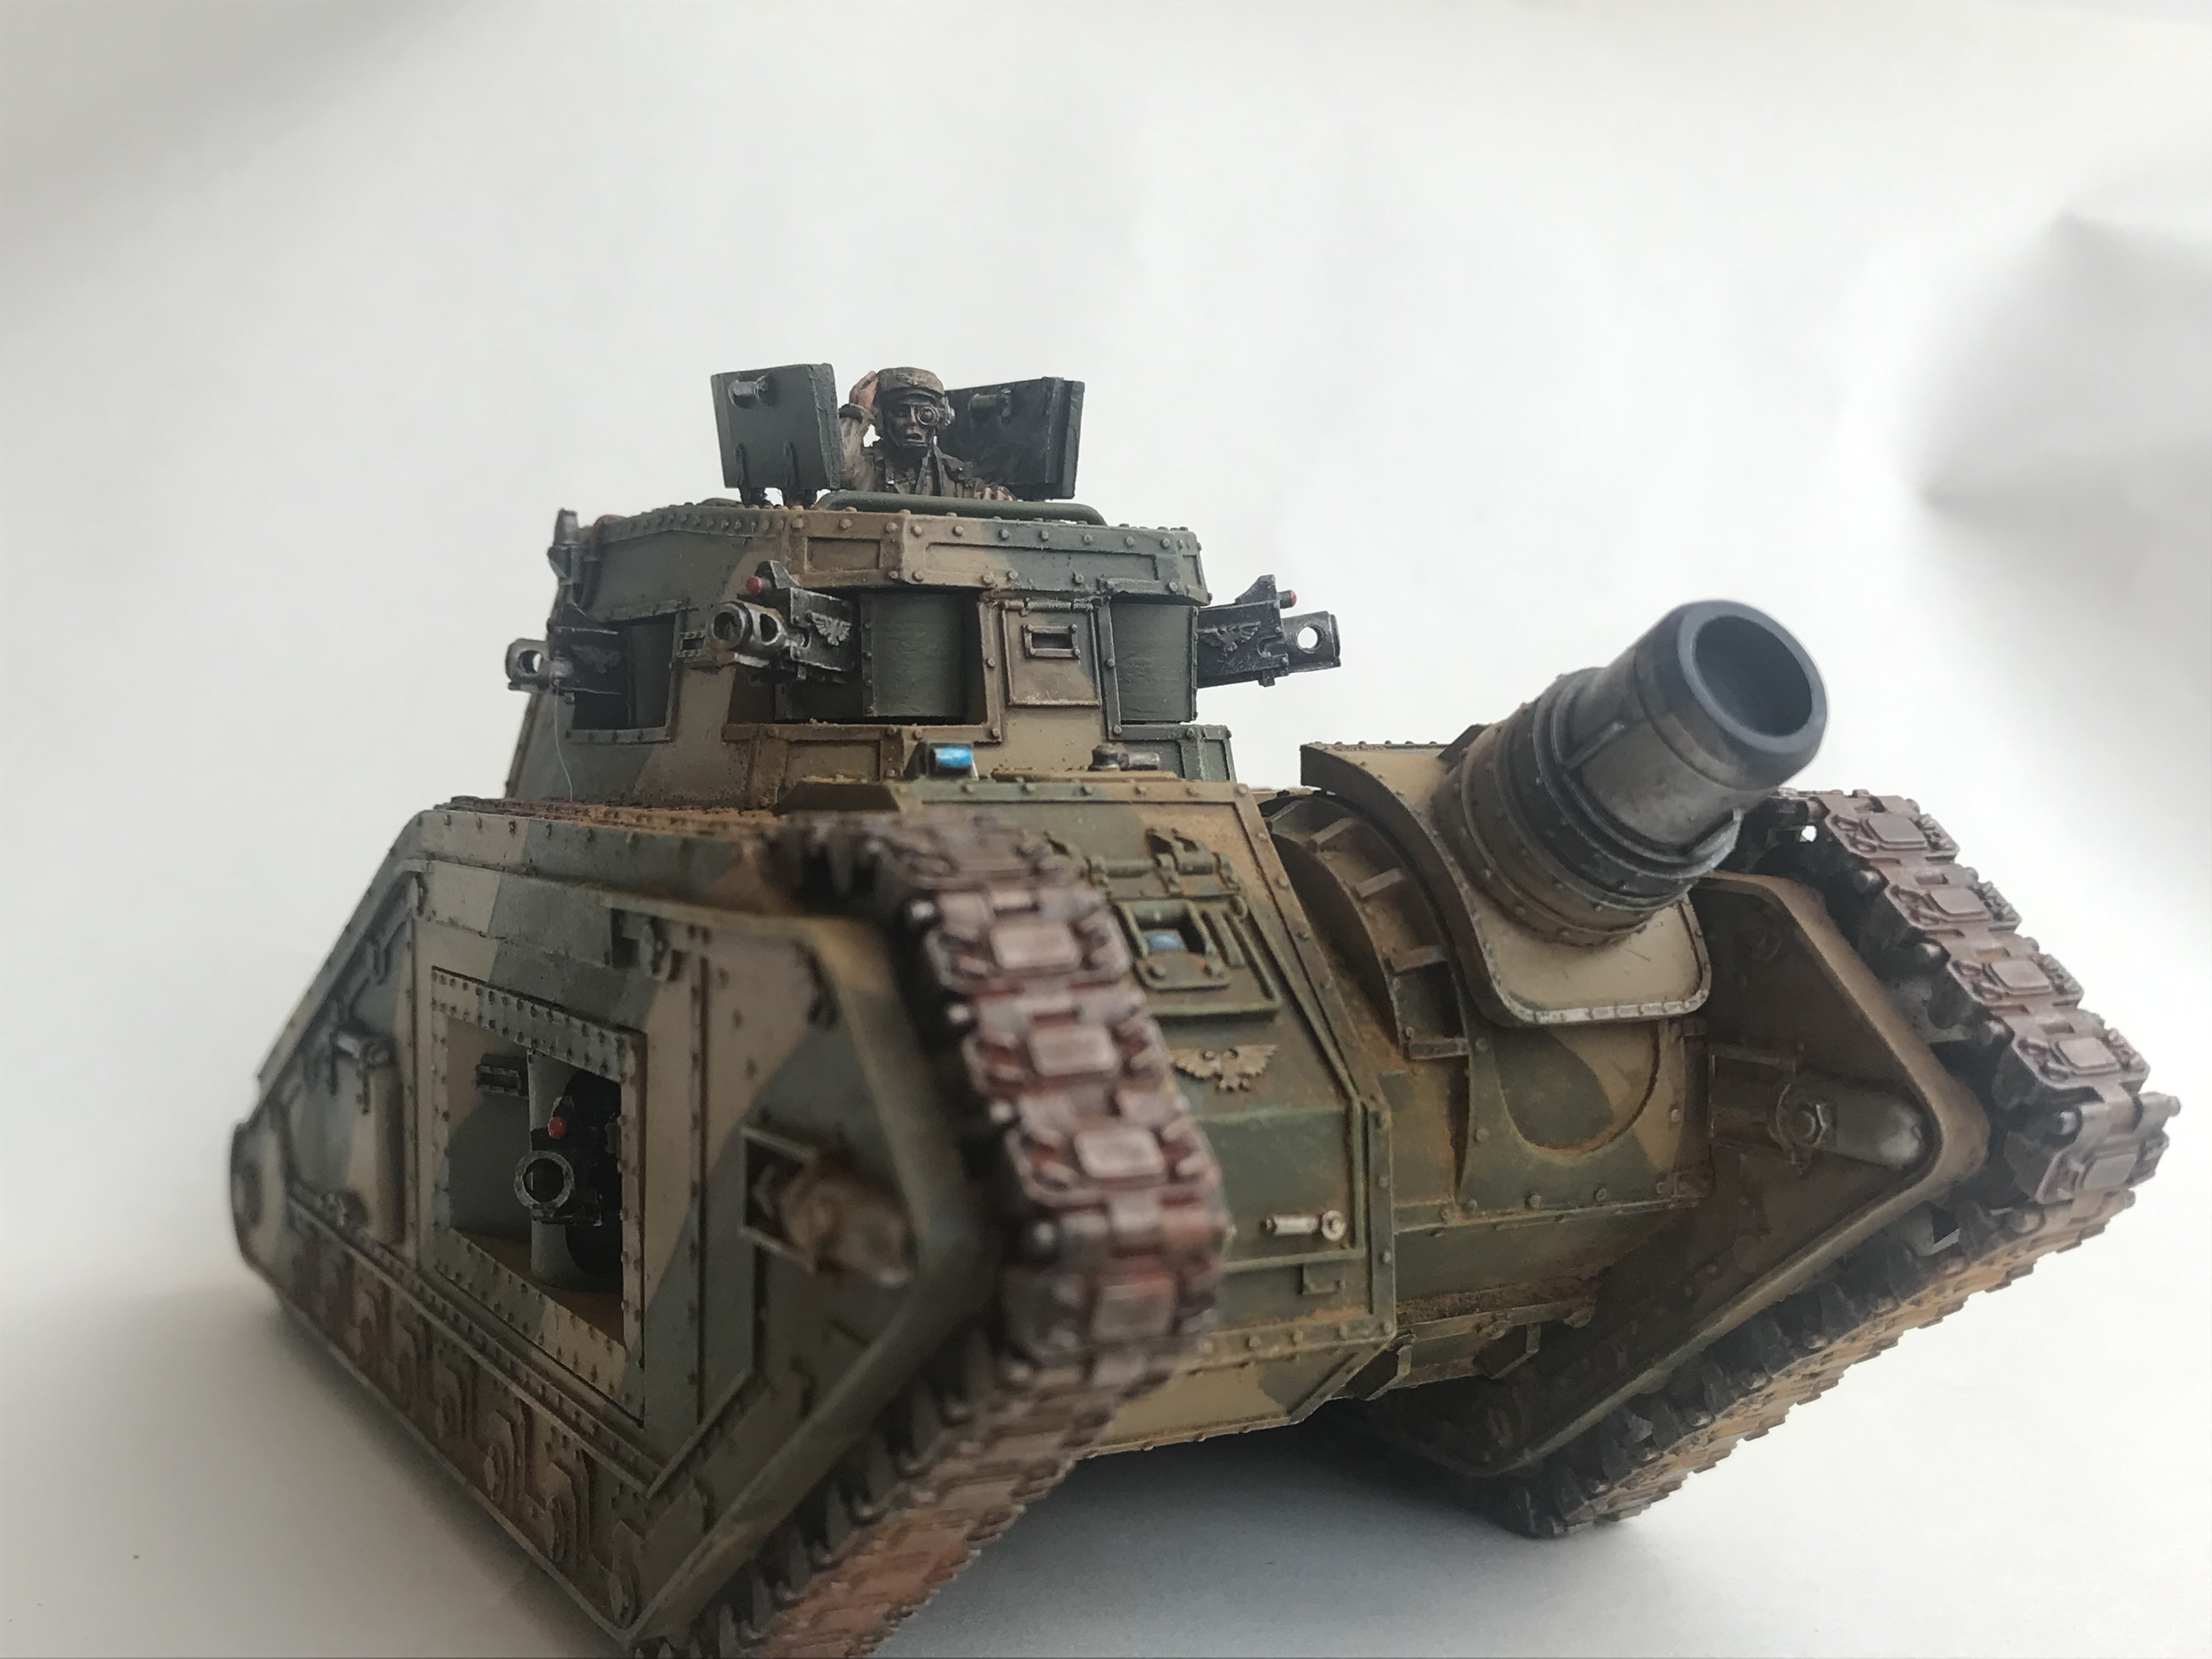
Malcador Defender