
Airbrushing Cadian Shock Troops – Warhammer 40K Blog
Attempting to spread my airbrushing wings away from Cadian Camo.
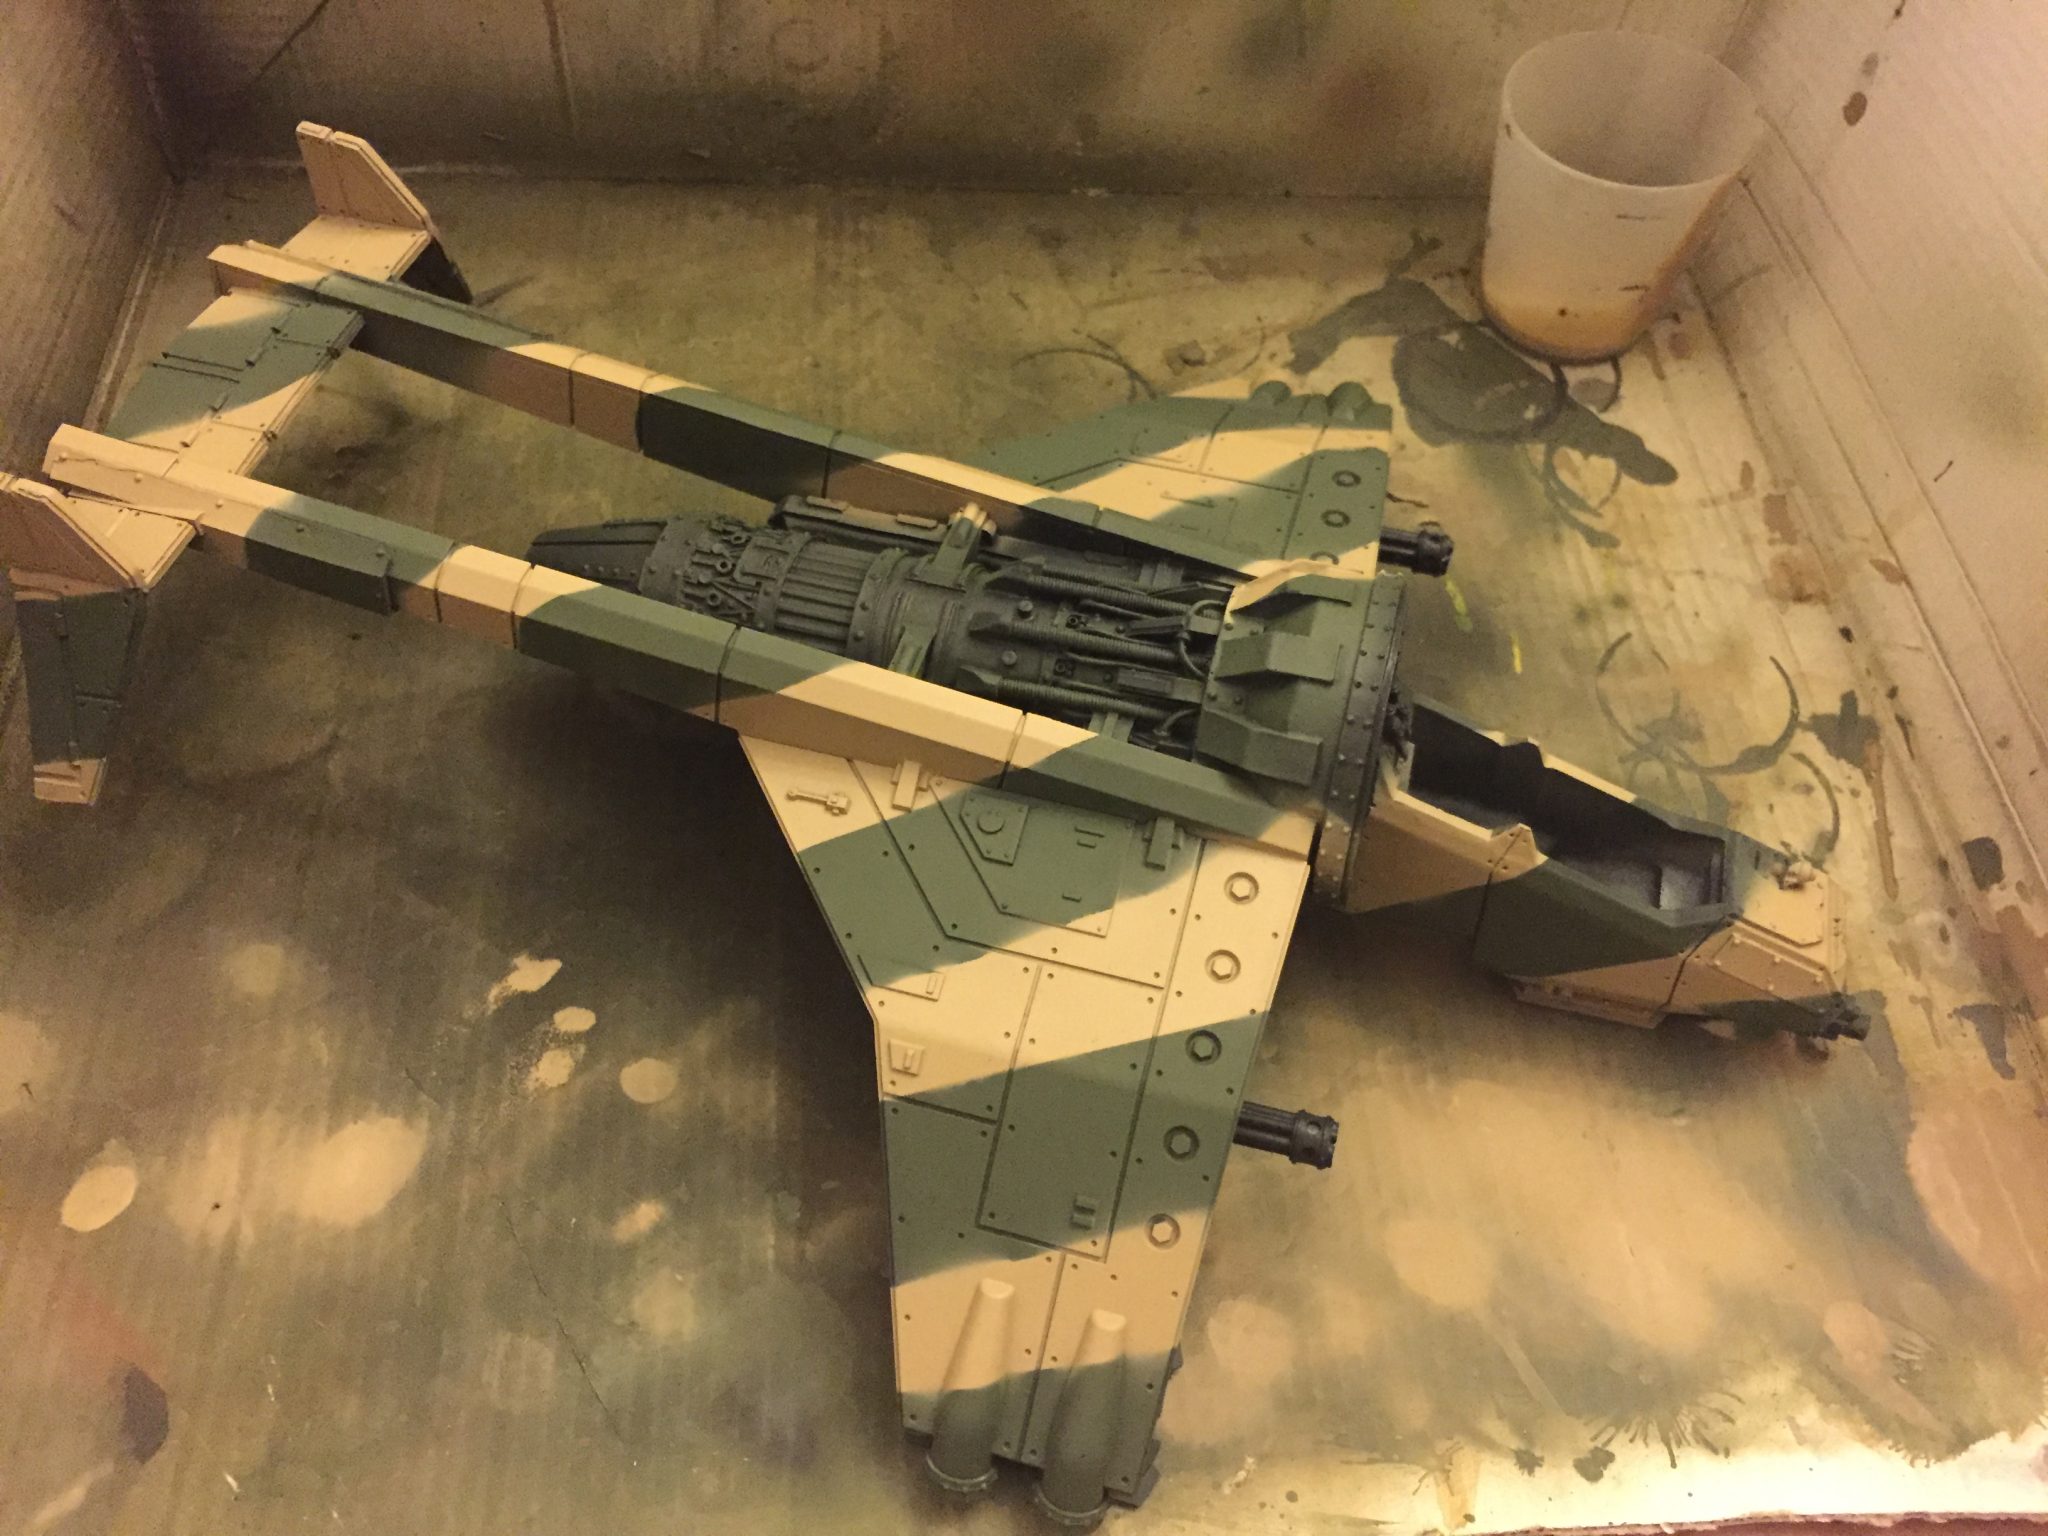
In case you missed it I’ve managed to do a lot of airbrushing recently – I say recently, I mean over the last 6 months. Which is good for me! It’s been all camo stripes so far on a variety of vehicles; Taurox, Malcador, Leman Russ, Valkyrie, Vulture, etc. Time for something new; Airbrushing Cadian Shock Troops.
But I’ve wanted to try and do more than just camo with it. It’s a bit of an unknown area for me though. I know you can do pre-shading, OLS and I am sure LOADS of other things too – but that’s still a bit of a leap for me. I just felt like I was perhaps missing out on some time saving in other areas of my hobby. I have done the odd piece of terrain too.
I have to be realistic too, I am never going to be a fantastic airbrush user. I just cannot dedicate the time to it, let alone to a normal paint brush. So slow and steady progress is fine by me.
My usual airbrushing outcome
I wanted to just try and do something smaller and more precise – to change things up for myself and to see if I can paint my masses of infantry any quicker. This is the main reason for this attempt and this article – Airbrushing Cadian Shock Troops to get them completed faster. That Emperor’s Shield Infantry Company Formation ain’t going to paint itself!
A major question I have is;
Am I being overly ambitious given my brush (Iwata Revolution BR) – in that I want to quickly get 2 different layer paints onto my infantry models? Or should I just be sticking to doing larger models and camo schemes?
A word of warning; this will be very much me walking through what I did and how it went. Its not an expert tutorial on being a Golden Demon painter. And I think the best way to actually airbrush Cadian Shock Troopers would be to do them on the sprue in parts before assembly. But I do not have that luxury with my guys. So for those of us who assemble and then paint this is what I found out.
Airbrushing Cadian Shock Troops – Round One
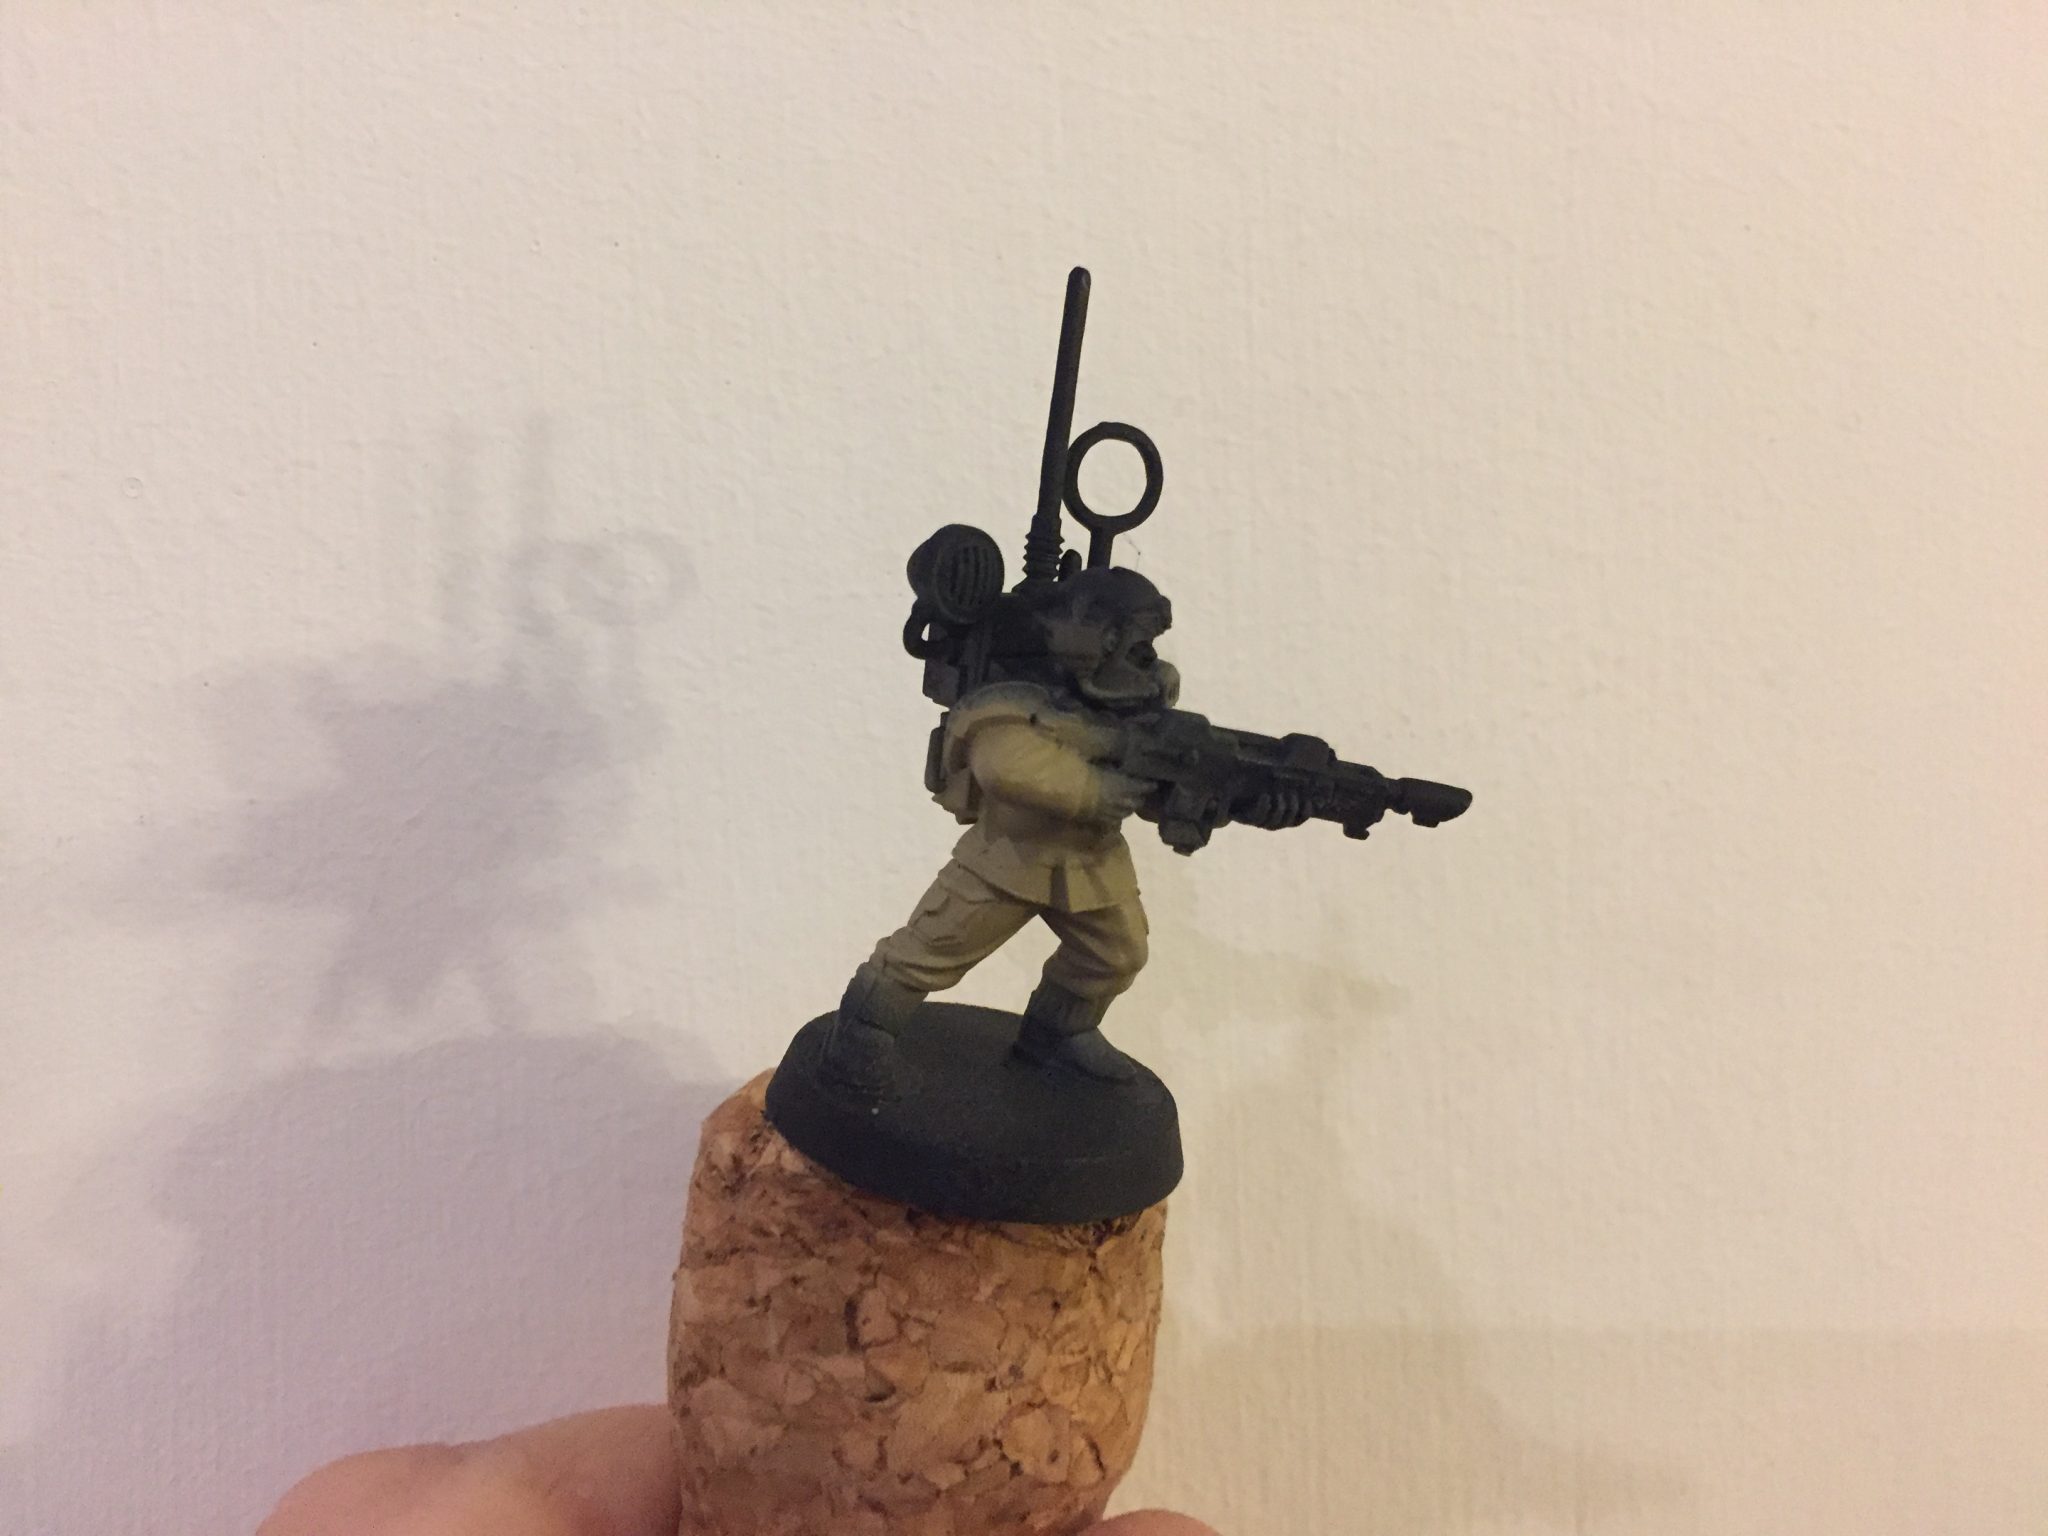
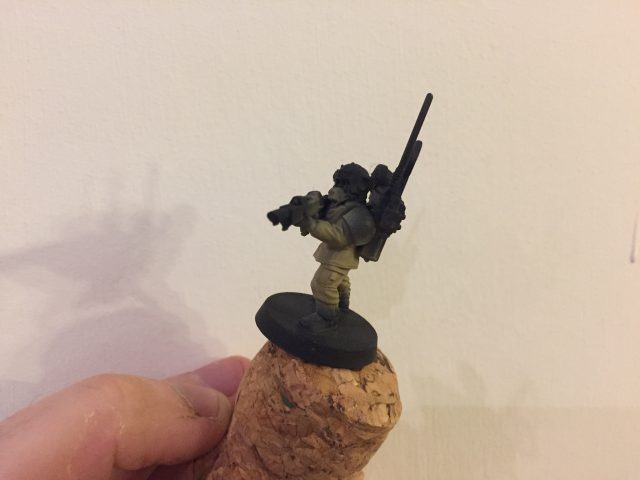
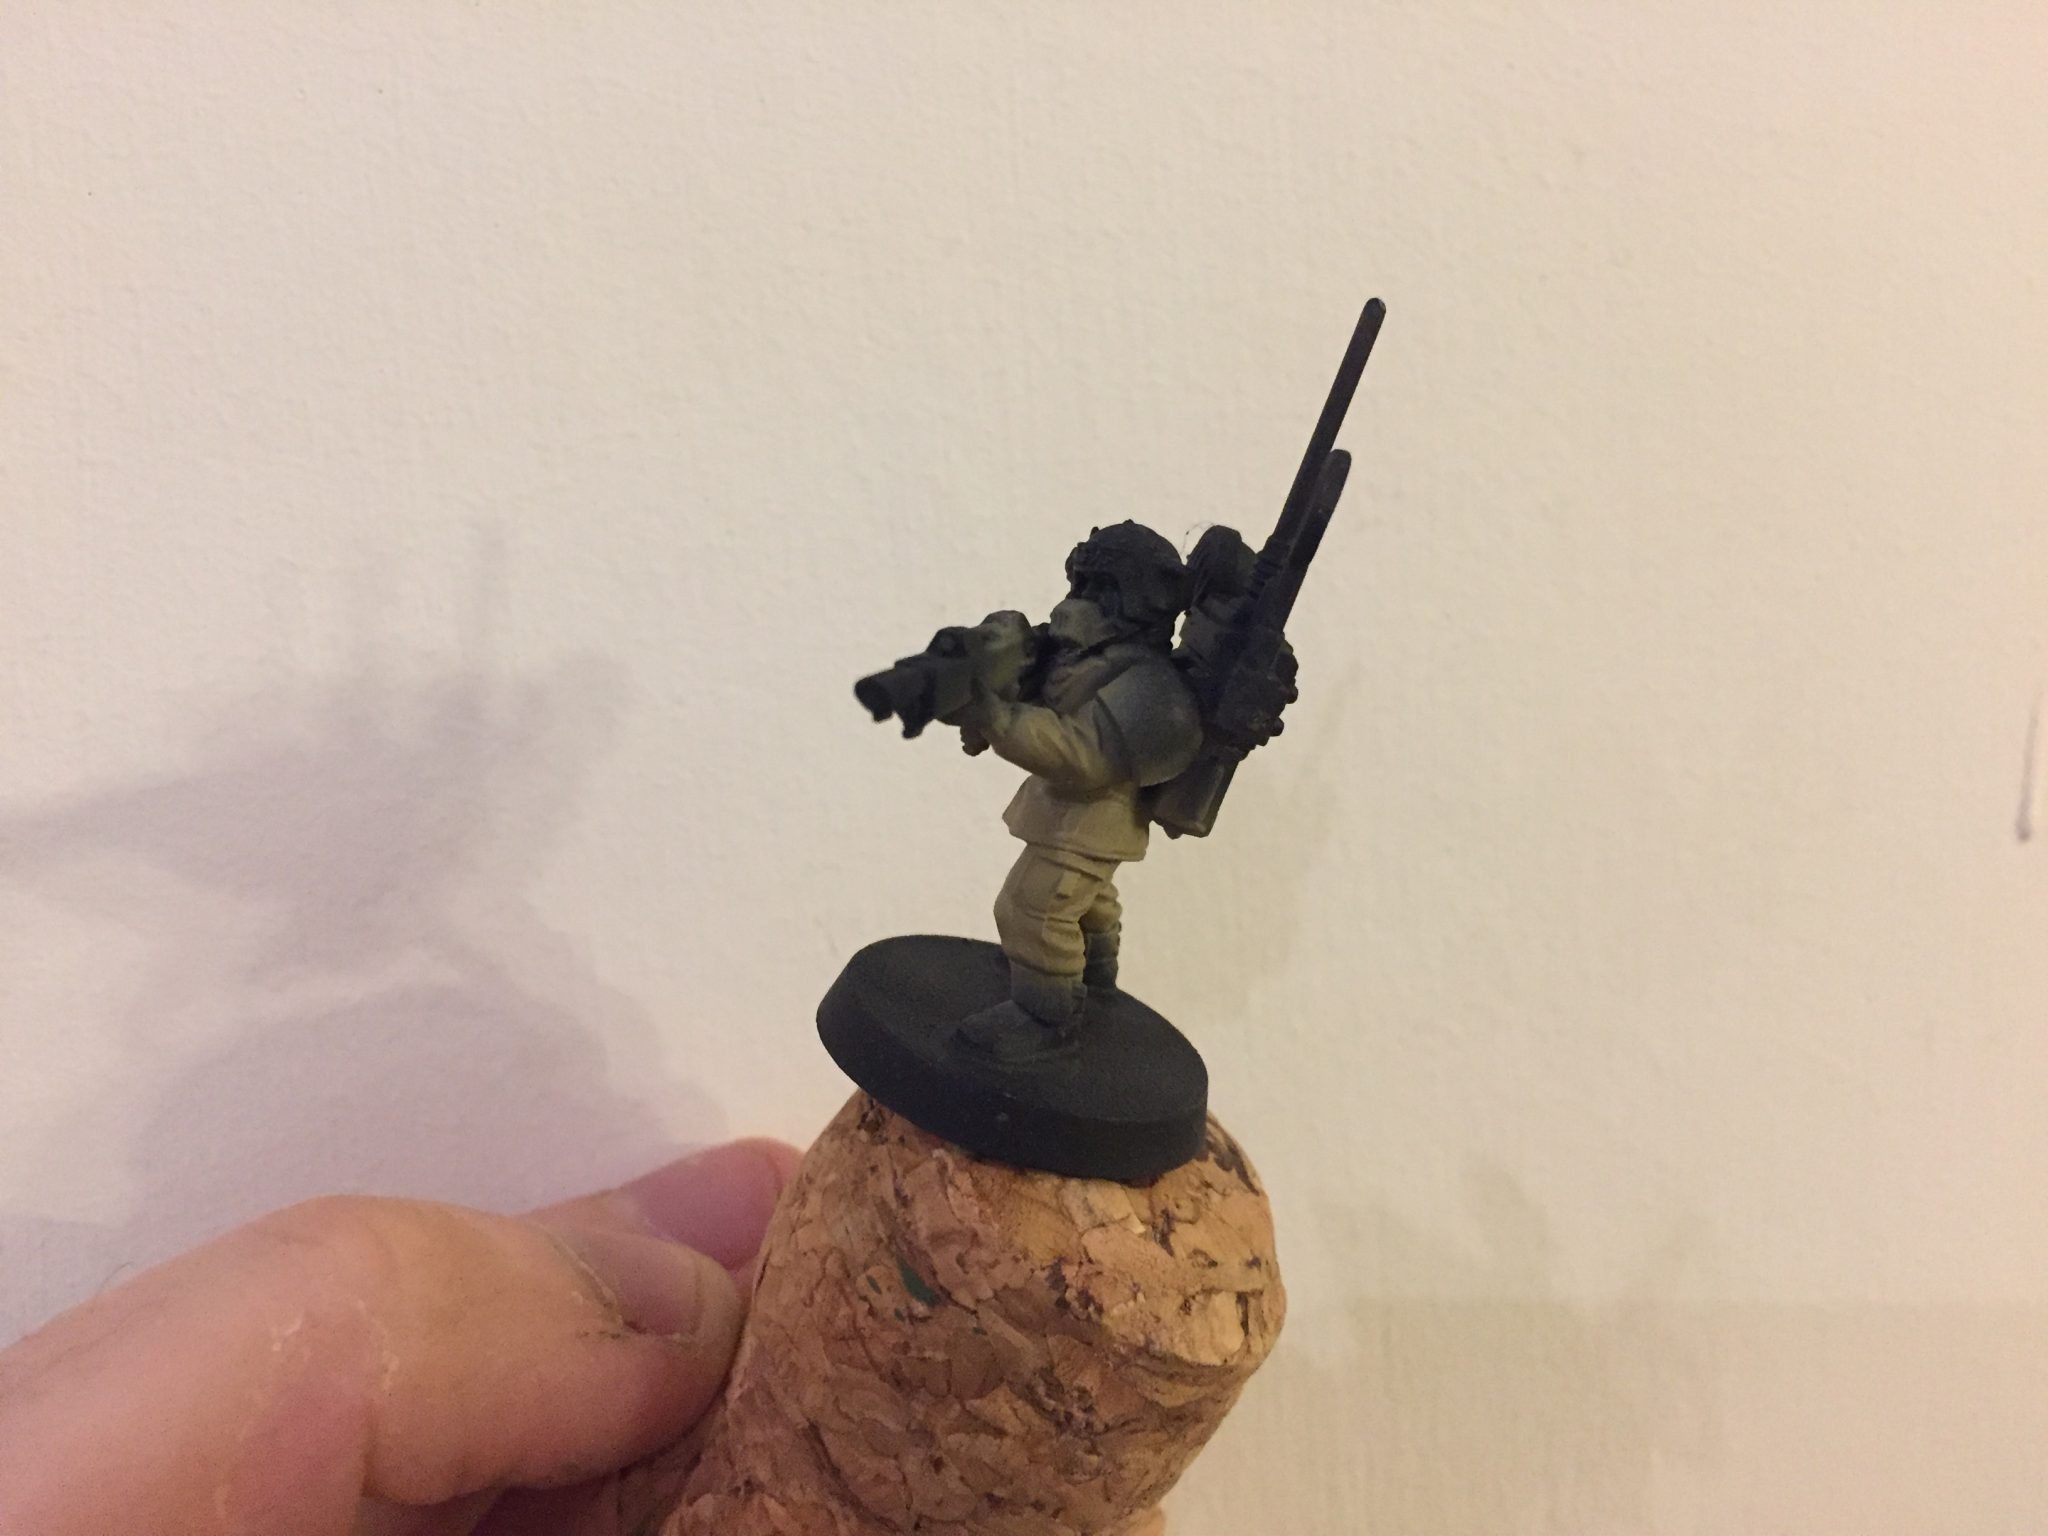
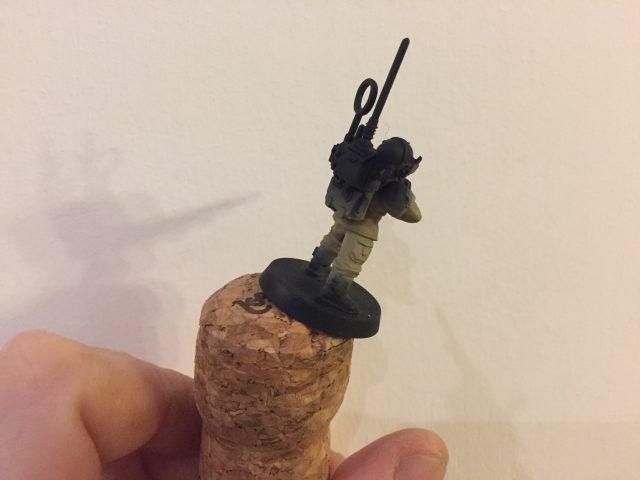
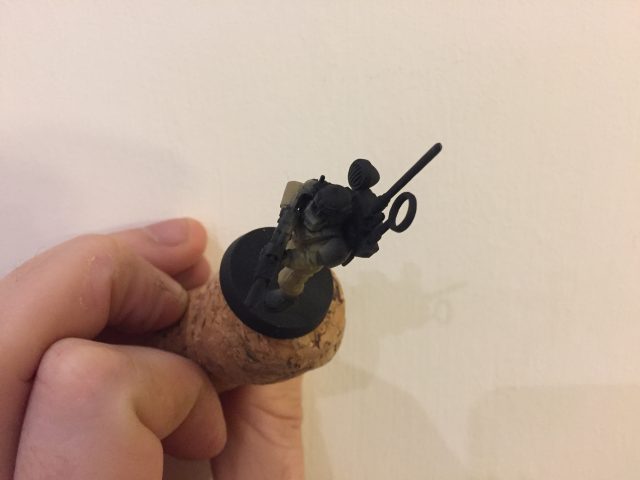
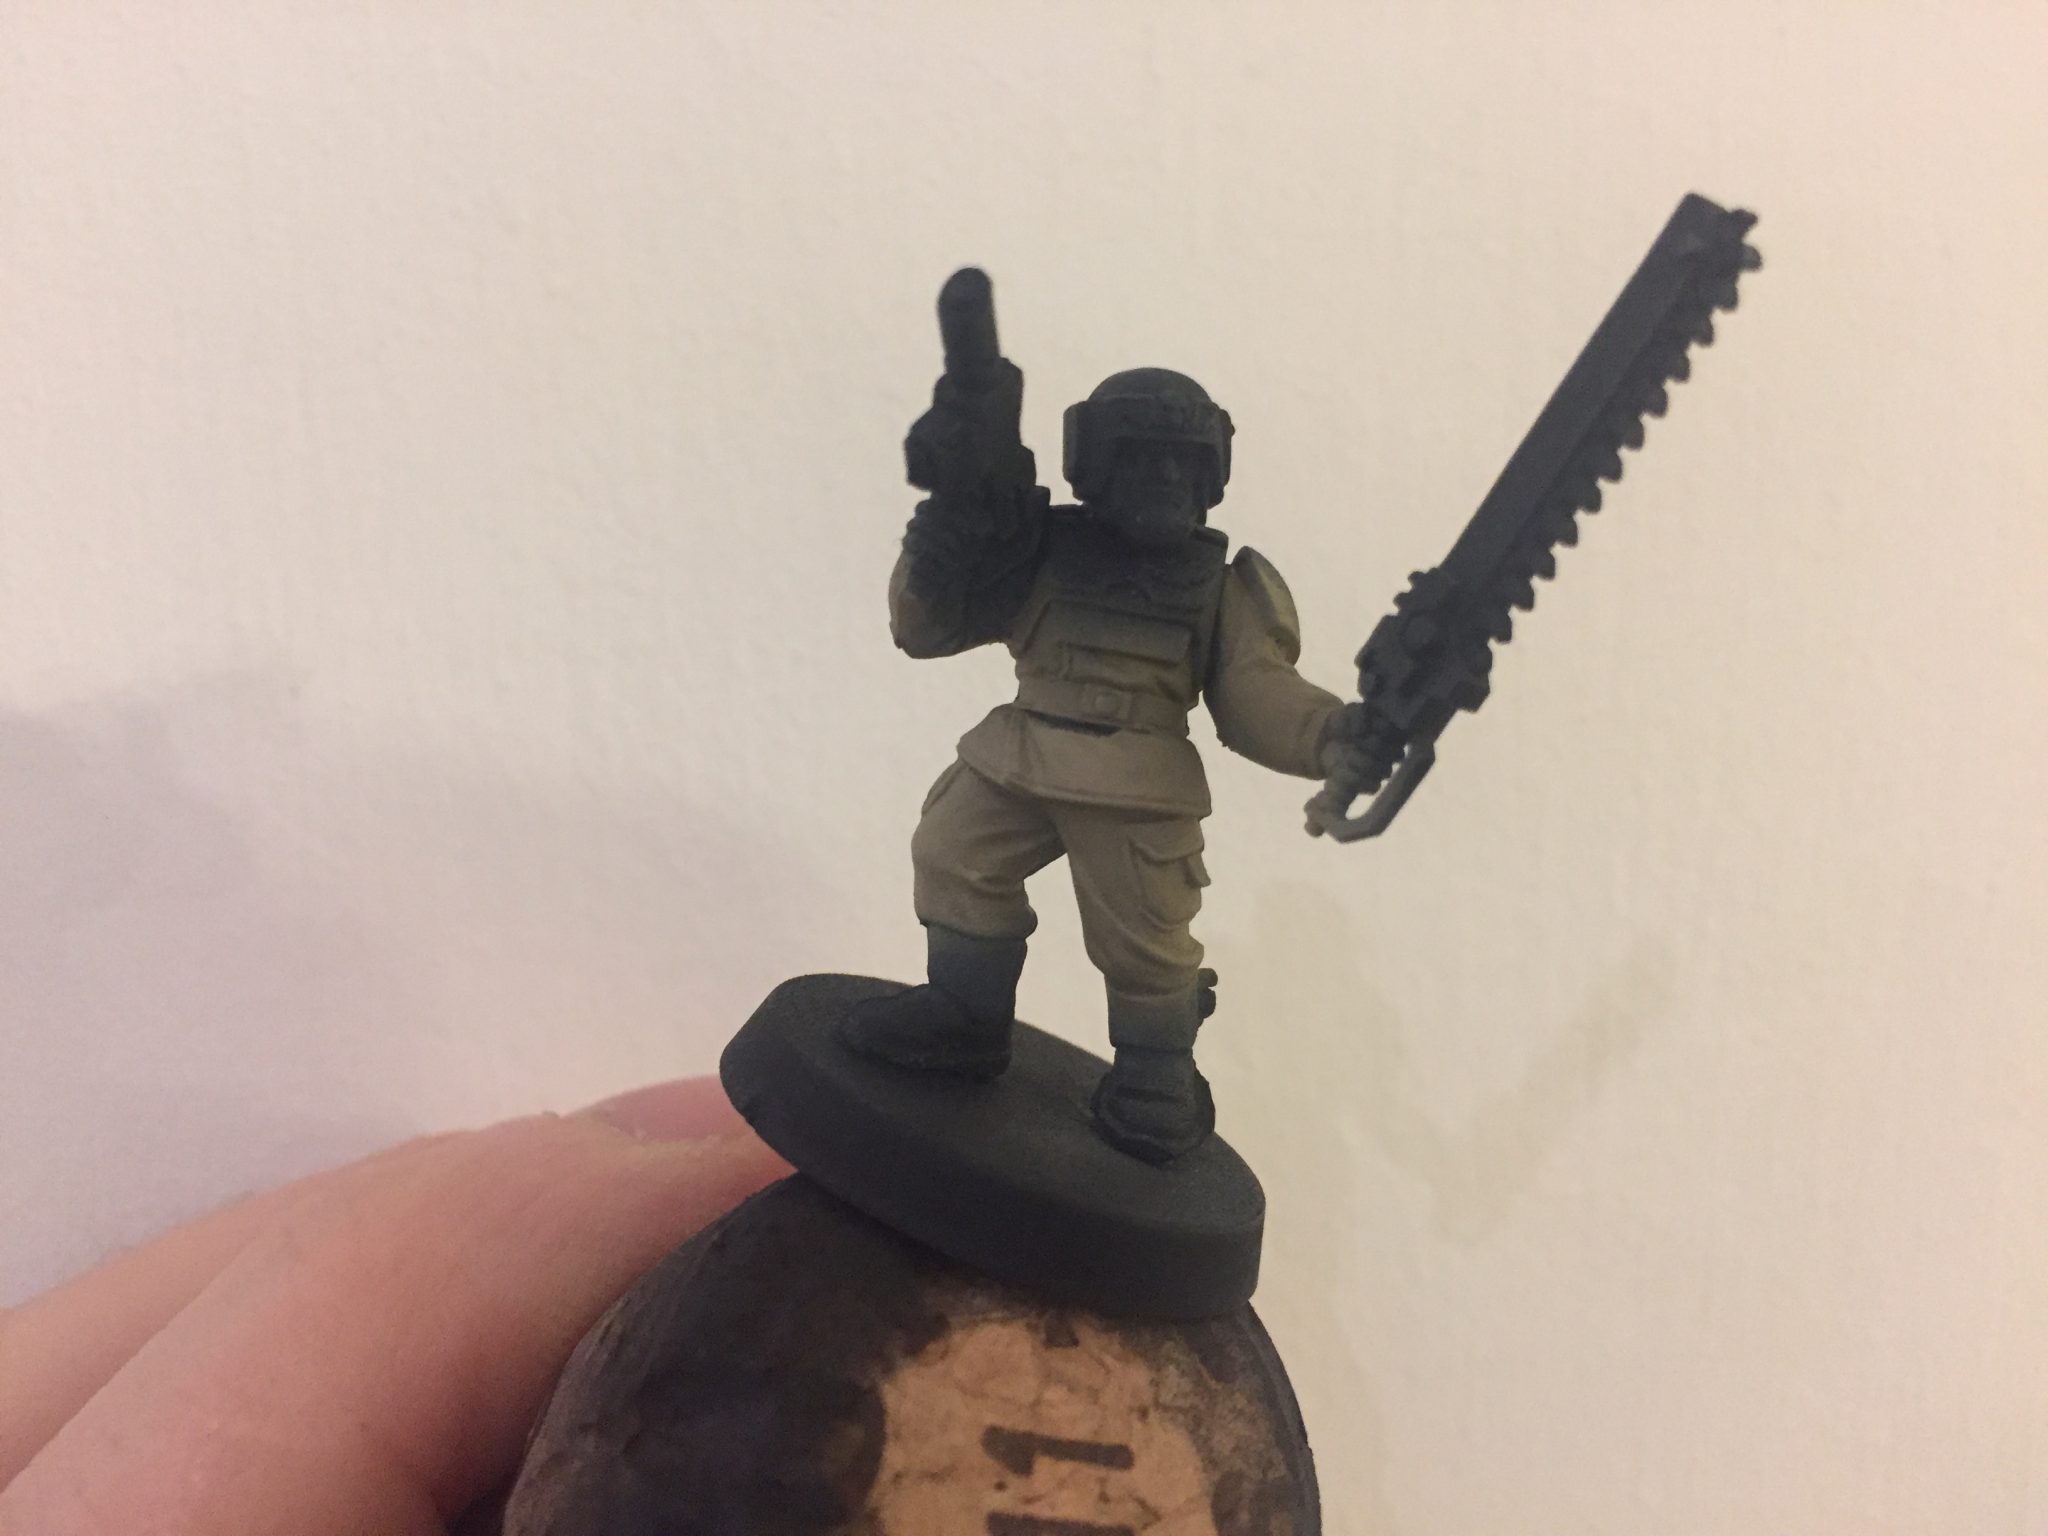
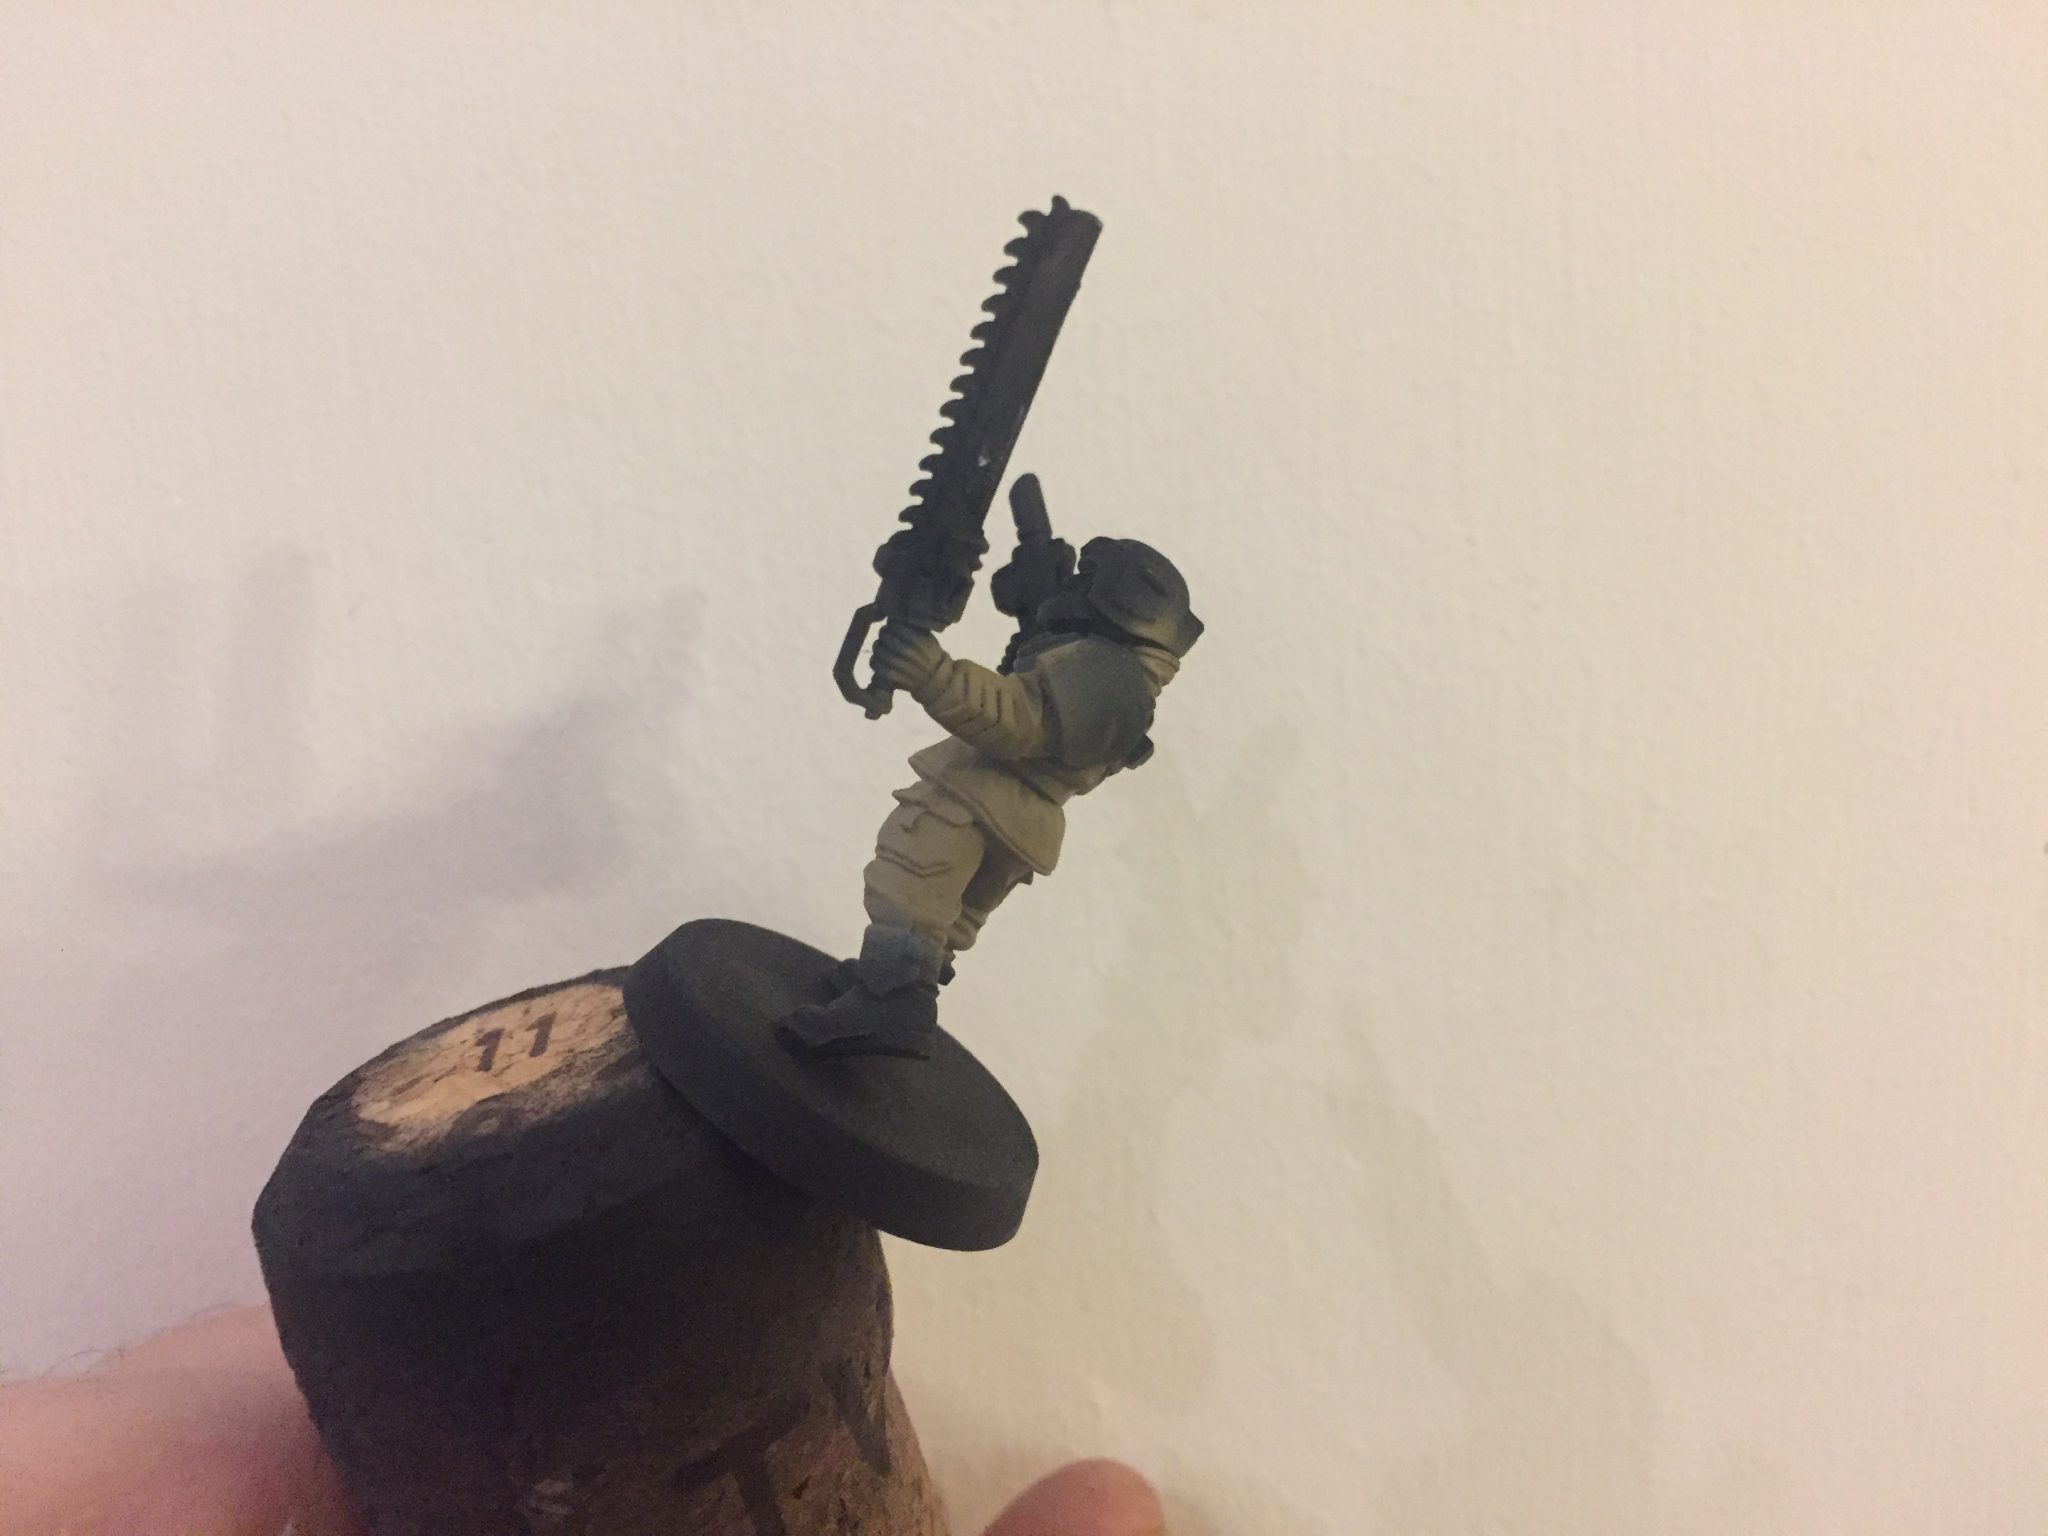
I started out with two Guardsmen from eBay, they’re primed black and mounted on champagne corks – like all Guardsmen should be. It’s a right of passage and part of being welcomed into my Cadian Guard regiment. I’ve probably got a hundred or more Cadian Shock Troops to paint – so any speed improvement will be massive once applied across so many models. If airbrushing Cadian Shock Troops saves just two minutes per model I’ll be happy – as that’s nearly three hours saved during the course of hundred models. Thats a whole game’s worth of time!
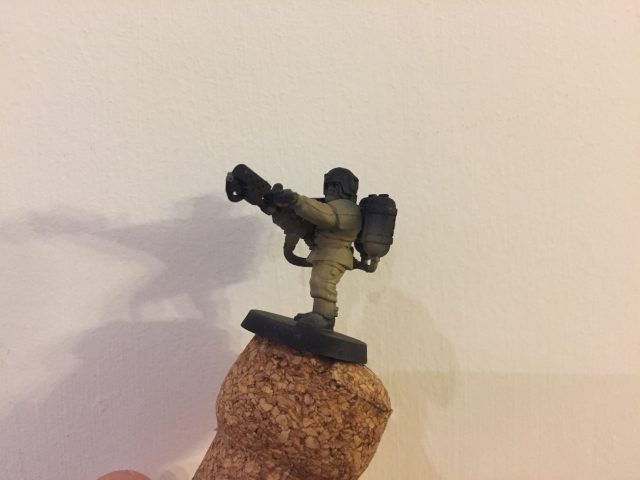
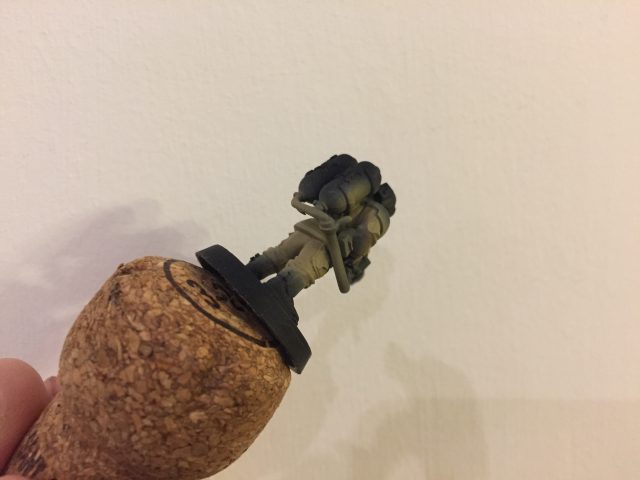
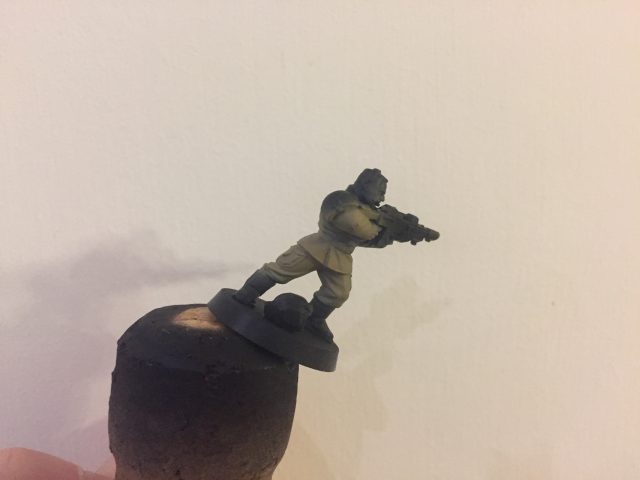
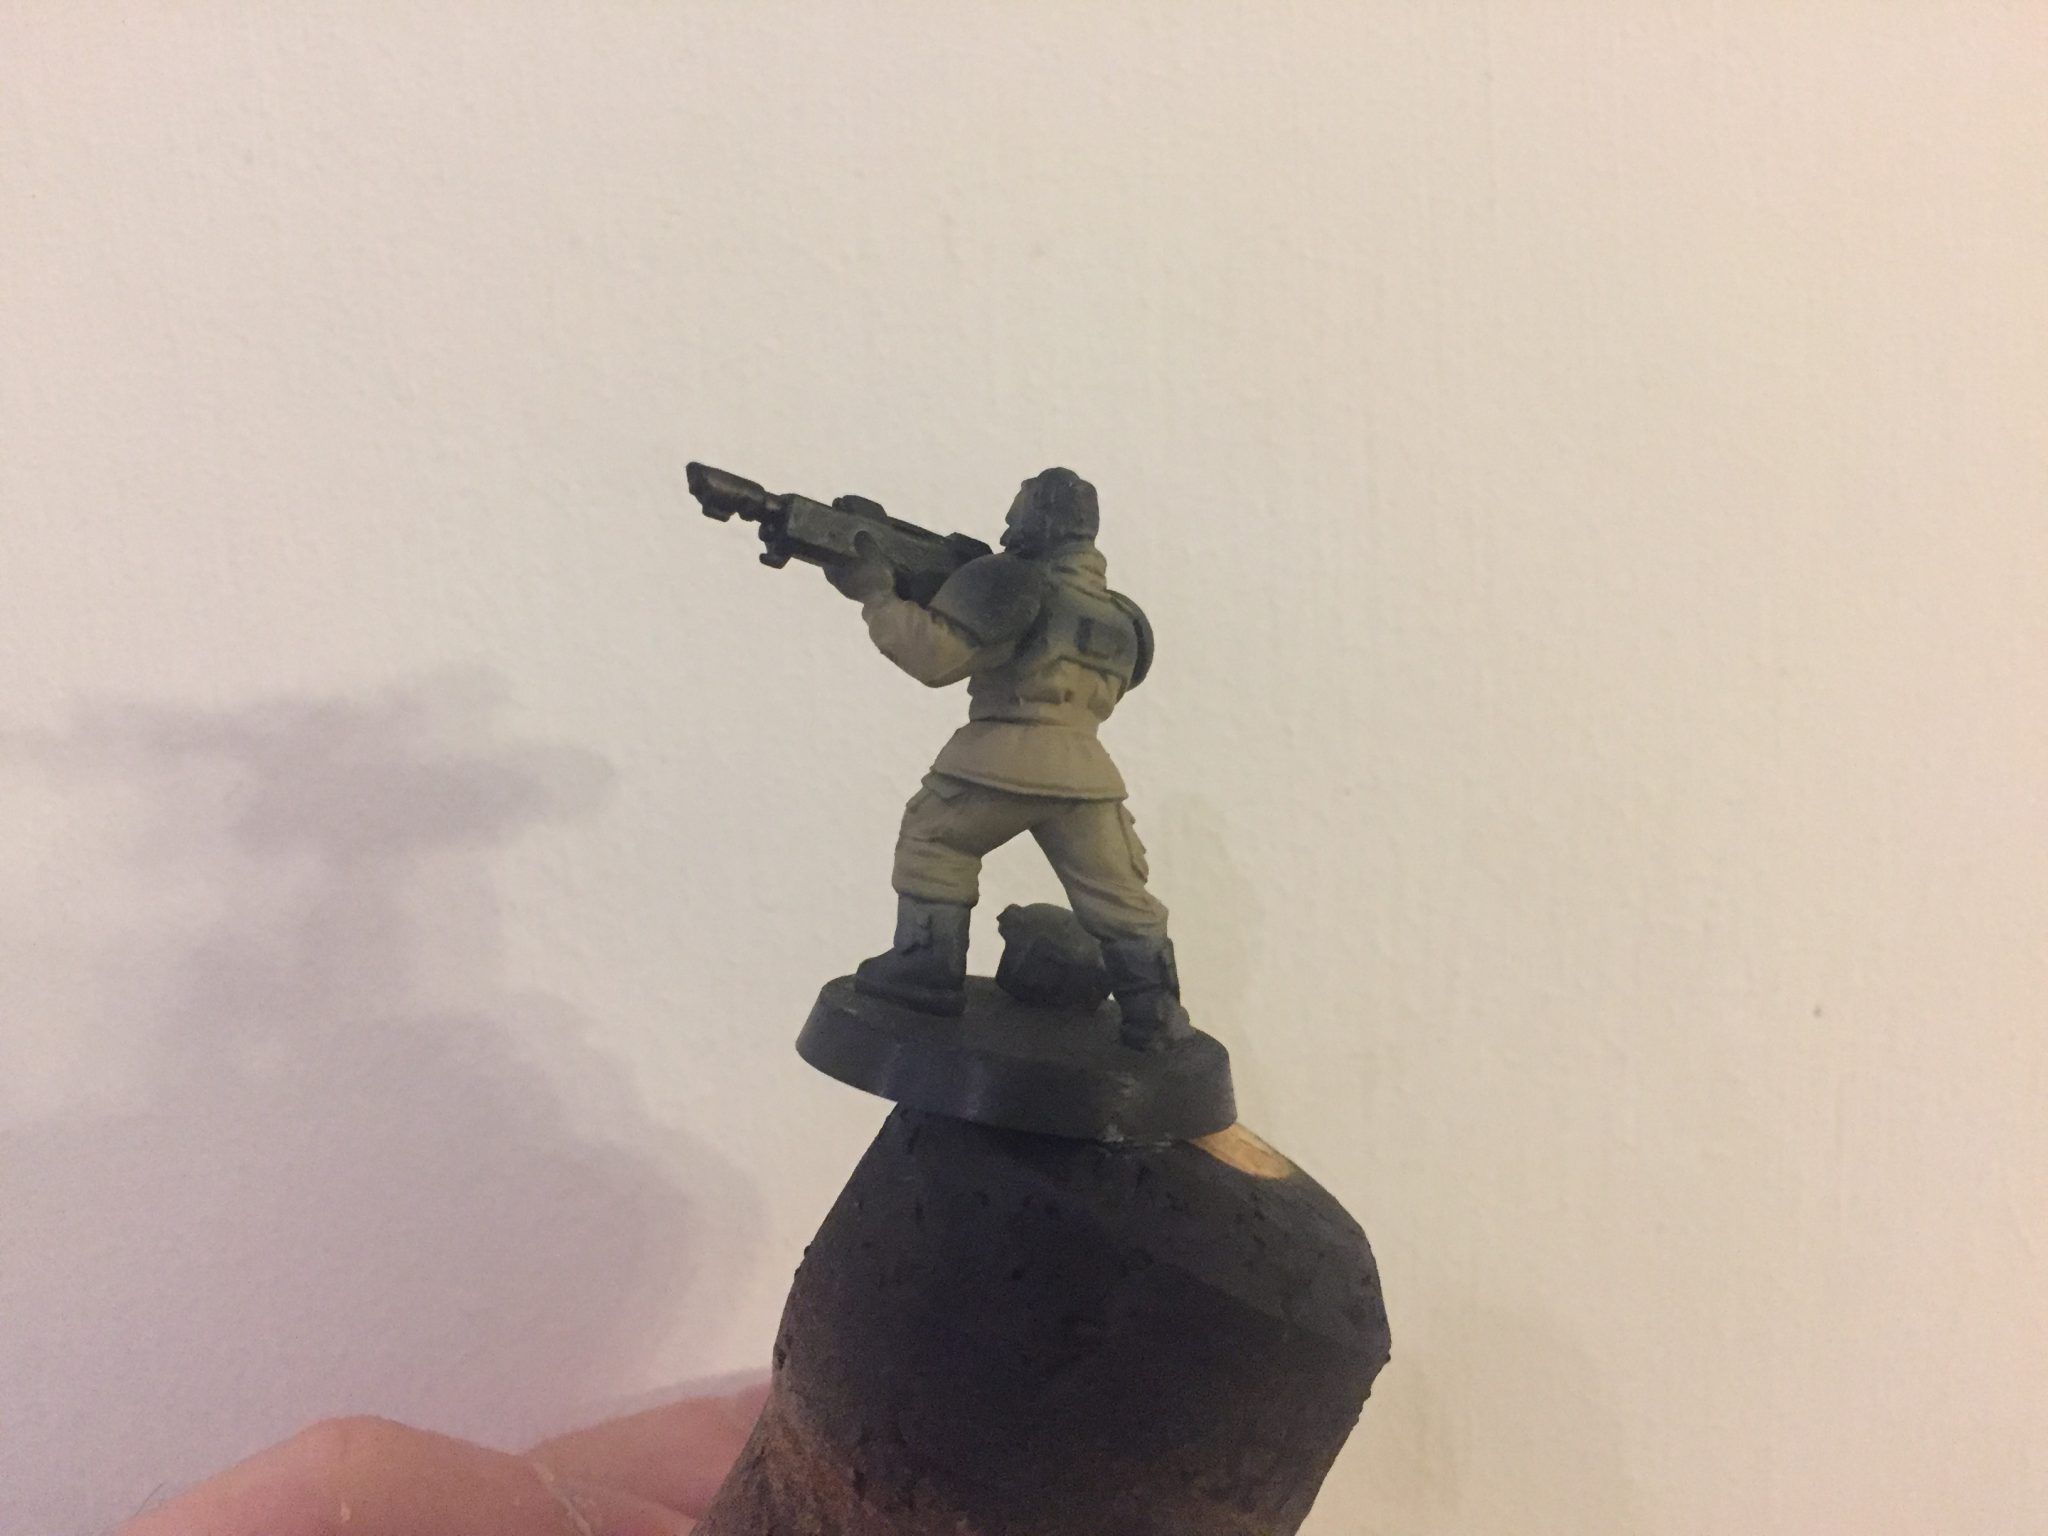
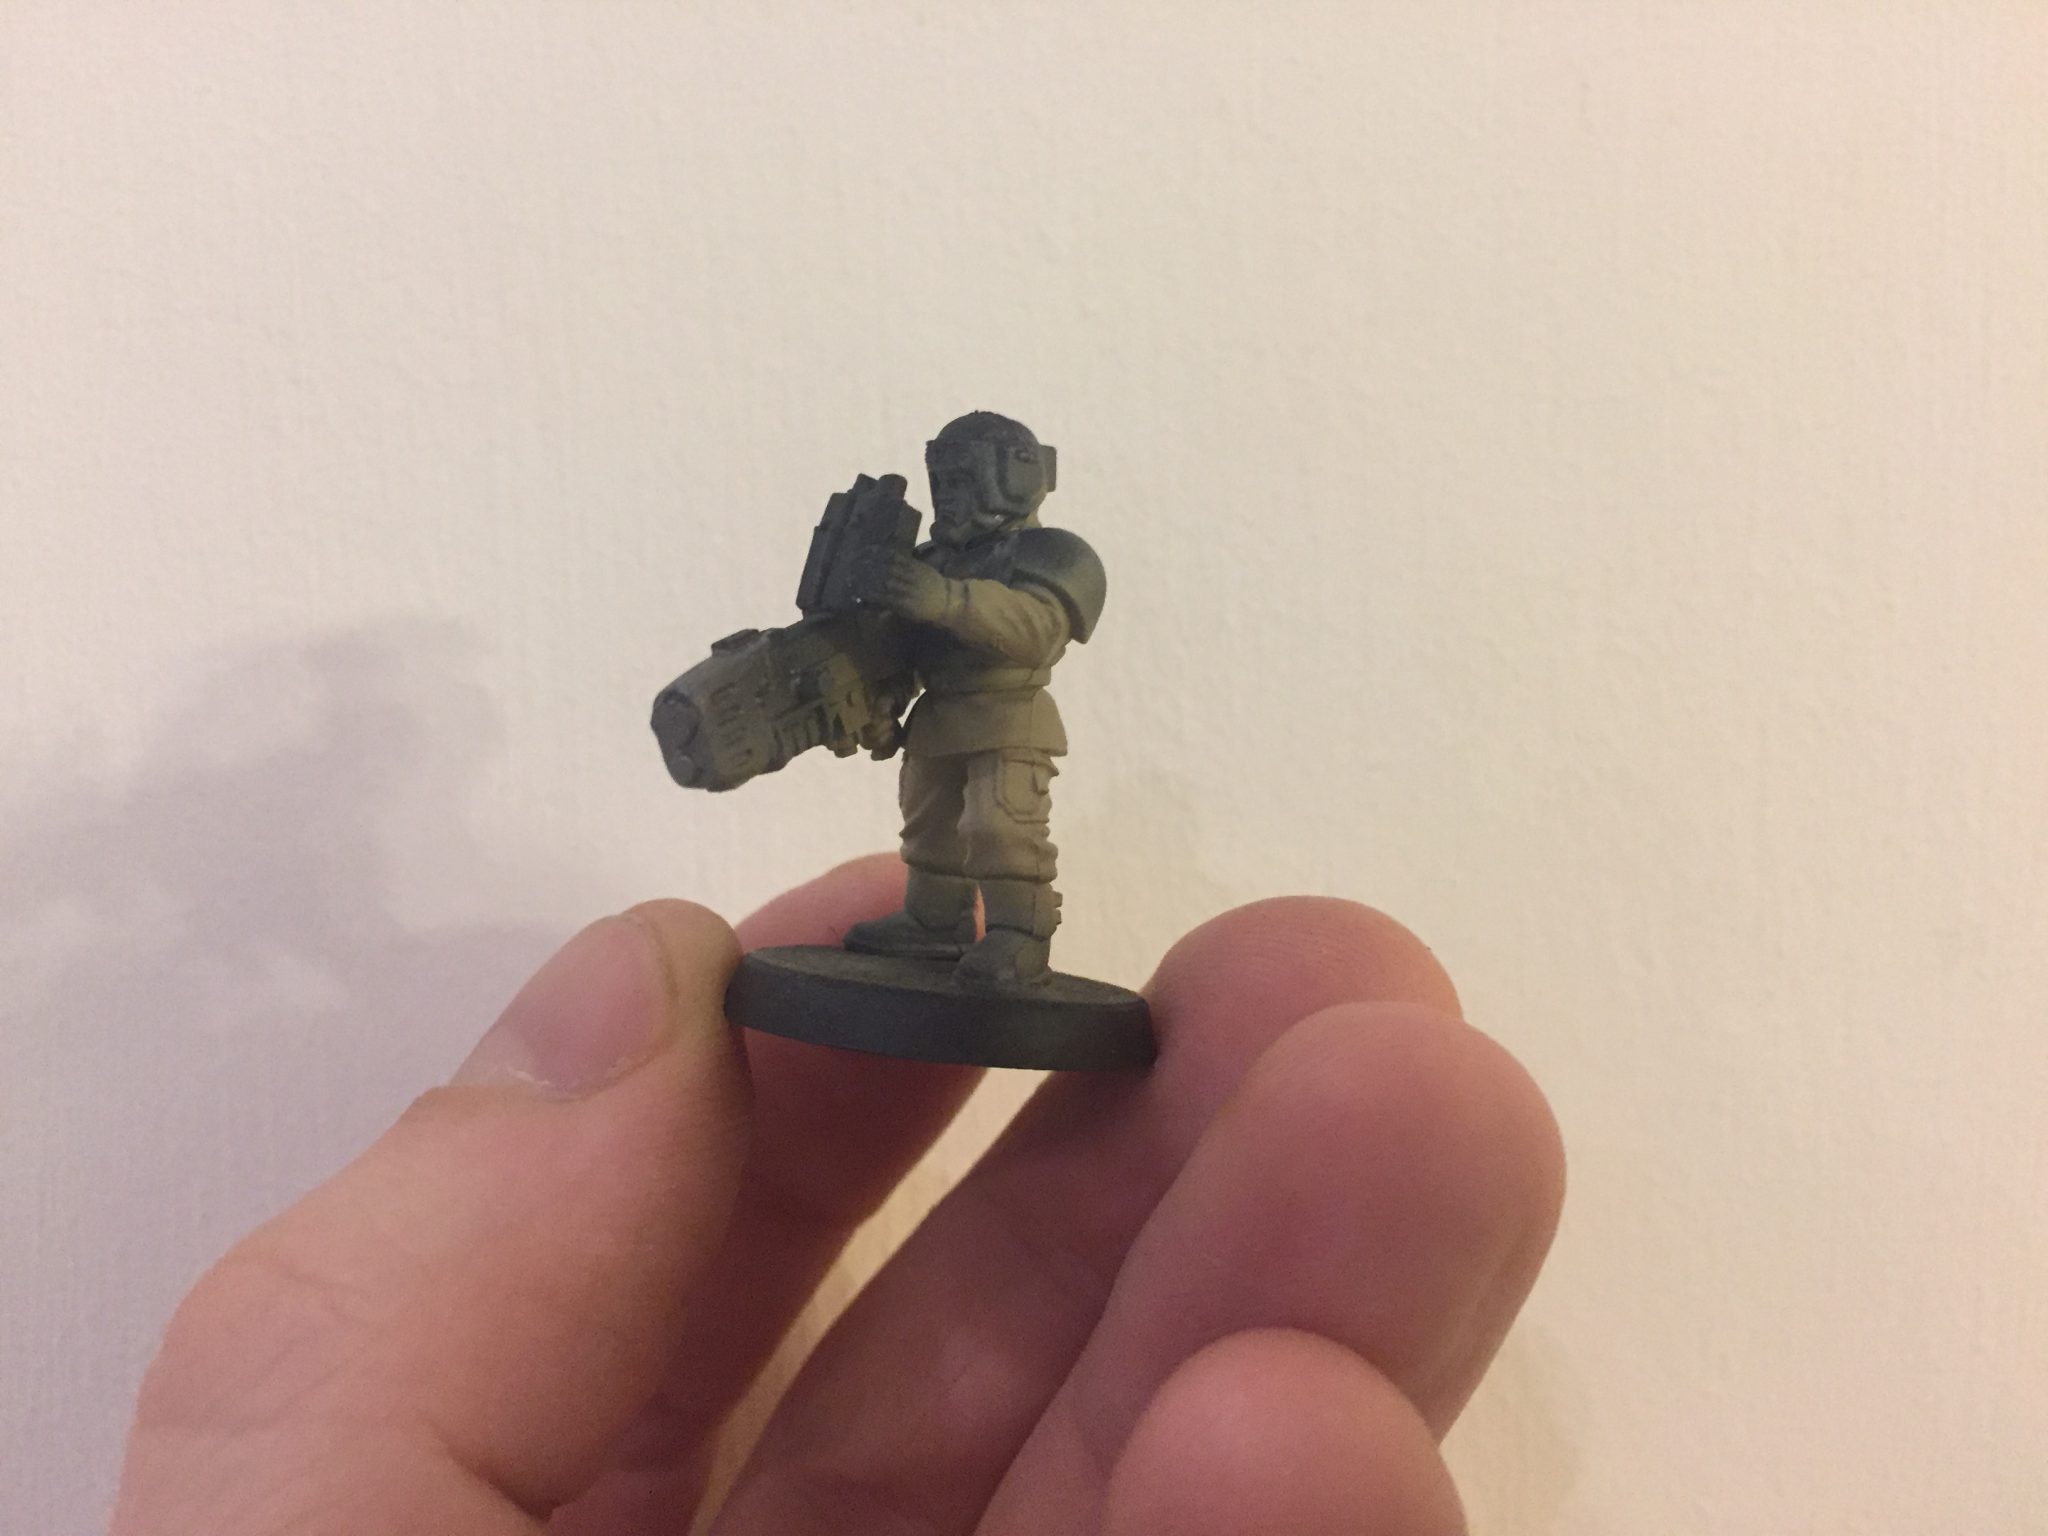
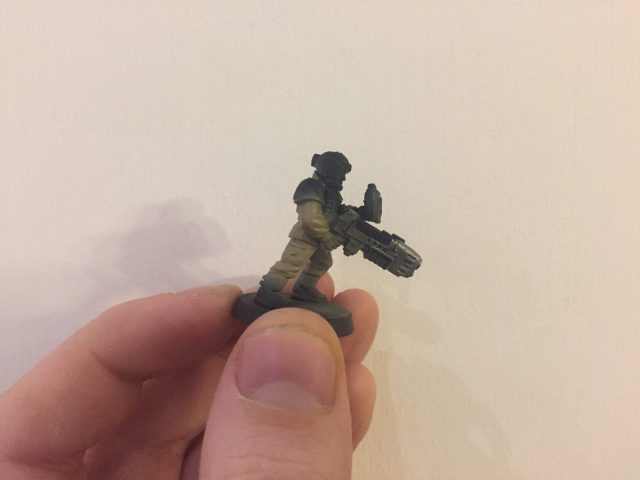
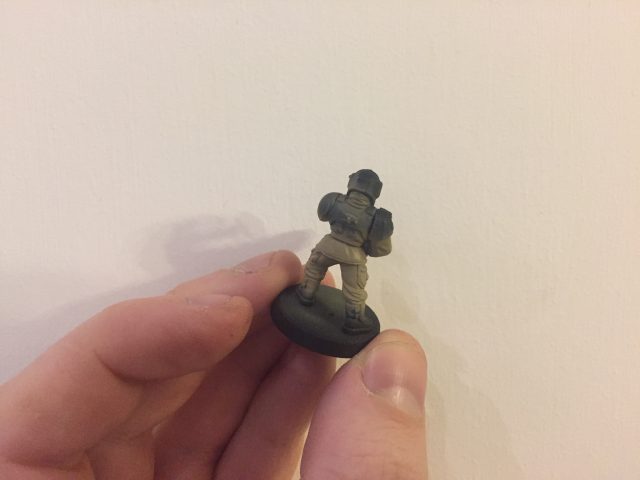
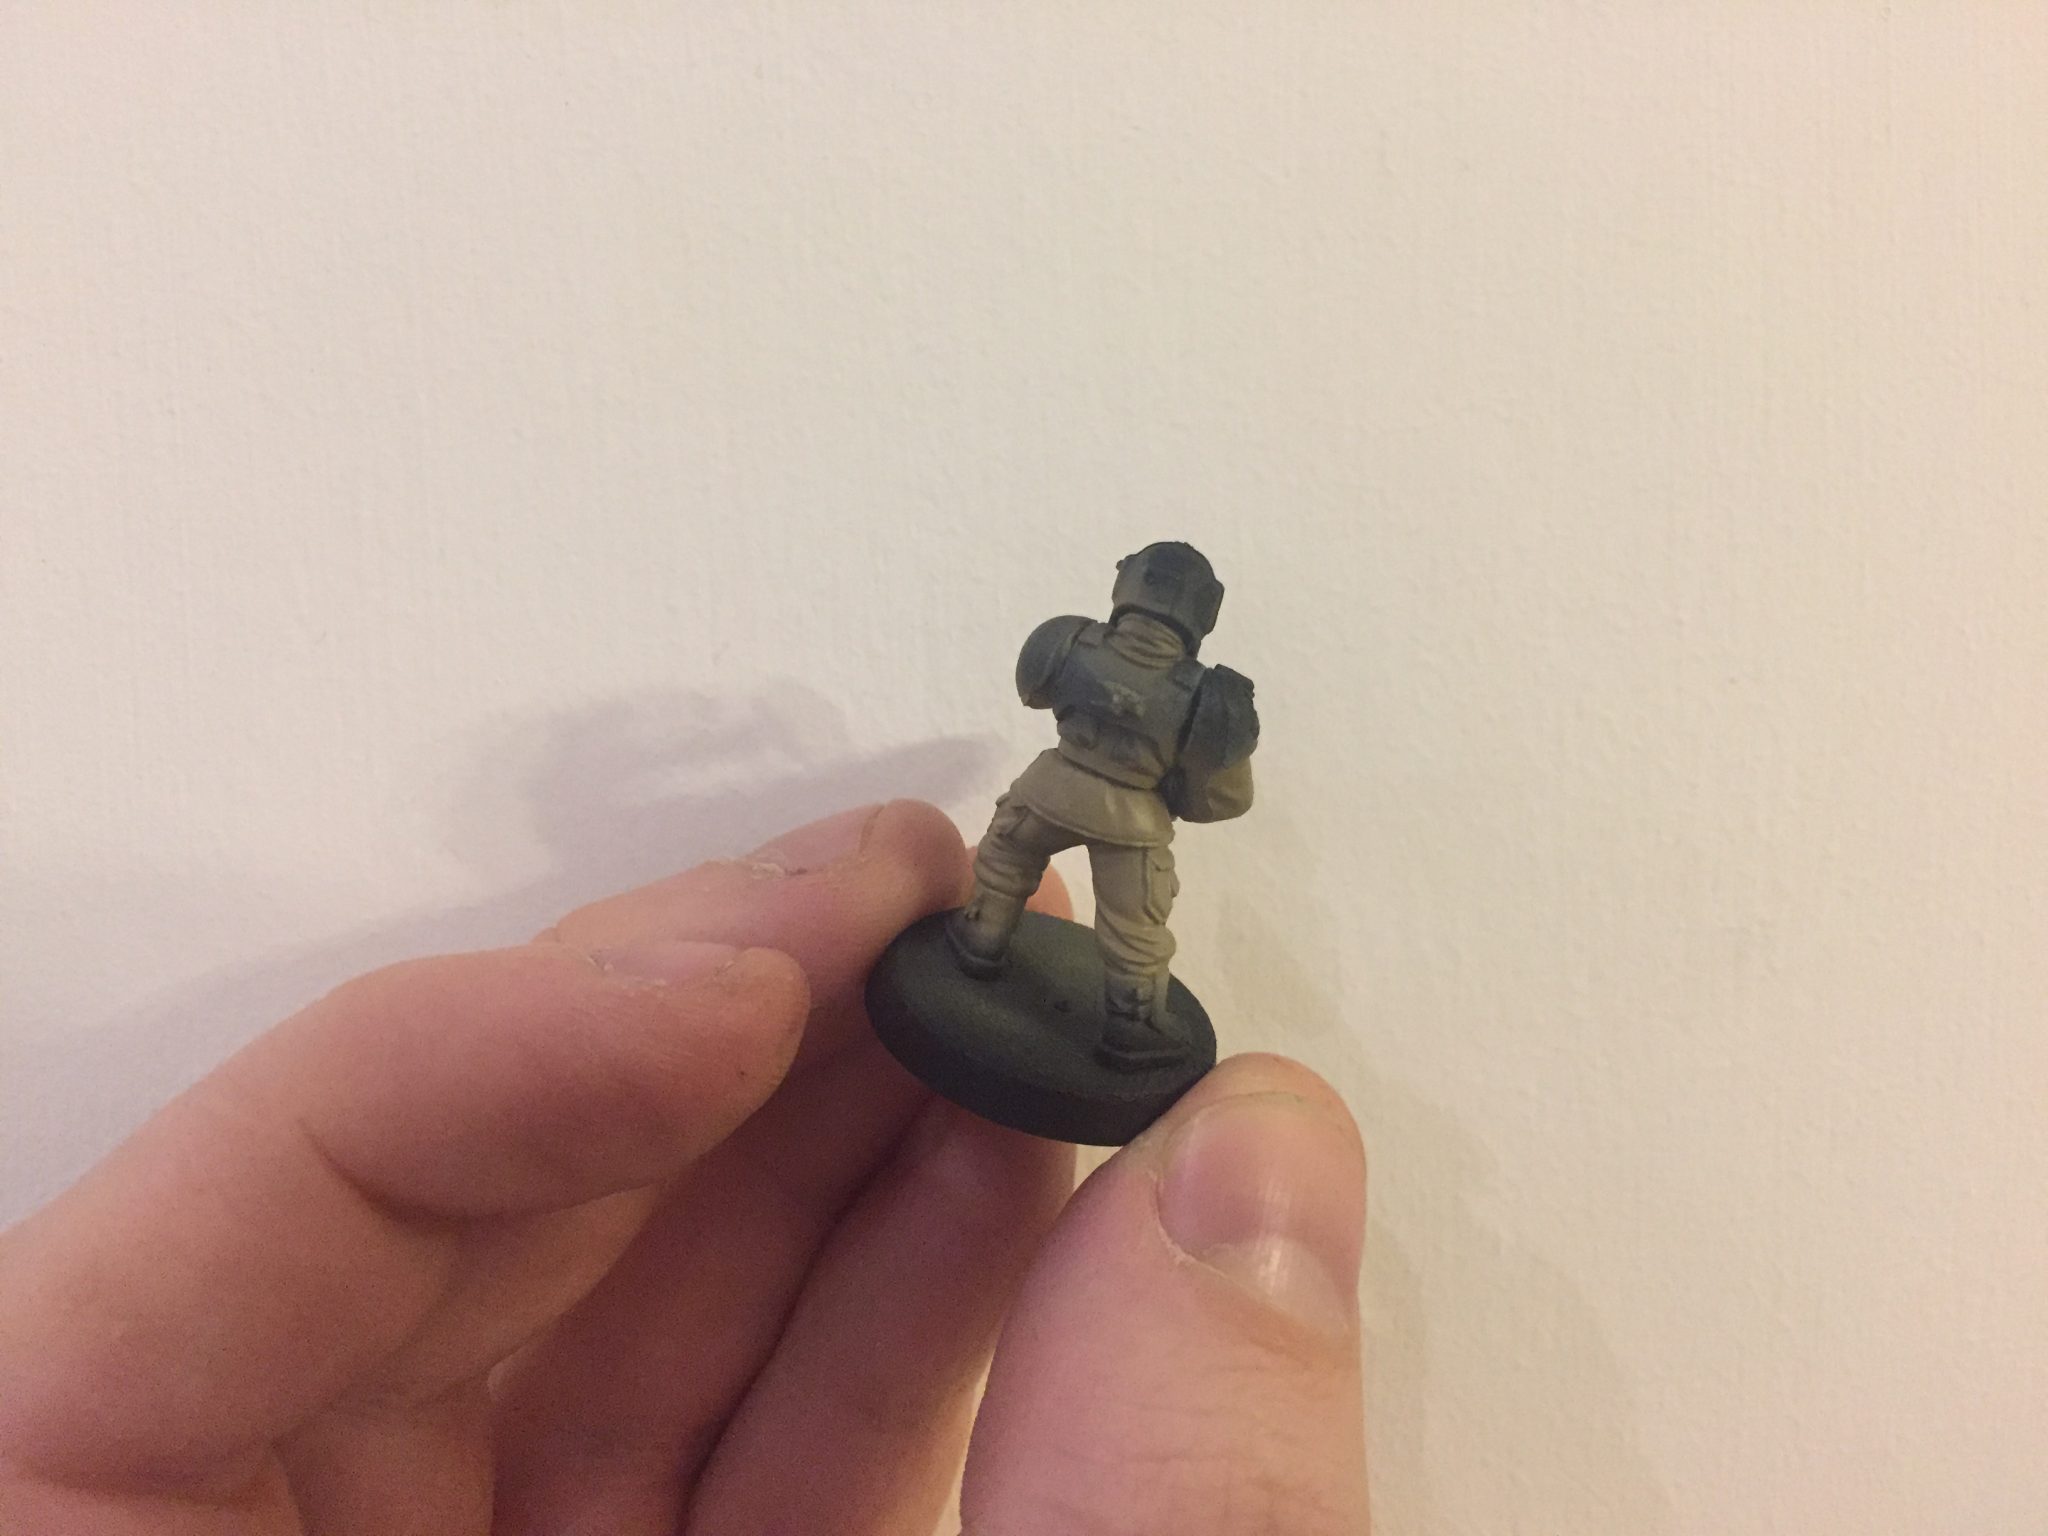
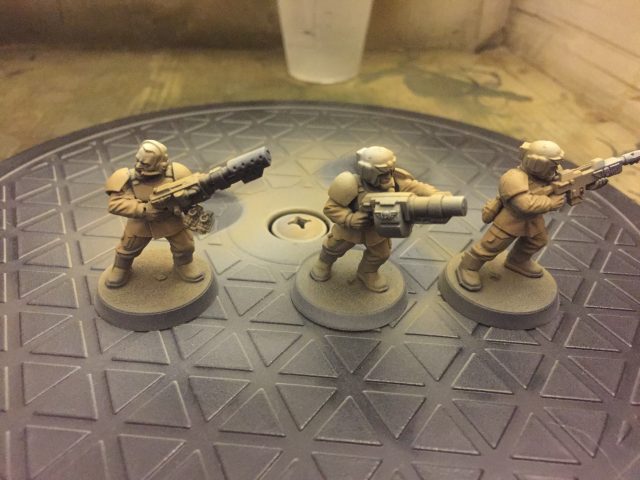
My initial attempt was OK. I got Zandri Dust down onto all the areas that needed it; thats the trousers, lower part of the jacket and the arms. But not the ruffle of cloth at the back of the neck as that’s tiny. As I say, it went OK, it seemed faster than brushing it on but it wasn’t that accurate. There seemed to be a lot of overspray going over other areas. Having said that almost everything else on the models will eventually need to be another colour anyway; grey, green, silver, brown, etc. Very little actually needs to stay black – perhaps only the boots. So the overspray while annoying isn’t the end of the world. Its just a faster way of getting that initial layer of Zandri Dust on the model
Another point to consider is that because Zandri Dust is often the first layer it often goes on via the brush in a rather scruffy and rough manner. And therefore needs to be tidied up anyway – so perhaps I am being too precious about accuracy and overspray from the airbrush on this first layer?
Photos below, what do you think?
-


- Airbrushing Cadian Shock Troops
-
- Airbrushing Cadian Shock Troops
-
- Airbrushing Cadian Shock Troops

-
- Airbrushing Cadian Shock Troops

-
- Airbrushing Cadian Shock Troops

-
- Airbrushing Cadian Shock Troops

-
- Airbrushing Cadian Shock Troops

Airbrushing Cadian Shock Troops – Round Two
After not being overly impressed with the results I decided to email air-craft.net which is where I bought my Revolution BR from. I just wanted to see what else I could be doing to get a narrower and more accurate spray. Admittedly my needle might be bent, I cannot tell though. So I’ve replaced it just in case as I had a spare and it certainly cannot do any harm.
I took this picture earlier too, its the new needle next to the old one, yes I think it was bent! Although its still hard to tell.
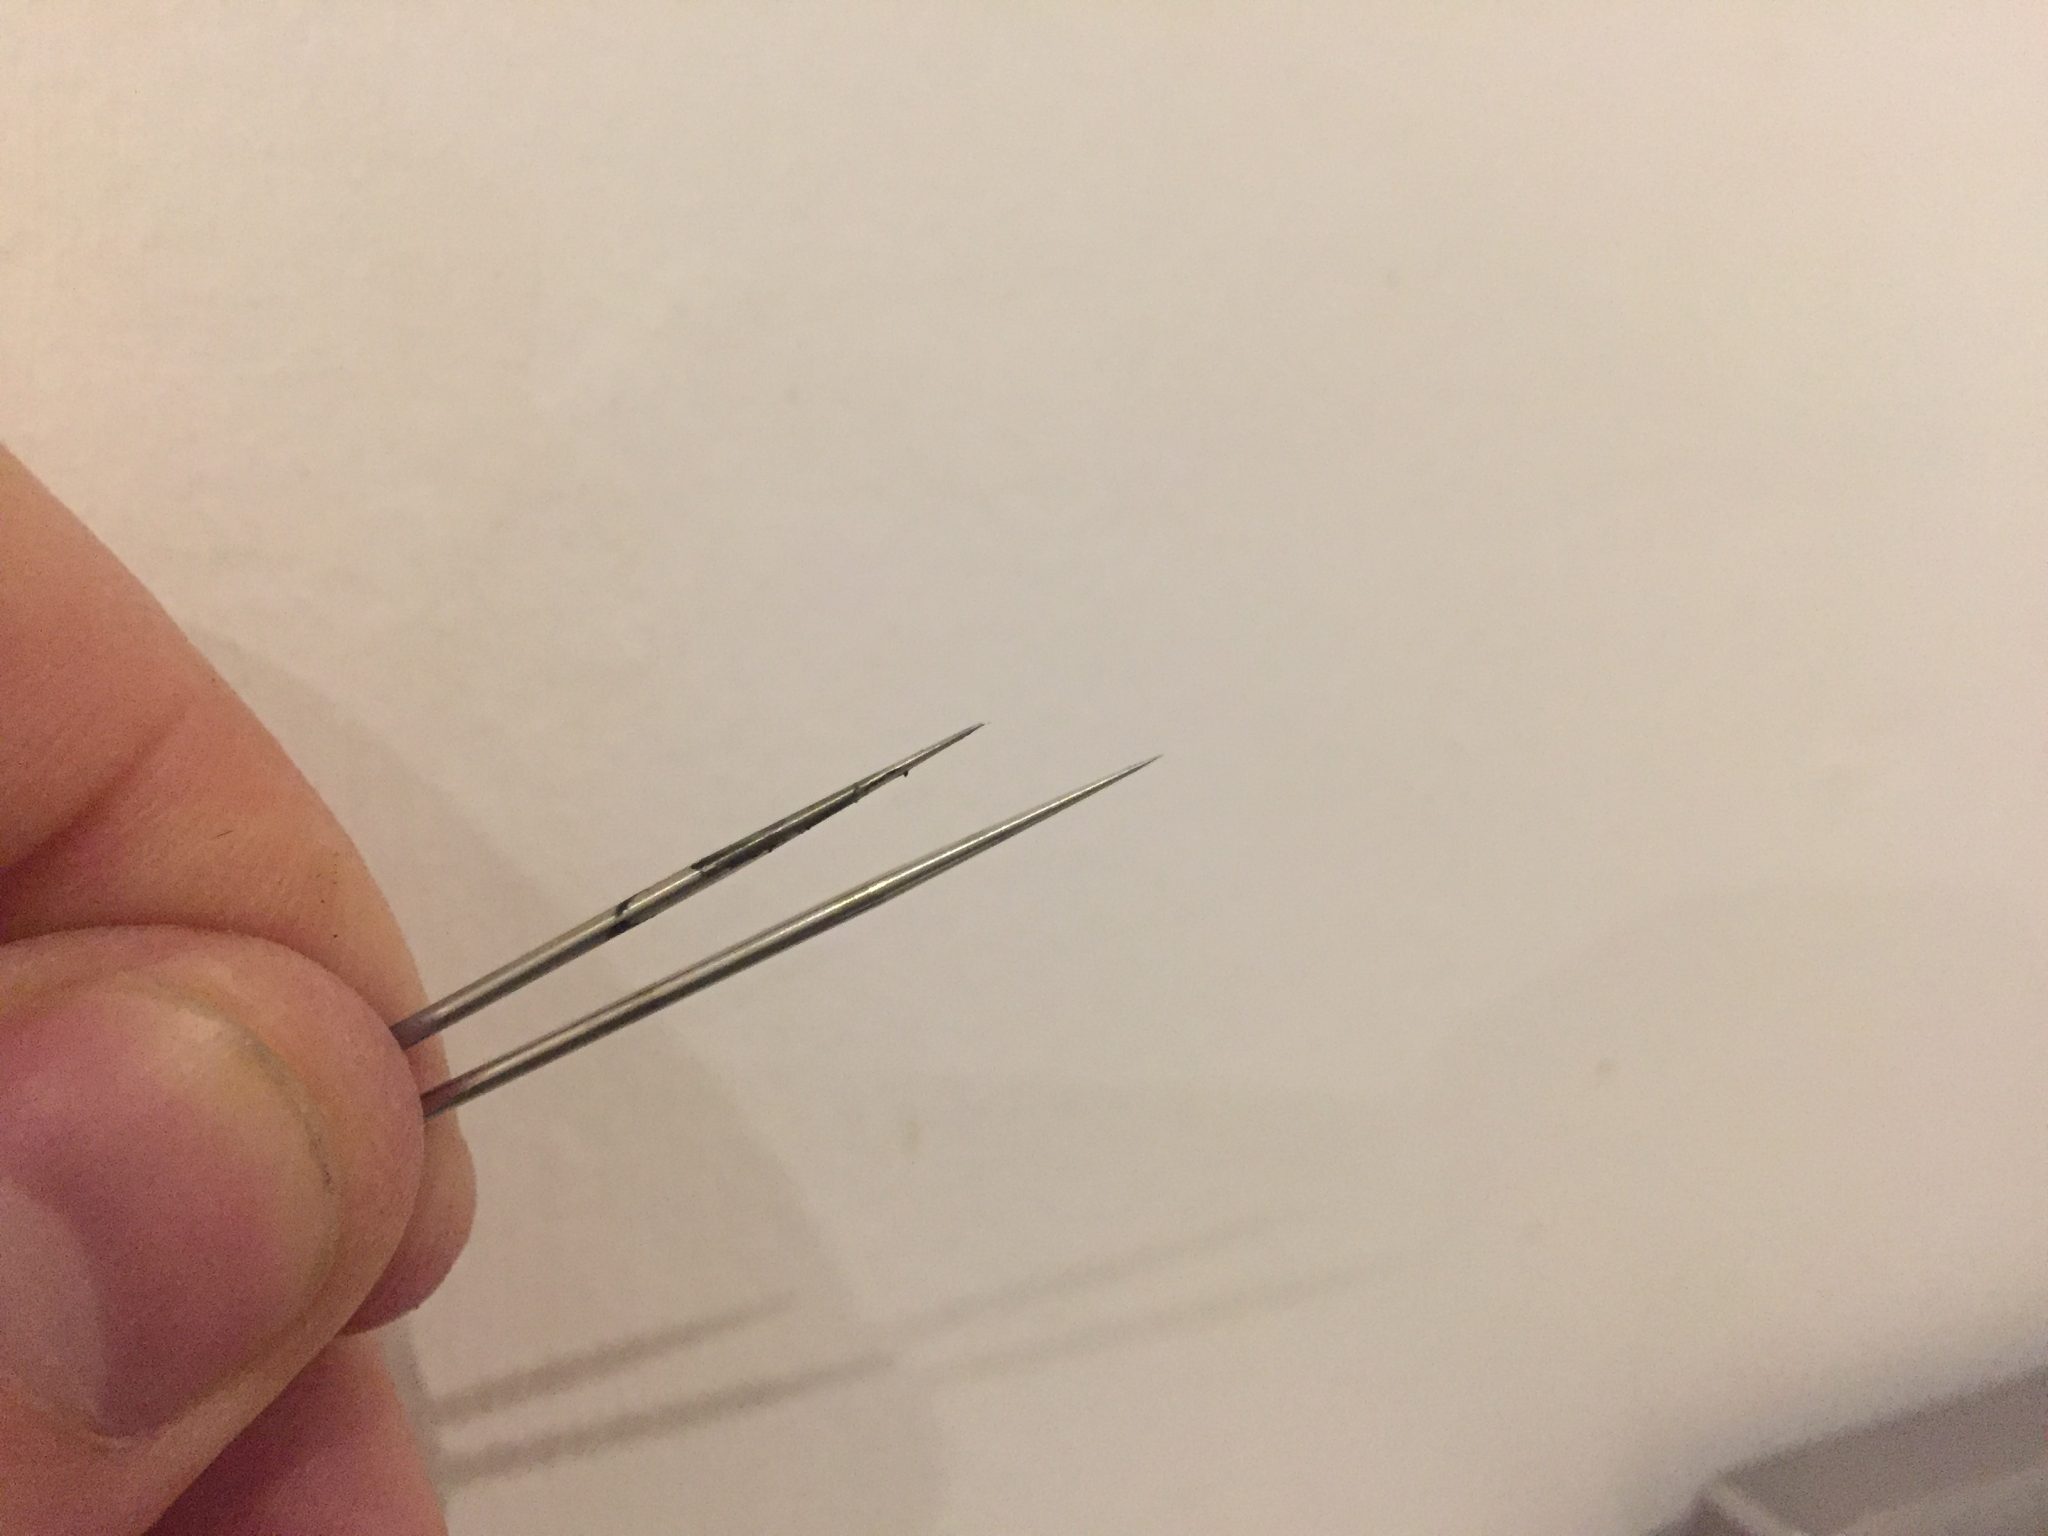
The left/top needle is bent right? It just looks less sharp/pointy than the new one.
It was also suggested that I should try different mixes of thinner and paint. I use 60:40 at the moment (paint : thinner). Although admittedly I didn’t get chance to test this more scientific approach. I guess that getting the right mix will reduce overspray, e.g a paint that is diluted too much will overspray more than a paint thats diluted just right and still goes through the airbrush? Or is that absolutely terrible logic?
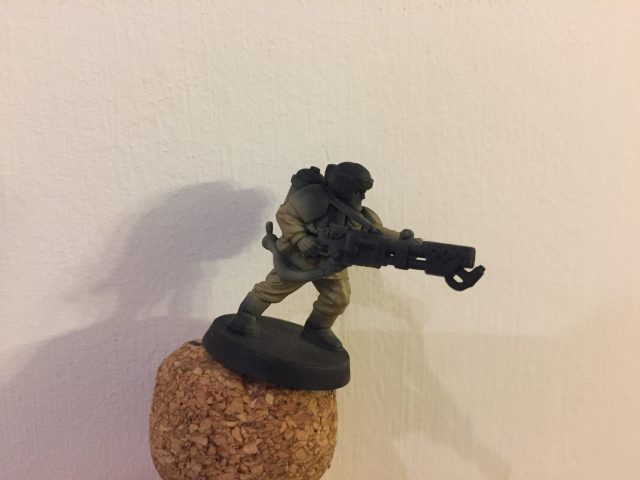
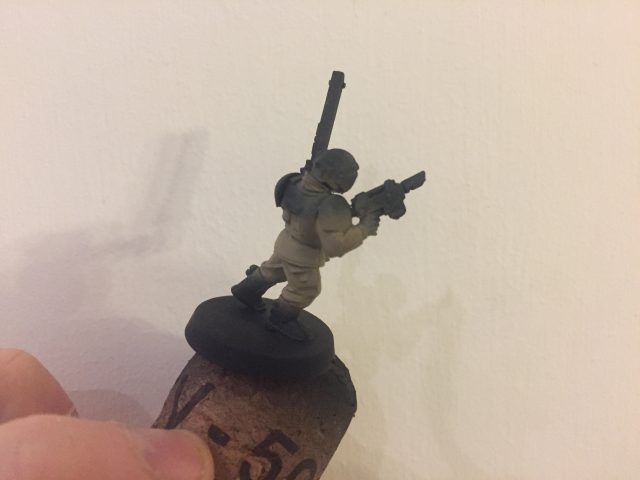
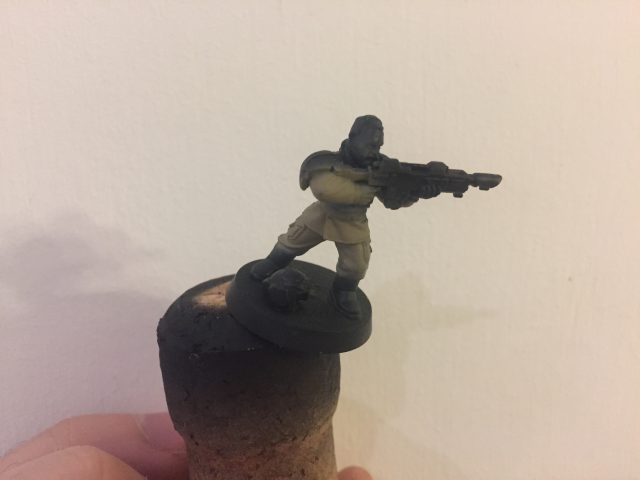
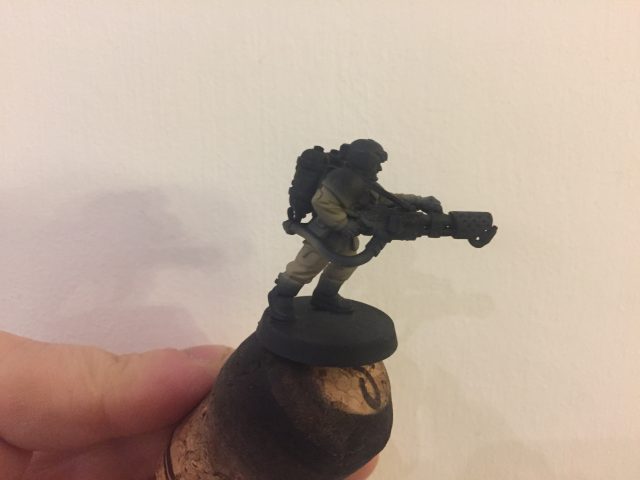
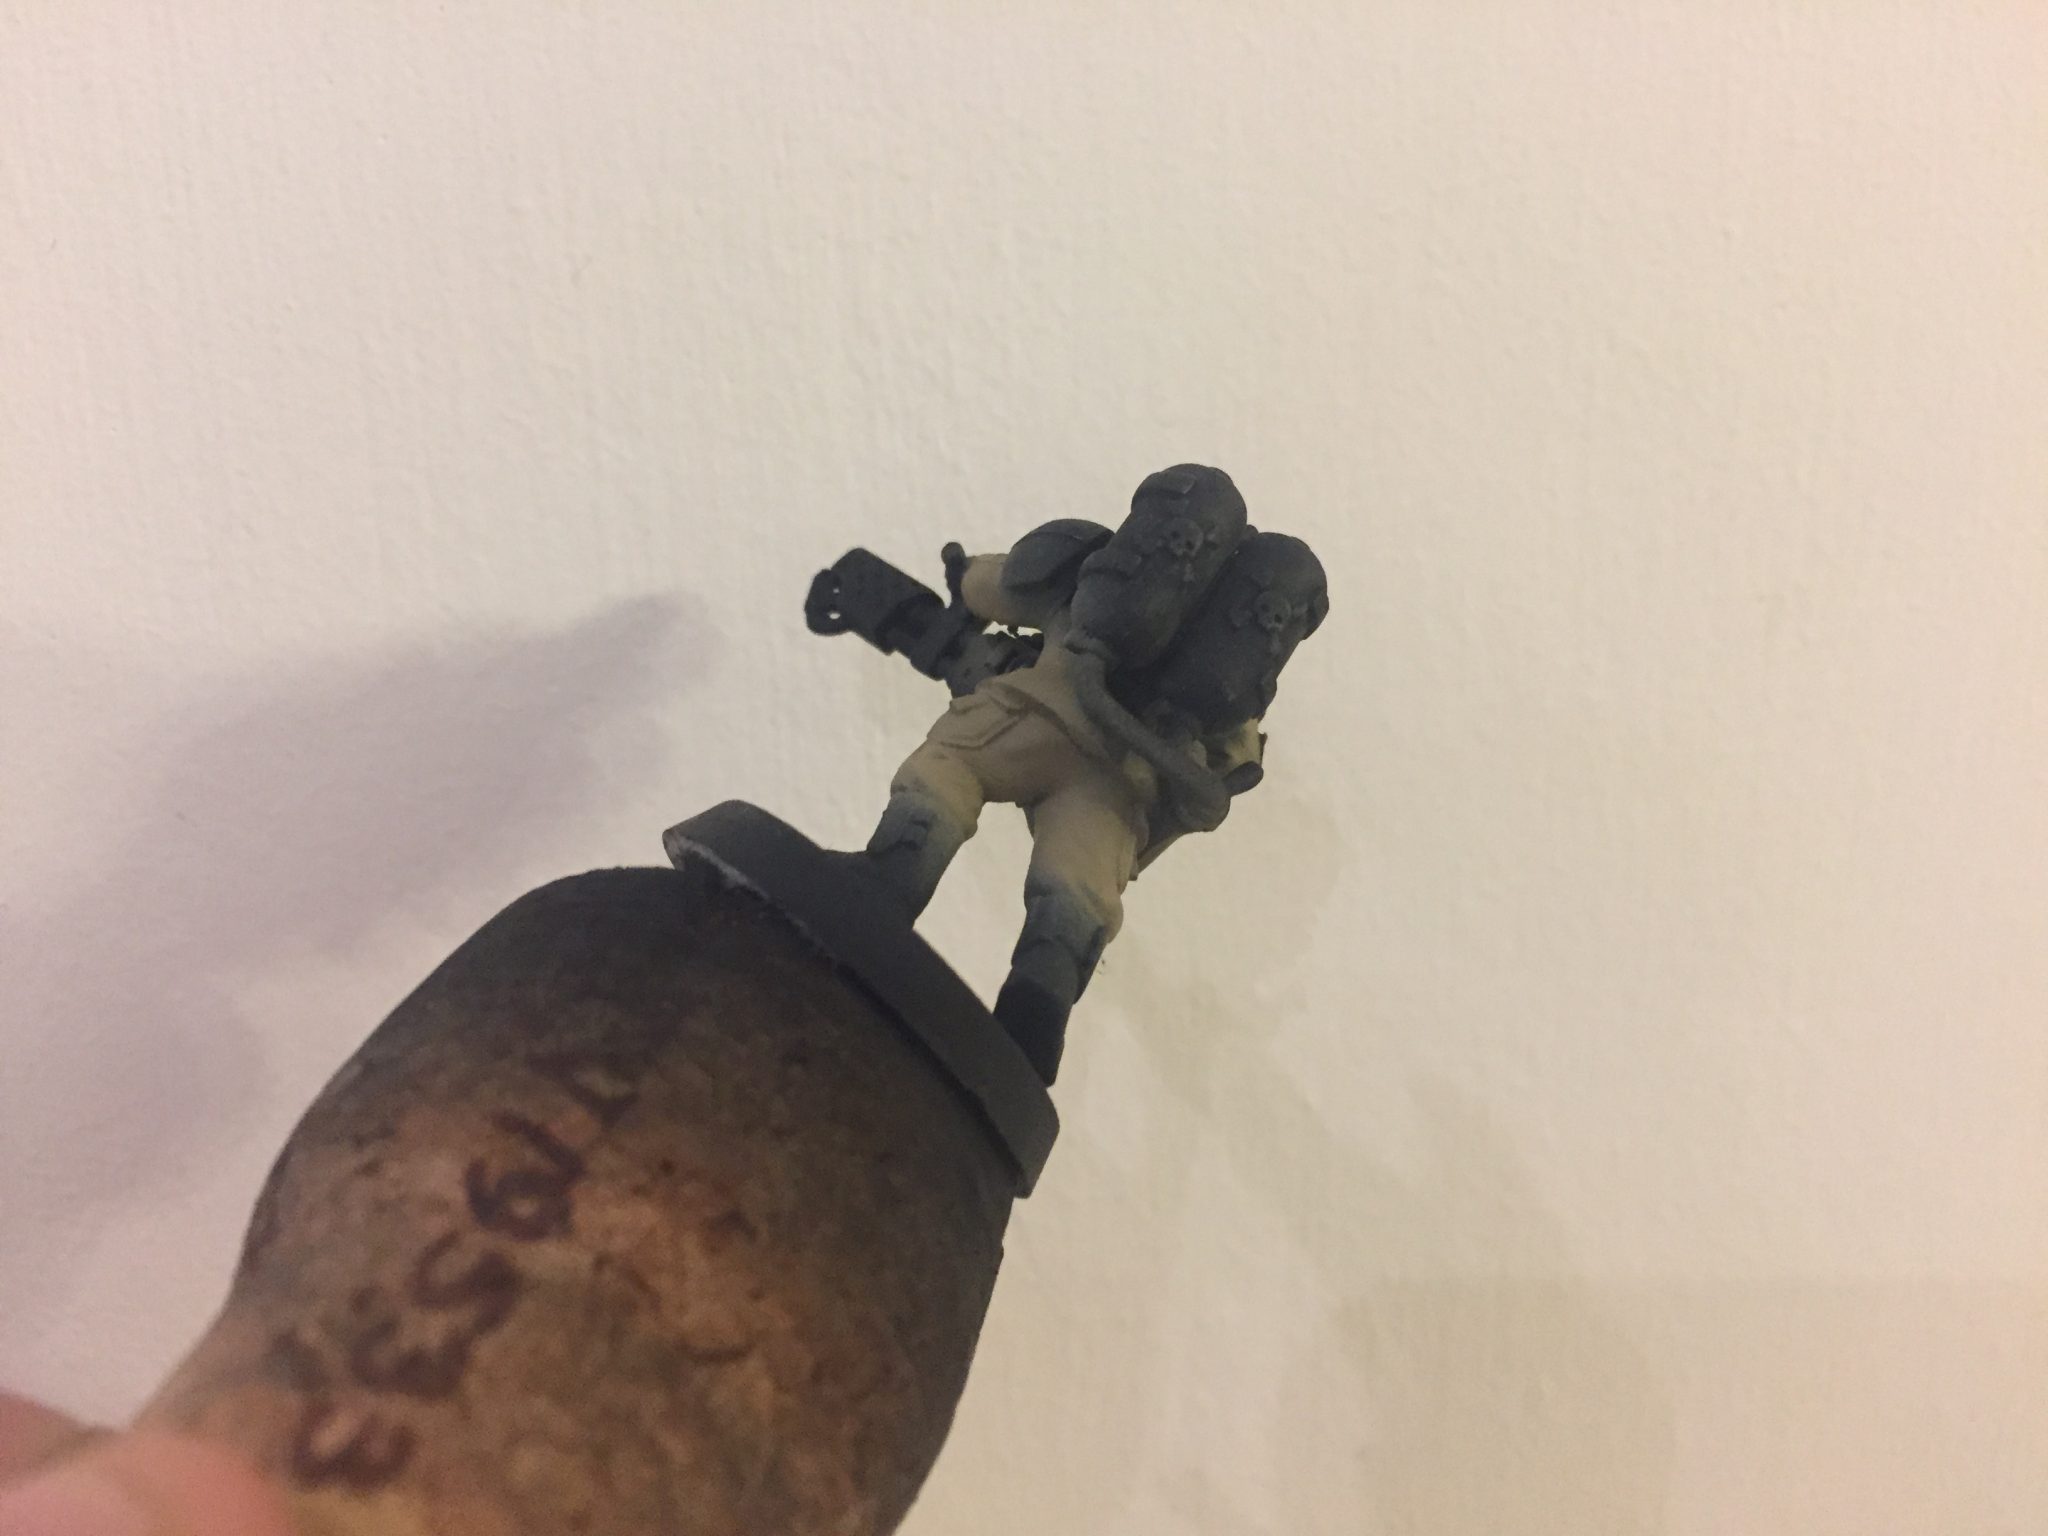
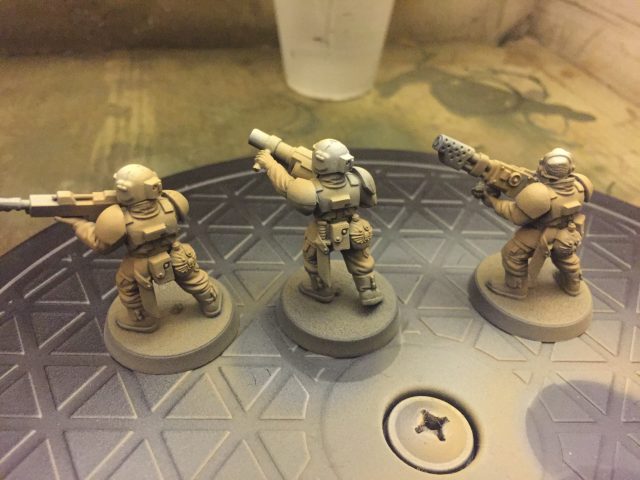
I feel like this second attempt with the new needle was about as successful as my first attempt – perhaps its marginally better.
More photos below, what do you think? Are they even any different from Round One?
-
- Airbrushing Cadian Shock Troops
-

- Airbrushing Cadian Shock Troops
-
- Airbrushing Cadian Shock Troops

-
- Airbrushing Cadian Shock Troops

-
- Airbrushing Cadian Shock Troops

-

- Airbrushing Cadian Shock Troops
-

- Airbrushing Cadian Shock Troops

-
- Airbrushing Cadian Shock Troops

-

- Airbrushing Cadian Shock Troops
-

- Airbrushing Cadian Shock Troops
-
- Airbrushing Cadian Shock Troops

-
- Airbrushing Cadian Shock Troops
Airbrushing Cadian Shock Troops – Summary
I think I am still on the fence about this approach for my infantry. It doesn’t seem to be that accurate (at least for me) and perhaps is not any quicker. And even if it is quicker is that undone by the overspray that goes into the boots and the few other black areas (the belt) I do want to keep black? I just don’t know! Emperor guide me!
I might do a third try and be more scientific about it.
- Use specific ratios of paint and thinner in an attempt to see if the thinness of the paint effects the overspray.
- Paint Zandri Dust on a model using a brush to gain a clear benchmark time and accuracy against which to test the airbrushed models.
- Possibly use Game Workshops Zandri Dust Air paint.
Any and all comments are welcome. #outofmydepth
A Quick Final Note
A little note here as I come back to this article to finish it off. After completing a handful of Guardsmen the other day and going back to a brush after a long time of just airbrushing camo stripes – I can safely say that airbrushing the Zandri Dust is a big help and gets that first layer on quickly and neatly every time.
So after all that I am happy and will do this more often. Quick Zandri Dust layer and then onto the brush. Getting the Castellan Green onto the model is too much though. The armour that needs to be green is just too small and the overspray will just ruin the Zandri Dust layer.
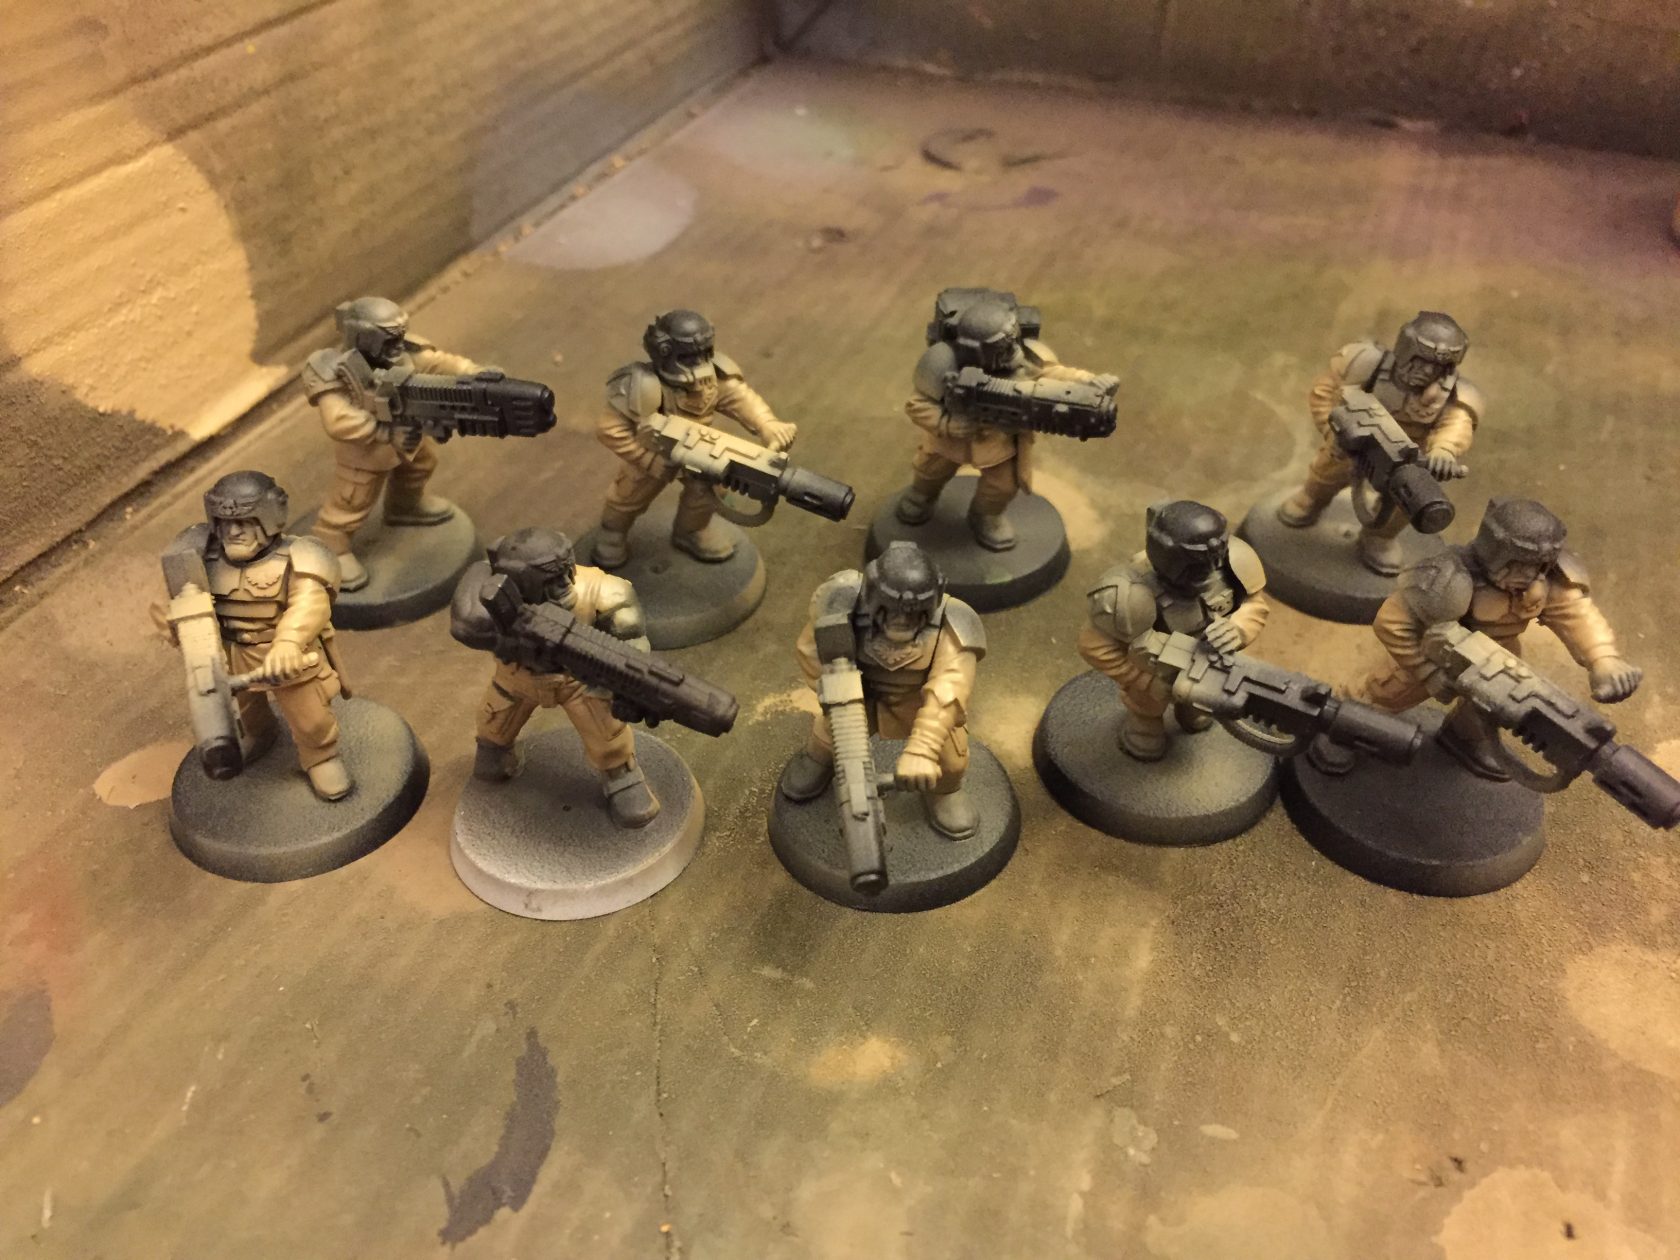
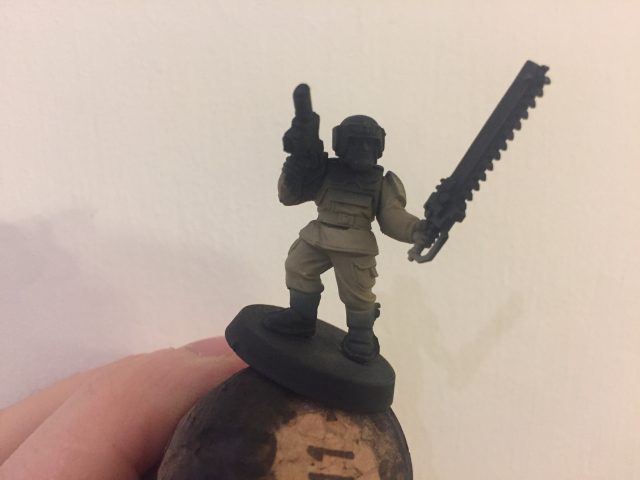
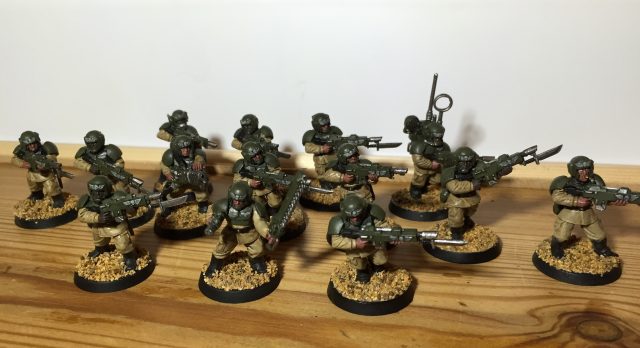
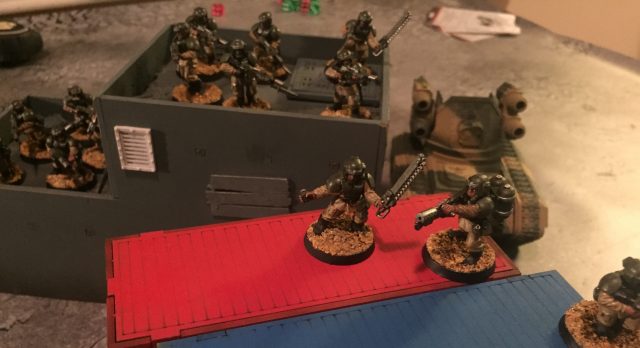
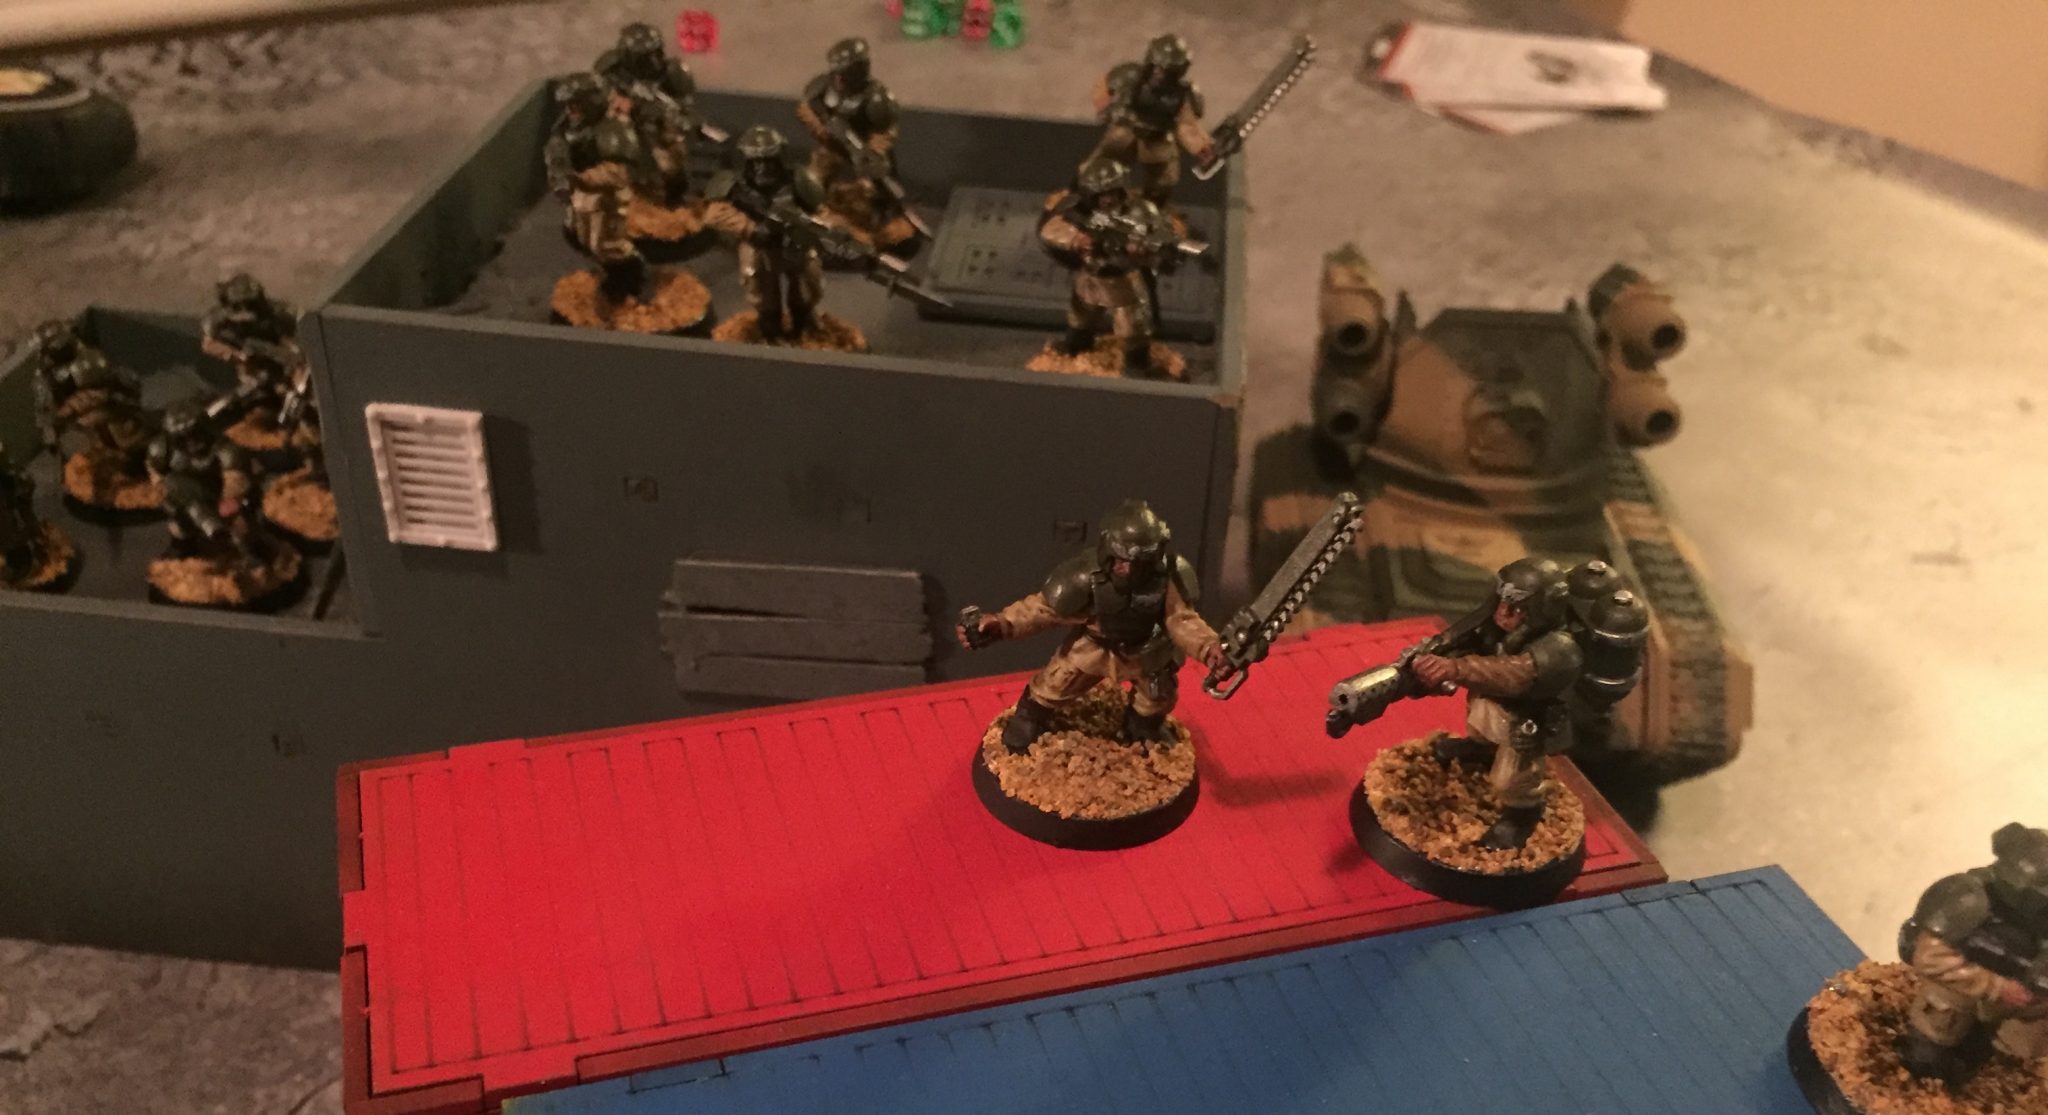
The Required End Result – Cadian Shock Troops
These are some older images of my completed Cadian Shock Troops. This is the end result – so placing the Zandri Dust on via airbrush is just a minor step in getting these guys completed. But its quicker than using a brush and that is good enough for me.
-

- 2016 Guardsmen

-
- Completed Cadian Shock Troops – using a brush
-

- Completed Cadian Shock Troops – using a brush

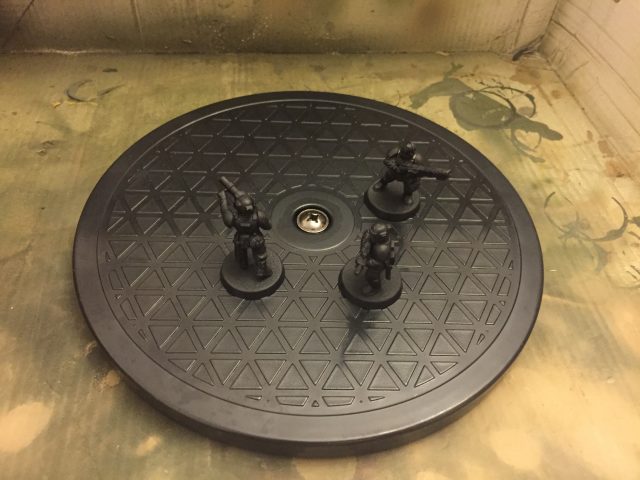
Zenithal Highlighting
Skip forward a couple of months and I’ve now tried another method. I’ve tried for the first time my hand at Zenithal Highlighting, something which I have zero experience of.
I went from Black to a Dawnstone highlight, then Celestra Grey and finally pure white. I then followed that up with Zandri Dust and I don’t think it made any difference at all. Since doing this I have completed these models with a brush and I could not tell which models I did using Zenithal Highlighting and which models I just sprayed with Zandri Dust right after priming them black.
I do not think the models are big enough to warrant Zenithal highlighting and I don’t think I have the skill at the moment nor the know how to pull it off anyway. But it was fun to do and its something I will return to one day I am sure.
-
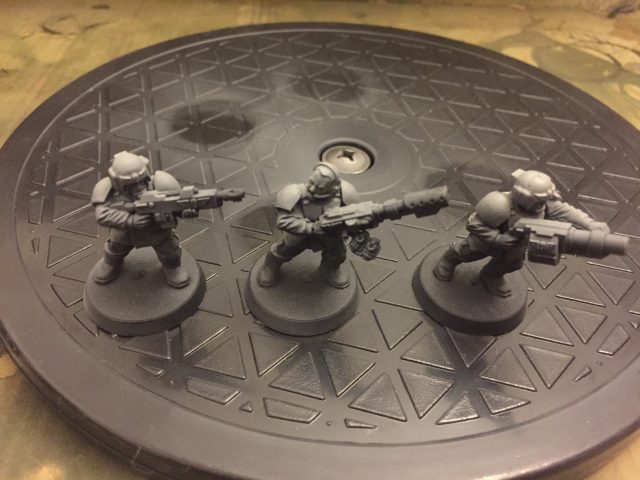
- Primed Black
-
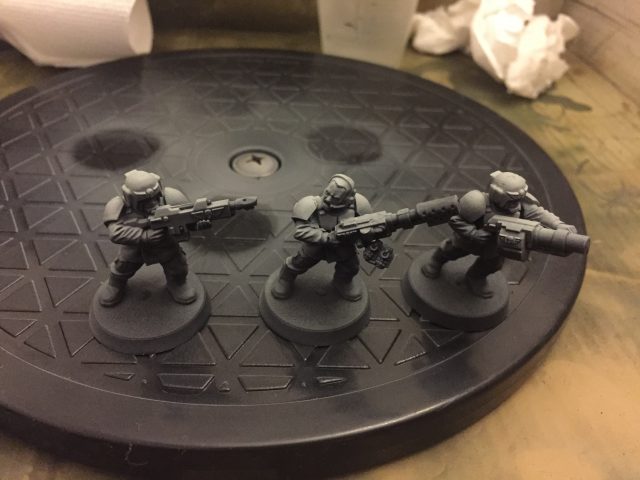
- Zenithal highlighted with Dawnstone Grey
-
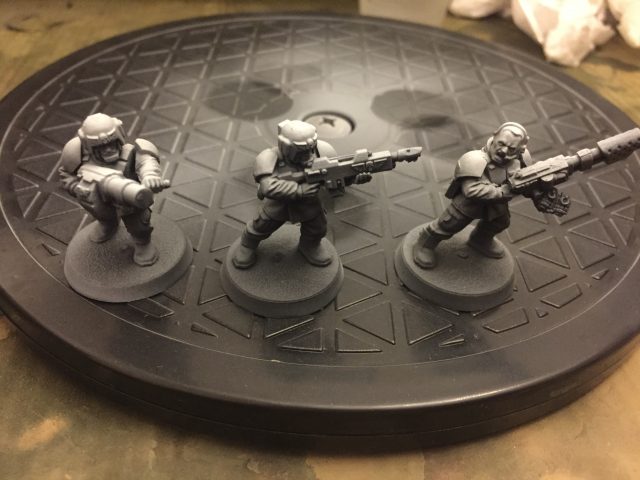
- Zenithal highlighted with Celestra Grey
-
- Final Zenithal highlight with White Scar
-
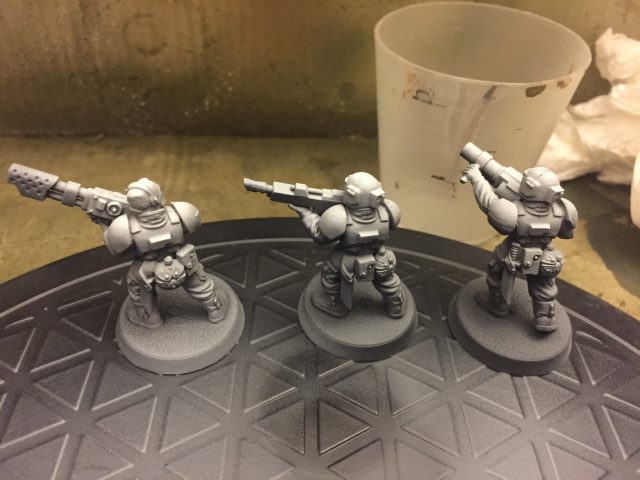
- Final Zenithal highlight with White Scar
-
- Zenithal highlight with Zandri Dust
-
- Zenithal highlight with Zandri Dust
That is all folks!