
War of Attrition
After my weekend away at Hobby Haven playing a narrative campaign, I have the narrative bug!
I made a mission called War of Attrition as a PDF. It is also included below. Both are the same, read/use whichever you find easiest.
Never miss an article? Subscribe!
Check it out, try it and let me know how it goes.
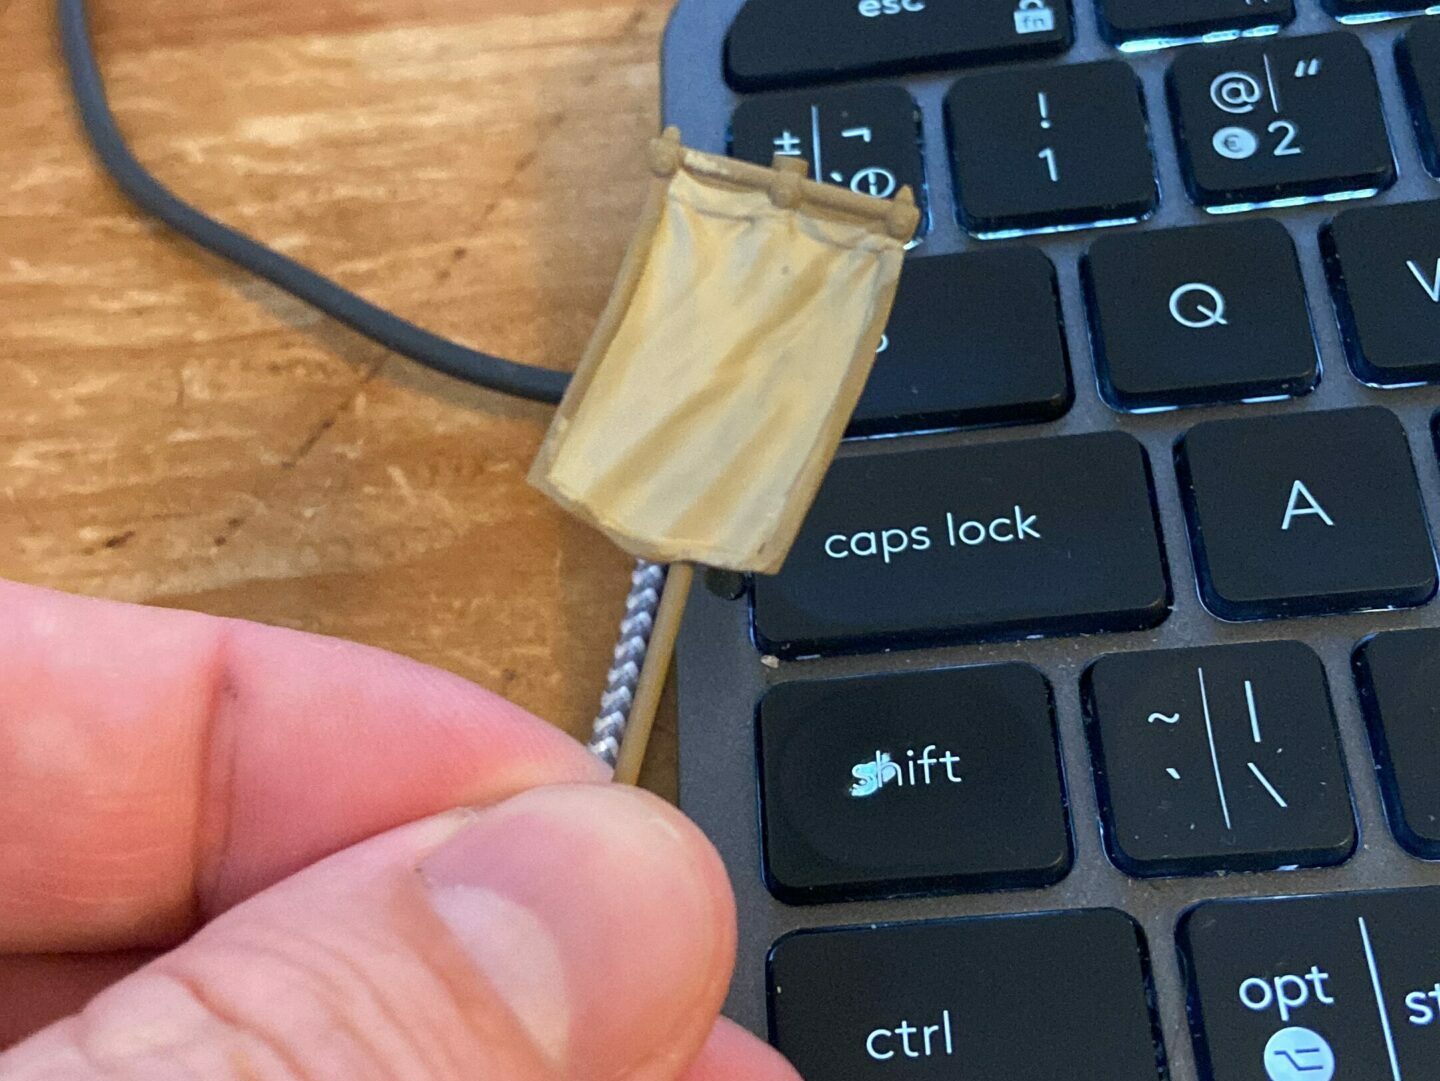
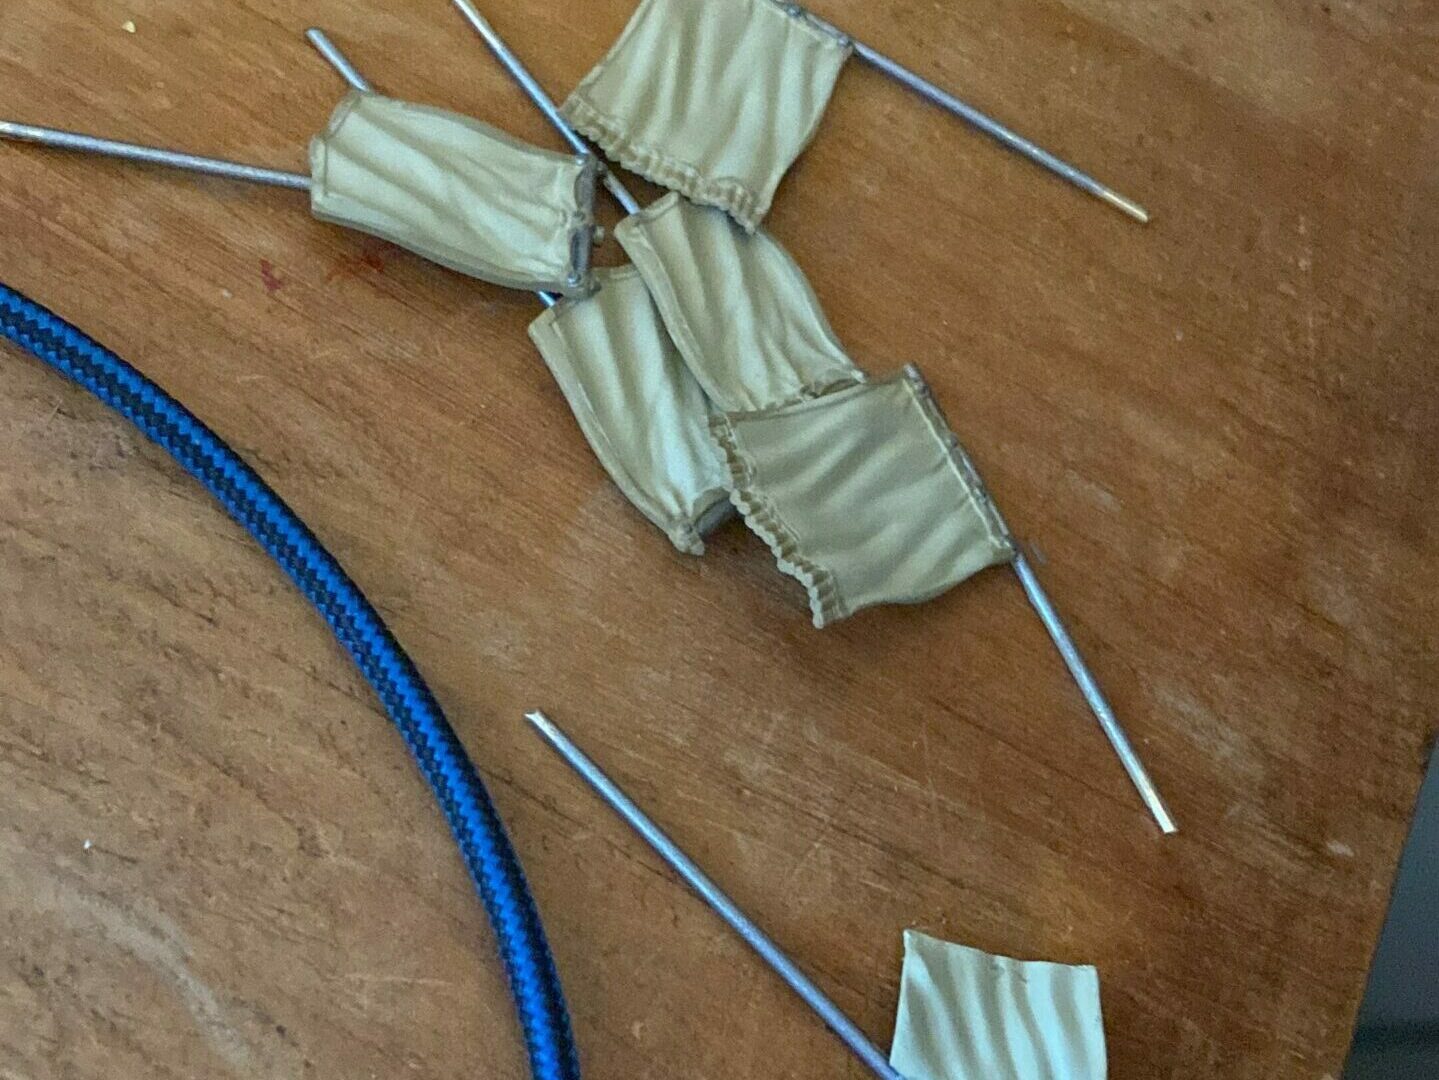
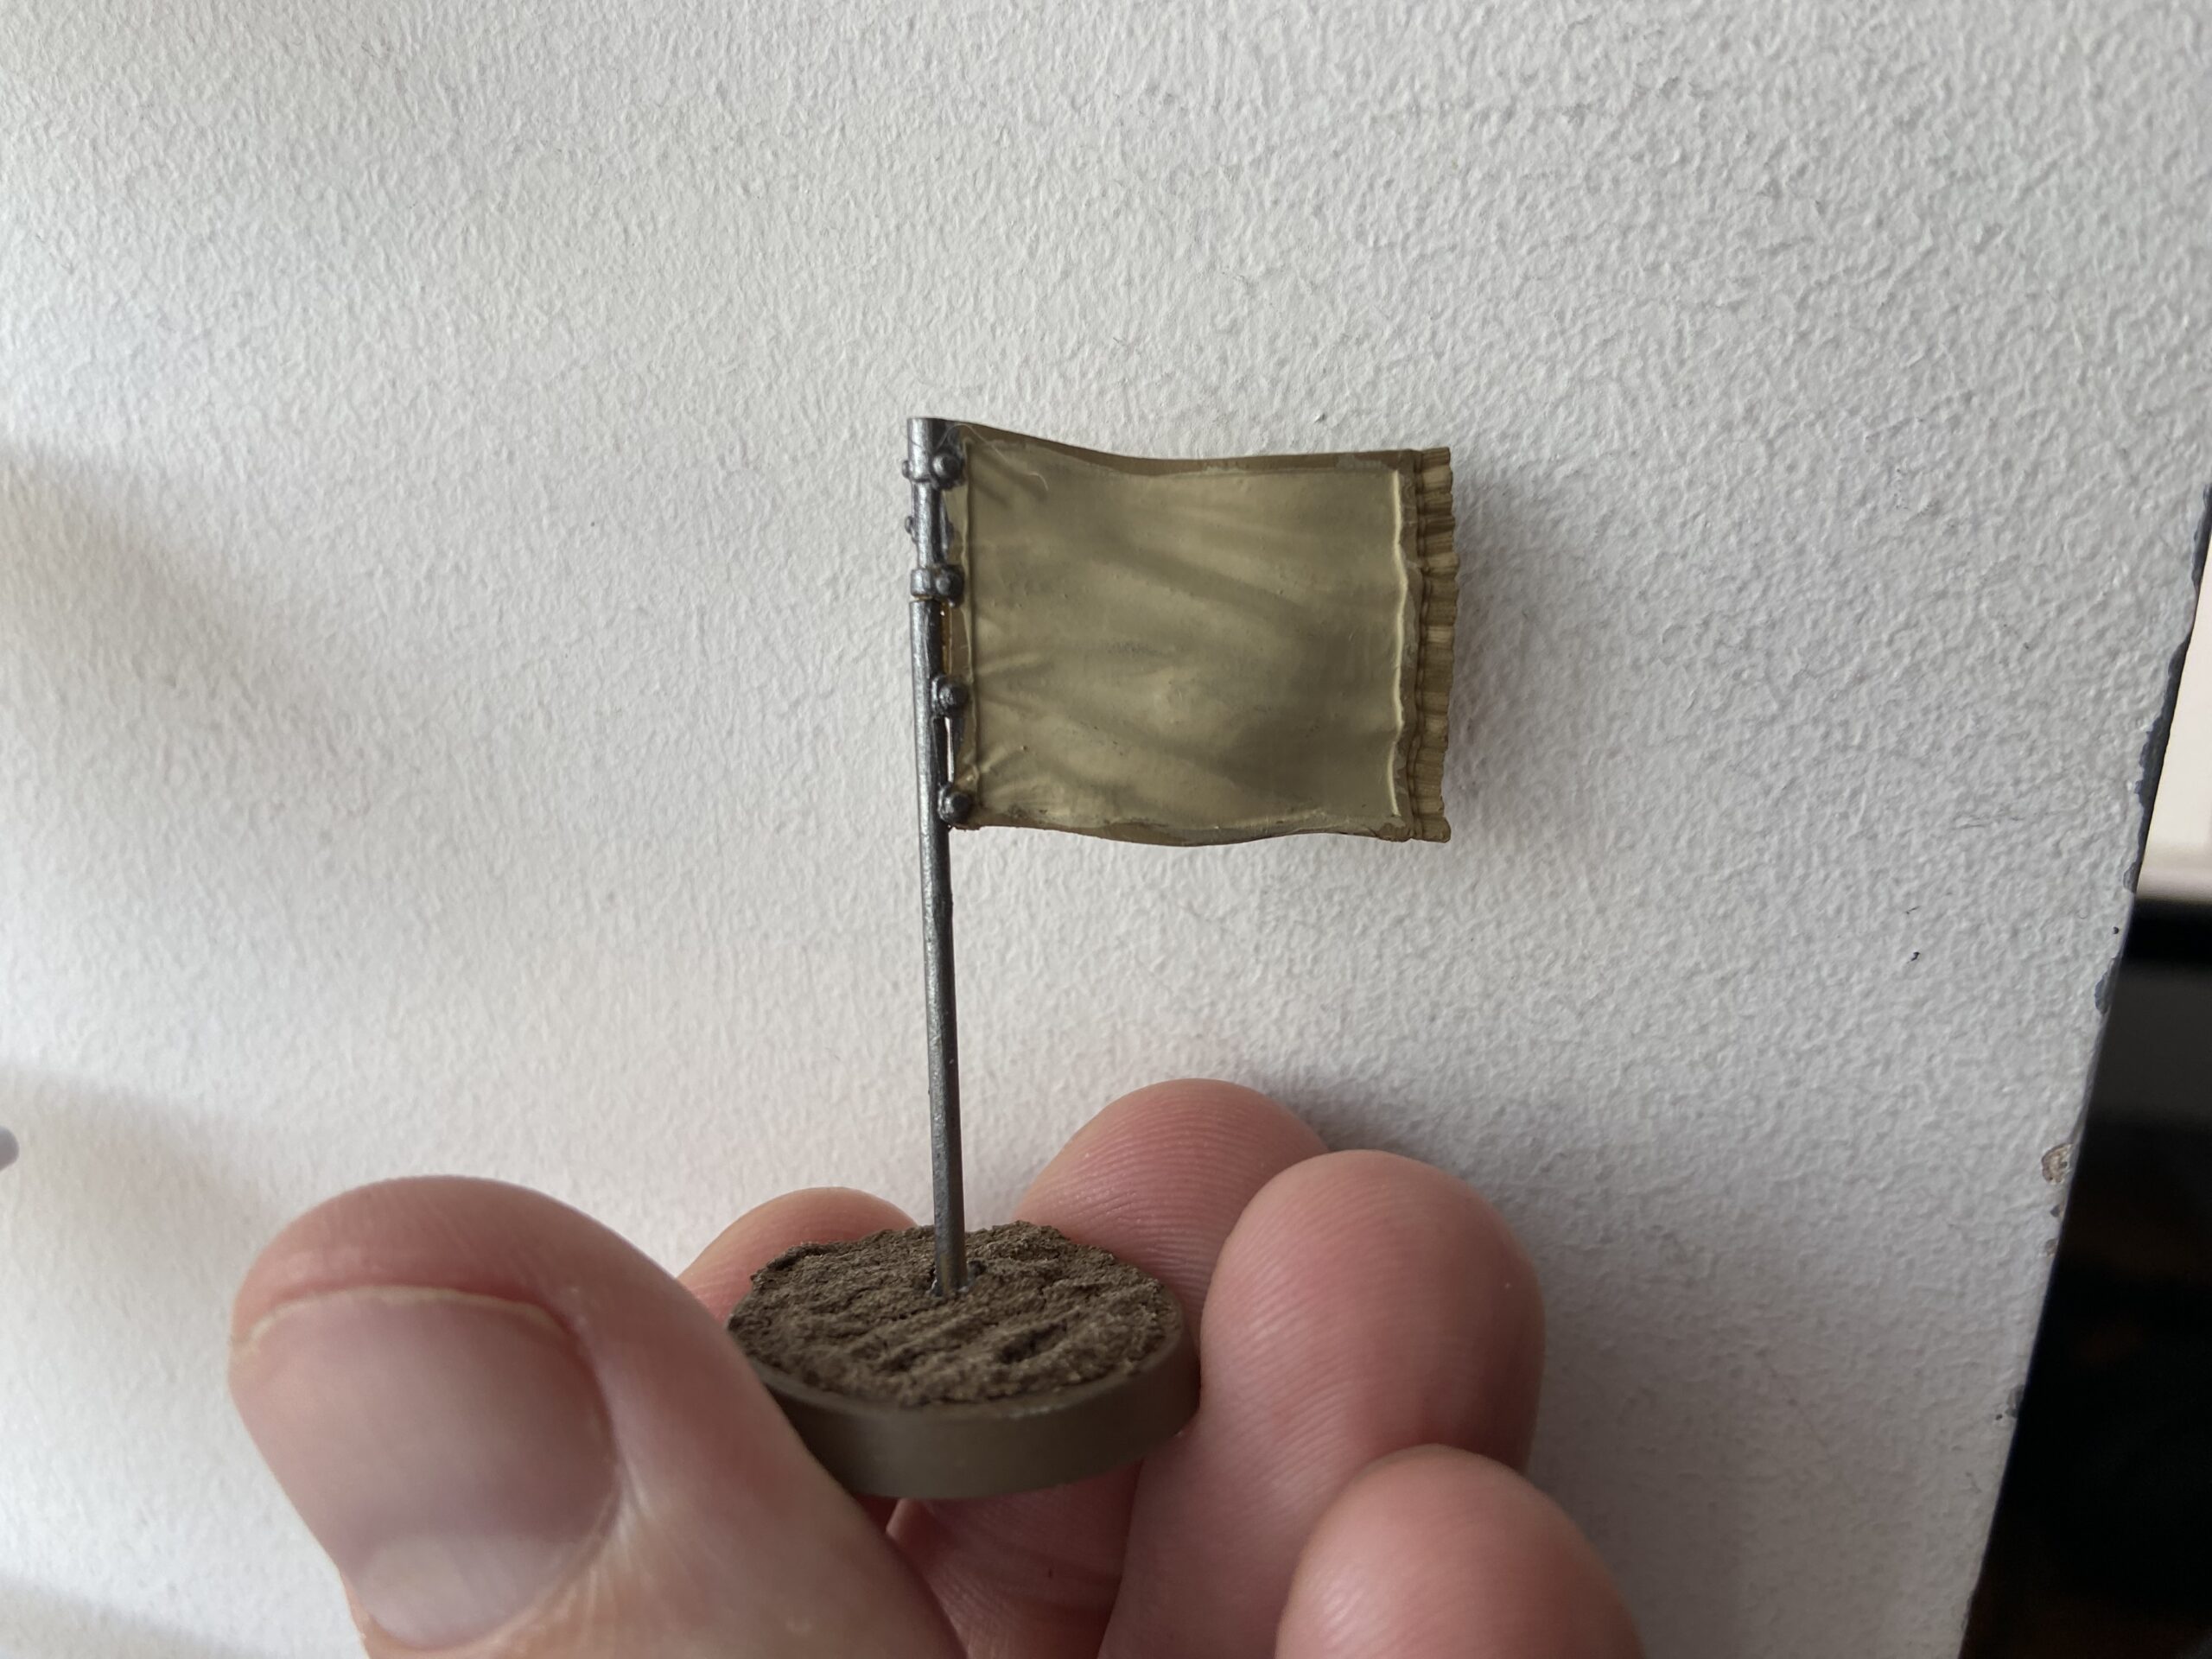
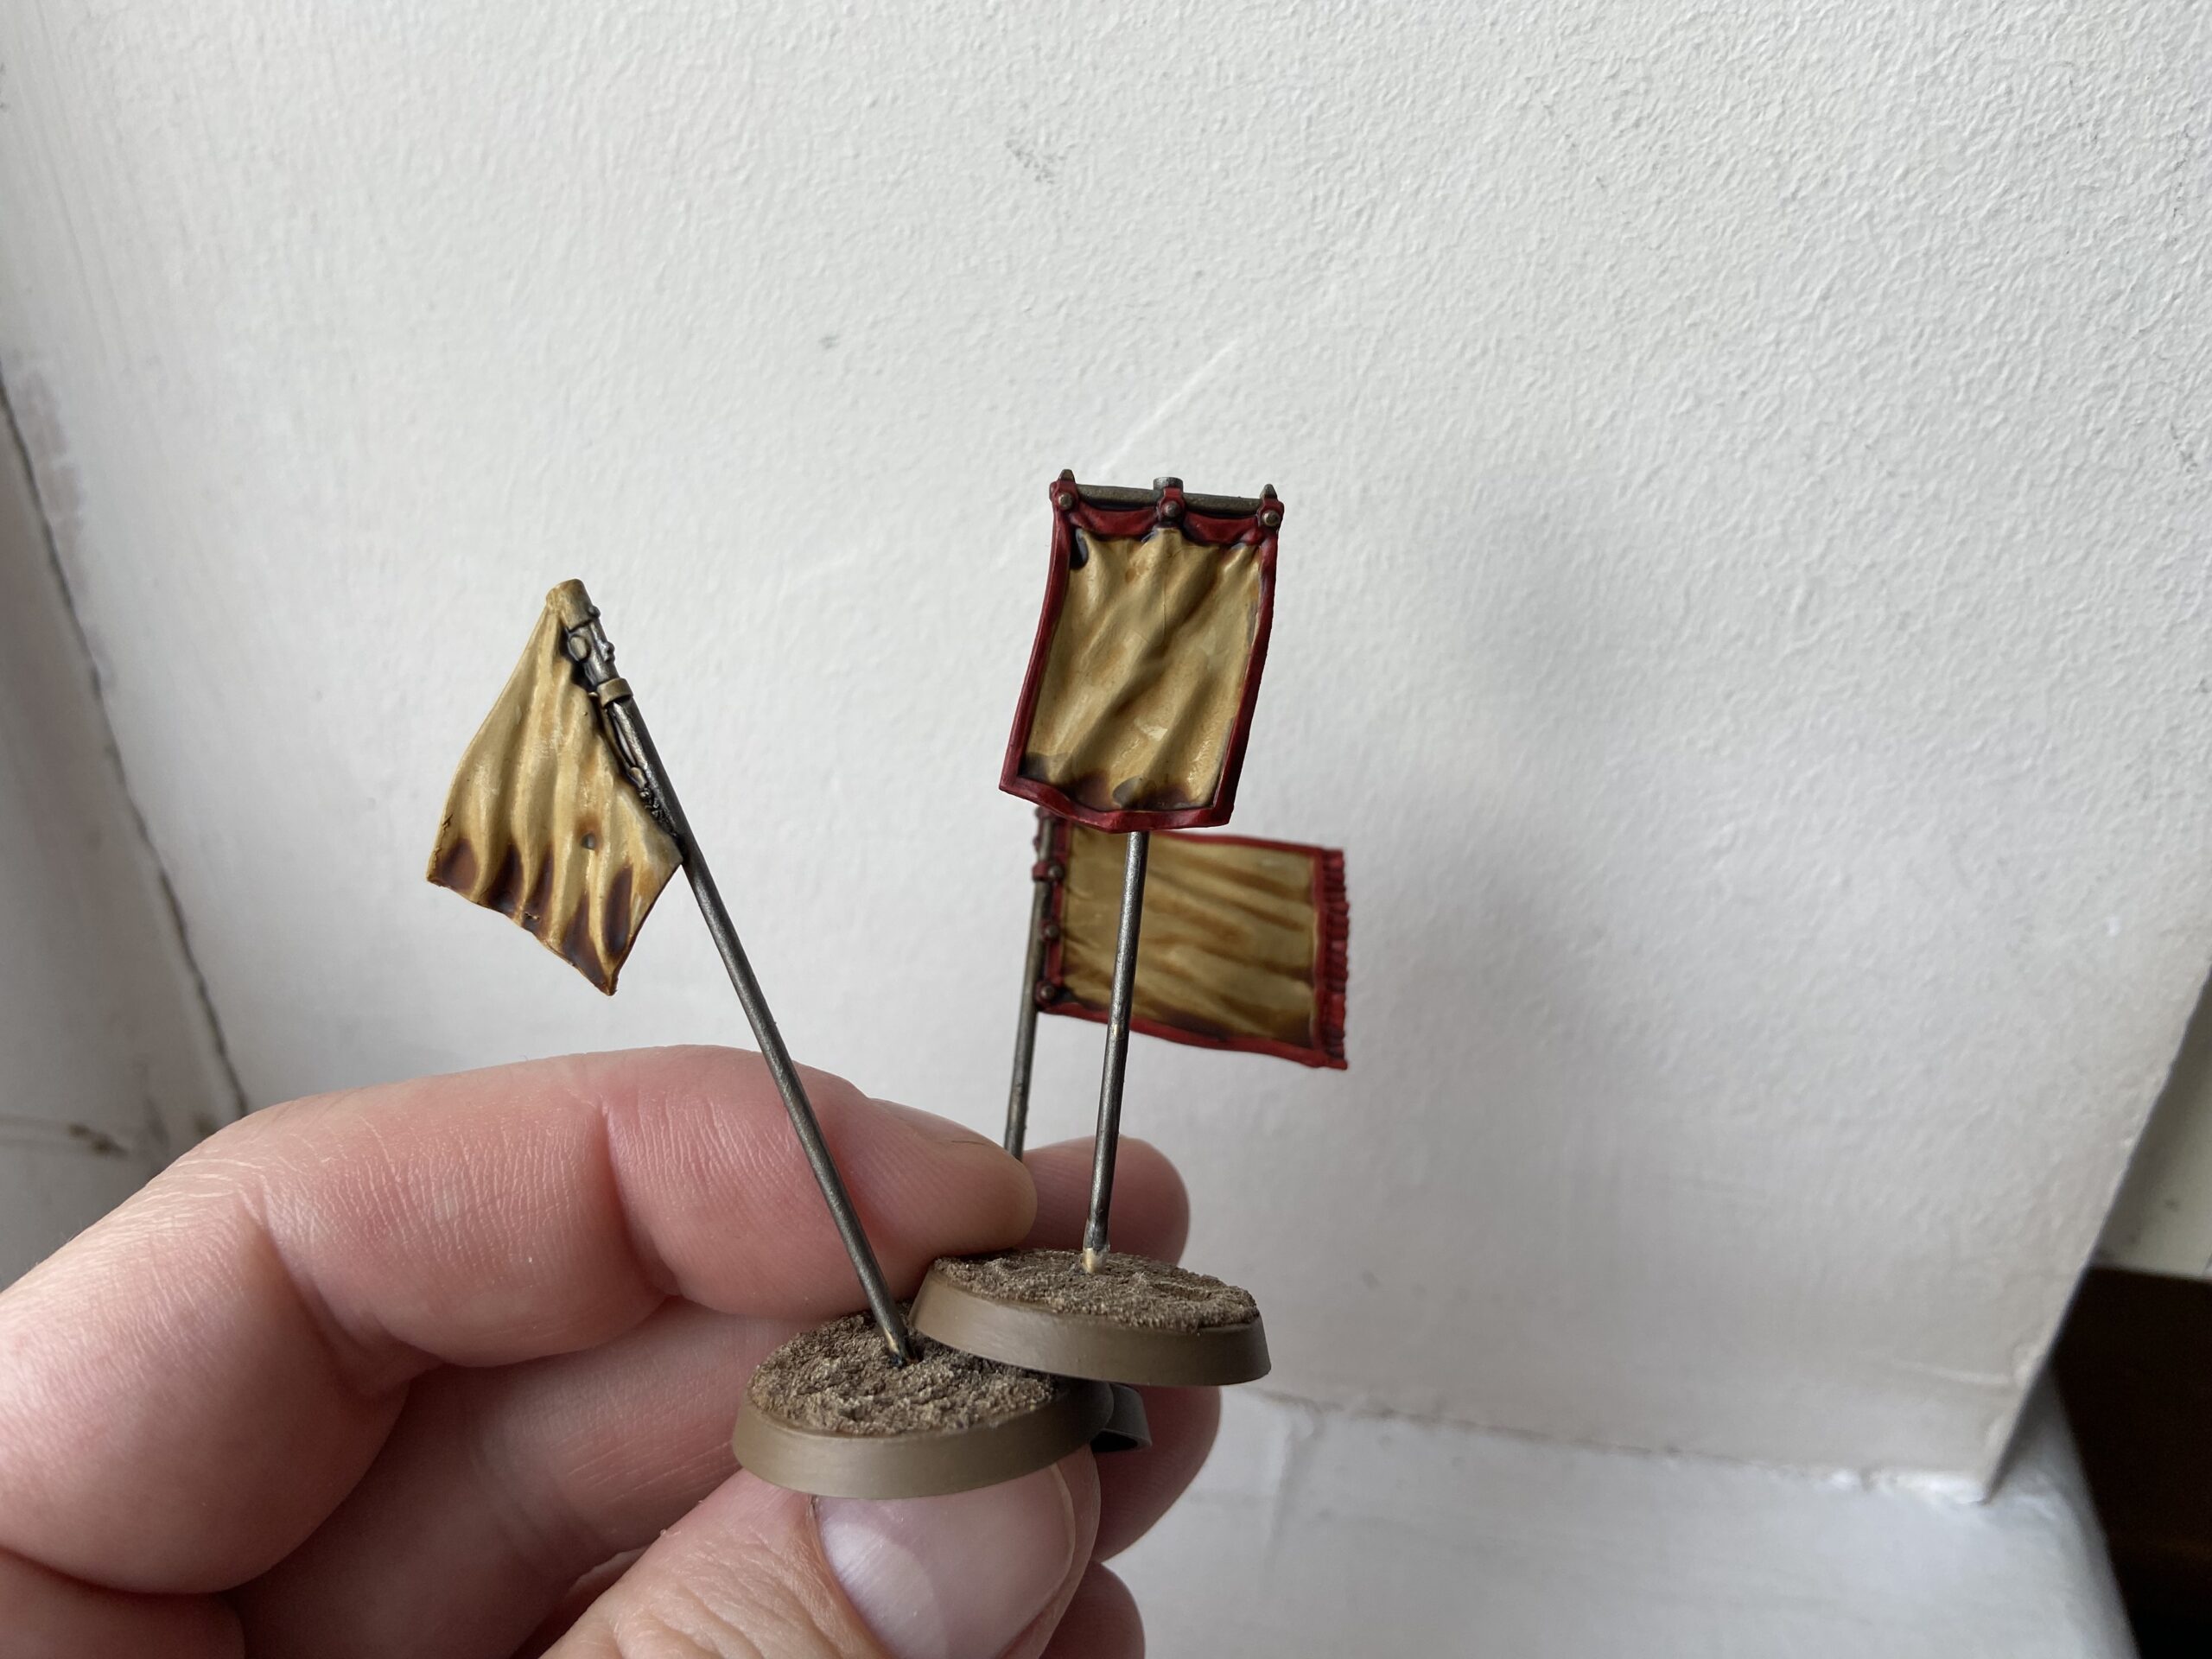
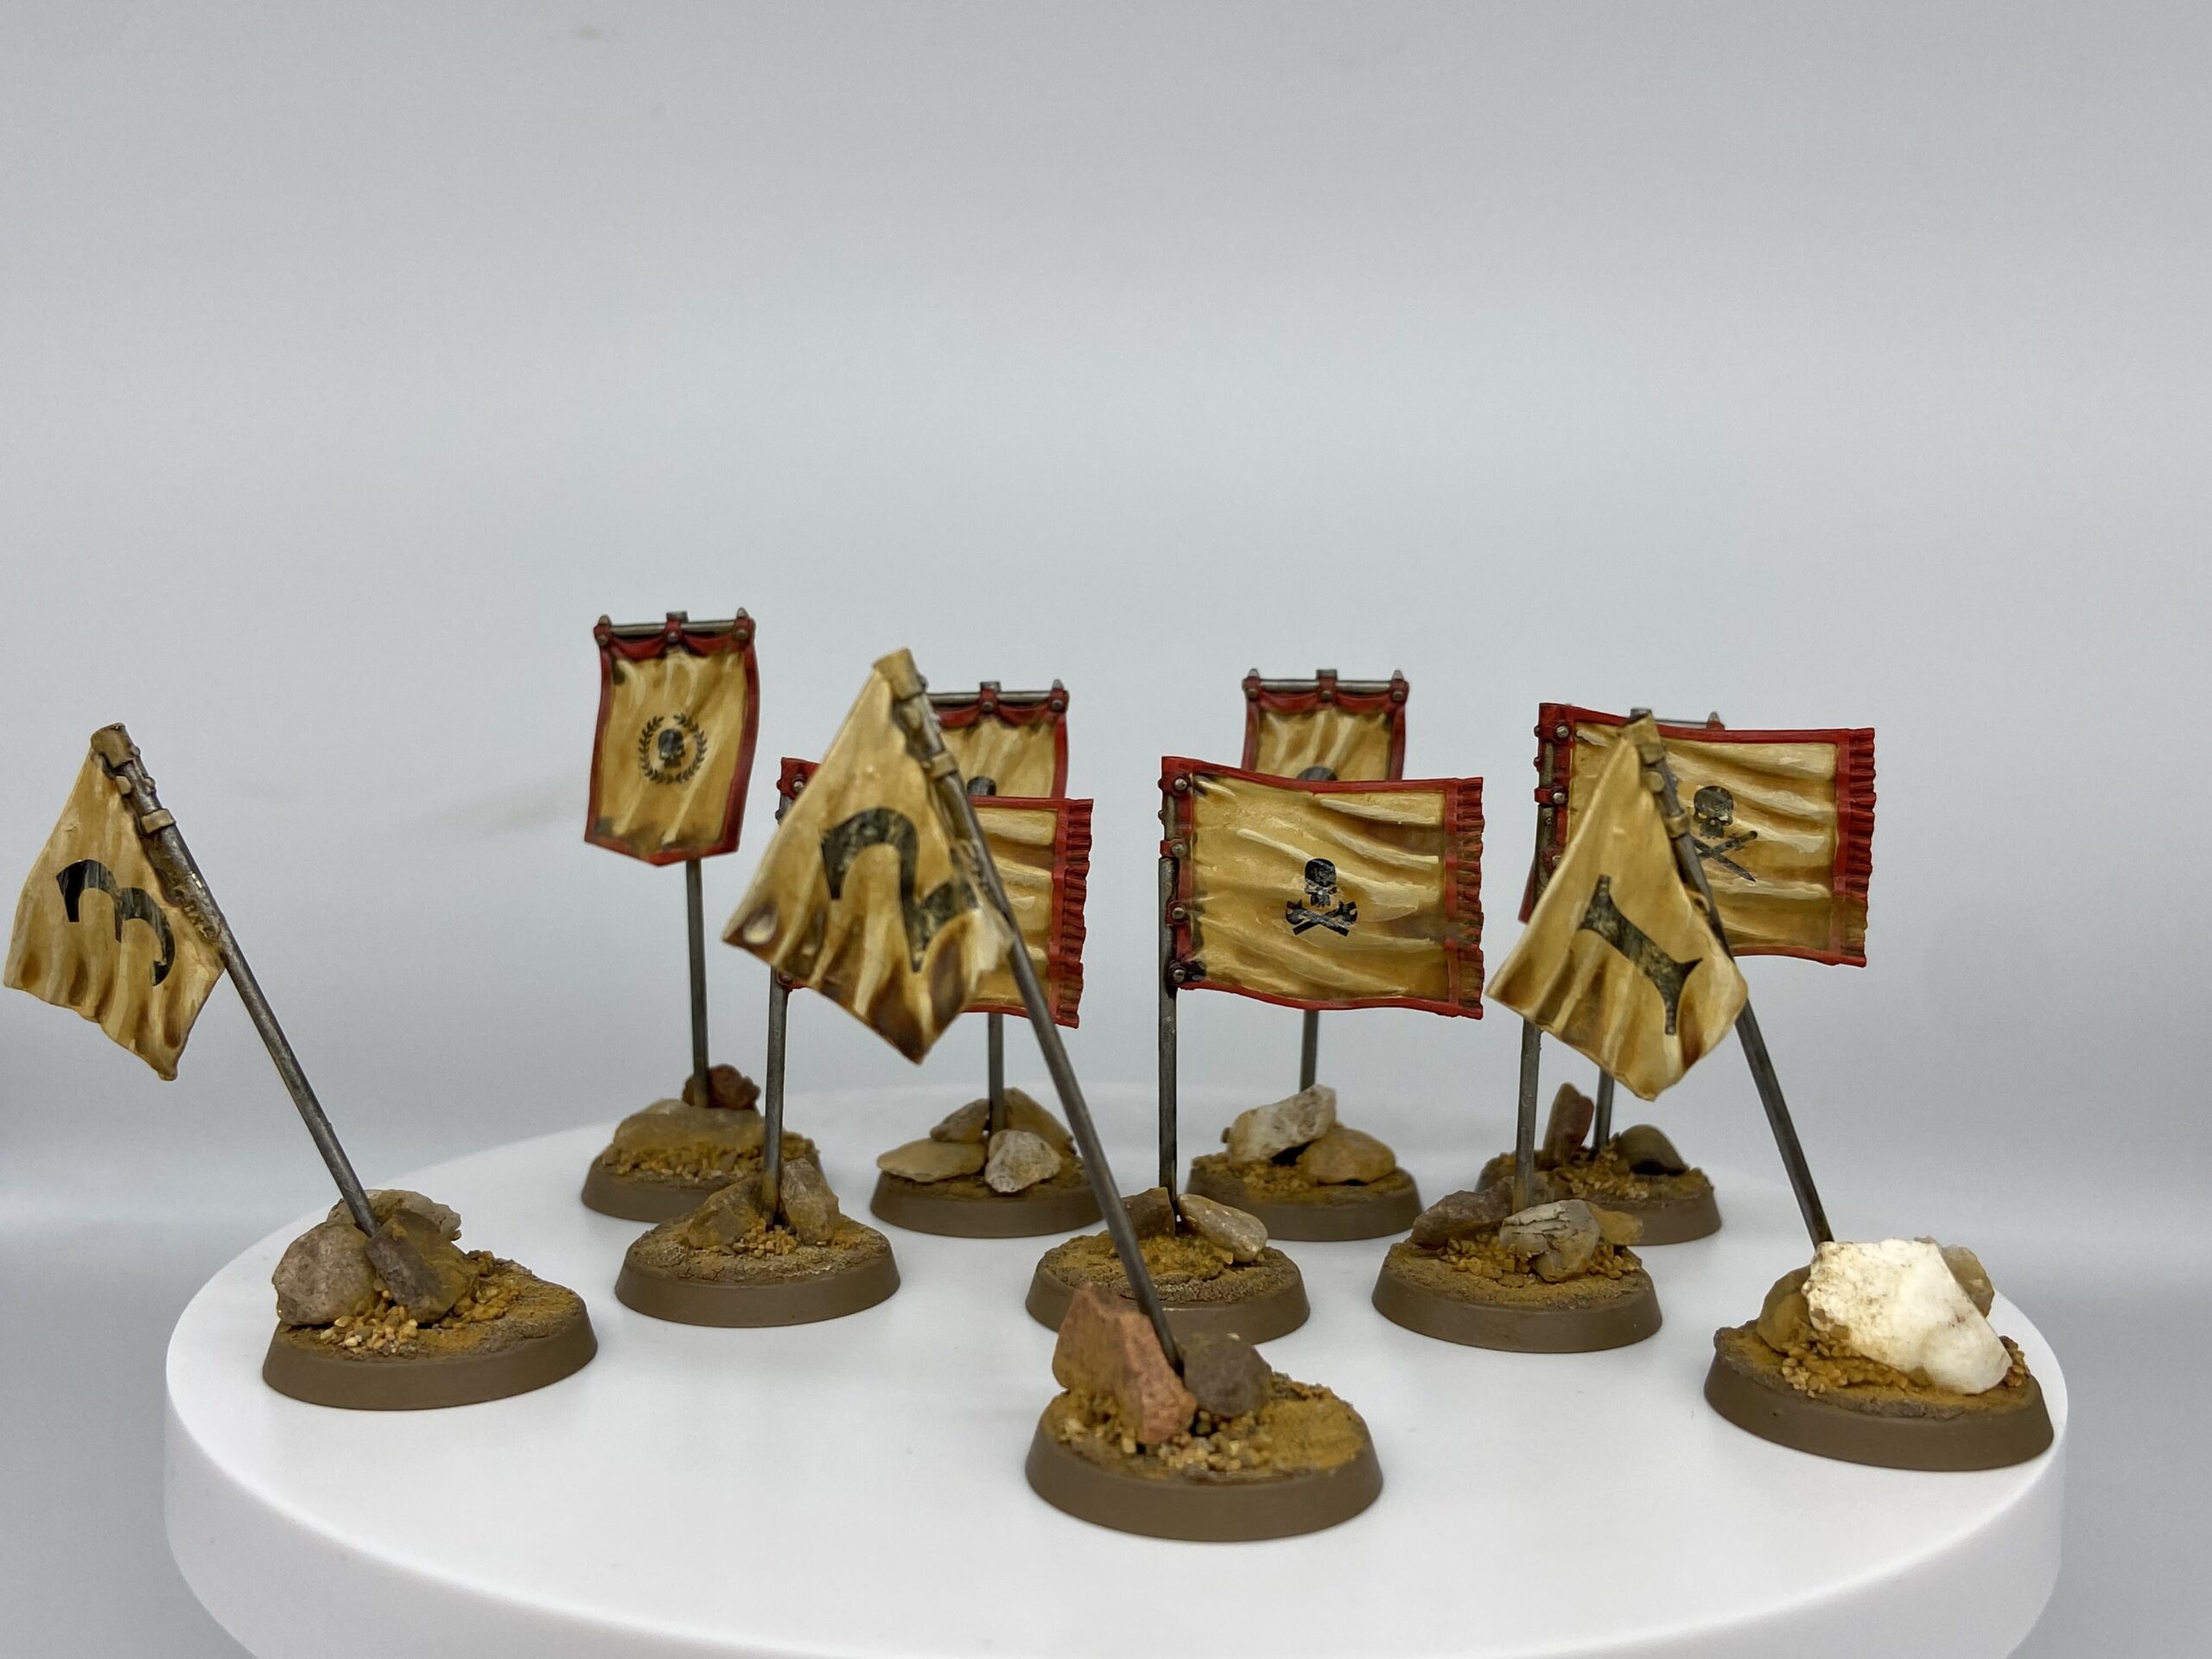
War of Attrition Markers – Gallery
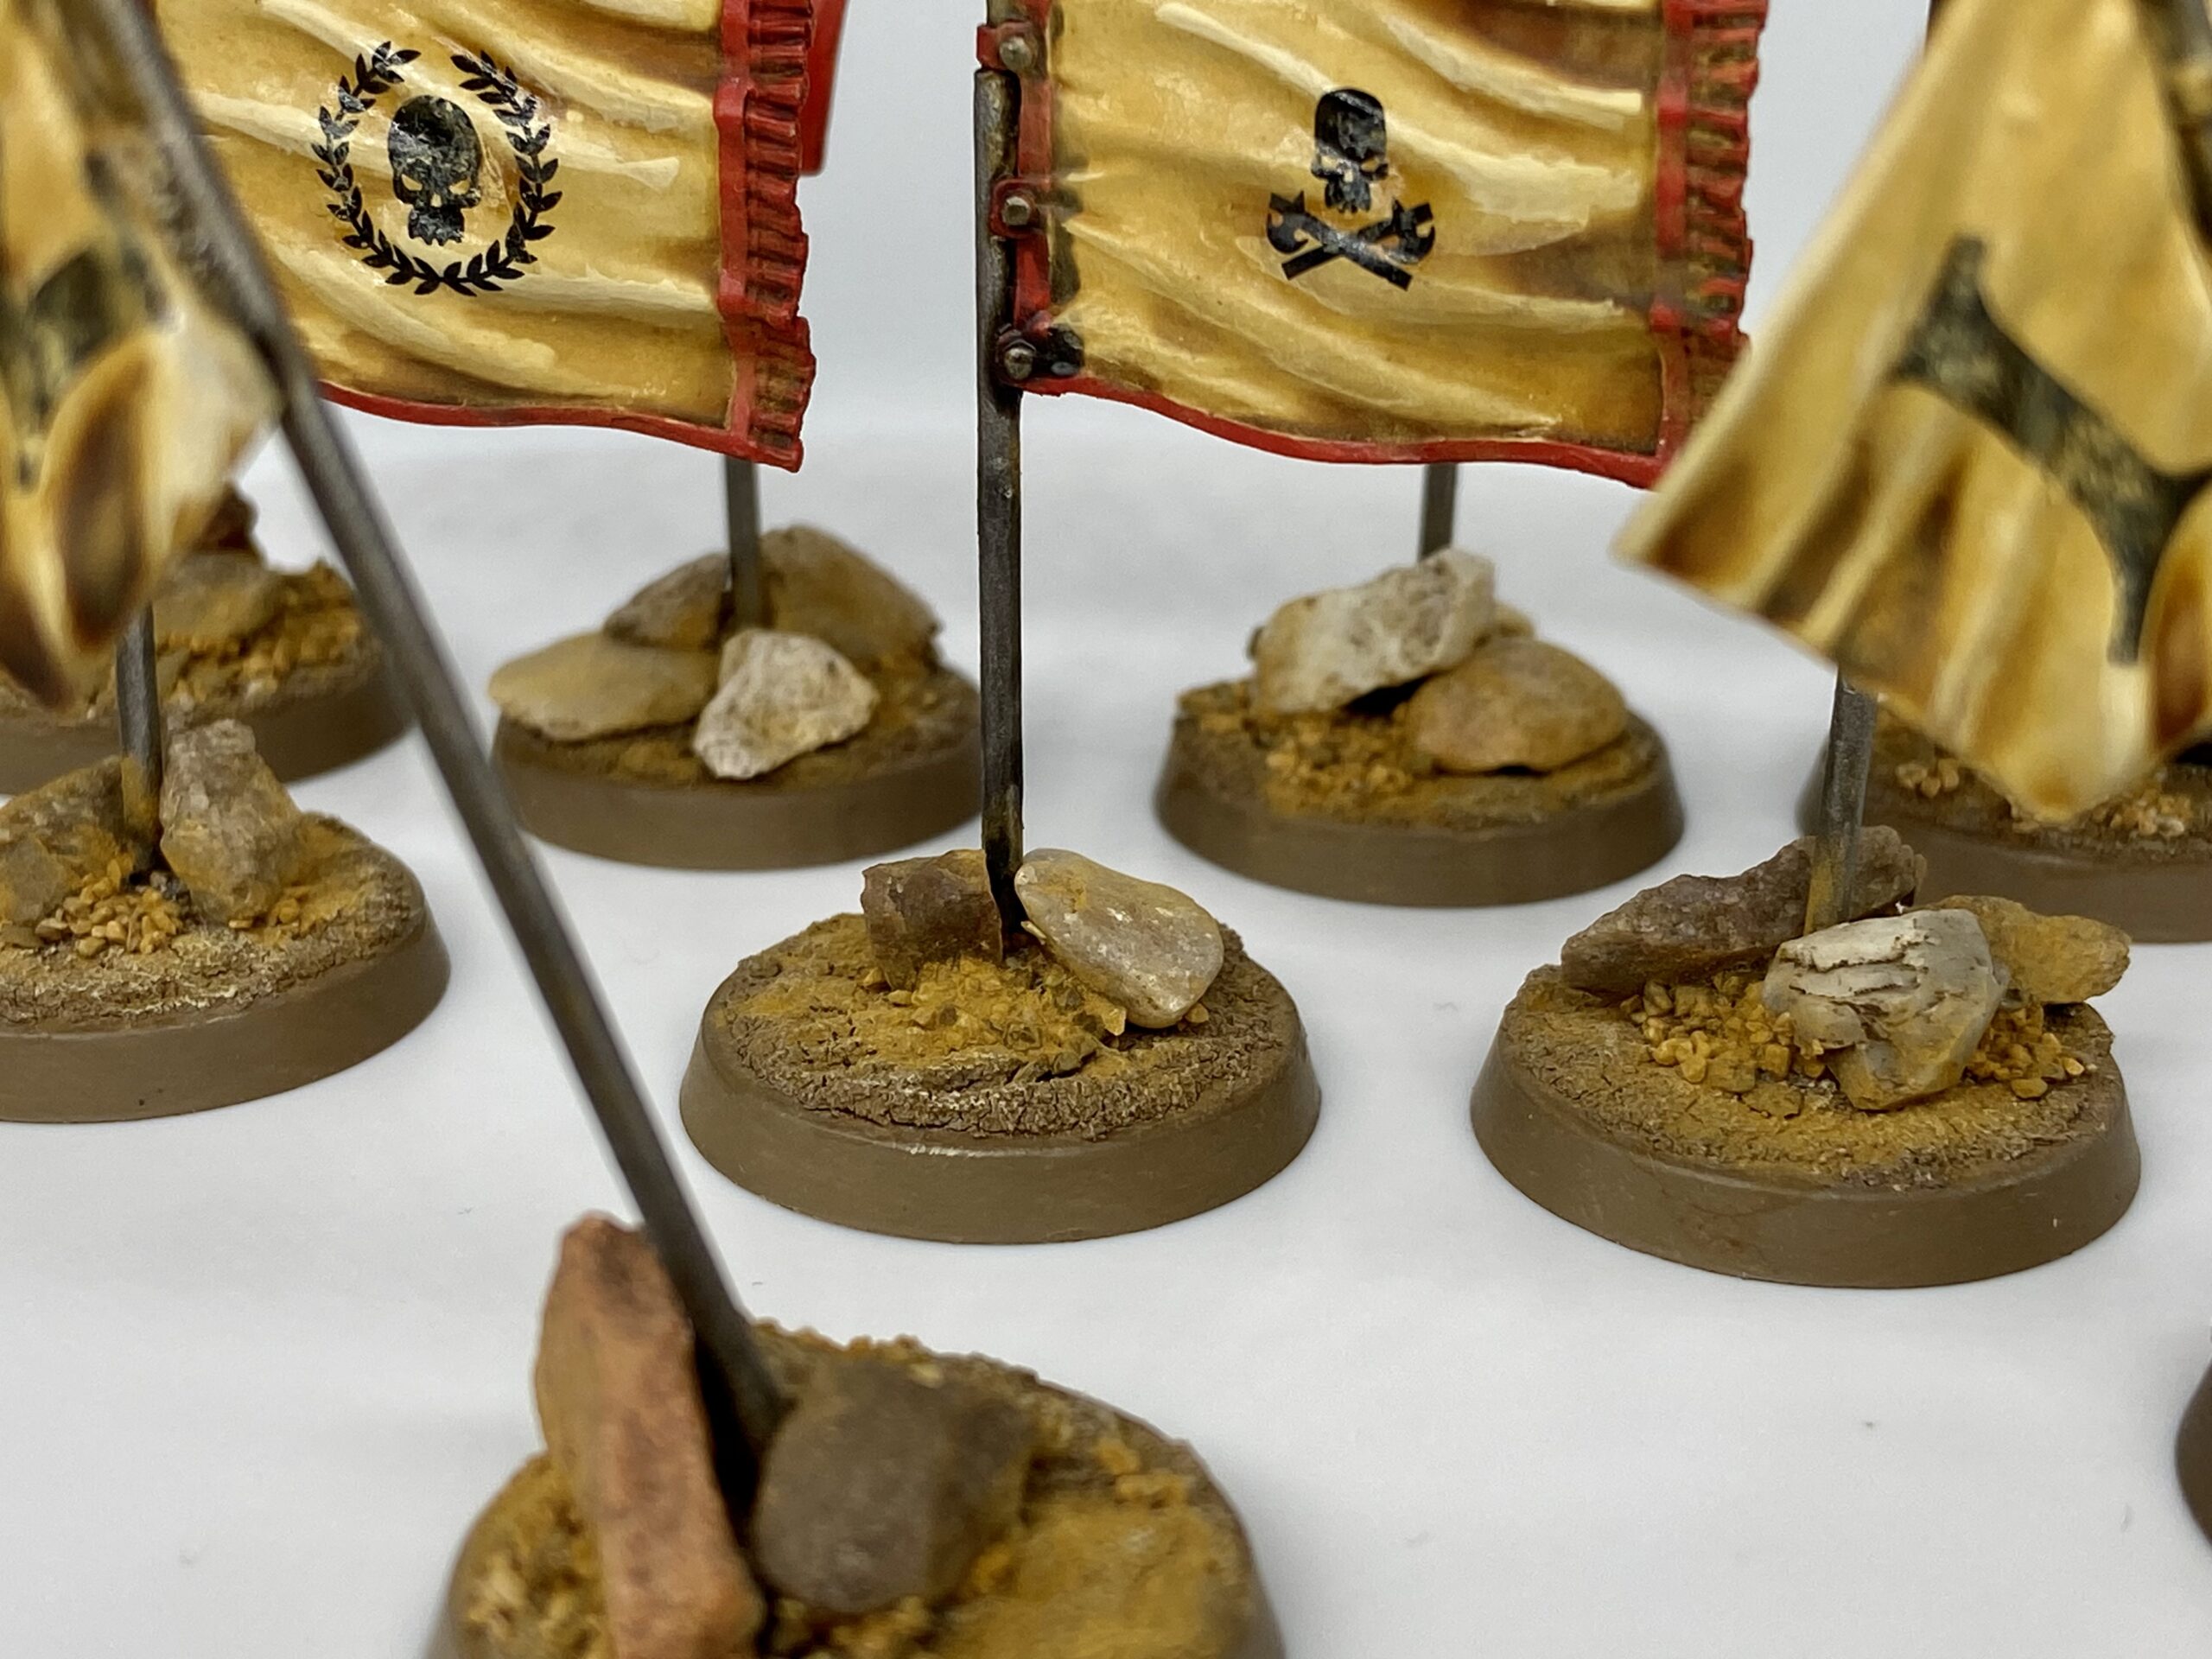

Flags 360°
War of Attrition Mission
In many instances within Warhammer 40,000 games, mission objectives can appear haphazard, disconnected from one another, and lacking any correlation to the objectives pursued by your opponent.
As I have recently delved back into PC gaming, specifically exploring titles like Hell Let Loose, Steel Division, and WARNO, I have been inspired to develop a fresh approach to mission design.
Prologue
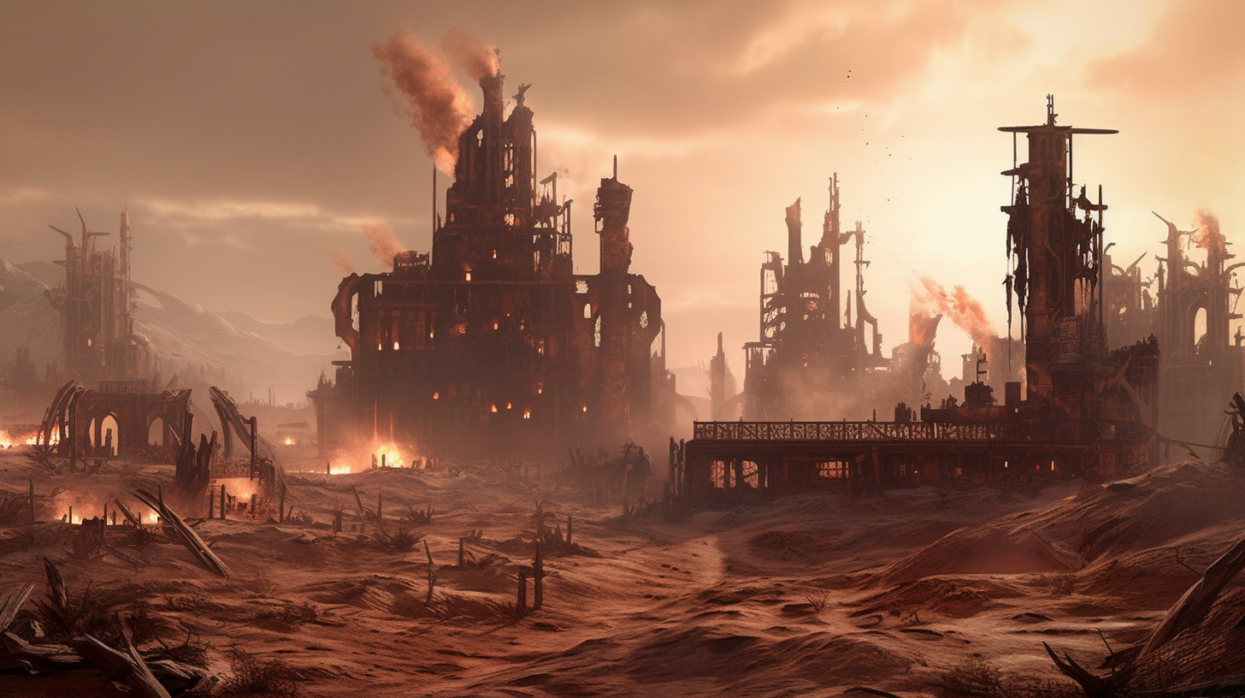
The Imperium’s unwavering strength has successfully thwarted the forces of Chaos for countless millennia. This protracted conflict spans numerous systems within the Imperium of Man, where worlds are often swiftly seized by both sides, overwhelmed by sheer force. Although resistance may seem futile at times, there are instances when it proves otherwise.
At this crucial juncture, you are tasked with resisting the constant lure of the enemy’s counsel. Your mission is to halt their advance and compel them to retreat, thereby shifting the tides of war back in our favour. We have remained in a stalemate on this frontline for far too long. However, now is the opportune moment for a final decisive push, crippling the enemy’s supply lines and launching flanking manoeuvres in other sectors. Together, we can unleash havoc upon their forces.
The Mission
The mission is a War of Attrition, stop the enemy from gaining ground, kill the enemy and advance onto their positions.
As described below, an imaginary Frontline simulates the two sides pushing each other back and forth over the battlefield.
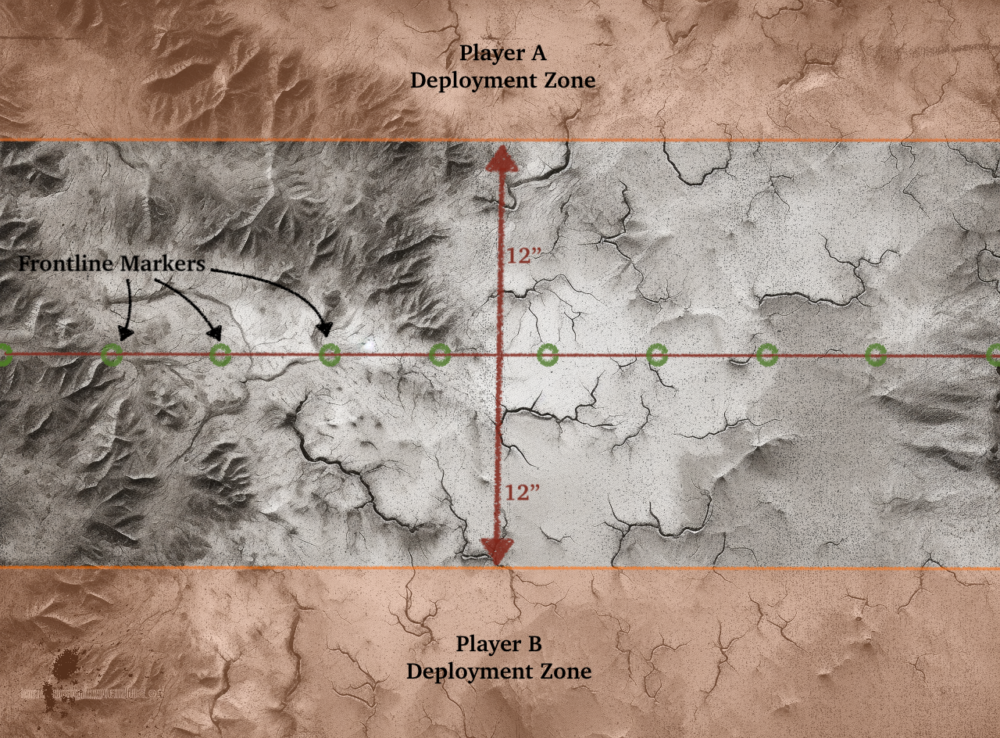
The Battlefield
The players use the long edges of the board as their battlefield edges. Also known as Dawn of War Deployment. Down the centre of the board, running the battlefield width, should be ten markers evenly spaced. E.g. if you’re on a 60×44” battlefield, the ten markers should be 6” apart. This represents the Frontline.
Terrain
Place terrain as you see fit. Bear in mind the prologue and the fact this is a war-torn battlefield. Fortifications will be present for either side, but little will remain in No Man’s Land.
Deployment
Forces deploy 12” from the Frontline along the long table edges.
Mission Objective
You aim to move the Frontline away from your Deployment Zone and into the enemy’s half of the table, thus gaining territory. When a unit finishes a Normal Move, an Advance, a Charge, a Pile In or Consolidation within 1” of a marker on the Frontline, move that marker directly towards the enemy’s battlefield edge until it is 1” away from your unit that forced the movement of the marker.
This effectively pushes the Frontline forward in front of your advancing units.
If moving a marker in such a way brings it within 3” of an enemy unit, the marker stops being moved and remains 3” from the enemy unit.
Markers should also be repositioned using the above method at the start of each Command Phase. To do this, go through the movements of each unit and move markers accordingly. This may mean markers previously not moved and passed by with charging units can now be moved if enemy units/models have been destroyed.
This ensures marker positions are accurate before each Movement Phase and after any models were removed in the previous Battle Round.
Pre-Game, Scouts & Deep Striking
Units with a pre-game move will move the Frontline as normal as they move towards the Frontline.
Units with a Scout or Infiltrate deployment do not move the Frontline. They move the Frontline as usual if and when they move towards it as if they were coming from their own Deployment Zone.
The same applies to Deep Striking units. The Frontline moves if and when they move towards the Frontline from their own Deployment Zone.
Battleshock & Characters/Leaders
Battleshocked units do not stop the Frontline from moving once it reaches them. It passes over them as if they are not there. Once the unit is no longer Battleshocked, they can move the Frontline as usual by moving within 1” from a Frontline Marker.
Characters are a thing of the past in Warhammer 40,000 10th Edition. But any Character/Leader or a unit with a single model with a Wounds characteristic of 8 or less cannot move Frontline markers.
Ending the Battle
The game ends after 5 Battle Rounds.
Markers are then adjusted one last time using the above method, the same as during a player’s Command Phase.
Determining a Victor
Each player calculates their territory at the end of the battle by measuring the distance from their battlefield edge to each Frontline marker in inches, rounding down. Then add all those distances together.
For example, at the start of a battle on a 60 x 44” battlefield, each player’s territory would be equal at 10×22”, for a total of 220”.
A major victory is awarded to any player with double the territory distance of their opponent.
Otherwise, the player with the highest territory distance is awarded a minor victory.