
Spray Paint Camo – Masking and Spray Cans
Spray Paint Camo - quick, easy and effective!
Today I have a quick guide on how I use spray cans and masking to achieve a quick spray paint camo pattern. Using only spray cans is something I’ve wanted to try for a long time as it’ll appeal to a lot of people and make a great blog article – especially for those without access to an airbrush. It is an easy method you can do with no specialist equipment to obtain an awesome effect.
Never miss an article? Subscribe!
Spray Paint Camo Benefits
The first benefit of using spray paint for camo is speed. It’s a lot faster to spray paint something a solid colour than it is to paint it with a brush. Yes, you can paint on the solid colours, but it takes a long time because of the multiple layers you need to obtain the solid colours on large flat areas.
The paint from a spray takes seconds to apply, in one or two layers and minutes to dry. Once it’s done you’re good to continue with another colour, start details or use washes.
The second benefit is consistency and a near-flawless final finish. You can spend a long time trying to get a good finish with a brush on large flat areas. It can take many thin layers of paint to get right. But with a spray can – it’s great every time and in a fraction of the time.
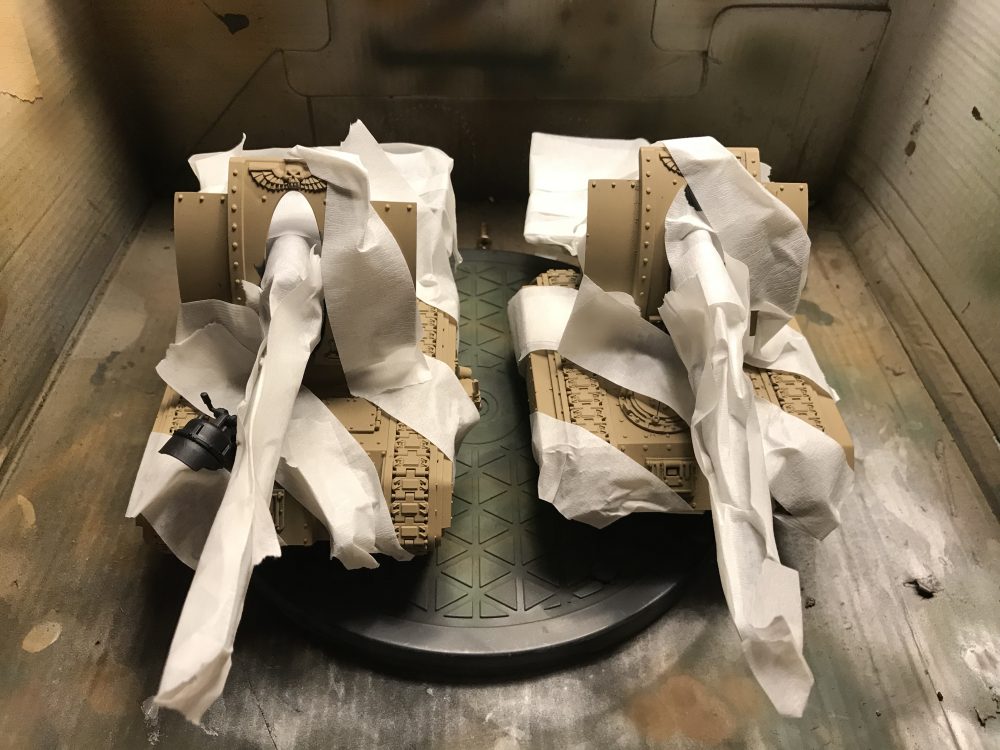
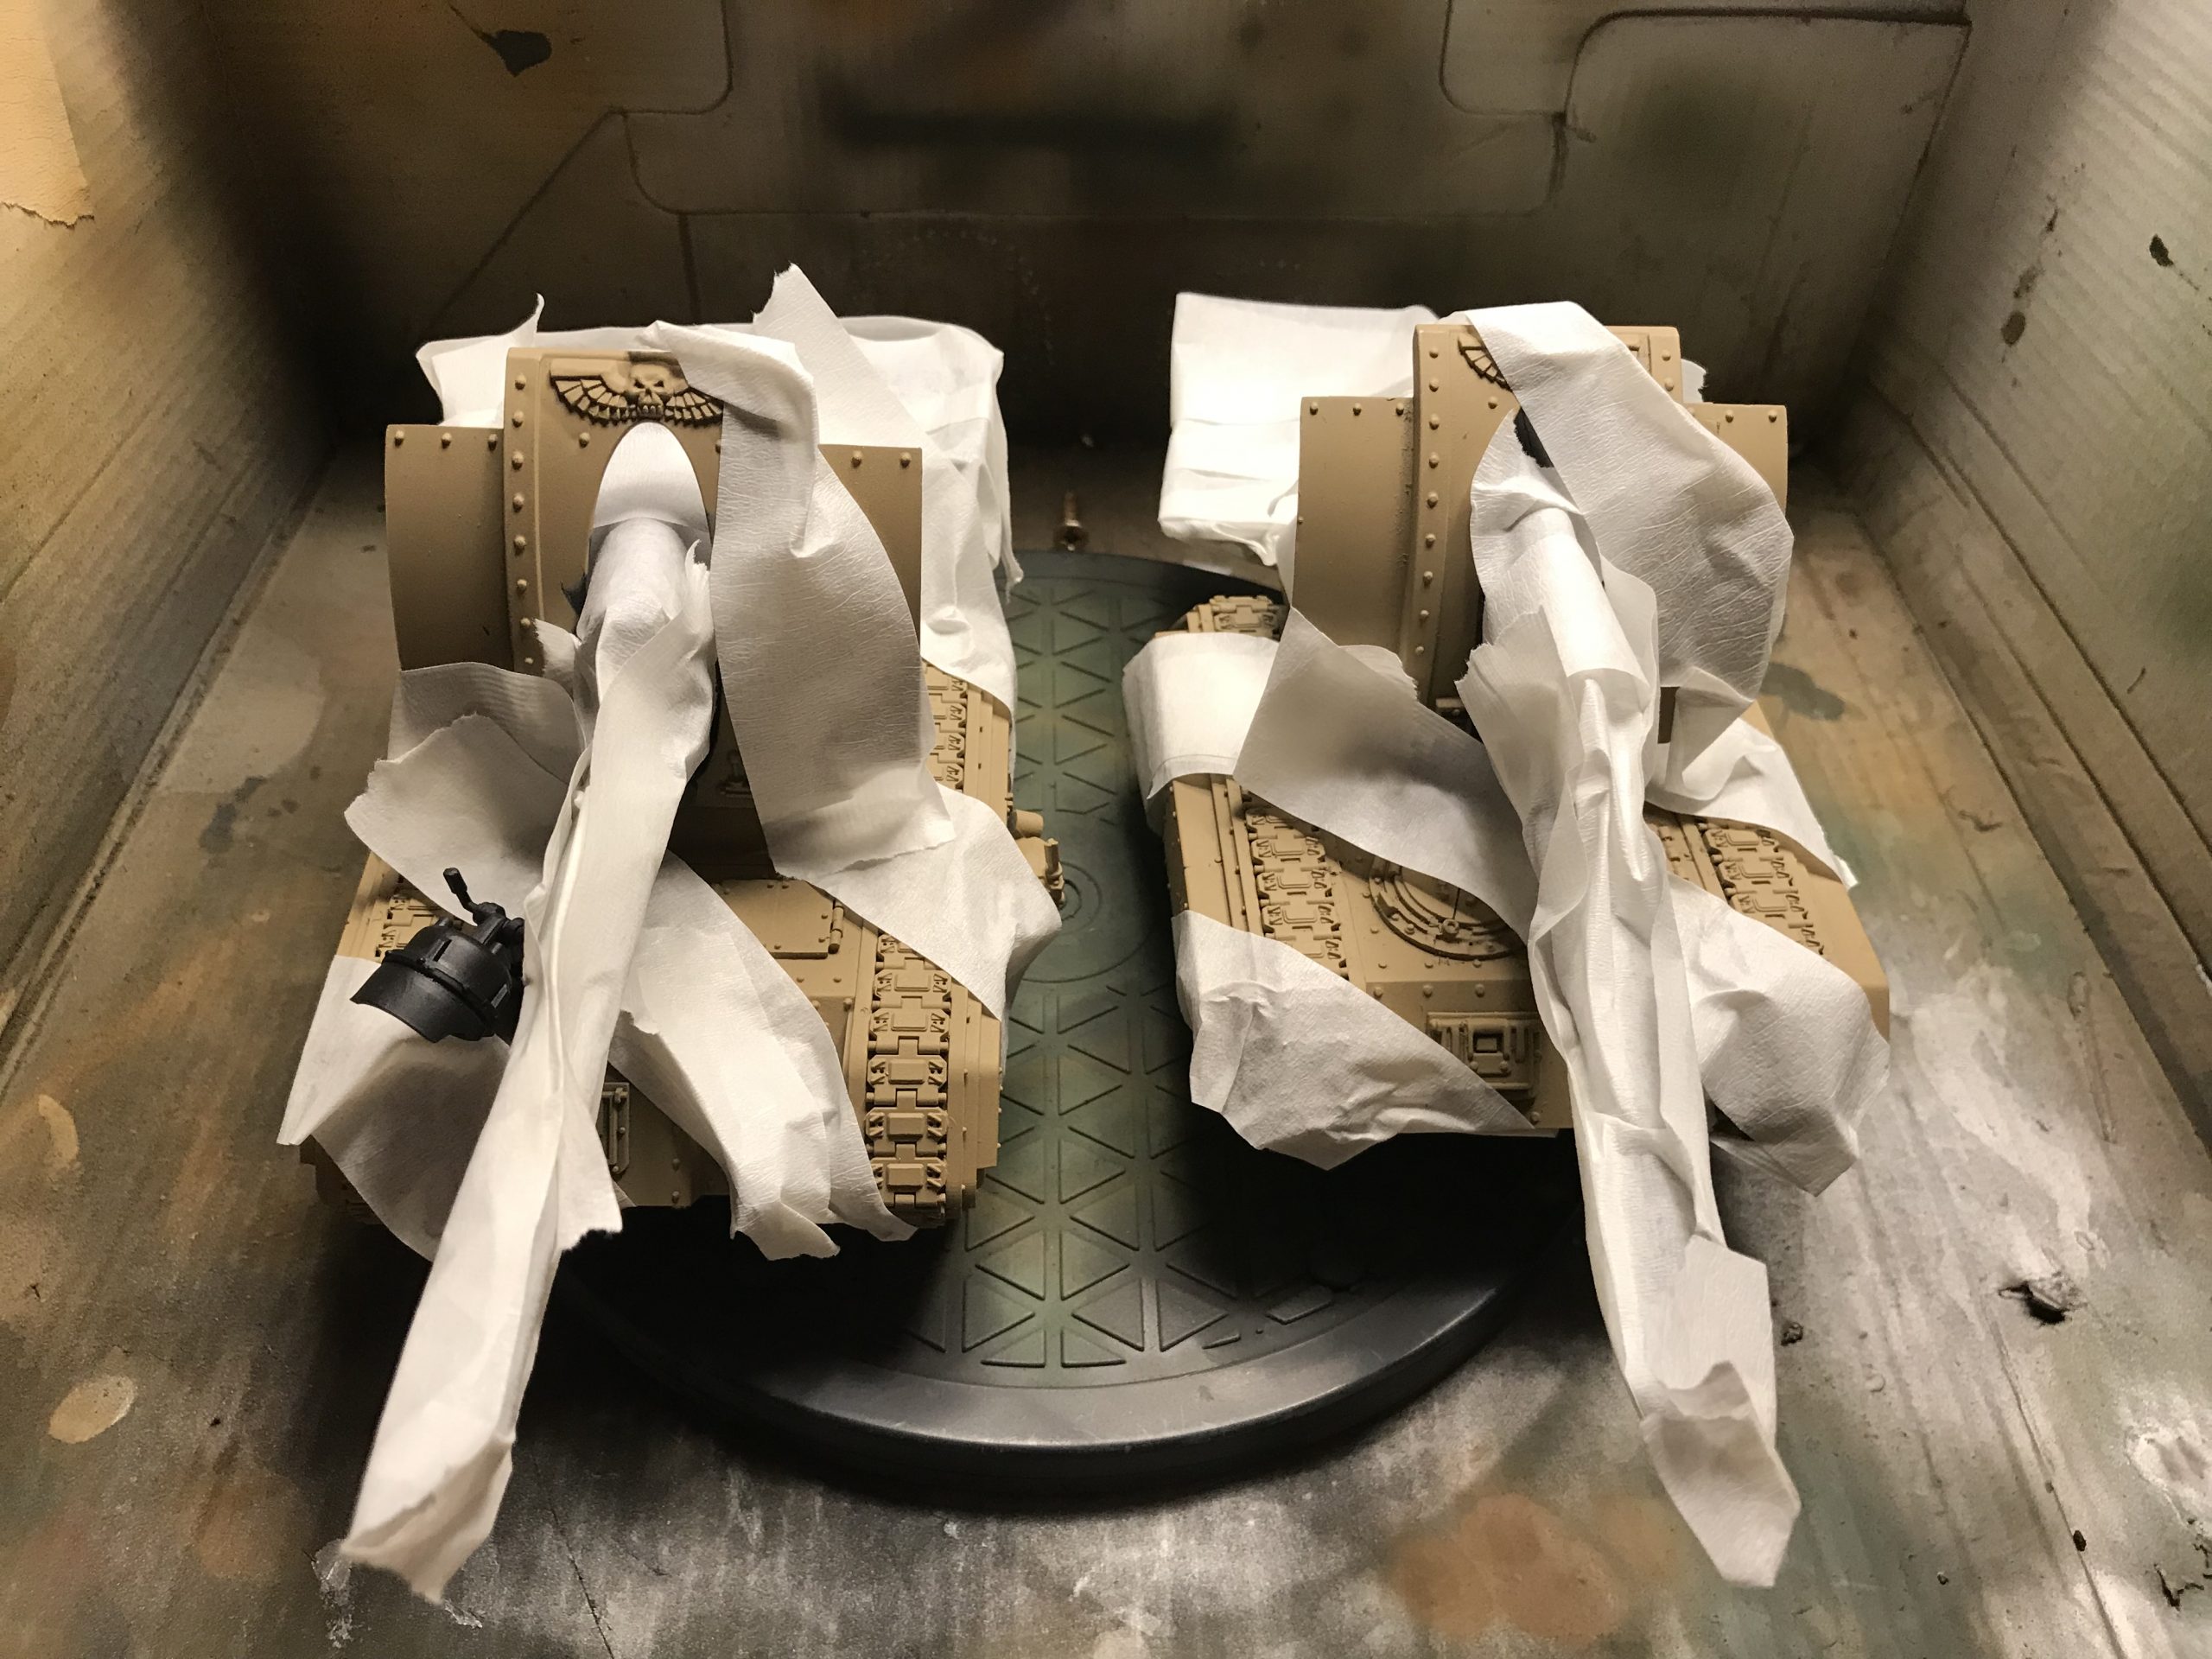
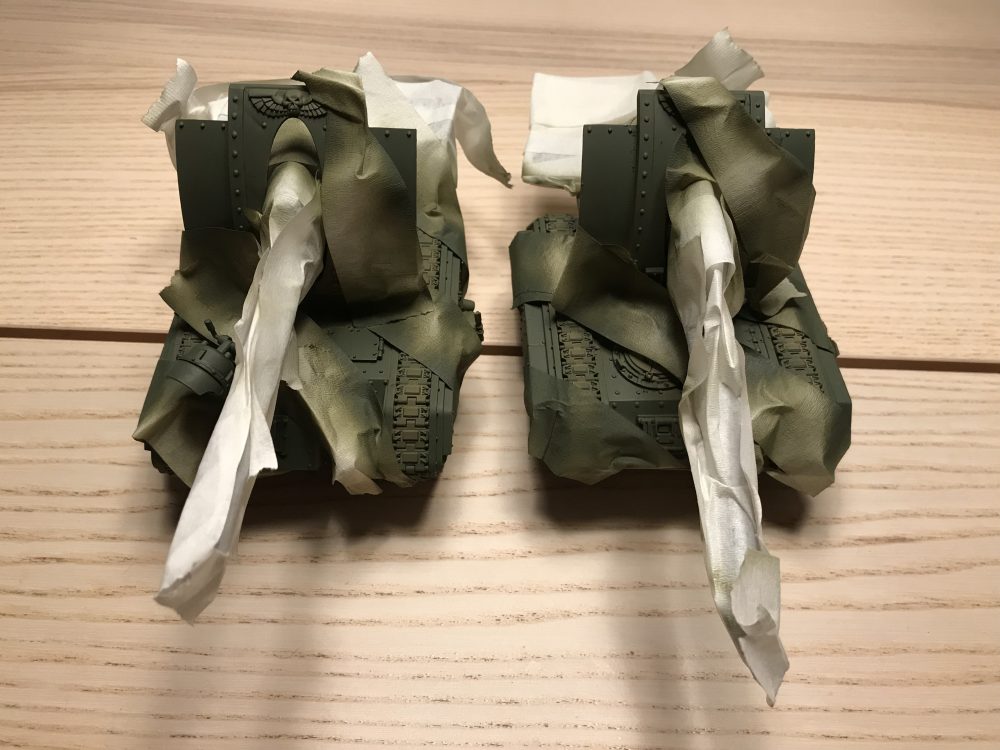
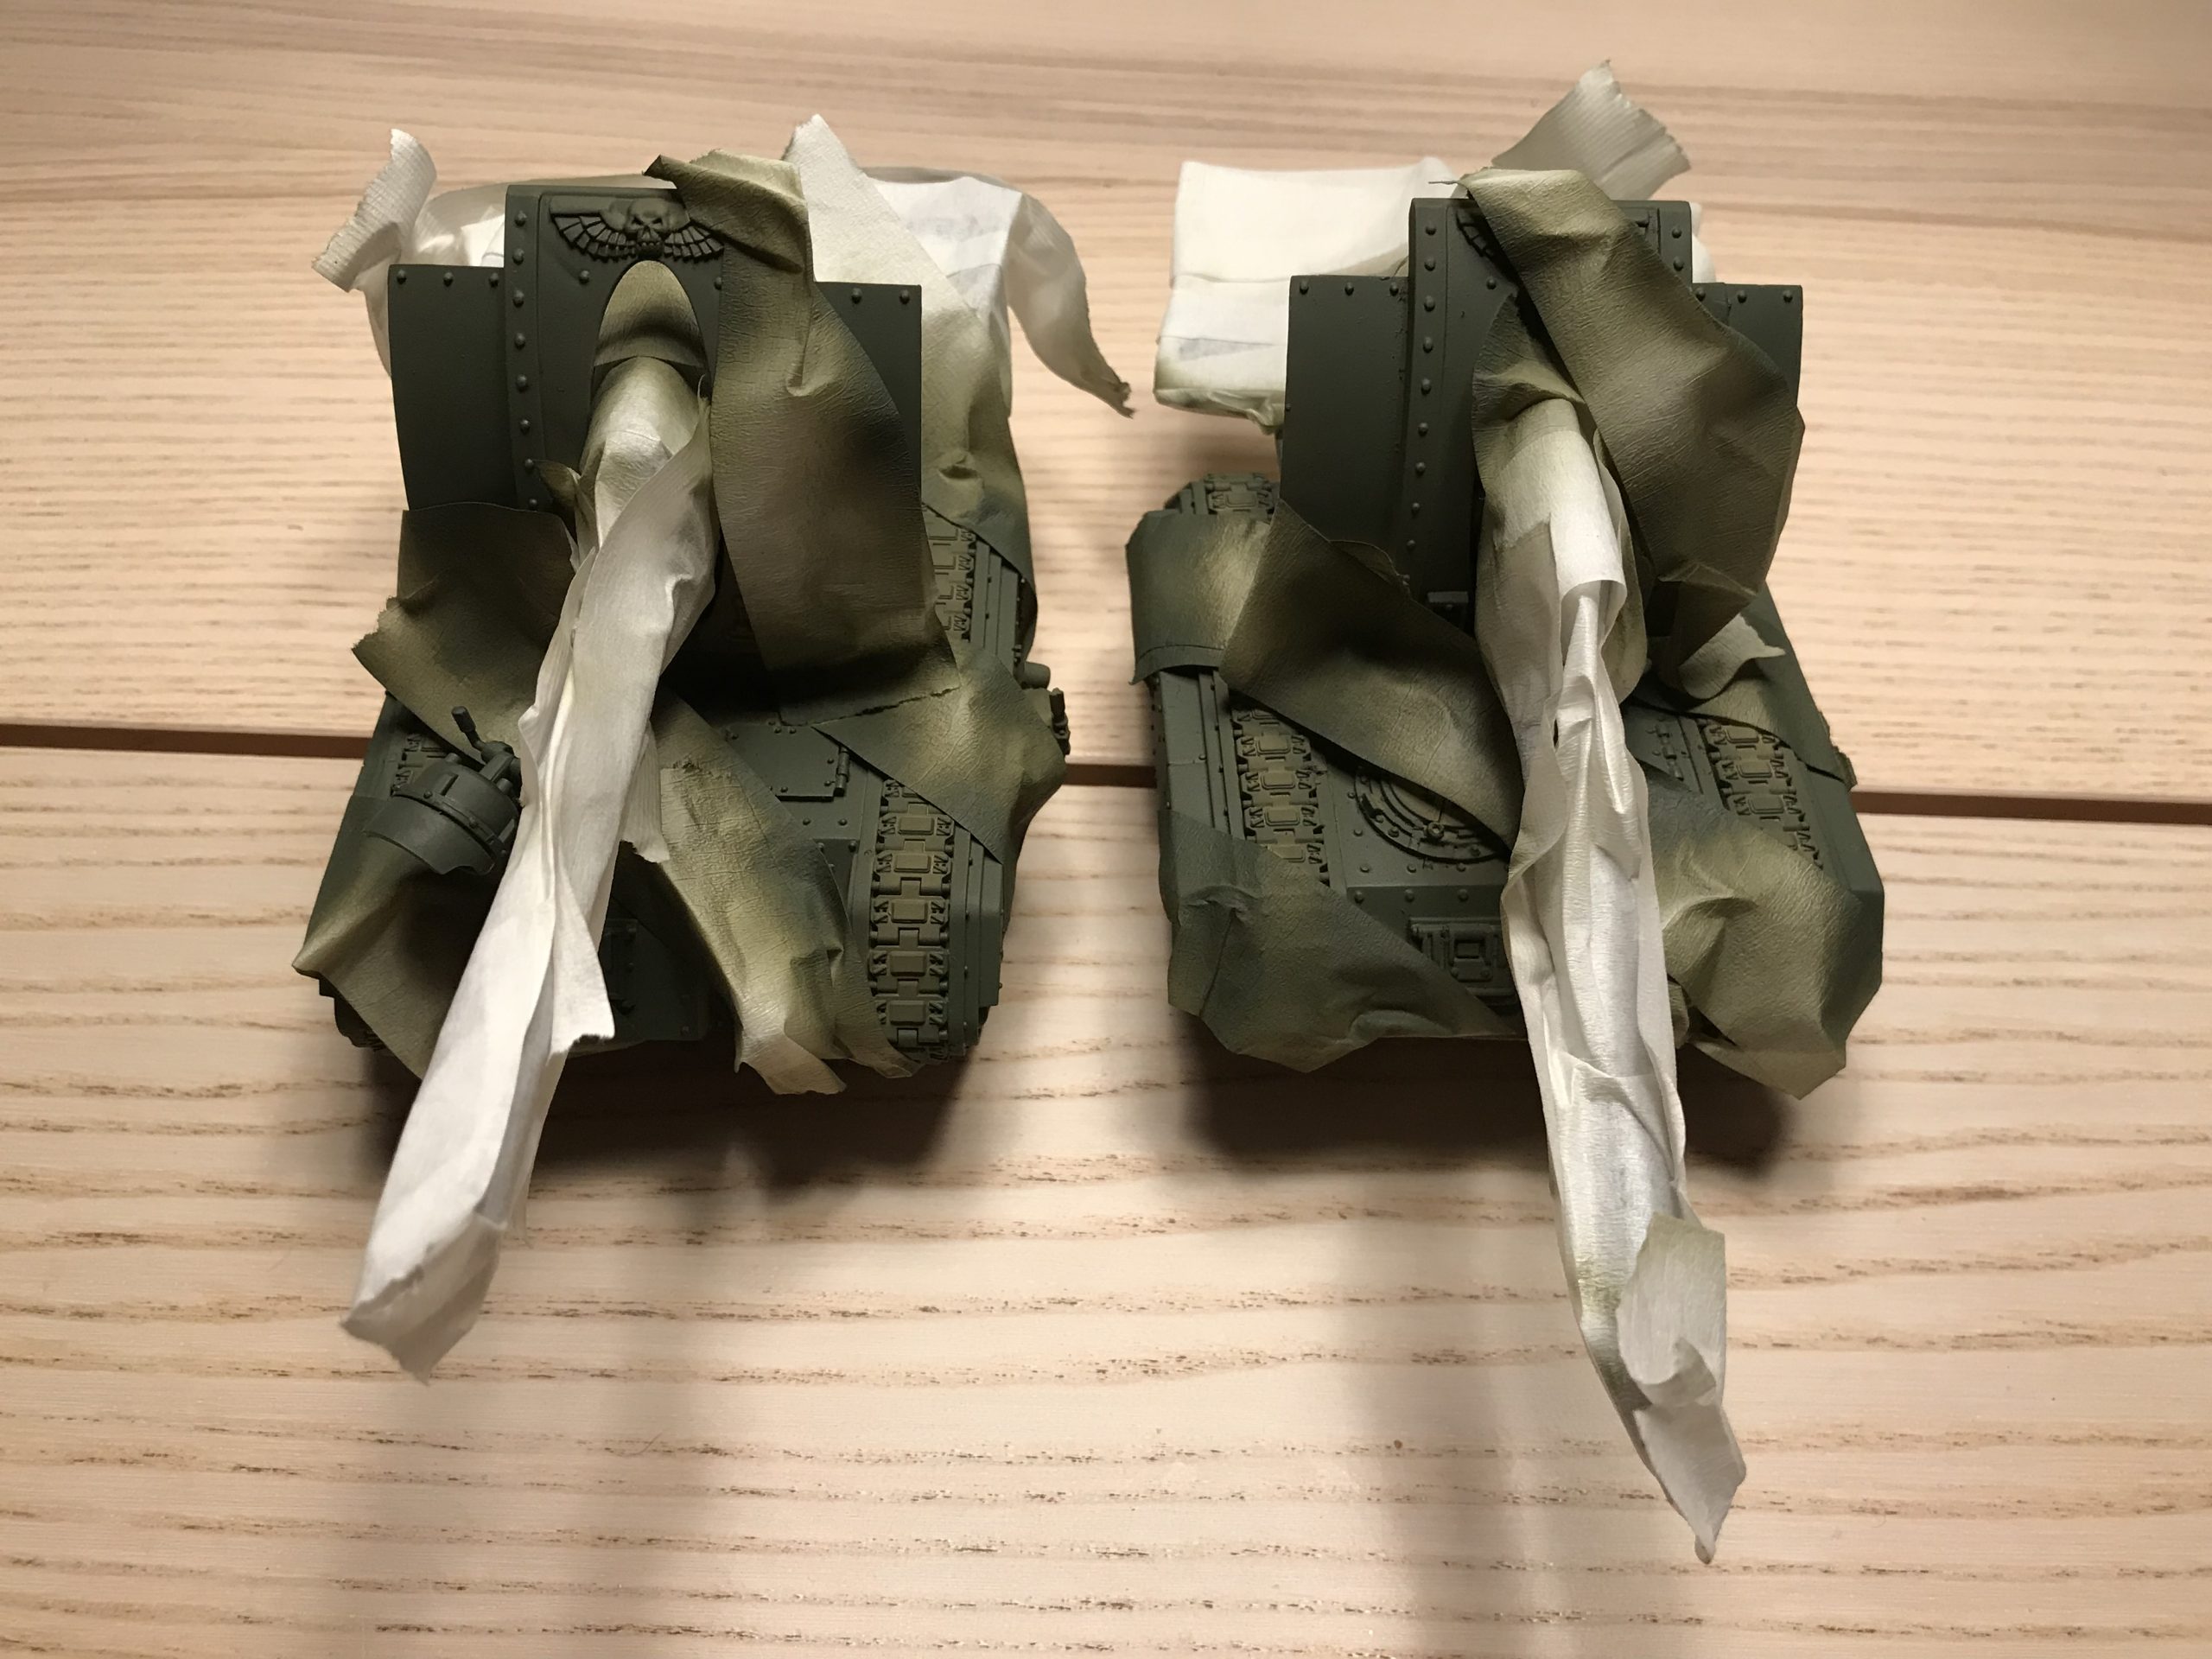
I’d recommend using your lightest colour first. Then apply your mask and finally use your darker colour. The darker colour will gain better coverage over the lighter colour than the light over the dark.
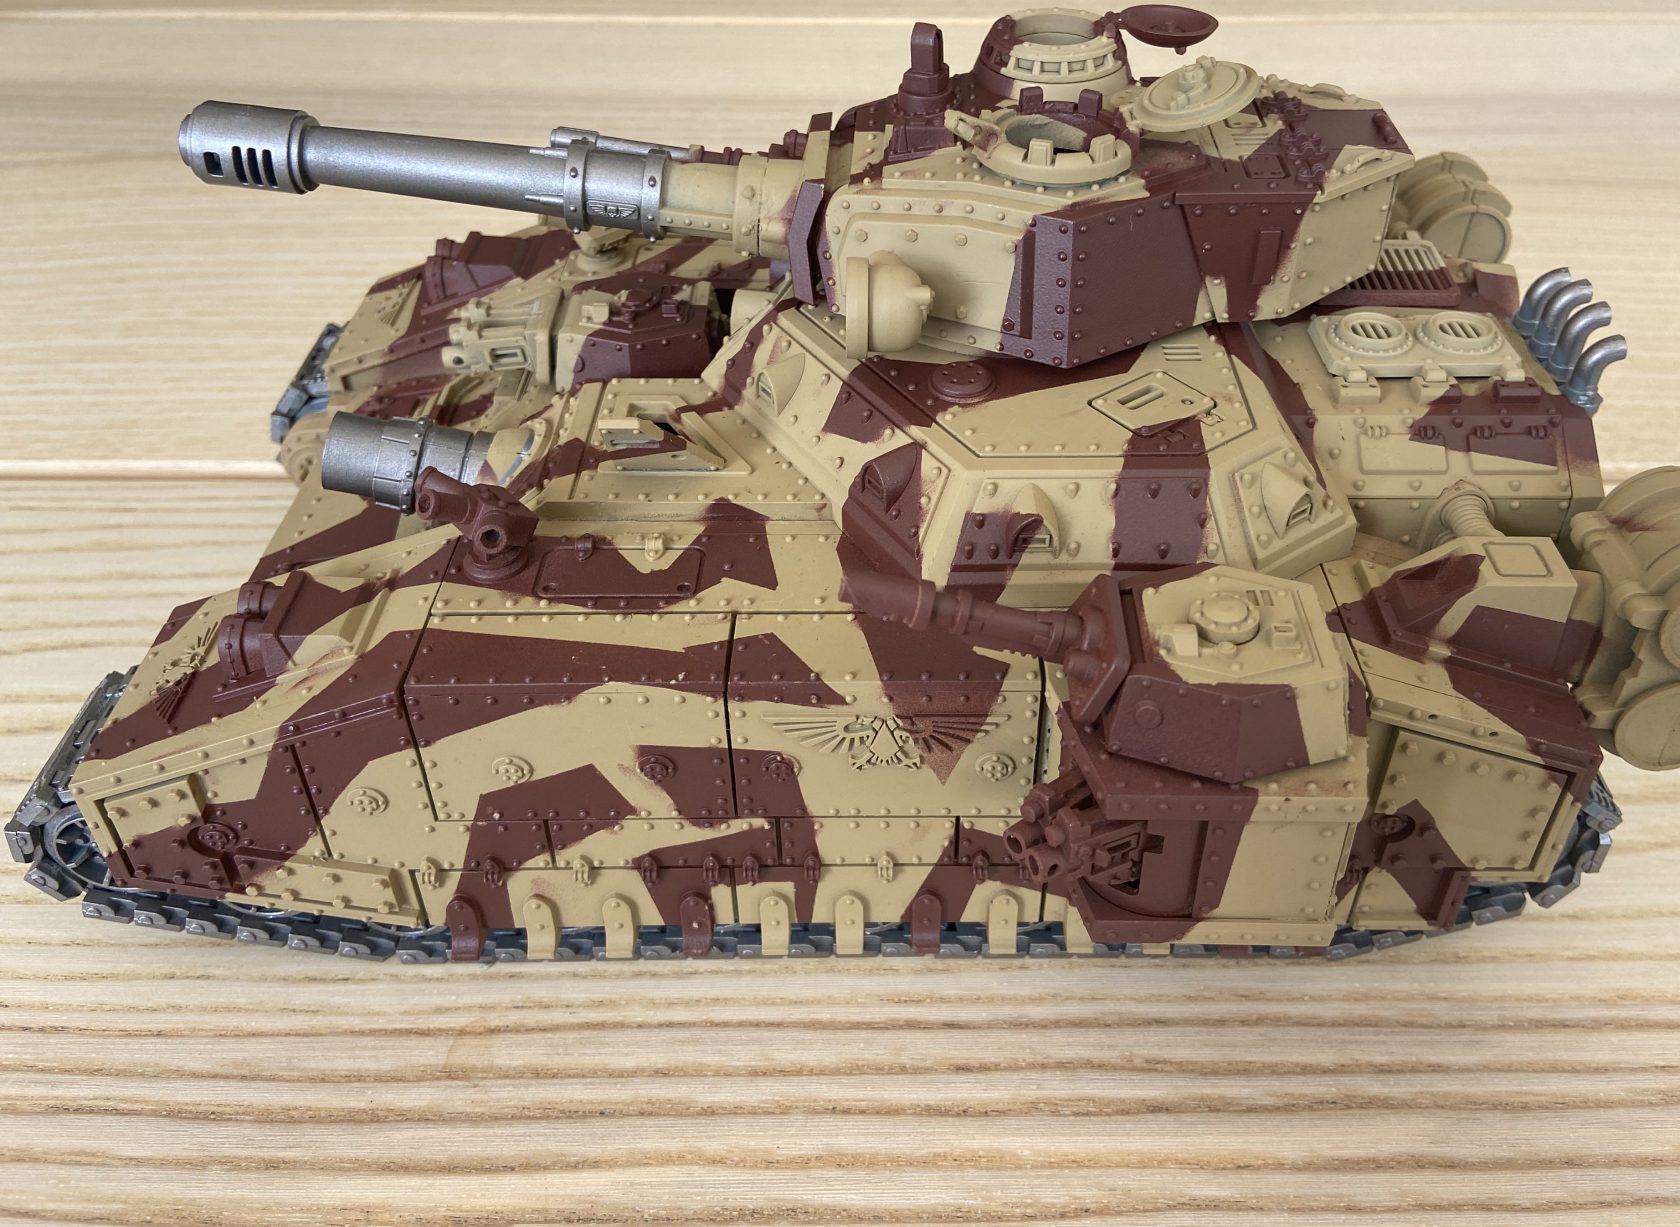
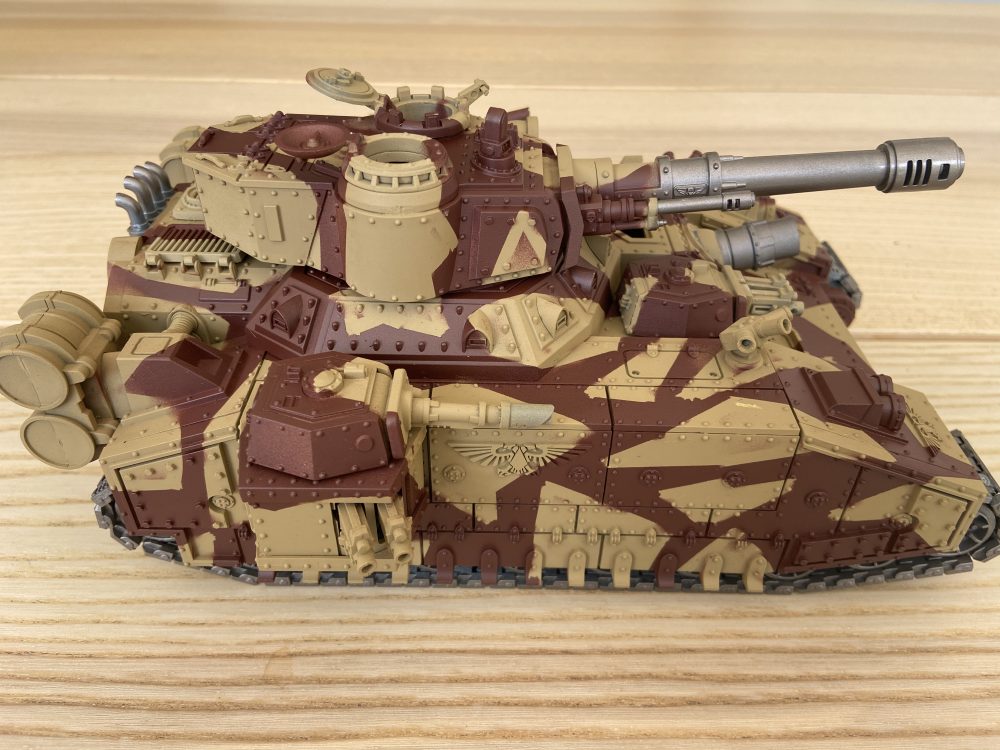
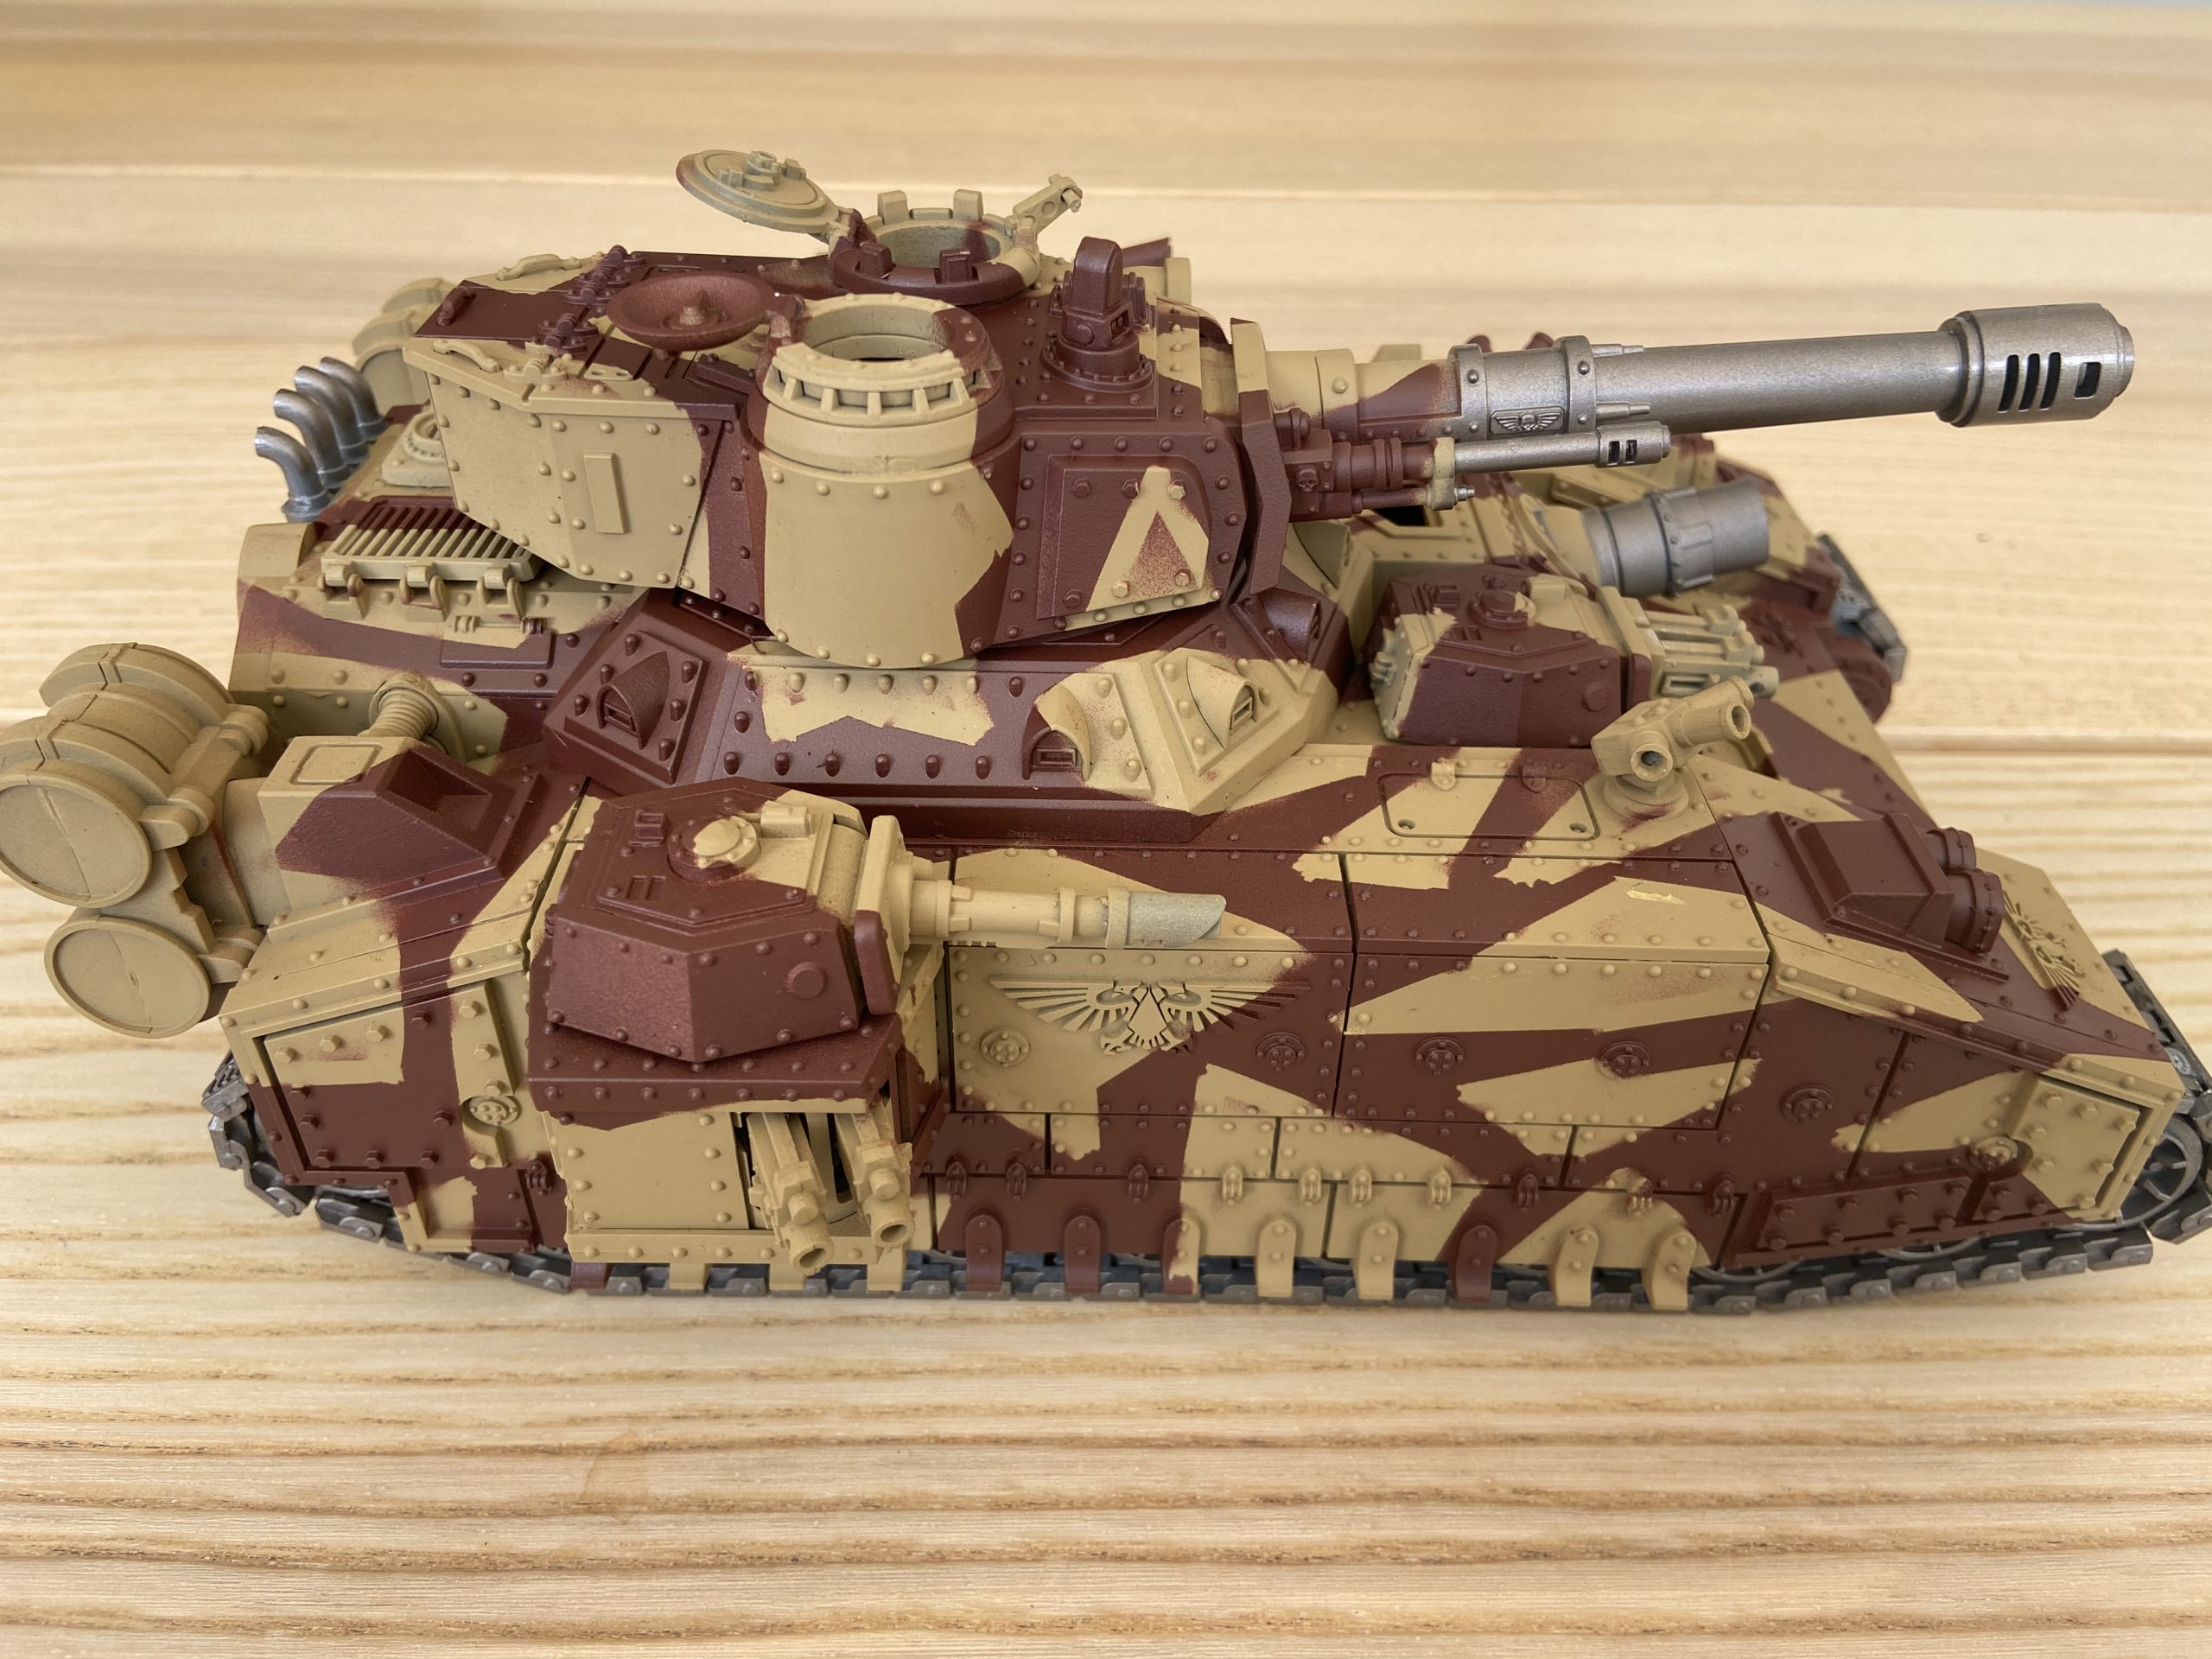
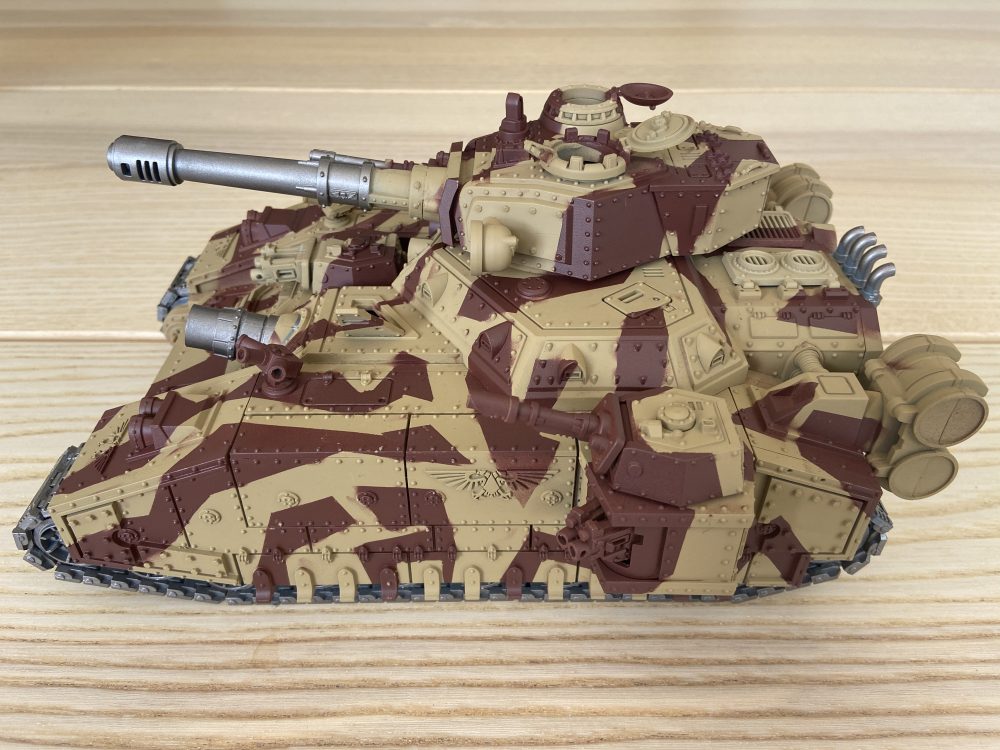
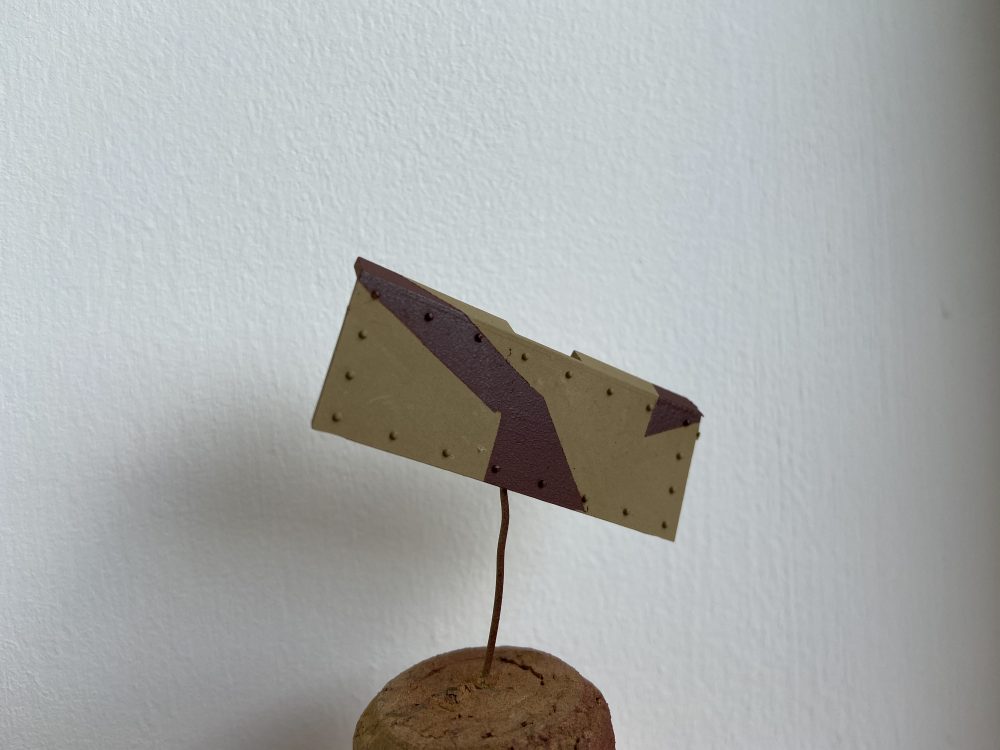
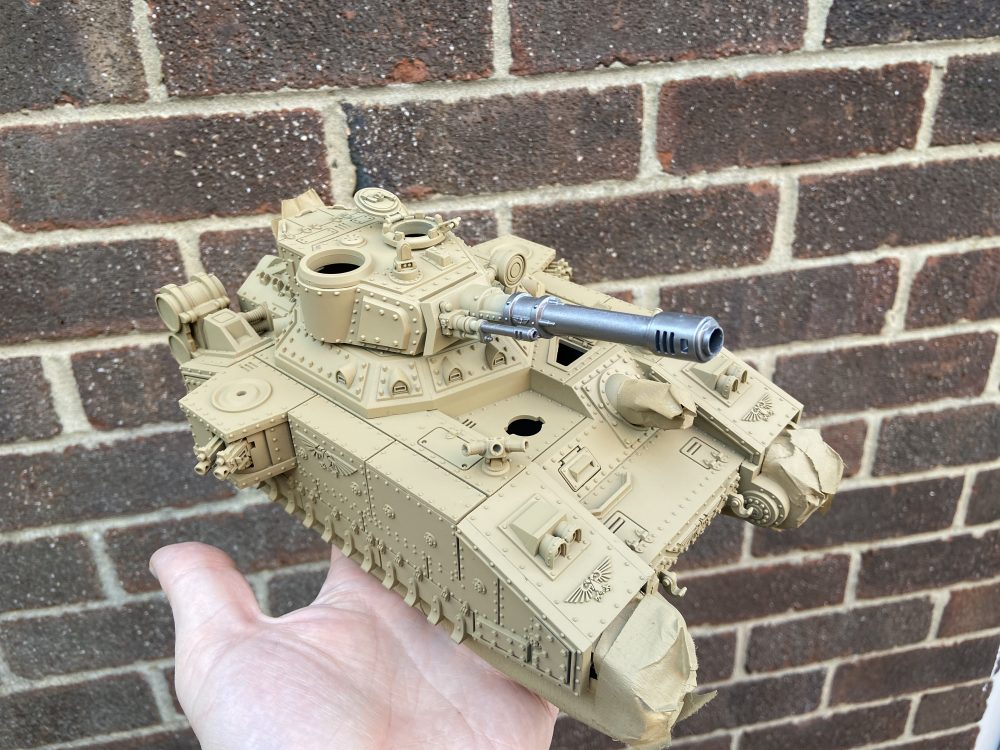
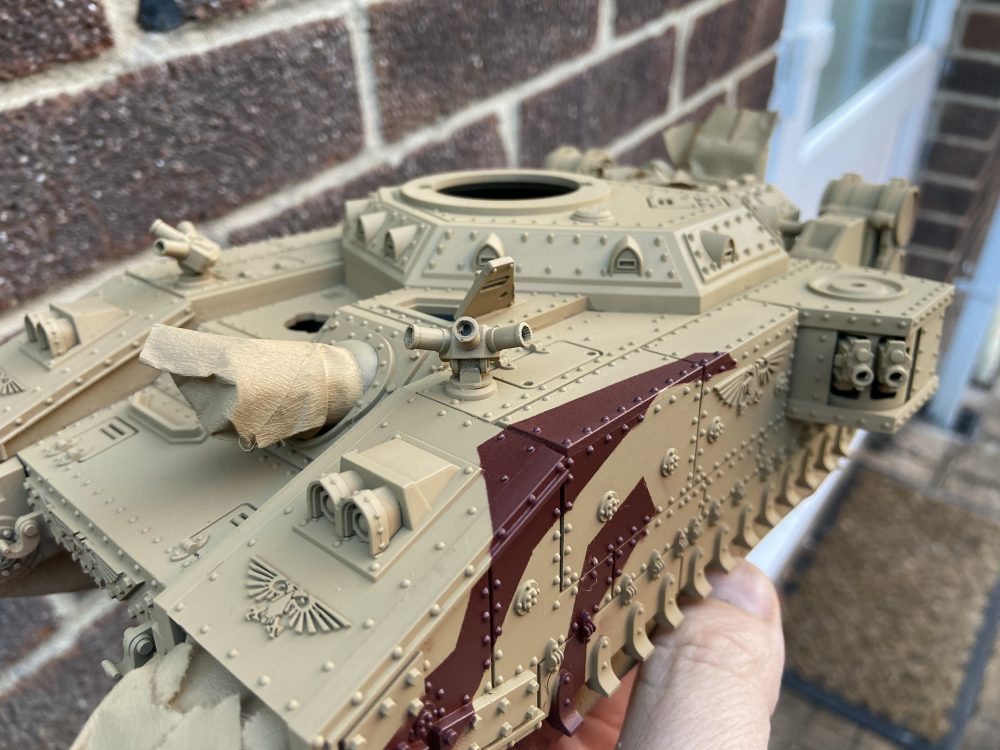
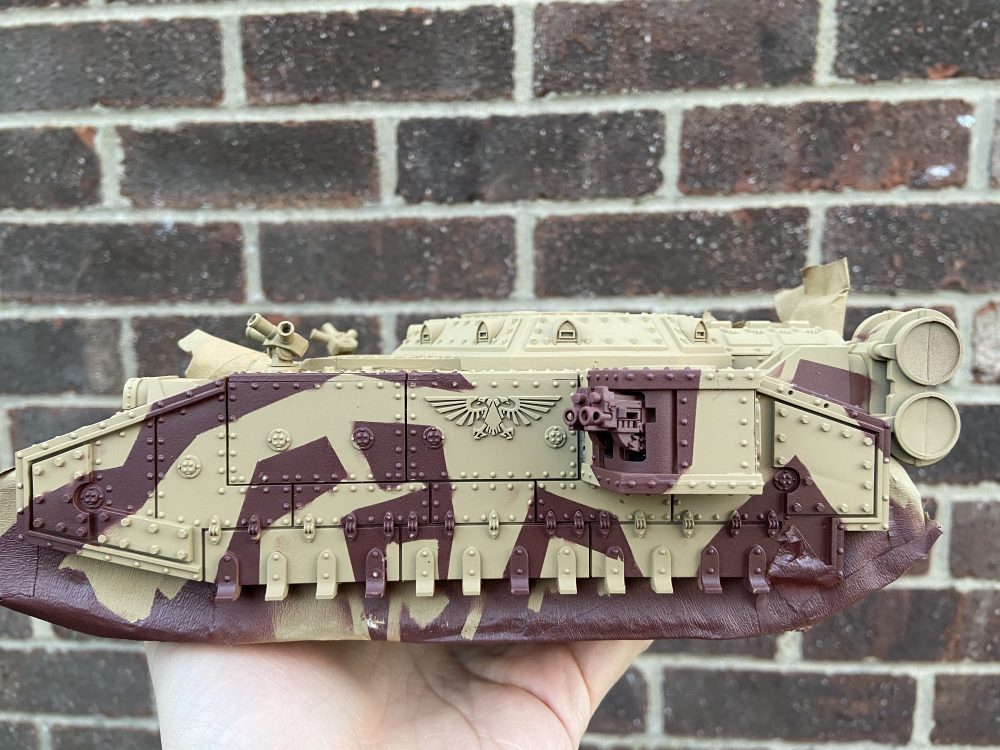
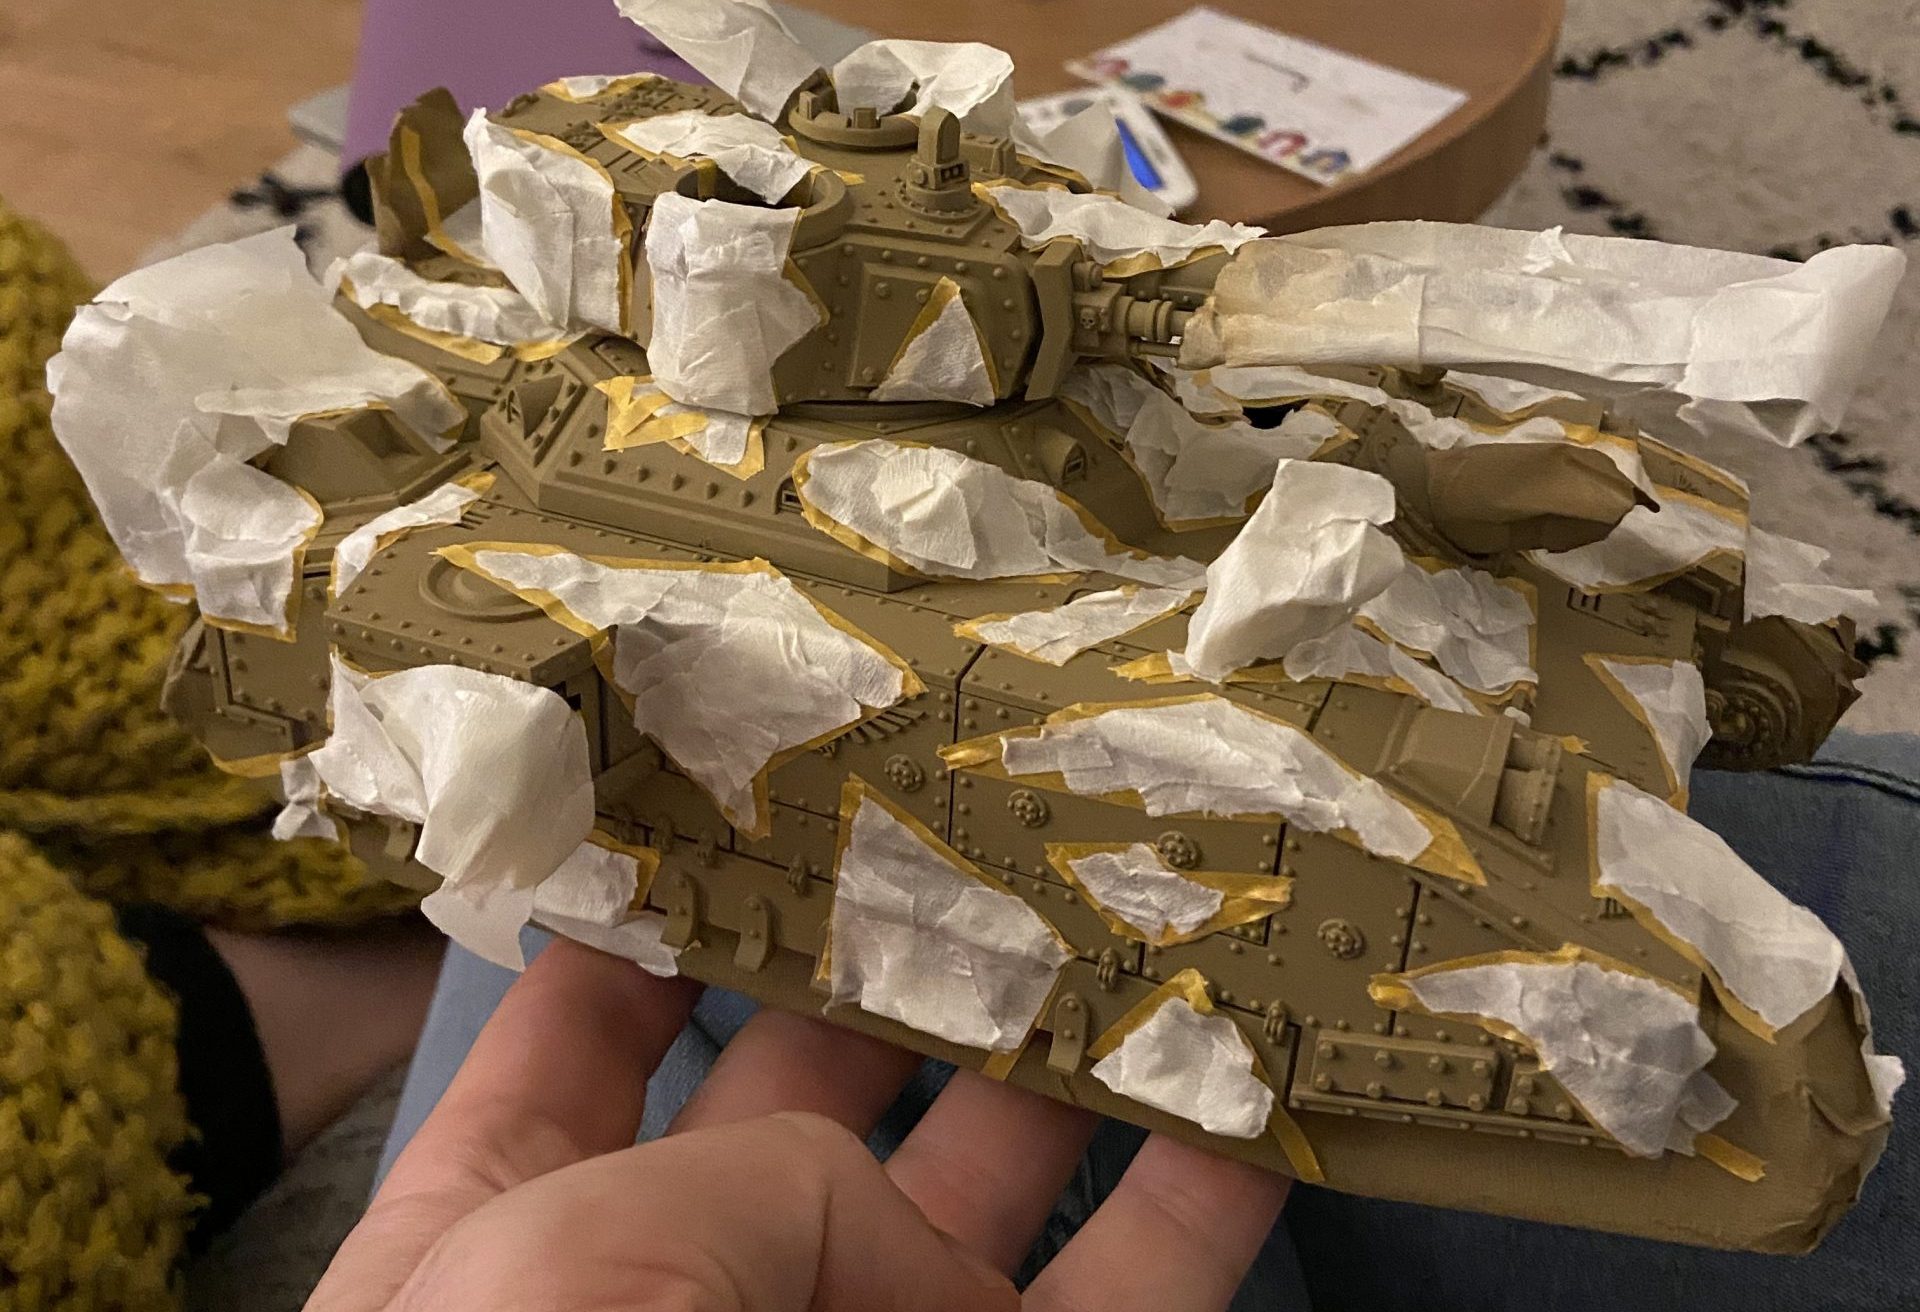
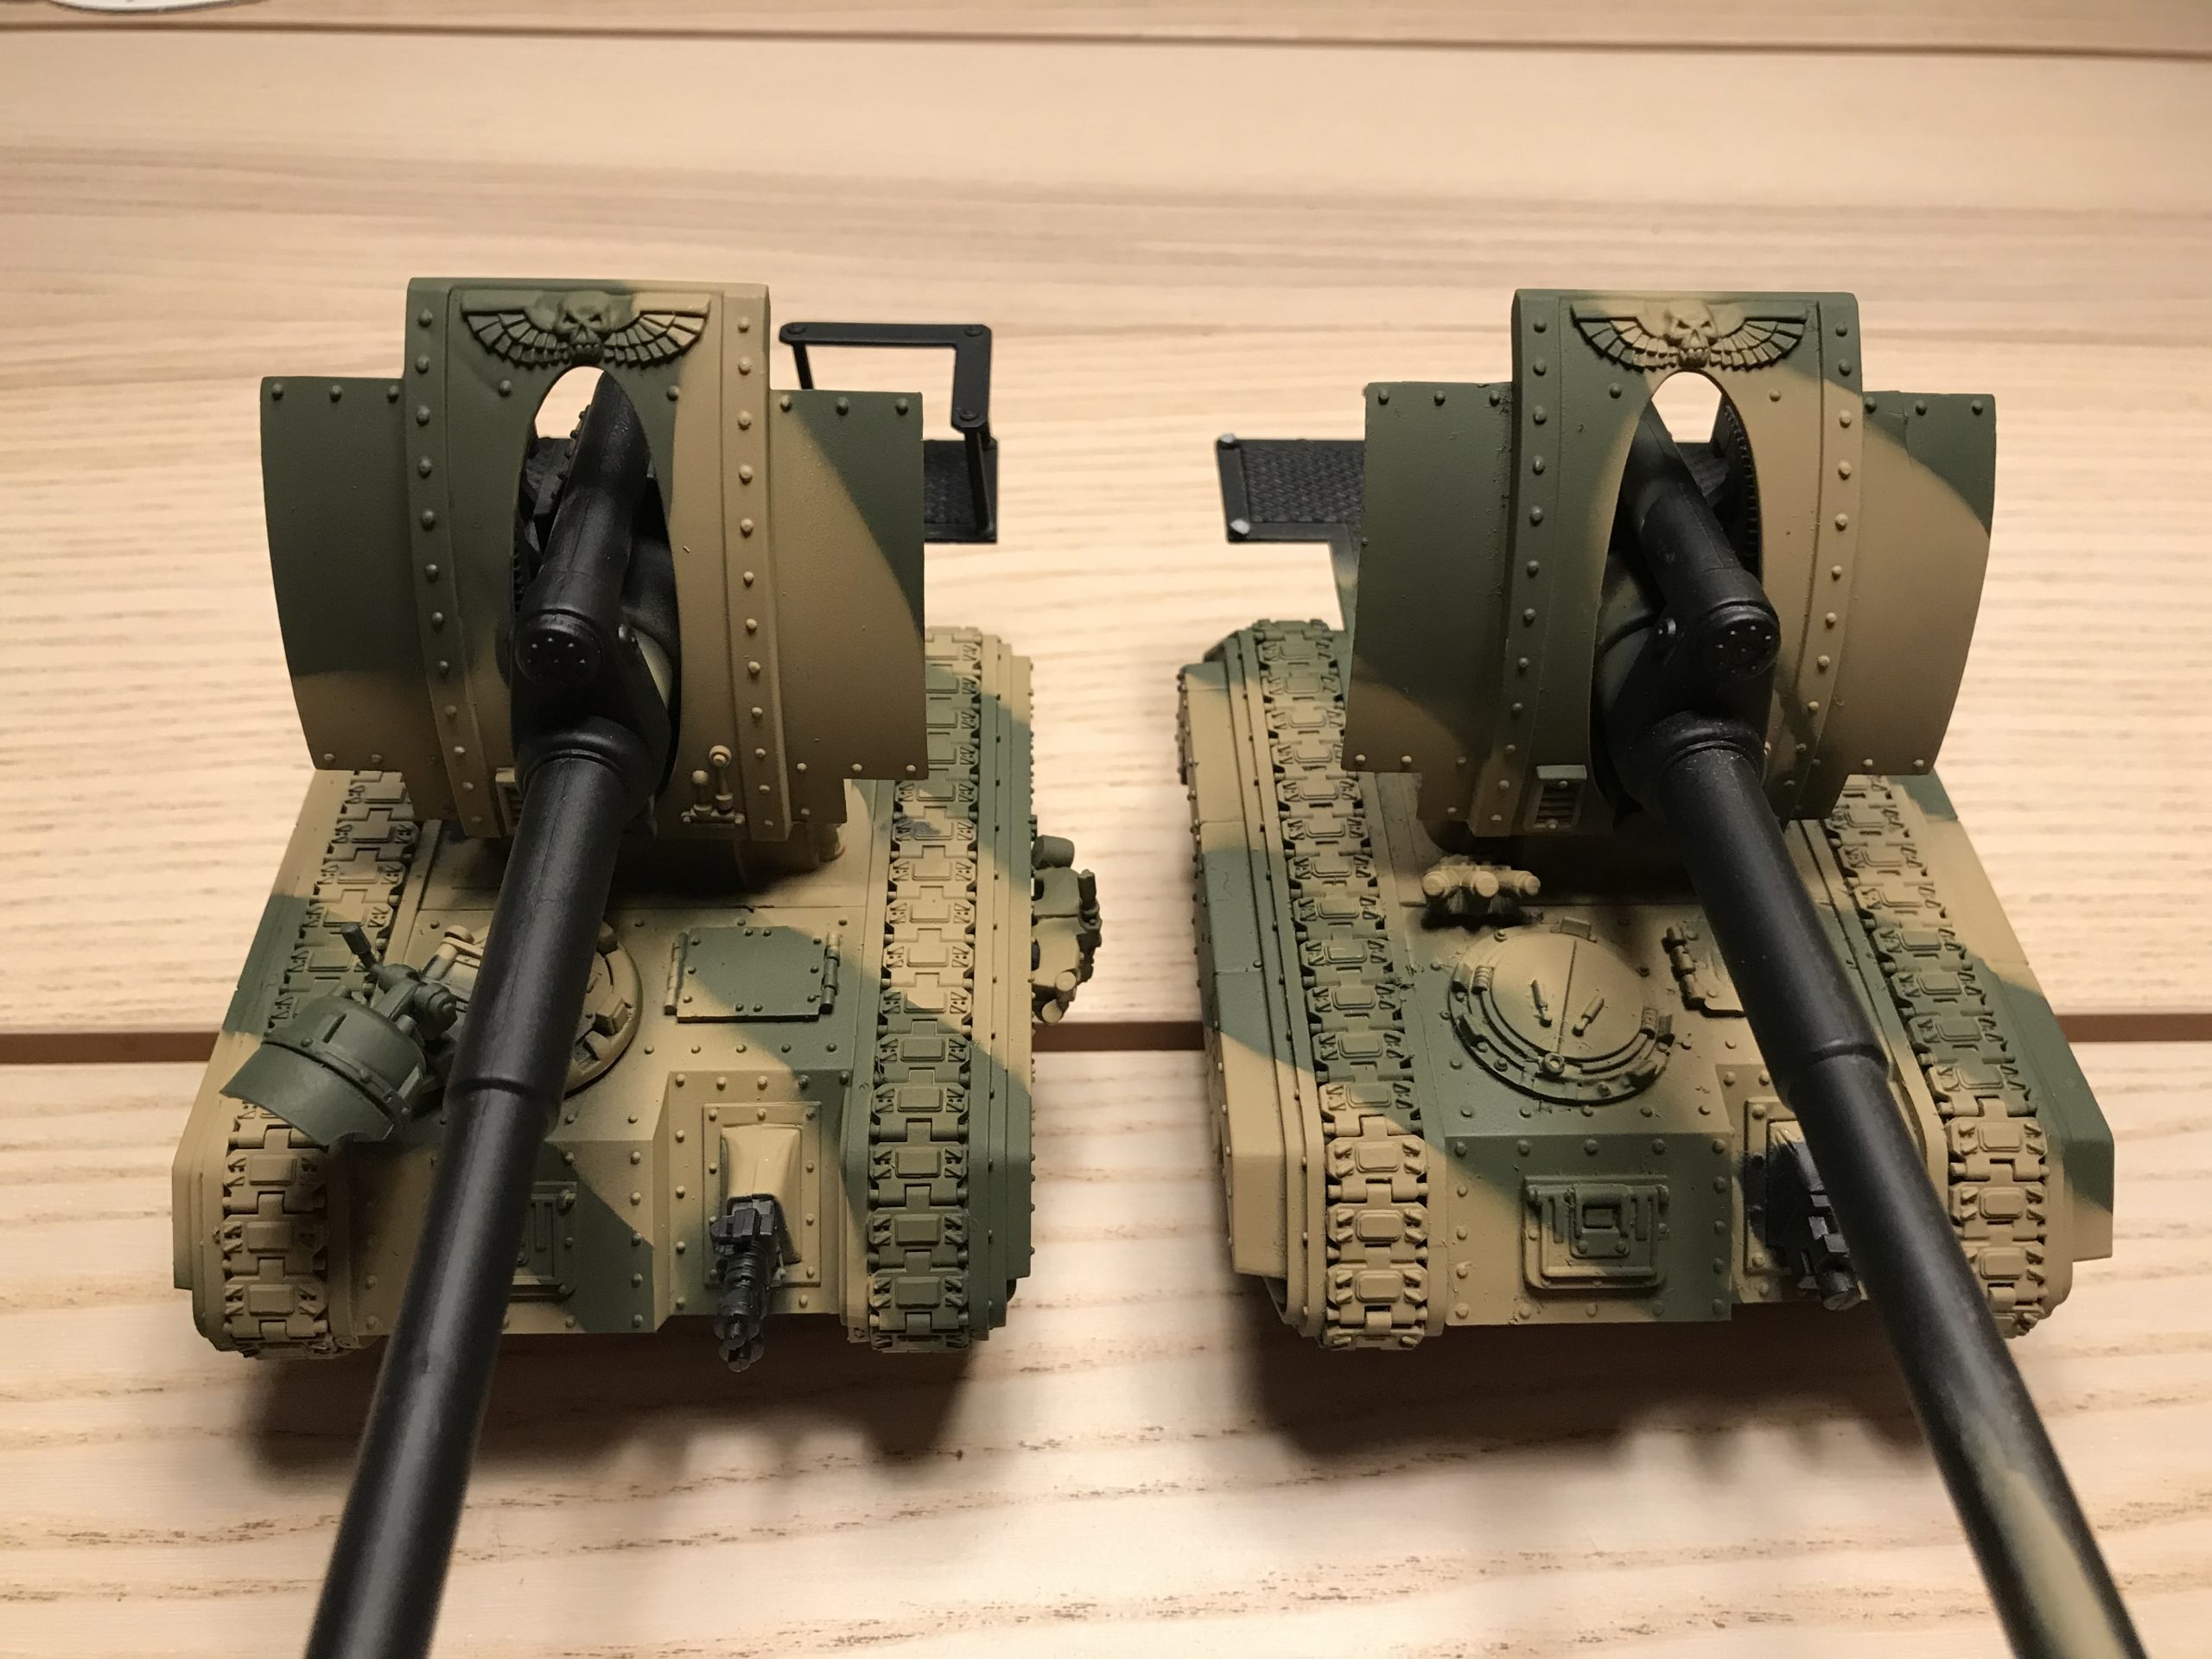
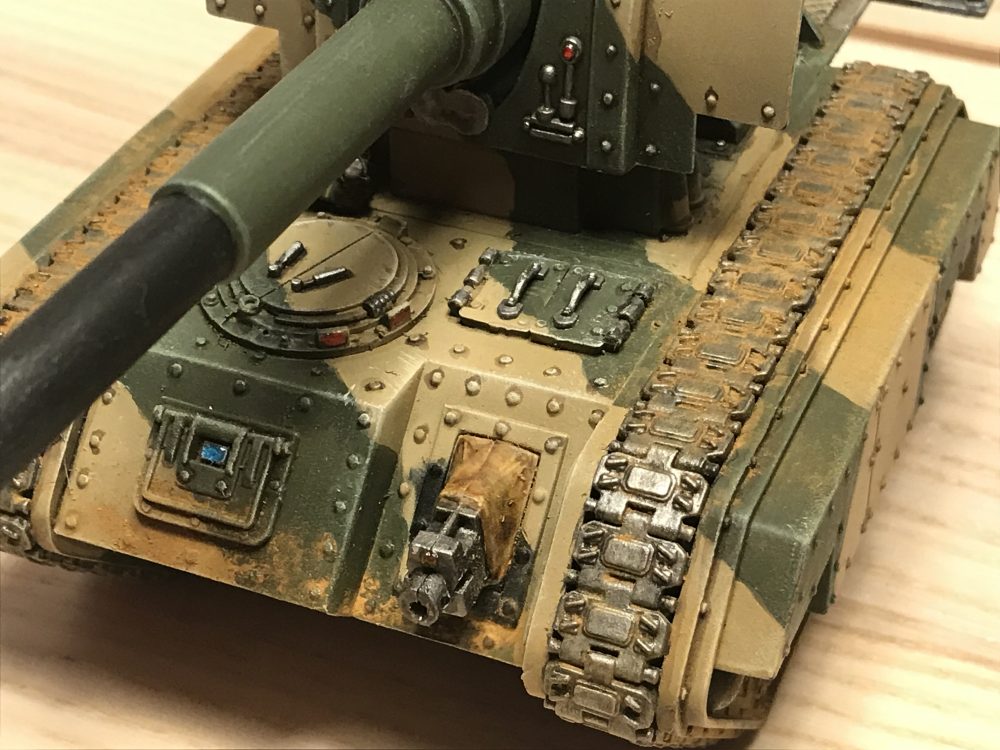
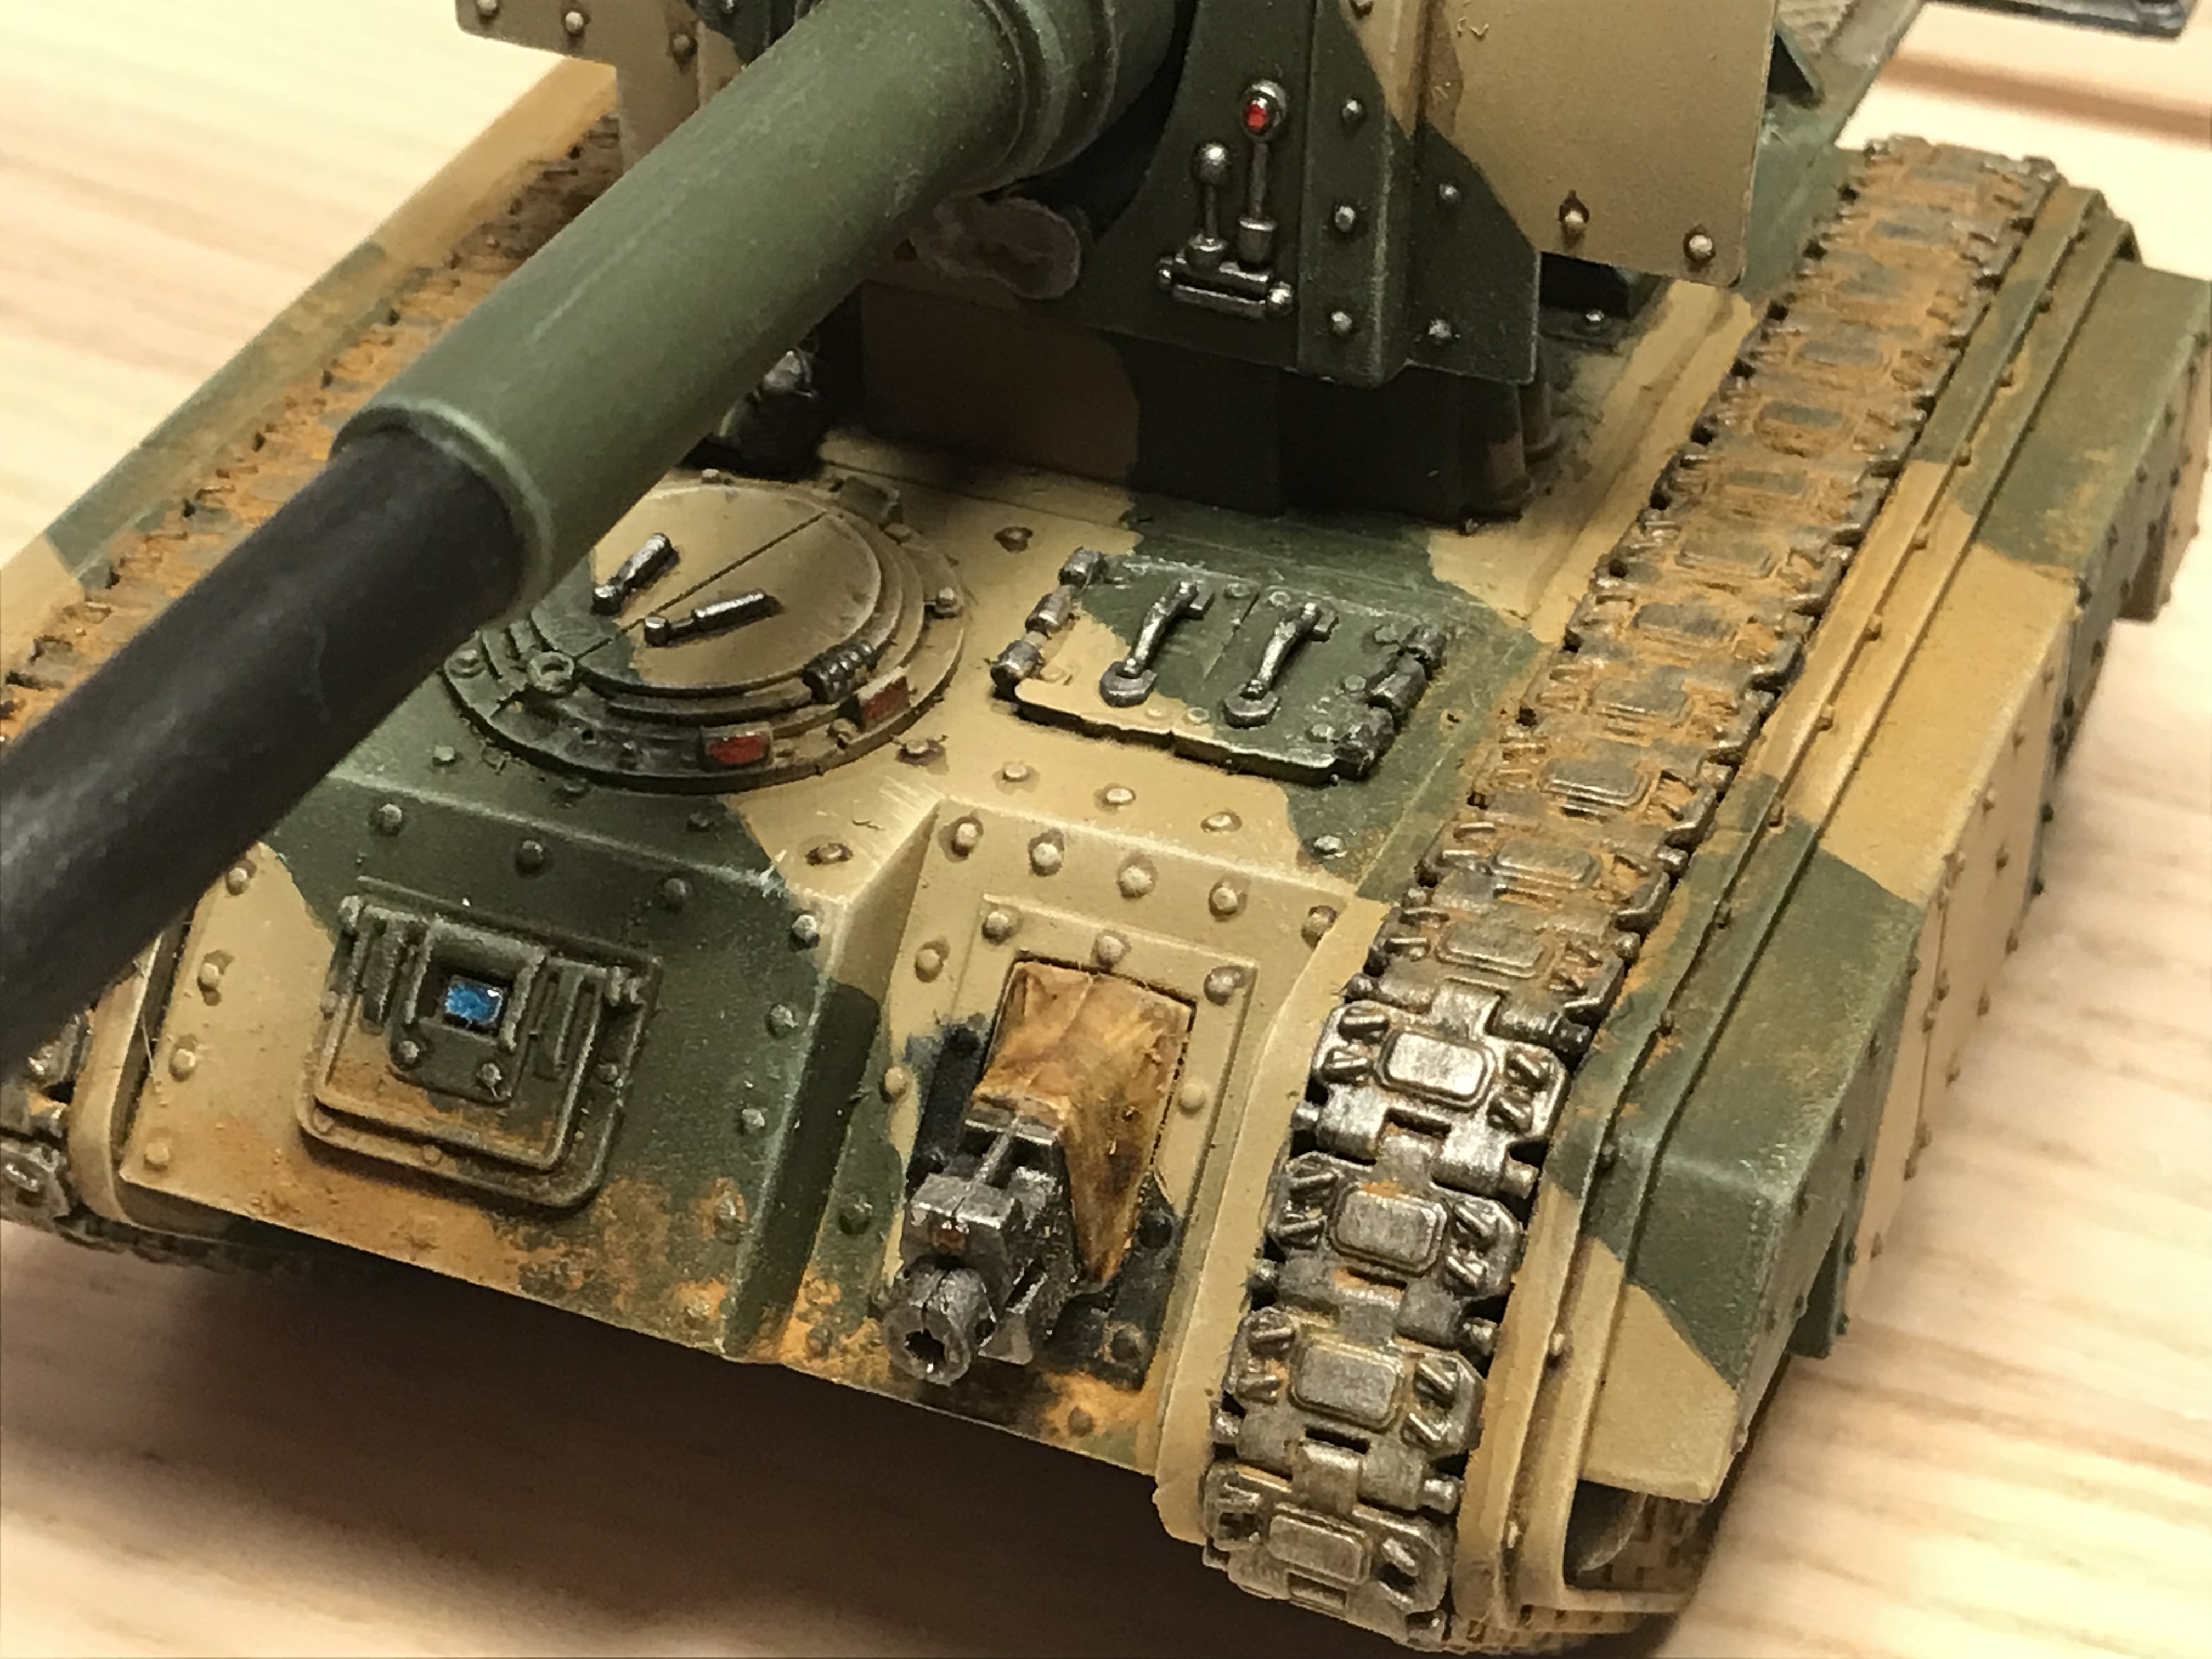
This Baneblade is using Zandri Dust from Games Workshop and Chaotic Red from Army Painter.
-
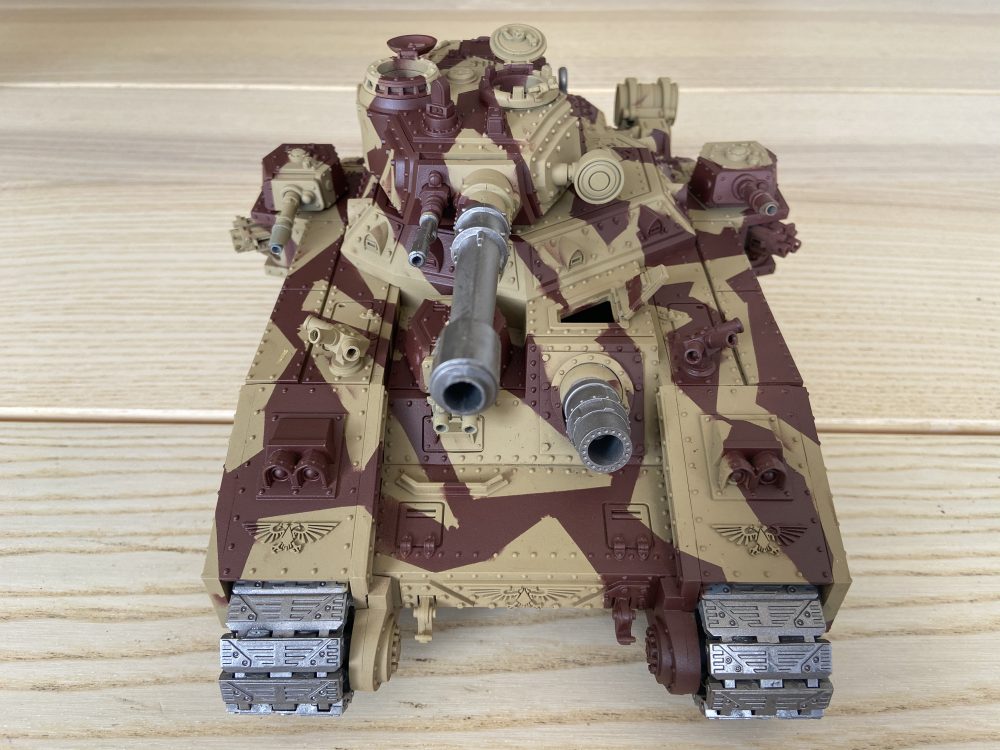
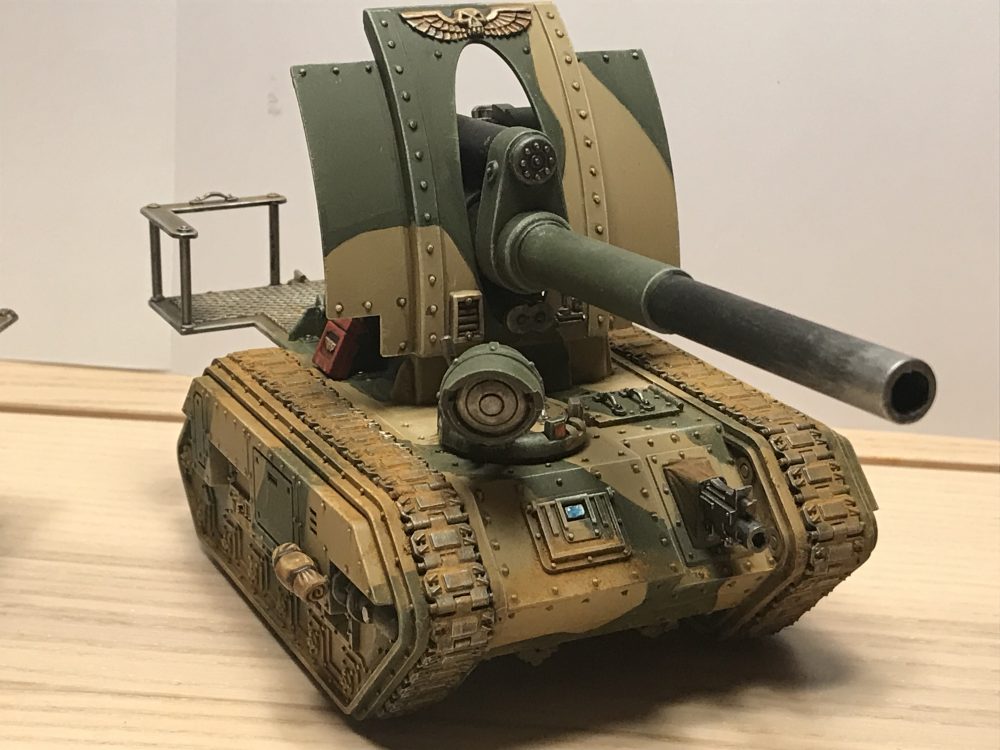
- Front

-
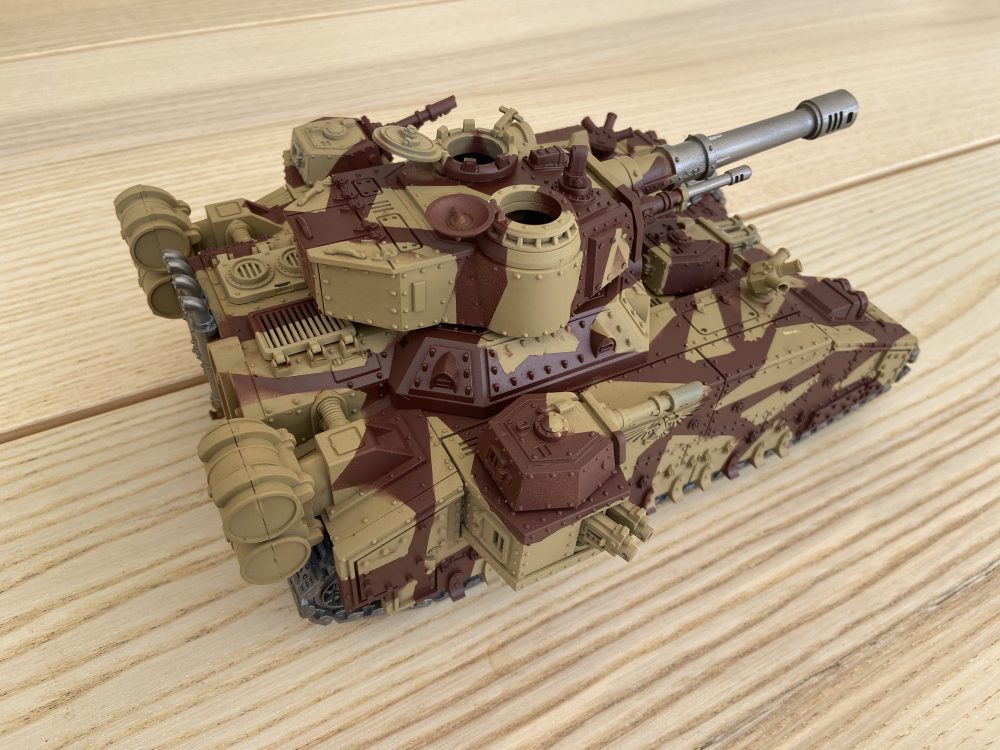

- Rear

-
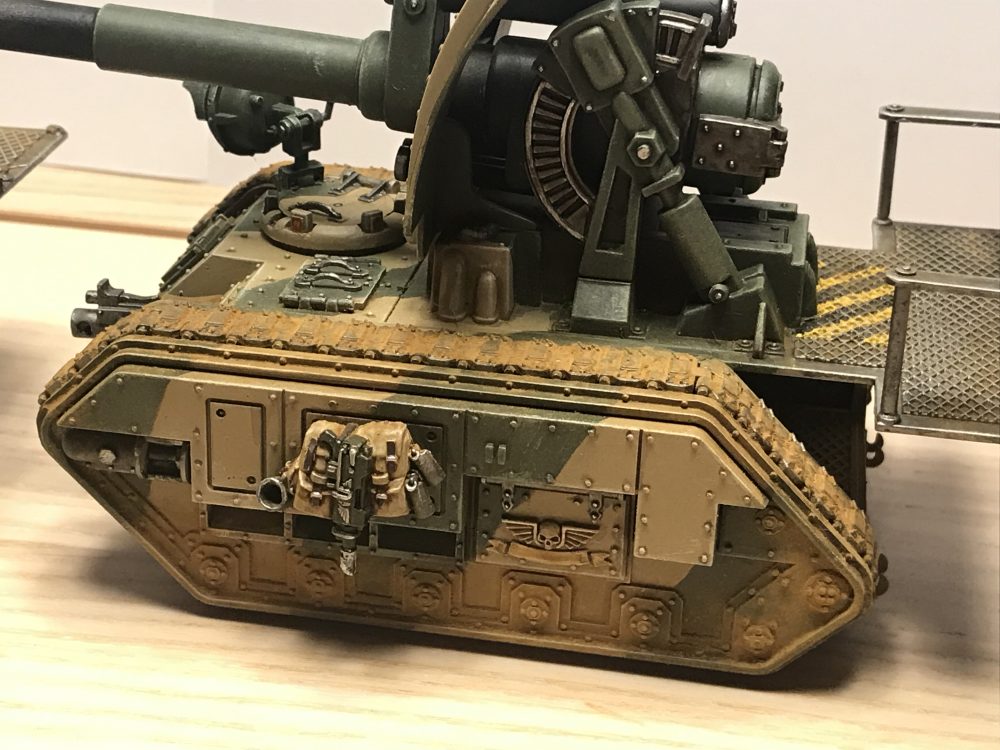
- Side, you can see my tape has not worked on the triangle on the turret
-
- Side

Masking for Spray Paint Camo
The one downside I have found to using this method is the time that needs to be invested into masking your models.
For me, it’s worth it, because spending the same amount of time using a brush, will result in an inferior application of paint. You might get paint on all the surfaces in that time, but it won’t be full and even coverage in that same amount of time. The benefits only increase as the model size increases too and you have more and more large flat areas to paint.
Perhaps don’t do use this method on Guardsmen! But do try it on vehicles.
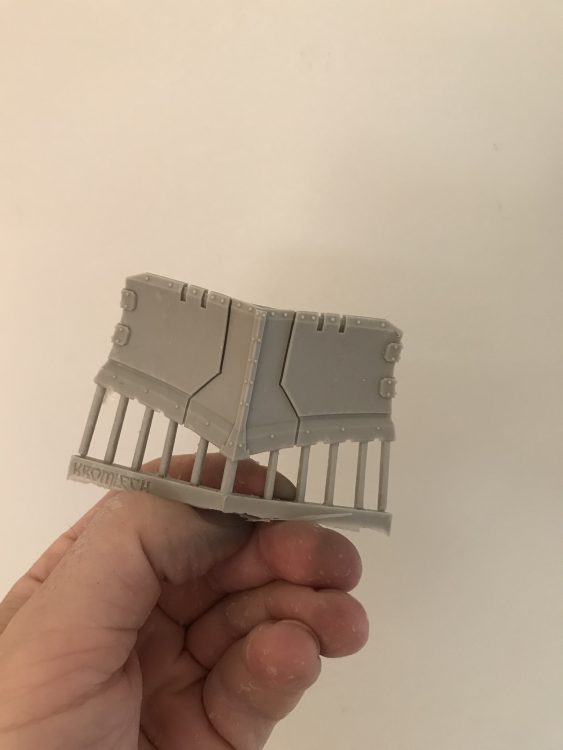
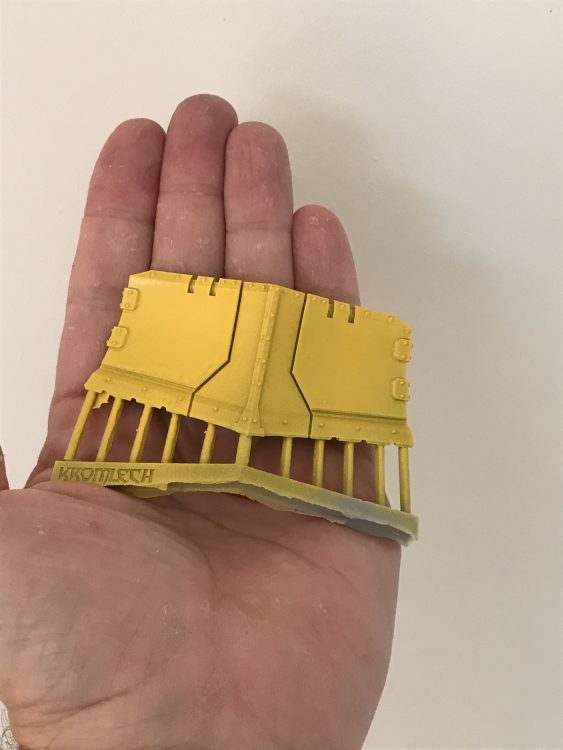
Here you can see a test I did on a random piece of panelling that comes with loads of Guard vehicles.
-
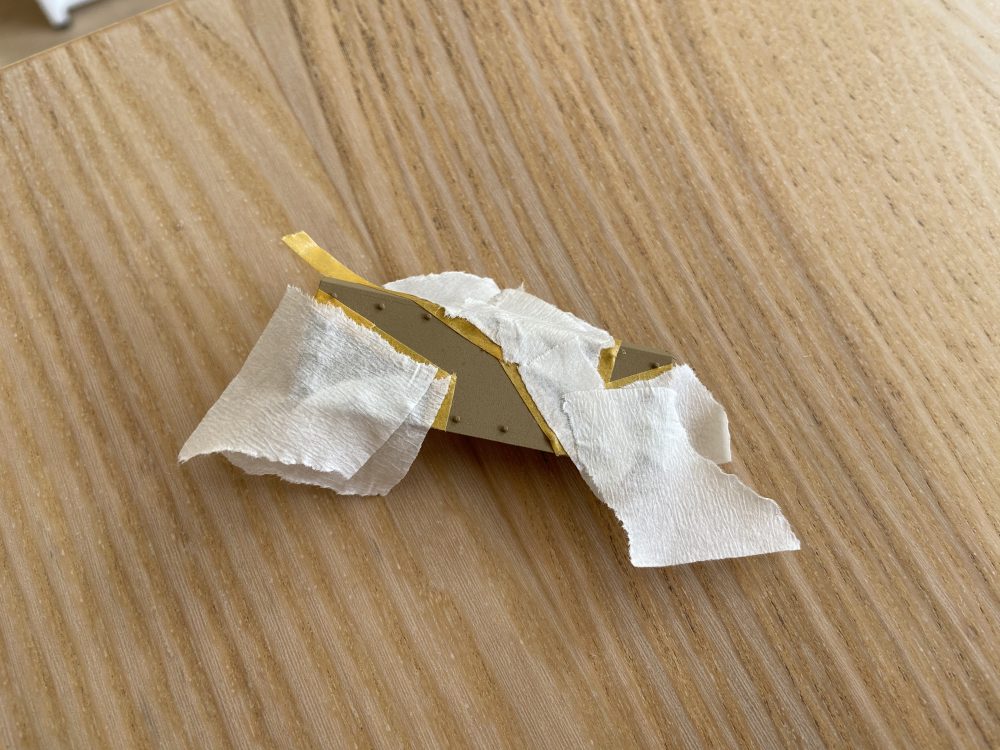
- Mask applied after the light colour

-
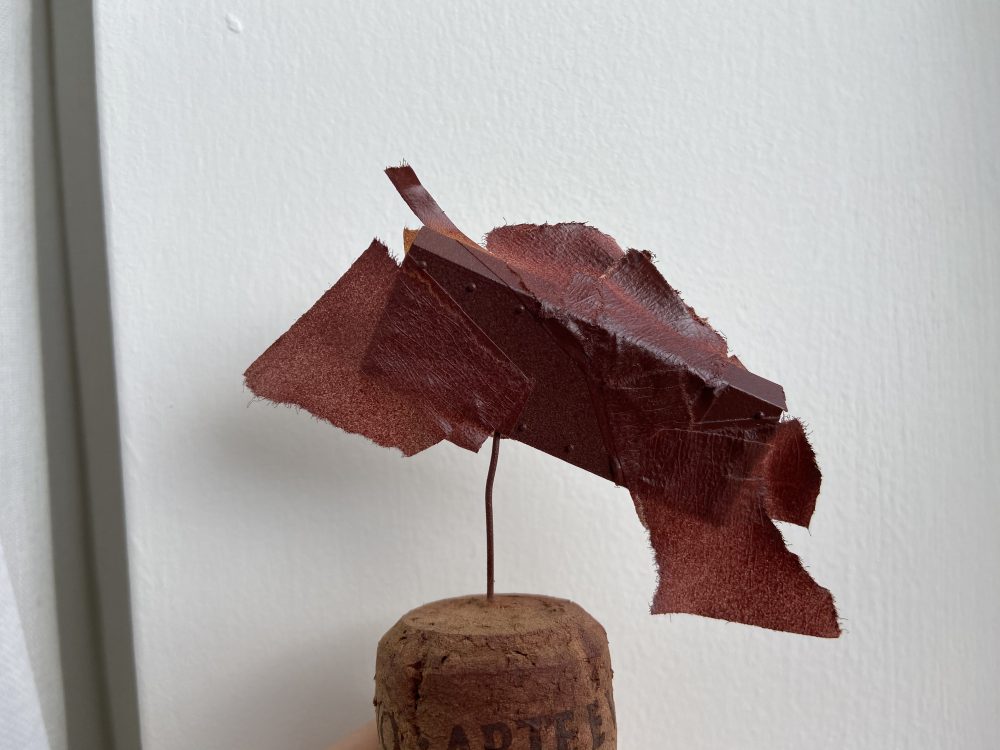
- Spray darker colour

-
- Remove mask

Masking Methods
I use two types of tape, precision hobby tape and regular masking tape. Masking tape alone can be fine, but it doesn’t stick very well to your models and so you can get more bleeding under the tape to where you don’t want paint.
Precision Hobby Tape
The hobby tape is stickier and often comes in a variety of widths. I’d recommend using the hobby tape for the edges and then the masking tape for larger areas. Masking tape is a lot cheaper too.
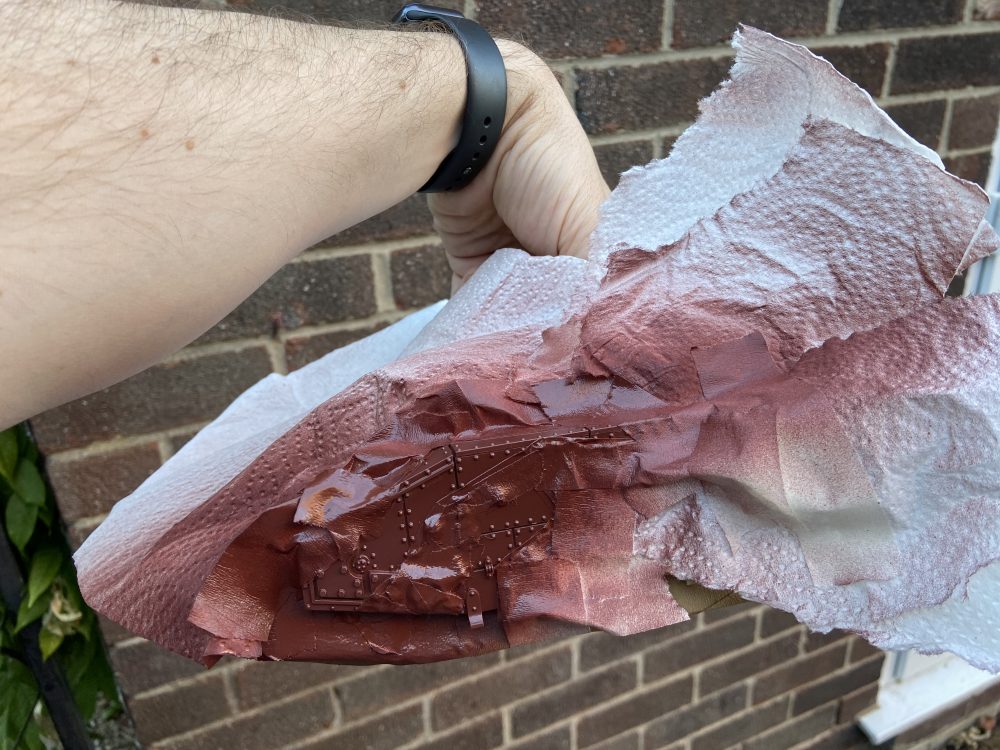
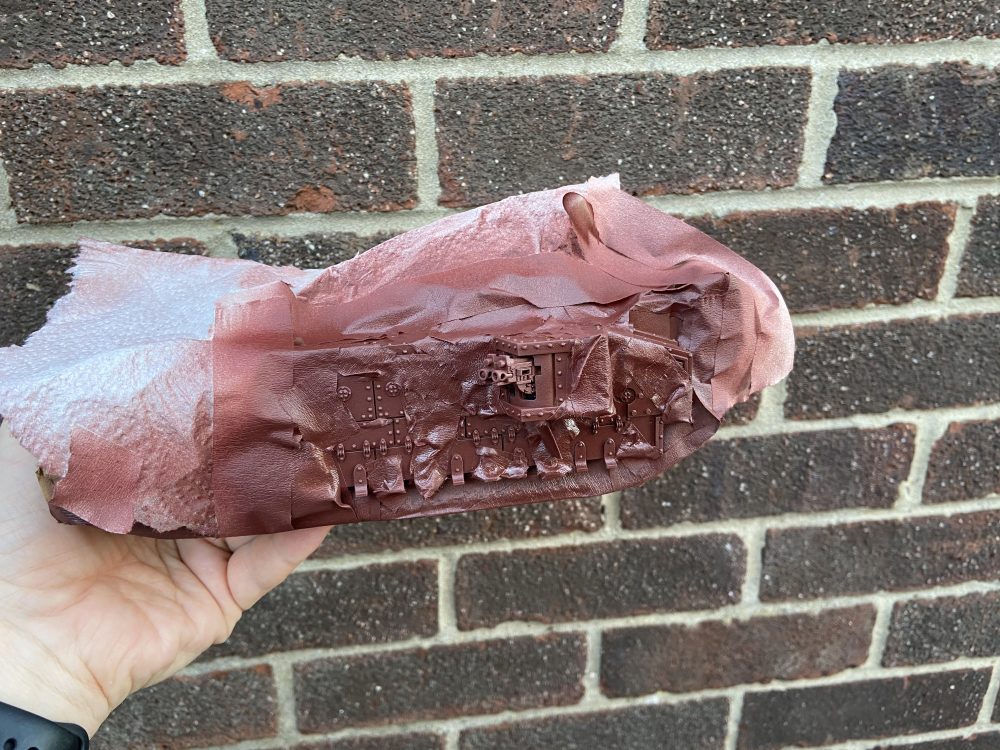
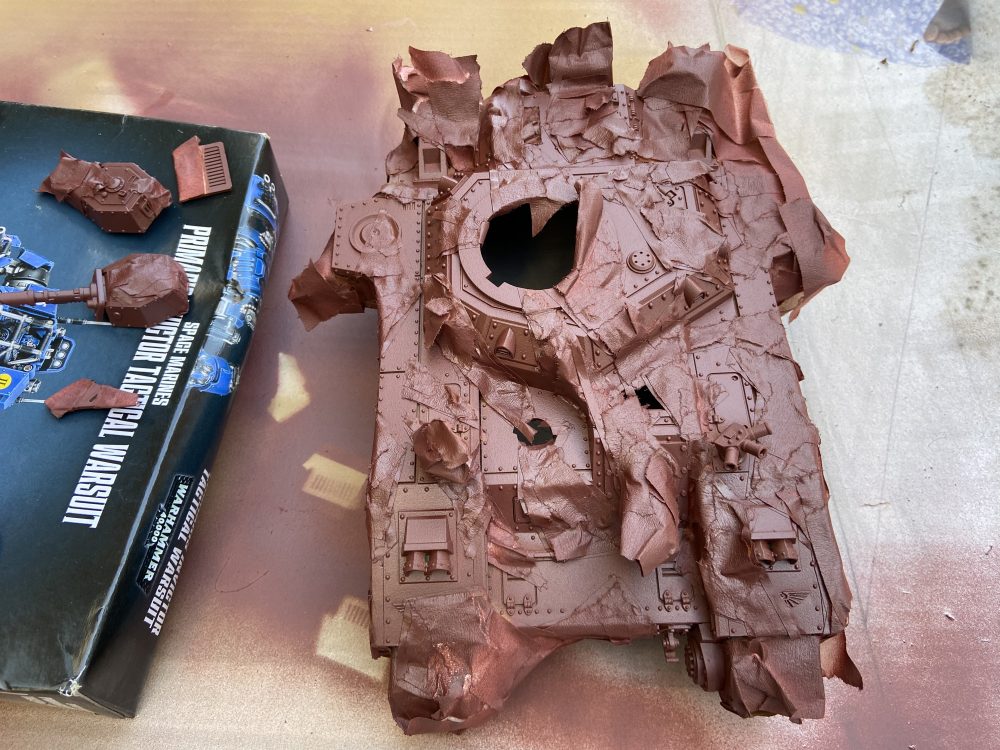
You can also use other materials for large areas. Kitchen paper towel works well I have found. Just stick it using masking tape to use as a large shield for your model.
-
- Starting point

-
- Mask

-
- Spray

-
- Remove mask

-
- Repeat

-
- I was testing out the scheme at this point before I went and did the whole model

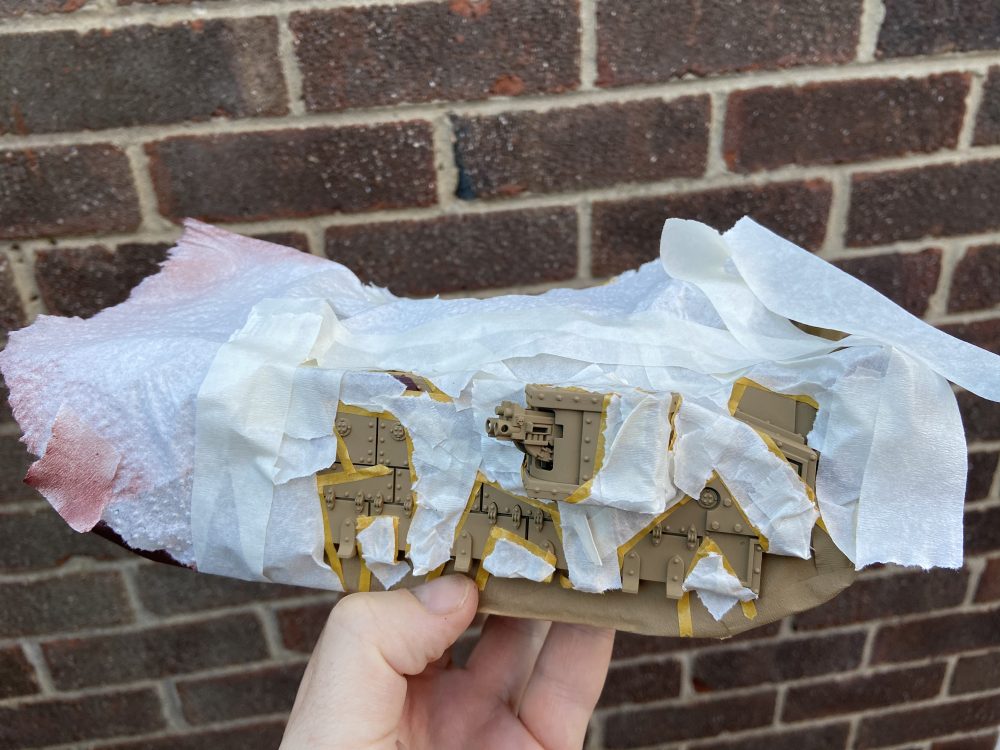
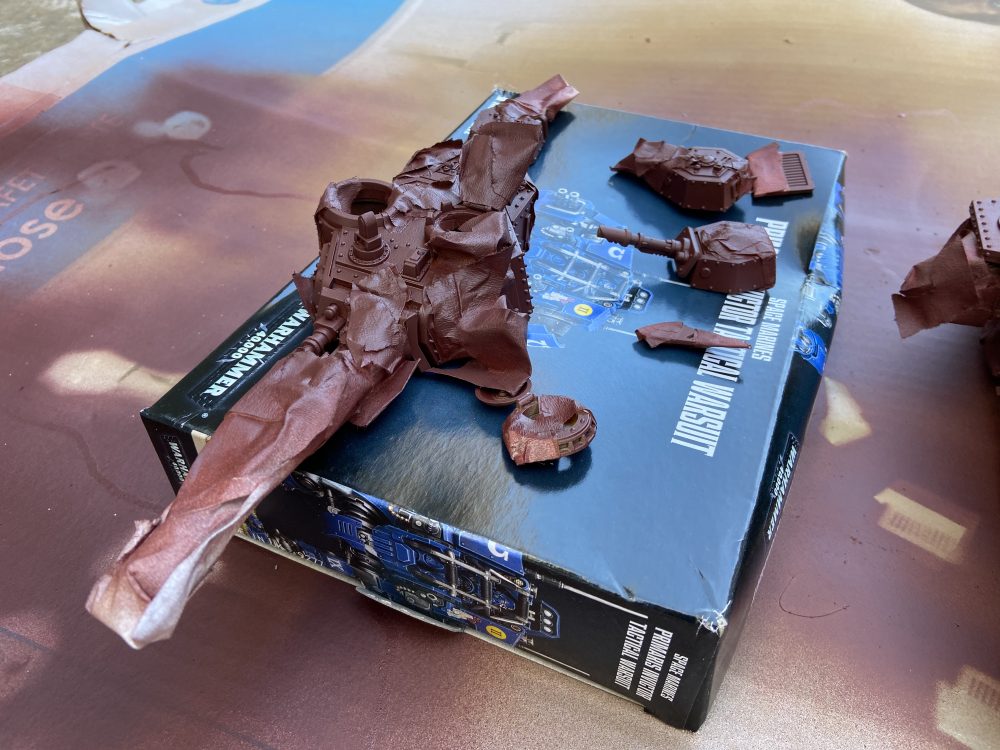
Once I had done one side of the Baneblade above and I was happy I went and masked off the rest of the model, plus the various turrets and hatches before finally applying the red/brown.
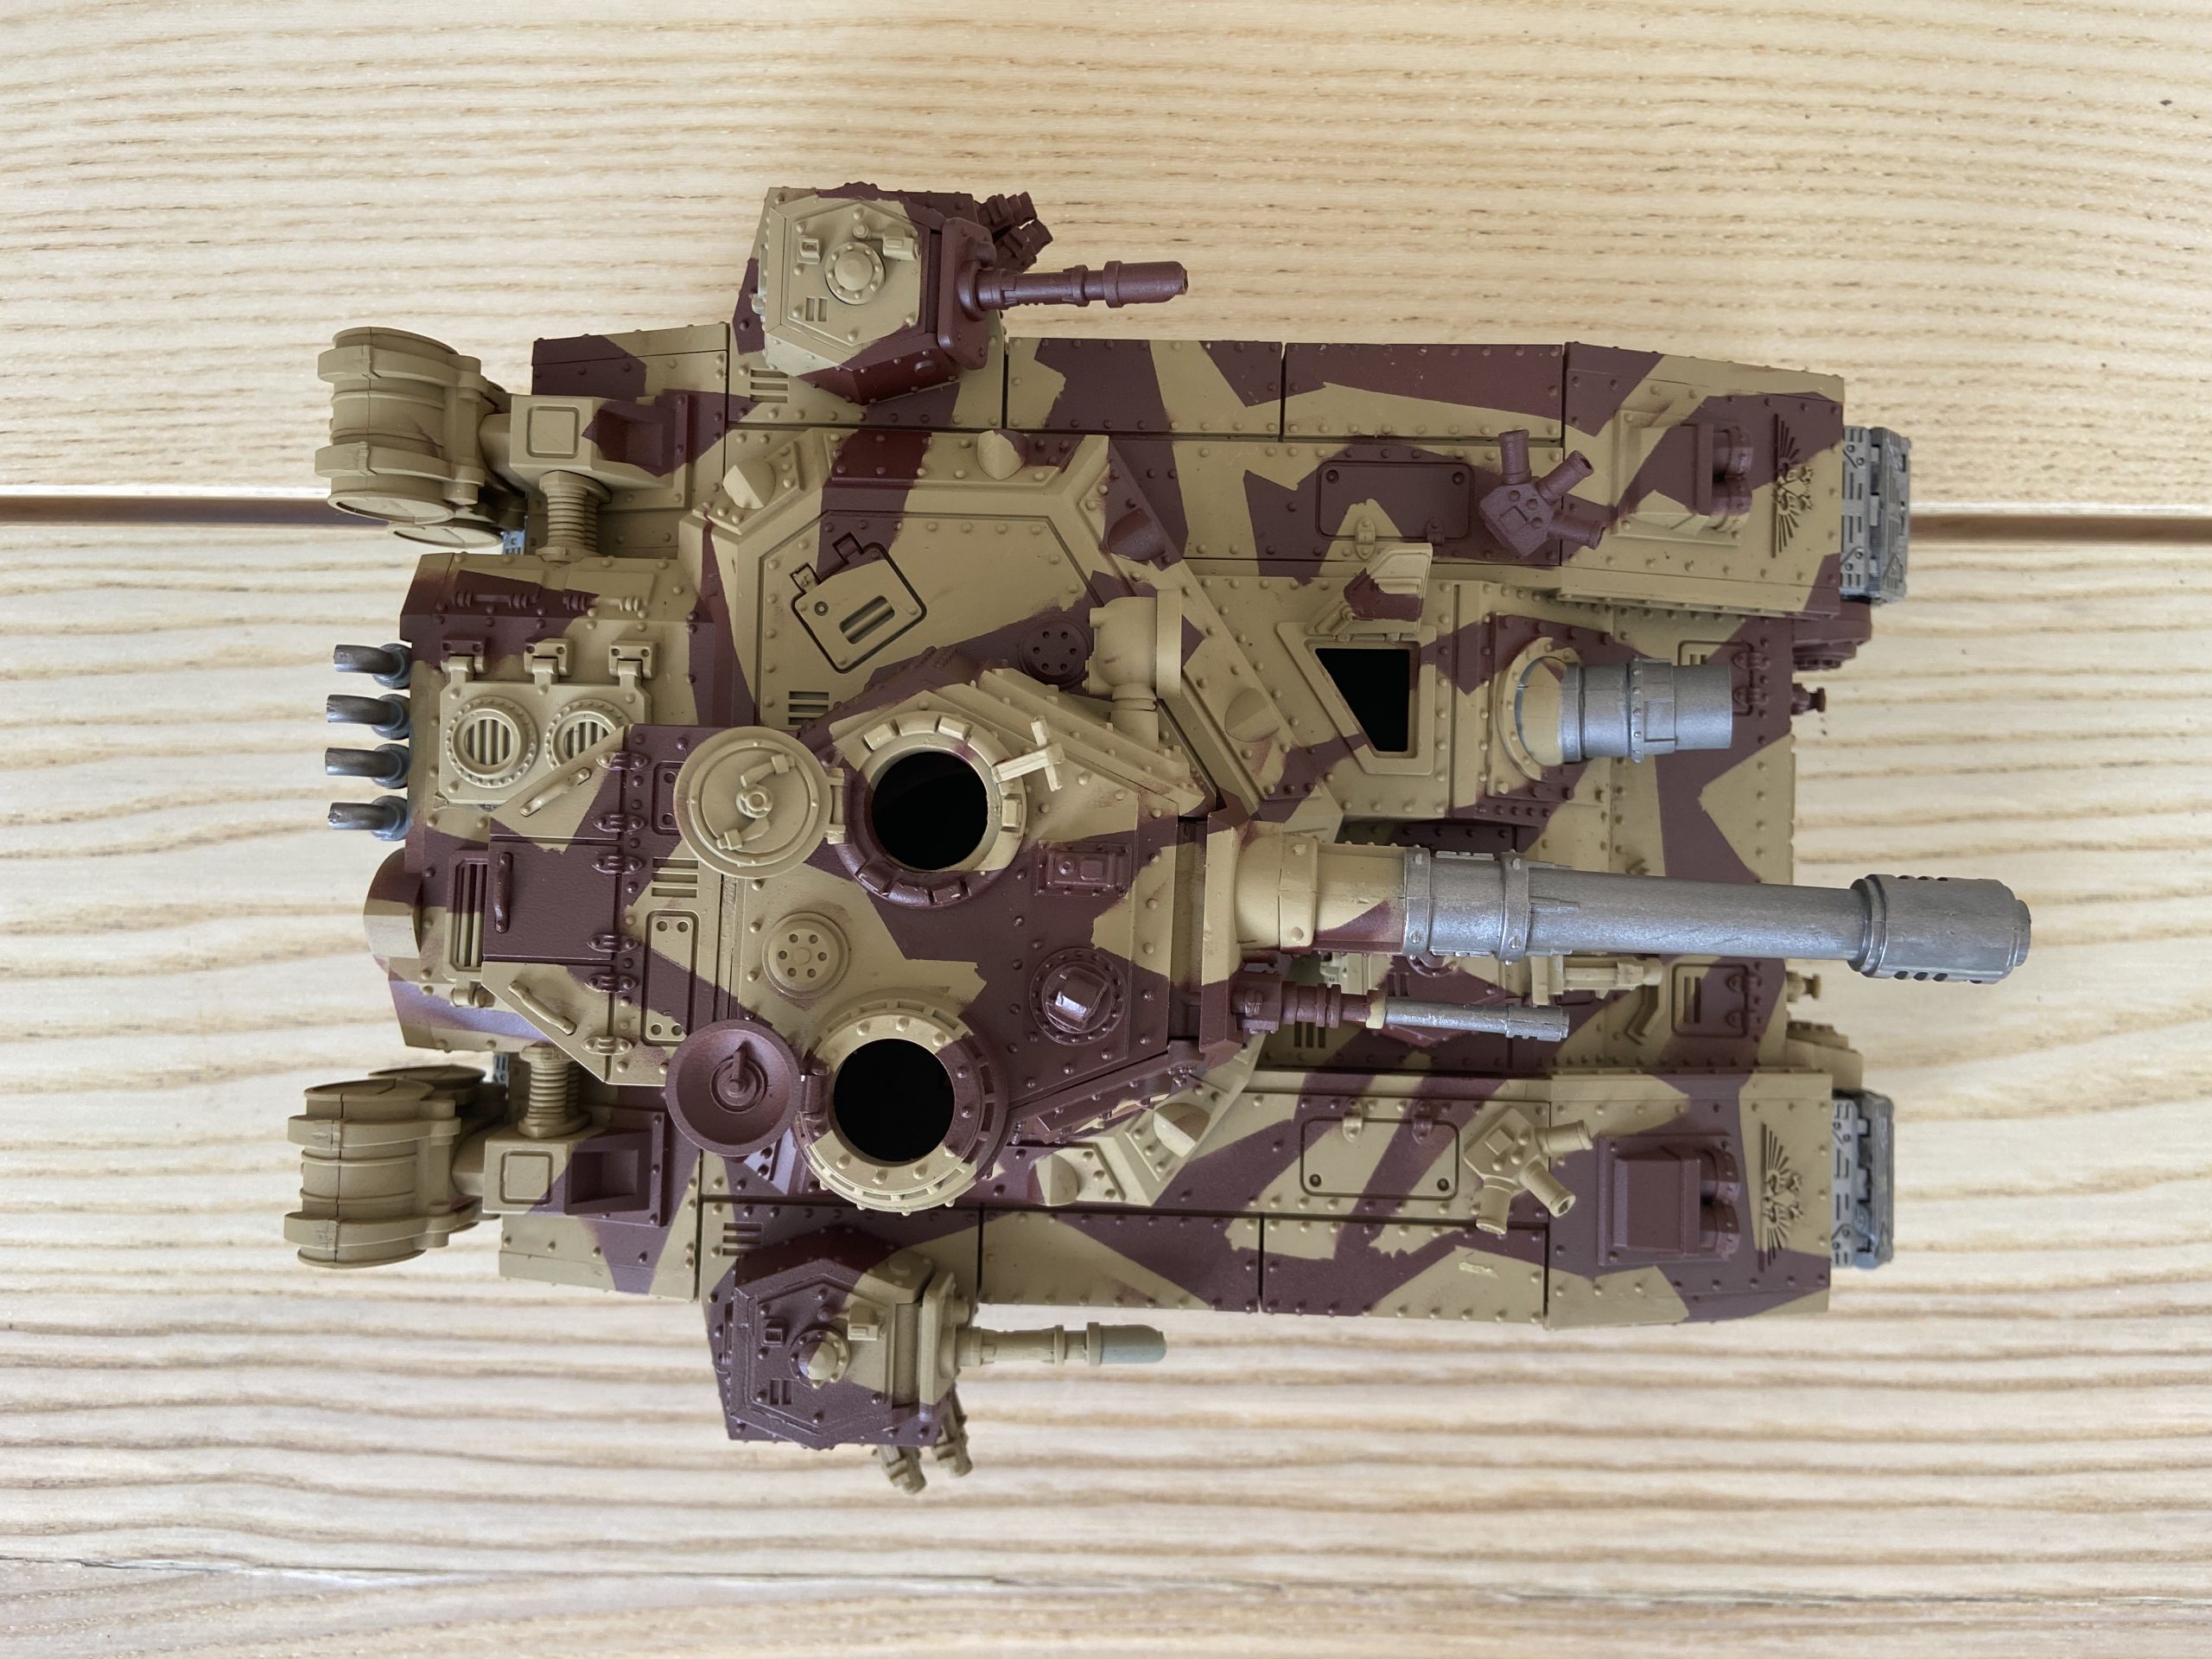
Masking all done
-
- Red/brown applied

-
- Extras

-

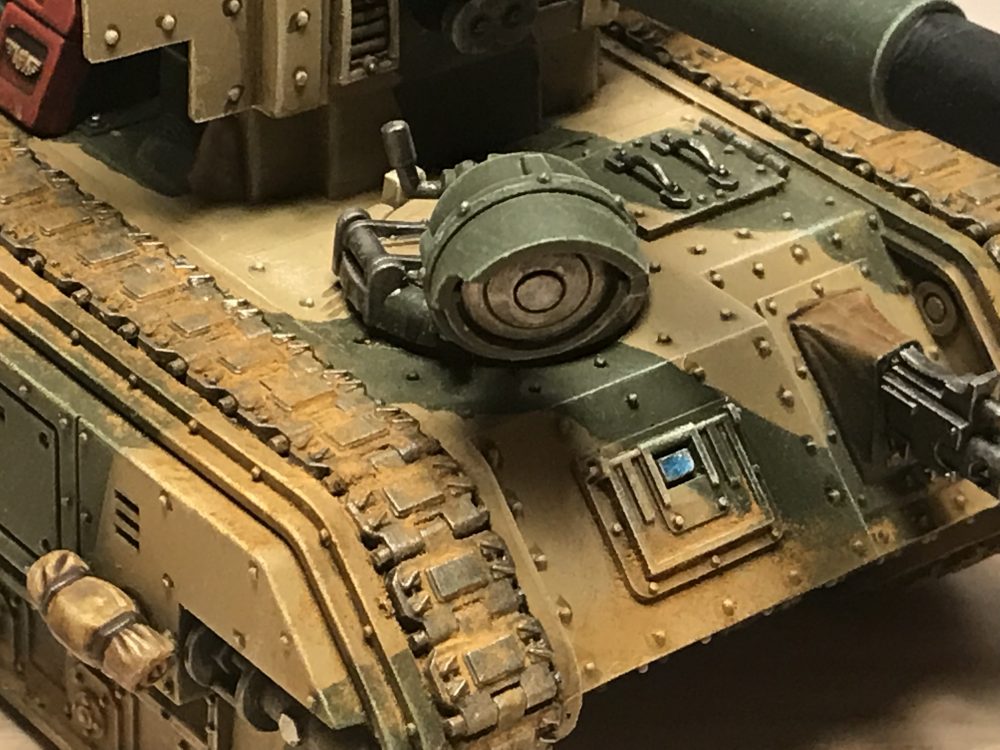
- Top
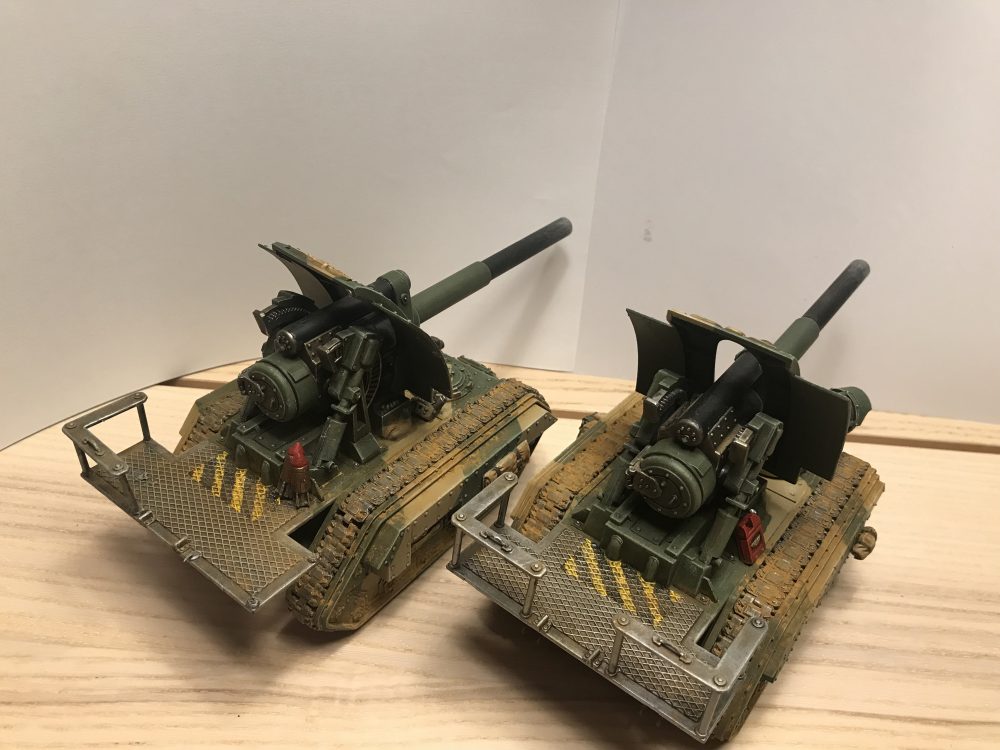
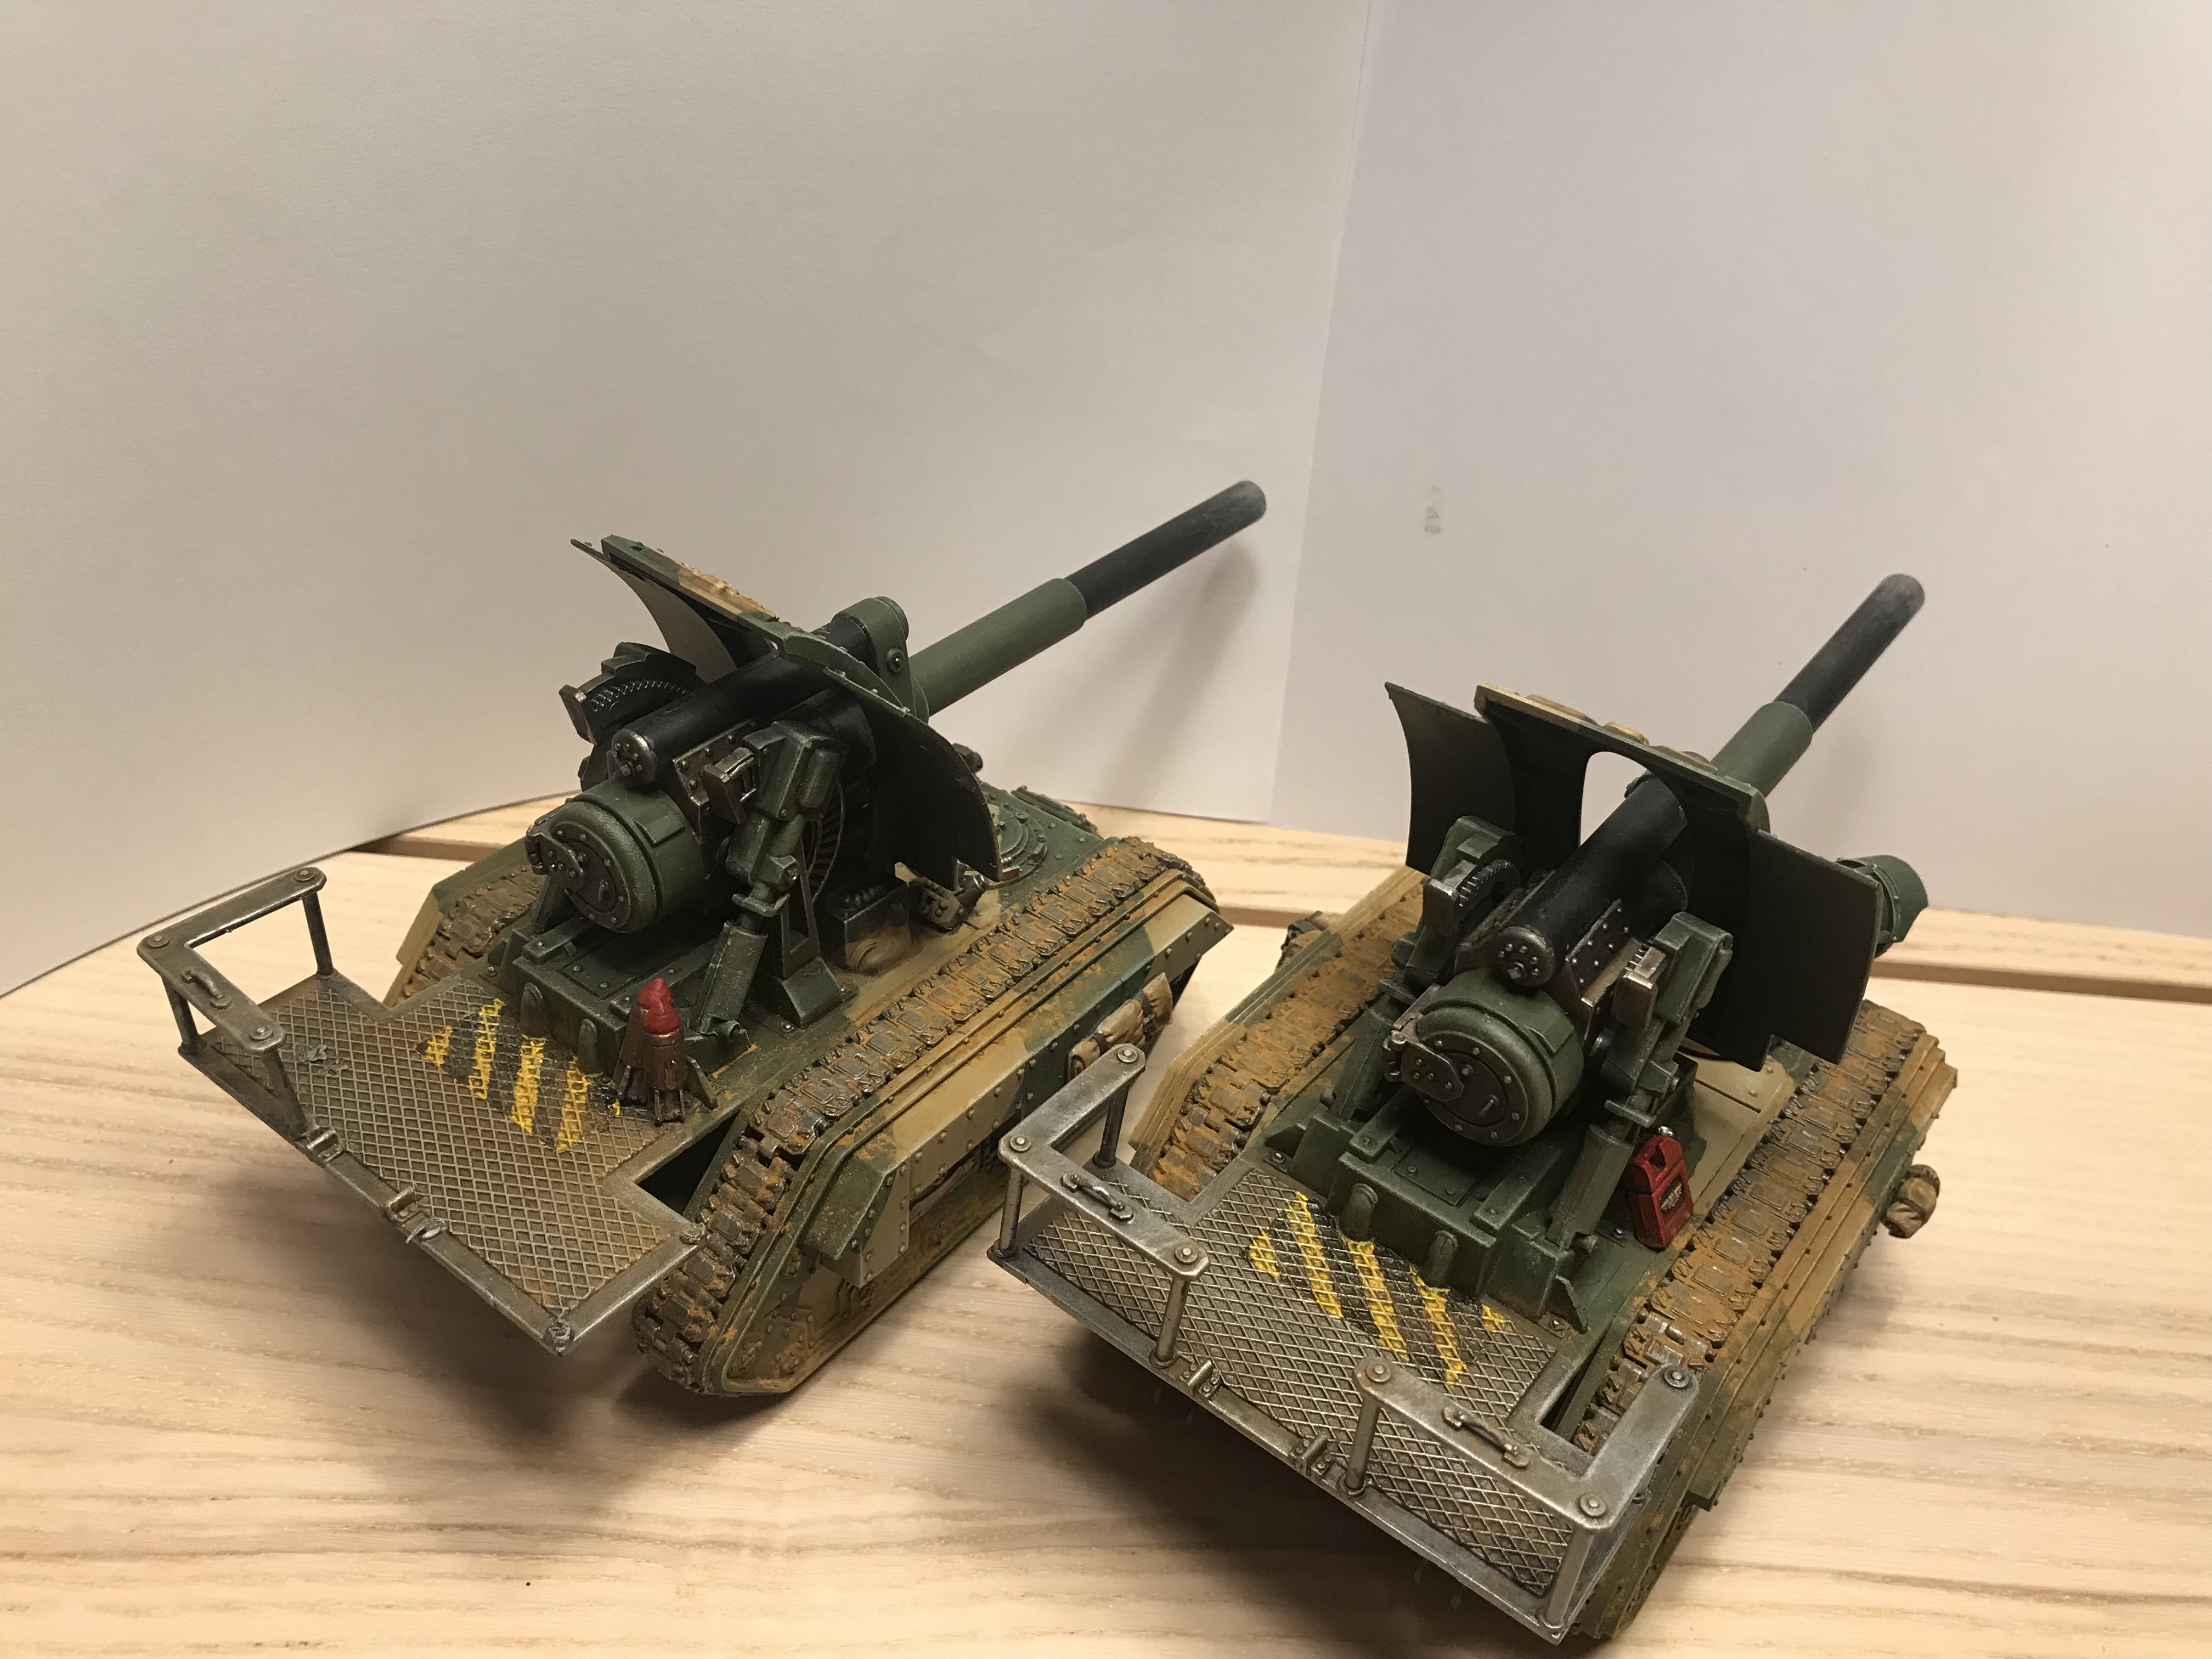
If you do not have any hobby tape then masking tape works fine. This is how my Cadian vehicles were done. The masking tape is loosely applied, then spray painted and then the tape is removed. I finally use a brush to crisp up the final curvy pattern. You can see this method below on my Basilisks
-
- Loose masking tape
-
- Spray green
-

- Done
Completed Basilisks
-

- Basilisks

-
- Basilisk

-
- Basilisk

-
- Basilisk searchlight

-
- Basilisk front
-
- Basilisks
Putty and Blu Tac
Lots of people also use a putty type substance or Blu Tac for masking their model’s camo patterns. I’m sure it works as I’ve seen numerous photos of this method and I’ve had people recommend it to me over the years.
I haven’t used it myself and when I did, I found it hard to remove the material I’d used. I think it was White Tac. But it will give you crisp lines and allow for nice curves, but would be hard to apply in order to get nice straight lines.
Using a Varnish
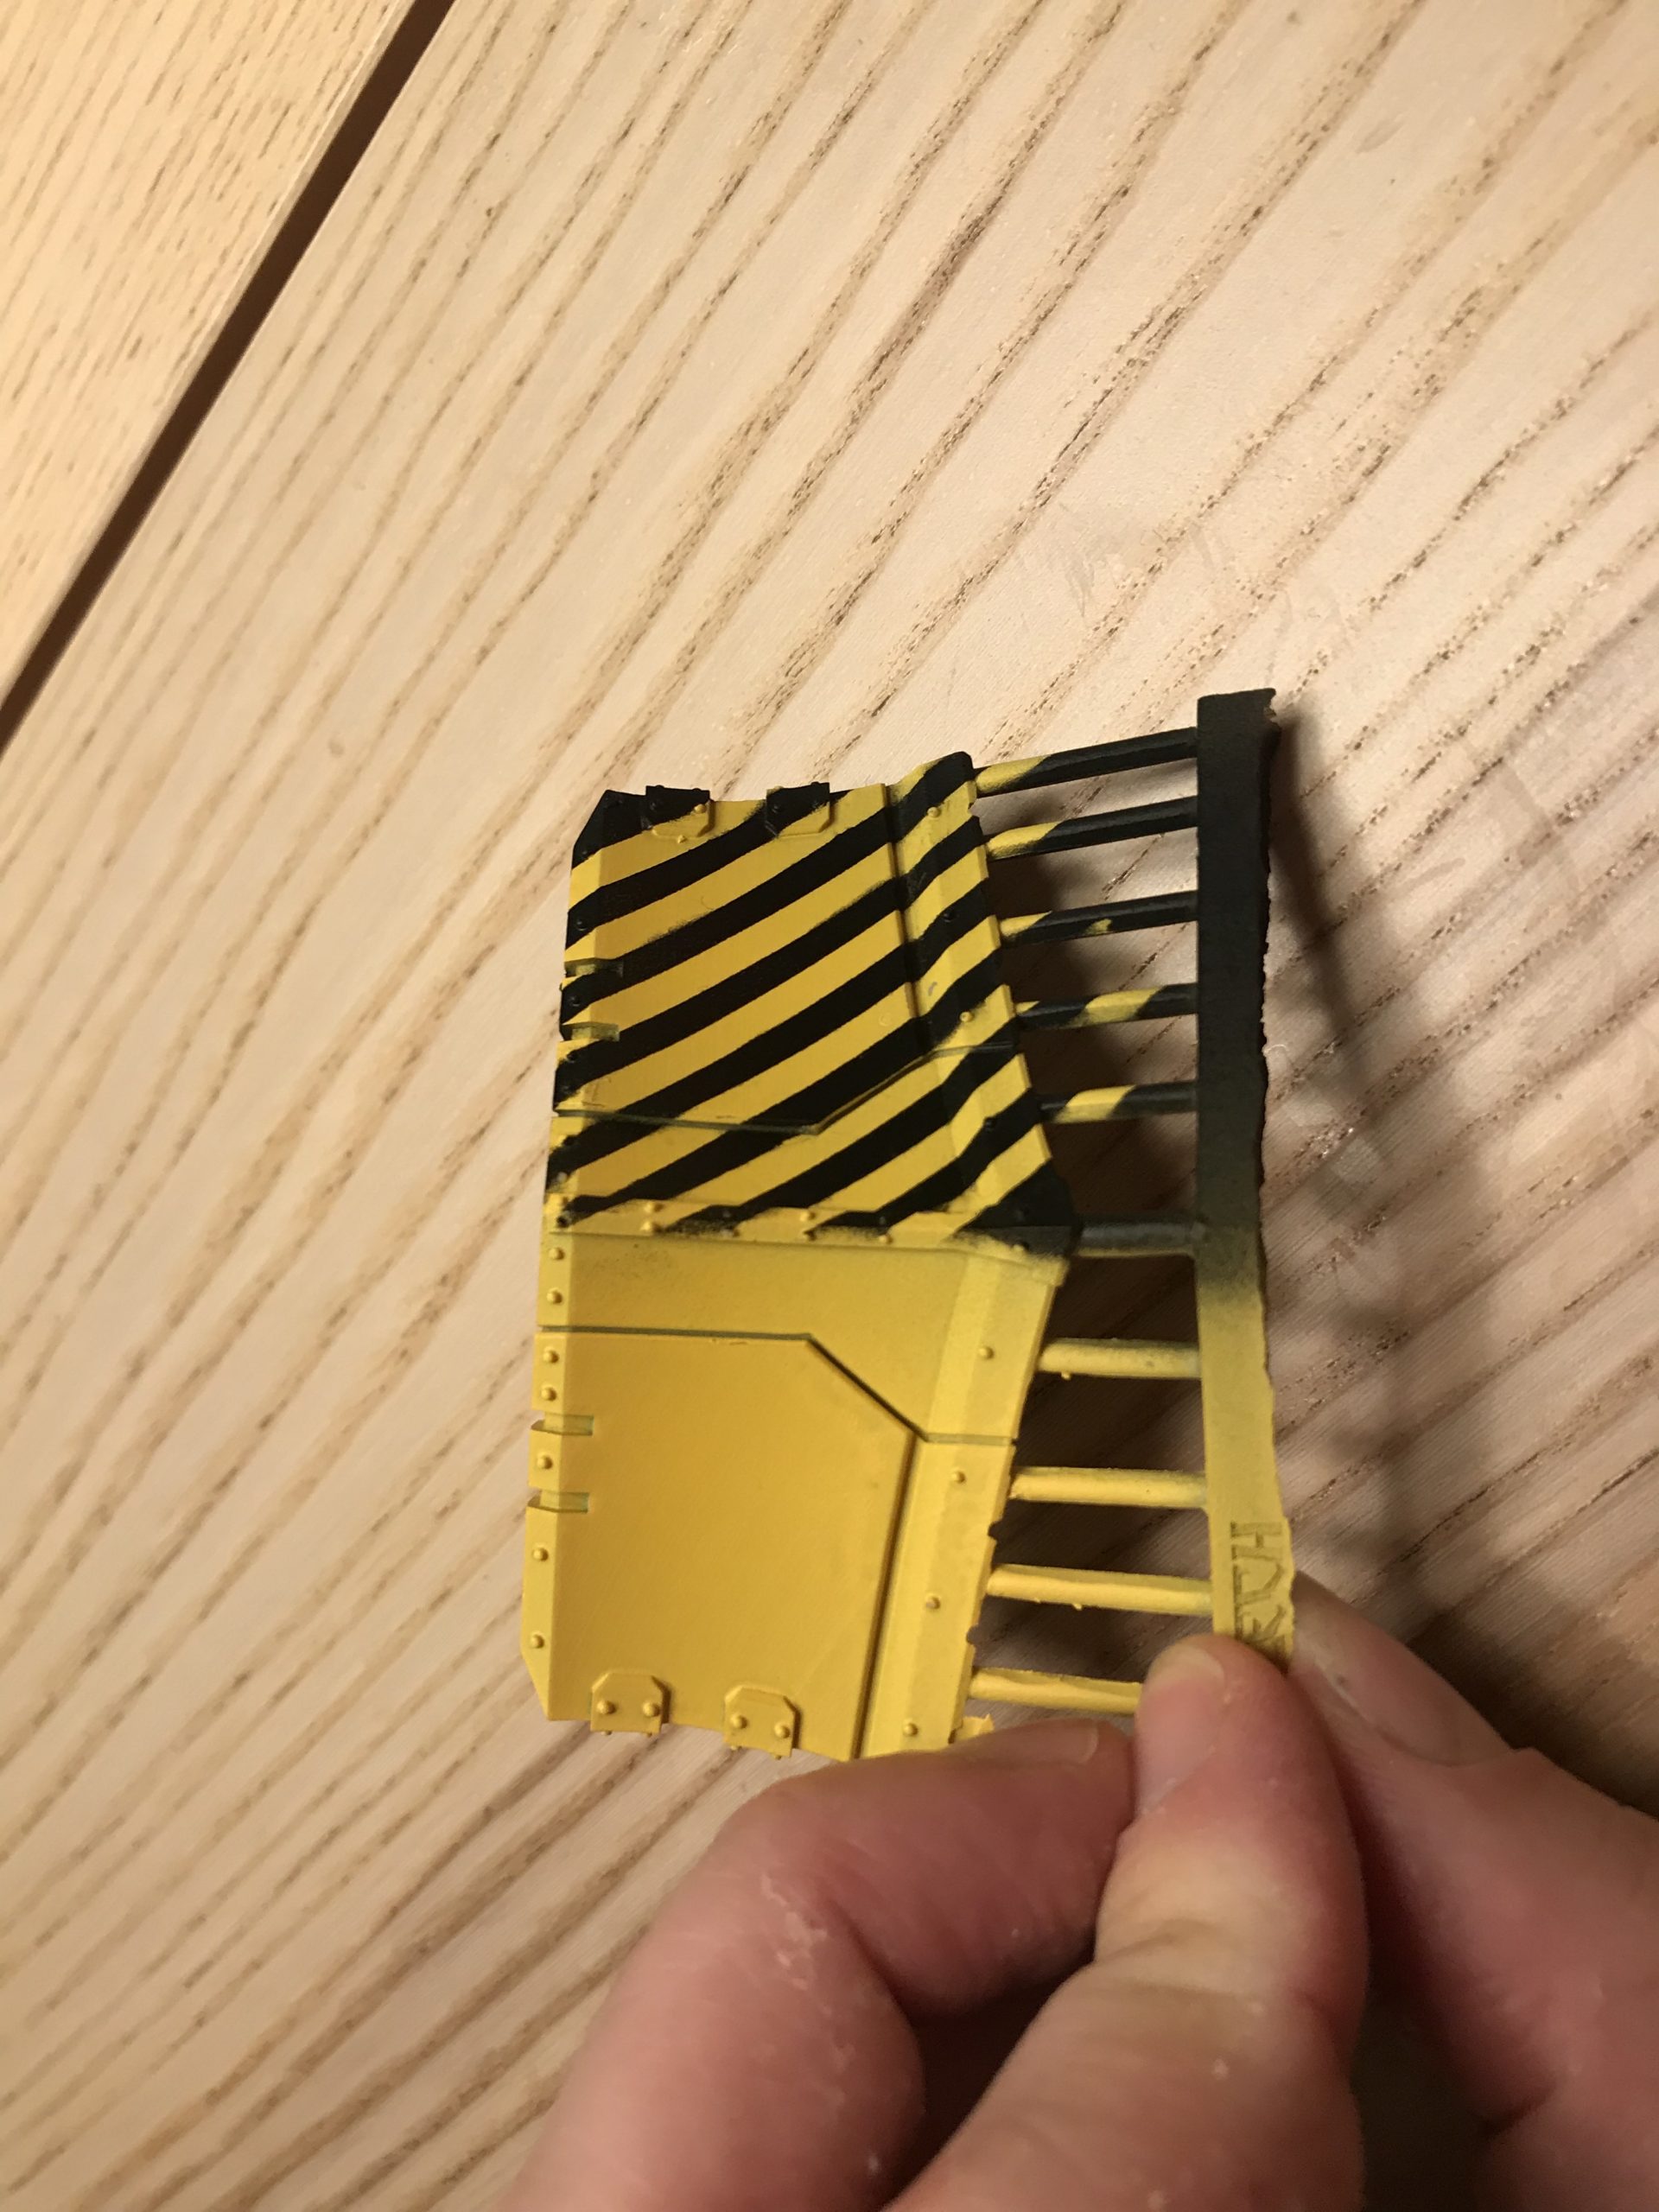
If you want an ultra-crisp edge and tidying up with a brush isn’t really an easy option afterwards, then using a varnish can do wonders. While this isn’t a camp pattern, its a good example…
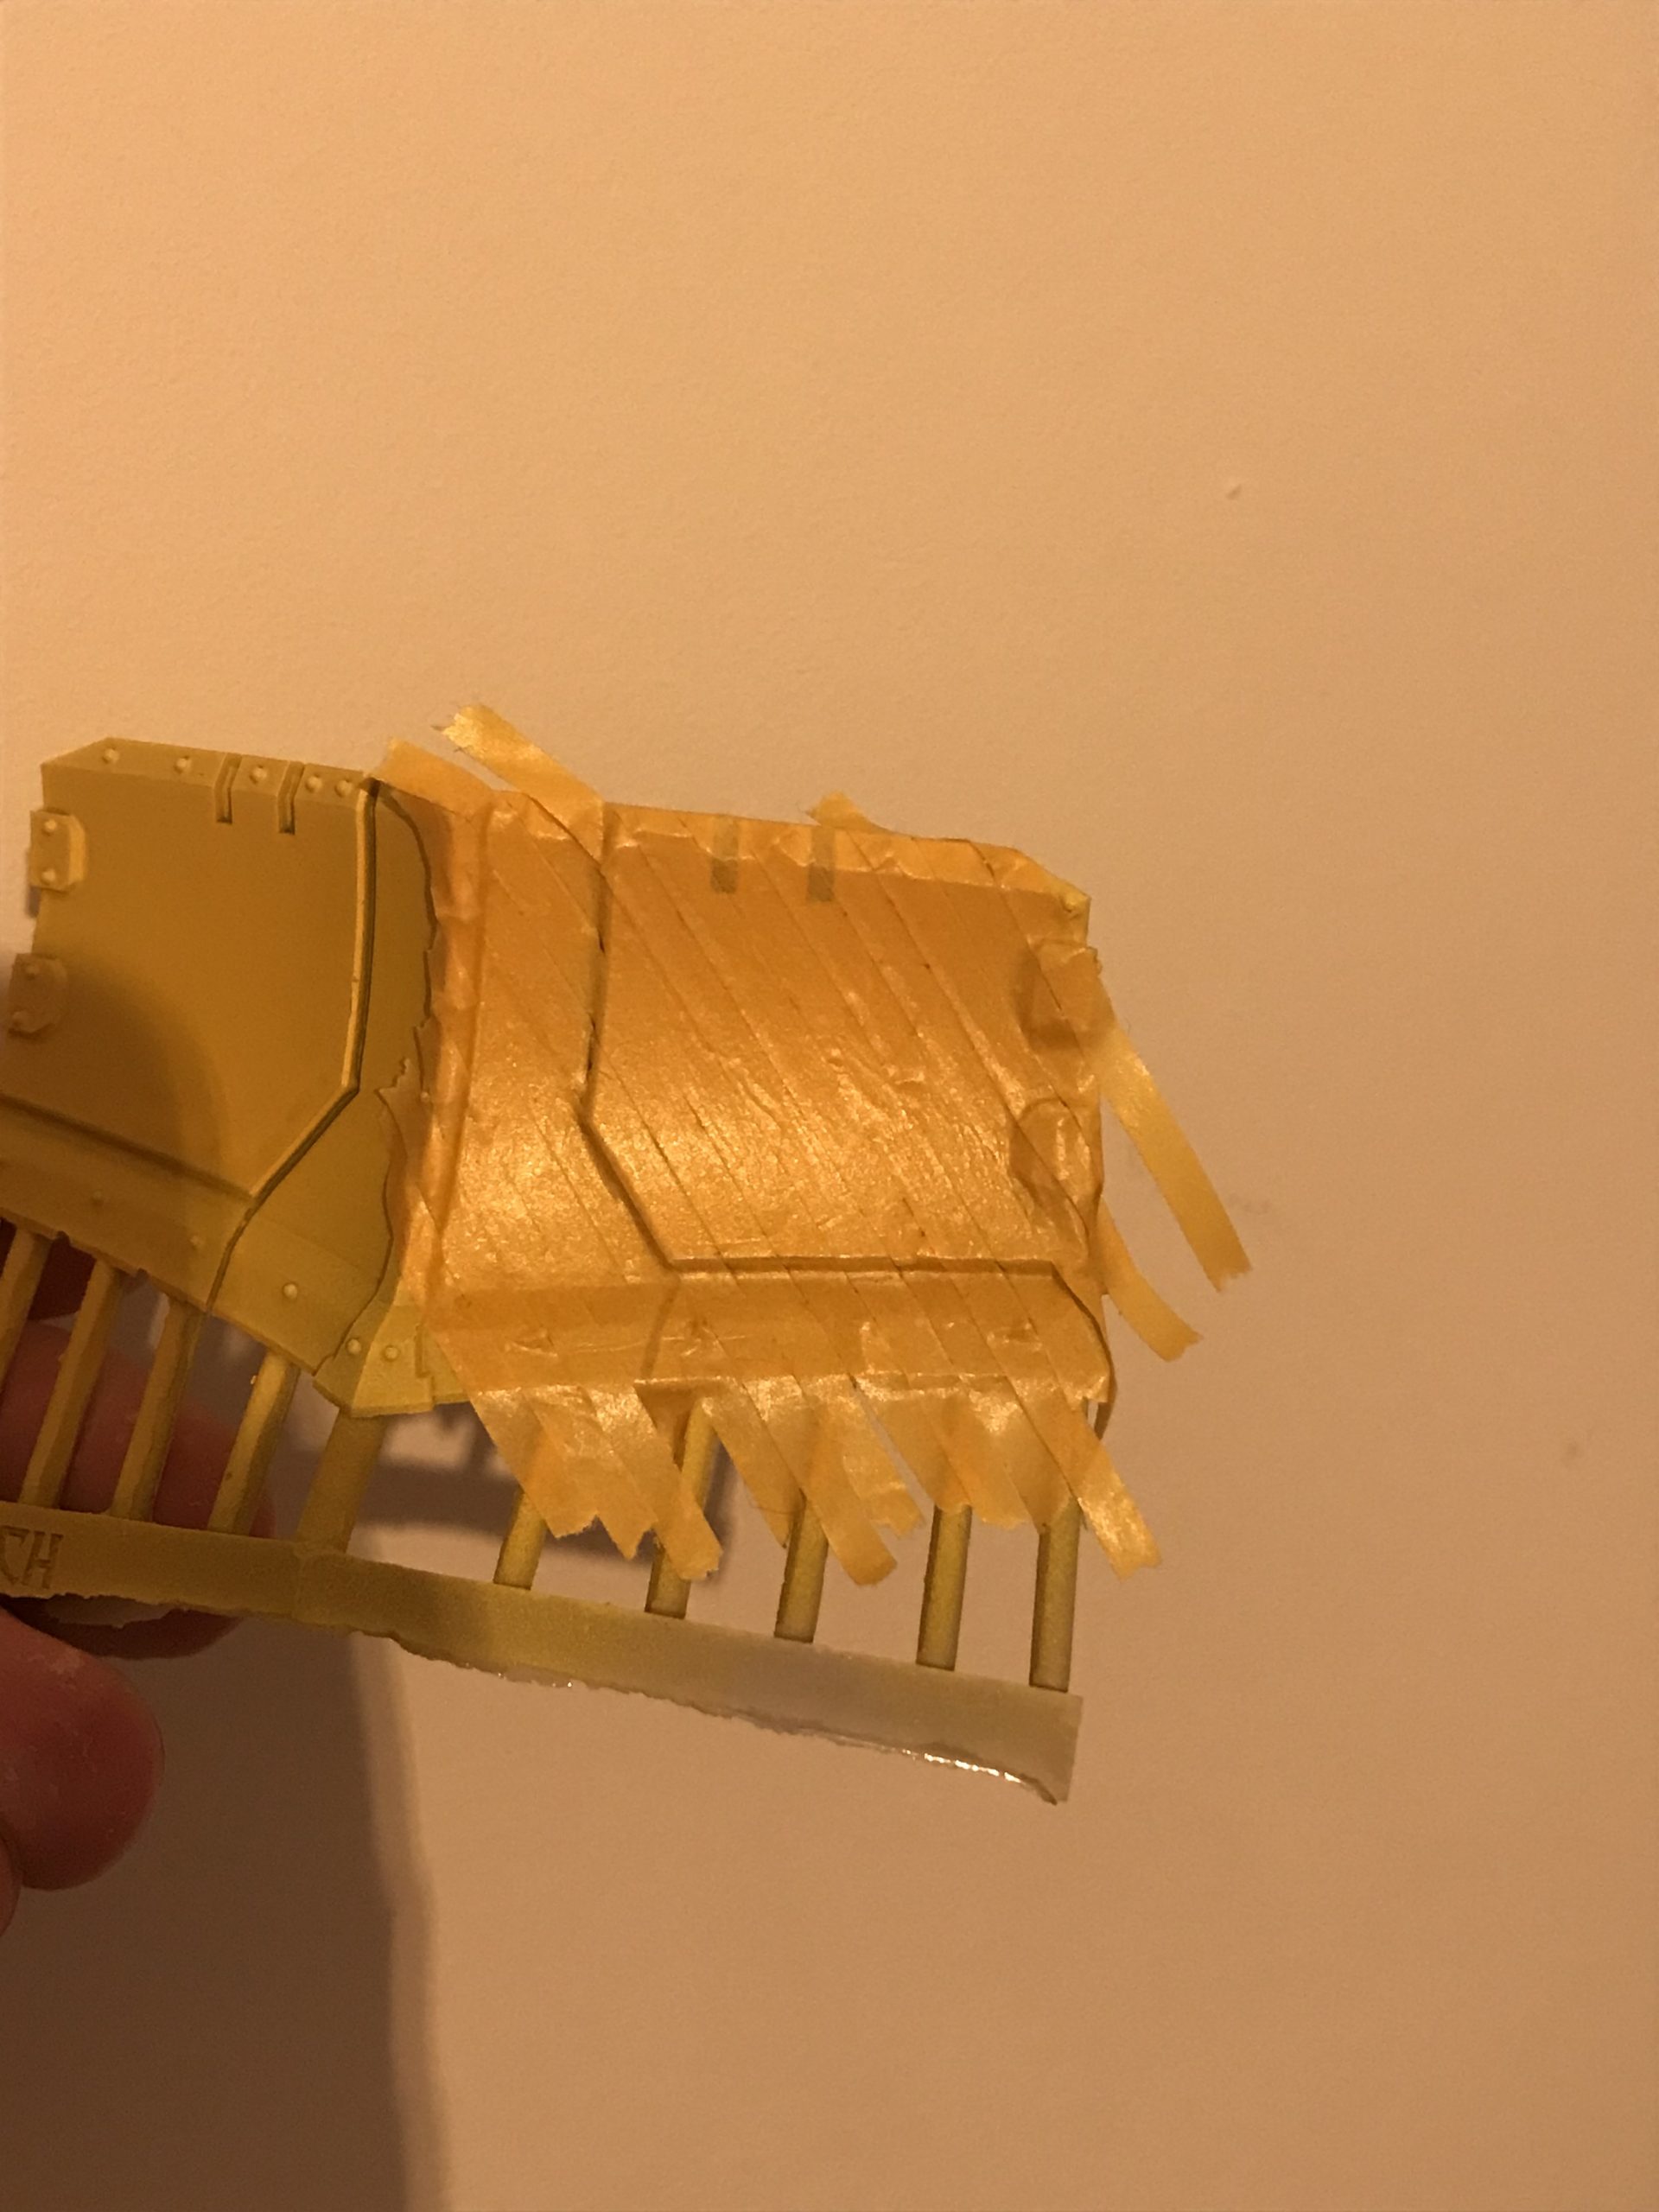
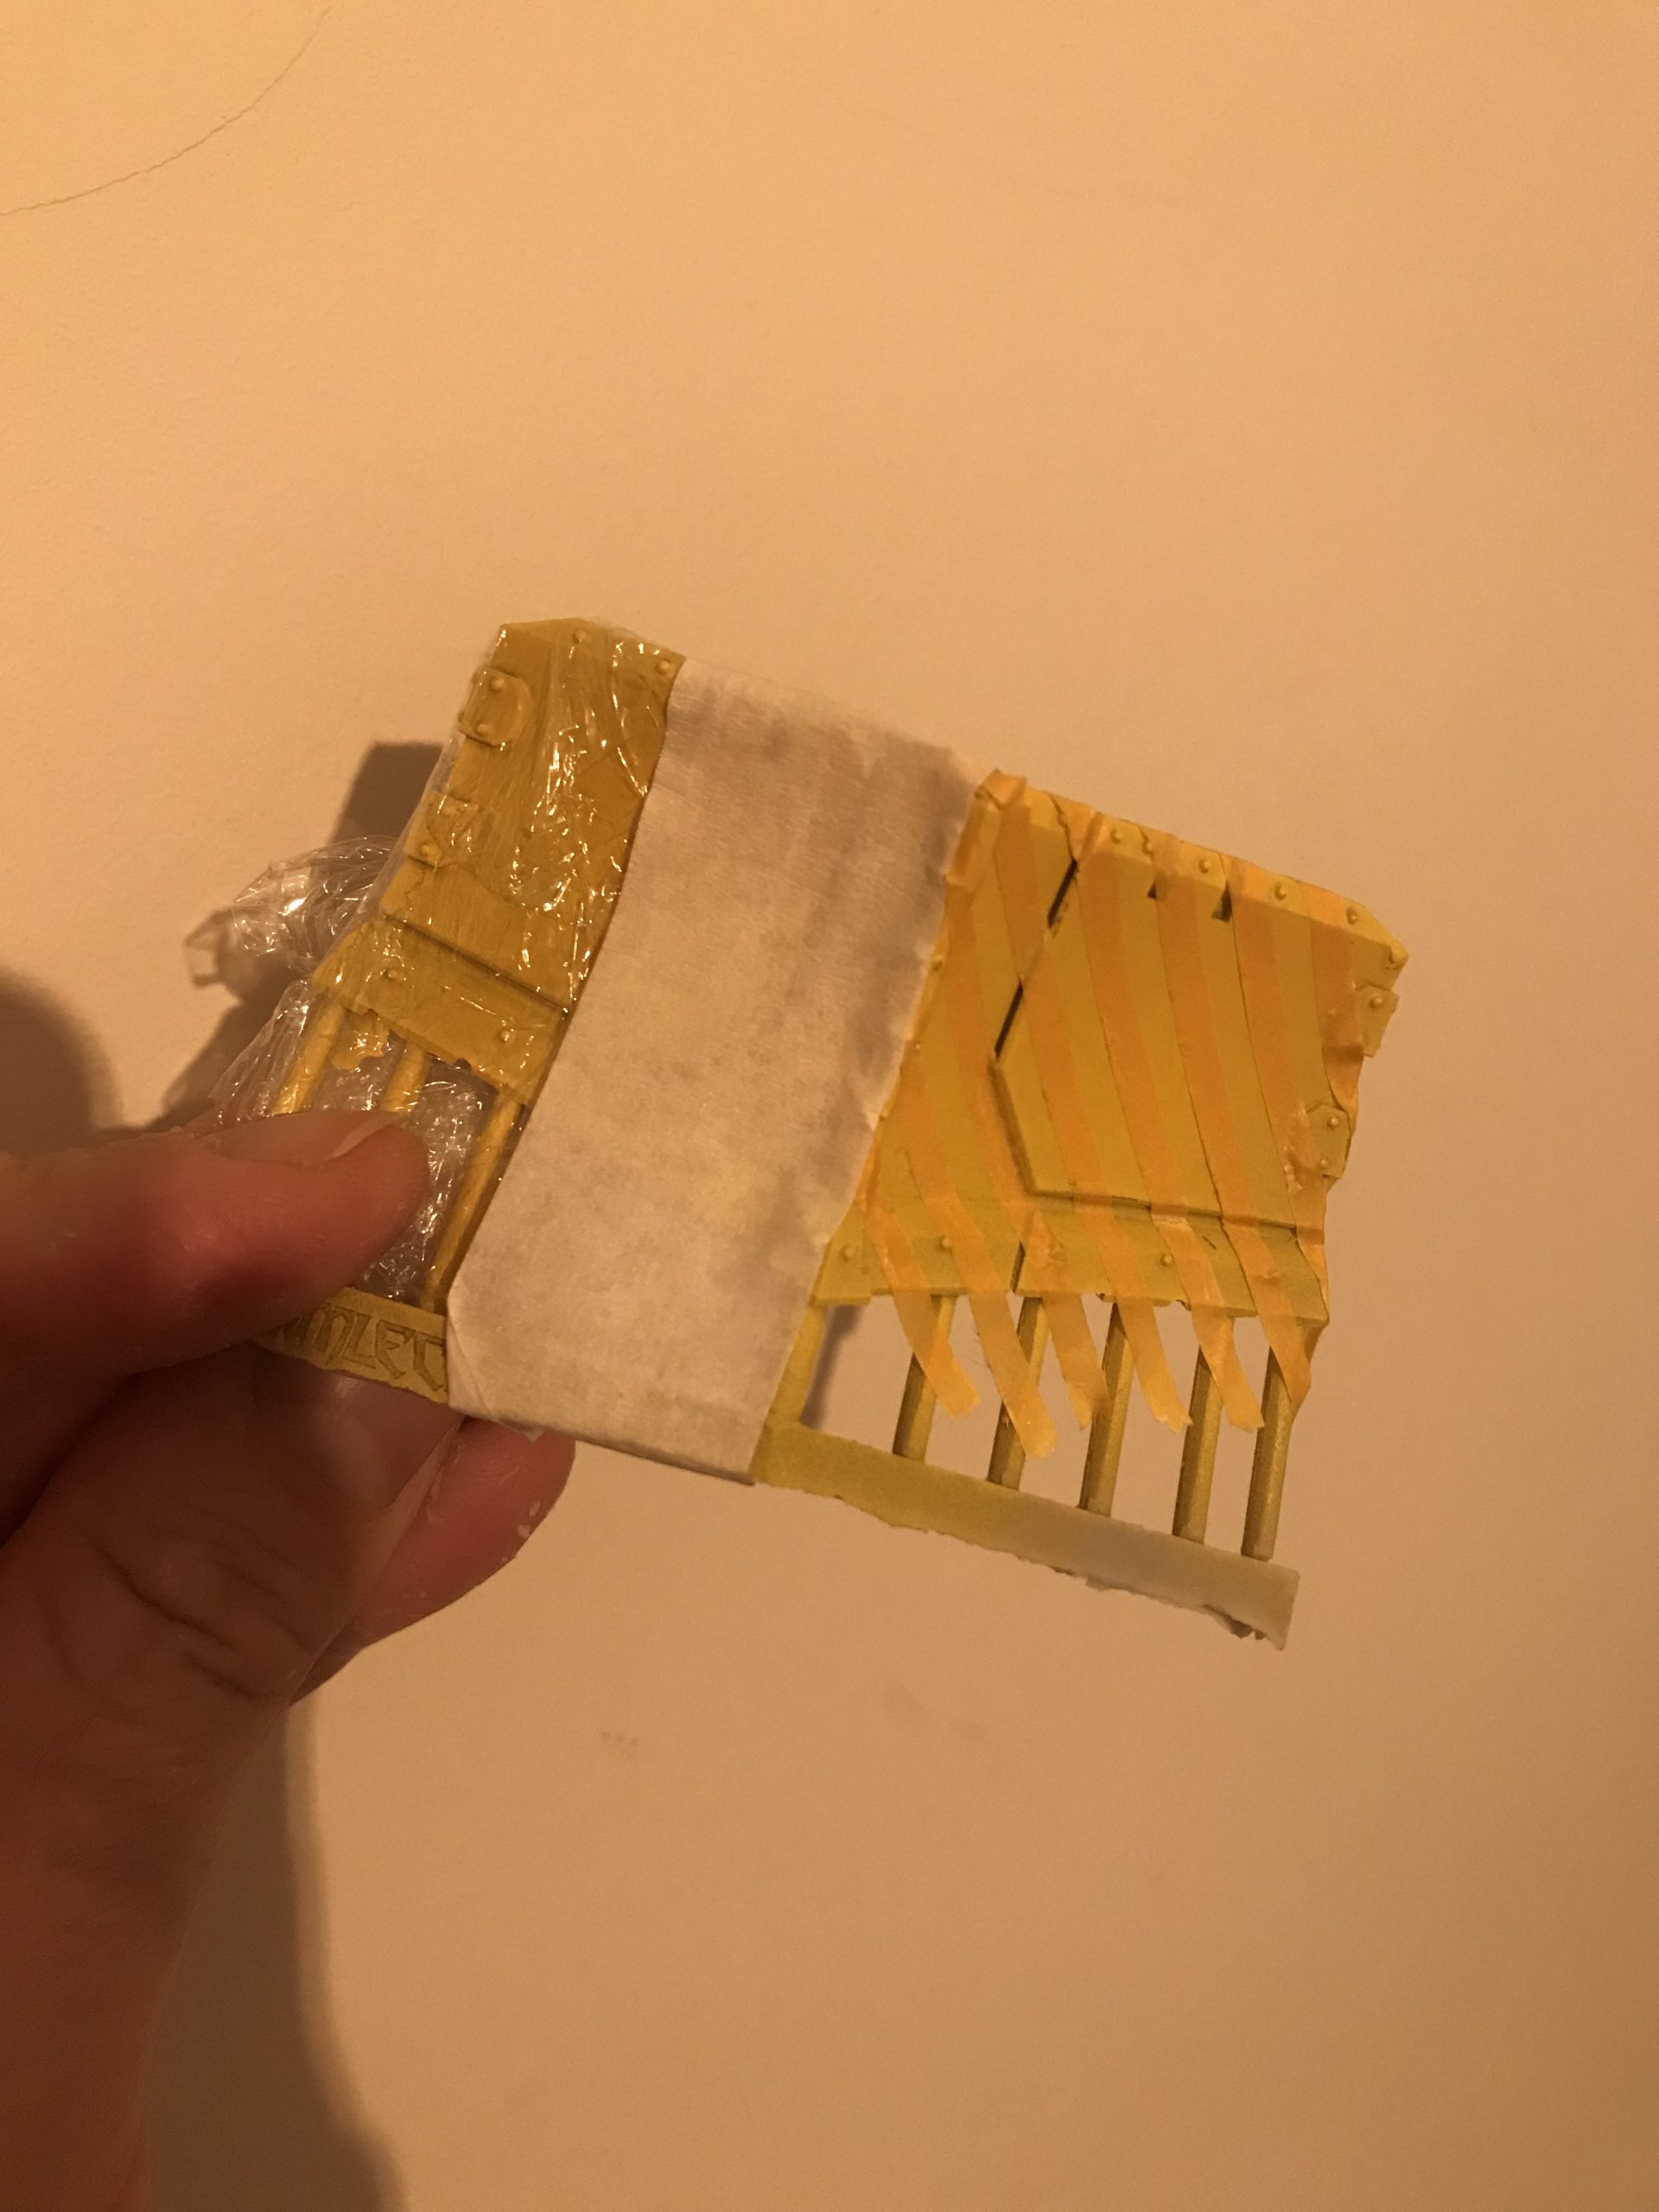
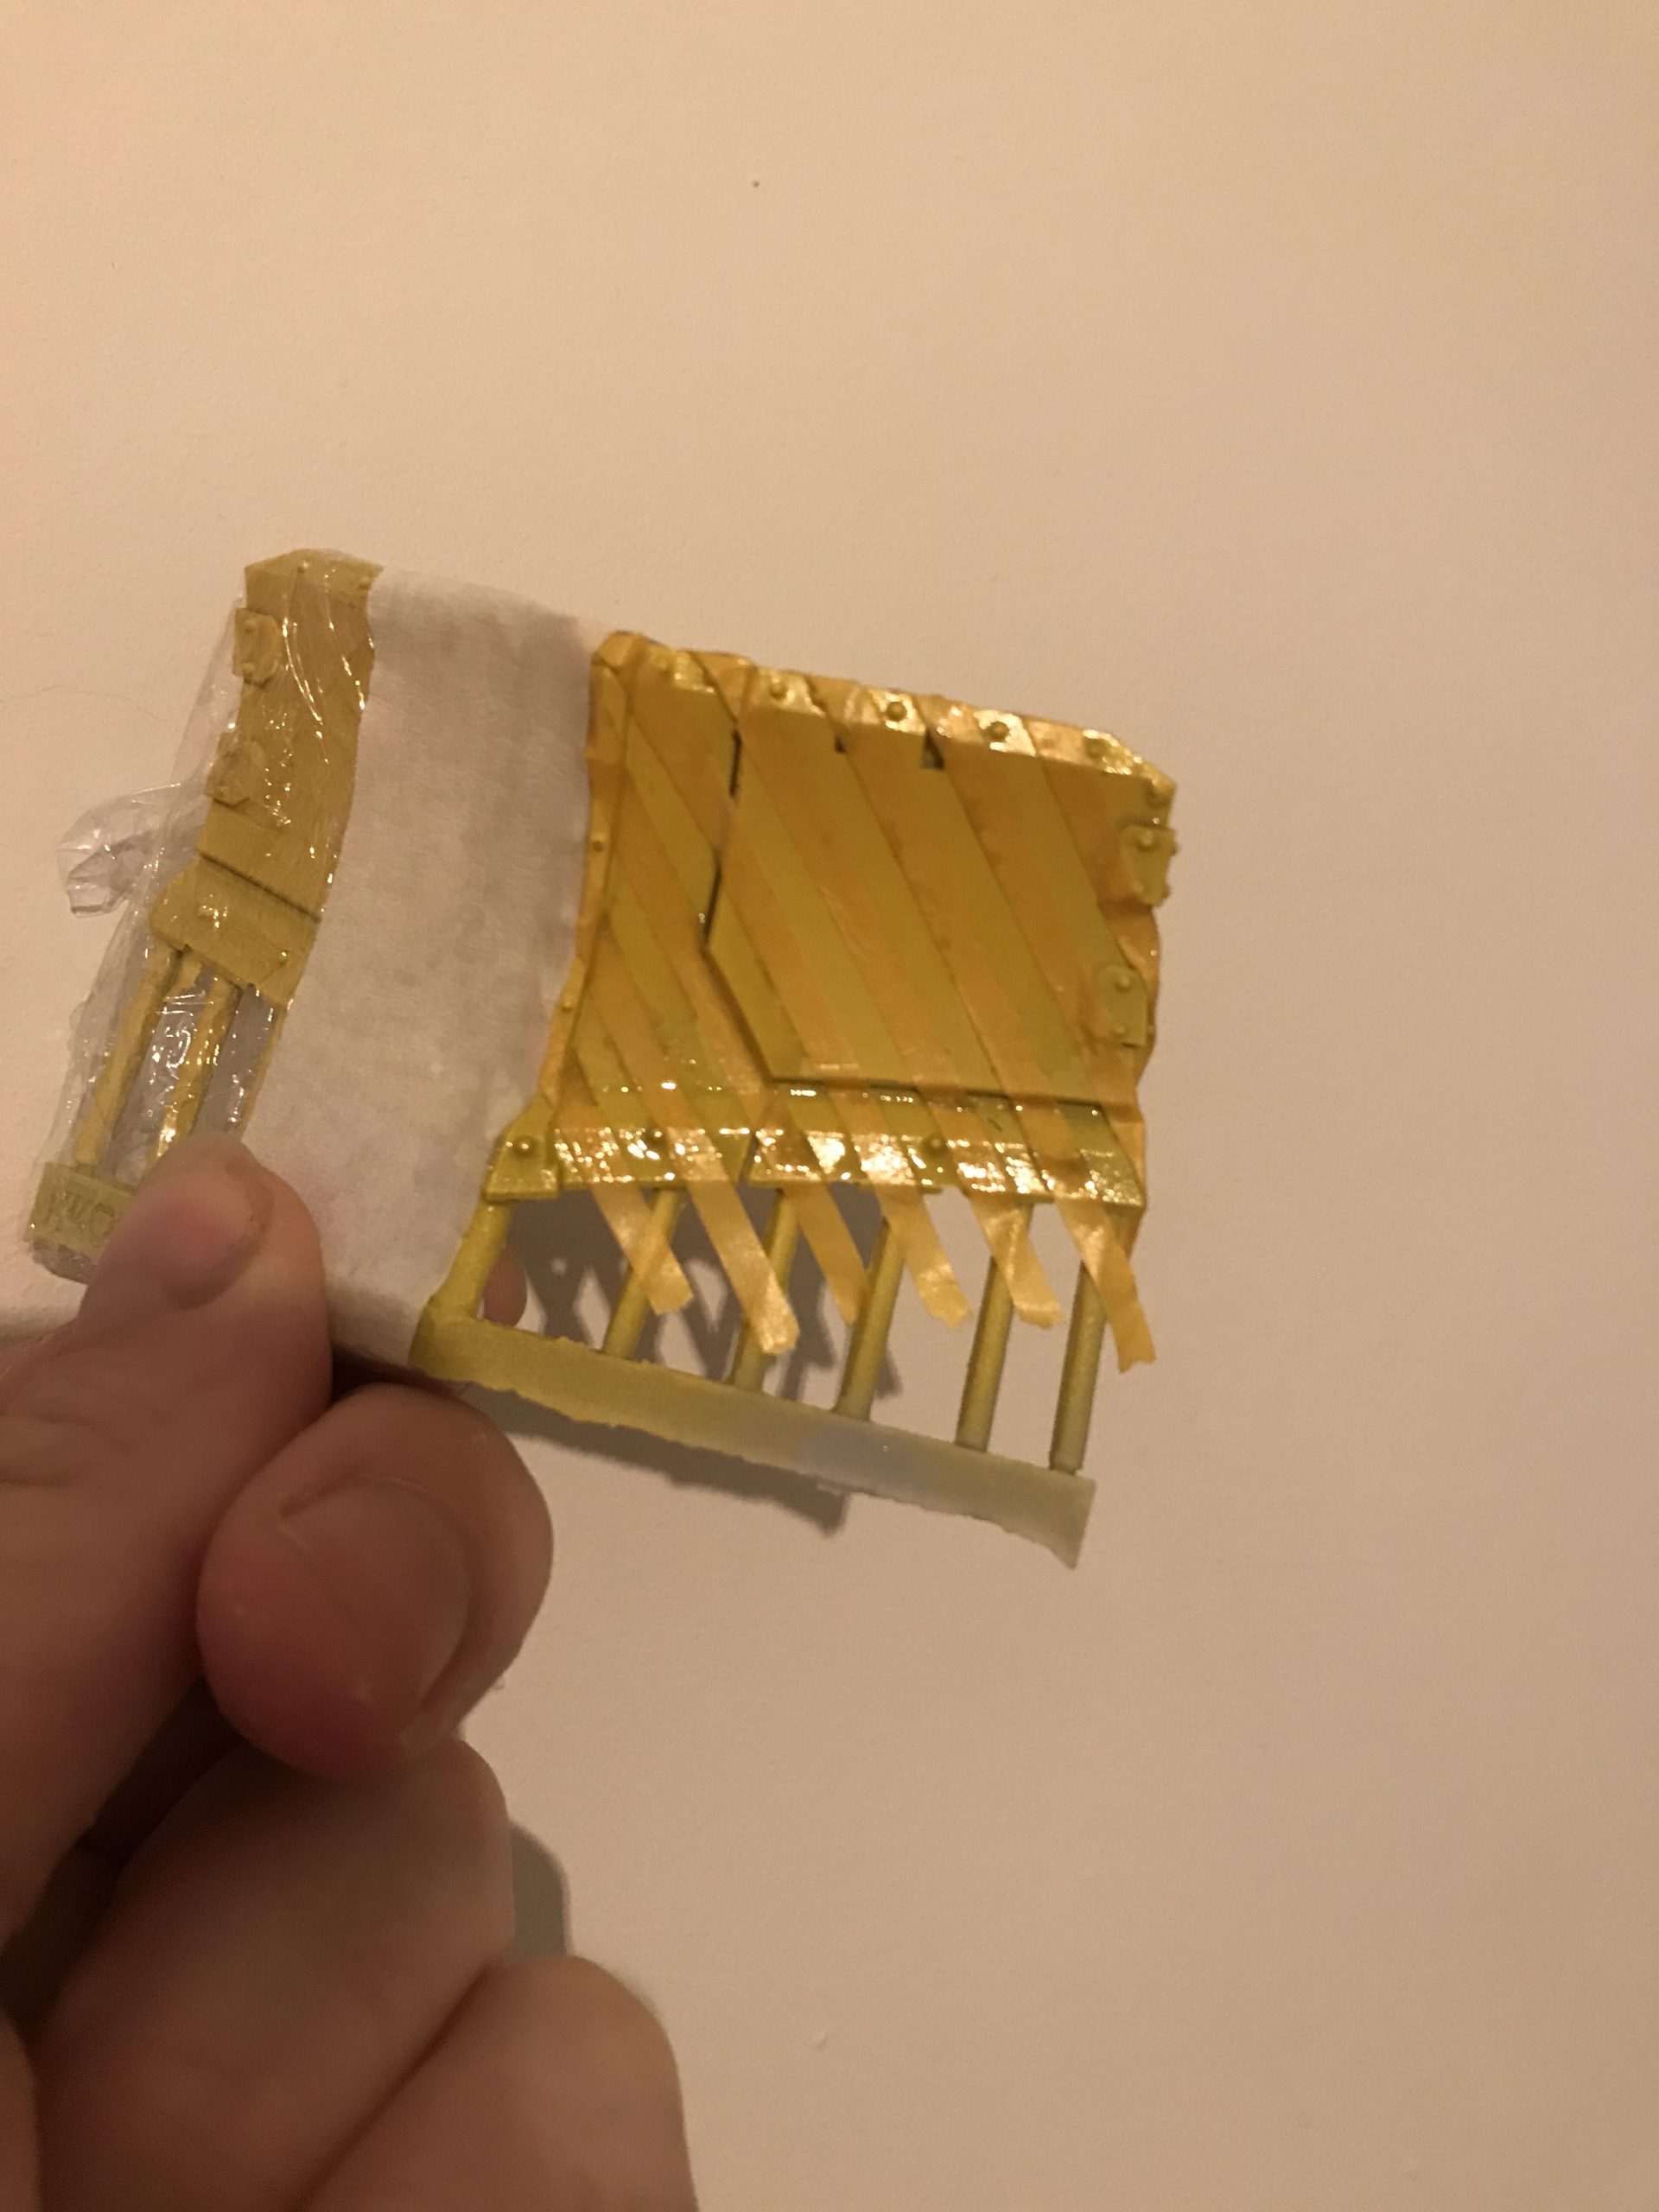
I used this on the hazard stripes for my dozer blades which will eventually be used on my Valhallan Chimeras. Paint your model your lighter colour as normal. In my case it was yellow. Then apply your masking as normal.
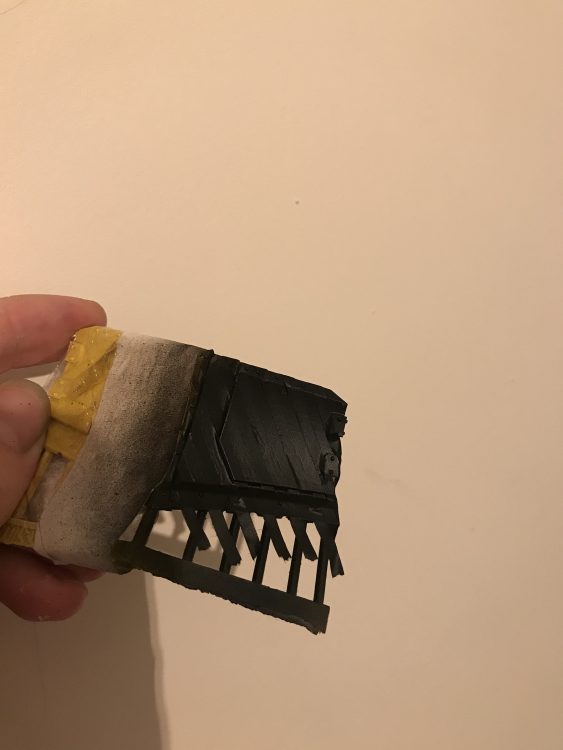
Now, rather than apply your next colour, you should apply a varnish. I used Army Painter Anti-Shine Varnish mixed with water, probably about a 50/50 mix. Once this is dry you can apply your final colour.
The varnish ensures a perfect seal between the masking tape and your model. This stops any paint bleeding underneath the edge of the tape and so you can a very crisp line between your two colours.
-

- Starting point

-
- Yellow is done

-

- Mask is done
-

- Mask off the other side
-

- Varnished
-
- Black applied

-
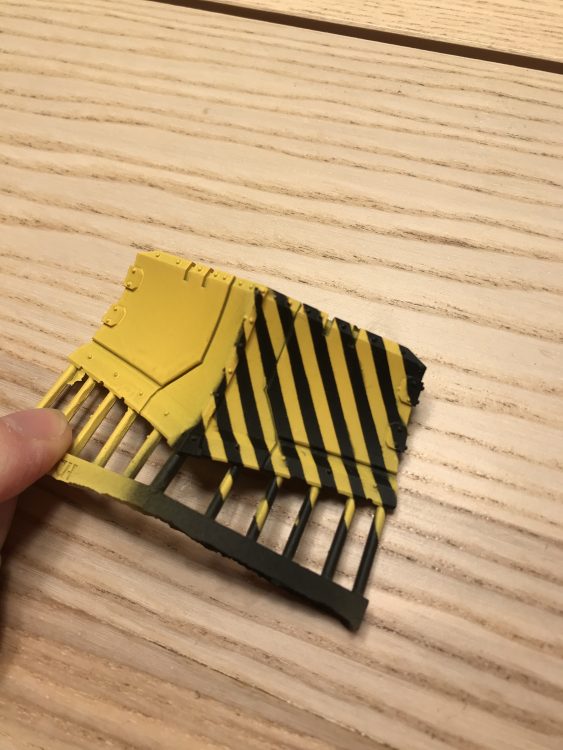
- Remove Mask

-

- Remove Mask
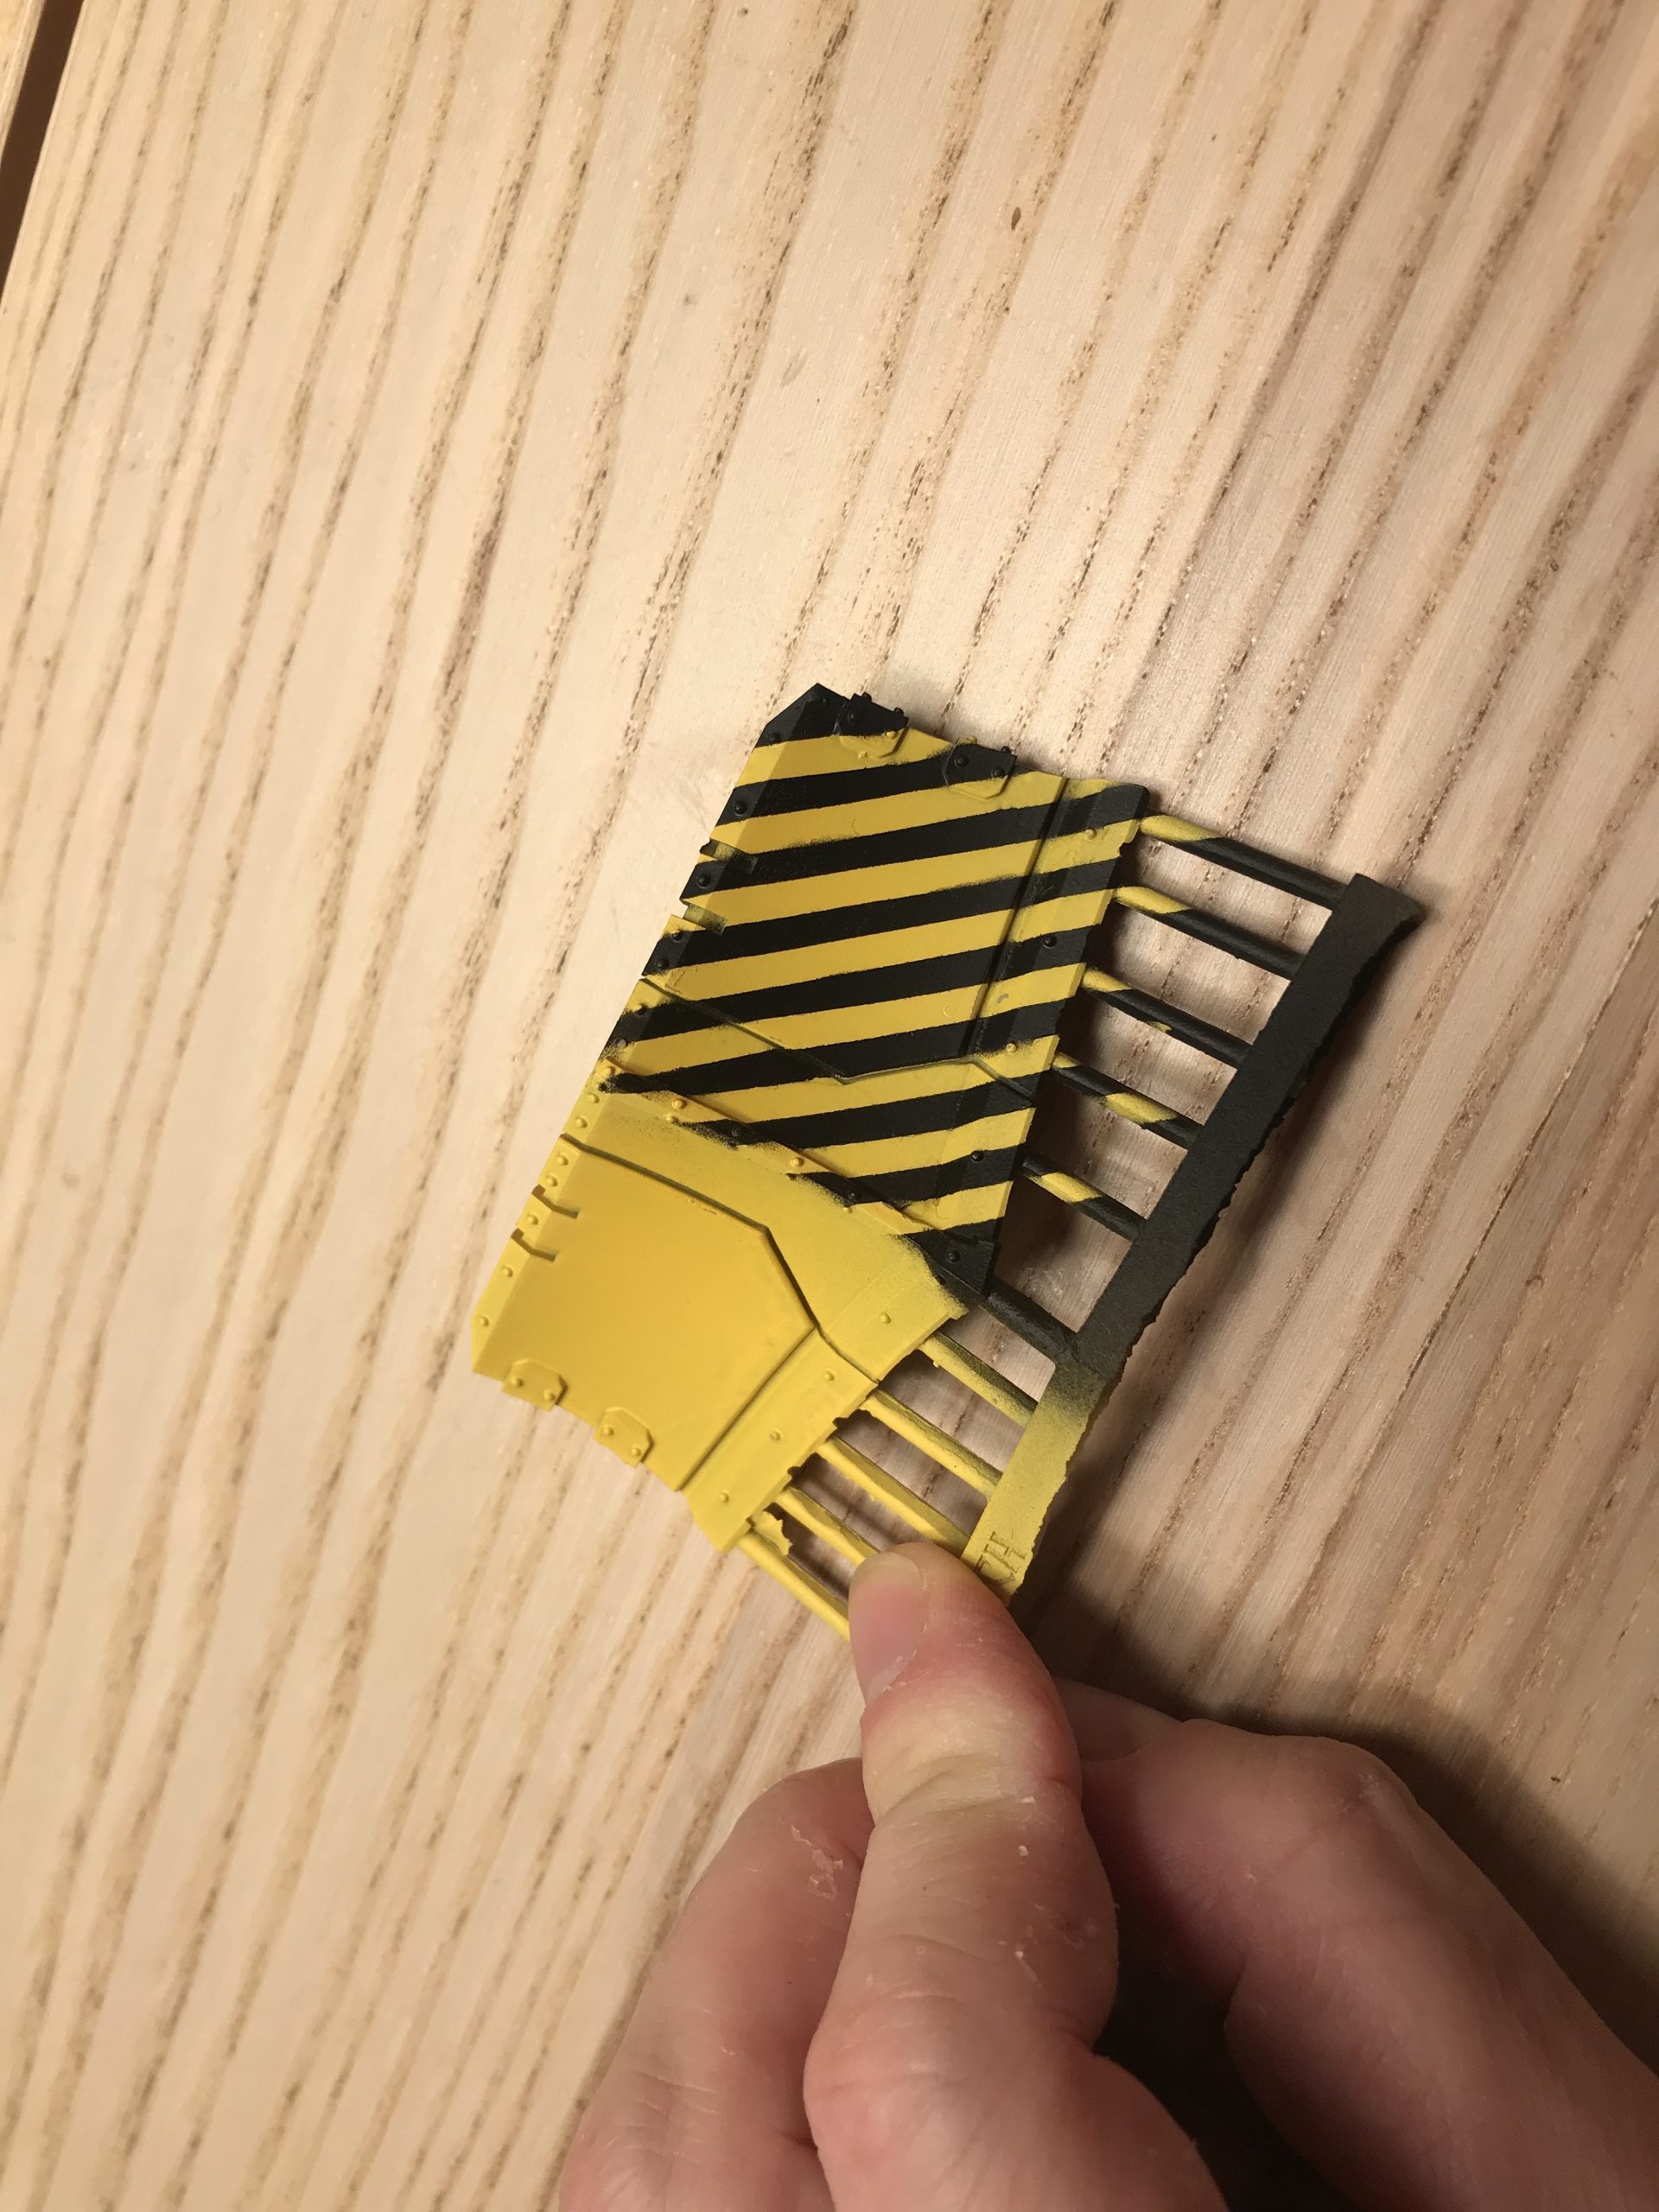
-

- Remove Mask
Spray Paint Camo – Watch out for…
There are a couple of things you need to watch out for when using this method. I’ll mention them here so you can do your best to avoid them.
Accidentally Removing Paint
Be careful when removing your mask and how long you leave it on for. It can be easy to accidentally chip the paint when removing the mask, especially if you are using tweezers to grab the precision hobby tape. Also, if you really stick the tape down hard and then leave it for a long time, e.g. overnight or longer, then it may remove your first layer of paint when you peel it away.
Mask your model, spray paint your model and then remove the mask all in one session.
Too Much Paint
If you apply too much paint from the spray can then it can bunch up at the edges of the masking tape. When you then remove the tape you are left with a thick line of paint along the line of your mask. Go steady and use thin layers with short bursts of paint from the spray can – always keep the can moving across the model as you spray and keep it about 12″ away from the model.
The rule of always moving and being 12″ away, should always apply when you are spraying models, not just when doing spray paint camo.
It is better to take your time and do thin layers than try and do it one pass. The spray dries so quickly that you can do multiple layers pretty quickly anyway.
Always be moving and be at least 12″ away
Bleeding
This will happen unless you use varnish and you are very careful with your tape application. Using the varnish method is not always an option or a good idea on big models. Using a brush to tidy up any bleeding is pretty quick… here I am doing it at 2x speed.