
Sentinel Diorama – Completed
Wash away the scars of war...
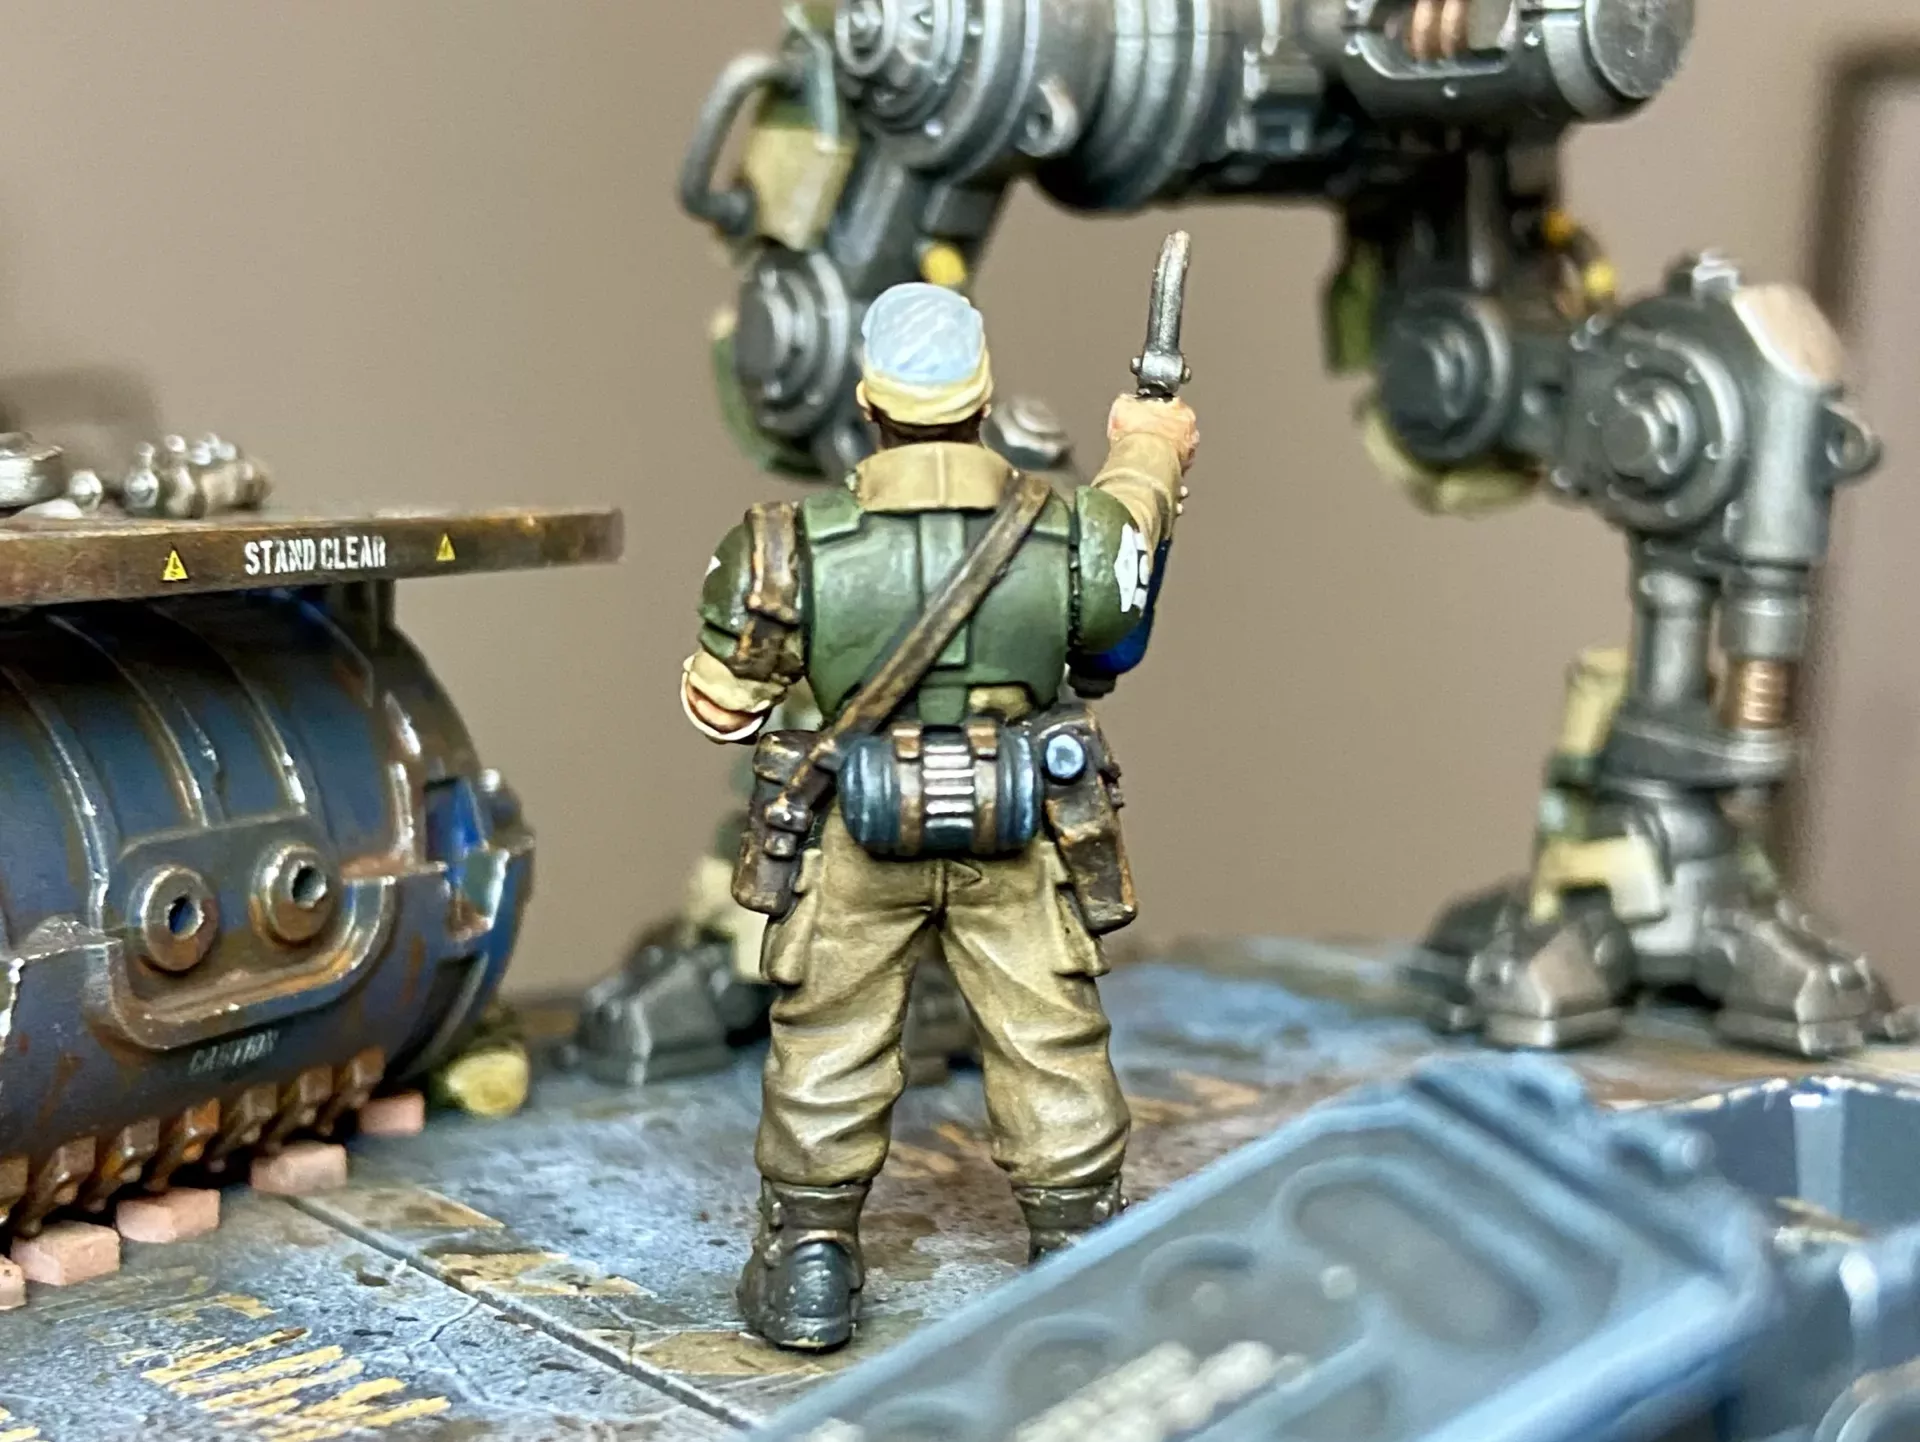
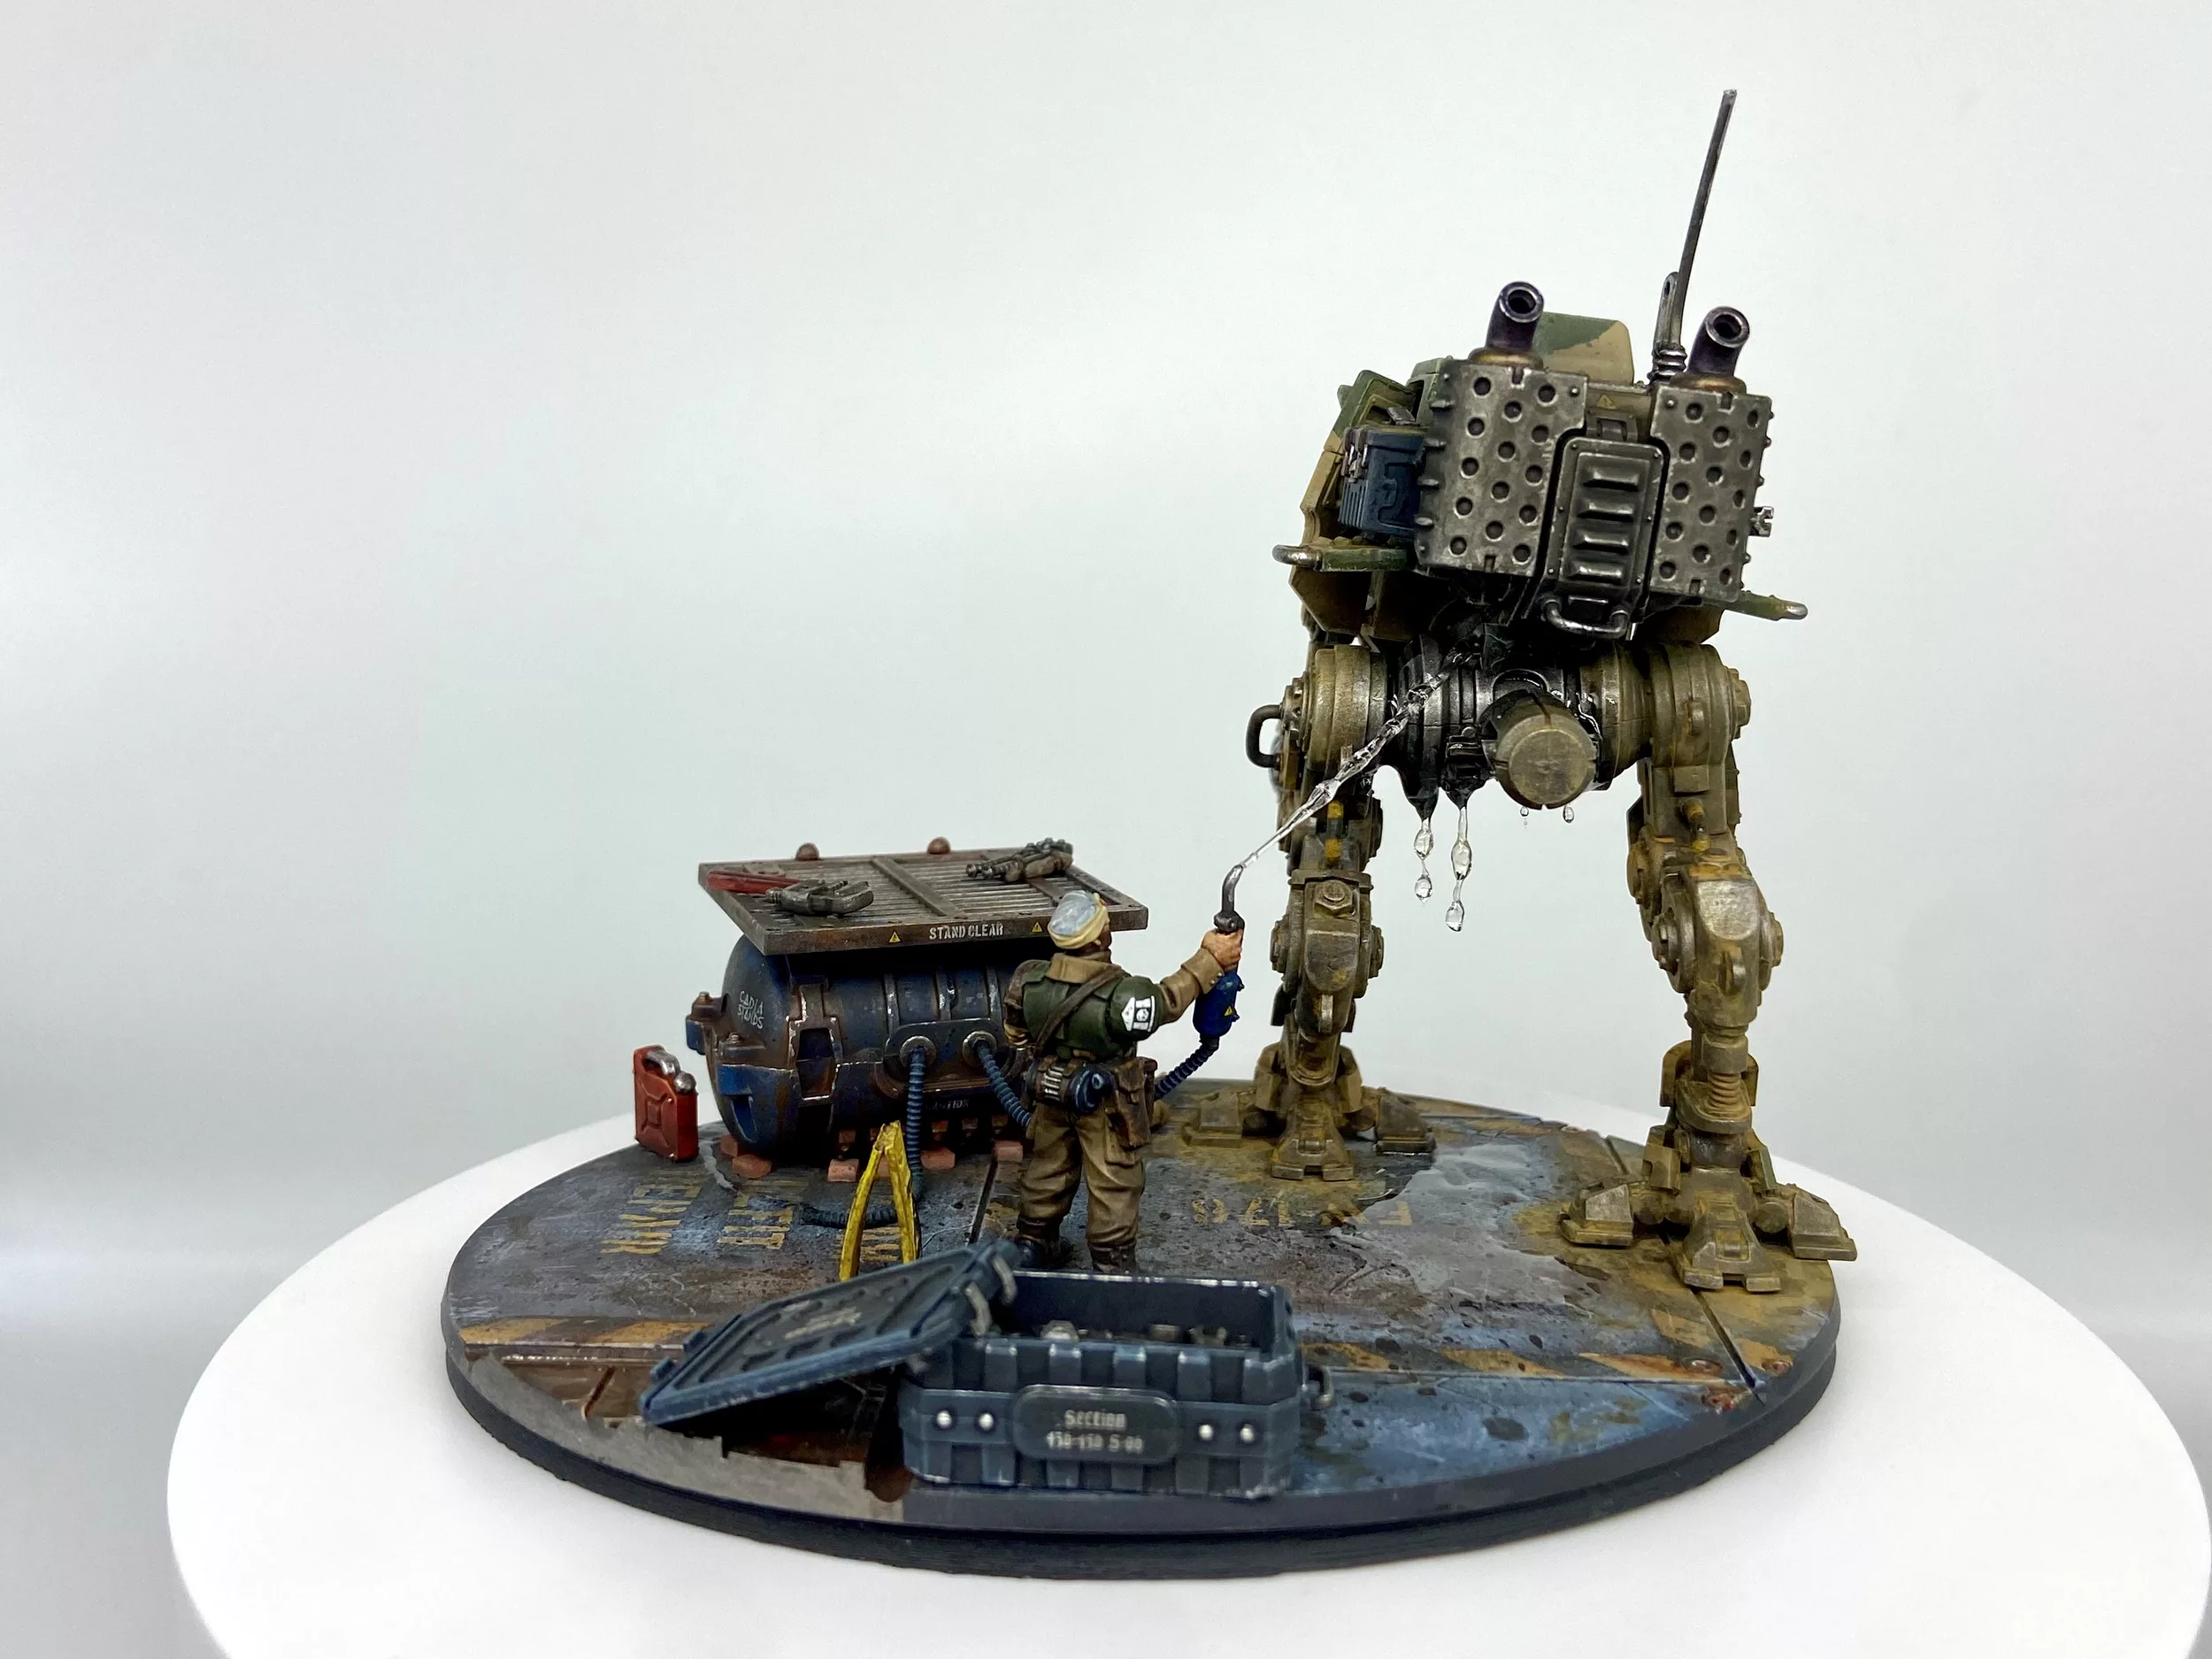
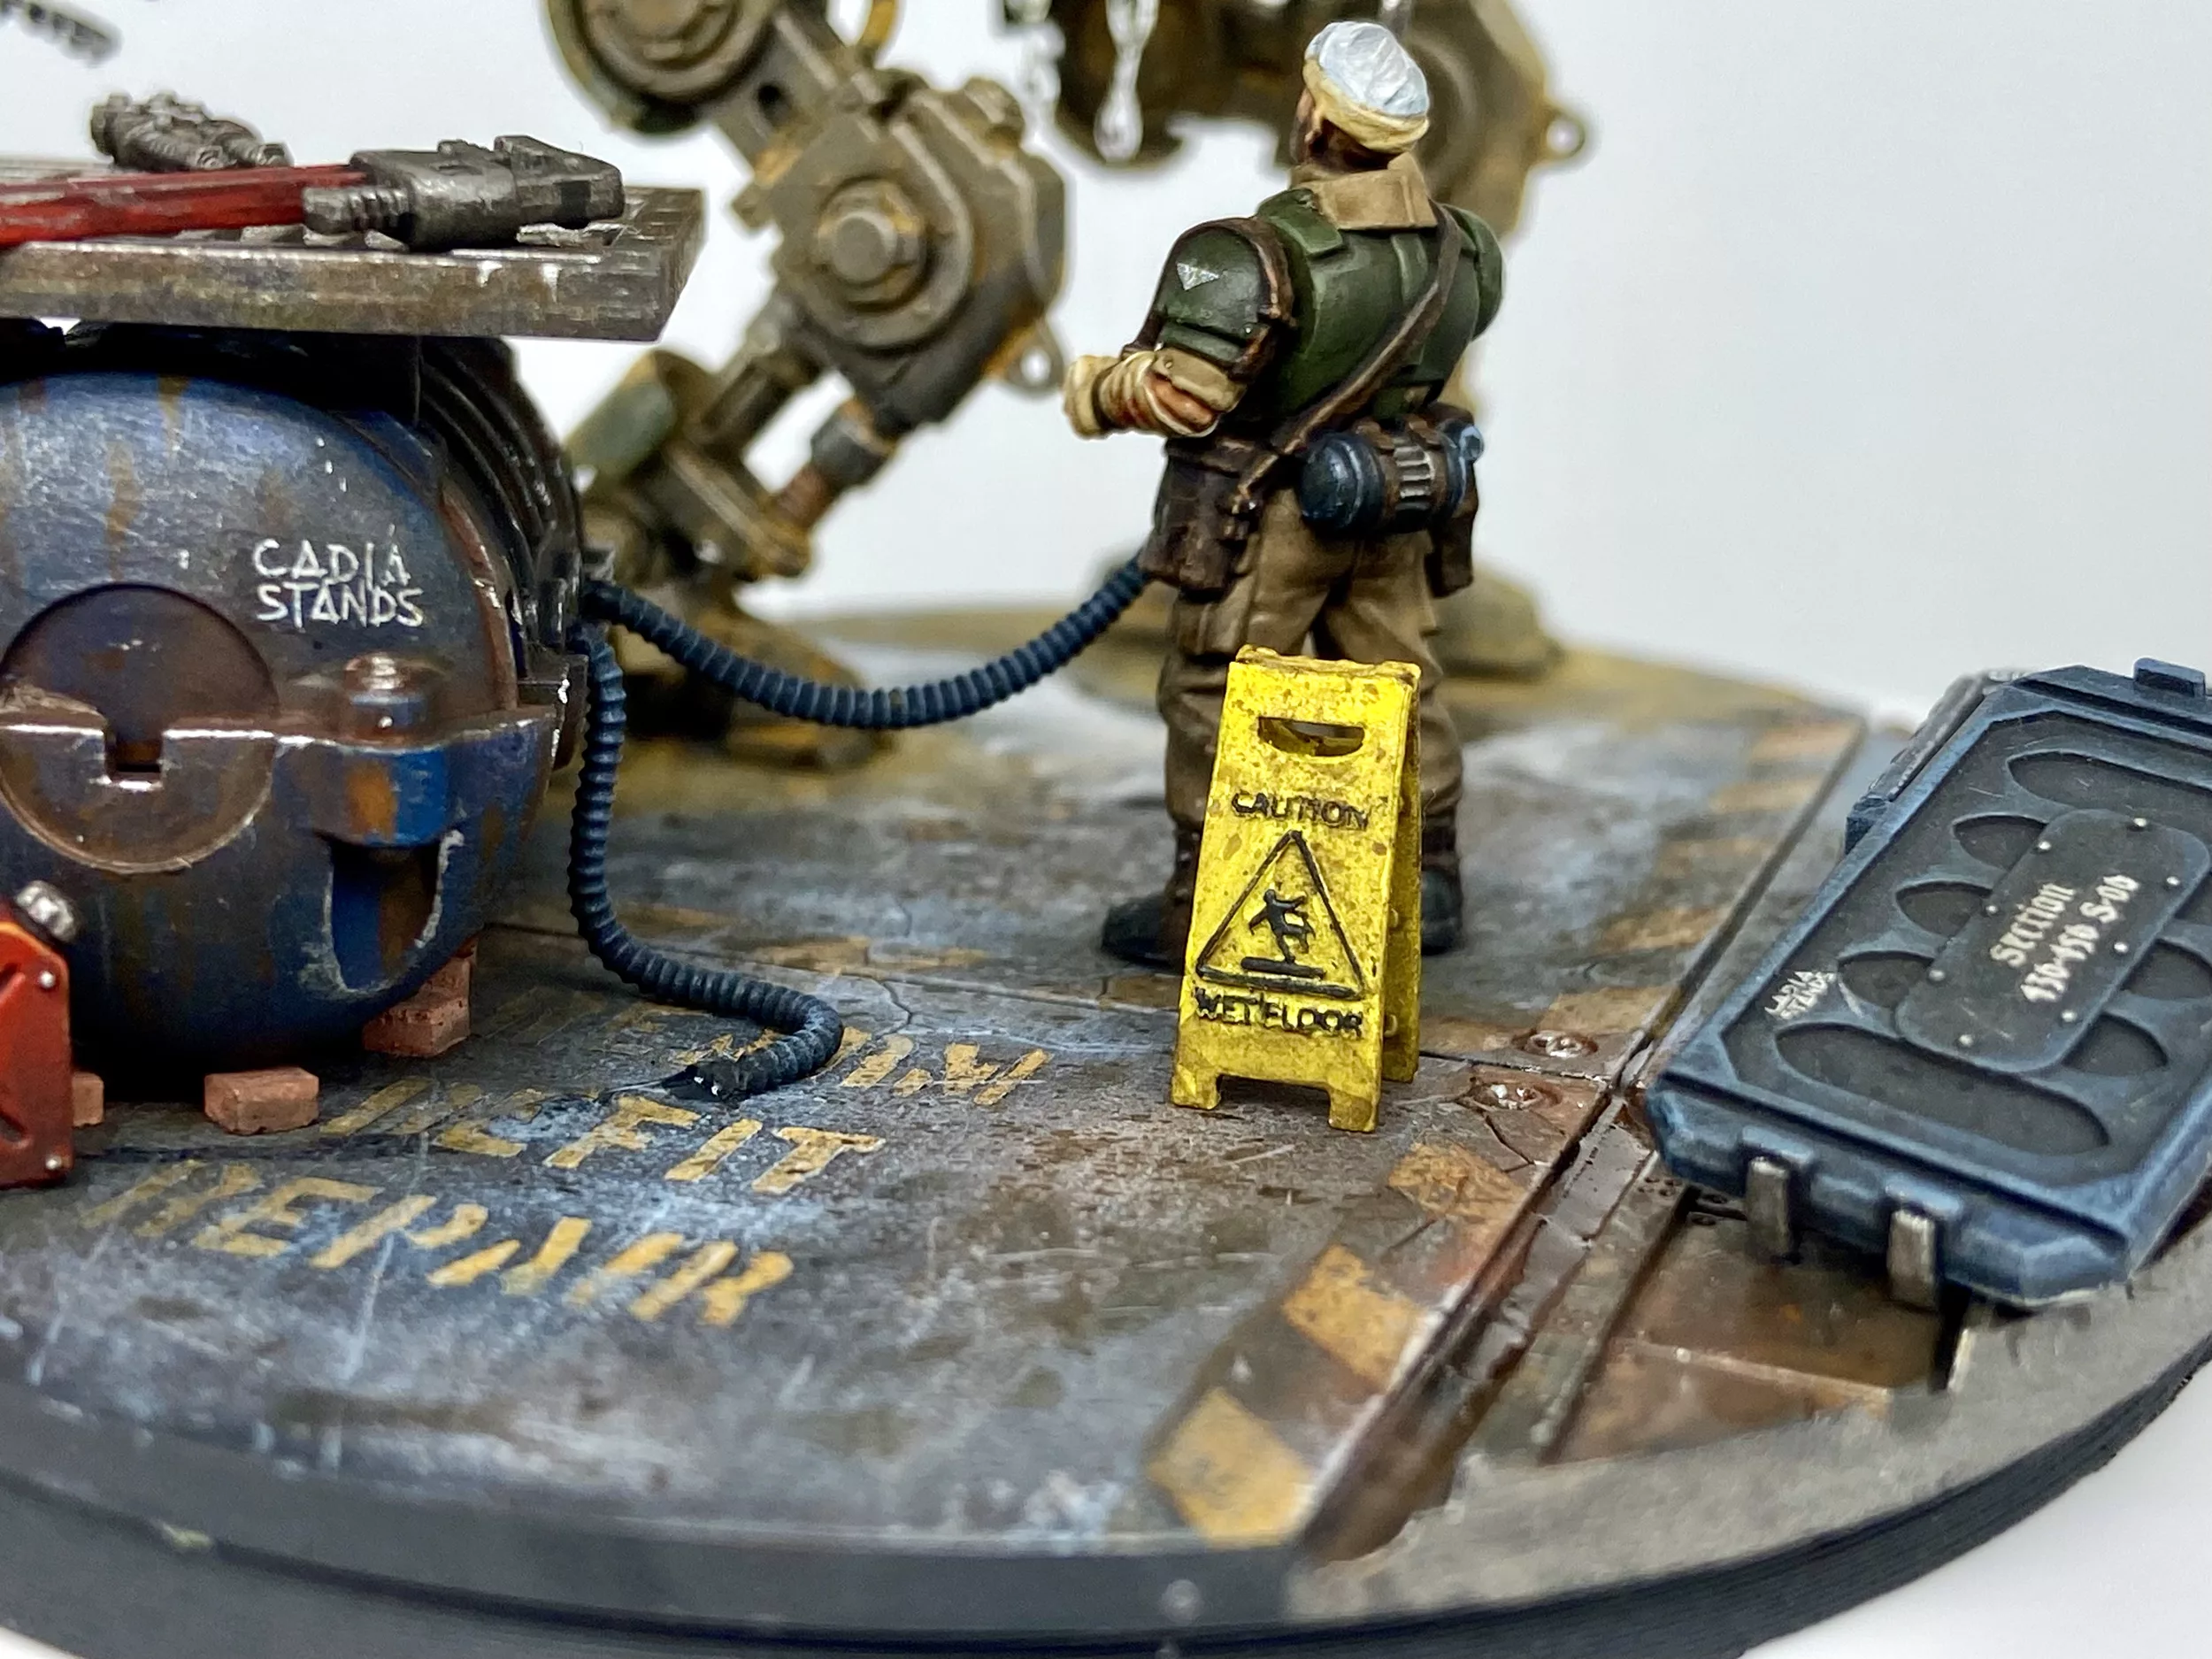
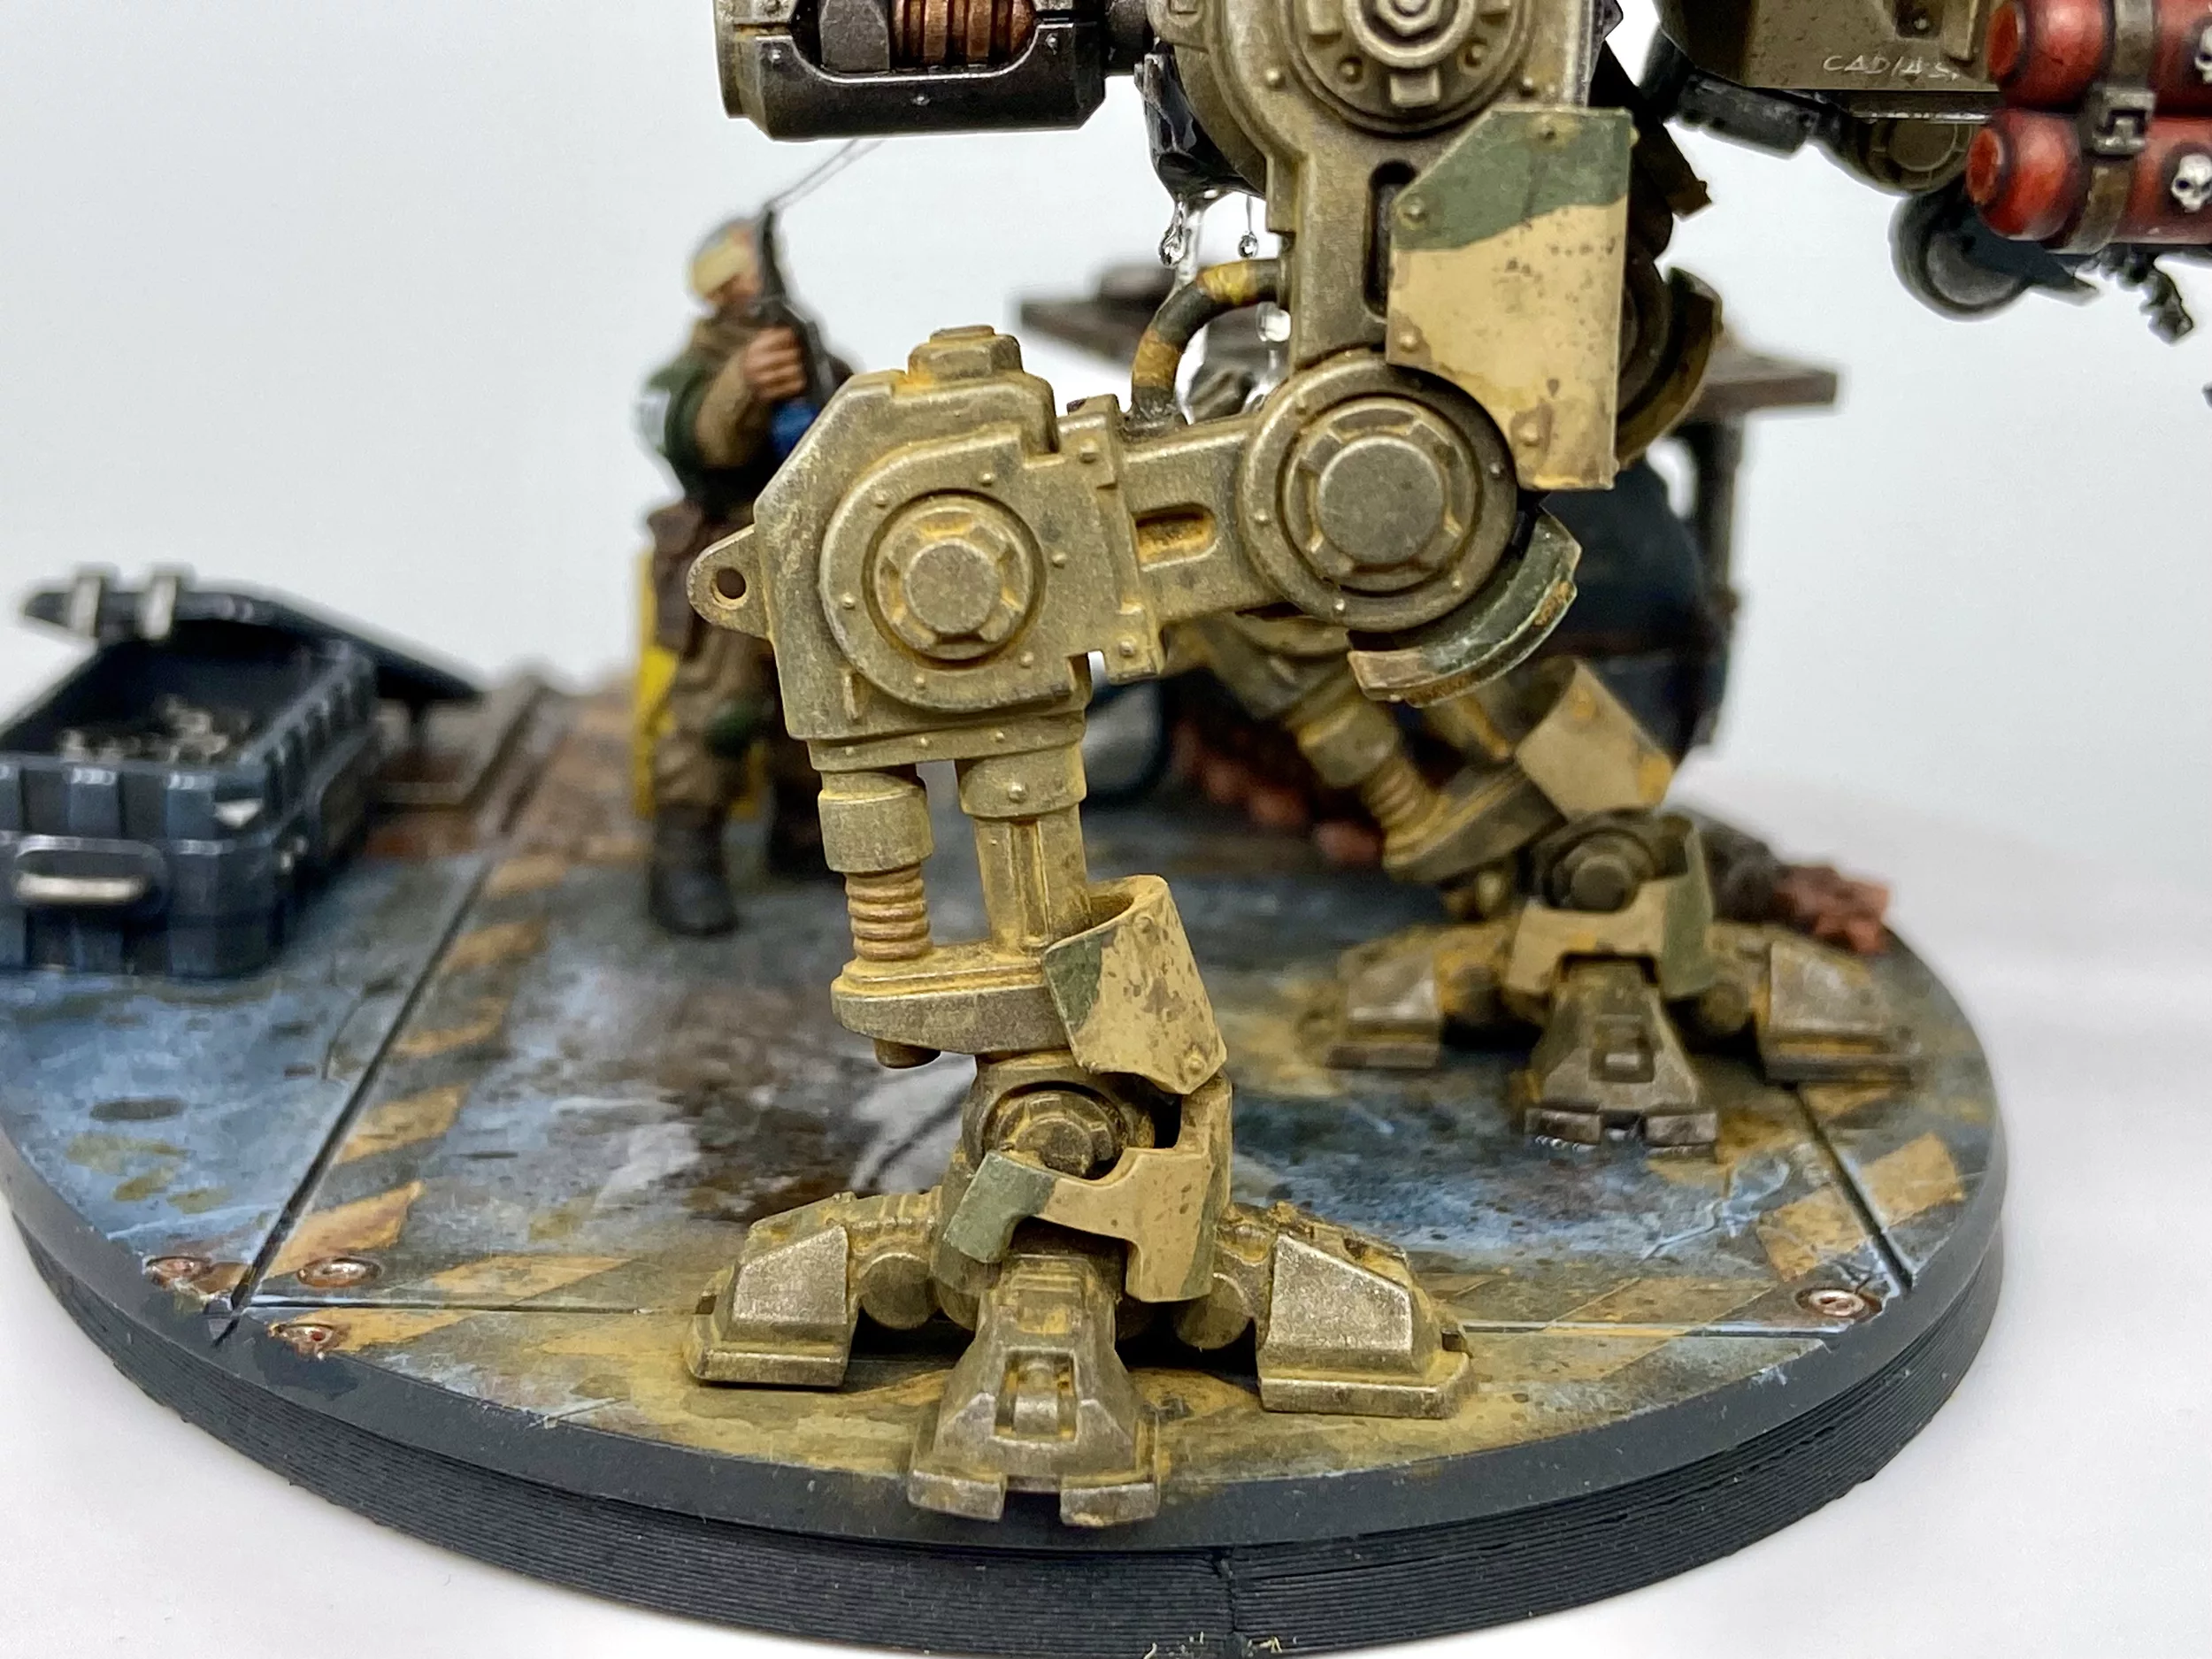
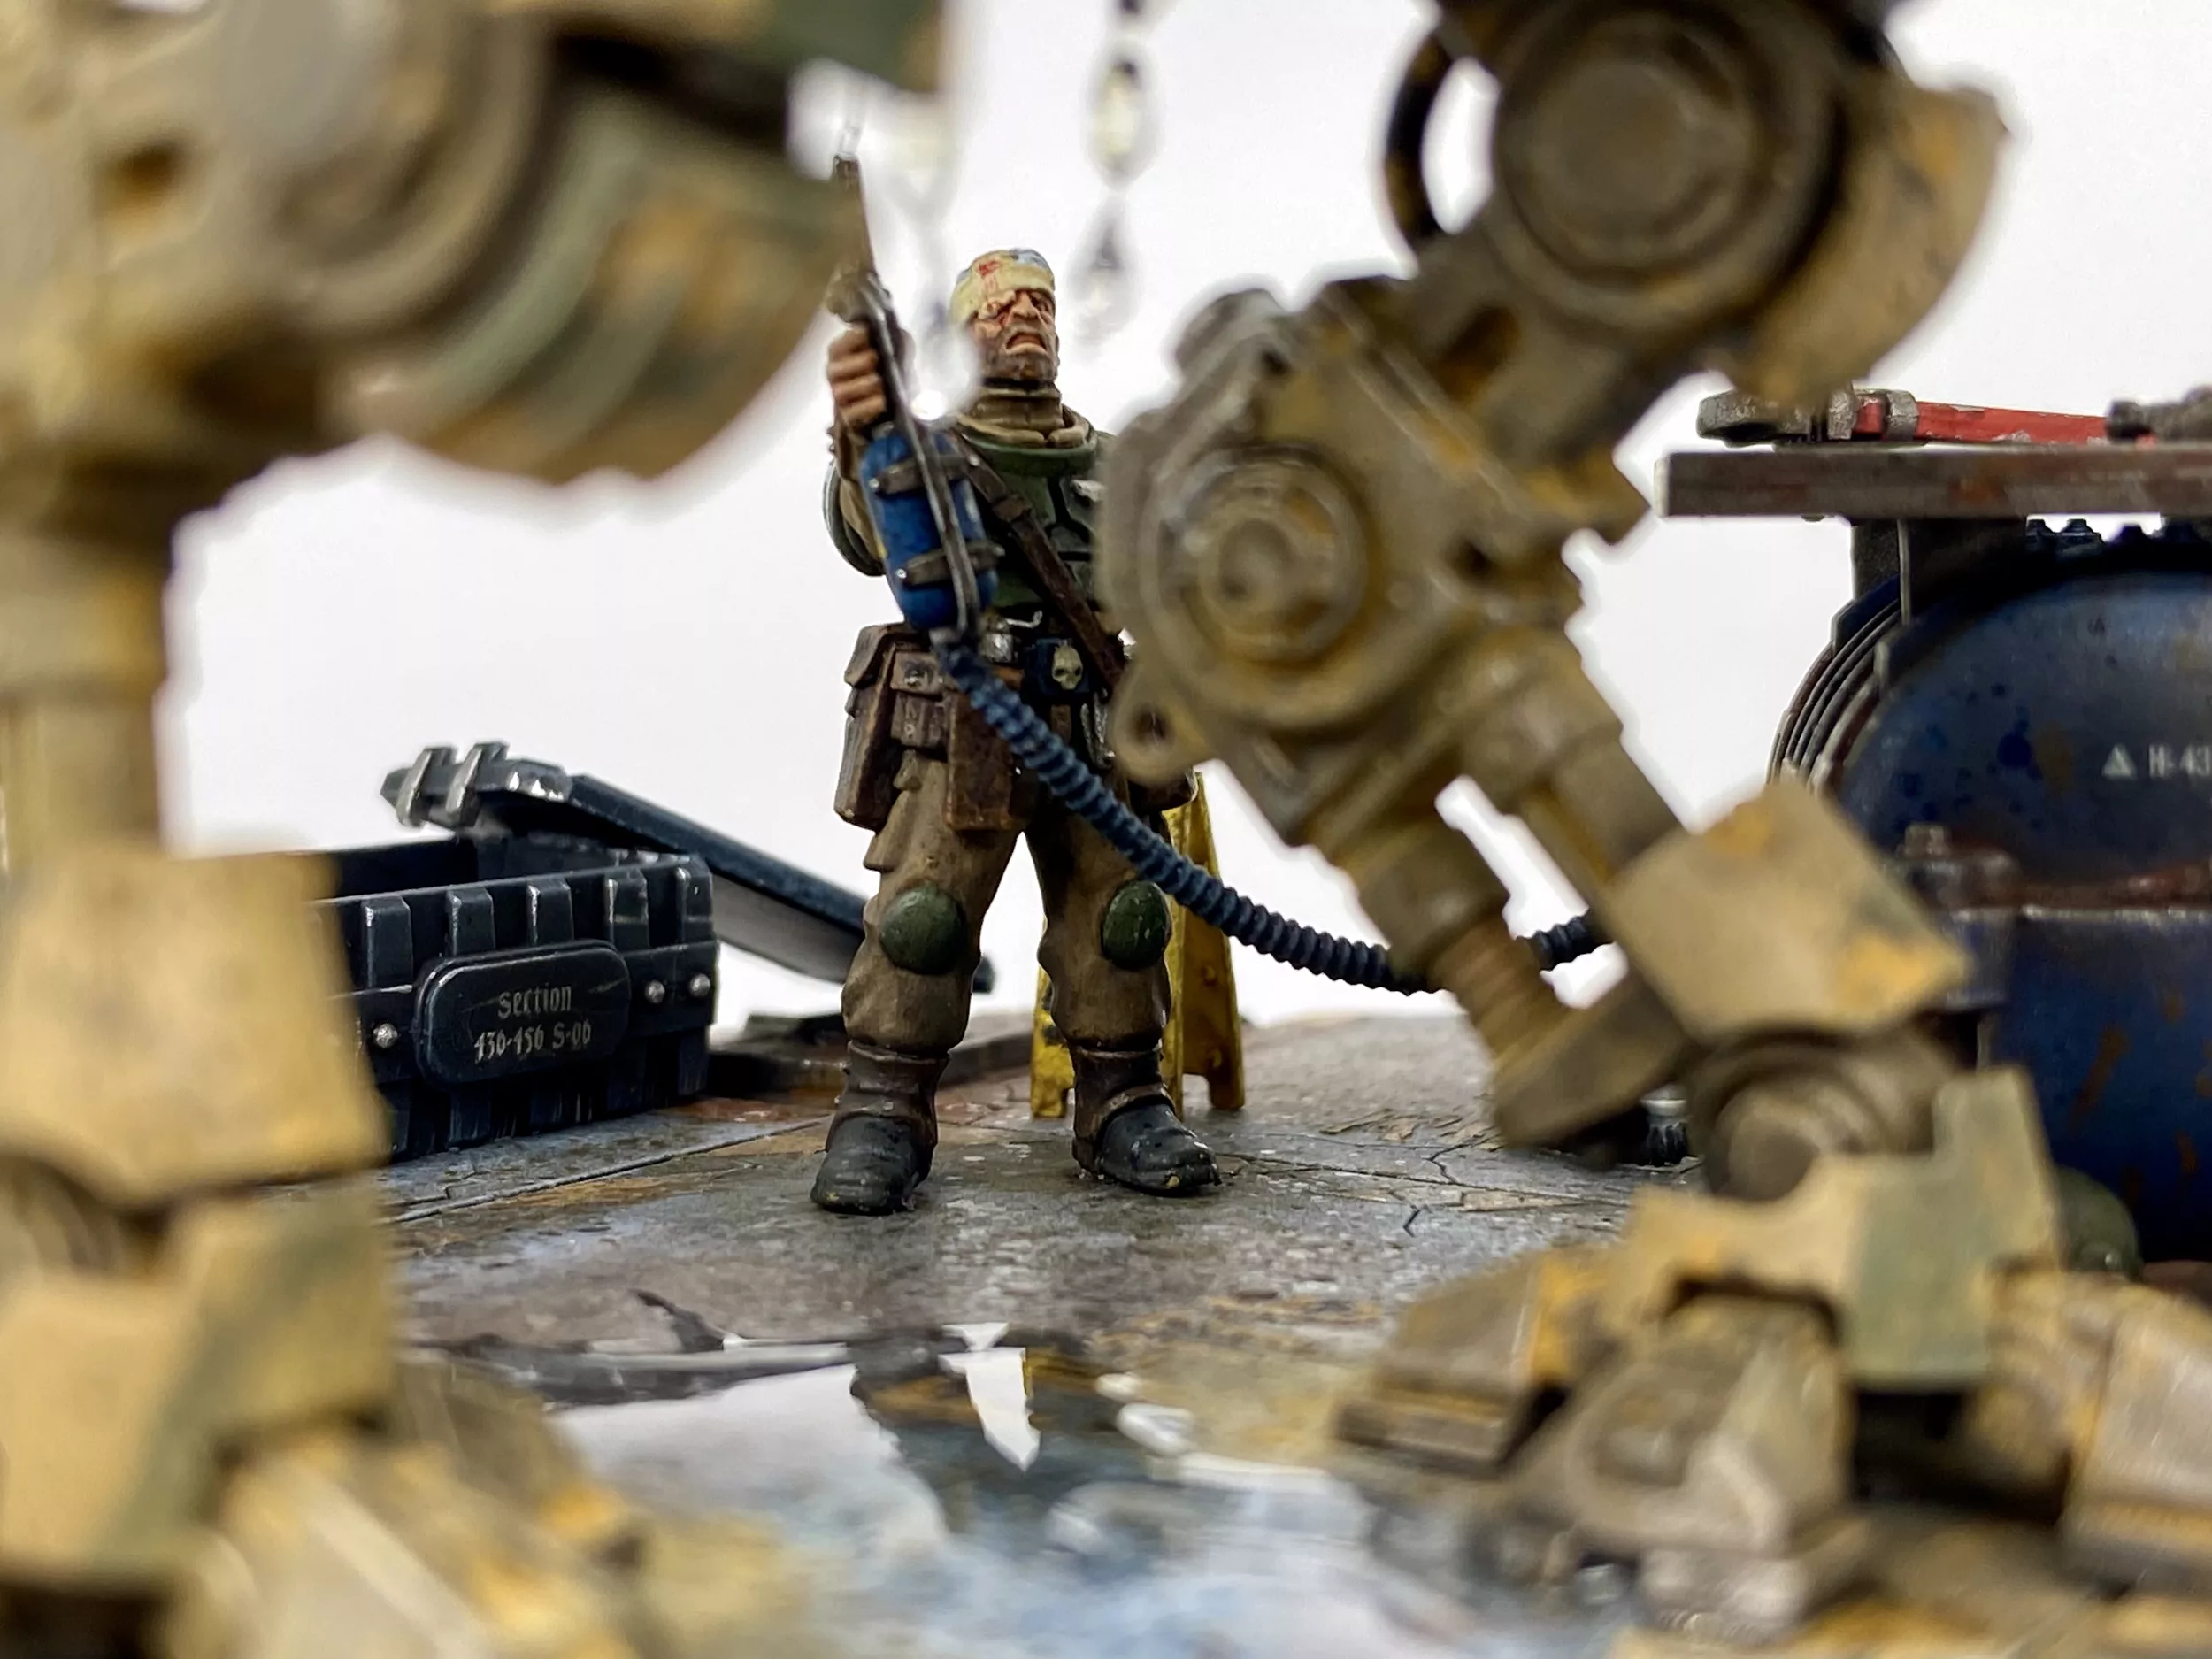
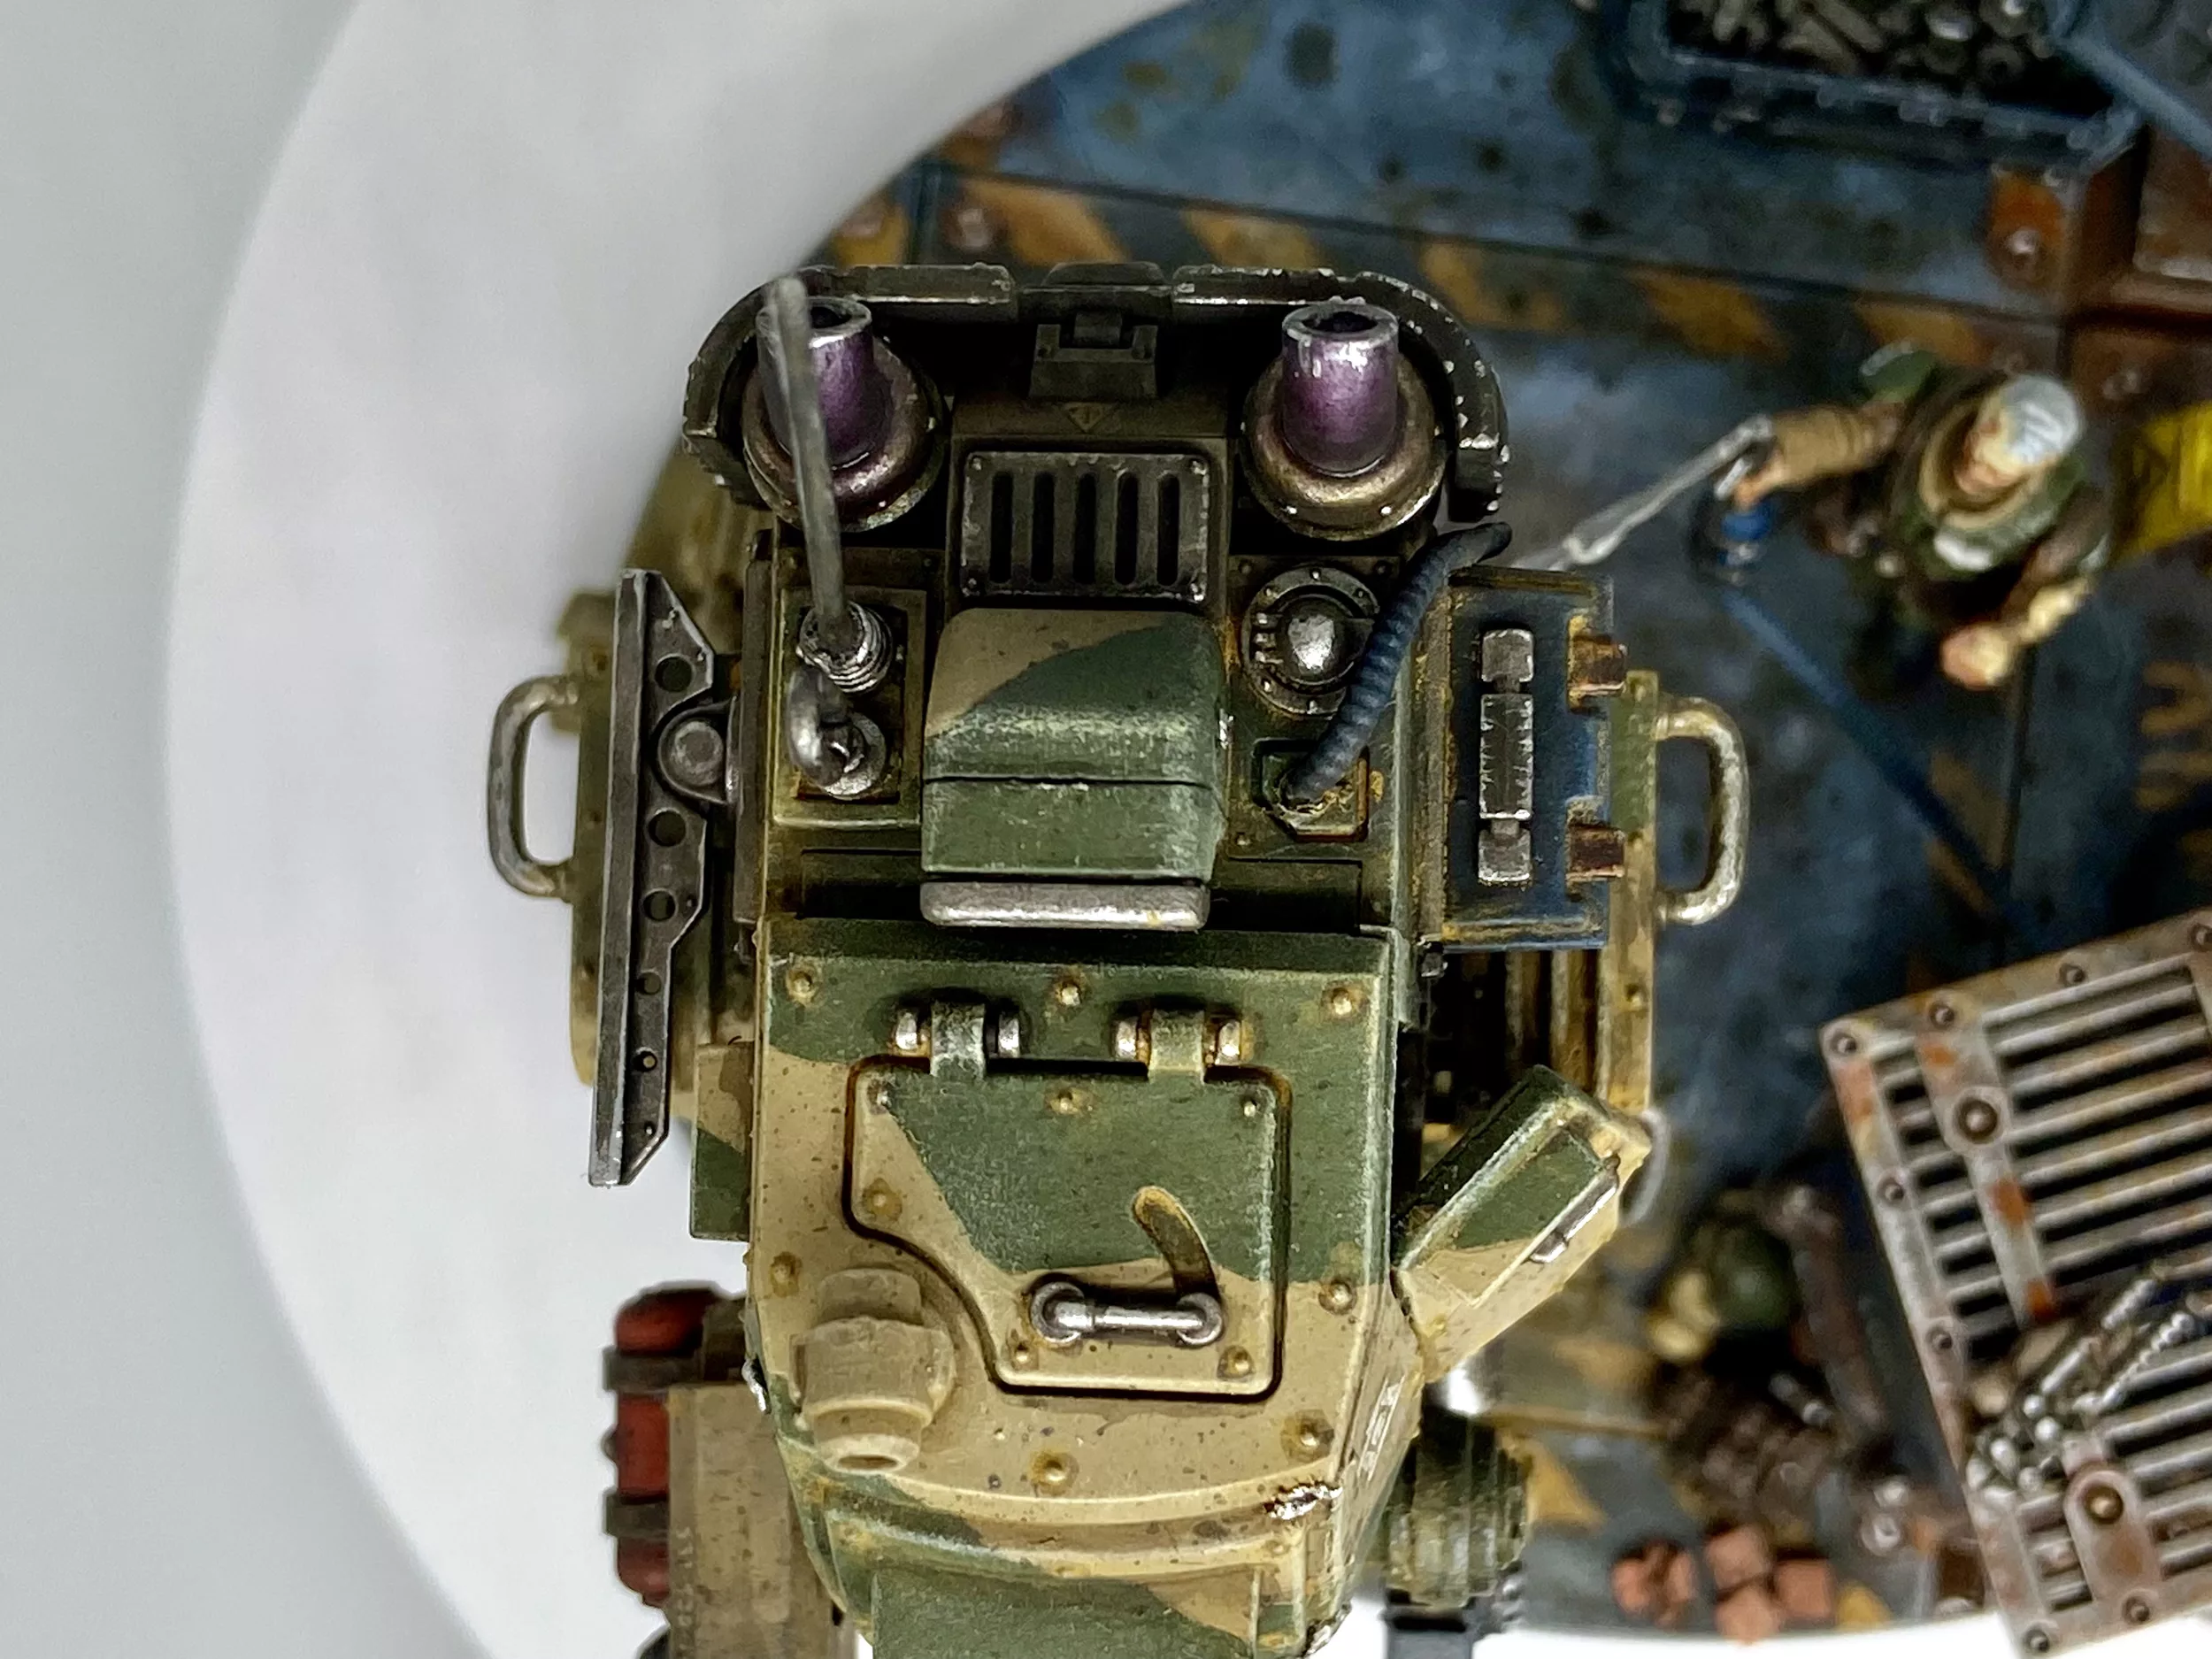
Welcome to my completed Sentinel Diorama, which uses UV resin, a Legions Imperialis base, a Field Ordnance Battery crew member, and a regular Astra Militarum Sentinel. I would also like to add that I started this project long before that Power Washing DLC appeared.
Sentinel Diorama Summary
The idea for this diorama came from one thought when I was cleaning the rim of a base of pigment;
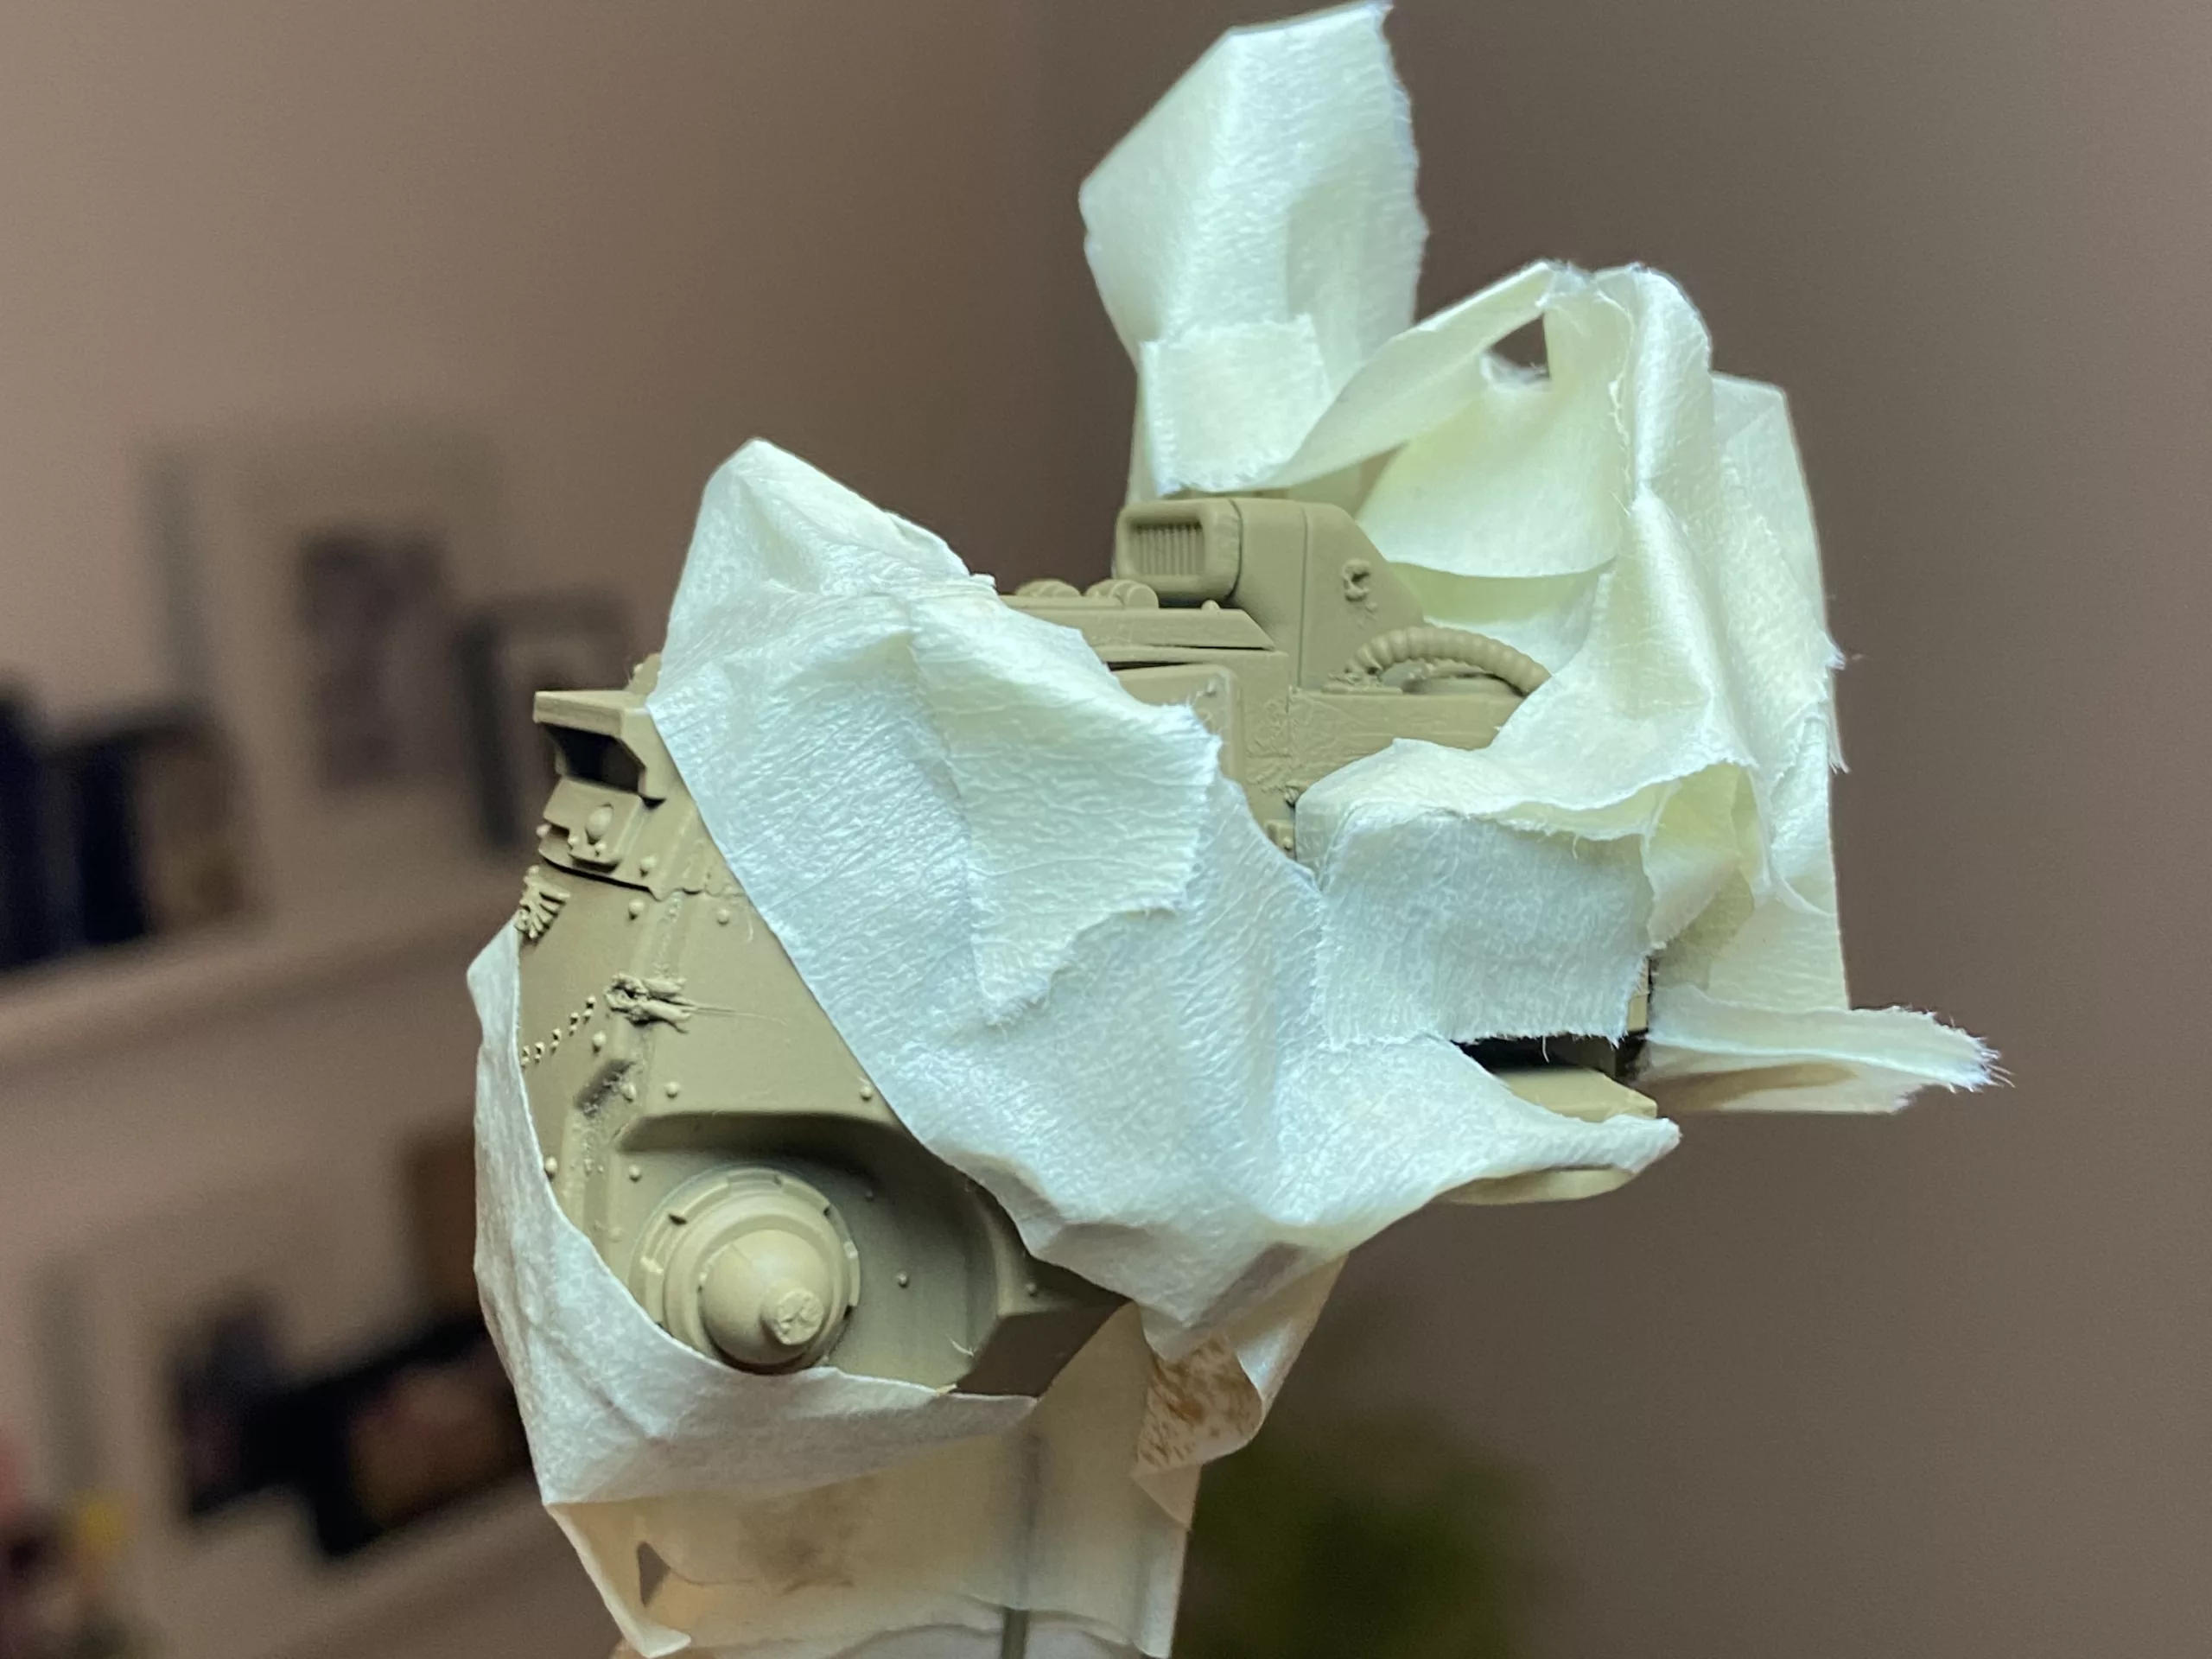
Could I clean pigment away from a model to make it look cleaned?
And thus, the idea of having a dusty, worn-out Sentinel being cleaned was born.
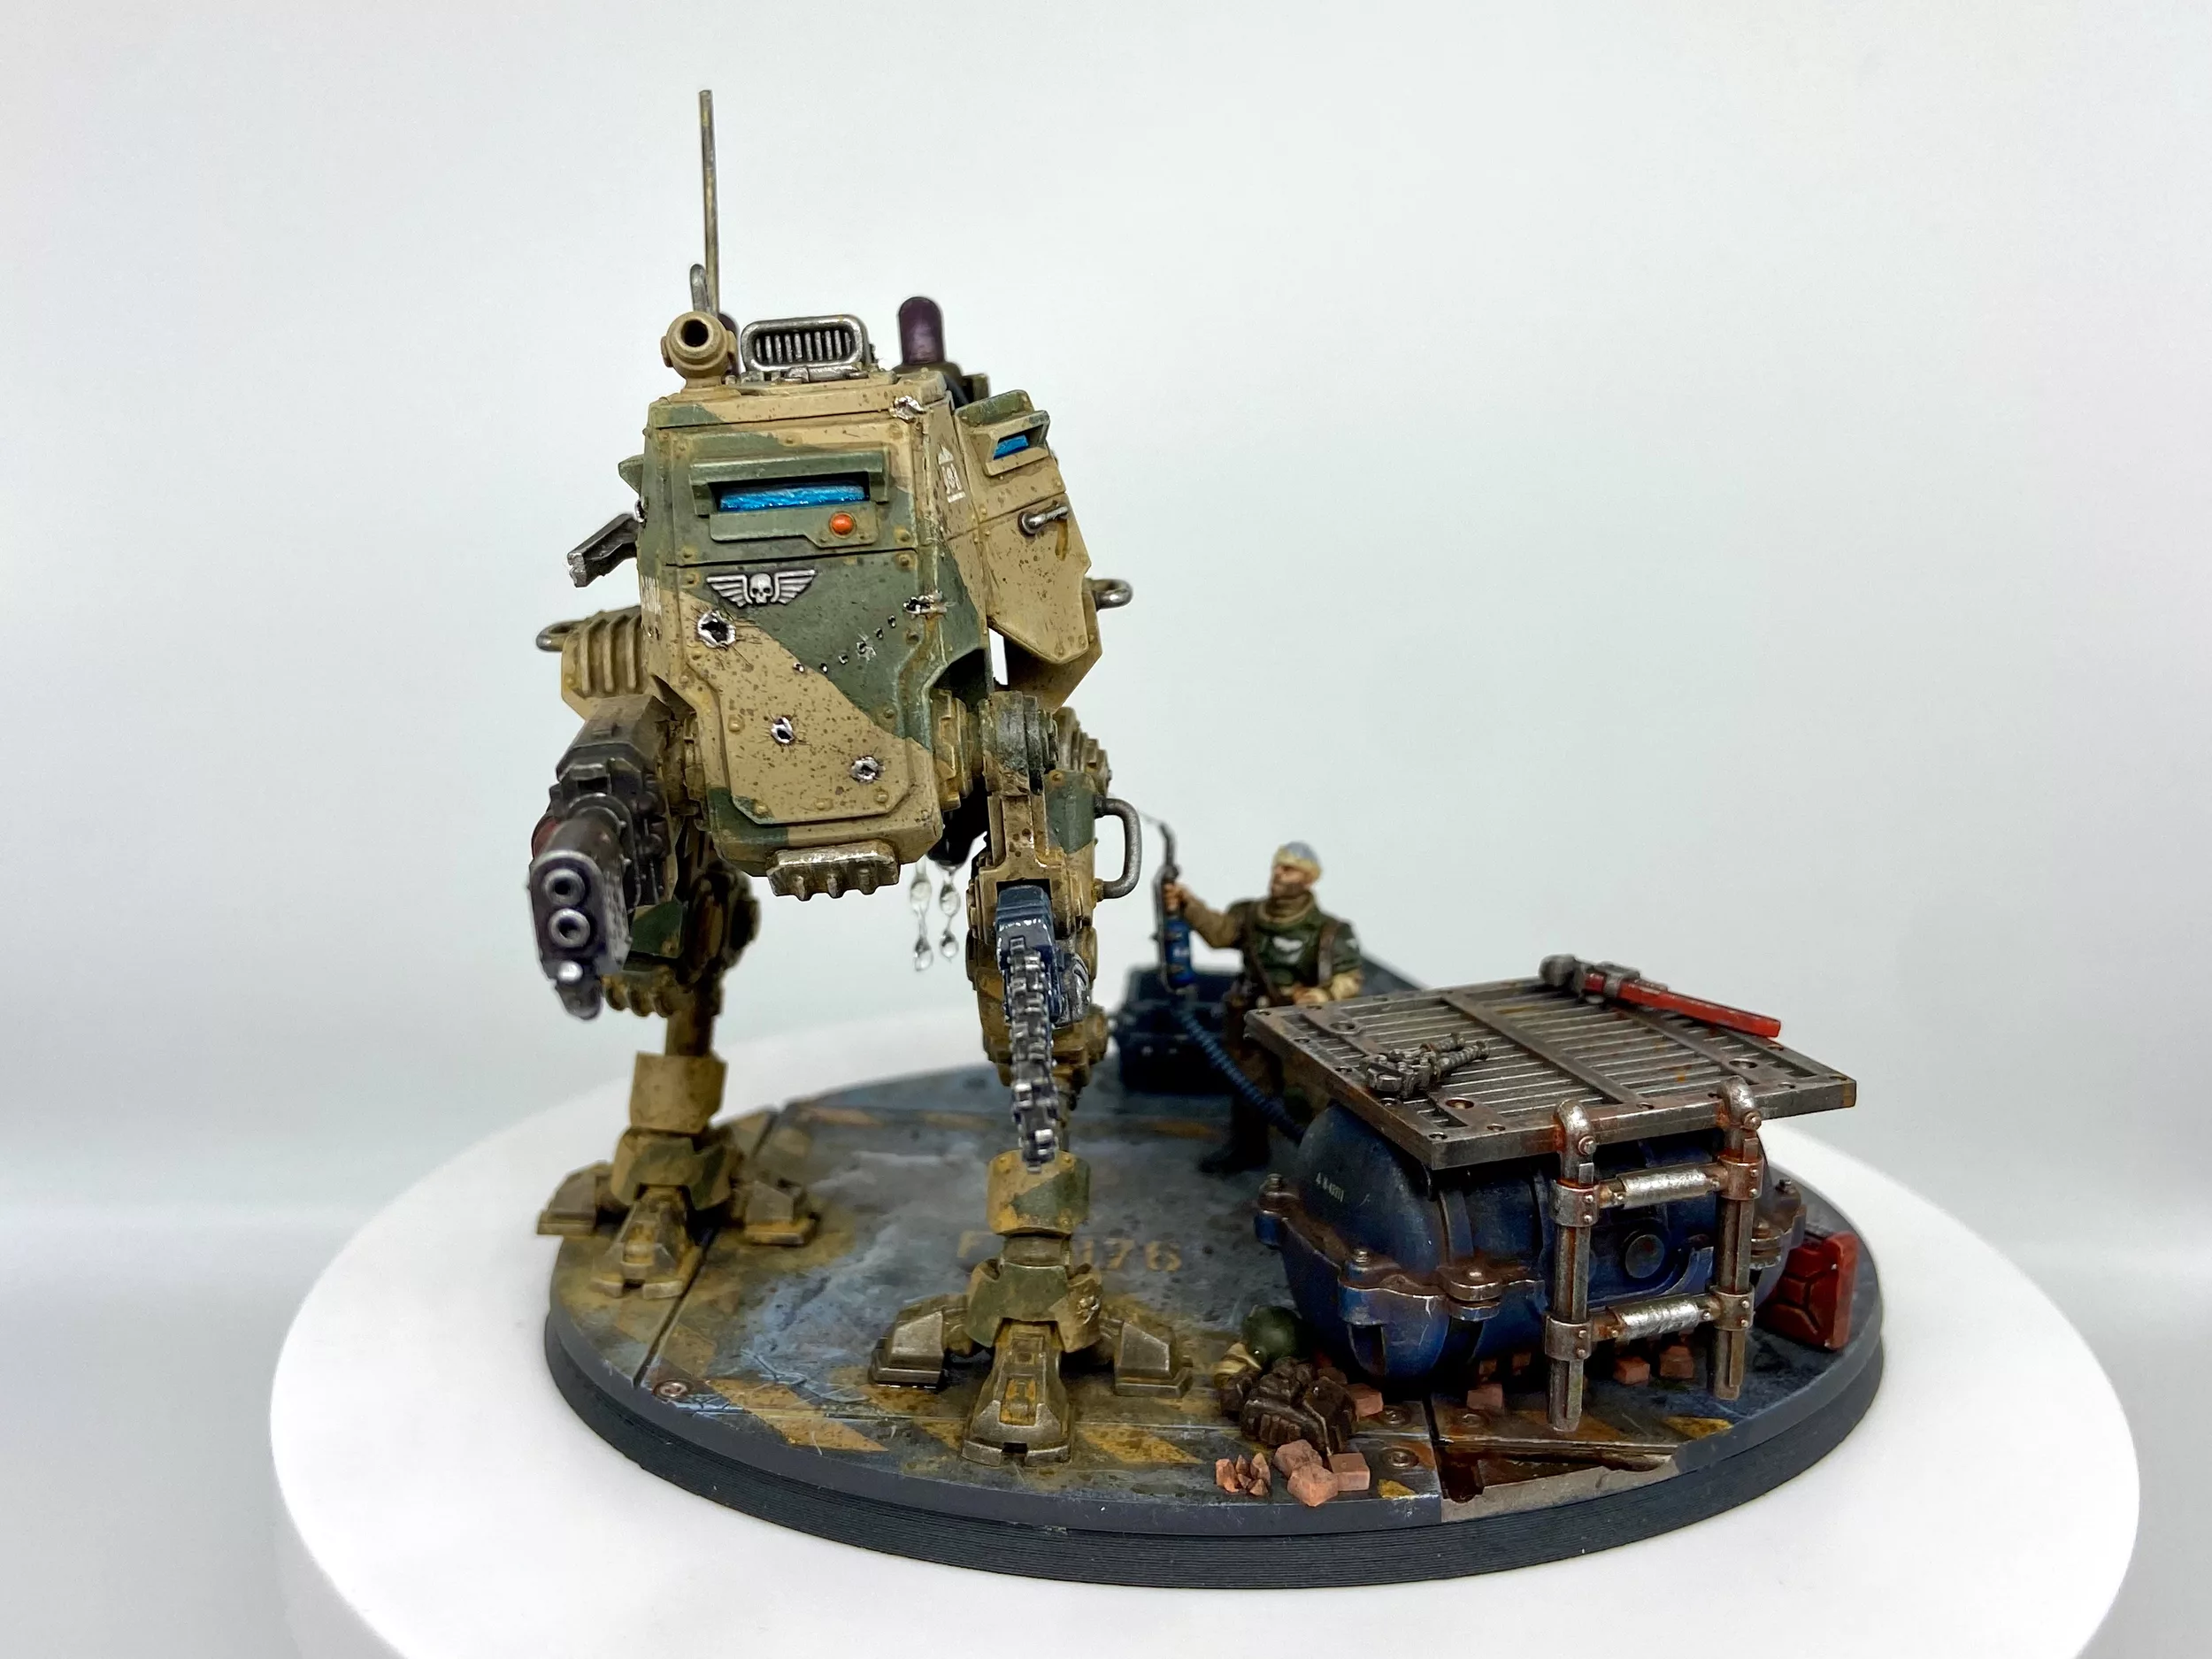
Sentinel Diorama Completed Gallery
These were taken with my Samtian Lightbox.


Sentinel Diorama Bits Used
Because I get asked and because I will forget, here is a rundown of all the bits and pieces I used to make this Armoured Sentinel Diorama.
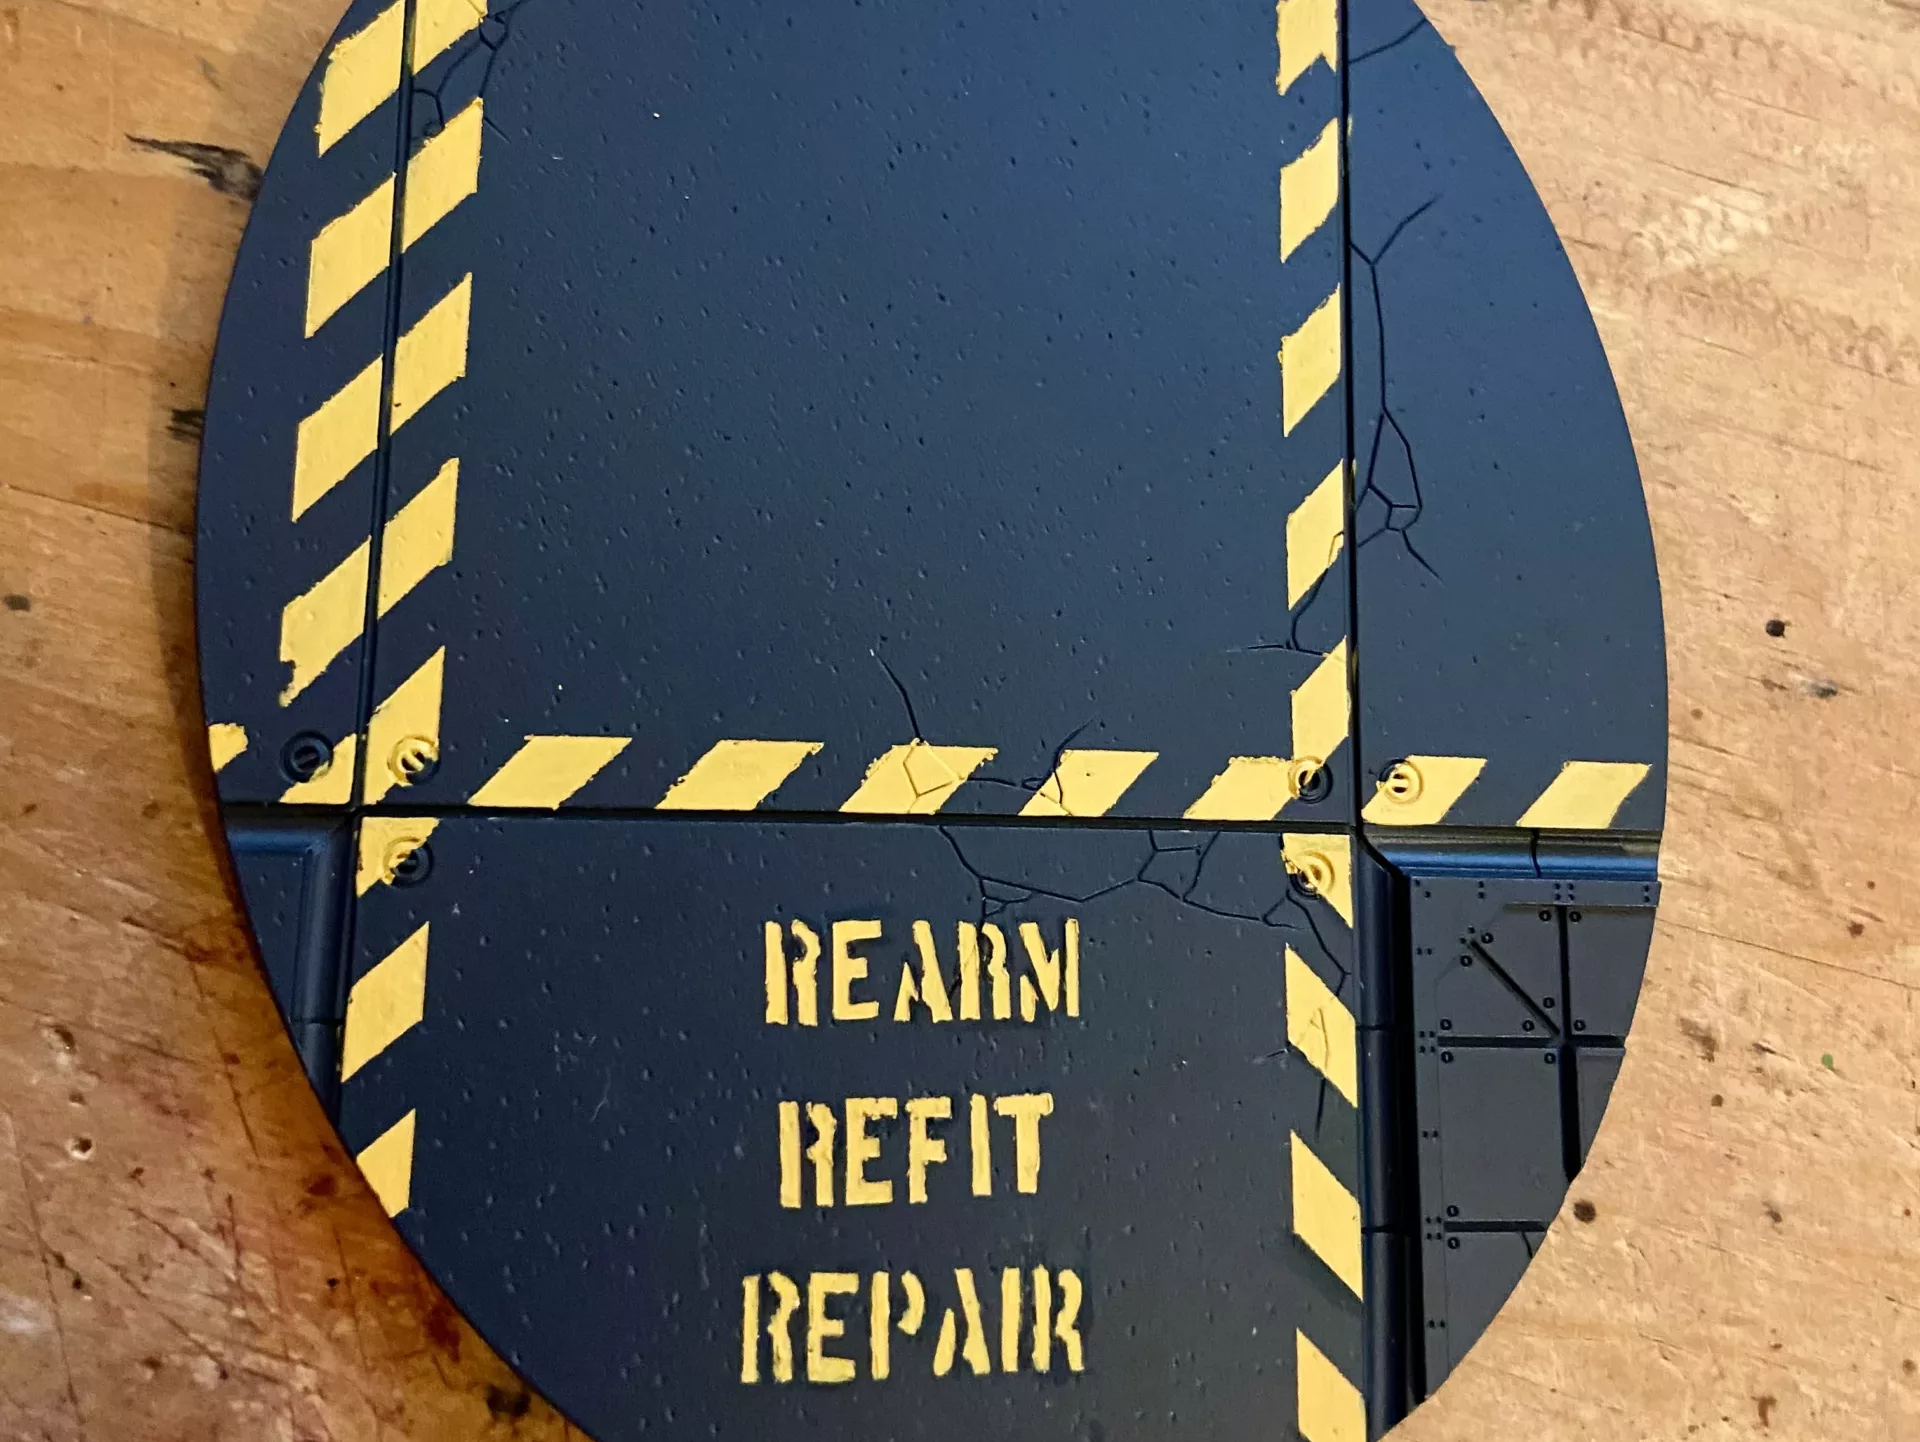
Concrete Base
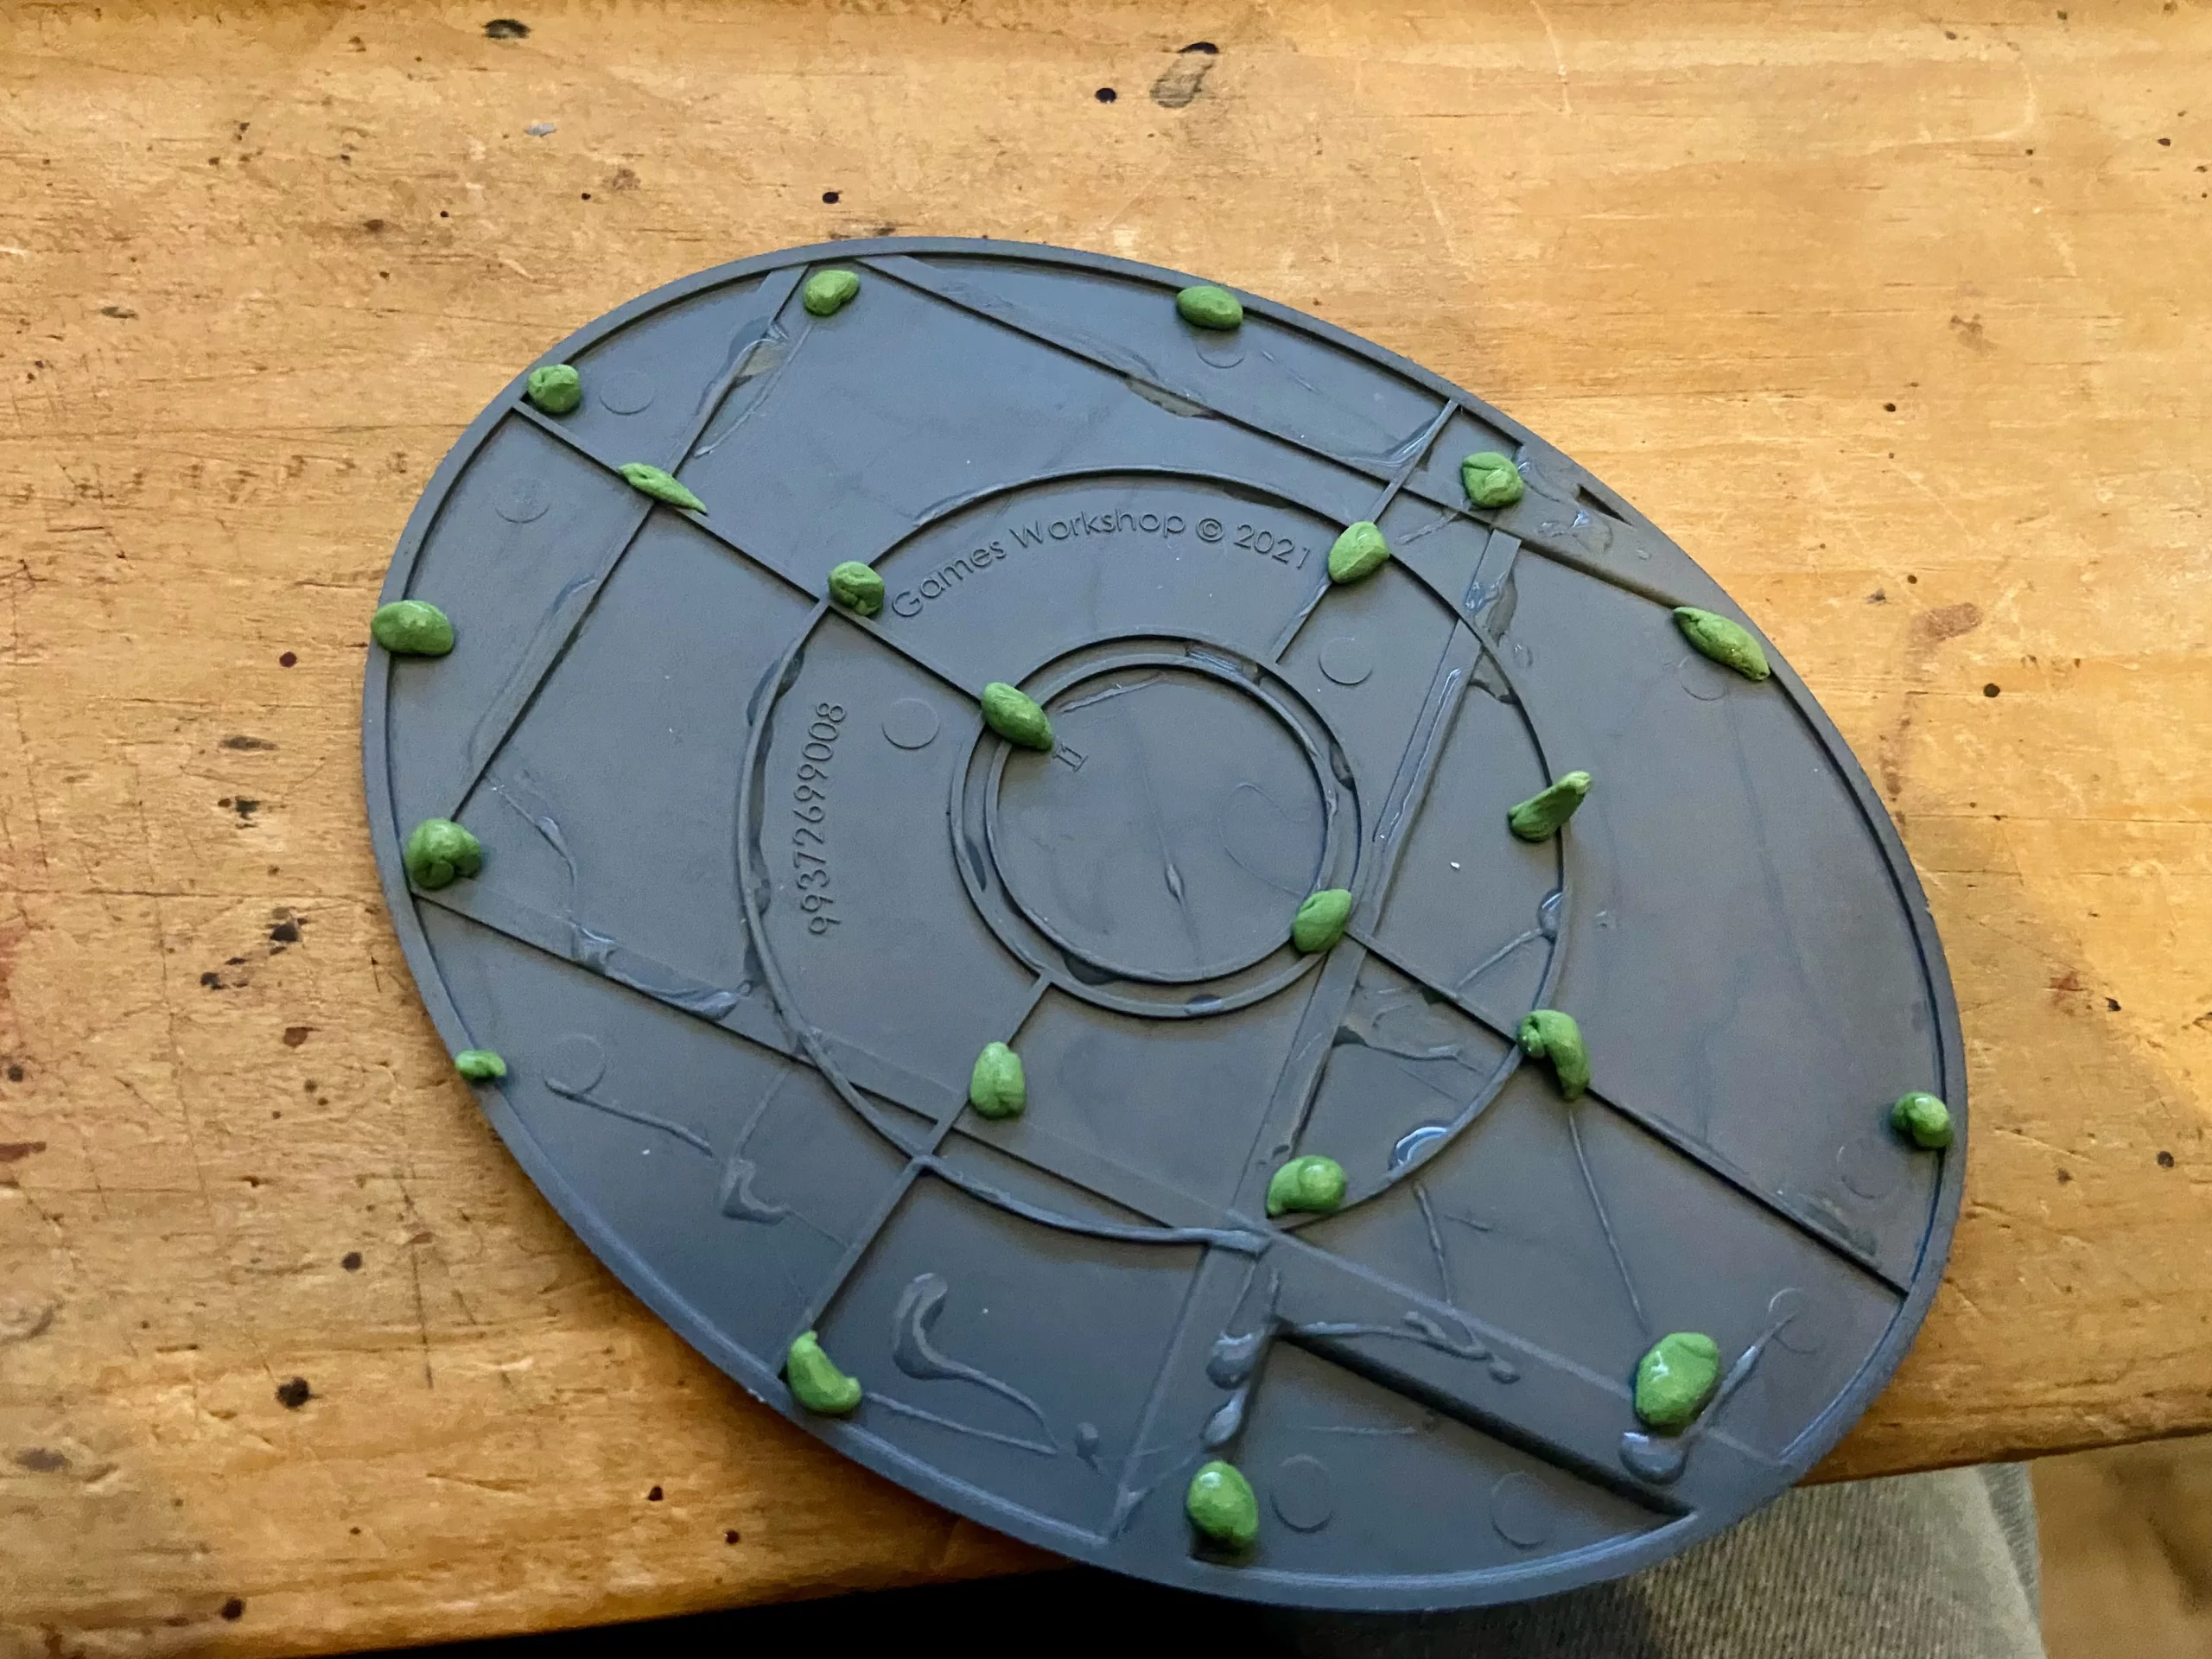
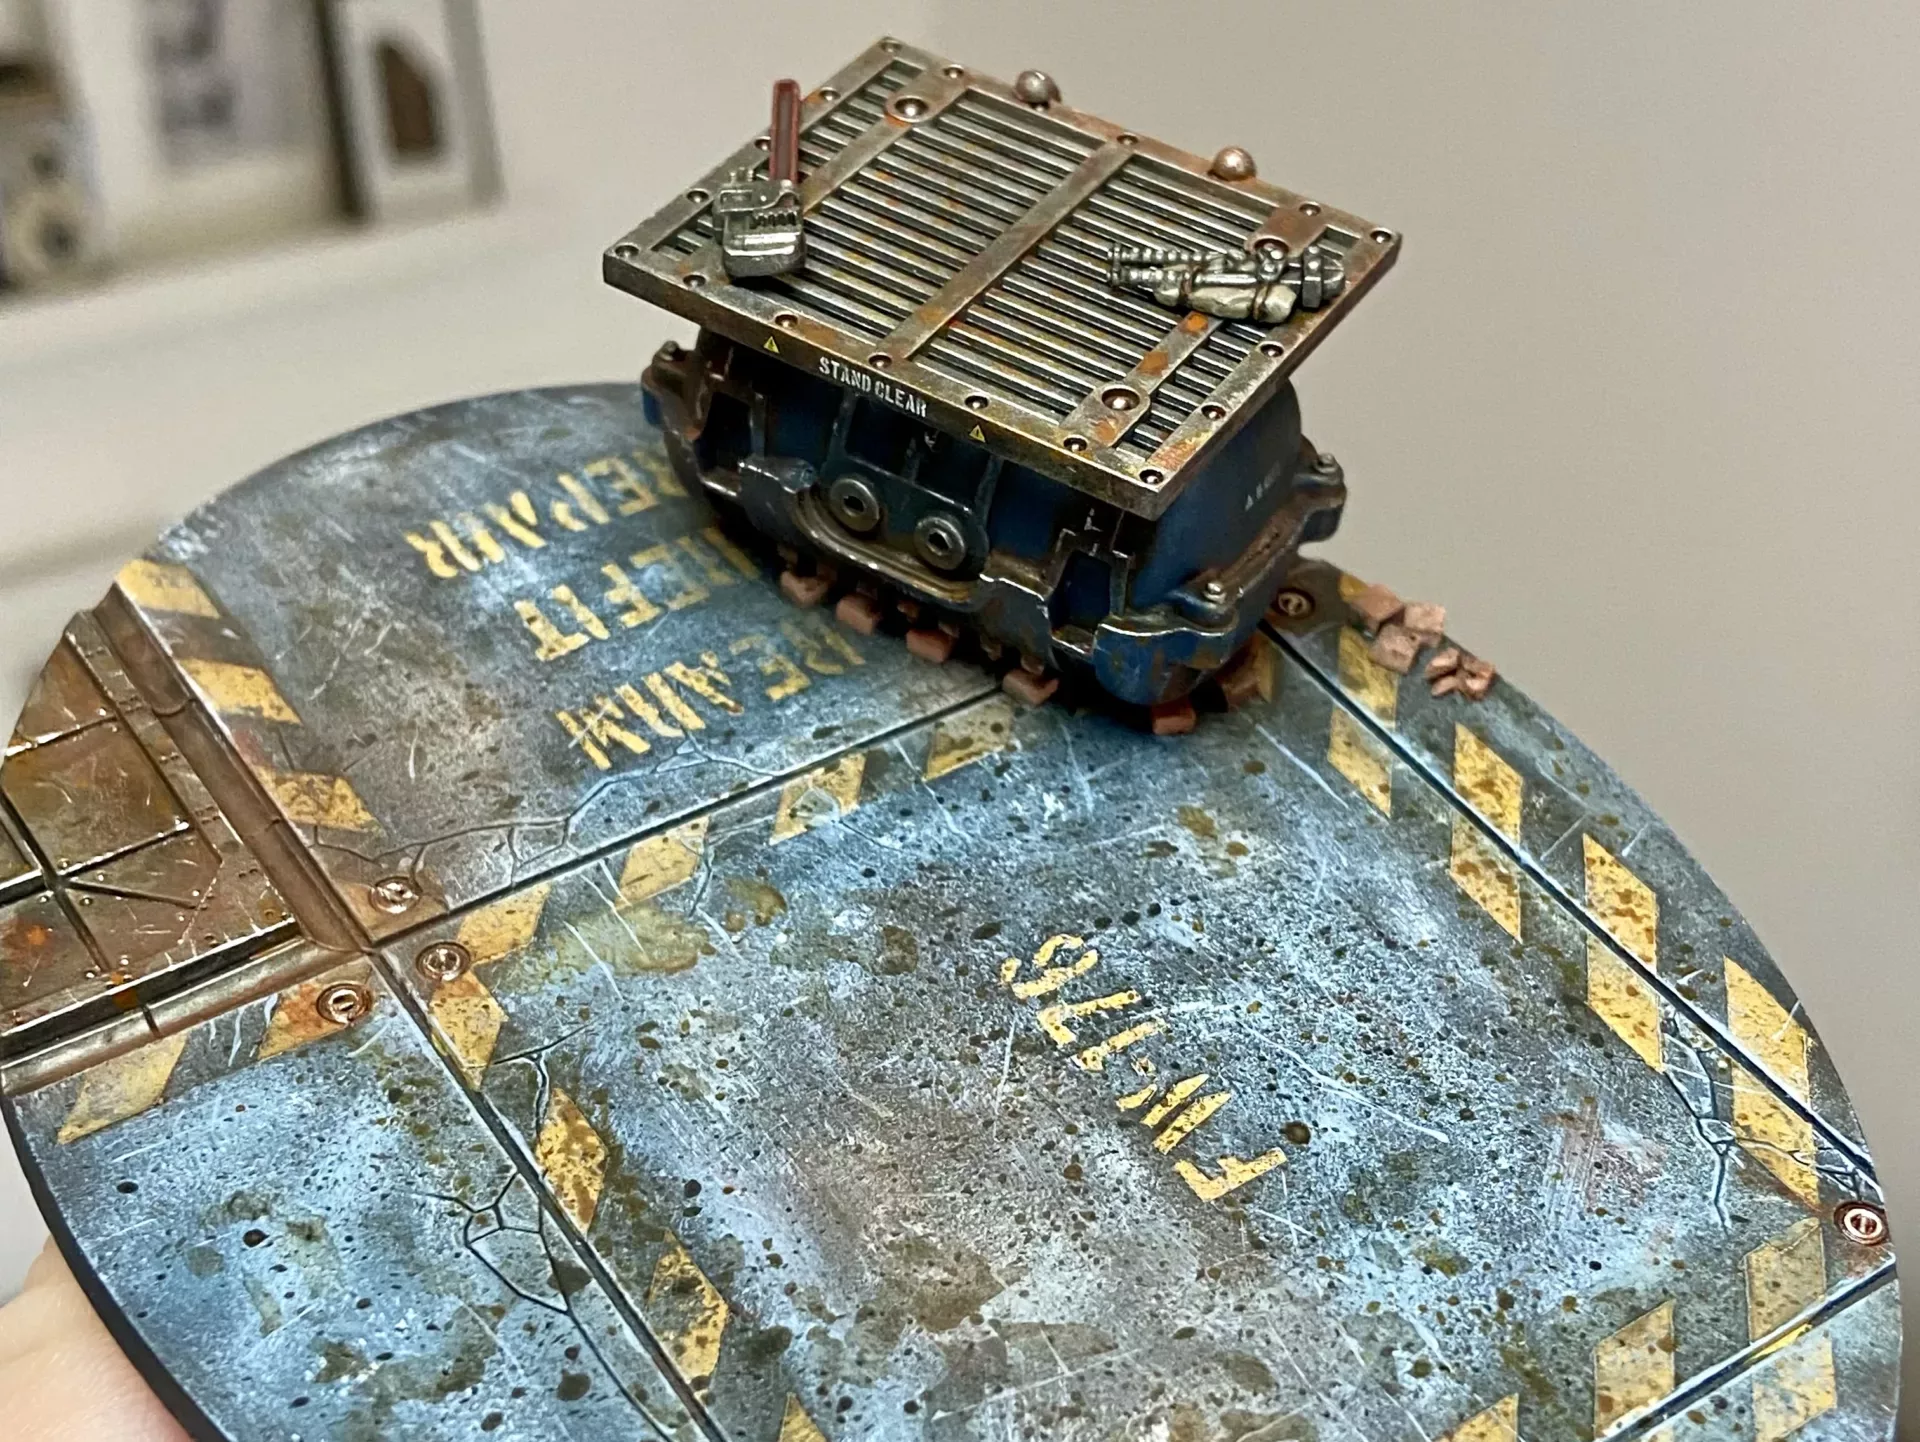
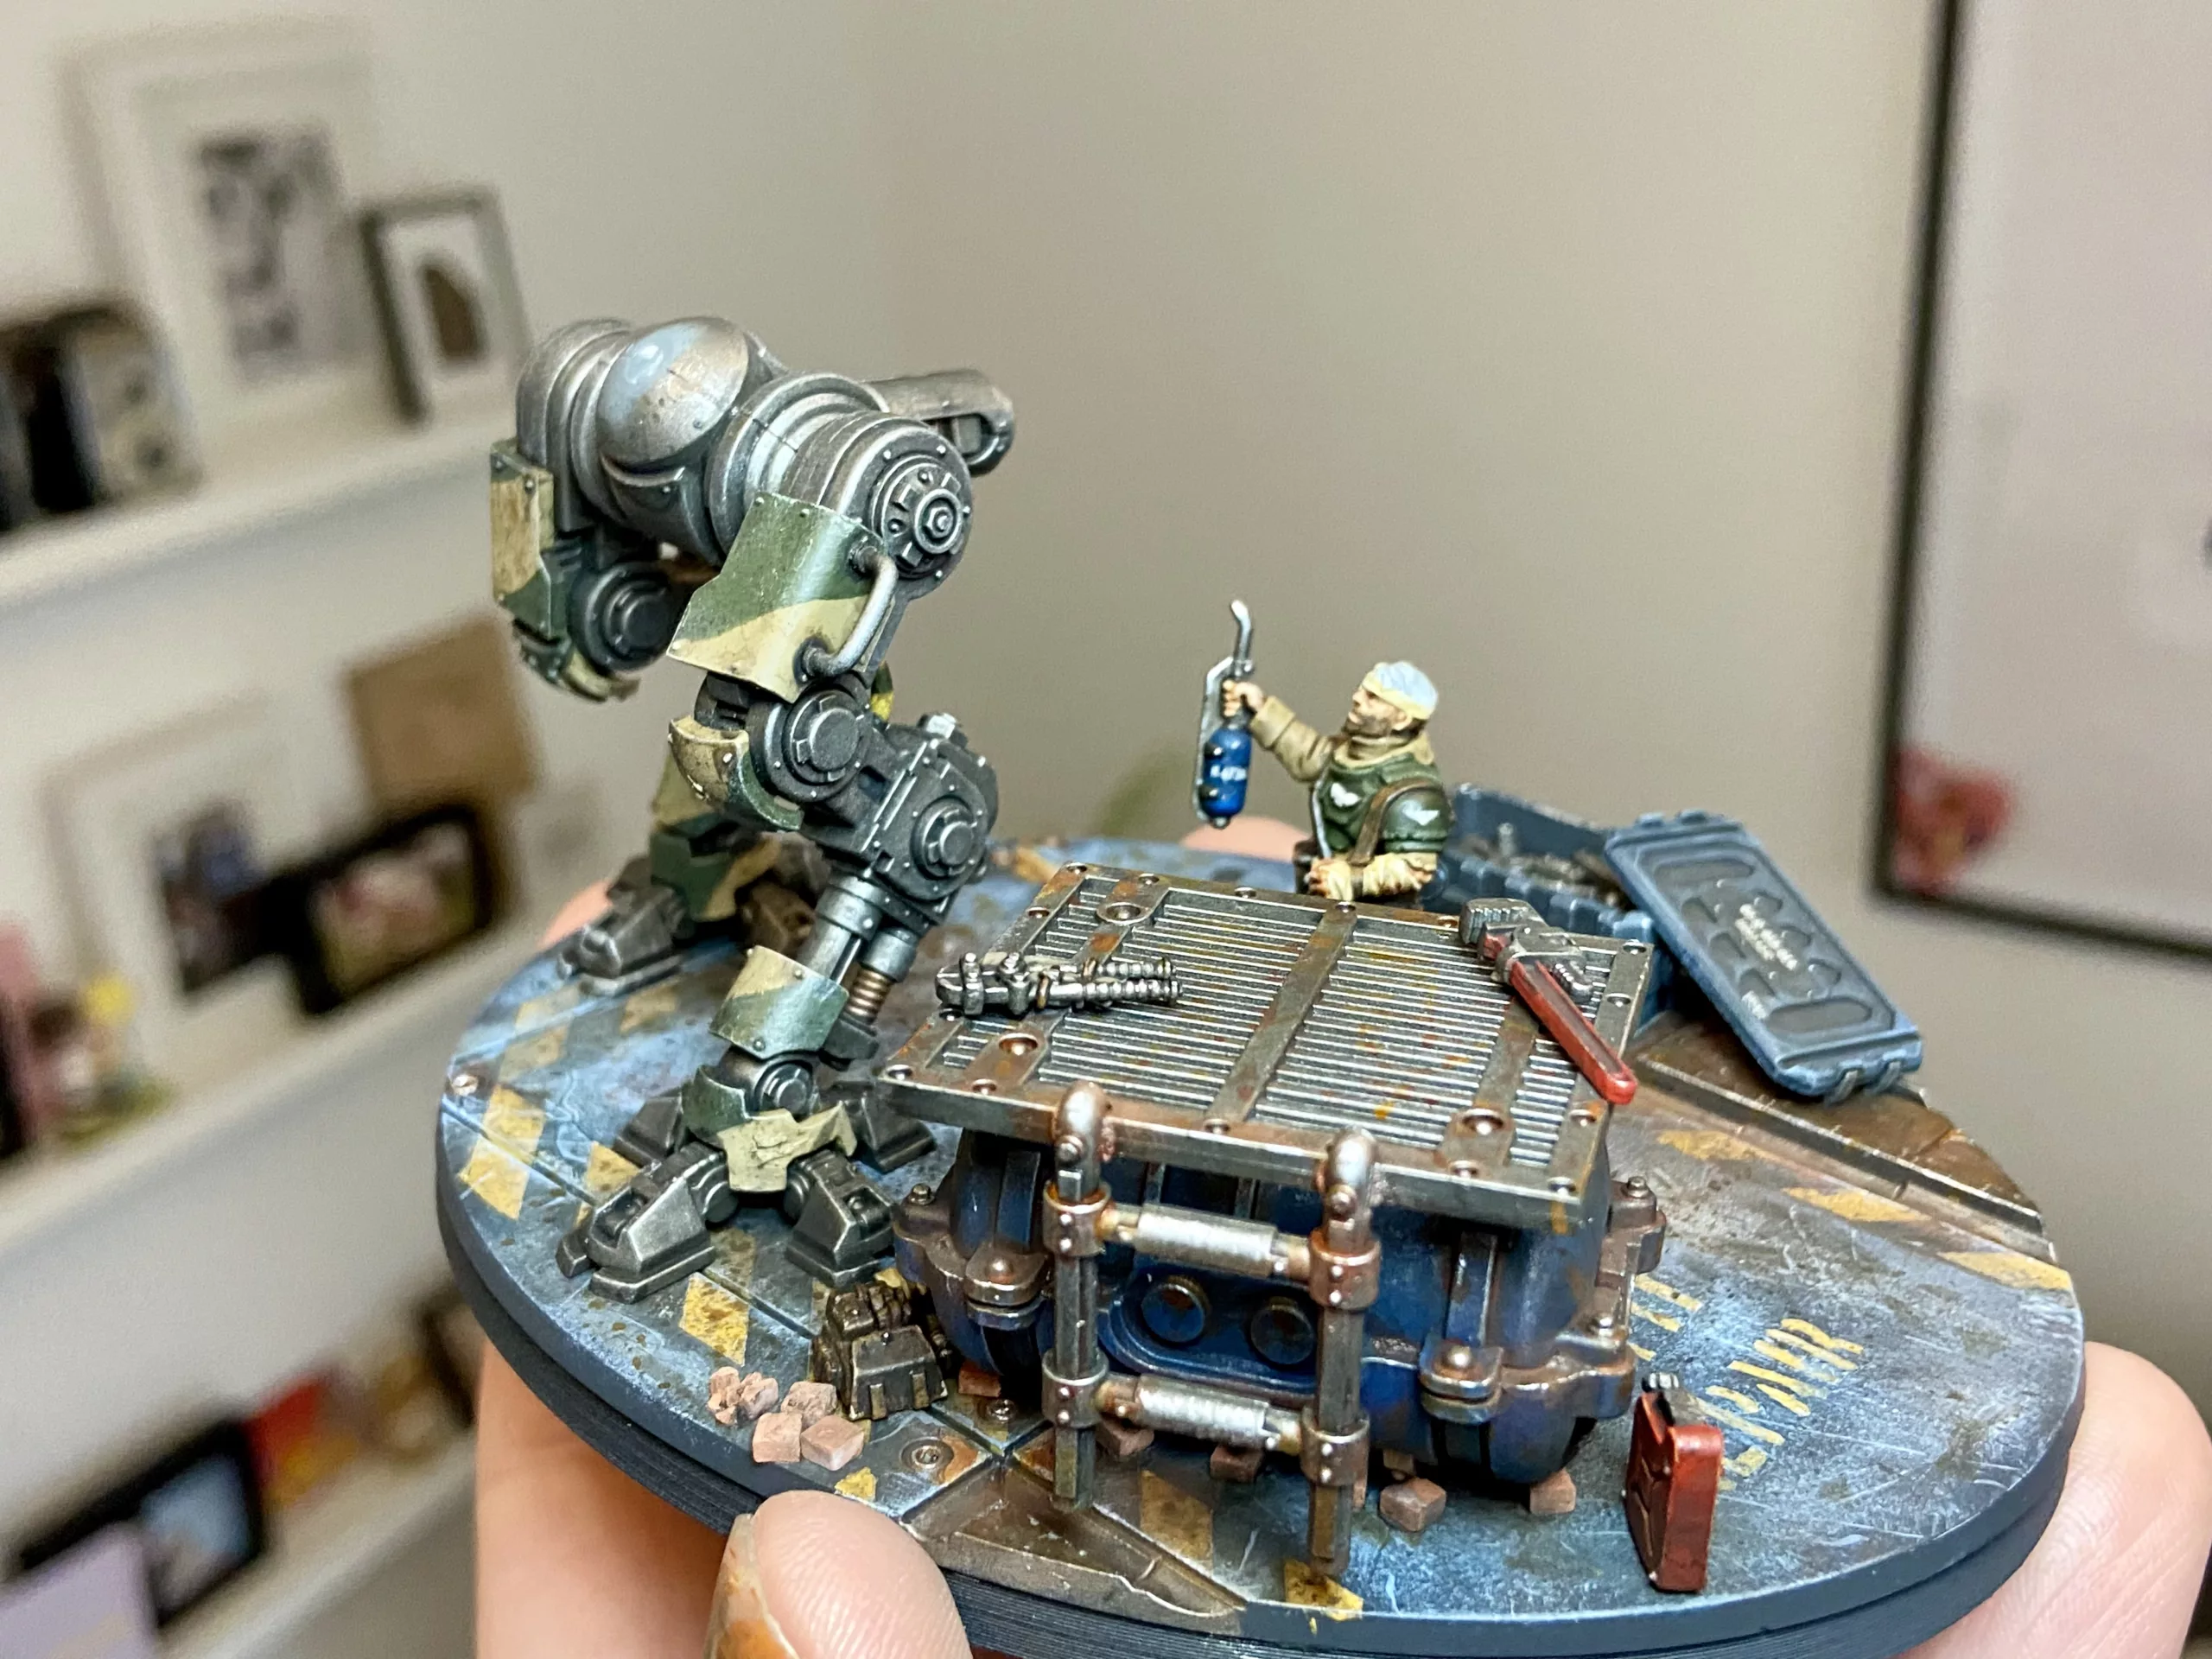
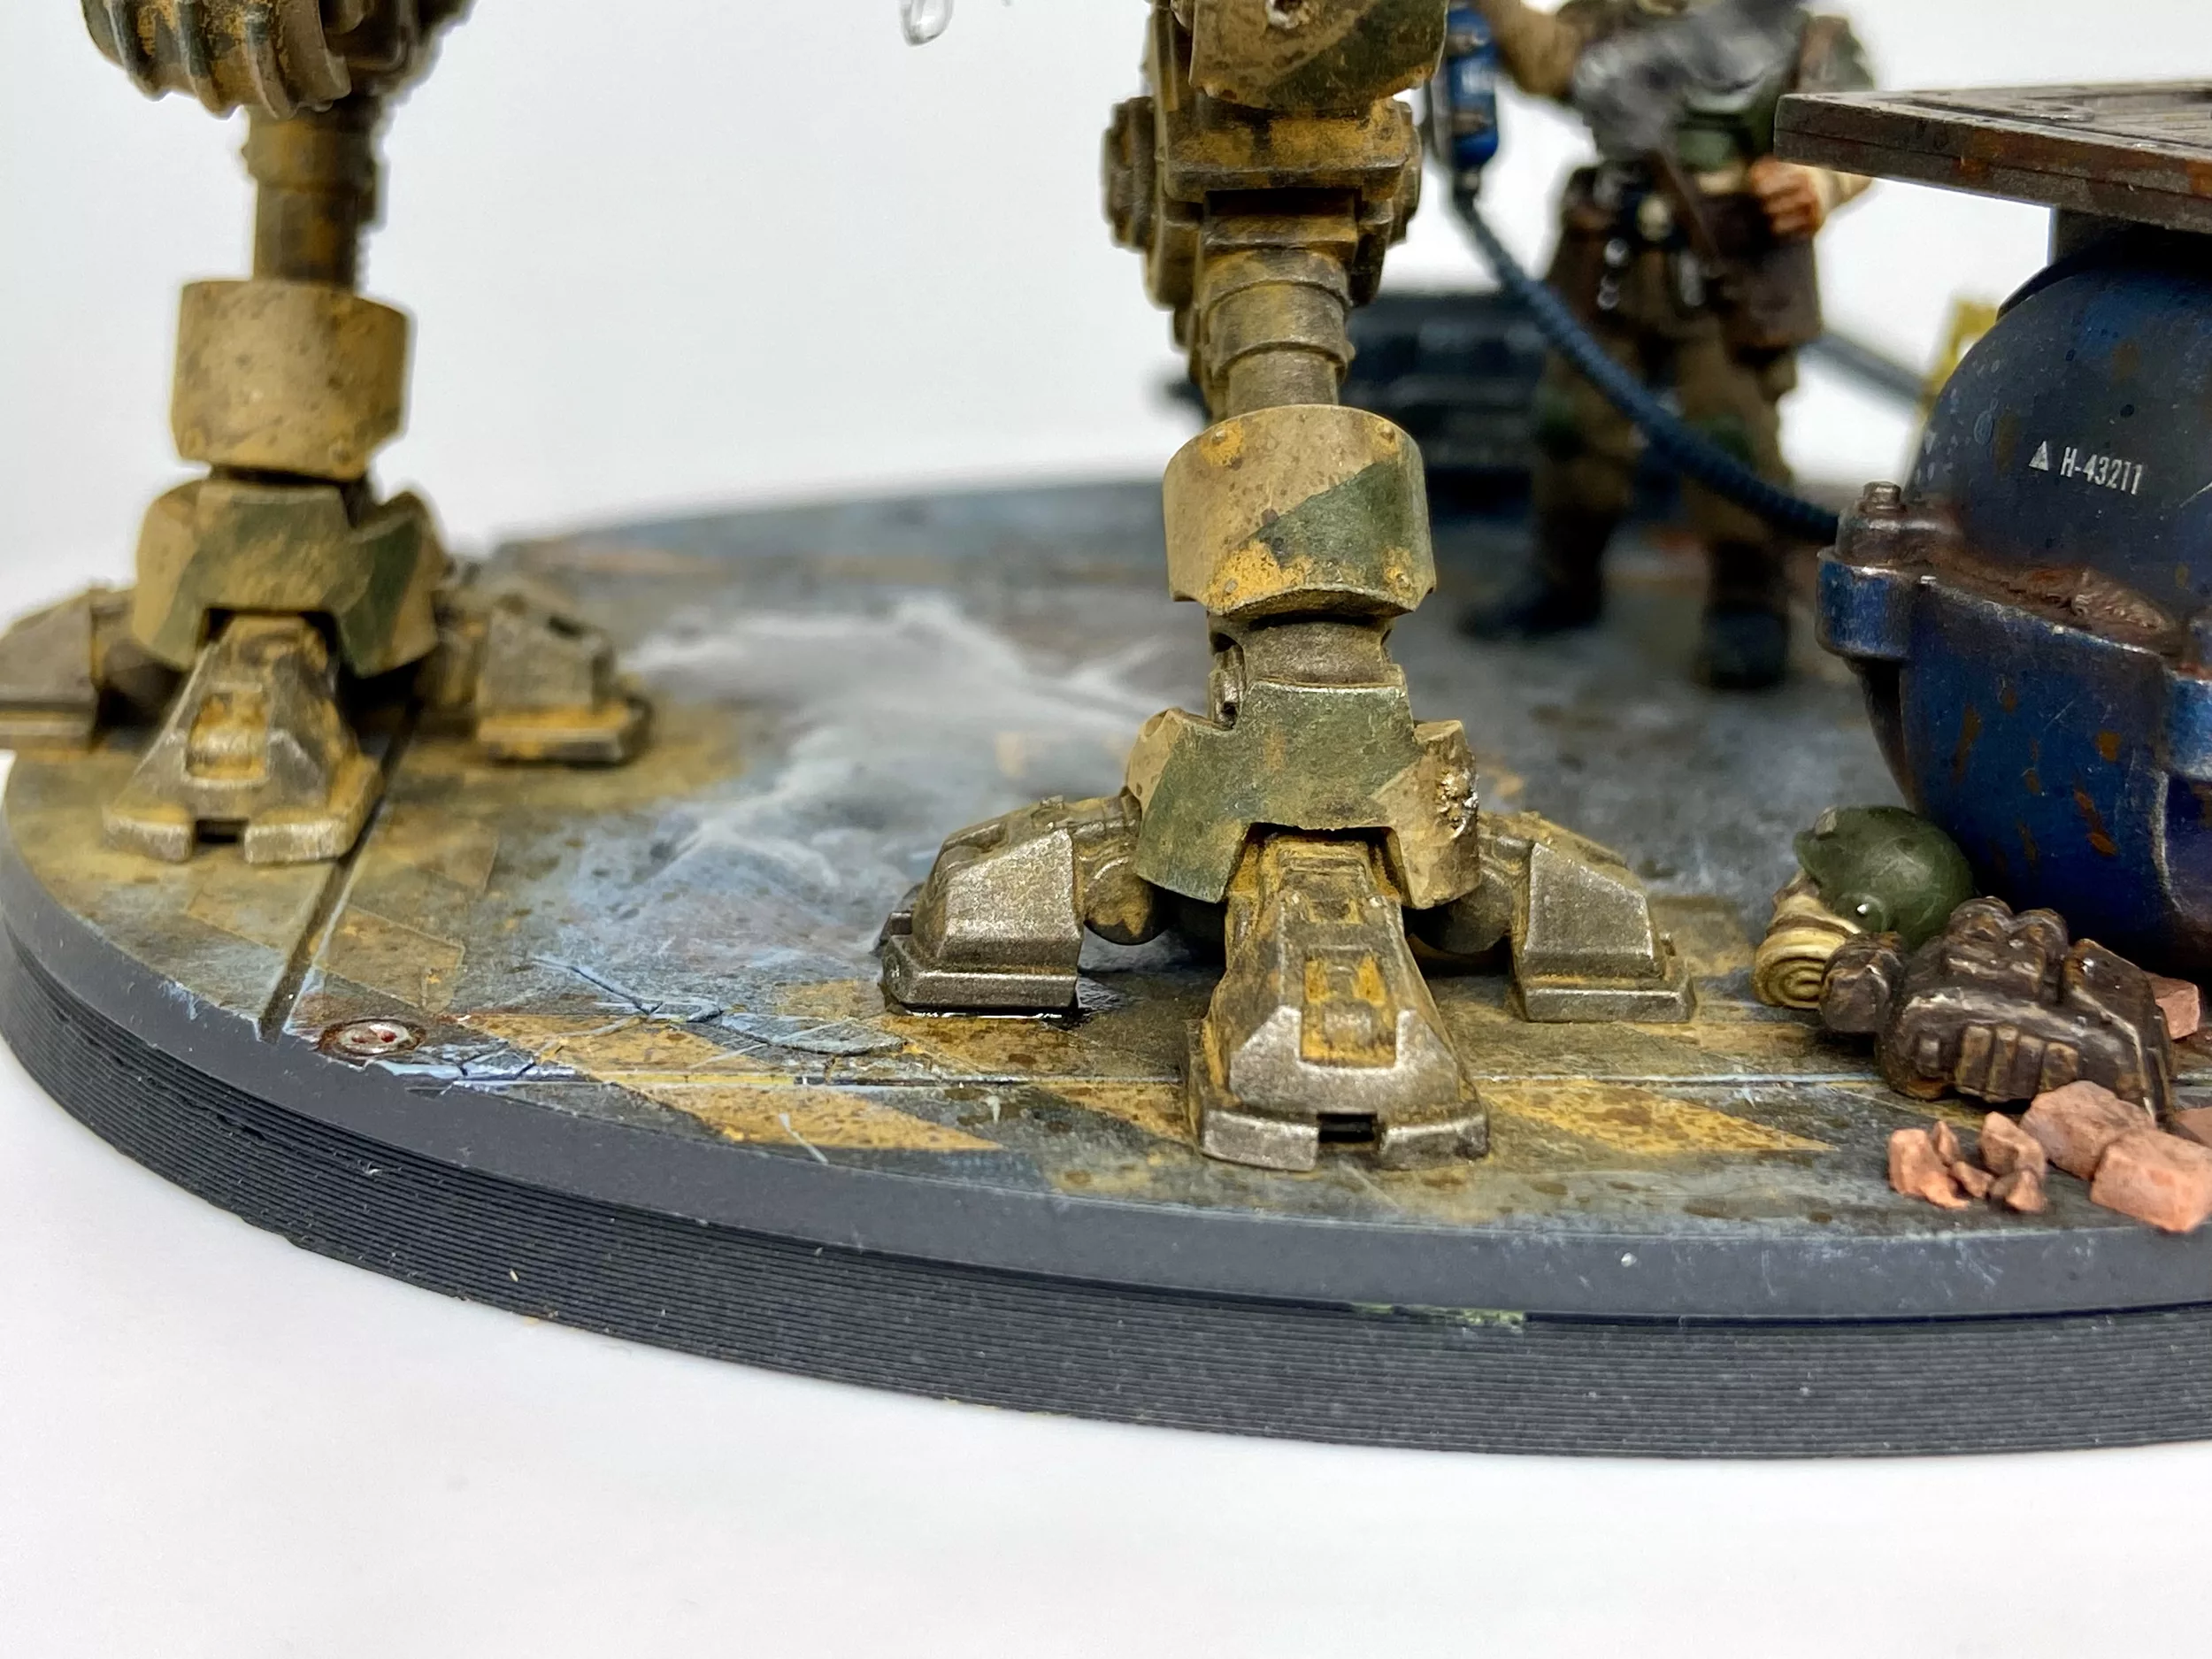
I used a Legions Imperialis 120mm Oval Base for the base, which might seem odd, but it has worked well.
- It has large, flat slabs, like a repair yard.
- The slabs are flat, which makes the hazards easy and gives the models the focus rather than the base.
- It is bigger than the regular 80mm circular base, which provides more space for the diorama.
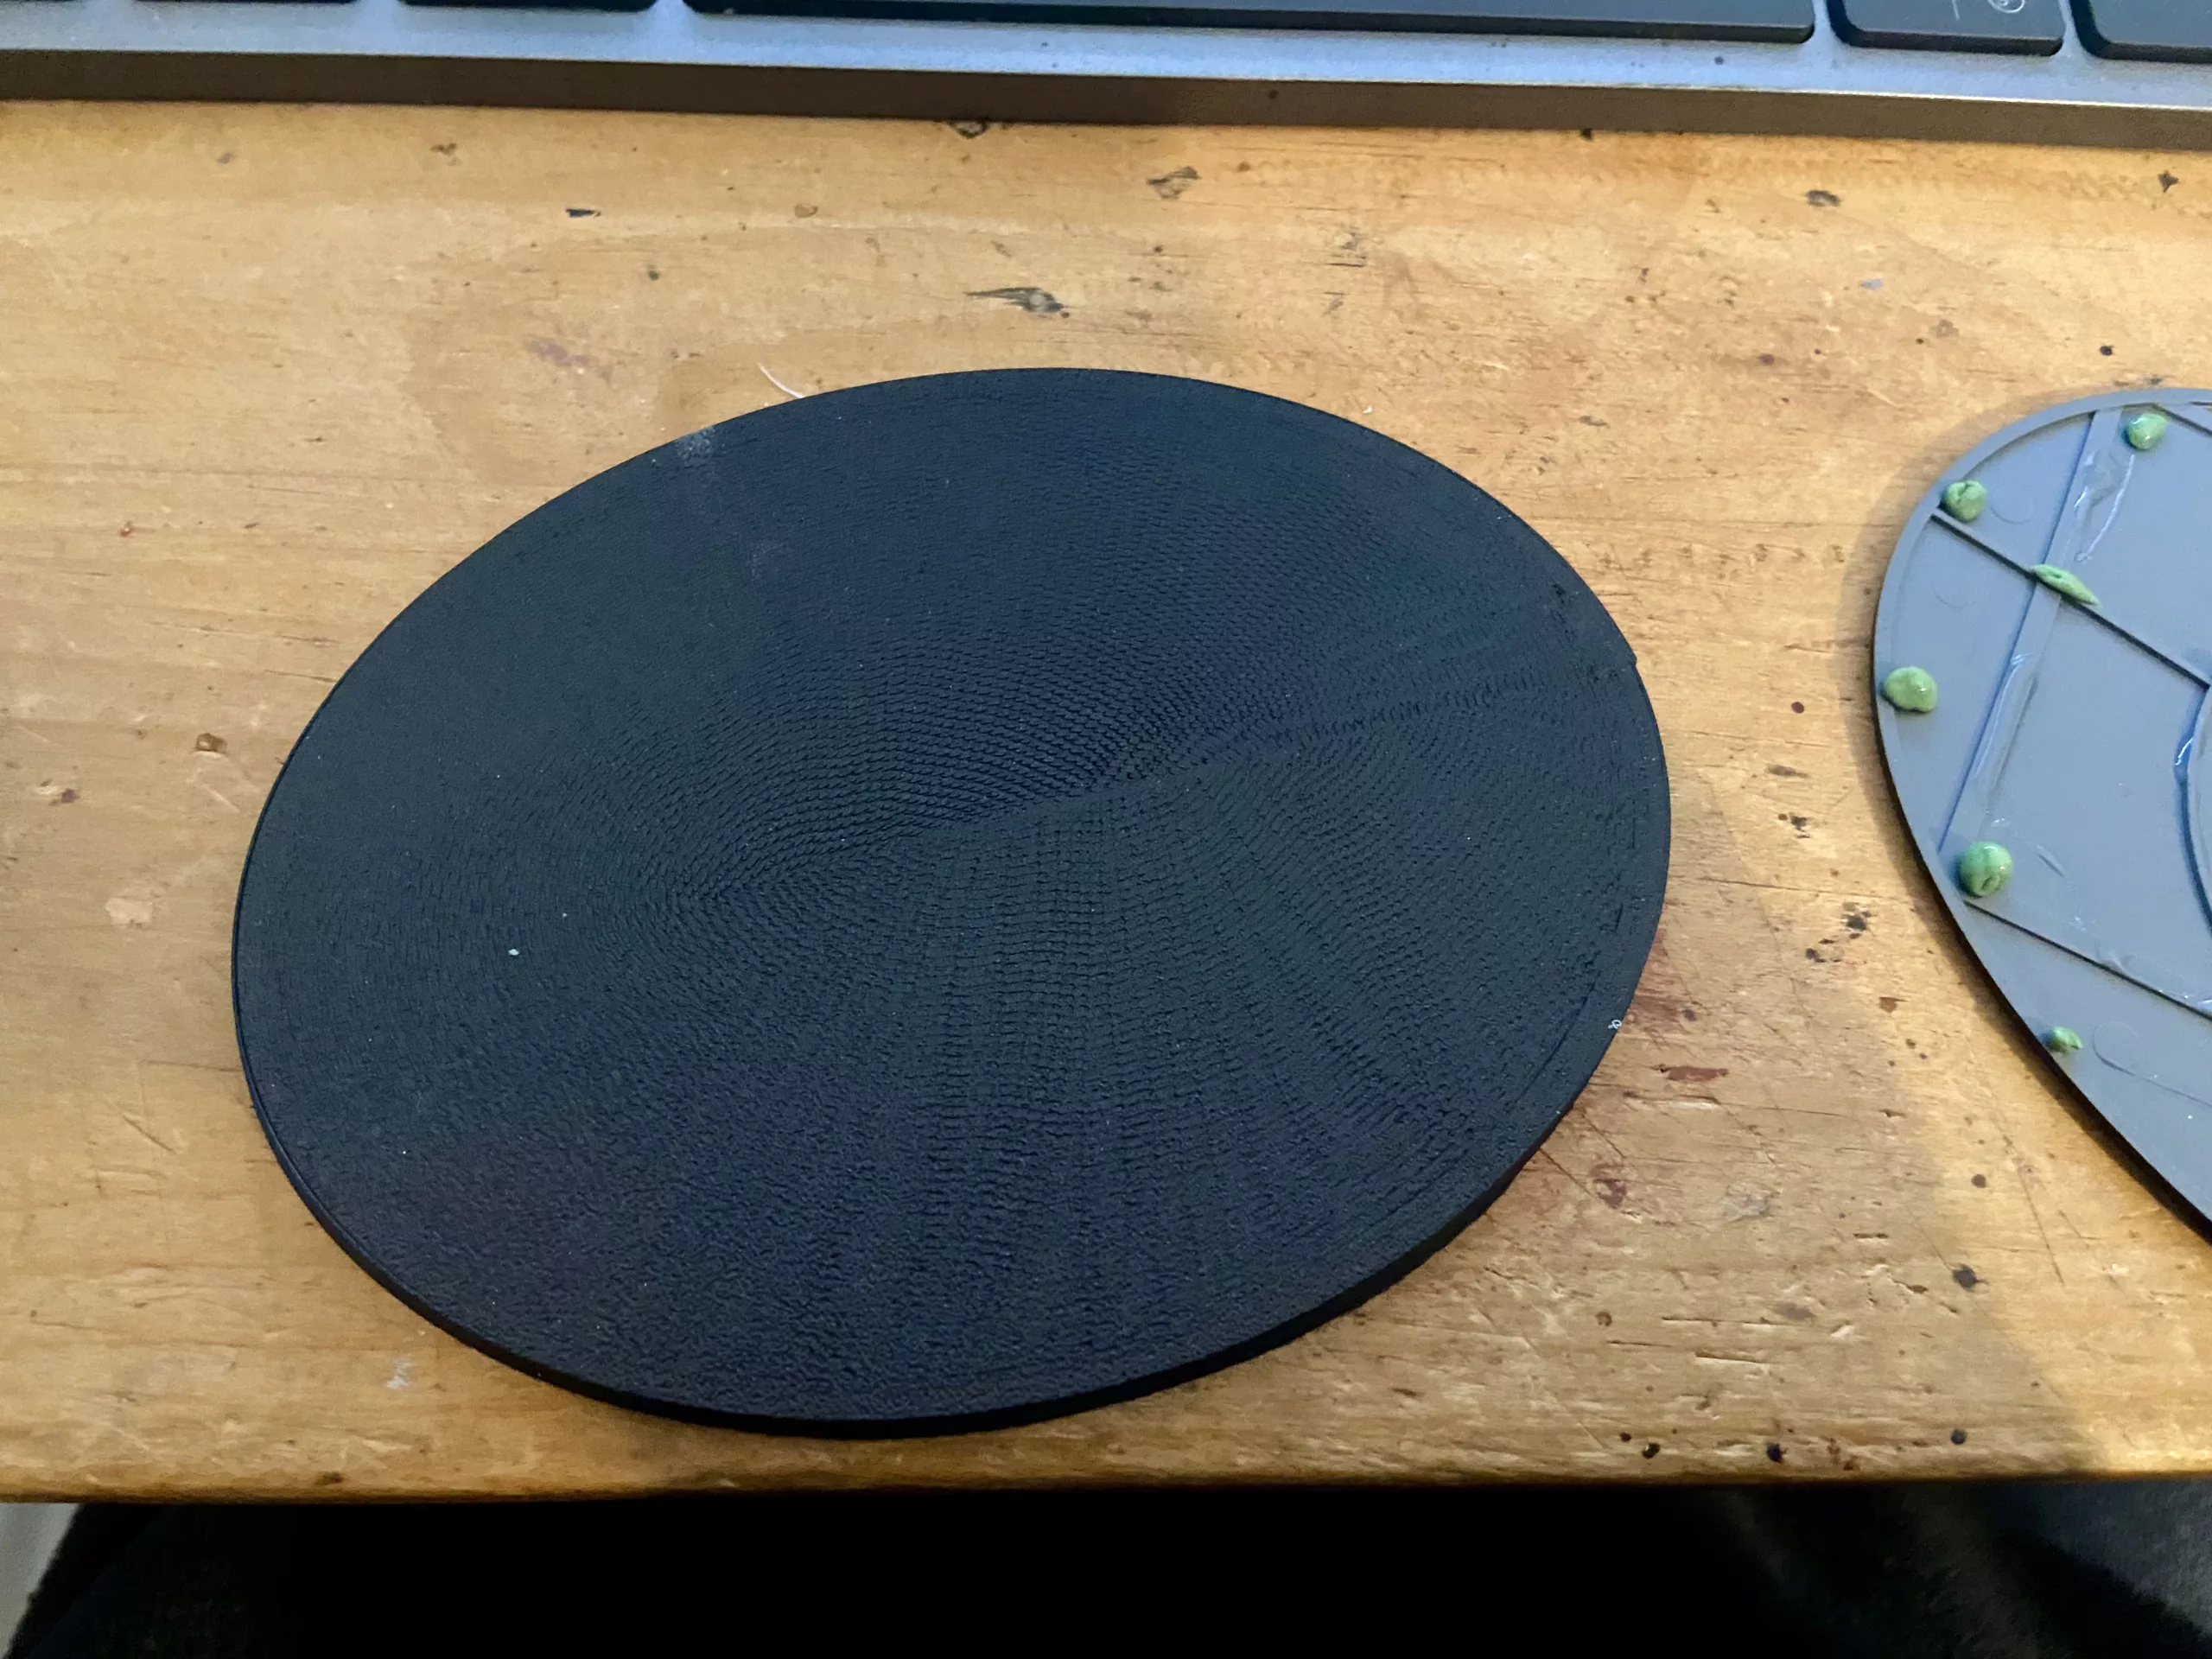
But it was warped, placing it in boiling water to flatten it did not help. So I glued it to another oval base of the same size.
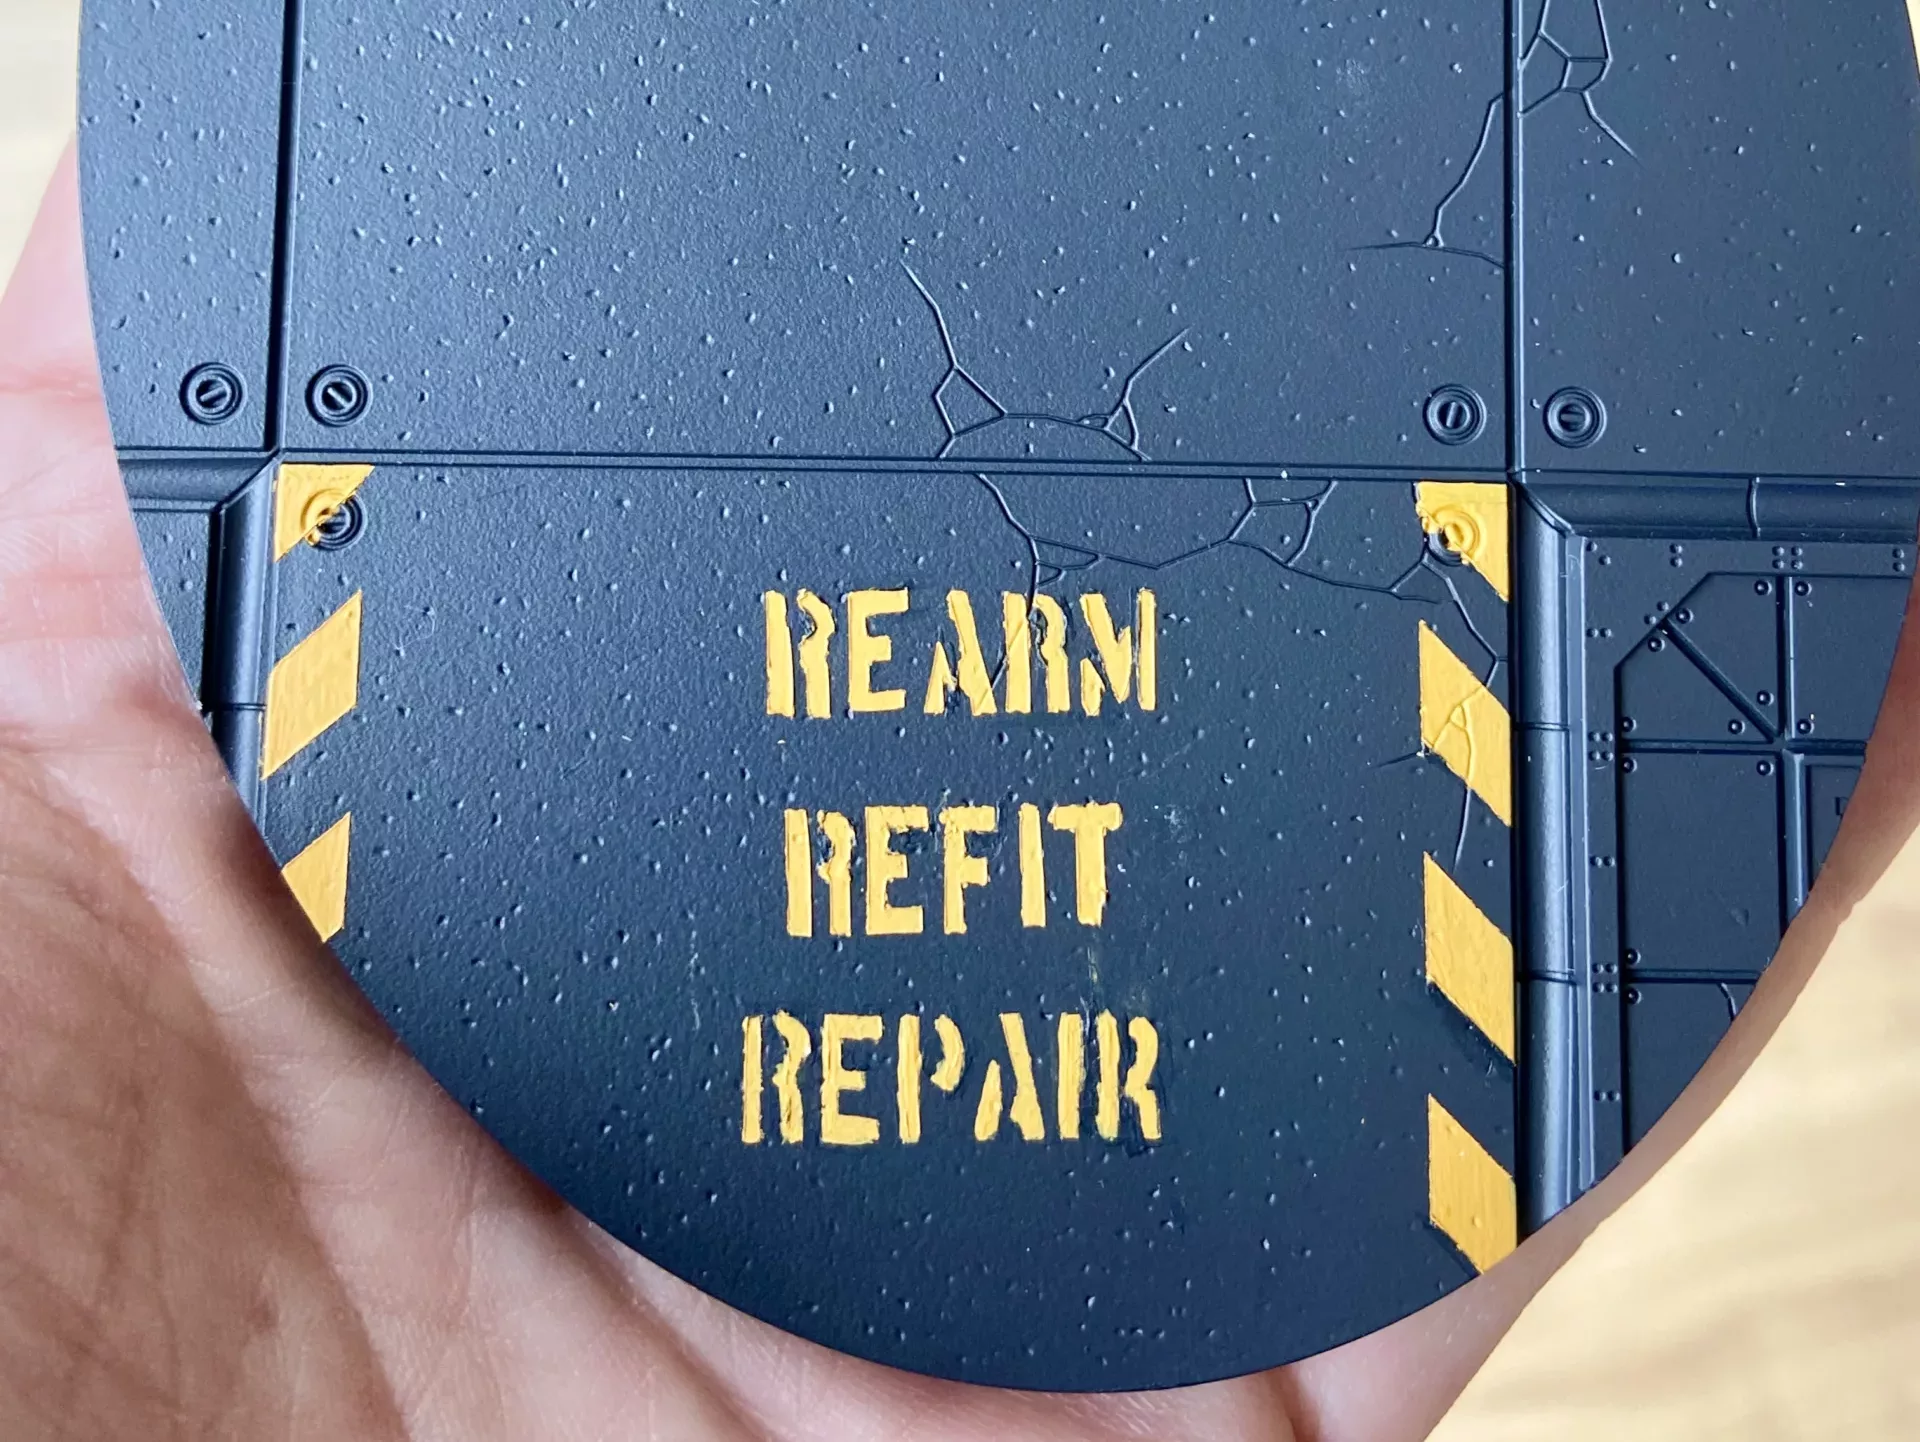
The concrete base loosely follows this tutorial on YouTube. This was my whole process;
- Prime in Colour Forge Raven Black.
- Mask hazard stripes Tamiya Precision Tape and letter stencil.
- Paint yellow with Averland Yellow.
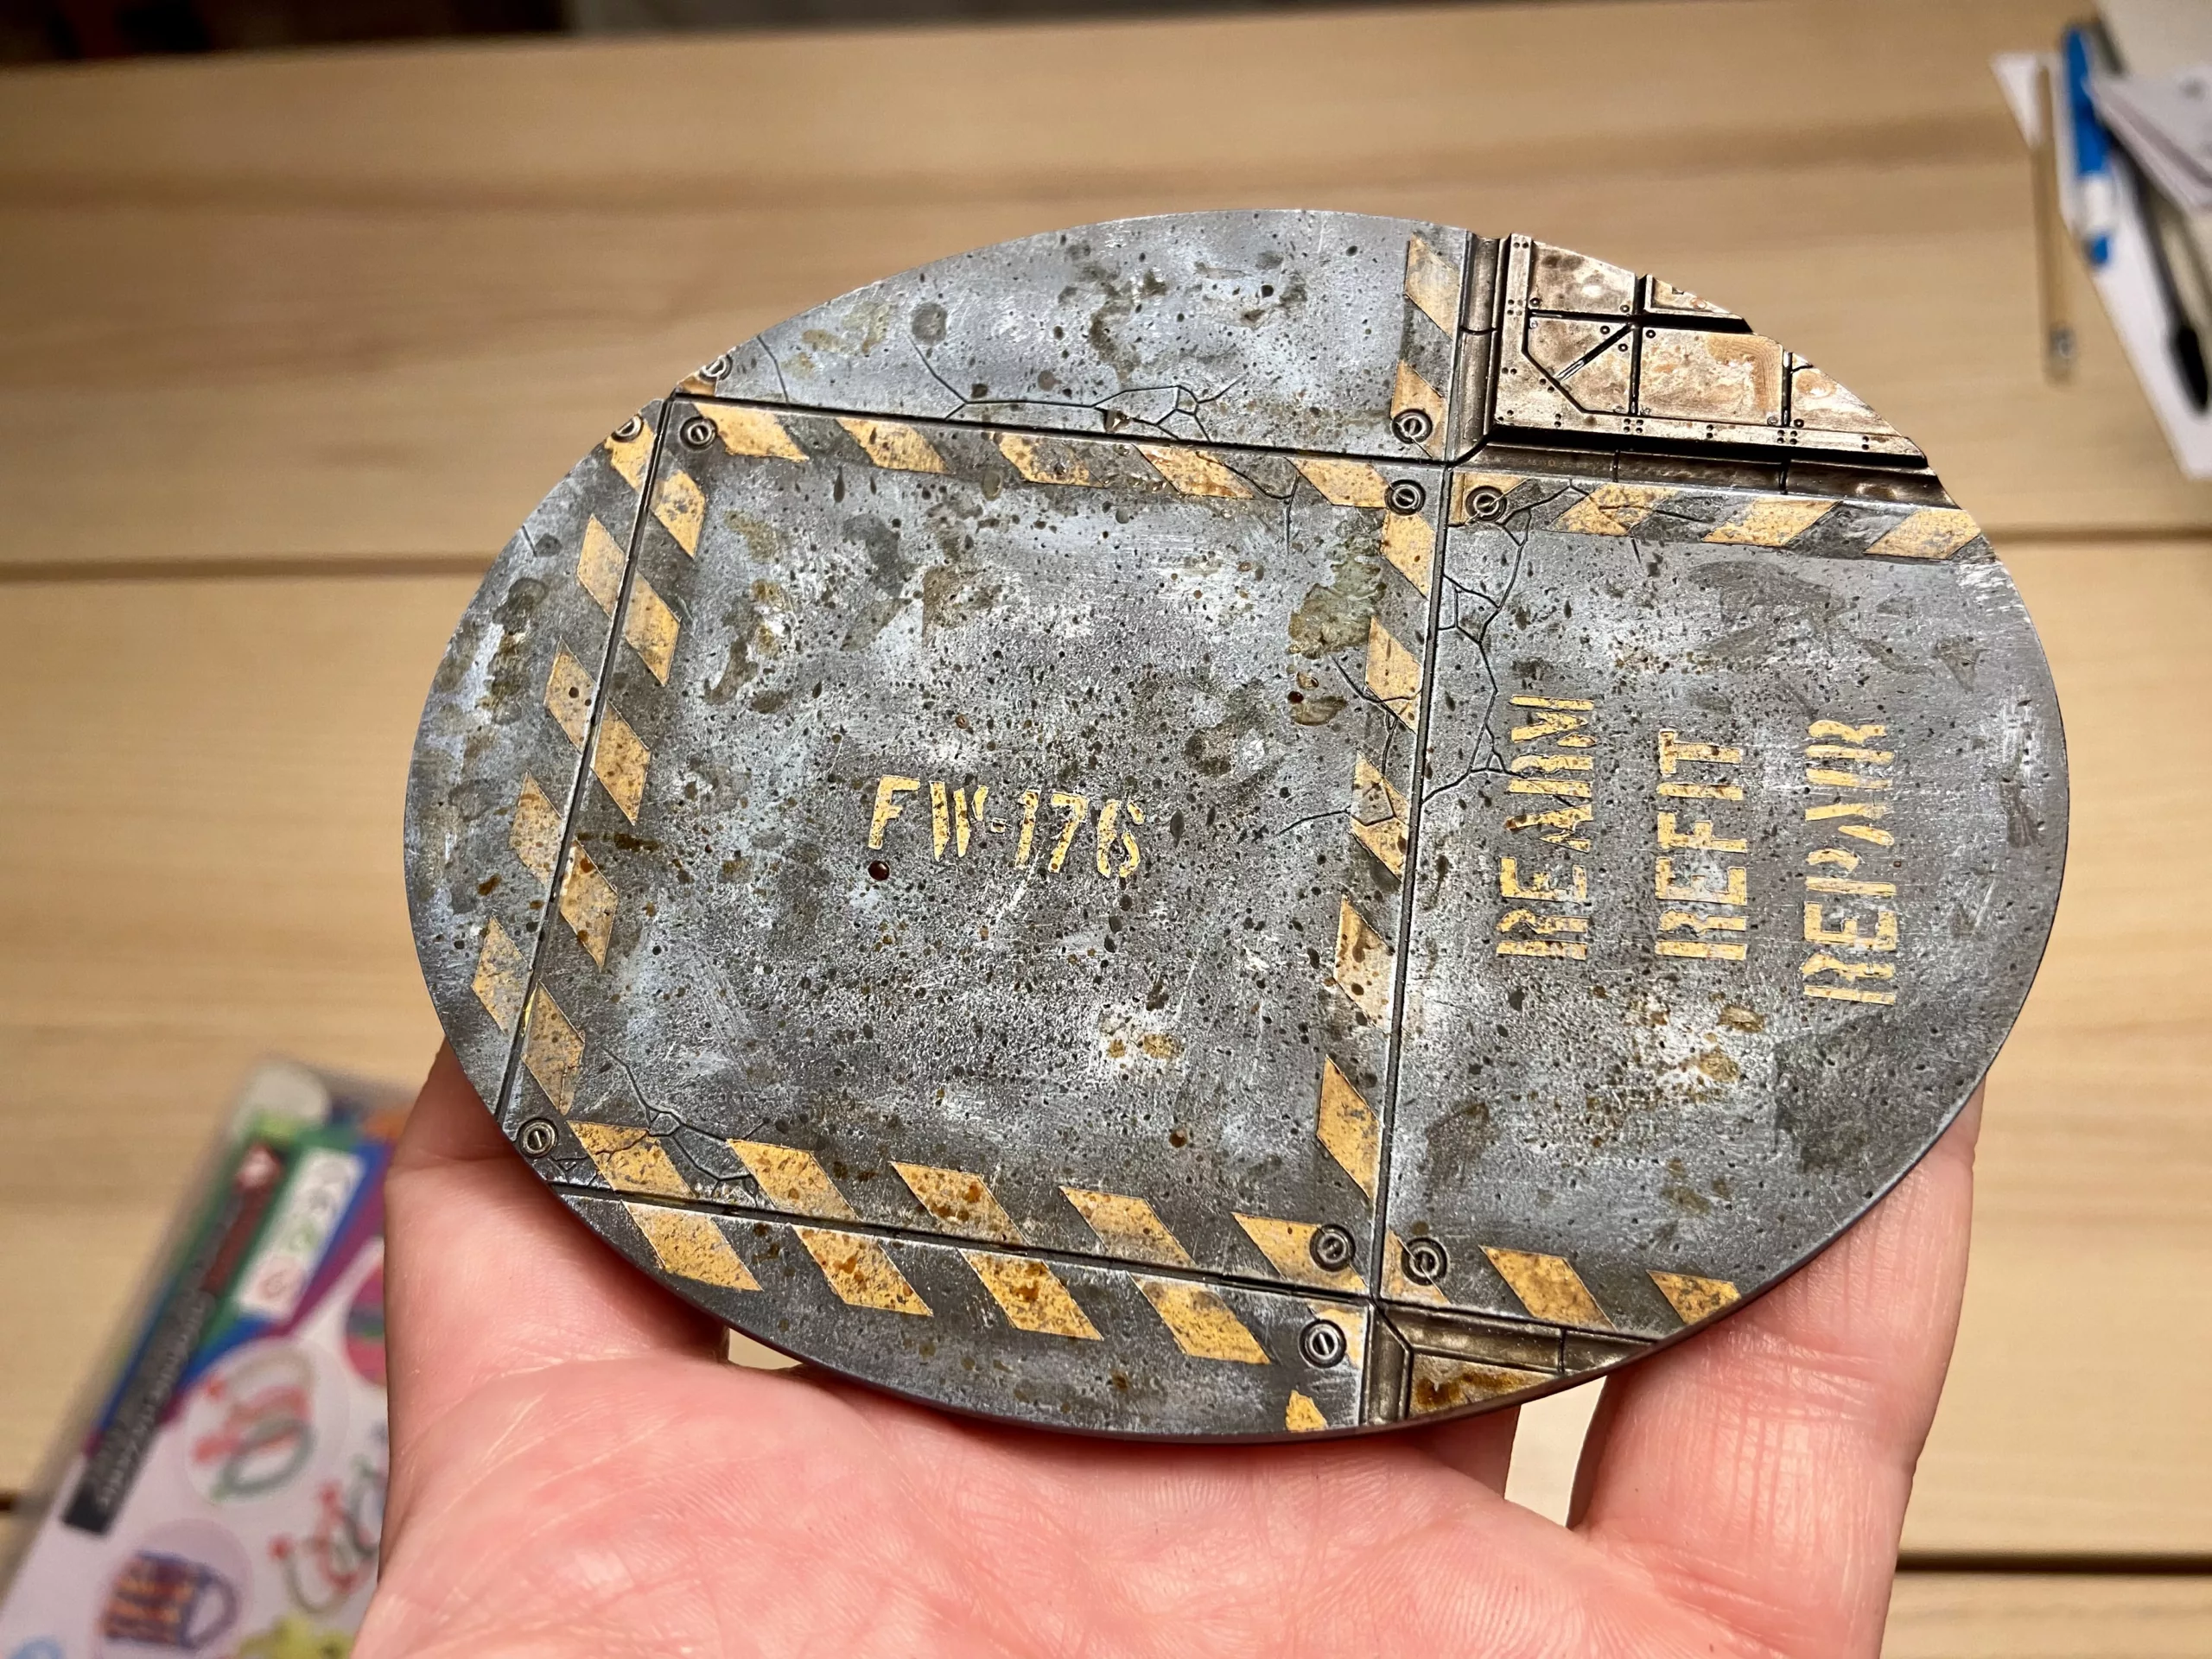
- Metallics in Leadbelcher.
- Wash metallics with Nuln Oil.
- Stipple and drybrush with Dark Reaper (very dark grey).
- Repeat with Fenressian Grey.
- Repeat again with a mix of white and Fenressian Grey.
- Flick on spots of Nuln Oil, Agrax Earthshade and Seraphim Sepia.
- Black and rust pigment powder.
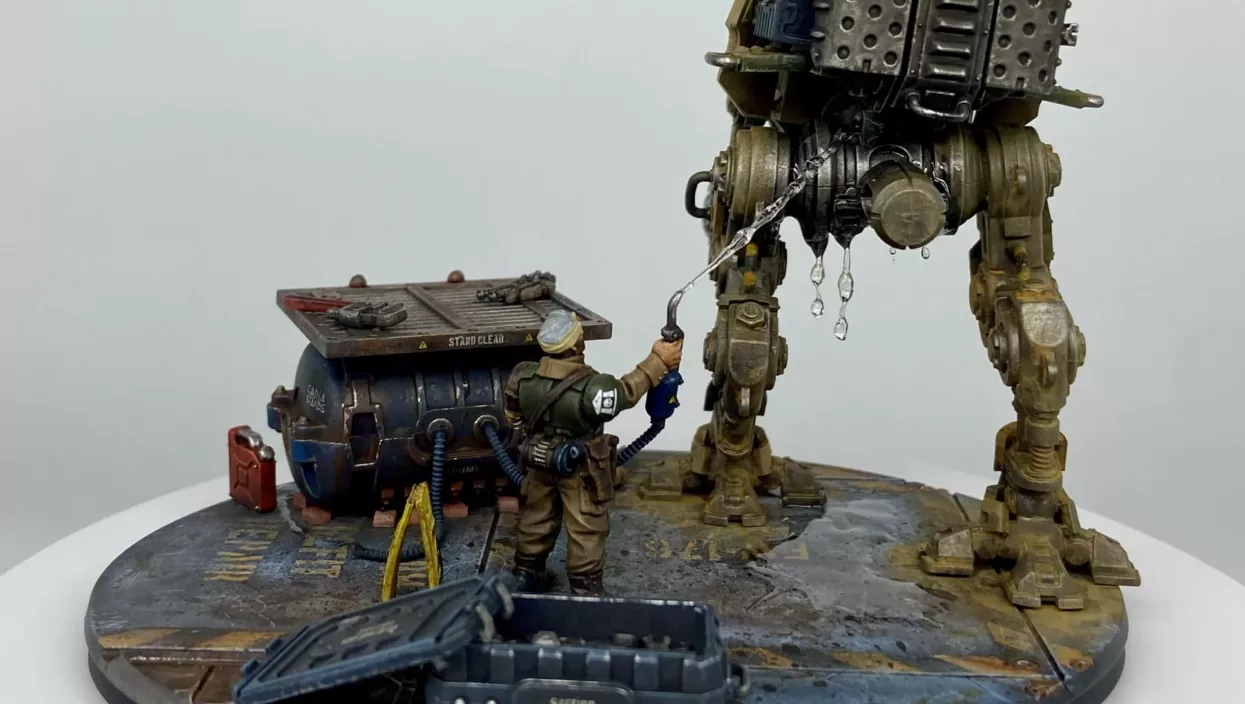
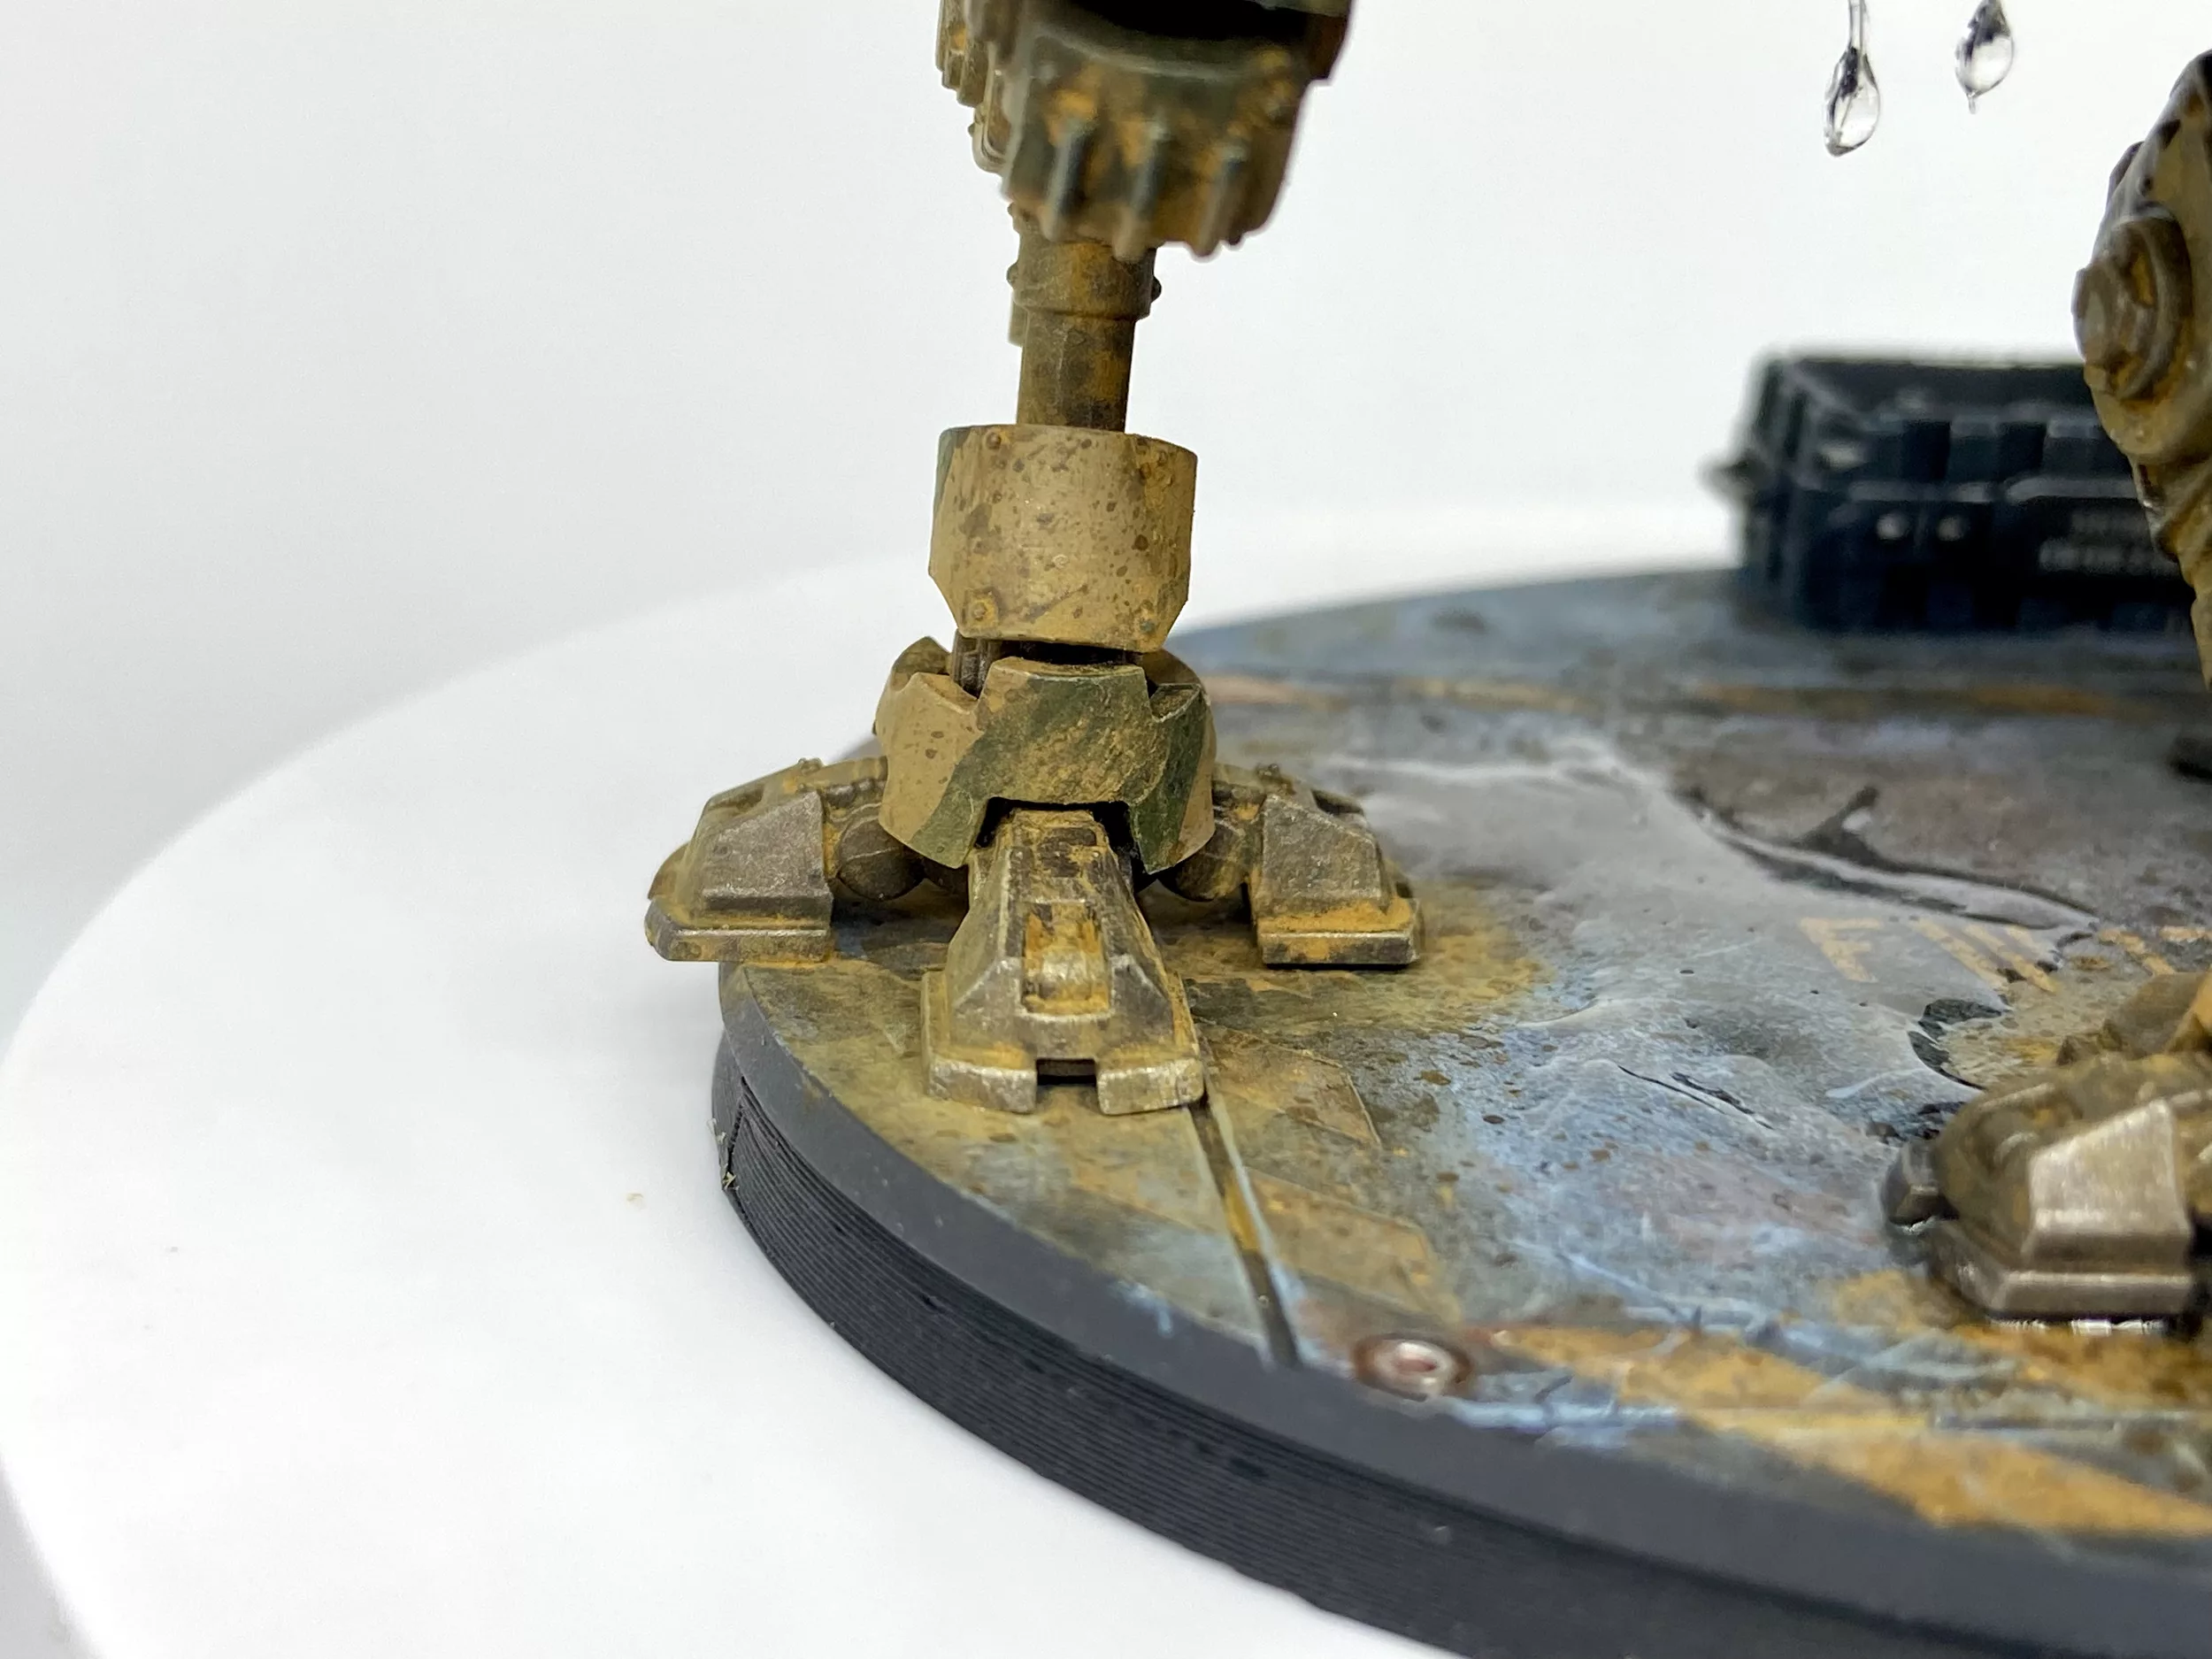
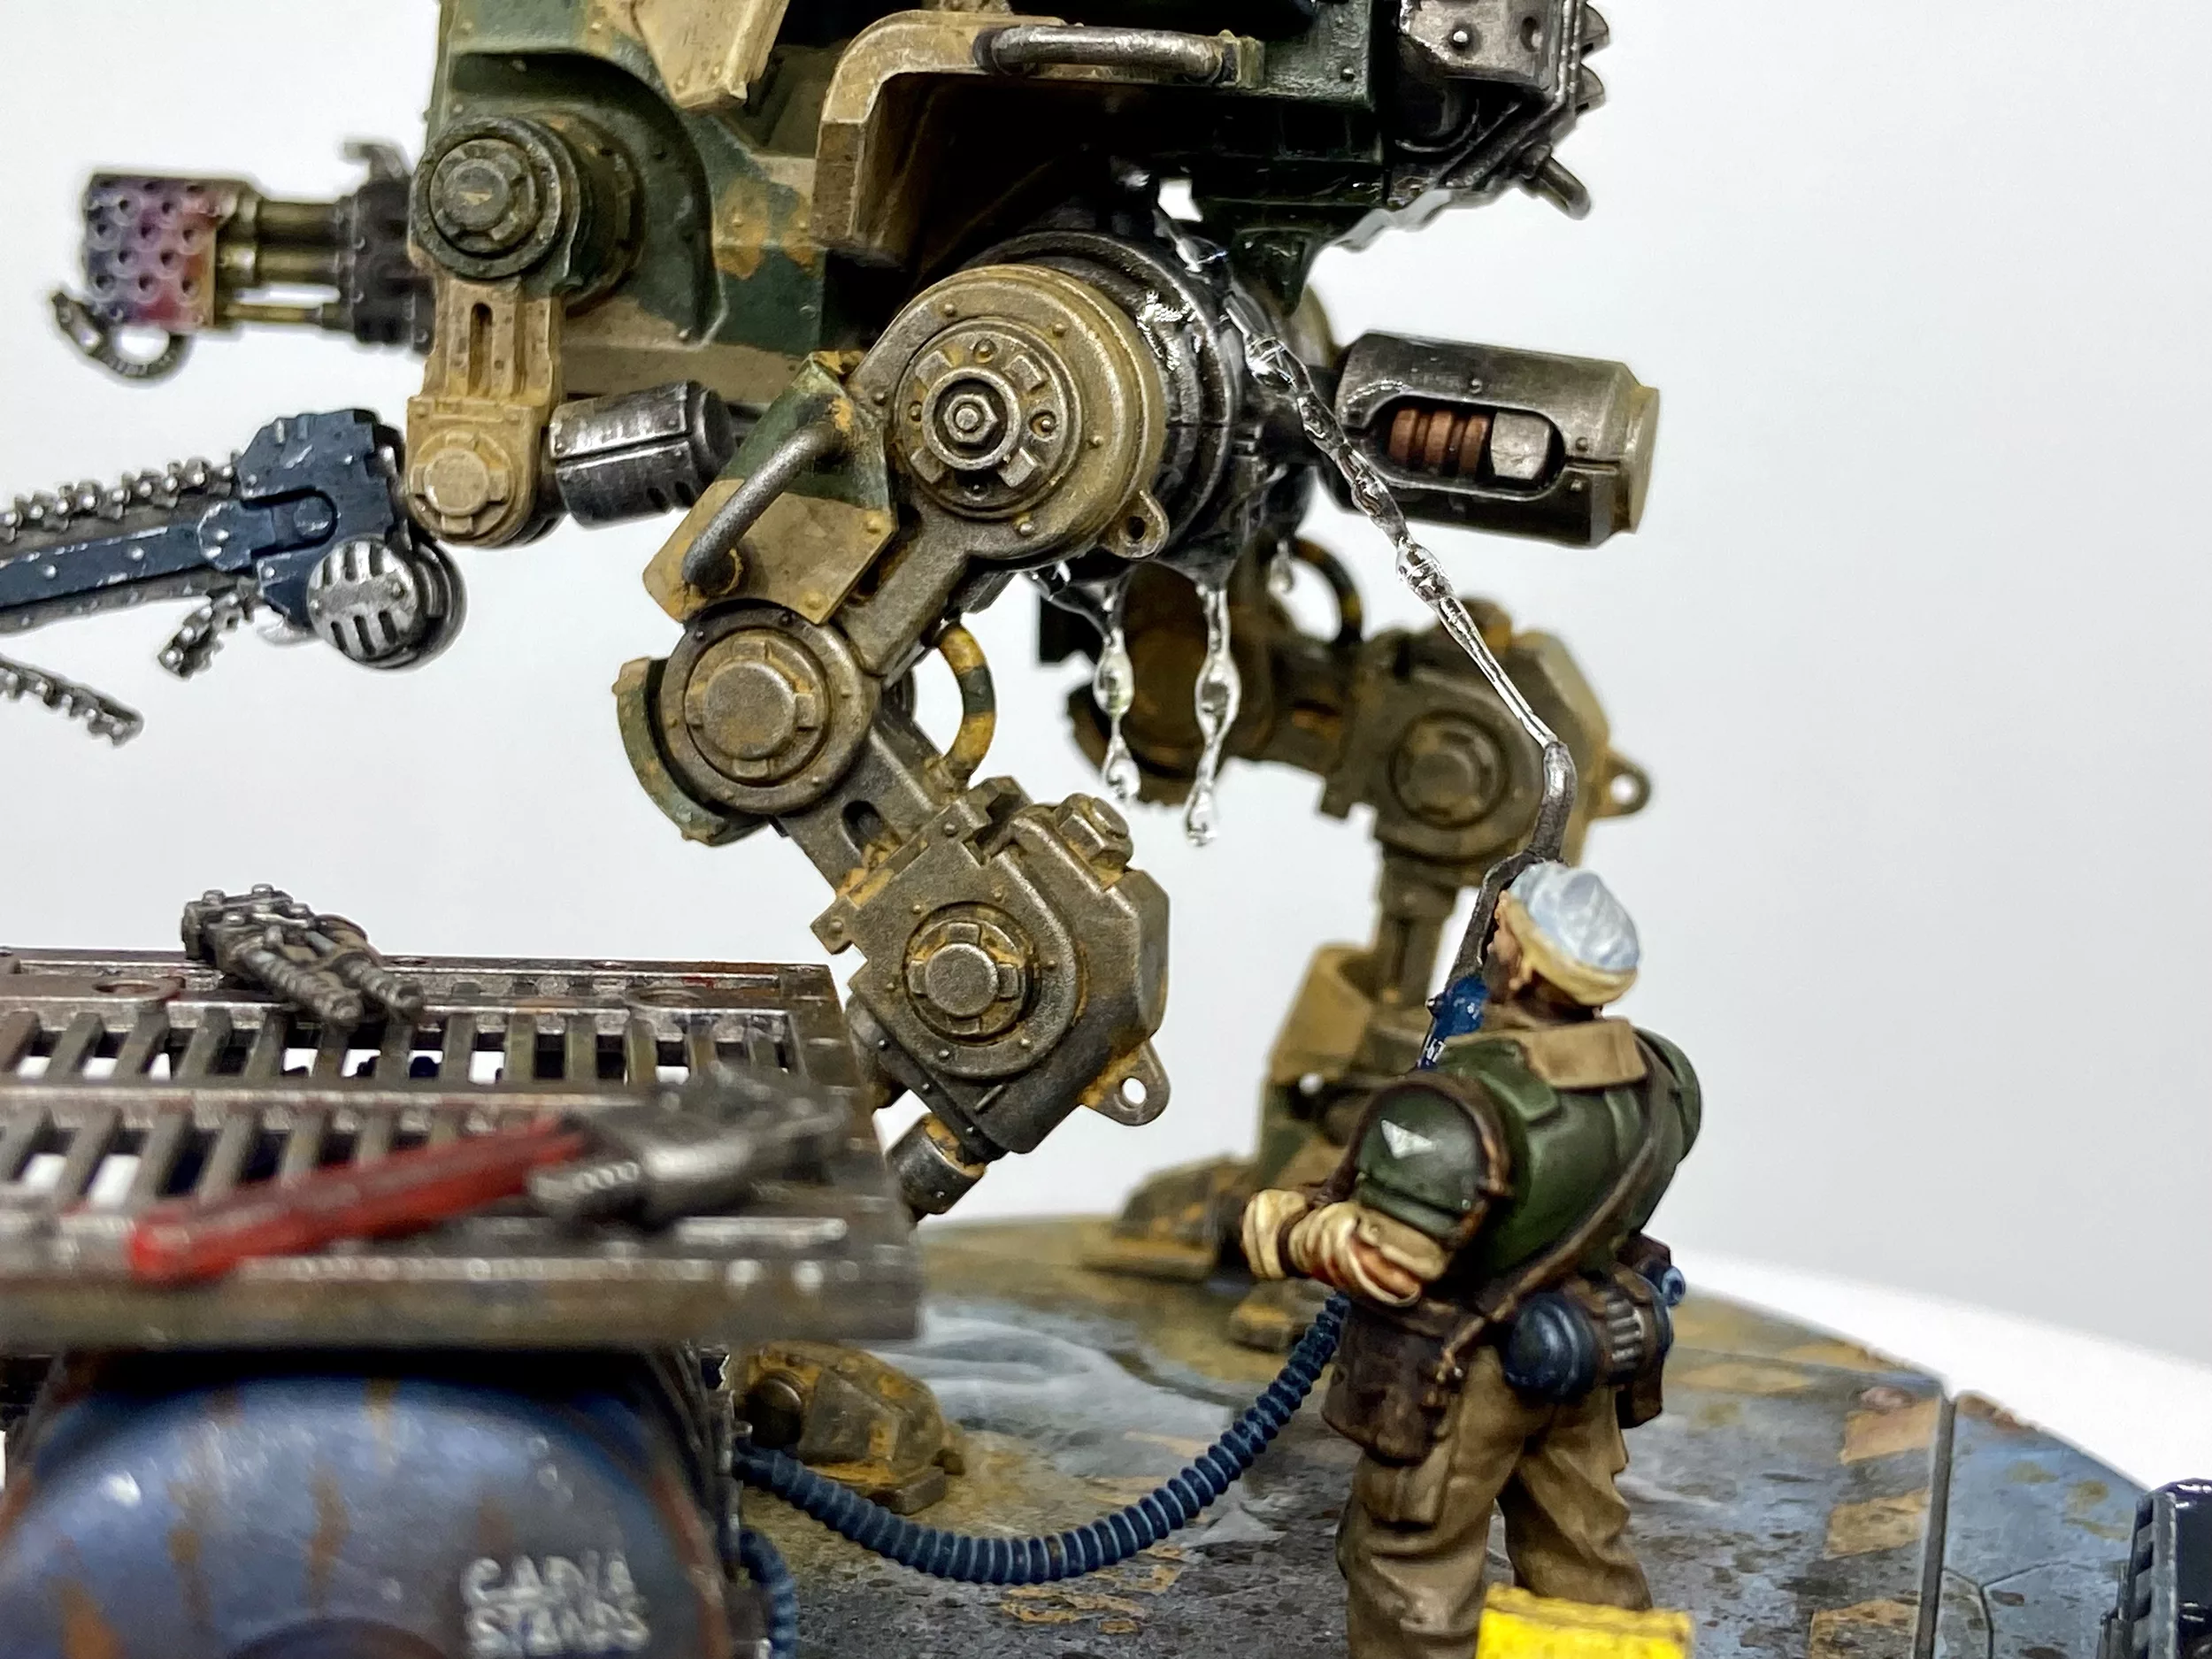
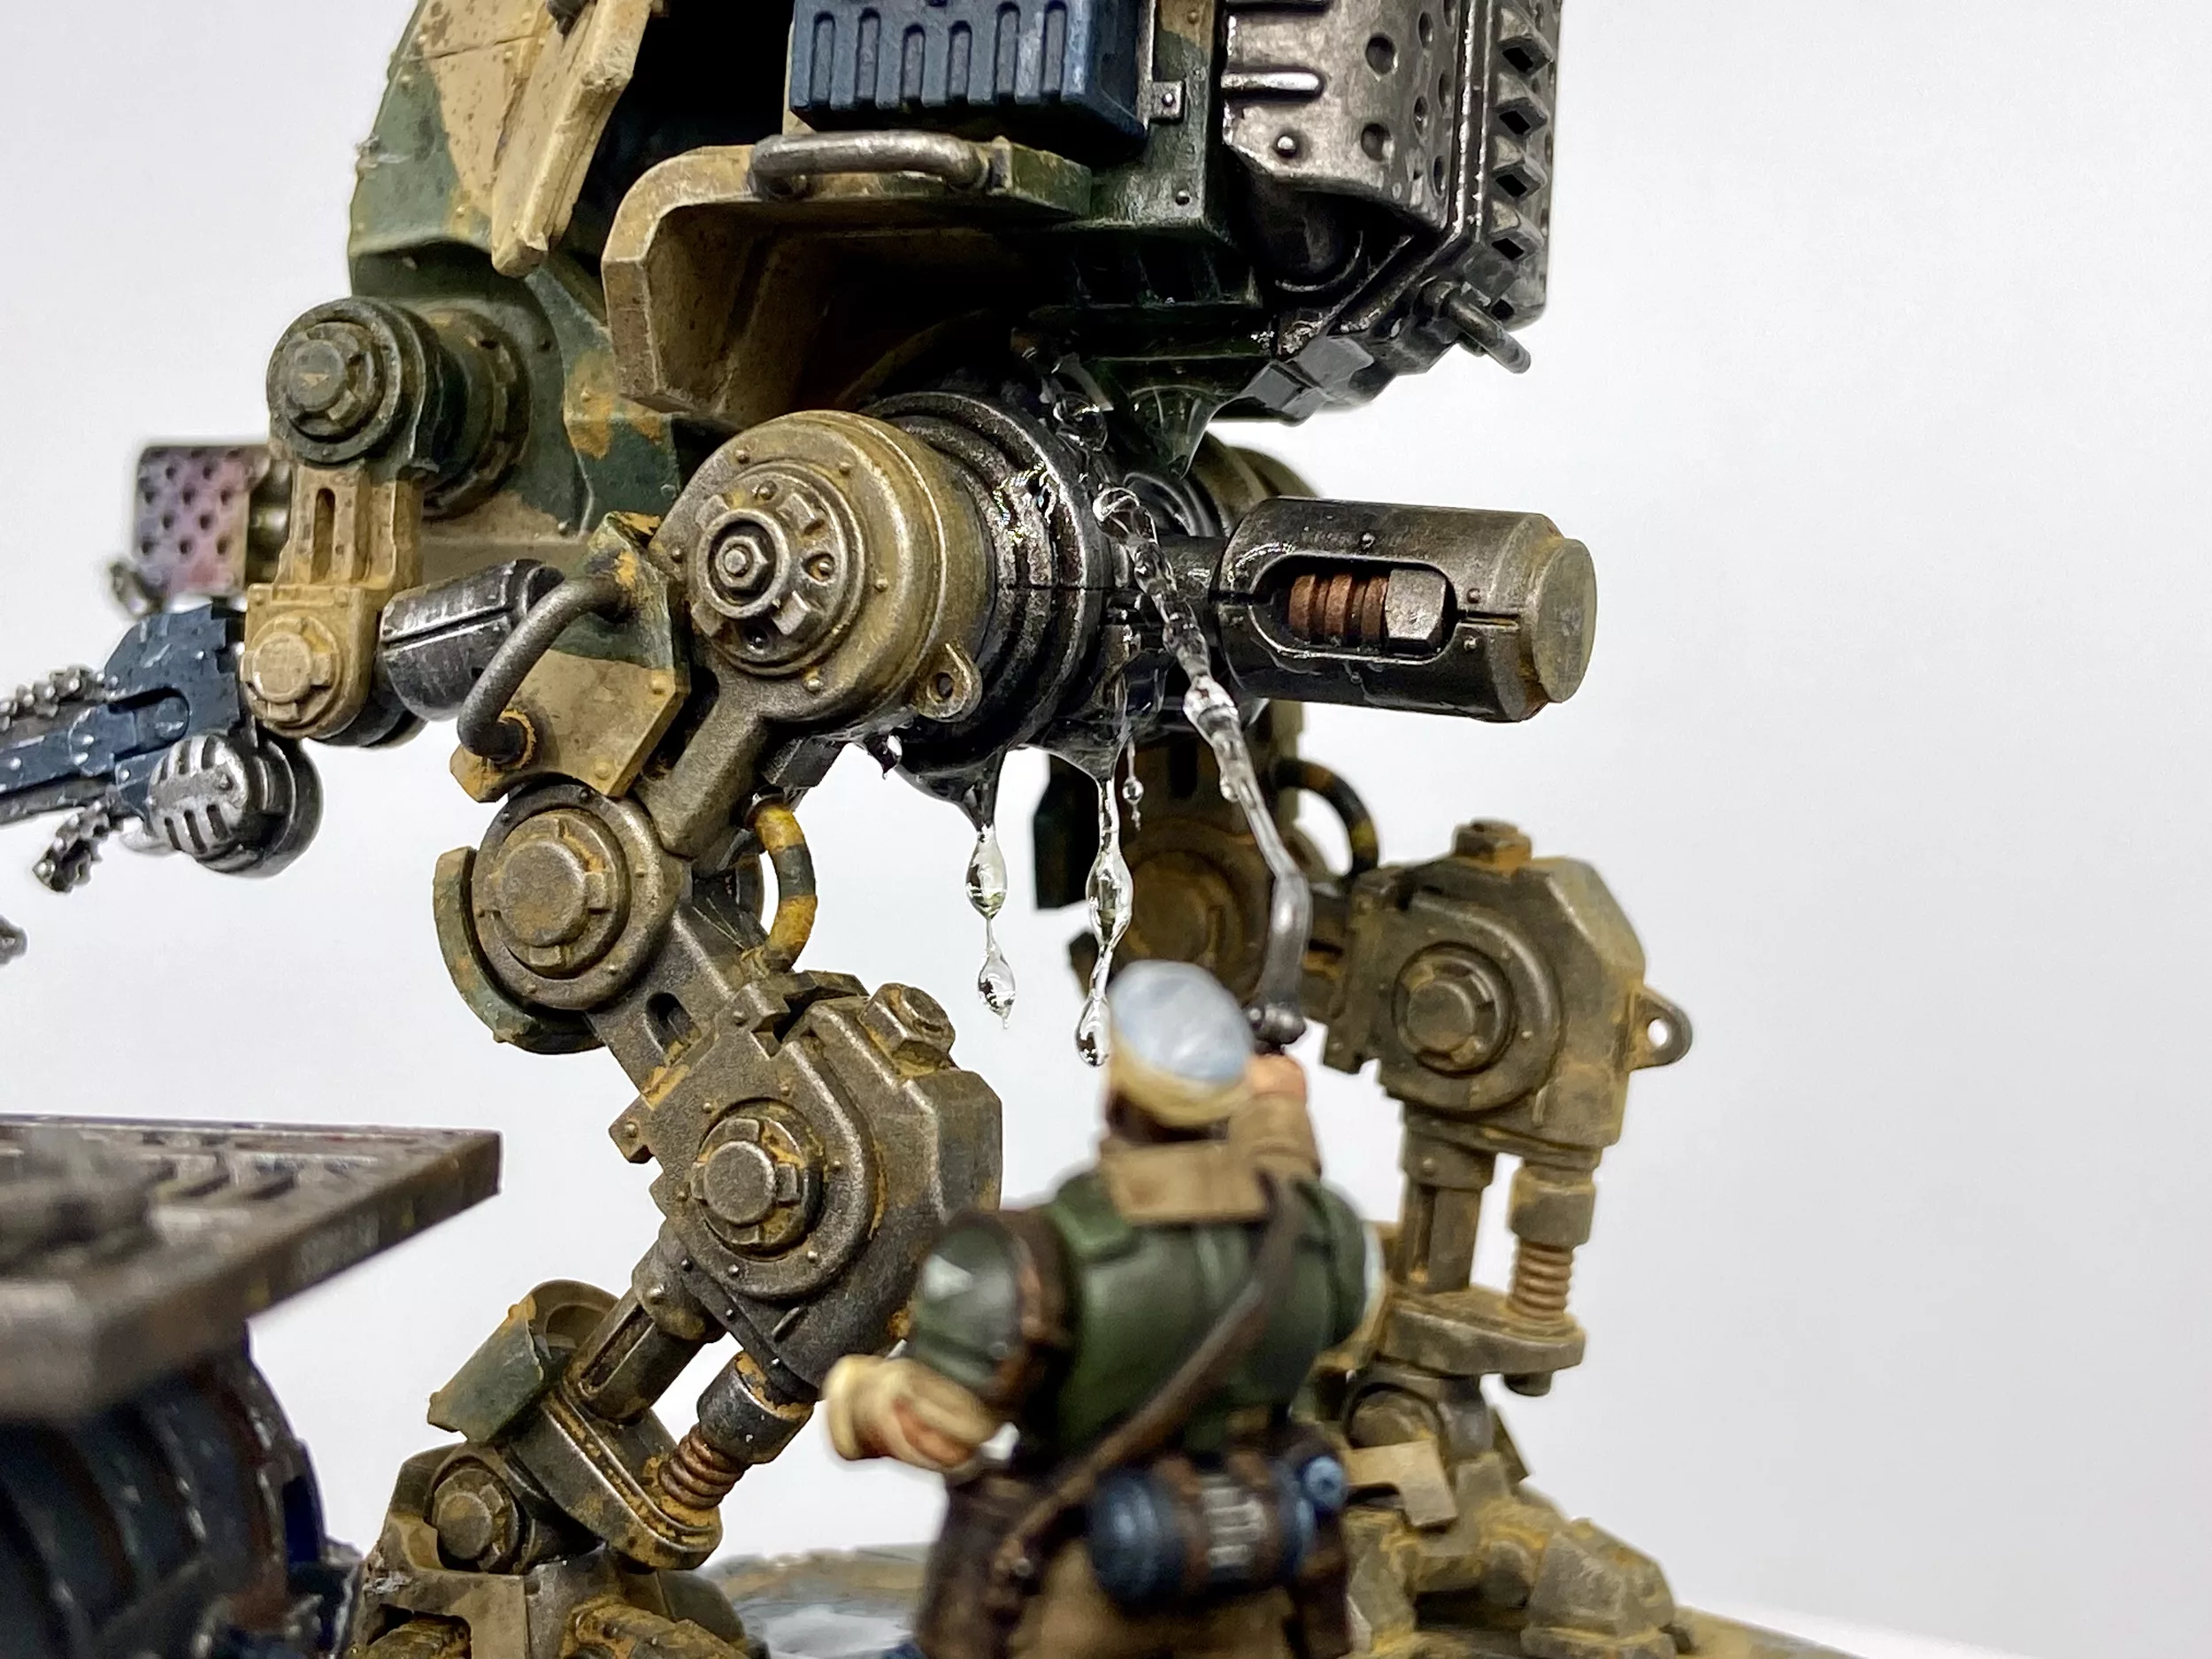
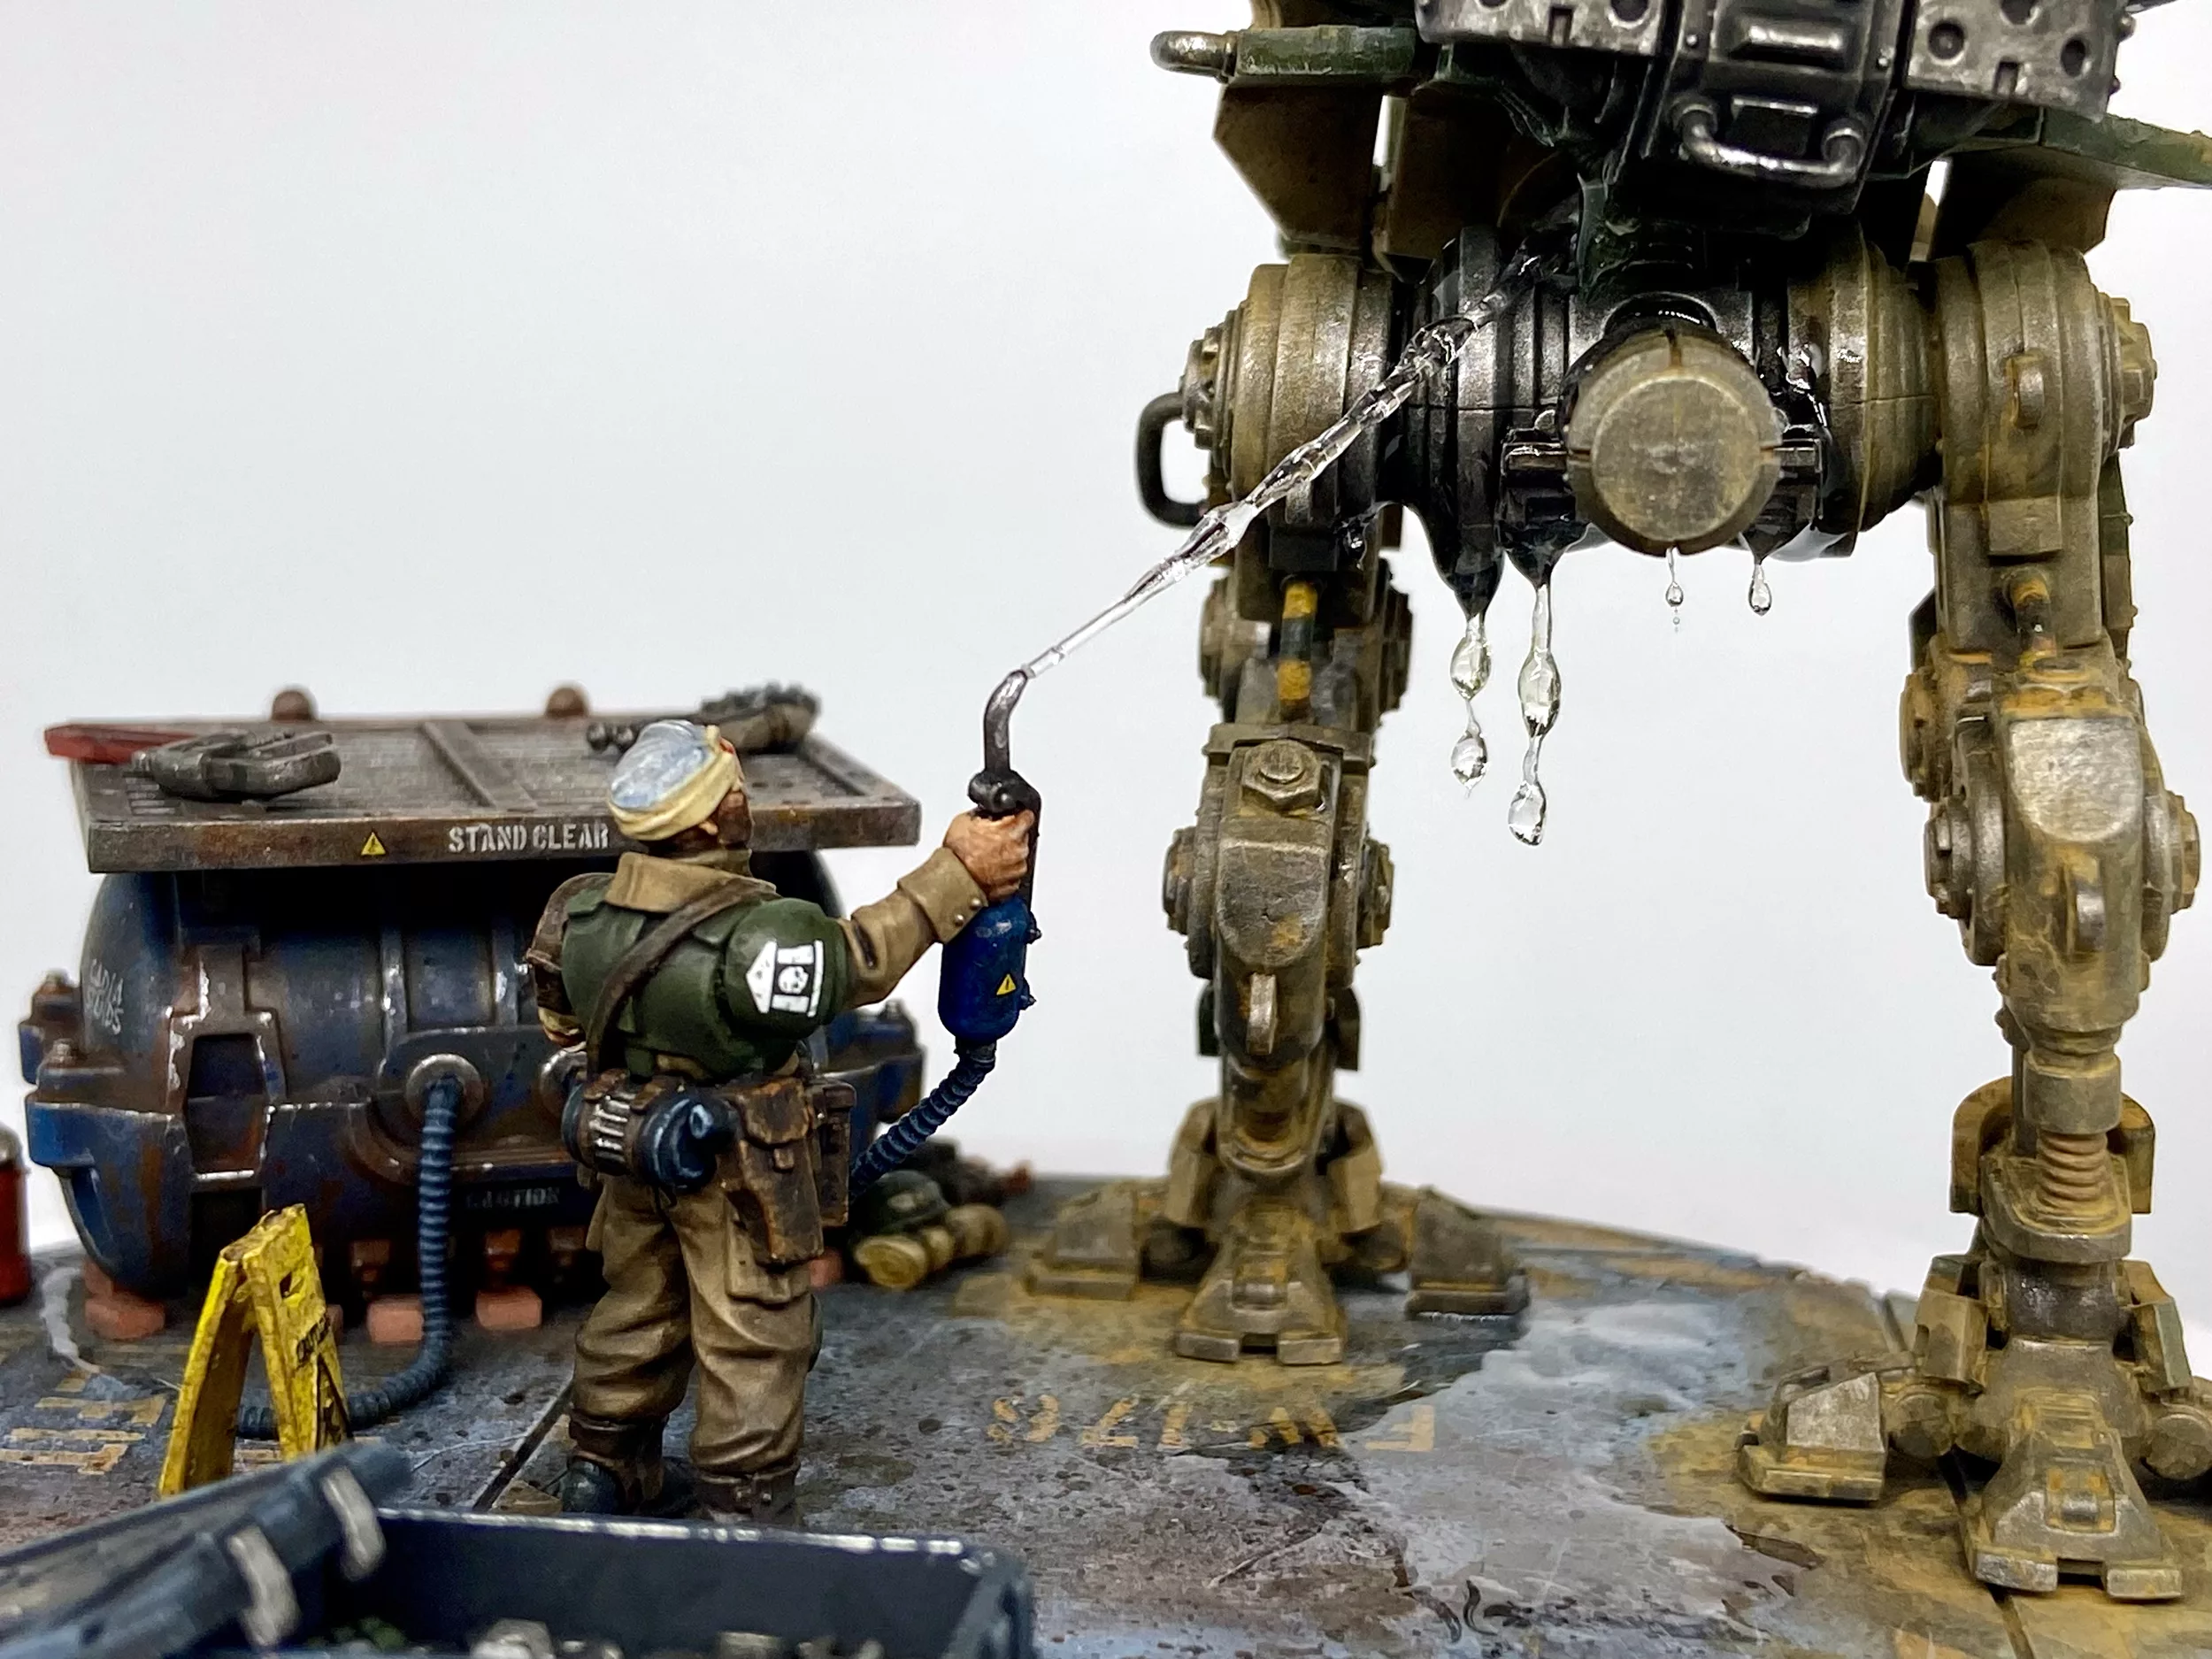
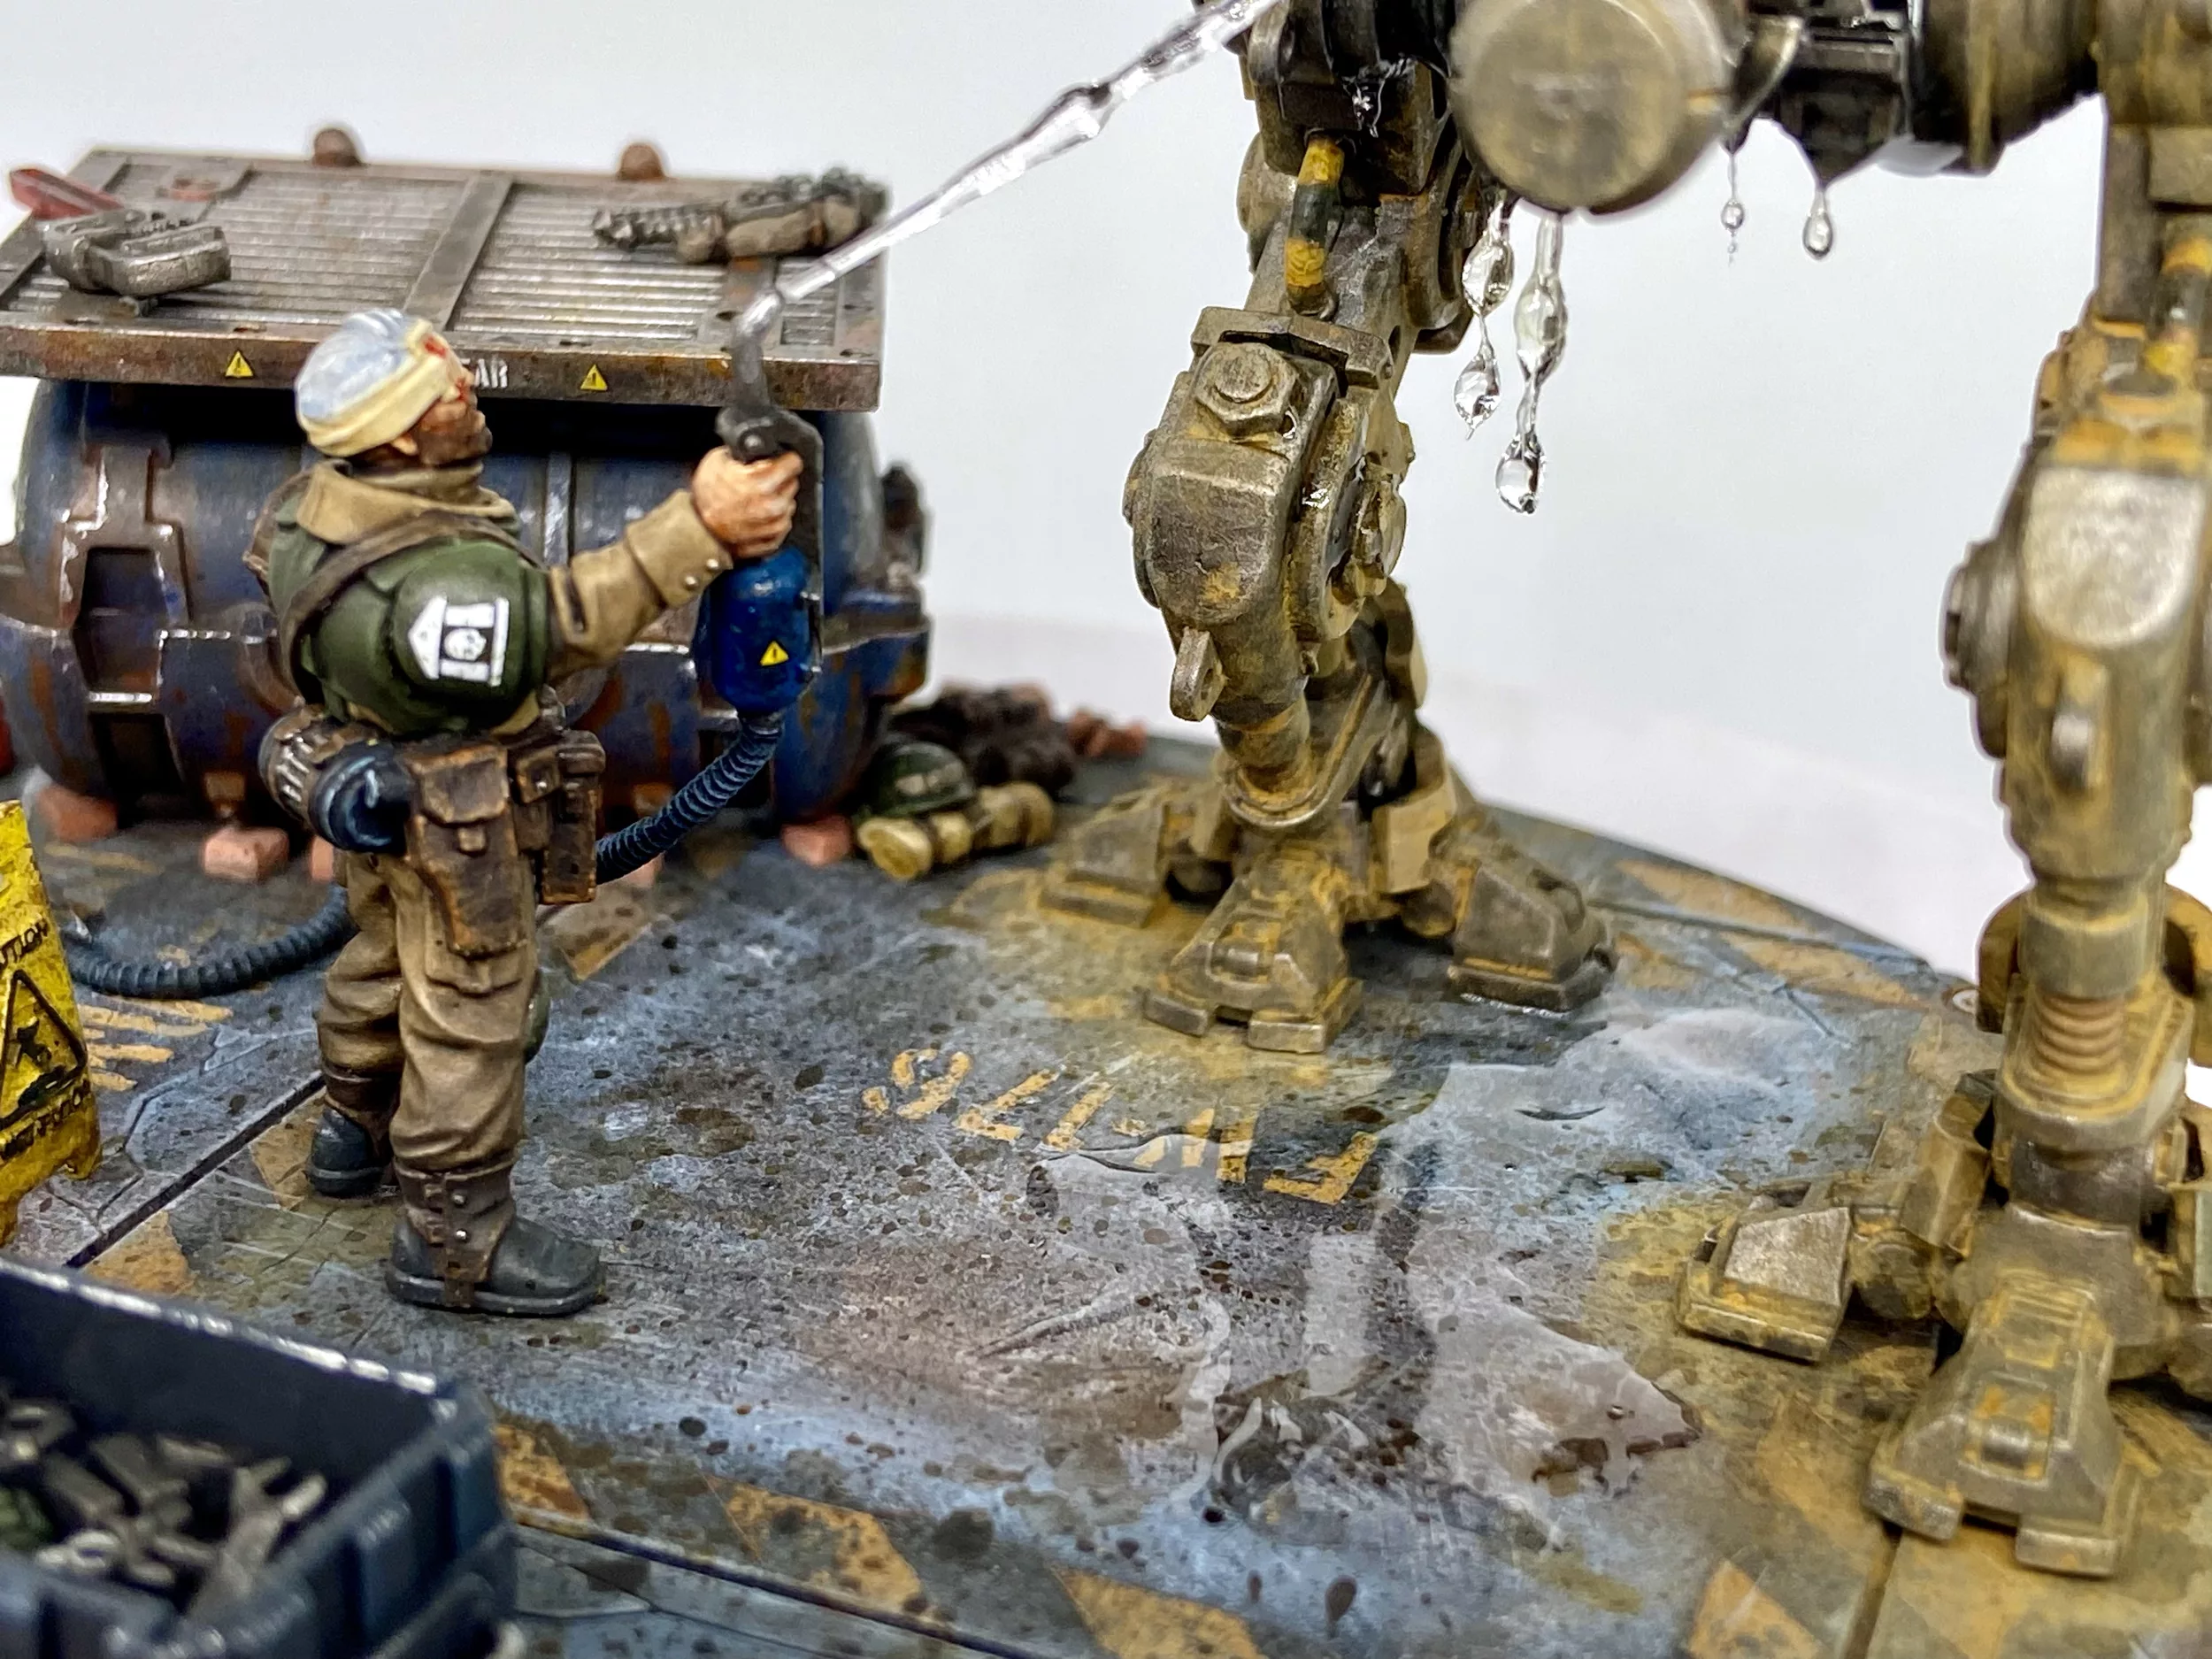
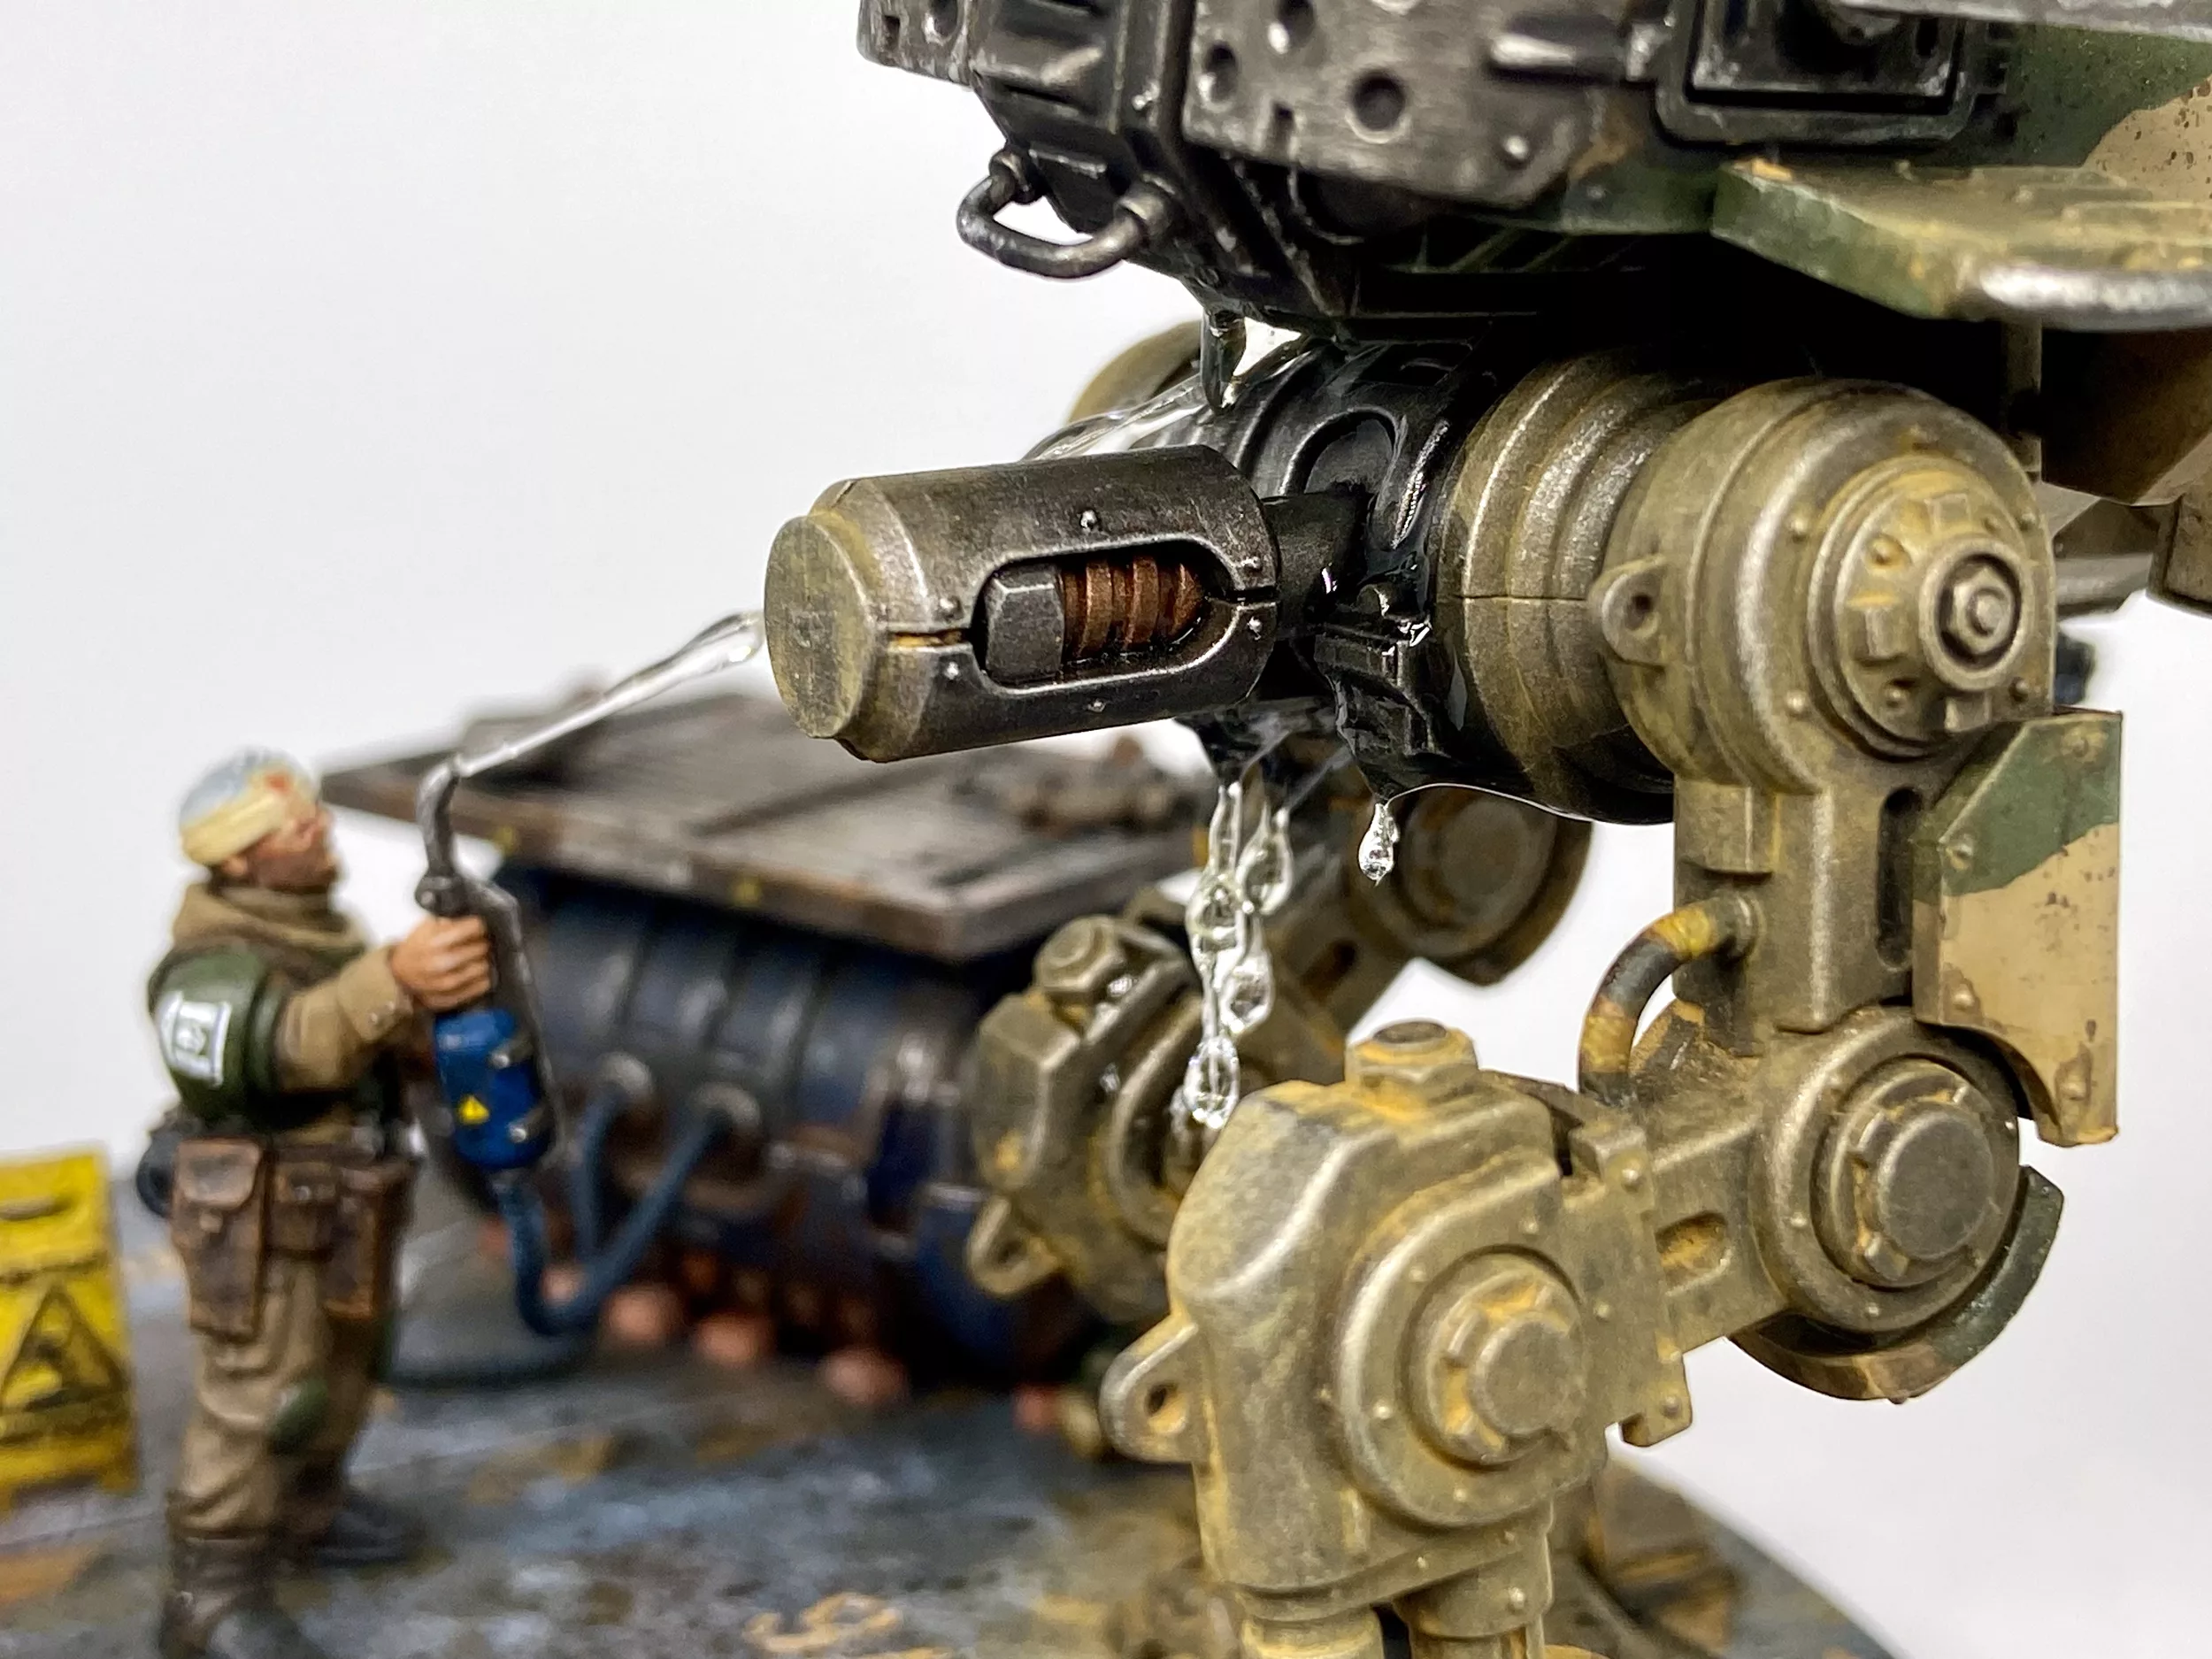
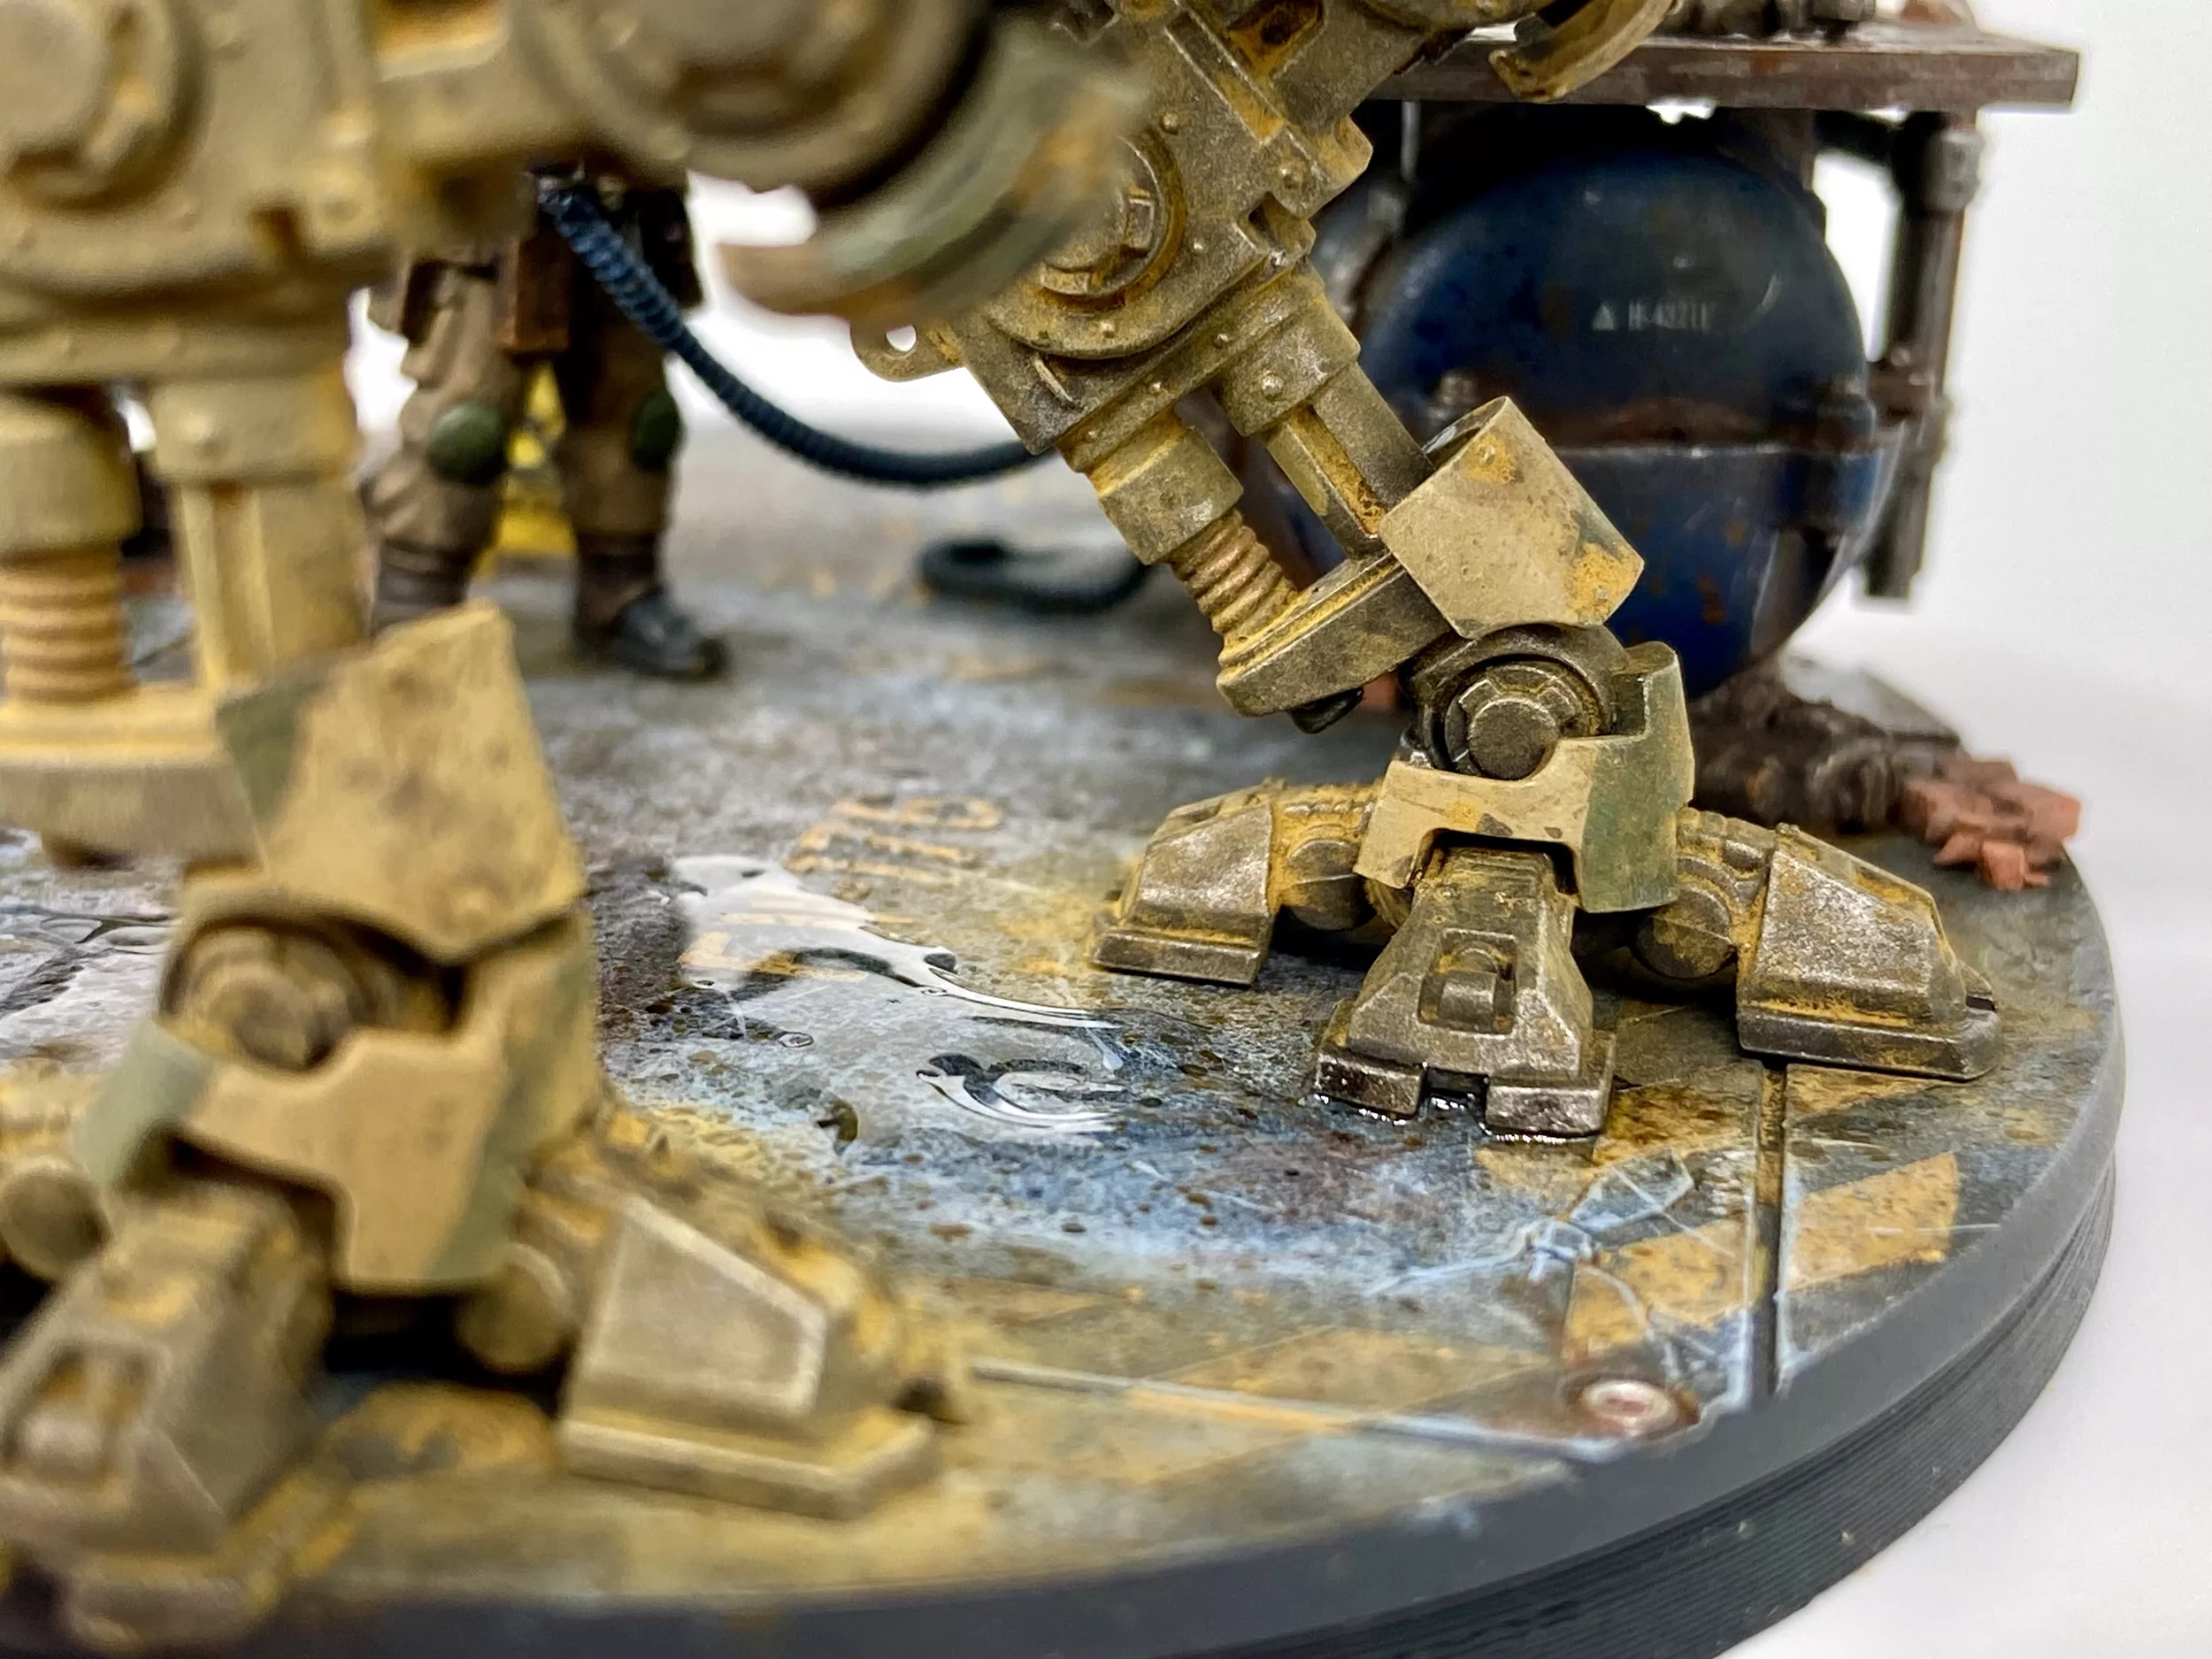
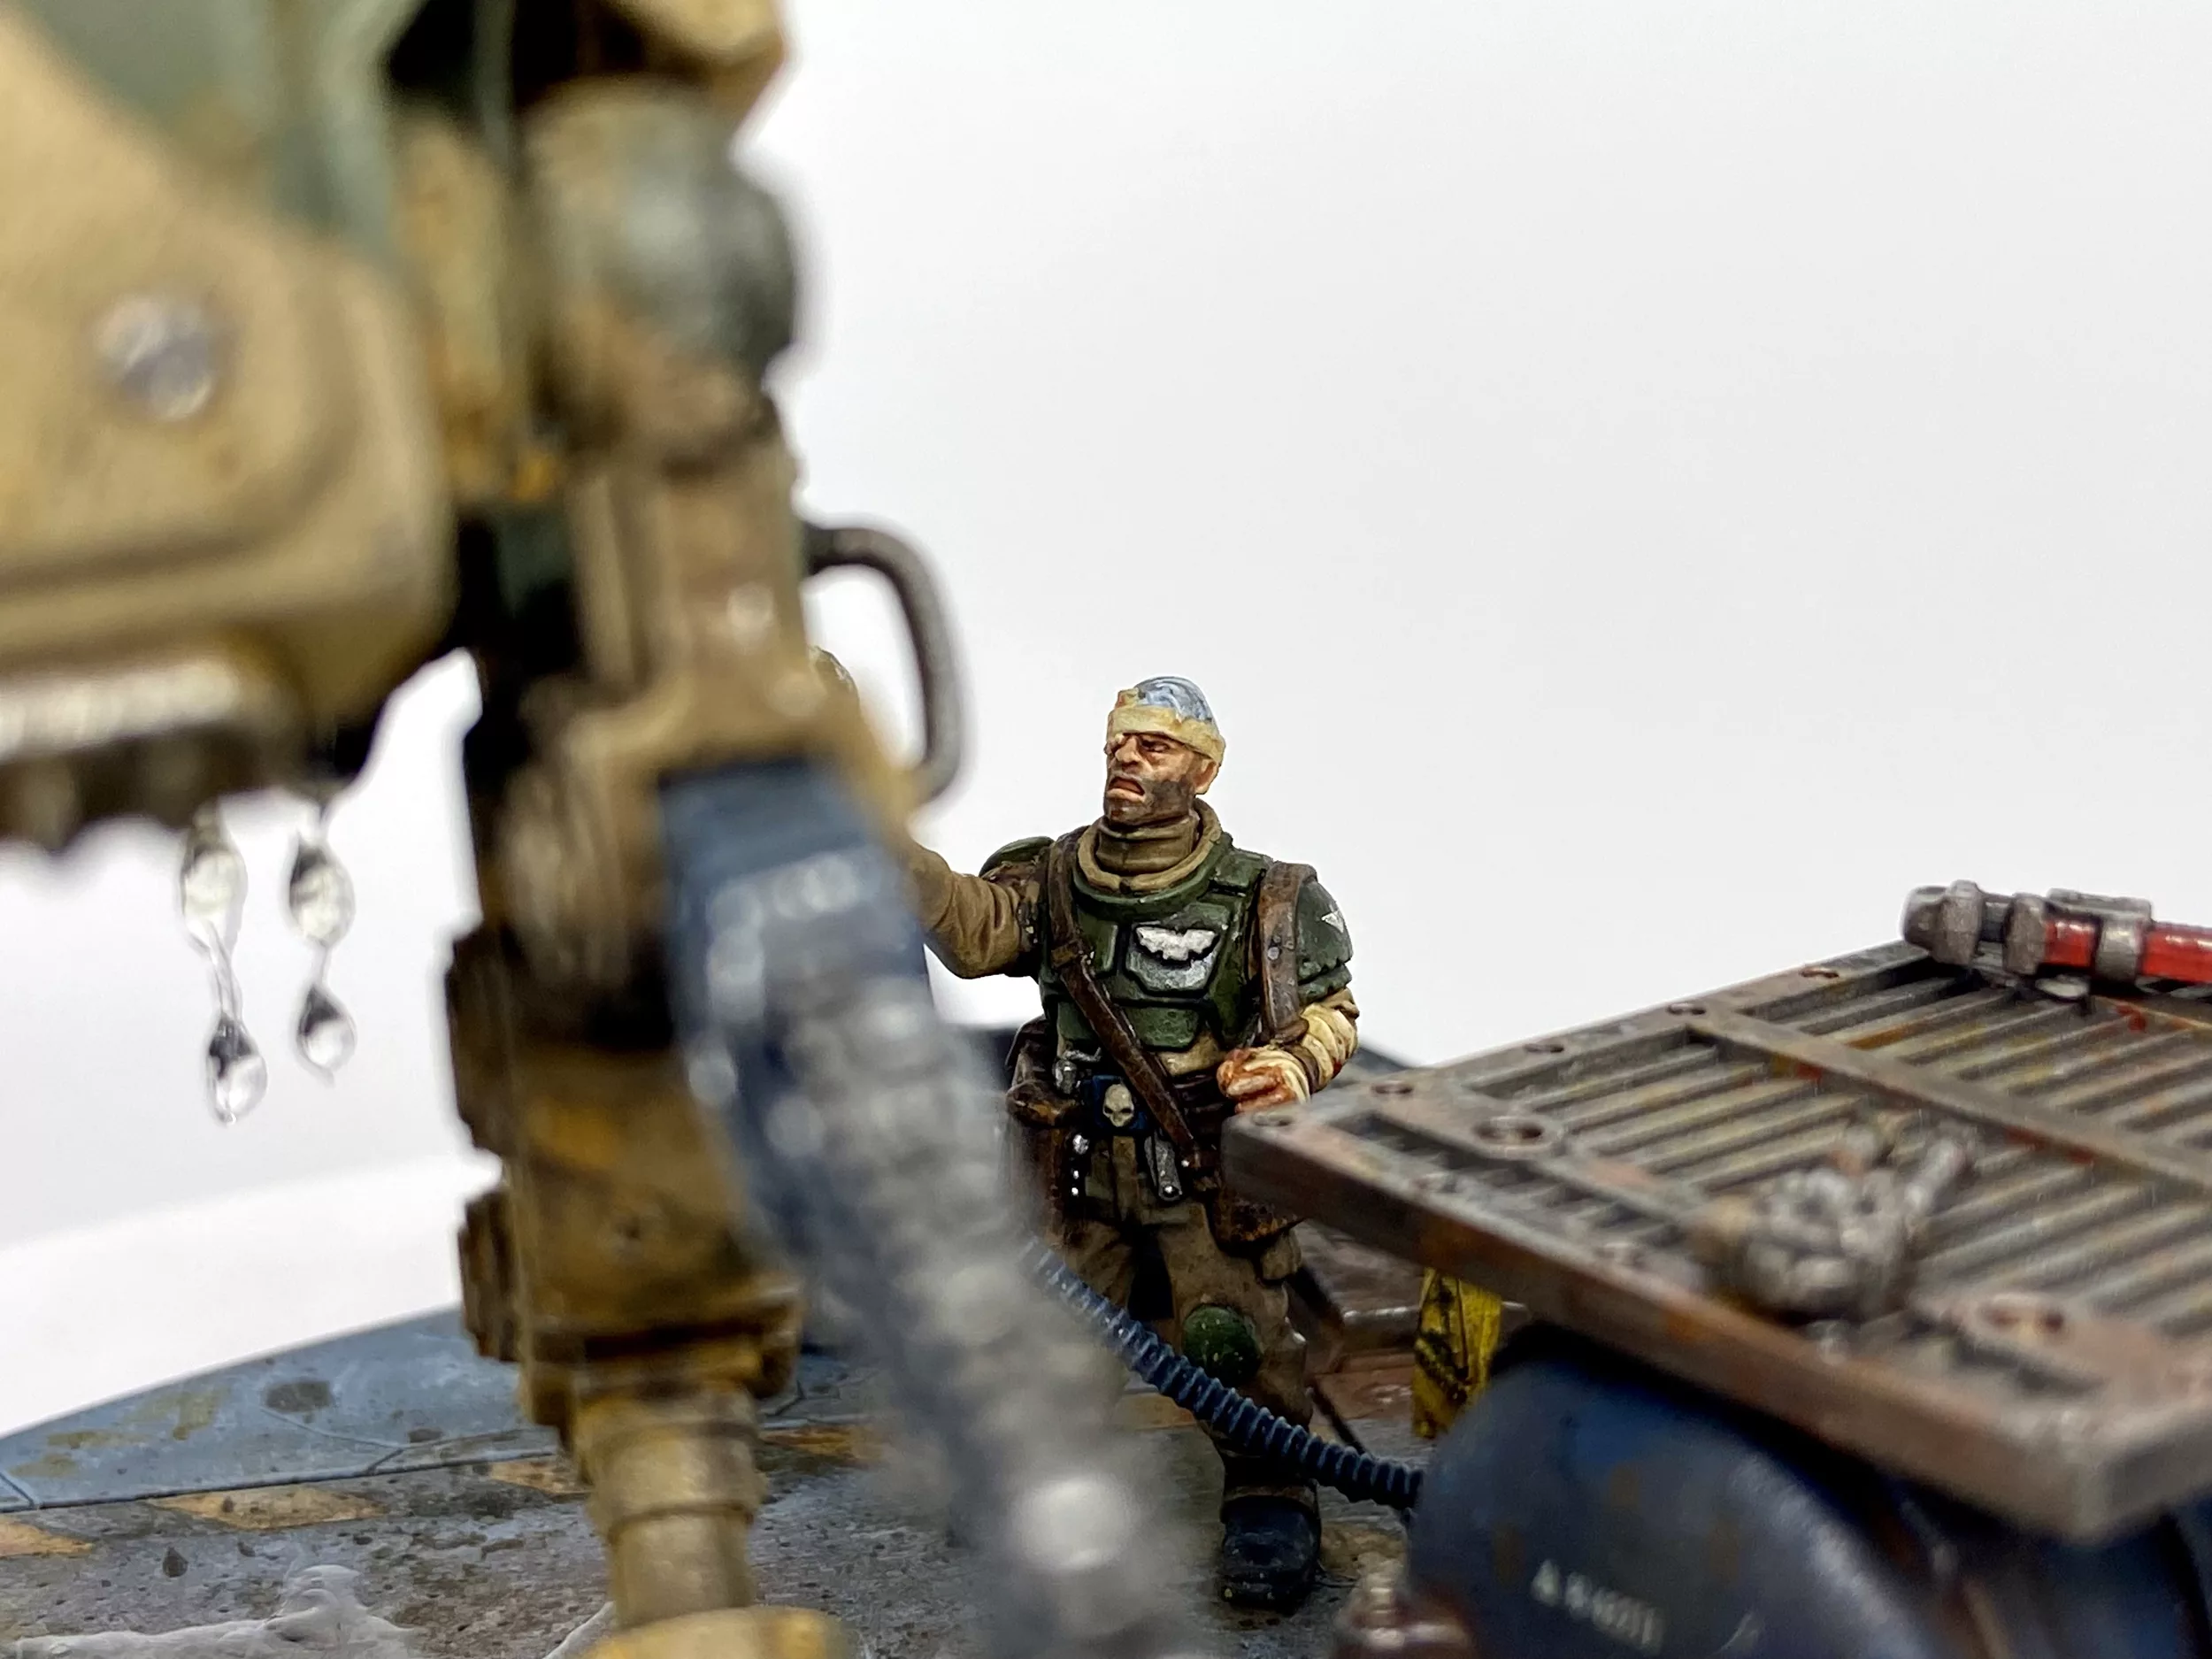
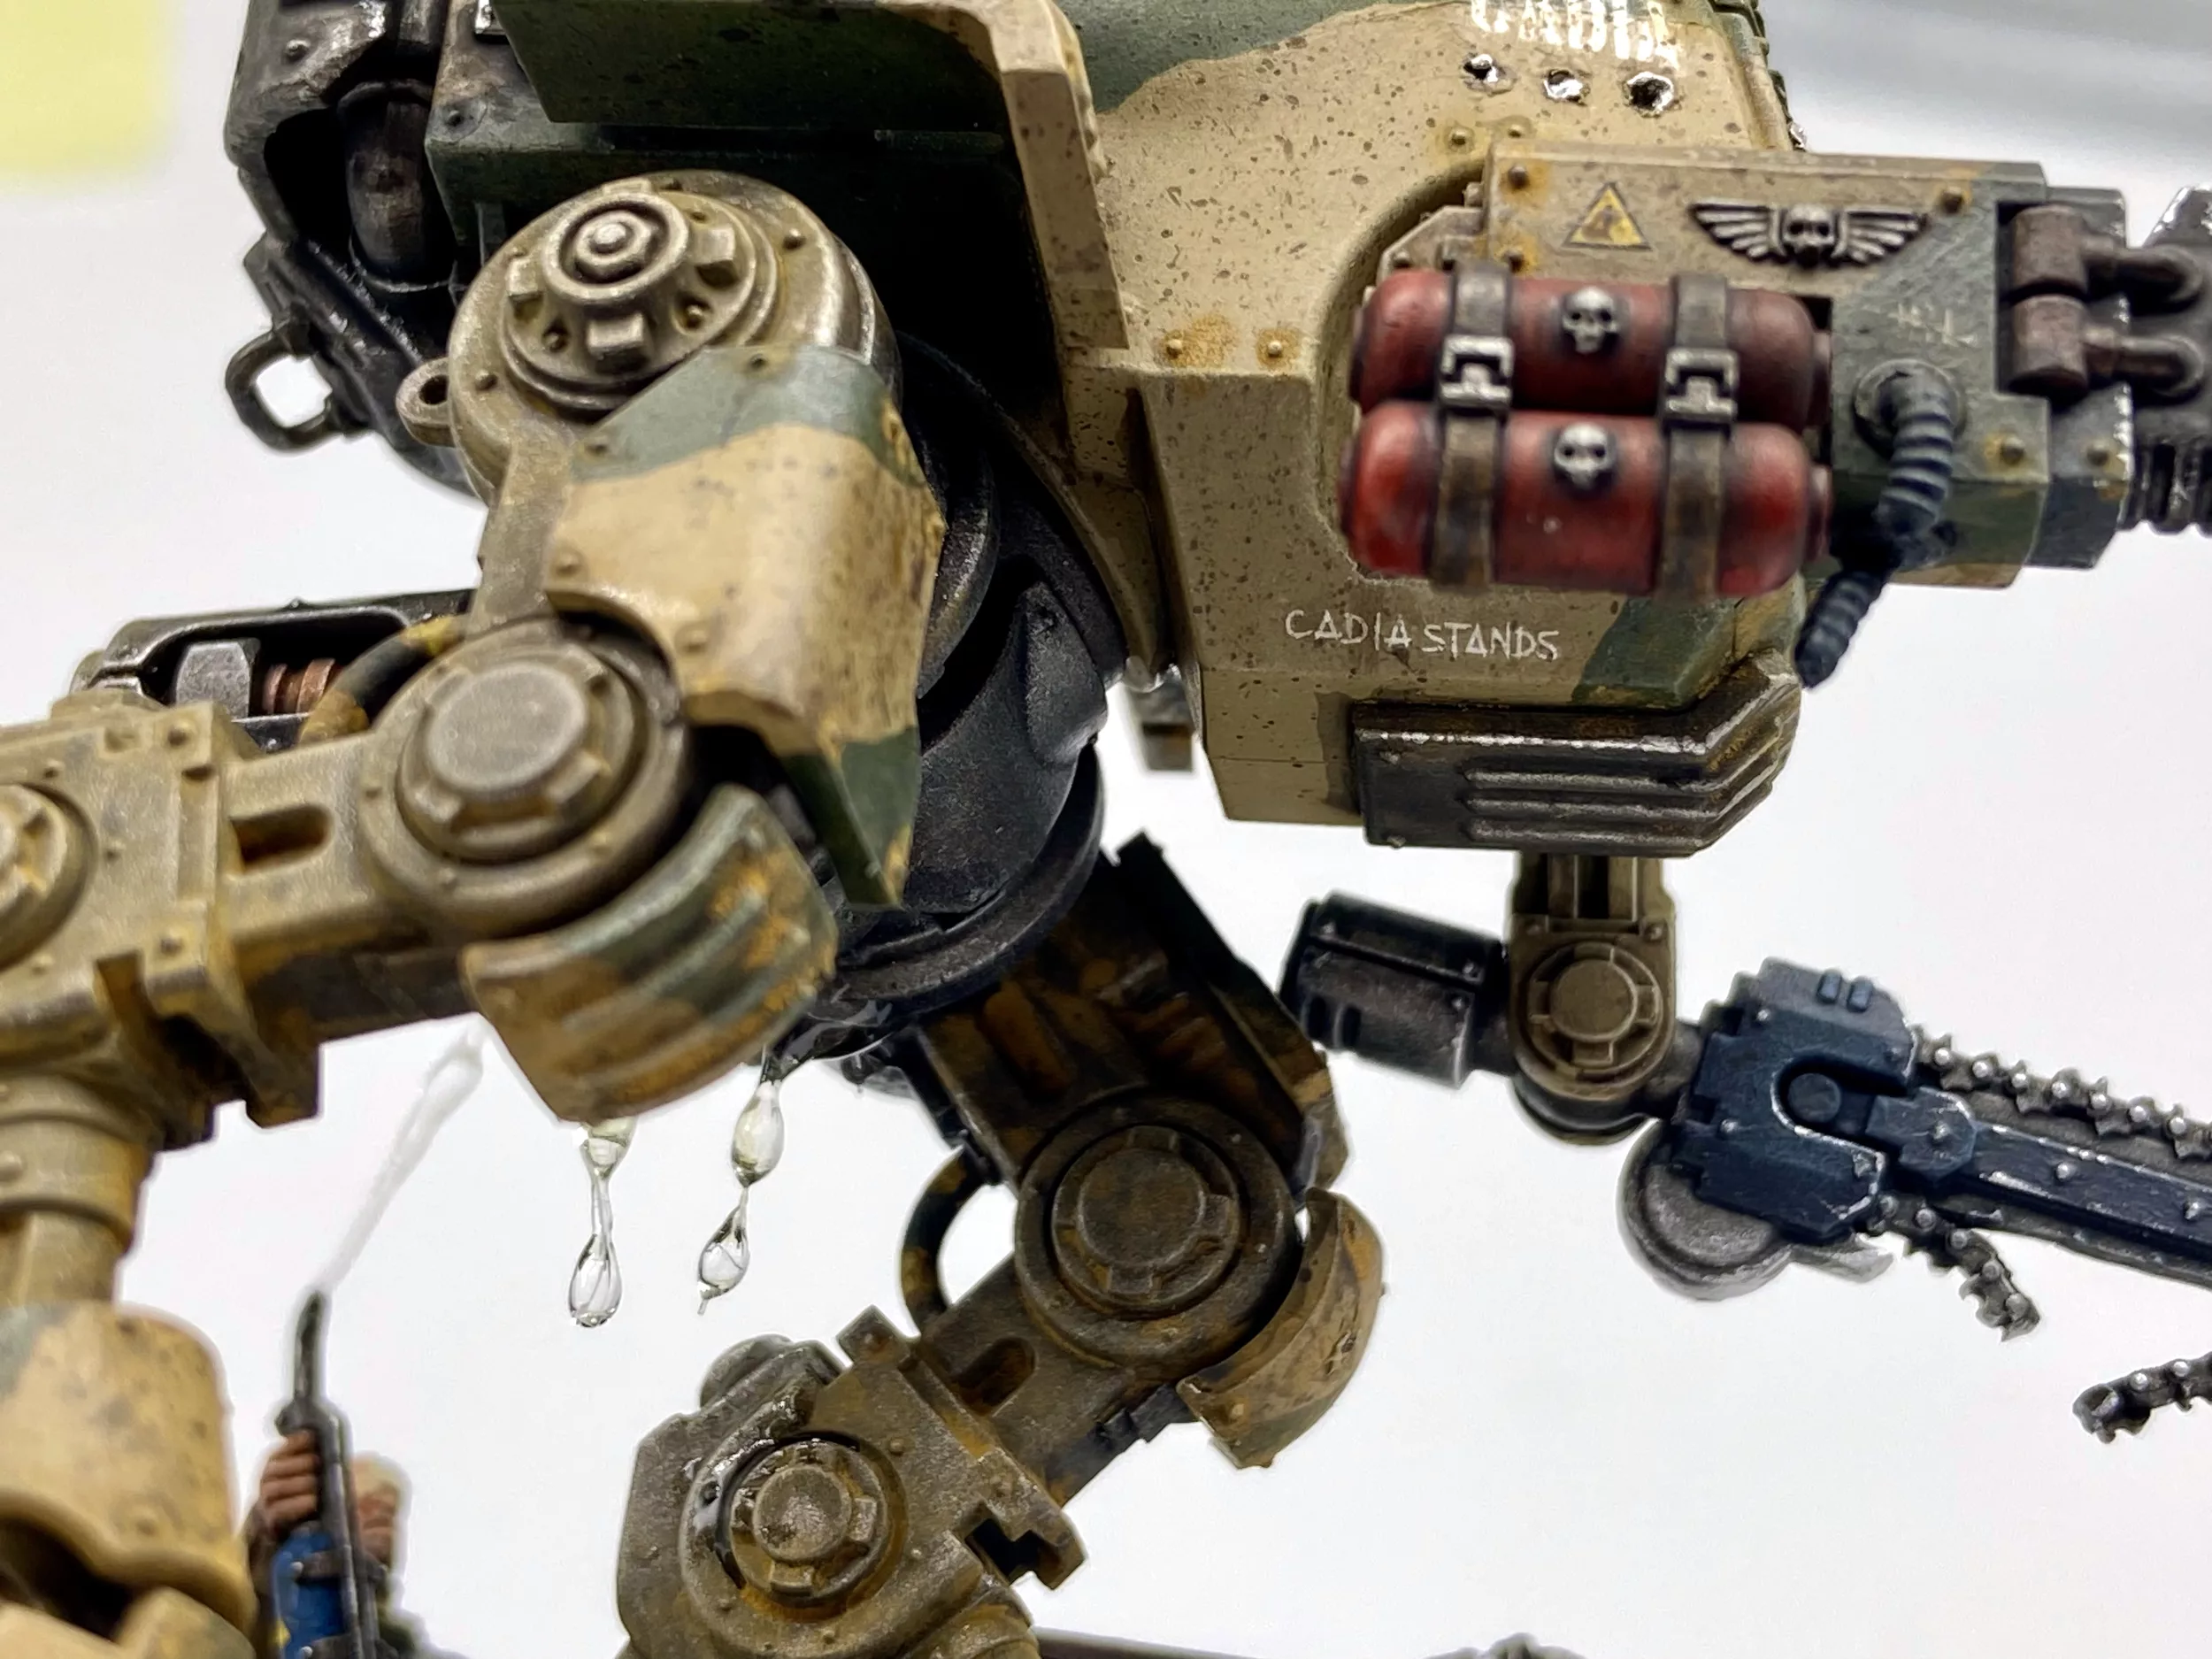
Resin & Water
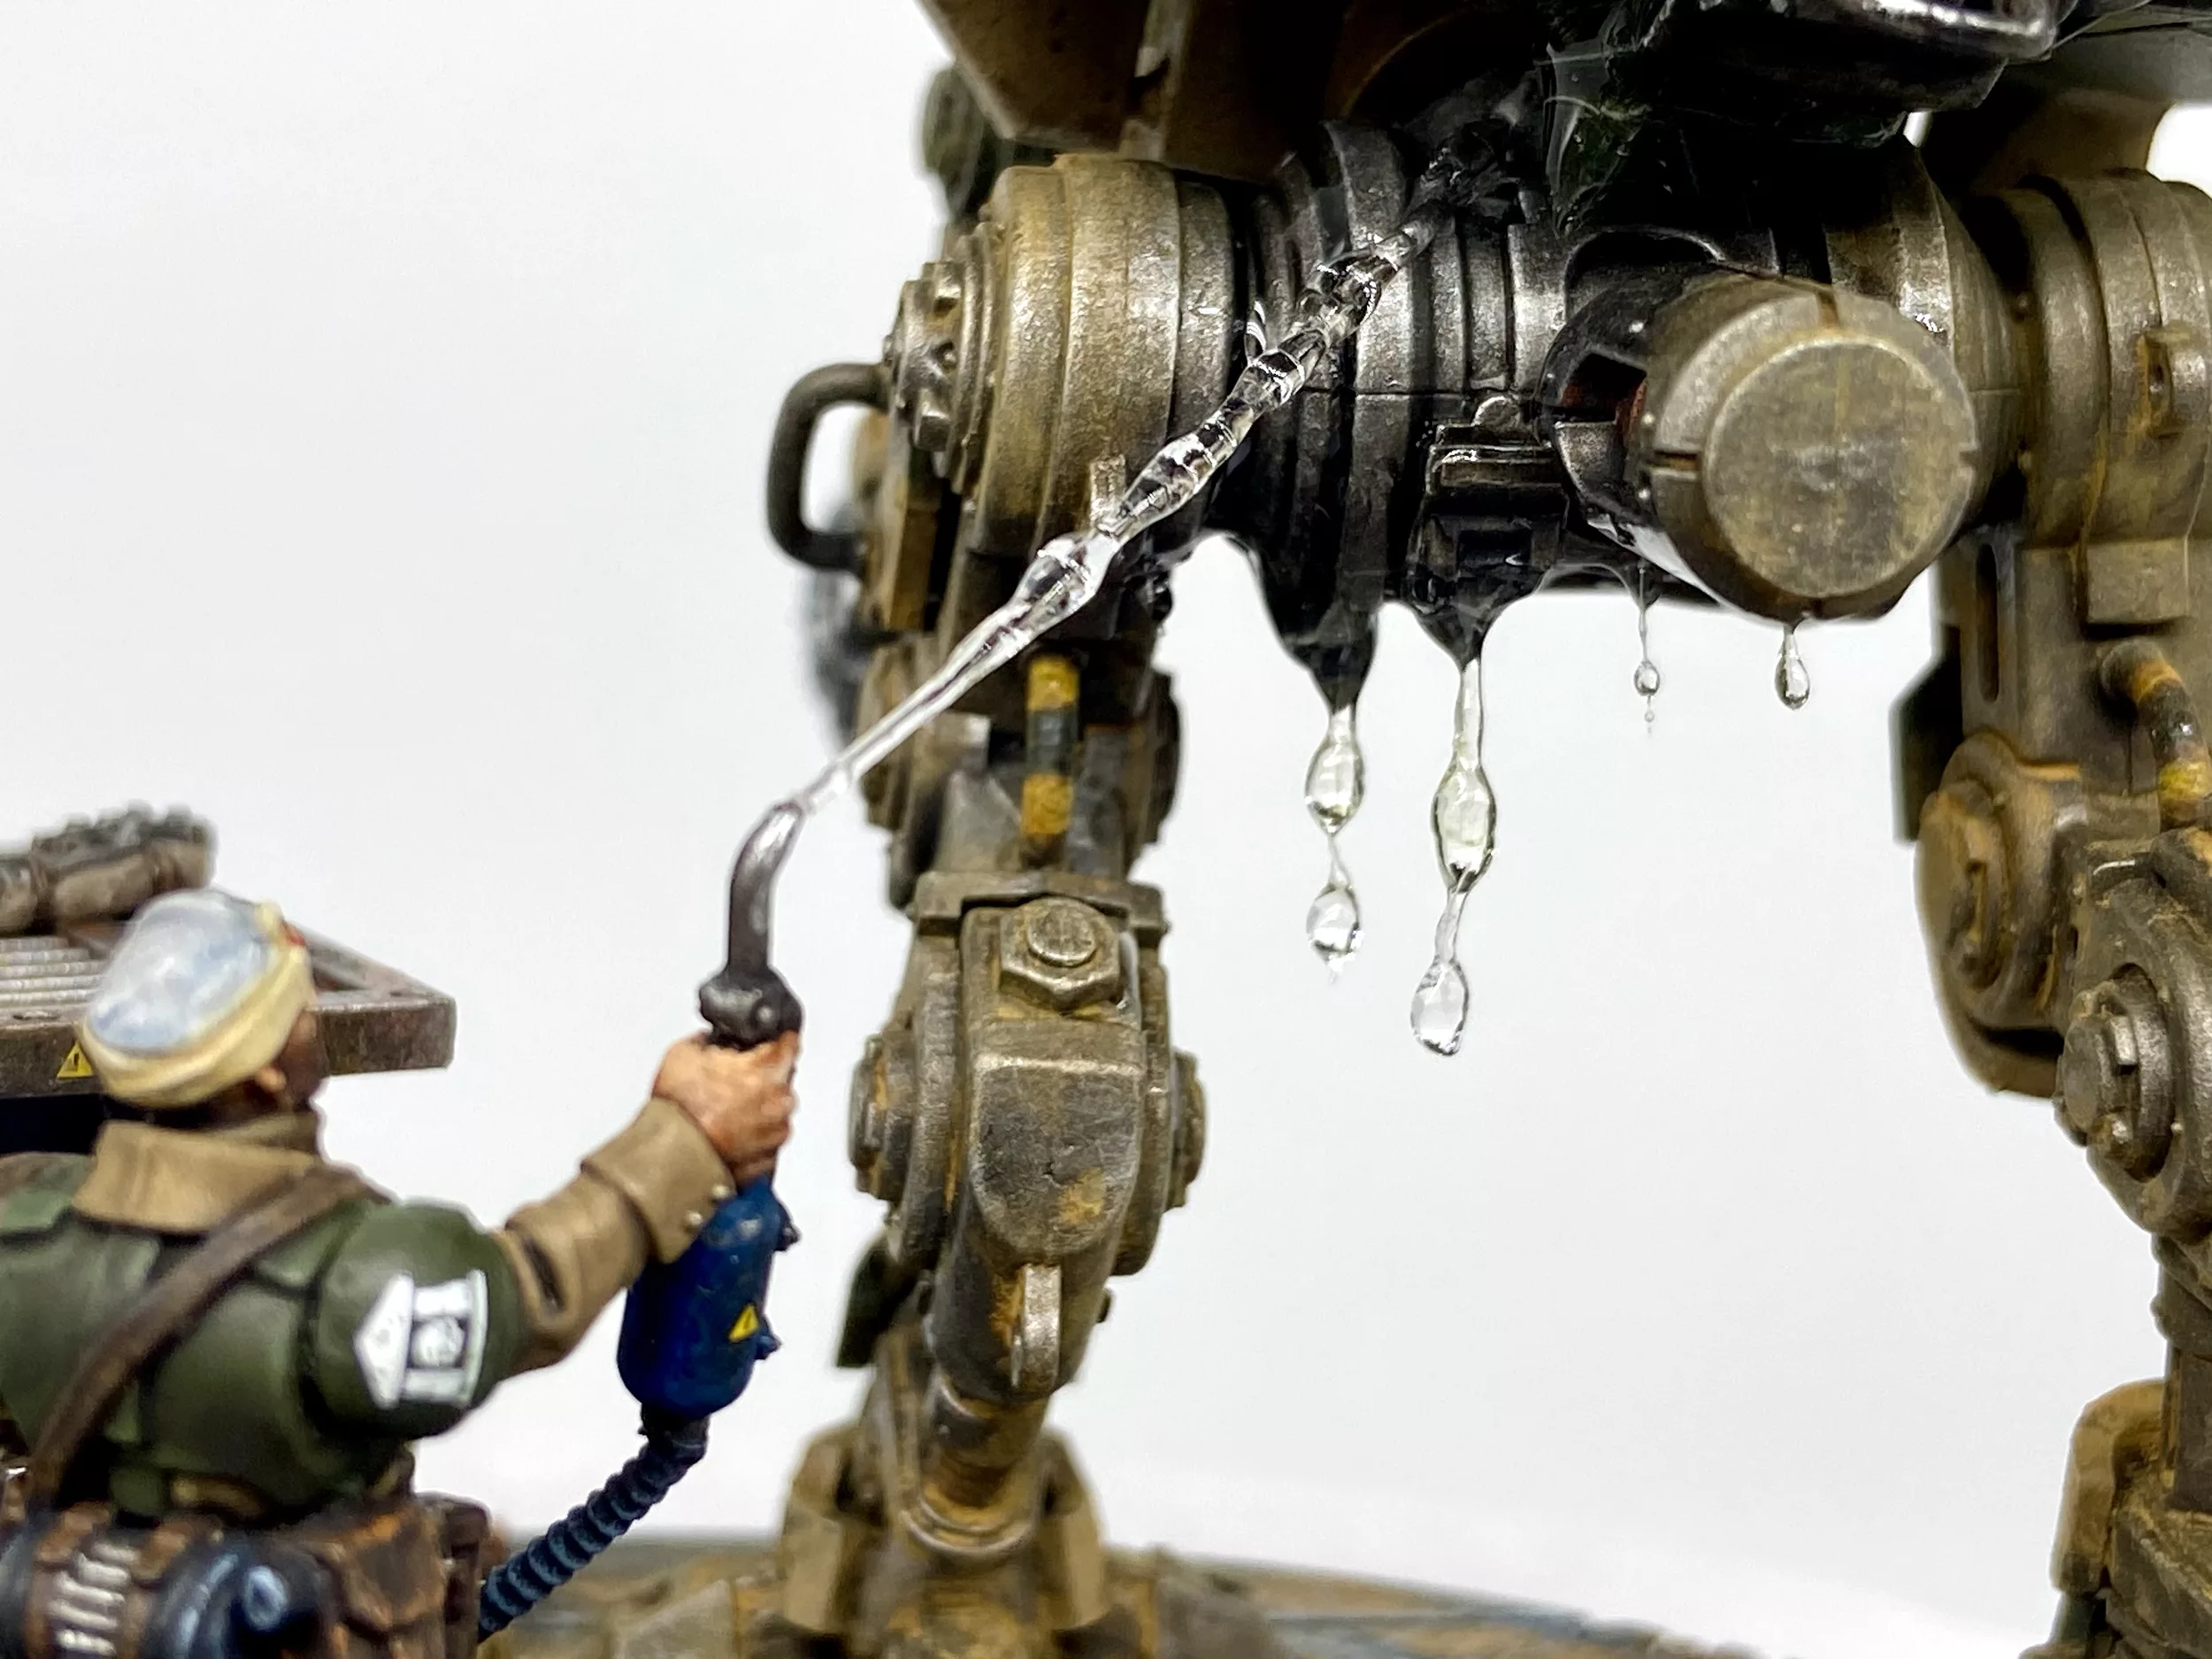
I got the UV resin with Light from eBay.The key for the water was using a 0.5mm optical cable for holding the water key of UV resin in place. It worked much better than I expected. The same cable was used under the model for the big drips coming from the underside of the Sentinel.
I also used AK Interactive Wet Effects for the extra water effects on the model, for the tiny splashes for instance.
- Snip off about the right amount of cable to span the gap
- Apply the resin to the cable and hold it vertically, from the top
- As it drips down, use the UV light to set the resin
- Repeat, until the resin looks right
- Snip the cable to the right length
- Glue in place between the nozzle and the Sentinel
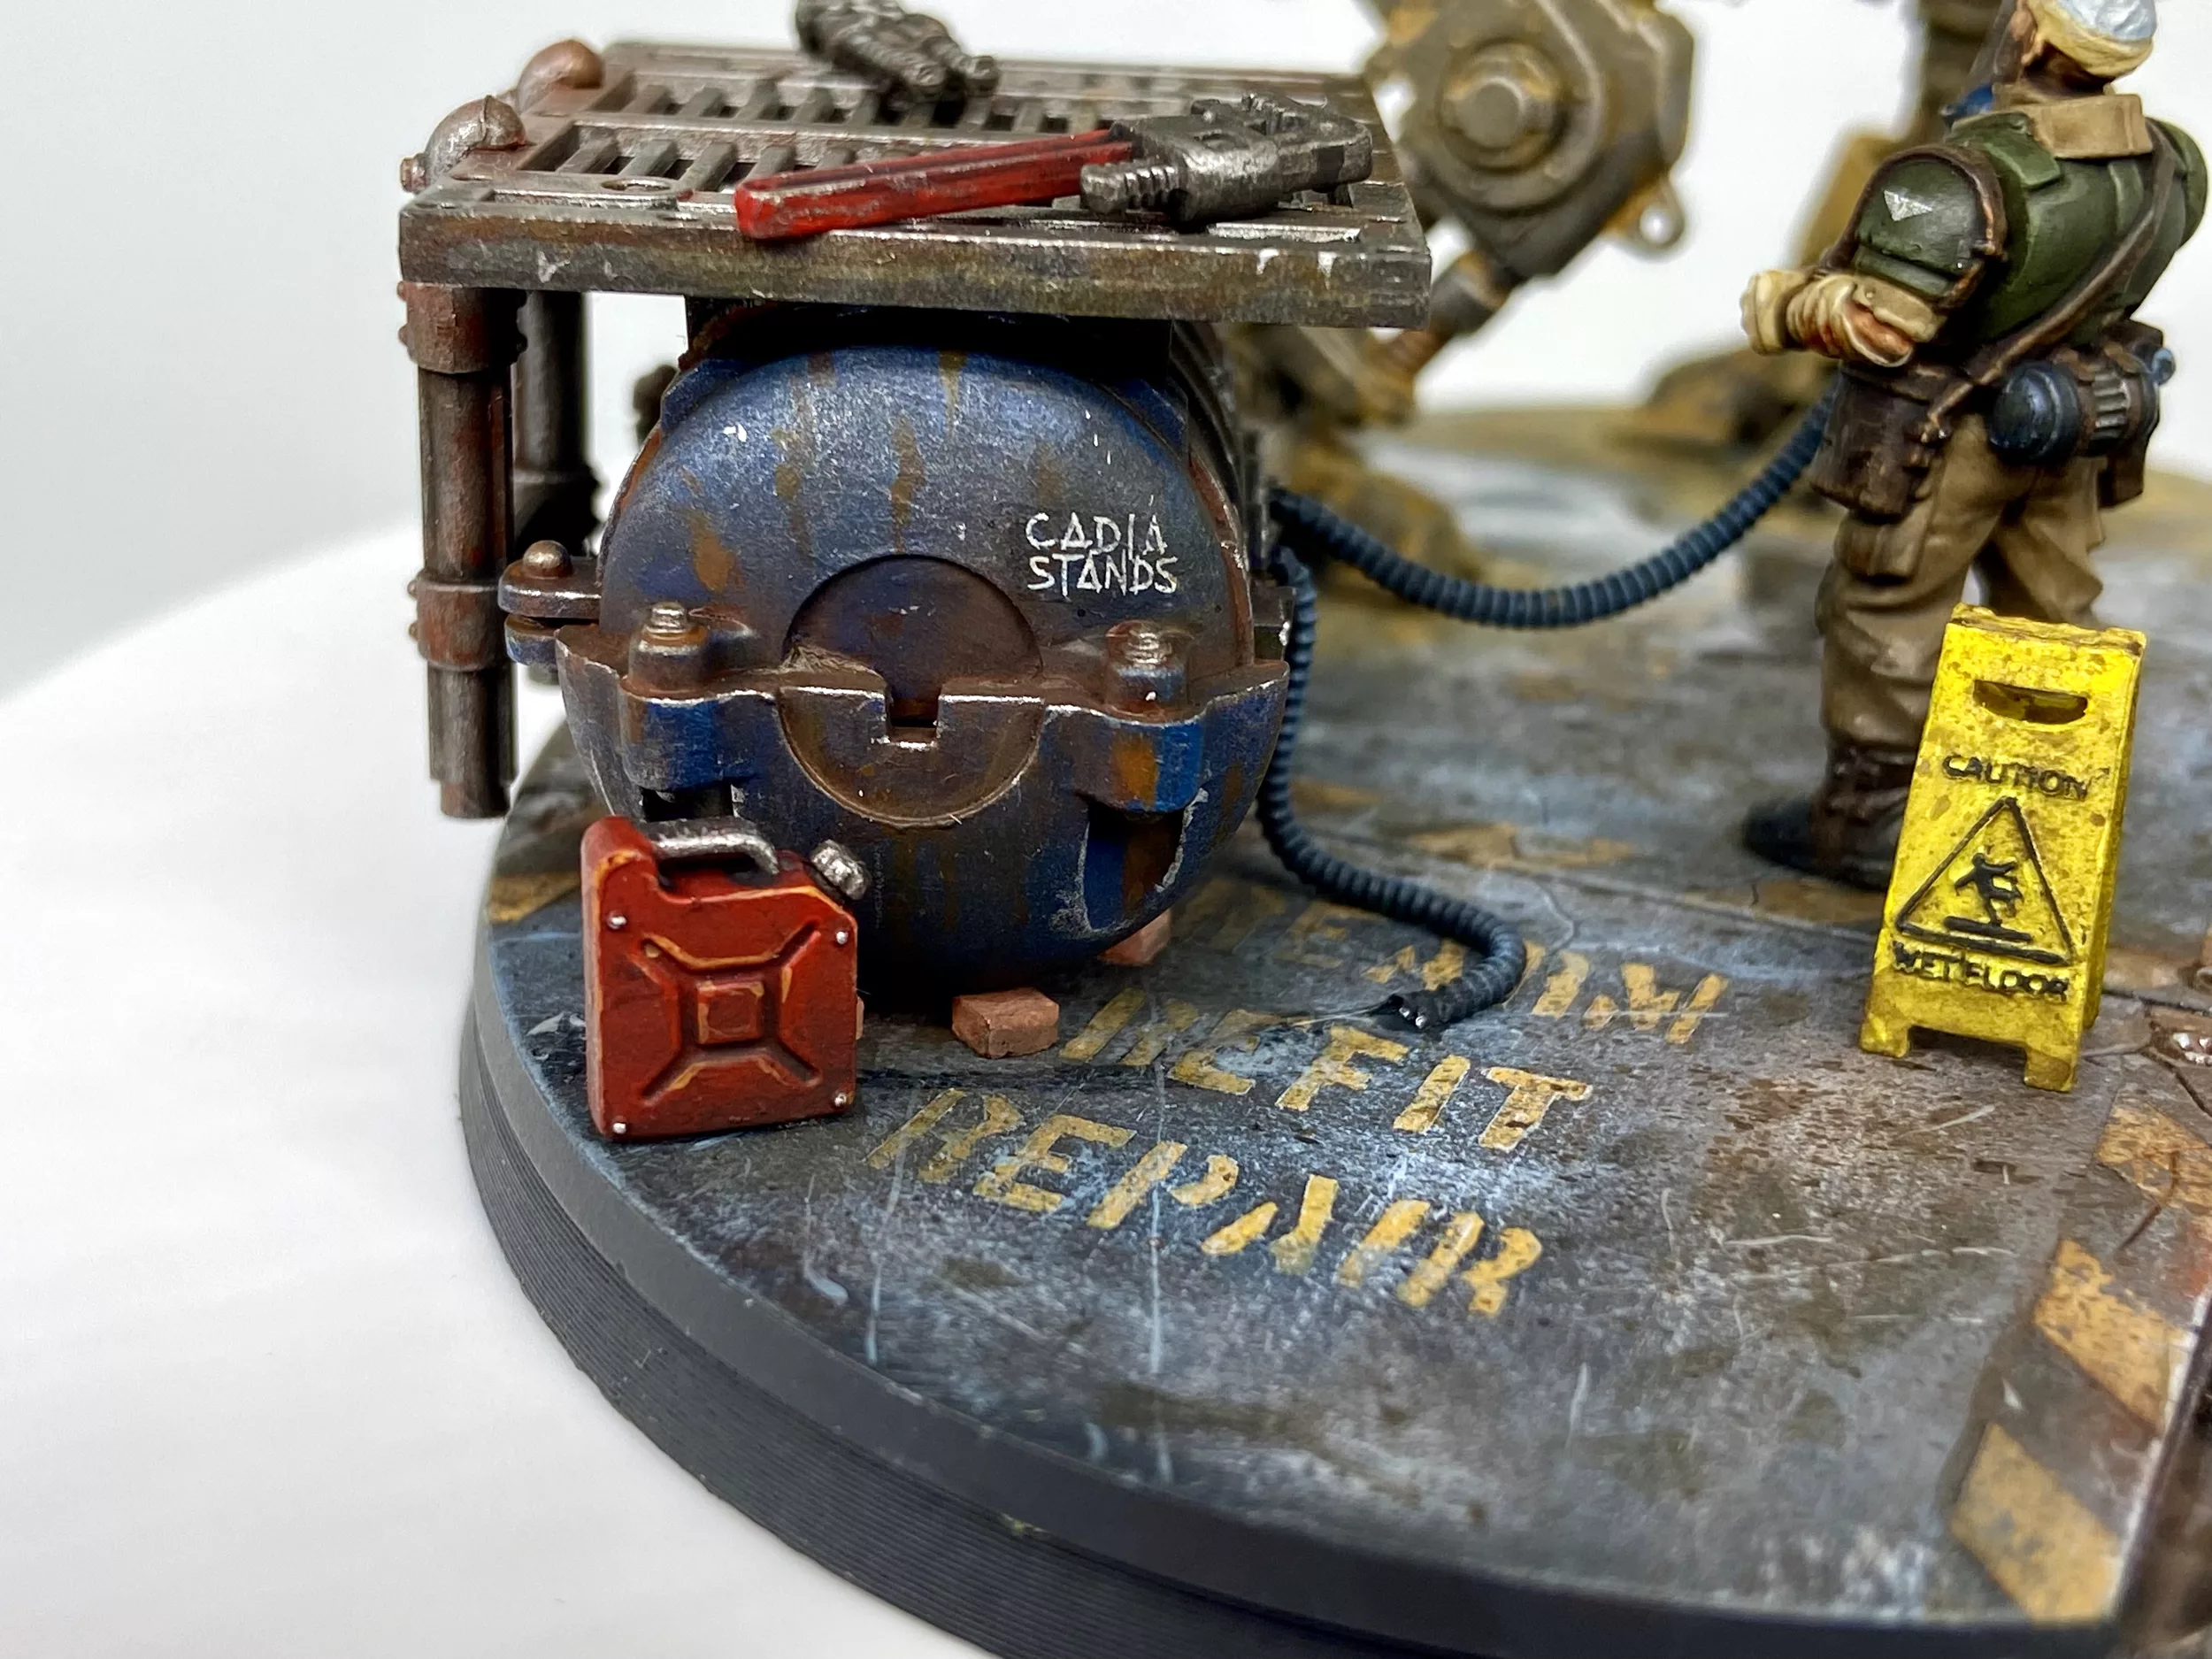
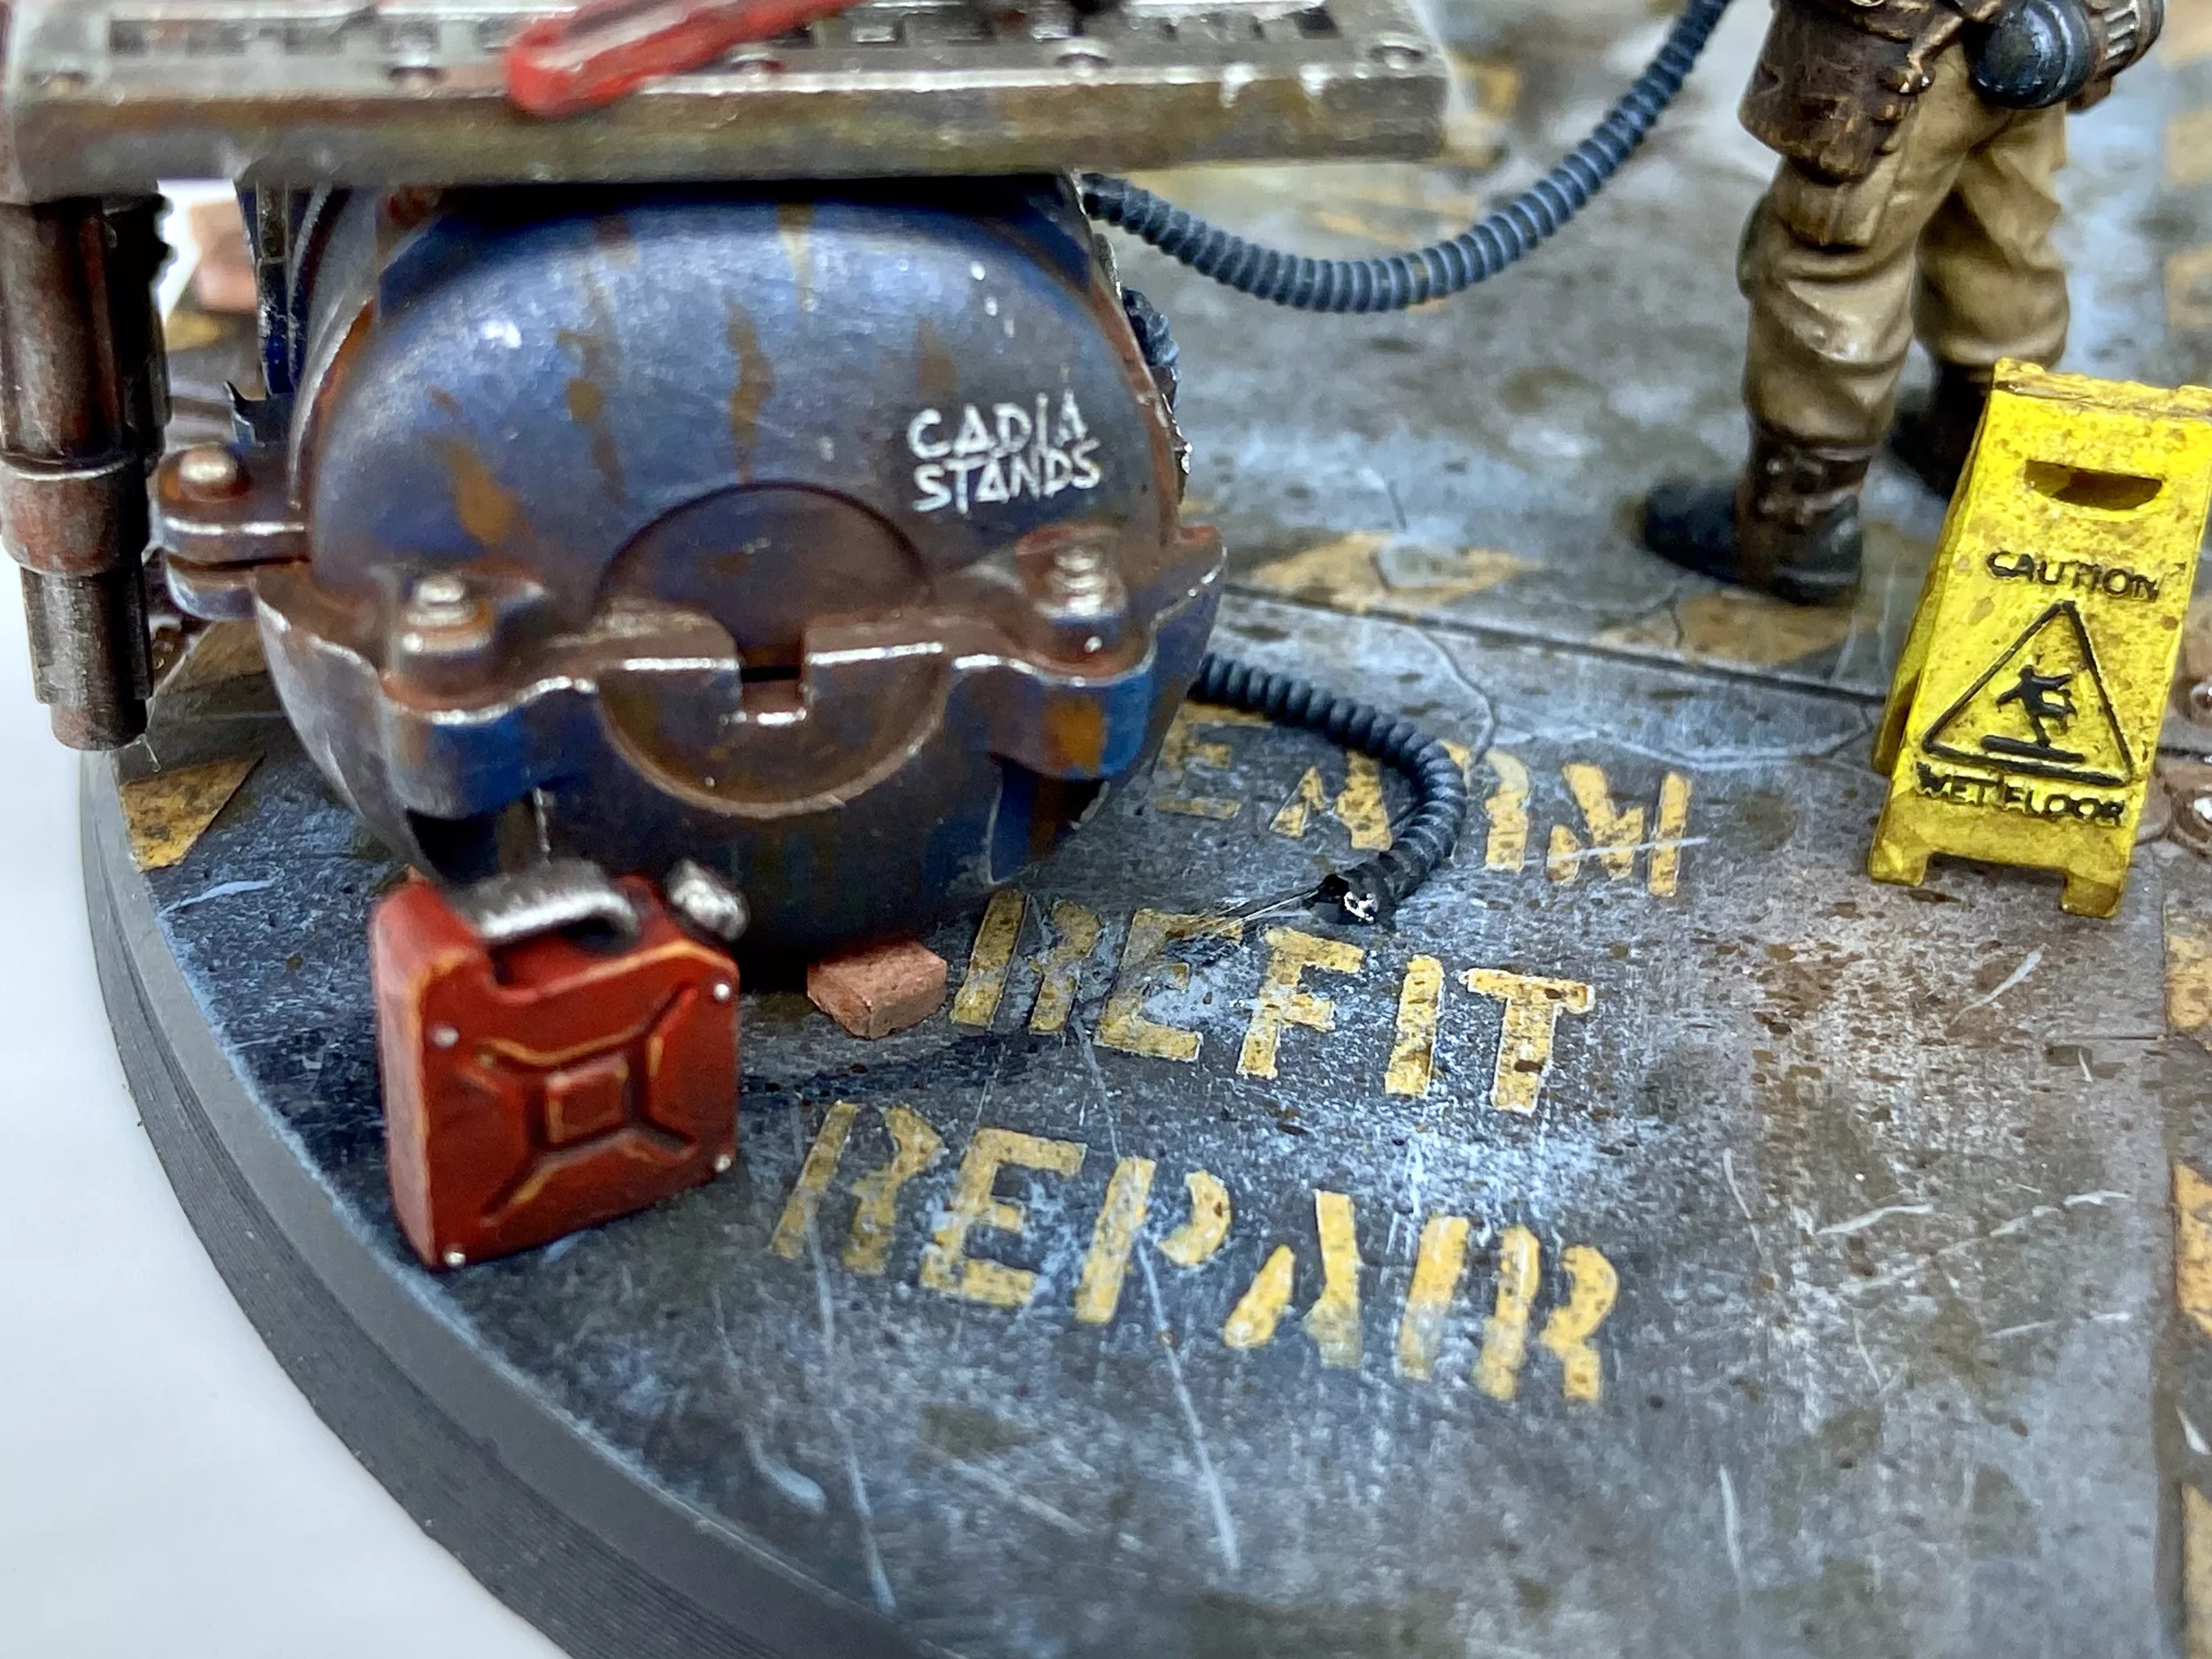
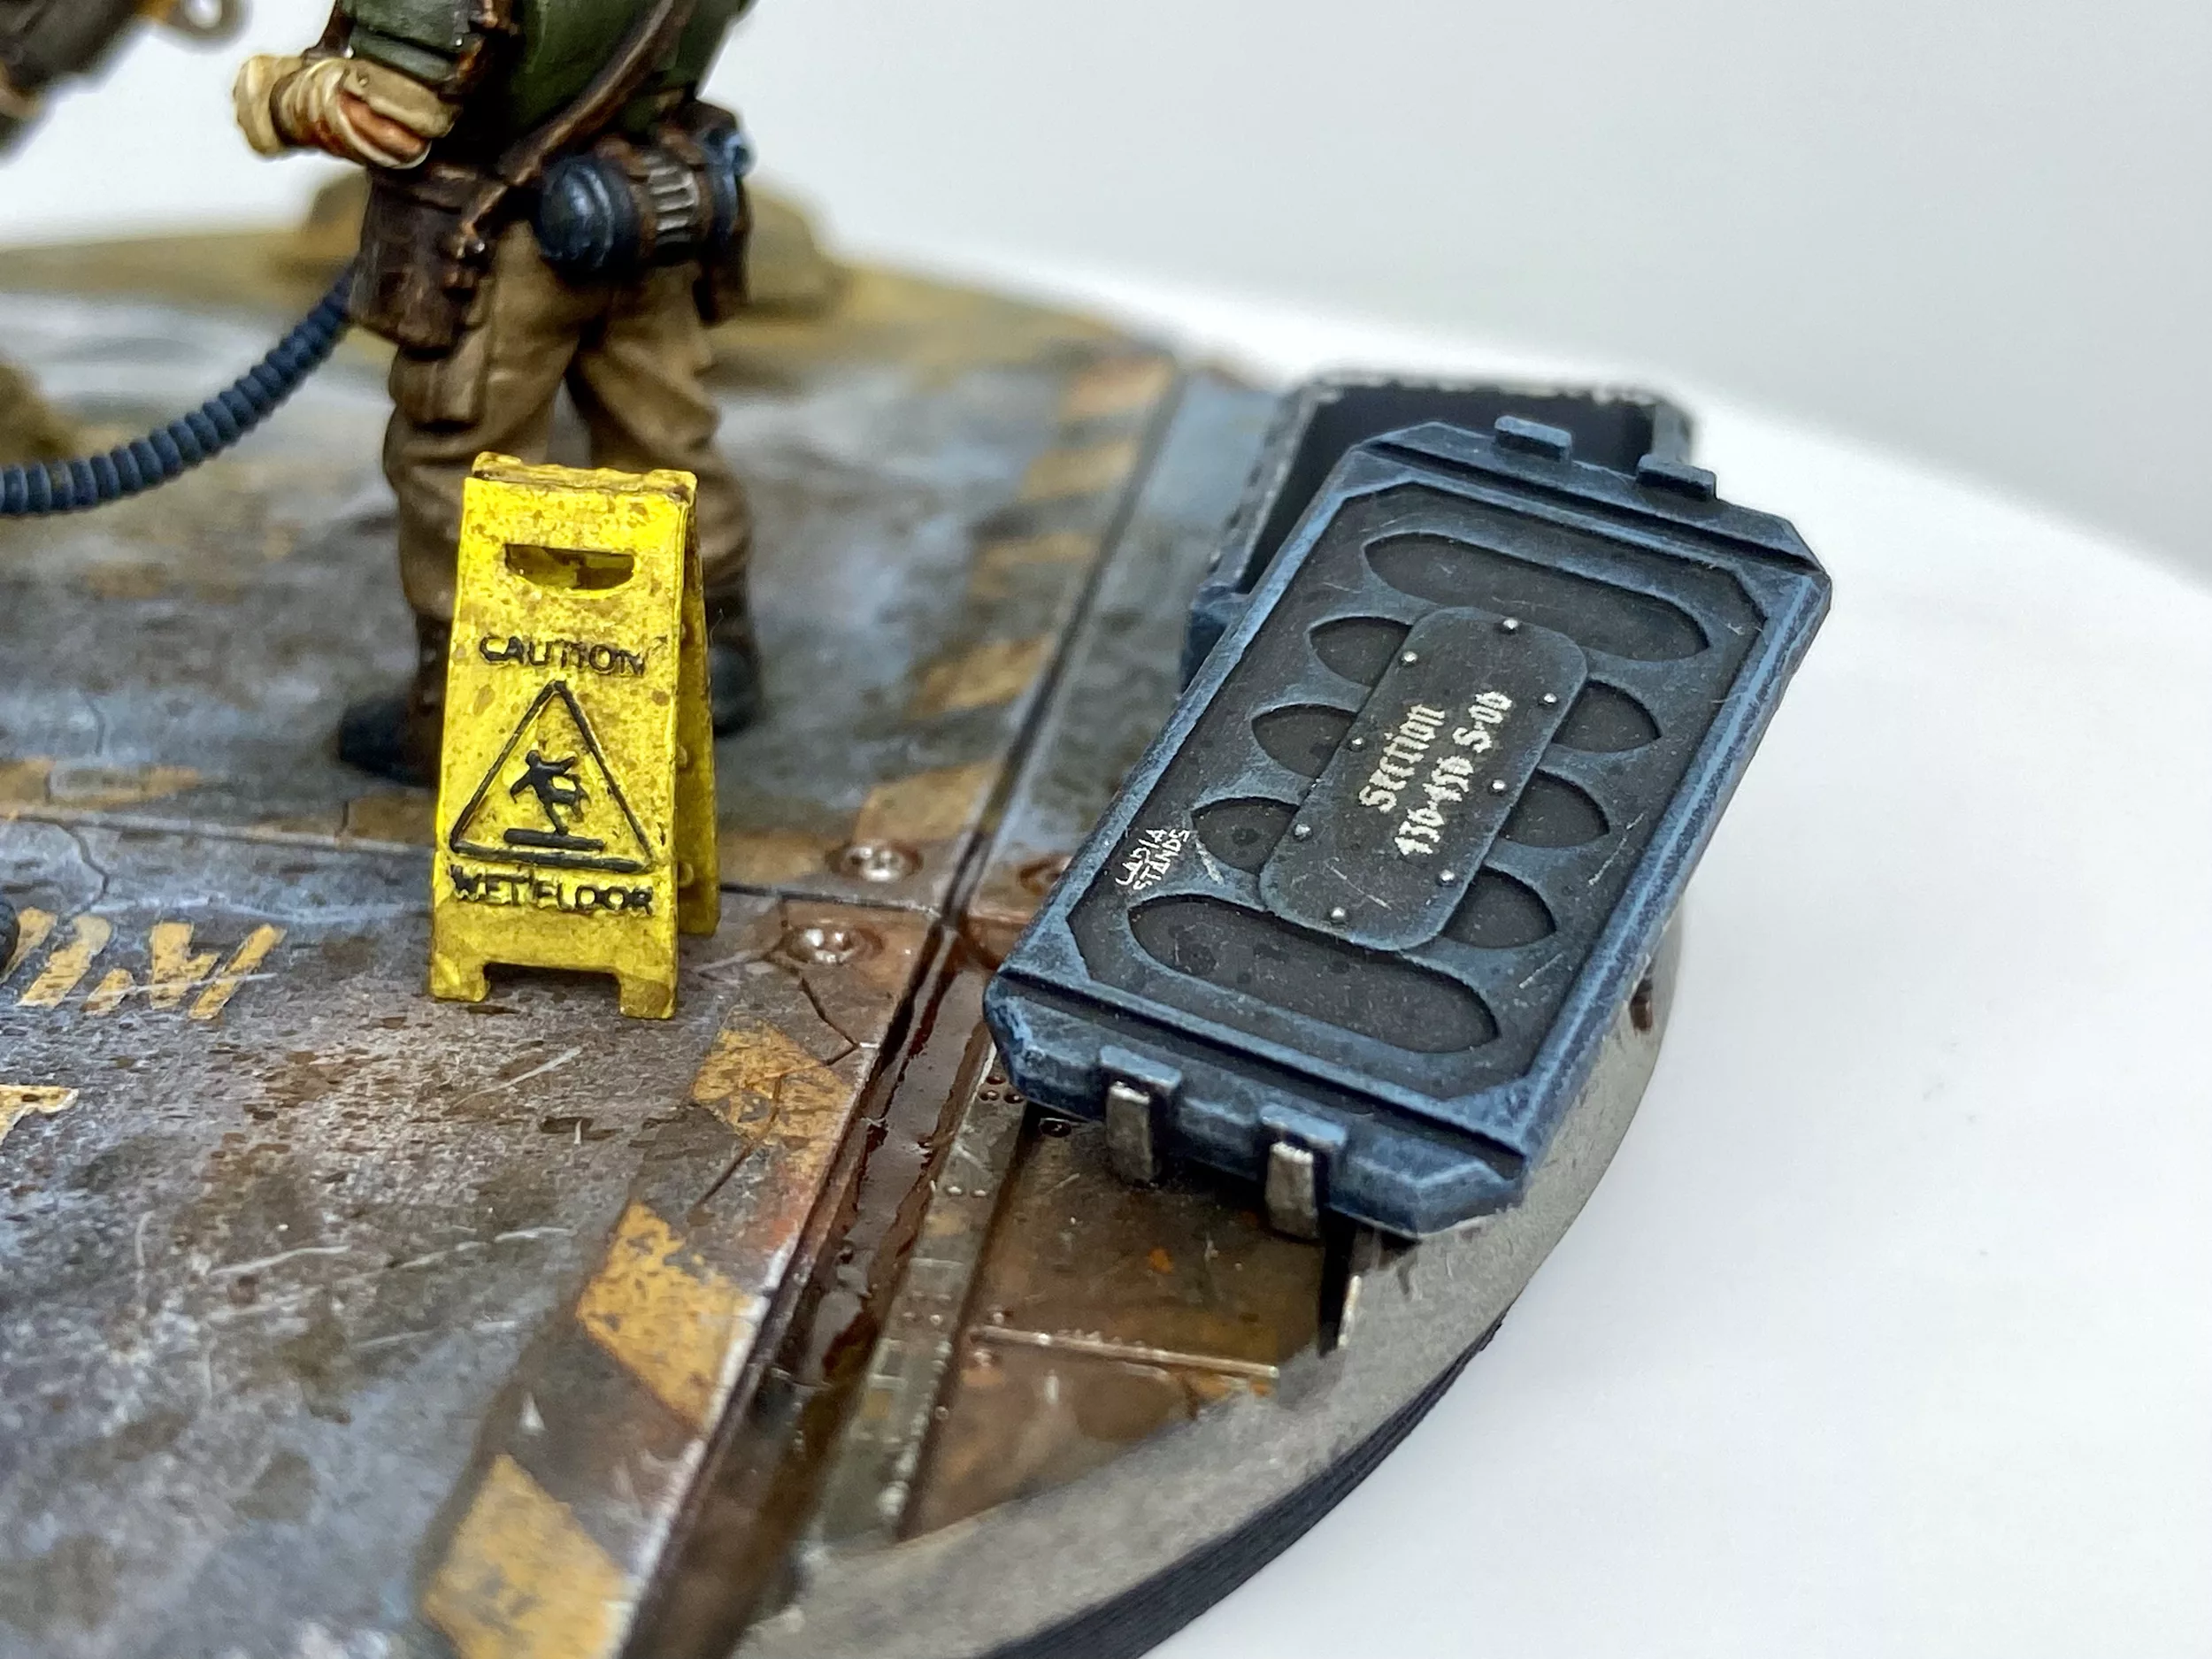
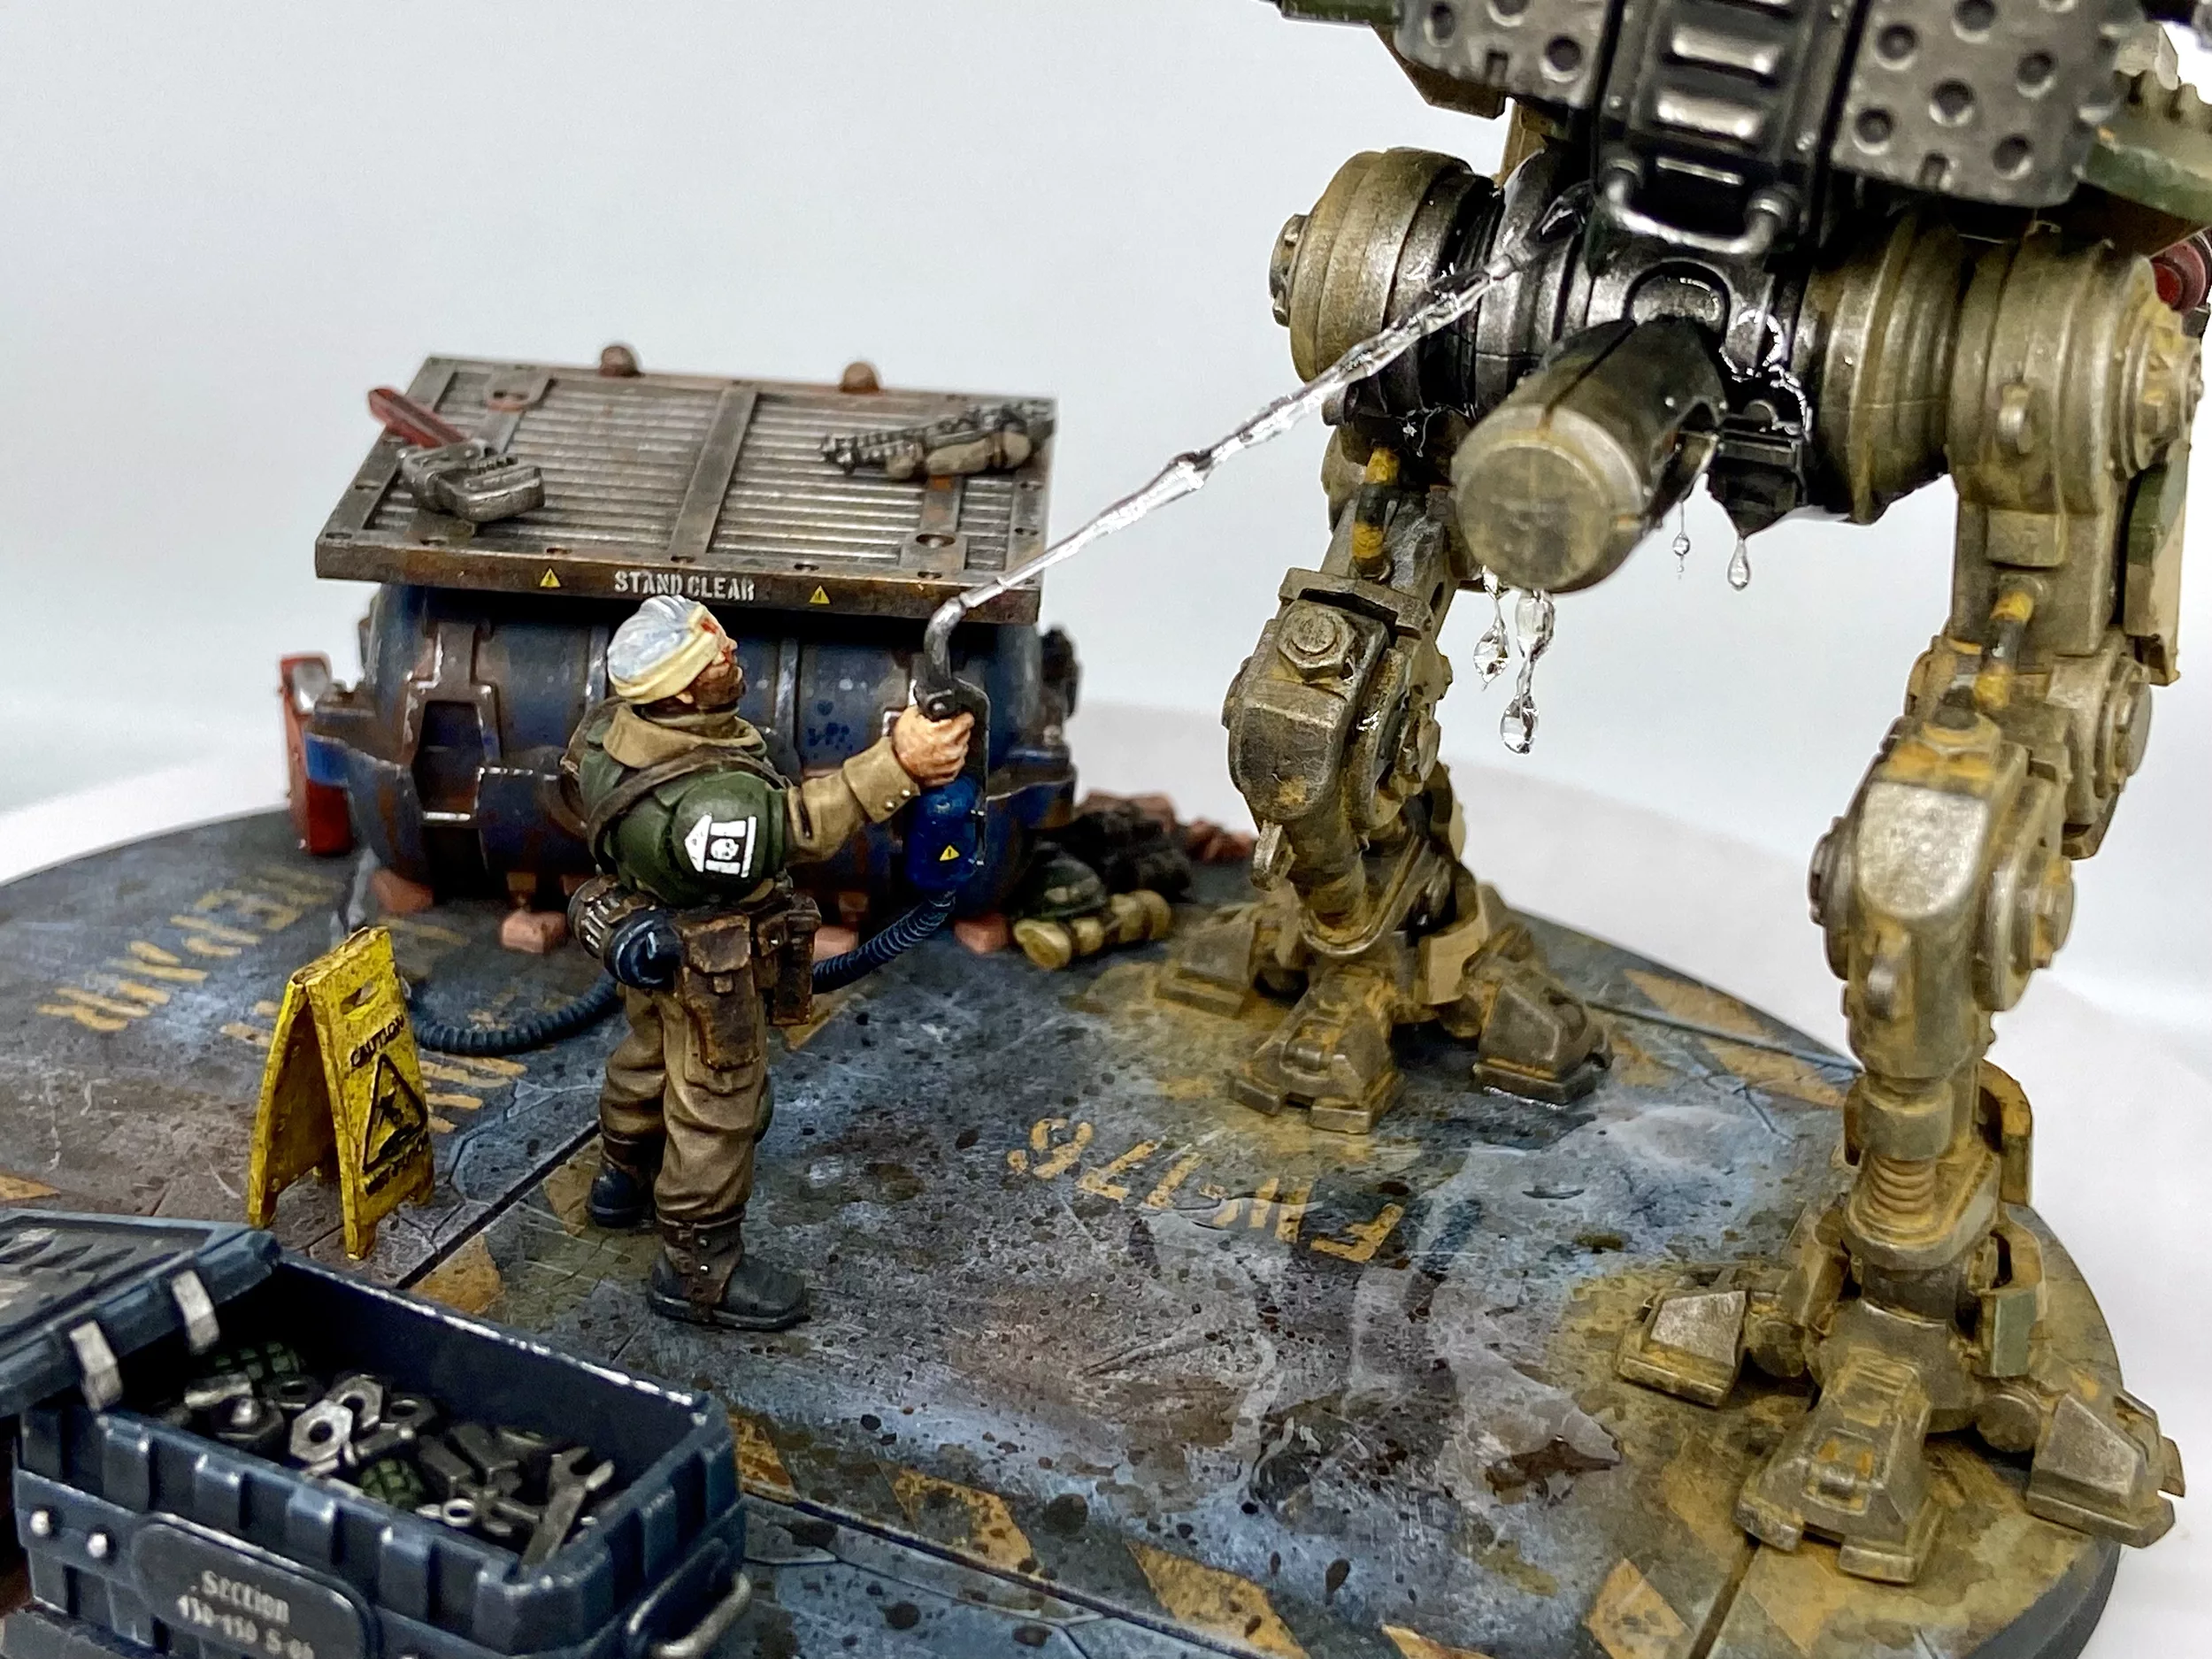
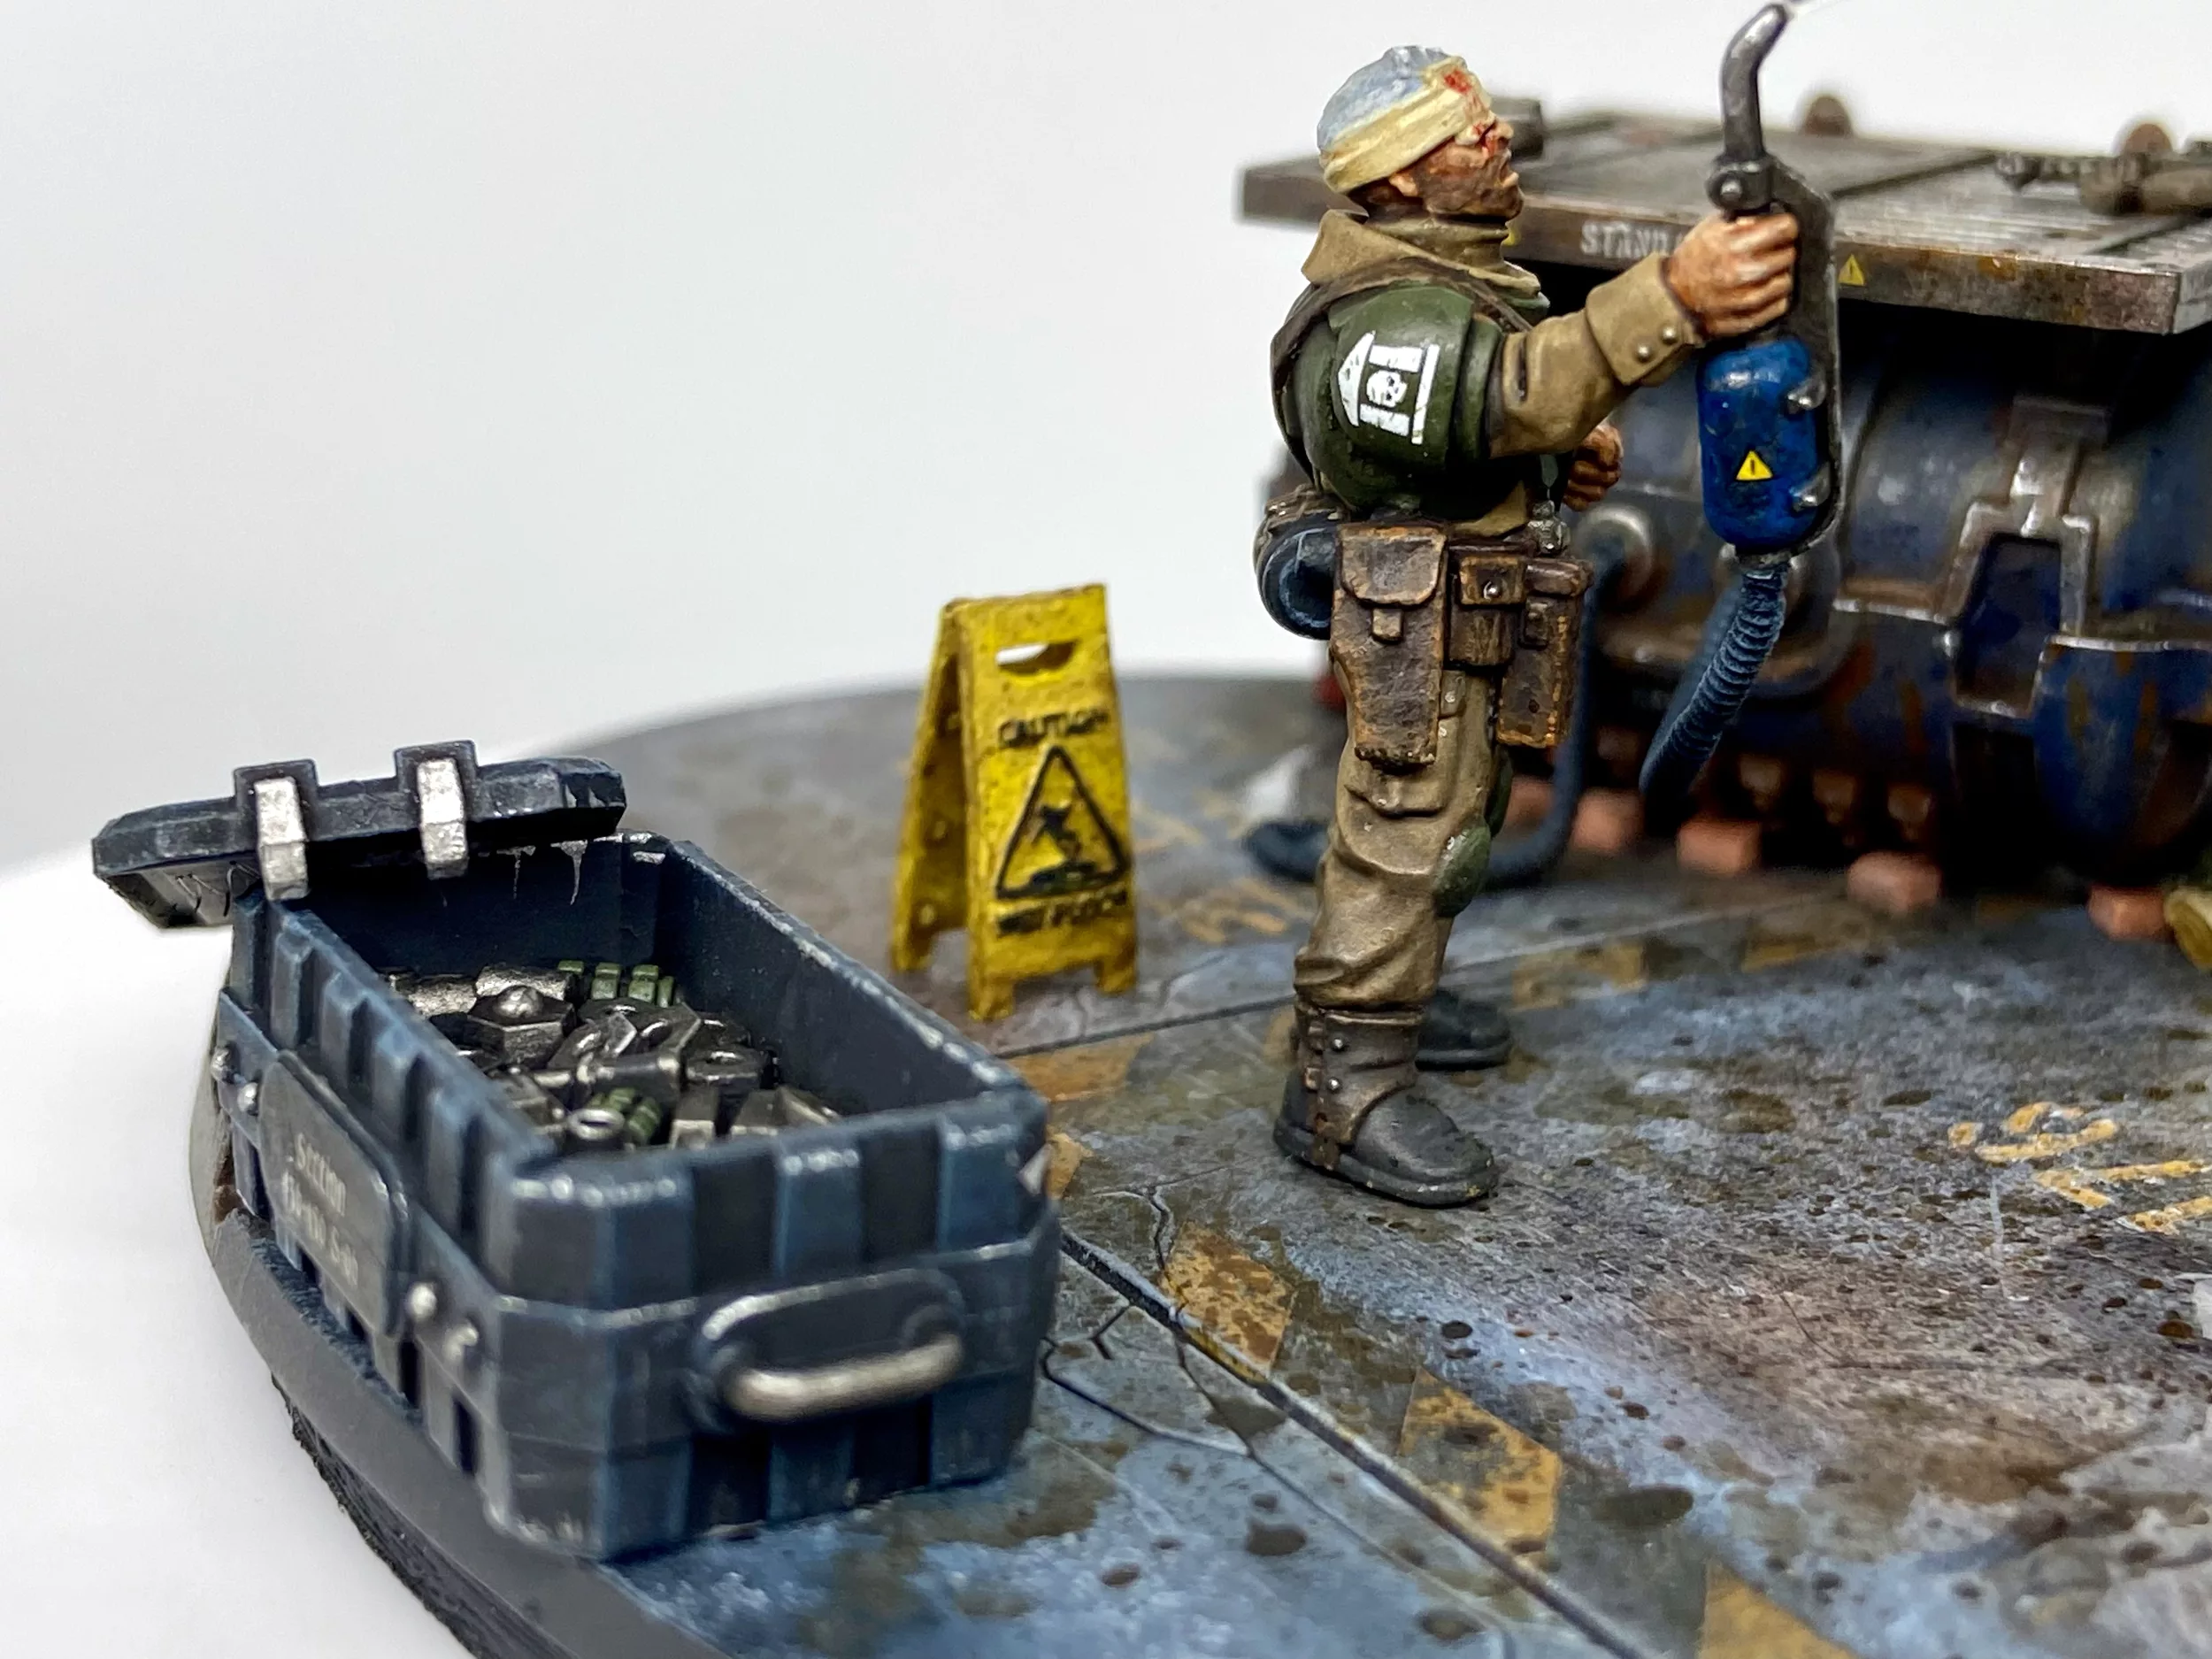
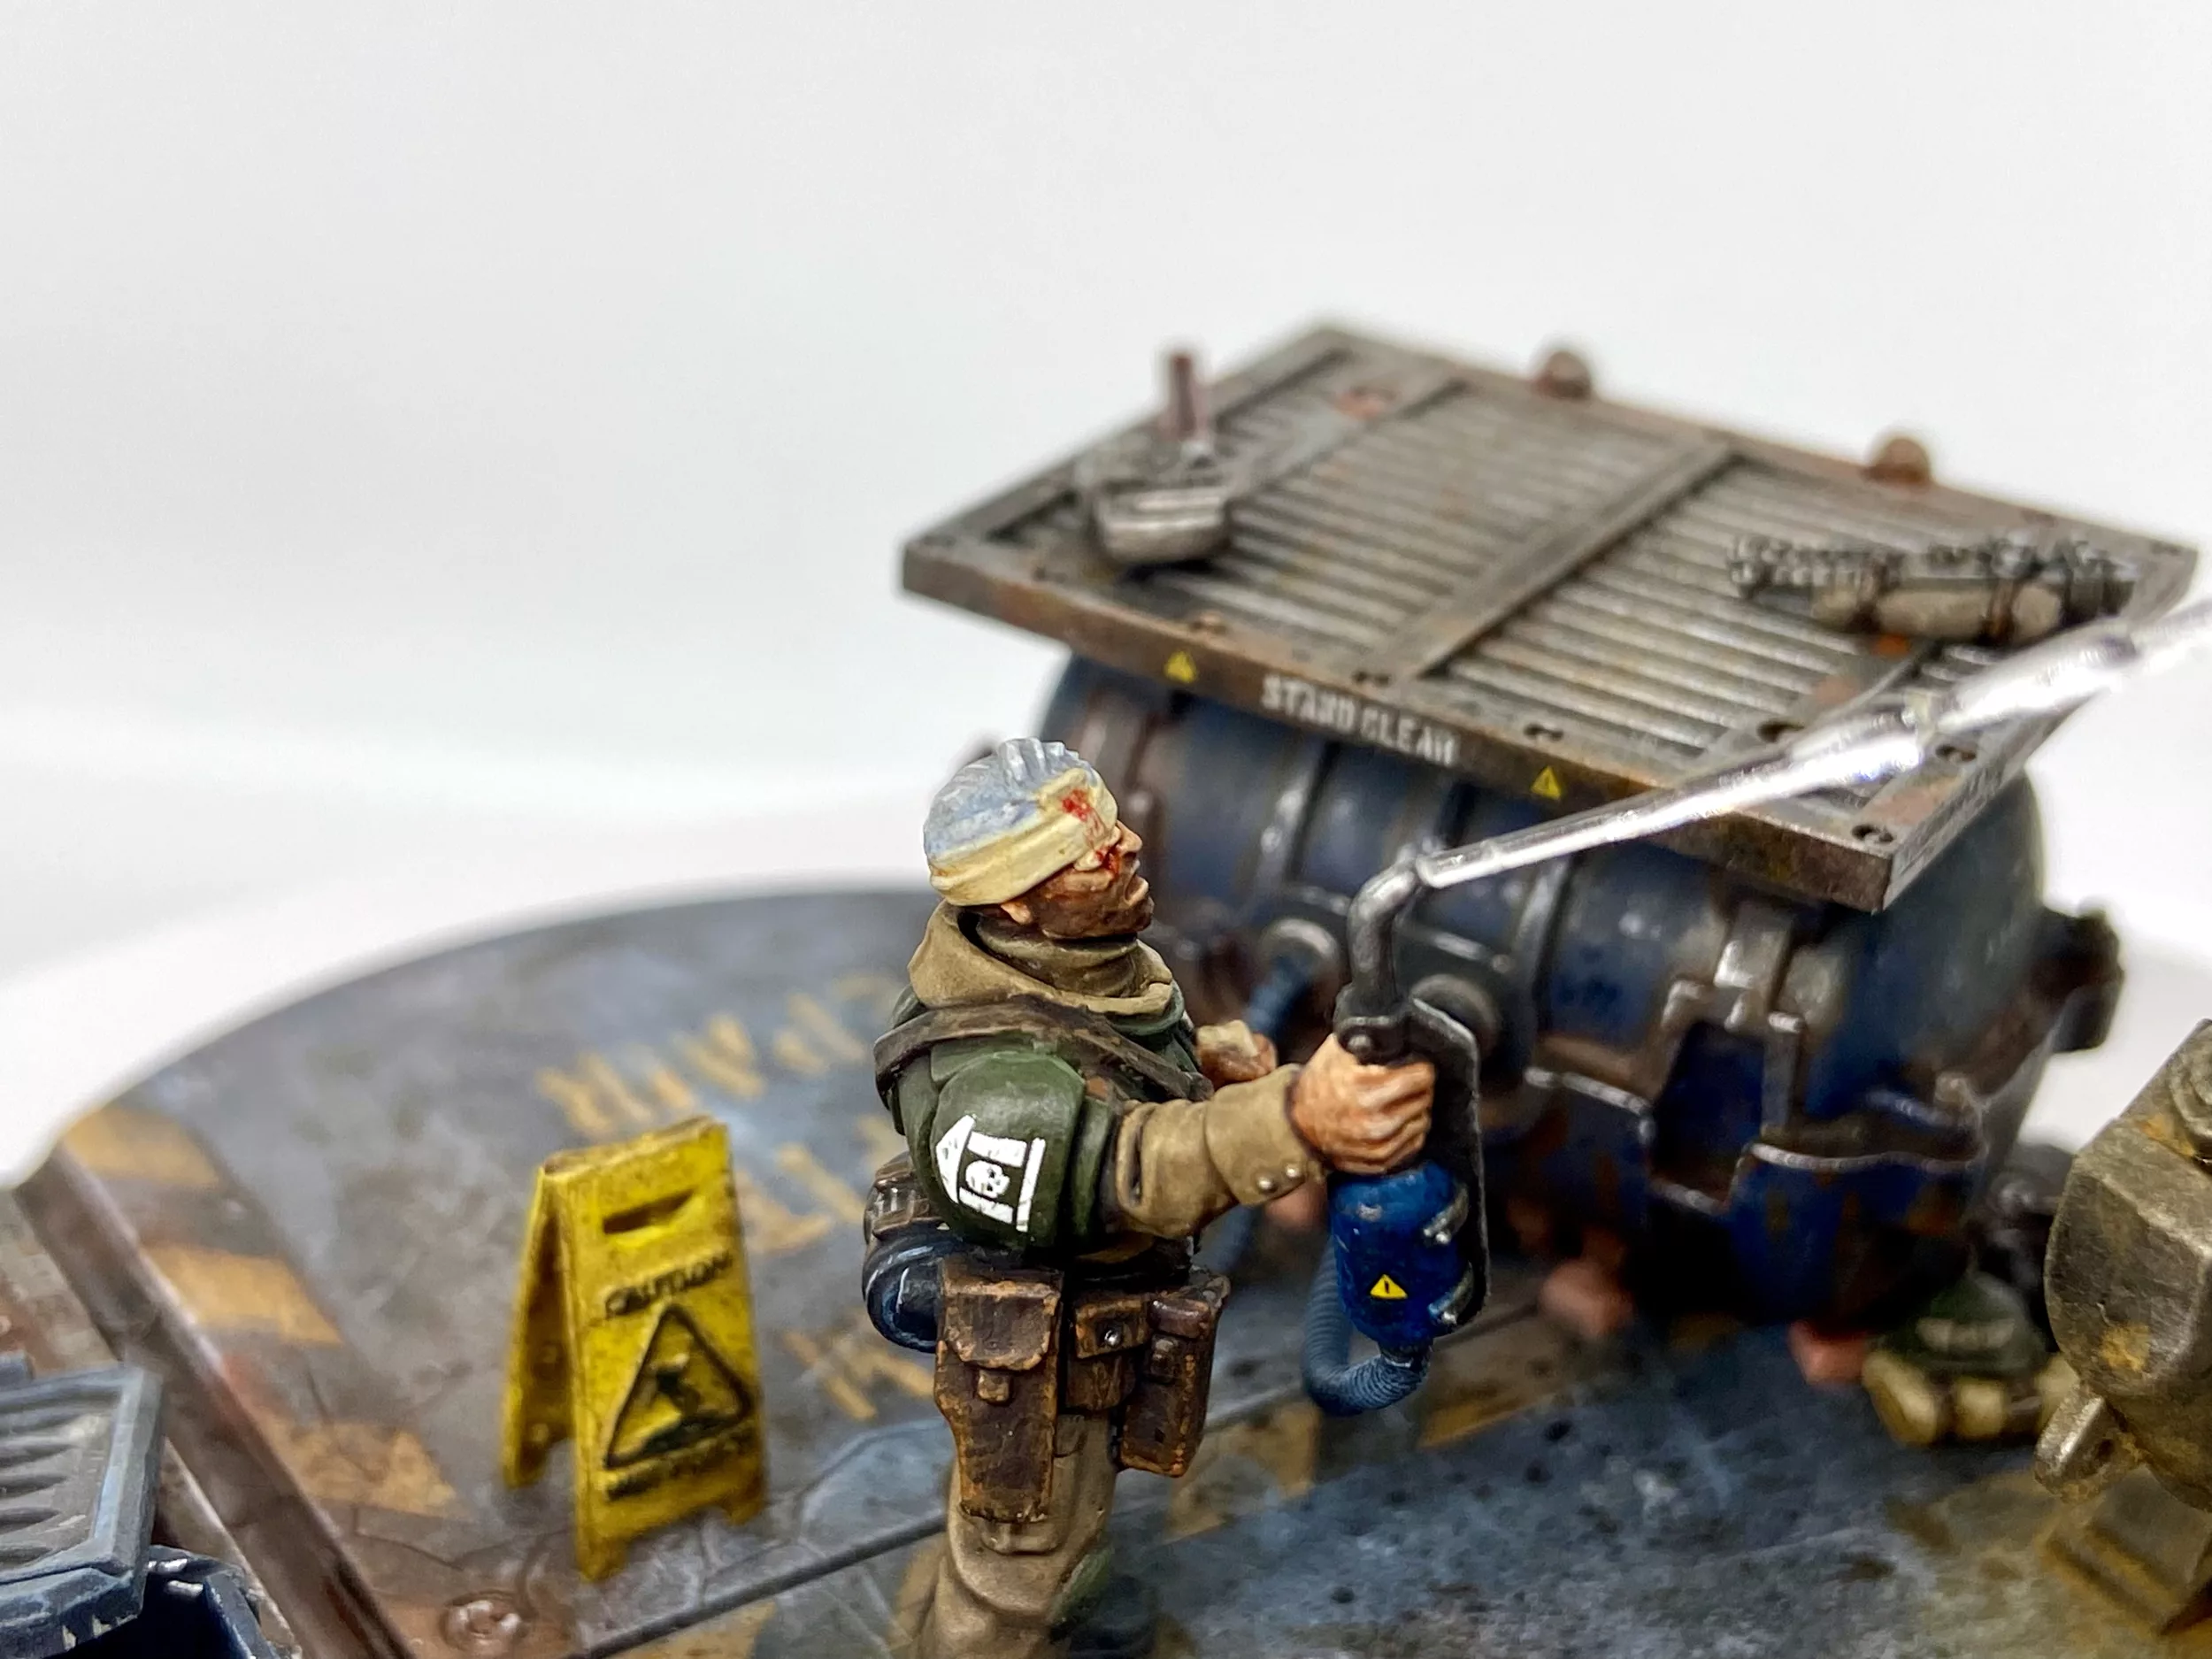
Wet Floor Sign
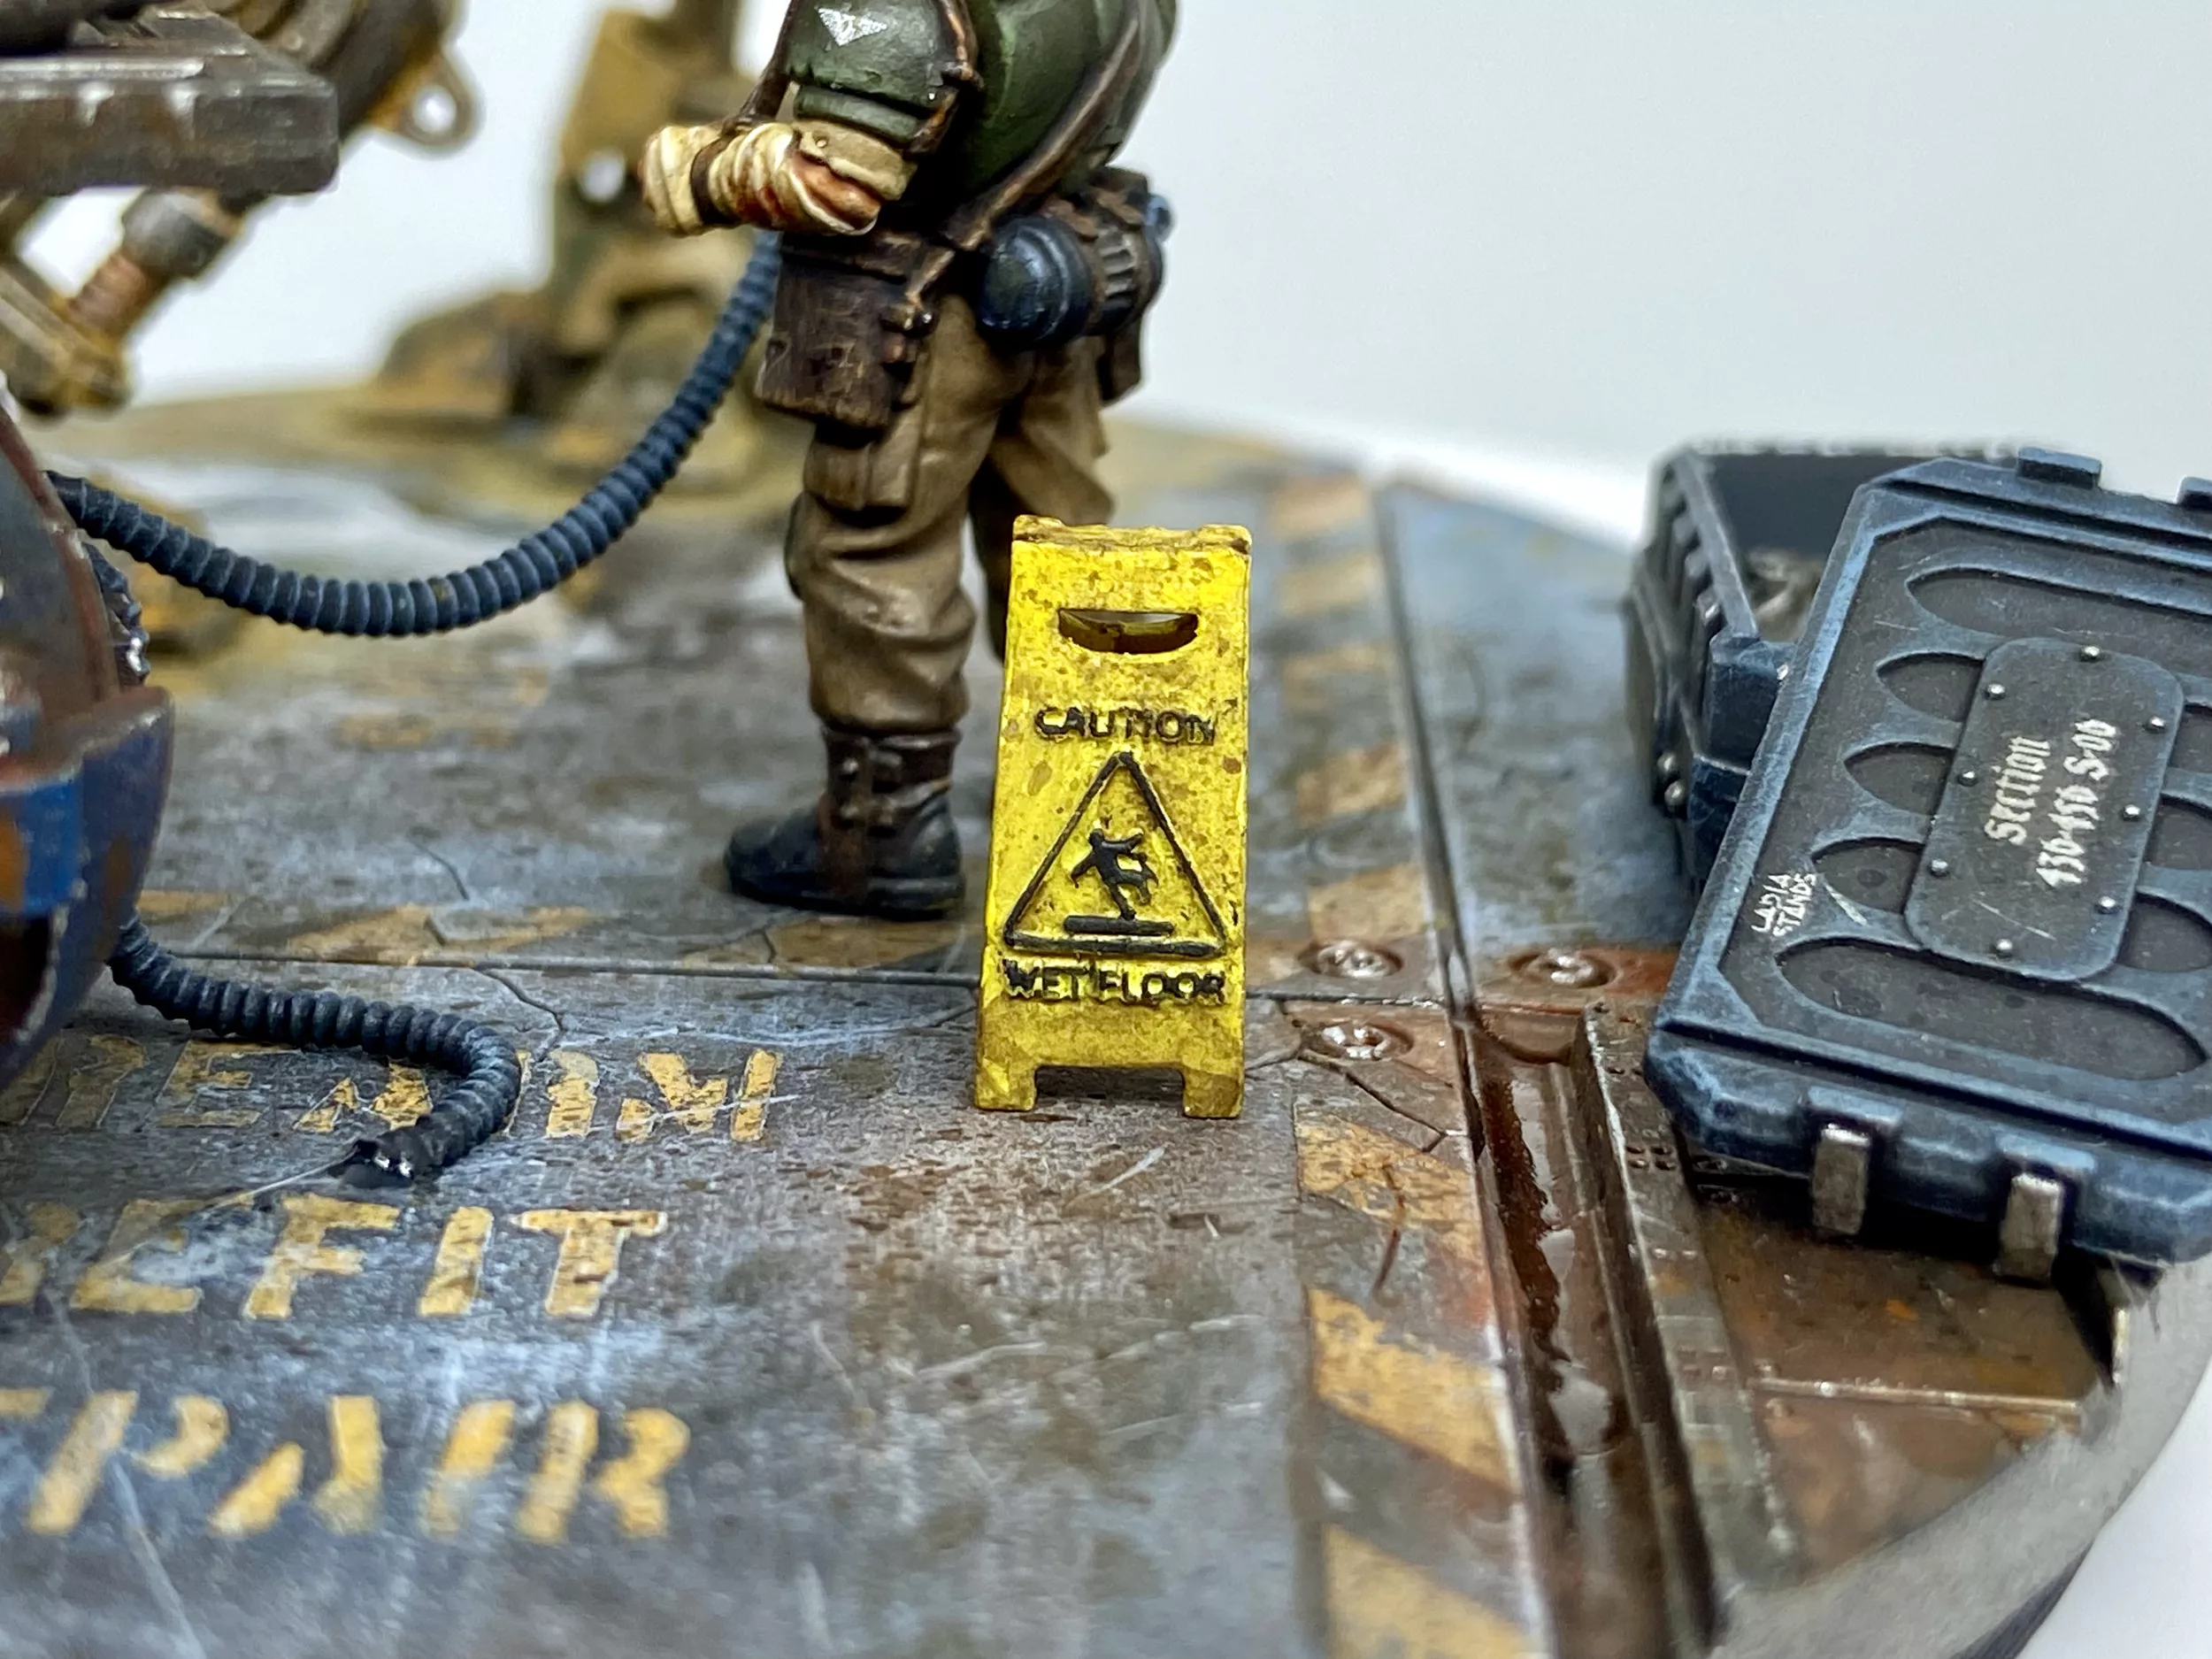
The Wet Floor Sign was from Cults3D here. I scaled it down to 30mm in length, 15mm per side, which made the sign very thin. Then, it was made thicker to ensure the writing and symbol were visible.
My Dad scaled and printed this for me.
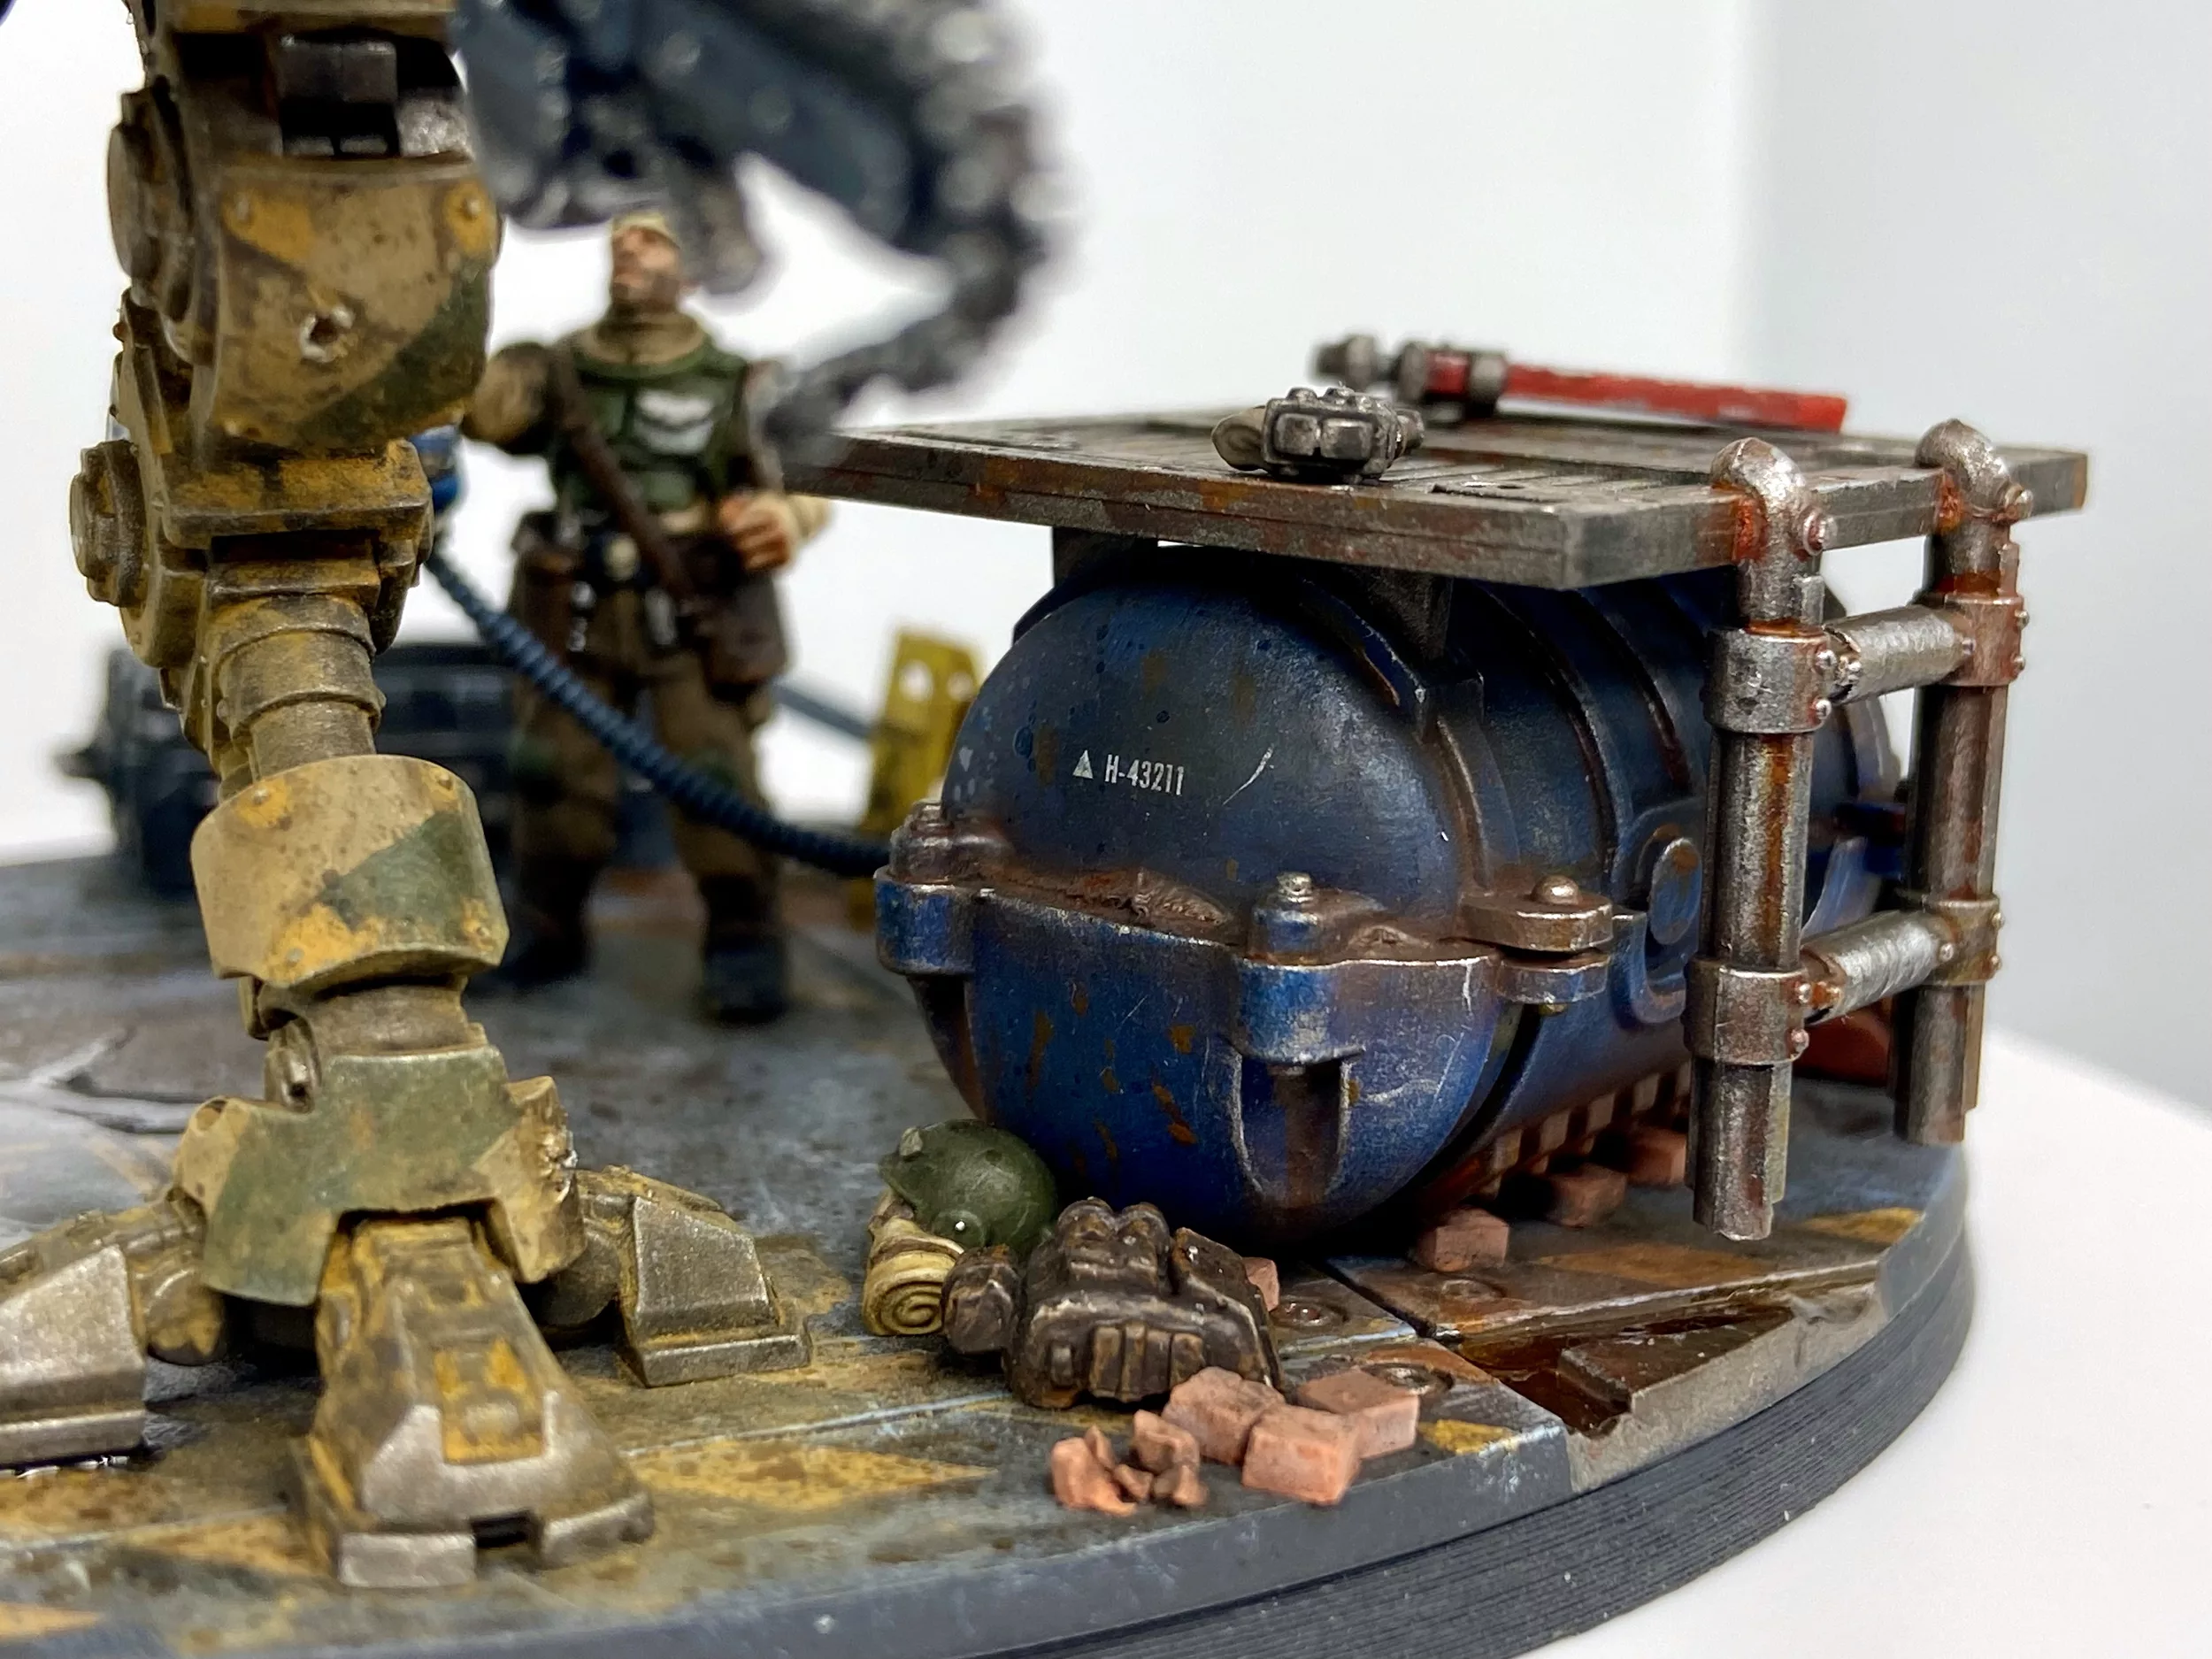
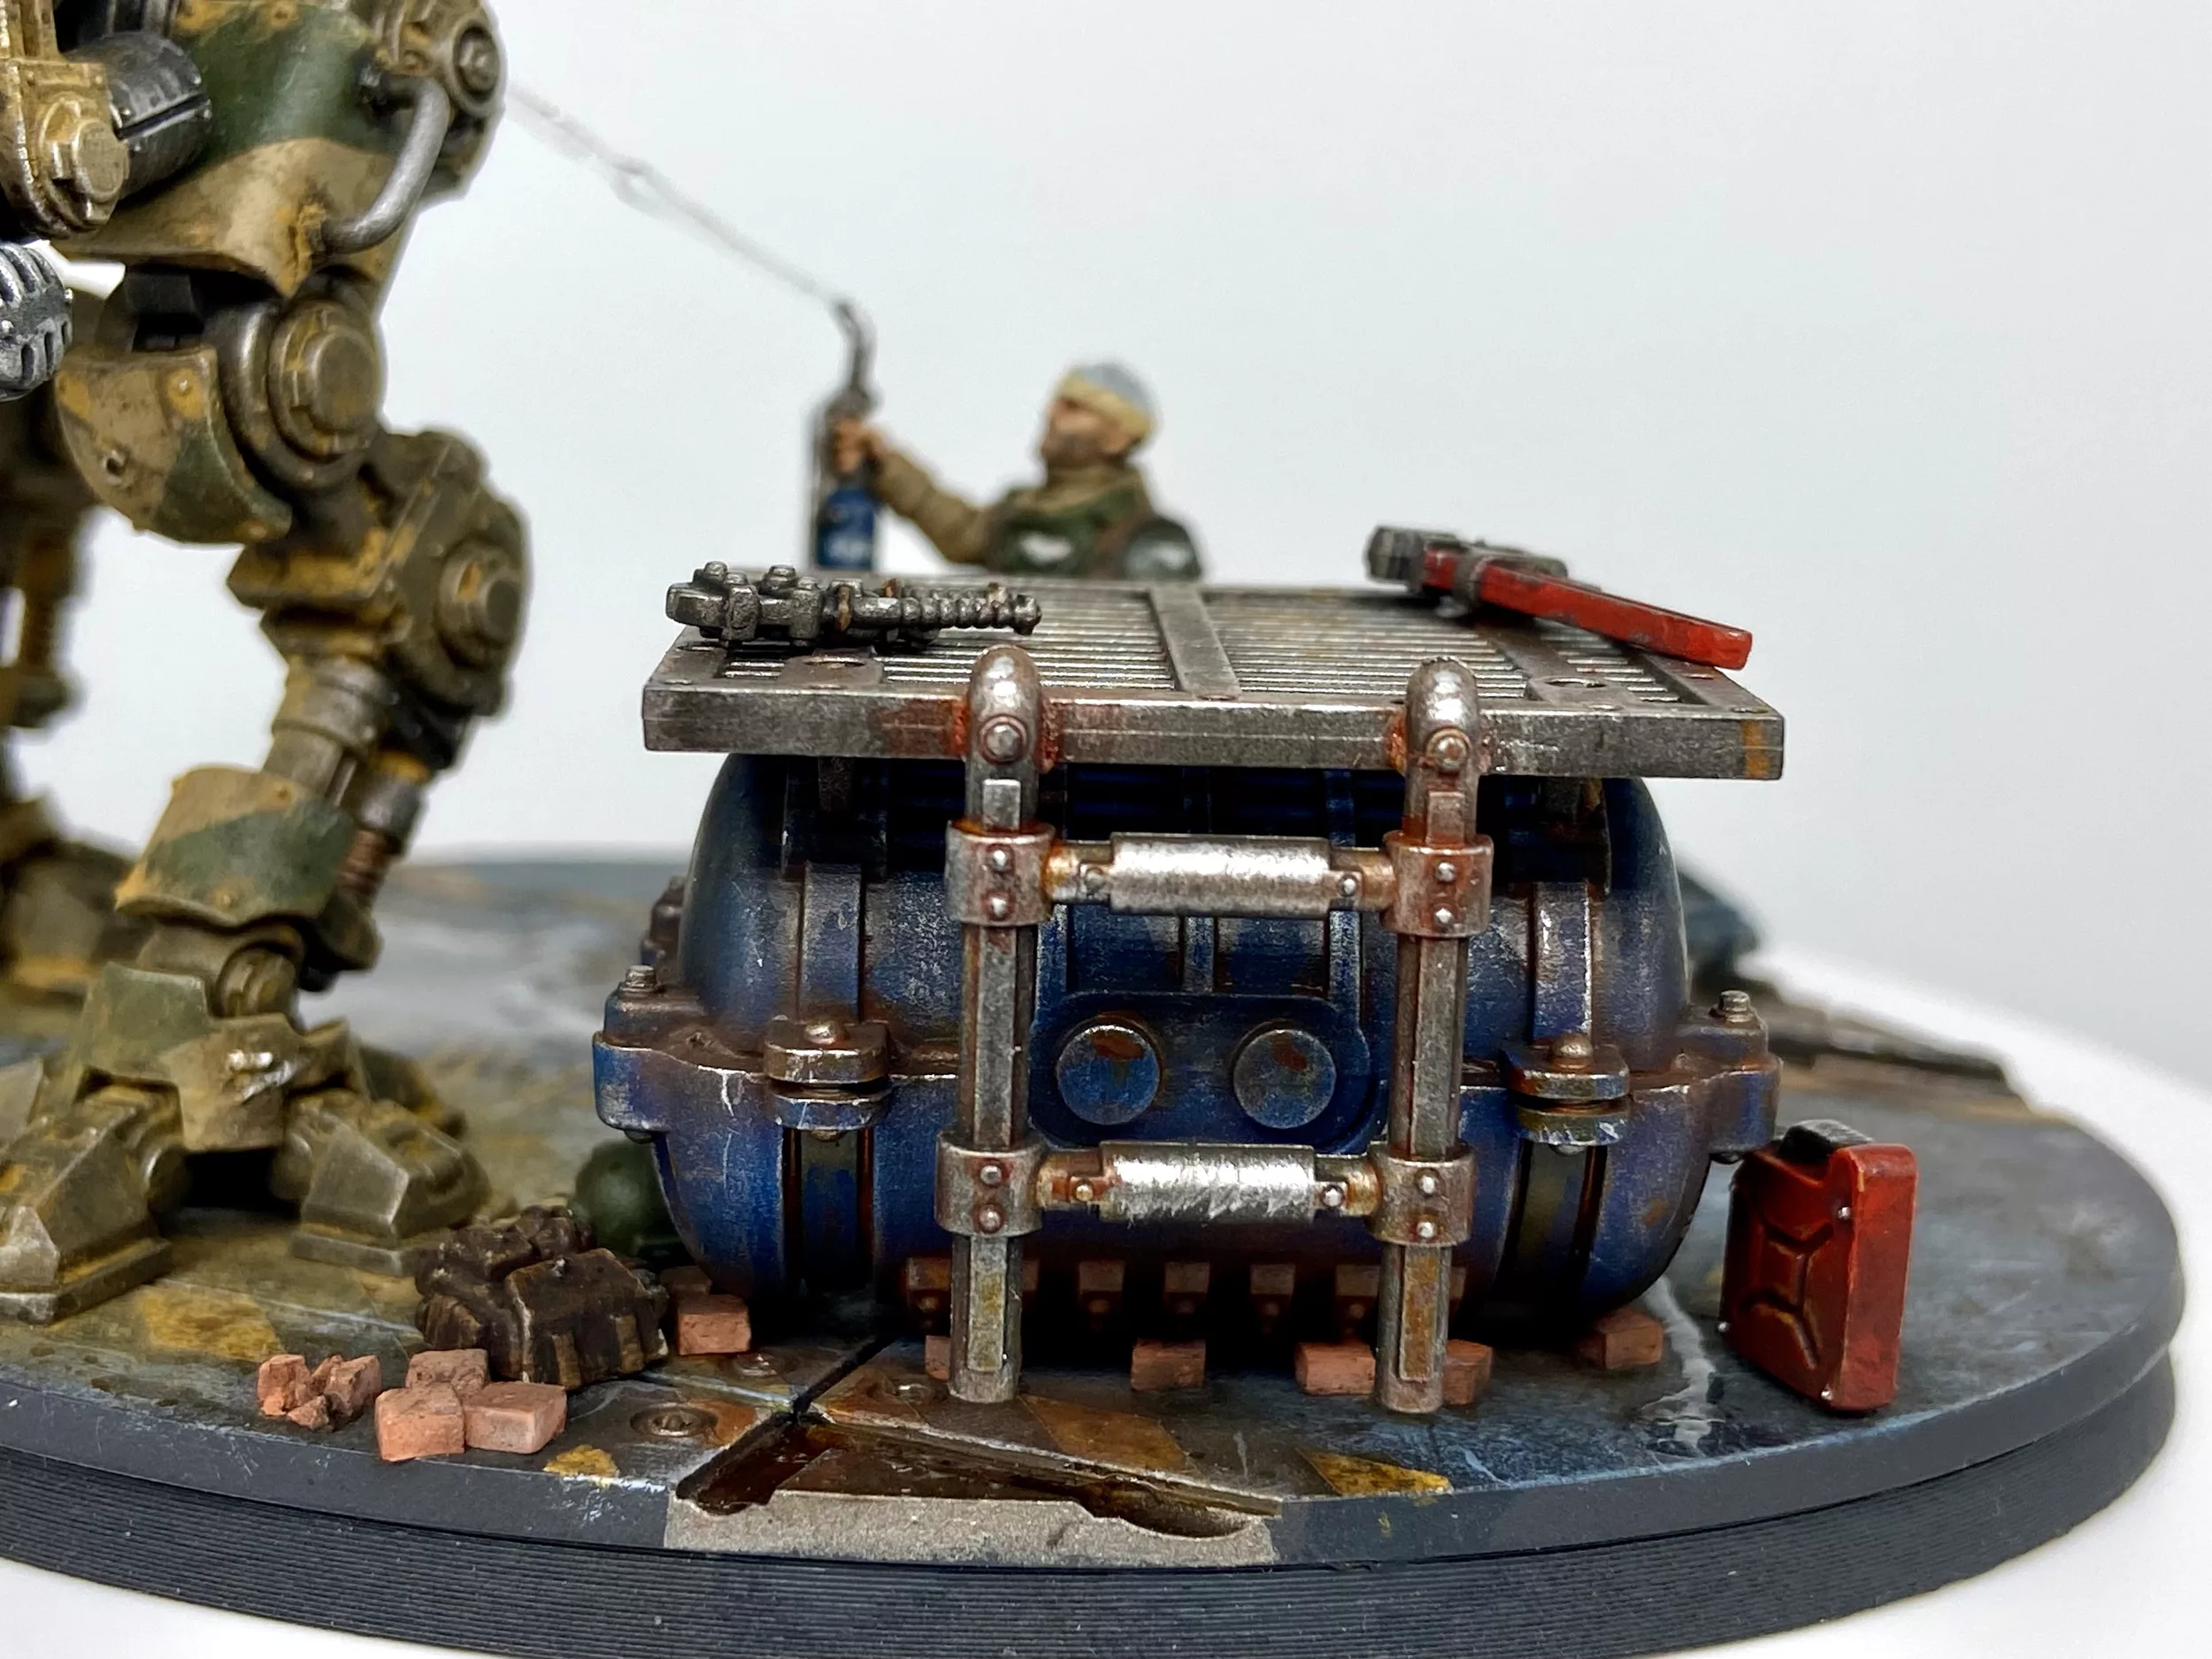
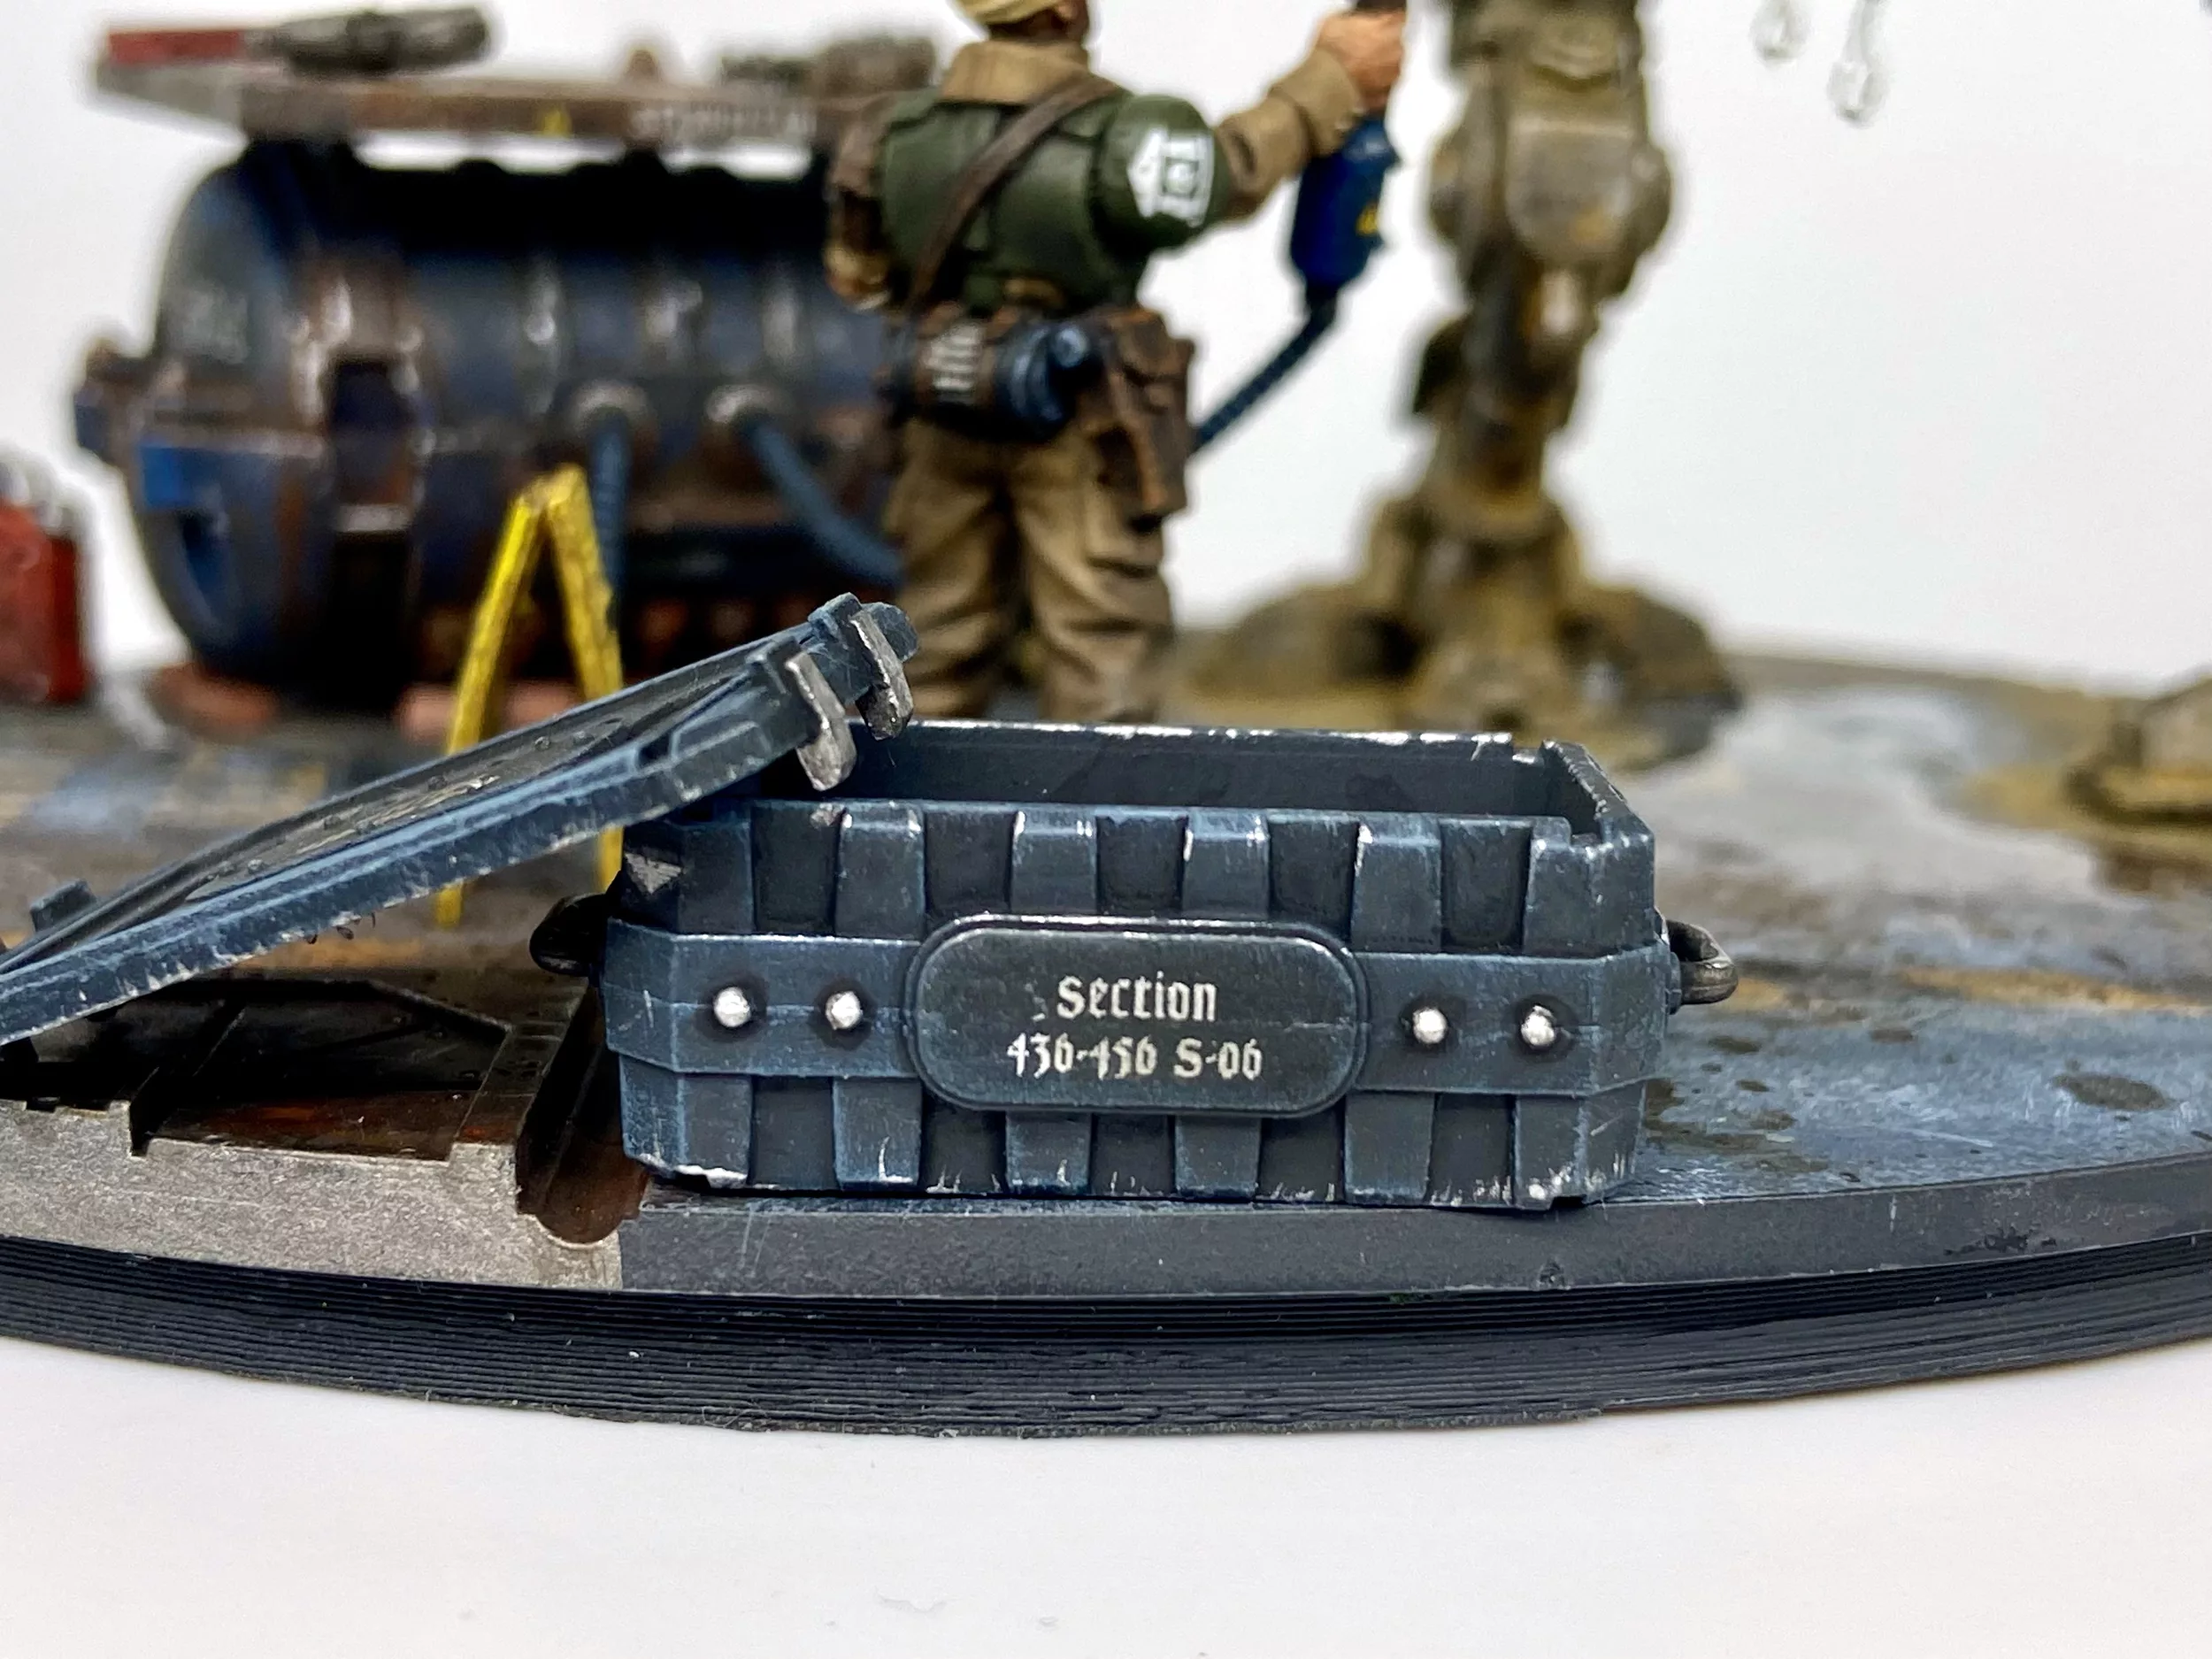
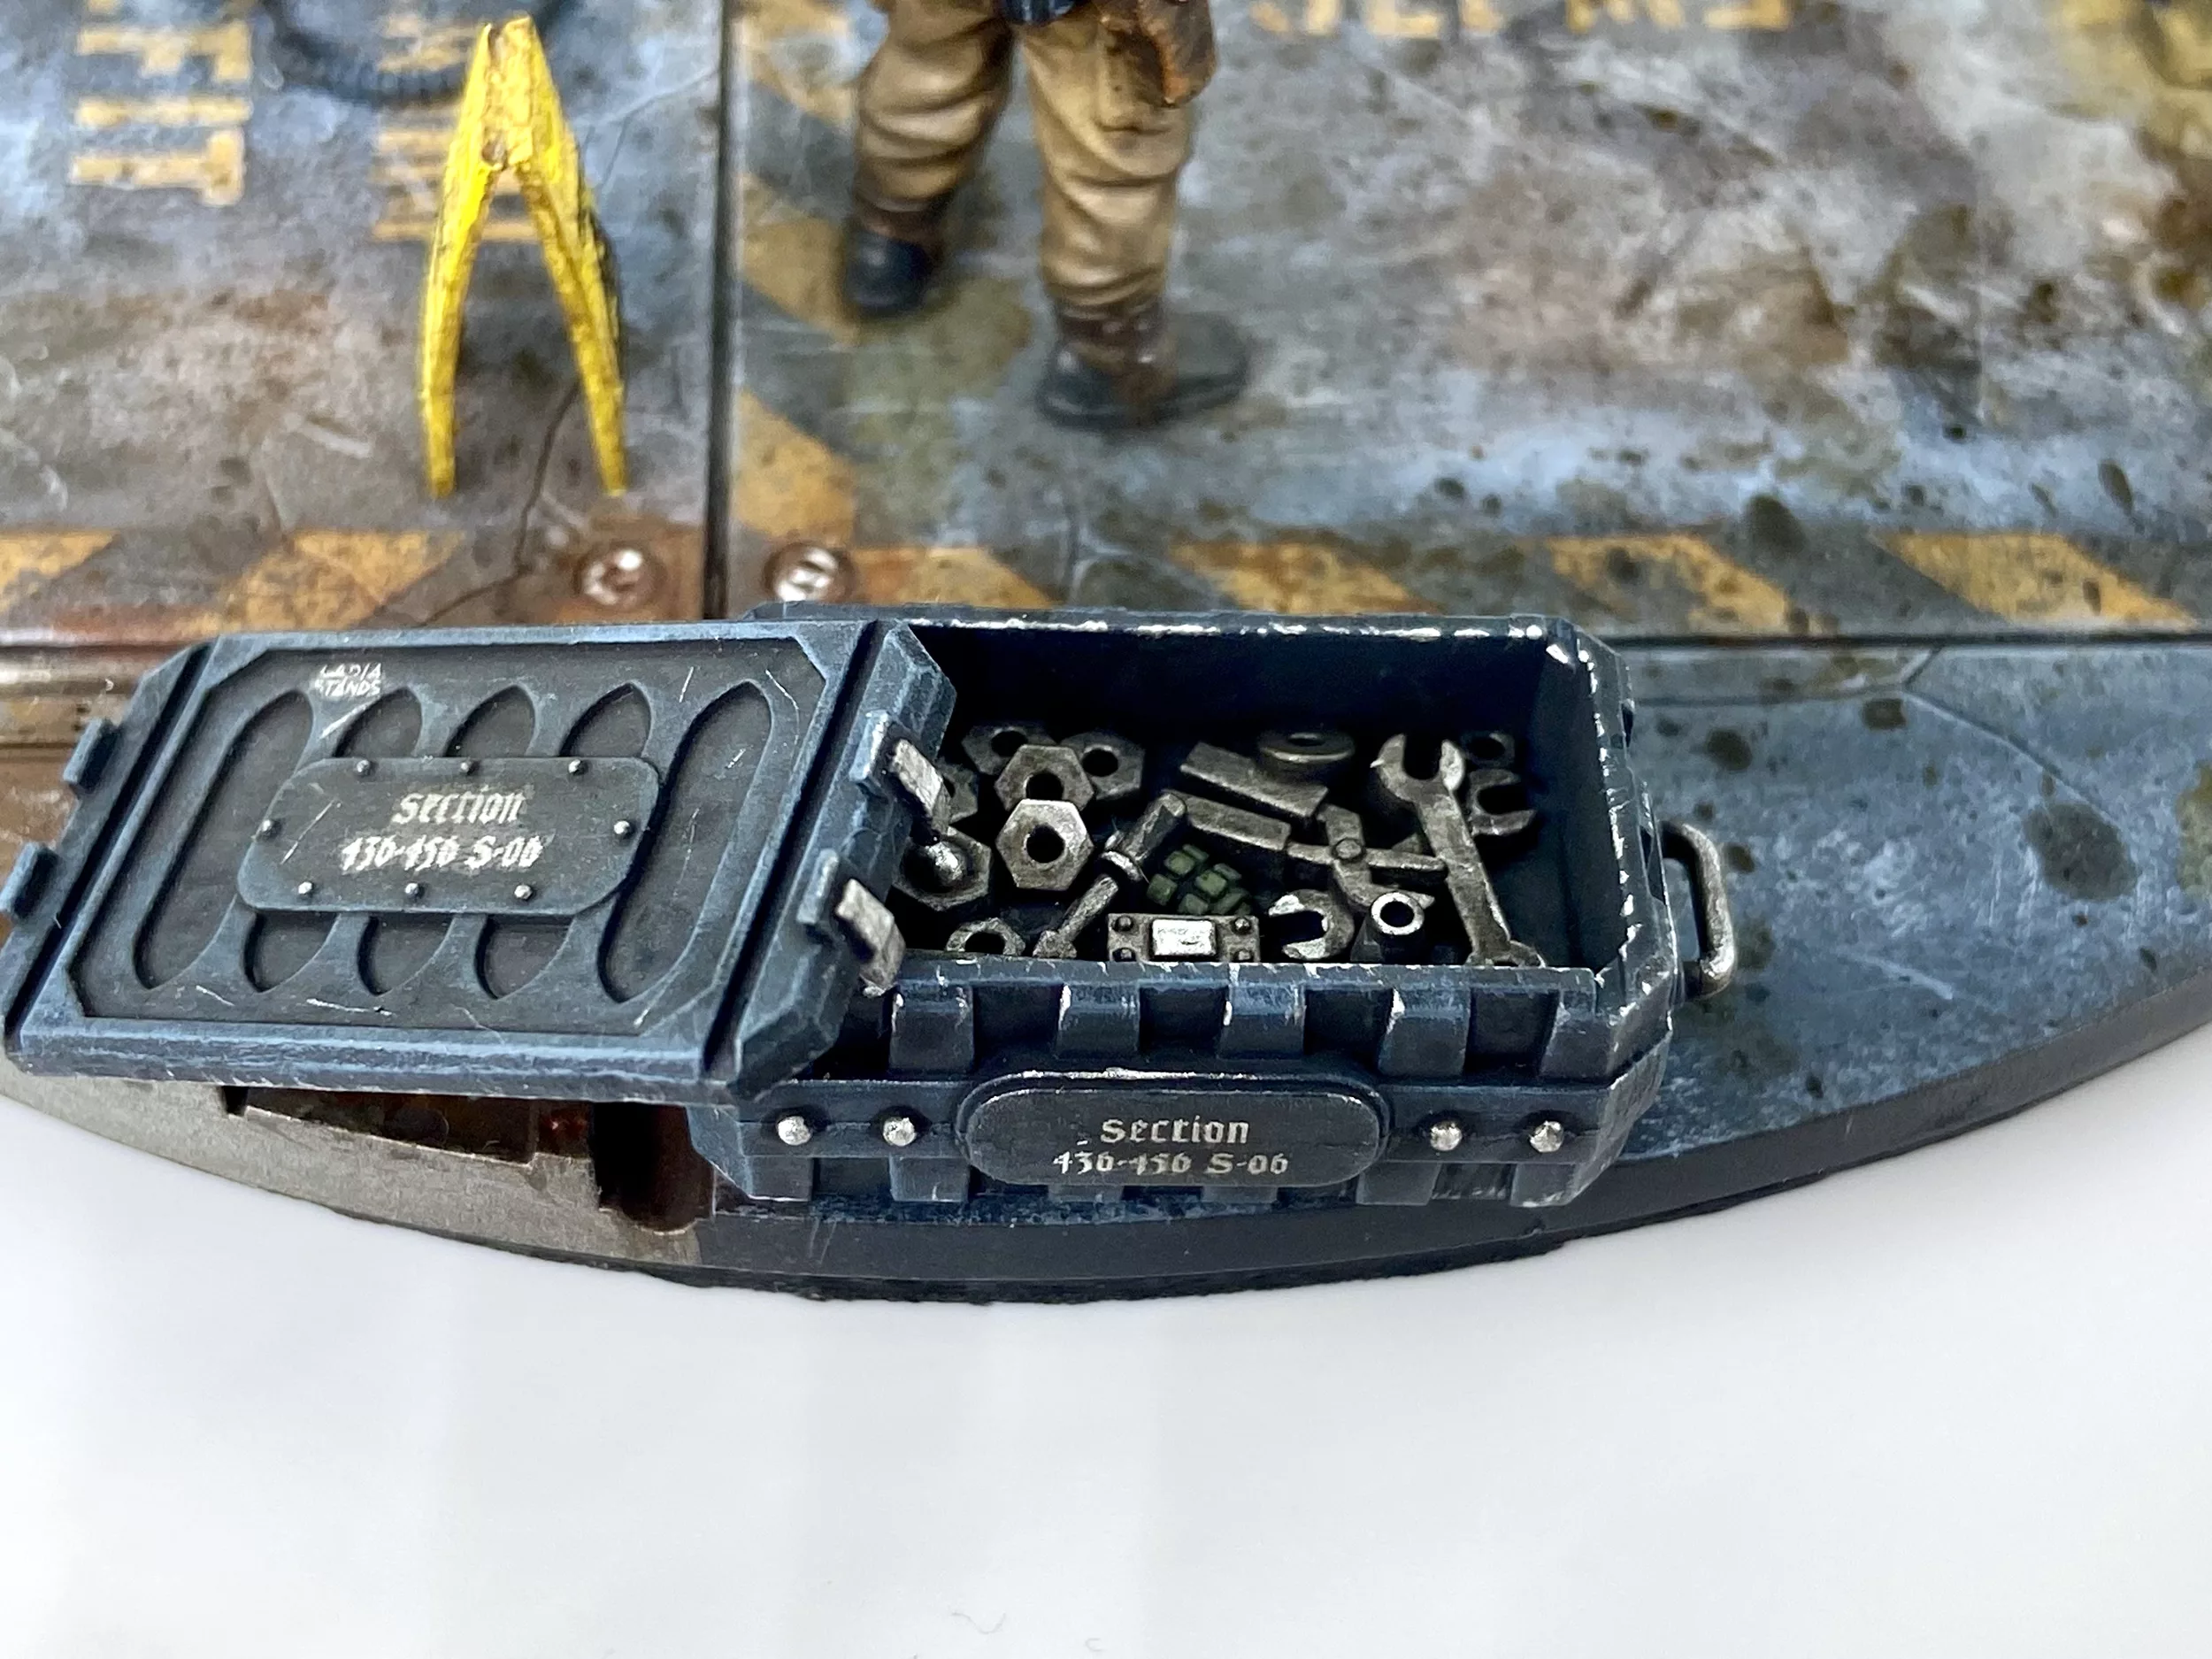
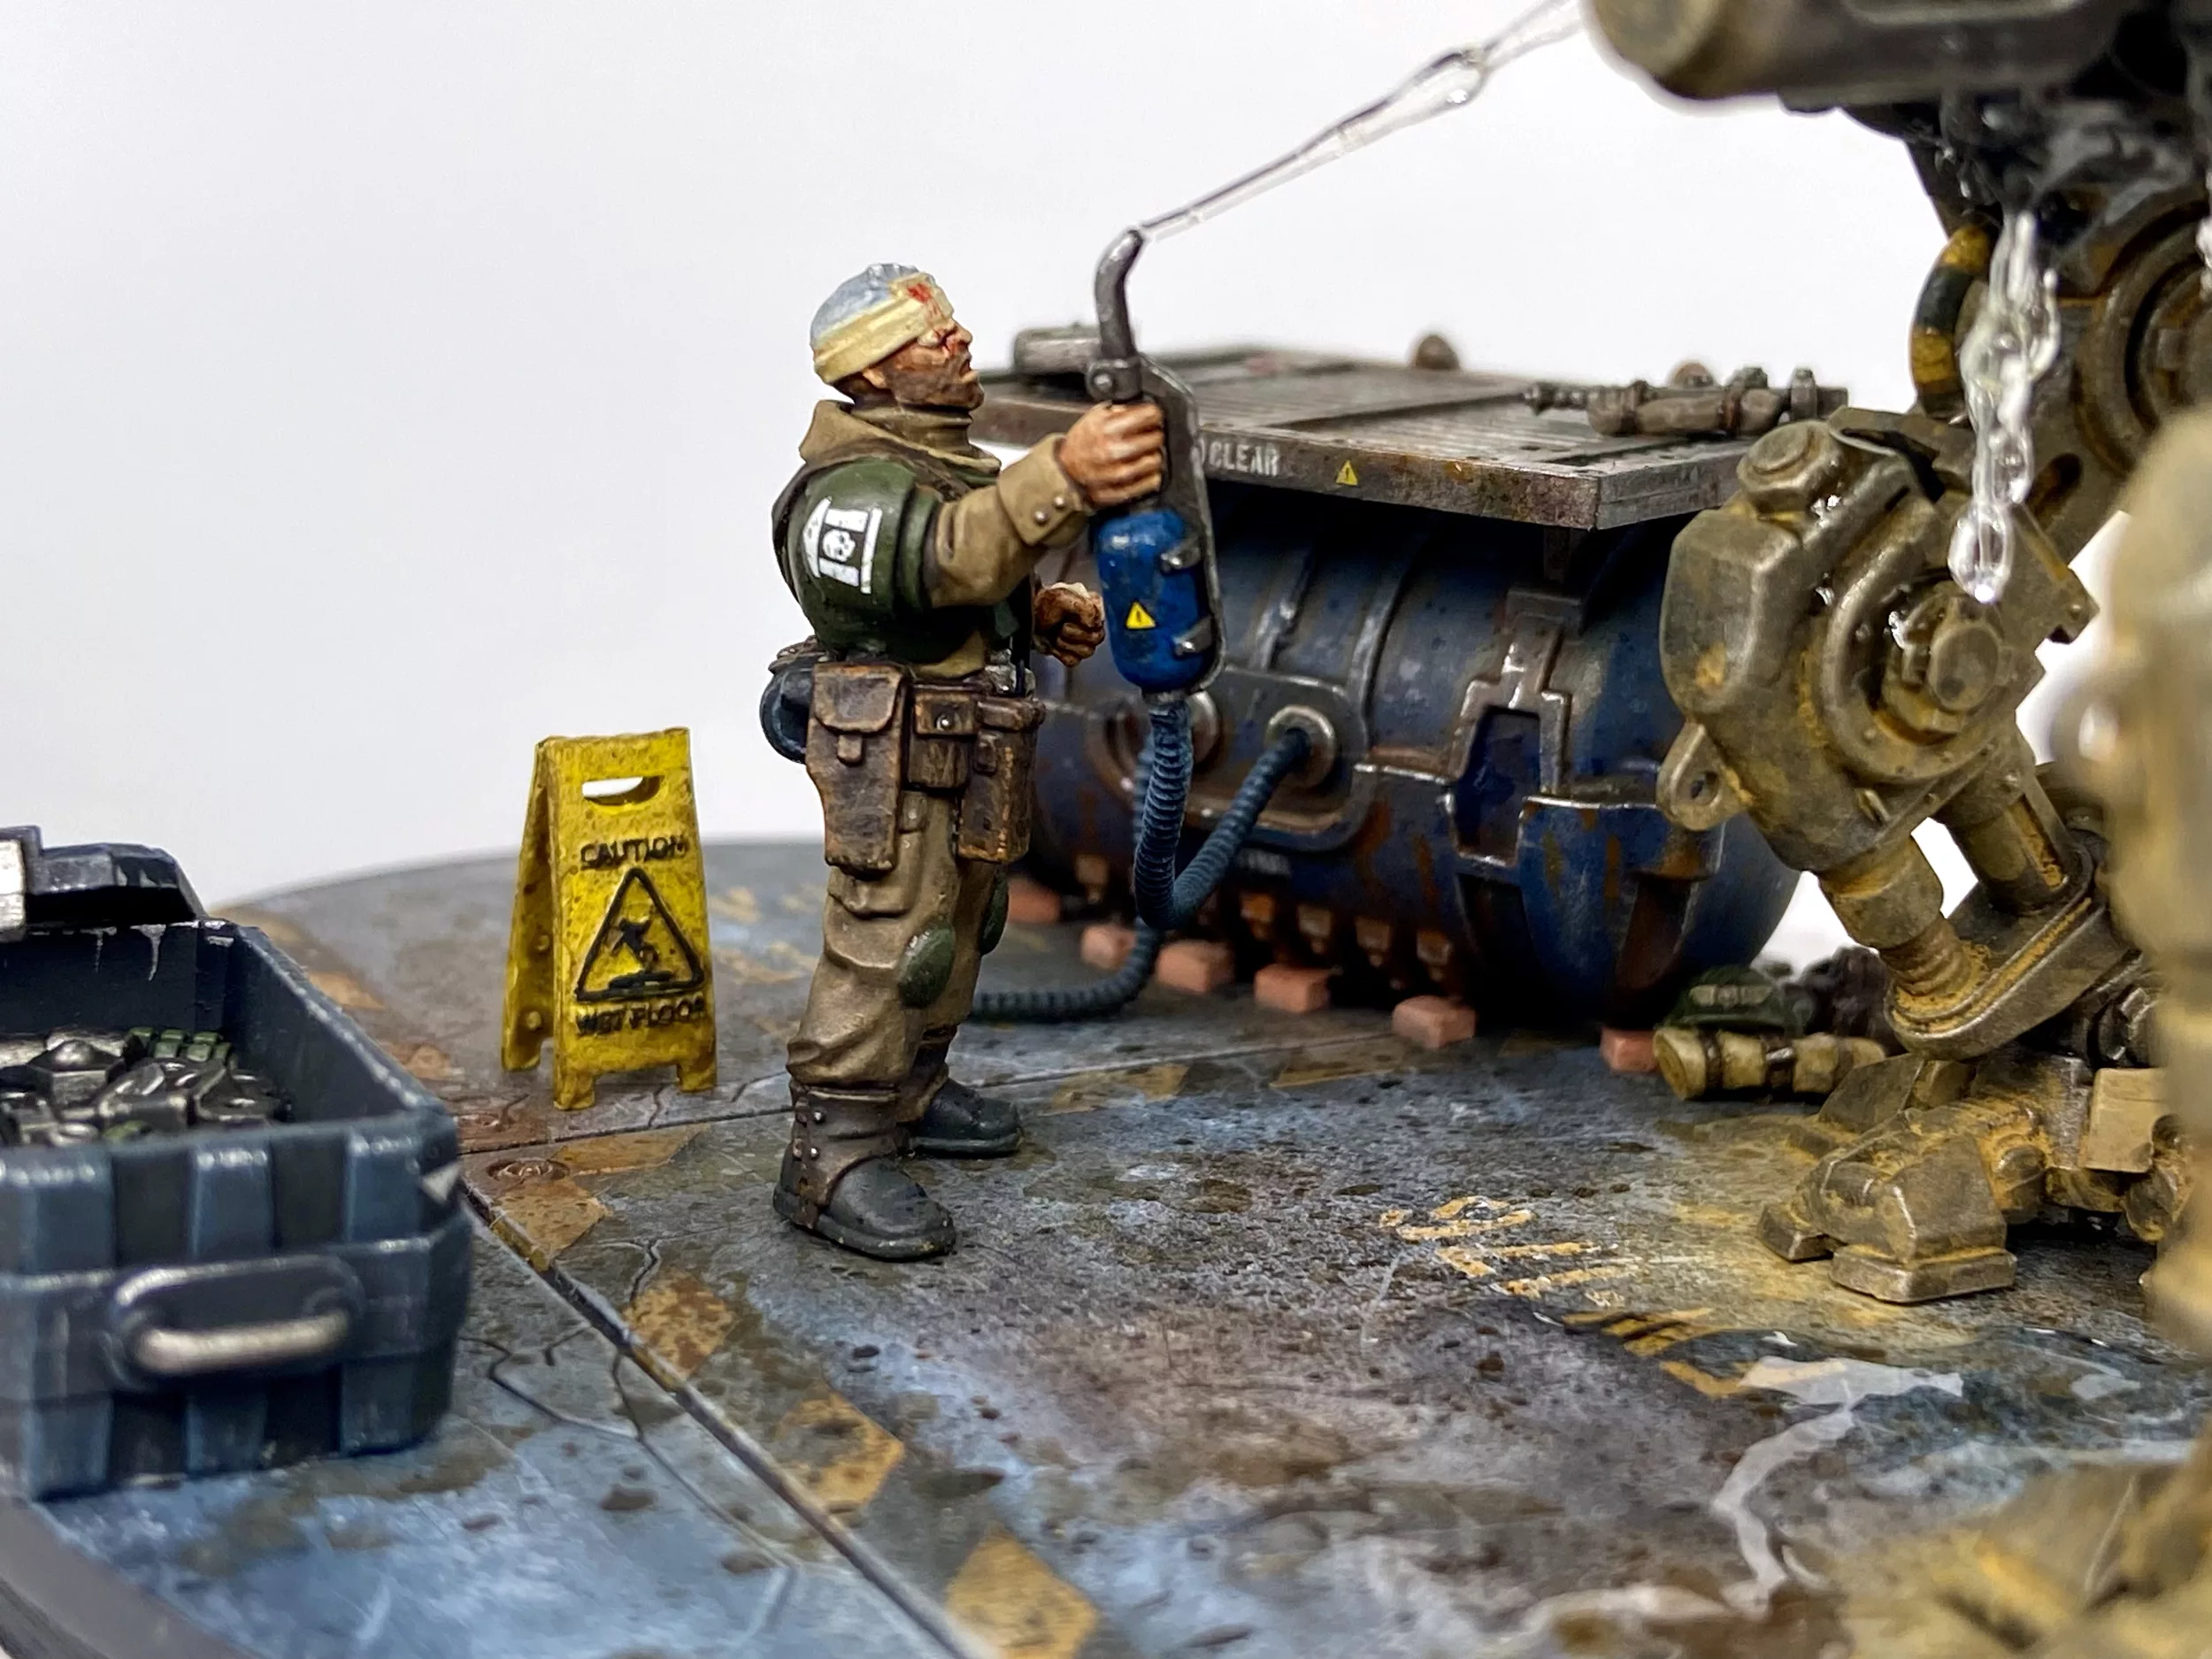
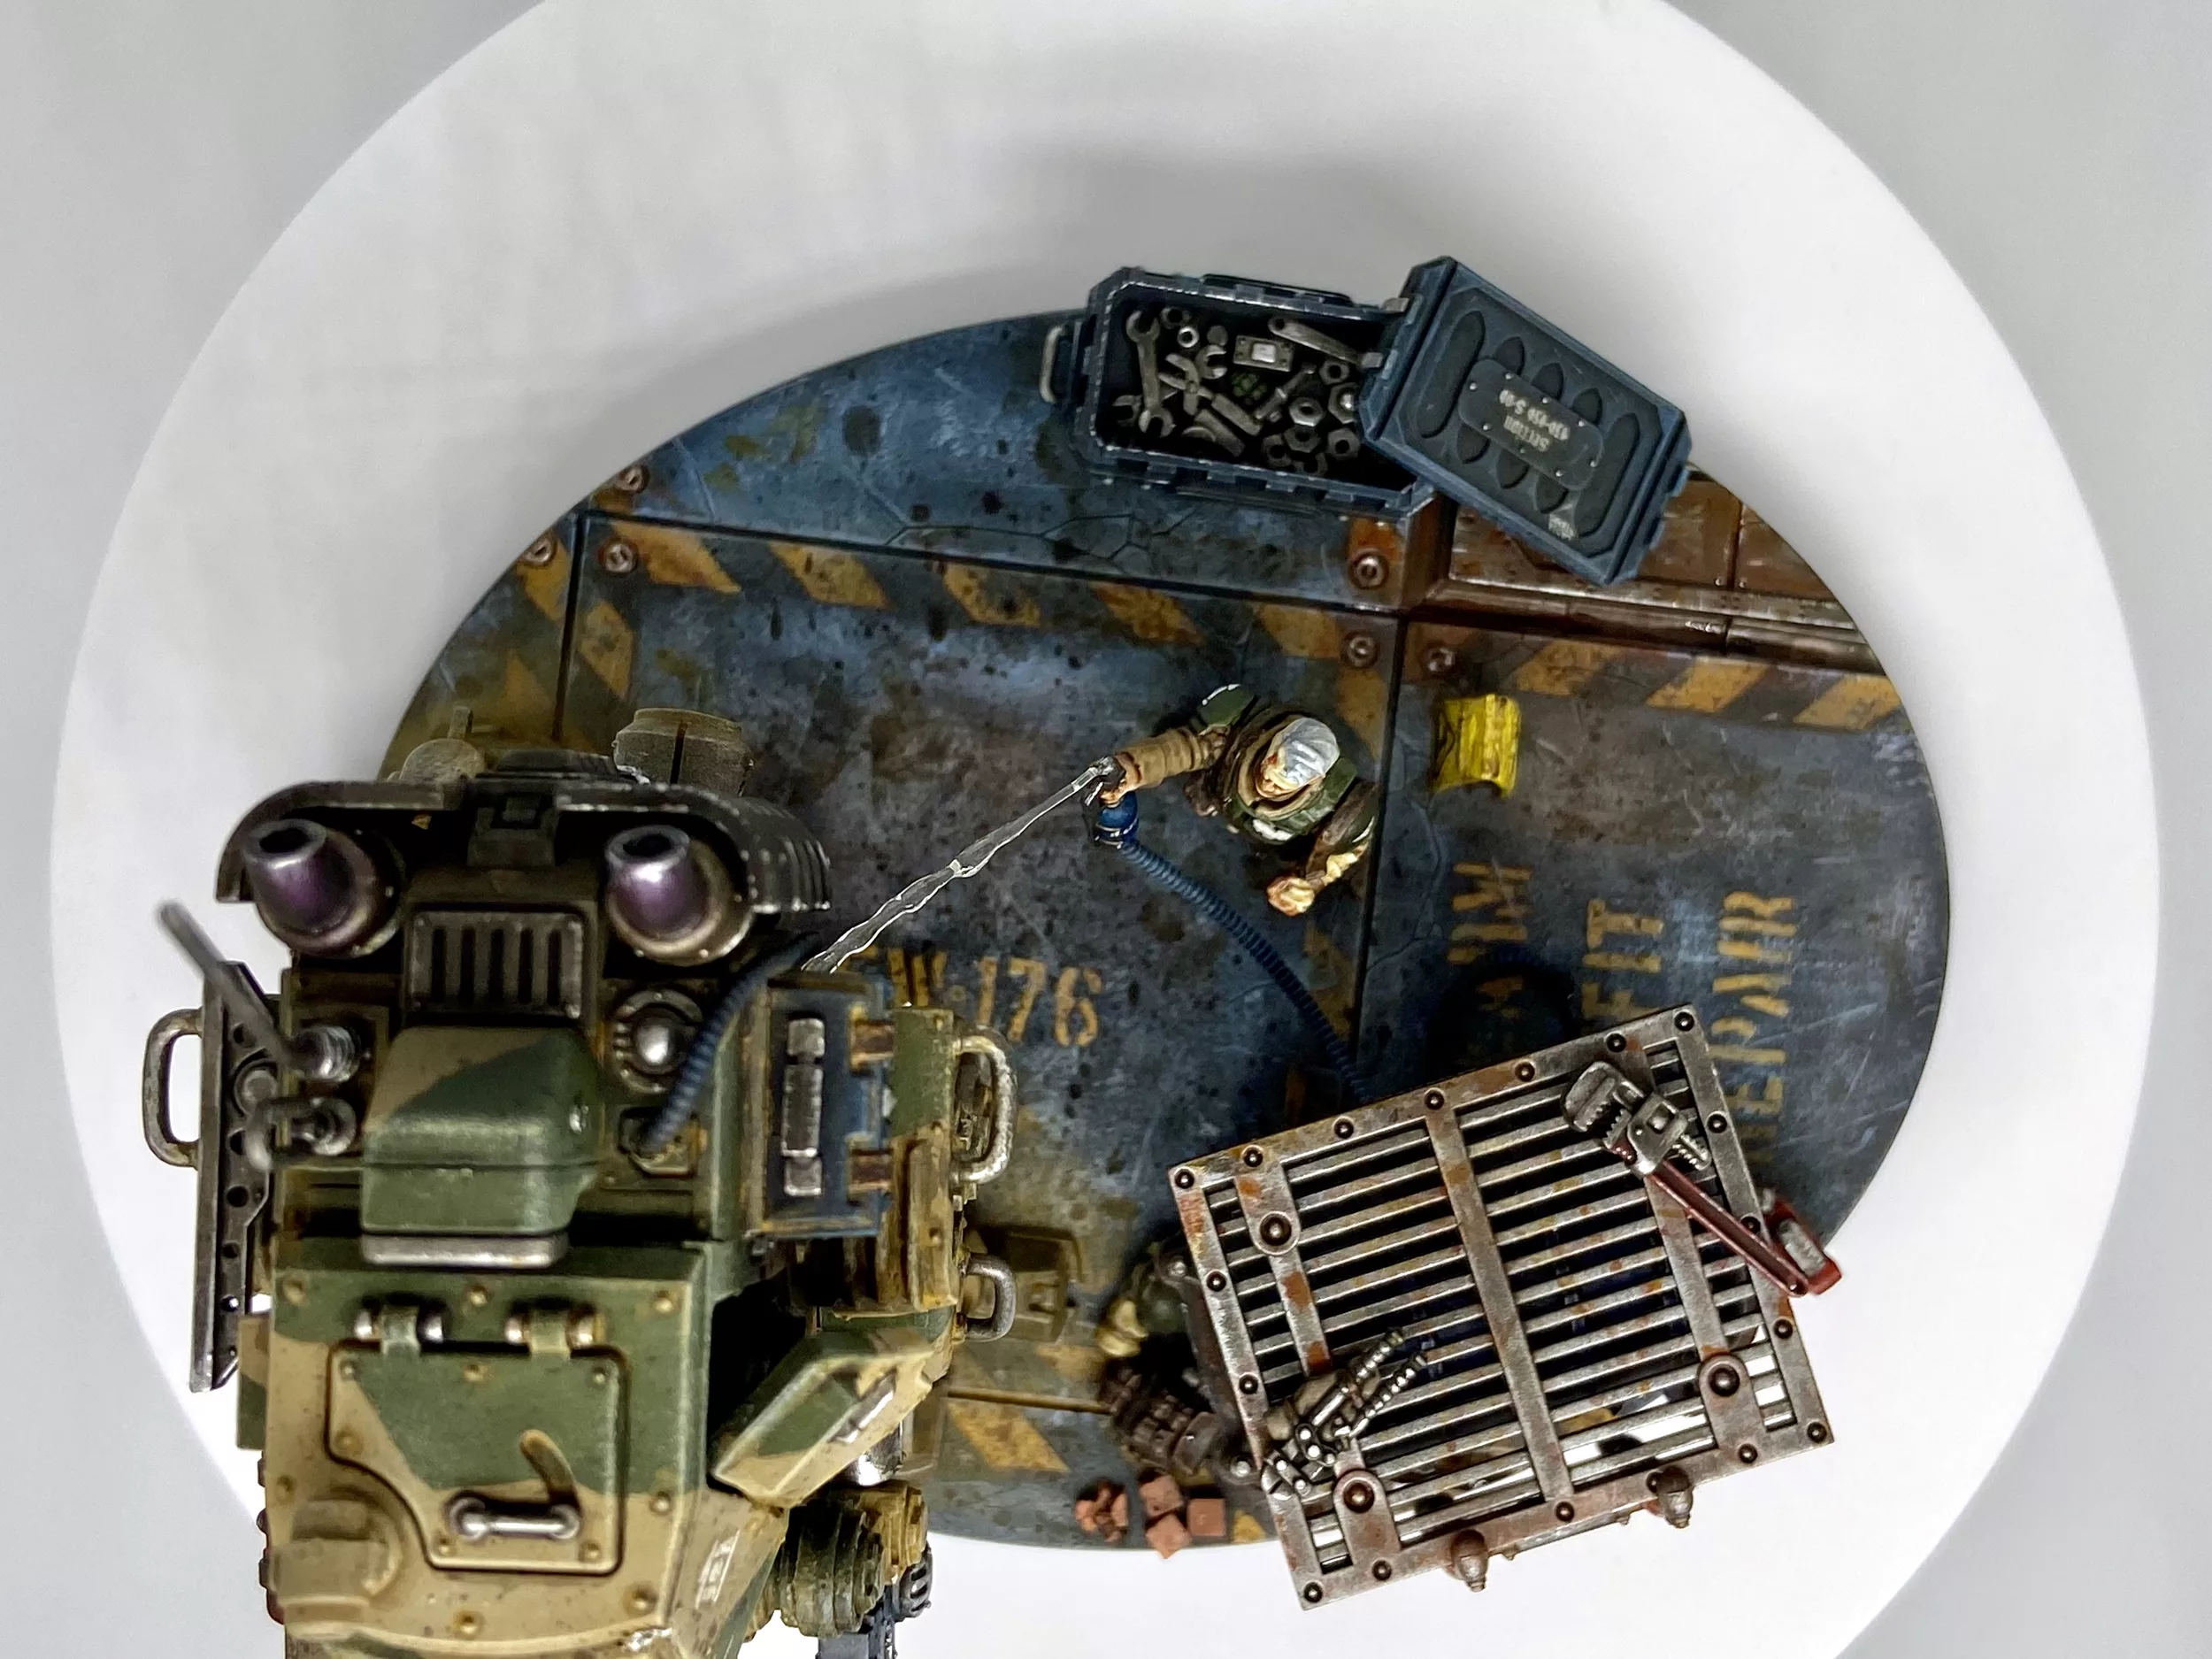
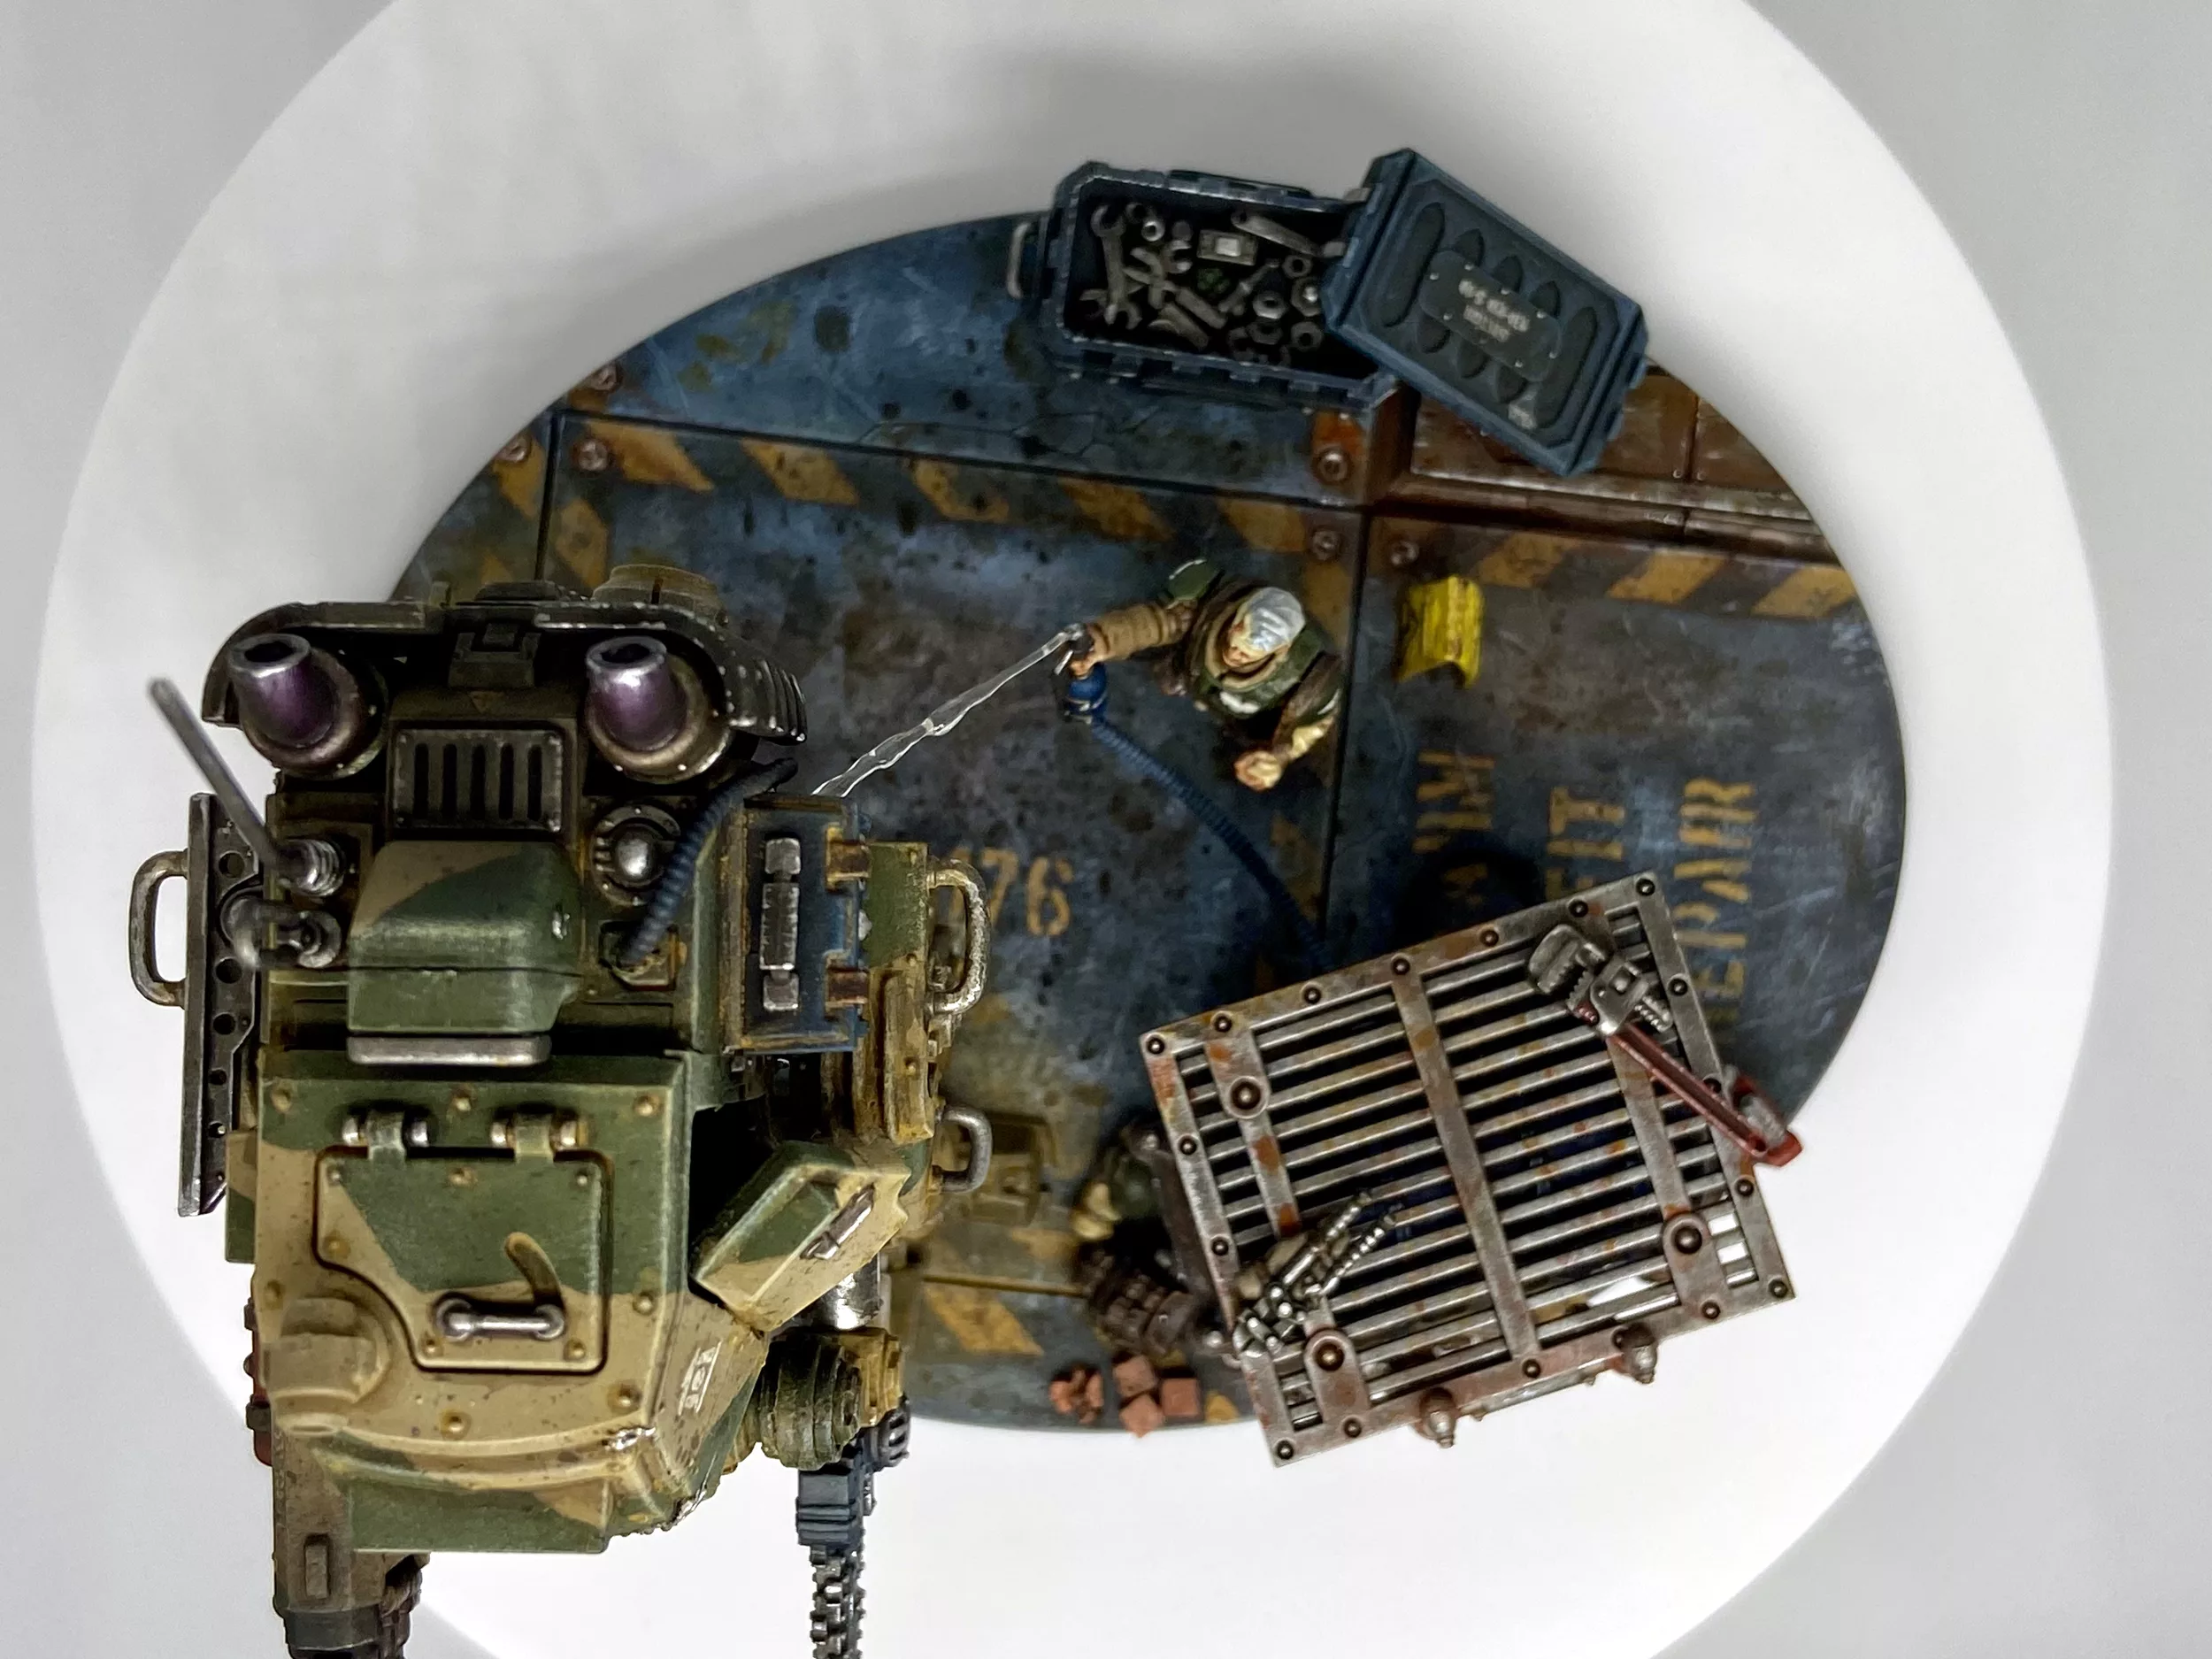
Crew
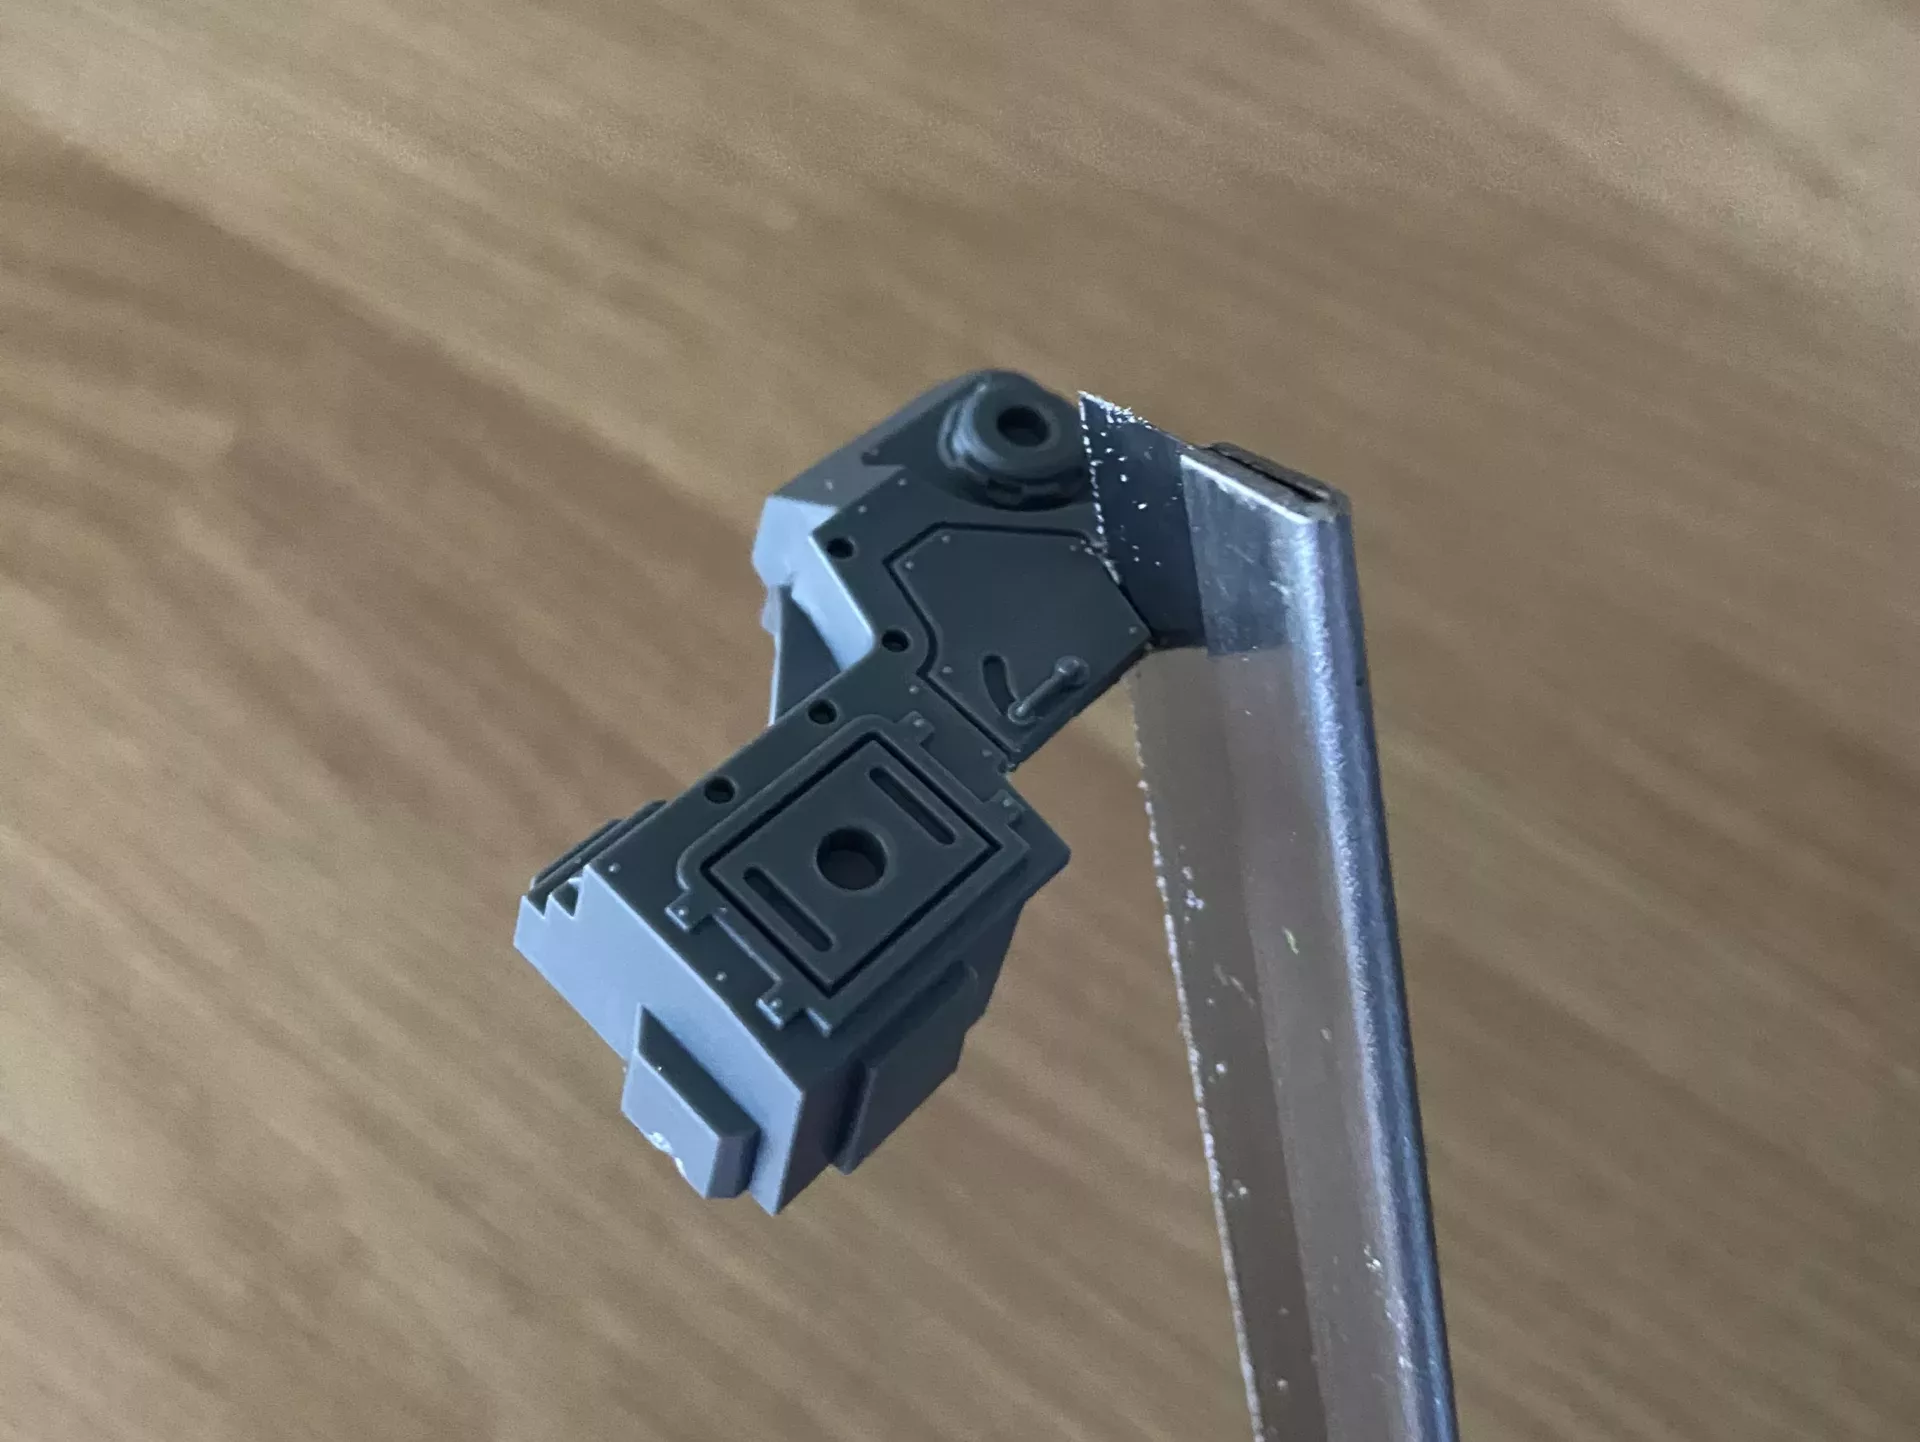
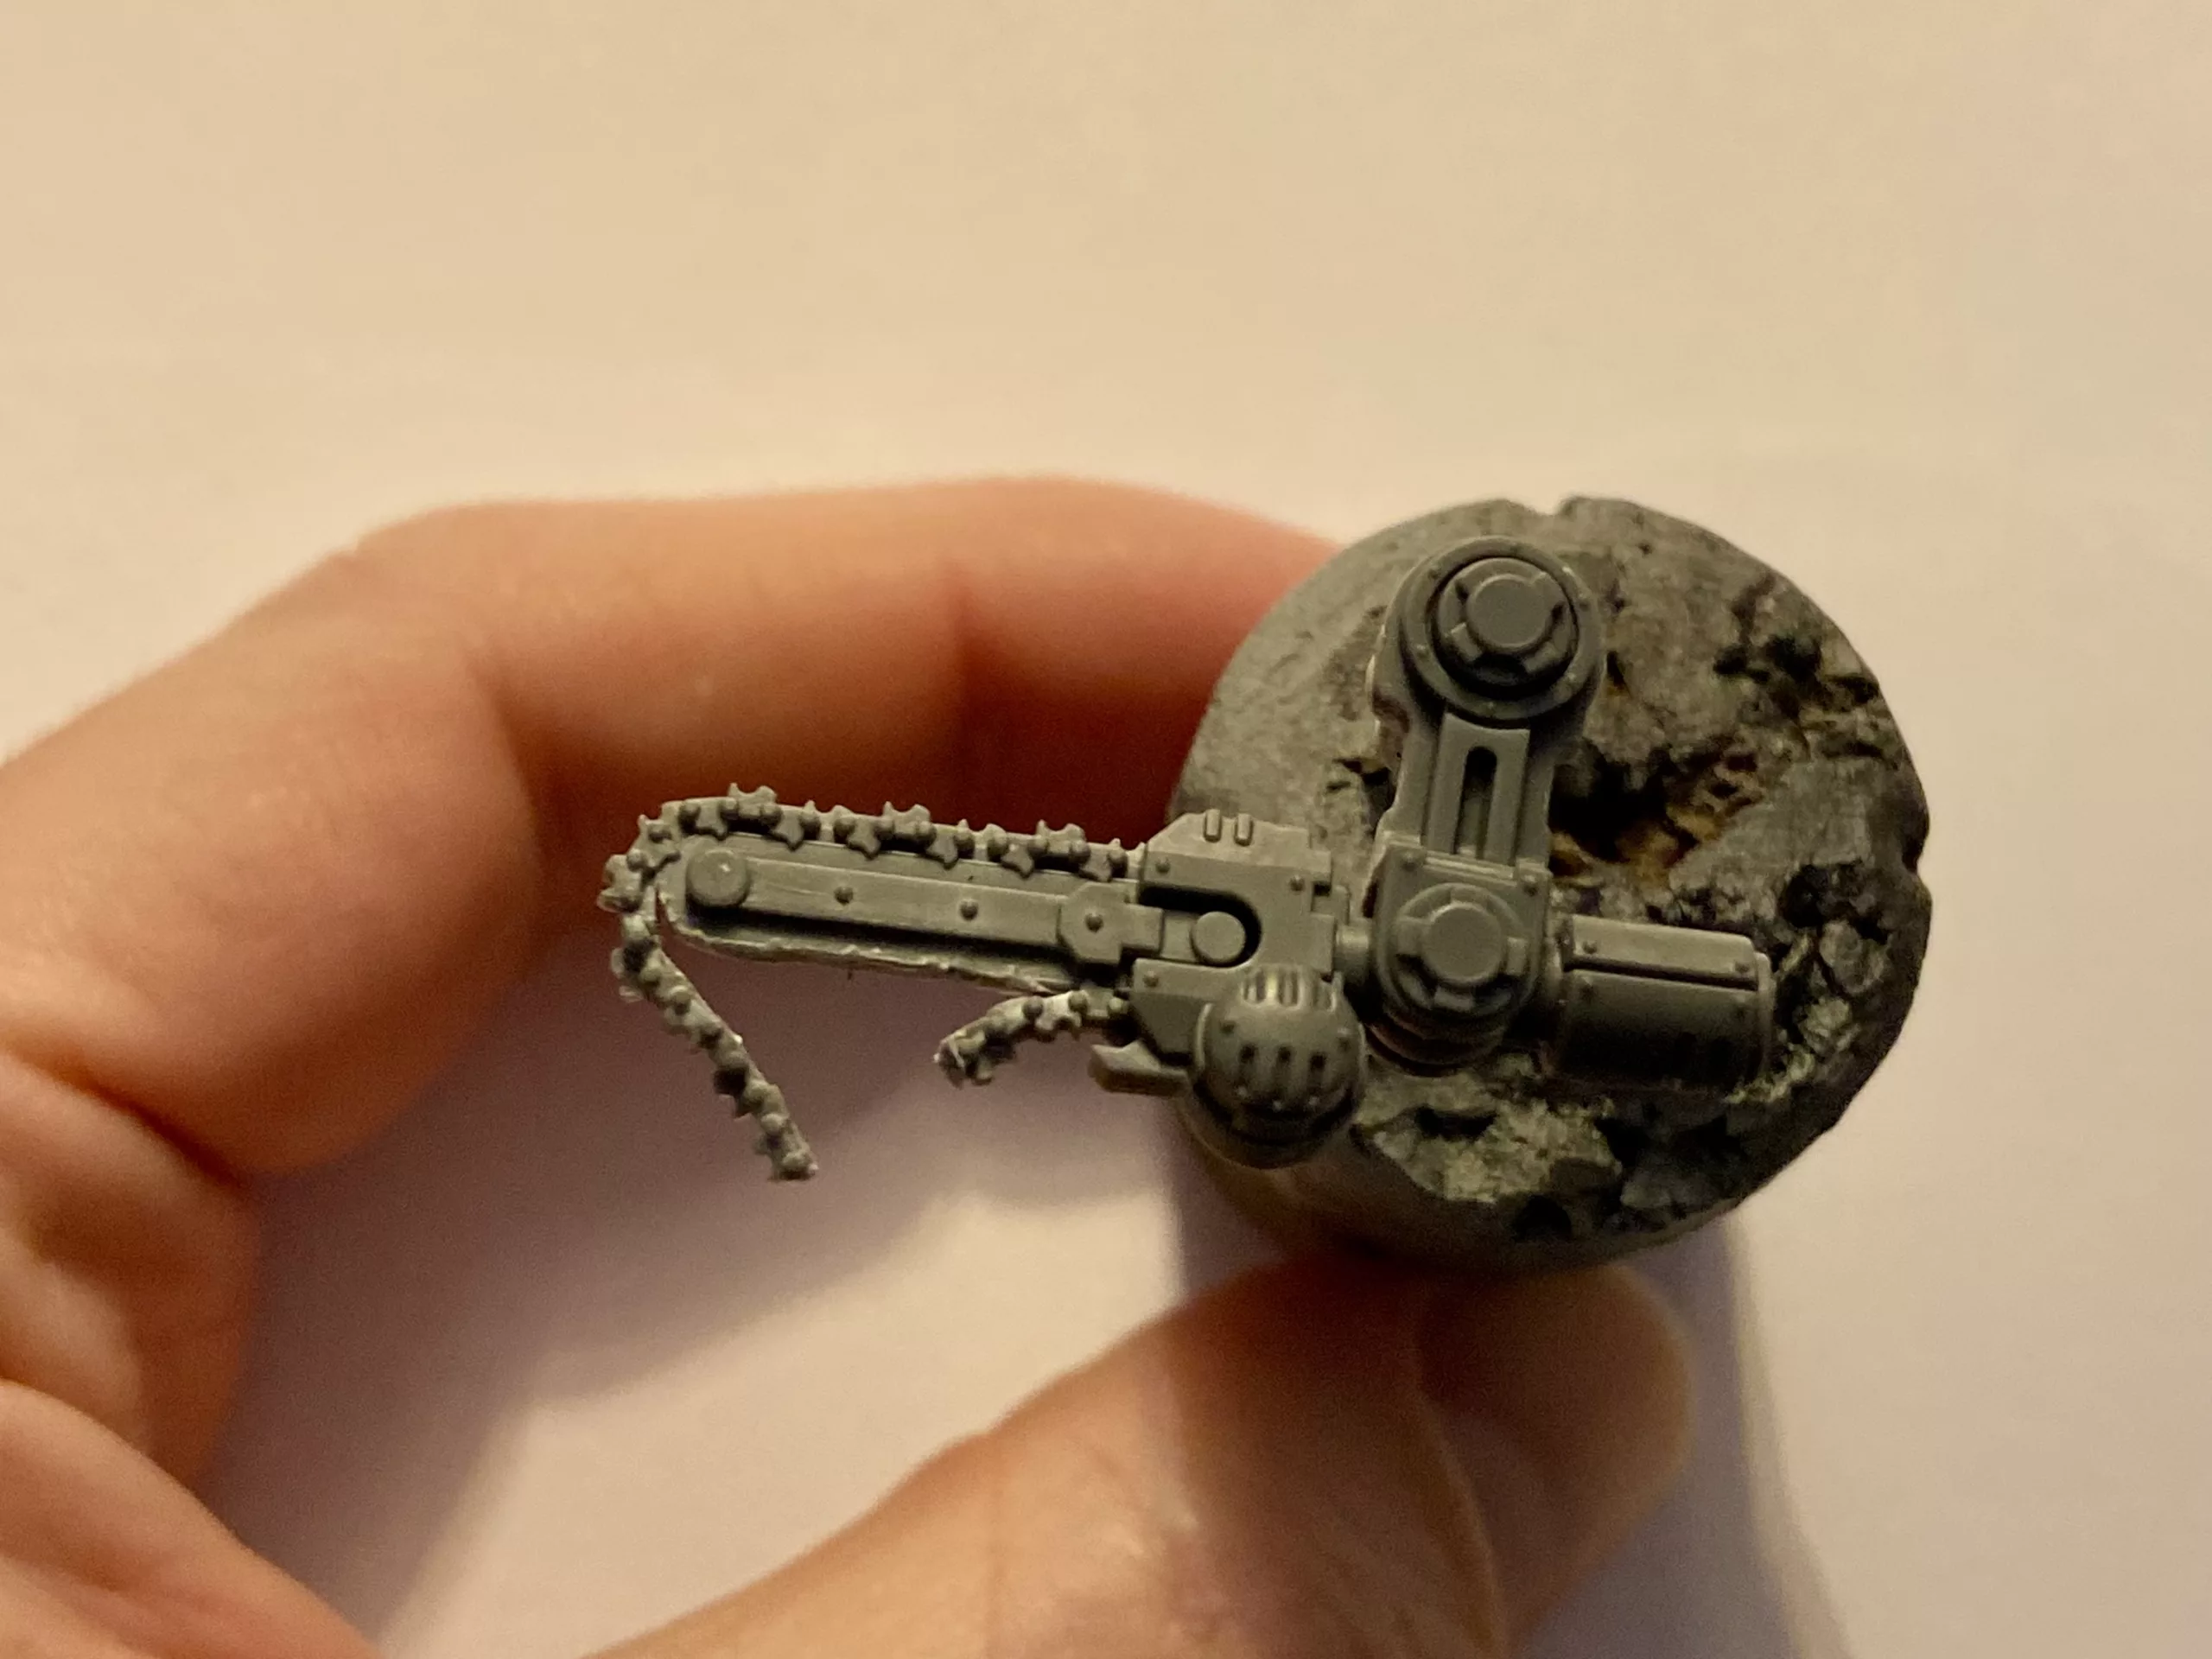
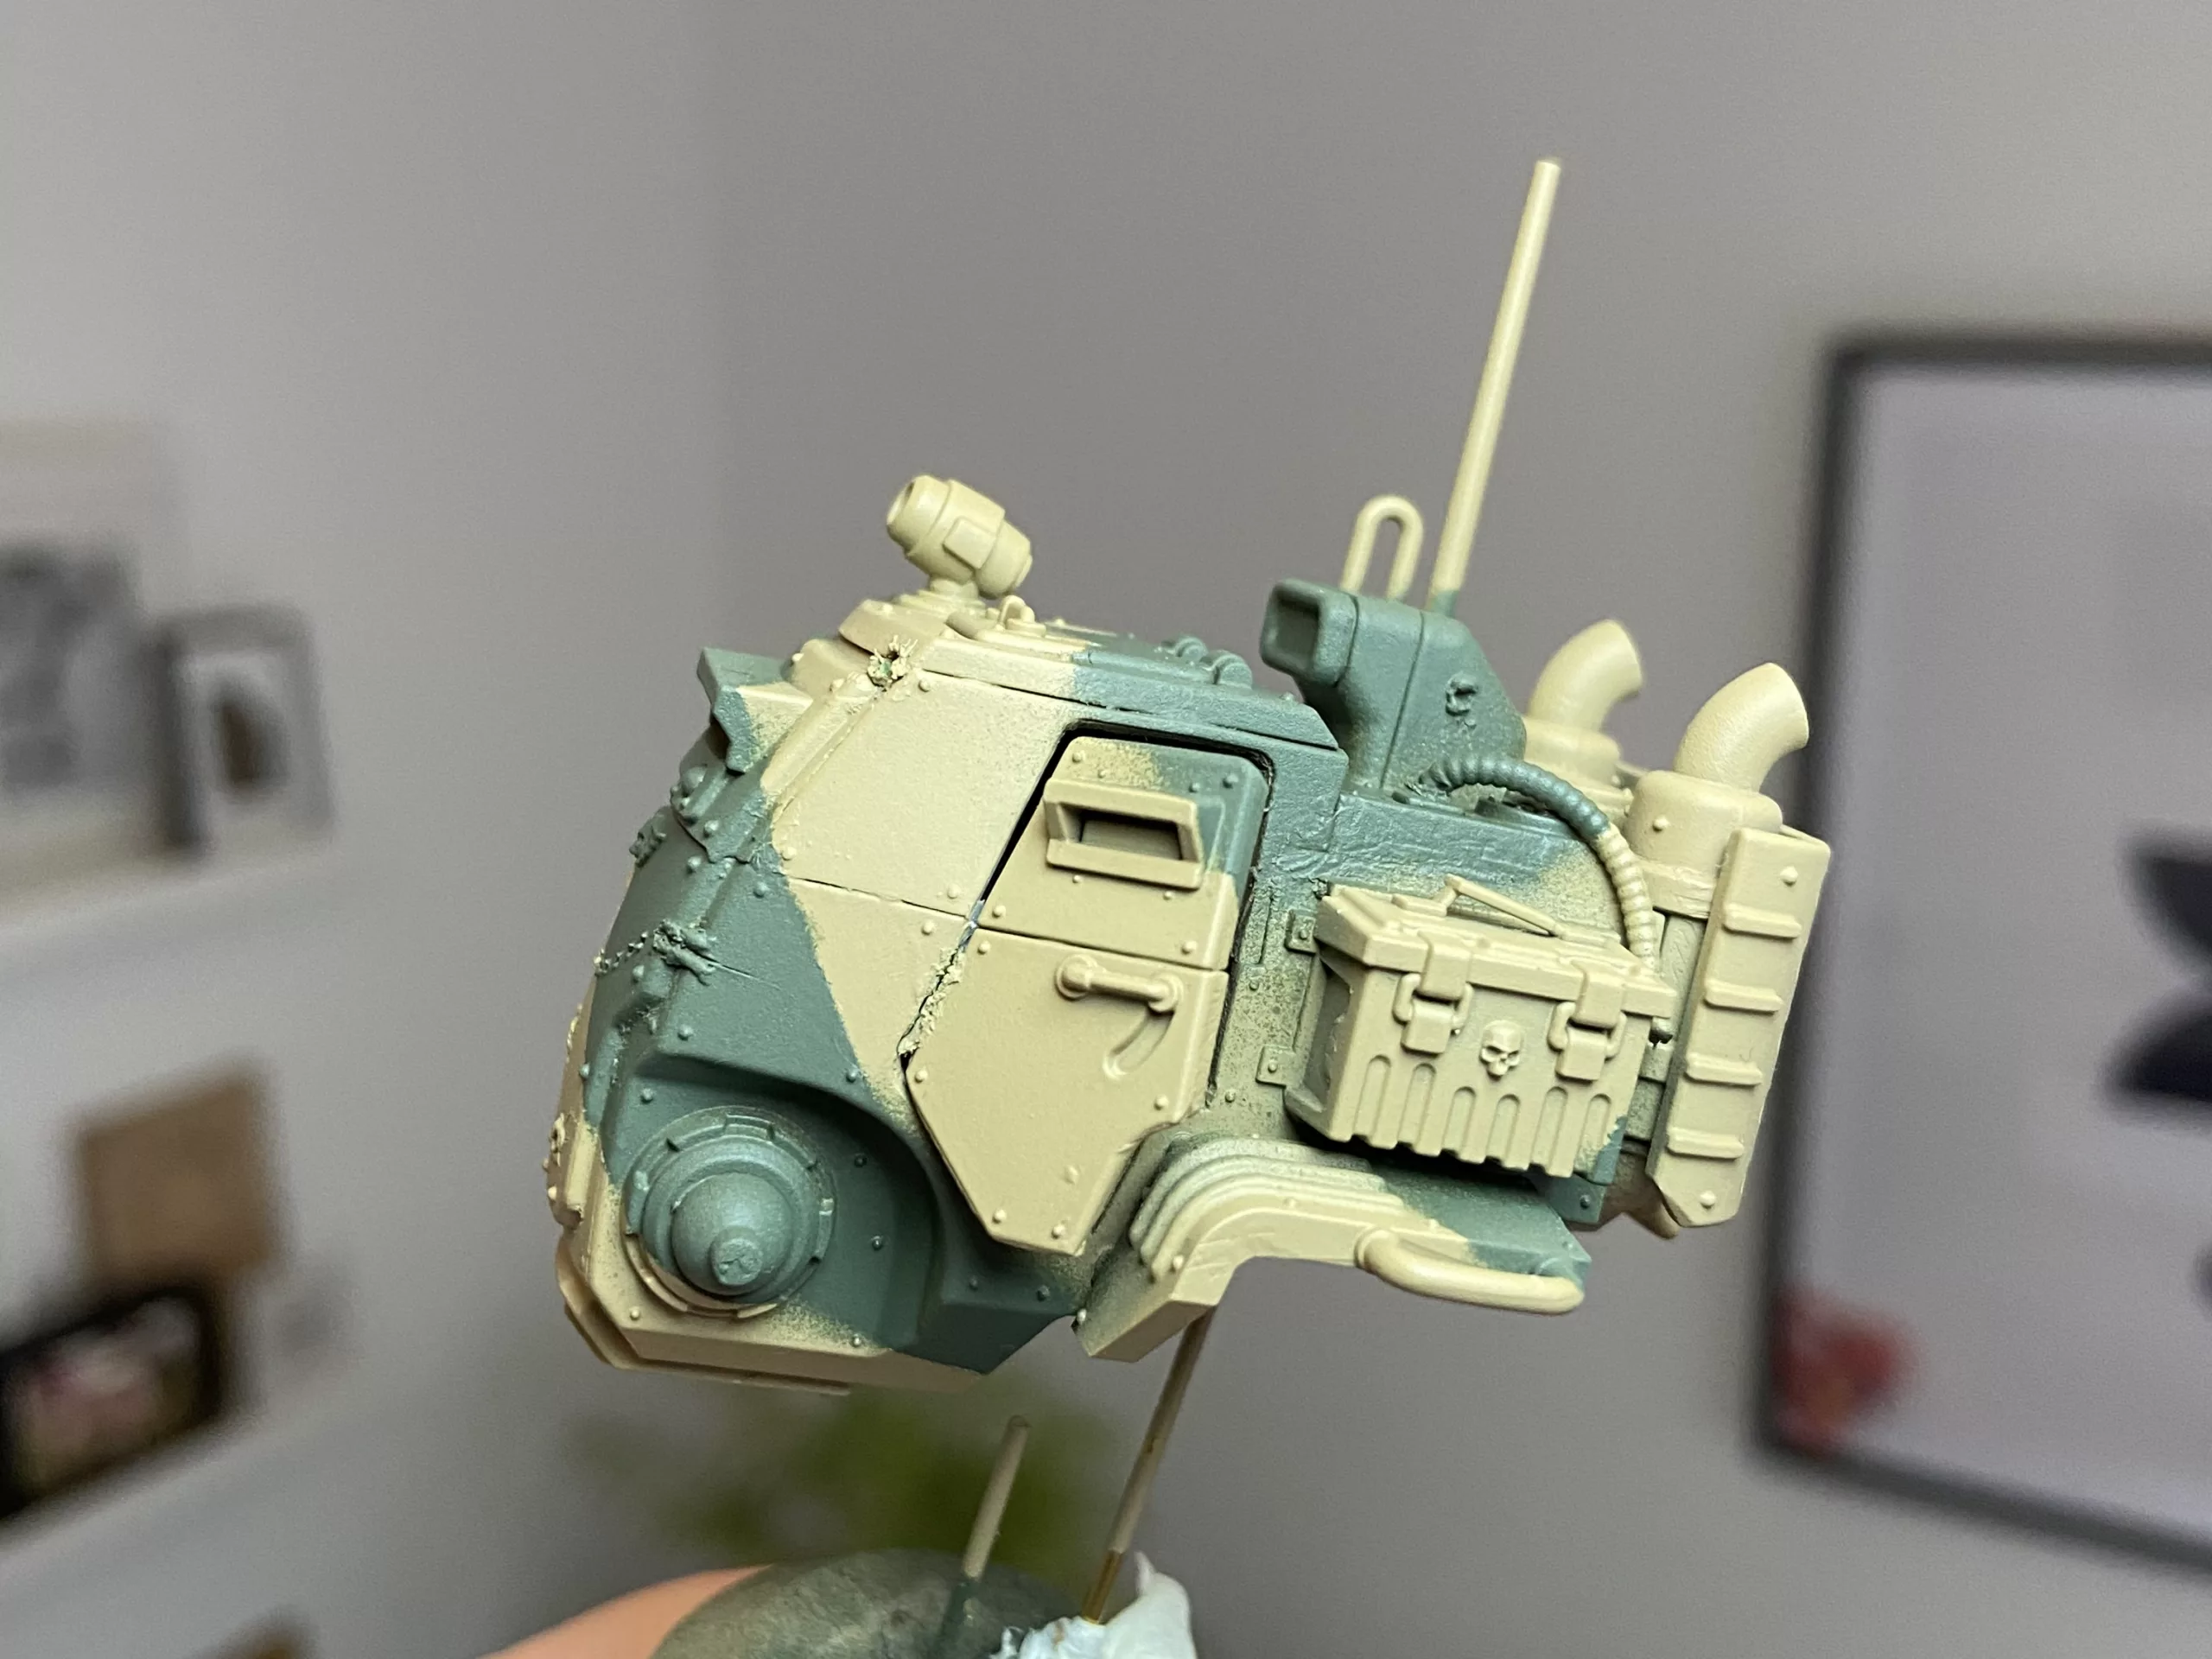
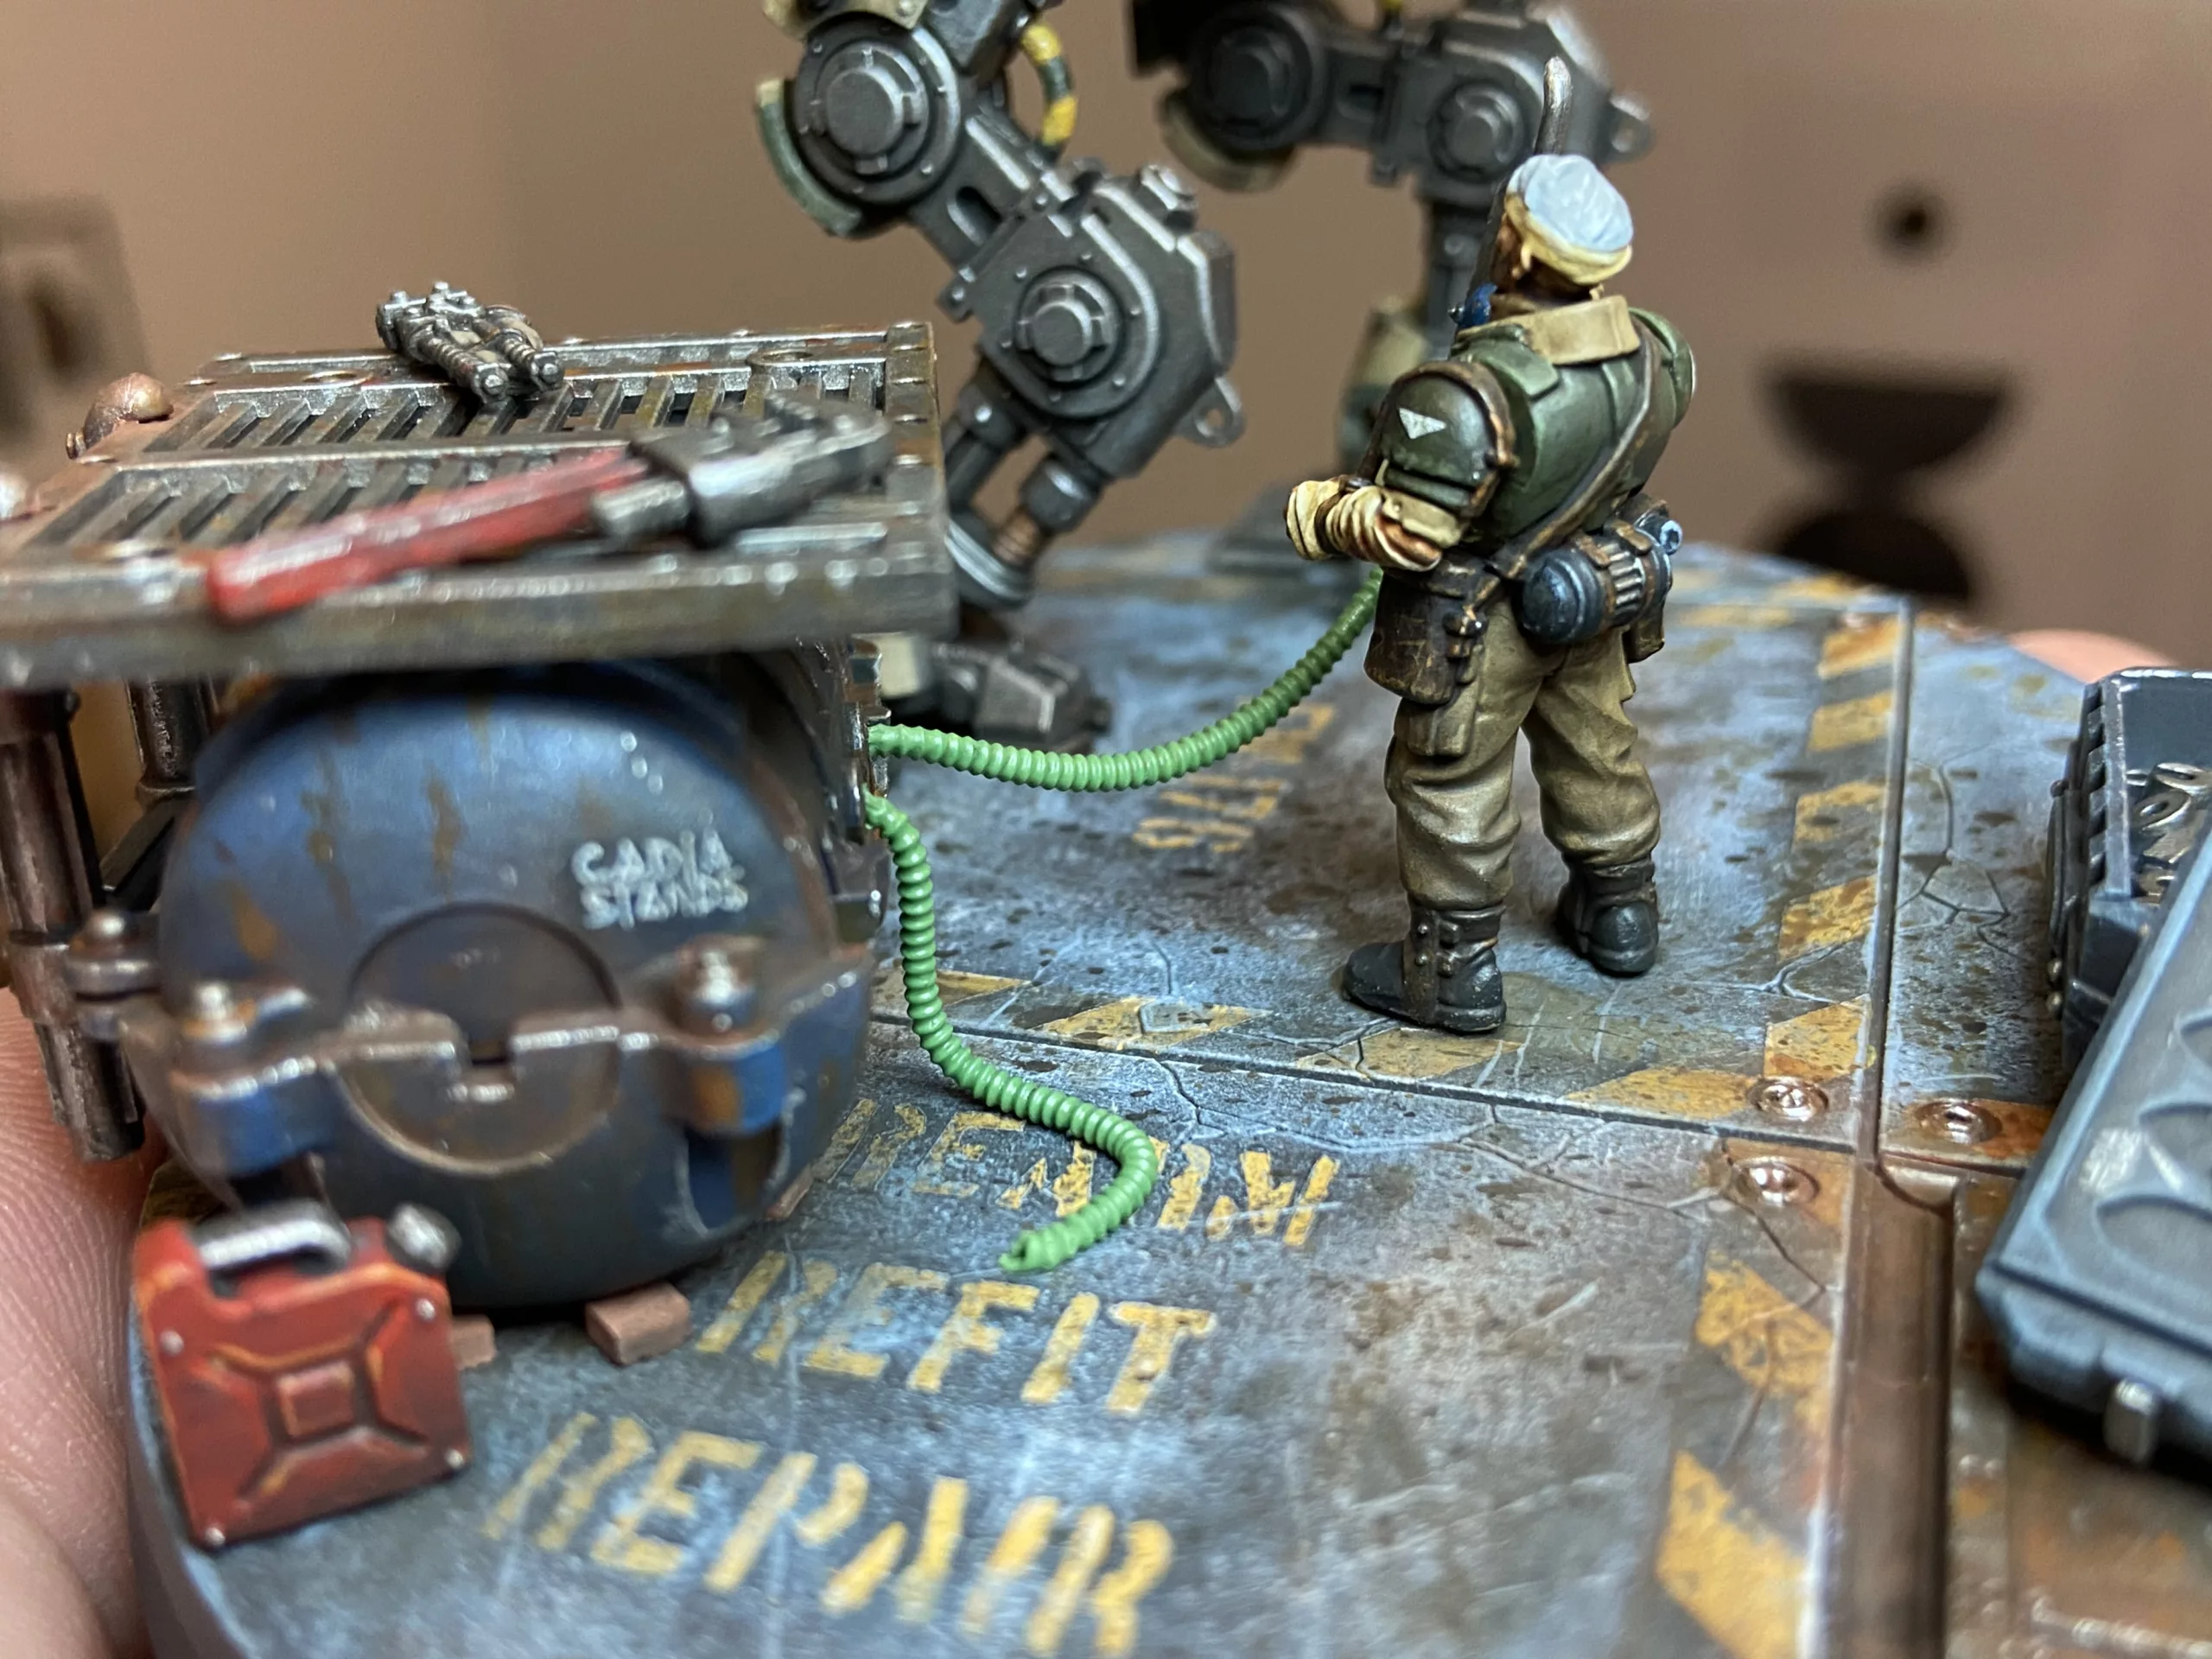
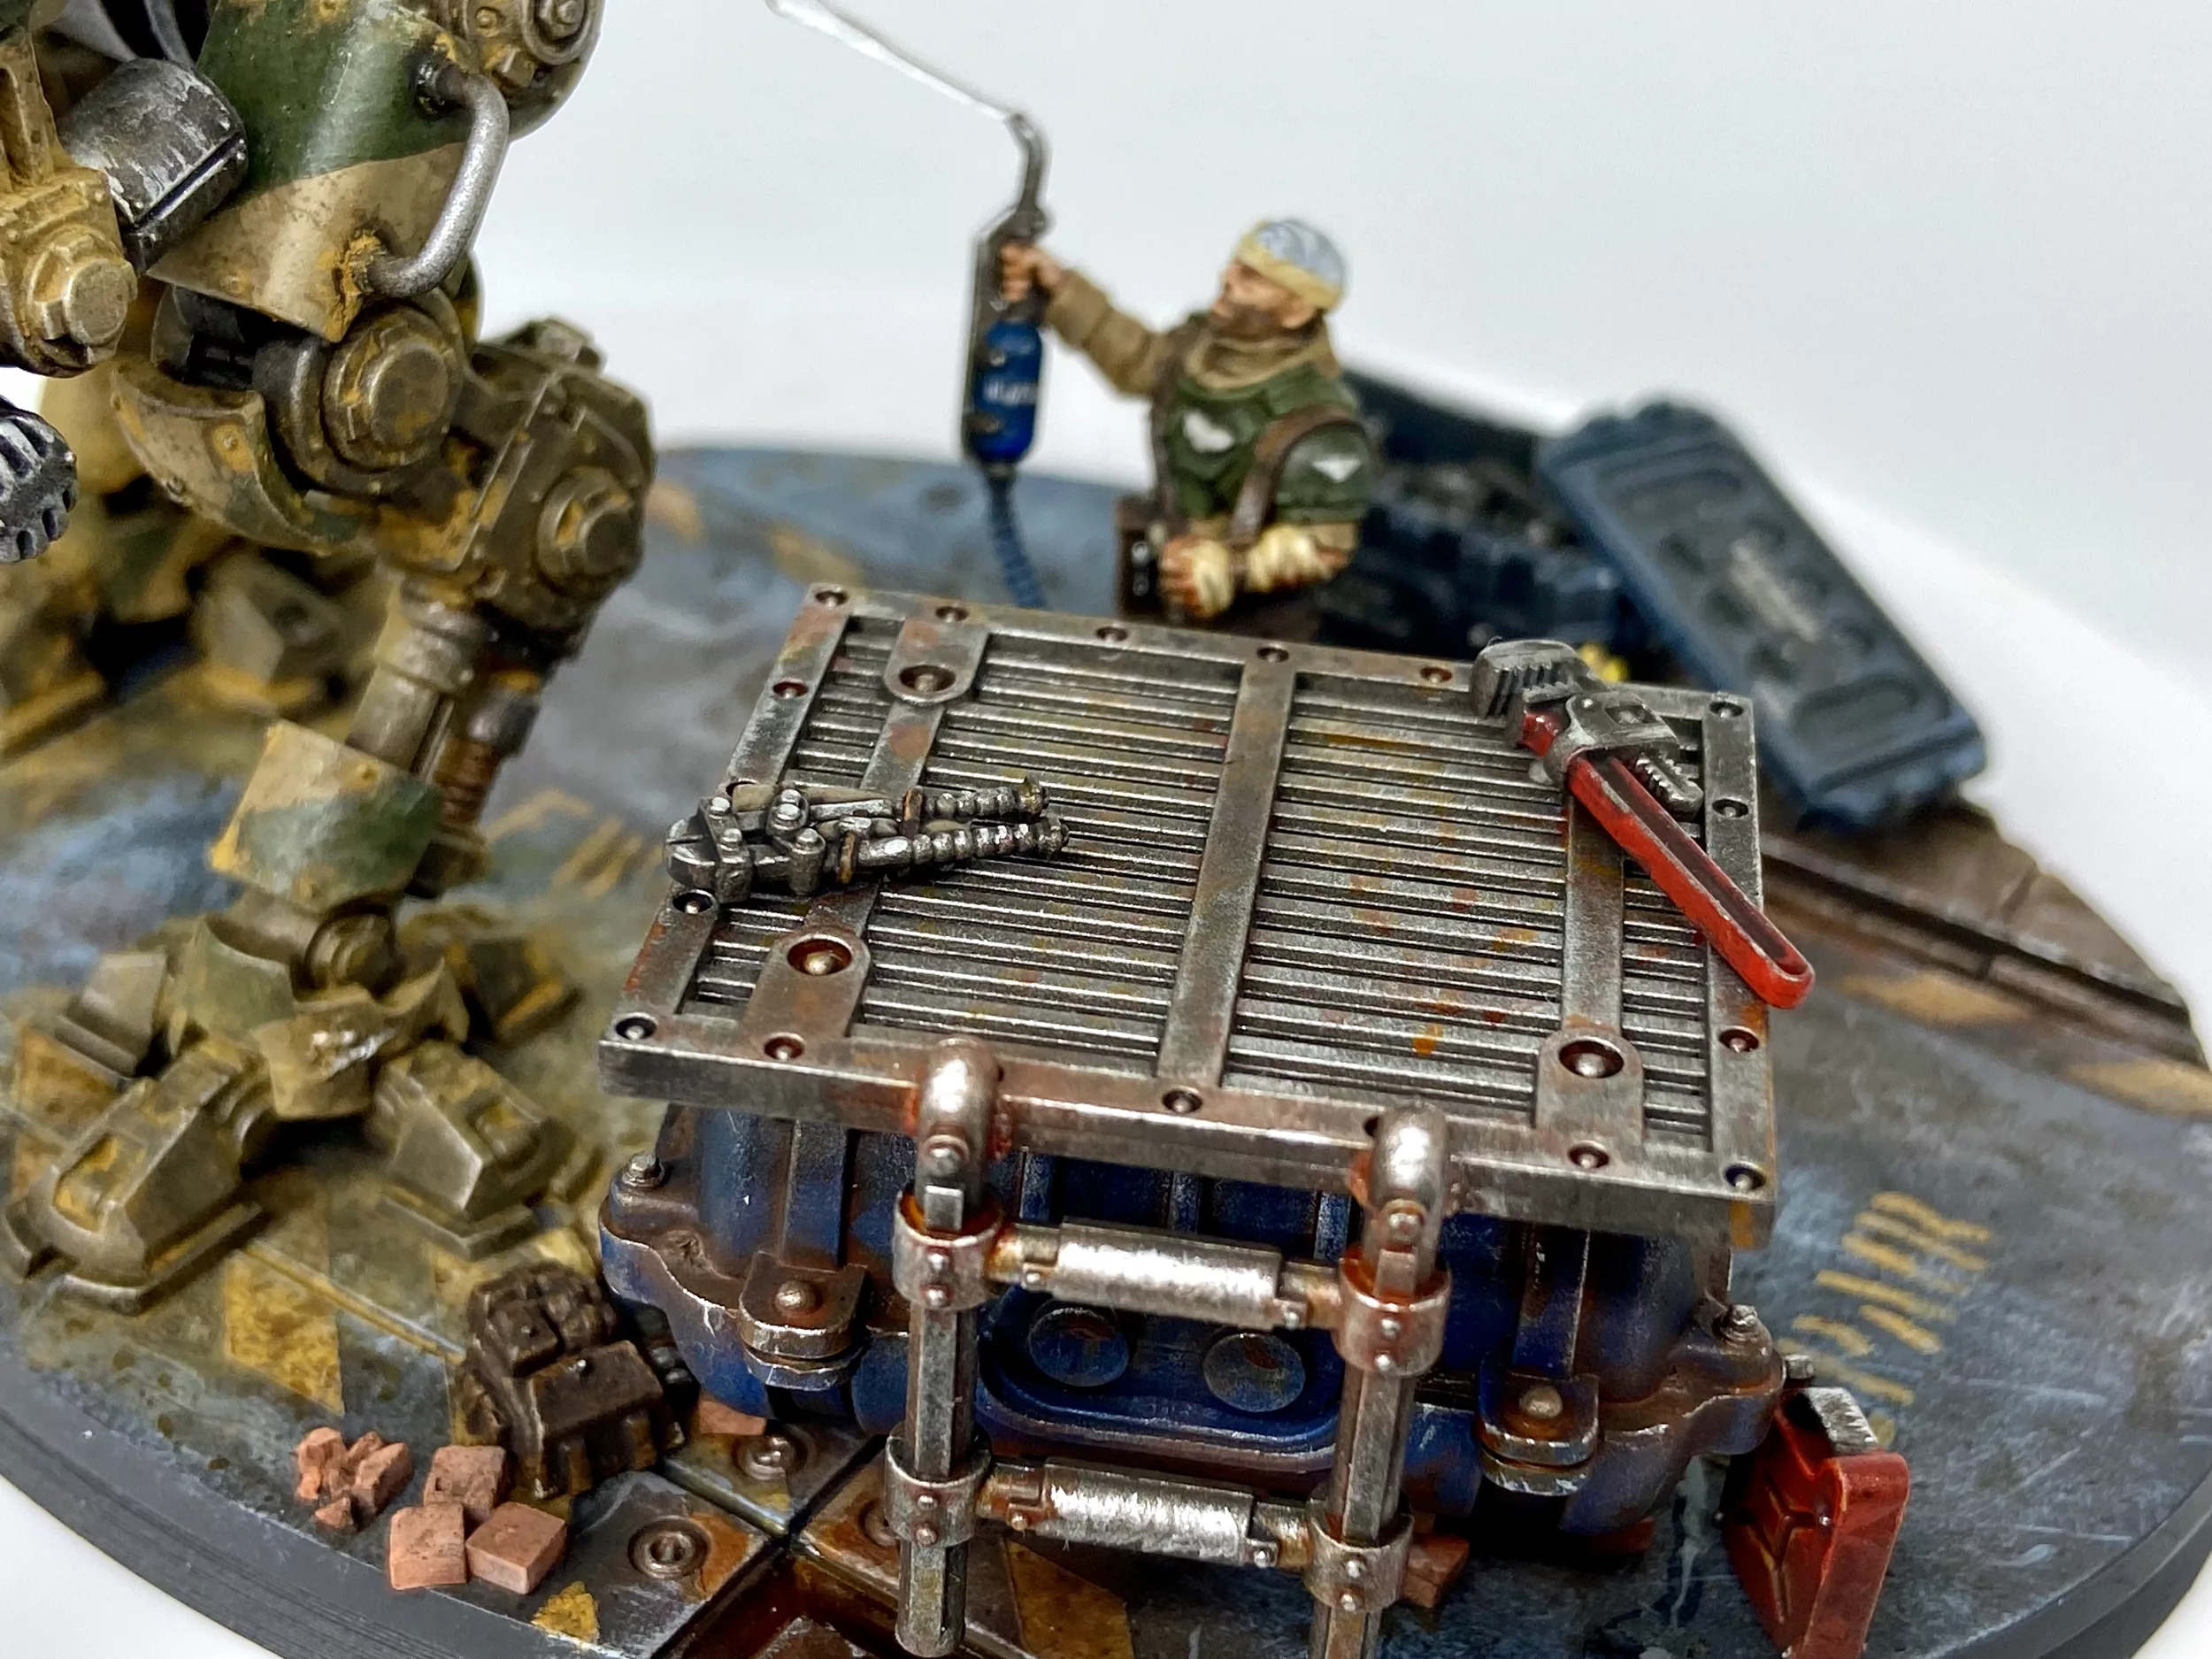
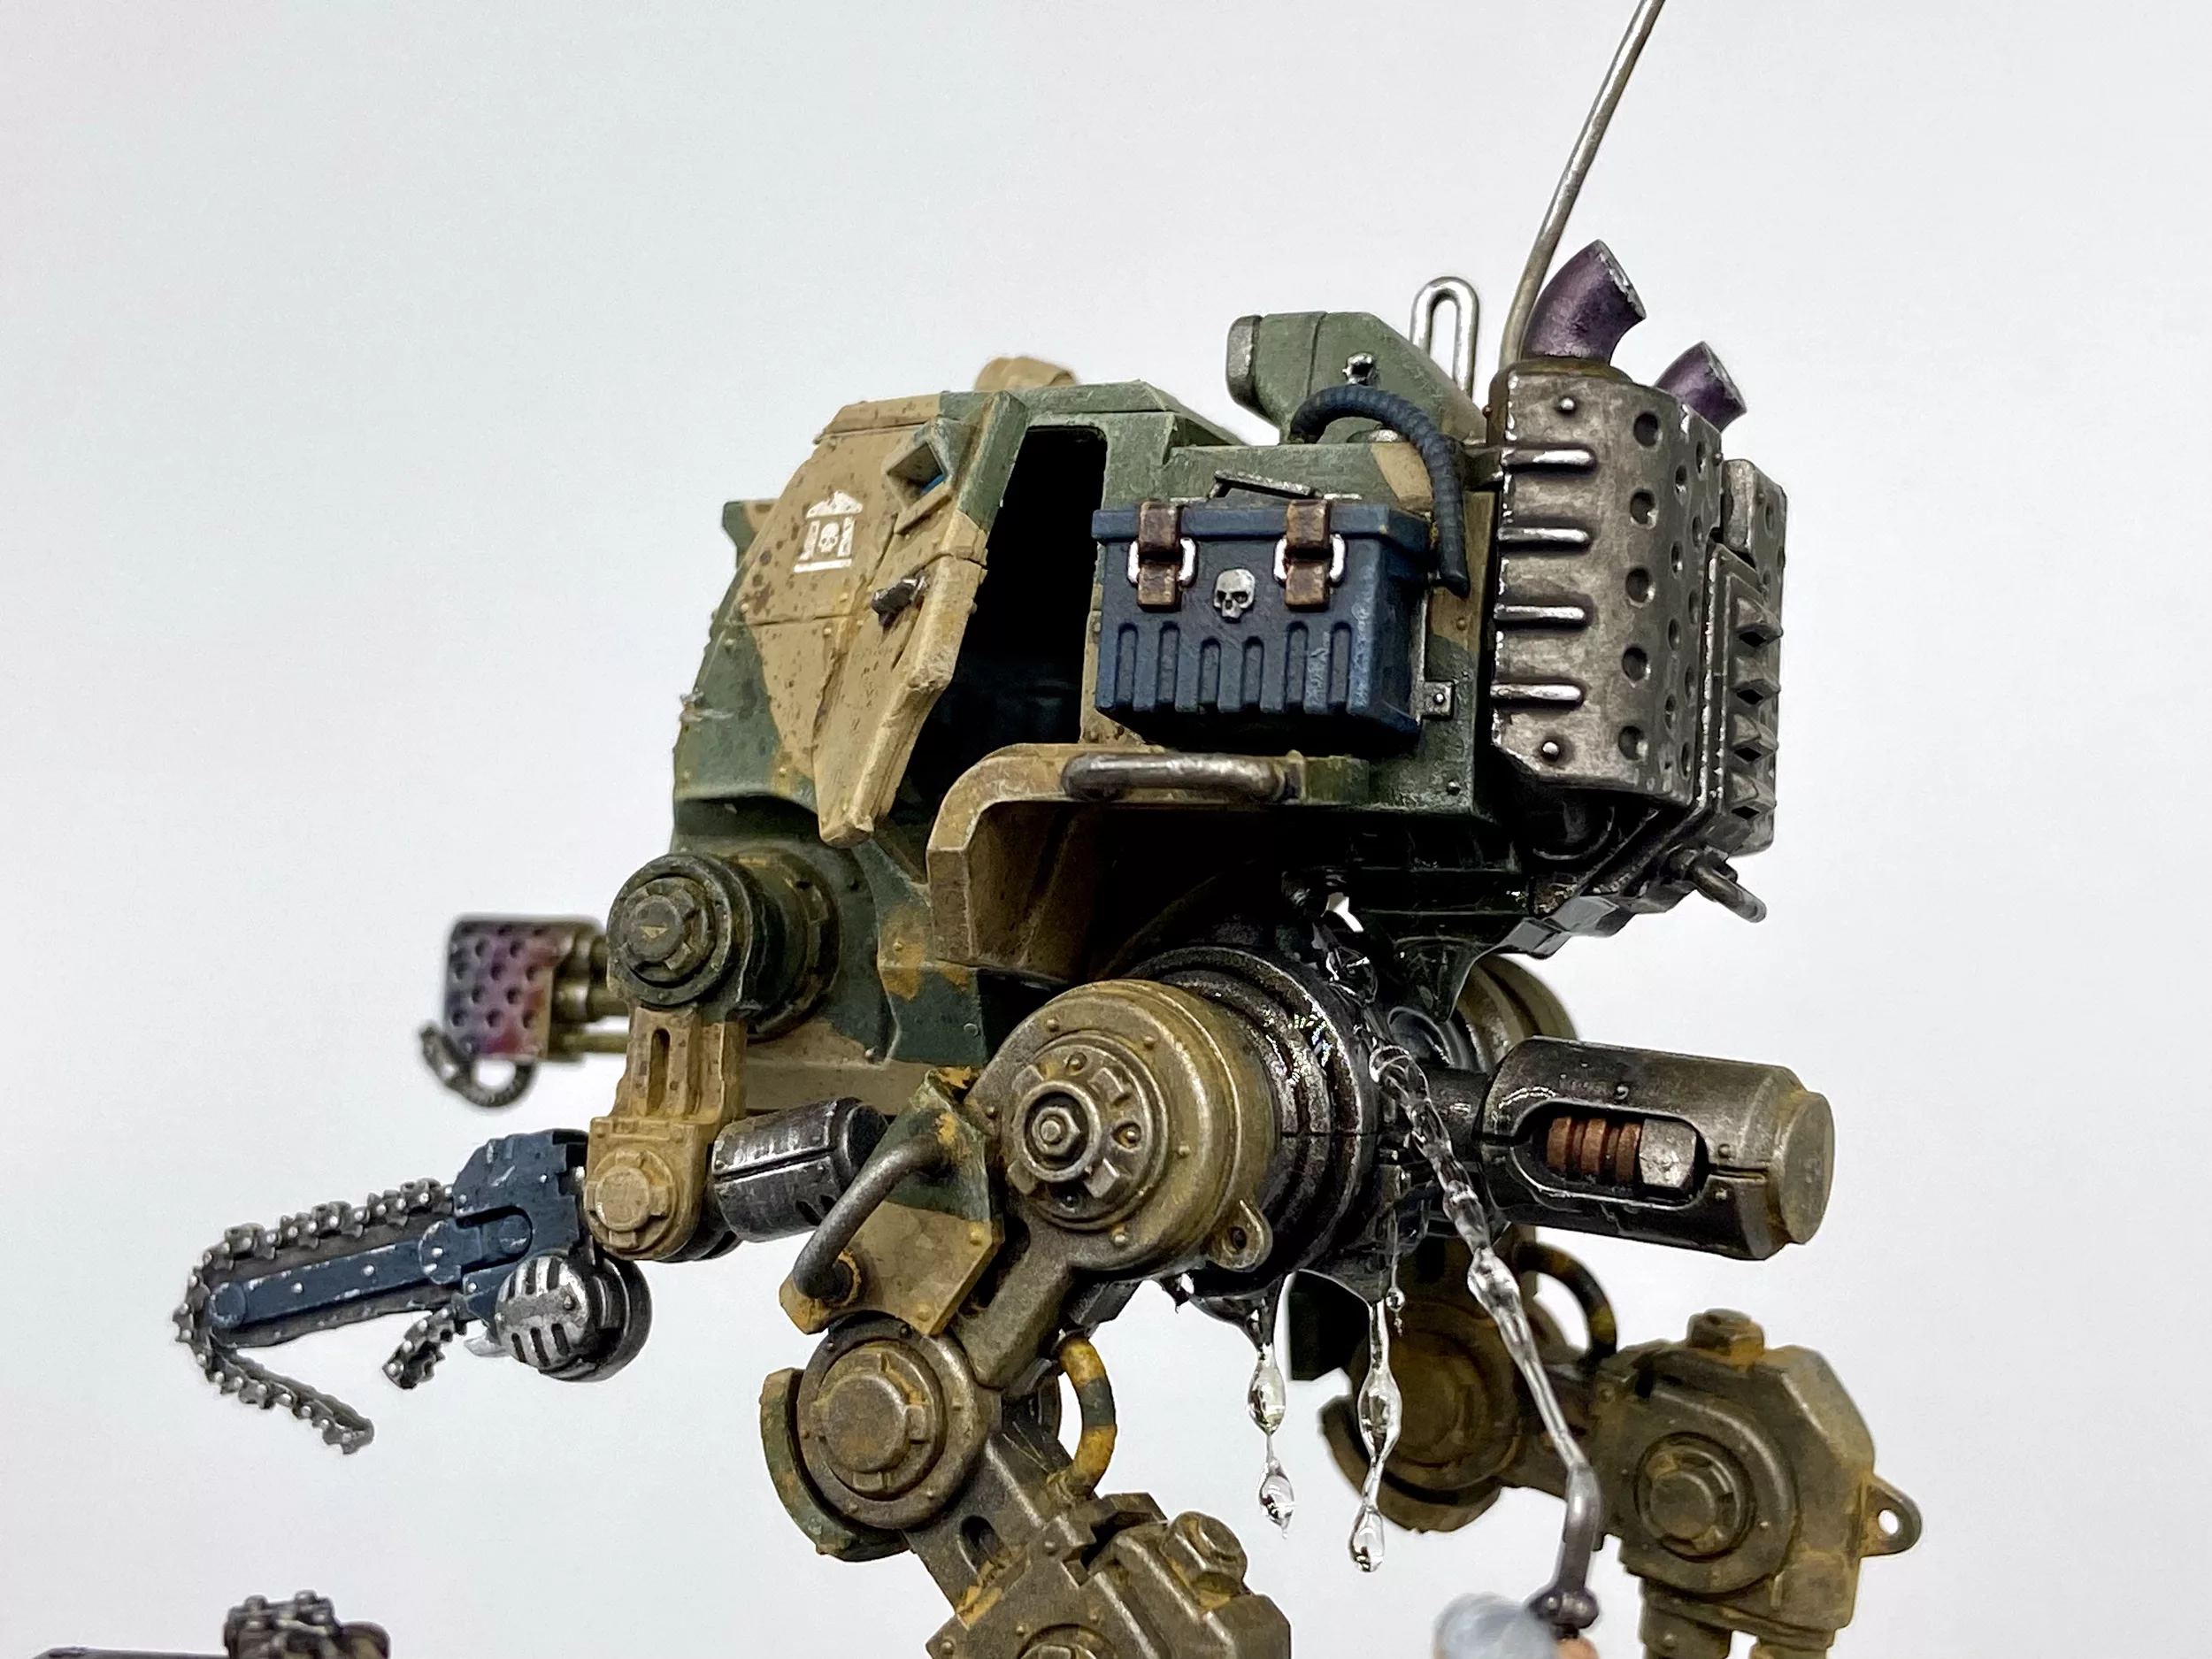
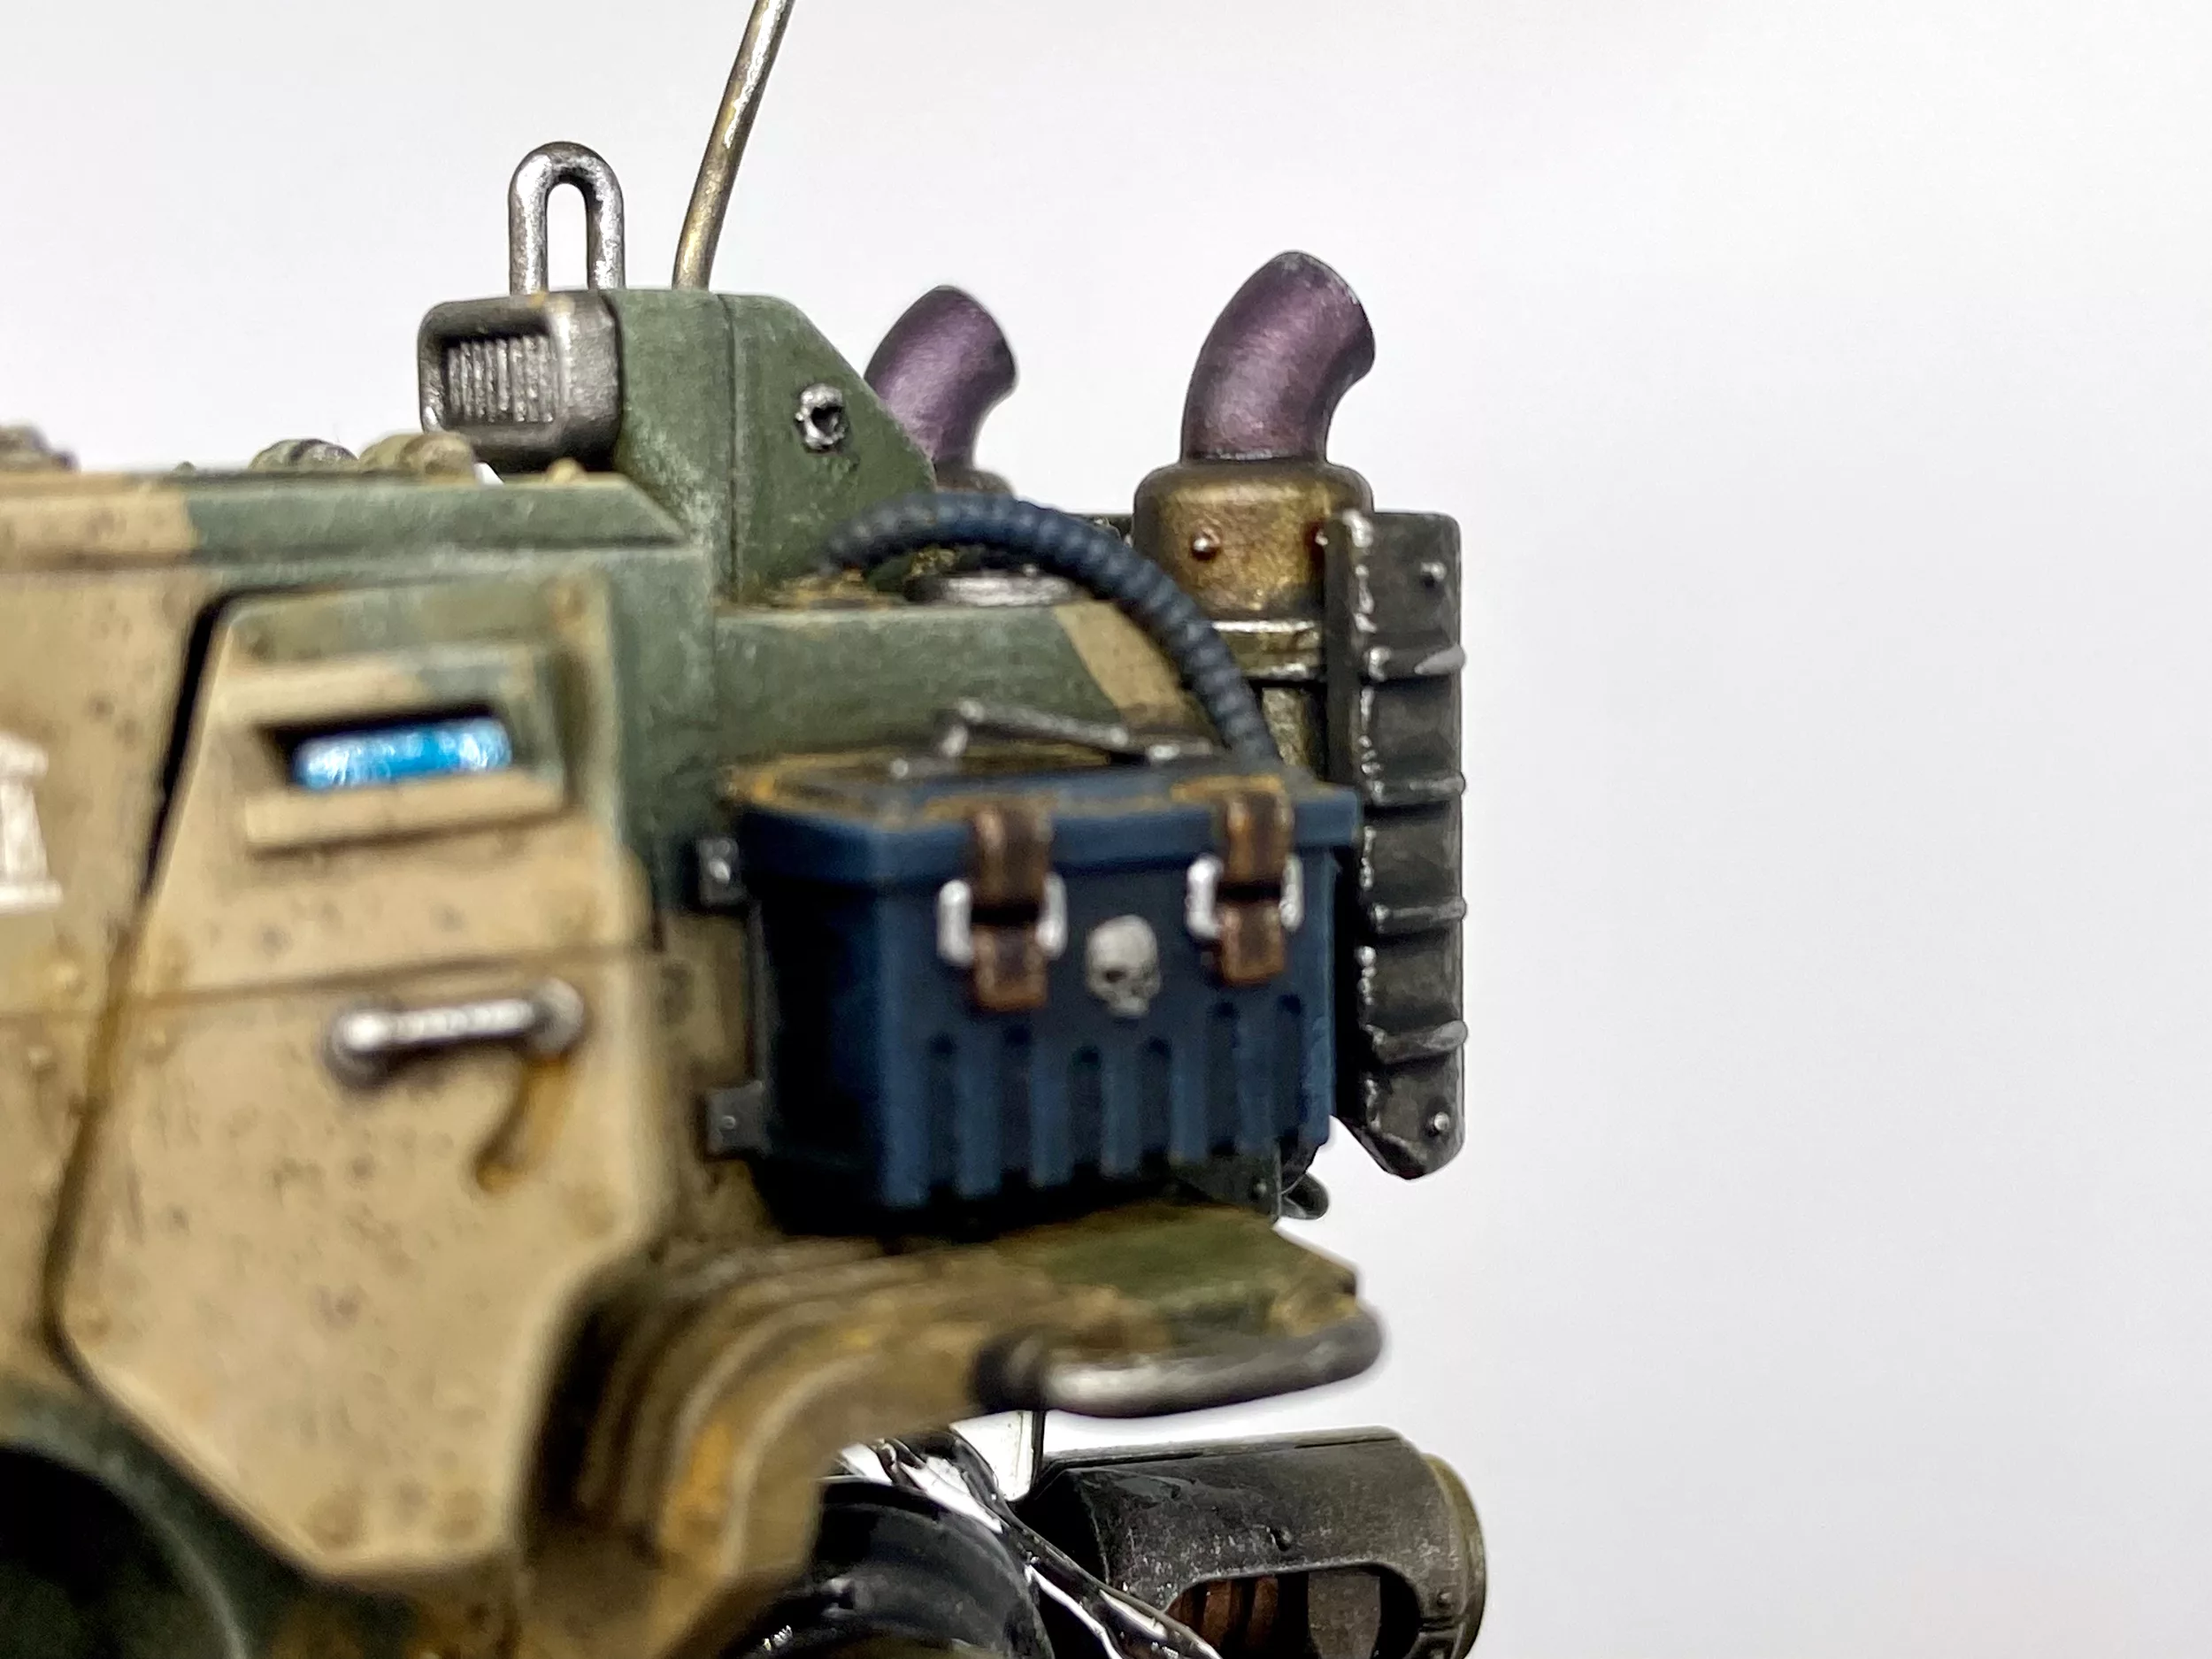
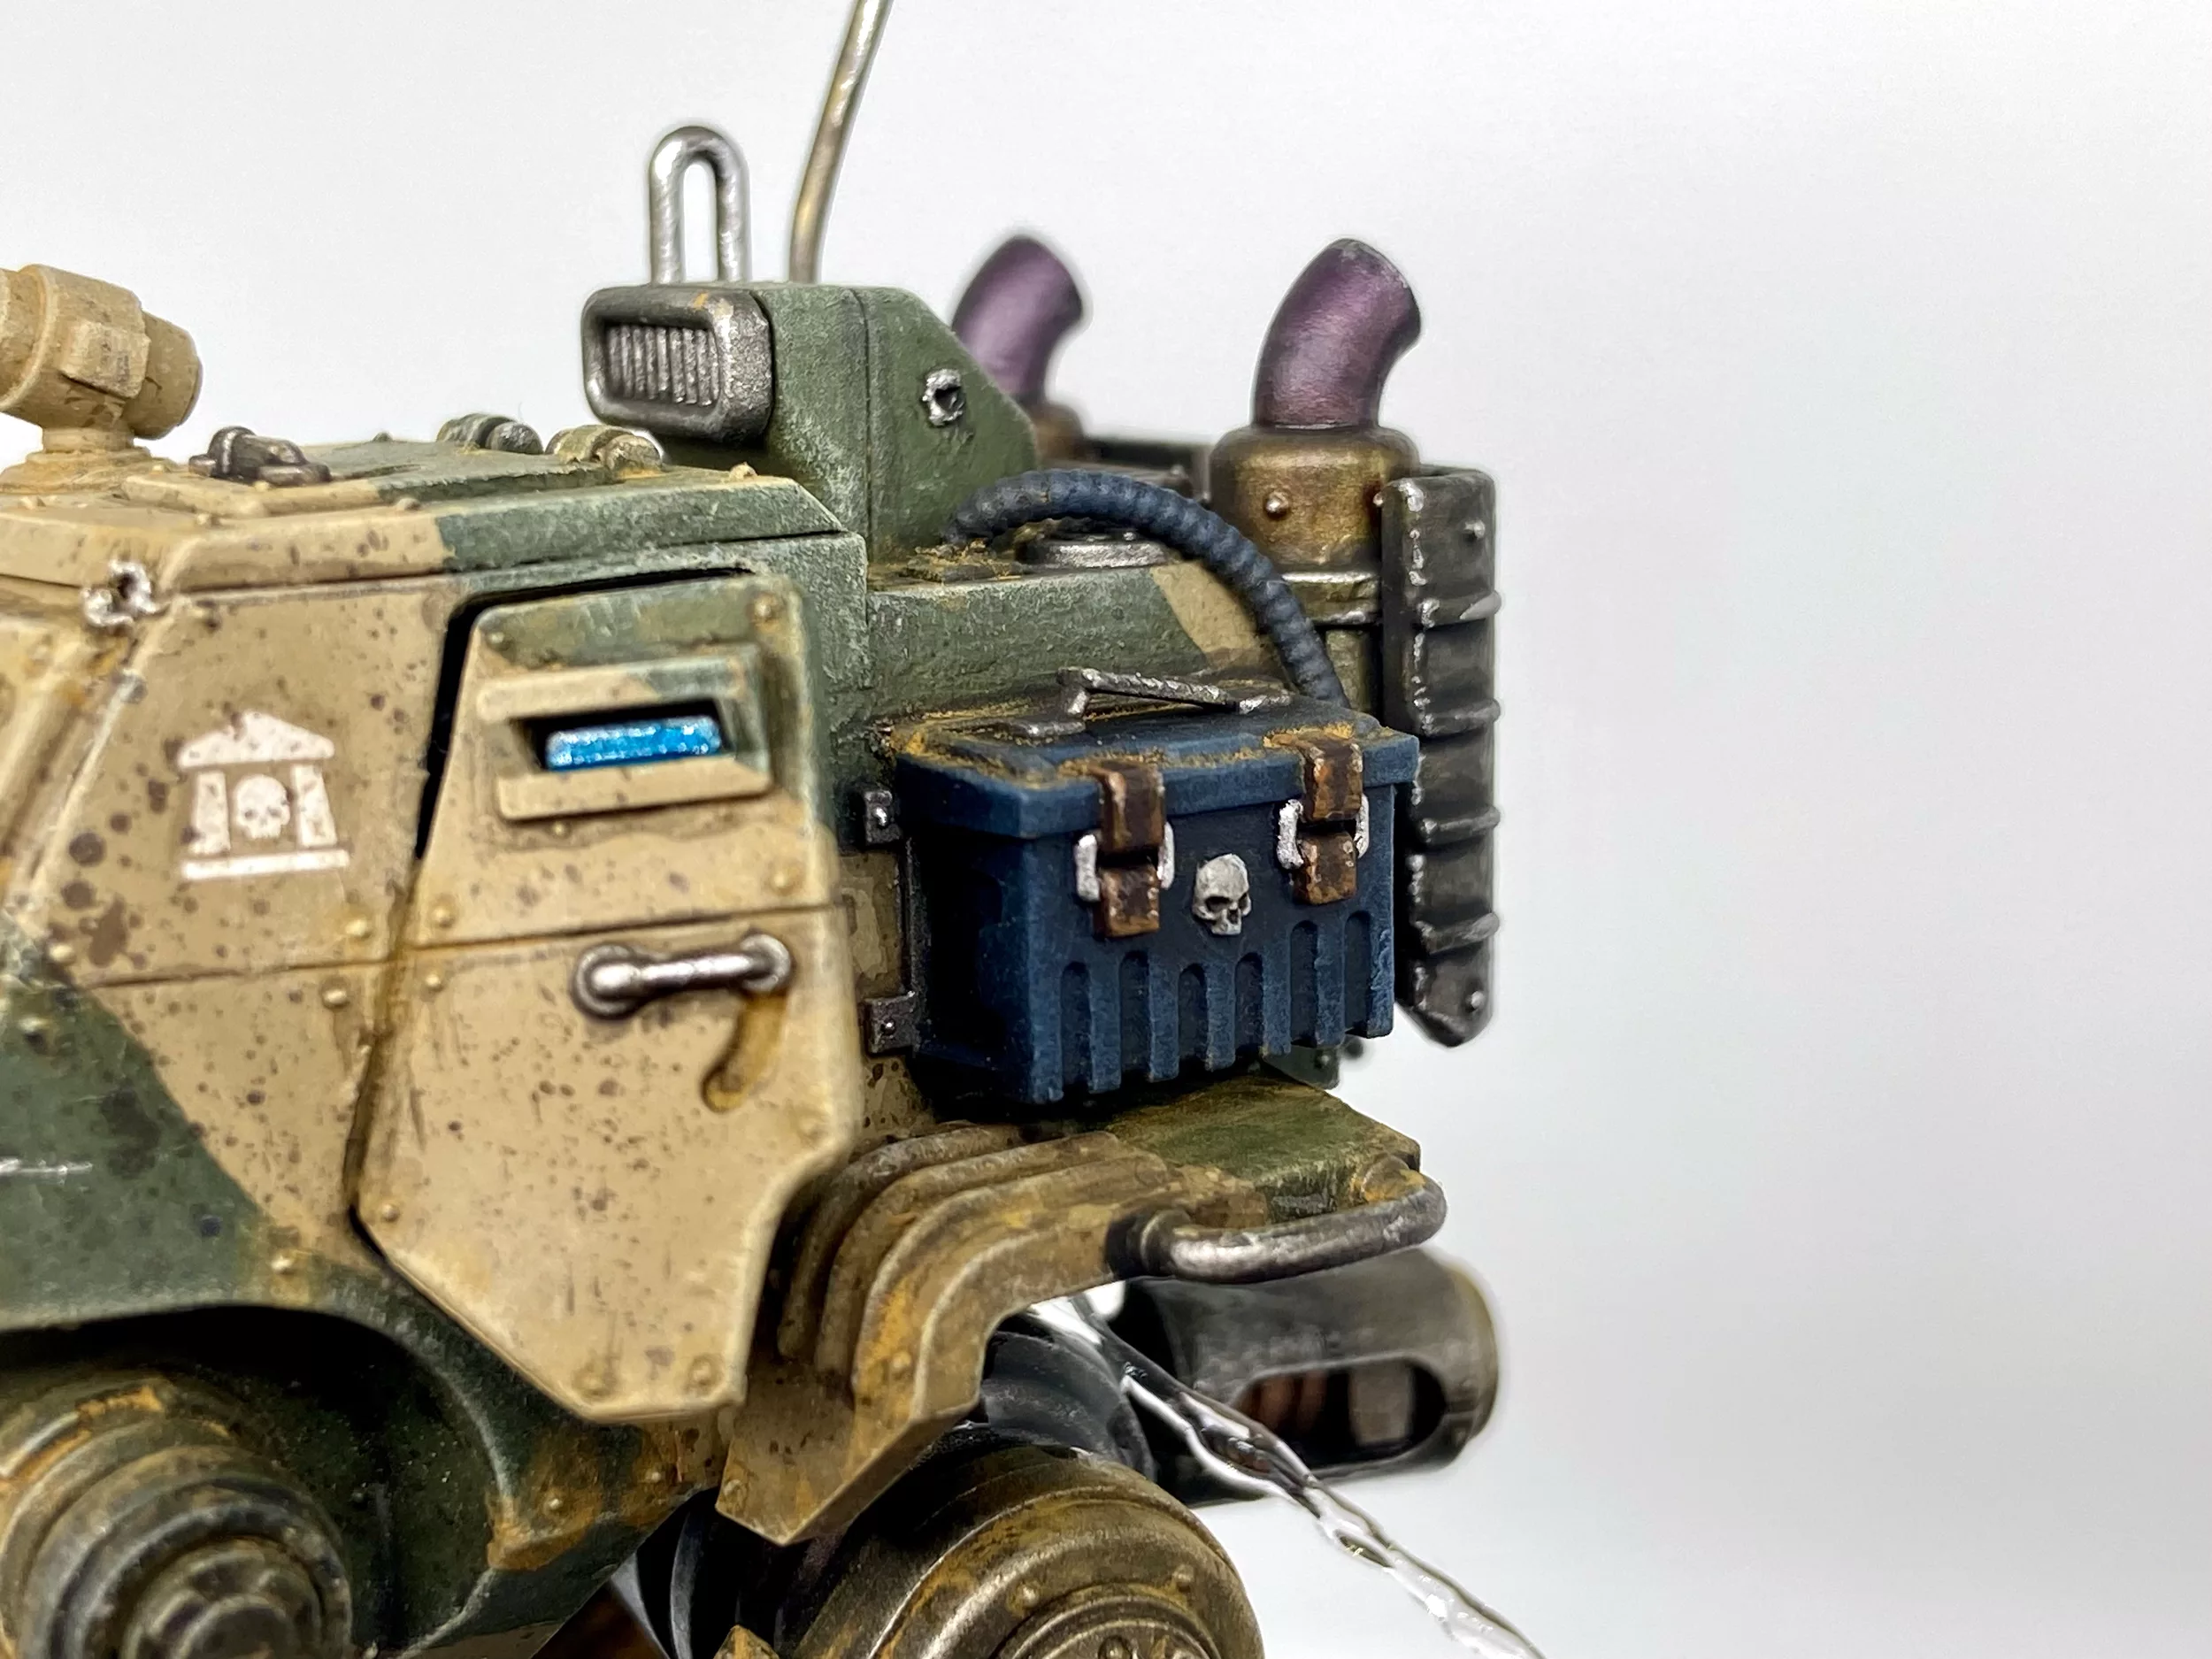
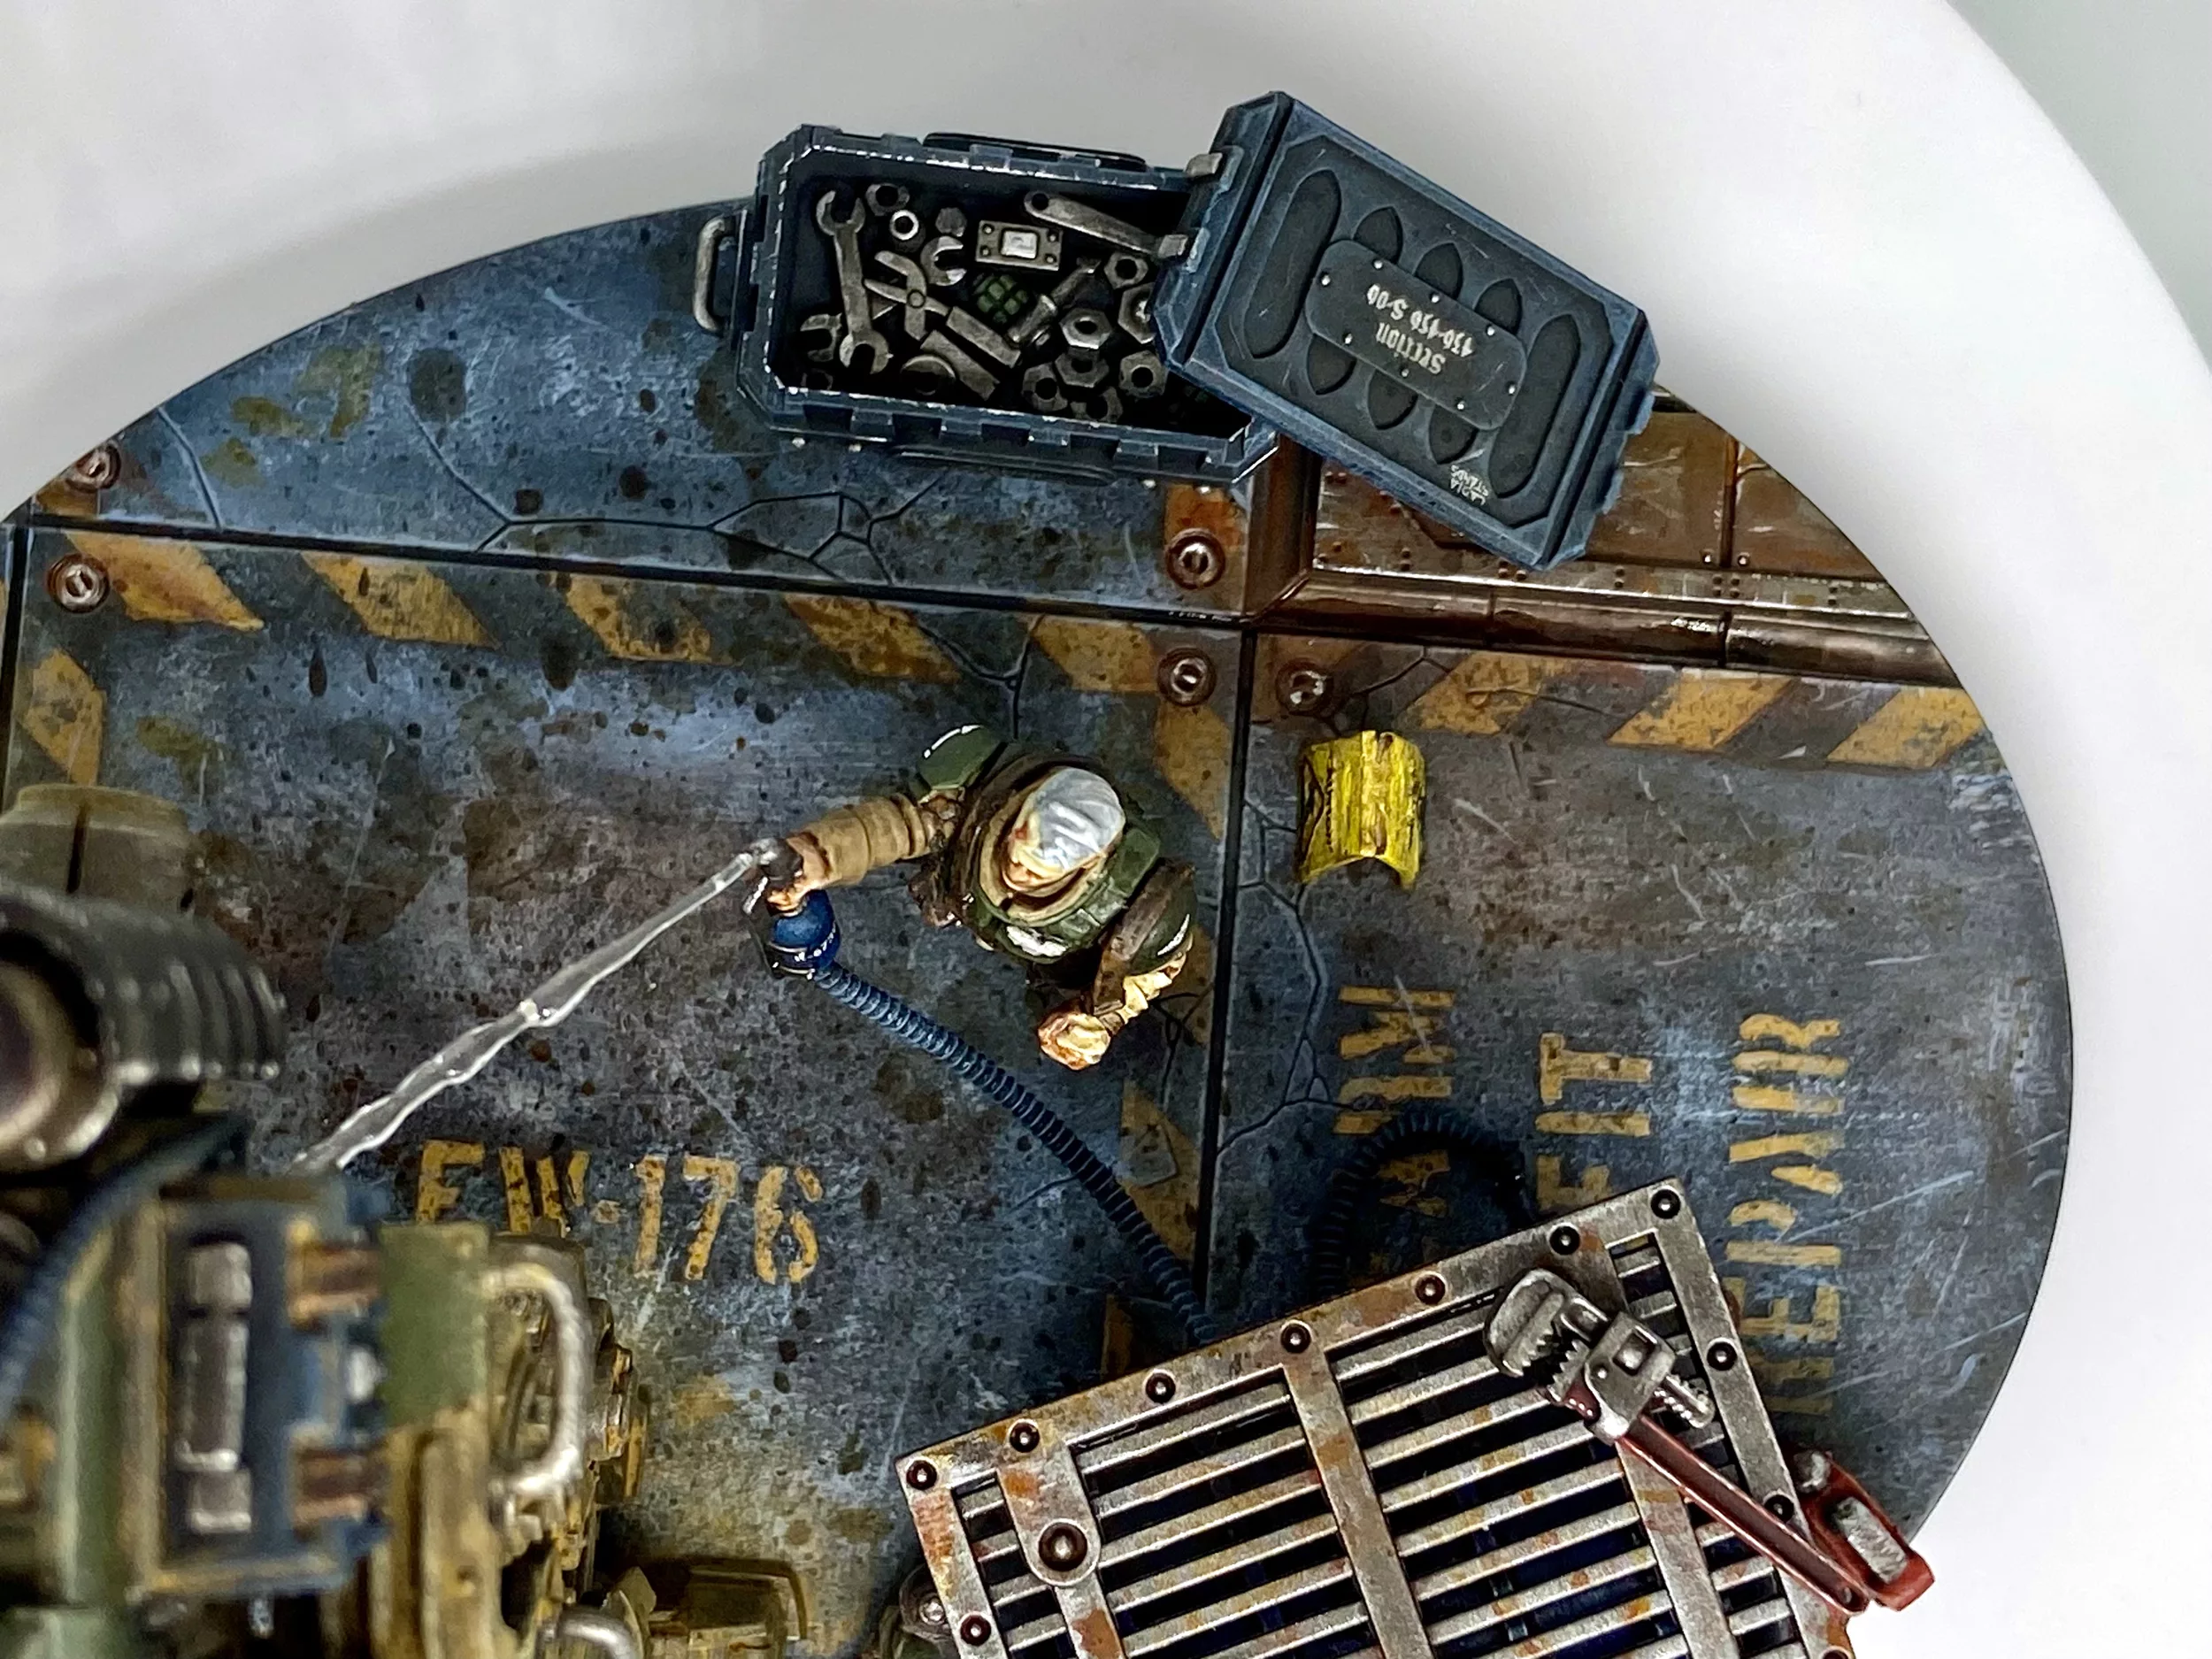
The crew member is from the Field Ordnance Battery kit, the wrench is from the Rogal Dorn and the toolbox is from the Promethium Tanks Refuelling Station kit.
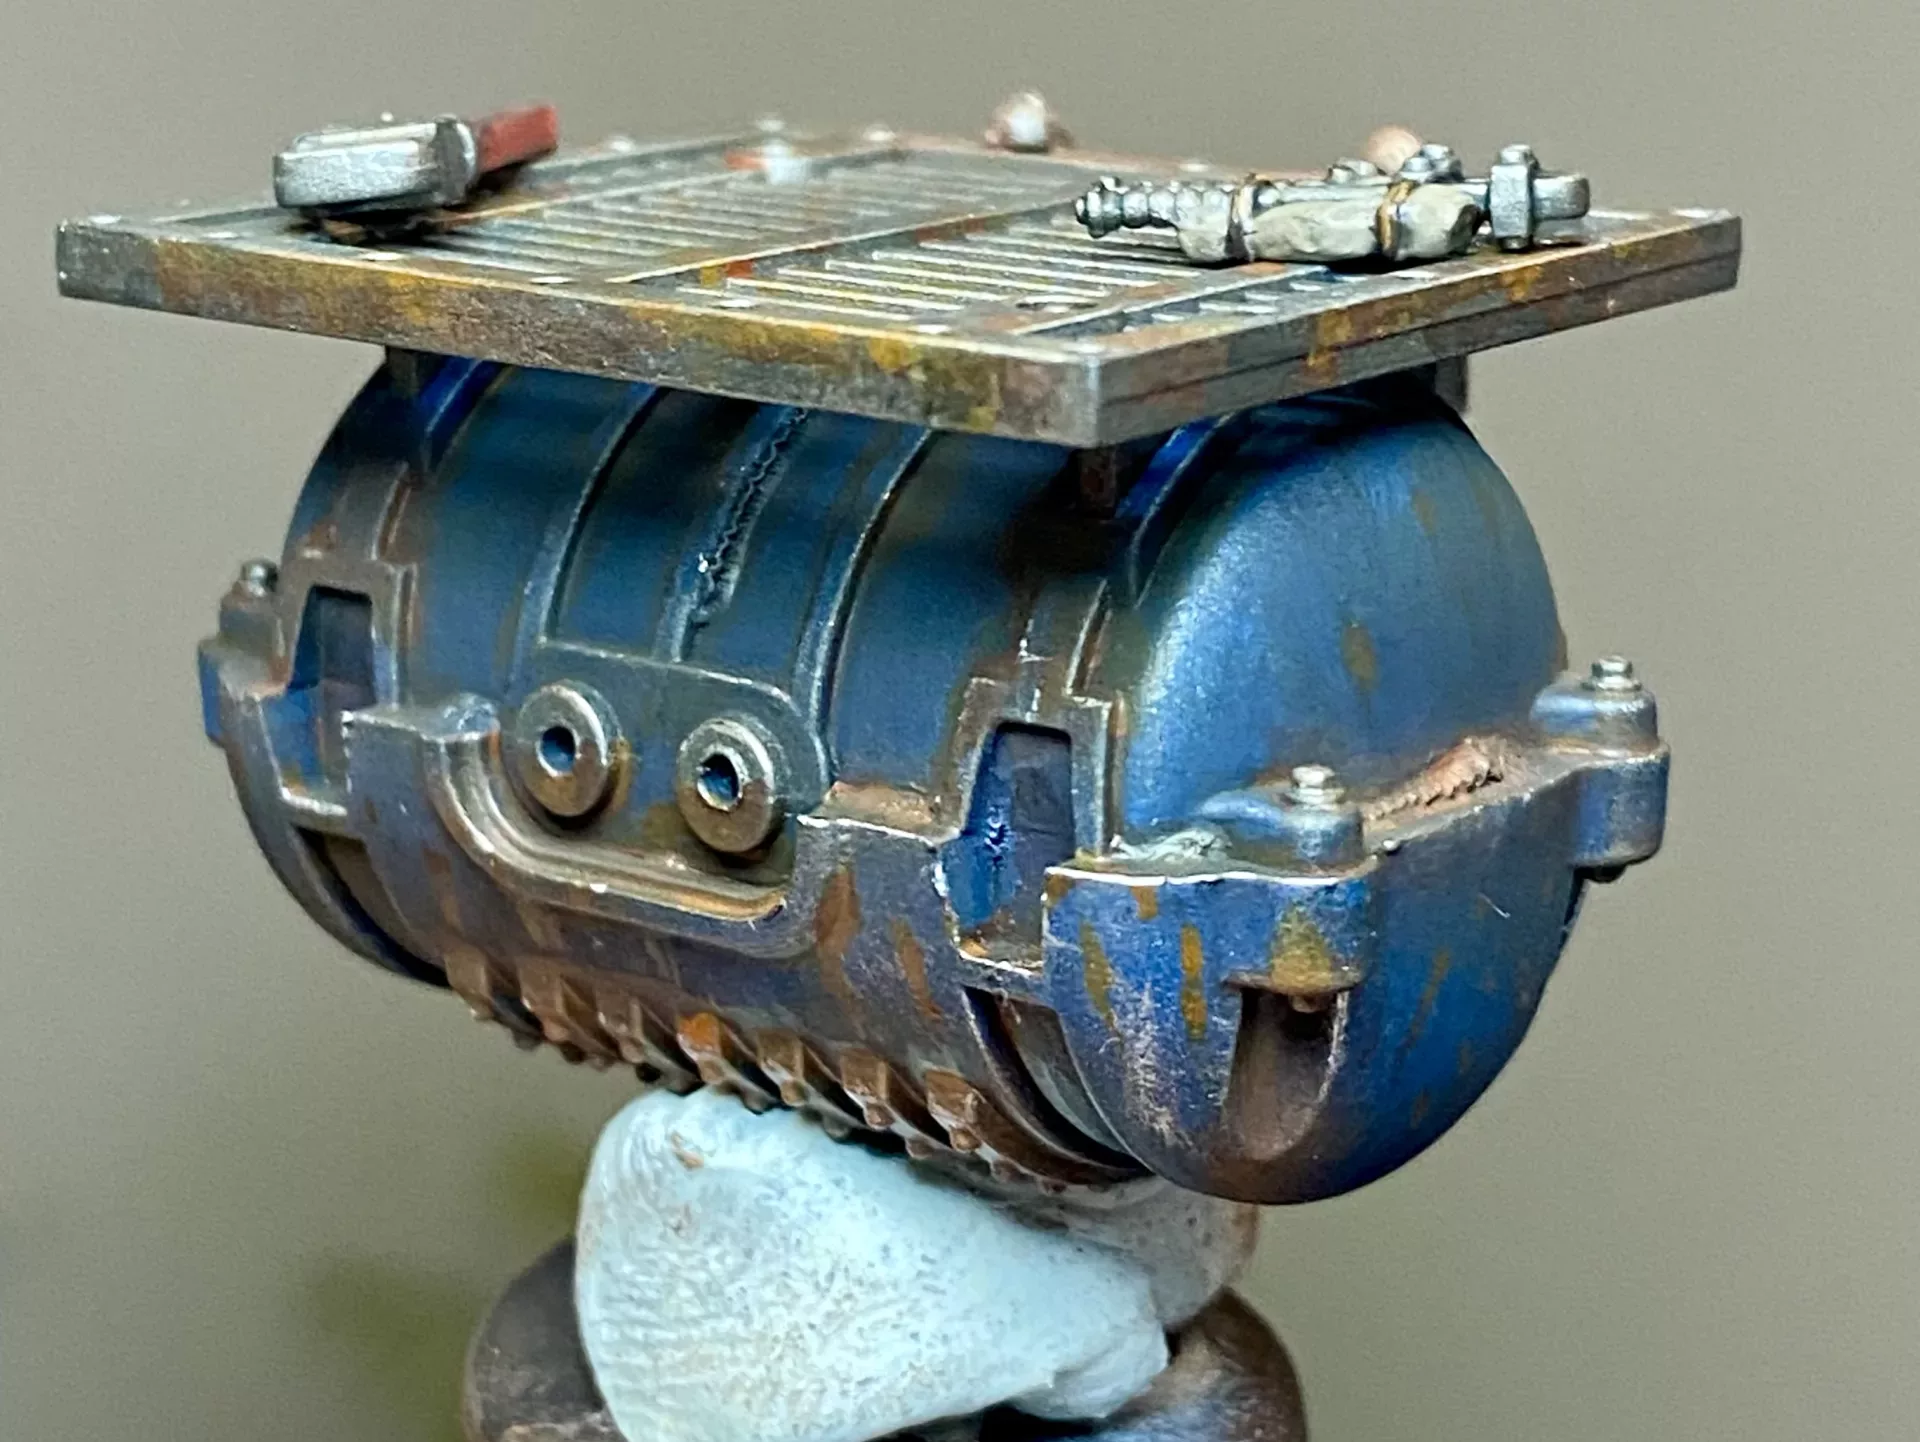
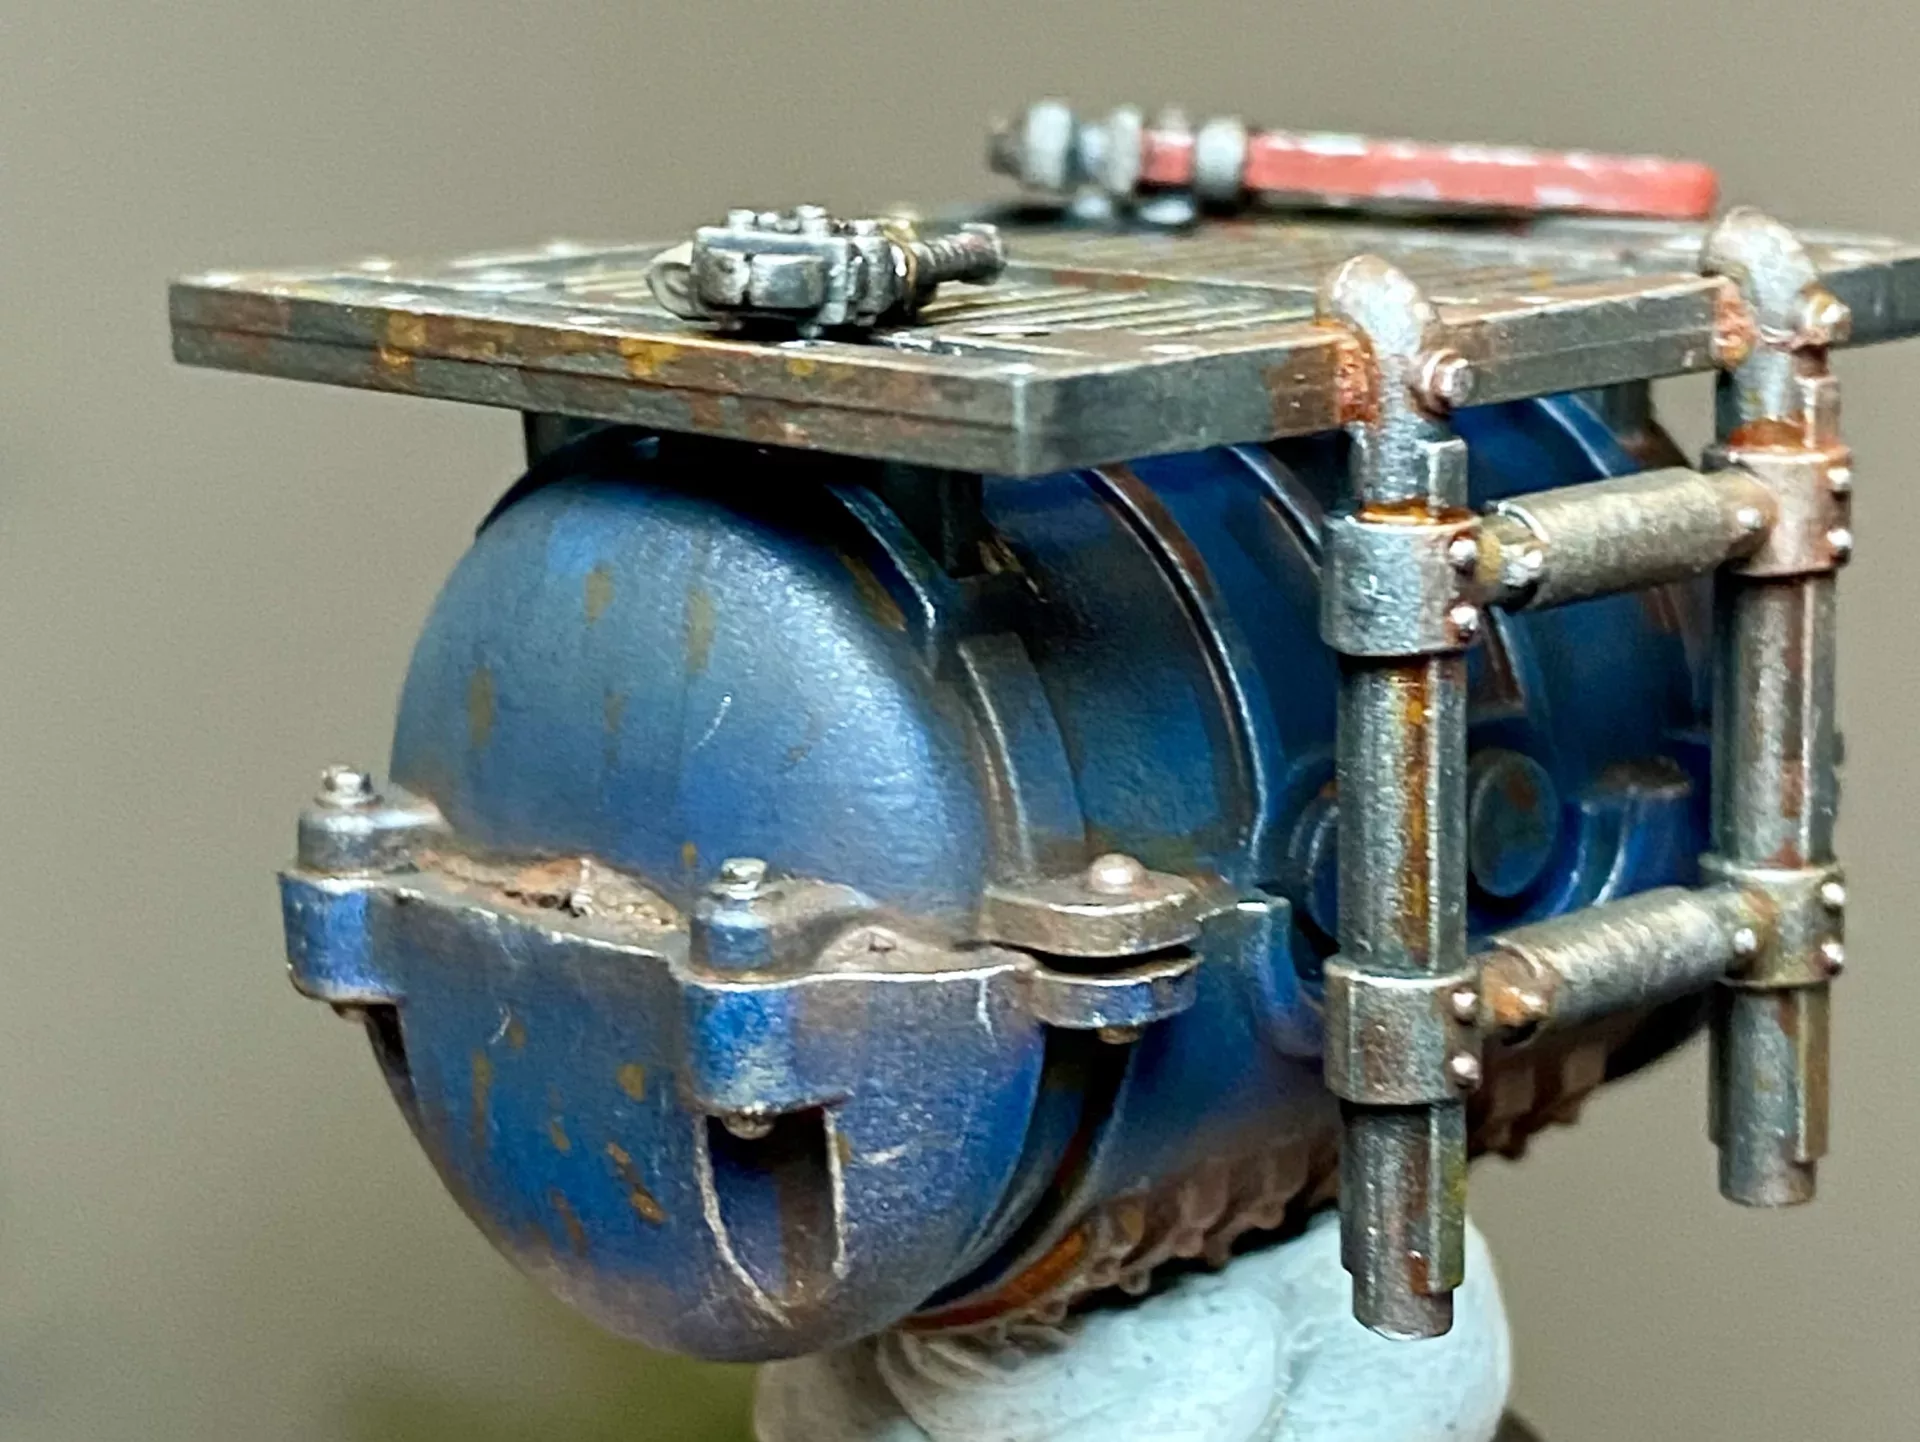
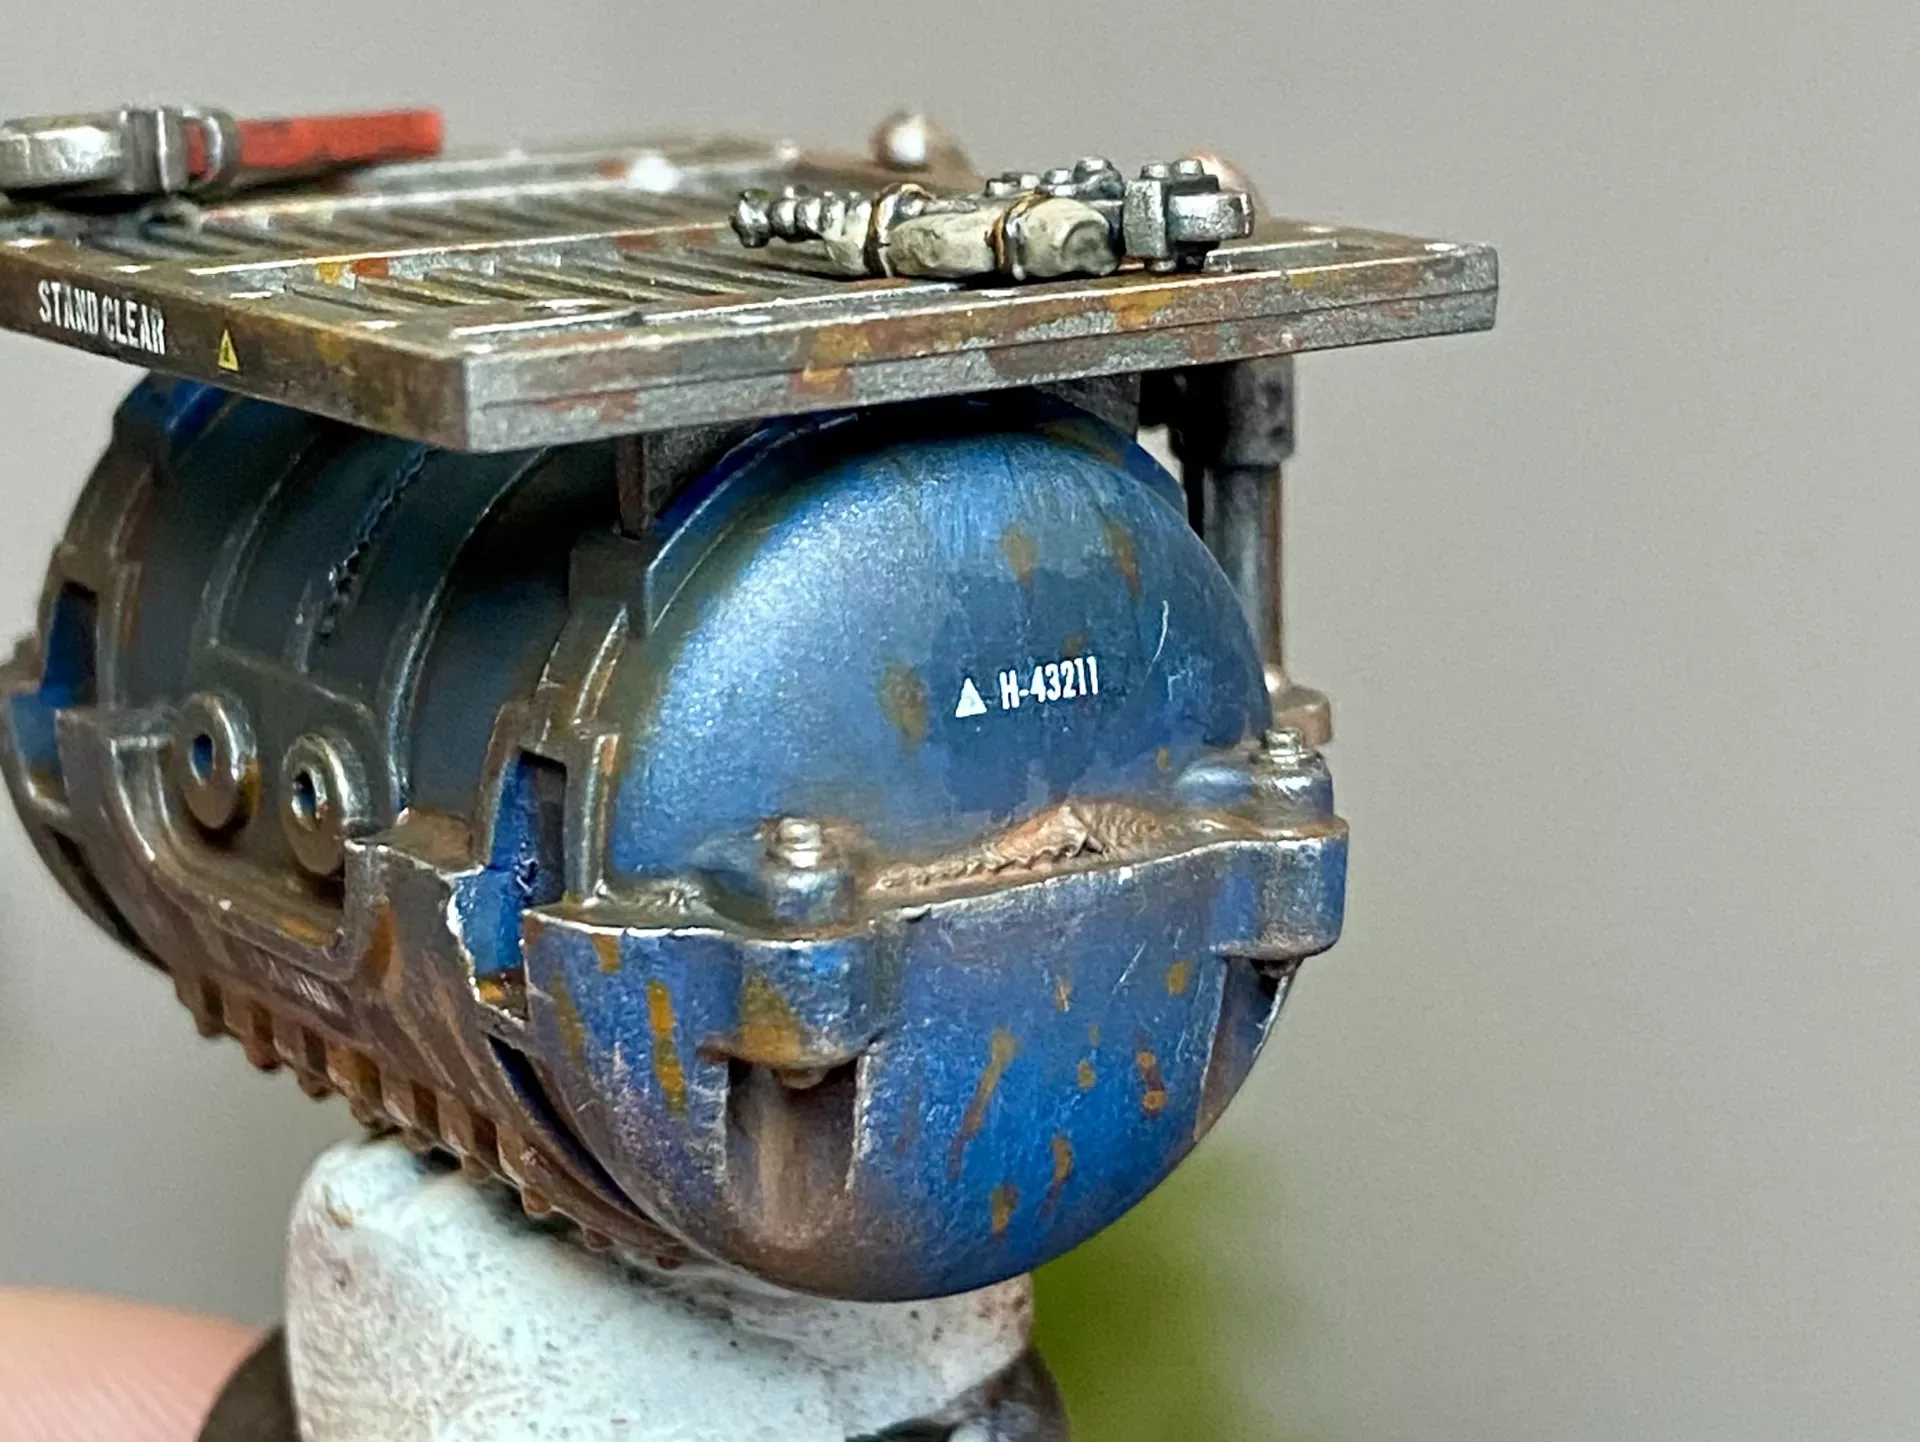
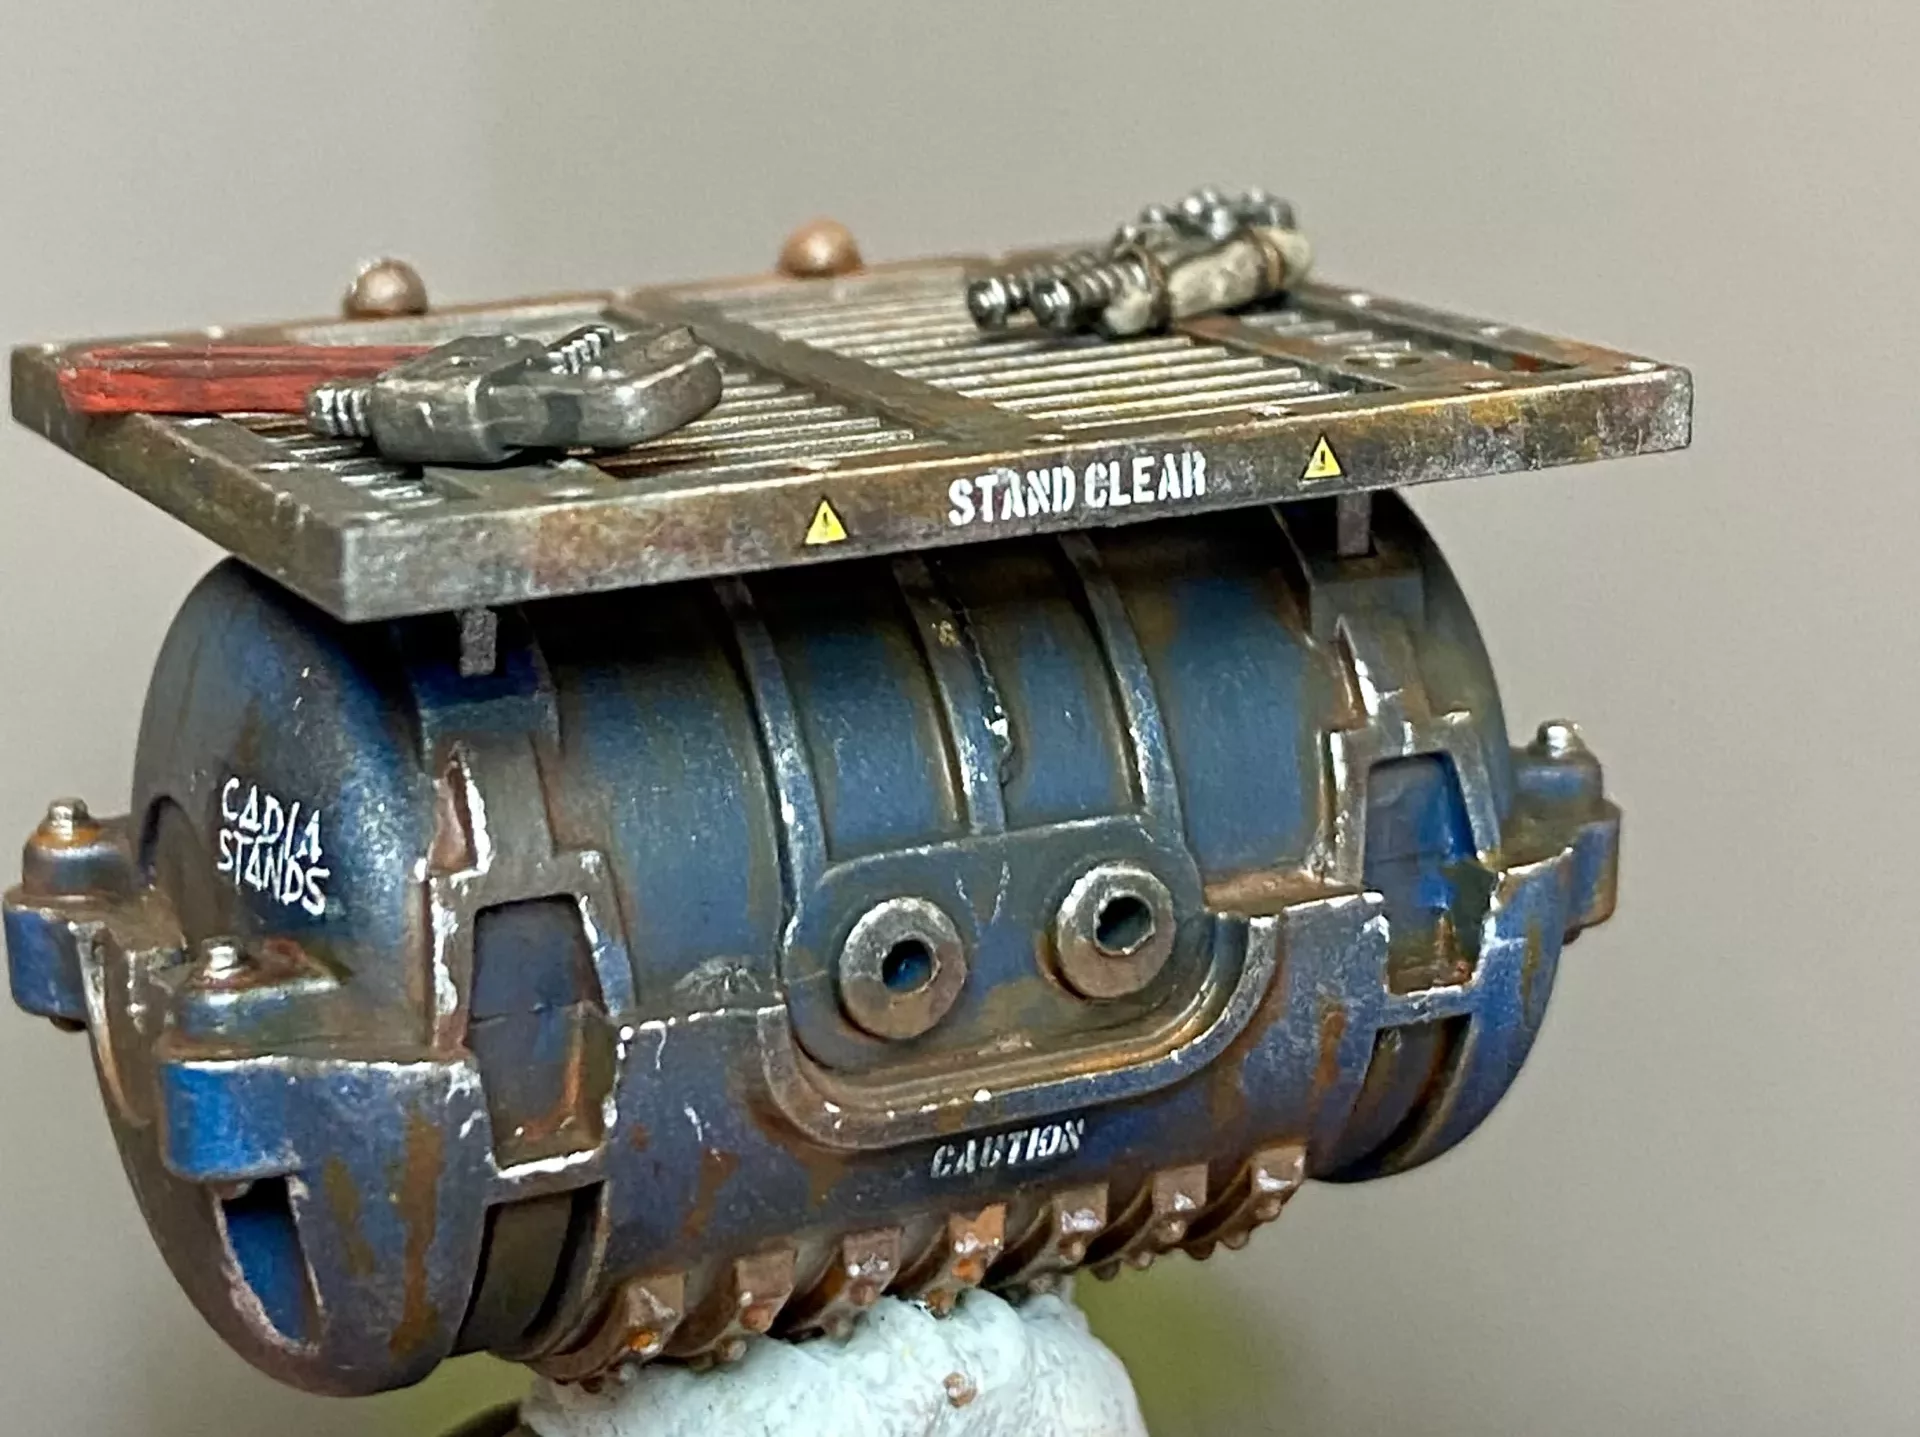
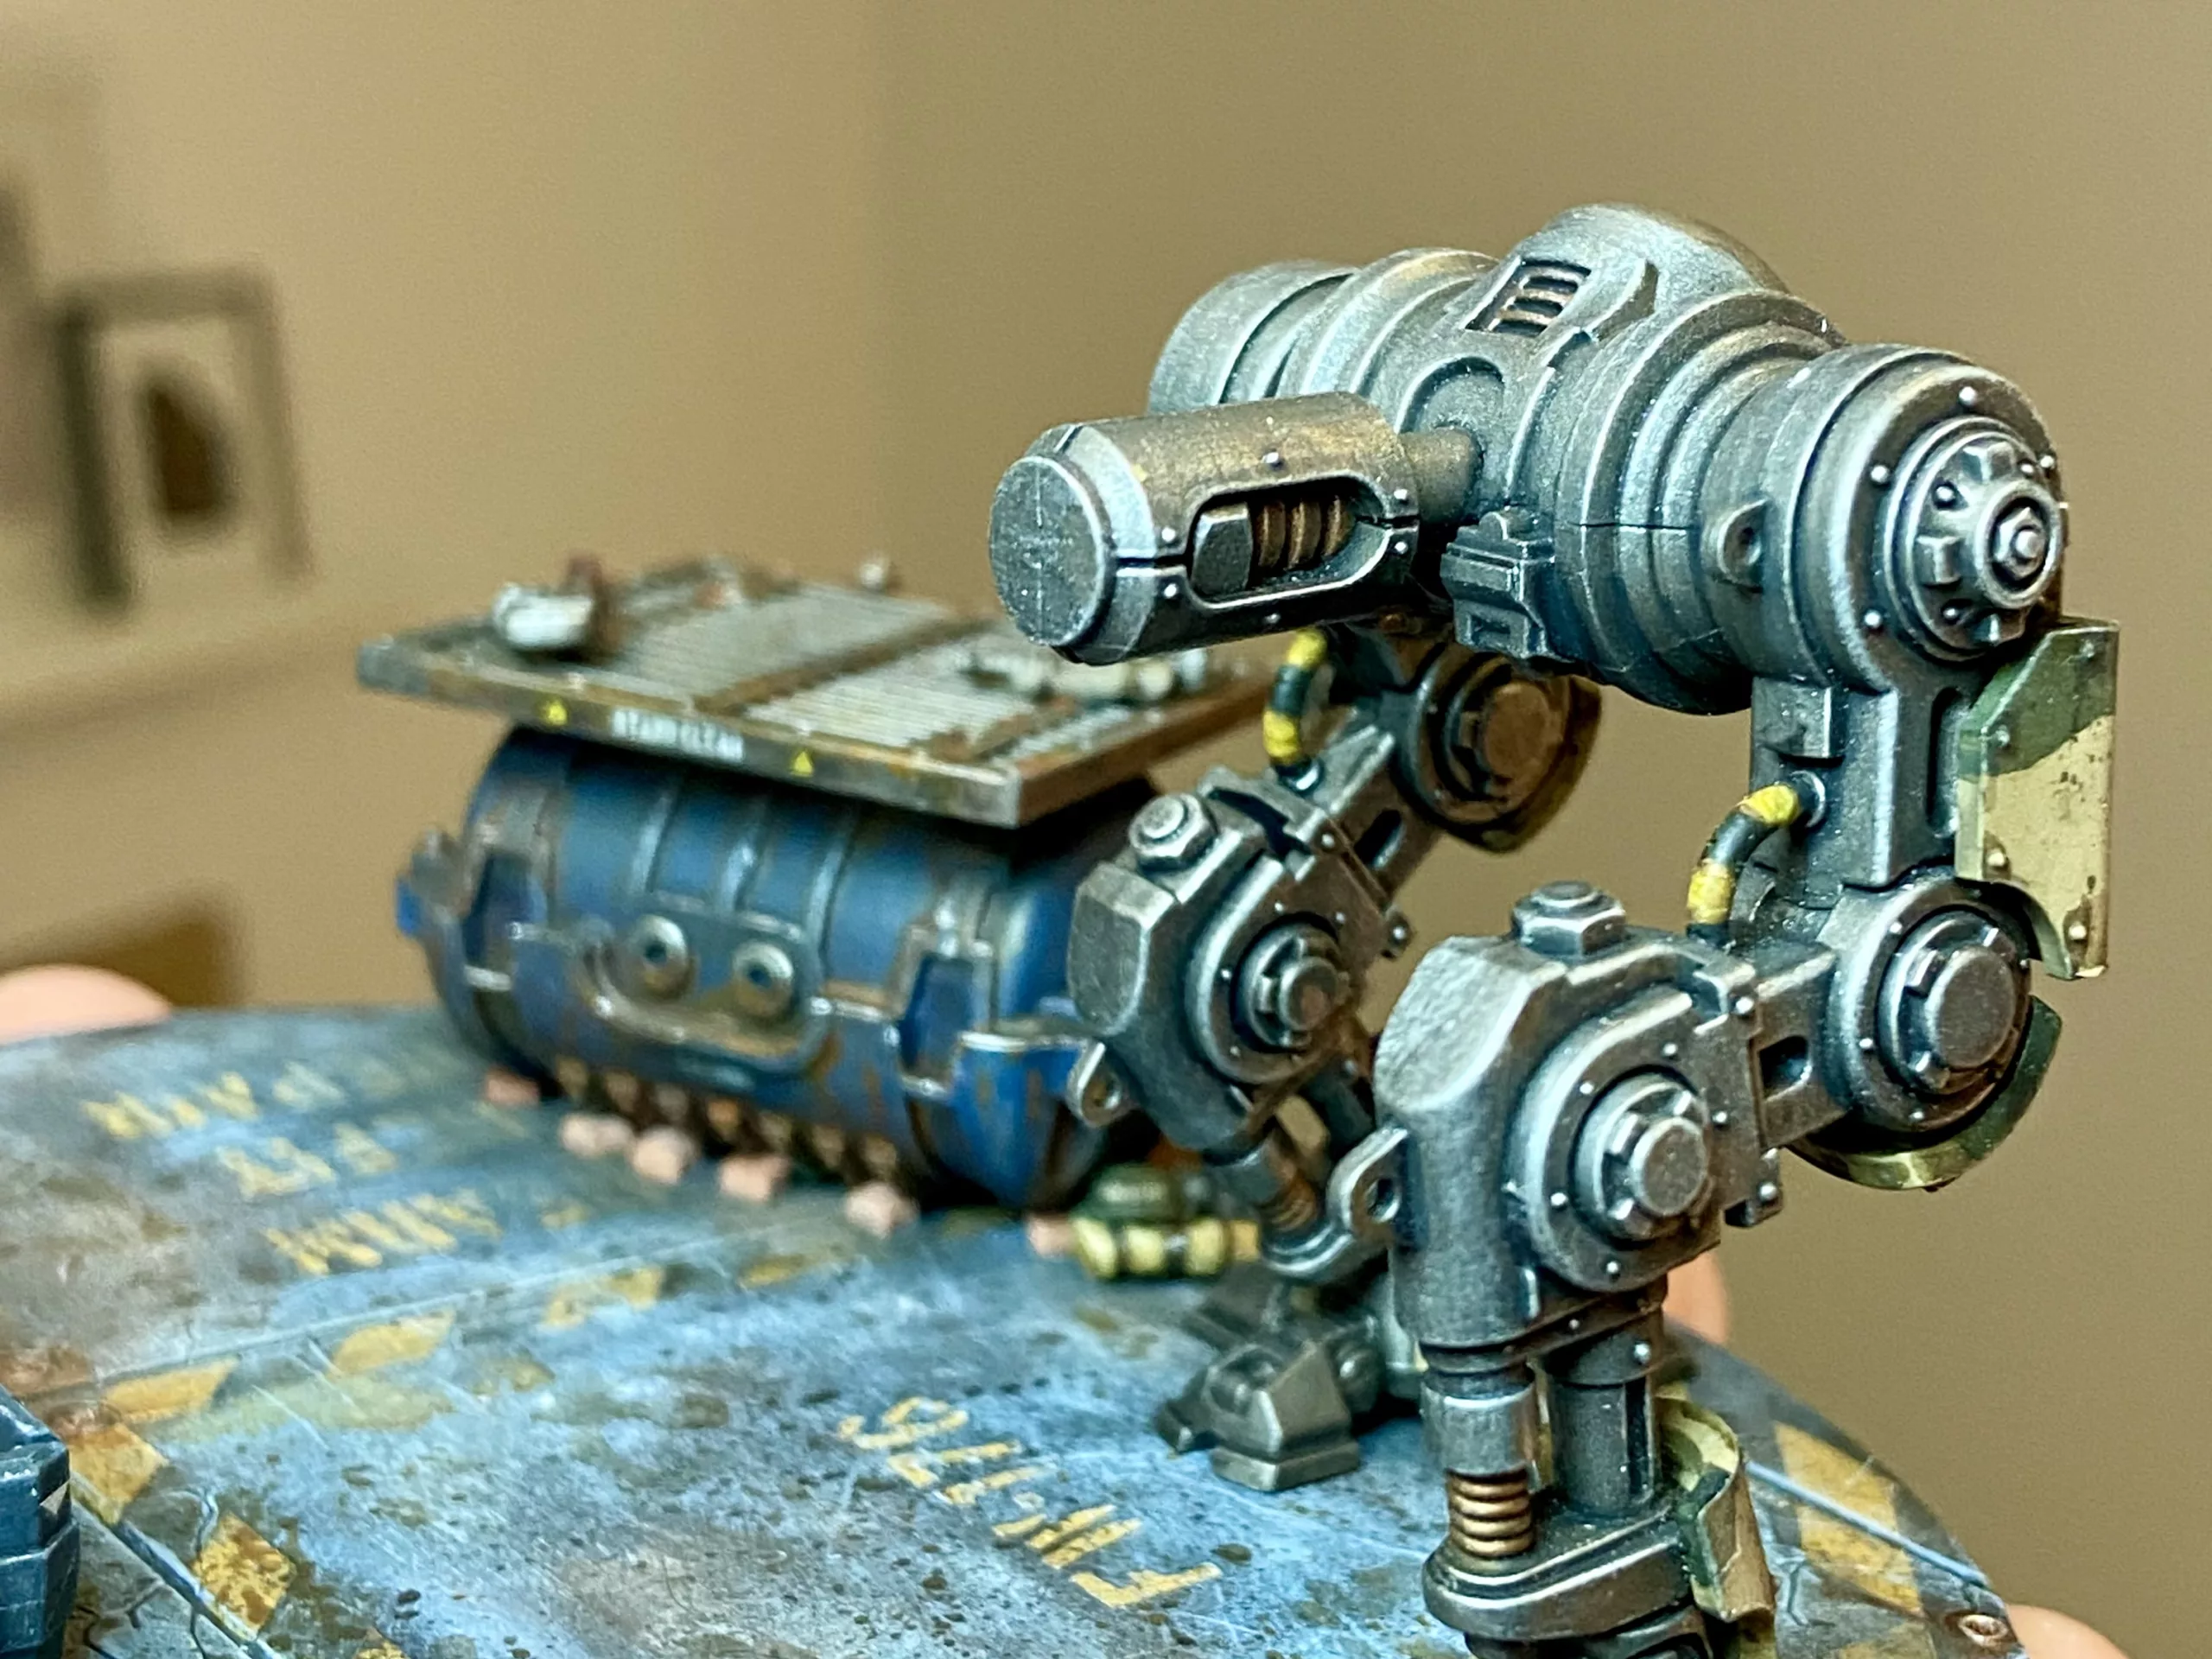
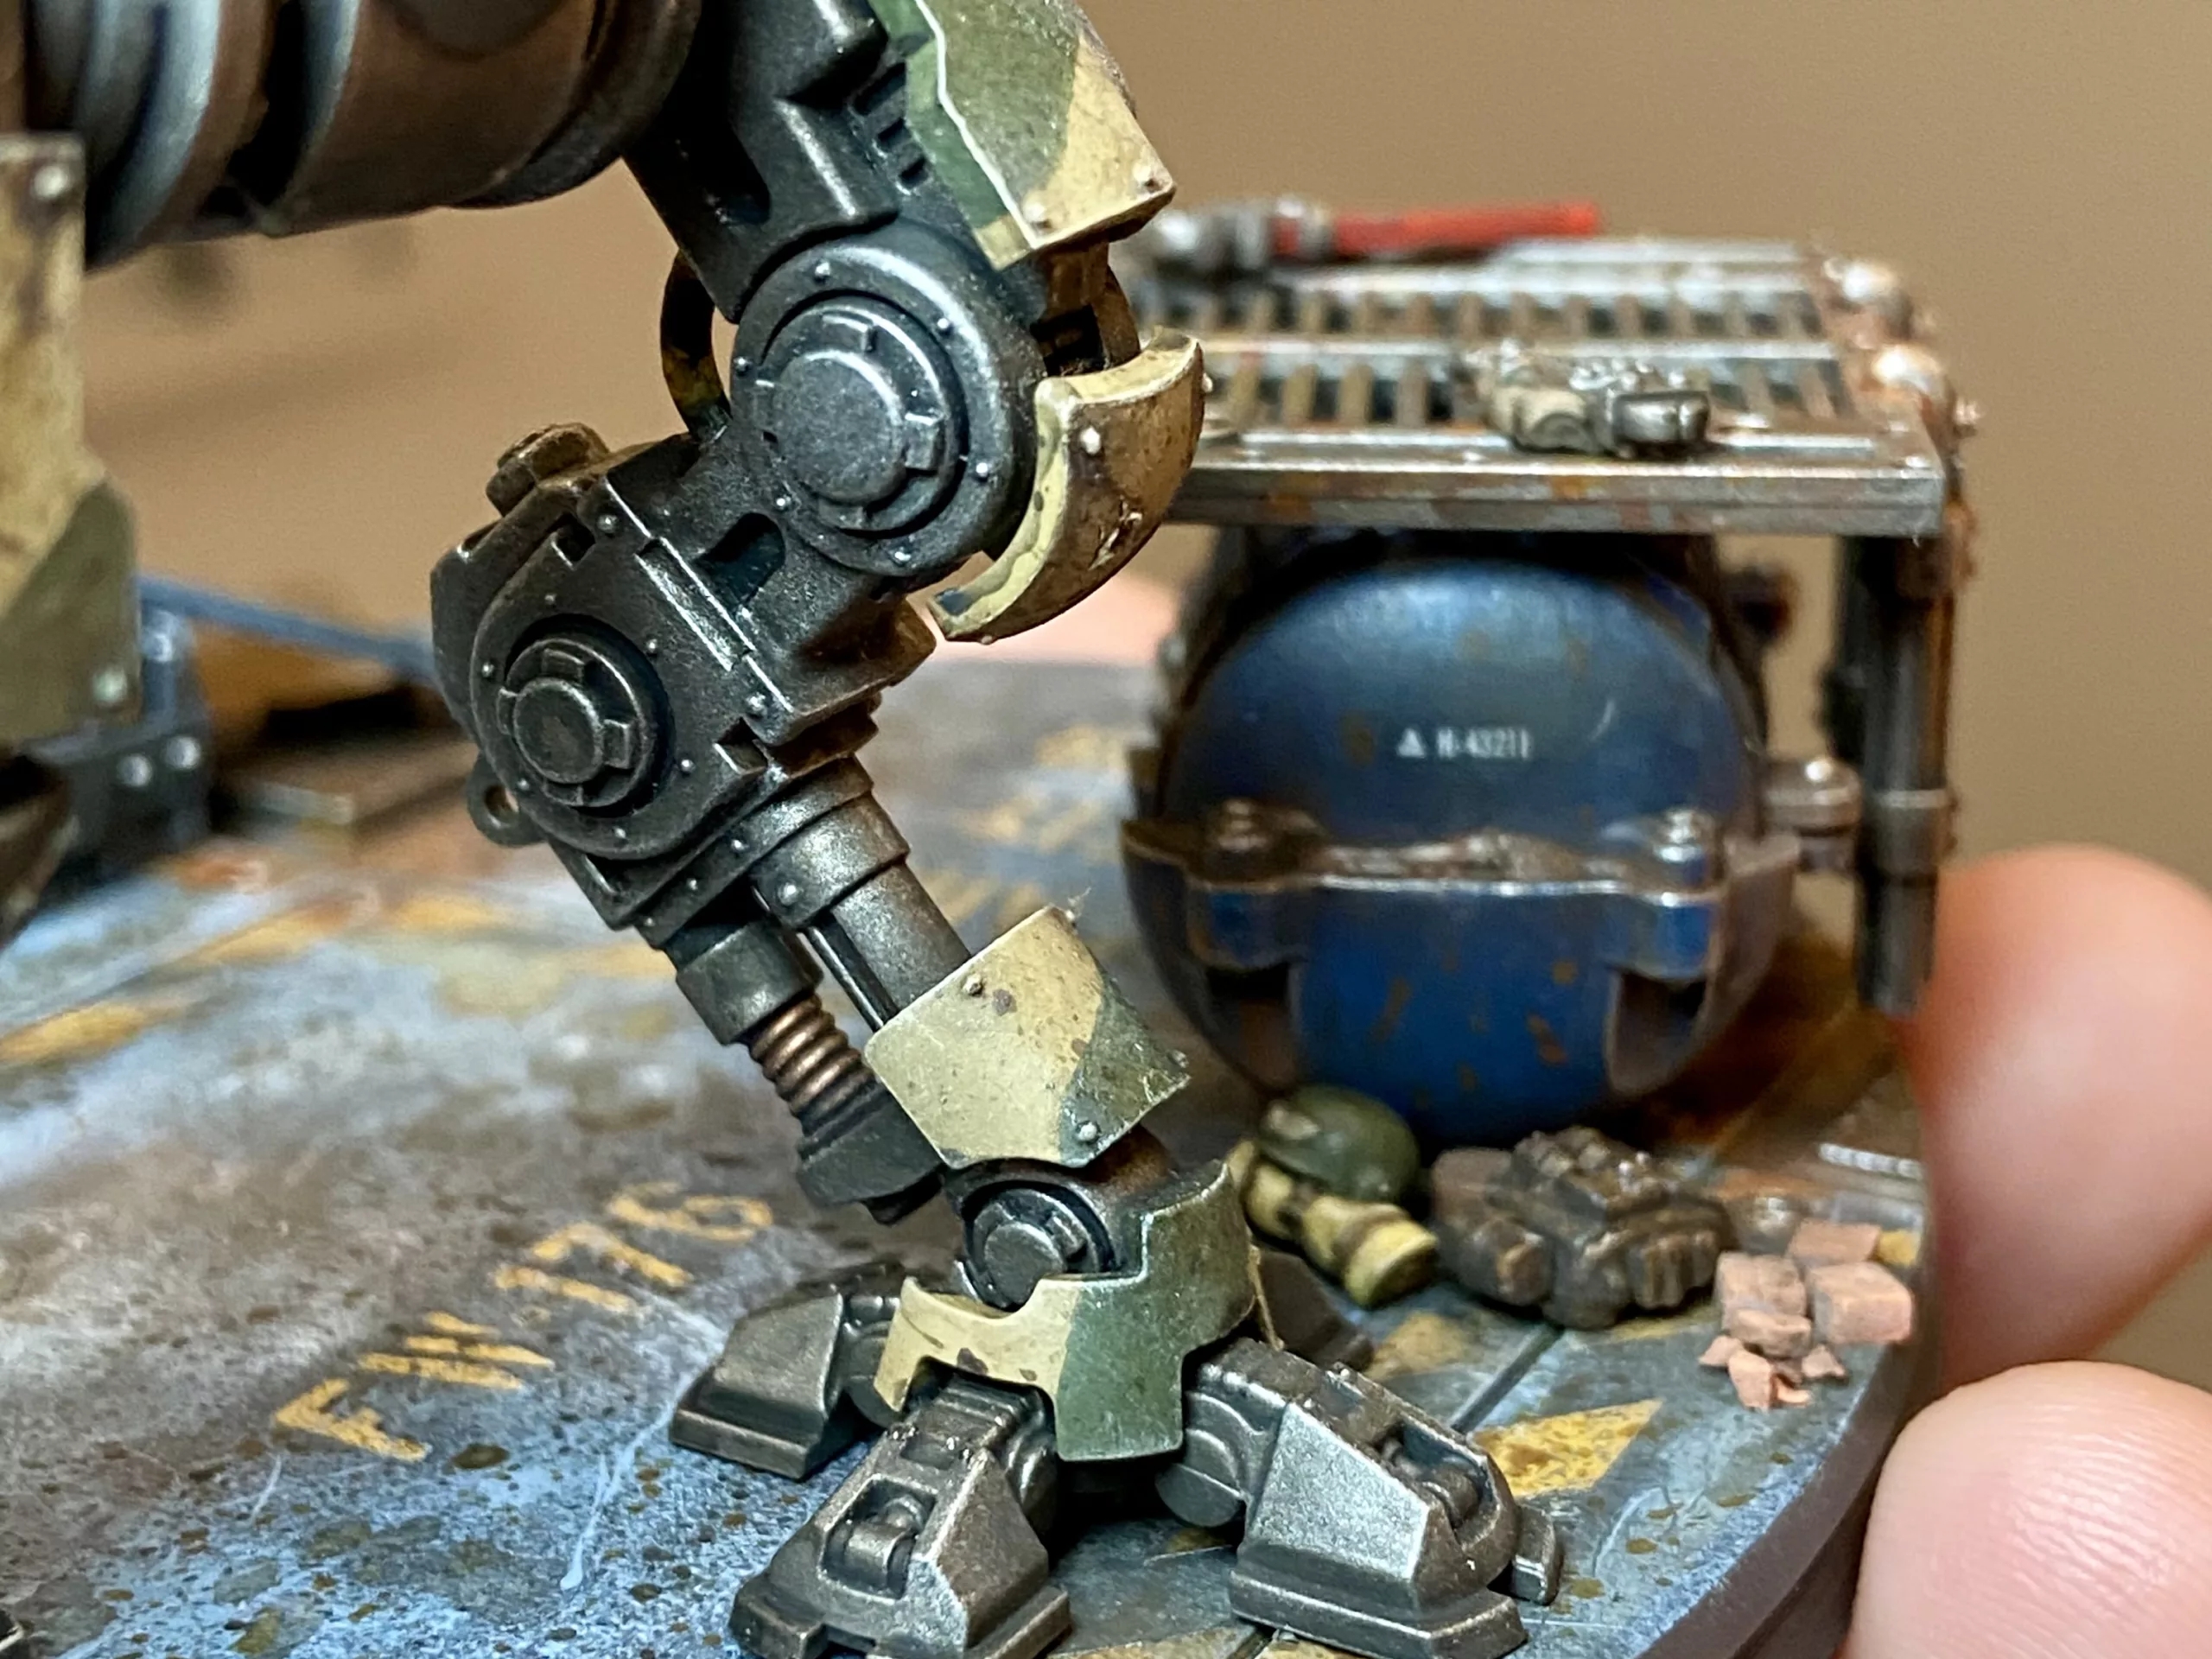
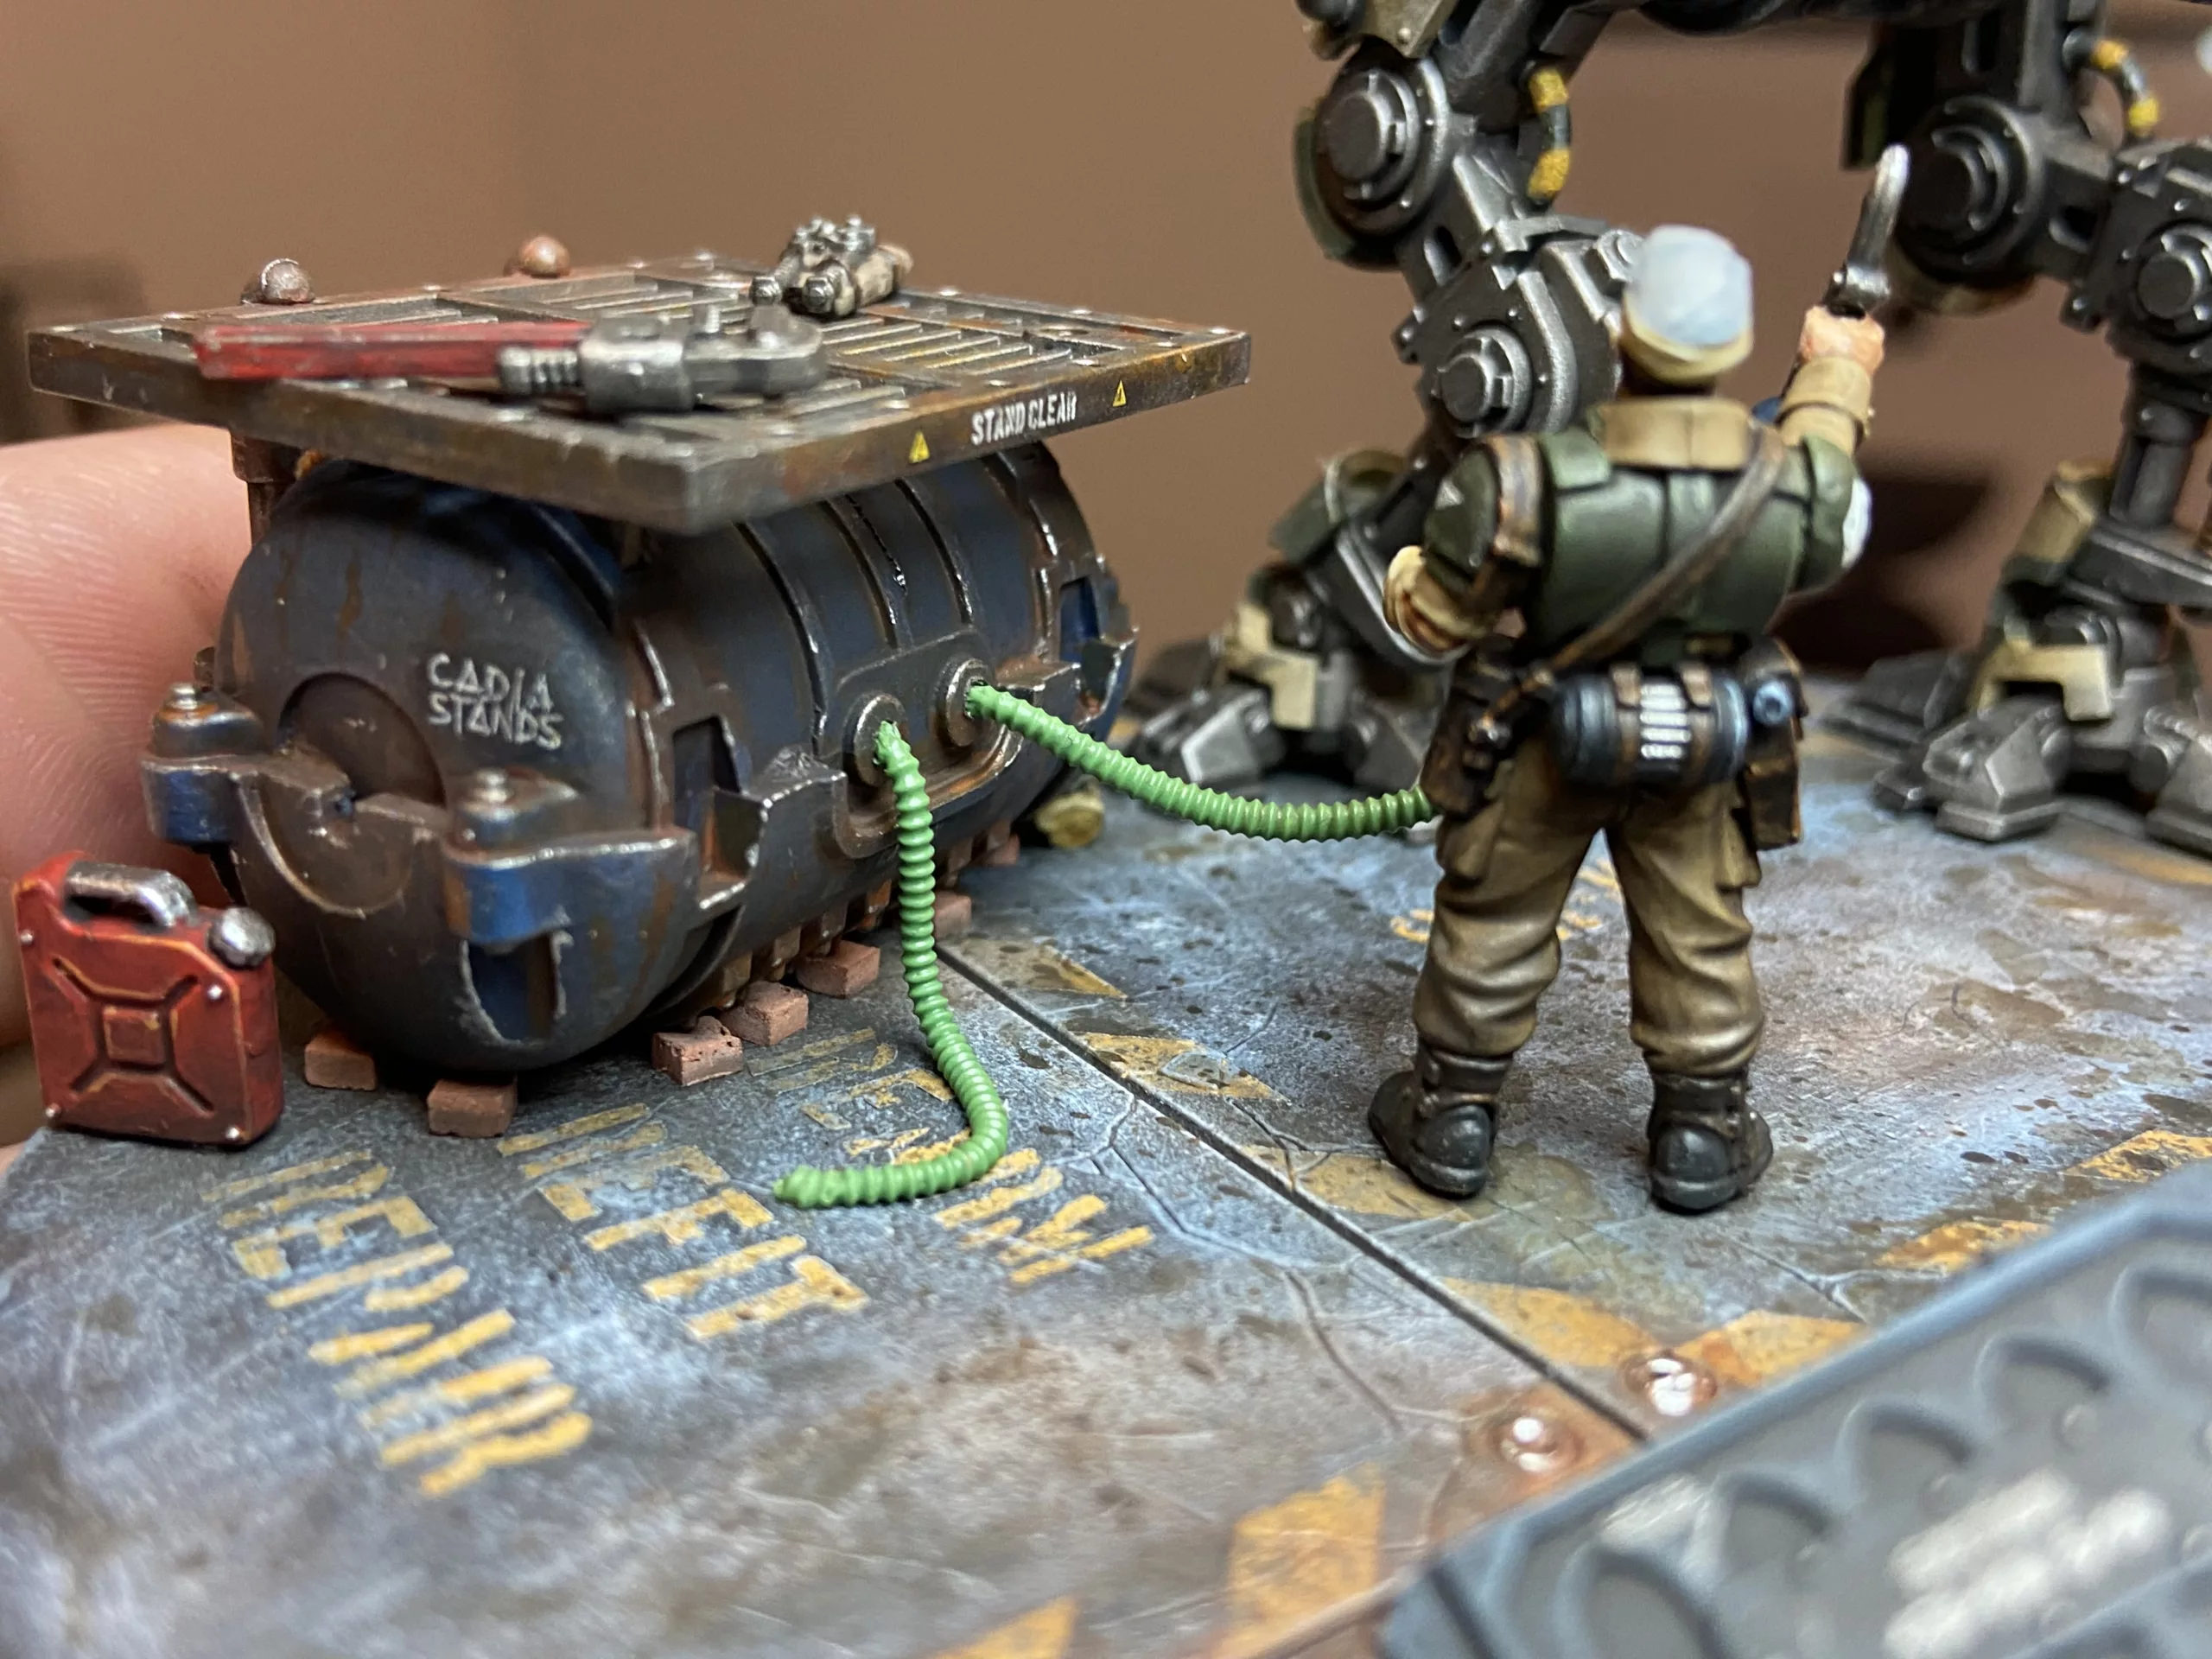
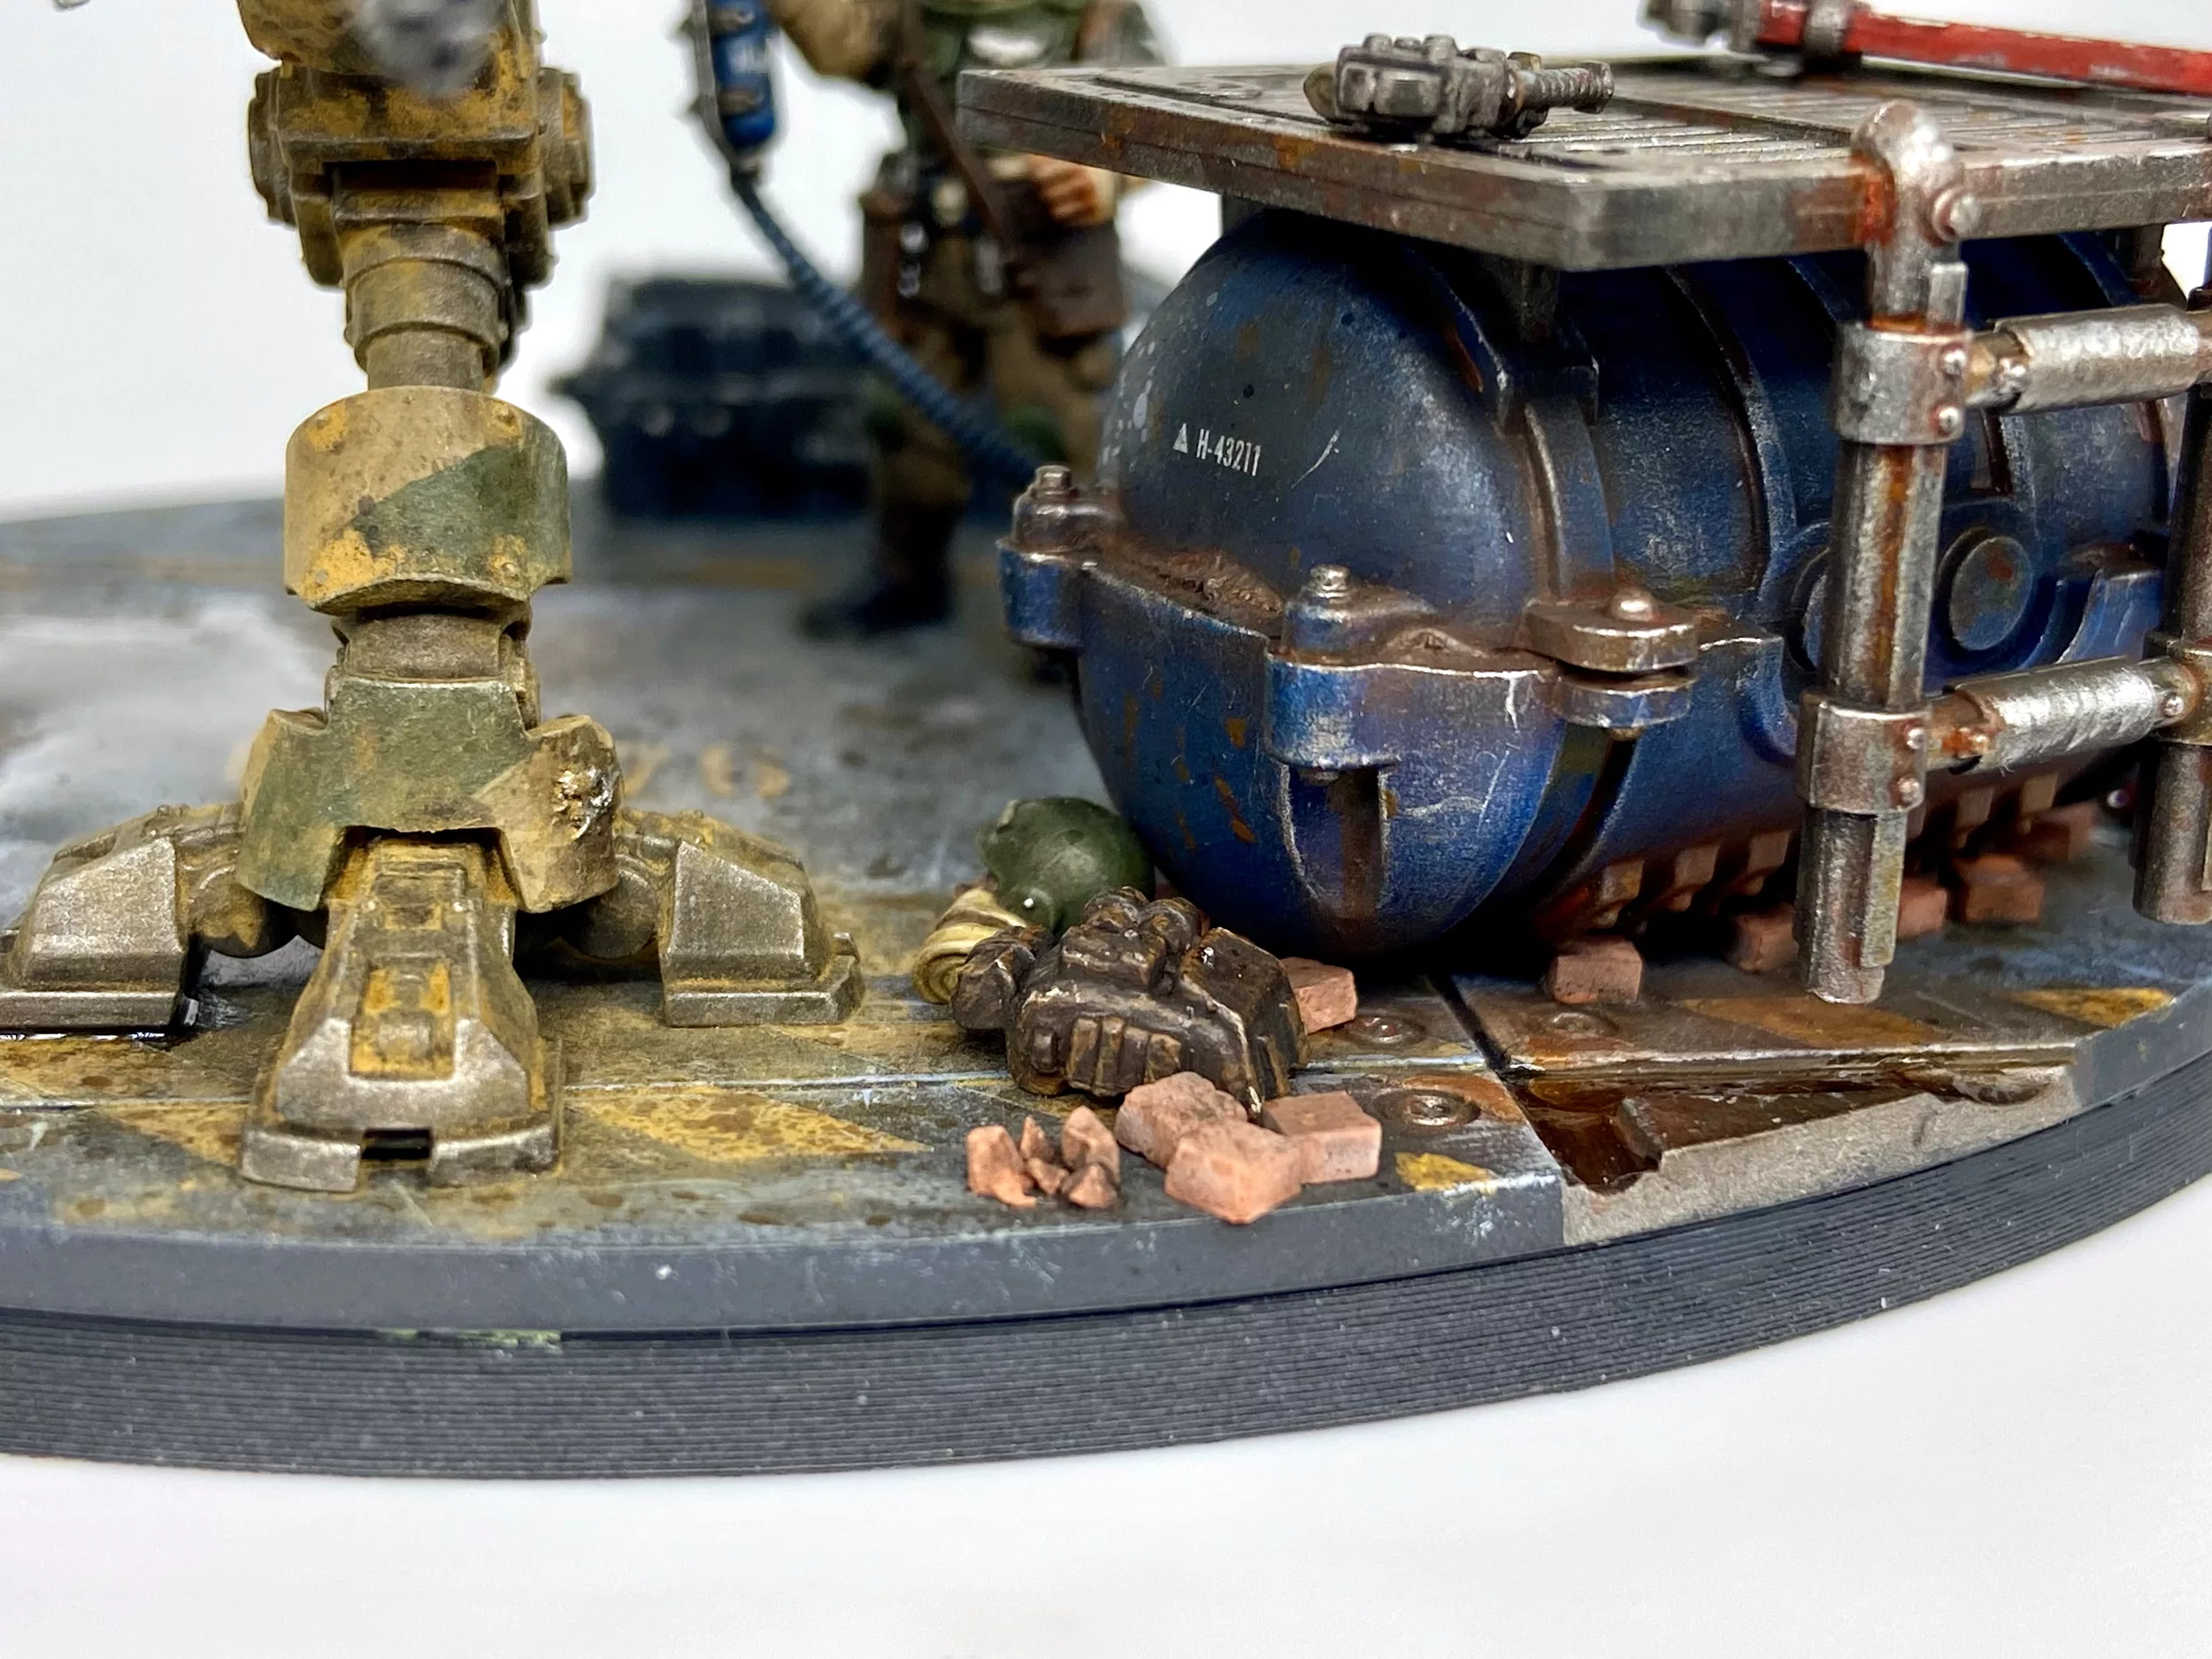
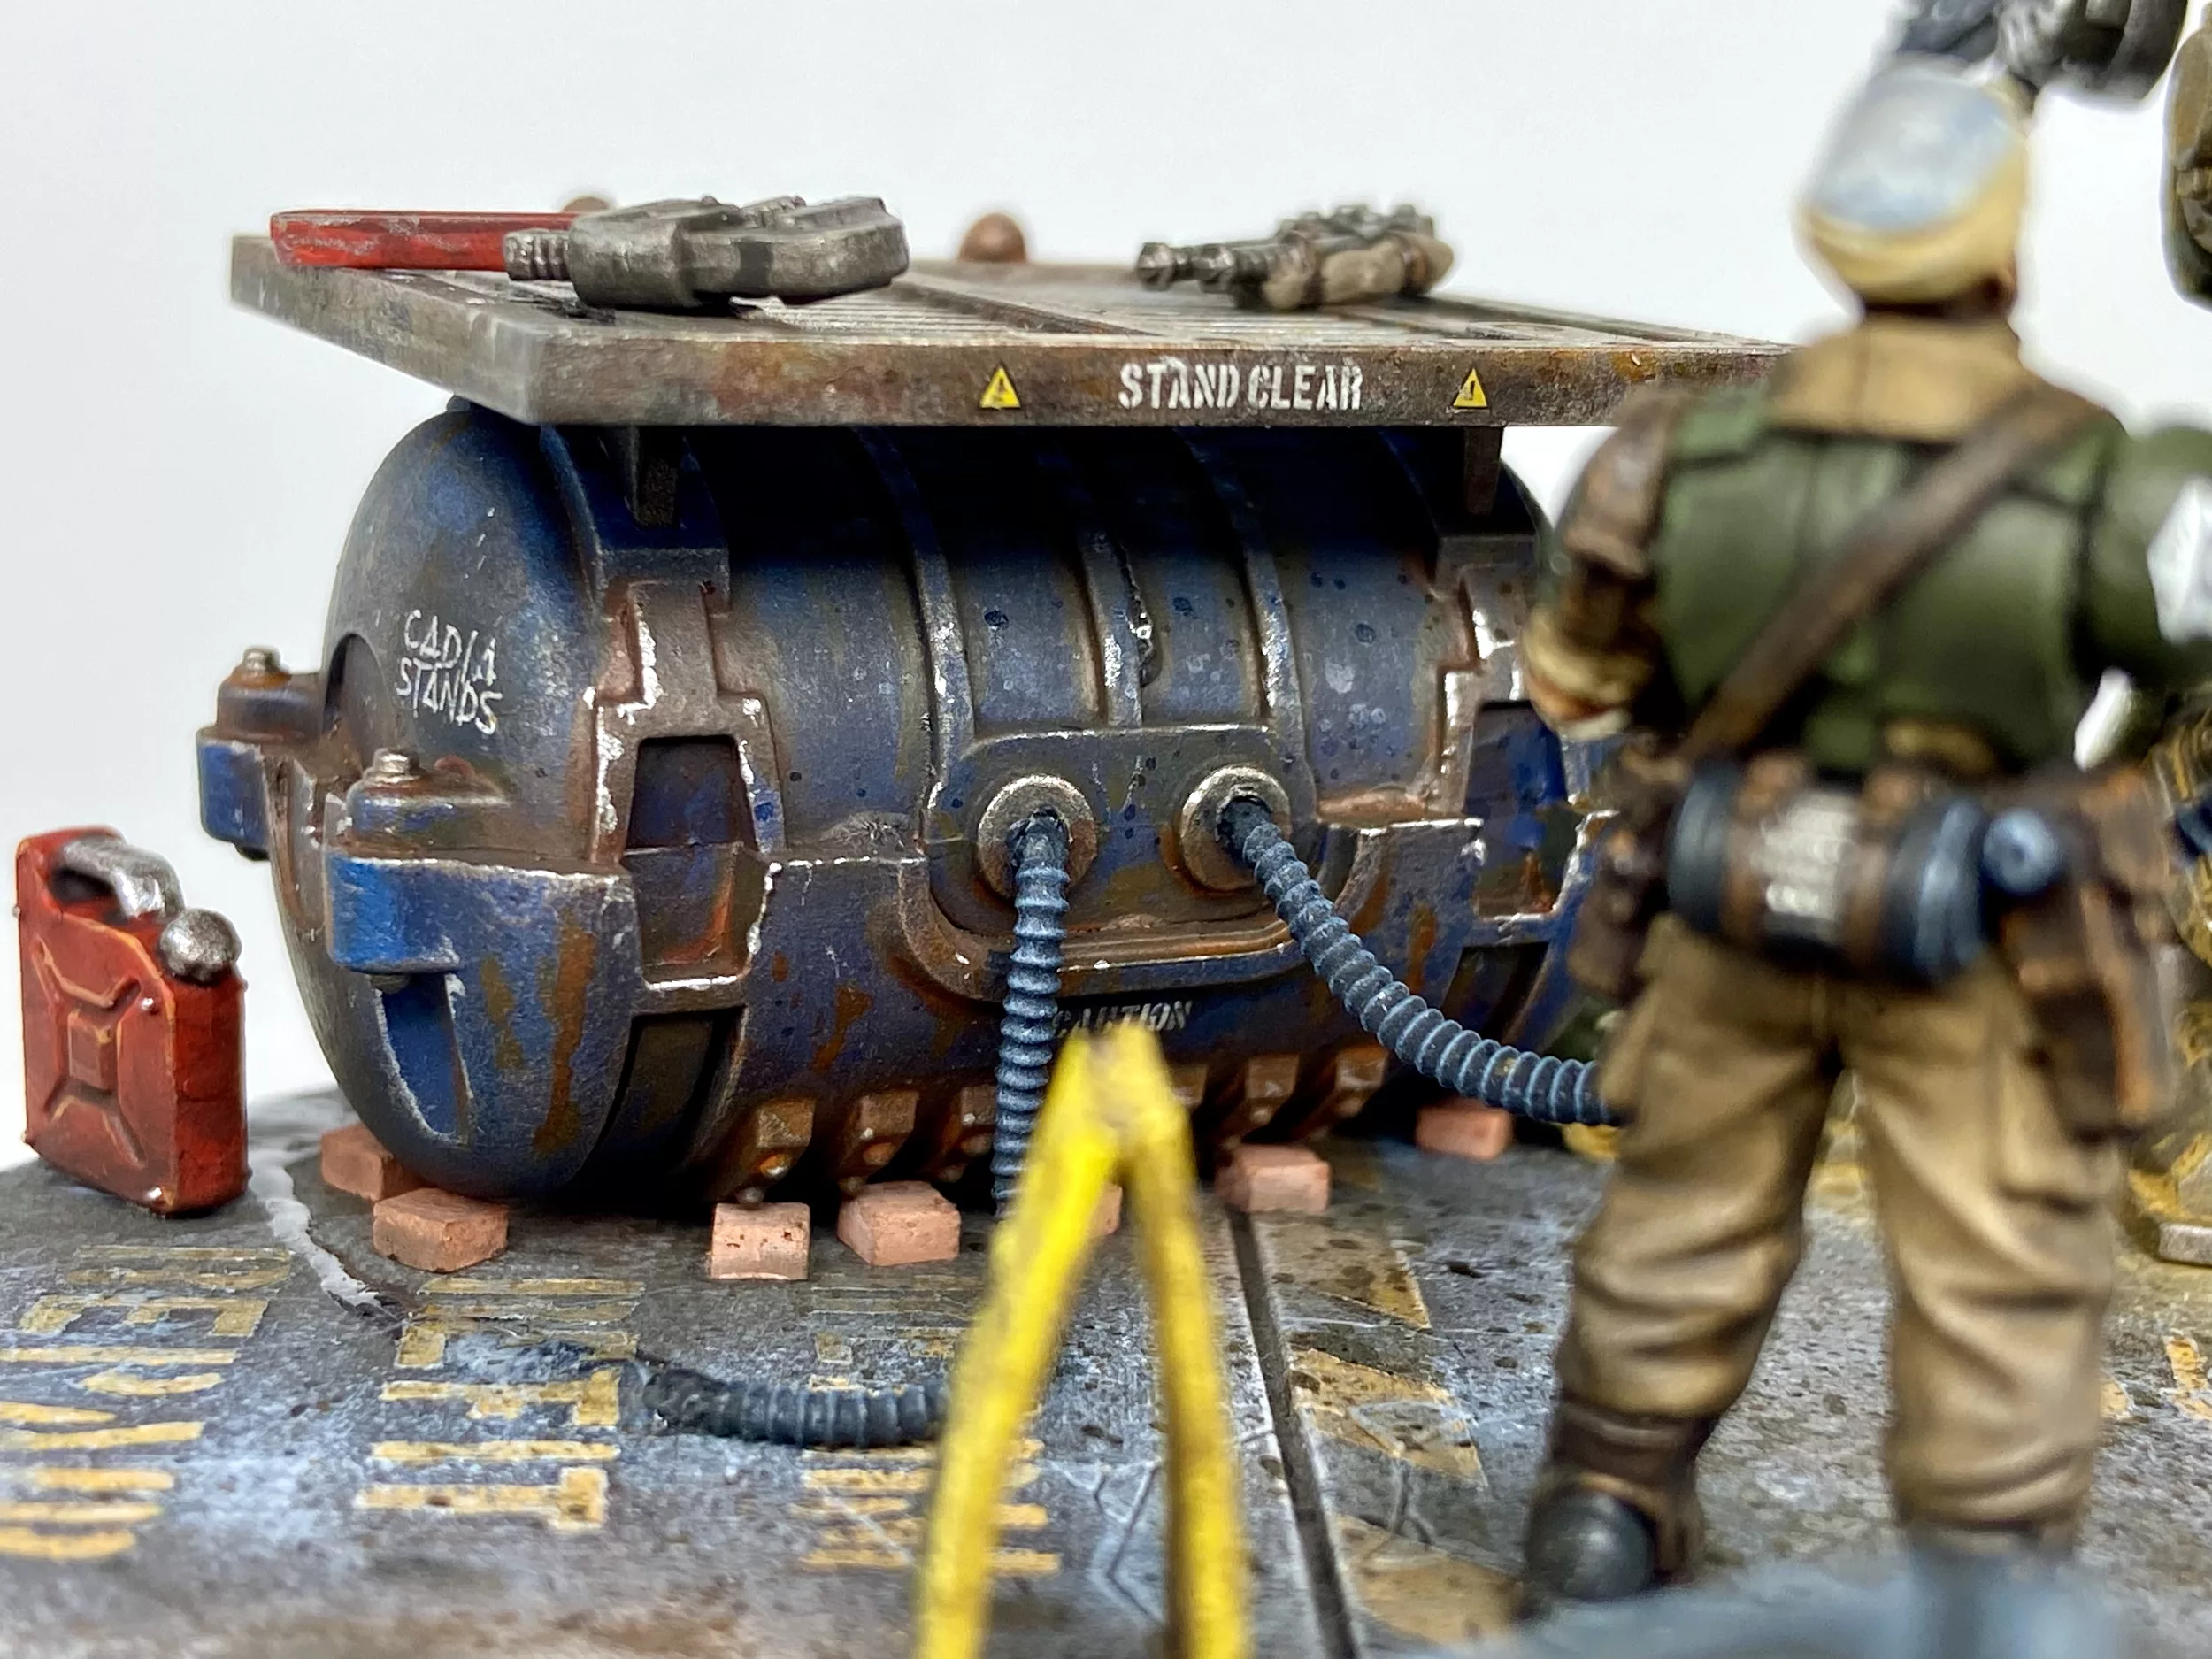
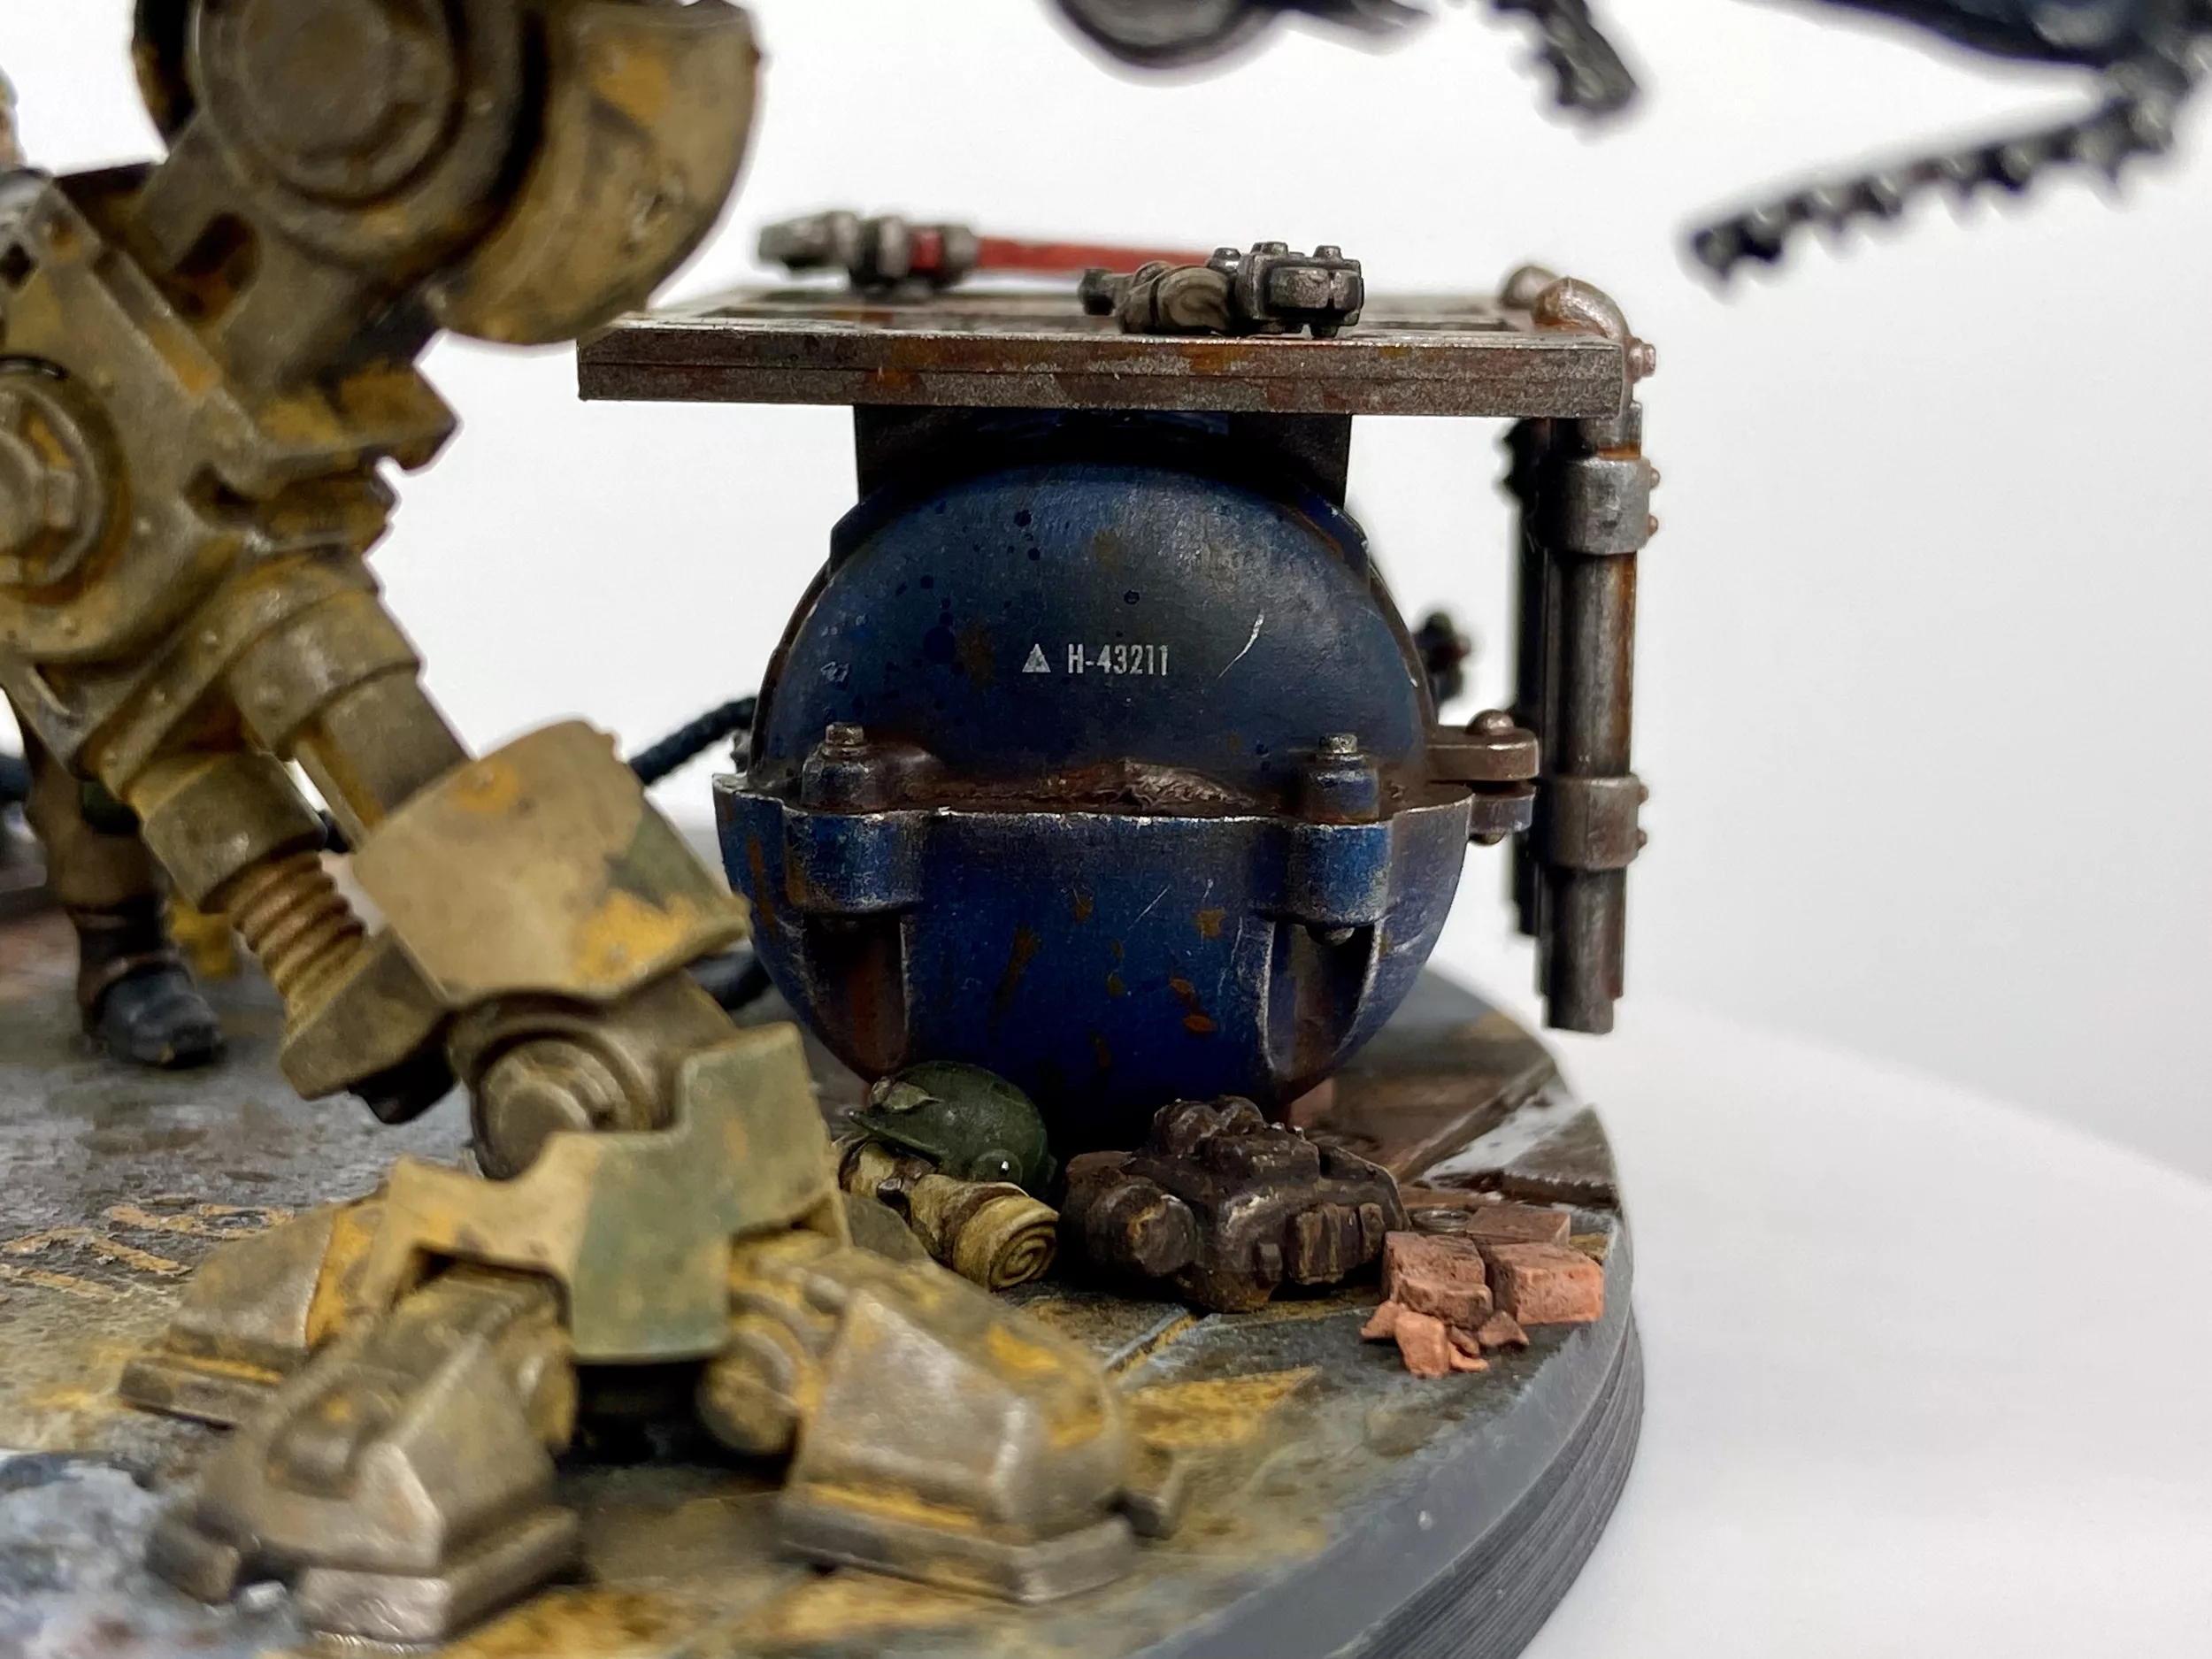
Water Tank
After Googling, searching 3D prints and Etsy for a Warhammer 40K Water Tank I finally realised I had the perfect piece sitting in an unopened kit in my home. It was the small tank that sits under the Promethium Tanks Refuelling Station. It is a 40K part and therefore looks the part; it is the right size and perfect. I have no idea where the tiny bricks propping up the water tank are from. I have had them for years.
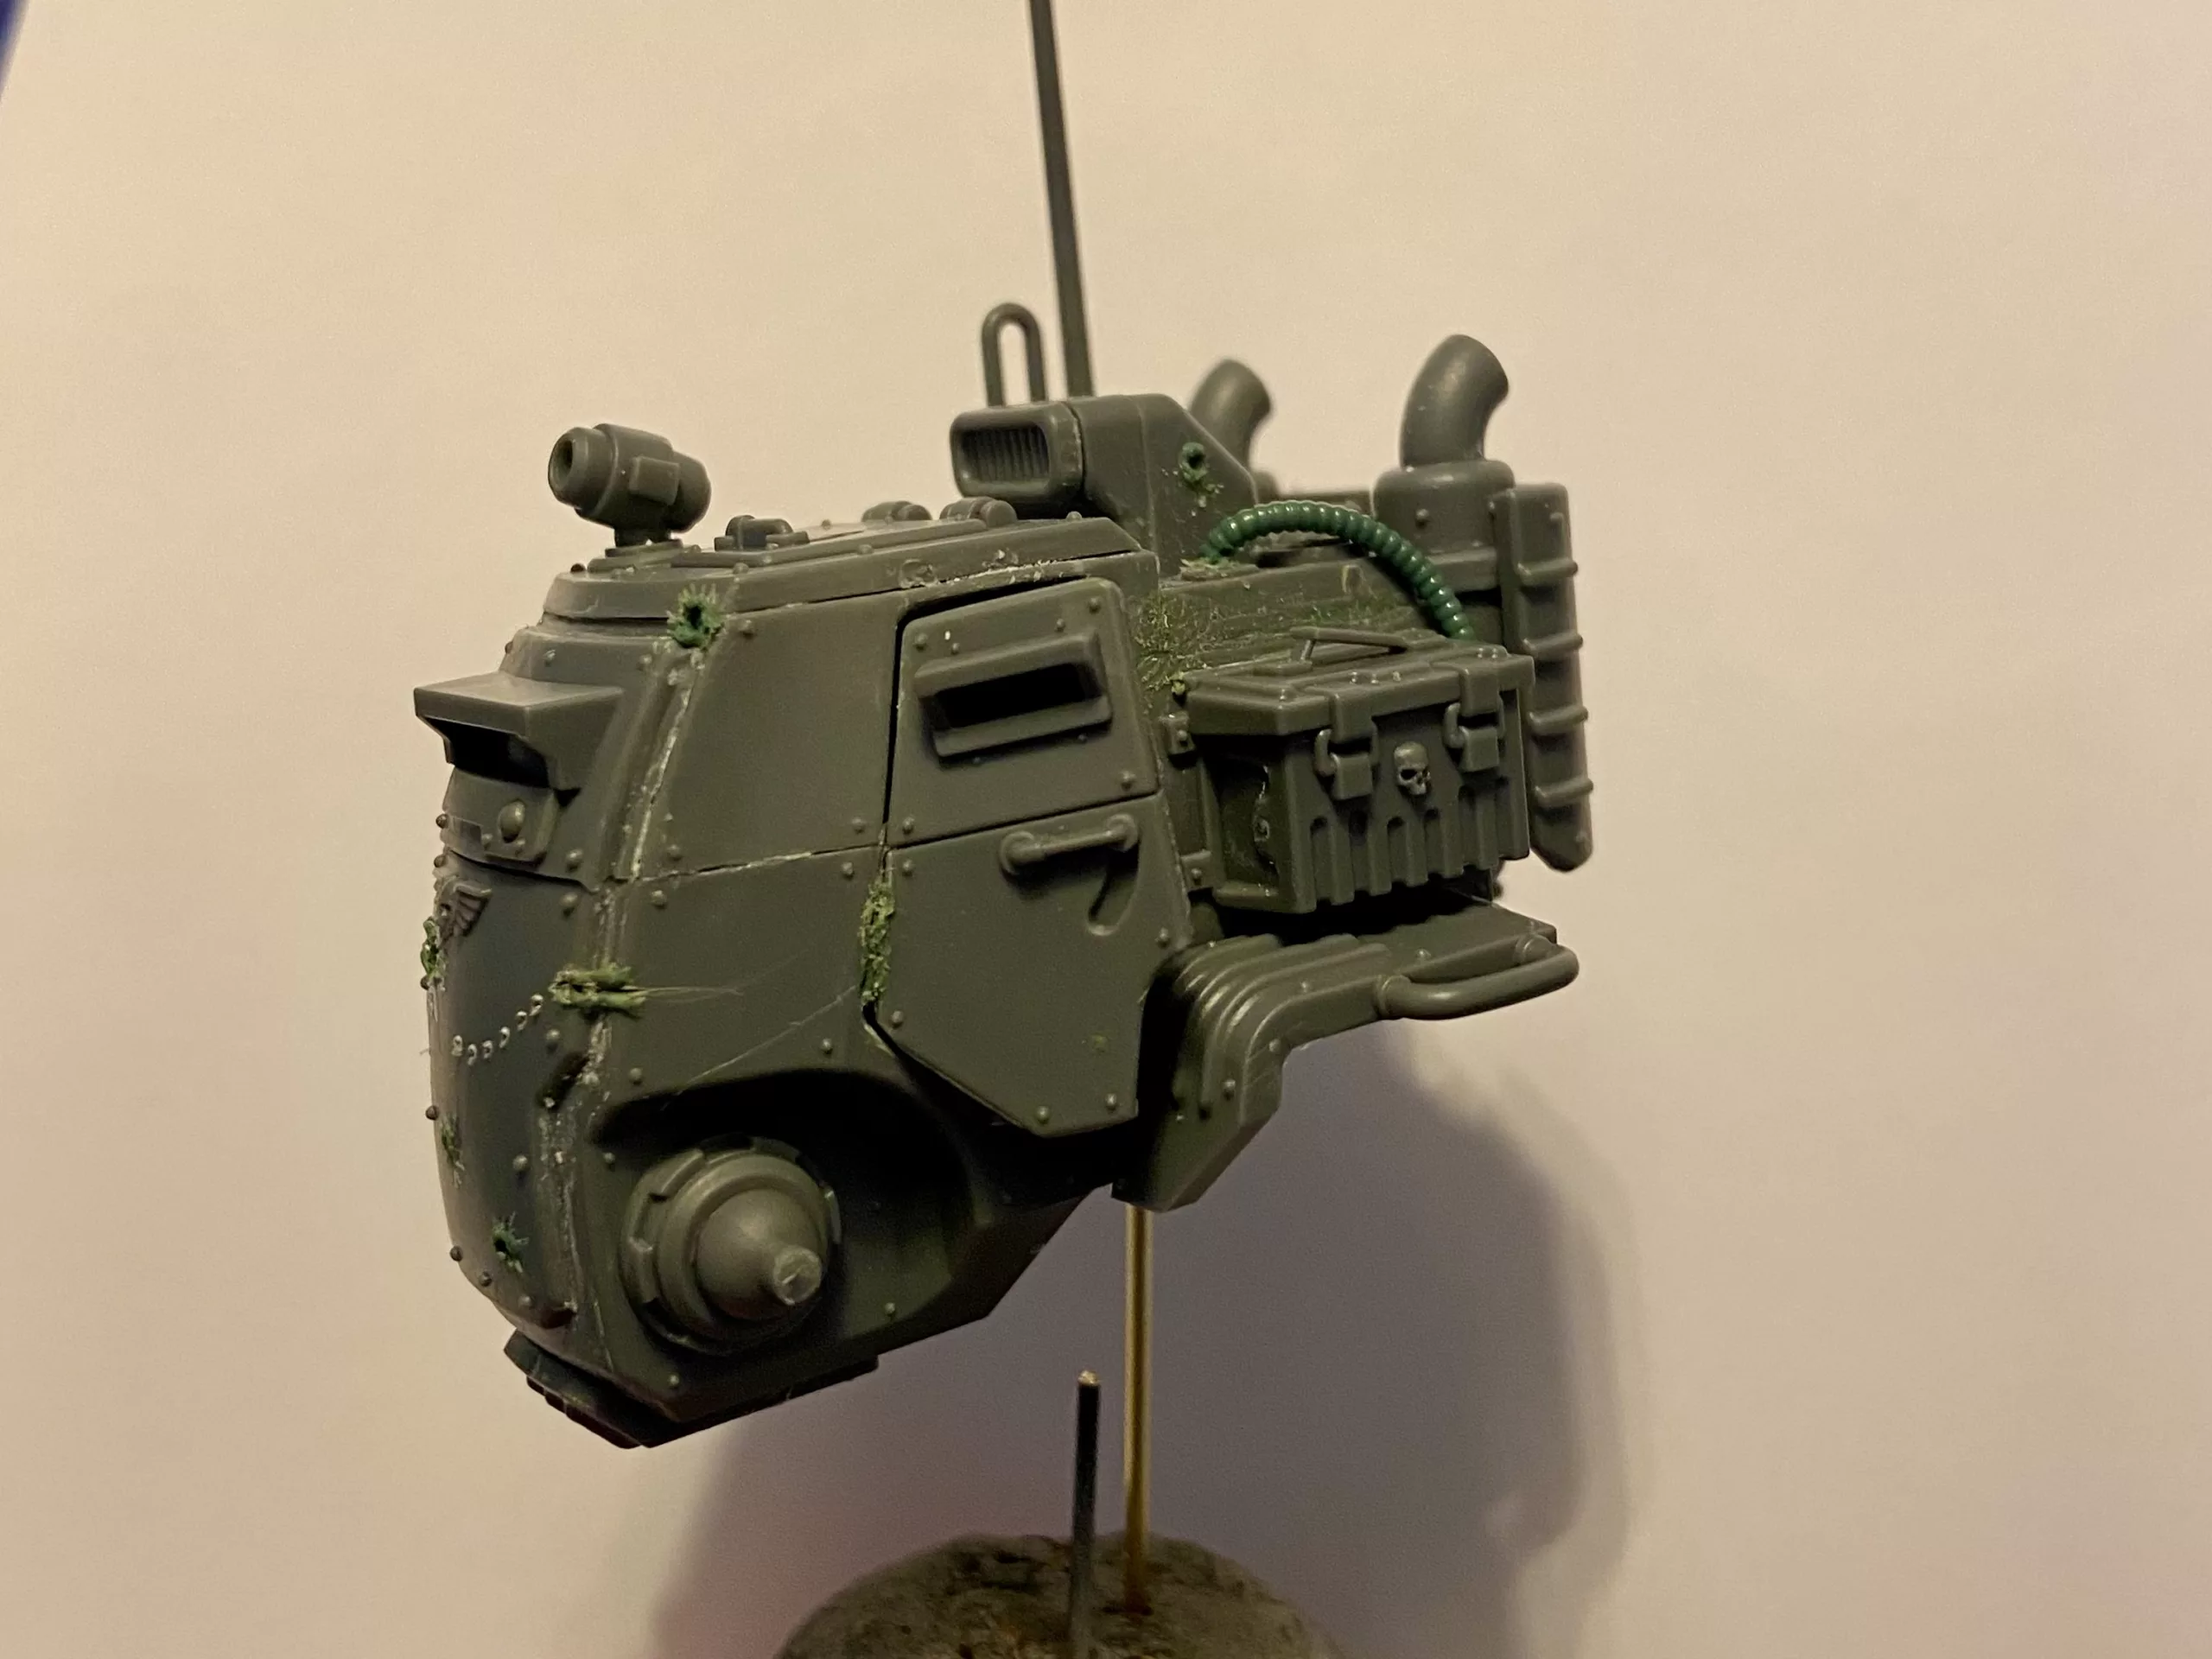
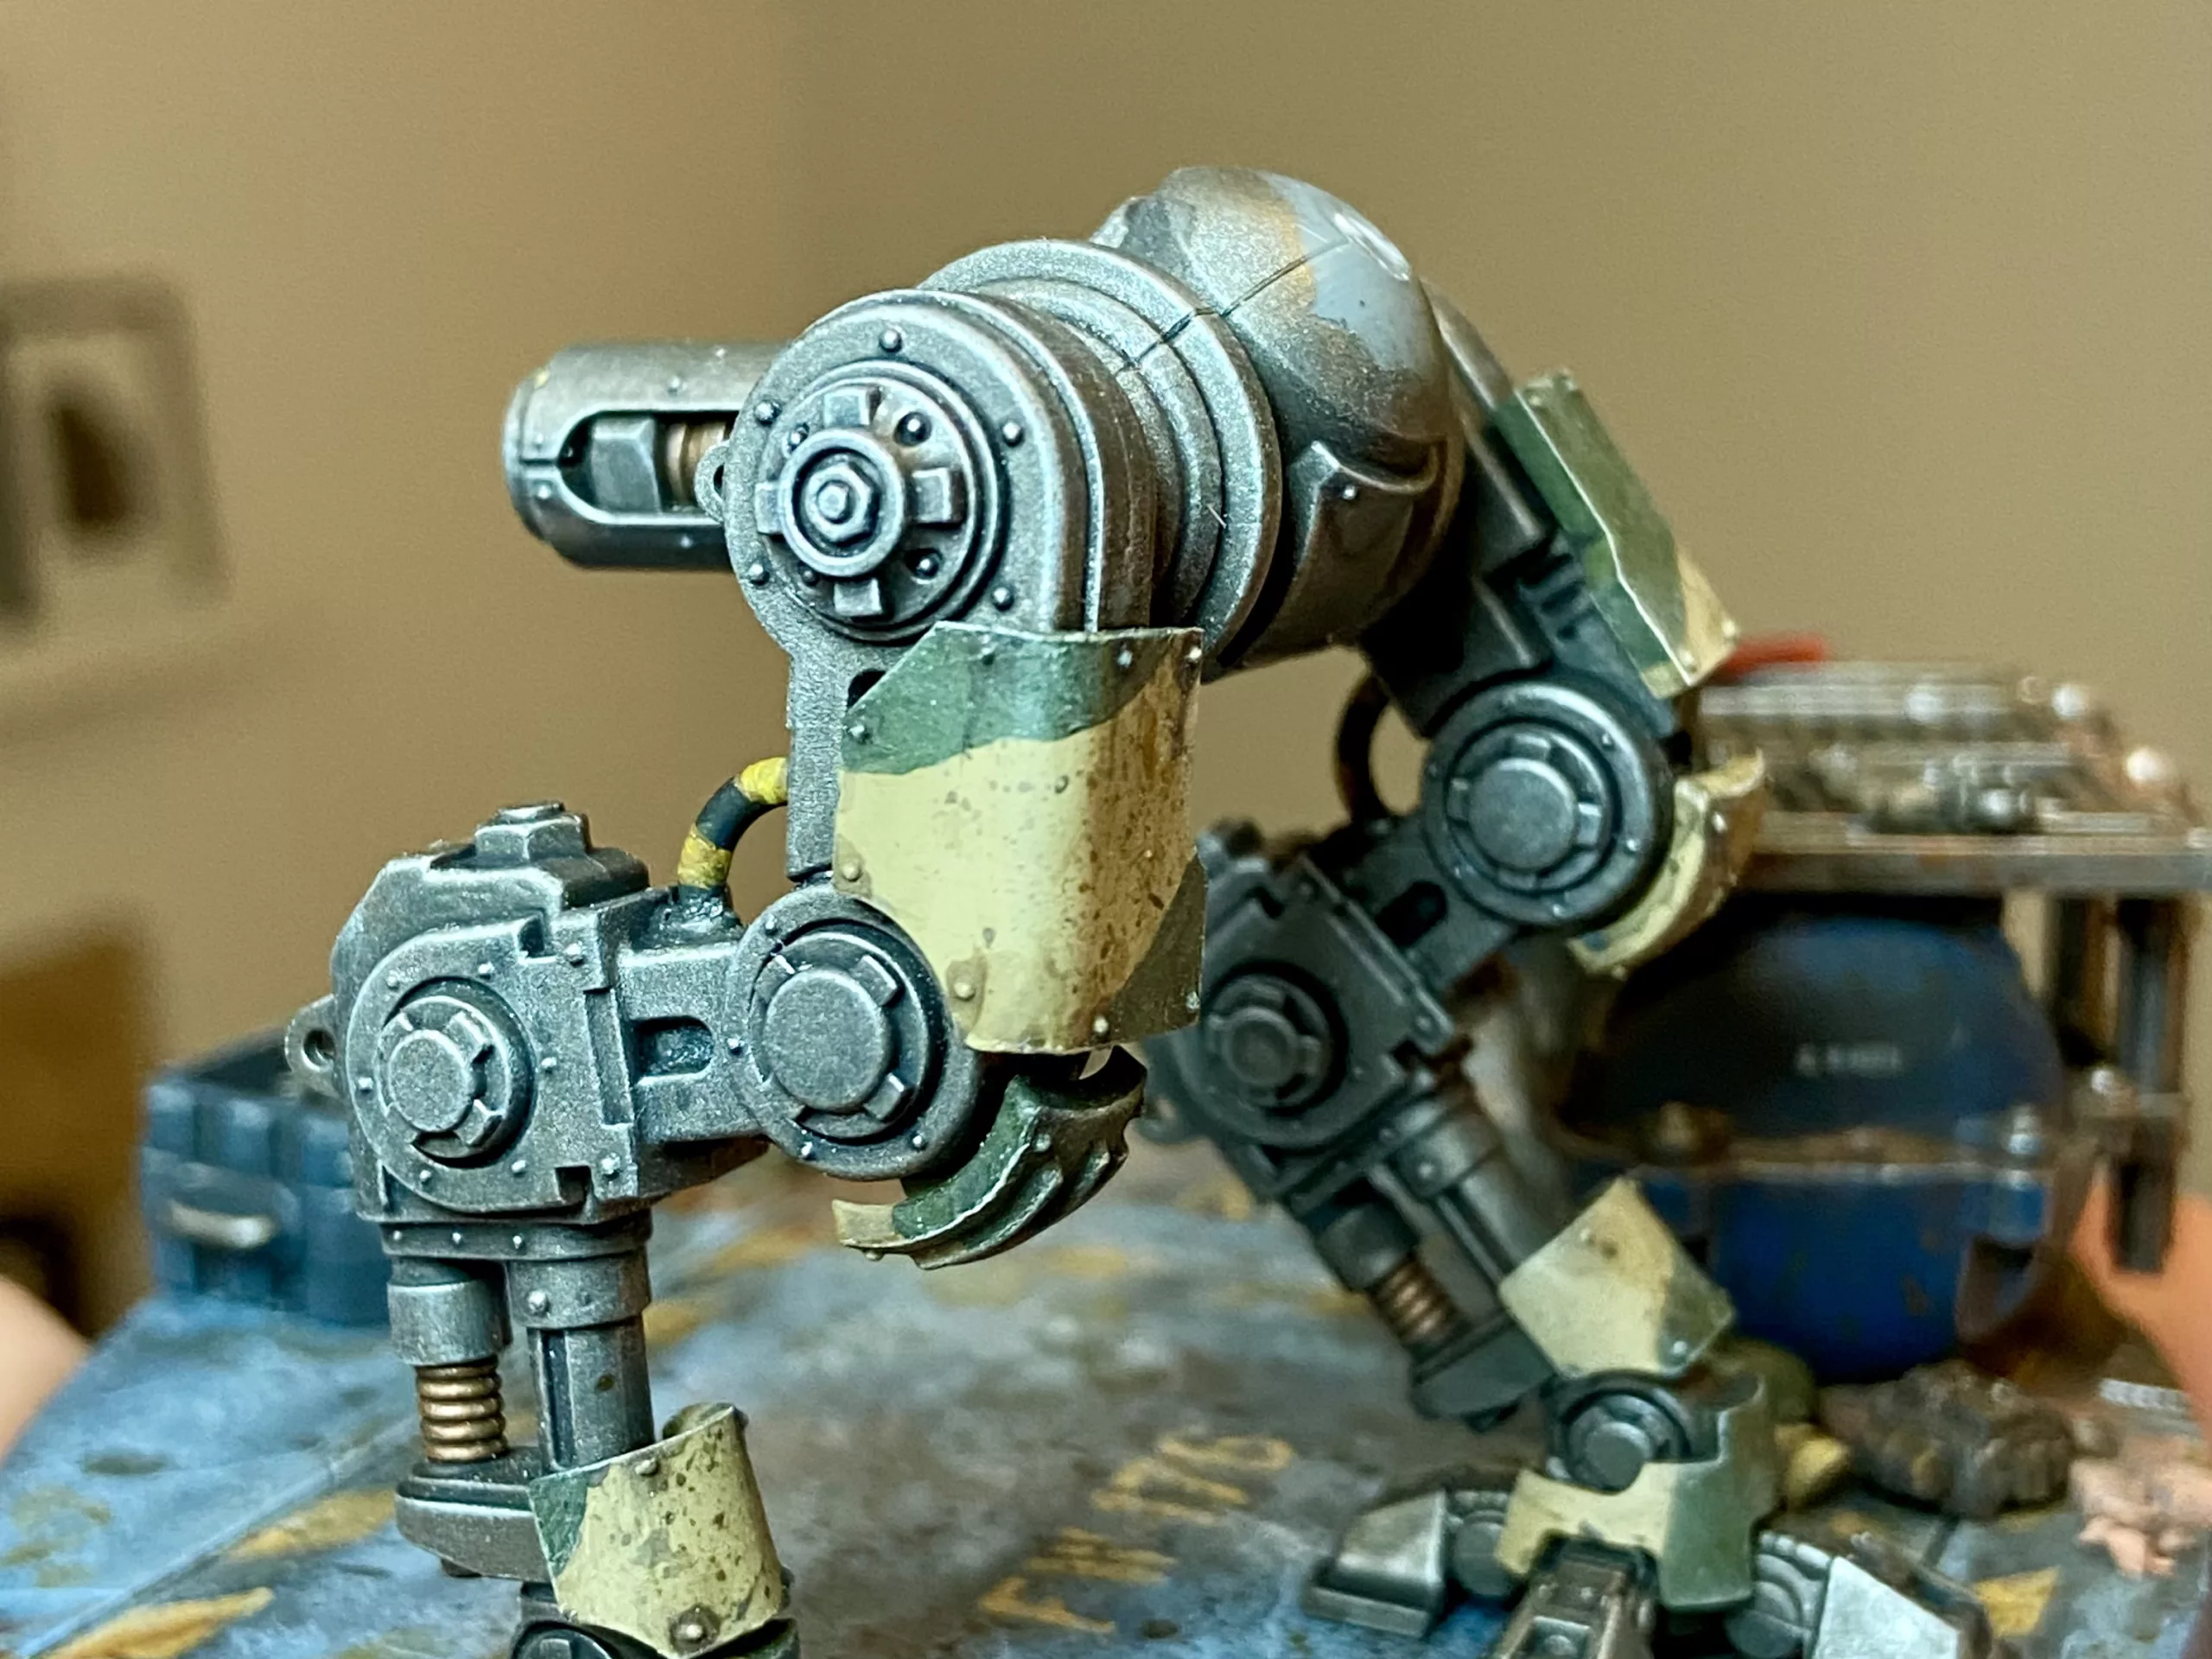
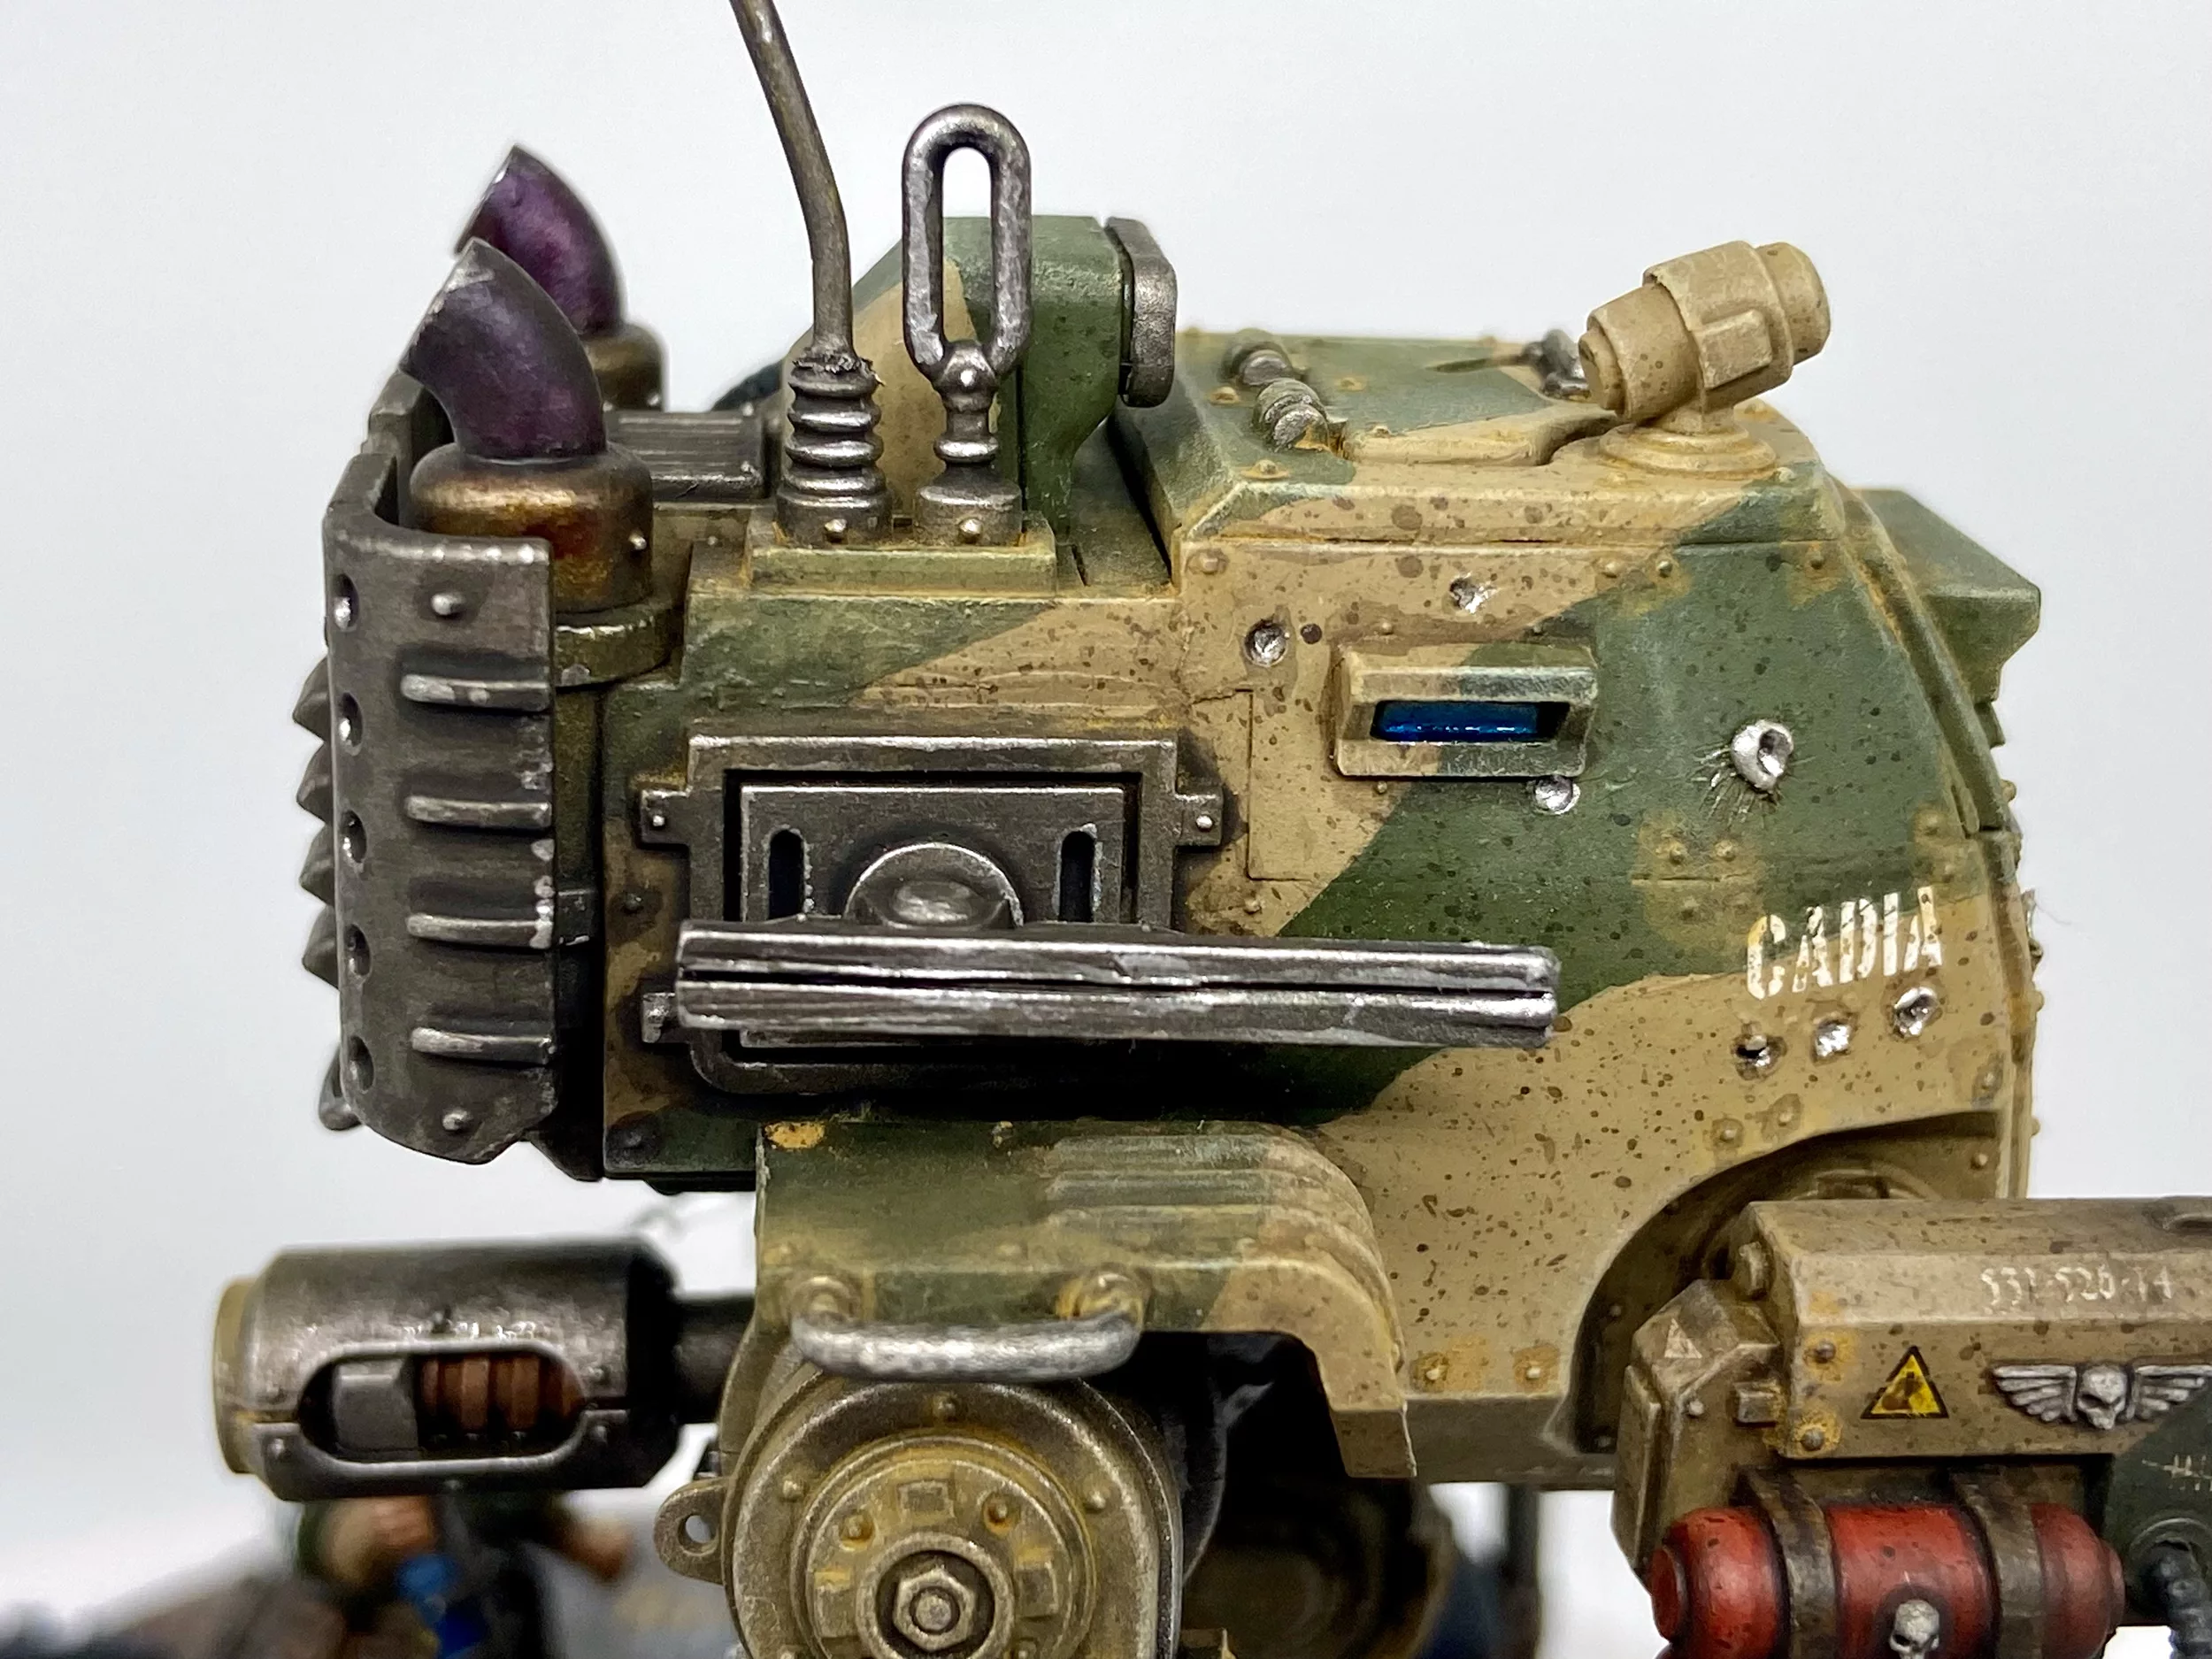
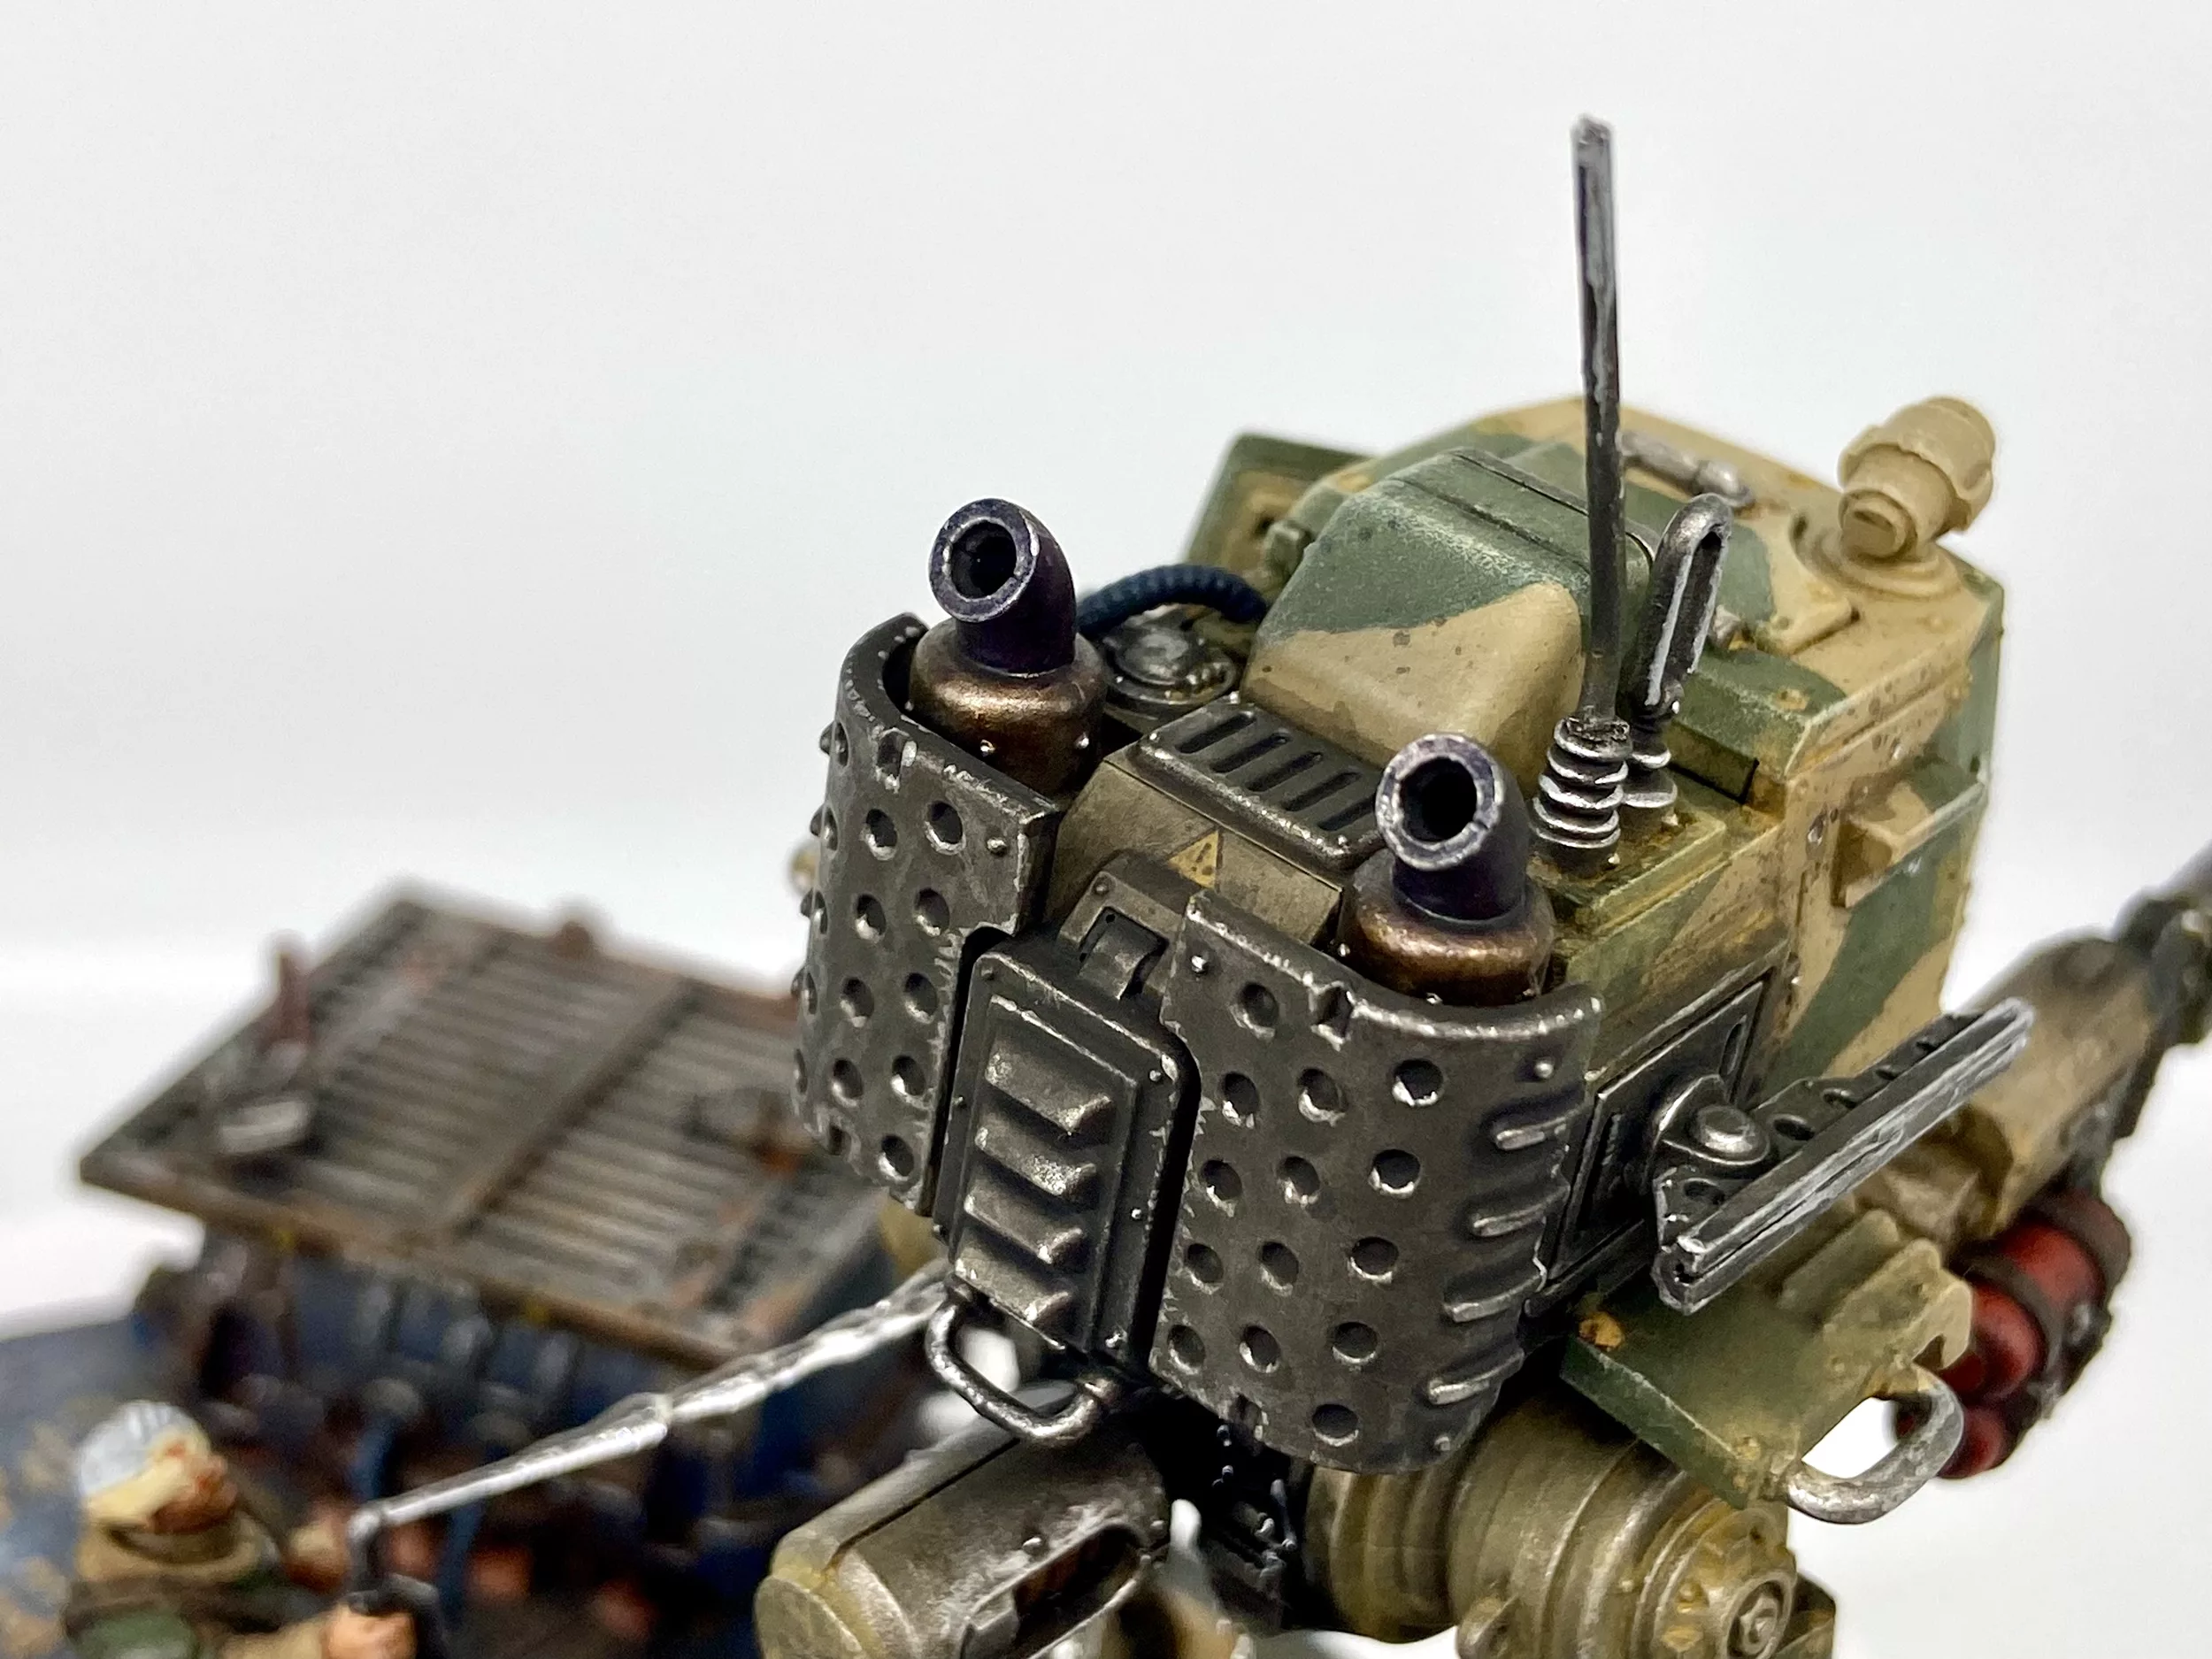
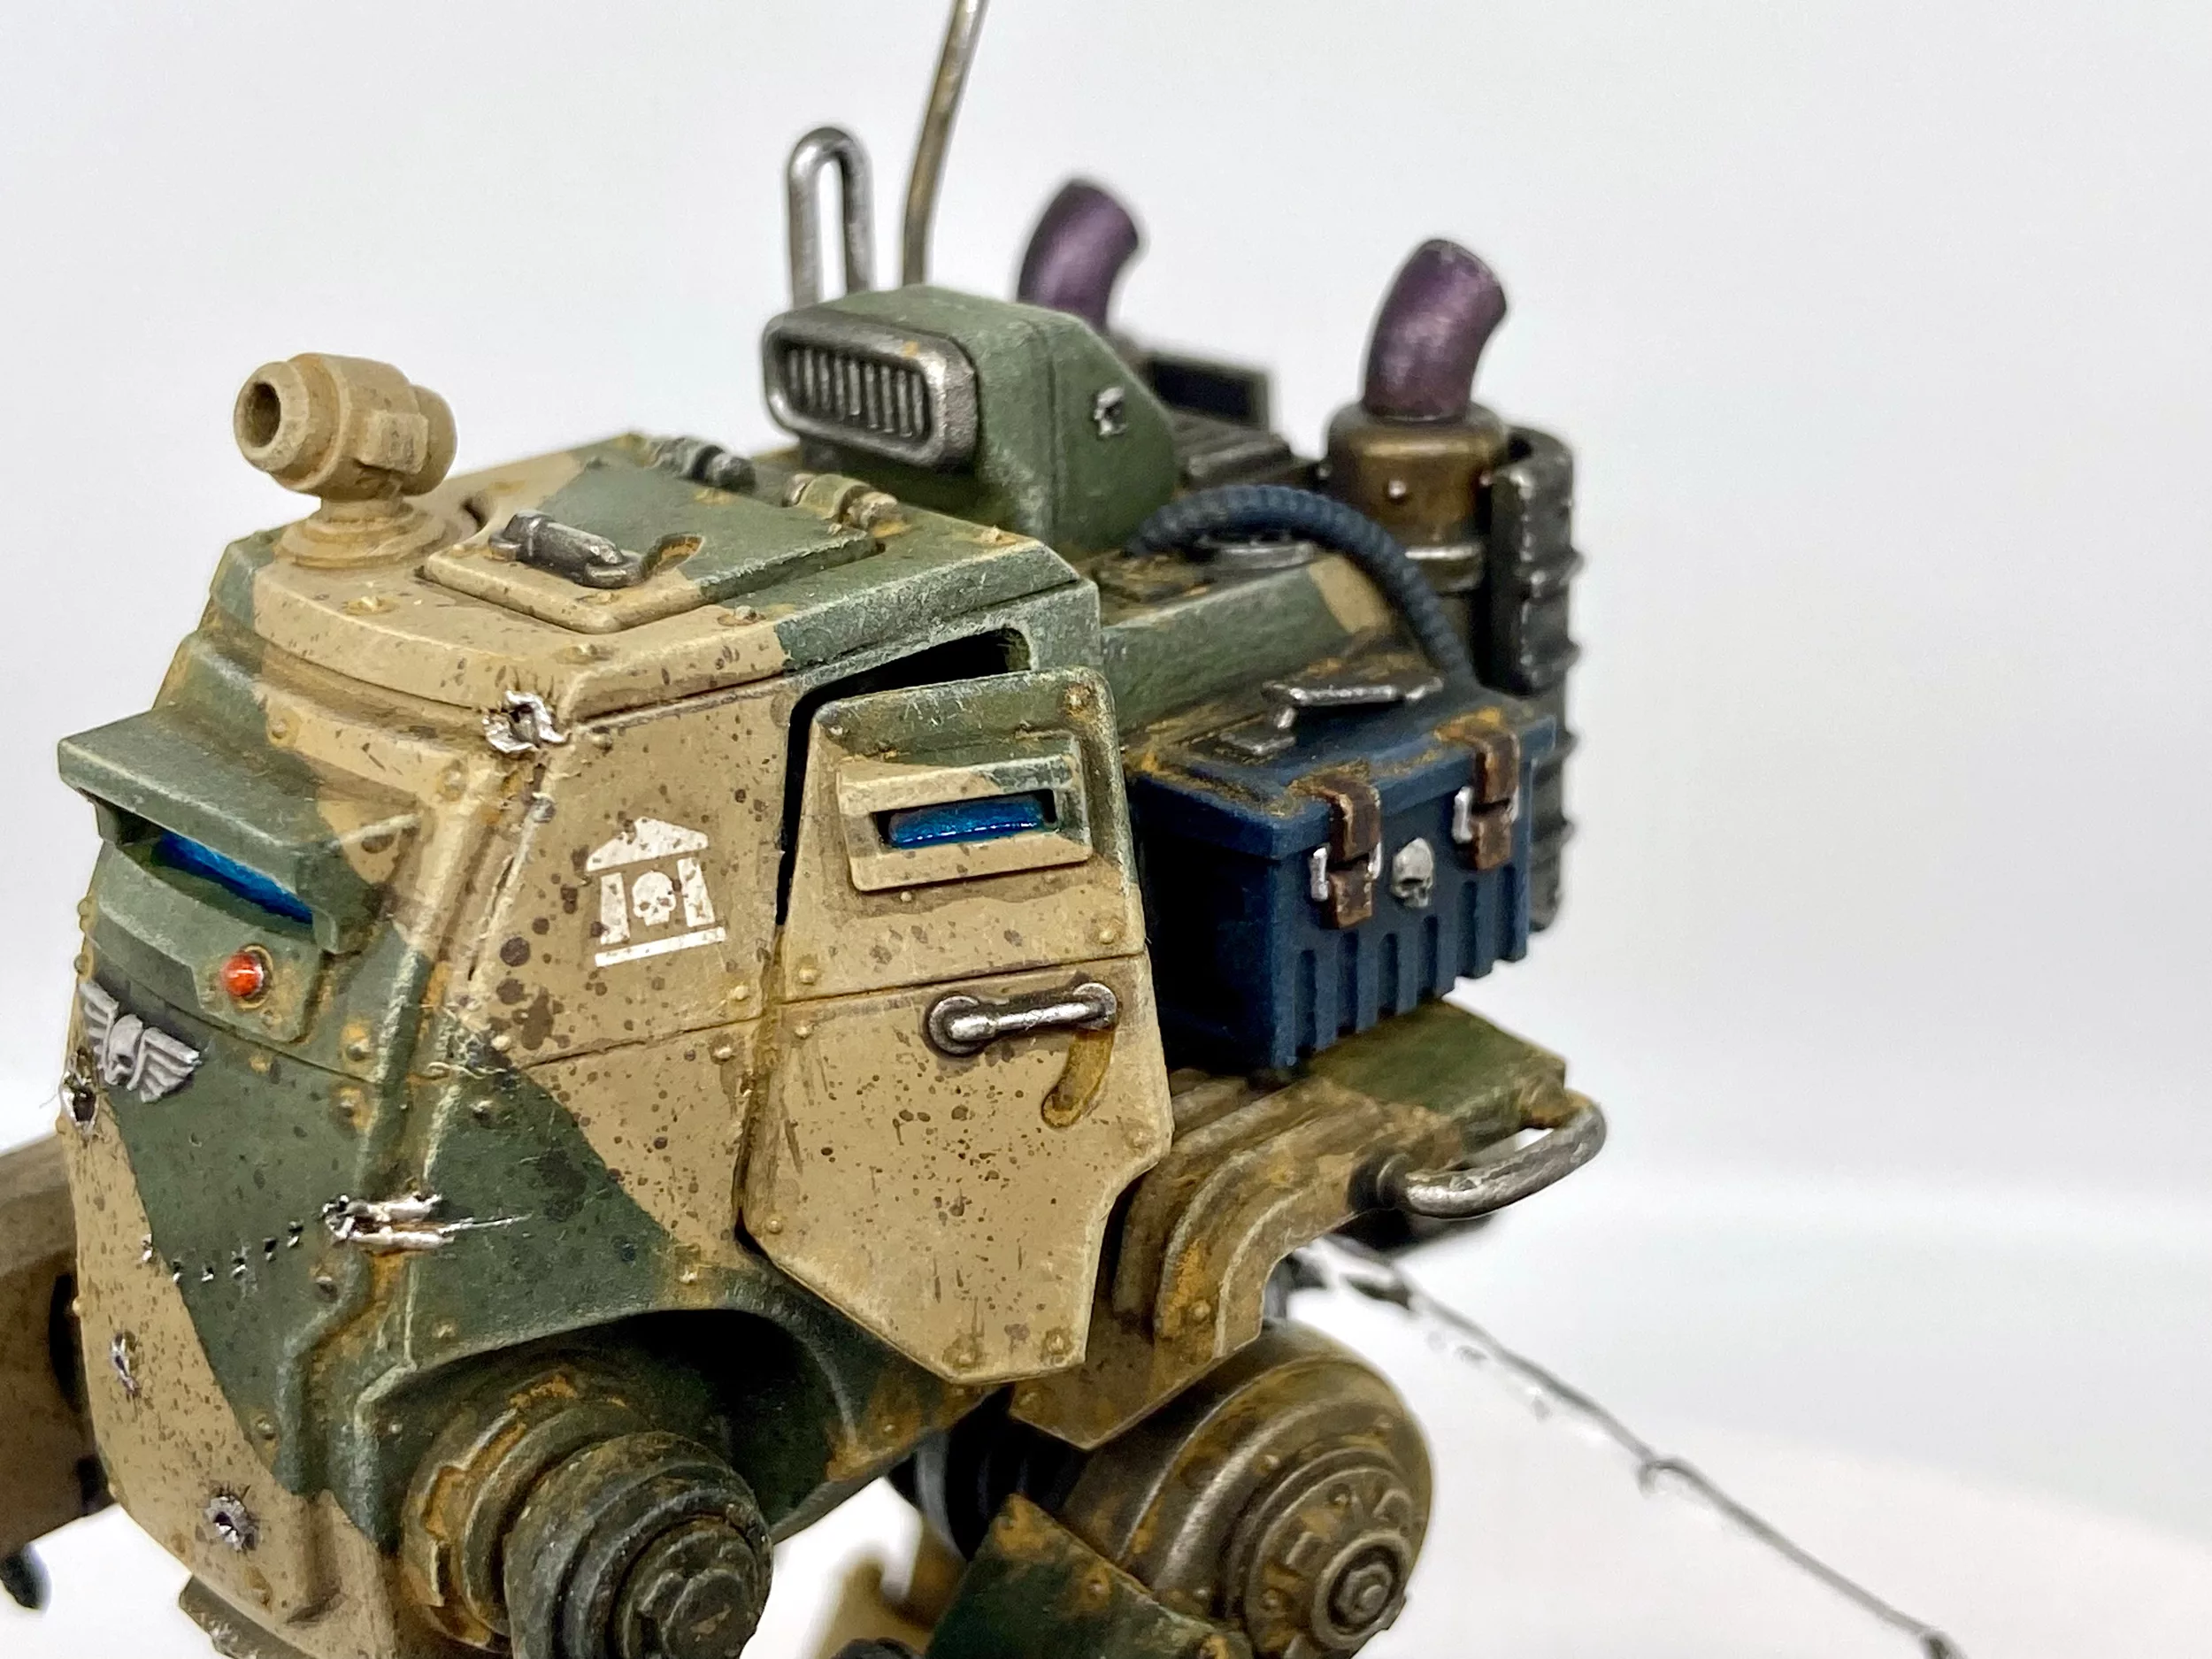
Cables & Pipes
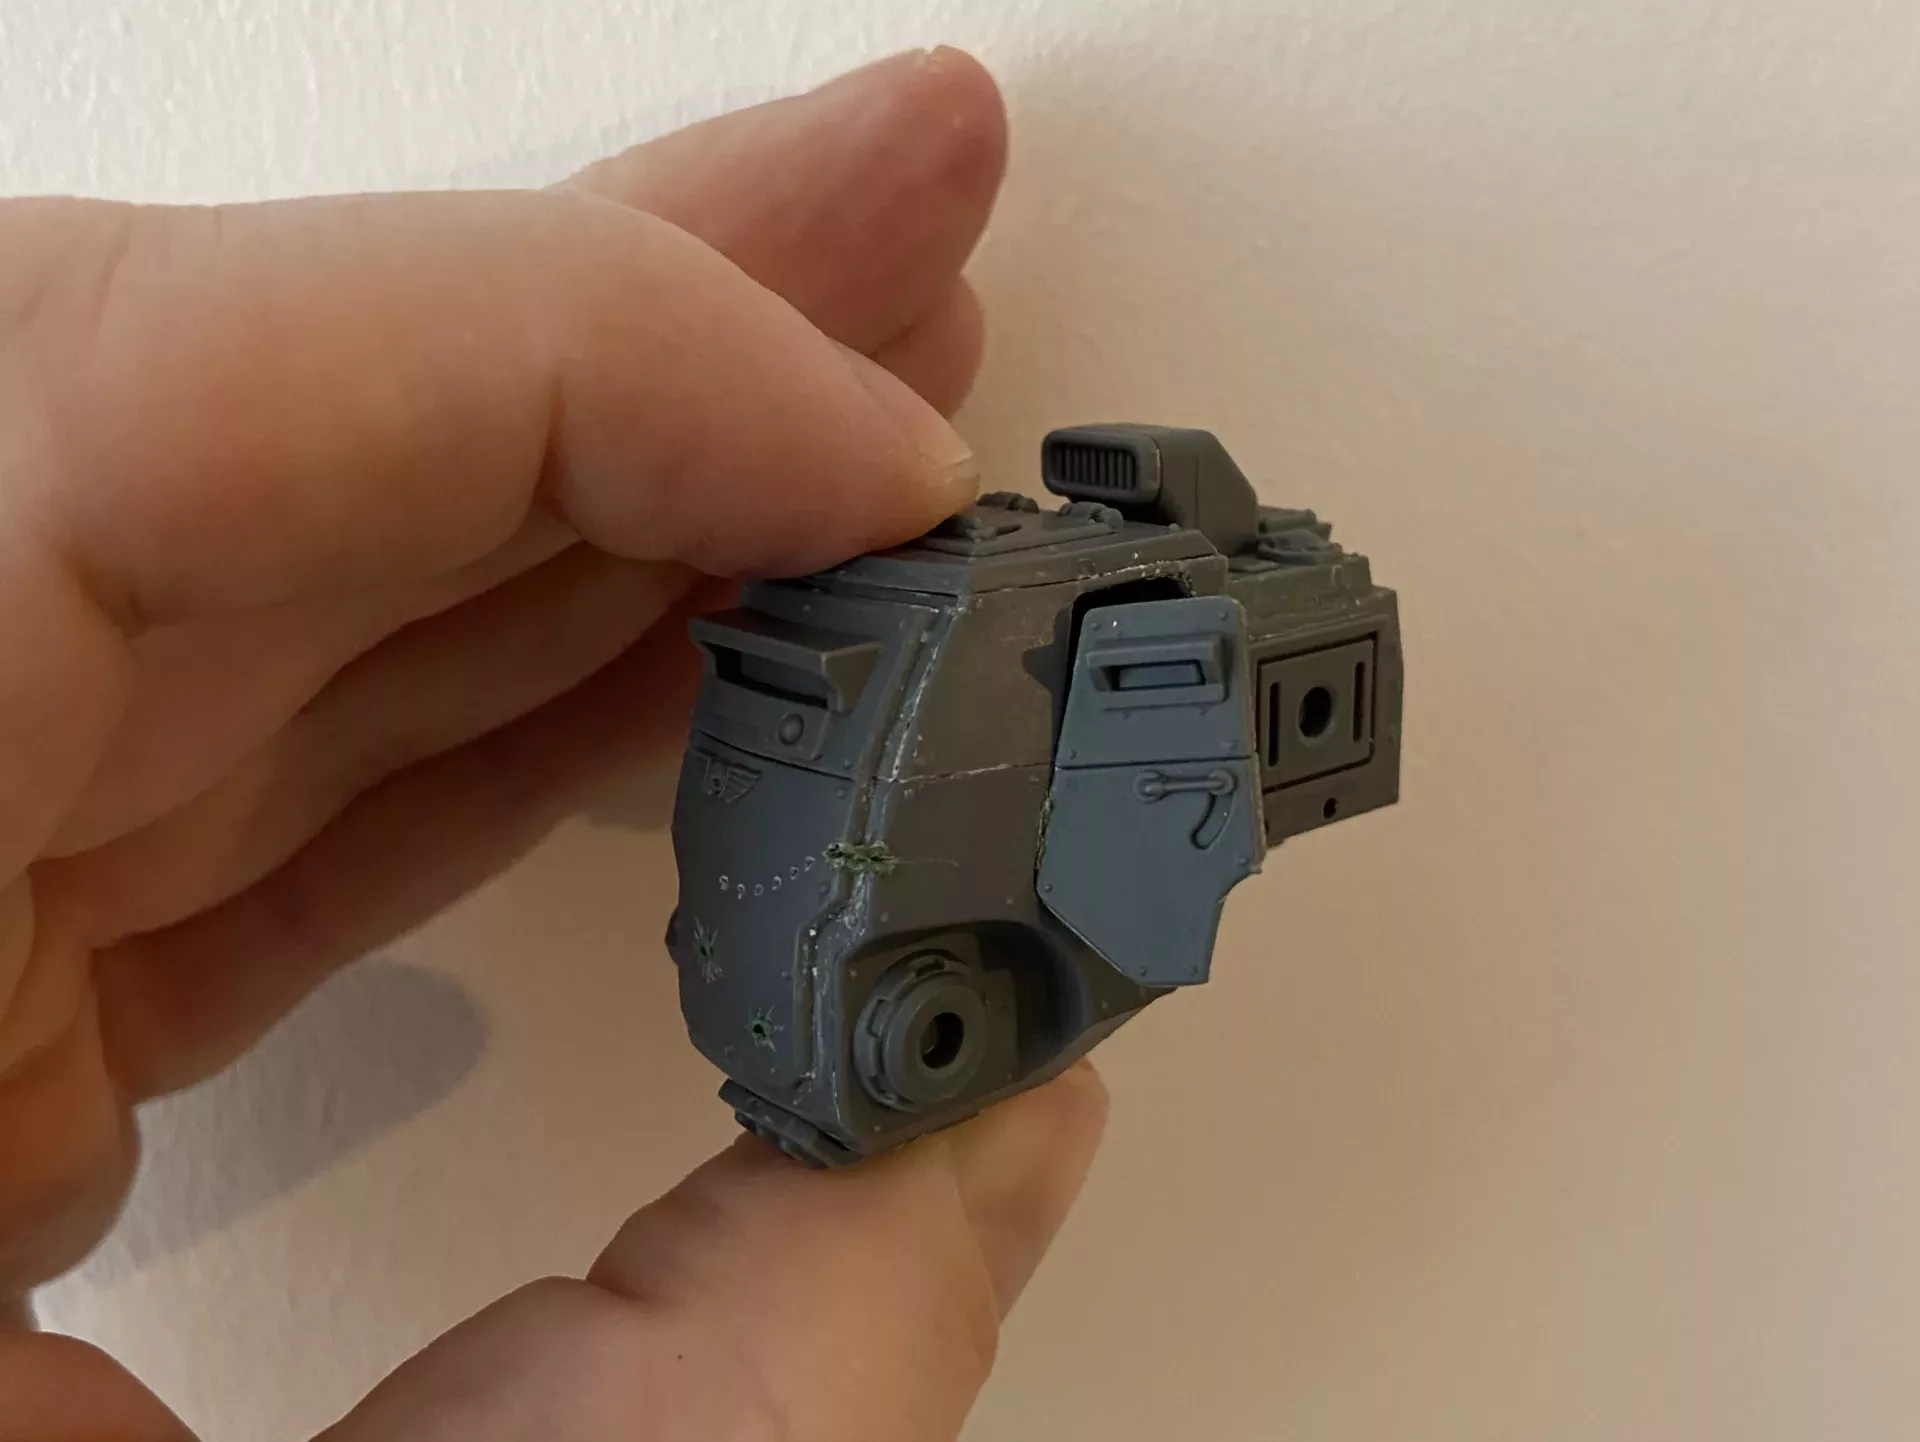
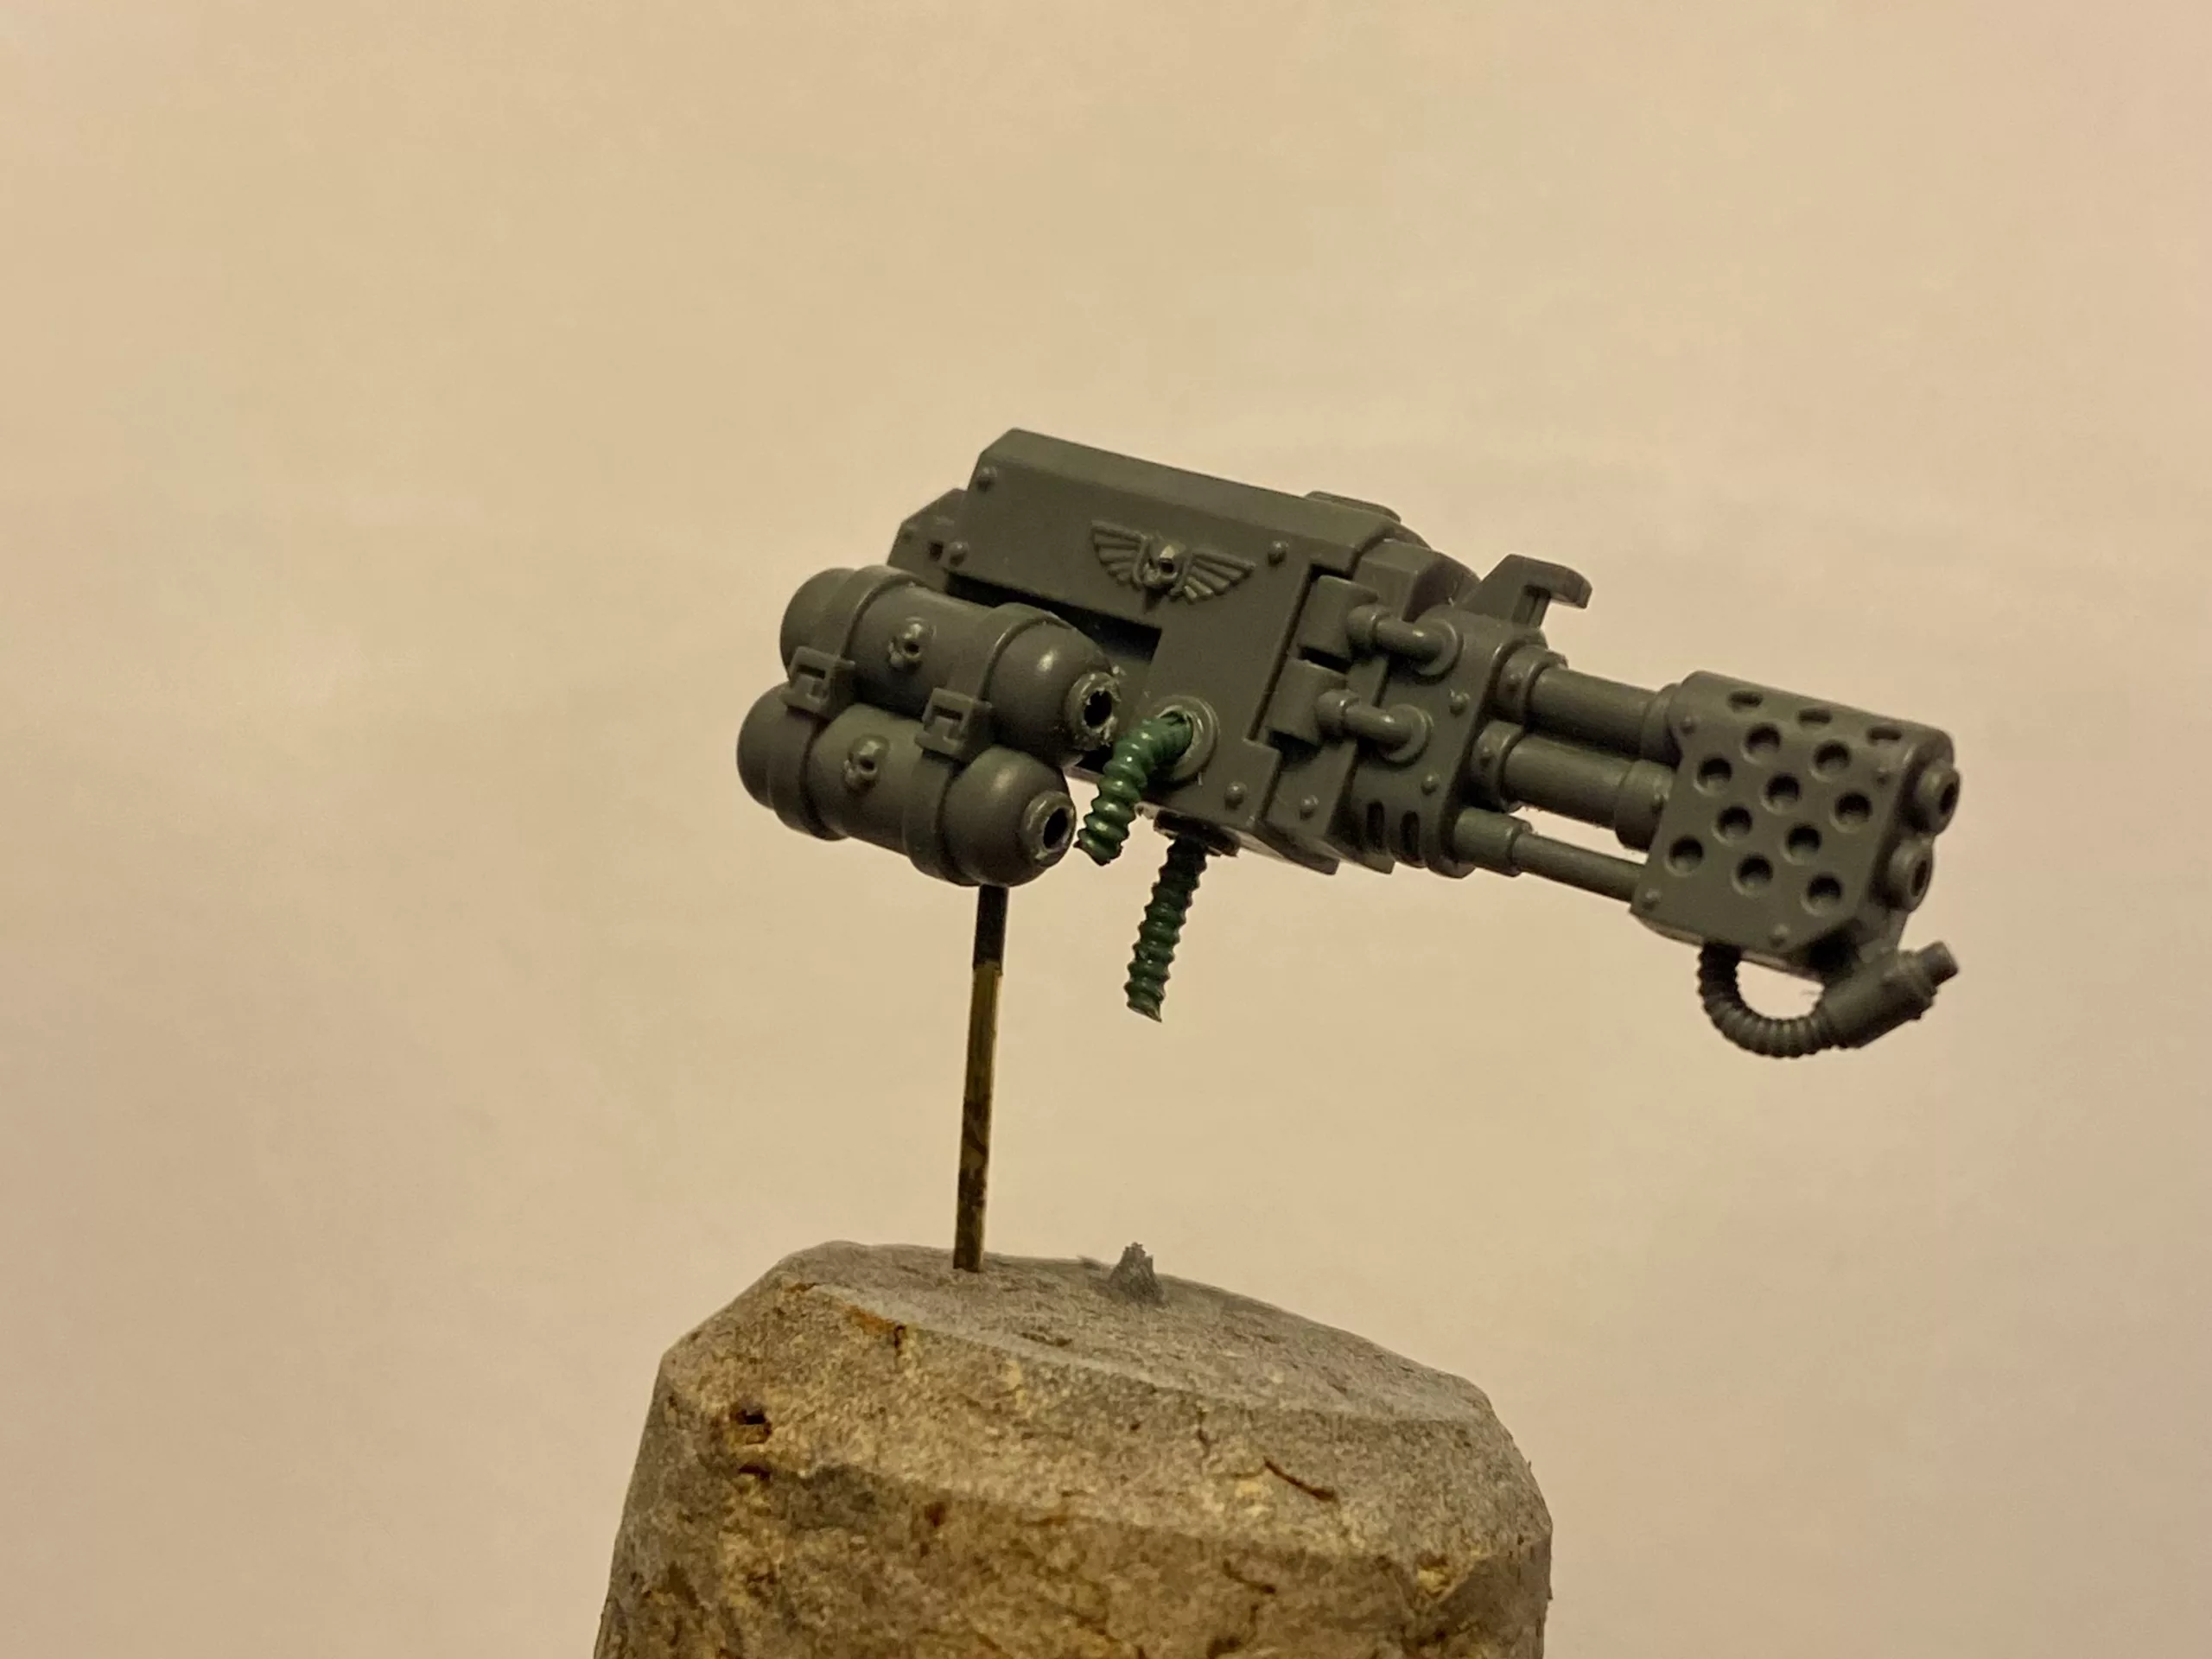
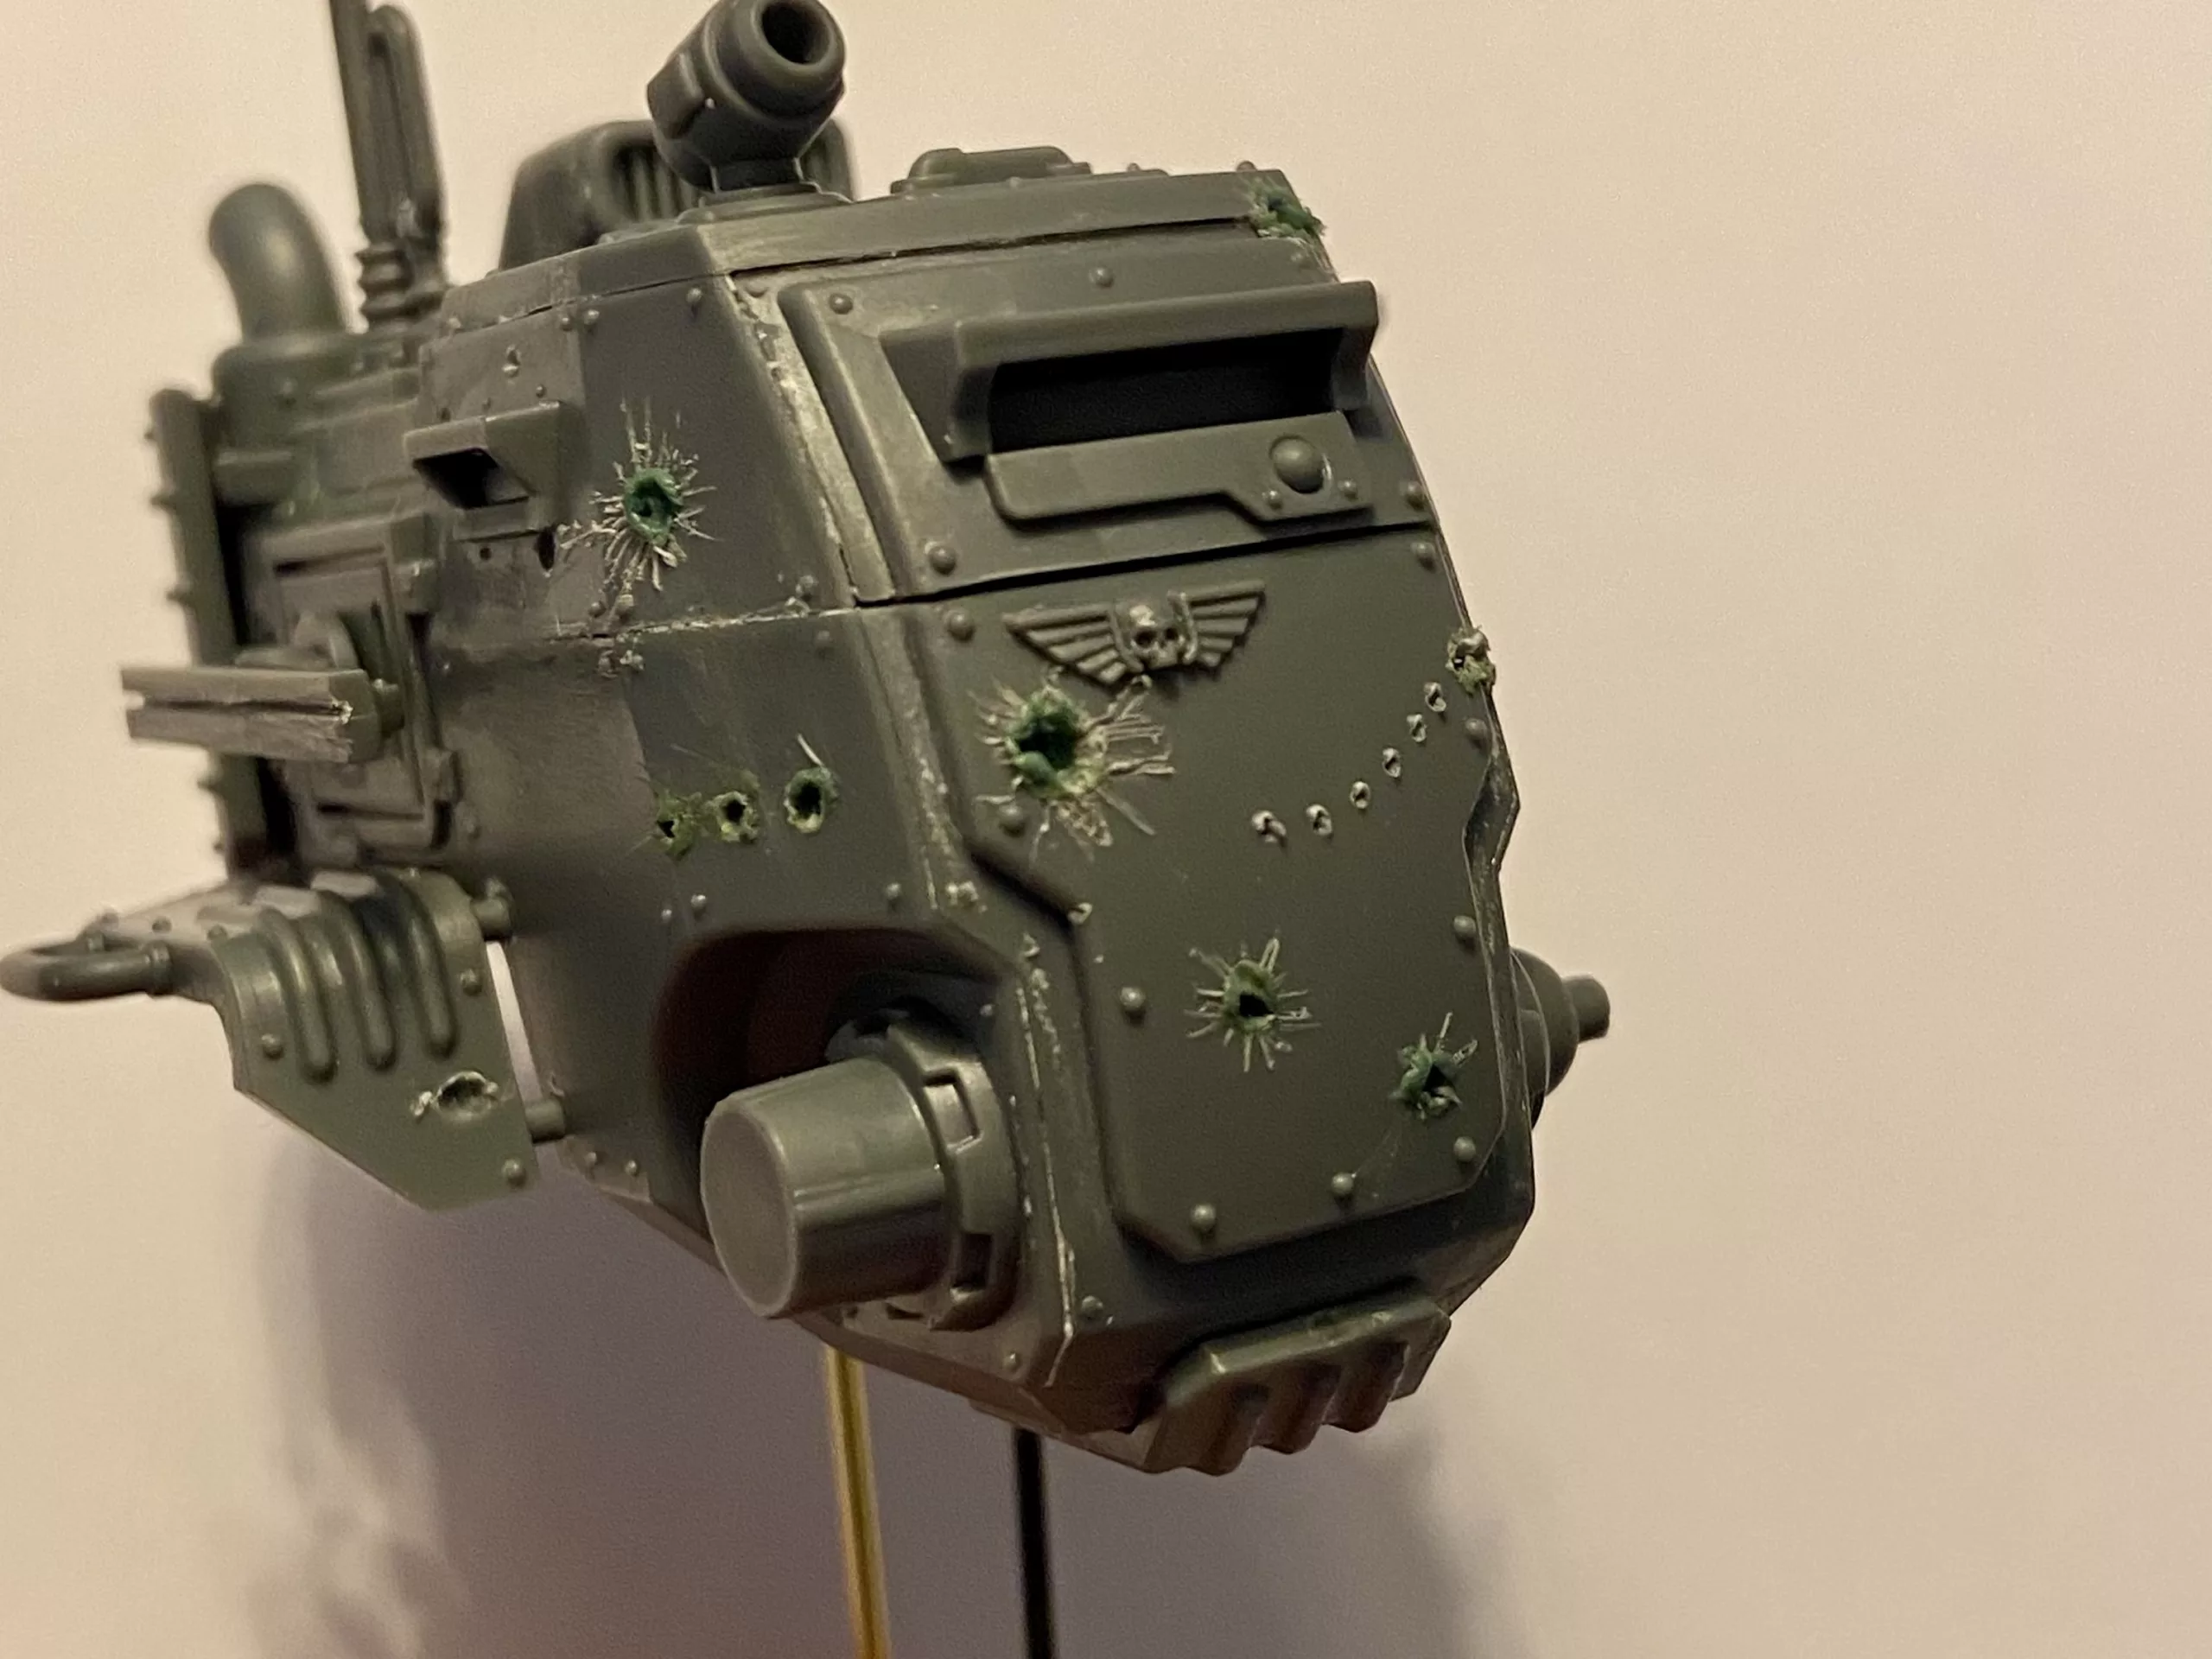
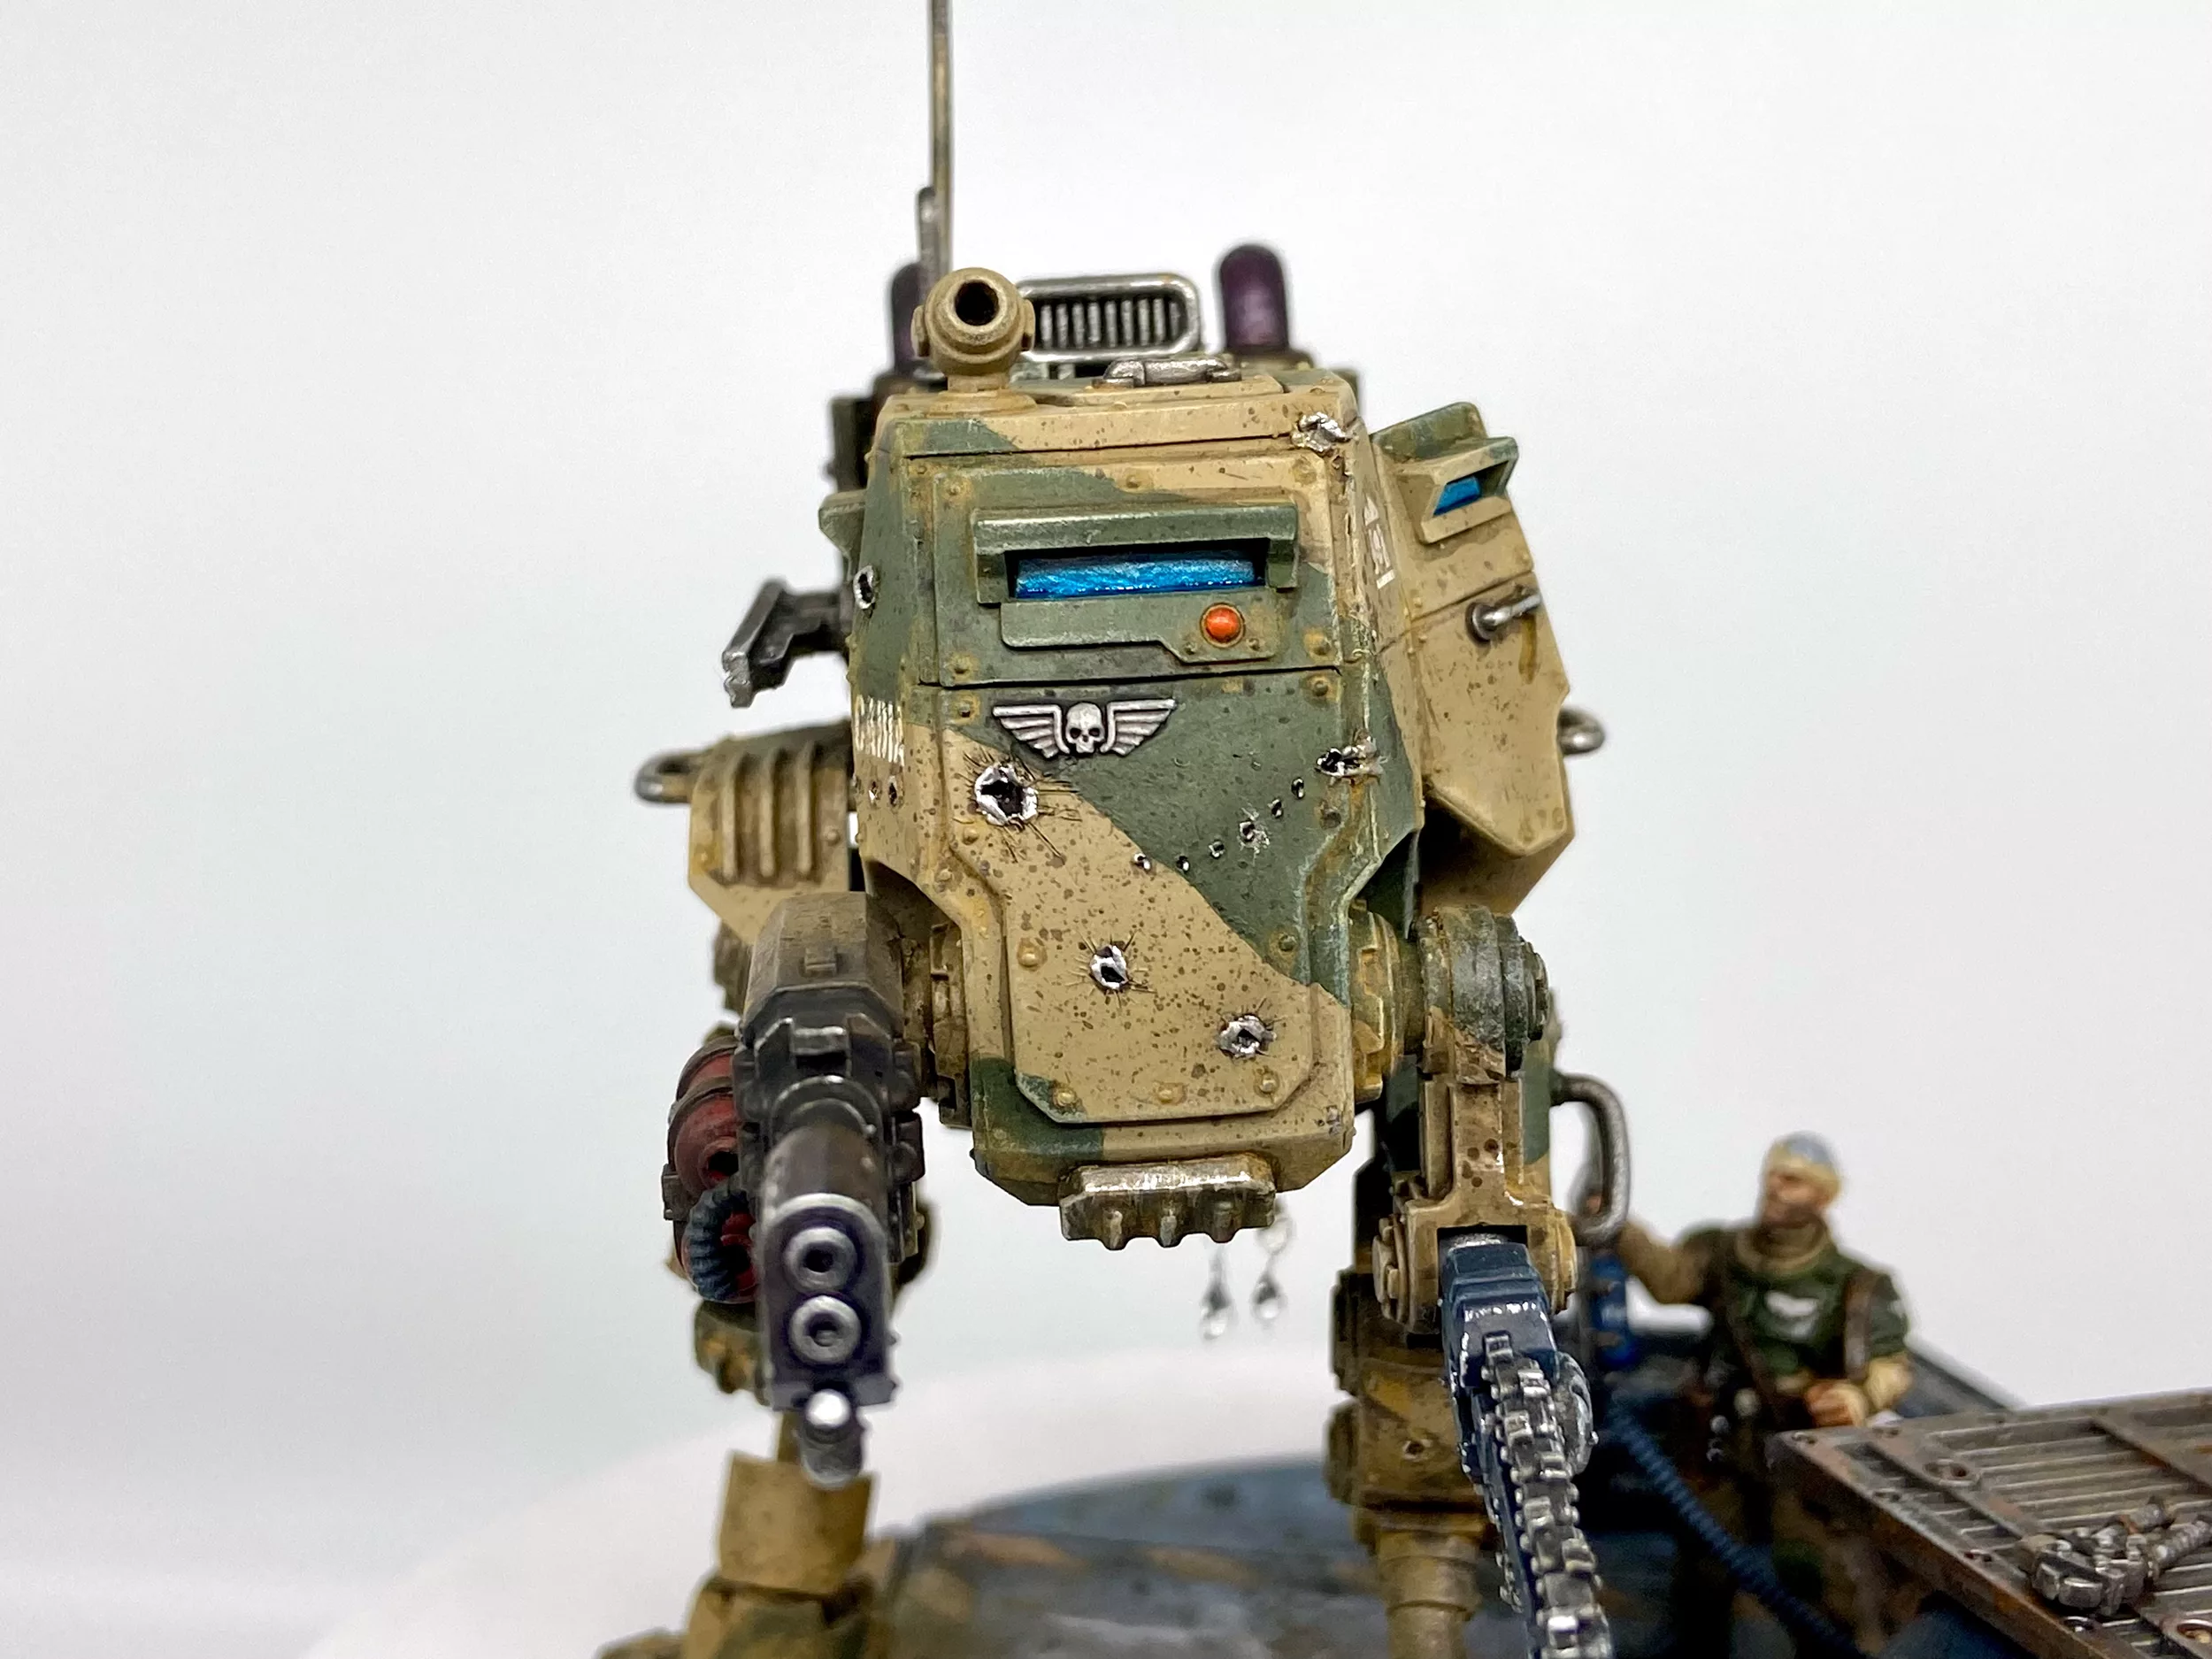
The pipe on top of the Sentinel and disconnected pipes on the Heavy Flamer were done with a Roller Maker Set and Green Stuff.
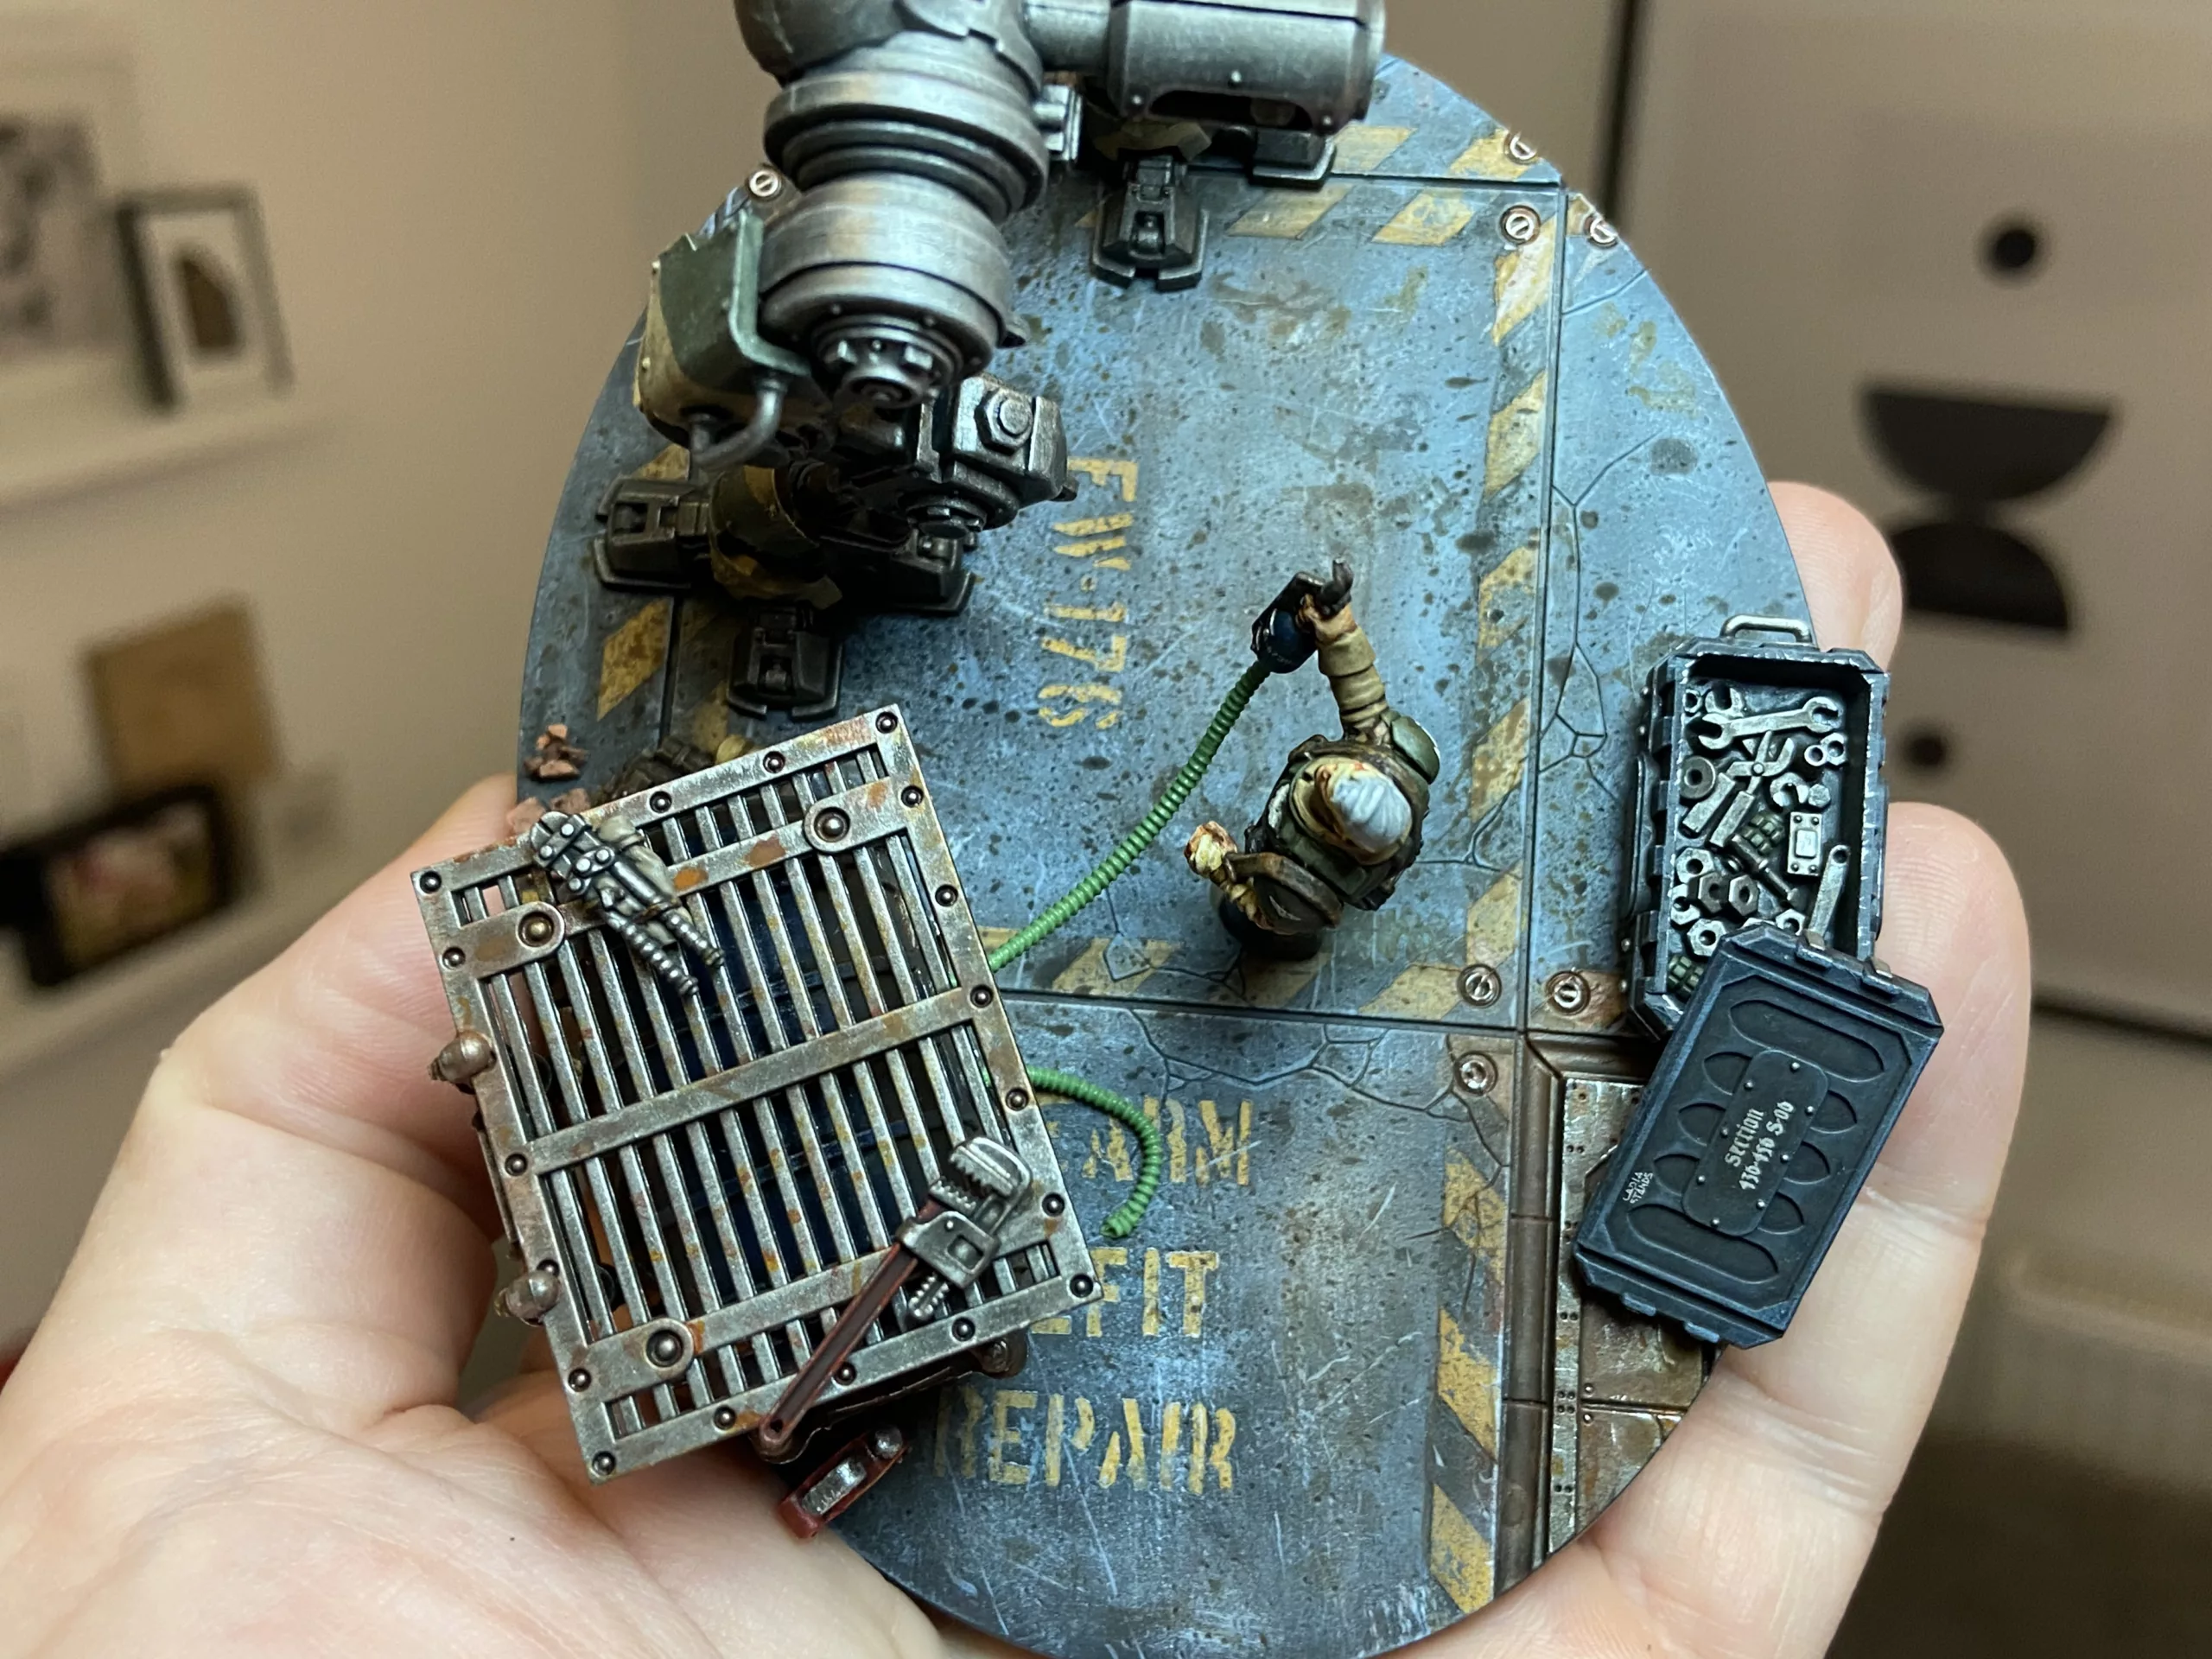
Base Lettering & Stripes
The base lettering was done by printing out a stencil onto a sticky label and cutting it out. The font was Boston Traffic. The hazard stripes were done using Tamiya Precision Tape. The decals are from the Astra Militarum Vehicle sheet.
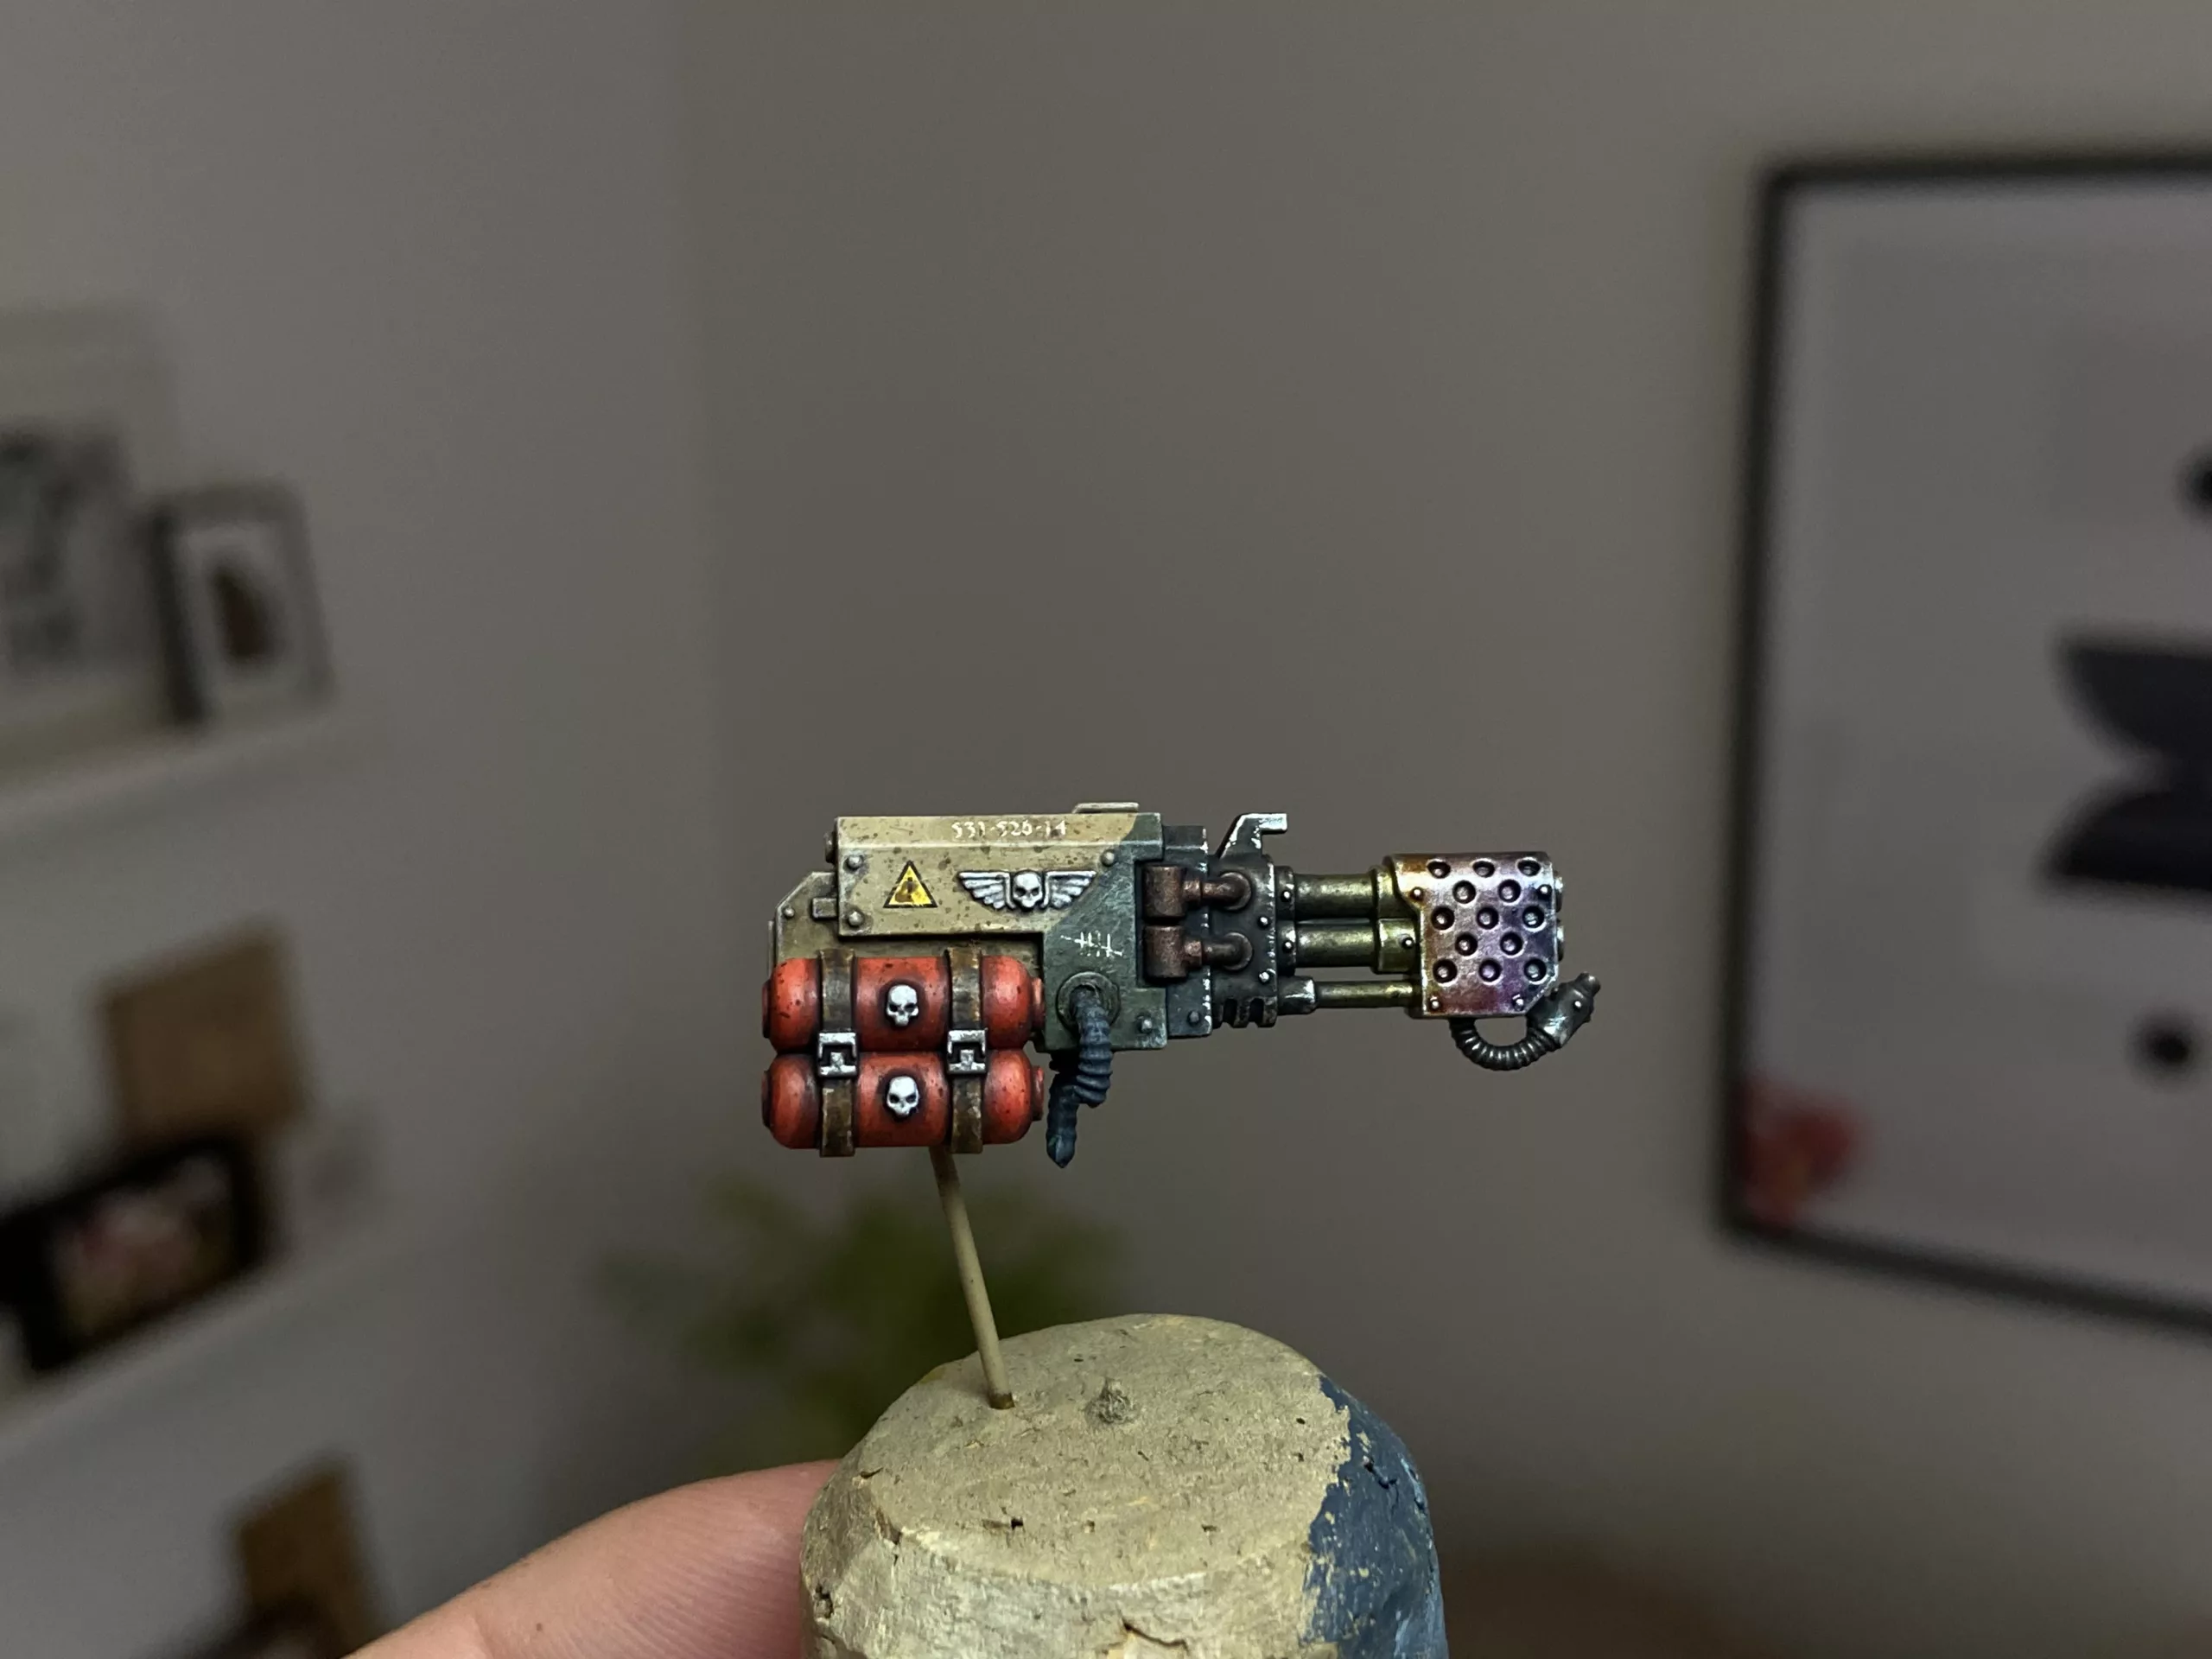
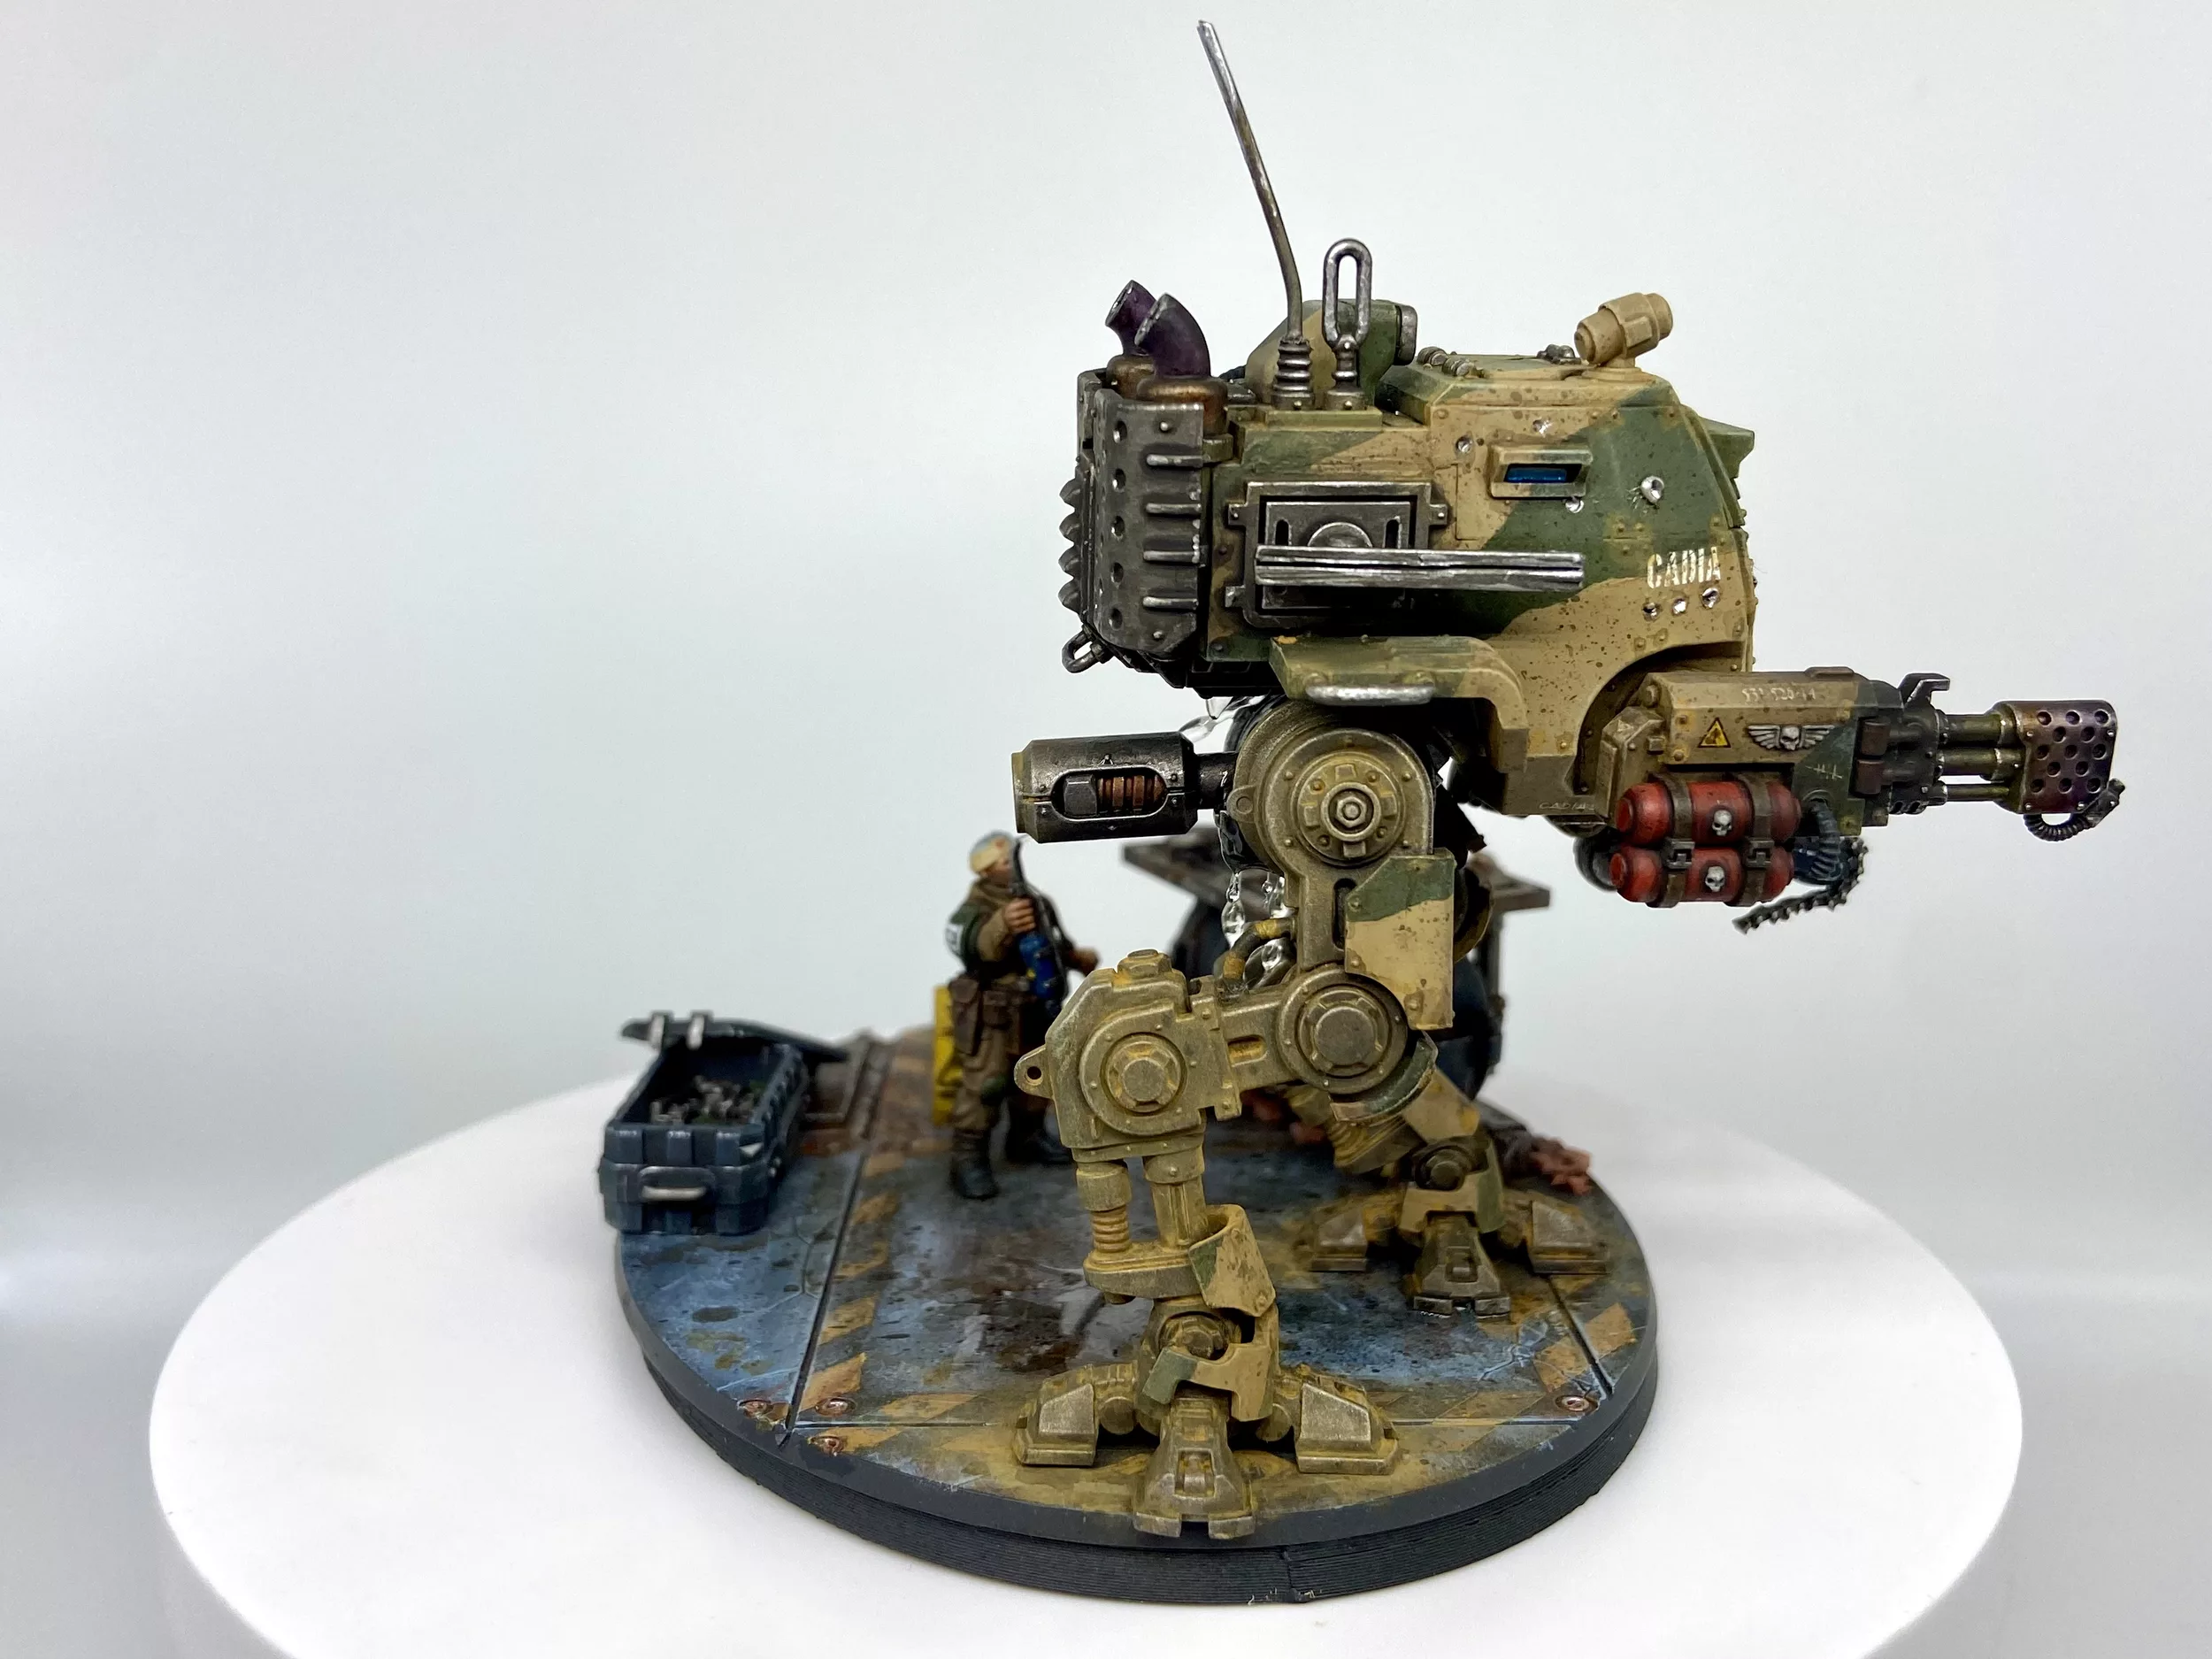
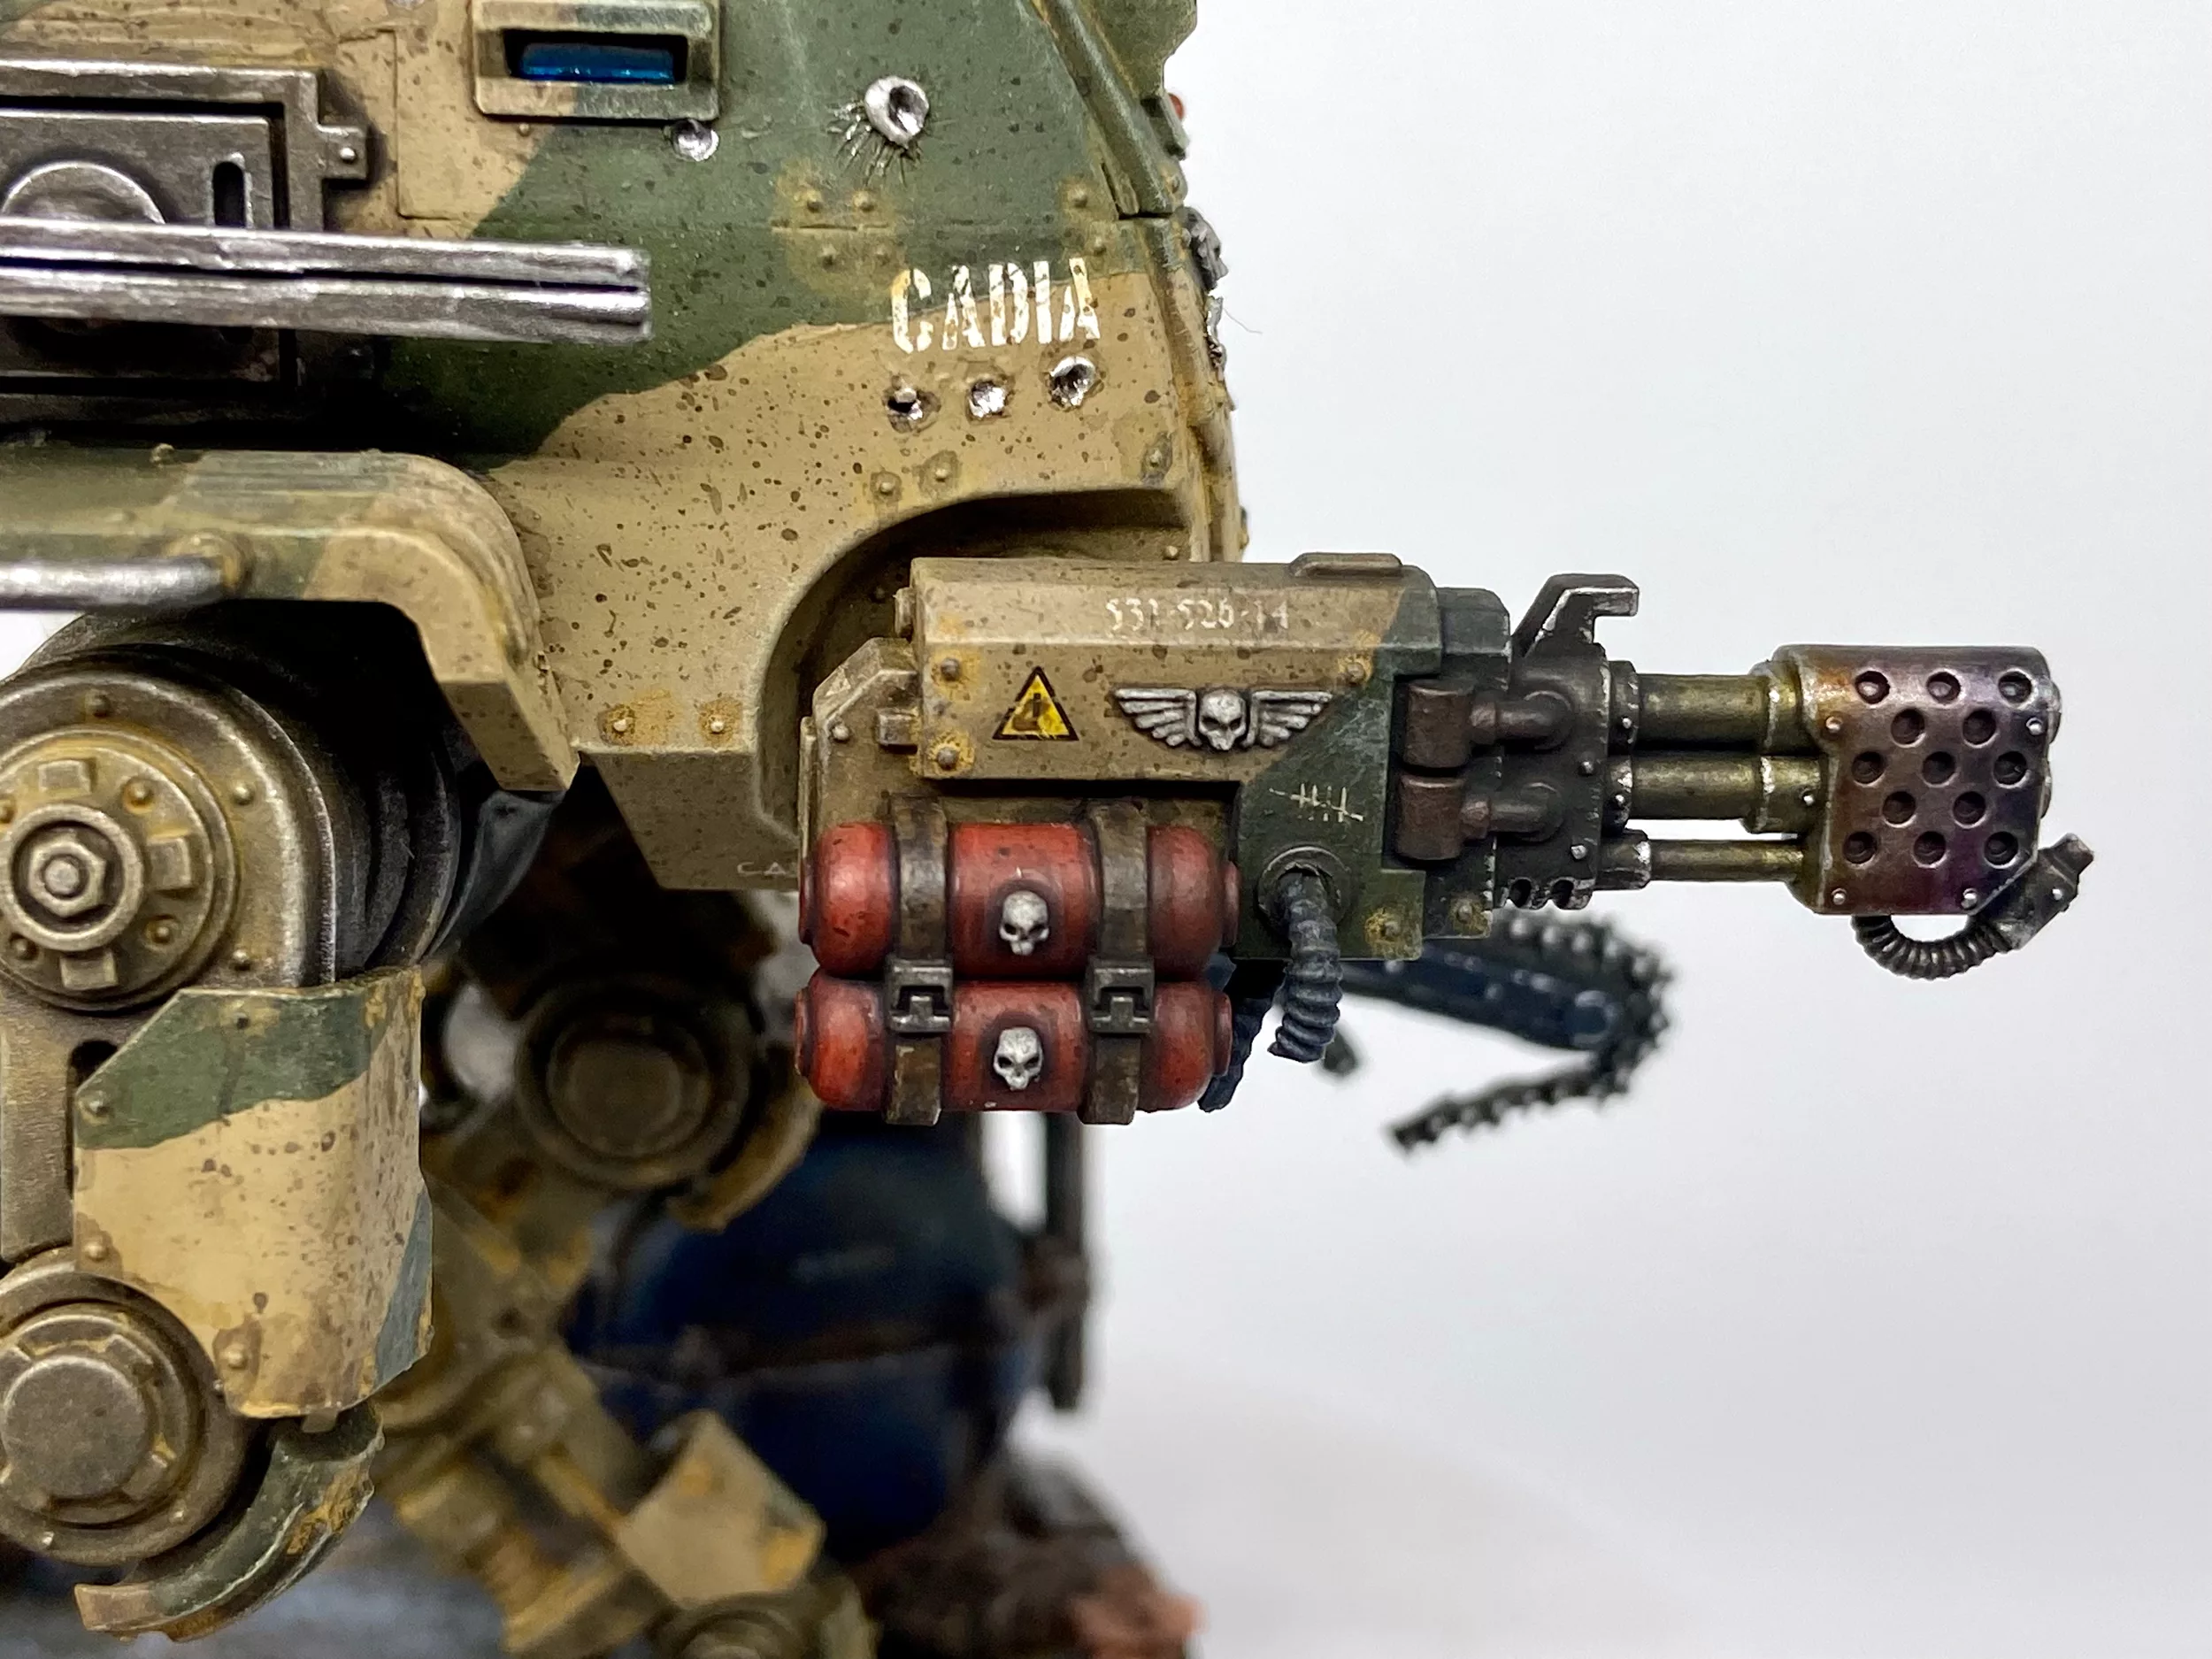
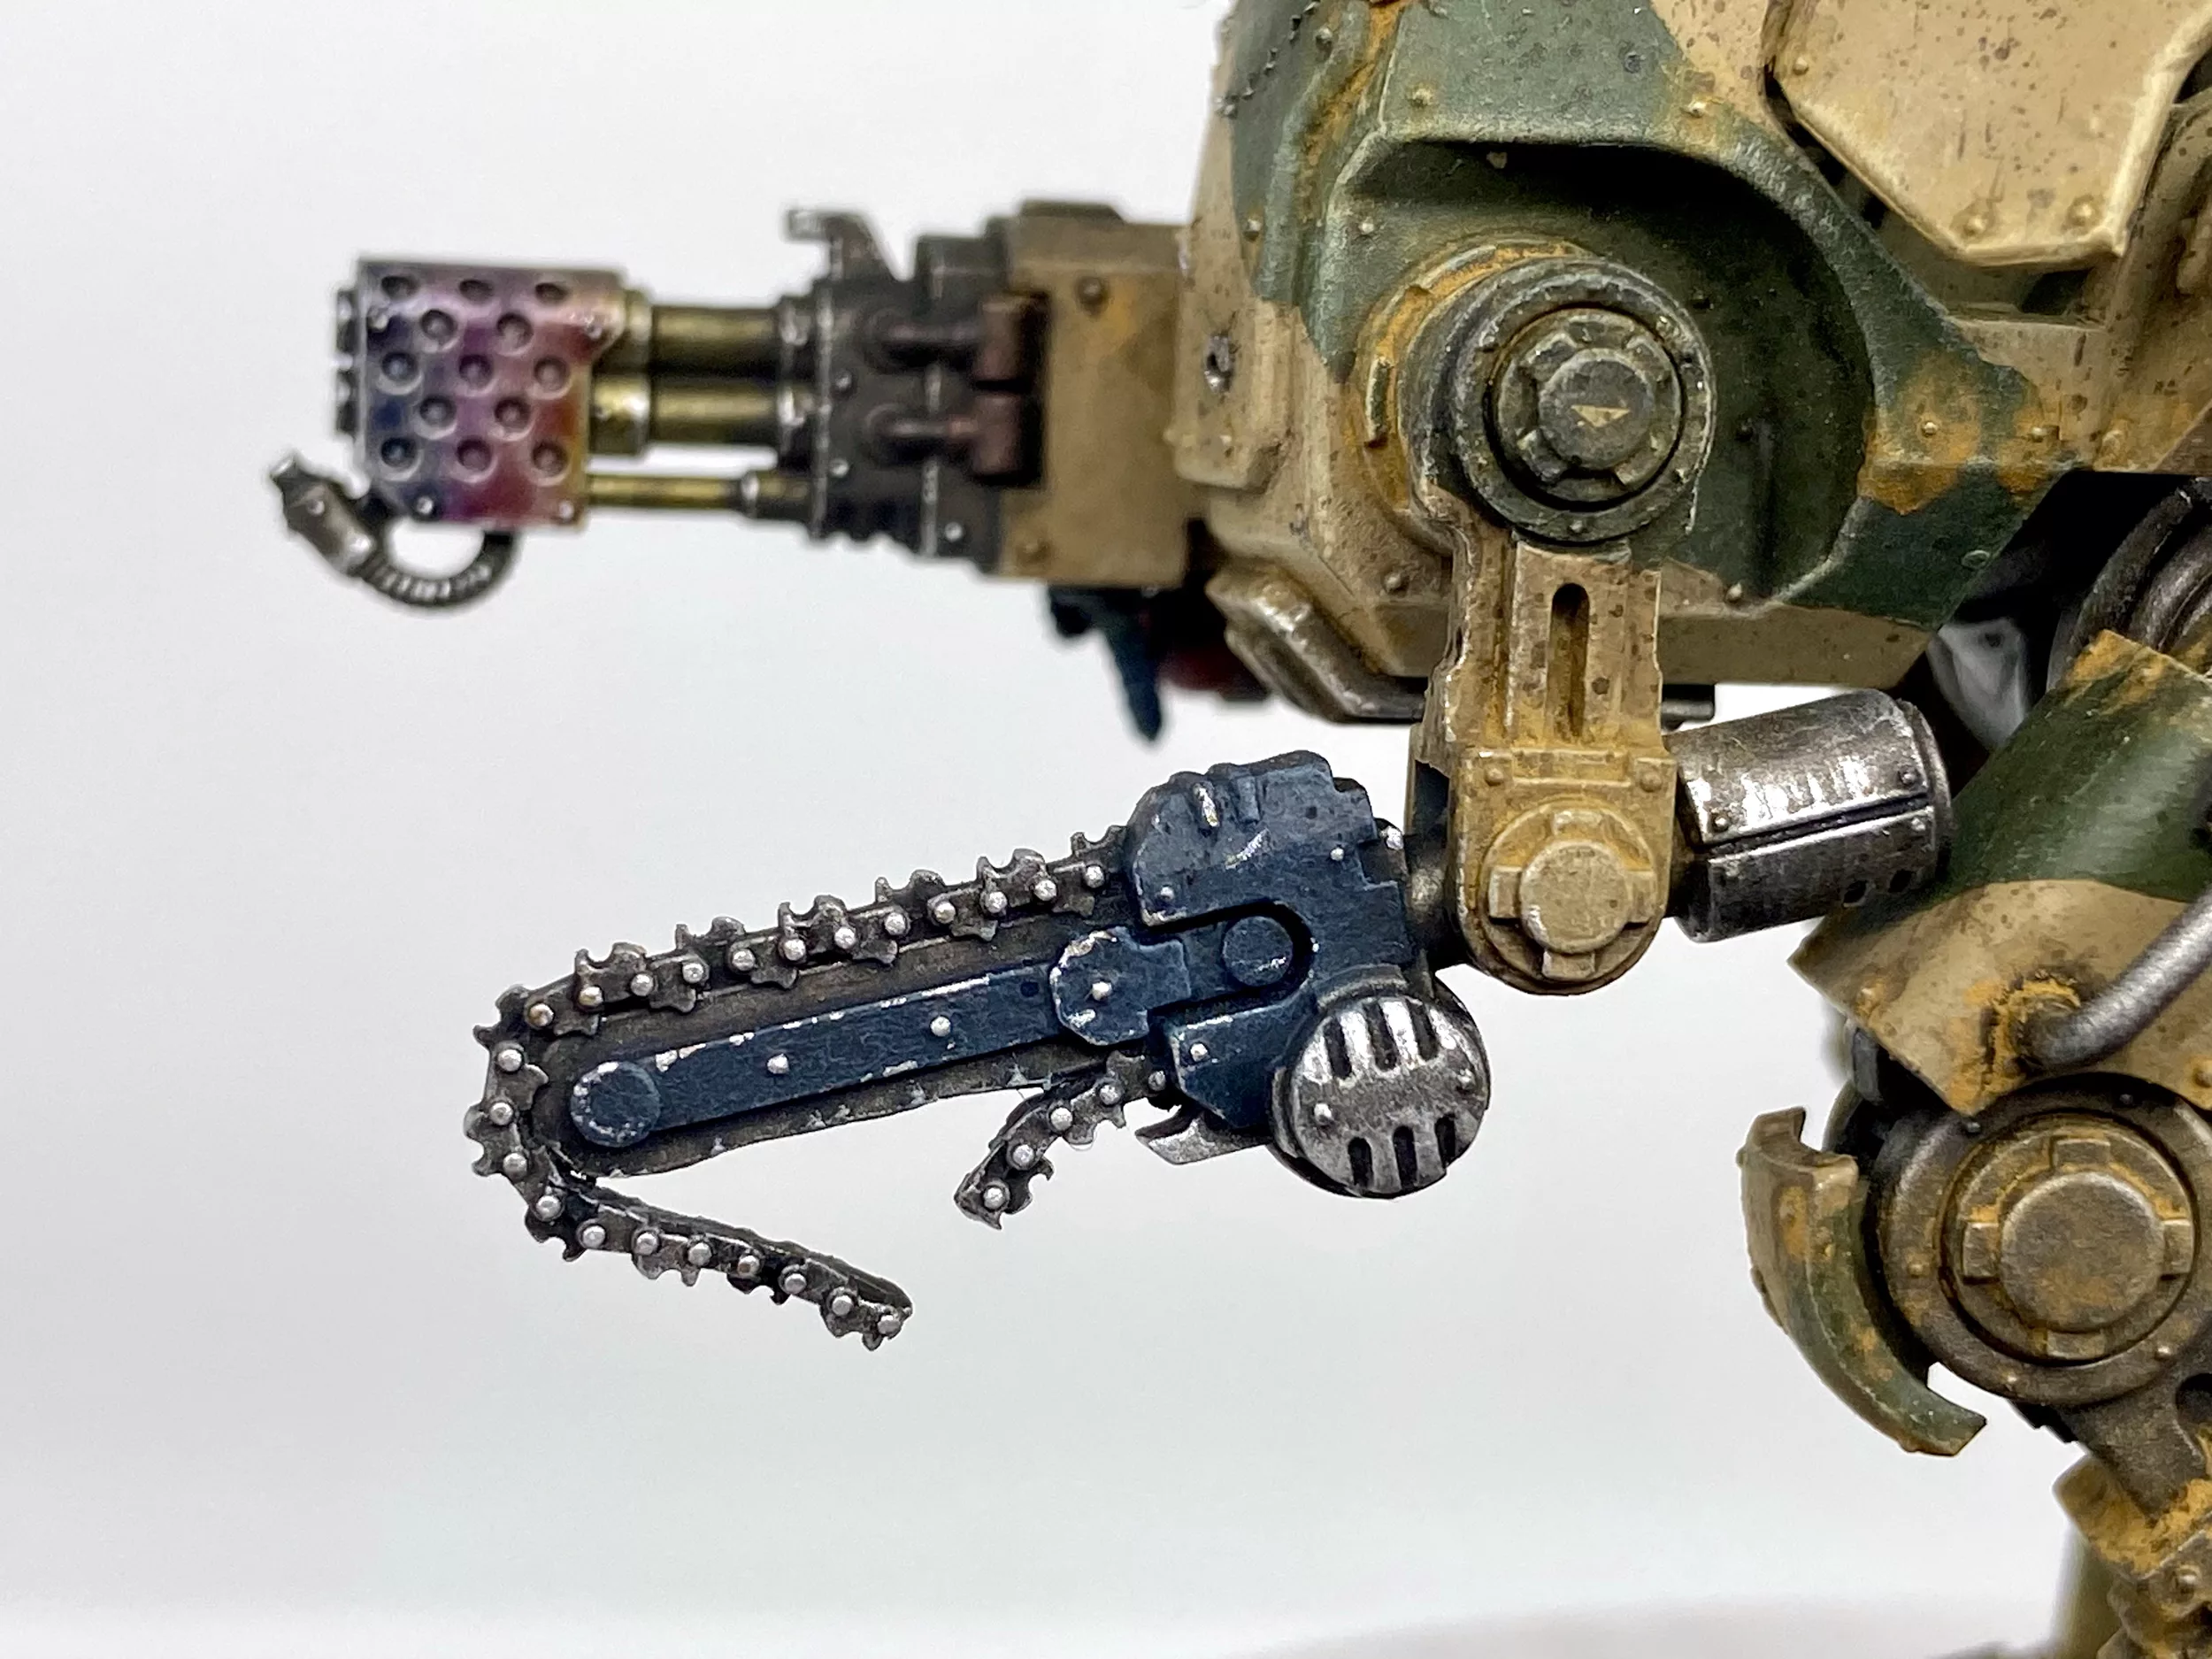
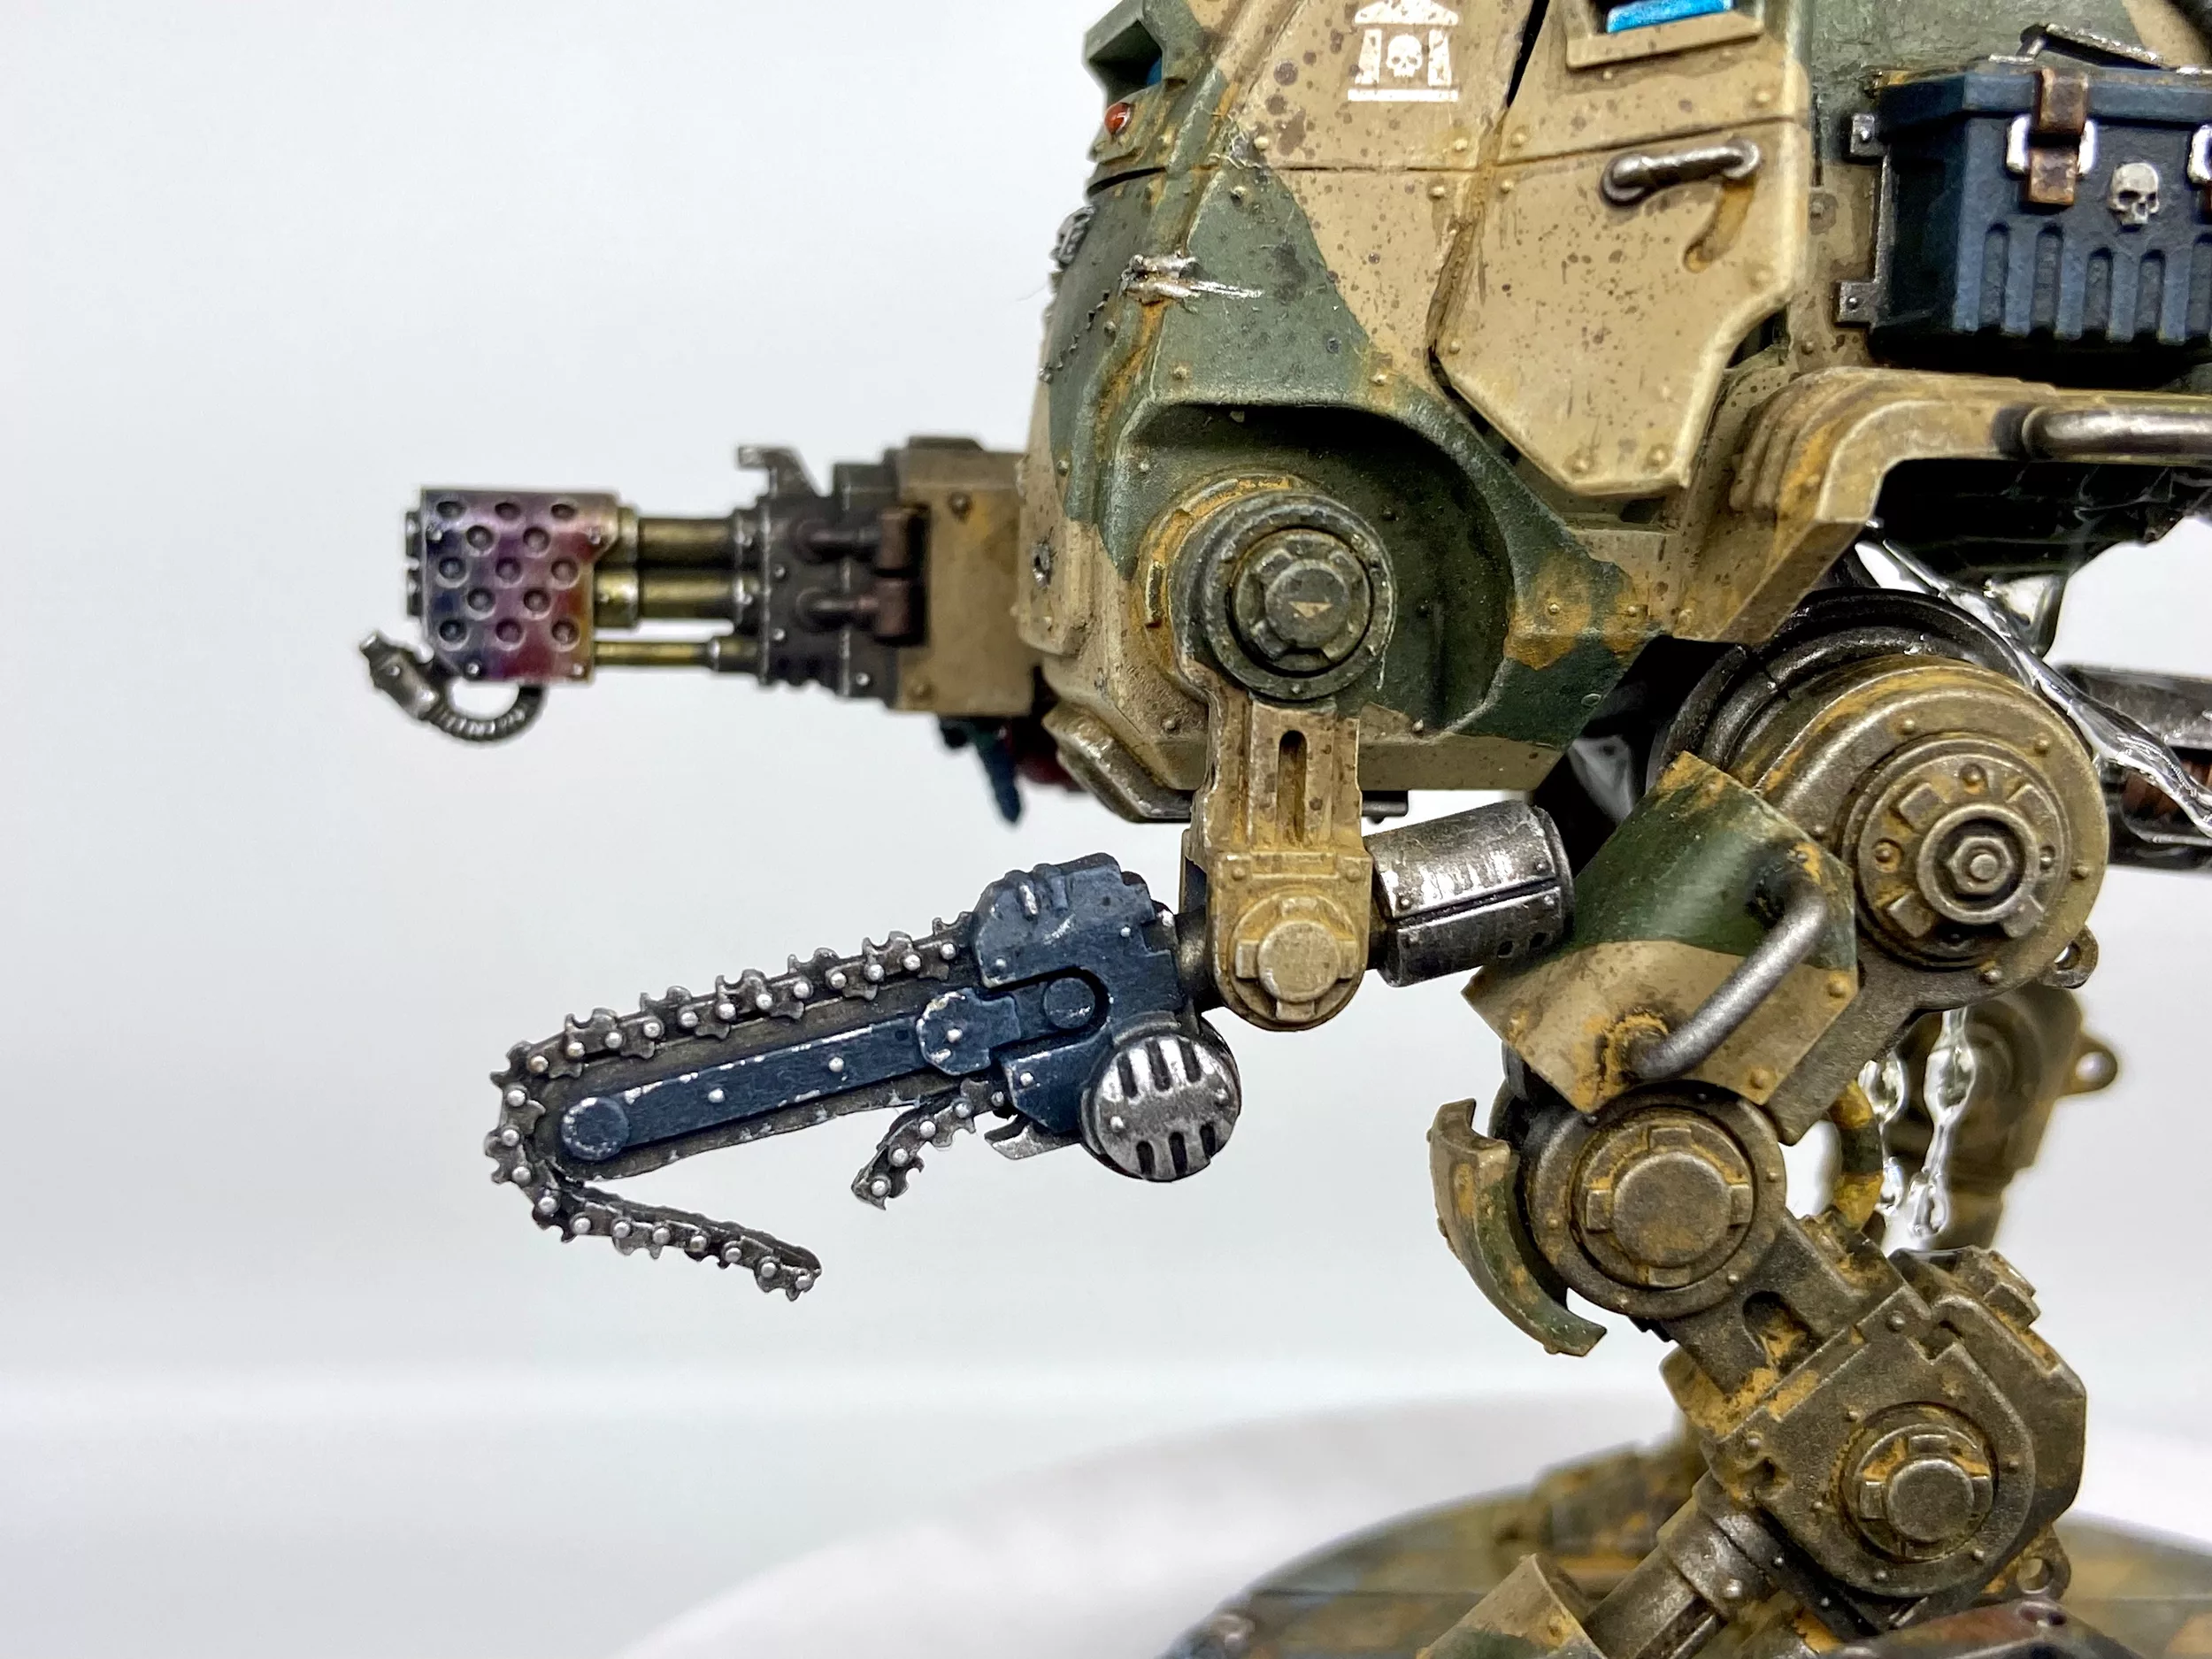
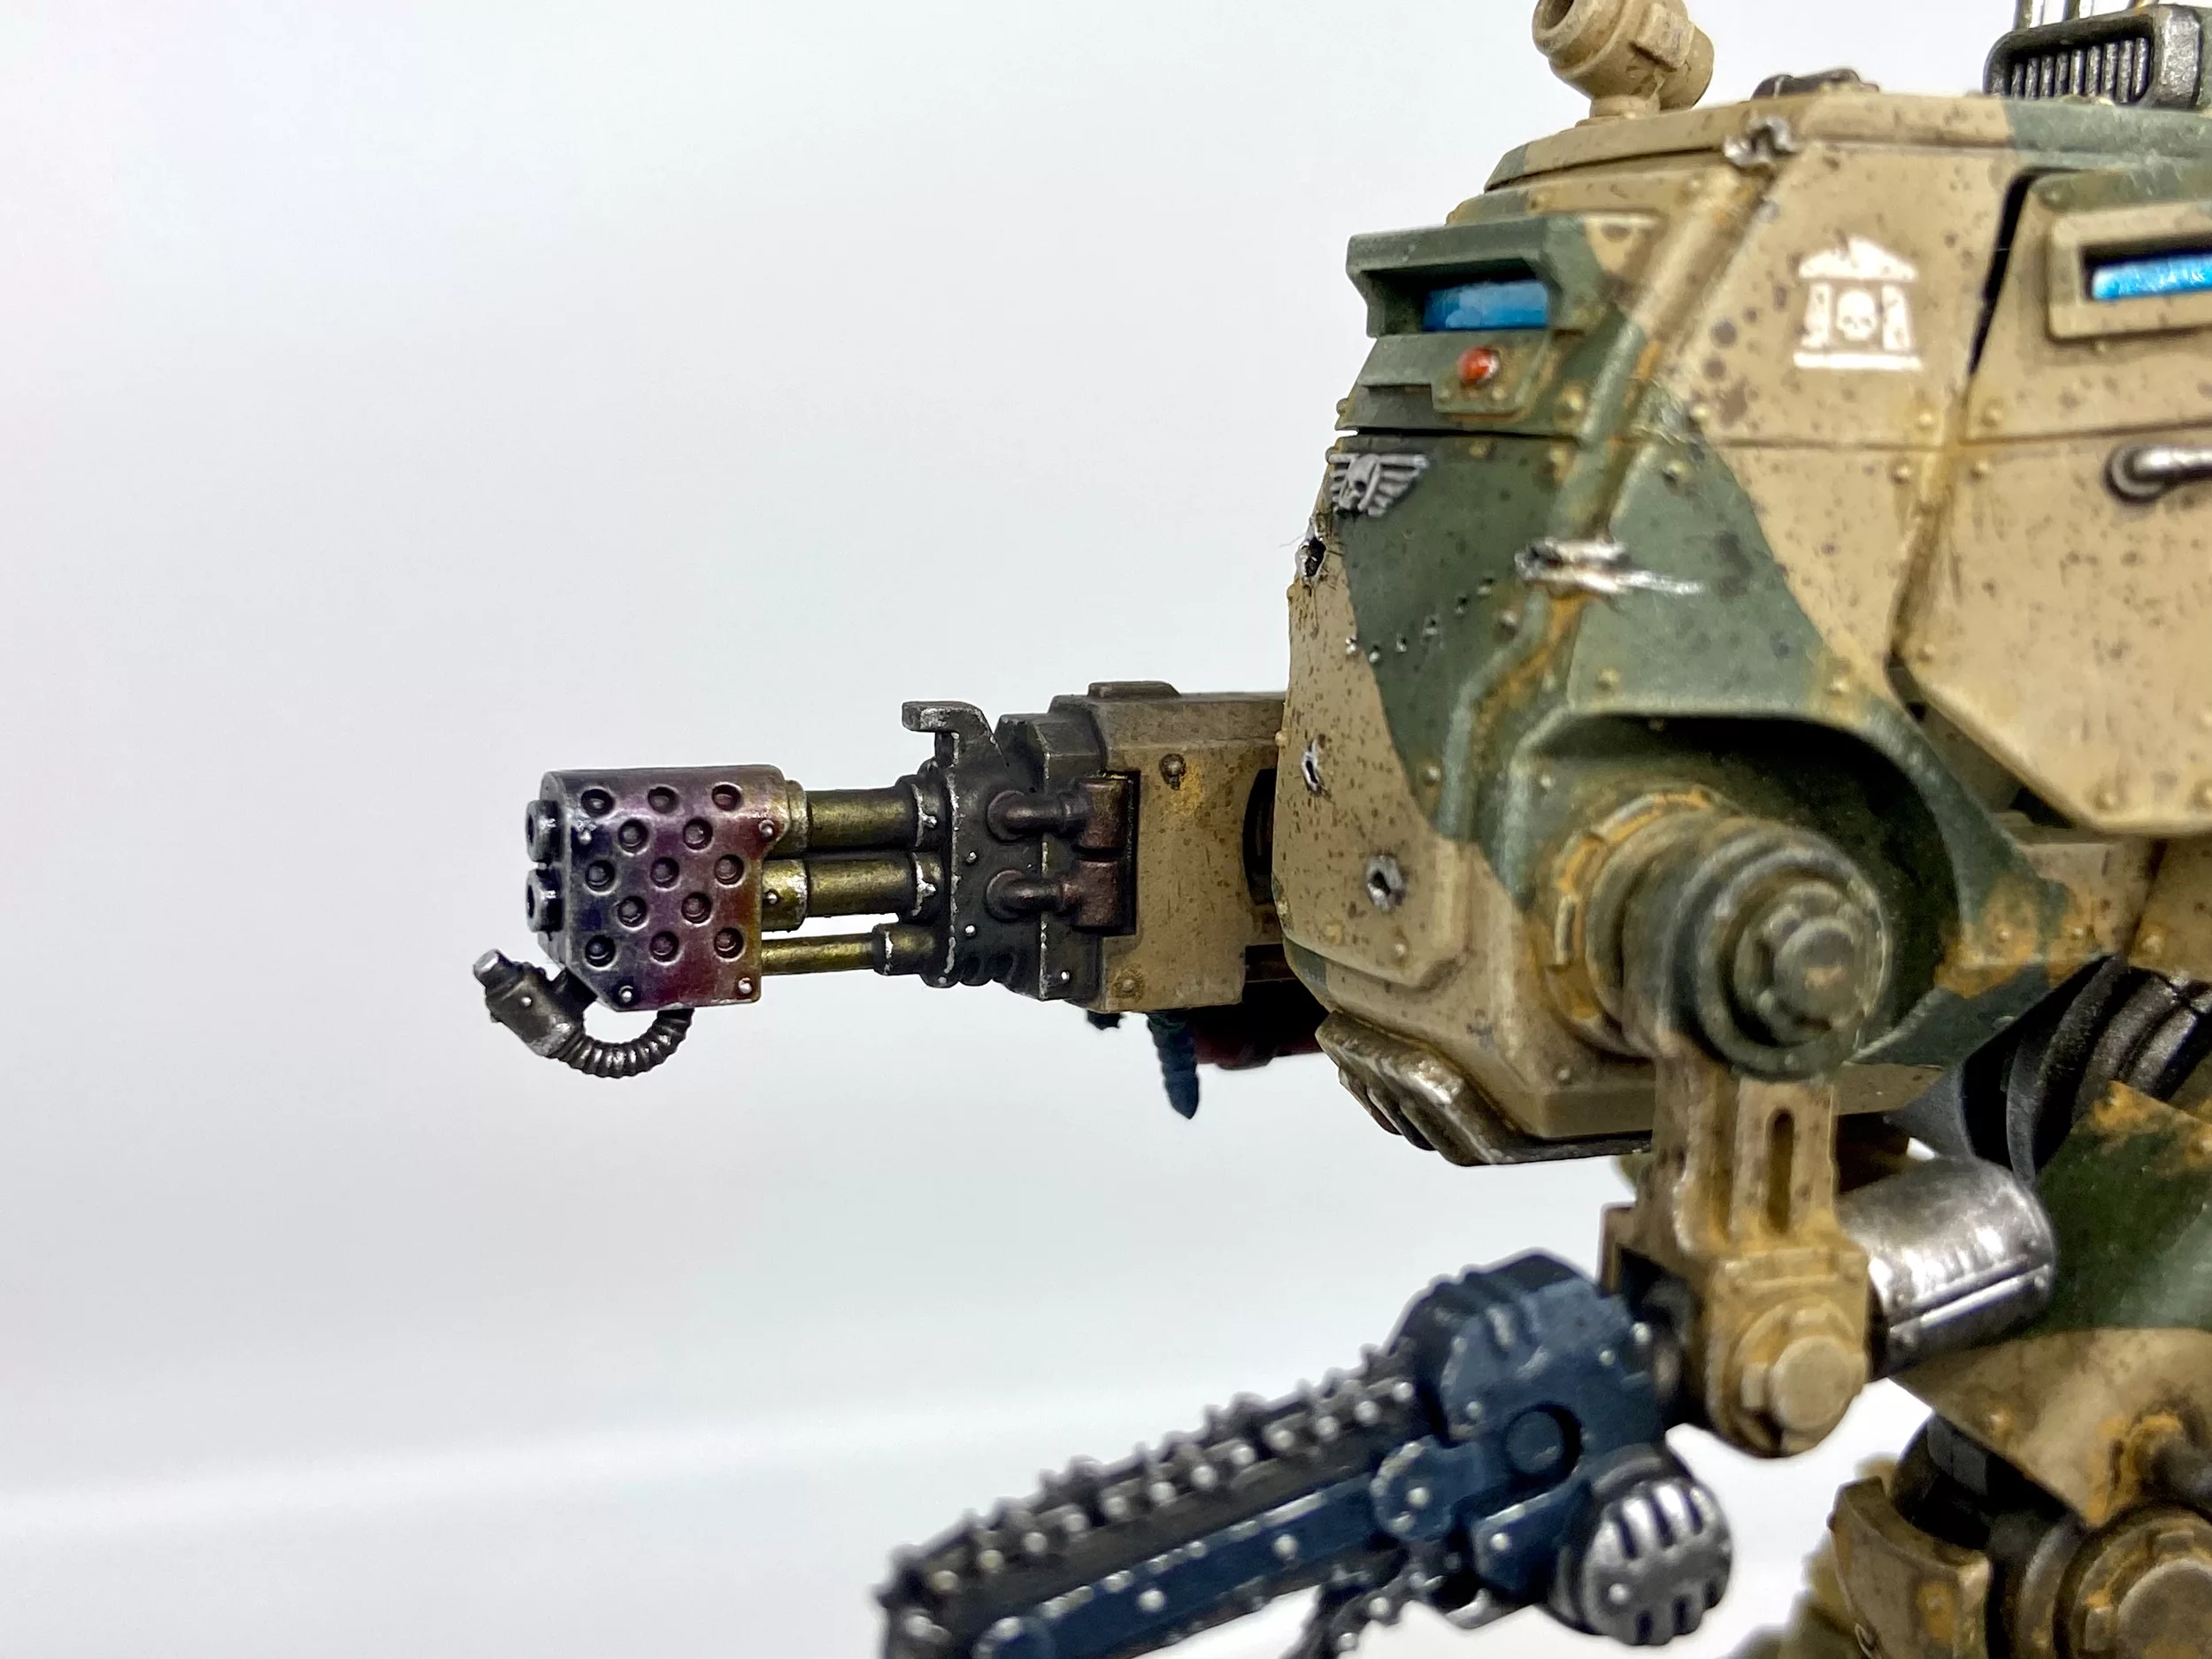
Heavy Flamer & Exhaust Heat Burn
These are all washes, built up over a silver base coat;
Sentinel Diorama 360° Video
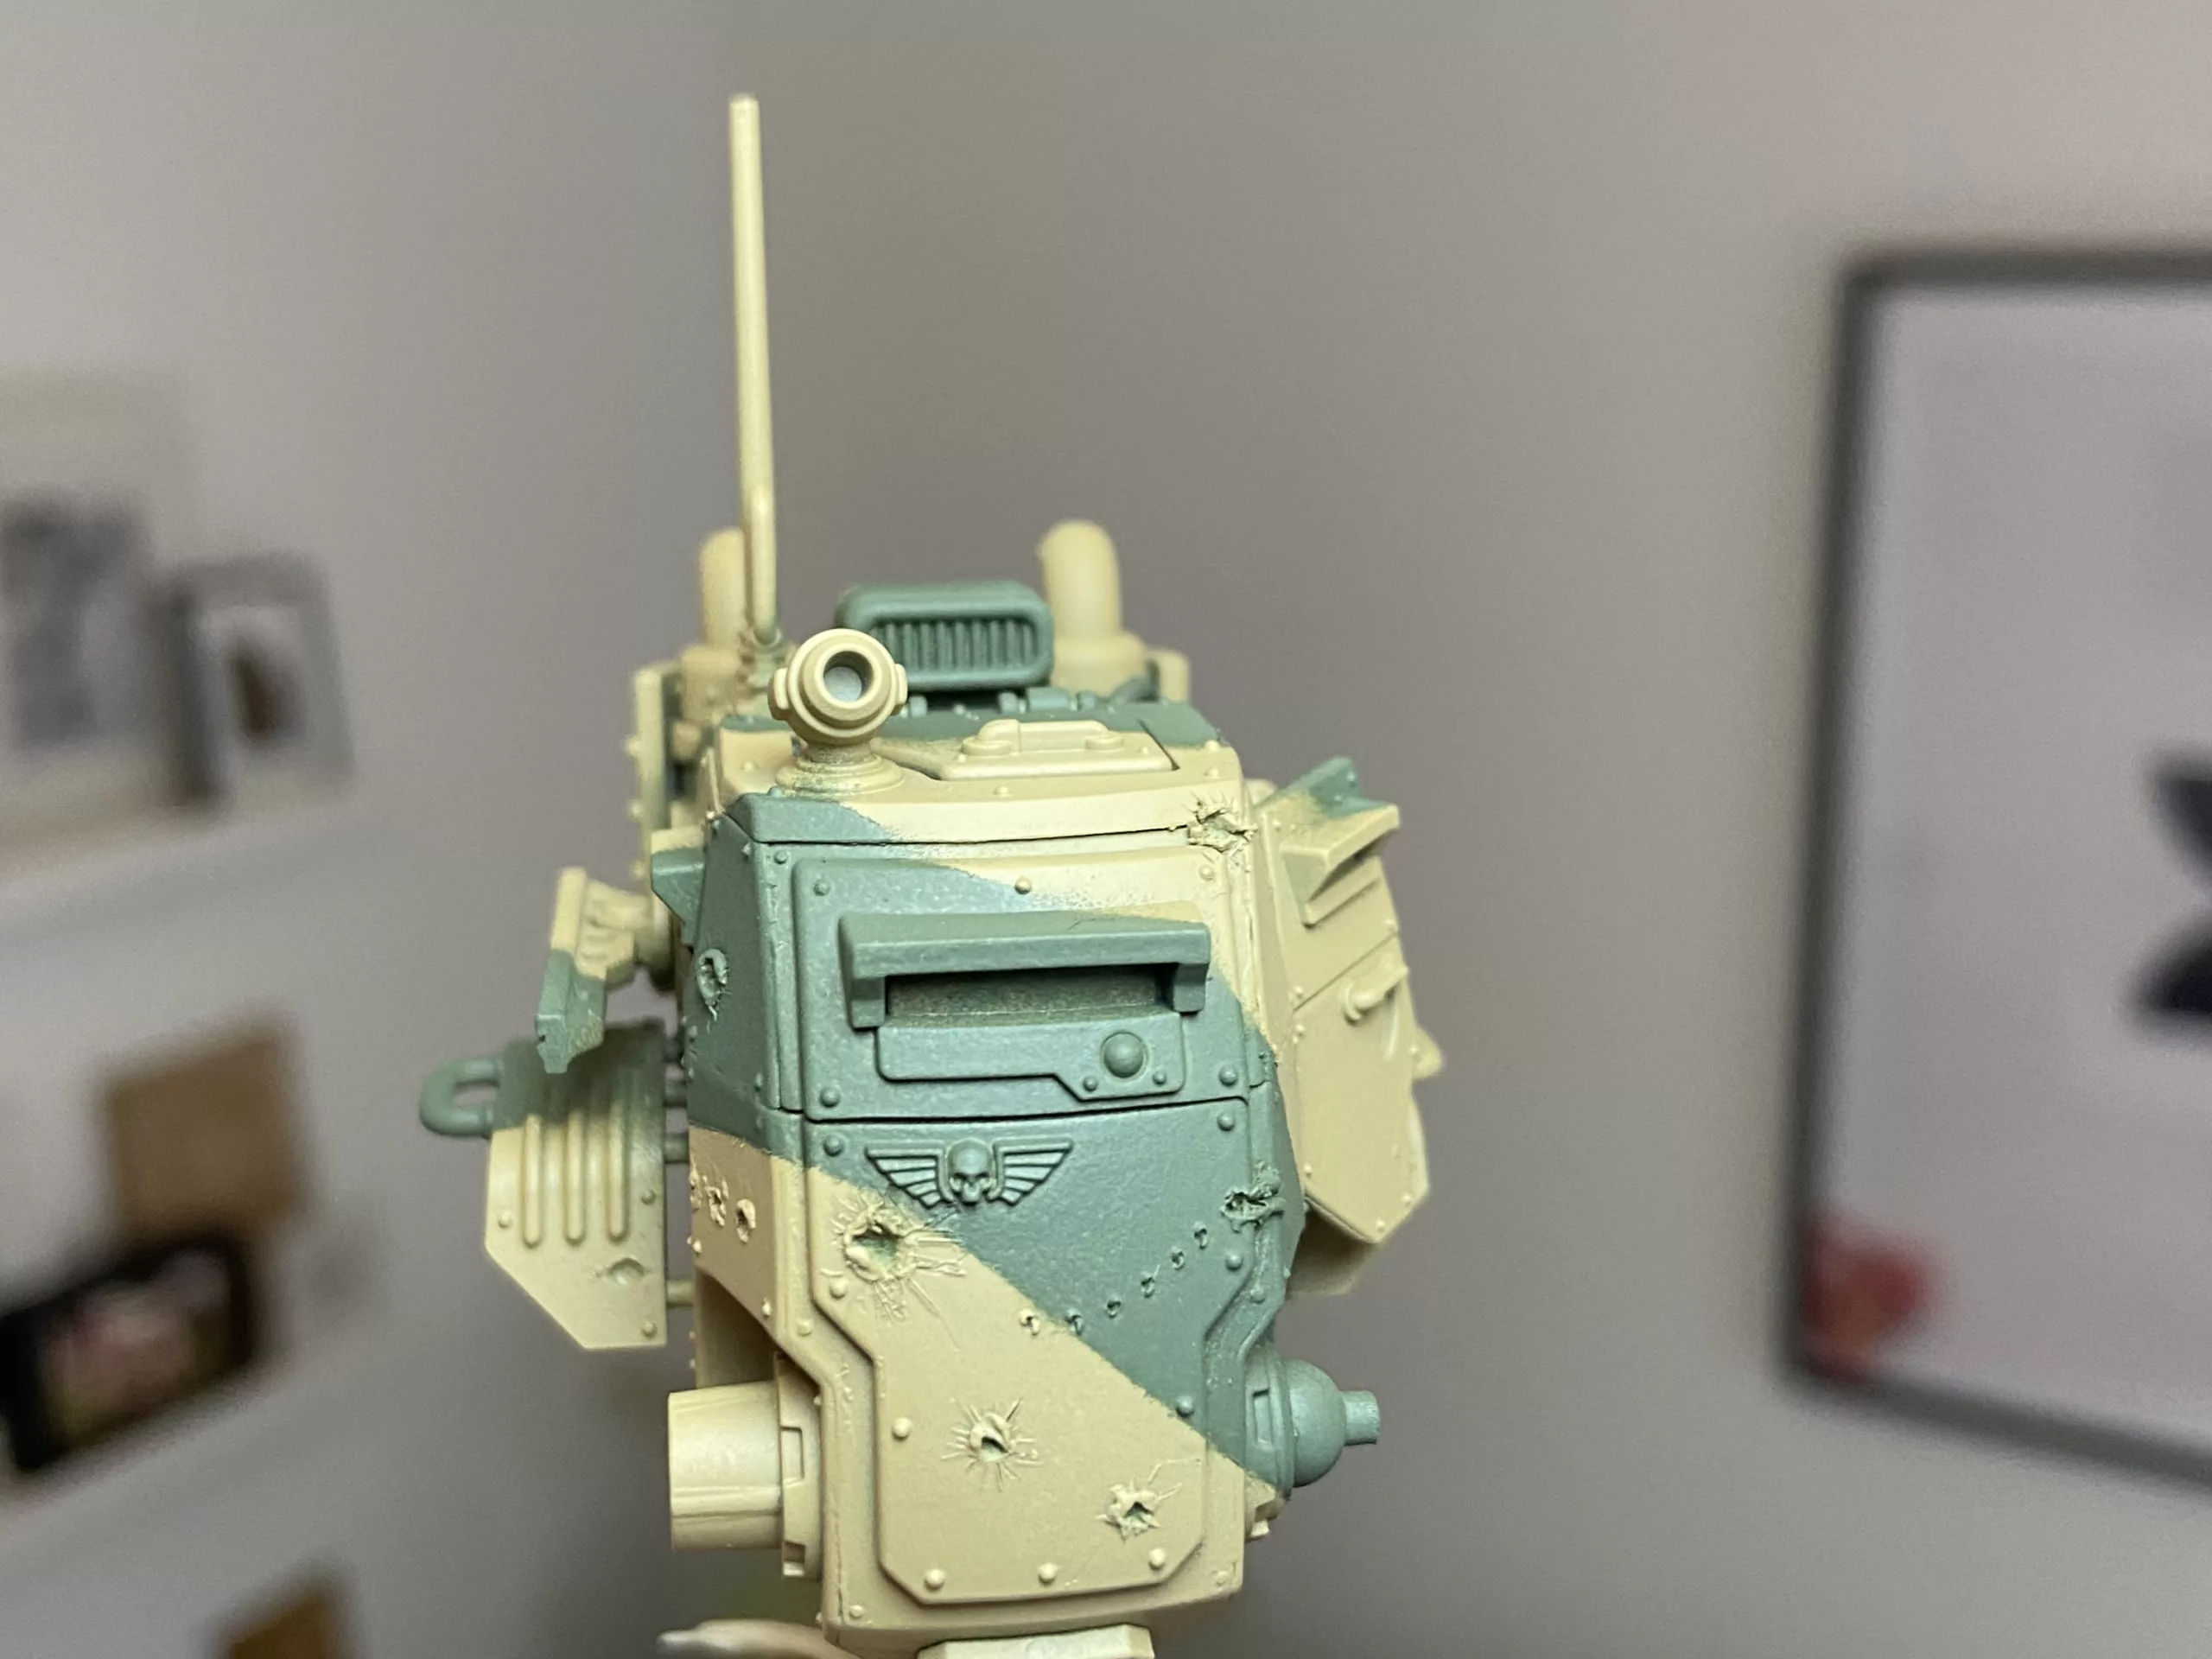
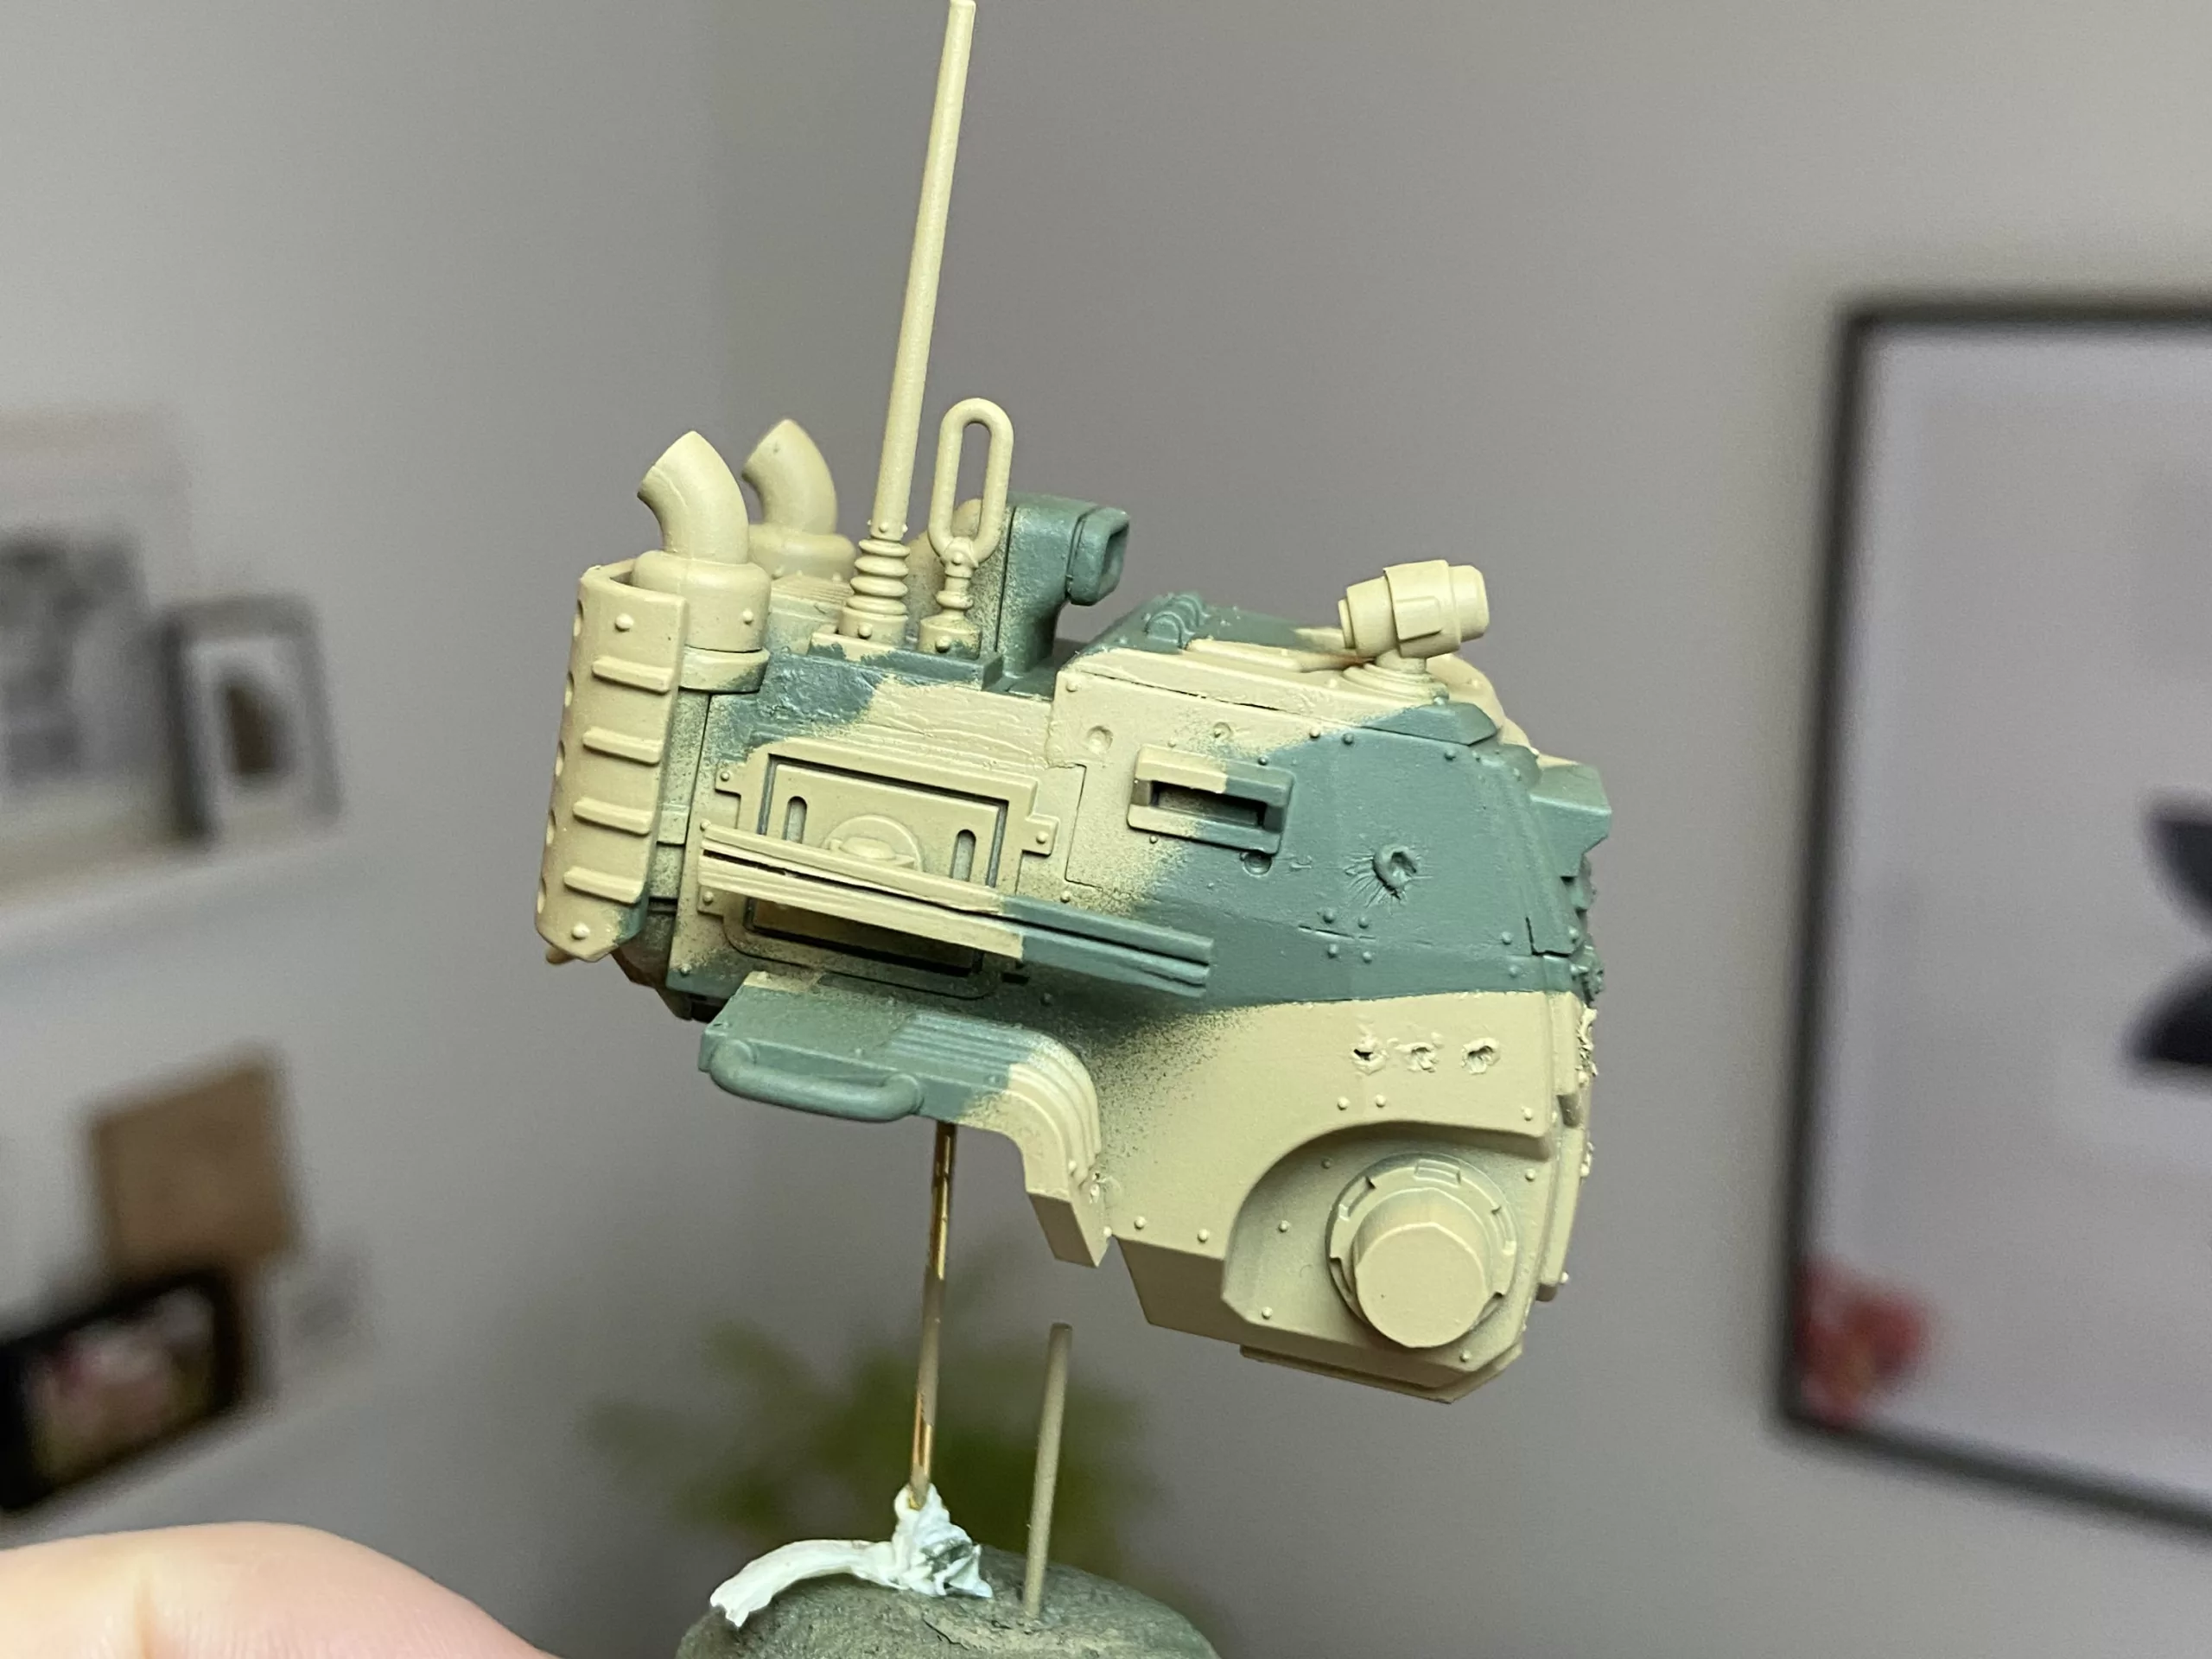
WIP Gallery