
Quick Cadian Camo – 2x Leman Russ from eBay
Two Leman Russ from eBay completed, ready to join the 7 I already have for my Cadians...
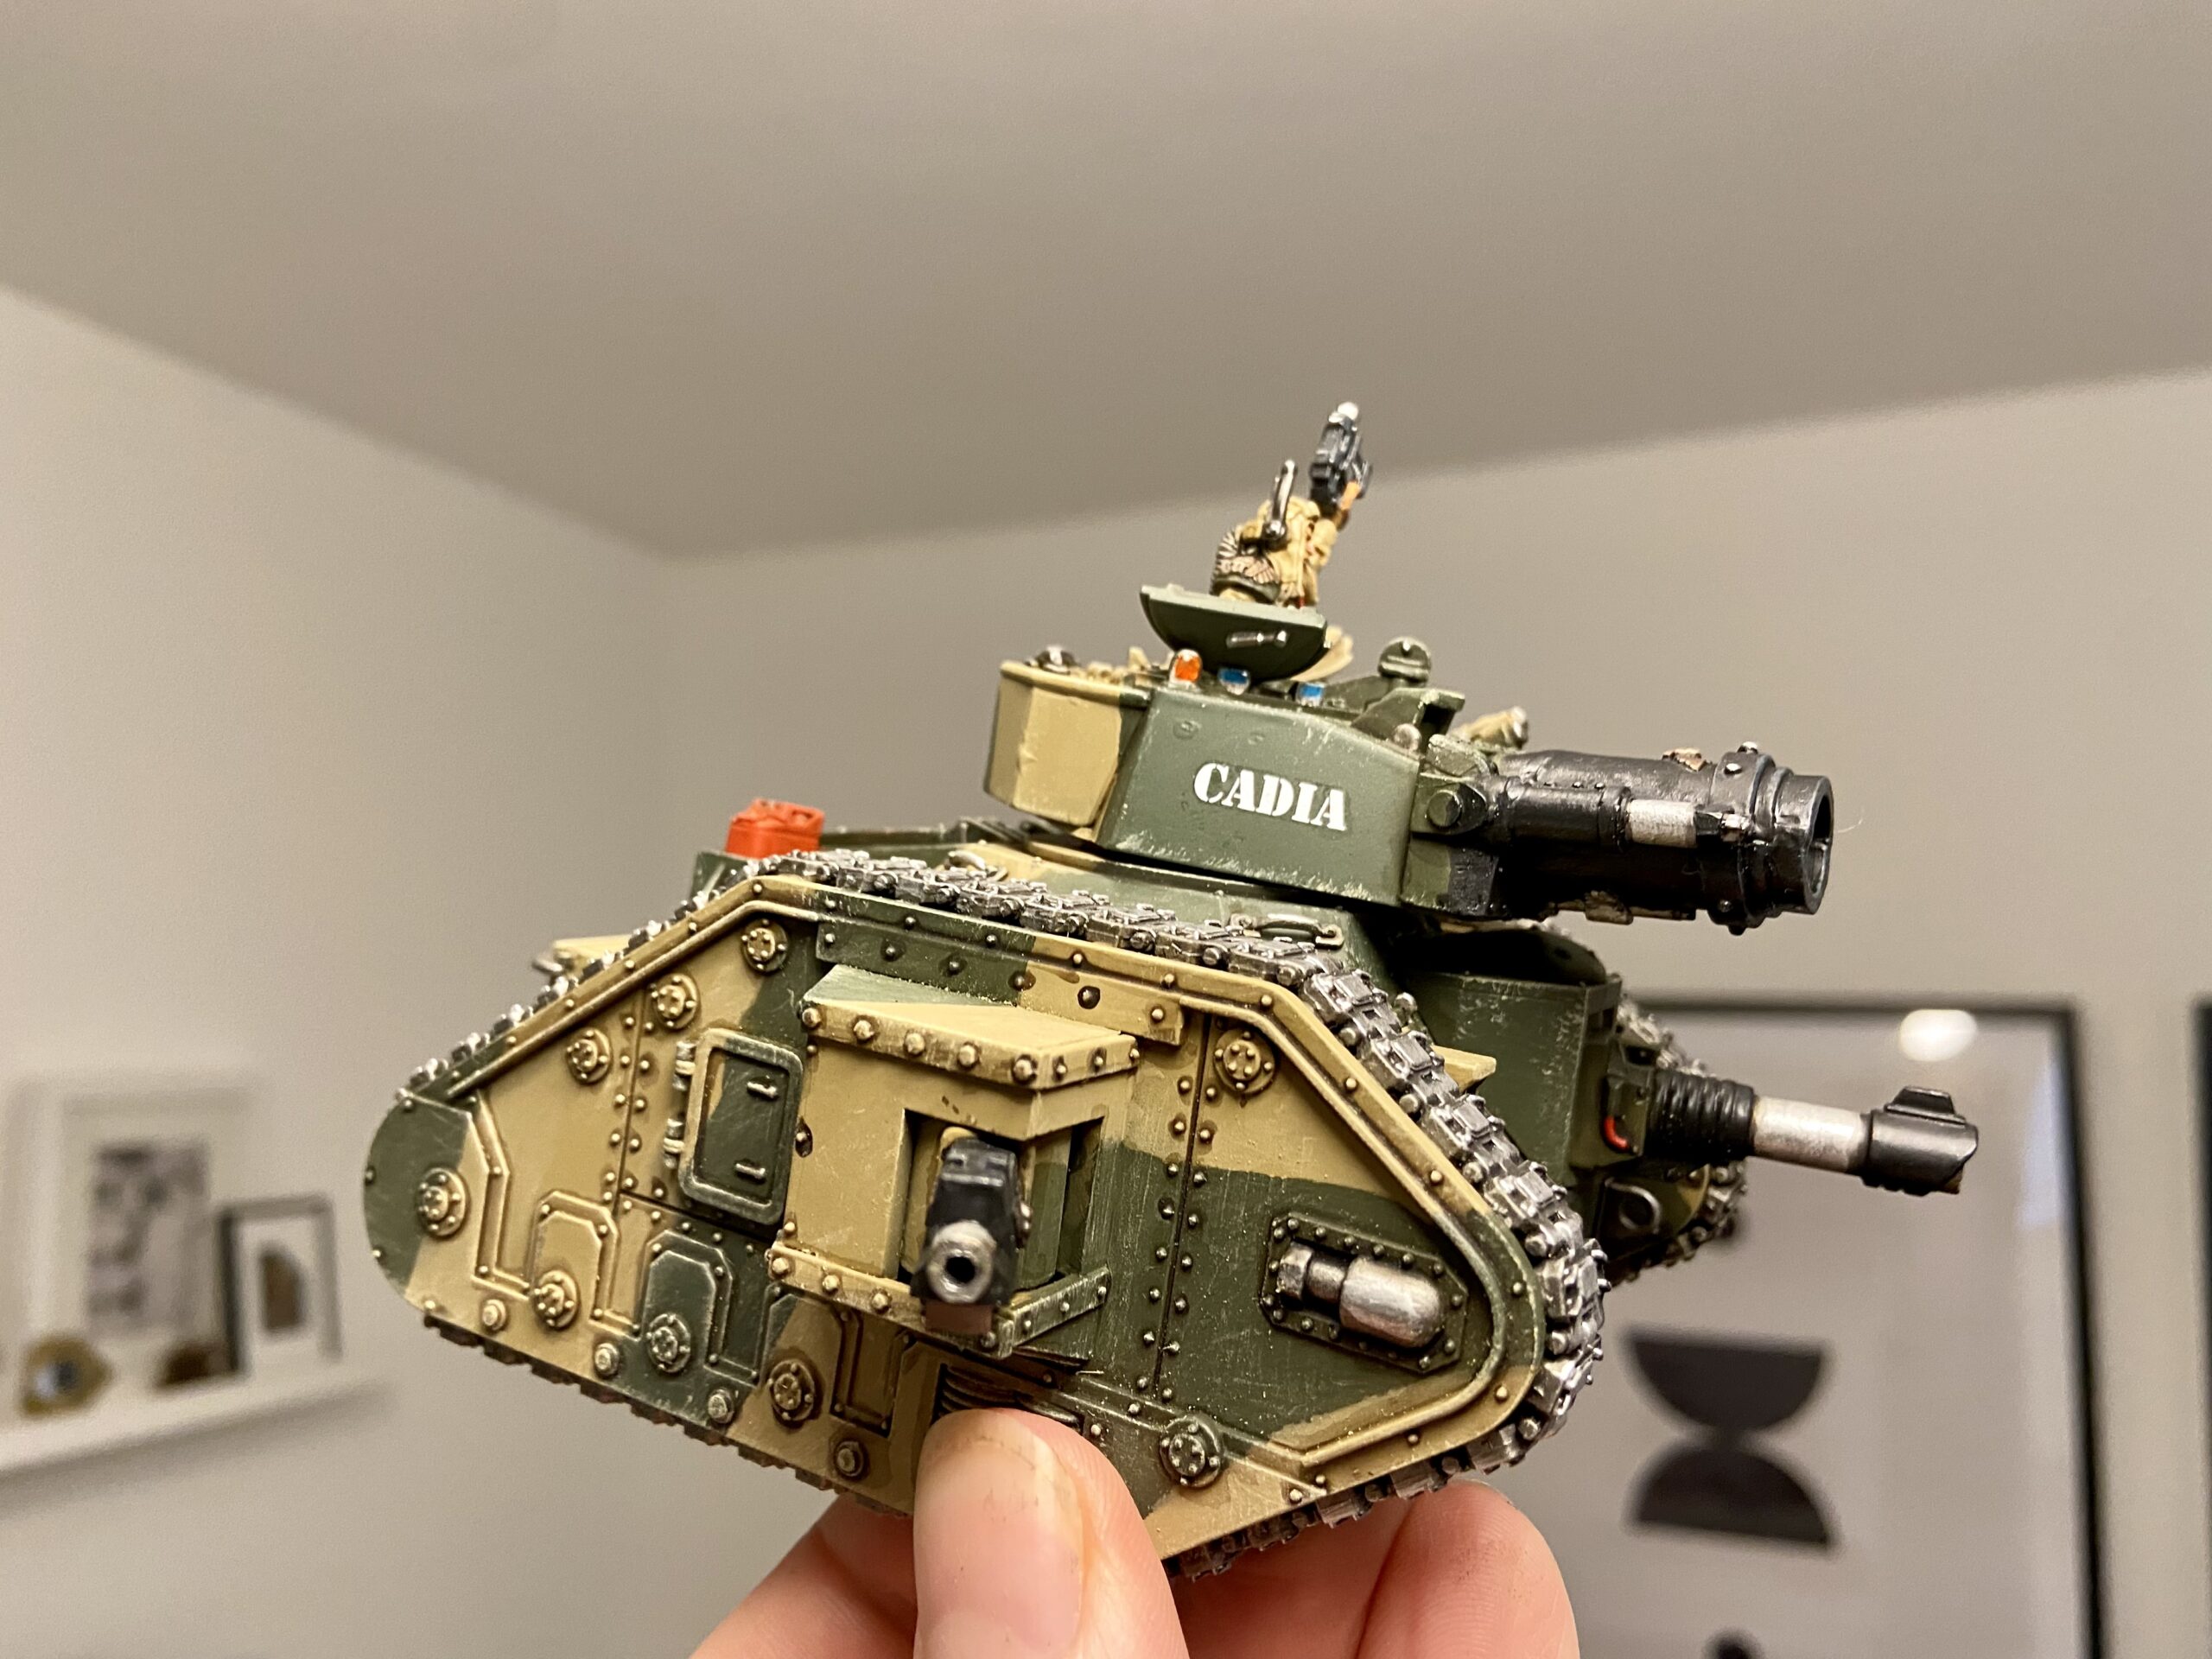
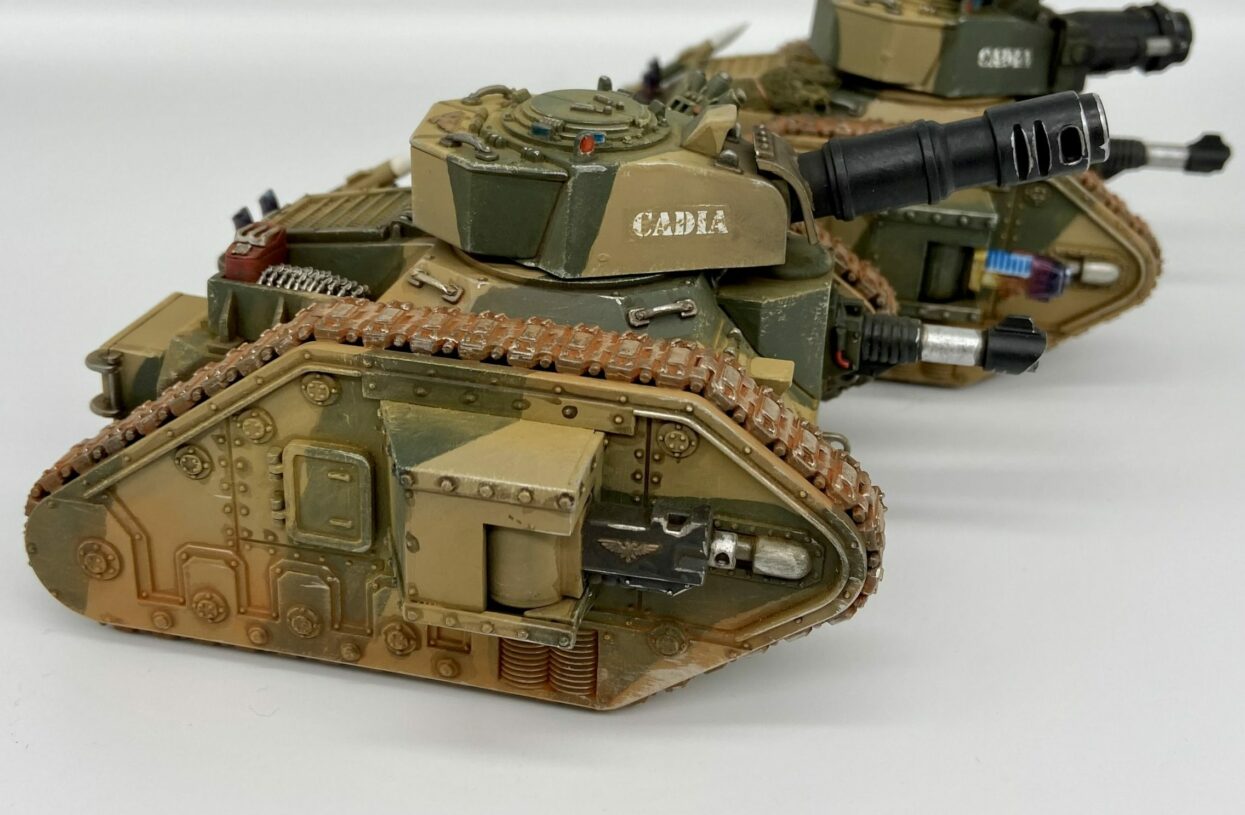
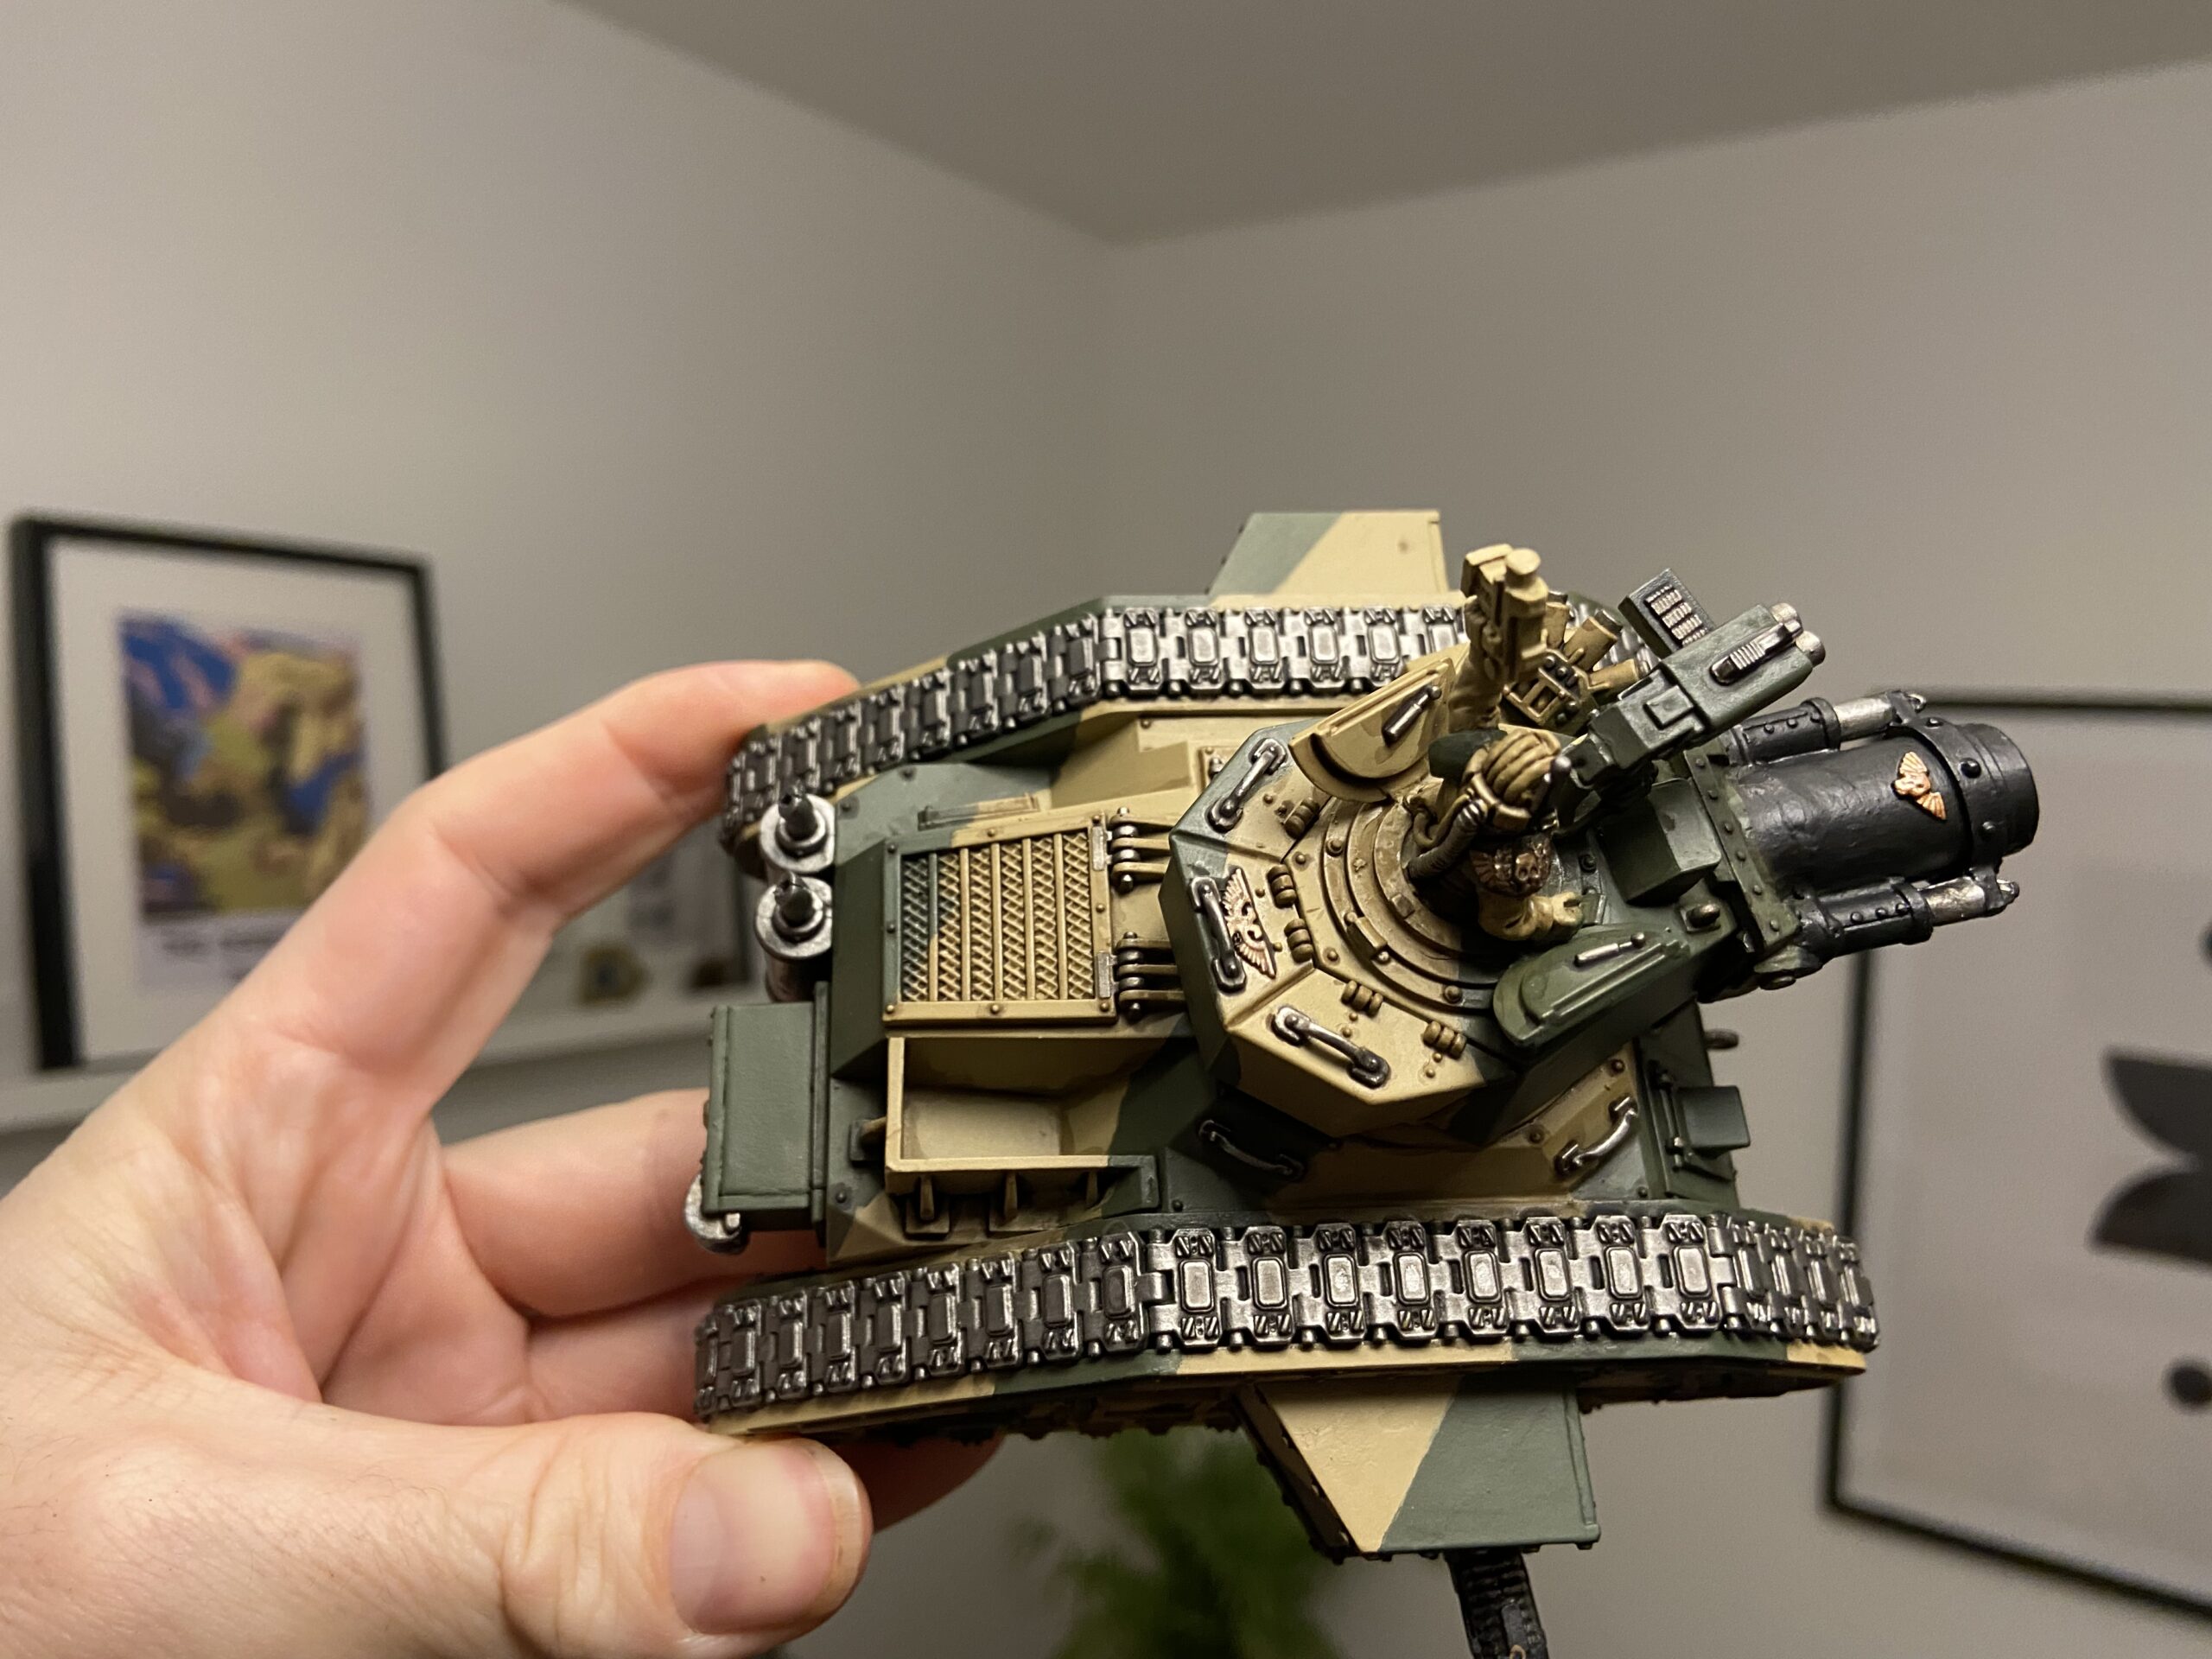
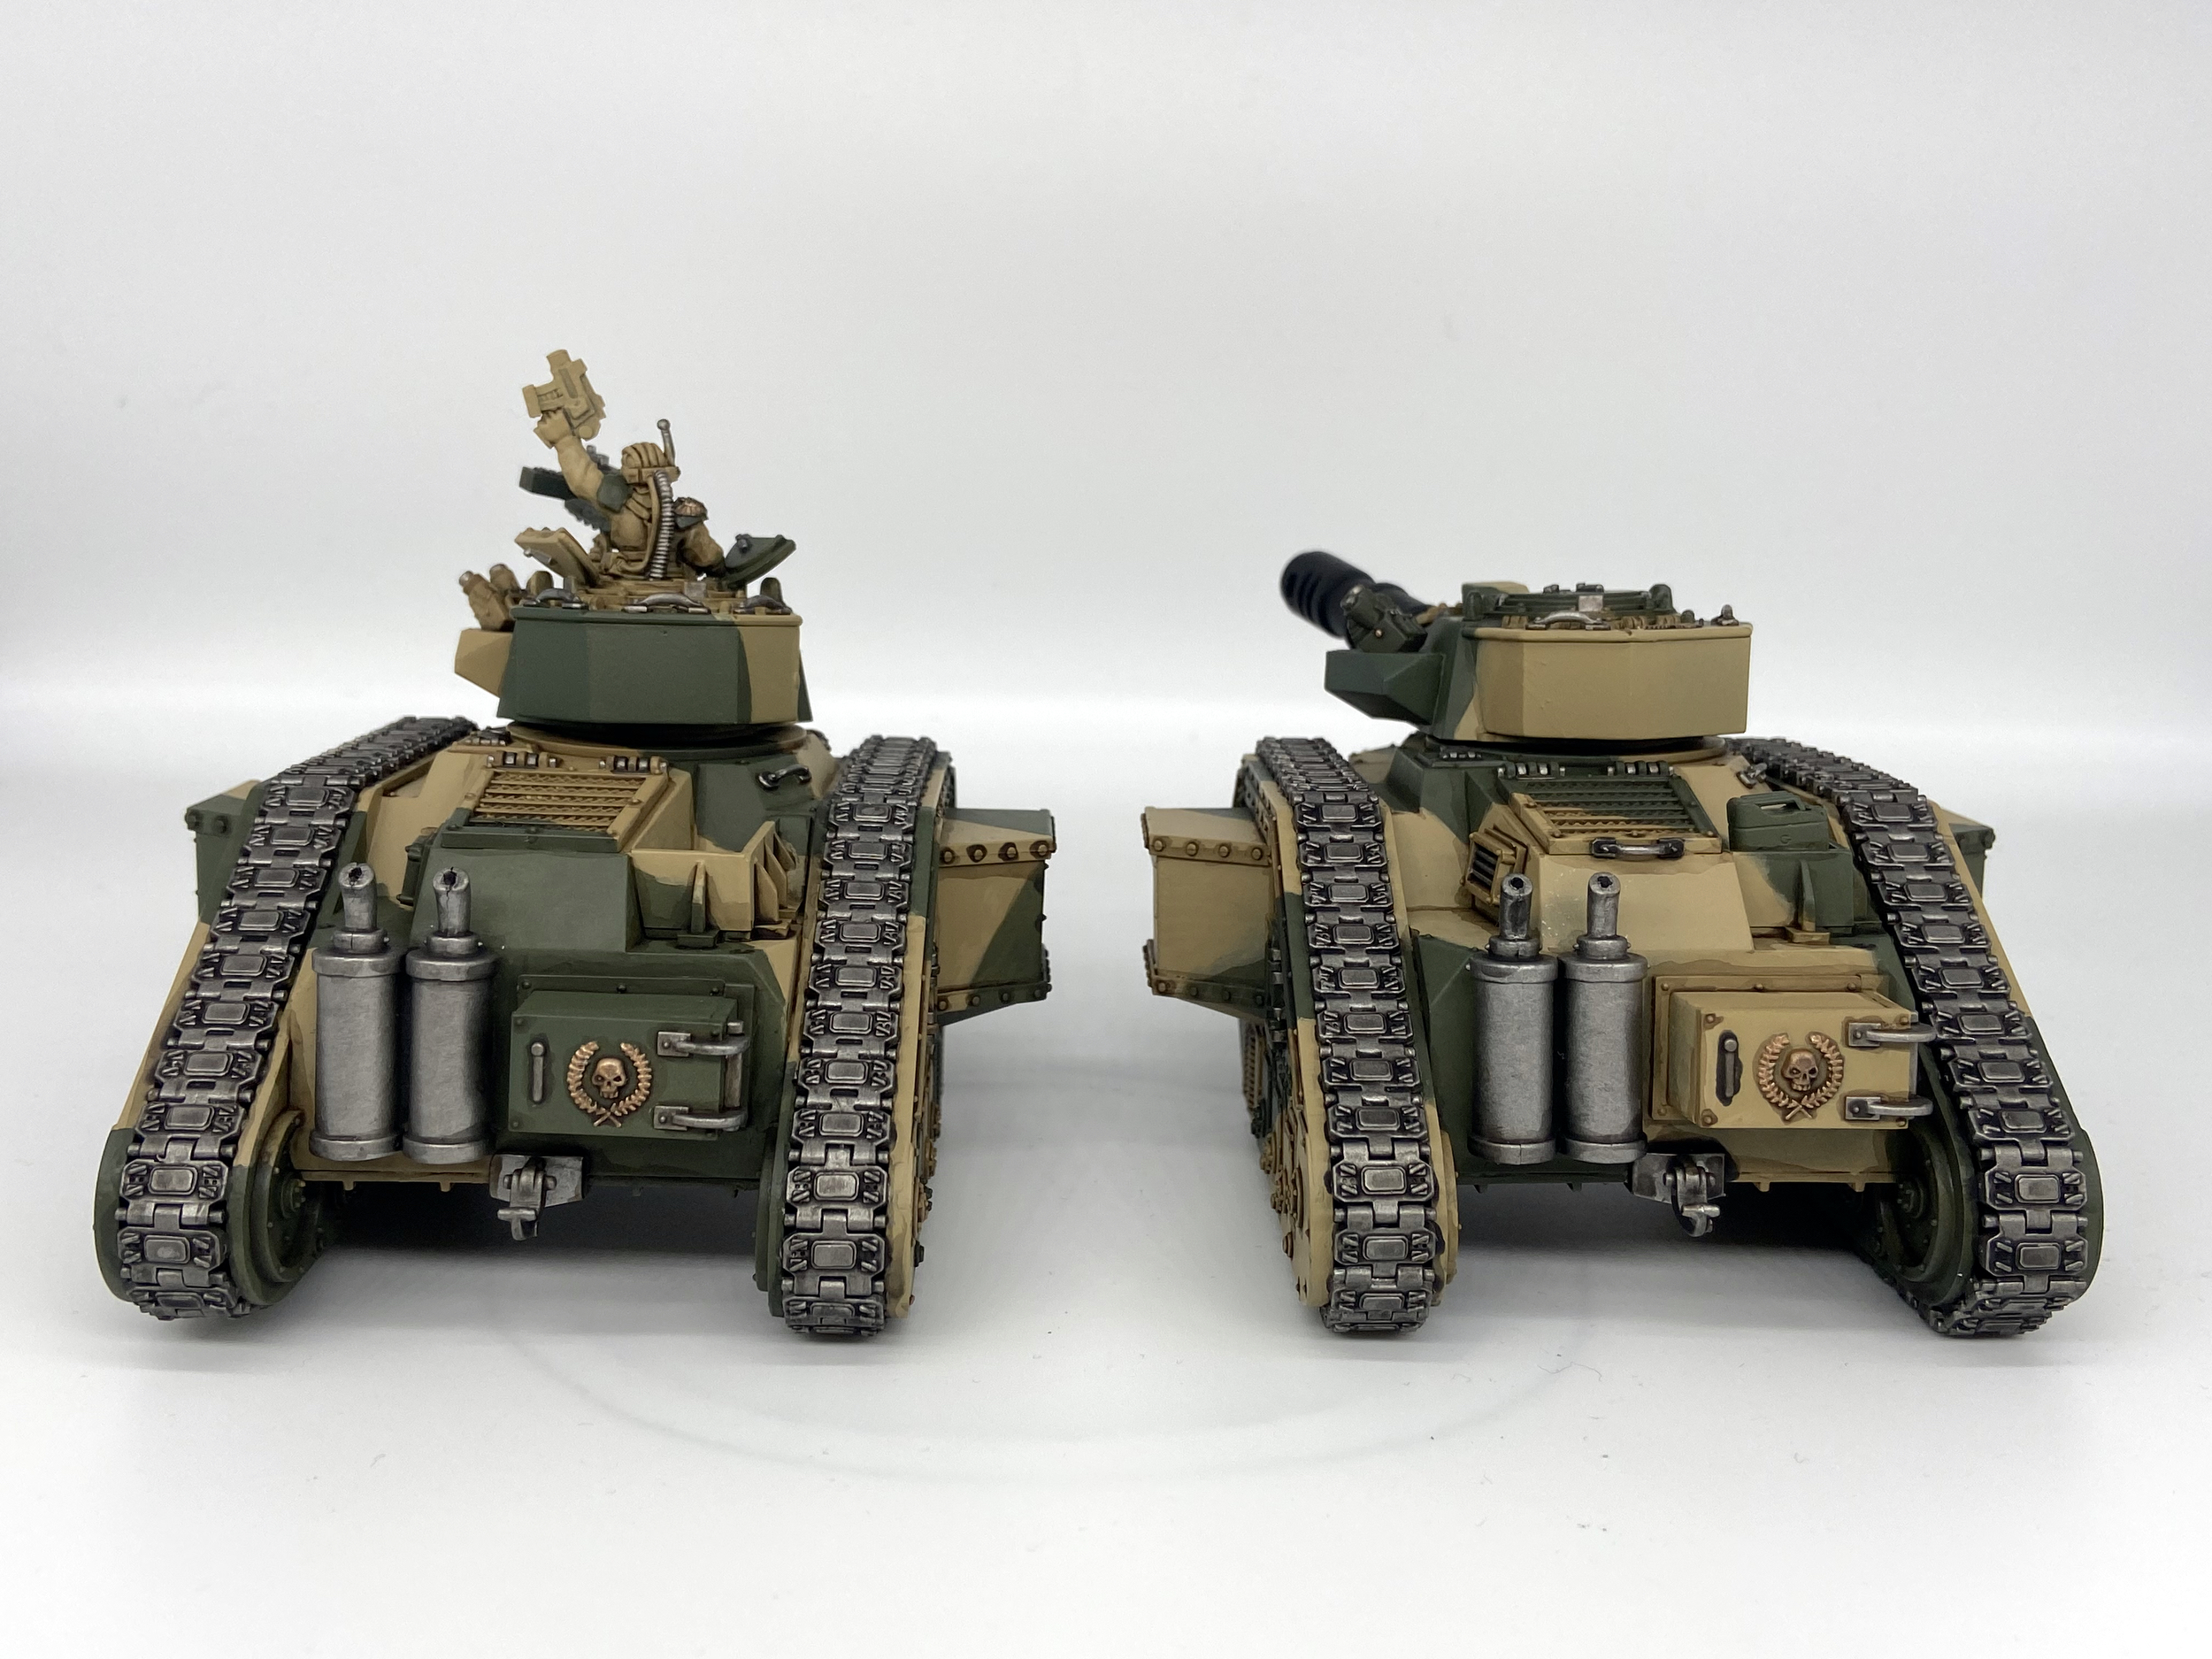
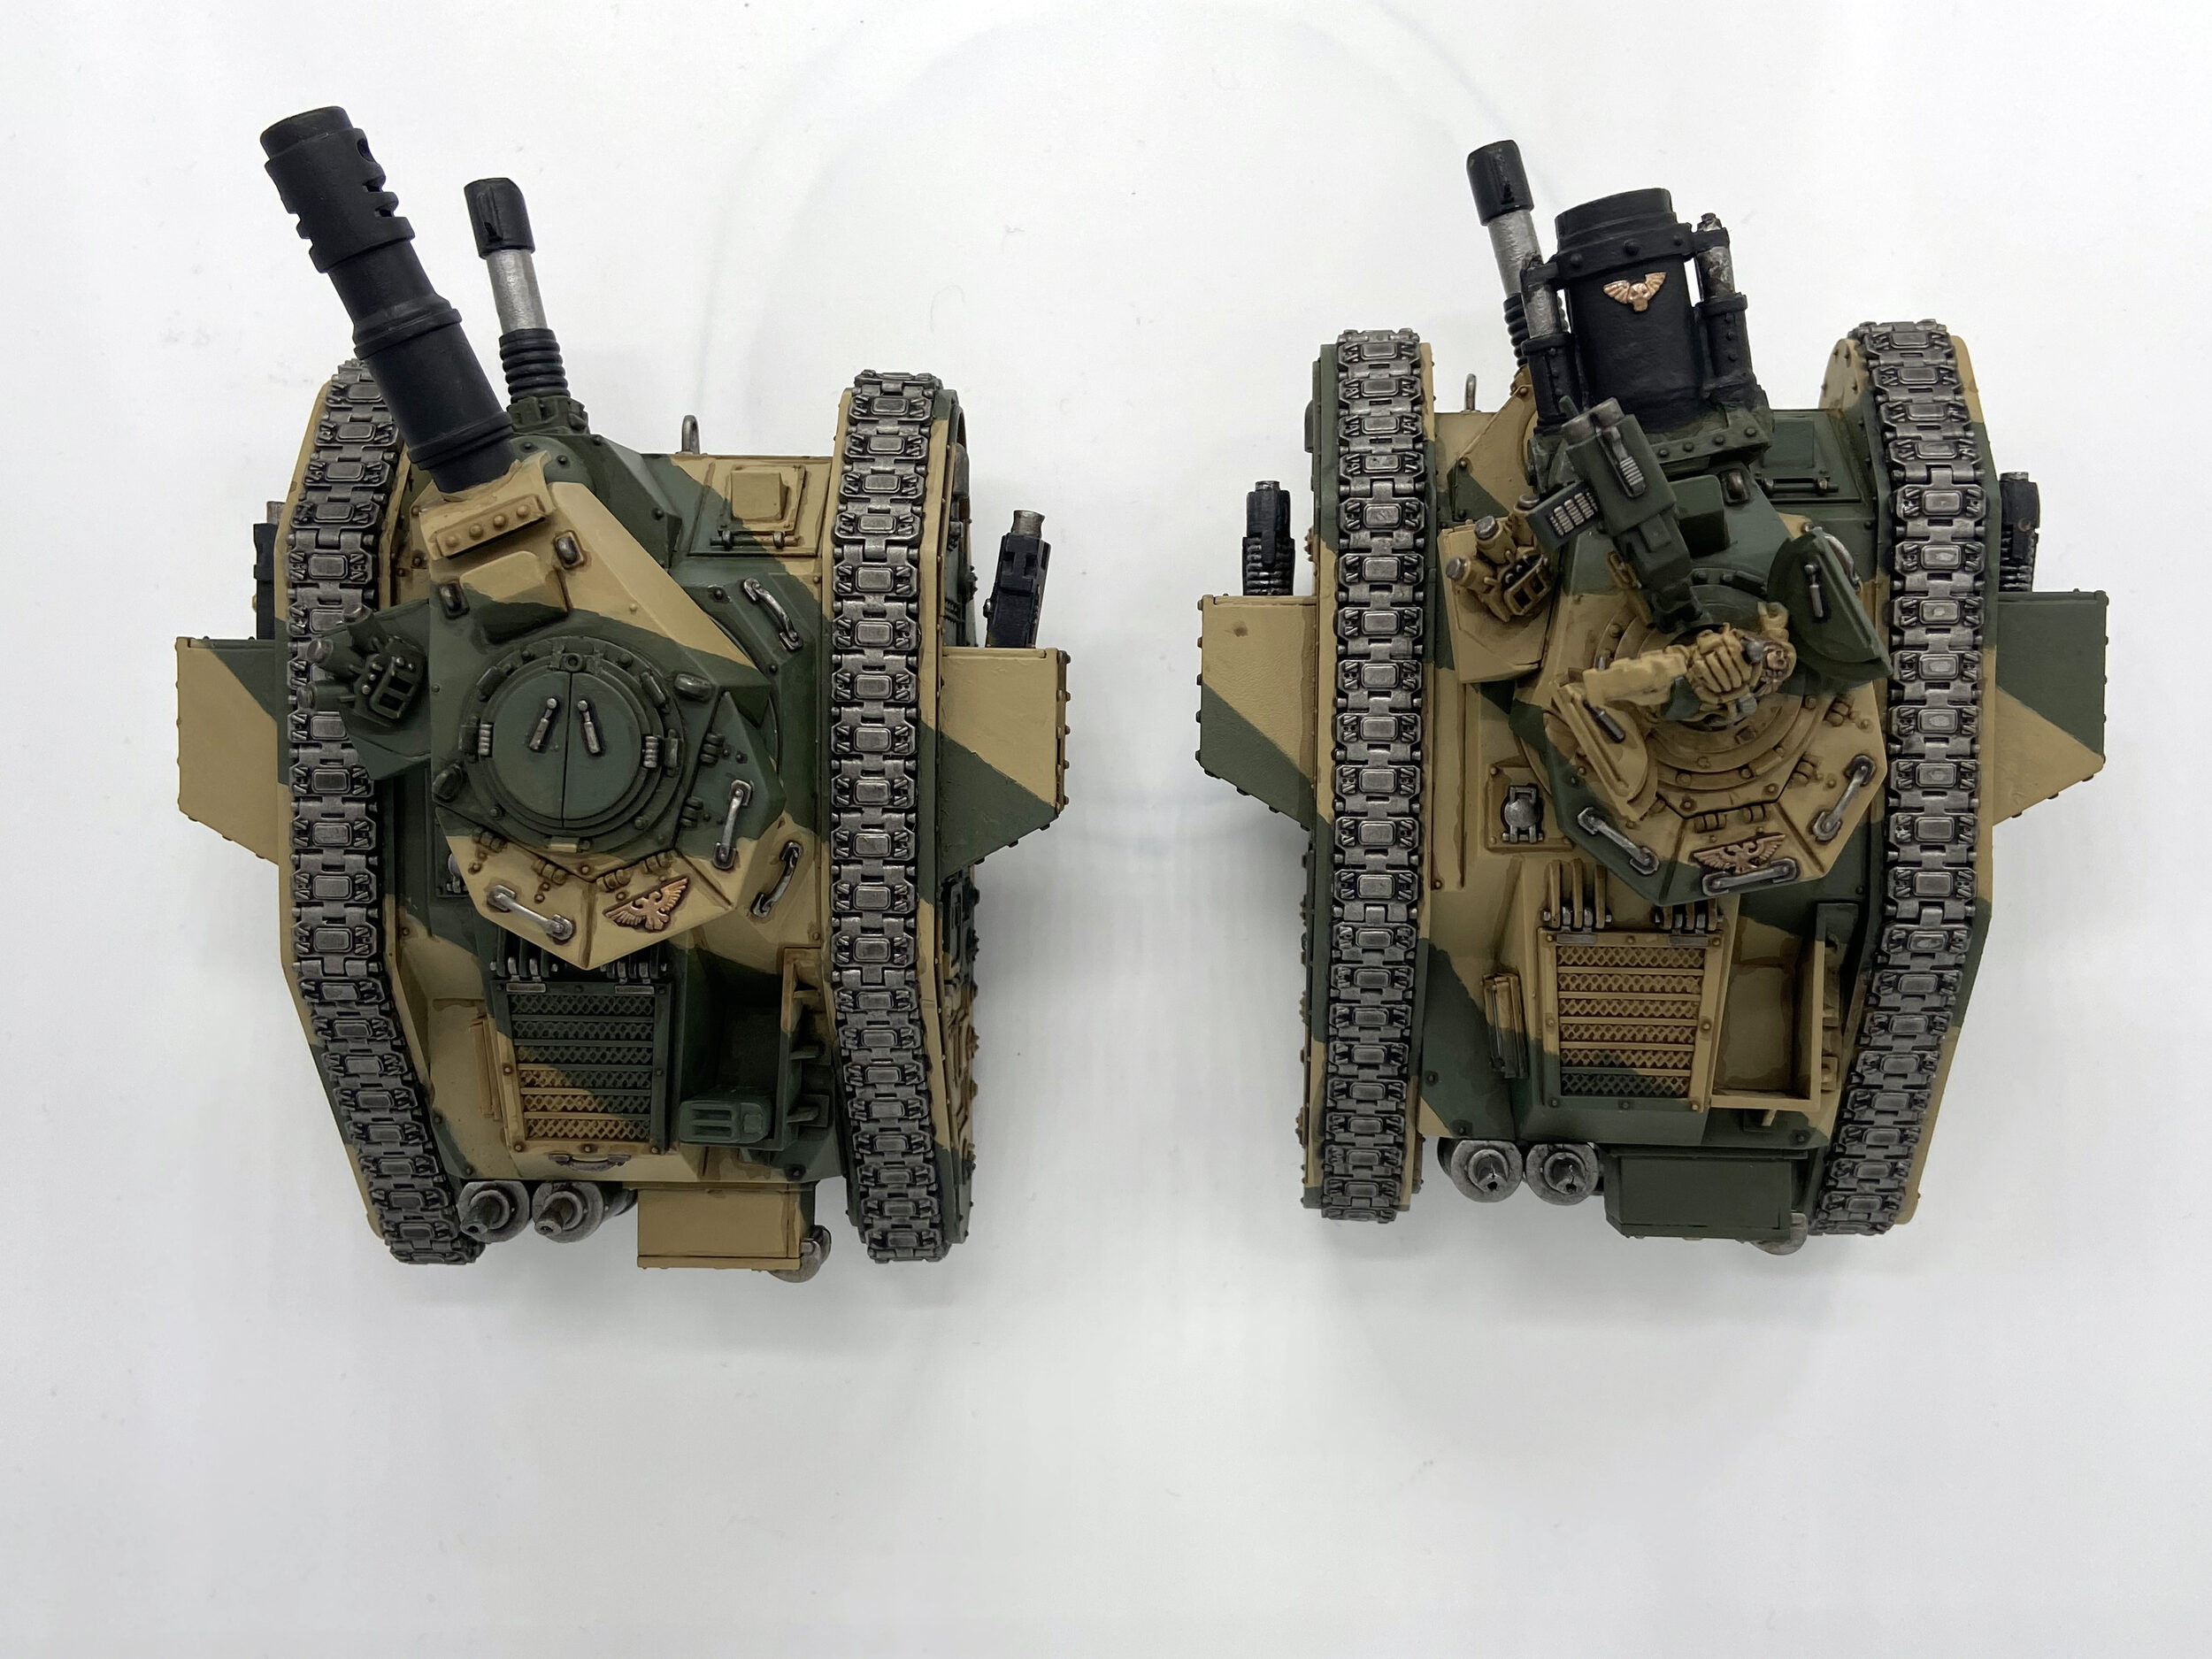
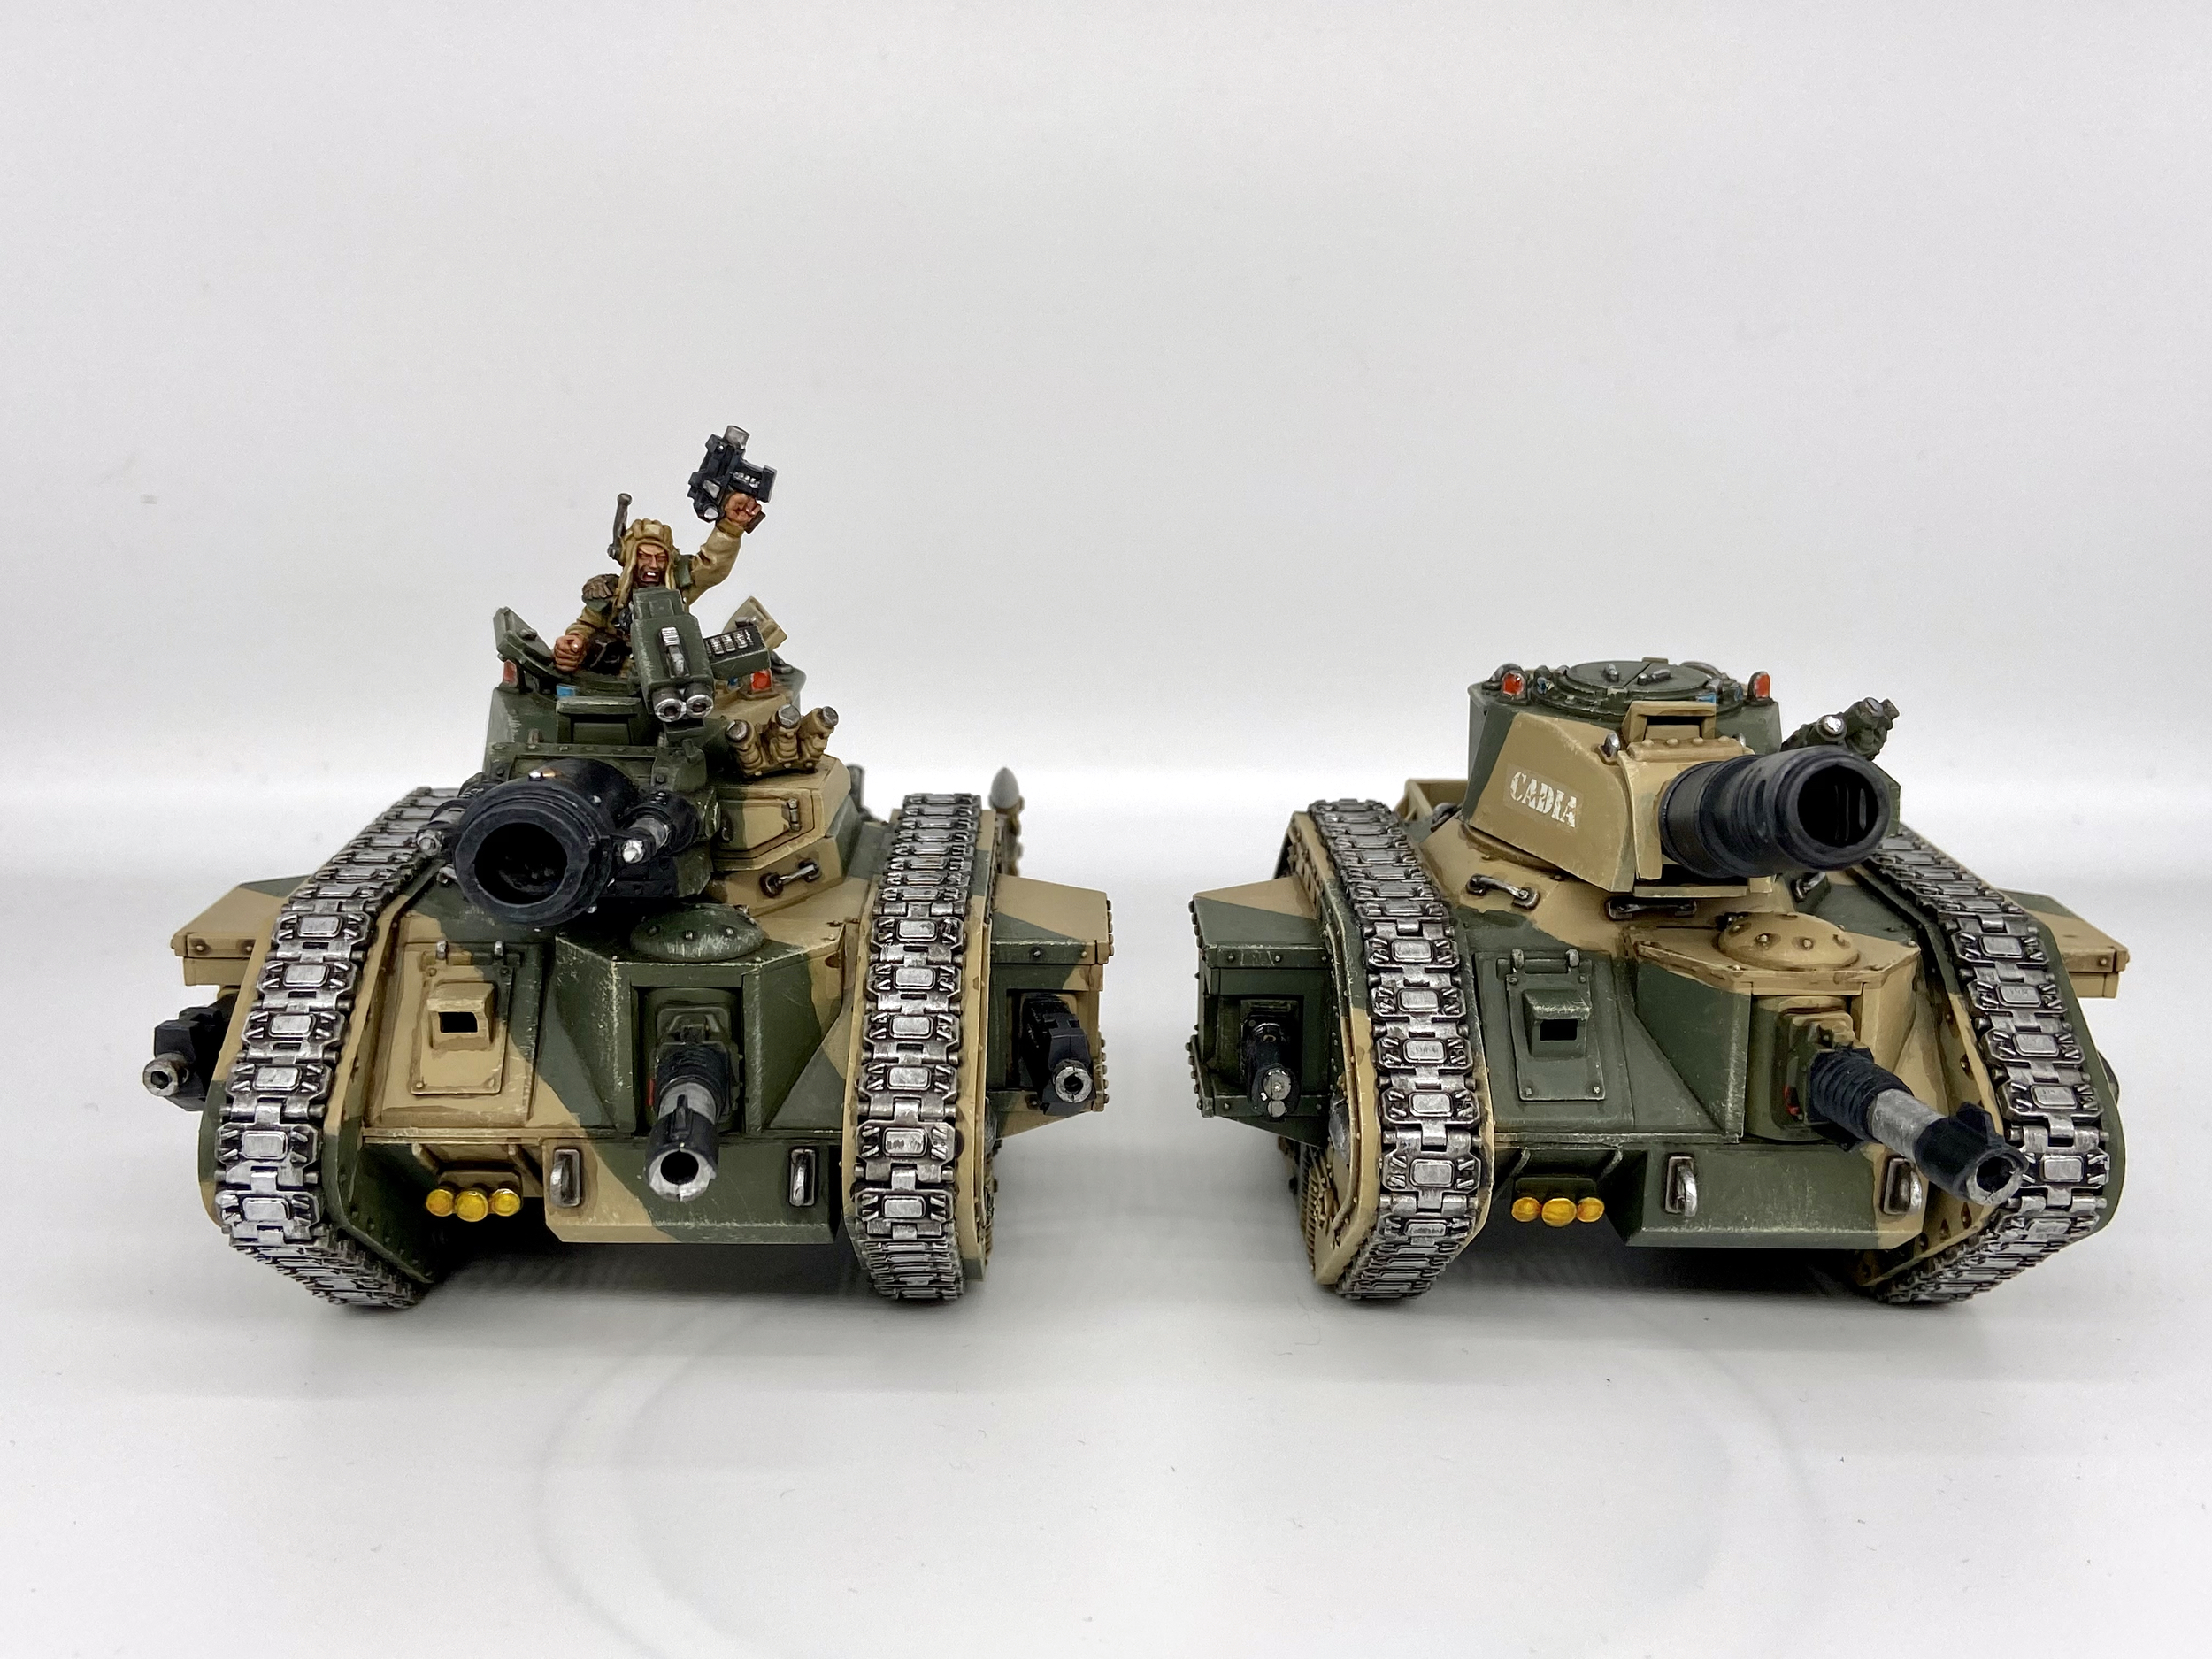
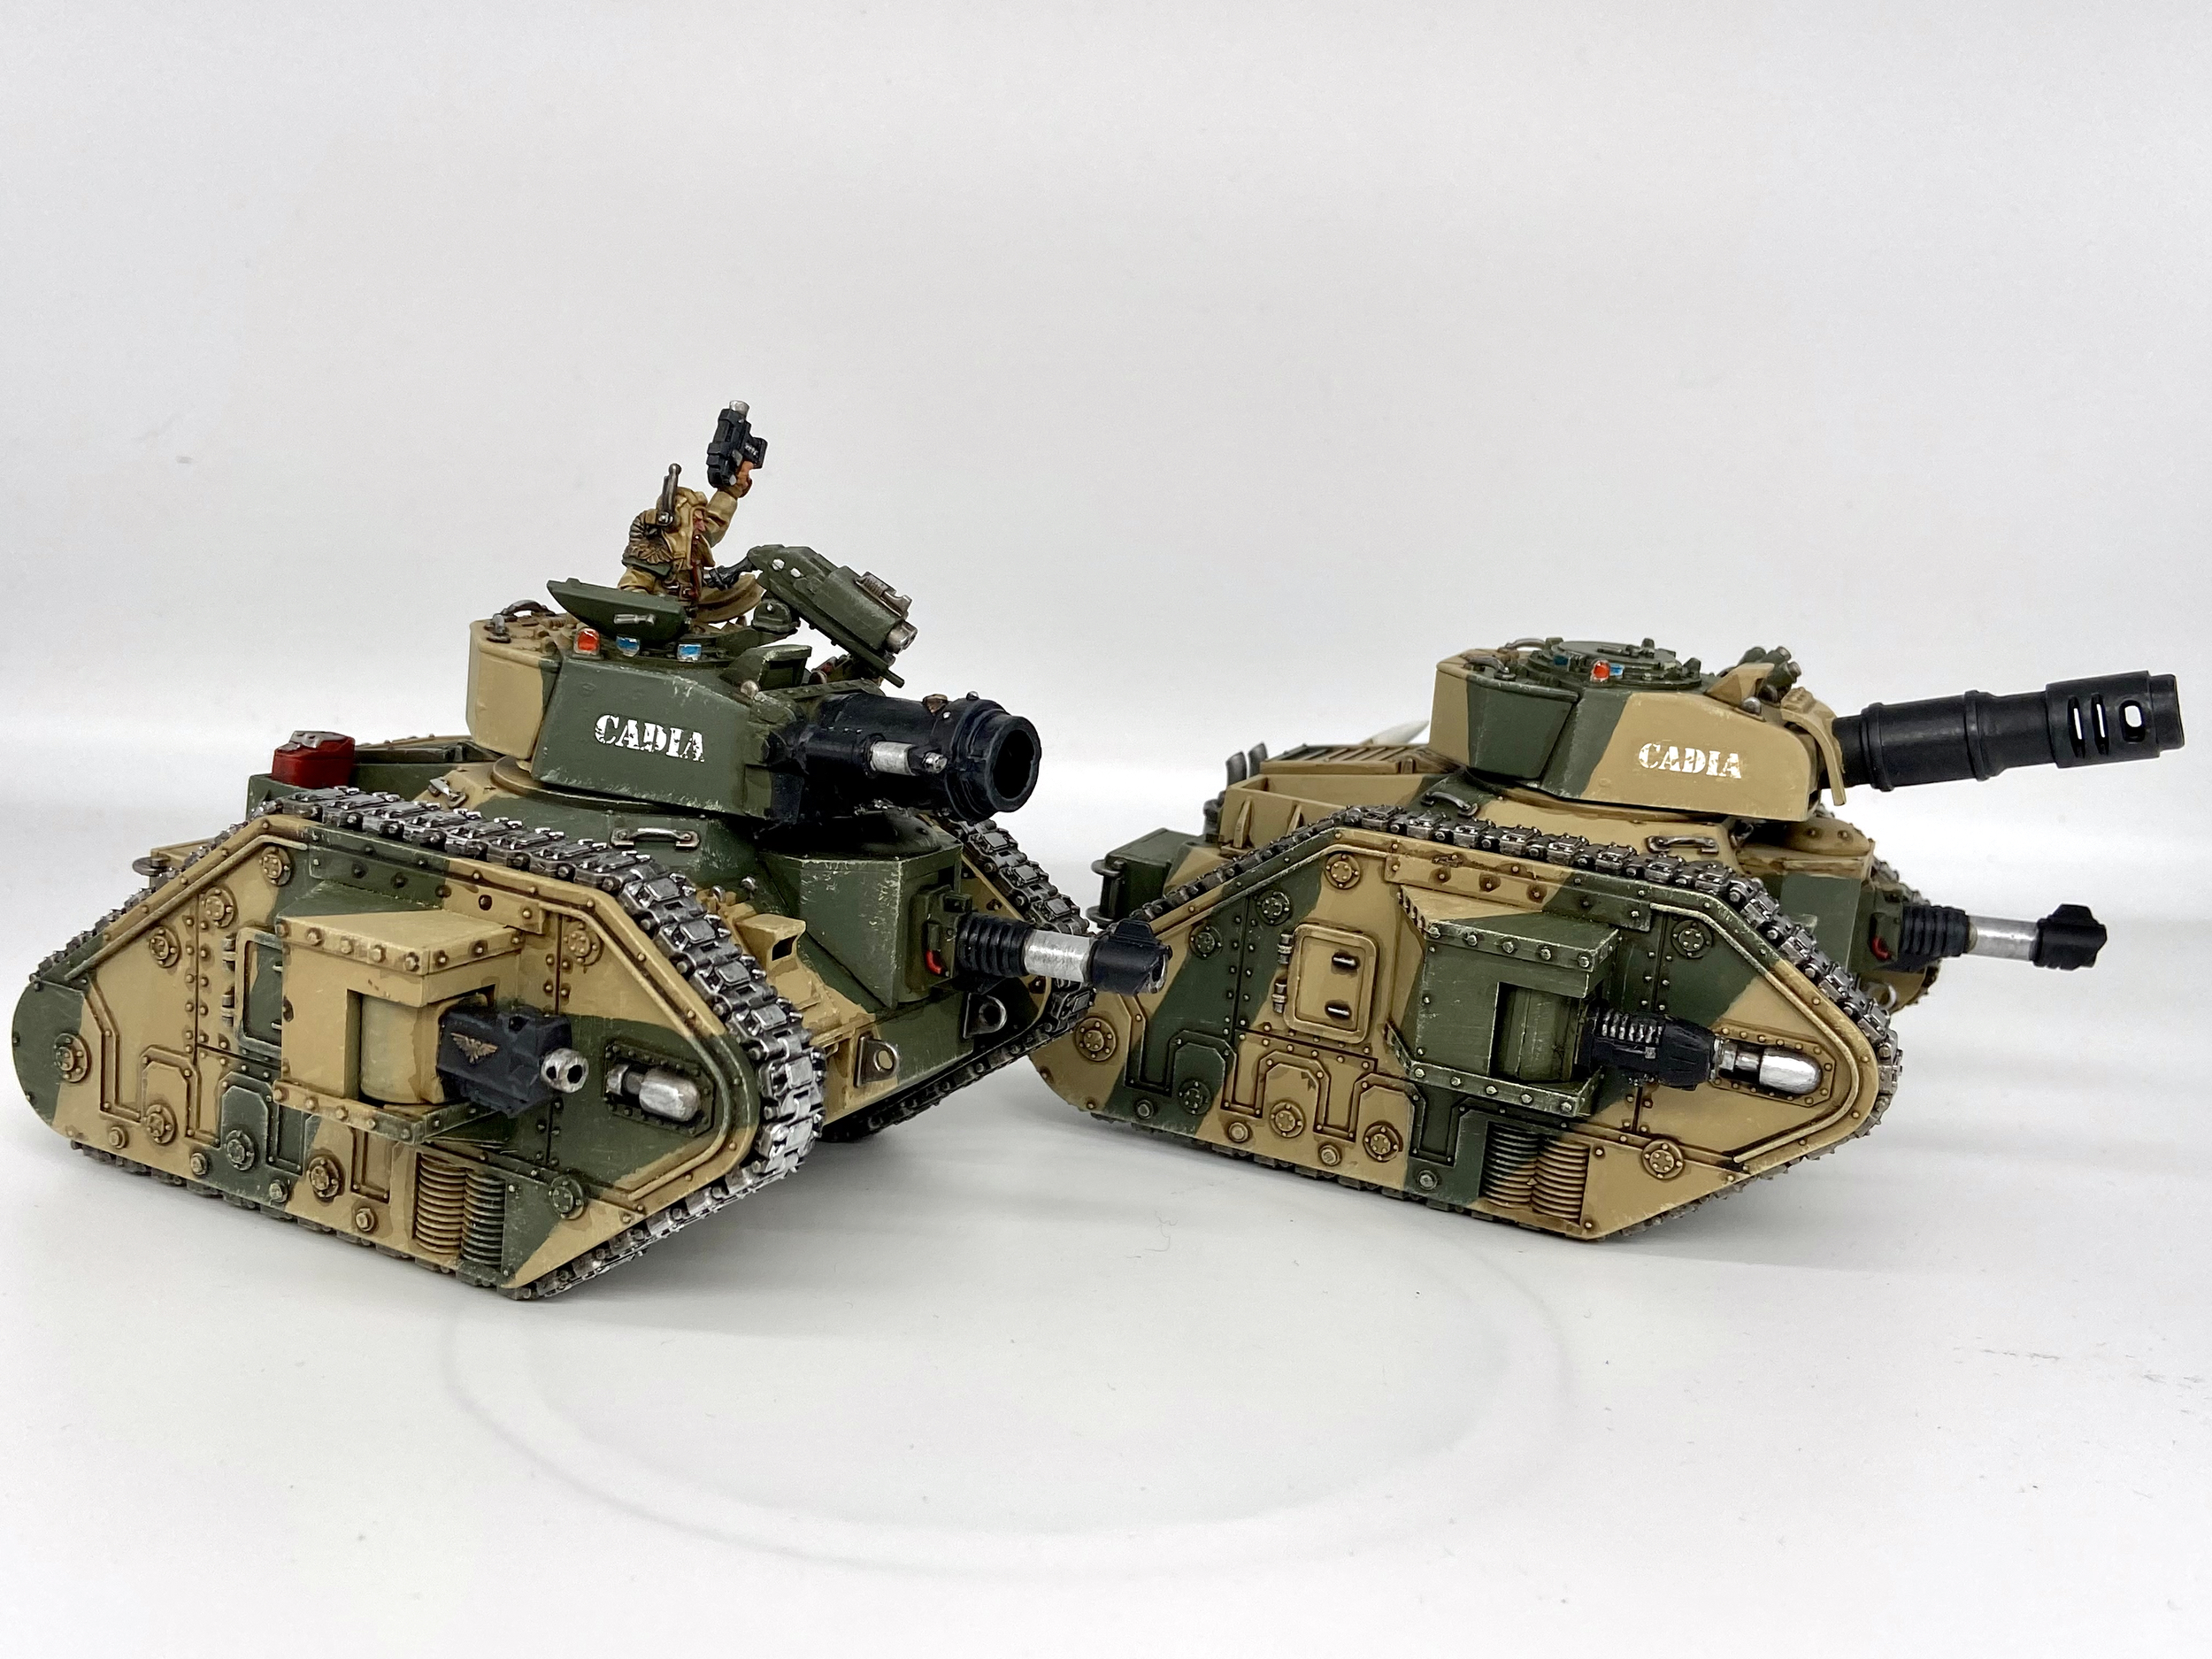
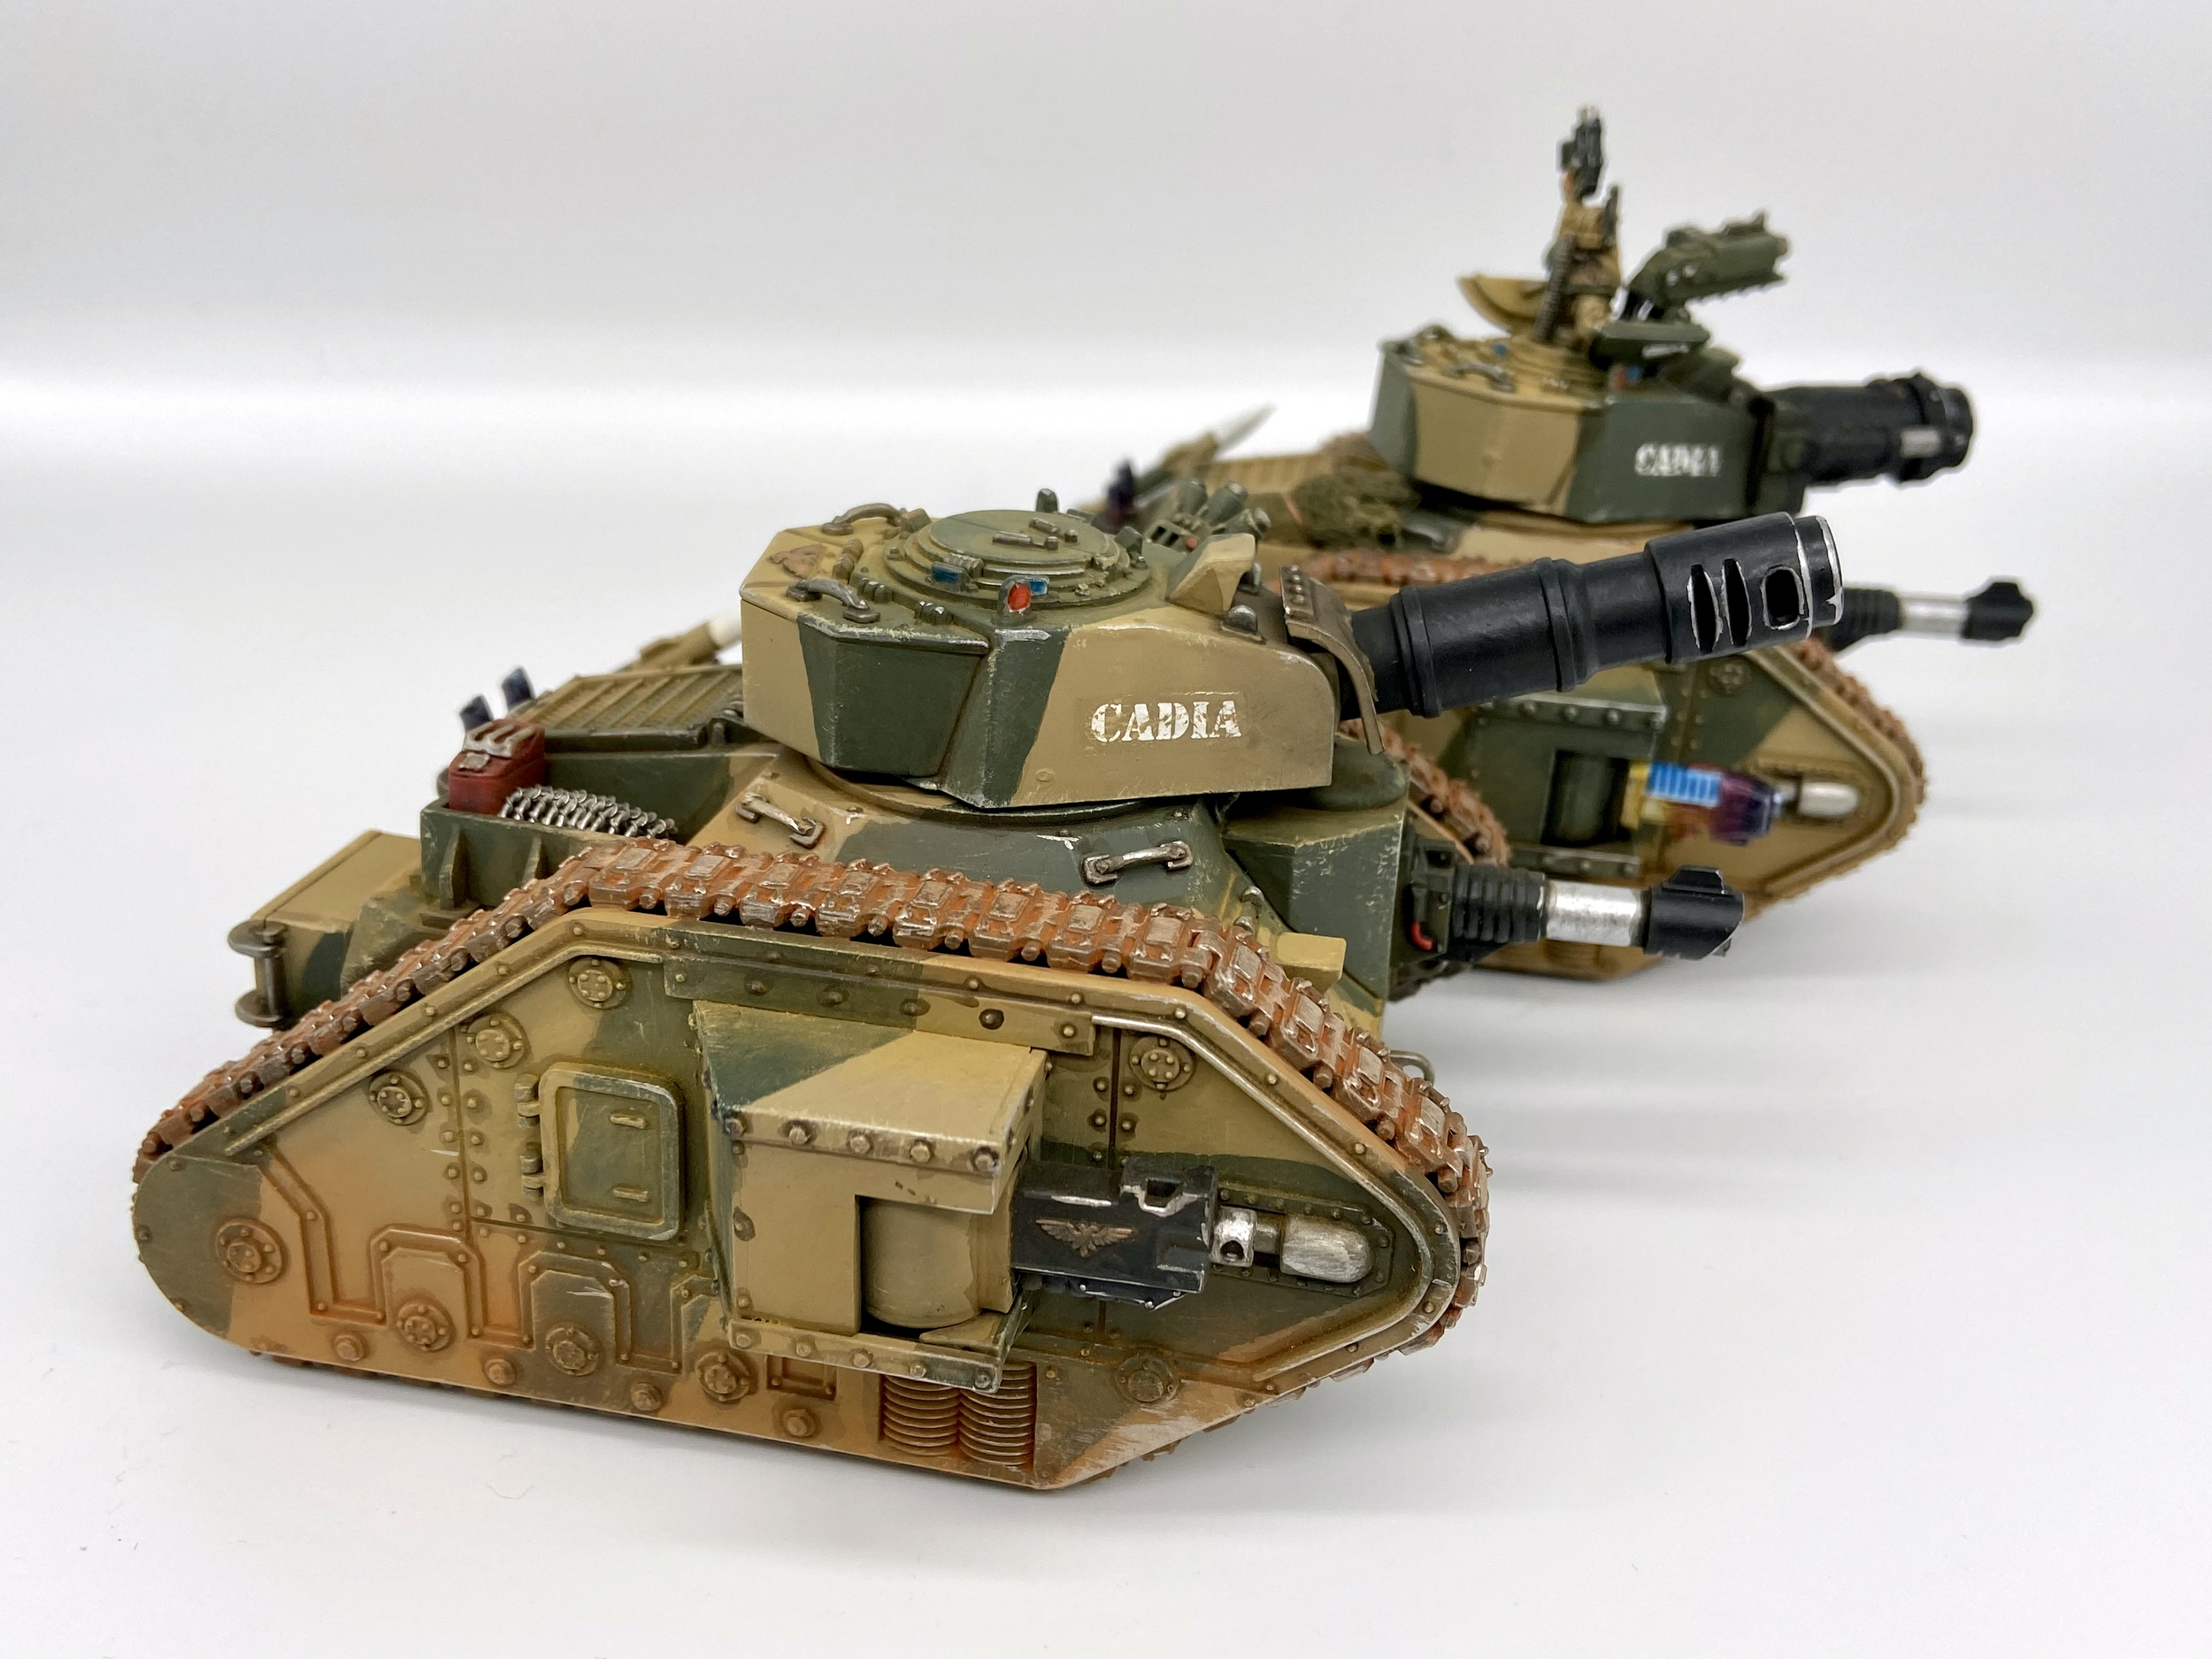
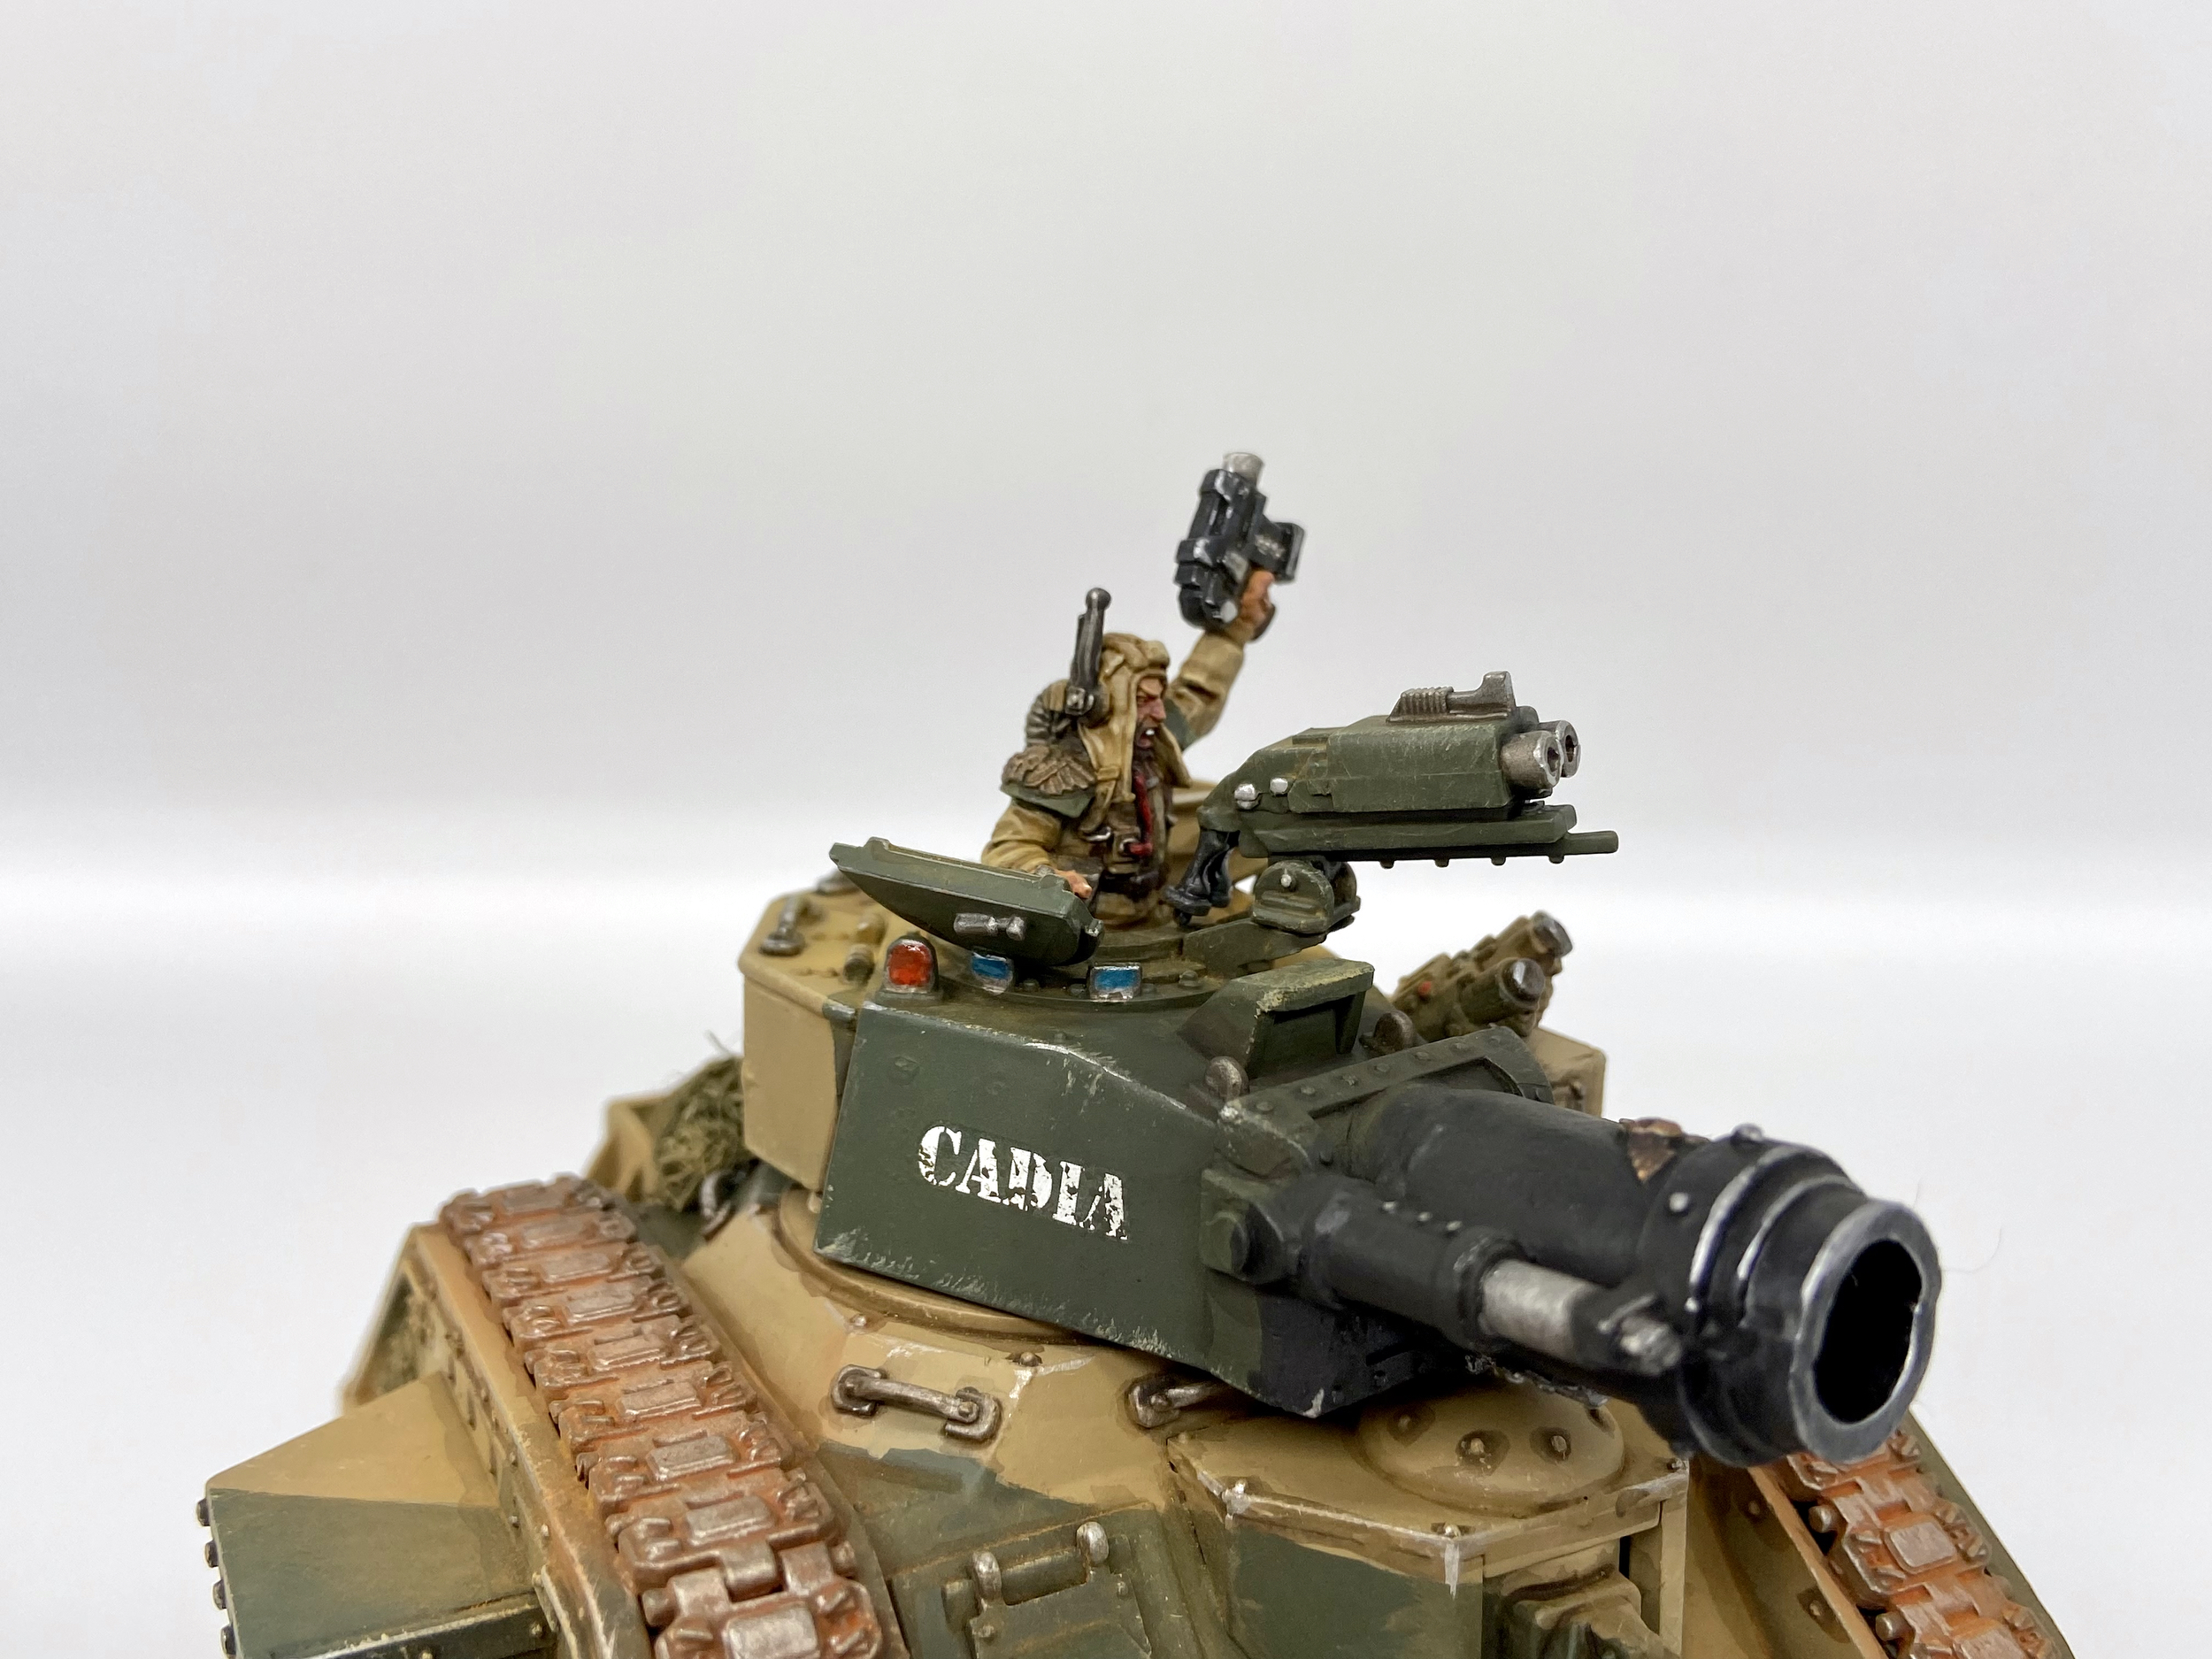
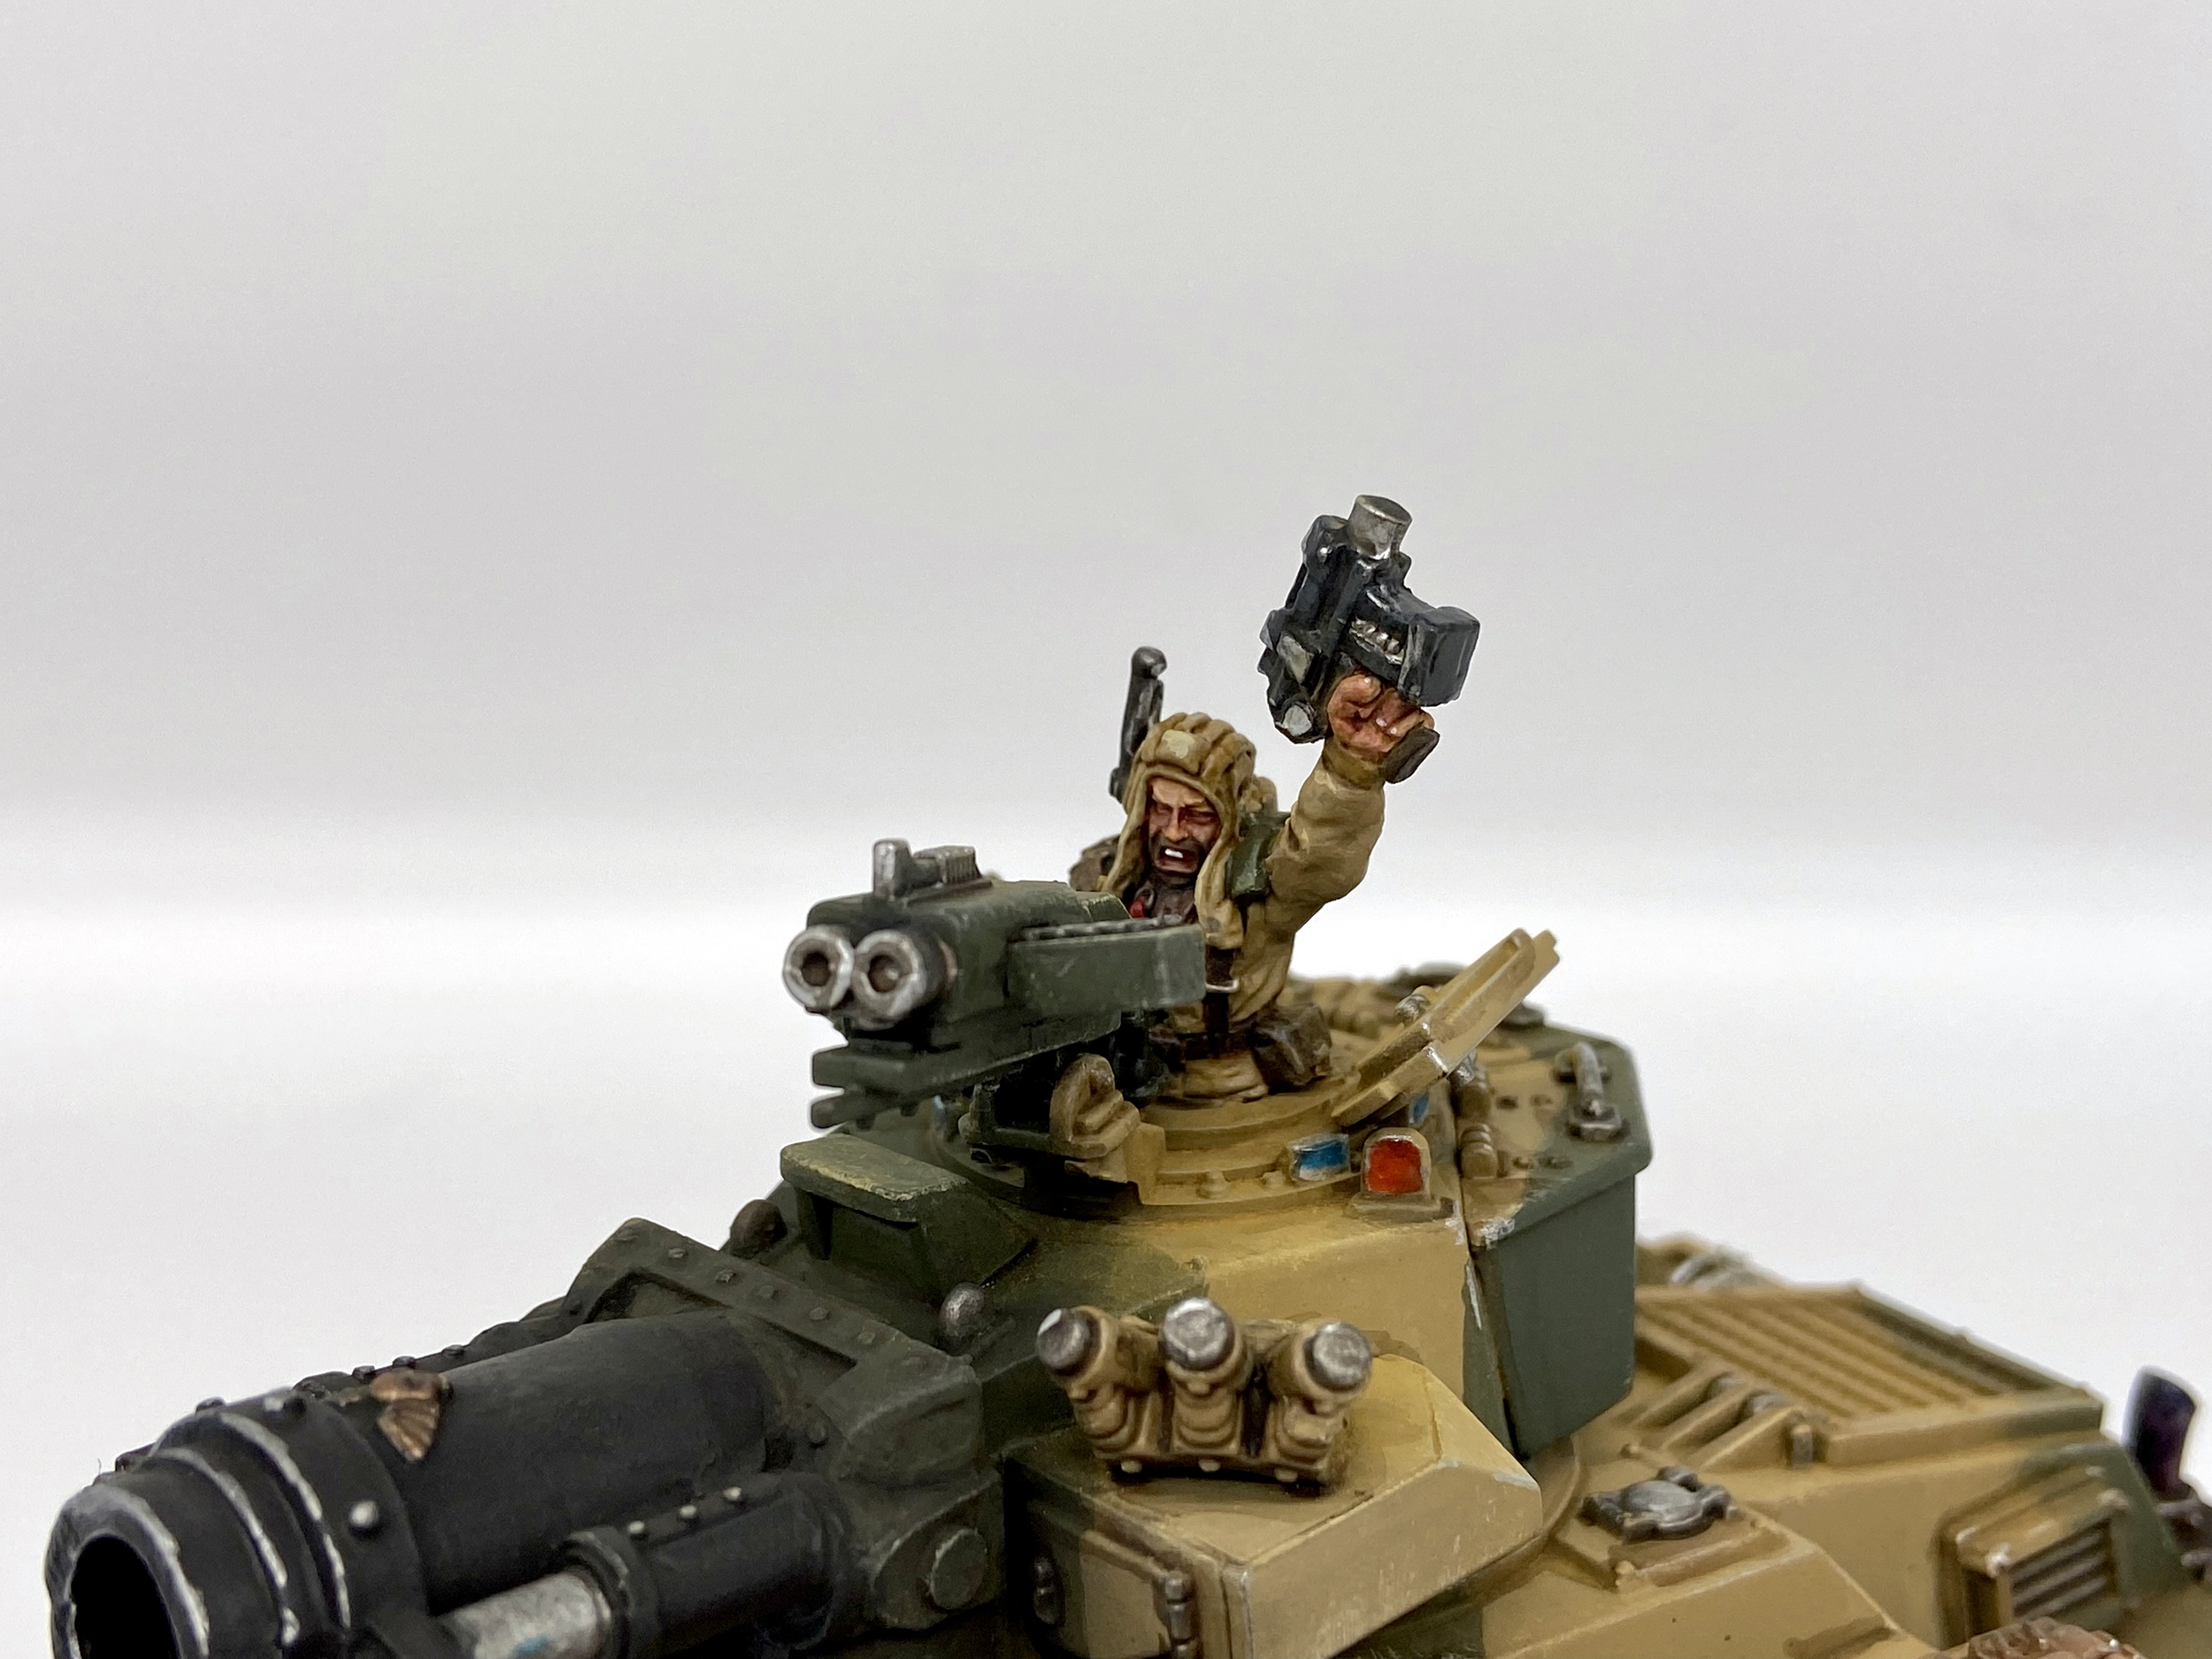
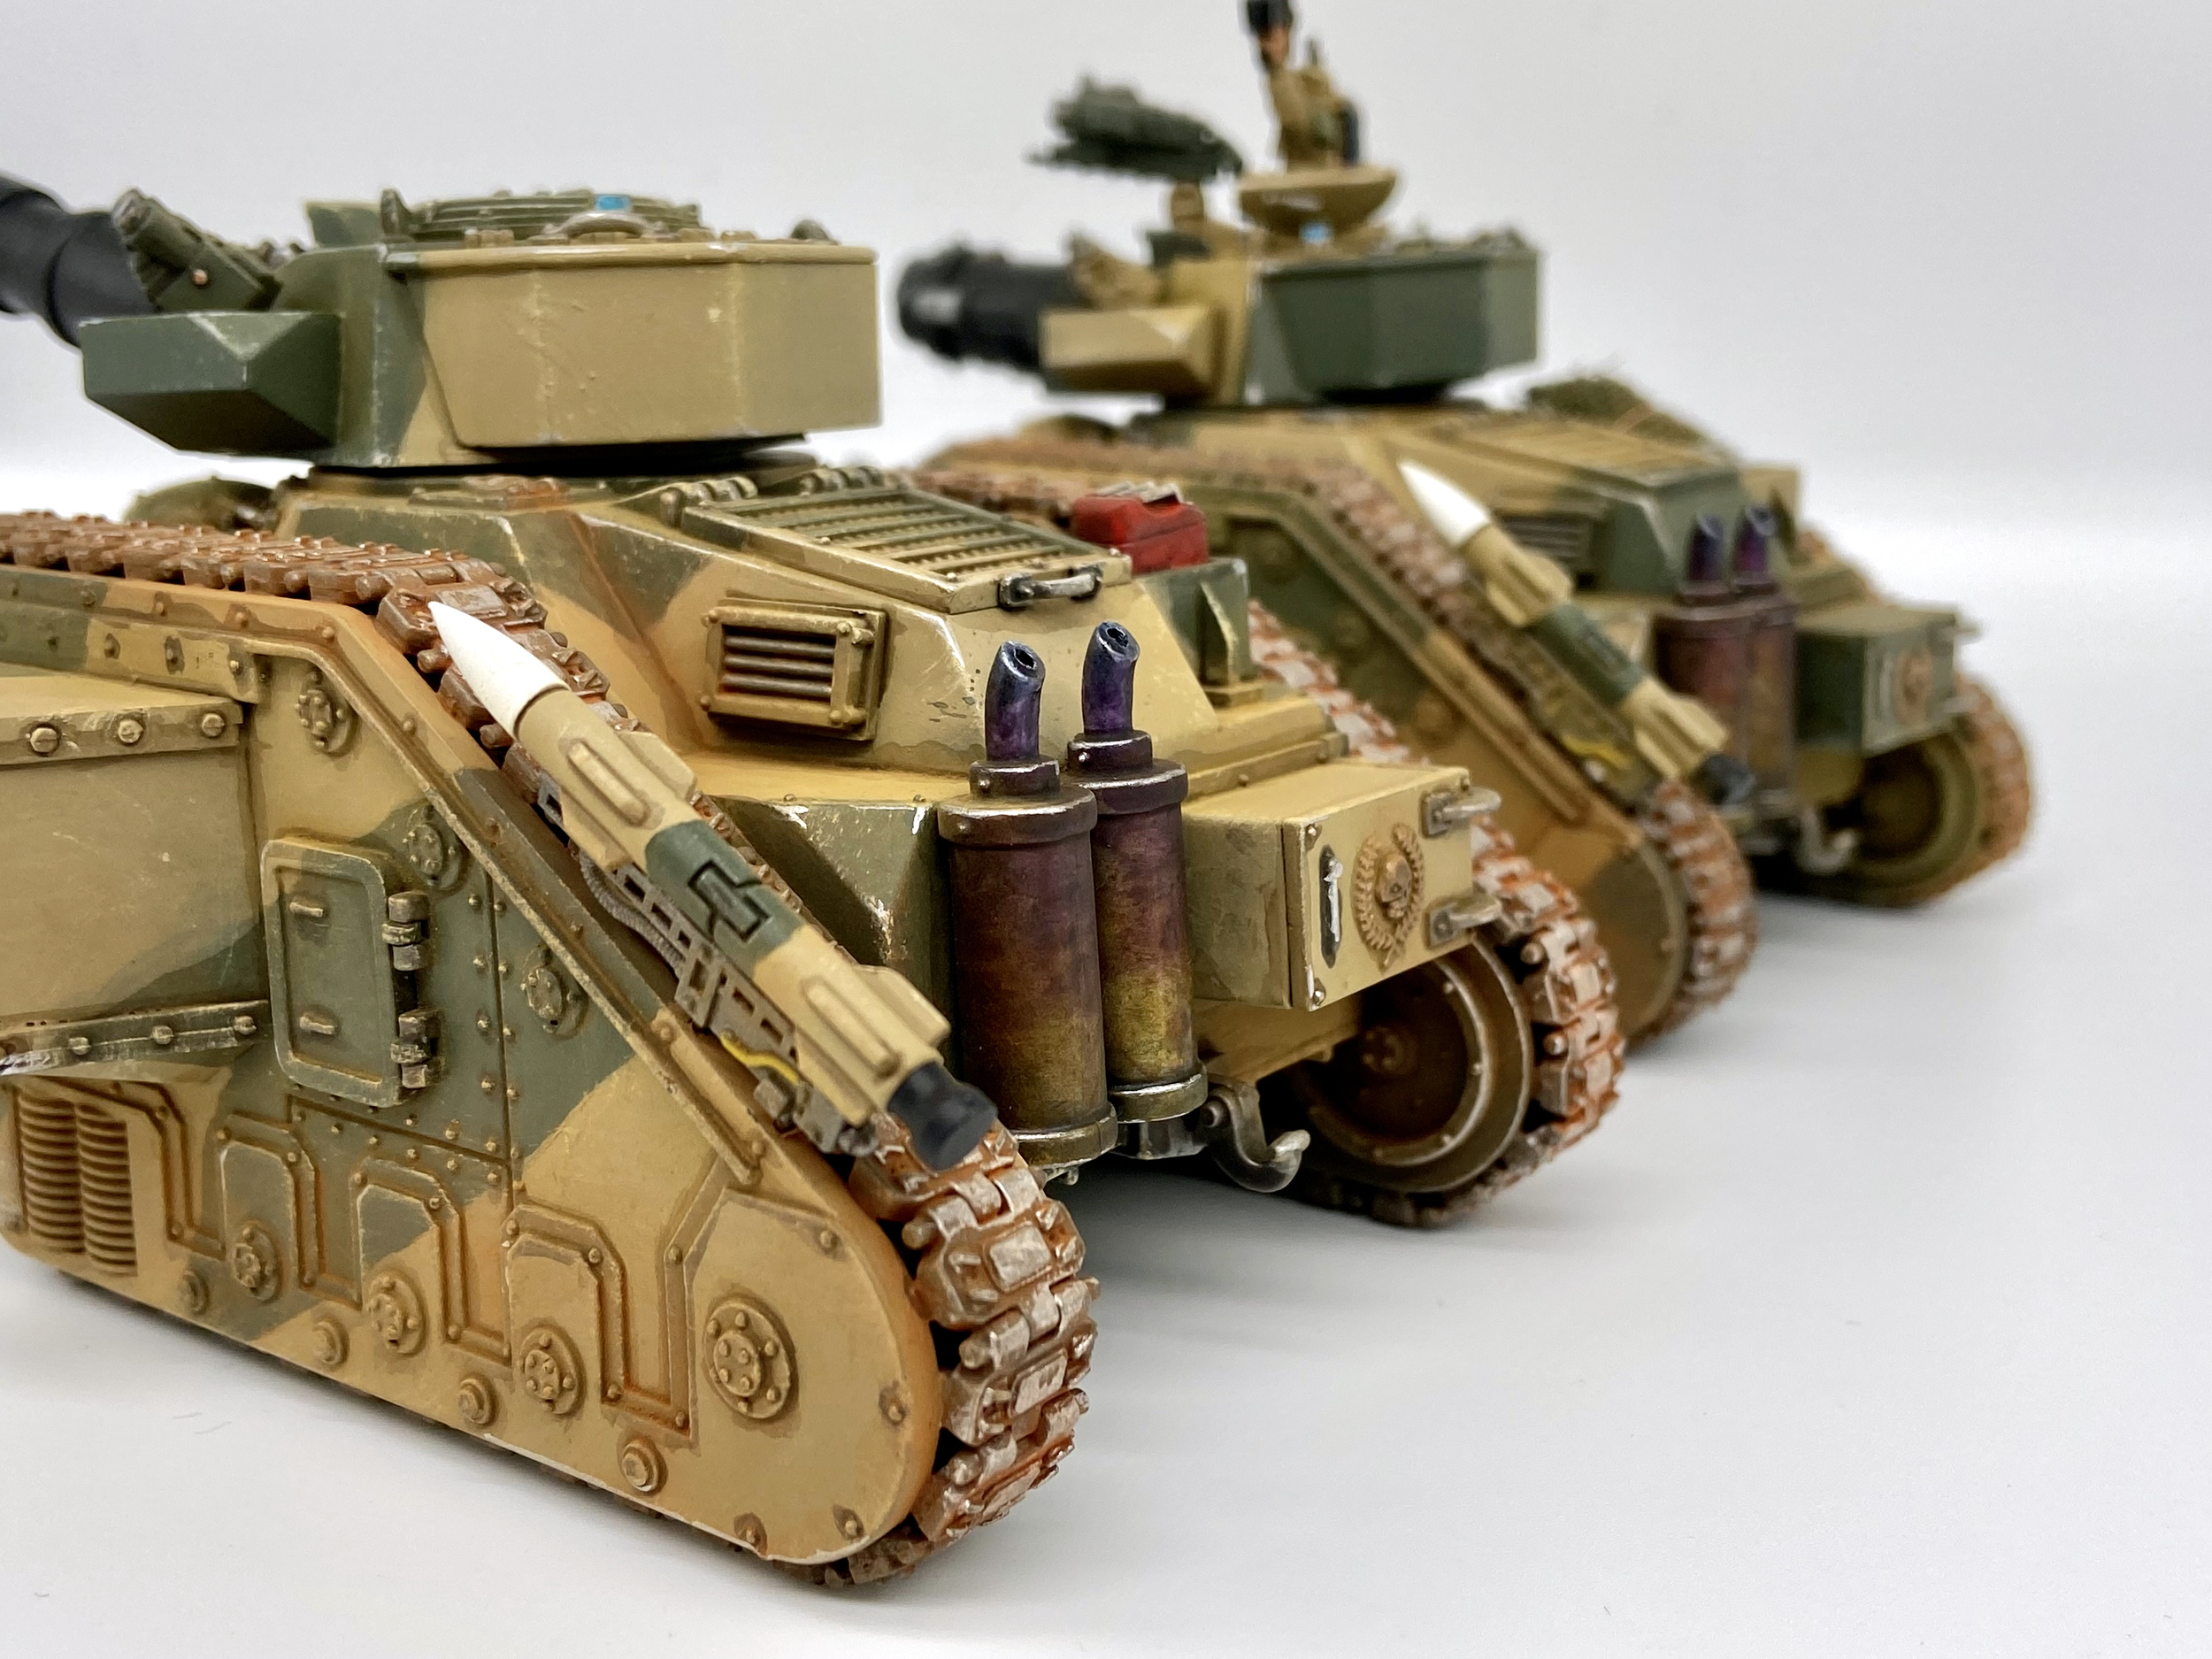
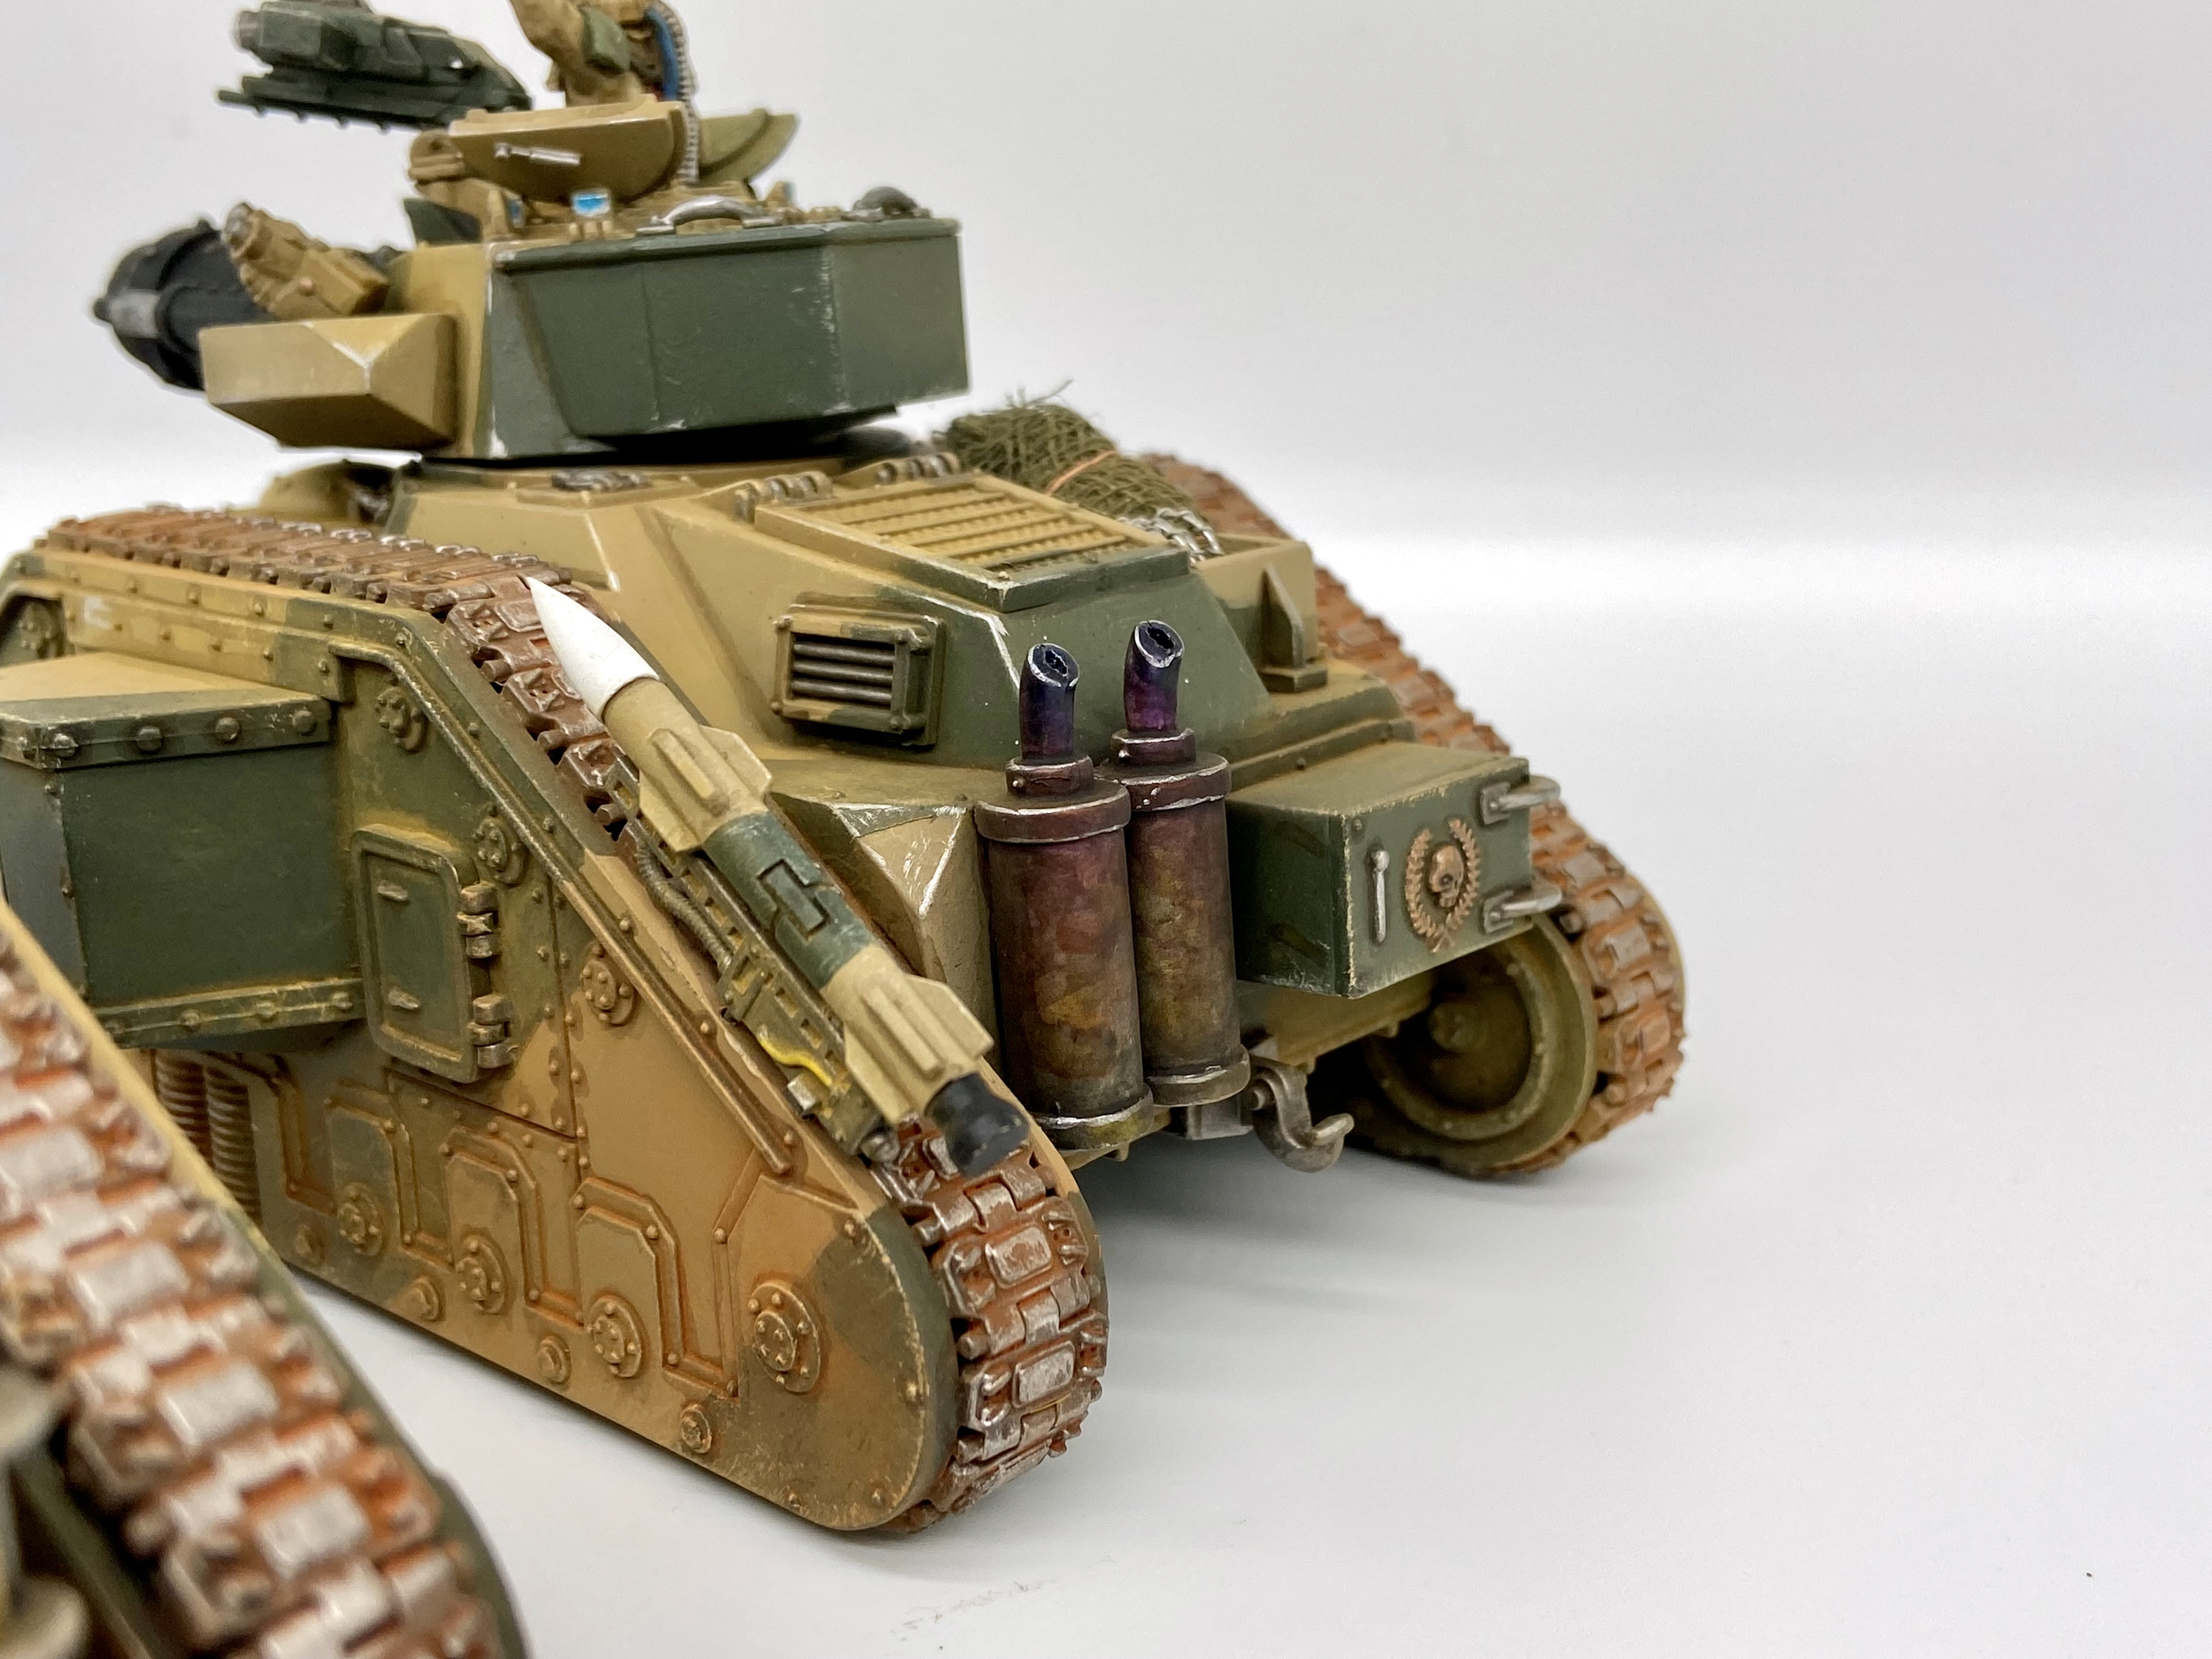
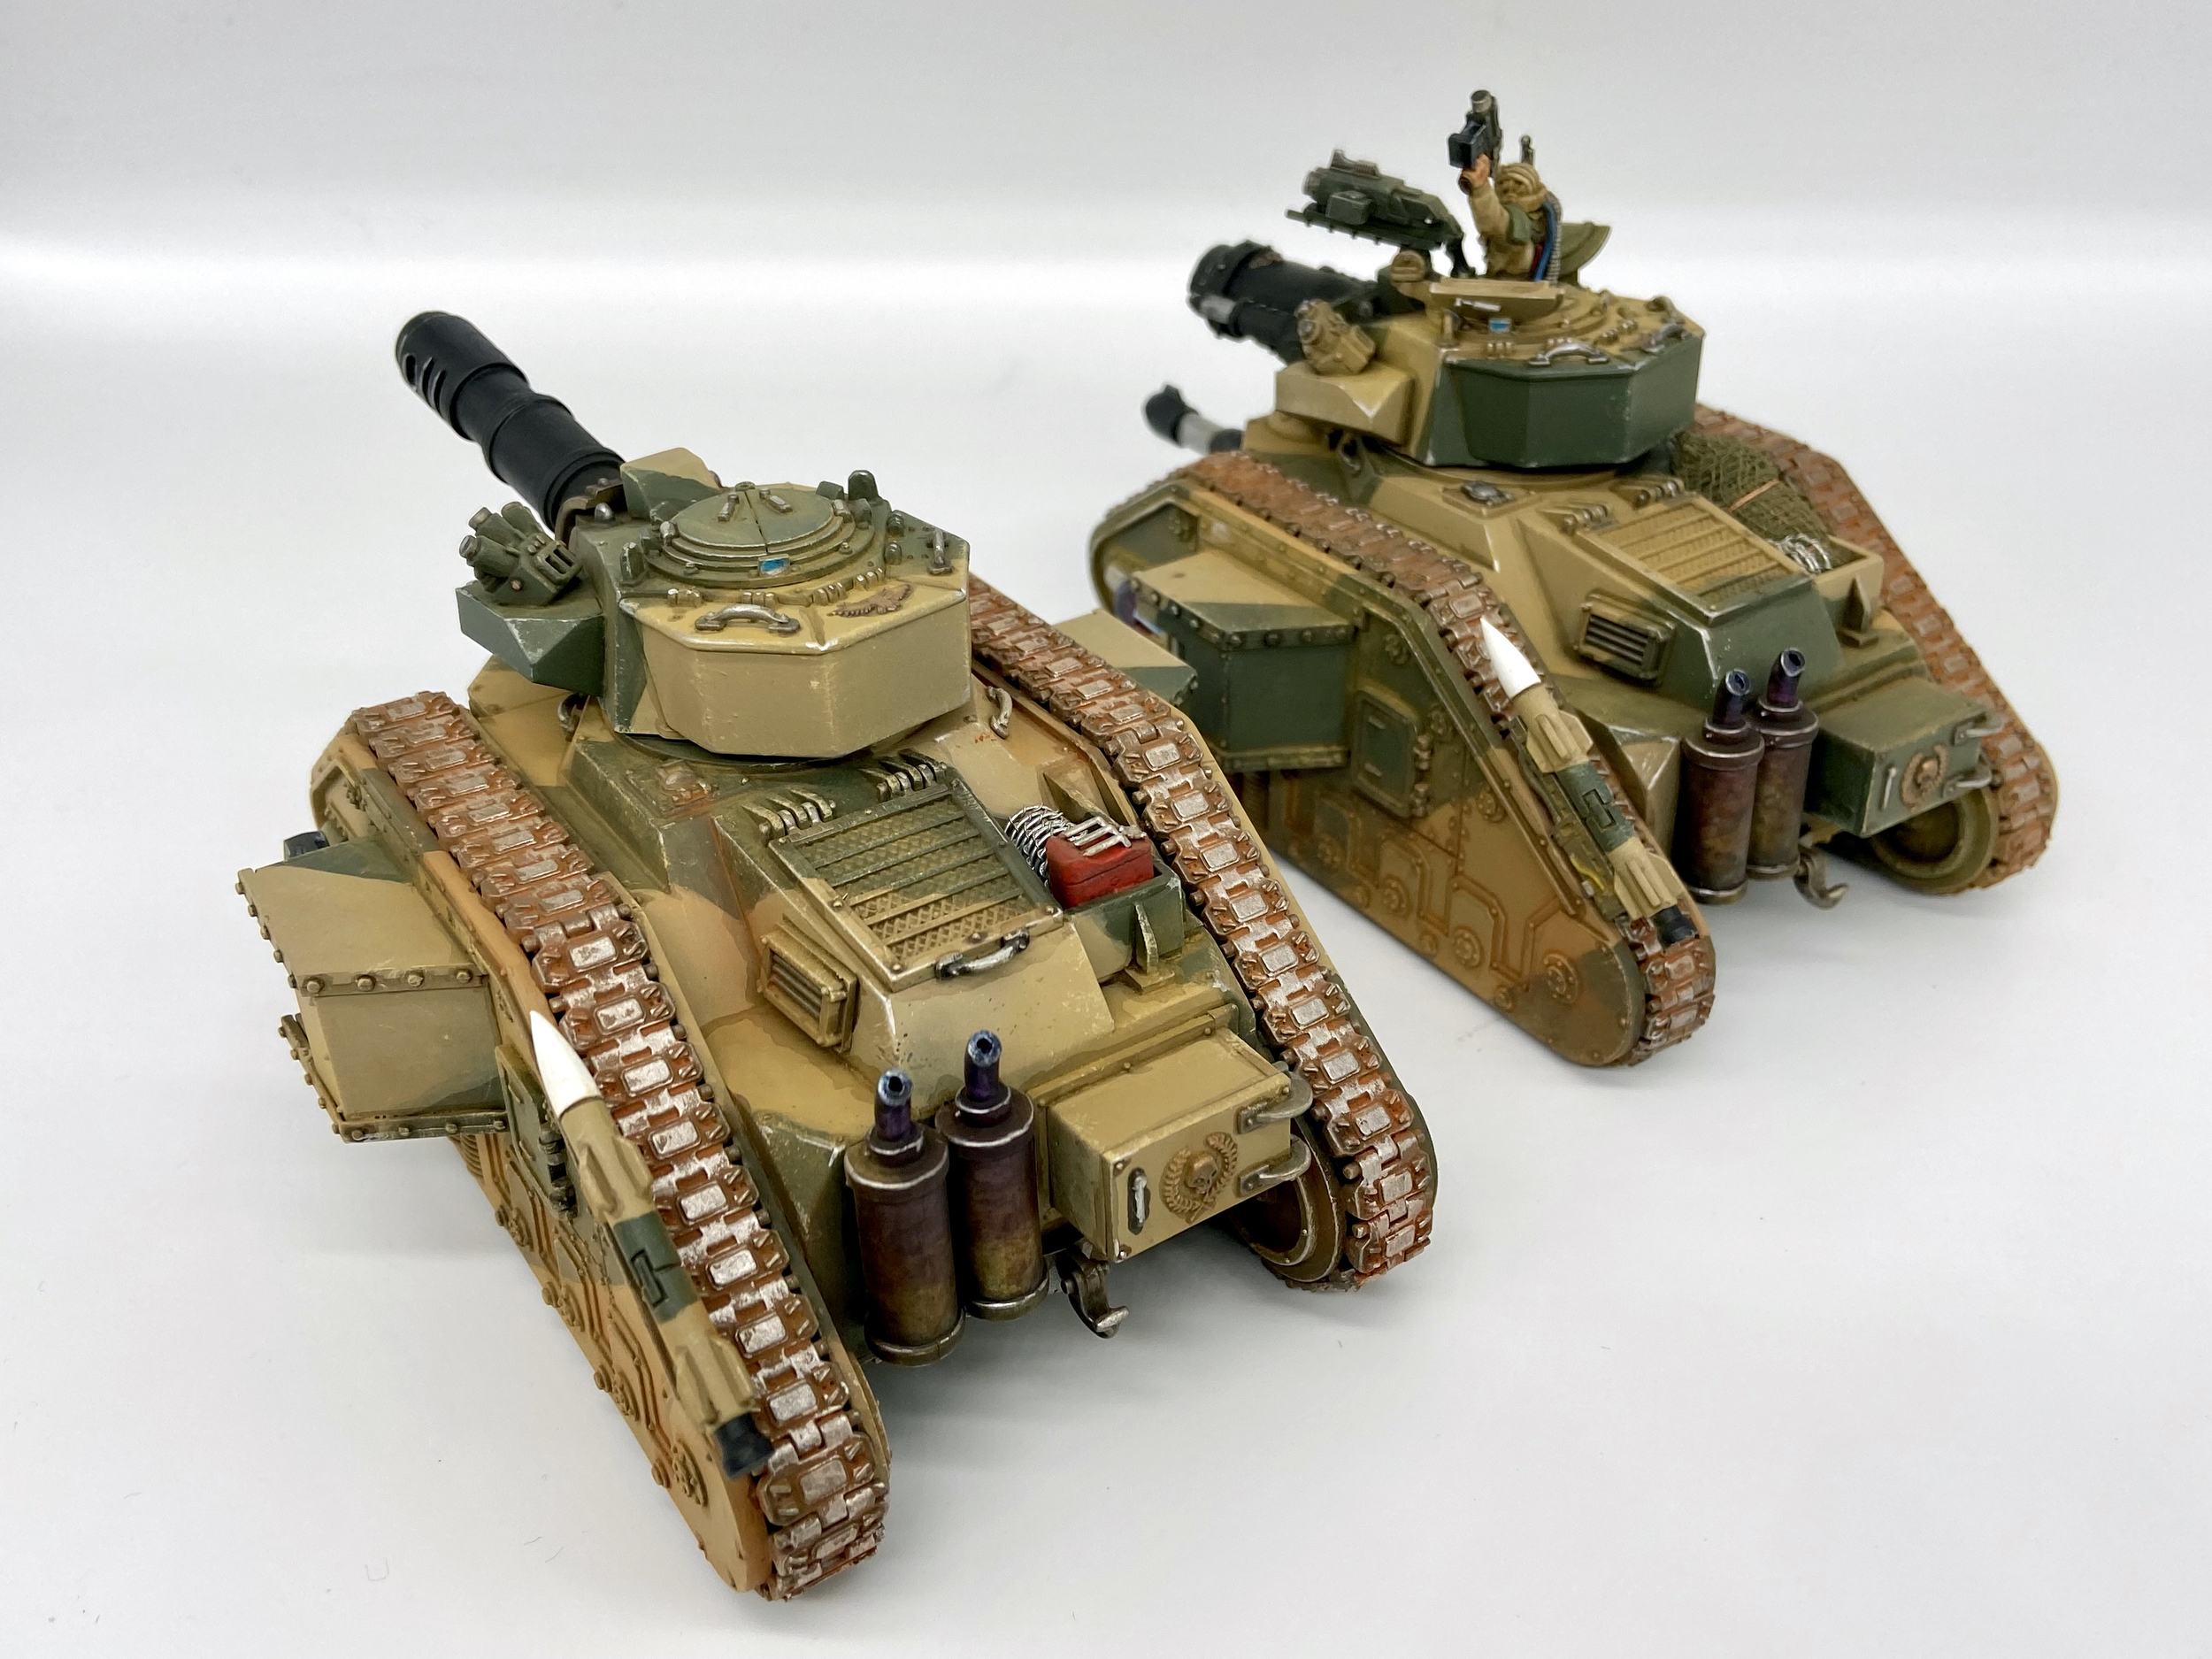
Two more Leman Russ join my ranks using my quick Cadian Camo scheme! Full details are below on how to get your Cadian Camo to Battle Ready, then Parade Ready and finally some extra steps to really give it a weathered war-torn feel. This takes my total painted Cadian Leman Russ up to nine!
Never miss an article? Subscribe!
-

- Starting Models from eBay
-

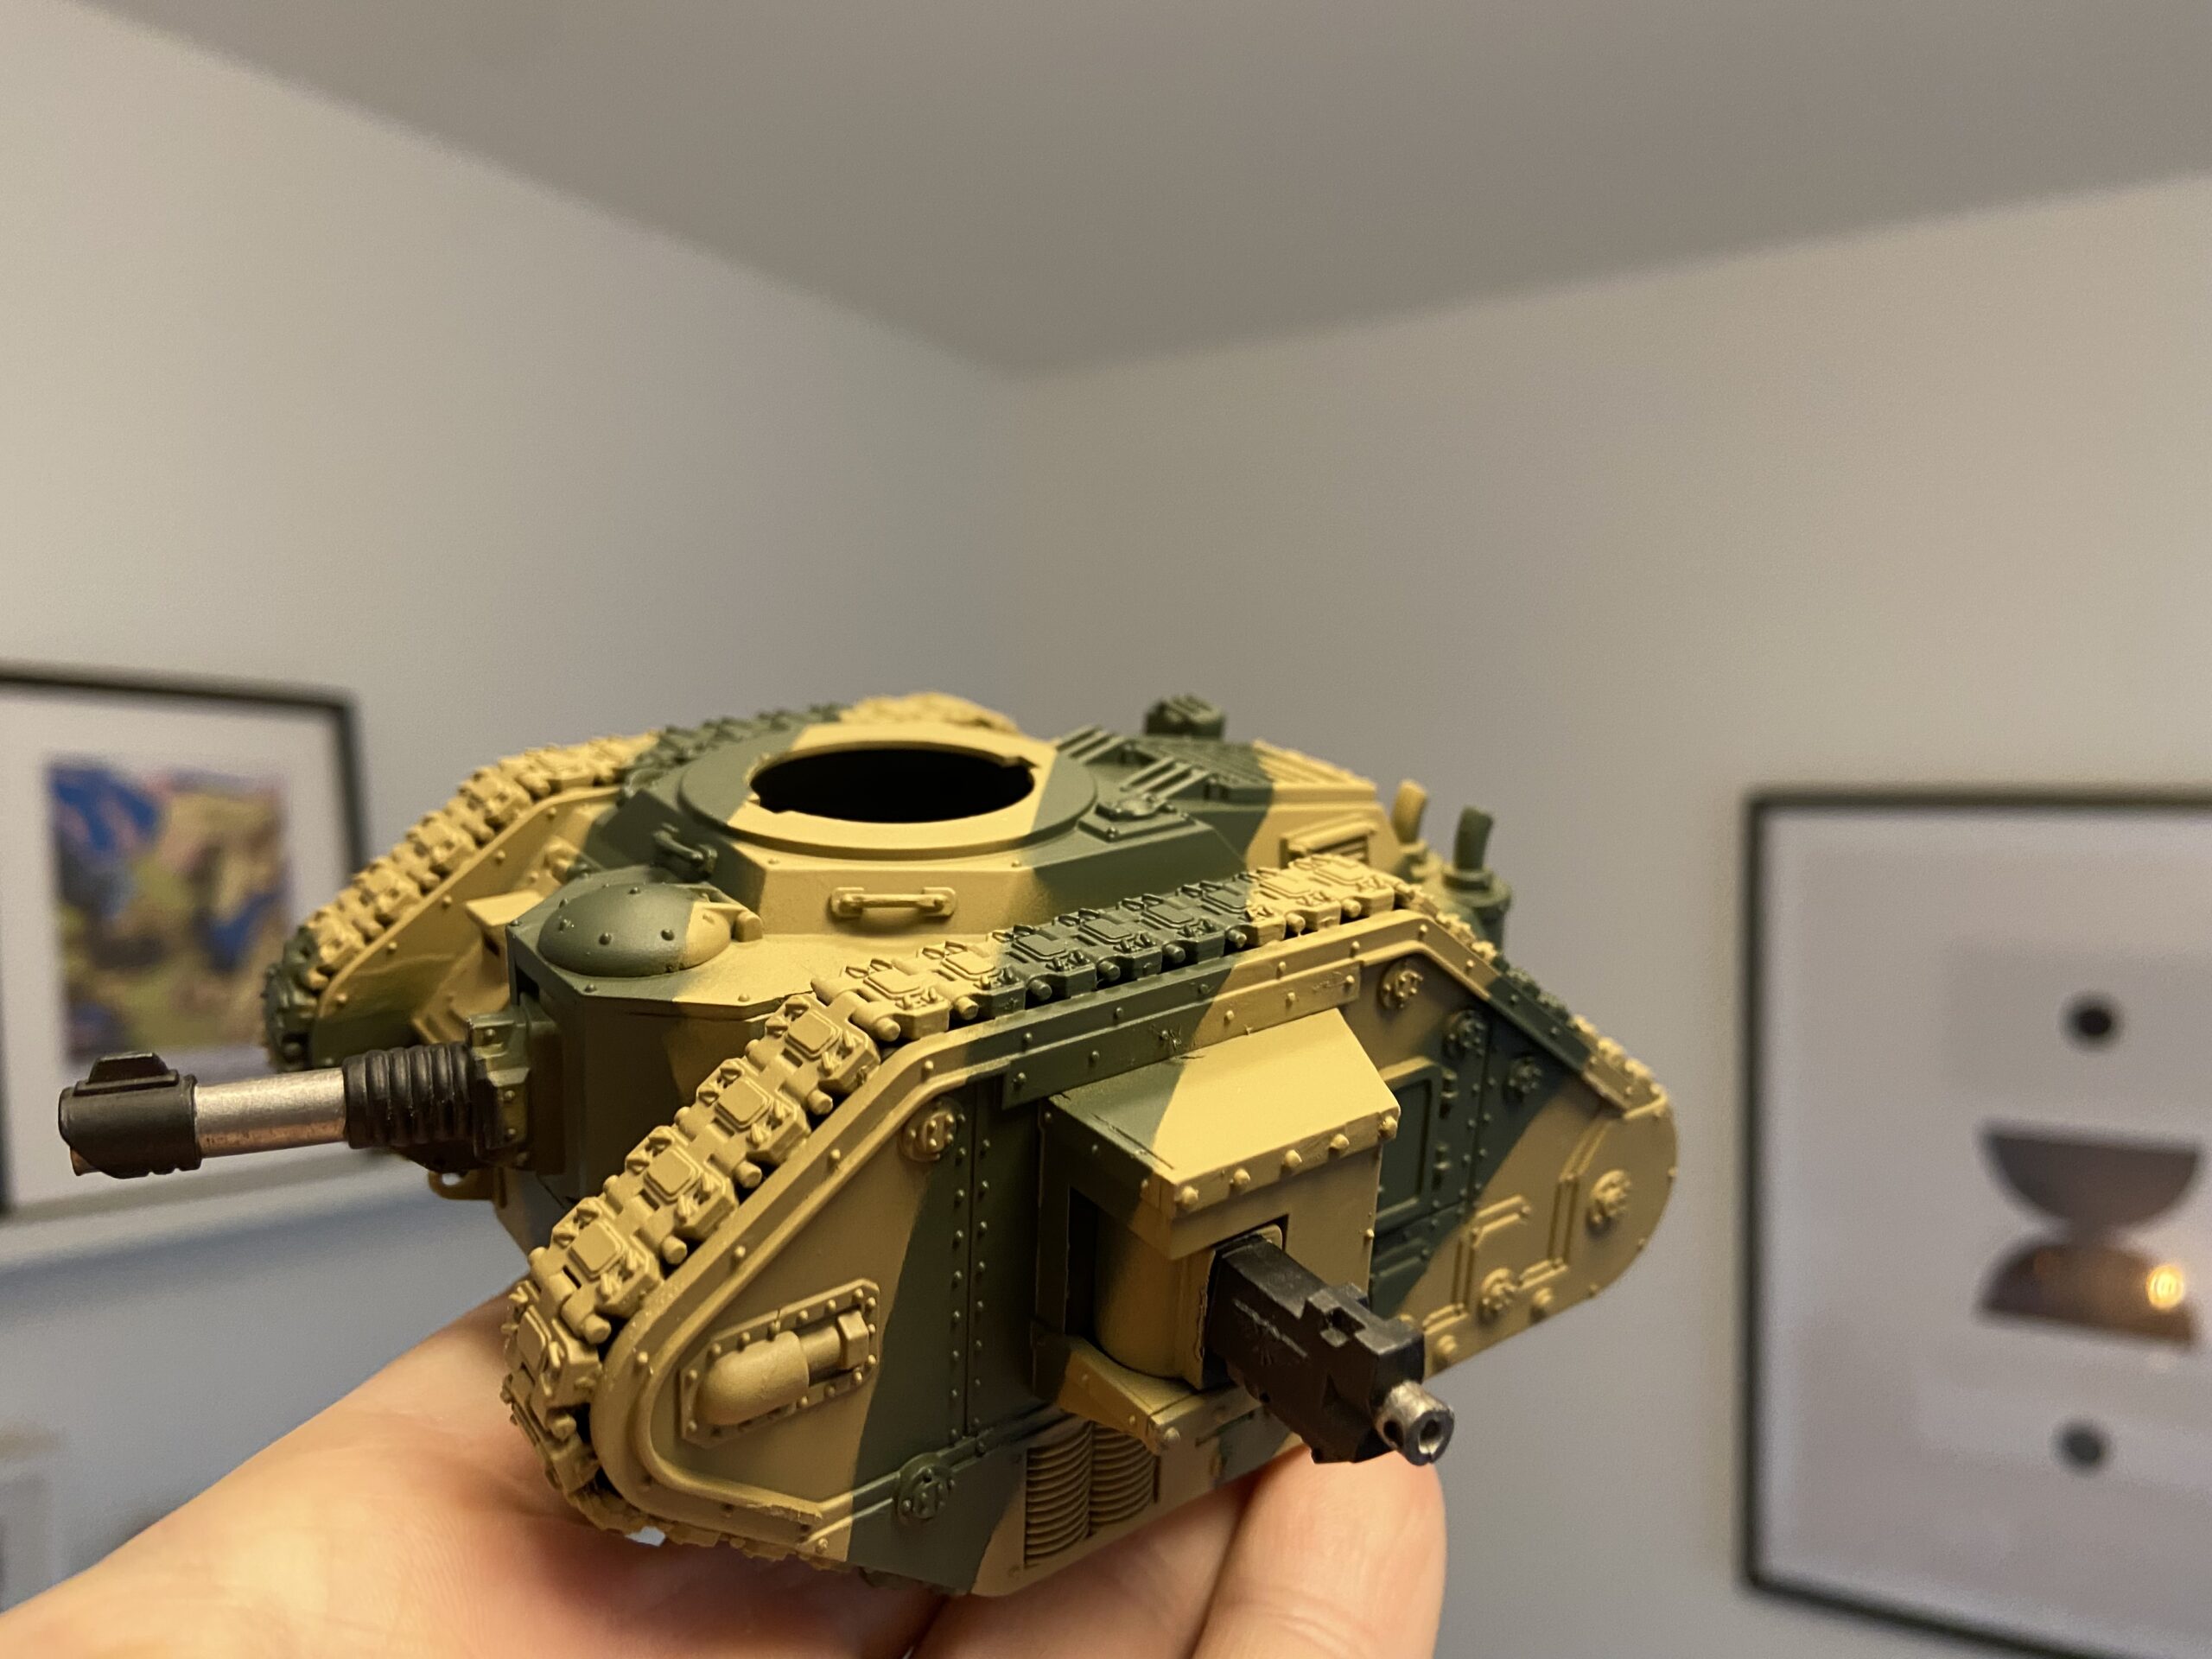
- Two Cadian Leman Russ Done

Quick Cadian Camo Project
The following process came about after following this tutorial on Warhammer TV Youtube. But since watching it a couple of times and then just doing this process myself, it has morphed a little. With some steps added, some steps removed and some steps tweaked.
Battle Ready – Laying Down the Basics
This is how I would get my style of Cadian Camo to a Battle Ready standard. Games Workshop’s Battle Ready uses contrast paints, something I have never used and especially not on vehicles as the flat areas do not lend themselves well to contrast paints. But this process is similar, with some basic base layers and a wash, which is basically the end result of using contrast paints on regular figure type models.
- Zandri Dust base coat
- Apply masking tape for the camo pattern
- Colour Forge Governor Green – this is a UK product, and I am not sure if it’s available elsewhere, you could ask Colour Forge?
- You could also try Army Painted Army Green instead, which is also available in dropper bottles for use with a brush
- Tidy any spray bleed with a brush using Castellan Green and Zandri Dust – this gives the Cadian Camo its crisp and neat finish
- Leadbelcher for the metallics and tracks – ideally I would spray the tracks Leadbelcher before glueing them on – I did not have that luxury on this project though
- Games Workshop Fulgurite Copper or Vallejo Metal Color – Copper on the Eagles
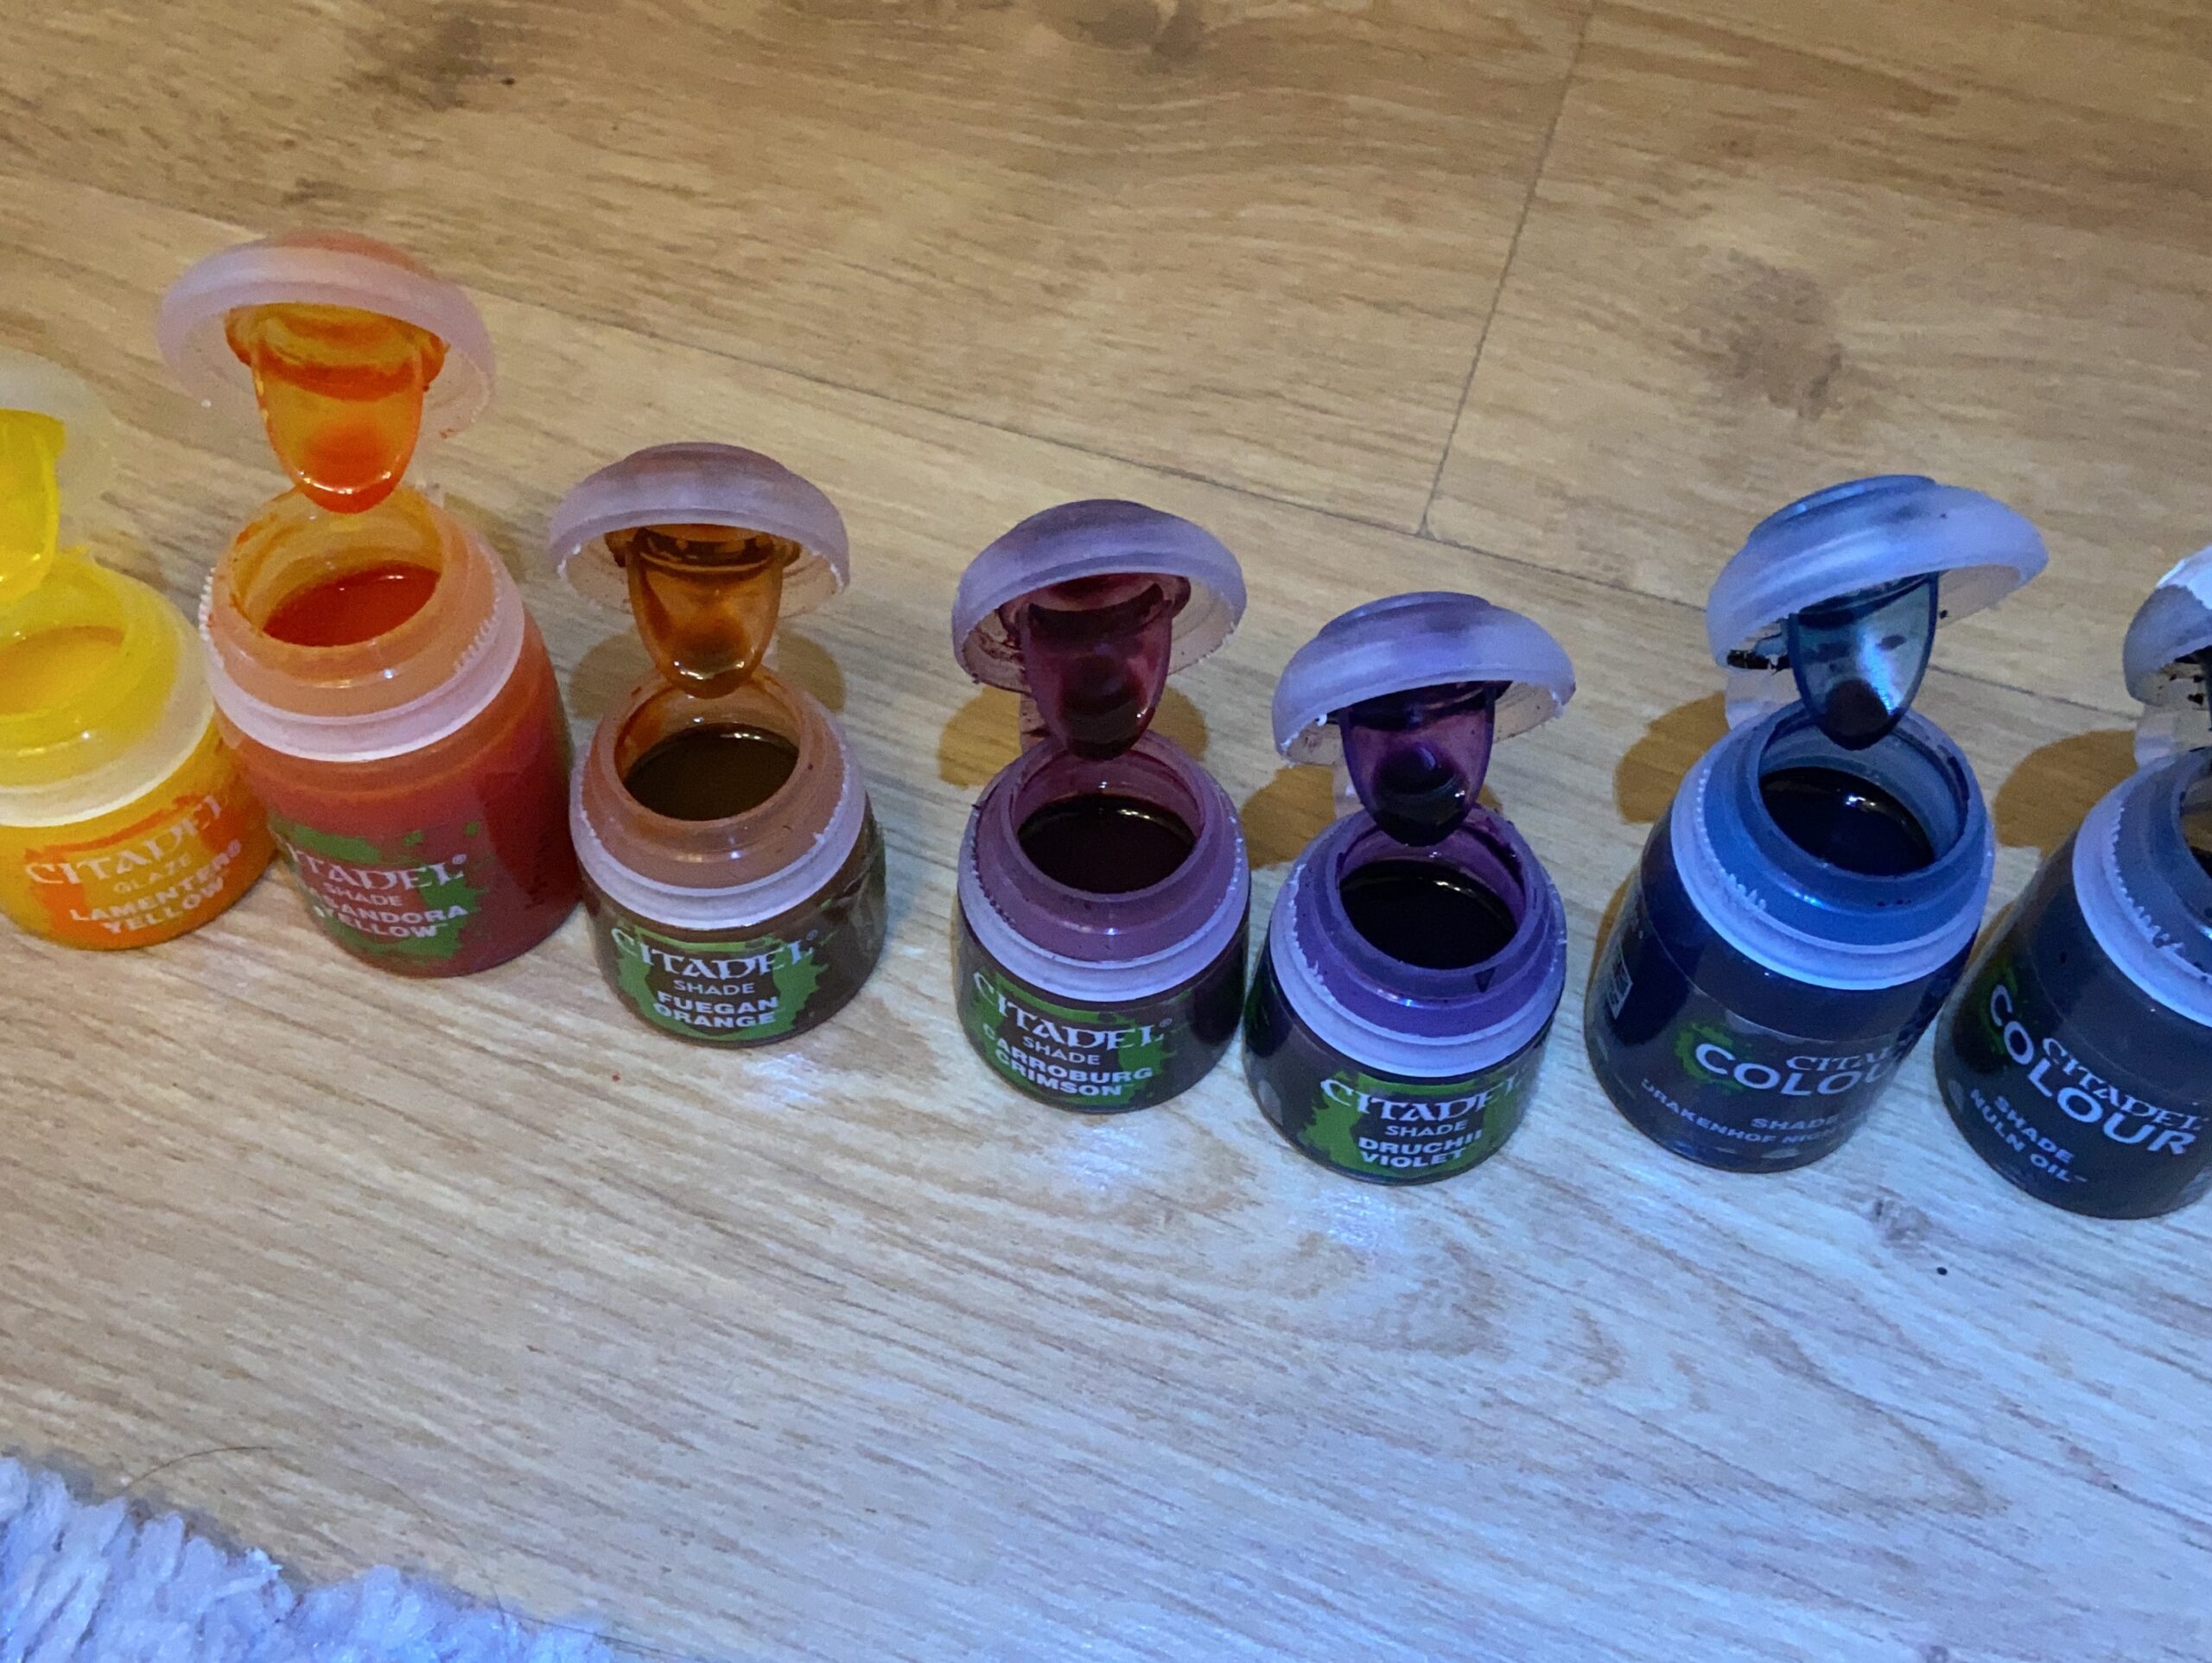
- Agrax Earthshade Wash in all the grooves, recesses, and rivets
- Nuln Oil Wash on all the Leadbelcher and copper metallics
- Abaddon Black for the weapons
-

- Base Coats

-

- Base Coats, Leadbelcher starter

-
- Leadbelcher Done

-

- Turret Wash
-
- Agrax Earthshade Wash

-
- Agrax Earthshade Wash

-
- Agrax Earthshade Wash
-

- Barrels now black

The Zandri Dust spray from Games Workshop and the Colour Forge Governor Green is a really good time saver here. I highly recommend this approach as it saves hours and hours of brushwork.
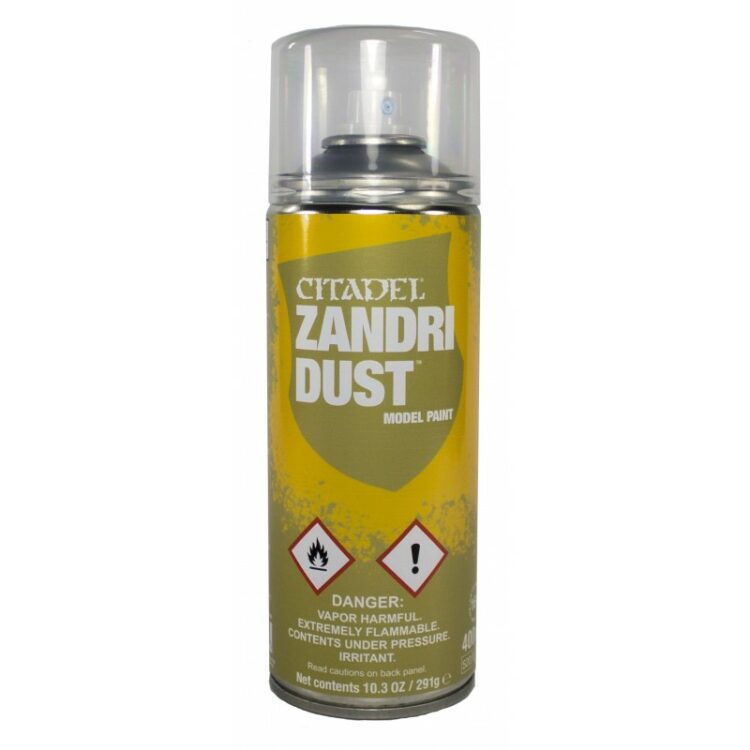
Zandri Dust Spray

Colour Forge Governor Green Spray
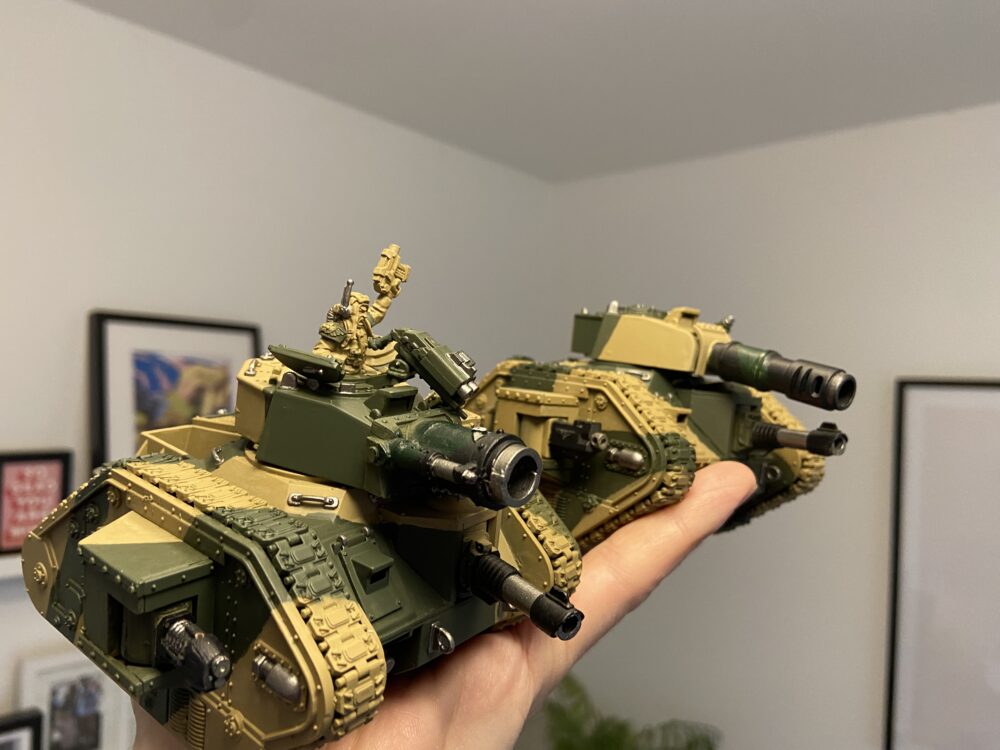
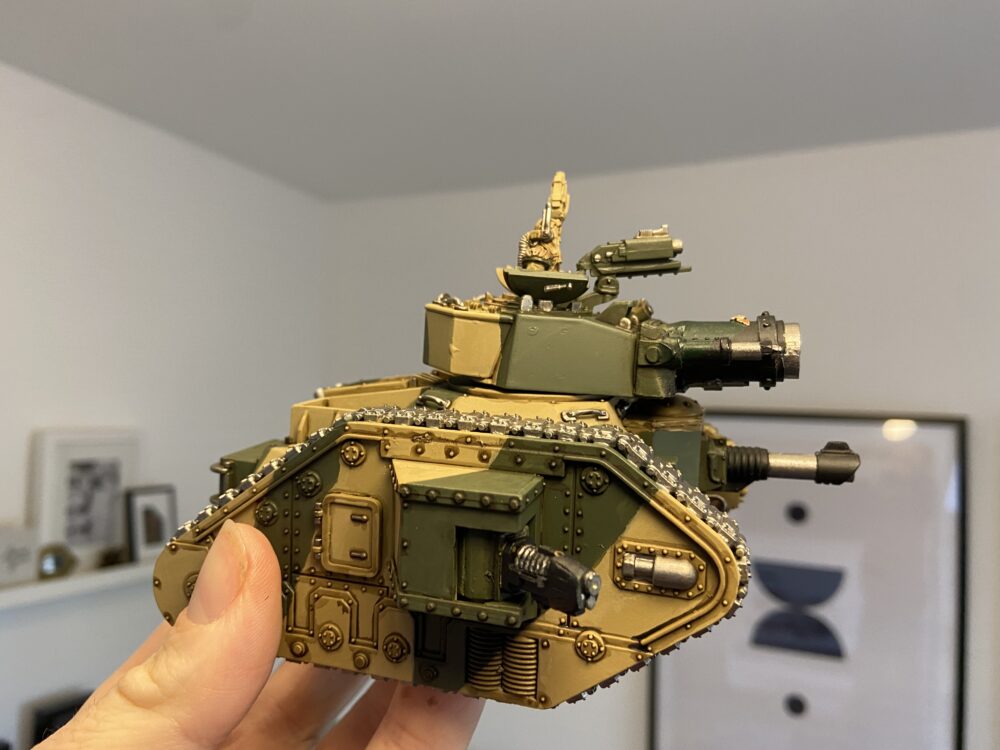
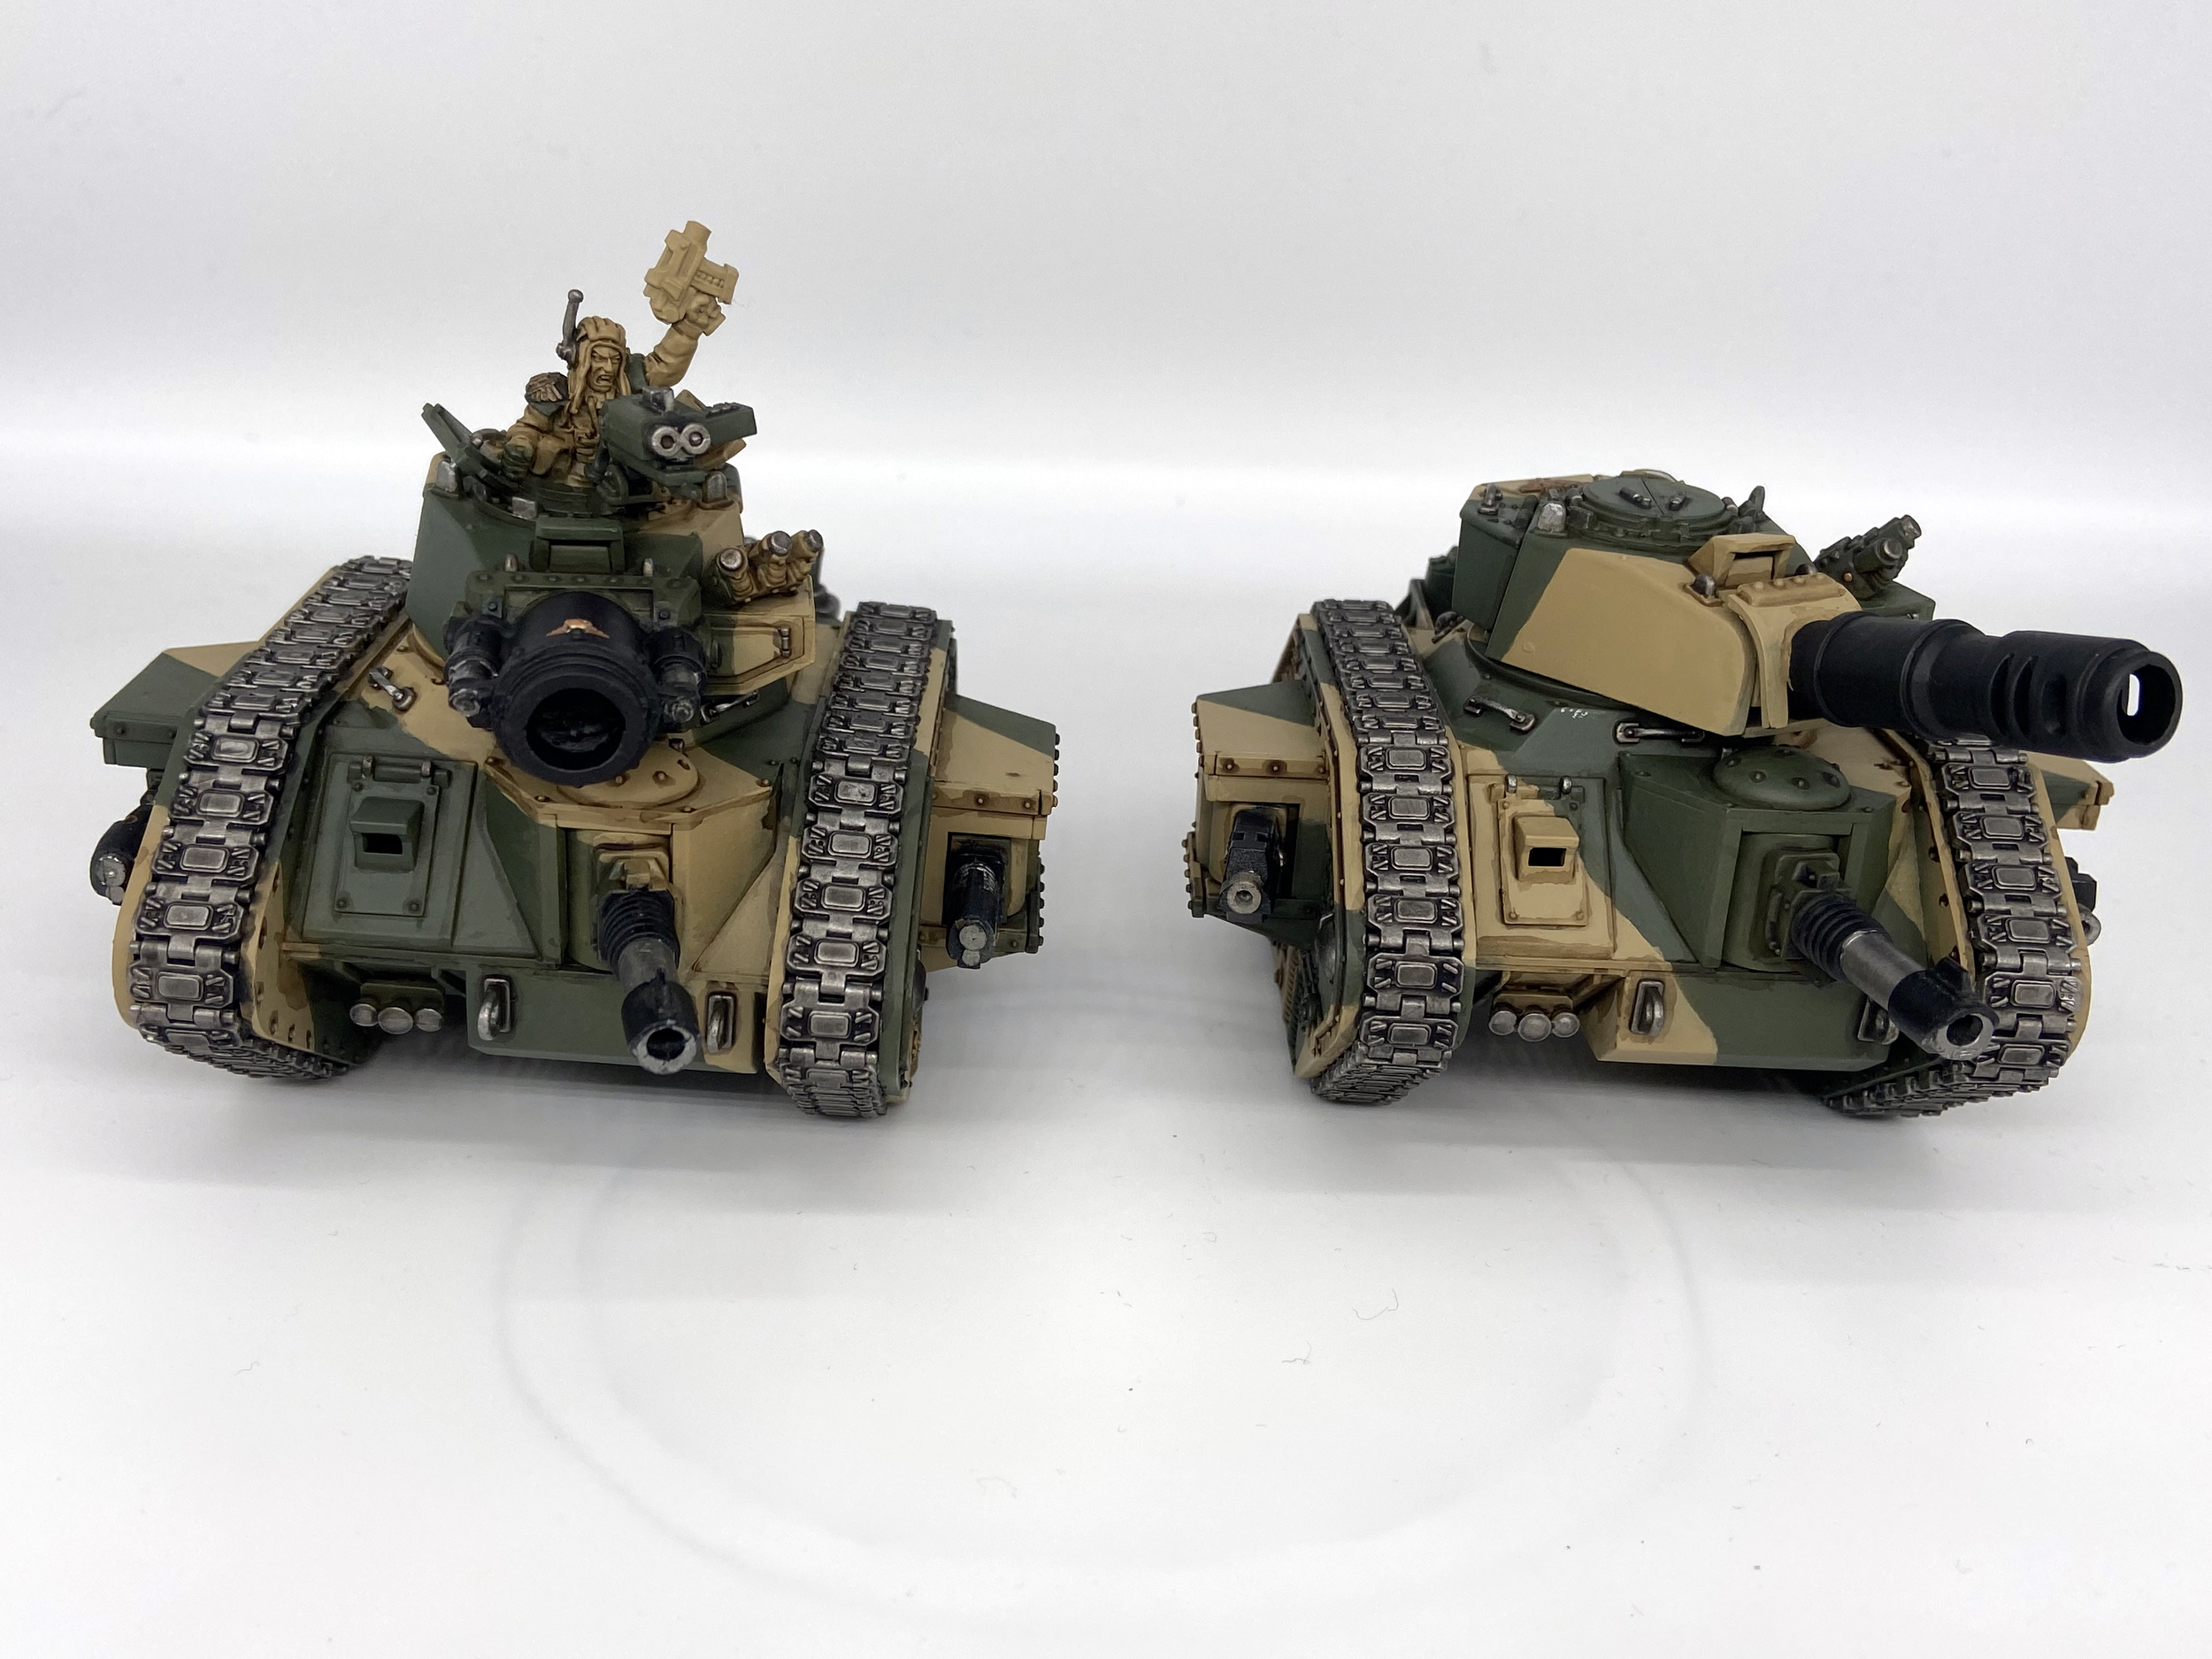
Battle Ready Gallery
Here is a gallery of images after completing all the above steps for a Battle Ready Cadian Camo Leman Russ.
Parade Ready – Putting In A Little Extra
Game Workshop’s next level is Parade Ready, and as the name suggests it’s a bit smarter and polished than the Battle Ready level.
- All over dry brush of Ushabti Bone
- Runefang Steel or Vallejo Metal Colour Aluminum before the Red, Blue, and Green Gemstone Paints. I used Casandora Yellow wash on the lights on the lower hull of each of these – which was a new thing
- `ardcoat for giving lenses shine
- Again Runefang Steel or Vallejo Metal Colour Aluminum for dry brushing metals at the end and metal edge highlights
- Tamiya Acrylic Mini XF-1 Flat Black and then Fenrisian Grey on the Bolt Pistol and the black weapons/barrels – this black is flatter/matt than Abaddon Black
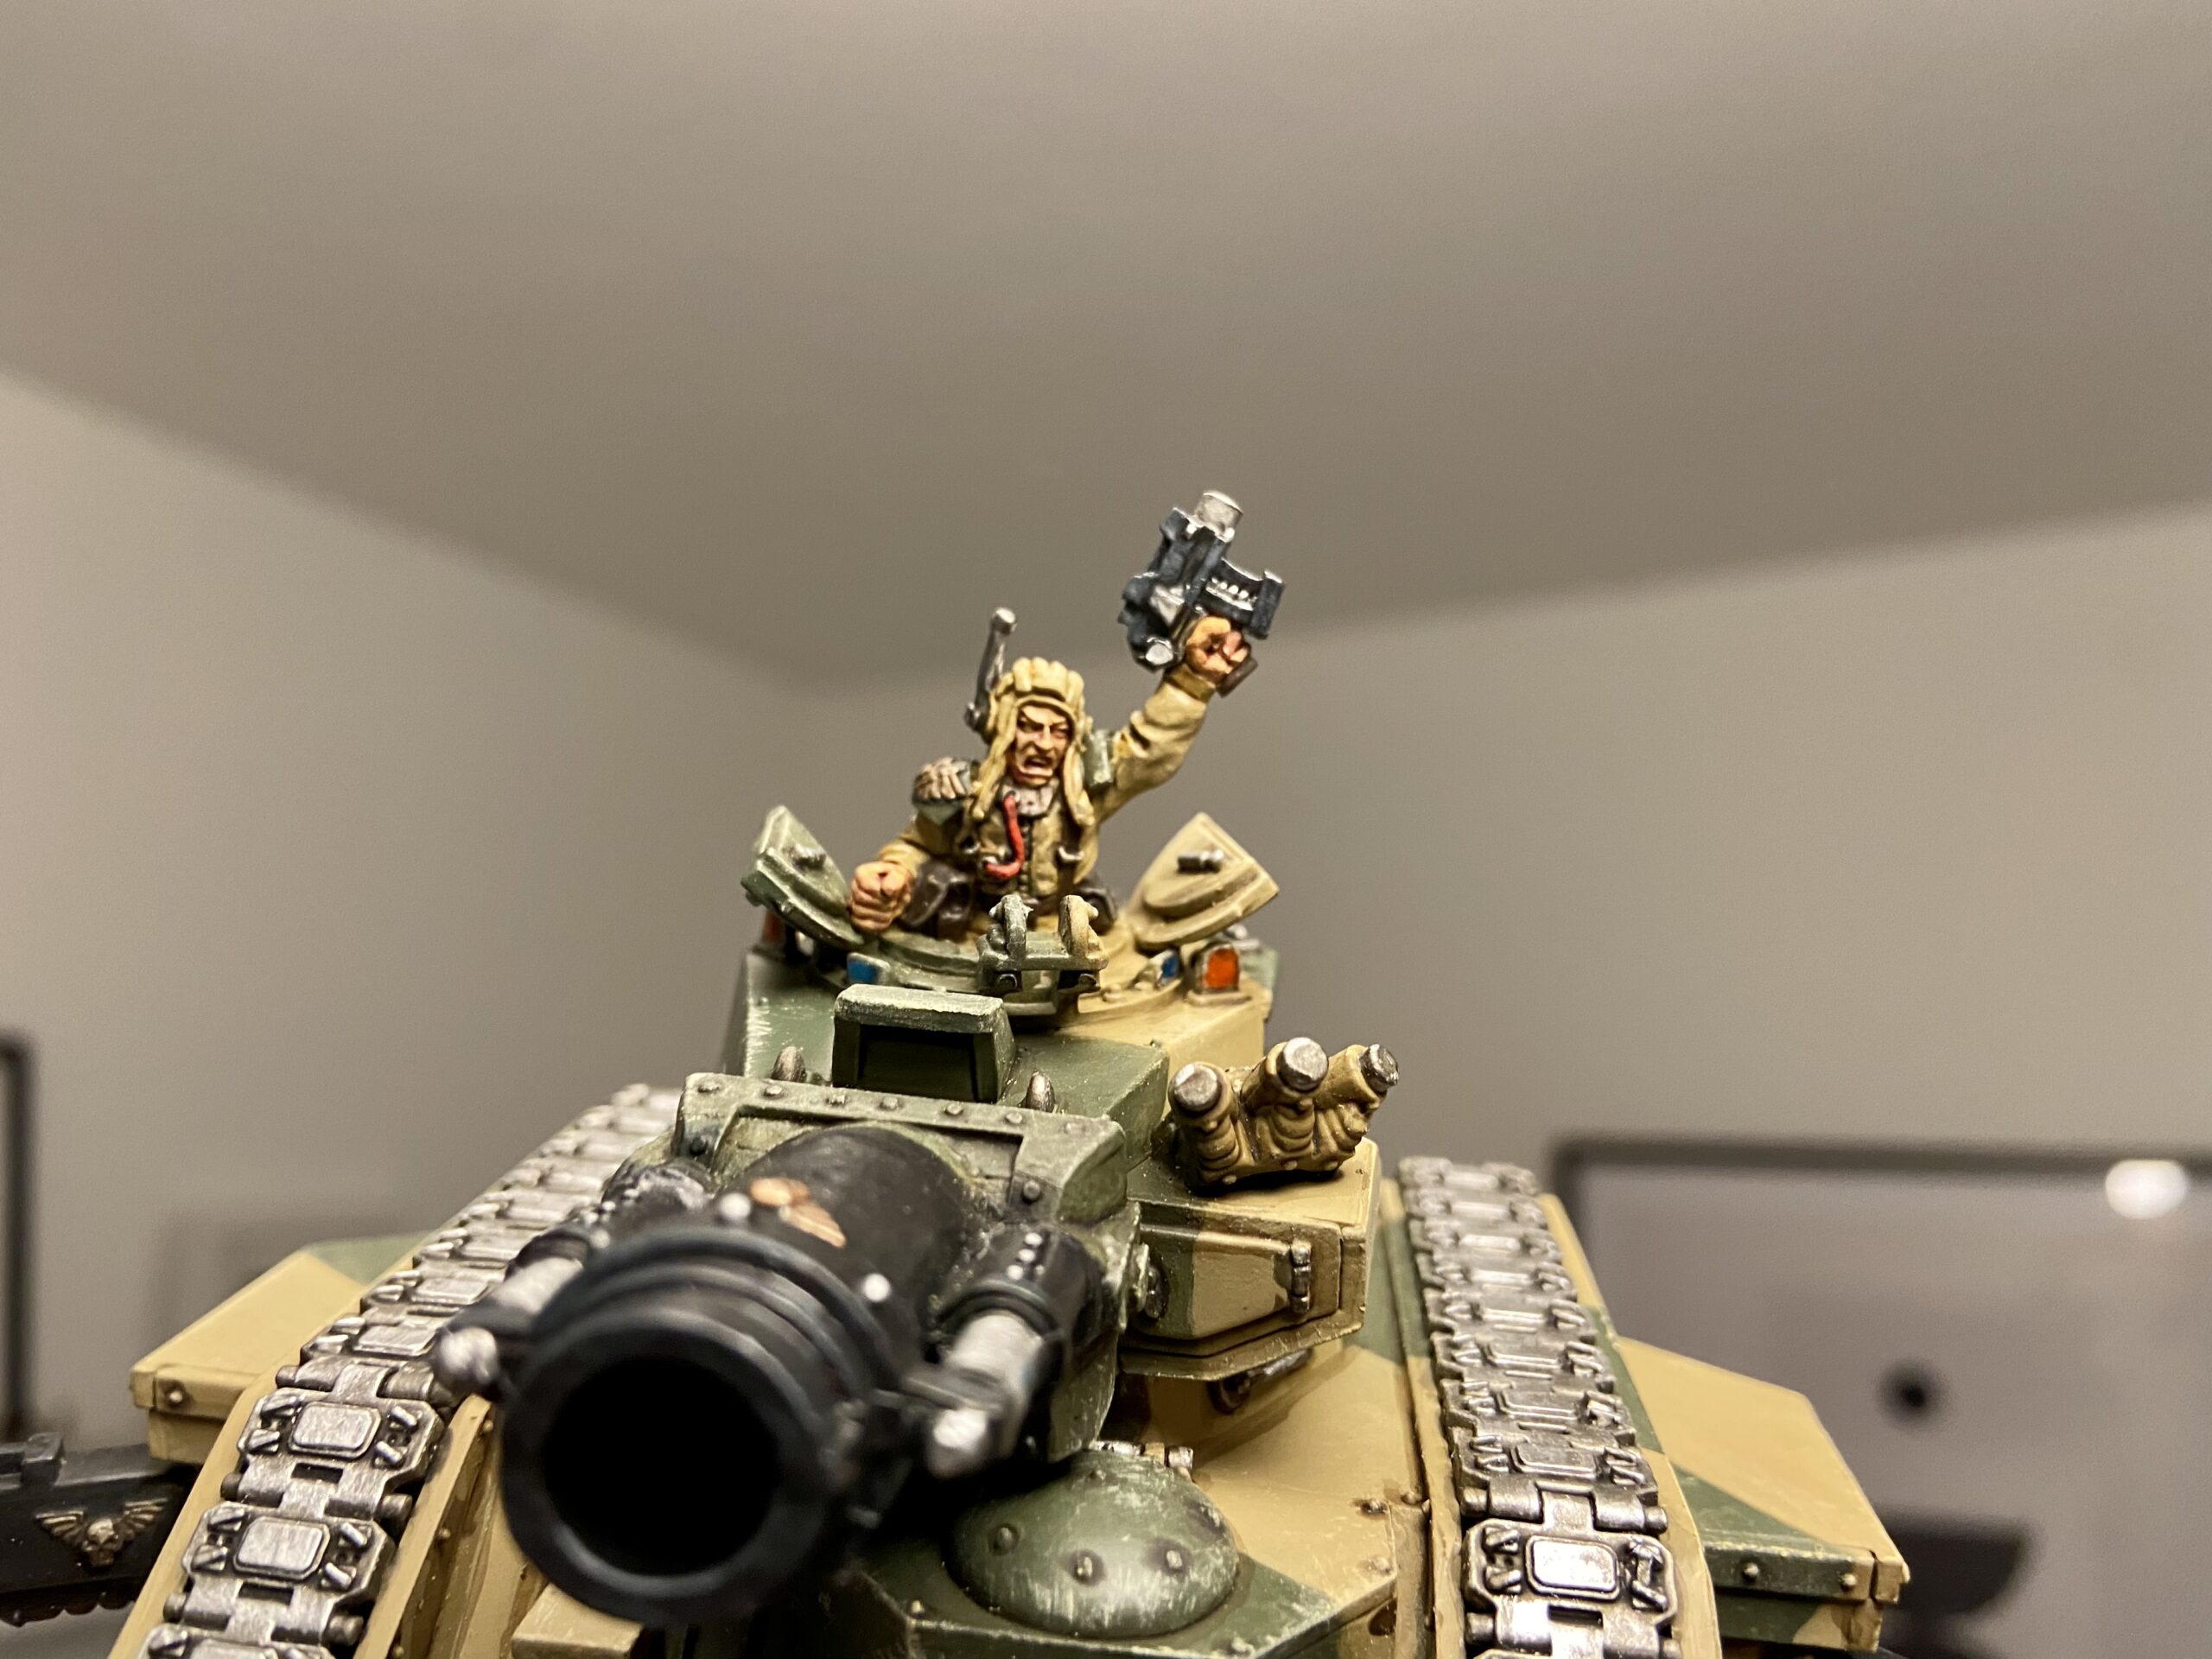
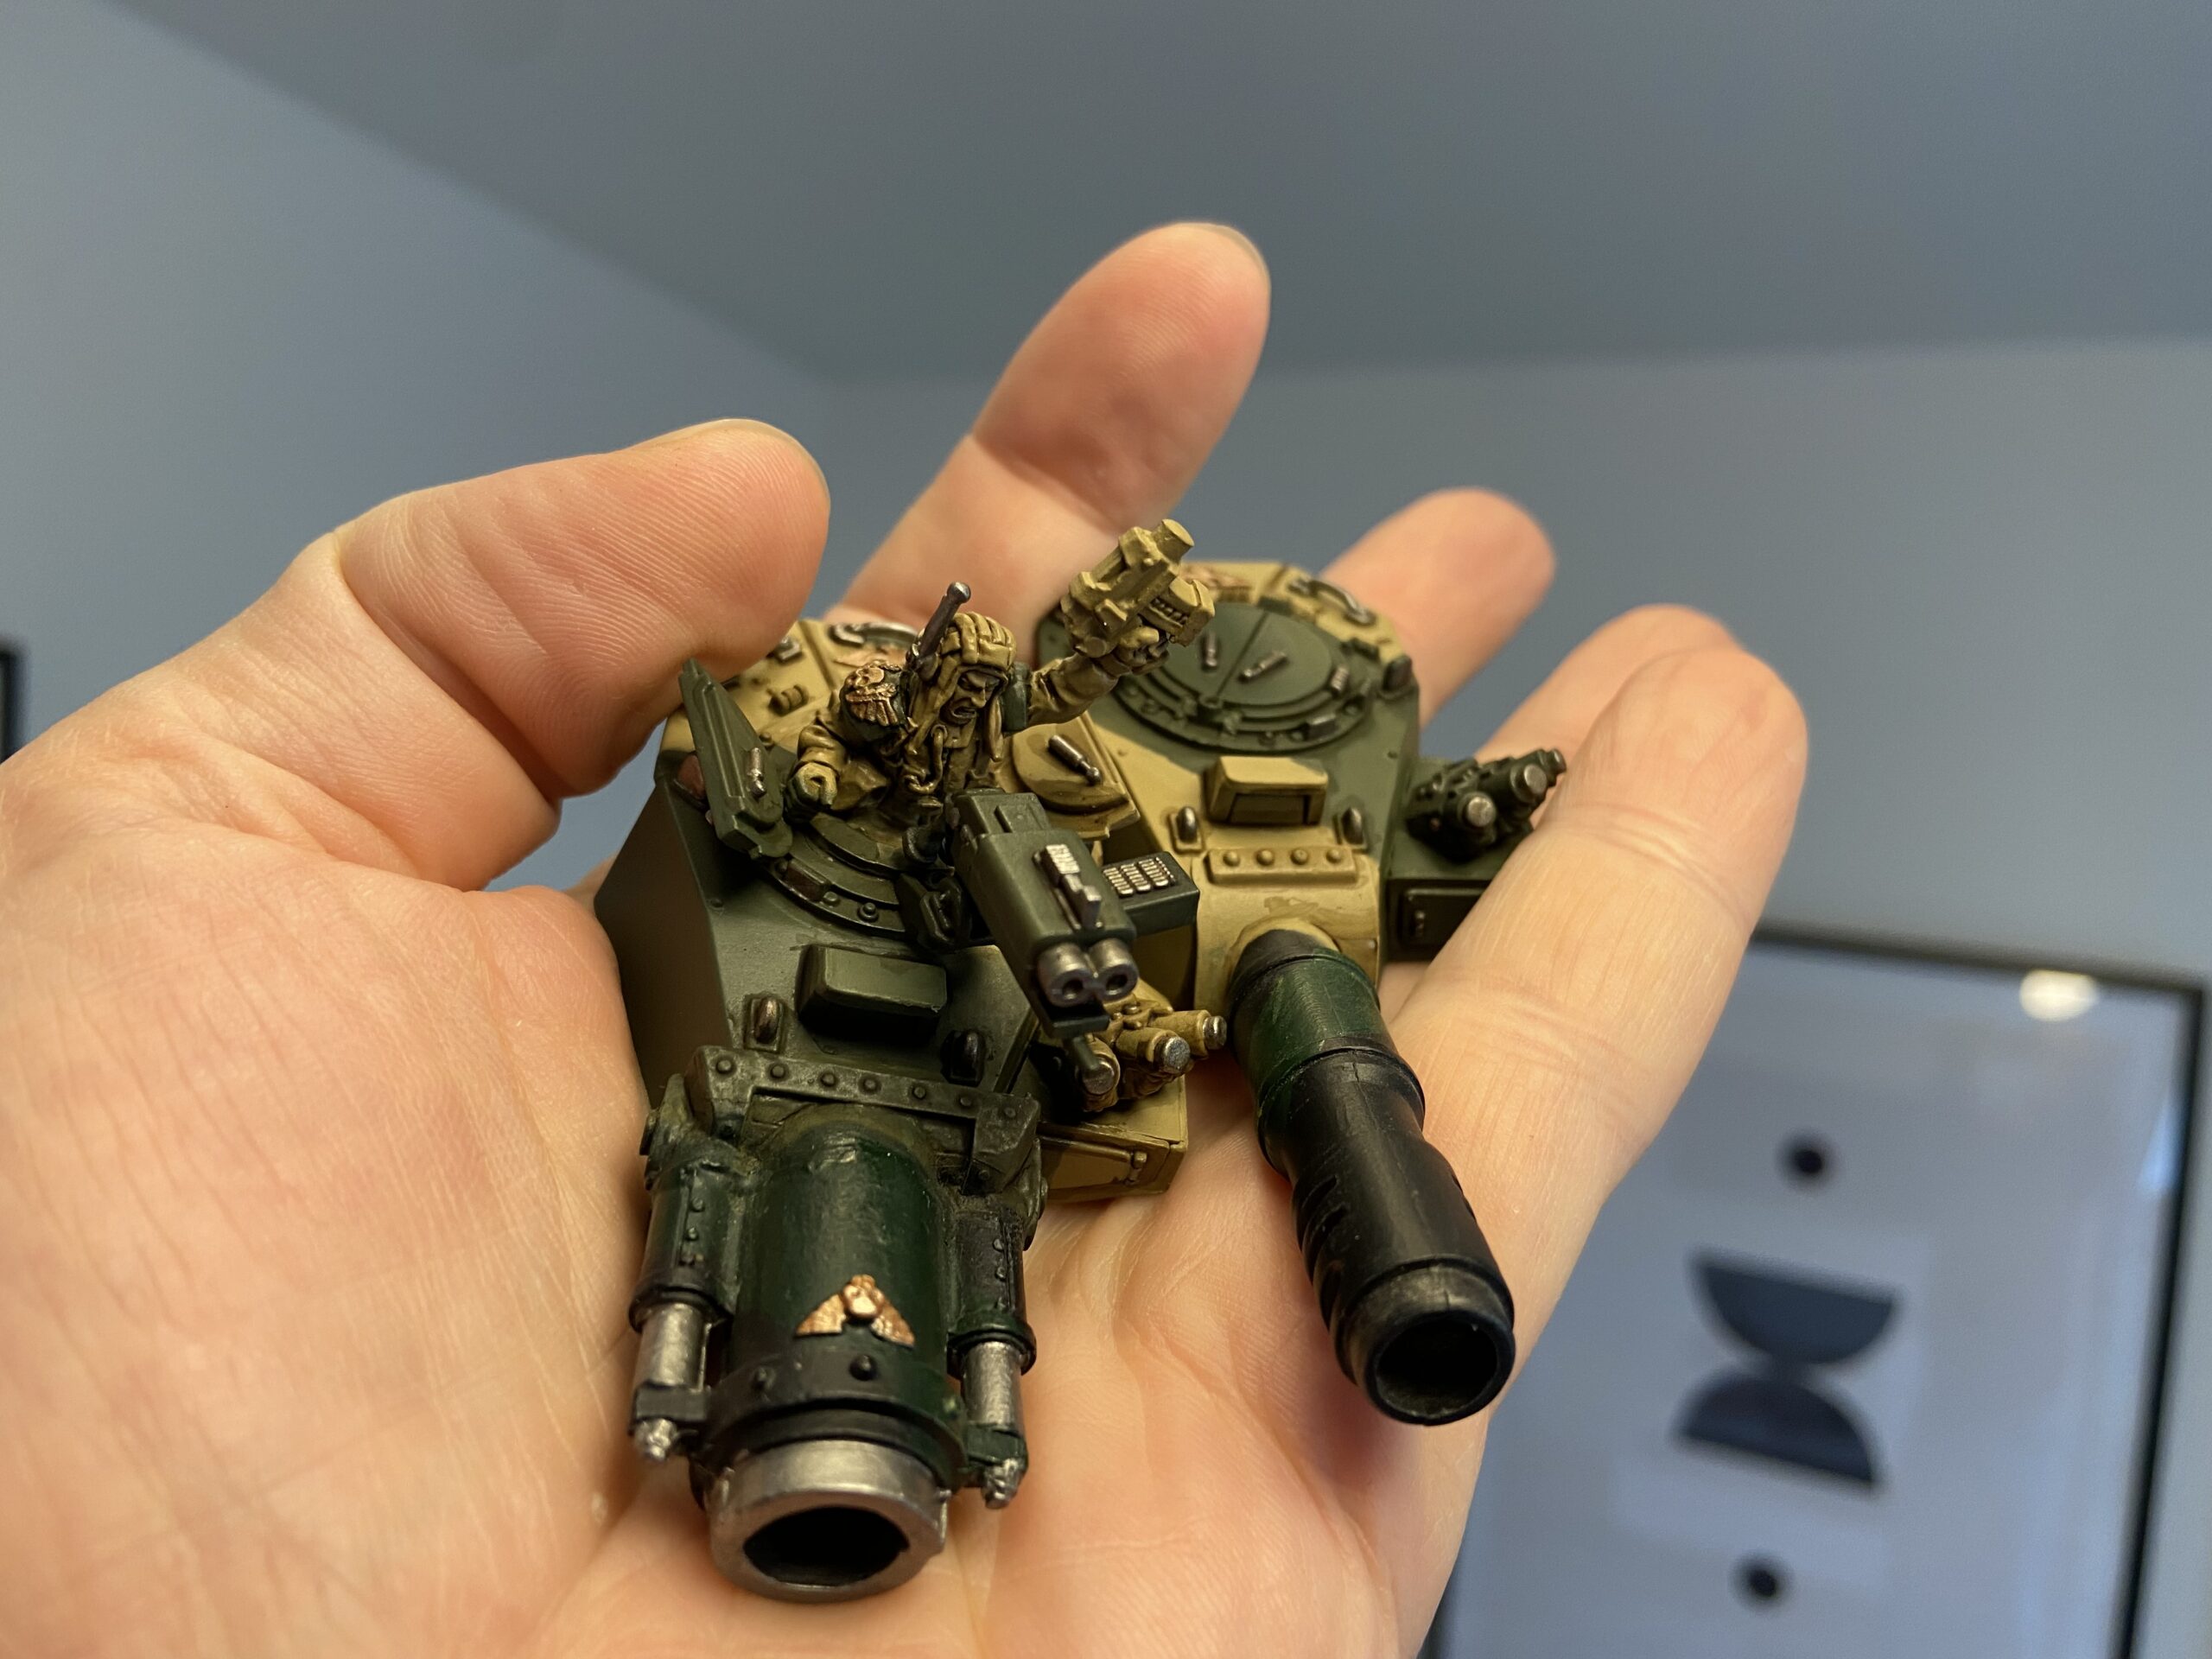
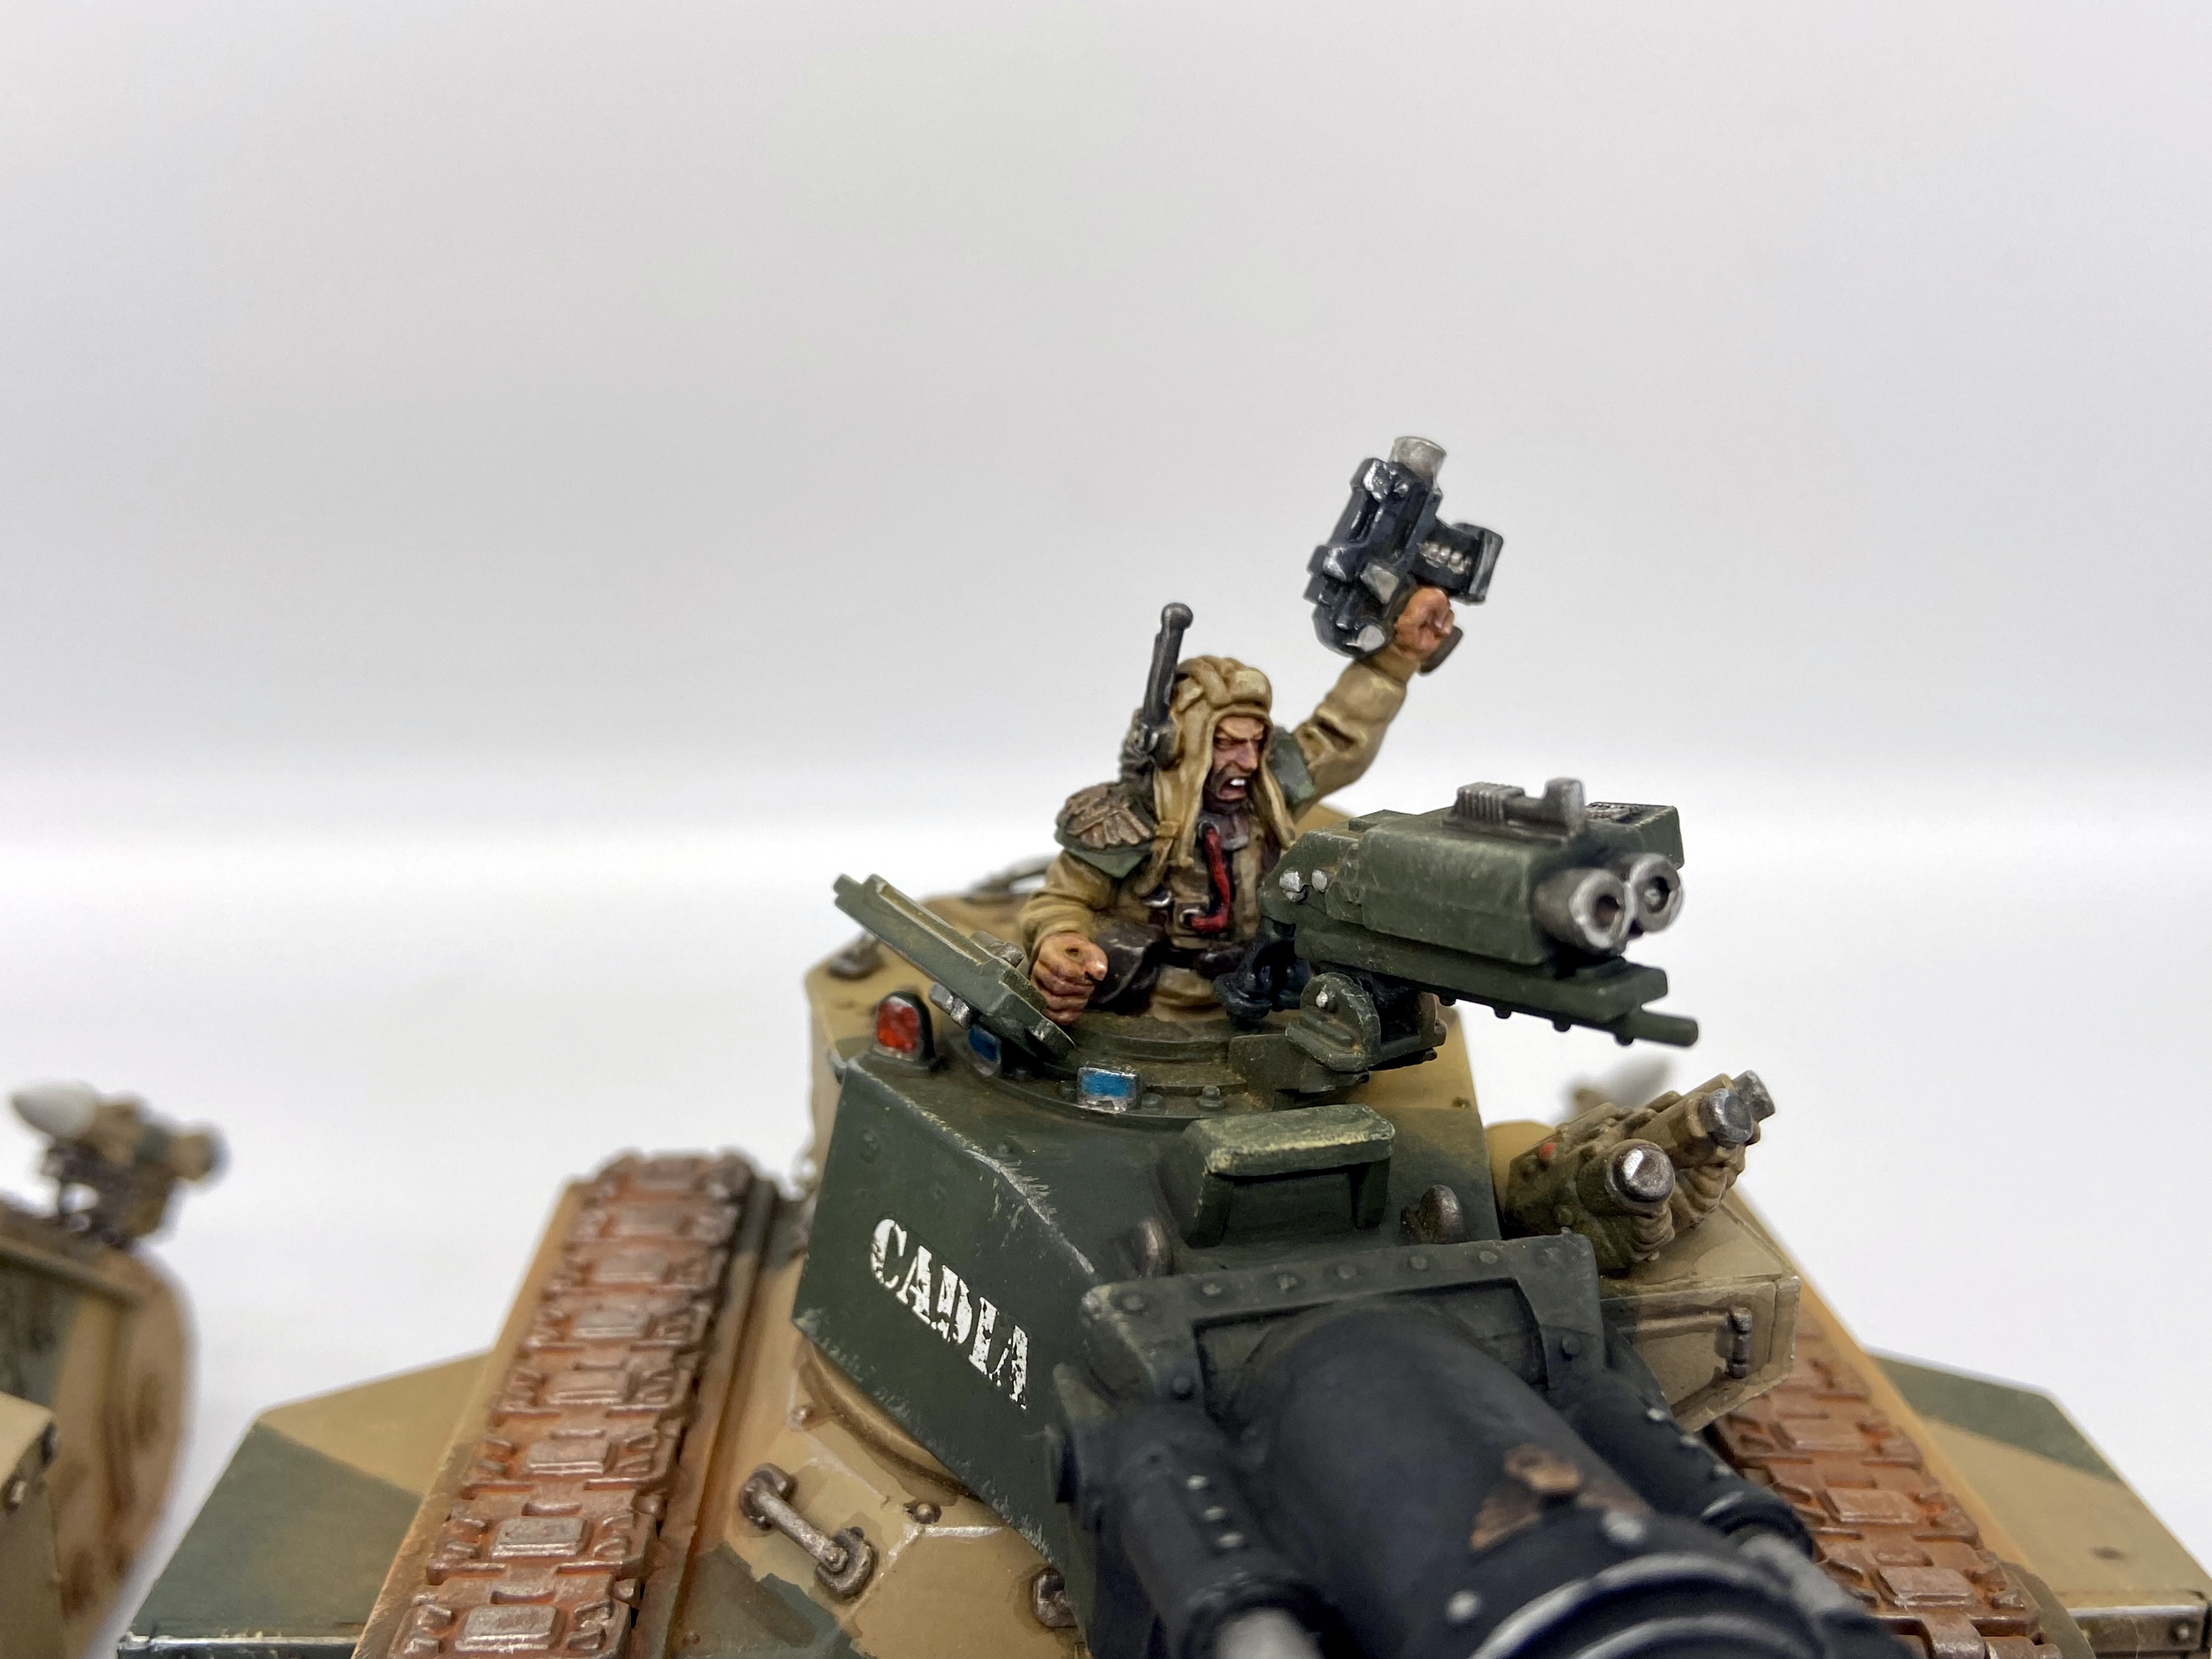
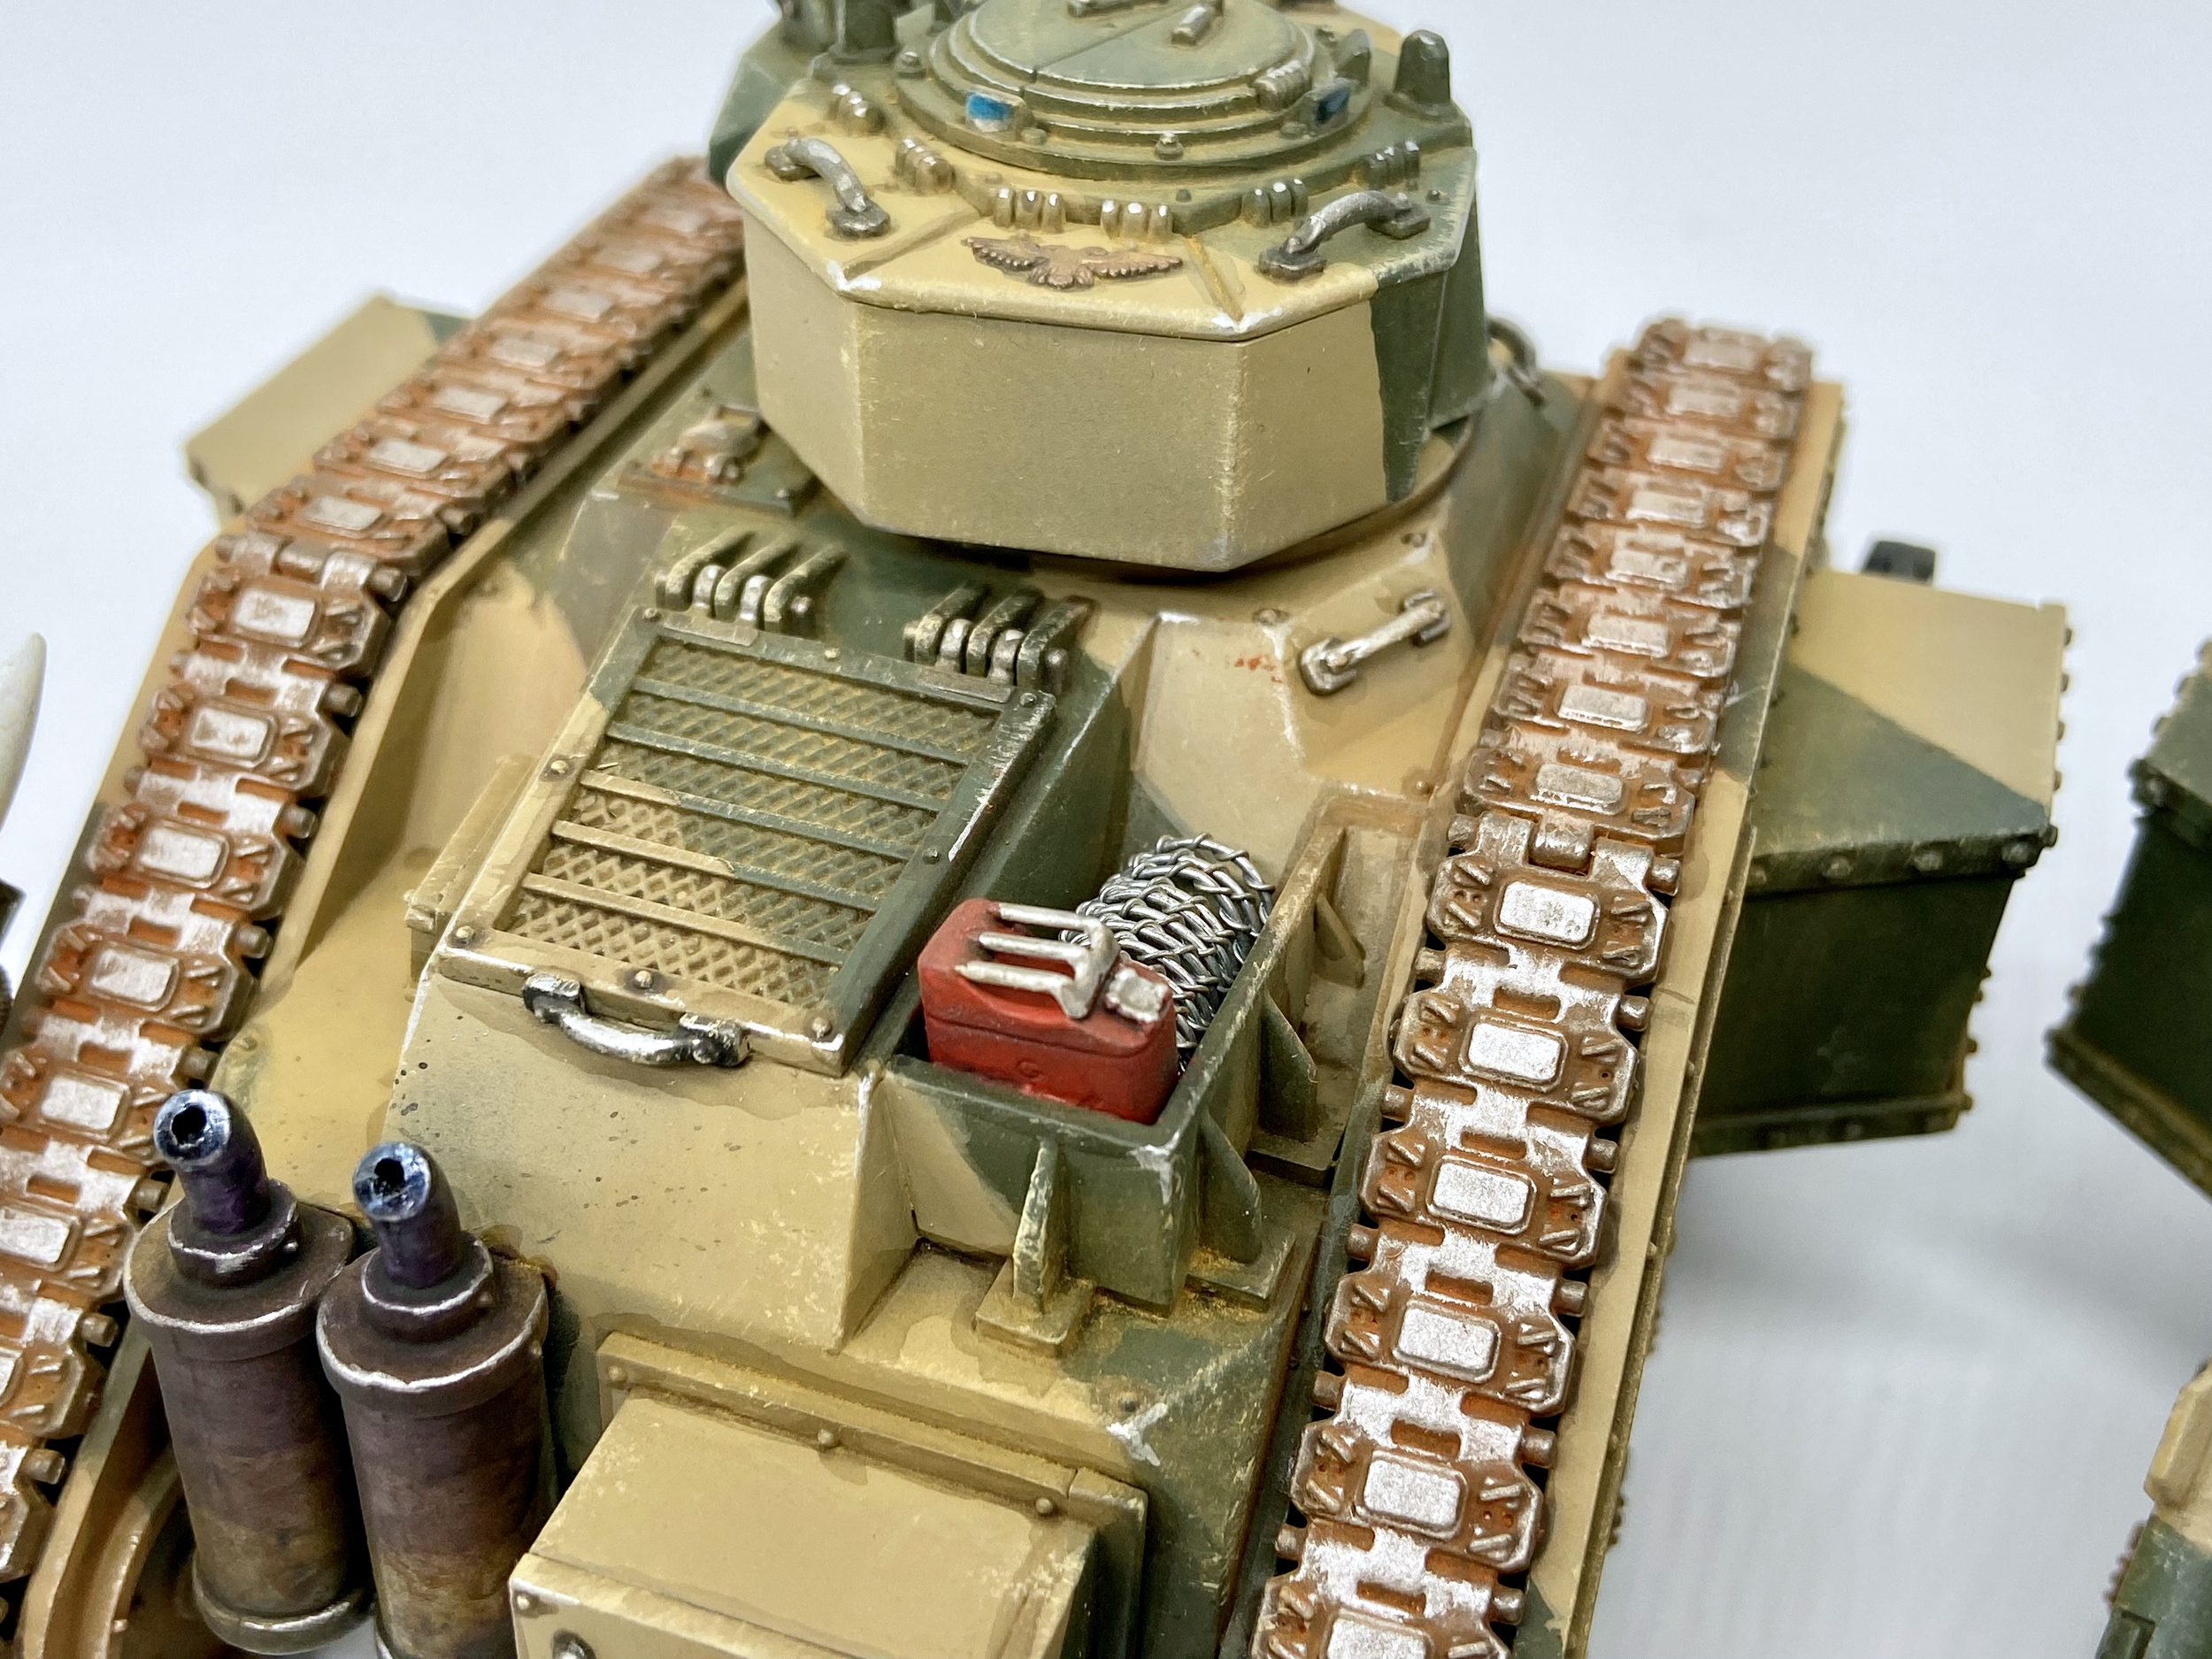
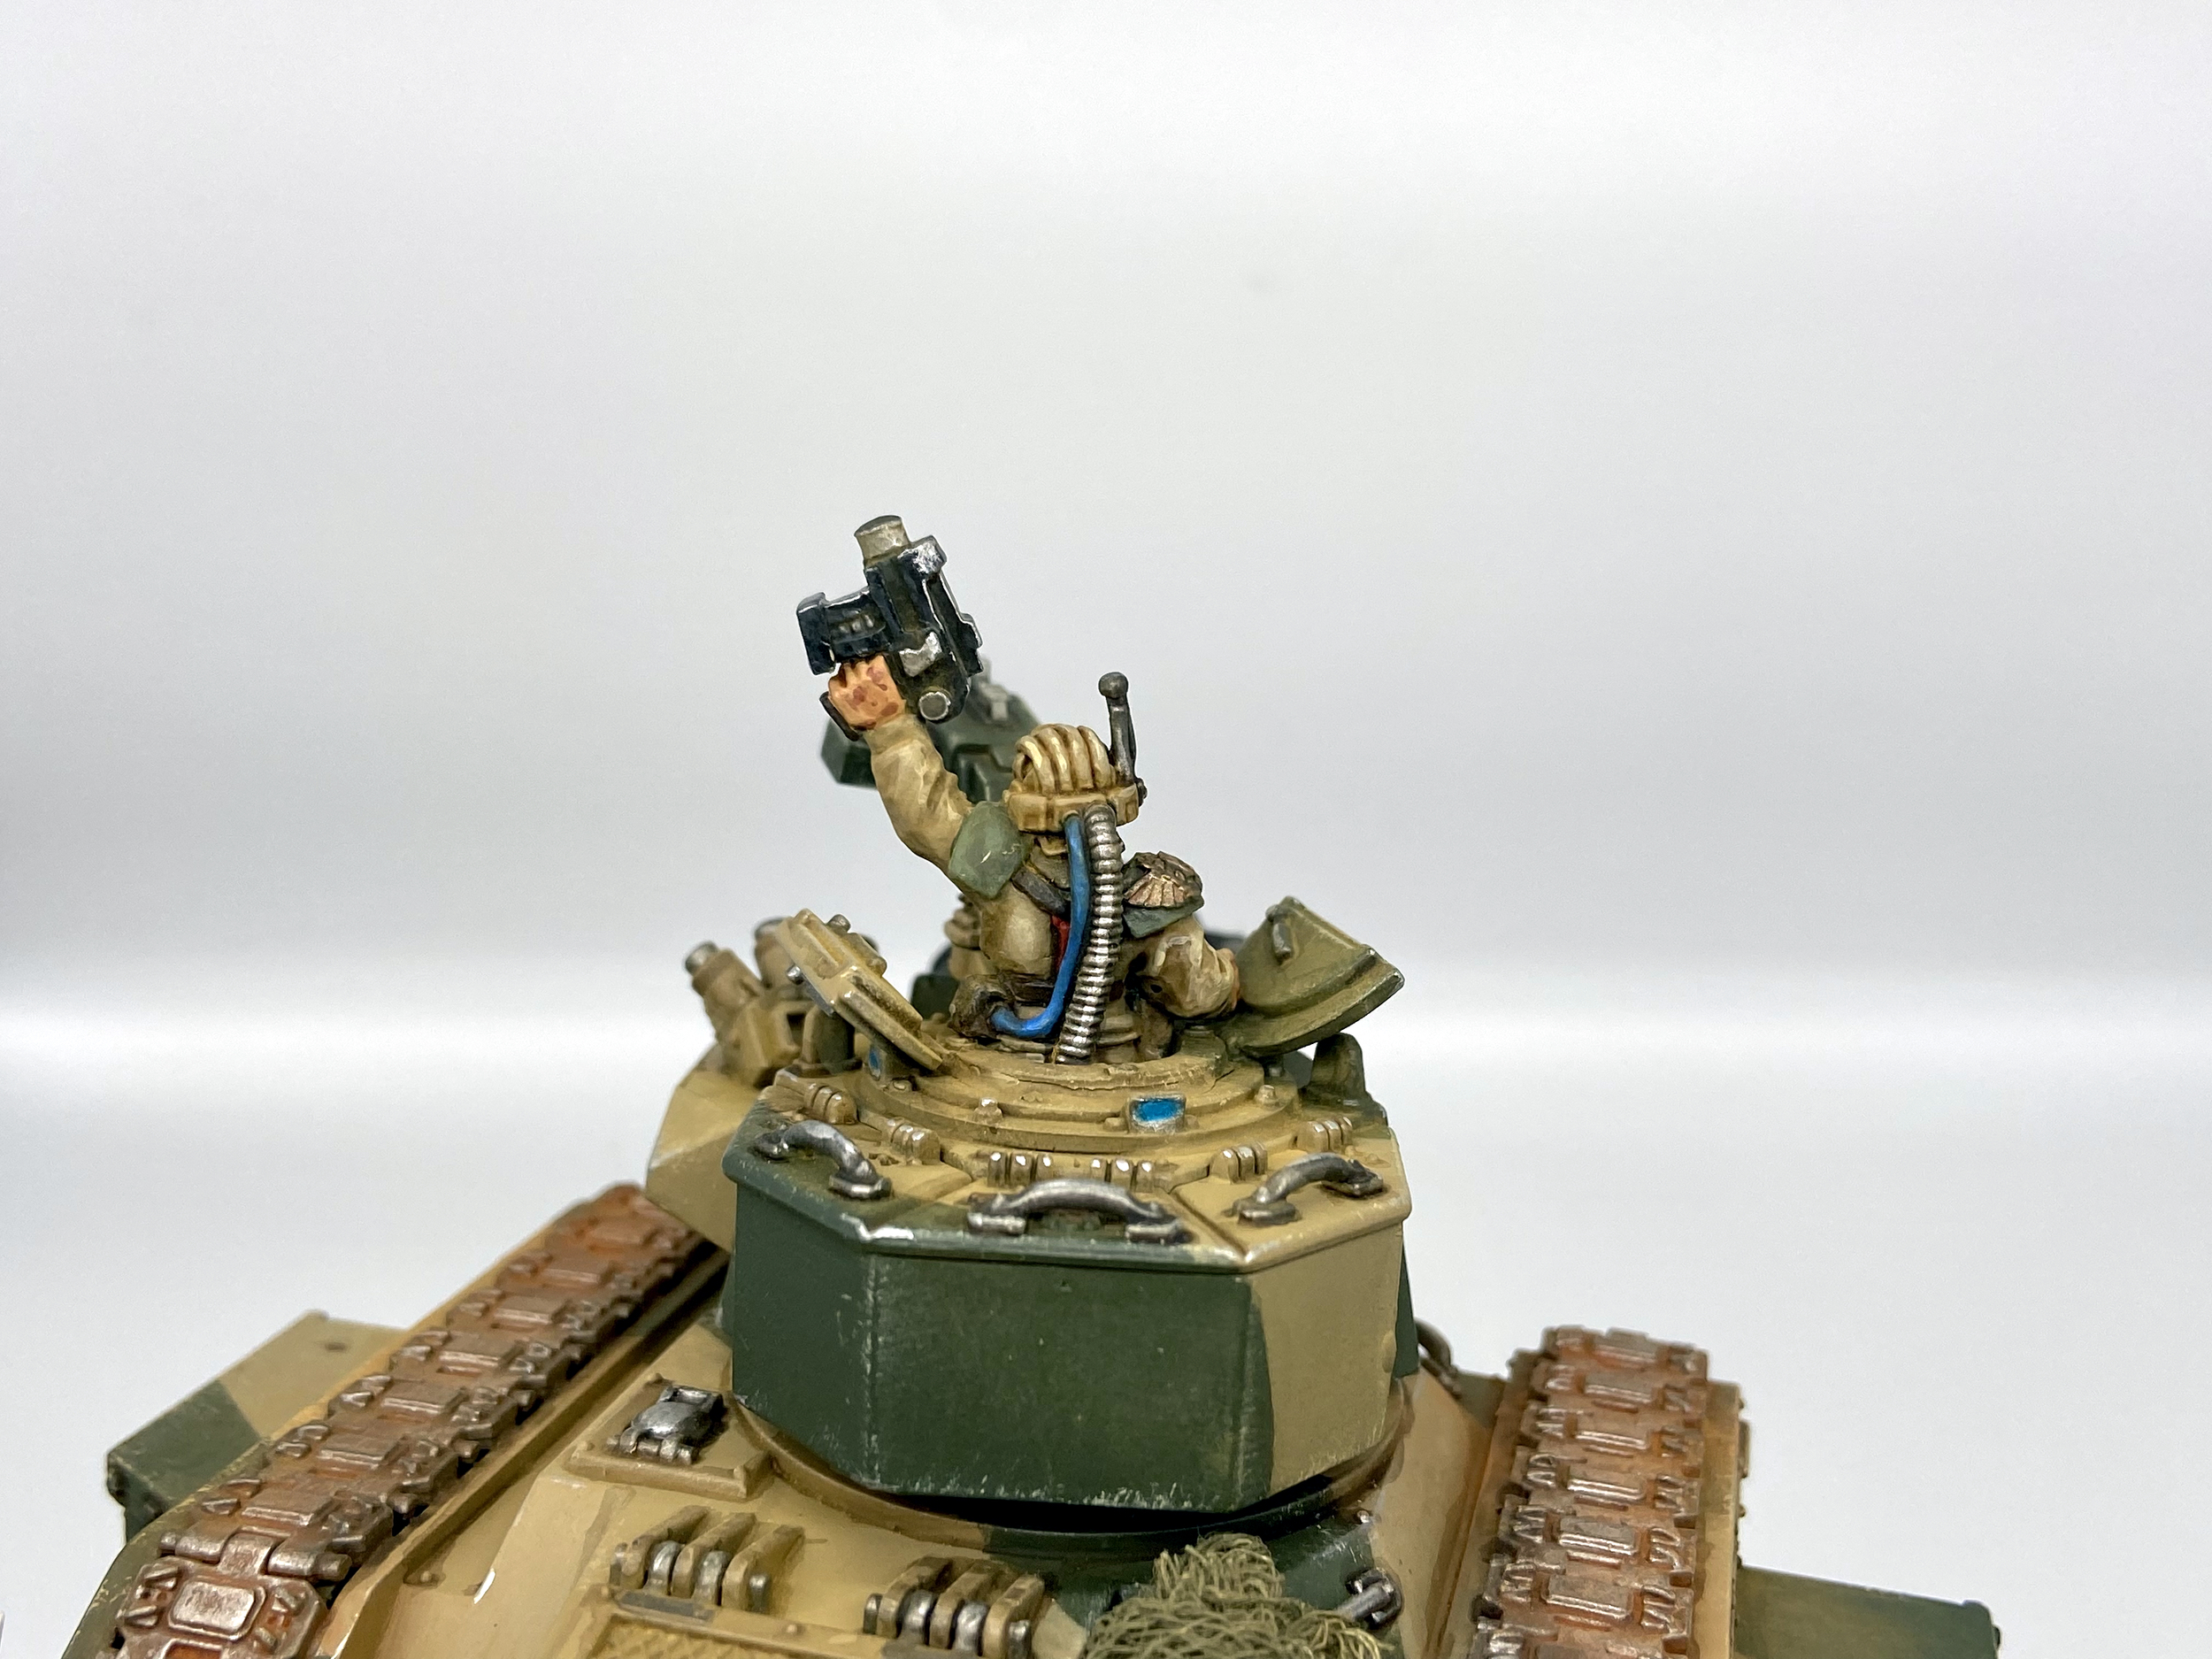
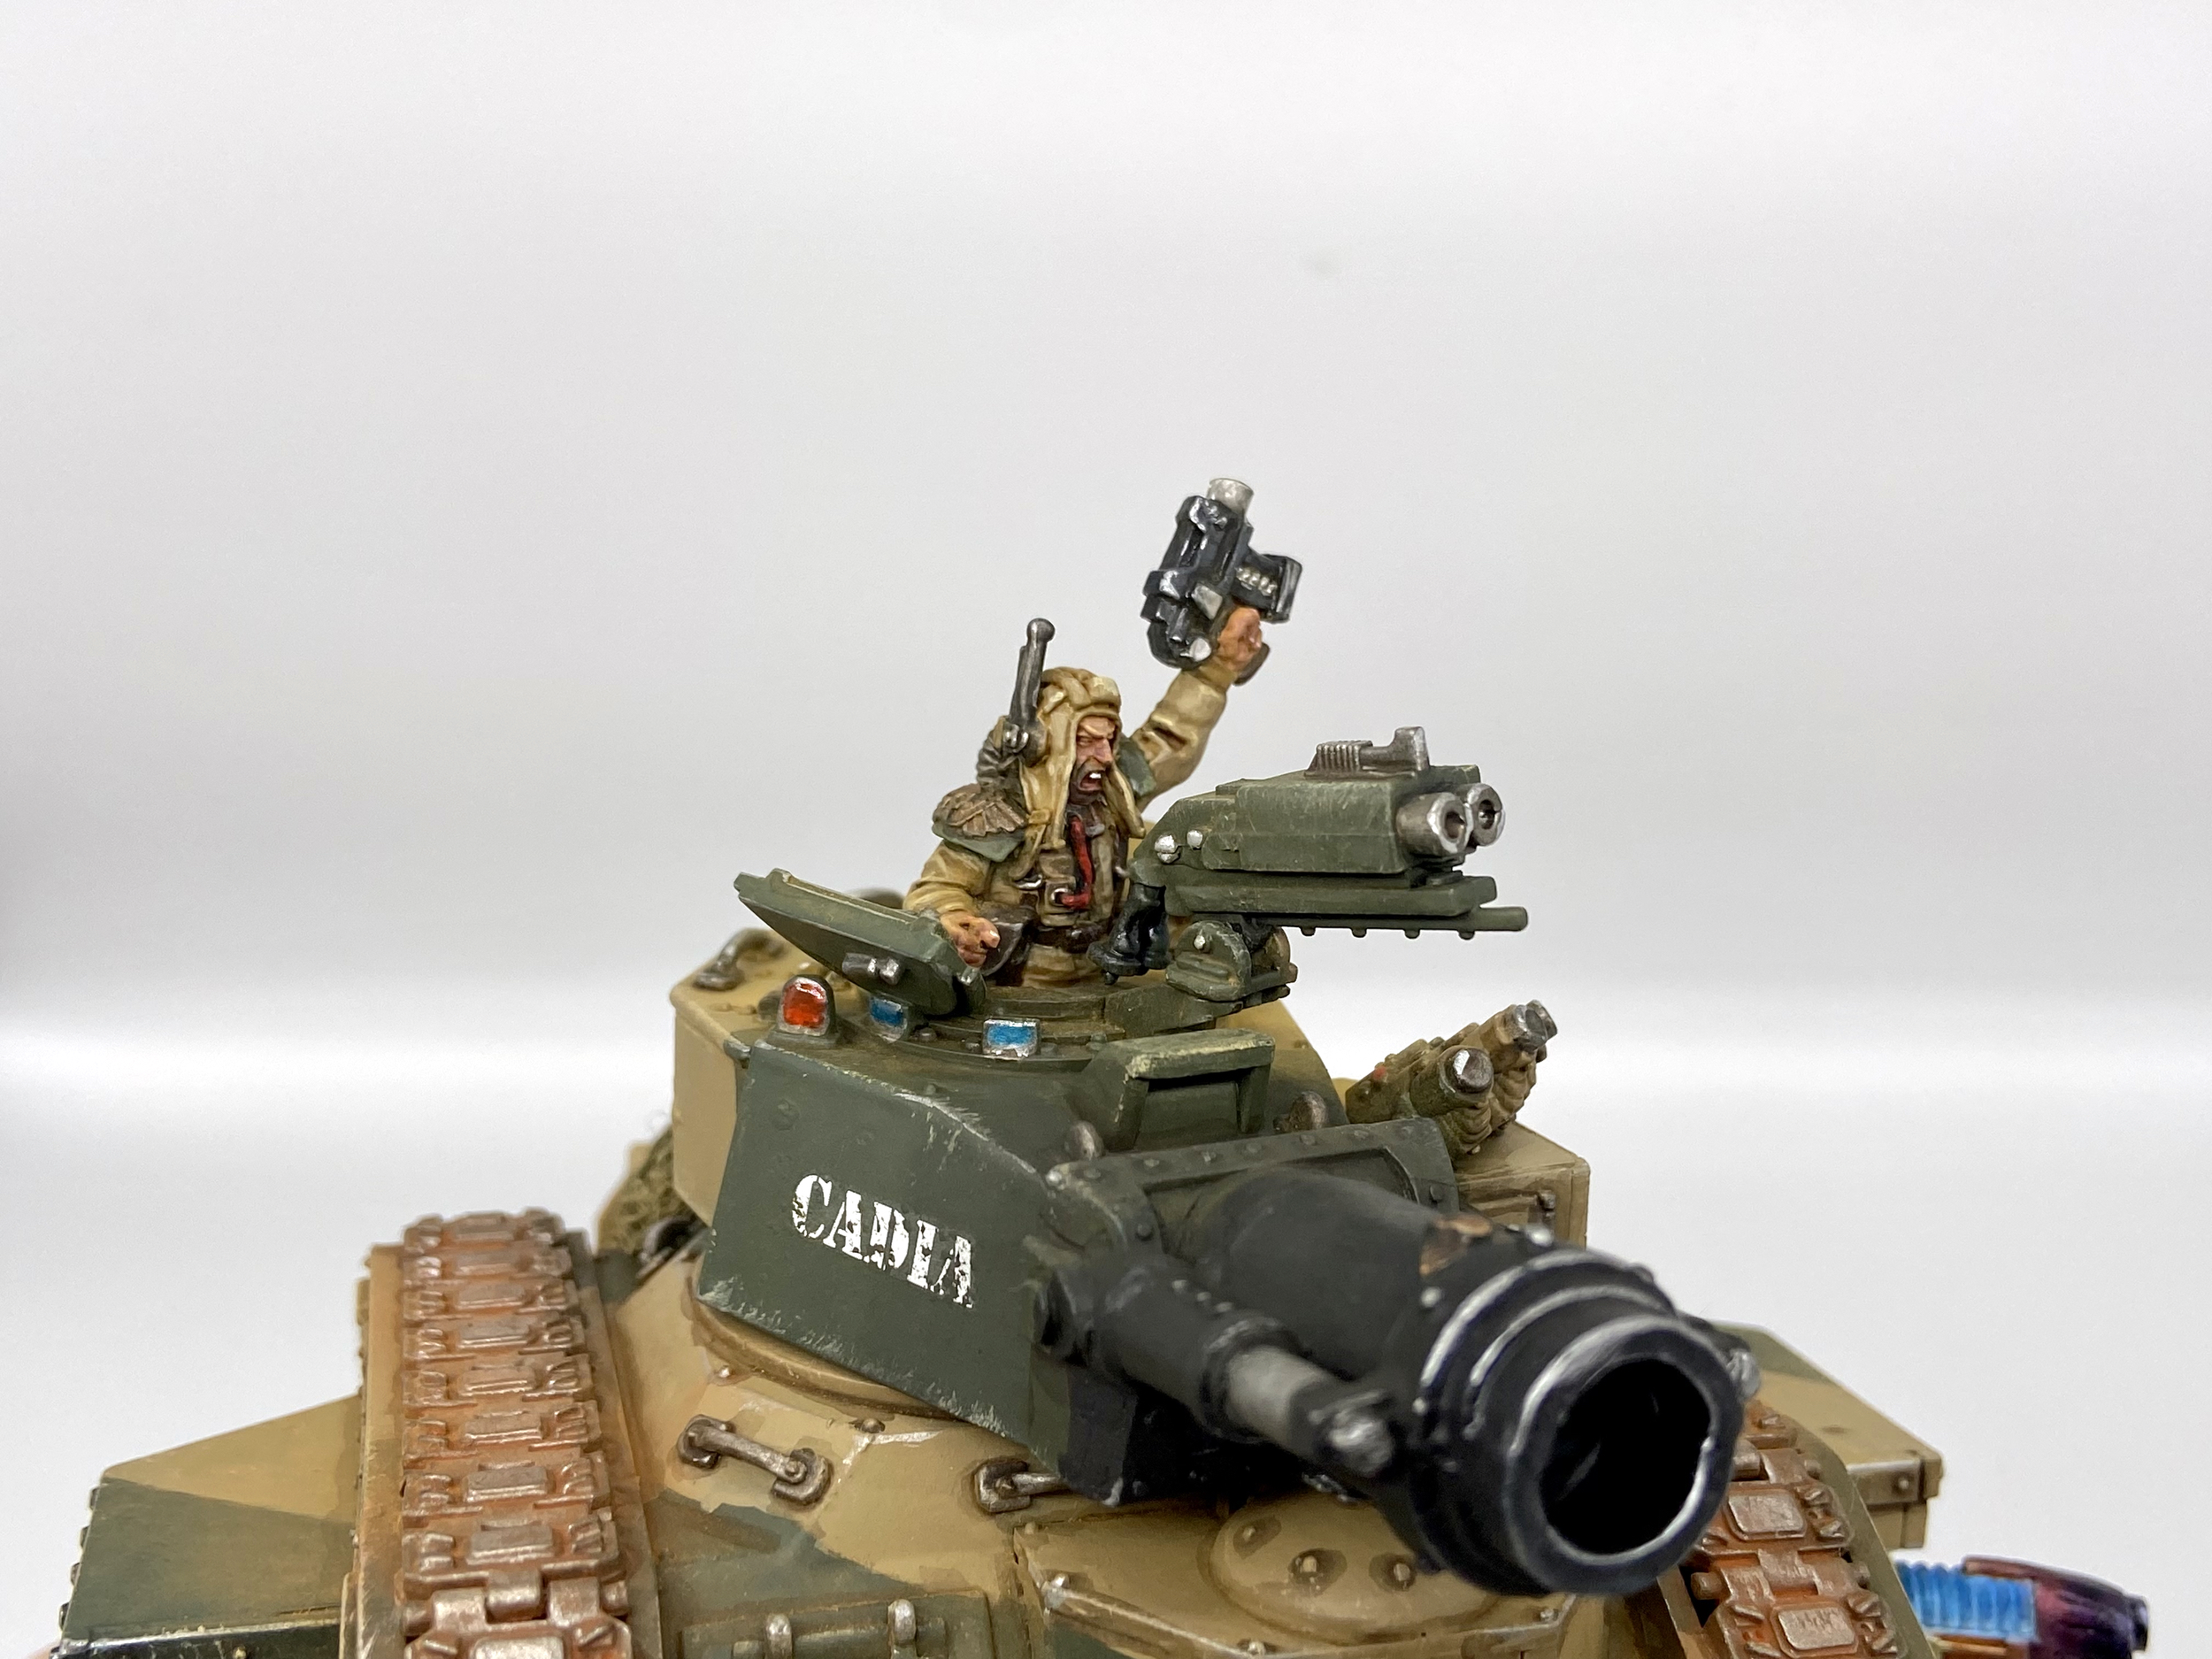
- Tank Commander details and skin using Kislev Flesh, Bugman’s Glow, Reikland Fleshshade, Carroburg Crimson, and Druchii Violet
- I also added on my Hunter Killer Missiles at this point – got to have them for each vehicle? Right?!
- Transfers/Decals using Microset and Microsol – water works too
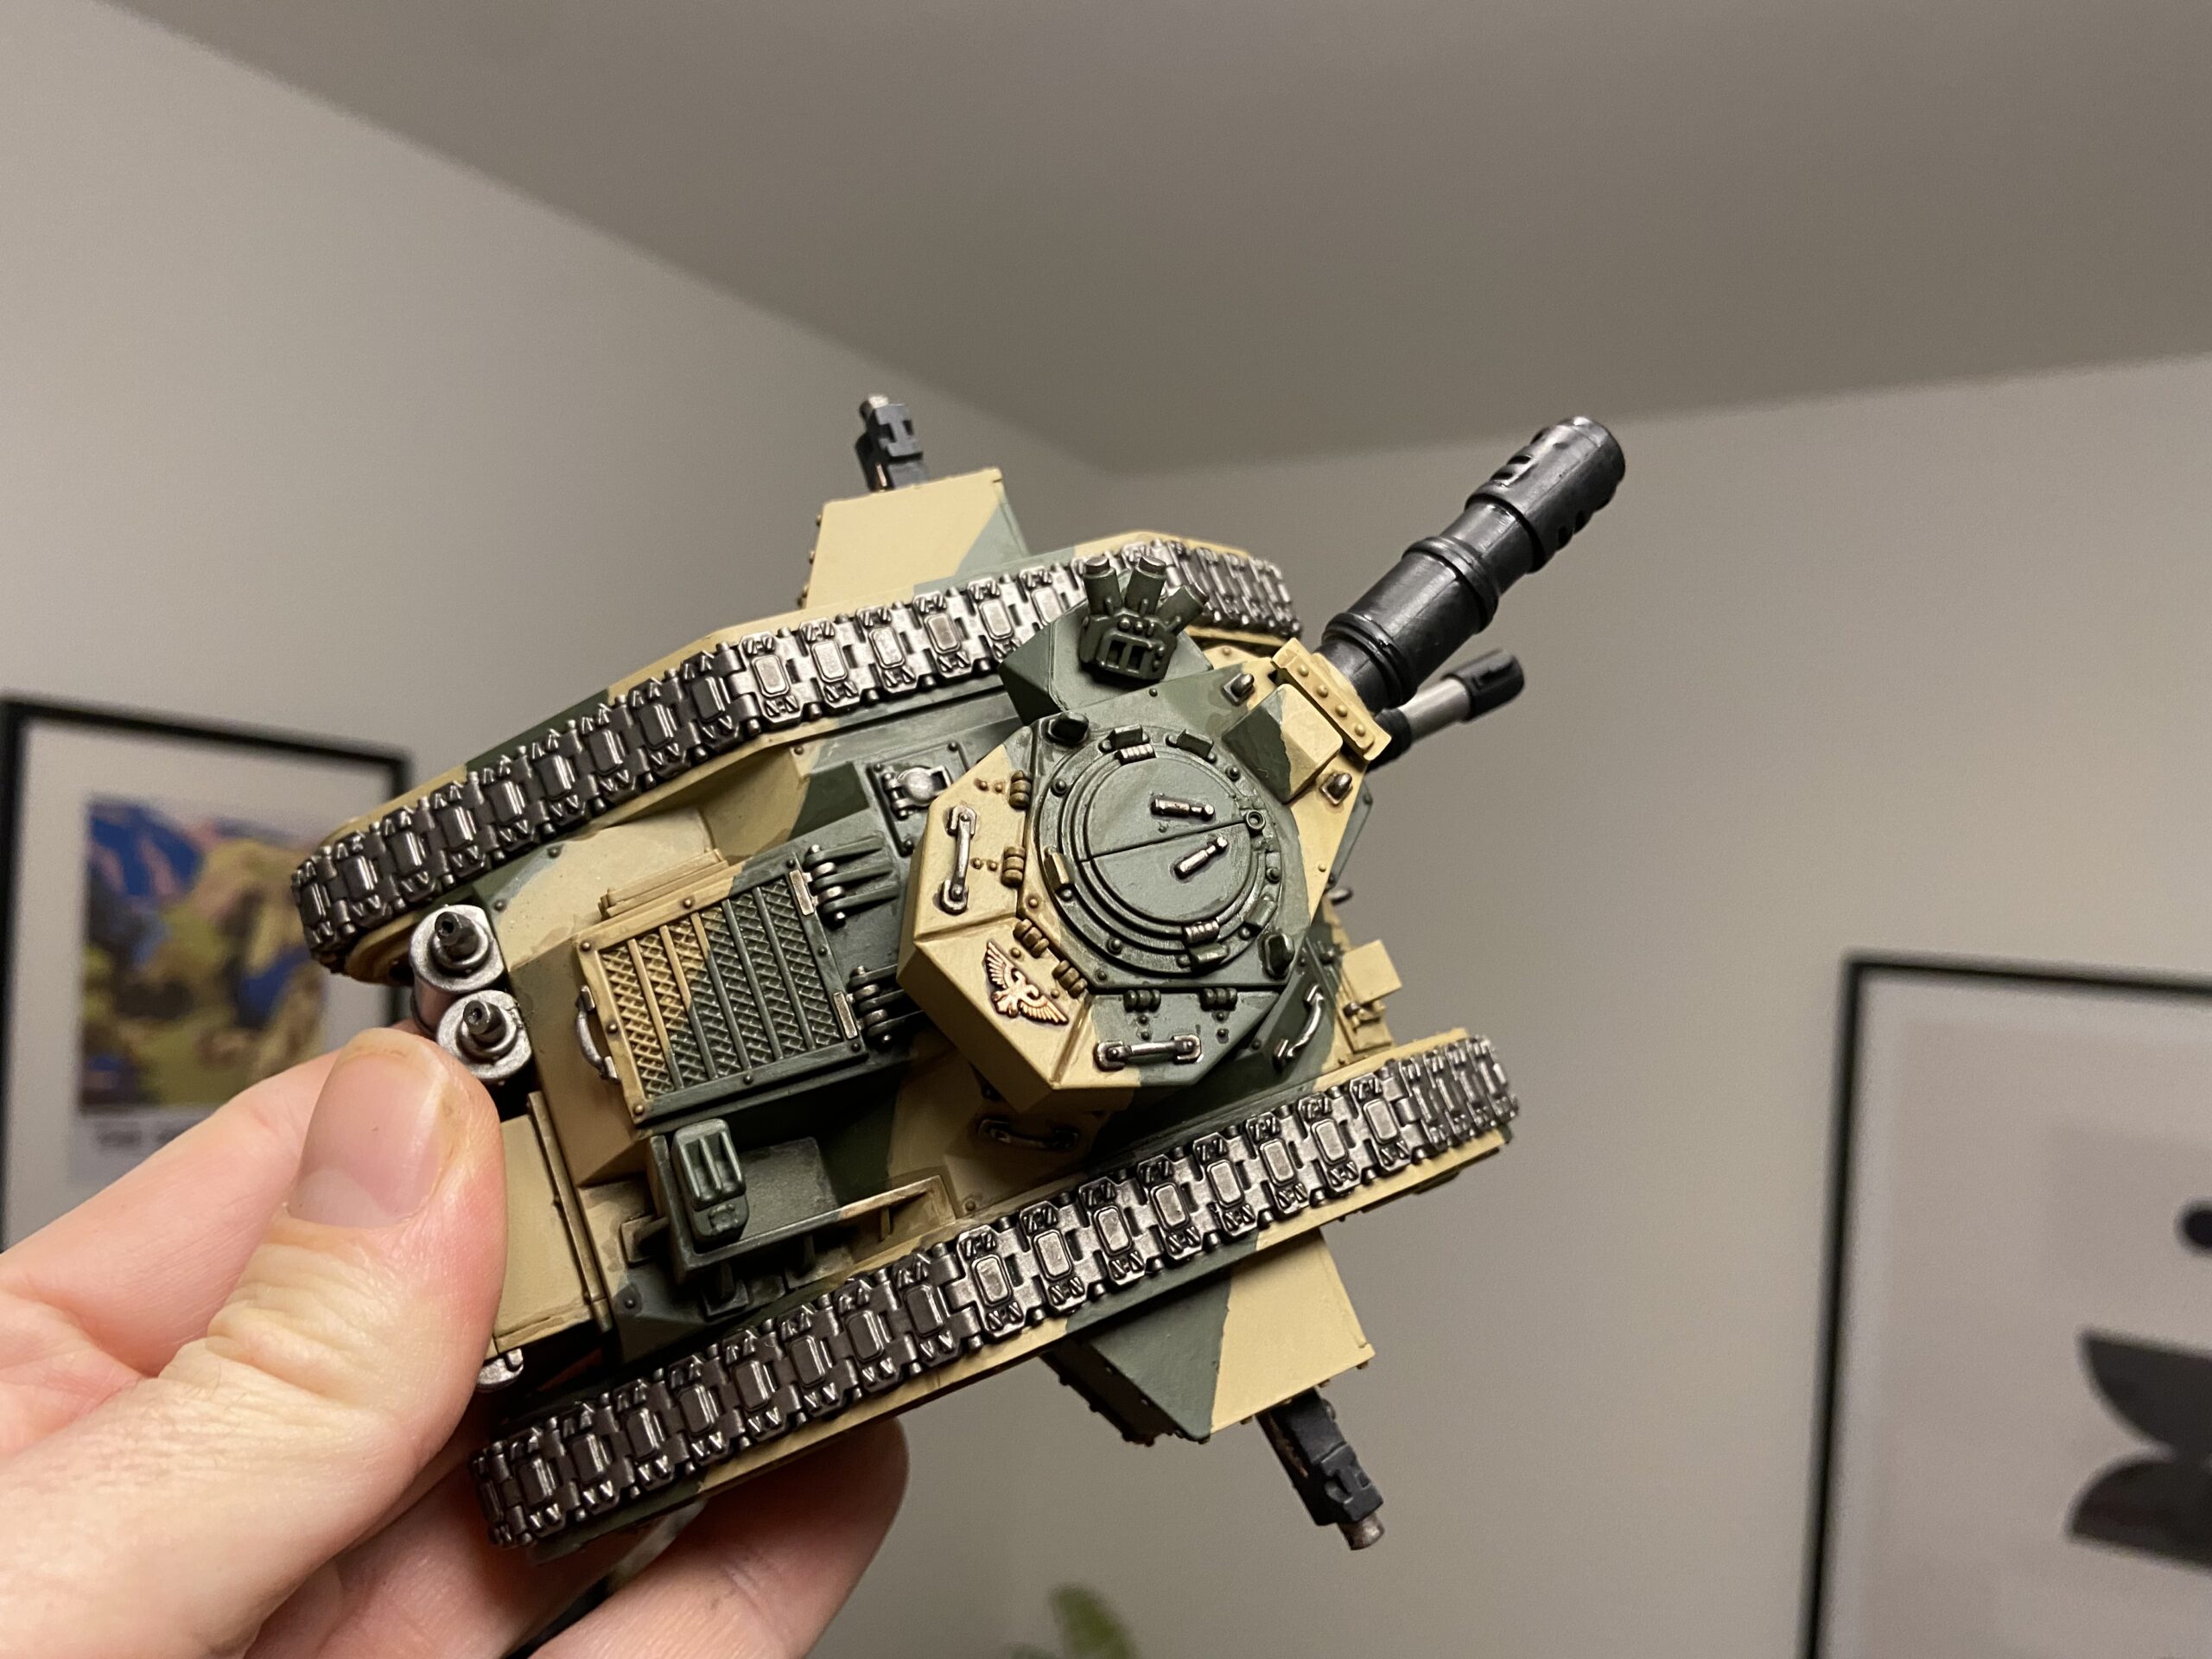
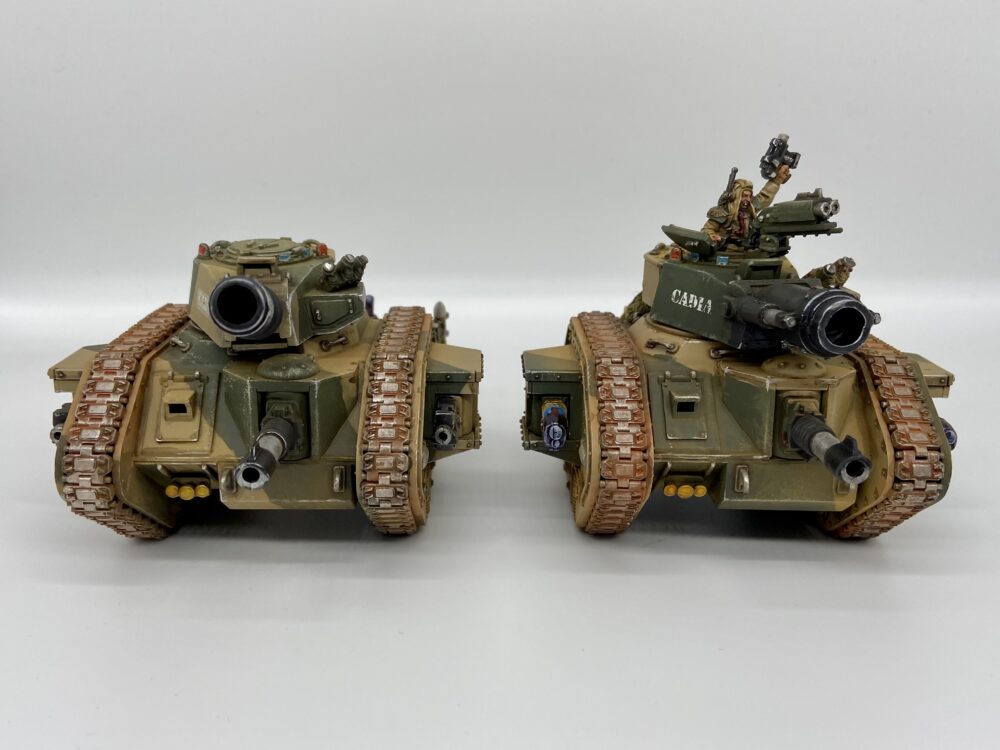
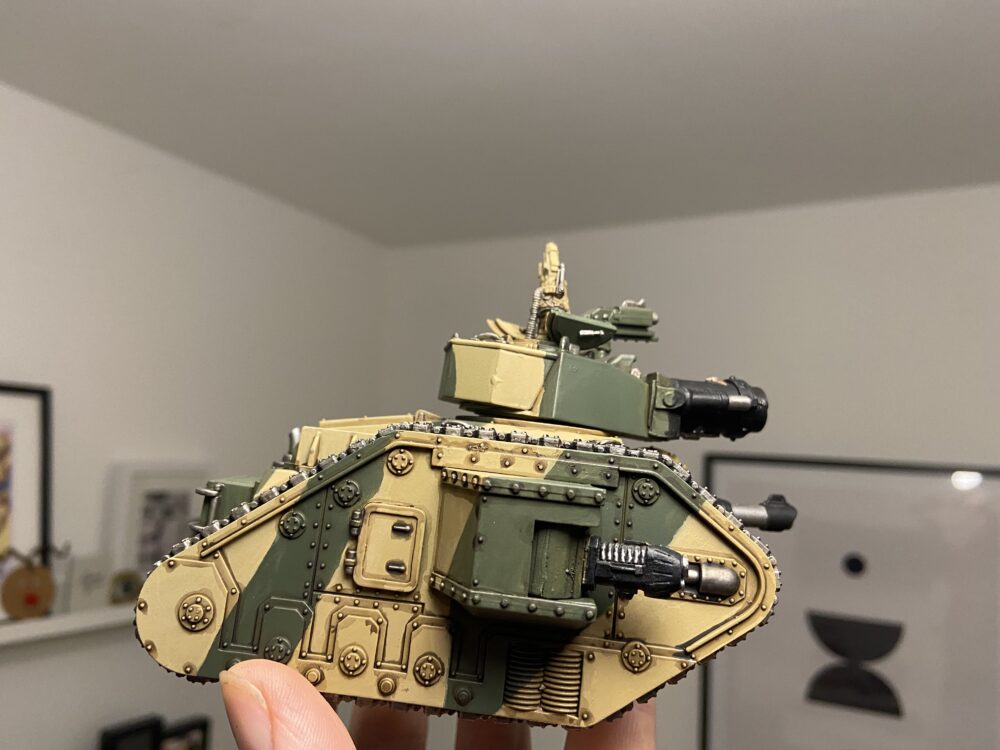
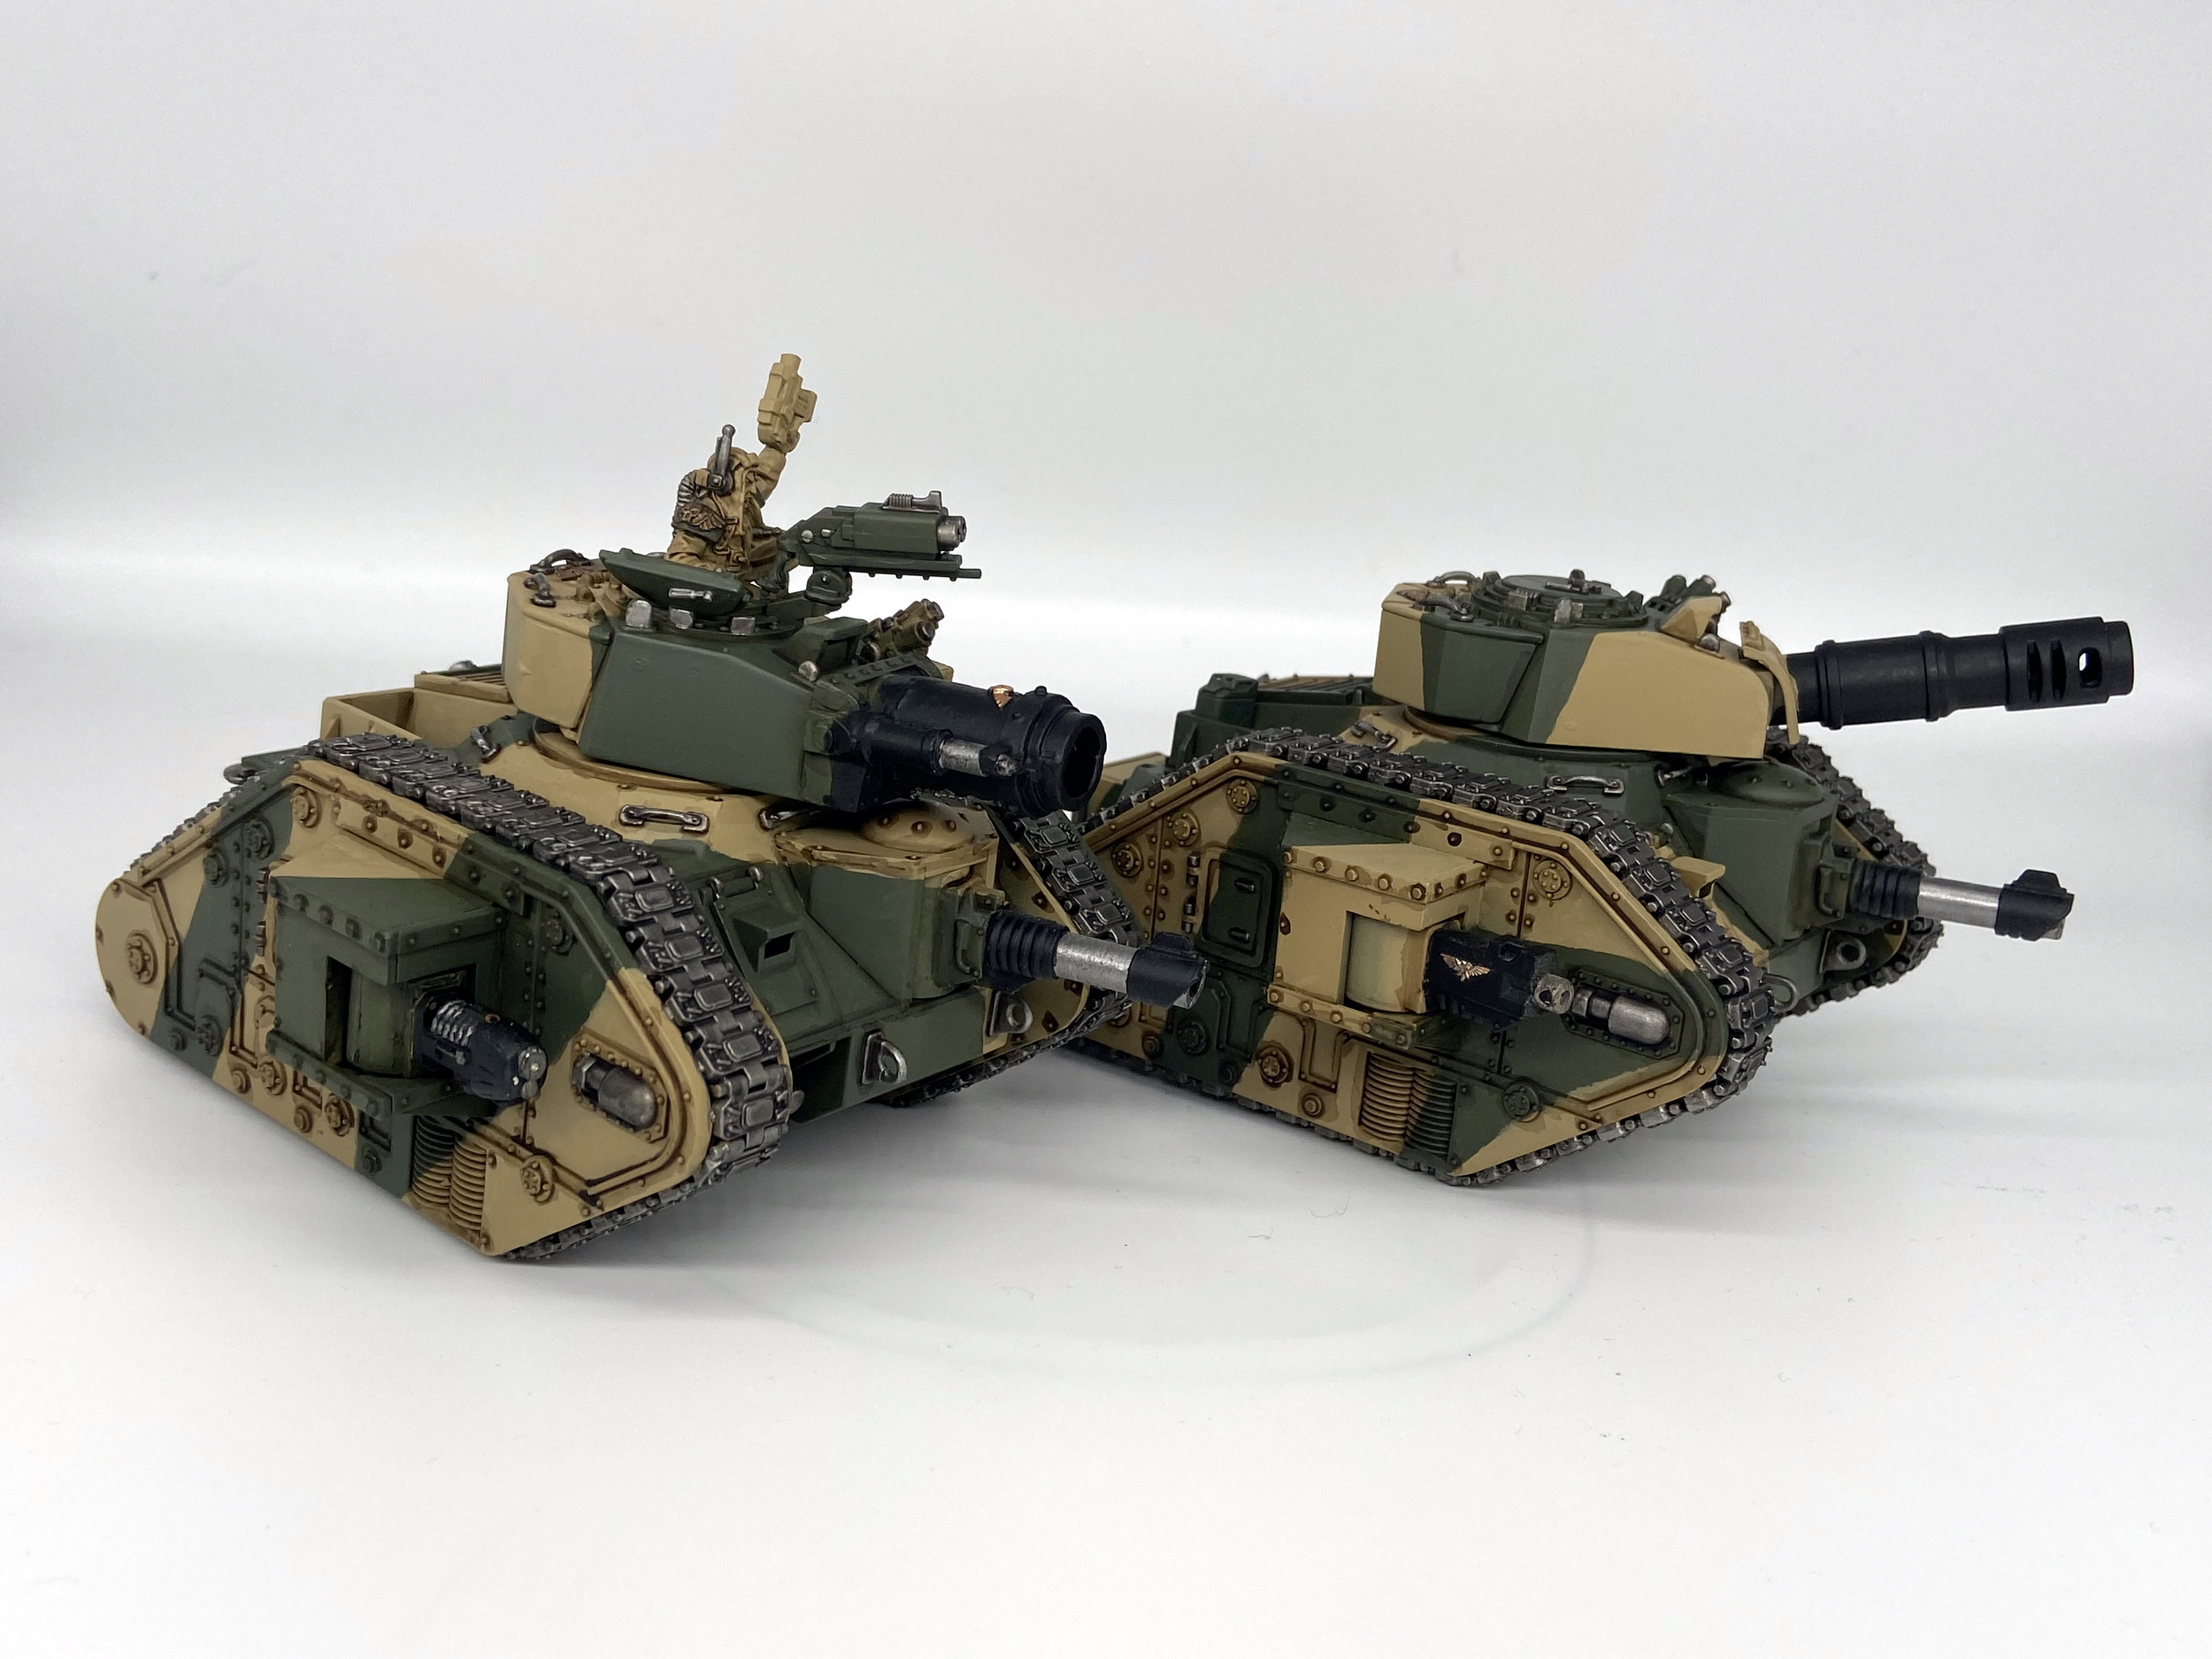
Parade Ready Gallery
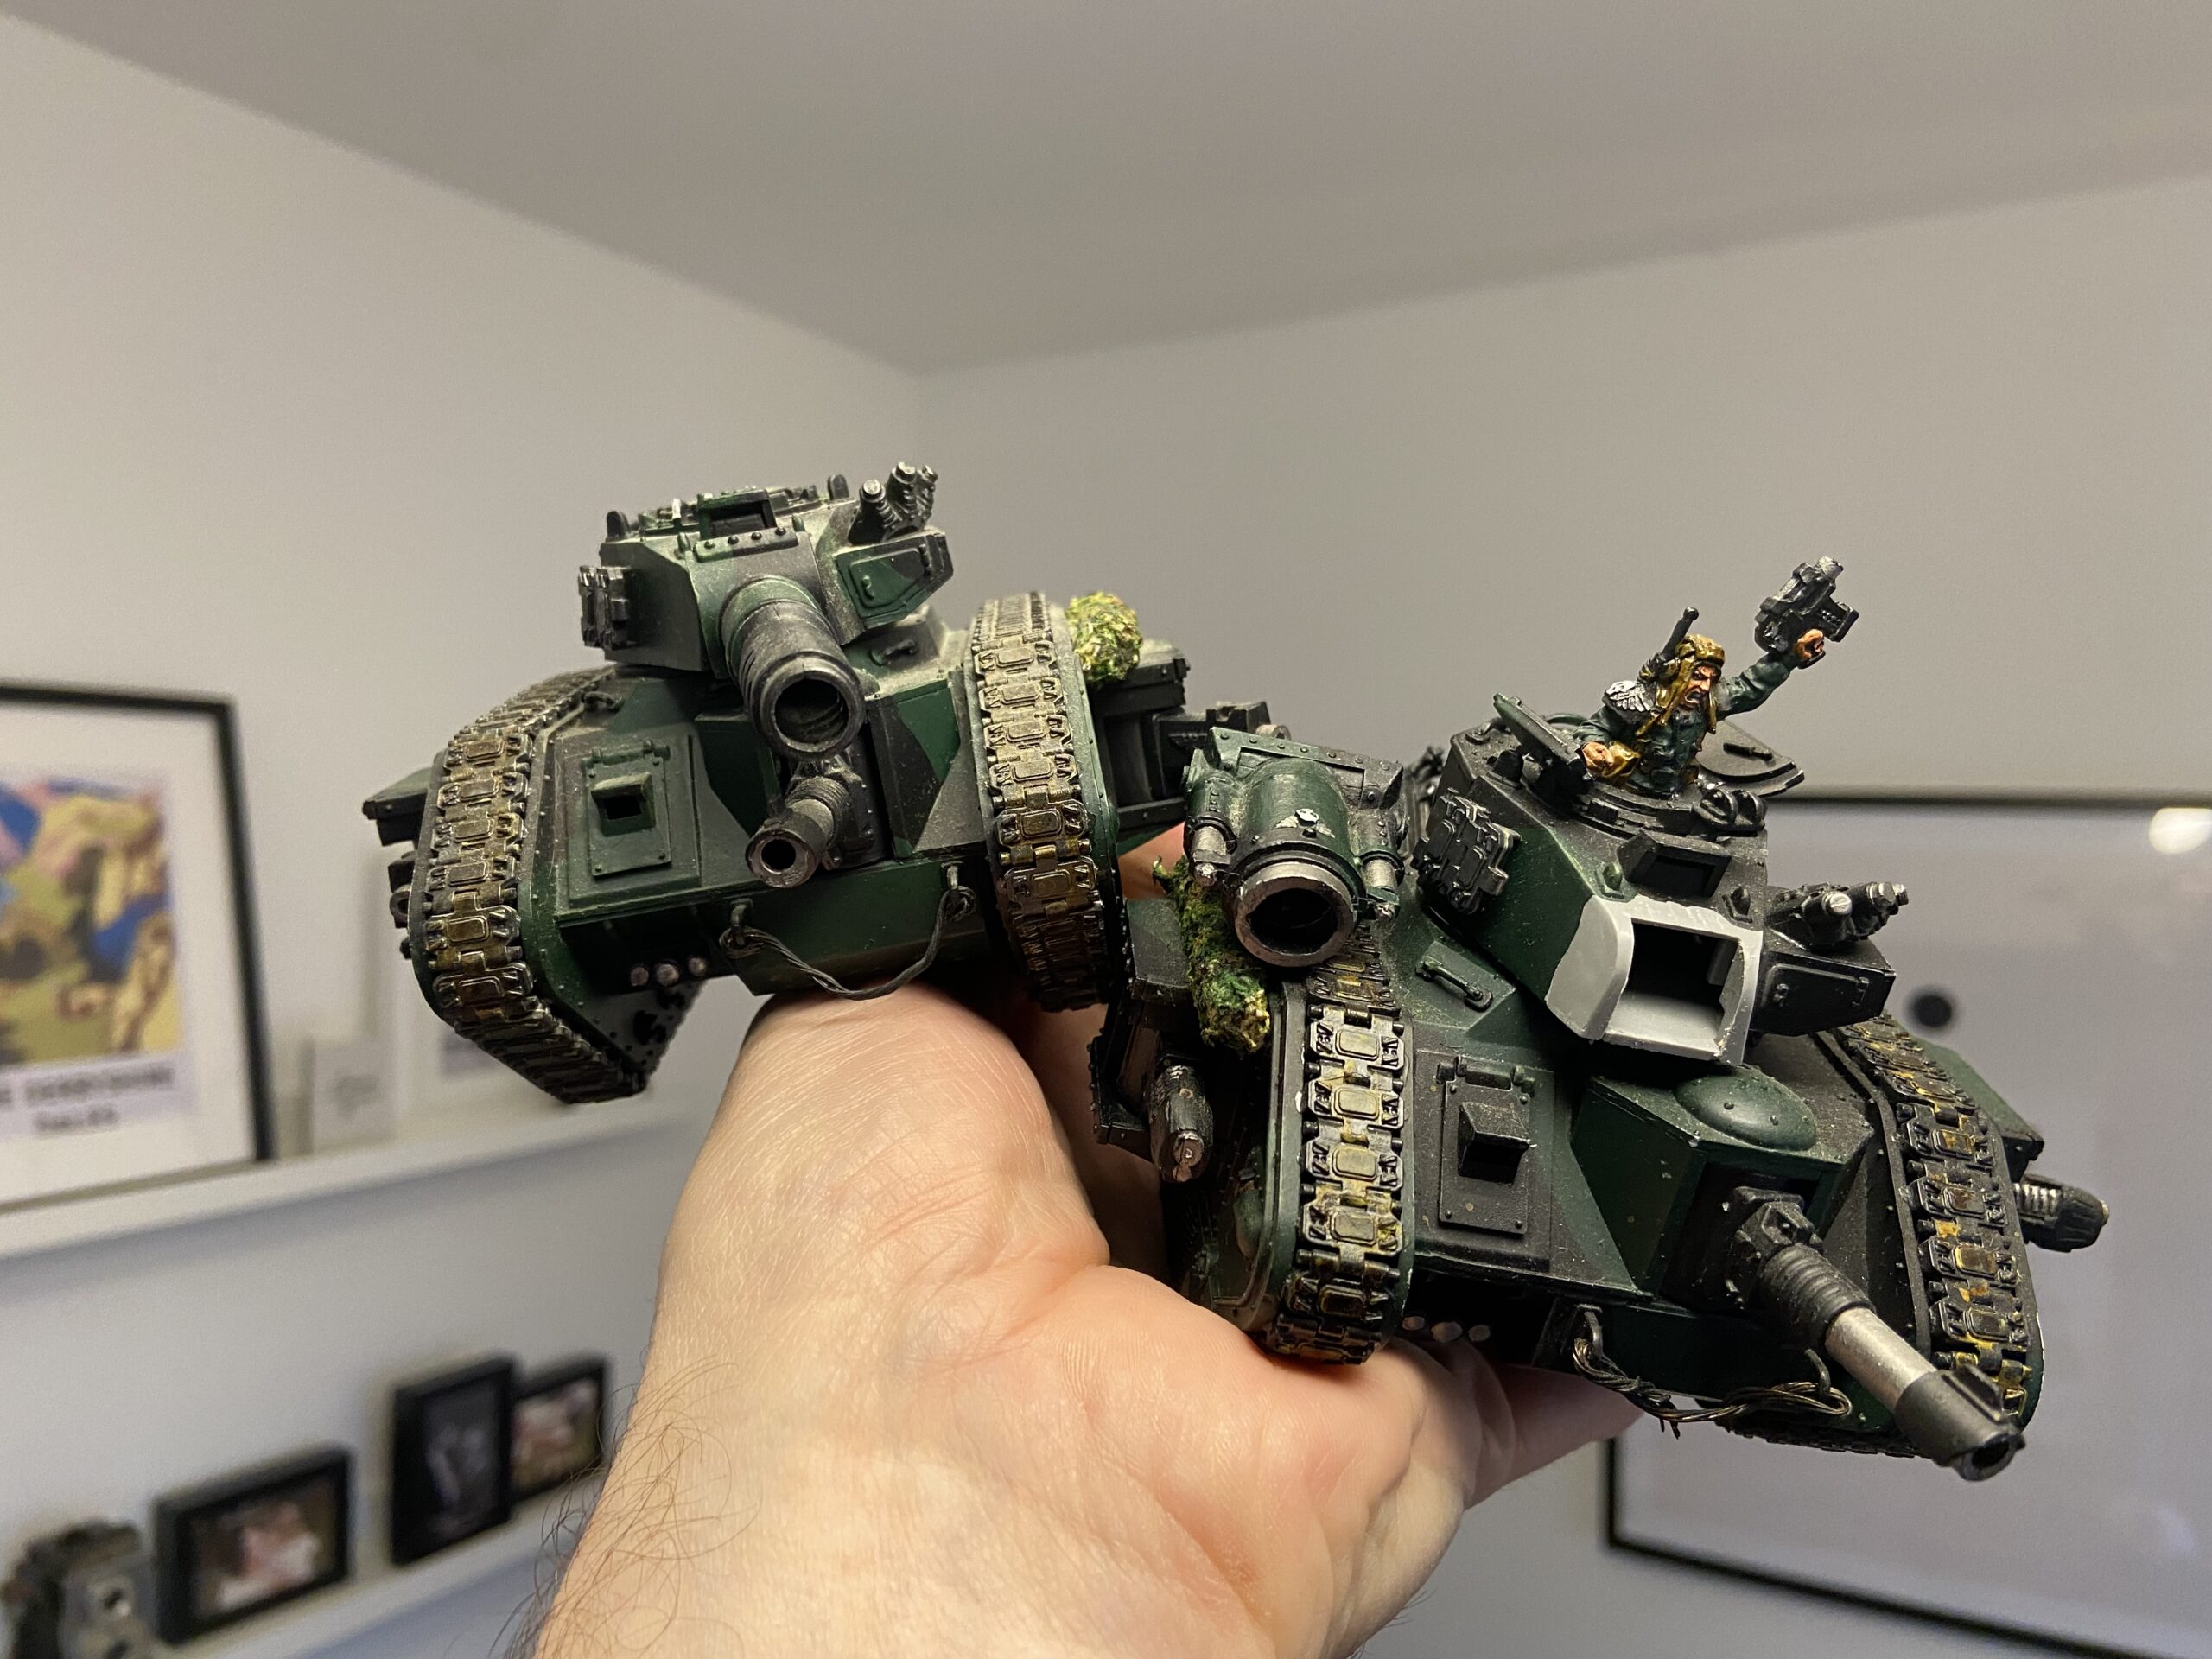
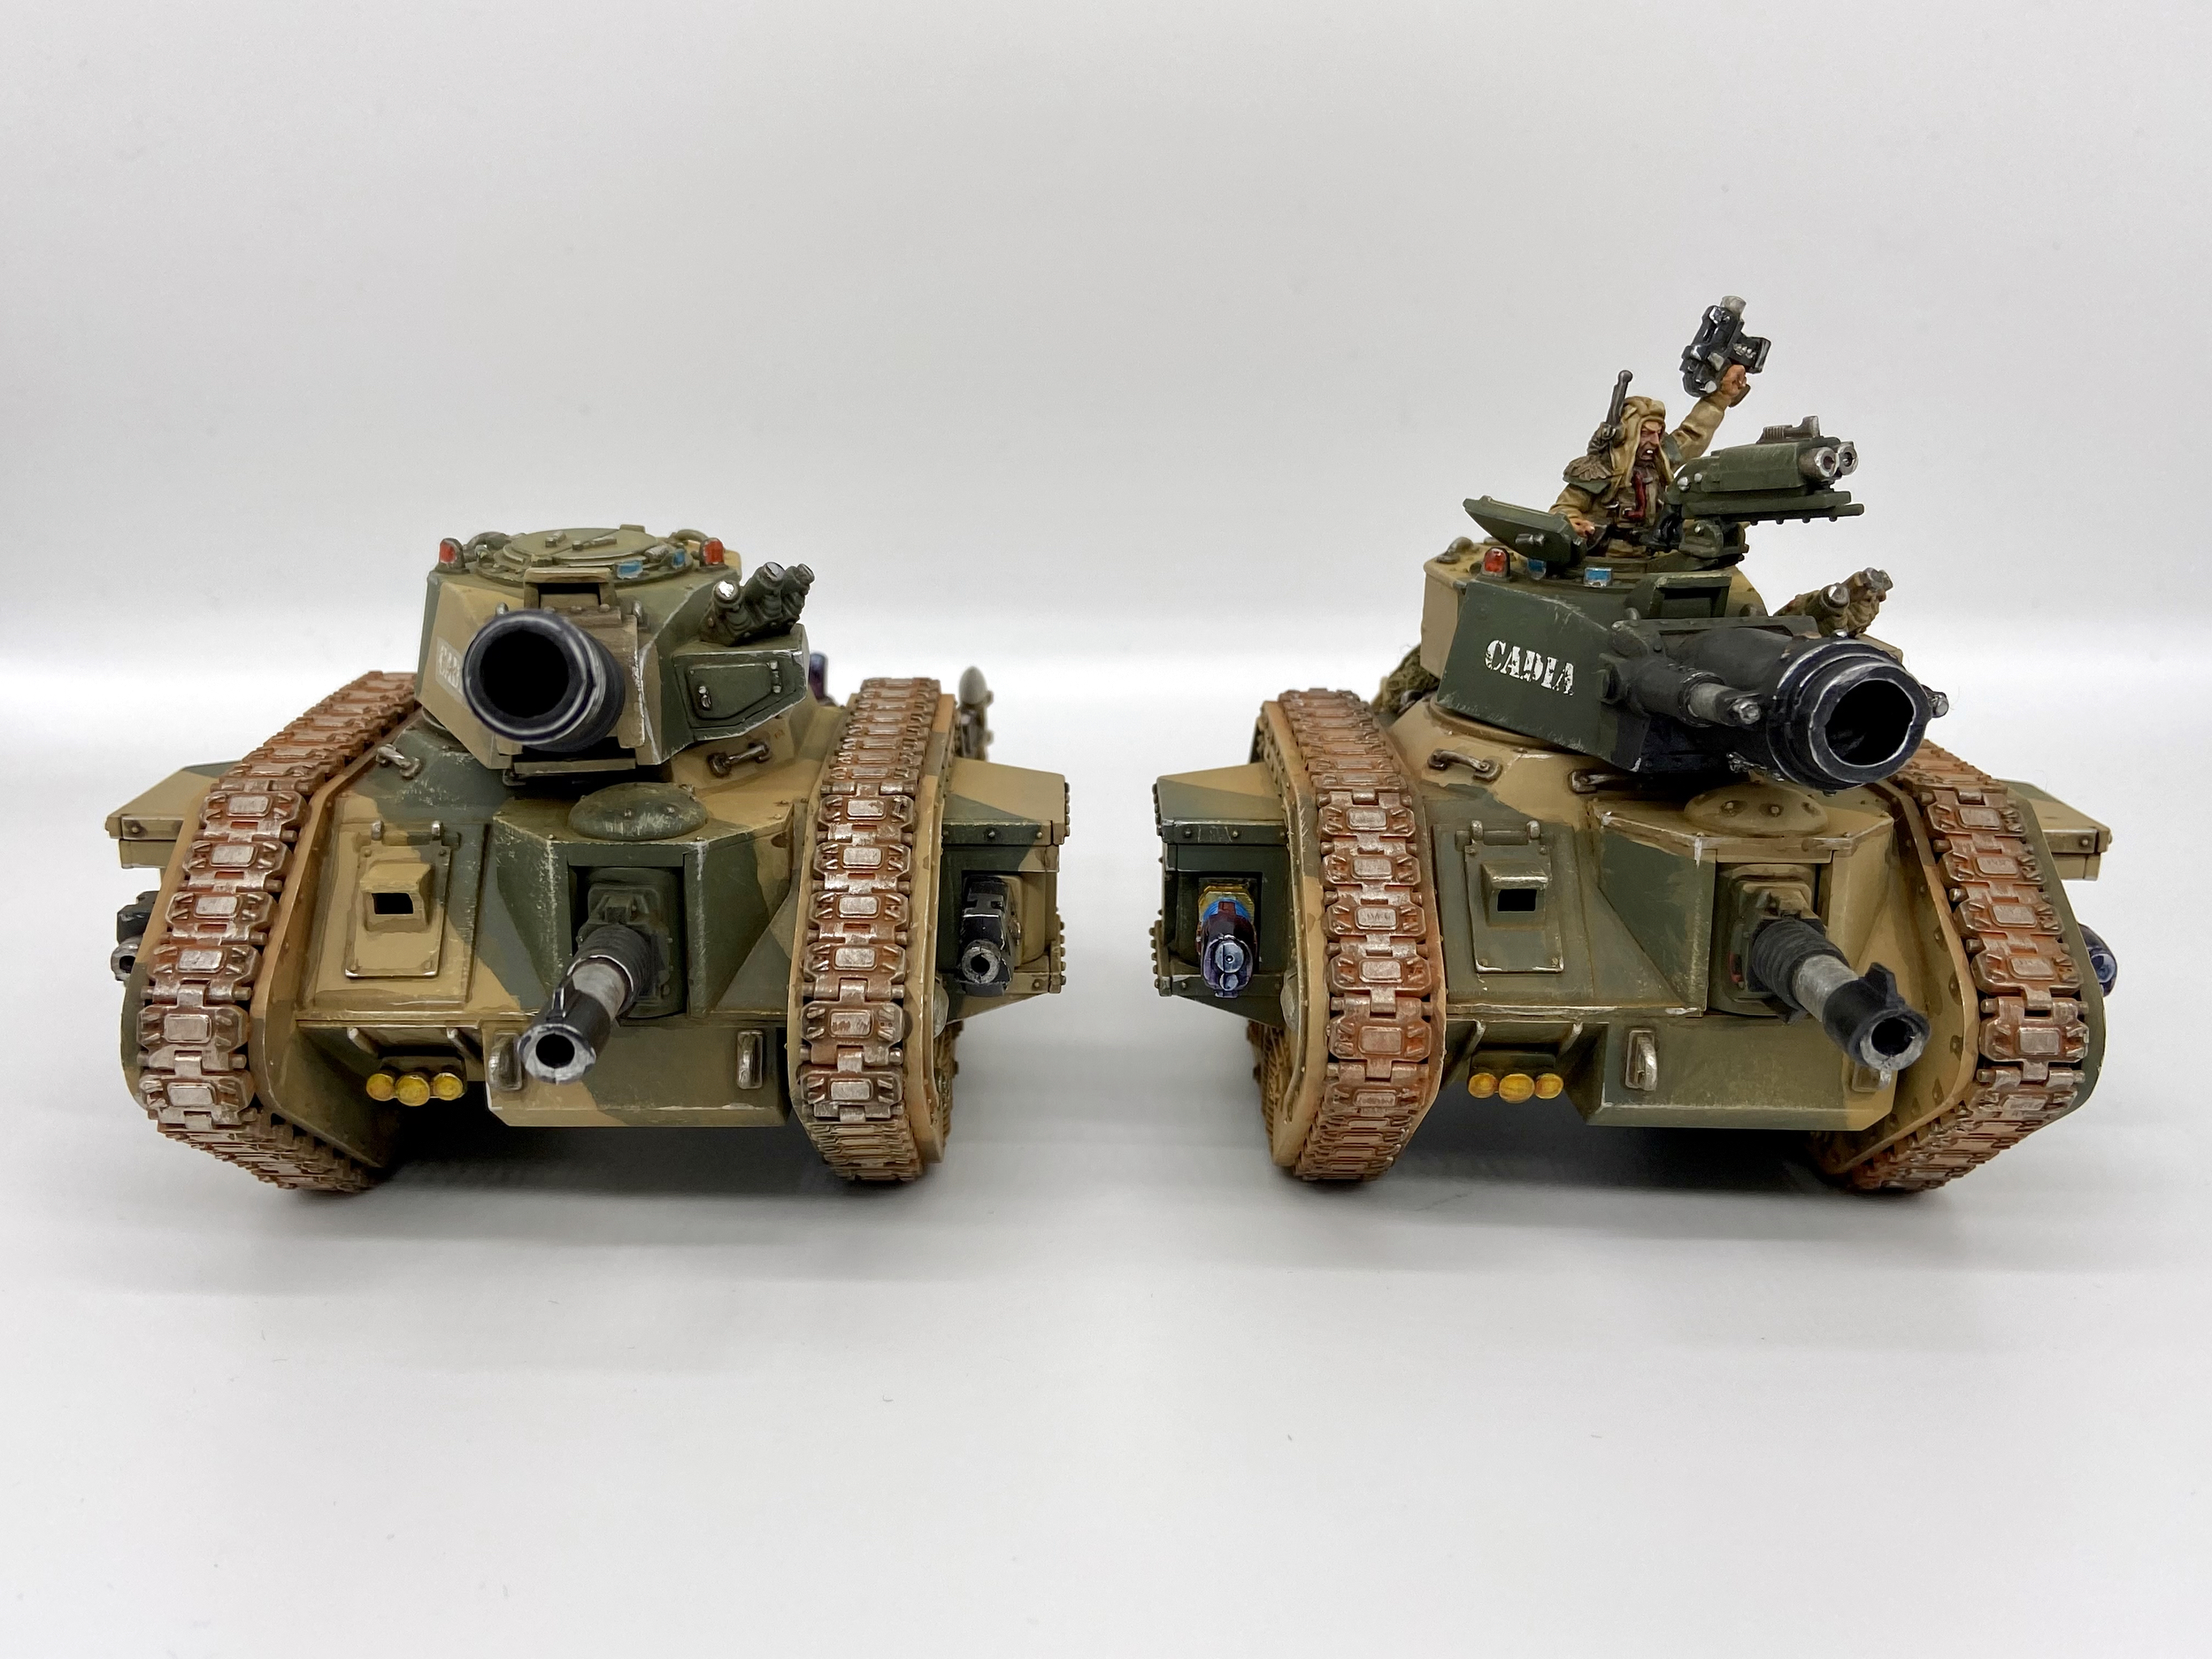
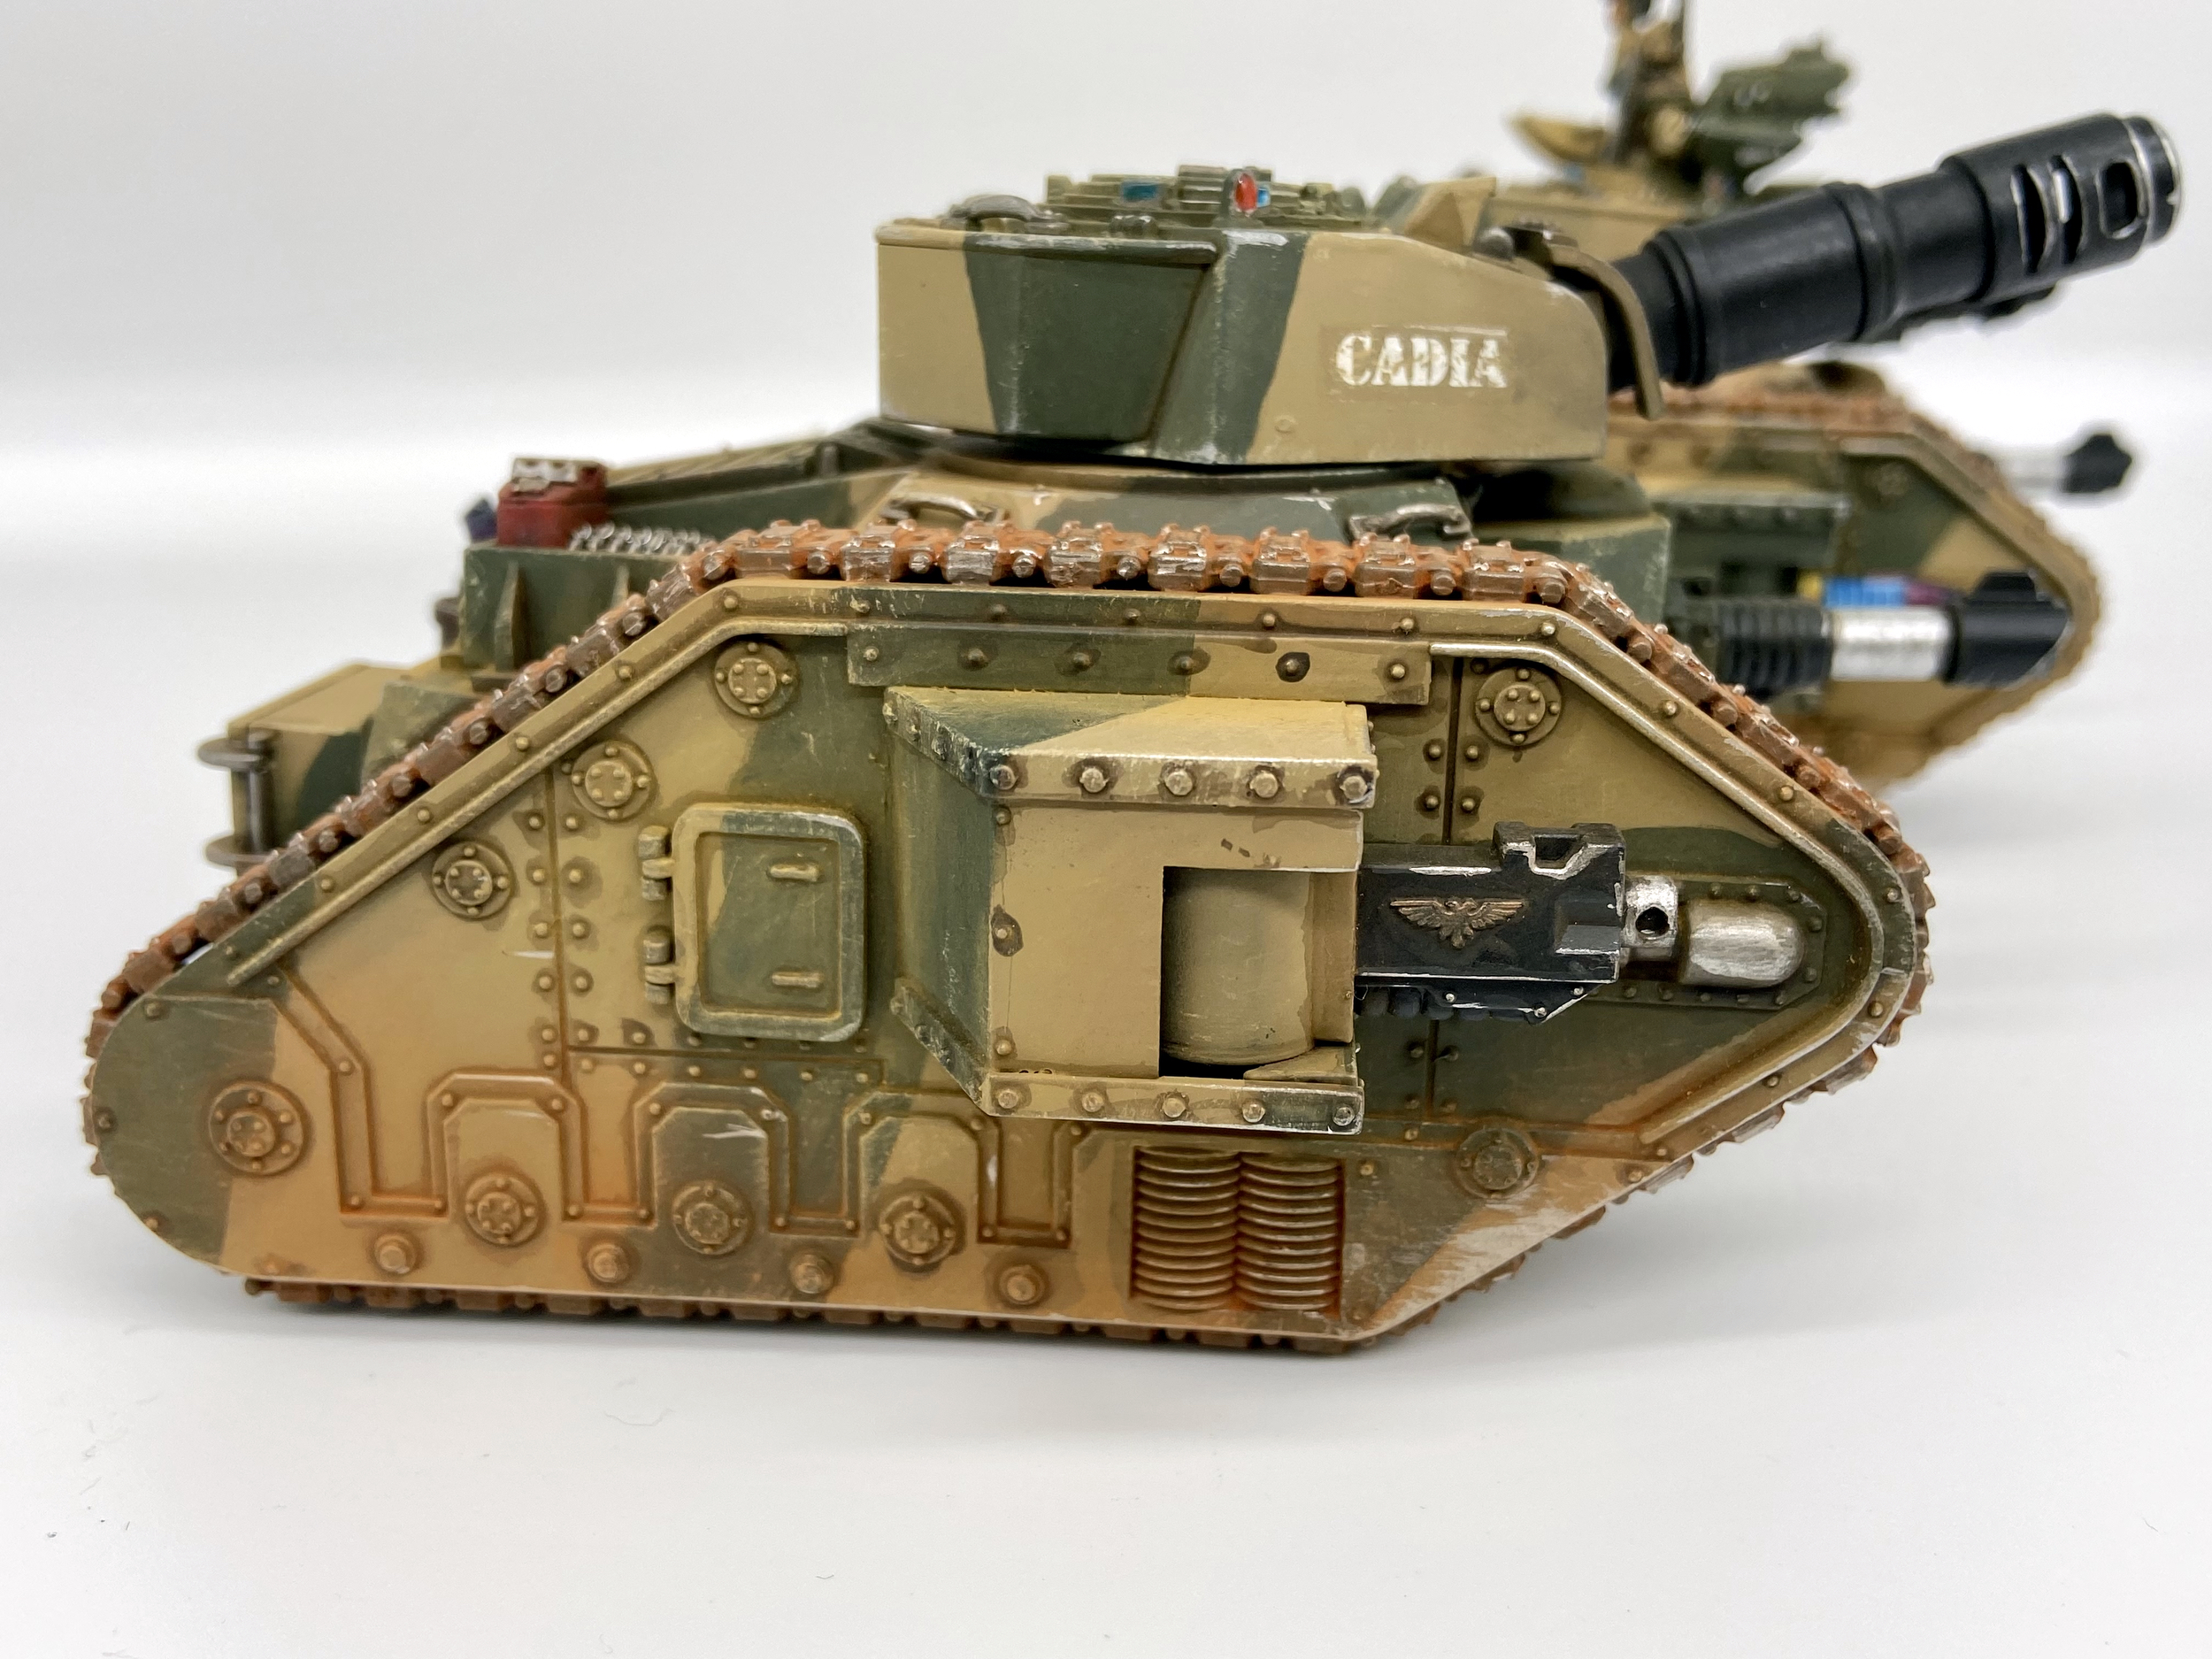
And now here are the two Cadian Camo Leman Russ at a Parade Ready stage. The black barrels at this point look, I admit, a bit odd. But I am doing them like this because I will blend them into the rest of the turret using black pigment, like soot. If you’re not doing this then I think painting them in the regular Cadian Camo scheme works fine. This is also how I have done my other Leman Russ and I like them all the match.


The Final 5%
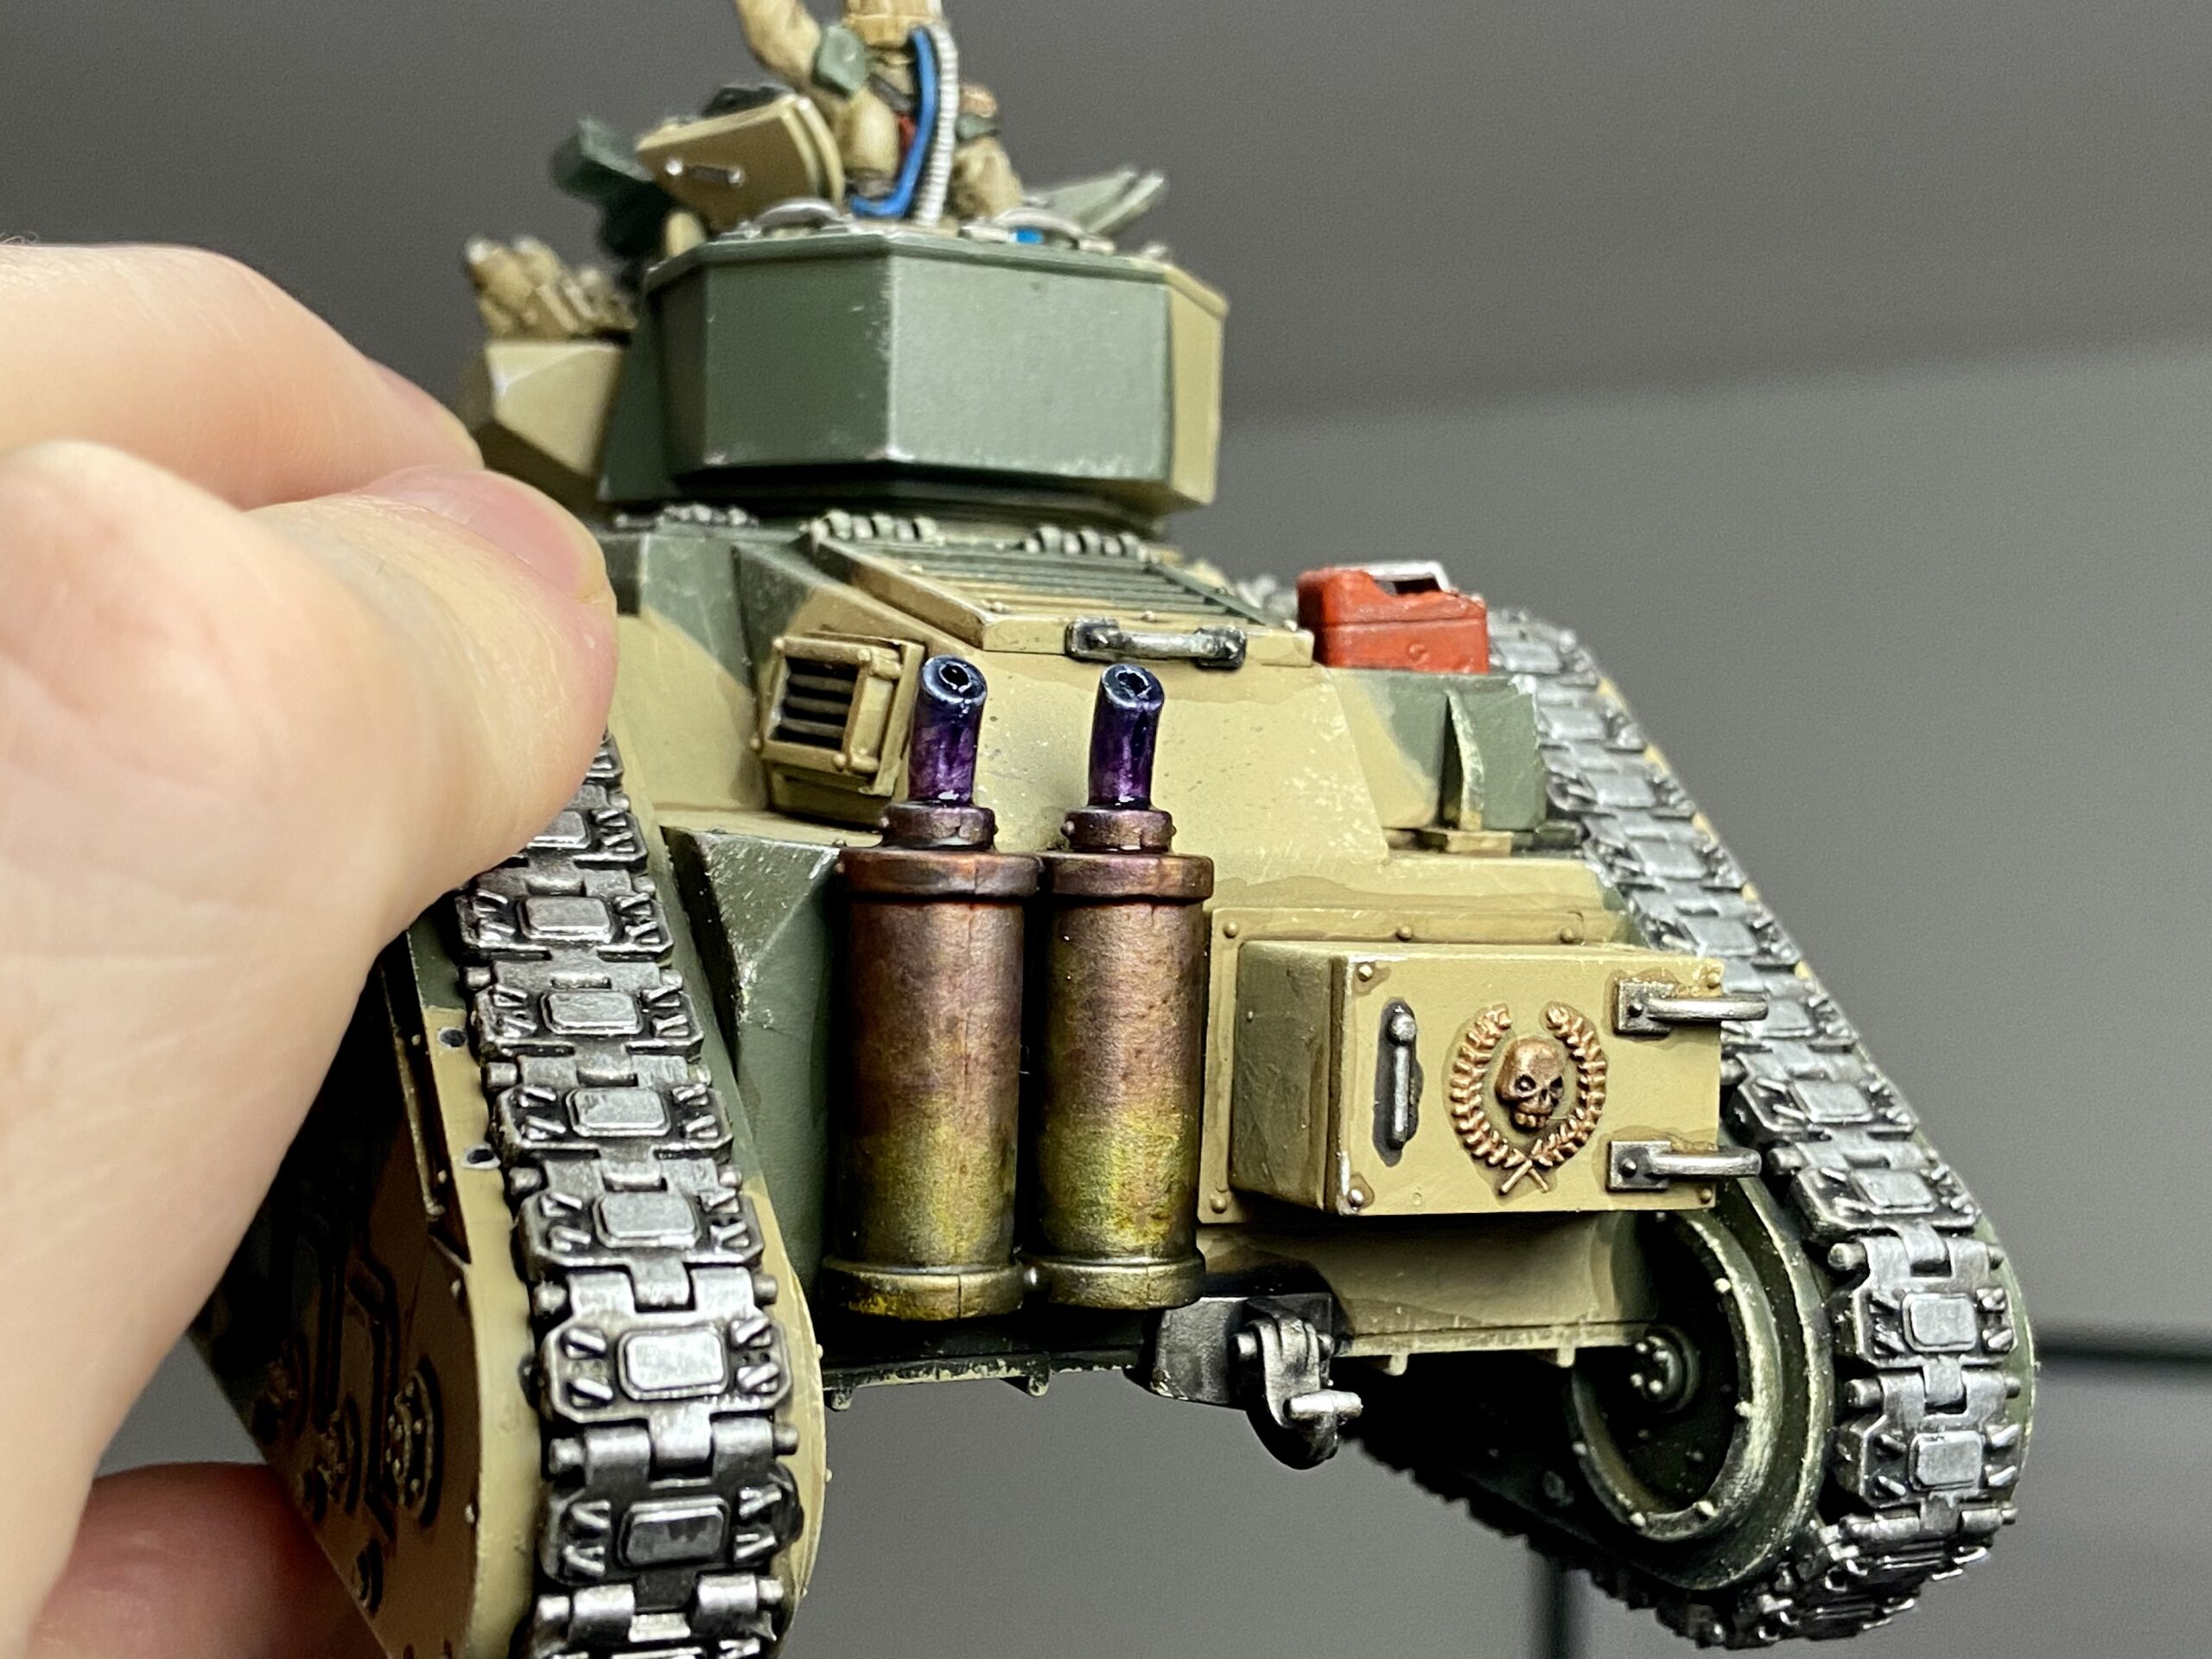
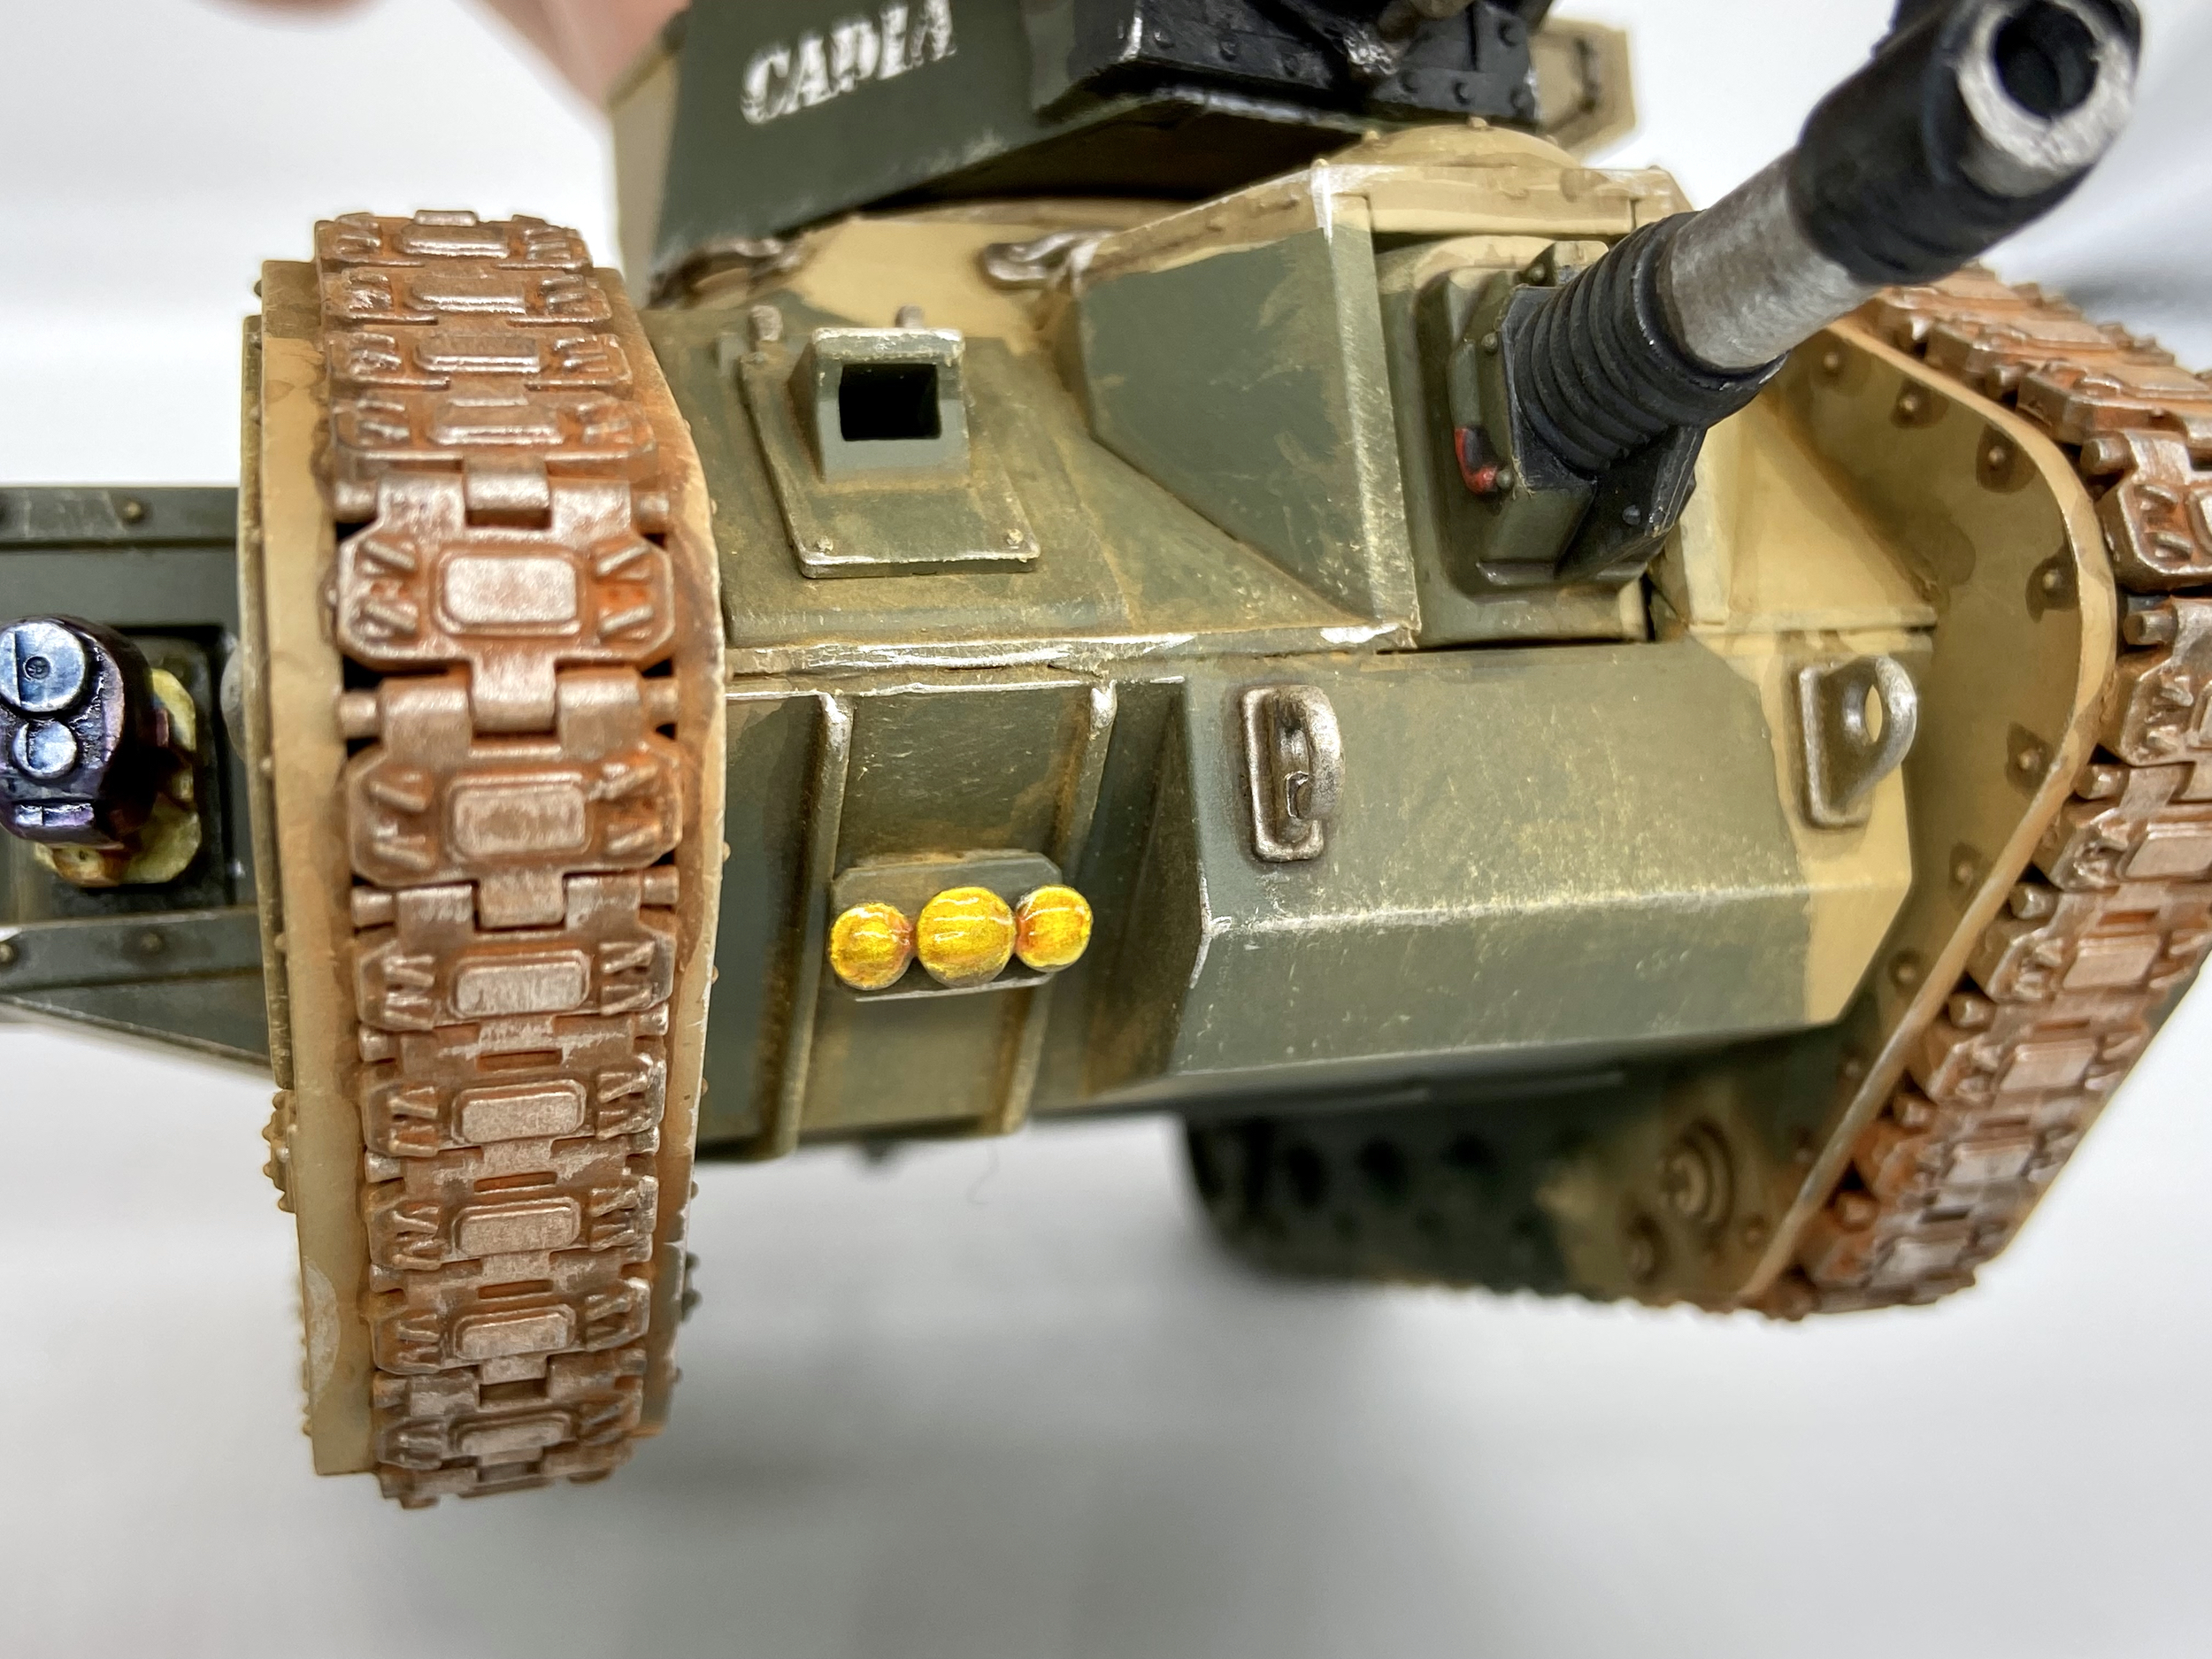
- AK Interactive or Vallejo Pigments for the dusty tank body, rusty/dusty tracks, and also the burnt soot on gun barrels using black pigment
- Slight edge highlight on some corners, barrel edges and hull edges using Runefang Steel or Vallejo Metal Colour Aluminum
- Plasma Coils using Caledor Sky, Teclis Blue, Baharroth Blue and Dead White
- Plasma and exhaust pipe heat burn using the following washes all blended together; Nuln Oil, Drakenhof Nightshade, Druchi Violet, Carroburg Crimson, Fuegan Orange and Casandora Yellow – these go over a coat of Runefang Steel or Vallejo Metal Colour Aluminum so they appear bright
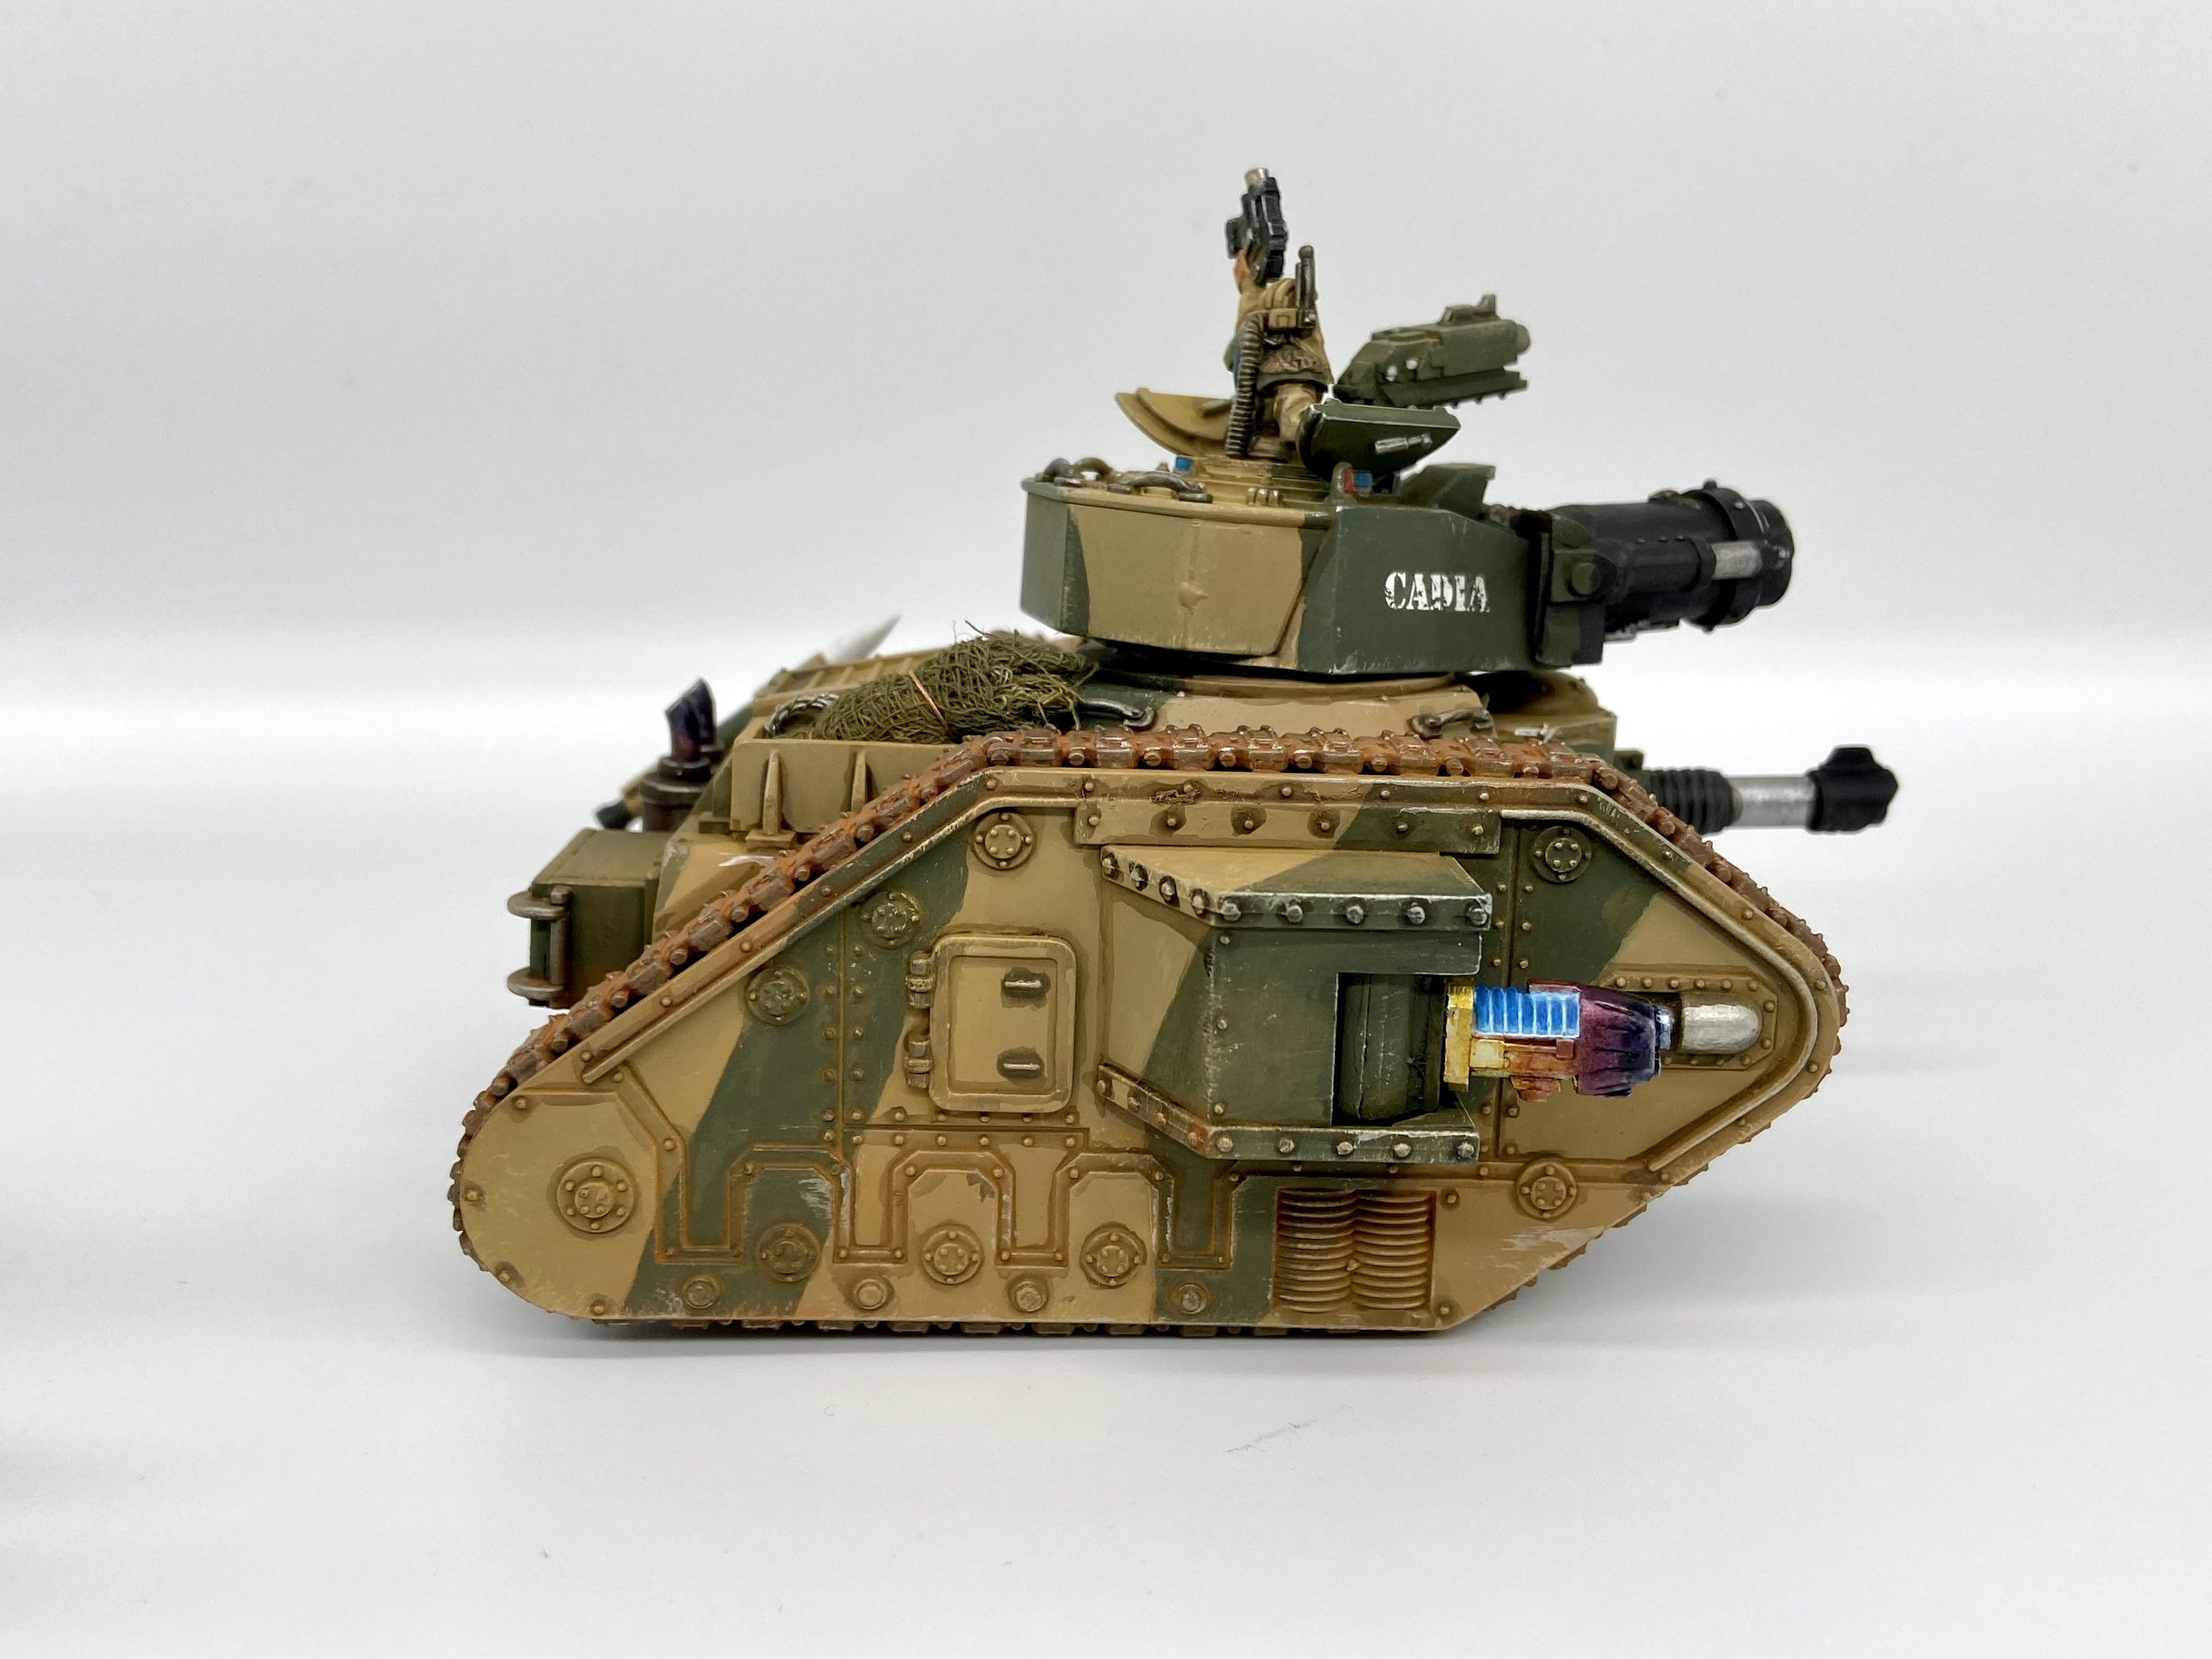
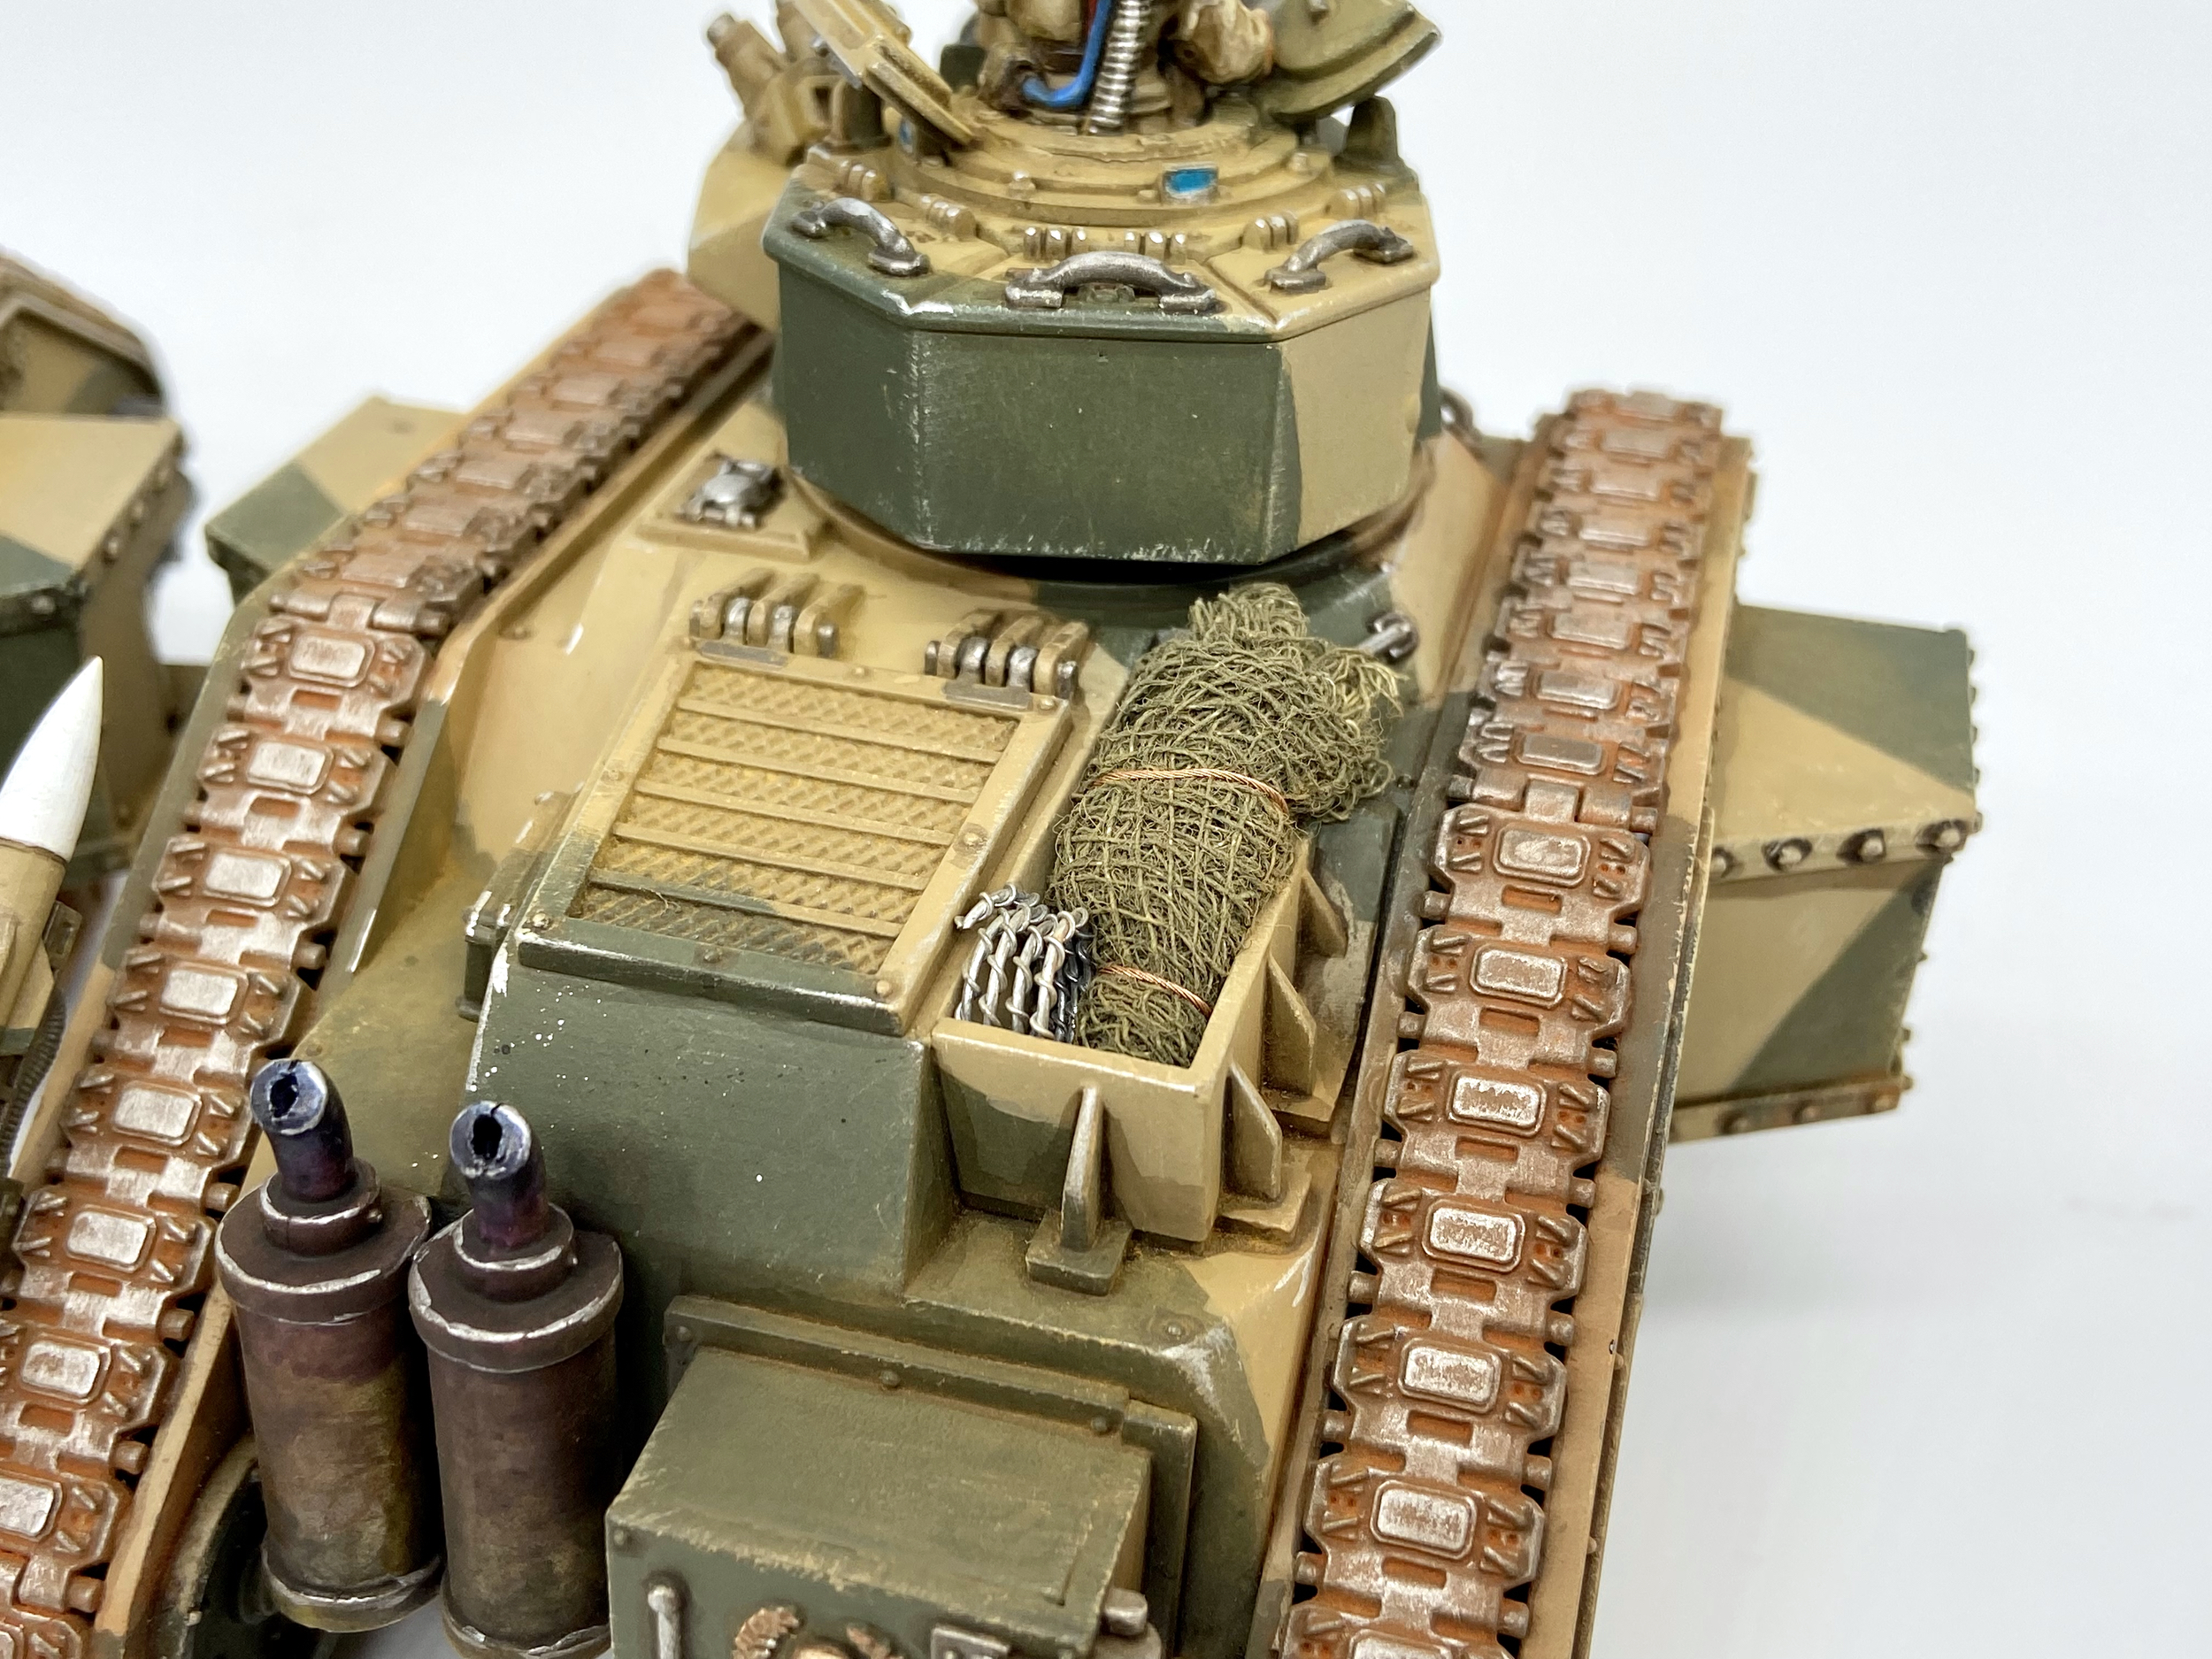
- Finally, I added barbed wire and camo netting (spray painted medical gauze) to the storage areas at the rear during this step
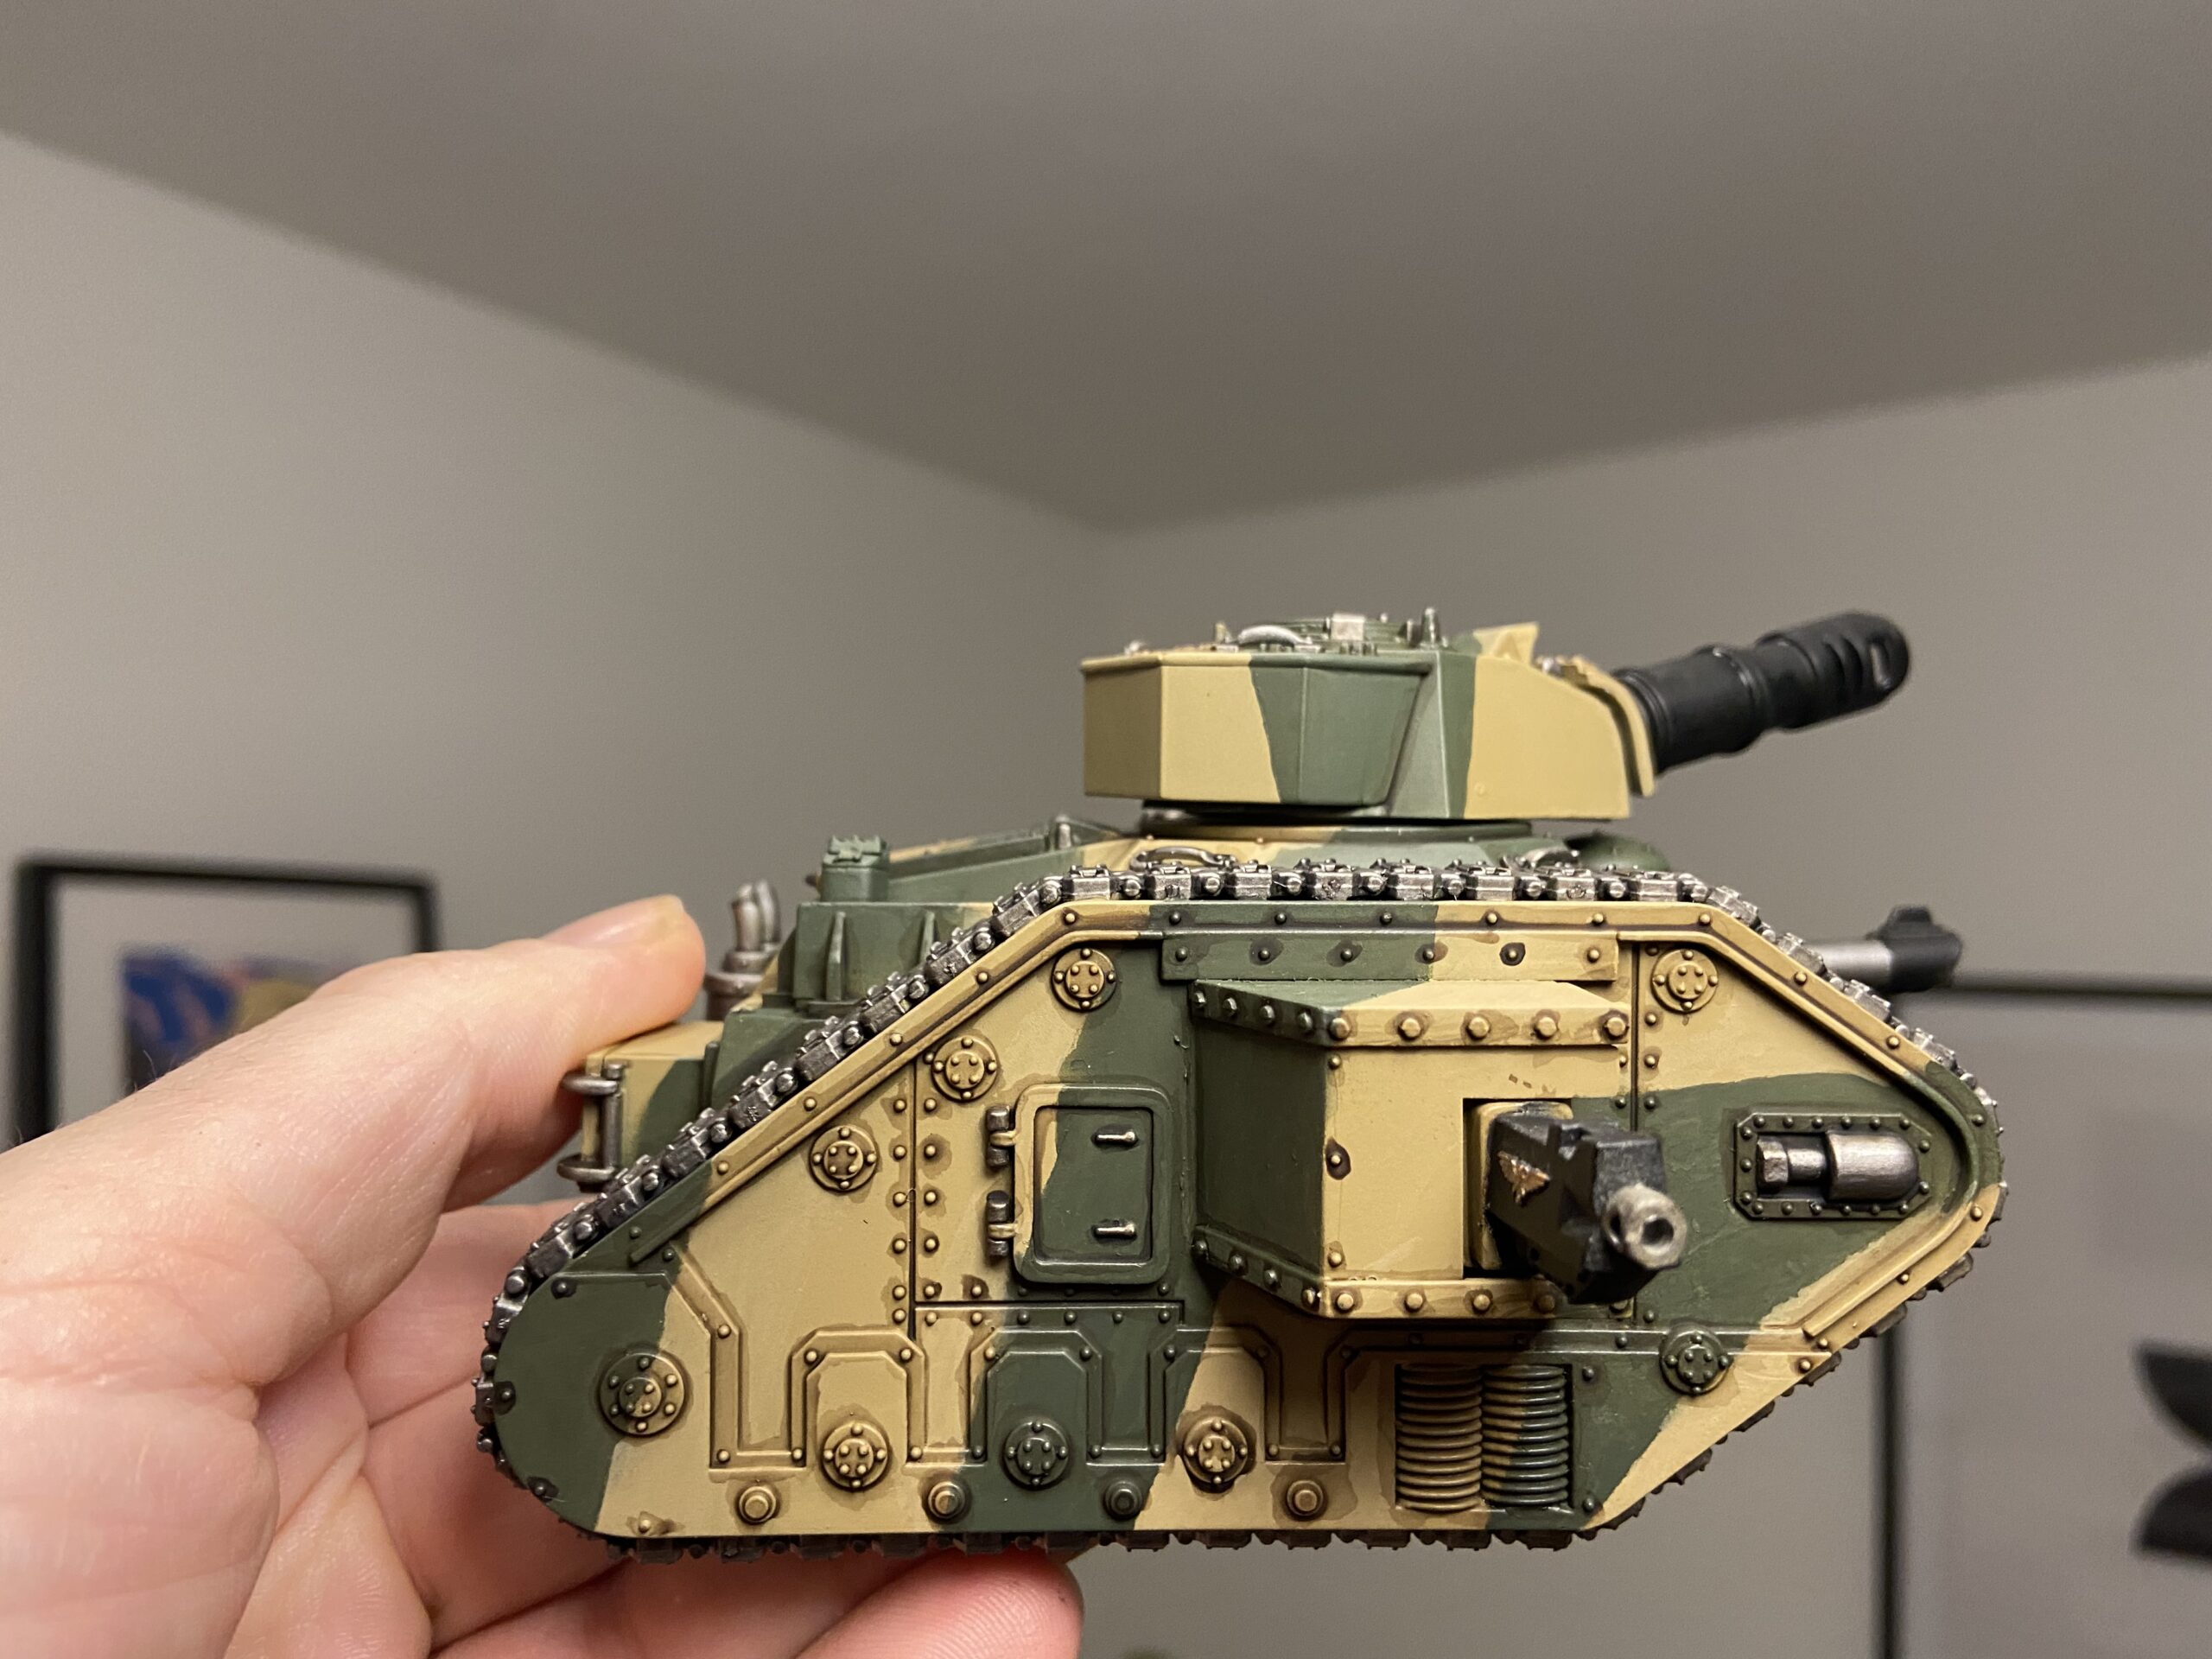
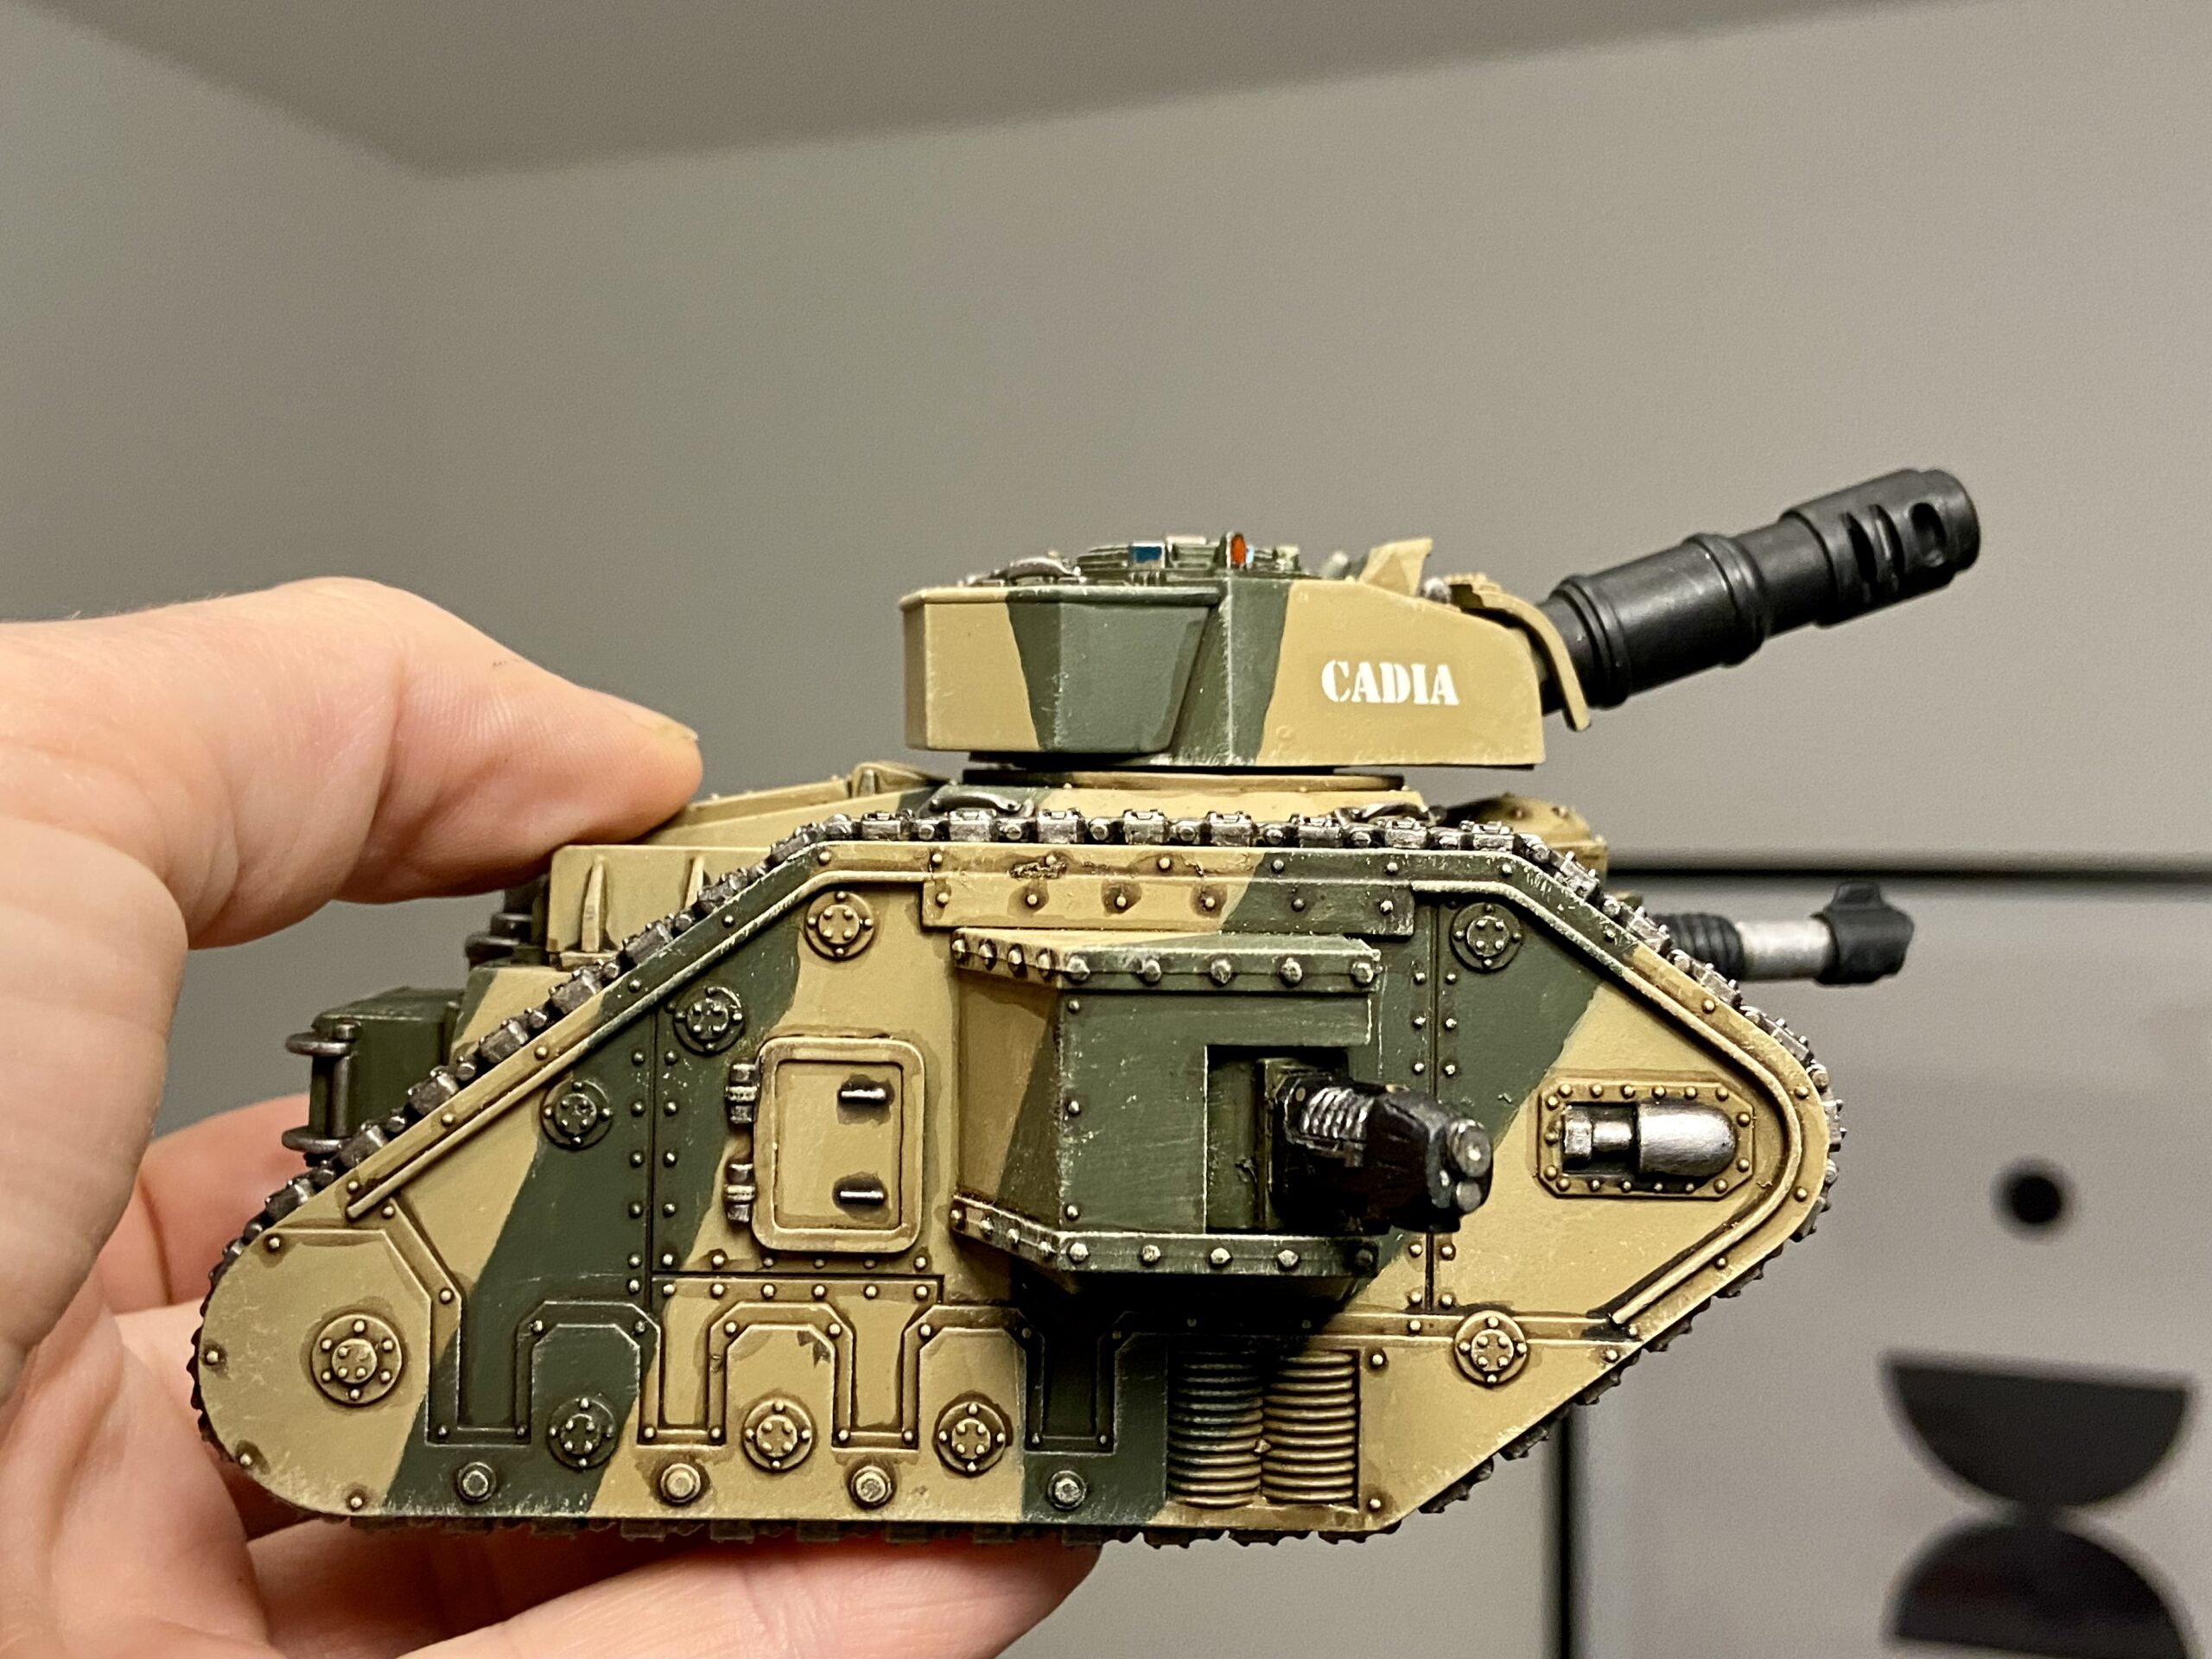
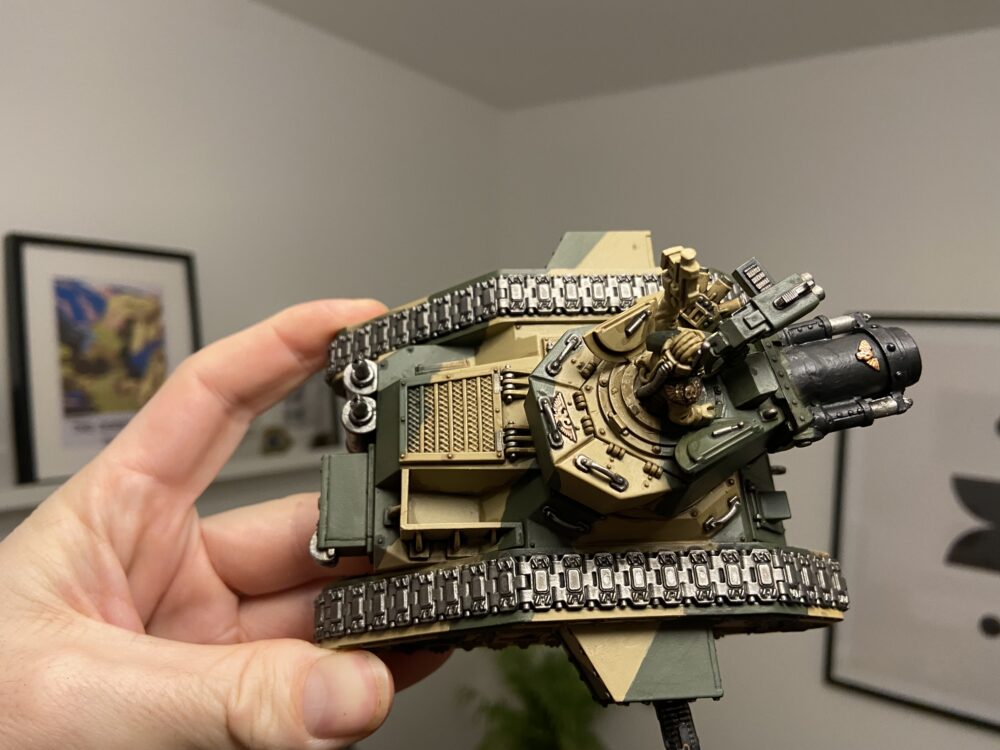
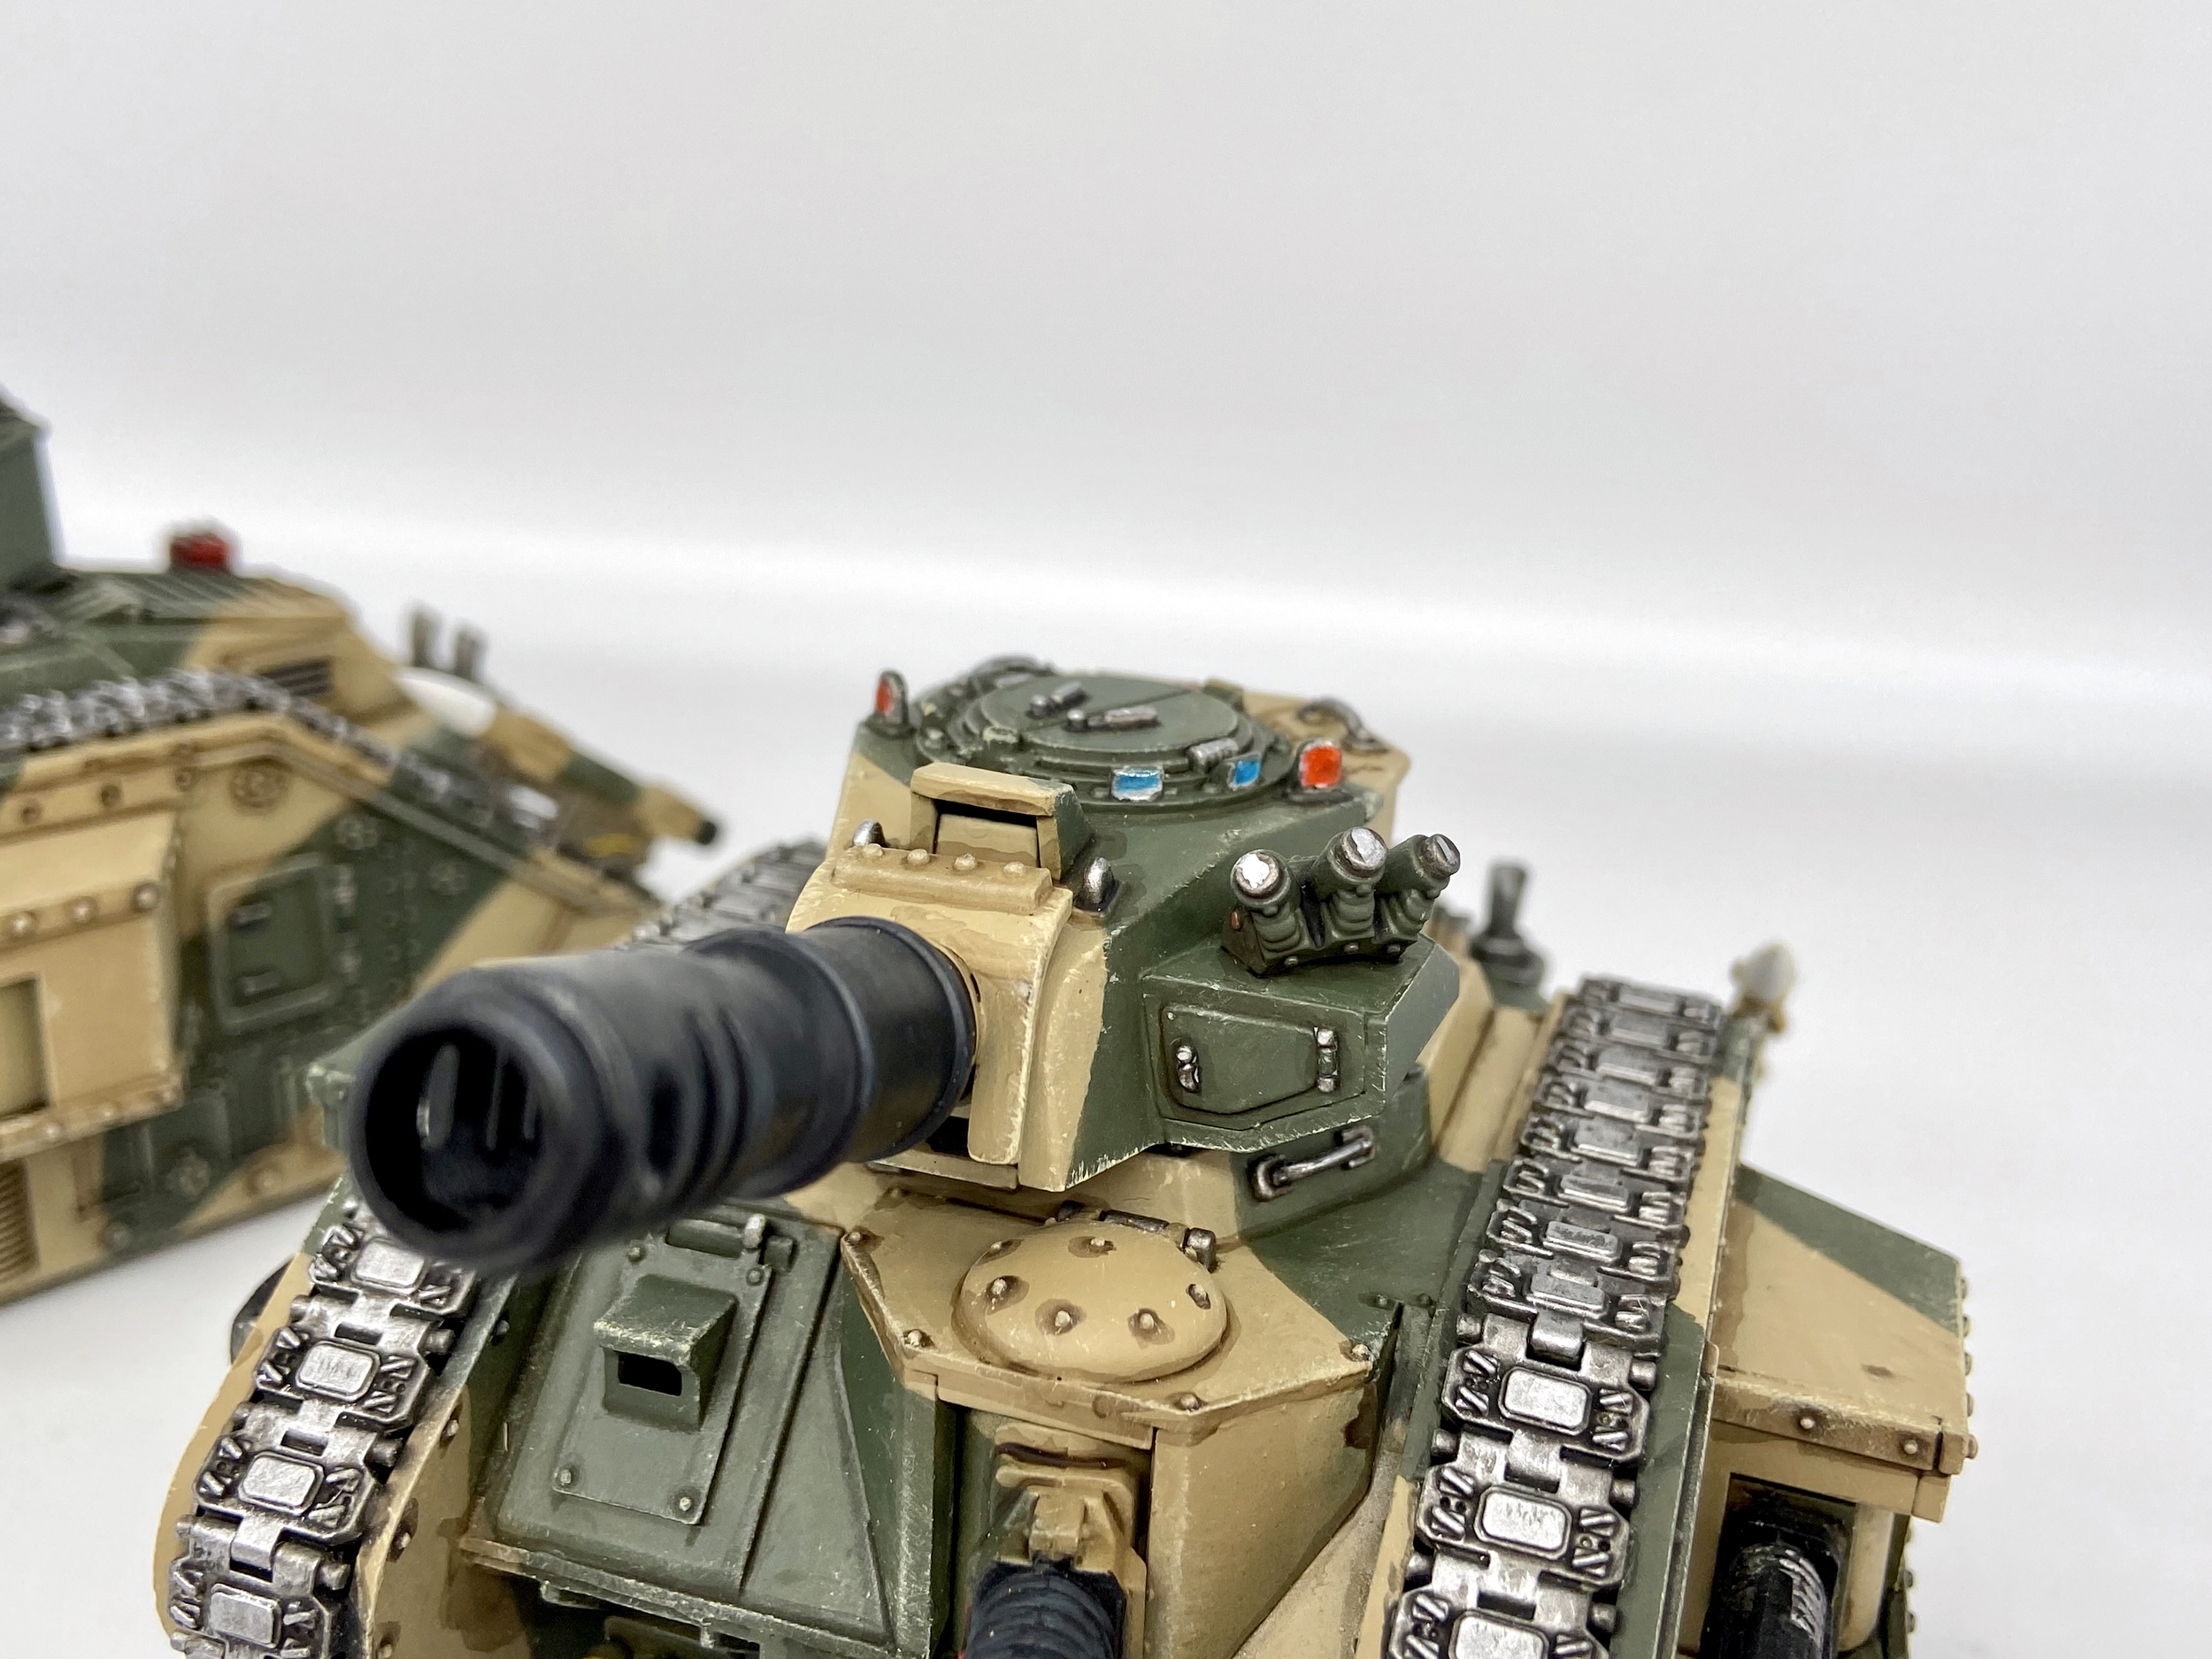
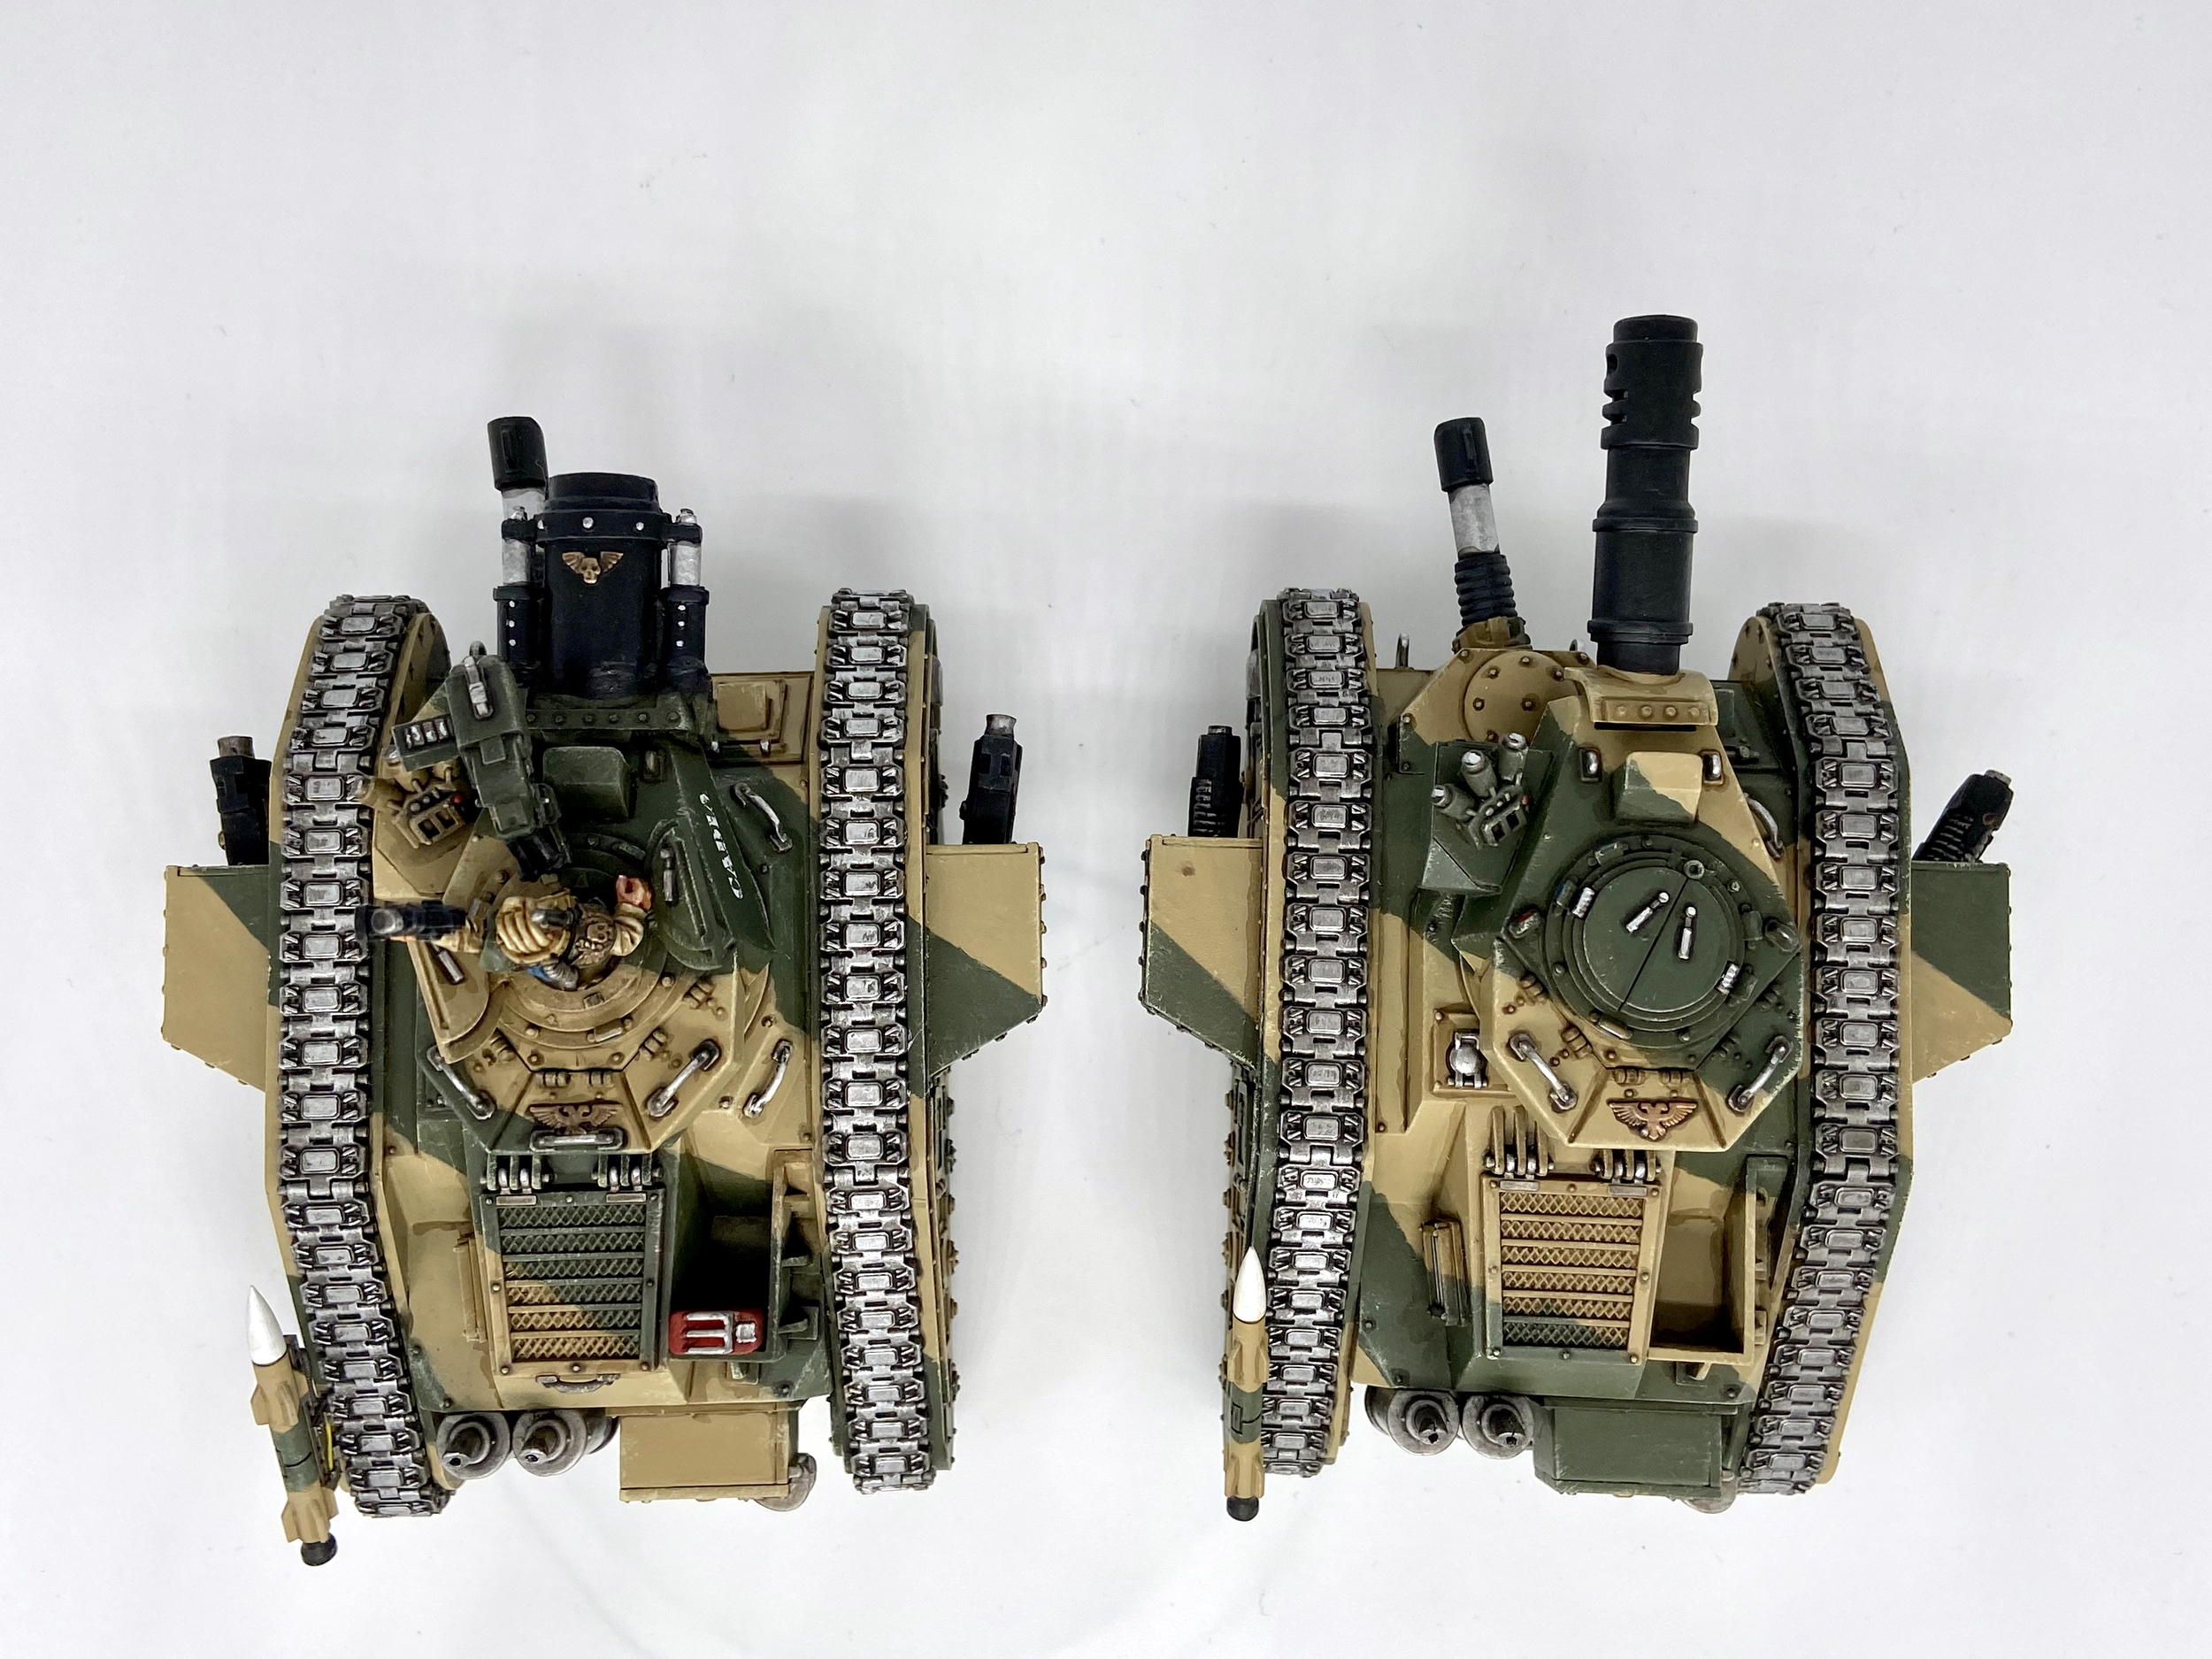
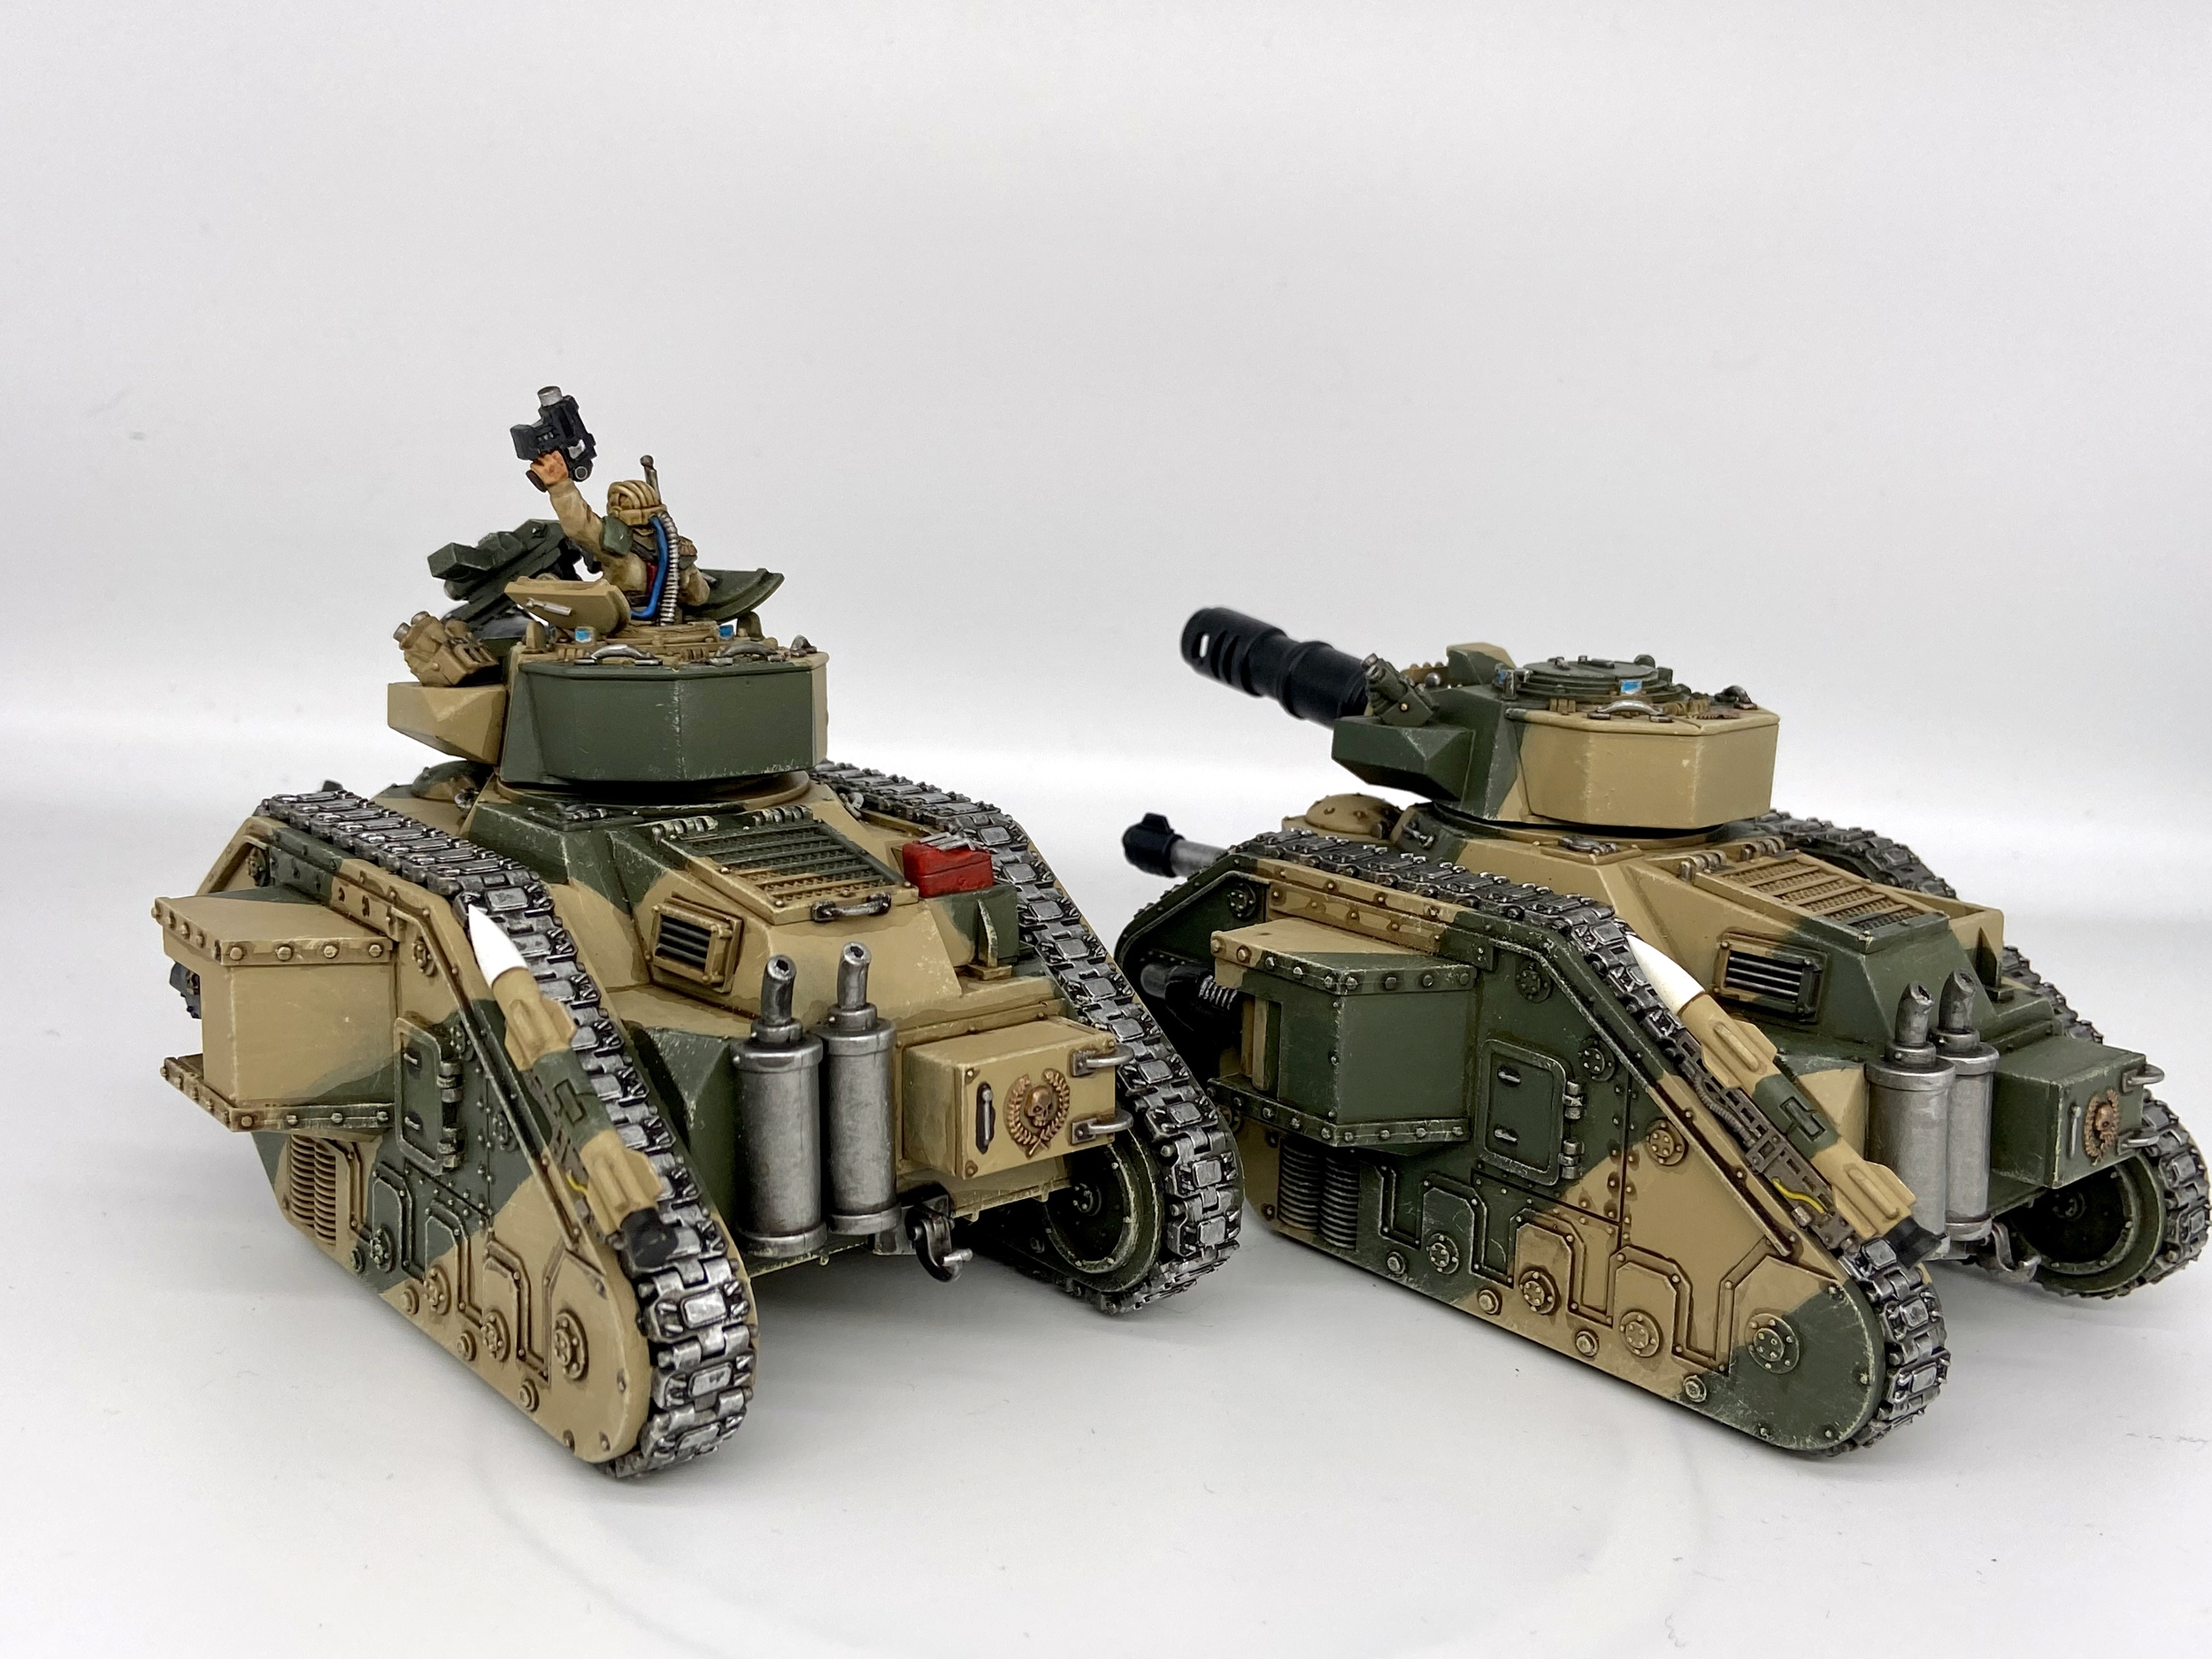
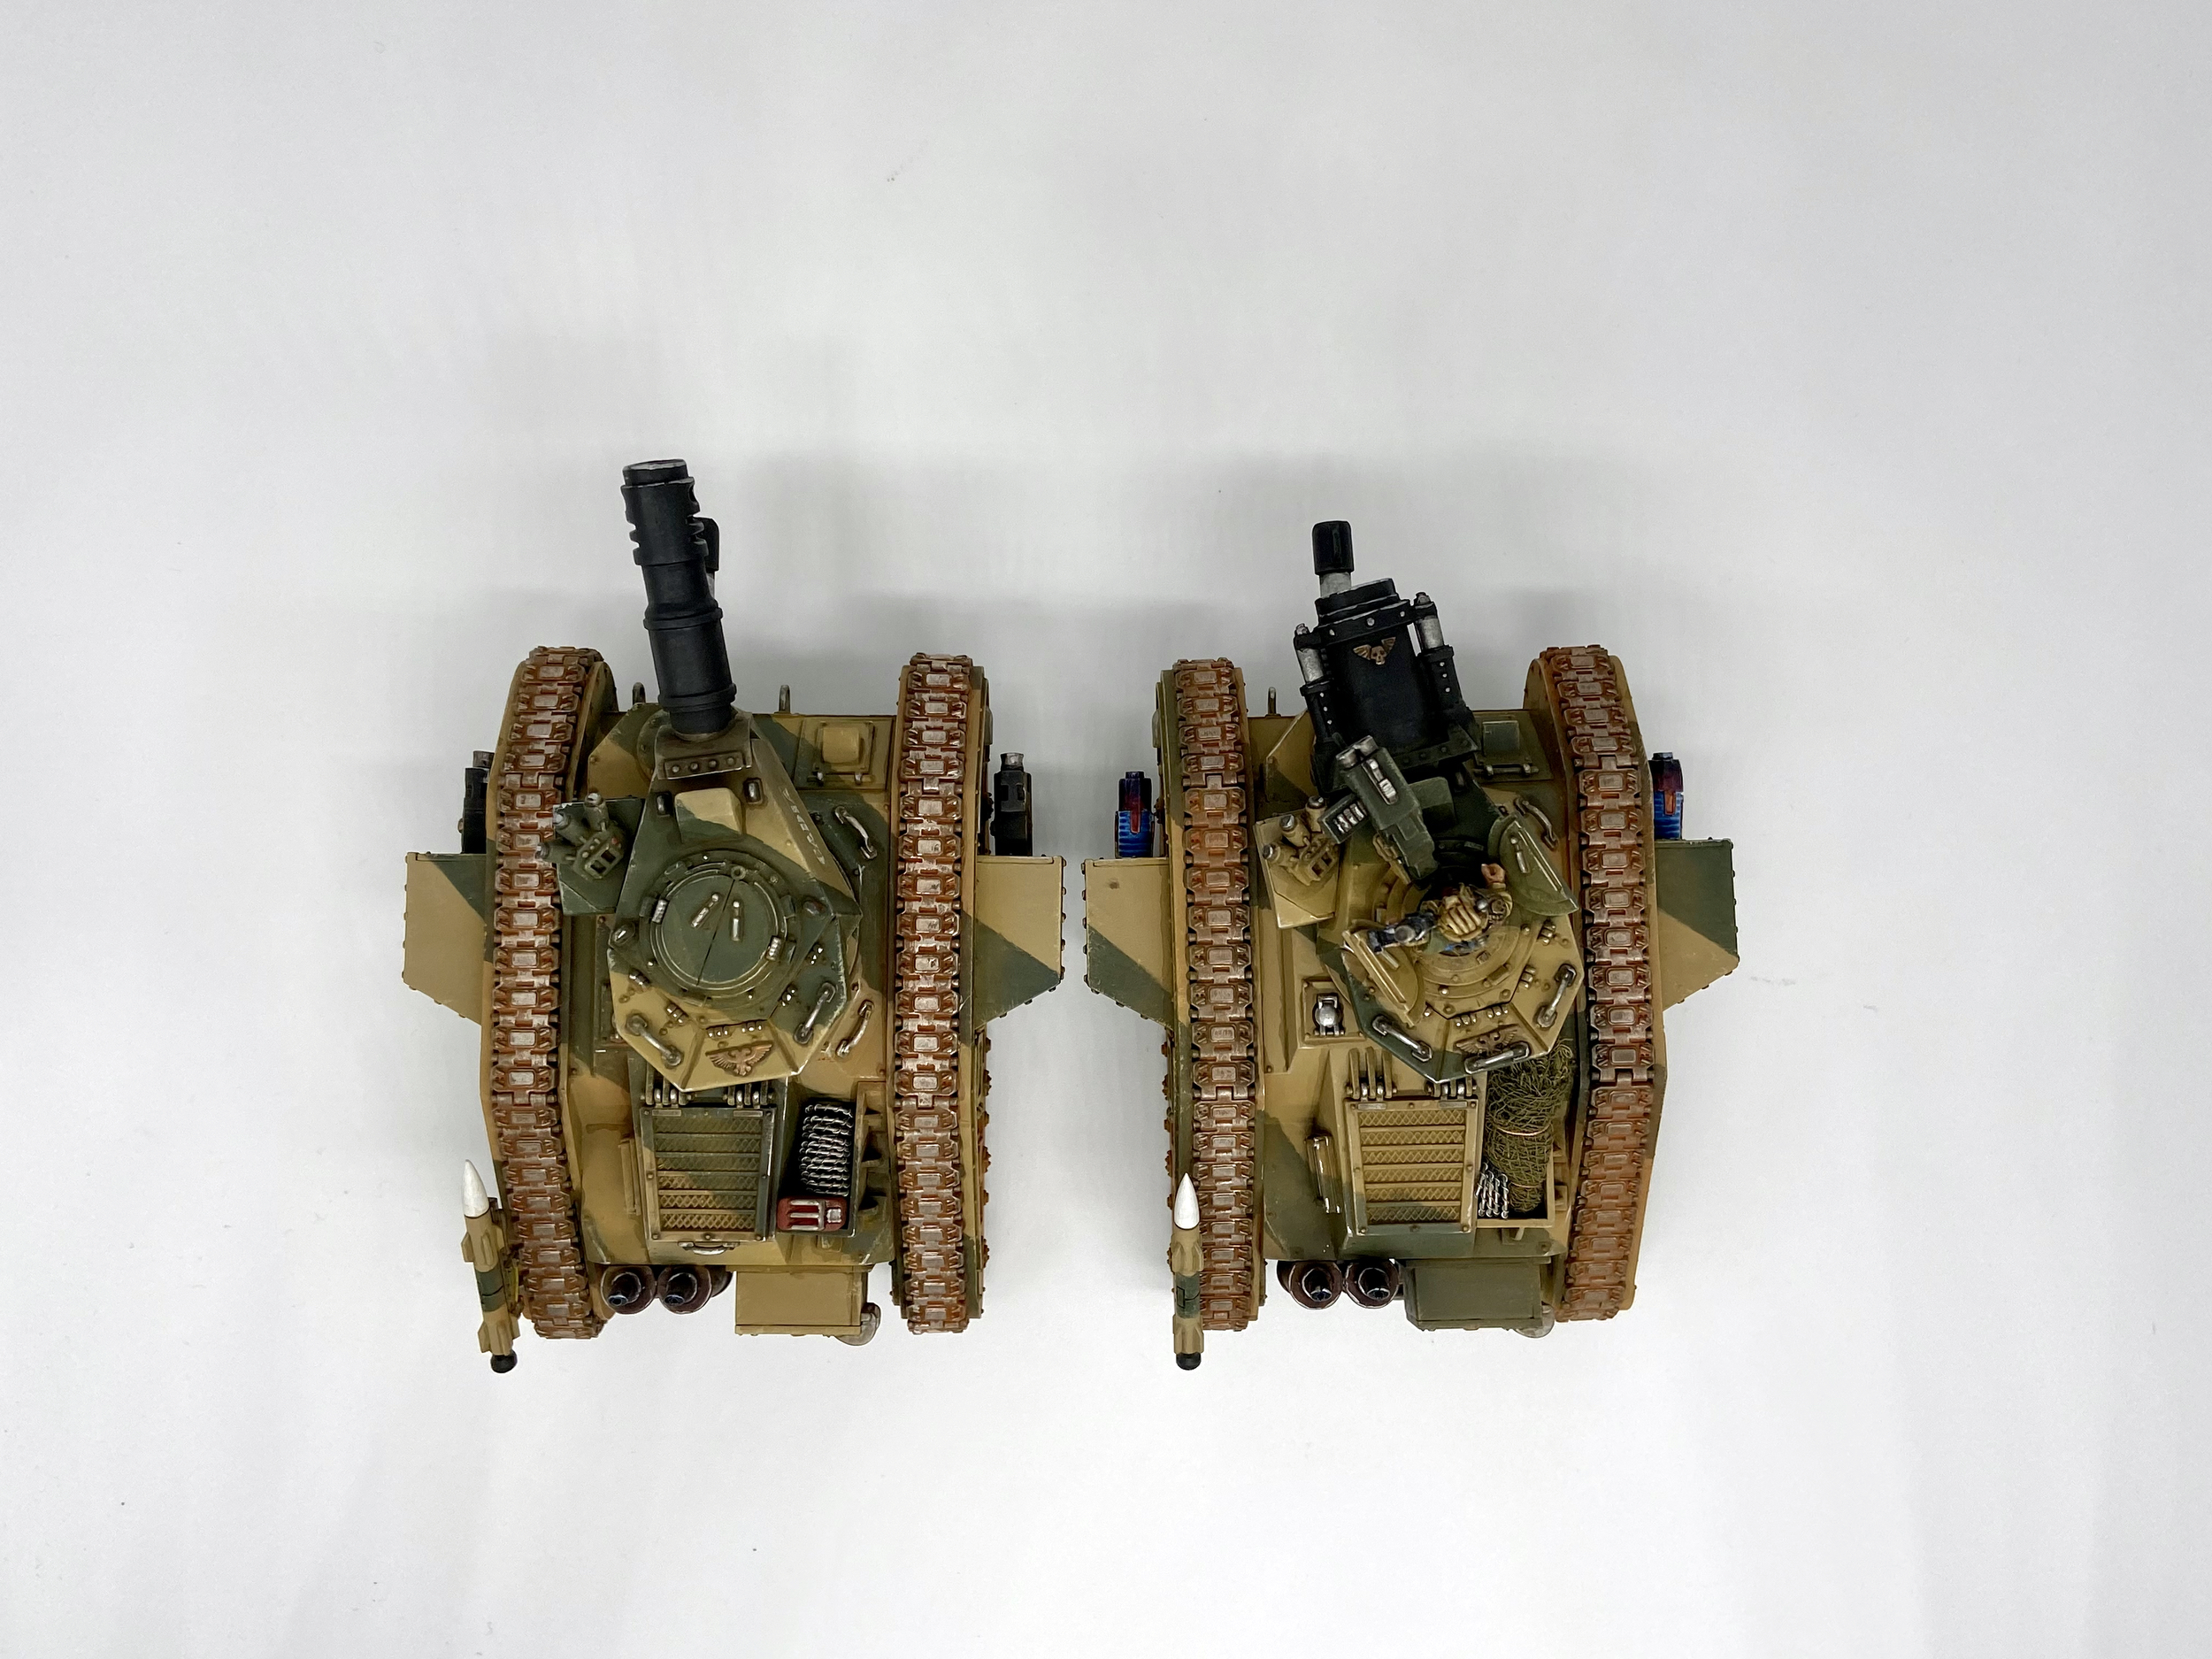
Quick Cadian Camo Completed Gallery
These were taken with my Samtian Lightbox. This is the final result!


Full WIP Gallery
Too many photos to label, but here you can see the full process step by step, detail by detail…