
Painting Valhallans – Test Scheme
Let us see how I went about Painting Valhallans...
I now have my last batch of Cadians done, time to get on with painting Valhallans!
My Valhallans are from Reptilian Overlords. They arrived some time ago now. Maybe in January? I’d not had a chance to take a proper look at them until now.
Never miss an article? Subscribe!
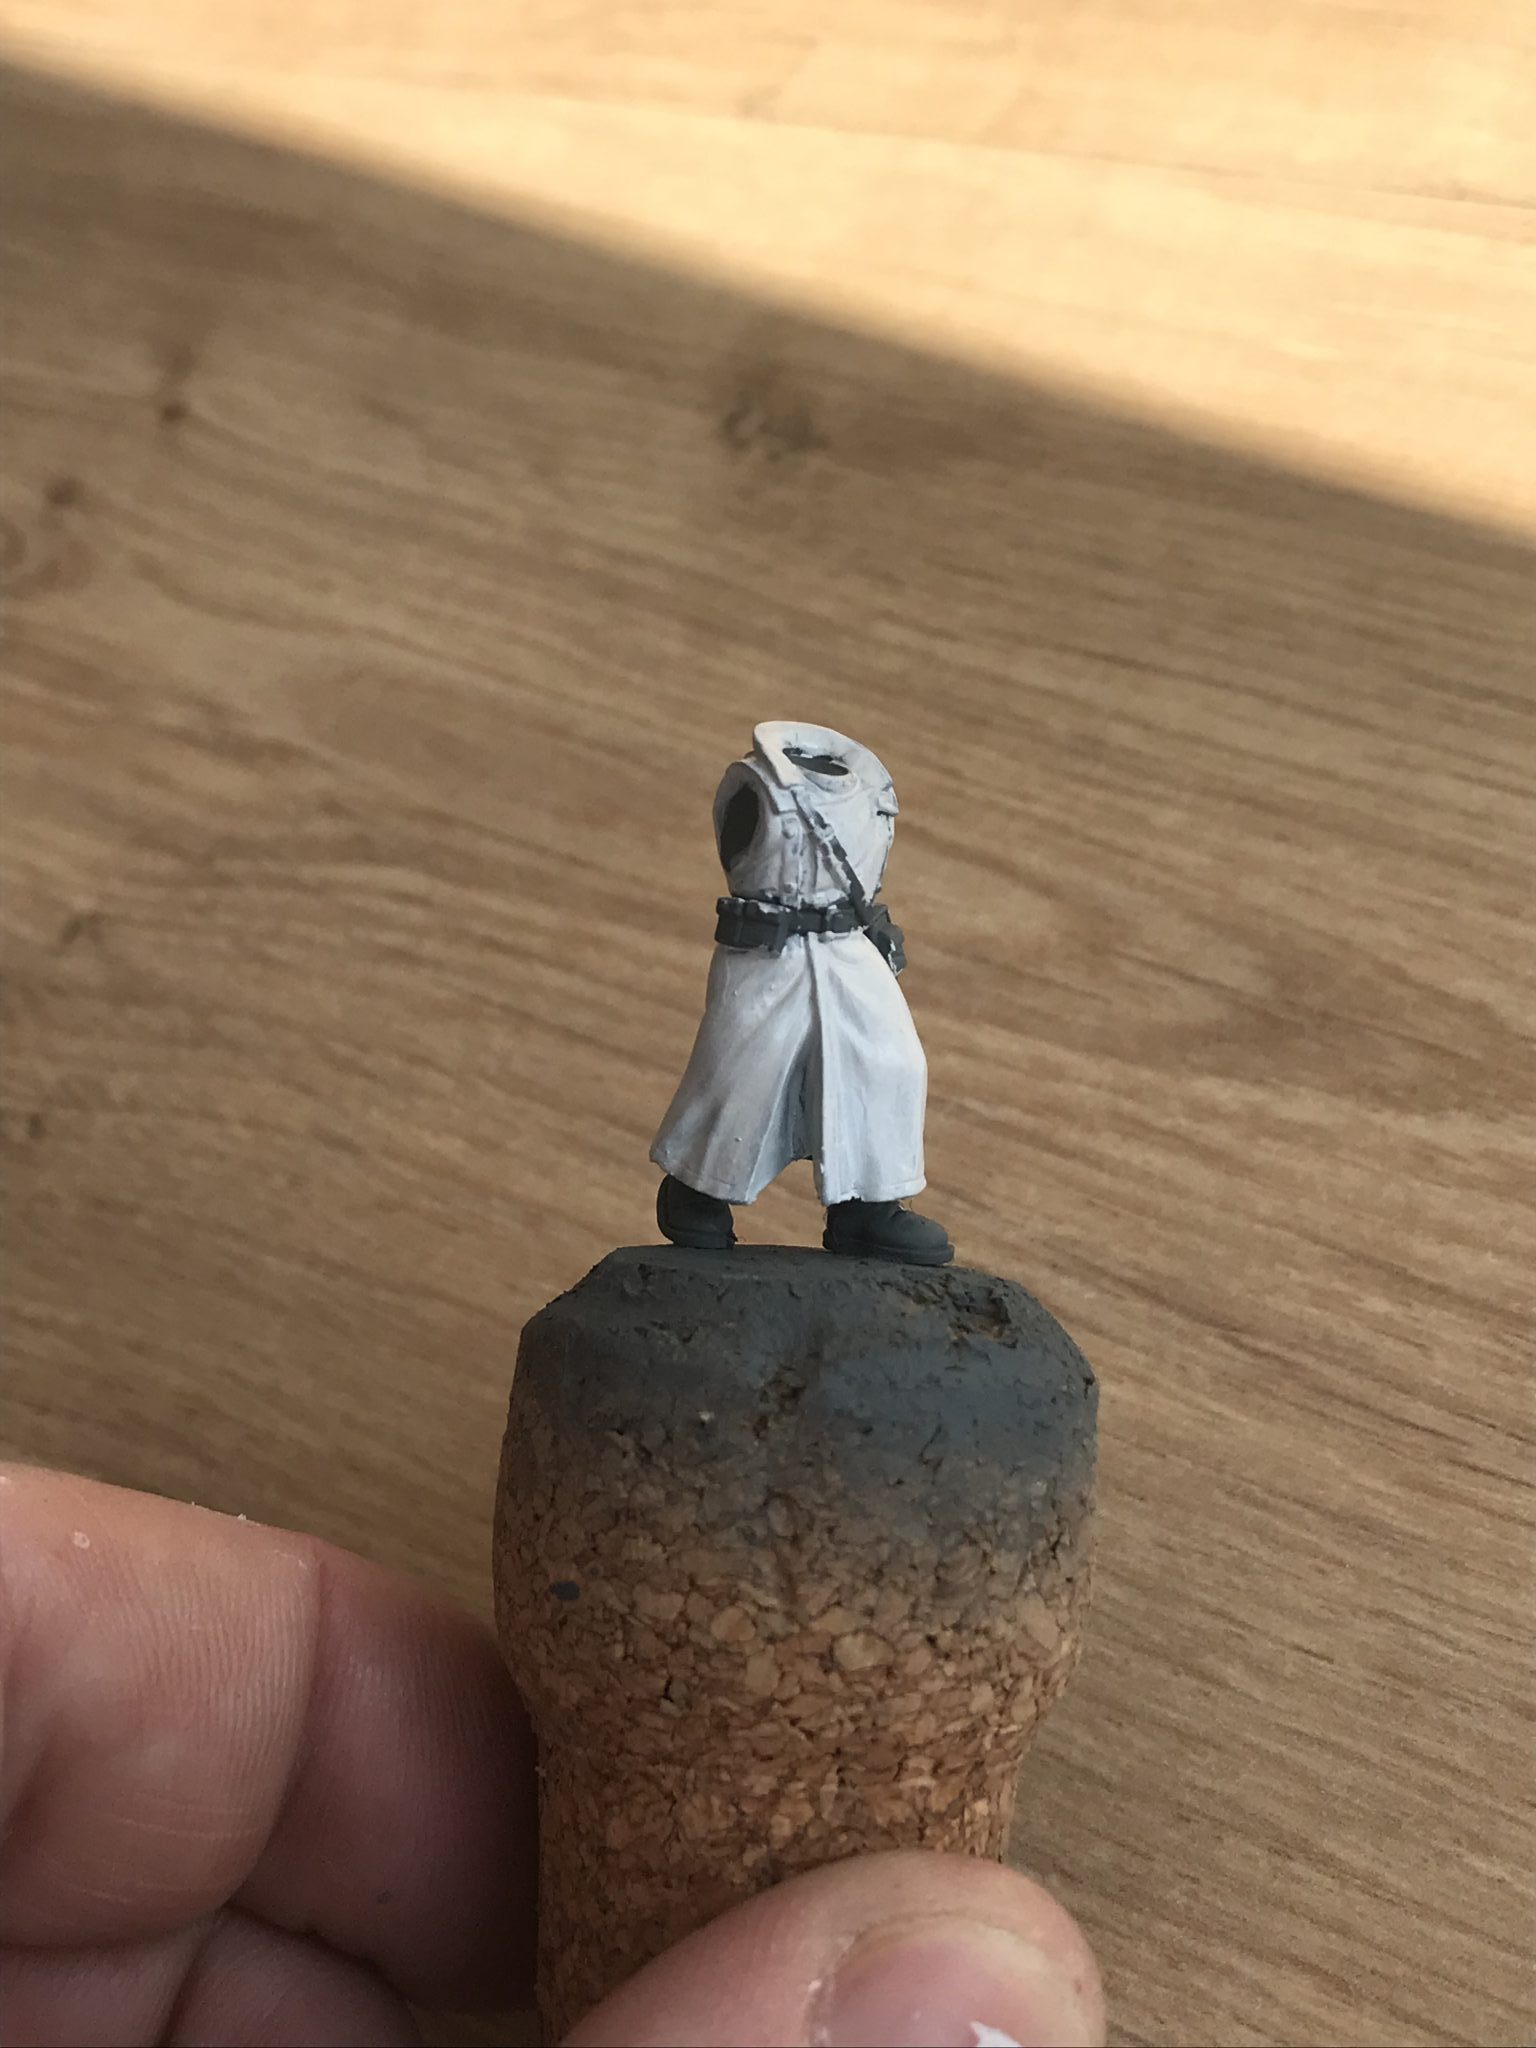
And they are great! This image of the body primed in Mechanicus Grey does a good job of showing off the sculpt. In plastic, it’s harder to see because of the shine. But once primed it is easier to see the model properly. It’s great, yeah?

Primer – Painting Valhallans
Valhallan Scheme
I’d created a Pinterest Board for Valhallans a while ago. And over time I built up some ideas of what I wanted to go for with their colour scheme.
I think the below image sums up what I was going for the best, by Nsminis. White, but a well worn and dirty white. I had toyed with the idea of having little black and white dots on the scheme for a camo effect. But I’m faced with 60 of these guys and I needed to be realistic about actually getting them done.
So I’m set on a dirty white with no camo effects. Something that should be relatively quick and easy.
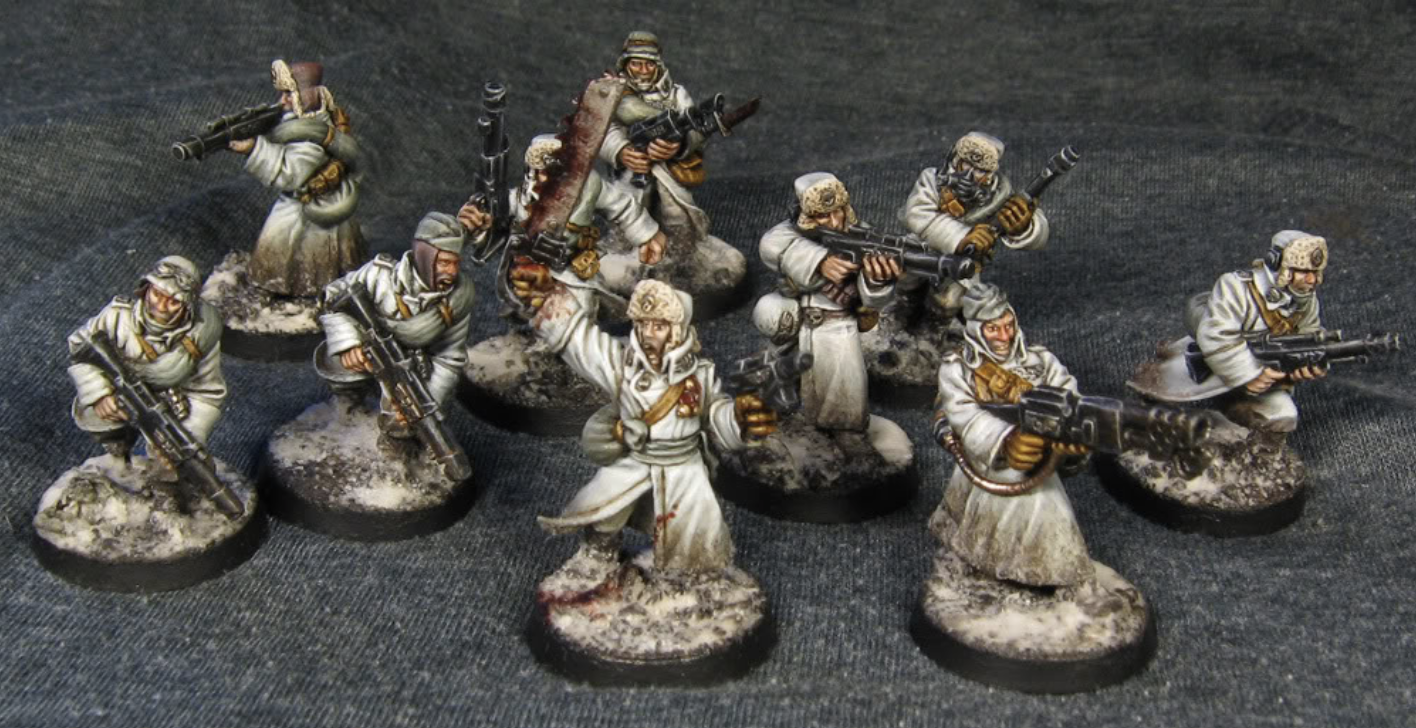
Valhallans – the finish I am going for
Painting Valhallans – My Recipe
I primed the model with Mechanicus Grey, why? Because that’s a grey I had to hand and that was in a spray can.
I then based the model with Ulthuan Grey. I did this with a brush which took a while because, you know, thin coats and all that. Ideally, I’d want to airbrush this stage in the future though.
This is when things got tricky in my mind. I have a grey now, but how do I wash it without just ruining my lovely ought grey coat?
So looked online and found some people that said Nuln Oil and some that said Agrax Earthshade. So I used both of course. Nuln in the deep recesses first. Then Agrax all over including the recesses. Well, that looks messy now!
I then dry brush the whole model with Ulthuan Grey – which made it bright again. And actually worked a lot better than I was expecting. I took the Agrax back to some of the recesses where I had been too aggressive with the dry brushing.
Finally, I did a light drybrush with White Scar all over. Then used White Scar for some subtle edge highlights.
And that was that. The cost was light grey, a little white with darkened folds and recesses. Nice!
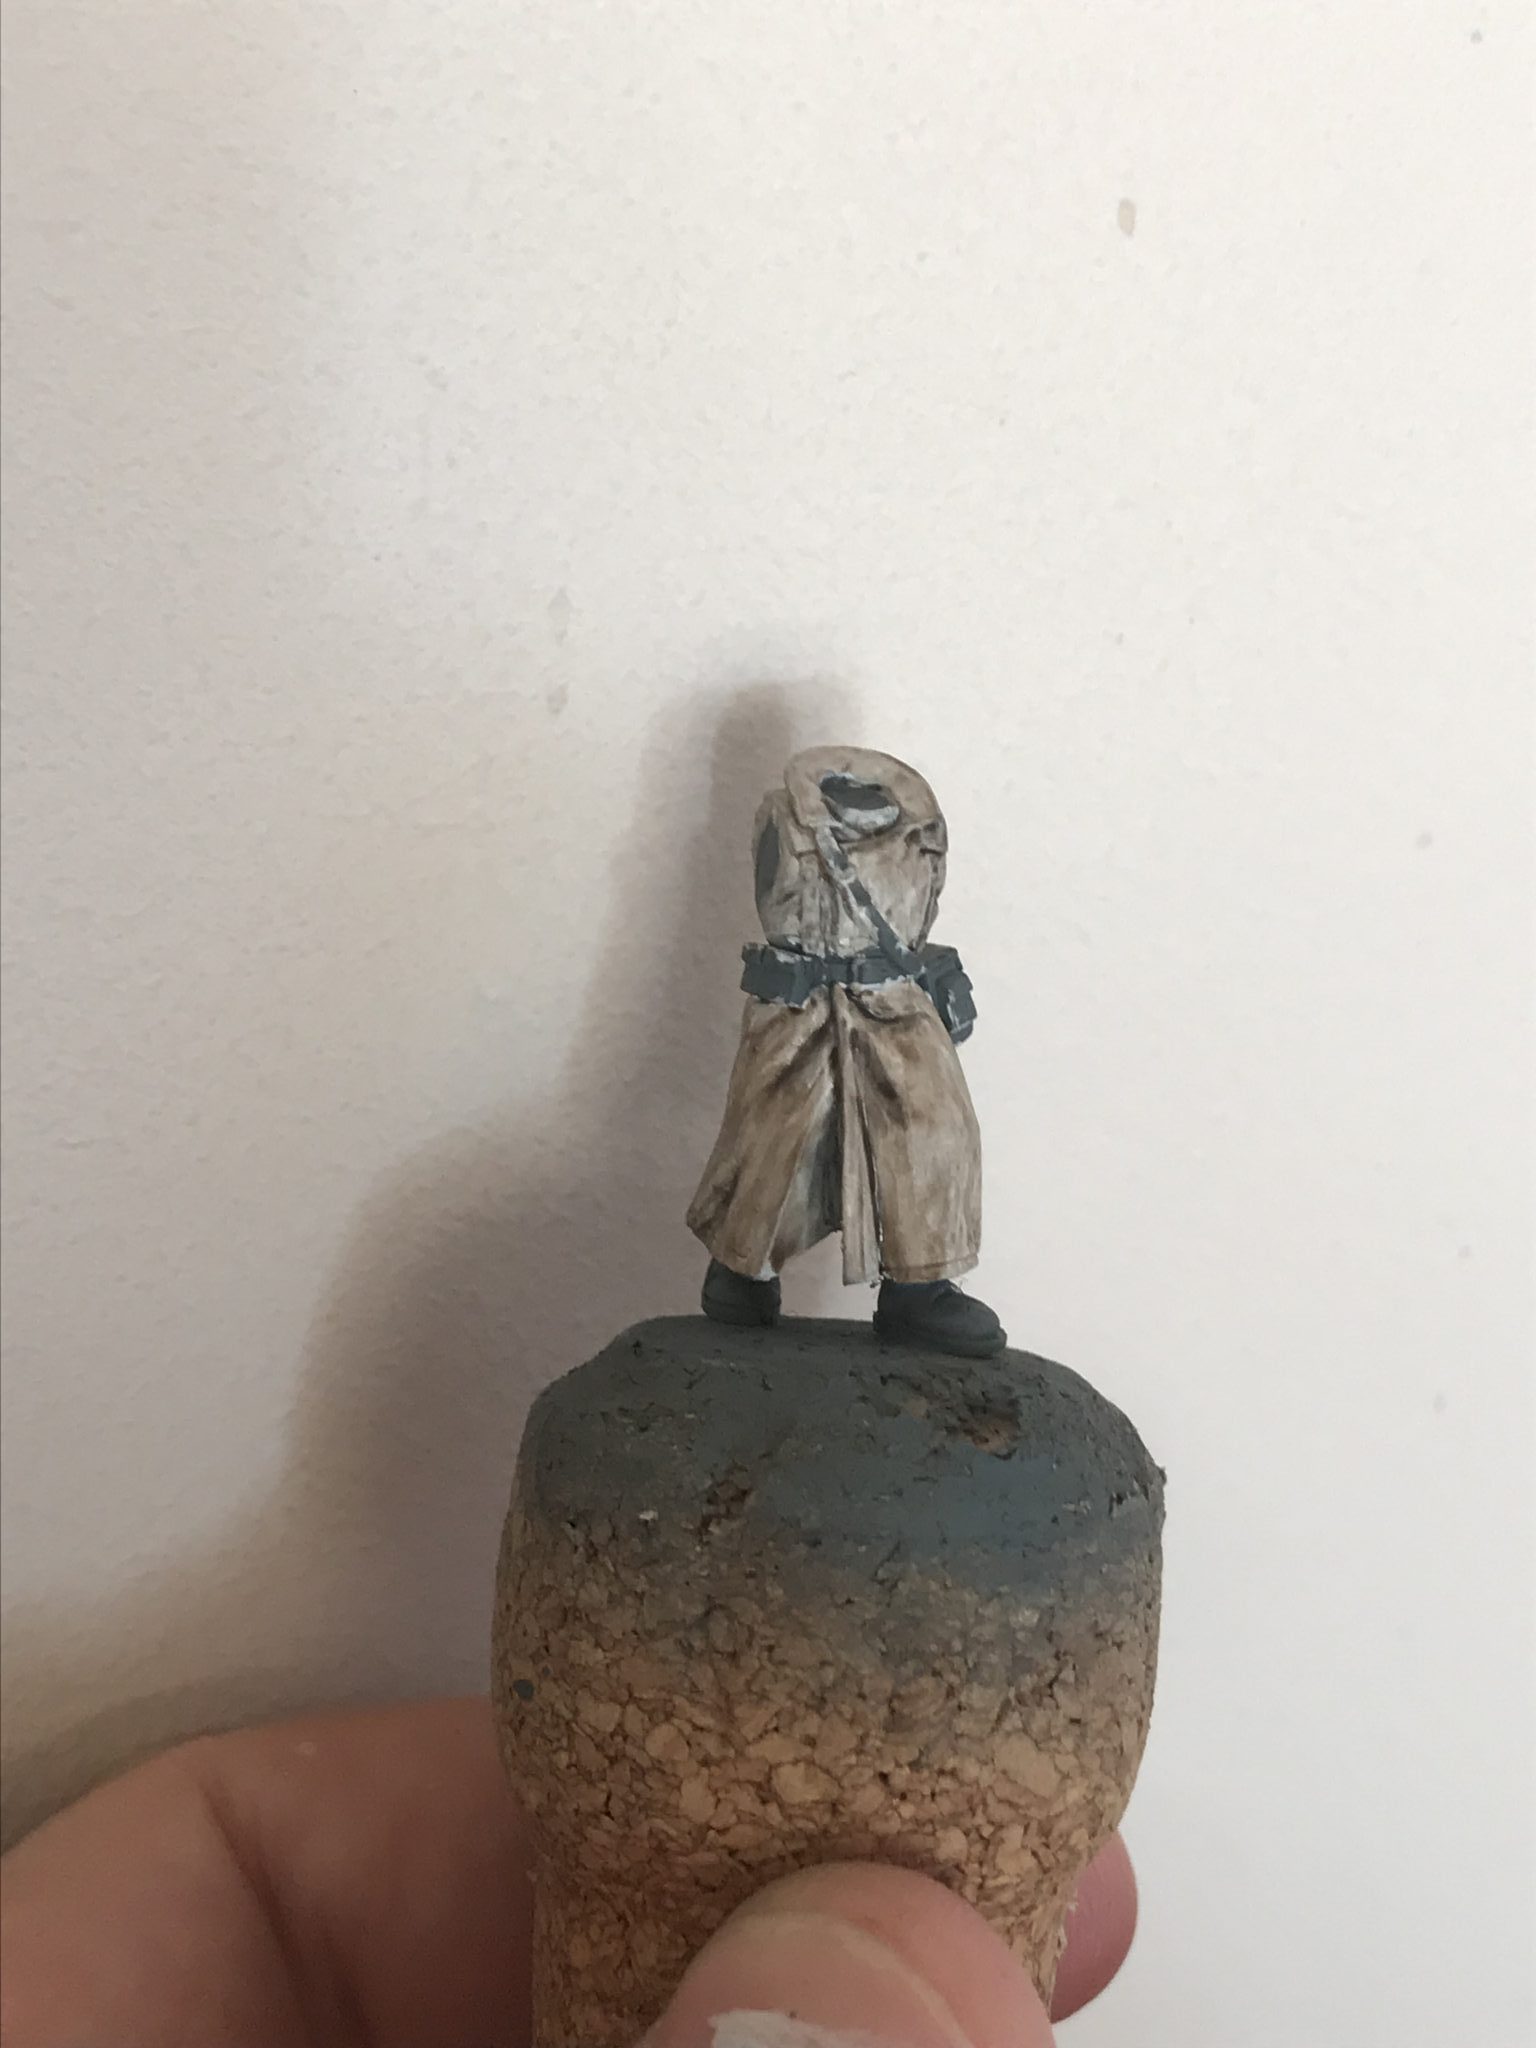
But I needed the model to be dirtier. What sort of a soldier has a clean coat? So I used a sponge with Nuln and Agrax to do the mud at the bottom of the coat. I also used a little Sepia wash for more colour variation. The Nuln was concentrated towards the bottom to make the lower edge the muddiest.
I then did his belts and bags Dryad Bark, Gorthor Brown highlight and then a final highlight of Baneblade Brown. Runefang Steel to finish the belt buckle and various buttons.
-

- Nuln

-

- Agrax
-
- Ulthuan Grey Drybrush

-

- More wash
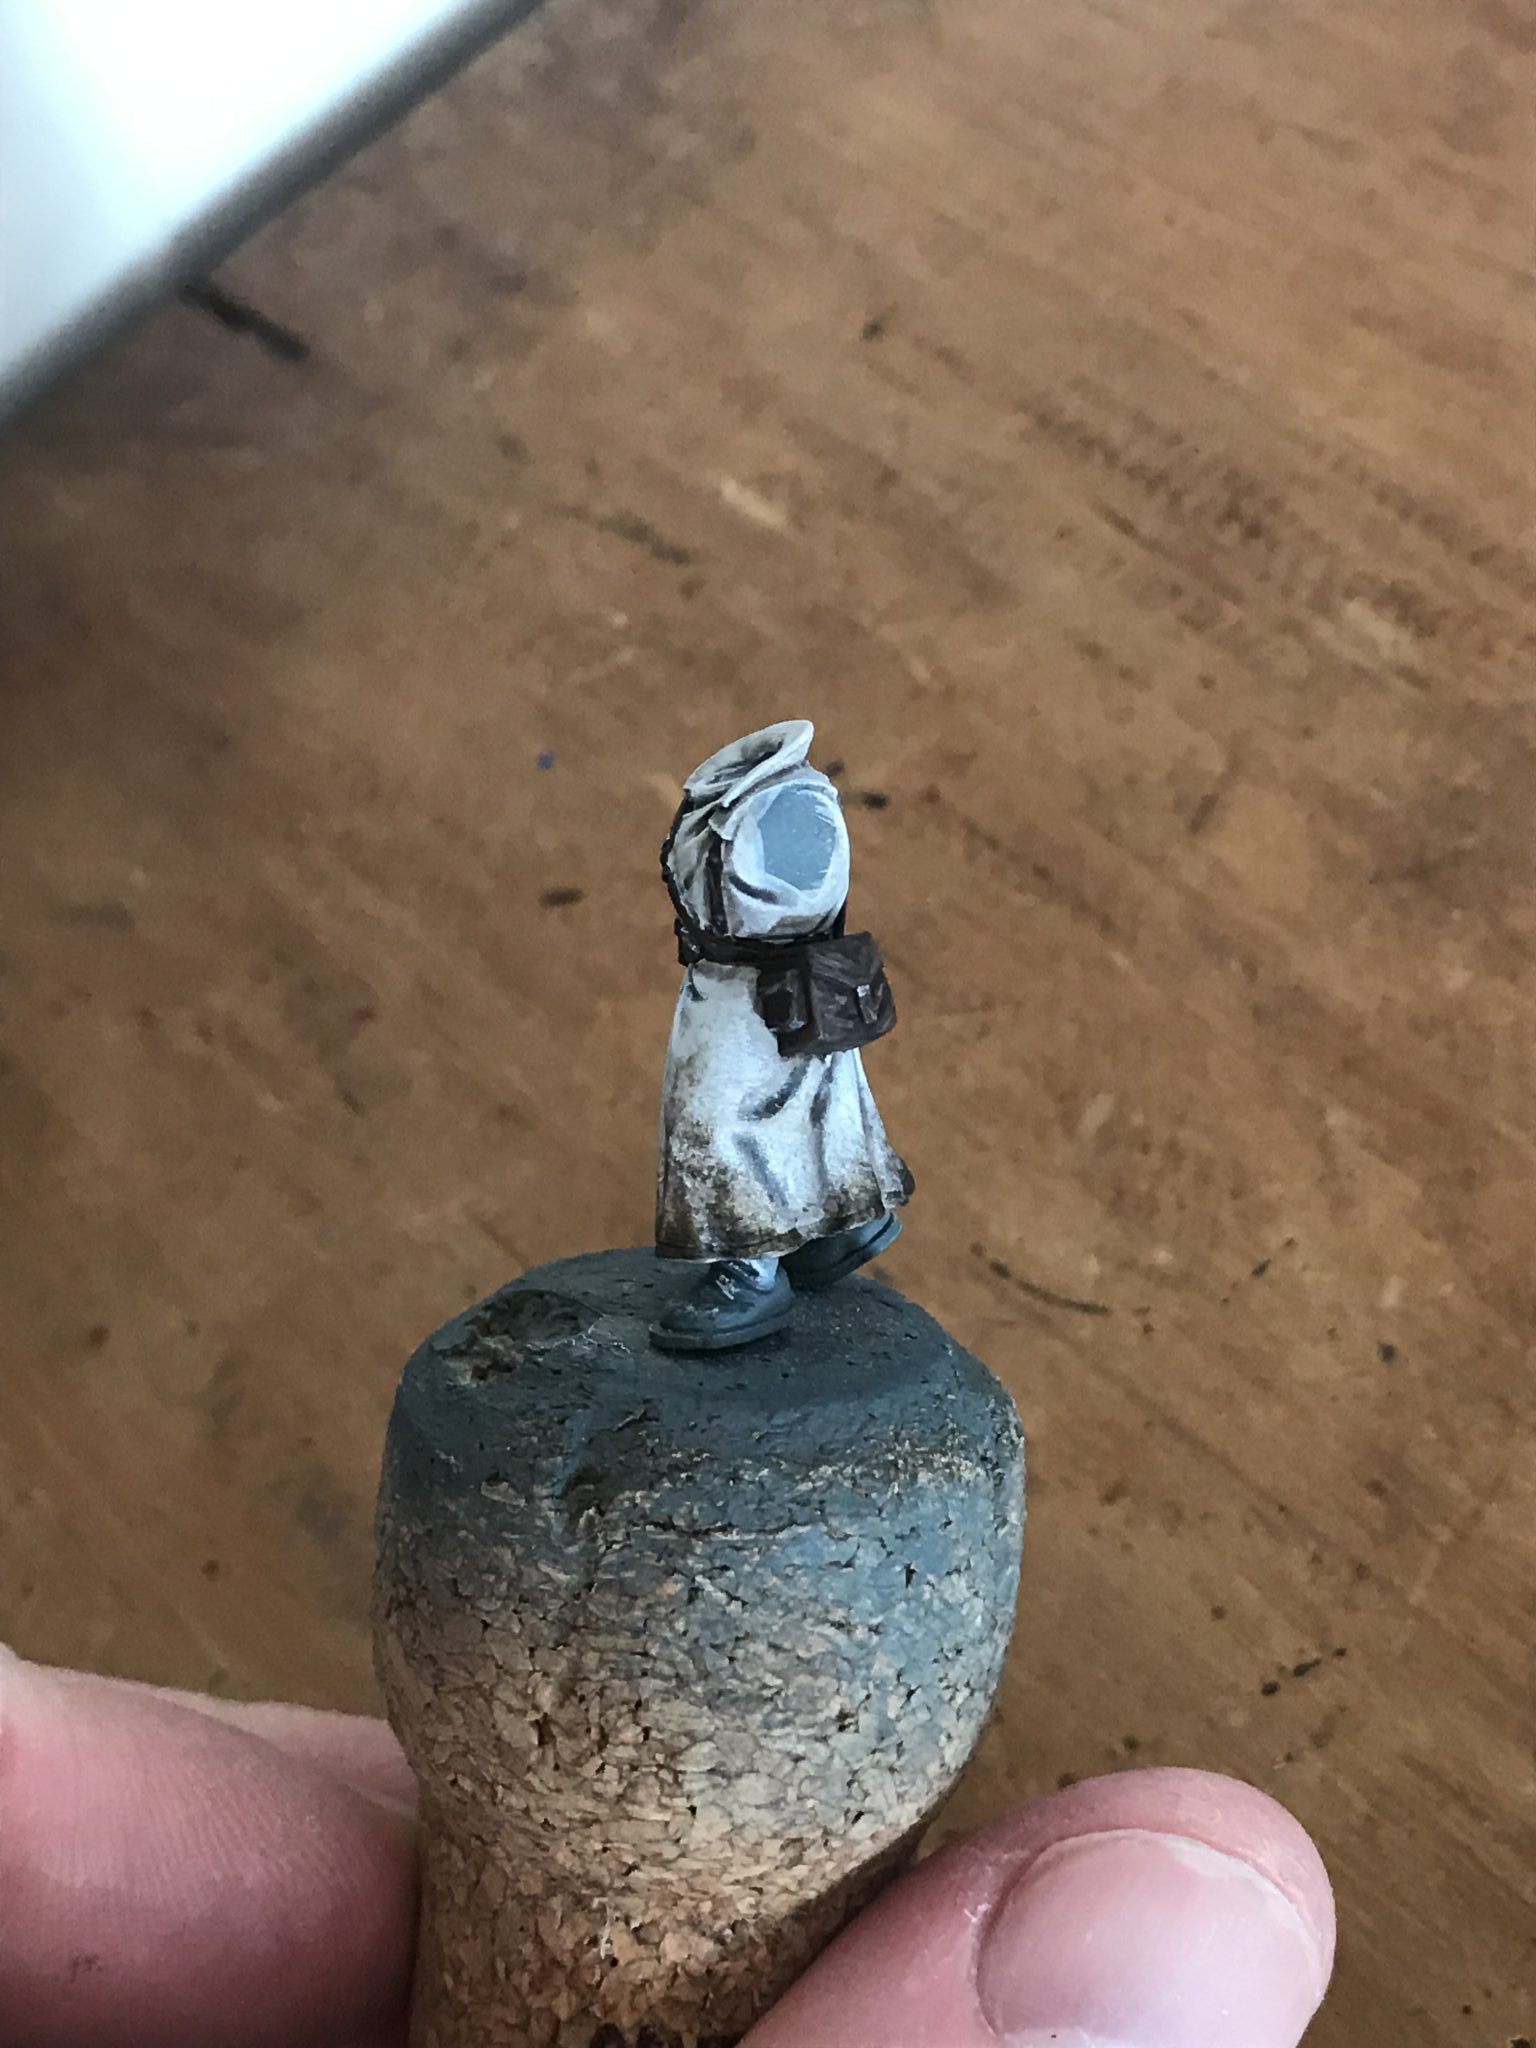
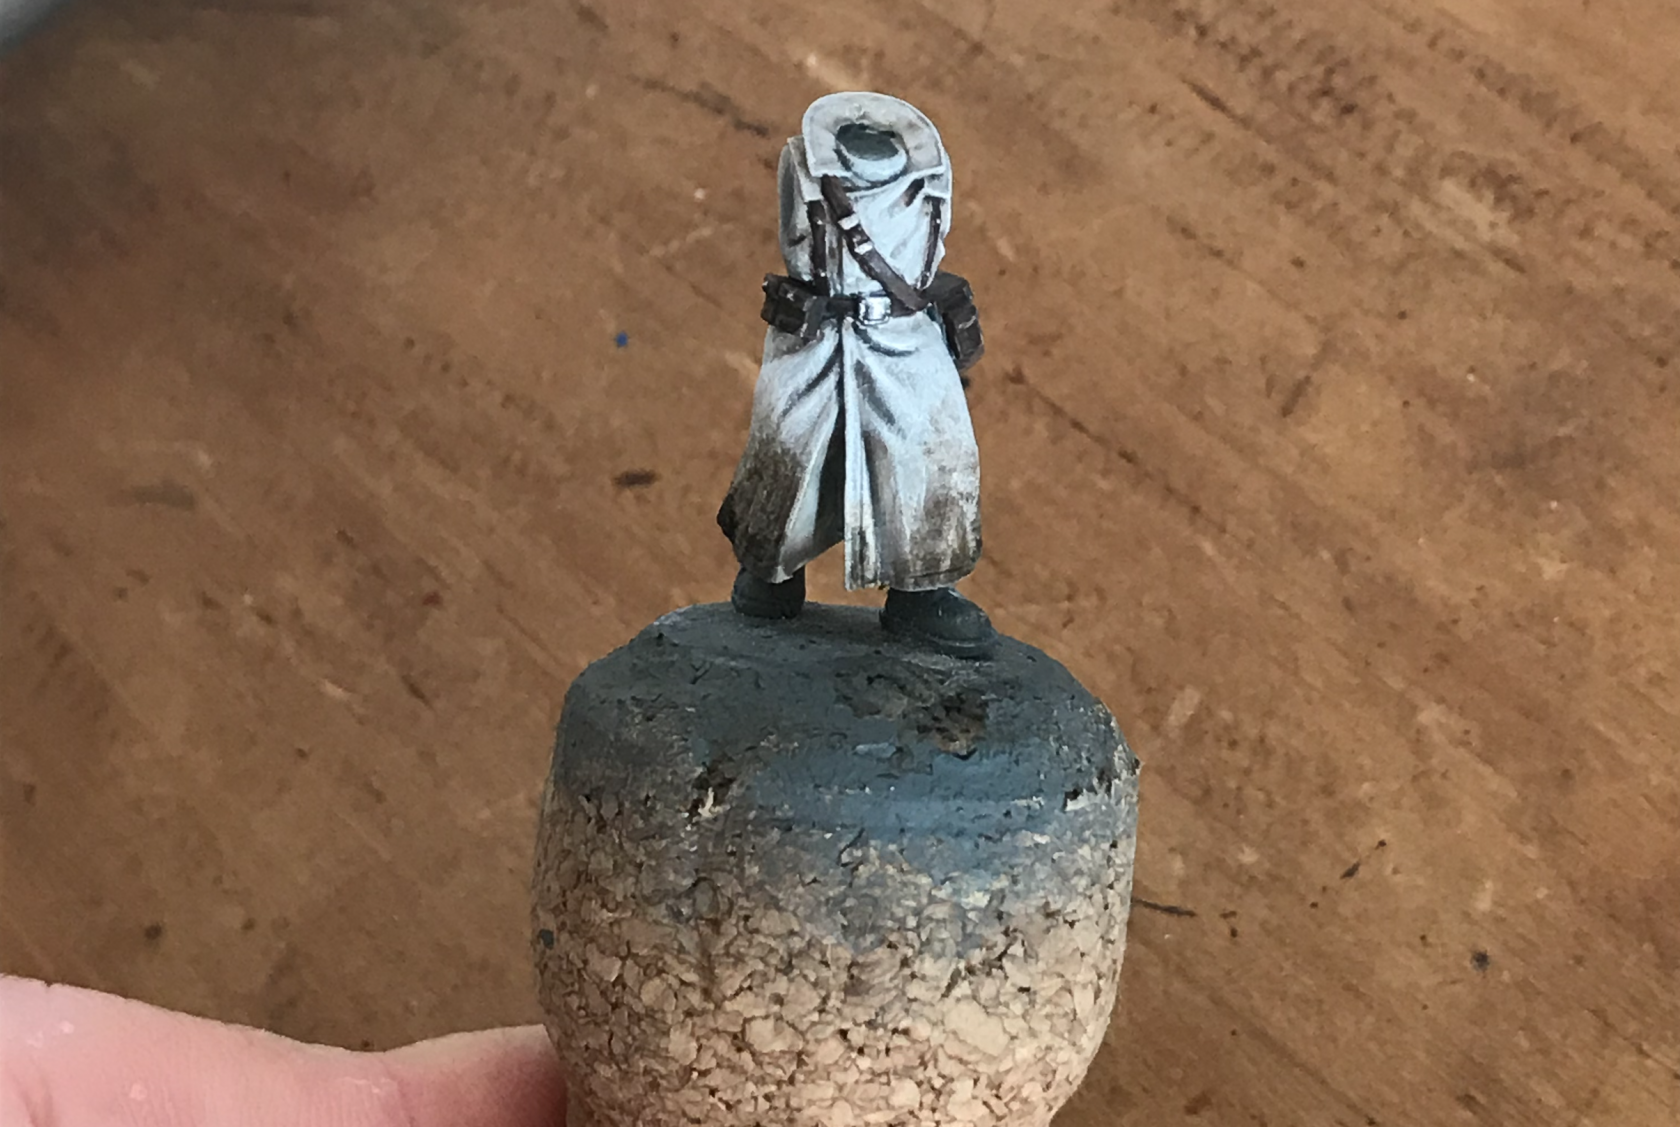
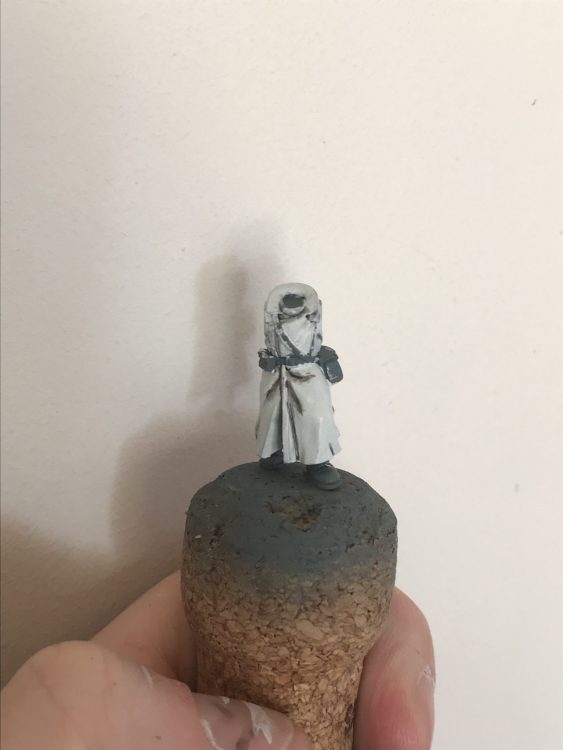
Finished Test – Painting Valhallans
-
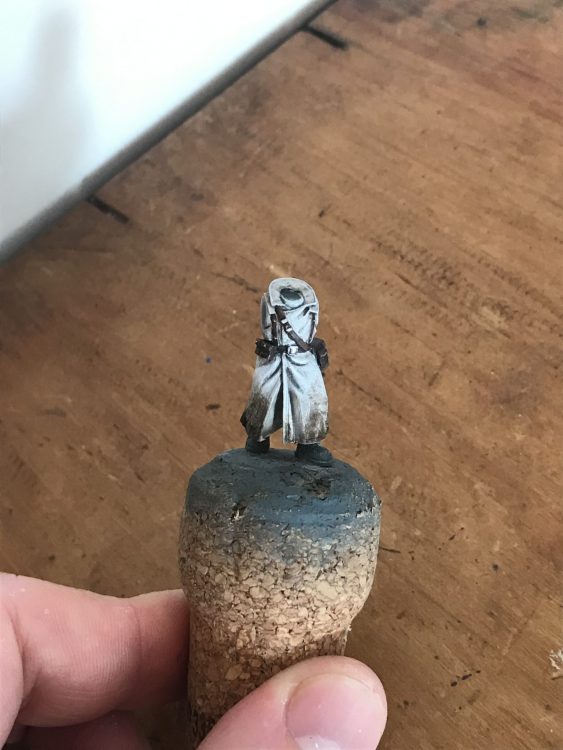
- Front done

-

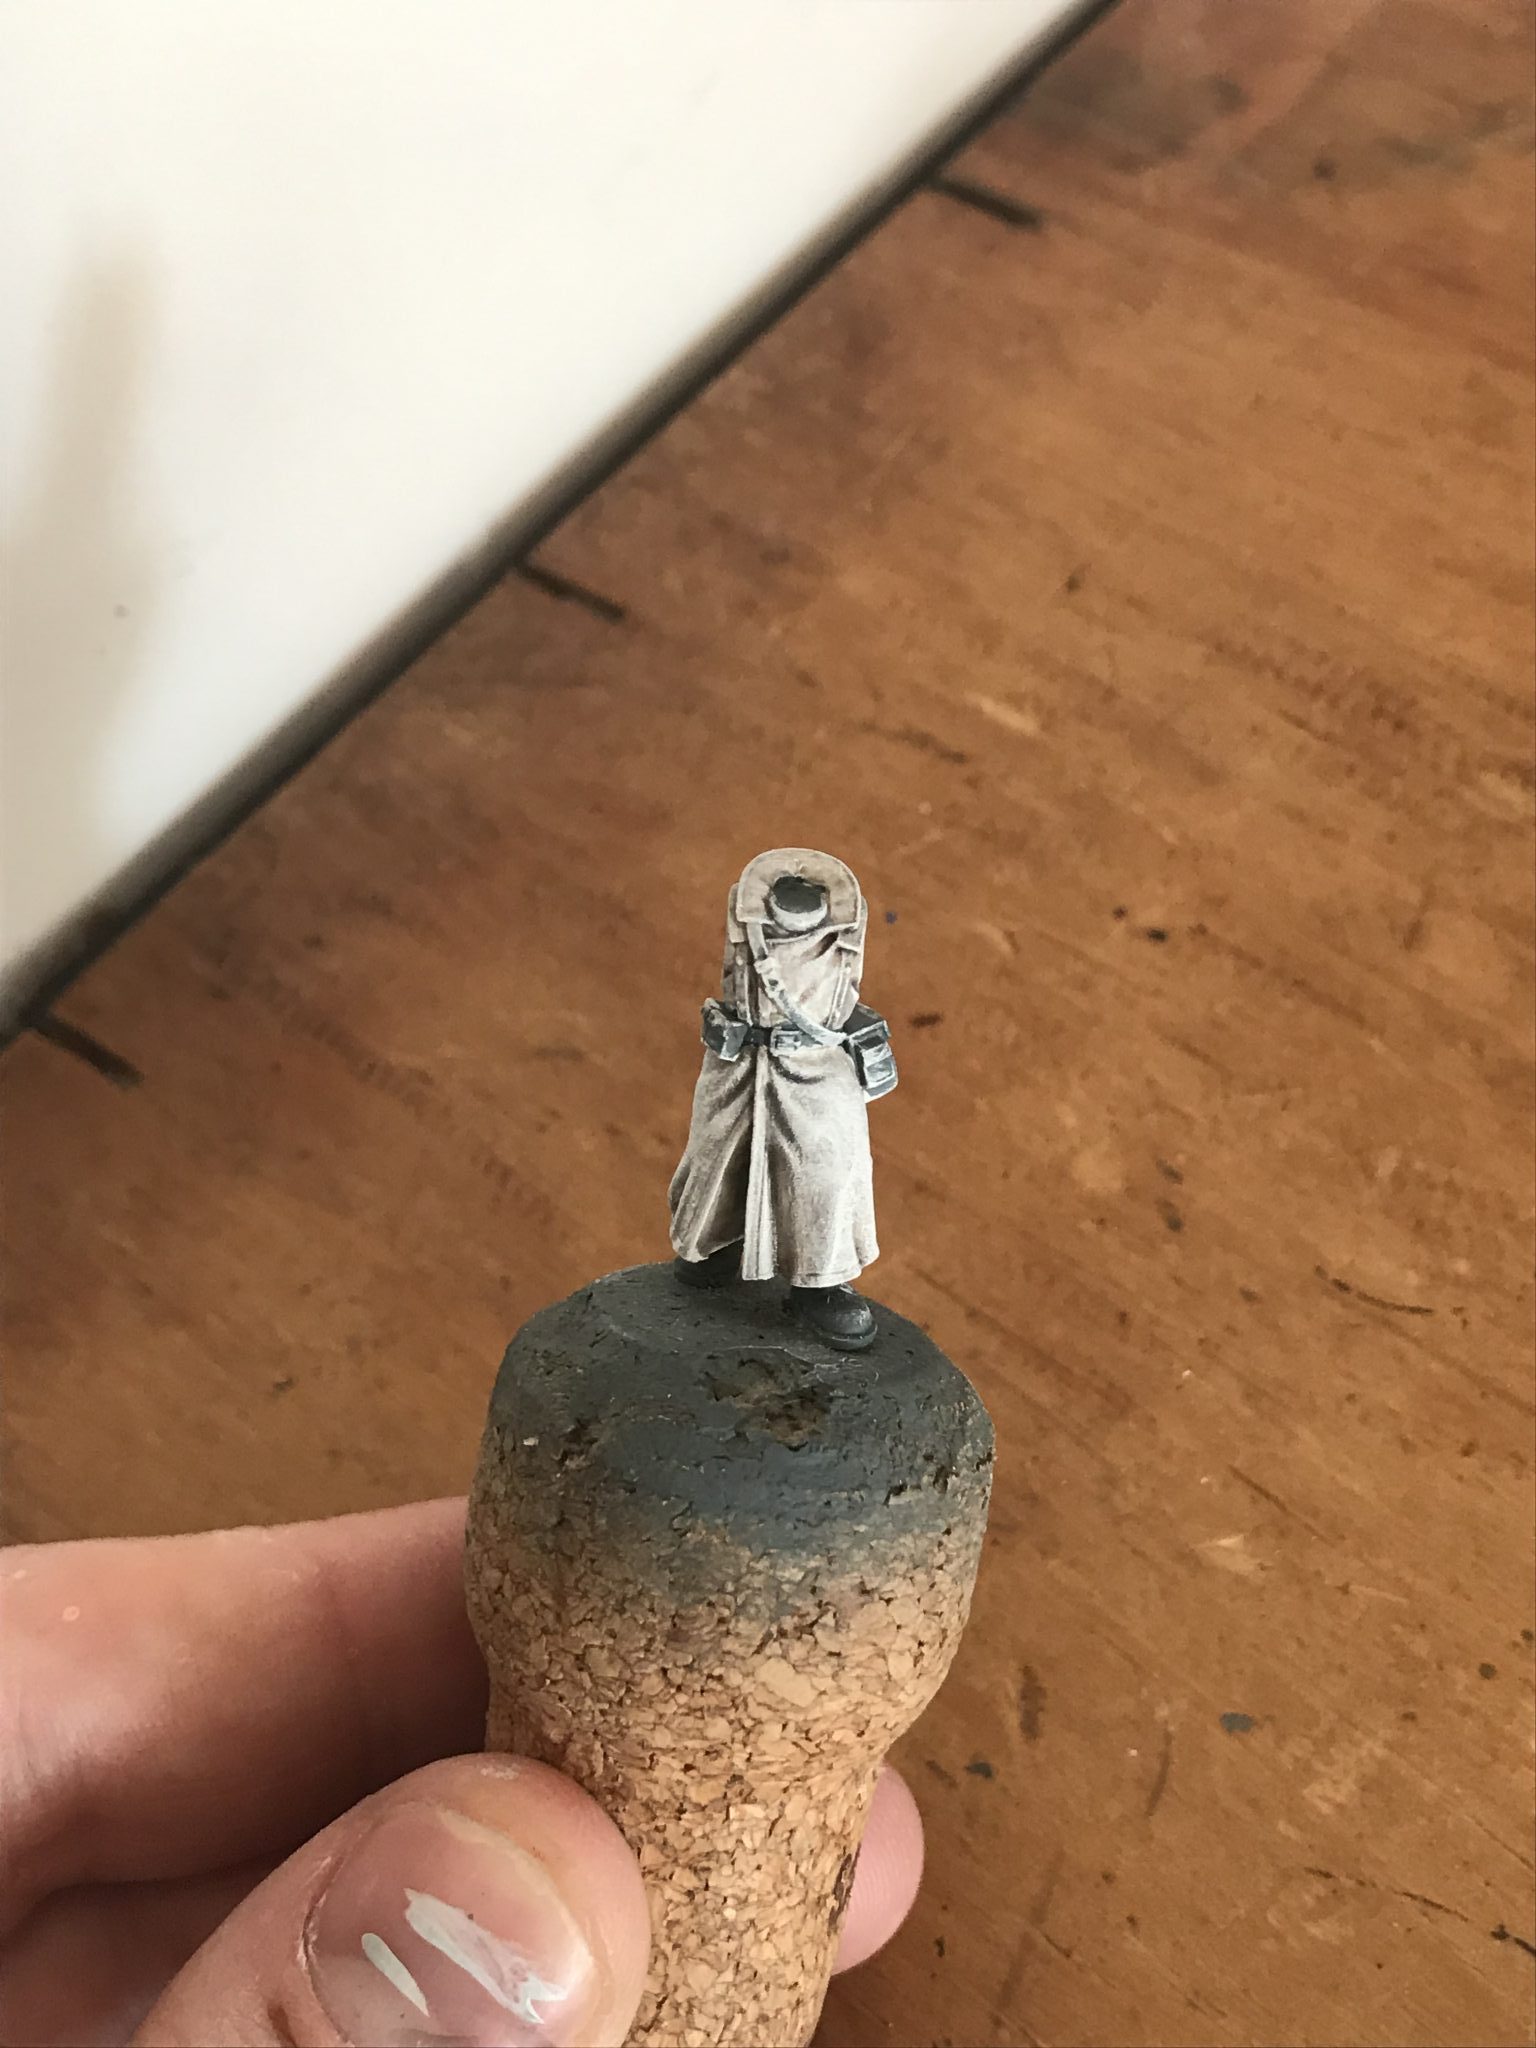
- Right side done

-
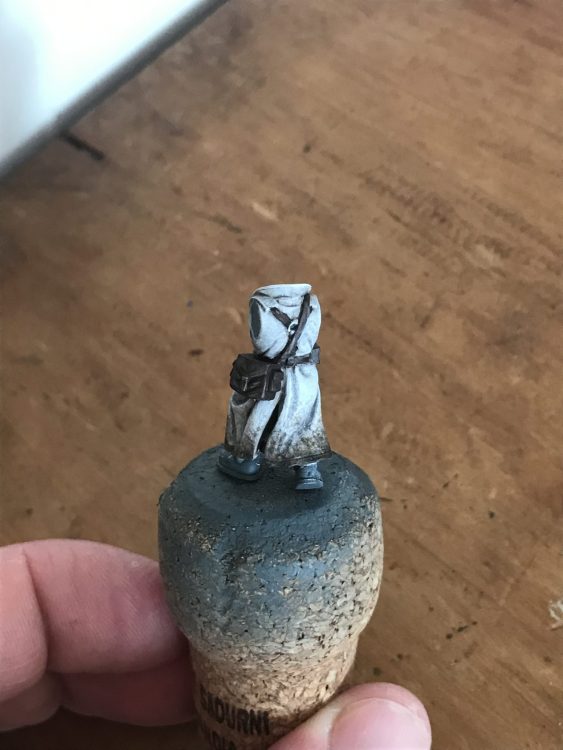
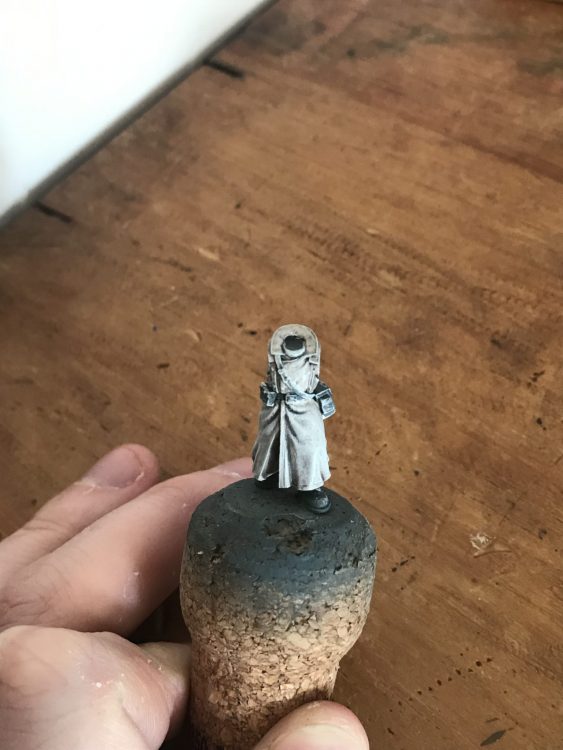
- Back done

-

- Left side done