
Painting Thin Layers – A Quick Overview
Let us take a quick look at painting think layers of paint and get more people using this technique to improve their painting!
In this brief article, I wanted to talk about painting thin layers as opposed to painting thick layers. Painting thin layers are talked about a lot and I think showing this process will be helpful. Especially for those of you who are new to painting. This is not a new concept or groundbreaking in any way. But I find I get a lot of questions about this subject and the basic building blocks of being a good painter. This article should, I hope, help those of you who are new to painting or those of you who are struggling to get a smooth finish.
Never miss an article? Subscribe!
Painting Thin Layers
When you first start to do thin layers of paint it can be off-putting because it looks awful.
- The effect is streaky
- The paint is not covering the base layer at all
- The colour is washed out and doesn’t appear as it should do
When you start painting and you are told to use multiple thin layers of paint, you try and you can immediately be put off the concept. I found this too, because of the above reasons and because it takes longer. Painting thin layers will take longer but the final result is a lot better than painting with a single thick layer of paint.
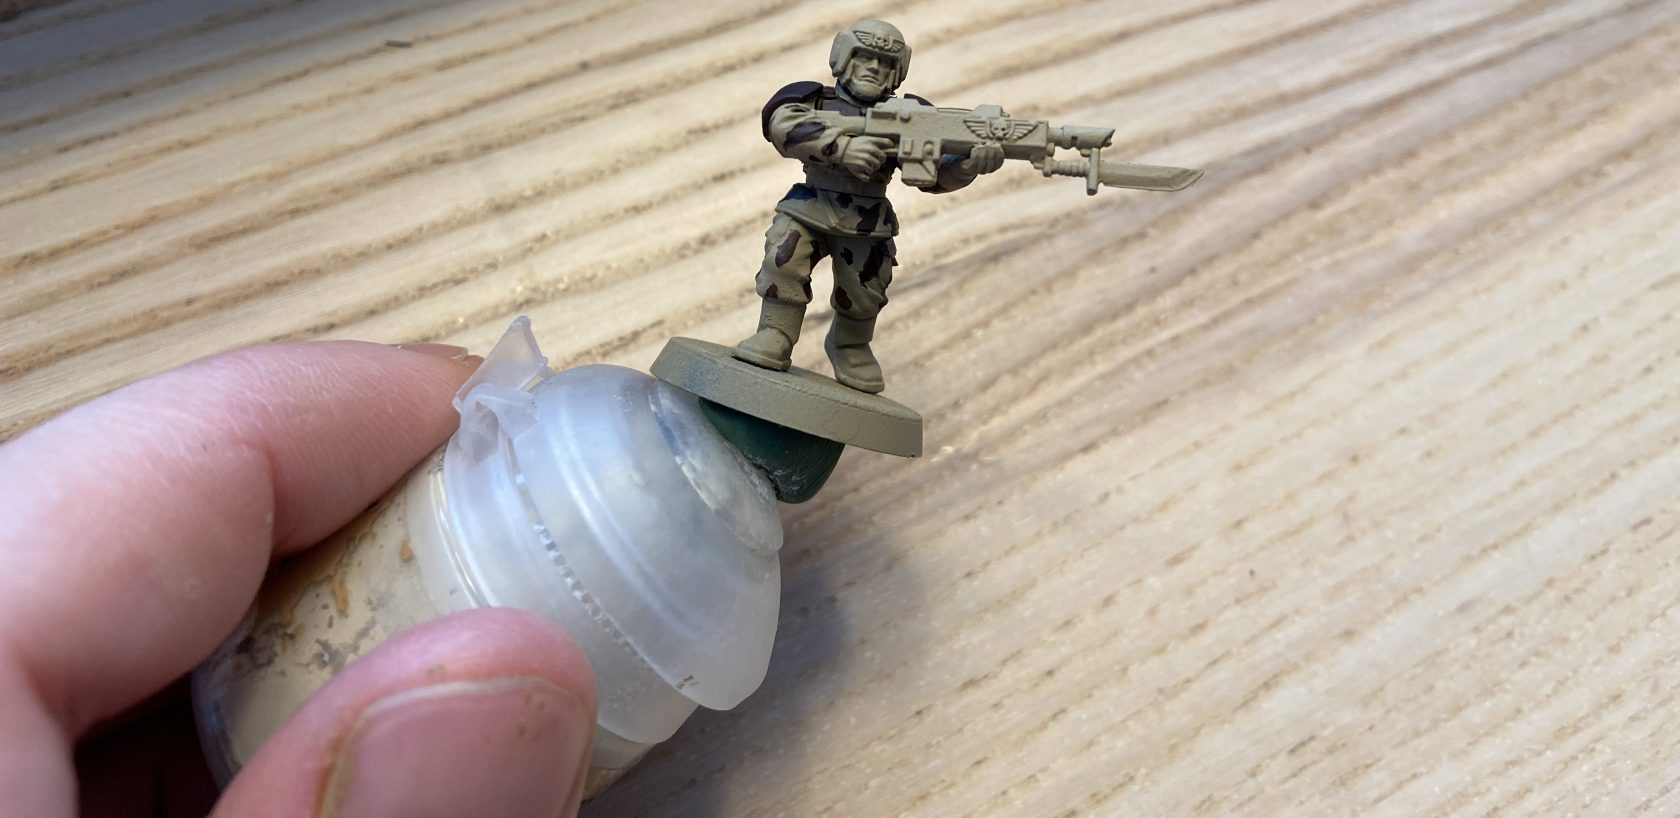
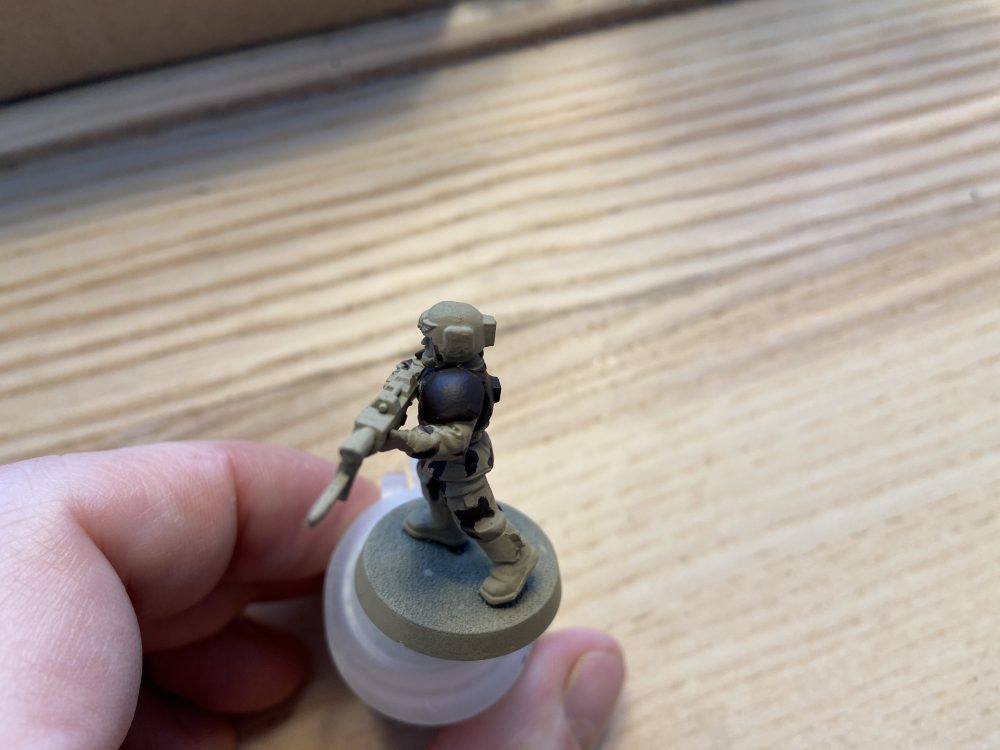
The model I am working on here is my very first commission piece for my new venture – Proteus Bunker, my new Astra Militarum painting business.
First Layer
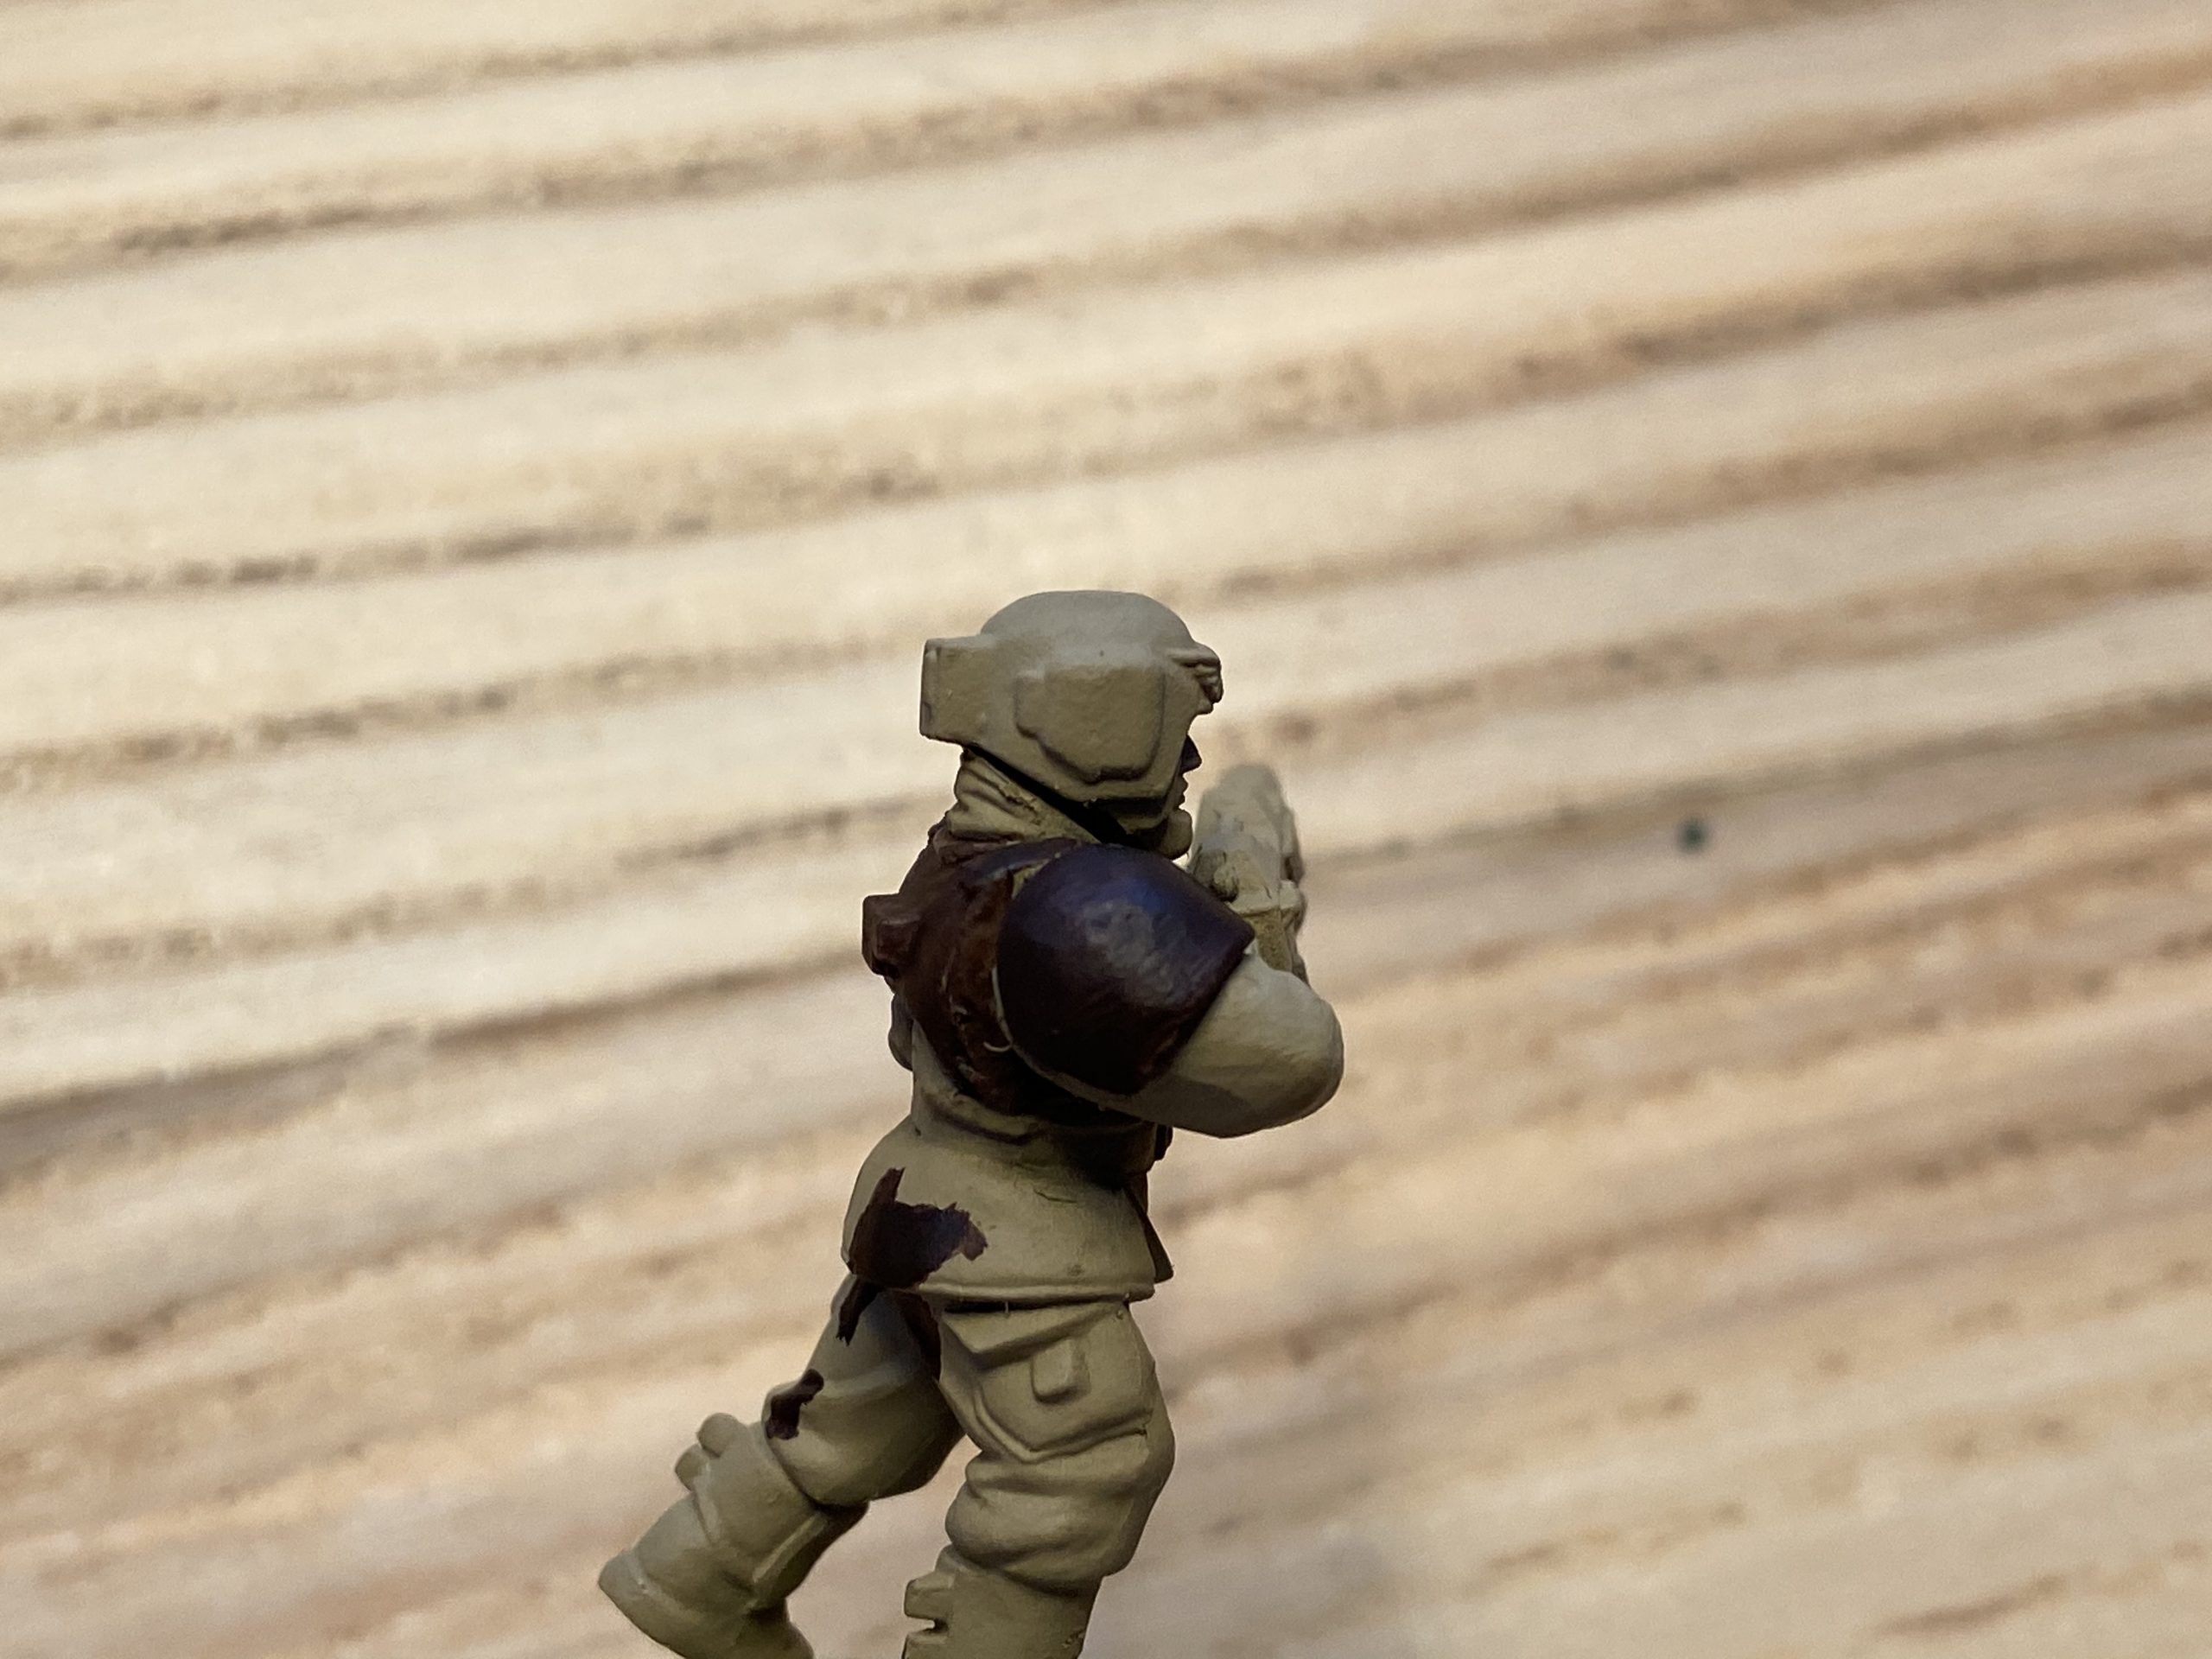
I am using a single Guardsman here who has been sprayed with Zandri Dust. I am then using Rhinox Hide for the camo areas and his armour. The shoulder pad shown below has had one thin layer of Rhinox Hide applied to it. As you can see, it is not a proper dark brown yet, you can see the lighter Zandri Dust through it still. This is expected and can be off-putting when you first start out because it is not right straight away. But you must perceive!
The paint needs mixing with a bit of water to thin it down and ensure it’s not thick and globby. It is really hard to say how much it is thinned, some people say to the consistency of milk and I have used this phrasing before too. It just feels right, and when you get it right you will know. Milk is watery, yes, and semi-skimmed milk is even more watery and skimmed milk is even more watery again. Hence this description of paint thinness is a bit of a minefield. You should just try it and see how you get on, do a test and go from there.
I use a RedgressGames Wet Palette when I am painting but you can also make you’re own wet palette which is very easy to do and will change the way you paint for the better, forever. And that’s a Cadian Guarantee! The wet palette will keep your paint wet for hours, or days if you can seal it when not in use. It makes going between colours easier, mixing colours easier and it means your paint is always at a nice consistency.
Shoulder pad with the first thin layer of Rhinox Hide
Second Layer
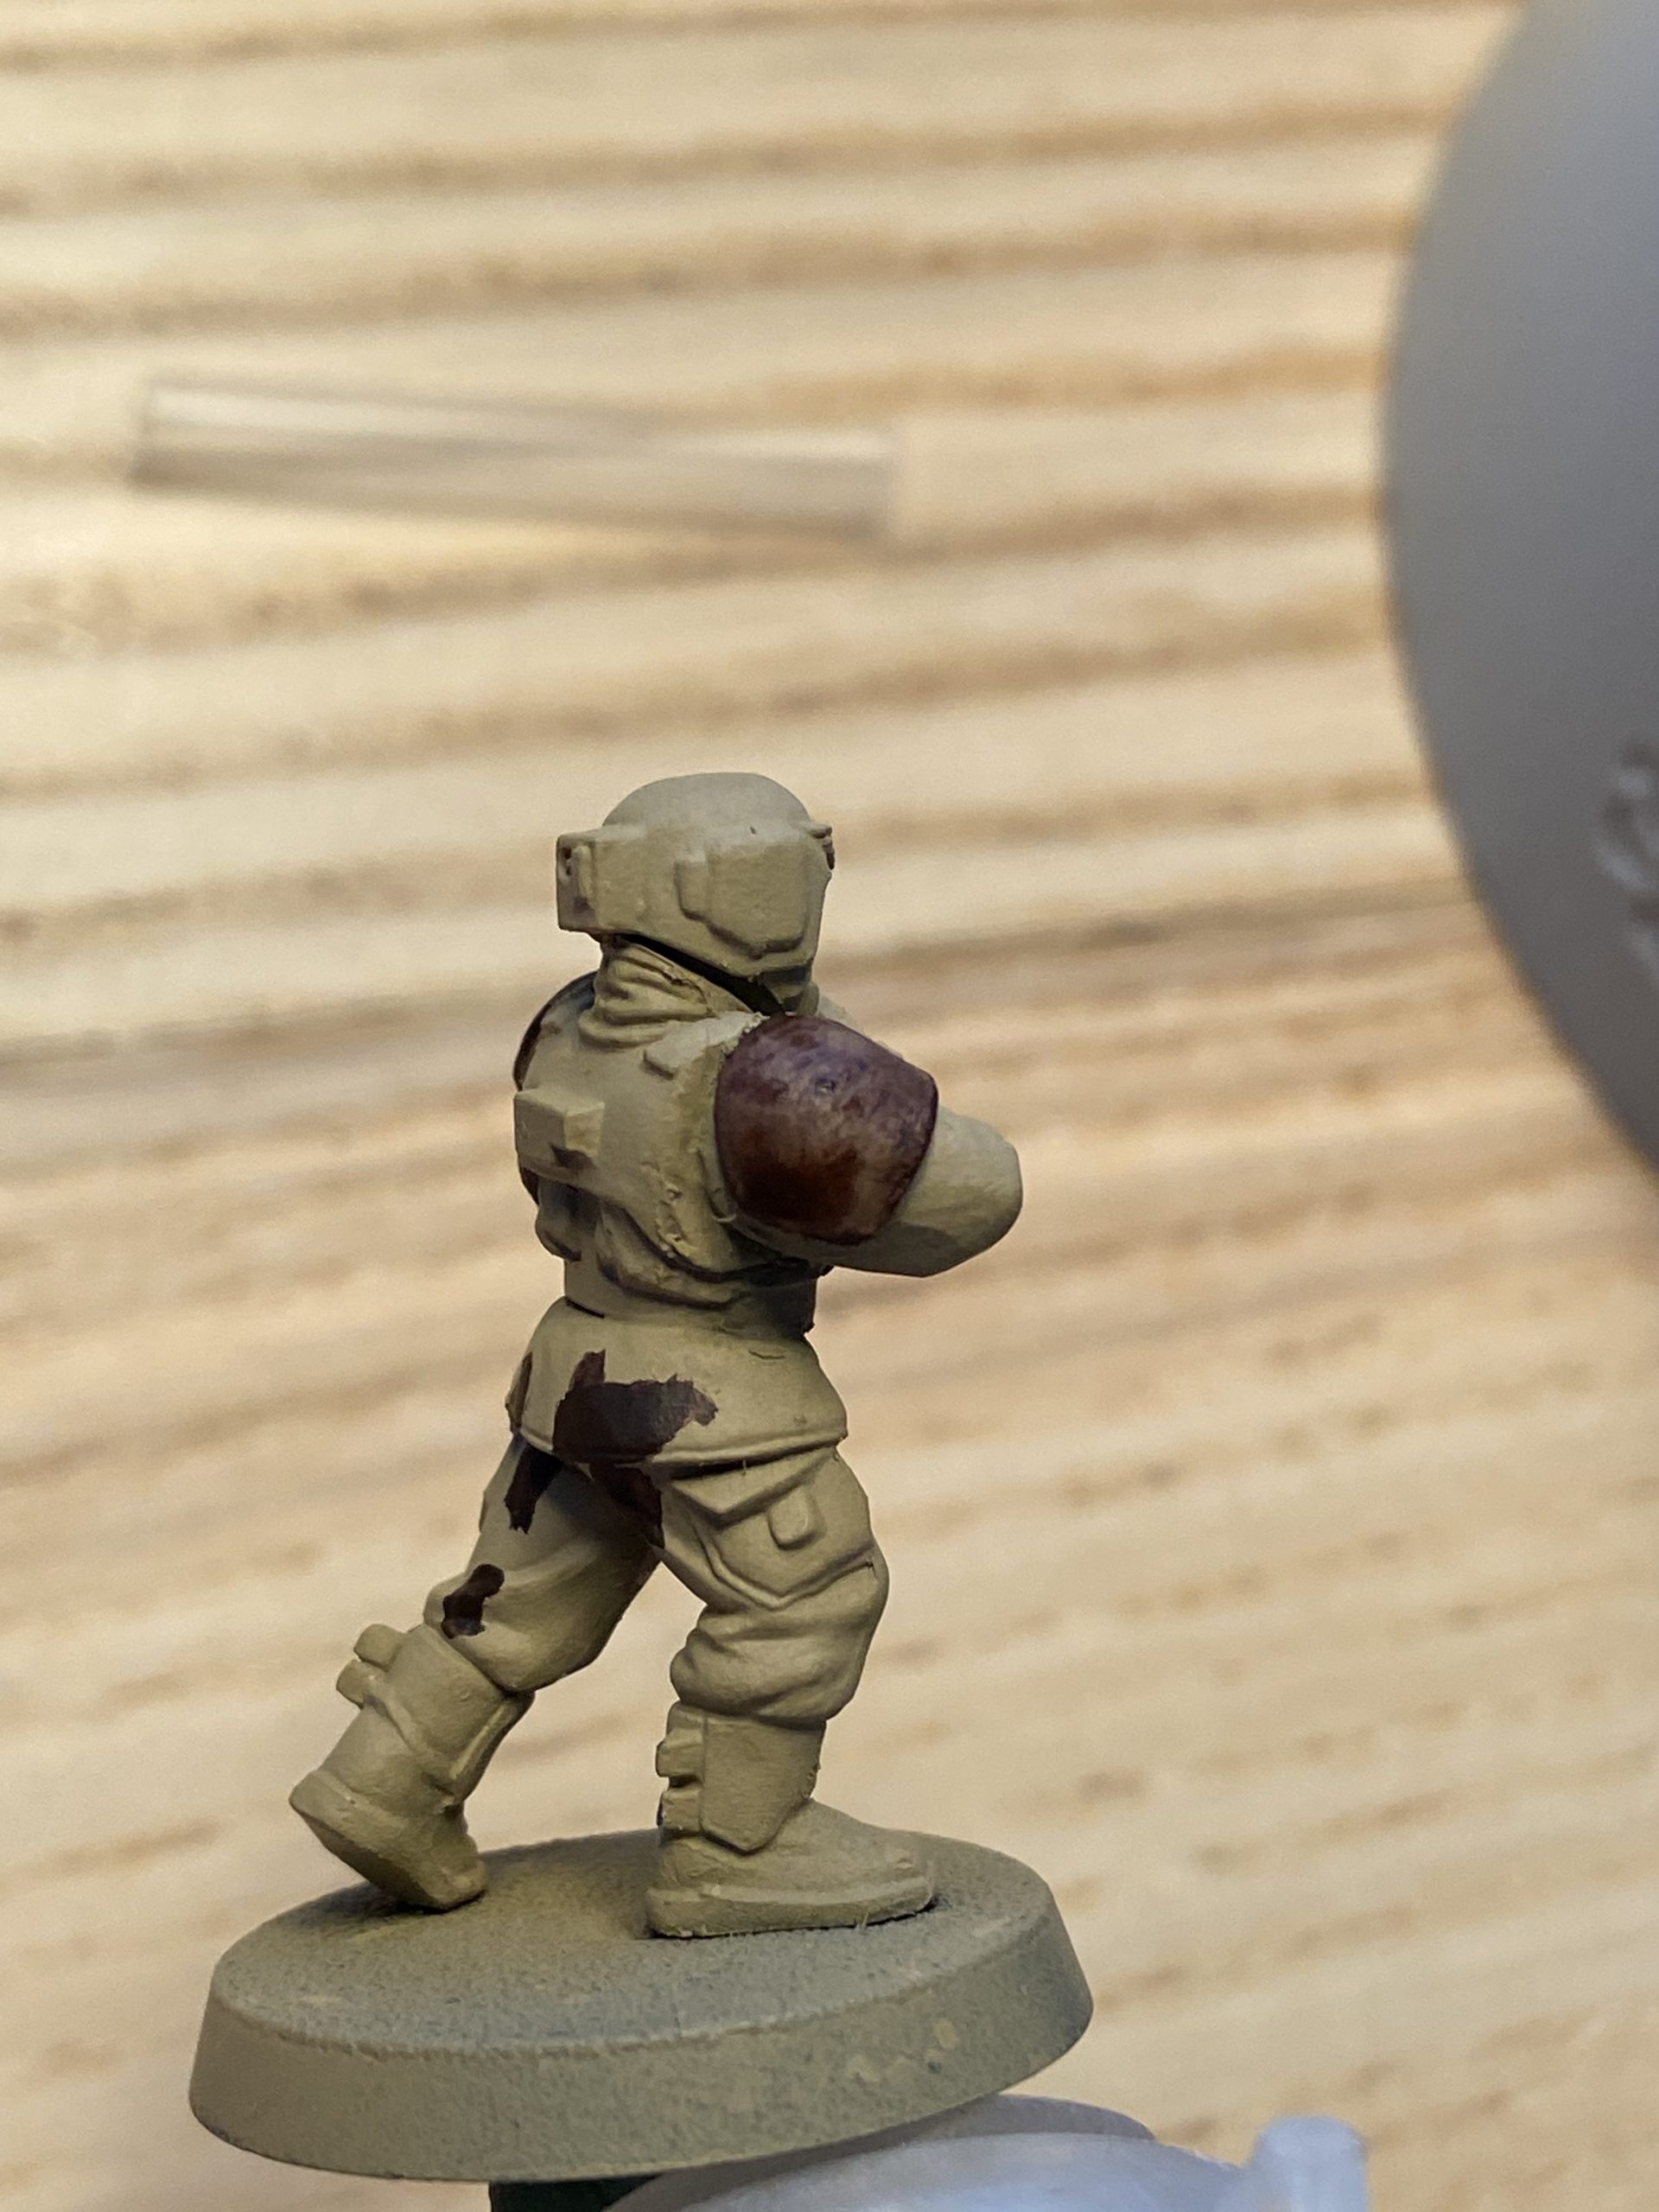
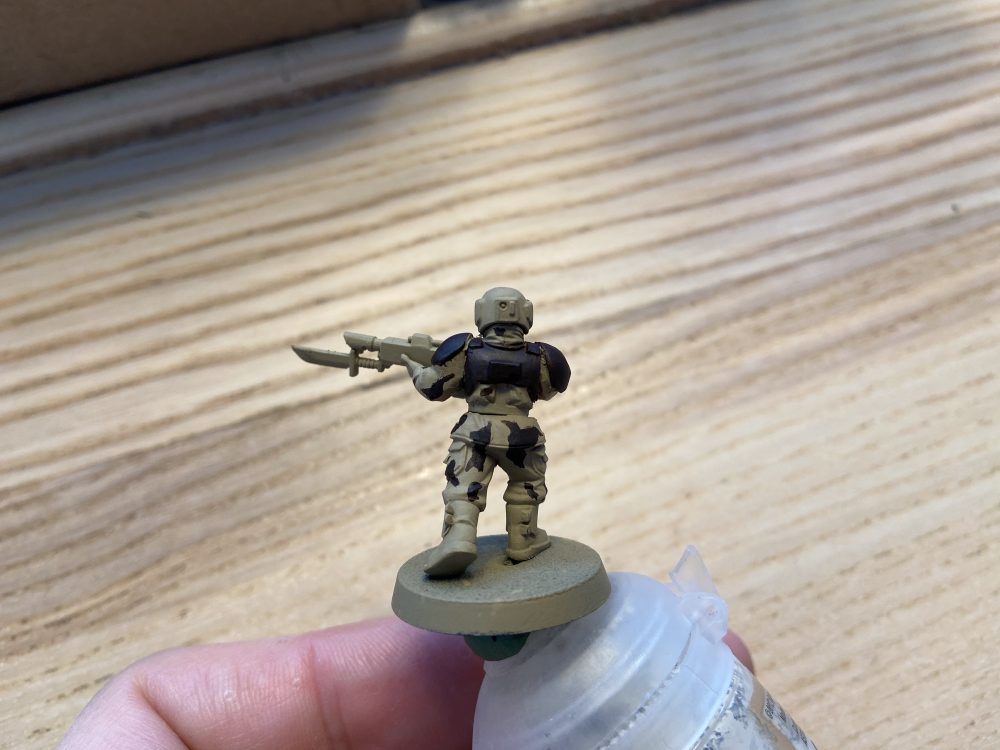
Once the first layer is dry we can do the second layer using the same thin consistency of paint. You can see now below that the should pad is now much darker and looking a lot more how it should do.
It is important to let each layer dry before applying the next layer. If you do not and the paint is still sticky/tacky then applying your next layer can tear the previous layer off. This will leave a horrible blob of sticky paint on the model. If it’s dry then it will not tear away and you can safely apply the next layer.
Between doing the first and second coats 2 minutes has passed, according to the timestamps of my photos. During this time I can go and do the other pieces of armour with their first later of paint, you can see the back armour is now a bit washed out and dark brown as it too has had its first layer of Rhinox Hide. So it will take you longer because of doing multiple layers and waiting for those layers to dry – but you can use that time to do other pieces of the model or easily switch to another colour using the wet palette.
The second layer of thinned paint is now in place on the should pad
Third Layer and Beyond
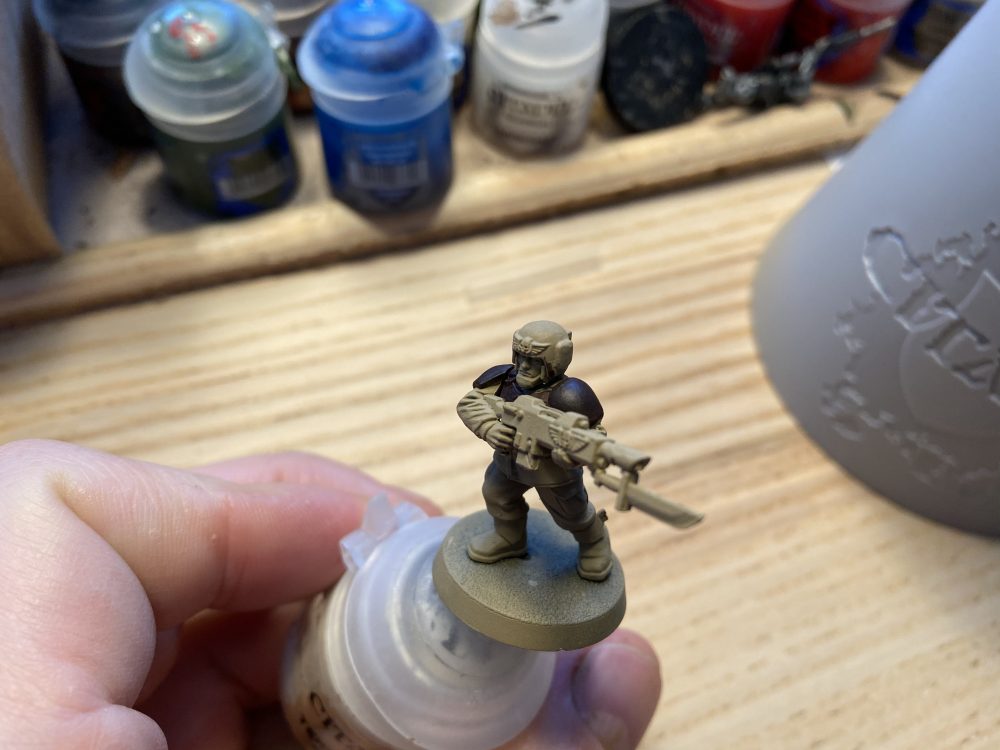
Once you are doing your third layer of thin paint then your base colour should be complete and looking like it should do. If you’re using something like yellow or white then more layers might be needed. This also depends on the colour you are painting on to too.
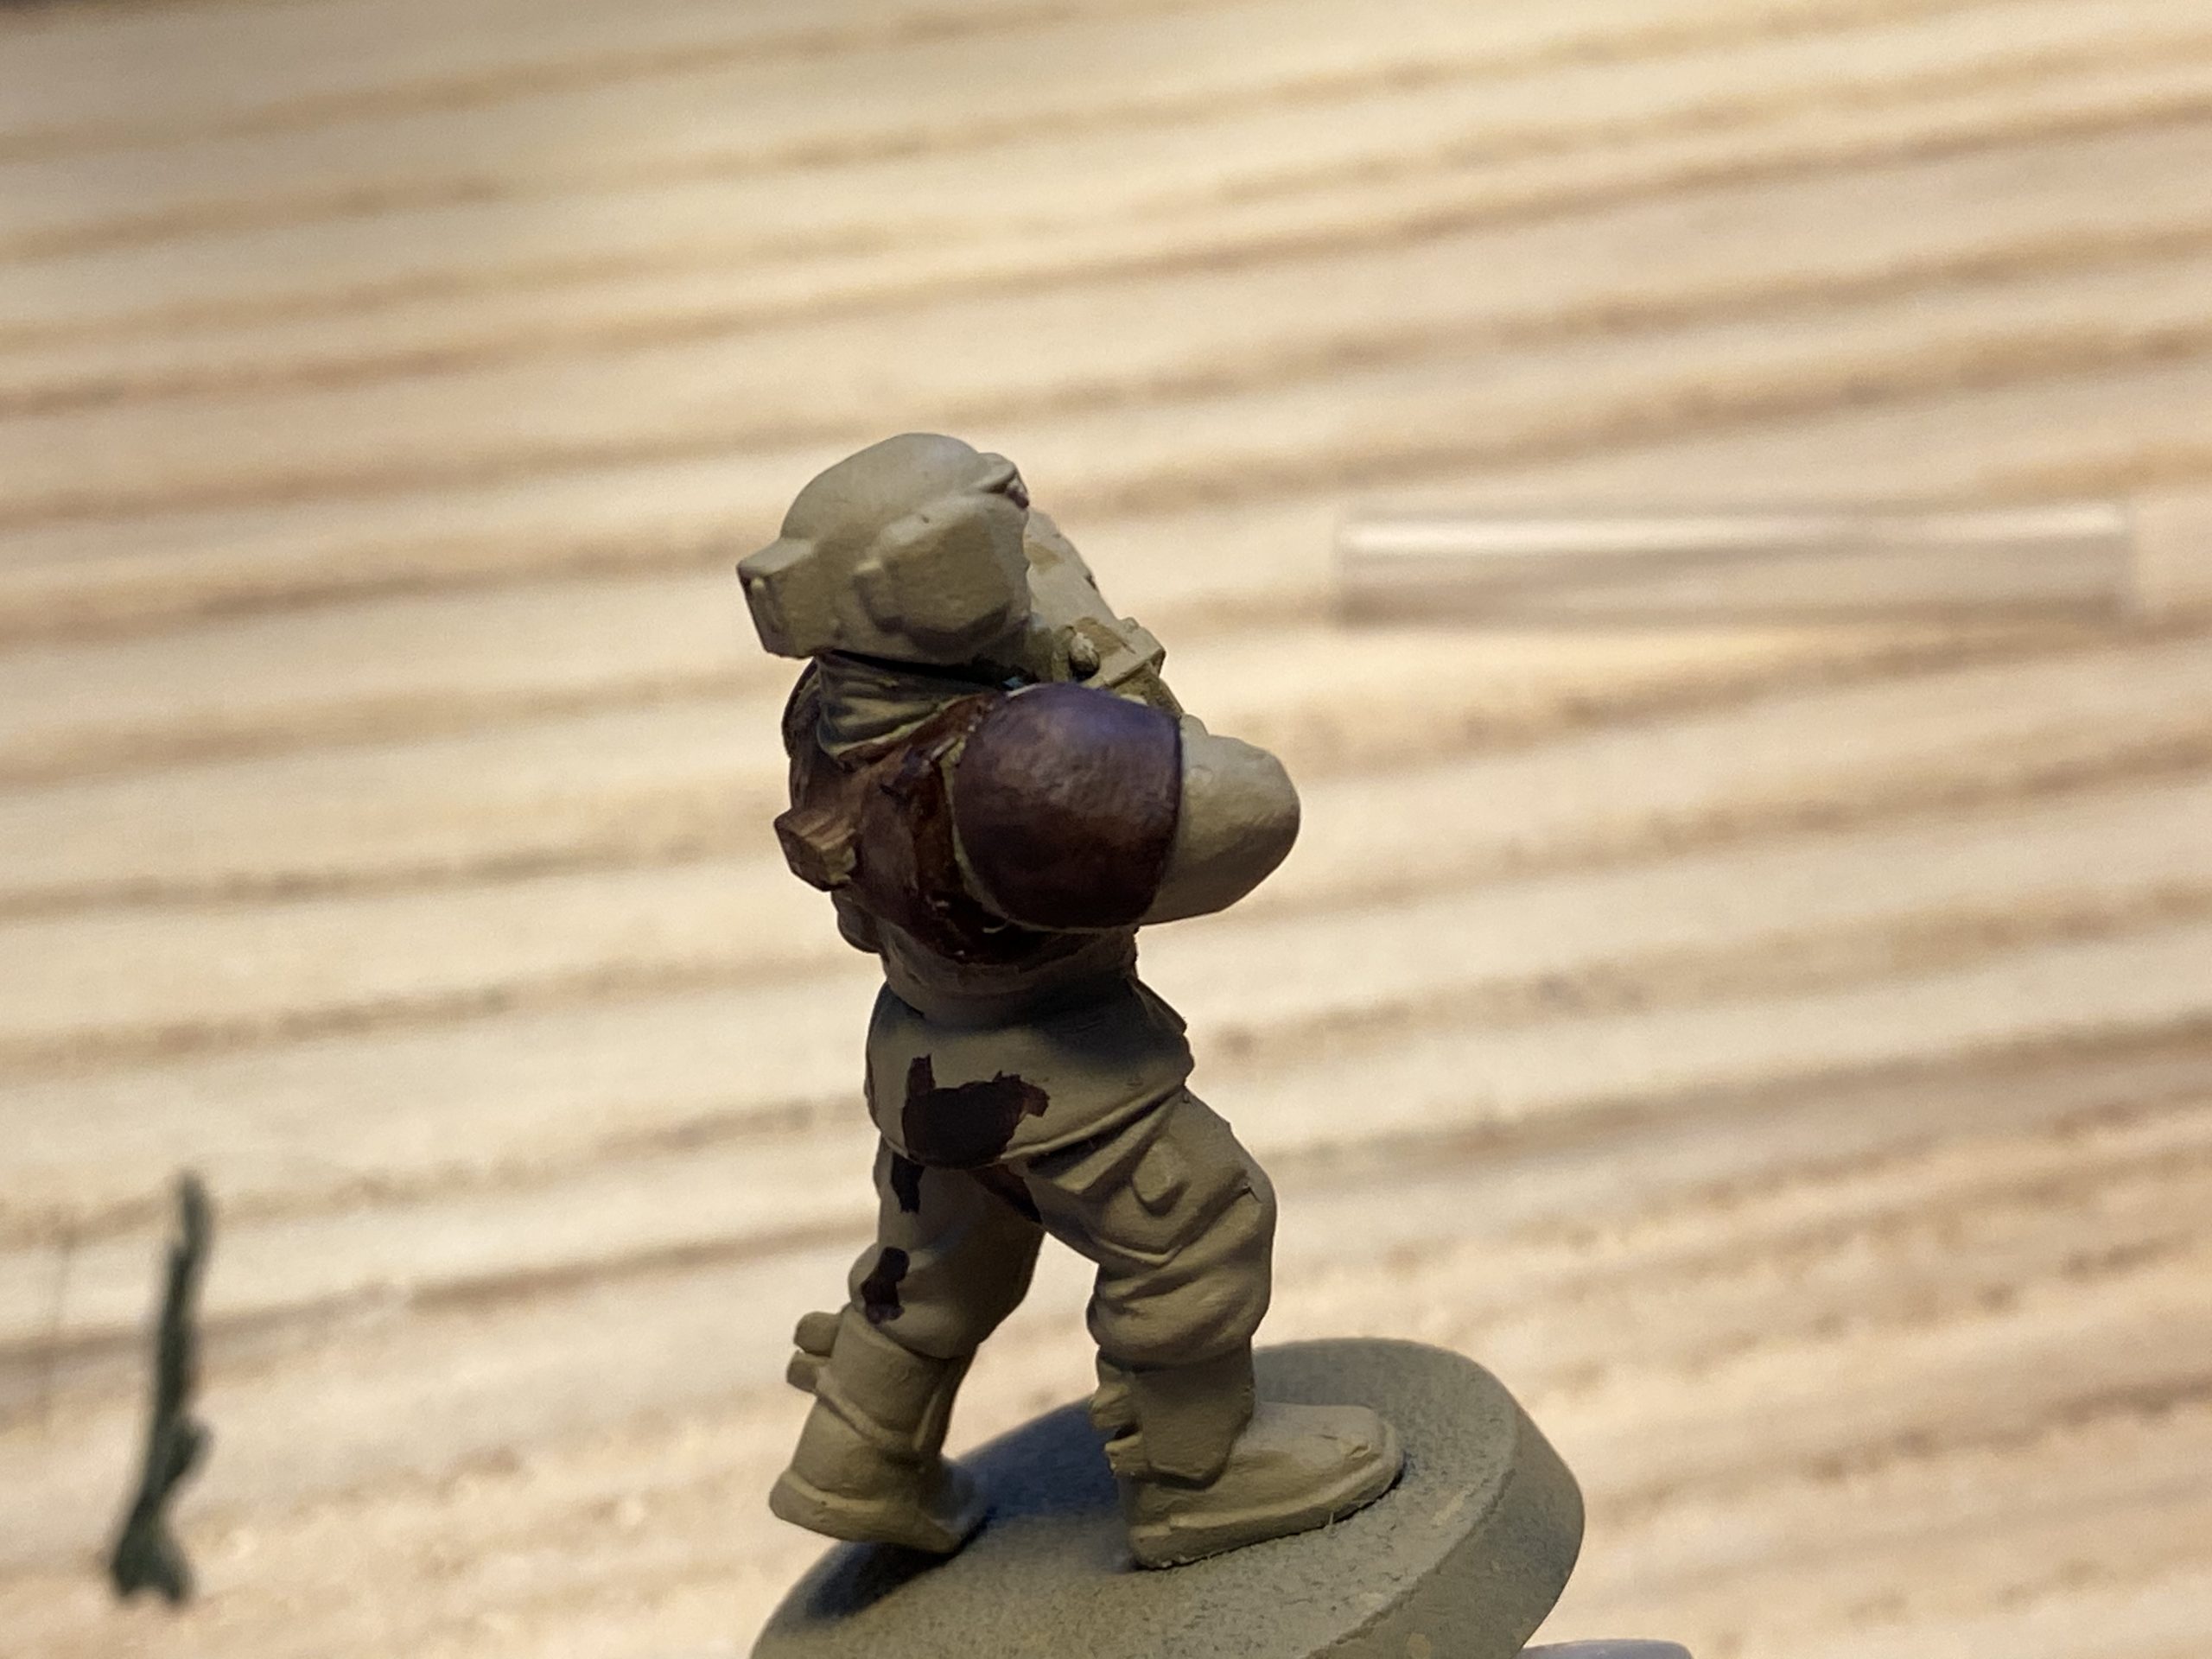
Below is after three layers of thin paint and the Rhinox Hide is looking great! It is smooth and it isn’t removing any of the details of the model. A total of 10 minutes has passed between the first photo I took of the right should pad and these final photos. So it is a pretty quick technique still and gives excellent results.
In summary when painting thin layers;
- Get the right thinness of paint and test this so you’re familiar with it
- Wait for a layer to dry before doing the next layer
- Make and use a wet palette
- Do not be disheartened when the first and/or second layer looks terrible
- Stick with it and keep those layers coming – build the colour up slowly
- Lighter colours will take more thin layers to build up the colour
-

- All three layers of thin paint are now in place

-
- Desert Guardsman

-
- I still need to do the gun in Rhinox Hide

-

- A nice smooth finish has been achieved