
Ogryns, Bullgryns, Ogryns, Bullgryns – EVERYWHERE!
What to do with 12 Bullgryns/Ogryns?
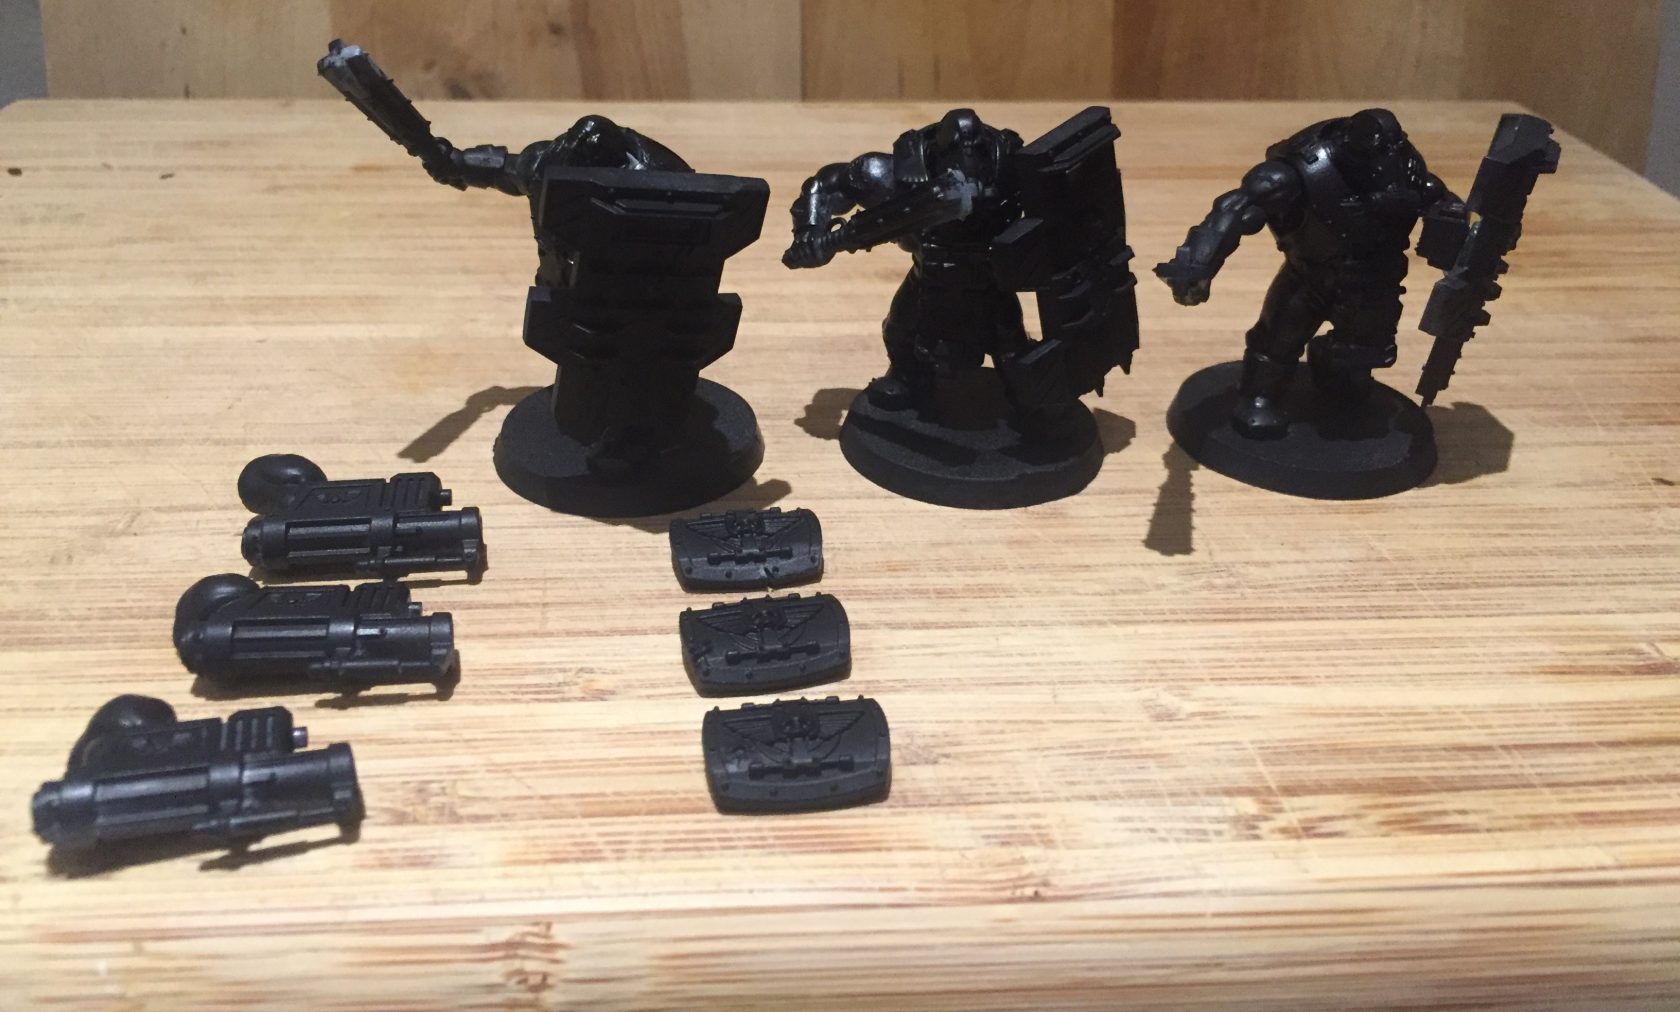
My 40K games will never be the same again as I am now the proud owner of 6 magnetised Bullgryns so they can take either the Brute or Slabshield configurations as well as 6 magnetised Ogryns/Bullgryns that can be taken as Brute or Slabshield Bullgryns or as Ripper Gun wielding Ogryns. My life is now complete. I will do a magnetising article soon too!
Ogryns & Bullgryns Formations
This plethora of muscle now gives me access to the Ogryn Auxilla formation (from the Mont’Ka book) and the Rampart Detachment formation (from the The Red Waagh! book). I feel like I’ve crossed over into a new land of 40K madness with these additions.
A debrief from a game using these formations is now online – Blood Angels Vs Astra Militarum Debrief.
And as always with access to new formations/models comes the inevitable list building, list changing and list analysing. I have a fair few to paint but I will be going for something like this colour scheme from @coopes39 on Instagram. Side note; loving Instagram lately for hobby stuff, such great stuff on there! Inspirational. Although regarding the stripes on the shields – unsure my skills are up to @coopes39’s standard. You can can follow me on Instagram @cadianshock.
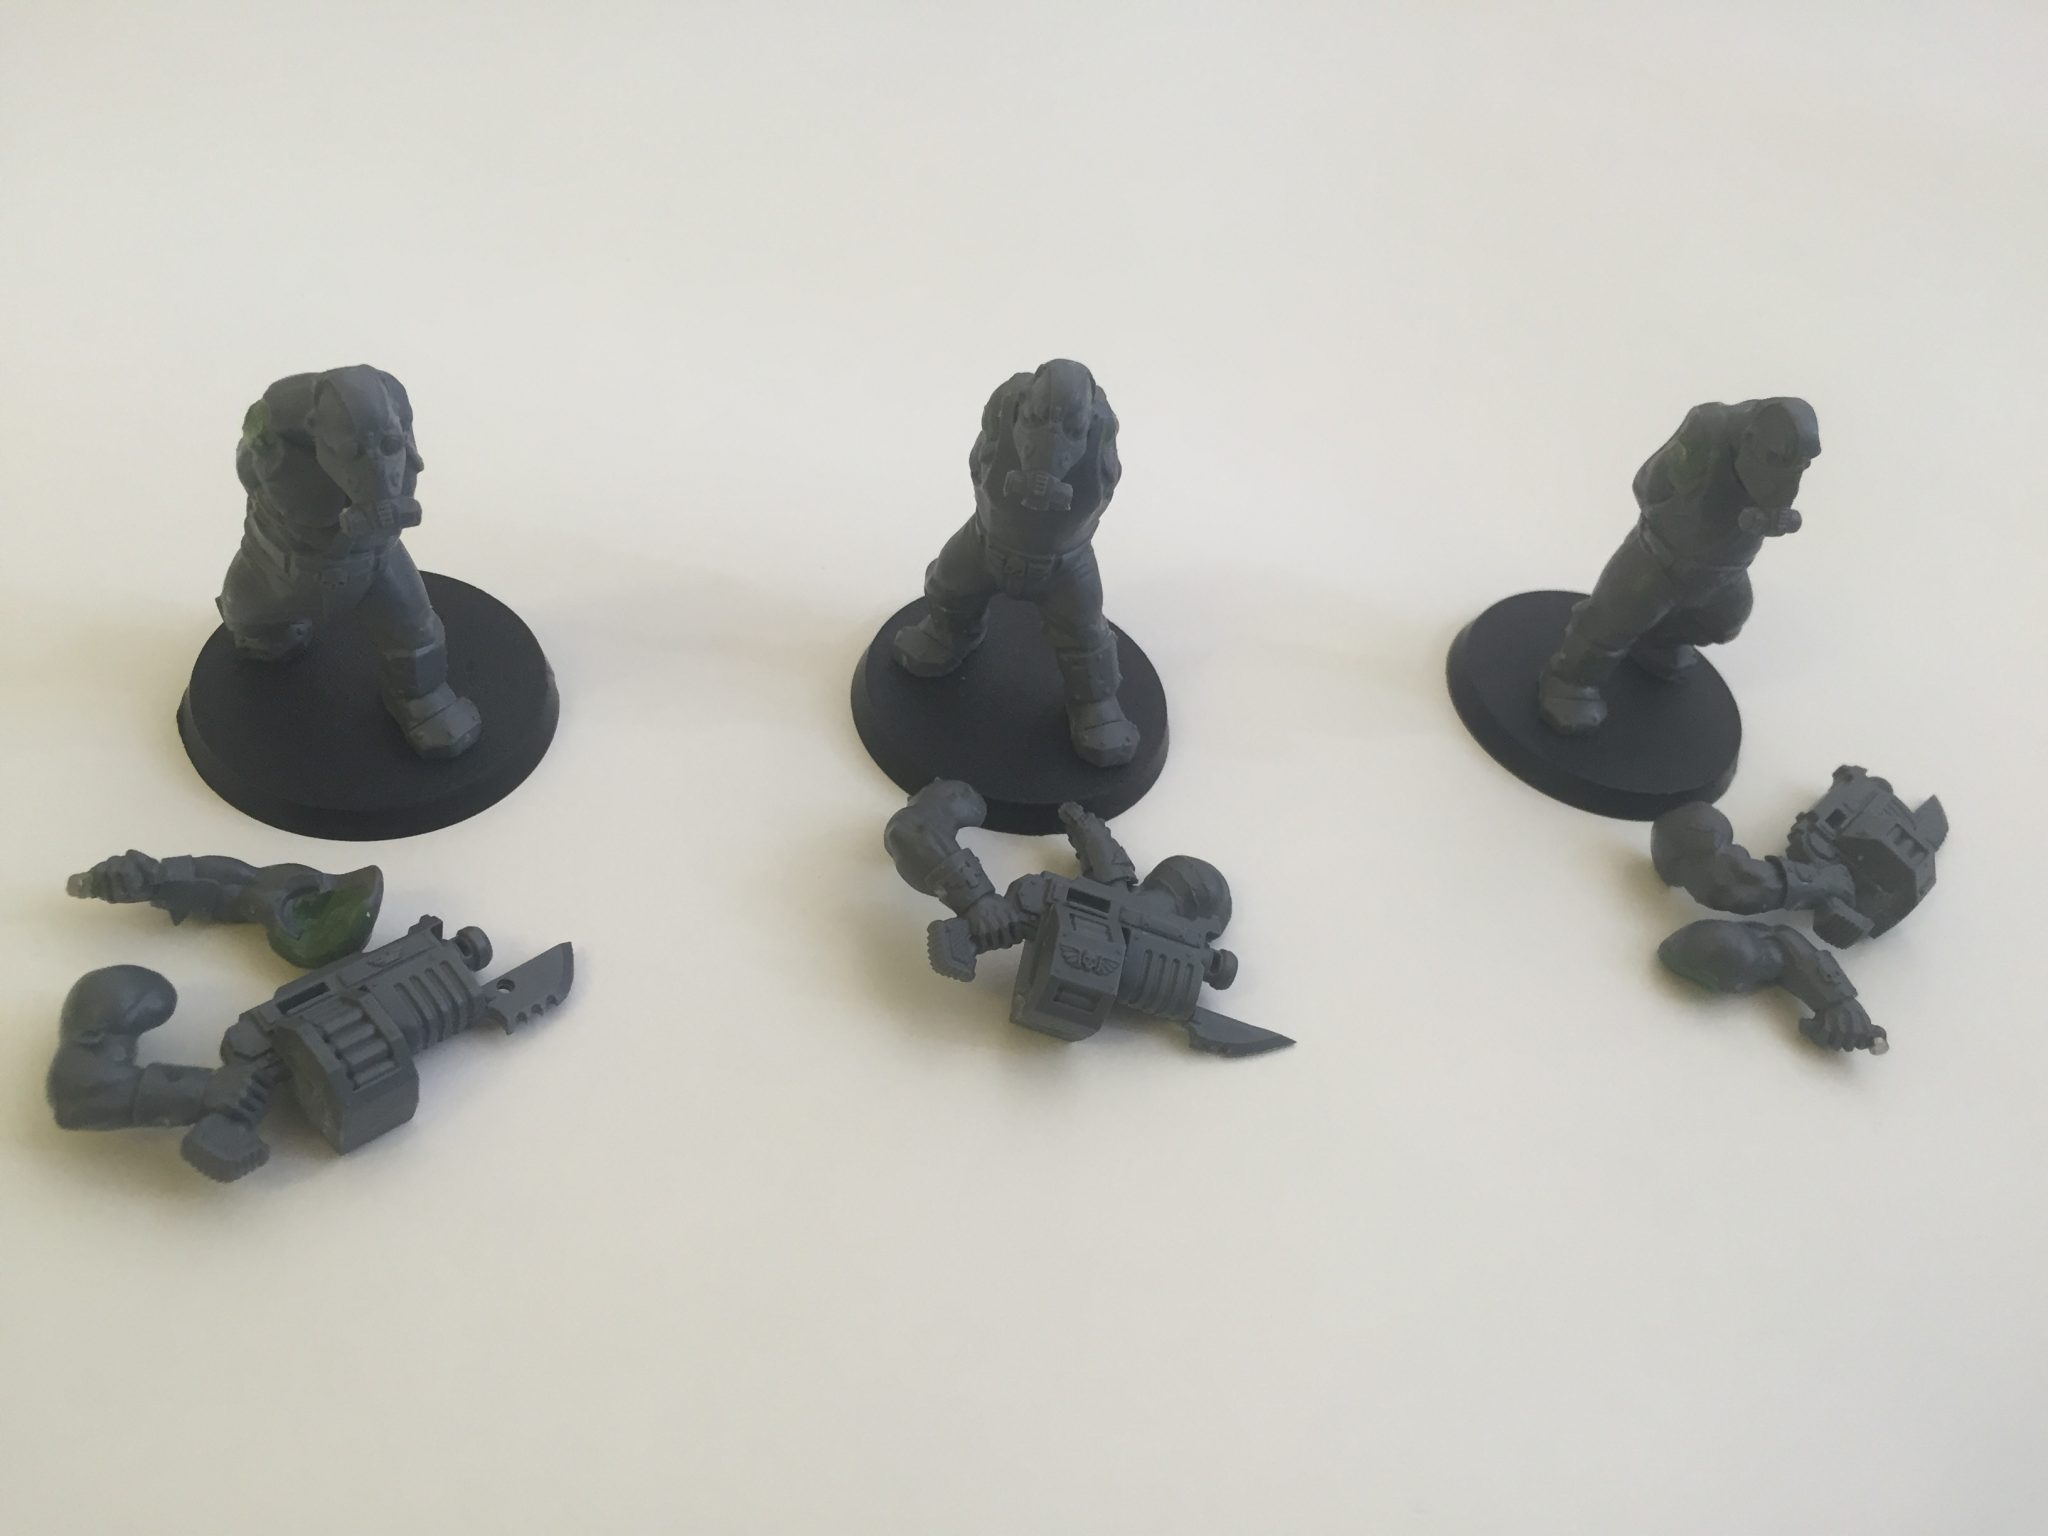
Magnetised Ogryns
Rampart Detachment Formation – Big
The smaller of the two formations, but its still a big ask as the ten Bullgryns still require 4 boxes of Bullgryns/Ogryns to muster this formation. It requires;
- Two squads of at least 5 Bullgryns.
- A single Platoon Squad.
This formations grants the following rule benefits;
- Bullgryns gain Fearless, Fear, and Counter-attack.
- Friendly infantry models that are partially obscured by models (including the Platoon Squad) from this formation receive an additional +1 to their cover save.
The latter rule regarding cover saves is pretty nice, it says partially obscured too by any model. Not 25% obscured and not just Bullgryns. This gives some really nice coverage for infantry models behind your Bullgryns. Plus if you take the Slabshields then you will be getting a better cover save by 2. 1+ for the Slabshield partial coverage and +1 for the formation rule partial coverage – with a 5+ base cover save for intervening models thats a 3+ cover save for obscured infantry models when the Bullgryns take the Slabshields. And if you have Slabshields and your Bullgryns are in base-to-base contact they too will be on a 3+ armour save.
Things get even weirder if you have Veterans with Camo Cloaks as they will be into a 2+ cover save – in the open! Its circumstantial for sure and really only means that the Bullgryns will be taking the fast majority of incoming fire rather than the enemy targeting your infantry. But it makes infantry more survivable – which Guard infantry are usually not. They die with ease.
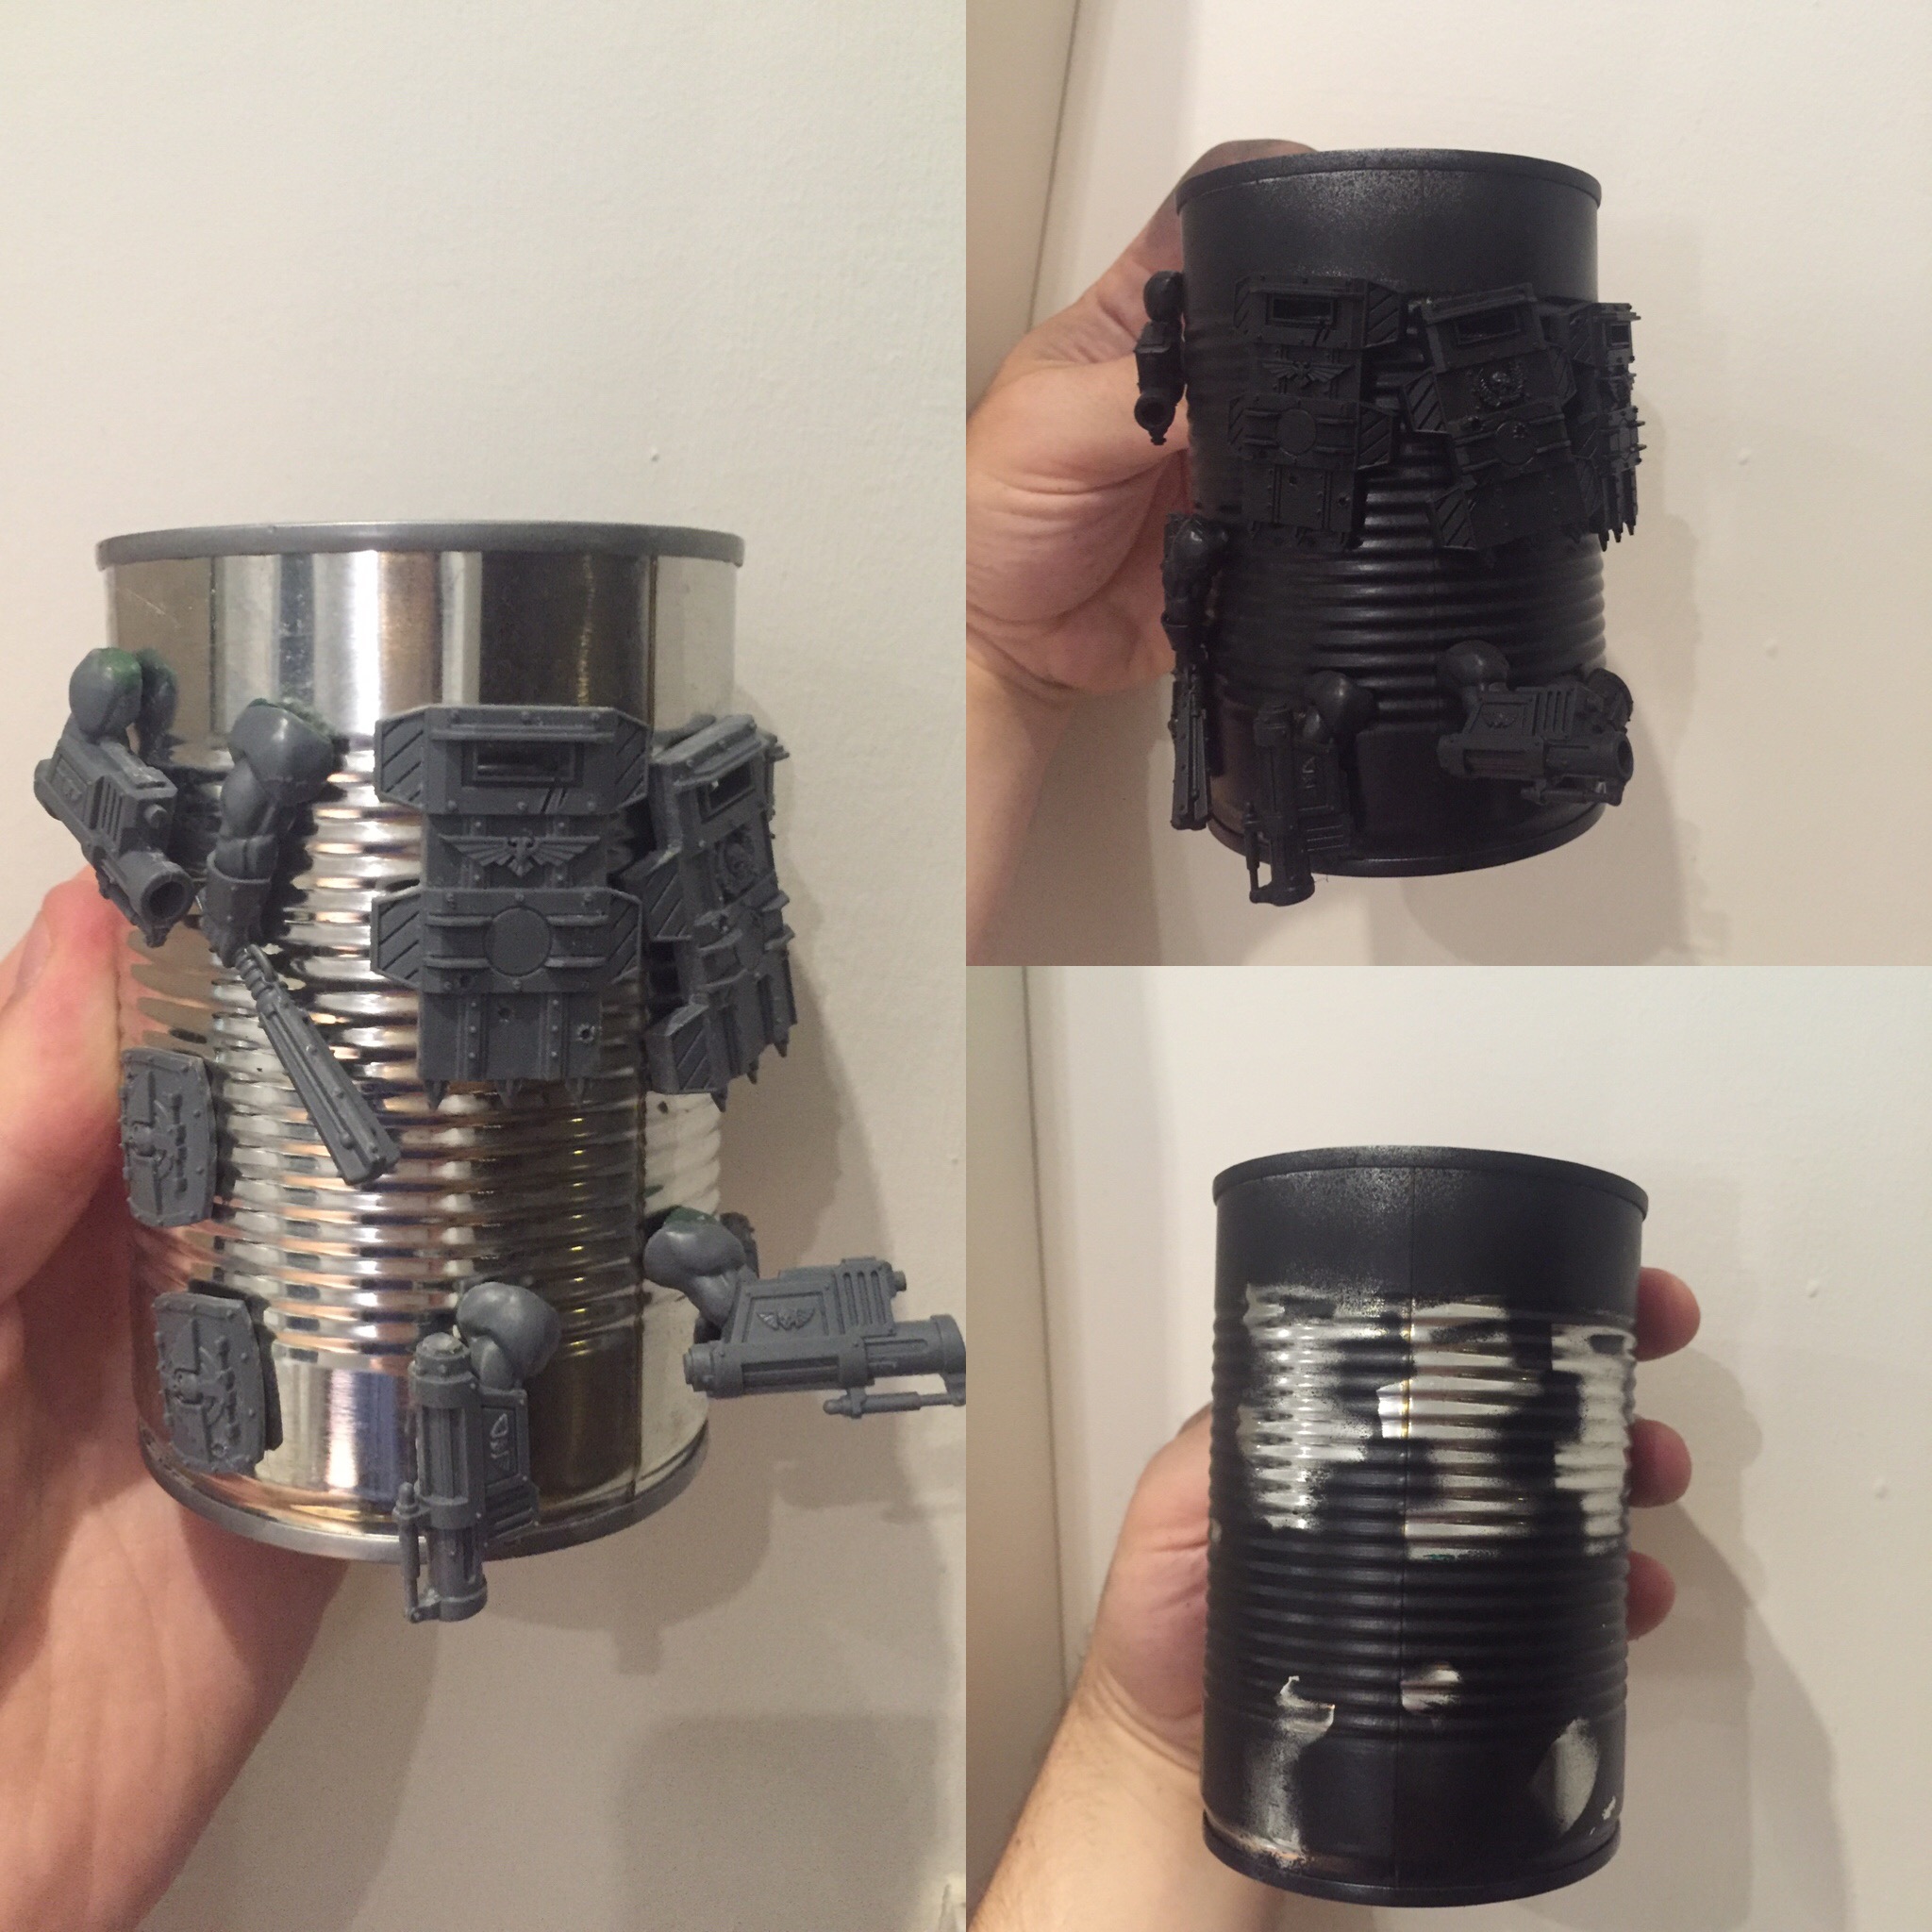
Tin can to magnetise Bullgryn parts!
Ogryn Auxilla Formation – Bigger
This is the biggy it (again) requires 4 boxes of models to complete so magnetising was the way to go here for me and you will need all 12 models from the 4 boxes – not just 10 like the Rampart Detachment. The formation needs;
- Two squads of 3 Bullgryns = 6 Bullgryns.
- Two squads of 3 Ogryns = 6 Ogryns.
- A single Commissar.
And the formation gives the following benefits;
- Enemy units charged by ‘gryns from this formation that have already been charged by a unit of ‘gryns from this formation resolve their Hammer of Wrath attacks at Strength 7.
- ‘gryns within 12″ of the Commissar from this formation gain Fearless.
The main point here for me is the Fearless for 12 ‘gryns. Its a formidable force that can tar pit most opponents. The extra Hammer of Wrath strength perhaps have limited uses but it does mean you can get strength 7 hits in without taking the Power Mail and Brute shield configuration. ThePower Mail and Brute shield set up is very expensive points wise. Instead stick with the useful Slabshield, charge with your Ogryns then bring in the Bullgryns for some strength 7 hurt. The AP4 on Power Mauls I have often found useless anyway as I usually throw my Bullgryns into Space Marines. Firewarriors, Cultists and other squishy things never get close enough it seems.
But if you do take the Power Maul and Brute shield then the shield allows failed wounds caused by Hammer of Wrath attacks to be re-rolled. This gives you a 2+ re-rollable to wound roll versus a lot of things! At least it forces saves reliably.
The Hammer of Wrath attacks I never find to be really effective, with no AP, enemies still get their armour save but even if one model is removed thats less attacks coming back at you.
Orders with Bullgryns & Ogryns
I never realised this, but Bullgryns and Ogryns can receive orders! Granted one might not do this due to their low leadership but they can receive orders as they are non-vehicles units. This seems like a good idea if you have joined a Commissar to your ‘gyns which will probably happen with the single Commissar in the Ogryn Auxilla Formation. I often take a Priest with my Bullgryns but their leadership sucks (it is the same a Bone ‘ead) so they won’t be much help for orders.
You cannot get a Vox Caster into a ‘gryns squad either so thats no hep. Volkov’s Cane may be of use though as orders only fail on a double 6 if the ordered unit is within 6″ of the Commander. This I can see working because I often keep my ‘gryns back with my Commander to counter Drop Pods and other Deep Striking units – so everything is close by.
There are only really two orders that might help with ‘gryns.
Forwards for the Emperor!
Allows a unit to shoot and then run. While not a massive advantage this could be handy for shooting an enemy and then closing him down to prevent the enemy unit assaulting something more valuable – like a Leman Russ in your back line. You could move 6″ toward an enemy, unload three Ripper Guns into the enemy and then run the unit towards the enemy attempting to weaken the enemy unit and pen him in away from your other units.
Move! Move! Move!
Allows a unit to run using three D6 and pick the highest. Similar to the above tactic it allows a ‘gryns unit to get into the enemy’s face and stop them from overrunning your backlines. I often run my ‘gryns up the field or within my own deployment zone to counter enemies that appear in my deployment zone so having some assured extra reach would be handy.
Order Summary
Perhaps they’re not the best units to be issuing orders to but it could be really handy in certain situations. Who thought that Ogryns could get Precision Shot on their 9 shots from their three Ripper Guns. Could be handy for downing that dude with a Power Fist right before they charge.