

Malcador Defender gets an outing versus The Death Guard – 1,750 Points
The Malcador Defender gets a game!
Another game against my nemesis! But with a Malcador Defender this time! It’s my first time using this tank in 8th and painted. I’m excited!
This game was played at Boards and Swords Hobbies. It’s my local gaming store and I love it!
Never miss an article? Subscribe!
Astra Militarum Malcador List
This list focused on the Malcador Defender and fitting its 276 points into my list. This is the most expensive model I have finished and painted in my collection. Both in terms of real money and points.
I started by trying to place it into my last 1,750 point list. But it didn’t feel right as it meant losing all three Hellhounds or breaking up my four pieces of artillery.
So I went back to the start and went all mechanised;
Cadian Battalion
This uses the Emperor’s Wrath Artillery Company and Operative Requisition Sanctioned for the Assassin.
- Company Commander with Old Grudges and Relic of Lost Cadia
- Company Commander with Kurov’s Aquila in a Chimera
- Vindicare
- 3x Infantry Squads all with Melta all in Chimeras
- 2x Basilisks
- 2x Wyverns
- Malcador Defender
Catachan Outrider
- Primaris Psyker in a Chimera
- 3x Hellhounds
Steel Legion Vanguard
- Company Commander
- Command Squad with 4x Plasma
- Two units of five Ratlings
All in this gives me 6CP.
-

- Astra Militarum pre-deployment
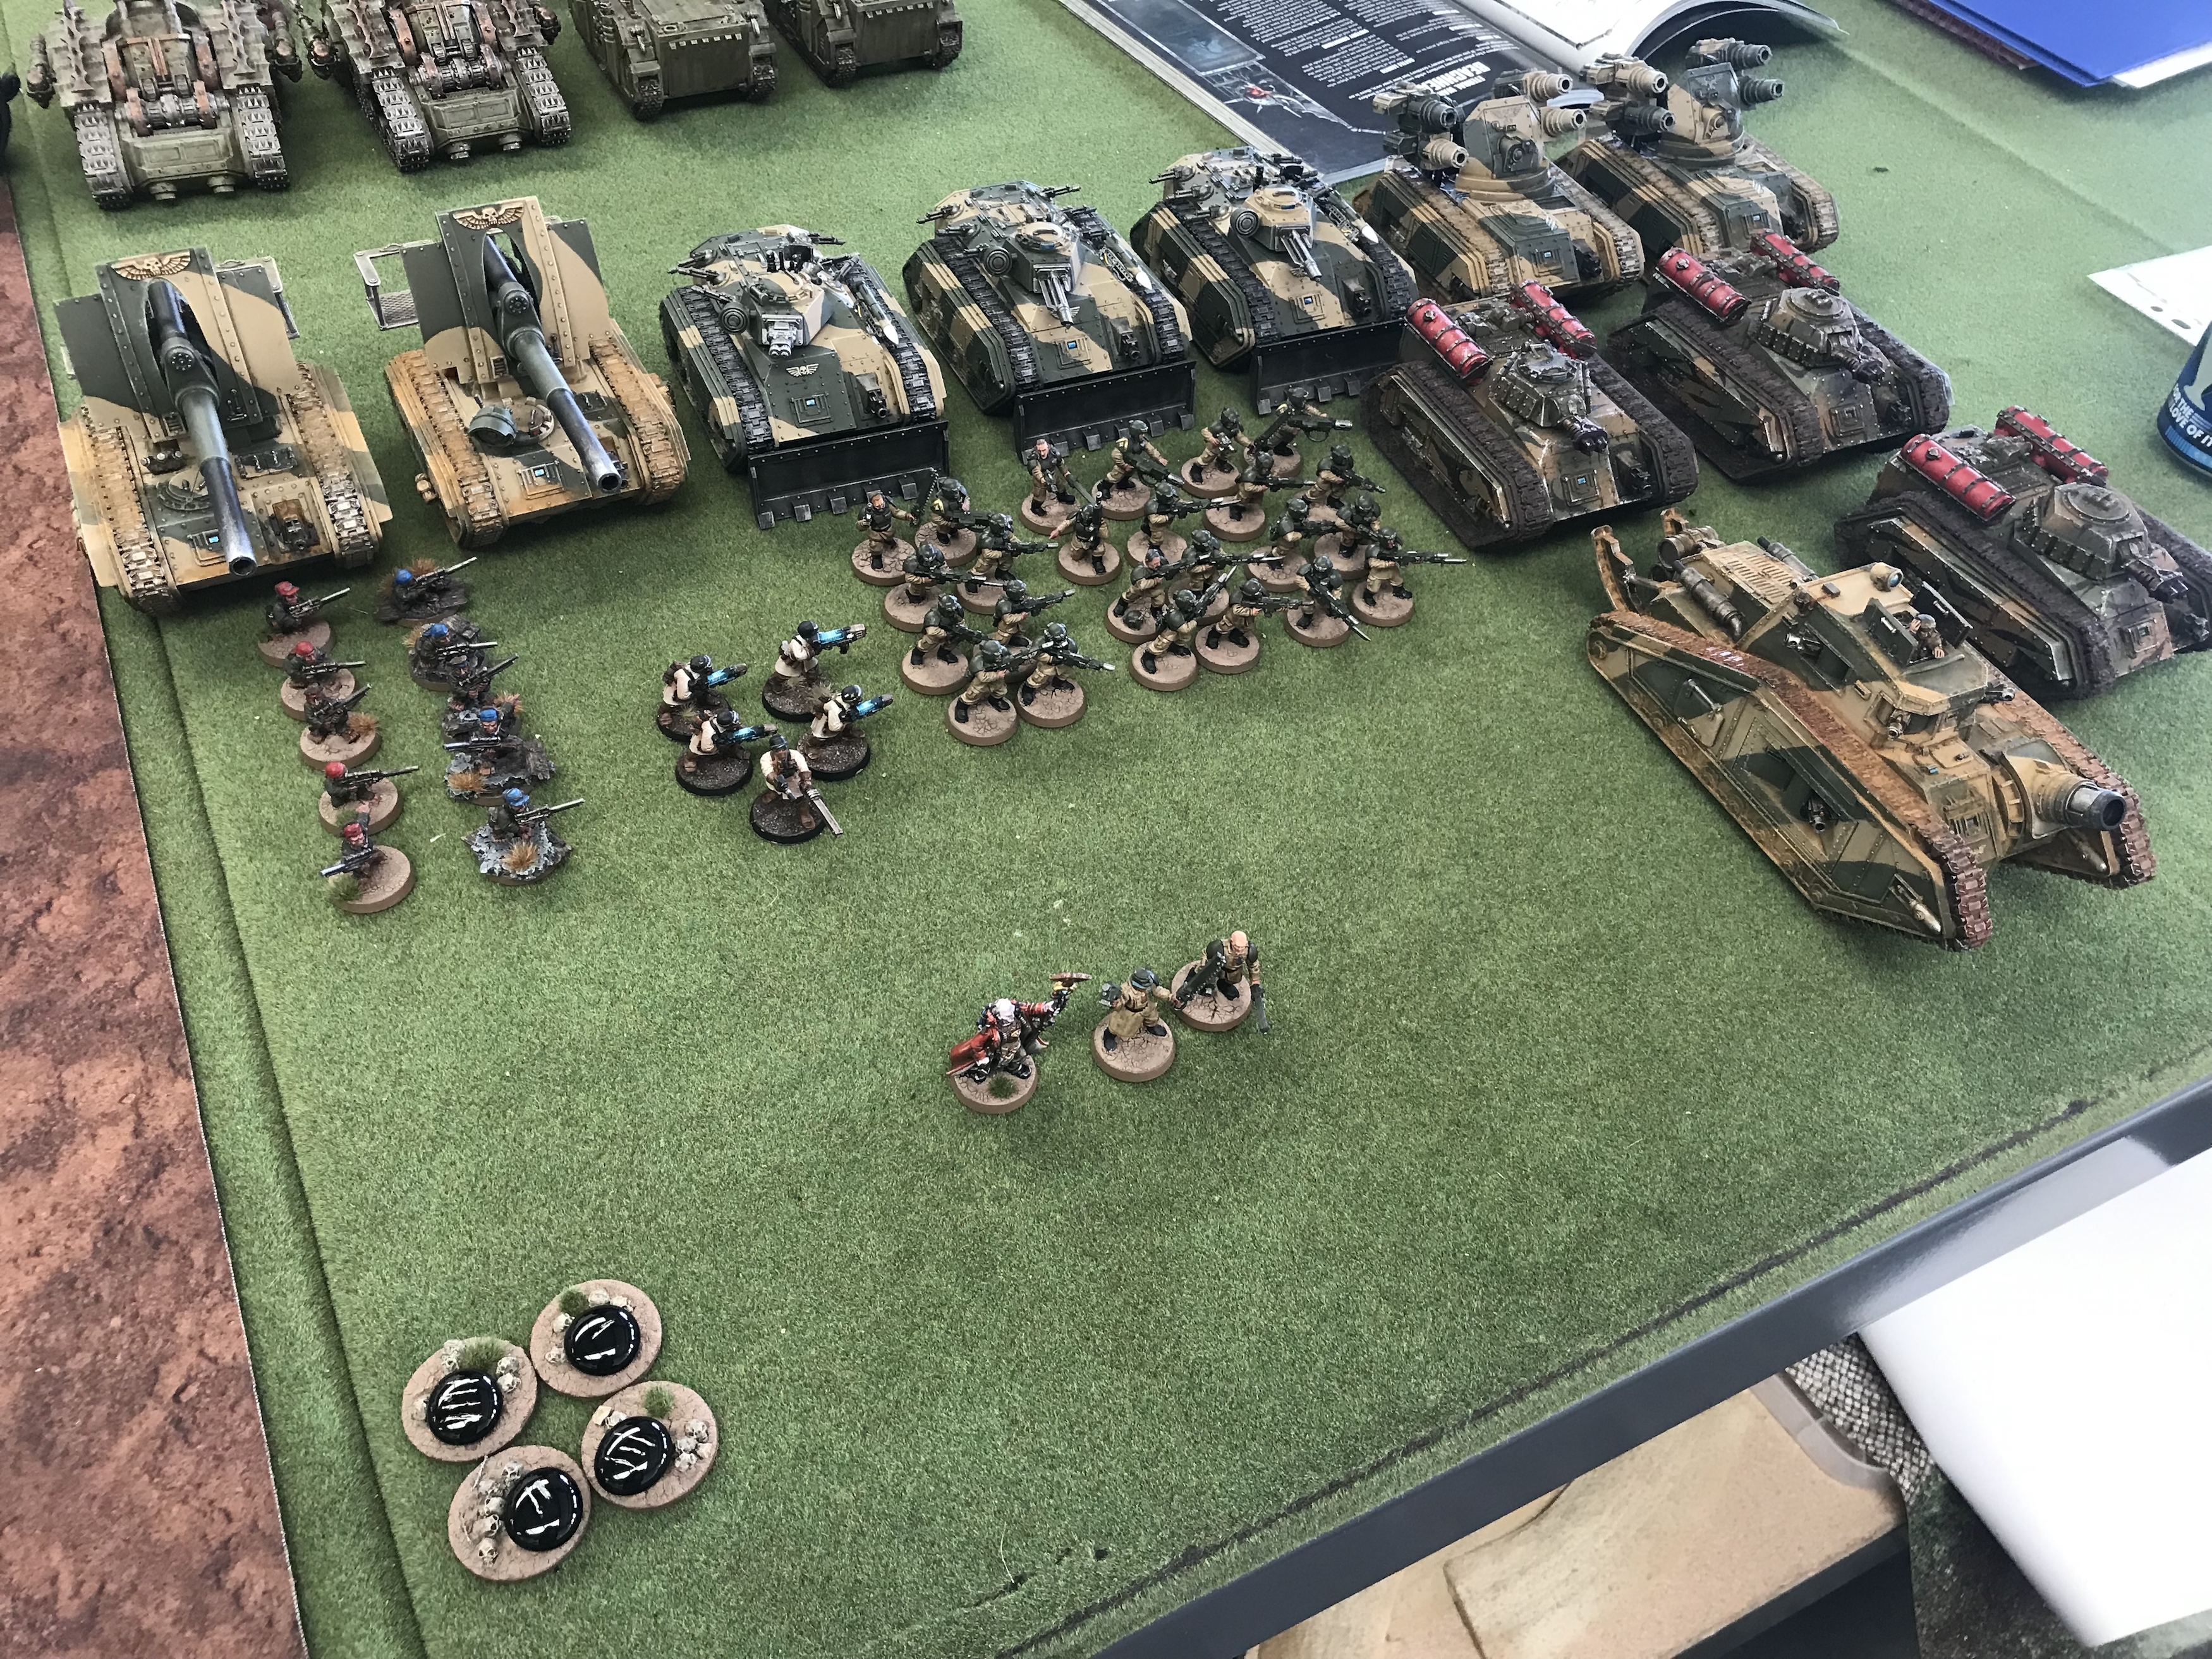
-


- Astra Militarum pre-deployment
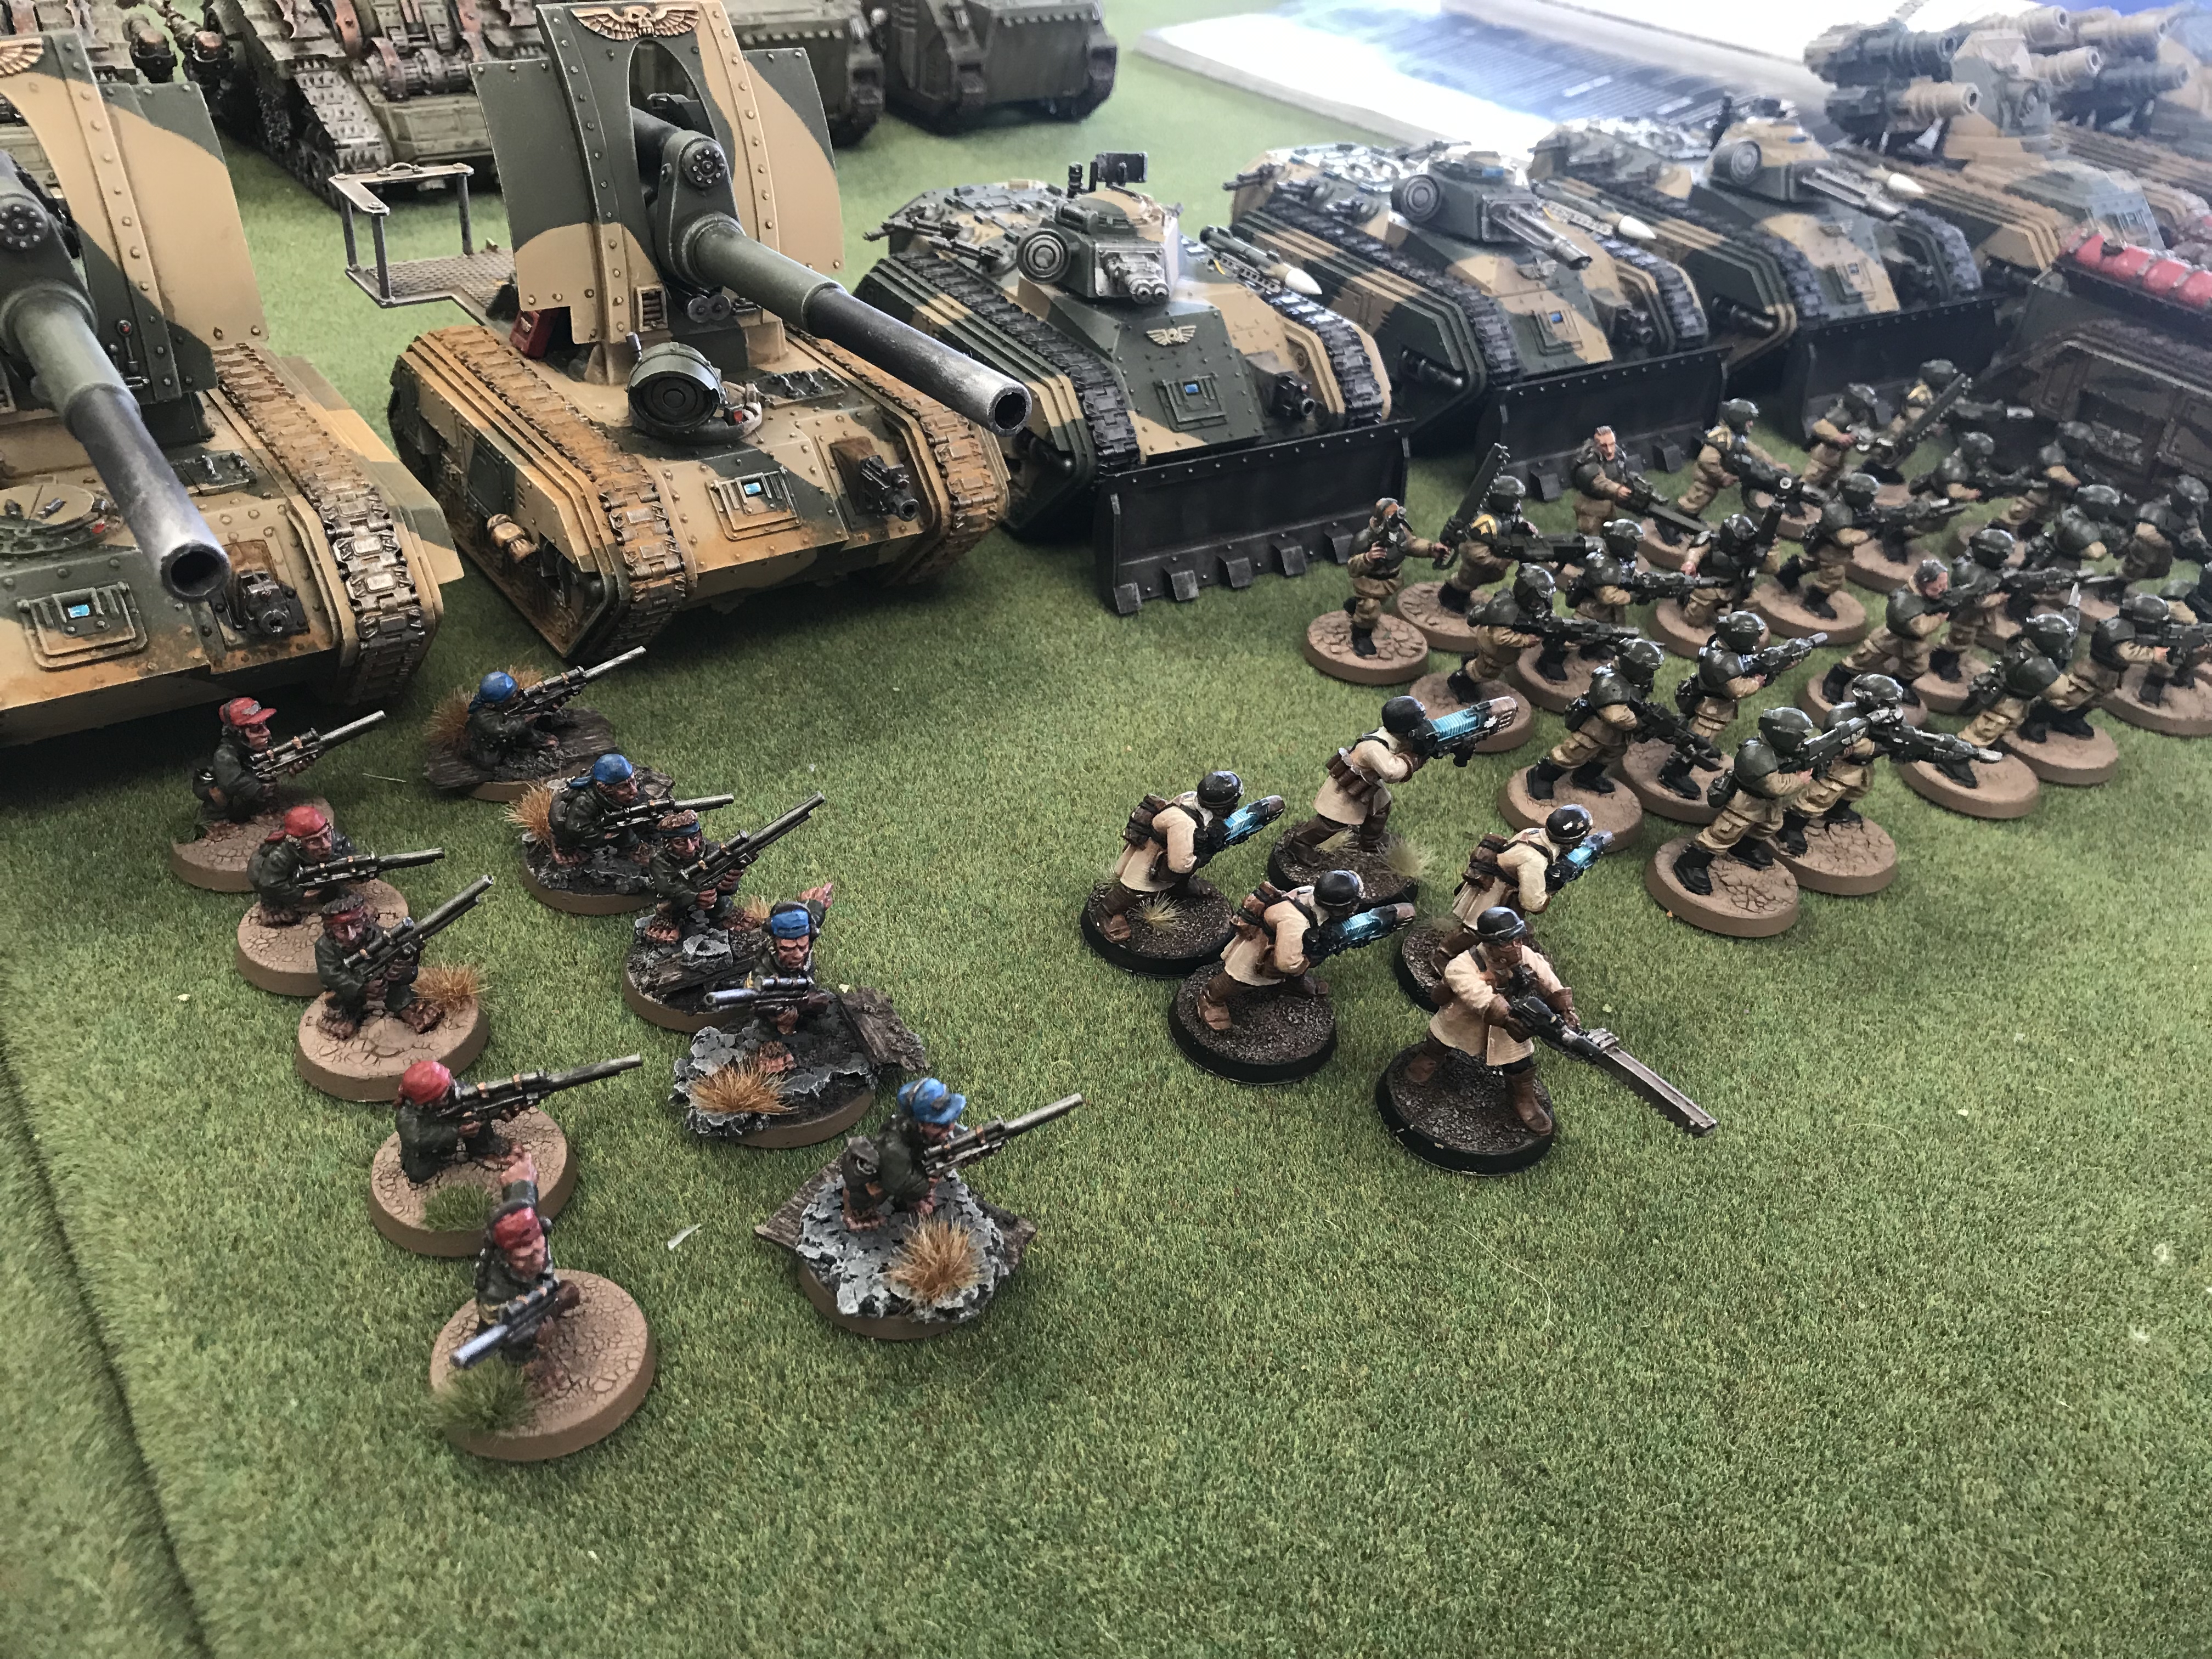
-
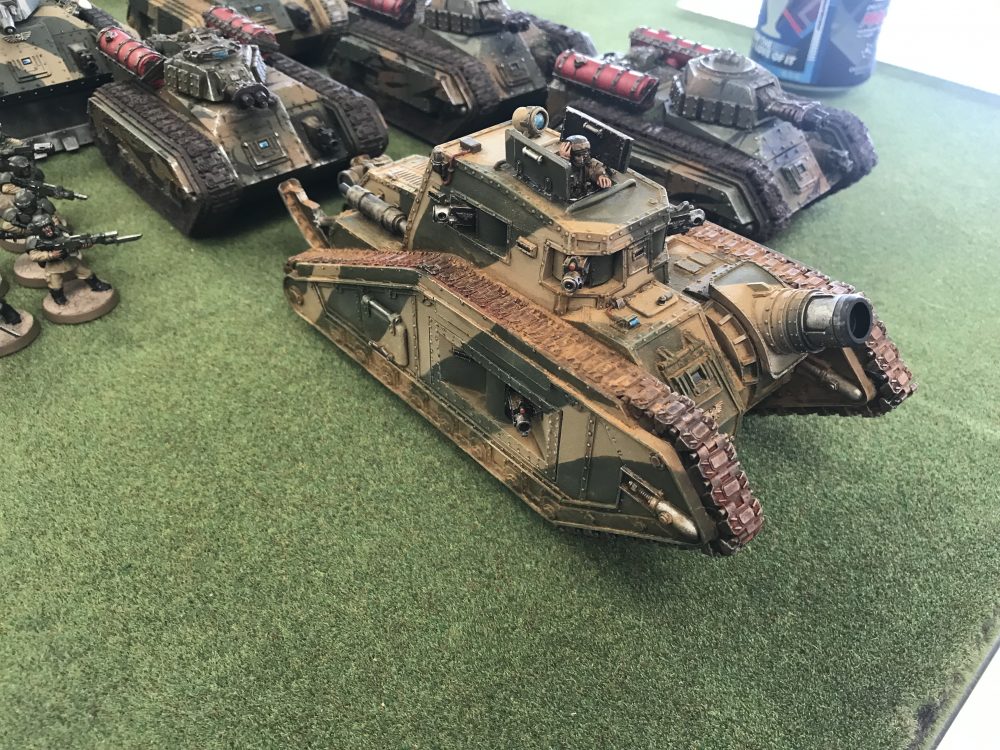
- Malcador

-

- Astra Militarum pre-deployment
Death Guard List
You can view Mark’s list on his blog article about this battle.
The Mission – Supply Drop
This mission is from Chapter Approved 2018 and only uses 4 objectives. It’s an Eternal War Mission.
The objectives can move at the start of each battle round. You roll off for each. Whoever wins can move the objective up to 3″
A draw means it won’t move.
Each objective is worth 1VP at the start of your turn from turn two. Units with fly will always hold an objective even if there are Troops nearby. I guess they fly up and hold it.
The following are also in play;
- Slay the Warlord
- Linebreaker
- First Strike
Deployment
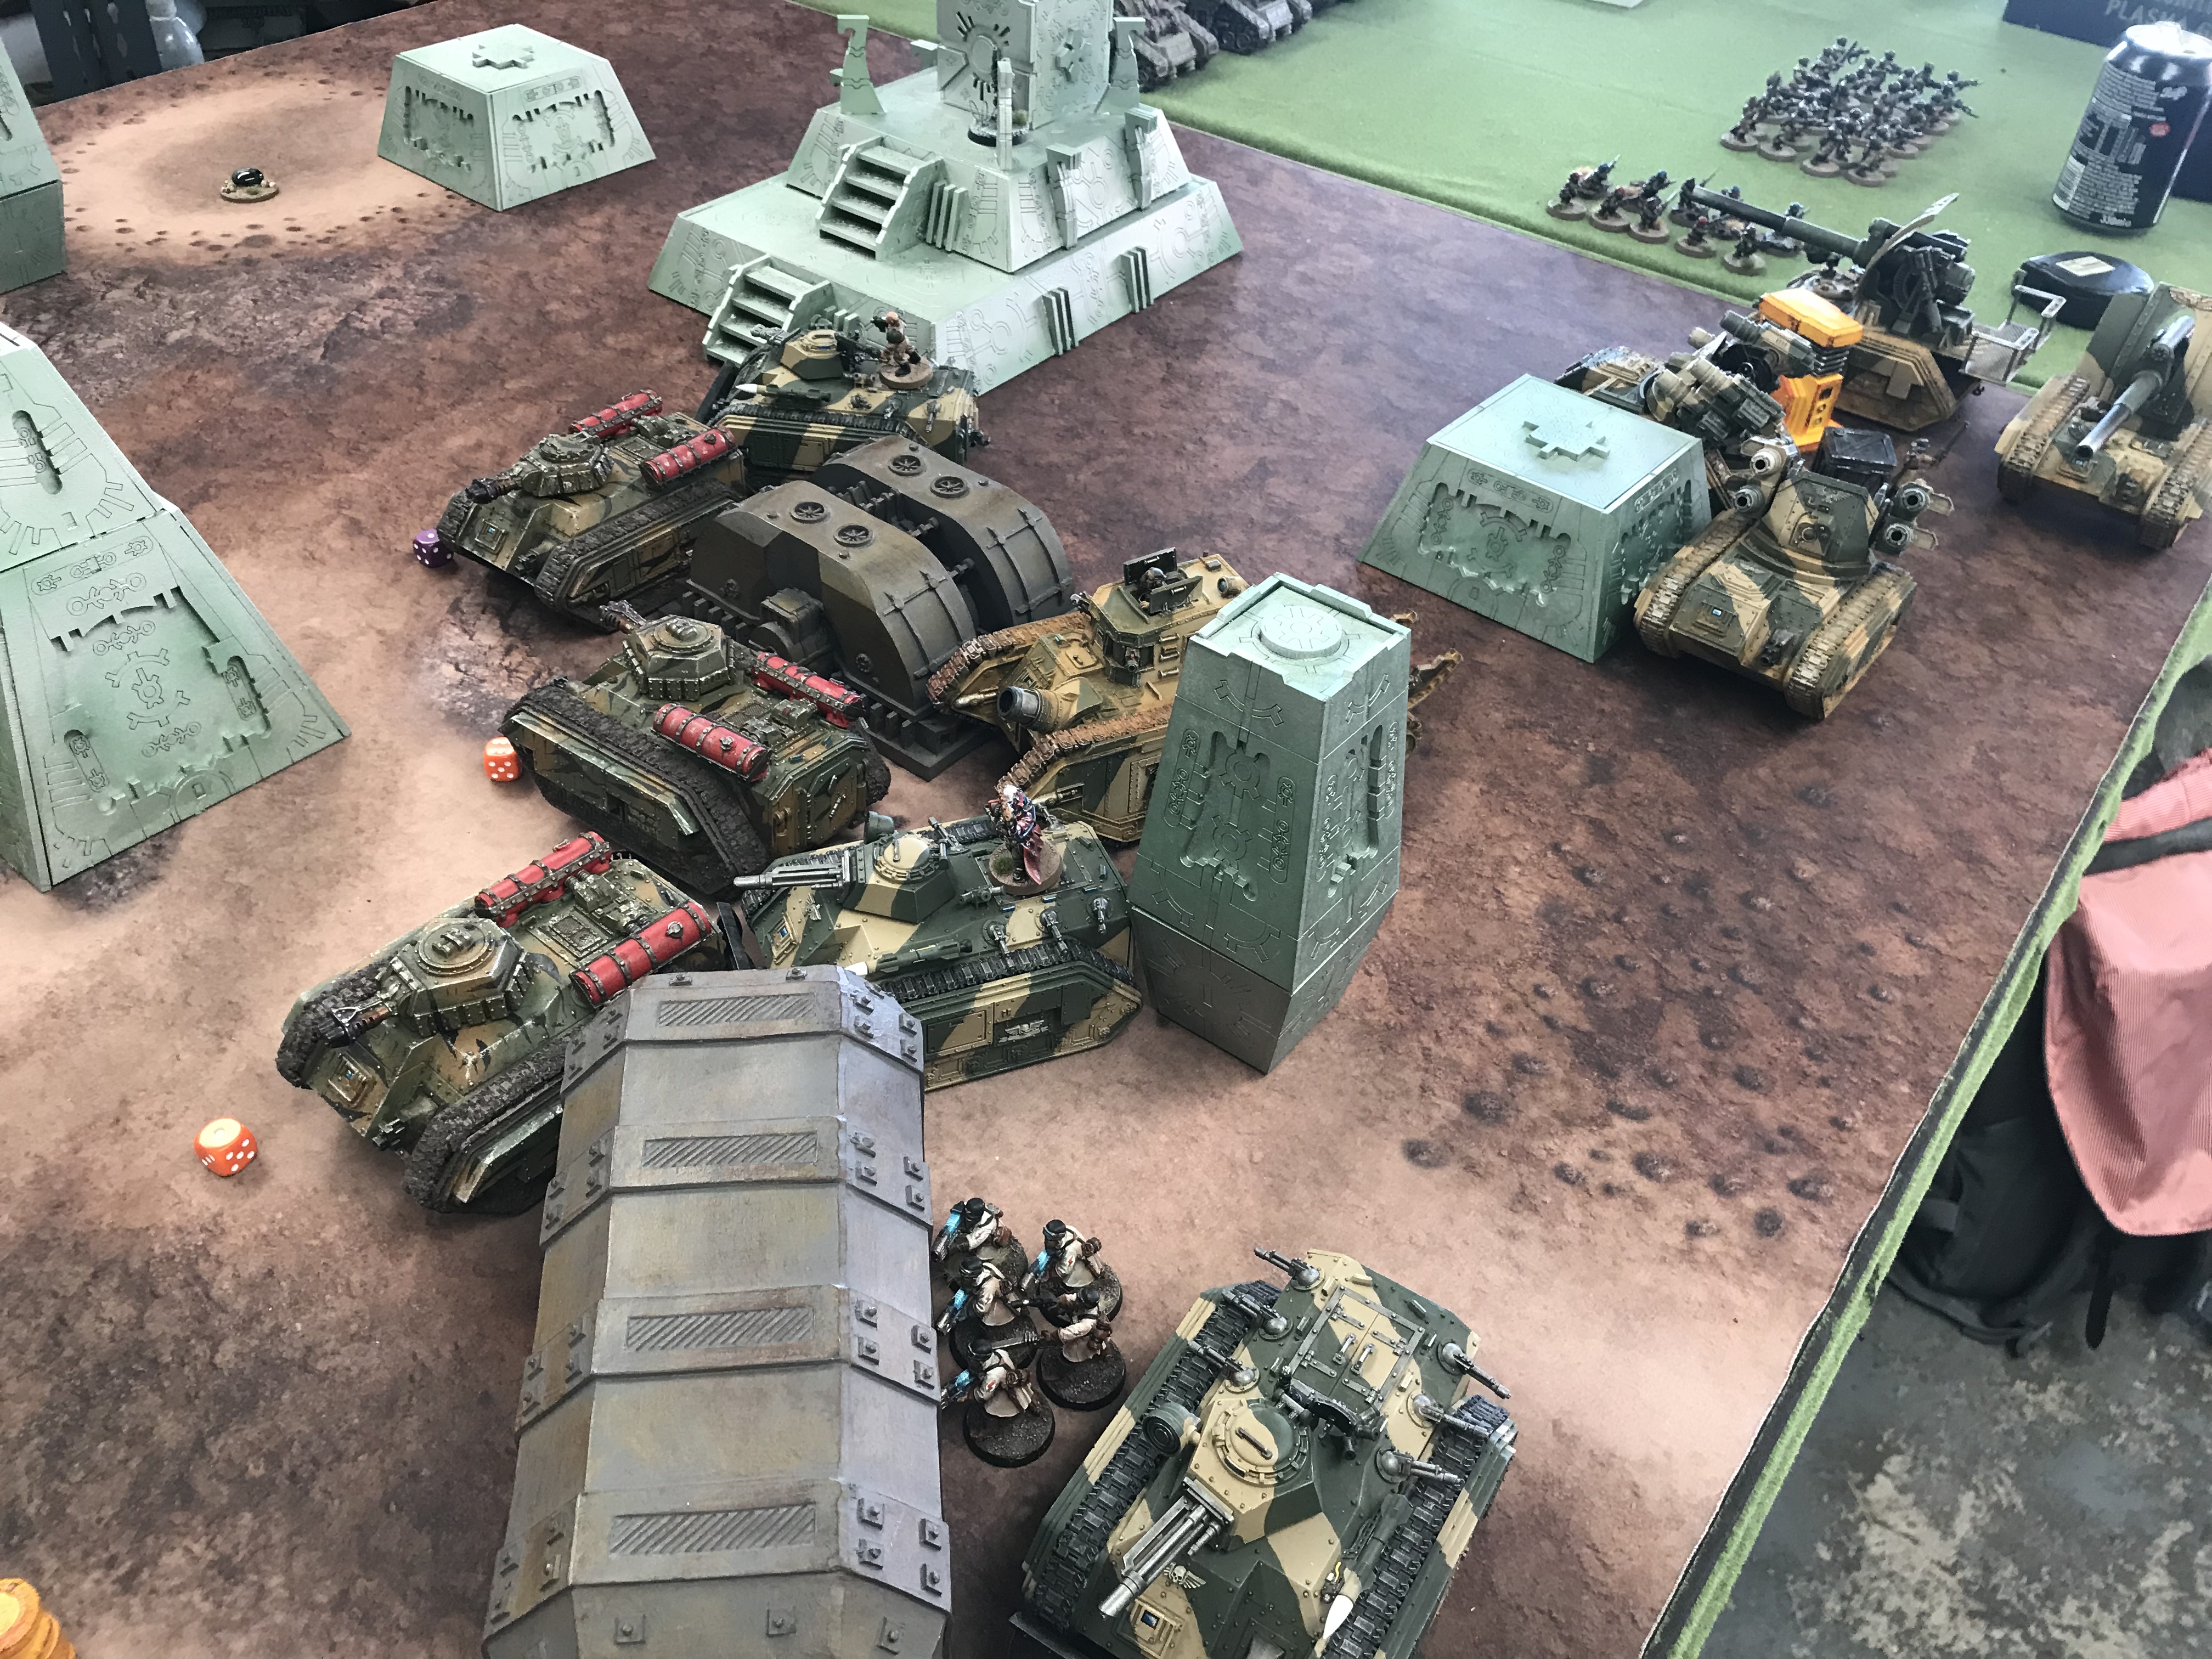
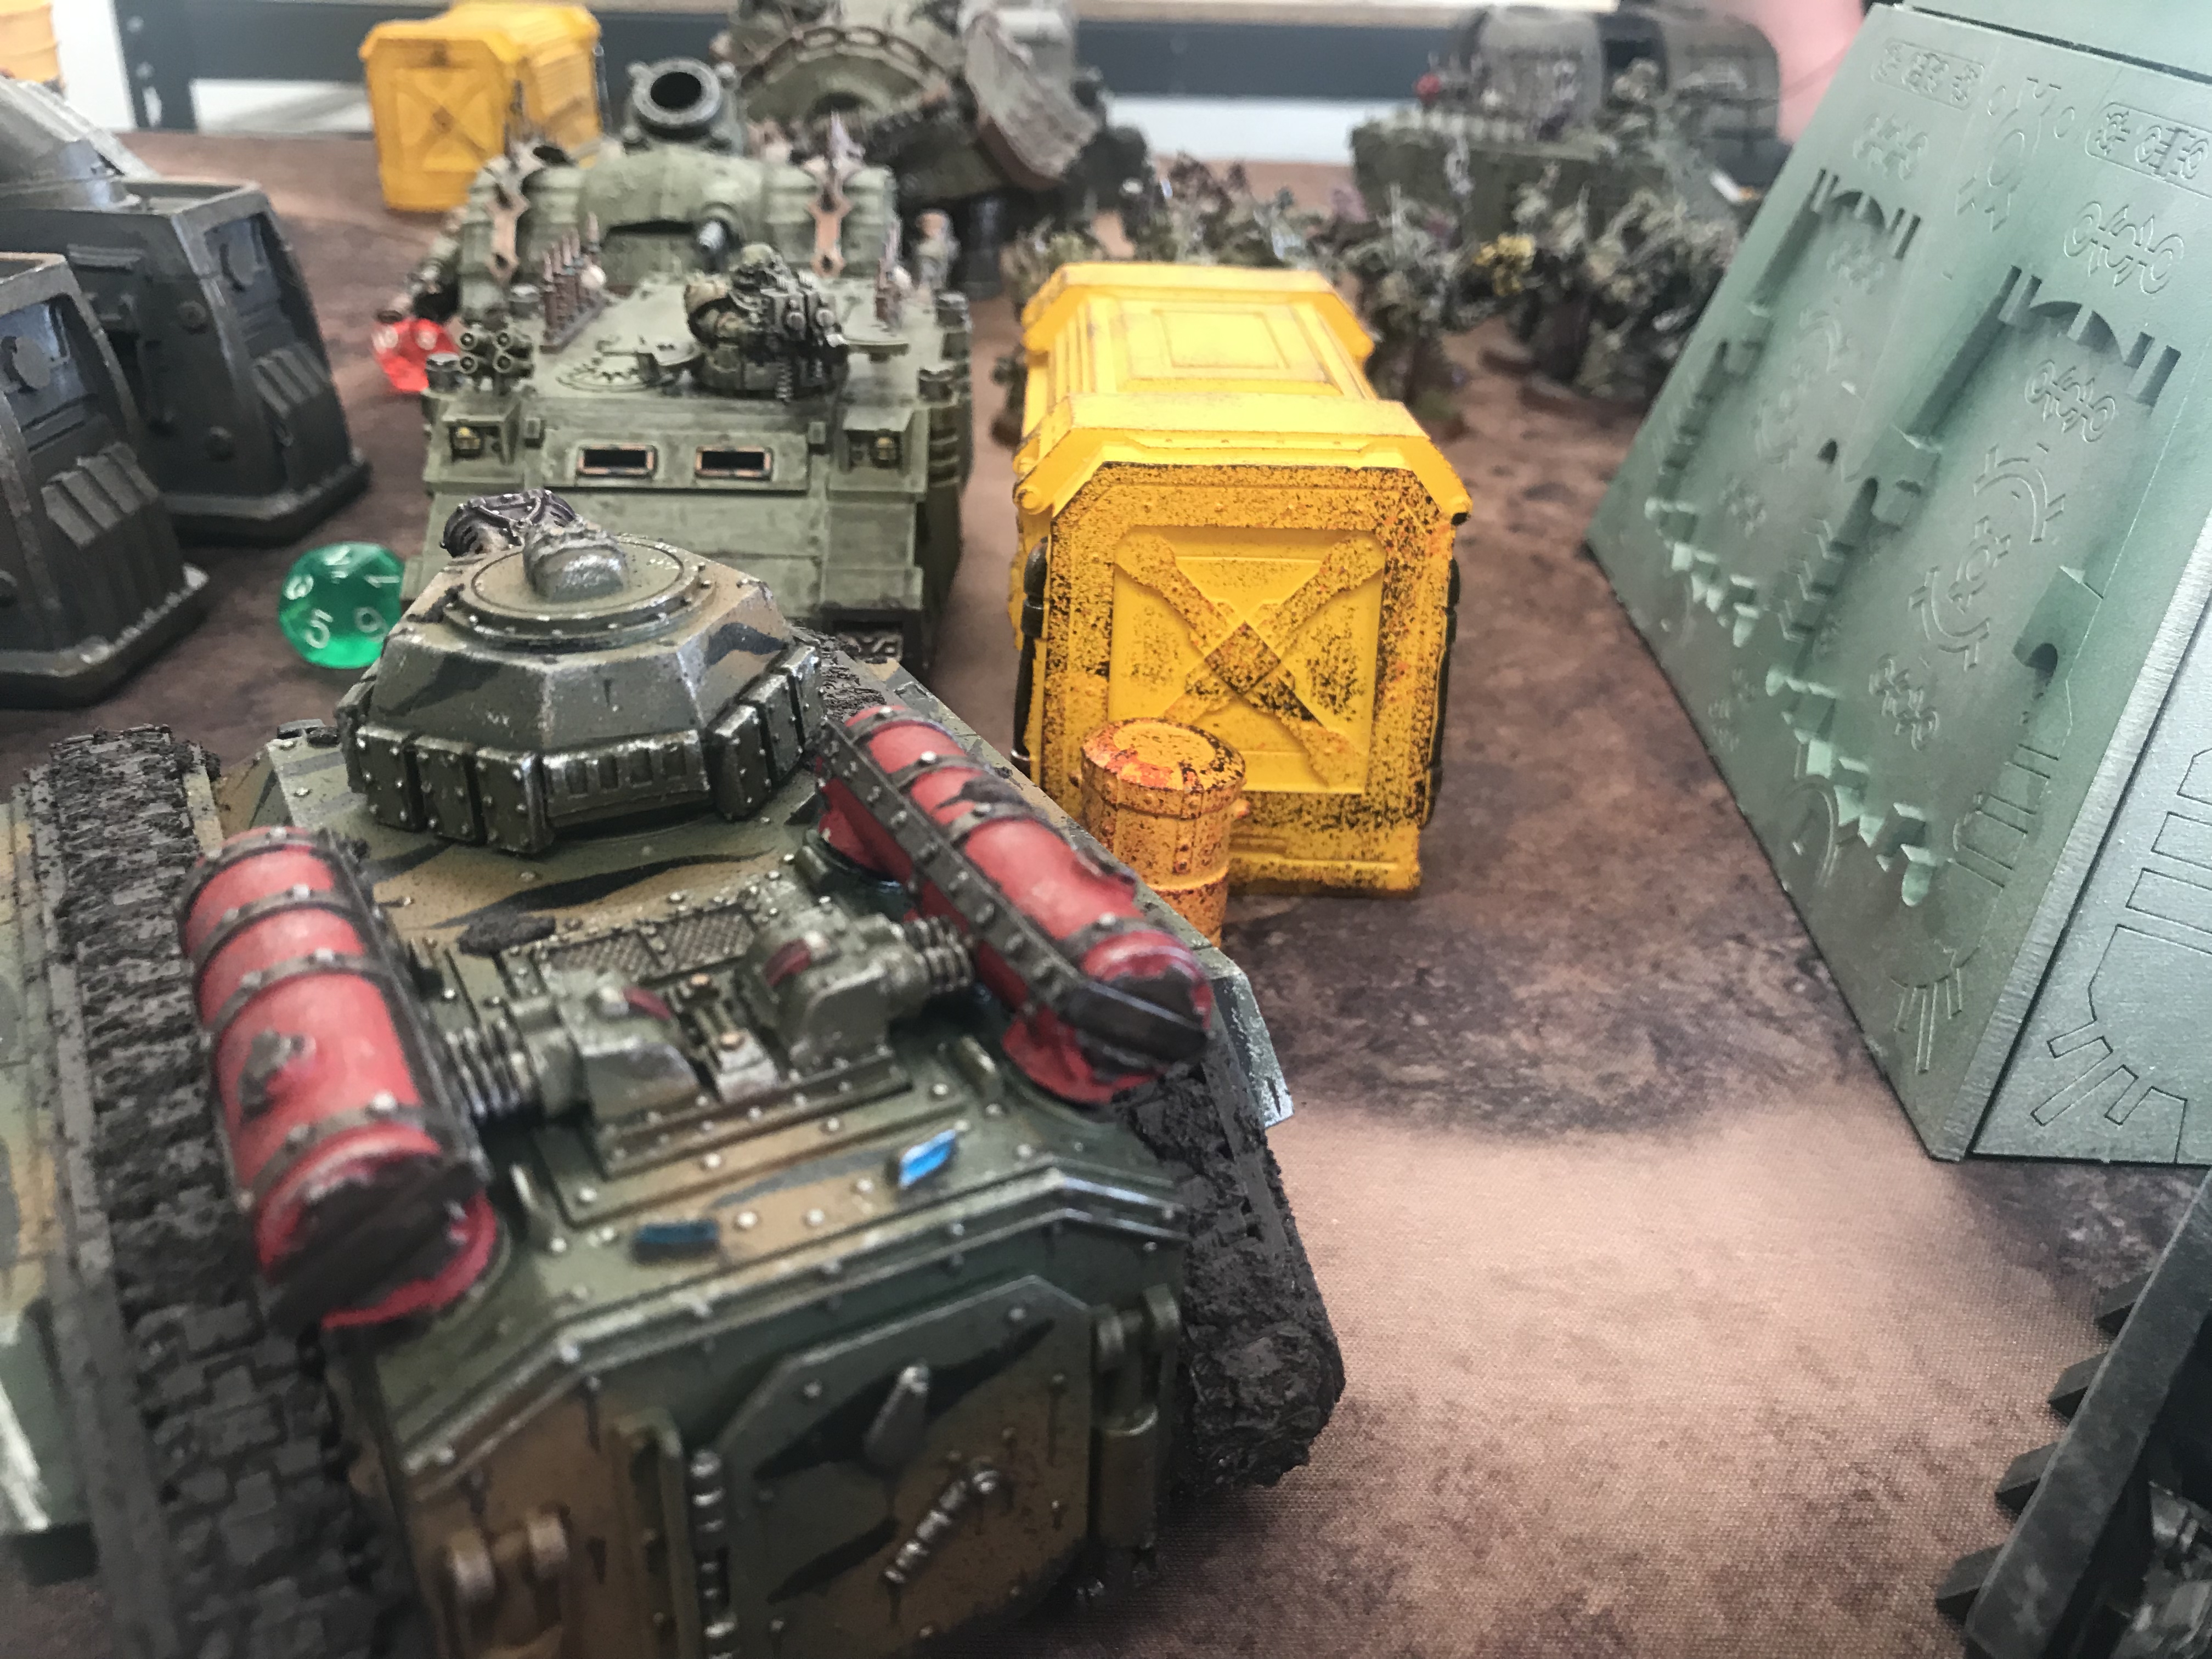
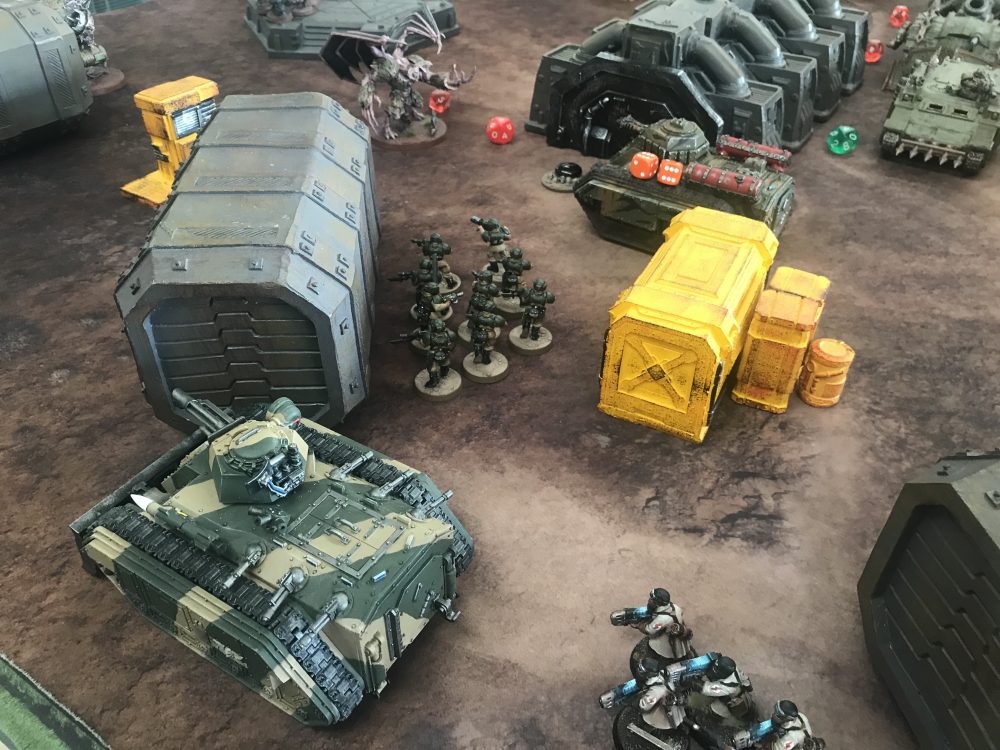
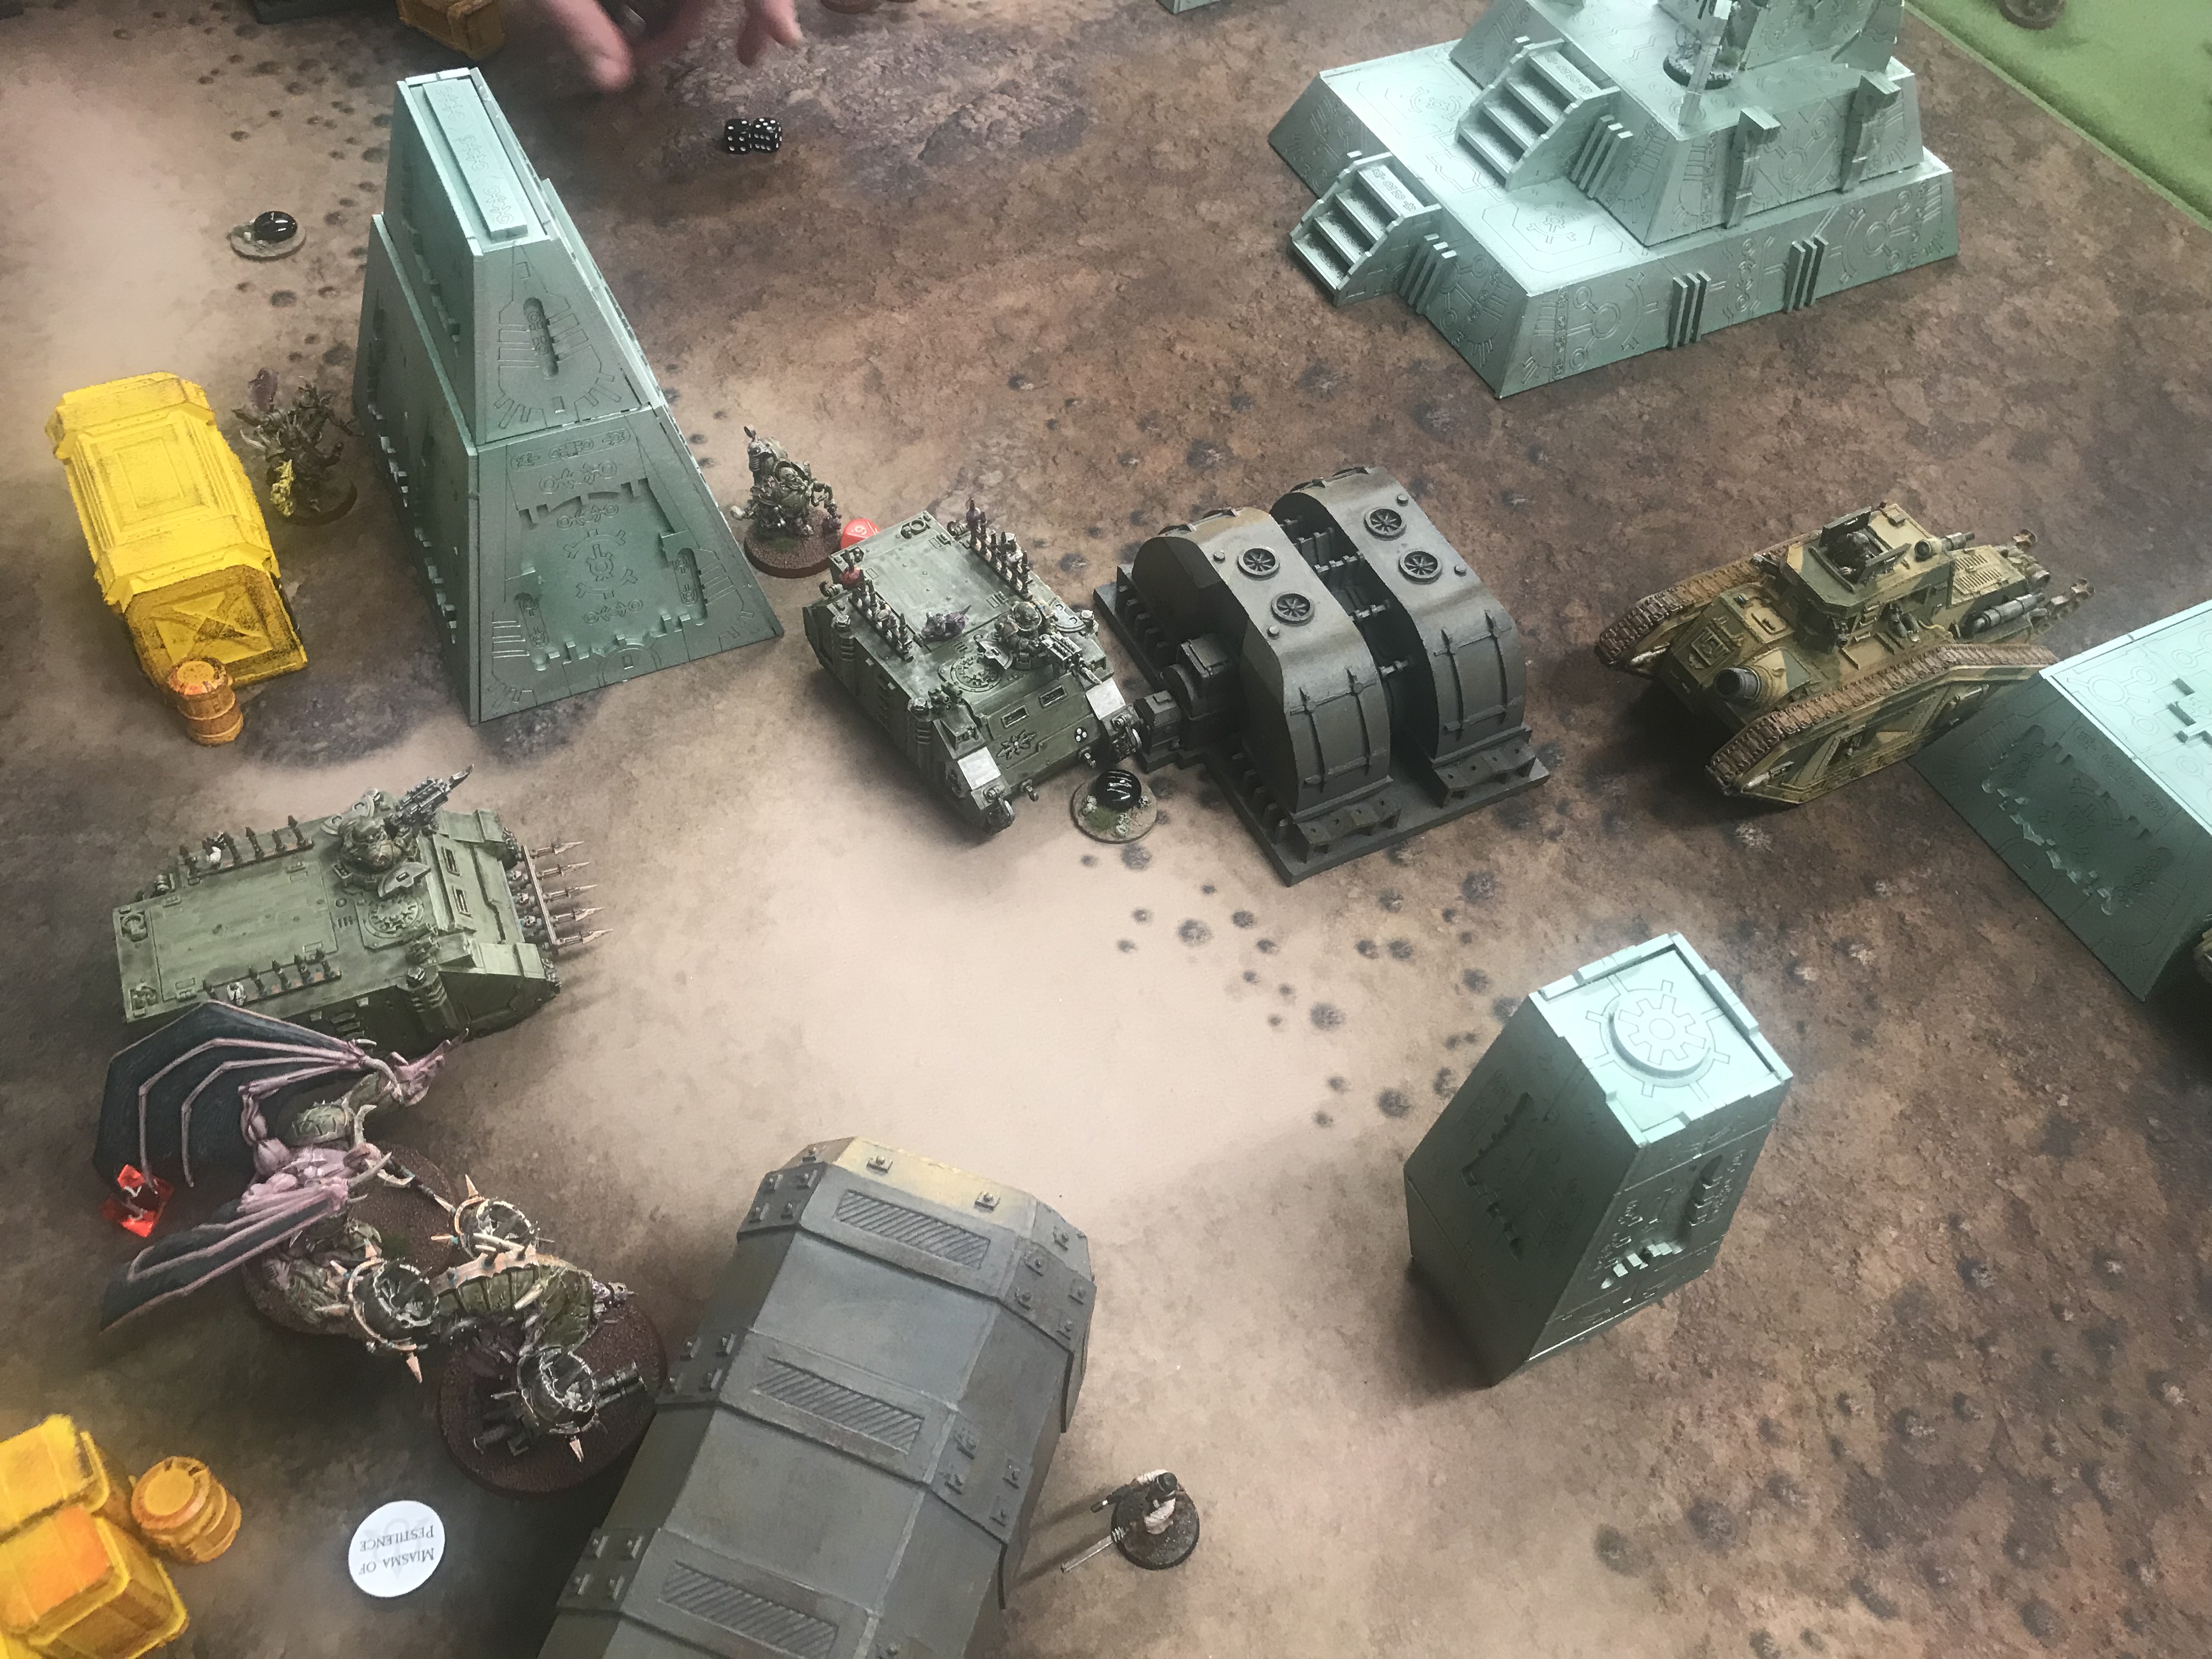
I deployed first and I went for a car park approach. Because all I had was vehicles bar the Vindicare, Ratlings and the Steel Legion Command Squad.
Hellhounds upfront with the Demolisher along with the Chimeras. The artillery is all situated at the back with my Company Commander who has The Relic of Lost Cadia and Old Grudges.
I place my Ratlings right down in the corner in the open with a perfect line of sight to the Chaos Lord.
The Death Guard didn’t have any Deep Striking unit’s so my artillery would be relatively safe, to begin with.
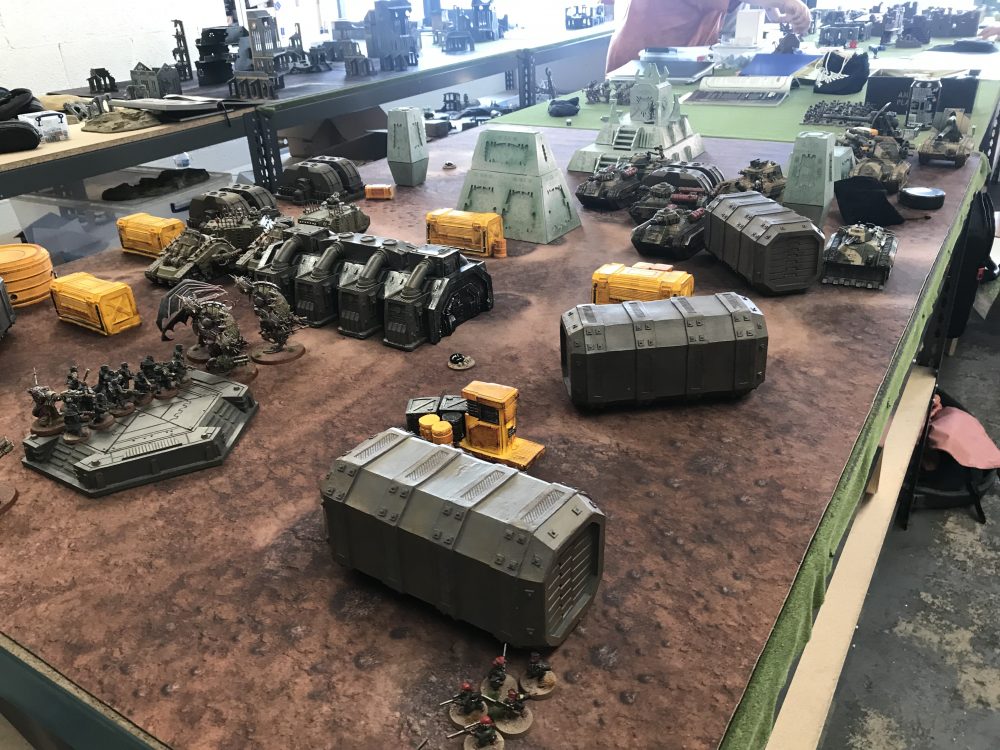
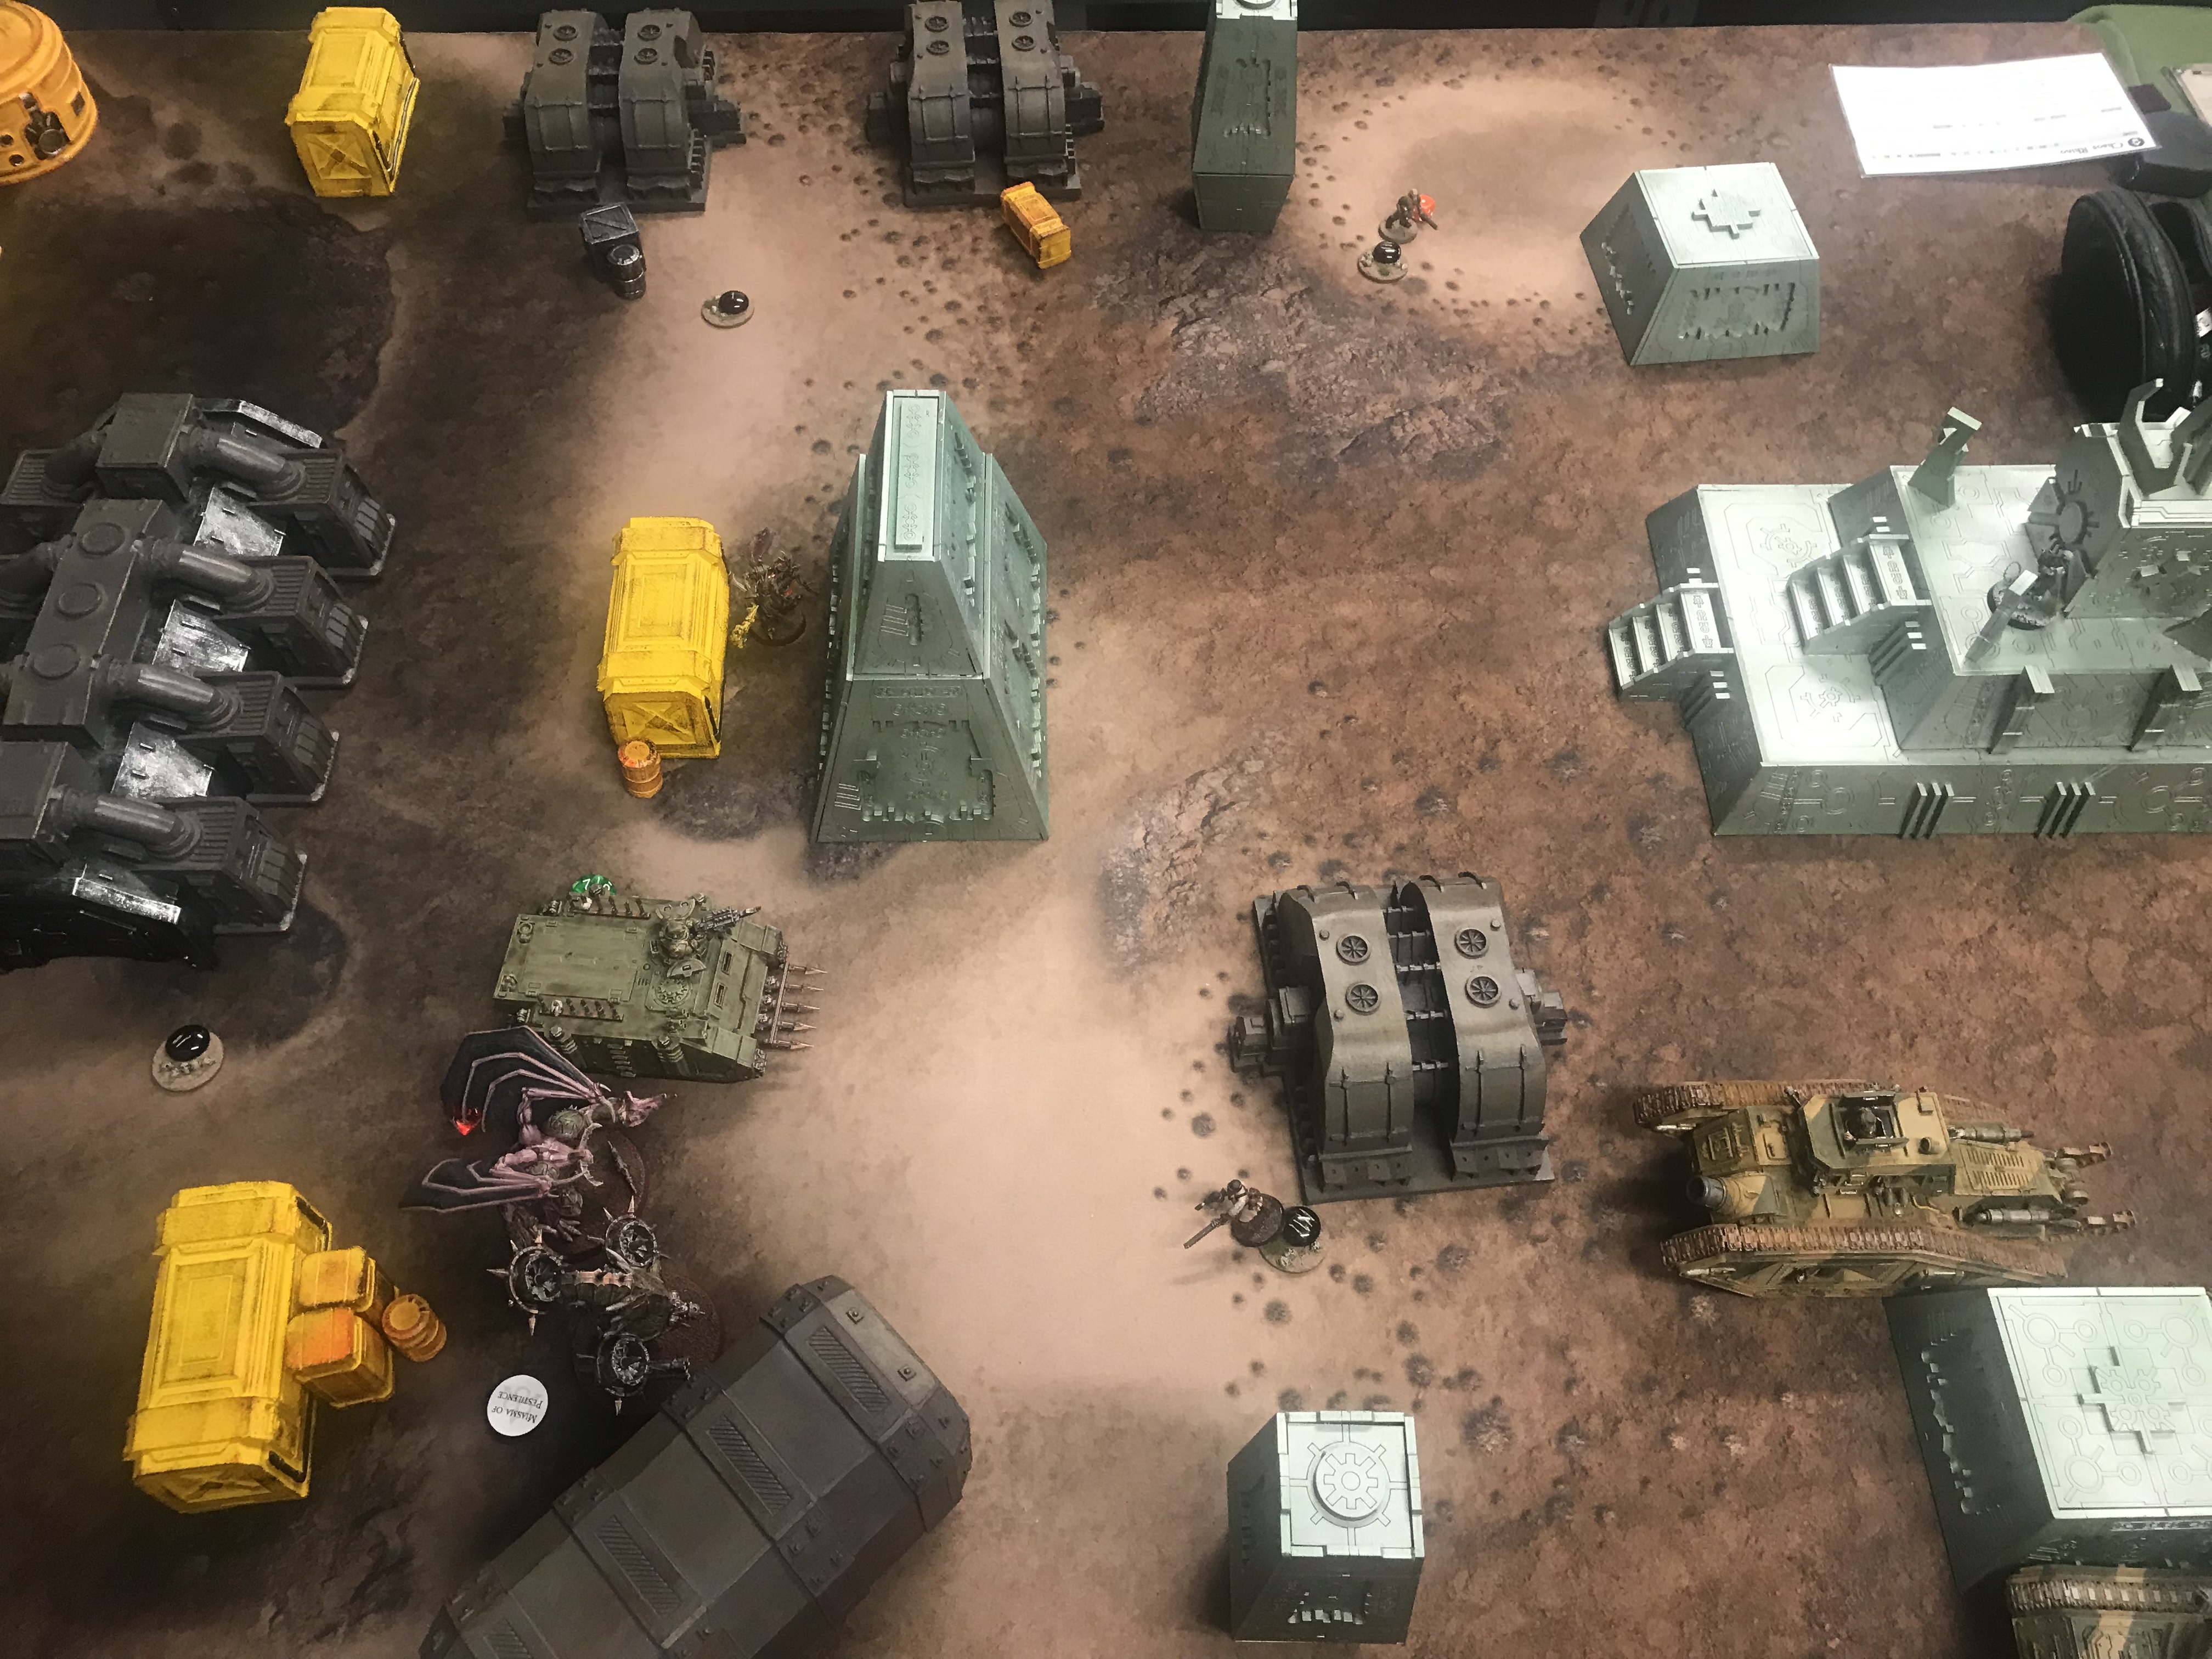
The enemy Hellbrute, Chaos Lord and Cultists set up way back. Everything else was pushed forward with the Crawlers and Rhinos all grouped together.
-

- The Car Park
-

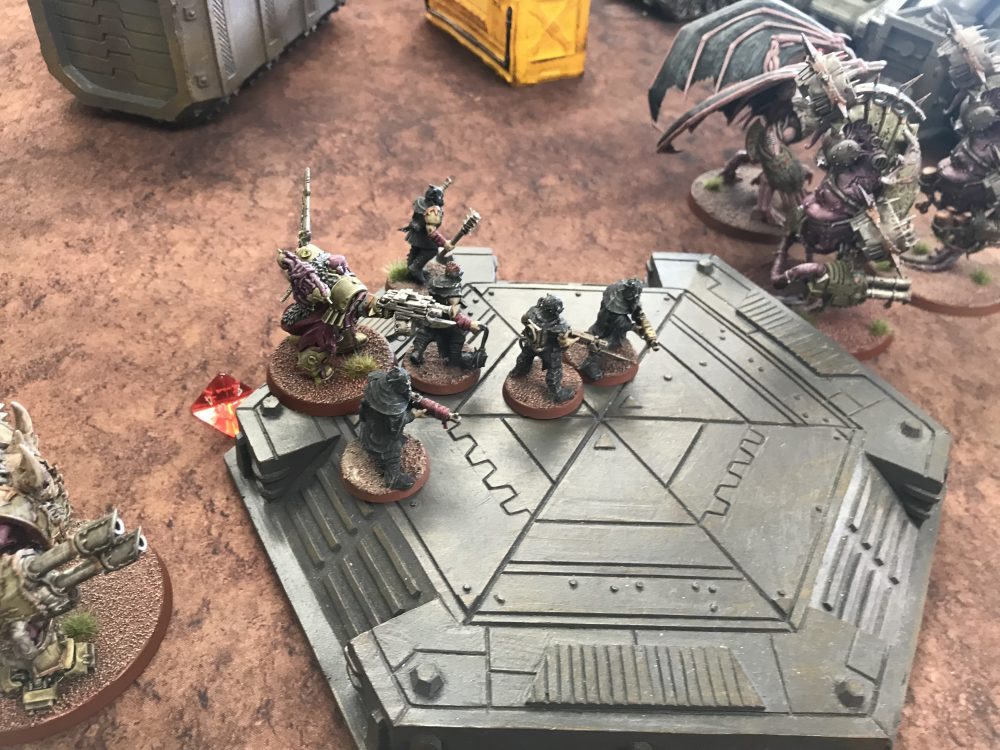
- Ratlings arrive

-
- Some context, the Ratlings are at the very bottom

Astra Militarum – Turn 1
Rather amazingly I got the first turn. This never happens. So I set about moving up into the middle of the table with most of my force while my artillery stayed put.
My little Ratlings managed to strip the Chaos Lord down to one wound. This wasn’t the enemy Warlord but he does give buffs. I’d also accidentally messed up the Hellbrute. More on this later.
All I remember from this turn is that I didn’t get the First Strike VP. This didn’t seem great. The first turn is when the Guard are at their most powerful. I’d lost no units and I was at max CP. if I couldn’t kill a unit now how would I kill anything later on?
I did take a Crawler down to 4 wounds and killed a lot of Cultists. Only five remained. A Rhino was also reduced to 7 wounds.
Show Score
Astra Militarum 0
Death Guard 0
-
- The thinned Cultists

-
- My armour has moved up

Death Guard – Turn 1
The Death Guard also pushed forward to envelop objectives.
A Drone, Chaos Lord and Cultists went for the Ratlings and killed them all. The Hellbrute has an ability where it can shoot twice at the closest enemy unit. With the Ratlings being so close this meant the Hellbrute would have to shoot at the Ratlings. So they got wiped to open the Hellbrute up to shoot at a Hellhound instead.
The Hellhound was finished off which gave the Death Guard the First Strike VP.
I also lost a Chimera but the occupants survived.
Show Score
Astra Militarum 0
Death Guard 1
-

- The Plague Marines lumber forward

-
- A tense standoff!

-

- The messy middle
Astra Militarum – Turn 2
Many of my Guardsmen disembarked to unleash their Lasguns and Meltaguns on the enemy. The effect as poor however and my pounding artillery failed to kill a single Crawler. This was highly frustrating.
My handy Steel Legion did pop out though and down a wounded Drone in one volley. Which was nice. The Crawlers were down to 1 and 5 wounds. Their BS was affected but they could still shoot and do me arm.
The Hellhounds were not doing a great job. They seem to suffer from Disgustingly Resilient if that makes sense. I can do a decent number of hits, and then do some wounds, some saves fail and then most are then ignored from DR. Its just the dice I suppose. But it always seems that DR is the undoing of my games against the Death Guard. It ignored 1/3 of all damage which is a big deal and something I should probably more heavily consider.
If Marines can do it one shot, the Guard can do it in 3 and if its the Guard again Death Guard then assume it will take 6 shots?
The Malcador was doing OK, nothing amazing it killed off some Plague Marines but its Demolisher Cannon is very hard to get right. At D3 shots you are going to be missing a lof of the time.
Show Score
Astra Militarum 2
Death Guard 1
-

- Wounded Crawlers, but not dead
-
- Guardsmen forward!

-
- Steel Legion say hello

Death Guard – Turn 2
The Steel Legion did not last long. After the one shot on the Drone, they died. So did many other Guardsmen. The battlefield was becoming empty of my forces as the Chaos forces moved up and moped up my weak infantry.
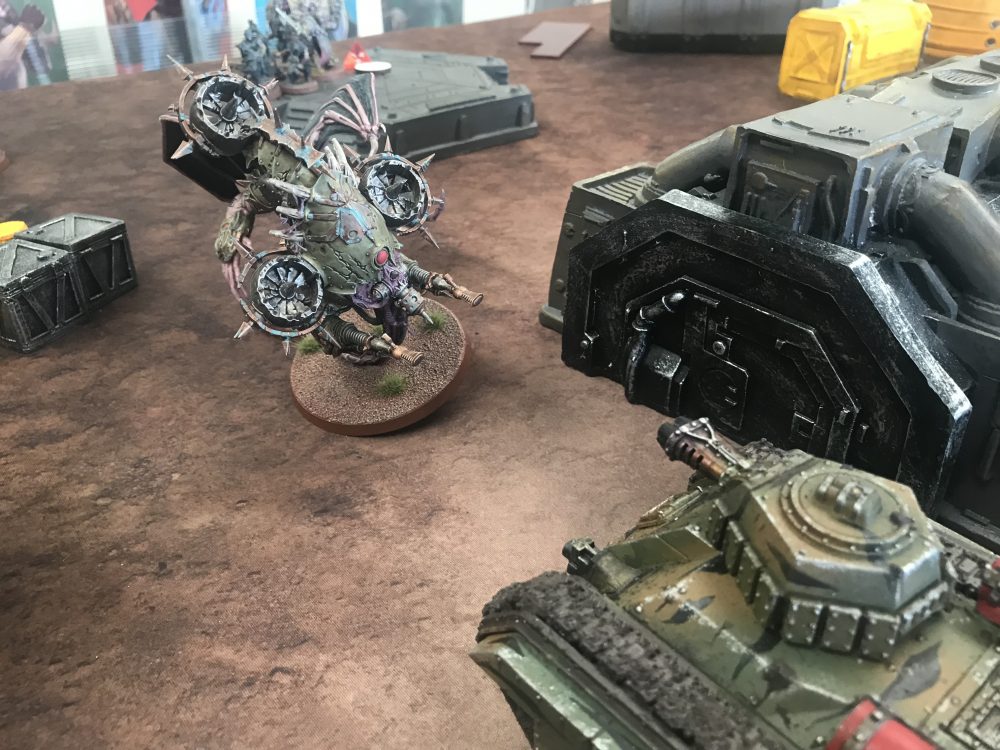
The Malcador was charged by a Rhino, it did nothing in Overwatch. This meant the Malcador could not shoot! Drat!
Score wise, things were slow for both sides on this first turn of scoring.
Show Score
Astra Militarum 2
Death Guard 1
-

- The Chaos forces get into melee
-

- This was highly annoying for the Malcador
Astra Militarum – Turn 3
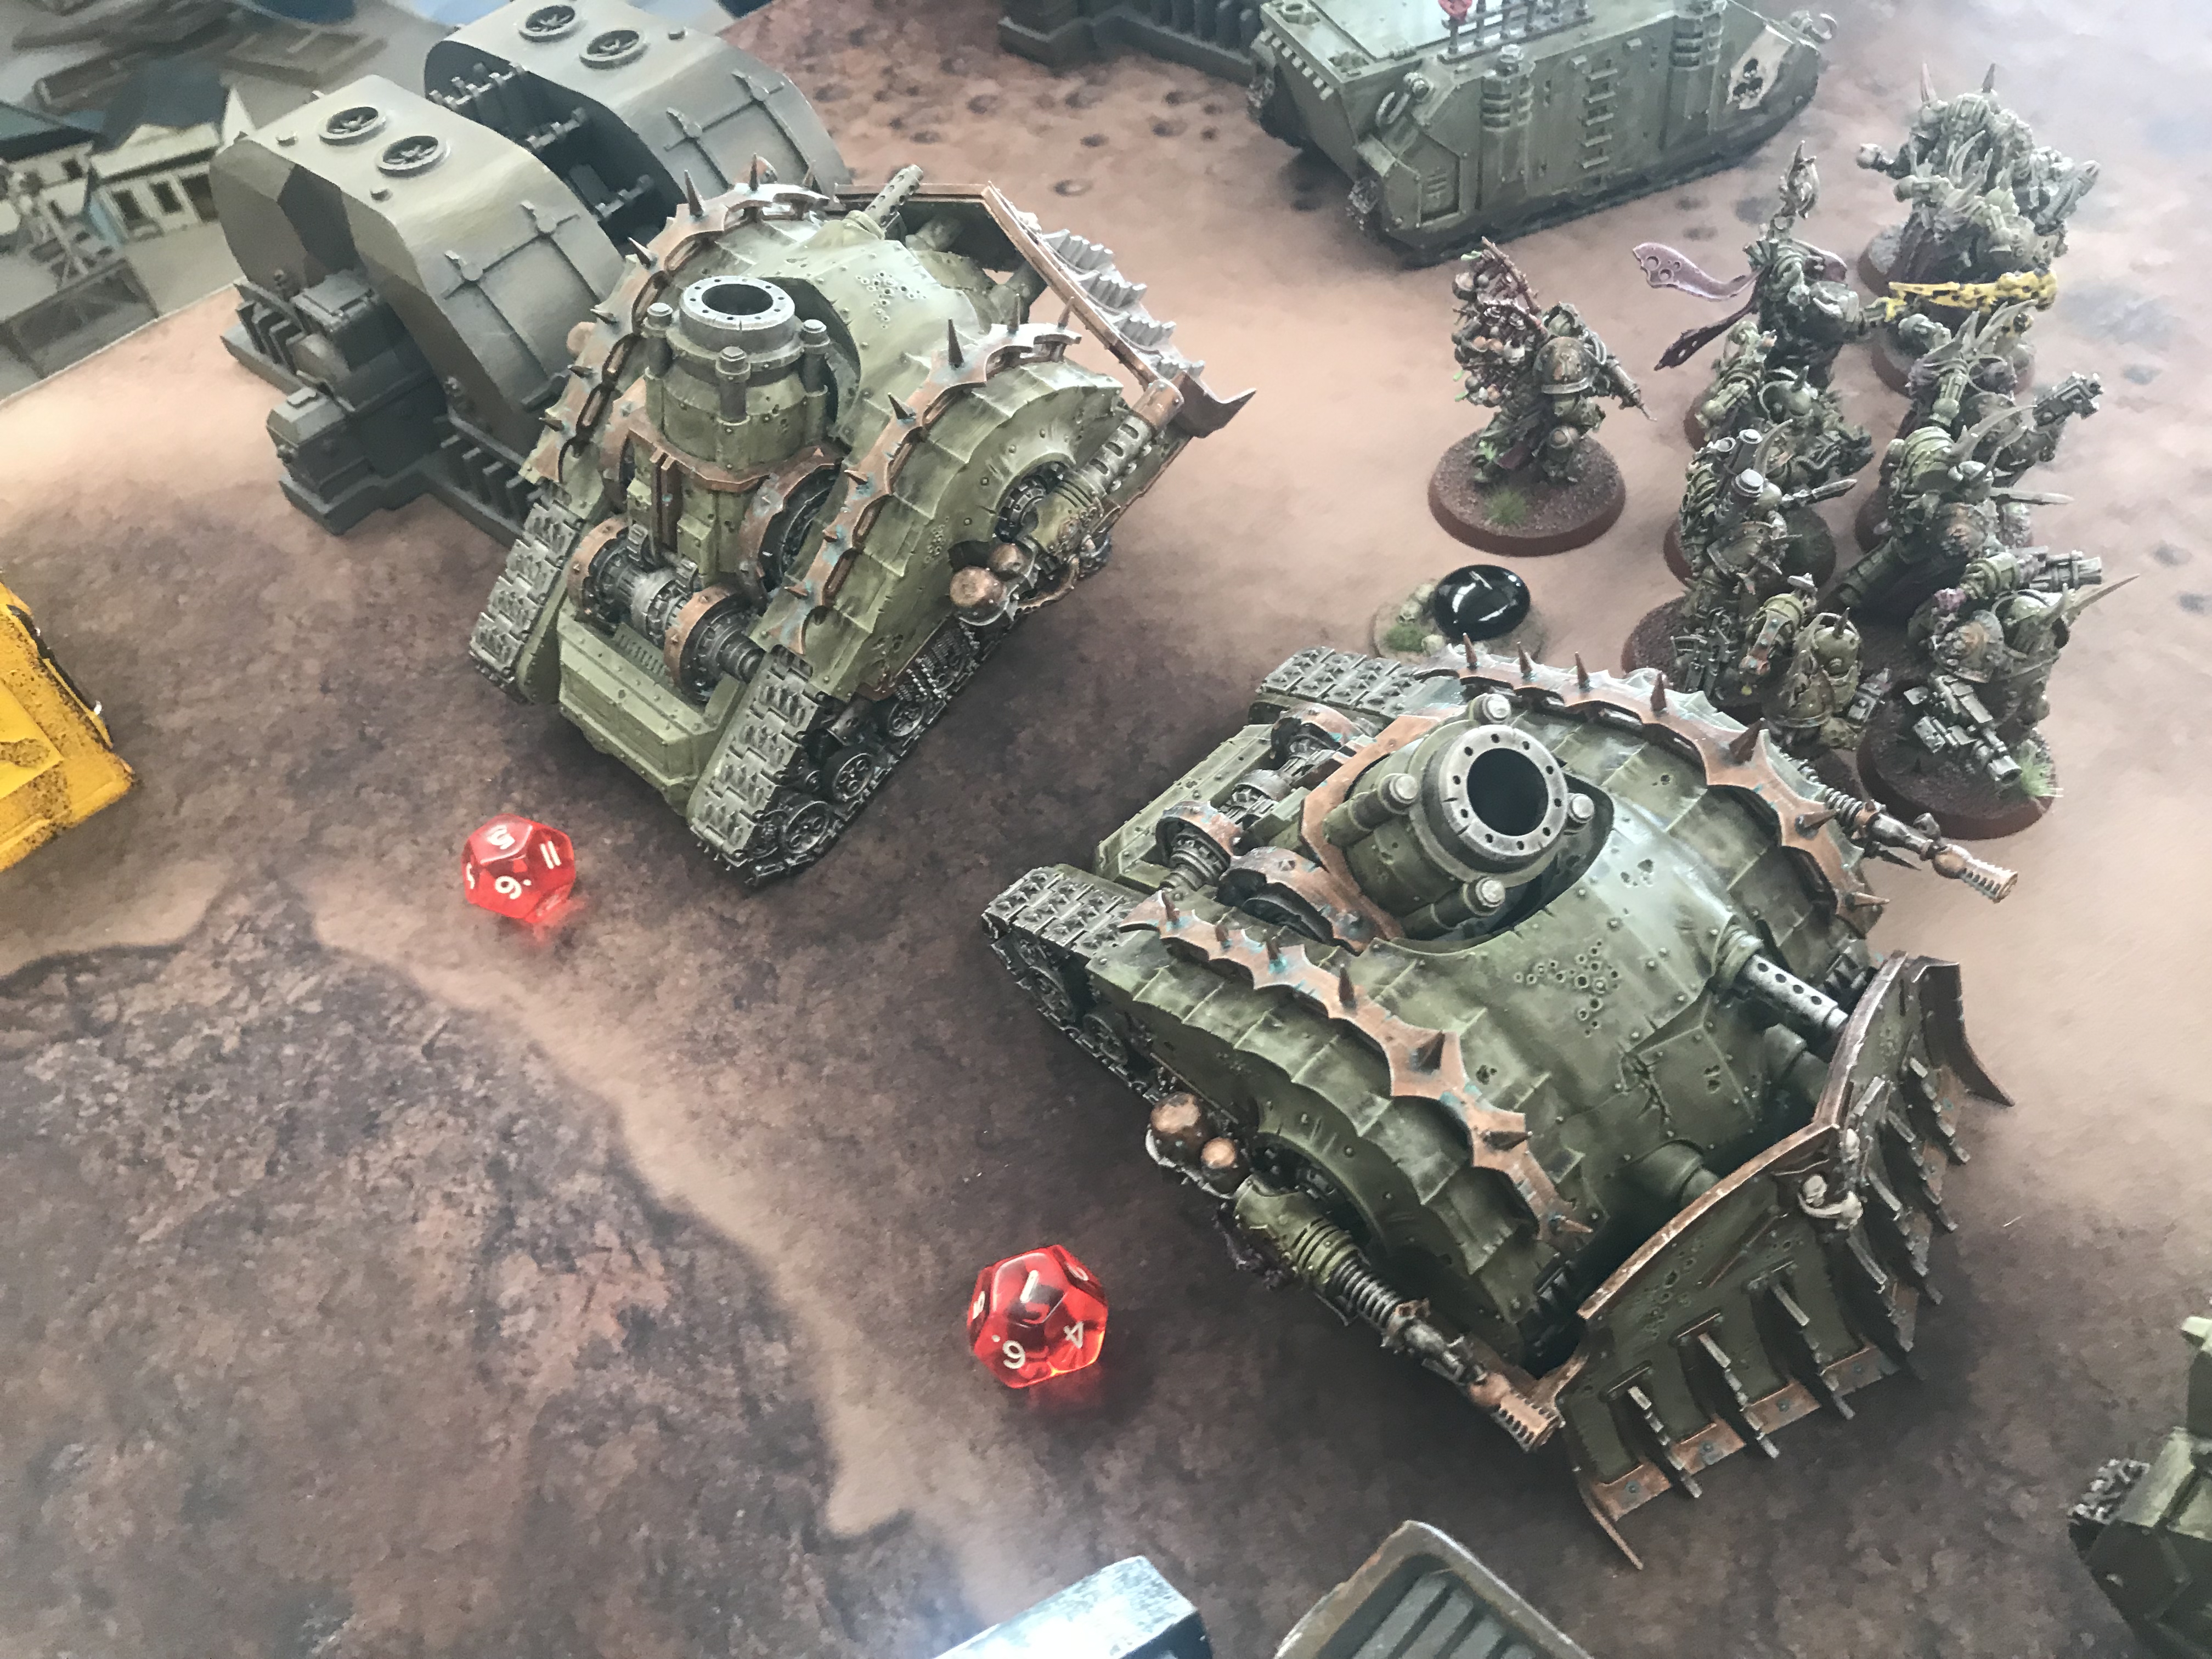
I got Warlord kill this turn after the Crawlers both were destroyed and both exploded – taking nearly two whole squads of Plague Marines with them. This explosions also killed the enemy Warlord. But they remained on an objective.
I held no objectives at the start of this turn. Holding objectives was now going to get harder for me as my Guardsmen were dying and the enemy was pushing up.
Show Score
Astra Militarum 2
Death Guard 1
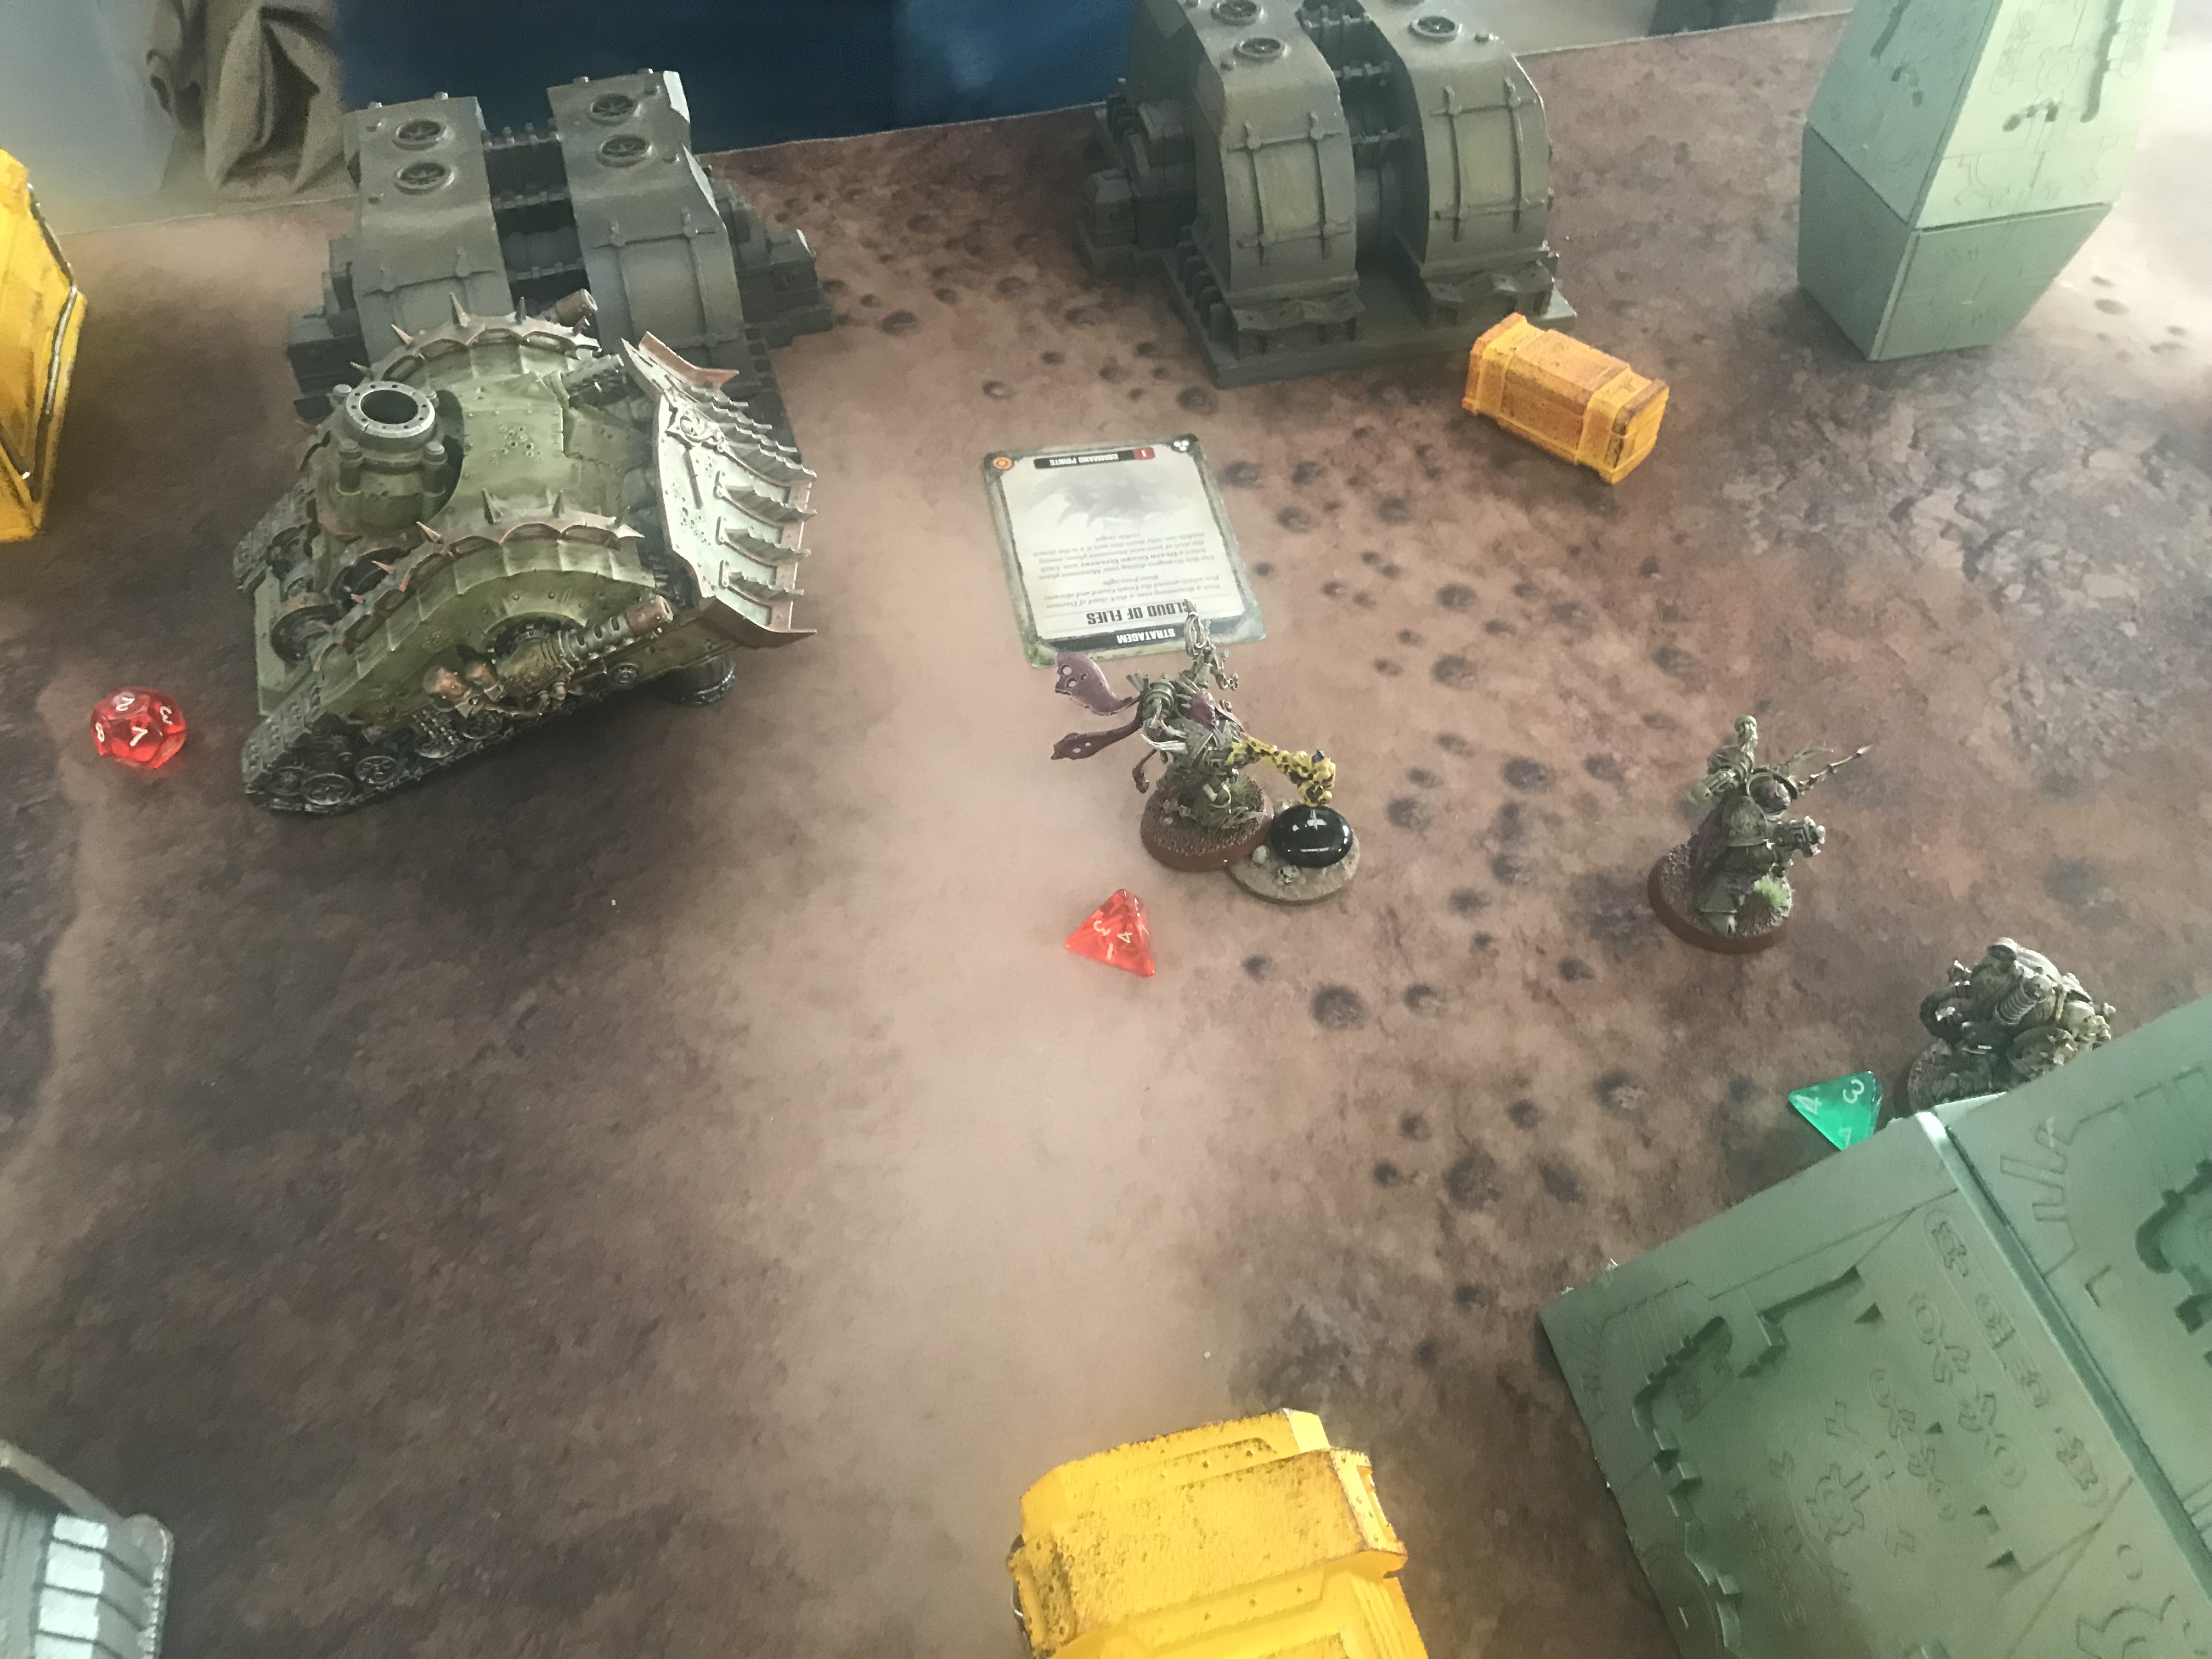
All Crawlers are gone!
Death Guard – Turn 3
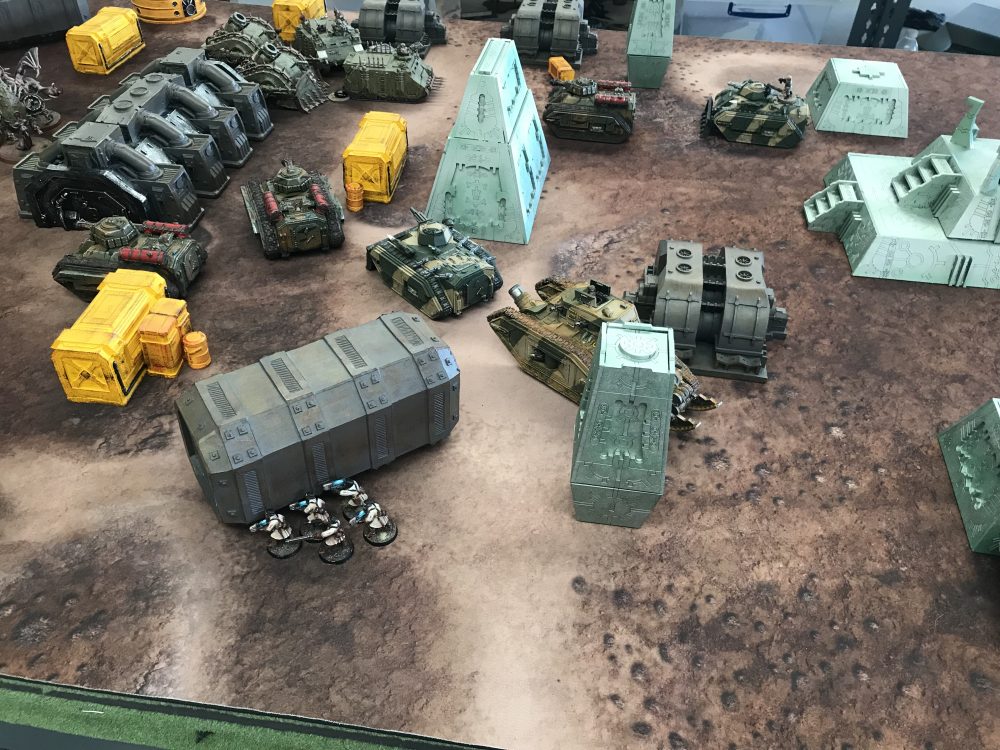
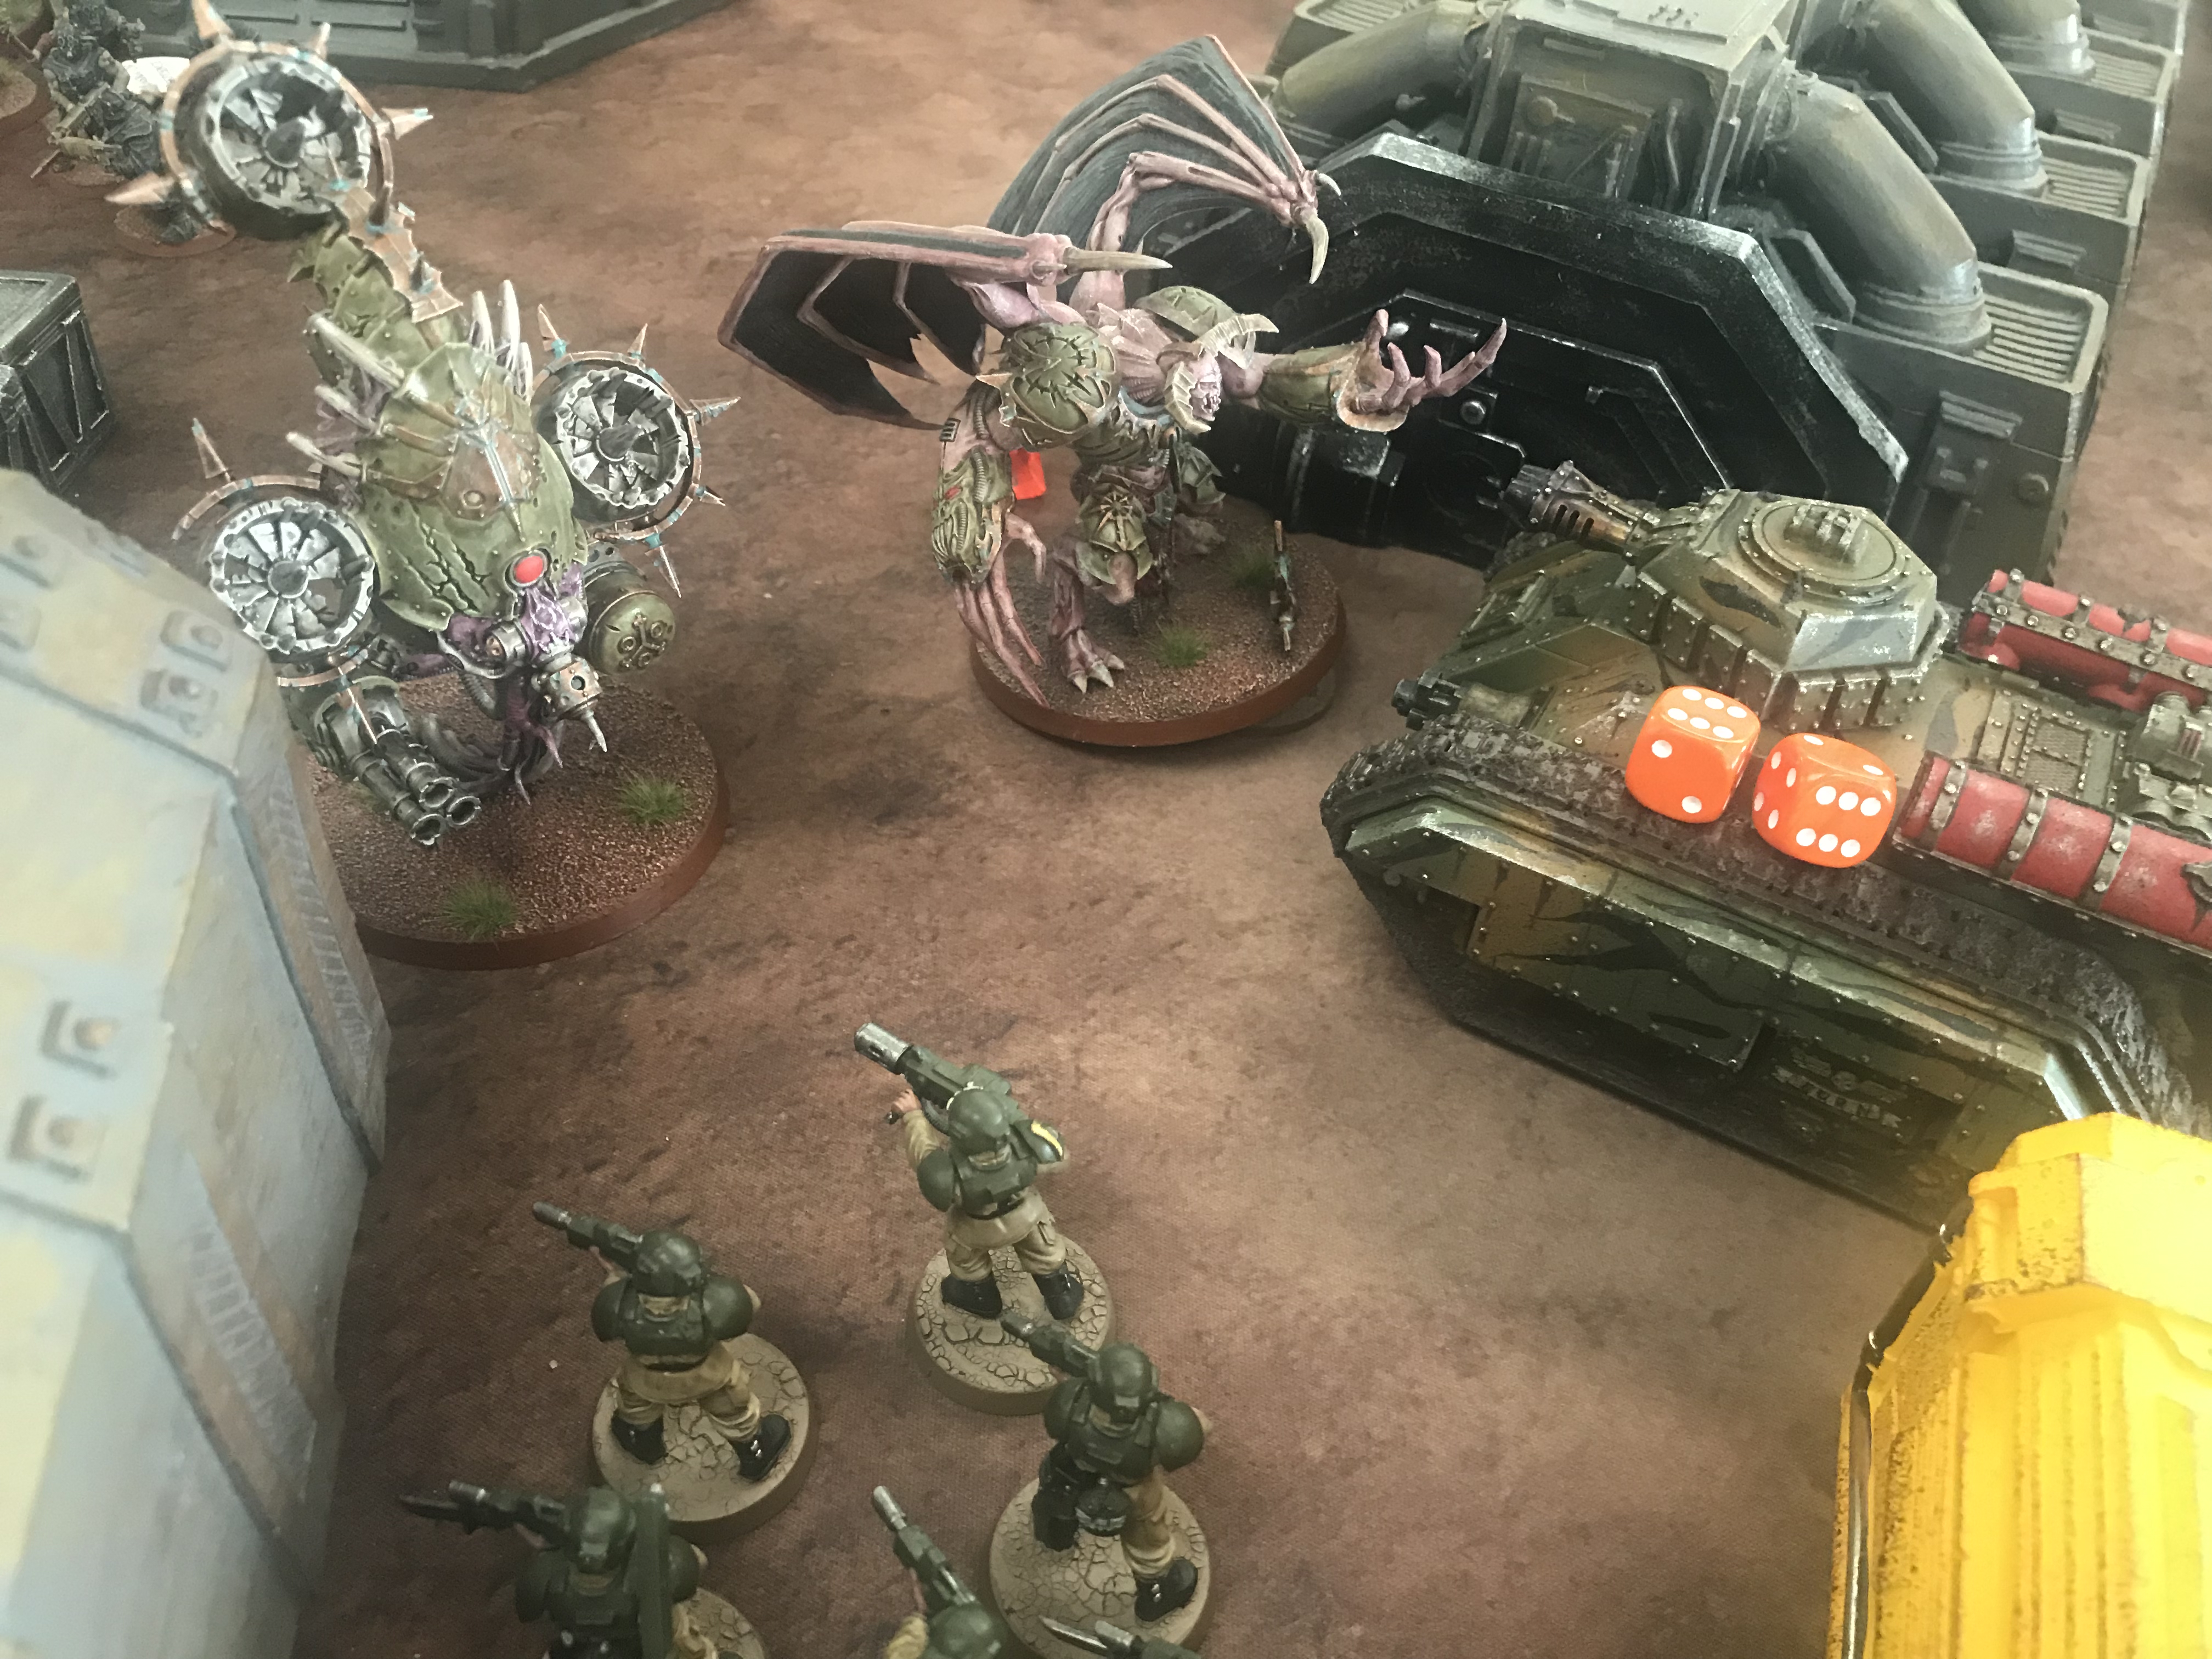
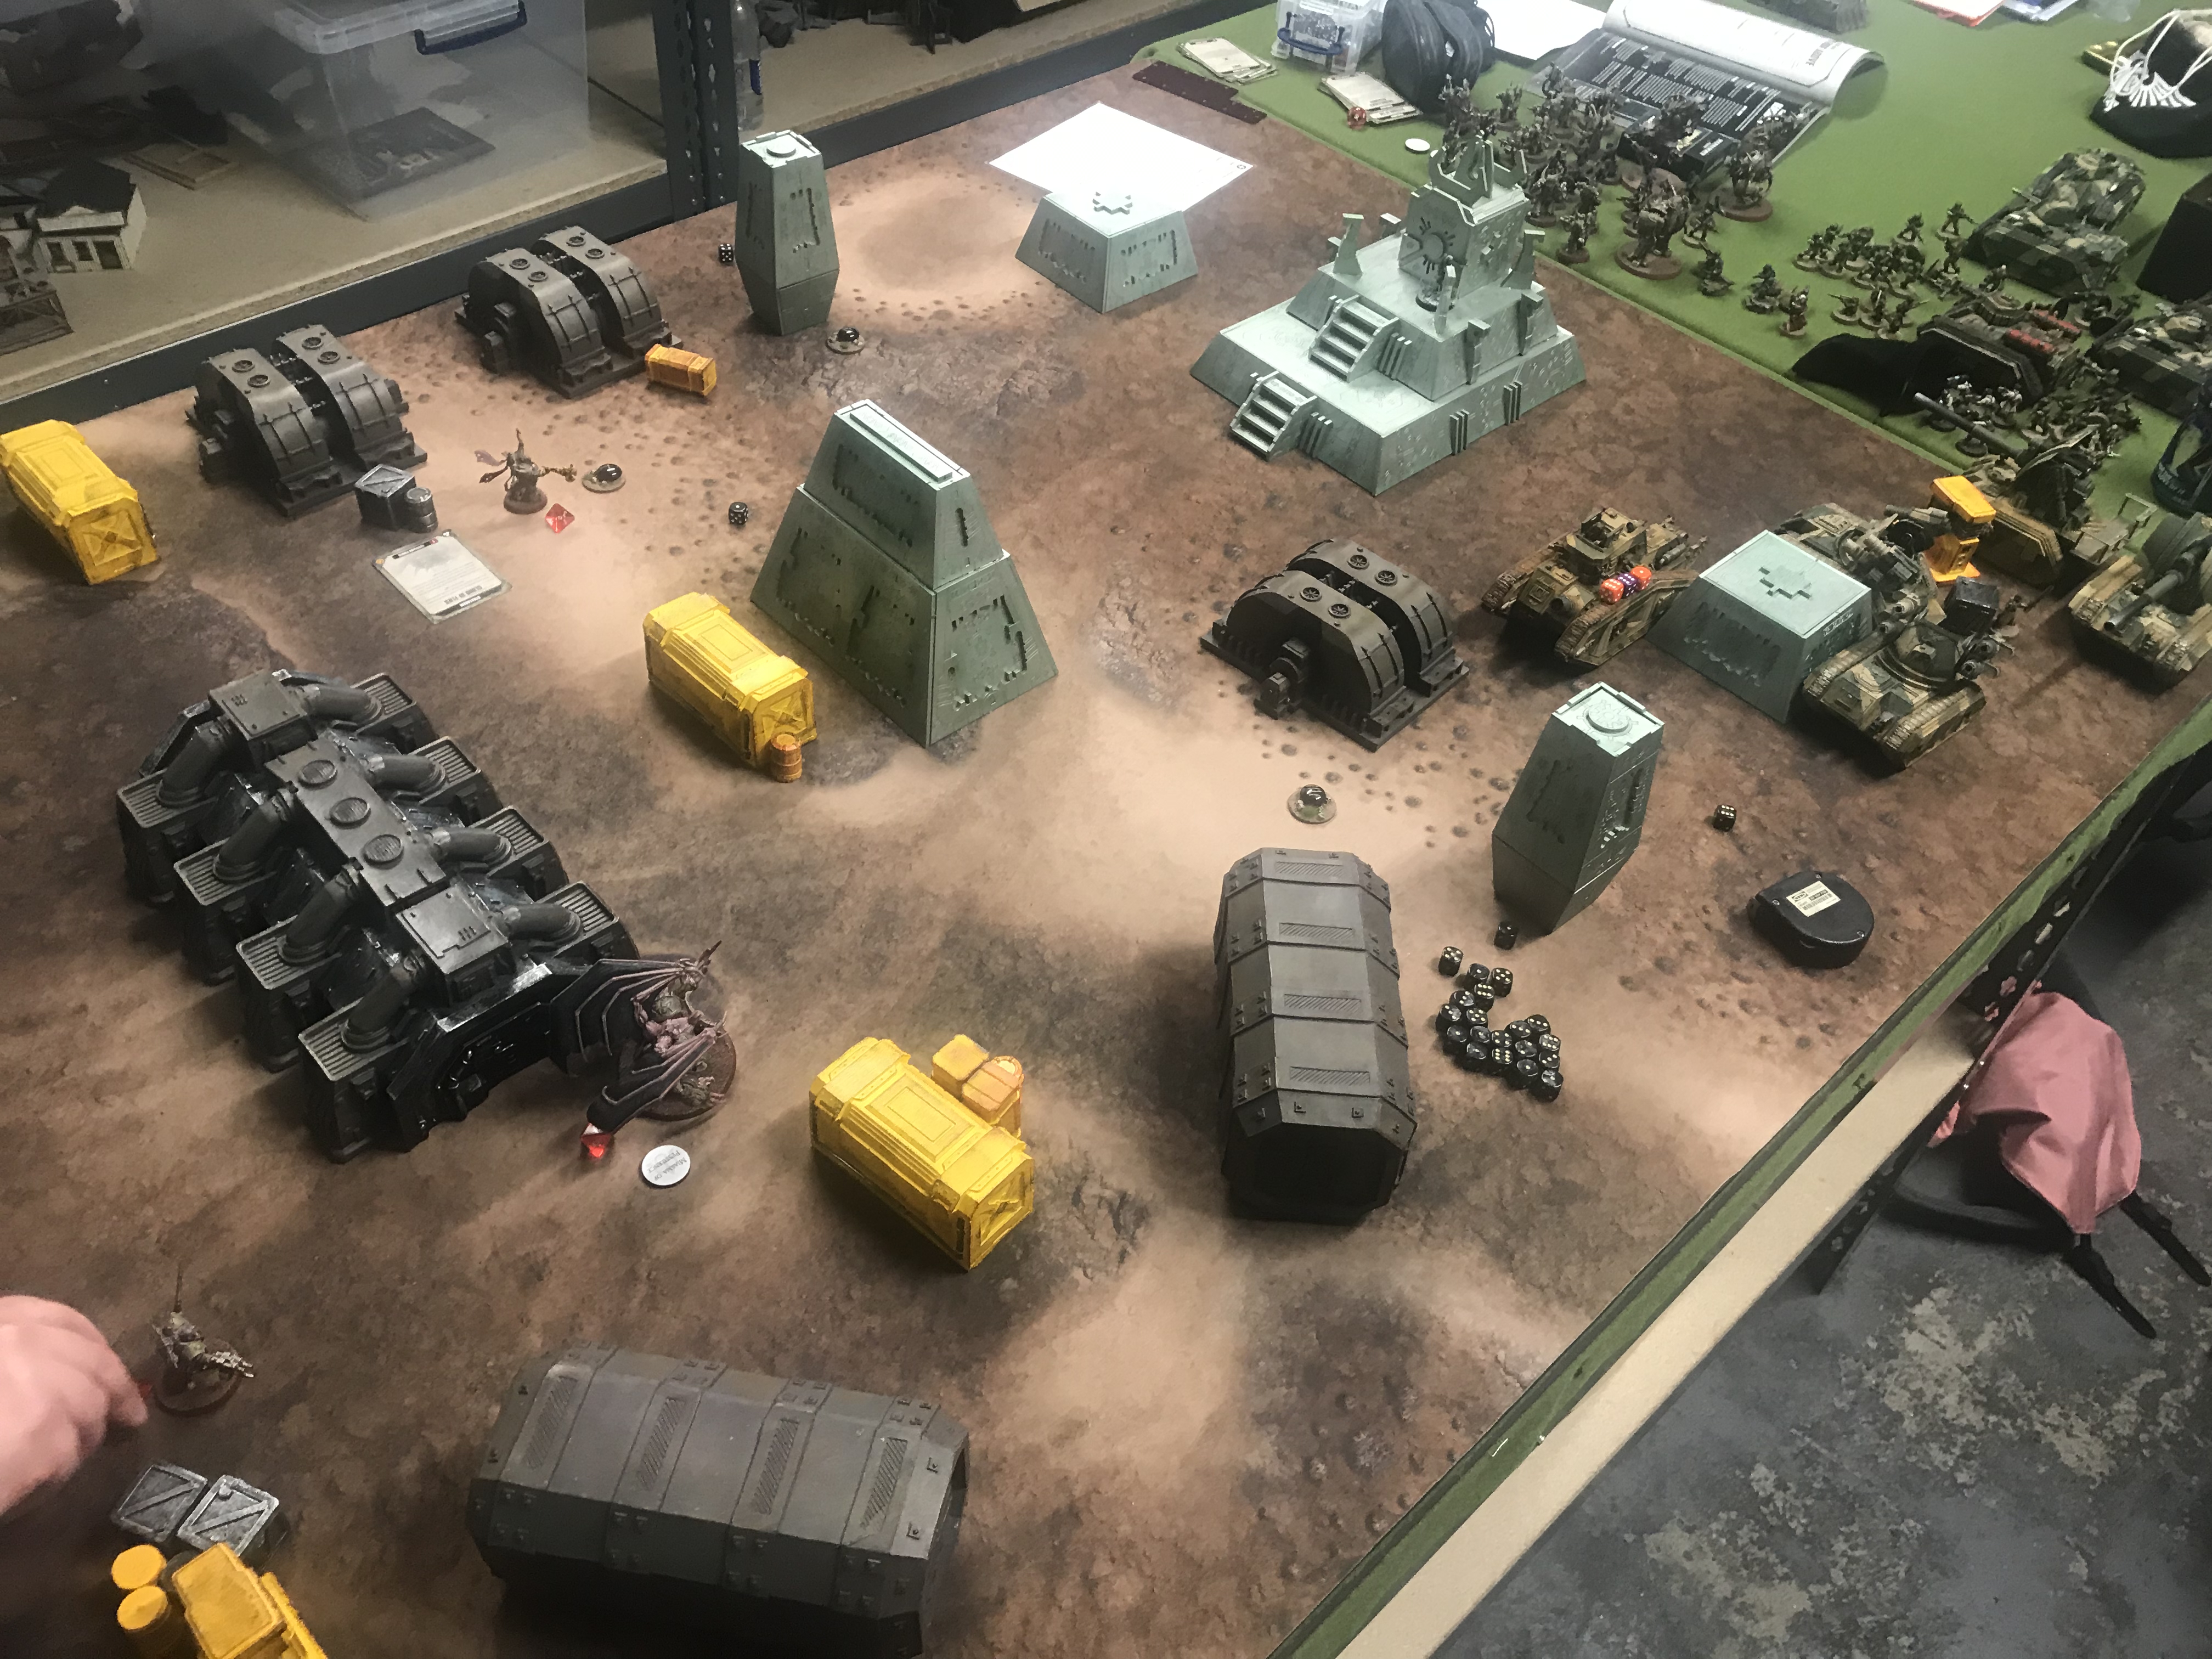
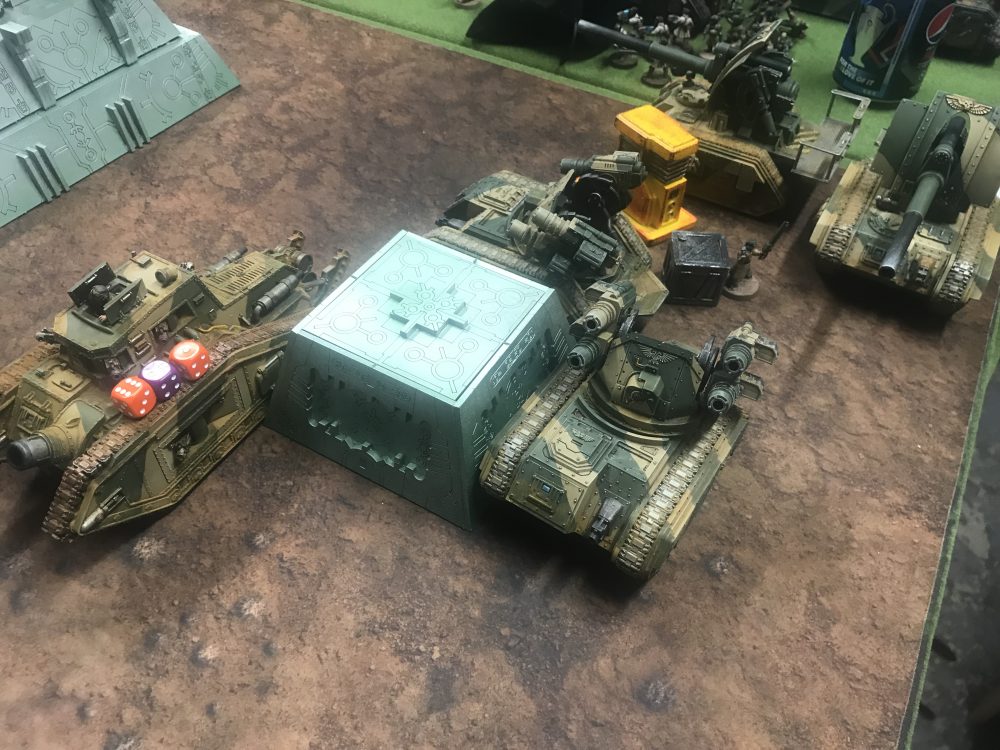
The below image is a good representation of the issues I was facing at this point in the game. The Rhino is on an objective, there is one just out of shot near the hand and dice, one to the left of the hand out of shot and then the fourth is out of shot behind the bottom left Rhino. The enemy was piling forward and I now had no way of getting to those objectives. Also, the Drone and Flying Prince can hold them more effectively than any of my units.
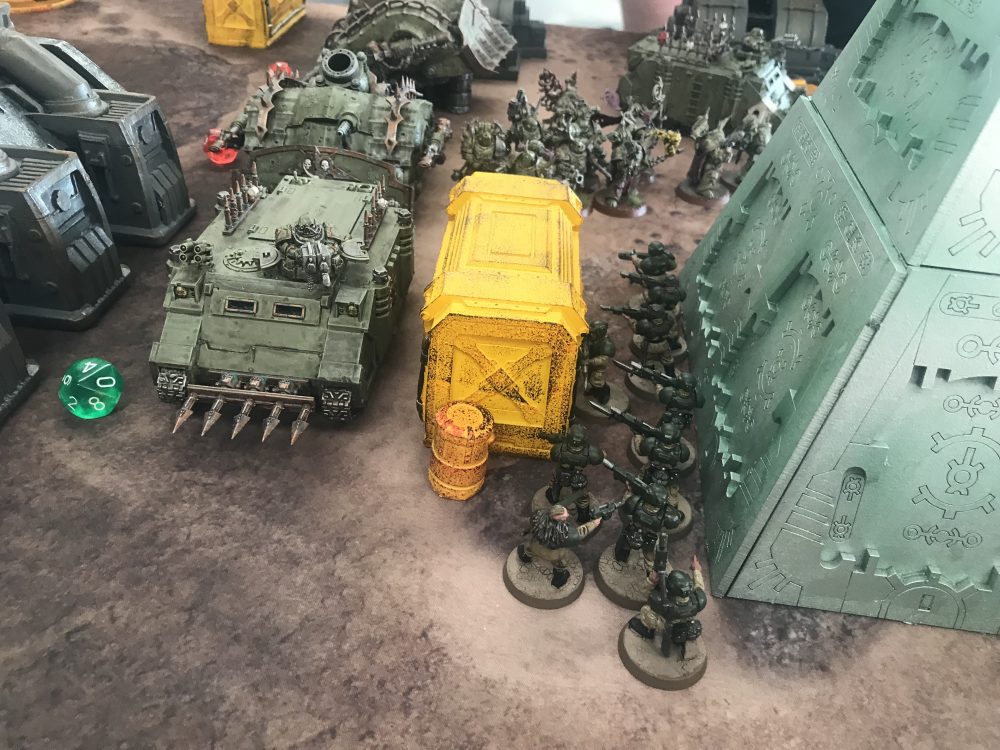
The Cultists were moving up from the back too to take over objectives.
From here on it was just a case of moving models and seeing what the final score would be. Even if I tabled the Death Guard they would still win on points and I had no way of moving up and taking objectives. Especially with a Flying Prince and Drone still remaining.
Show Score
Astra Militarum 3
Death Guard 4
Overview
Turn 4
Turn 4 overview
Show Score
Astra Militarum 3
Death Guard 4
Turn 5
Turn 5 overview
Show Score
Astra Militarum 3
Death Guard 6
Summary
The game went to turn 7. But I could not pull it back. It seems that 30 Guardsmen is not enough for this type of game. I would have done better with 60 I think and dropped the Hellhounds. The Artillery Car Park is fun to use but when it fails to kill stuff because of bad rolls you really feel it. Not removing a Crawler on turn 1 meant that shots that could have killed Drones were then wasted on trying to take off the last few wounds on a Crawler.
A fun game though for sure!
Final Score
Show Score
Astra Militarum 4
Death Guard 7
Final Gallery
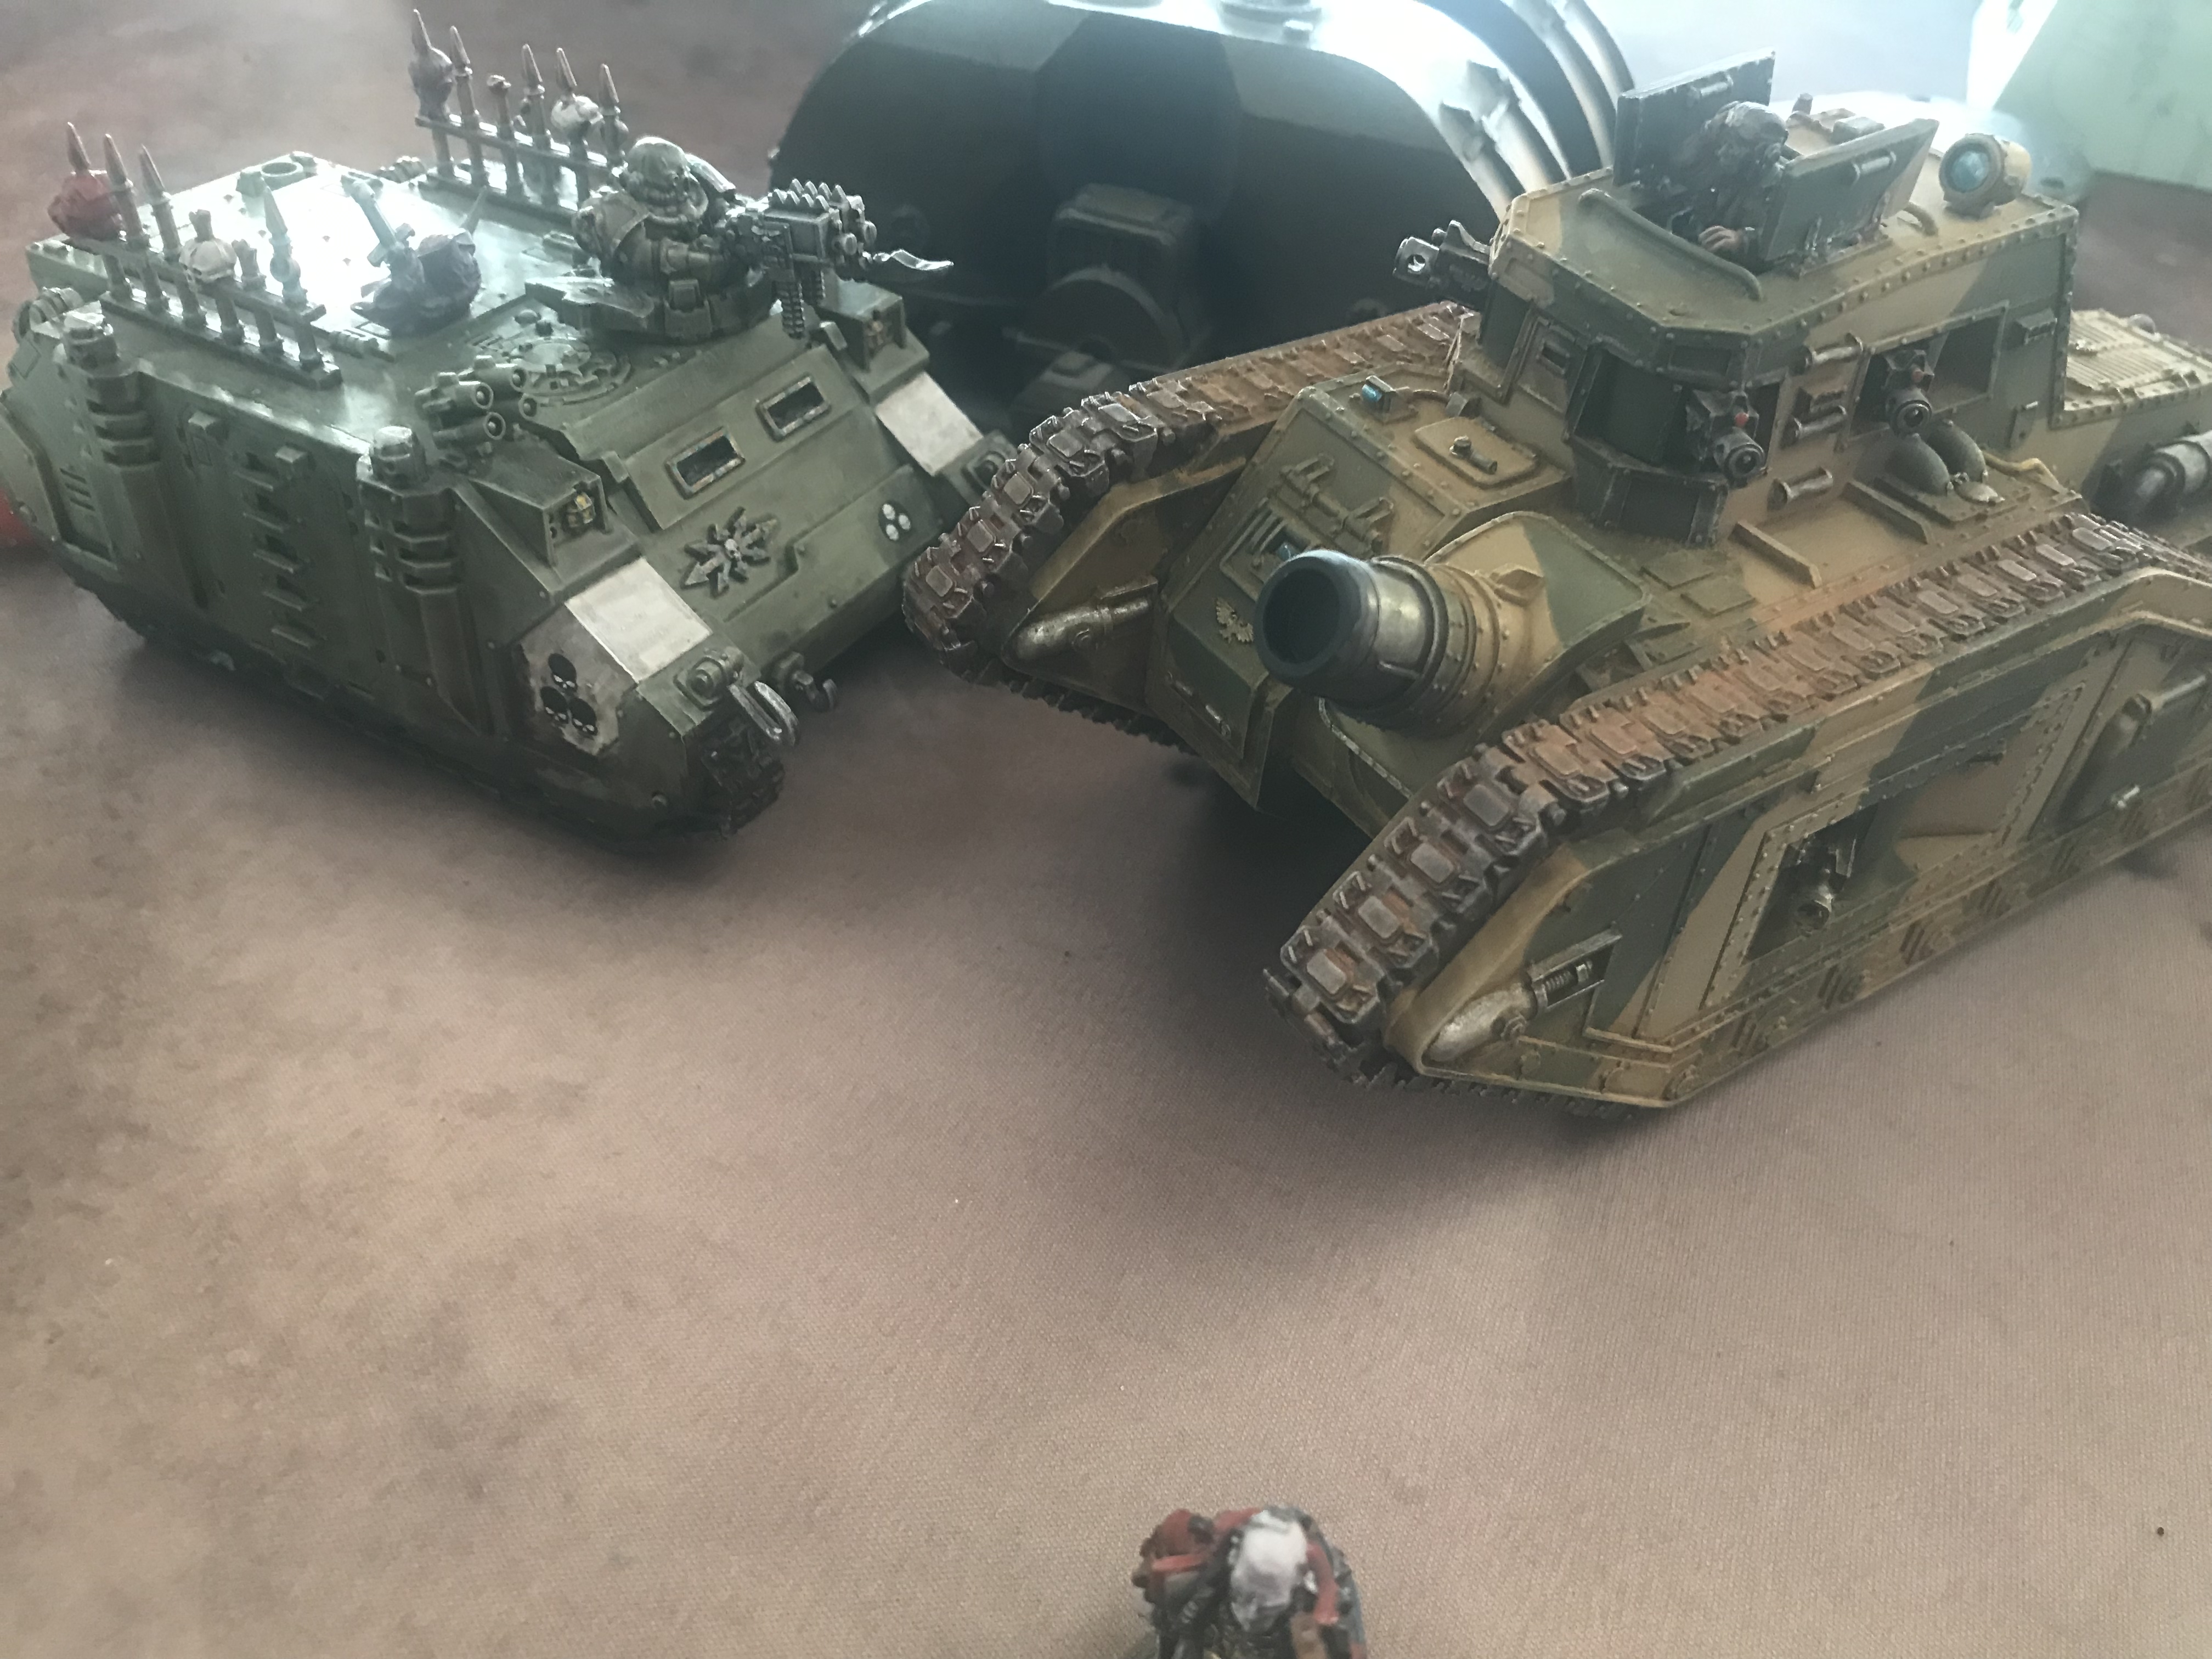
-
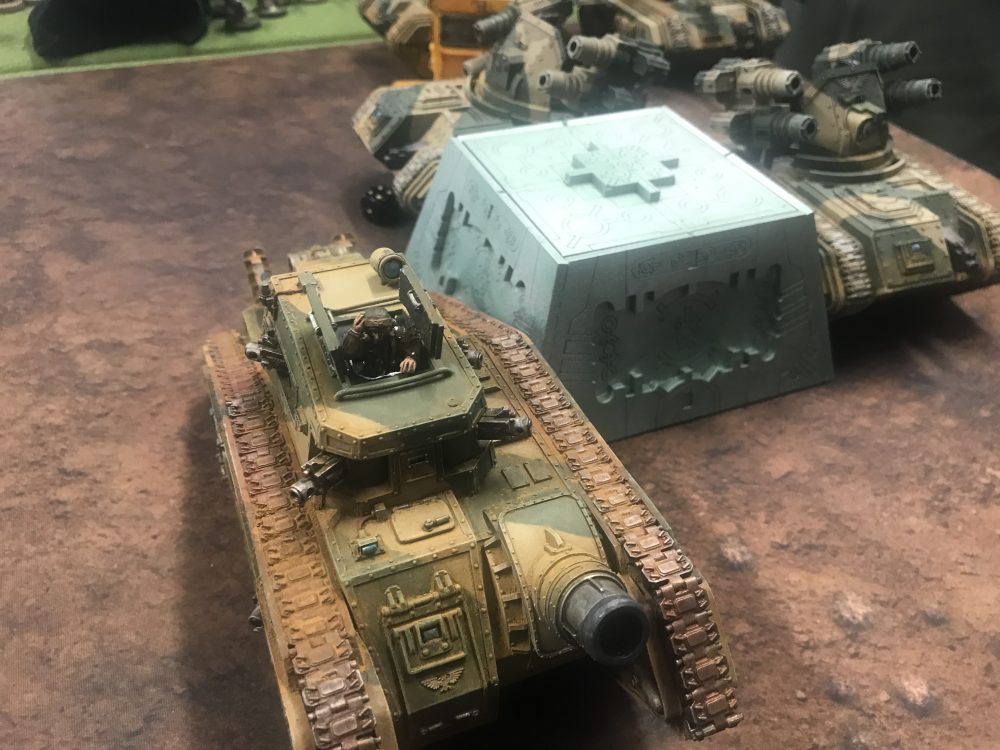
- The Malcador

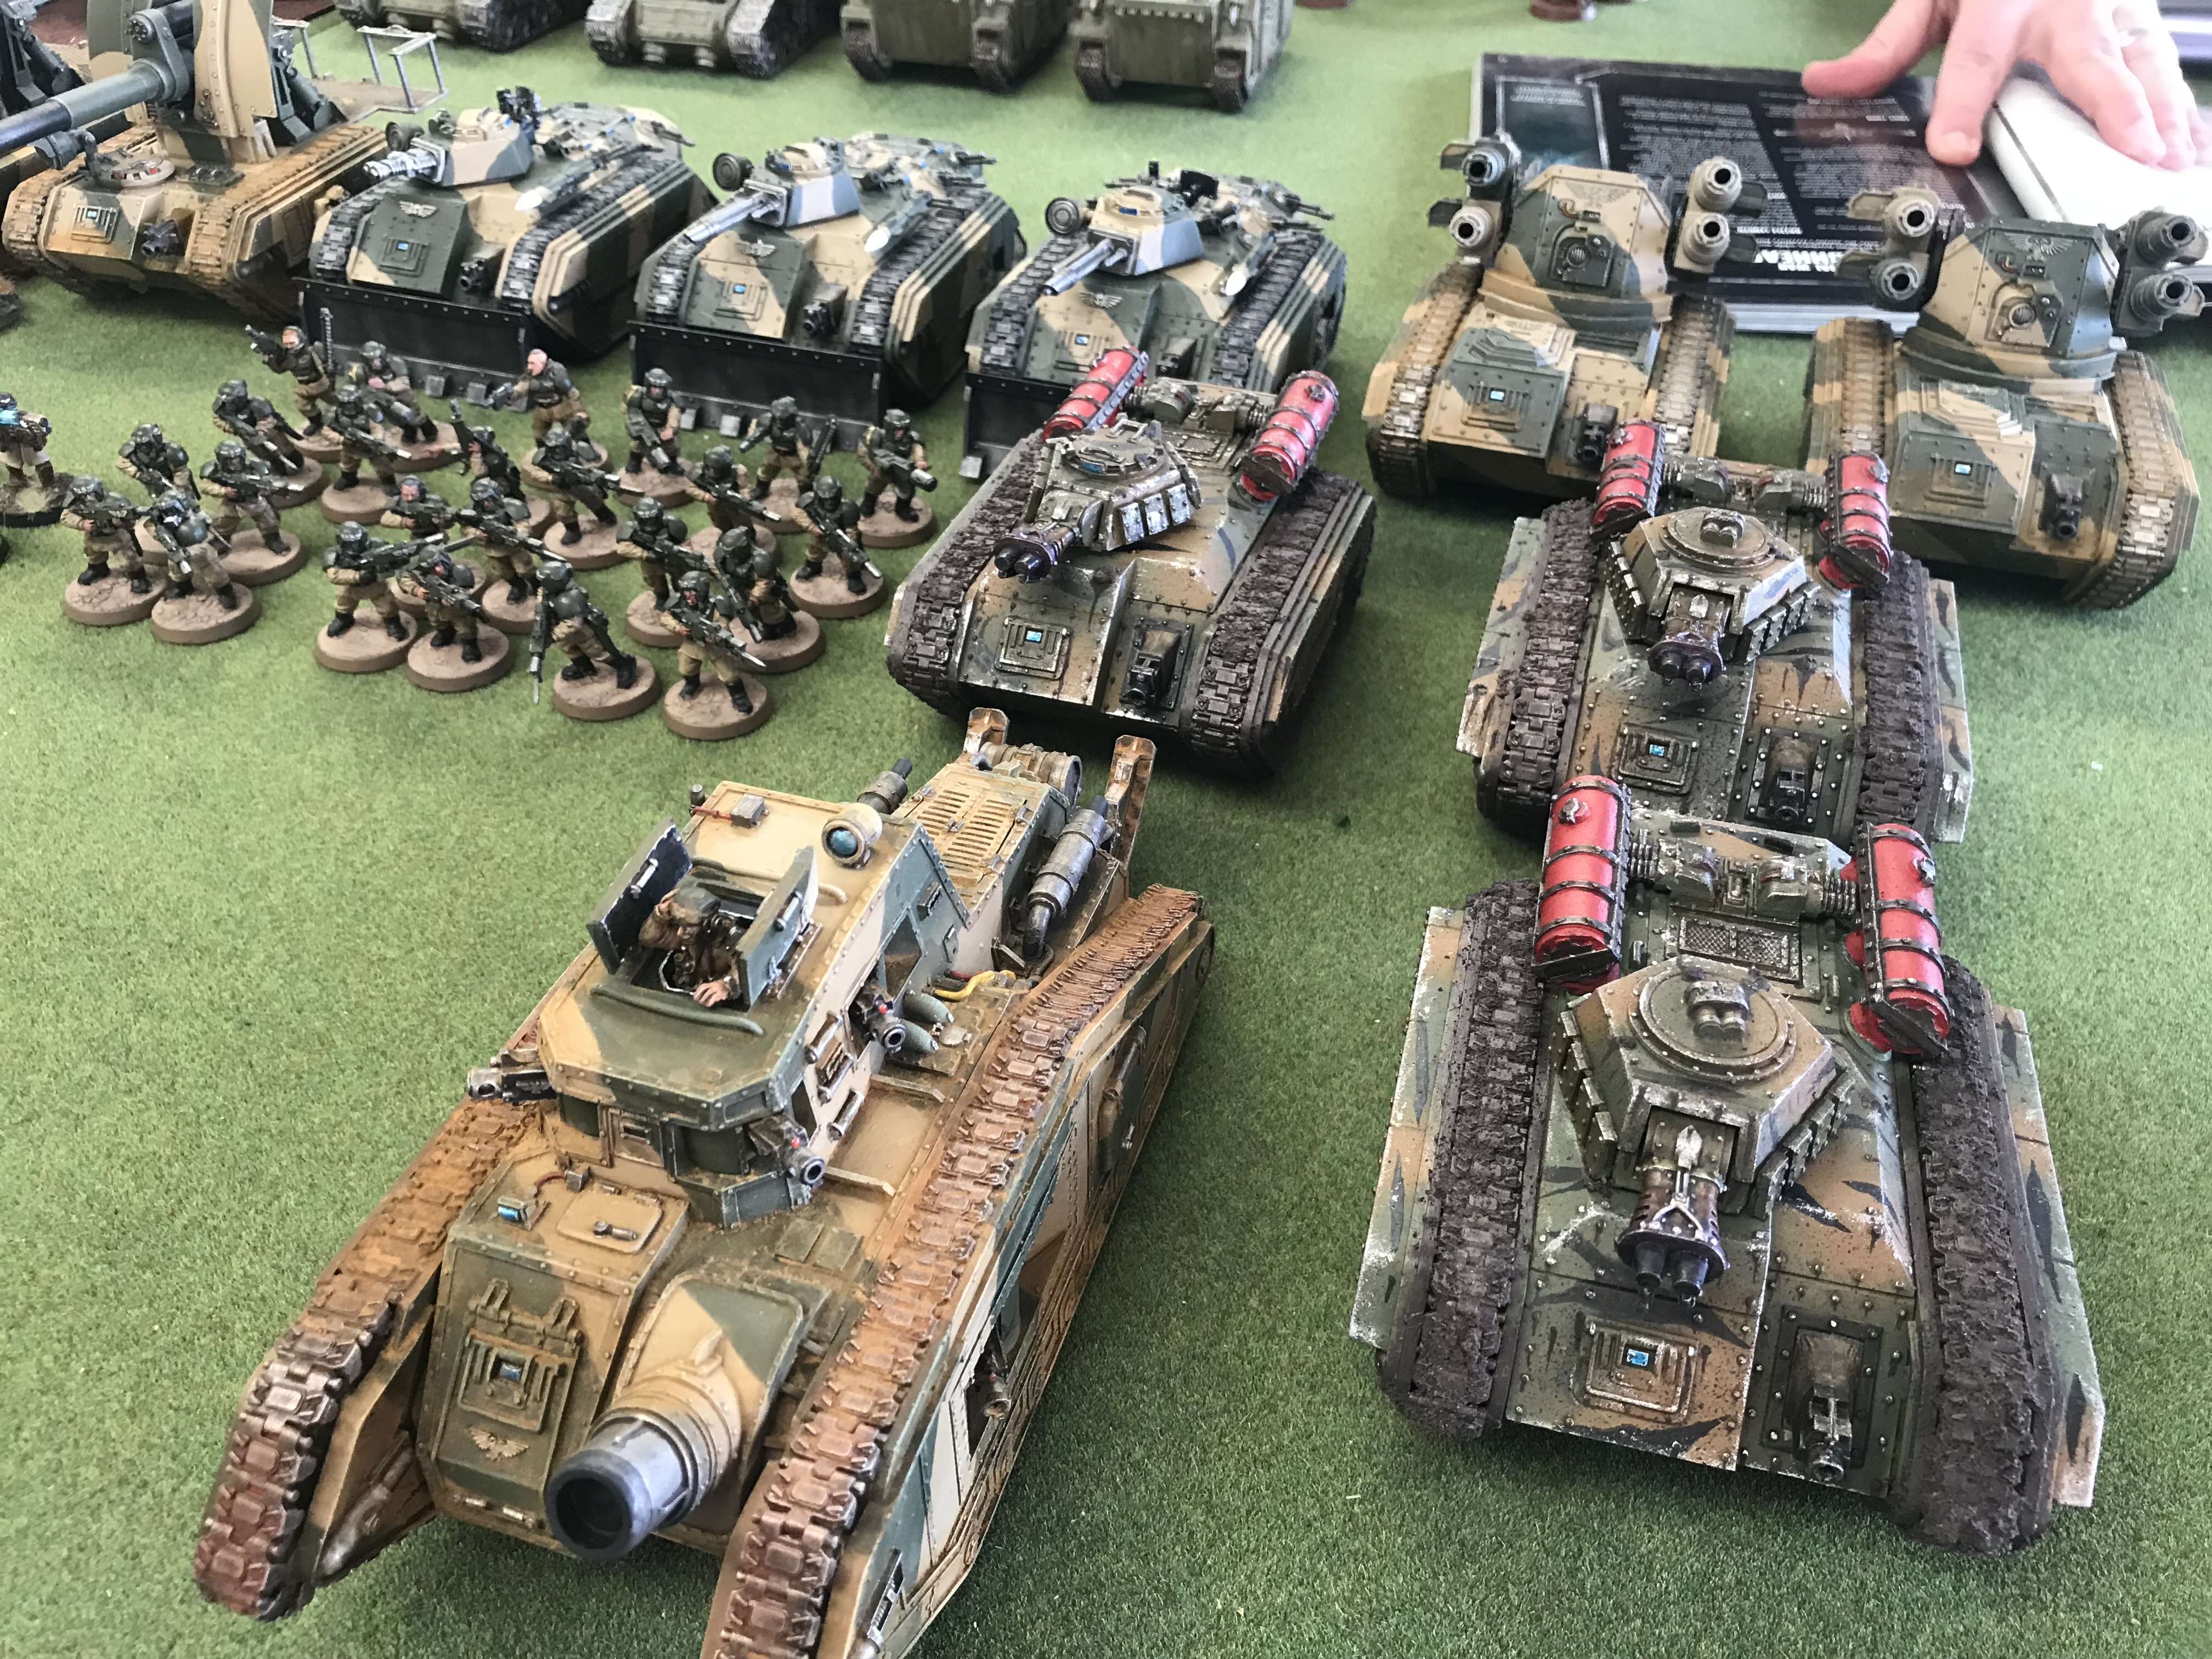
-
- My remaining armour
