
Hazard Striped Floor – Gorgon Armoured Transport Floor
The Gorgon is going to be a big project so I will break it down into smaller articles like this one.
I bought this Gorgon in Feb 2020 and I did this floor back then too. I thought it was about time I hit publish!
With the Gorgon being such an undertaking with a lot of new methods to learn, not to mention the pains of a Forgeworld build, I’ve decided to break this up into a few articles – first is the Hazard Striped floor of the Gorgon. I’m also doing the Gorgon in a fair few sub-assemblies so I won’t have anything meaningful to show for my efforts for some time (2+ years!). Documenting each significant step will help me more easily showcase what I’ve done.
Never miss an article? Subscribe!
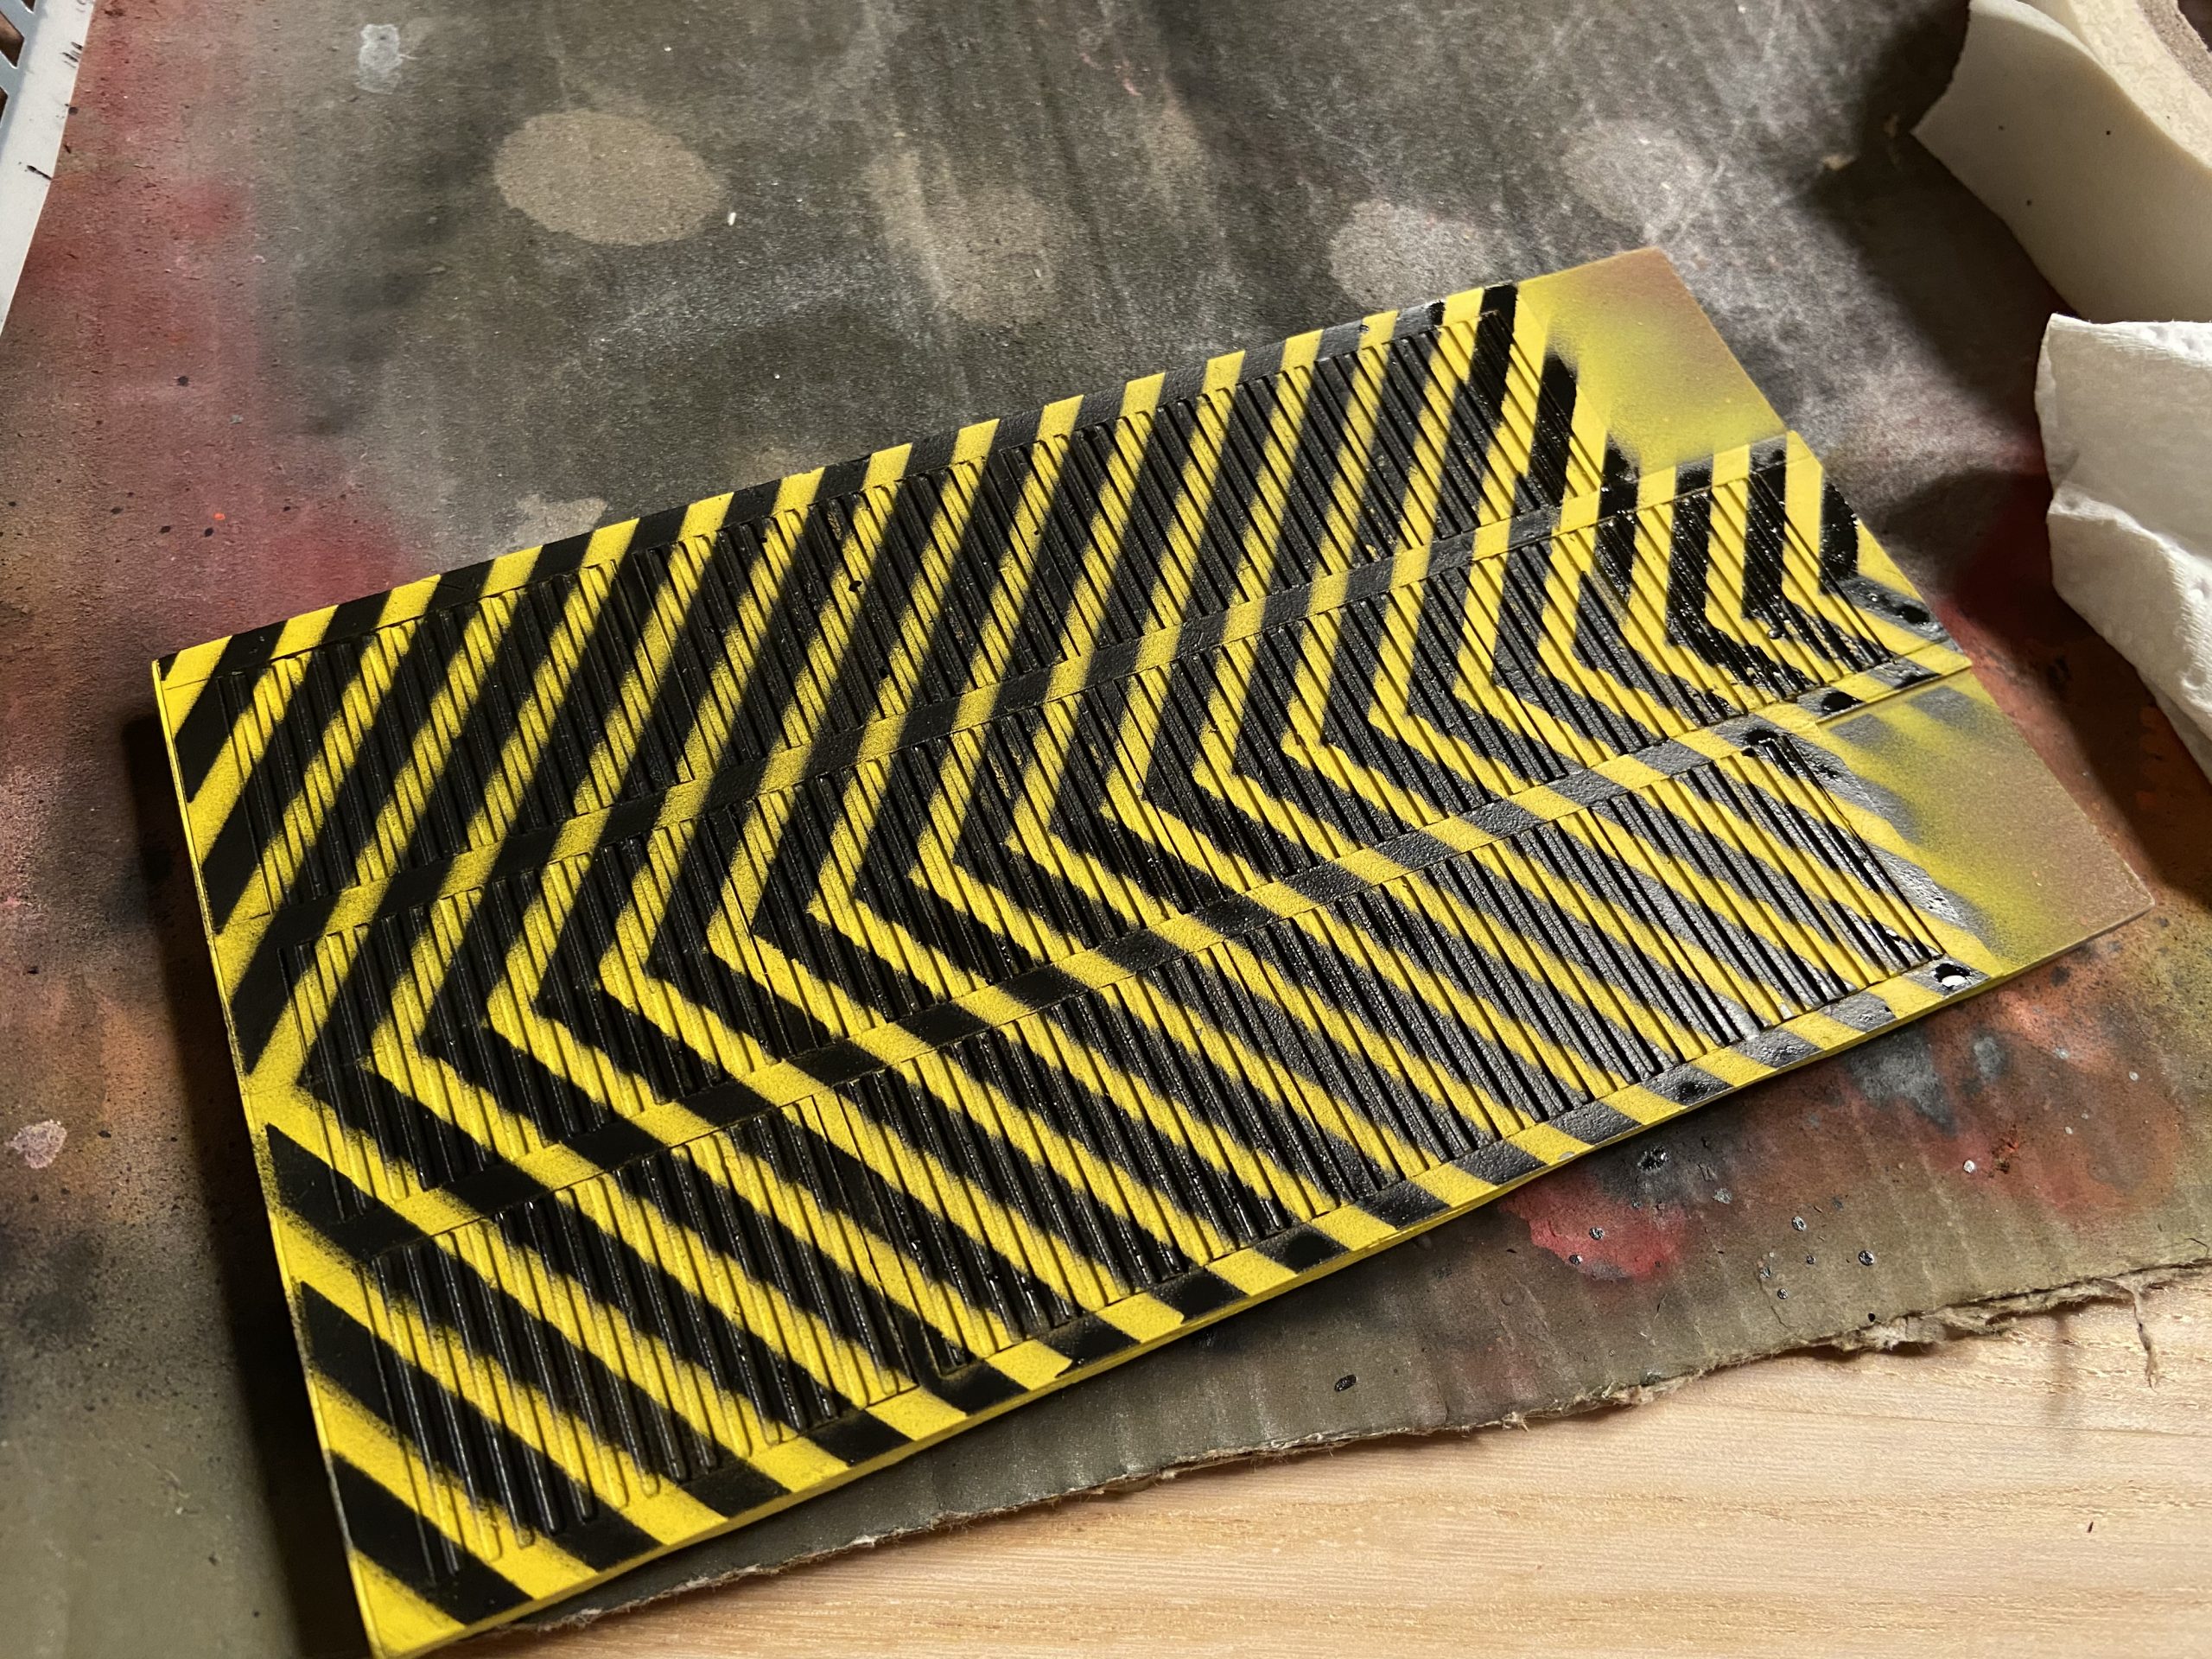
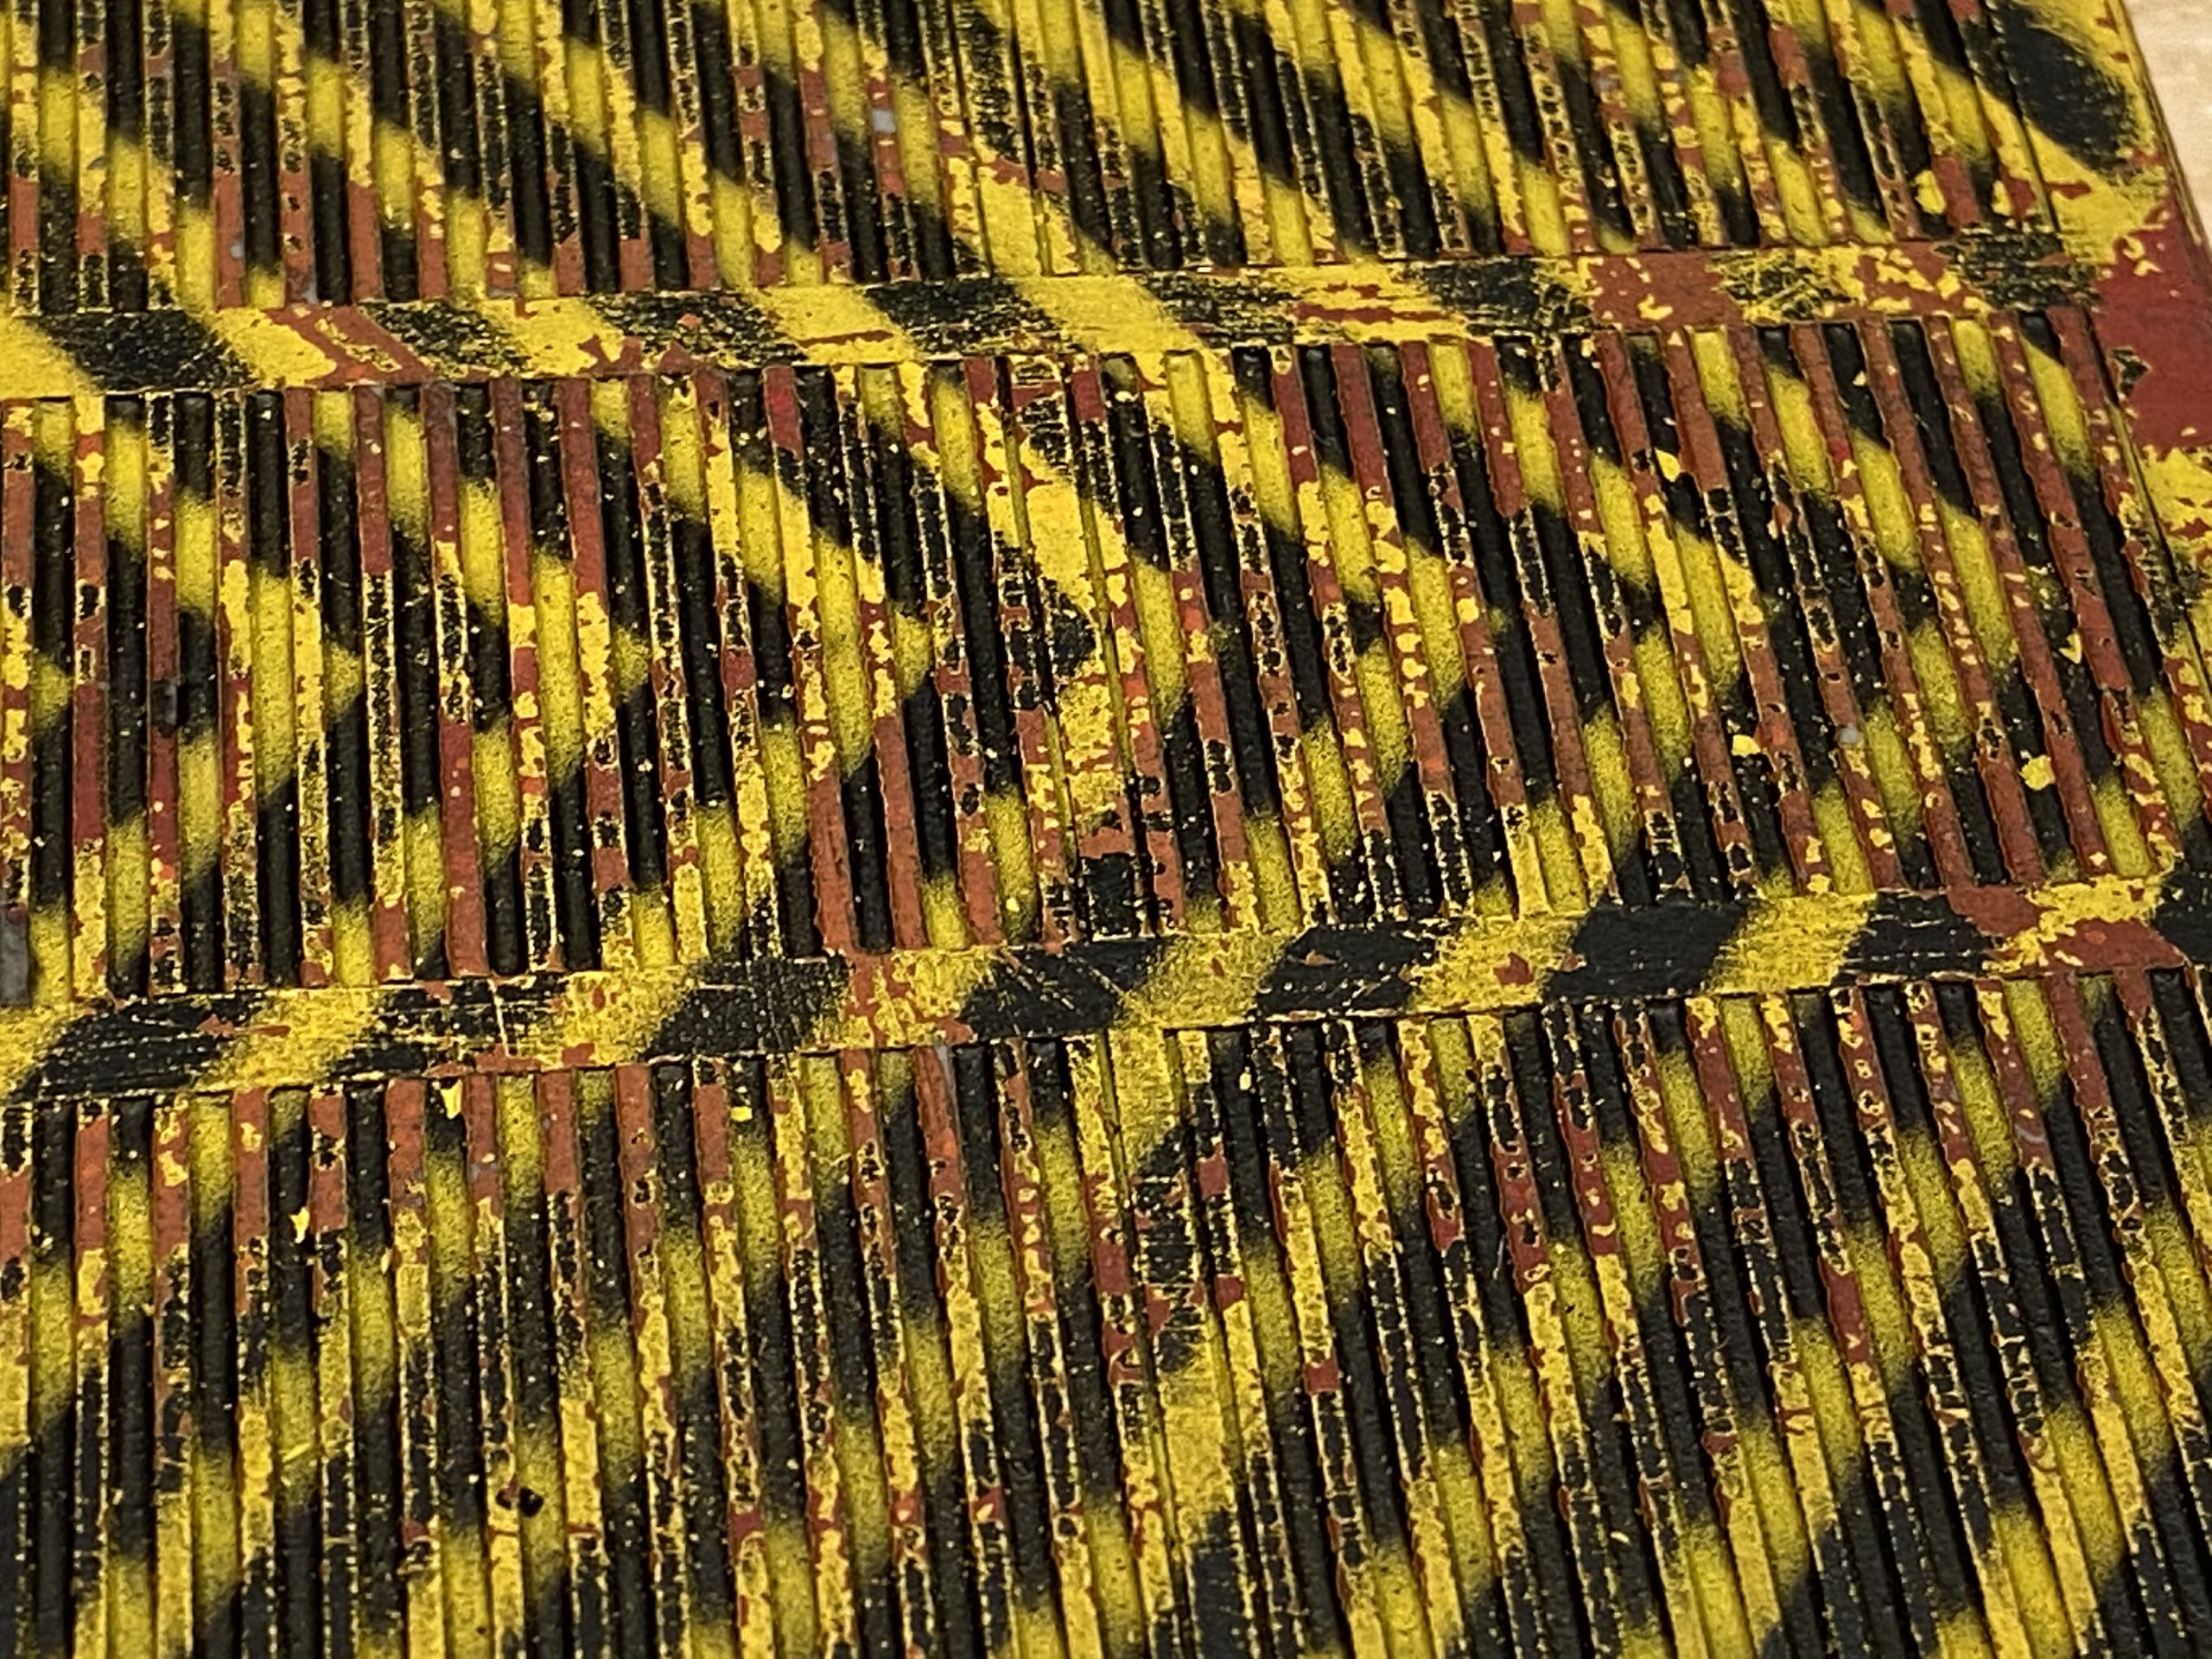
The floor will eventually have miniatures on it. So the bright yellow will be hidden to some extent once the build is completed. But I hope it gives enough of a pop factor despite being buried at the bottom of the model.
But this also means, that if I mess it up, it’s easily hidden!
Hazard Striped Floor Method
I first washed the Forgeworld resin, as you always should.
I then did a base layer of Chaotic Red from Army Painter.
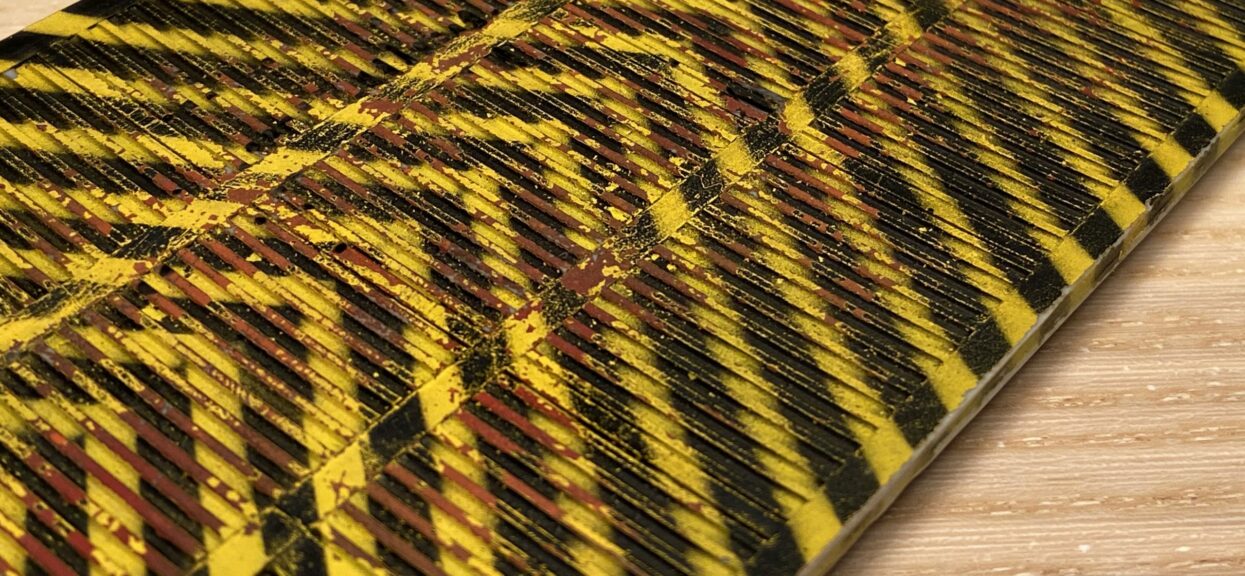
This gives a good deep red for the lower layer of rust. But while doing my practice Munitorum Armoured Containers I found that it needs some other tones of red and orange for a better ruddy effect.
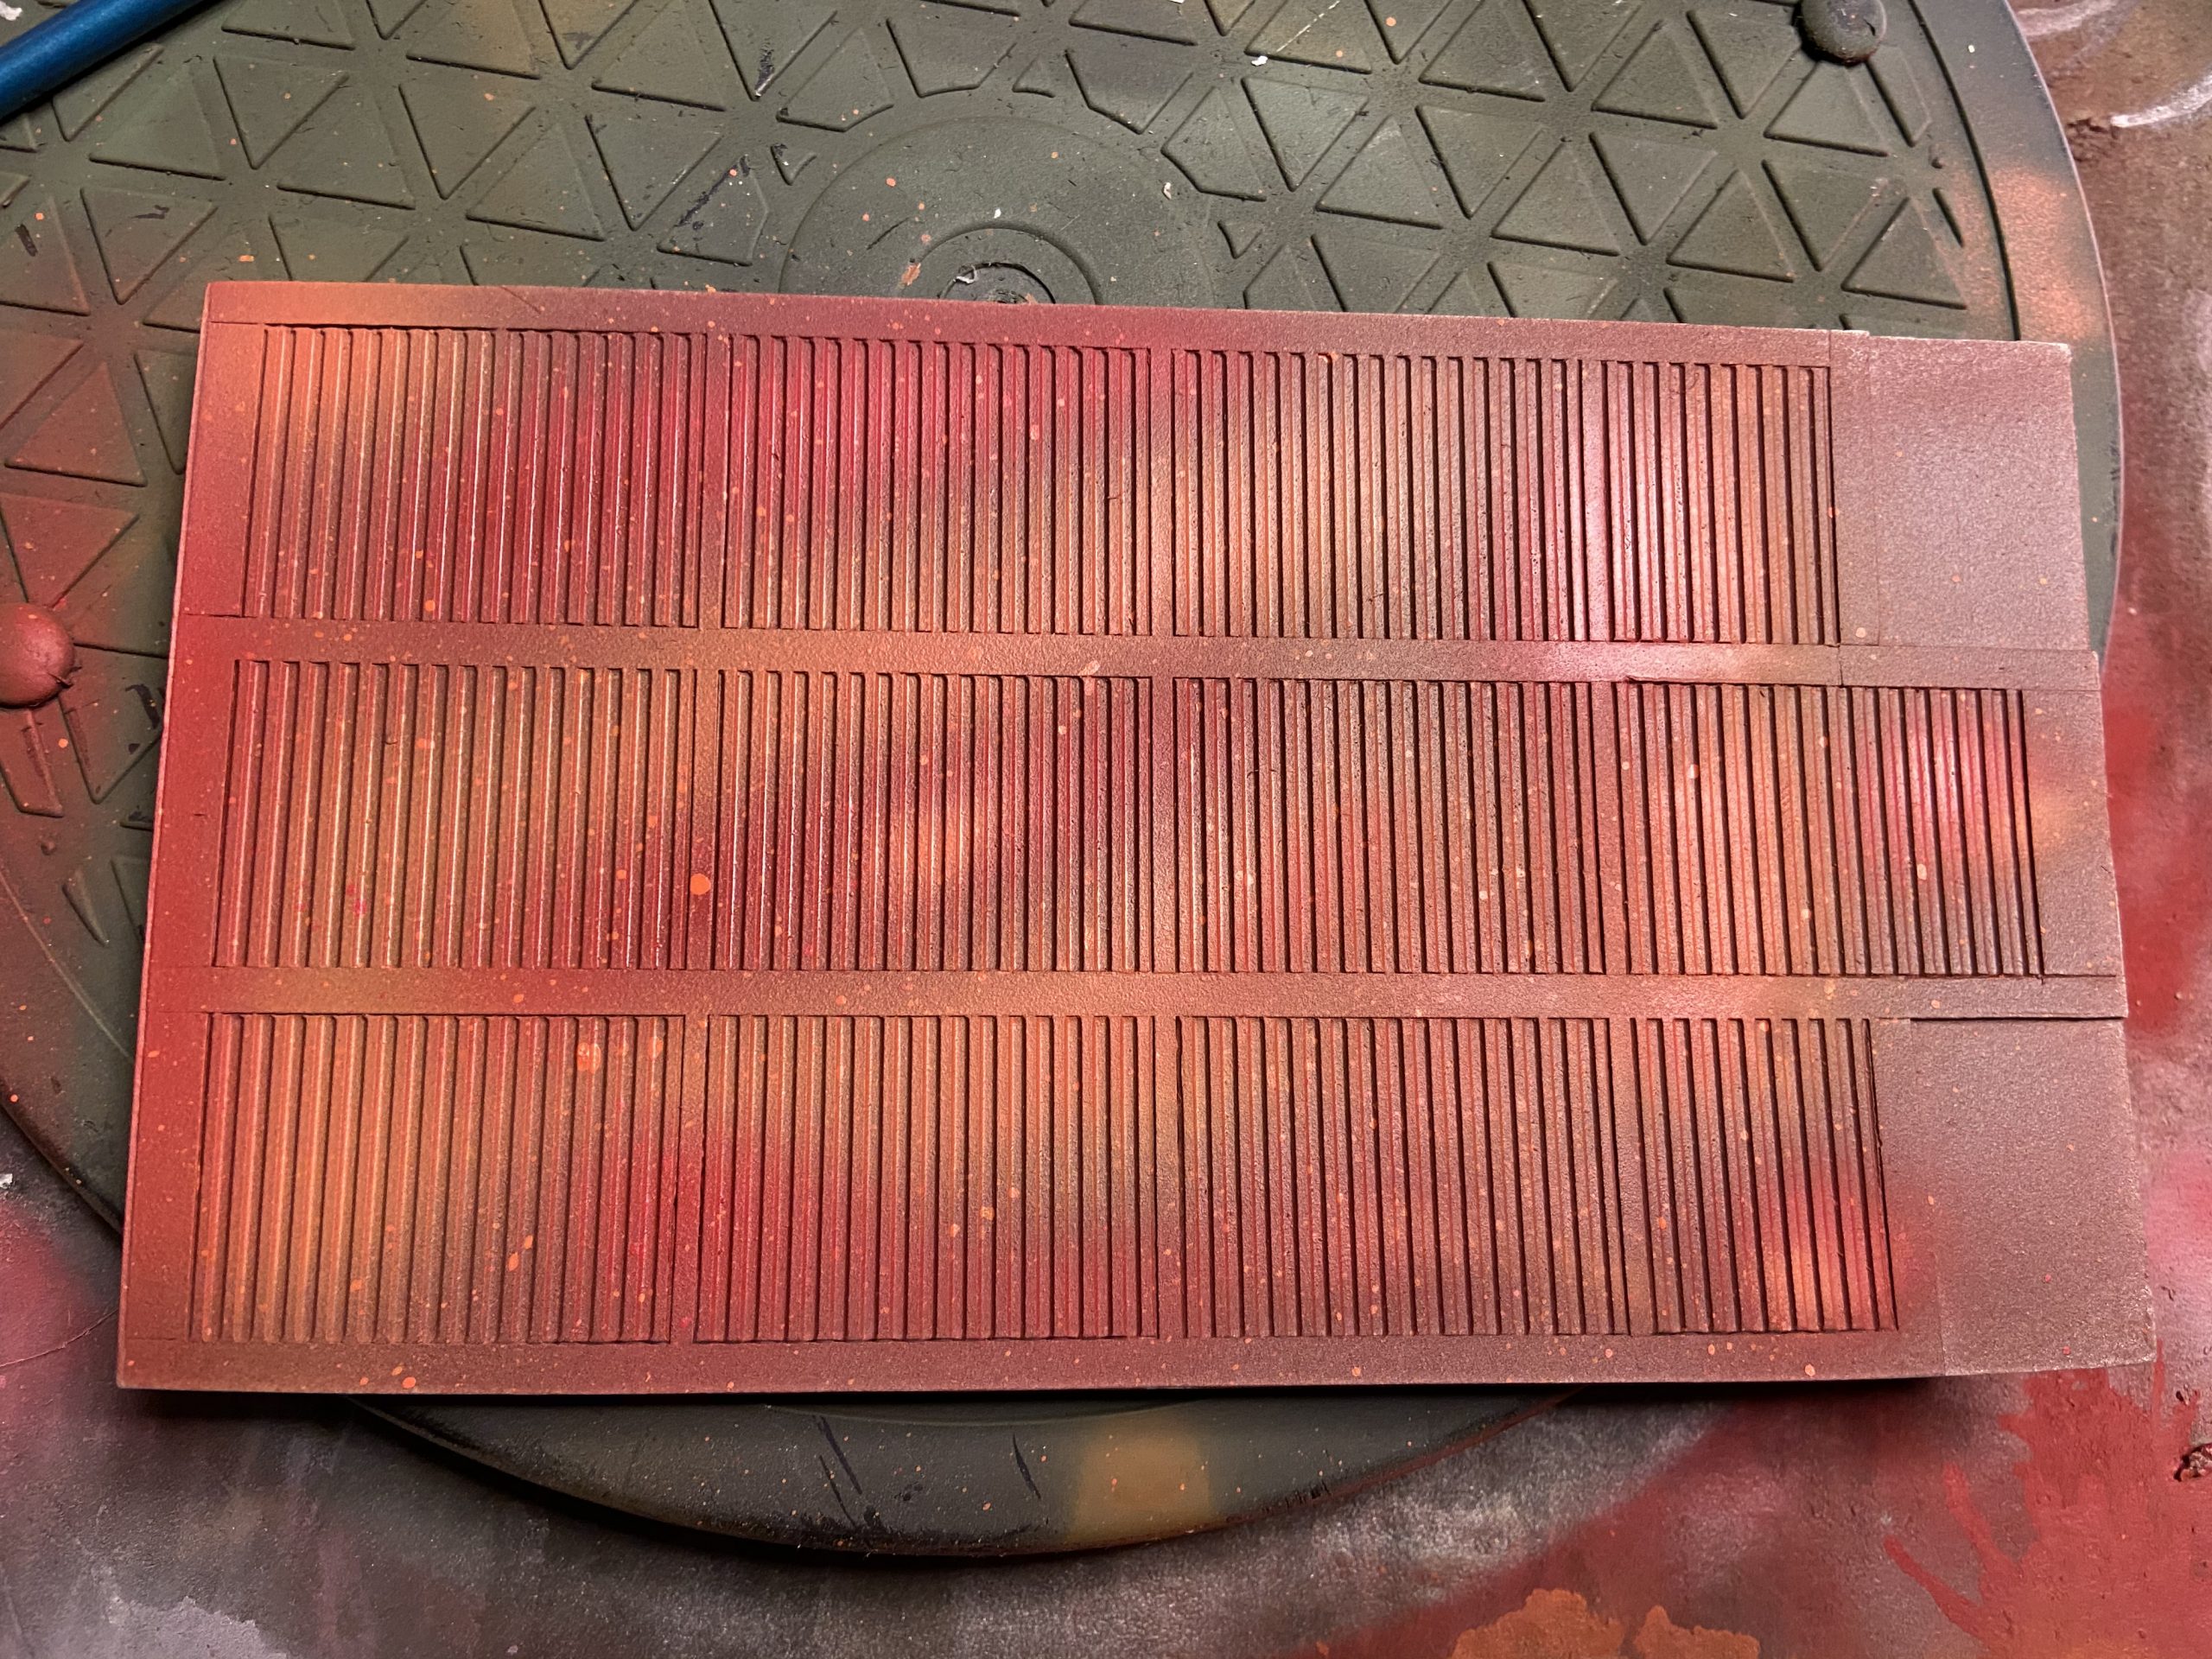
I, therefore, switched to using an airbrush at this point to layer on some varying reds, browns and oranges. I concentrated these towards the centre and front of the floor as these would be the most worn areas.
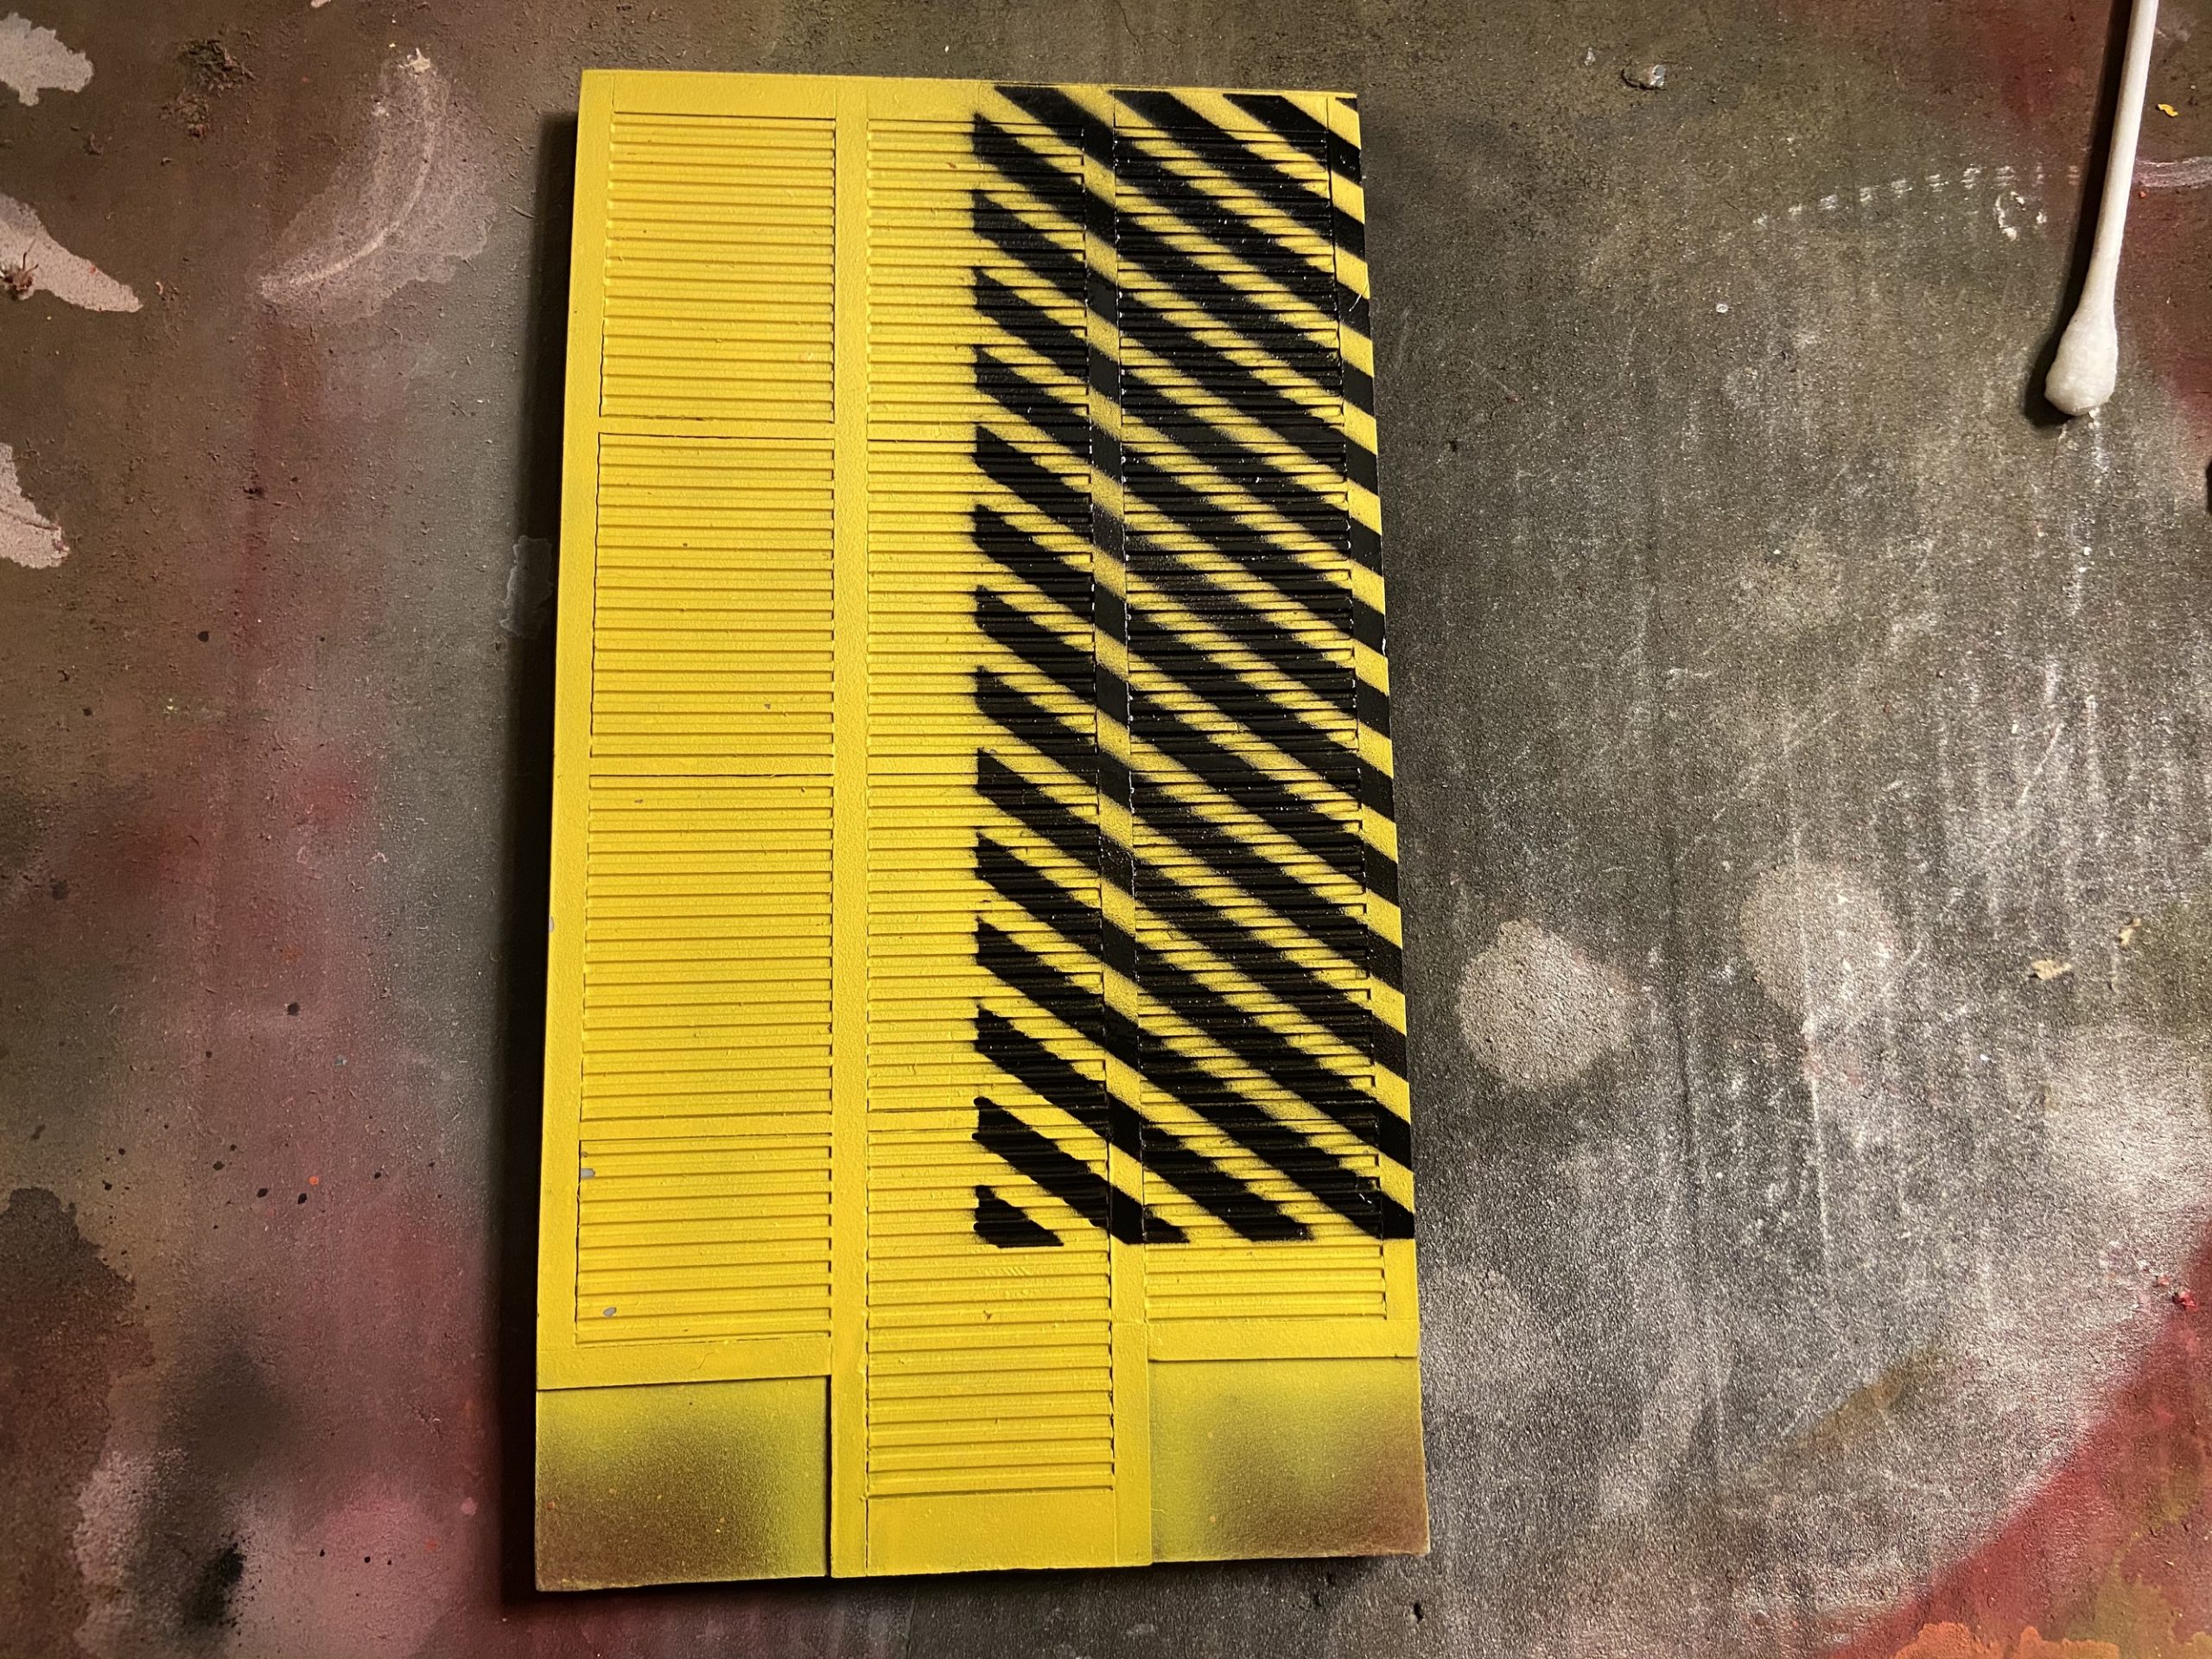
I wanted the edges to be pure hazard stripes, with no wear and tear. Then gradually moving into the centre it would have wear and rust. And then in the centre would be more wear, less rust and some bear silver metal. This would give the impression of a well-used floor.
I tried to do a lighter layer towards the centre of the floor with the black and yellow. With more colour towards the sides and back. That’ll make the chipping stage a little easier.
-

- Rust Ready

-

- First half

Hazard Striped Floor Order
- Wash Forgeworld resin
- Chaotic Red
- Reds, oranges and browns via airbrush
- Spray droplets of bright orange (from a brush) using just air from the airbrush
- Hairspray
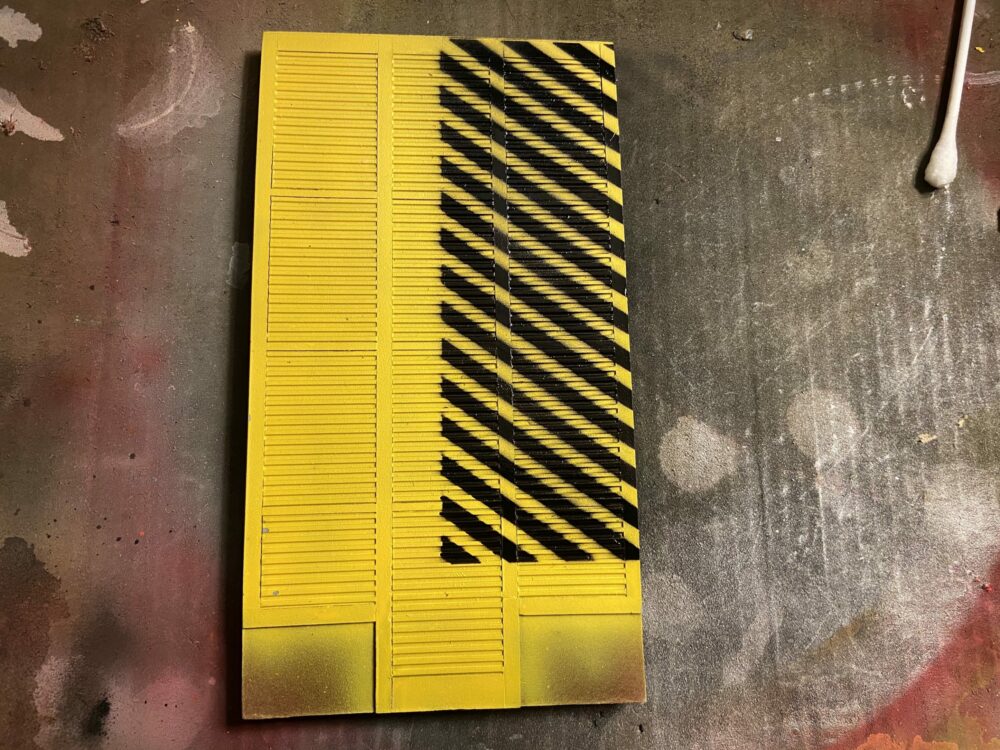
- Full coverage of yellow with airbrush
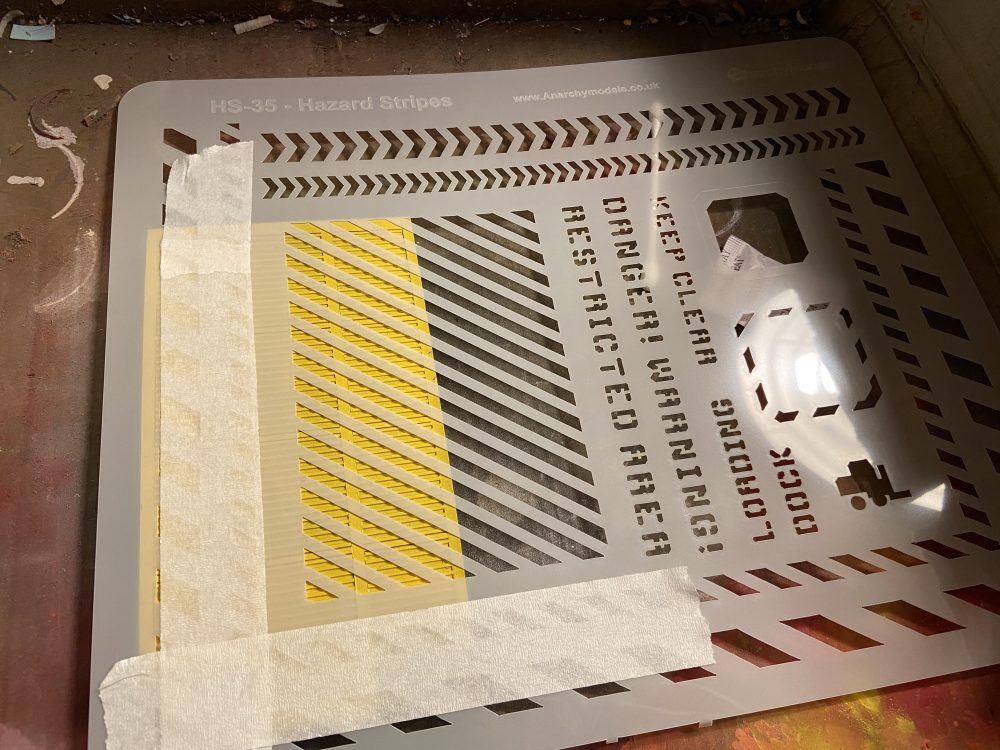
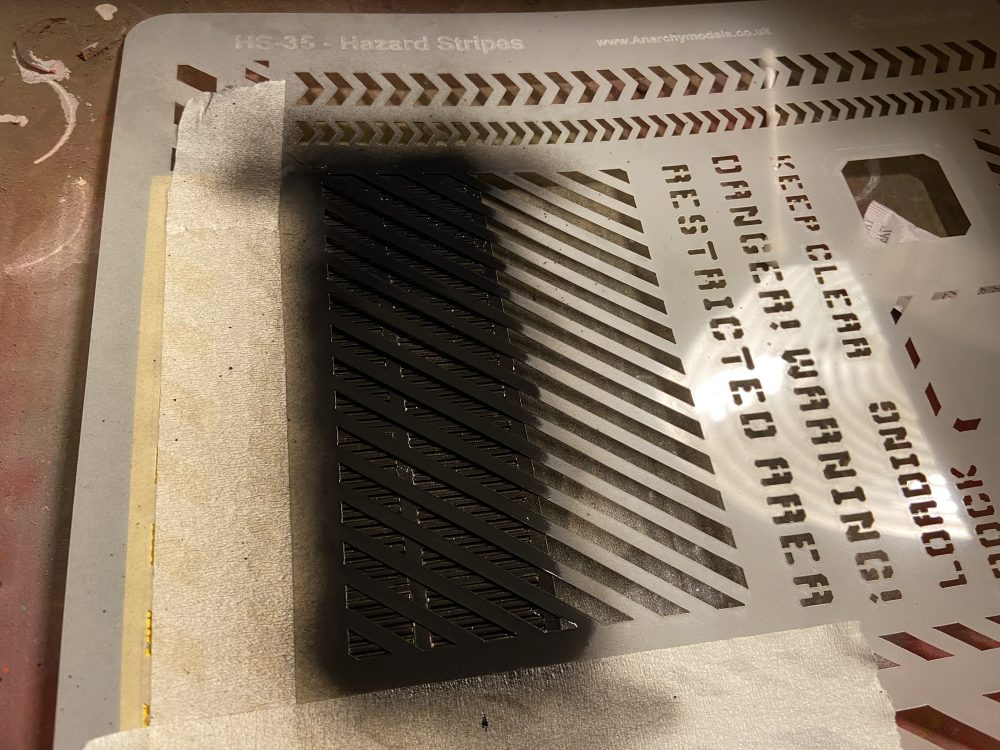
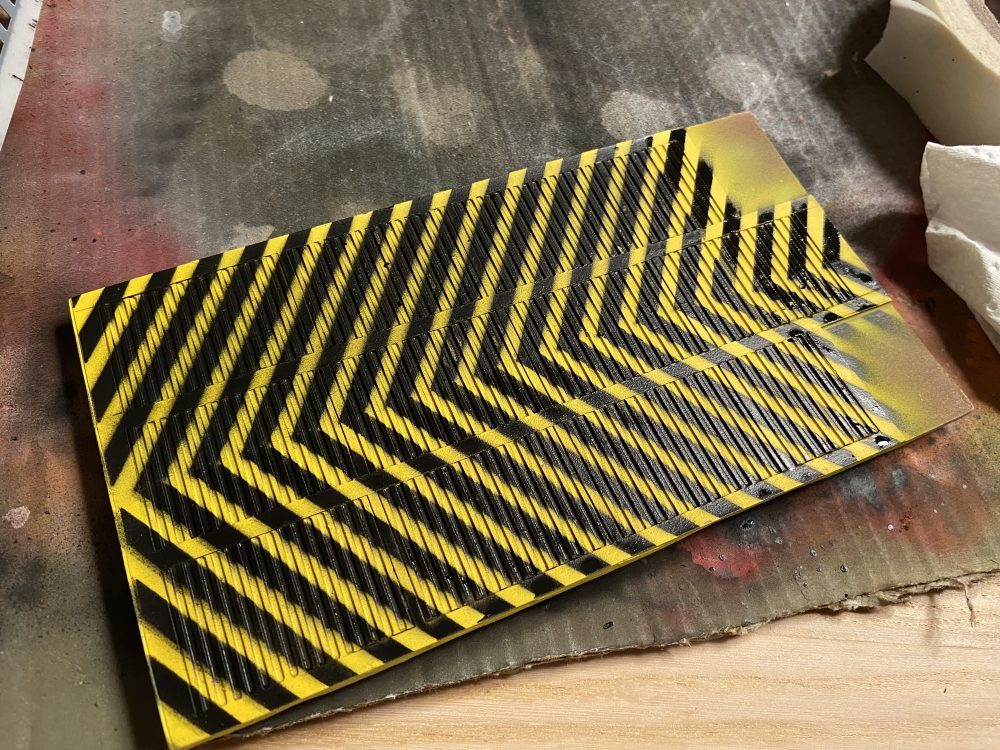
- Apply hazard stripe stencil
- Full coverage of black with airbrush
- Remove mask
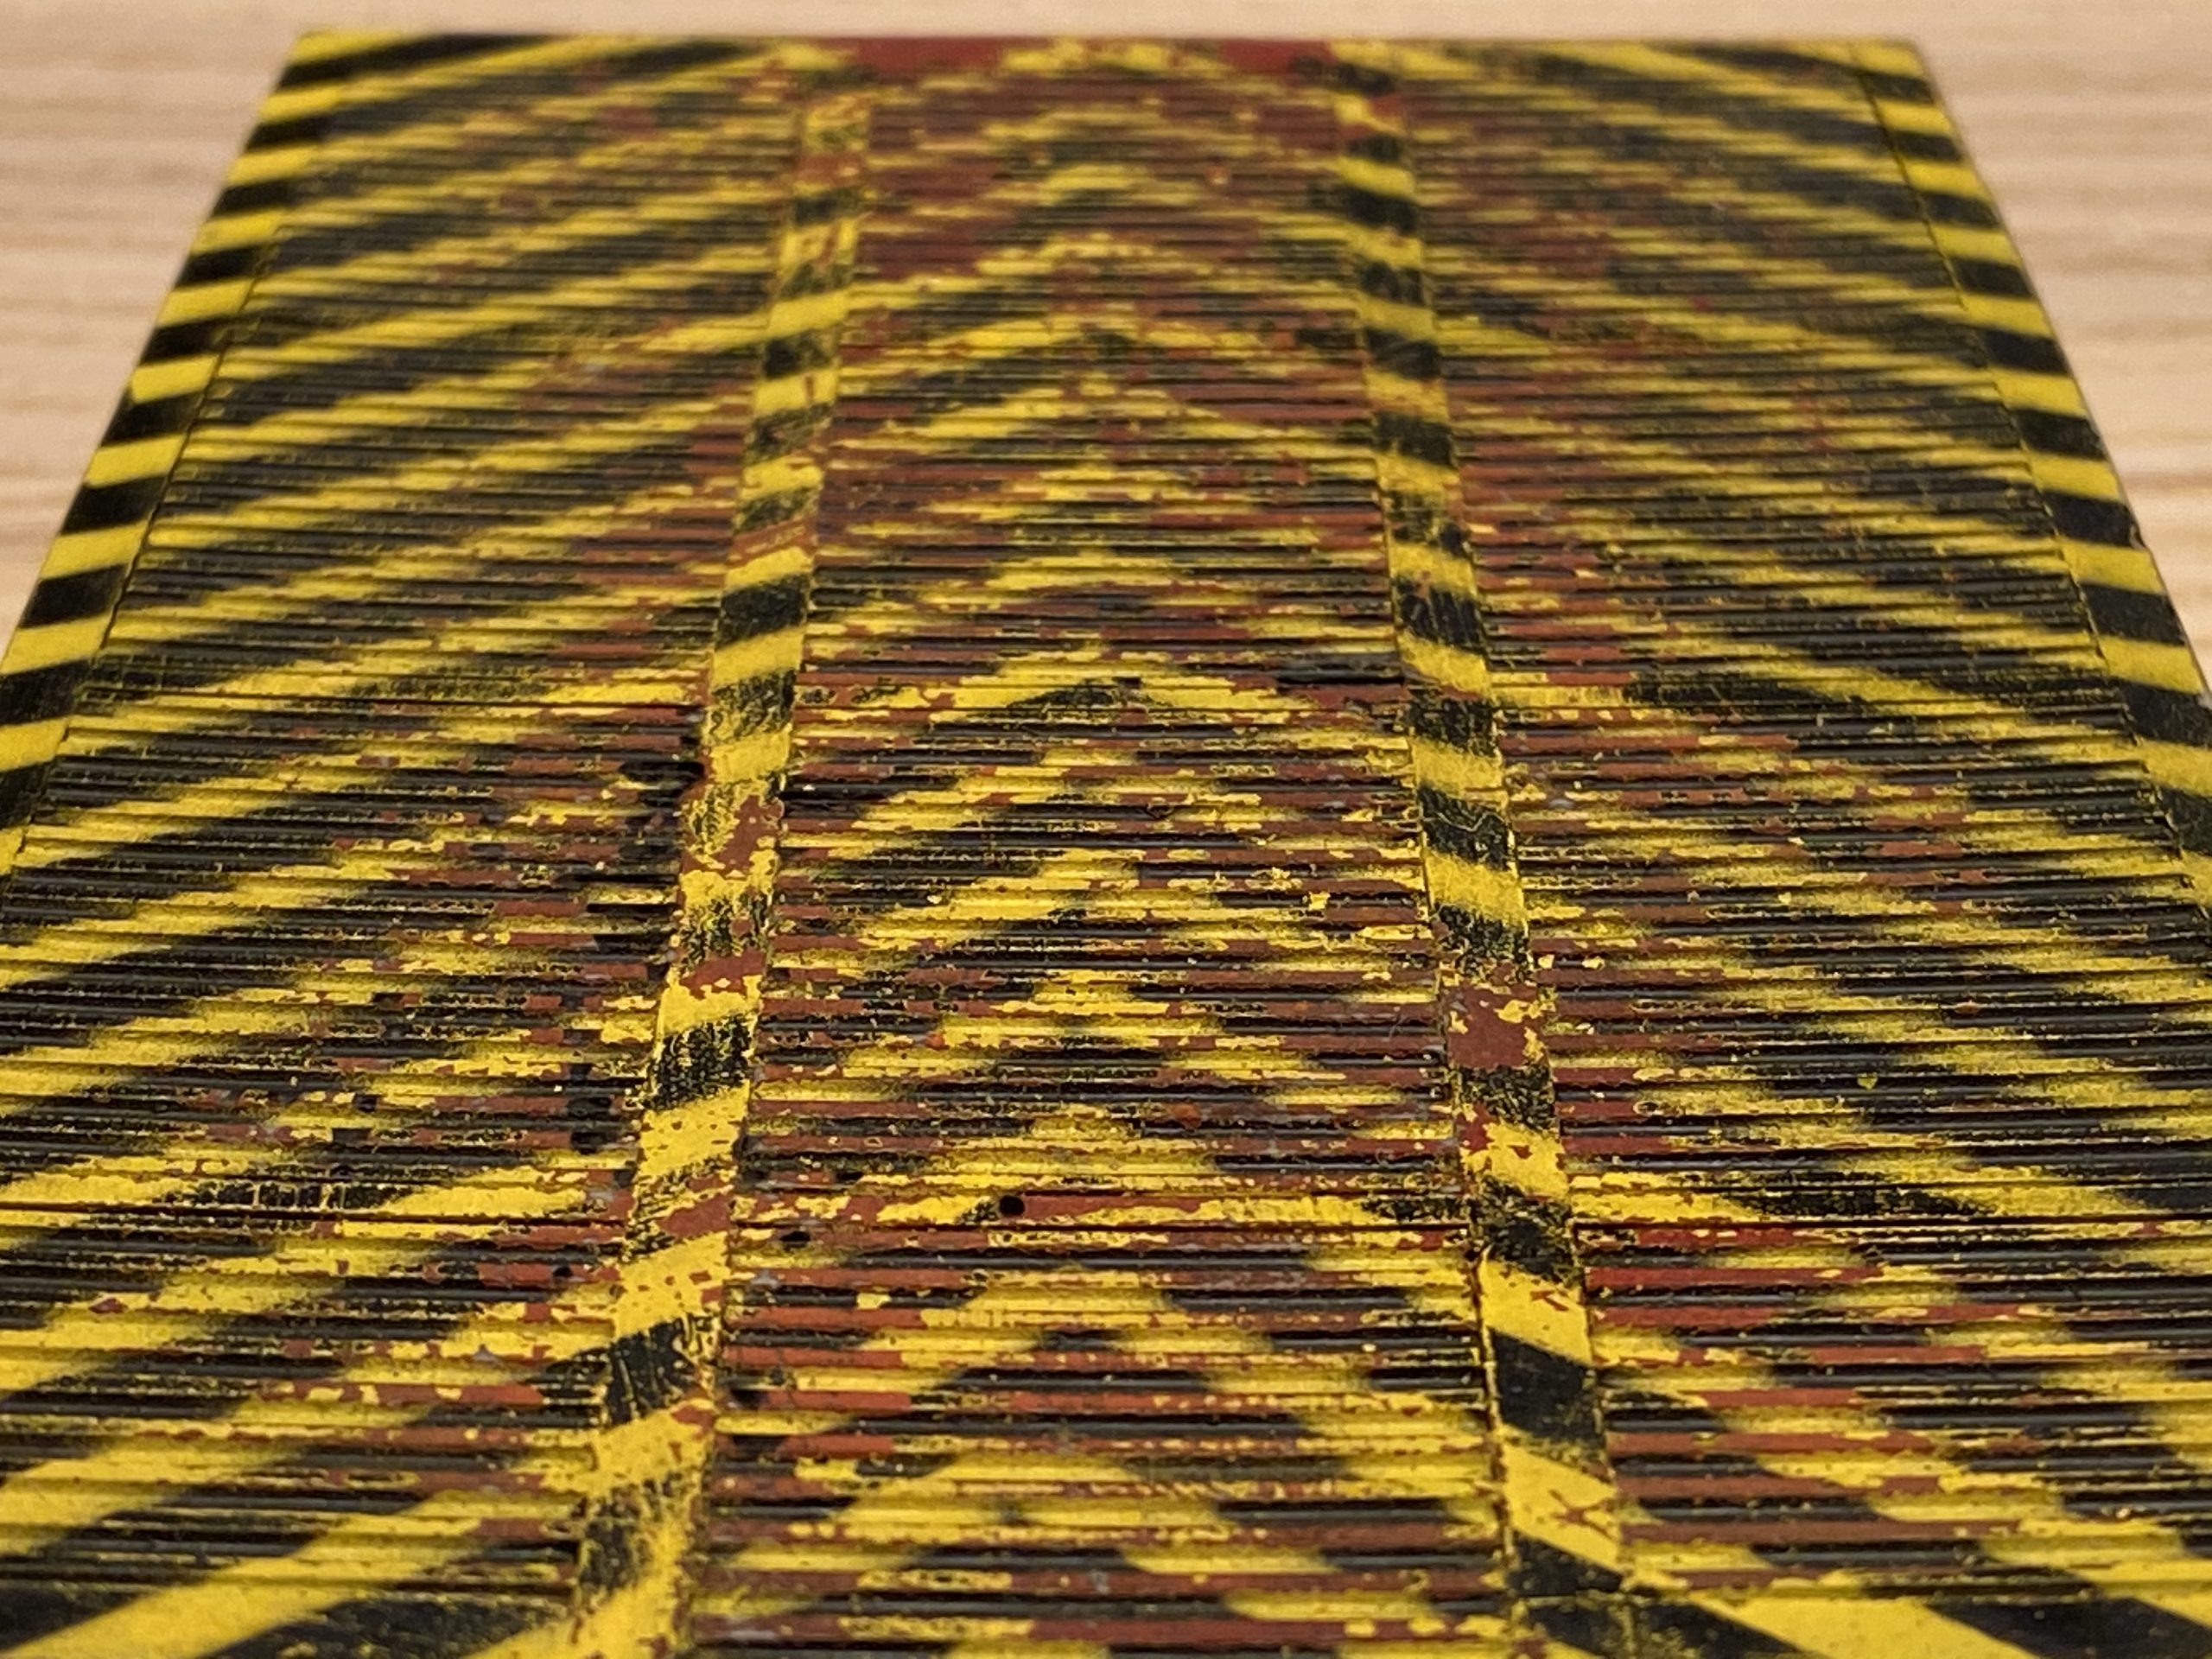
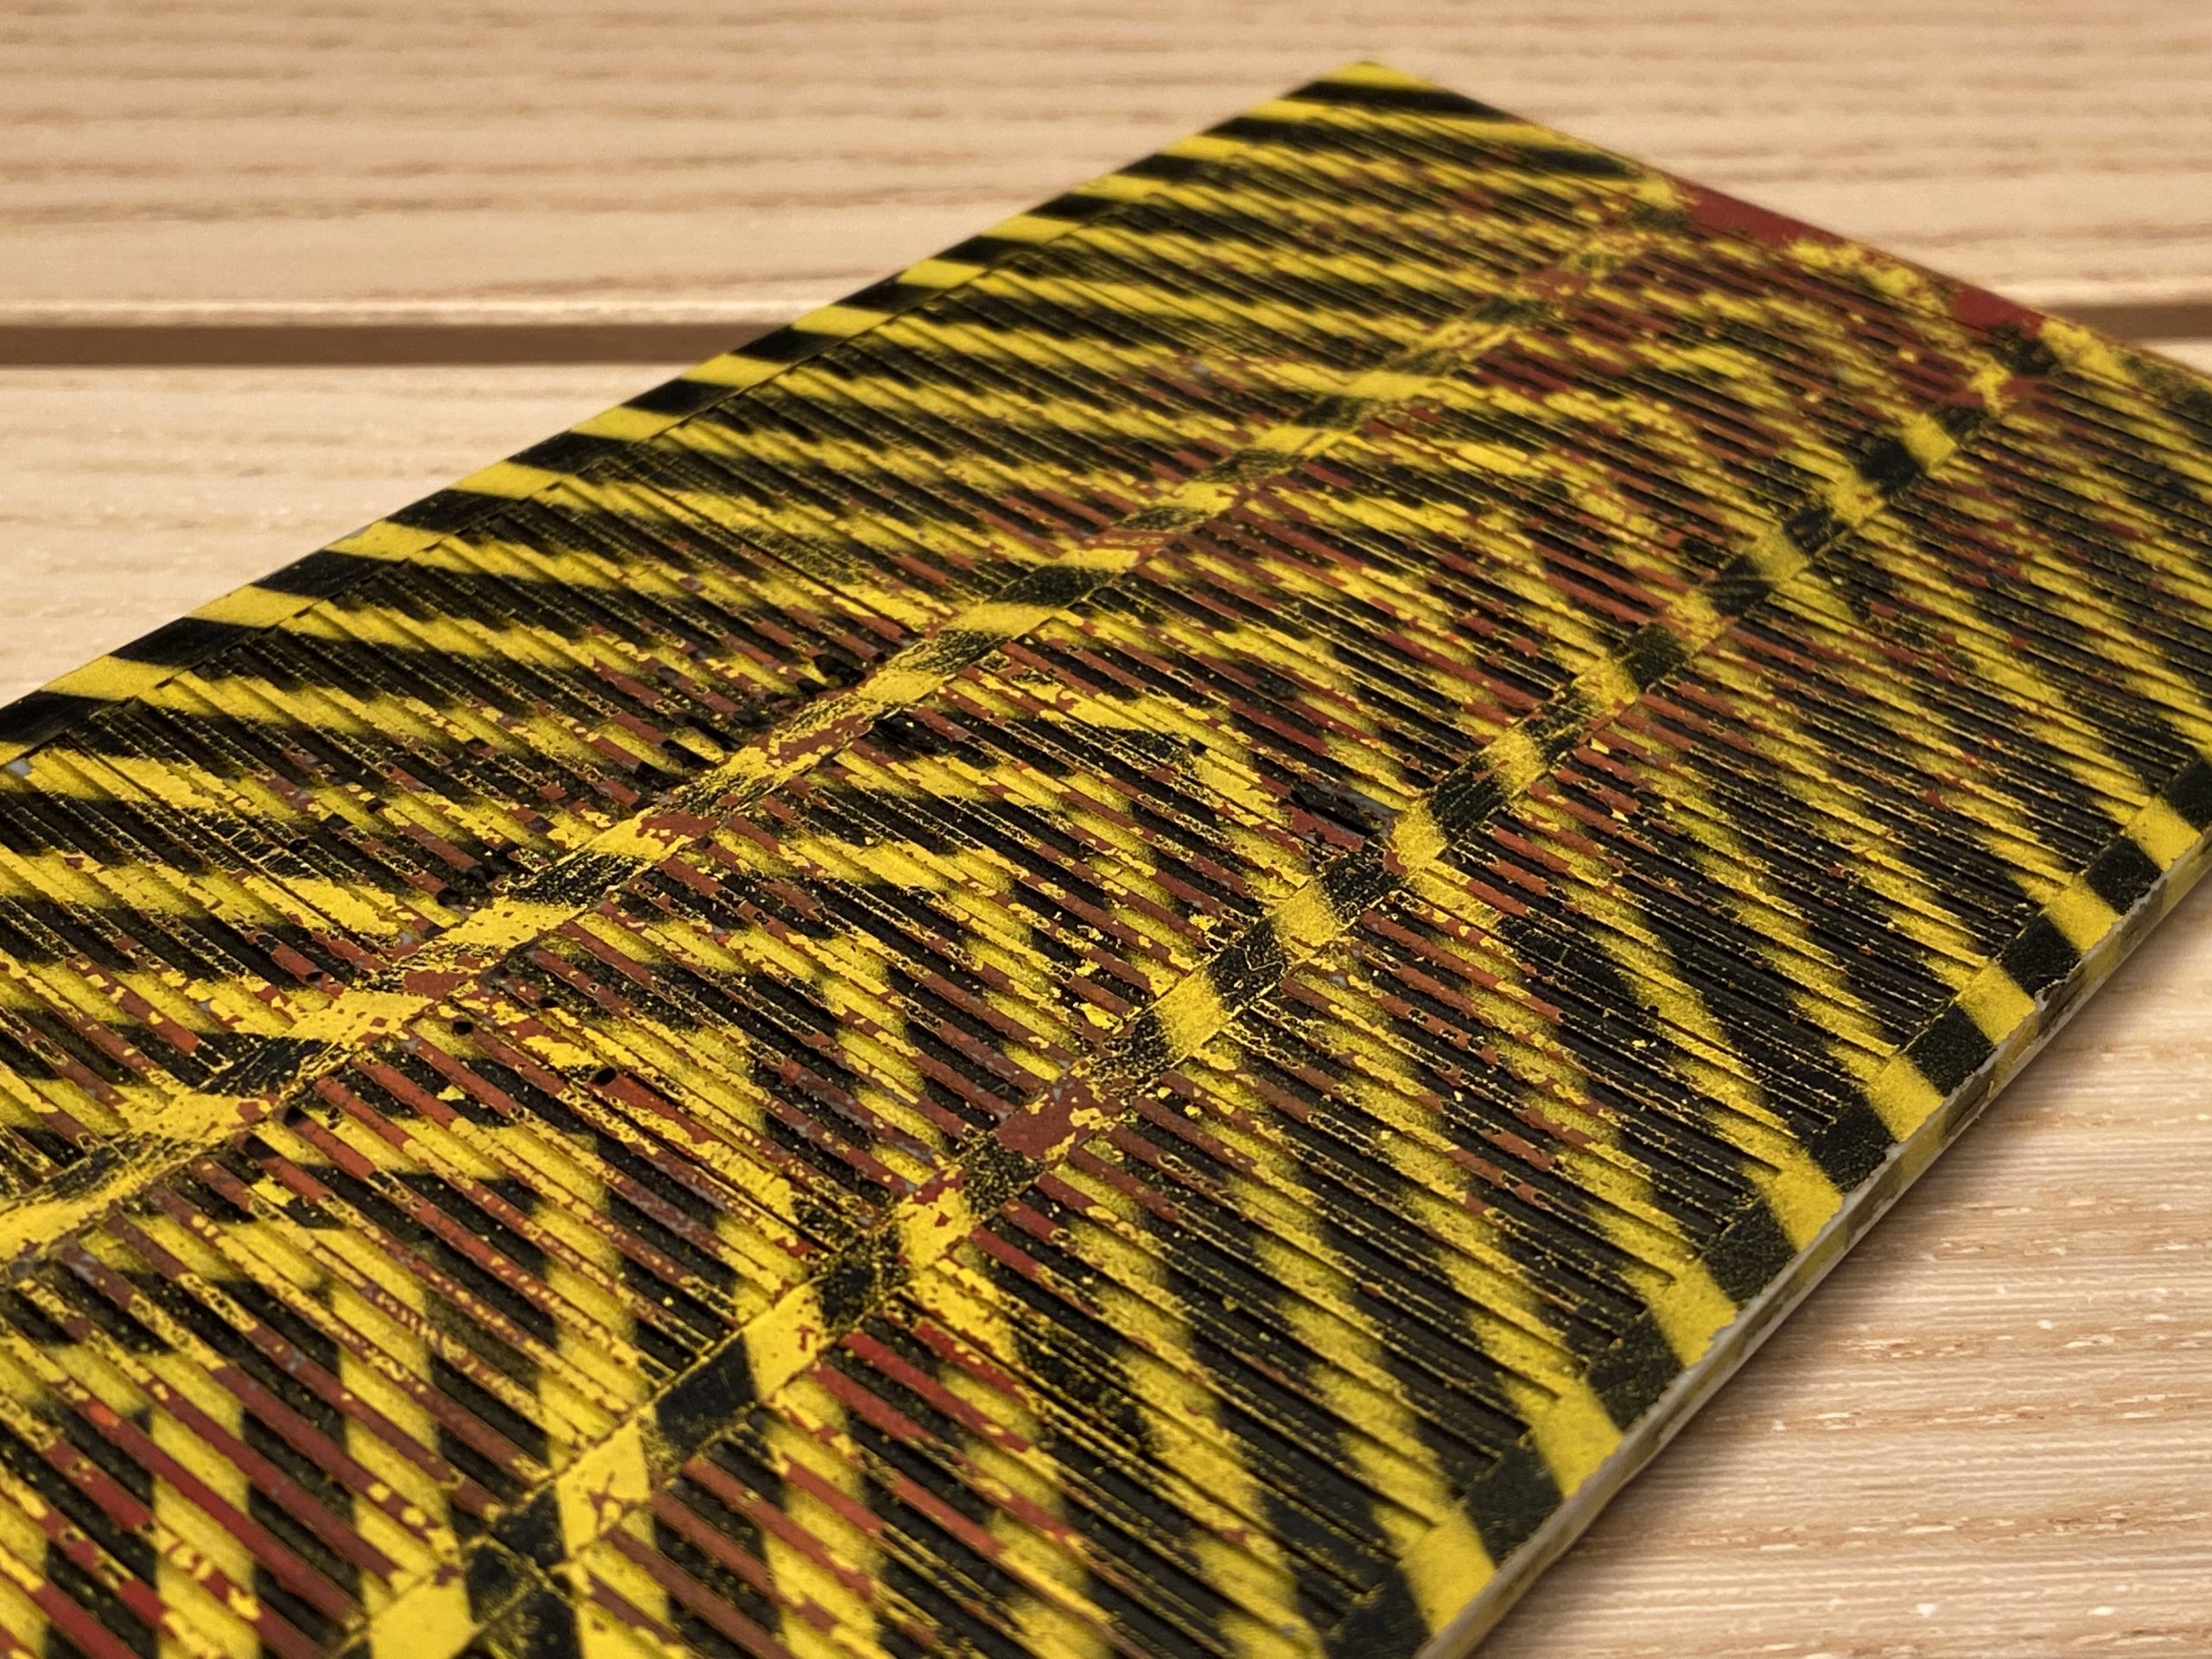
- Chip, distress, wear, scratch black and yellow layers
- Seal with Testor’s Dullcote
- Oil paints for rust and stains using several layers
- Seal again
- Apply pigments for rust and texture
- Seal again
- Relax
When it comes to adding miniatures to this floor I will pin them so I don’t need to glue them to it or disturb the paint job. Or at least minimise any disturbance.
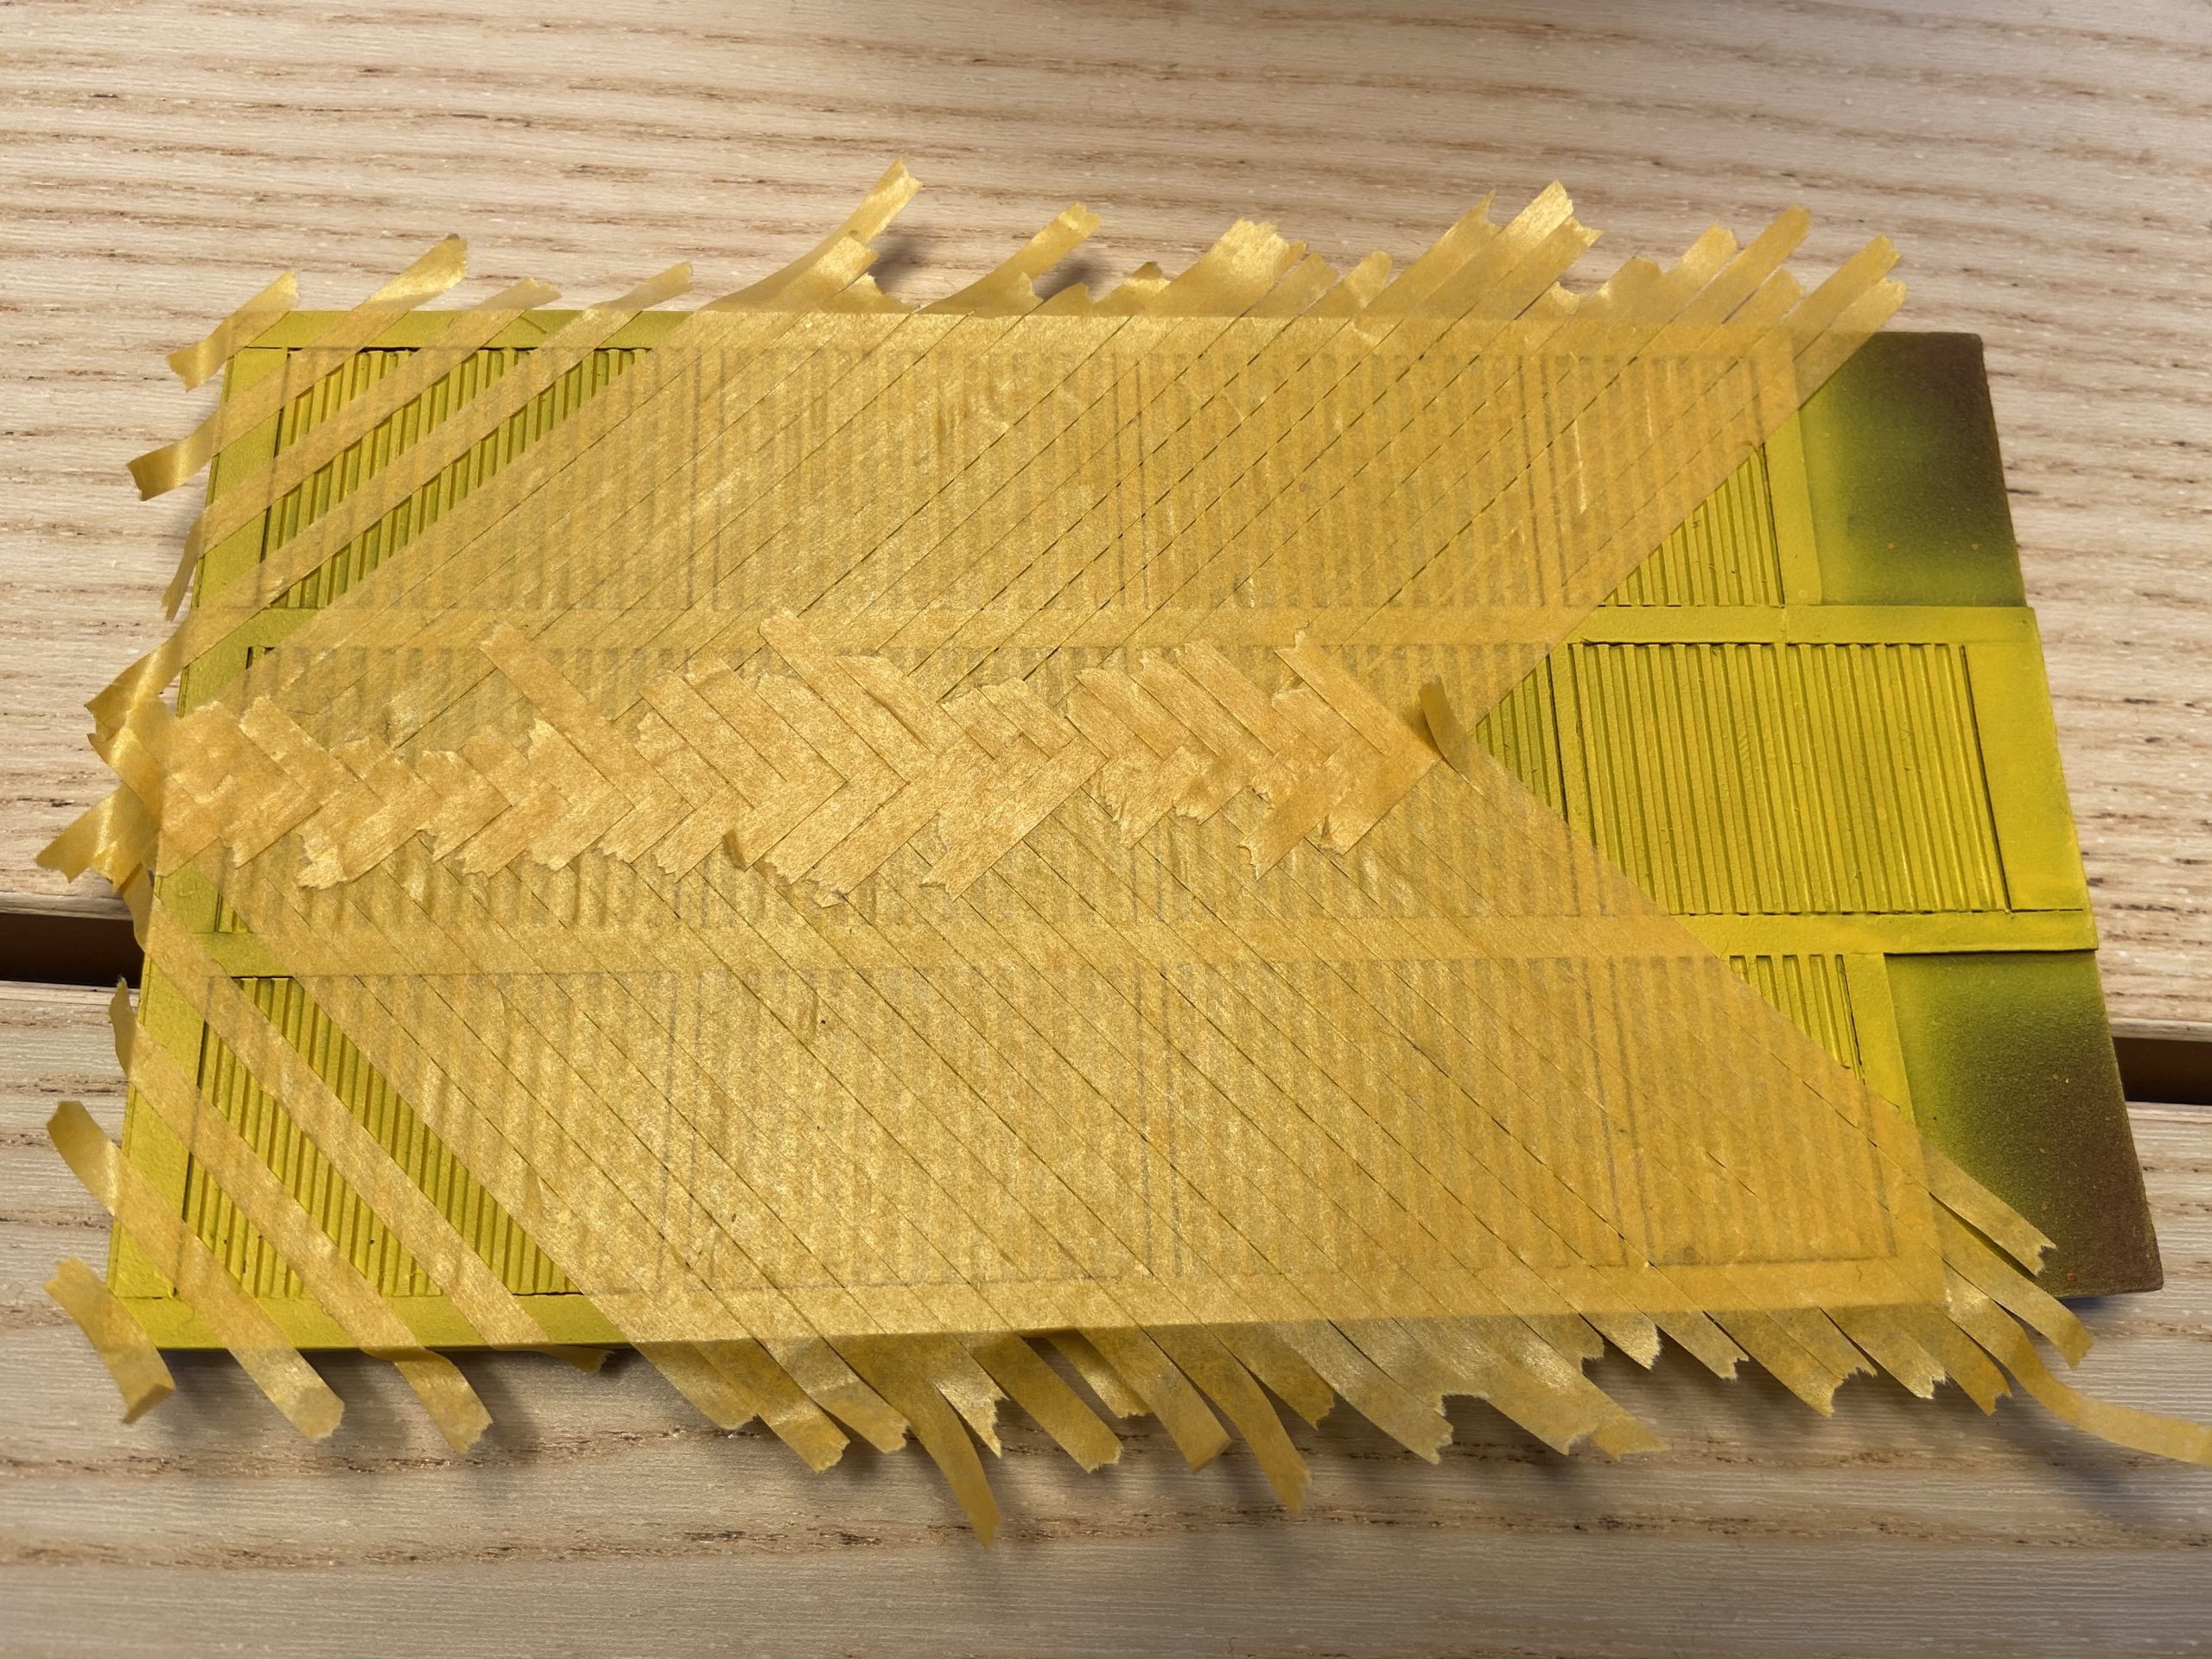
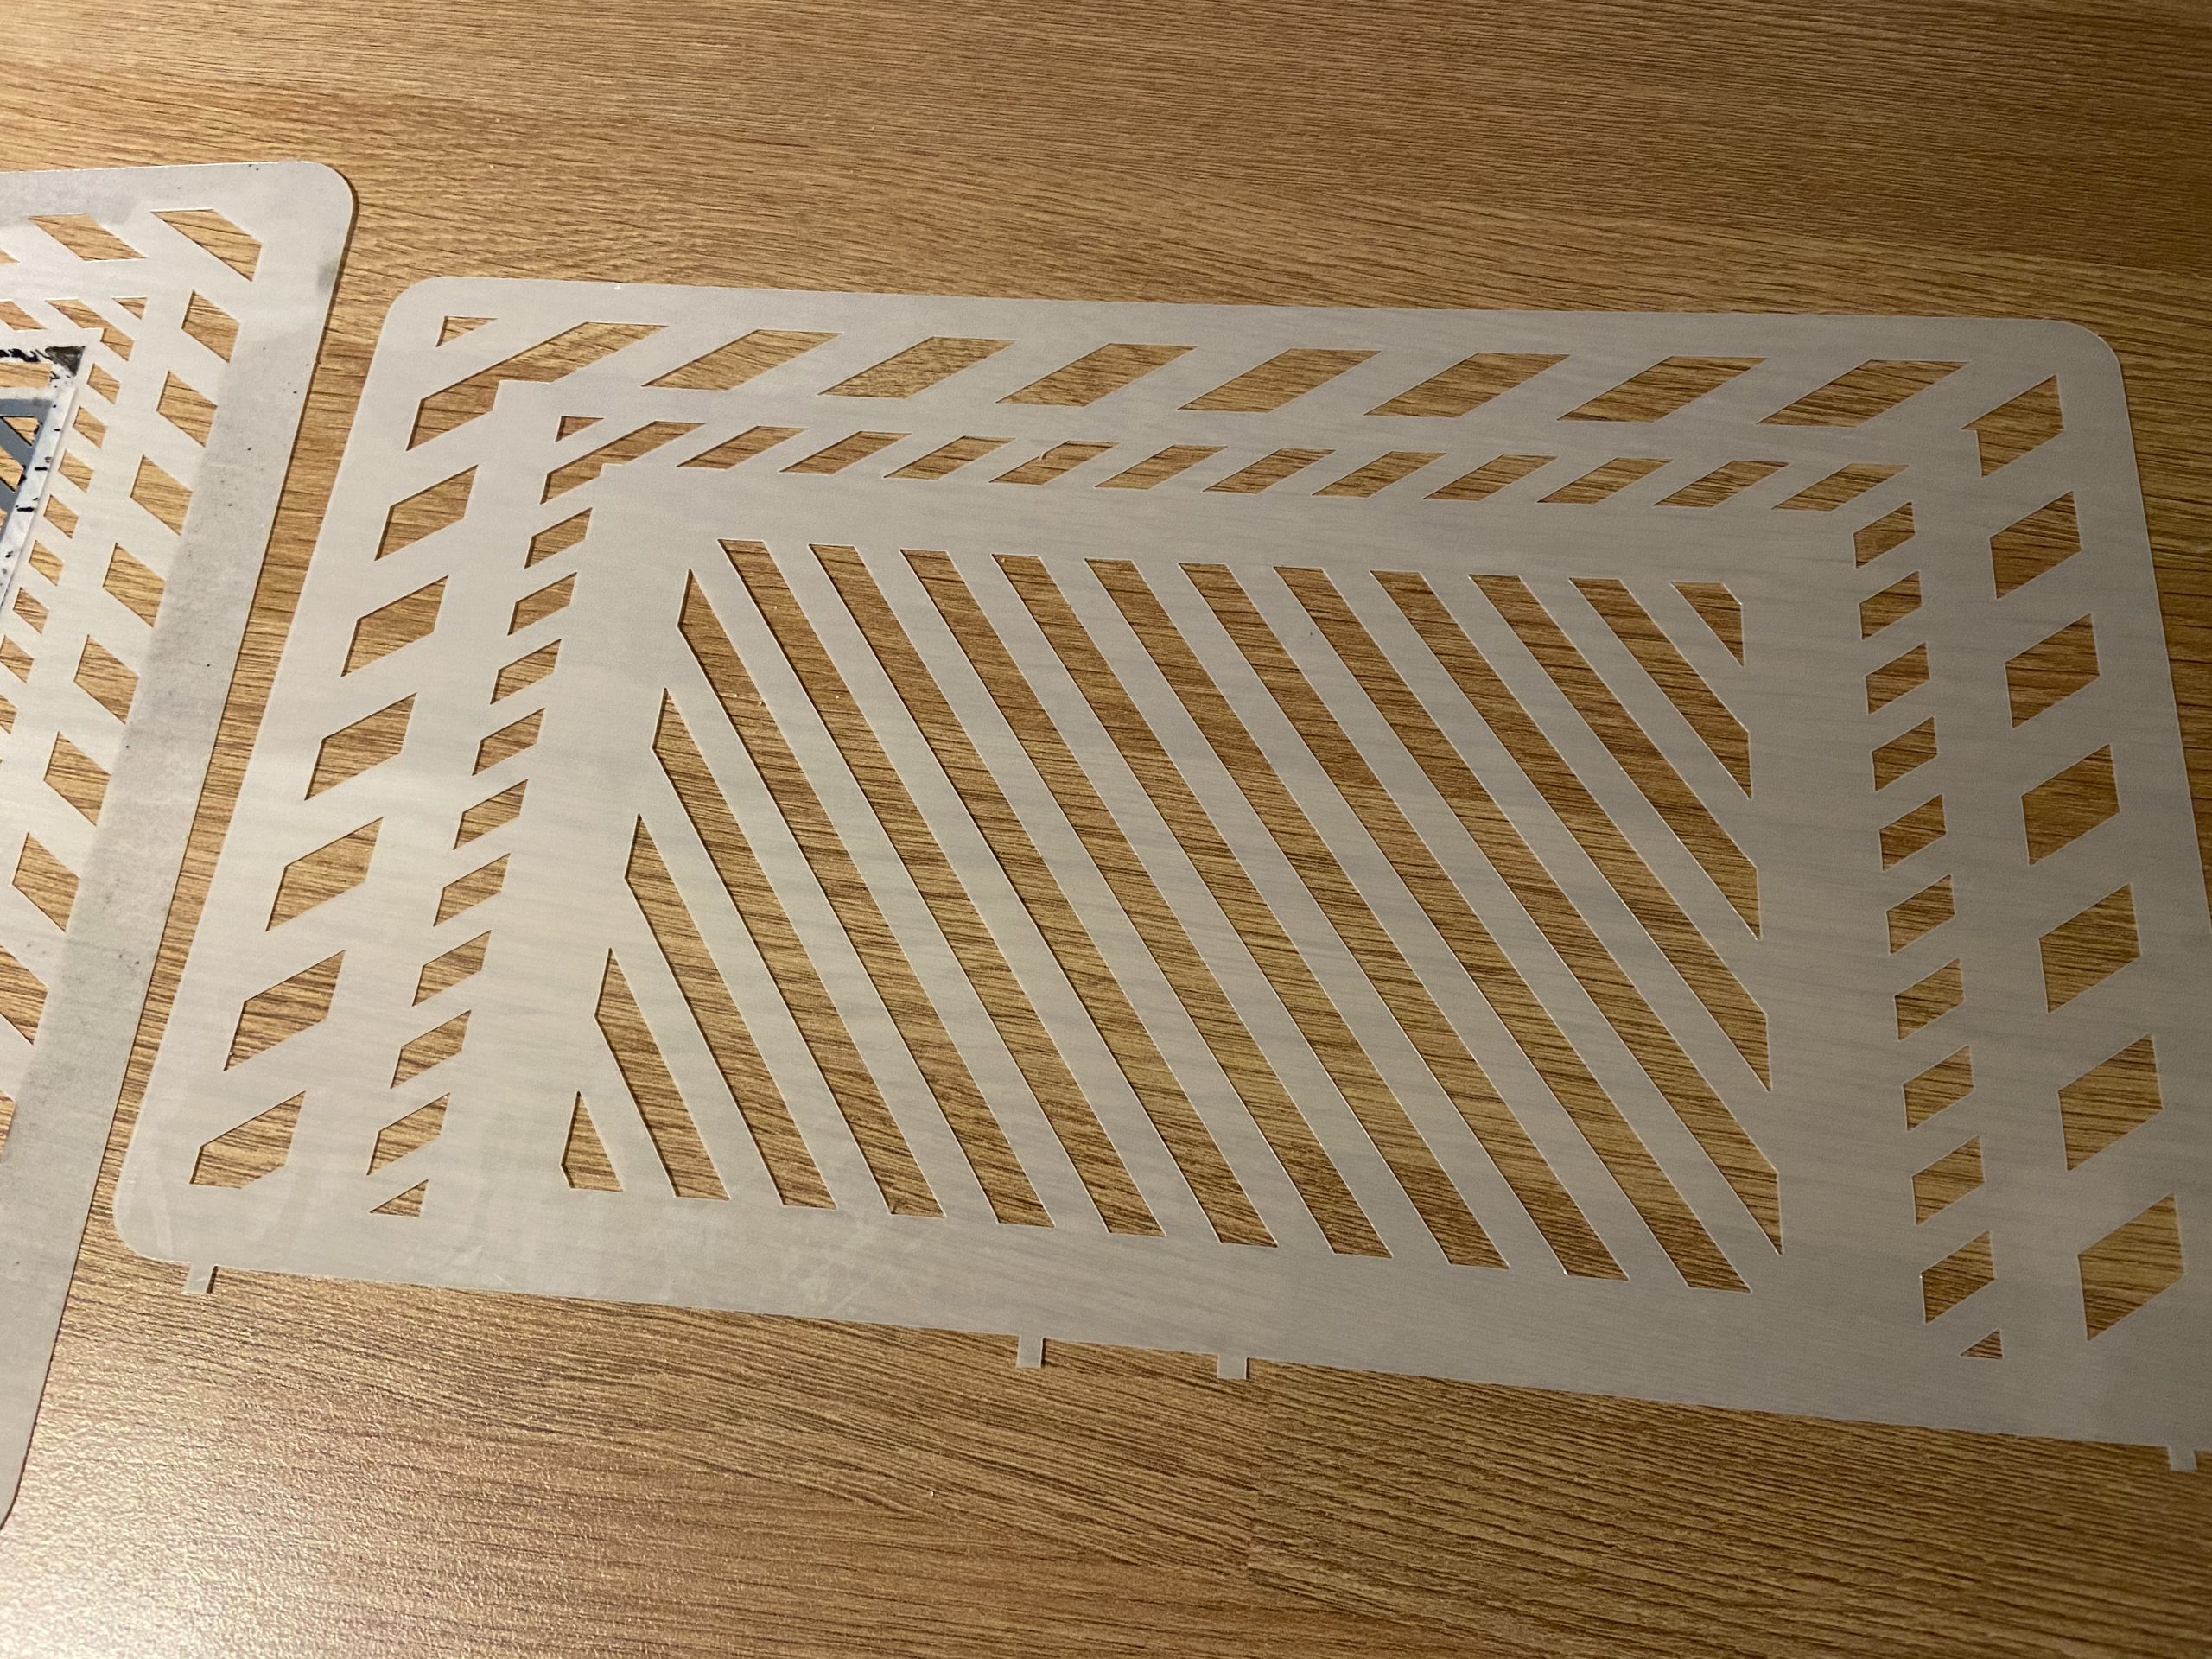
A Note About Hazard Stripes & Tape
My usual method of using tape did not work here, despite my best efforts. As I went down the floor and applied the tape the centre was moving to the right. This is when I decide to use the HS Stencil System – Hazard Stripes. The tape method was just not going to give a good result.

Off-centre
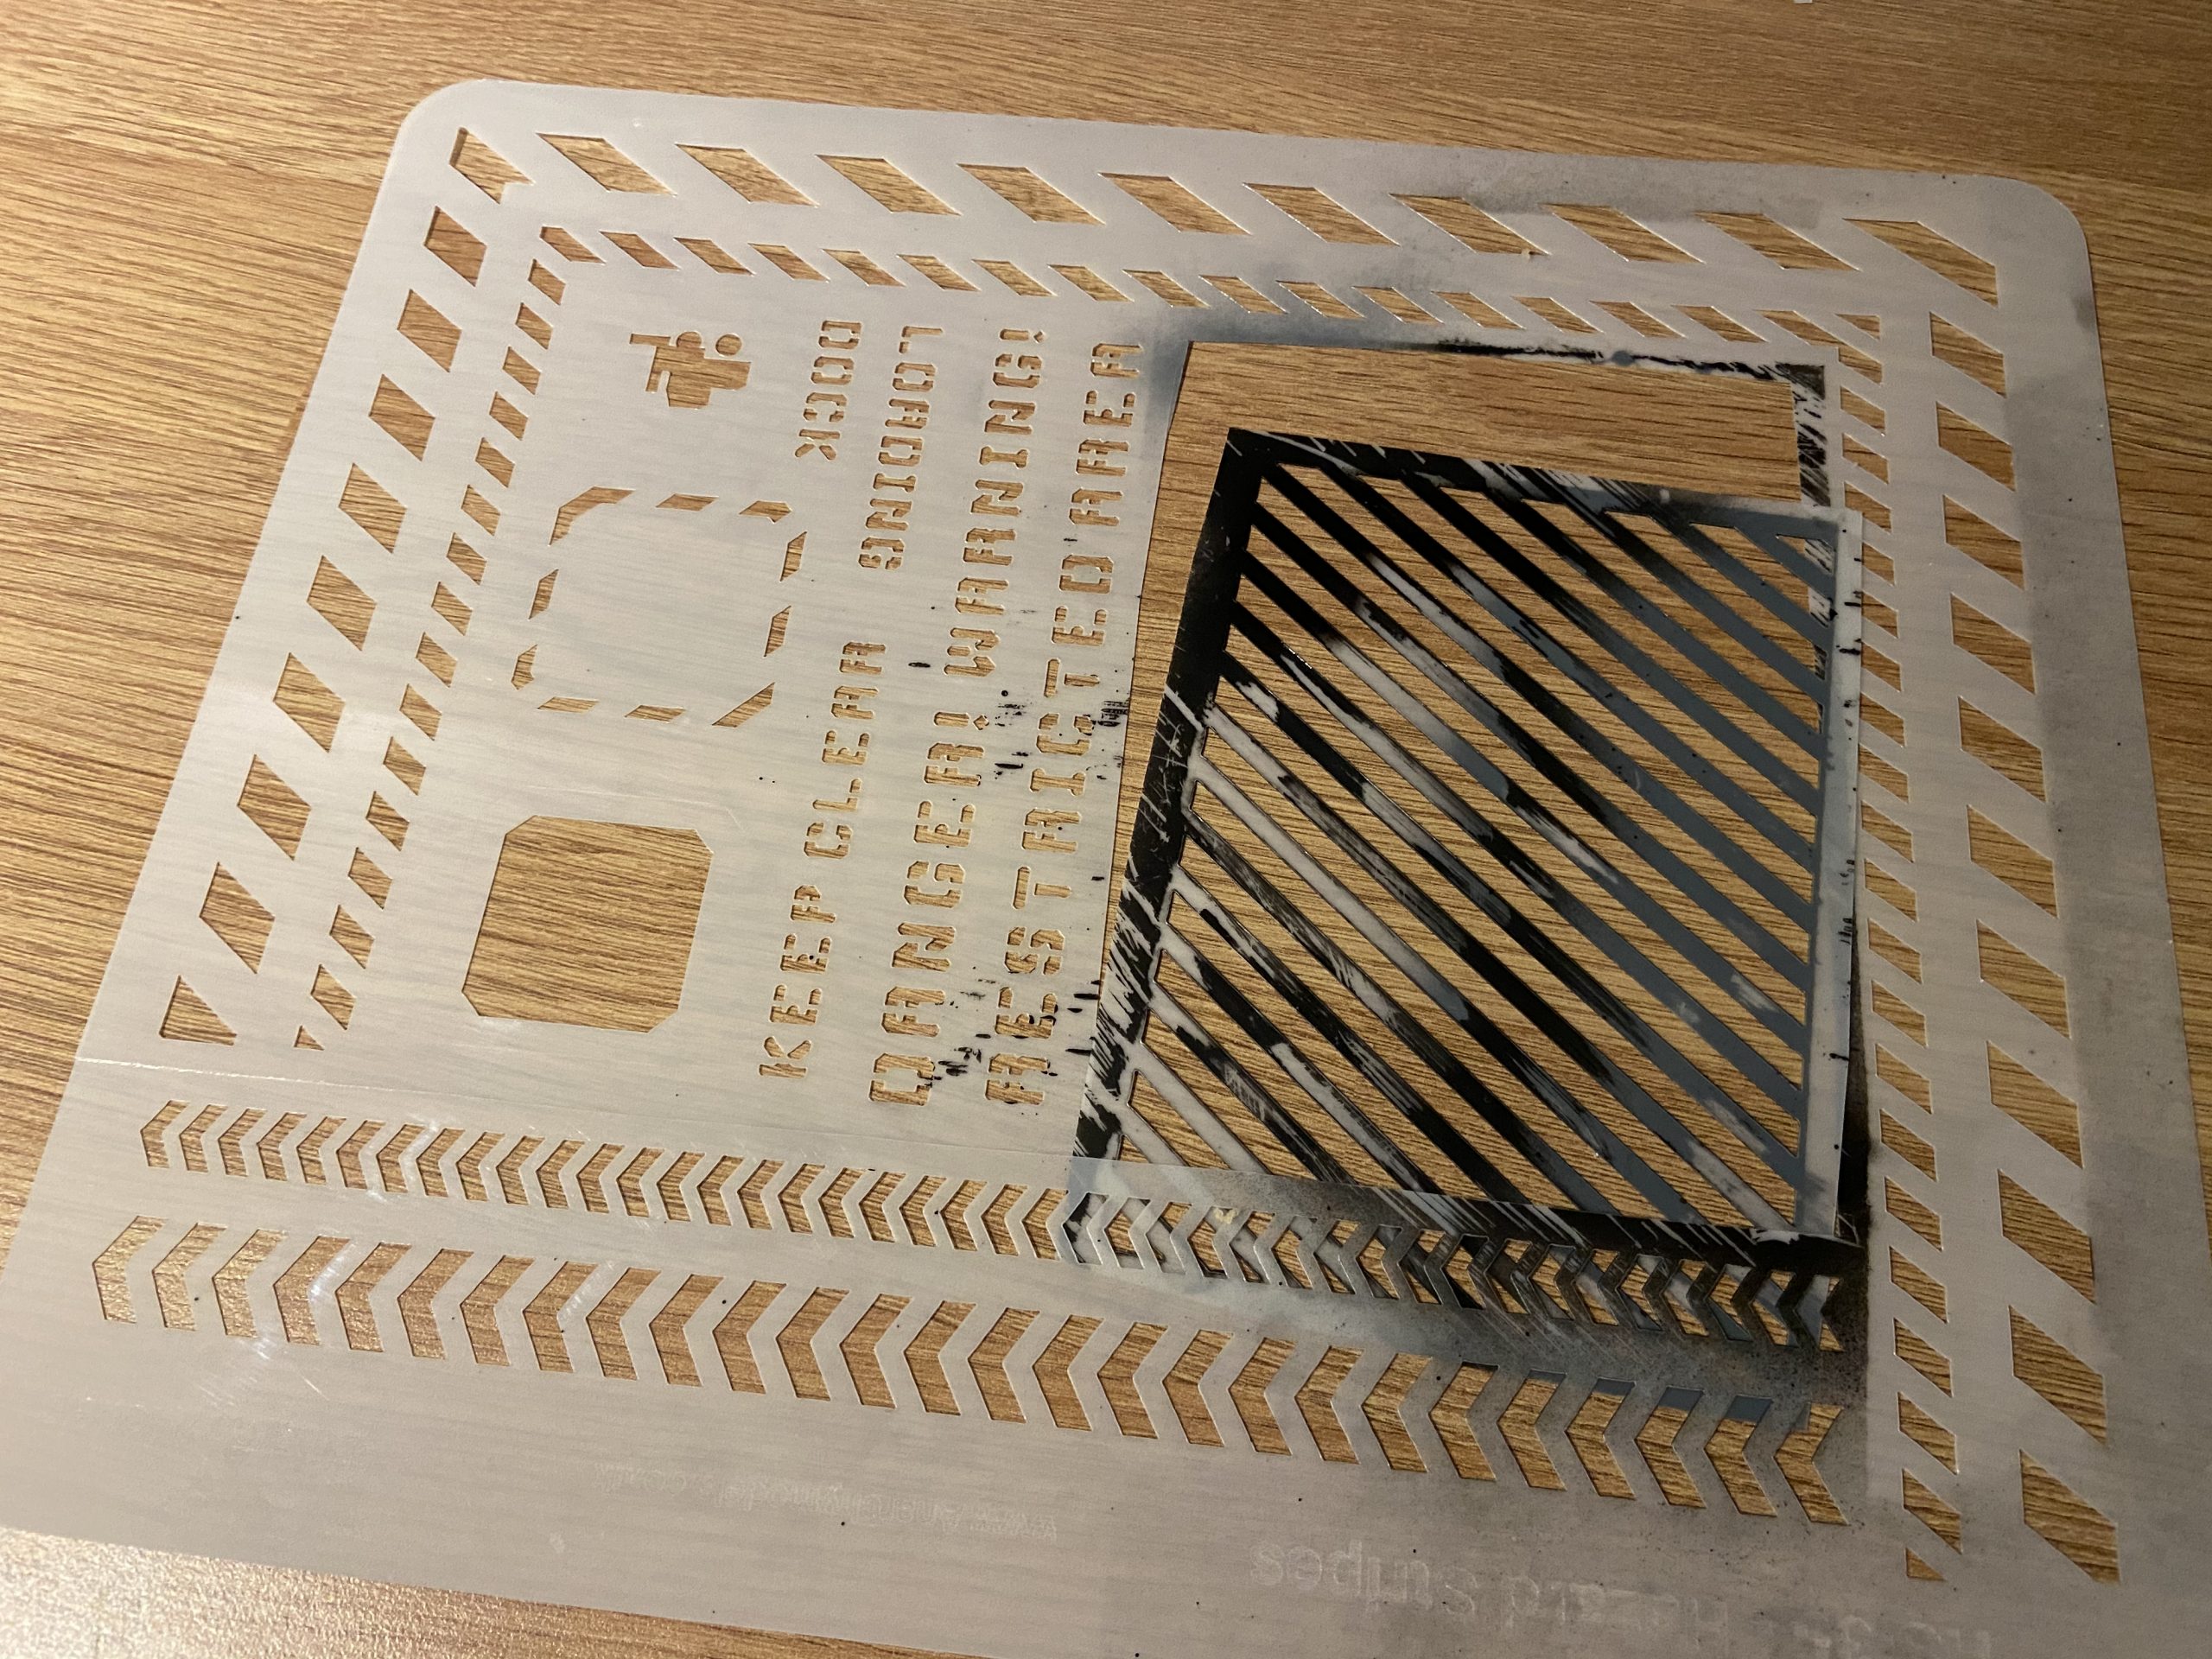
Below is the image of the stencils I used – these worked well.
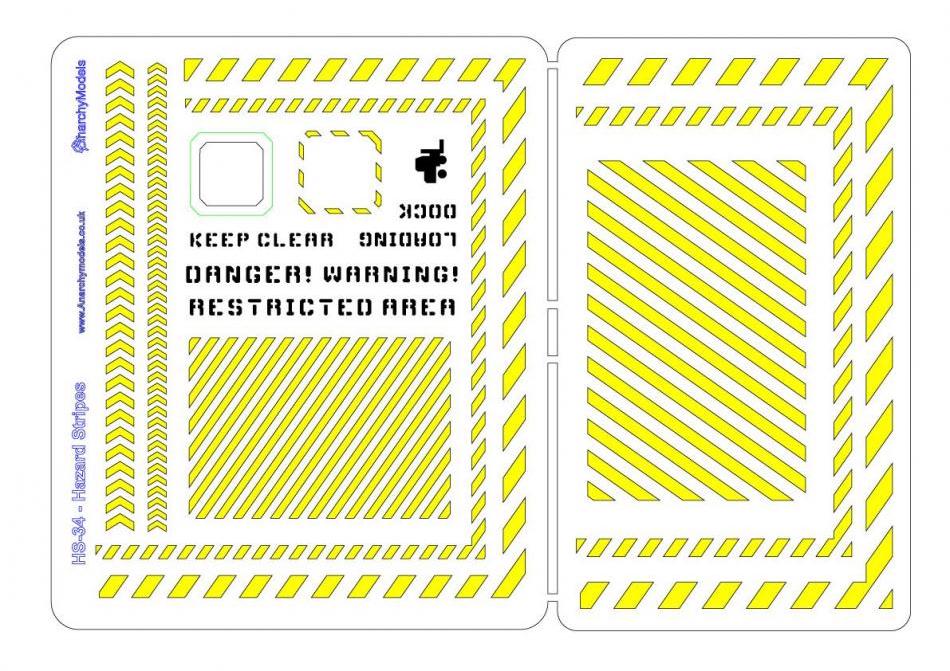
HS Stencil System – Hazard Stripes
Completed Gallery

Progress Gallery
-
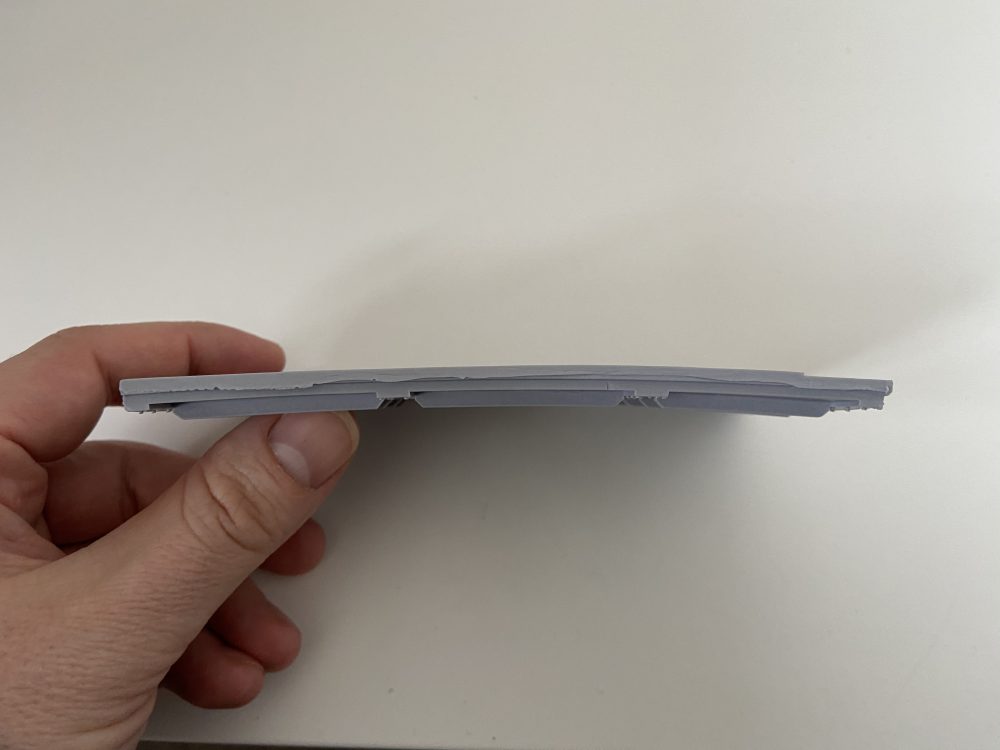
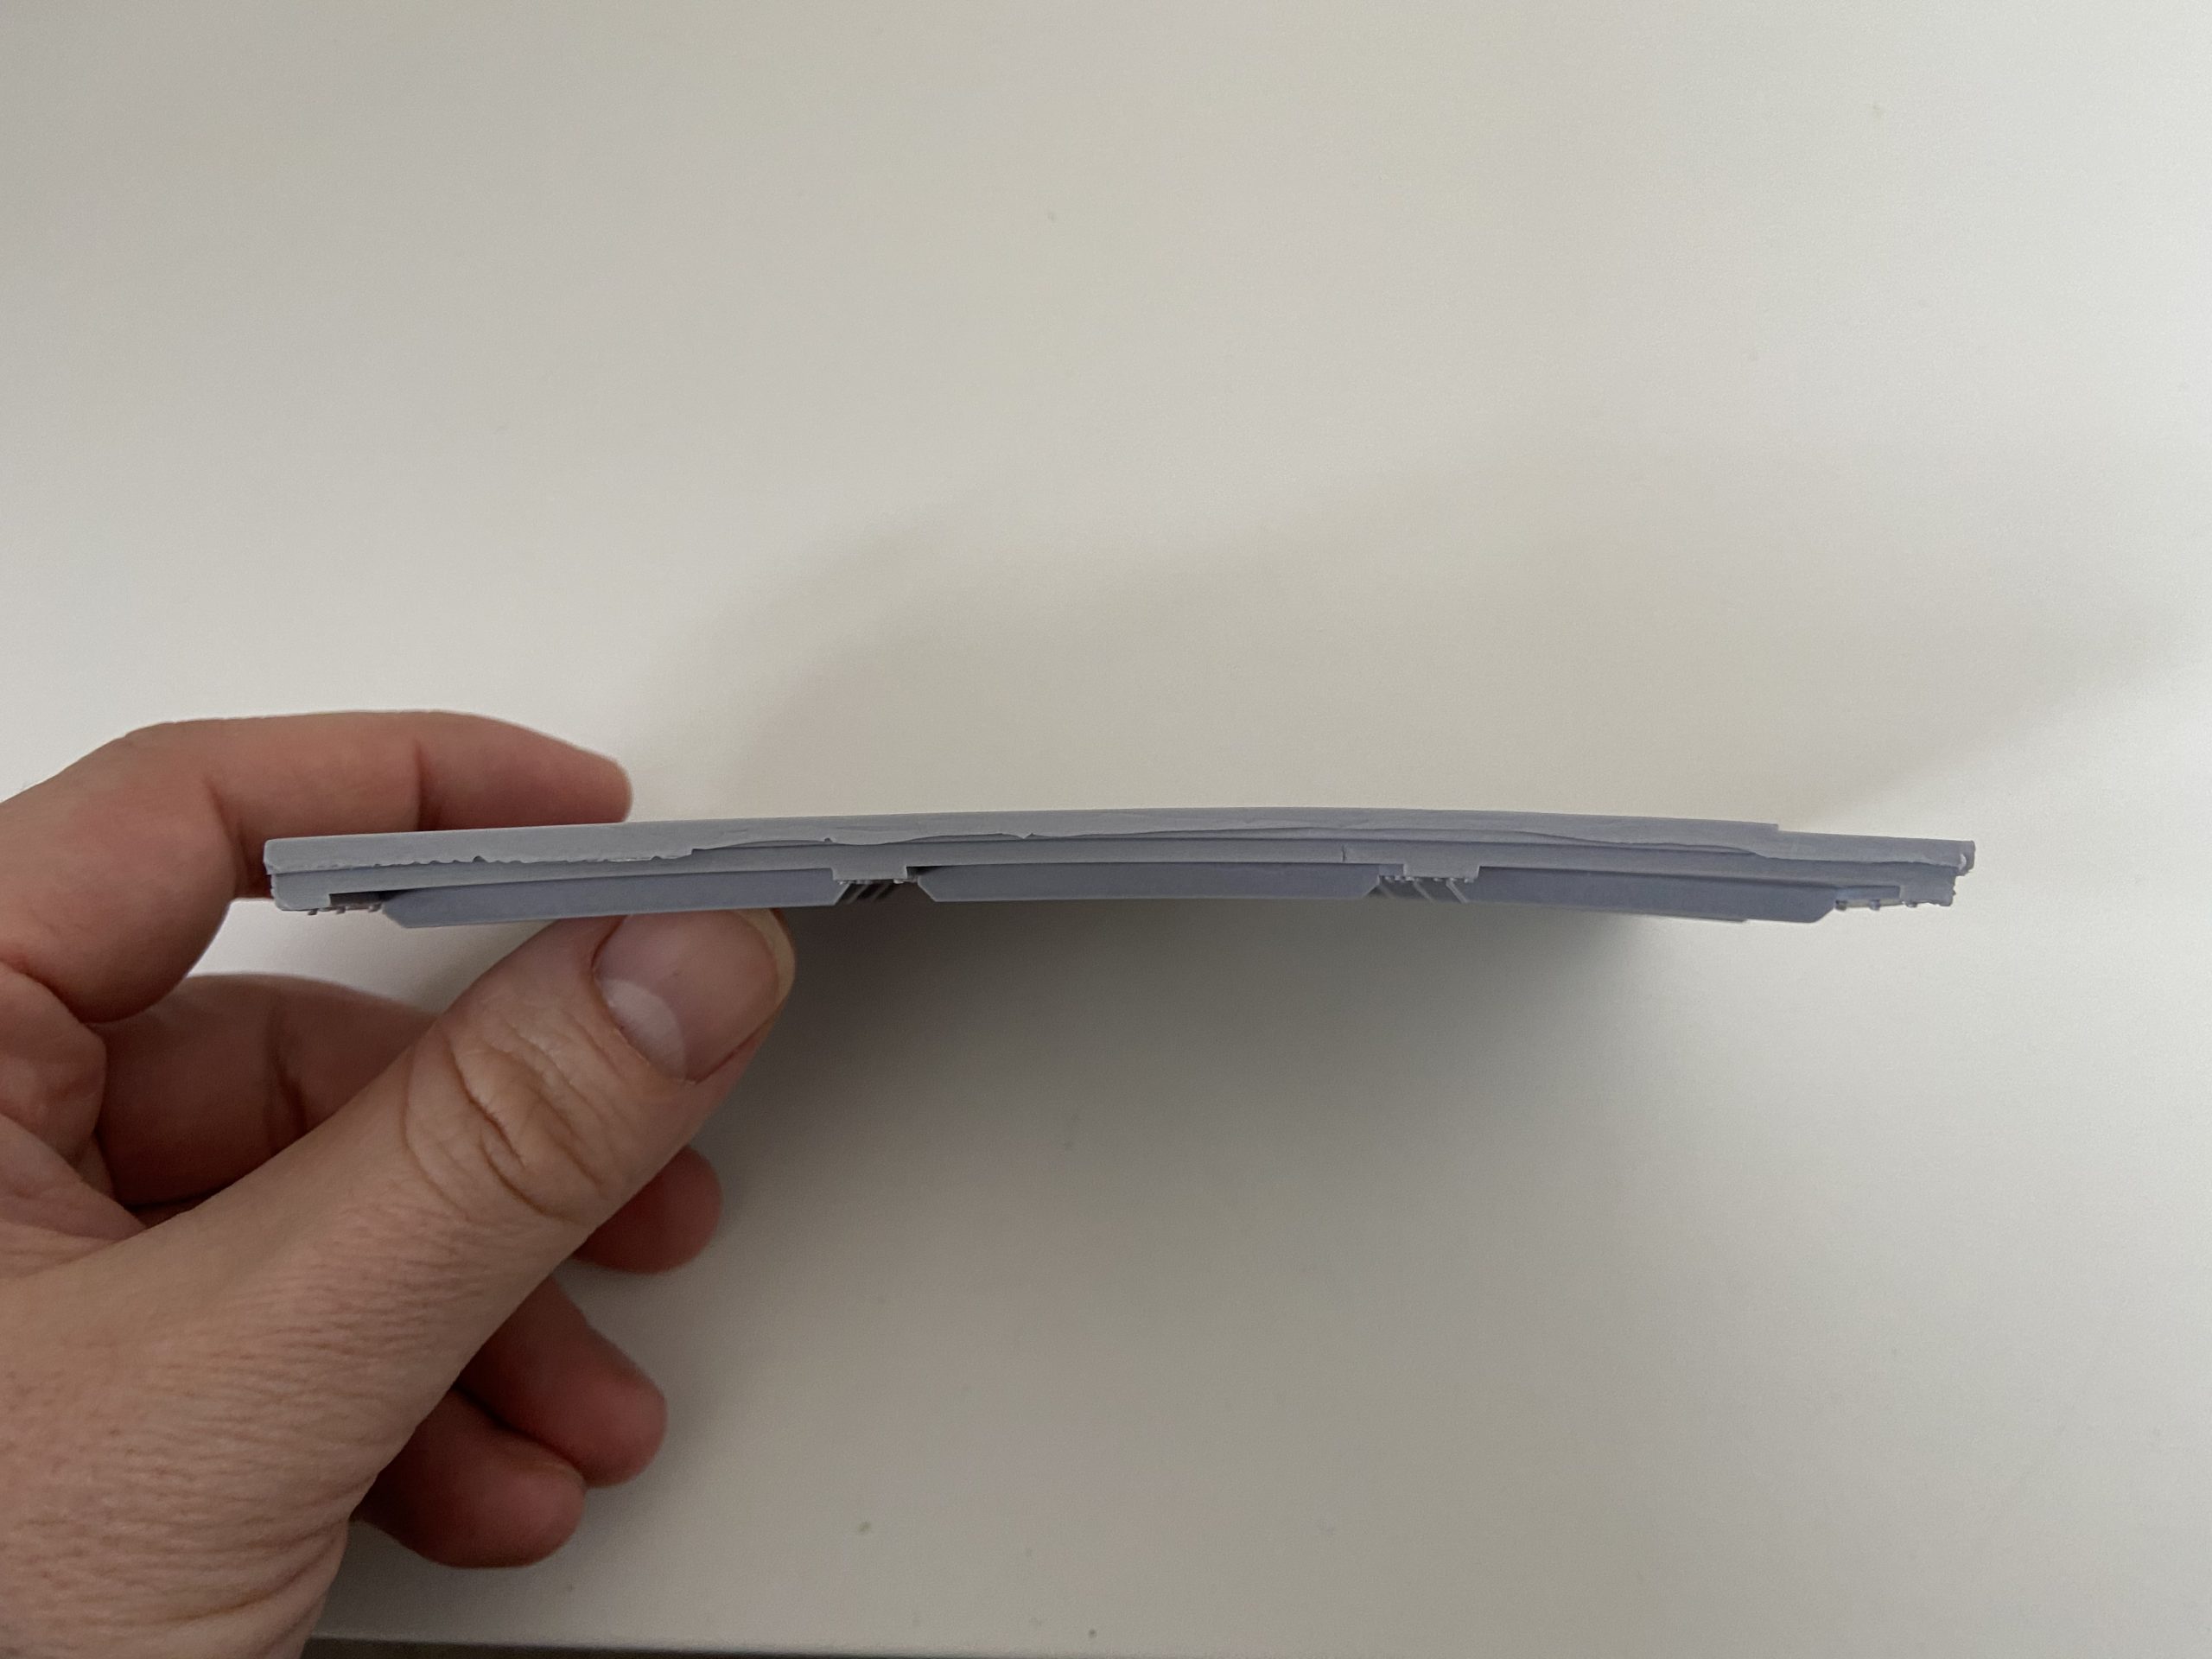
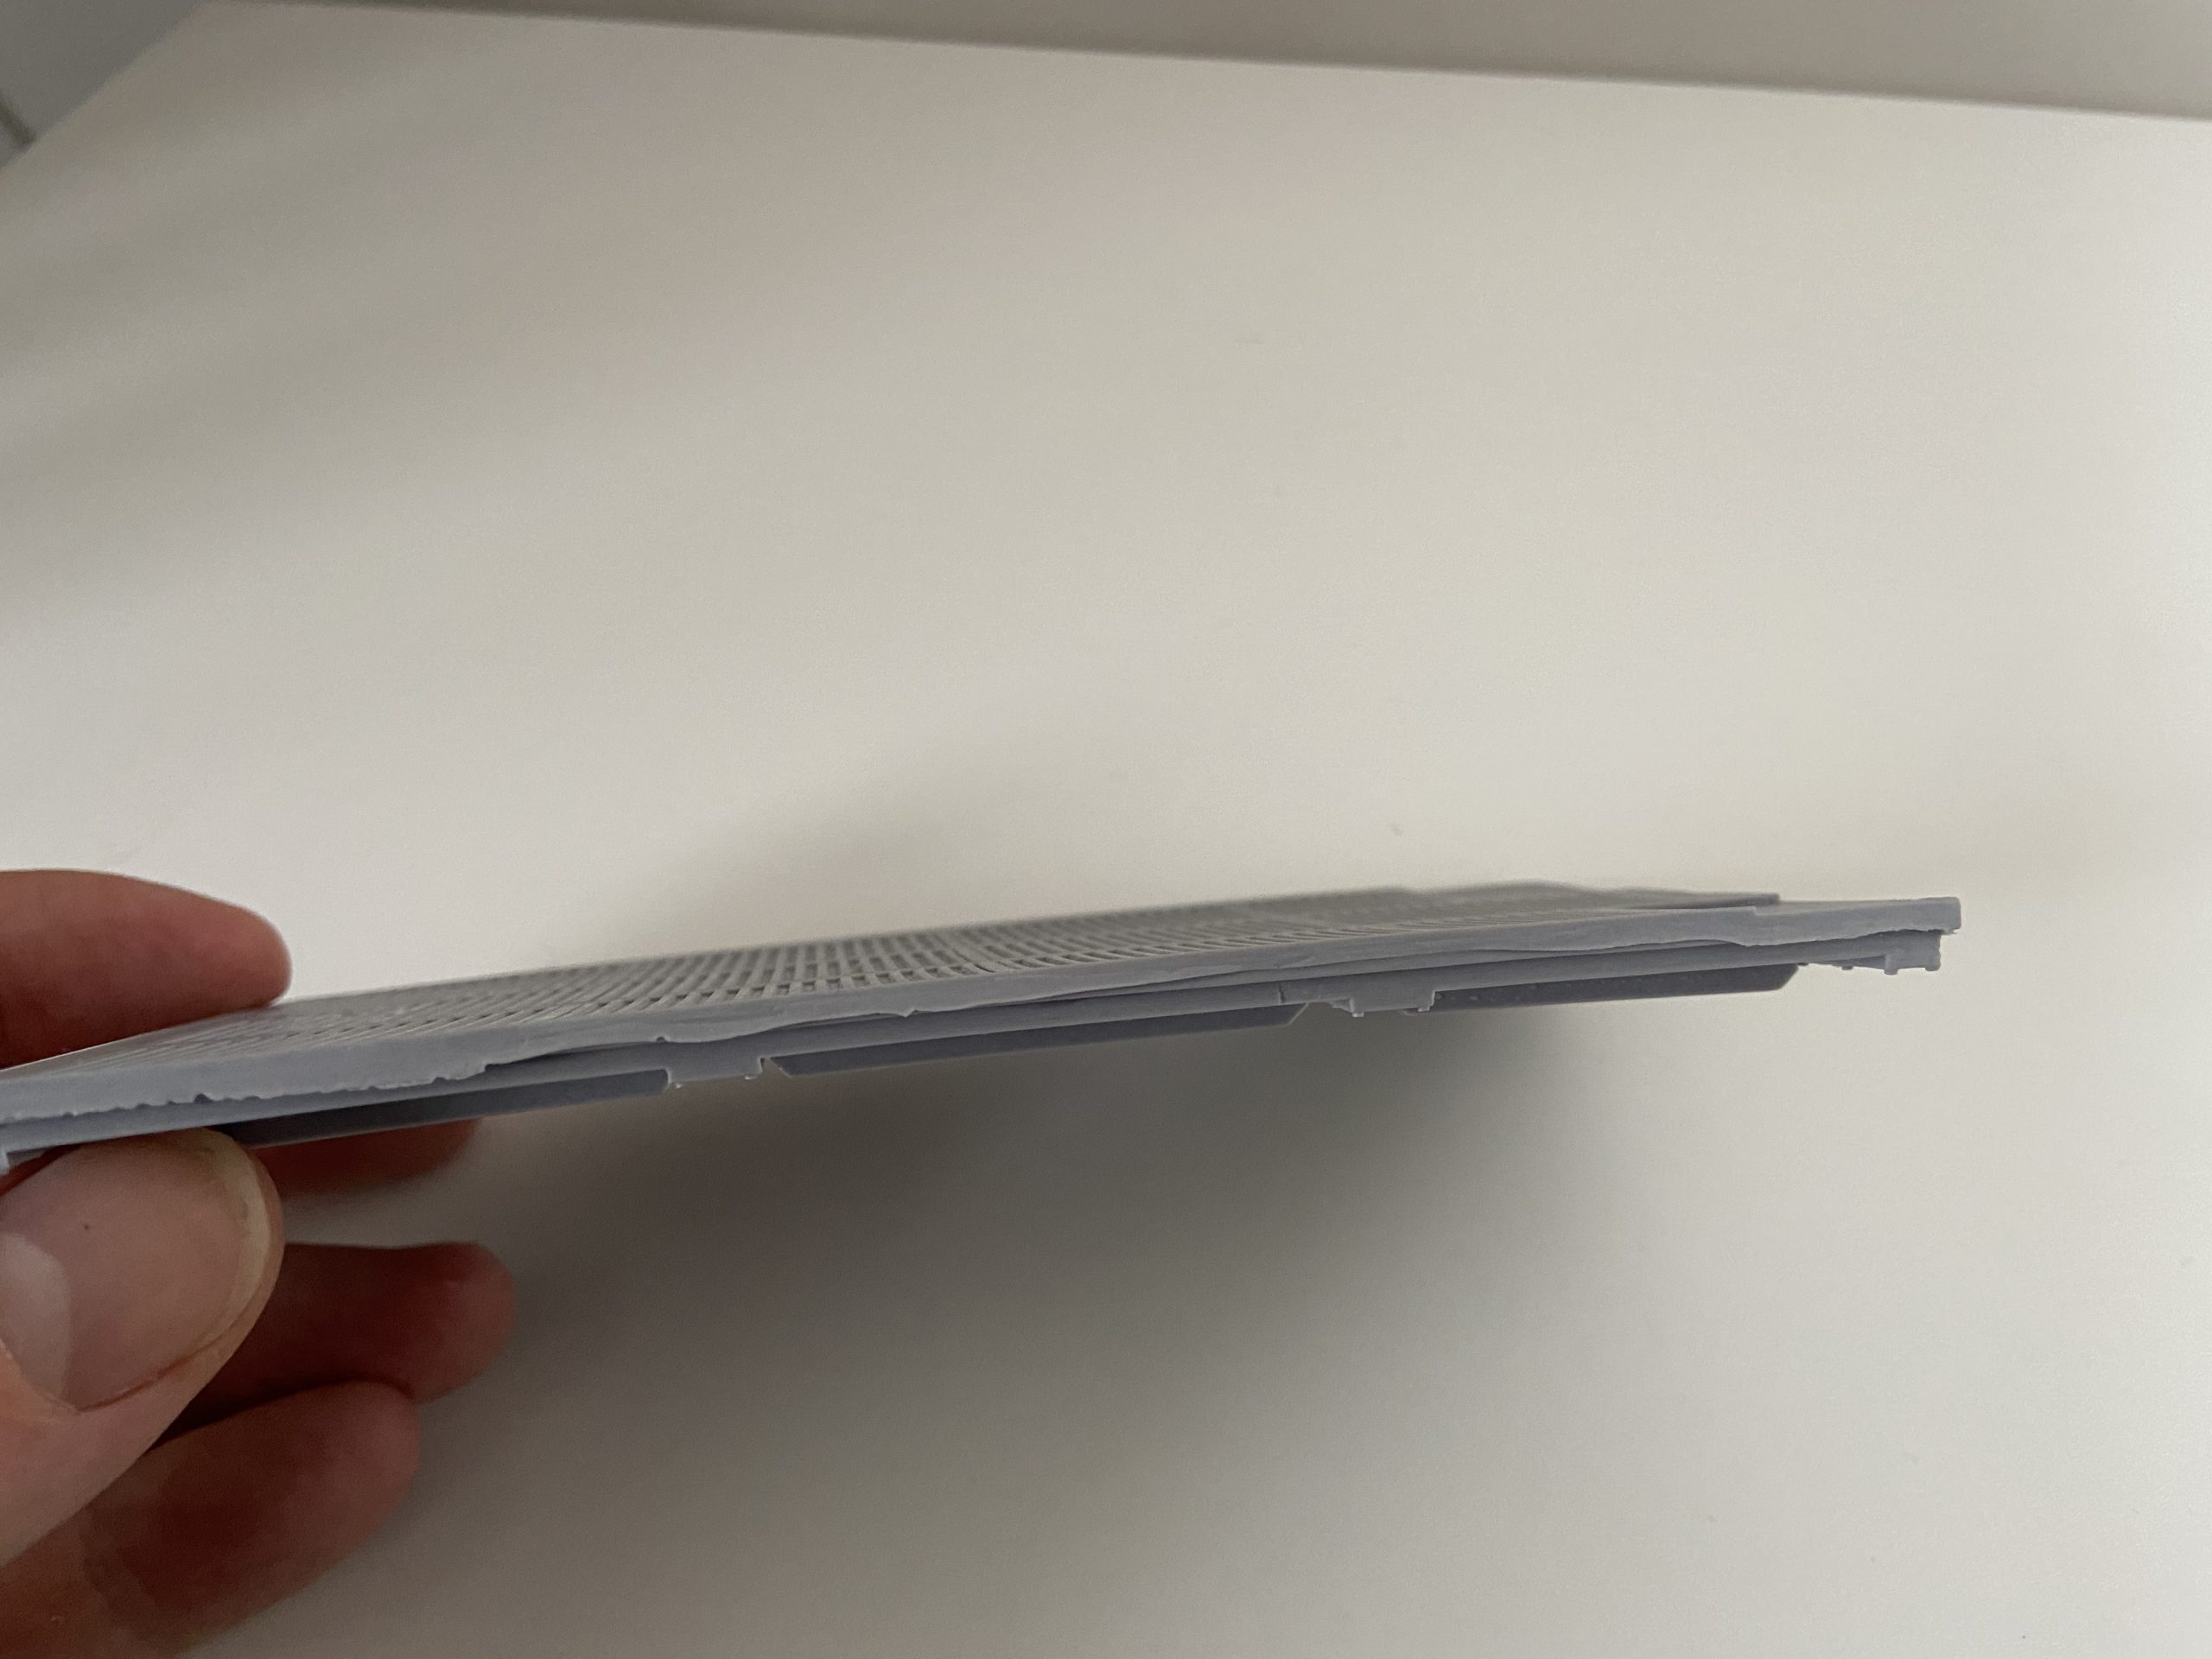
- First attempt at straightening
-
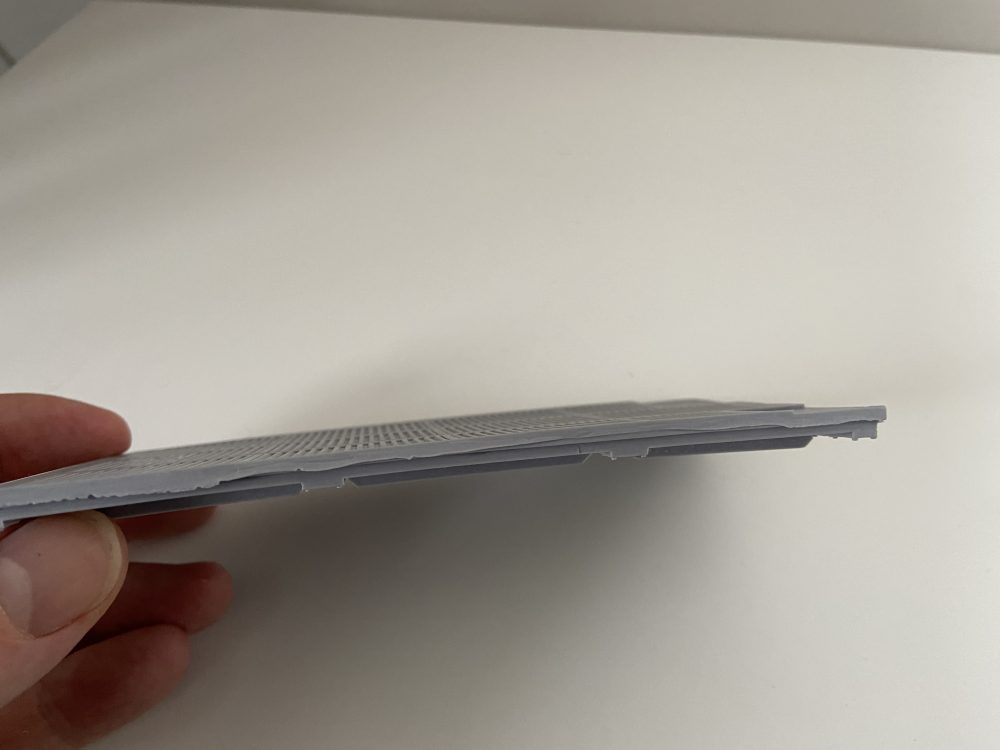
- Starting bend
-
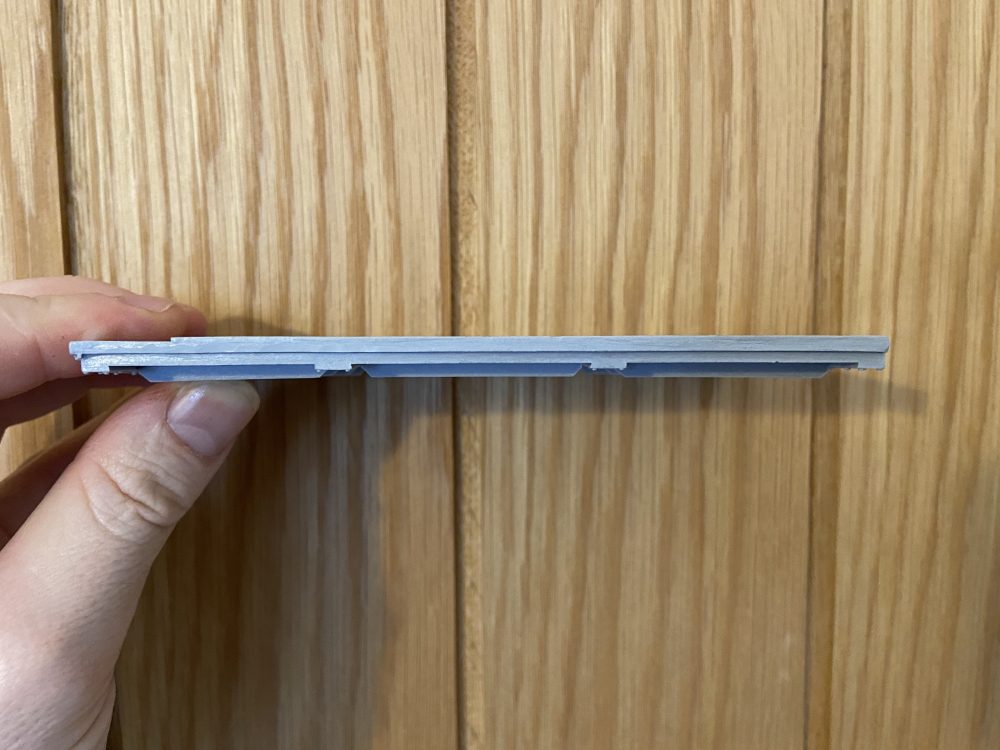
- Second attempt

-

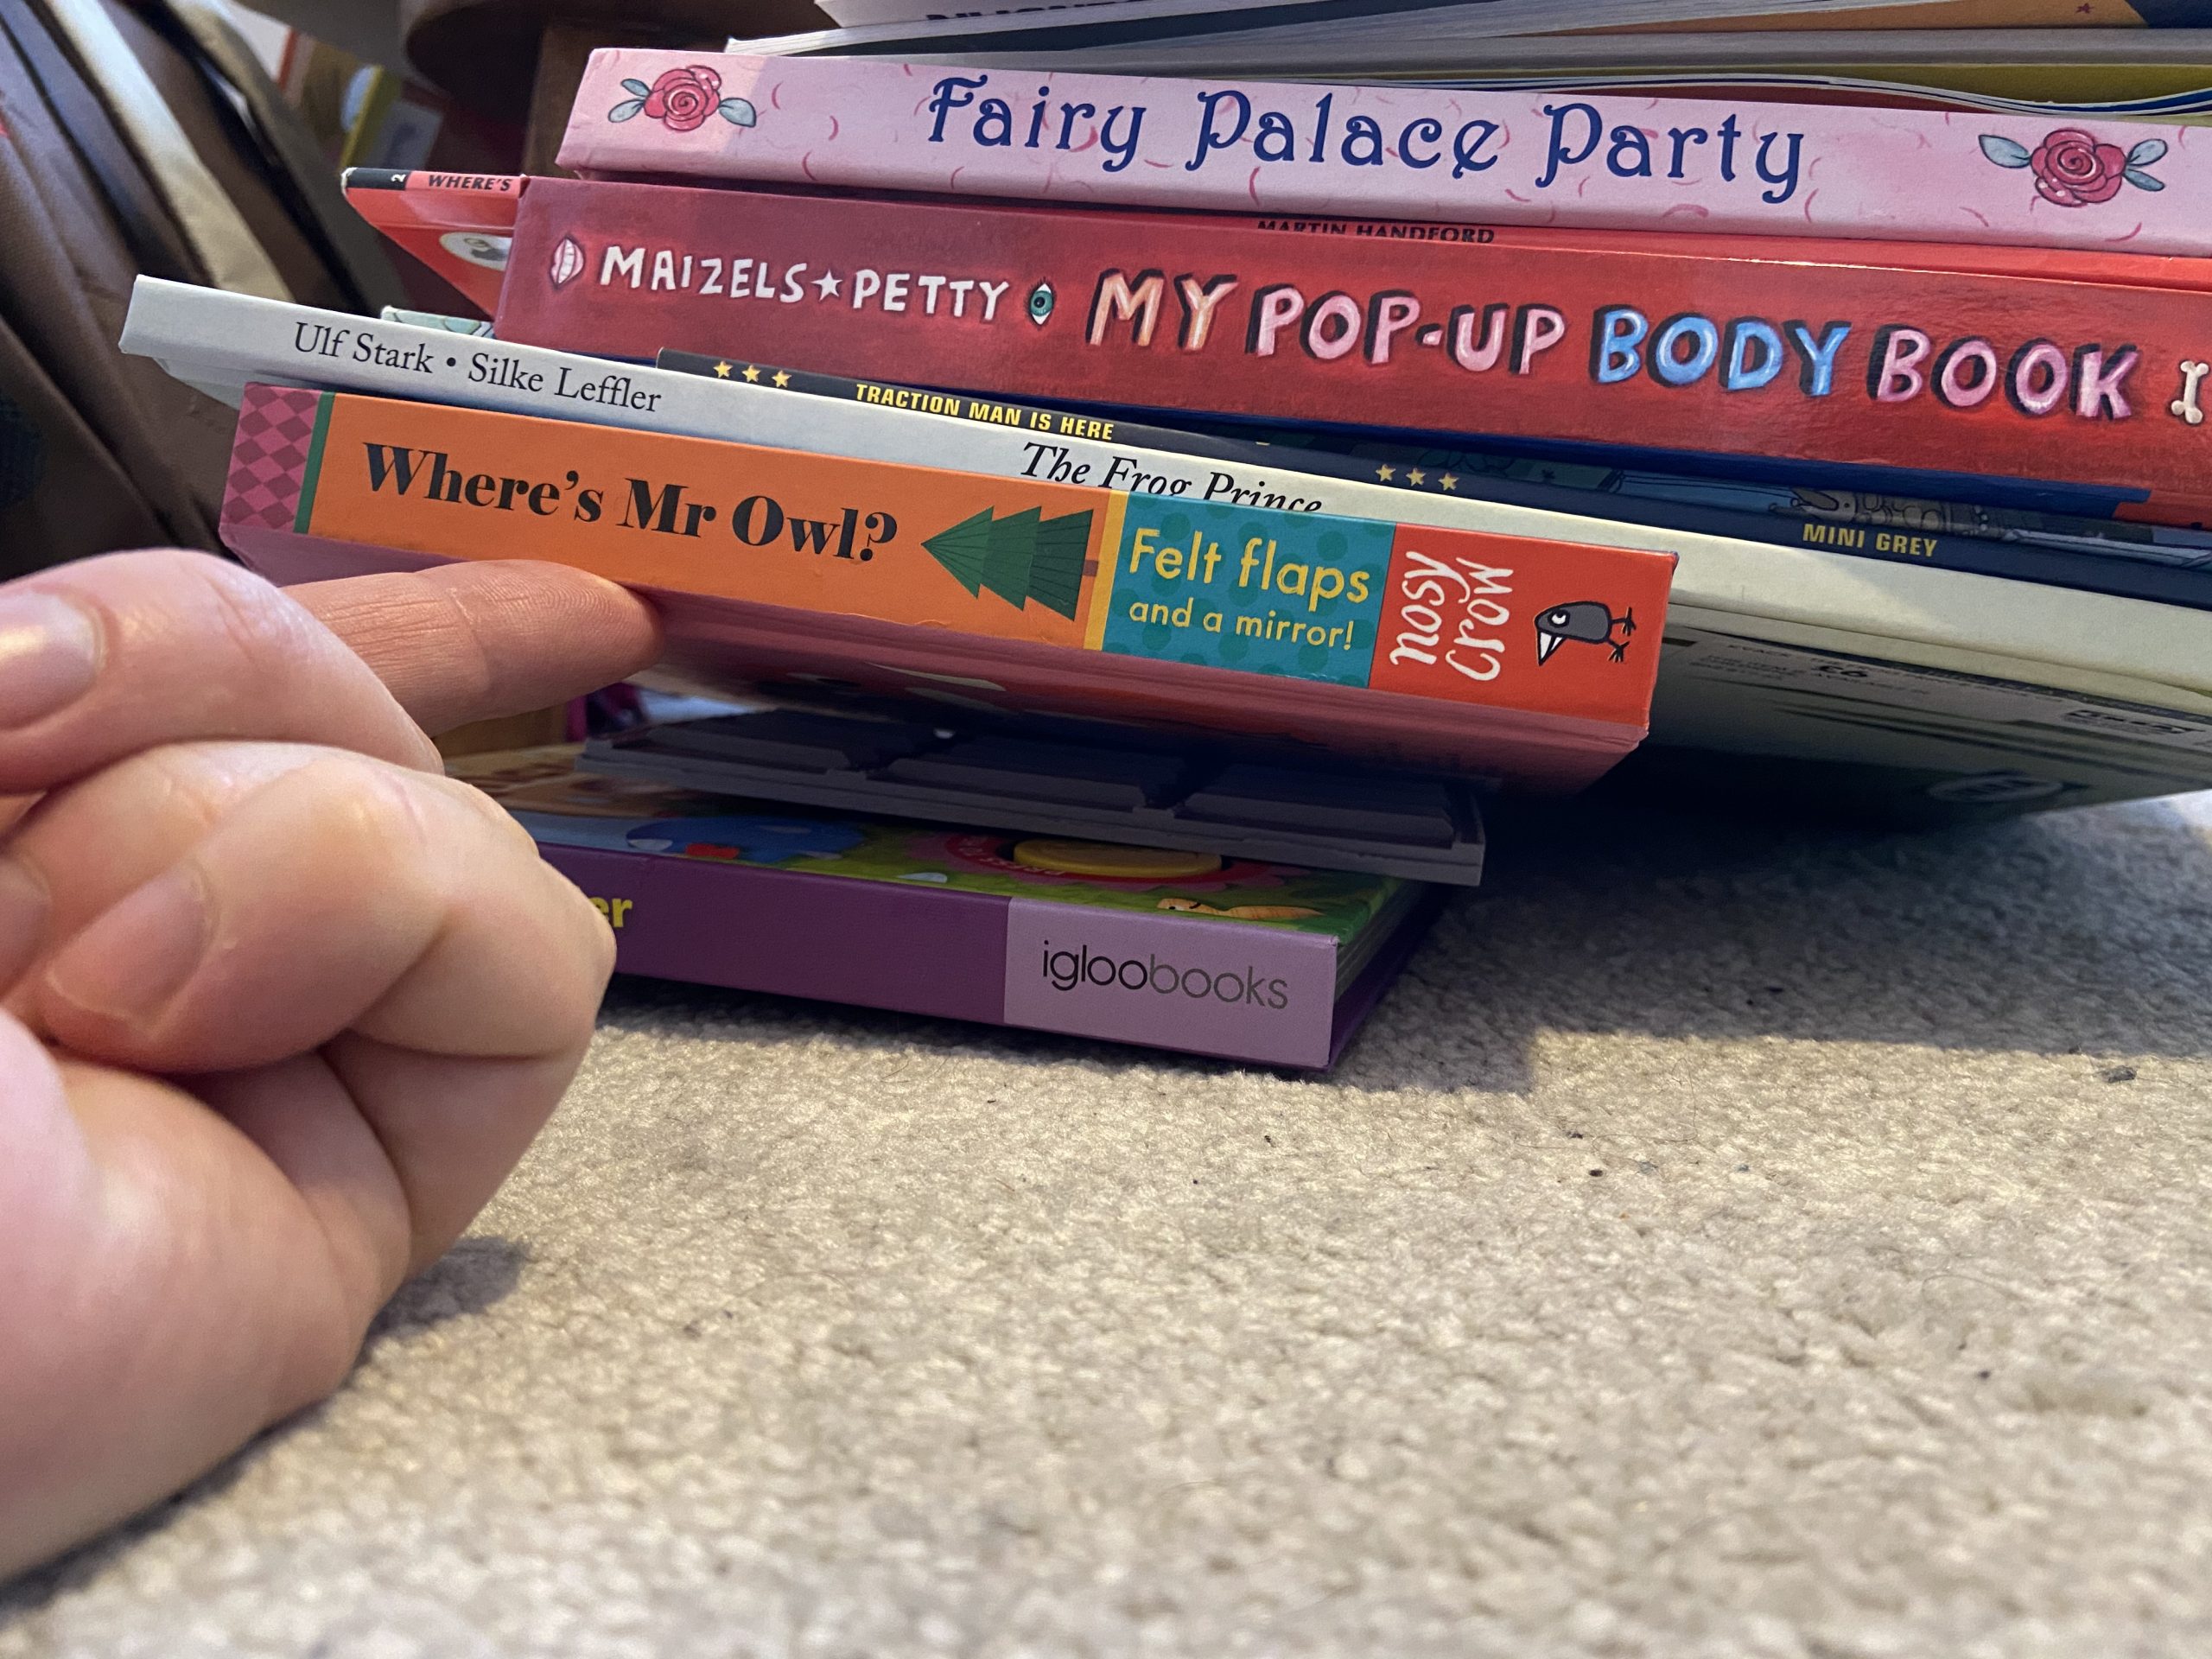
- Kids books for weight
-
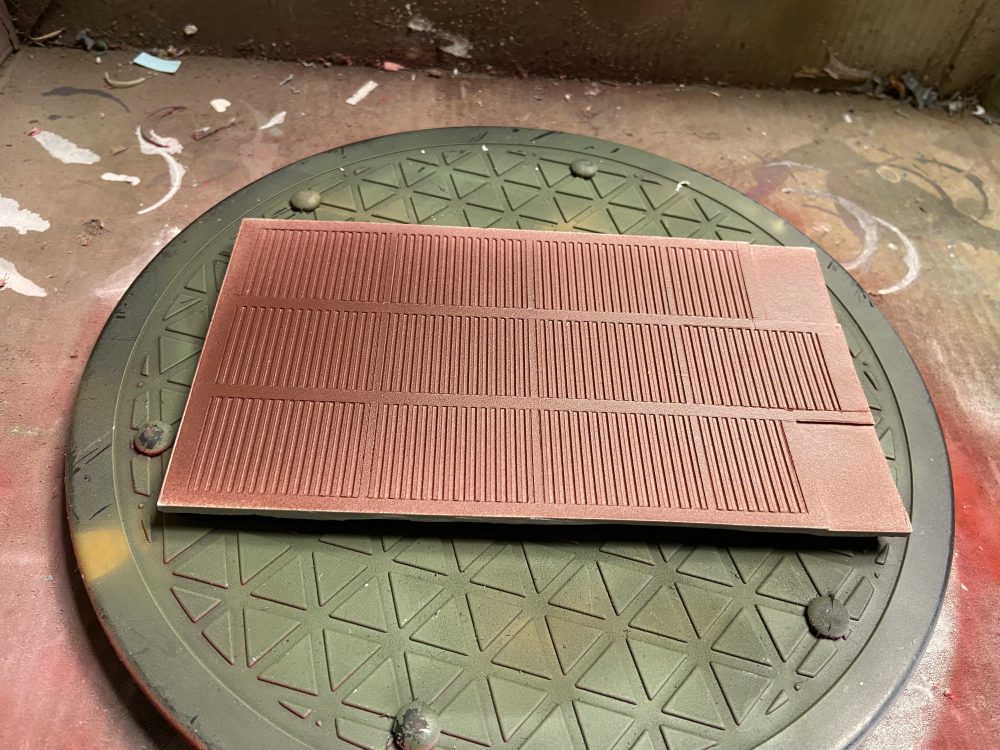
- Chaotic Red

-

- Extra reds and oranges applied with an airbrush
-
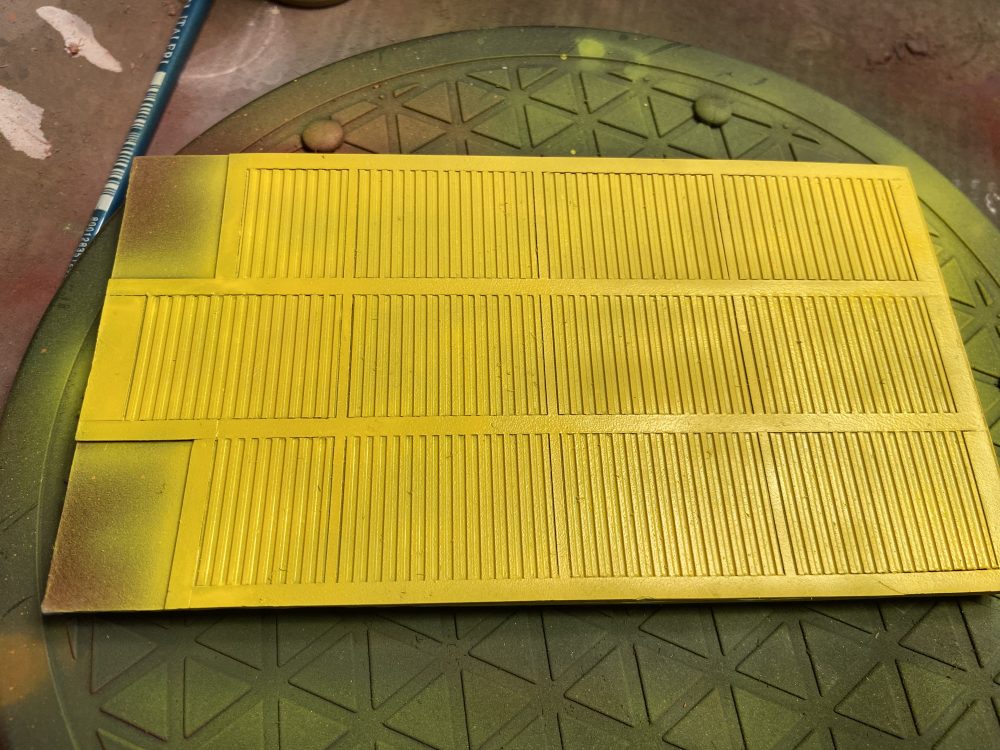
- Yellow done

-

- The “Bad” tape method I used
-
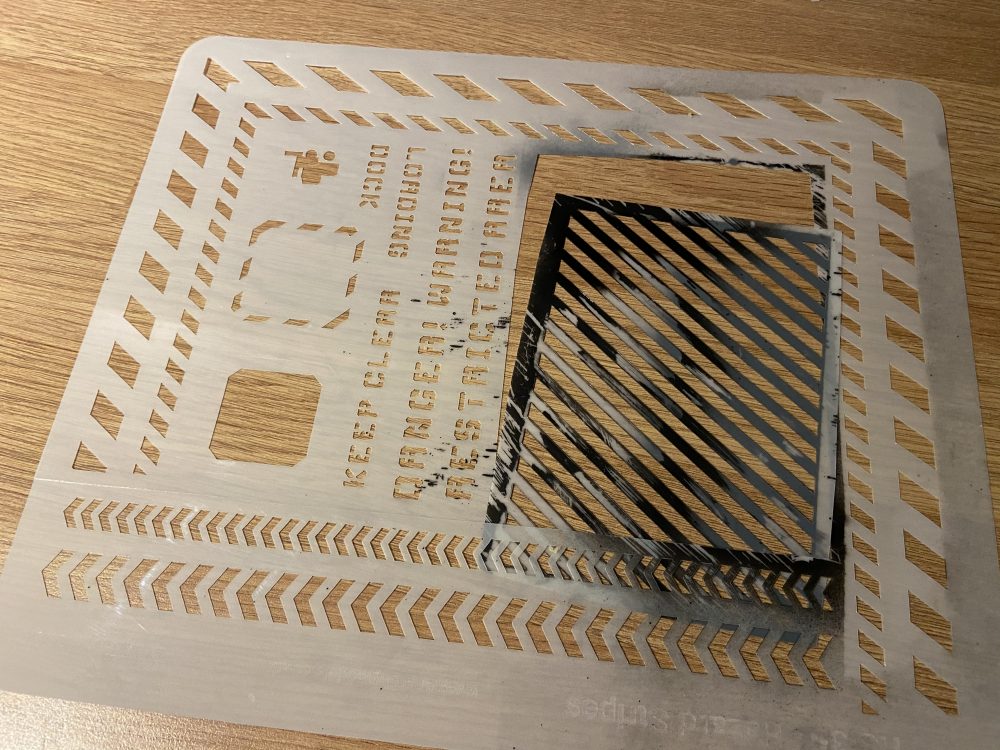
- HS Stencil 2
-
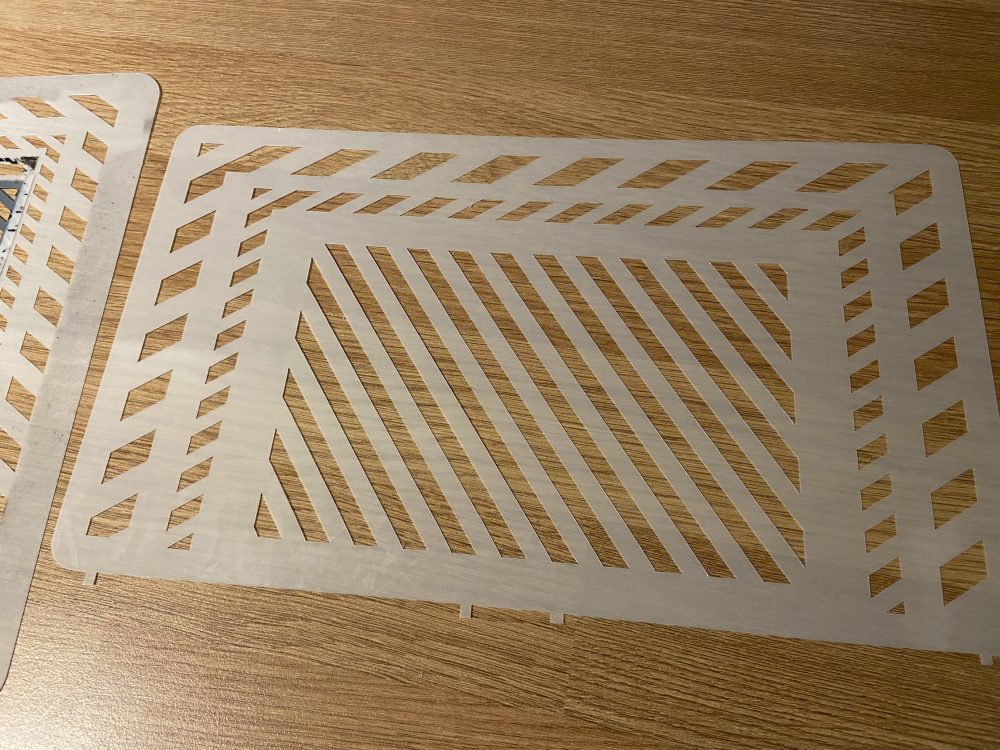
- HS Stencil 1
-
- First stencil

-
- Black applied

-

- It worked!
-
- All hazards are done