

Death Guard vs Astra Militarum 1,750 points
Another day and another attempt at a win versus the Death Guard...
Fourth time lucky right? This will be my fourth game against Mark’s Death Guard. All previous games have been a loss. And the last two I lost by just one point.
Maybe today is the day the Astra Militarum claw back a victory. This game was at Boards and Swords.
Never miss an article? Subscribe!
Astra Militarum List
Firstly we have a Brigade Detachment – of course.
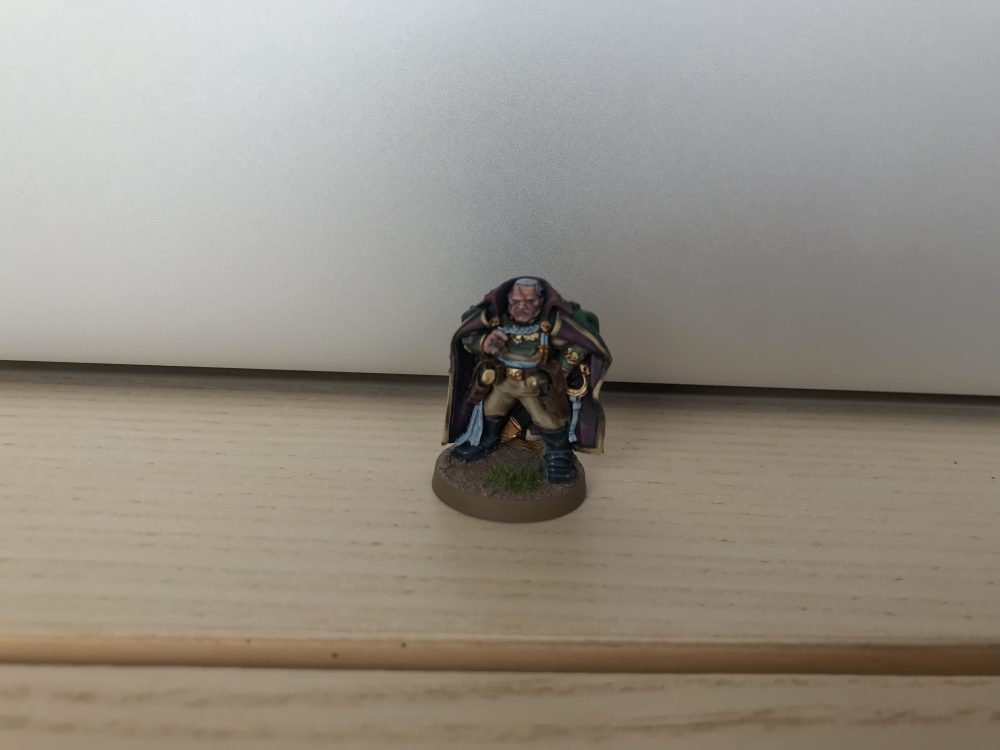
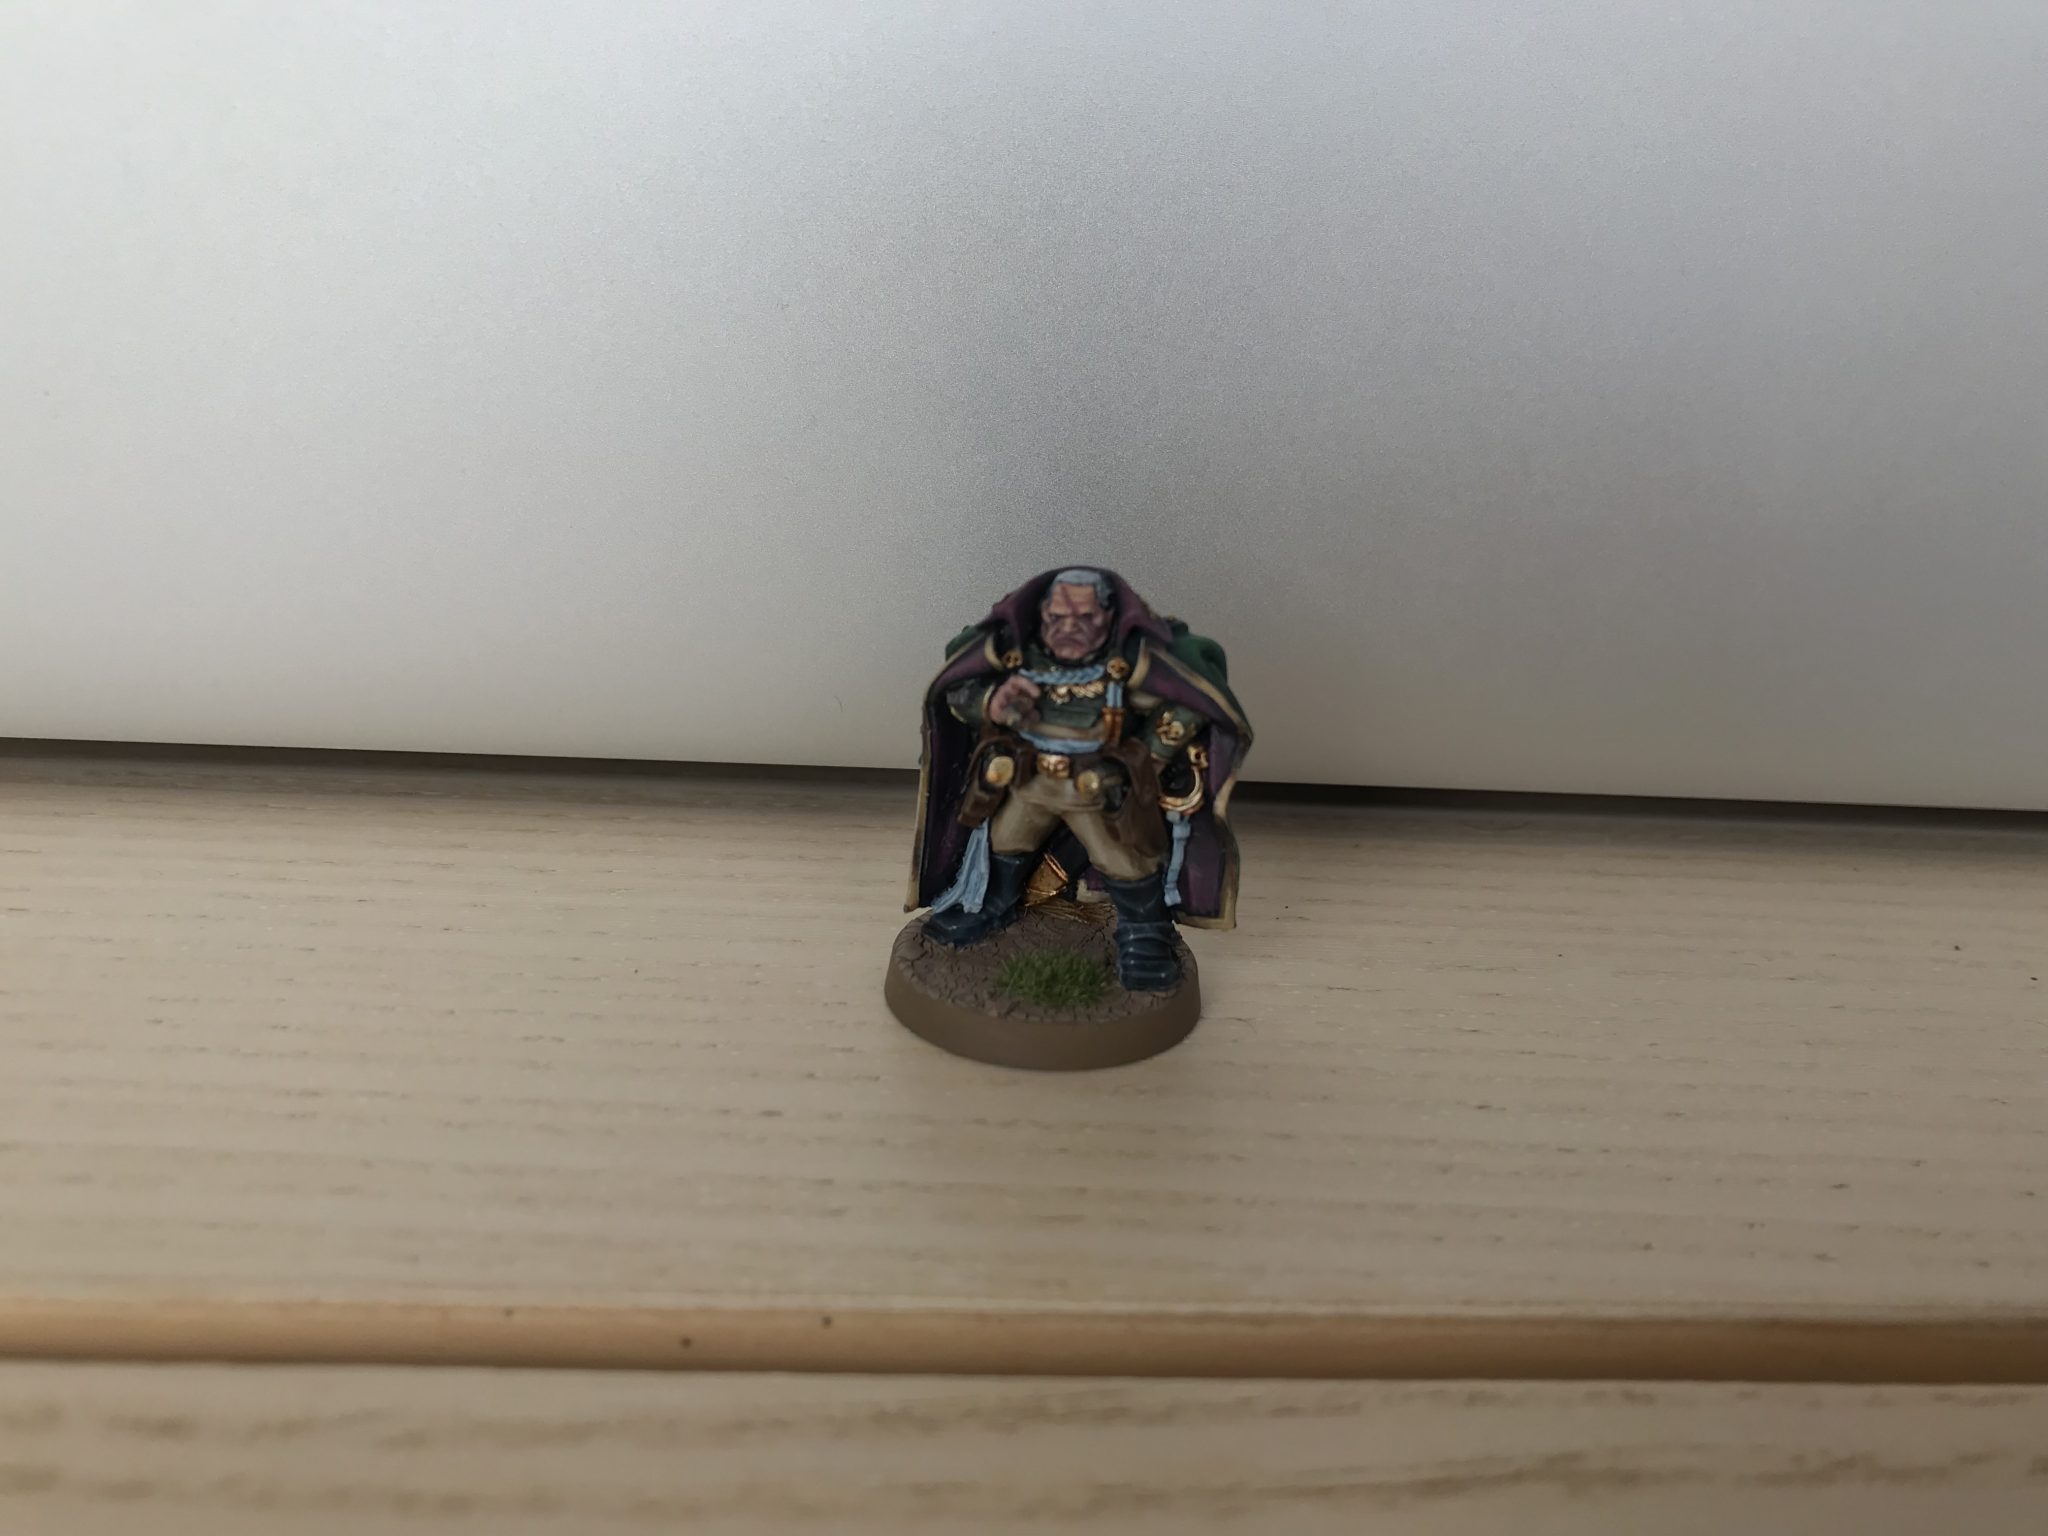
- Creed
- 2x Primaris Psykers
- Demolisher Tank Commander
- 5x Infantry Squads with Vox
- 1x regular Infantry Squad
- Platoon Commander with Relic of Lost Cadia
- Warlord – Platoon Commander with Old Grudges and Kurov’s Aquila
- 10x Ratlings
- 3x Scout Sentinels with Multi-Laser
- 2x Basilisks
- Heavy Weapons Team with Lascannons
And then a Spearhead Detachment.
- Yarrick
- Leman Russ Demolisher
- Leman Russ Demolisher
- Heavy Weapons Team with Missile Launchers
And that’s it! 91 lumps of plastic and metal in all.
All in this gives me 16 Command Points;
- 12 from the Brigade
- 1 from the Spearhead
- 3 for being Battle Forged
I’ll lose 1CP right away because of the extra Relic. So I’ll start with 15CP.
List Breakdown
I’m actually writing this part before my game. So I go through the motions and thoughts of playing this list before the game.
With 15CP I should use Preliminary Bombardment, right? I will – if the enemy has many units.
It’s similar to the list I used in the last game. I’ve removed the Command Squads and Taurox as they did nothing in the last game. Well, they died.
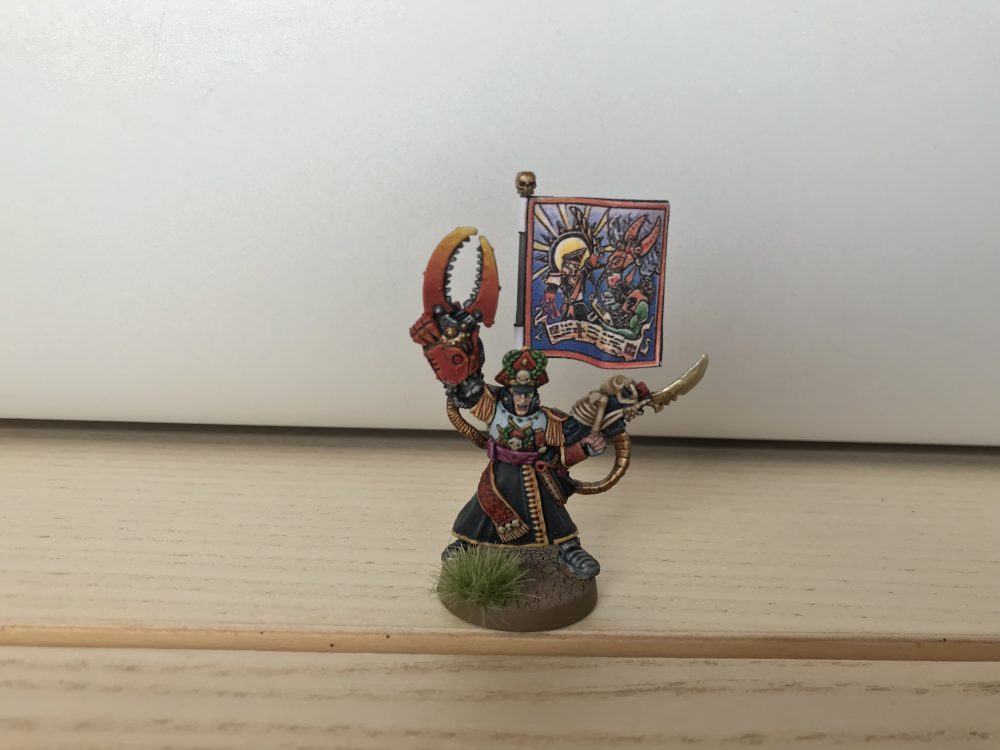
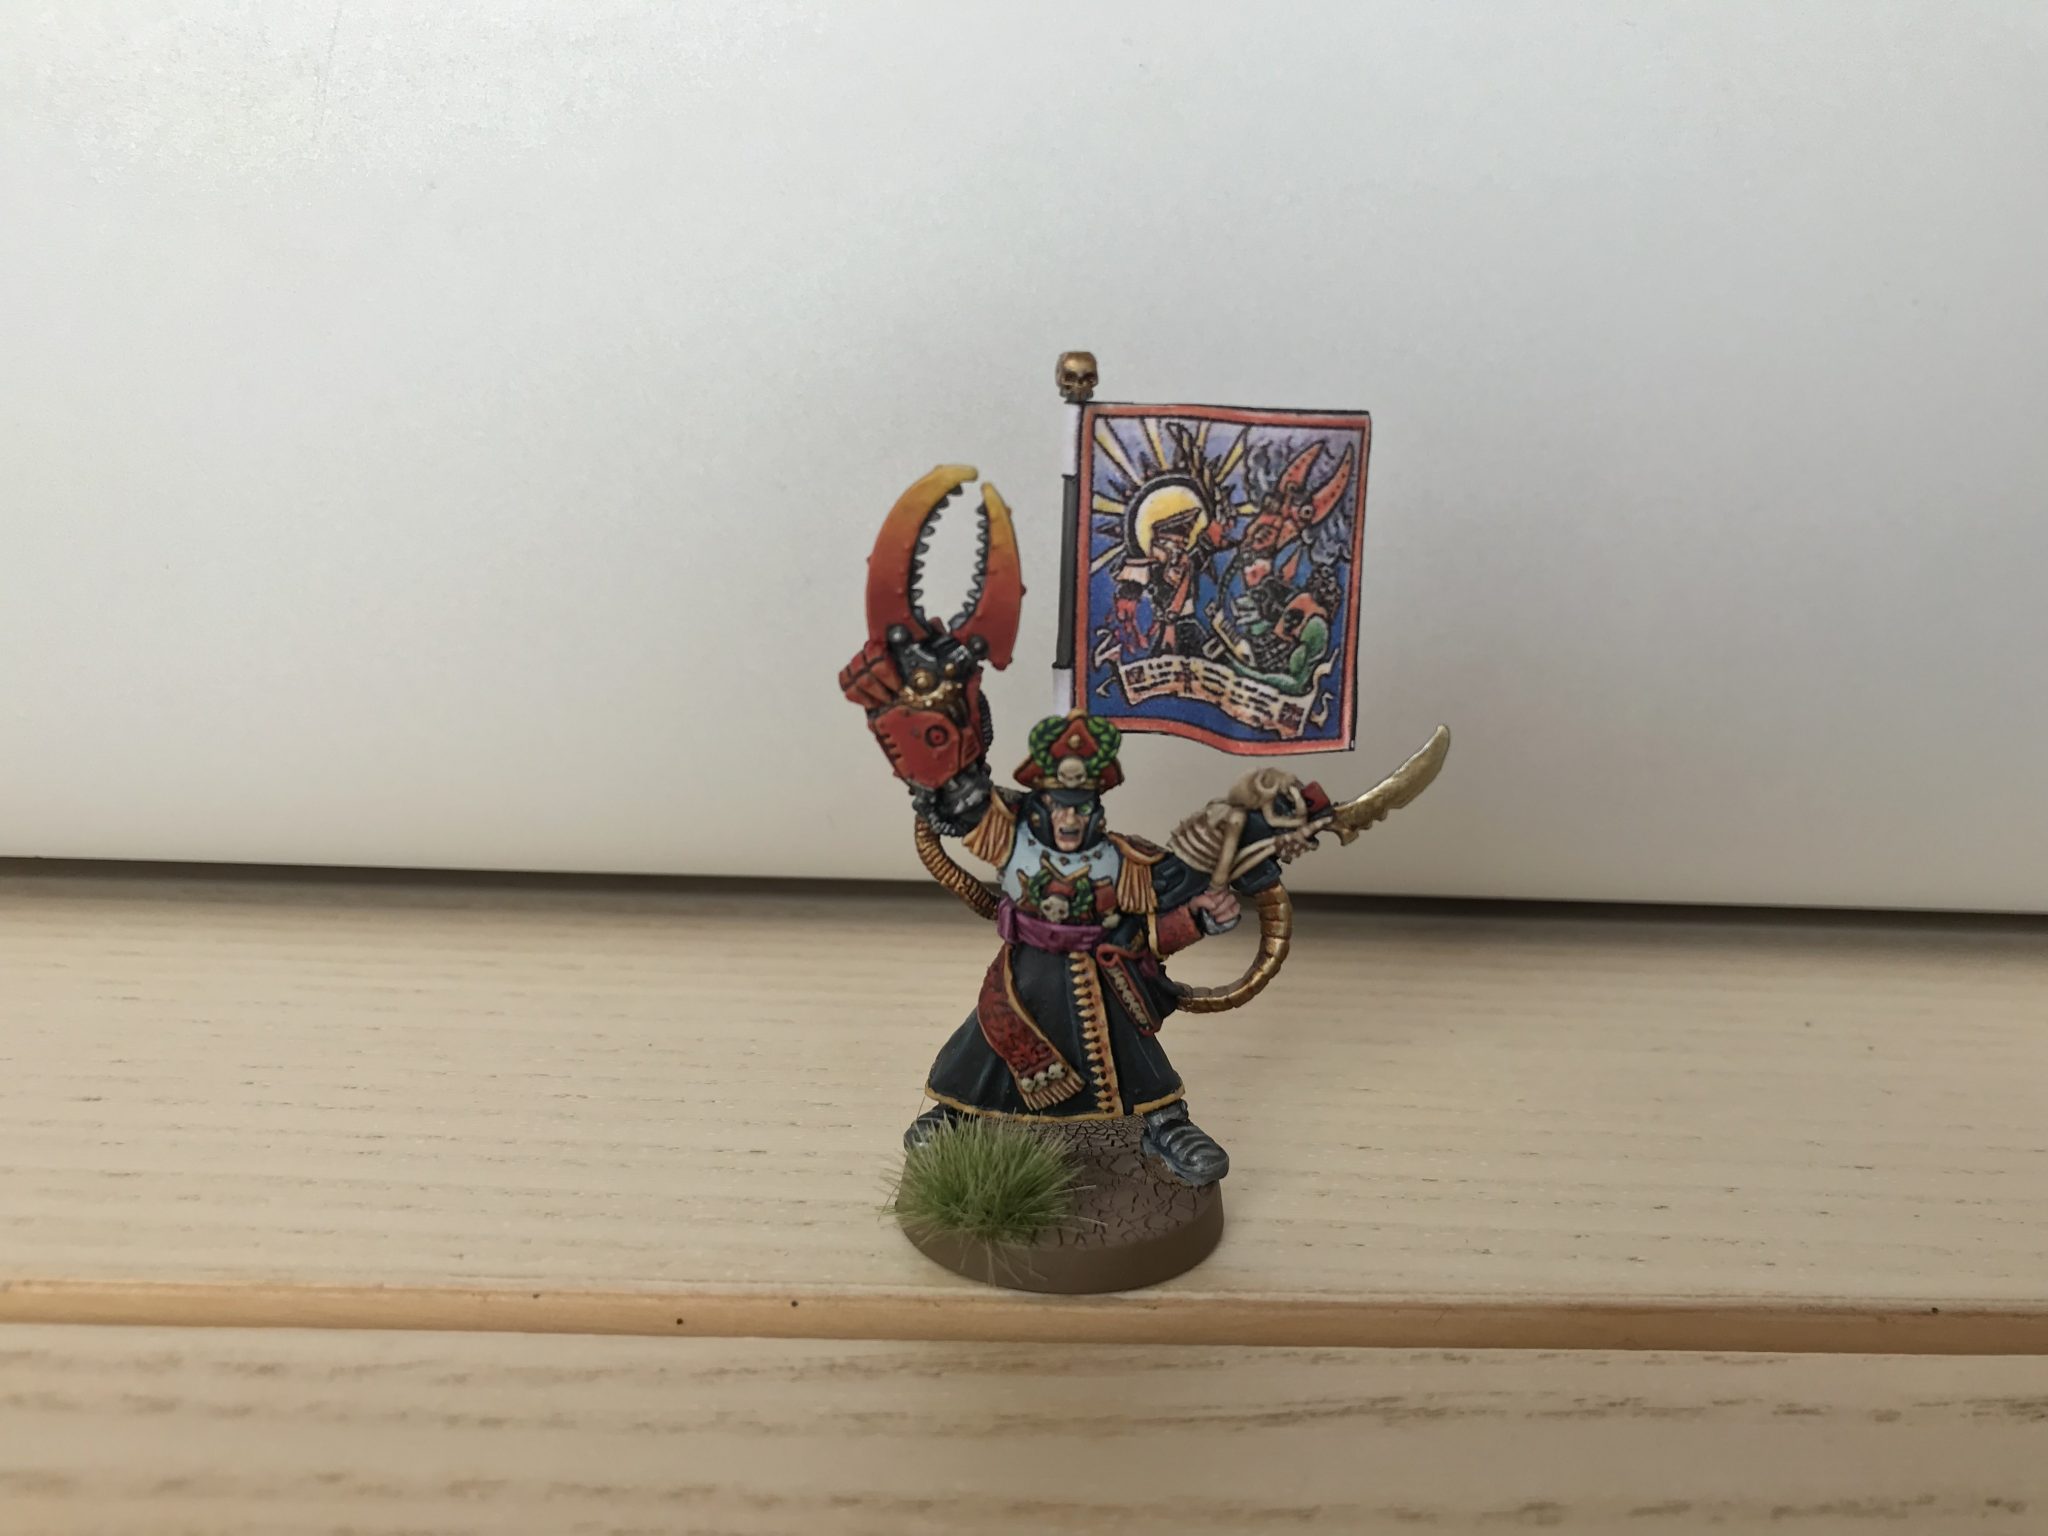
I added Creed and Yarrick. I kind of had too – now they are painted! Siege Studios did both models and they are so good! With Creed now in place and no Command Squads I could remove the Company a Commanders. Creed has three orders and can, of course, use Inspired Tactics to make that four. Which will suffice?
-
- Creed
-

- Creed

-

- Yarrick
-
- Yarrick
The Platoon Commanders get an order each which brings me up to six orders. Perfect. One will act as my Warlord with Old Grudges and Kurov’s Aquila. The other will hold The Relic of Lost Cadia.
Warlord and Relics
With this setup, killing as much stuff as possible on my Turn 1 will be key. Old Grudges isn’t useful if the Relic of Lost Cadia is also used. So Old Grudges might be better used against something that’s slow and likely to arrive at my front line later in the game. Being able to re-roll all misses and all failed Wounds is huge, especially coupled with Overlapping Fields of Fire against a key target. I’d be expecting to delete at least two significant units from the battlefield with this combination.
In my last game, I gave the Relic of Lost Cadia to a Tank Commander. Which is fine. But a Tank Commander can be attacked from any distance as it’s a Character with ten or more wounds. This time it’s on a Platoon Commander who will be hidden deep inside some ruins or behind a Leman Russ – guaranteeing his survival during the enemy’s first turn.
Leman Russ
I went for Demolishers because the range is never an issue when fighting the Death Guard. We start 24″ away from each other – which is the range of the Demolisher – from then on they only ever get closer. Firing twice they will get 2D3 shots – which is 4 usually. With Overlapping Fields of Fire, they will hit on a 3+ (2+ for the Tank Commander). Re-rolling misses and failed wounds – thanks to The Relic of Lost Cadia. At S10, AP -3 and D6 Damage that’s a lot of firepower. They get D6 shots too if the target has more than five models in it. I’m thinking anti-Terminators? D6 Damage might be overkill but it’s needed versus Disgustingly Resilient.
Yarrick
Yarrick I think will be very useful later in the game once my front line is assaulted. He can charge or Heroically Intervene against Plague Marines and crush a few. His re-rolls of 1 to Hit -within 6″ – will also be useful for when my Cadians need to reposition. And during the Fight Phase.
Vox
I went for Vox-Casters so I can finally use Fire On My Position. But it seems to affect your own units too. So unsure how this will play out. It’s also 3CP which seems costly – but it could be devastating. I think I just need to throw my infantry forward once their job of screening my tanks is down.
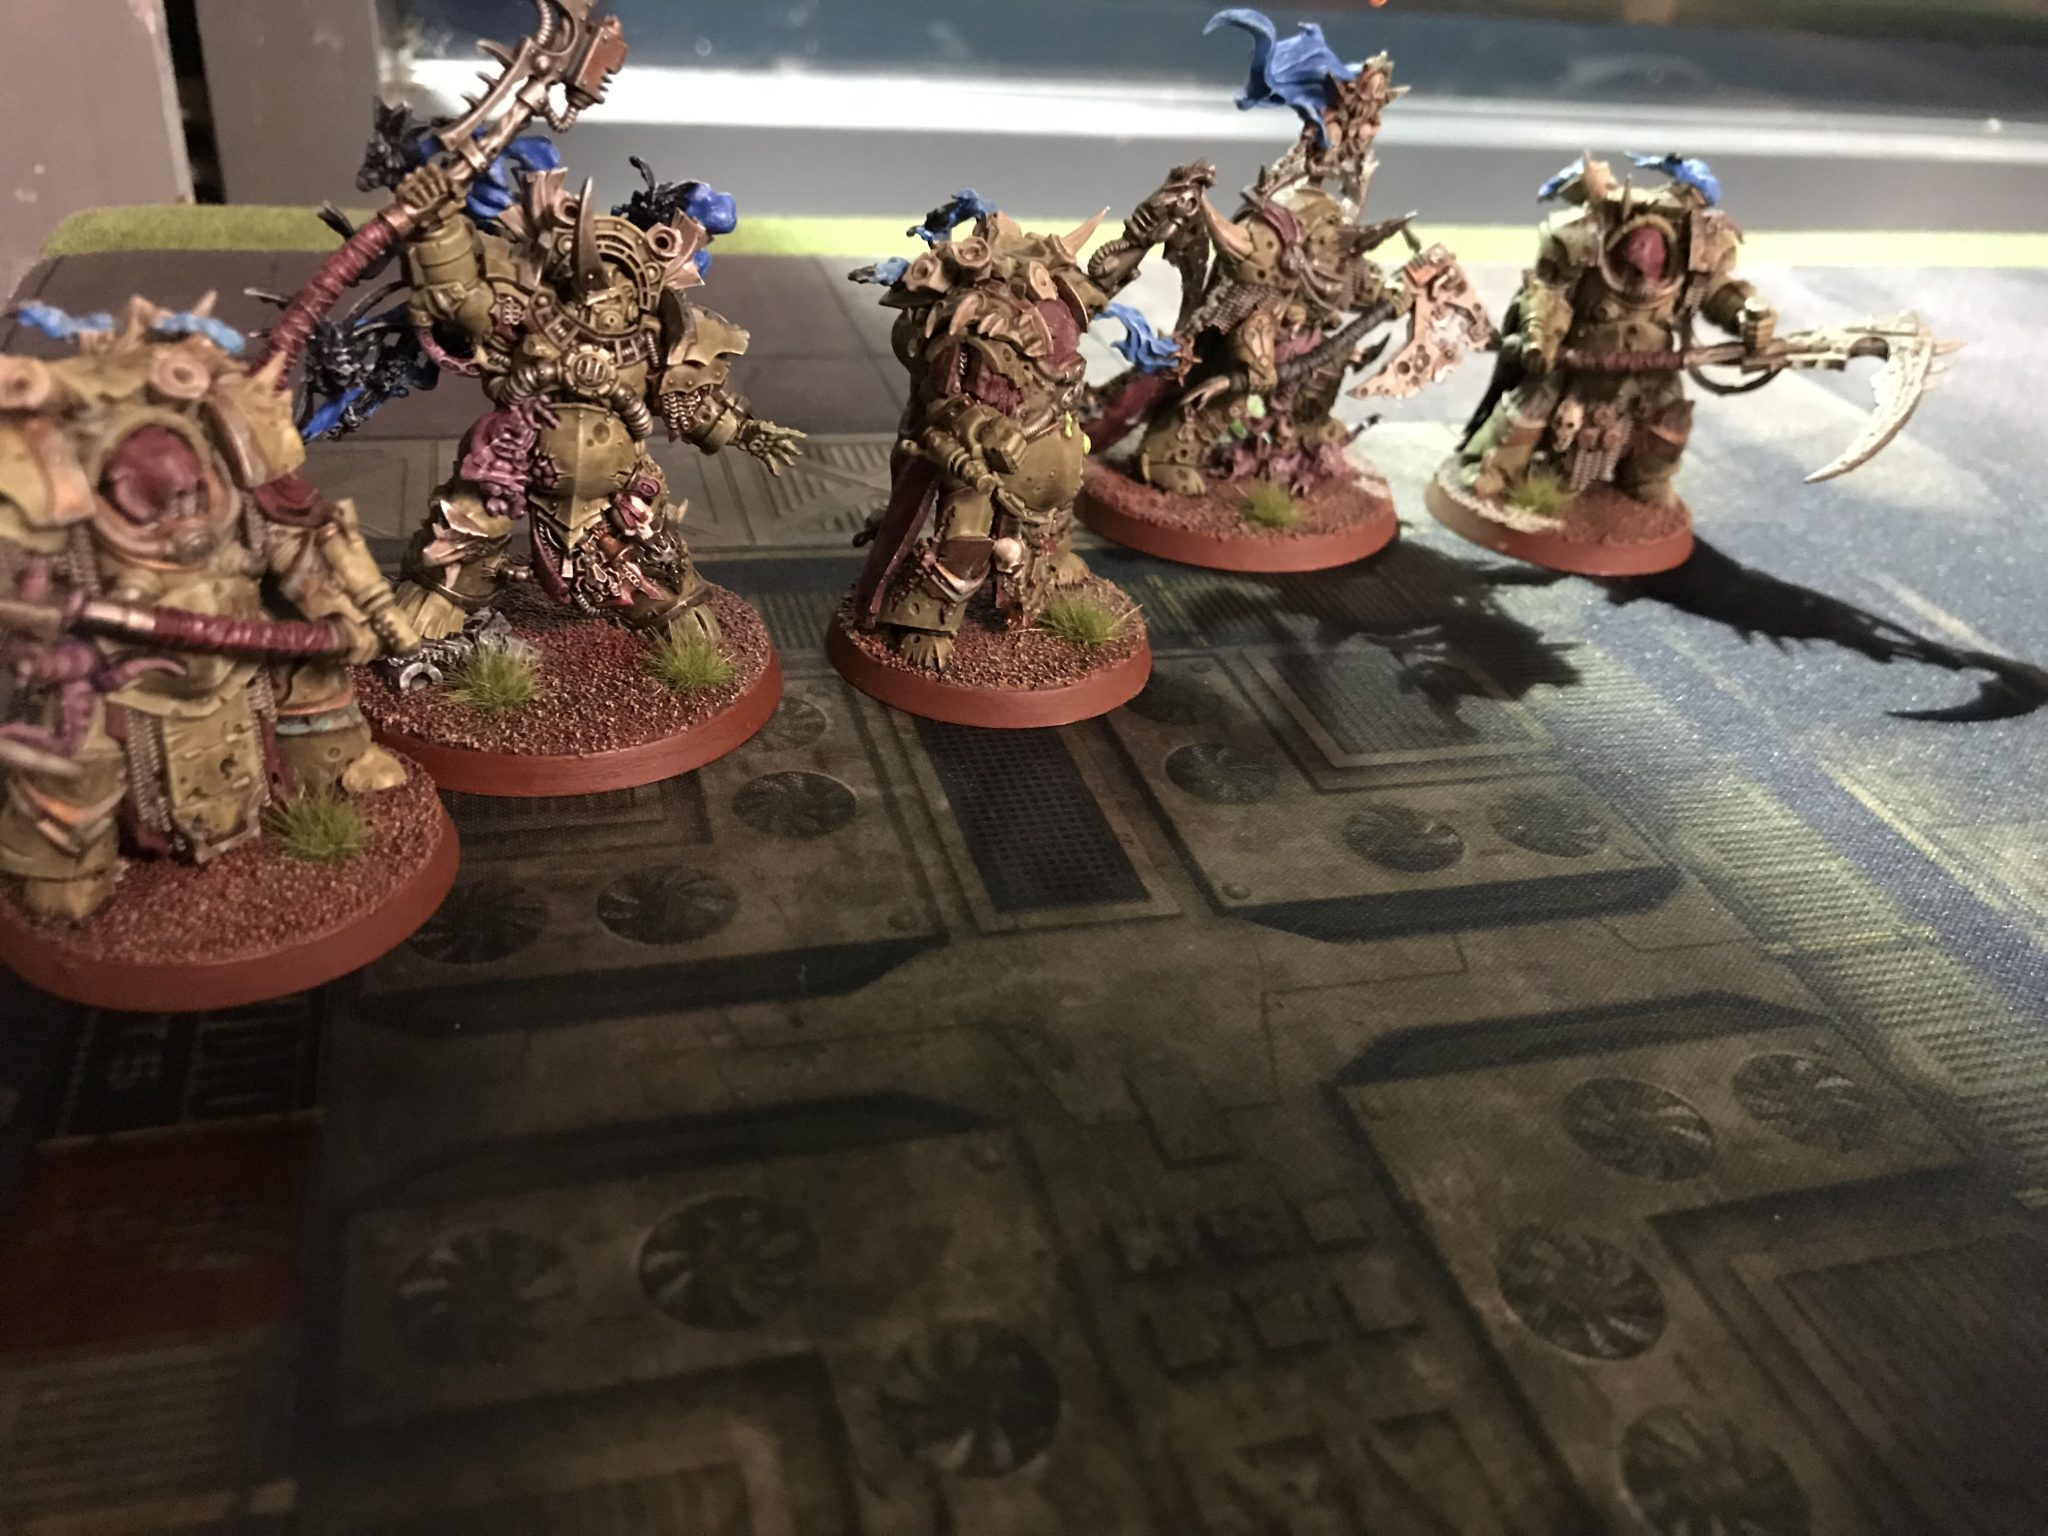
Death Guard List
1,750 points of Death Guard grossness as a Battalion Detachment.
- Typus
- Lord of Contagion
- Malignant Plaguecaster
- 13 Cultists
- 2x Squads of 7 Plague Marines With Blight Launchers
- 5 Blightlord Terminators with Axes and Combi-Bolters
- 3x Deathshroud Terminators
- 2x Foul Blightspawn
- 2x Foetid Bloat Drone with Plaguespitters
- Foetid Bloat Drone with Fleshmower
This gives 8CP.
You can read about Mark’s list – and his take on the battle – on his Plague Gardening blog.
Mission
Targets of Opportunity from Chapter Approved 2017. You draw three cards and then they must all be discarded at the start of your next turn. This means you have to do them that turn – or not at all.
But, you can pay 2CP to keep a card though.
Deployment
We deployed along the long table edges but with that sort of pointed deployment zone. It’s called Front-Line Assault.
The Death Guard had a lot to Deep Strike.
- Terminators
- Typhus
- Deathshrouds
- Lord of Contagion
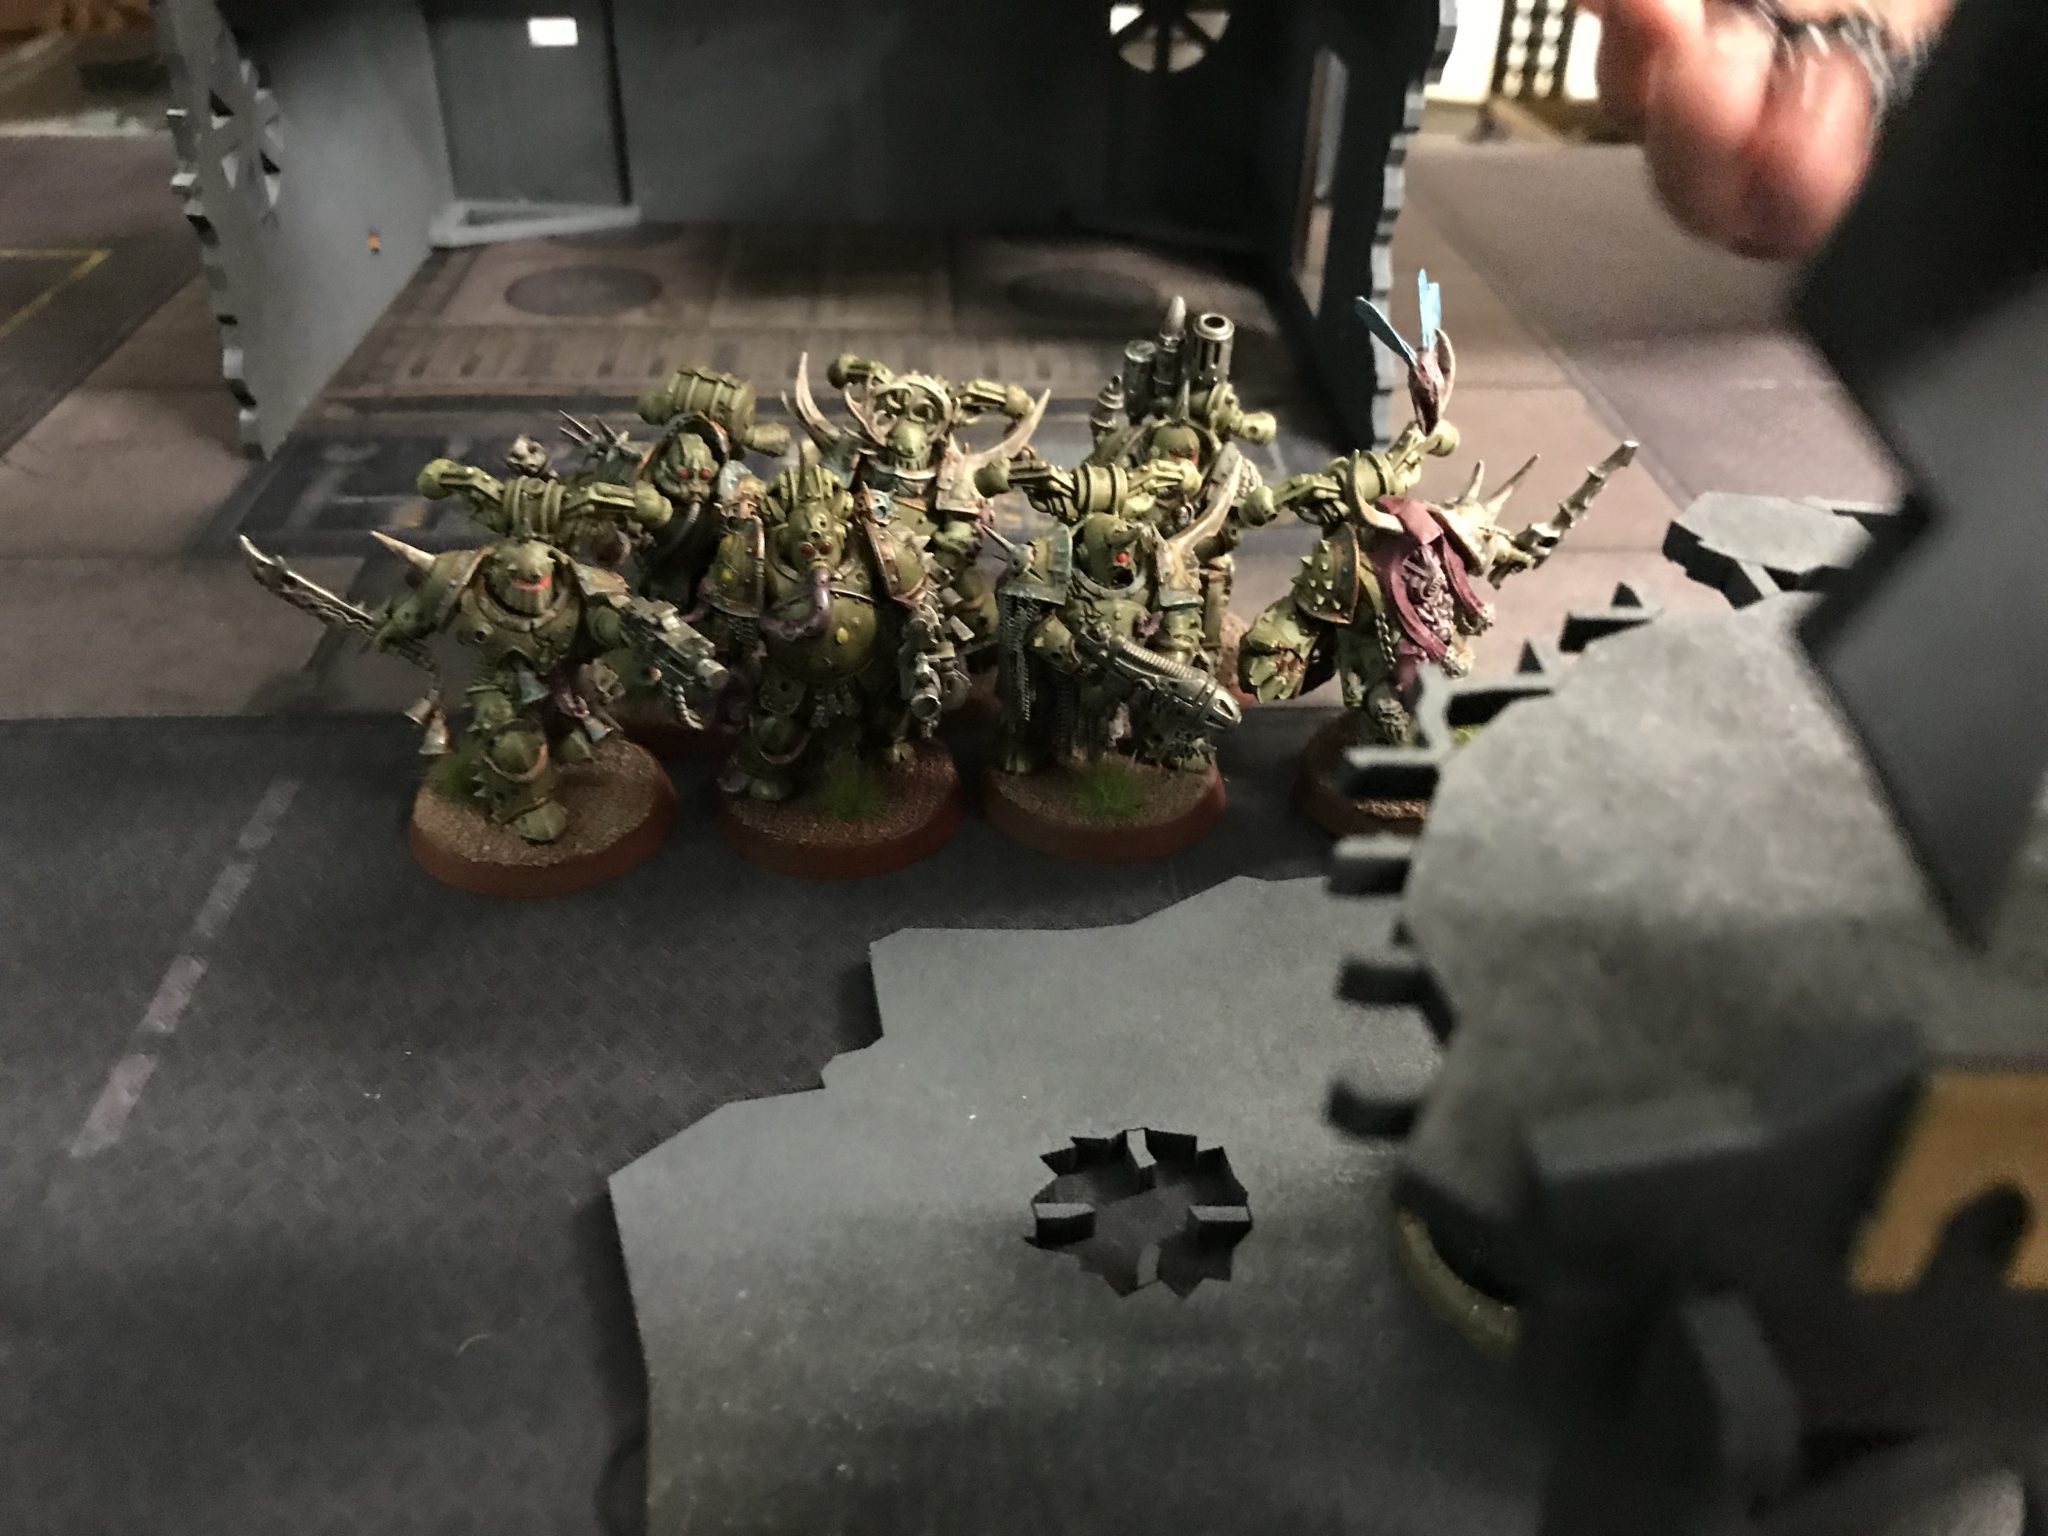
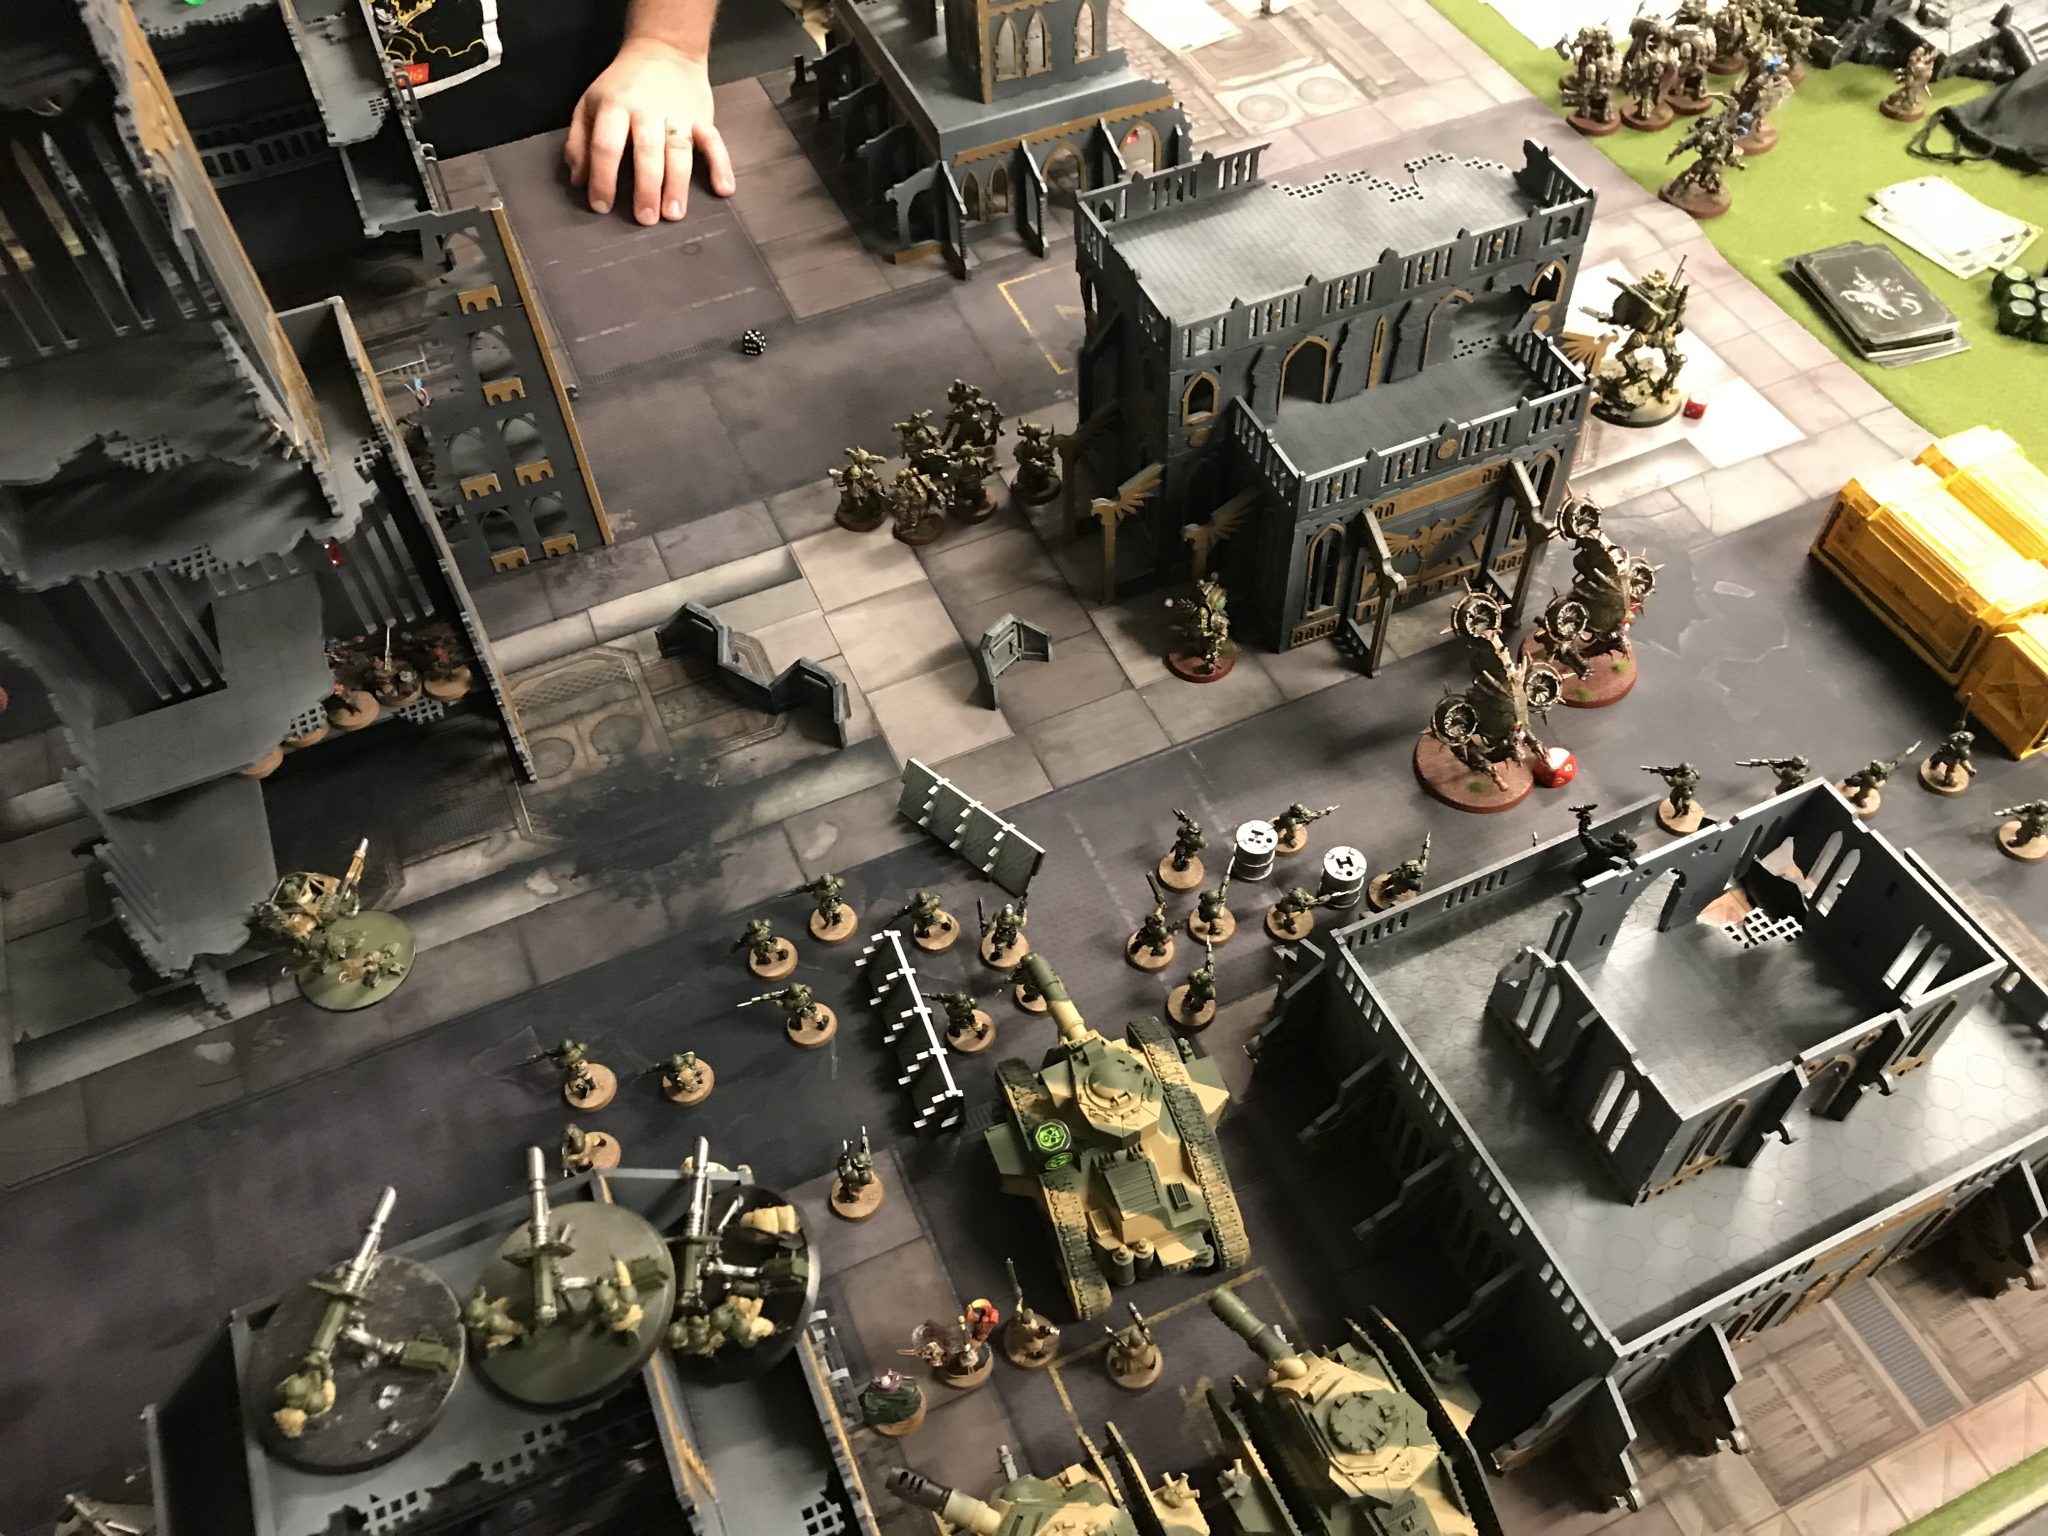
That didn’t leave a lot to actually deploy. They spread out. Cultists near an objective, Plague Marines near another and then all three drones with more Plague Marines plus the remaining characters on my right flank near another objective.
I went centre heavy with everything slotted in around my Warlord, Yarrick, Platoon Commander with the Relic of Lost Cadia and Creed. It was pretty busy but I made them fit.
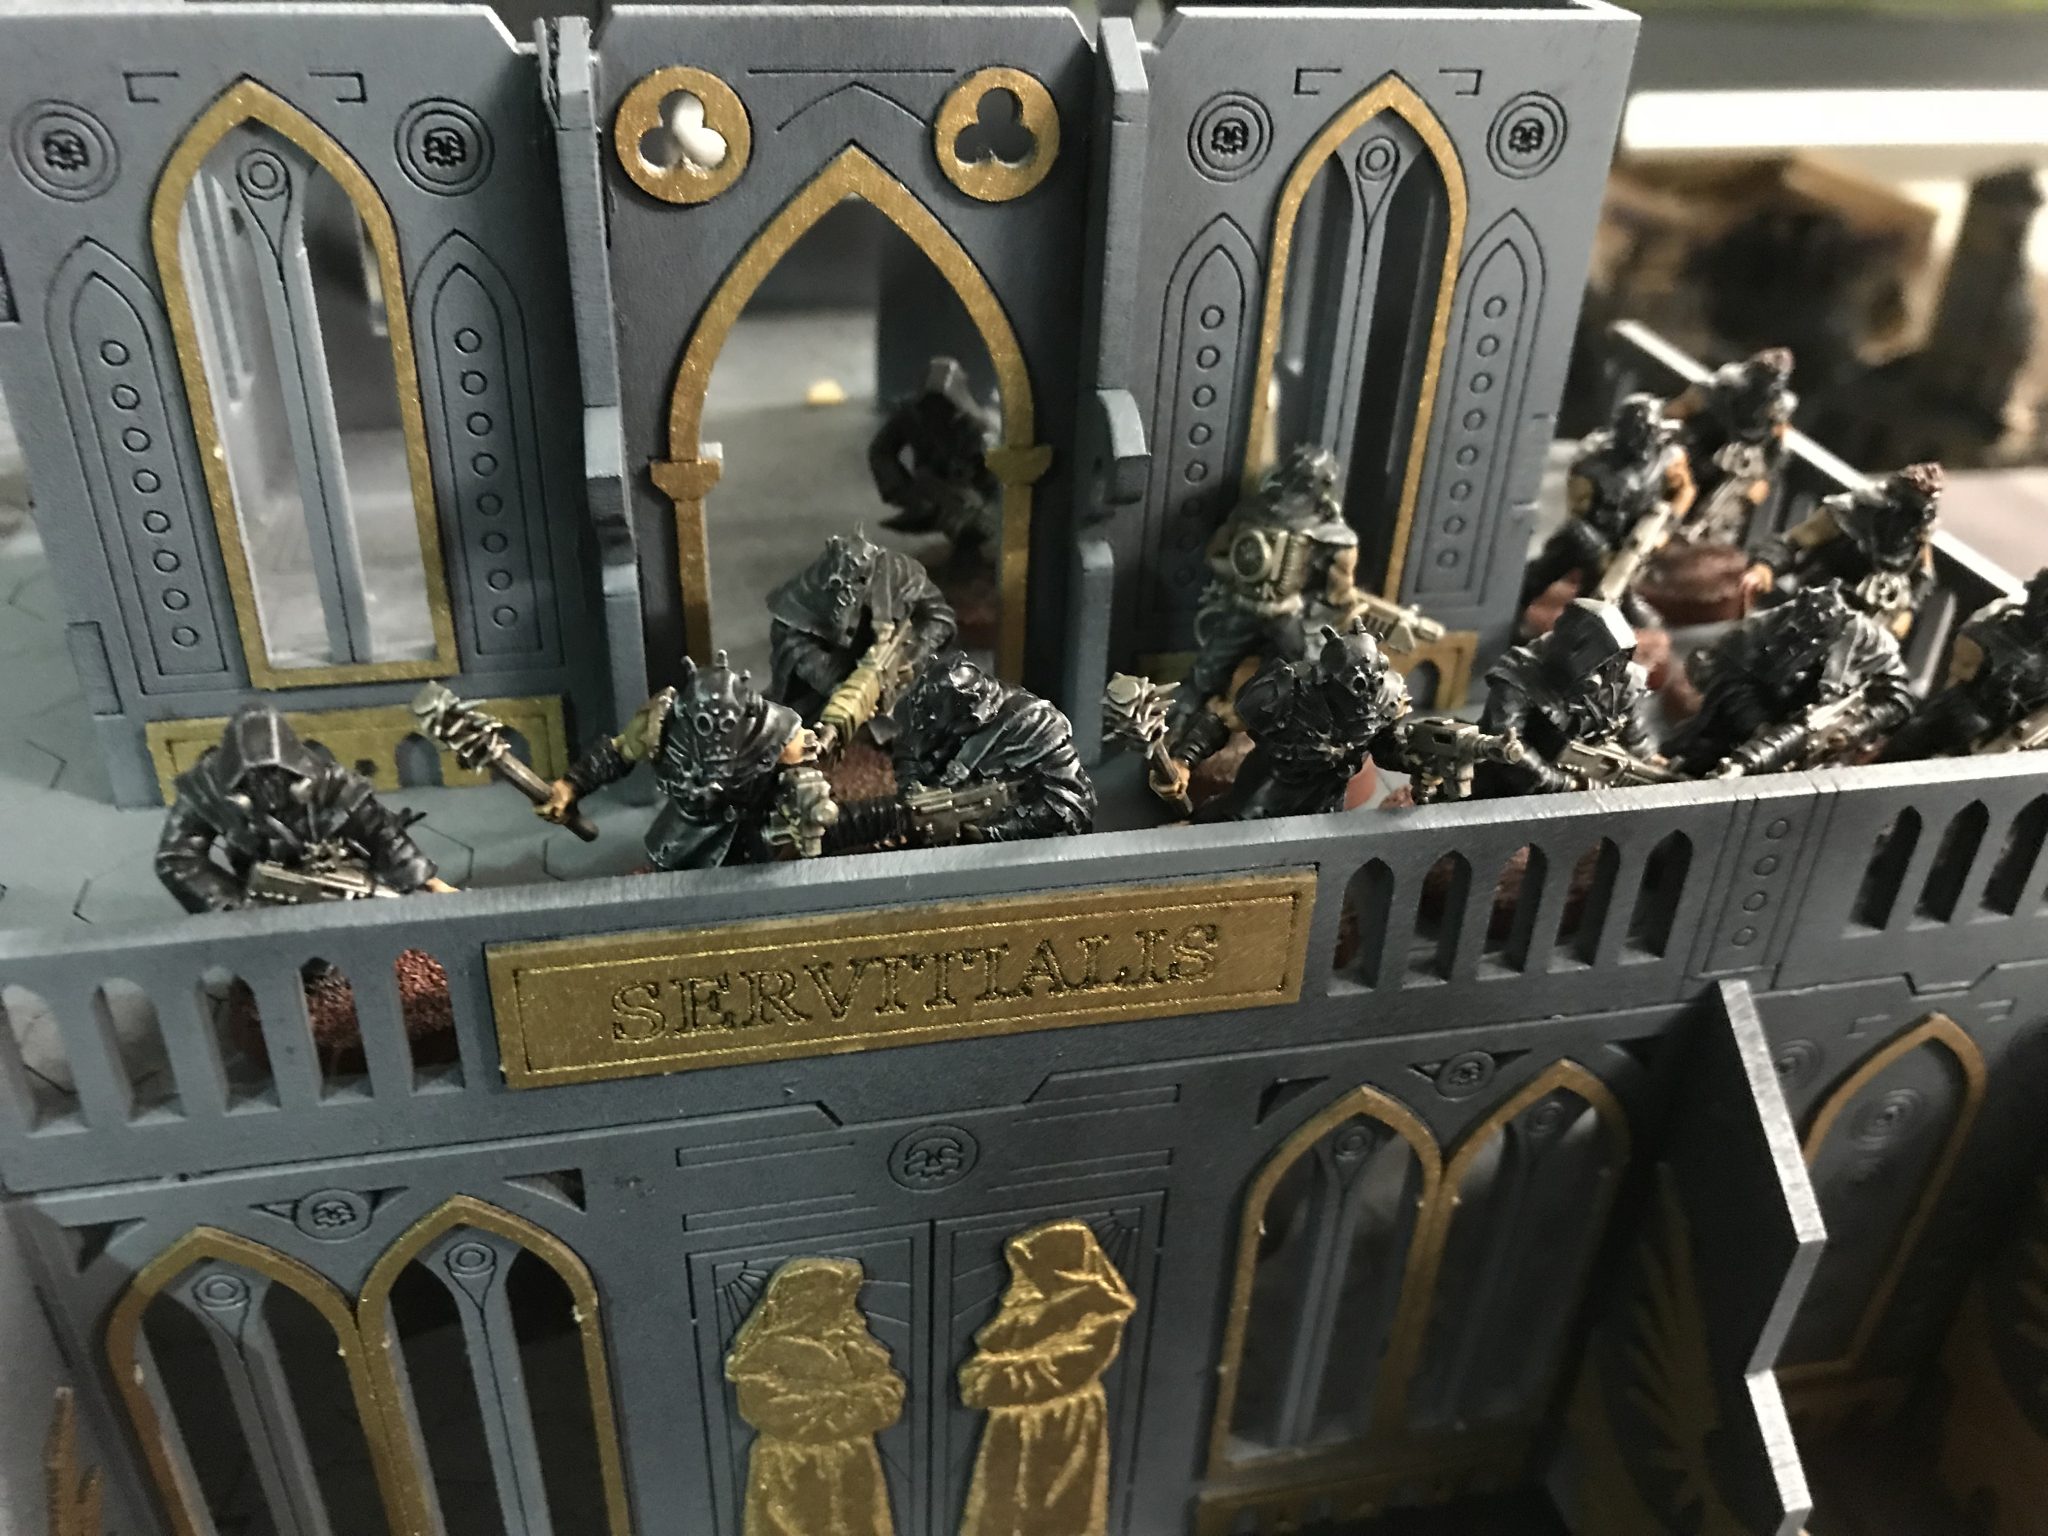
The Guardsmen I spread out around everything to pad my tanks from melee attacks.
I finished deploying last.
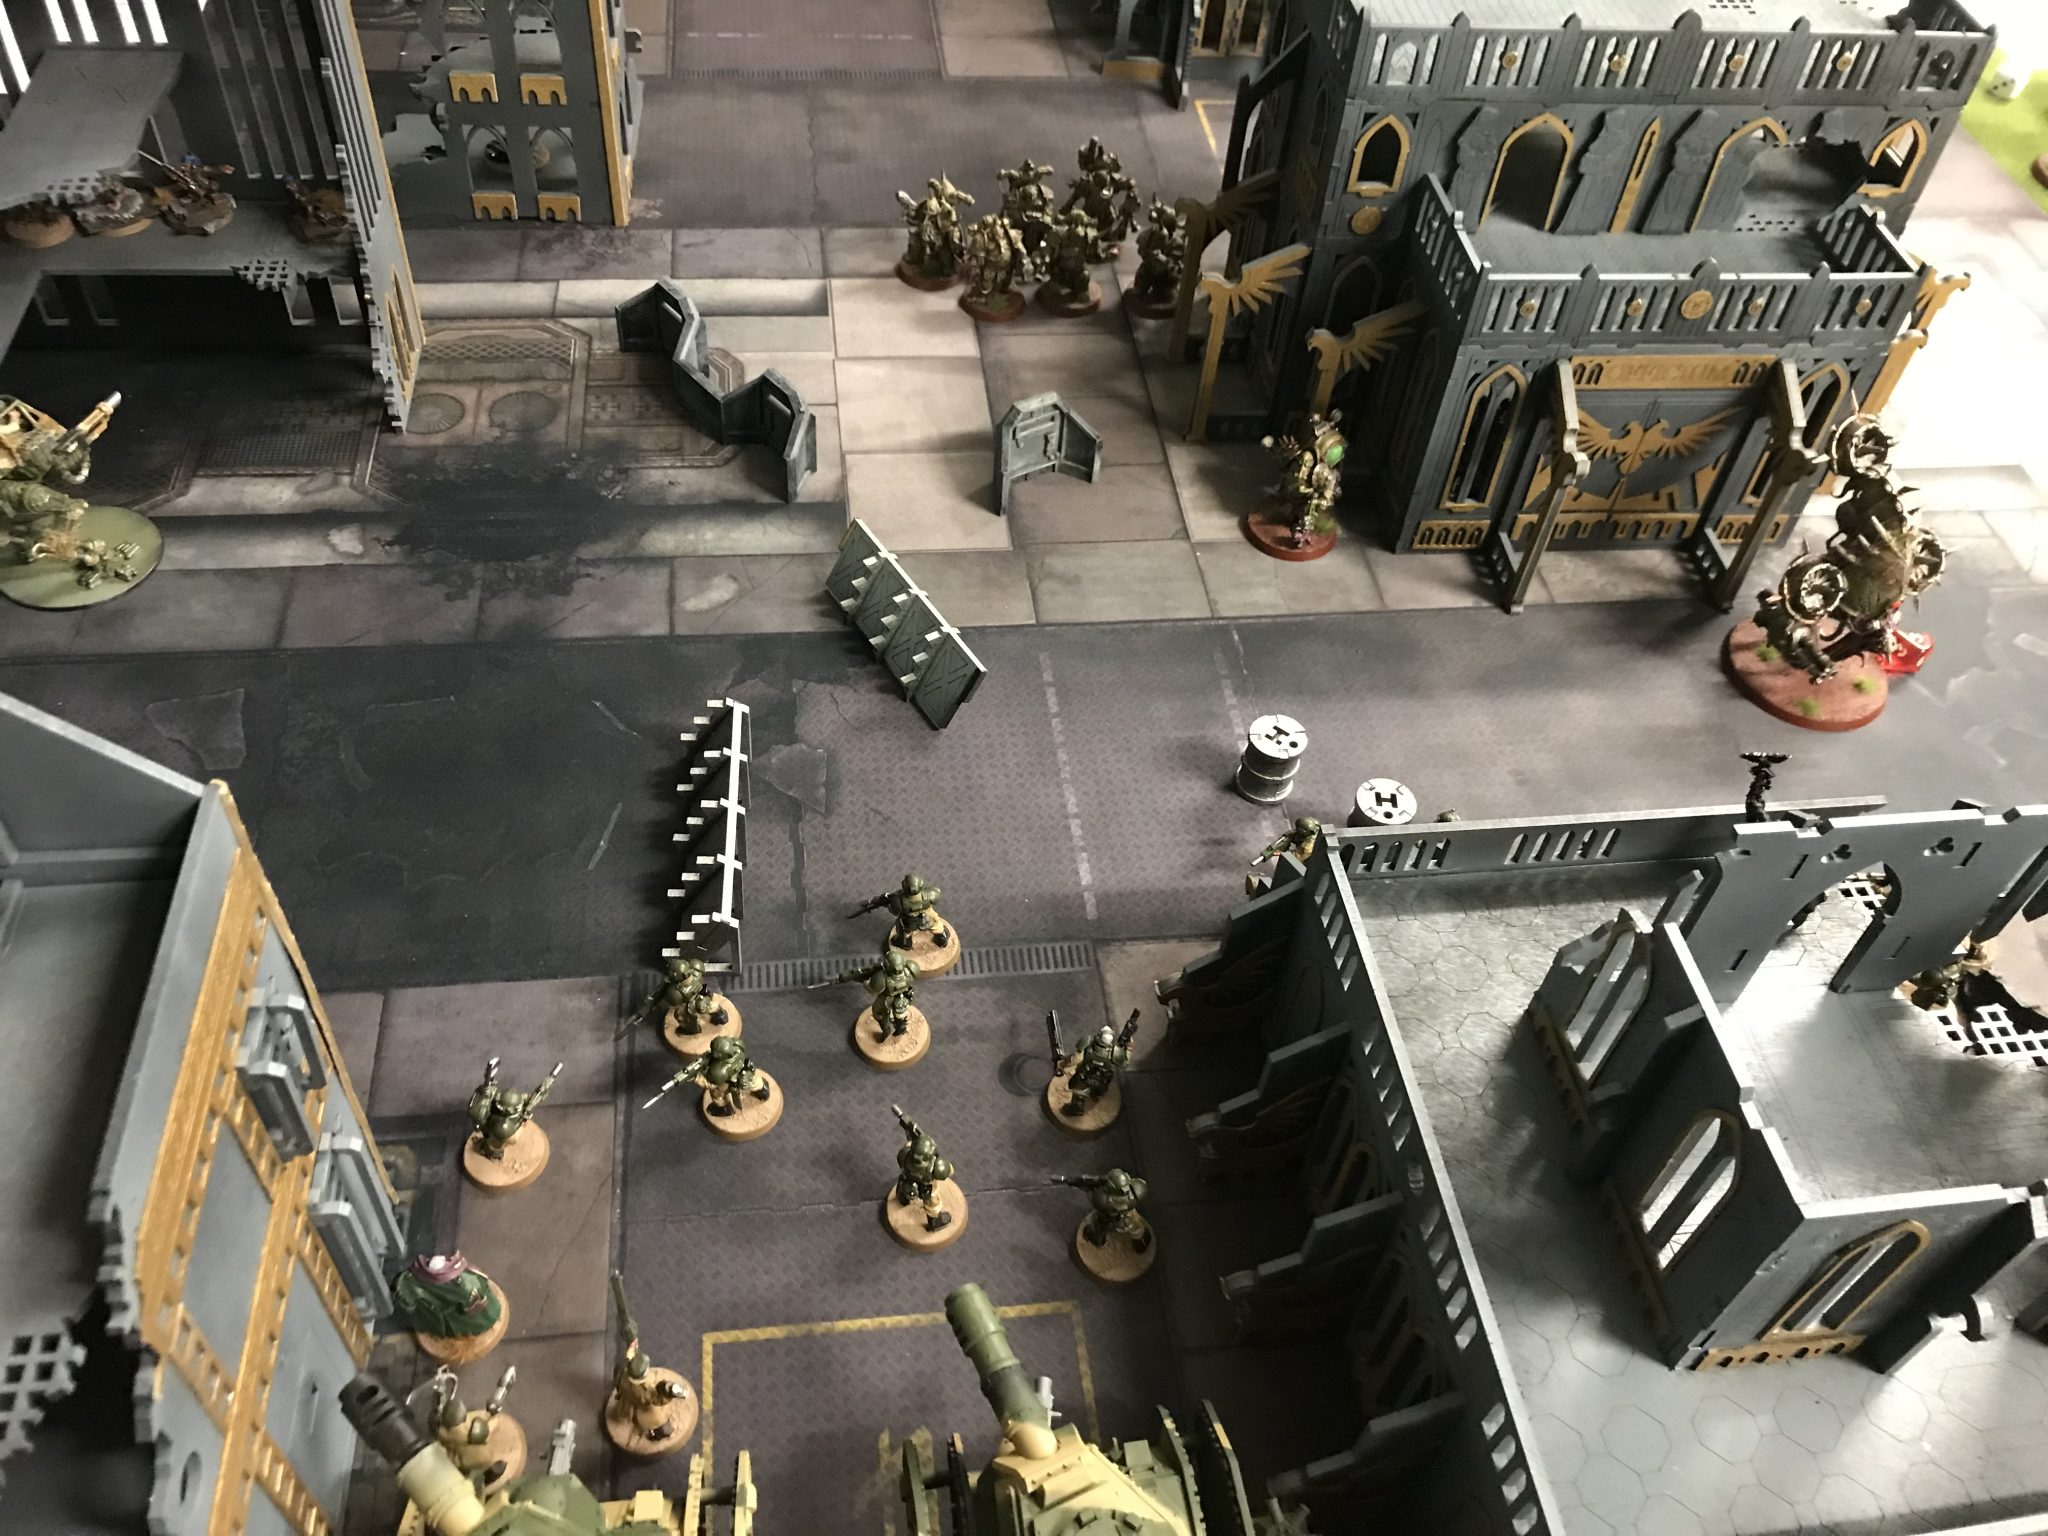
The Ratlings deployed in cover and out of sight completely – in the very centre of the table. The Sentinels then did their additional move and found themselves on the centre line of the battlefield. One on the left, one of the right and one in the centre – near the Ratlings.
The Death Guard won the first turn but gave it up. The Astra Militarum would go first!
I nominated the Deathshrouds for Old Grudges.
I used Preliminary Bombardment which took a wound off the Psyker and killed a Plague Marine.
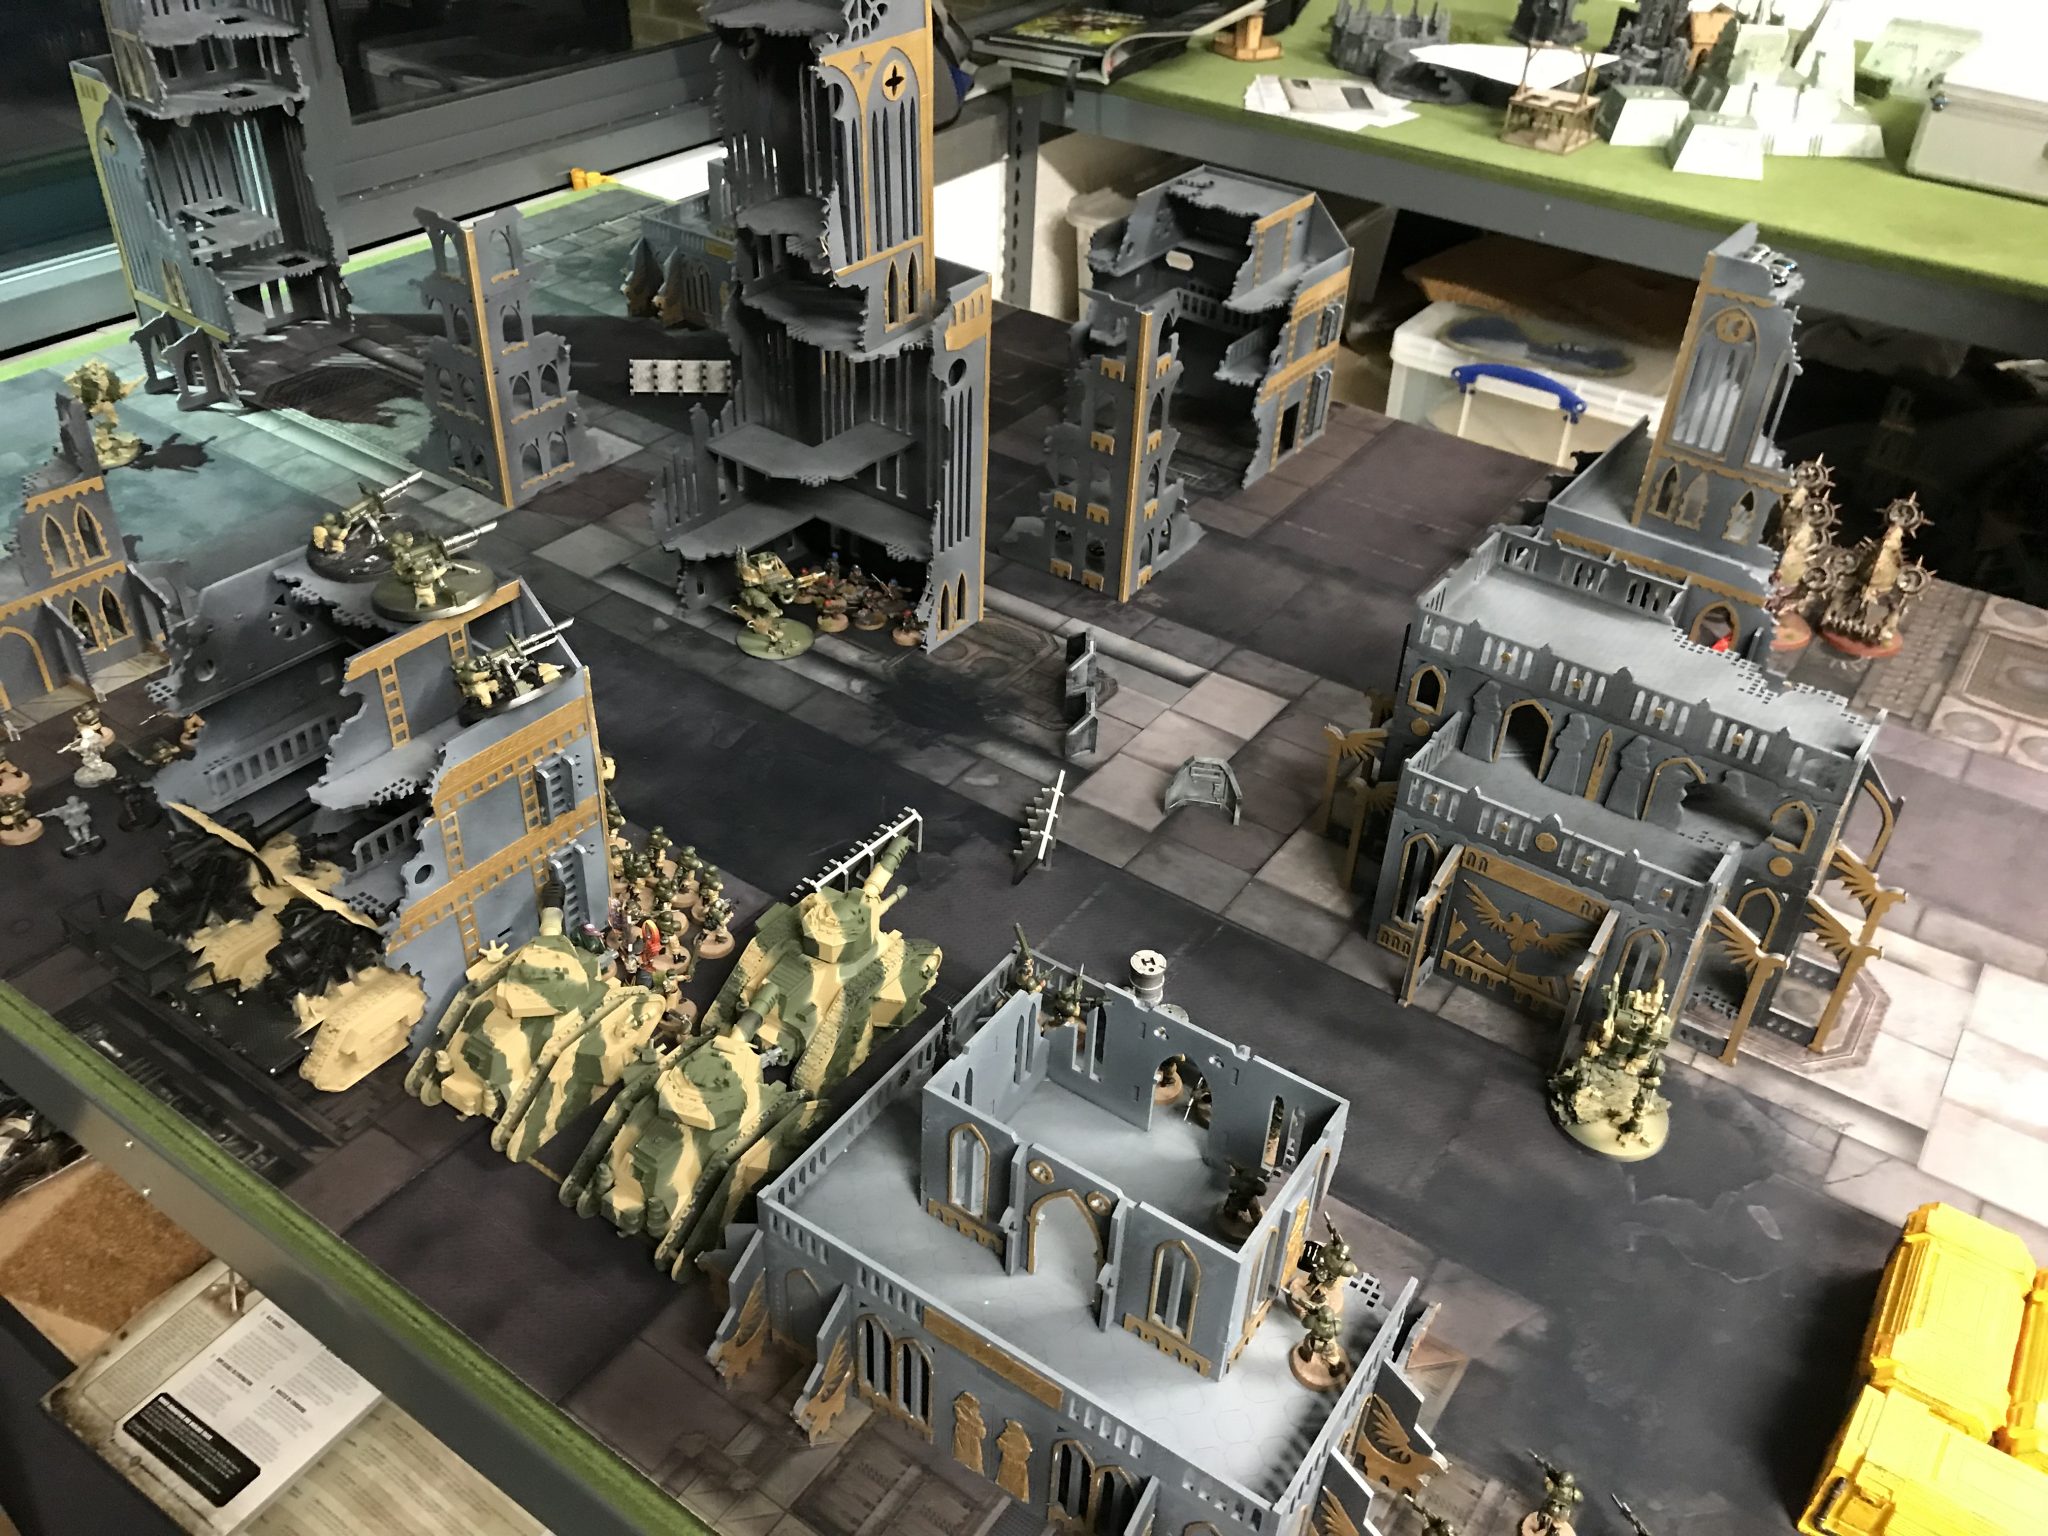
Spot the Death Guard – this is the battlefield just before the 1st turn
Astra Militarum – Turn 1
With the Sentinels now moved up during the deployment phase, I then moved my infantry into place to fill those new holes. The Sentinels moved again during this first turn. Mainly to hide.
With movement completed, I got Nightshroud off on my Tank Commander. On to shooting…
I’ve had the first turn which made seeing targets very hard. Everything was hidden still. The enemy was also far away – having deployed behind buildings rather than in front of them ready to charge forward.
I didn’t use the Relic of Lost Cadia.
The Lascannons coupled with the Basilisks took out the Lawn Mower Drone. Which then exploded dealing a Mortal Wound to the enemy Psyker, a Foul Blightspawn and killing a Plague Marine.
That’s a good start and First Blood!
I ended my turn with 3VP.
- First Blood
- Secure Objective X
- Kill something with shooting
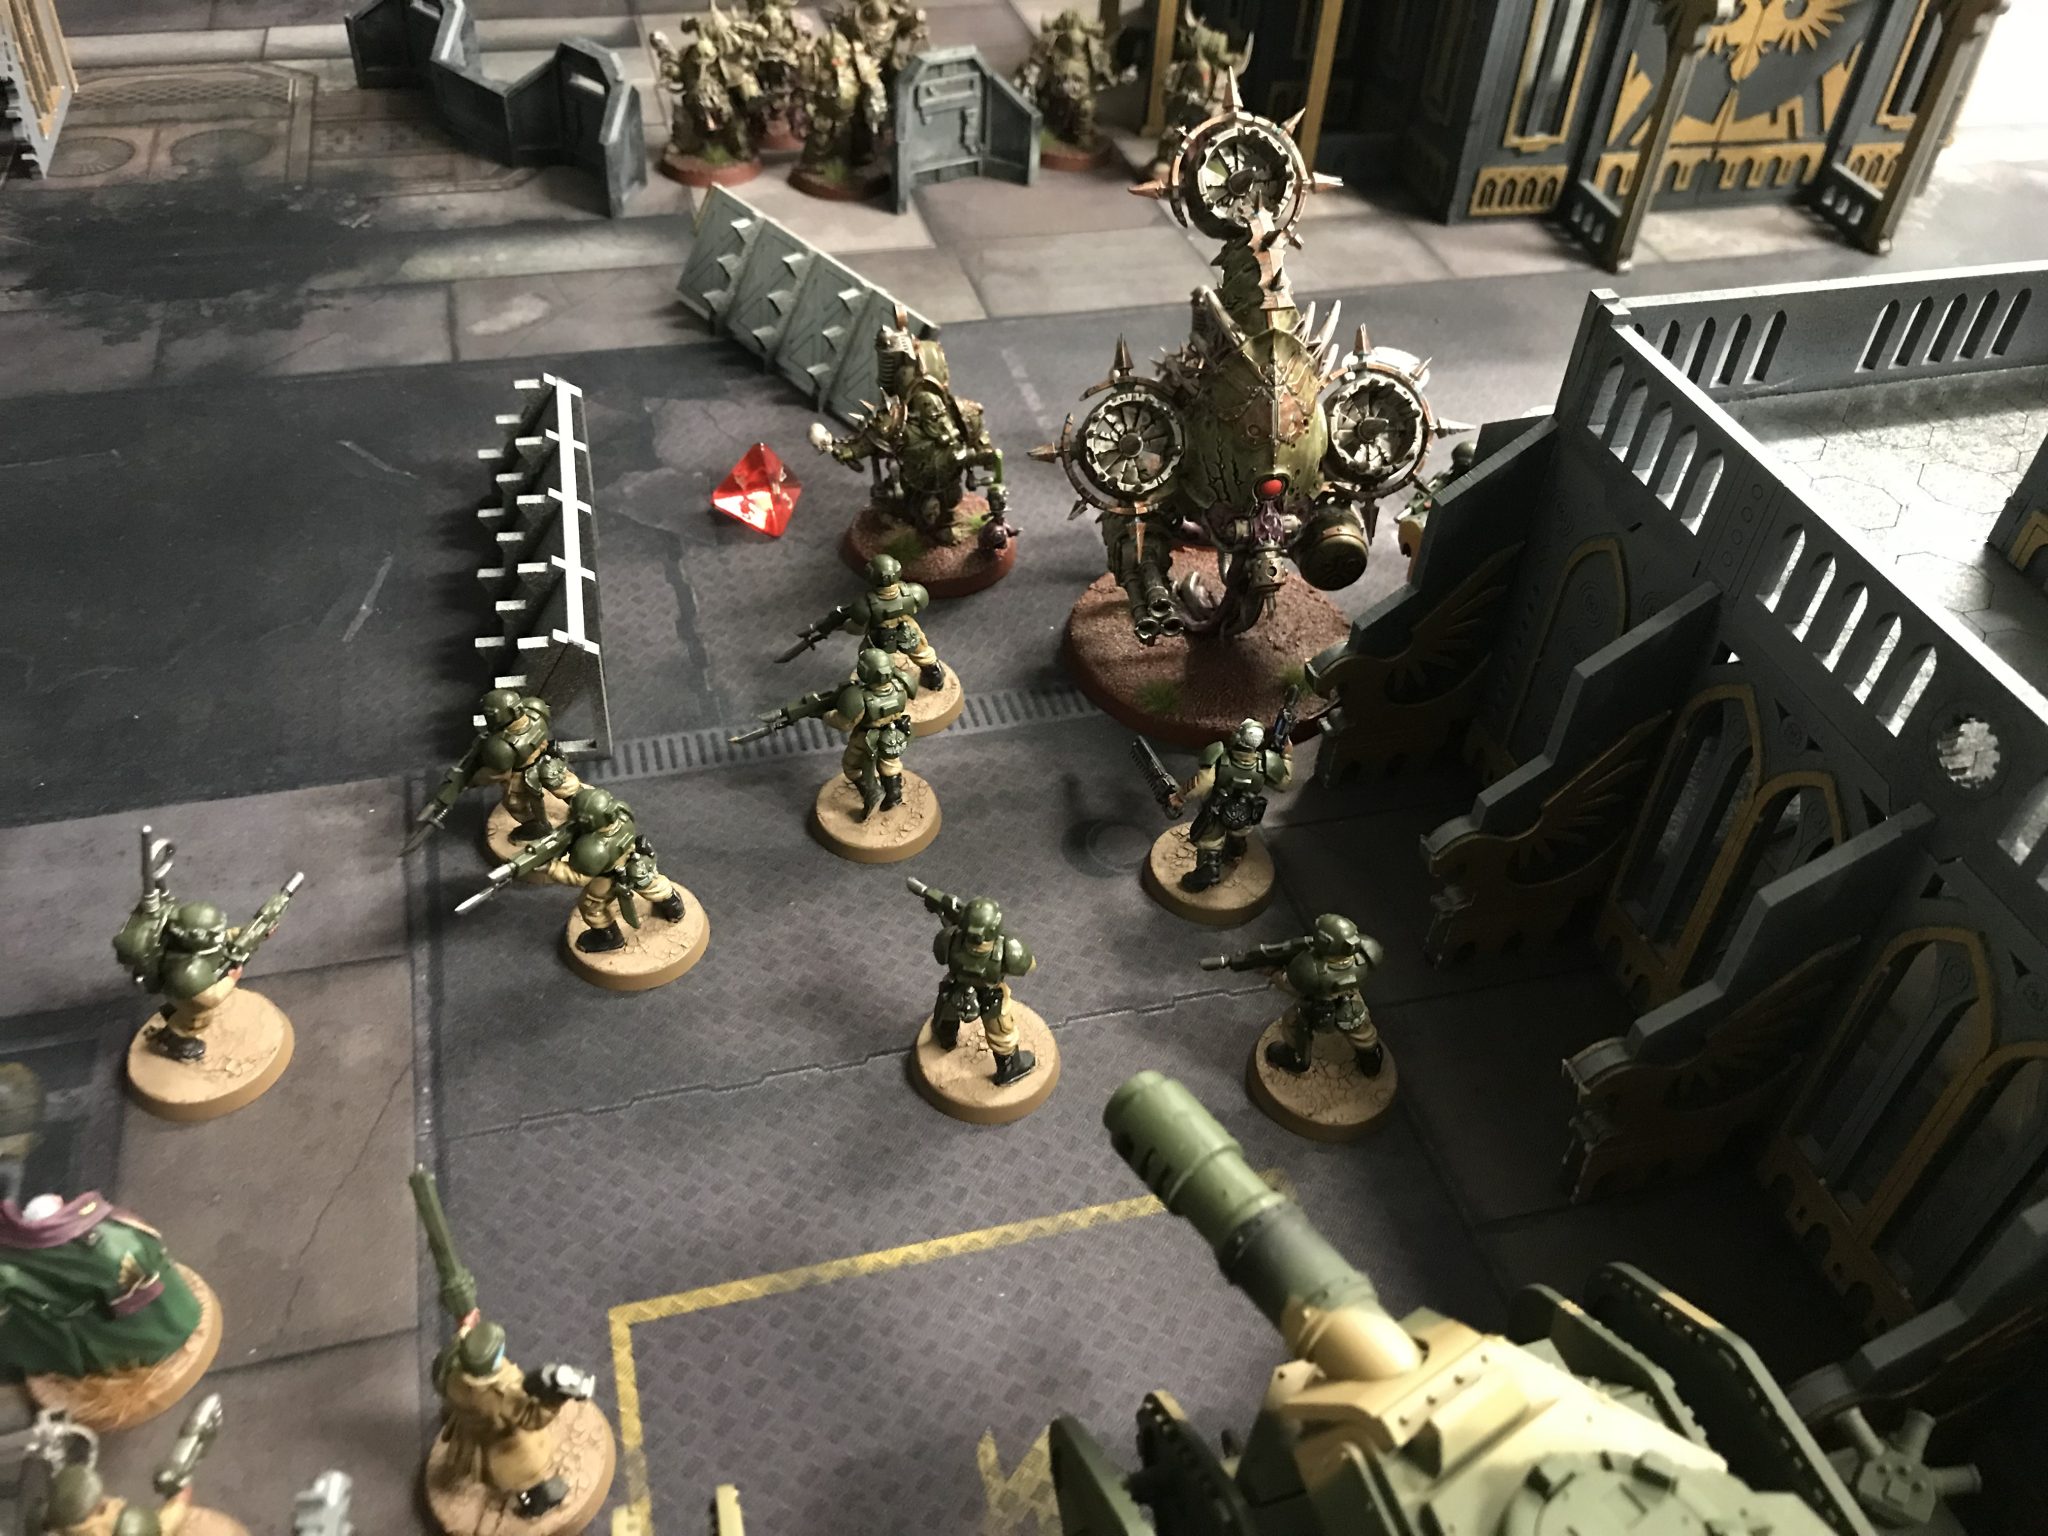
Death Guard hiding
Death Guard – Turn 1
The Death Guard broke from their cover and began their stroll into the battlefield. The Cultists stayed put in their building. Plague Marines came forward to grab an objective which they needed to hold for two turns to gain 2VP. And the two remaining drones moved up to attack me.
Death Guard Cultists in cover
They did a good job of hiding again, however. Only exposing those units that needed to be exposed and ensuring line of sight to only the targets they wanted to attack.
The Foul Blightspawn Advanced to get up as much as possible. But again stayed hidden.
A Sentinel took the brunt of the attacks from the drones but survived on one wound. This would be important later it turned out.
The Death Guard ended their turn with 1VP after the Cultists Secured Objective X.
Death Guard Plague Marines securing their objective
Astra Militarum – Turn 2
I didn’t use the Relic of Lost Cadia on this turn either.
I moved infantry around to fill gaps and pad out my little bubble of characters and Leman Russ. This was my last chance to move my units to ensure maximum padding against the Deep Strikers which were sure to arrive next turn.
I spotted a very Bloat Drone sized space behind my two Leman Russ so they moved an inch backwards to ensure the Drones could not move there.
I focused on the five Plague Marines in the middle of the enemy deployment zone. Why? Because they were on the objective they needed to defend for two turns. If I killed them all now they wouldn’t have it next turn and the enemy would be denied 2VP.
One survived. Even after throwing so much at them. Lascannons, Basilisks and a Demolisher Cannon. But that’s the way sometimes with Disgustingly Resilient.
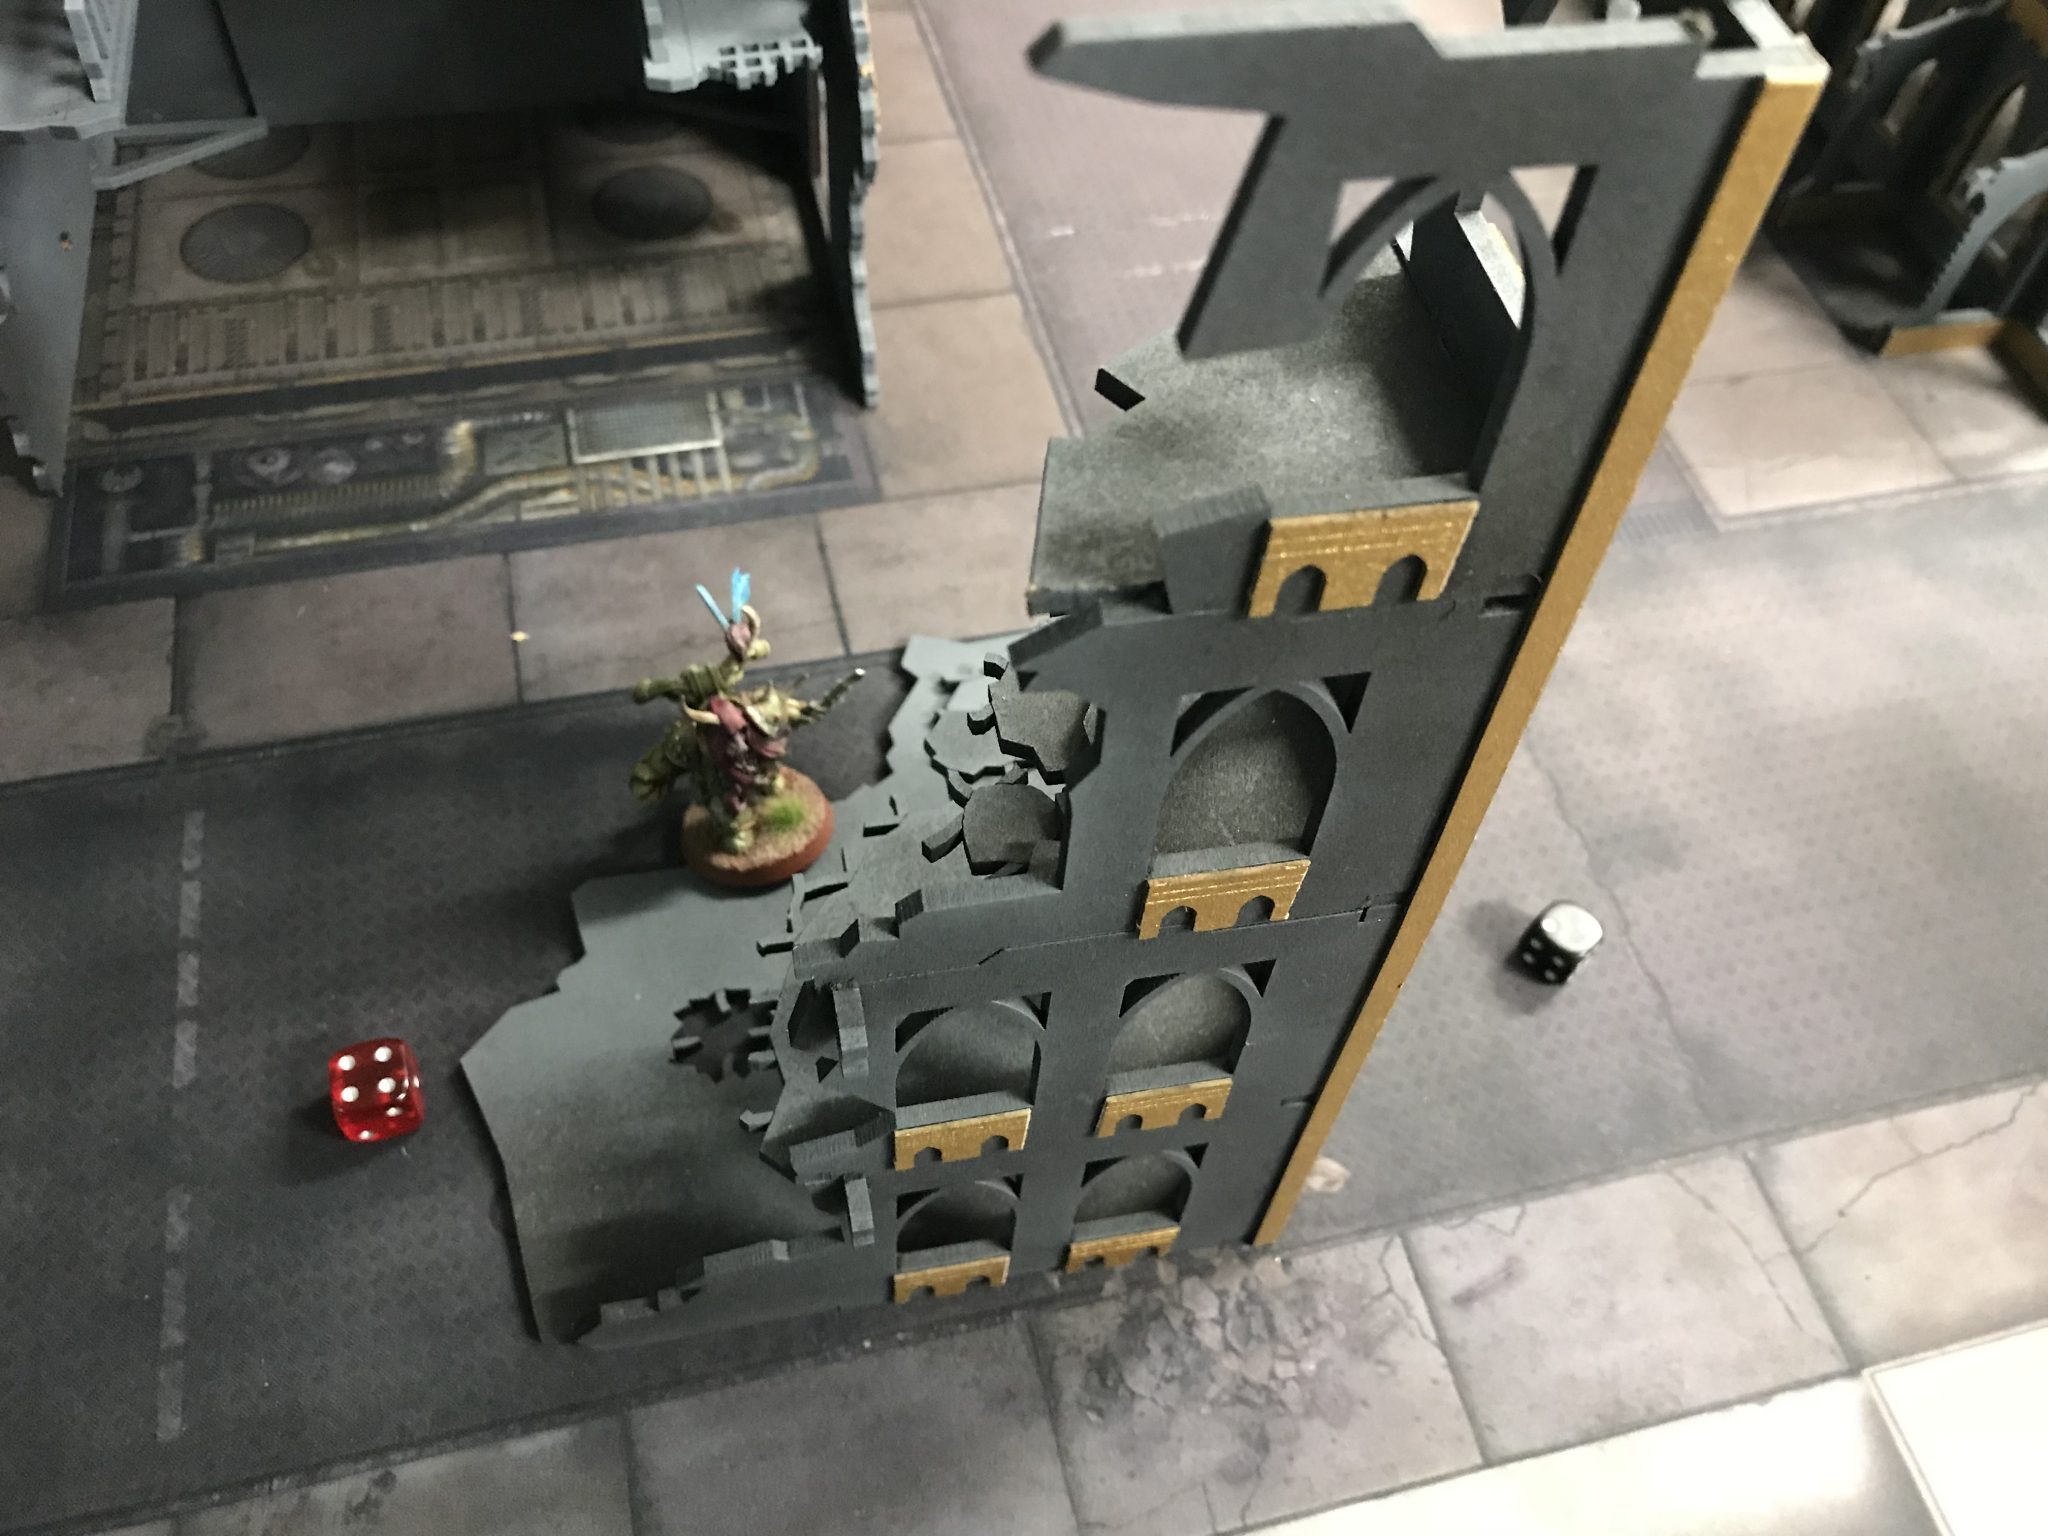
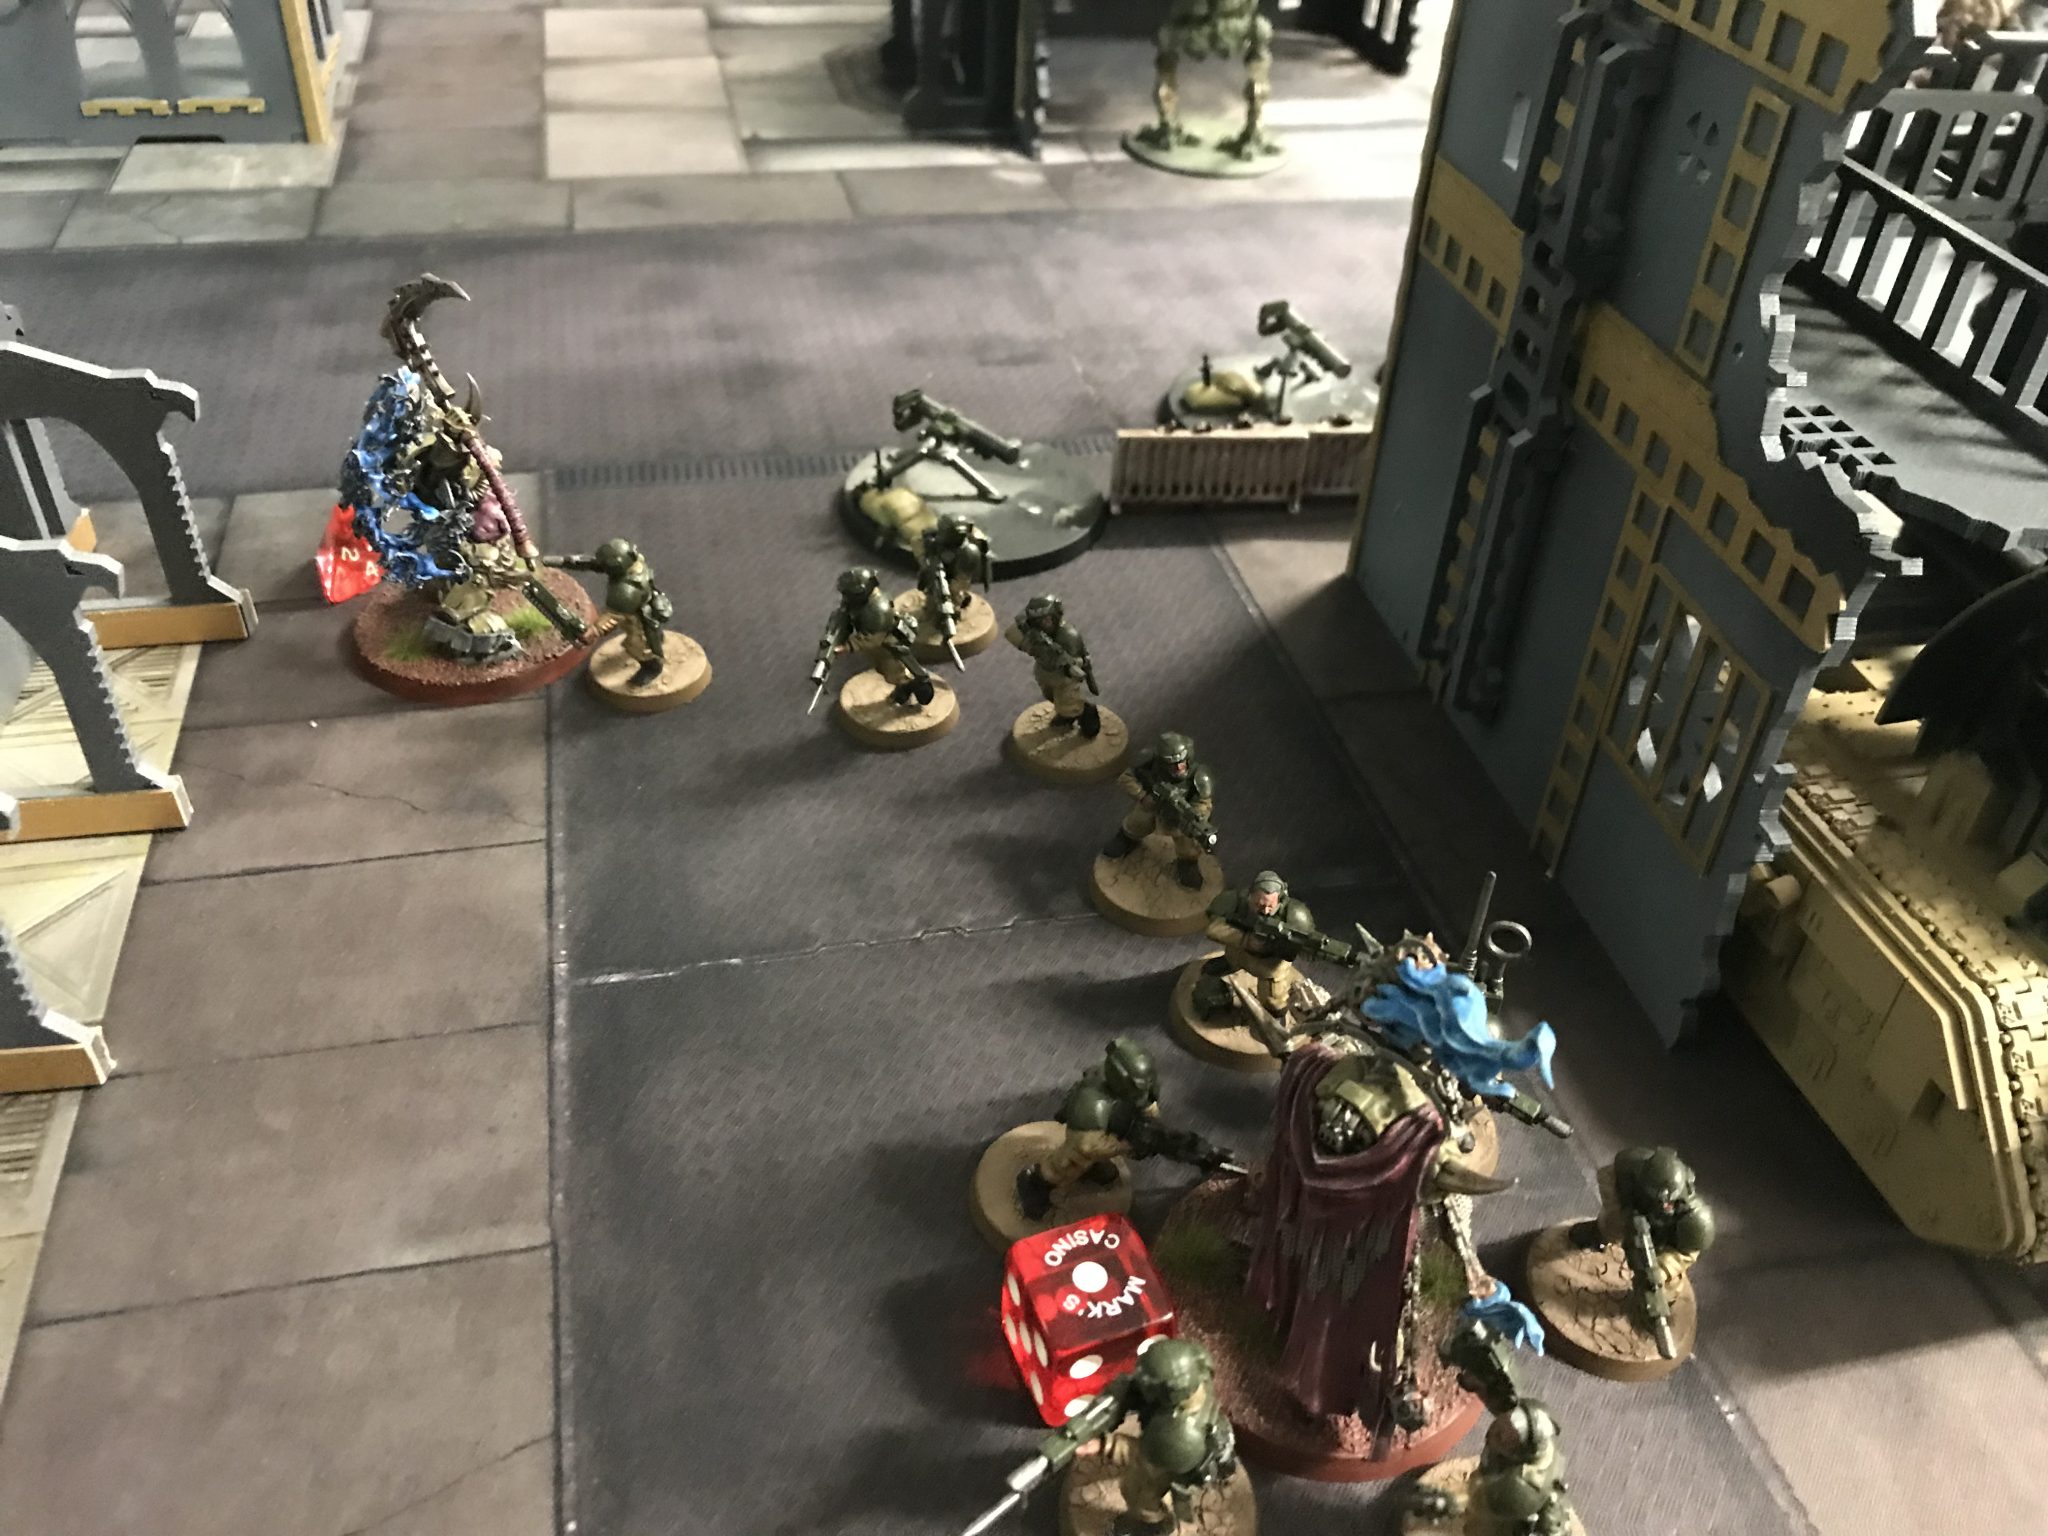
Single surviving Plague Marine
My Ratlings tried to finish off the enemy Psyker but failed. Despite it only being on two wounds.
The Demolishers had yet to do much because of their short range and lack of vision.
Dumbest decision of the game was to charge Yarrick into a Foul Blightspawn. Fail. He died and took 9 wounds. I had hoped the Blightspawn would roll badly and do very few shots at a low Strength. It didn’t and Yarrick was killed.
I was now up to 5VP thanks to using a few orders to achieve one objective and Secure Objective X.

Ratlings in cover
Death Guard – Turn 2
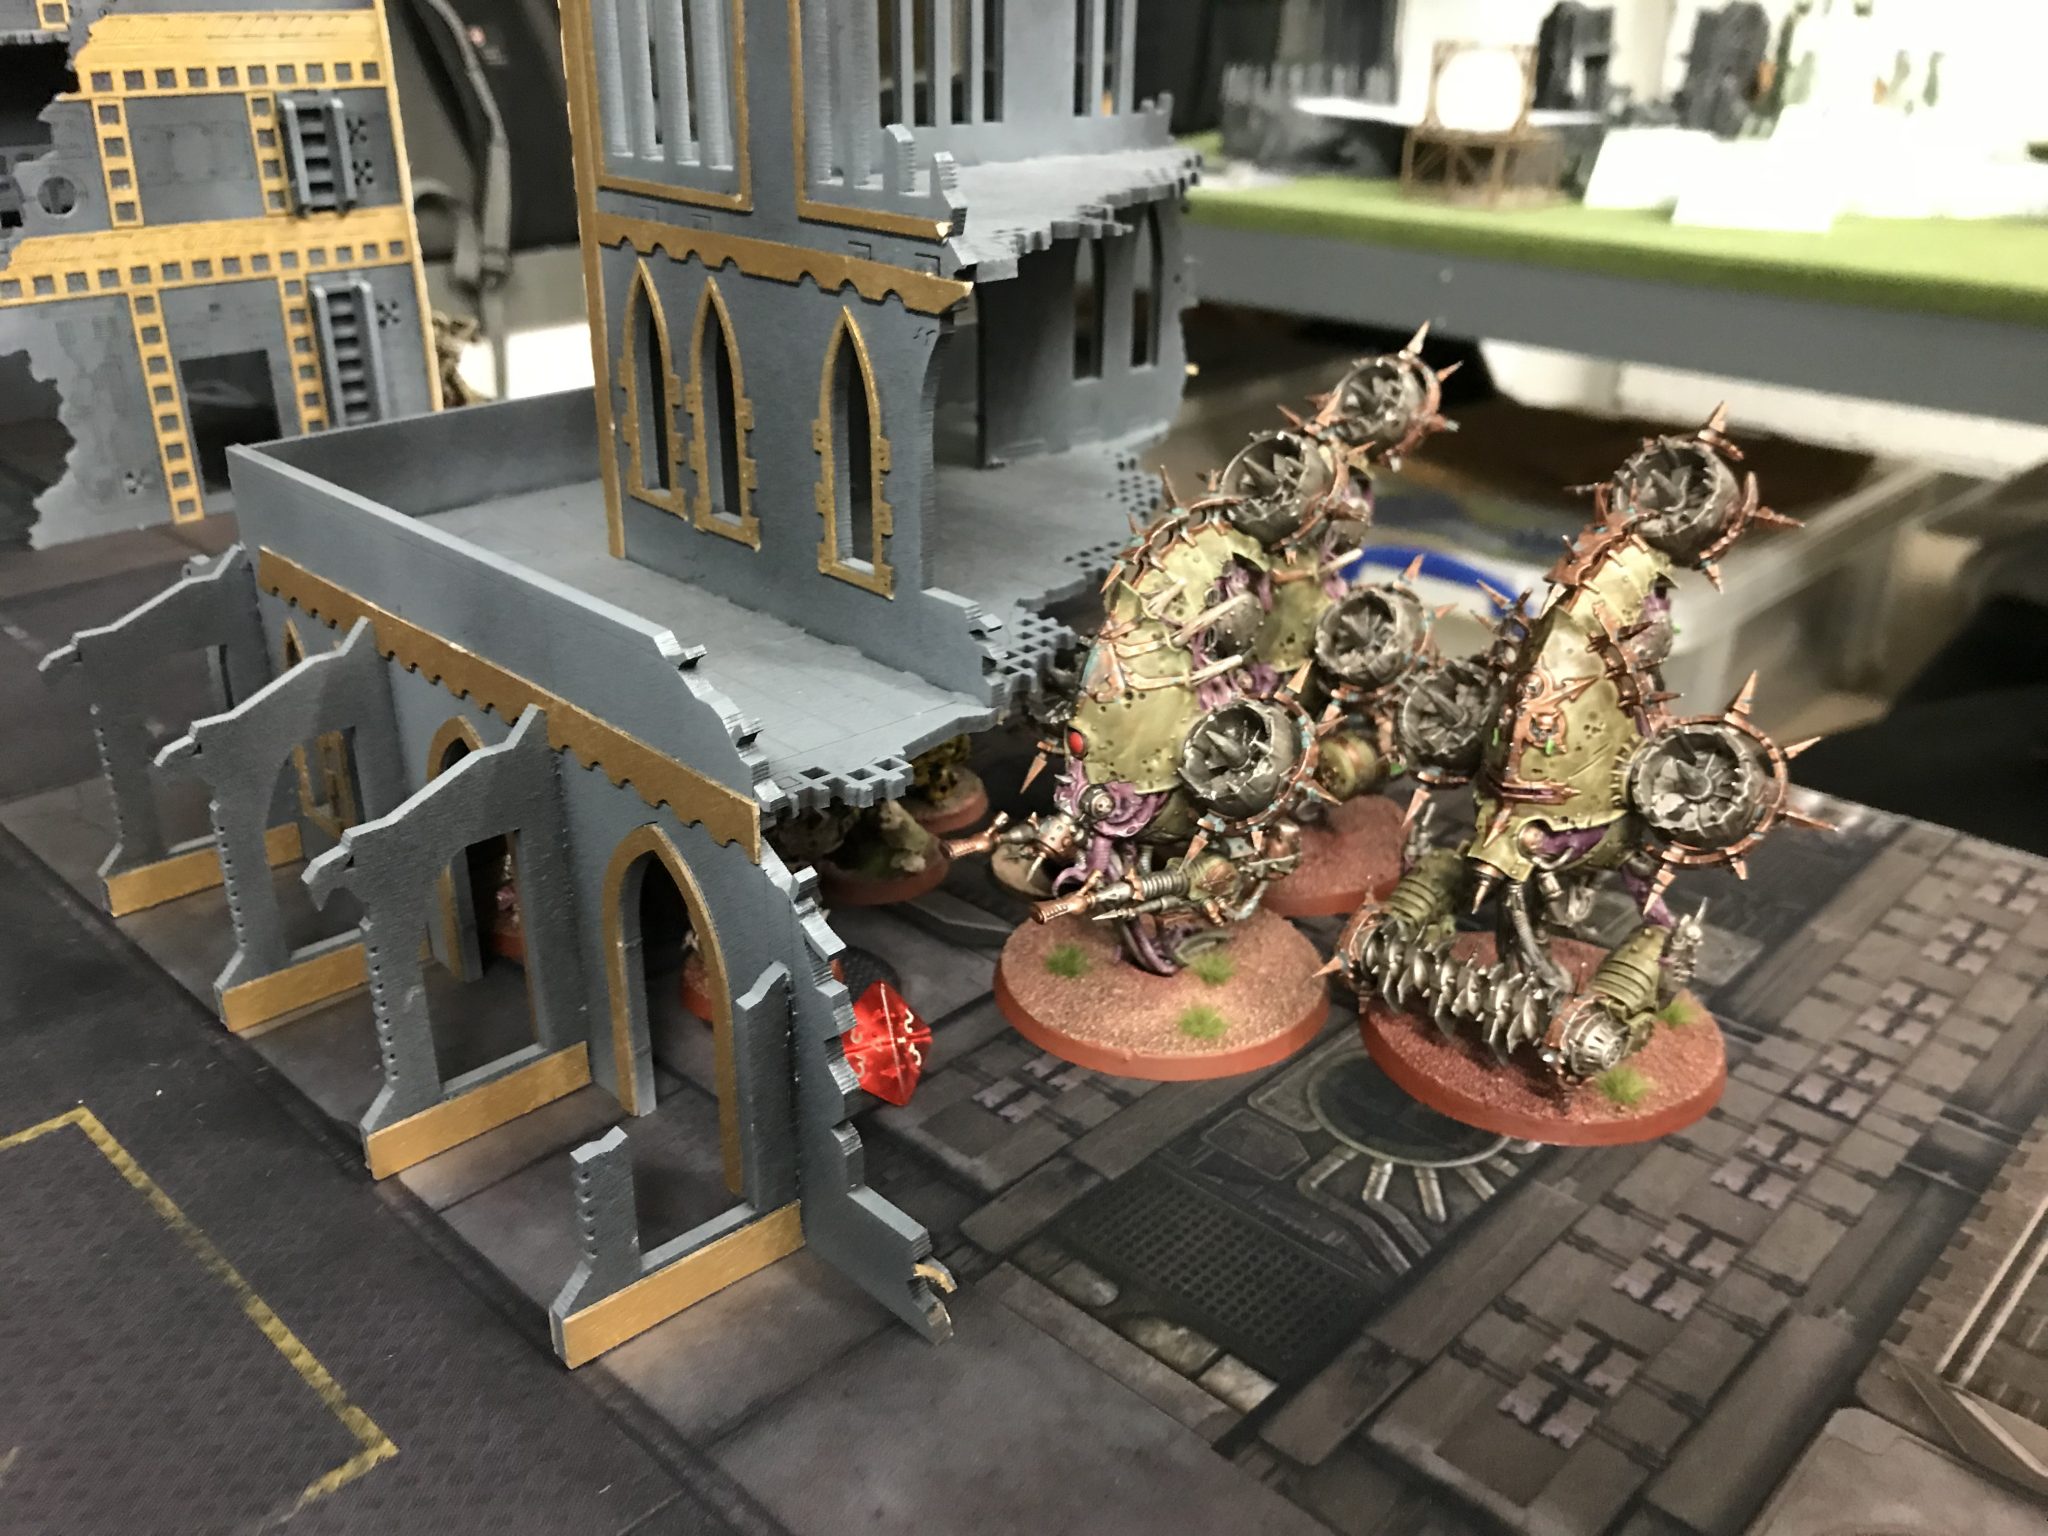
The Drones moved right up towards my front line and infantry as did the Foul Blightspawn.
The Psyker and now lone Plague Marine moved back into the enemy deployment zone to gain a VP.
Drones getting in close
Now the heavy hitters arrived. As it turned out I had screened my force very well. Whole sections of the board were off-limits thanks to the Sentinels (including the one on one wound) and Ratlings. My Guardsmen were padding out too, on either side of my bubble of high-value units.
Typhus, the Lord of Contagion and the three Deathshrouds came down on my left flank. They were probably 20+ inches from my Basilisks at this point. And there were 20+ Guardsmen between them and the Basilisks too.
Typhus, Lord and Deathshrouds arriving
The Blightlord Terminators also struggled to be positioned. They went down just past the centre of the table nearly in the enemy deployment zone. They had Combi-Bolters which can Rapid Fire at 18″ so distance was less of an issue for them.
-

- Screened Tanks
-
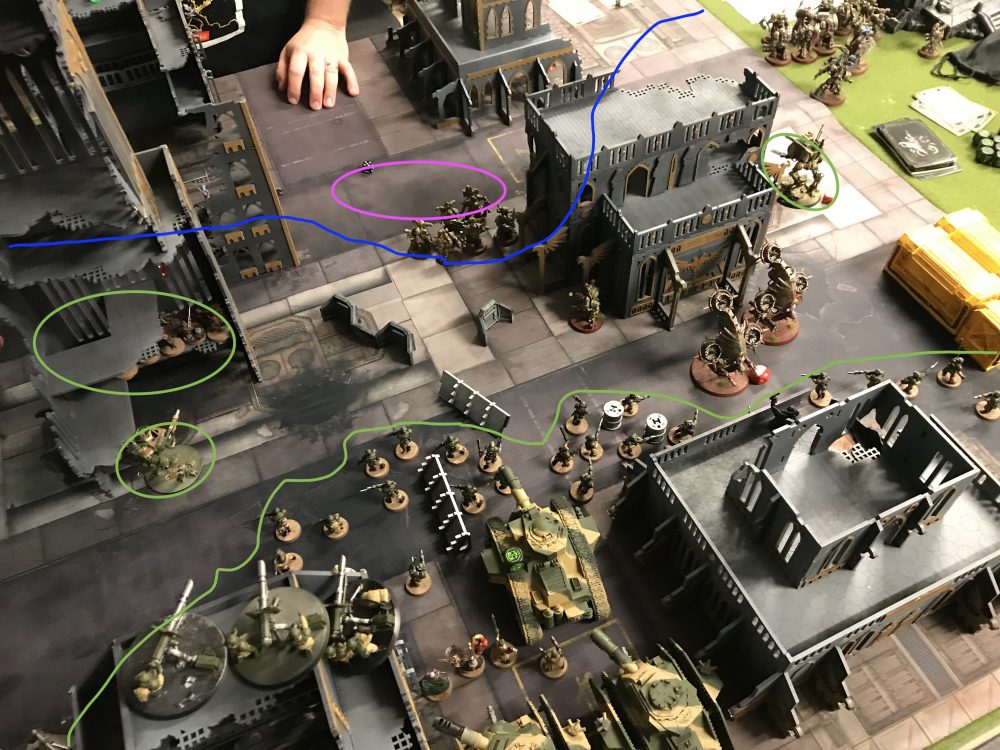
- Green are AM units. Blue is where the Death Guard could deploy. Pink is where the Terminators deployed

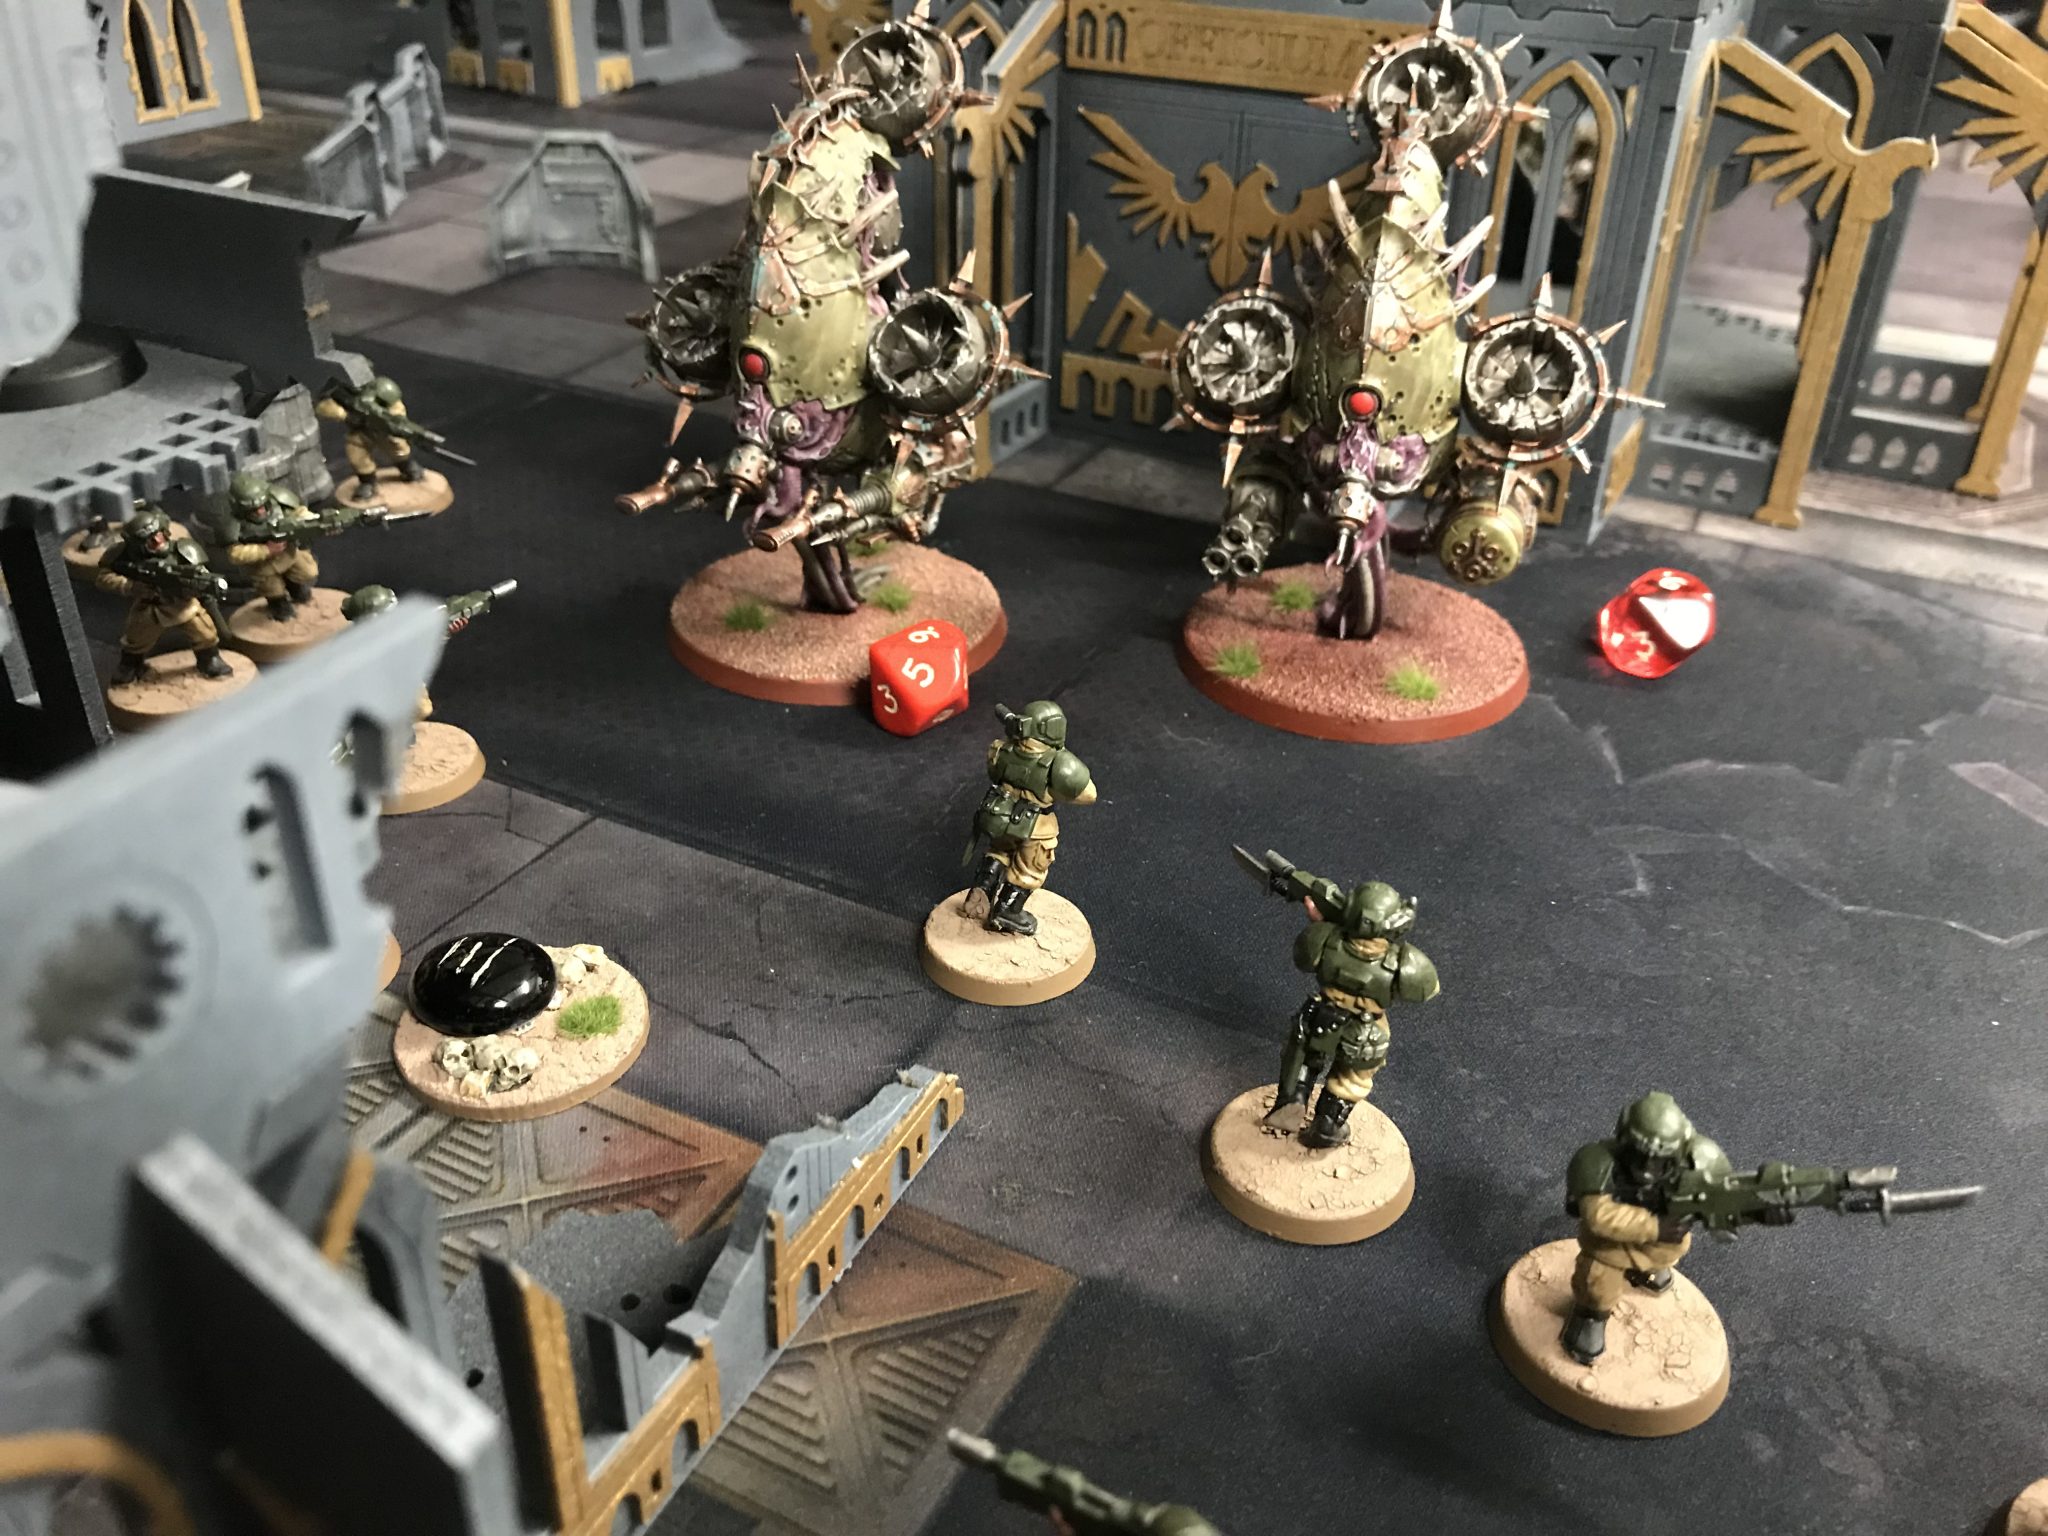
The Foul Blightspawn destroyed my Tank Commander in one volley. He had hardly done anything. The weapons on the Foul Blightspawn can be horrible. D6 auto hitting shots with a Strength of 2D6, -3 AP and 3 Damage. Roll well and wounds just disappear off anything. The Tank Commander didn’t explode.
The Bloat Drones shot up some Guardsmen, as did the Cultists.
The Deathshrouds failed their charge and lost one model to Overwatch! And another took a wound. Mark rolled three ones for his armour saves! The Emperor provides (ones)!
The Lord of Contagion and Typhus made their charges and chomped through 8 Guardsmen. Typus also lost a wound in Overwatch. I paid 2CP to pass the Morale check to keep them on the board, for later…
The Death Guard were on 5VP.
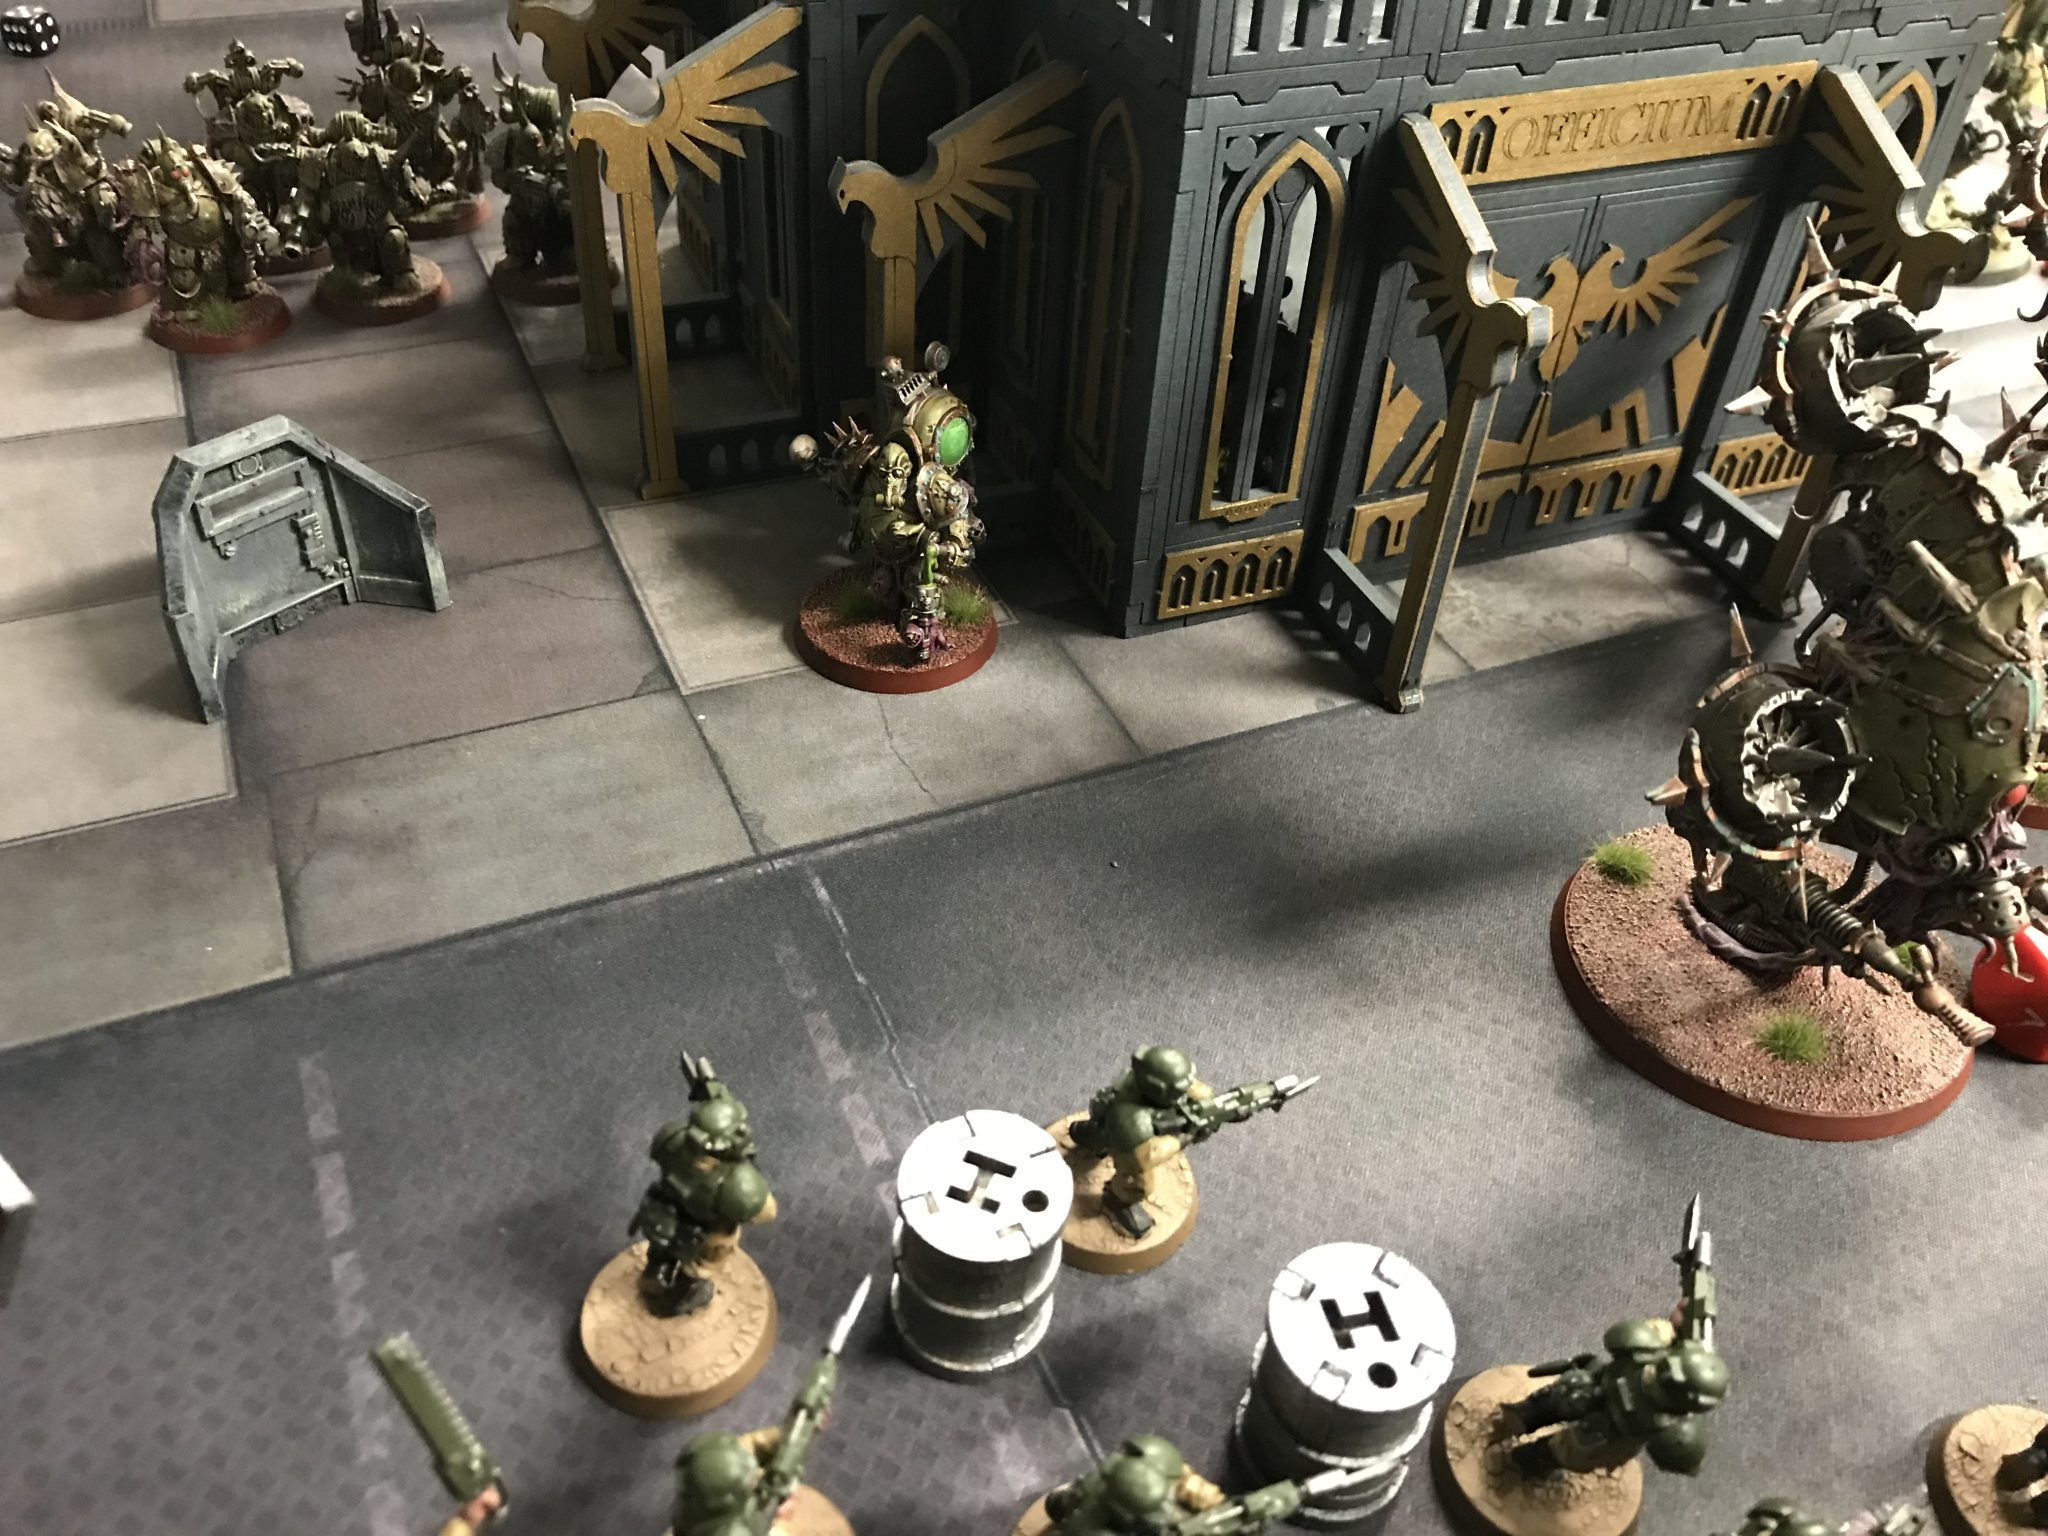
Foul Blightspawn after it melted my Tank Commander
Astra Militarum – Turn 3
As the enemy closed in, my infantry closed up around my tanks. The Guardsmen on the left flank, where Typus and The Lord of Contagion were, fanned out to ensure they couldn’t get to my Basilisks. My two remaining Guardsmen which I auto passed Morale on, broke from combat.
I’d drawn Area Denial which awards 1 VP for no enemy within 6″ of the centre of the battlefield and D3 VP if there are no enemy units within 12″ of the centre. That one Plague Marine was within 12″ of the centre! Now it had to die.
Now I used the Relic of Lost Cadia.
I deleted the five Terminators from the battlefield. Another Bloat Drone went down. The Lord of Contagion, which was the enemy Warlord, was reduced to three wounds but wouldn’t die. The enemy Warlord was the closest enemy unit to my two Basilisks. But even with them shooting him, he didn’t die. And finally, the last Bloat Drone lost about half its wounds.
Astra Militarum front line
I was now on 10VP after gaining 3 from Area Denial. Amongst other things.
Death Guard – Turn 3
Reeling from their losses the Death Guard struck back. Units moved in for the kill.
Another Leman Russ went pop from the two Foul Blightspawn. By this point, one of them was actually on one wound thanks to Psychic Maelstrom.
The Lord of Contagion charged the two Guardsmen that feel back during the previous turn and killed them. I used Fire On My Position which took a wound from Typhus and two from the Lord – leaving him in one wound. He consolidated into another squad near the Basilisks.
The Death Guard move in
The Deathshrouds are sort of milling about on the left flank near where they came in. They don’t move quickly and there isn’t anything nearby now to charge. So they stick to an objective.
At this point, I’m ahead on VPs but the Death Guard are tightening their grip on me. The Lord and Typus are coming in from the left flank. The Foul Blightspawn and a Drone are coming from the right into my centre.
The Death Guard are on 6VP.
Guardsmen slowing the advance of the Lord of Contagion and Typhus
Astra Militarum – Turn 4
I drew Kingslayer and Secure any 3 Objectives for D3 VP or all Objectives for 3+D3 and Witch Hunter. I was down to 1CP too. This meant I couldn’t spend 2CP to keep hold of Kingslayer for the next turn.
I continued to move my units between my Basilisks and last Leman Russ. I also now needed to screen Creed and my Warlord as they were now exposed with two Leman Russ missing from my front line.
The objective that the Deathshrouds were on needed holding for two turns – I Advanced a single Guardsmen onto it and the Sentinel to try and deny them that 2VP.

Sentinel and Guardsman running in to deny the Deathshrouds
I tried to take out the Warlord with my two Basilisks but the last wound would not budge. I rolled awful too.
One Foul Blightspawn was killed by a Demolisher and the final Bloat Drone went down.
I used Go Recon for the first time, allowing a Sentinel to move 2D6″ if it does not charge or fire. This got him into the enemy deployment zone for a single VP.
I charged the last Foul Blightspawn with my Guardsmen to take the Overwatch. Then a Psyker charged along with Creed. He was surrounded.
I ended the turn with 12VP
Death Guard – Turn 4
The Death Guard started the turn with 7VP and had no way of catching up with me! We resolved shooting against my Sentinel which was in the Death Guard’s deployment zone to see if I got Line Breaker. I didn’t.

Lord of Contagion on a single wound as it hammers the Basilisk
Summary
So the game ended 12-7 to the Astra Militarum! After four games I’d finally managed to break the Death Guard!
Astra Militarum MVP
The Demolishers were very good against the Death Guard. They may be made their points back – just. But their ability to basically negate Disgustingly Resilient is very handy.
When the Blightlord Terminators were destroyed for example I had four successful hits that were unsaved. All killed a Terminator thanks to rolling 6, 6, 5, and 3 for the damage caused. Perhaps it was overkill but with no tanks to go after Terminators seemed like a perfect target.
Having reread this article before it goes live – I see that my pre-game breakdown said I should go after Terminators with the Demolishers. Which I did! Those Terminators only had one go at shooting and killed some Guardsmen. Had they survived longer they could’ve eroded my screening lines even more.
Death Guard MVP
The Foul Blightspawn destroyed my Tank Commander, Yarrick and a second Leman Russ with ease.
If I’d not screened as well they could’ve finished the last Leman Russ too I’m sure. Being characters they are hard to take down and their 9″ range can reach through my Guardsmen. I’d need a hell of a lot of Guardsmen all over the place to shut them down by padding out my Leman Russ.
Surrounding them seems like a good option for deal with them?