
Cadians & Catachans vs Death Guard – 1,750 points
Another battle against the Death Guard, could I be in for my second win against them...
It’s back to the Death Guard for the second time this year, but this time I’ll use Cadians & Catachans to take them on in this 1,750 point battle at Boards and Swords.
Never miss an article? Subscribe!
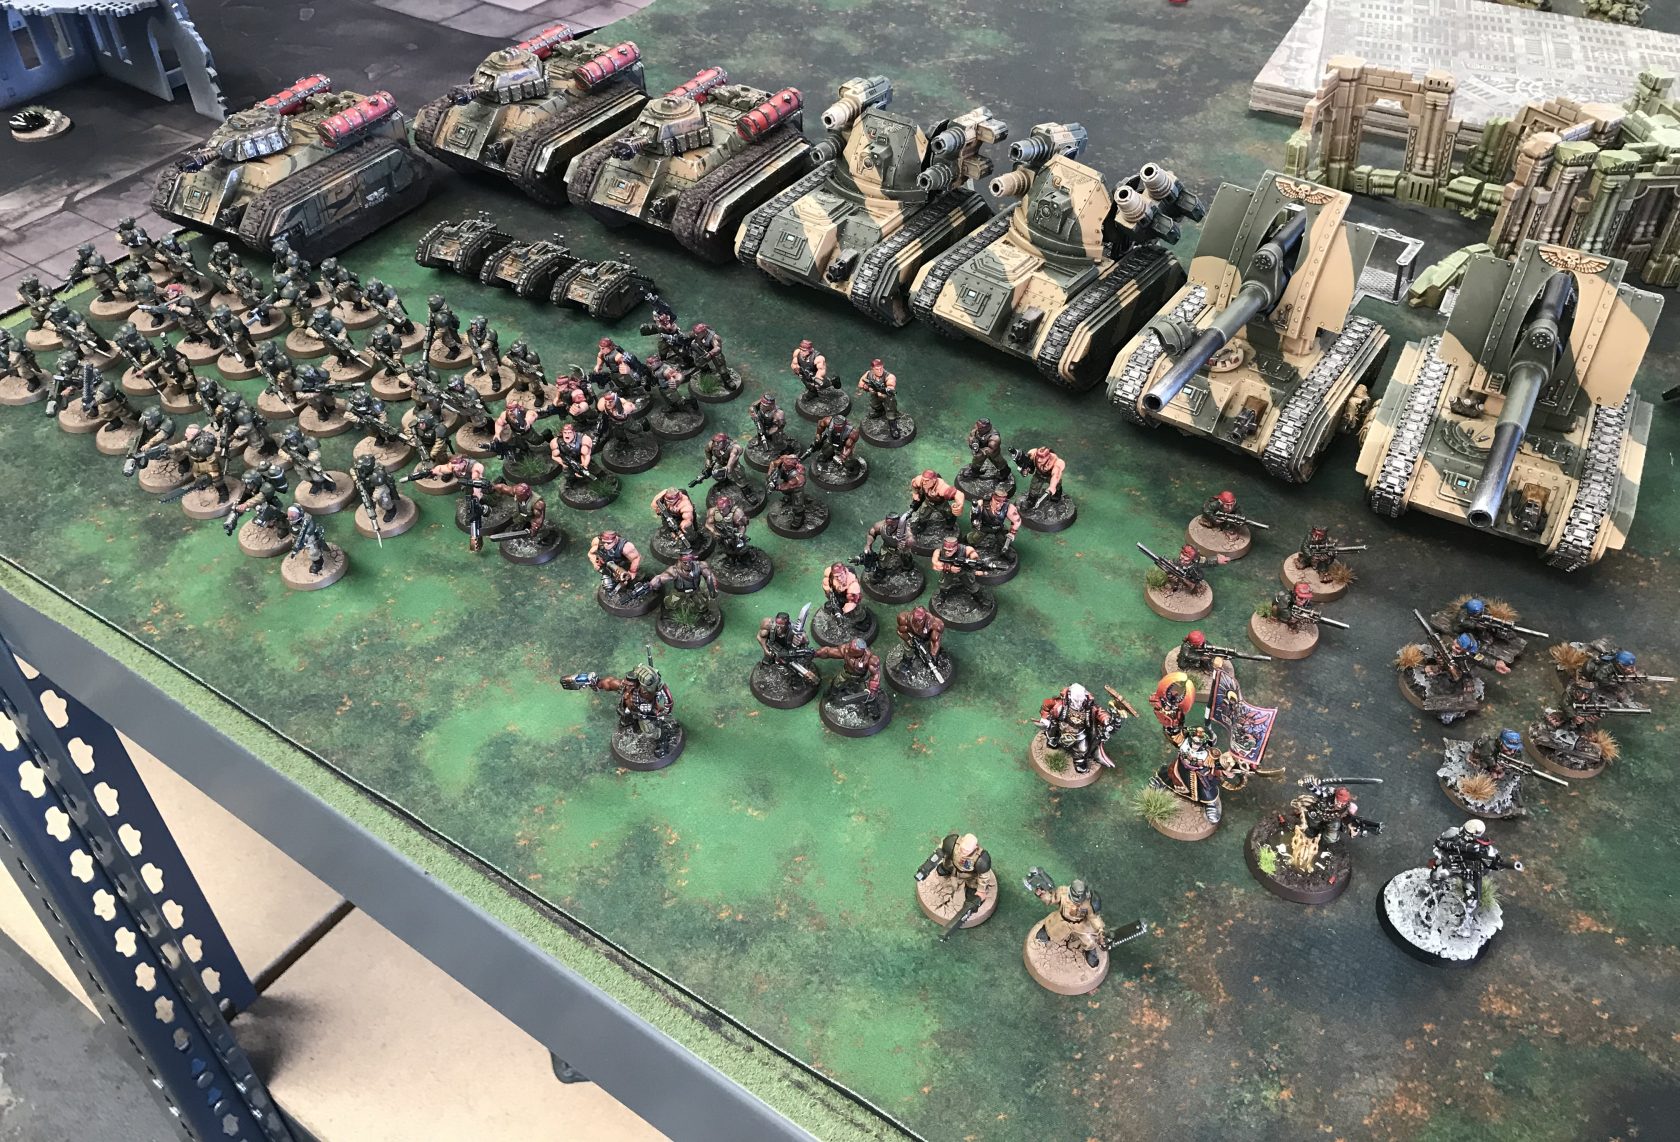
Cadians & Catachans List
Three detachments today…
Auxiliary Detachment
- A Vindicare
Cadian Battalion
- 2x Company Commanders
- Primaris Psyker
- 3x Infantry Squads with Meltaguns
- Infantry Squad with Flamer
- 2x units of five Ratlings
- 2x Wyverns
- 2x Basilisks
I’ve gone for the Emperor’s Wrath Artillery Company with this Battalion, plus the Relic, plus the Warlord Trait.
And the other Company Commander is my Warlord with Old Grudges and The Lost Relic of Cadia.
The Psyker has Nightshroud and Psychic Barrier.
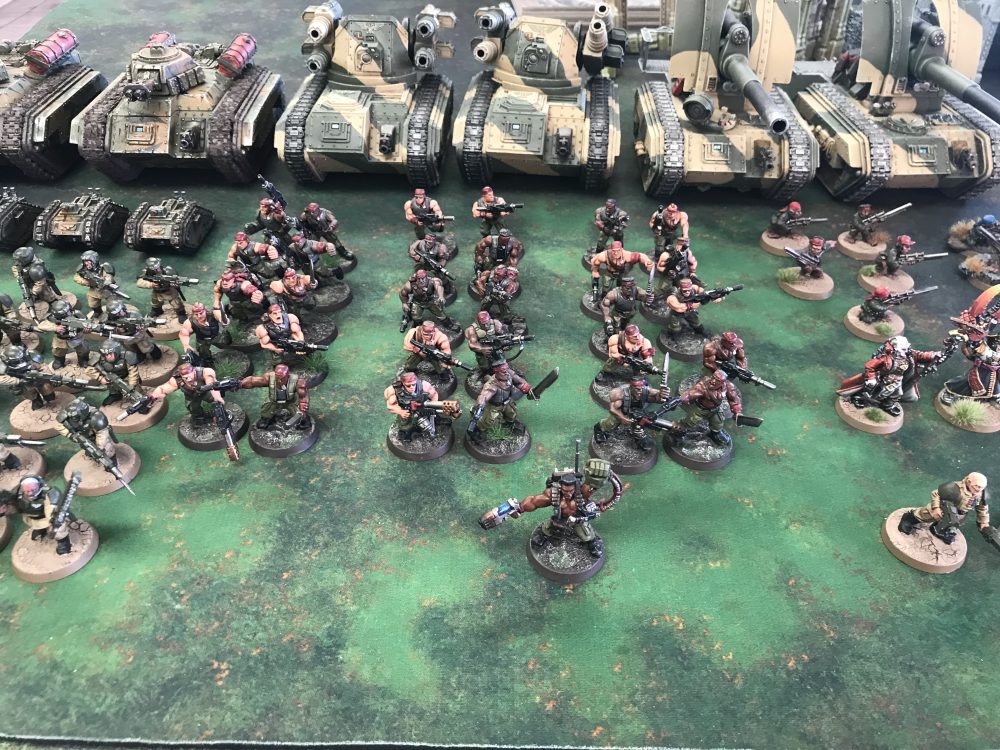
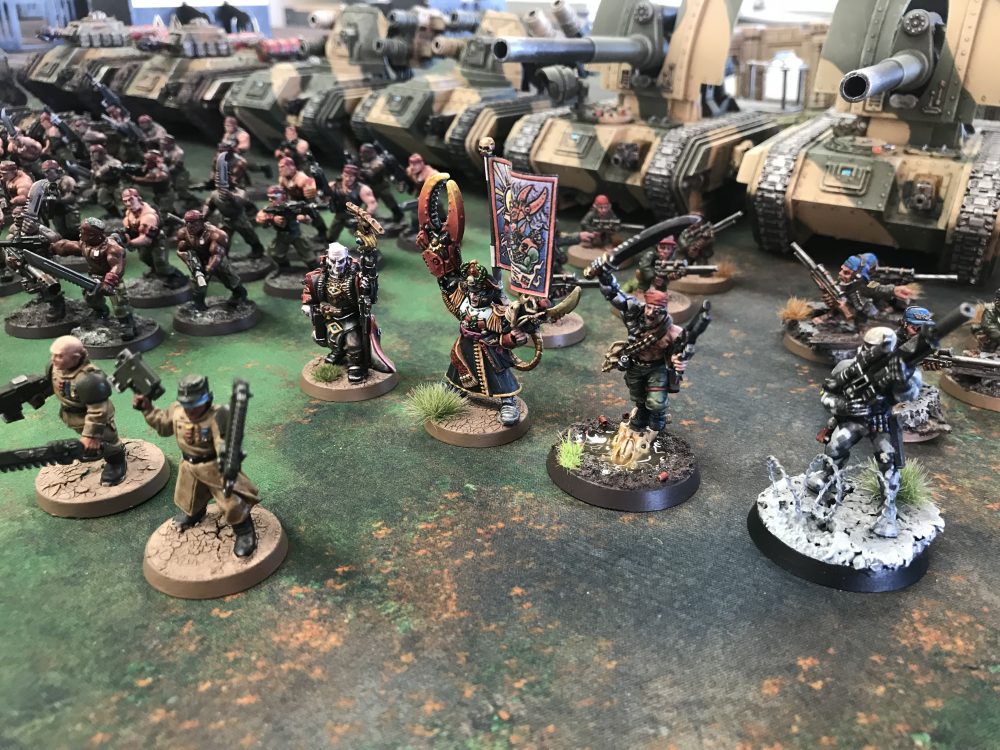
Catachan Battalion
- A Company Commander with Power Fist and Plasma Pistol
- Straken (by Siege Studios)
- Yarrick
- 3x Infantry Squads with Flamers and Sergeants with Power Swords (by The Unrelenting Brush)
- 3x Hellhounds
- 3x Cyclops Demolition Vehicles
The Company Commander has Kurov’s Aquila. I could’ve gotten away with just Straken for the orders but I wanted the Relic.
-
- Cadians & Catachans
-


- Cadians & Catachans

-
- Cadians & Catachans

-
- Cadians & Catachans – Characters

Cadians & Catachans Summary
The idea behind this list is that it’ll play on the indecision of the enemy, by doing two things very well. I’m writing this on Monday. The game is on Thursday. So this is the plan, but it could be awful.
But I find writing this, now ahead of time, is a good form of revision.
You’re faced with a difficult decision on turn one. You can’t hope to destroy all the armour in one go. So you have to make a decision;
- Target the Hellhounds and Cyclops racing towards you as fast as they can, accompanies by 30 Catachan, Straken and Yarrick?
- Target the Artillery that can hit just about anything on the battlefield?
I think going for option #2 is the better choice because the Artillery will hurt you immediately on turn one, no doubt about it.
The Catachan’s Hellhounds and Cyclops, however, may not be as effective in turn one. Thus giving you a little more time to deal with them in turn two.
It’s an interesting problem to face. I know that Mark’s Death Guard has recently acquired two Helverin Armigers – so if they’re present they’ll be doing their best to shut down my armour. He also has the Lascannon heavy Land Raider and Plagueburst Crawlers to dish out lots of damage. I don’t think he’ll get all of those anti-armour options into a list though. If he does, I might be in trouble.
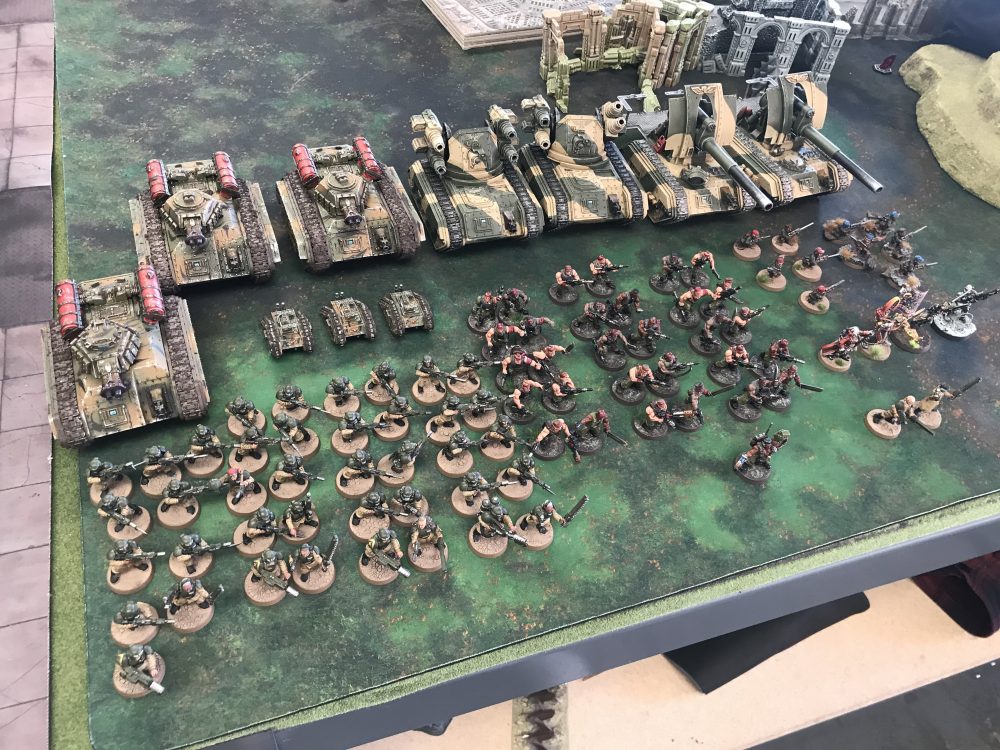
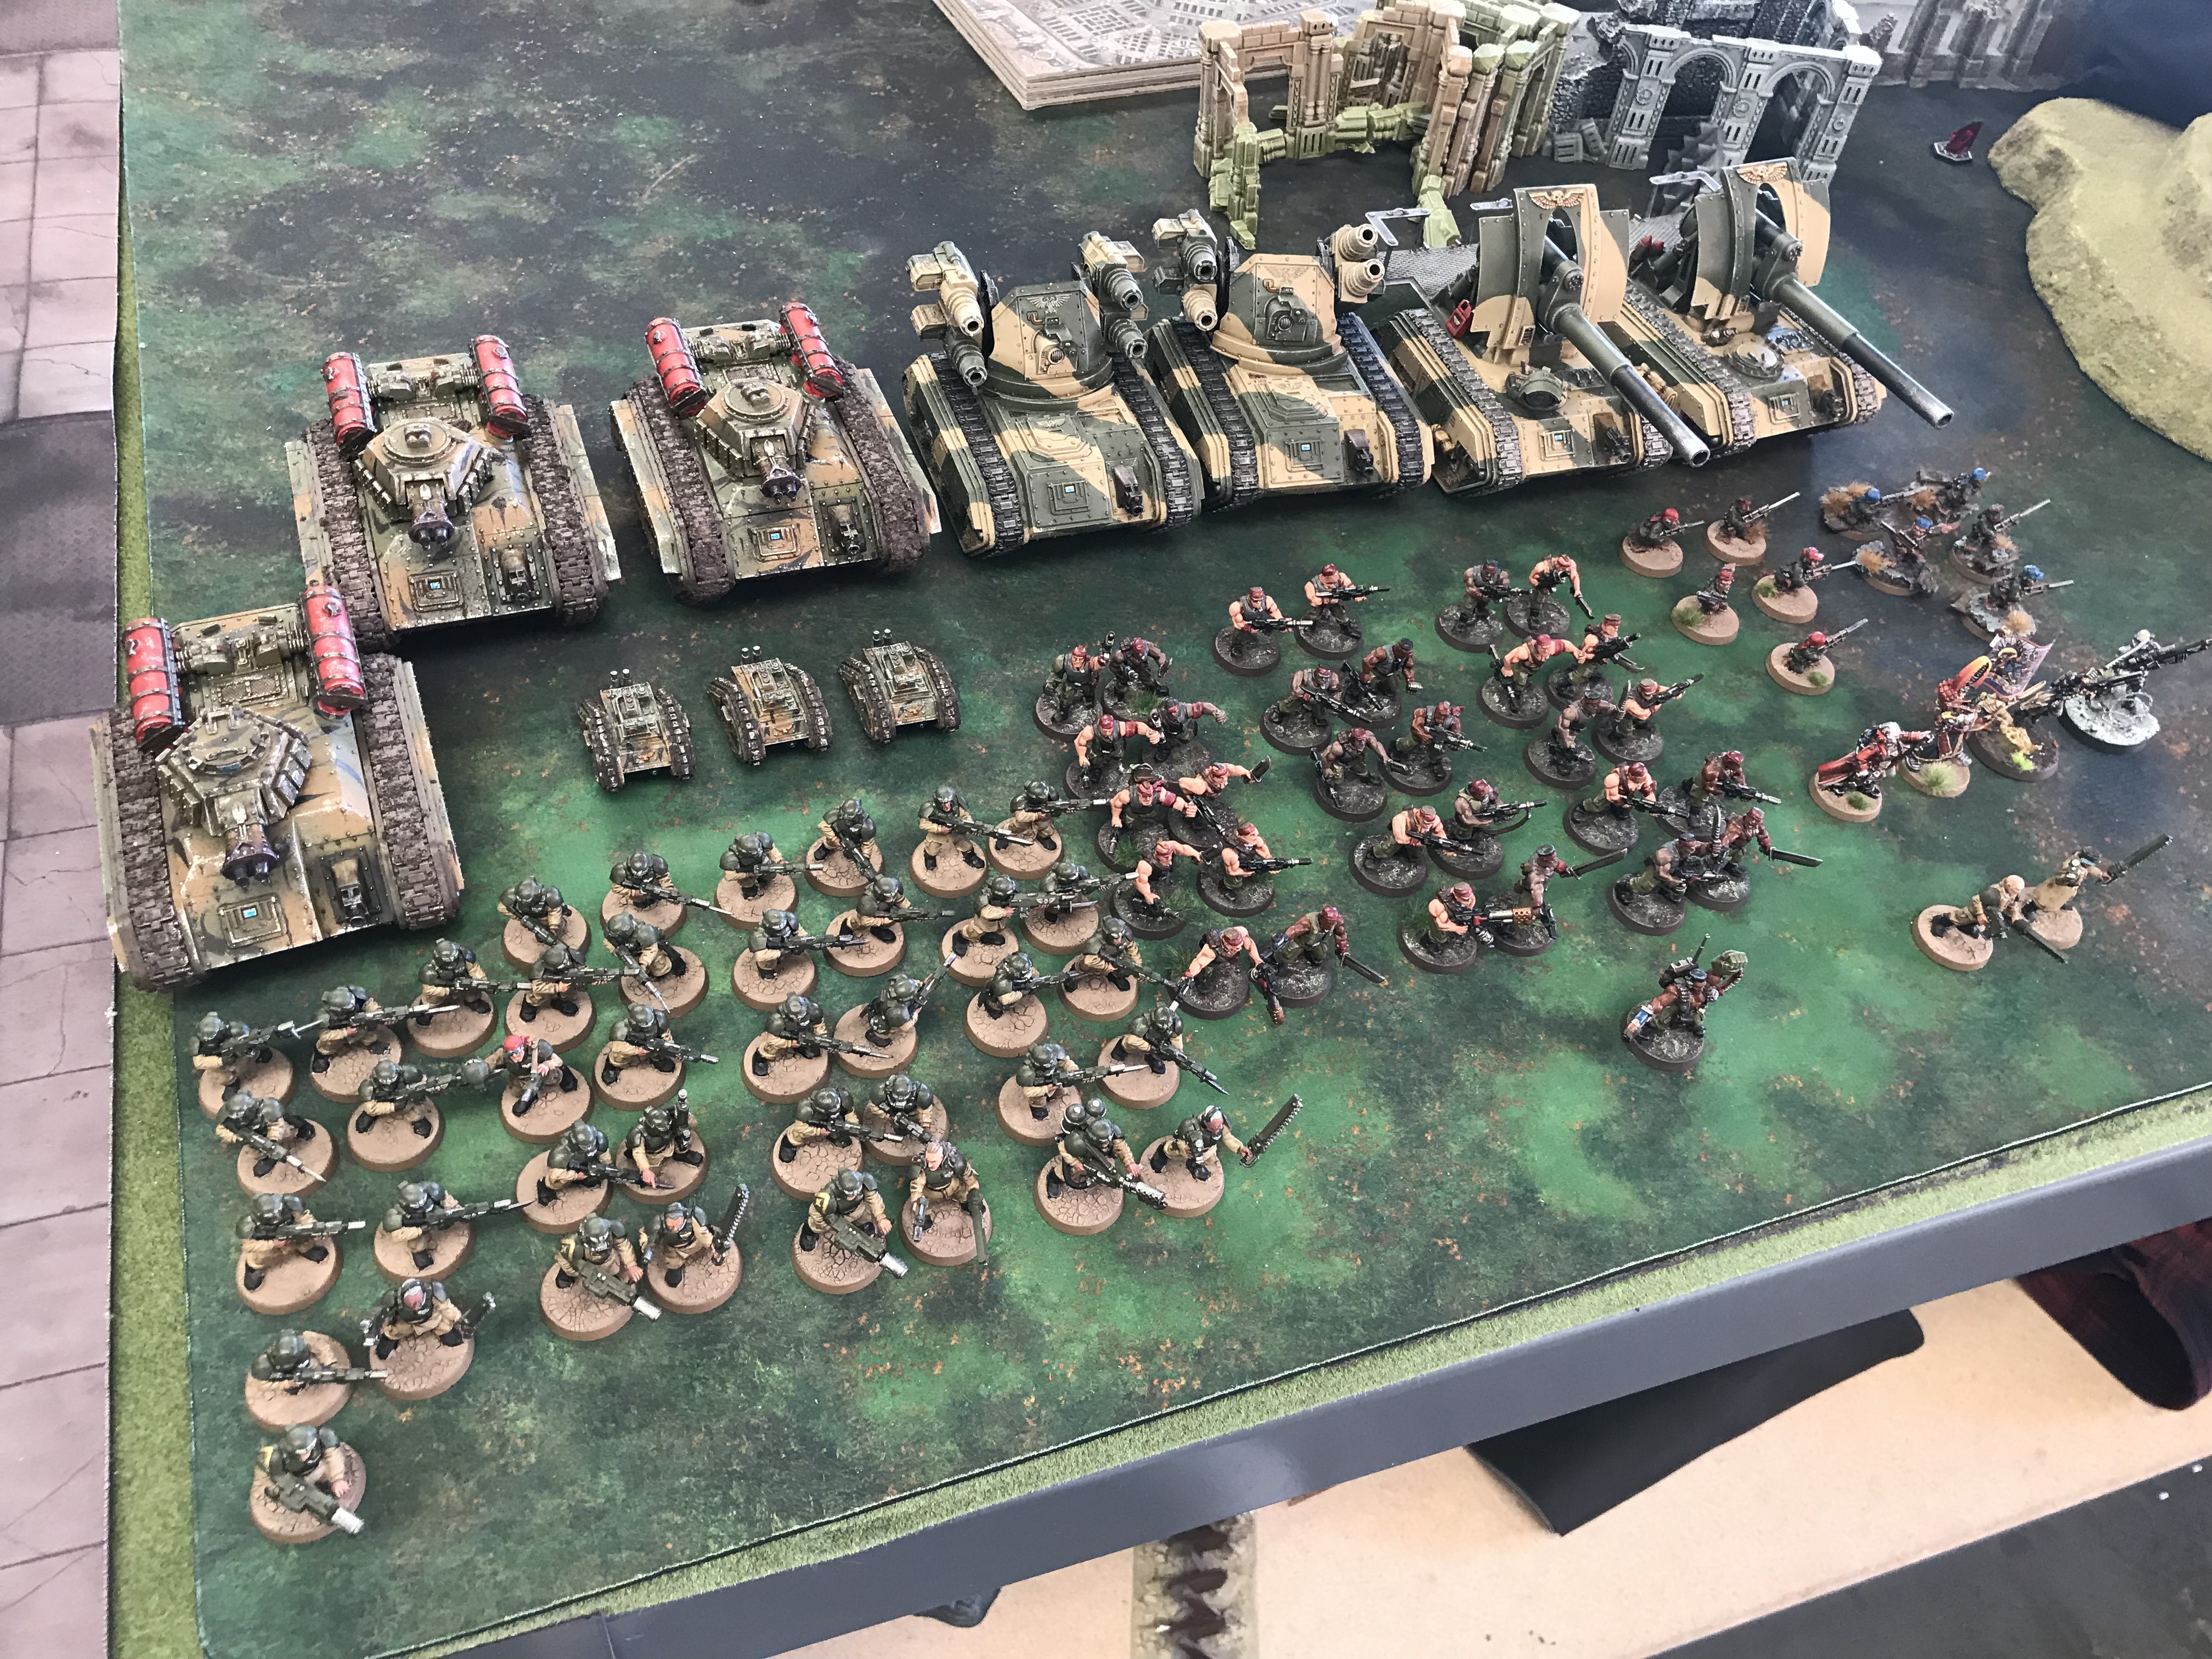
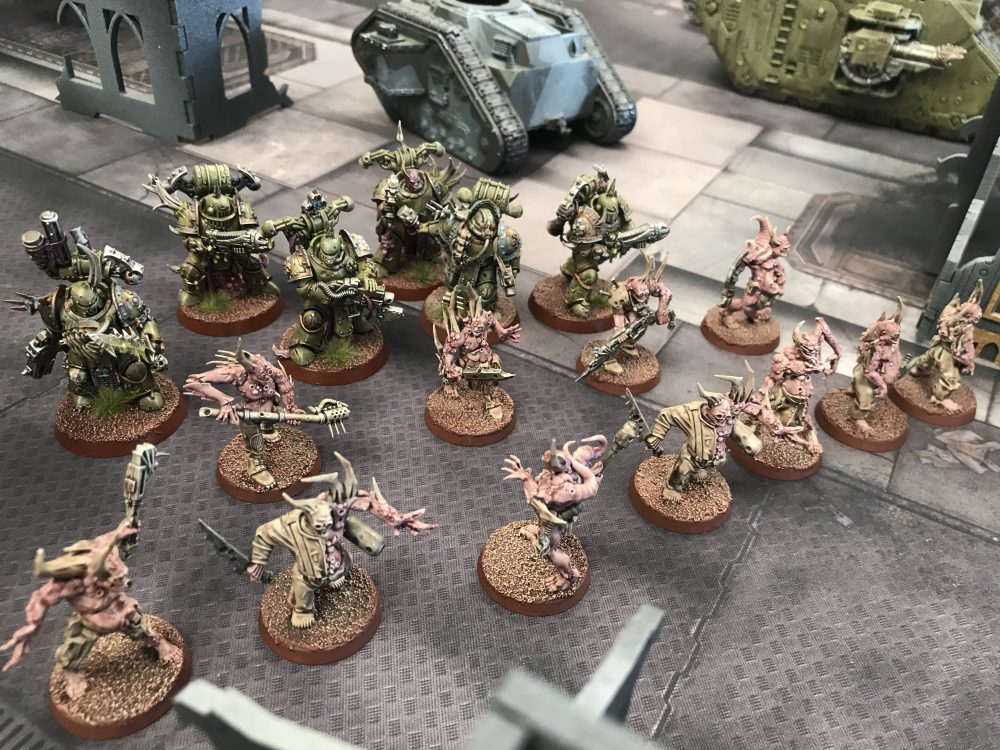
Cadians & Catachans – Infantry
Let us not forget the trusty infantry. I’ll have 7 squads on the battlefield. Making up a total of 70 models to screen and guard against any Fly or melee units.
I’ll also have Ratlings to set up and use as an area denial for pesky Deep Strikers. Plus the Hellhounds and Cyclops will move right towards the enemy on my turn one. Along with my 30 Catachan Infantry, Catachan Company Commander, Straken and Yarrick. This huge number of models and movement – thanks to Move, Move, Move – will mean I’ll be up and out of my deployment zone on turn one with ease.
A Hellhound moves 12″, Cyclops 10″ and the Guardsmen between 14″ and 24″. With a bit of luck, and remembering all this, I should be able to put a lot of models between my artillery and the Death Guard on turn one. That will force them to hopefully focus on my Catachan force and leave my artillery untouched ready for a terrifying alpha strike on my turn one.
Death Guard List
- Chaos Lord
- Typhus
- 2x units of Plague Marines
- Plague Champion
- 11x Poxwalkers
- 3x Deathshroud Terminators
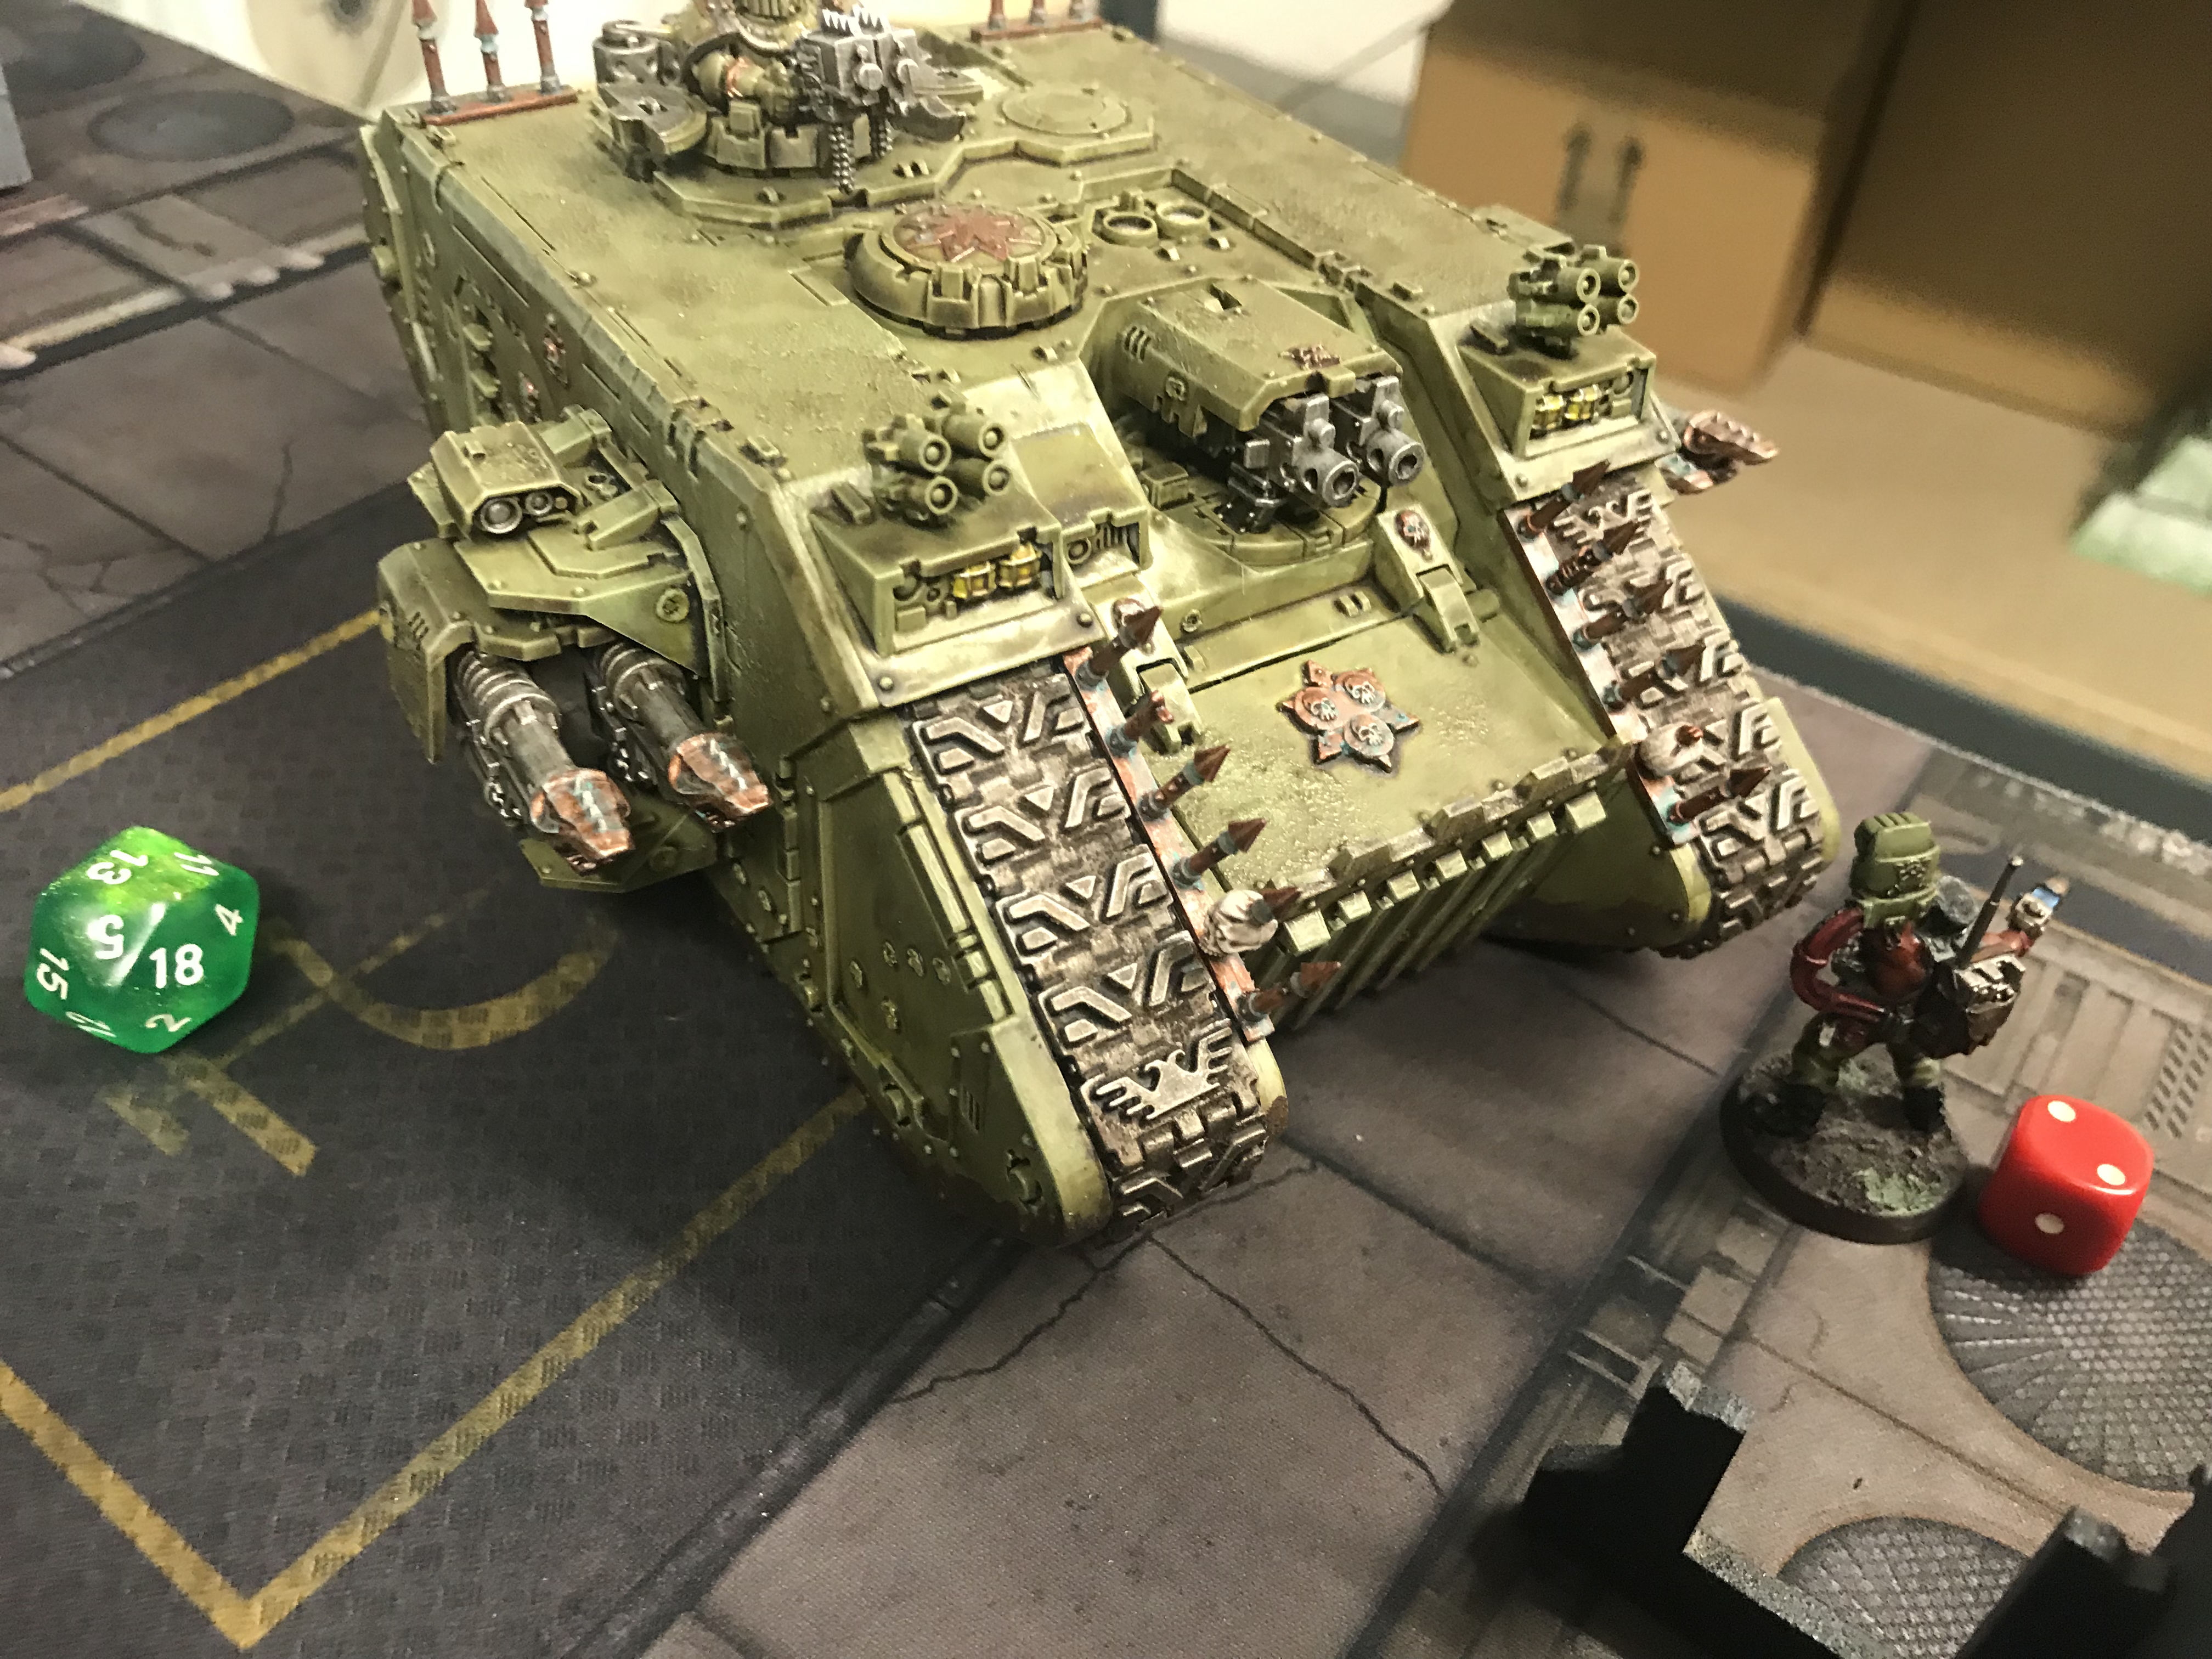
- Chaos Land Raider
- Plagueburst Crawler
- 2x Renegade Armigers
- Daemon Prince of Nurgle
- 3x Nurgling Swarms
You can read more about Mark’s army on his Plague Gardening Blog.
The Mission
We rolled for a Maelstrom of War mission from Chapter Approved 2018. We rolled a one. The mission had us discard six cards of our choice from the deck.
Then pull four cards each turn up to a maximum of four.
There is a Stratagem for 1CP which you can use after the enemy draw their cards. You pick one card and it can’t be achieved this turn.
We never used this during the game.
What do you think of my new scoring mechanism? Yay or Nah? You will see it later on at the end of each turn…
Deployment
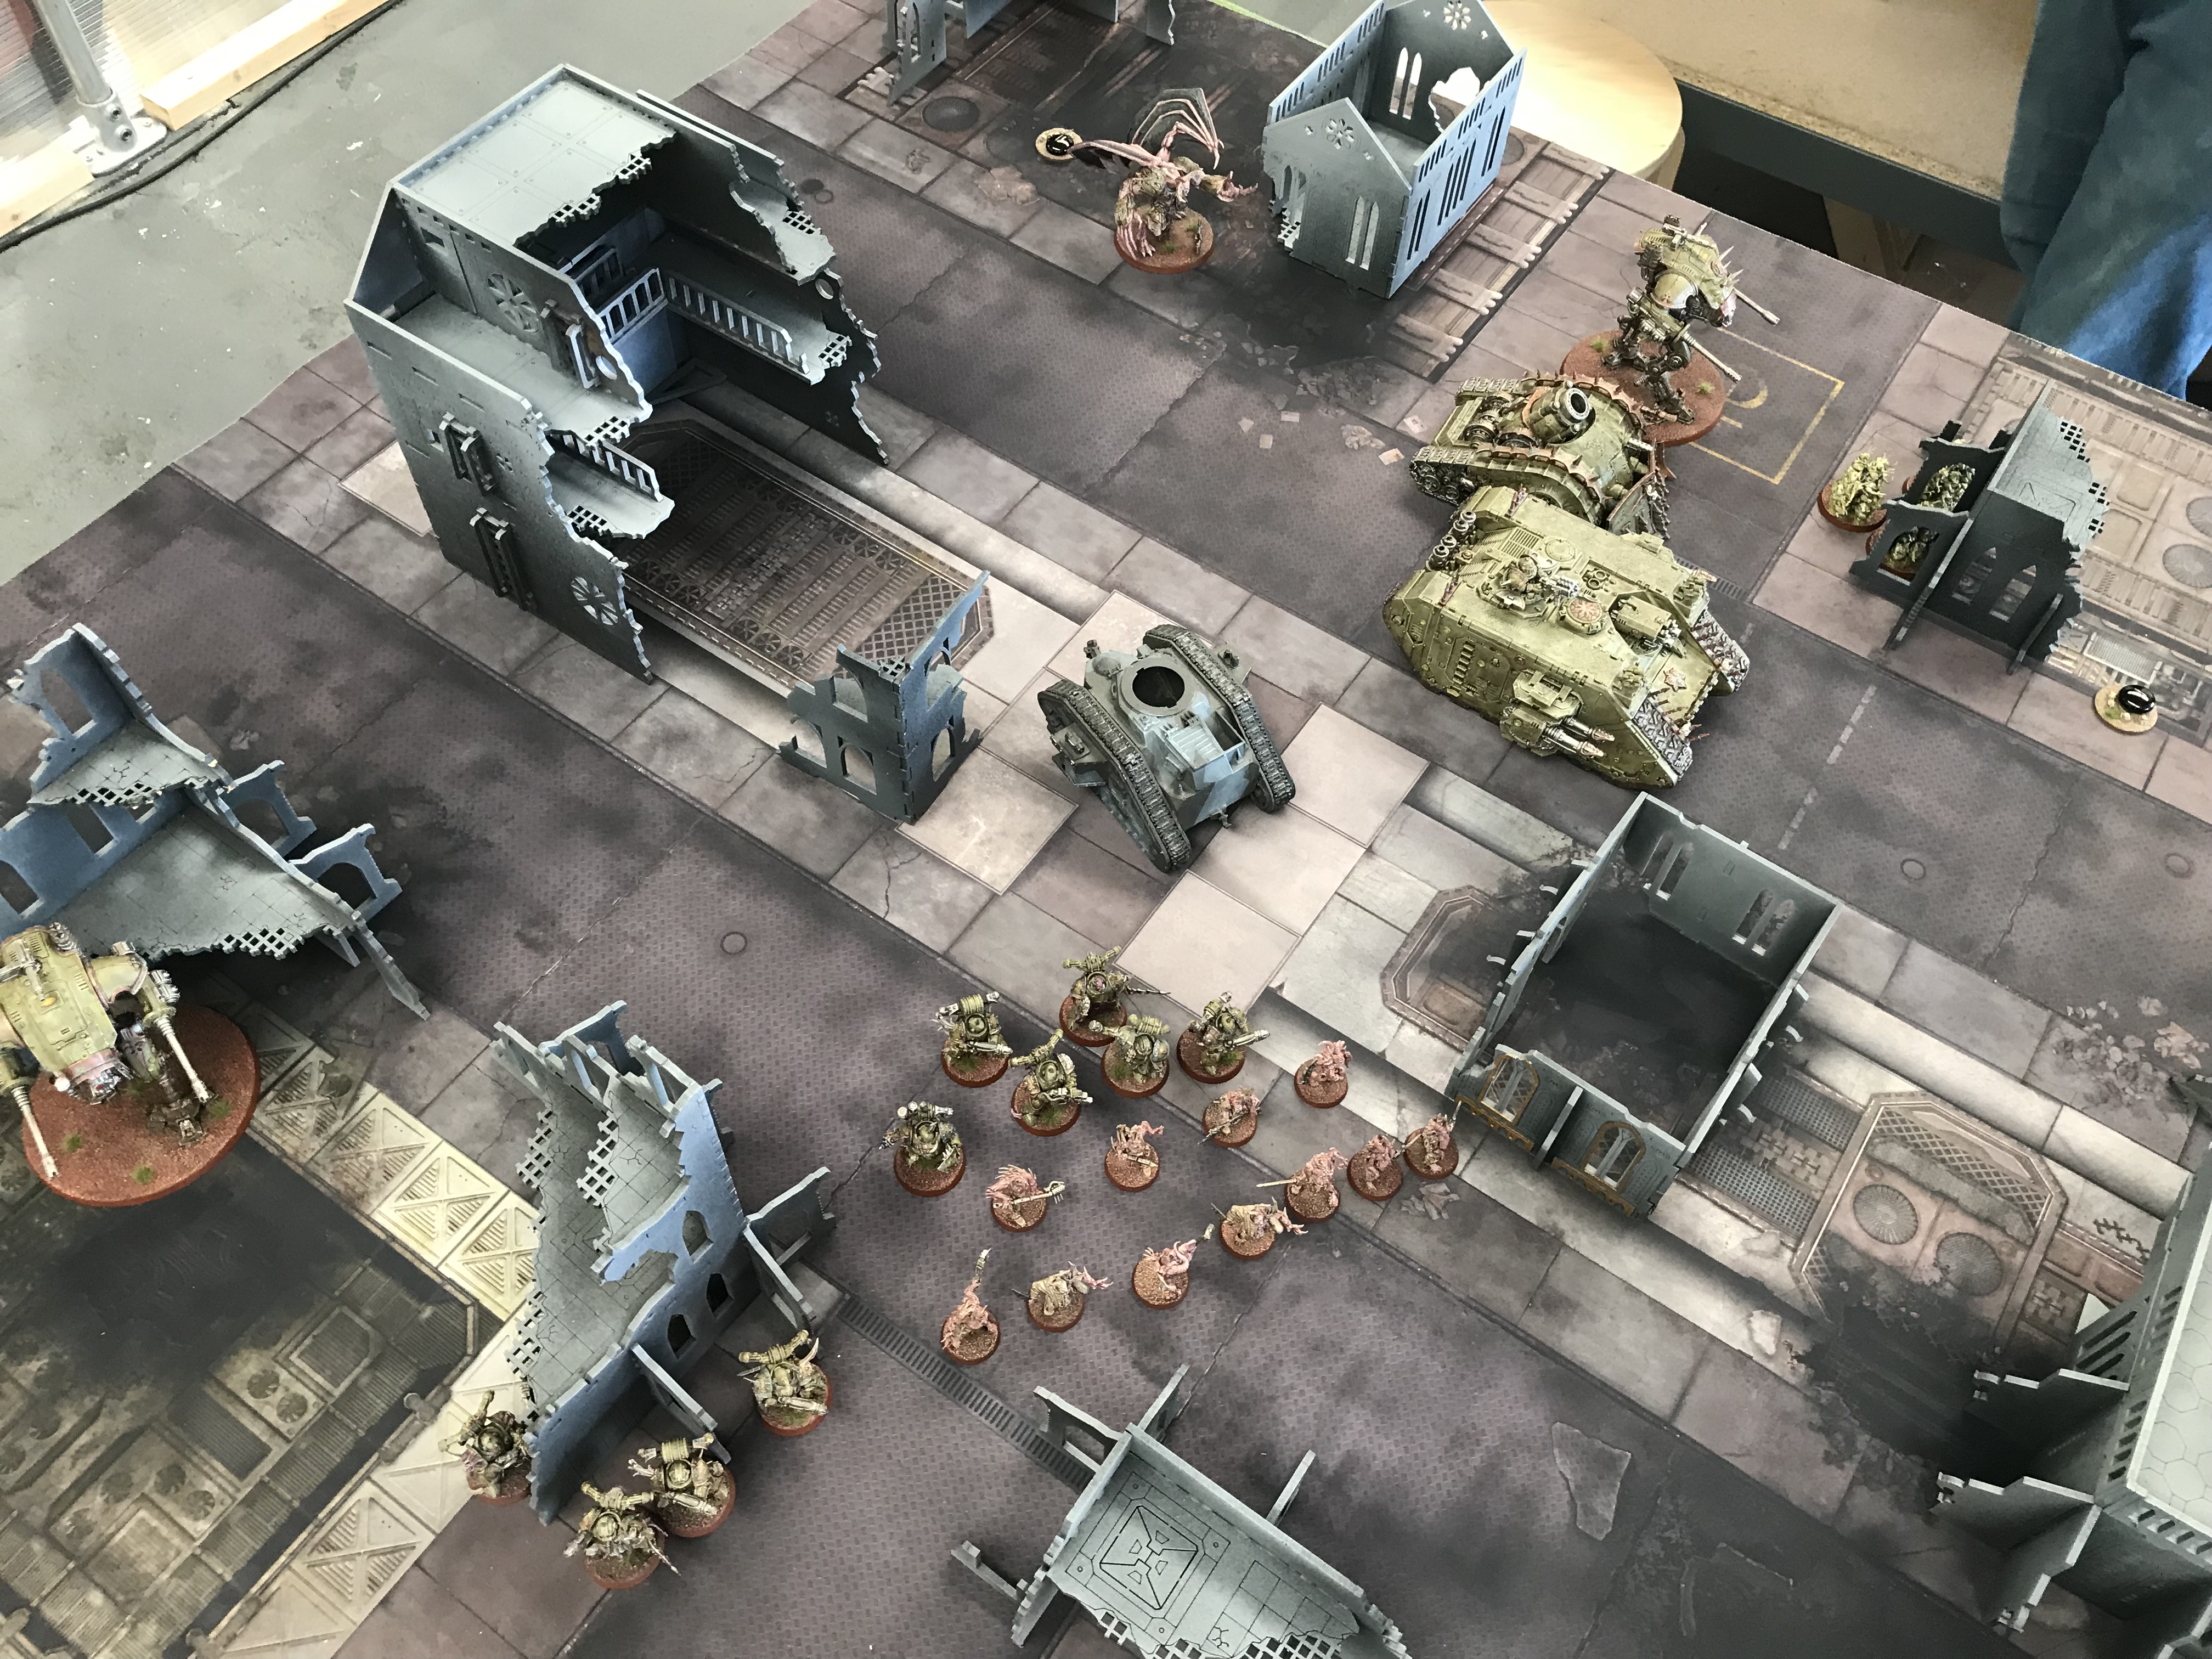
The Death Guard deployed first after I chose one end of the table. The deployment was Spearhead Assault. That’s the one where you deploy on the short table edges and there is a point towards the table centre.
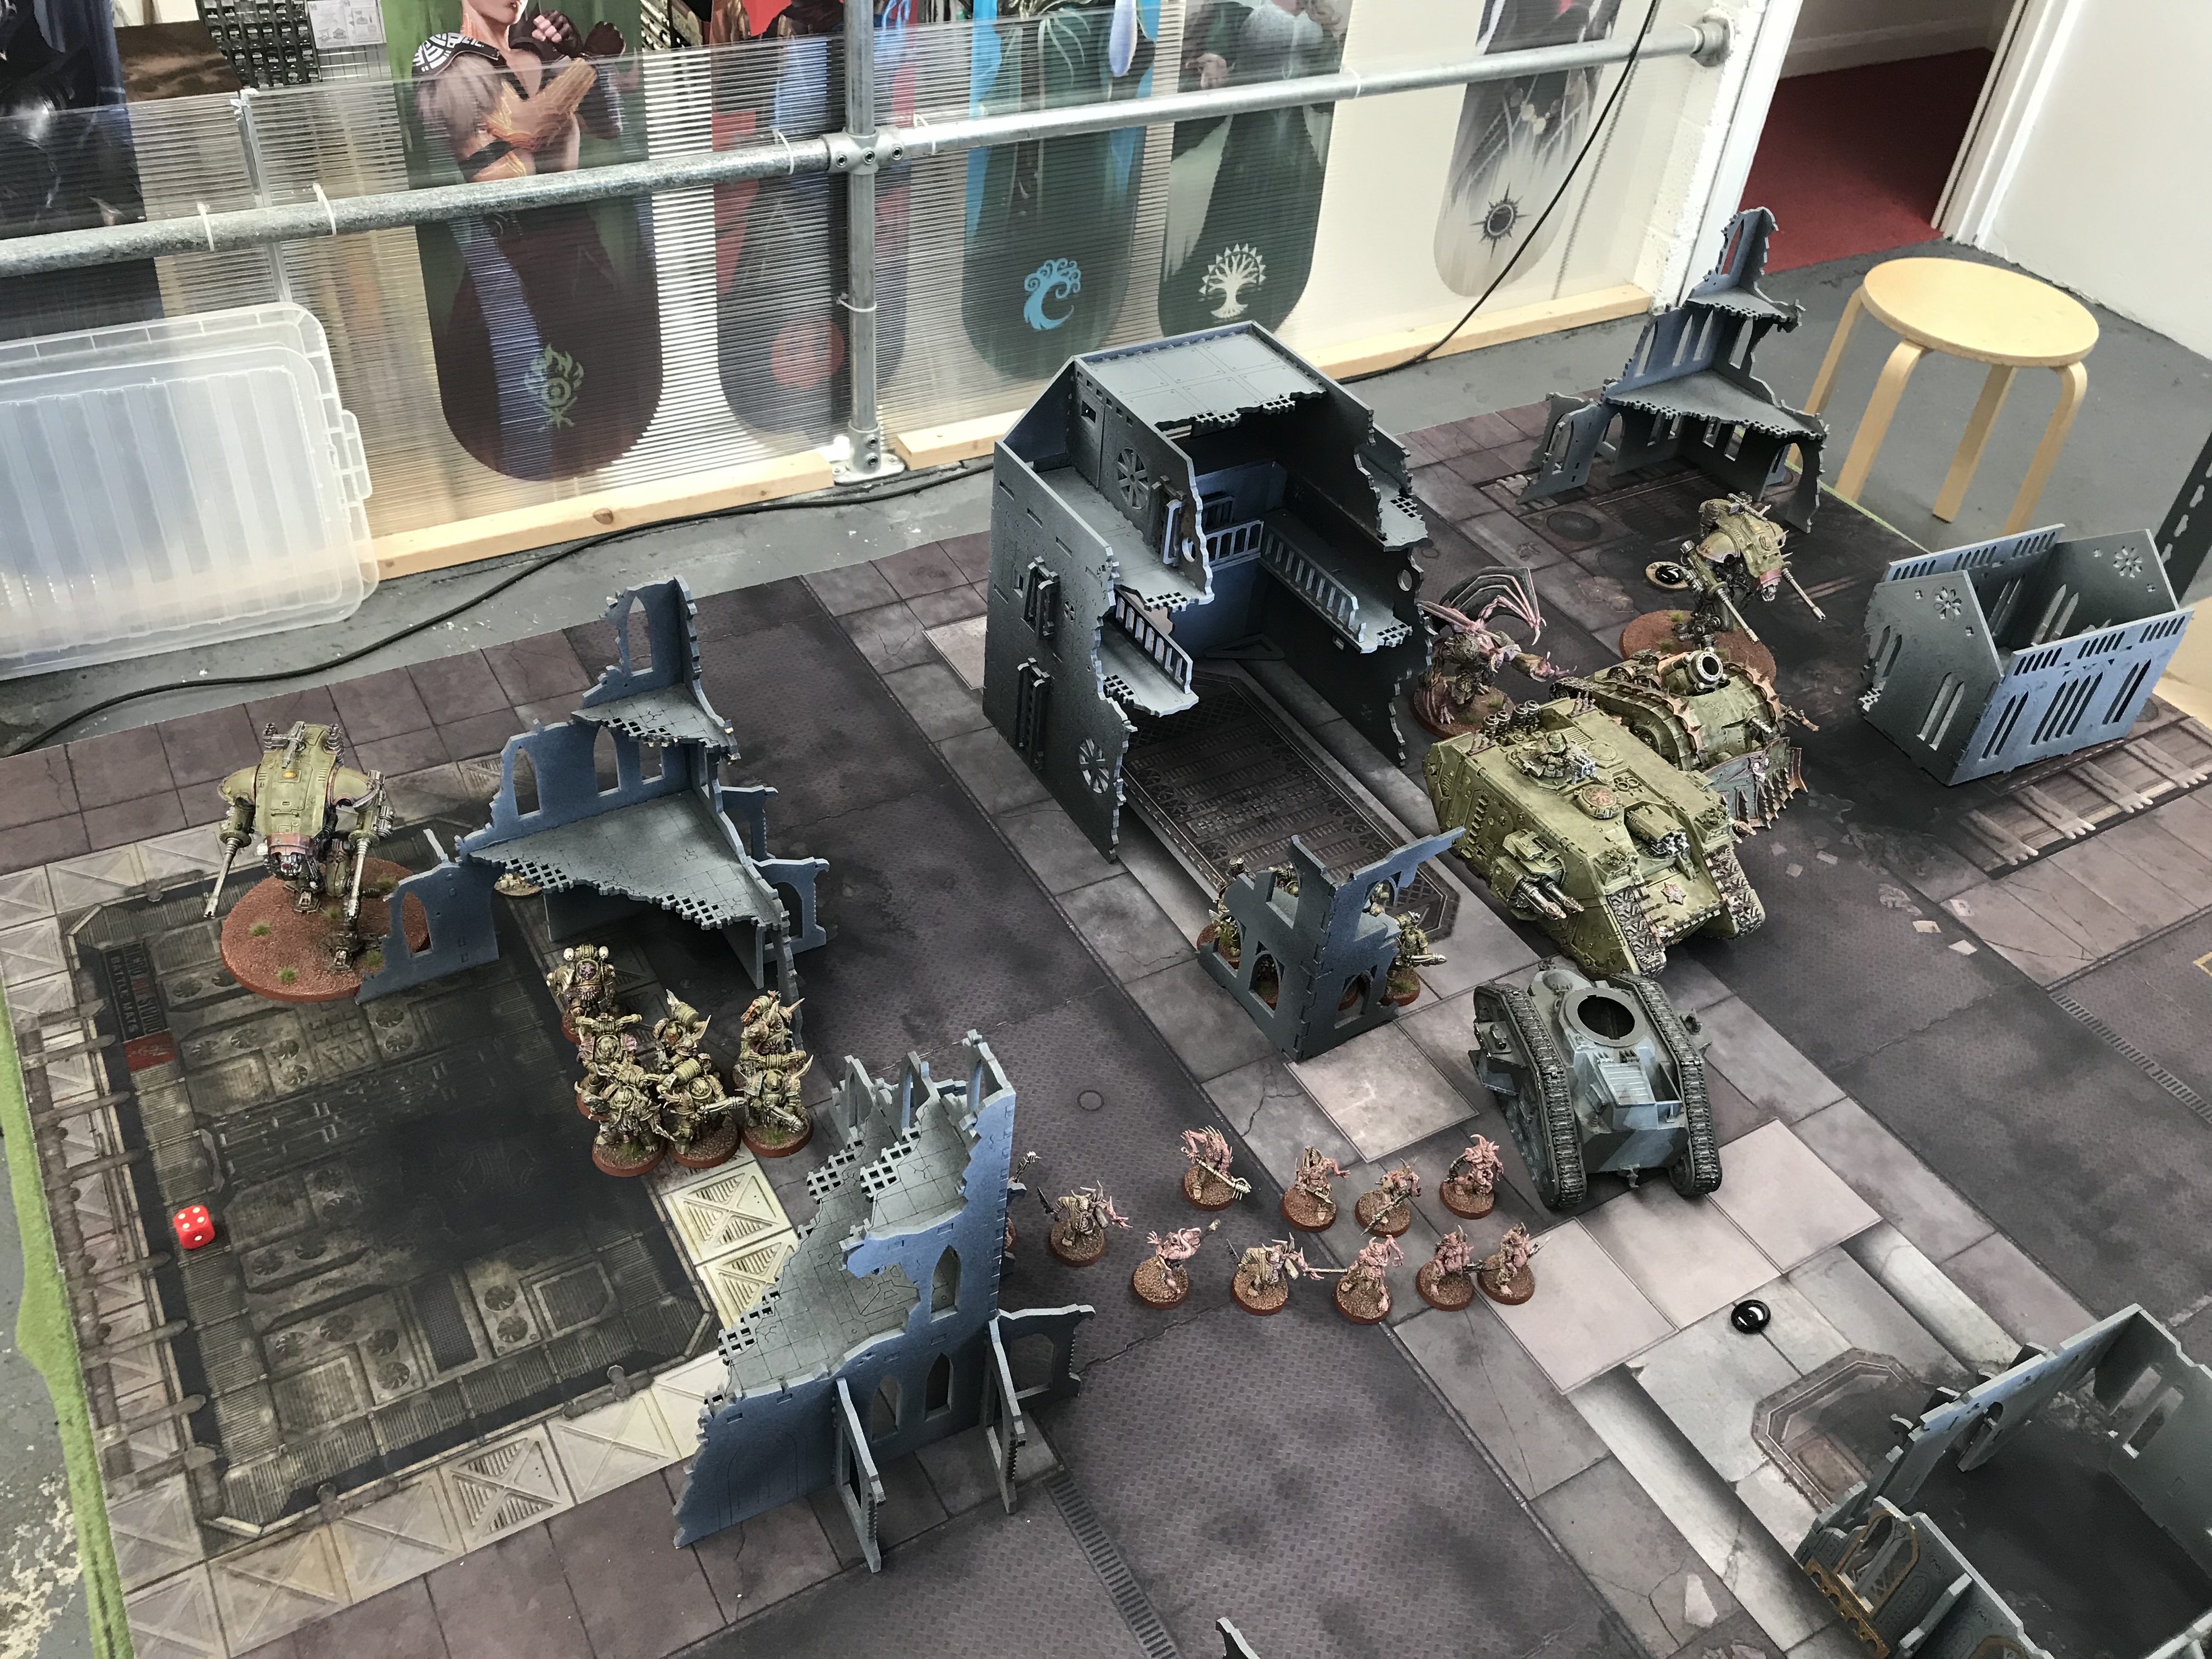
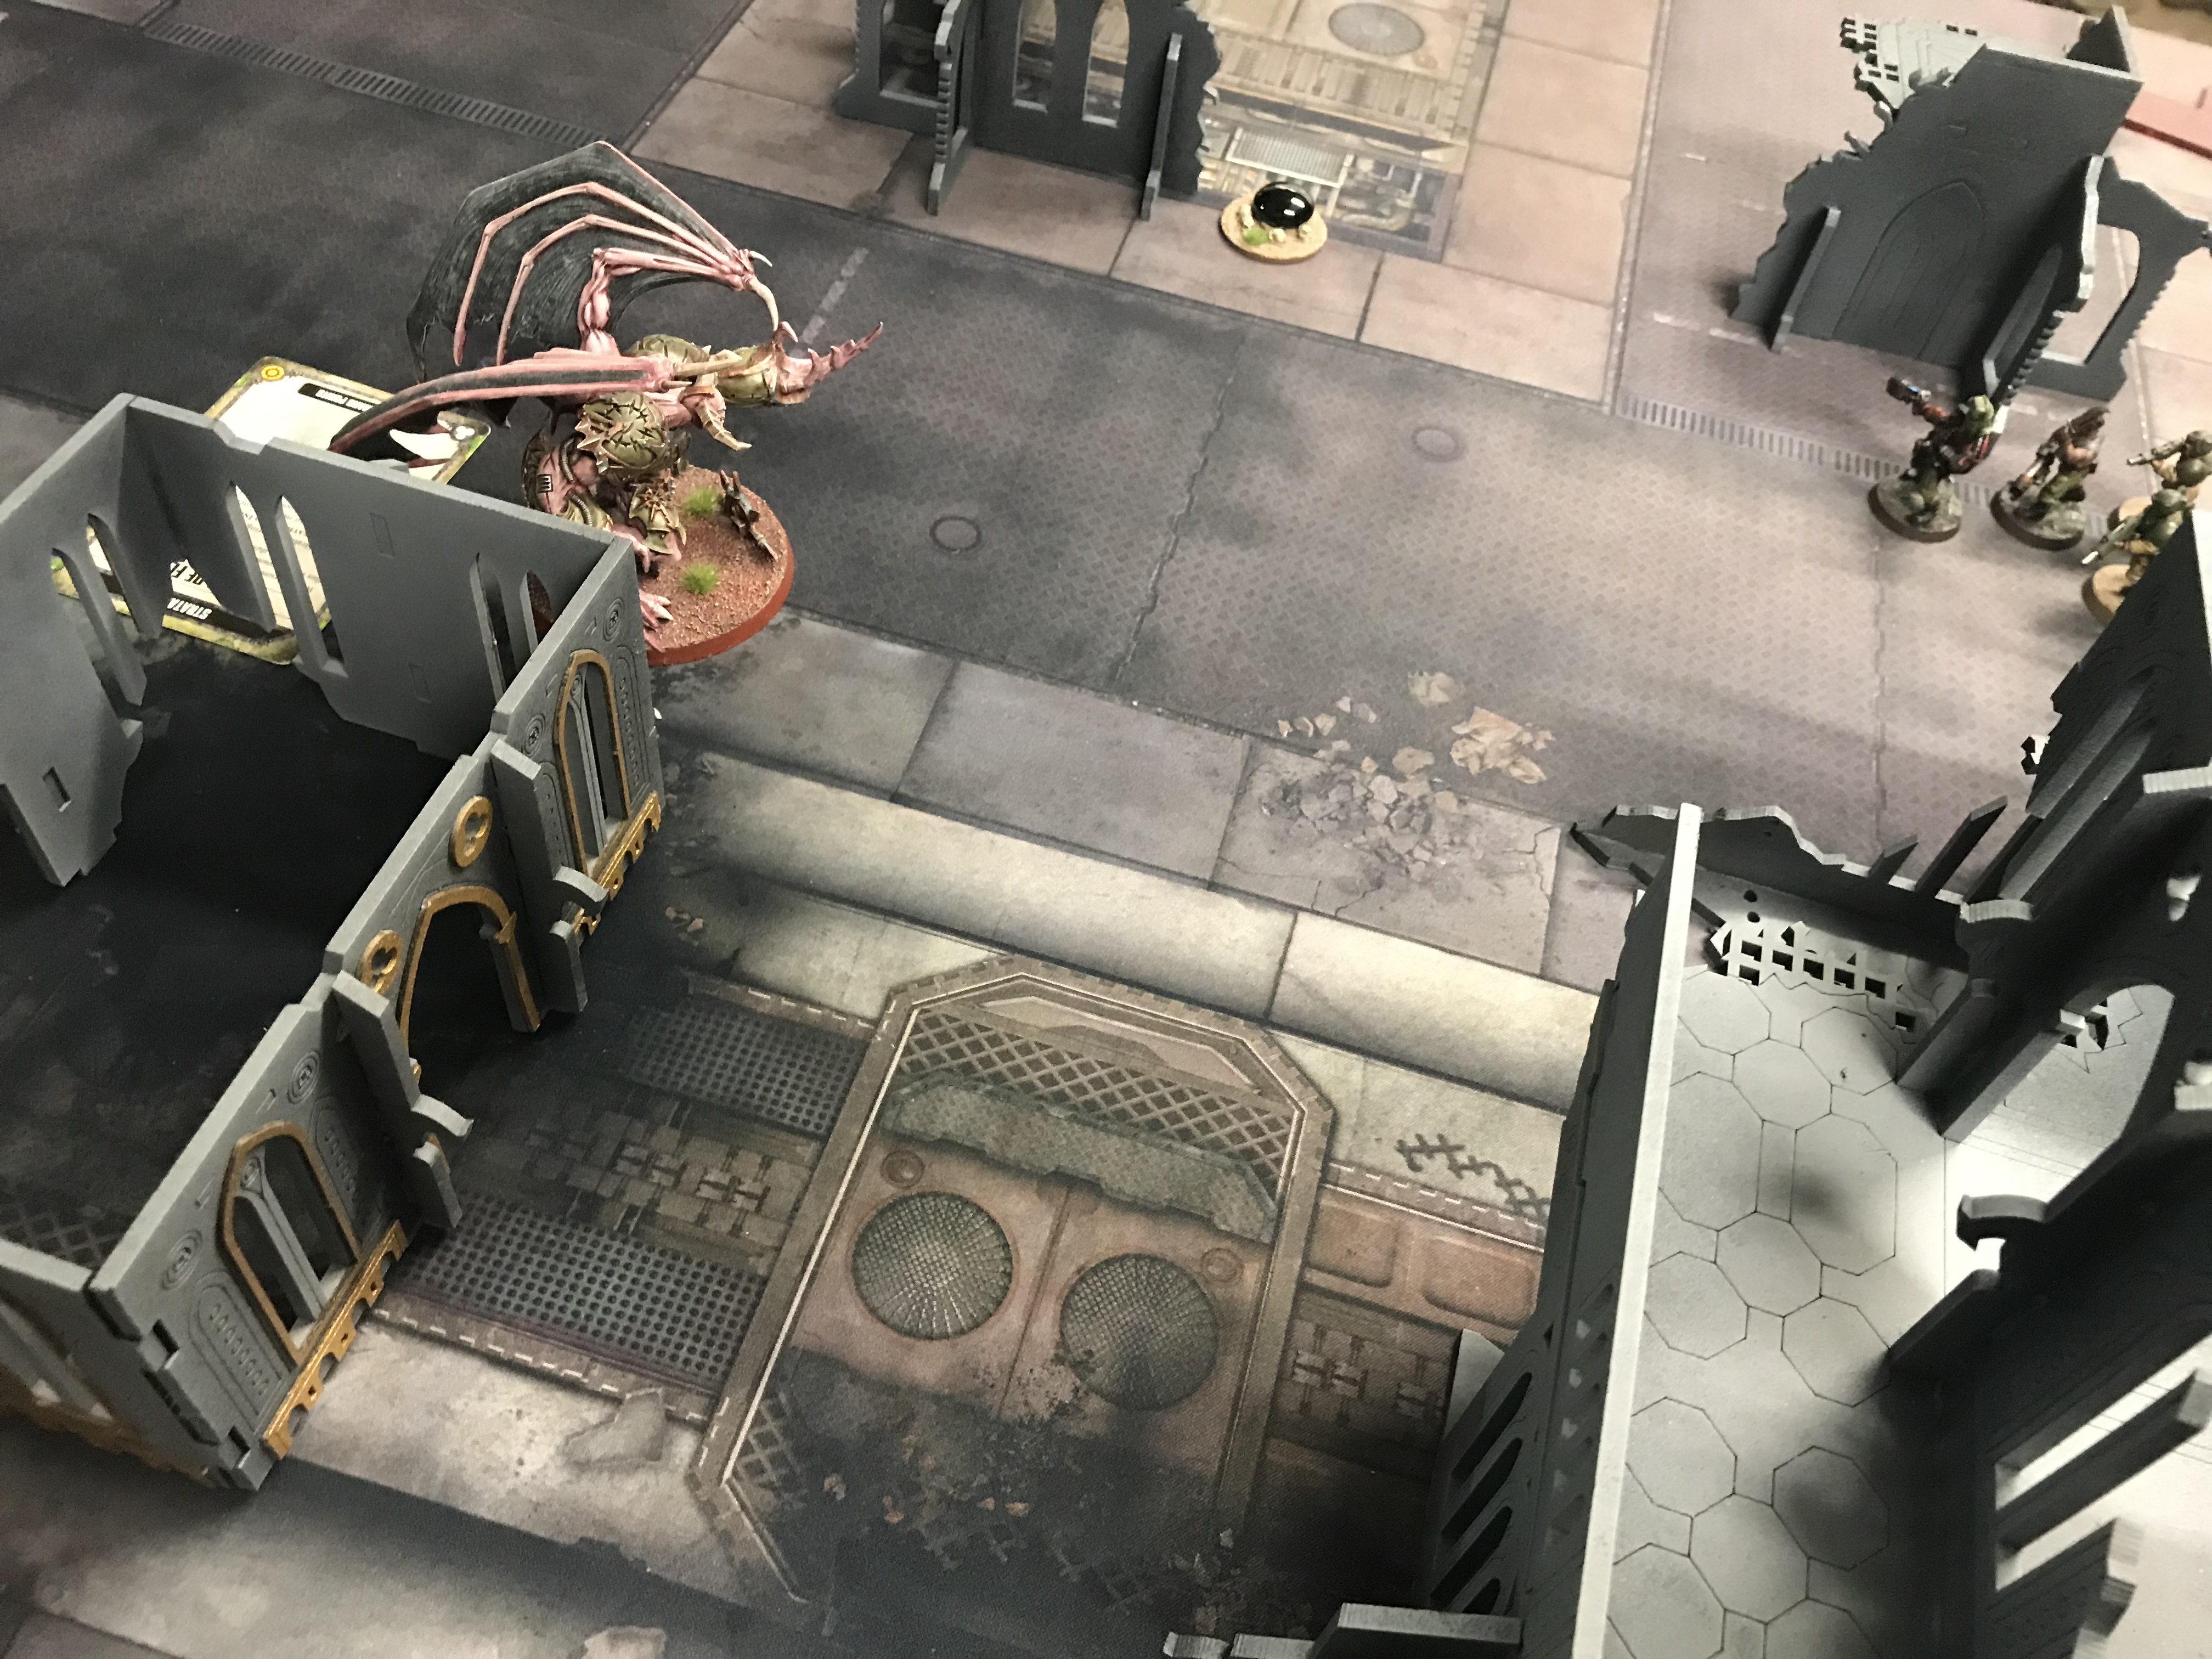
Death Guard
The Death Guard deployed first and would take the first turn.
An Armiger on each flank with the Land Raider and Plagueburst Crawler on my right flank. The infantry, Pox Walkers, Plague Marines and Chaos Lord took up the right flank.
The Flying Demon Prince Warlord was also on my right flank behind the Land Raider.
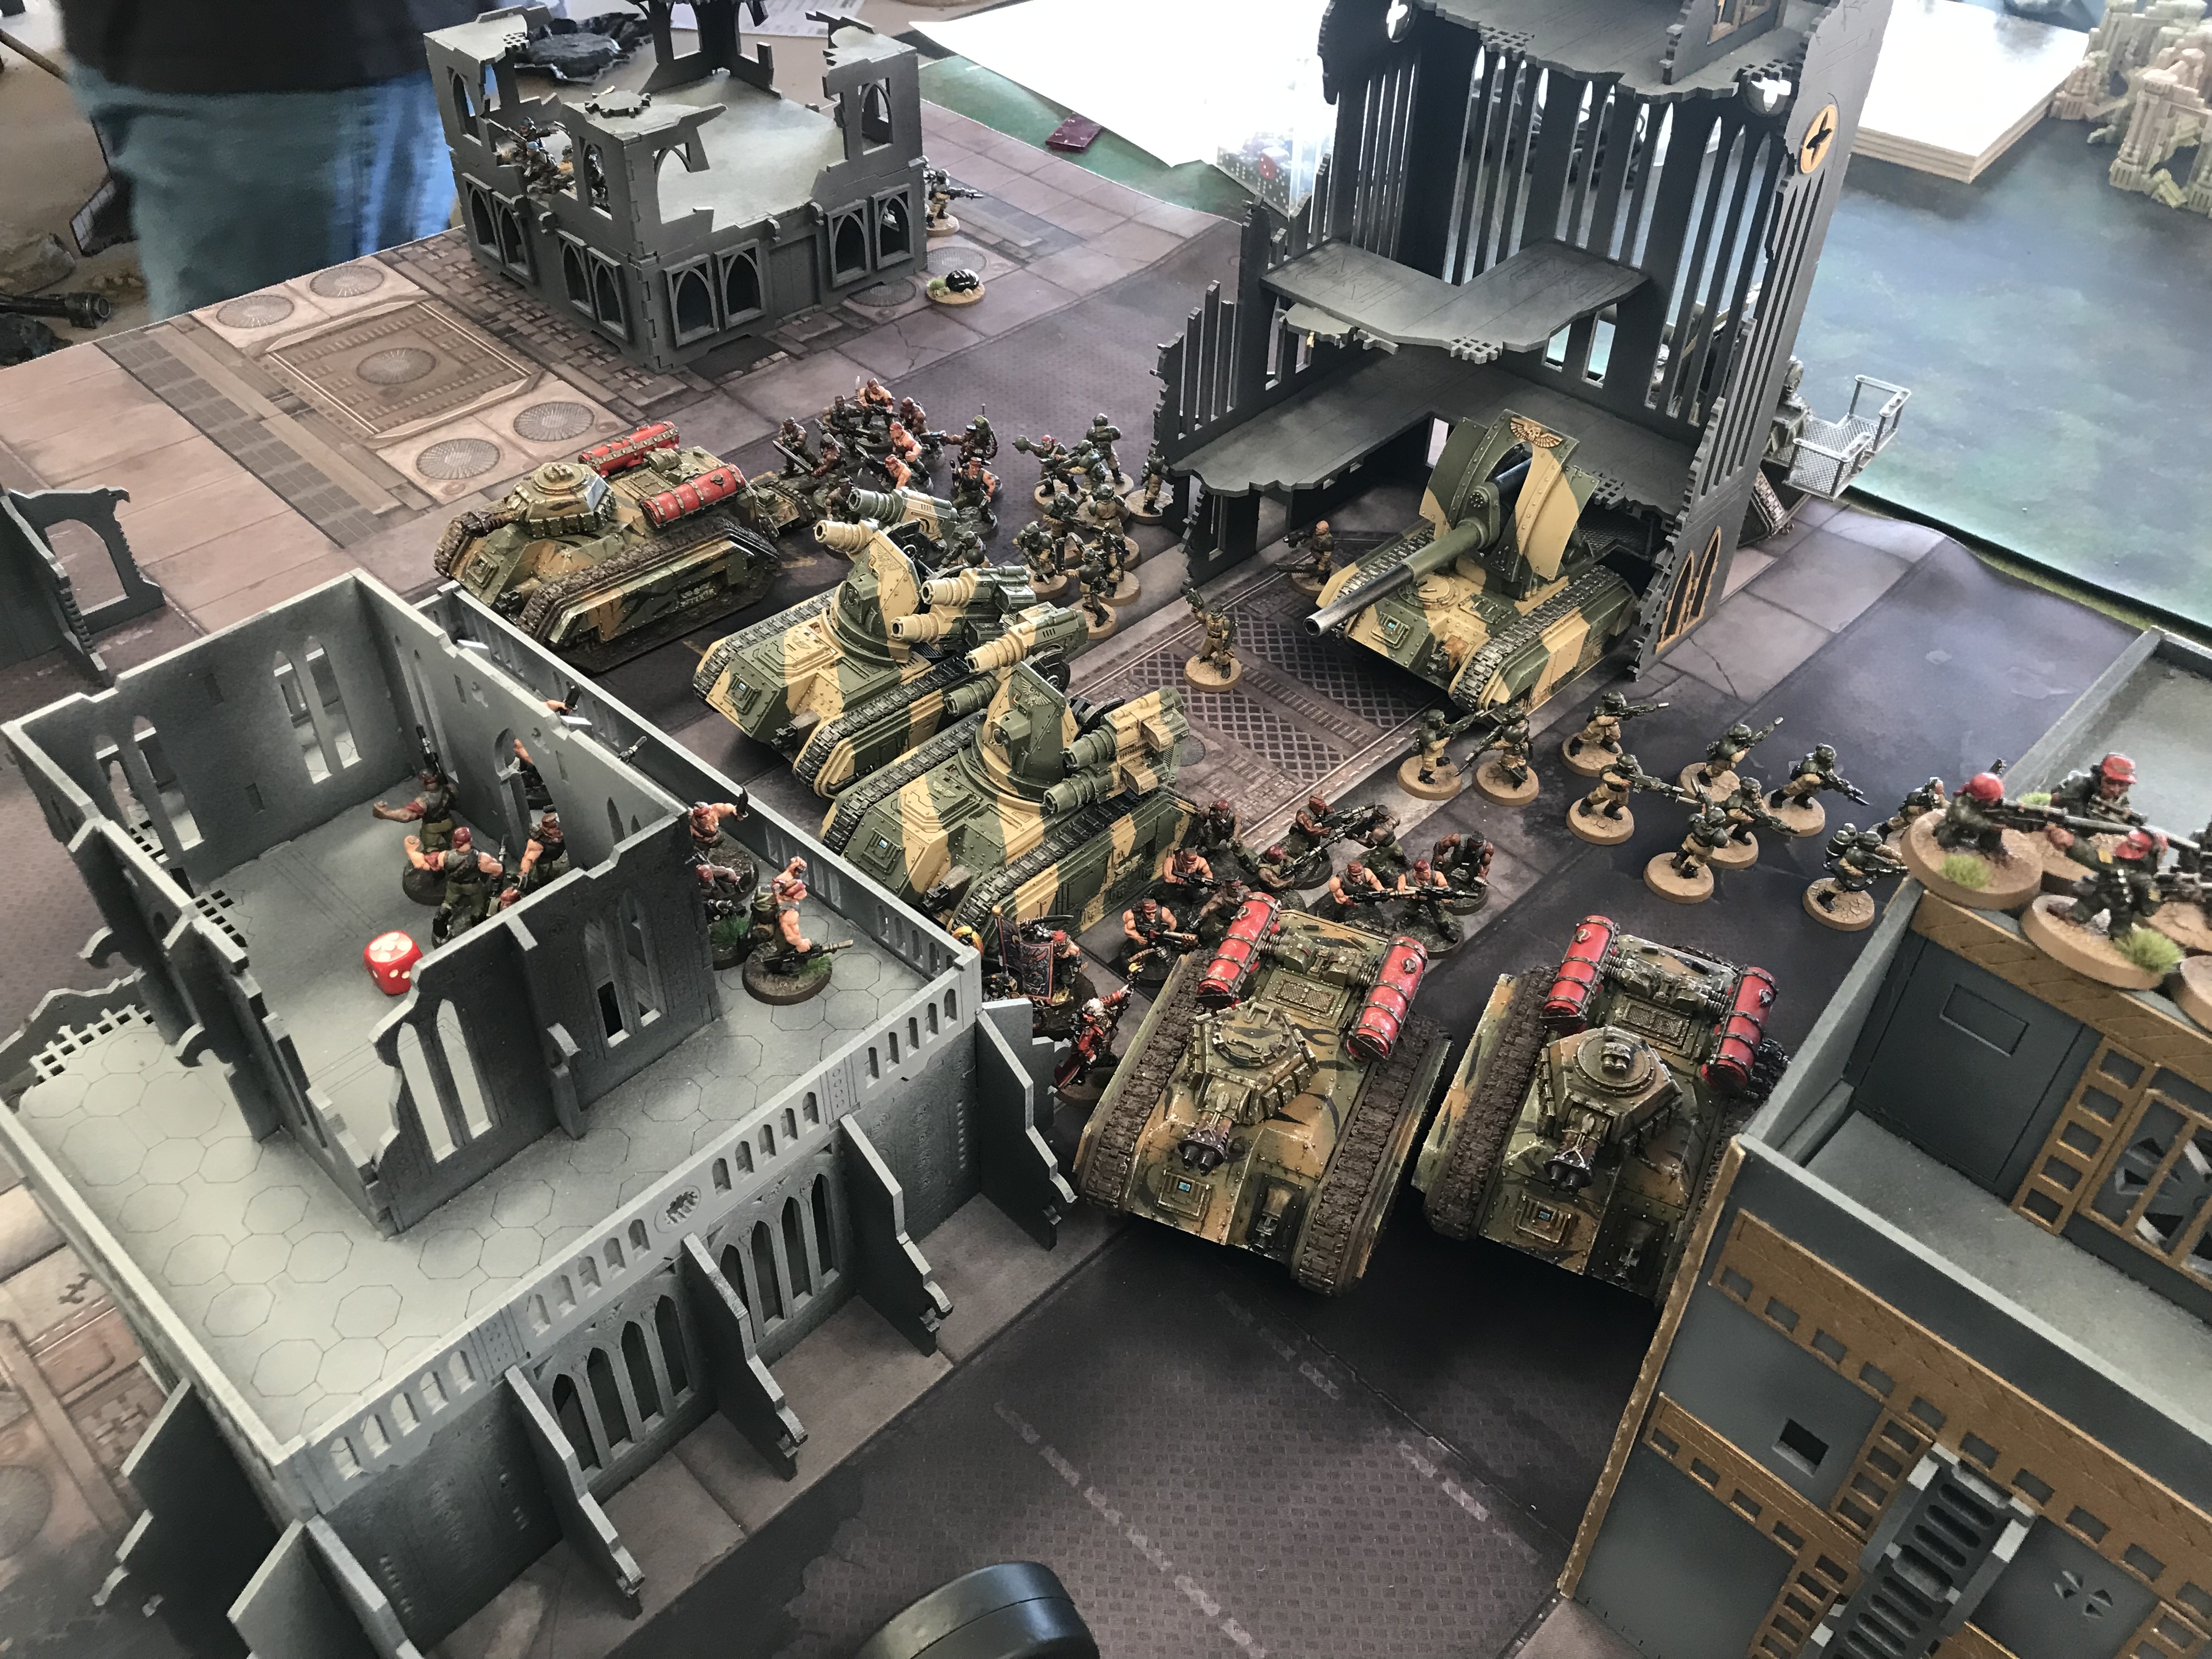
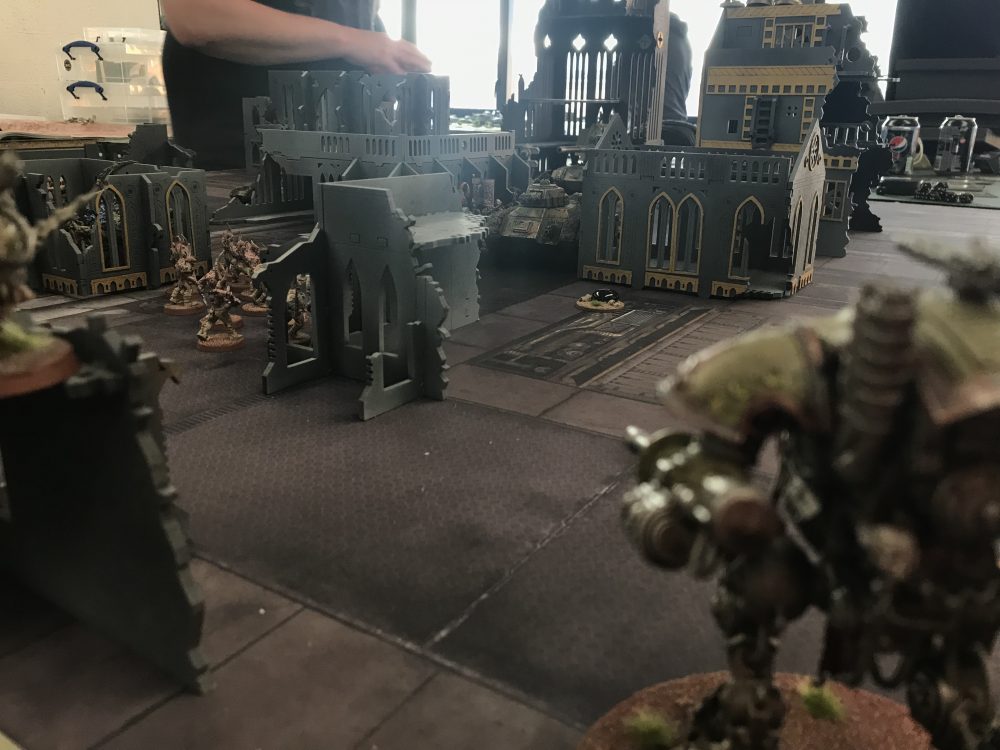
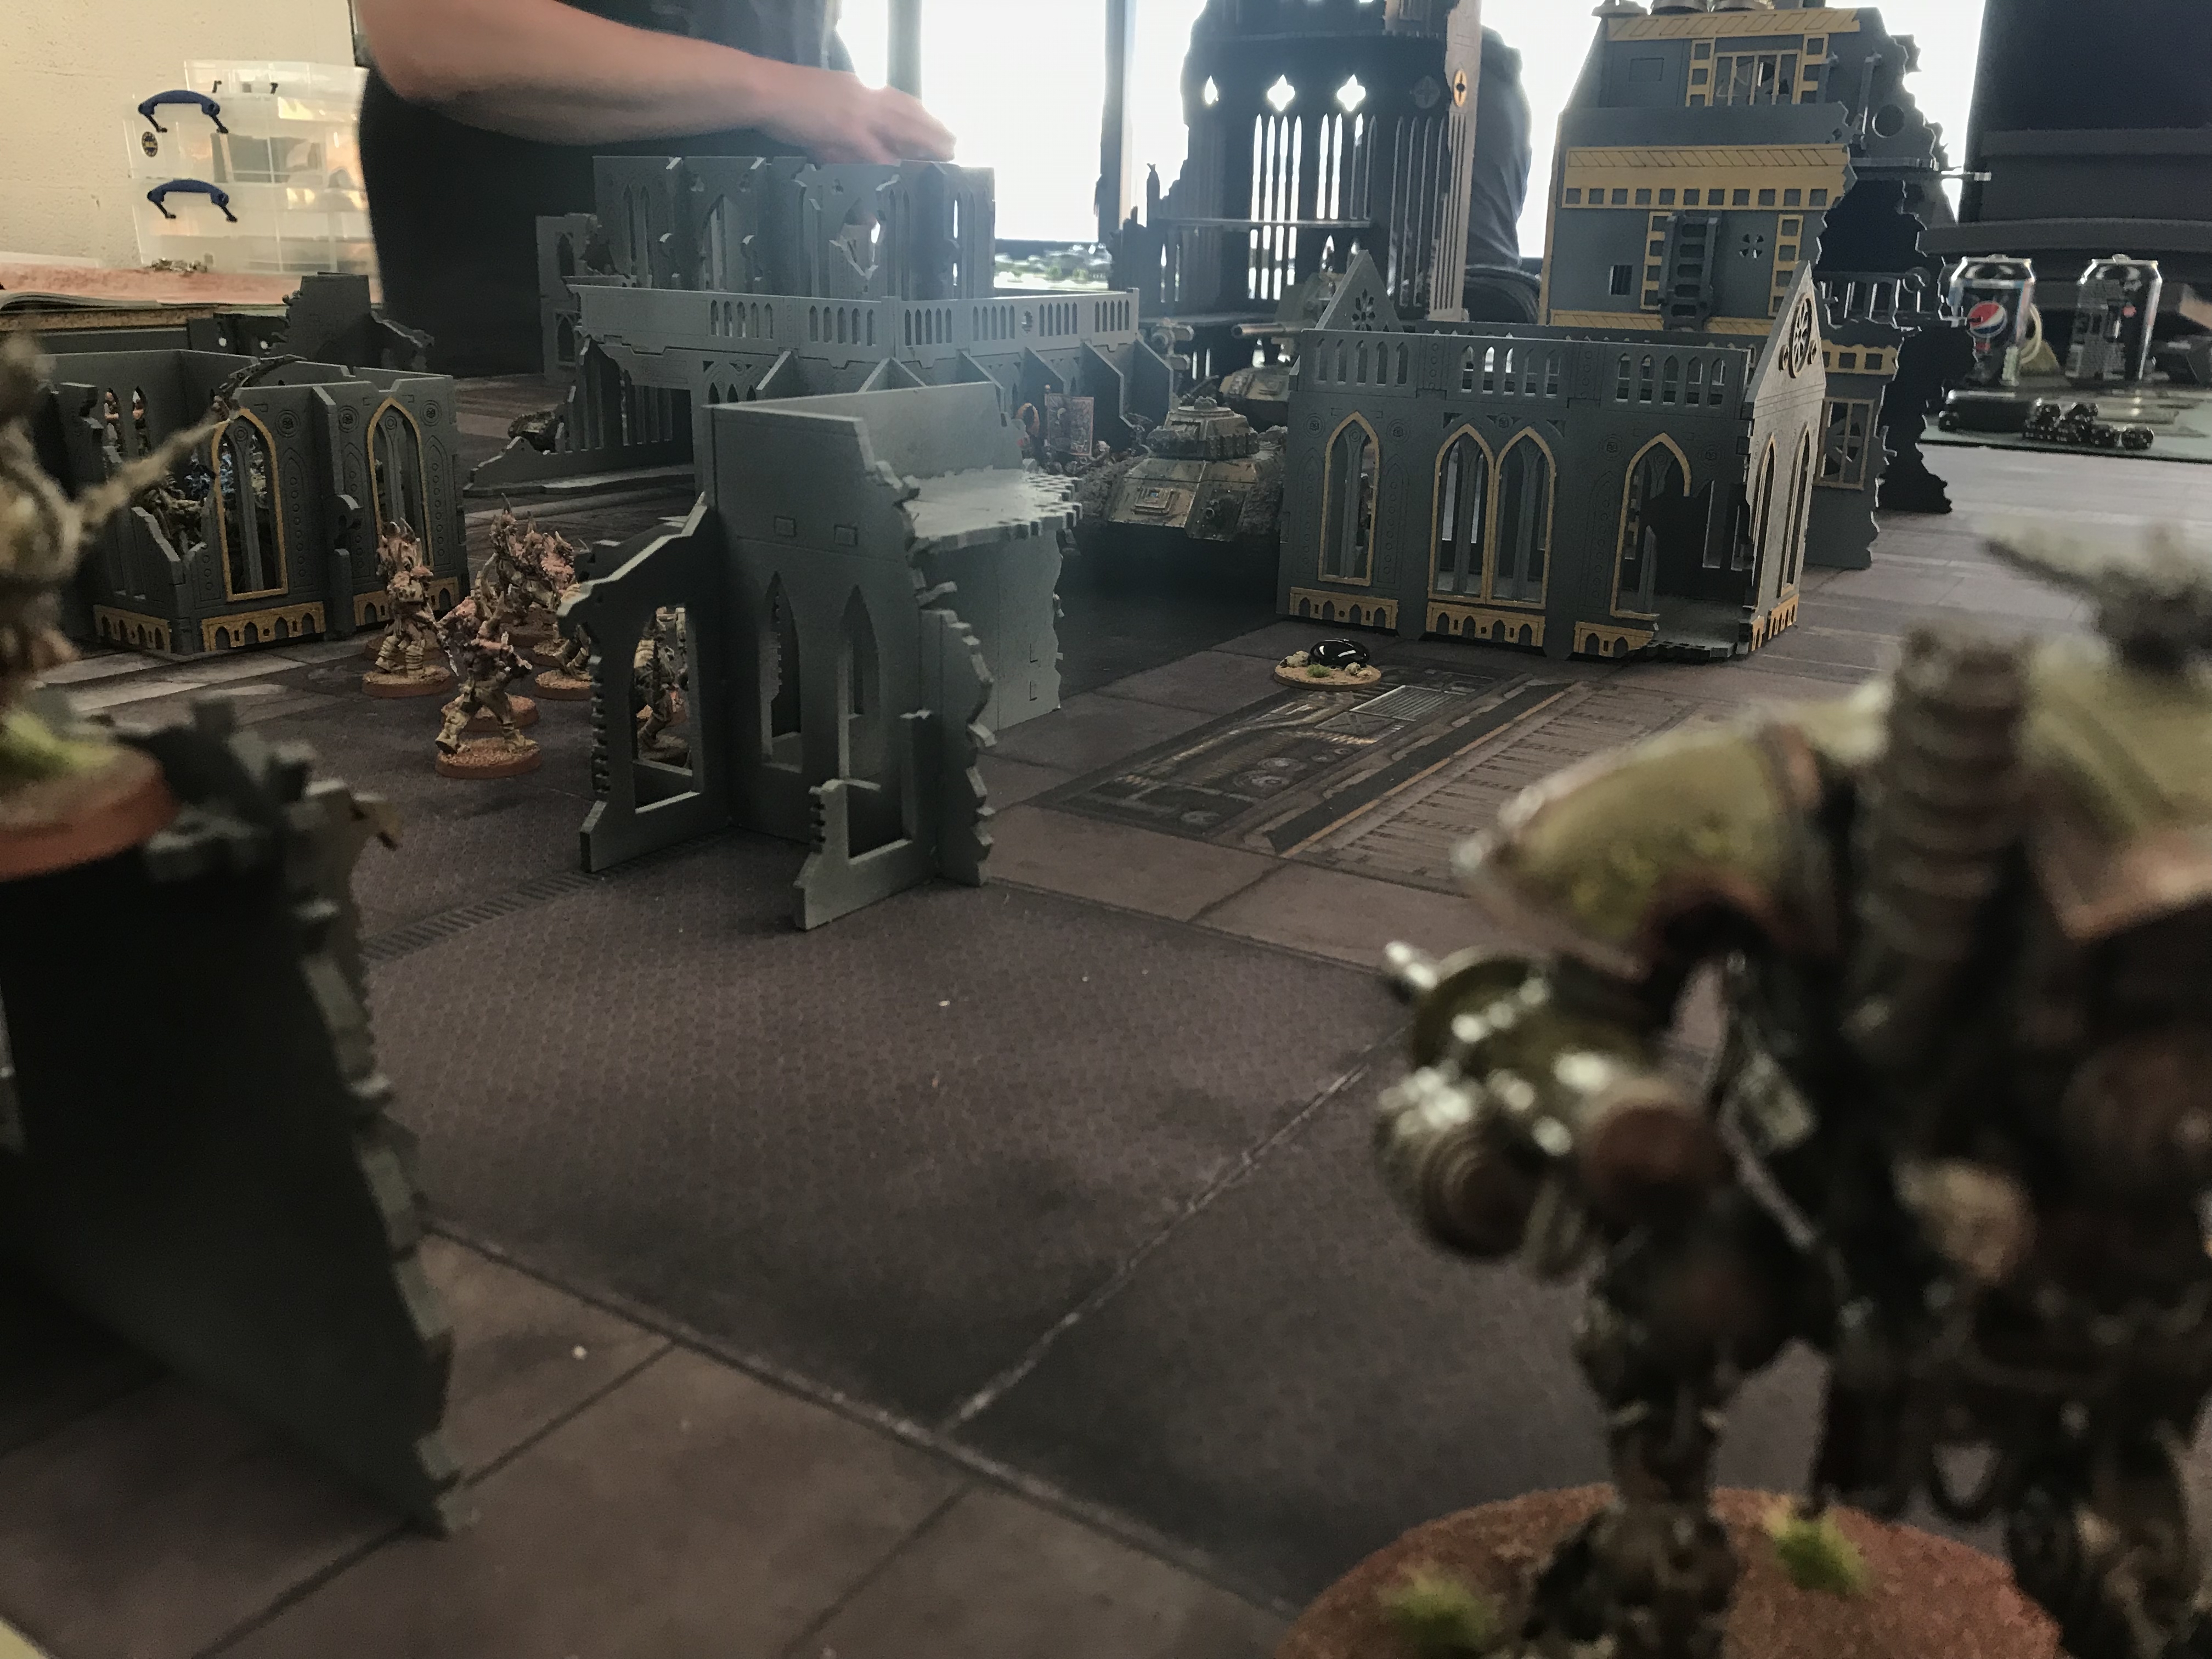
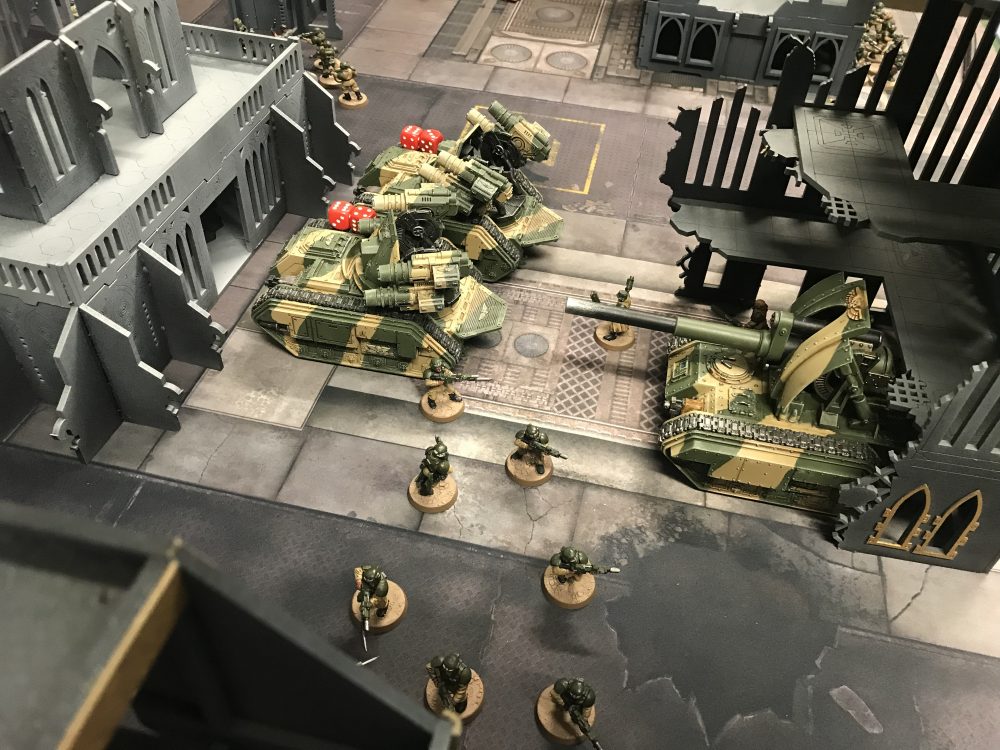
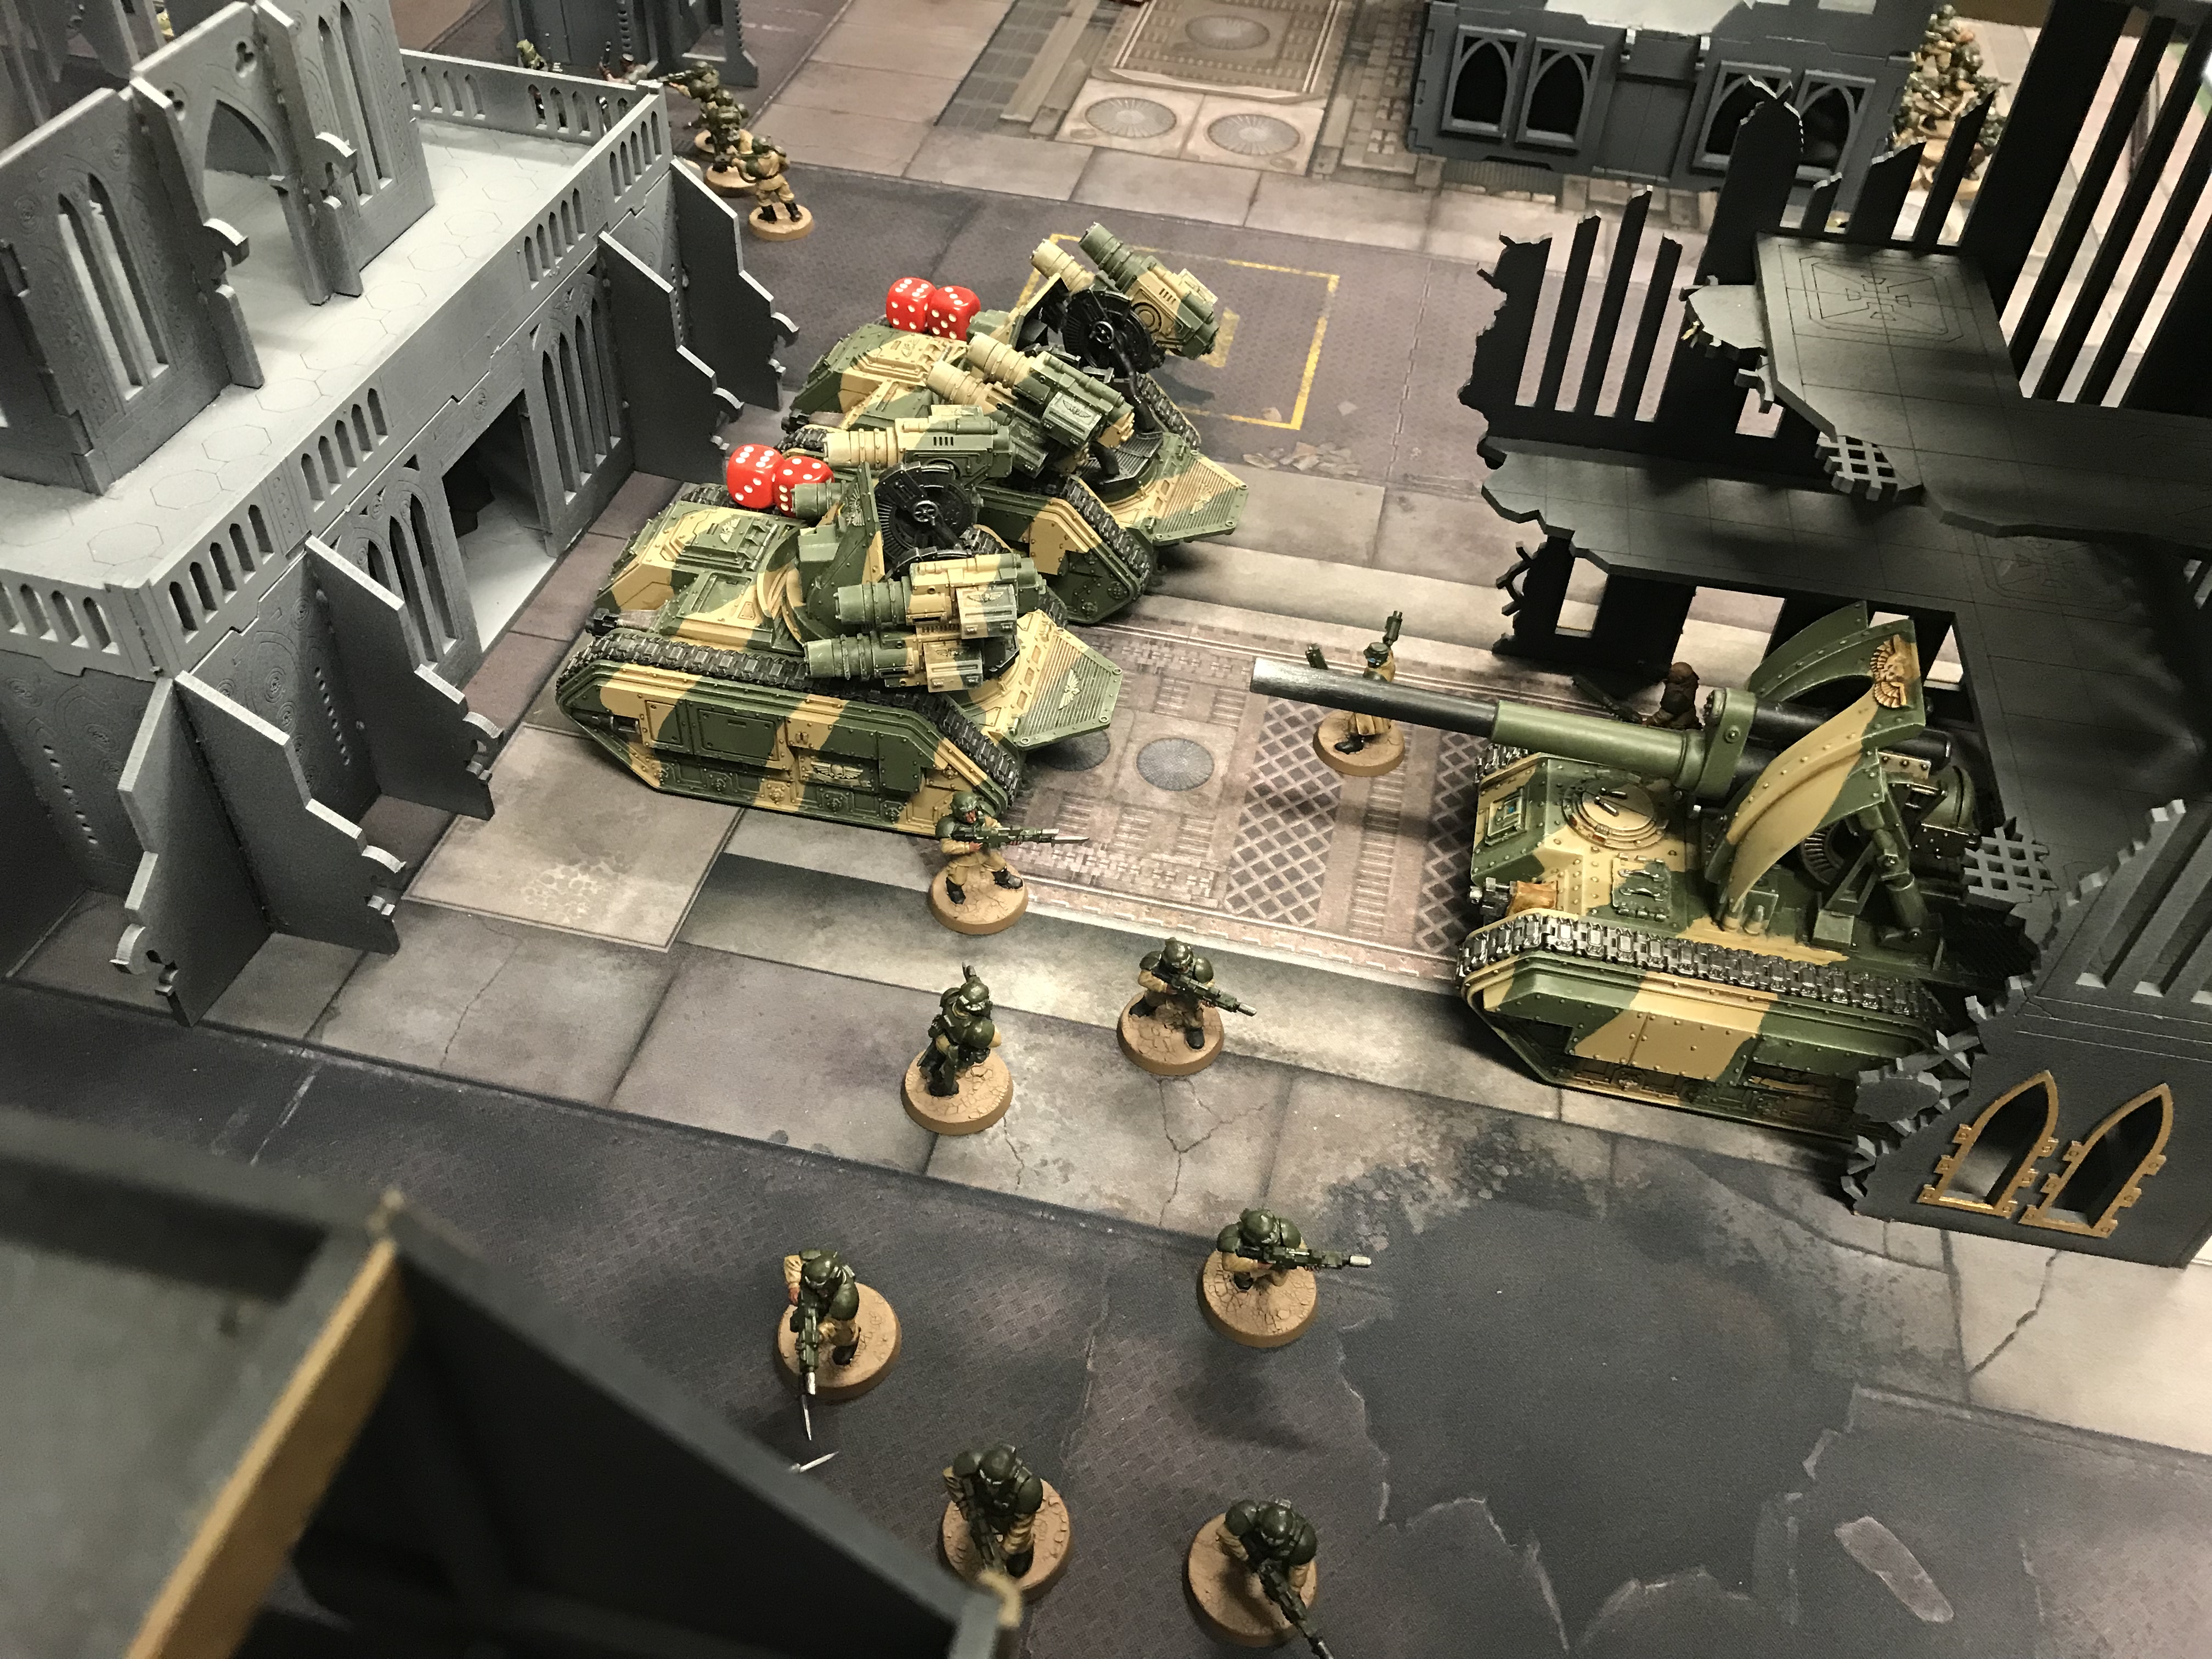
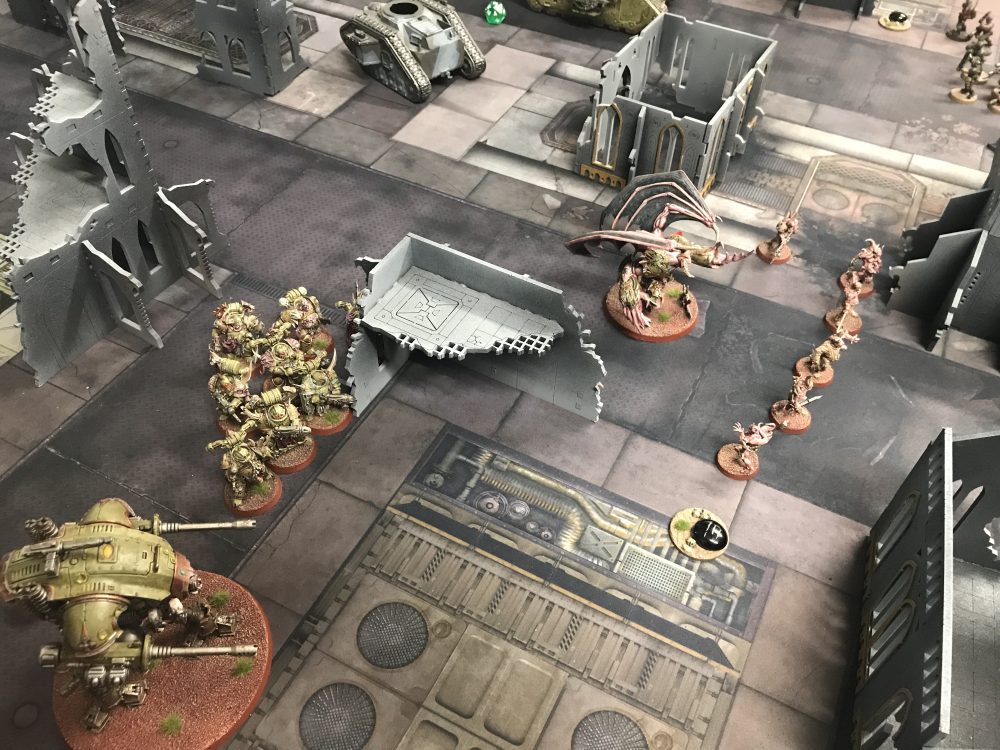
Astra Militarum – Cadians & Catachans
There was a handy large building to hide behind which is why I chose the side I did. But the Wyverns and Basilisks are so big they are very hard to actually hide fully. It did mean that each was only visible to one Armiger and never both.
Things were tight and I packed in my Hellhounds, Cyclops and Catachan Infantry as far forward as I could. The Cadians mingled between the artillery and the Catachan front line.
I declared Old Grudges on the Armiger on the left flank.
-

- Death Guard Deployment
-

- Guard Deployment
Turn 1 – Death Guard
After discarding their six cards the Death Guard started us off. They drew some good cards and moved around to grab an objective or two. Including the Demon Prince Warlord moving backwards to get a Priority Orders objective.
As expected most things moved forward.
Shooting wise, it could’ve been a lot worse for me. I lost a Hellhound which exploded and felt some wounds to a nearby Catachan Squad and two to a Cyclops. One Wyvern took three wounds. My Artillery remained intact.
It did give them First Strike.
Show Score
Death Guard 4 VP
Astra Militarum 0 VP
-
- Death Guard move up
-
- Death Guard infantry

-
- The Demon Prince hanging back on his objective

Turn 1 – Astra Militarum
I declared the use of The Lost Relic of Cadia. Then promptly forget the re-rolls to hit for my Wyverns, but remembered them for my Basilisks after using Overlapping fields of Fire on the Armiger on my right flank.
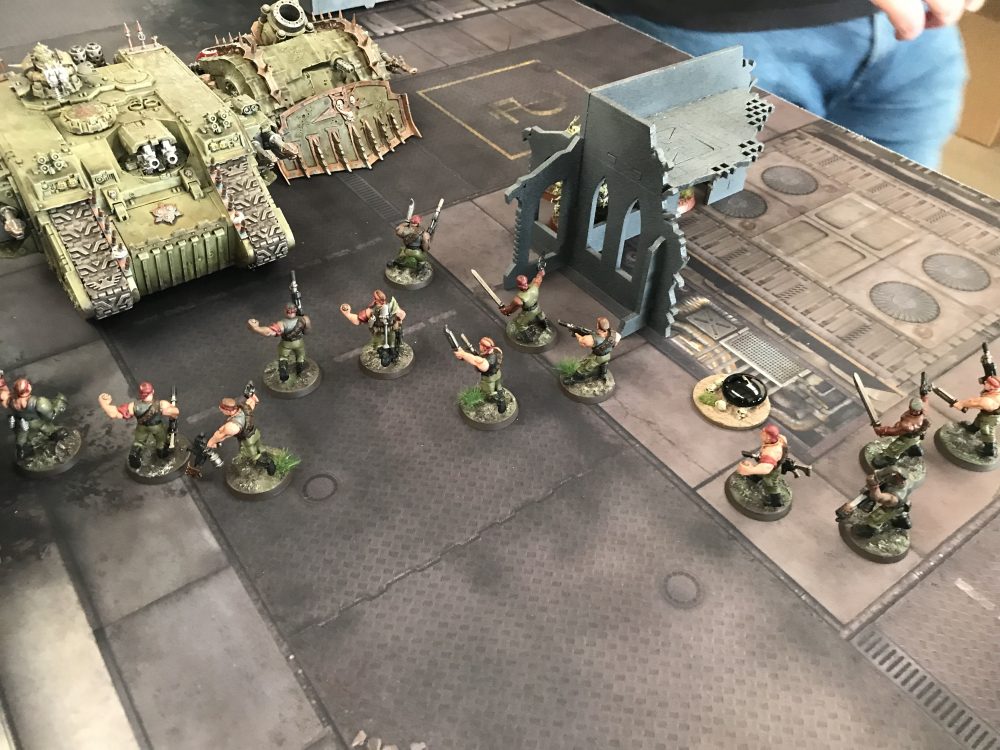
All the Catachan Infantry, Cyclops and Hellhounds went forward. Along with my Psyker, Yarrick and Straken. I rolled some very good dice for Move, Move, Move. A unit of Catachans we’re now right up and on top of the Land Raider. Stopping its advance.
My Psyker failed to manifest Nightshroud.
Shooting wise it went well. An Armiger died and the Plagueburst Crawler was reduced to two wounds. The two remaining Hellhounds didn’t do great though, killing five Plague Marines from a six-man squad. But I got First Strike from the Armiger. I obtained some other objectives also.
This was the only real turn that the Emperor’s Wrath Artillery Detachment felt like it was worthwhile. The extra AP on wound rolls of 6 came up now and again but did not seem worth the extra CP cost. The same for the removal of cover. The firing twice for 2CP is worth it though as this enabled me to do so much damage against the Plagueburst Crawler and the Armiger.
Show Score
Death Guard 7 VP
Astra Militarum 4 VP
-
- Catachans moving forward

-
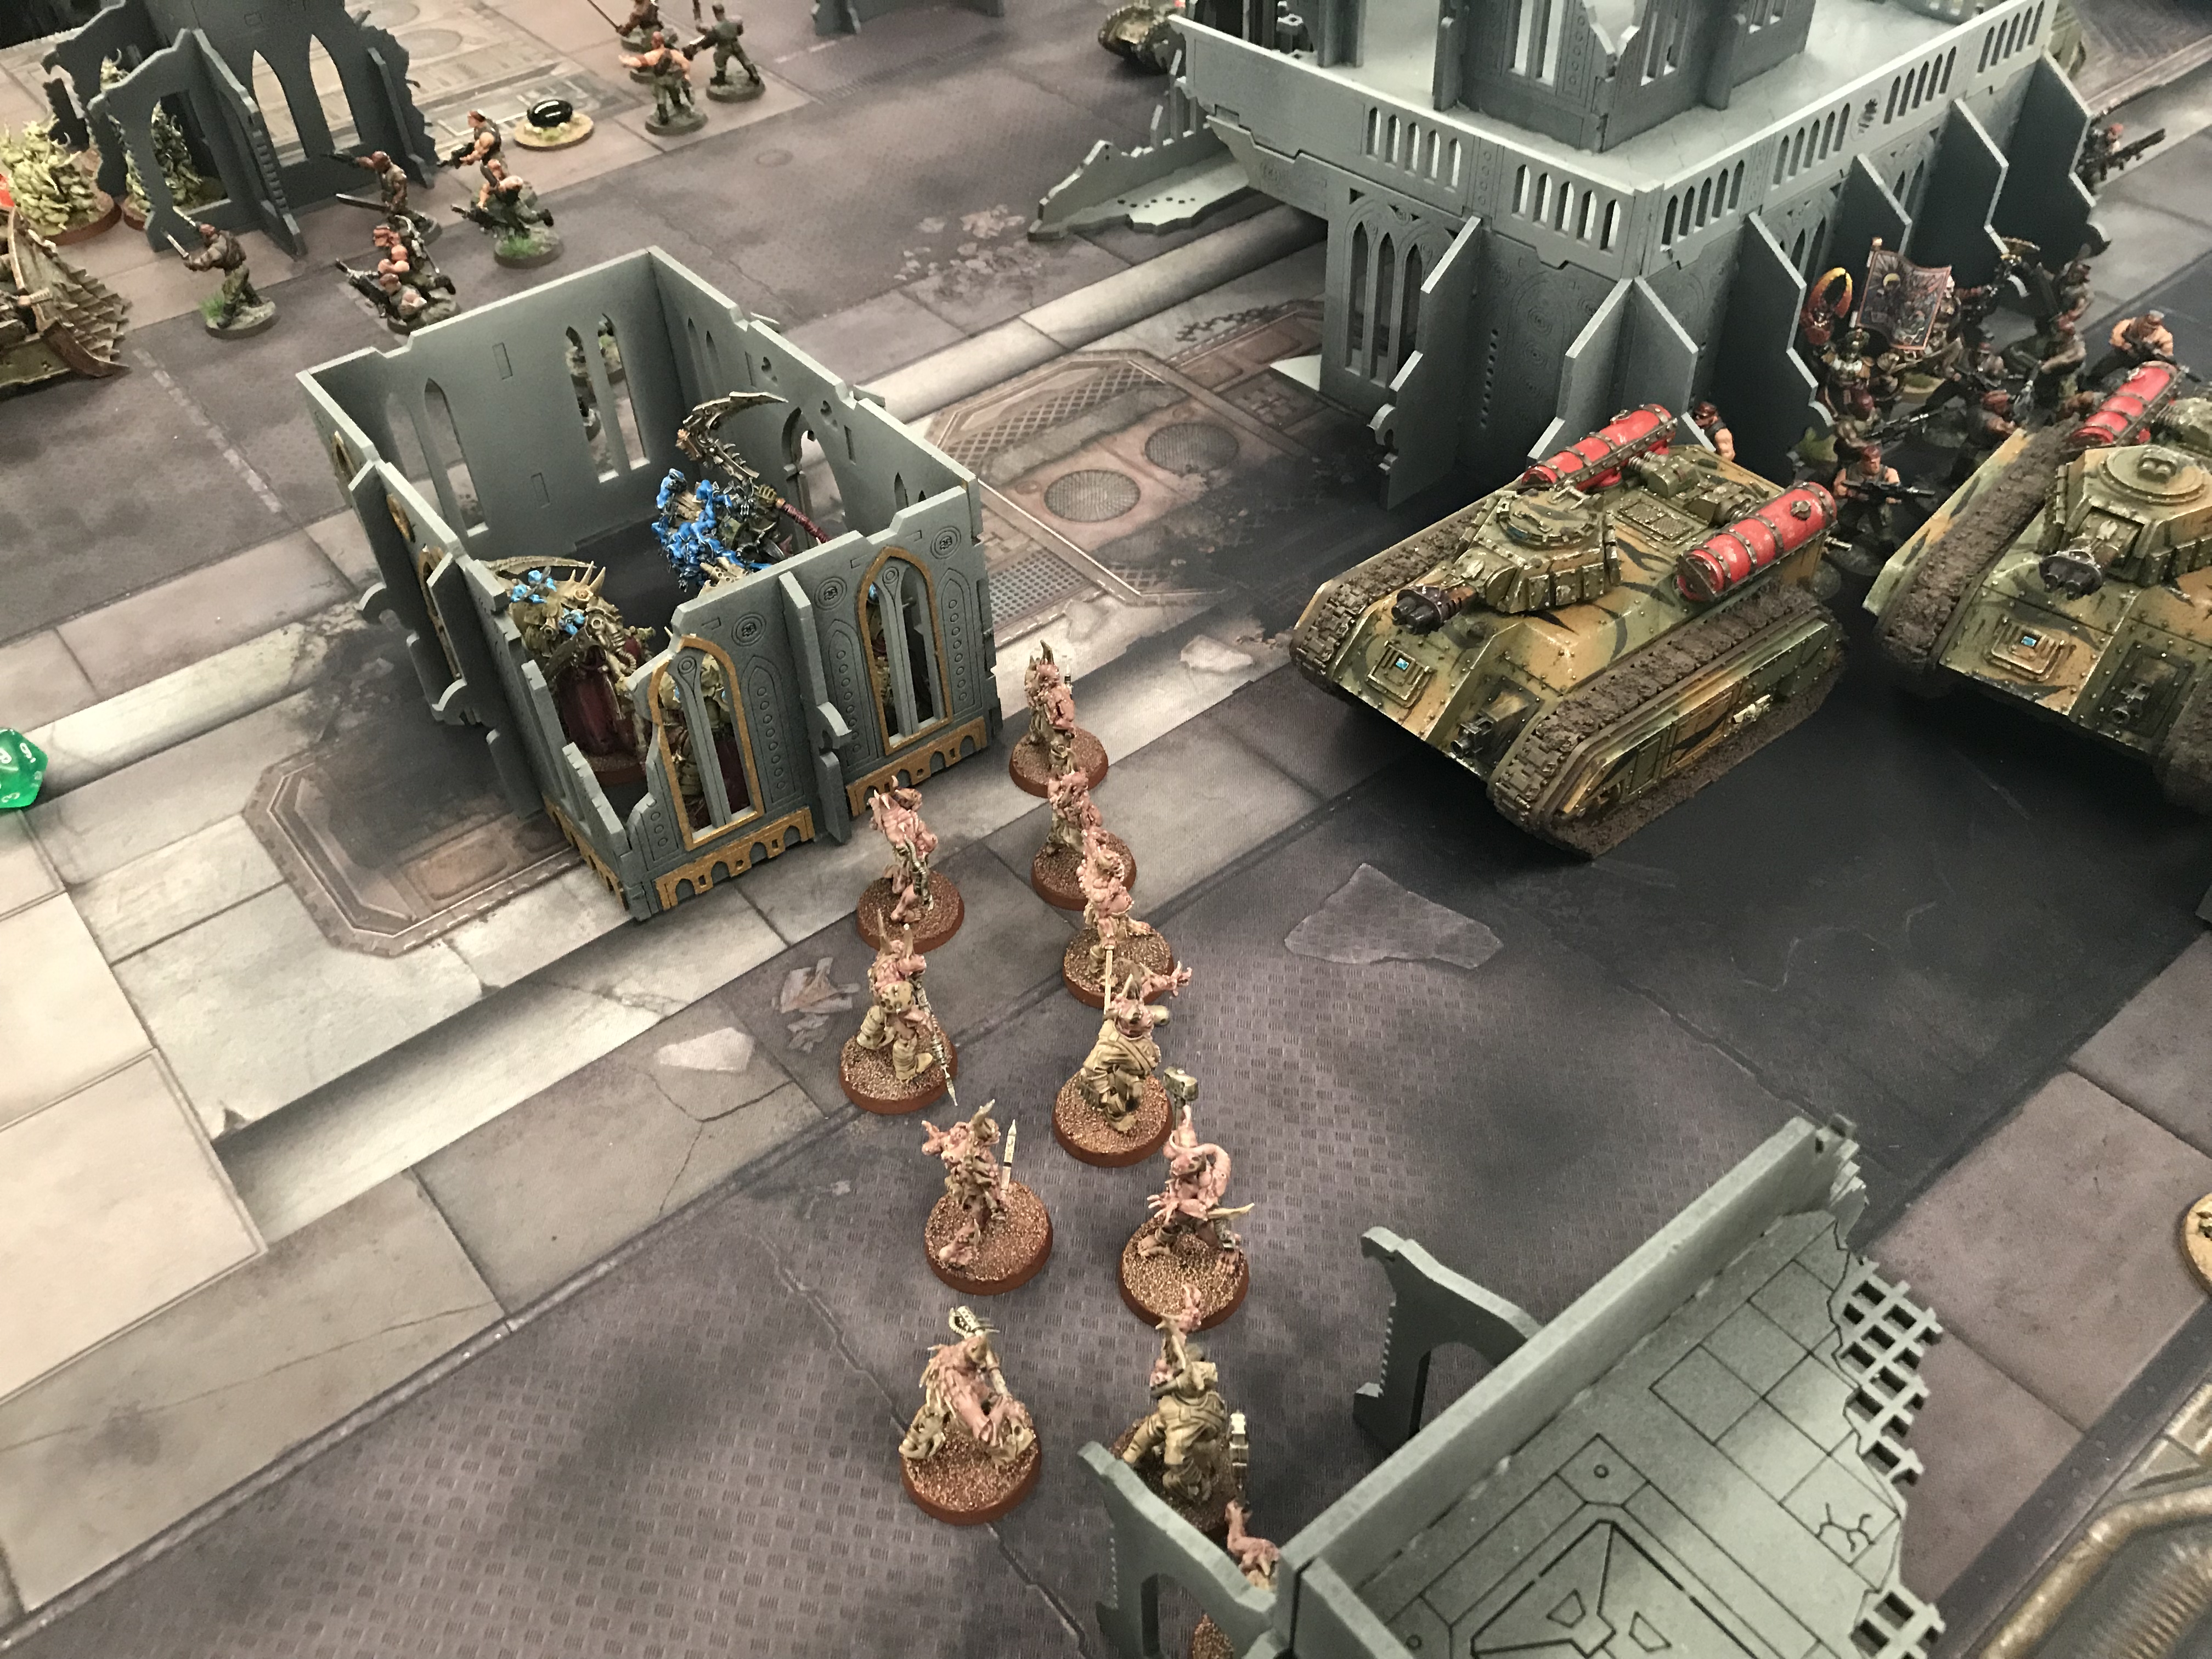
- Catachans try to envelop the Land Raider

-

- Death Guards Plague Marines taking a pounding
-
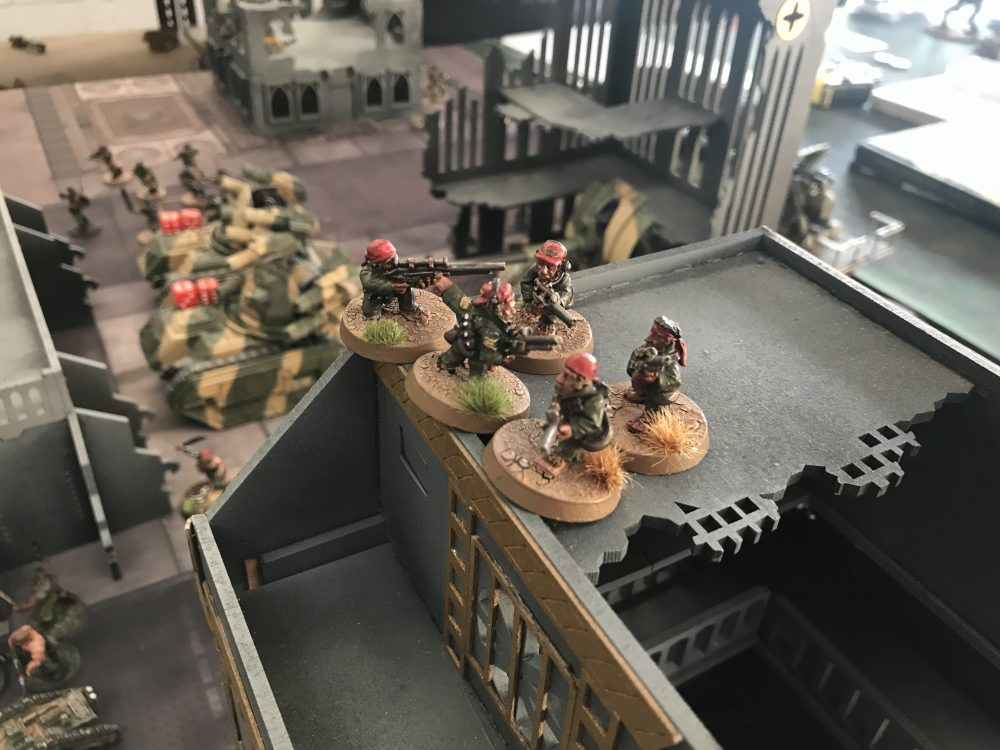
- Ratlings taking in the view

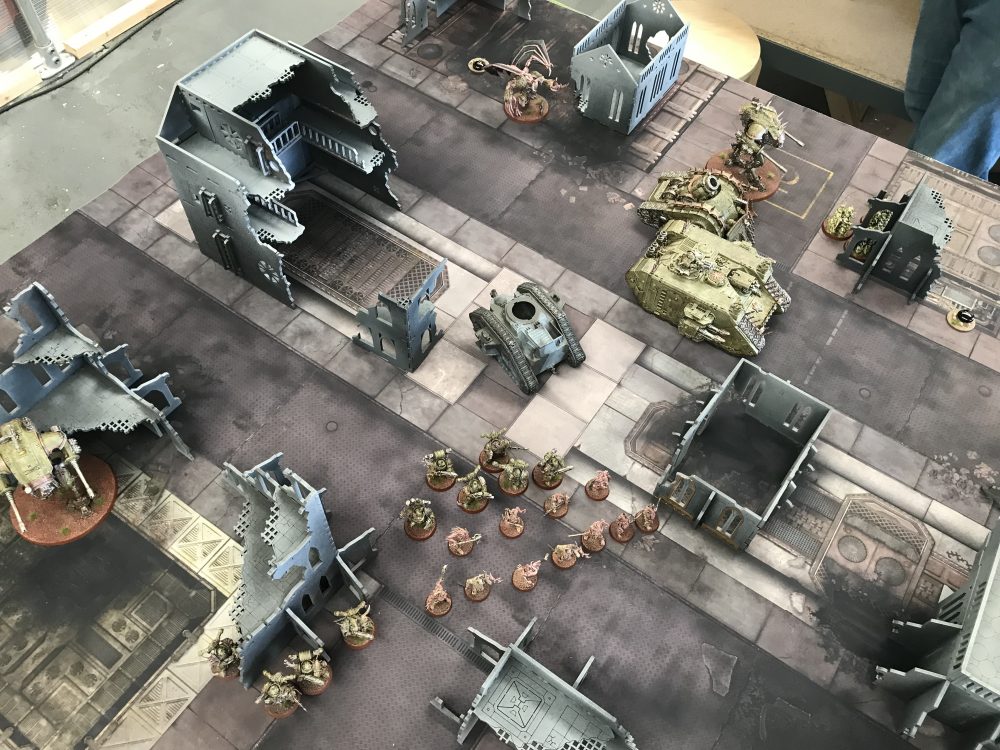
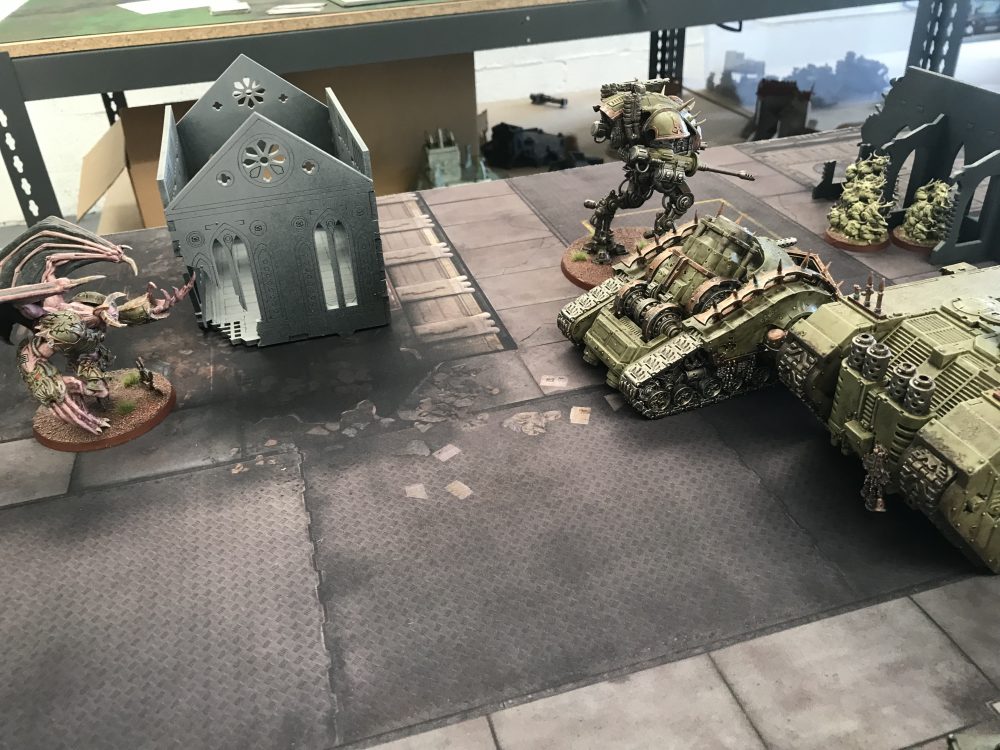
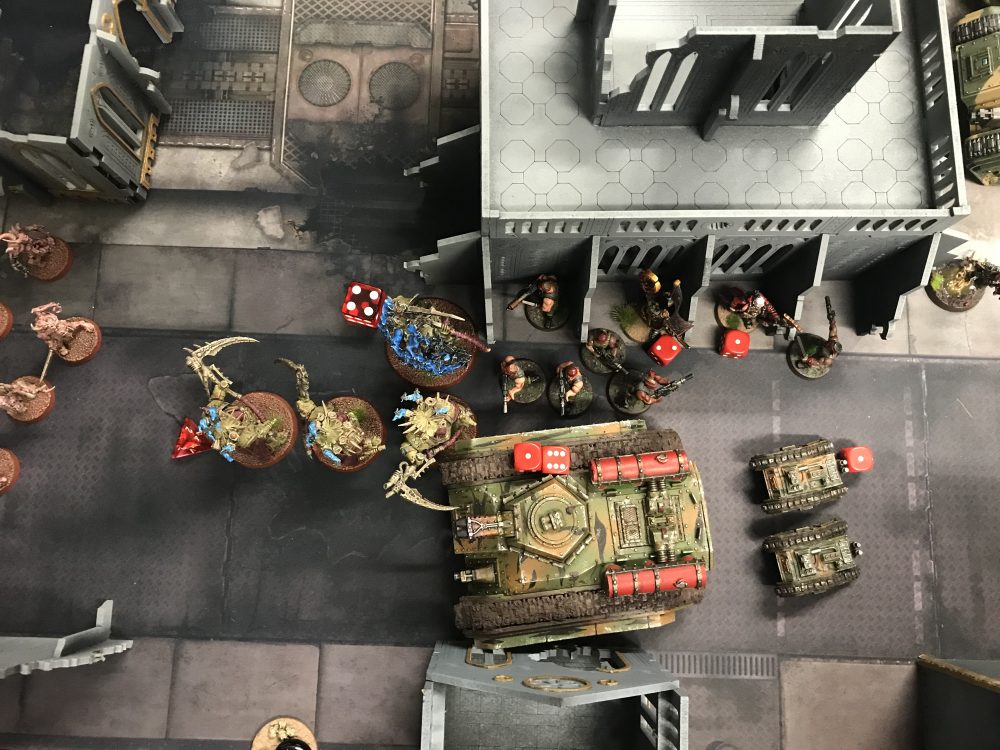
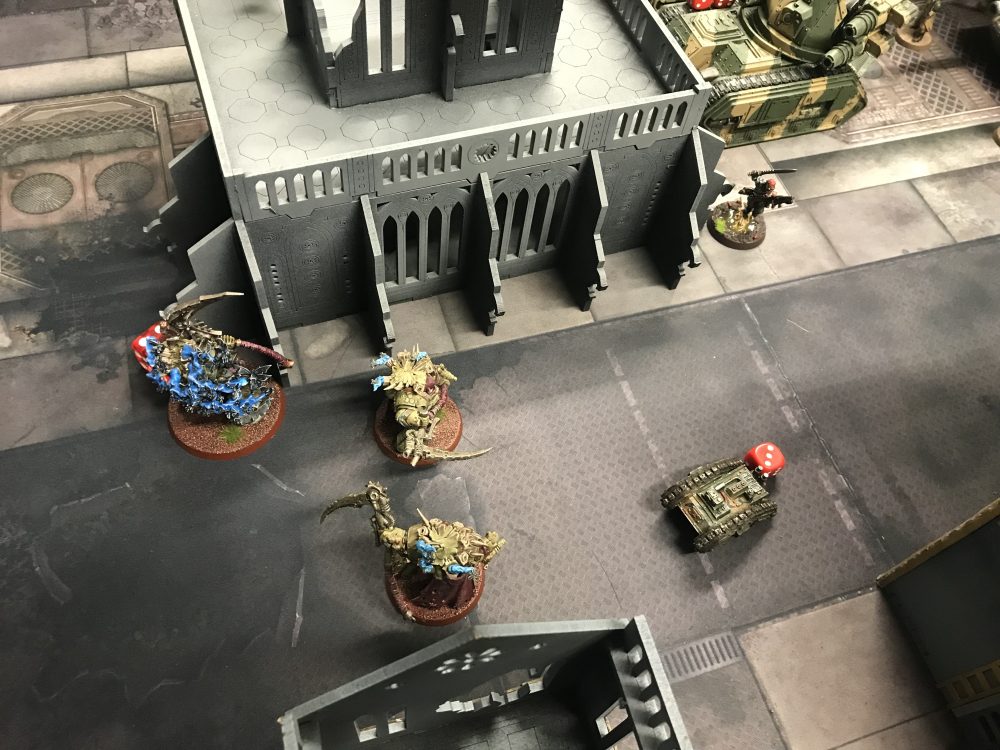
Turn 2 – Death Guard
It’s at this point everything went sideways. Typhus and his Deathshrouds disembarked into a building, which I couldn’t see into.
I don’t remember the cards the Death Guard have but this turn was awful and reminded me why I don’t like to play Maelstrom of War missions.
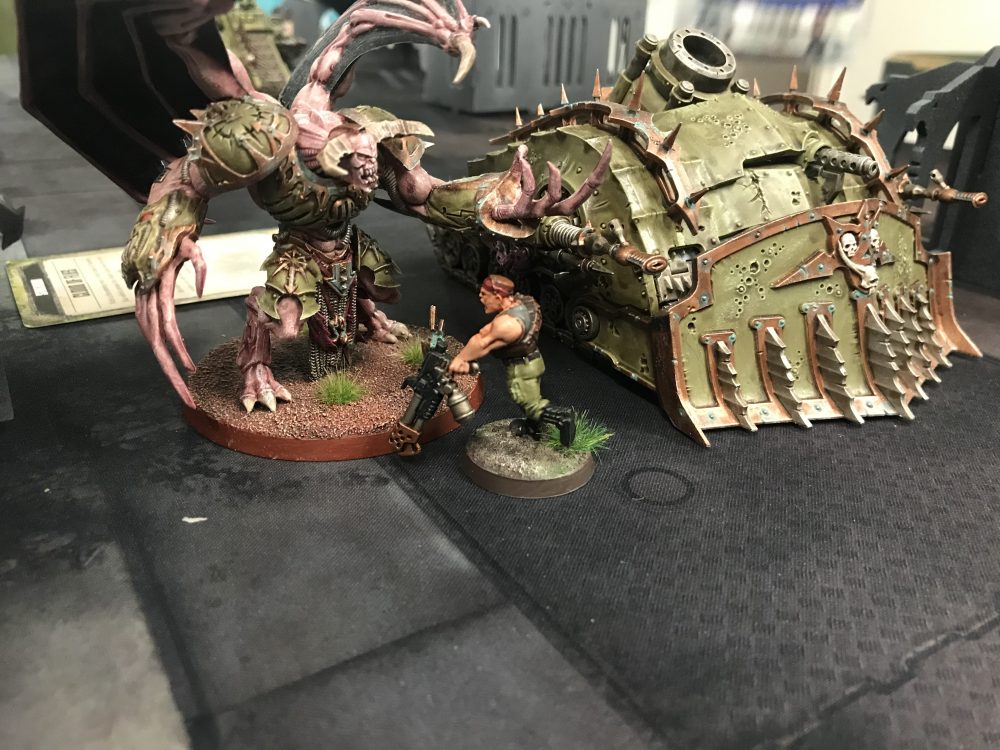
After Typhus charged and got into combat with my Hellhounds destroying them both, which then resulted in Yarrick, a squad of Catachan and my Psyker dying – the Death Guard obtained an additional 10 VP. This did kill a Deathshroud and took Typhus down to four wounds.
Nothing else that happened this turn really mattered. My Artillery survived and the Catachans that ran towards the Land Raider all died after they were charged by the Demon Prince, Plagueburst Crawler and the Nurglings.
The Death Guard also used the Stratagem that prevents you from shooting at a Character with a Sniper. This was used on the Flying Demon Prince Warlord.
Show Score
Death Guard 17 VP
Astra Militarum 4 VP
-

- Pox Walkers lumber forward
-
- The Armiger on my left flank
-
- What a hot mess!

-
- A hero is born! And dies!

-
- A lot is dead!

-
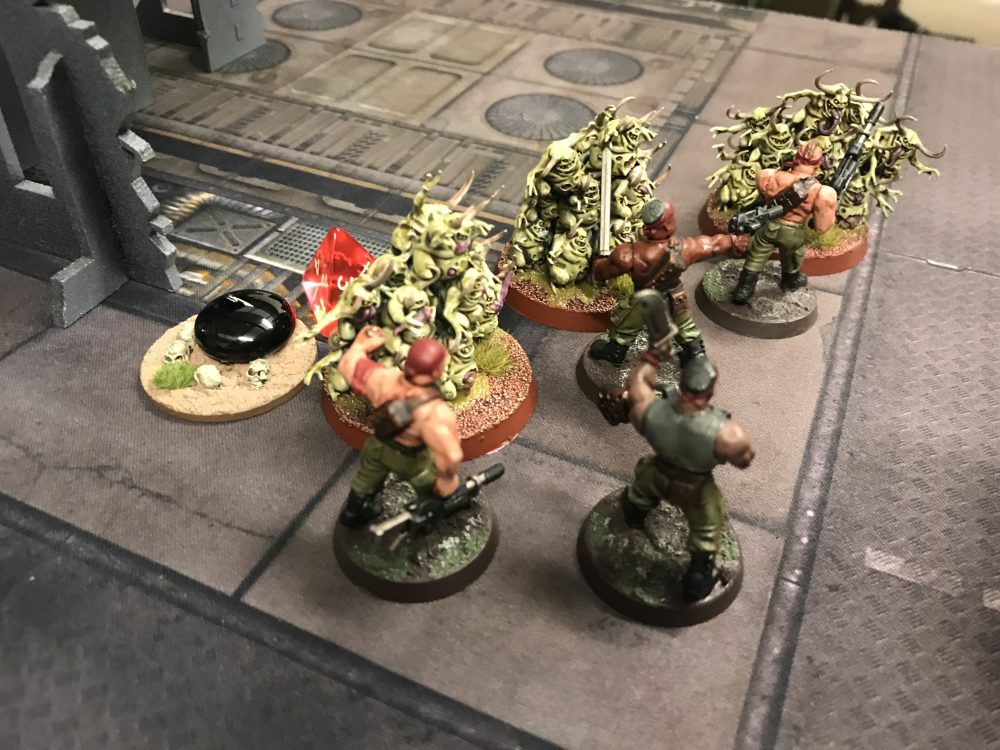
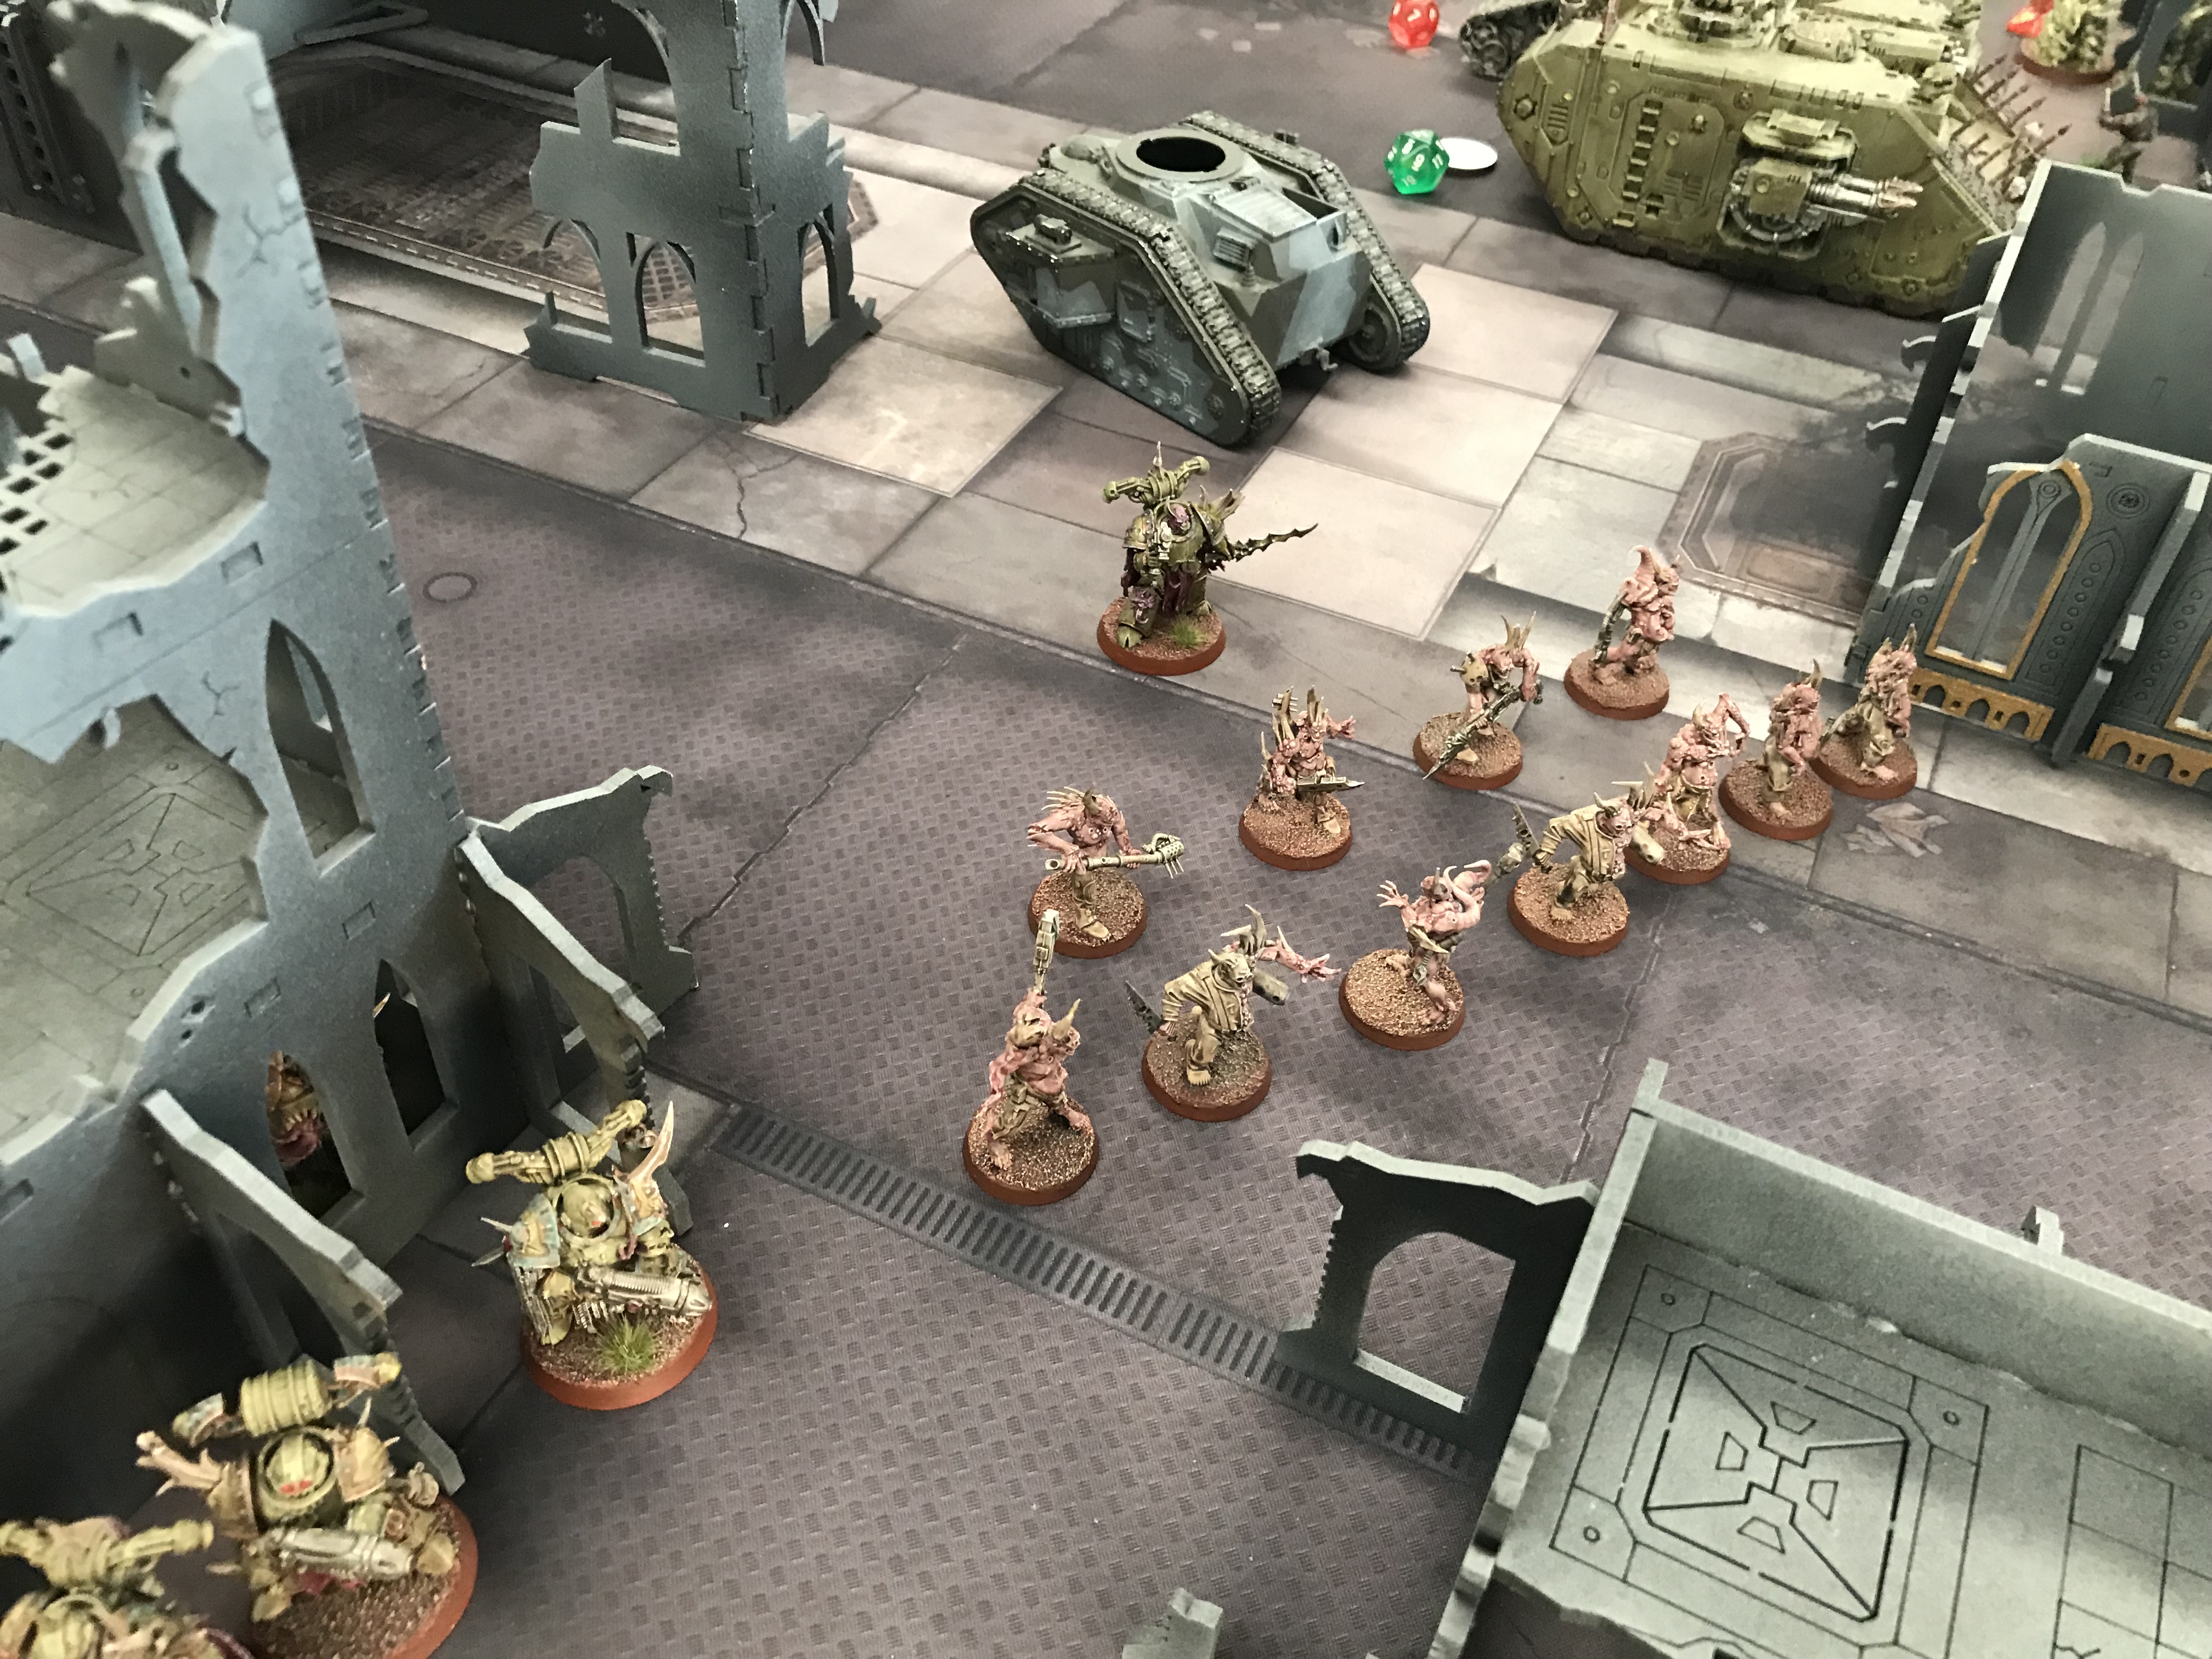
- Nurglings vs Catachans

Turn 2 – Astra Militarum
After such a devastating turn and now trailing on VP – I needed the Emperor’s divine intervention. The cards were not kind. I drew Kingslayer, amongst others, but this was the best I could go for. It would give me one for Slay the Warlord plus D3. But, I couldn’t now target the Demon Prince thanks to the pesky Stratagem.
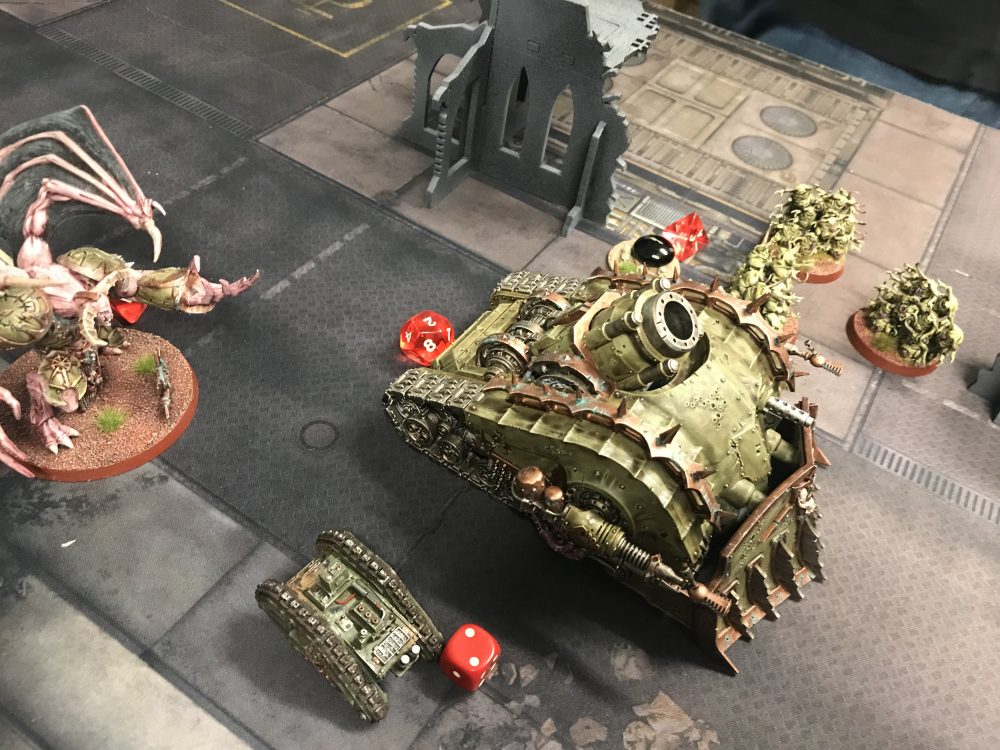
Never mind. I throw a Cyclops at it which finished off the Plagueburst Crawler, it didn’t do much else. The Demon Prince lived on, with seven or so Wounds still. I could still target it as long as it was the closest model. I could achieve this by focusing down the Nurglings, which would open him up to Artillery fire. Alas, this didn’t go as well as I could’ve and he was now on five wounds.
On the other flank, my Cyclops went for Typhus and just made the range needed on his explosion. Straken died in the resulting blast. The Deathshrouds also perished and Typhus was finished off with Sniper fire.
The Death Guard were going down but too slowly. My Wyverns were taking Wounds now too but all my Artillery still remained alive. With such a massive lead I wasn’t sure if I could come back.
Show Score
Death Guard 17 VP
Astra Militarum 5 VP
-
- Before my Shooting Phase…

-
- After my Shooting Phase
-
- This was where the melee was between Typhus and my units – now there is nothing

-
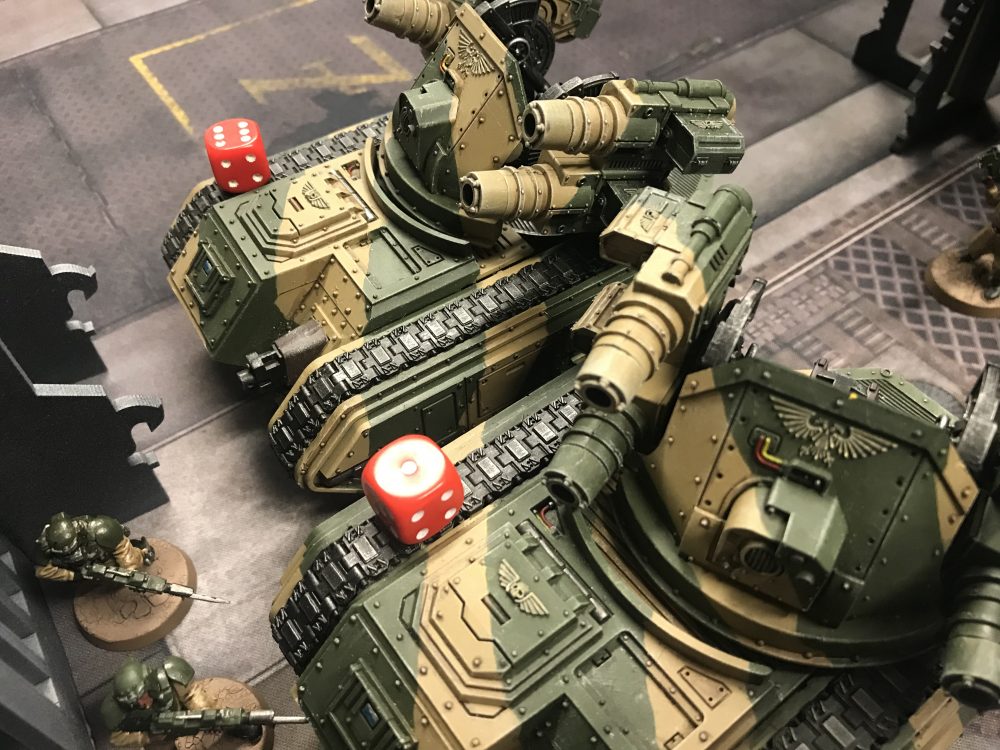
- My Artillery Car Park – intact
Death Guard – Turn 3
Cloud of Flies was used again to shield the Delon Prince and then he nipped in behind seven Pox Walkers for extra protection.
The Land Raider started to pull back now it was all alone. Its cargo was dead and the supporting Armiger and Plagueburst Crawler were gone too.
The remaining Armiger, however, was able to take one Wyvern down to one wound. Ouch.
The Death Guard were struggling a bit now because of their loss of firepower. If I could just remove the Land Raider or Armiger and the Warlord they would really struggle to hurt my remaining armour.
Show Score
Death Guard 17 VP
Astra Militarum 5 VP
-
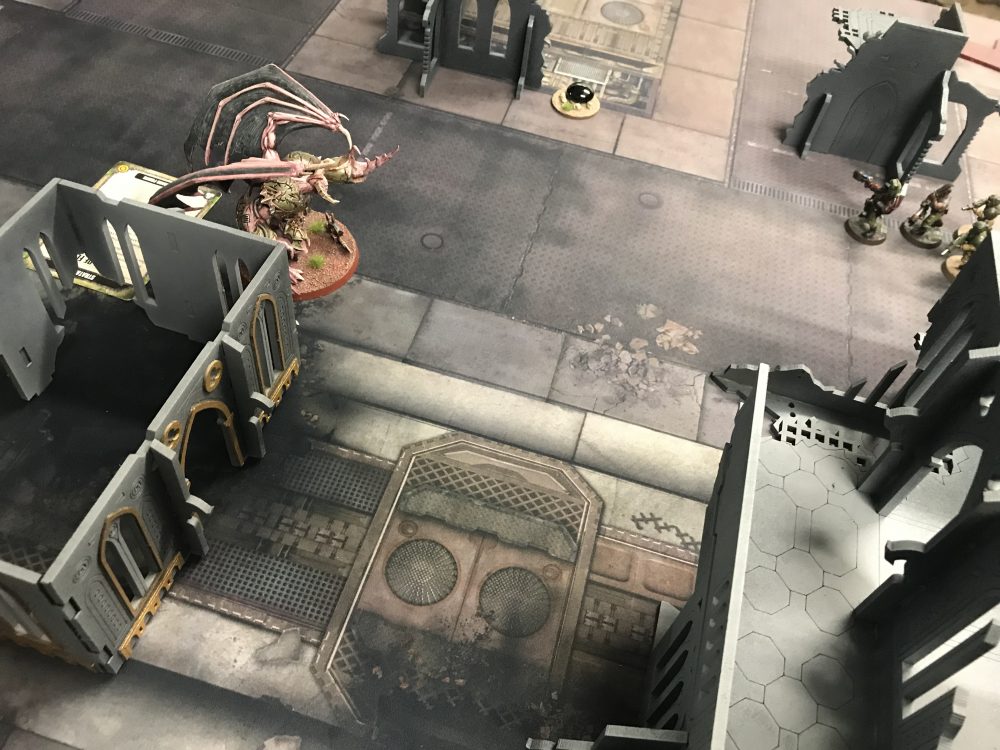
- Demon Prince takes centre stage behind Pox Walkers

-
- 1 wound Wyvern!

Astra Militarum – Turn 3
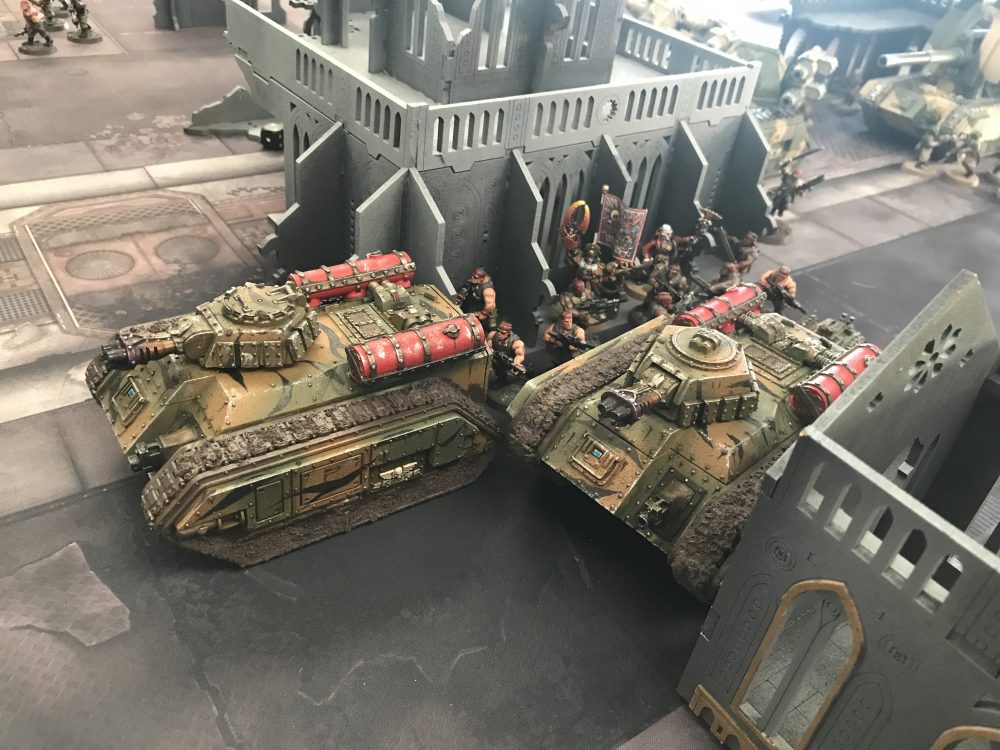
The Demon Prince was once again un-targetable by my Snipers. So I pounded shots into the Nurglings and Pox Walkers to remove them and open him up once again to my Snipers and Basilisks. Once again he lived! My right flank was doing OK now the Nurglings were gone and the Land Raider has moved back. Granted, I had nothing with great damage potential over there but it did grab me an objective and I charged the Land Raider. Assuming now that the Land Raider is null and void. I kept charging it again and again with 5 Cadian Guardsmen and Catachan Company Commander. This shut down it’s shooting for the rest of the battle!
The Wyvern on one wound I opted for Suppressive fire. This I used on the enemy Warlord so he moved half distance and could not Overwatch. He had no Overwatch anyway and I was not going to charge him, but it did reduce his movement.
I focused my efforts onto the remaining Armiger, I had Old Grudges against this guy and I got him down to six wounds from his starting 12. He was down a characteristics bracket at least.
Show Score
Death Guard 17 VP
Astra Militarum 6 VP
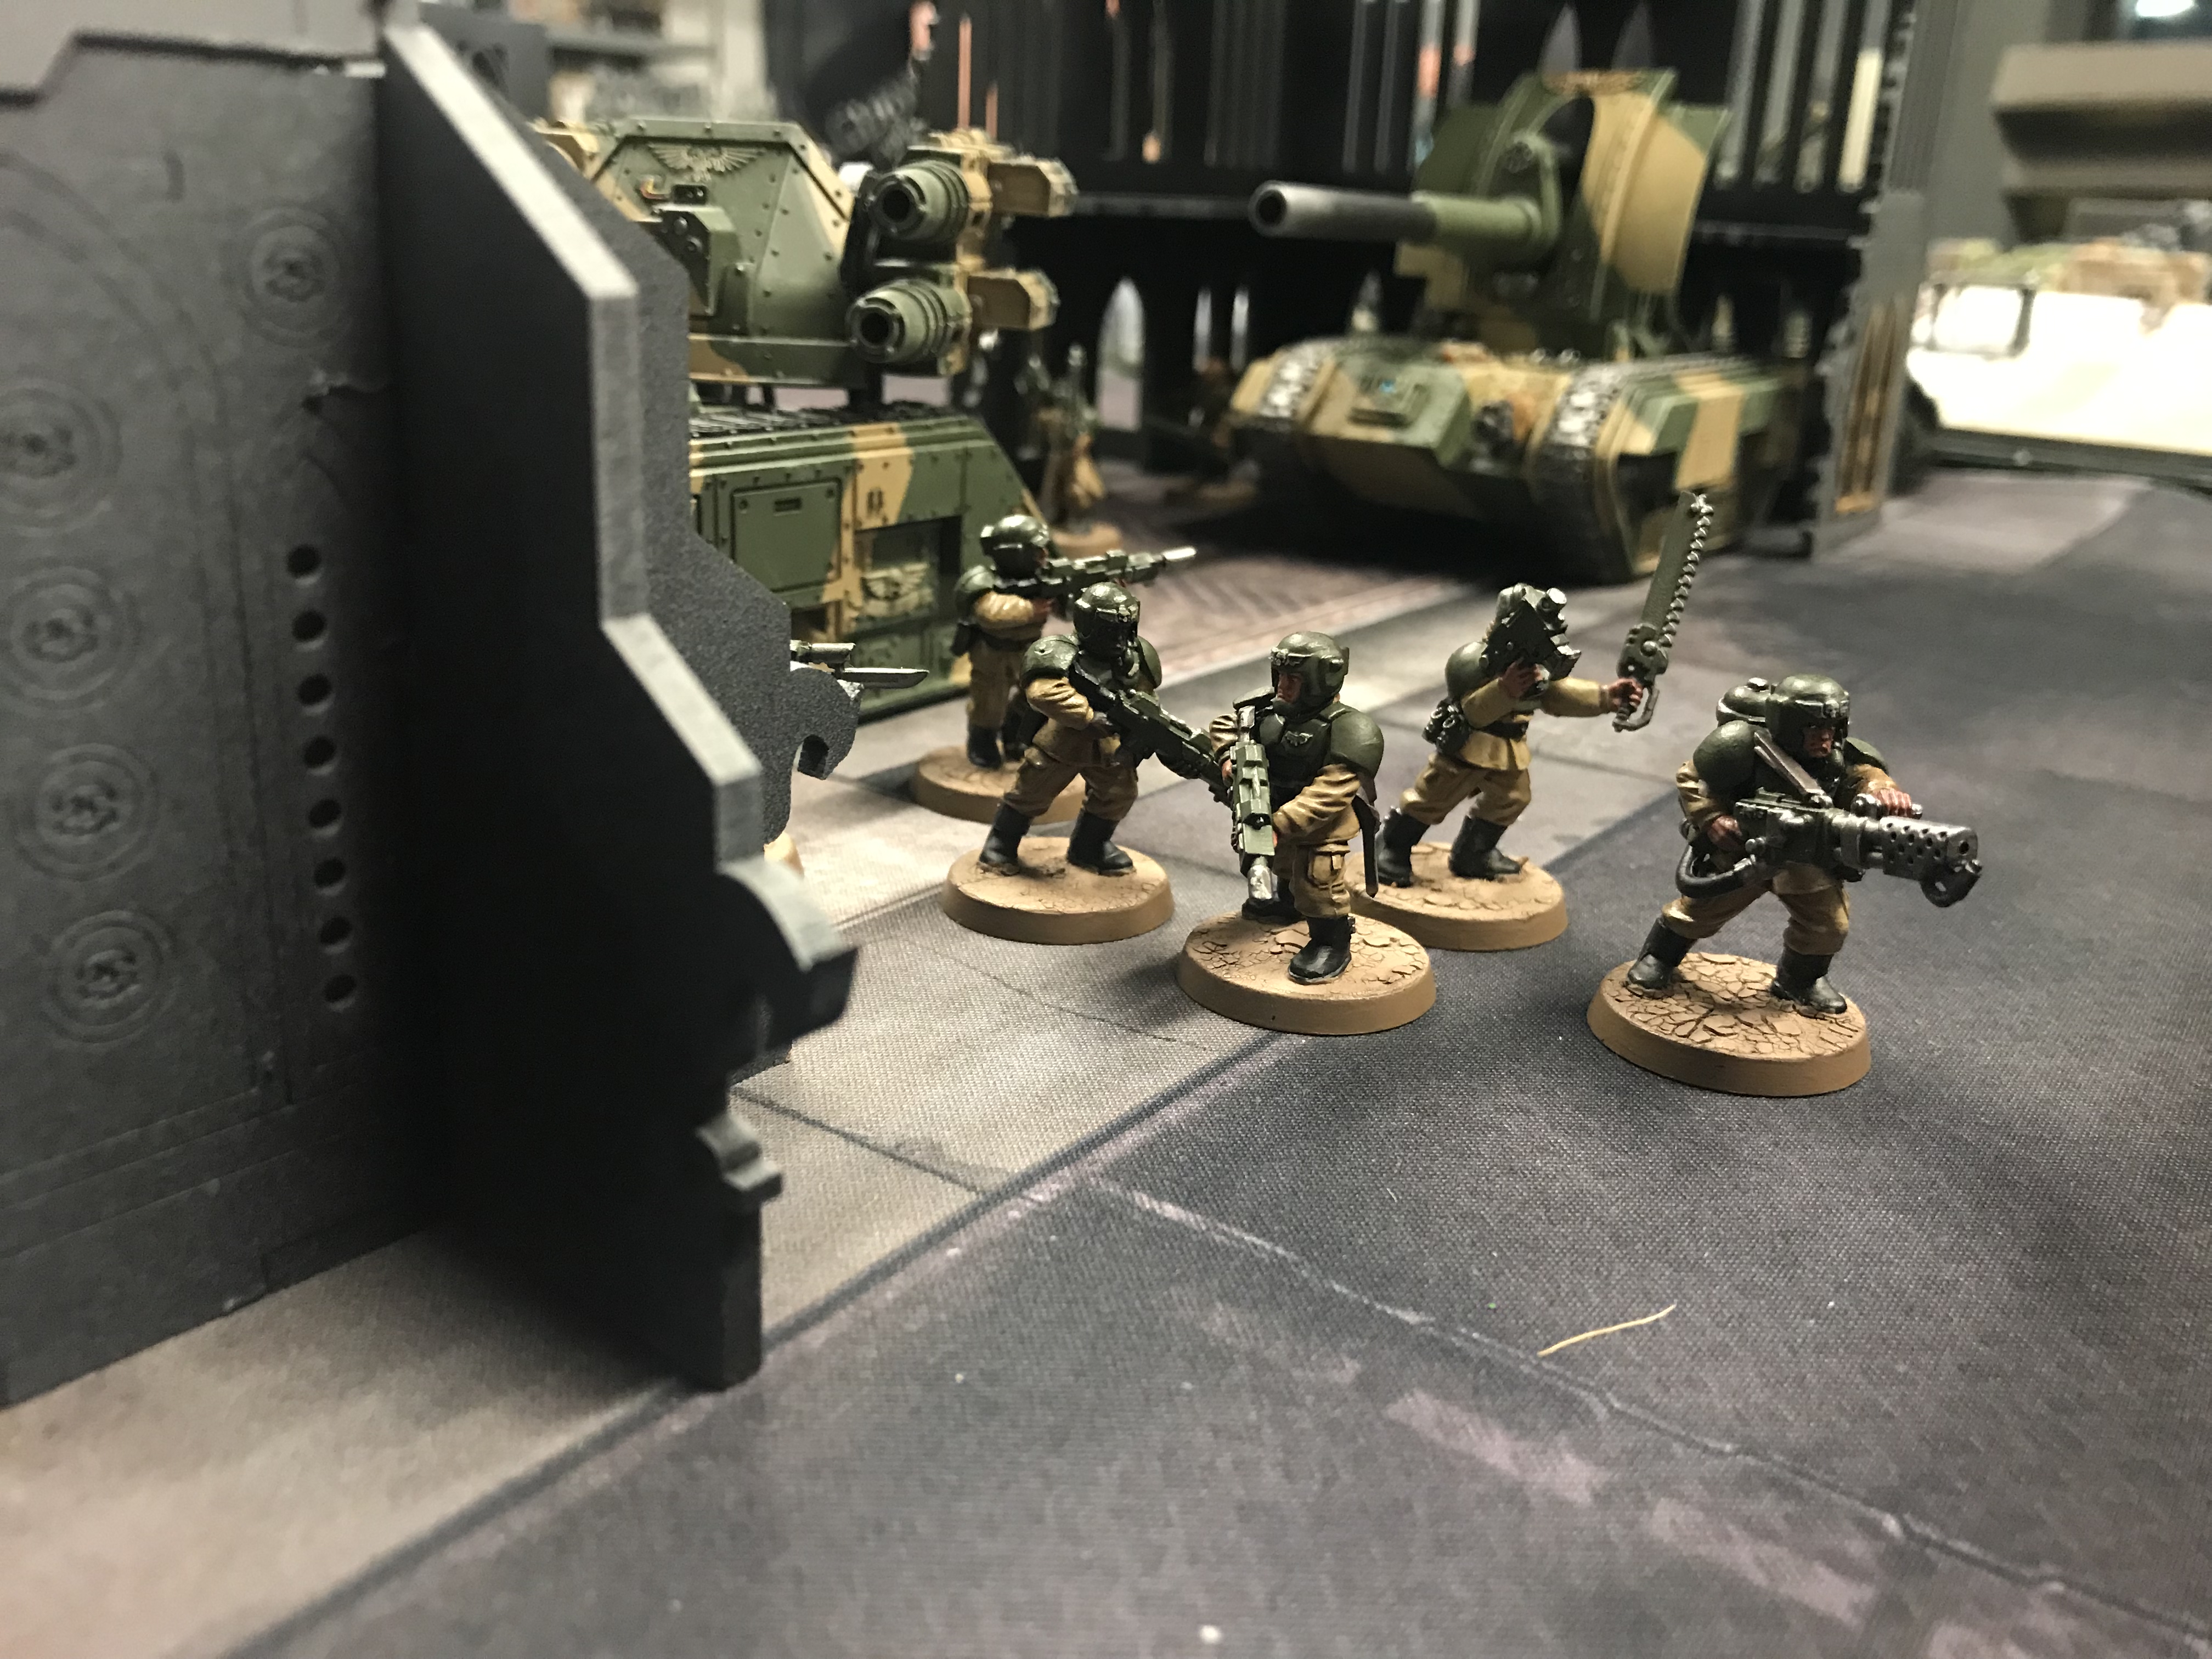
Cadians preparing to defend their artillery
Death Guard – Turn 4
The Demon Prince did not move and opted to stay still while the Plague Marines hopped in front of him. My mind gets fuzzy at this point. I lost both Wyverns this turn from the Land Raider and the Armiger.
Show Score
Death Guard 21 VP
Astra Militarum 6 VP
The last remaining Armiger stares down my Cadians
Astra Militarum – Turn 4
The last Armiger was reduced to one wound even after I shot as much as I could at it. It did not die! The Warlord did not die again also and I tried to position my Guardsmen to stop his charge. I did this badly, forgetting his large movement and Fly.
Show Score
Death Guard 21 VP
Astra Militarum 8 VP
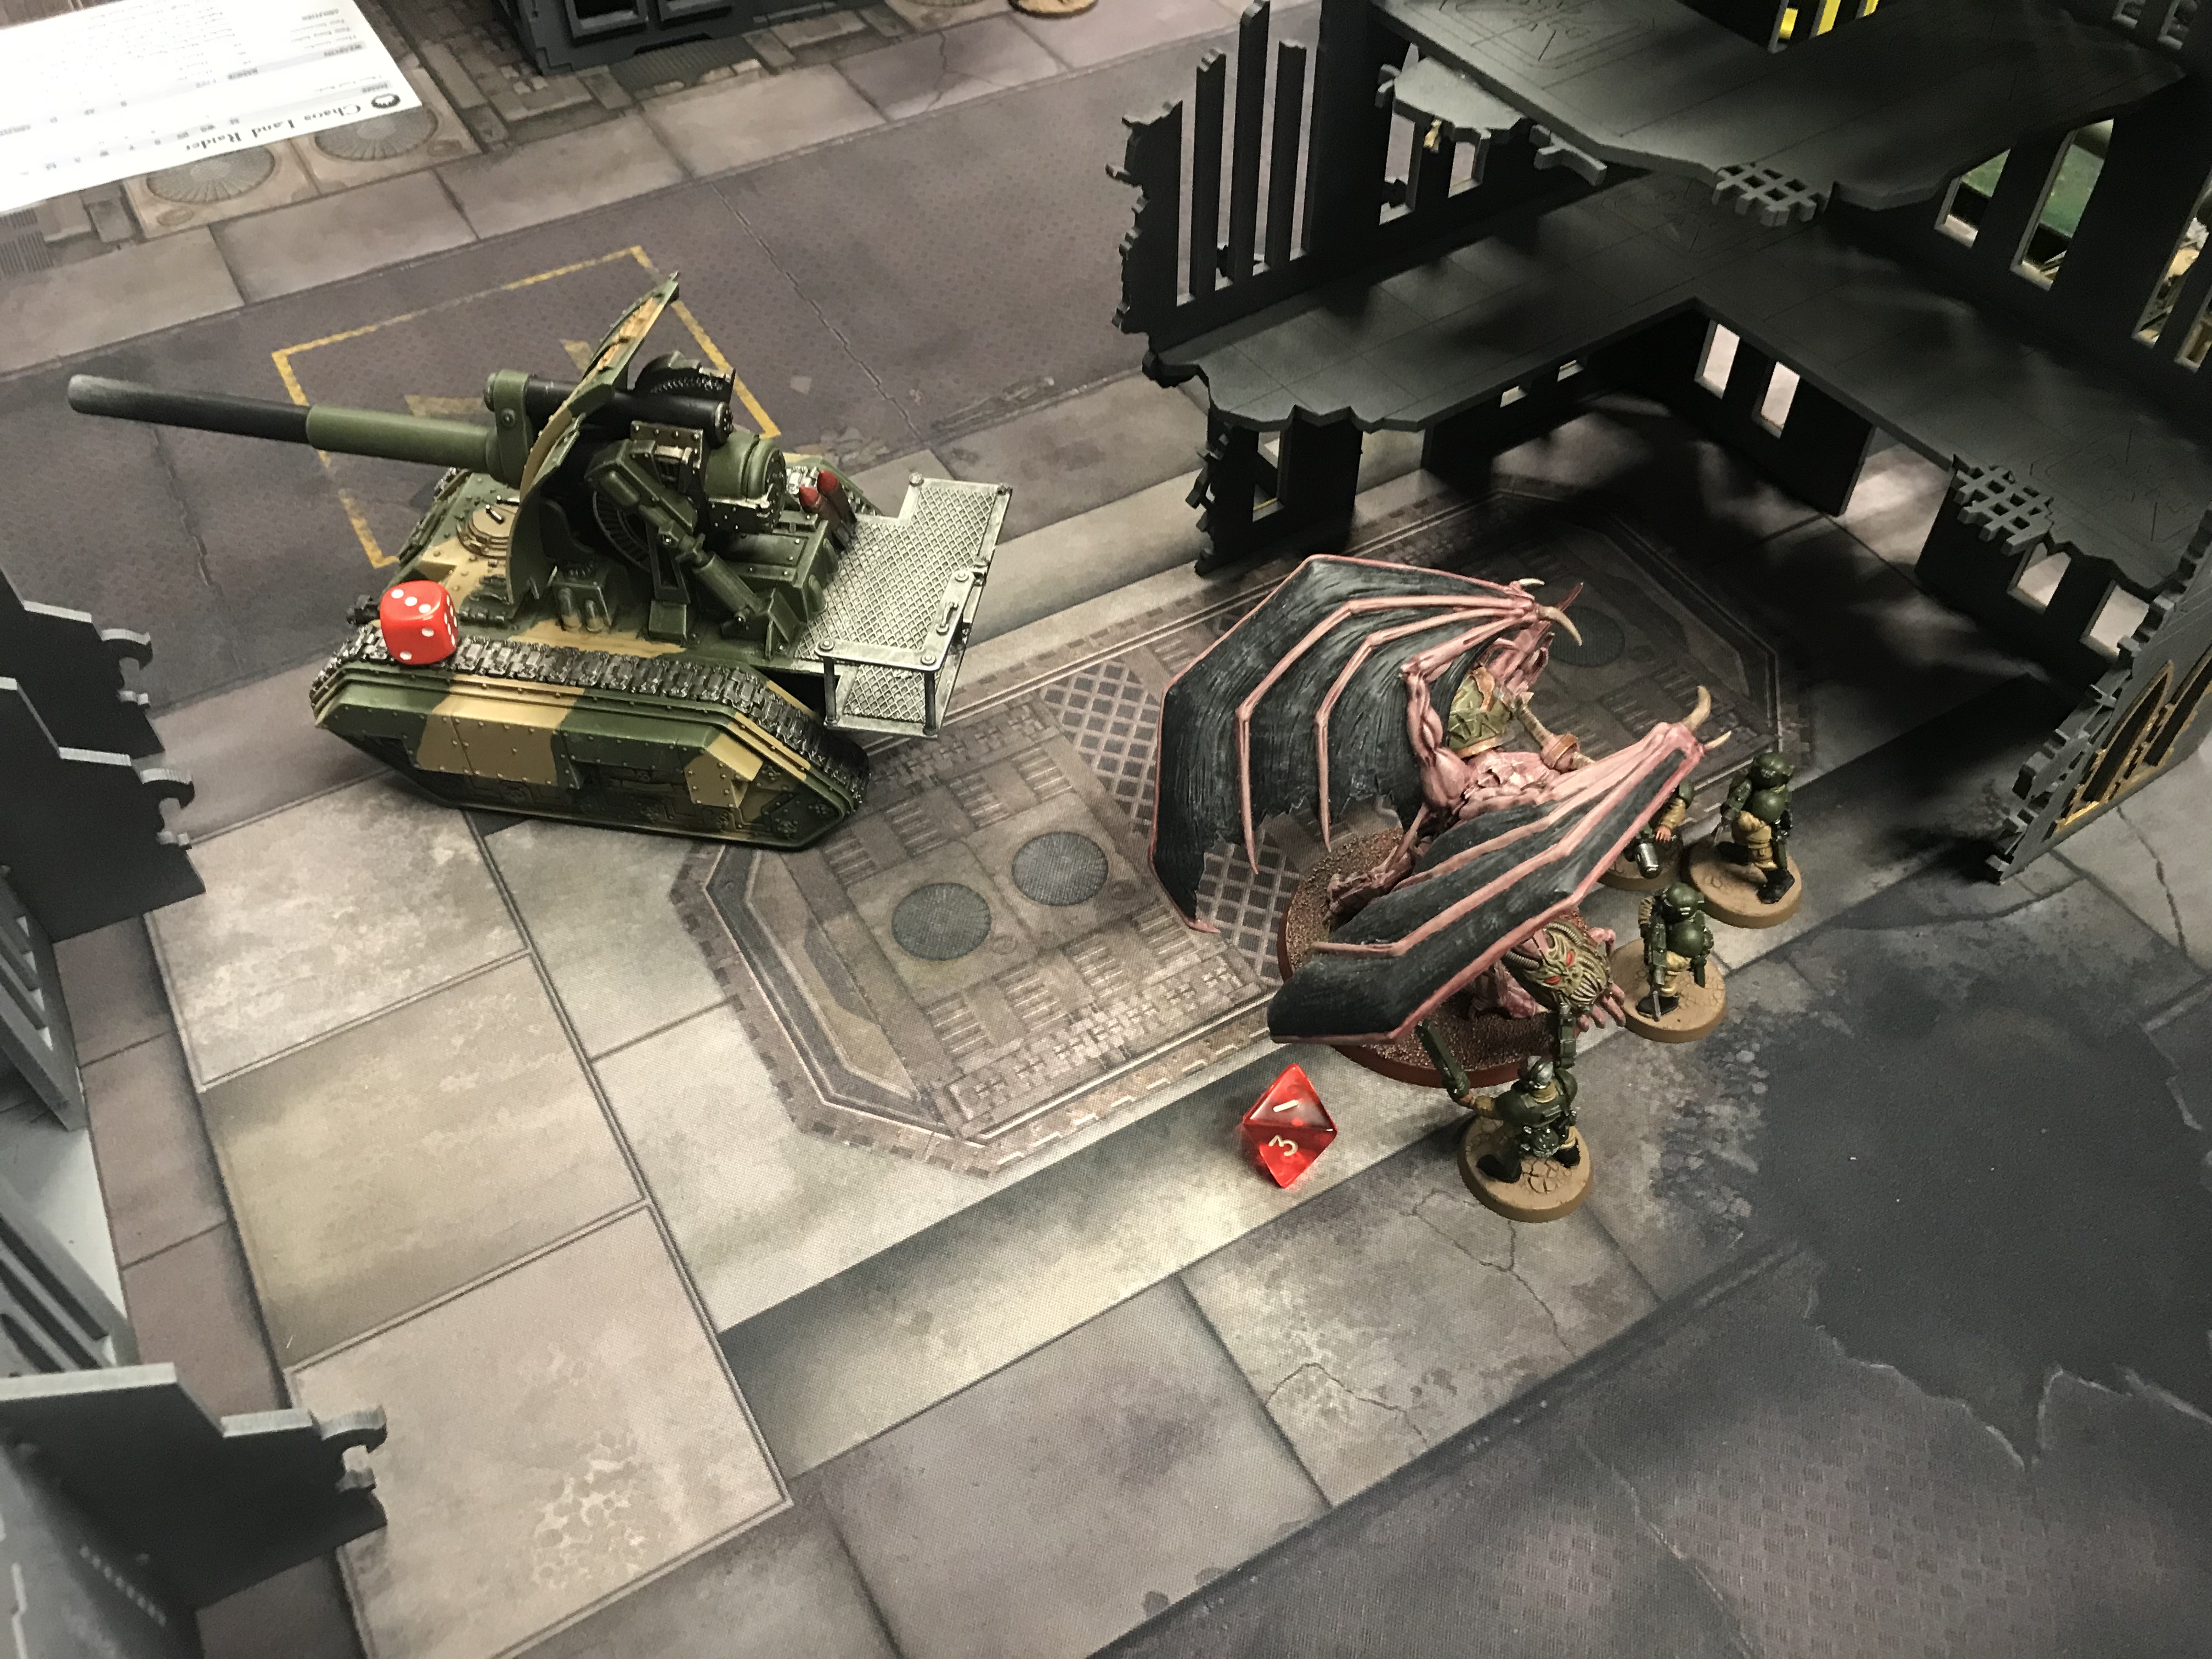
Land Raider vs Company Commander
Turn 5
The game was going quickly now as there was not much left. But essentially it boiled down to the Demon Prince reducing a Basilisk to 3 wounds and then being shot my a Cadian Squad with a Meltagun. It did not die and was on one wound. The Guardsmen charged and he did not die. The Prince then killed them all.
Show Score
Death Guard 23 VP
Astra Militarum 8 VP
Demon Prince doing his thing
Turn 6
The Basilisk right at the back edge of the battlefield was easily destroyed by the Warlord and my Ratlings were being killed off now.
The Vindicare failed to kill the Demon Prince. But my Lasguns did! The Lasguns took the final wound off the Demon Prince after it has nearly killed one Basilisk and completely destroyed the other in close combat.
Show Score
Death Guard 25 VP
Astra Militarum 14 VP
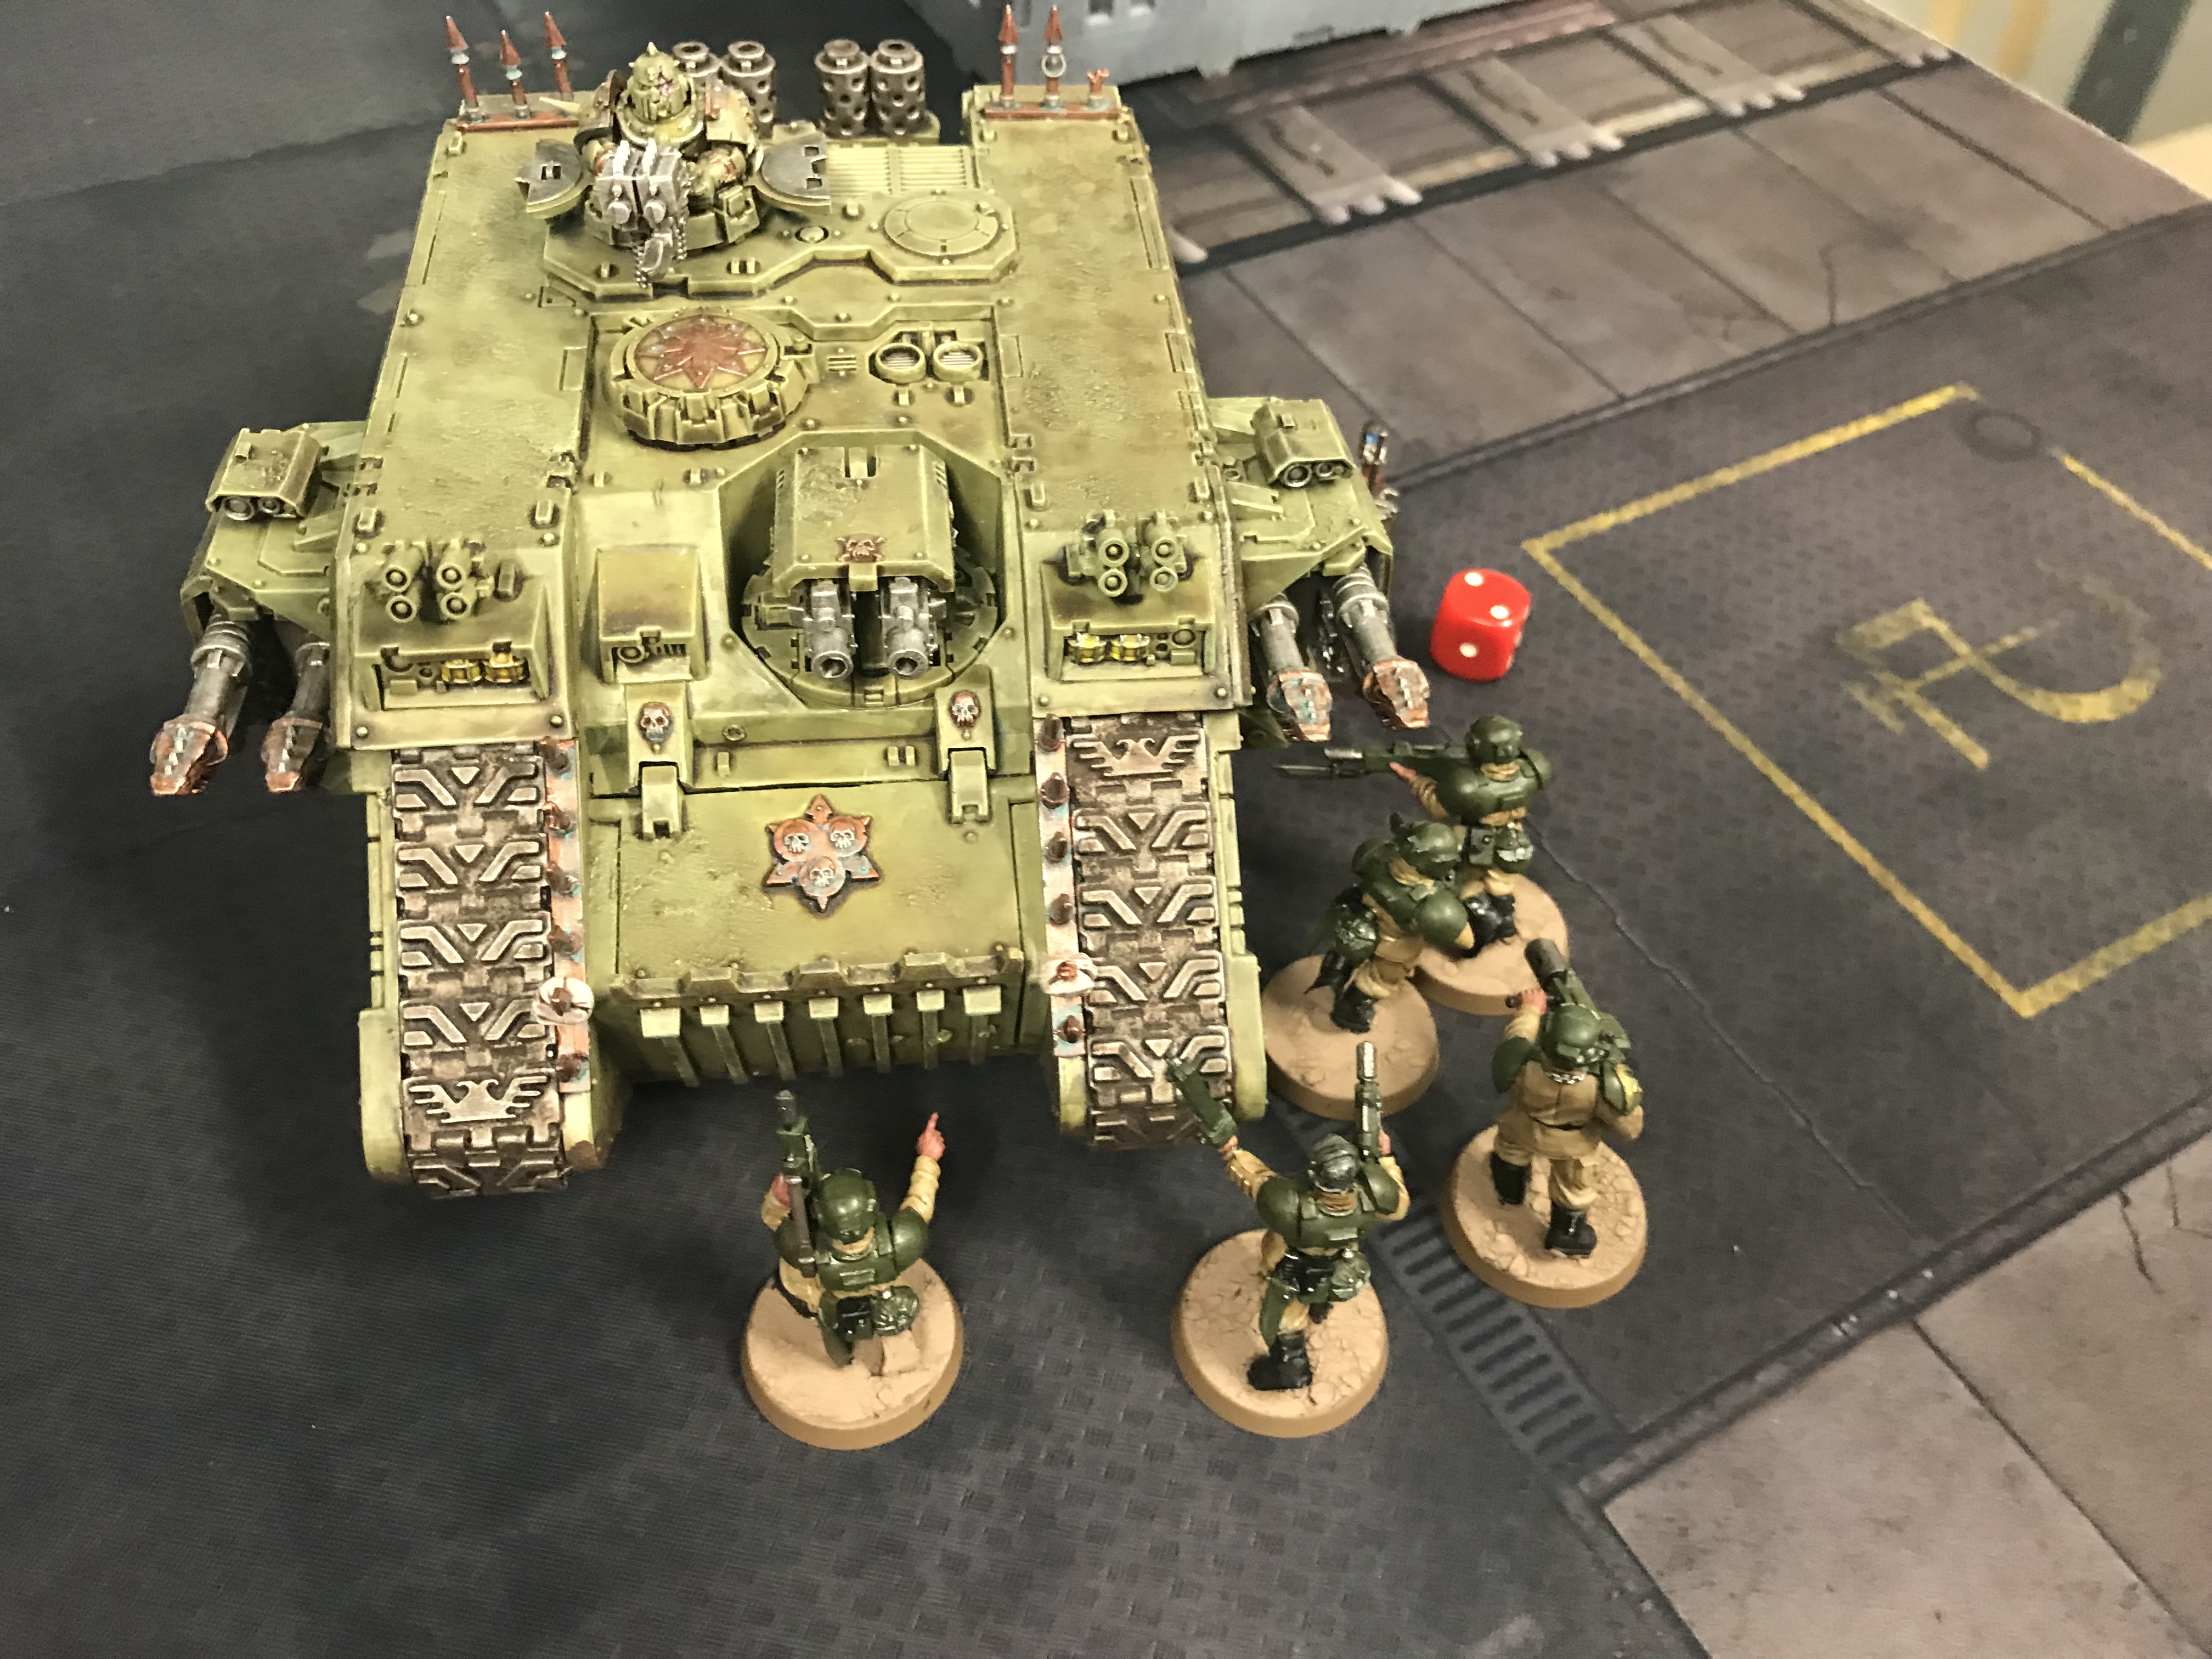
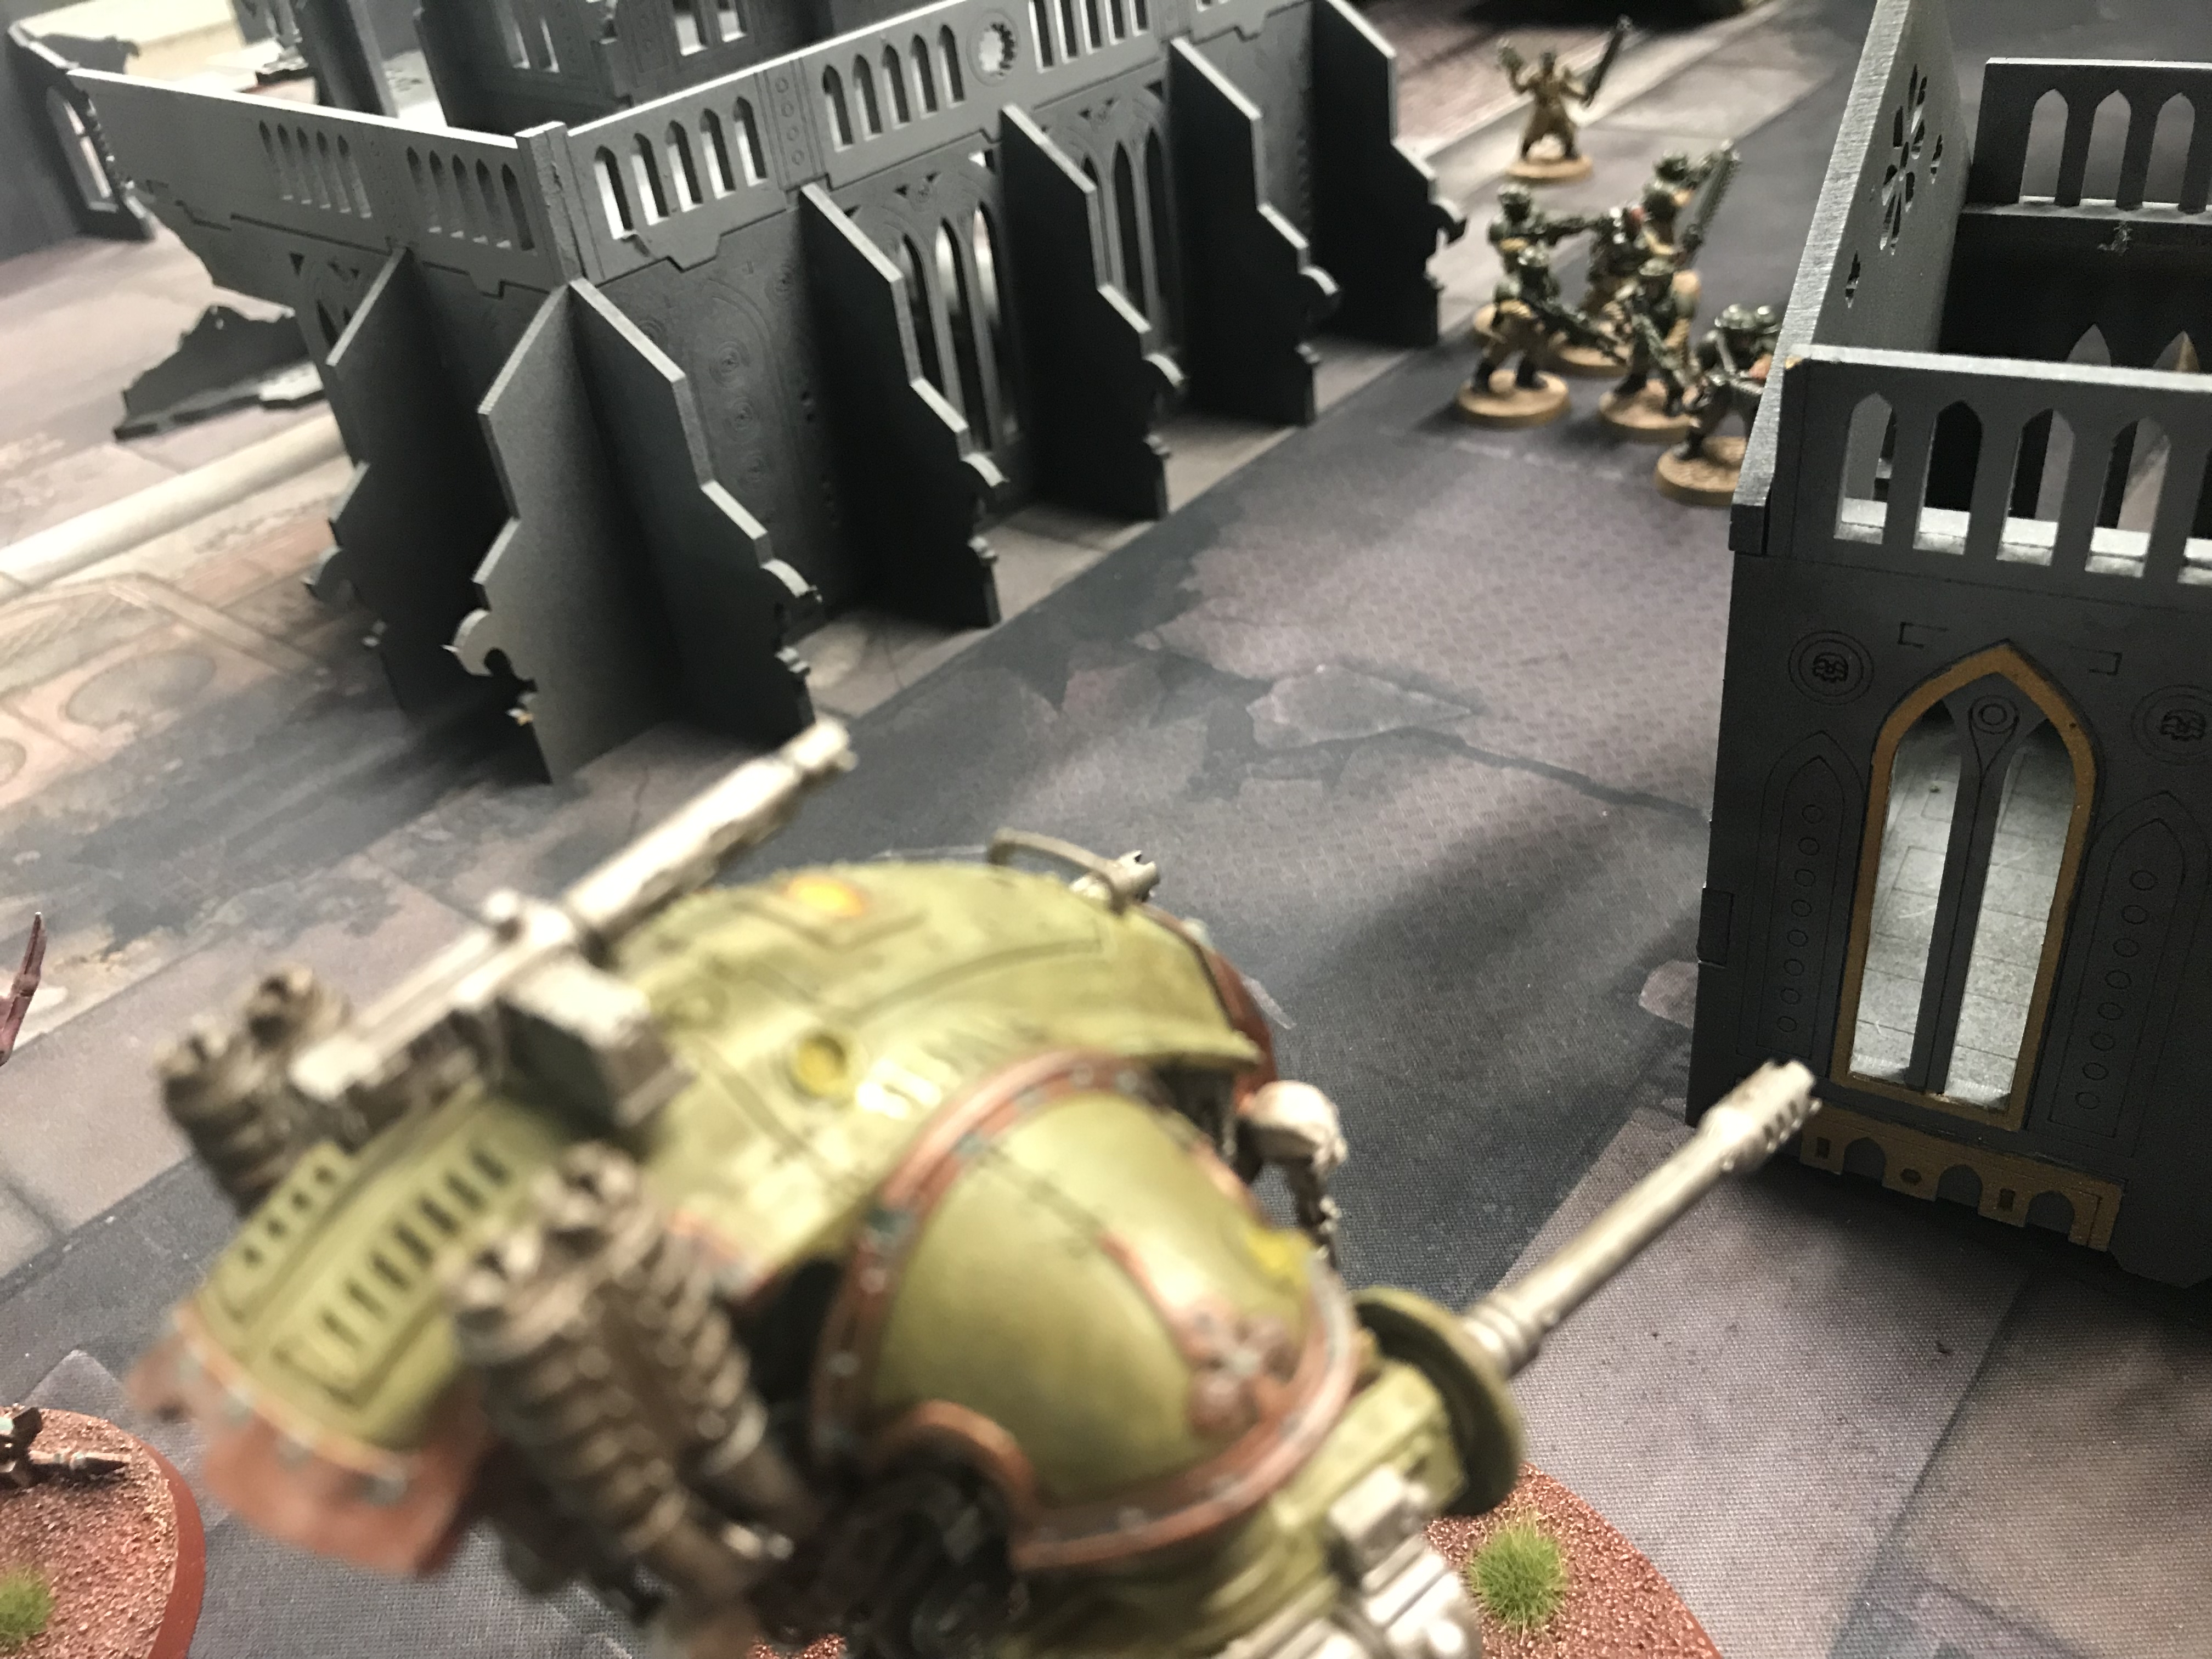
Guardsmen shutting down the Land Raider
Summary – Cadians & Catachans vs Death Guard
And so, how do we link the Cadians & Catachans faired with the Emperor’s Wrath Artillery Detachment?
Well, we took a fair hammering on points and this reminded me why playing cards as not as fun as it should be. I lost by 11 VP. In turn 2 the Death Guard took 10 VP – which shows that if you get one good round you’ve won. I had little to no chance of coming back, I rolled a one for Kingslayer! I had no other cards that came up that were D3 or D3 + X.
Also, Cloud of Flies was mistakenly misused, Mark realised after the game. It can only be used on Infantry, and the Demon Prince is not infantry. It is hard to tell how this affected the outcome. But for me, it was a big deal. I had Kingslayer for a long time and was the only method for me to gain multiple points and it would also remove a powerful unit from the table. I sank a lot of shots into Nurglings and Pox Walkers to remove them so I could target the Demon Prince.
Had Cloud of Flies not been in place, those shots into the Pox Walkers and Nurglings would have been directed elsewhere. E.g. onto Plague Marines with Plasma Guns. Plasma Guns that did multiple wounds on my artillery. There are a lot of what ifs here. In short; my target priority was all out of whack because of Cloud of Flies.