
Autocannons Completed
Finished my Autocannons!
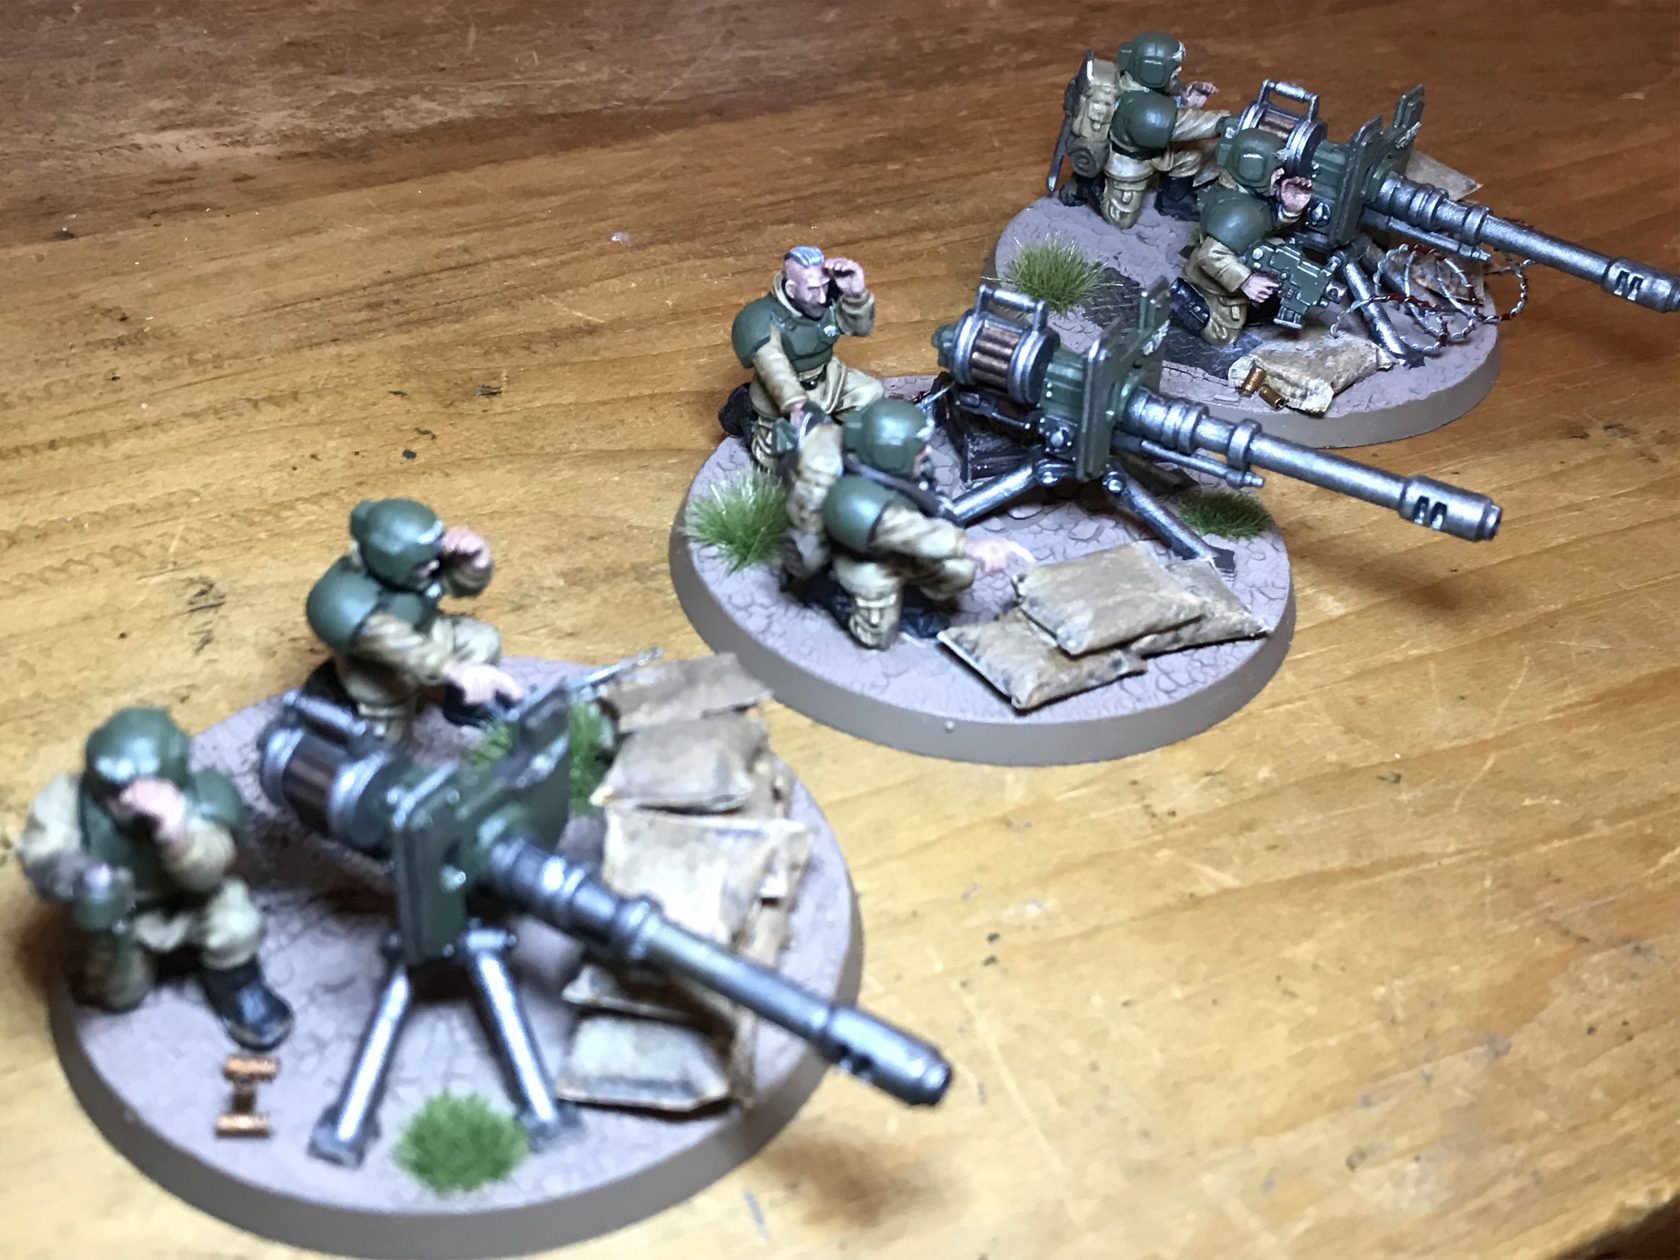
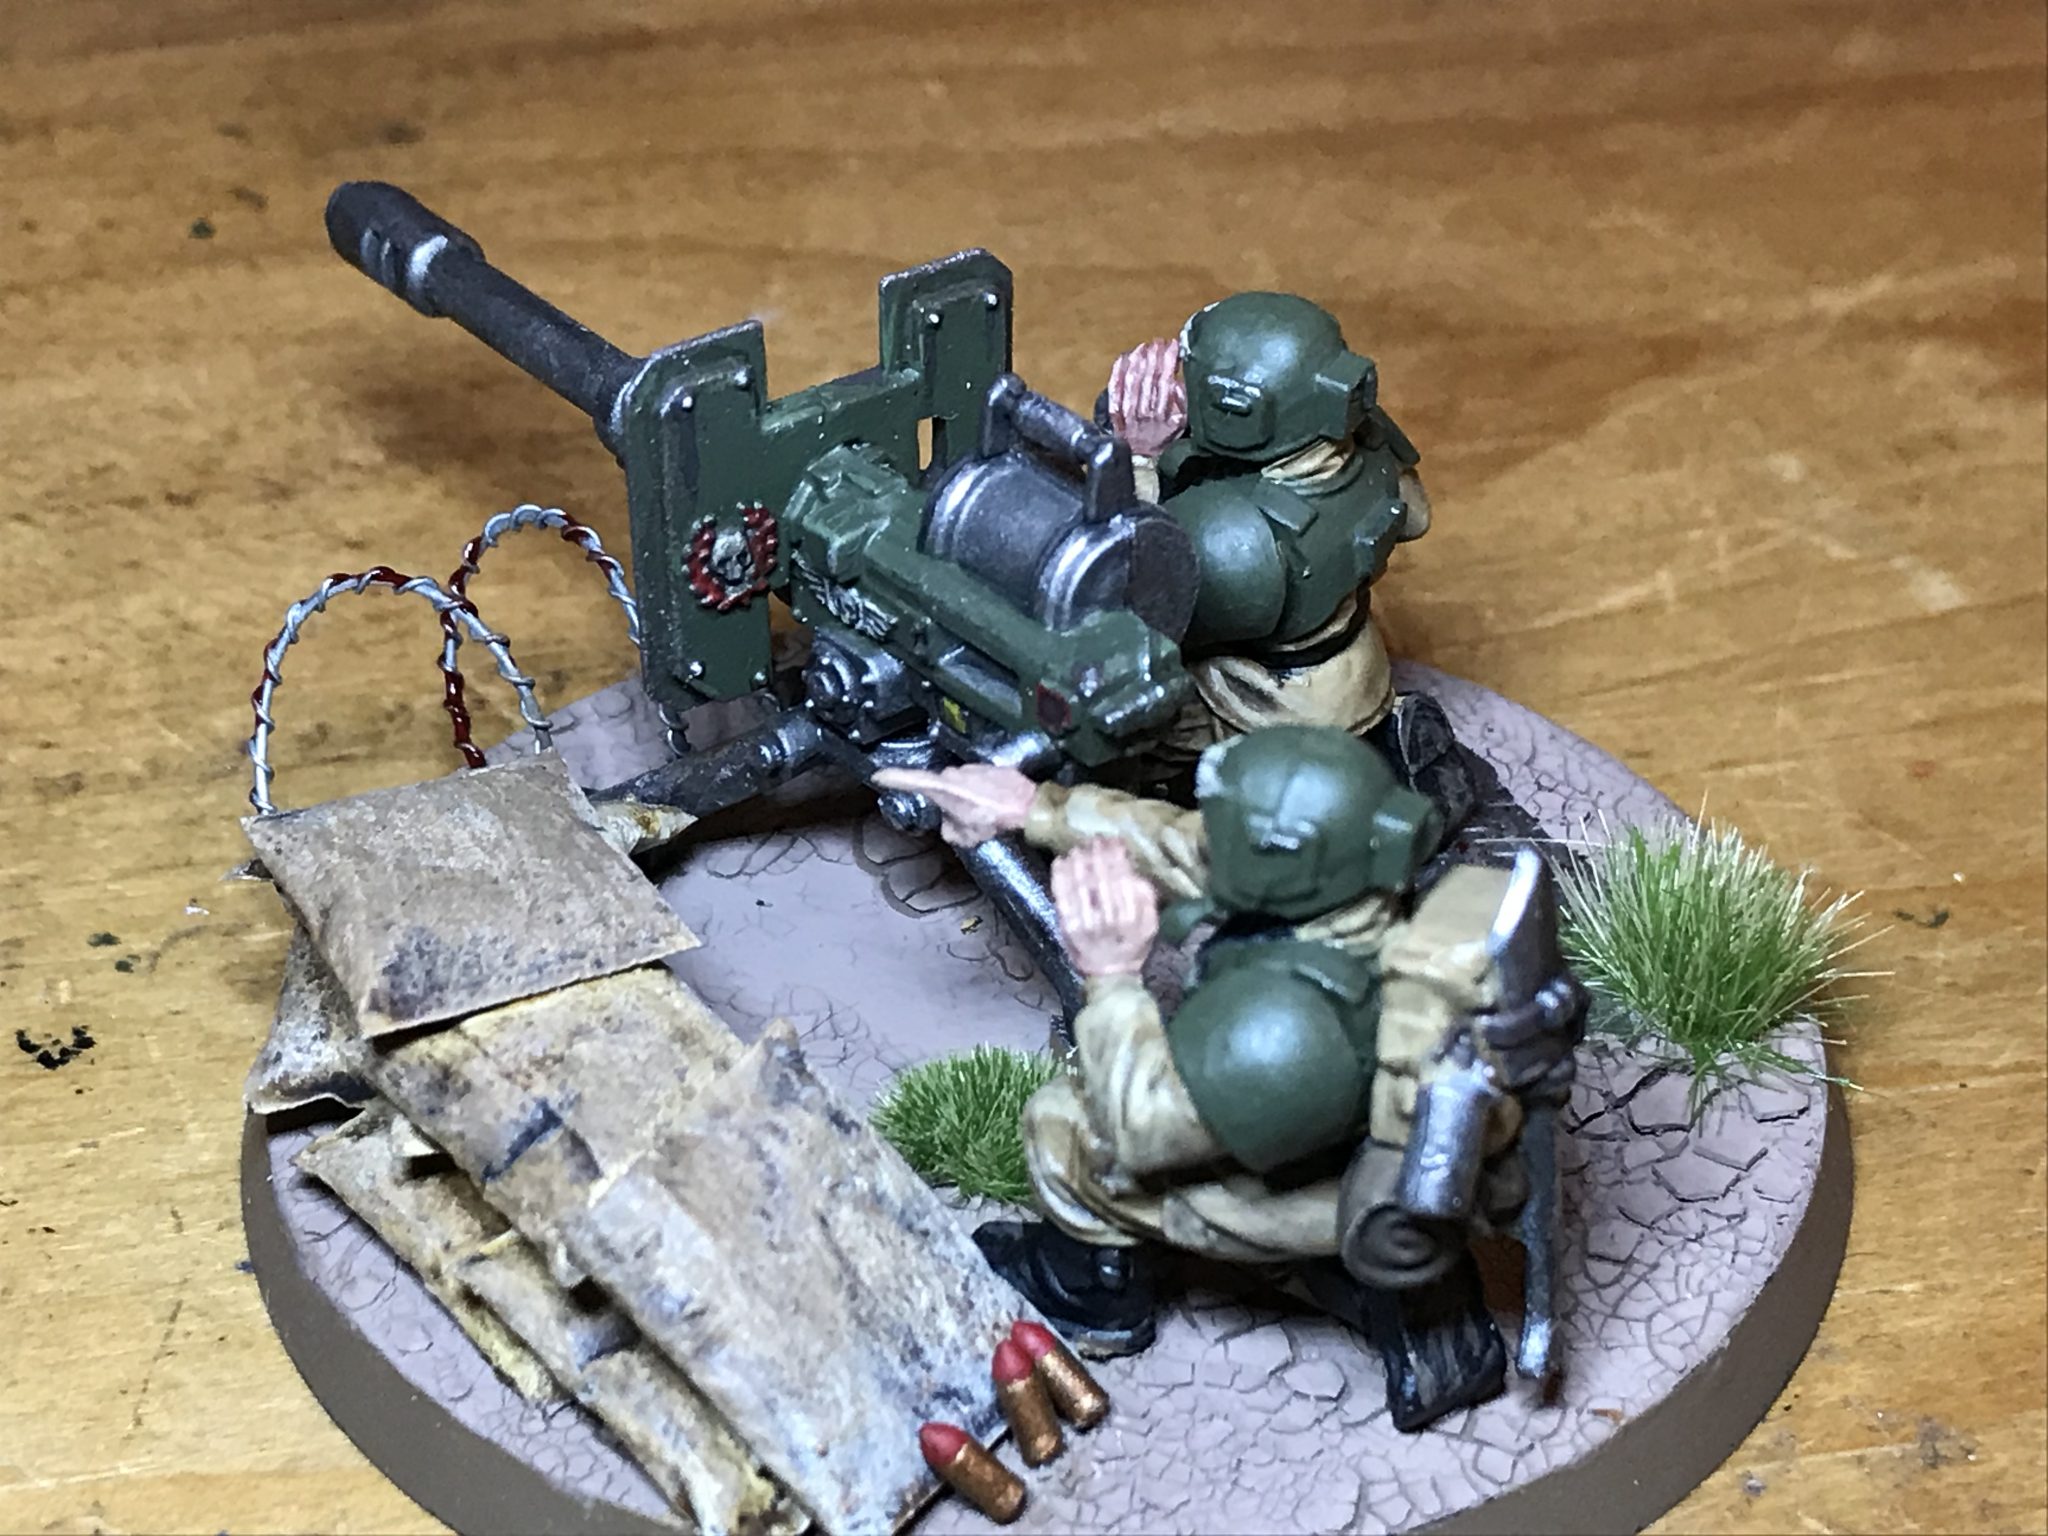
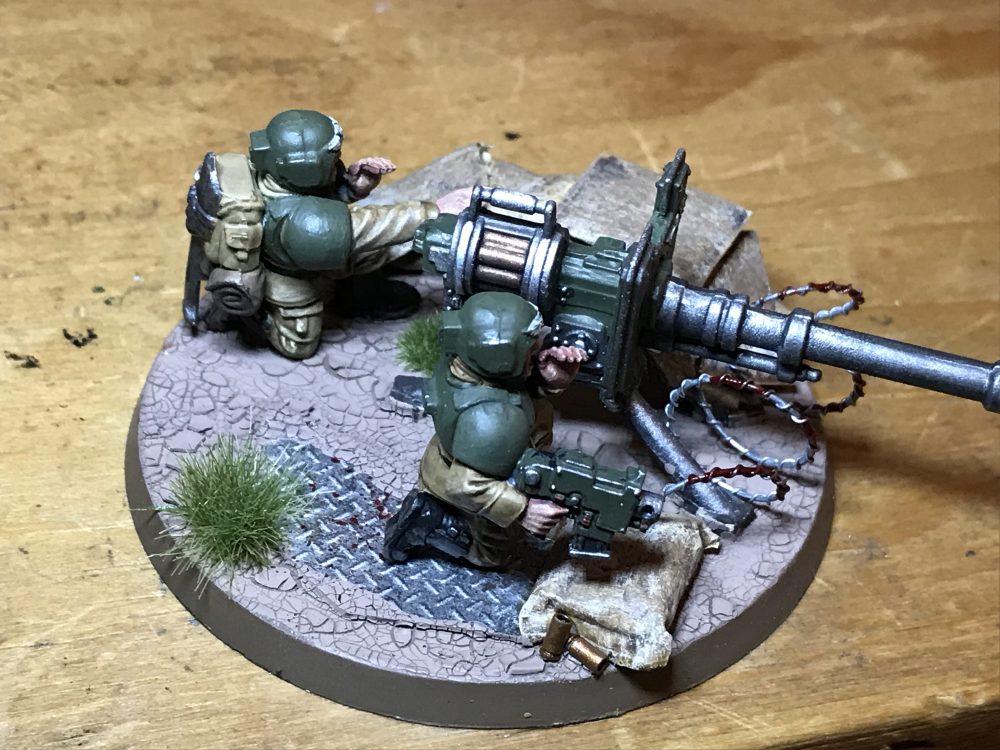
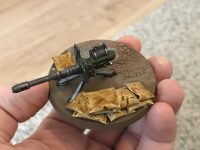
I’ve finished my three Autocannons! Id started out doing a batch of 21 Heavy Weapons. Idiot. There was no way I could hope to keep my motivation doing that many!
So I went for just three instead. Glad that I did as they are now all done and dusted and ready for the table.
Never miss an article? Subscribe!
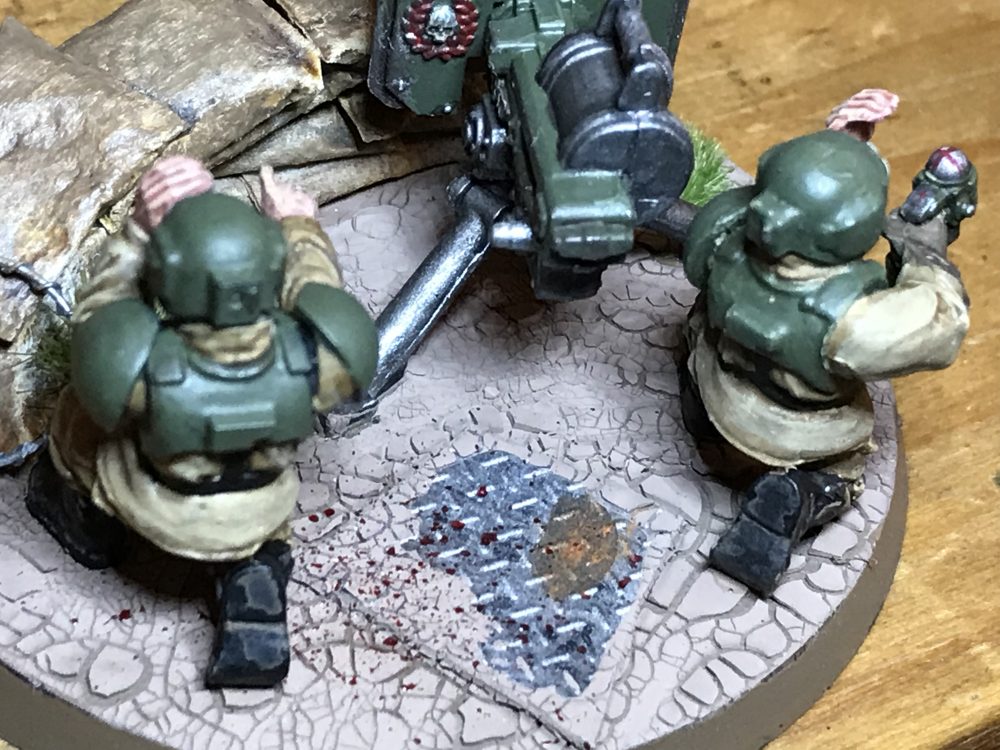
Firstly I know! No one is firing the weapons. But nothing makes sense or is logical in 40K! Look at all the wings in every flyer! I state they are in recon mode, not firing mode.
Painting Autocannons
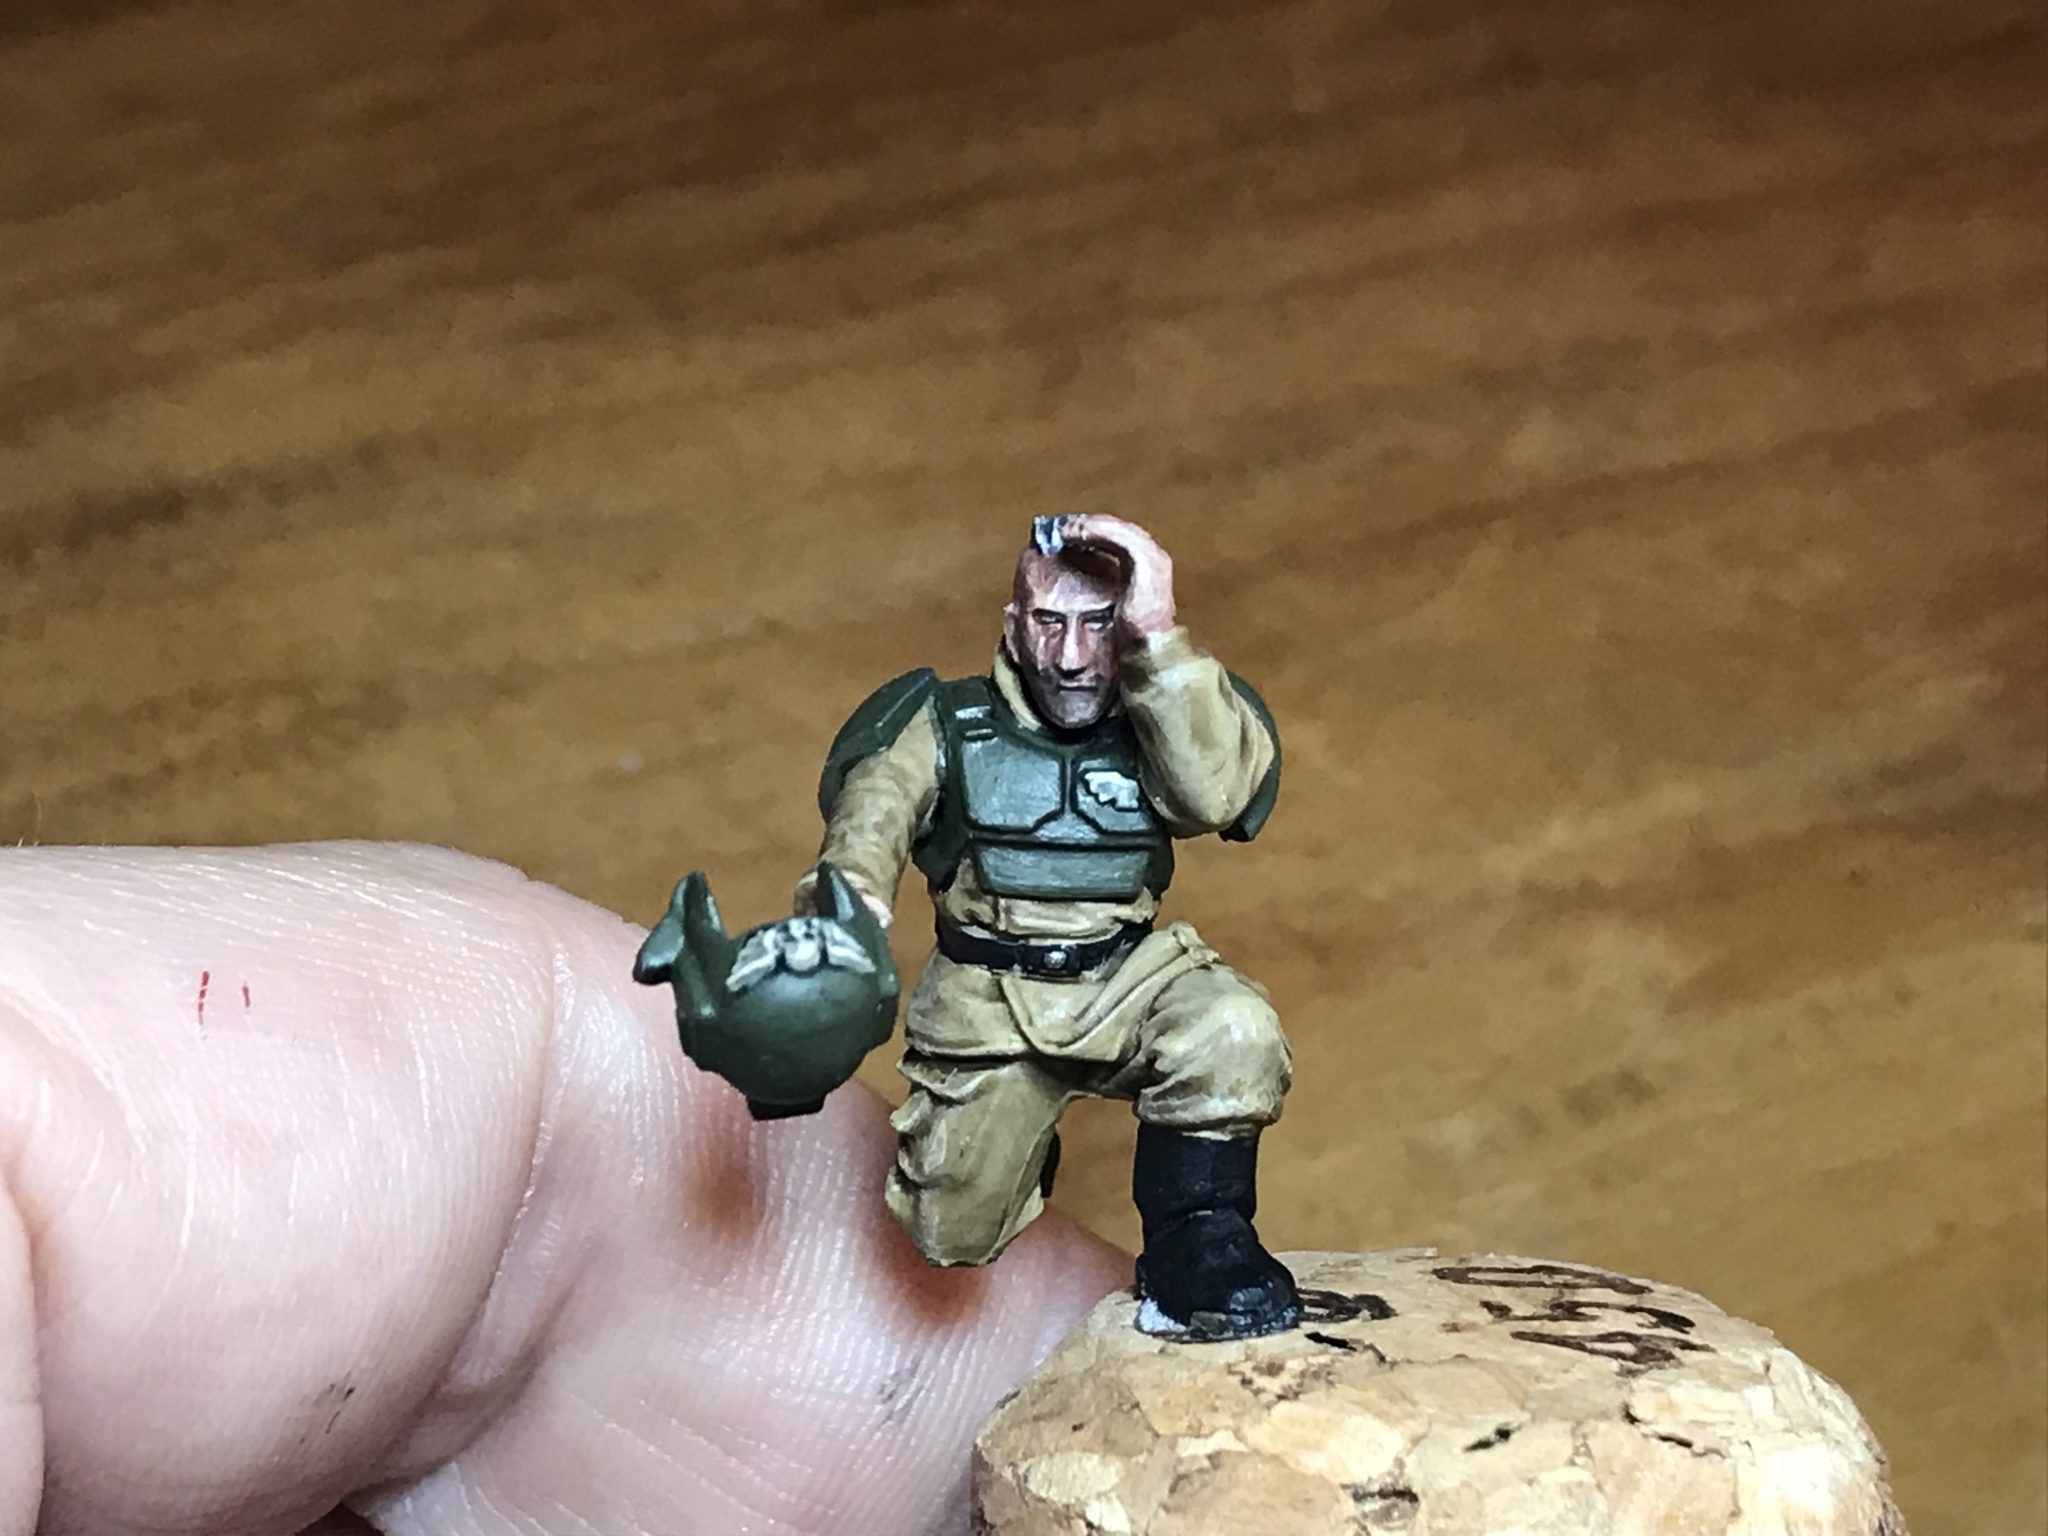
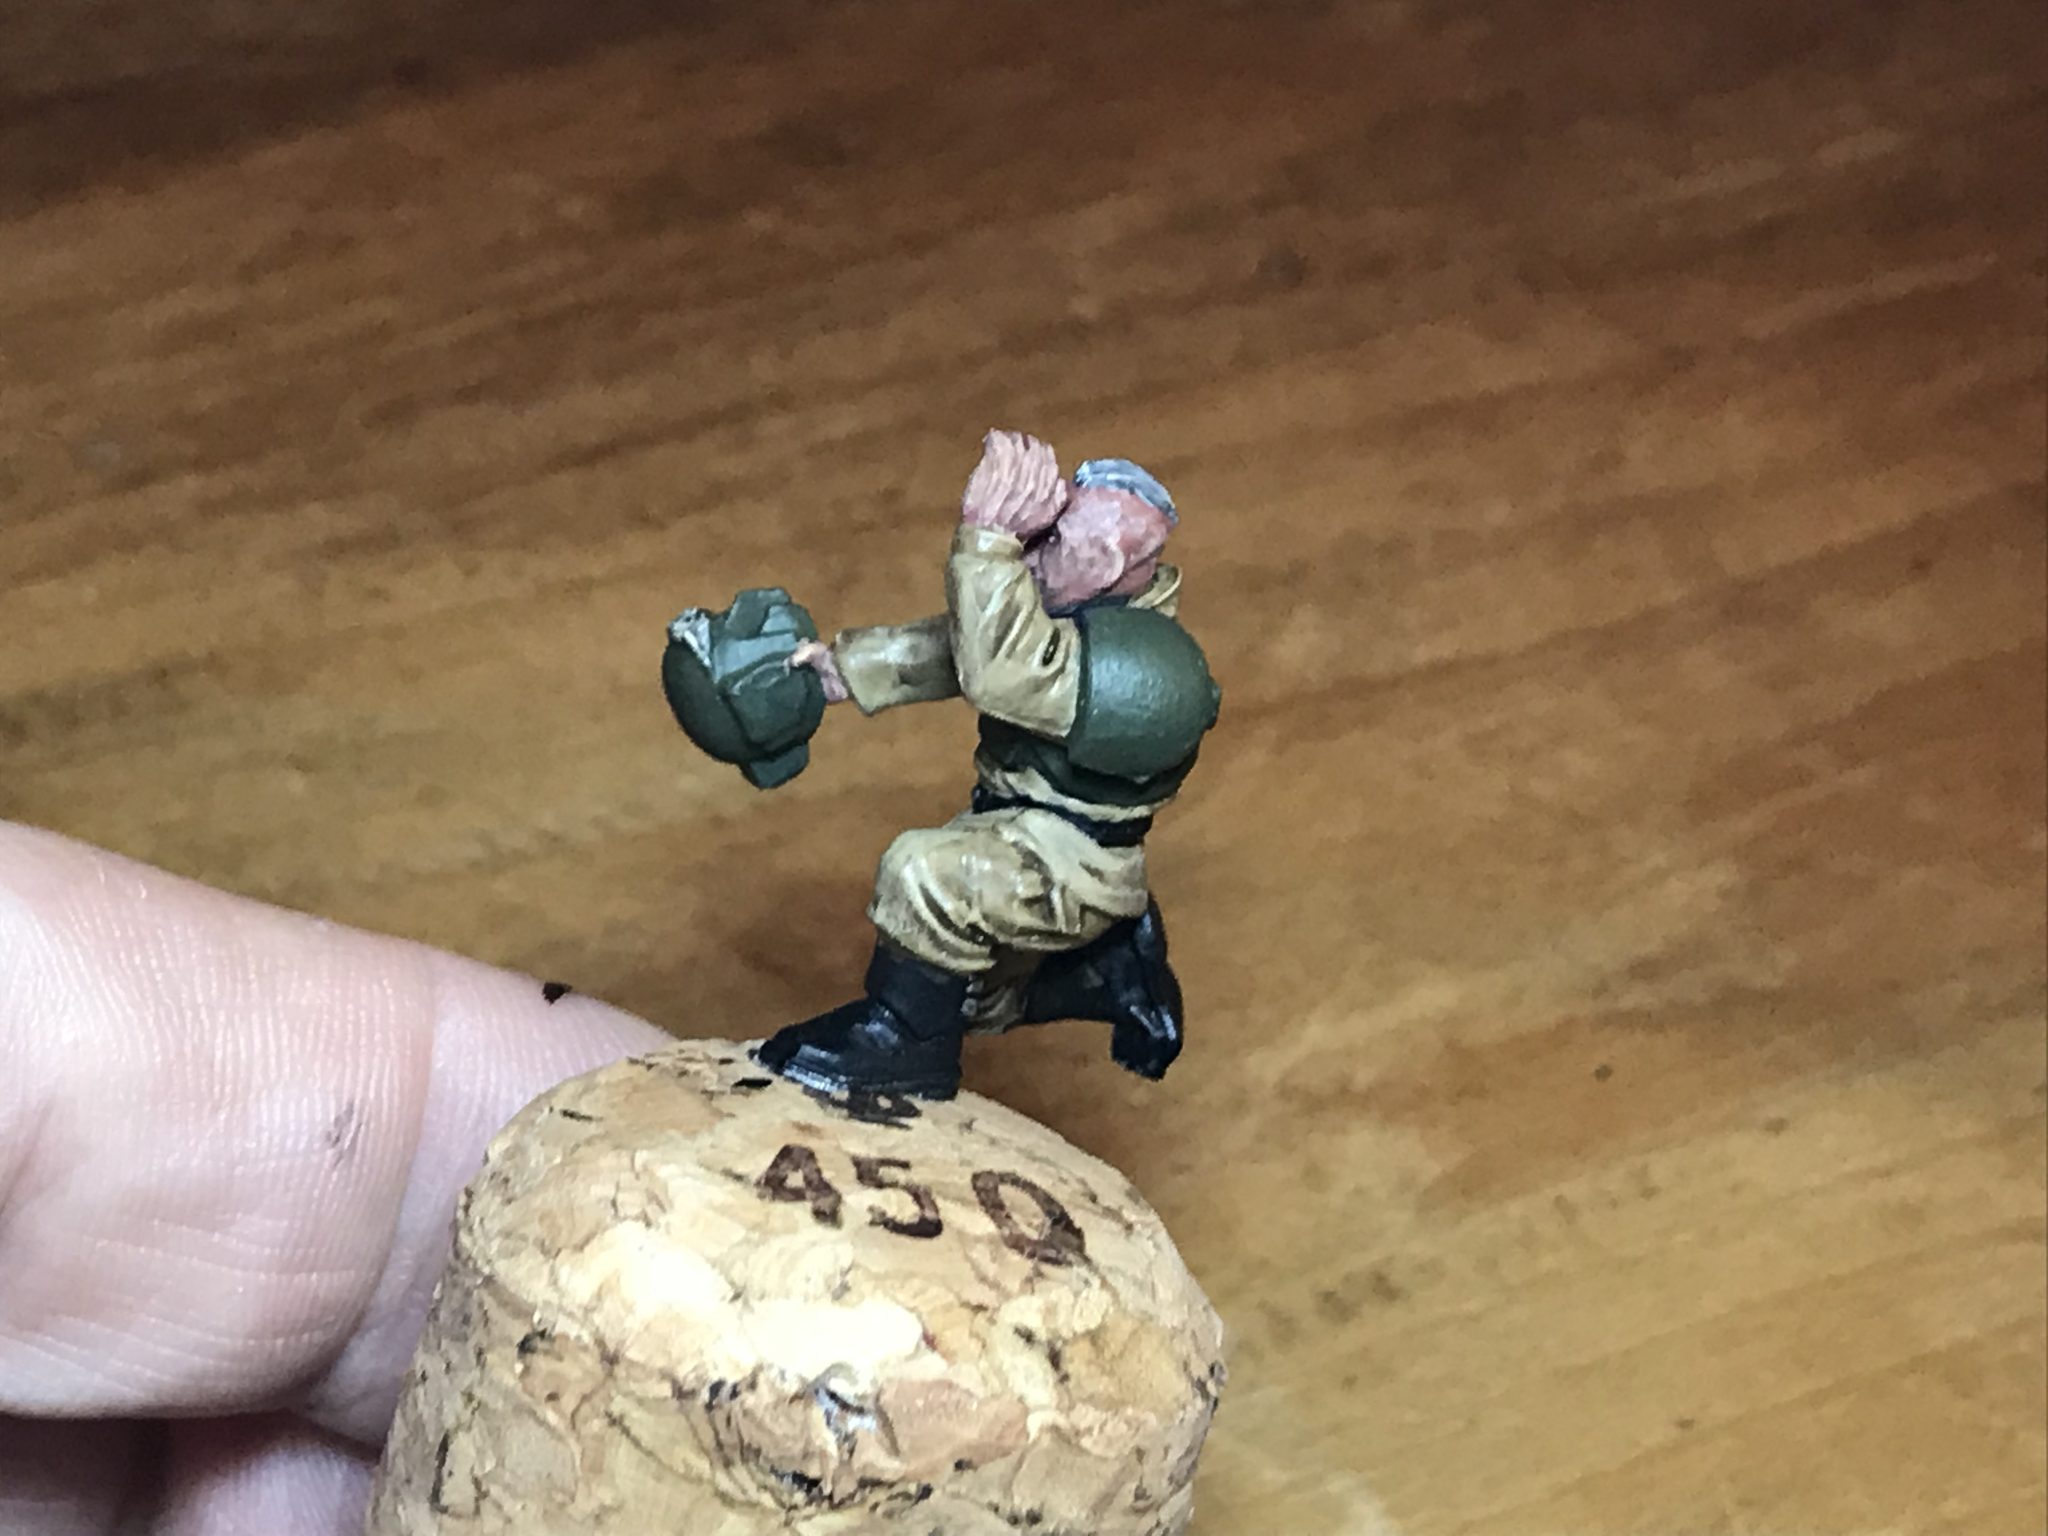
The Guardsmen I did as I normally do. Nothing special here. I was very happy with one of the faces, however.
-
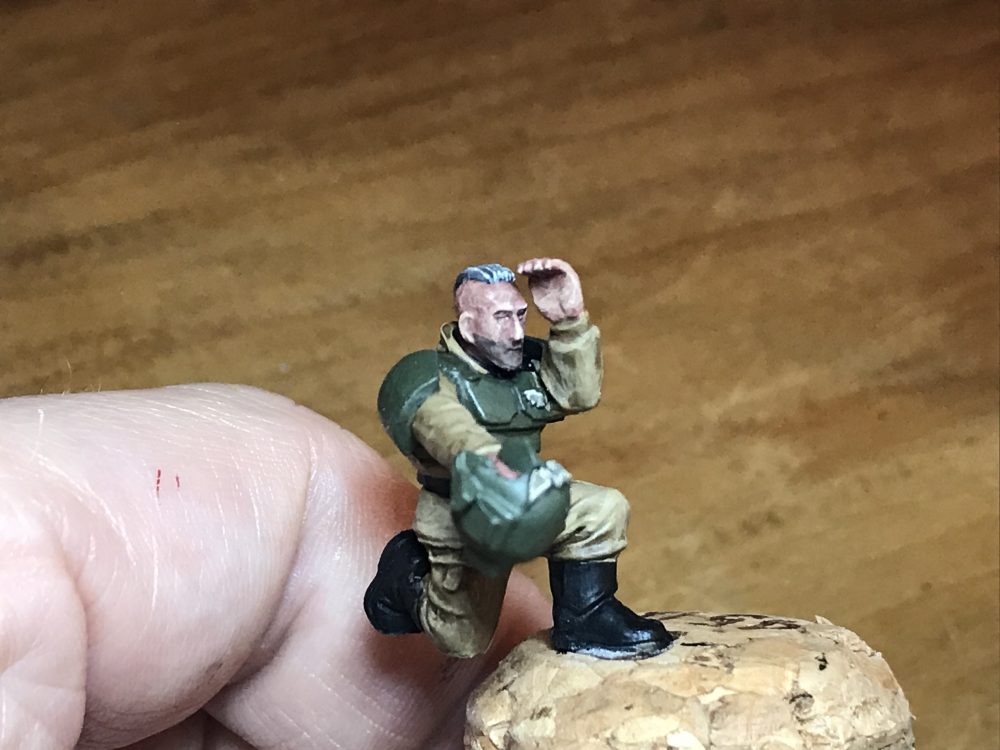
- Autocannon operator

-


- Autocannon operator
-
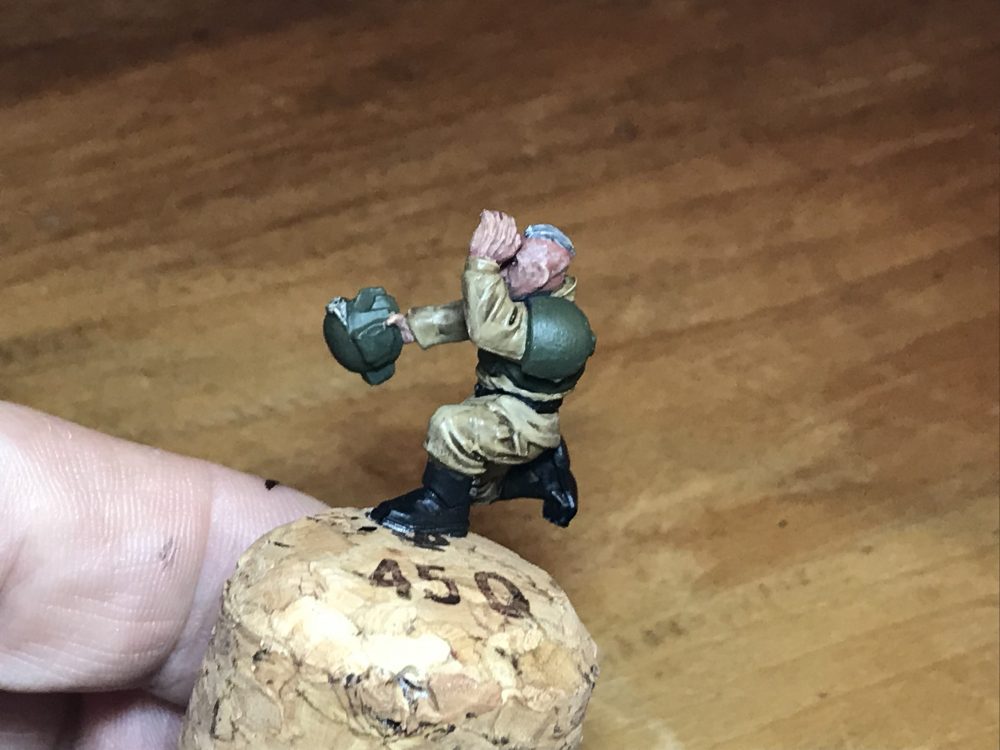
- Autocannon operator
The Autocannons themselves turned out pretty well too. It was the first time I’d use the sponge technique to give some damage effects using brown and silver. It seemed to have worked well.
I also tried my hand at some scratches on the plating. It looks so easy on YouTube. But I think I pulled it off.
-
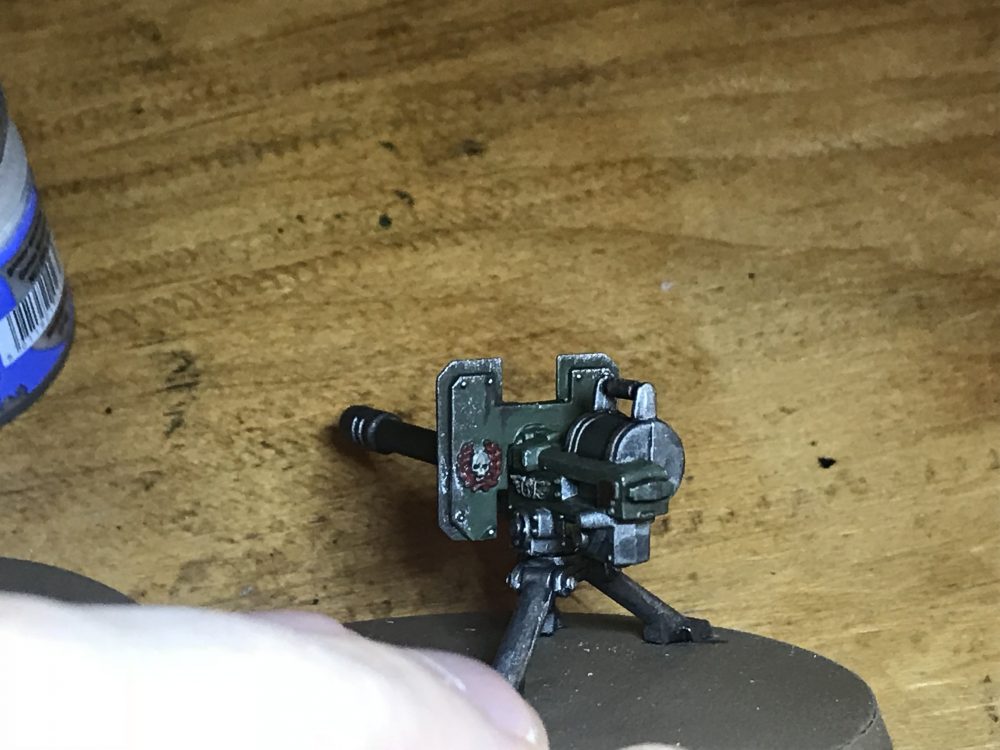
- Autocannon

-
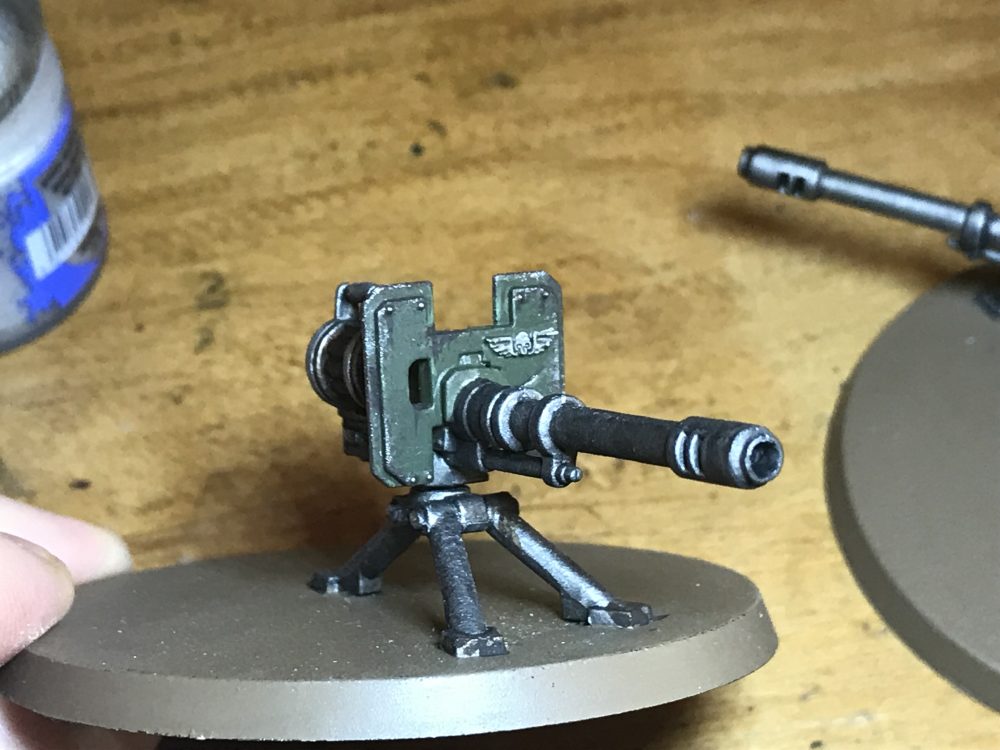
- Autocannon

Basing
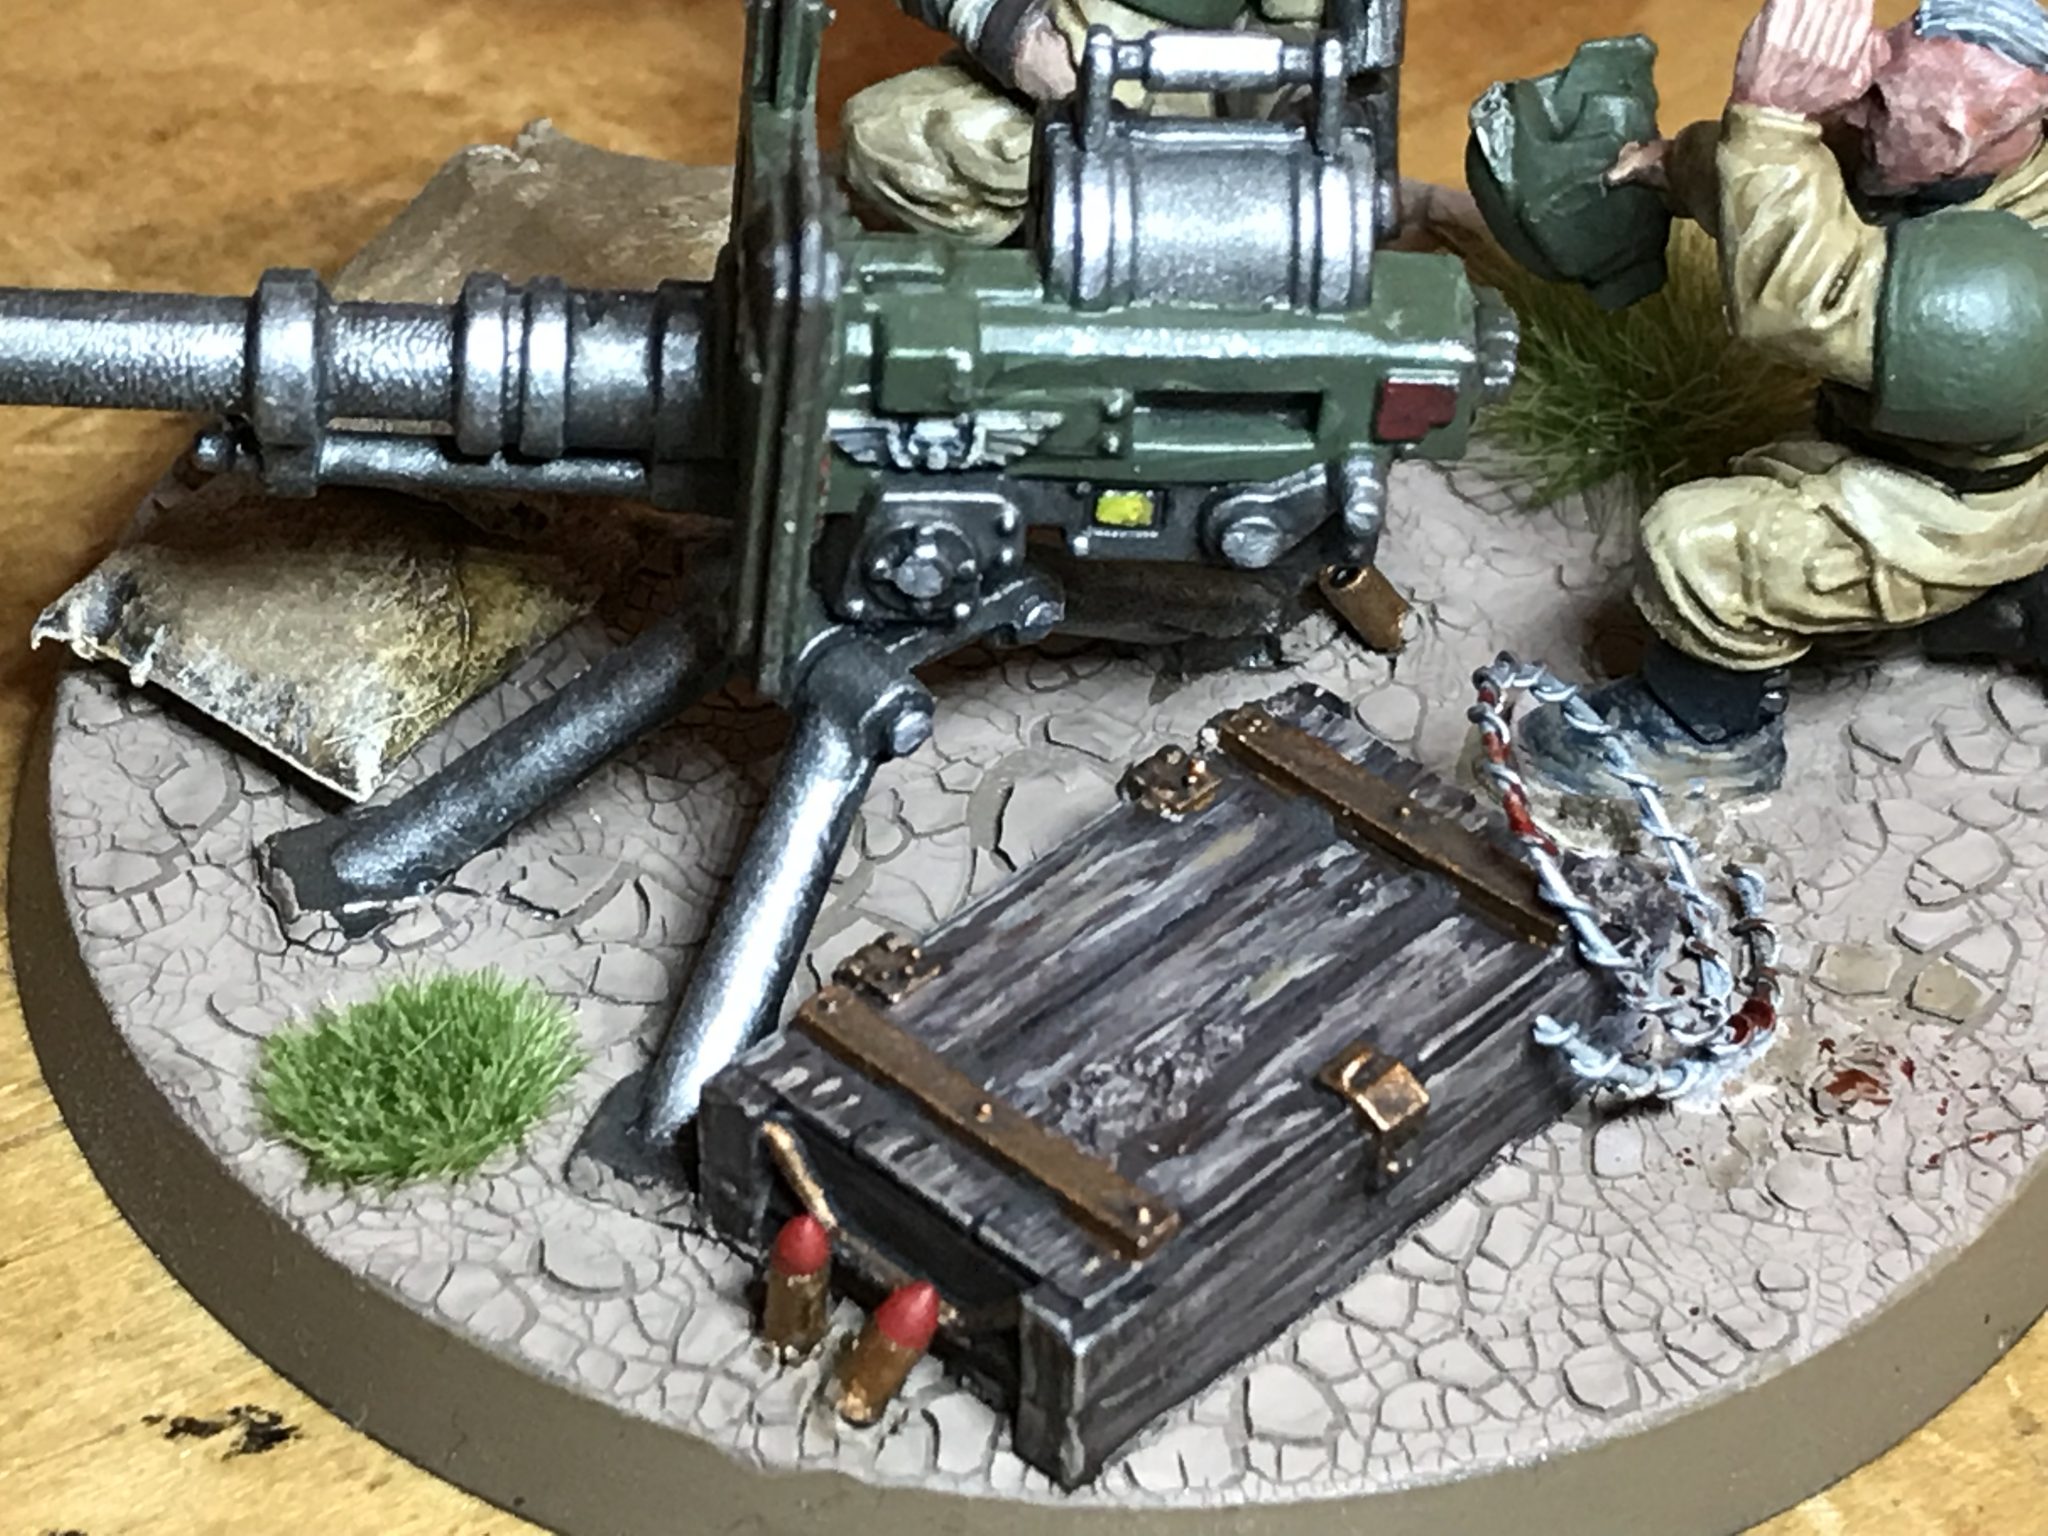
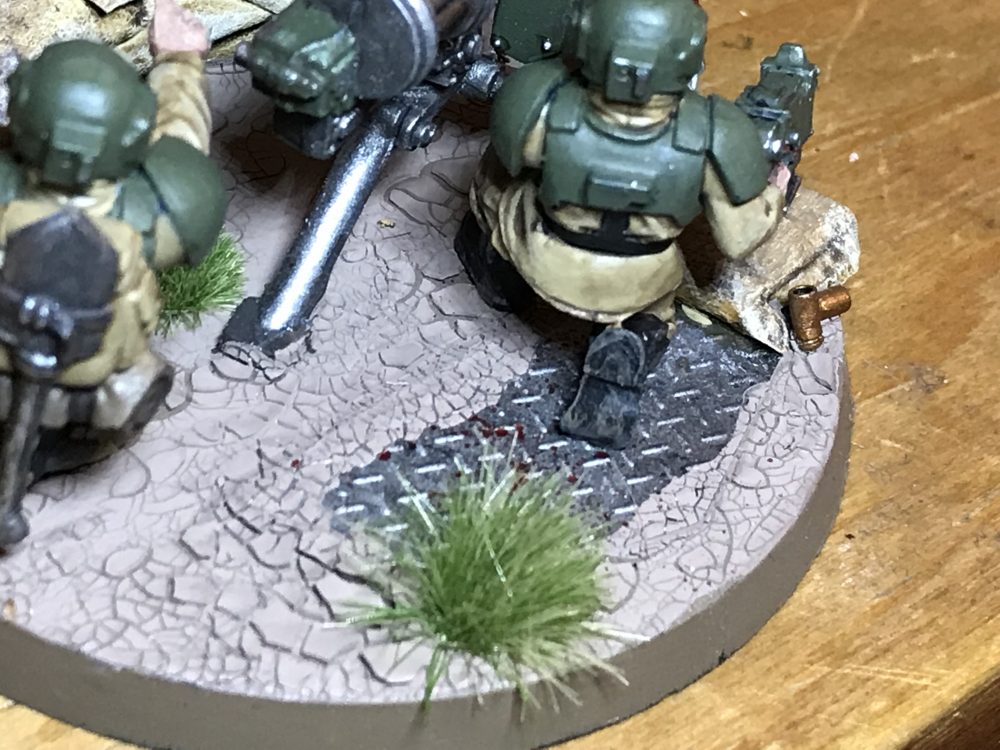
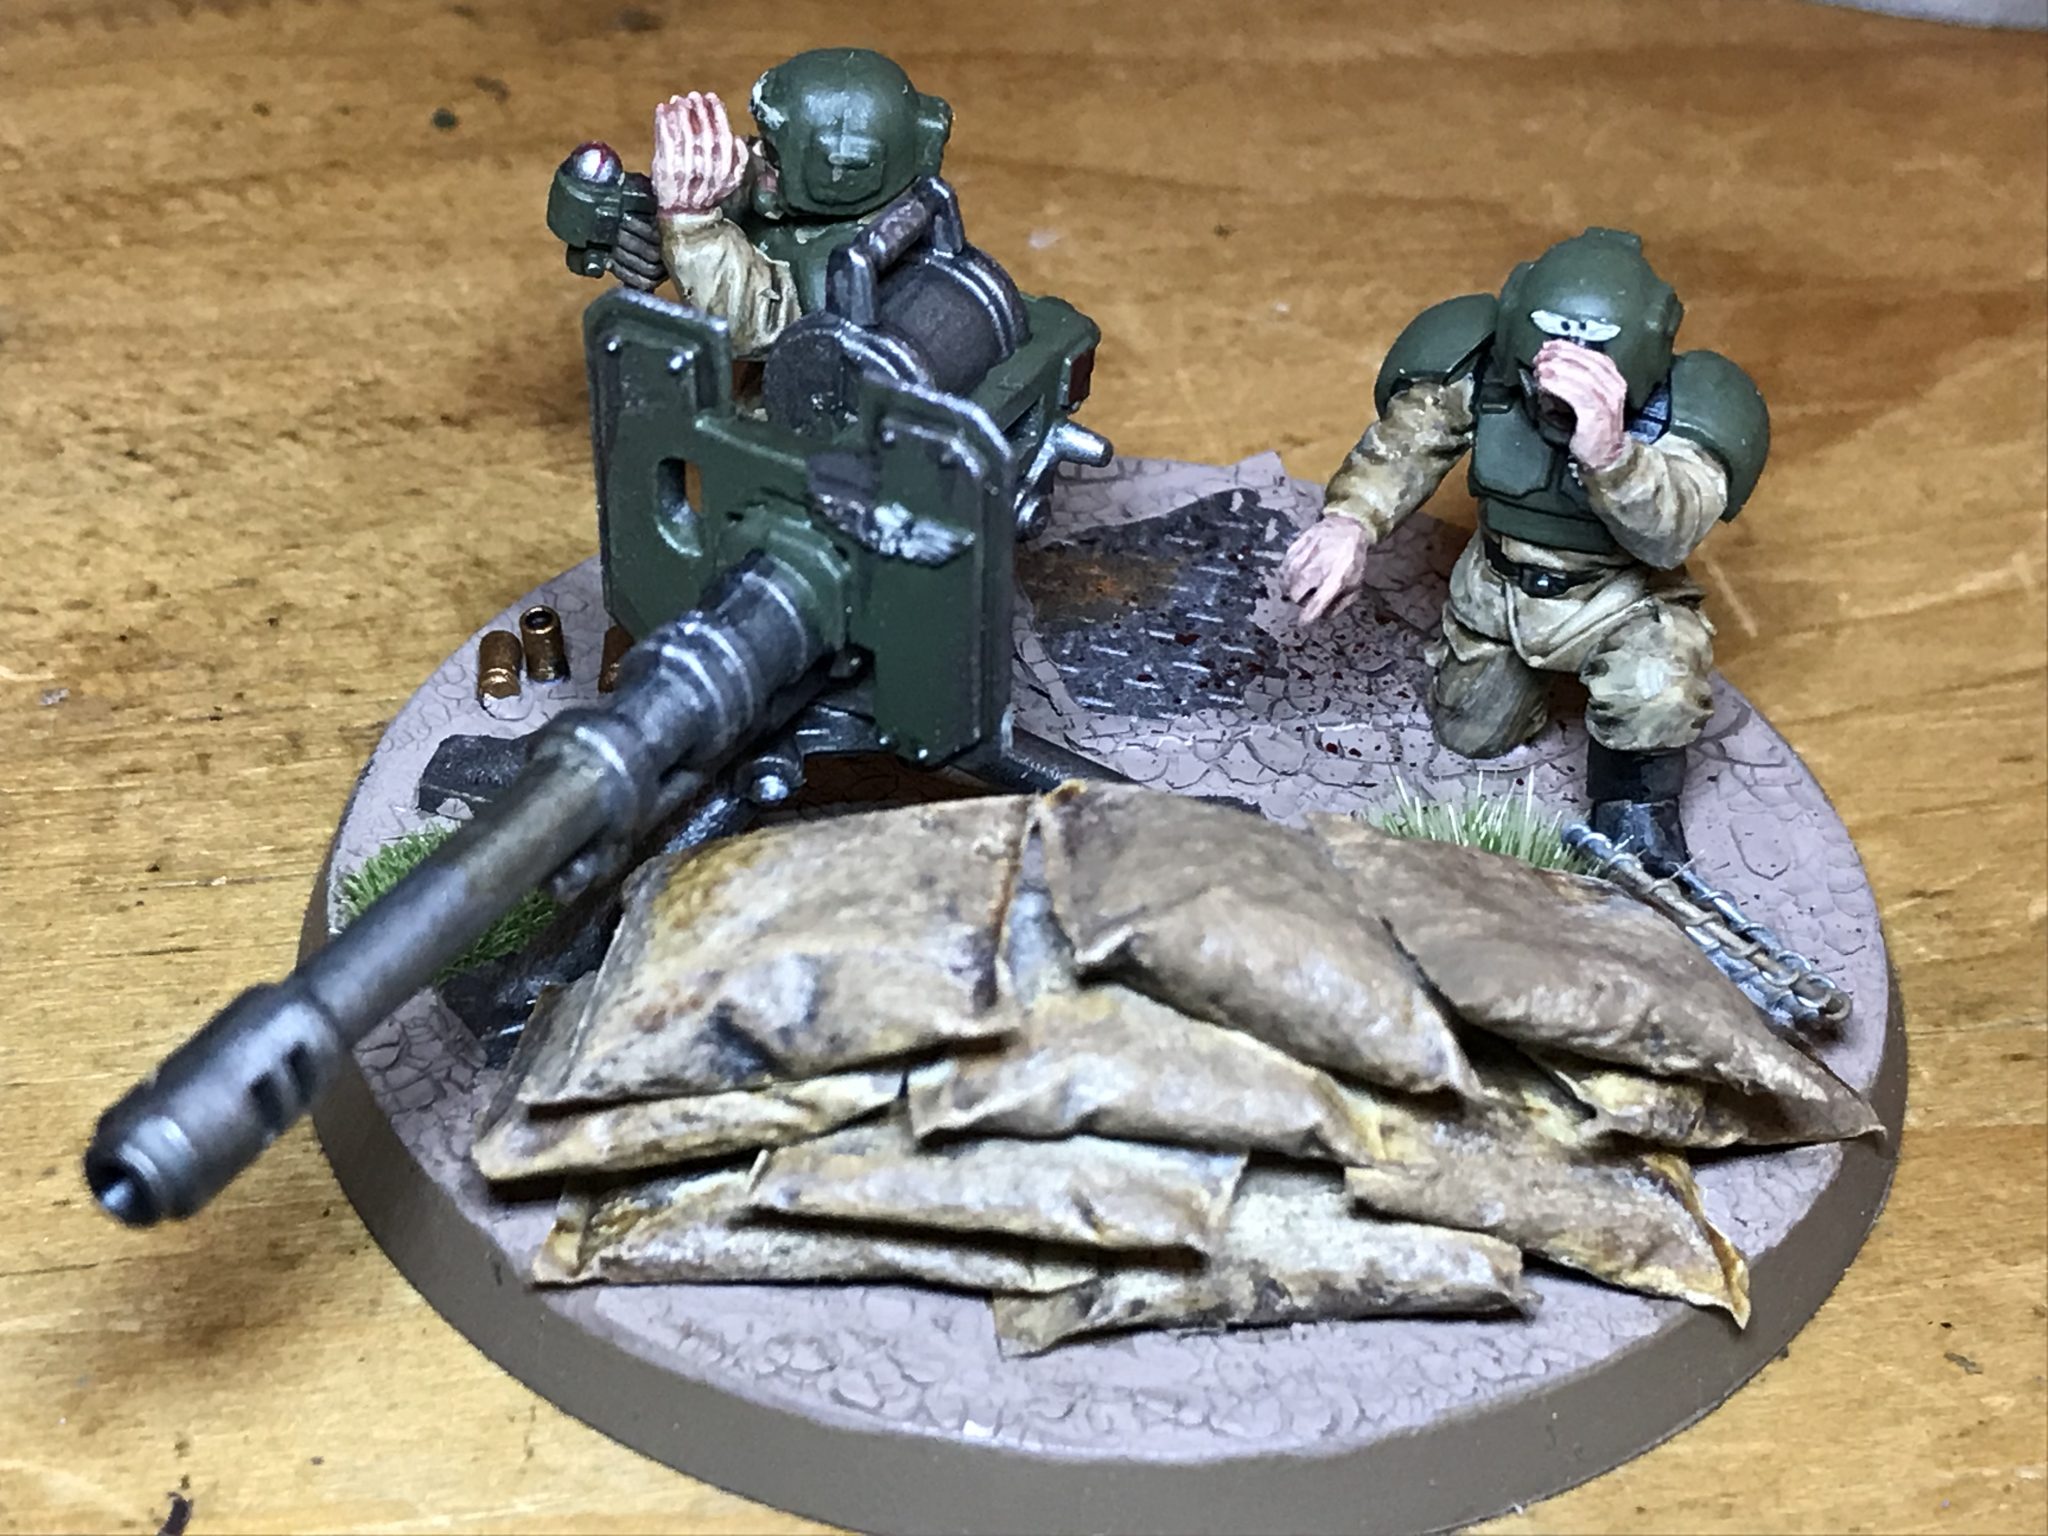
The base is done in Agrellan Earth for the cracked effect. I love this stuff. All my bases have it. It’s perhaps a little boring but it’s fast and gives good continuity between my models.
Extra Bits
And because it would be a little boring to have the whole base in Aagrellan Earth and nothing else I went and added some extra bits to the base.
In all we have;
Which in all makes for a pretty picture.
-

- Ammo Box
-
- Plating

-
- Grass and Plating

-

- Extra ammo
-

- Sandbags
-
- Wire and plating

Ammo Box
The ammo box finish was pure luck using about five different browns;
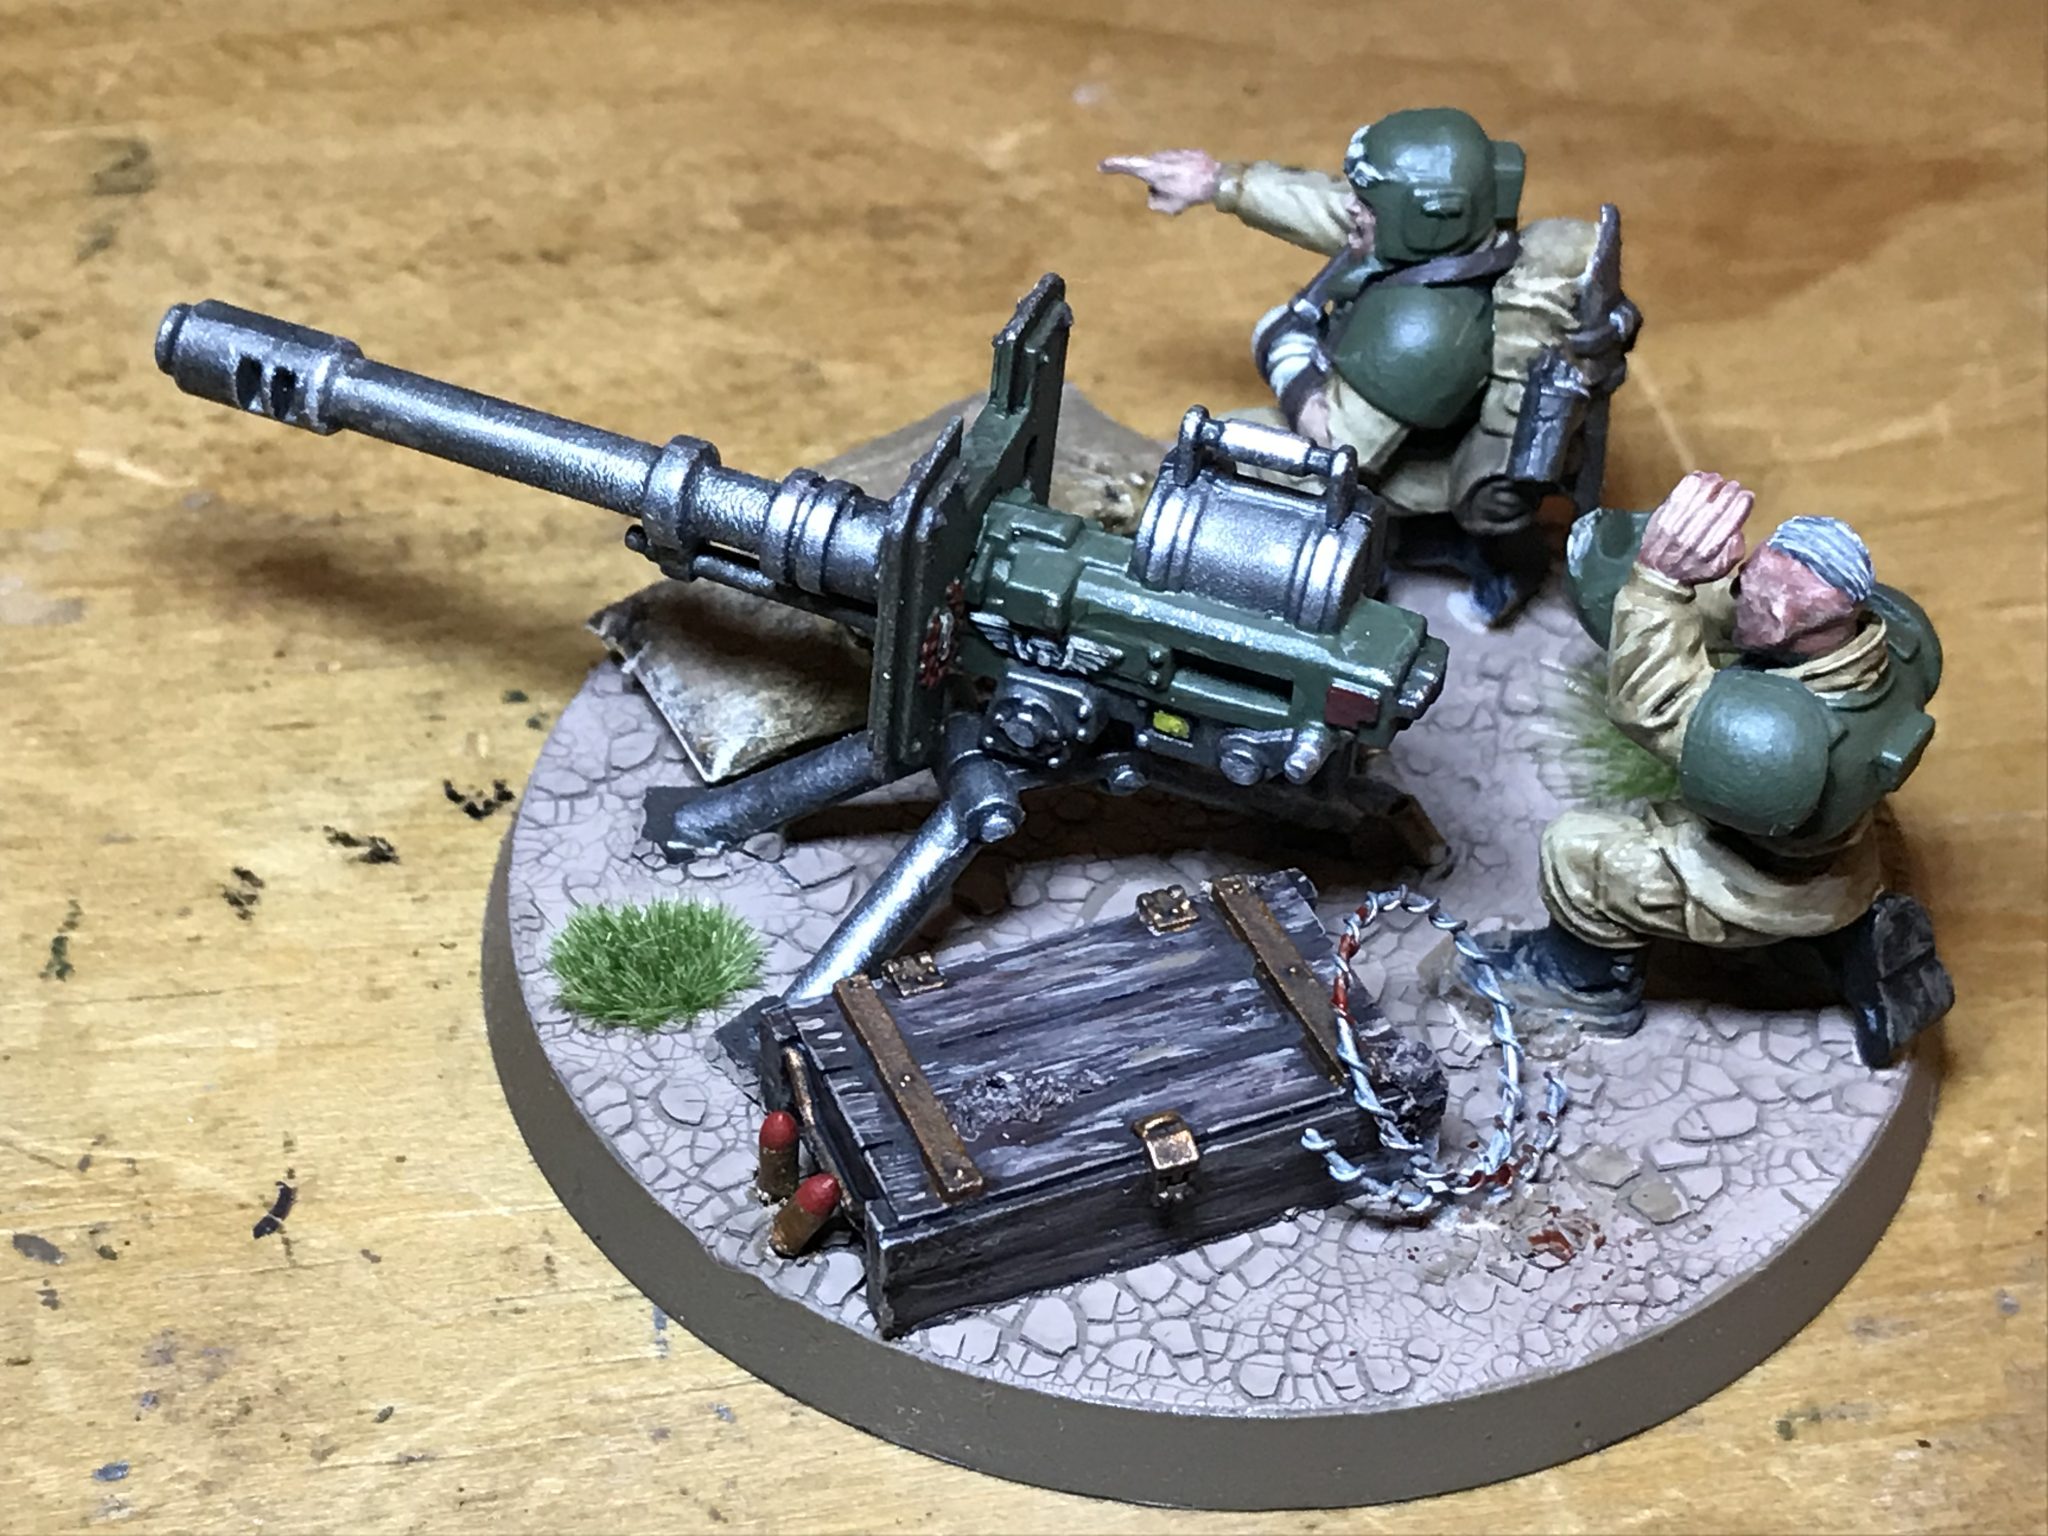
Completed ammo box and Autocannon
Sandbags
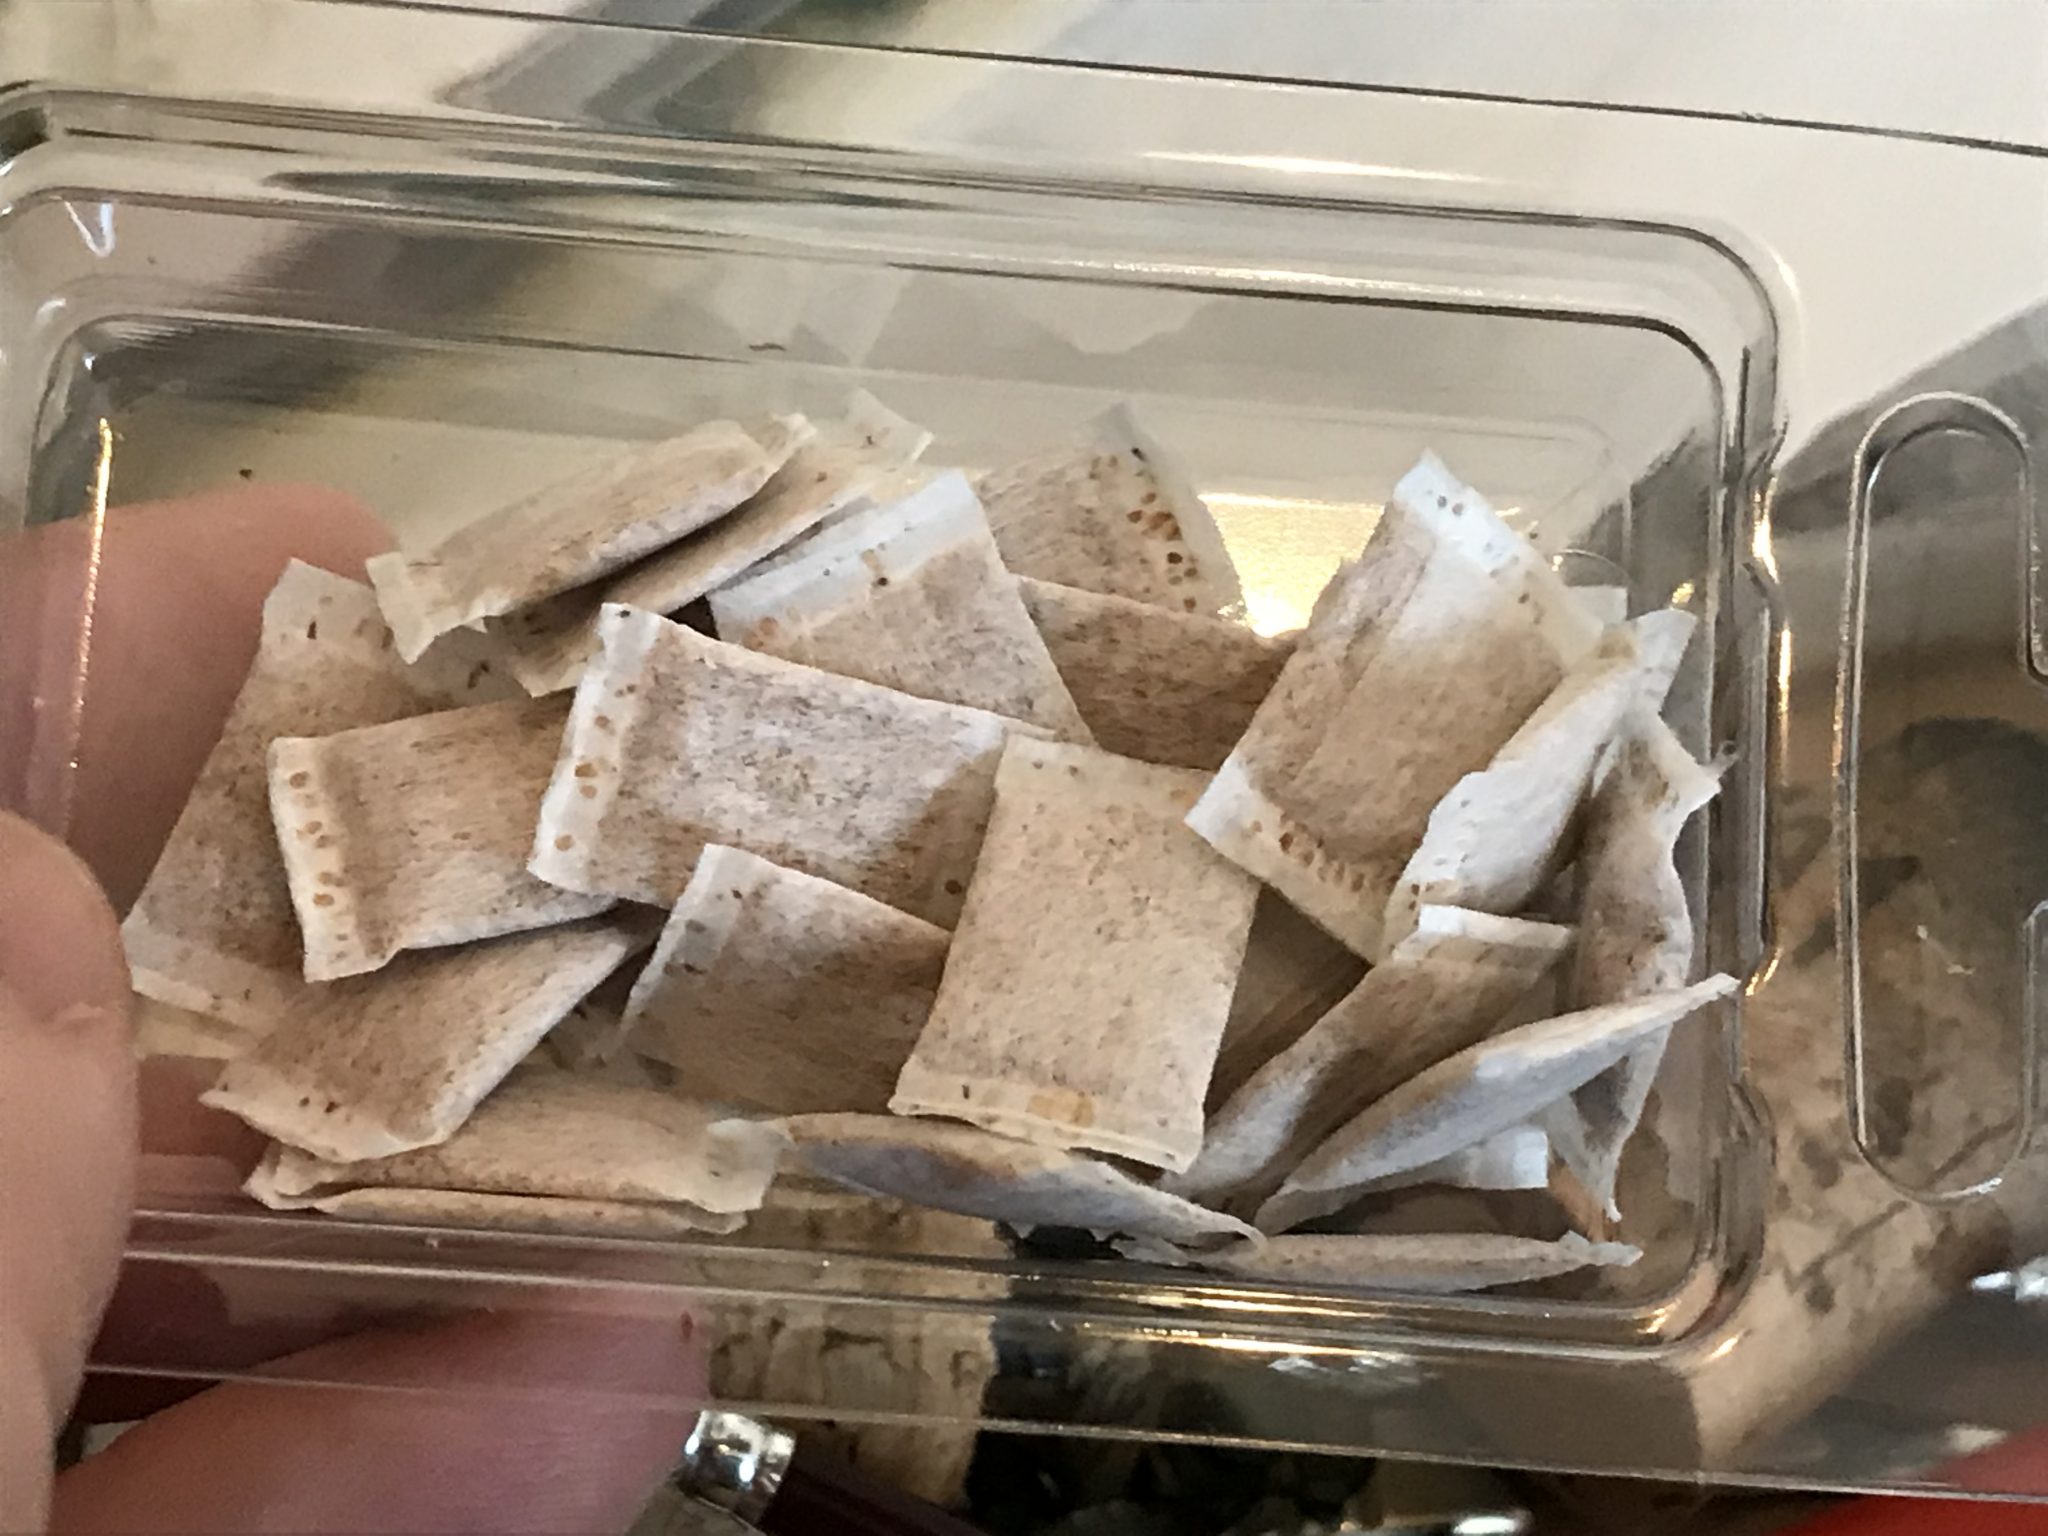
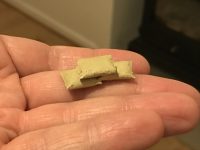
The sandbags were interesting to use. They are literally little bags of sand. I found them difficult to work with, to begin with, but gradually found my way. The instructions say to use PVA glue and water on them – which I did. I think I used too much water and not enough glue. They were wet for ages afterwards – 24 hours probably. So I used more glue which helped and they did dry hard then.
Also, make sure you cut the excess bag off at each end to ensure they are not too big.
-


- Sandbags as they come
-
- Sandbags with Ushabti Bone

-
- Sandbags with the first wash after Ushabti Bone

-
- Sandbags
