
Astra Militarum Vs Tau Debrief – Help a (Tau) Brother Out, Part 2
Quick debrief to aid helping a Tau friend out with list building
I hope this will turn out to be a fairly detailed 1,500 point, Maelstrom battle report. We used the new Supremacy cards and played the mission where we could score each other’s objective cards. We could only ever draw up to three cards. Help a (Tau) Brother Out Part 1 contains the lists for this Astra Militarum Vs Tau battle. Big thanks to all those who have contributed so far in part 1!
Astra Militarum Vs Tau Battle Debrief
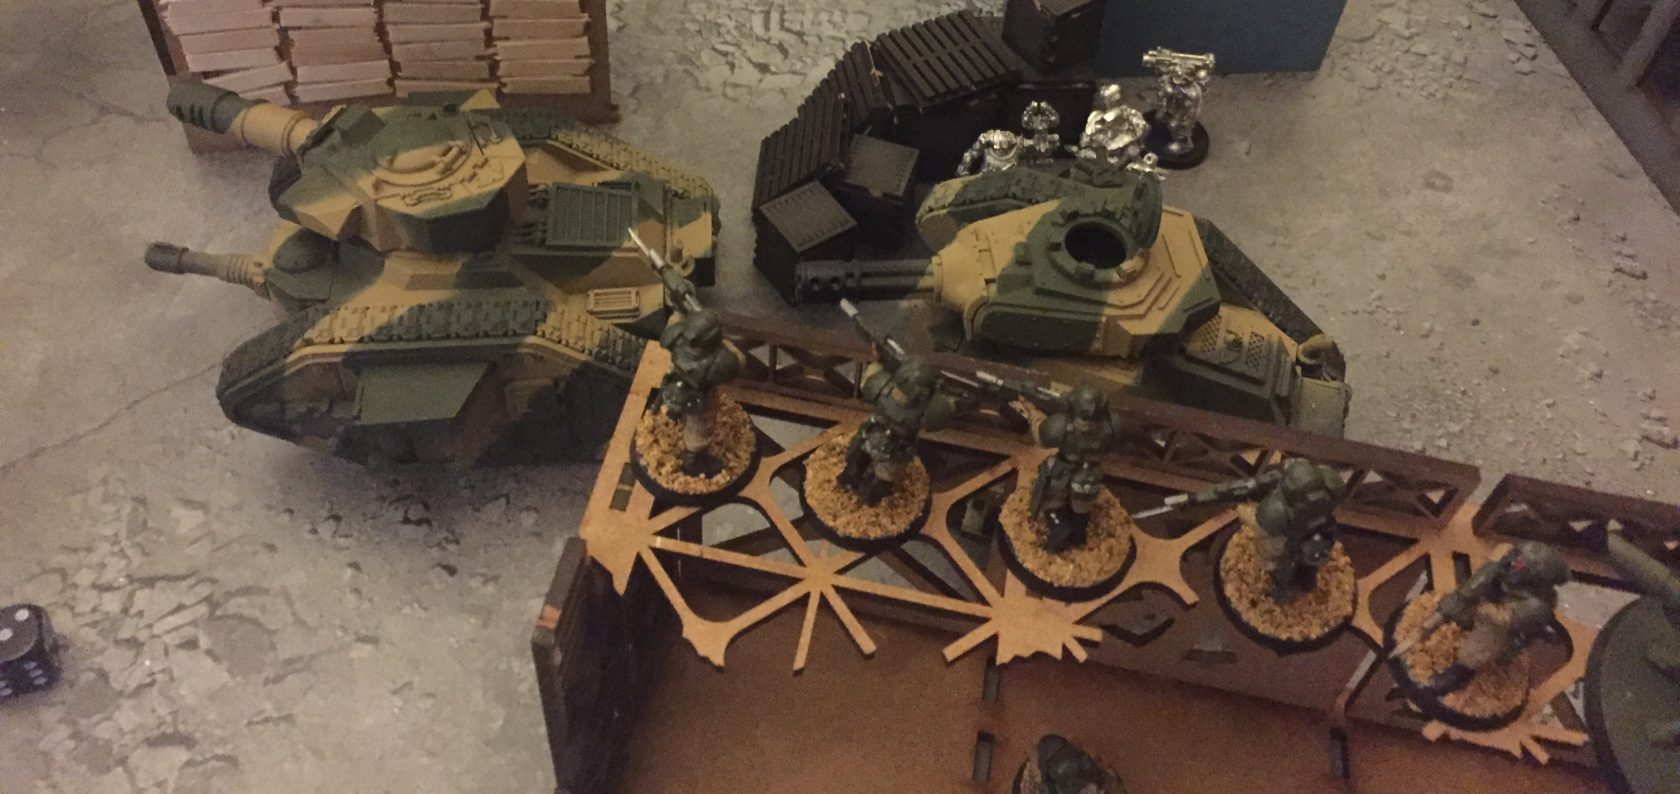
Astra Militarum Vs Tau – Astra Militarum Deployment
I am hoping that this is detailed enough to show the main events of the battle. Plus key decisions from both sides, without being too verbose and overly detailed. But lets see how I get on …
Turn 1 Astra Militarum
My forces always seem (presumably because it’s true) most powerful at the start of the game. So turn 1 shooting is something that needs careful consideration so that maximum damage can be inflicted.
A Wyvern killed a single Stealth Suit after some terrible scatter. The other Wyvern killed two drones from the Broadside squad. Any wounds on the Broadsides were saved via FNP.
A poor start to the Astra Militarum shooting I felt. Pask is out of range as were the Veteran squads and Chimeras.
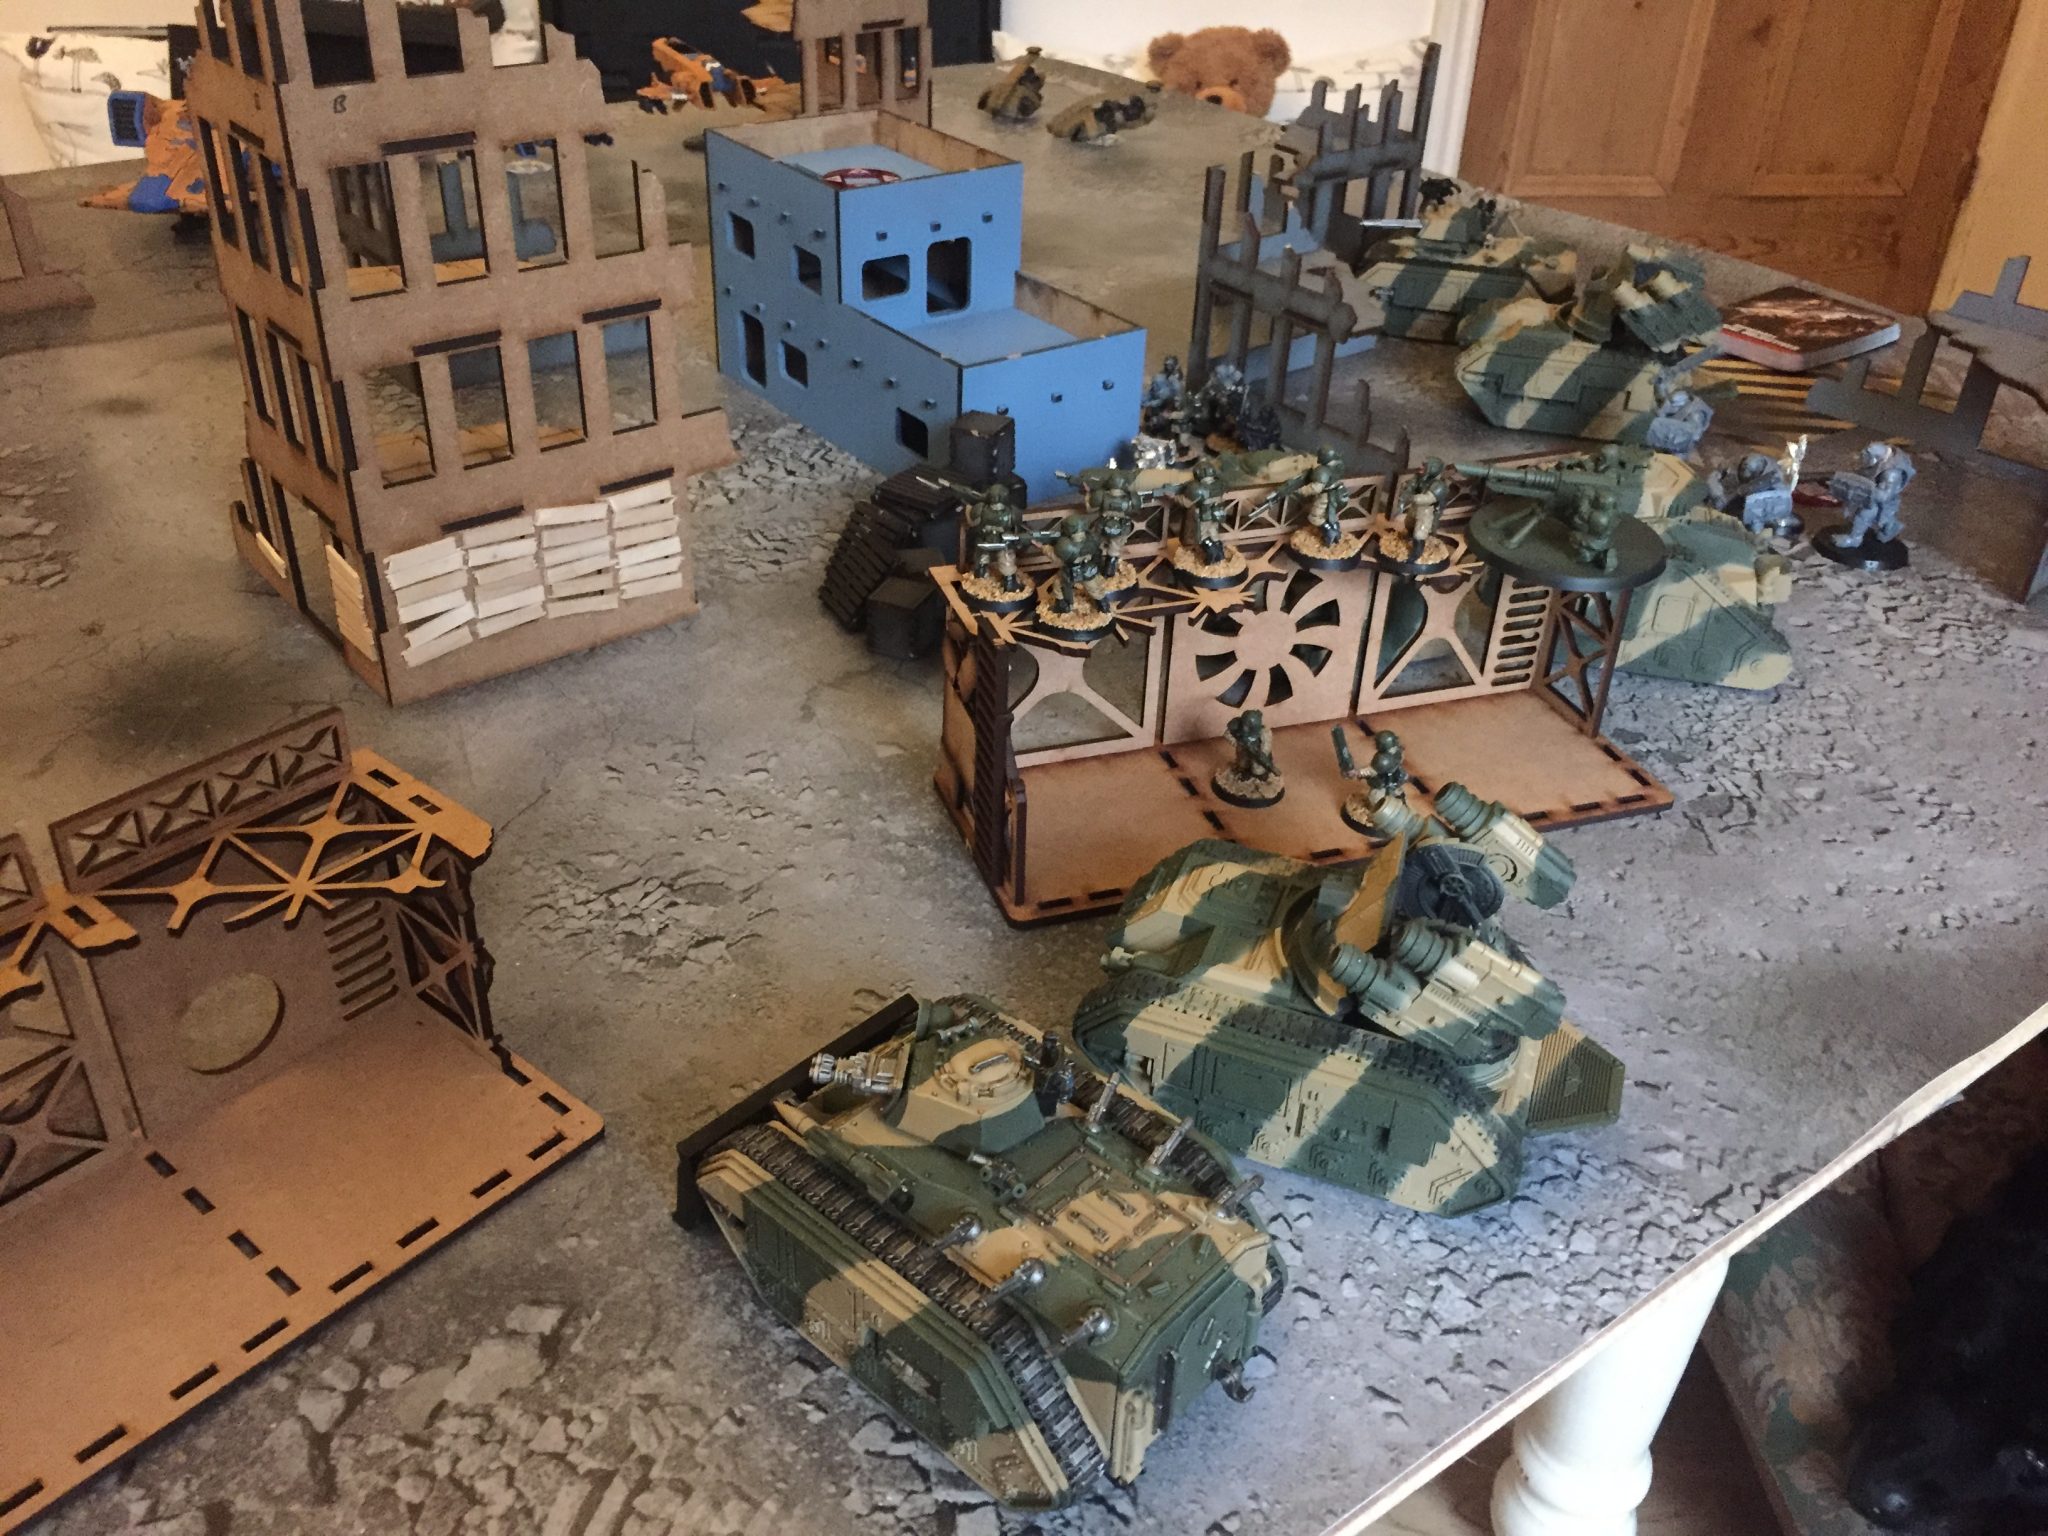
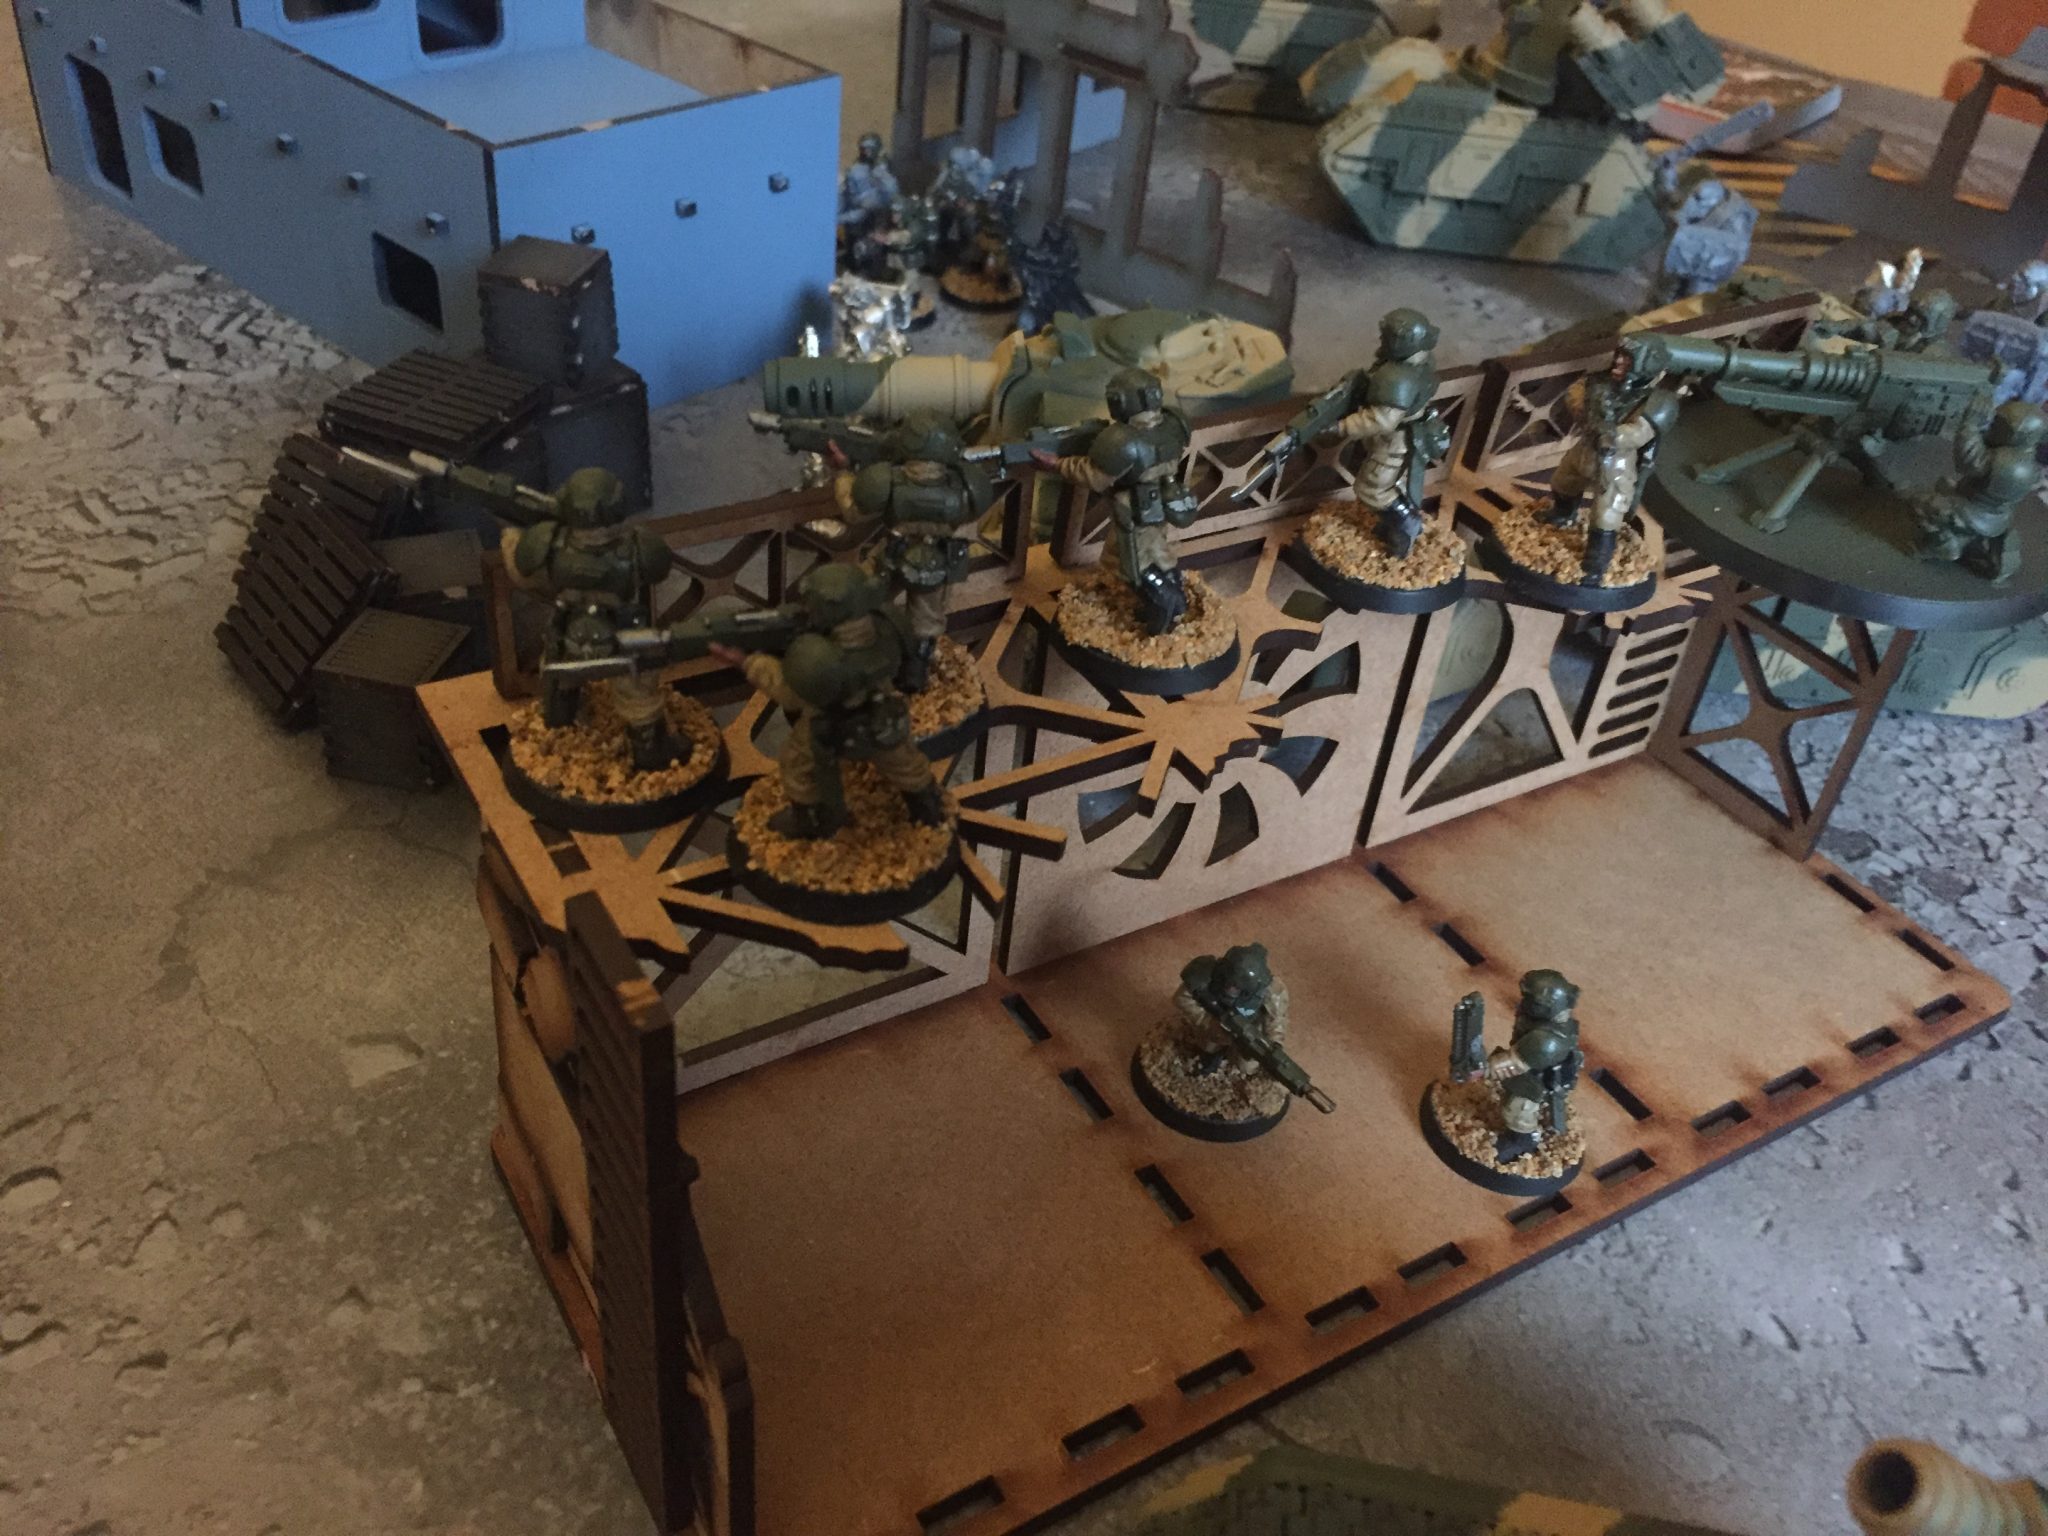
CCS grabs objective 6 while a Wyvern & Chimera plink at the Stealth Suits in the distance
Turn 1 Tau
The two surviving Stealth Suits popped a Chimera killing 3 of the passengers. The explosion didn’t kill any of the CCS near by.
A Wyvern was popped by Missiles of some description from the Broadsides with Tetra Markerlights. The Wyvern exploded thanks to it being Open Topped.
Piranha Fusion Blasters missed a Chimera on the left flank. This was incredibly lucky I think as it meant my Veterans were able to move up safely for an additional turn.
A dire roll from the Tau to wound the CCS from the Chimera explosion
Astra Militarum Vs Tau Turn 1 Summary
The Tau’s shooting seemed much more effective because they destroyed two vehicles completely and killed a few Guardsman too. Meanwhile the Astra Militarum shooting was lacking due to poor rolls and good saves from the Tau. It felt 50/50 still at this point.
I will mention this here so I don’t forget them completely. The Astra Militarum Psychic Powers did not play a major role in the game. The Primaris Pysker was with the CCS that ended up just camping objectives and then assaulting some Battle Suits. The only power I used was Endurance for the Feel No Pain advantage.
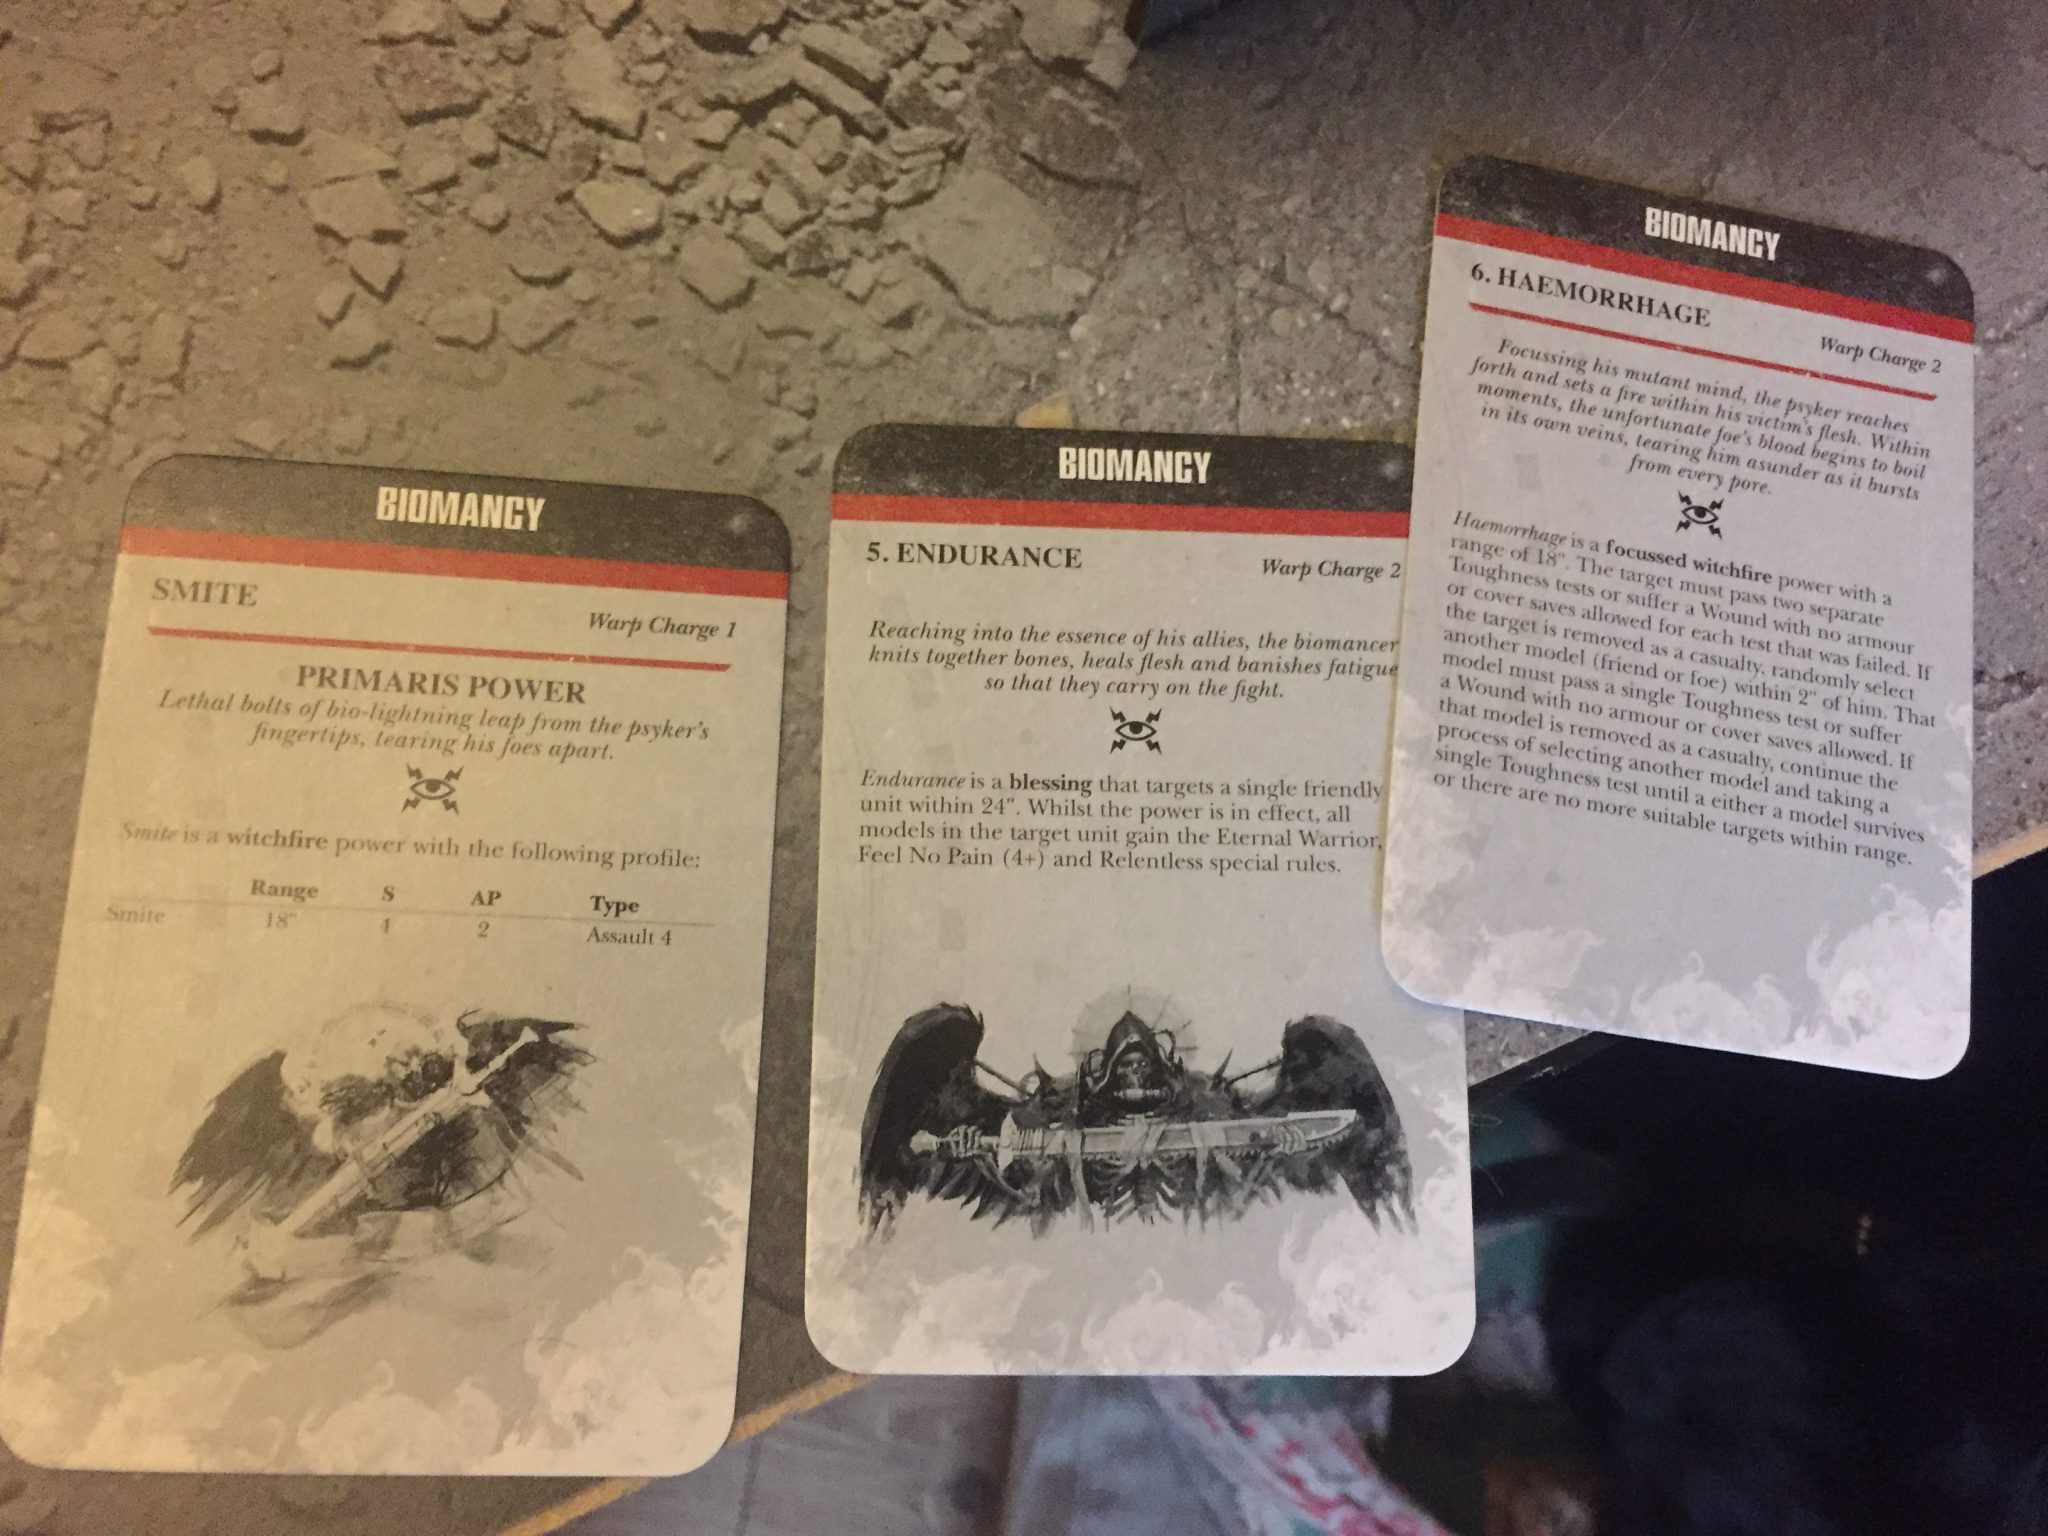
Astra Militarum Psychic Powers
Turn 2 Astra Militarum
Pask opened up and destroyed a Tetra, while causing no damage to the other. The surviving Tetra was still within 12″ of the table centre denying VPs from a Supremacy Tactical Card.
Two Sentinels arrive from opposing table edges with Heavy Flamers. The first fails to wound the two remaining Stealth Suits and so is destined to be destroyed next turn for sure. The second Sentinel penetrates a Piranha and destroys its burst cannon. A small win as those guns are devastating againstAstra Militarum Veterans.
Sentinel arrives from reserve
The Astra Militarum shooting seemed to be as ineffective as on turn 1 with a Leman Russ Battle Cannon doing a single glancing hit to a Piranhas – even after hitting all three Piranhas.
The Veterans with Camo Cloaks inside the Astra Militarum deployment zone went for a cheeky shot to finish off the final Tetra to gain D3 VPs rather than 1 VP. It missed.
The Lascannon which missed the Tetra
Turn 2 Tau
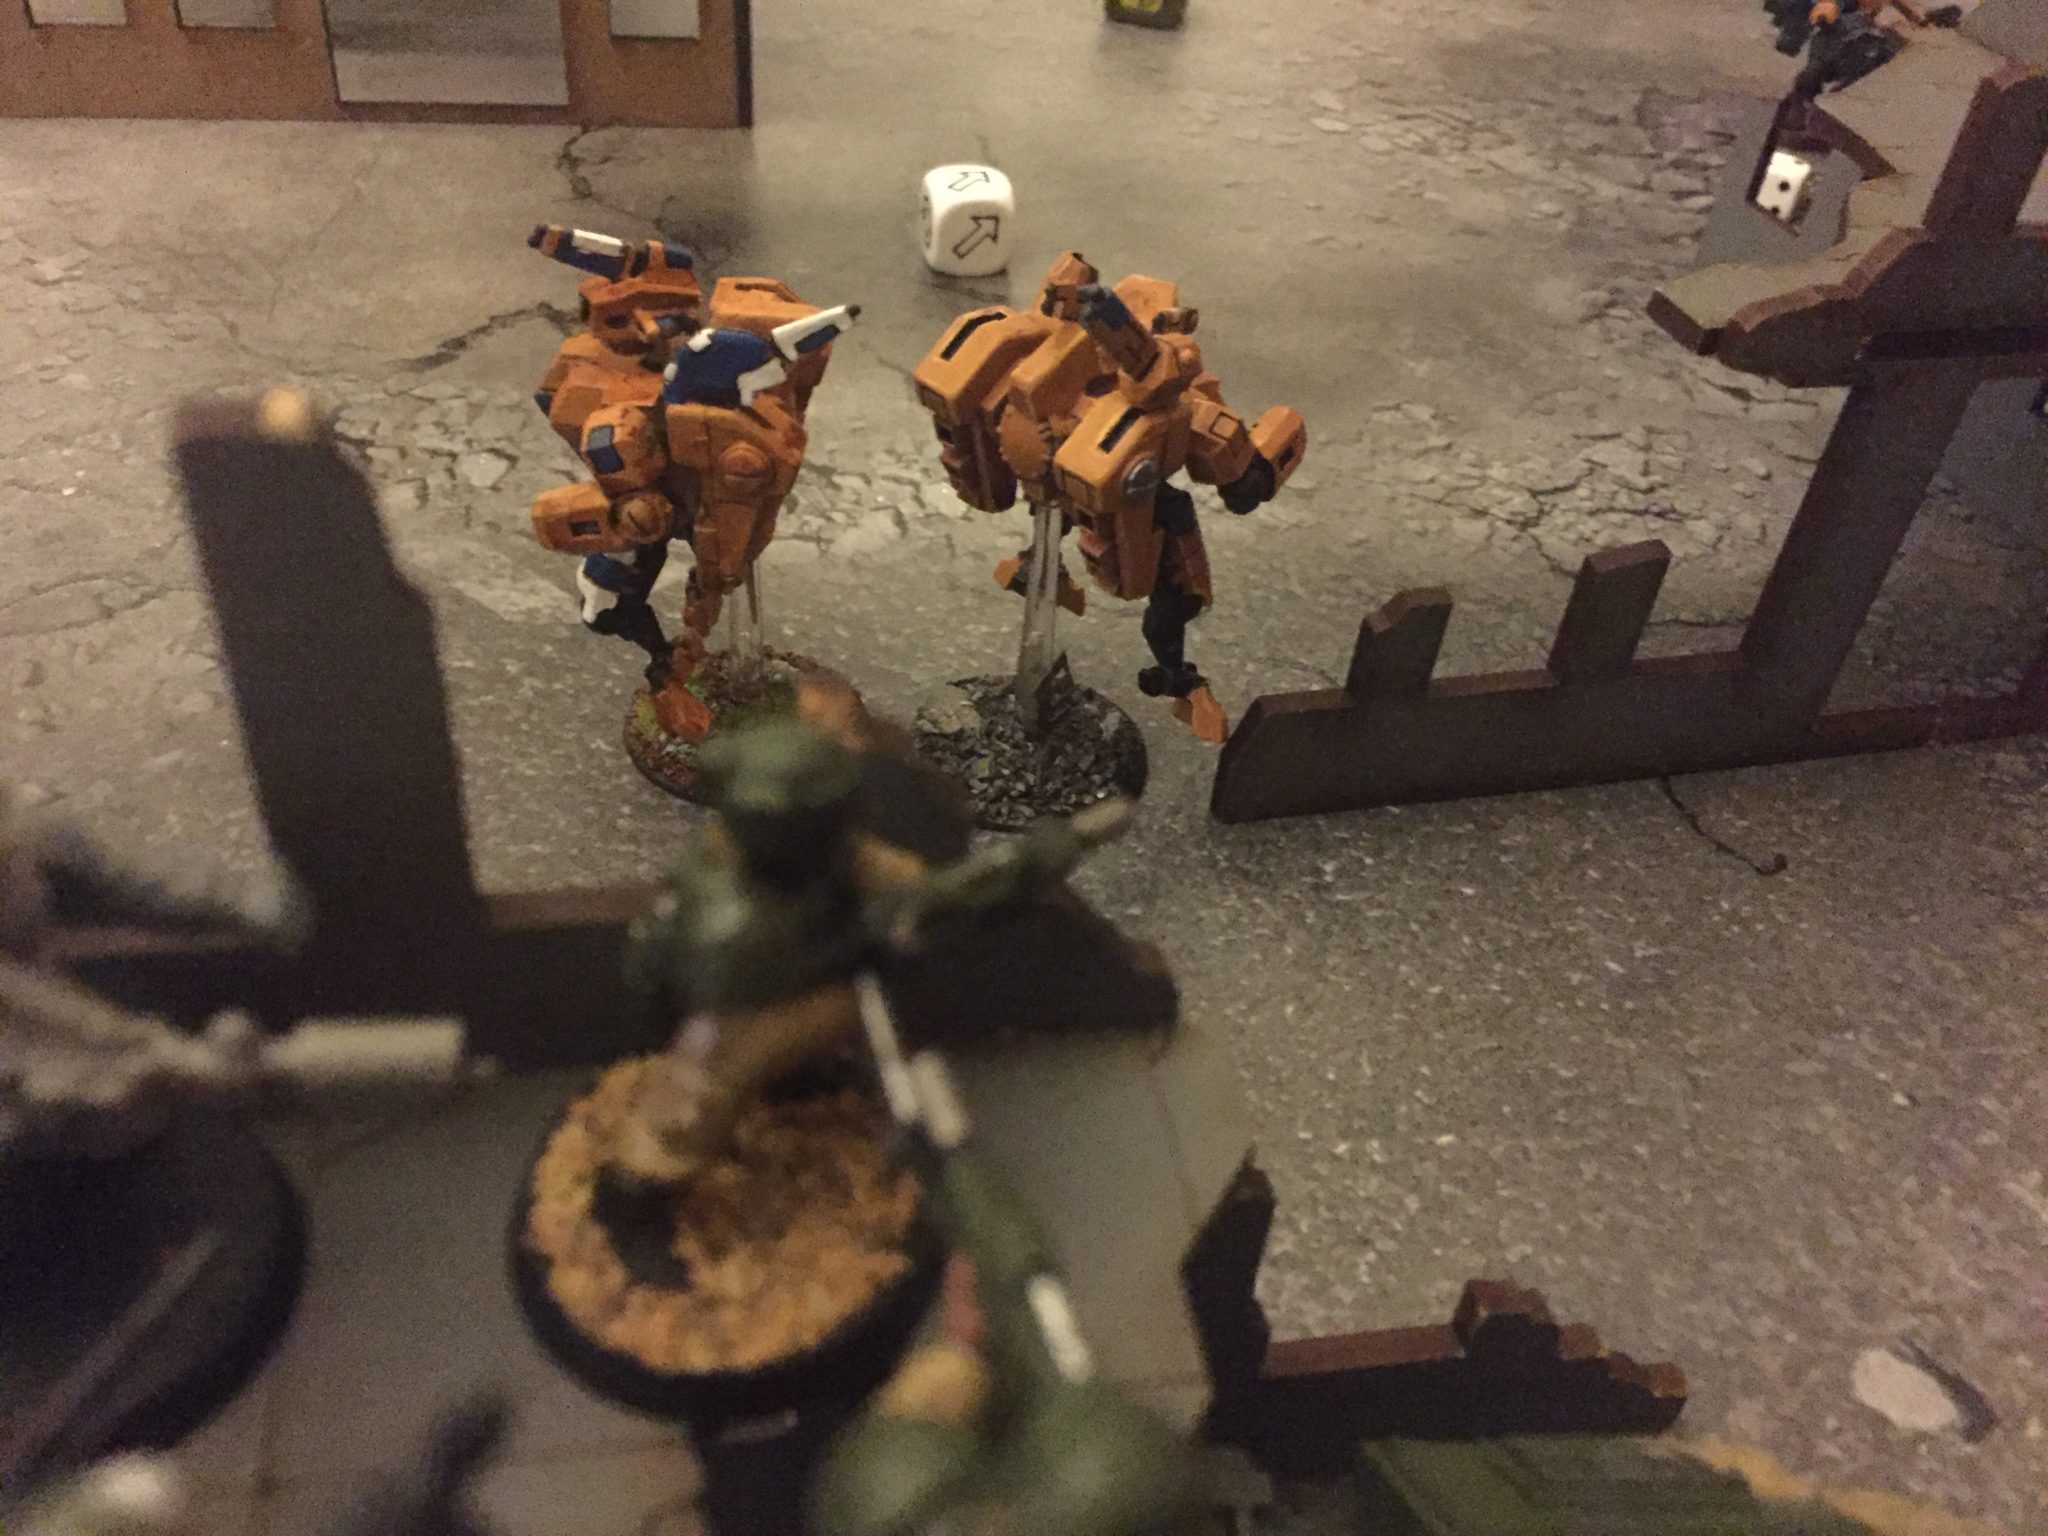
Shadowsun arrives with three Battle Suits from reserve and two other Battle Suits arrive close by.
An attractive Deep Strike target
The below photo shows their arrival points after Shadowsun fired. The large empty areas used to contain a Wyvern. Its explosion did manage to cause a single wound to one of the Suits at the top of the picture. Every cloud and all that…..

Shadow Sun Arrives
The two Battle Suits used their Flamers and Burst Cannons on the Astra Militarum Veterans for First Blood.
Veteran look down on the Tau, as the Tau look up with Flamers
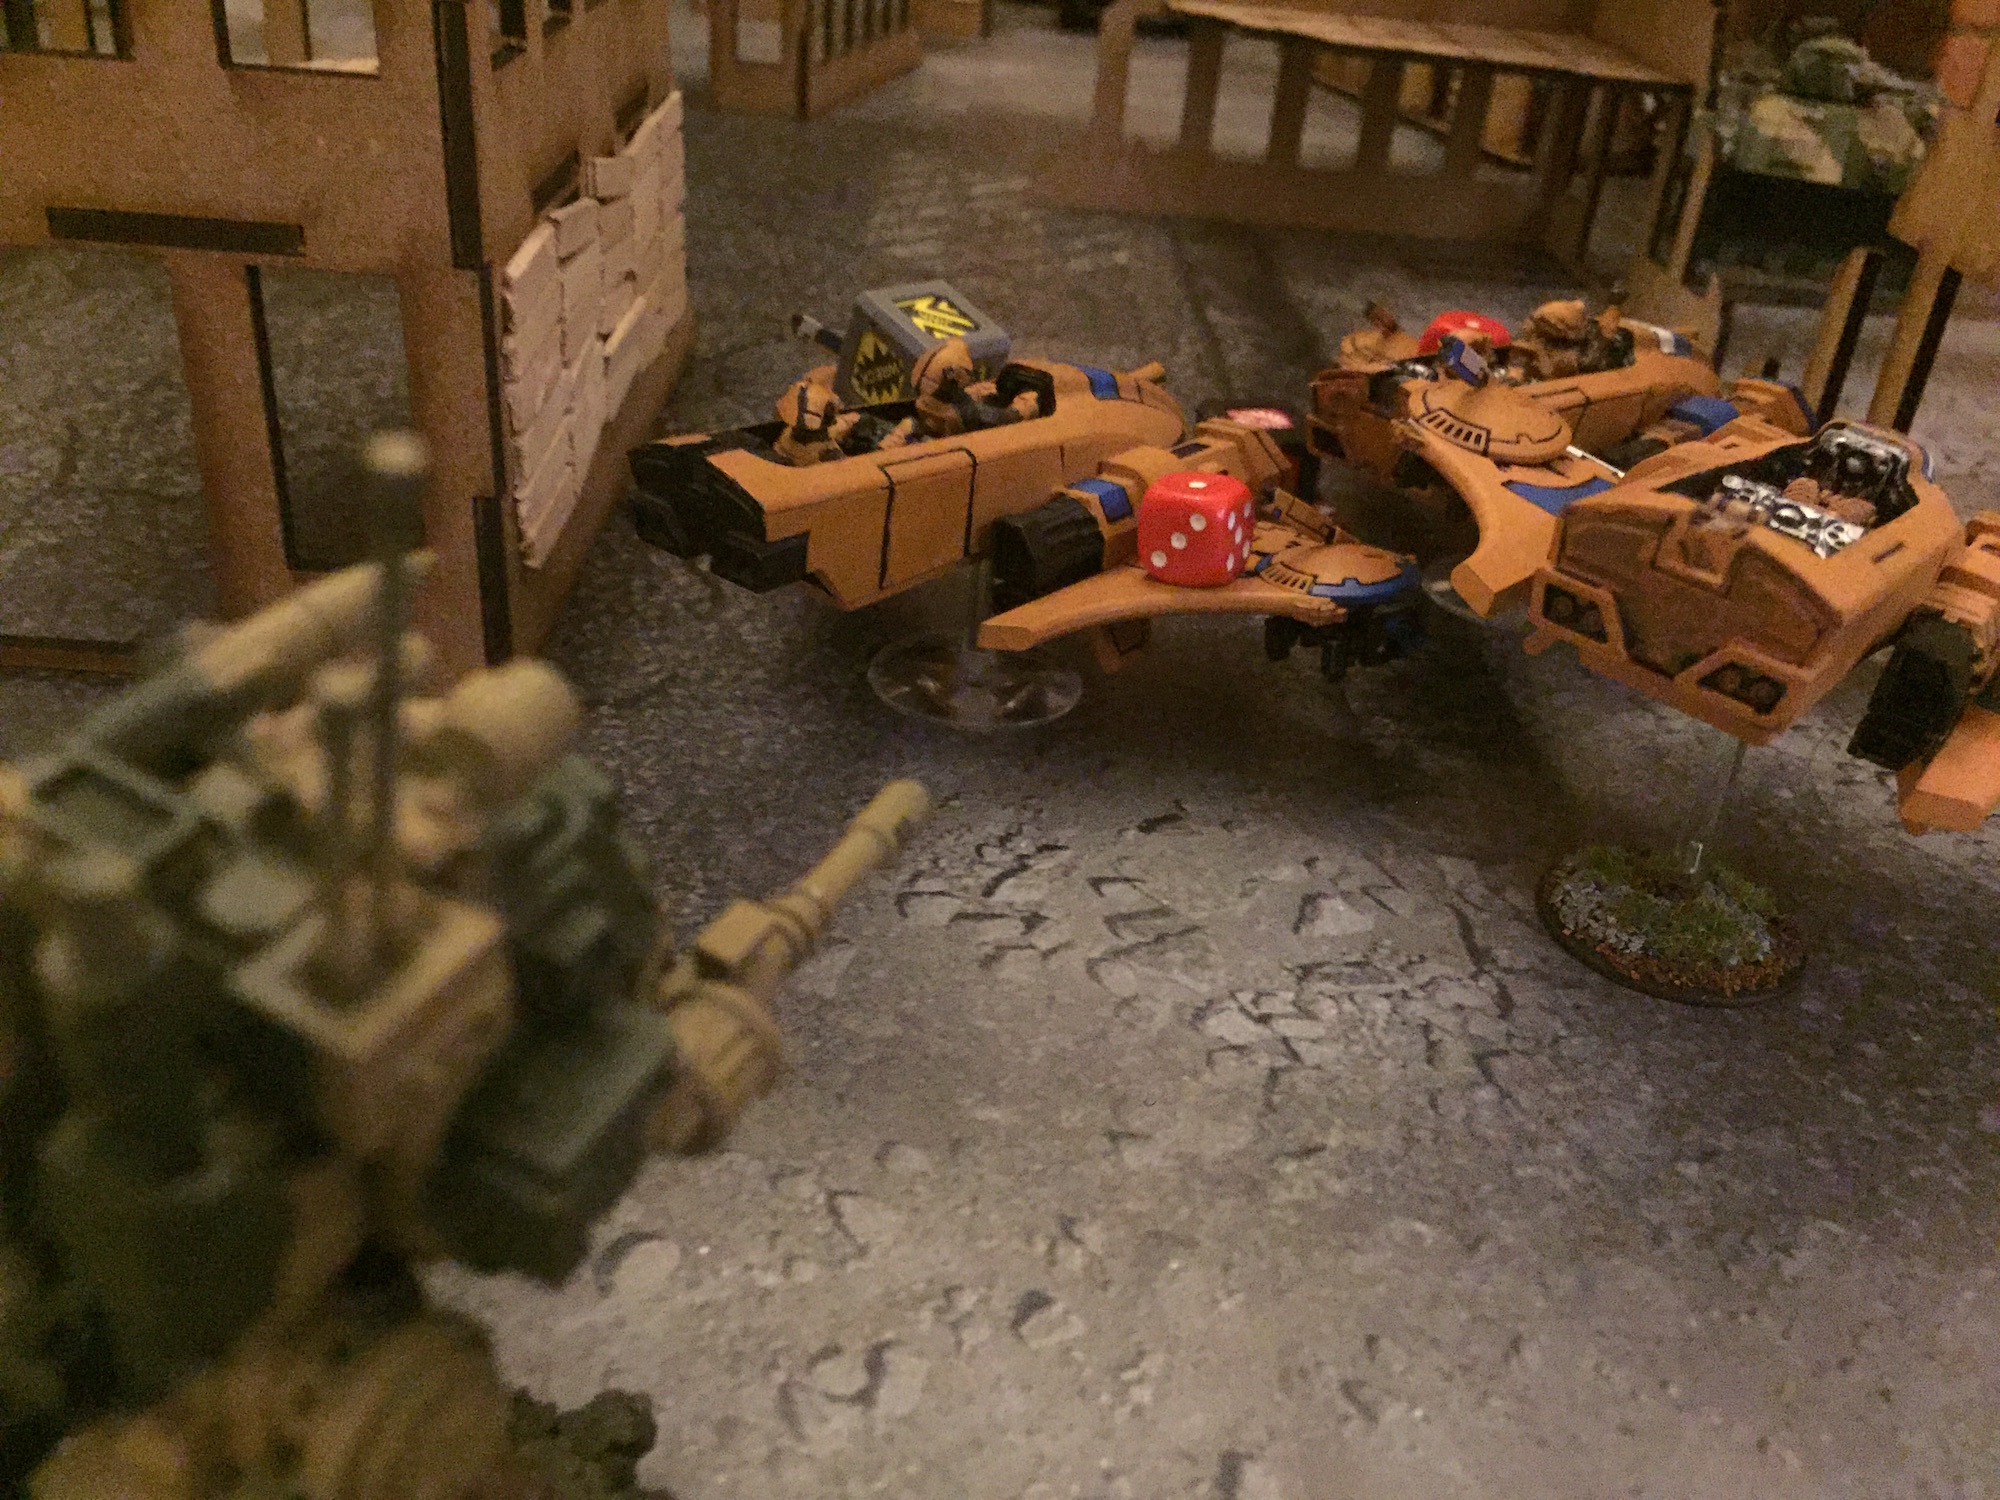
The two remaining Stealth Suits on the right flank easily destroyed the Sentinel right by them. Meanwhile a Devilfish on the left flank glanced the other sentinel to death with ease.
Astra Militarum Vs Tau Turn 2 Summary
Writing this now it seems like the Tau are having the time of their lives! Deep Striking in, popping Wyverns, Chimeras and mopping up Guardsmen with ease. I know that throughout the game however the Astra Militarum were always ahead on Victory Points. Perhaps I was lucky with my draws or perhaps the Tau were unlucky. The Astra Militarum are losing board control at present as the Tau arrive and their faster (Piranhas) are corralling my troops into the Astra Militarum deployment zone.
Turn 3 Astra Militarum
My notes from the the battle at this point read;
Shooting awful.
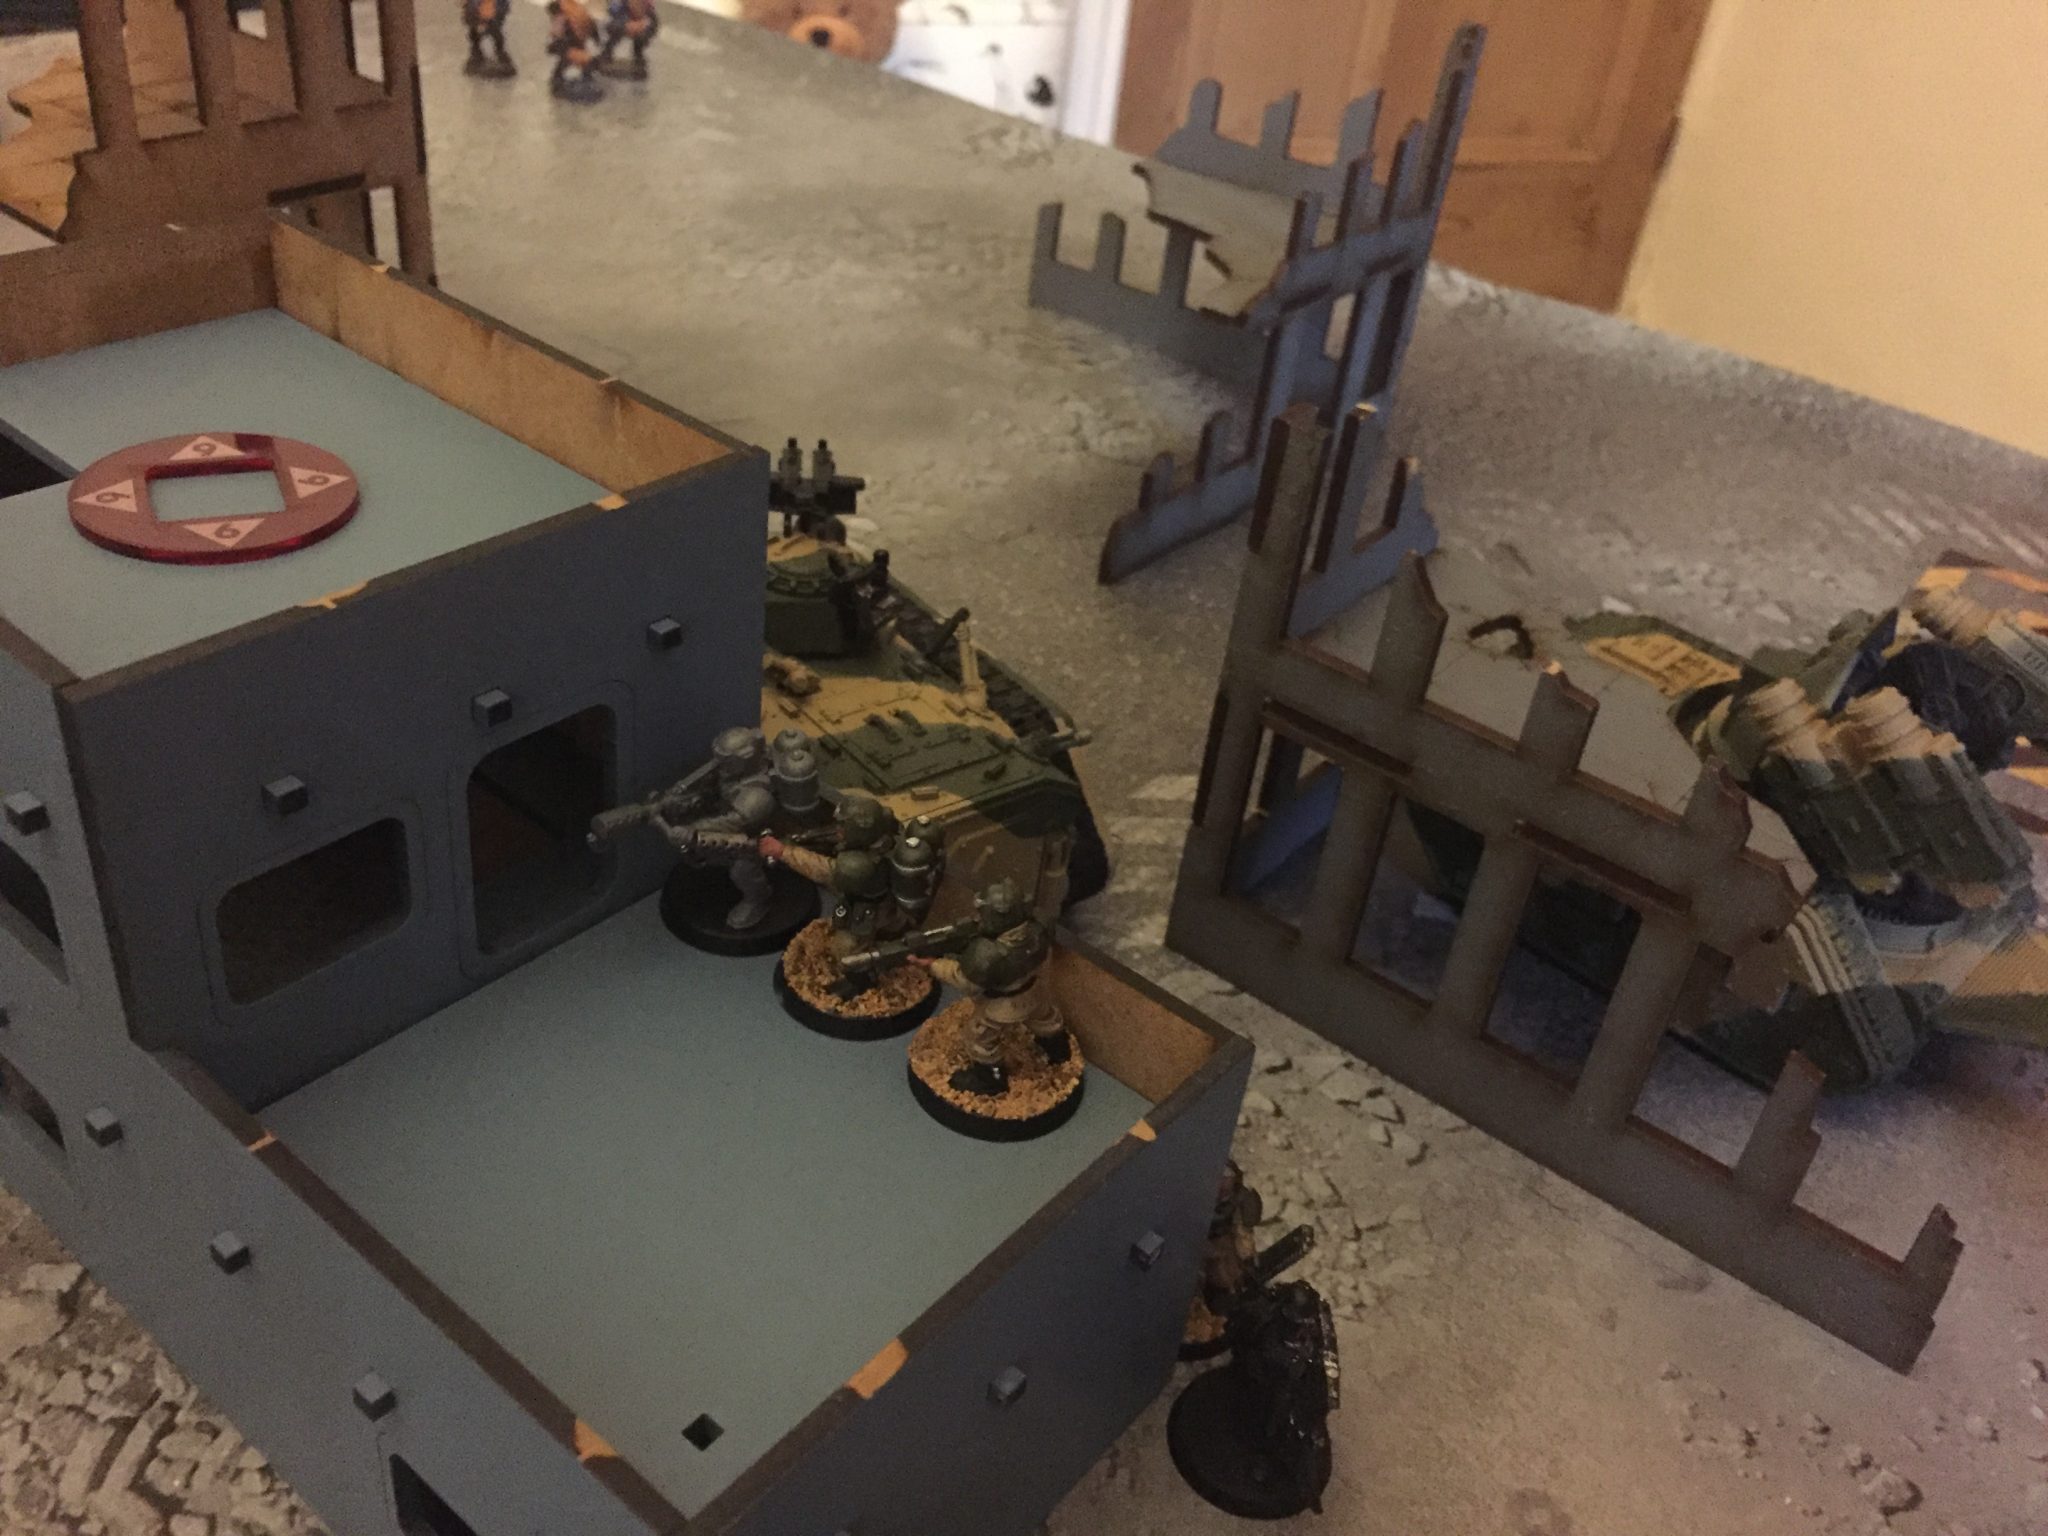
A single hull point was stripped from a Devilfish and immobilised way back in the Tau’s deployment zone by Pask. Pask was just doing OK at this point. I expected the Devilfish to be minced up and wrecked completely by Pask. Shame on Pask! Apologies for the below photo, its the best I had – its a reference for myself to show the top of turn 3.

Pask’s wingman with the Battle Cannon missed Broadsides completely. Such a waste and I usually have such great fun with his wingman. The Chimera on the left flank was stunned and was unable to hit the near by Piranhas. The Veterans disembarked from the Chimera so they could bring all their weapons to bear aginst the Tau.
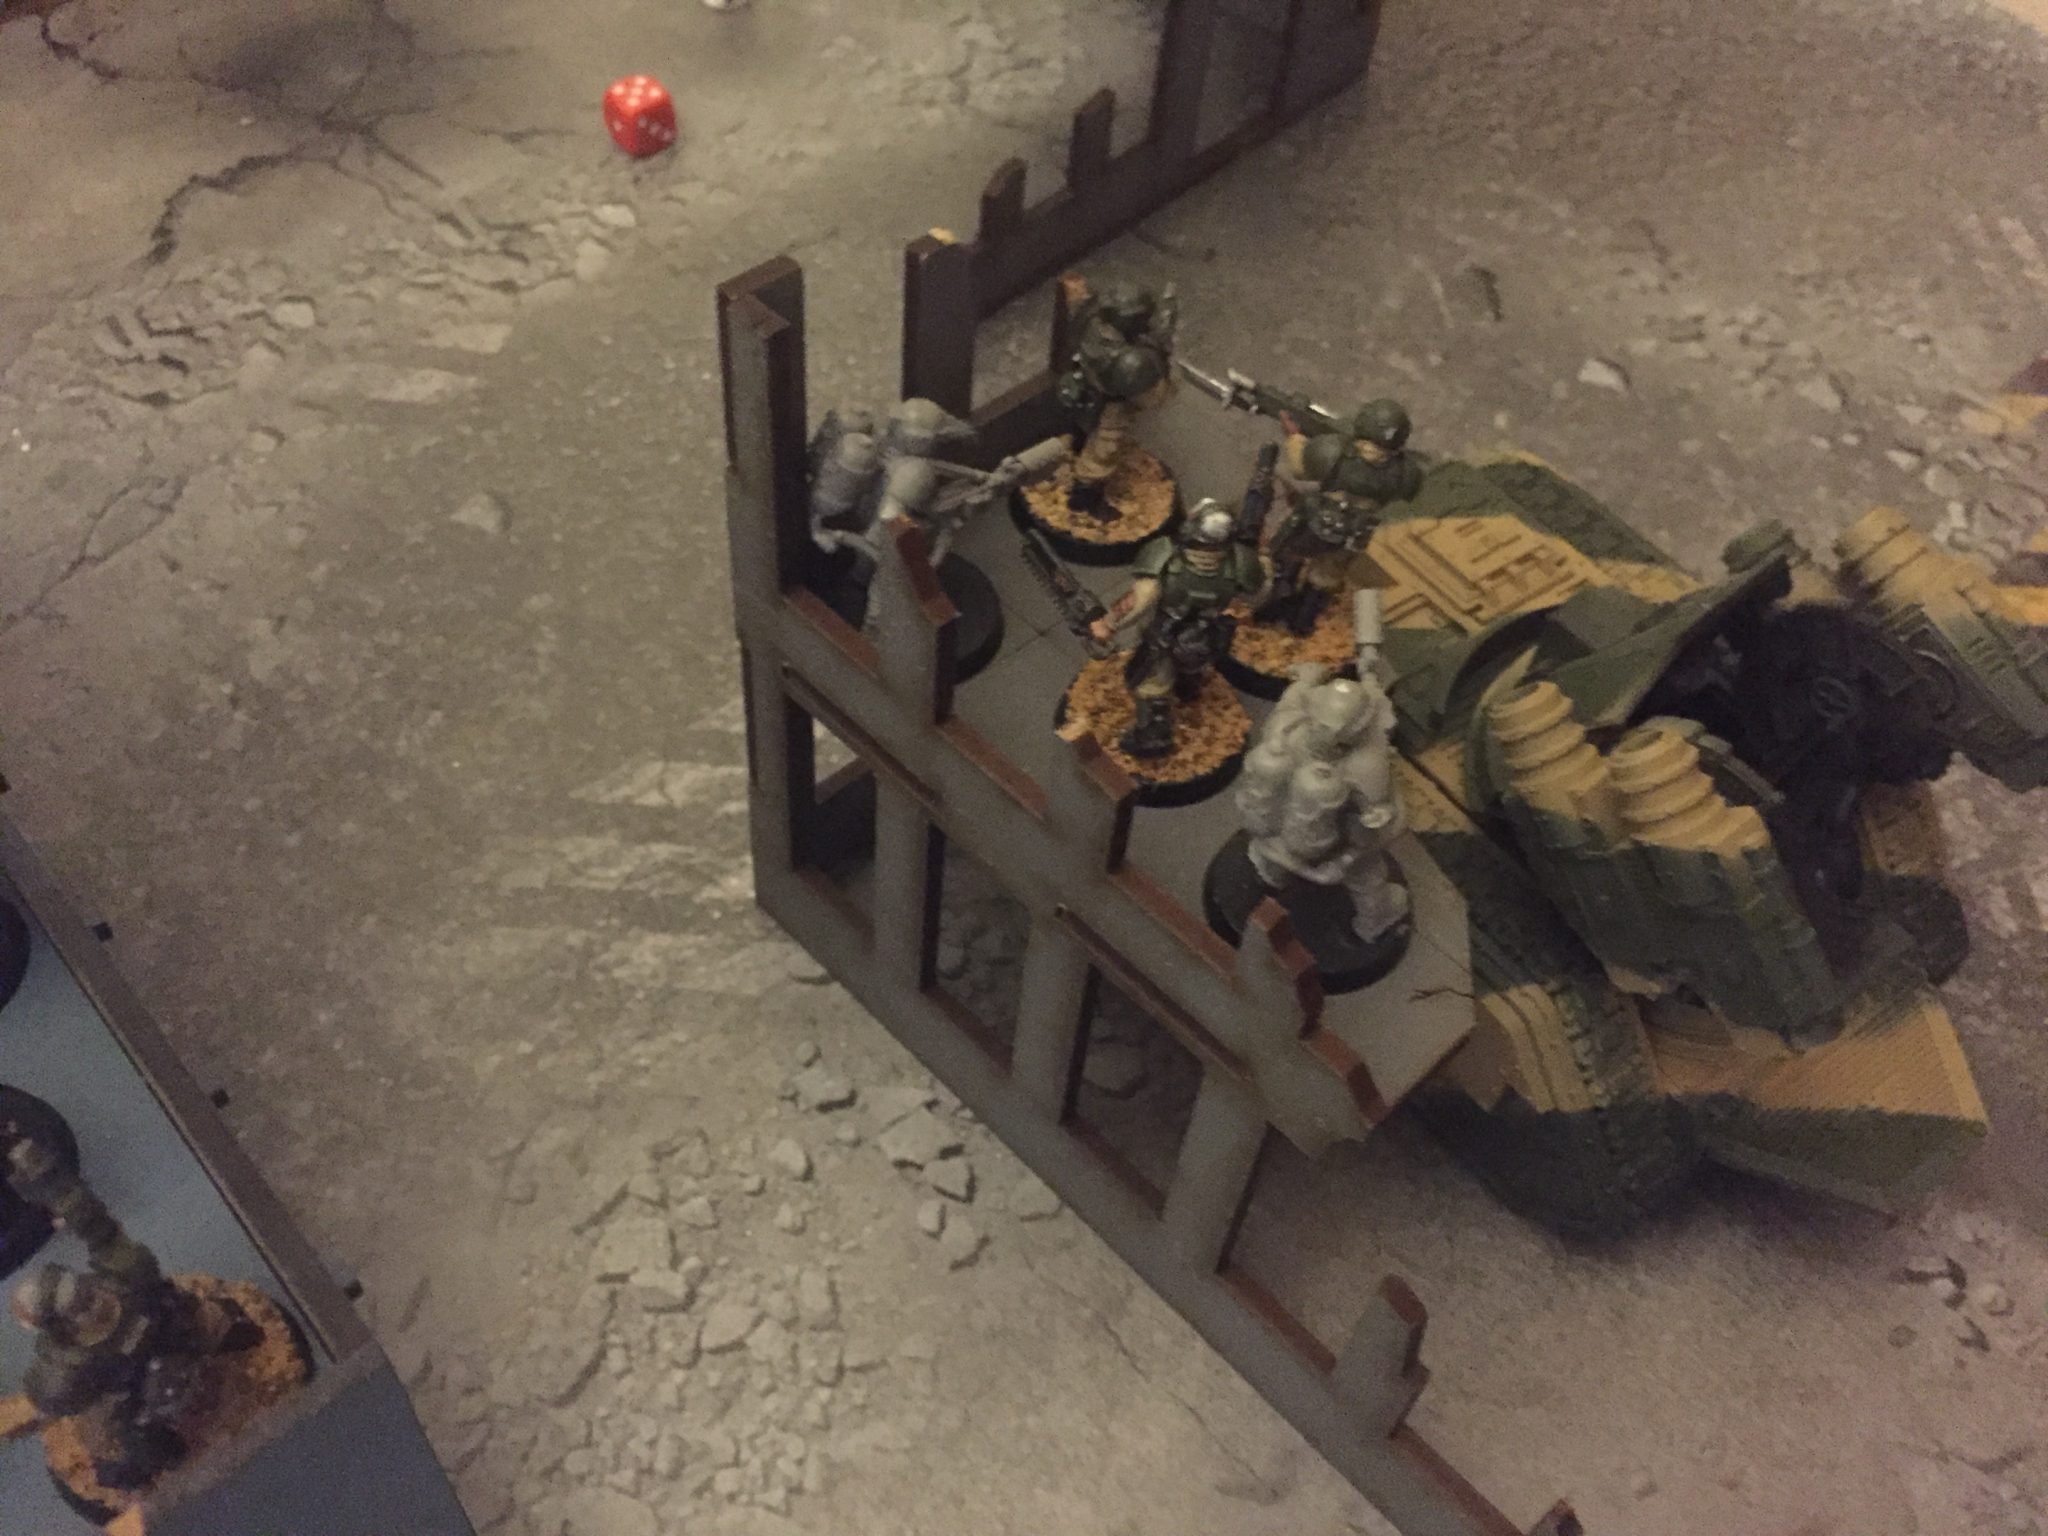
The biggest threat was now Shadowsun and her mates in the Astra Militarum deployment zone. The Veterans with Lascannon killed two Battle Suits from Shadowsun’s unit using all their LAS! Lasguns triple firing thanks for a CCS order and the Lascannon insta killing a Suit too.
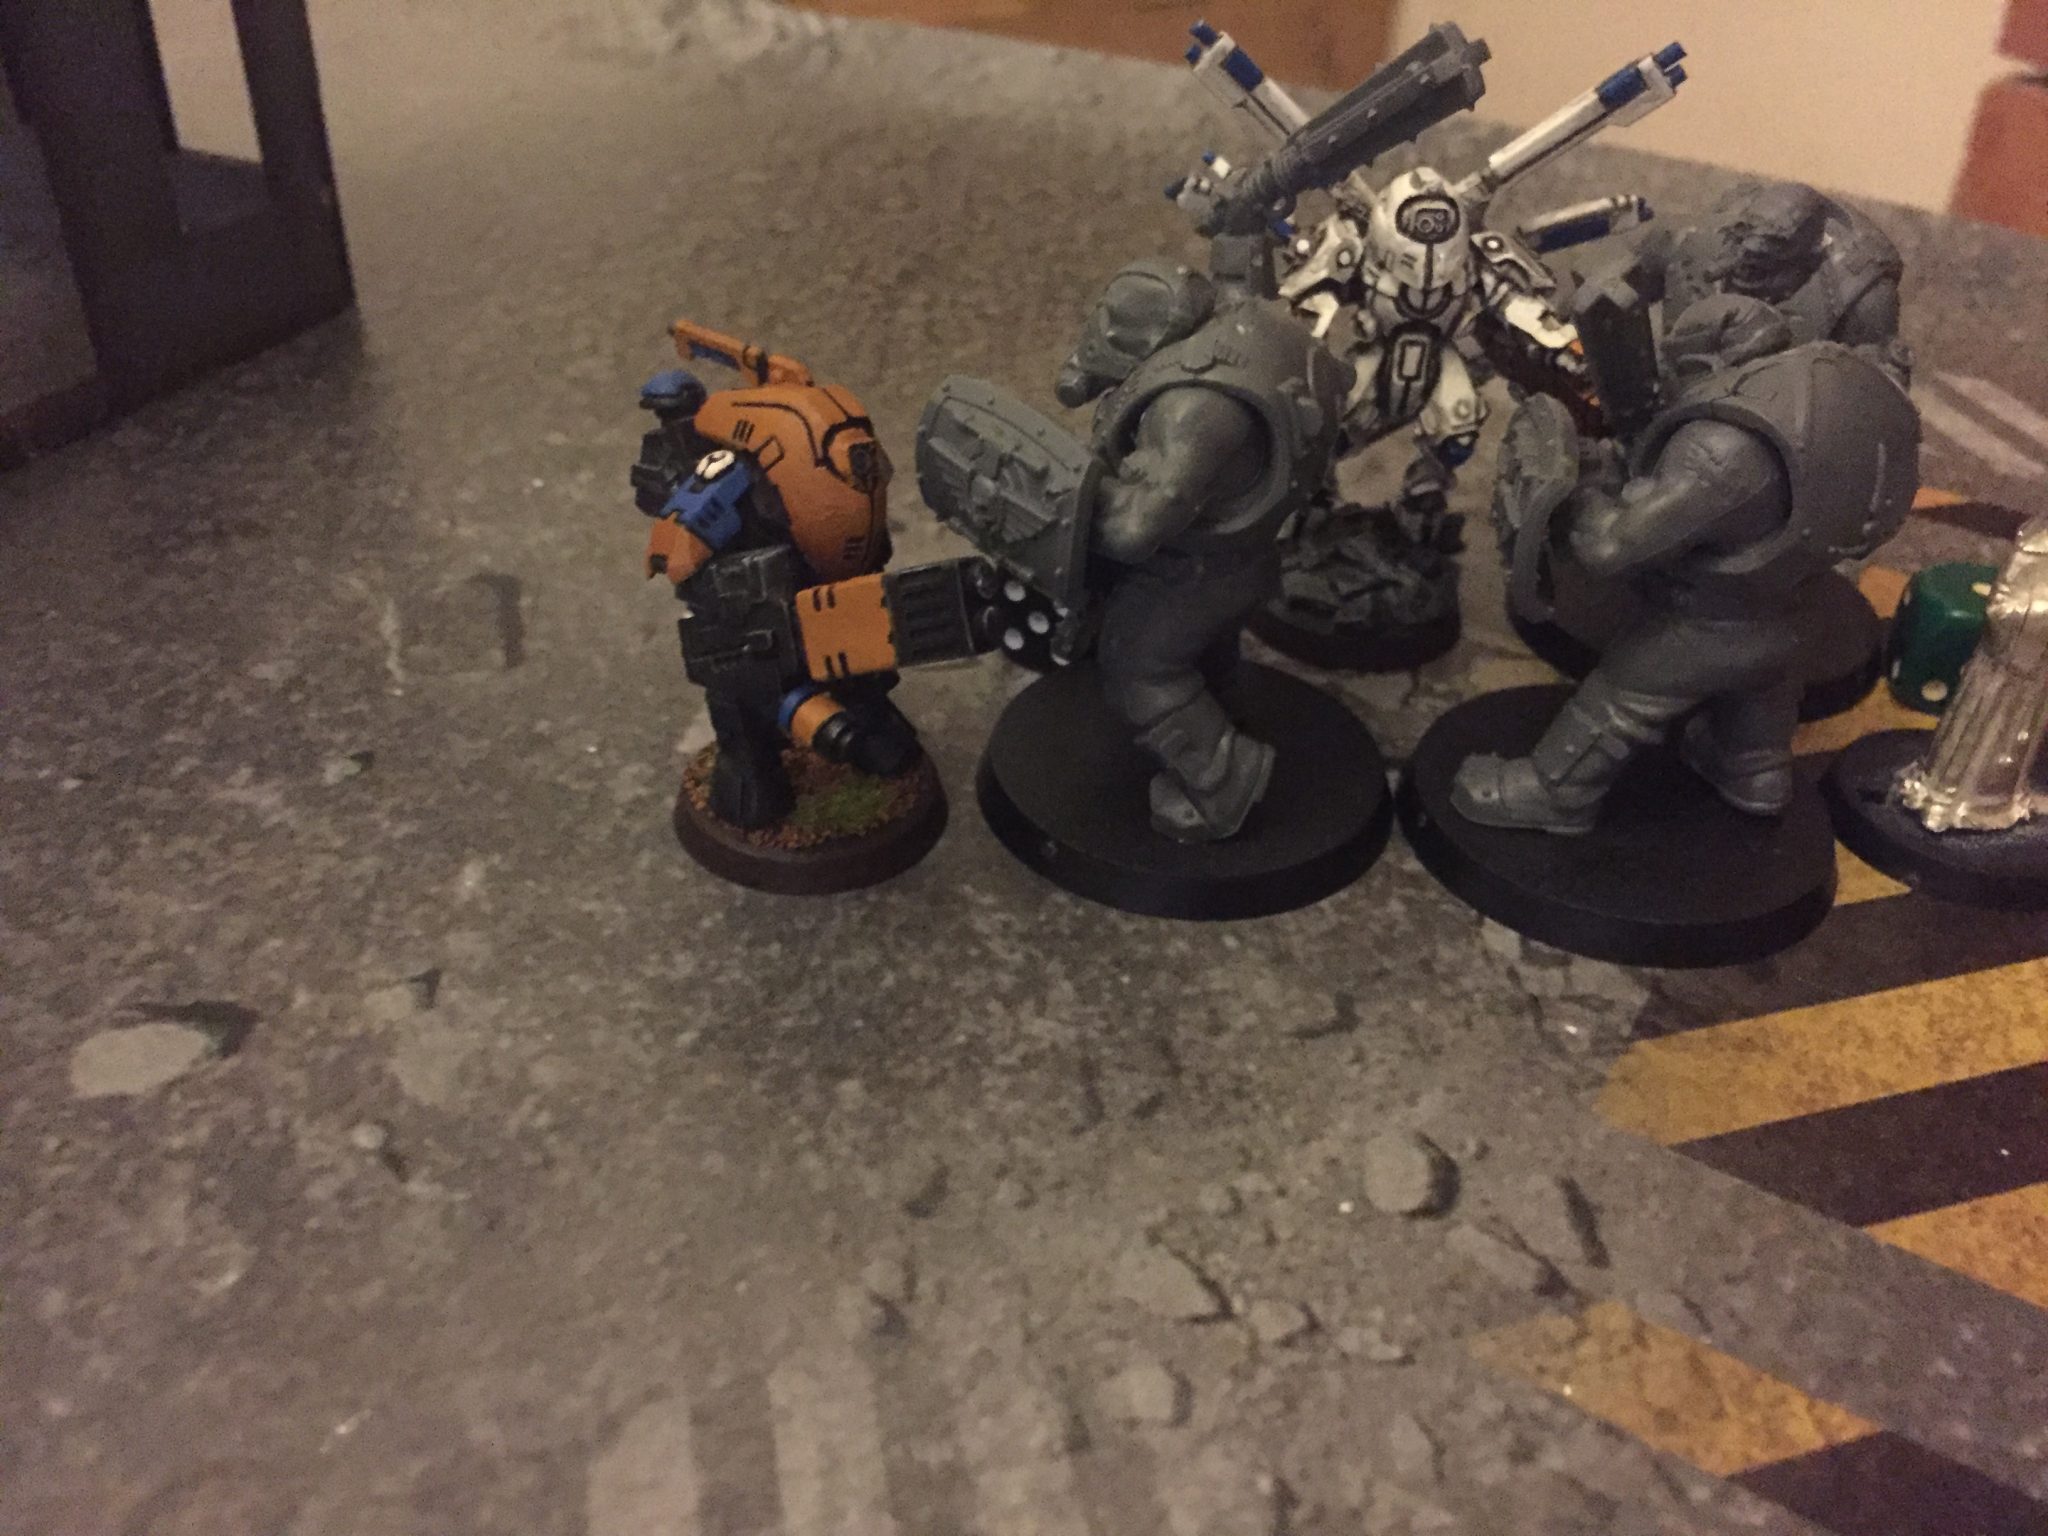
It was now time to cripple the Tau and their firepower. The Bullgryns charged Shadowsun and took a wound in overwatch. They remained locked in combat afer the Bullgryns took two wounds from Shawdowsun’s squad. Meanwhile the CCS charged the pair of Battle Suits and lost a Flamer to over watch. In combat the CCS lost by a single wound but stayed put.
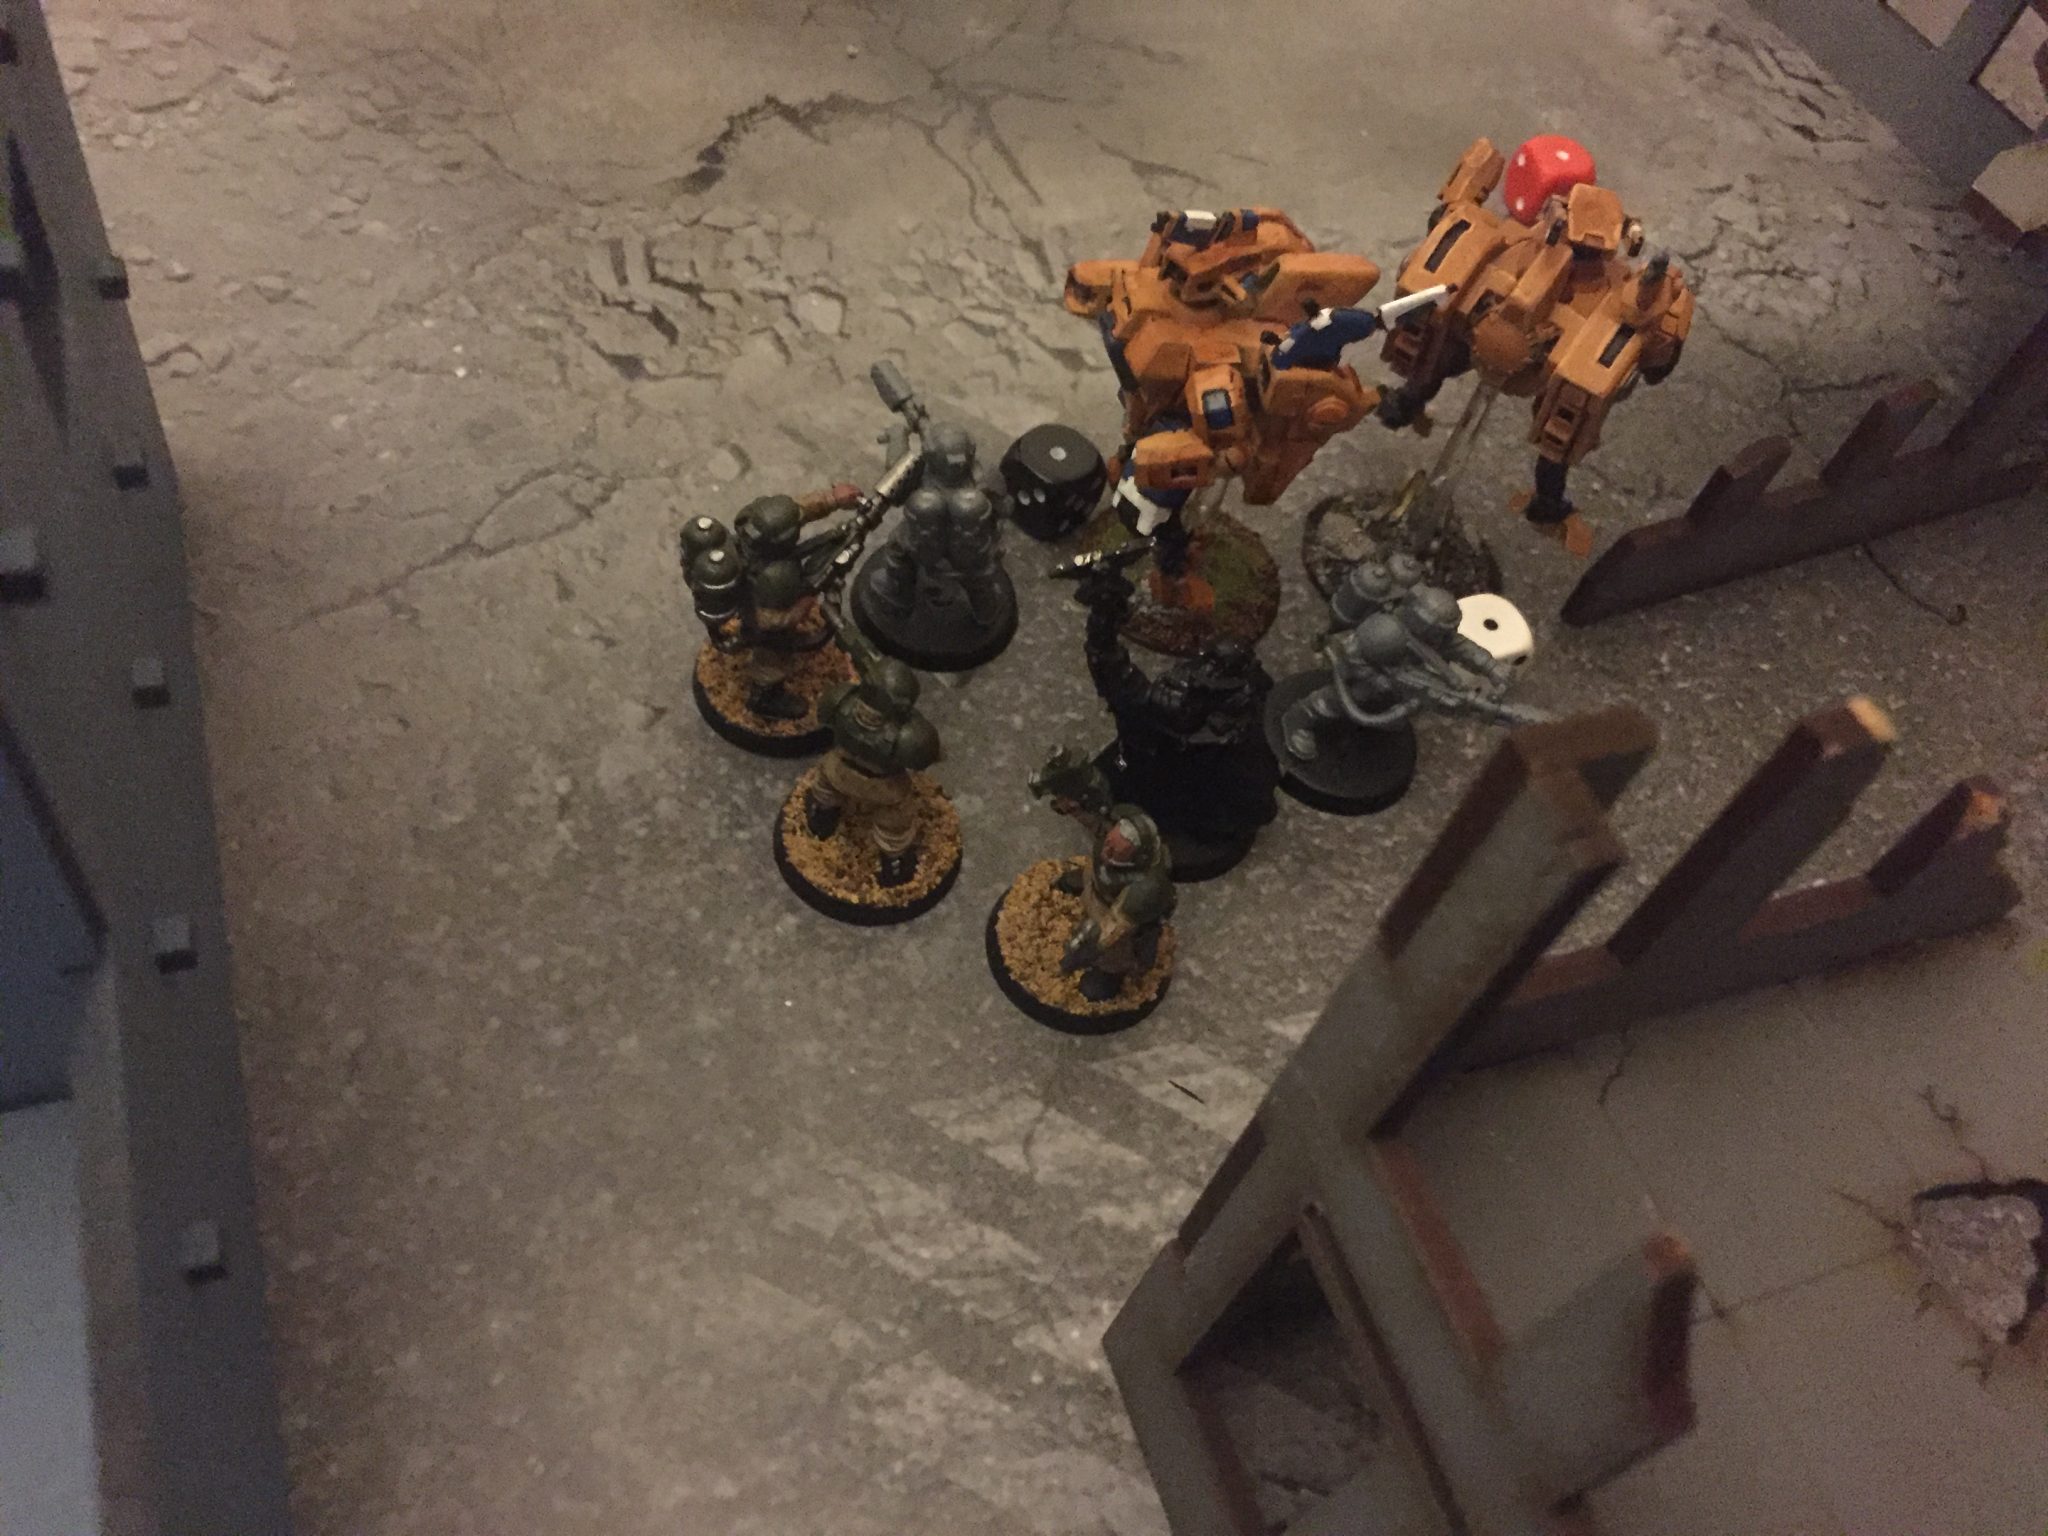
CCS assaults two Battle Suits
Turn 3 Tau
Four Markerlights were placed on Pask at the start of this turn. Its a this point I begin to think its game over. Pask usually generates one guaranteed moment of destruction per turn – loads of wounds on a unit or wounds on an MC or glancing a vehicle to death. This was bad.
Pask weathering the storm
All the Tau shooting missed or failed to wound/penetrate. Emperor be praised! We live to fight another day!
Straight onto the assault phase where the Bullgryns lost a single wound. All combats are still locked denying the Tau Shadowsun’s shooting. It seems all you need in Astra Militarum Vs Tau to win is melee! :)
Astra Militarum Vs Tau Turn 3 Summary
With the Tau in two grinding combats they appear to be on the back foot. Pask is still alive, towards the centre of the table (ish), with 3 hull points and no damage at all. The Astra Militarum are still mounting up VPs as objectives are held near their deployment zone. It appears to be crunch time now as the Tau have run out of steam and the Astra Militarum still have a formidable force available from the two Leman Russ tanks.
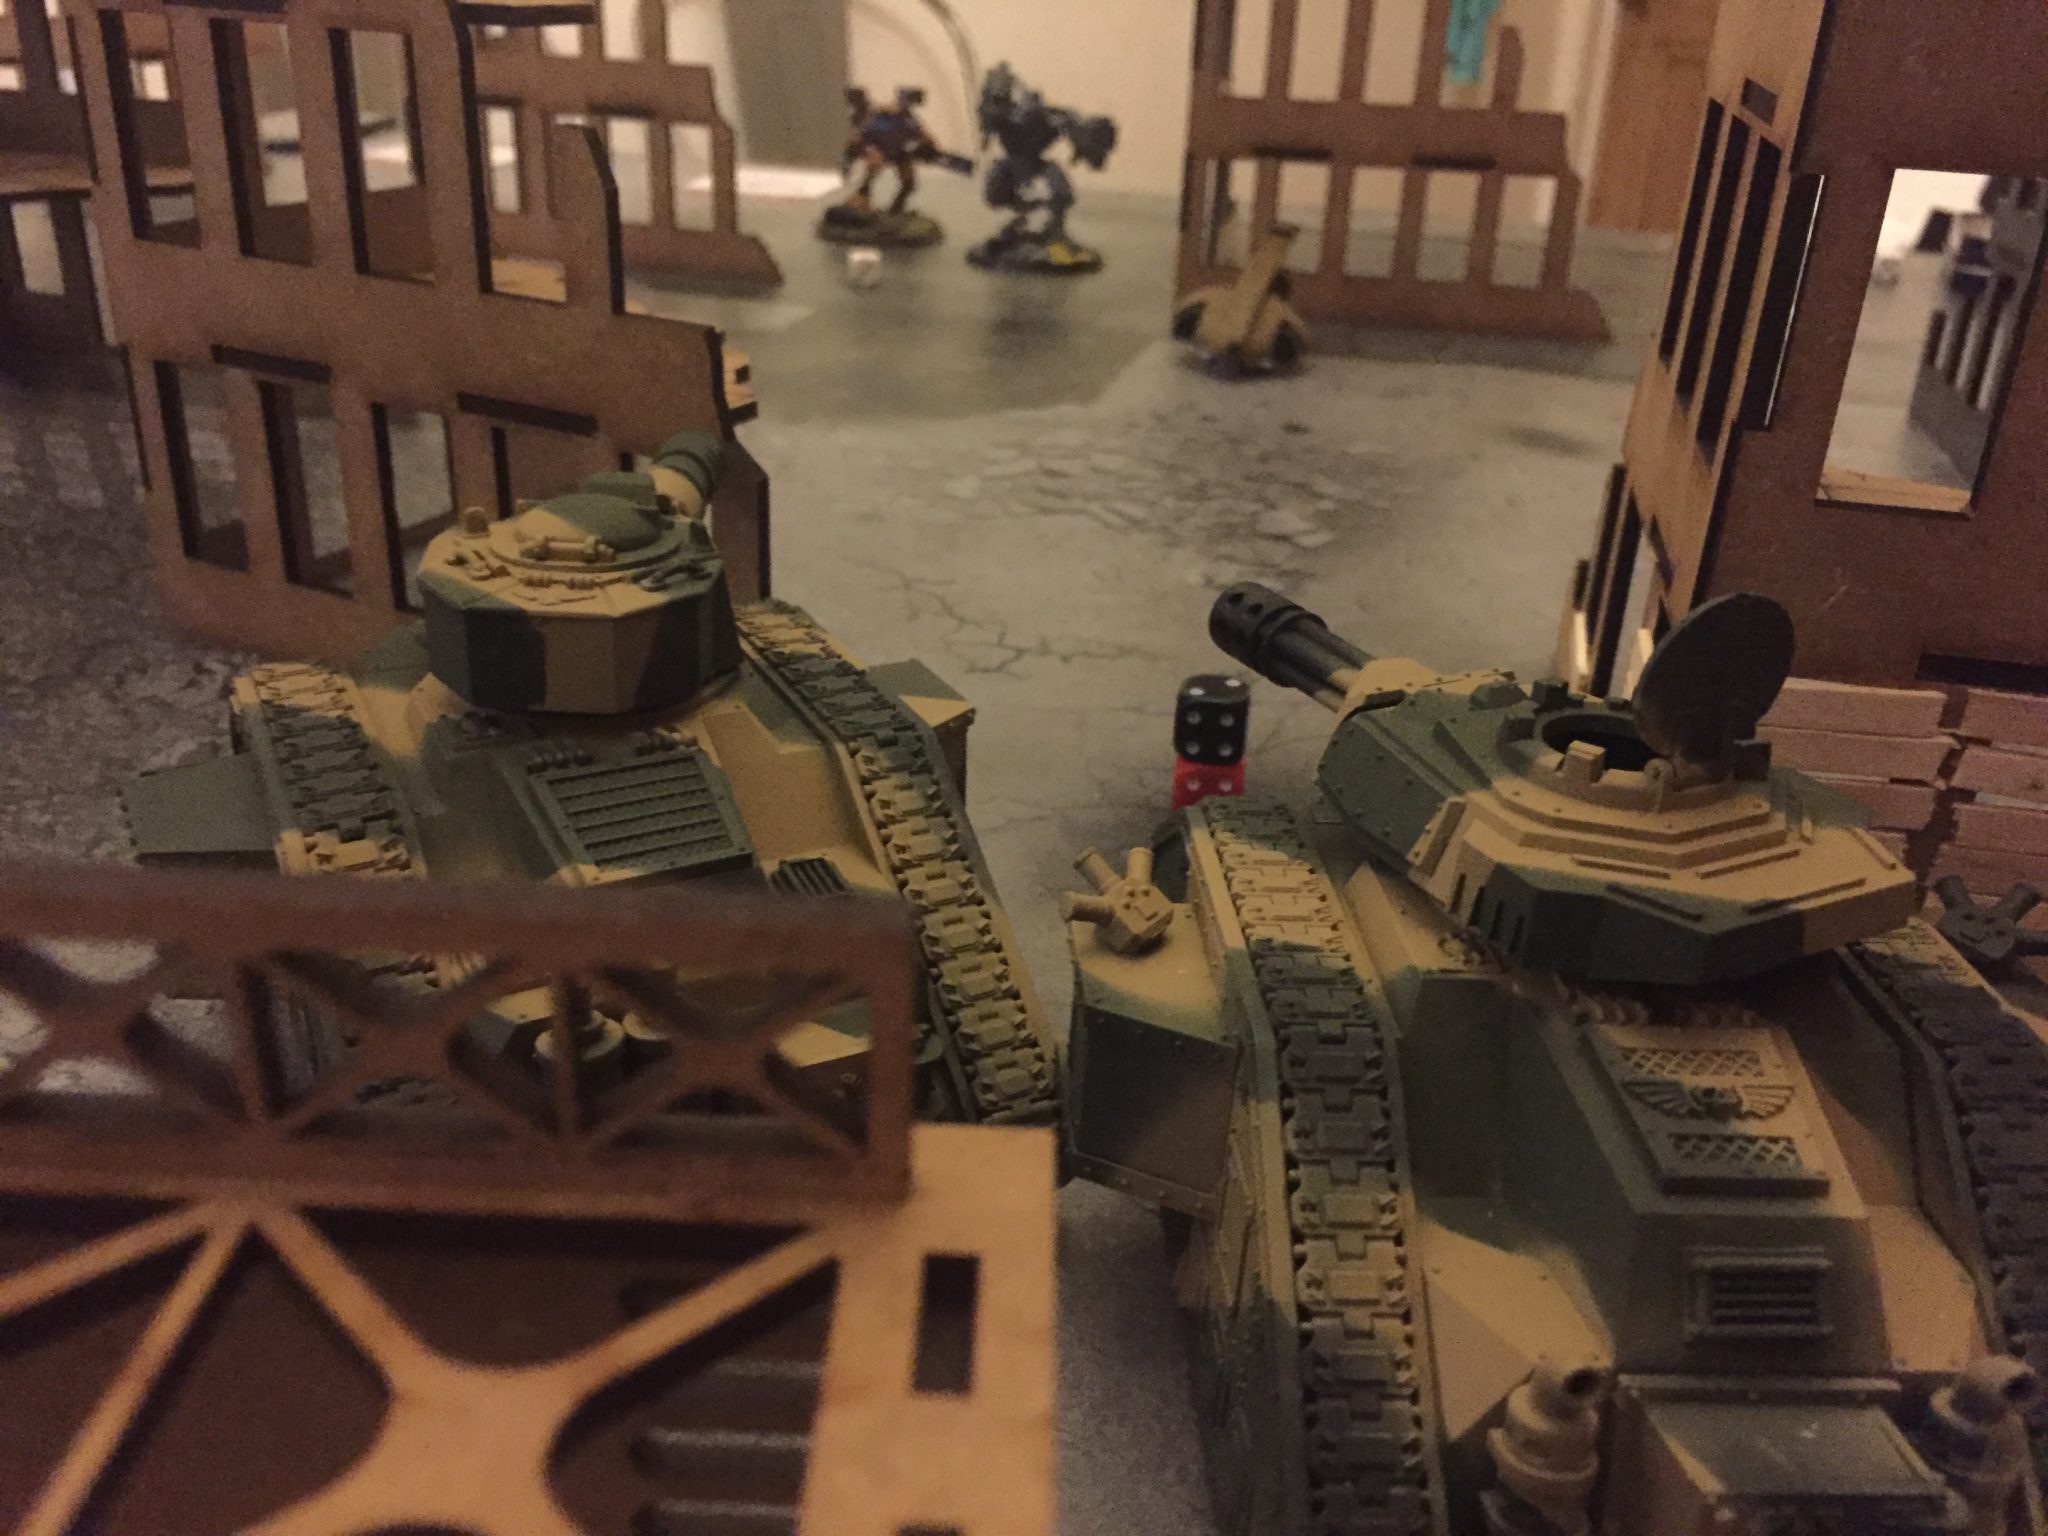
The below photo was taken on turn one or two but it shows the Enginseer with two Servitors near by to Pask. The Enginseer is well in cover from the Tau and easily able to repair Pask and his Wingman. I think if thing got really messy they would be handy to have for charging, just to clog up the enemy a little.

Pask and Wingman with Enginseer support
Turn 4 Astra Militarum
Now Shadowsun is locked in combat, Pask and and his Wingman turn their attention to the Boardsides across the battlefield. The Battle Cannon and Punisher Cannon only managed to kill one Broadside however!
The remaining Chimera on the left flank killed a Piranha with its Heavy Flamer – leaving two of the skimmers left. The Lascannon team which softened up Shawowsun earlier in the game ran towards objective 5 as they now seemed free to move around and objective grab. The melee combats were really grinding now and the Tau were crippled without their Warlord and her Fusion Blasters.
Veterans running to objective 5
The Bullgryns killed the one remaining Suit which left only Shawdowsun. They lost a wound though and stayed locked in combat thanks to the Priest. Meanwhile the Veterans did no damage and took no damage. Still we grind on.
Turn 4 Tau
The Tau finally drew some decent objectives…. and threw the Stealth Suits into the combat with the Bullgryns!
Stealth Suits…. CHARGE!
We ended the game an Astra Militarum win at this point as I was ahead with 7 VPs to the Tau’s single VP – I think. With one turn remaining there was no way the Tau were going to make up the difference in points. It seems all you need with Astra Militarum Vs Tau is assault, once you hit the assault and clog up the Tau they’ve no chance.
Again big thanks to all those who contributed in Part 1. Looking forward to a little more feedback on this Astra Militarum Vs Tau battle report!