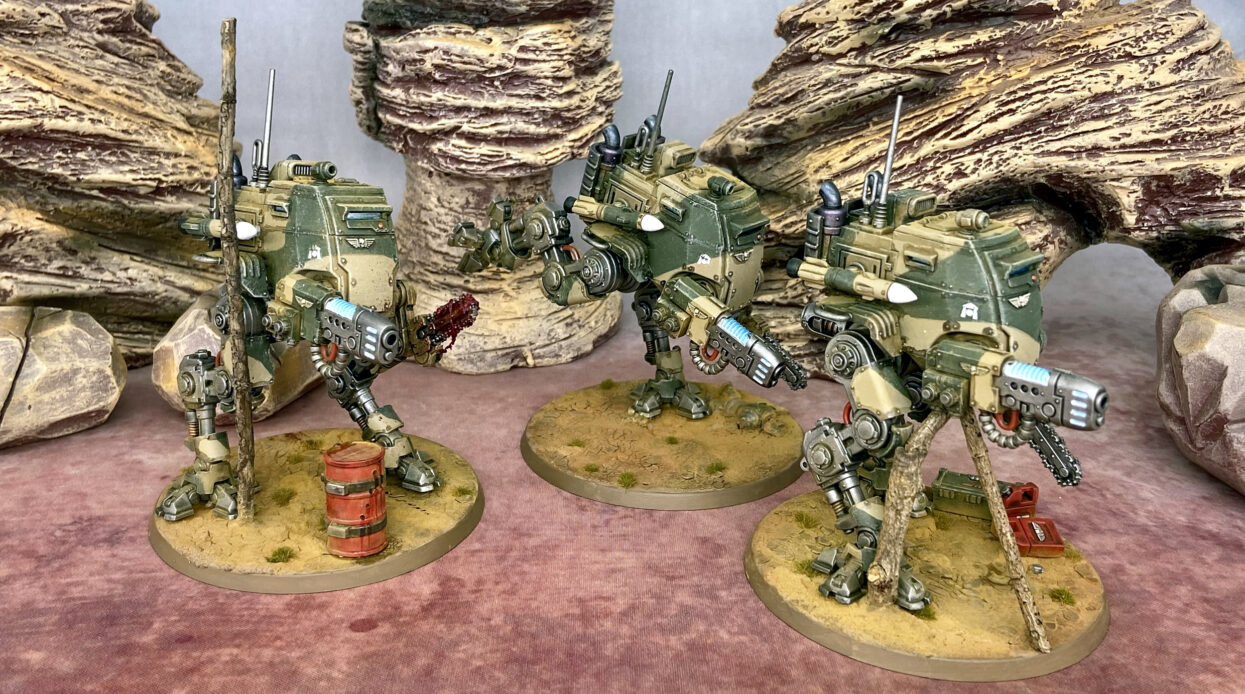
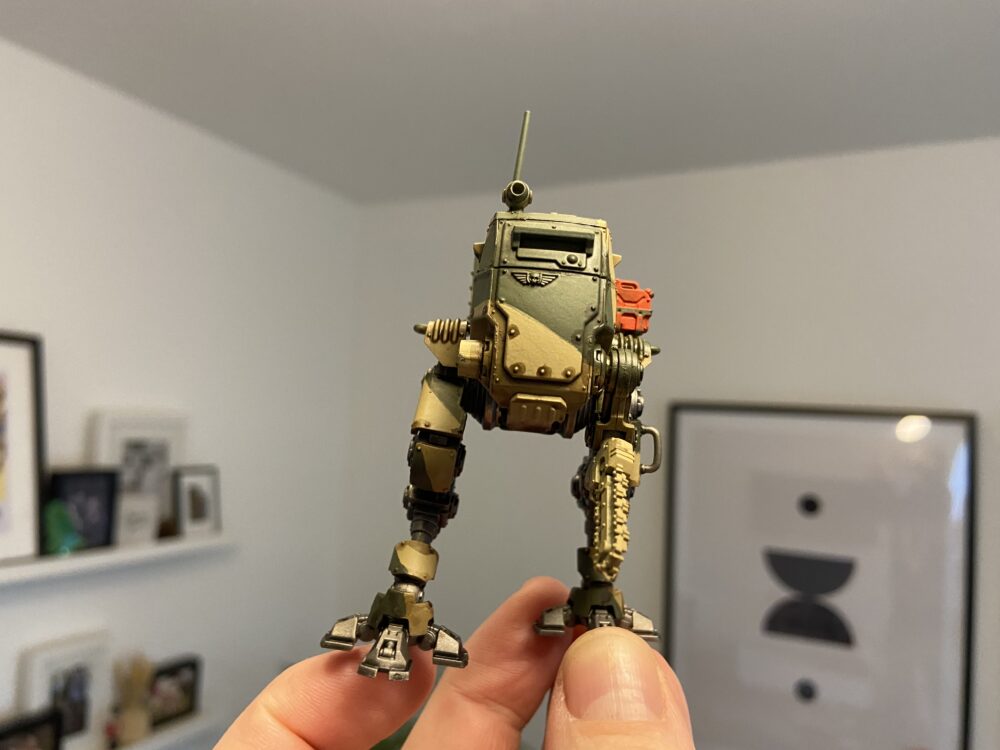
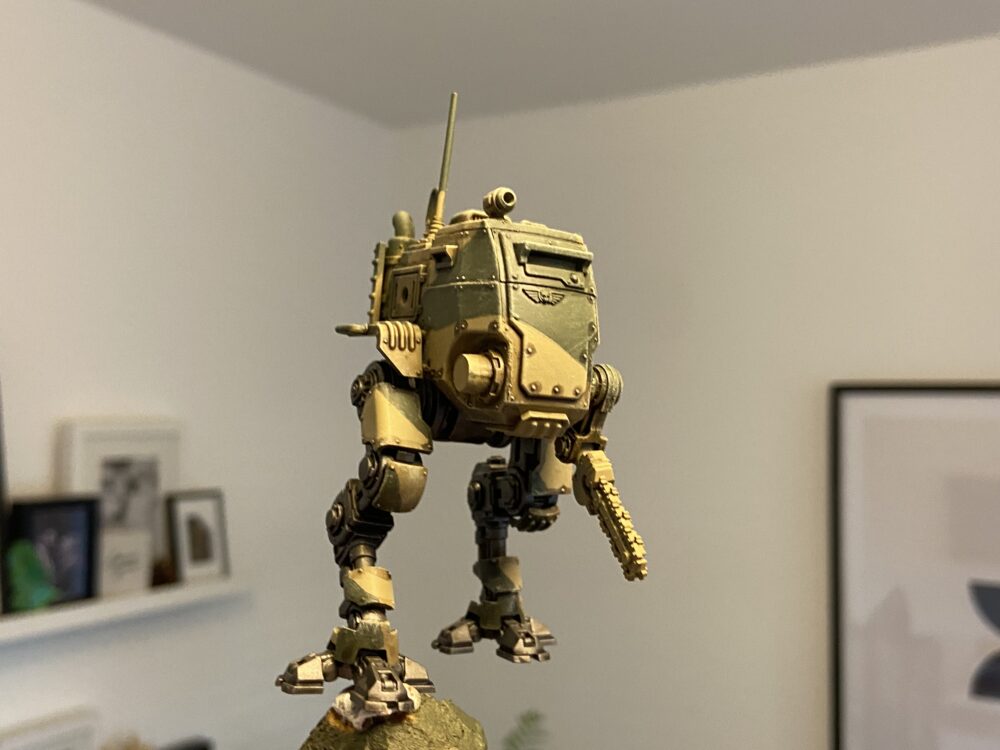
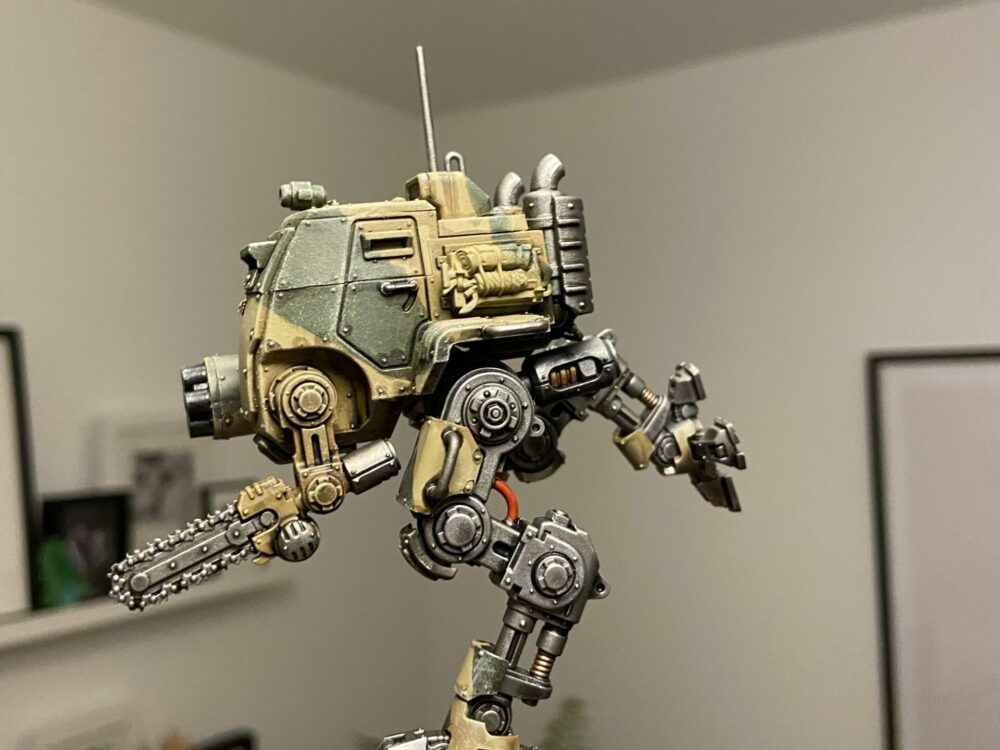
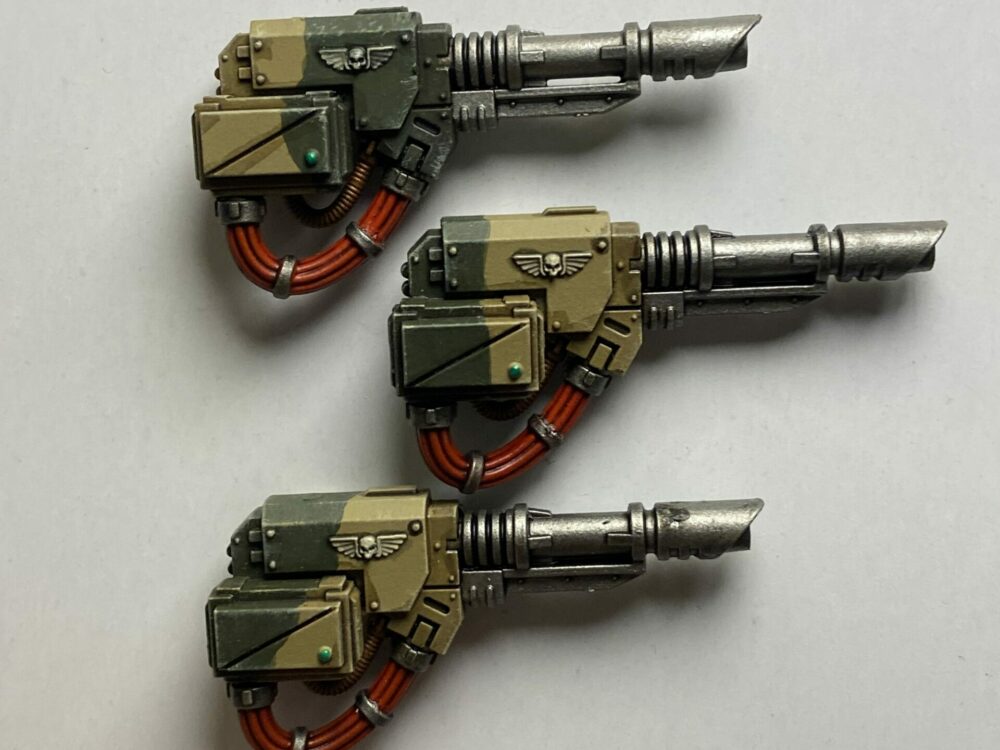
Armoured Sentinels Completed
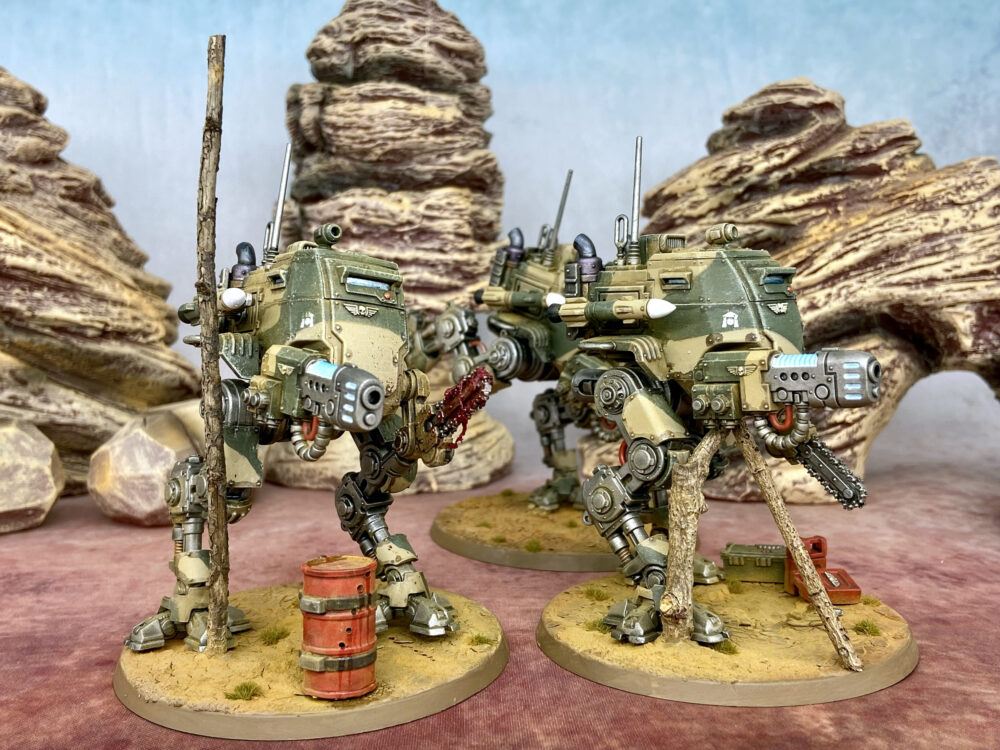
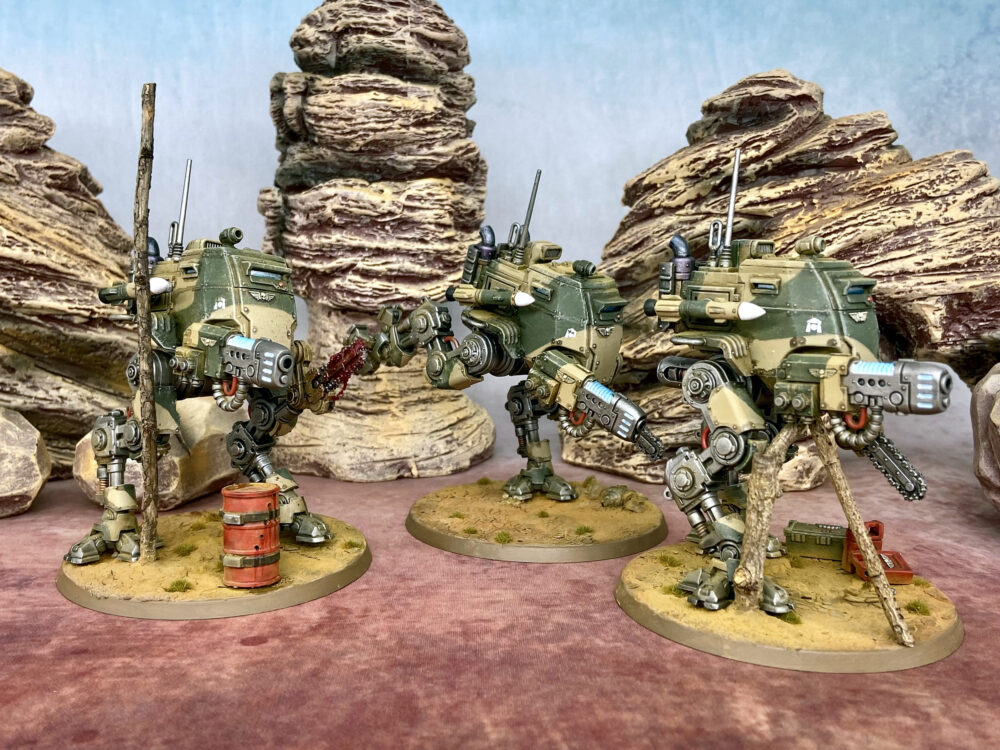
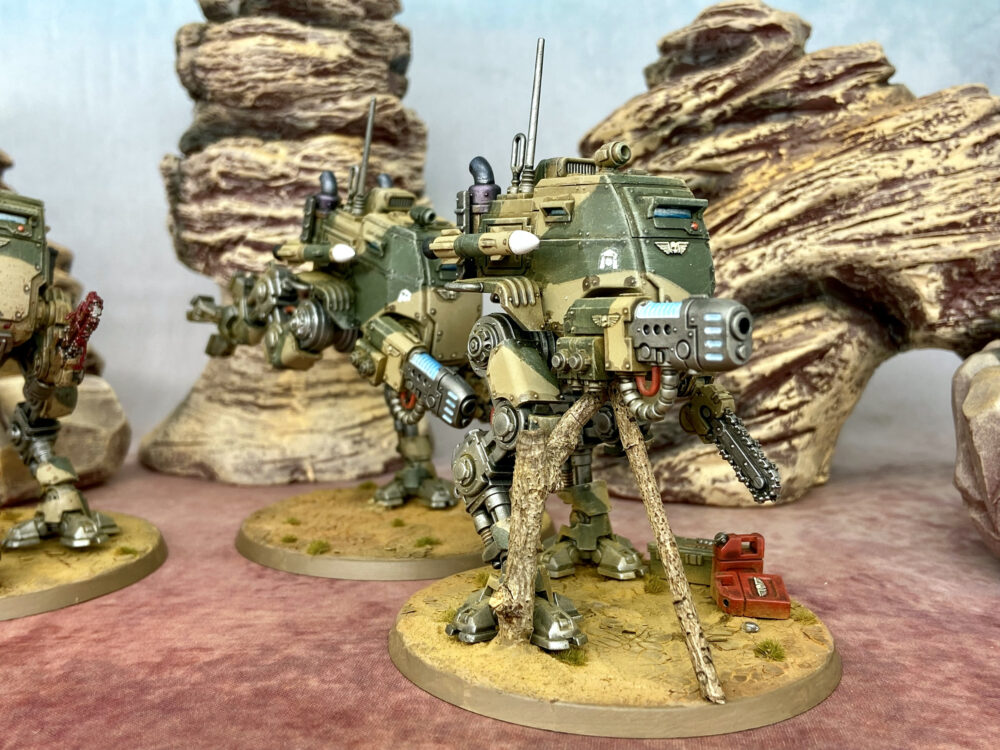
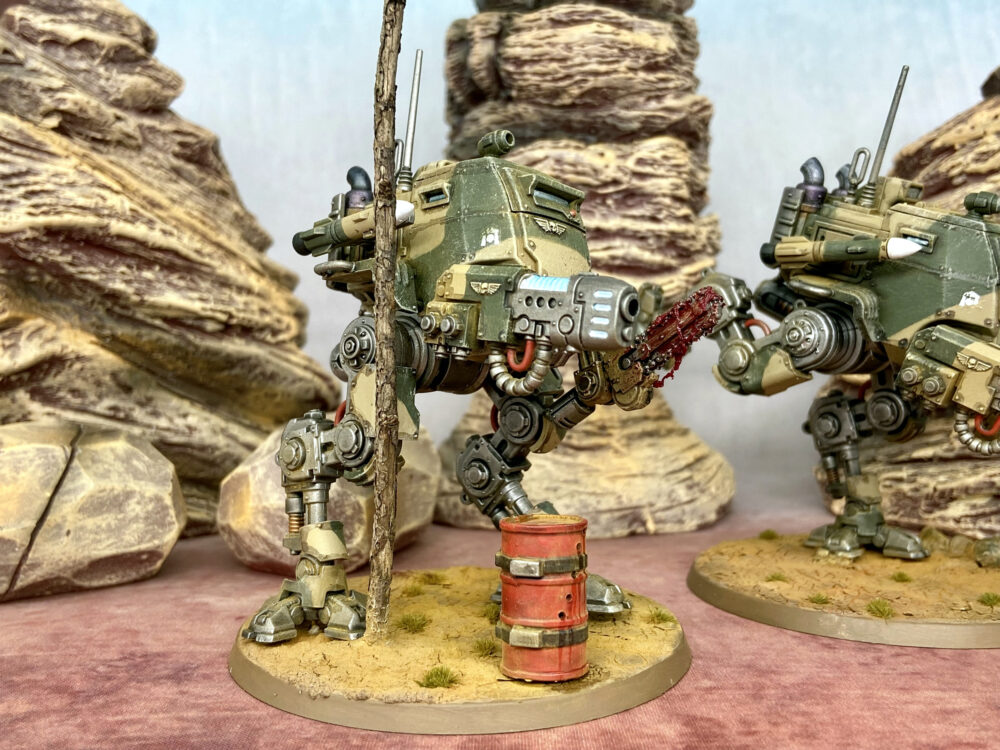
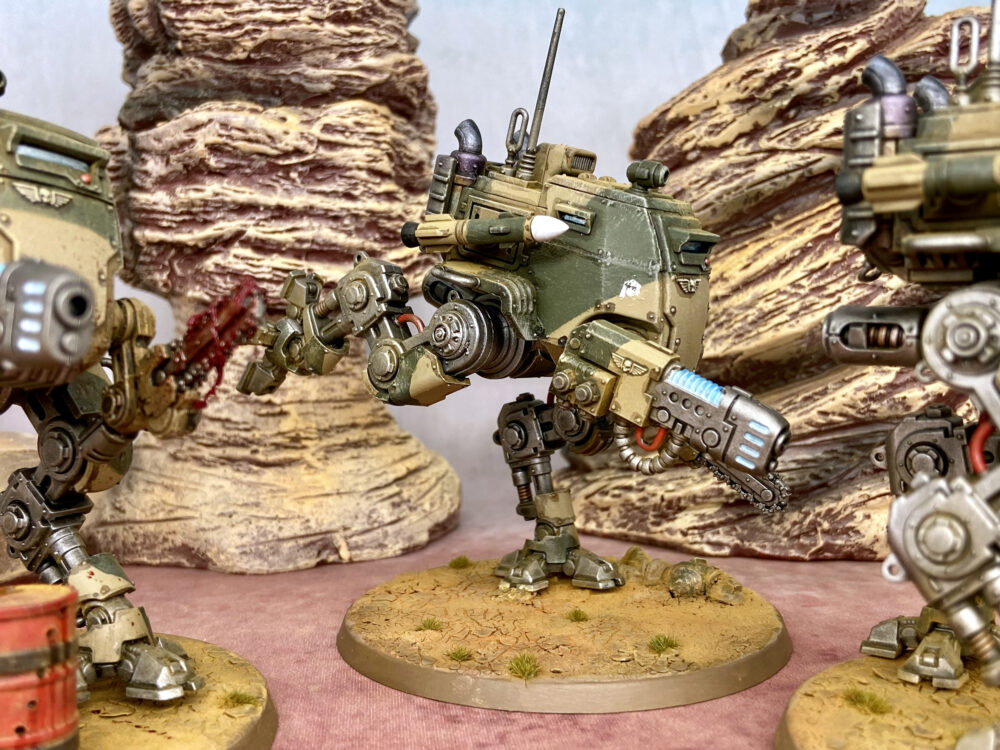
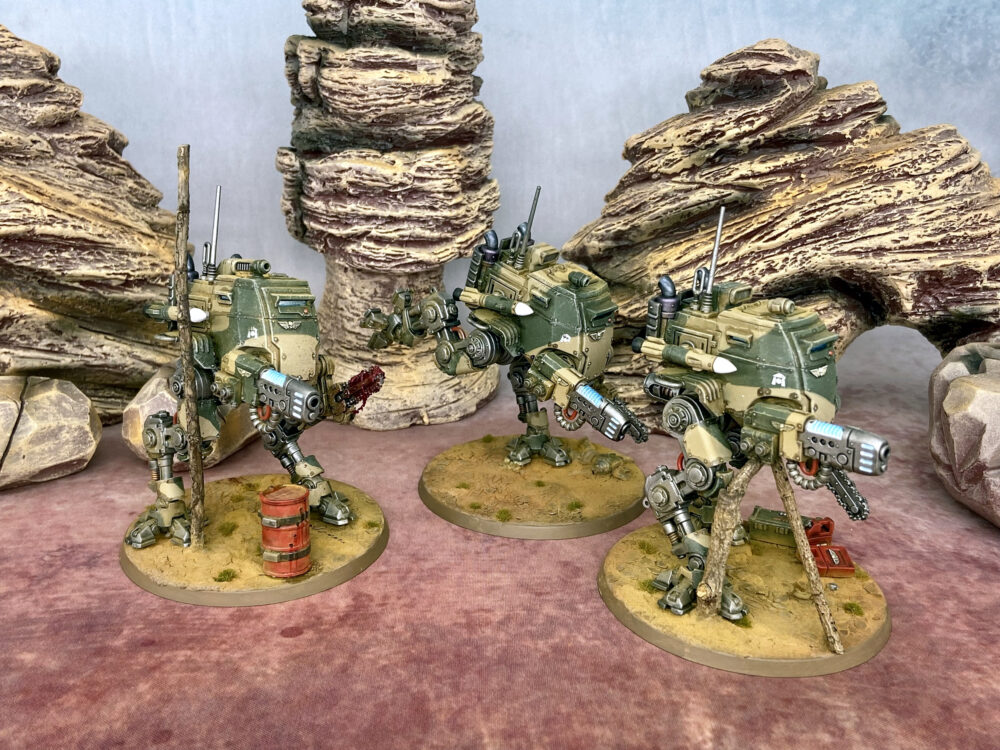
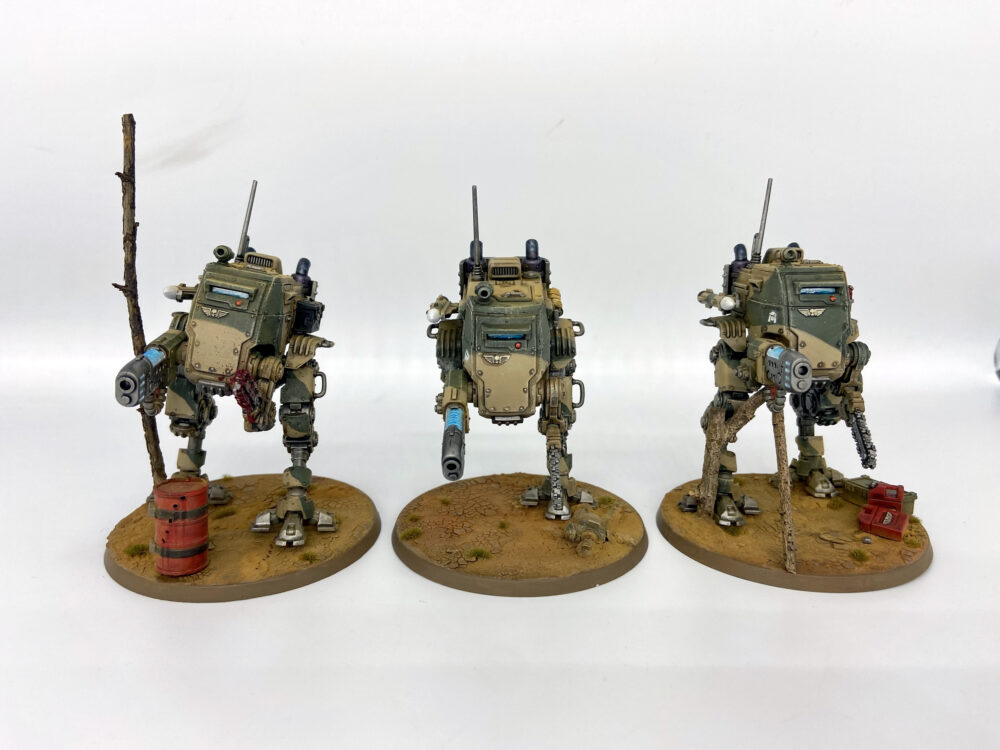
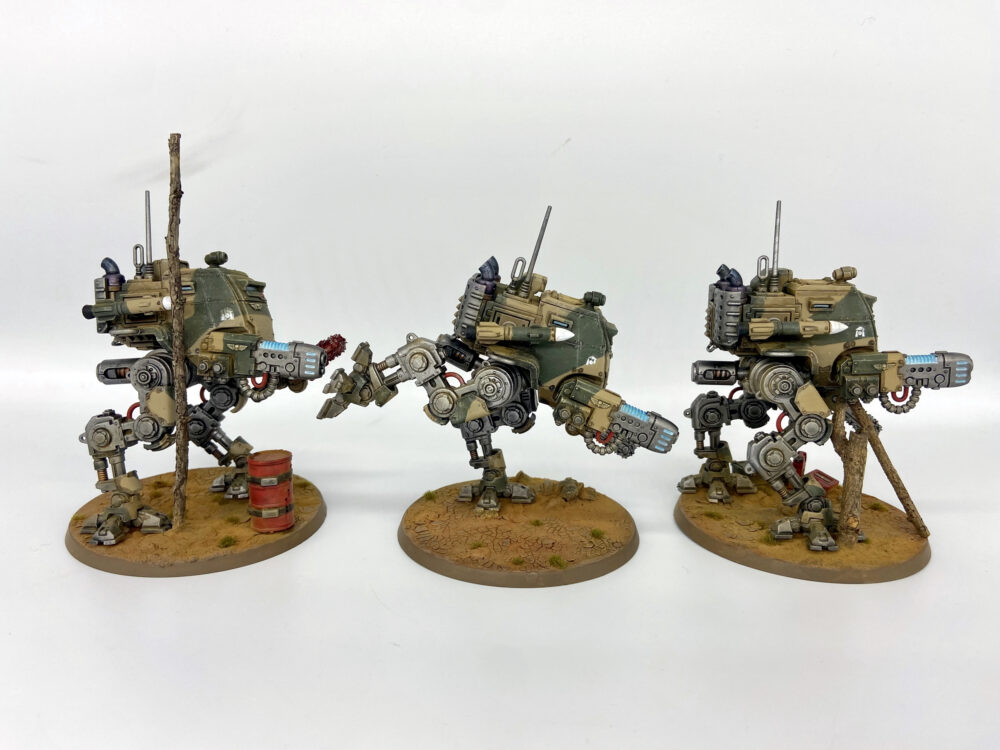
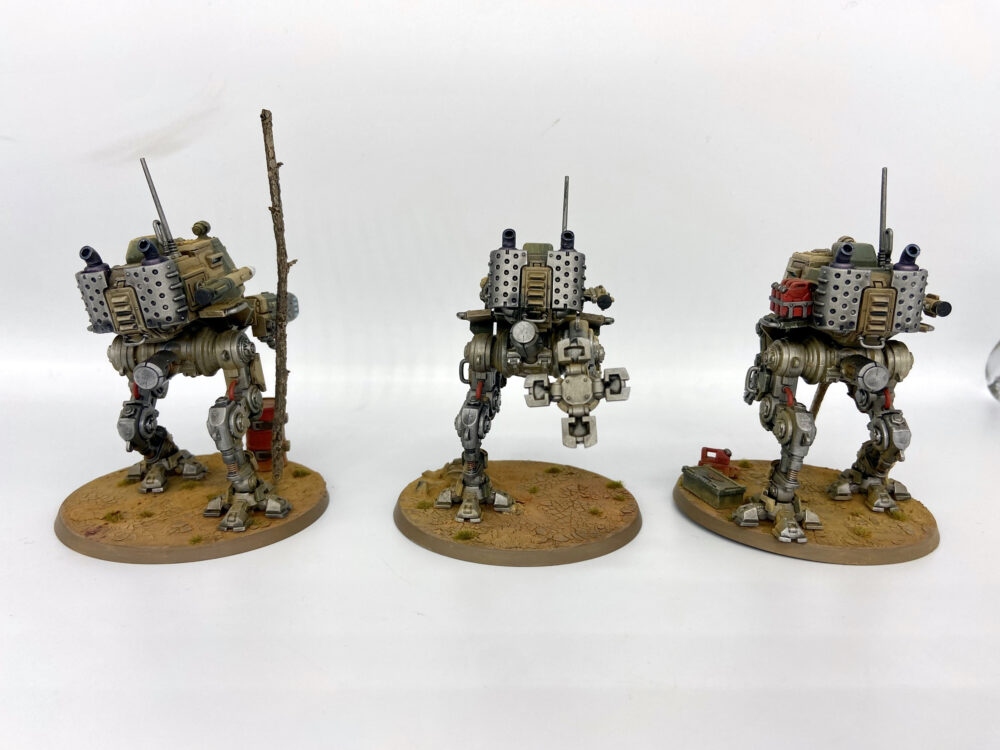
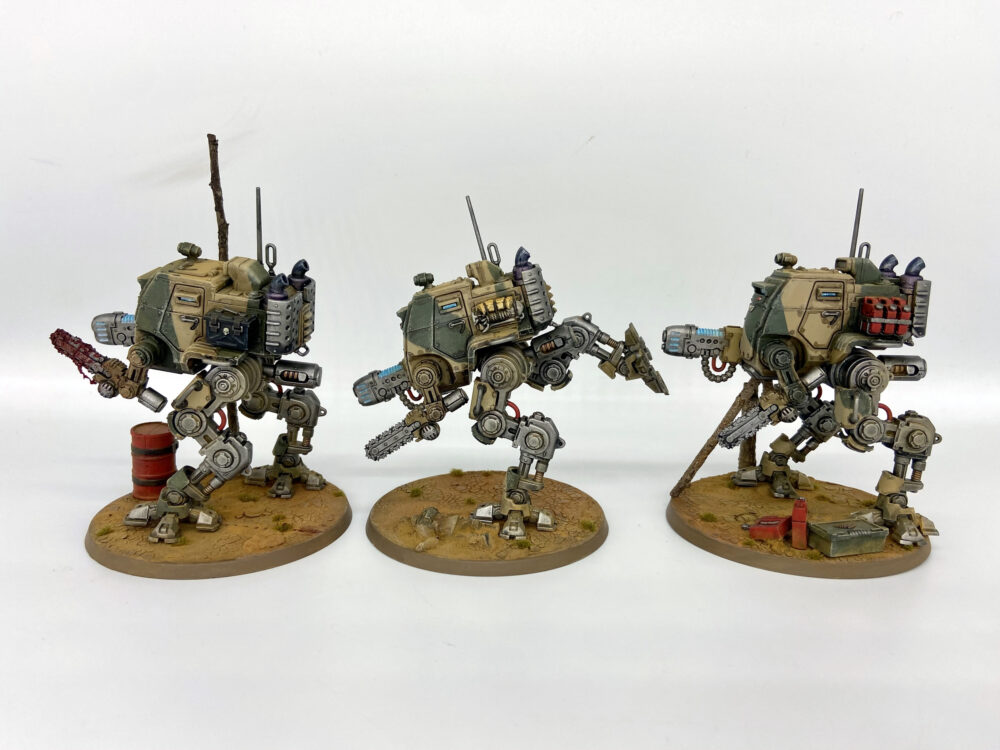
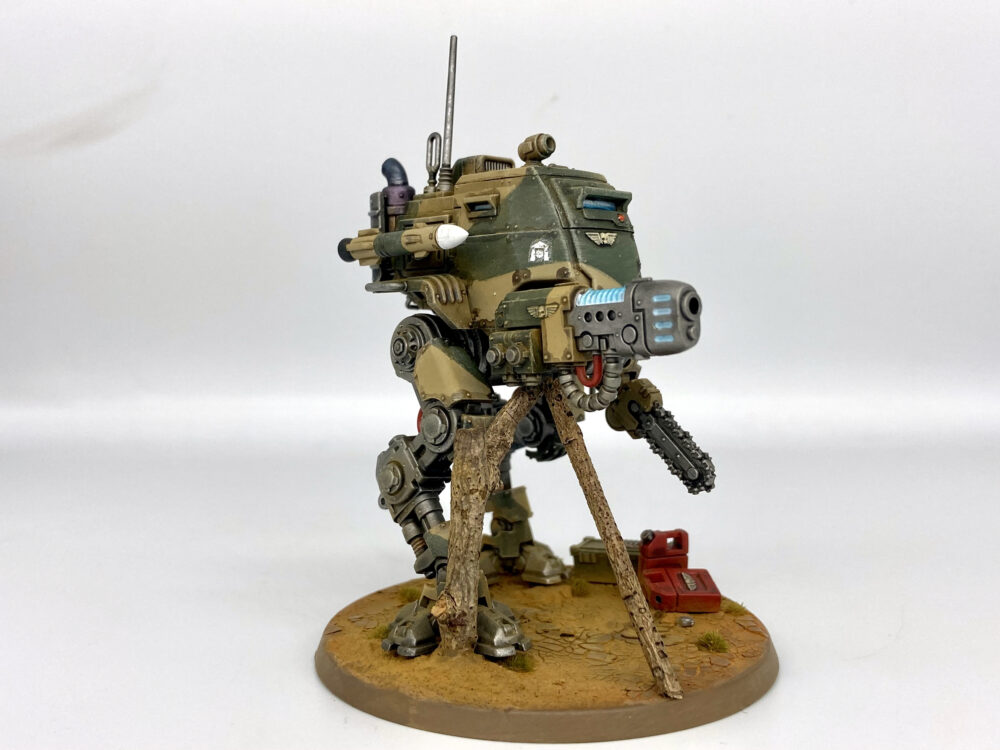
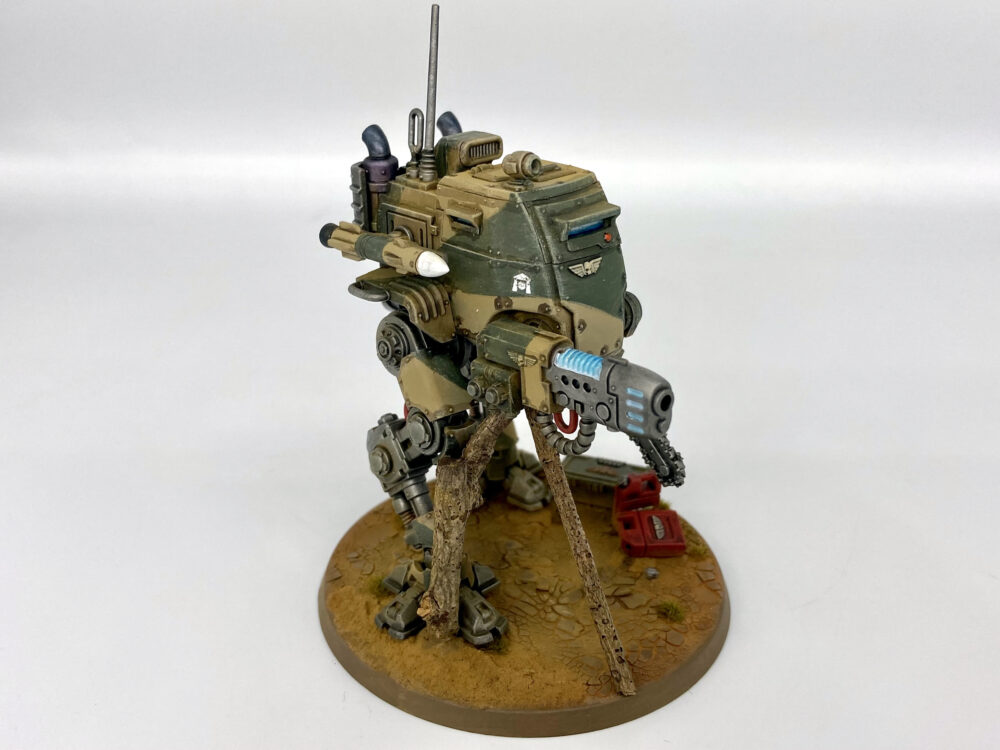
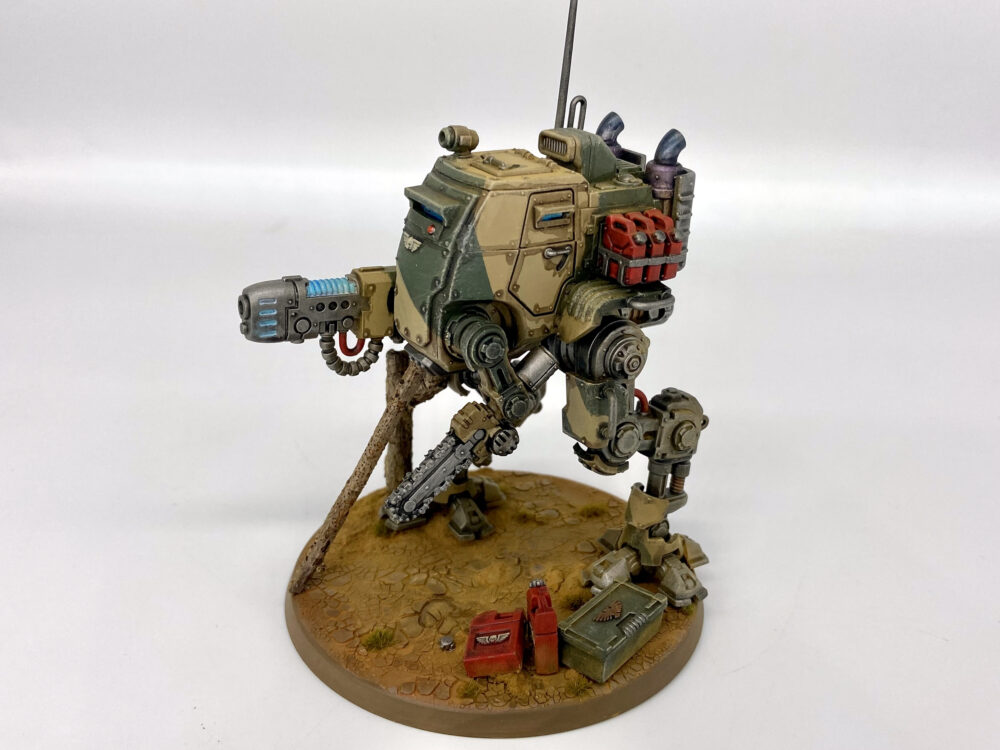
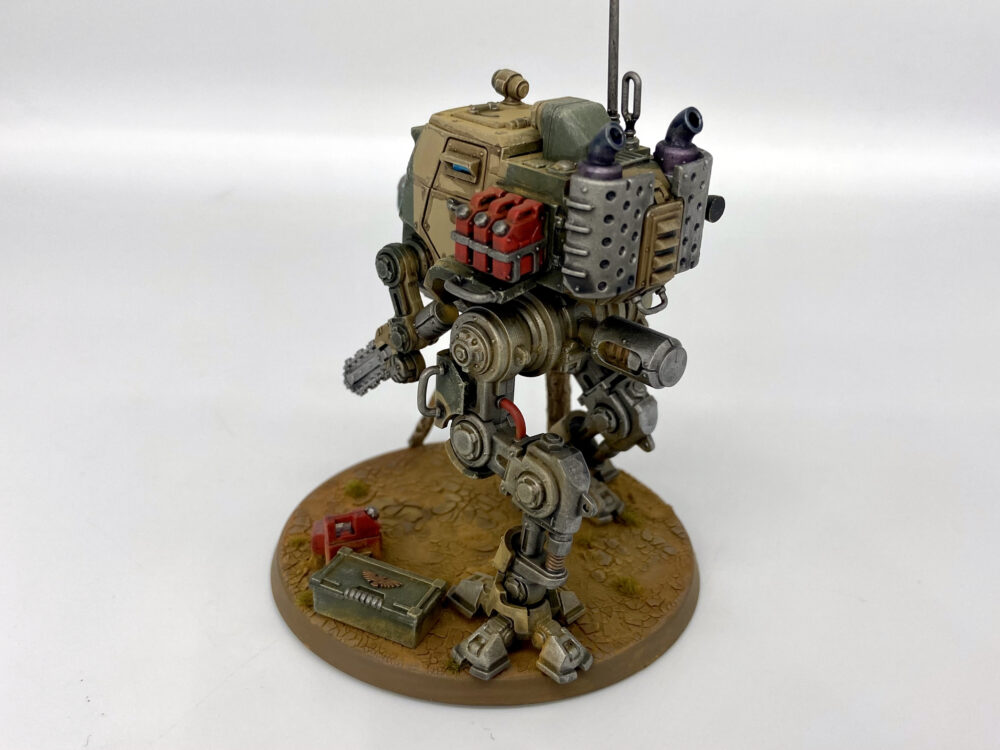
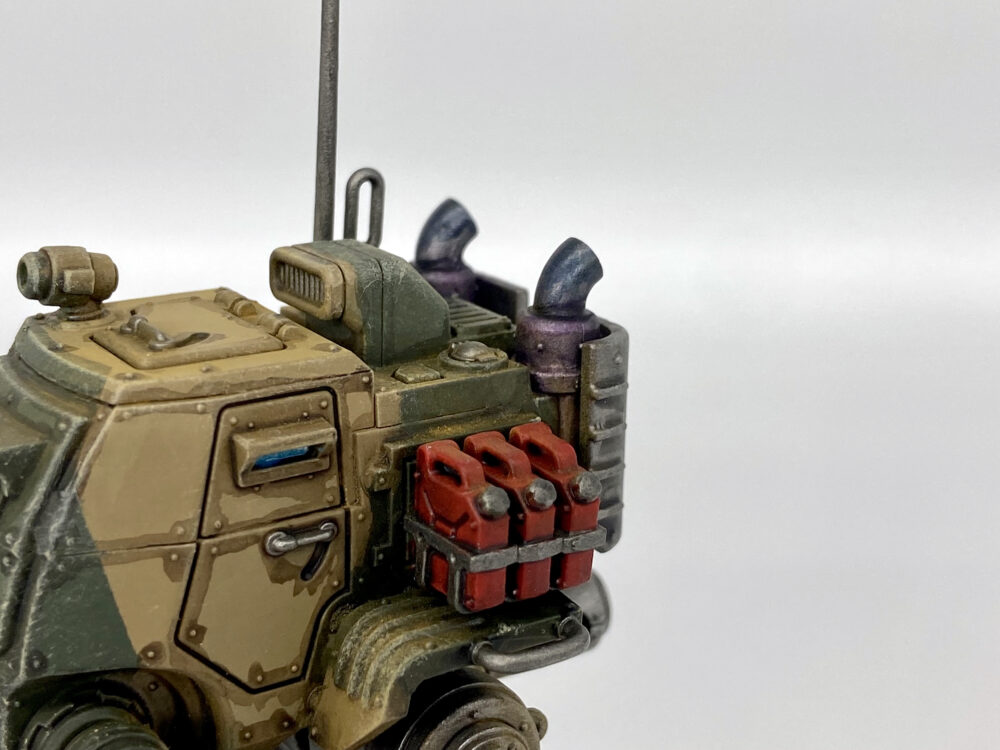
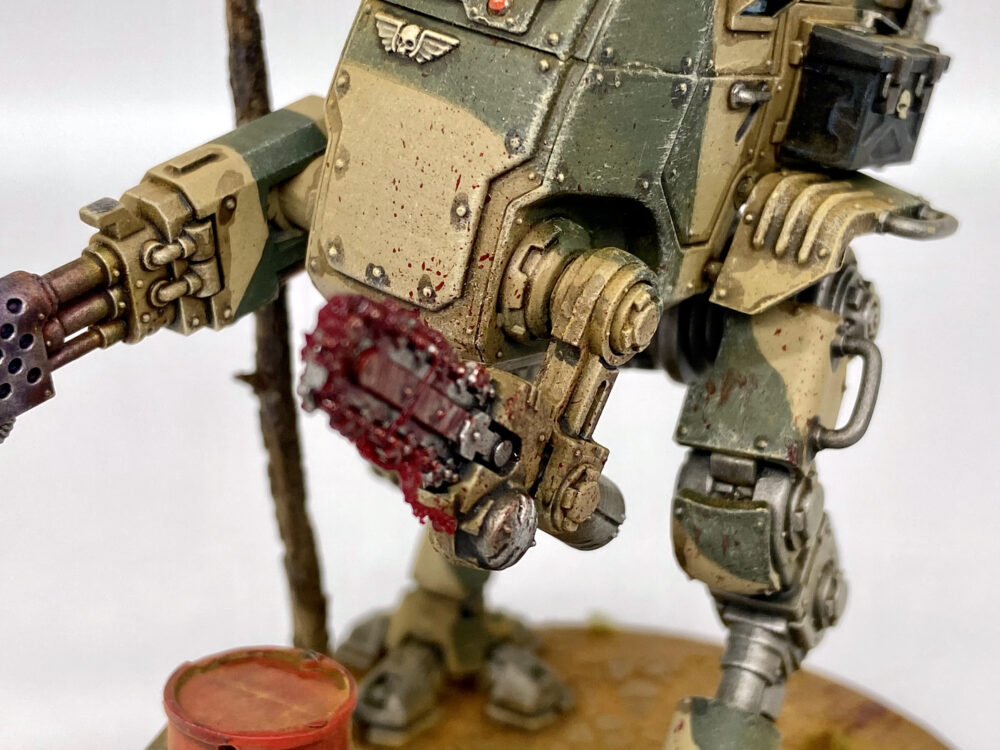
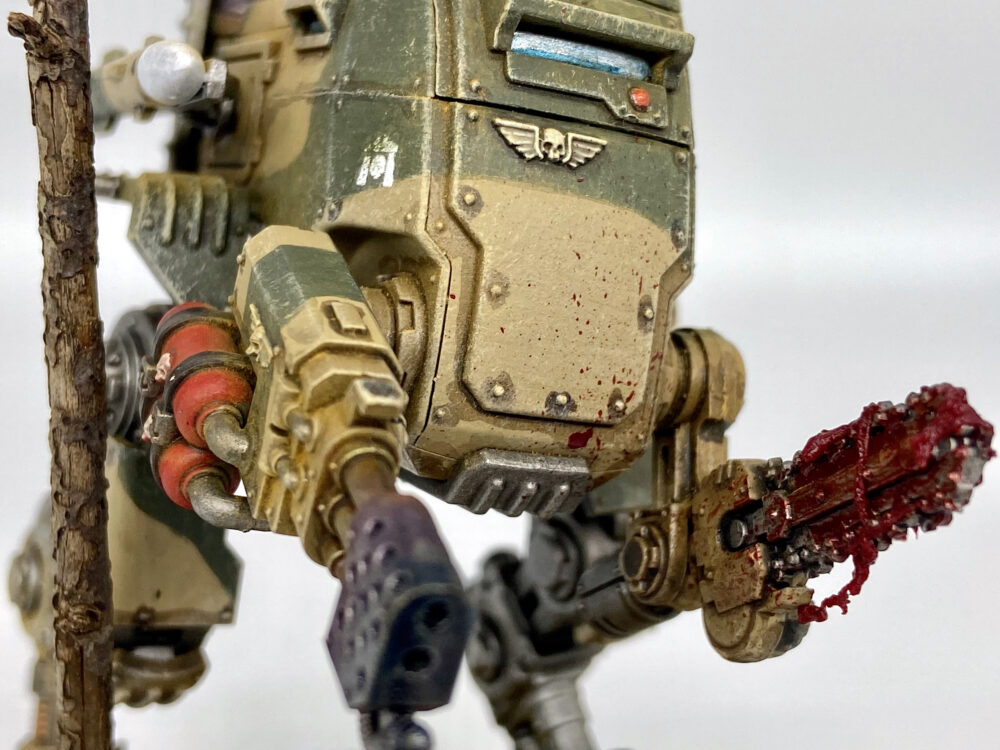
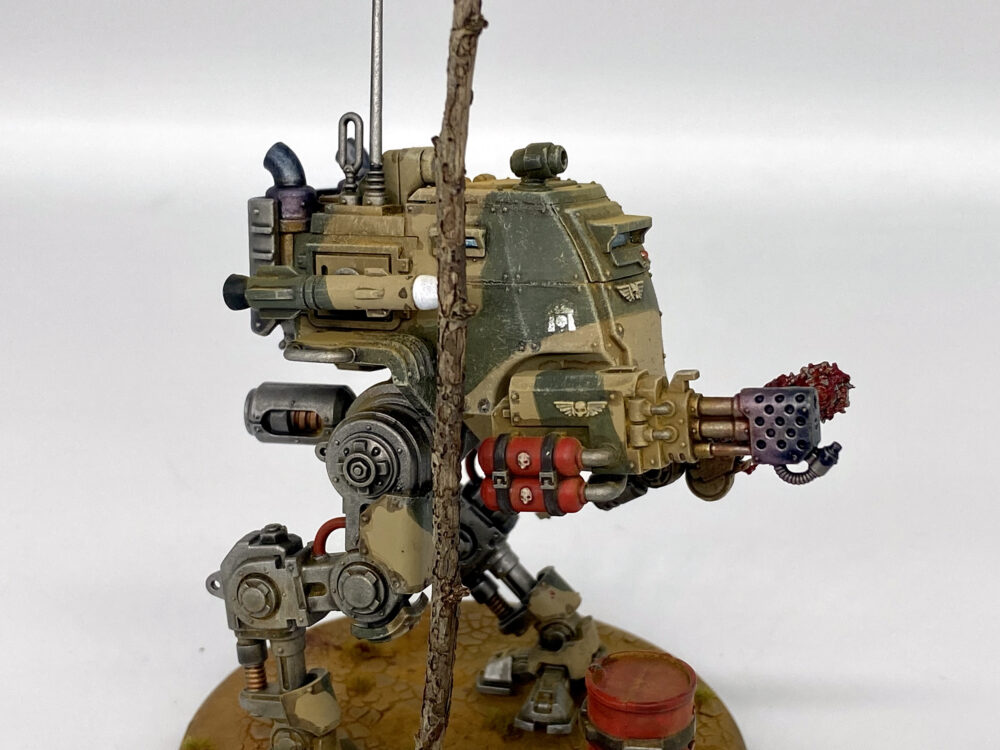
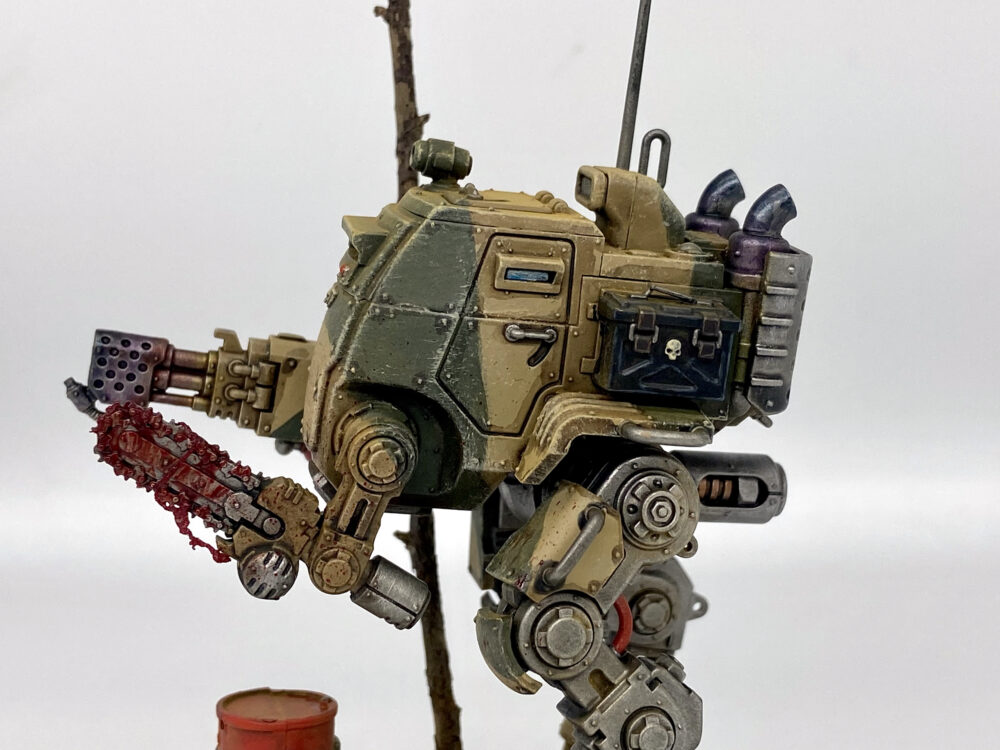
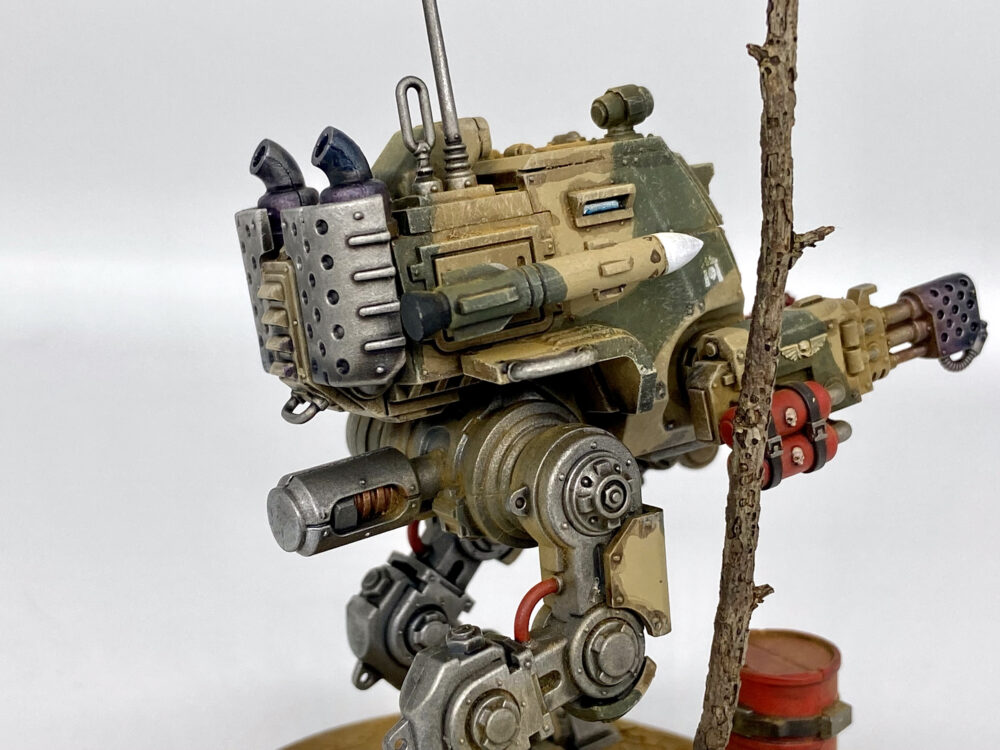
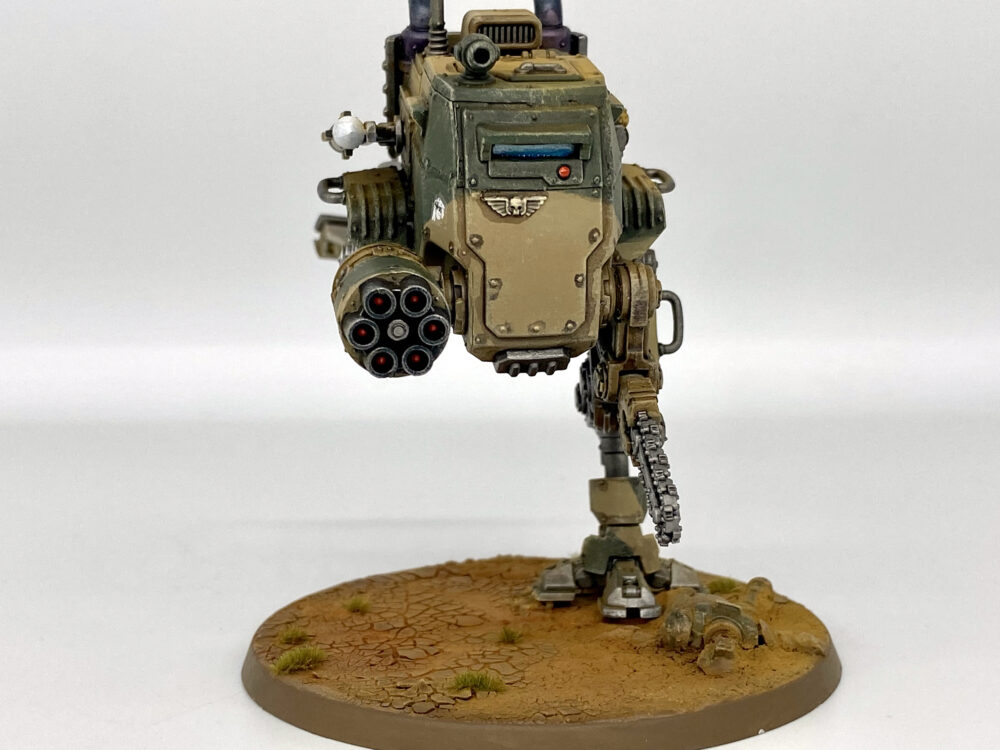
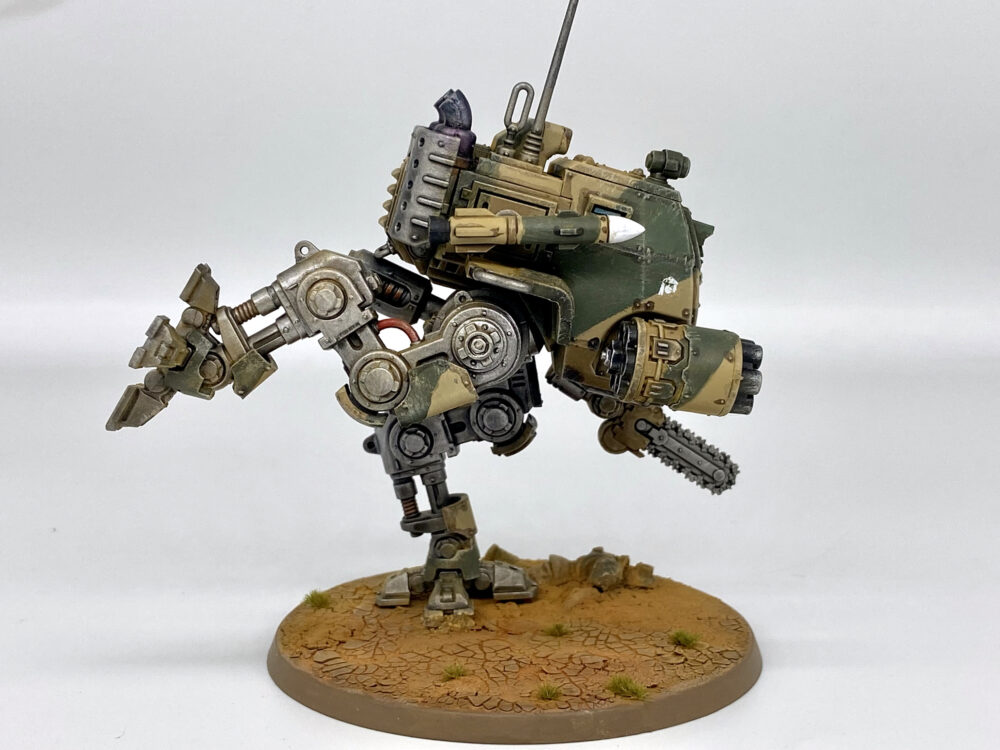
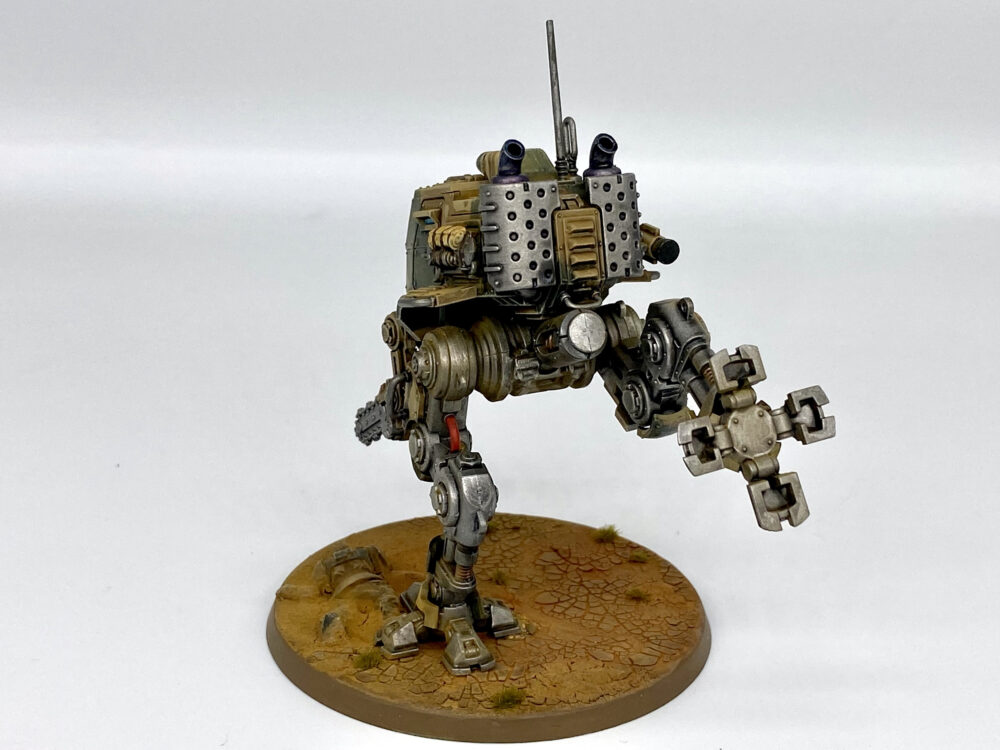
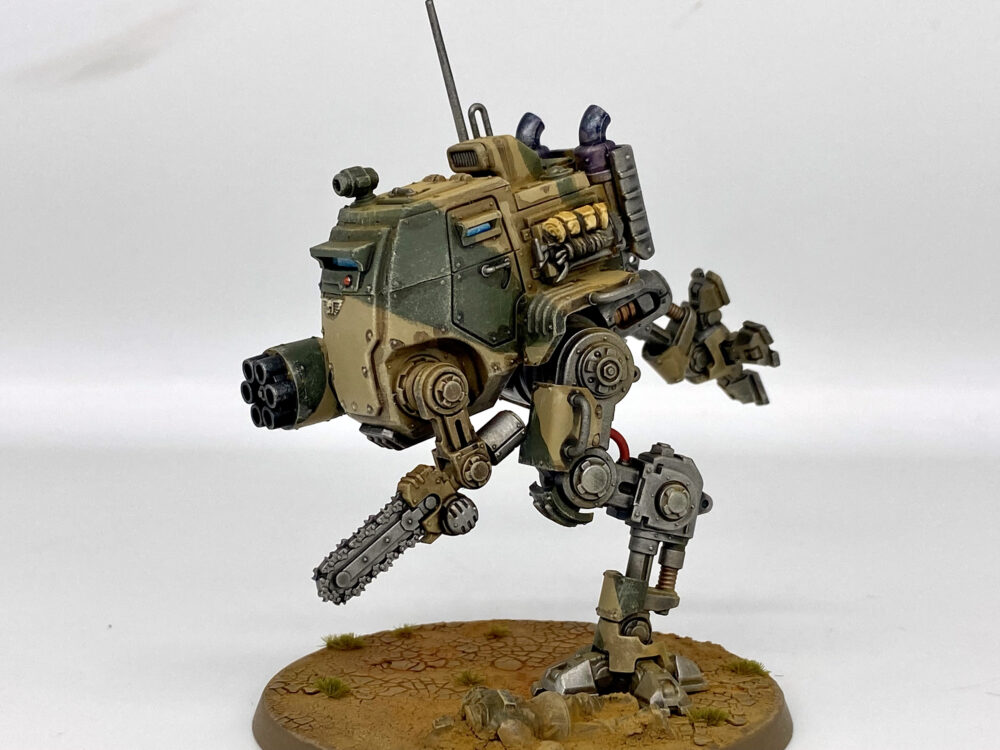
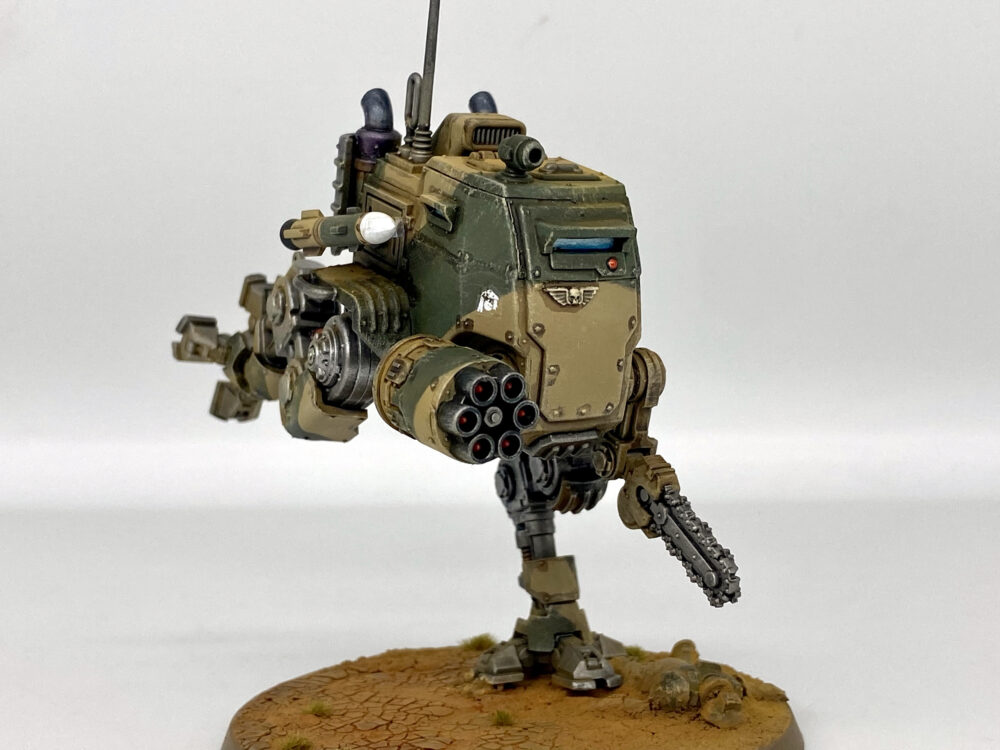
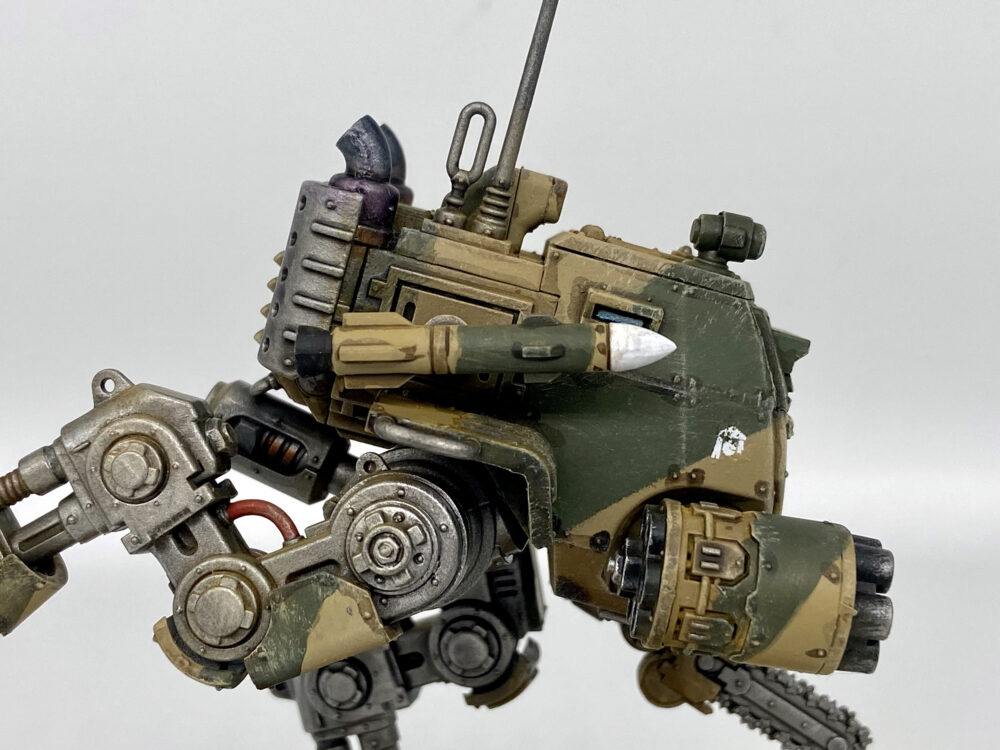
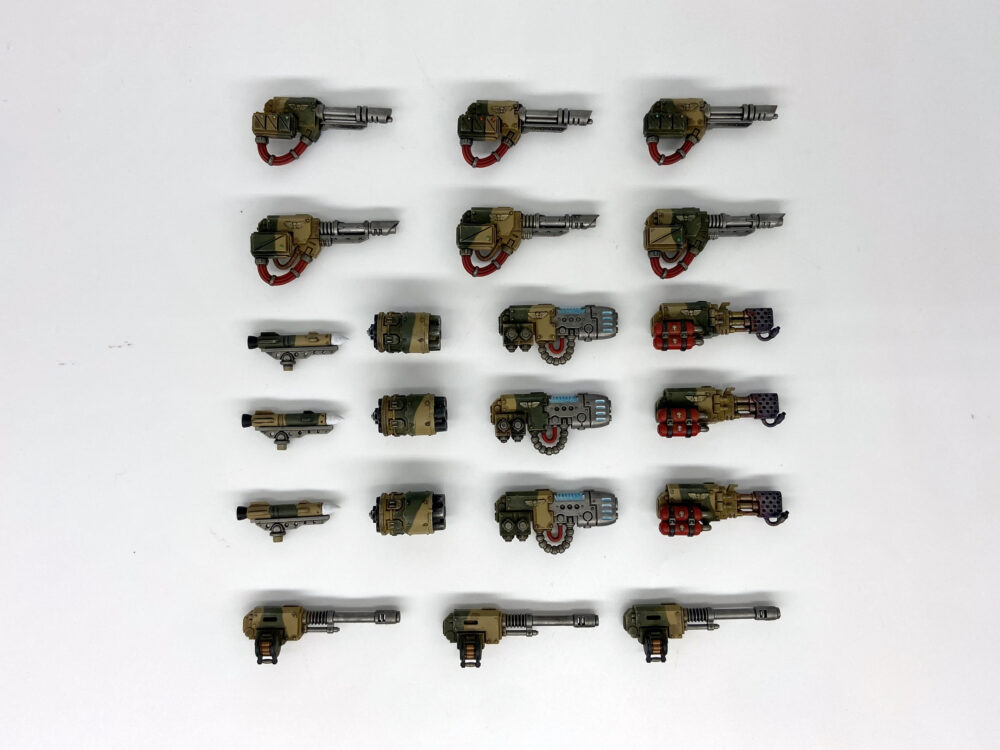
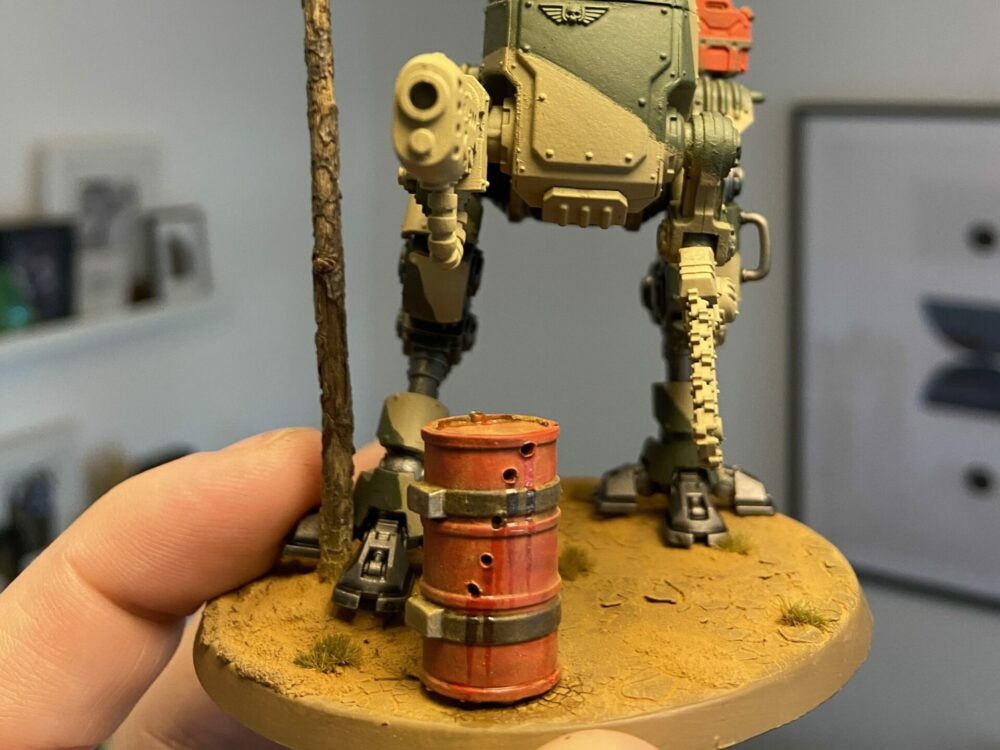
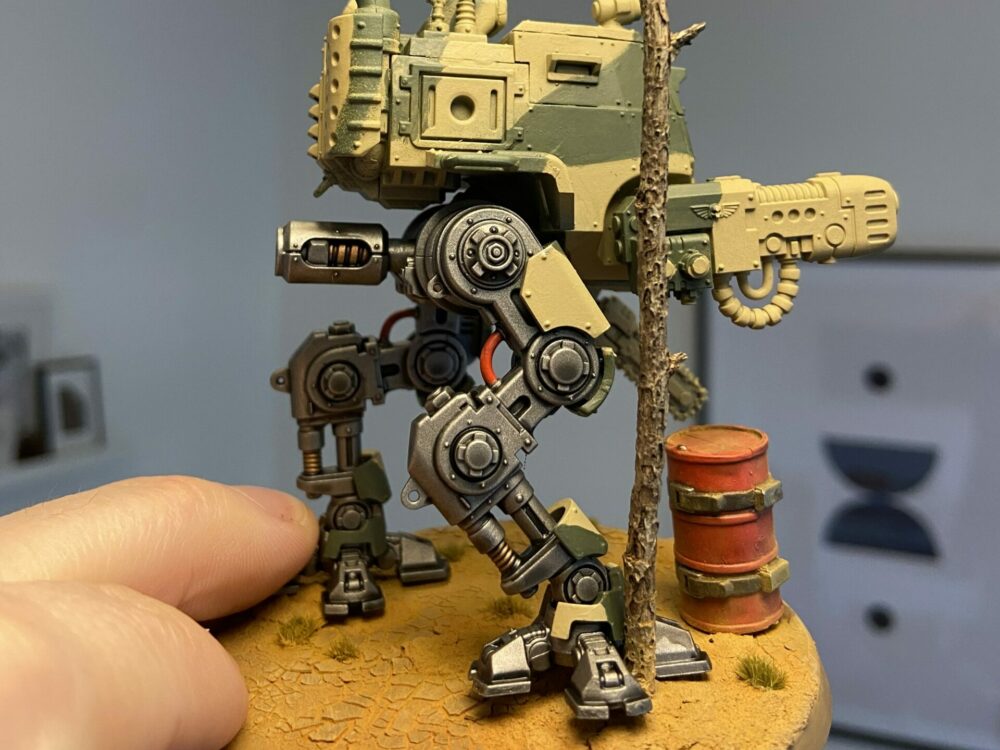
My first kits from the new Cadian models are now complete!
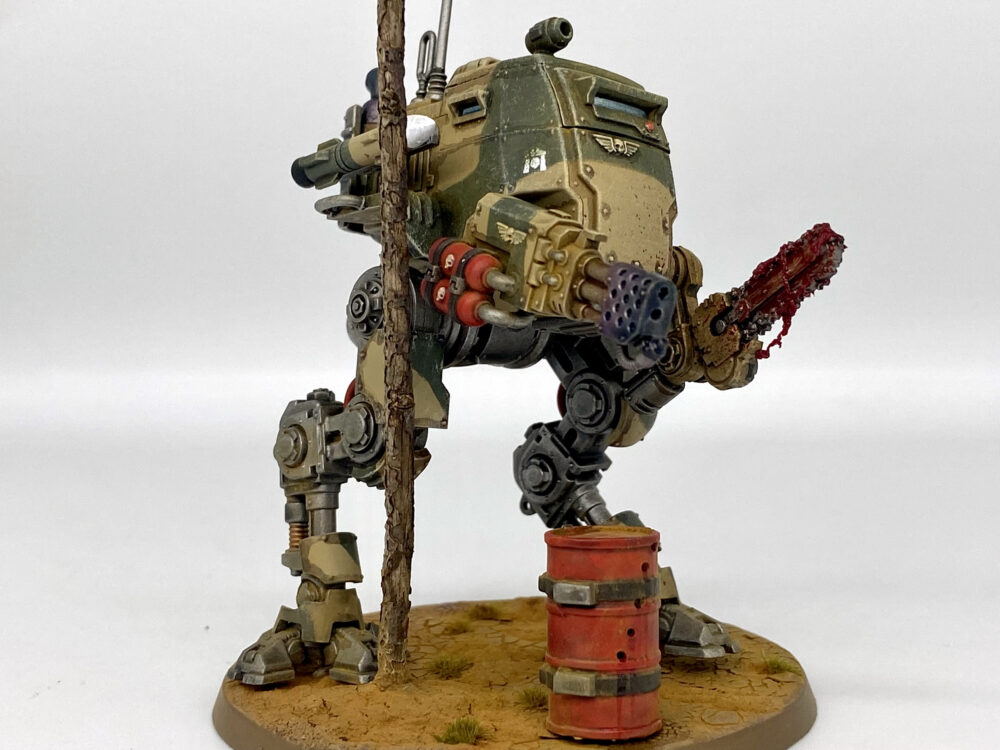
I have completed my first ever Armoured Sentinels; I had built and partly painted two of the older models – but these are the new kit, and they’re my first.
Never miss an article? Subscribe!
Completed Gallery
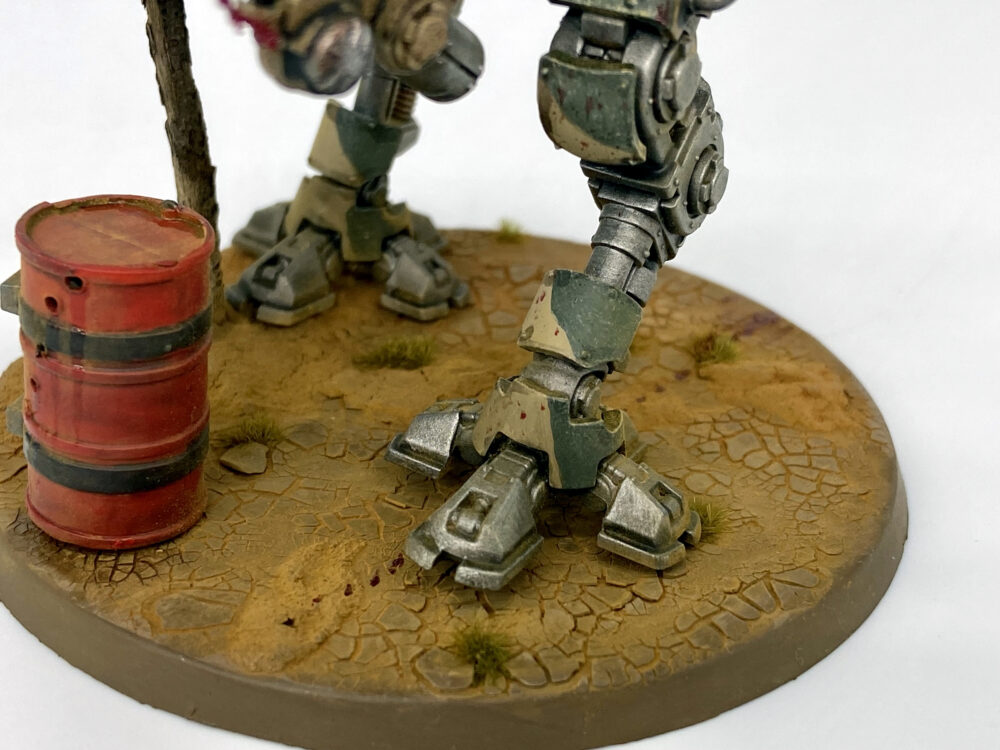
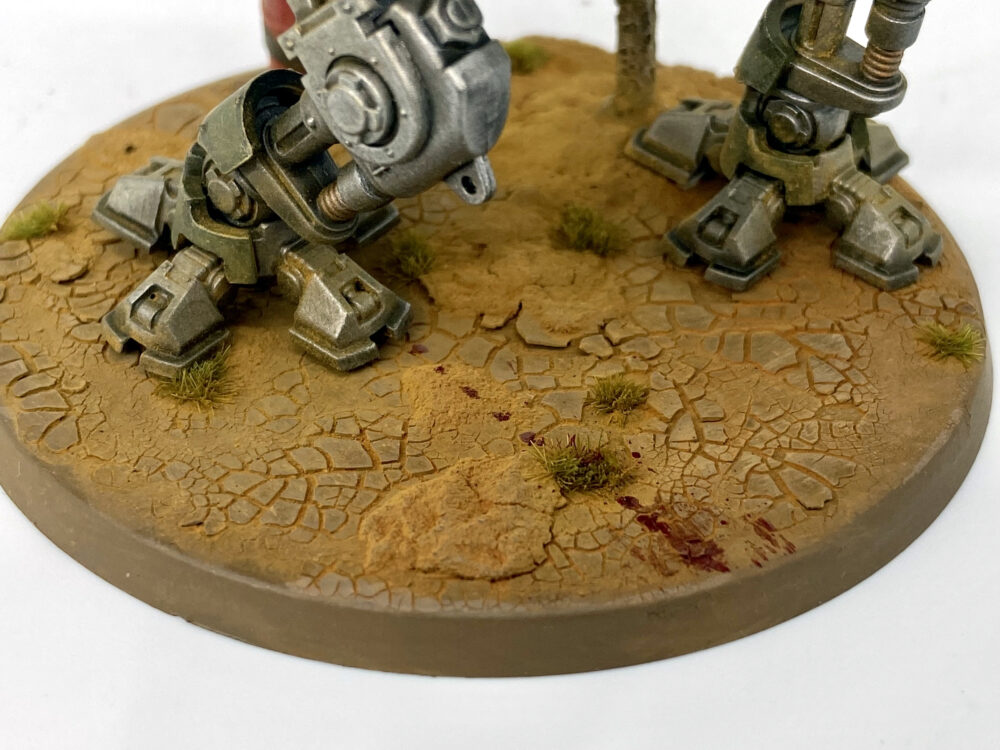
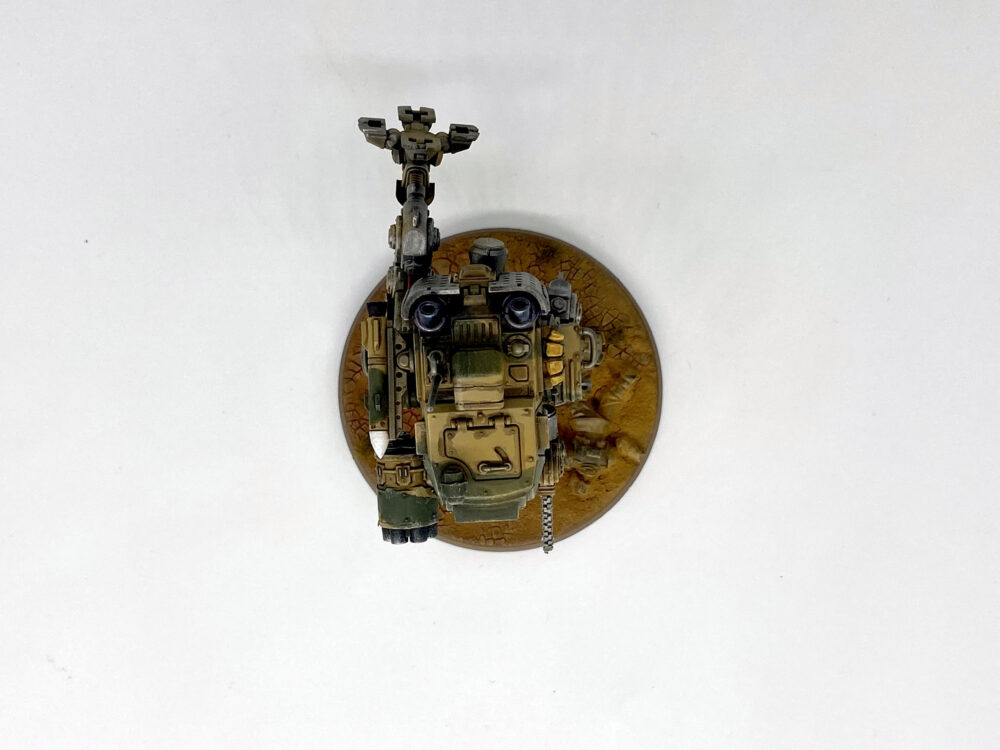
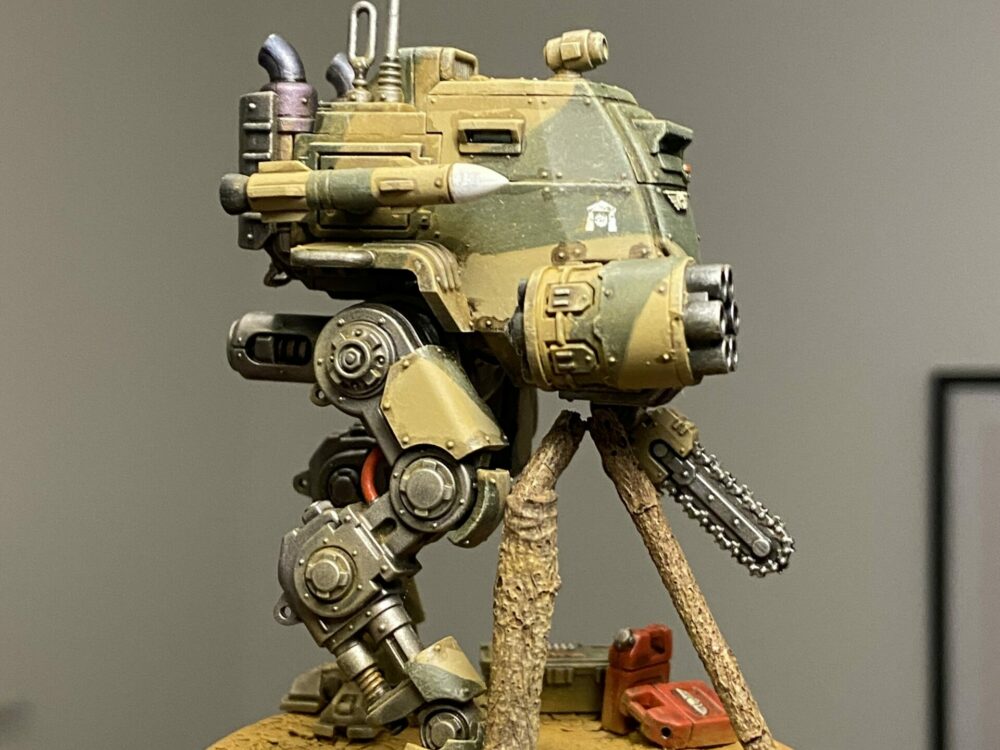
These were taken with my Samtian Lightbox. Something different in the gallery this time, I used a pre-printed mat background and some terrain.
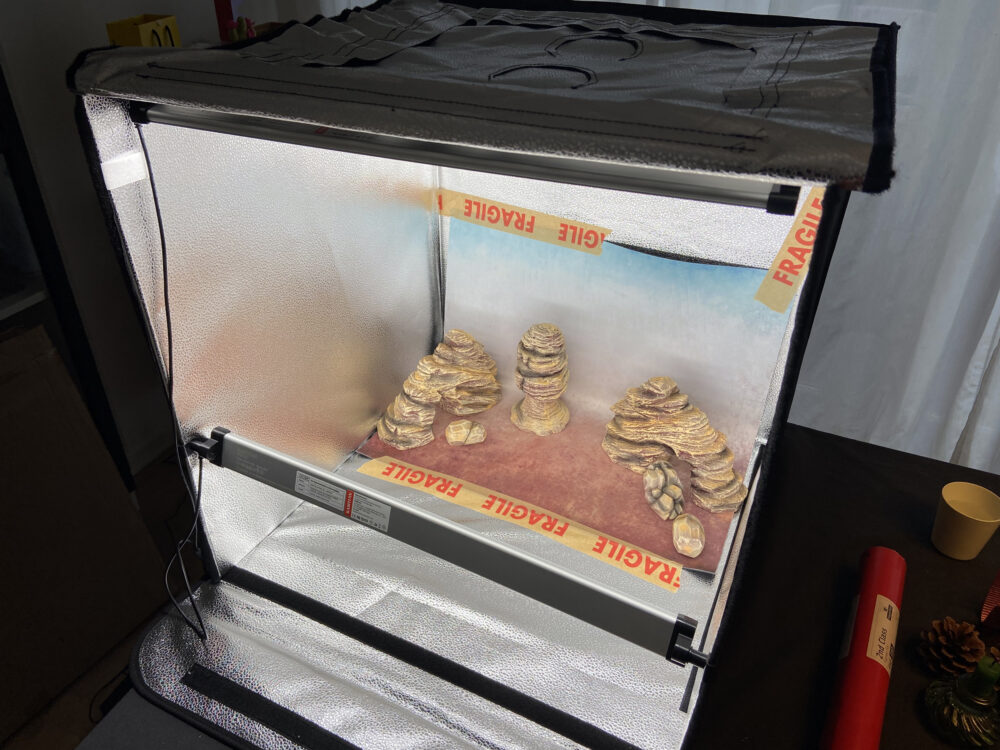
The setup
Regular Gallery
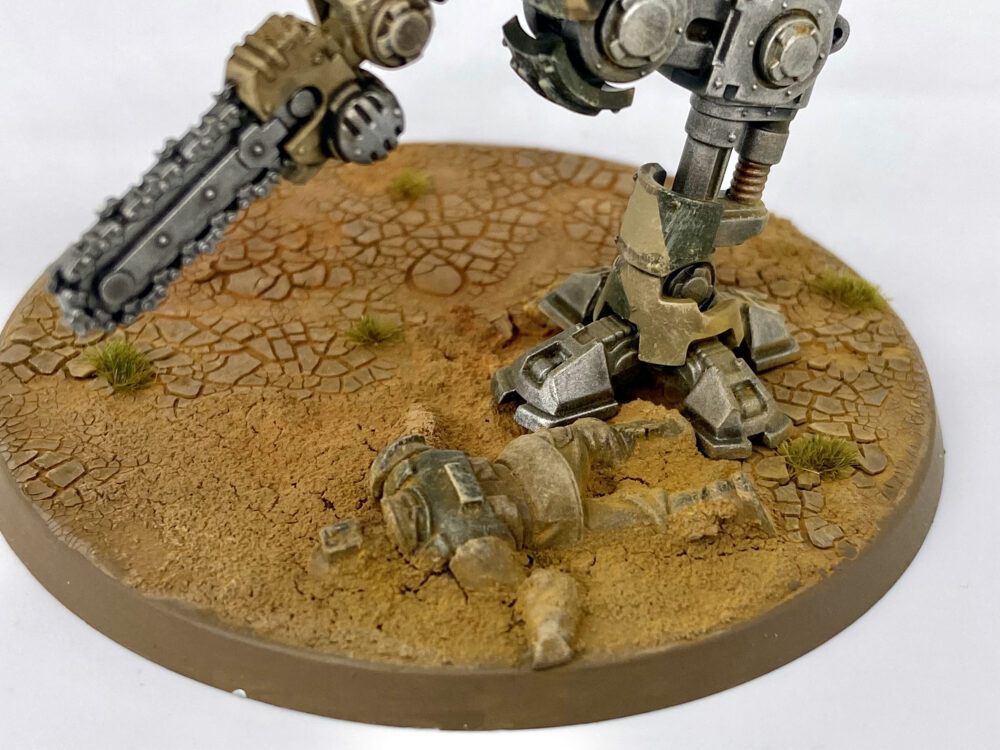
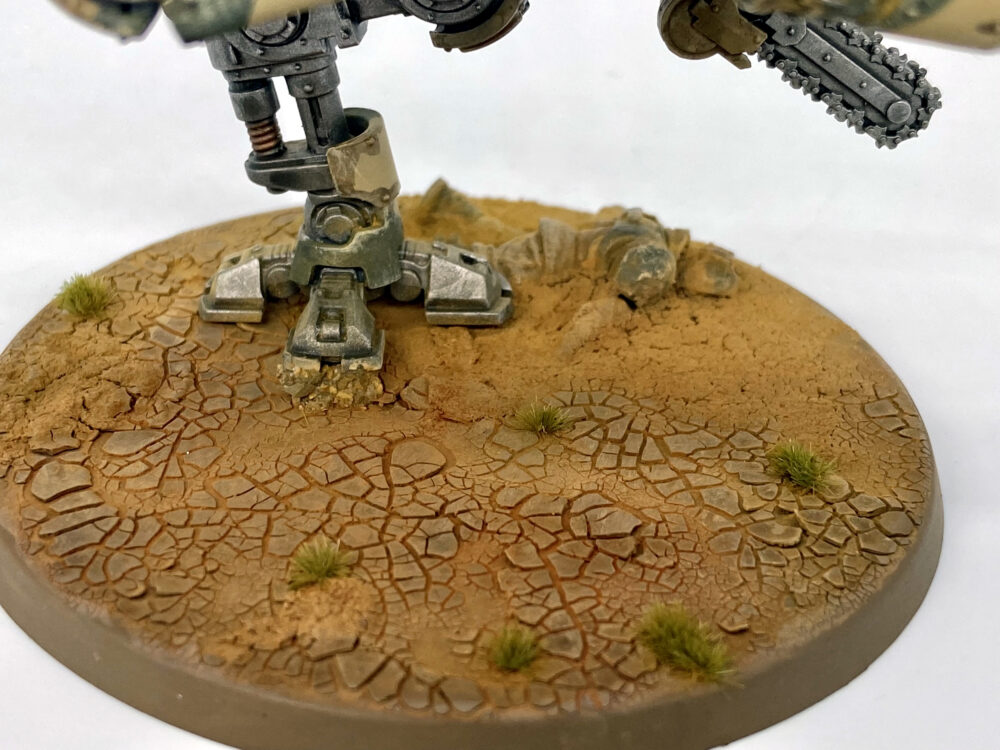
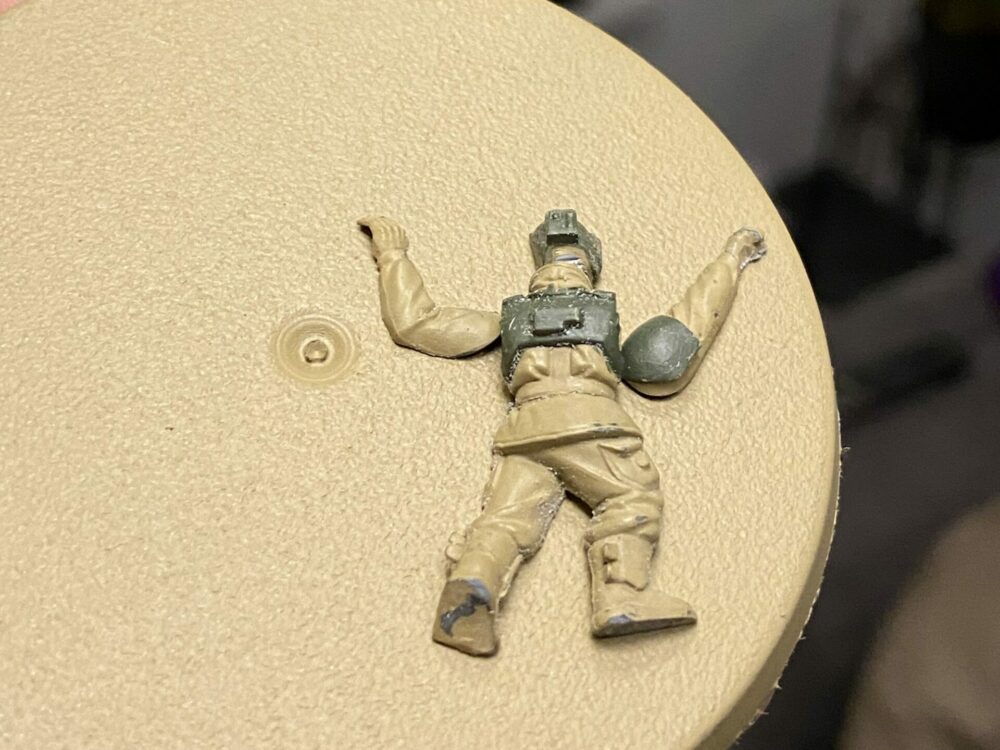
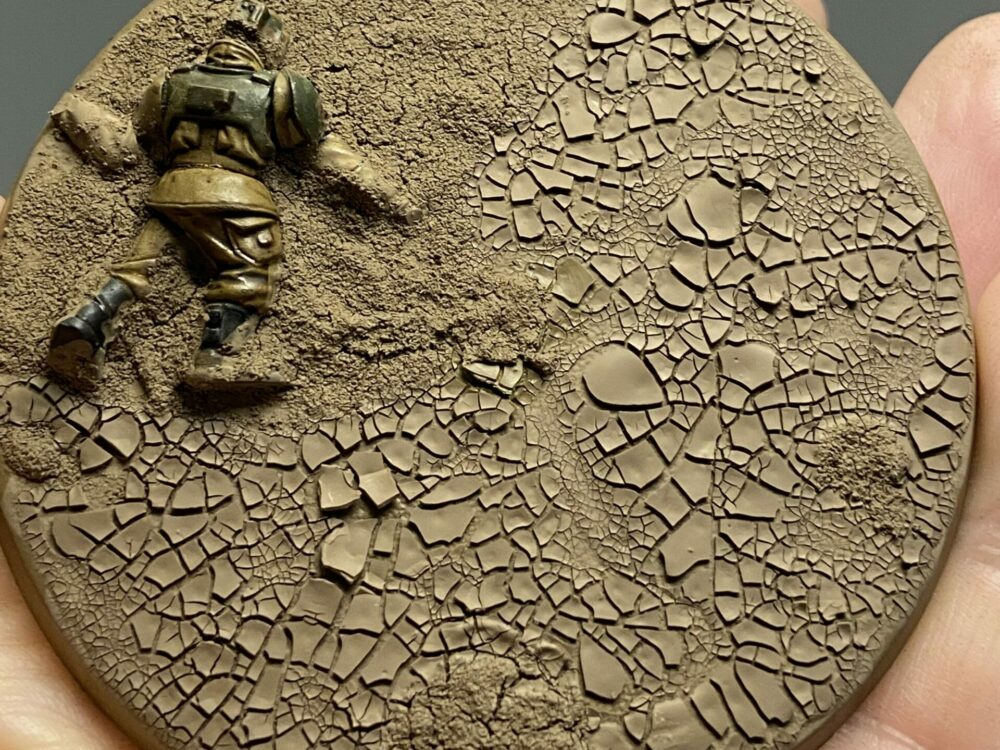
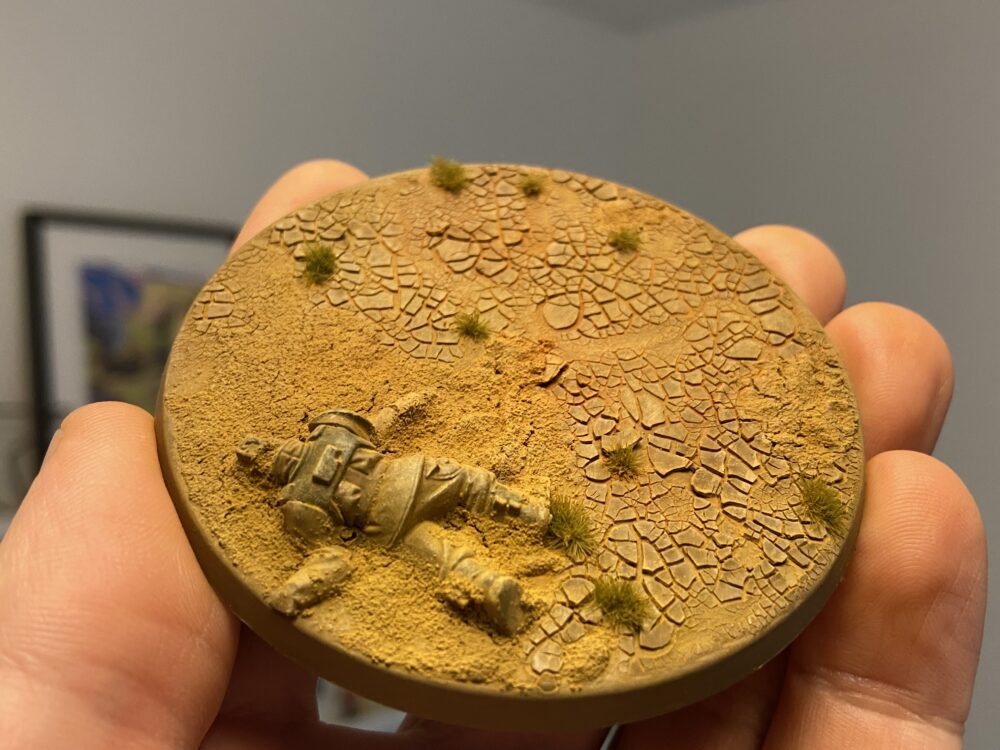
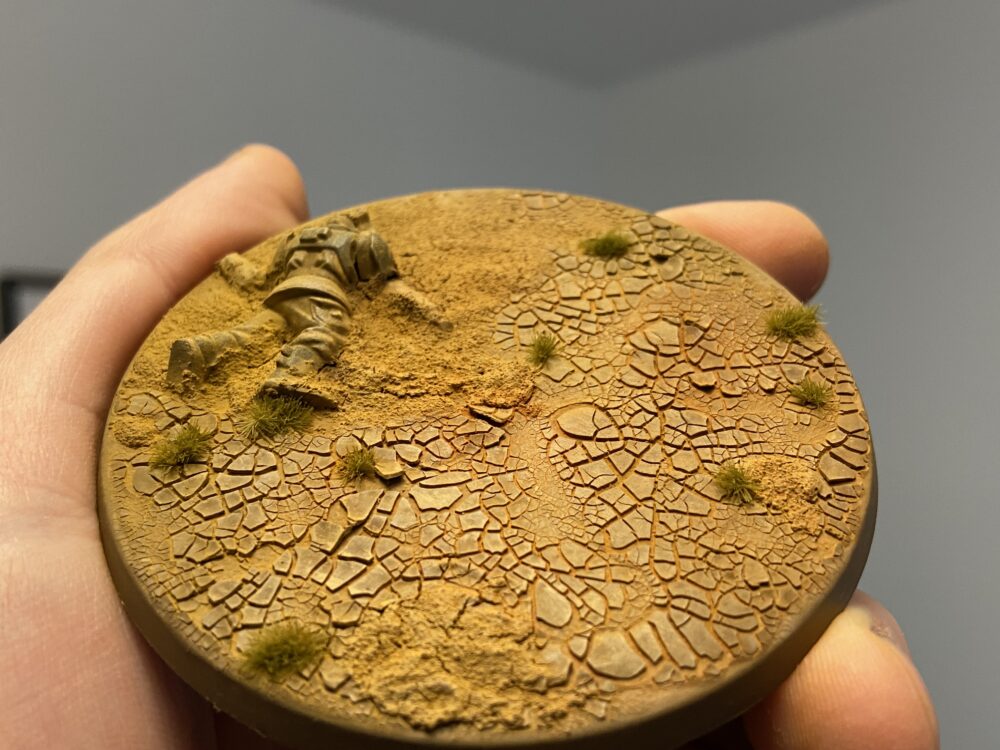
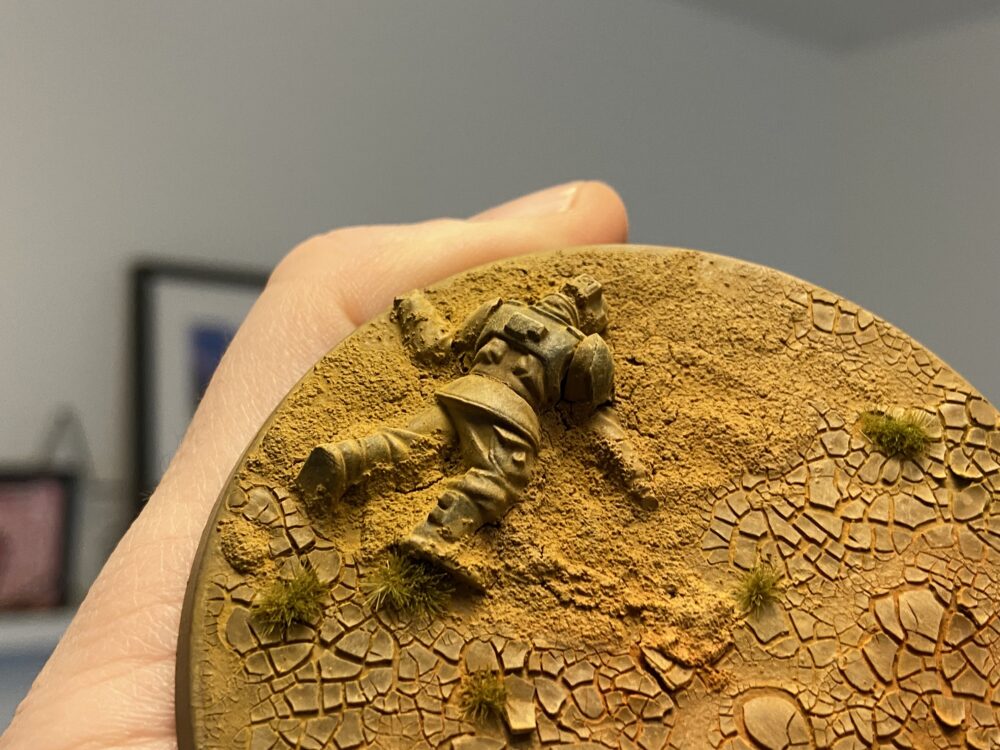
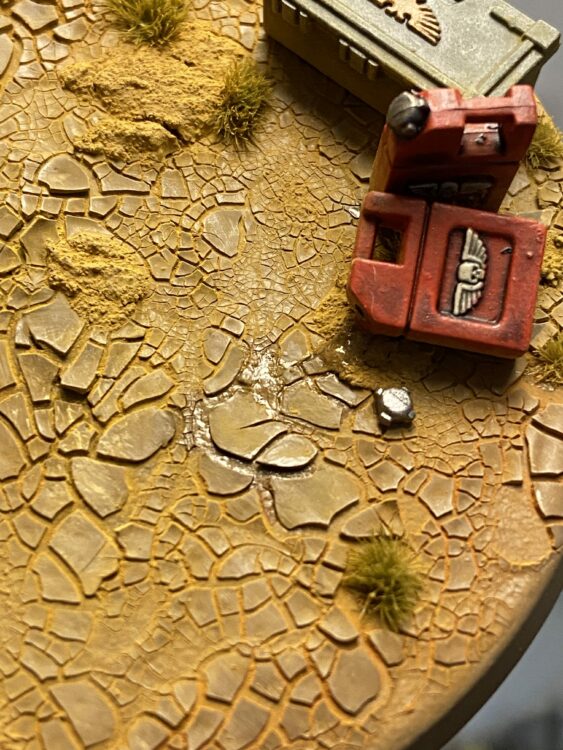
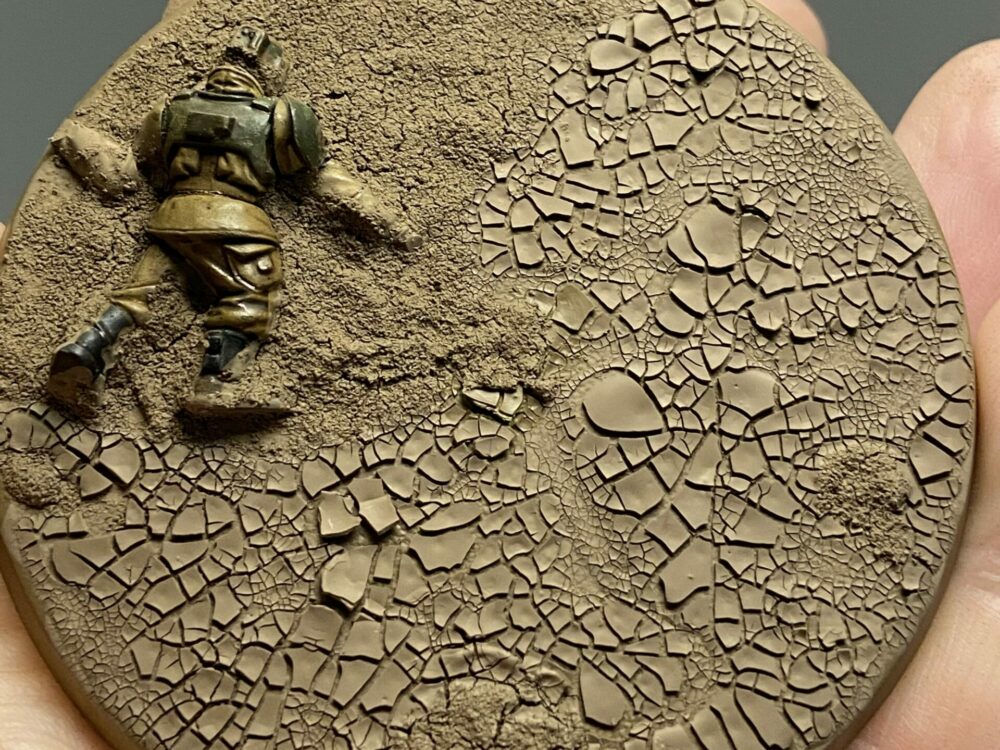
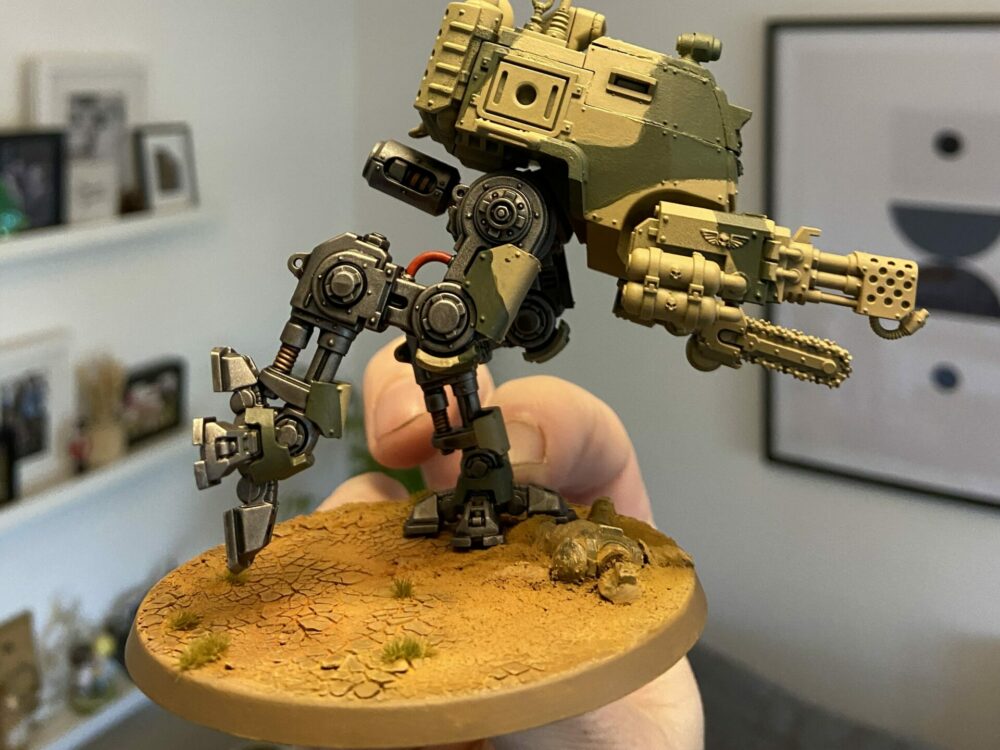
Dead Cadian Base
The dead Cadian on the base is a first for me. I have seen many dead things on bases and the ones done by story1000suns are some of the best. They are a part of the model, a part of the base and not floating above the base. This is a good example.
With that in mind, I set about trying to do something similar with my dead Cadian on the Sentinel’s base.
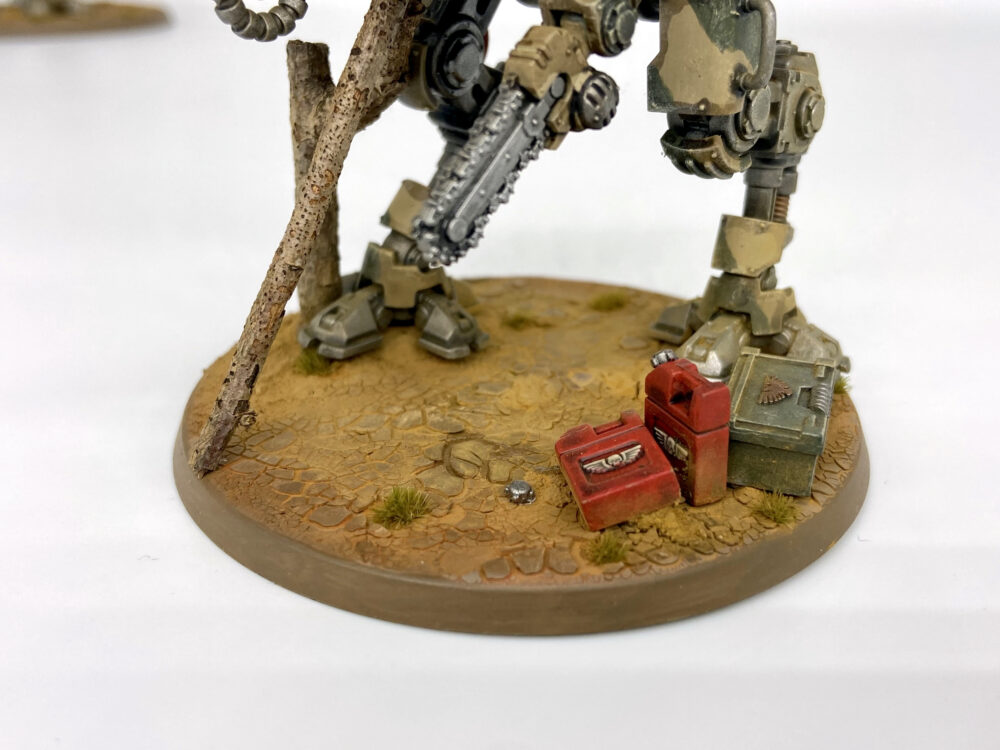
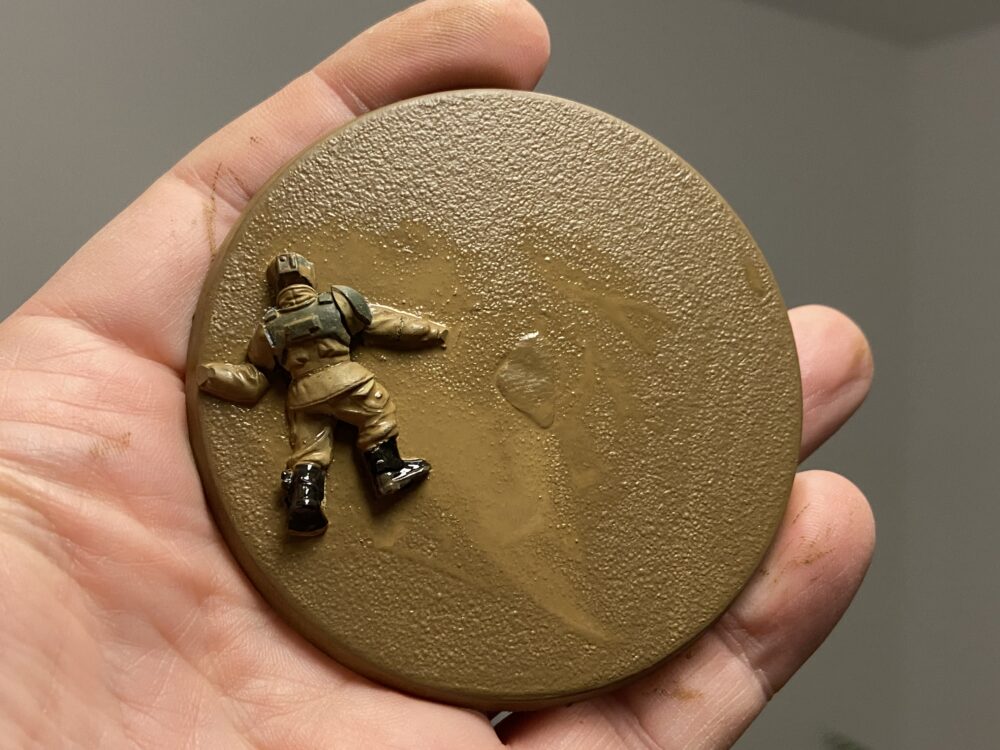
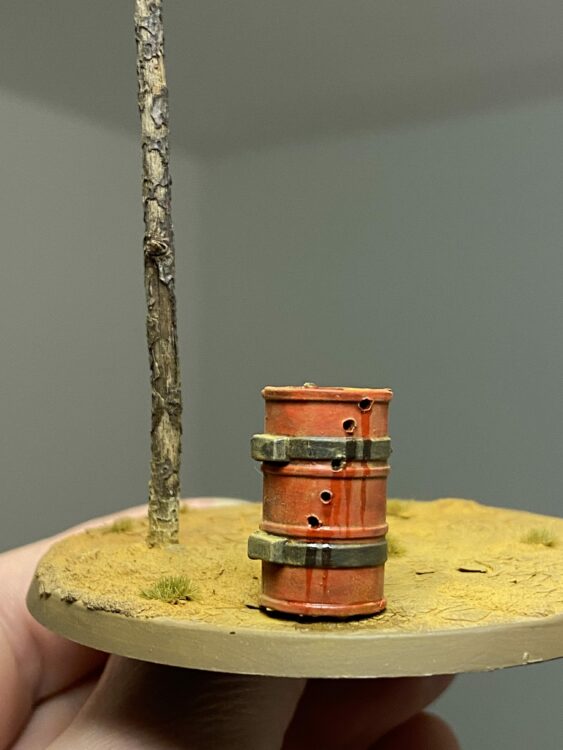
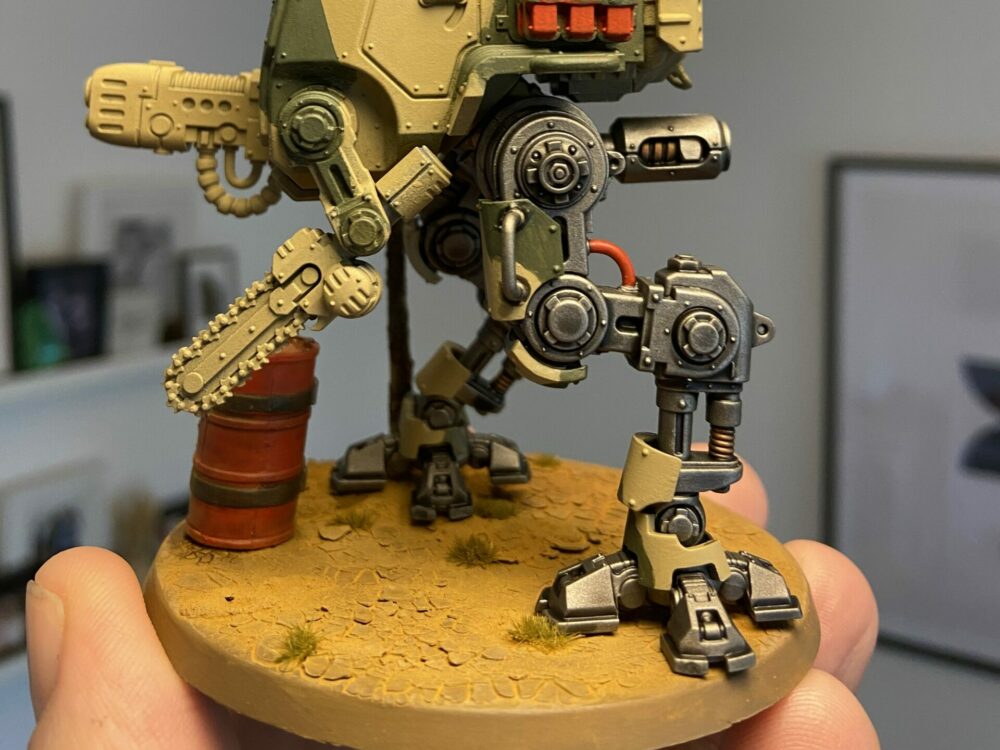
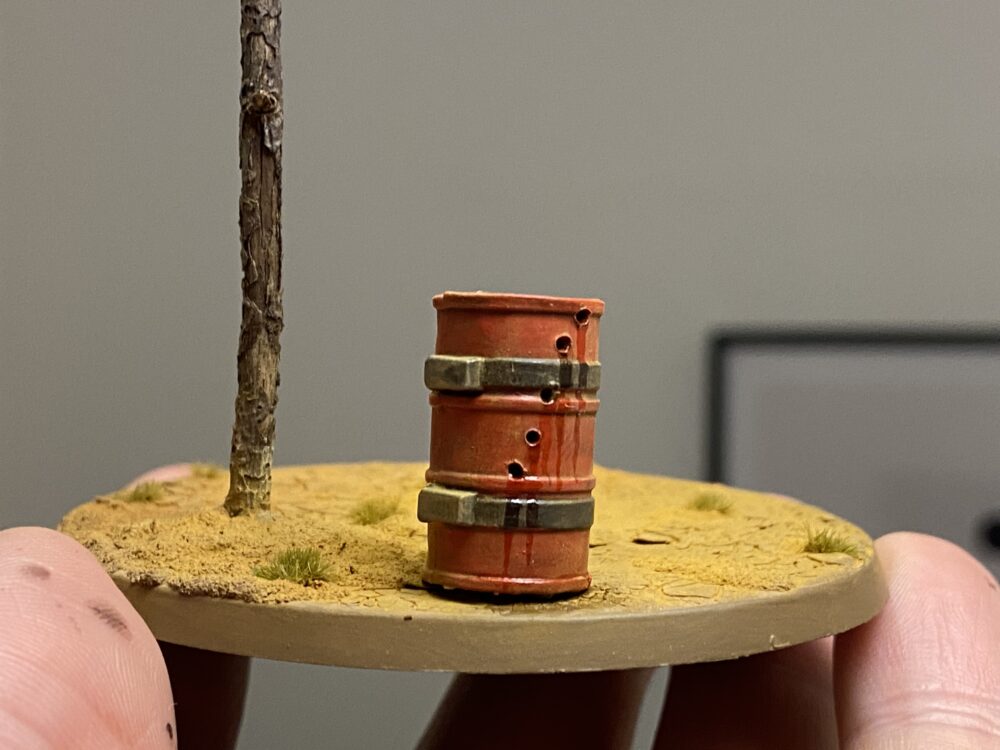
Fuel Leaks
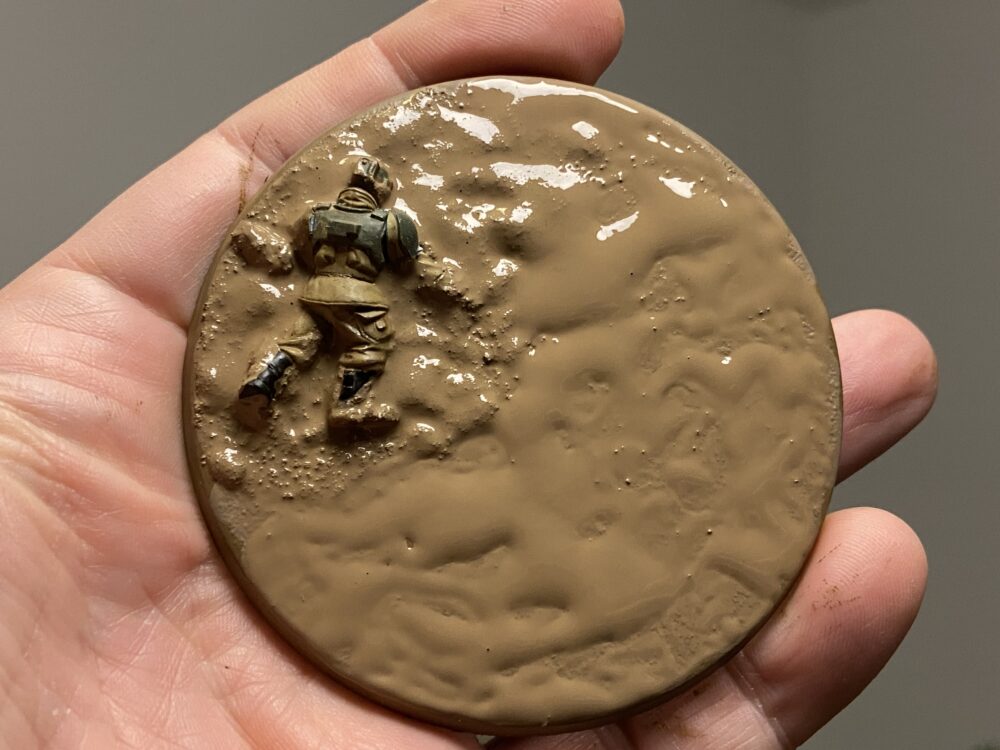
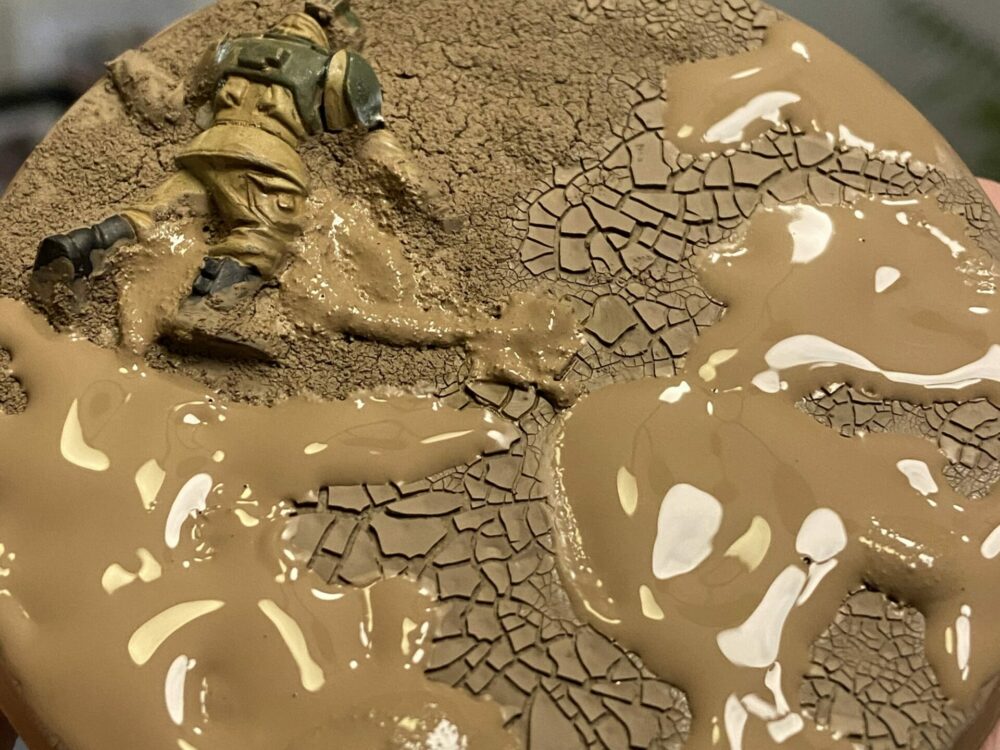
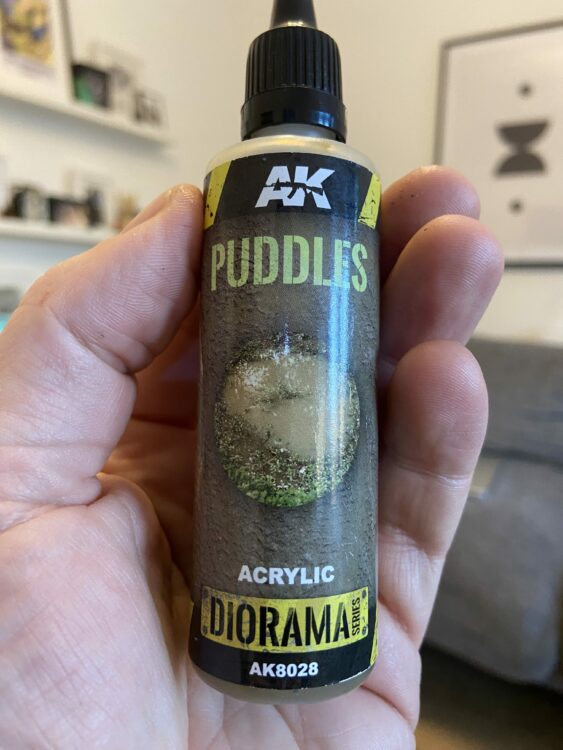
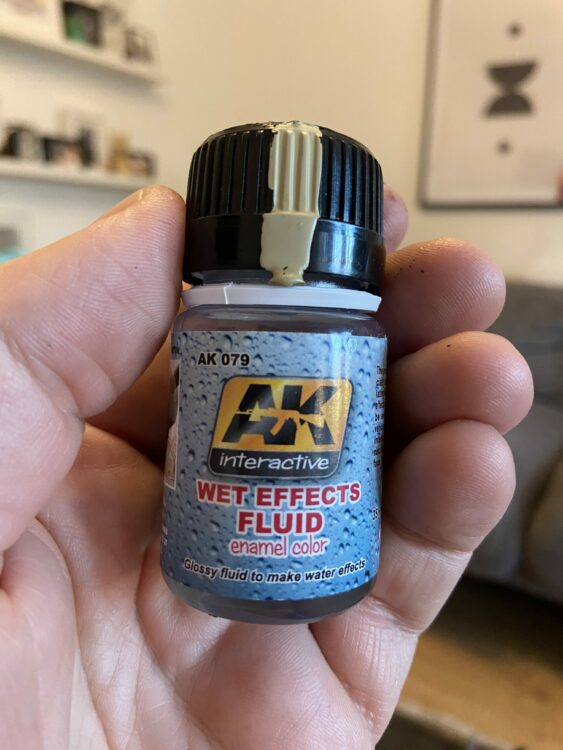
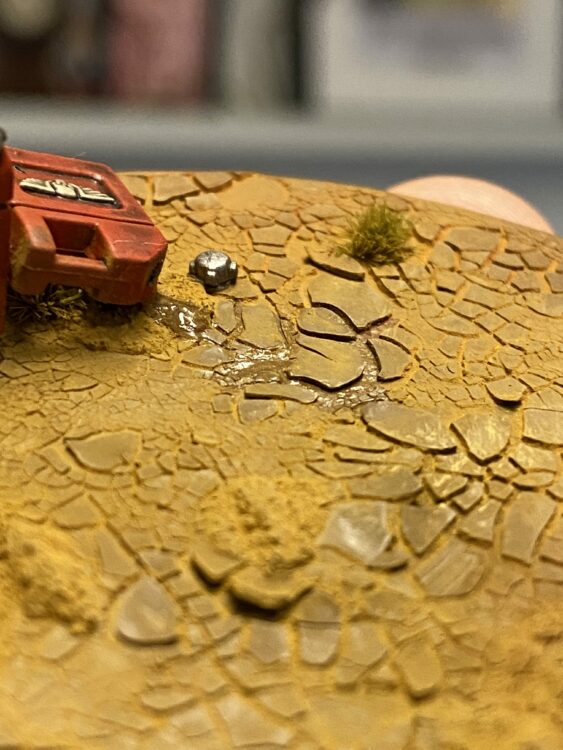
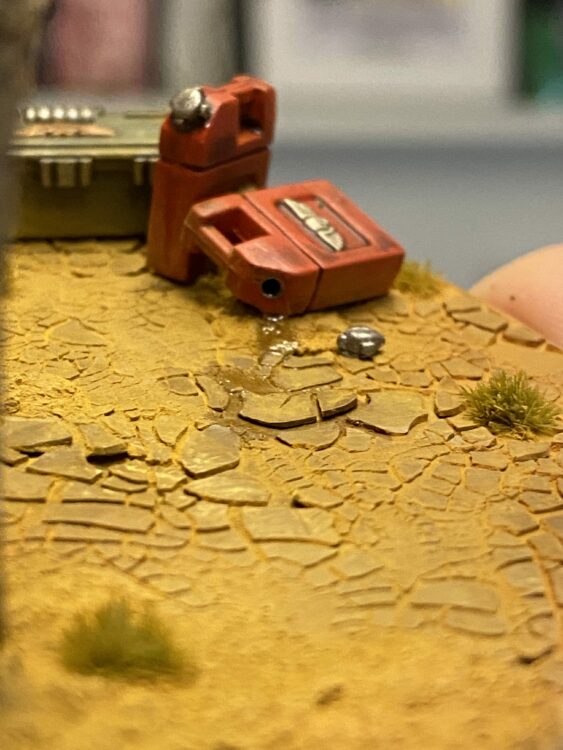
I used AK Interactive Puddles and their Wet Effects Fluid for the fuel leak. The process was pretty simple;
- Cut of the can’s lid, drill a hole in the can
- Apply the puddle solution to the drill holed and use a toothpick or other point to tease it into a natural position
- Apply the Wet Effects Fluid where the fuel would run to naturally, I focused this under the main bits of dry dirt
- I finally used Steel Legion Drab and an Ushabti Bone dry brush to fix any bits of wet that had gone too far or gone on top of those dried bits of dirt
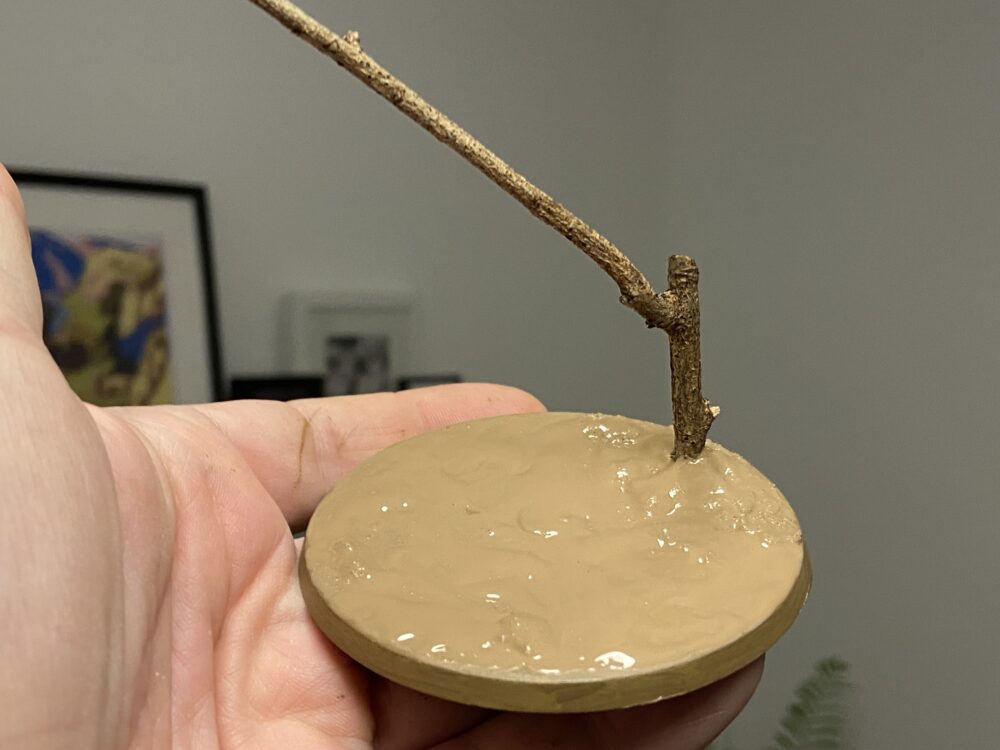
Blasted Tress
The trees are just that, bits of trees. I found the driest bits I could, given the British Winter weather and dried them some more on a radiator.
Then it was just a case of creating a hole in the base, super glueing in the twig and then applying some Green Stuff to the underside to keep it in place.
I also applied Green Stuff to the top of the base around the tree to give it some volume. Like the roots under the dried earth.
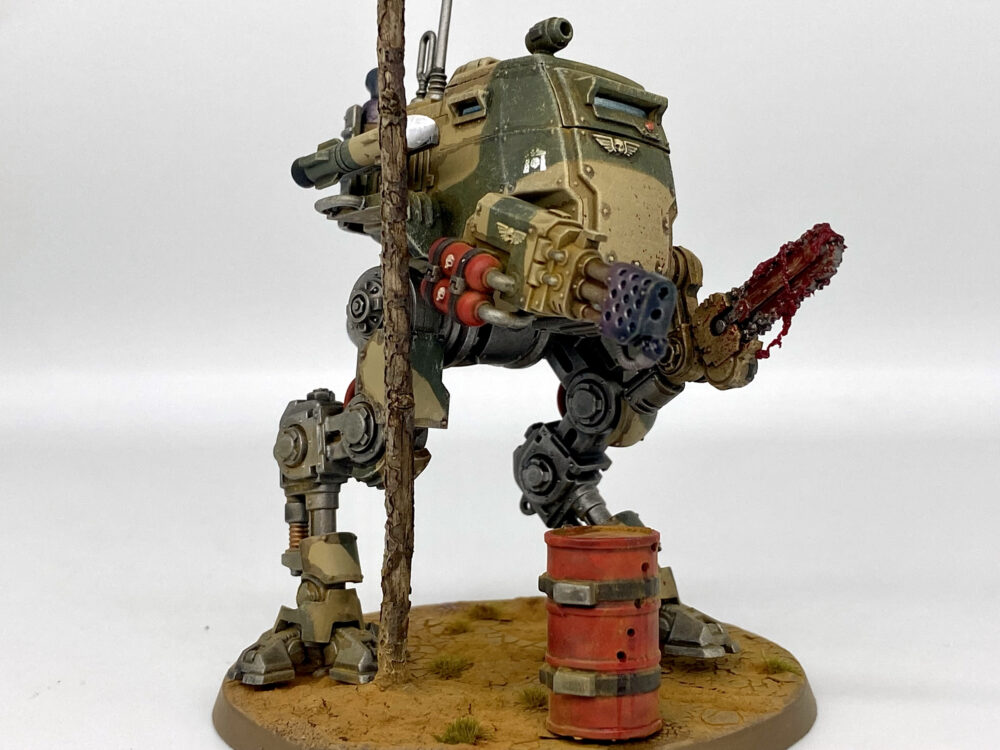
Tree
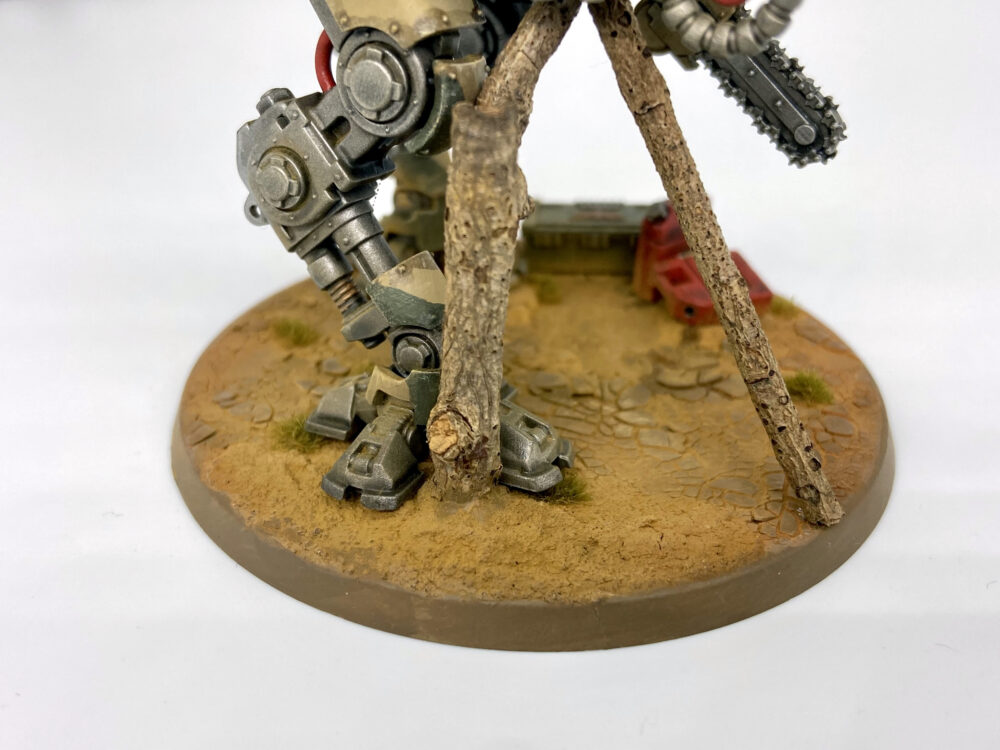
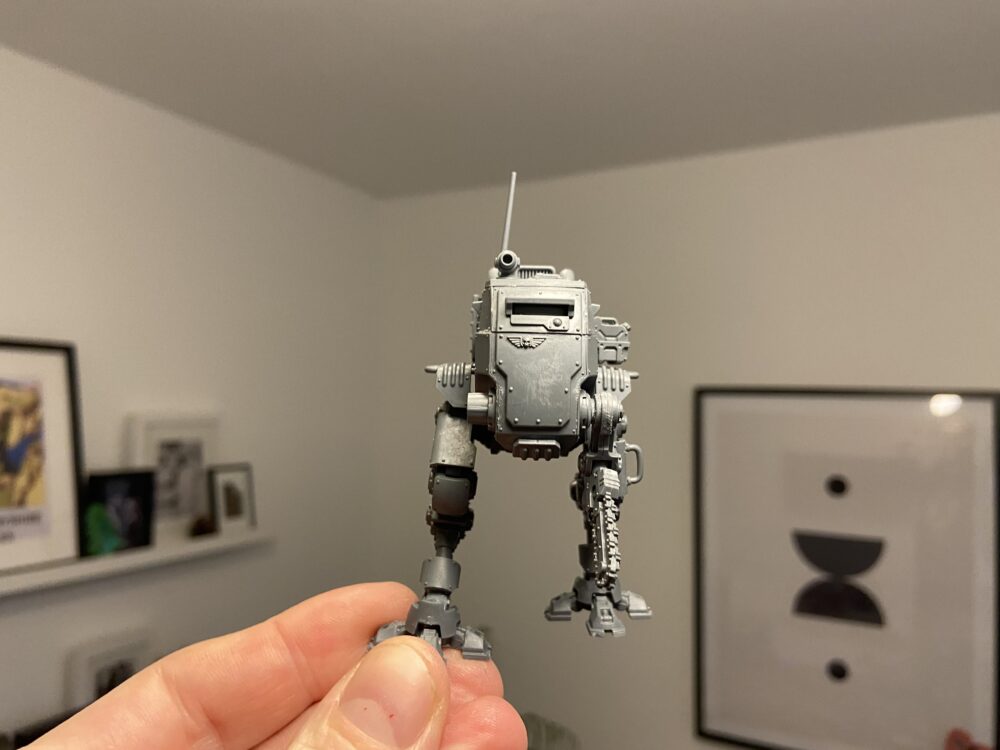
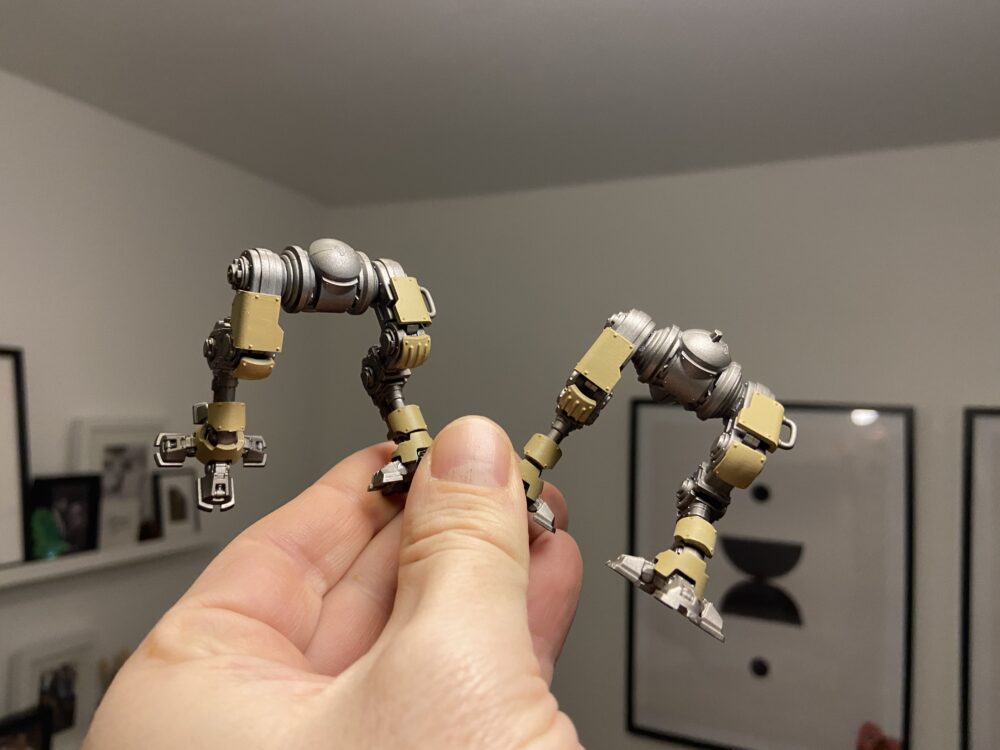
Running Sentinel – Sort Of
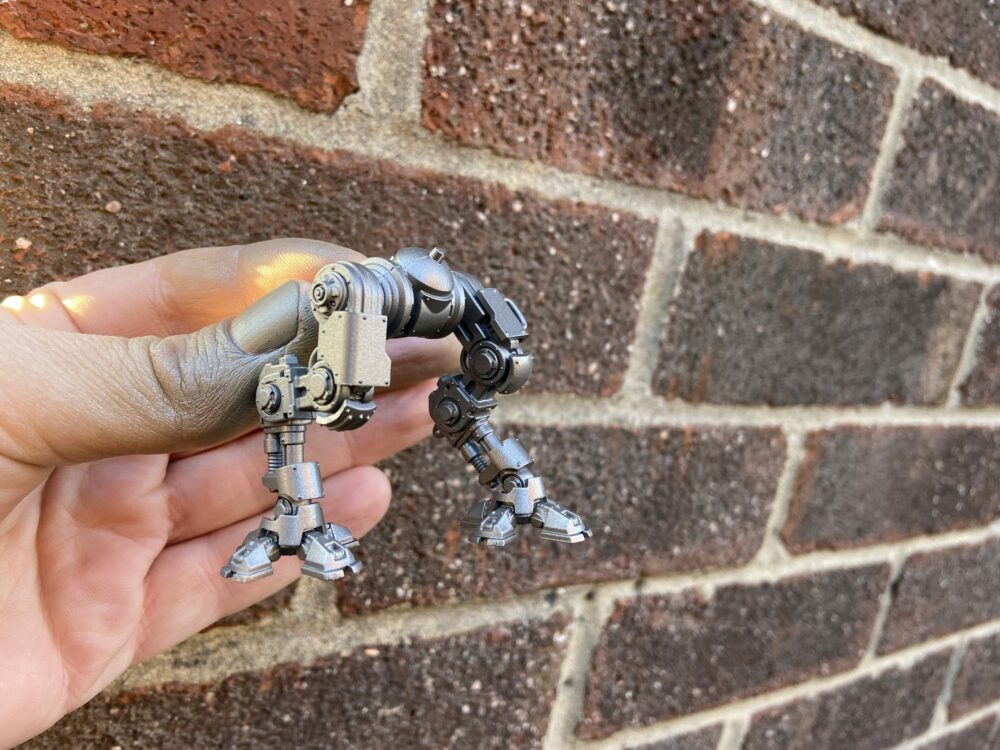
The legs on the new Armoured Sentinel are monopose. You either have the left leg forward and the right back or vice-versa. Both feet are flat.
The best way to repose the leg would be to chop it up, place it in its new position, and then re-model the pistons and cables to match the new form.
That is a lot of work, something I did not want to commit to on this model.
Instead, I just cut out the small section on the leg, forcing it to only be in one position, which enabled me to pose it right back. Then I glued the foot into its back position with the back toe touching the back side of the leg.
The knee is still at the same angle as the other leg, but it works well I thought and does look like the Sentinel is running.
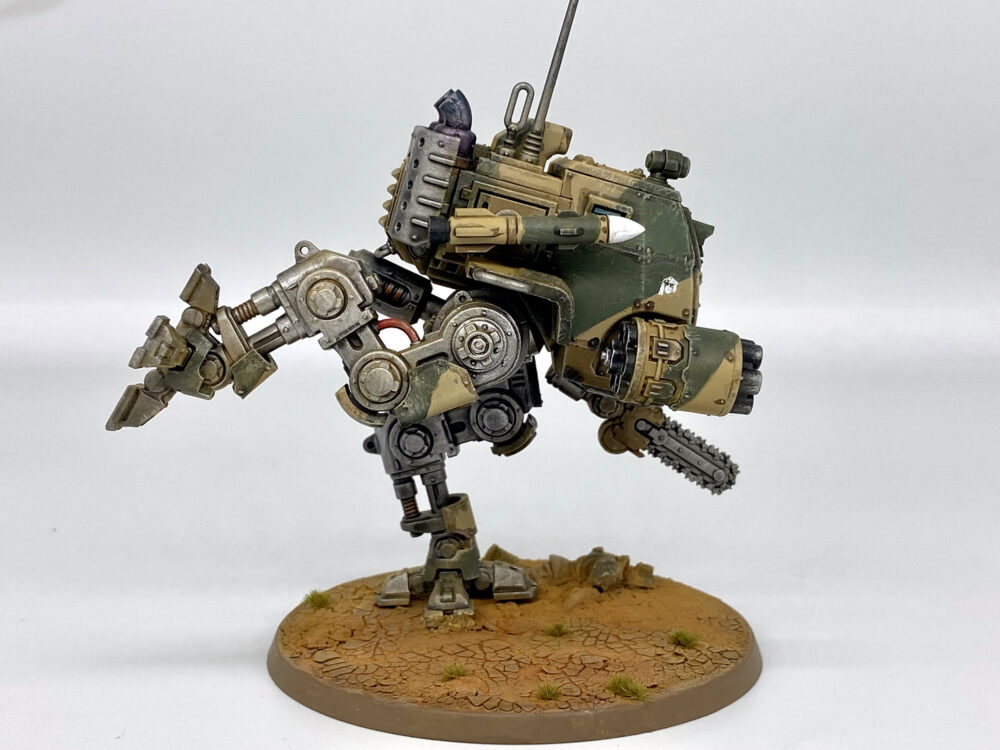
Running Sentinel
Cadian Camo
This article I wrote back in December 2021 has all the details on my Cadian Camo. In short, it goes like this;
- Spray Zandri Dust
- Apply masking tape
- Spray Colour Forge Governer Green
- Tidy with a brush
- Agrax Earthshade wash
- Drybrush Terminus Stone all over
- Metal details, then Nuln Oil wash
- Other details
- Pigments
