

Ambush Mission Debrief – 8th Edition – Warhammer 40K Blog
My group played the new 8th edition Ambush Mission - lets take a look at how it played out!
Another day and another mission allied with the Tau. I say allied, I mean we fought on the same side. Today I have a debrief of how the new Ambush Mission in the 8th edition rule book played out between Astra Militarum & Tau versus Dark Angels & Harlequins.
Never miss an article? Subscribe!
We played 1,000 points per force. 2,000 points total per side.
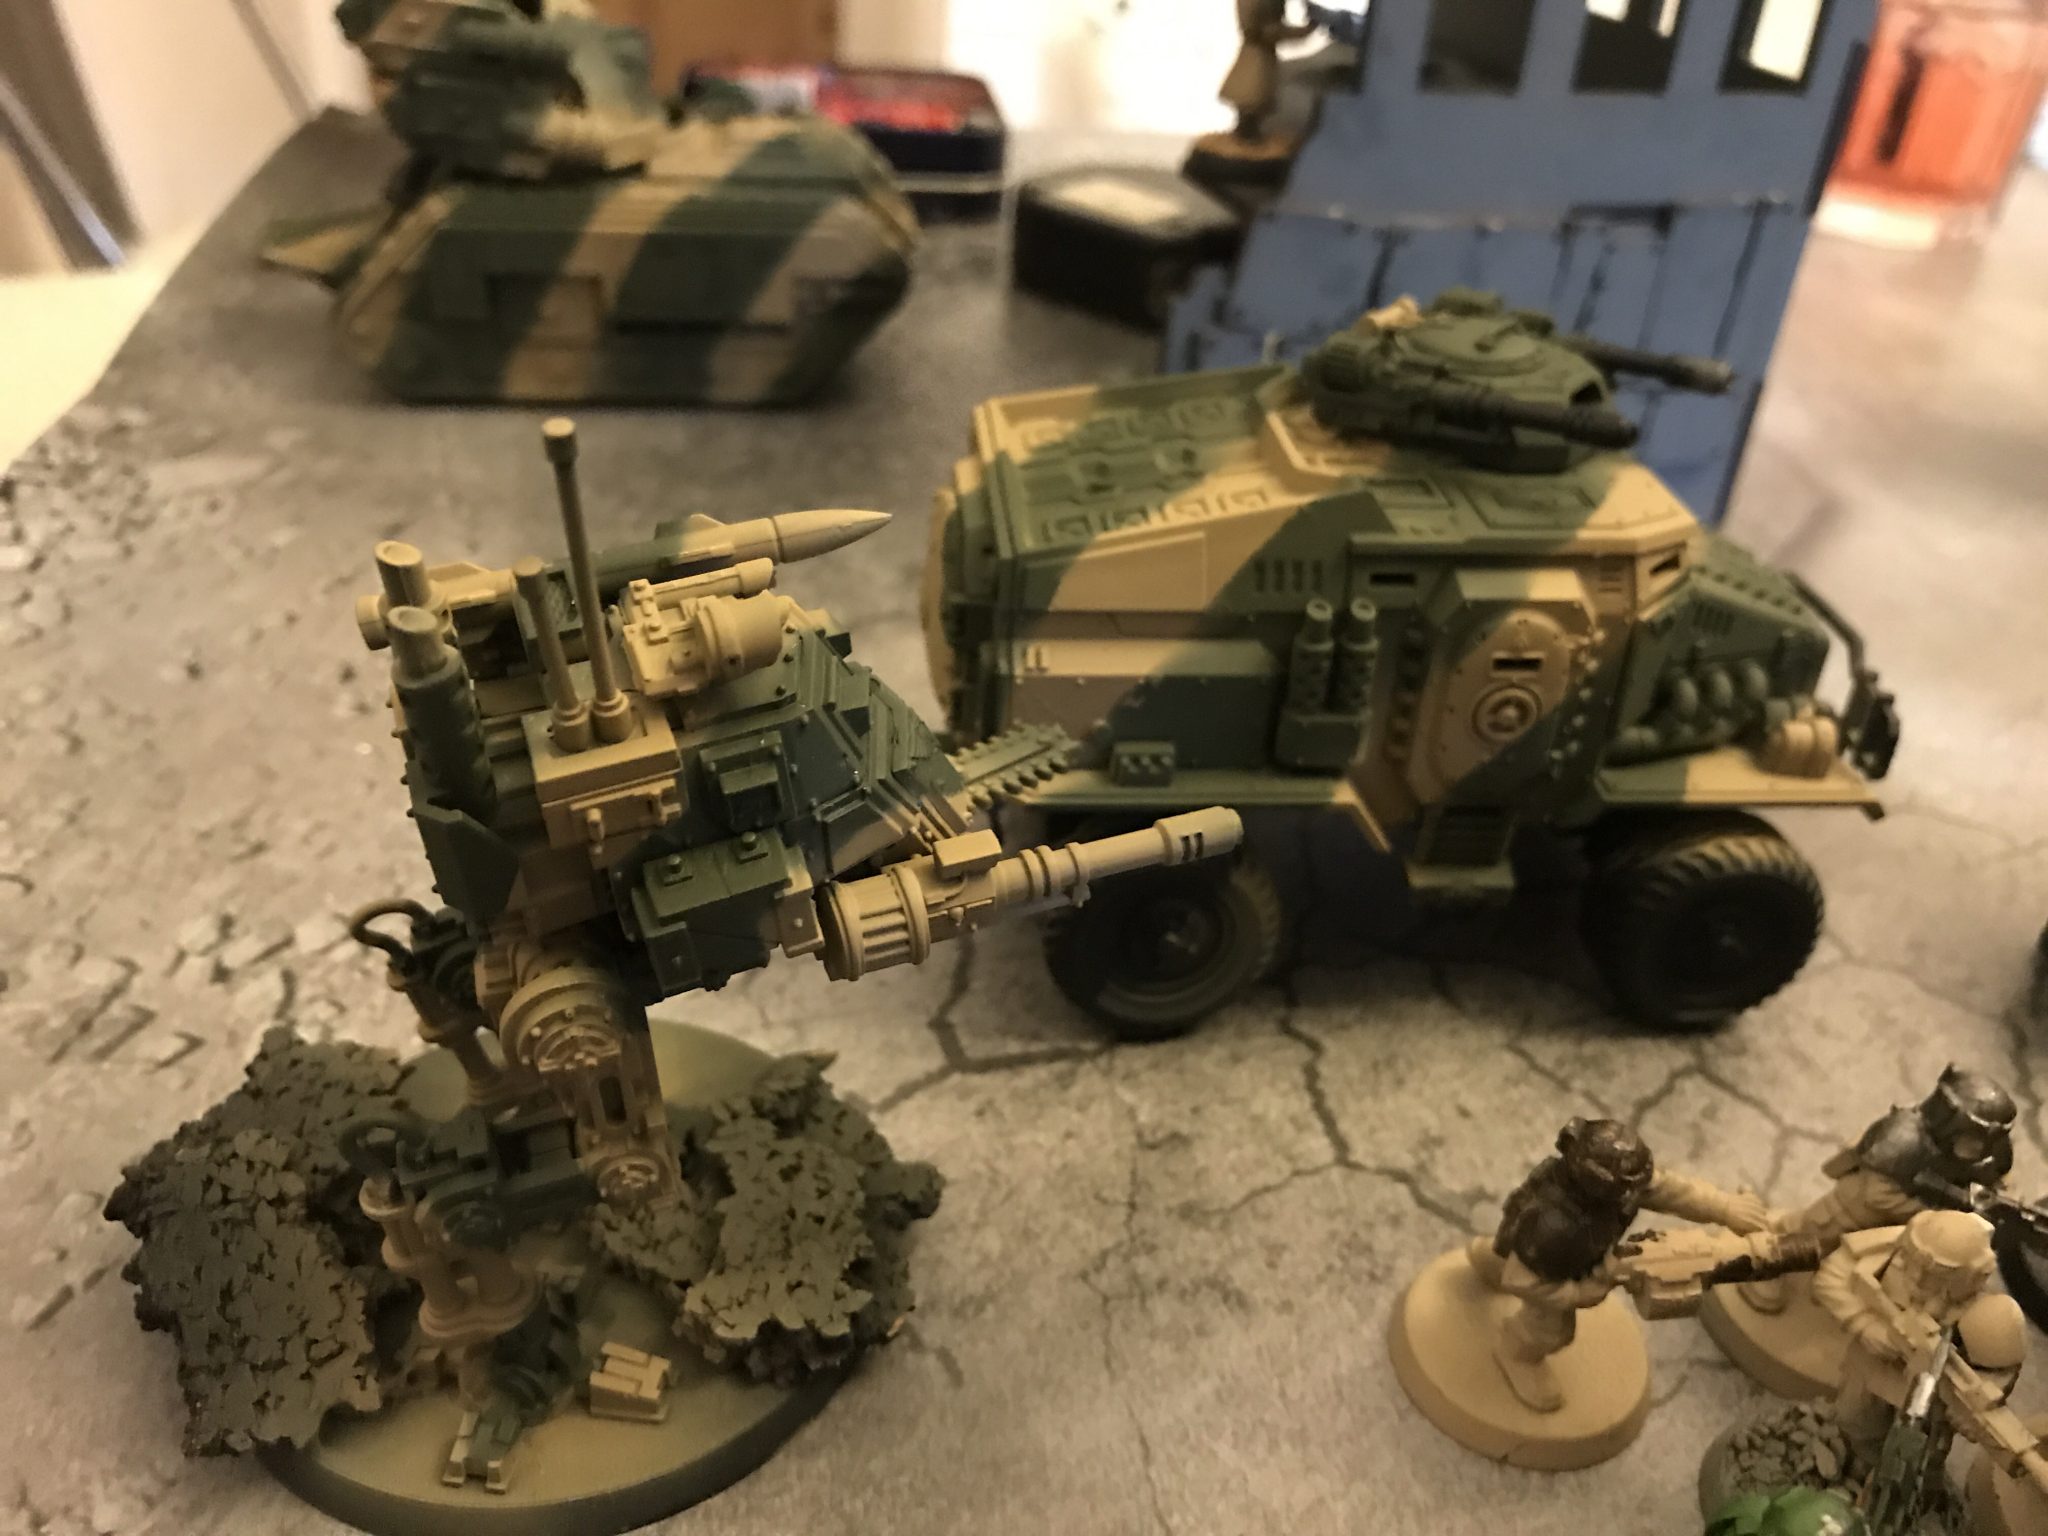
Ambush Mission – Taurox contains three Bullgryns
Quick side note: I have changed the headings in my blog’s content.I have made them all bigger and created a greater contrast between the sizes. Does it help? Did you notice?
Ambush Mission Overview
The Ambush Mission is a new mission from the new 8th Edition Rulebook.
We rolled to see who got to decide to be the Attacker or Defender. We won the roll and decided to attack! Simply because it seemed more fun than to defend and run. Running is what the Ambush Mission is about it turns out.
The Deployment Map sees the attackers surrounding the defender. The defender then has to get as many units off the fat end of the board as possible (the left edge in the image below). If they get a third of their total Power Levels off the board they win a major victory. If they don’t manage this then the attacker wins a major victory. So this was going to be all about running for the Dark Angels and Harlequins.
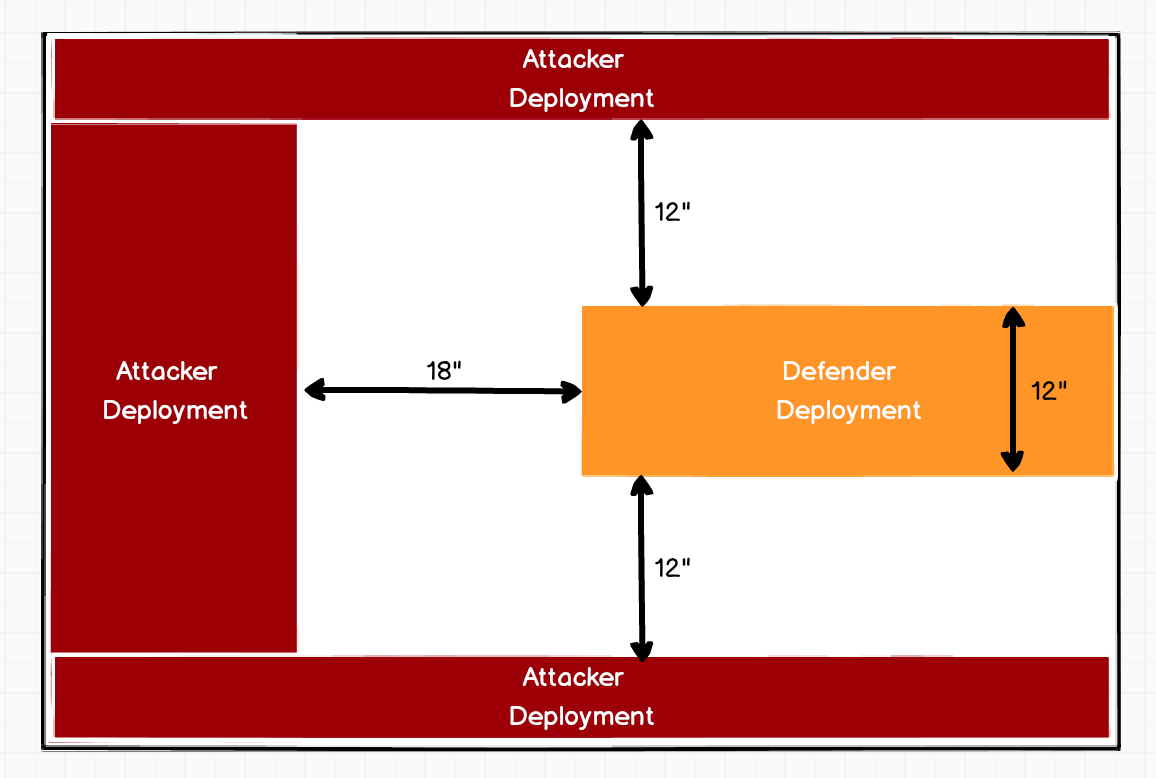
Ambush Mission Deployment
It said Power Levels and we used Power Levels for this calculation when it came to it. It was just easier to do at 11PM than try and do it with points.
We had to set up first using Concealed Deployment. This means the attacks in this game place numbered markers for each of their units. Each number corresponds to a unit. I had 18 markers, the Tau had 8.
Once all the markers are placed the defenders then setup all their units. Only then are the attackers units placed corresponding to their positions based on the numbered markers.
It sounds long winded. And it was. But it makes for an interesting deployment phase because nobody can counter deploy. You deploy, they deploy, reveal and you’re stuck with what you’ve done. Which for us, was awful as it turned out.
Ambush Mission – Friendly Forces
Brigade Detachment – Astra Militarum 1,000 points with 12CP
Yes 12CPs in 1,000 points!
- 3x stock Company Commander
- 6x stock Infantry squads
- Stock Commissar
- 5 Ratlings
- 3 Bullgryns with Bullgryn Mauls and Slabshields in a Taurox (with Wheels)
- 2x Wyvern
- 3x Scout Sentinel with Autocannons
- Heavy Weapons squad all with Autocannons
I really tried to max the CPs in this list. And it is perfectly possible and legal to get 12CPs from a 1,000 point list with the Astra Militarum. It does mean cutting back on some nice toys though as you basically have to take everything as cheaply as possible. The 40 point per squad Infantry makes this possible. As does the low cost of things like Sentinels, Ratlings and Heavy Weapons Teams. Go Guard!
I had to use my Bullgryns after writing about Bullgryn Tactics – I could just squeeze them into the list with 12CPs.
Battalion Detachment – Tau 1,000 points with 6CP
- Cadre Fireblade
- Commander with Missile Pod and Burst Cannon
- Kroot Carnivores
- Strike Team with (5 models)
- Strike Team (6 models) in Devilfish
- 2x Crisis Suits with Fusion Blaster and Burst Cannon
- 3x Crisis Suits with Burst Cannon and Missile Pod
- Hammerhead Gunship
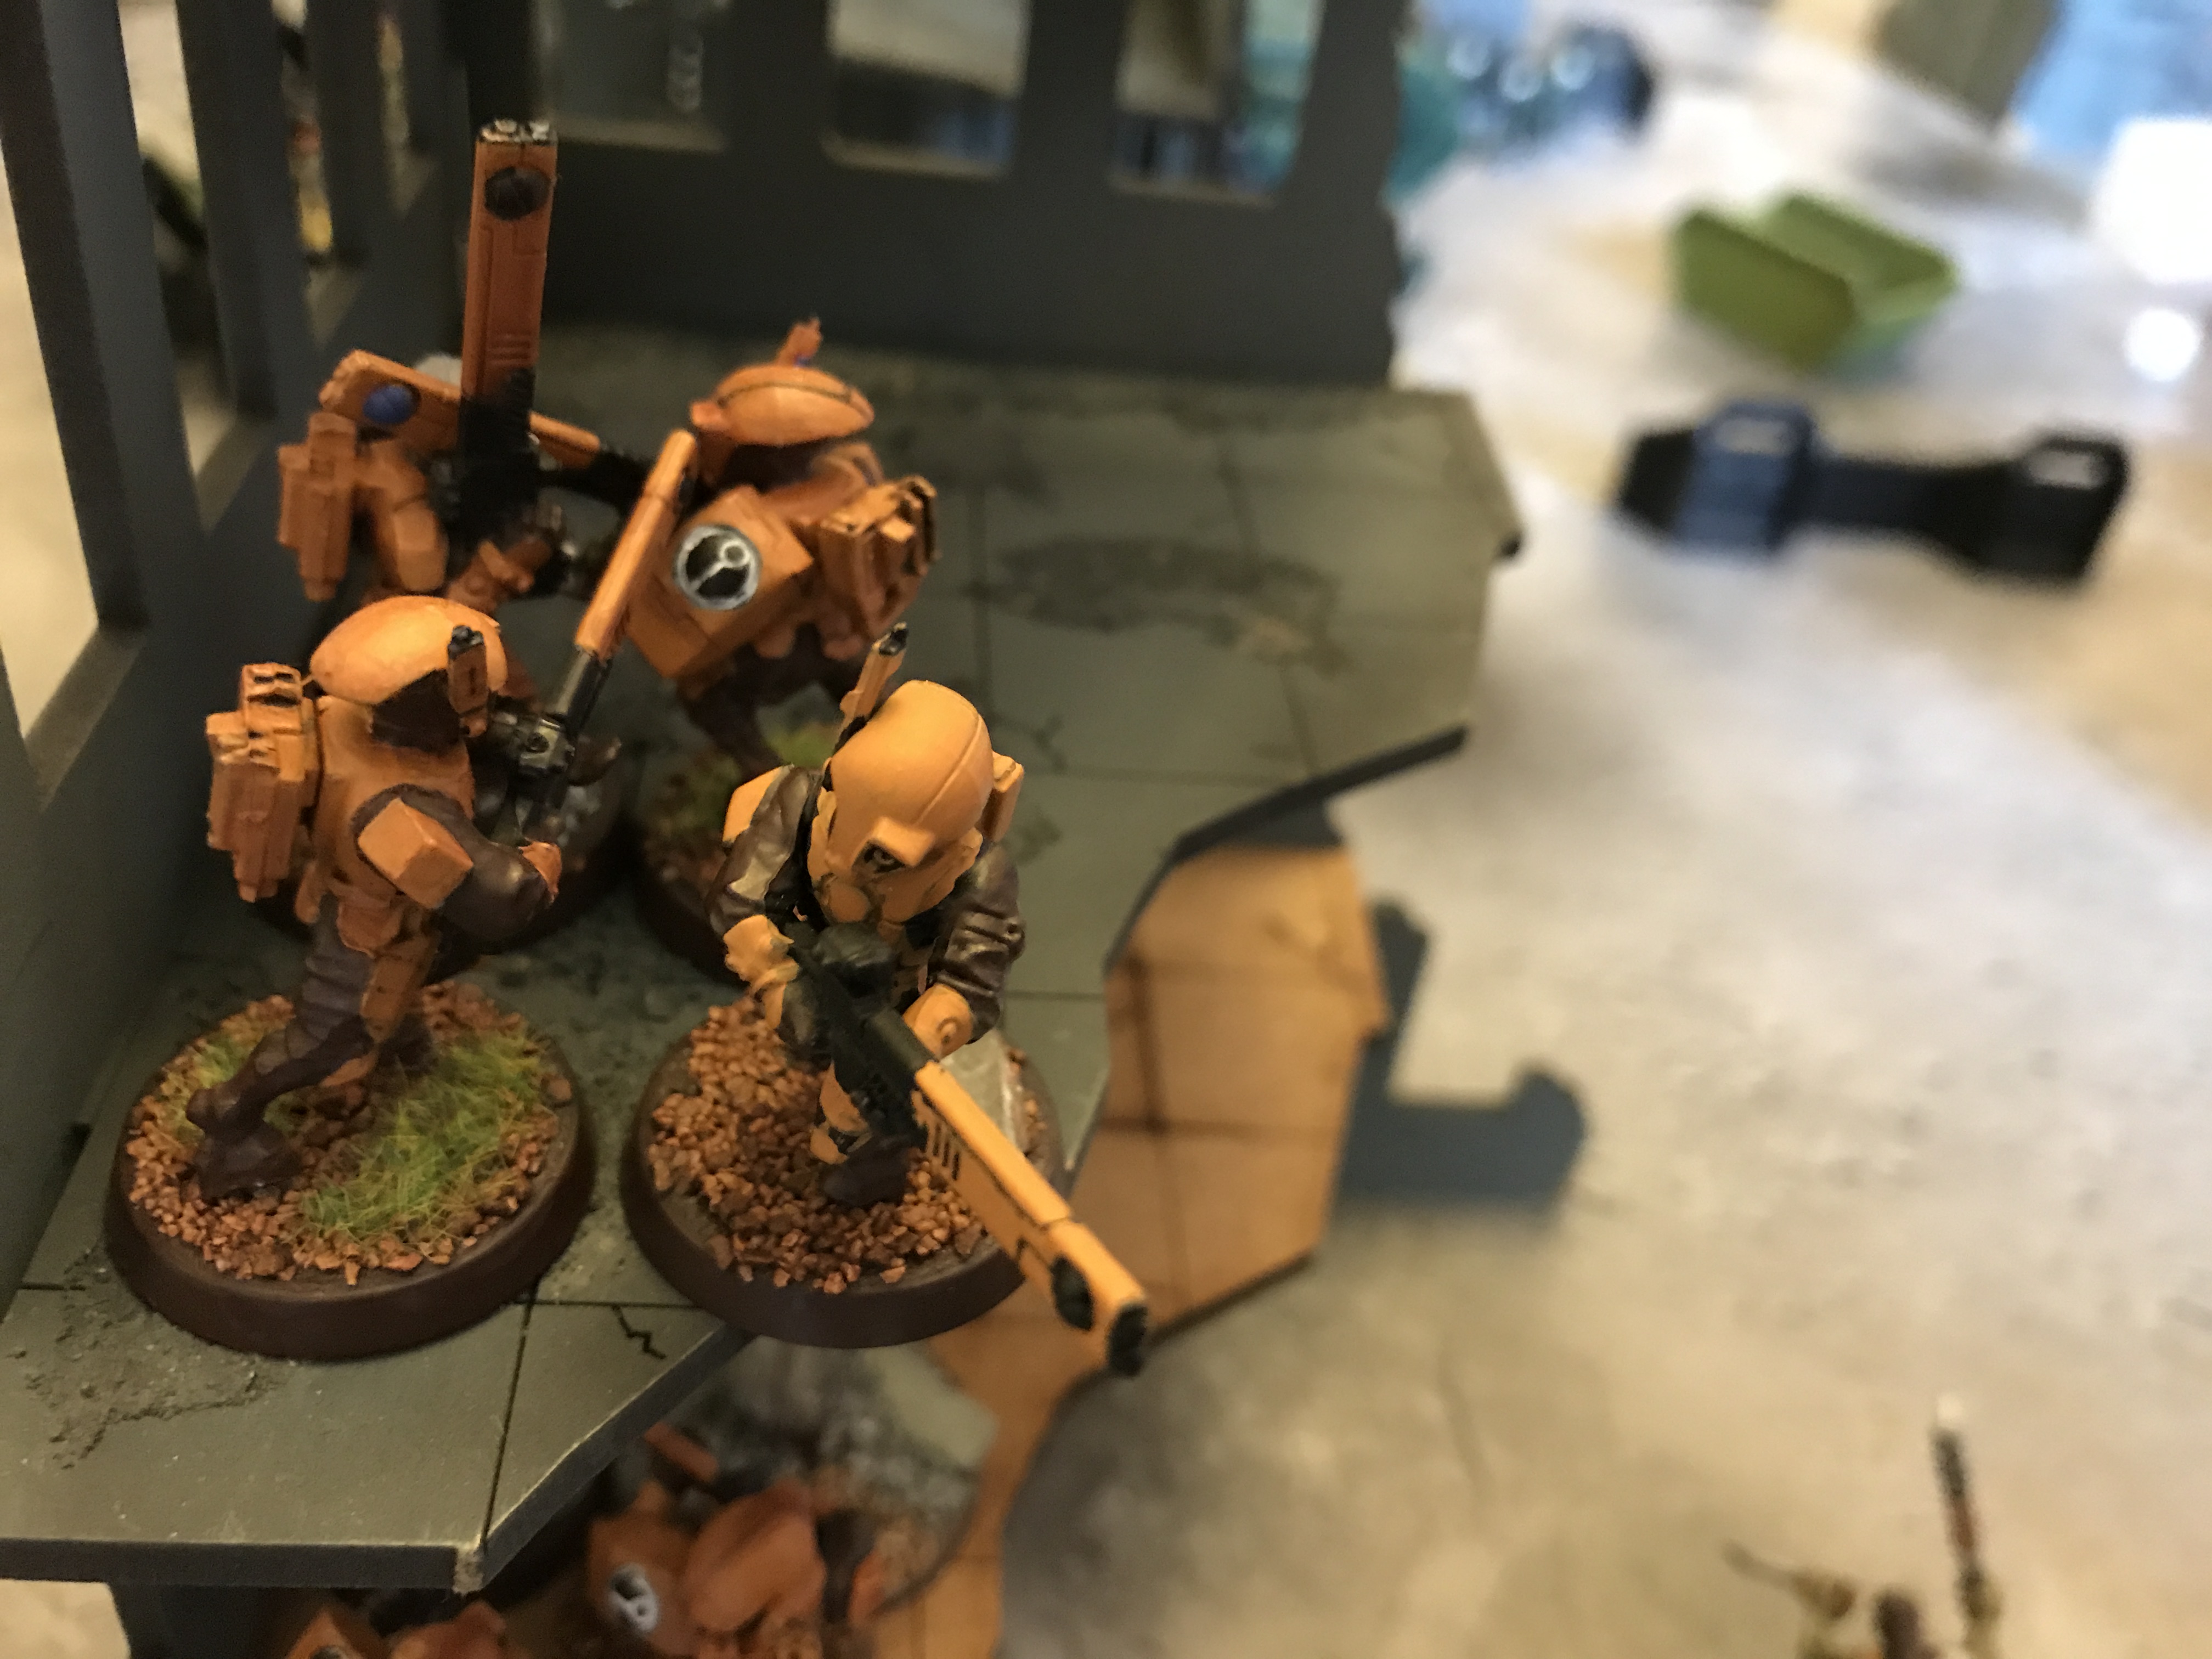
My Fishy Friends for Ambush Mission
Ambush Mission Enemy Forces
Patrol Detachment – Harlequins 1,000 points with 3CP
- Shadowseer
- Troupe with Harlequins Embrace (8 models)
- Troupe with Harlequins Caress (8 models)
- Troupe with Harlequins Kiss (7 models)
- Solitaire
- Wraithlord with 2x Missiles, 2x Shuriken Catapult
- Wraithlord with 2x Flames, 2x Scatter Laser
Patrol Detachment – Dark Angels 1,000 points with 3CP
- Azrael
- 3x Intercessor squads (4 models / squad)
- Inceptor squad with 3 models
- Land Raider Crusader
Ambush Mission Deployment
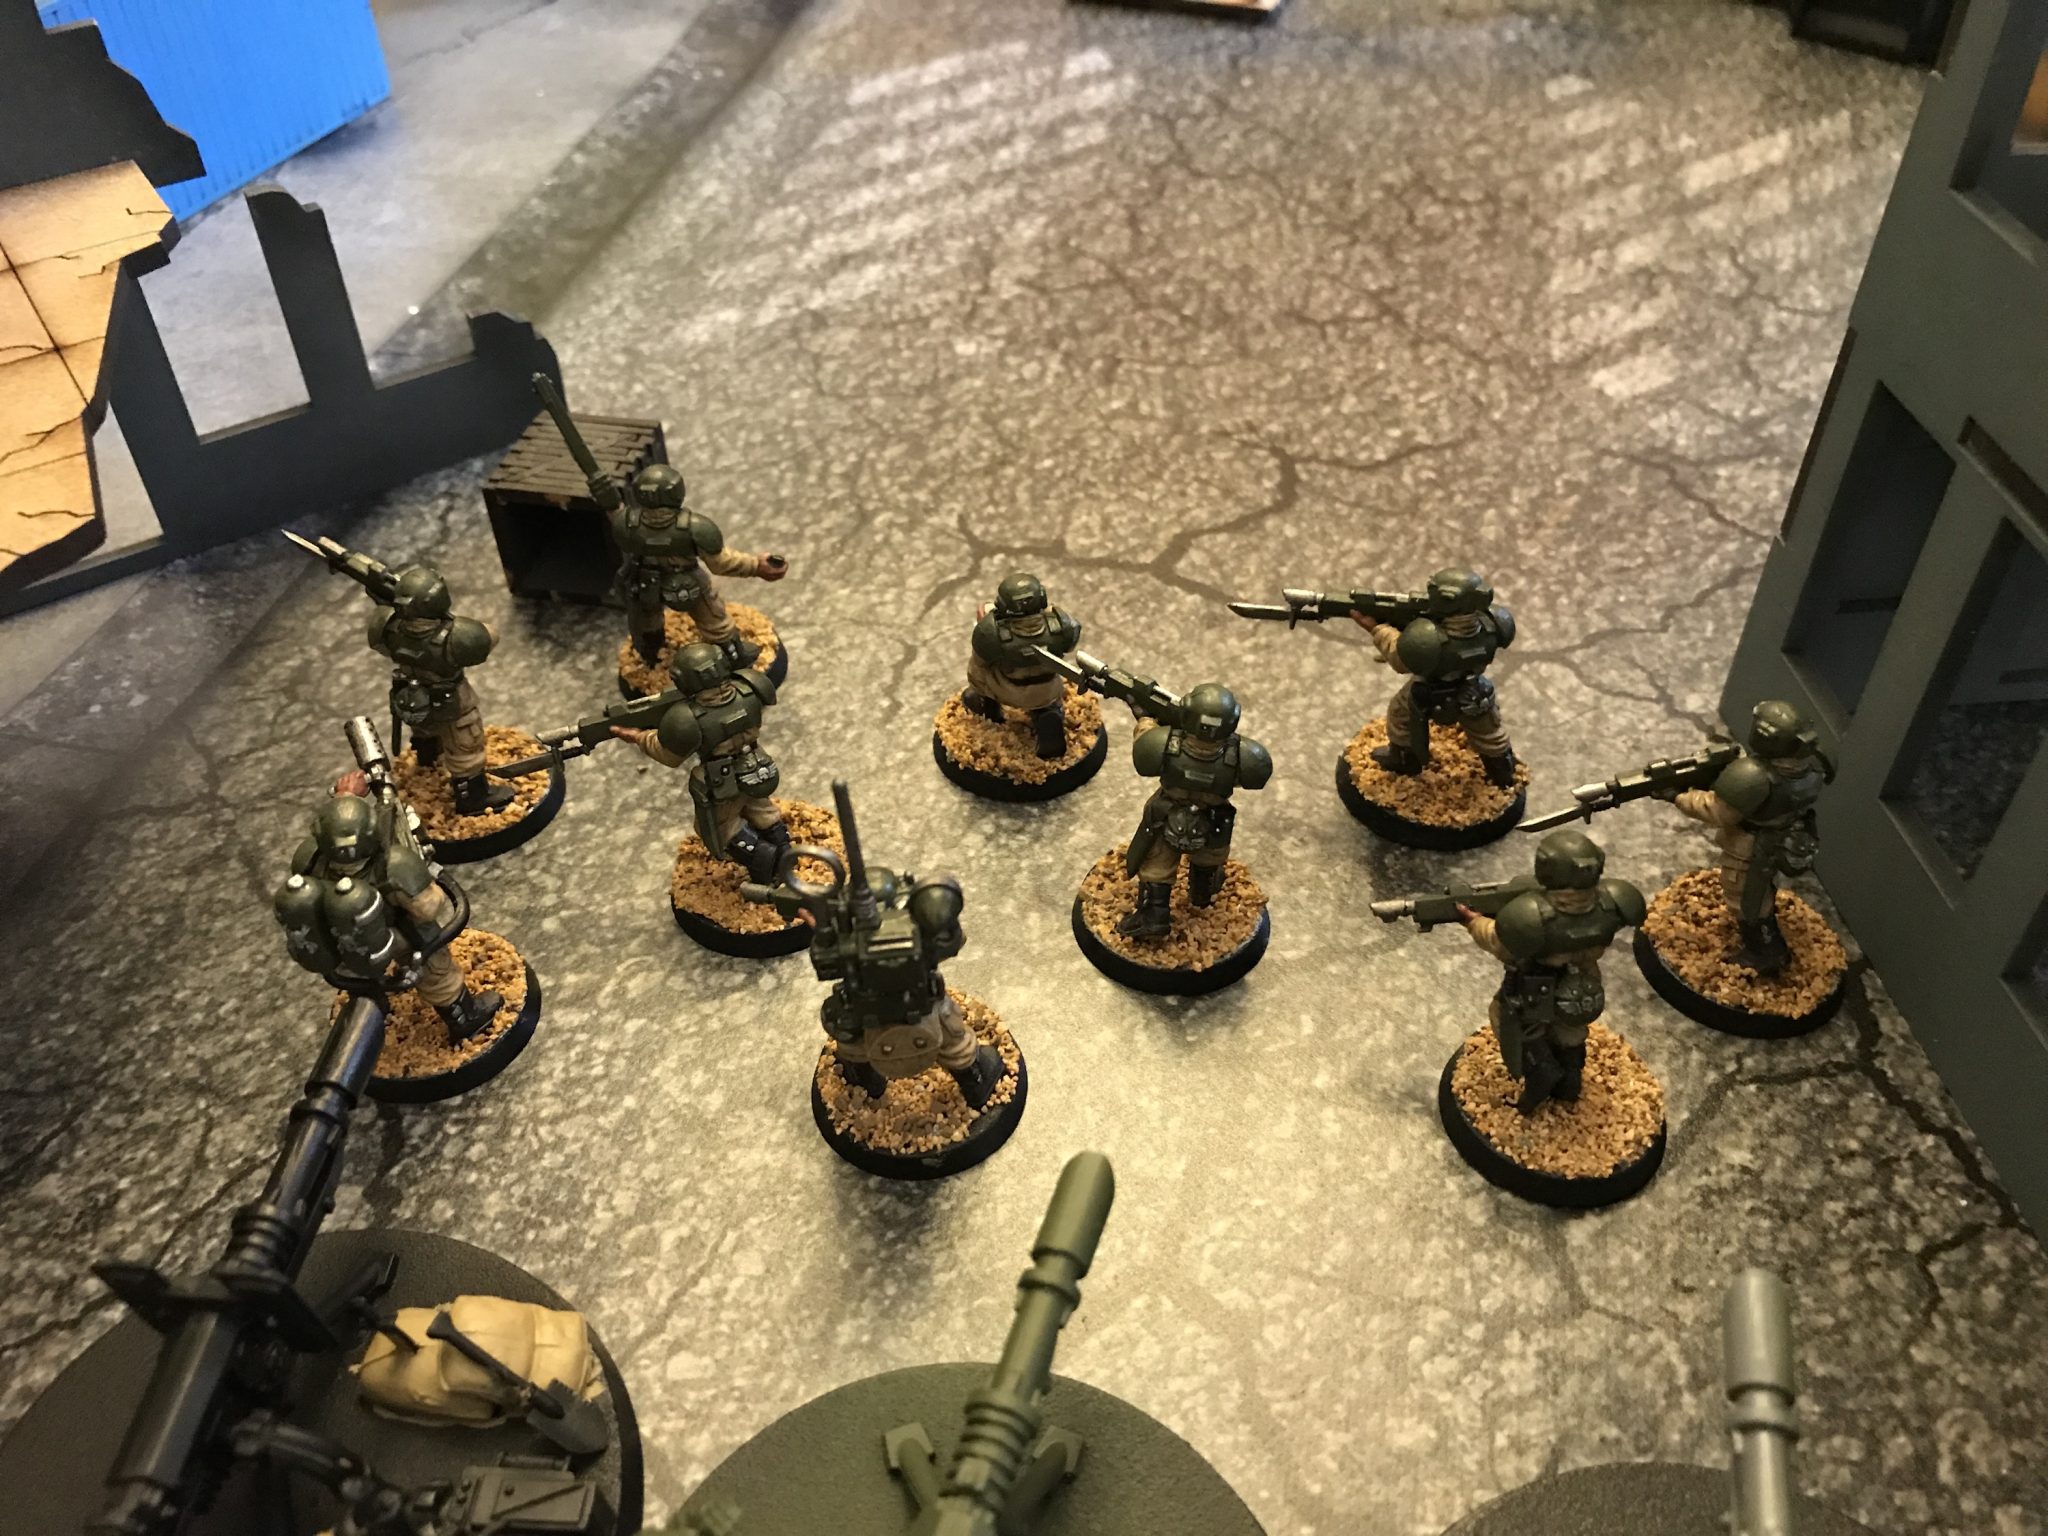
With the deployment map set I placed all my units spread out along the back edge of the table – that is the left hand side of the above image. To block the enemy from escaping. The Tau deployed the Hammerhead here too with everything else either side of the enemy’s deployment zone – in the thin strip at the top and bottom of the above image.
I had each Company Commander in range of two Infantry squads and the Commissar in range of three. Nice bubbles for my orders and morale boosts.
The enemy deployed as close as they could to us. Bunched up. I miss templates.
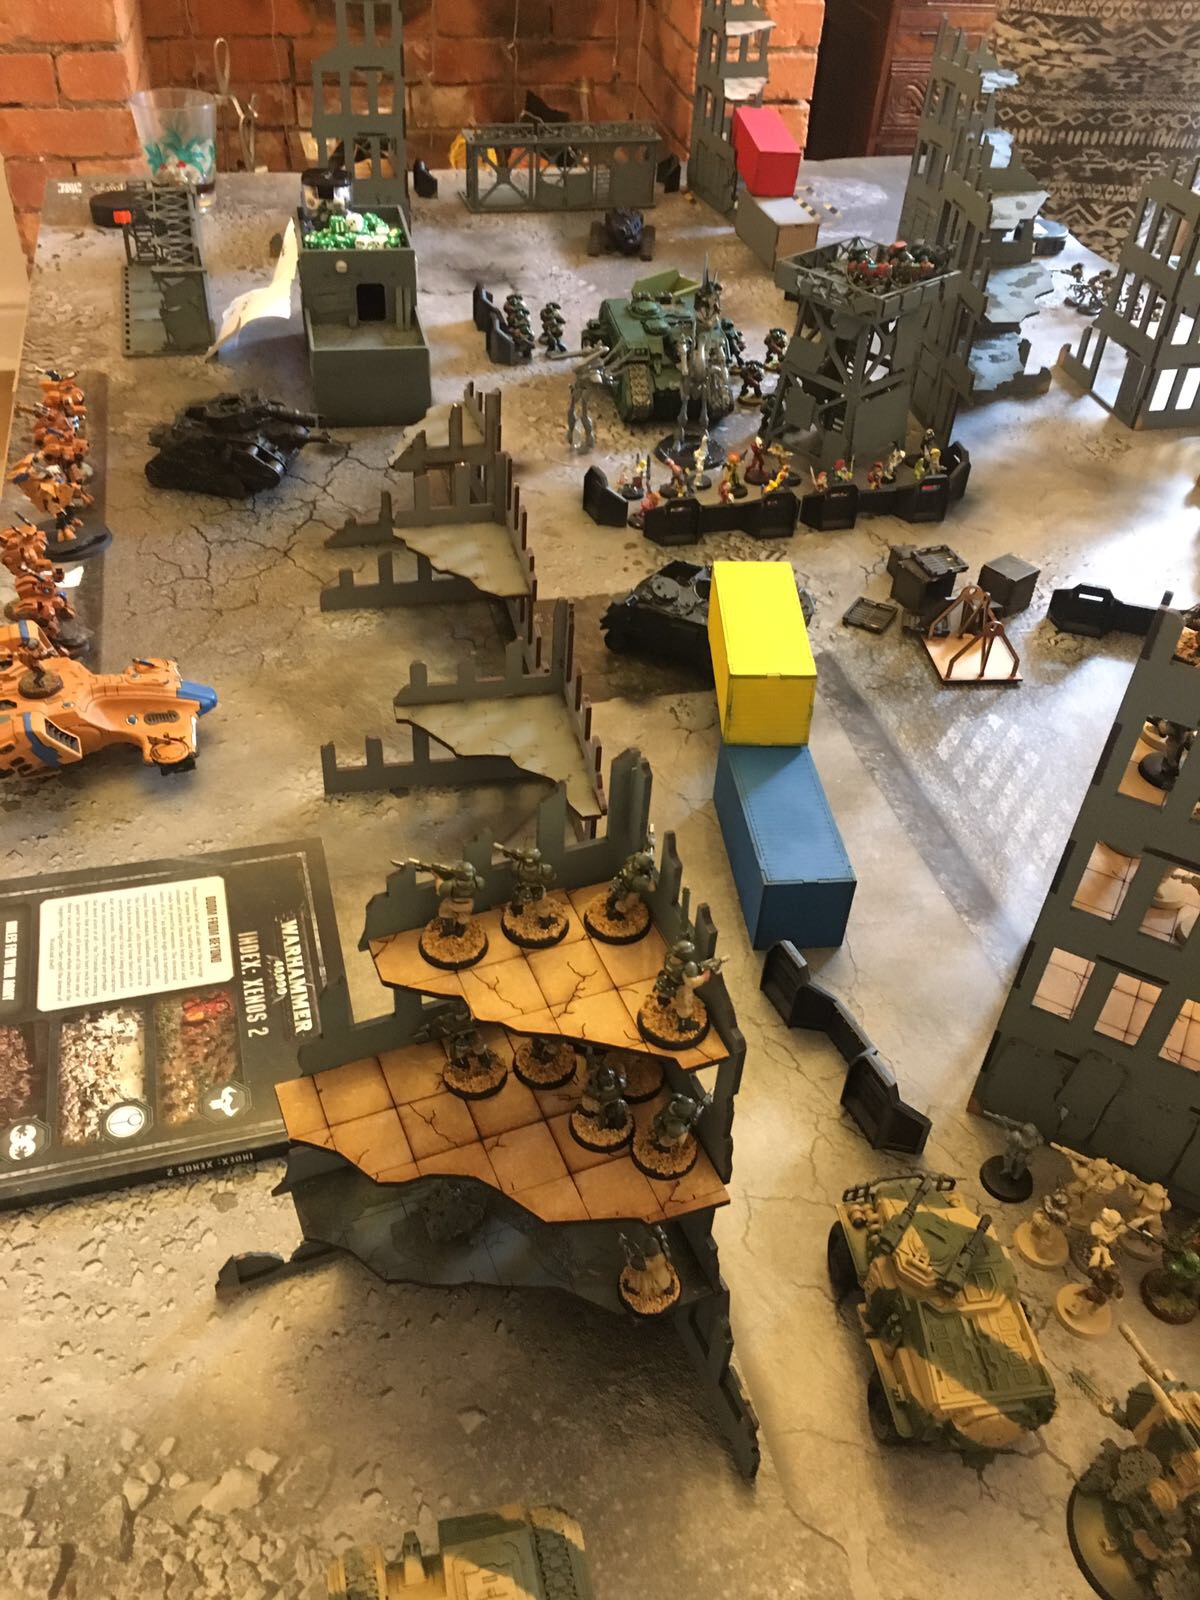
Deployment – you can see the amassed enemy in the centre
Ambush Mission Special Rules & Strategems
There are the two we used that mattered….
Night Fighting! It is not called that anymore, but in this game its a Dawn Raid for the first turn, which means -1 to hit for all shooting attacks. The Attackers can spend a CP to extend this rule by one turn per CP. But seen as us attackers were both using shooty armies, we did not do this.
Preliminary Bombardment! We did chose to do this one though for 2CP. We rolled a dice for each enemy unit on a roll of 6 the unit suffers D6 Mortal Wounds and cannot move for the first turn. But if the enemy chose to spend 2CP (I think) they could Go To Ground which meany they can move the unit and they take D3 Mortal Wounds in stead. This all meant that a few Harlequins died and the Solitaire lost a wound.
Seize! The defenders can seize on a 6 for the cost of 1 CP.
Guardsmen holding the line during the Ambush Mission
Enemy – Early Game
The attackers take first turn! Yeah! But for a CP the defenders can seize on a 6. Which they tried to do, and did! This should’ve worked in our favour as it closed the distance between the enemy and us. Bringing them into Rapid Fire range sooner.
In reality what this meant in 8th edition is the Harlequins were able to charge the Tau on the flanks in turn one. It also meant the Inceptors were able to do the same on the other flank on turn one too. Hmmm.
It’s was at this point we realise the power of the Flip Belt for the Harlequins. They can jump over anything. This includes my models blocking their escape route. Bummer.
With the Tau charged they took some heavy losses. The following all died in turn one or two:
- Commander
- All Crisis Suits (5 in total, one from failed morale)
- Kroot
The Devilfish was down to 2 wounds. The Strike Team not in the Devilfish lost four men bringing them down to just two survivors. They passed morale.
I lost one Guardsman and all my Heavy Weapons Teams from Crusader and Bolt Rifle fire.
Kroot – aka Dead Turn 1
Friendly – Early Game
The Tau faired poorly in shooting / Overwatch and managed to kill only a few Harlequin Troupes. A few wounds were done on the Wraithlords but that mattered little.
The same could be said for the Astra Militarum’s shooting too. The Guardsmen were hammering out shots thanks for First Rank Fire, Second Rank Fire and my three Company Commanders. But the weight of shots only downed one or two Intercessors. The Wyverns rolled poorly.
I had 8 Autocannons at the start of the game. At the start of my turn one I was down to 5. I like the theory of the Autocannon, Heavy 2, S7, AP-1 and 2 Damage – hence why I took 8. But they they just kept missing and even at AP-1 a Marine is getting a 4+ and if the Marine is in cover (as many were in this game) they still get a 3+ save. Perhaps I need to be using Bring it Down to re-roll ones to wound? They only killed one or two Marines.
Both the Astra Militarum and the Tau ignored the Land Raider.
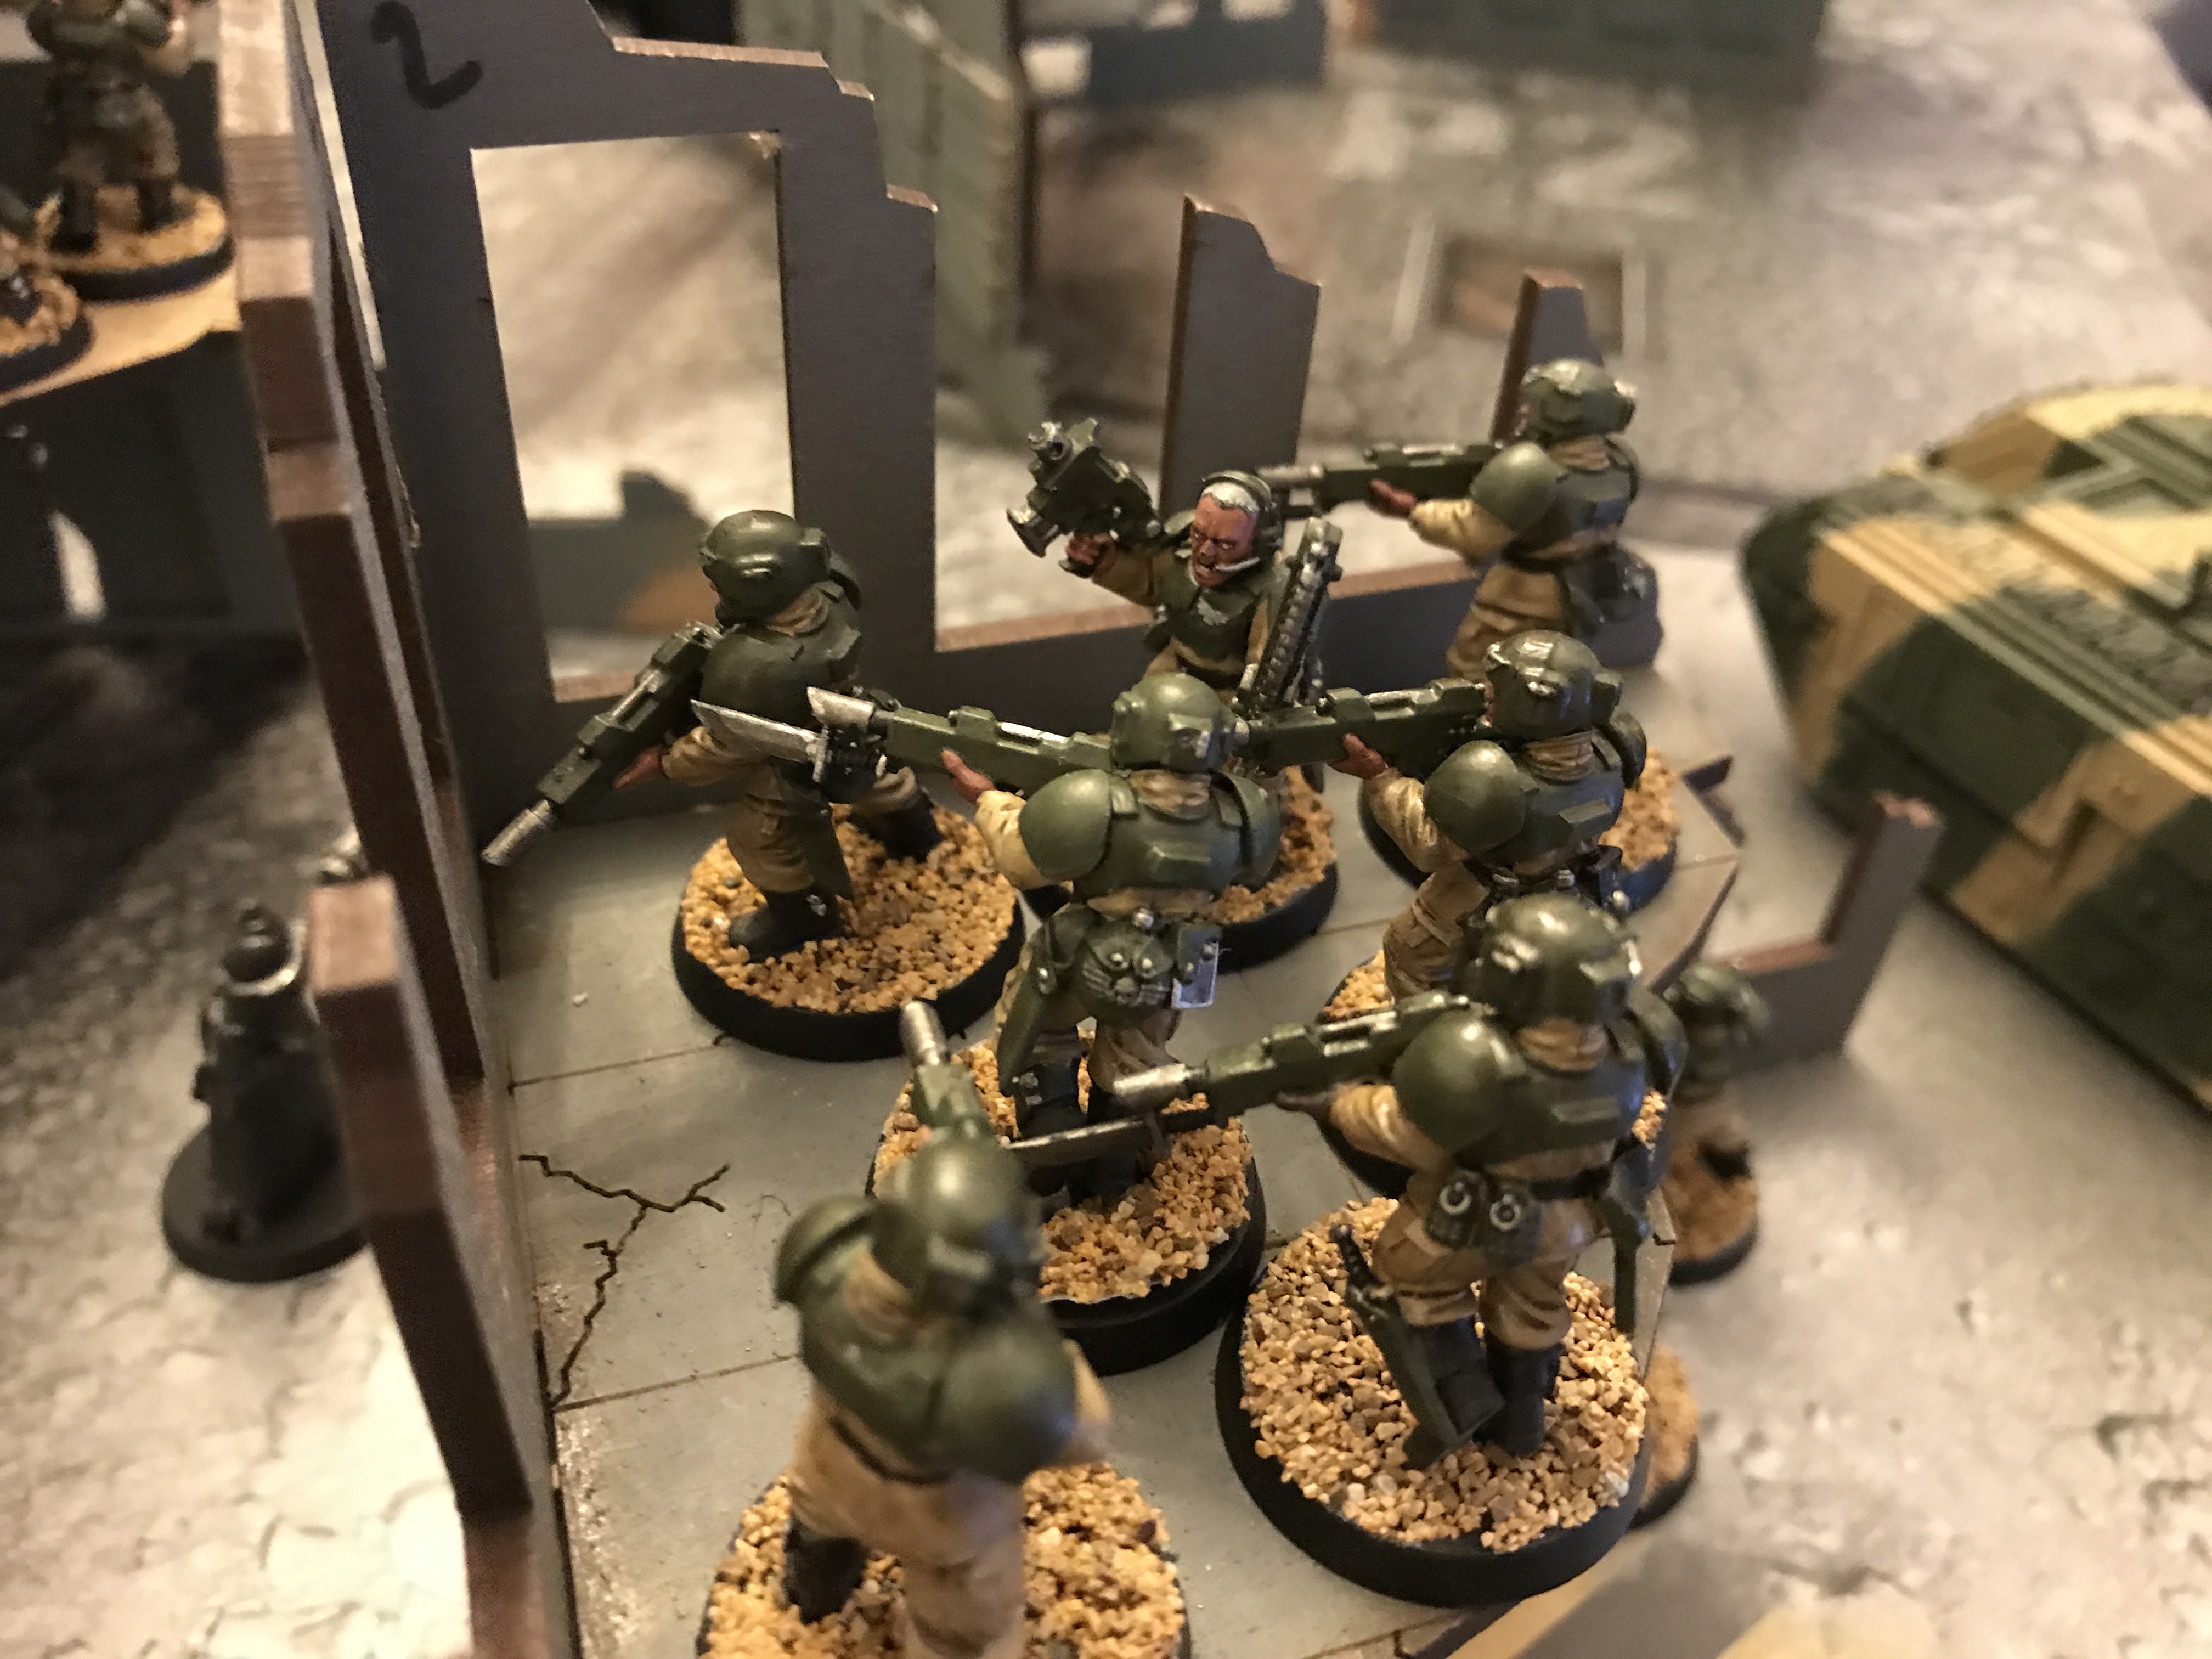
Guardsmen holding an important ruin
Enemy – Mid Game
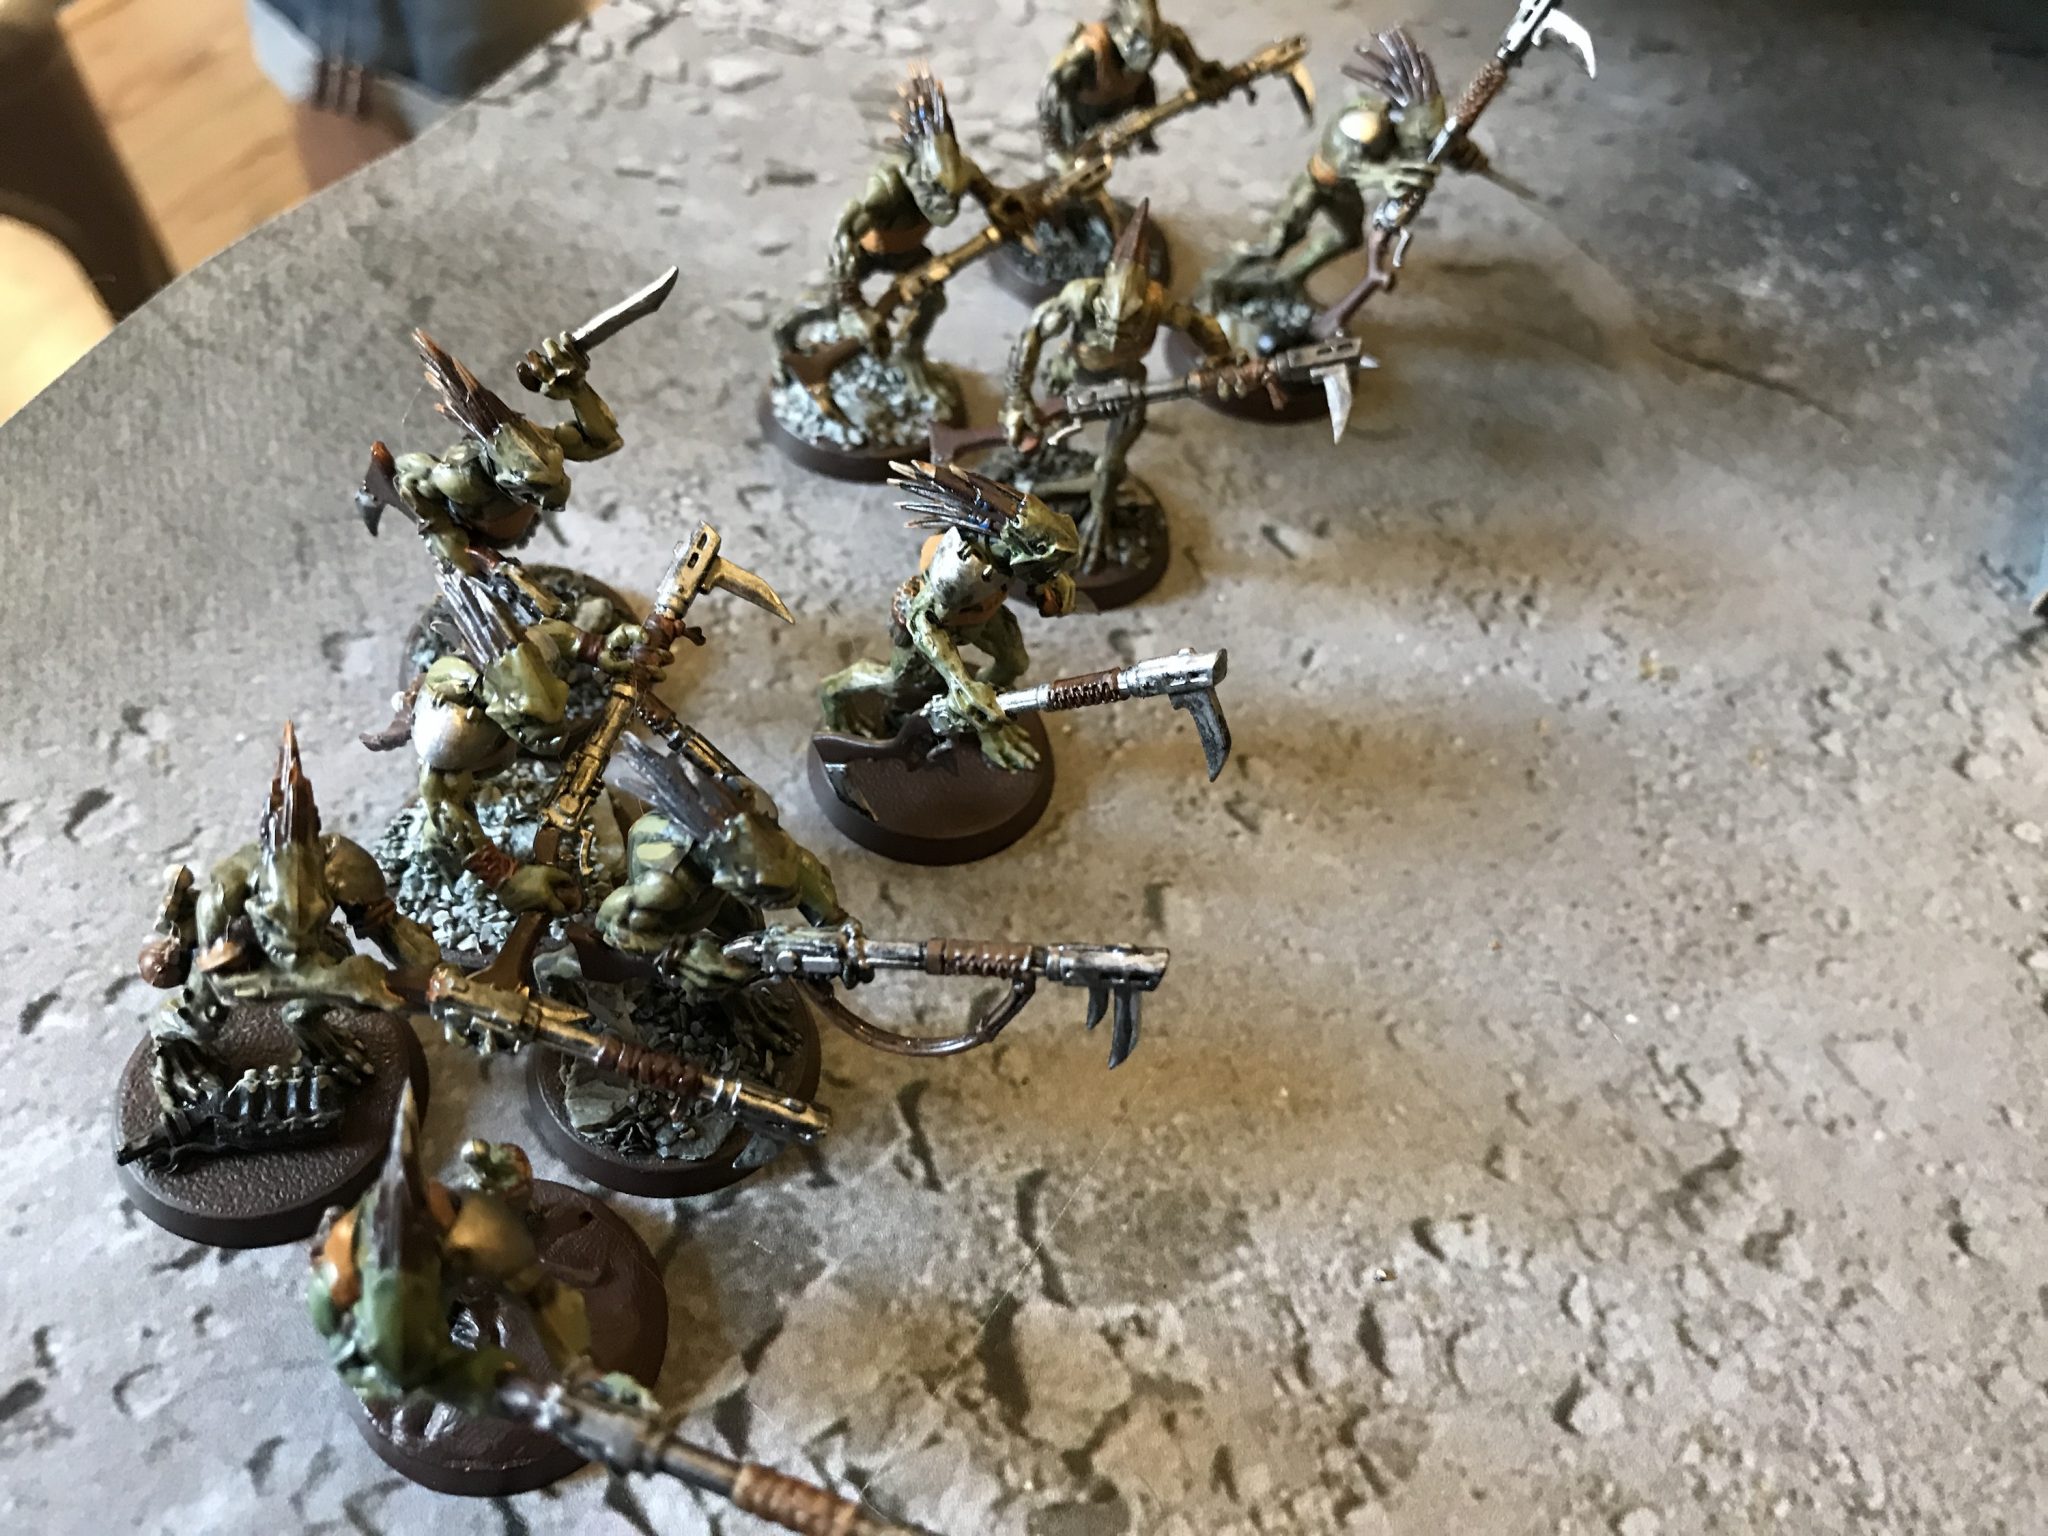
With crippling blows against the Tau the Harlequins and Dark Angels turned their attention towards the board edge they must escape from and my massed Astra Militarum forces.
The Harlequins broke from combat and Advanced toward my lines along with the Wraithlords. The Dark Angels followed suit – although much more slowly.
The Wraithlords gracefully walked on past the Devilfish as they fired at it to take its last wounds. Which they did and the occupants bailed out. Two died in the panic.
The Harlequins charged the Firewarriors and made quick work of them before consolidating 3″ towards my forces.
My Guardsmen started to receive fire from the Dark Angels – it was a wall of bullets. During the Dark Angels firing they were able to lay it on with:
- Two Hurricane Bolters, 12 shots
- Assault Cannon, 12 shots
- 3x groups of Intercessors (some dead by now), approx 18 shots
- 3 Inceptors, 18 shots
That’s 60 shots that hit on a 3+ and many were getting a re-roll to hit thanks to Azael. My Guardsmen now started to crumble. They retained their 5+ save thanks to being in cover. But still many perished. Few ran though thanks to the Commissar.
I had held one group completely out of sight and my Bullgryns remained untouched as they were still embarked in the Taurox. I had reverses ready to block their escape.
Friendly – Mid Game
By now the Tau were down to single figures of Firewarriors and the Hammerhead, with only two wounds lost. It can be assumed from now on that their contribution was little to the battle. Sorry Dave!
As the Harlequins and Dark Angels closed I was able to put 36 shots of Las fire out from a squad of ten Guardsmen. But those new Marines are so damn durable. I’m hitting on a 4+, wounding on a 5+ and then they get at least a 3+ save – they have two wounds each too!
The Harlequins were not any easier to deal with though. Their Toughness 3 was mitigated by some rule of the Shadowseer which made my to Wound roll one worse. And their 4+ Invulnerable Save is just so consistent. They’re durable too! Even the Wyverns struggled to do multiple wounds to the Troupes.
But now the Bullgryns disembark and assault the Solitaire, who survives gah! He can move next turn and run off the board.
At this point it can still go either way. The Harlequins will get two of their Troupes off the board, the Shadowseer and the Solitaire. As long as they can all survive the Bullgryns.
The Wraithlords and Dark Angel units will struggle to break through though past the Hammerhead, Guardsmen, Bullgryns, Sentinels and Taurox.
Late Game
A lot happens in the late game as enemy units scramble to get away and the turns are now going much faster as there are fewer units left and there is a lot less to think about.
The two Troupes, the Shadowseer and the Solitaire make it off the board with ease. We calculate that the Dark Angels need to get anything off the board to win the game and have a third of their total Power Levels escape off the board.
After much cat and mouse the Inceptors make it off the board, who is turns out are about 9 Power Levels (if not more ). My Guard managed to block the Land Raider and the Intercessors from escaping. Azrael would get away too thanks to his small size and my lack of units in the area.
This gave the Harlequins and Dark Angels a major victory. It was close in the end but they played the mission well.
Ambush Mission Summary
This is a great mission and I am glad we just decided to do it and then rolled to see which force got which role on the battlefield. The Harlequins could not have hoped for a better fitting mission! These missions are great if you come at them from the dark. If you know you’re playing this mission it would be really easy to write a very specific and powerful list. They work best if you just pick a list and then randomly select a mission and the roles.
I have to take responsibility for the loss. I placed all my units to block and did not leave enough room for the Tau at the end of the table that mattered. We didn’t even discuss it, I just set up and the Tau set up where ever was left over. Which as it turned out, was a terrible mistake. In hind sight I should have noticed this and made room so we could both use up as much shooting as possible by deploying on the left most table edge.
Cadian, out!
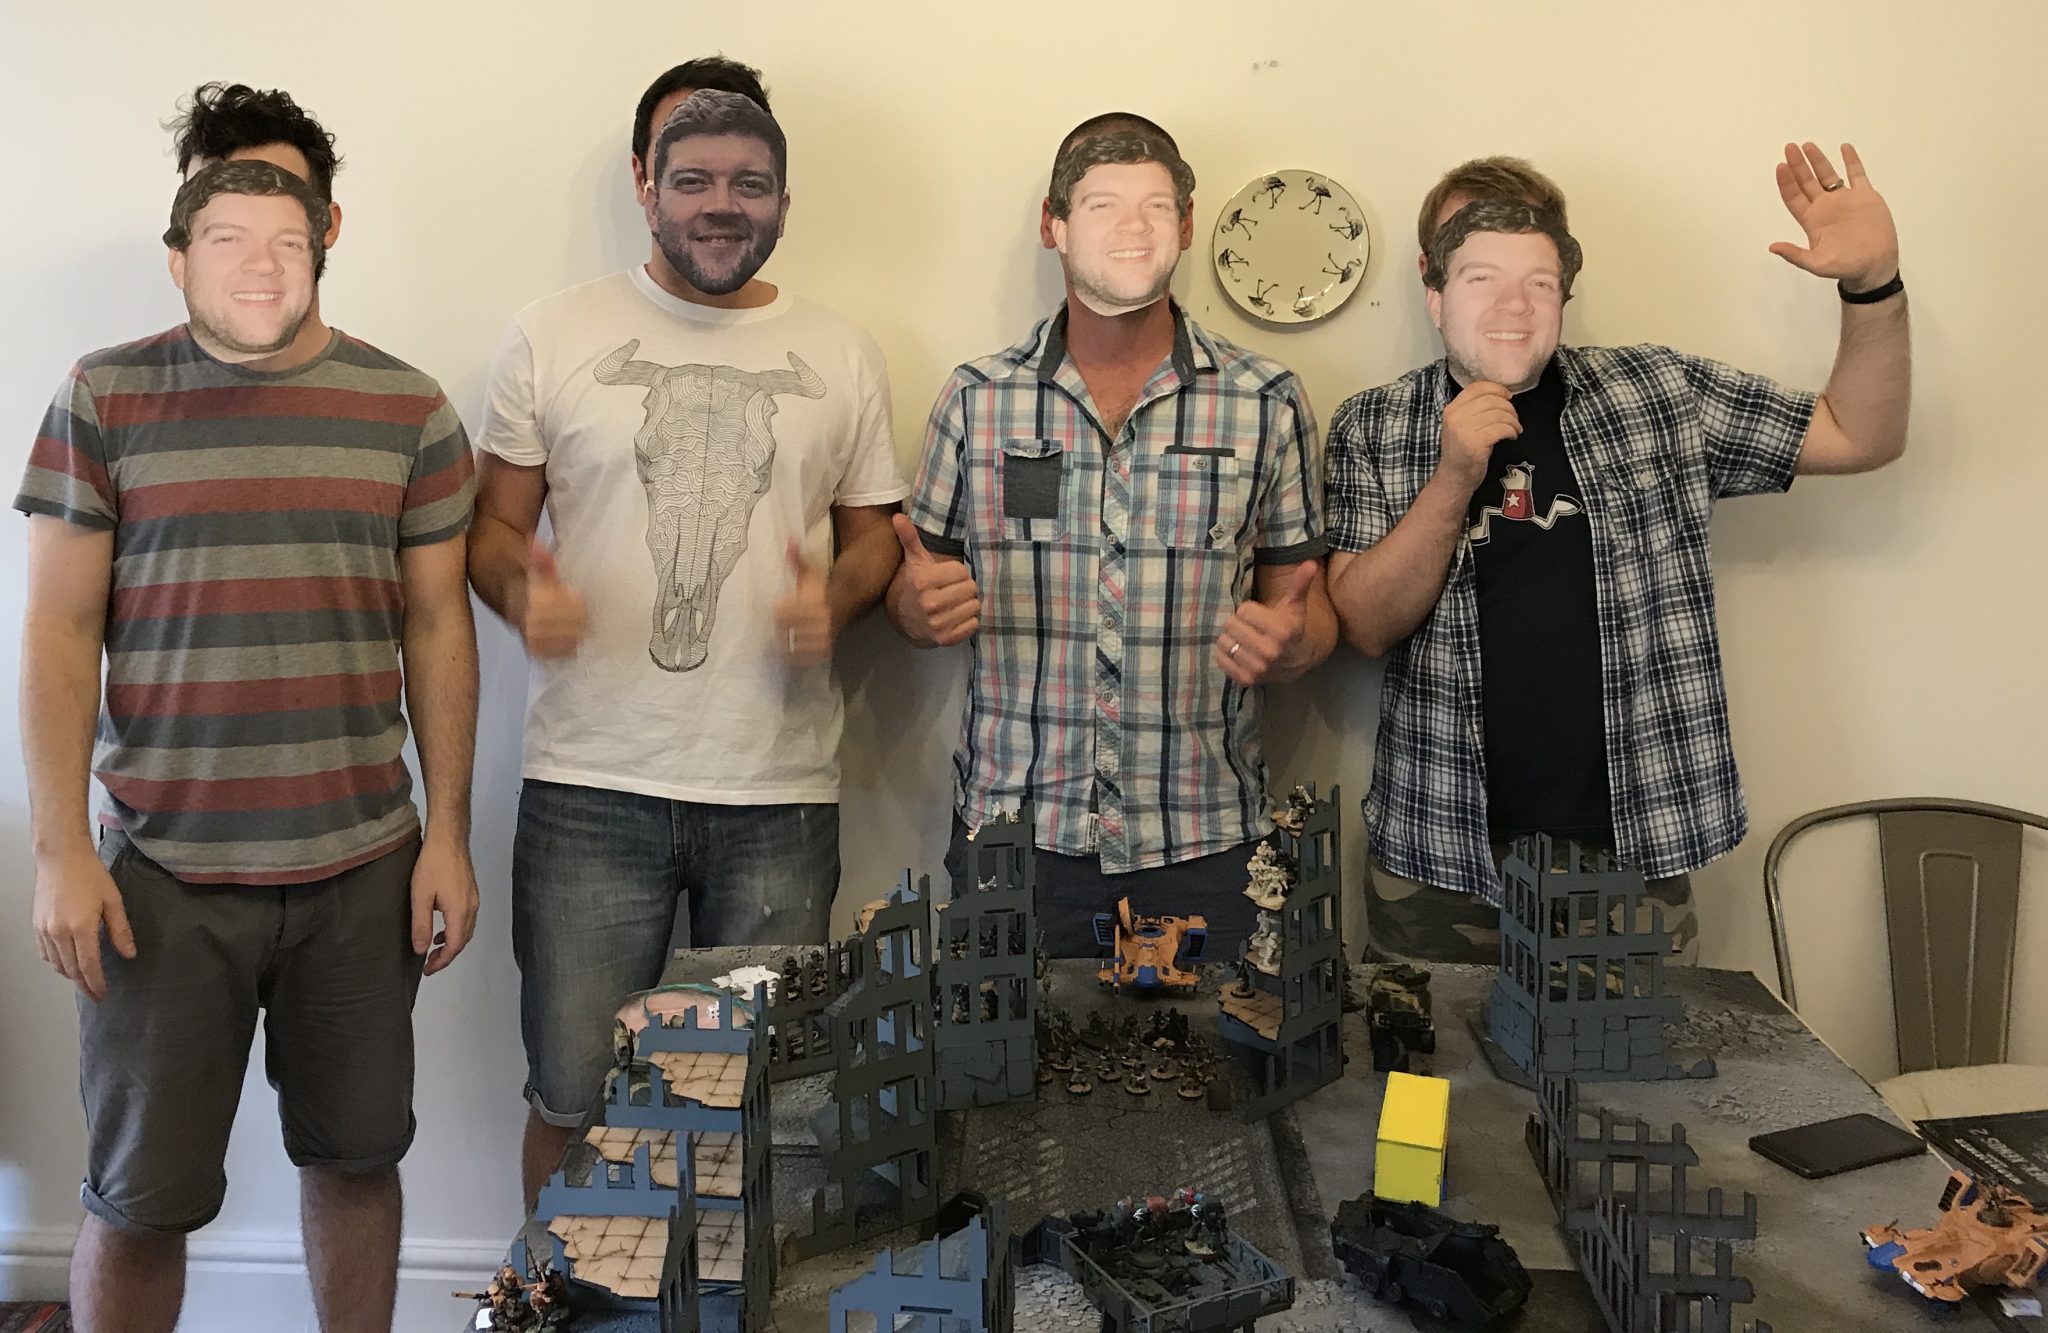
My group – complete with masks of a friend who couldn’t make it that day! :-)