
1,750 points – Raven Guard & Astra Militarum vs Death Guard – Beachhead
Back to trying to take down Mark's Death Guard...
The first game of 2019 against the Death Guard, 1,750 points again. With three losses and one win versus Mark’s Death Guard last year – there definitely room for improvement. We palyed at Boards & Swords.
Never miss an article? Subscribe!
Astra Militarum & Raven Guard List
This list is covered in my recent tournament article. But a quick rundown for you;
- Yarrick
- Company Commander with Power Sword, Plasma Pistol, Kurov’s Aquila and Old Grudges Warlord Trait
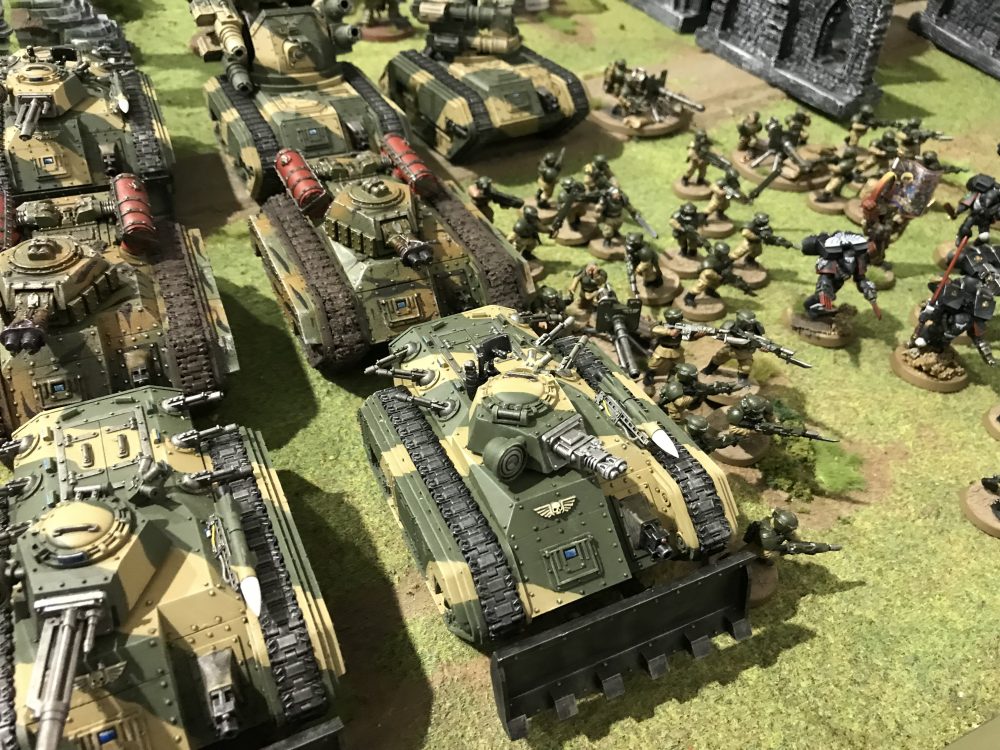
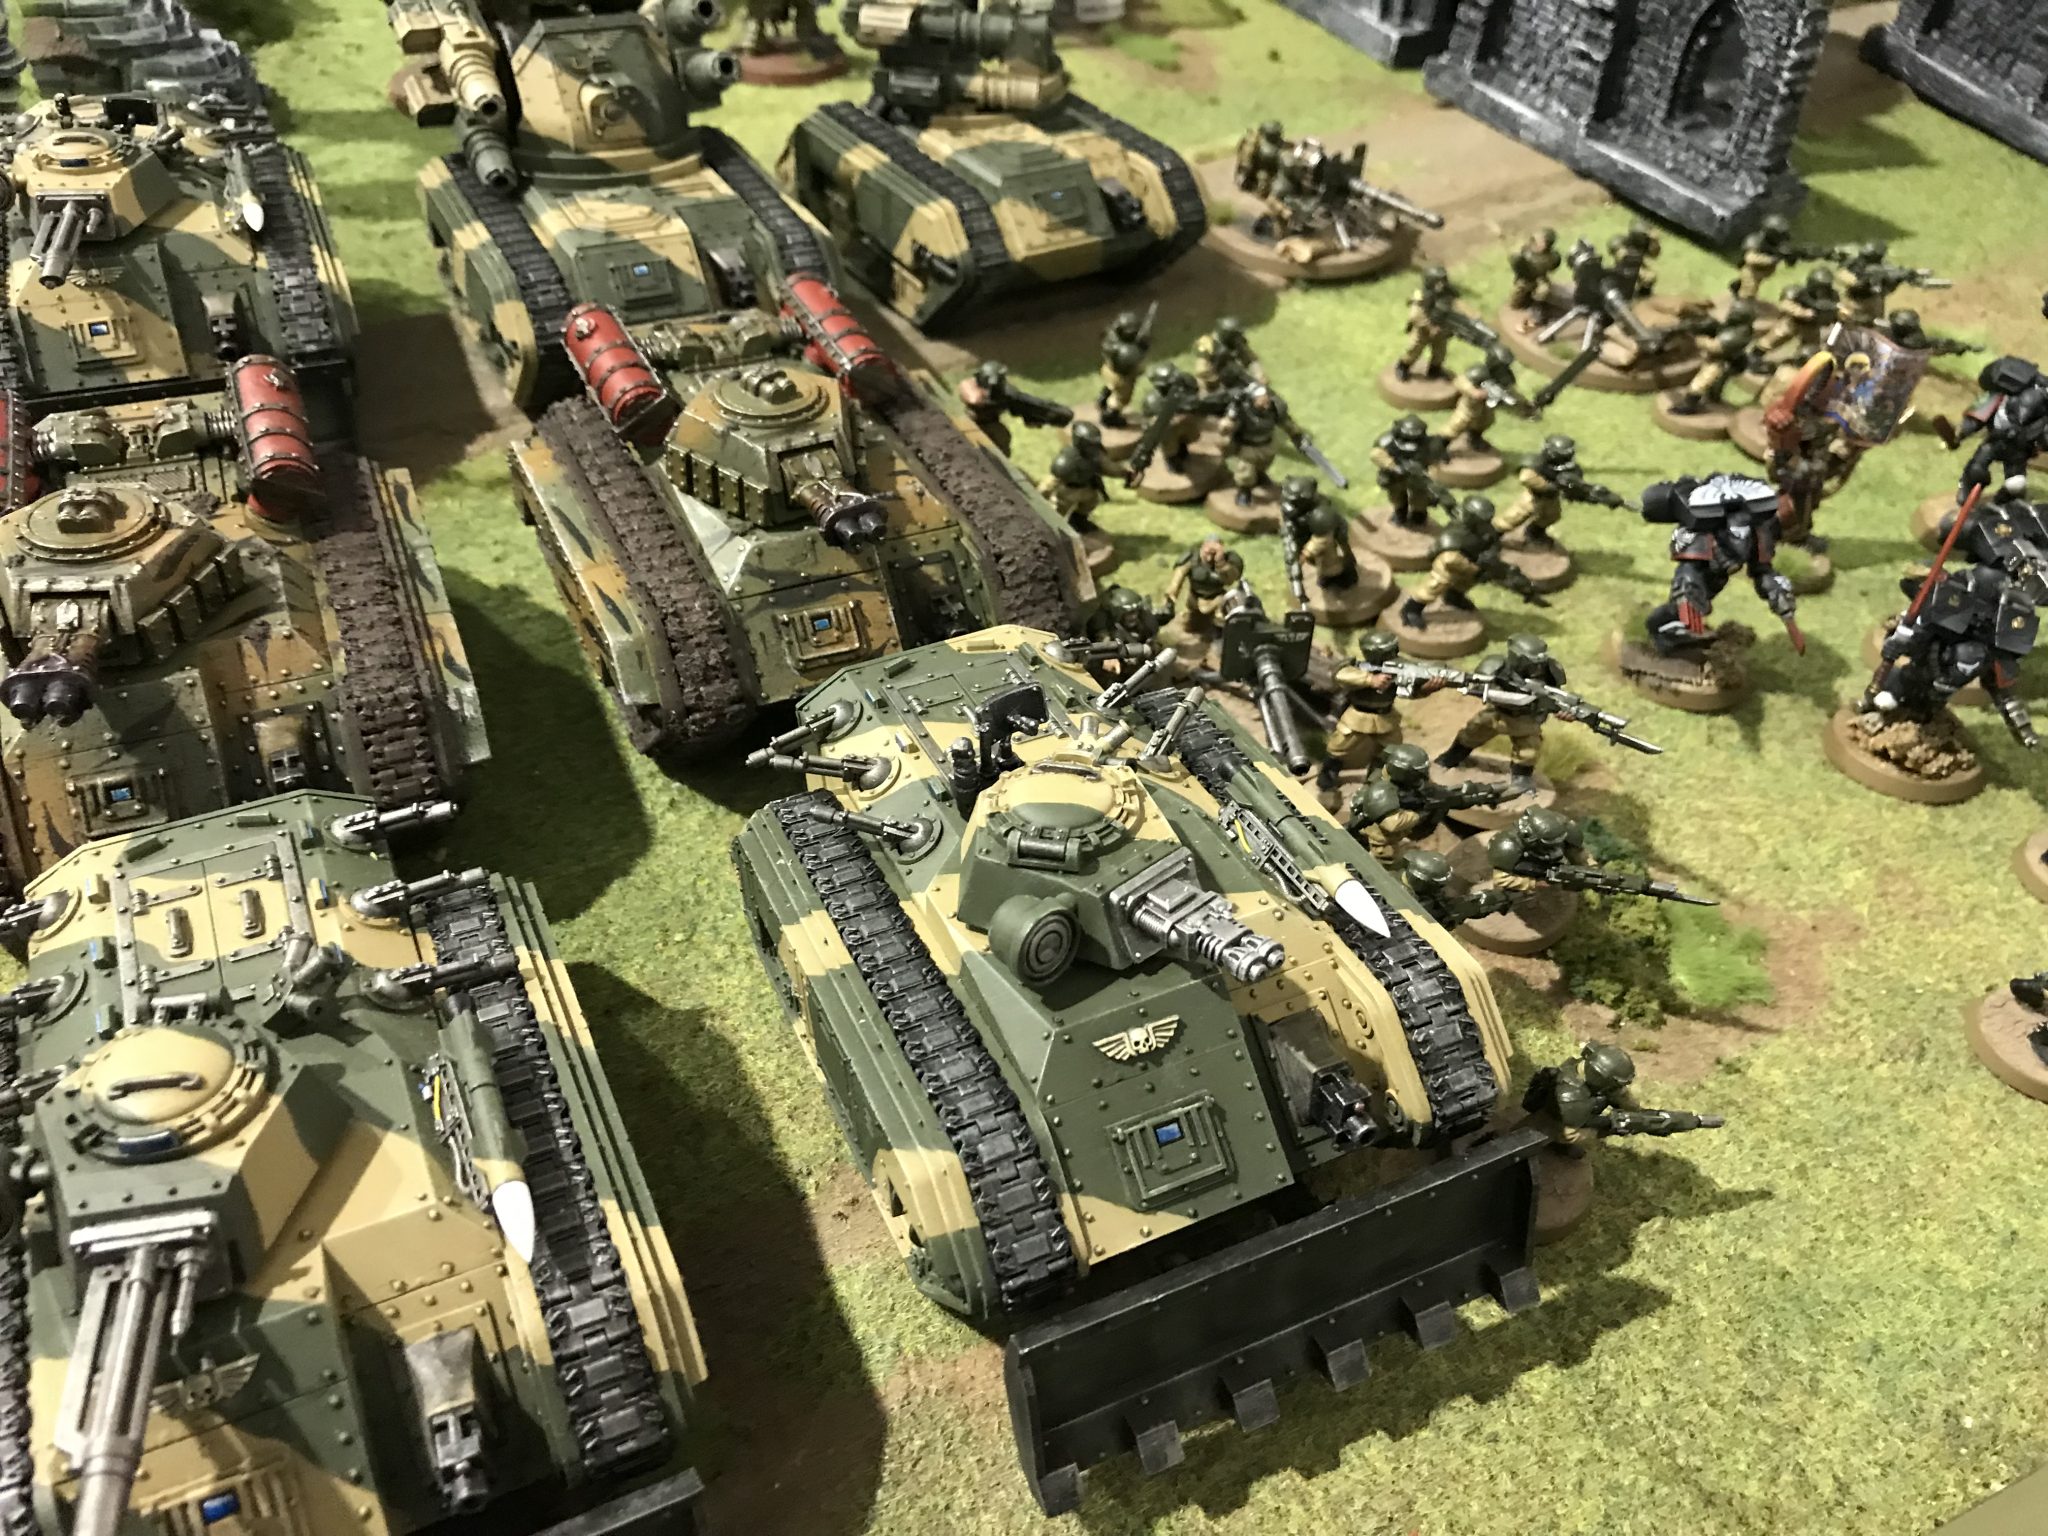
- 3x Infantry Squads with Melta Guns – in Chimera
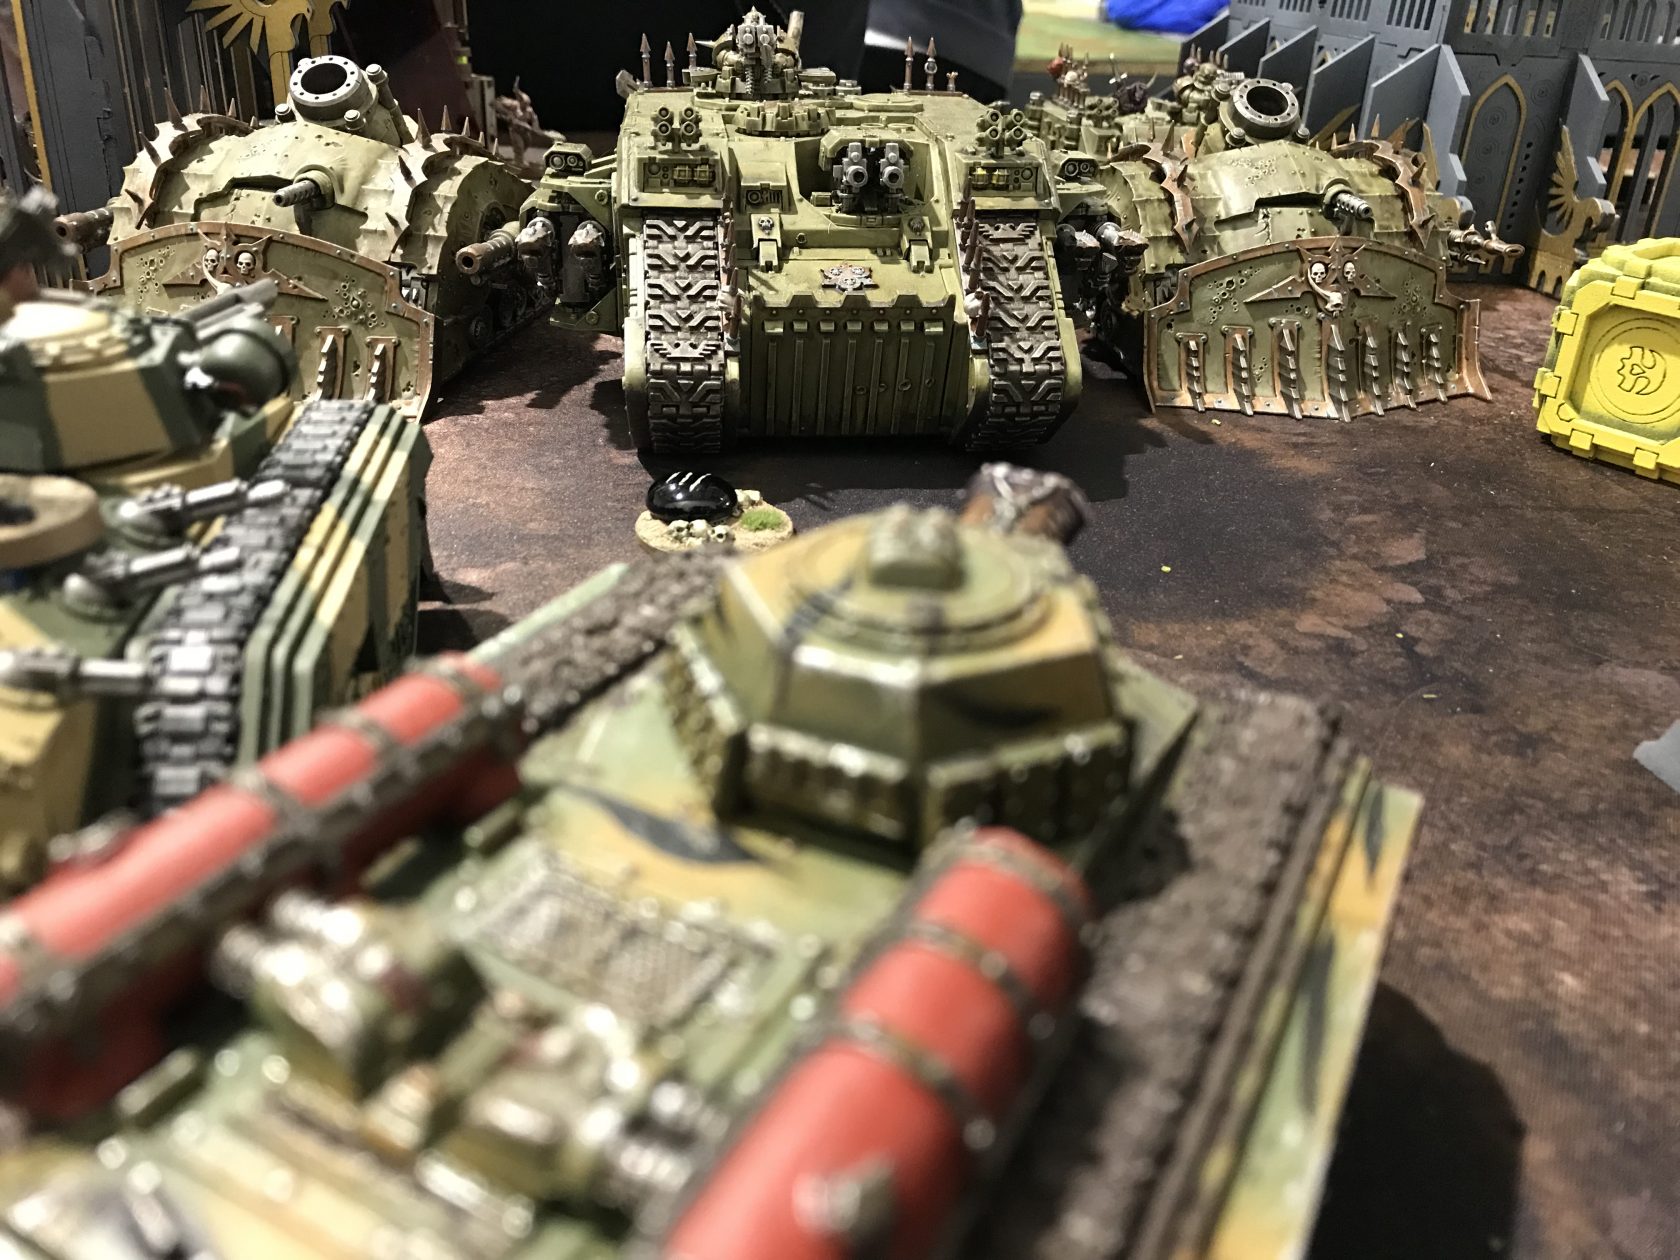
- 3x Chimeras with Hunter Killer Missiles, one with turret Heavy Flamer
- 2x Hellhounds
- Company Commander with Bolt Pistol, Lord of Ordnance Trait and theAgripinaa-Class Orbital Tracker Relic
- Company Commander with Relic of Lost Cadia
- 3x Infantry Squads with Autocannons and Plasma Guns
- 2x Wyverns as Emperor’s Wrath Detachment
- 15x Vanguard Veterans
- Shrike
-

- Raven Guard
-

- Astra Militarum
-
- 1,750 points – Raven Guard & Astra Militarum vs Death Guard – Beachhead
Death Guard List
Mark’s Death Guard list:
- Daemon Prince of Nurgle
- Typhus
- Plague Marines with 2x Plasma gun
- Plague Marines with 2x Blight launcher
- 20x Poxwalkers
- 3x Deathshroud Terminators
- Foul Blightspawn
- 2x Chaos Spawn
- Chaos Rhino
- Chaos Lord
- Chaos Land Raider
- 2x Plagueburst Crawler
You can read more about this game and the list on his Plague Gardening Blog.
Mission
We played the Beachhead mission from Chapter Approved 2018. The first mission from this new book for me.
One objective is in the centre, then each player places one objective in their deployment zone.
Your score VPs at the start of each of your turns starting from turn 2.
- 3 VPs for the enemy objective
- 2VPs for the centre objective
- 1VP for your own objective
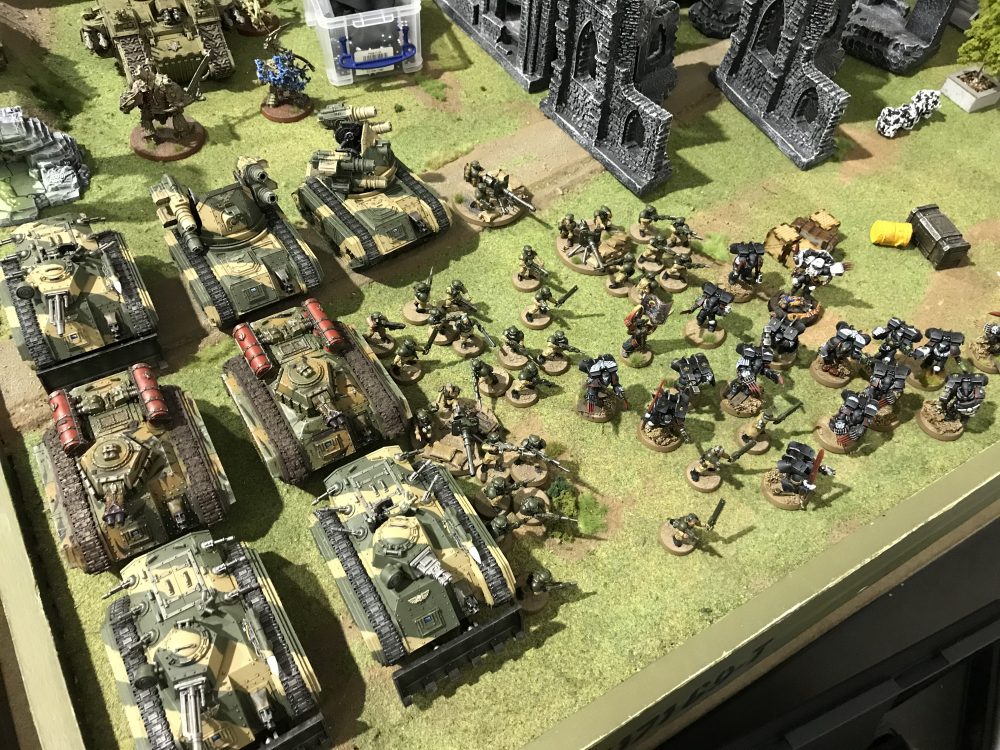
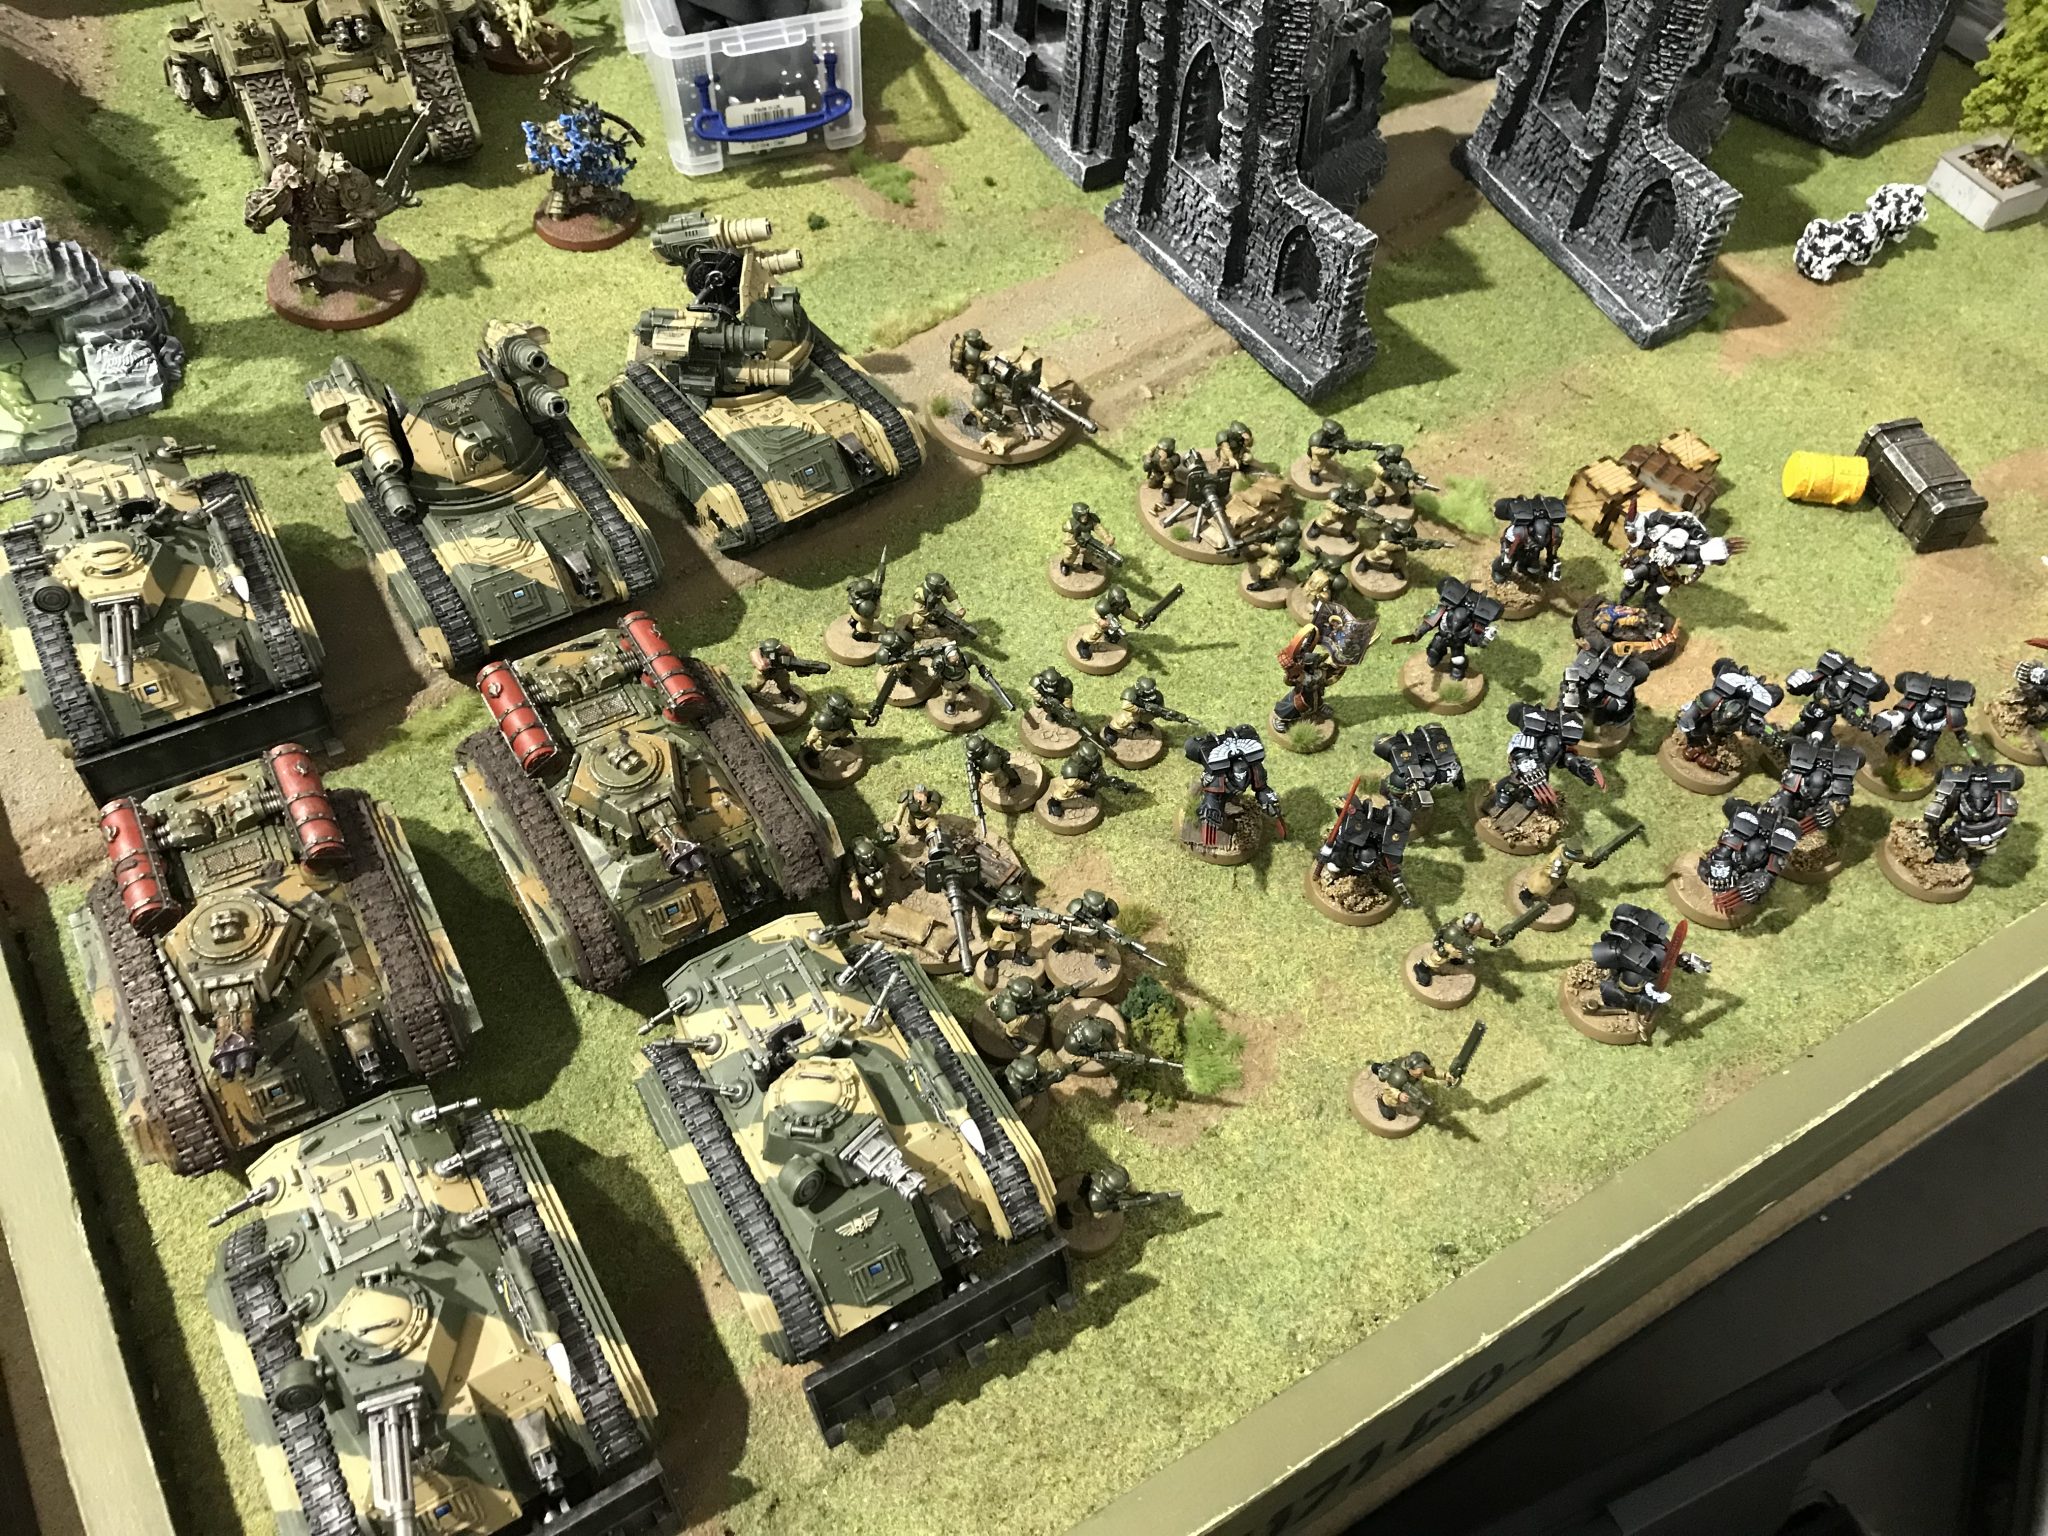
Deployment
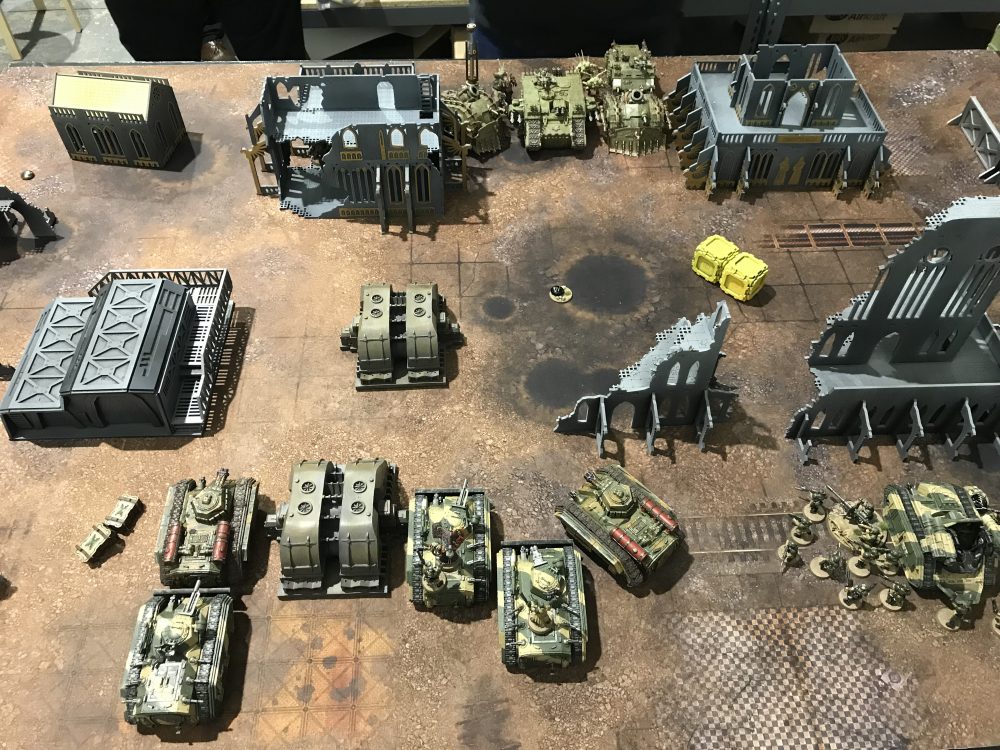
The mission had me set up my whole force first. Then Mark set up his force.
This gave me the first turn. But I gave this away and gave it to Mark.
My rationale was that my Hellhounds had close-range weaponry, as did my Guardsmen with Meltaguns inside the Chimeras. Giving Mark first turn would mean he would move closer and then I’d have less ground to cover. It was a gamble.
-
- Astra Militarum

-

- Death Guard
-
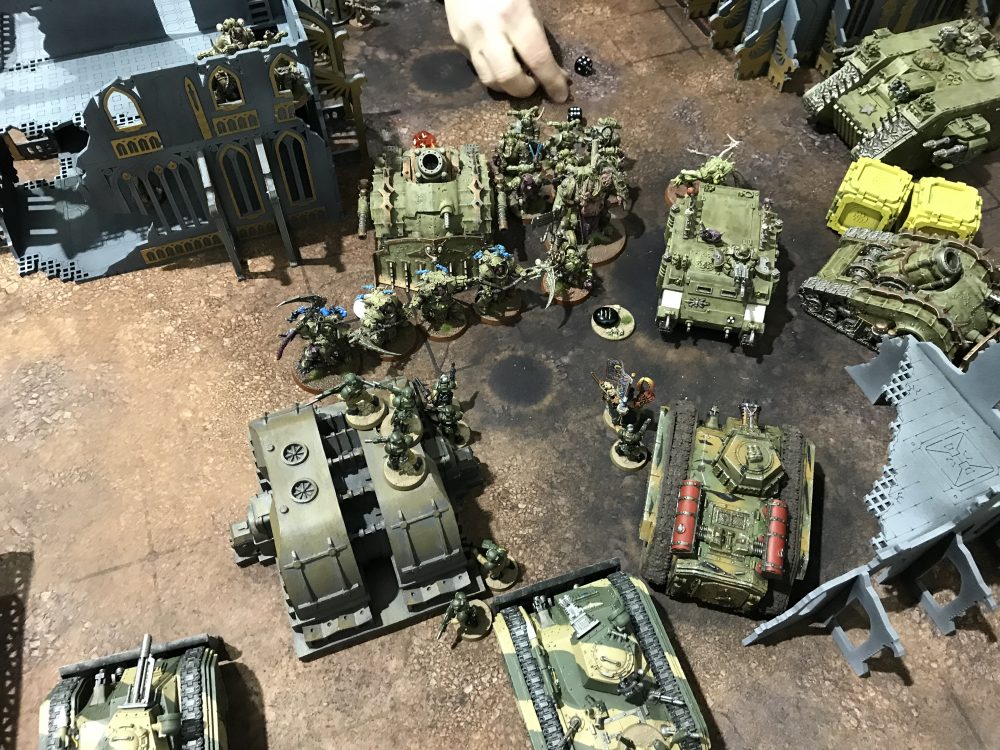
- Overview

Death Guard – Turn 1
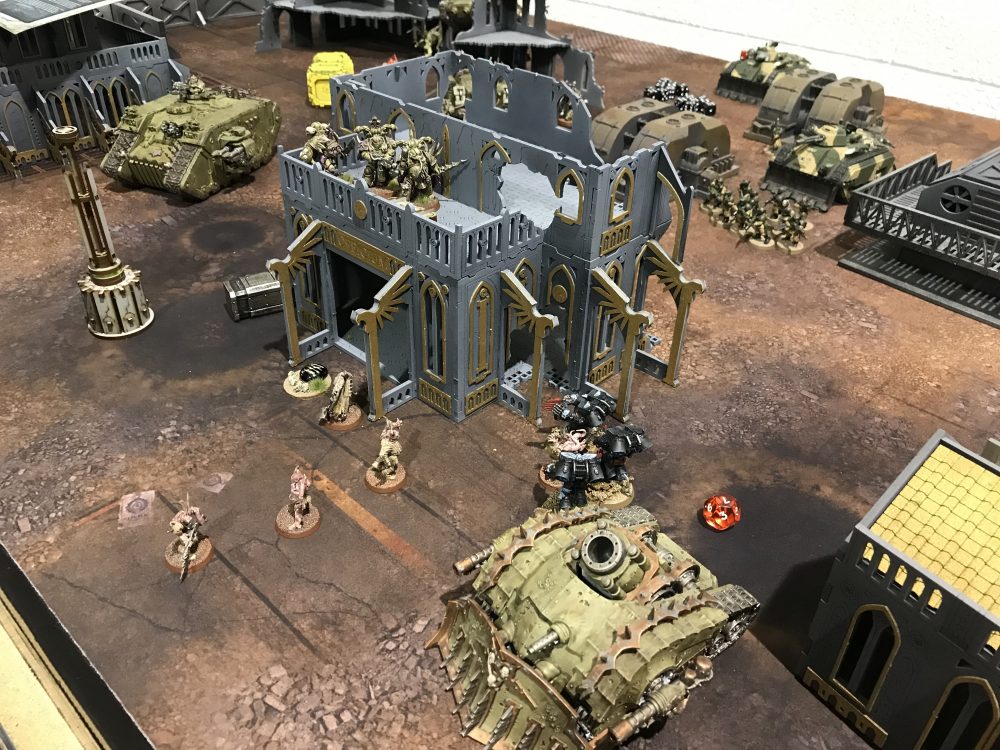
As predicted the Death Guard moved up the battlefield and closed the gap. The Pox Walkers stayed on the objective and the Plasma Marines moved up a floor on their building to have a good overview of the battle. Everything that was cramped into the centre moved forward.
The shooting was focused on a Hellhound and it was destroyed. This gave the Death Guard a VP for First Strike. Luckily it didn’t explode. Two of the three Plasma carrying Plague Marines died from rolls of one! Despite having re-rolls of one!
The Death Guard were up and into the centre. They were on the objective in the centre of the table.
The death of the Hellhound gave the Death Guard First Strike, for 1VP.
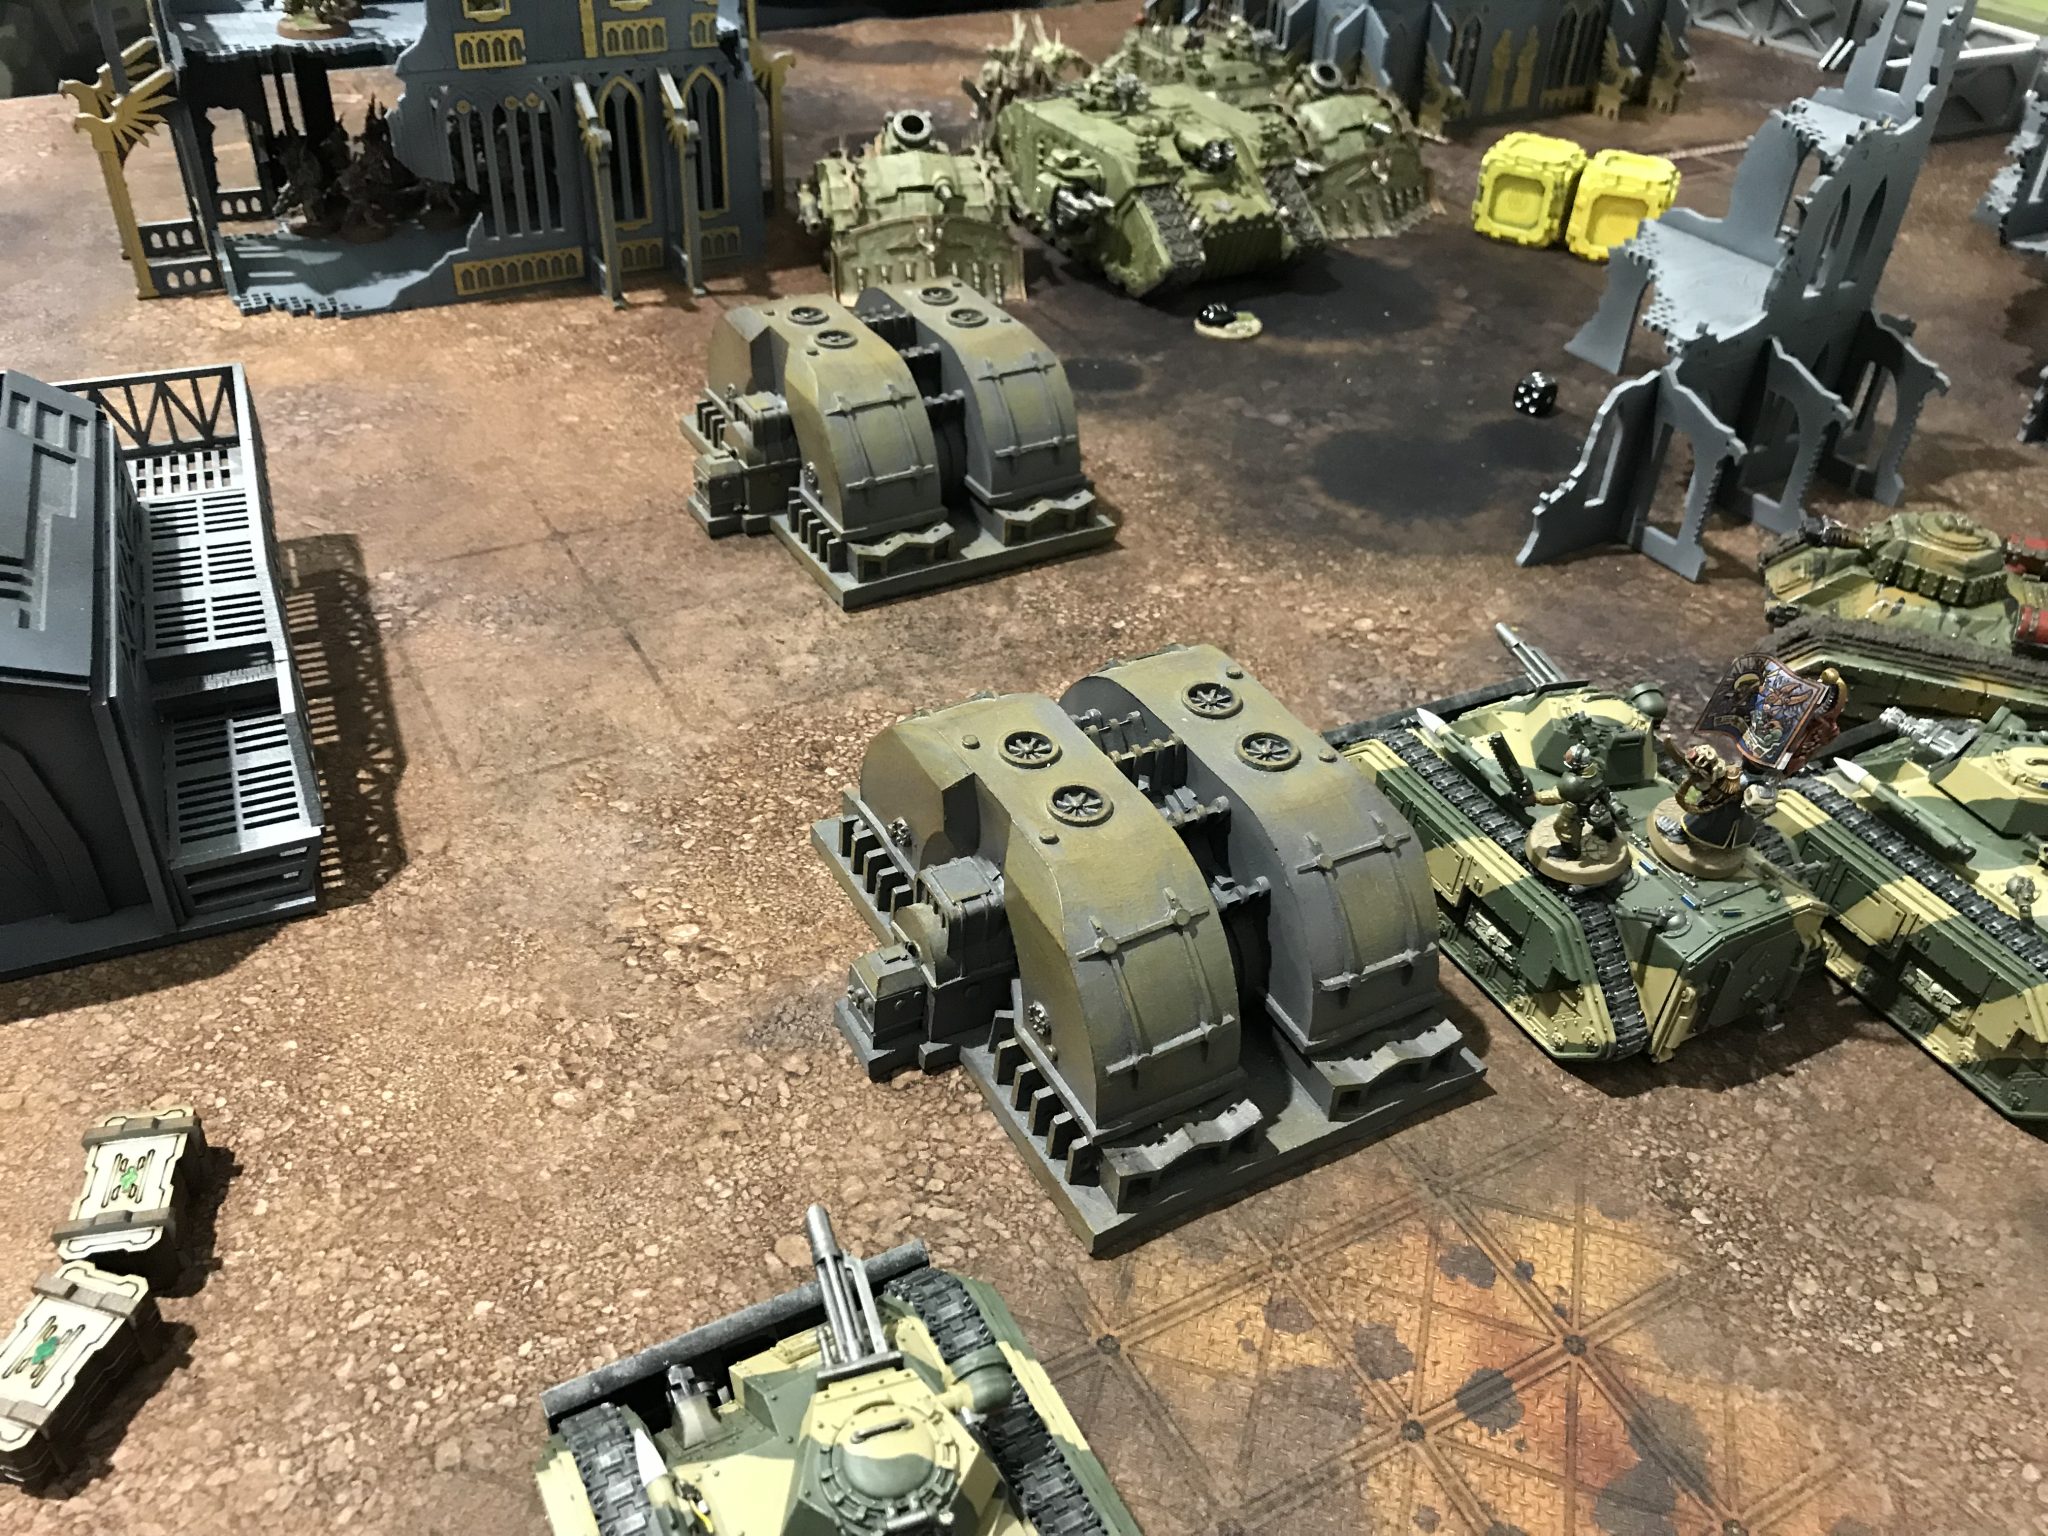
There is a Hellhound sized hole in front of the leftmost Chimera
Astra Militarum – Turn 1
I was in foreign territory for this game. Usually, my first turn is the turn in which maximum damage has to be done. It’s when most of my units are still alive and operating at 100% effectiveness. But with 500+ points wrapped up in Raven Guard off the battlefield in Deep Strike, this wasn’t the case.
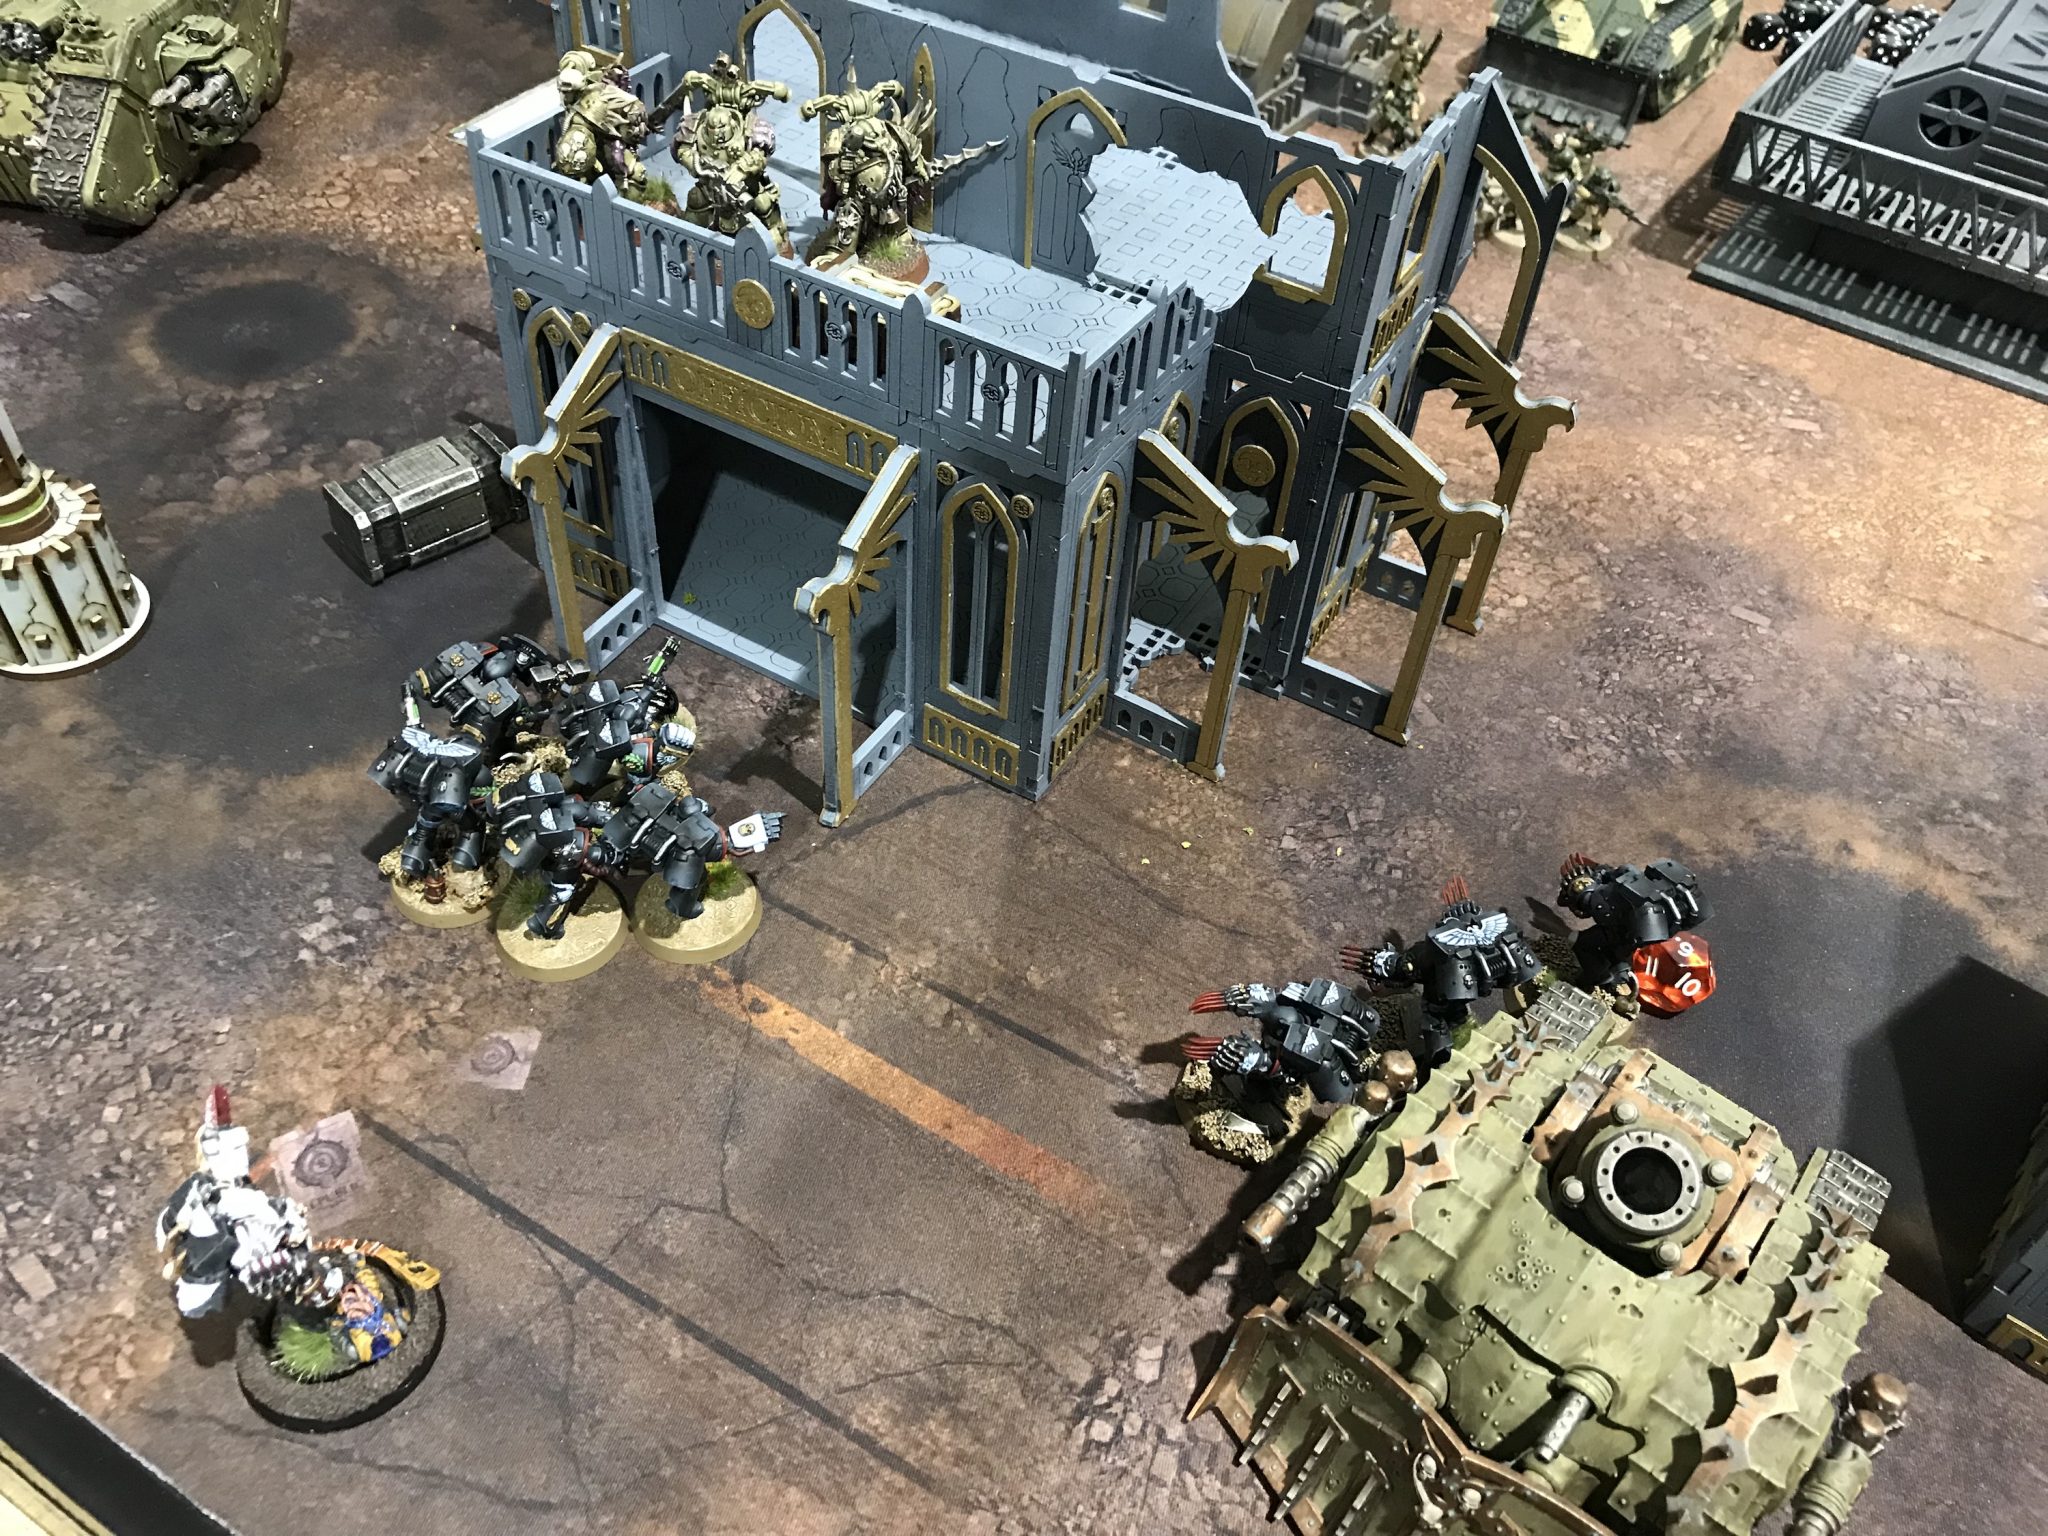
I went for the Plasma Marines in the building. And when I say go for, I really did go for them. The first Wyvern killed one, ready for Overlapping Fields of Fire for the other one. I also used Aerial Spotter to re-roll all misses. I also used 2CP to let the Wyvern fire twice. So for 6CP, I have a single Wyvern that has 8D6 shots, BS4+ with +1 to hit, re-roll misses, re-roll failed wounds, ignore cover from the Specialist Relic (the Plasma Marines were in cover) and AP-1 for Wound rolls of 6.
Two of the Plasma Marines died from their Plasma failures during turn 1, so there were five left when I started shooting. And after all that shooting, two still remained. I even had the remaining Hellhound shoot at them.
A lucky Hunter-Killer Missile got the Land Raider and did a few wounds.
It seems that my break away from the Death Guard during Christmas, New Year and January has caused me to forget how tough they are. Wyverns won’t do it.
After failing to wipe out the Plague Marine unit I failed to get the First Strike. I’m on 0VP.
-
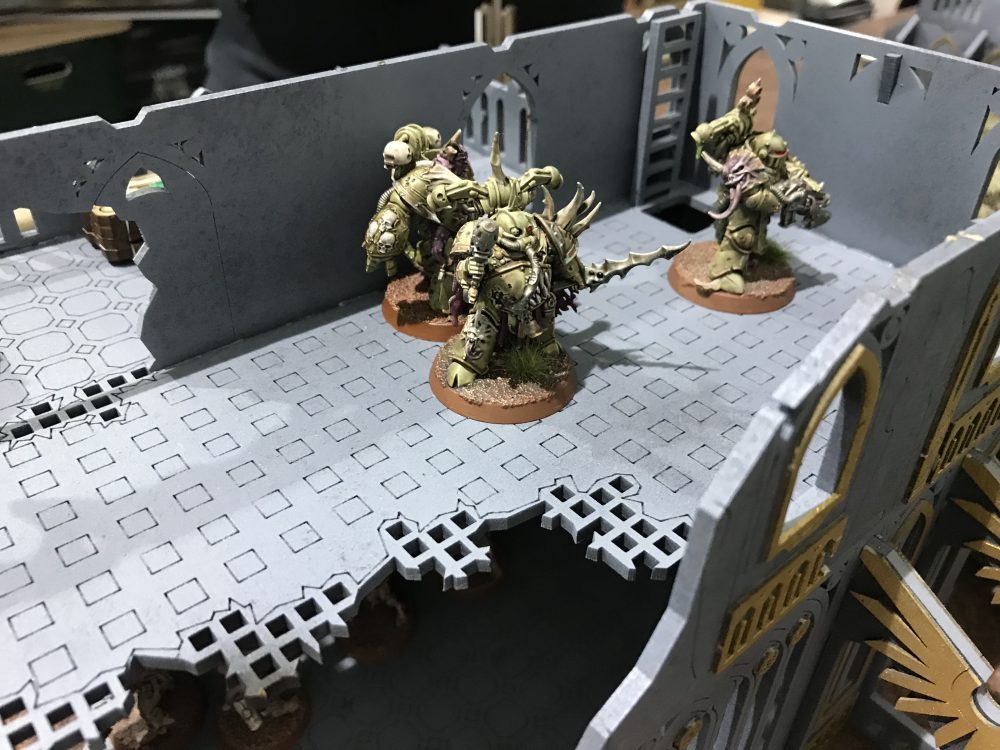
- The depleted squad of Plasma Plague Marines

-

- Overview
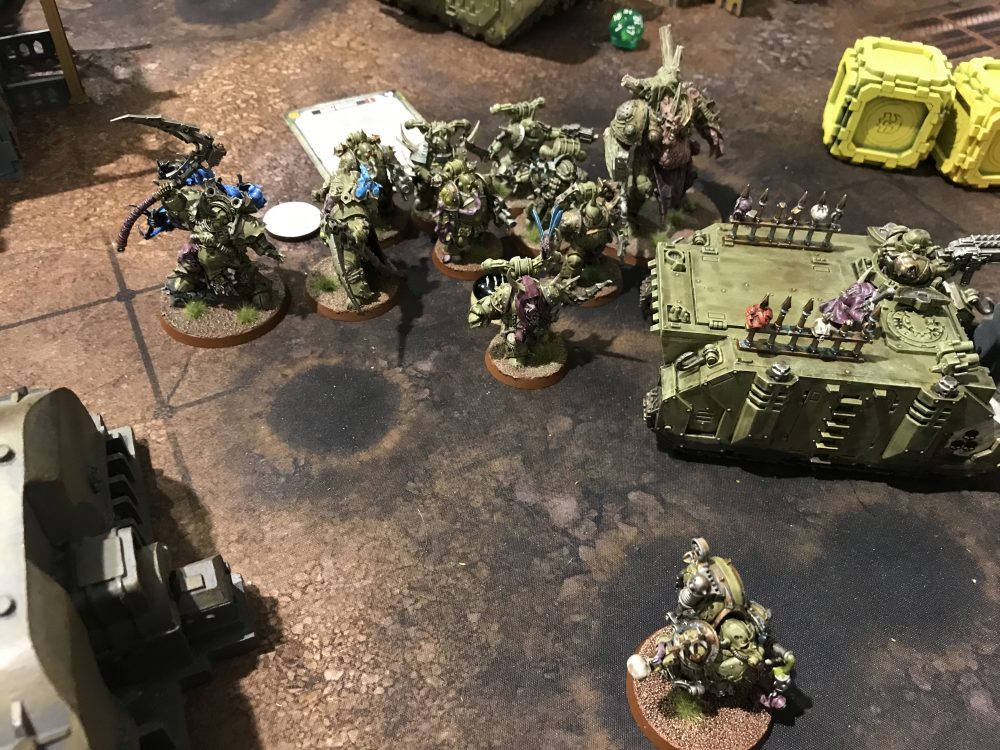
Death Guard – Turn 2
The Death Guard didn’t hold the centre because I had models there too. They did hold their own objective though scoring them another 1VP. Total 2VP.
Typhus and the Deathshrouds disembarked from the Land Raider onto the centre objective. Everything that could move up towards the centre, did so. The Land Raider moved away.
A Chimera containing Yarrick and a Platoon Commander was destroyed and I struggled to place all the models inside. But I managed it.
A Wyvern was reduced to one wound too. It seemed that the powerful punch of the Crawlers and the Land Raider were working very well.
The Guardsmen were all killed from shooting. A Rhino charged my Hellhound blocking its route forward. Typhus and the Deathshrouds charged the Hellhound, Platoon Commander and Yarrick. Typhus failed the charge.
The Platoon Commander survives the encounter, as did Yarrick on one wound and the Hellhound was down to four wounds.
-
- Before Charges

-

- Hellhound Variants

Astra Militarum – Turn 2
I didn’t hold the centre either at this point but did still hold my own objective. This gave me an additional 1VP. Total 1 VP.
The centre of the table with the objective worth 2VP no one had again because we were both equally on it.
My vehicles and characters that remained in the centre moved out of the way, freeing the Rhino and Deathshrouds from combat. My remaining two units of Guardsmen disembarked with their Meltaguns along with my Warlord.
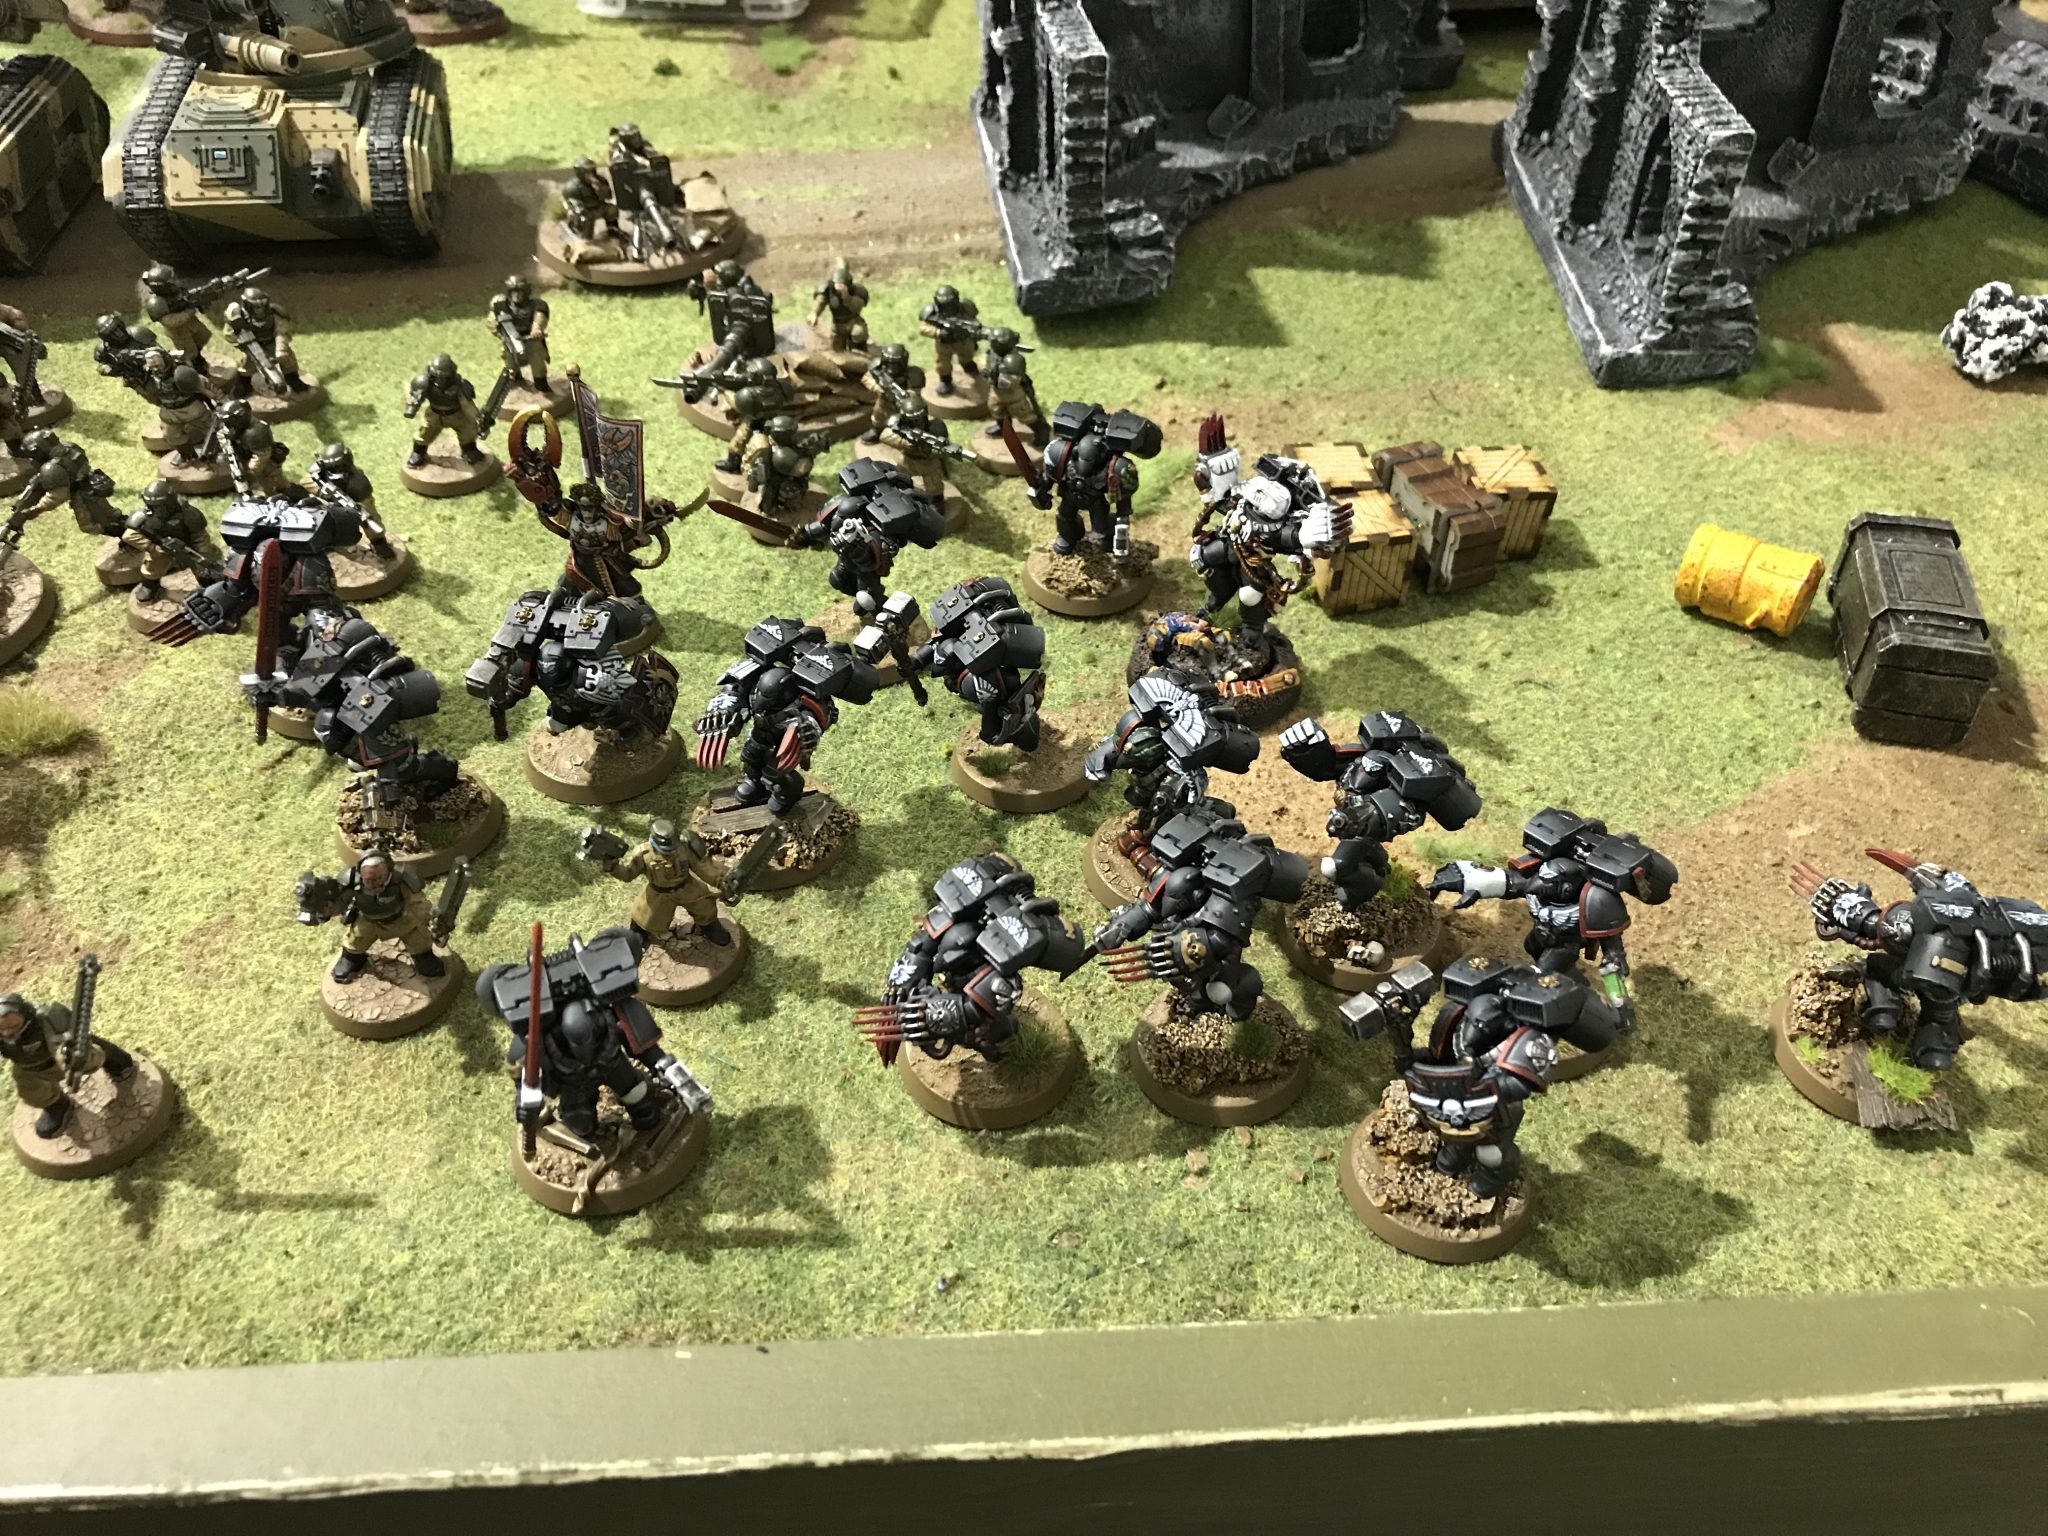
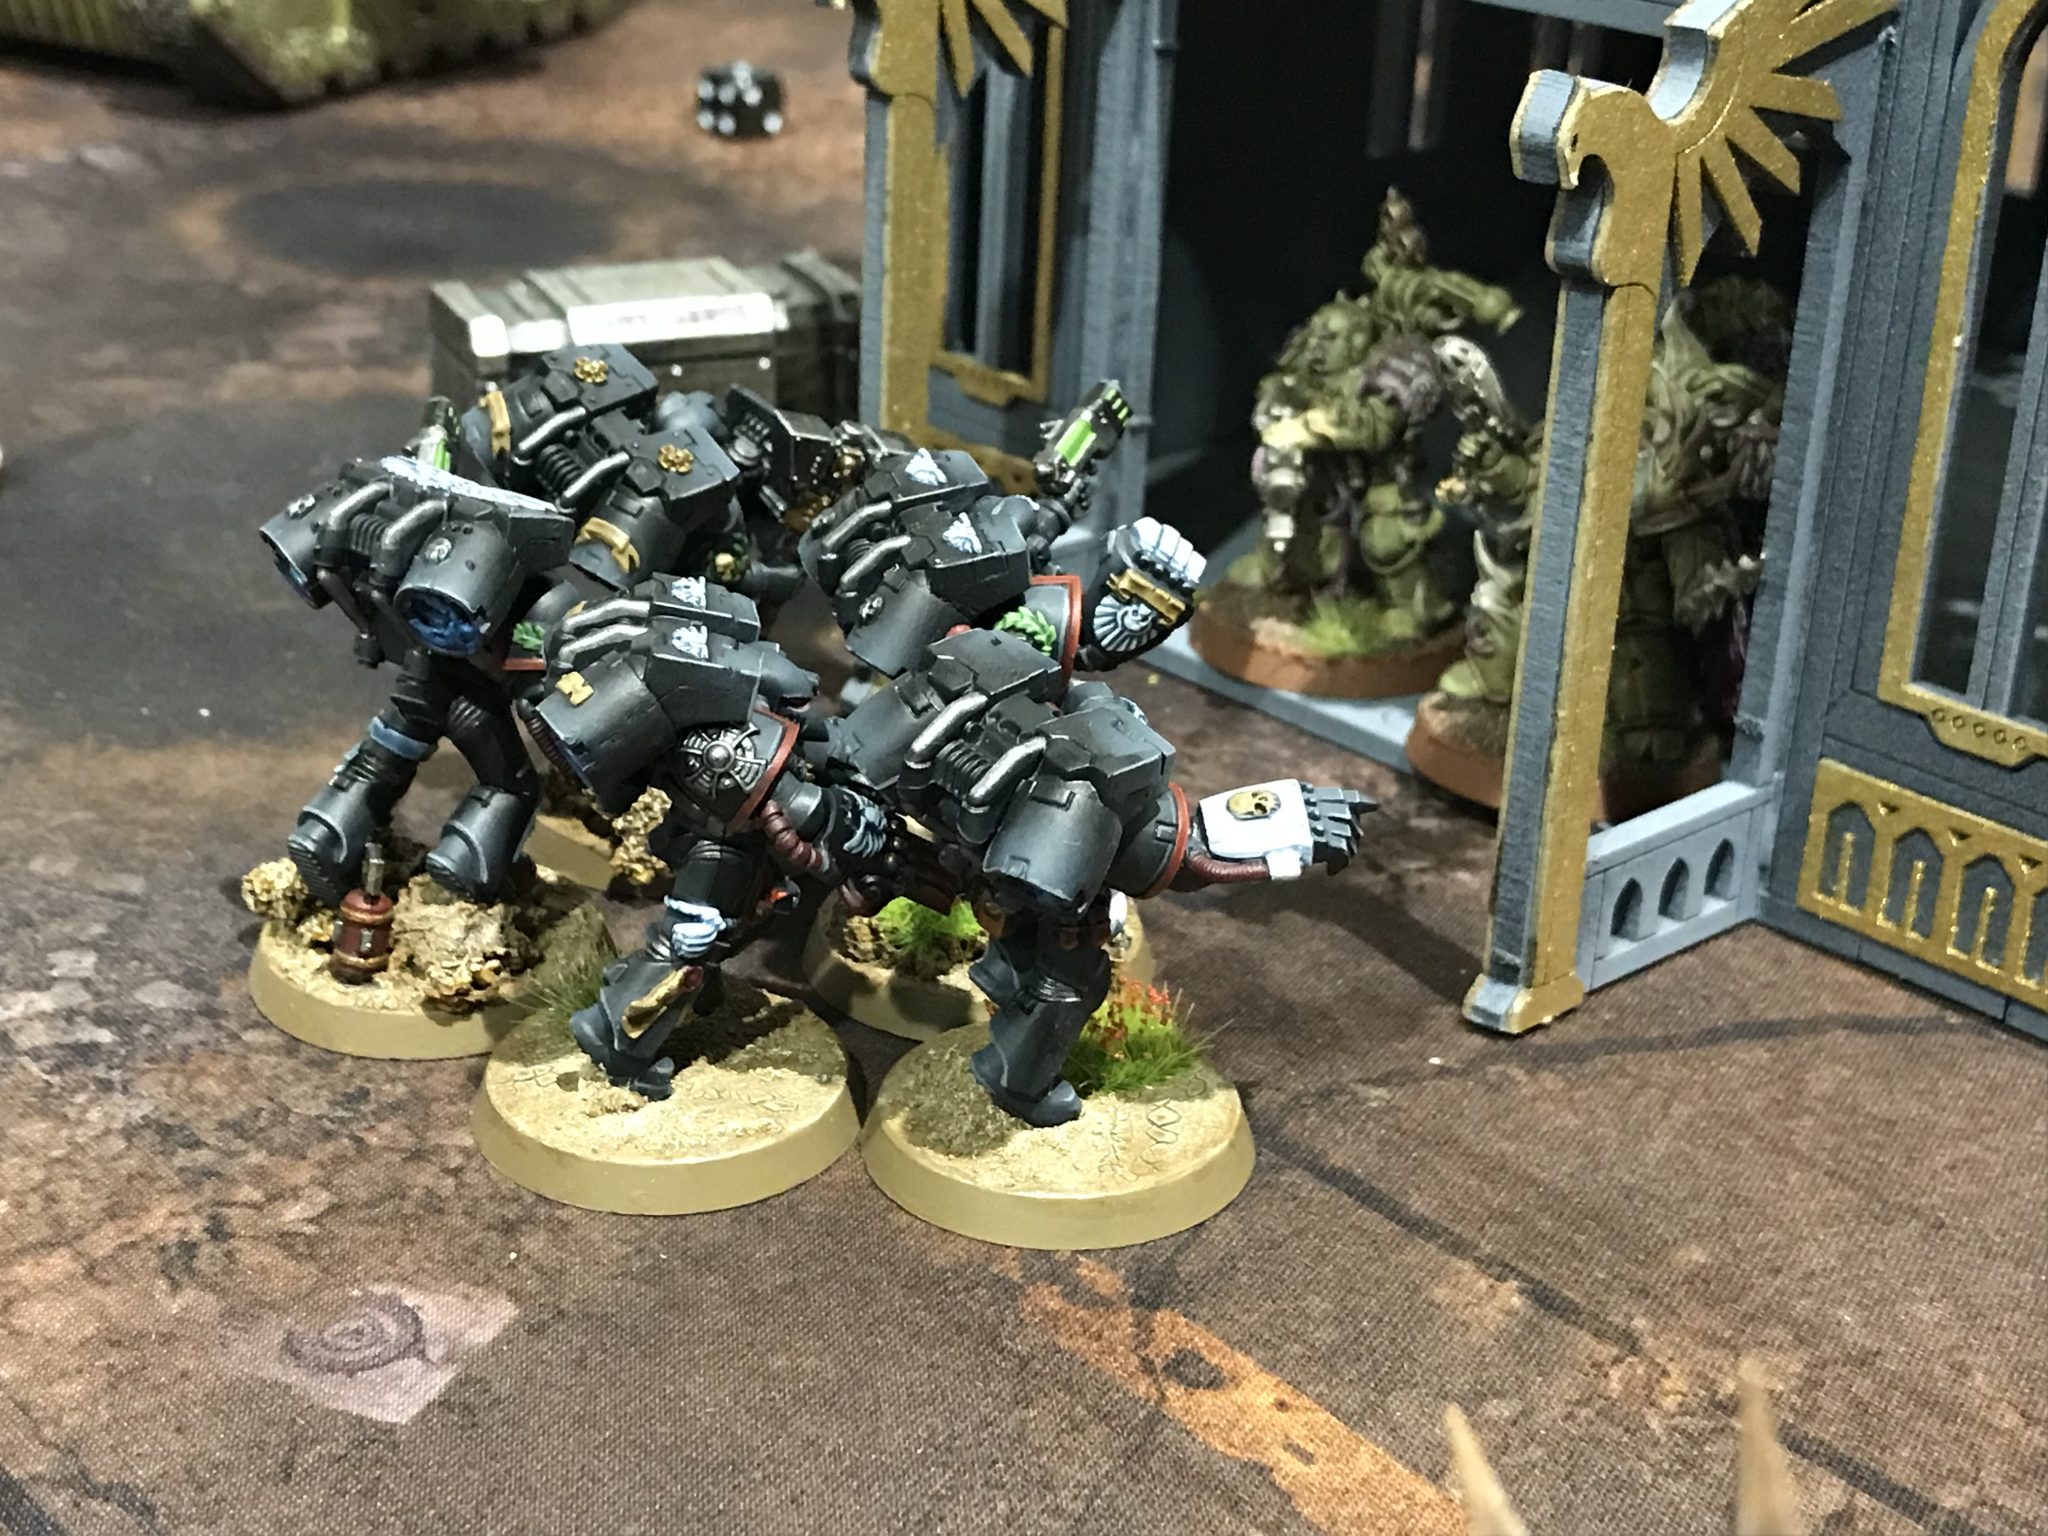
The Raven Guard arrive! I placed them in a corner away from the beefier parts of the Death Guard army. They would try and get onto the enemy objective by charging into the Pox Walkers.
Shooting wise I didn’t fair well. A Chaos Spawn was killed and a Deathshroud was killed and another lost a single wound. Typhus got away unscathed.
I’d forgotten a lot of stuff during this shooting too. I’d forgotten some re-rolls of one for Yarrick. And I’d forgotten to position the Platoon Commander correctly and the use the Relic of Lost Cadia.
I think at this point I was reeling from the lack of impact from my first turn and wondering how on Earth I would dislodge the Death Guard from the centre objective.
Onto the Raven Guard. Shrike and the Power Fist wielding guys failed their charges. This meant the Power Swords and Lightning Claws made it in. This was now a tough fight. Despite killing Pox Walkers, Mark cleverly removed them so that when I had to consolidate towards the nearest enemy model, this wasn’t towards the objective. But instead was towards one lone Pox Walker well away from the objective. I’d charged 9″ forward only to be stuck there with no benefit from Piling In or Consolidating.
-
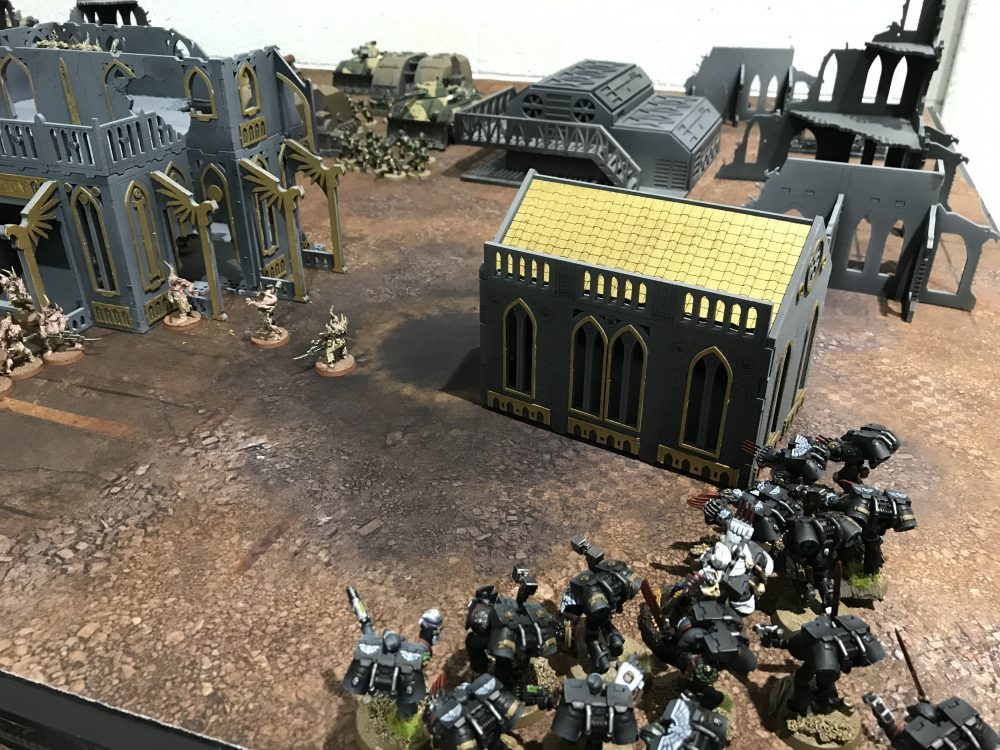
- Raven Guard Arrive

-
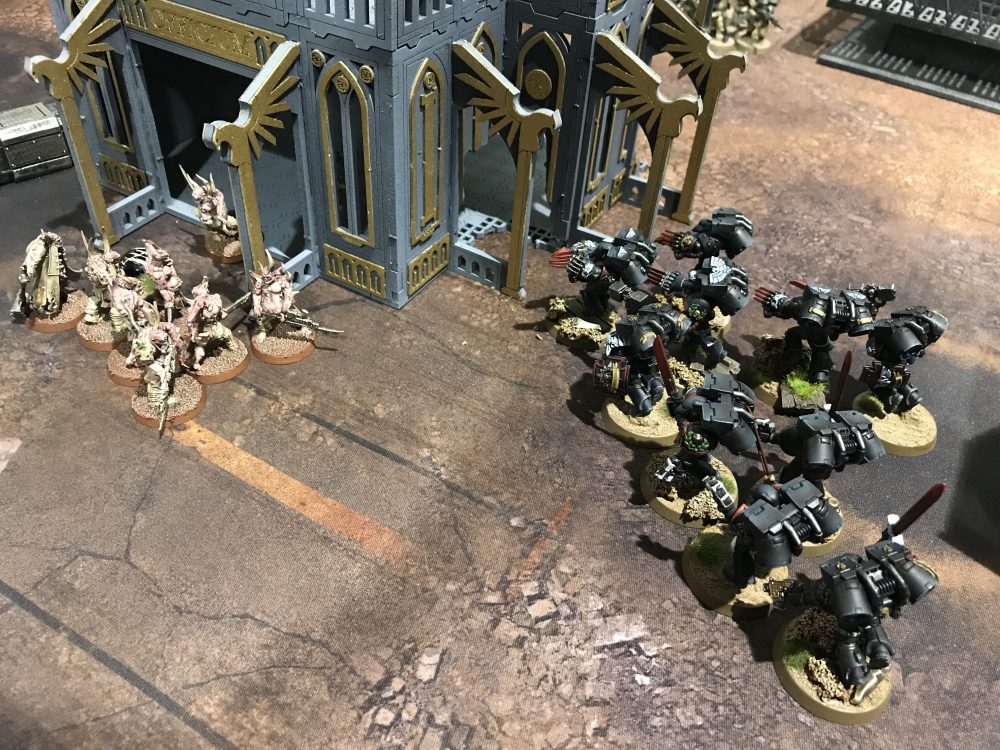
- Raven Guard After Combat

-
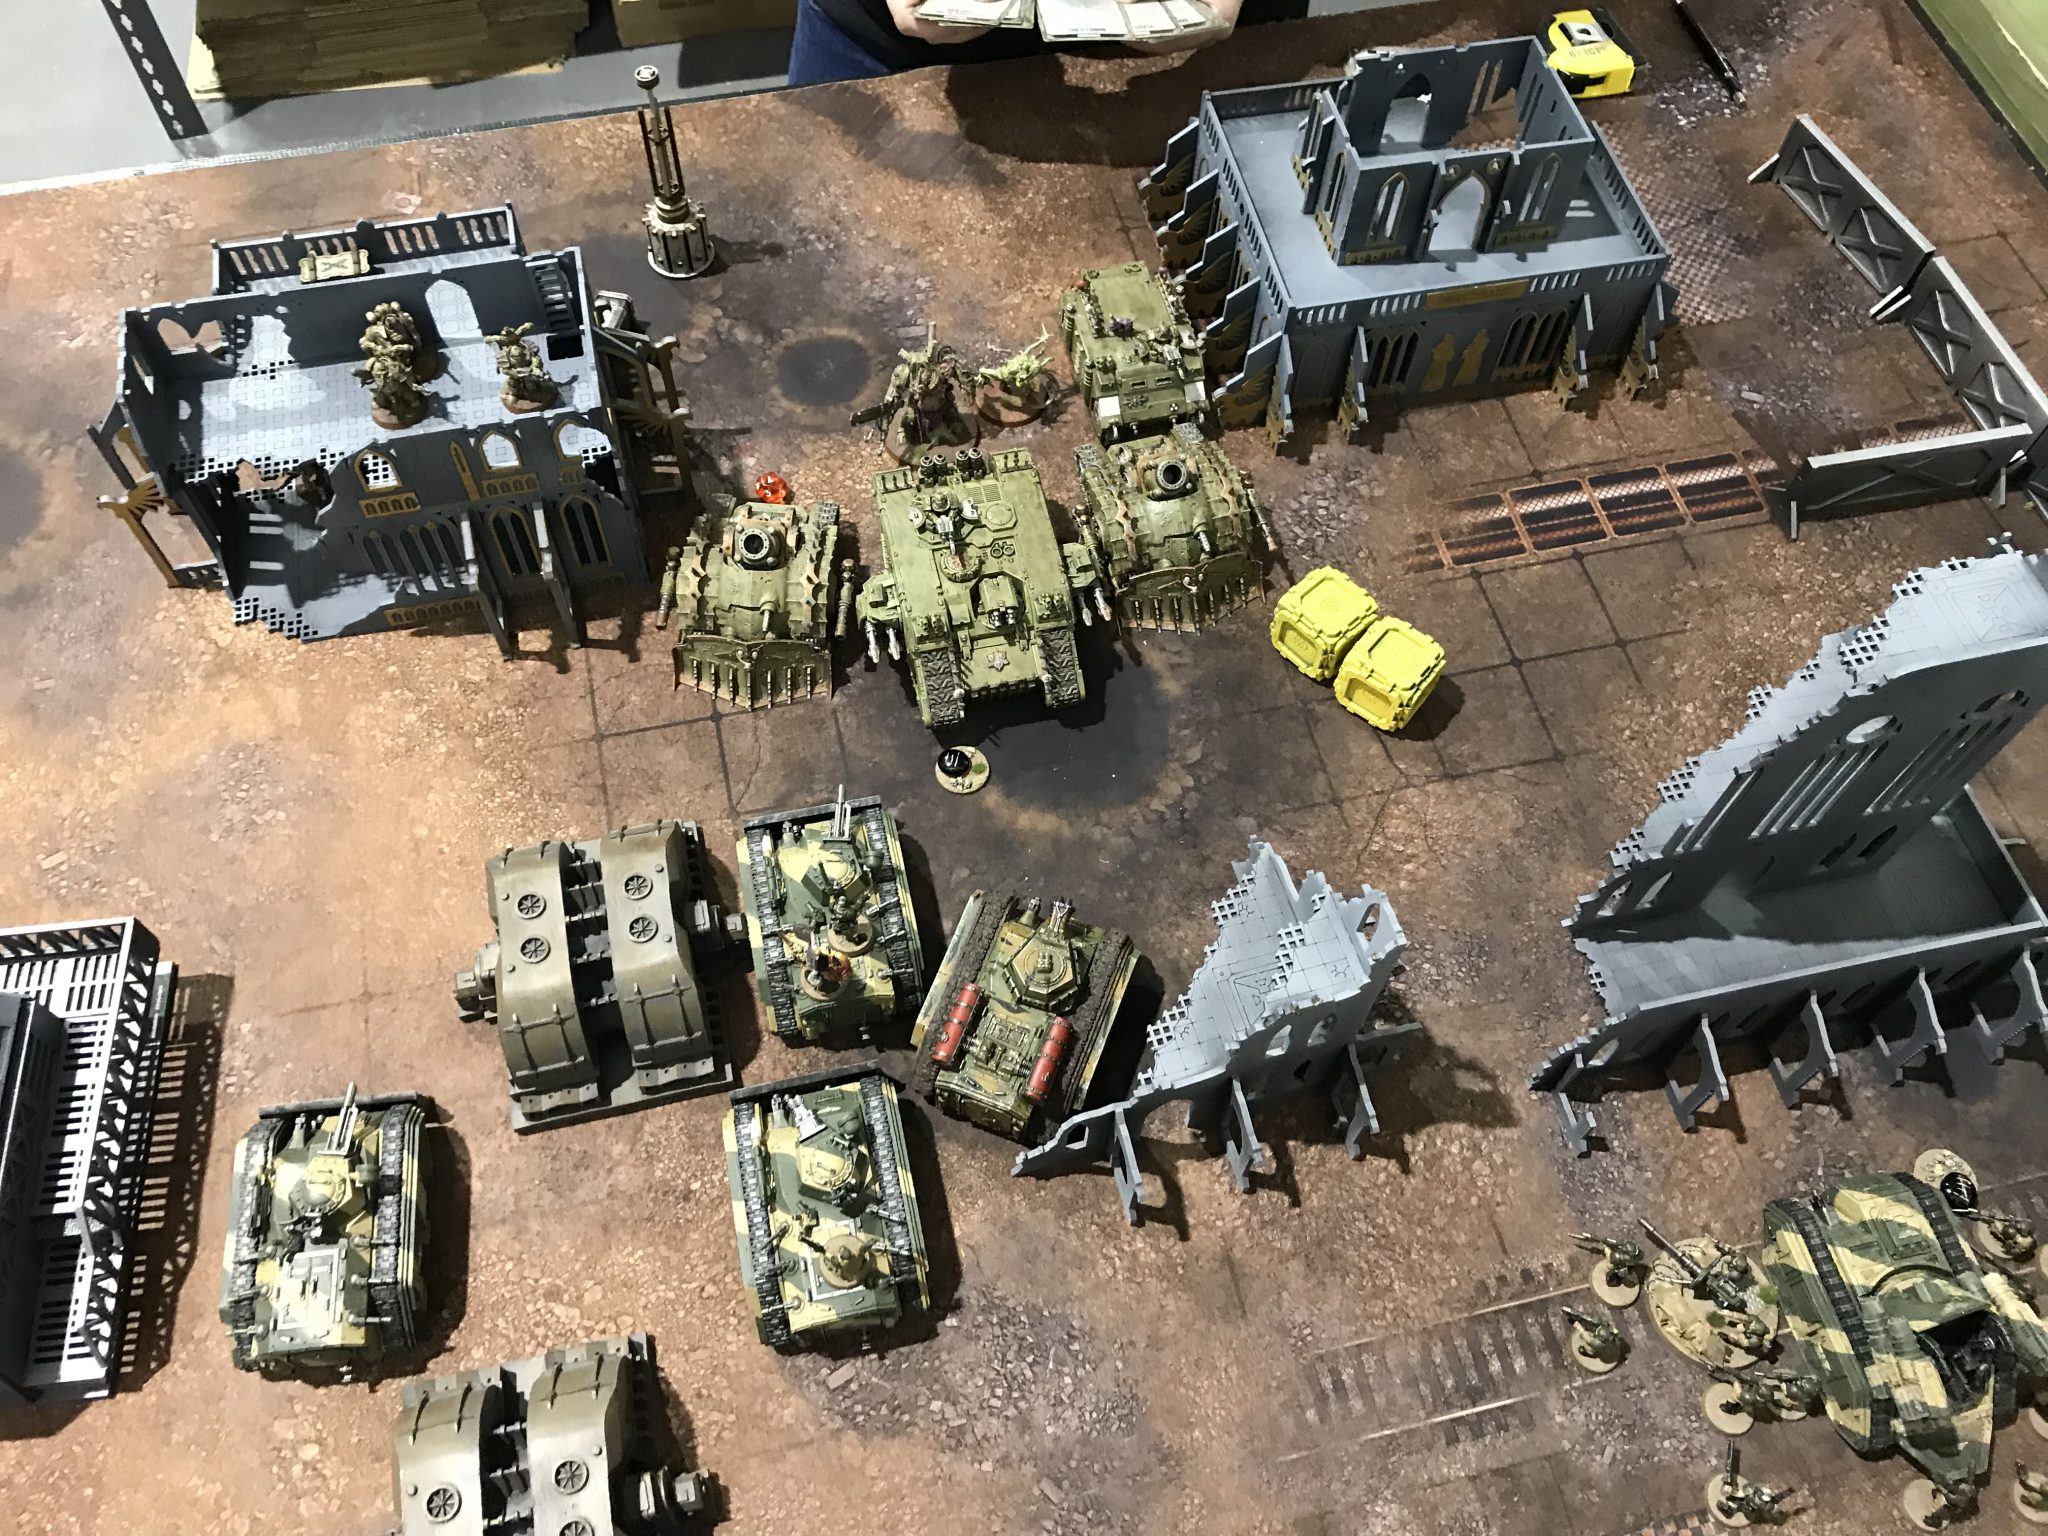
- Table Centre

Death Guard – Turn 3
The Death Guard had the centre and their own objective netting them 3VP. 5VP Total.
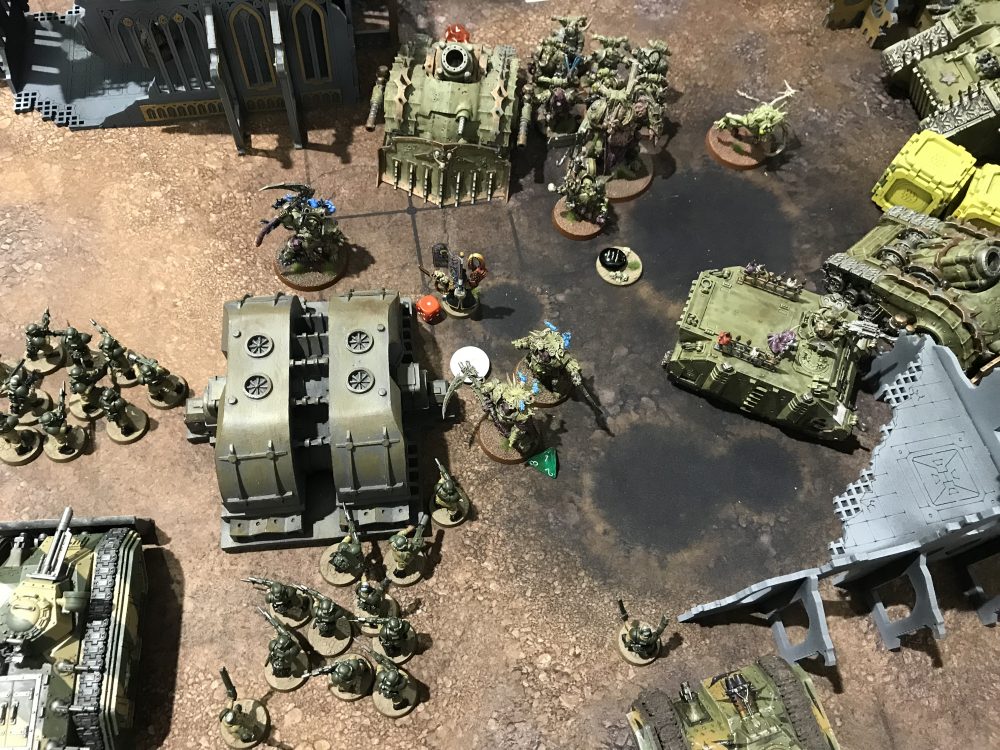
The Pox Walkers were not within unit coherency and remain stationary. As expected the central units tightened the noose on my forces; my infantry and Wyverns.
The Deathshrouds moved back towards Typhus to be his bodyguards and the Foul Blightspawn moved forwards to finish off my Platoon Commander or Hellhound. One Plague Burst Crawler and the remaining Chaos Spawn moved forward towards my back line of Wyverns and Infantry while the other Crawler swept back towards the Raven Guard.
The Death Guard shooting was decent this turn. Several Raven Guard fell including the whole Power Sword Squad. A Wyvern was lost as was the remaining Hellhound. A whole squad of infantry was lost in my back lines and another was nearly wiped out.
Things were falling apart now for me and the mistakes I’d make were raking my feeble human mind…
-

- Yarrick Holding!

-
- One Squad of Raven Guard is gone, the rest are out of shot

Astra Militarum – Turn 3
With the Death Guard on 5VP and the Guard not holding any objectives but their own things were looking bleak. I was now on 2VP.
I moved back to my own objective as best I could and left the centre while trying to position to take out Typus for the Warlord kill.
I did kill the remaining Chaos Spawn which was making its way towards my back line. This was a little win as it would’ve torn through my Guardsmen protecting my objective from the Death Guard.
Really though everything hinged on what the Raven Guard could or couldn’t achieve on top of the enemy objective. They killed the remaining Pox Walkers on top of the objective which was good and I managed to get five models right onto the objective. But they would need to stay there for a whole turn in order to gain the 3VP next turn.
-

- The Raven Guard try and hold the enemy objective
-
- The Death Guard have the centre sewn up

Death Guard – Turn 4
The Death Guard again sat in the centre and gained 2VP. Total 7VP.
We were now running out of time and it seemed that the Death Guard had well and truly won the game. Even if my Raven Guard stayed on the objective it would not make a huge difference. But that did not matter. The Plasma Plague Marines sallied forward out of their building to take the objective from me before my Turn 4. Plague Marines are Troops and so held it over my Elite Vanguard Veterans.
The last thing these guys saw was Plague Marines emerging from a ruin…
Astra Militarum – Turn 4
I only held my objective which gave me another VP.
Learnings & Summary
The game ended 8-4 to the Death Guard – after we both got Linebreaker. During and after the game I have pondered my mistakes, which were numerous and costly…
Targeting Plague Marines
16 dead Pox Walkers. That’s how many I would’ve killed on average if I’d targeted them instead of the Plasma Marines. Assuming I used the Stratagems again. The squad only had 20! Things could’ve been very different for the Raven Guard had they come on and only had to chew through 4 Pox Walkers.
Lack of Multi-Damage Weapons
It took me 3 games to learn this the first time around and beat the Death Guard. Multi-Damage Weapons are key.
One Damage Weapons just get ignored thanks to Disgustingly Resilient. I need D3 or 2 wound Weapons to ensure these guys stay down.
Misunderstood Mission
When I read that this mission type Eternal War I (foolishly) took that to mean;
Points at the end of the battle.
I was wrong. The missions gave you points from the start of your turn 2. I hadn’t realised this until after deployment. If I had of read that properly I would’ve perhaps set up differently.