
1,500 point Debrief – Astra Militarum Vs Tau
God Emperor I bring you a victory!
Another day and another debrief. But this time with a twist. A 180° twist – for today men of the God Emperor, I bring you a 1,500 point victory!
A victory against the Tau, what a rare phrase to utter. Cherish it. Although I think it was a given before the game began. I went into this one wanting to win, I had played my opponent a lot over the last two years, I know his forces and I’d just played three games back-to-back against Salamanders the previous weekend. I was stoked, as the kids say. It may have been slightly unfair as my Tau buddy hasn’t played for a while and he doesn’t play OP Tau at all.
Astra Militarum 1,500 point list
- Company Command Squad – with Volkov’s Cane, Master of Ordnance, Officer of the Fleet and Lascannon Heavy Weapons Team
- Pask in Punisher as Warlord with Leman Russ Battle Tank buddy – Dozor Blades for both, no sponsons
- Primaris Psyker – joins Company Command Squad
- Priest with 3x Power Maul Bullgryns
- Veterans in Chimera with Krak Grenades, Carapace Armour and 3x Meltagun
- 2x Veteran Squads with a Lascannon, Camo Cloaks, Snare Mines,
- Hellhound
- 2x Sentinels in separate units with Heavy Flamers and Smoke Launchers – in reserve to Outflank
- 2x Wyverns in separate units
Tau 1,500 point list
- Ethereal – joins Pathfinders (I realise now that this is illegal as Farsight cannot bring Ethereals)
- Farsight with 3 Bodyguards and 4 Drones
- 2x Squads of Pathfinders (I forget their weapons and exact numbers) – one squad in Devilfish
- 2x Firewarrior Squads (I forget their weapons and exact numbers) – one squad in Devilfish
- 2x Piranha – one with Burst Cannon, one with Fusion Blaster
- 1x Broadside with Heavy Rail Rifle
- 1x Hammerhead
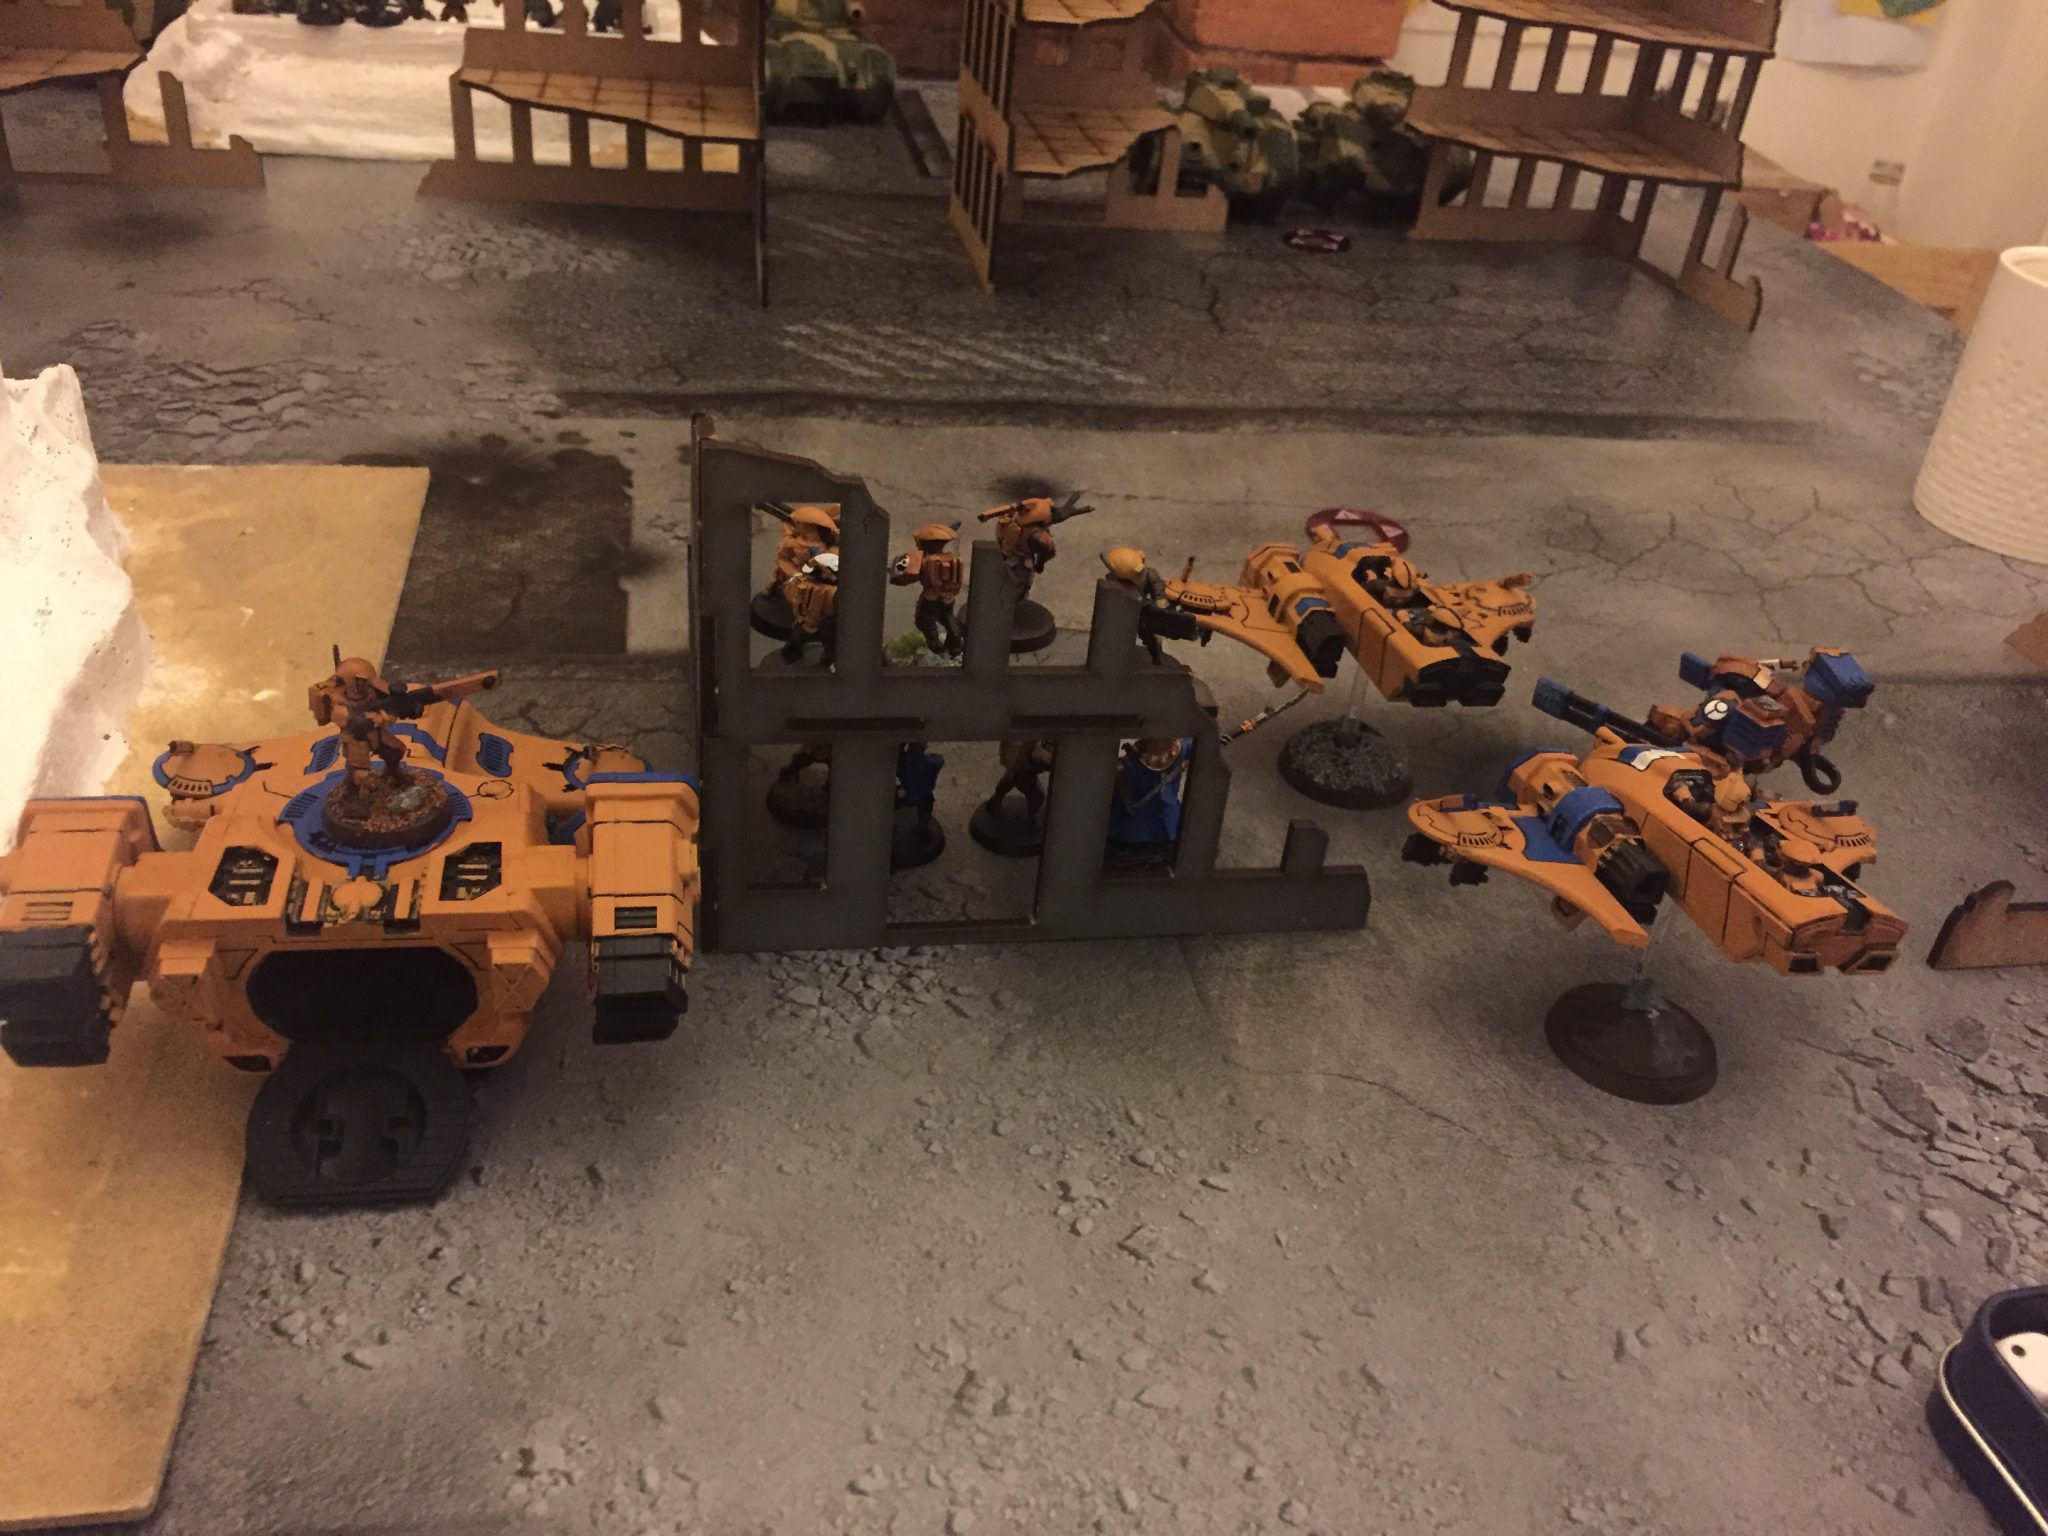
Deployment of part of the 1,500 point Tau force
The Mission
We played Maelstrom, it was the mission where you can only hold cards based on the objectives you hold at the start of your turn. So if you hold 3 objectives, you can have a maximum of 3 cards. Table control would be really important here for gaining cards and VPs. Its easy to castle up for Guard but doing so in this mission for too long will result in a sure loss. Without the objectives you don’t get the cards and without the cards you can’t score VPs.
Early Game
My force wasn’t built for speed so rushing up to grab objectives was not an option. It might also mean that my forces would just get blasted off the objectives before the start of my turn anyway. I had the Hellhound which was Fast and the Chimera which can get a good move if it moves Flat Out. Another approach was needed as I also had two Veteran squads in ruins that were not going anywhere in a hurry, plus the Company Command Squad was not going to be moving about either – as I was fairly sure it would be killed easily.

Farsight’s Team in behind Pask
Instead I would wait for the Tau to creep out and take the objectives, then I could use my Lascannons to bring down their Devilfish and use the Hellhound plus Sentinels to mop up the Troops. For the most part this worked and went to plan! The Devilfish moved up, as did the Broadside and Farsight came in turn 2 right behind a Wyvern. Pask blitzed the Broadside with his Punisher Cannon, dealing 7 wounds in total to the poor guy! Meanwhile the Battle Tank was placing large blasts into the Firewarriors and (illegal Ethereal) killing them with ease and whittling them down to insignificant numbers quickly.
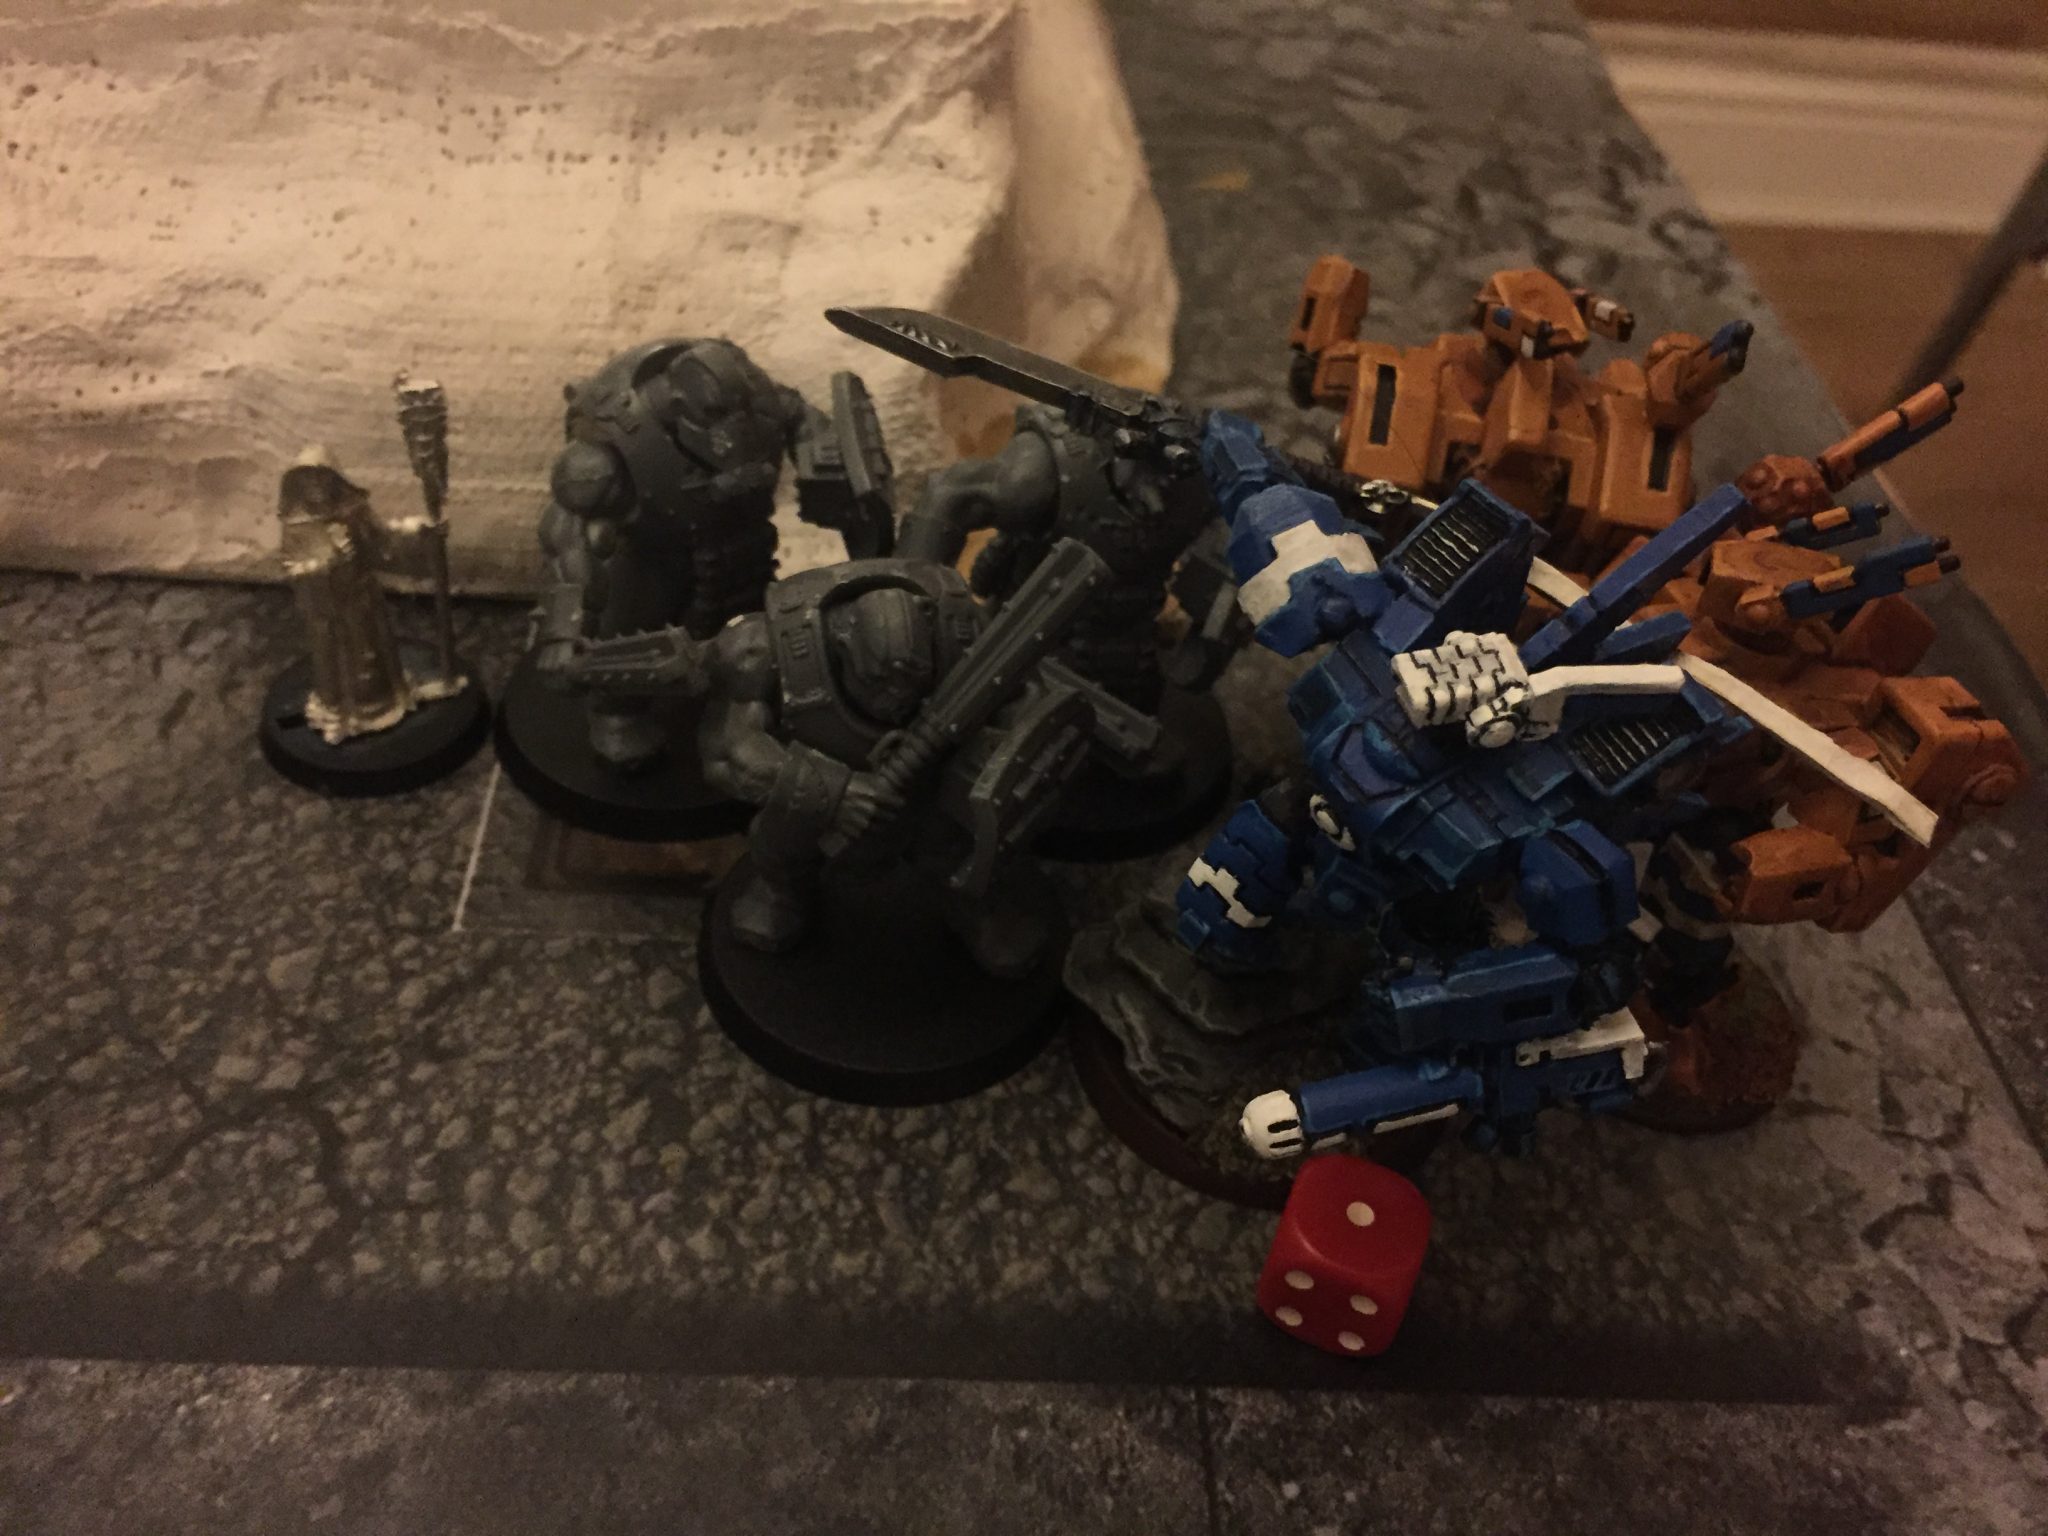
Farsight taking on the Bullgryns with Priest (wrong model I know)
Mid Game
As the game progressed I held fast, moving only minimal amounts to gain only perhaps 2 or 3 objectives at any one time. The Wyverns put hit after hit down on to the Firewarriors and Pathfinders gradually working them down to nothing. Pask was killed from behind by Farsight and his Bodyguards, but they were soon all cut down, including Farsight by my charging Bullgryns. The melee lasted a turn or 2 but the job was done and Farsight’s usefulness was short lived.
My Lascannon teams with my Veterans had stayed in my Deployment Zone the whole game and just plinked at the Devilfish, using the Tank Hunter order and Prescience Pysker power to good effect. There were no explodes results from the Lascannons, just glances and shaken results, but they did their job.
Late Game
A Devilfish was glanced to death by my Sentinels and Hellhound from the rear, the embarked Pathfinders managed to scramble into a ruin but the next turn sealed their scorched fate. Alongside this fiery blood bath my Chimera of Veterans moved up and took an objective with ease.
The number of blasts from the Leman Russ Battle Tank and the Wyverns meant that any Tau infantry was now nearly completely destroyed and the remaining vehicles were either low on hull points, shaken to some extent or immobilised. The Tau were beat, the game ended after turn 5, one more turn and I think they were in for a tabling!
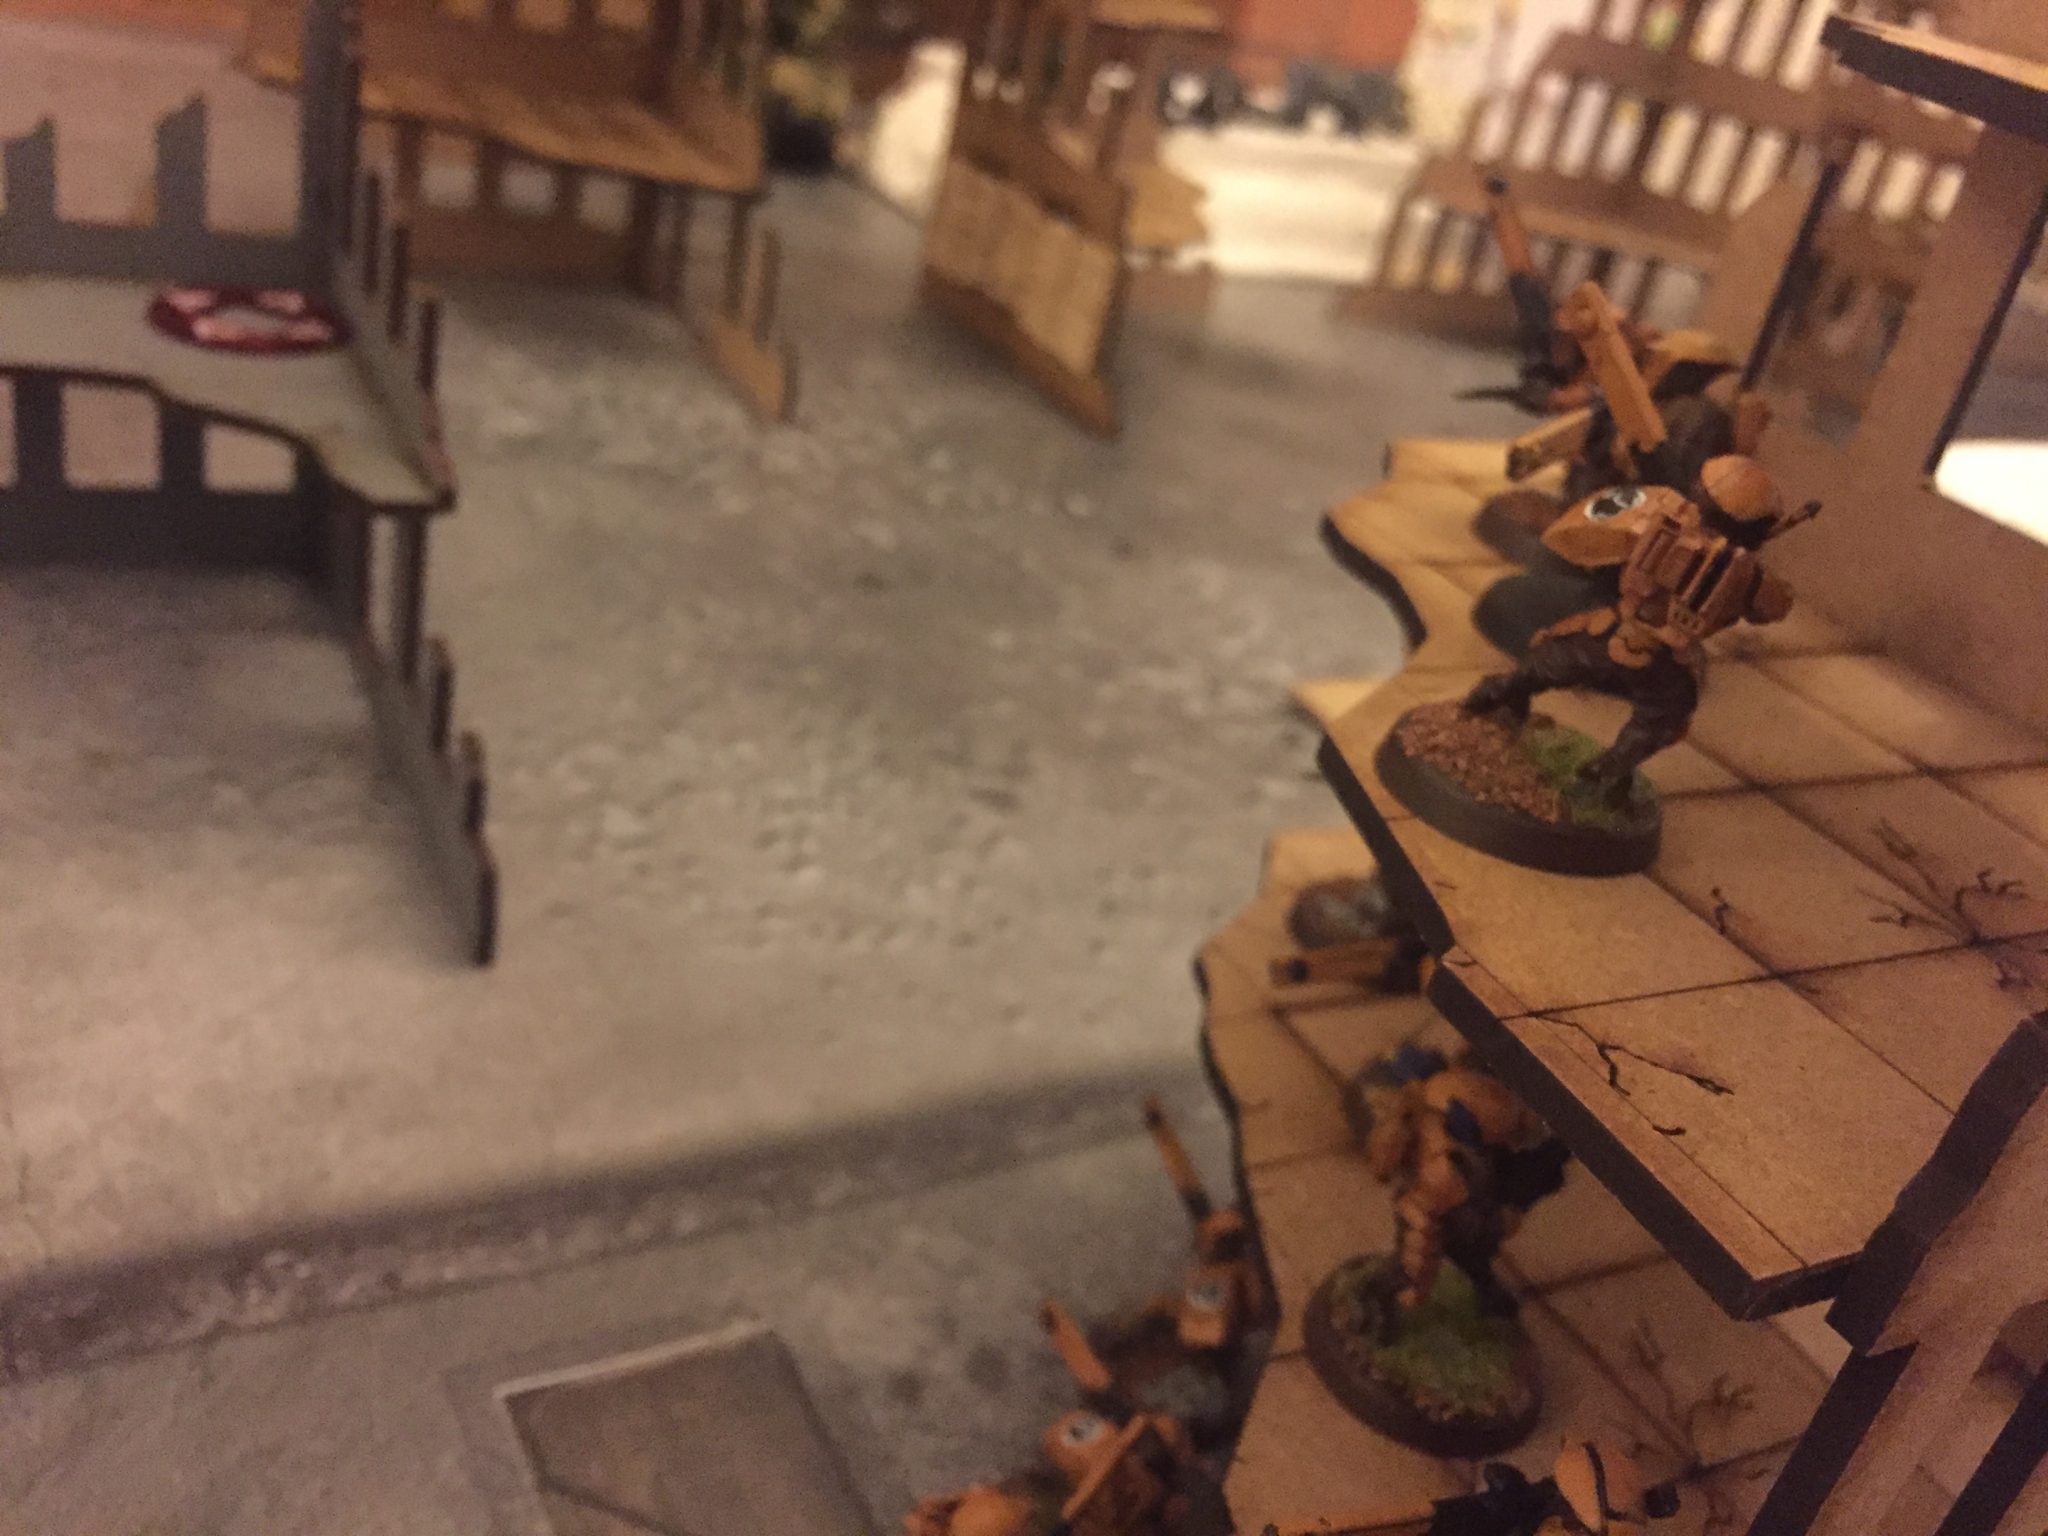
Tau Firewarriors look on as a Wyvern pounds their position from afar
Summary
The Tau were struggling to do any significant damage once Farsight was dead, Markerlights were rare too as they had been cut down fairly early on by the Wyverns. The Tau were taking a few shots from afar and doing little to no damage – meanwhile the Guard were still hitting hard with Sentinels, the Hellhound, Lascannon Veterans, a Wyvern and a single Leman Russ.
My opponent and I discussed the battle again recently and agreed the Tau list was poor. The Tau 1,500 point list was shuffled together at the last minute so perhaps never really had a fighting chance.
But a win is a win. Next time I am expecting a much tougher fight….