Tau vs Imperial Guard Battle Report - 1,000pt, Presentation Style Battle Report
Overview
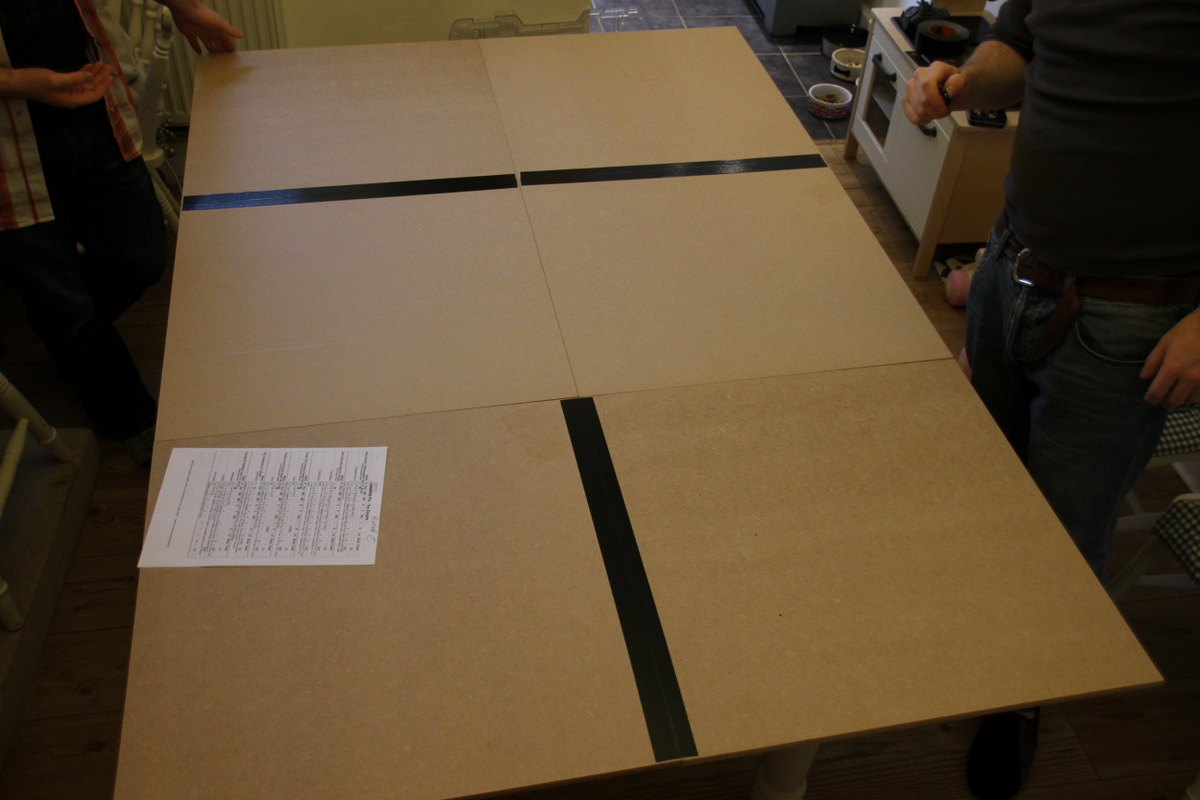
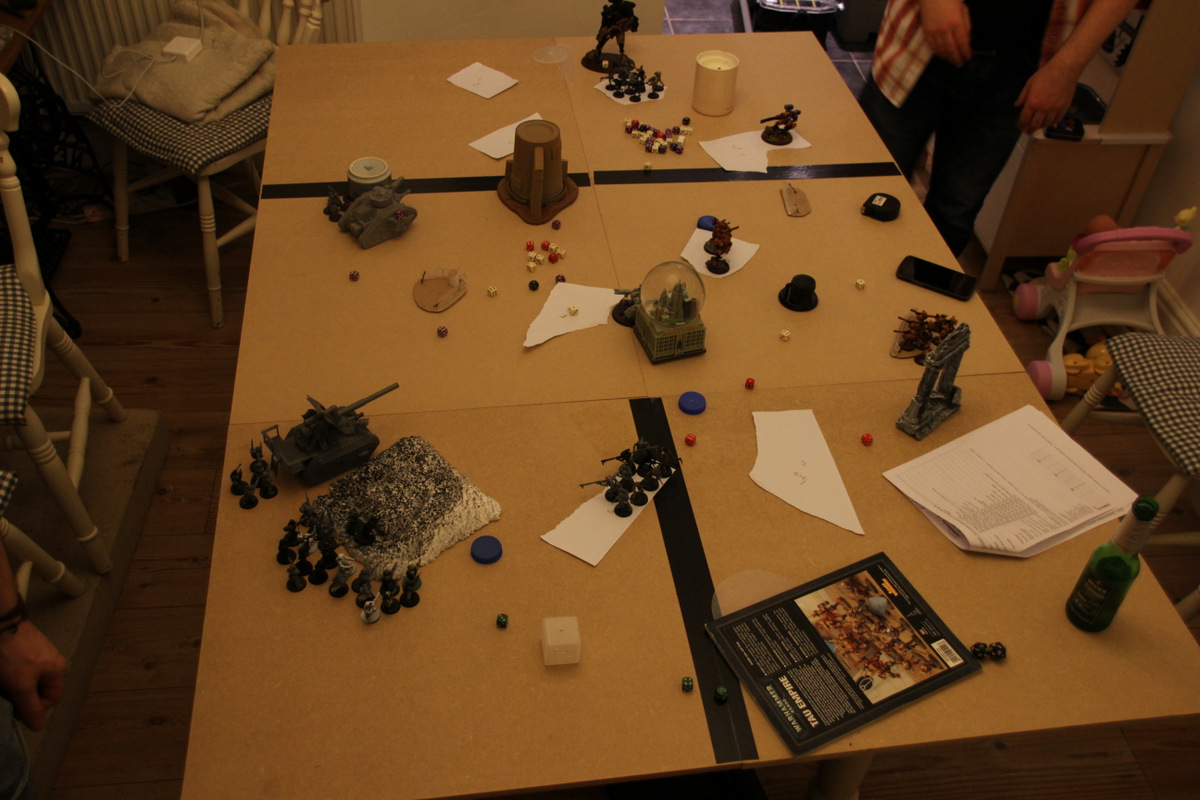
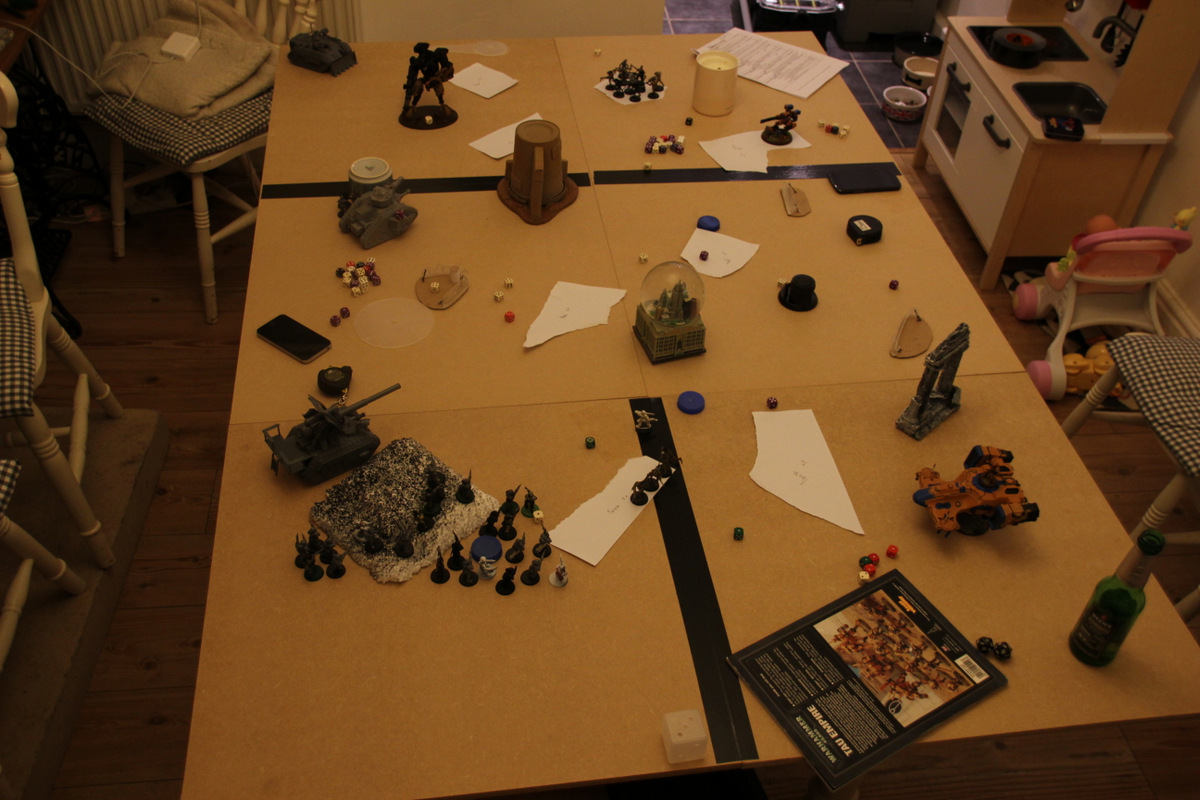
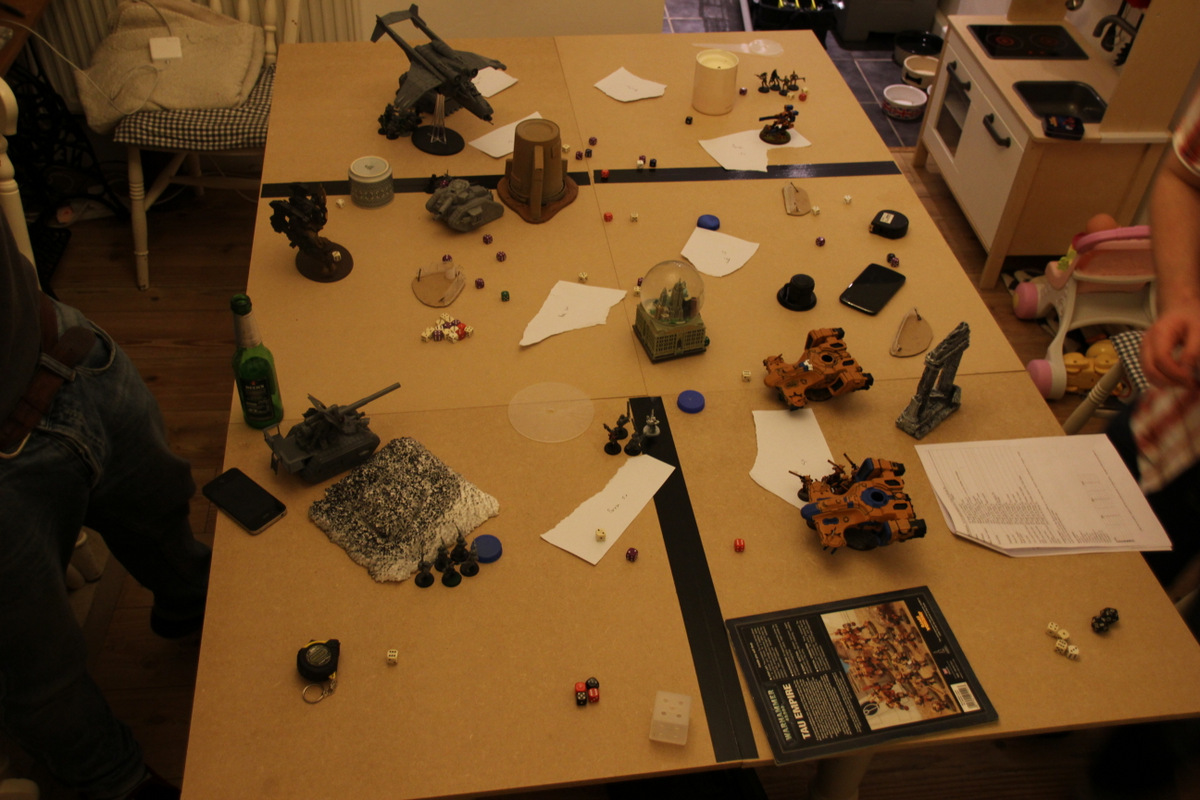
The set up (1/1)

- 2nd game on my home made 6ft x 4ft board
- Tau vs Imperial Guard - 1,000 points
- Last Imperial Guard game before the new codex
- We're still learning, so expect some Game Changing mistakes
Mission
- The mission was randomly selected, hence it wasn't a Tau or Guard mission
- Mobile Defence (Eldar) from the Battle Missions Book was selected
- Deployment was anywhere in your own table half
- But the Guard had to deploy at least 18" from any enemy unit
- The sections of paper are forests, ruins, etc - area terrain with 4+ or 5+ cover saves
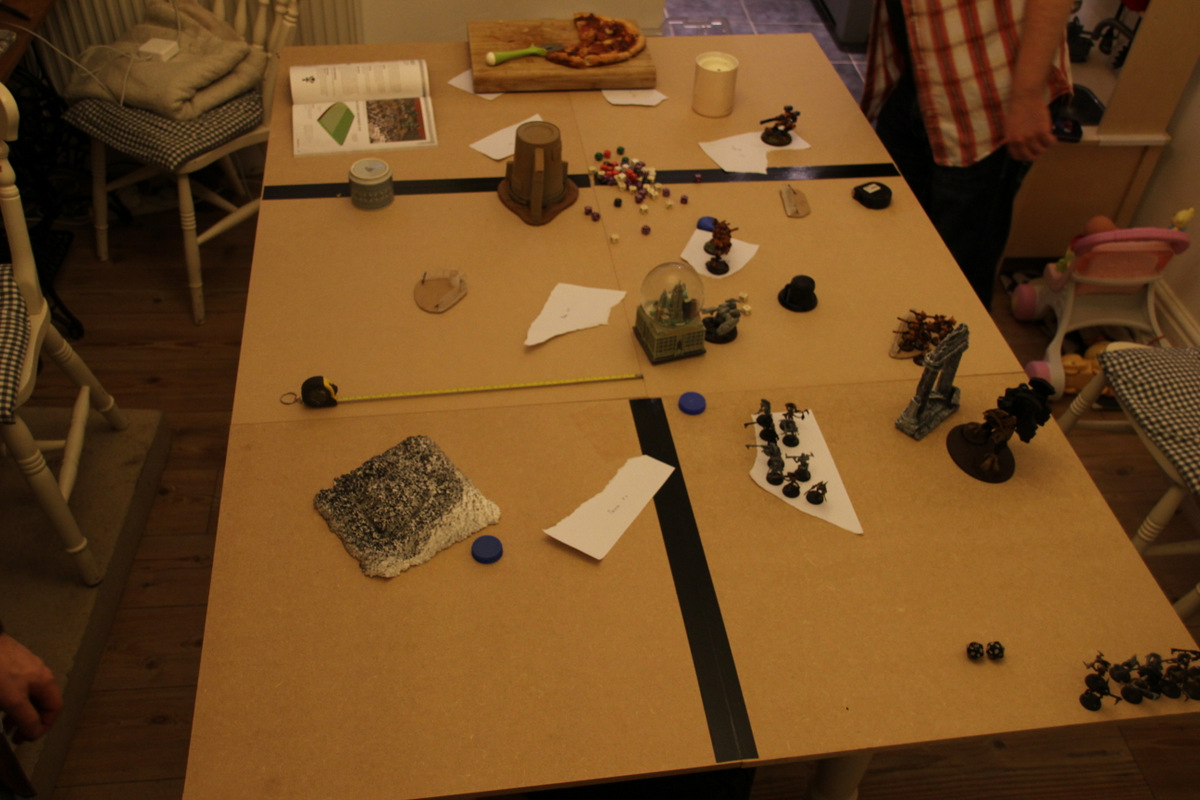
Deployment
- Tau set up right, Guard left
- Tau had all of their Devilfish in reserve as per the mission rules
- The Guard had 2 veteran squads in reserve. 1 squad in Chimera & 1 in a Valkyrie, plus Marbo
- Objectives are blue milk bottle tops, the 4th is behind the sandy coloured structure (centre top)
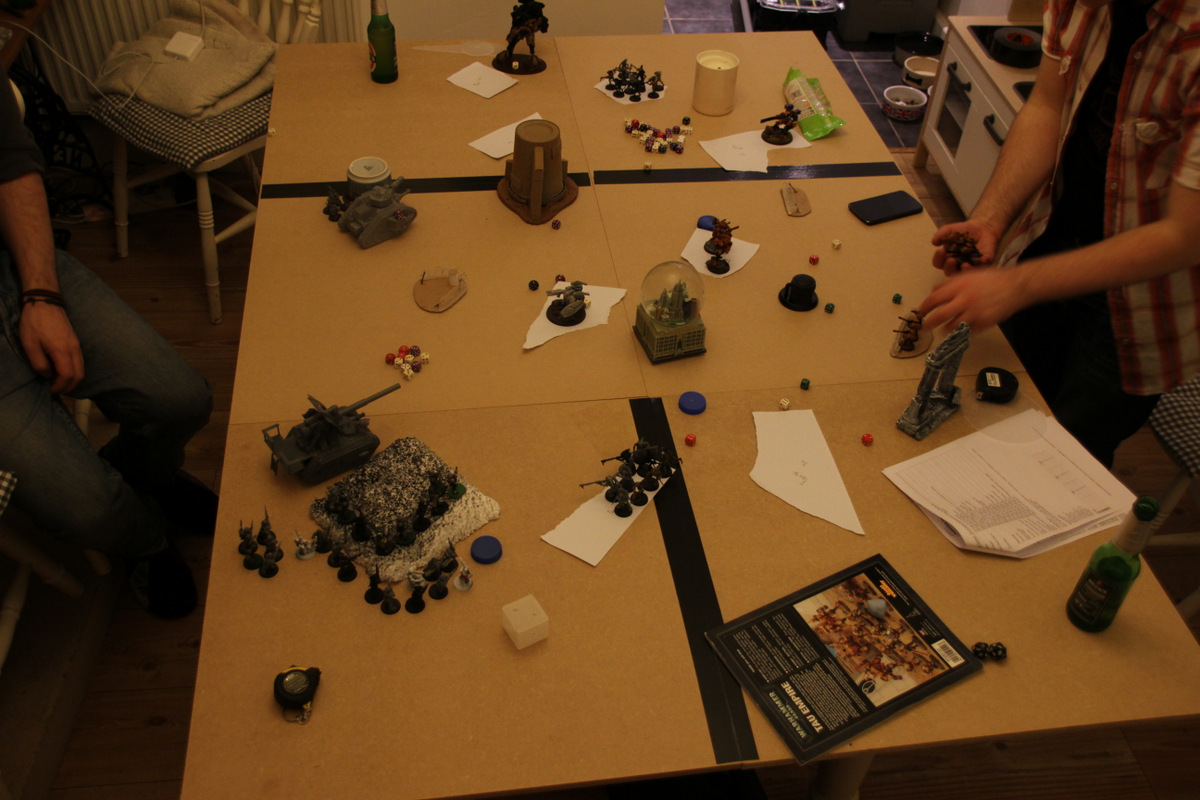
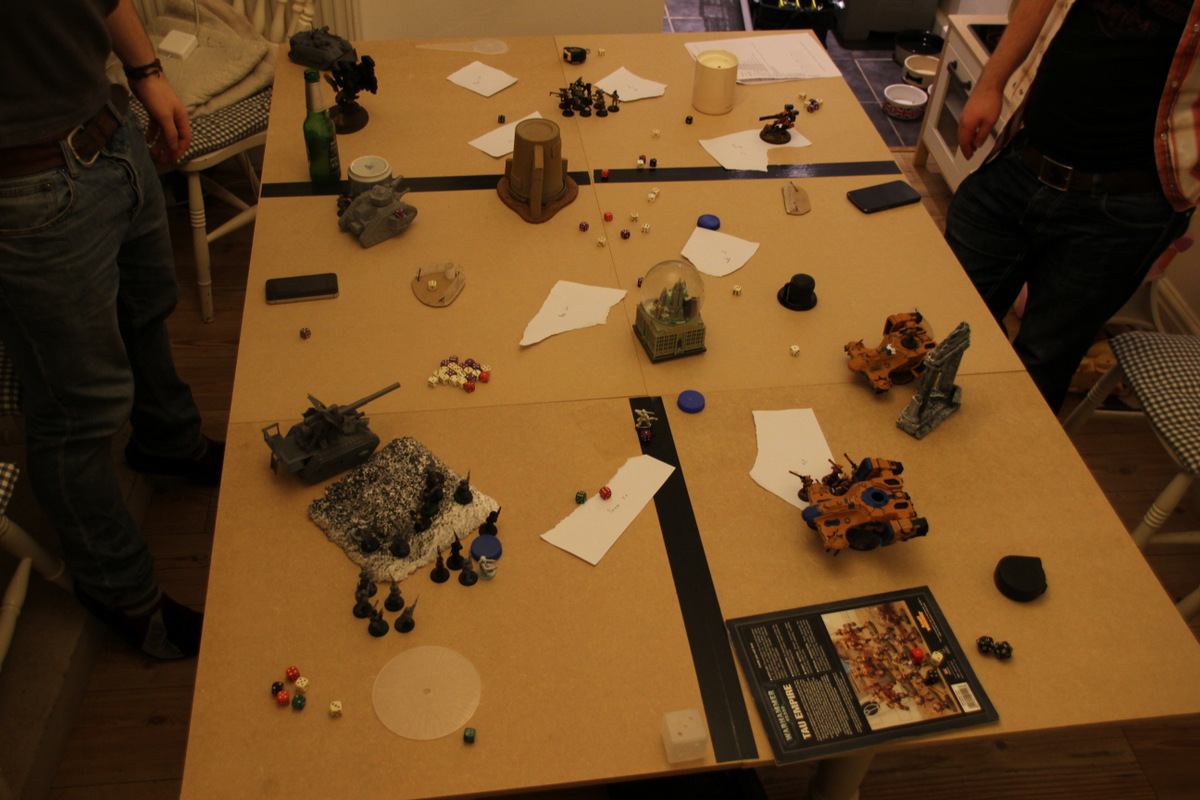
Turn 1
- The deployment rules meant we started rather close
- So the Tau moved up slowly, cautiously - very little shooting
- The Guard didn't move, but waited on its reserves, in cover
- The Tau could receive reserves in turn 1, but none arrived
- The Guard were determined to keep their 20 man blob (with commissar) in one place
- To keep them in cover & alive!
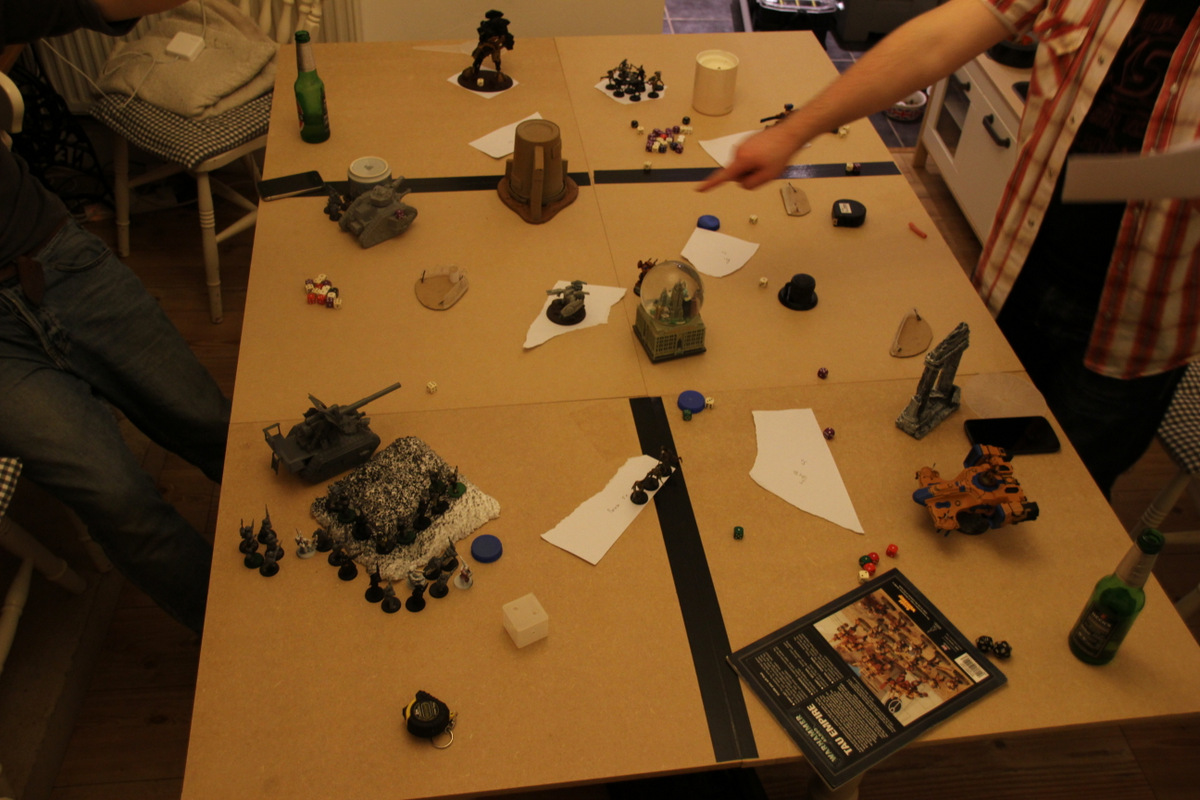
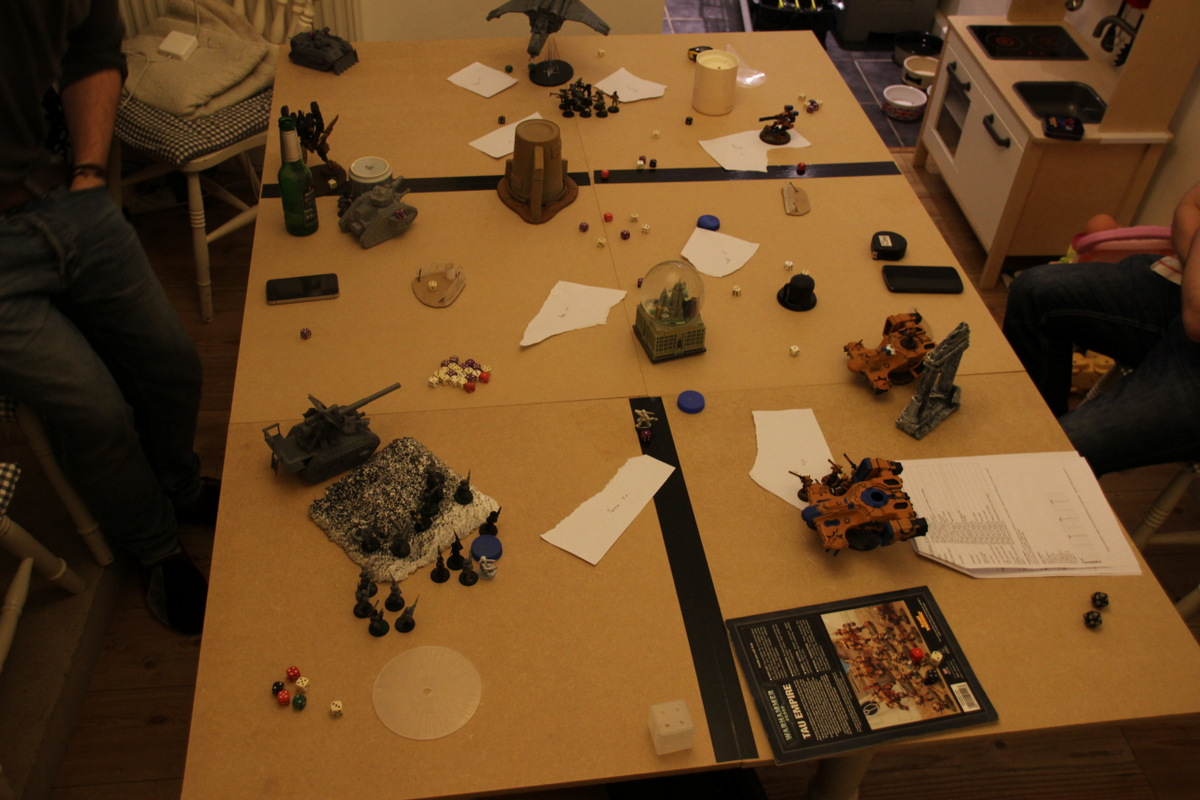
Turn 2
- Steady movement forward from the Tau
- The Tau Commander & 3 Battle Suits are getting close
- The Riptide at the far end was making the Guard nervous, as it jump jets into area terrain
- The Guard blob held fast behind & on top of their volcanic hill
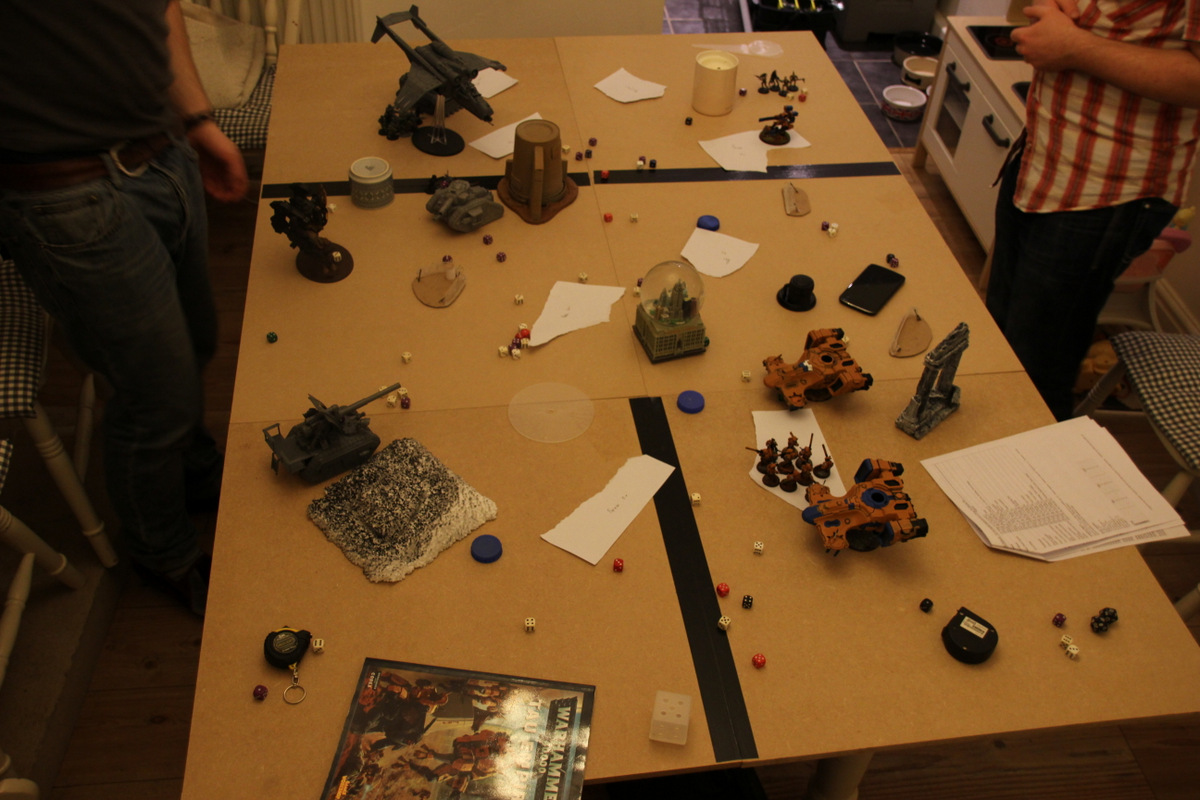
- 1 Tau Devilfish arrived containing Firewarriors (bottom right)
- No Guard reserves arrived!
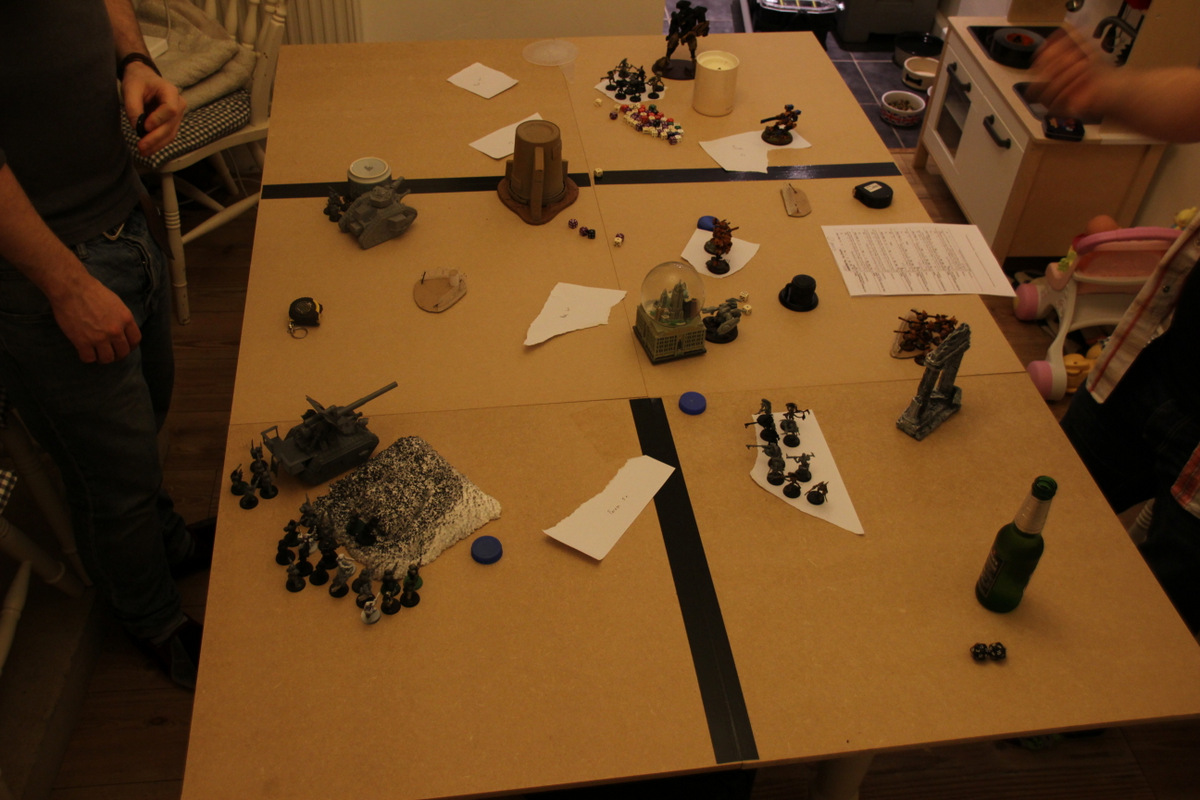
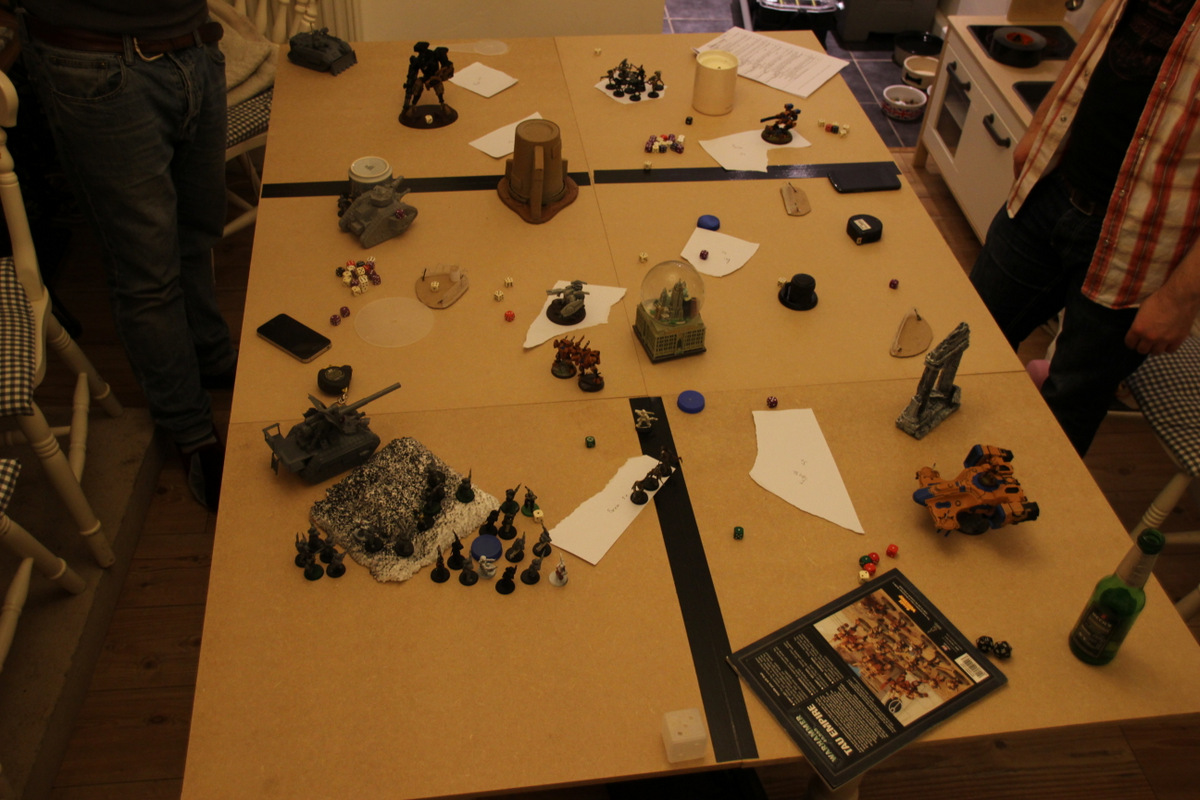
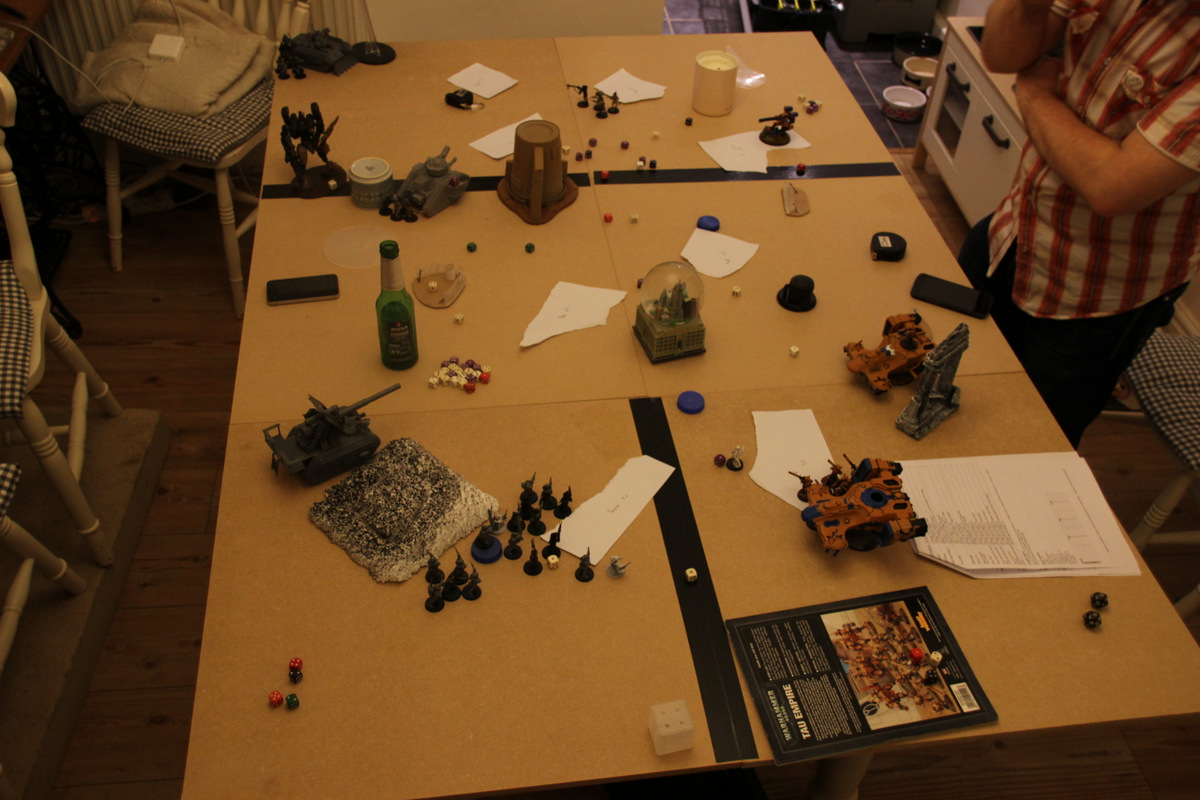
Turn 3
- The Tau's shooting is whittling down the Guard blob
- They are also gradually taking hull points too
- Marbo (just below table centre) & a Chimera of veterans arrive (top left)
- BOOM! Marbo deals an awesome demo charge & kills 3 Battle Suits & the Tau HQ
- Things are looking bad now for the Riptide
- The Russ has now put 2 wounds on the Riptide
- And a veteran squad has appeared behind it in a Chimera
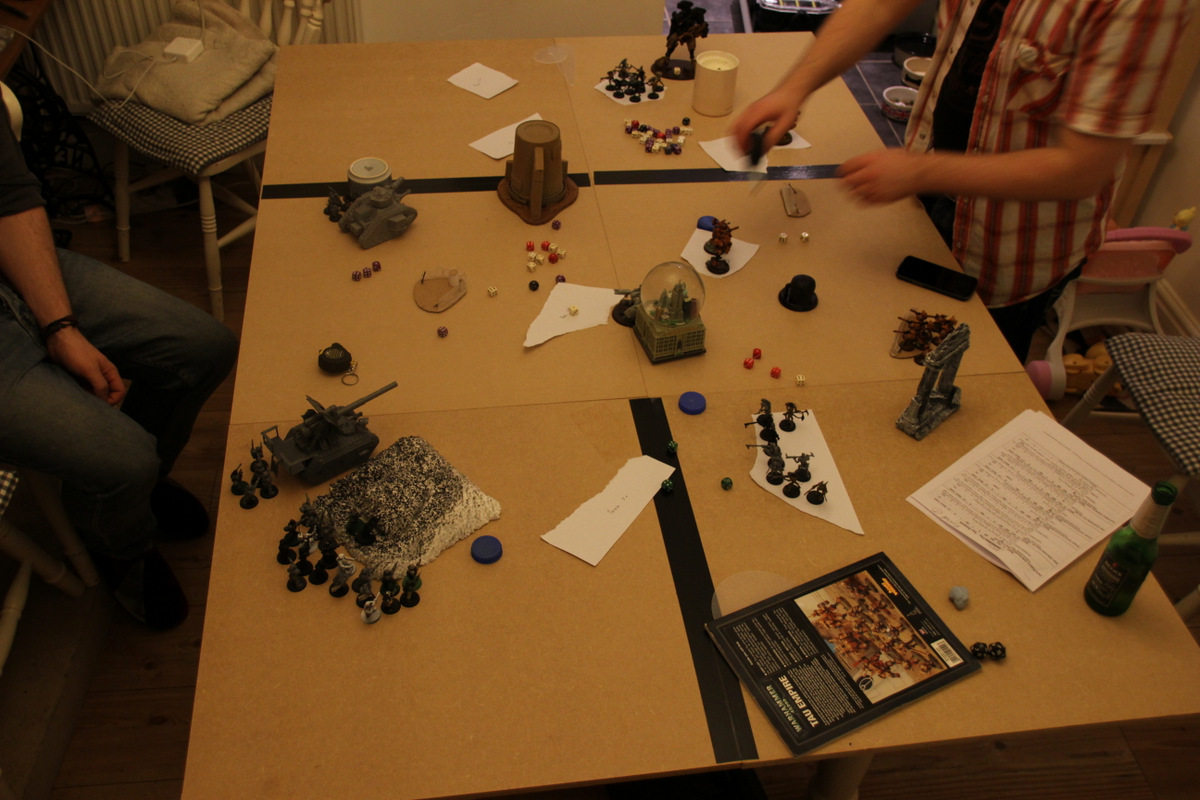
Turn 4
- The final Devilfish arrived containing Pathfinders
- Tau continue to do hull points & kill the blob, the Russ is providing cover to the Guard HQ
- The Kroot in the forest are now dead, the blob can push for the objective
- The Basilisk did nothing all game & now has a Riptide bearing down on its left side
- The Valkyrie deep striked - I now know it should have flown in
- It scattered & the Tau got to place it - massive fail
Turn 5
- It is the final push, so much death has meant there are few troops left to take objectives
- The mishap with the Valkyrie has meant they were too far away to deploy troops onto the top objective
- The blob & Platoon commander are killed by Firewarrior & Devilfish burst cannons
- The Basilisk killed all Pathfinders in 1 volley!
- The Russ has cleverly moved to keep its rear safe & face its front to the Riptide
Summary
- It was a draw, no troops made it to within 3" of an objective
- Late reserves & heavy troop losses were to blame
- I was lucky with the Riptide, it did very little as it was fitted to kill troops, not vehicles
- None of the Guard vehicles died! Mainly thanks to poor rolling - but also thanks to decent placement?
- Back to Blog
/