Magnetising Bullgryns and Ogryns – 40K Blog
Magnetising Bullgryns is a great way to get the best of all the weapon/shield options!
Now we have some Bullgryns Tactics for 8th edition lets look at magnetising Bullgryns to get the best out of your models!
Never miss an article? Subscribe!
Magnetising Bullgryns & Ogryns – The Models
I love these guys. Unsure why but it’s probably because their big, awesome and unlike anything else the Astra Militarum have access to. I magnetised by first Bullgryns some time ago now so they could take Brute shields and Power Mauls or Slabshields and Grenadier Gauntlets. I wanted the flexibility to take either configuration without needing to buy another three models – saved me £28 :-)
This has paid off even more now that in 8th edition we can mix any weapon with any shield.
But then I just wanted some more and its probably been over two years since I got those first three – so I have shown some restraint there! Although now I own 12 of the dudes so I have really gone for it.
Unfortunately due to 8th edition I can no longer run them in the two formations that were available in 7th edition. Oh well.
Magnetising Tools
Other than the usual tools, knife, glue, etc I also use these items;
- Magnets from eBay http://ebay.to/2bilHH1
- Pin Drill from eBay http://ebay.to/2b7J61p
- Bullgryn Models from Wayland Games or Element Games or of course GW
- Green Stuff from eBay http://ebay.to/2aRwREg
I start by using a knife to take each magnet off the string of magnets. The knife is handy as it can get between the magnets and ensures the detached magnet isn’t dropped. With each magnet I mark the same side with a marker pen. Paint works well too.
Each magnet now has a coloured side and a silver side. It’s now easier to see which sides marry up – coloured attaches to silver. Silver and silver don’t attract and coloured and coloured don’t attract. This can be so handy and will stop you having arms that repel each other! In theory at least. Despite this method I still mess it up.
Secondly set up your drill. You’ll need a shaft that’s the same diameter or slightly bigger than the magnets you’re using. The arms have nice hollow spaces for the magnets to fit into. Although depending on the size of the magnets you’re using they made some scrapping and hollowing out a little more.
The shoulders will need drilling though.
Magnetising Ogryns
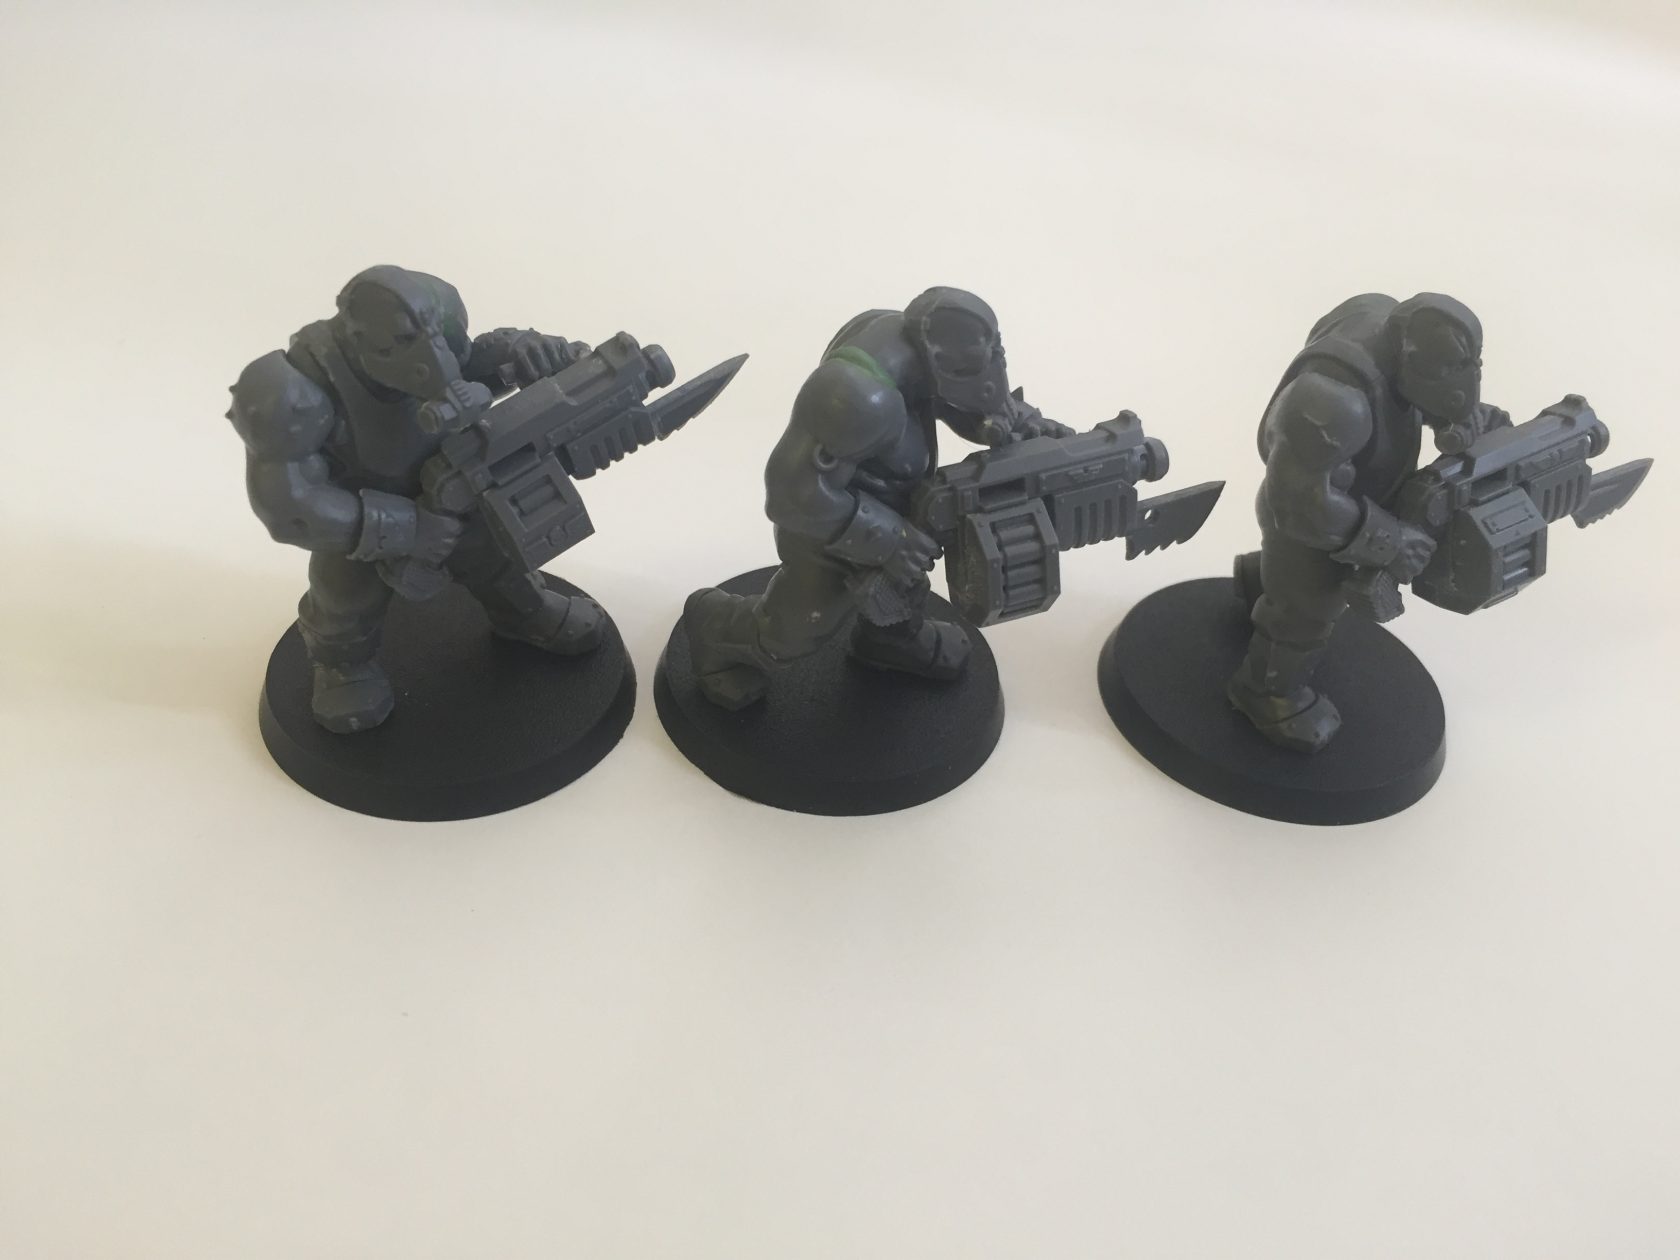
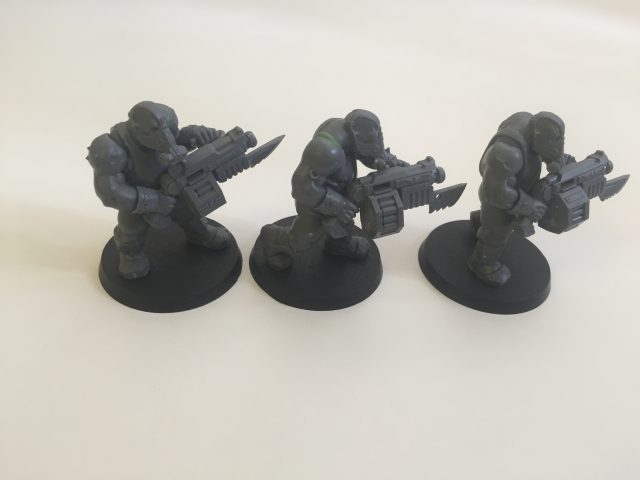
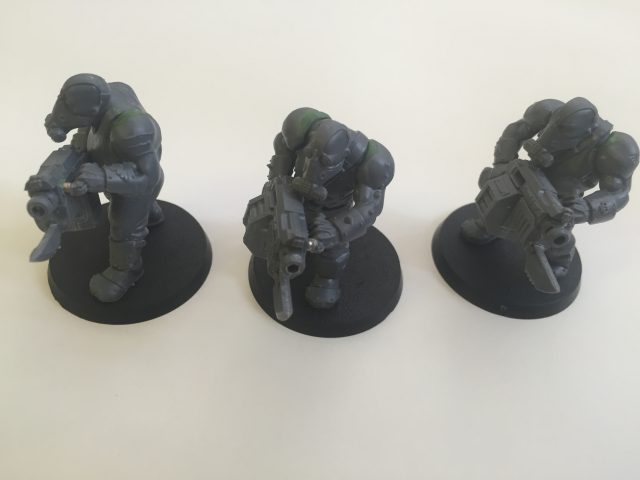
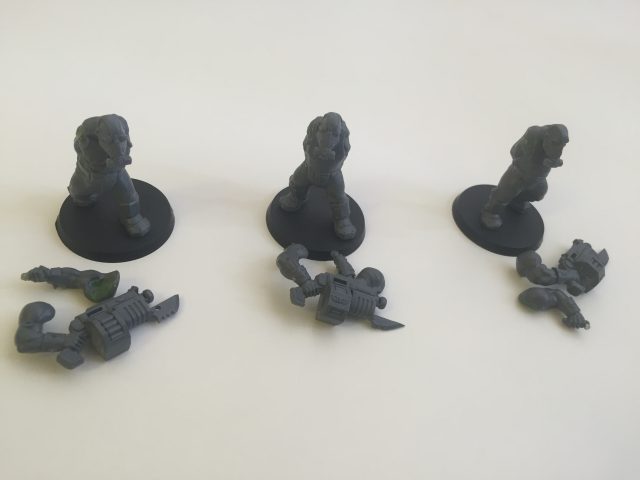
Magnetising Bullgryns and Ogryns is basically the same. I only have images though (and a video) for the Ogryns.
- Magnetising Bullgryns and Ogryns
- Magnetising Bullgryns and Ogryns
- Magnetising Bullgryns and Ogryns
Magnetising Bullgryns
Magnetising the Bullgryns to take either sets of weapons was relatively easy as you have enough deviated arms to glue the Power Mauls and Grenadier Gauntlets to arms permanently.
You then just need to magnetise the shoulder joints where the arm meets the body. The shields are easy too – they have little holes the size of magnets that work really well both on the arms/hands and on the shields.
Green Stuff
I used Green Stuff for two purposes.
The first was to hold the magnets in place. Super glue does work. But using Green Stuff really does weld the magnets in its place. Smooth over the magnet completely with Green Stuff to create a little cocoon for it. Once it’s dry the magnet is not going to budge.
The second purpose is to remould the shoulders of the Bullgryns. This is optional and I didn’t do it on all my Bullgryns. But I found that if I didn’t take as much care as I perhaps should’ve the shoulder joints won’t be absolutely perfect. I used Green Stuff to extend the shoulders a little to hide the magnetised area. If you’re more careful and embed your magnets deep enough you shouldn’t need to do this.
You can see the extra Green Stuff on the Ogryns in the above video and images.
I have game tomorrow using three Bullgryns! So I’m off to list build an optimise!
