
Corpse Grinder Cult – Brothers of Brass Completed
Necromunda here I come!
And so it has finally happened. After eight years of 40K, I have decided to buy into another game system – I have gone for a Corpse Grinder Cult Gang in Necromunda!
Never miss an article? Subscribe!
You can see my gang here on Yak’s Tribe.
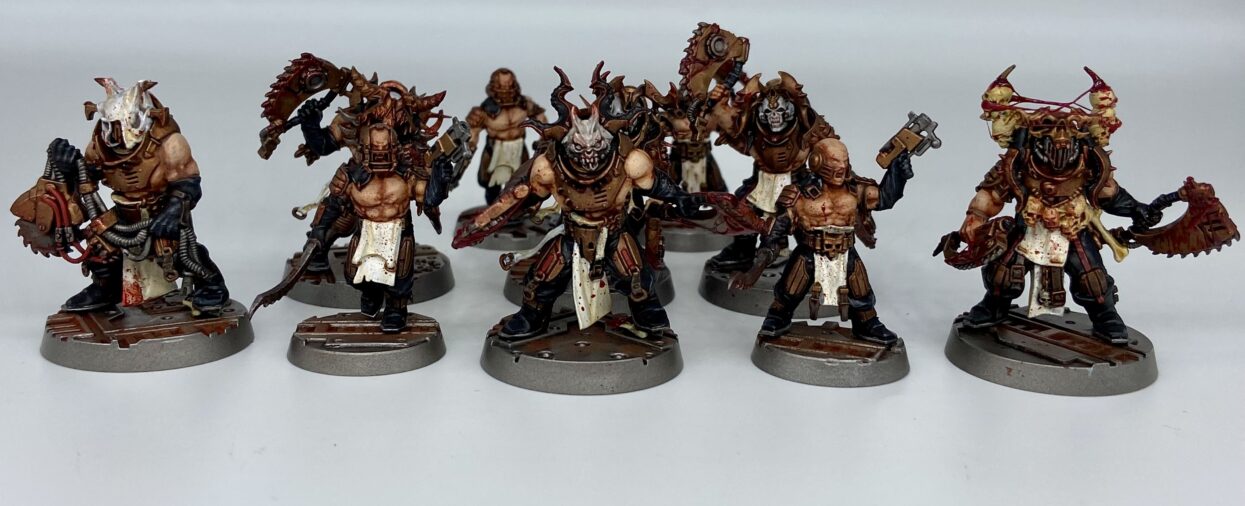
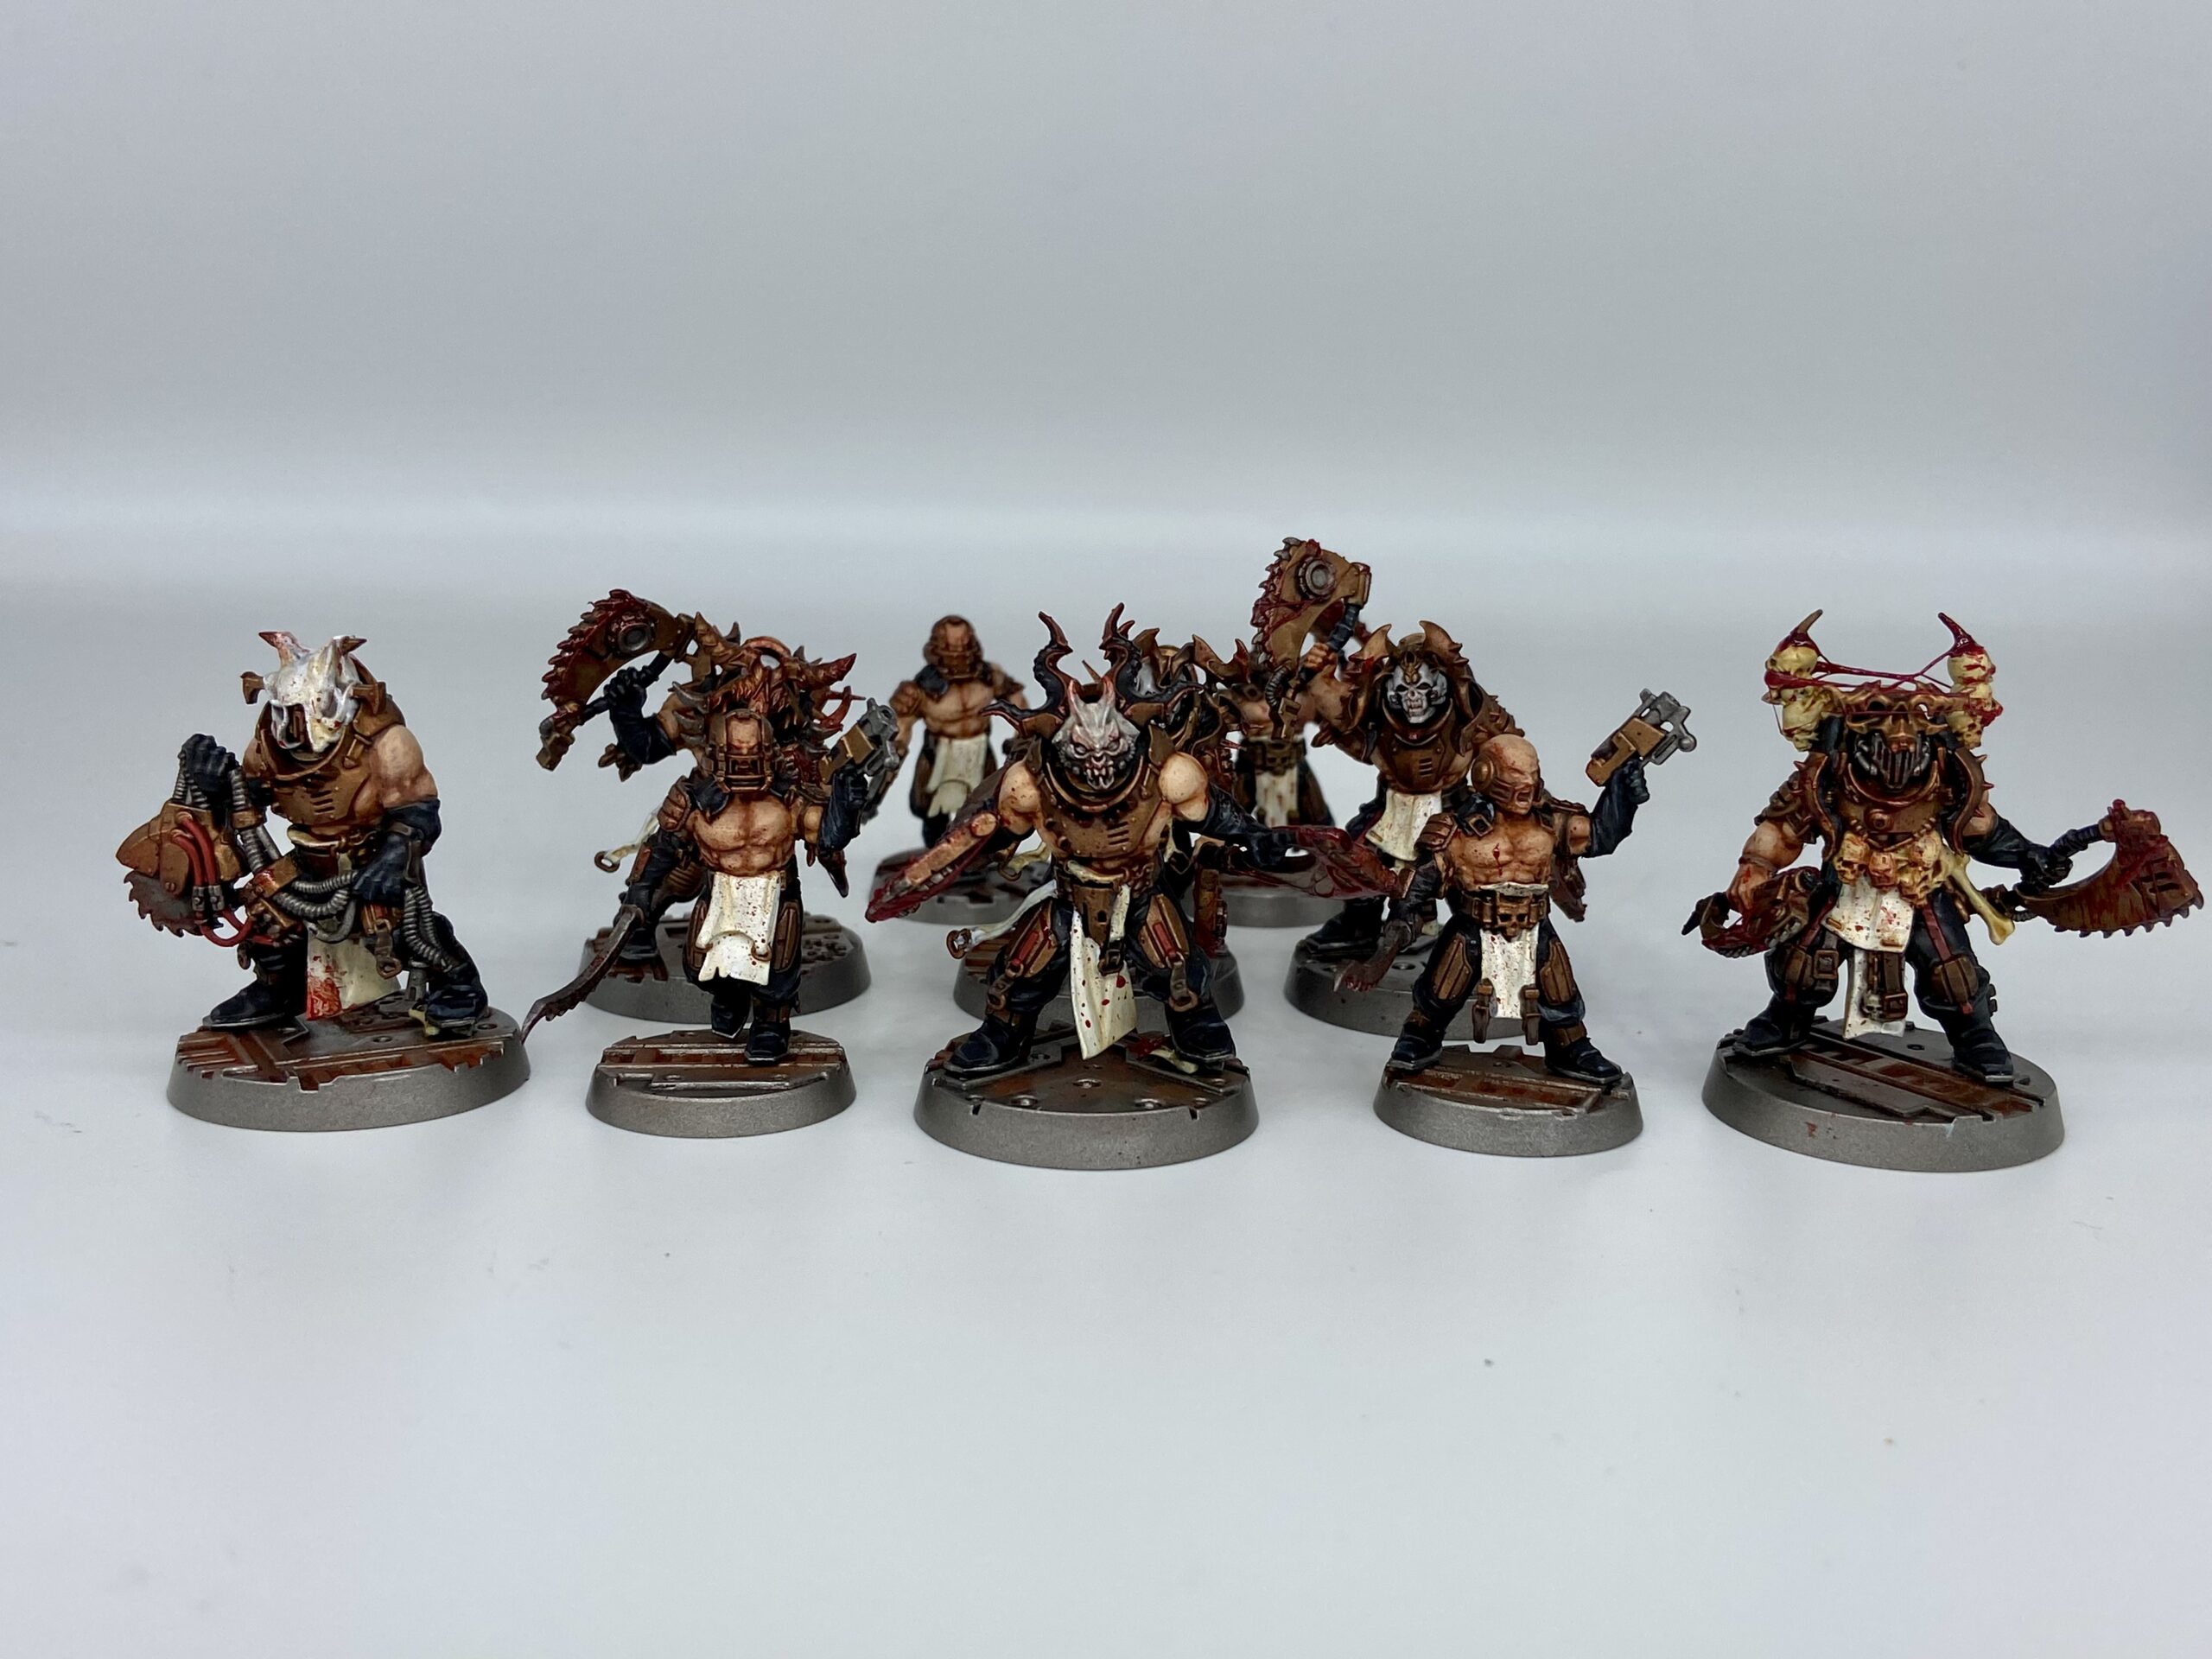
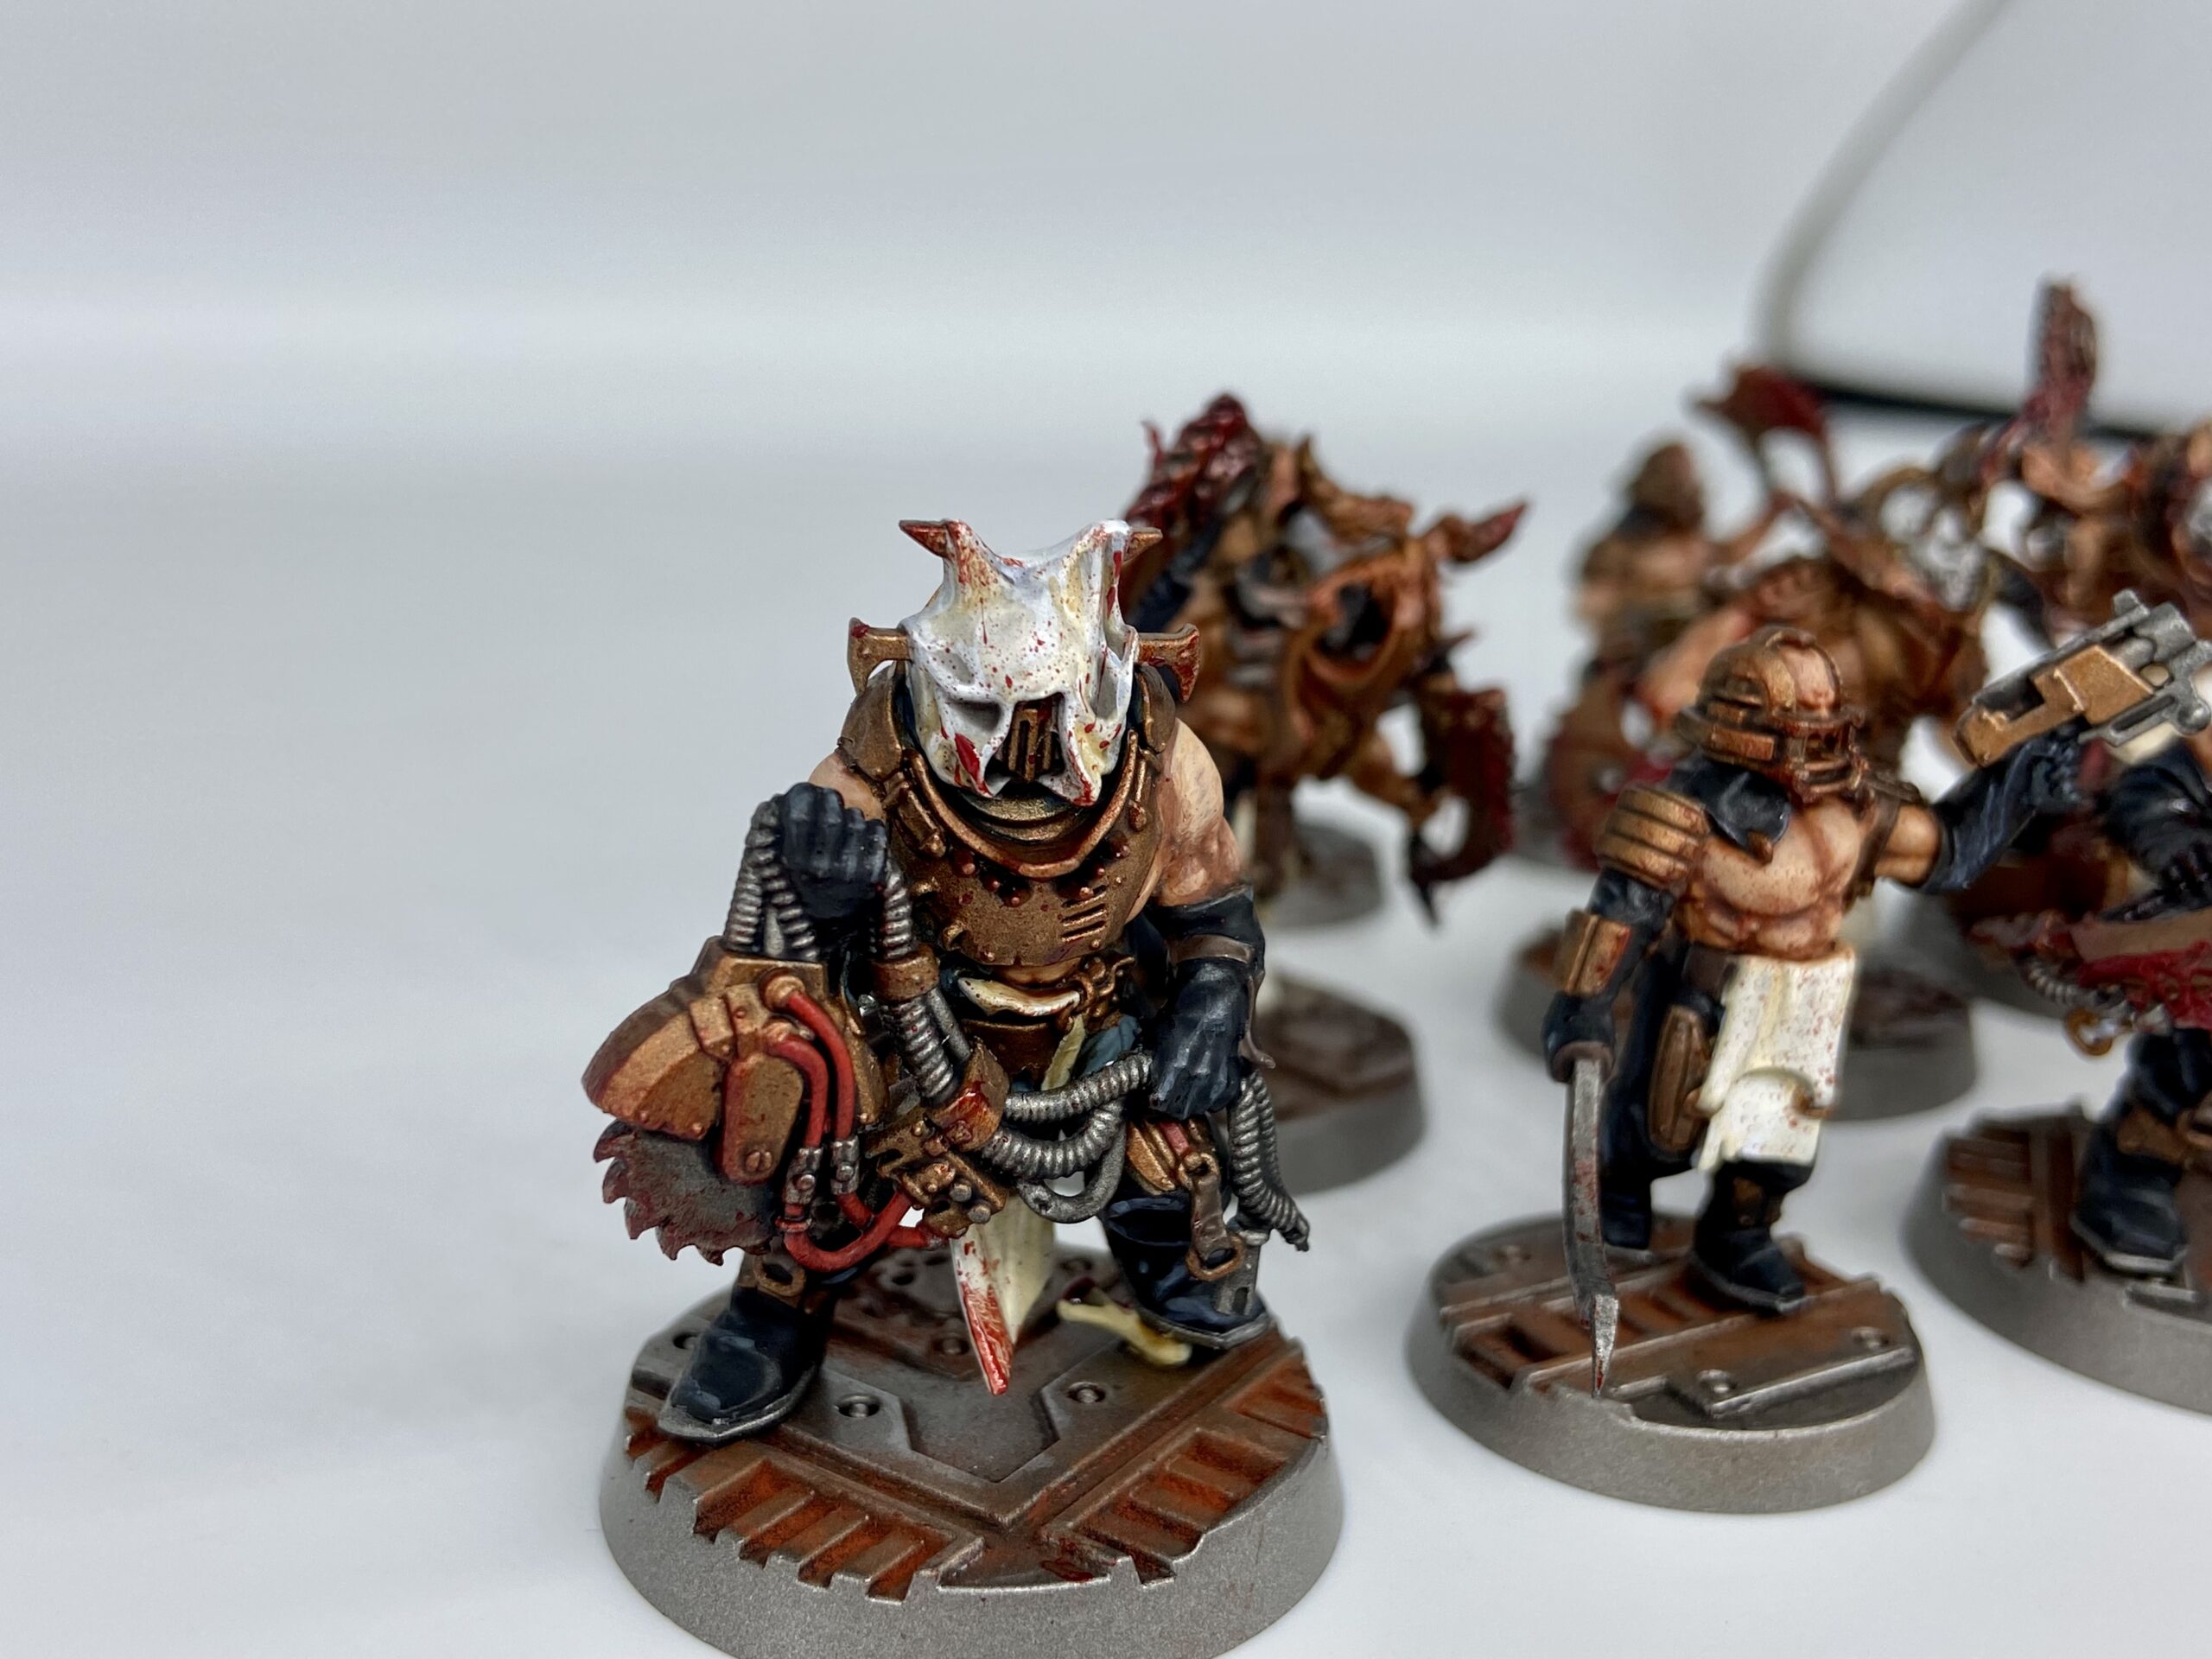
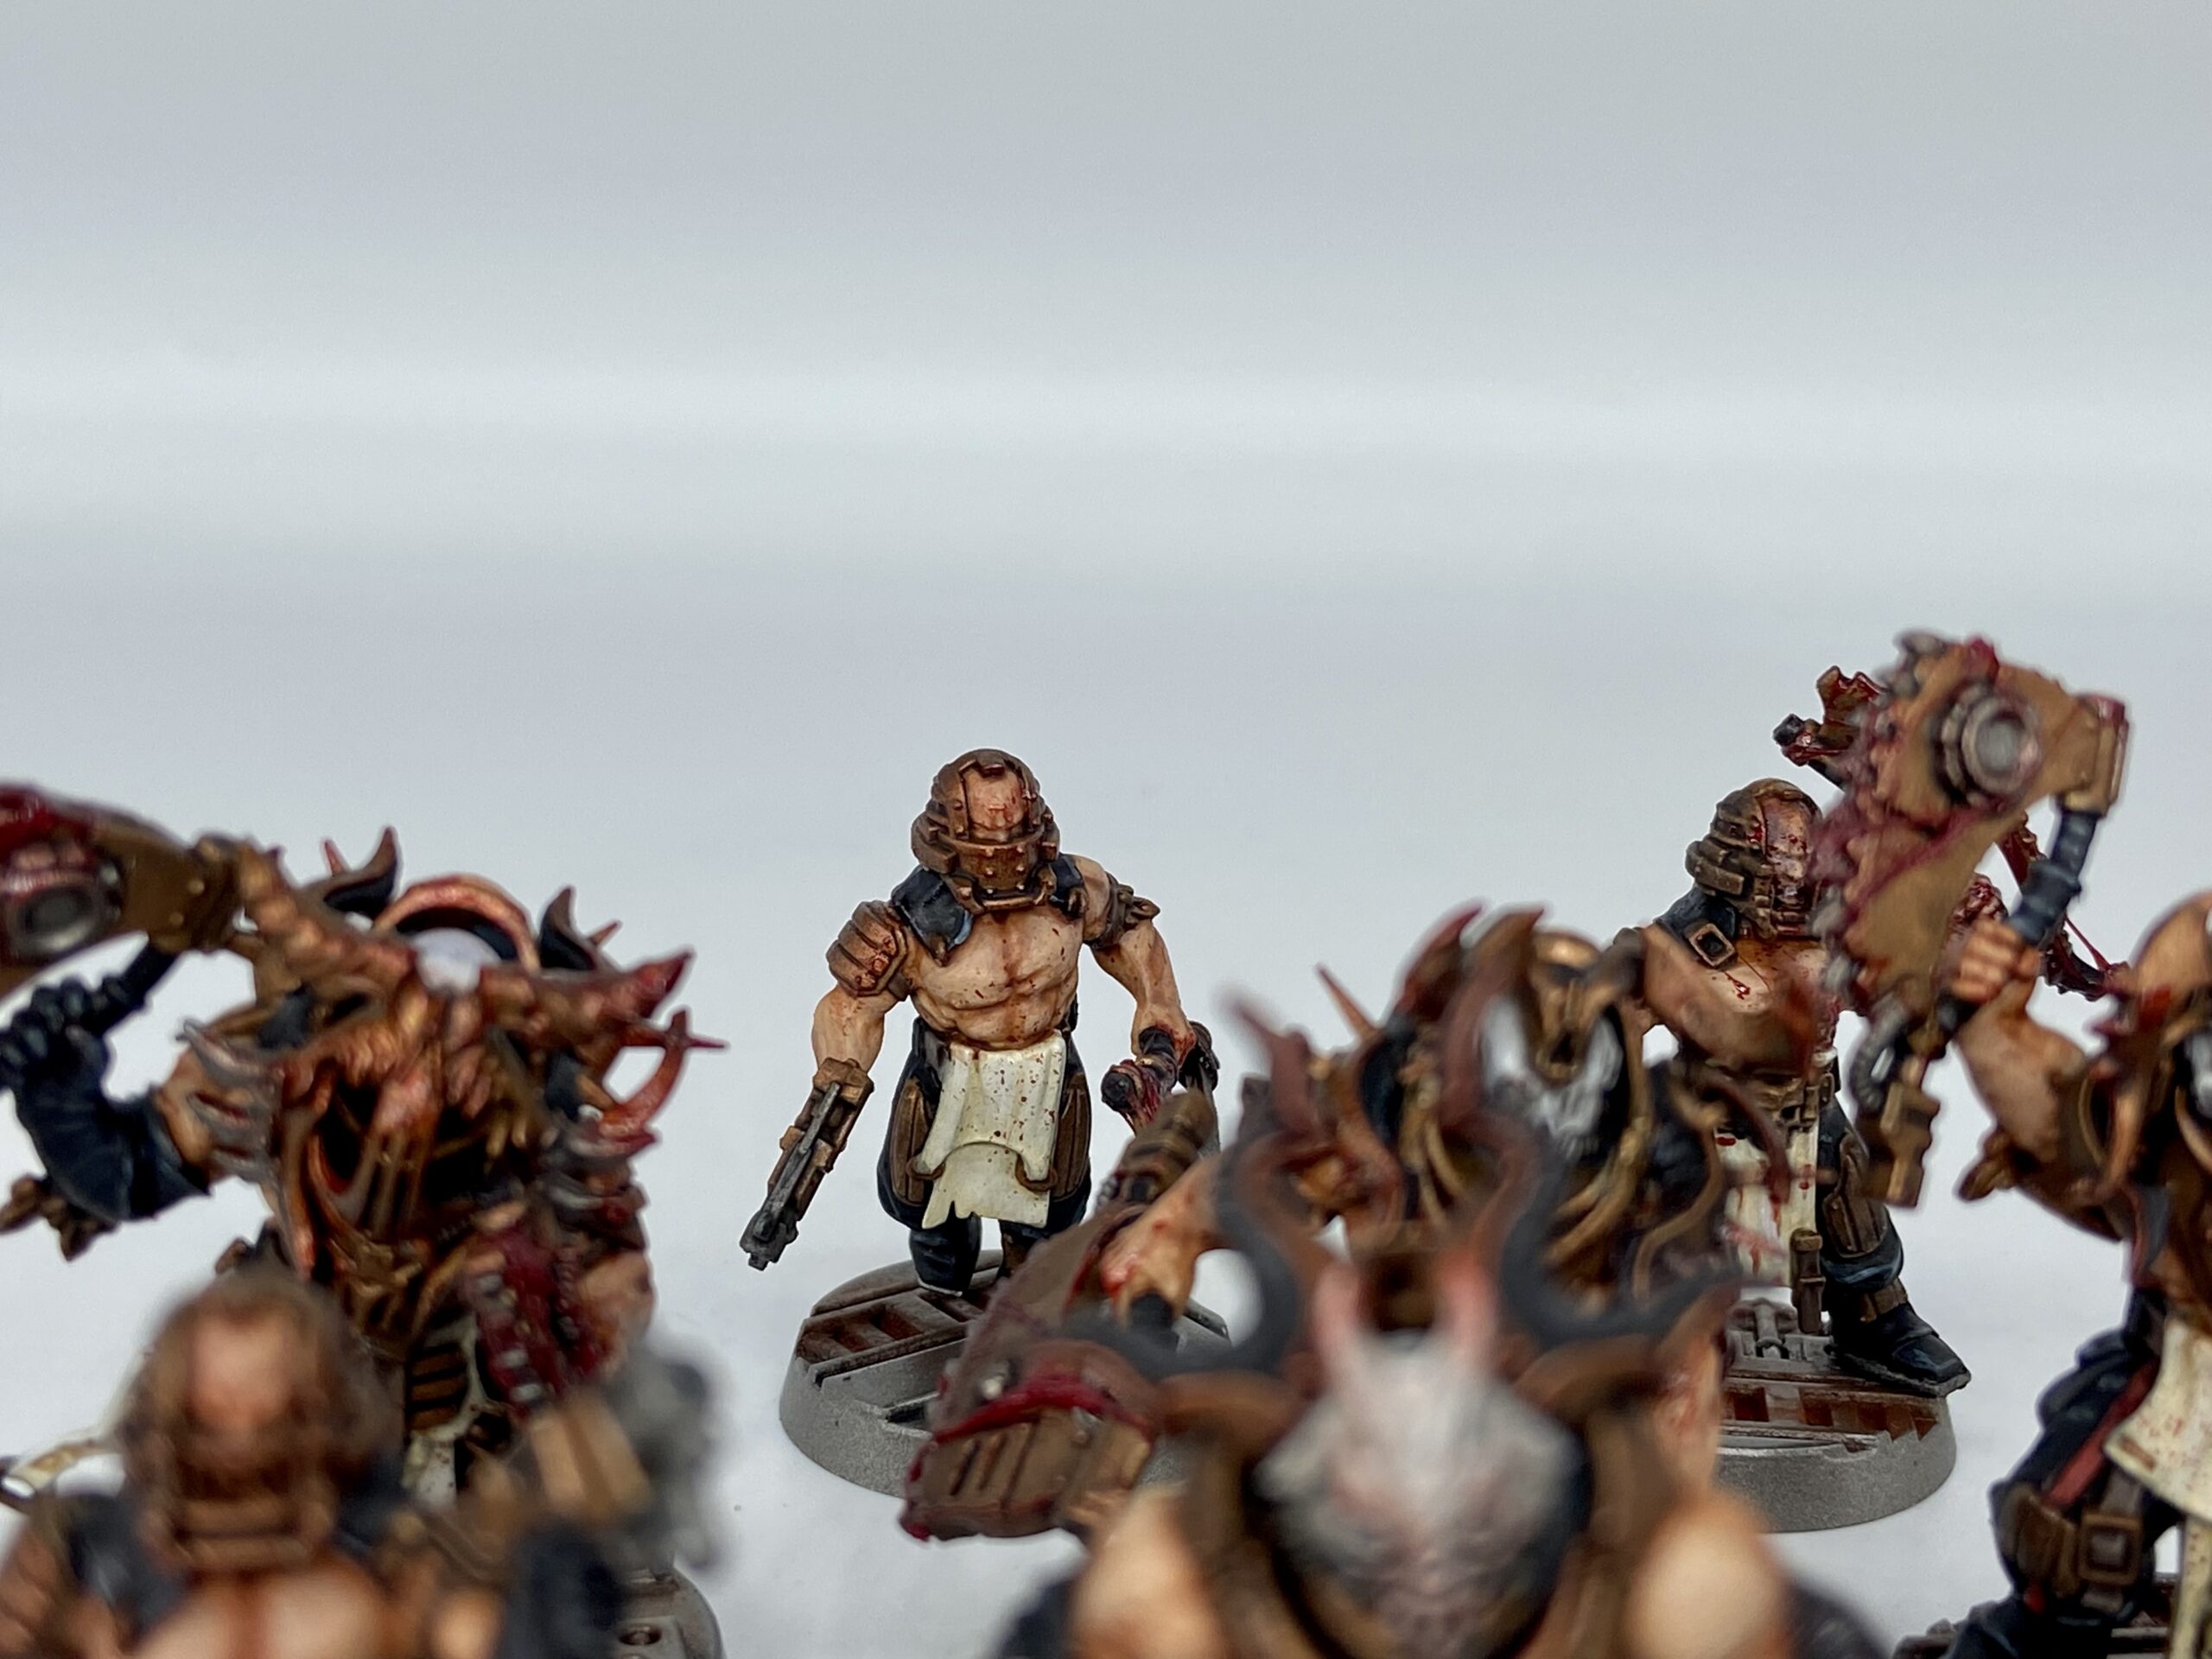
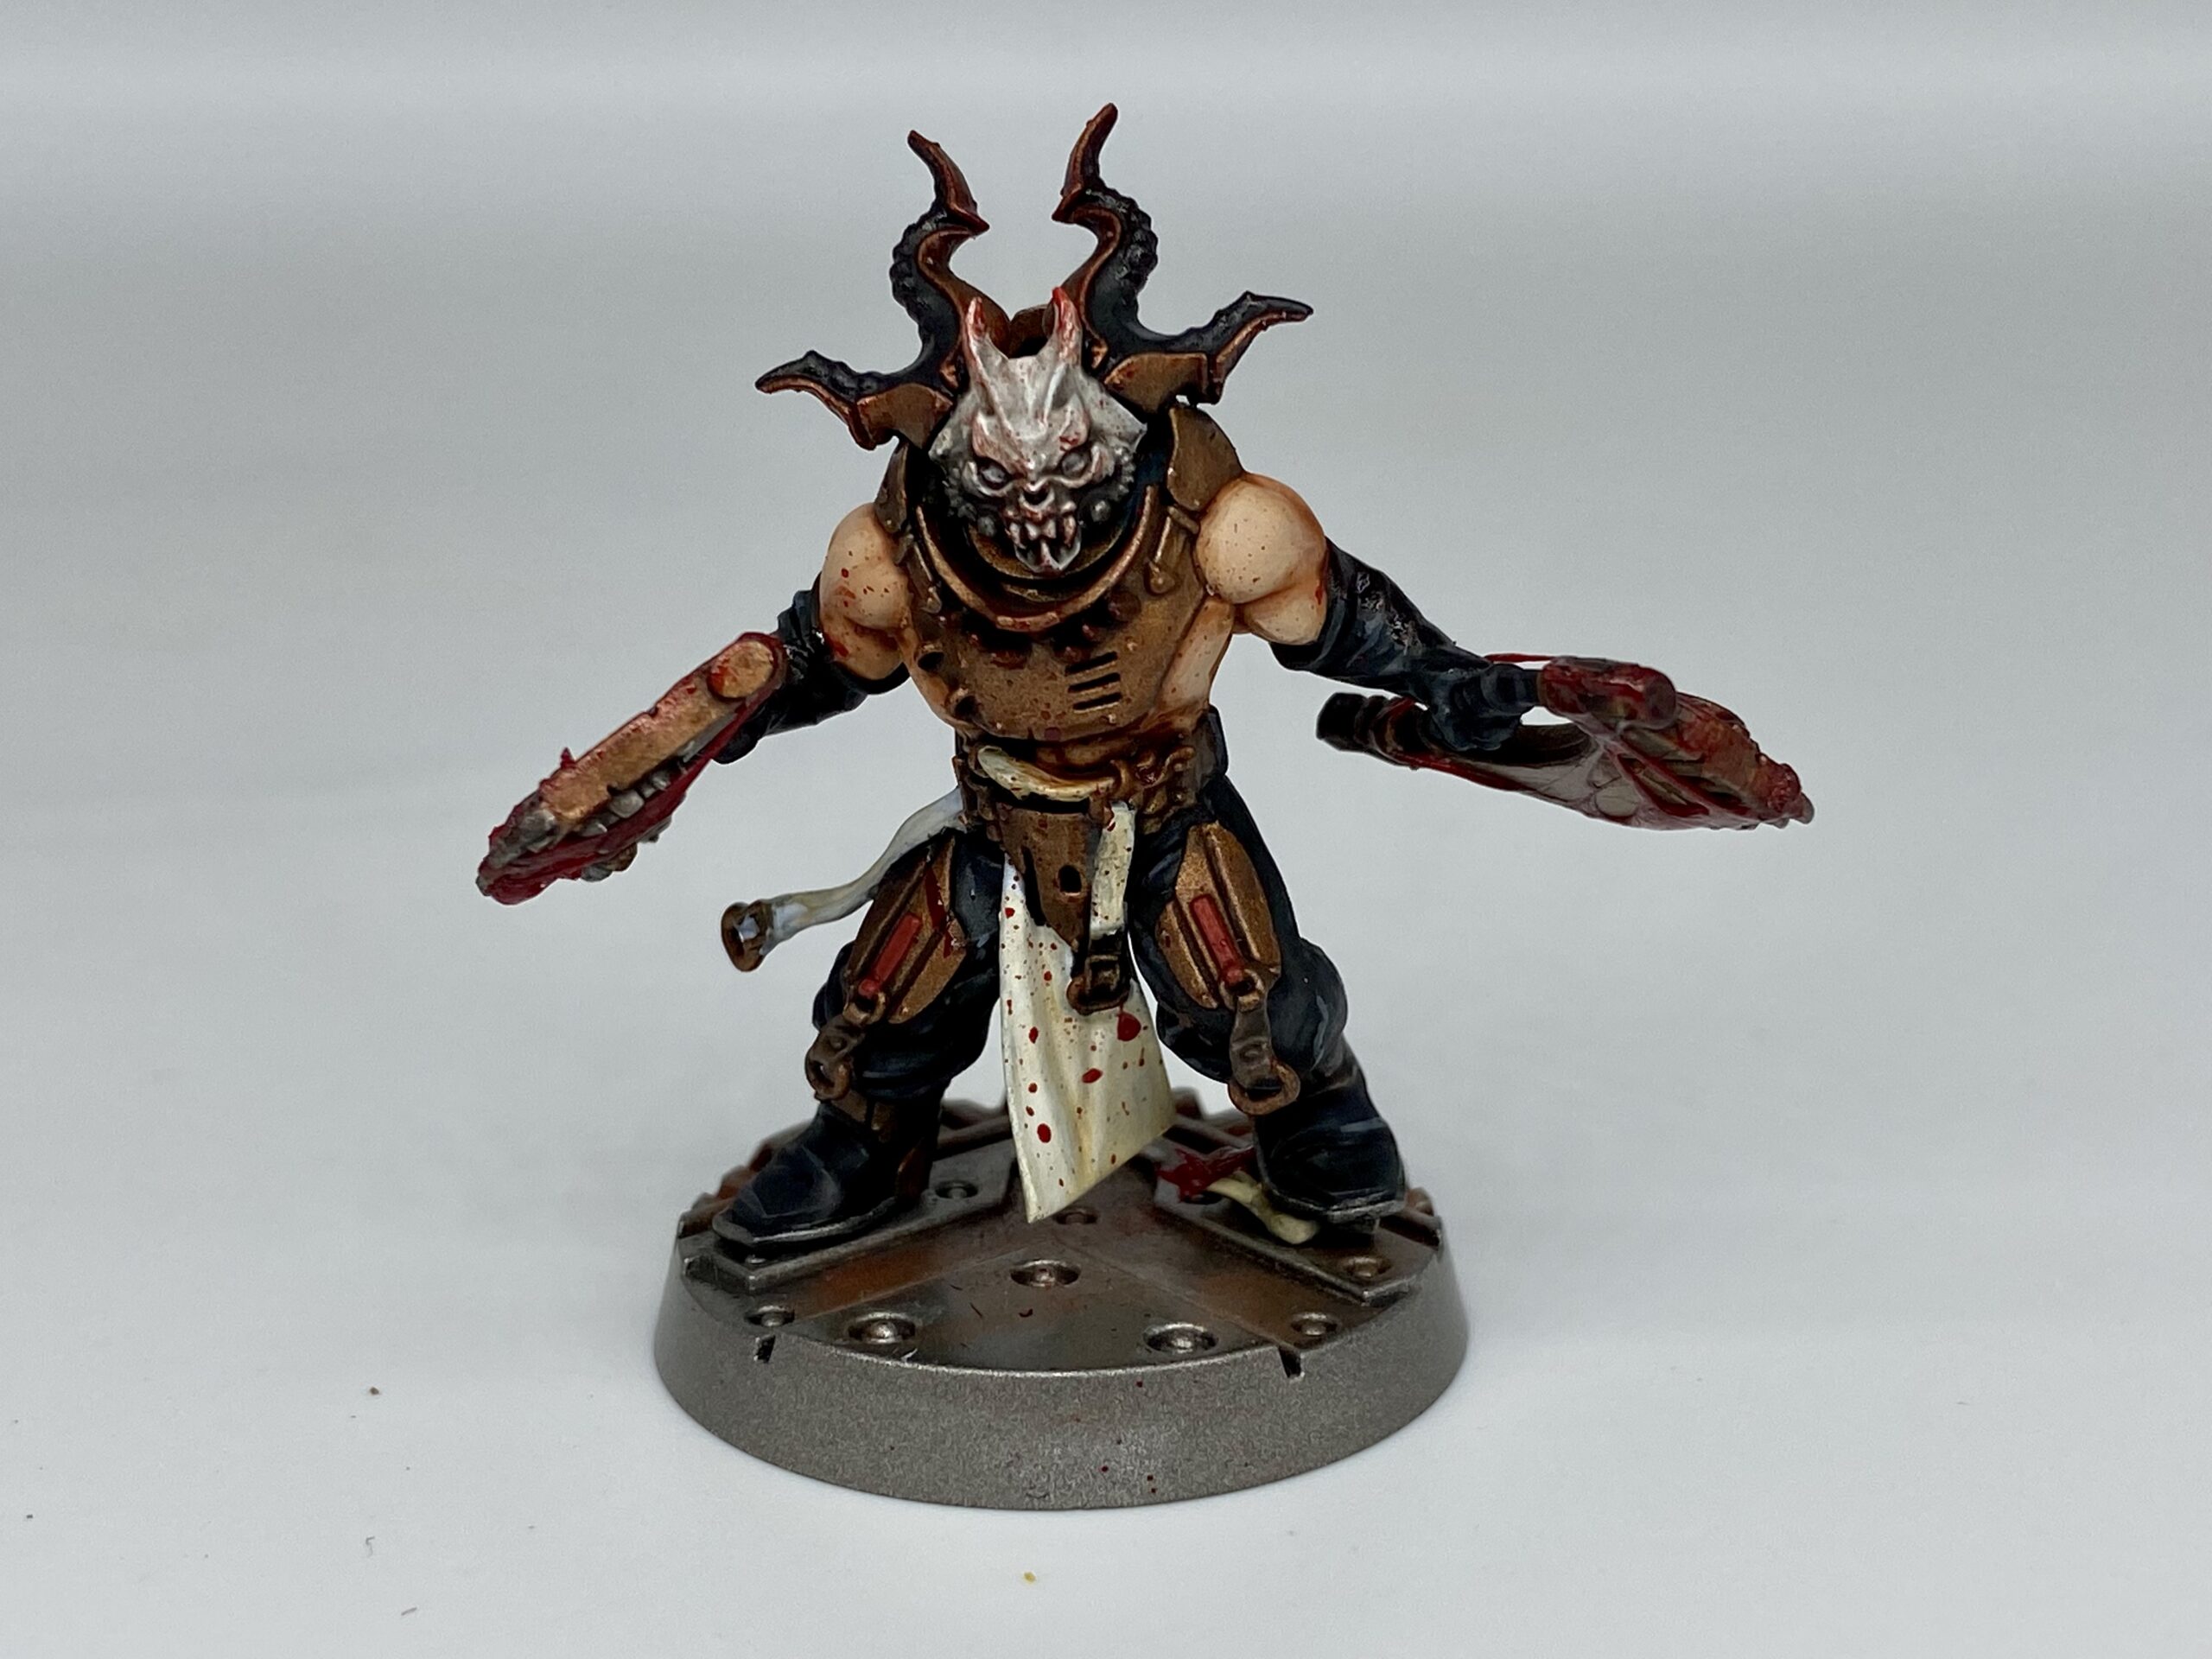
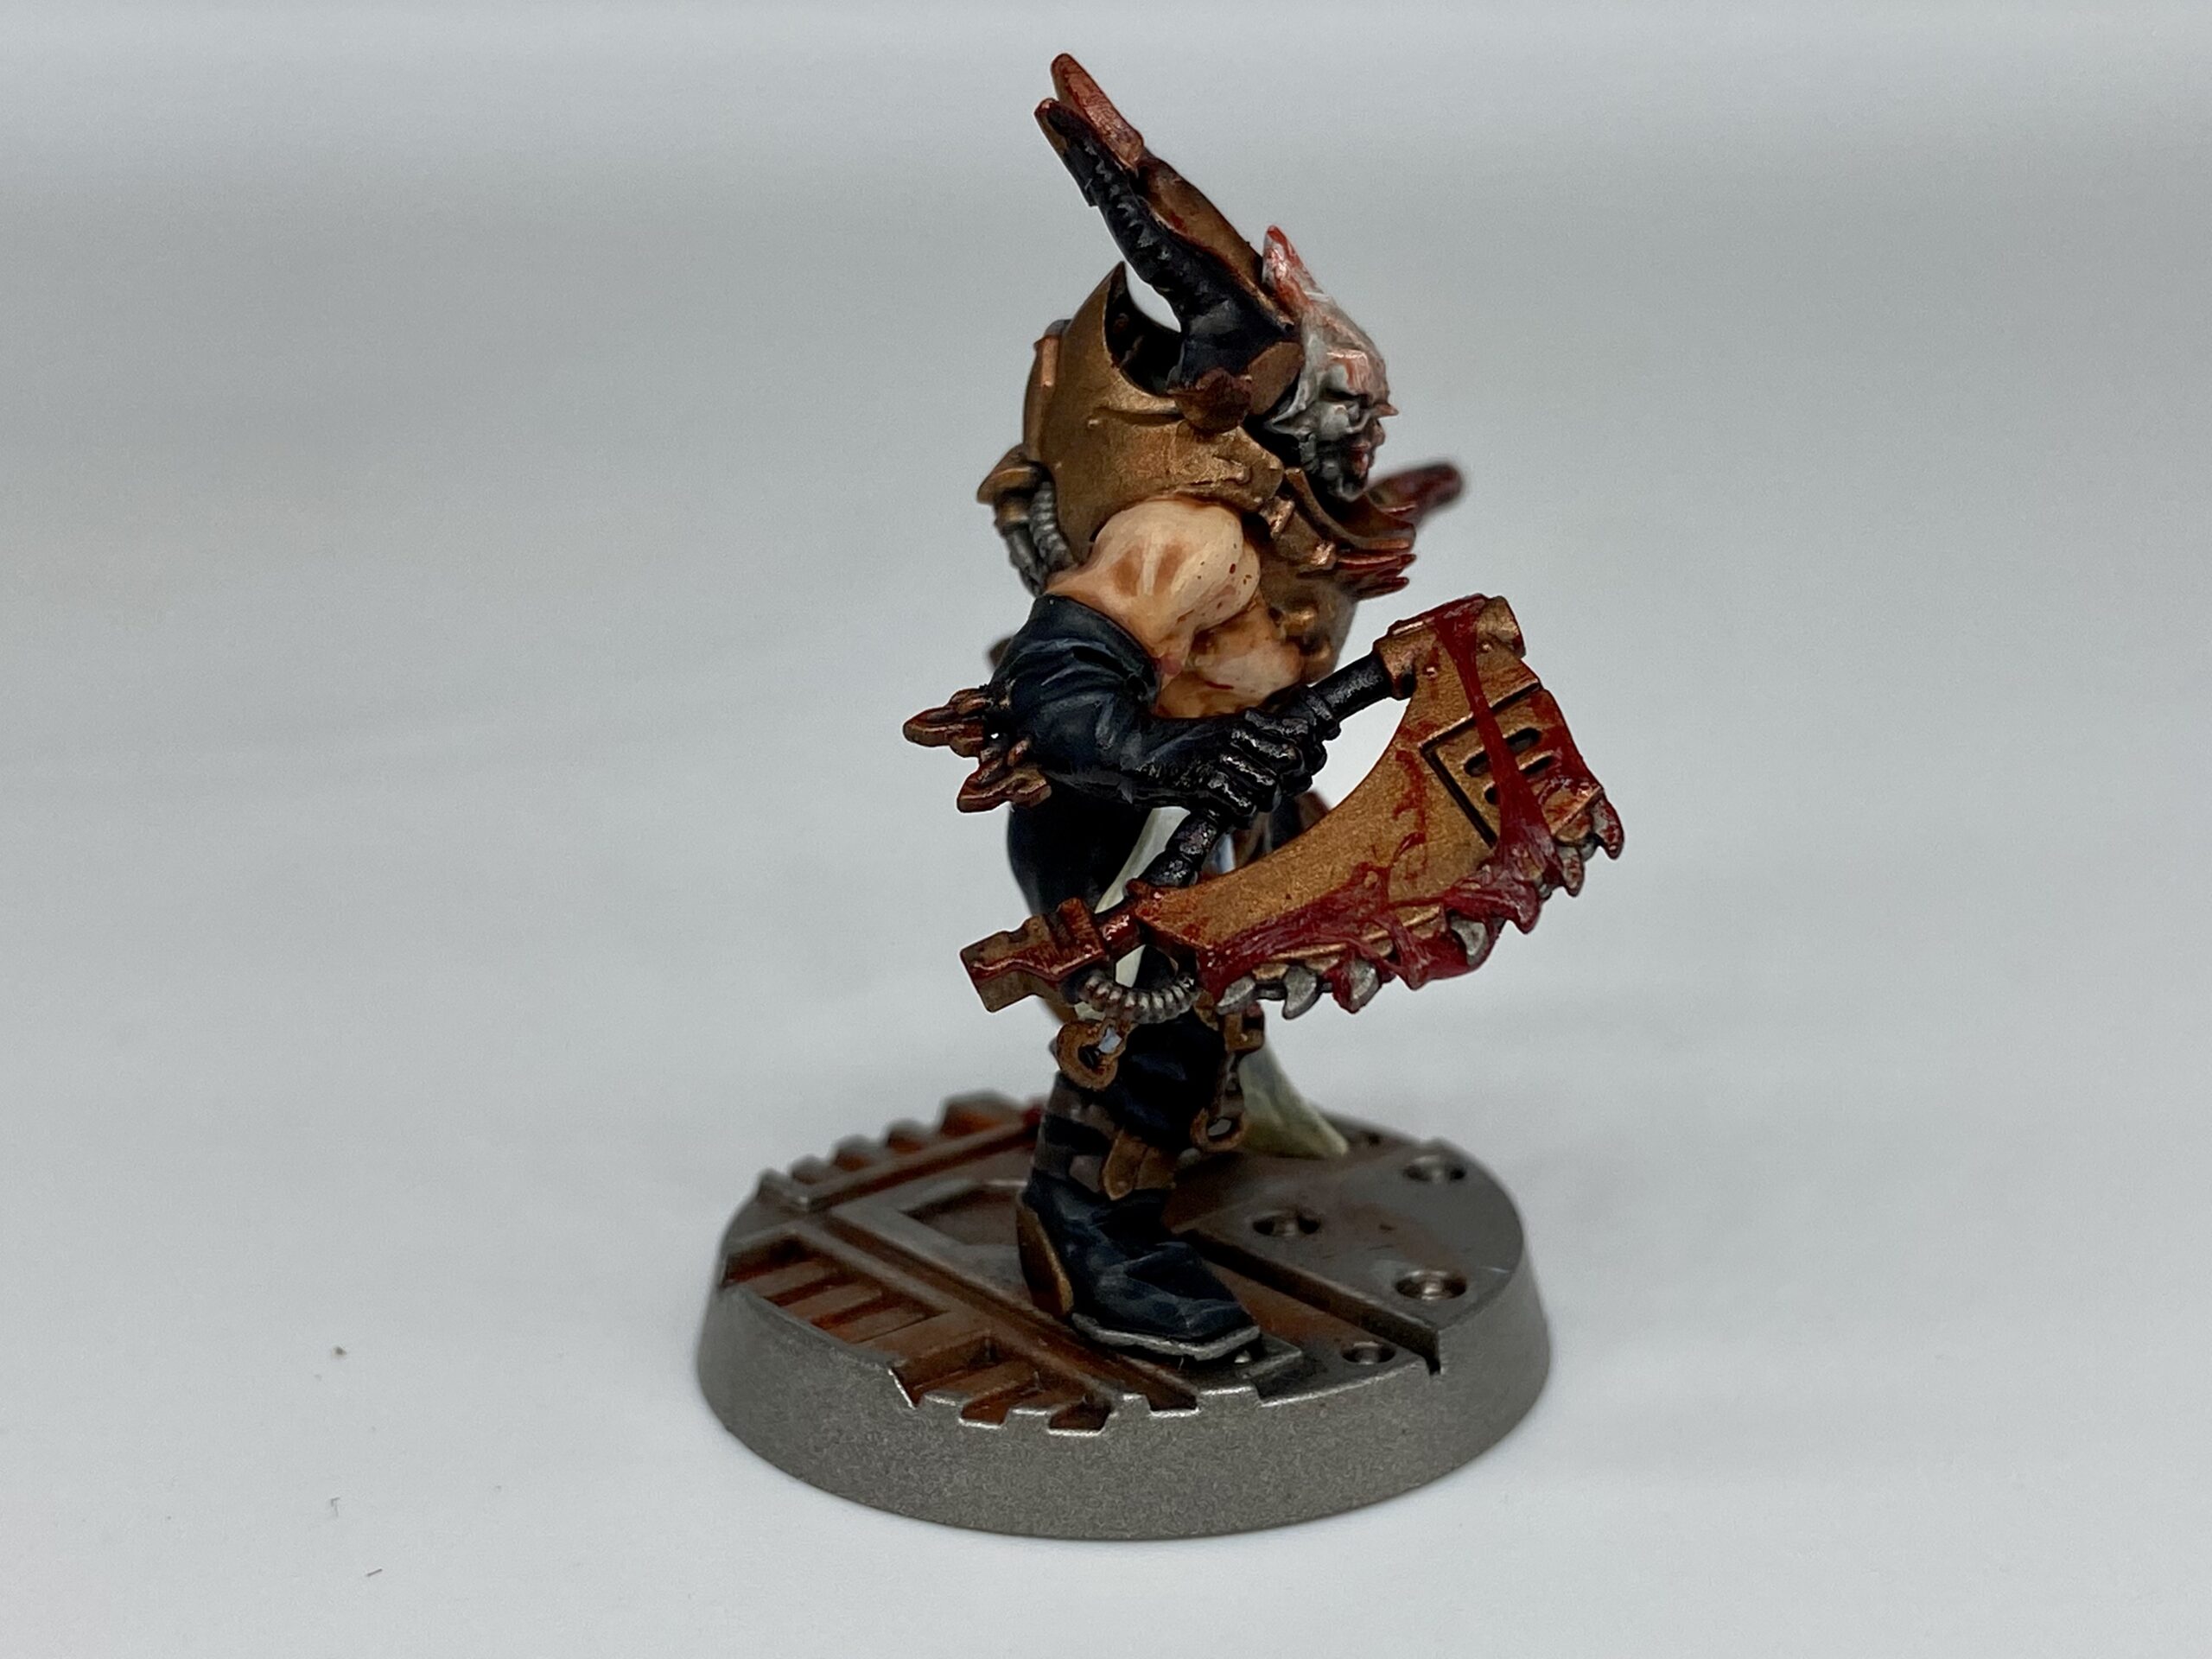
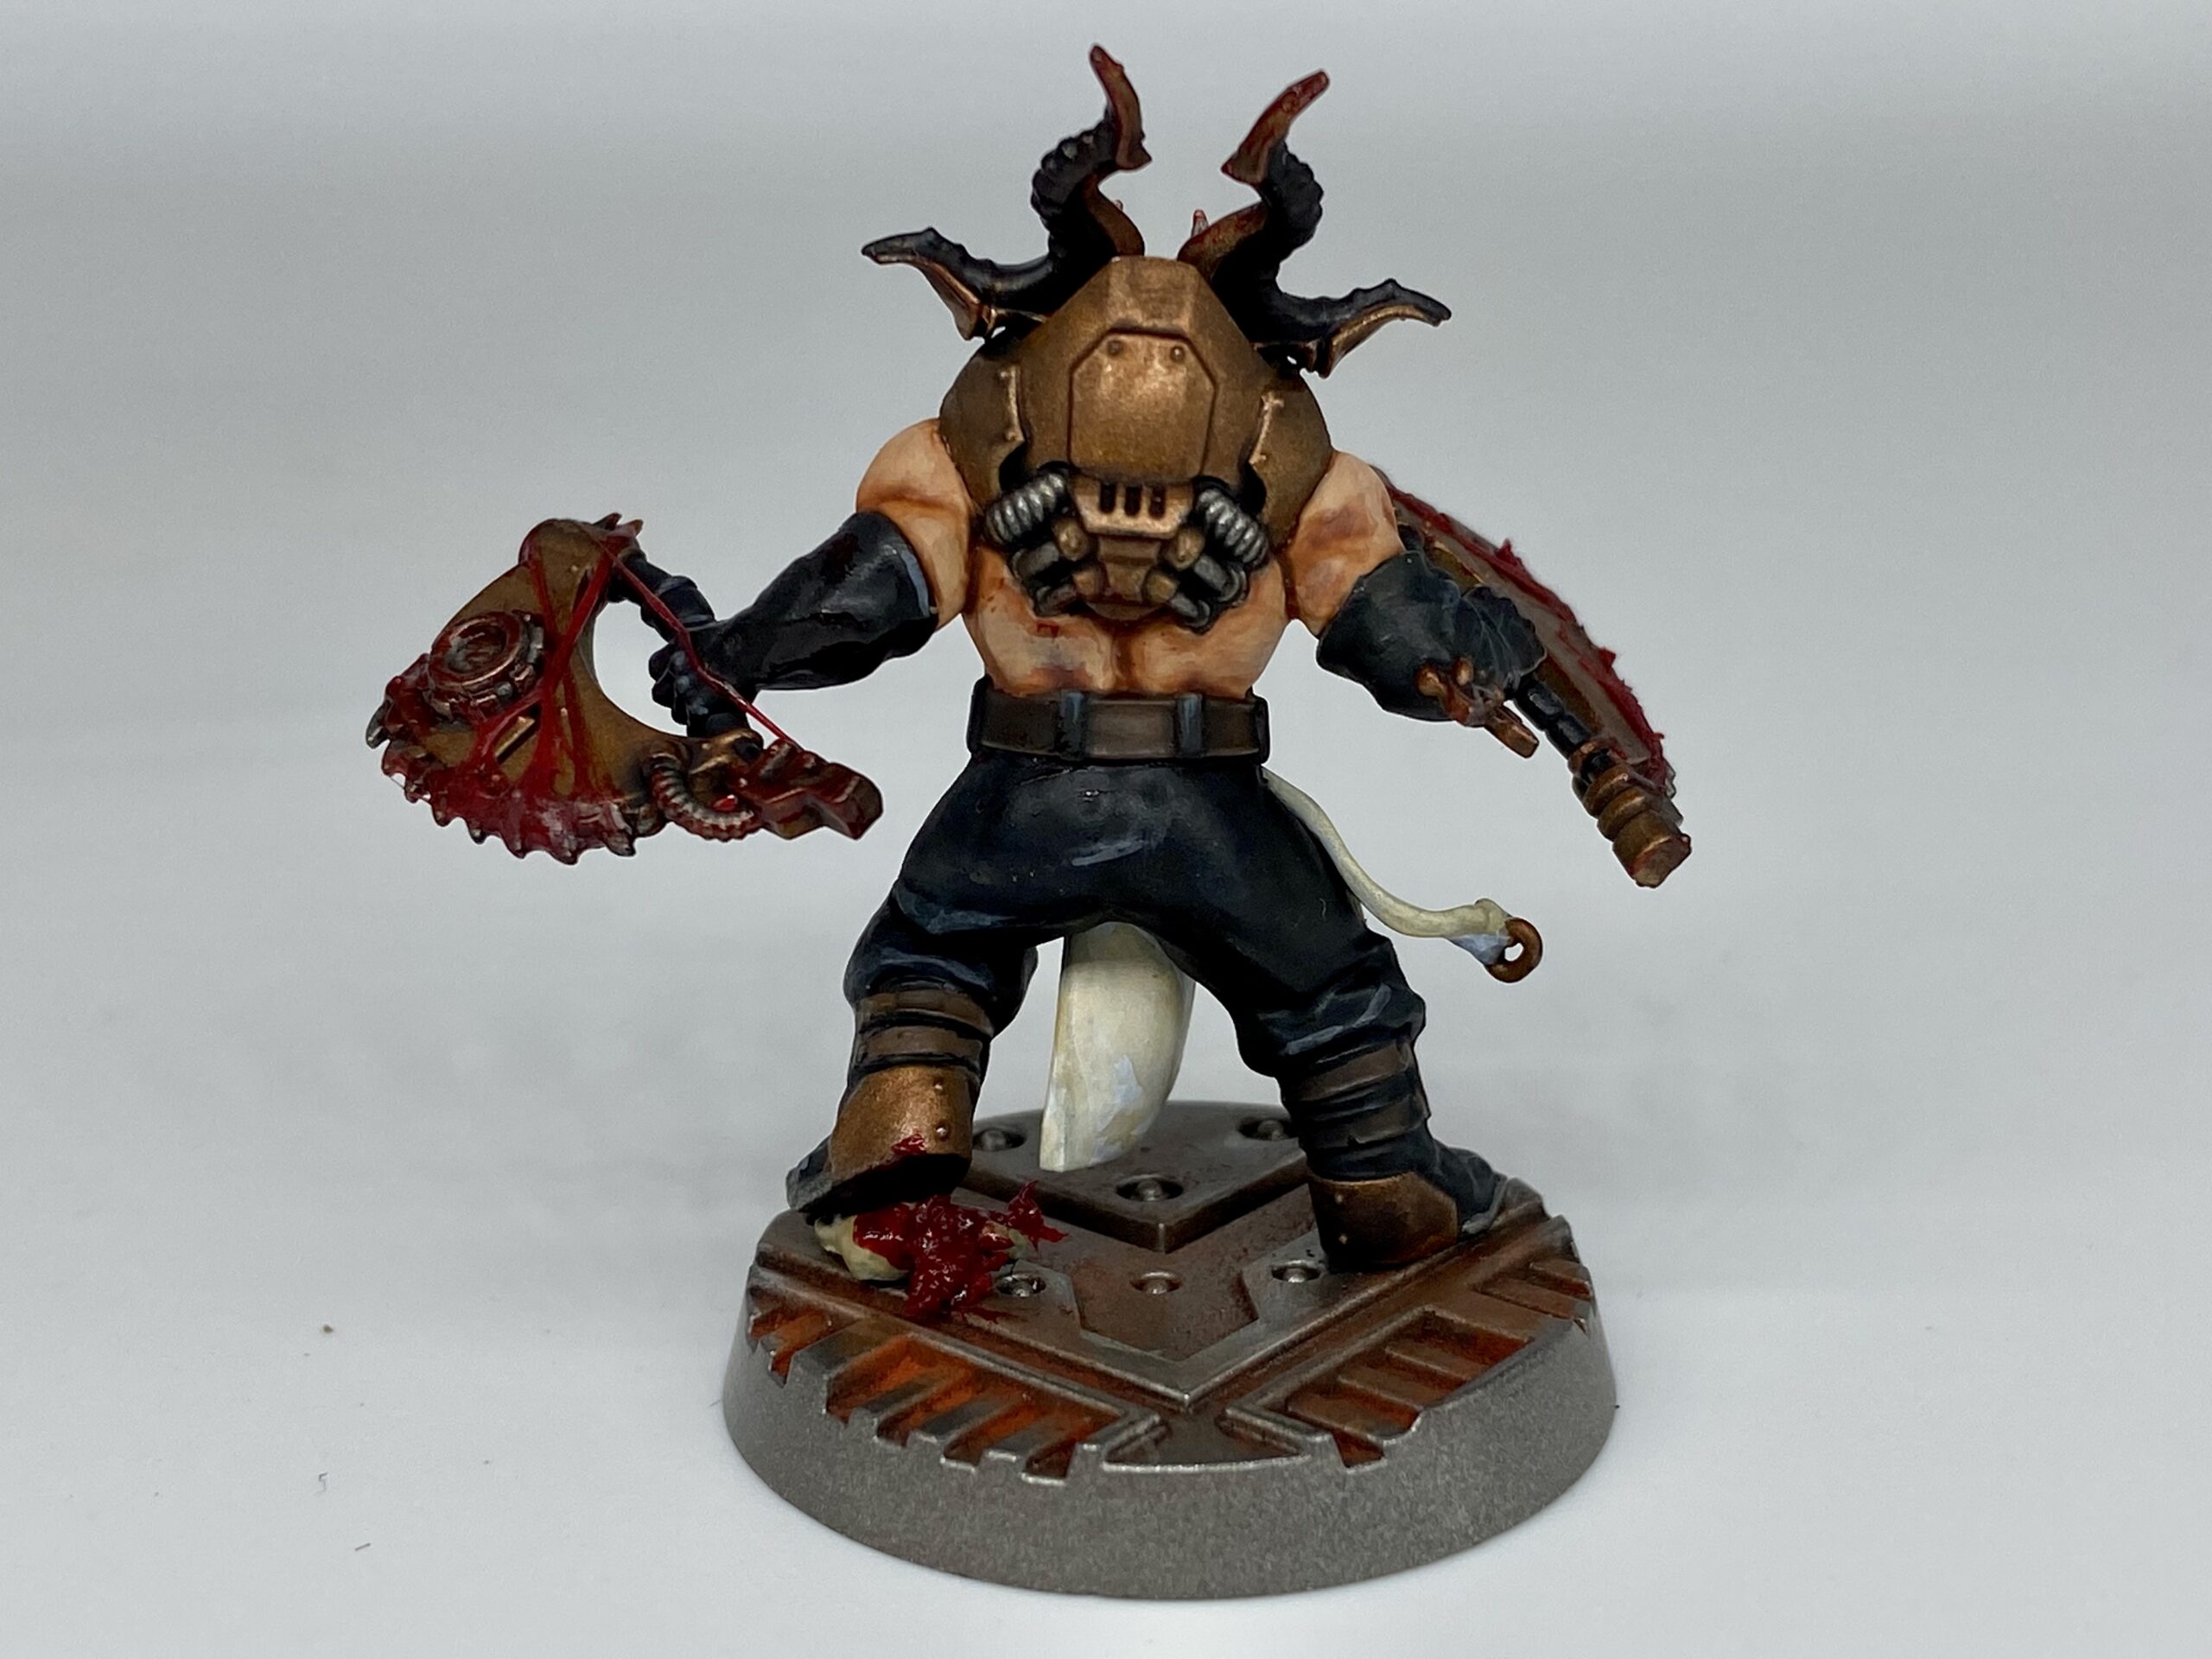
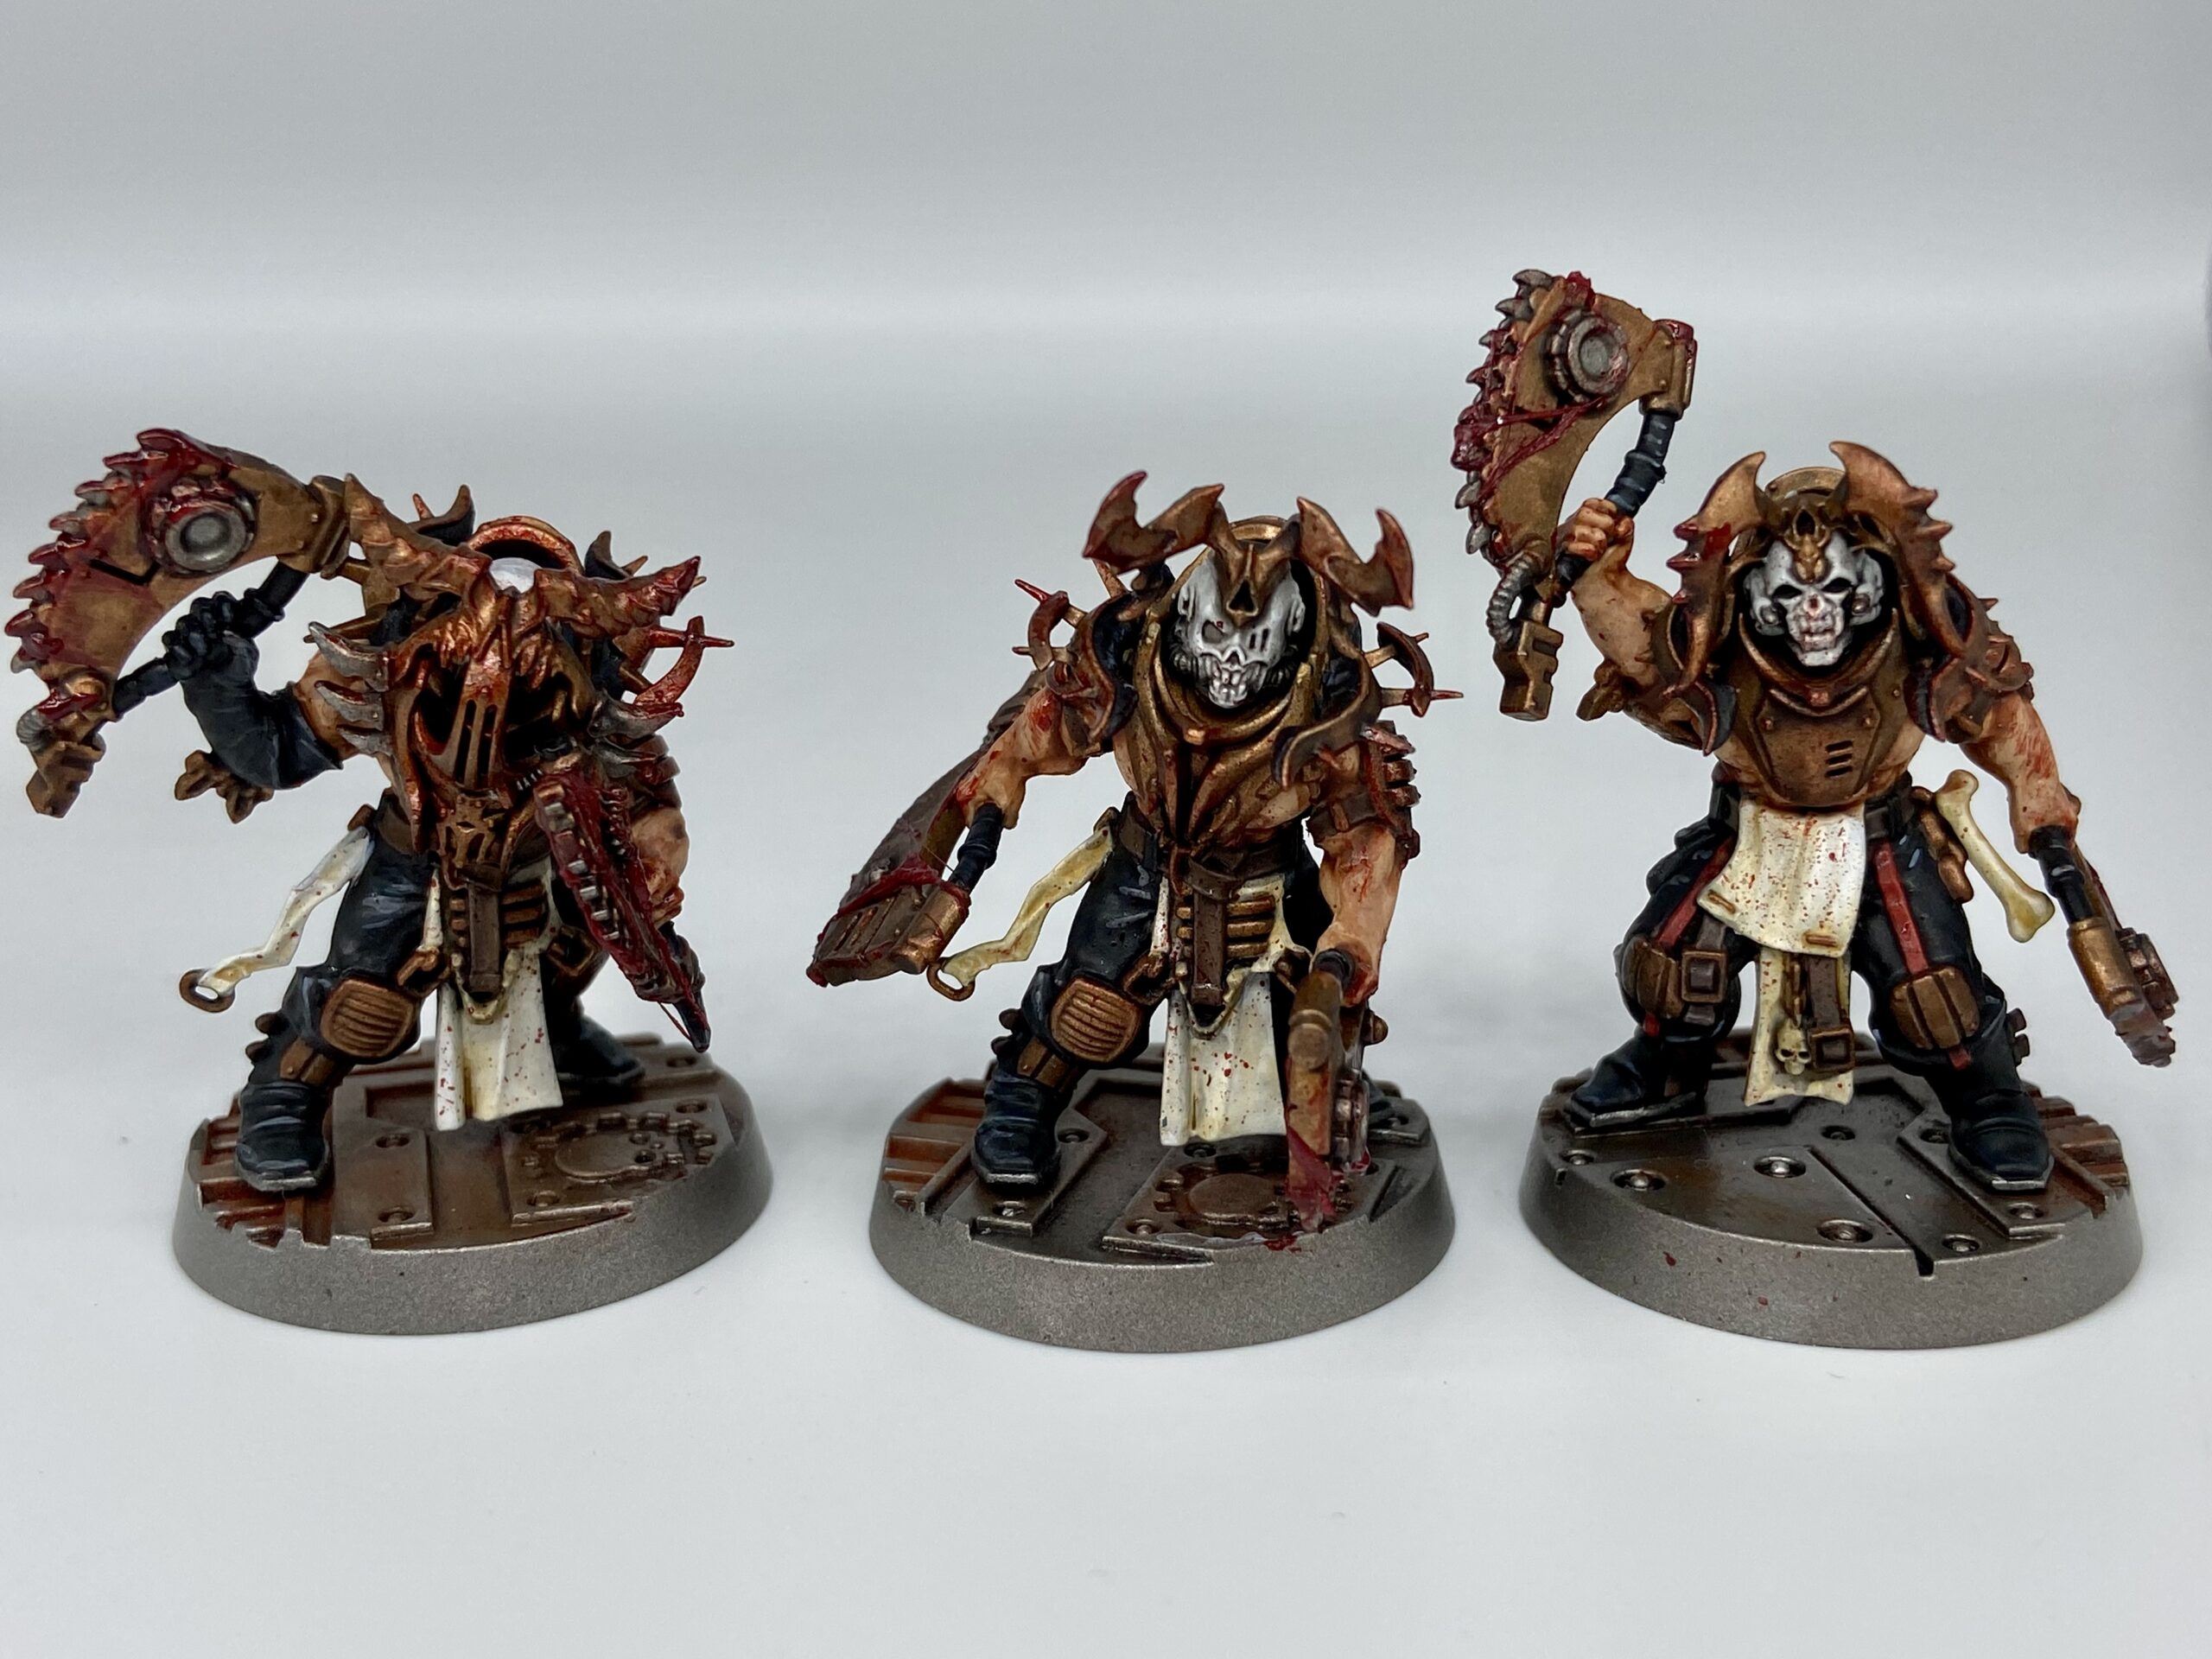
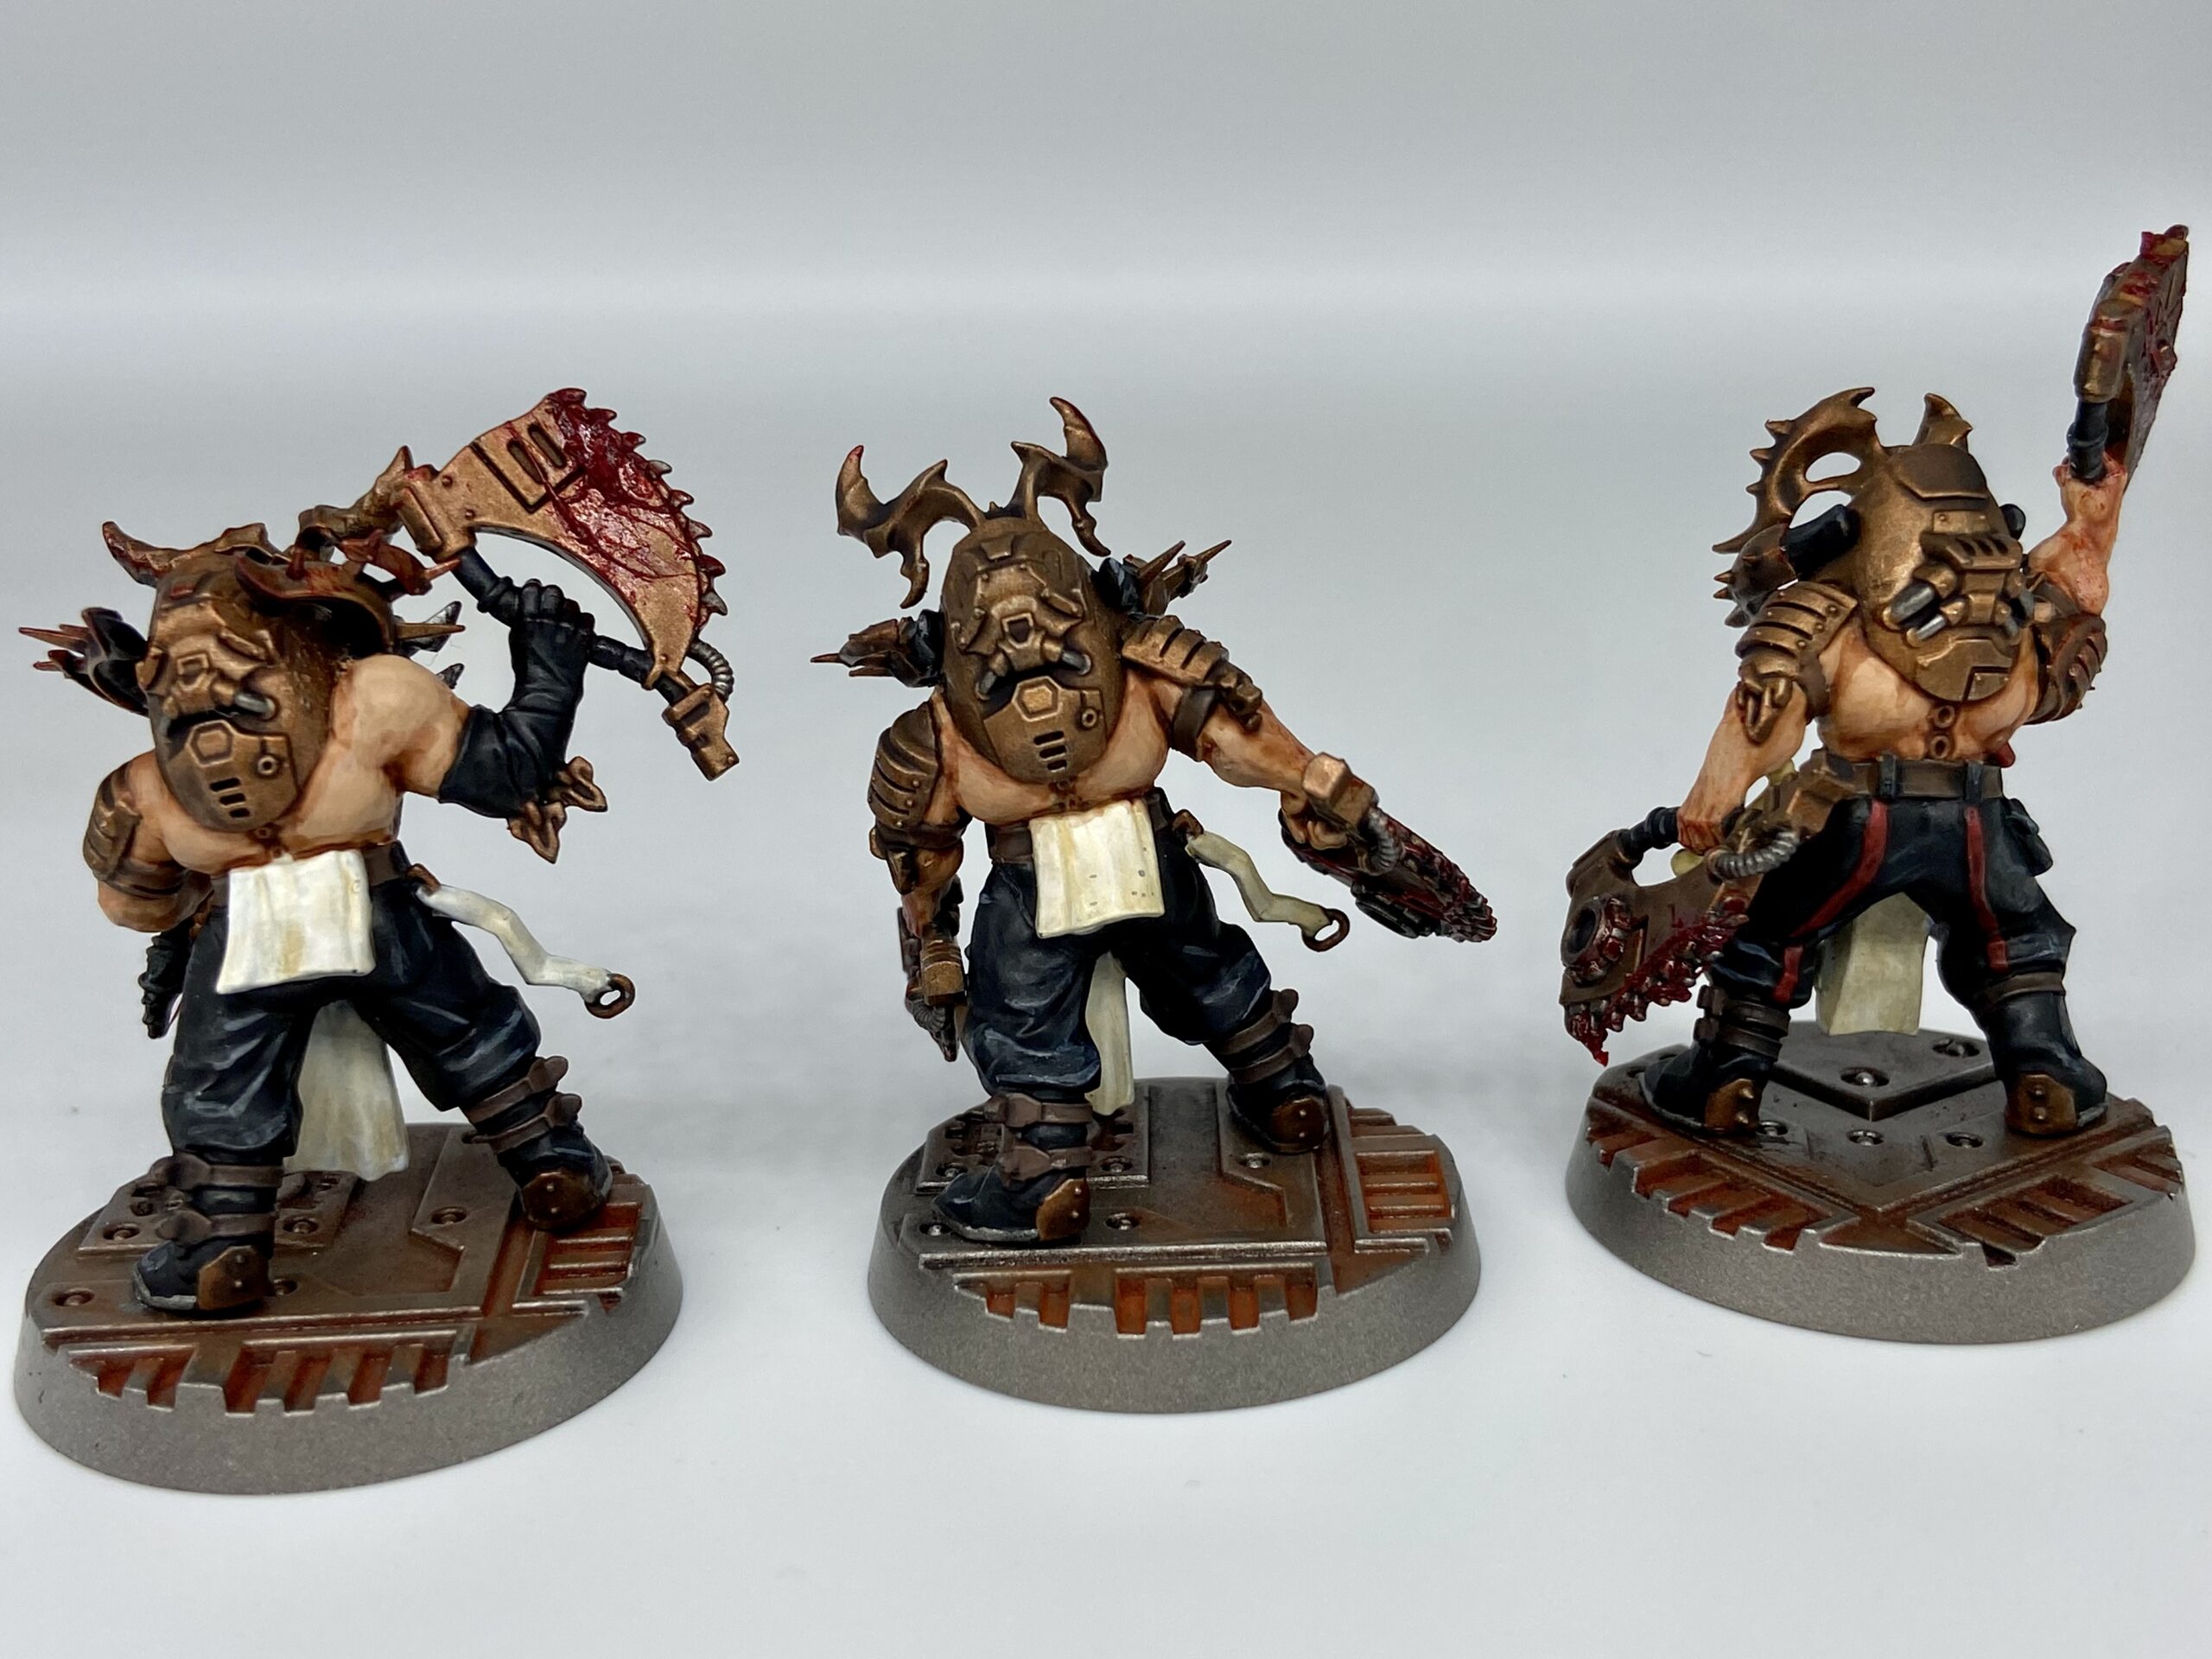
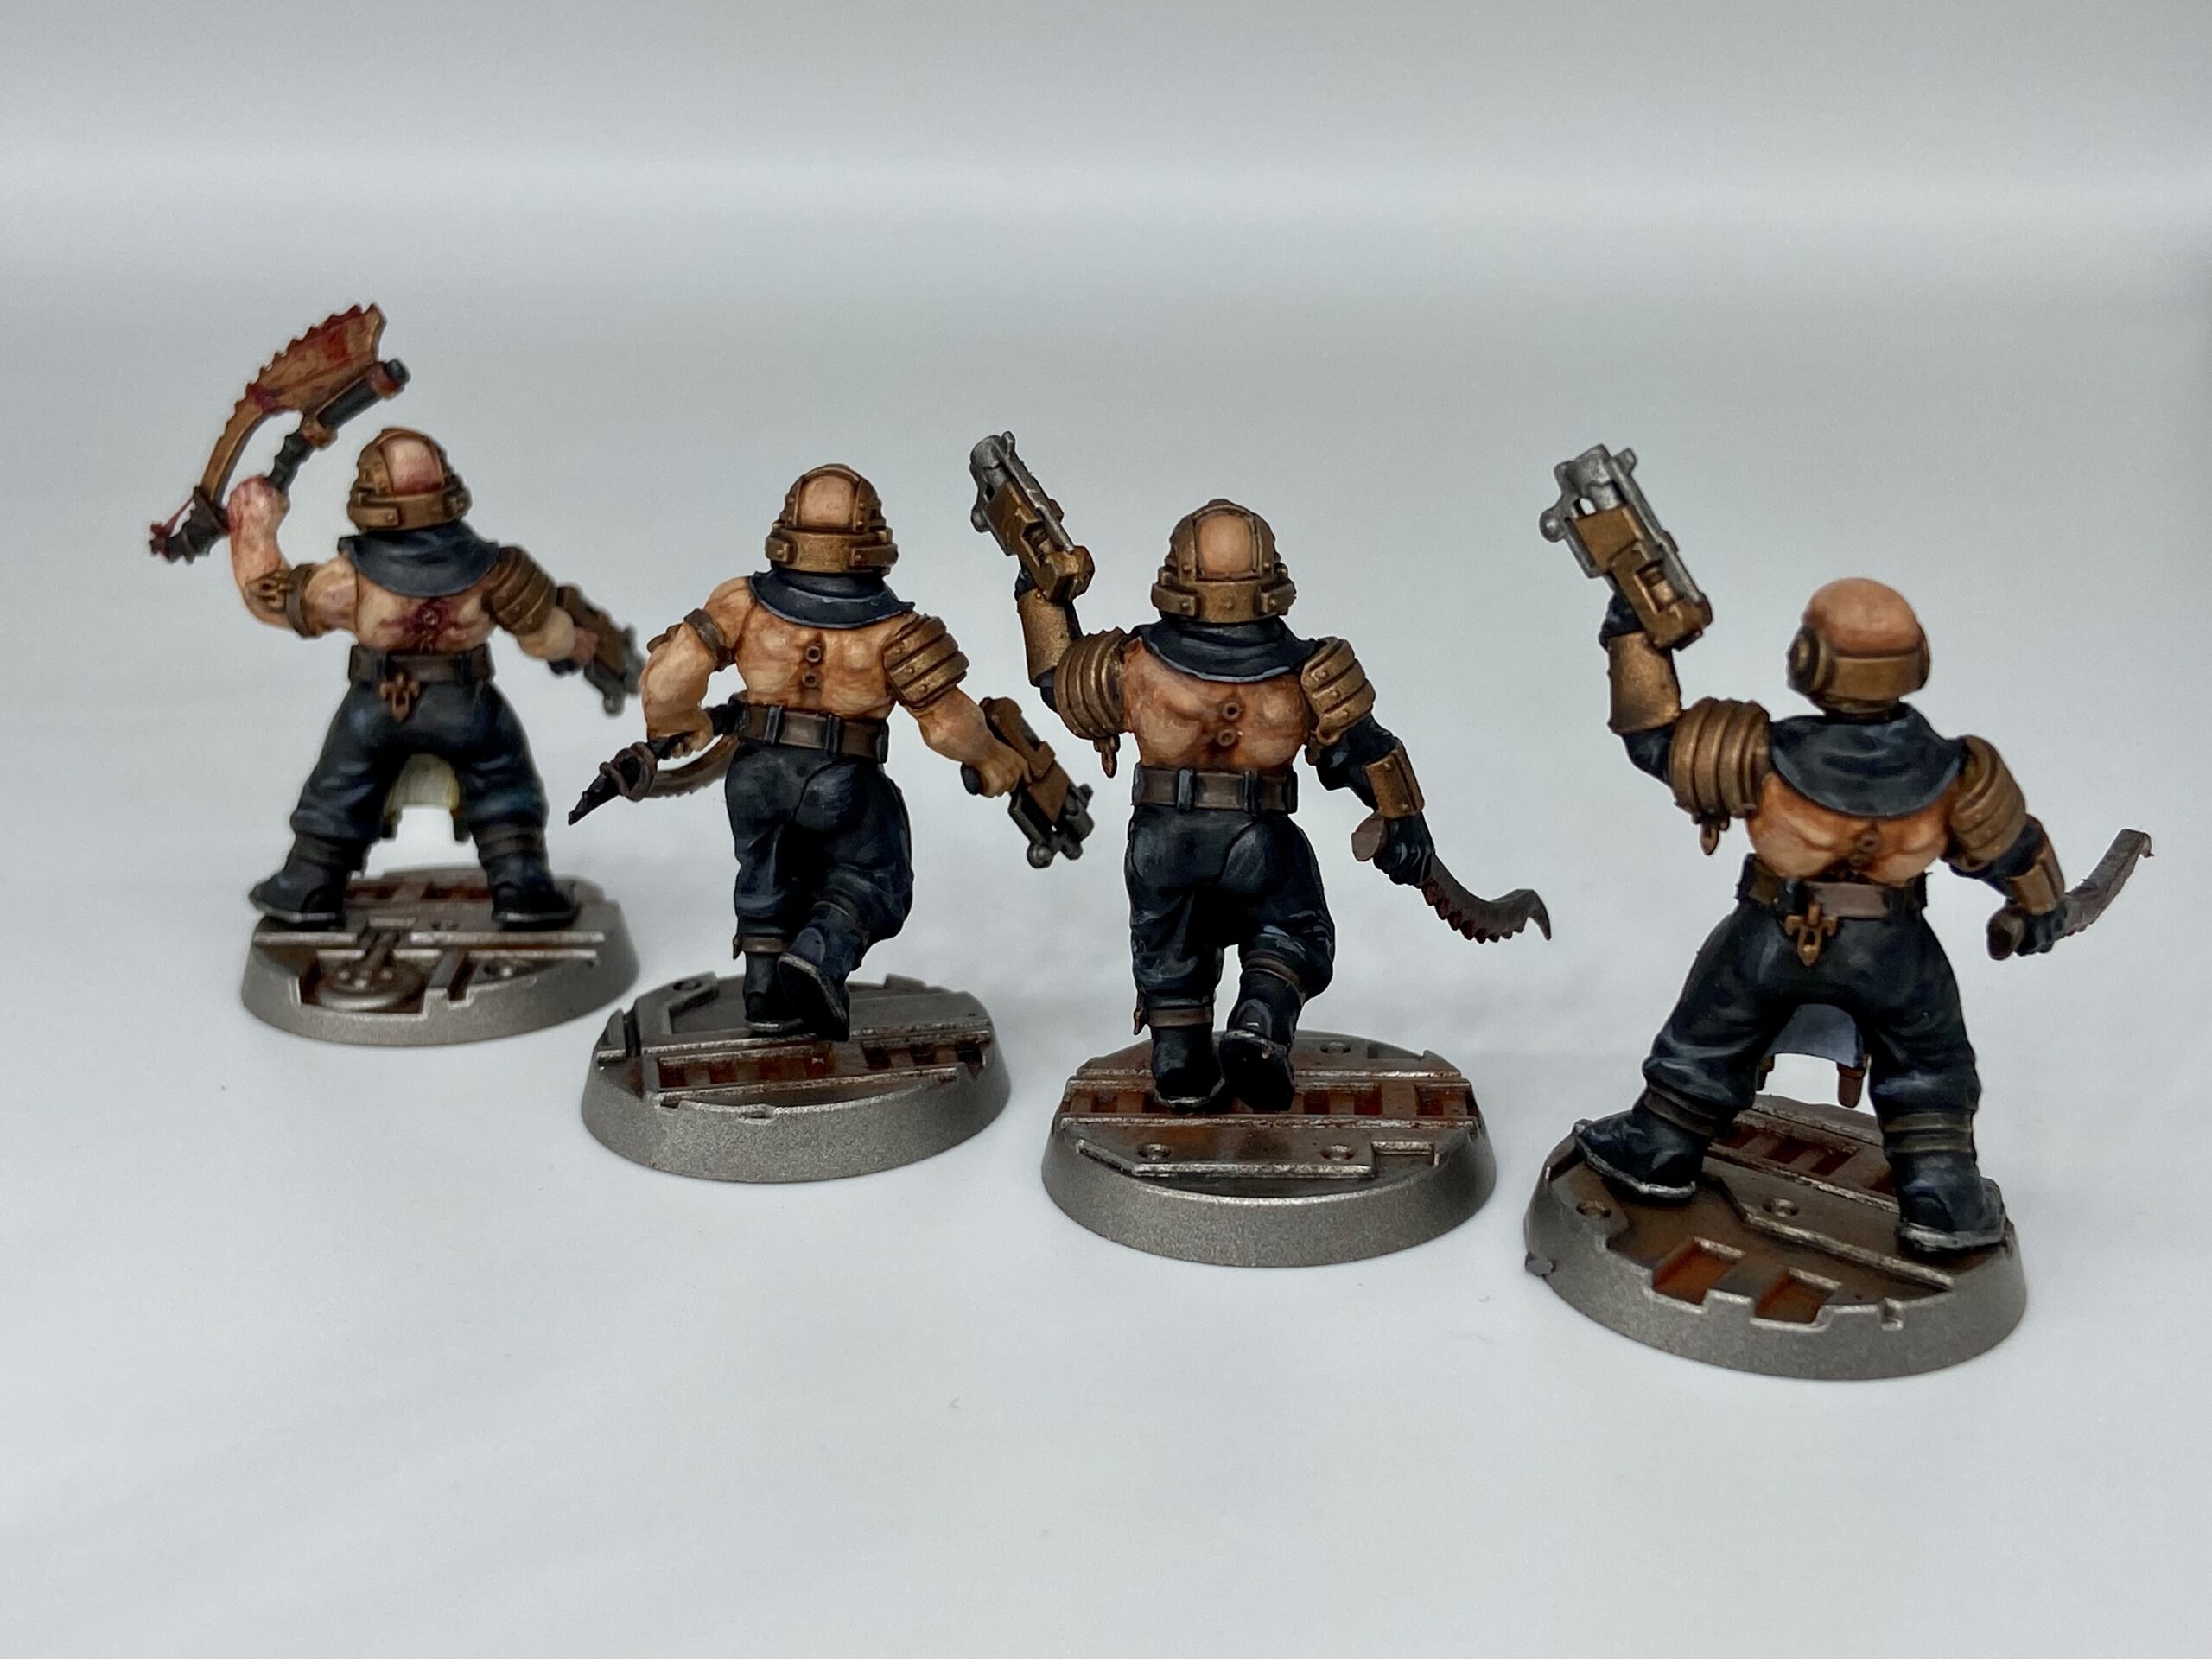
Completed Gallery
These were taken with my Samtian Lightbox.


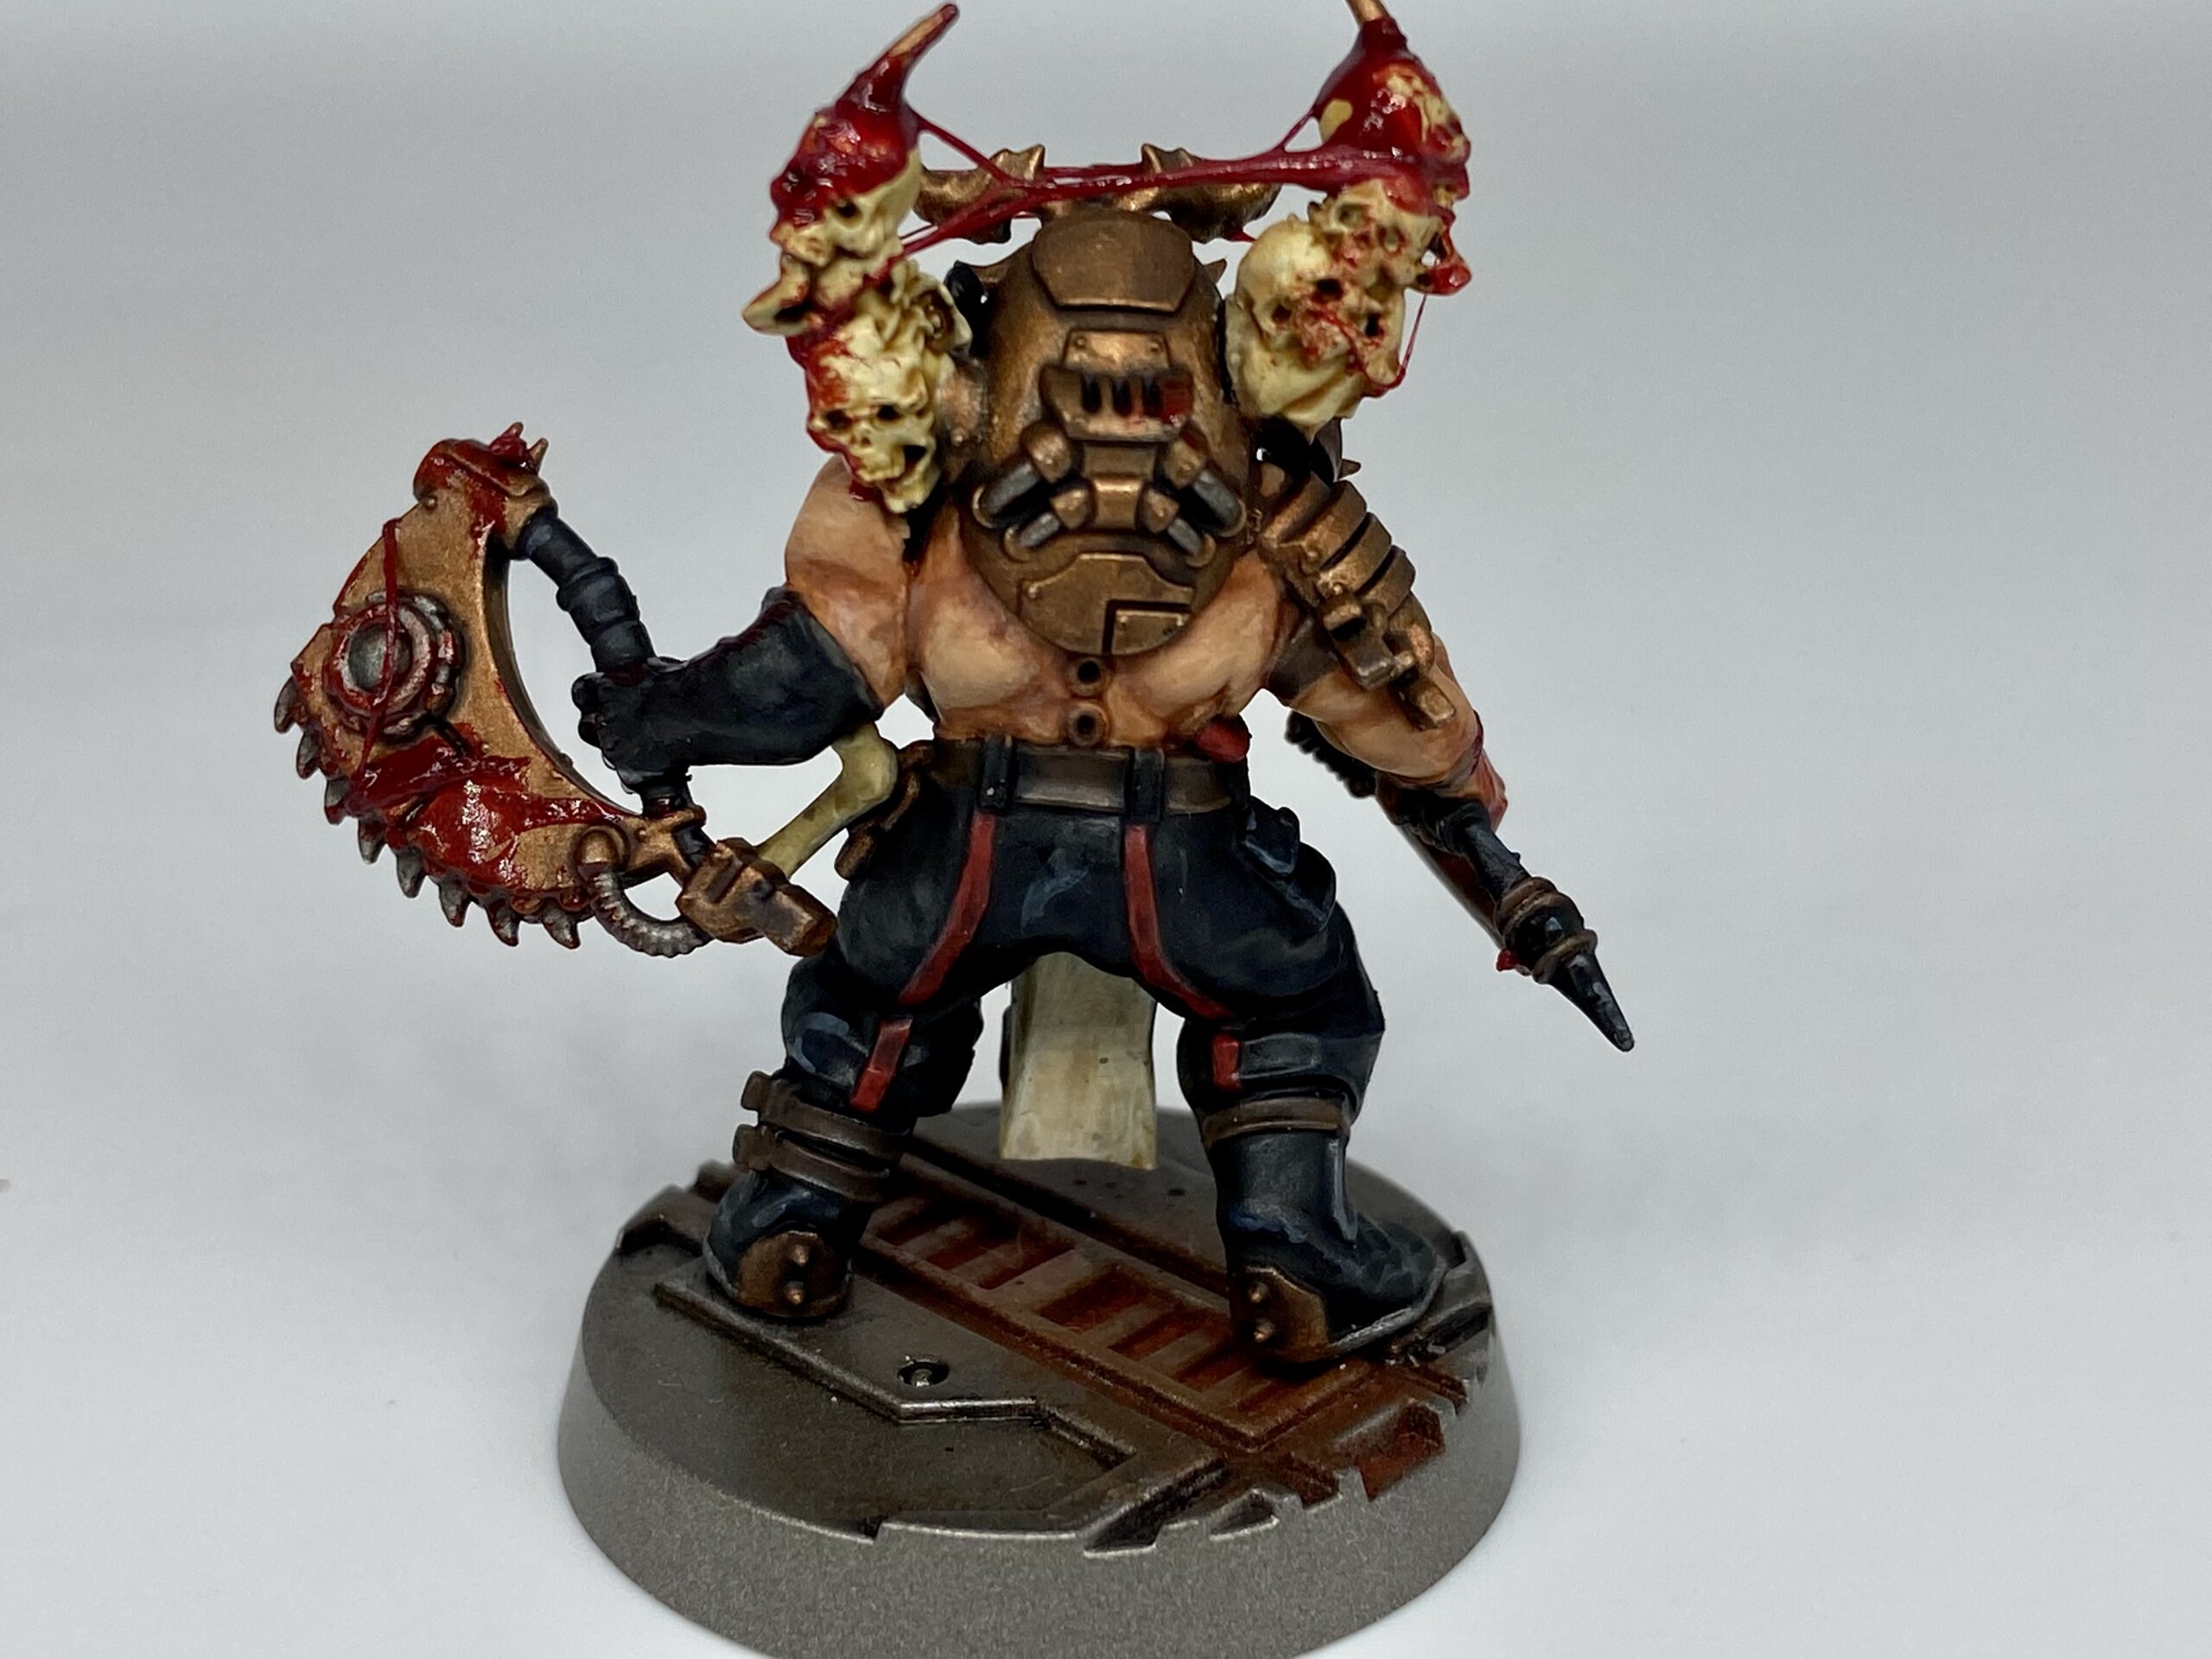
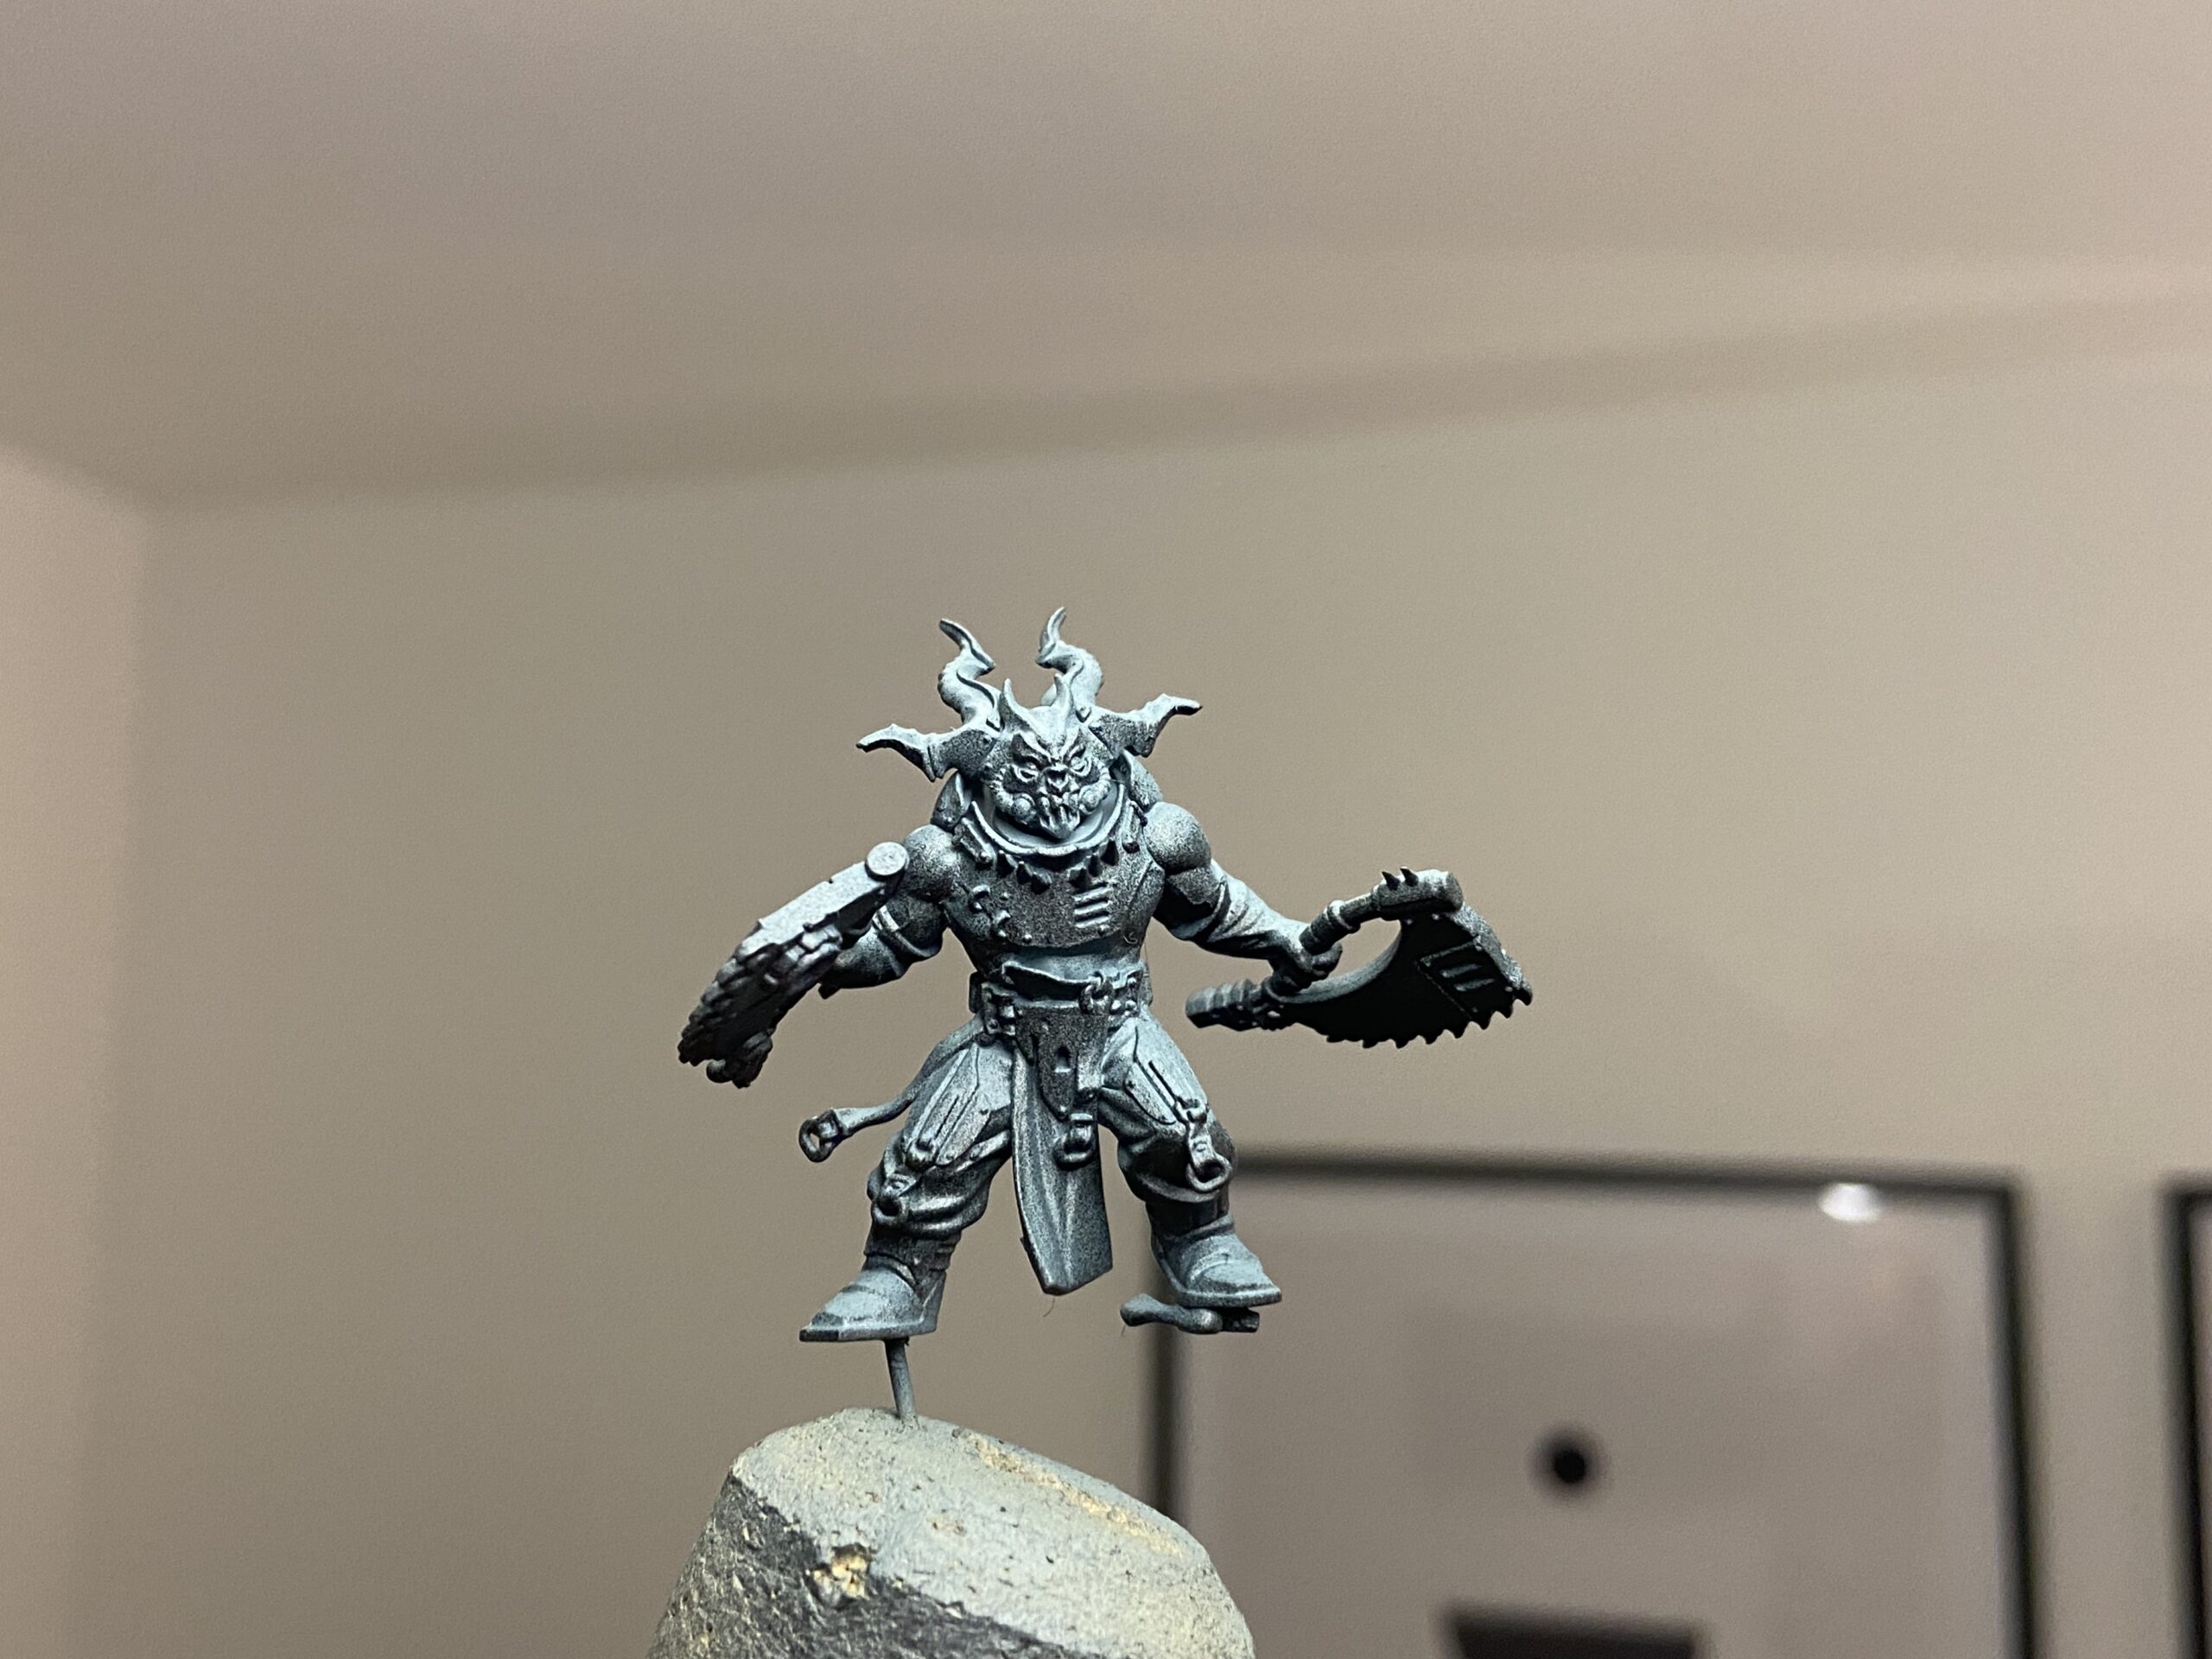
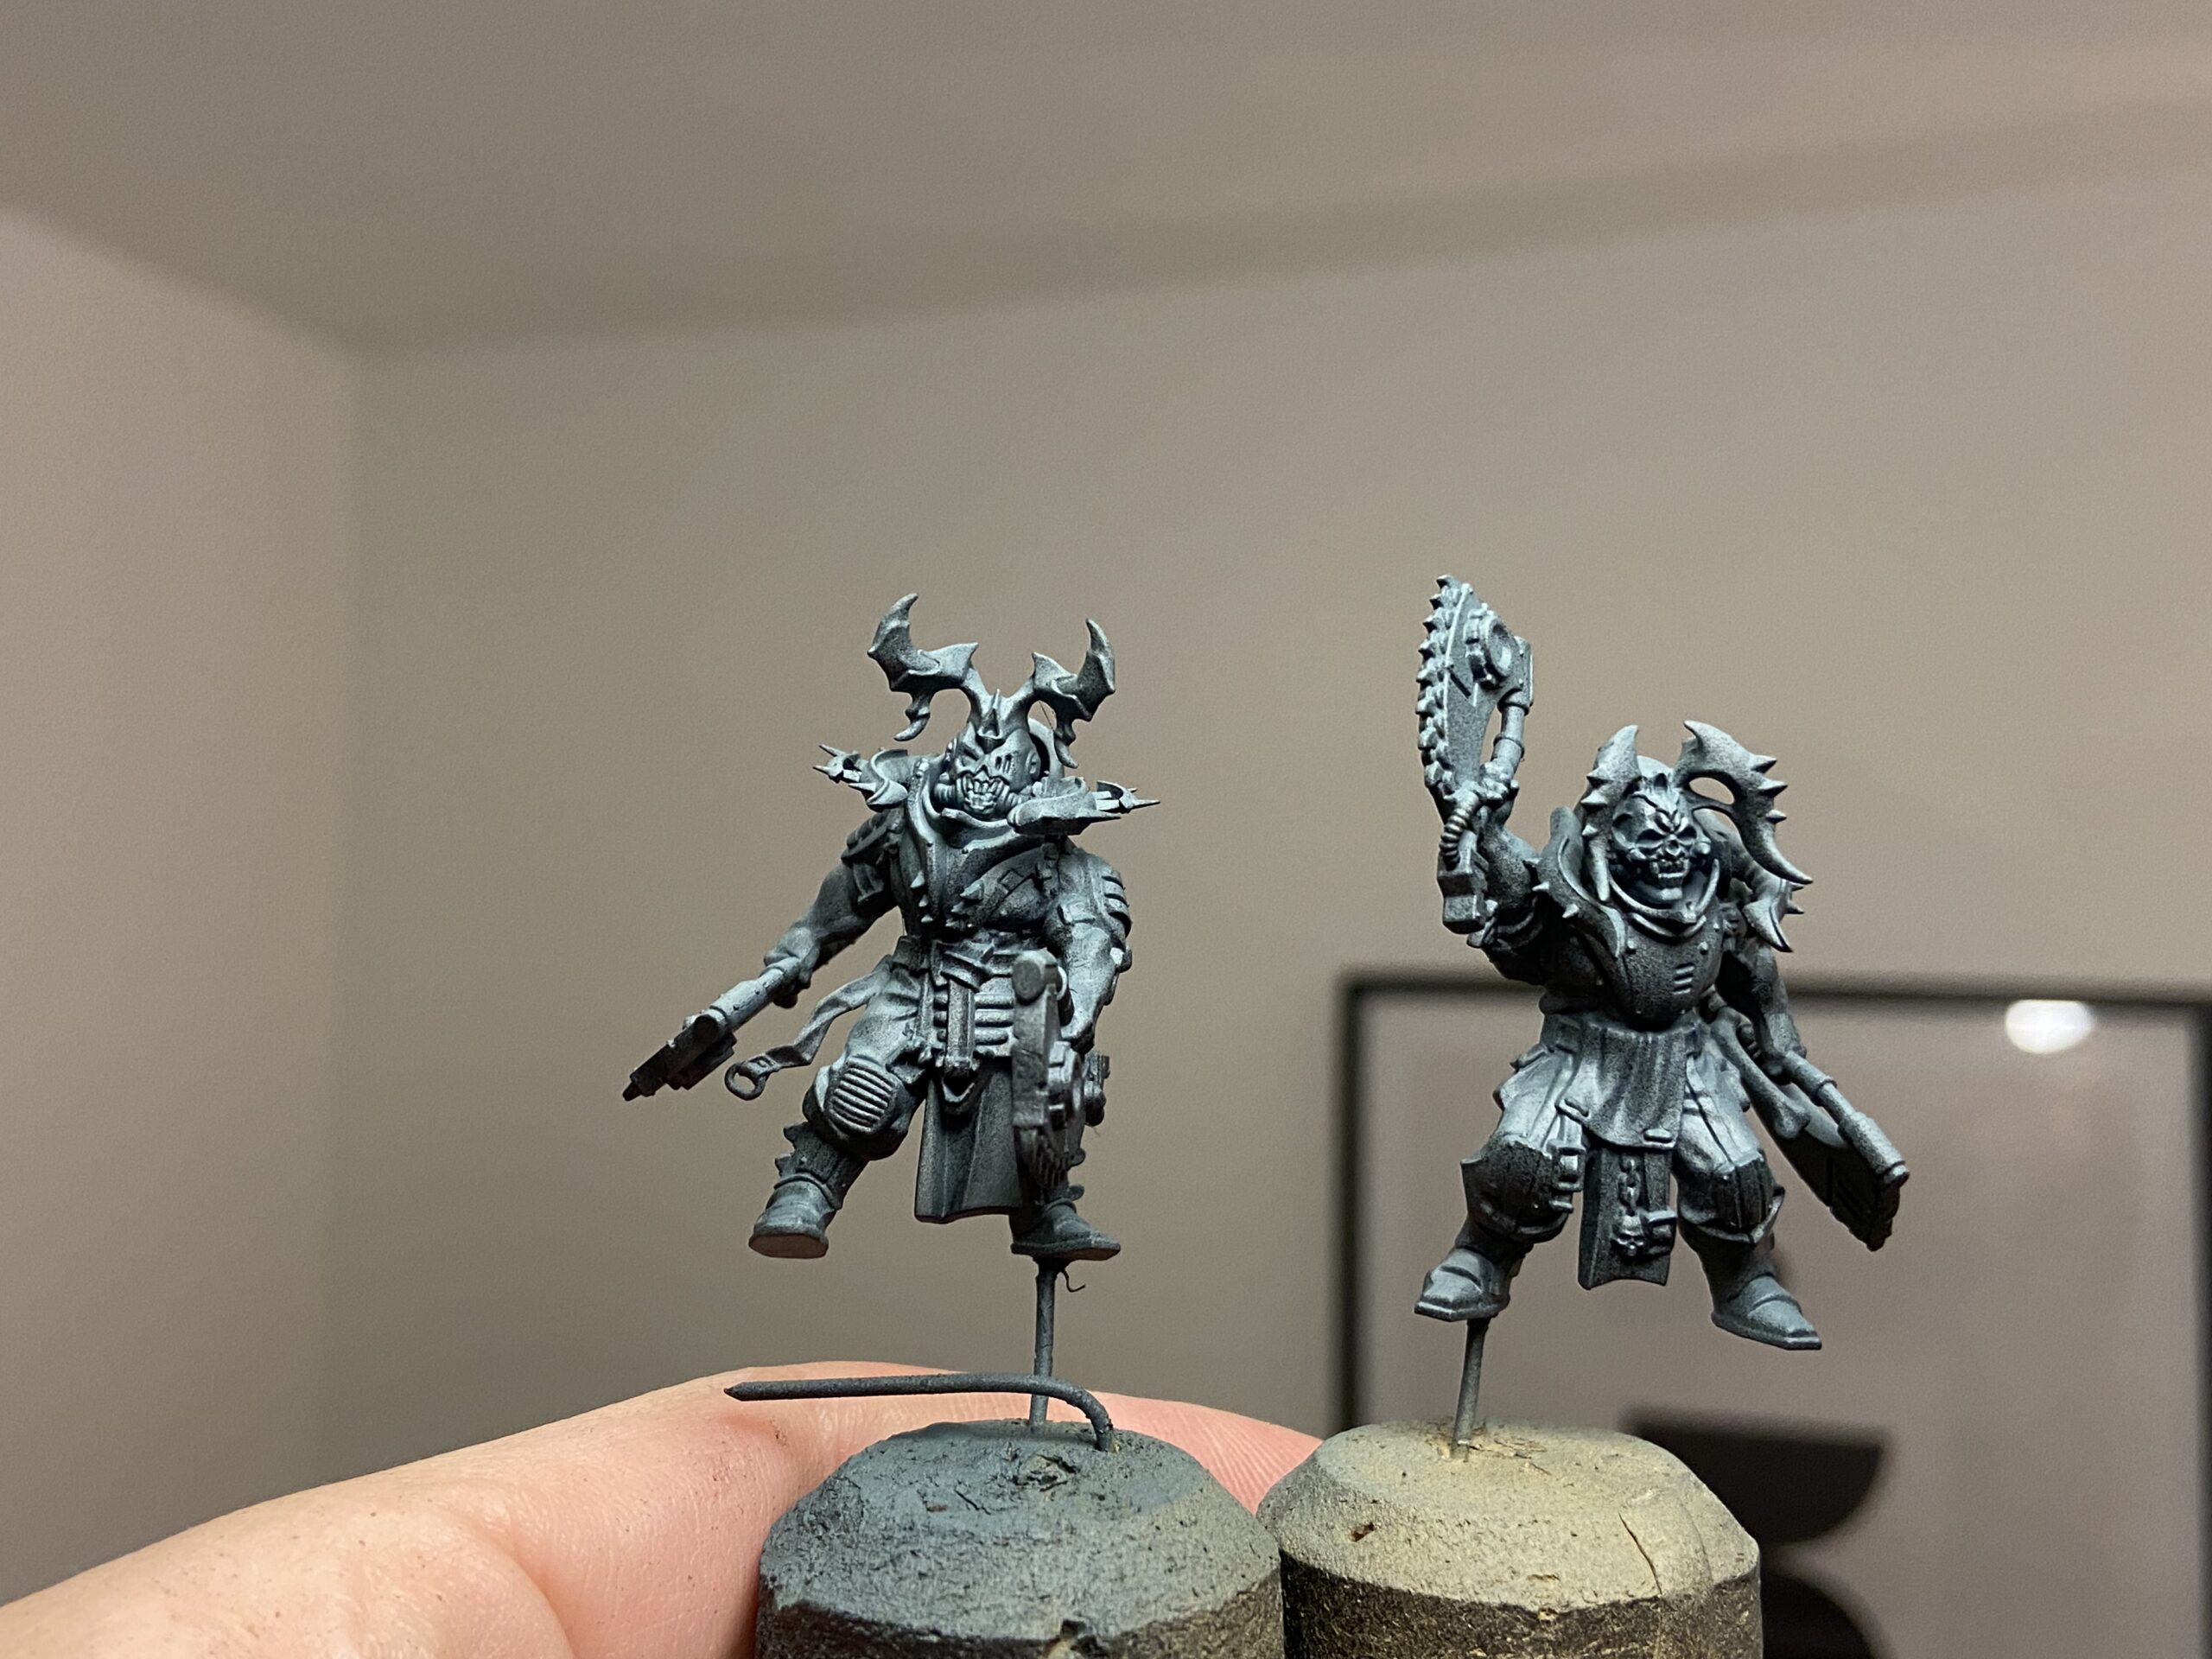
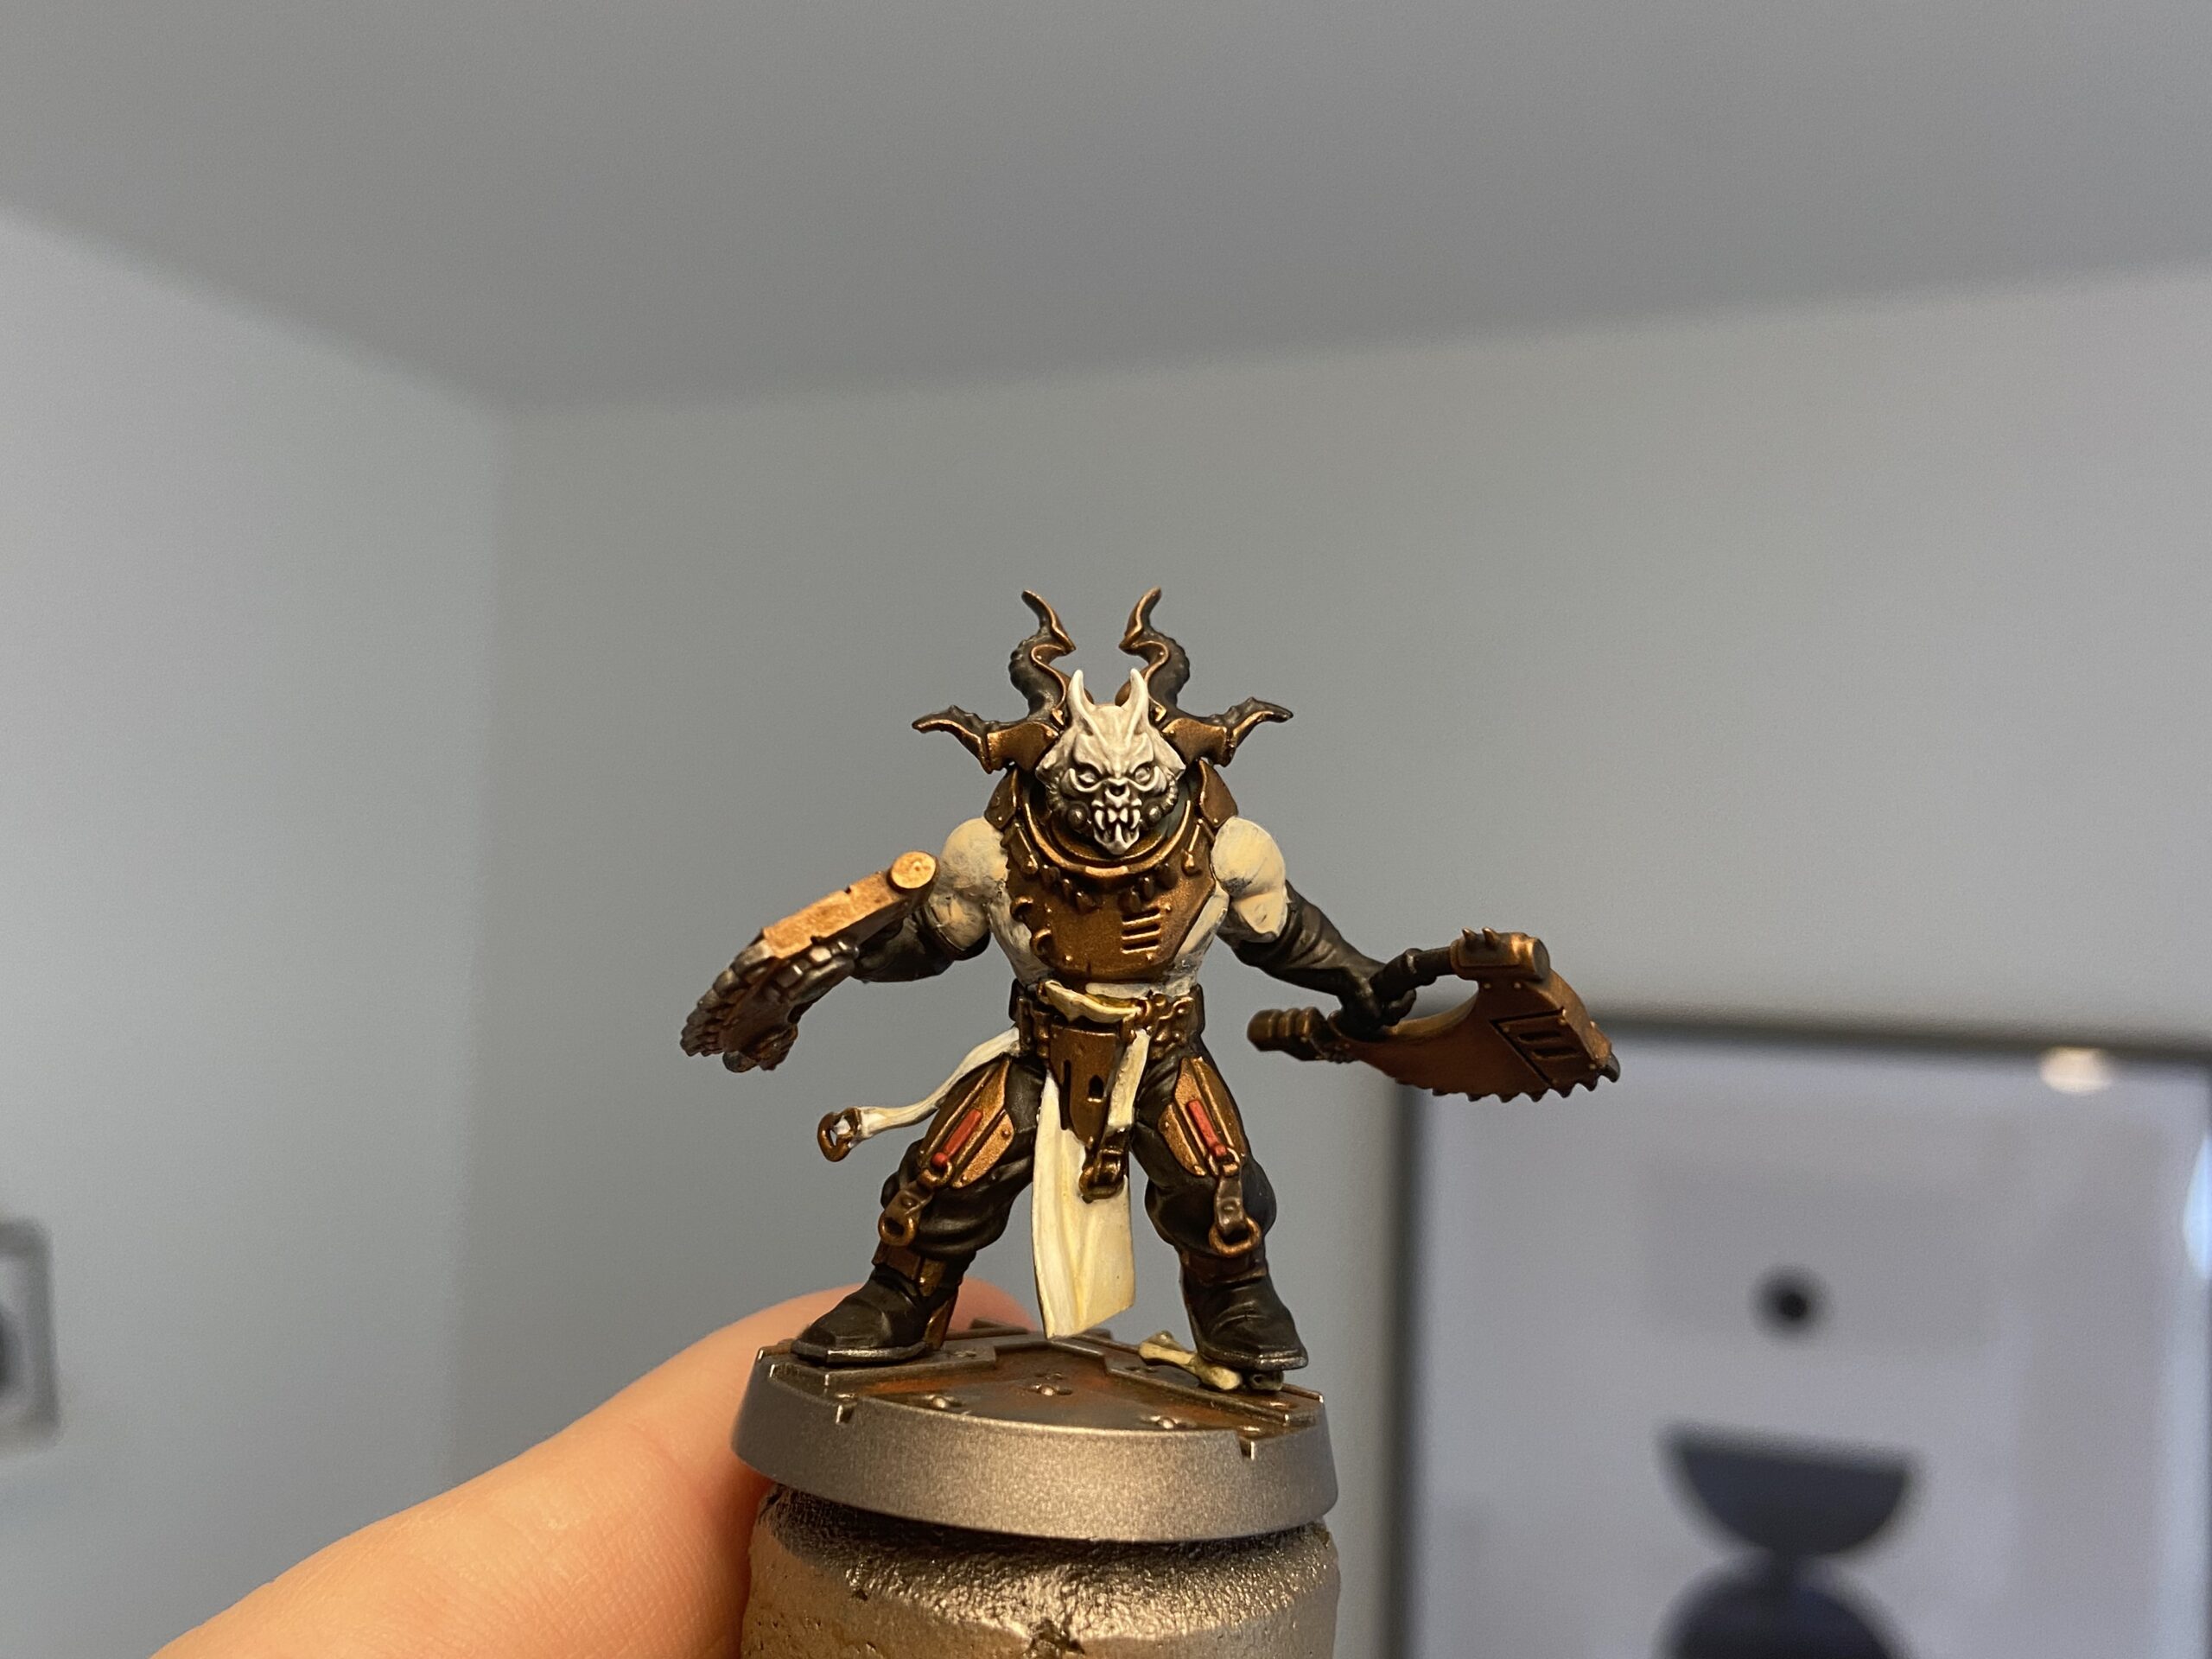
Painting Corpse Grinder Cult
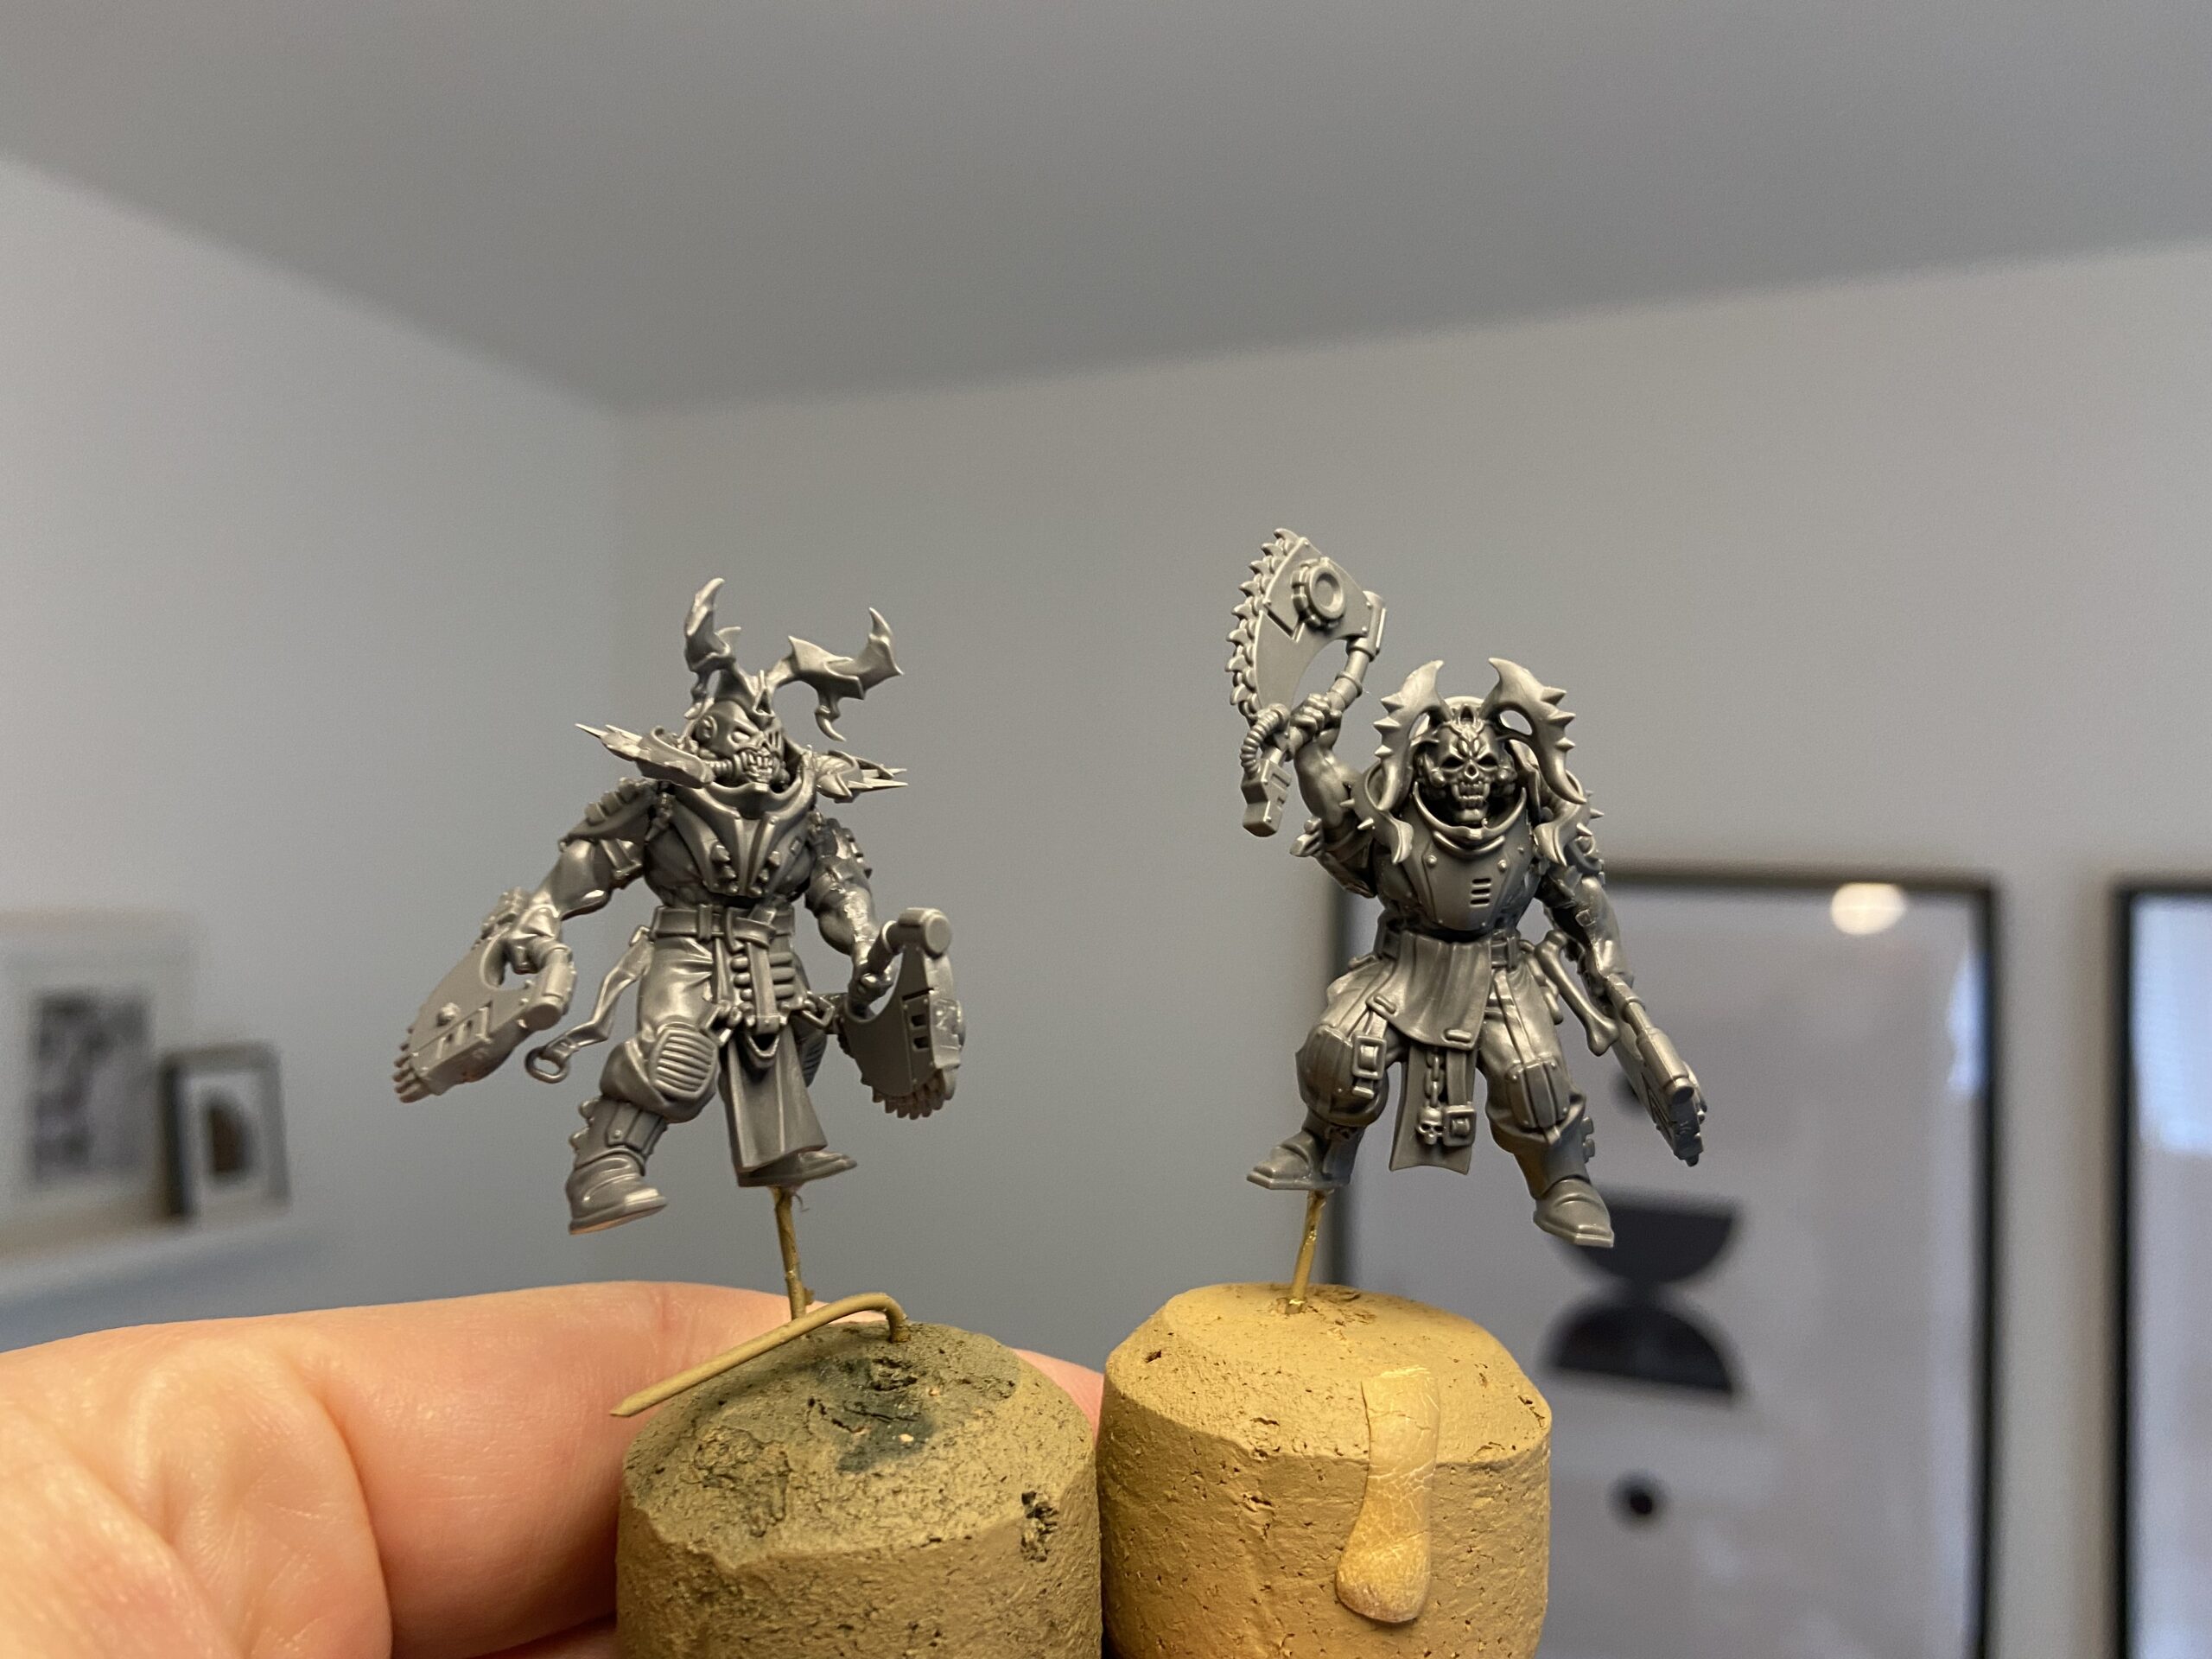
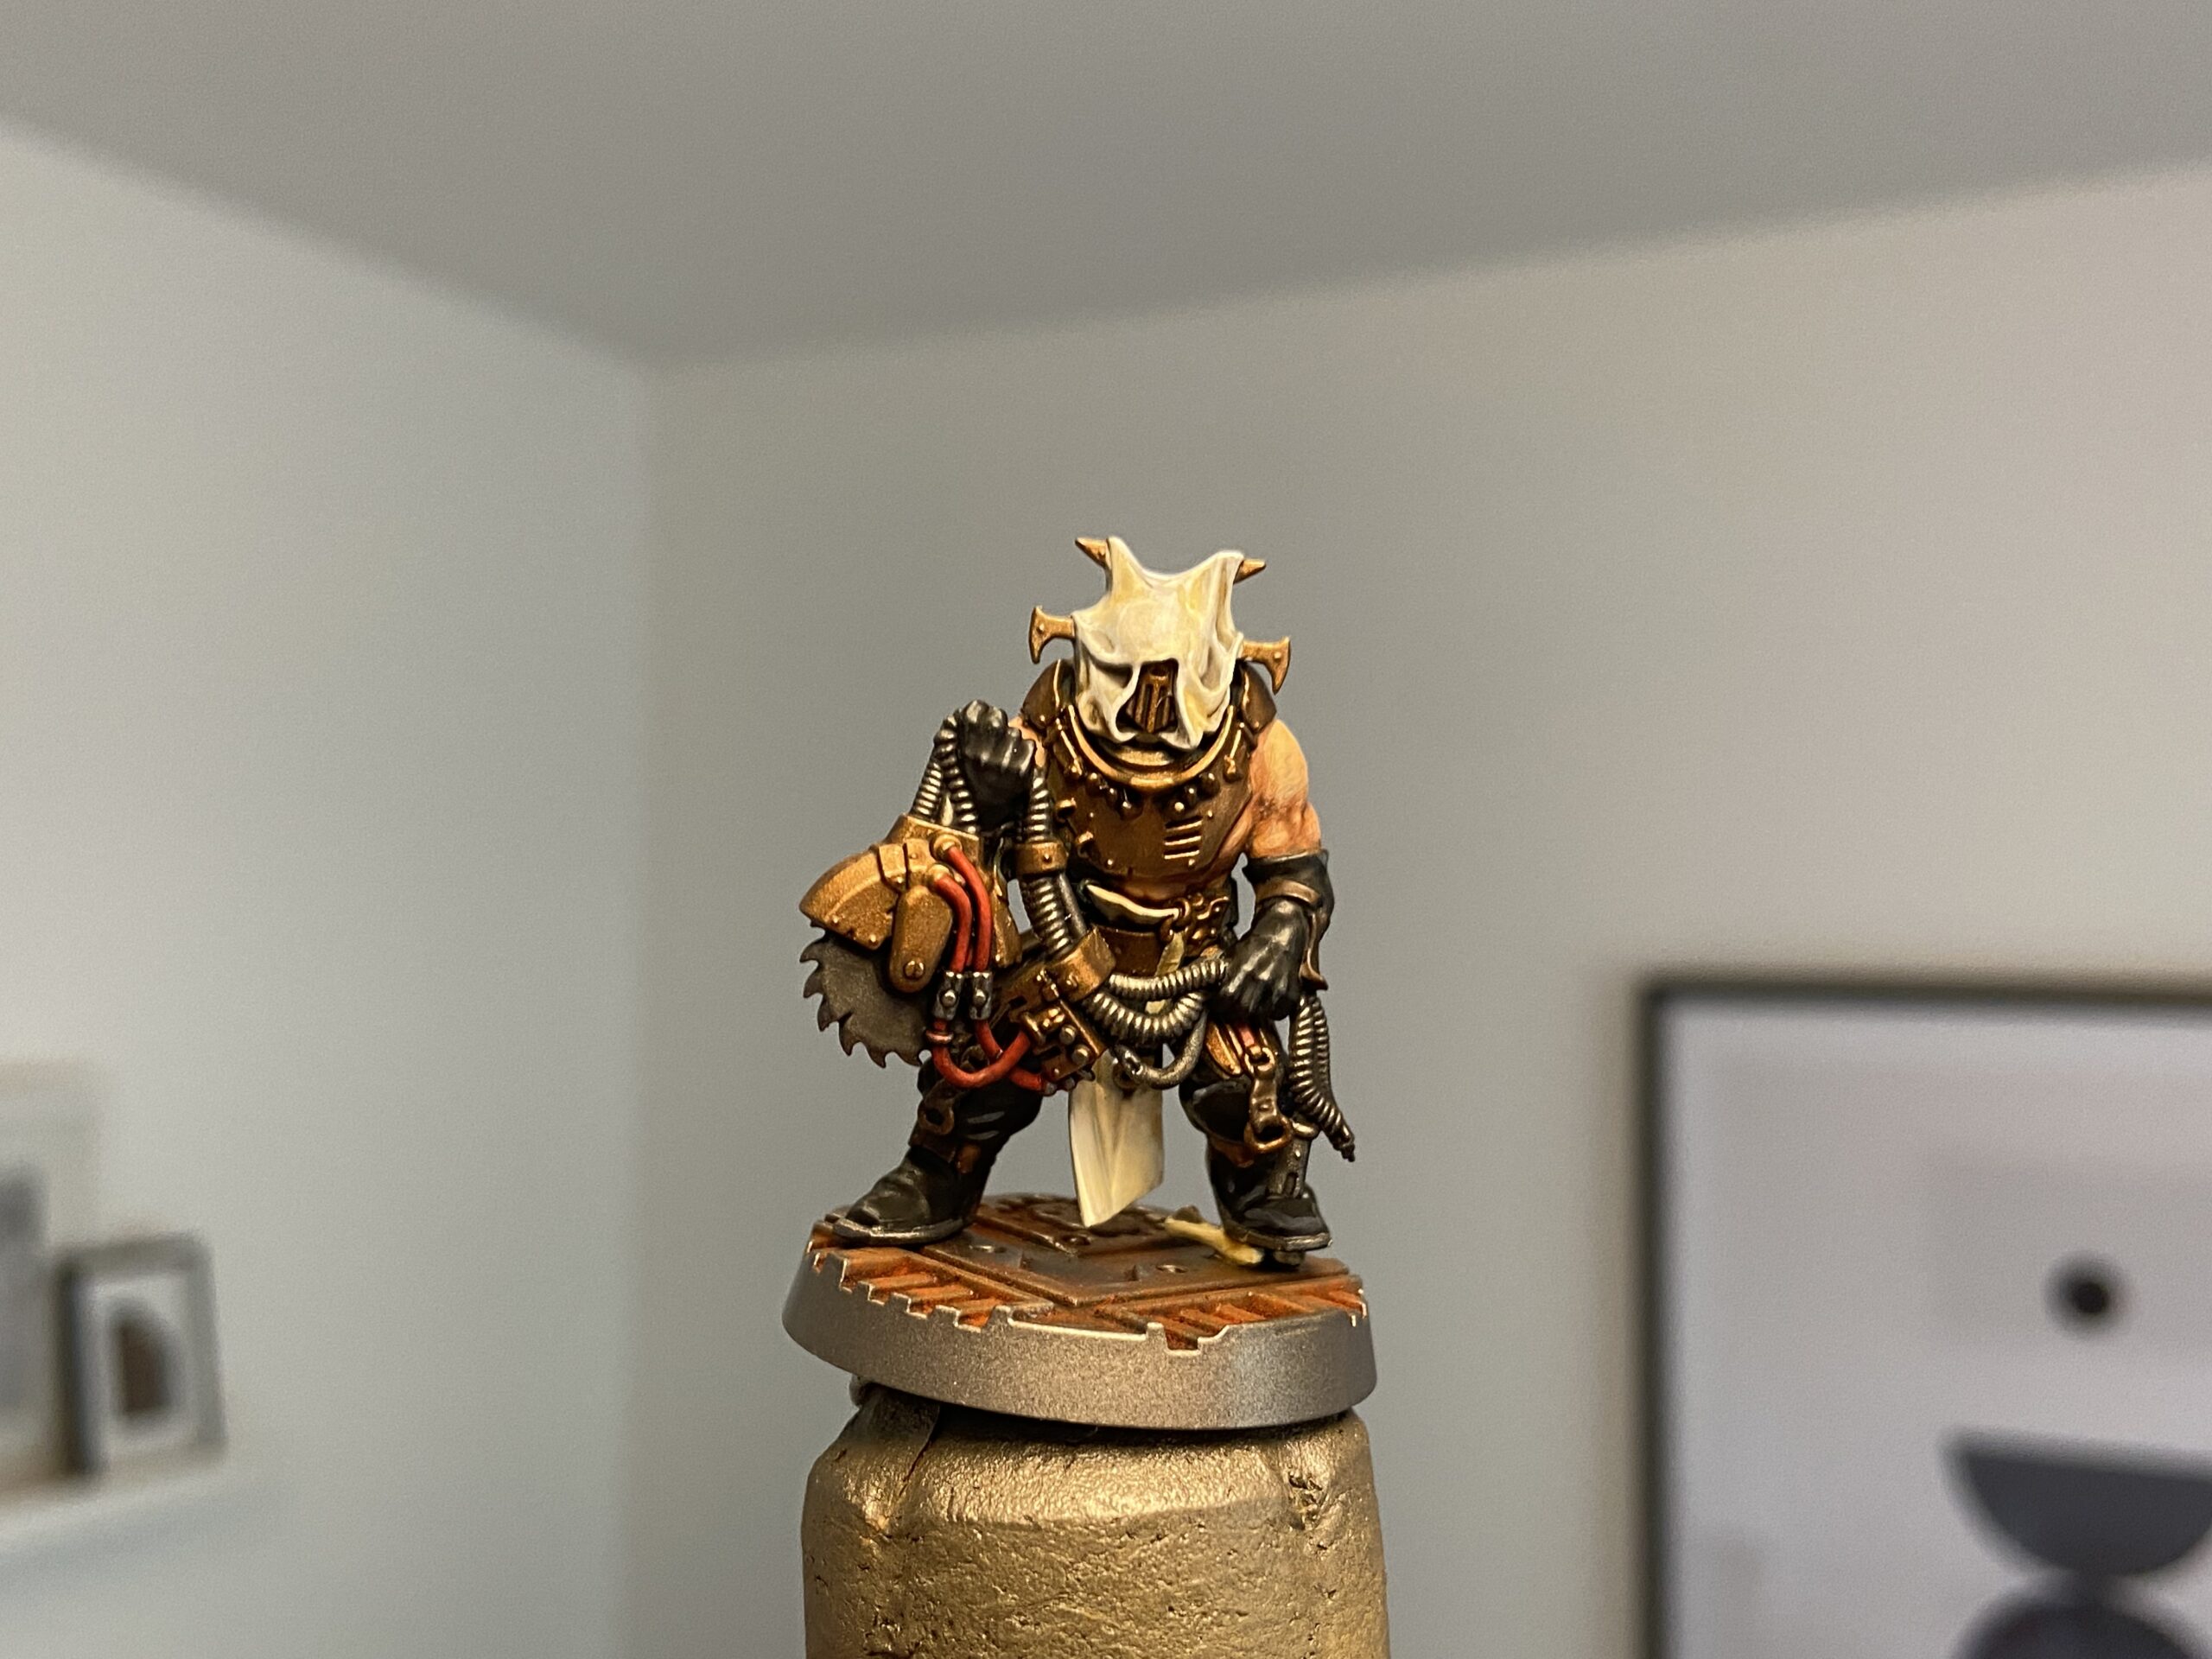
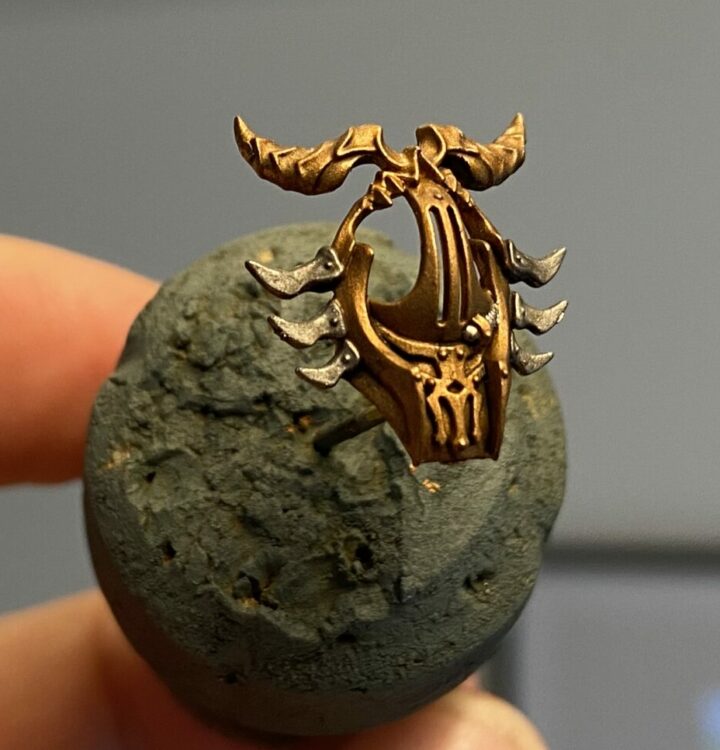
I did a test face plater before doing the armour on the main models. I just wanted to make sure that it worked!
- Spray Mechanicus Standard Grey
- I then sprayed from below using black, just to give myself an idea of the dark areas – not sure it will help overall
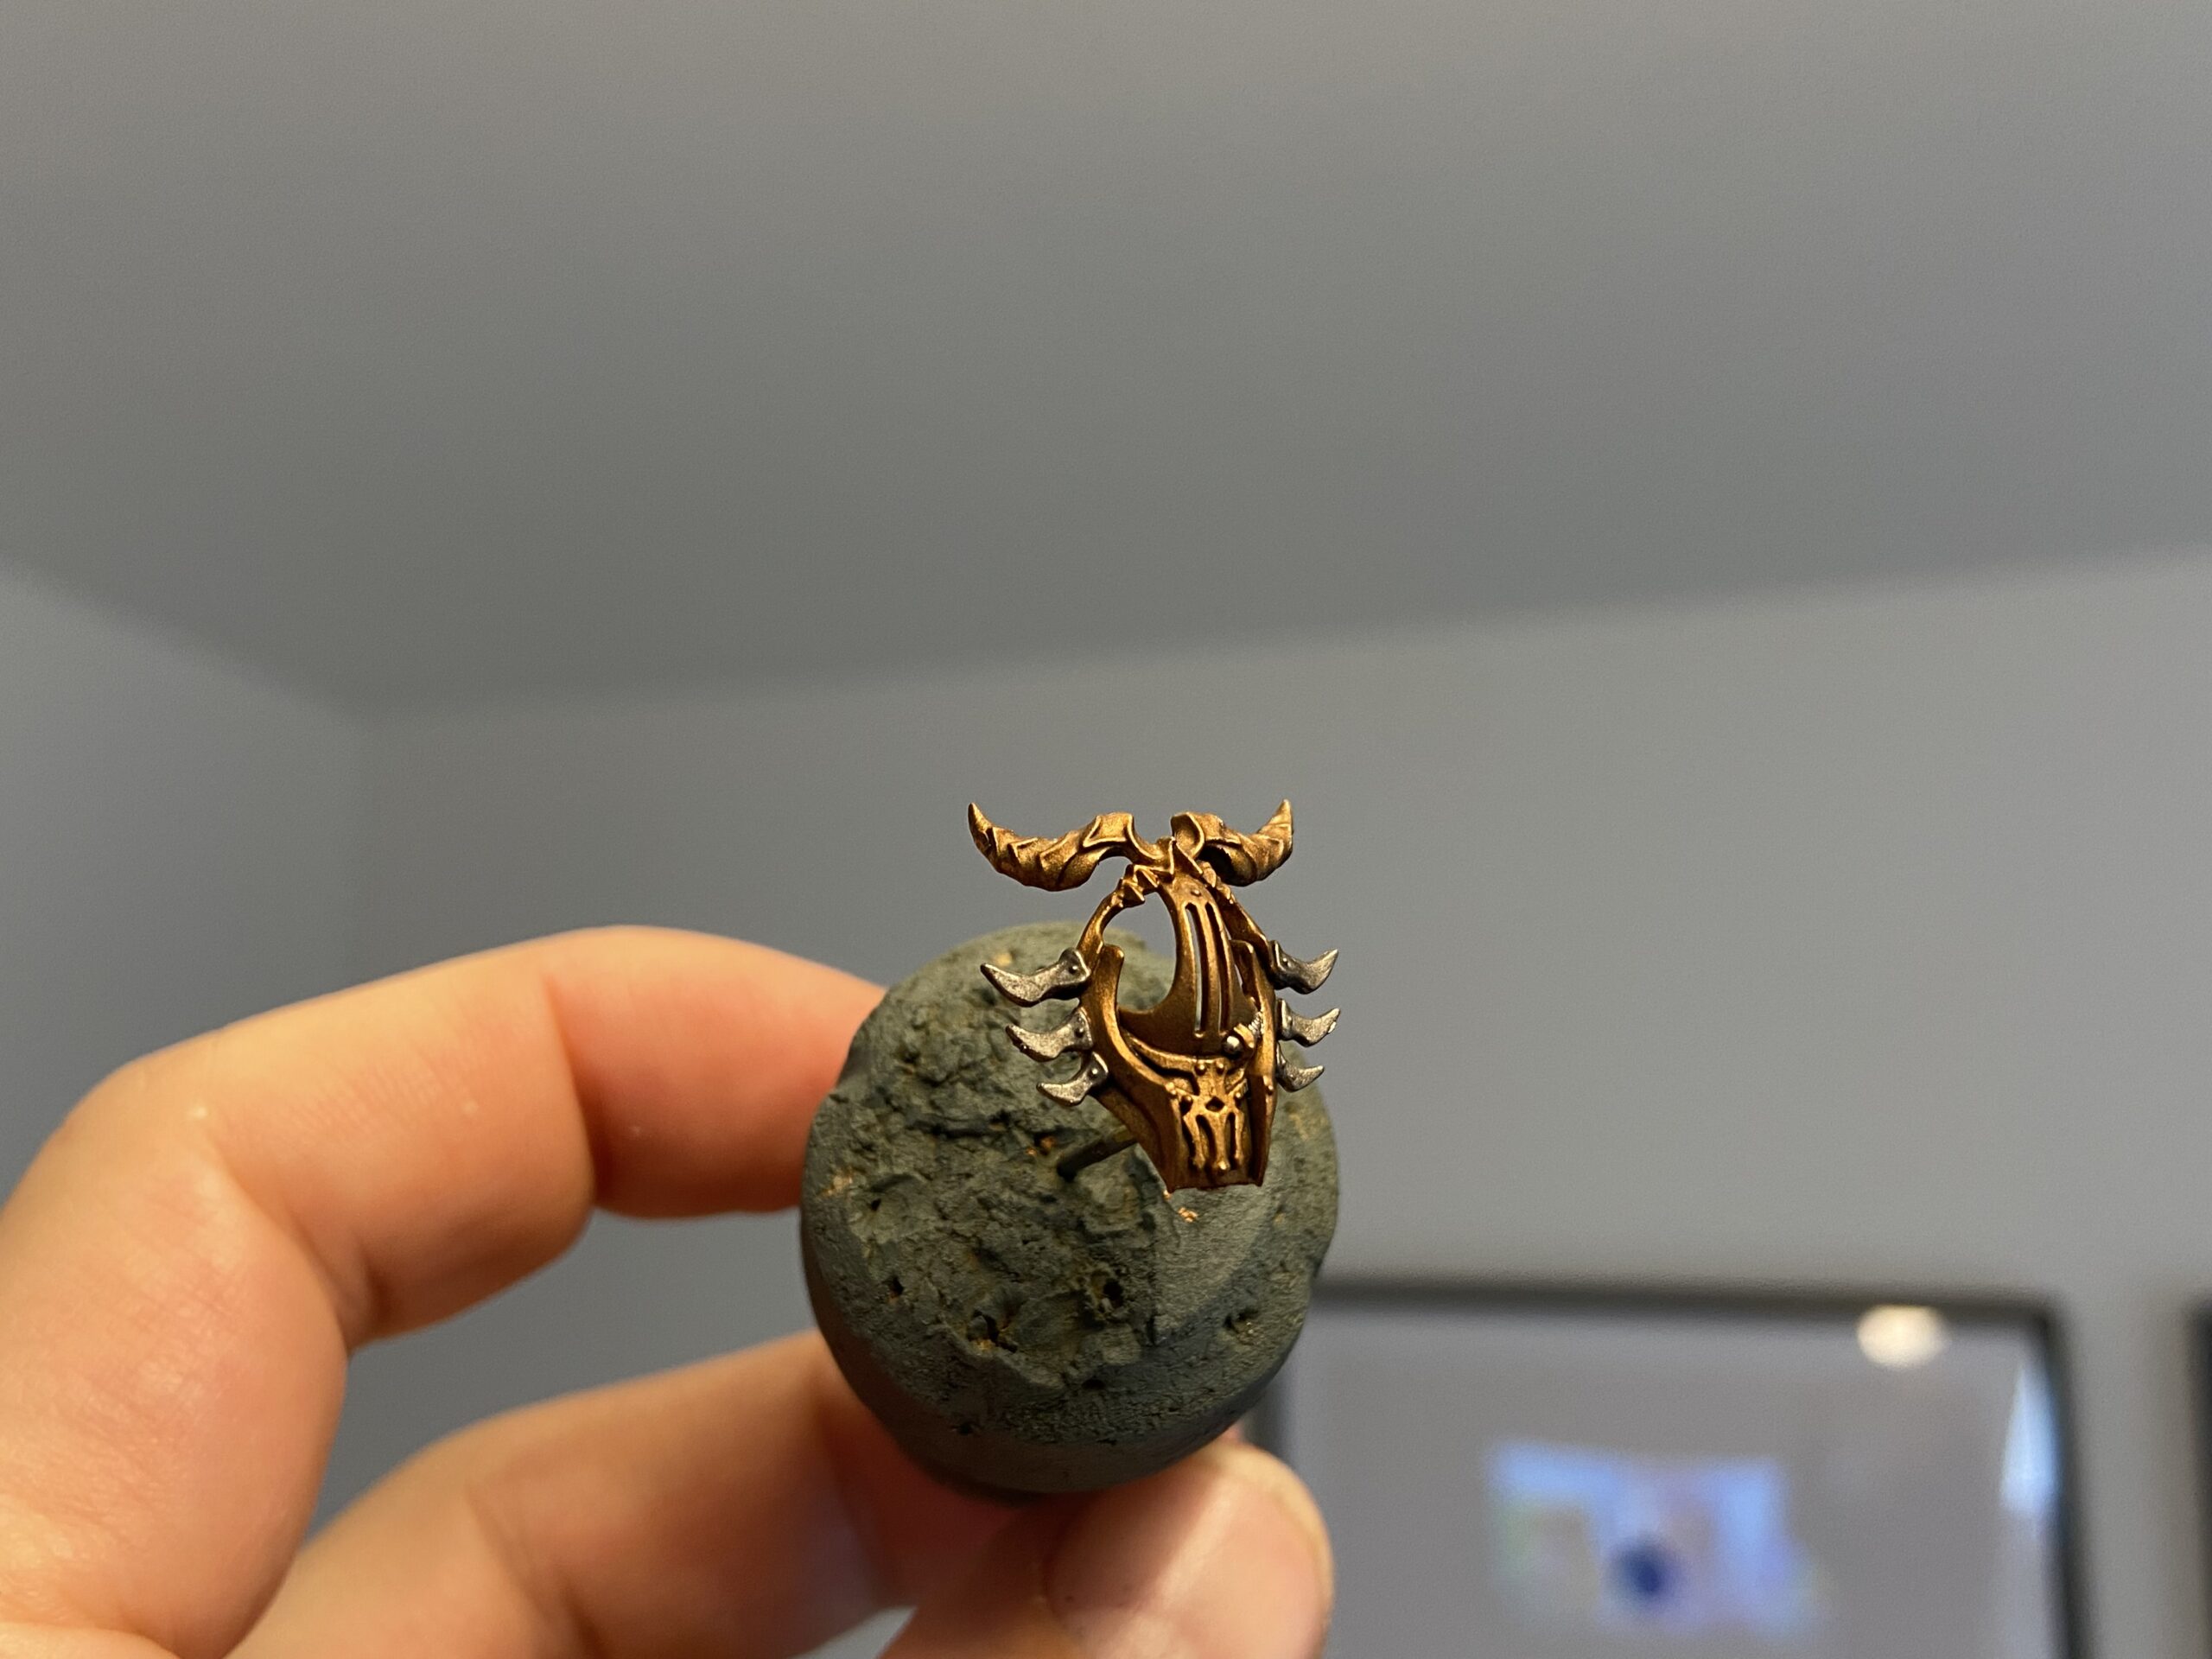
- Brass Scorpion layer
- Leadbelcher for the silver
- Nuln Oil wash
That process got me to the below outcome pretty quickly, and I think that will be OK for the majority of the metals on these models. Once I get some black and bone in there with the rest of the model, it will work well.
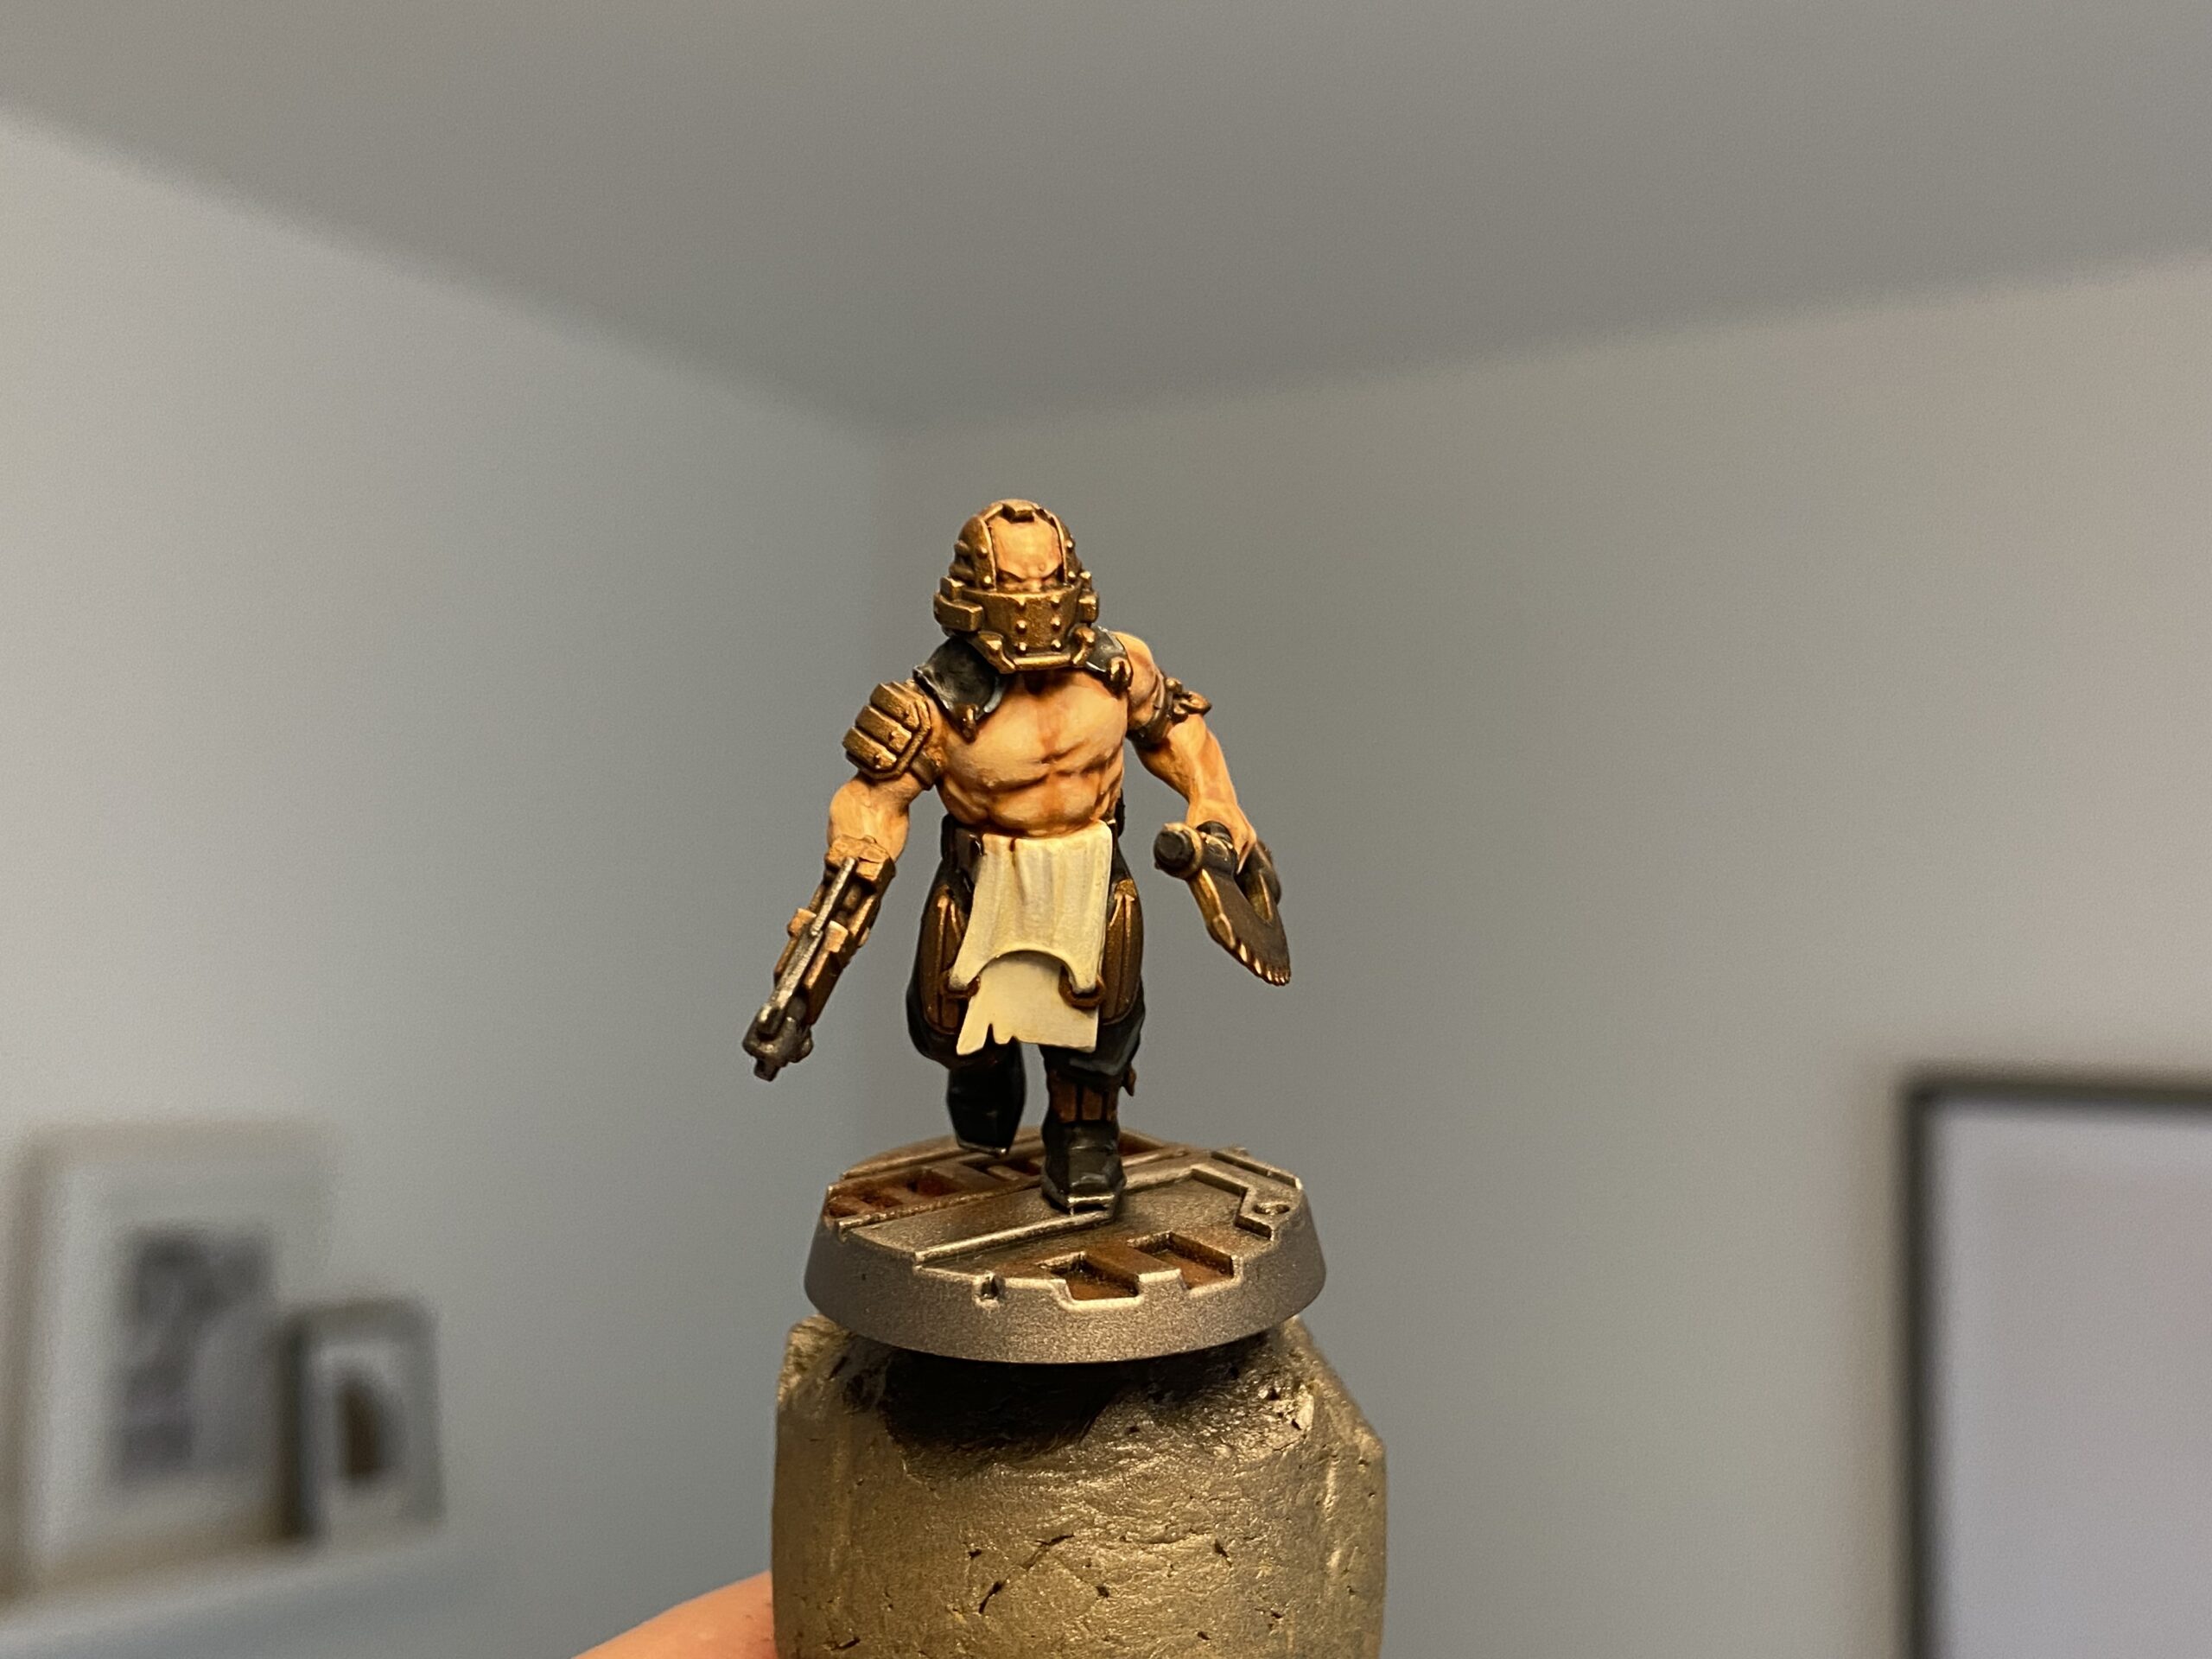
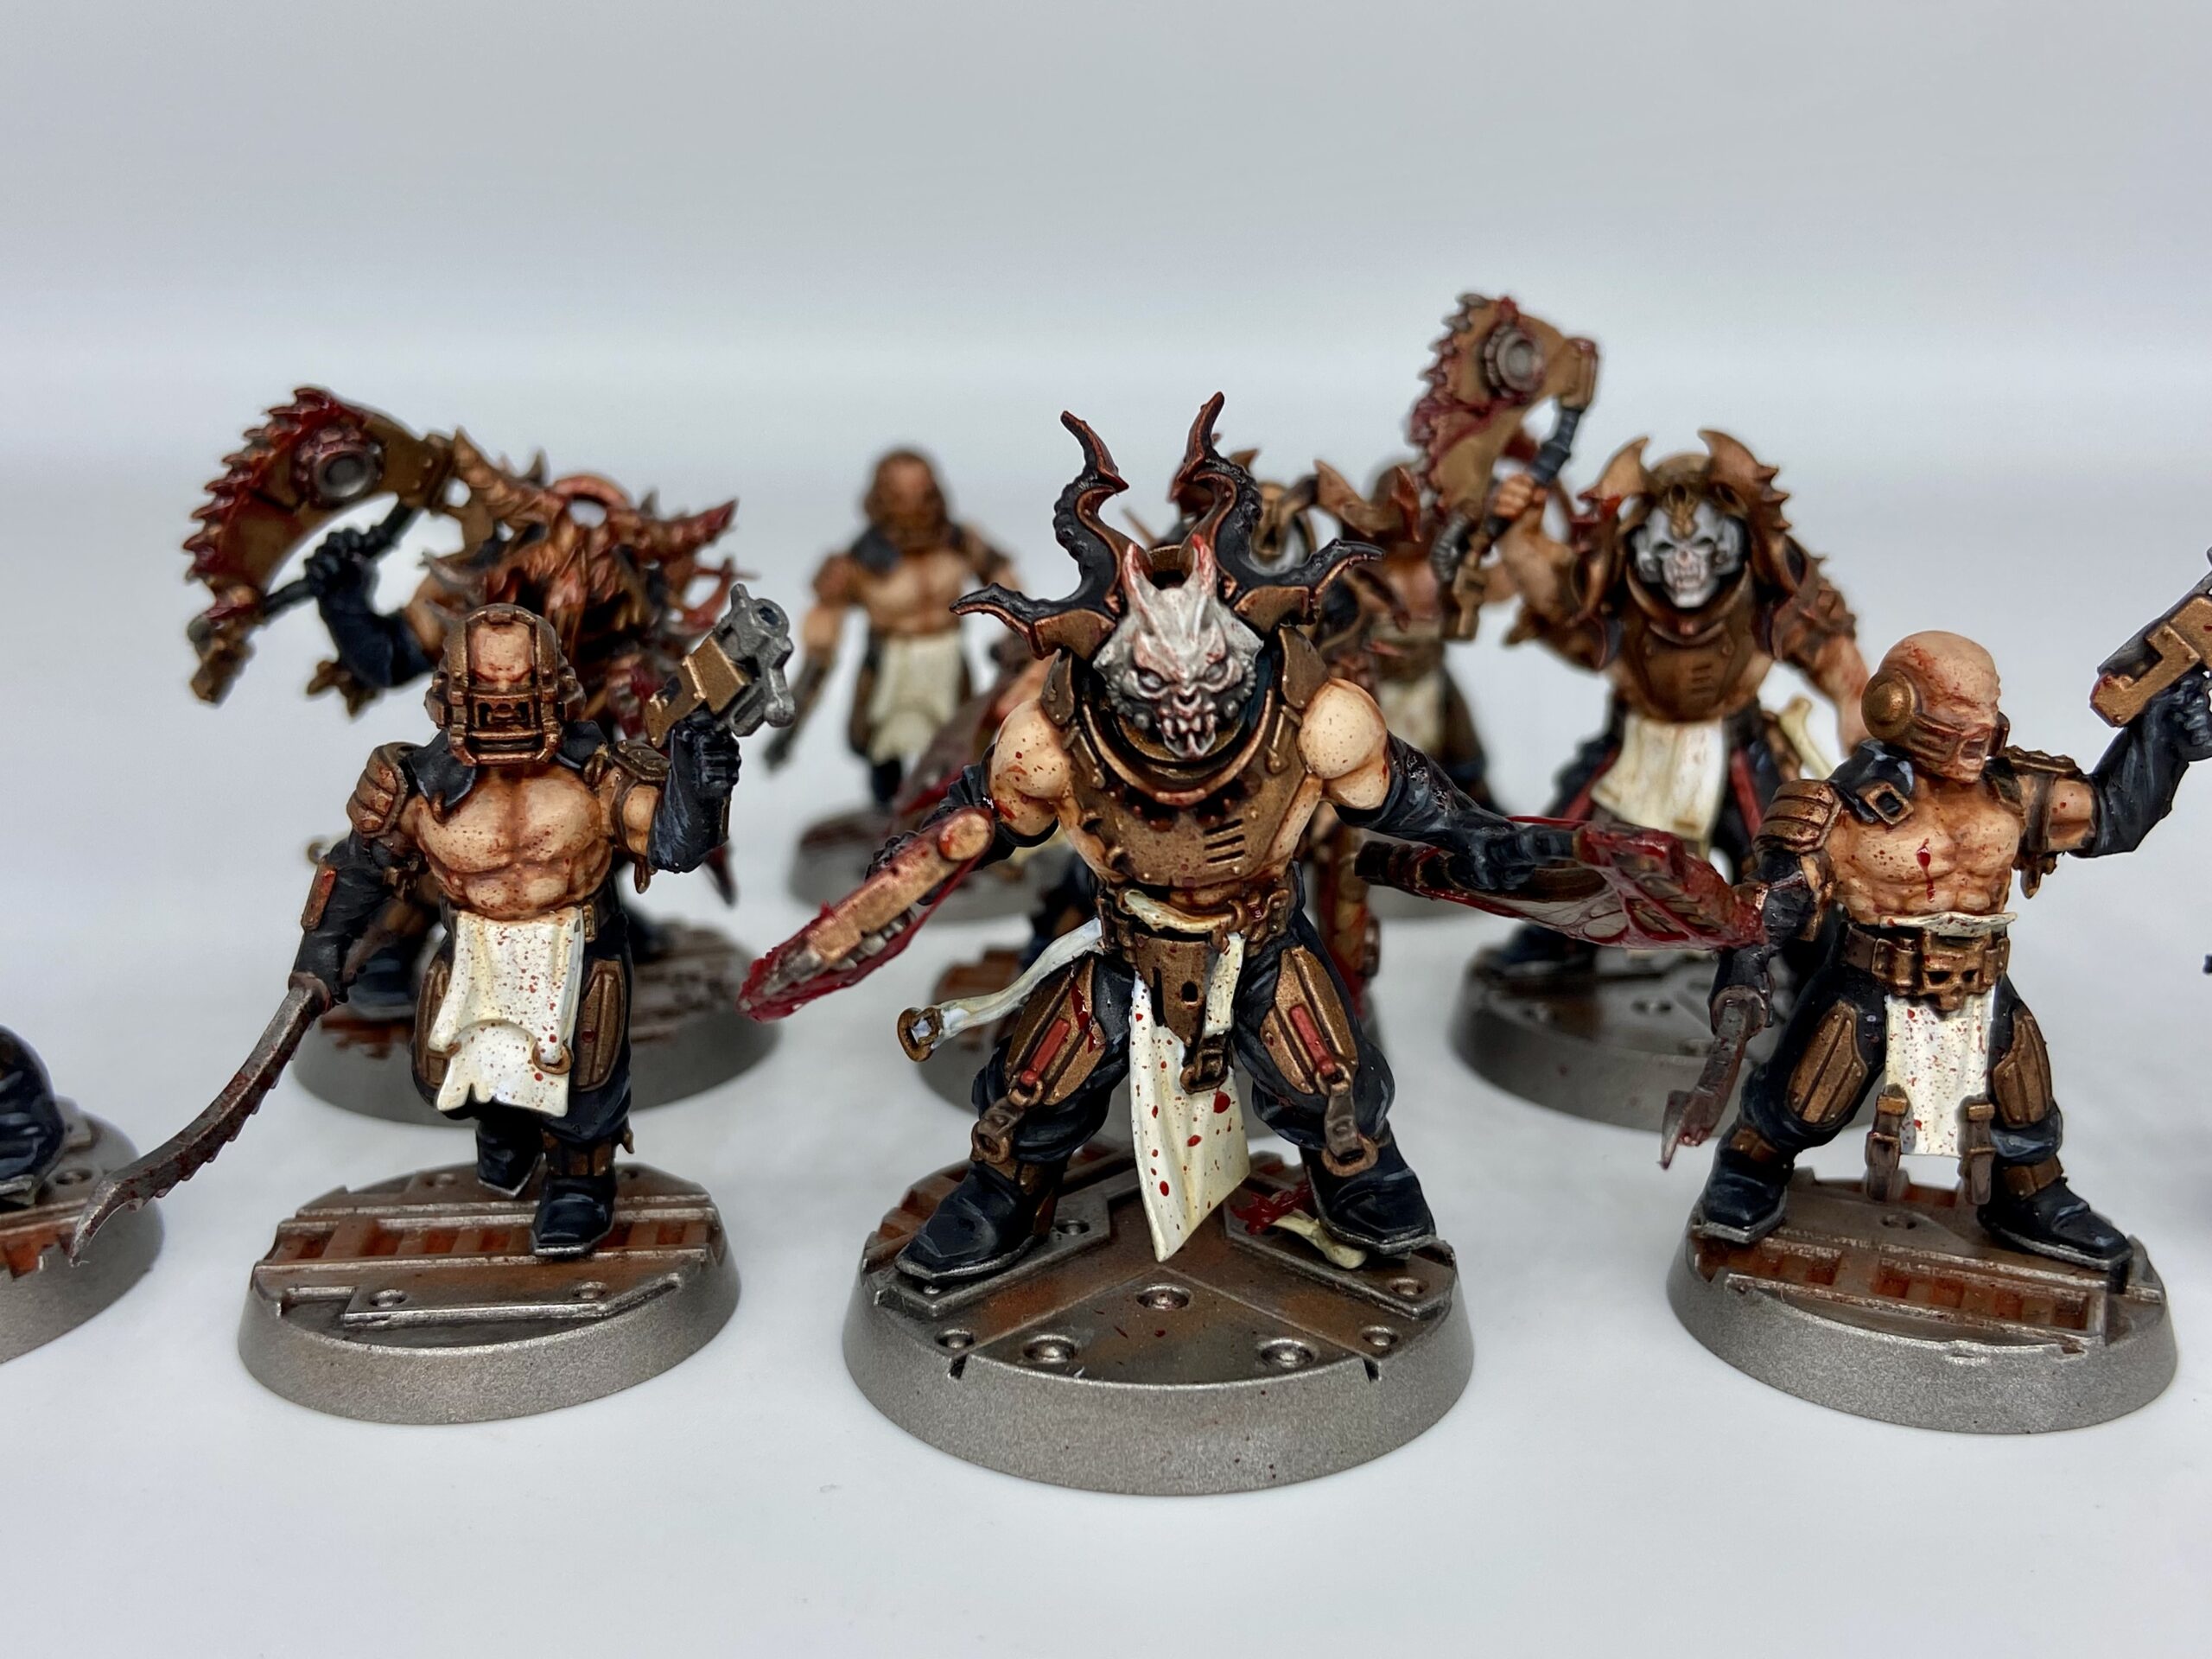
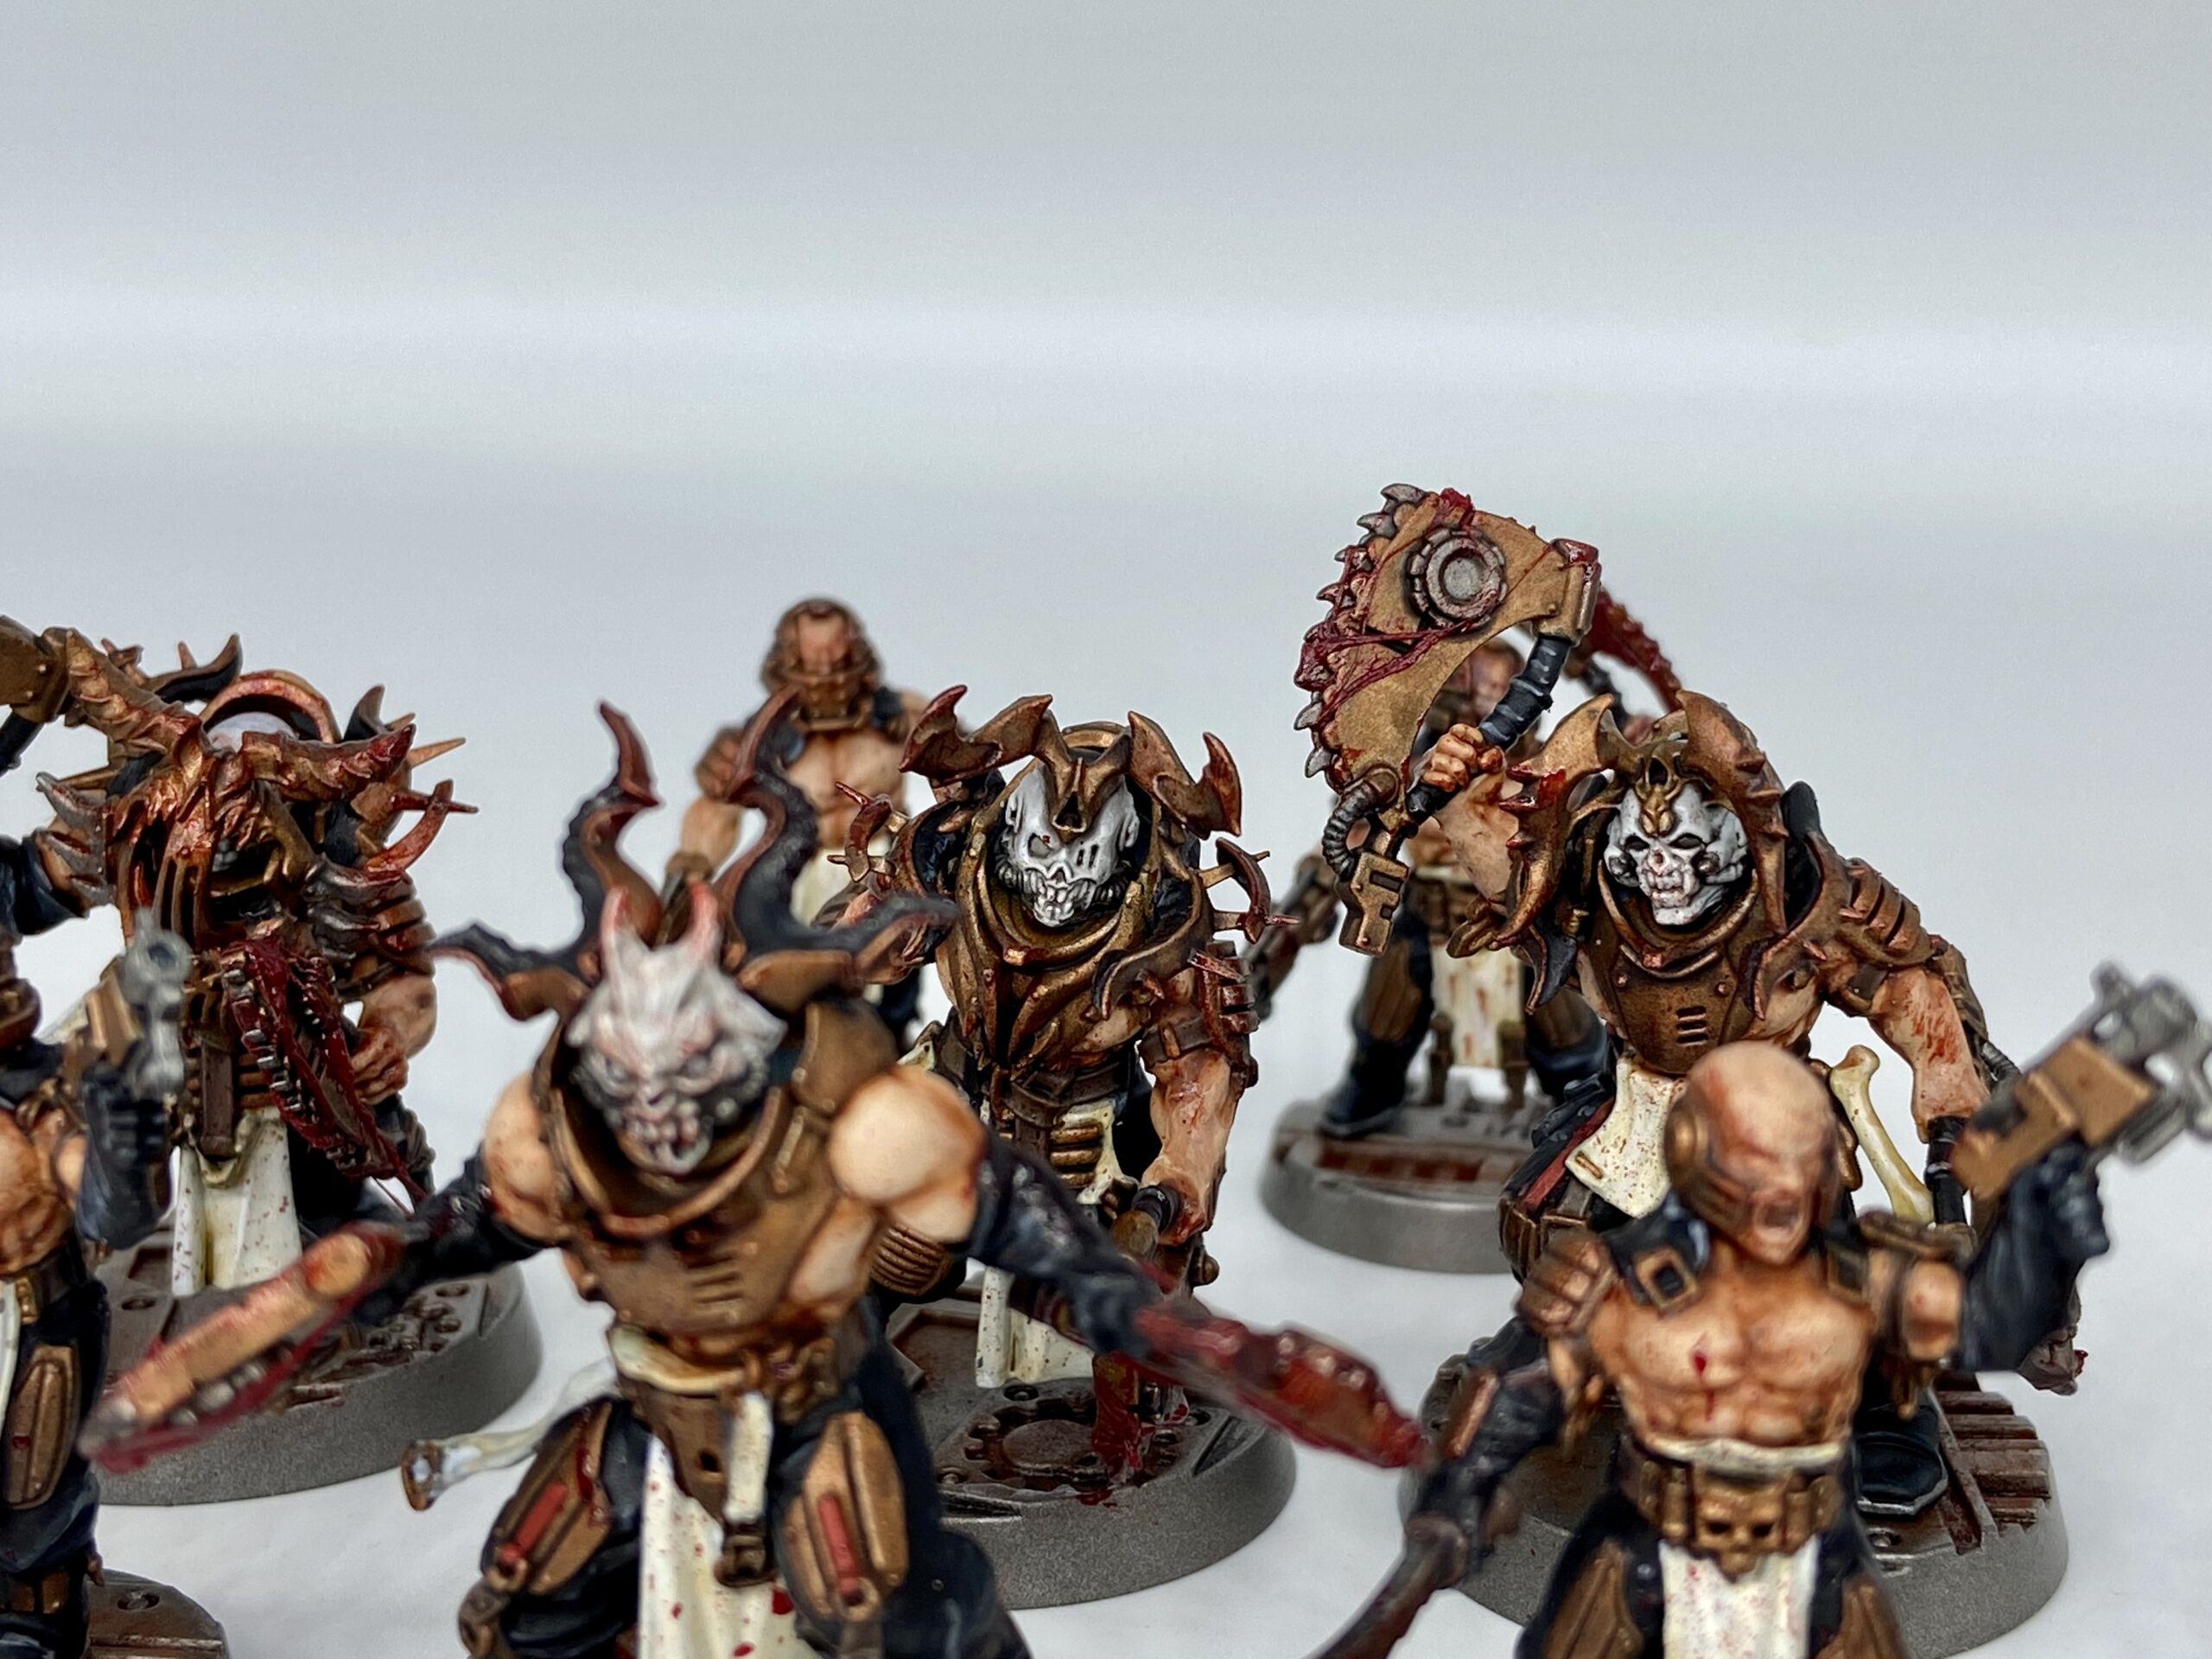
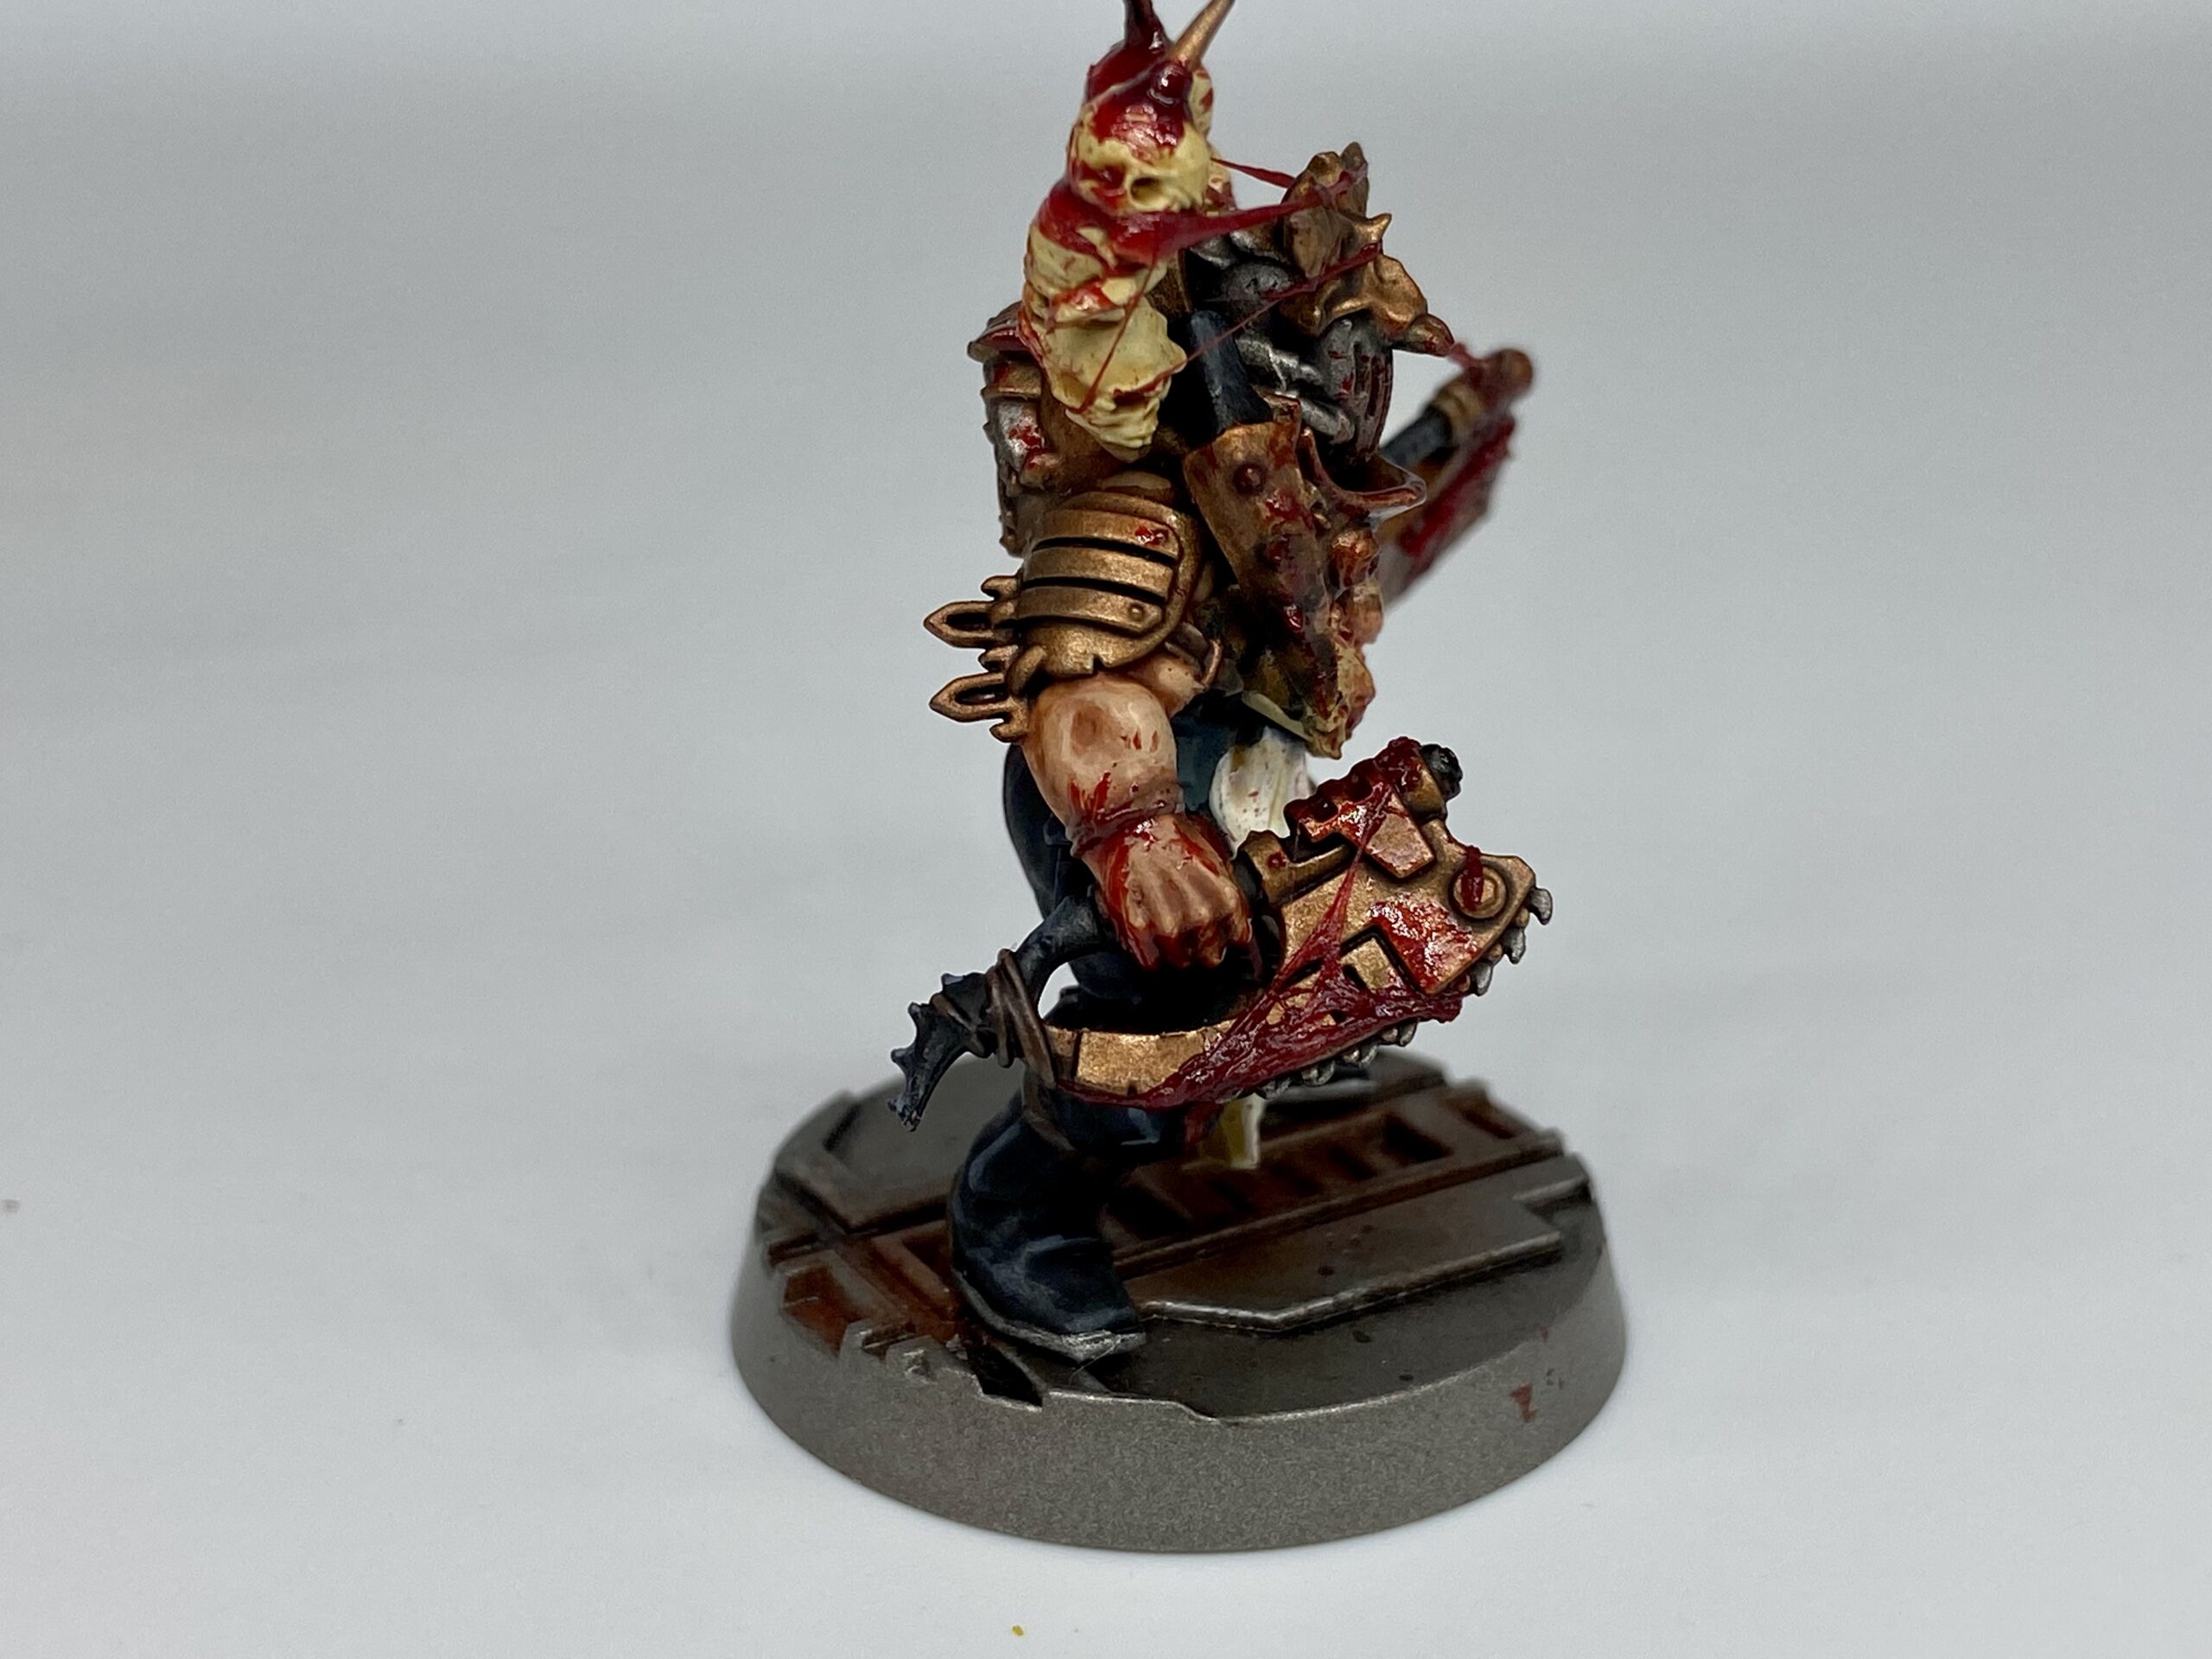
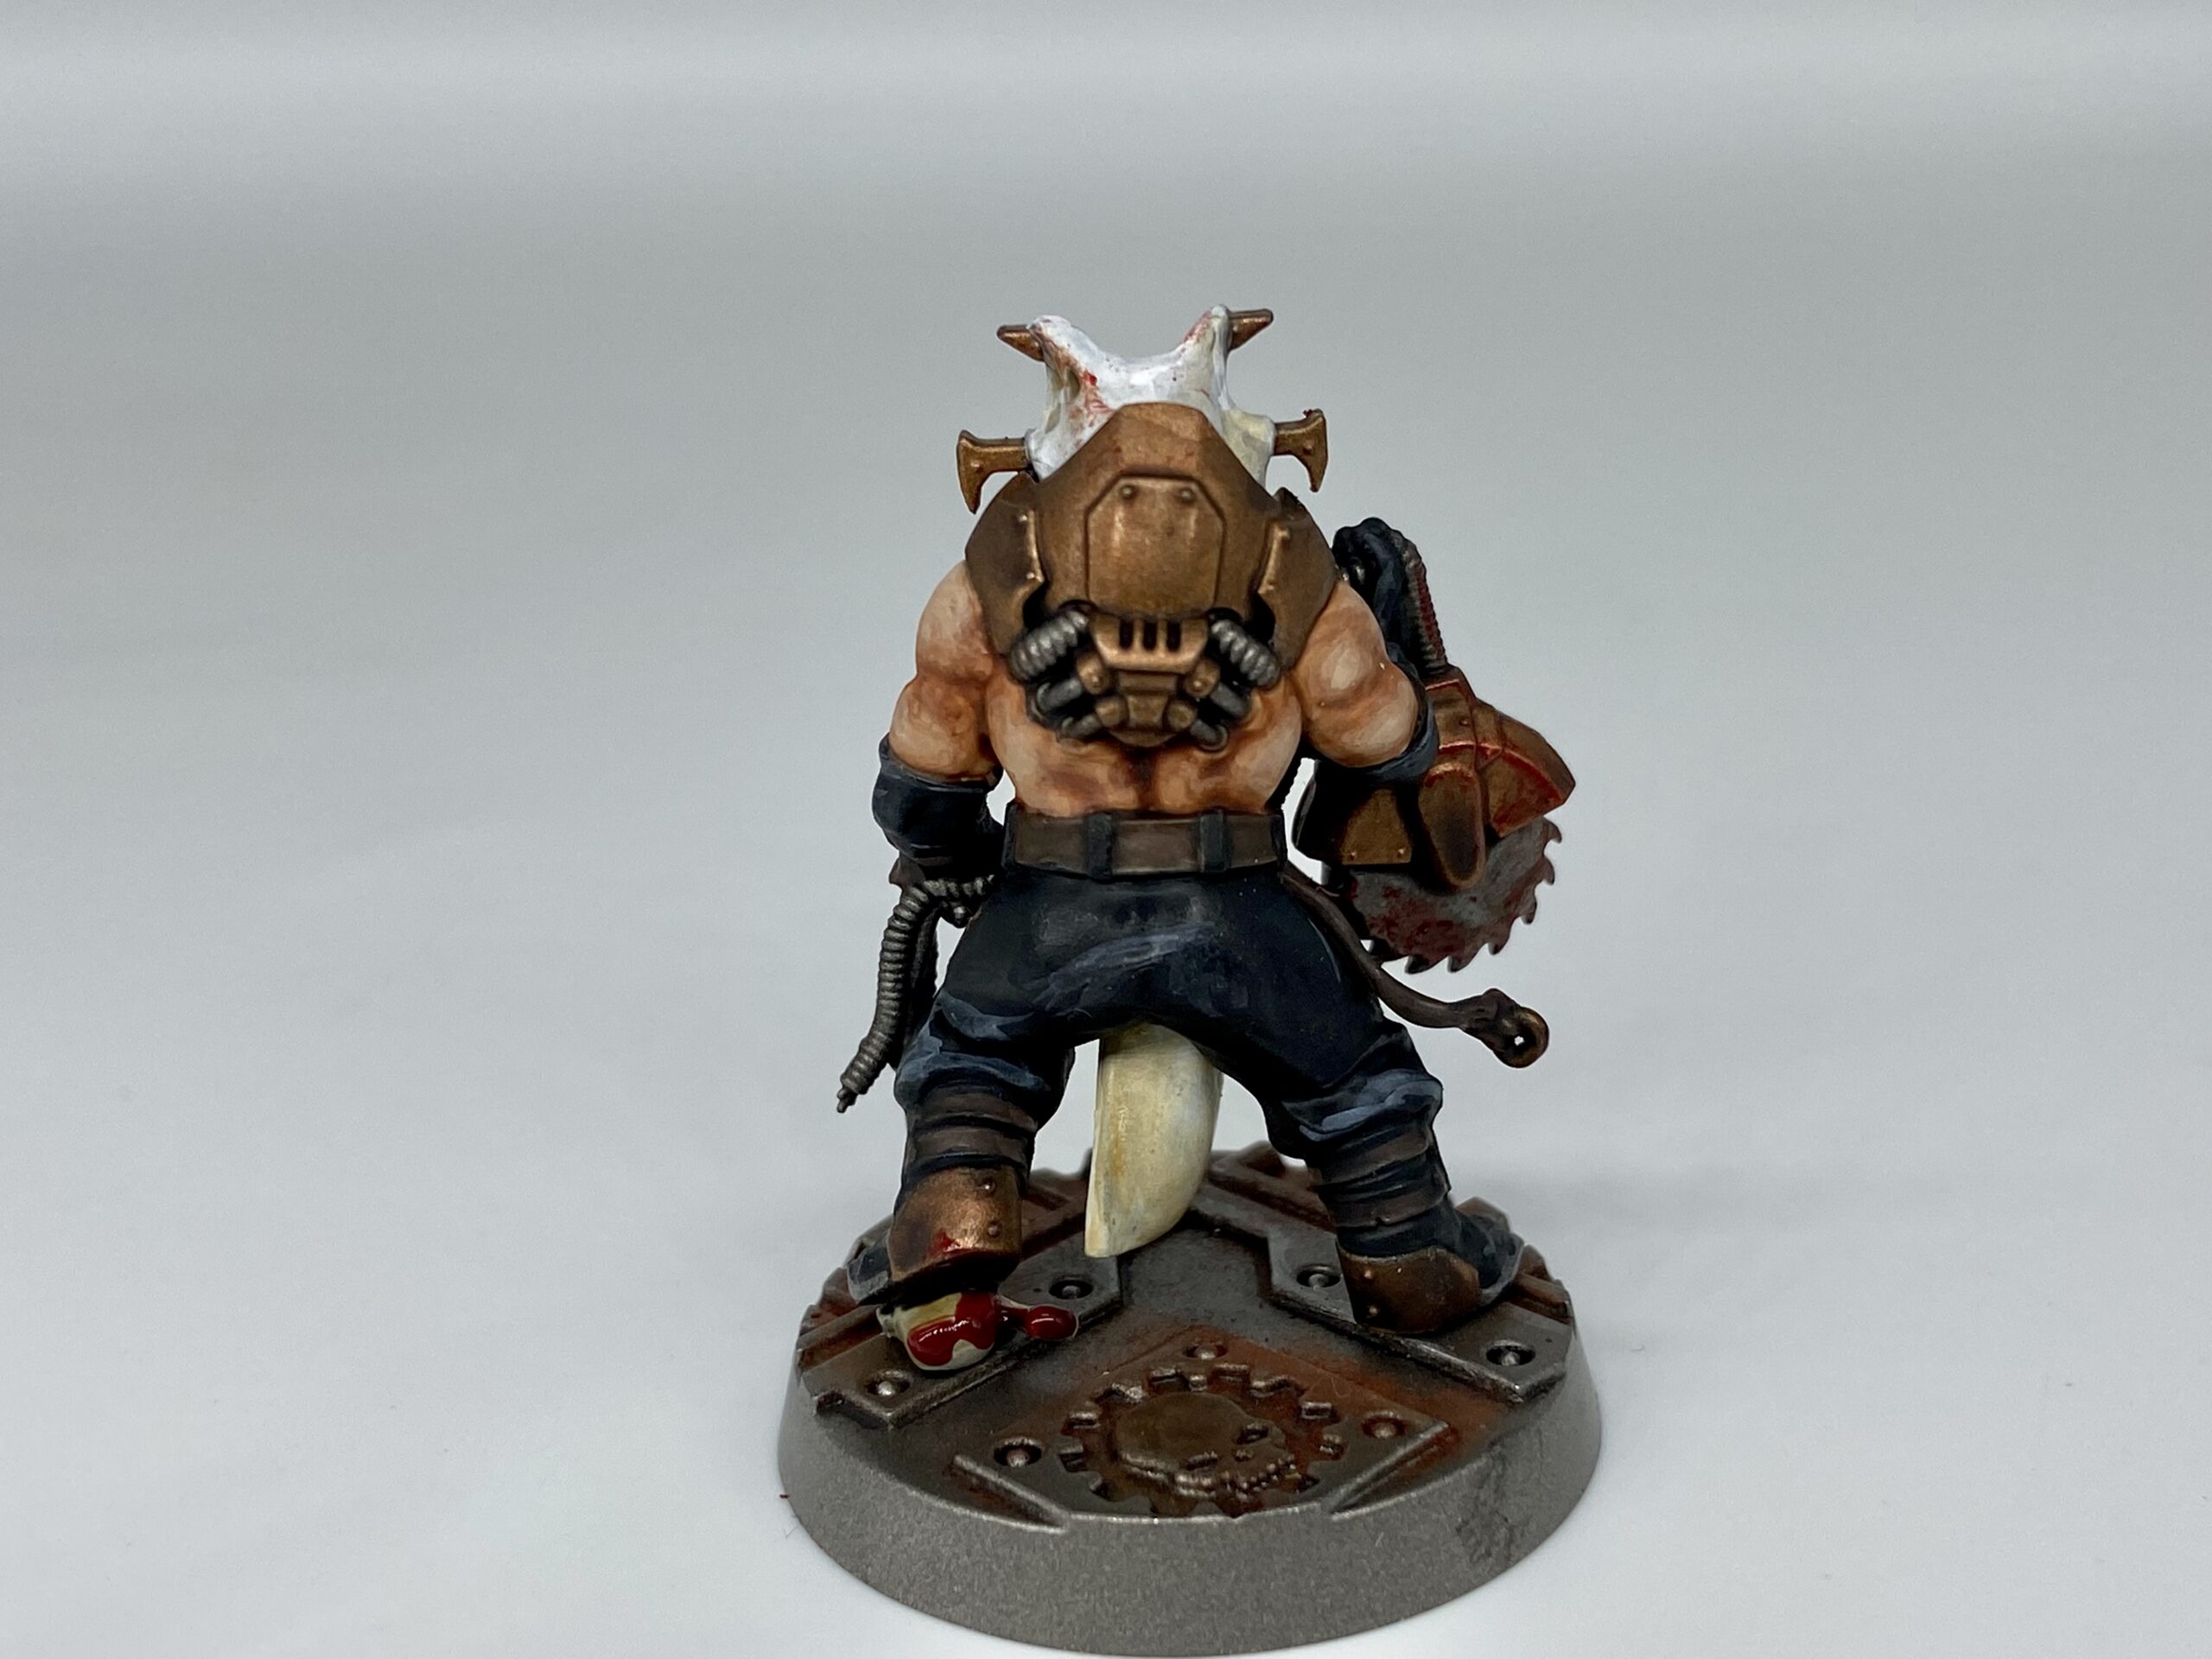
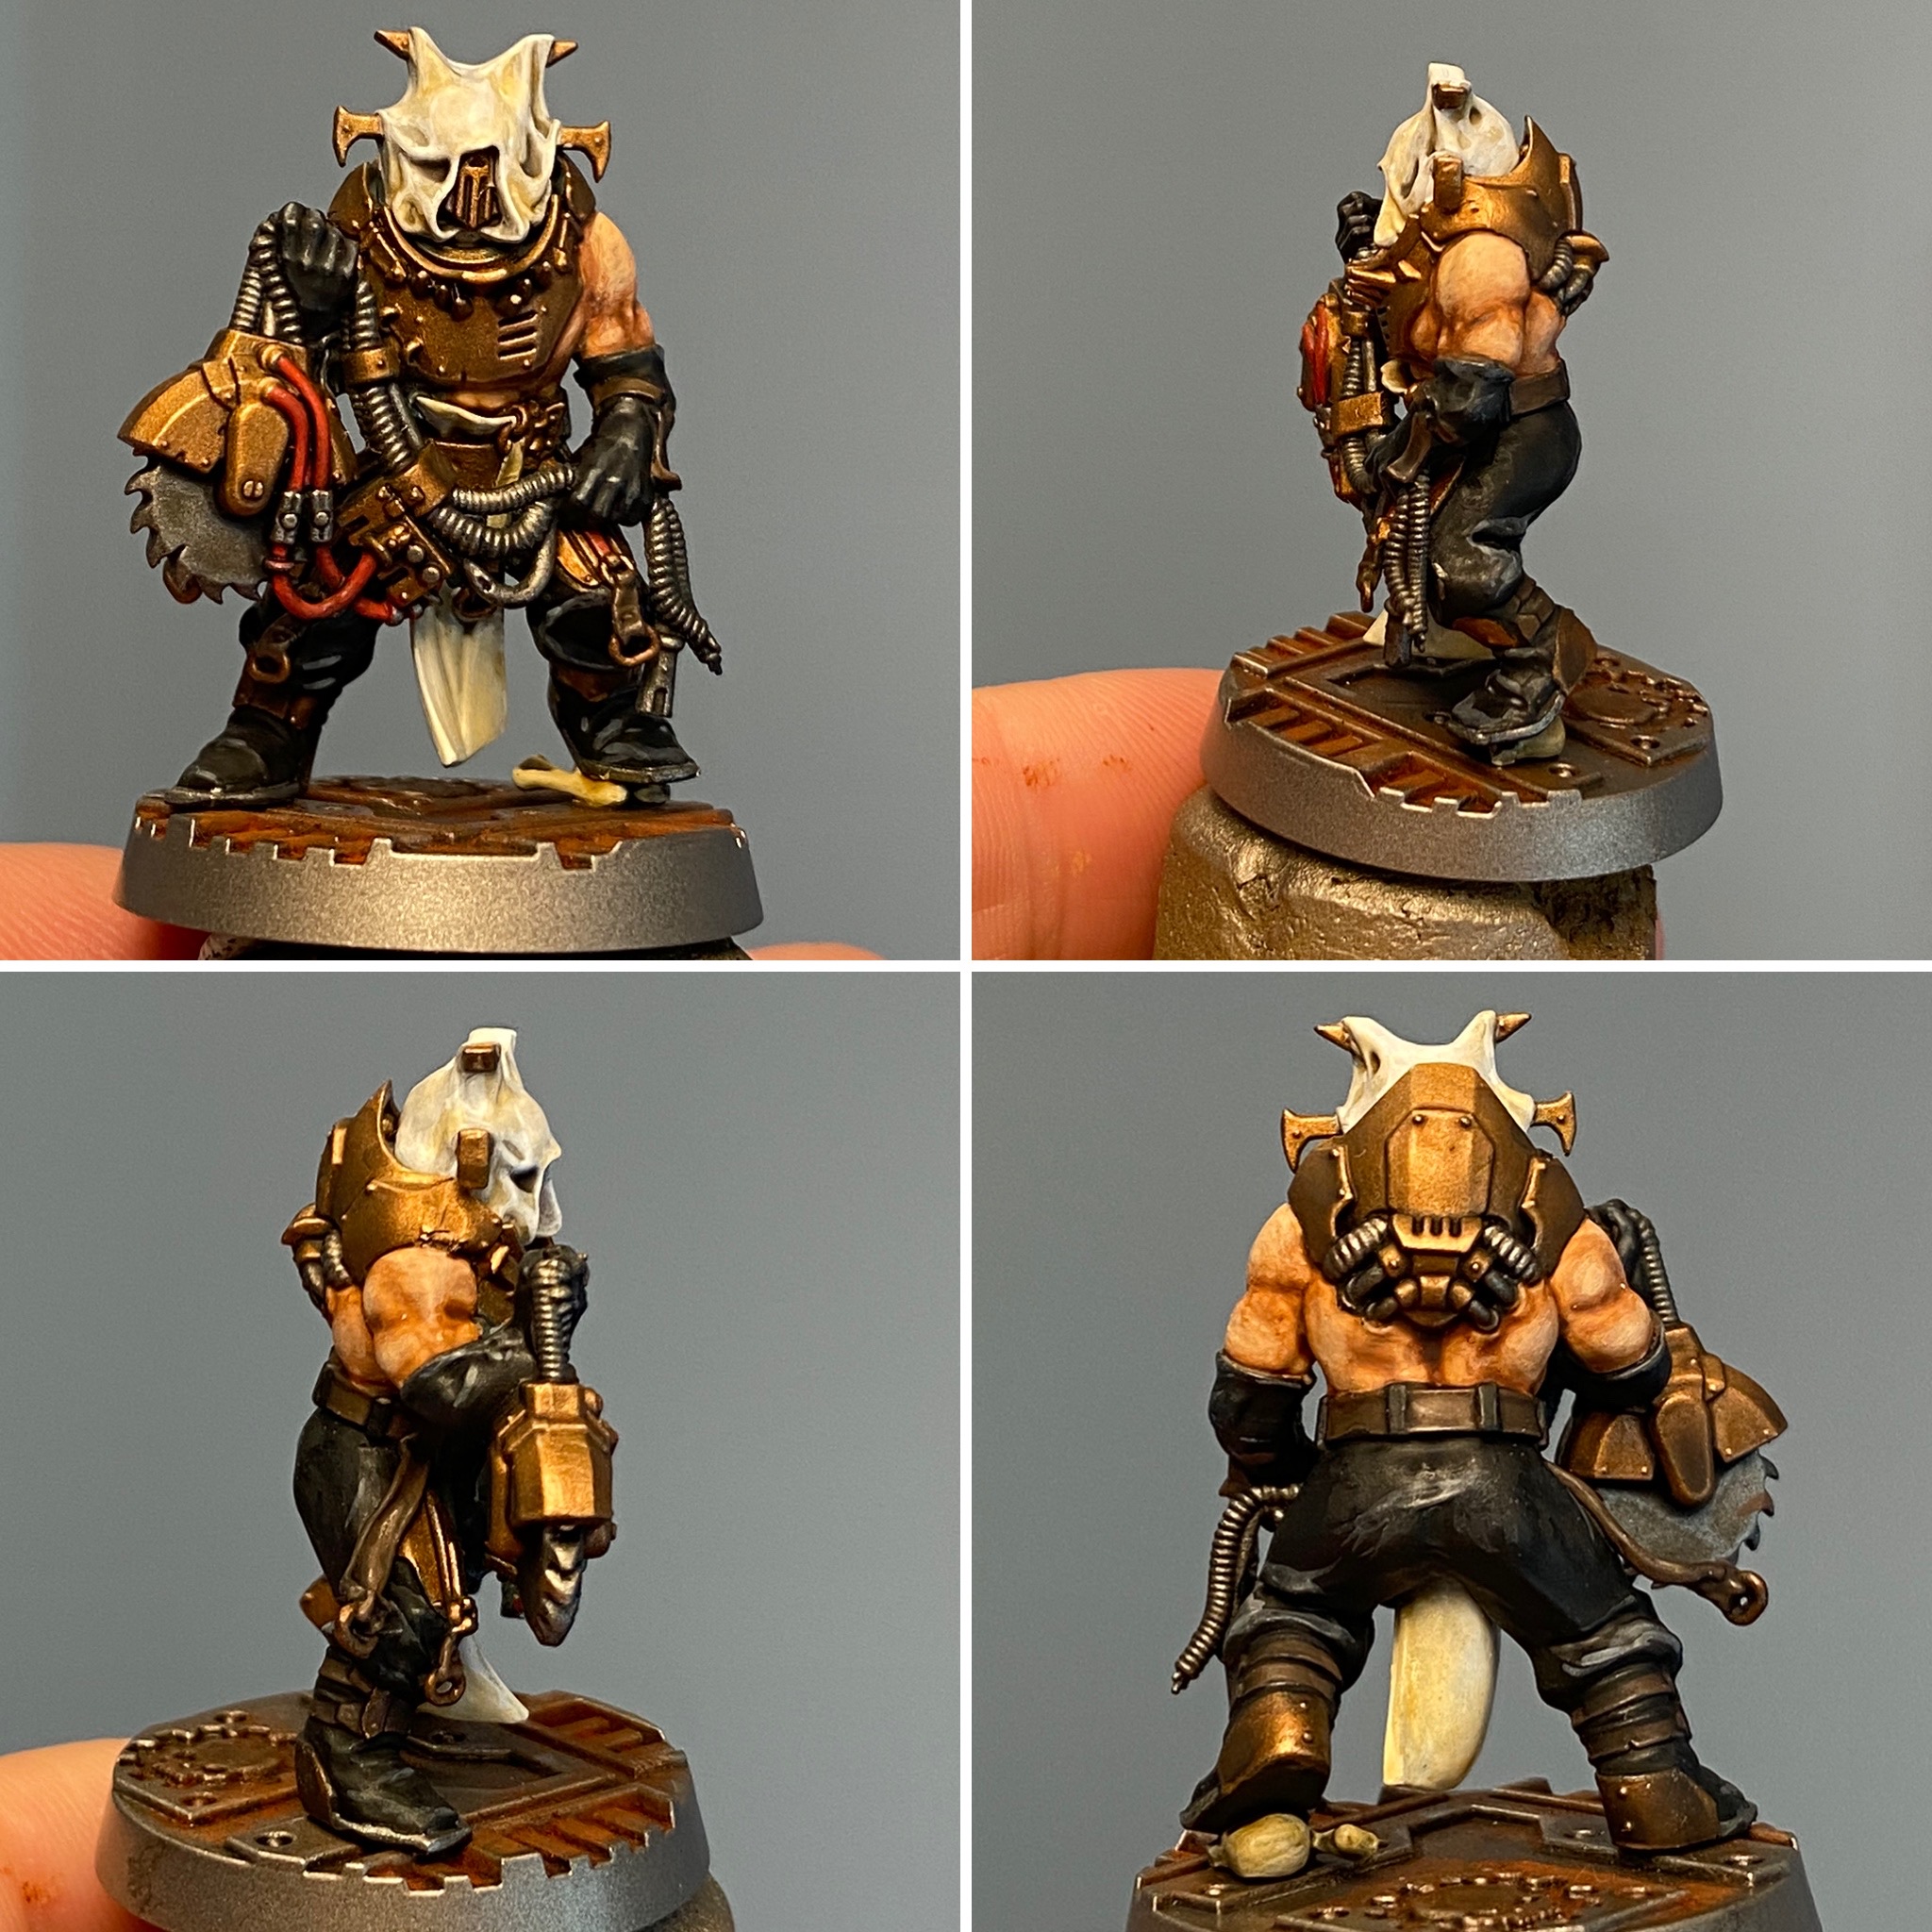
Corpse Grinder Cult Skin
The skin is nothing special, but the technique is quick and works really well with an extra bit of patience – for the blending steps.
- Kislev Flesh and white mix for a base layer – about a 60/40 mix.
- Wash with Reikland Fleshshade.
- Let it dry.
- Wash with Reikland Fleshshade – again.
- Let it dry – again.
That forms for the base, and the guys should look sunburnt as hell. The next stage needs to be done one area at a time when the paint is wet, and the paint should not be drying on the model. The steps below are repeated to blend and fade the colours.
- Use thinned-down Kislev Flesh on the raised muscles to blend and highlight into the Reikland Fleshshade.
- Then use thinned-down Kislev Flesh as an 80/20 mix with white to do the same, highlight and blend.
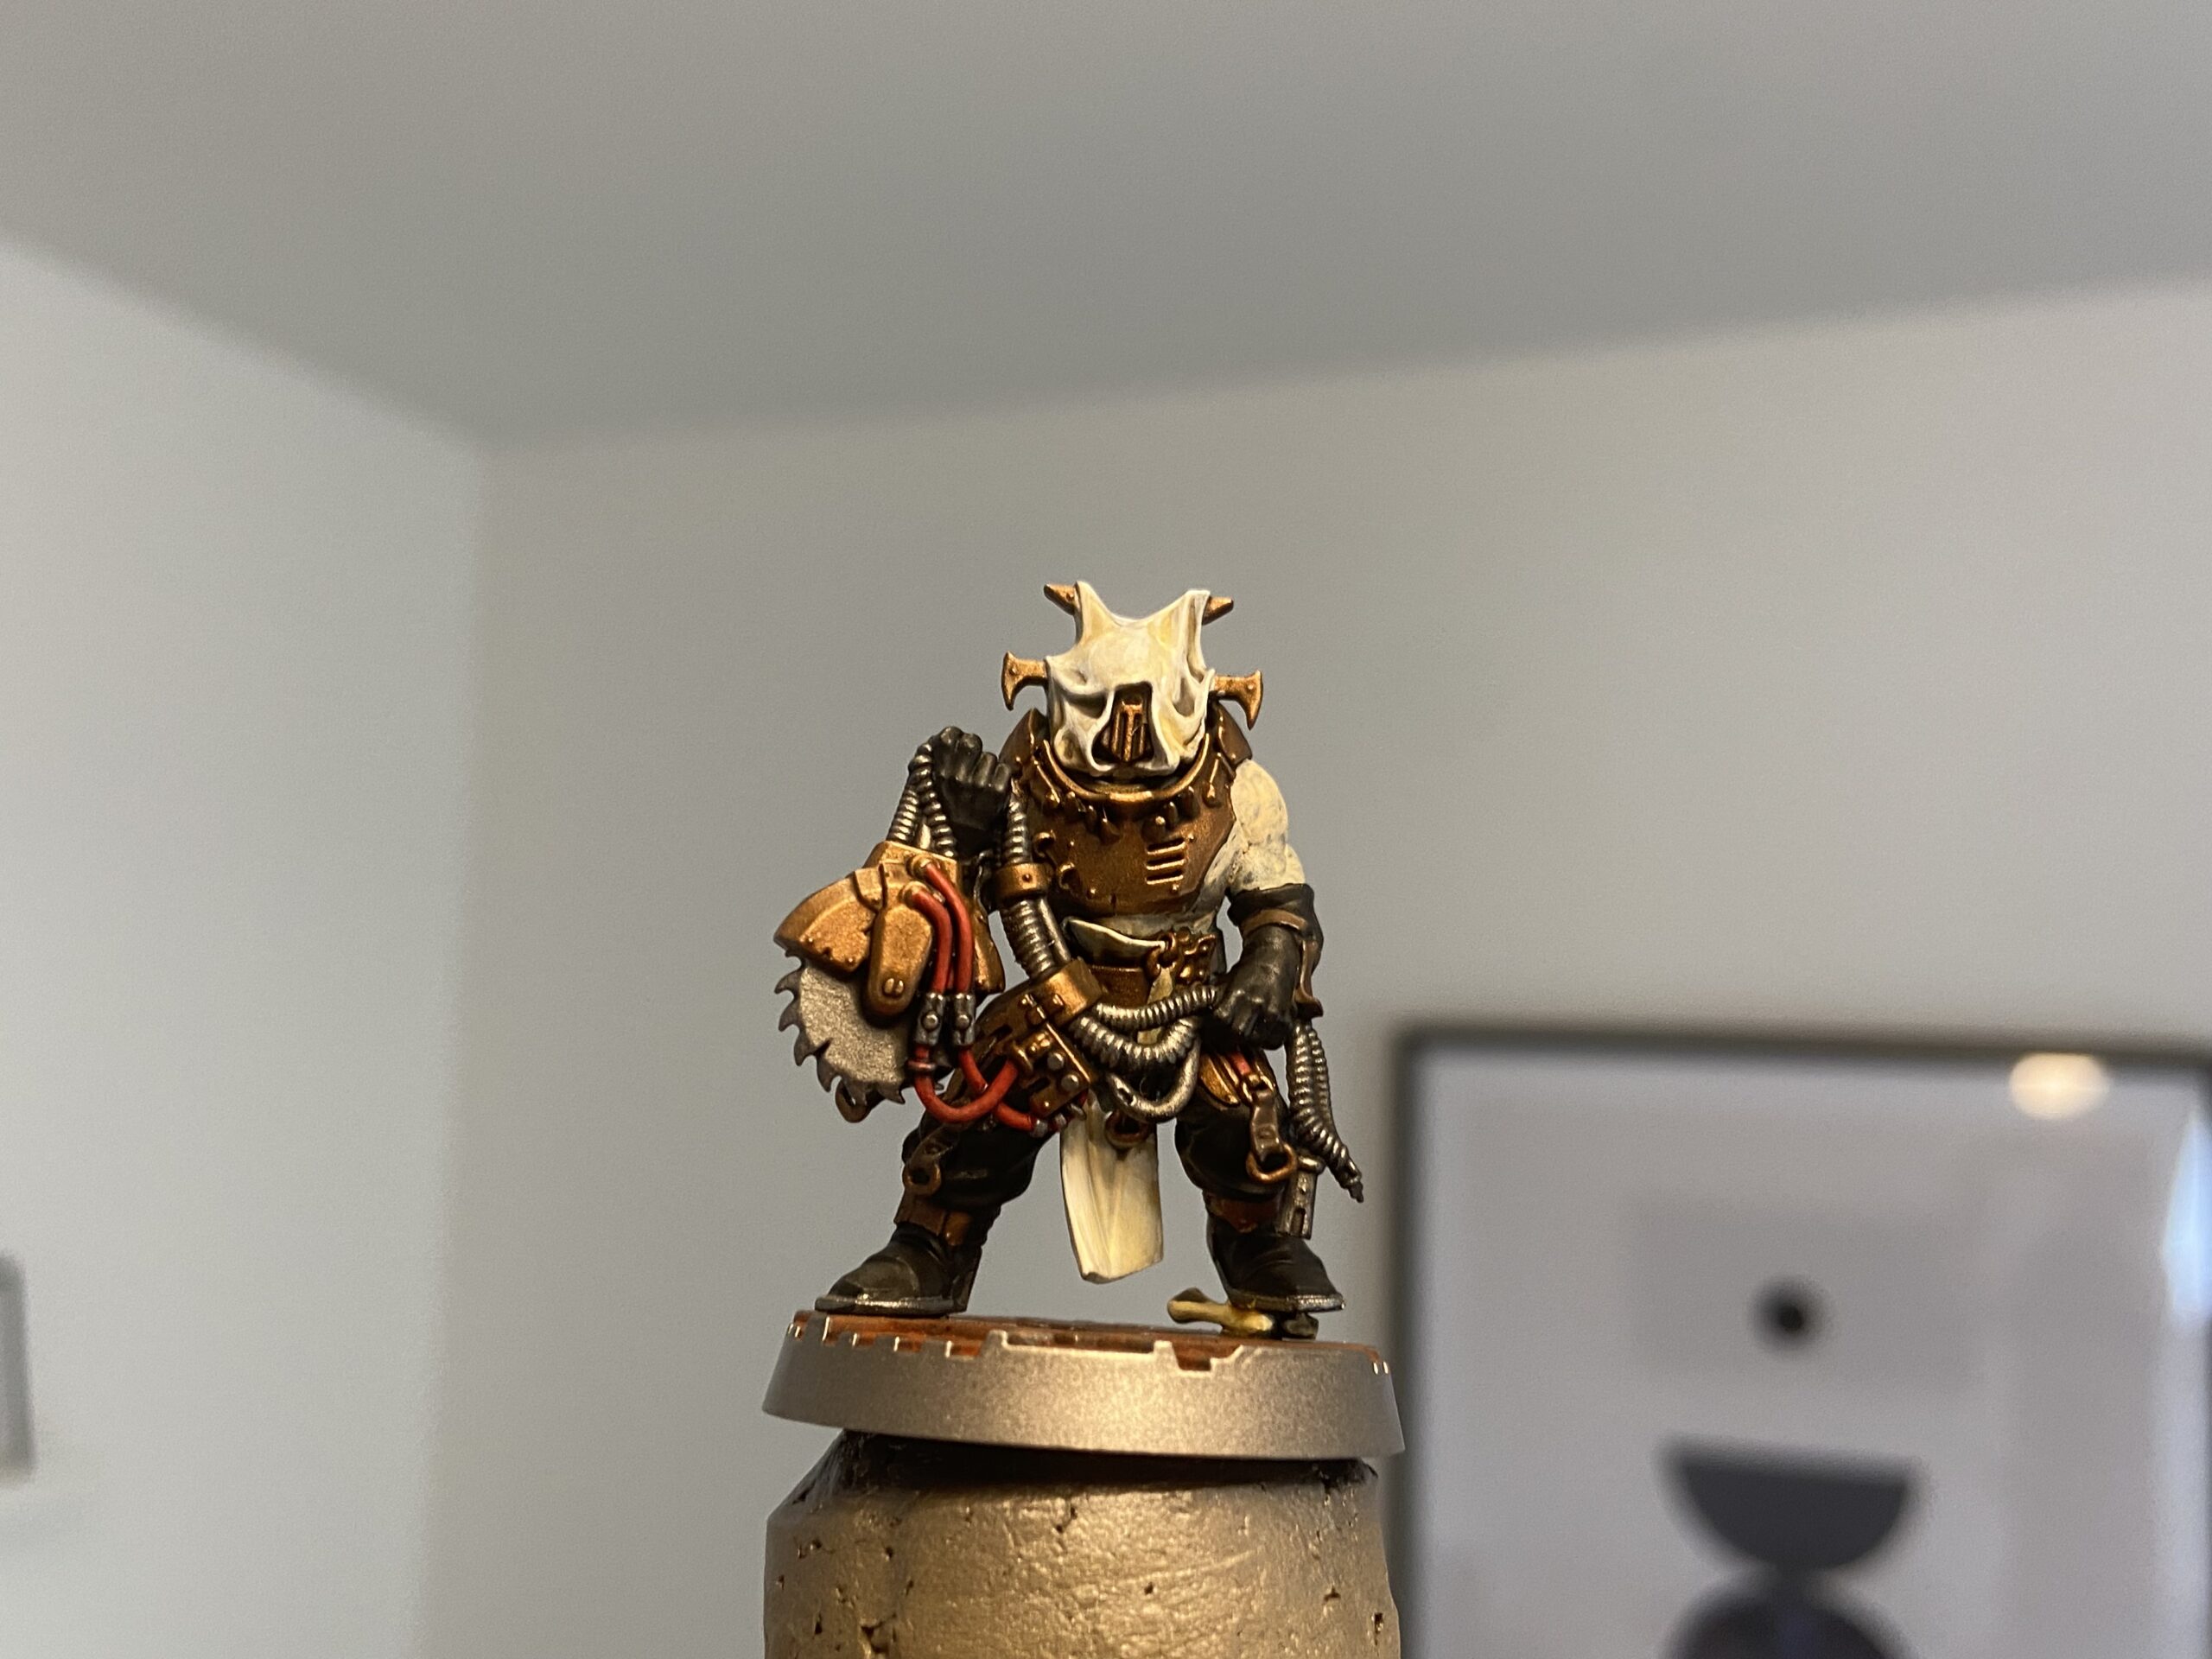
I use Vallejo Game Colour White – it is so nice to use. I highly recommend it. I used the same white on their aprons and skull mask/helmets with a Seraphim Sepia Wash.

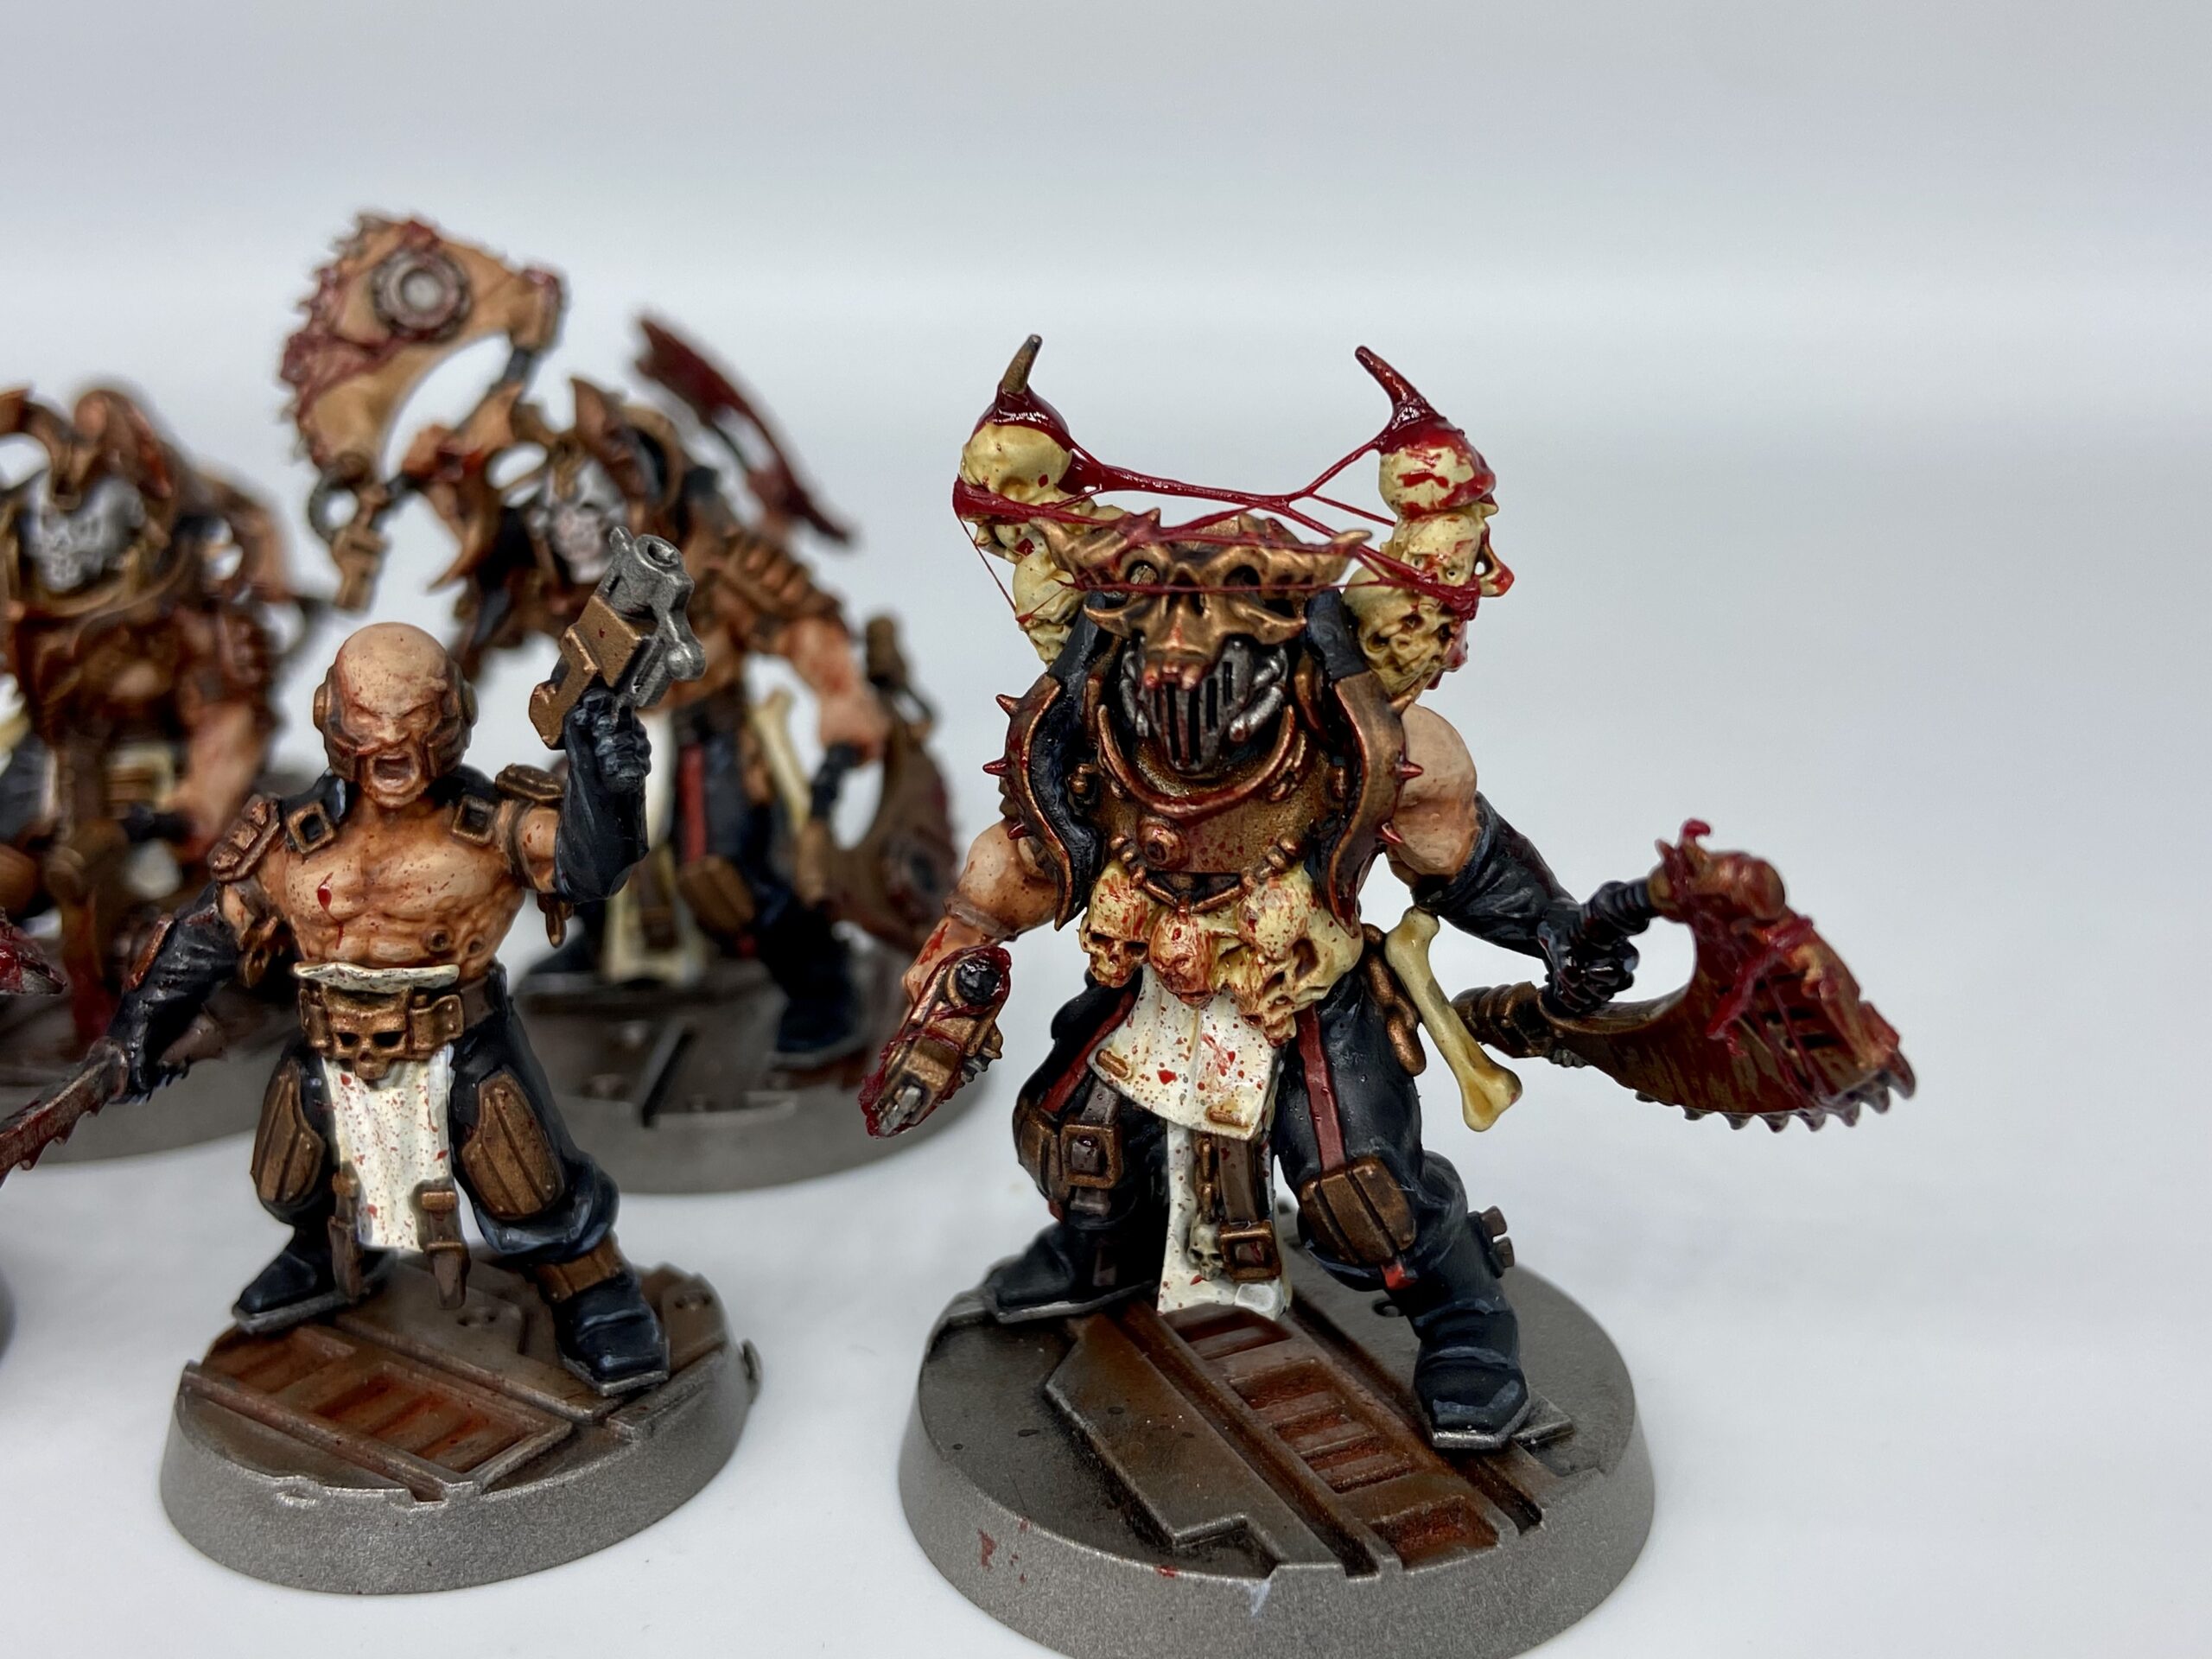
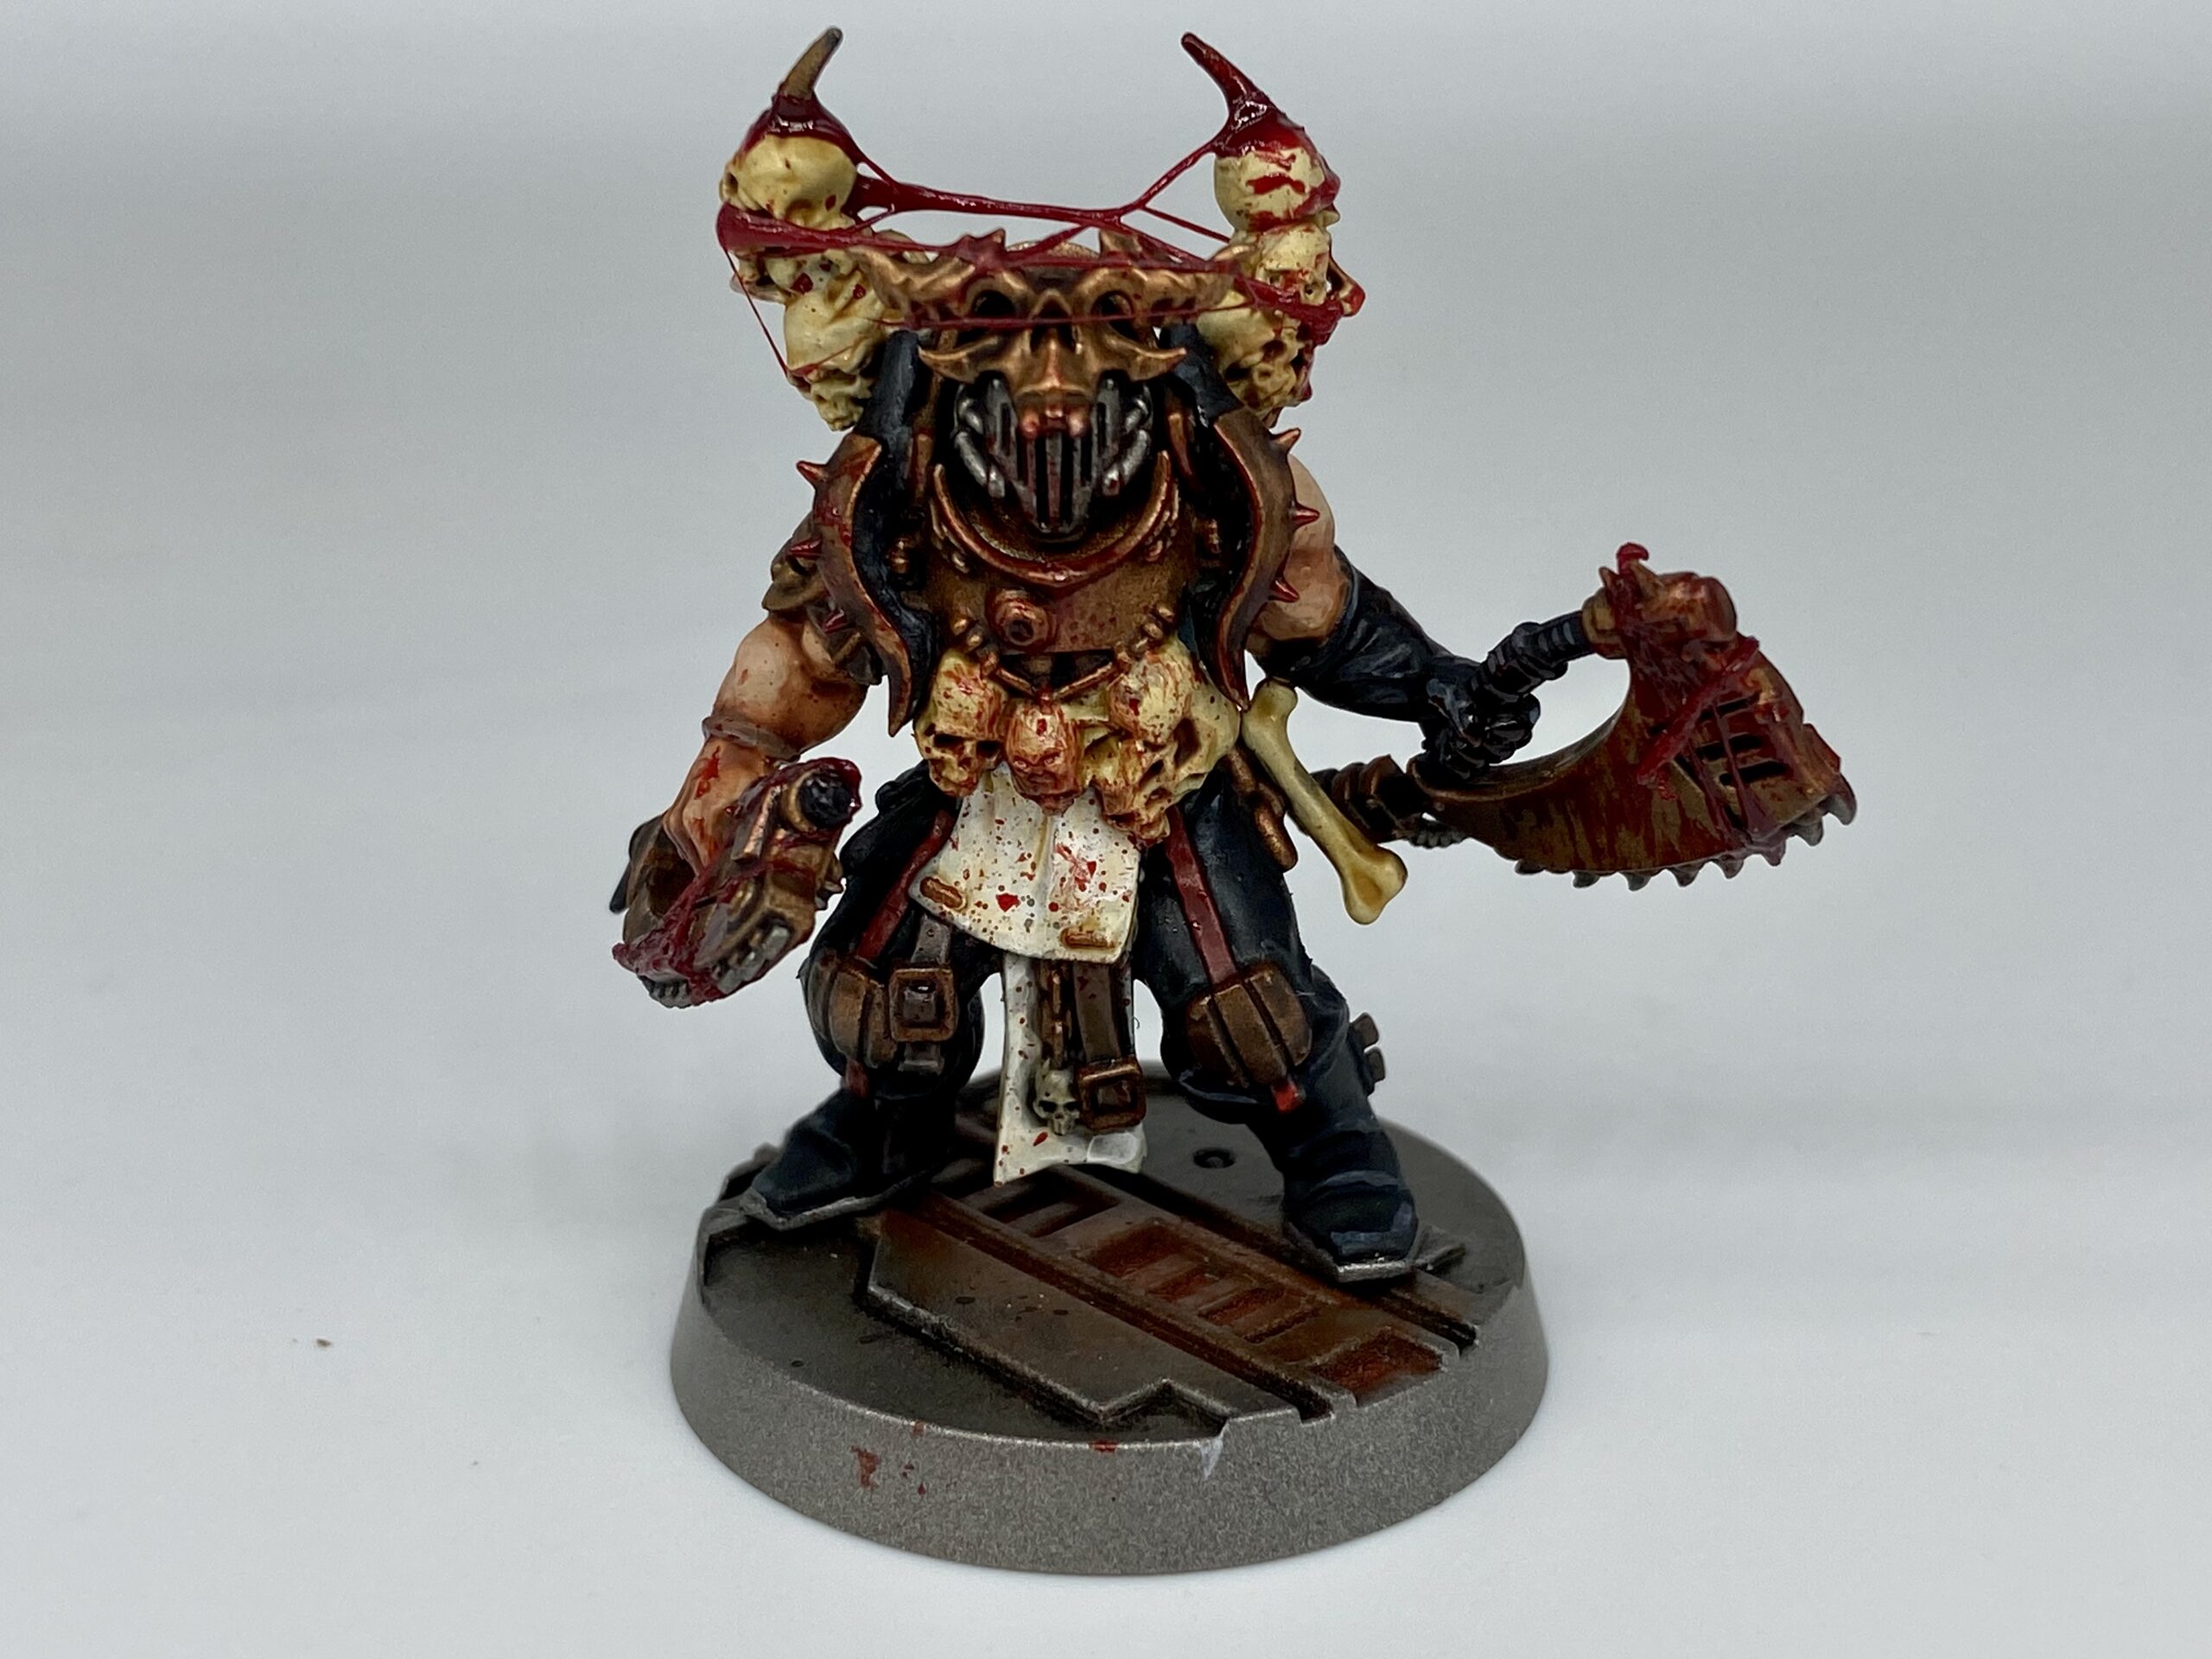
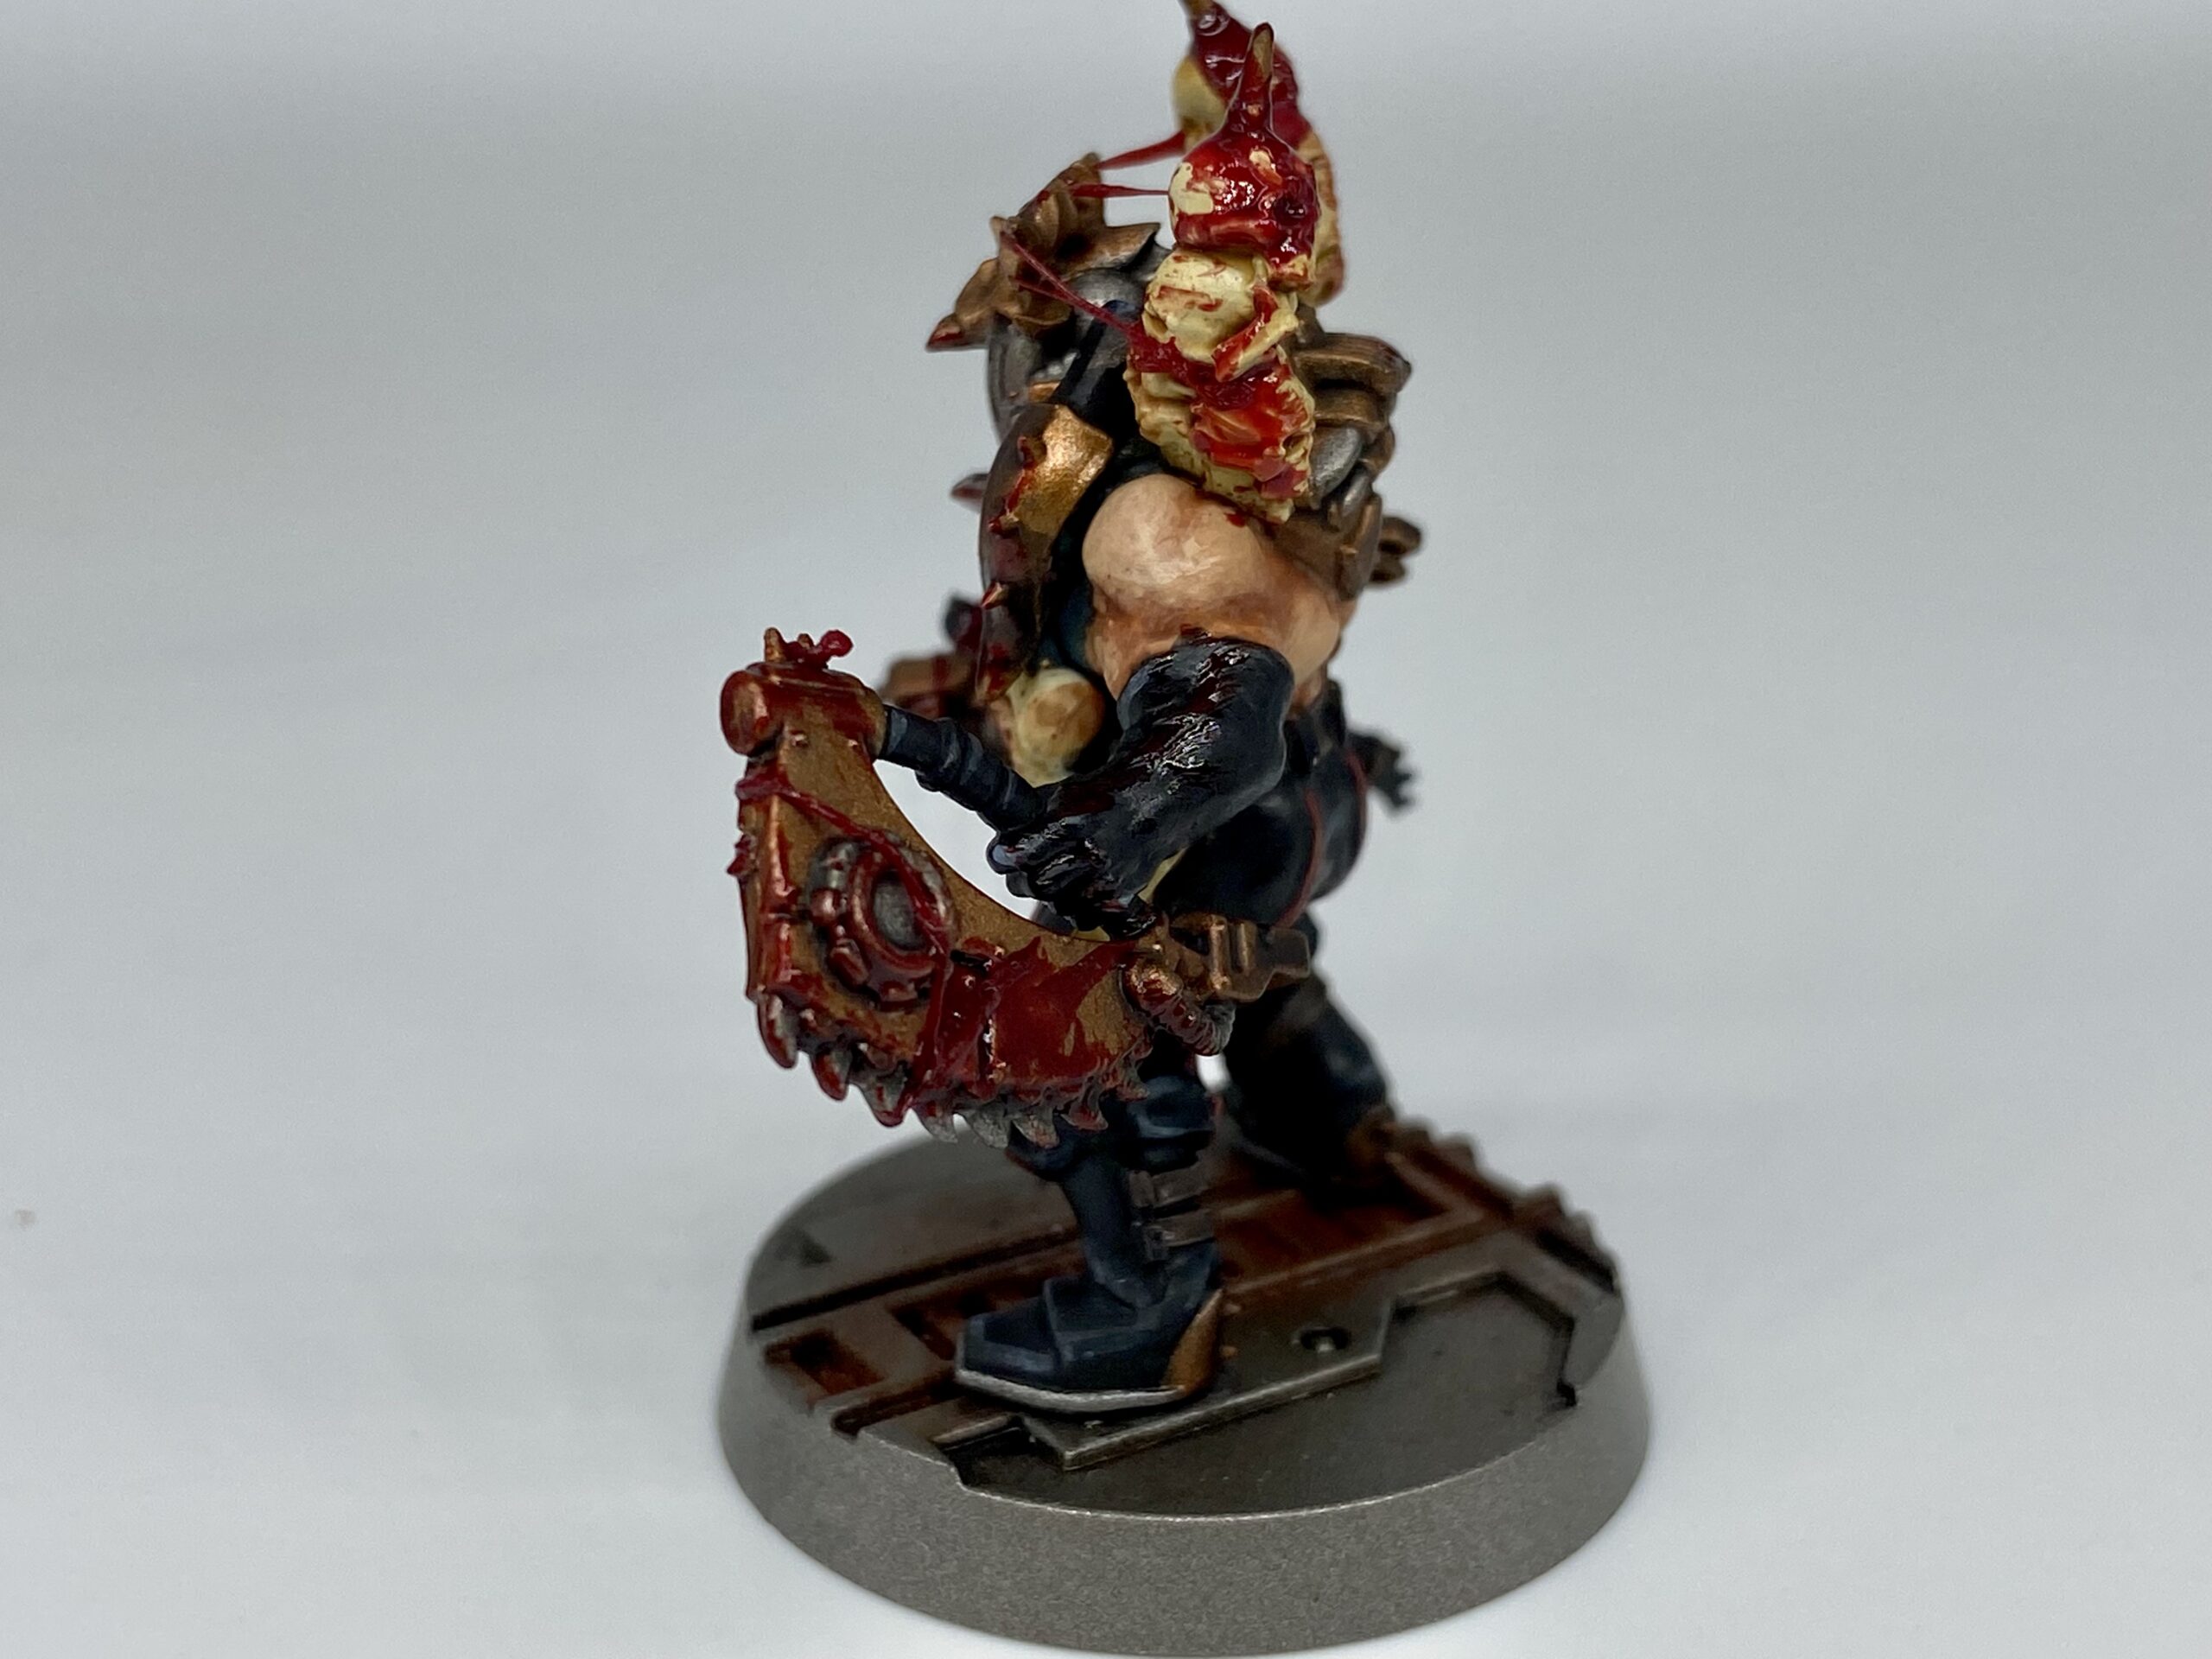
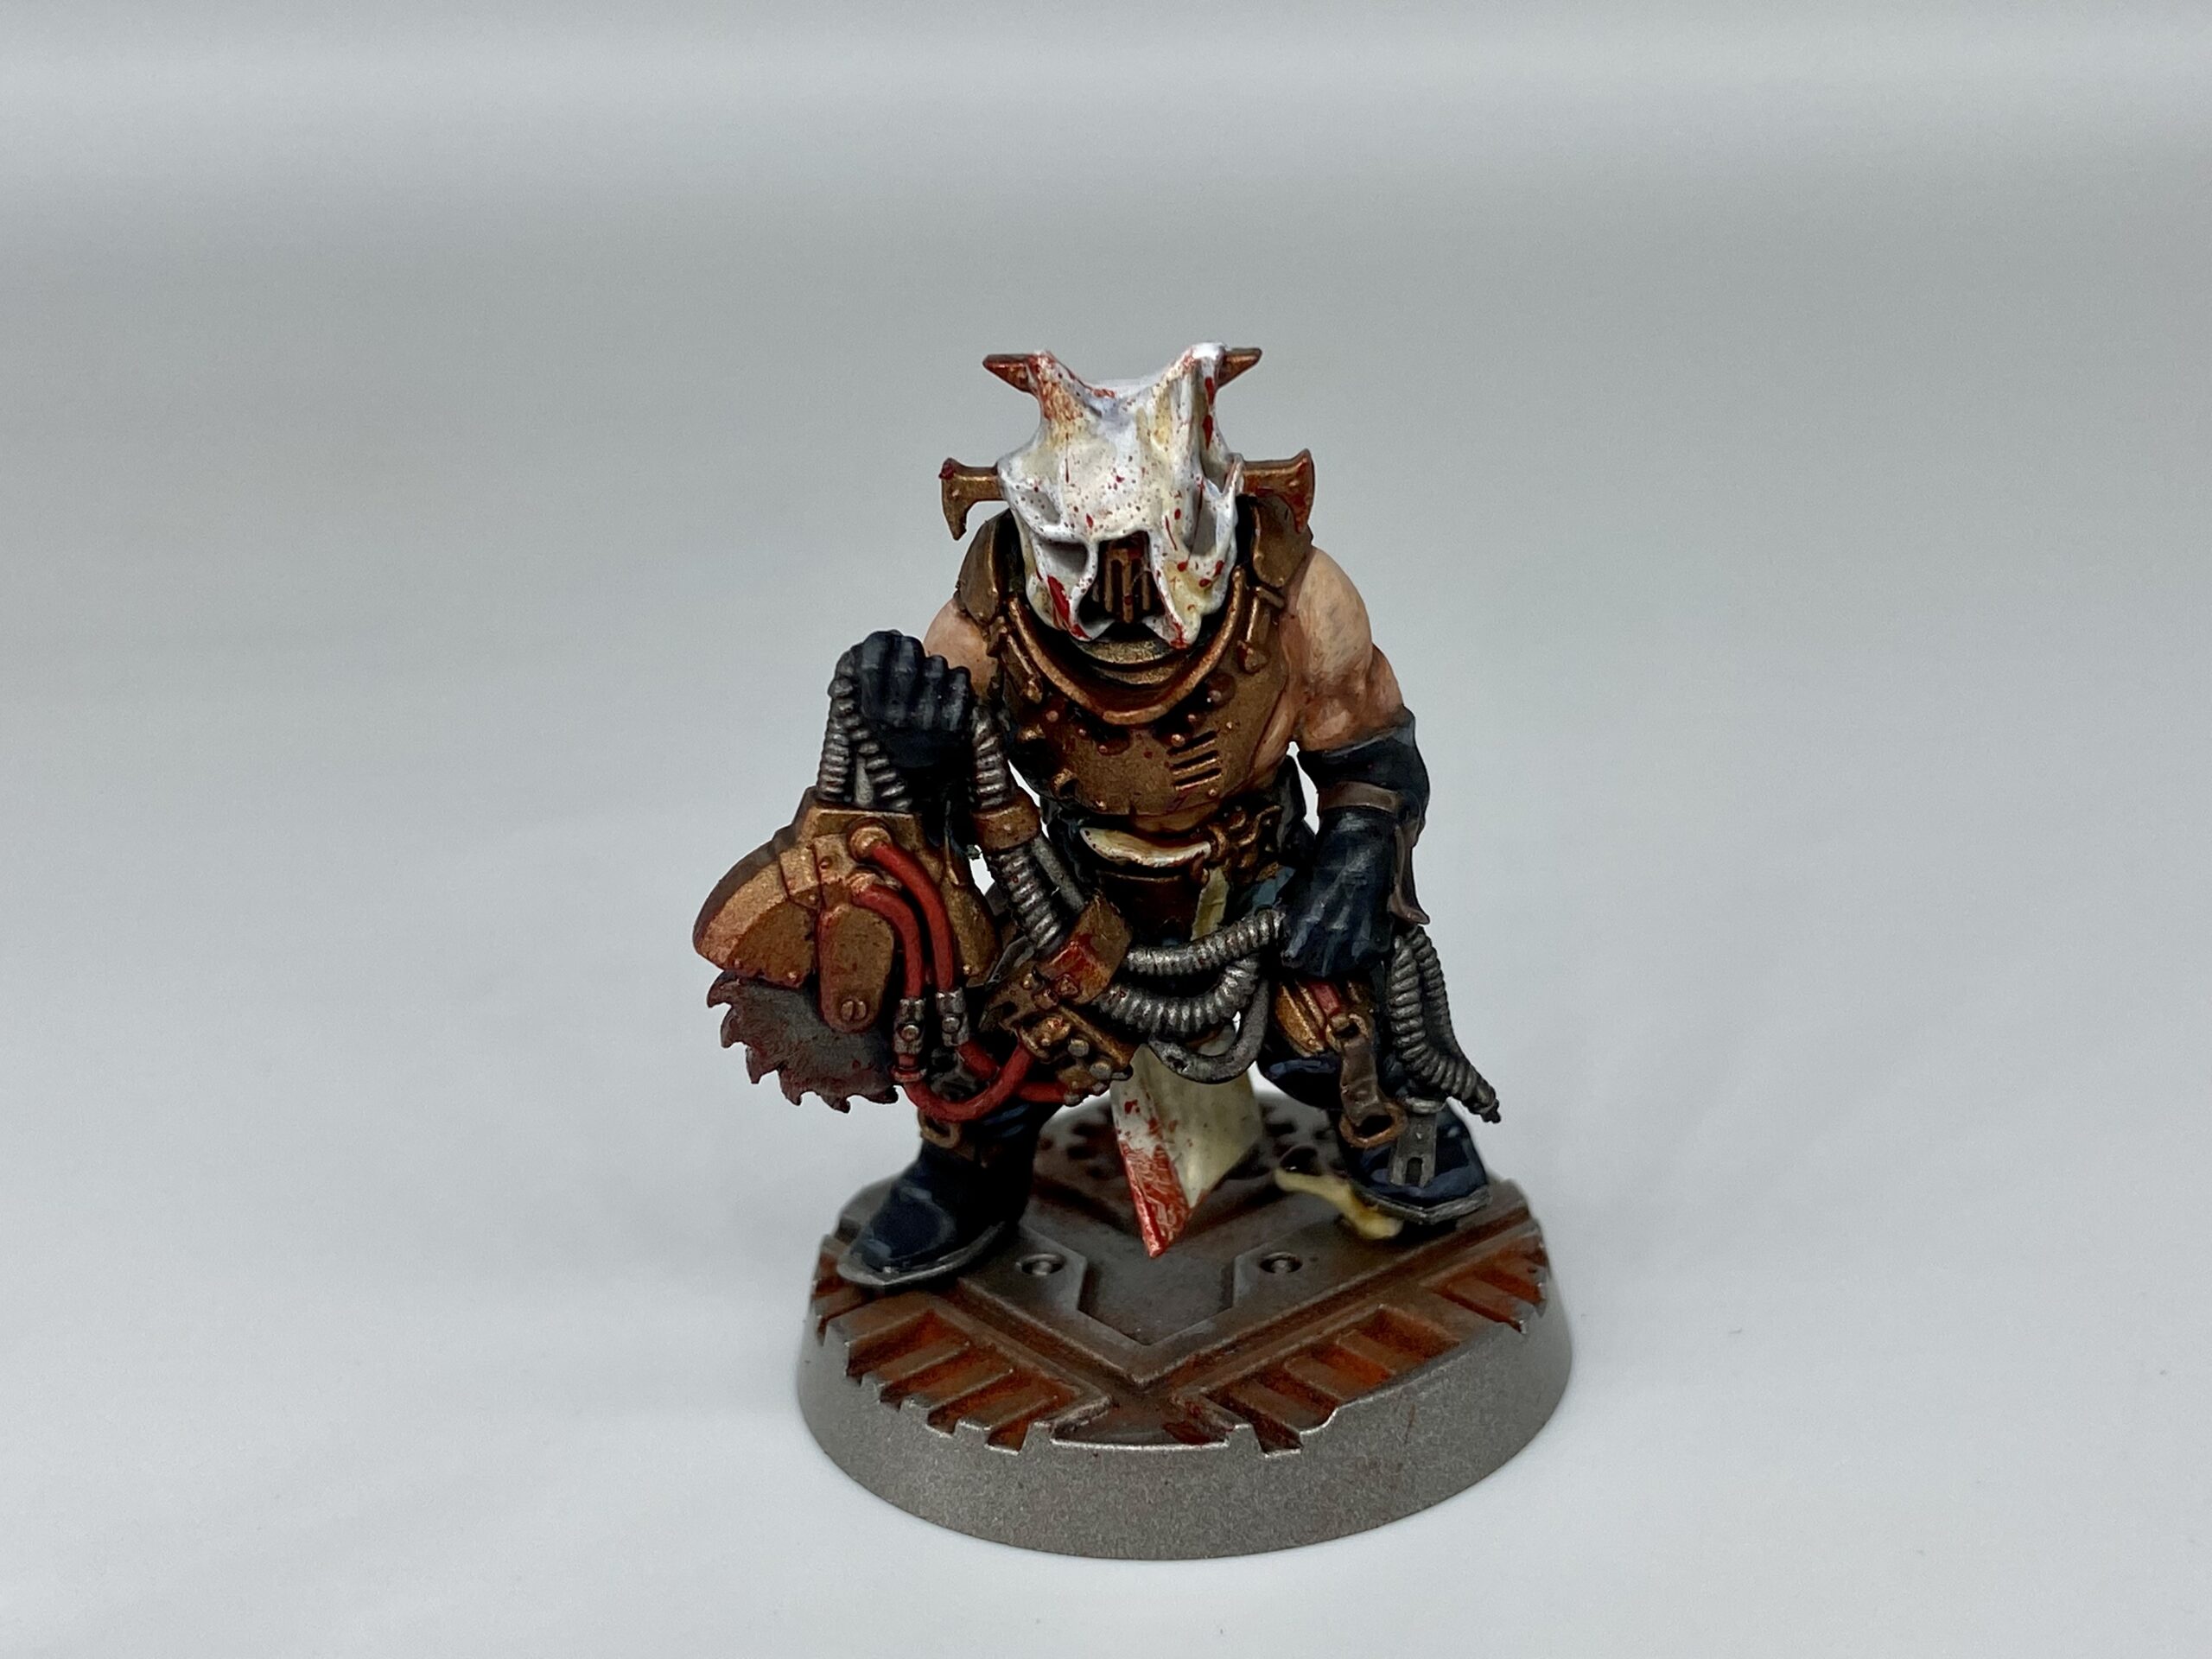
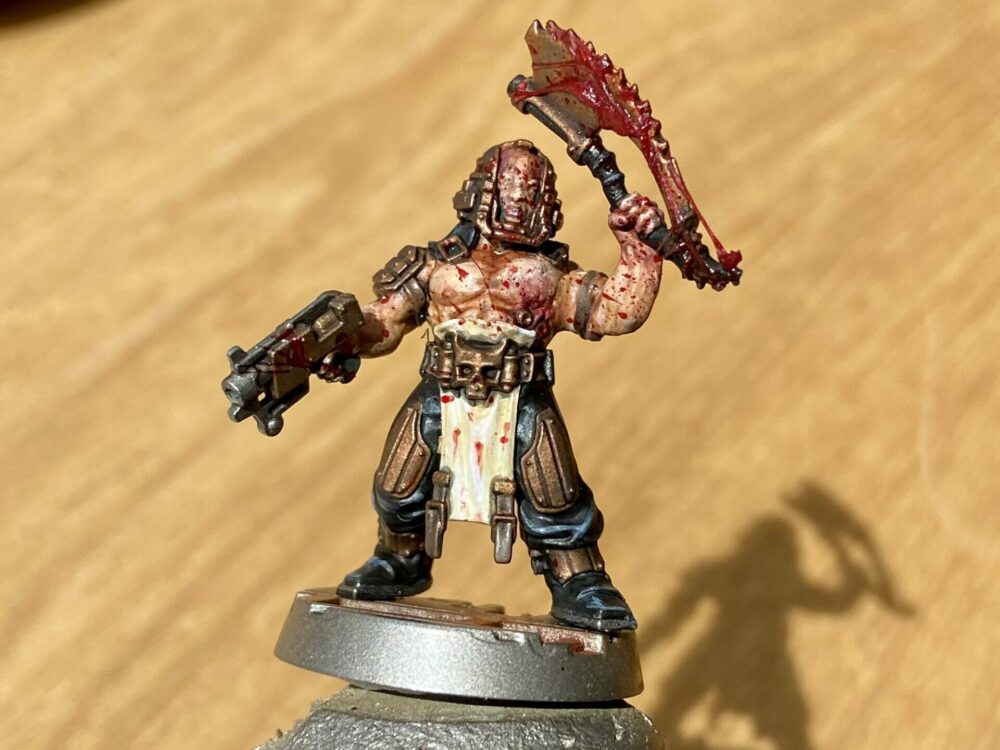
Blood Effects
This was just the UKU Glue and Blood for the Blood God combo – to make the stringy bits.
The fine blood was done with a toothbrush flick. This guy I did first and went overboard on, I think… the others are more subtle. I hope!
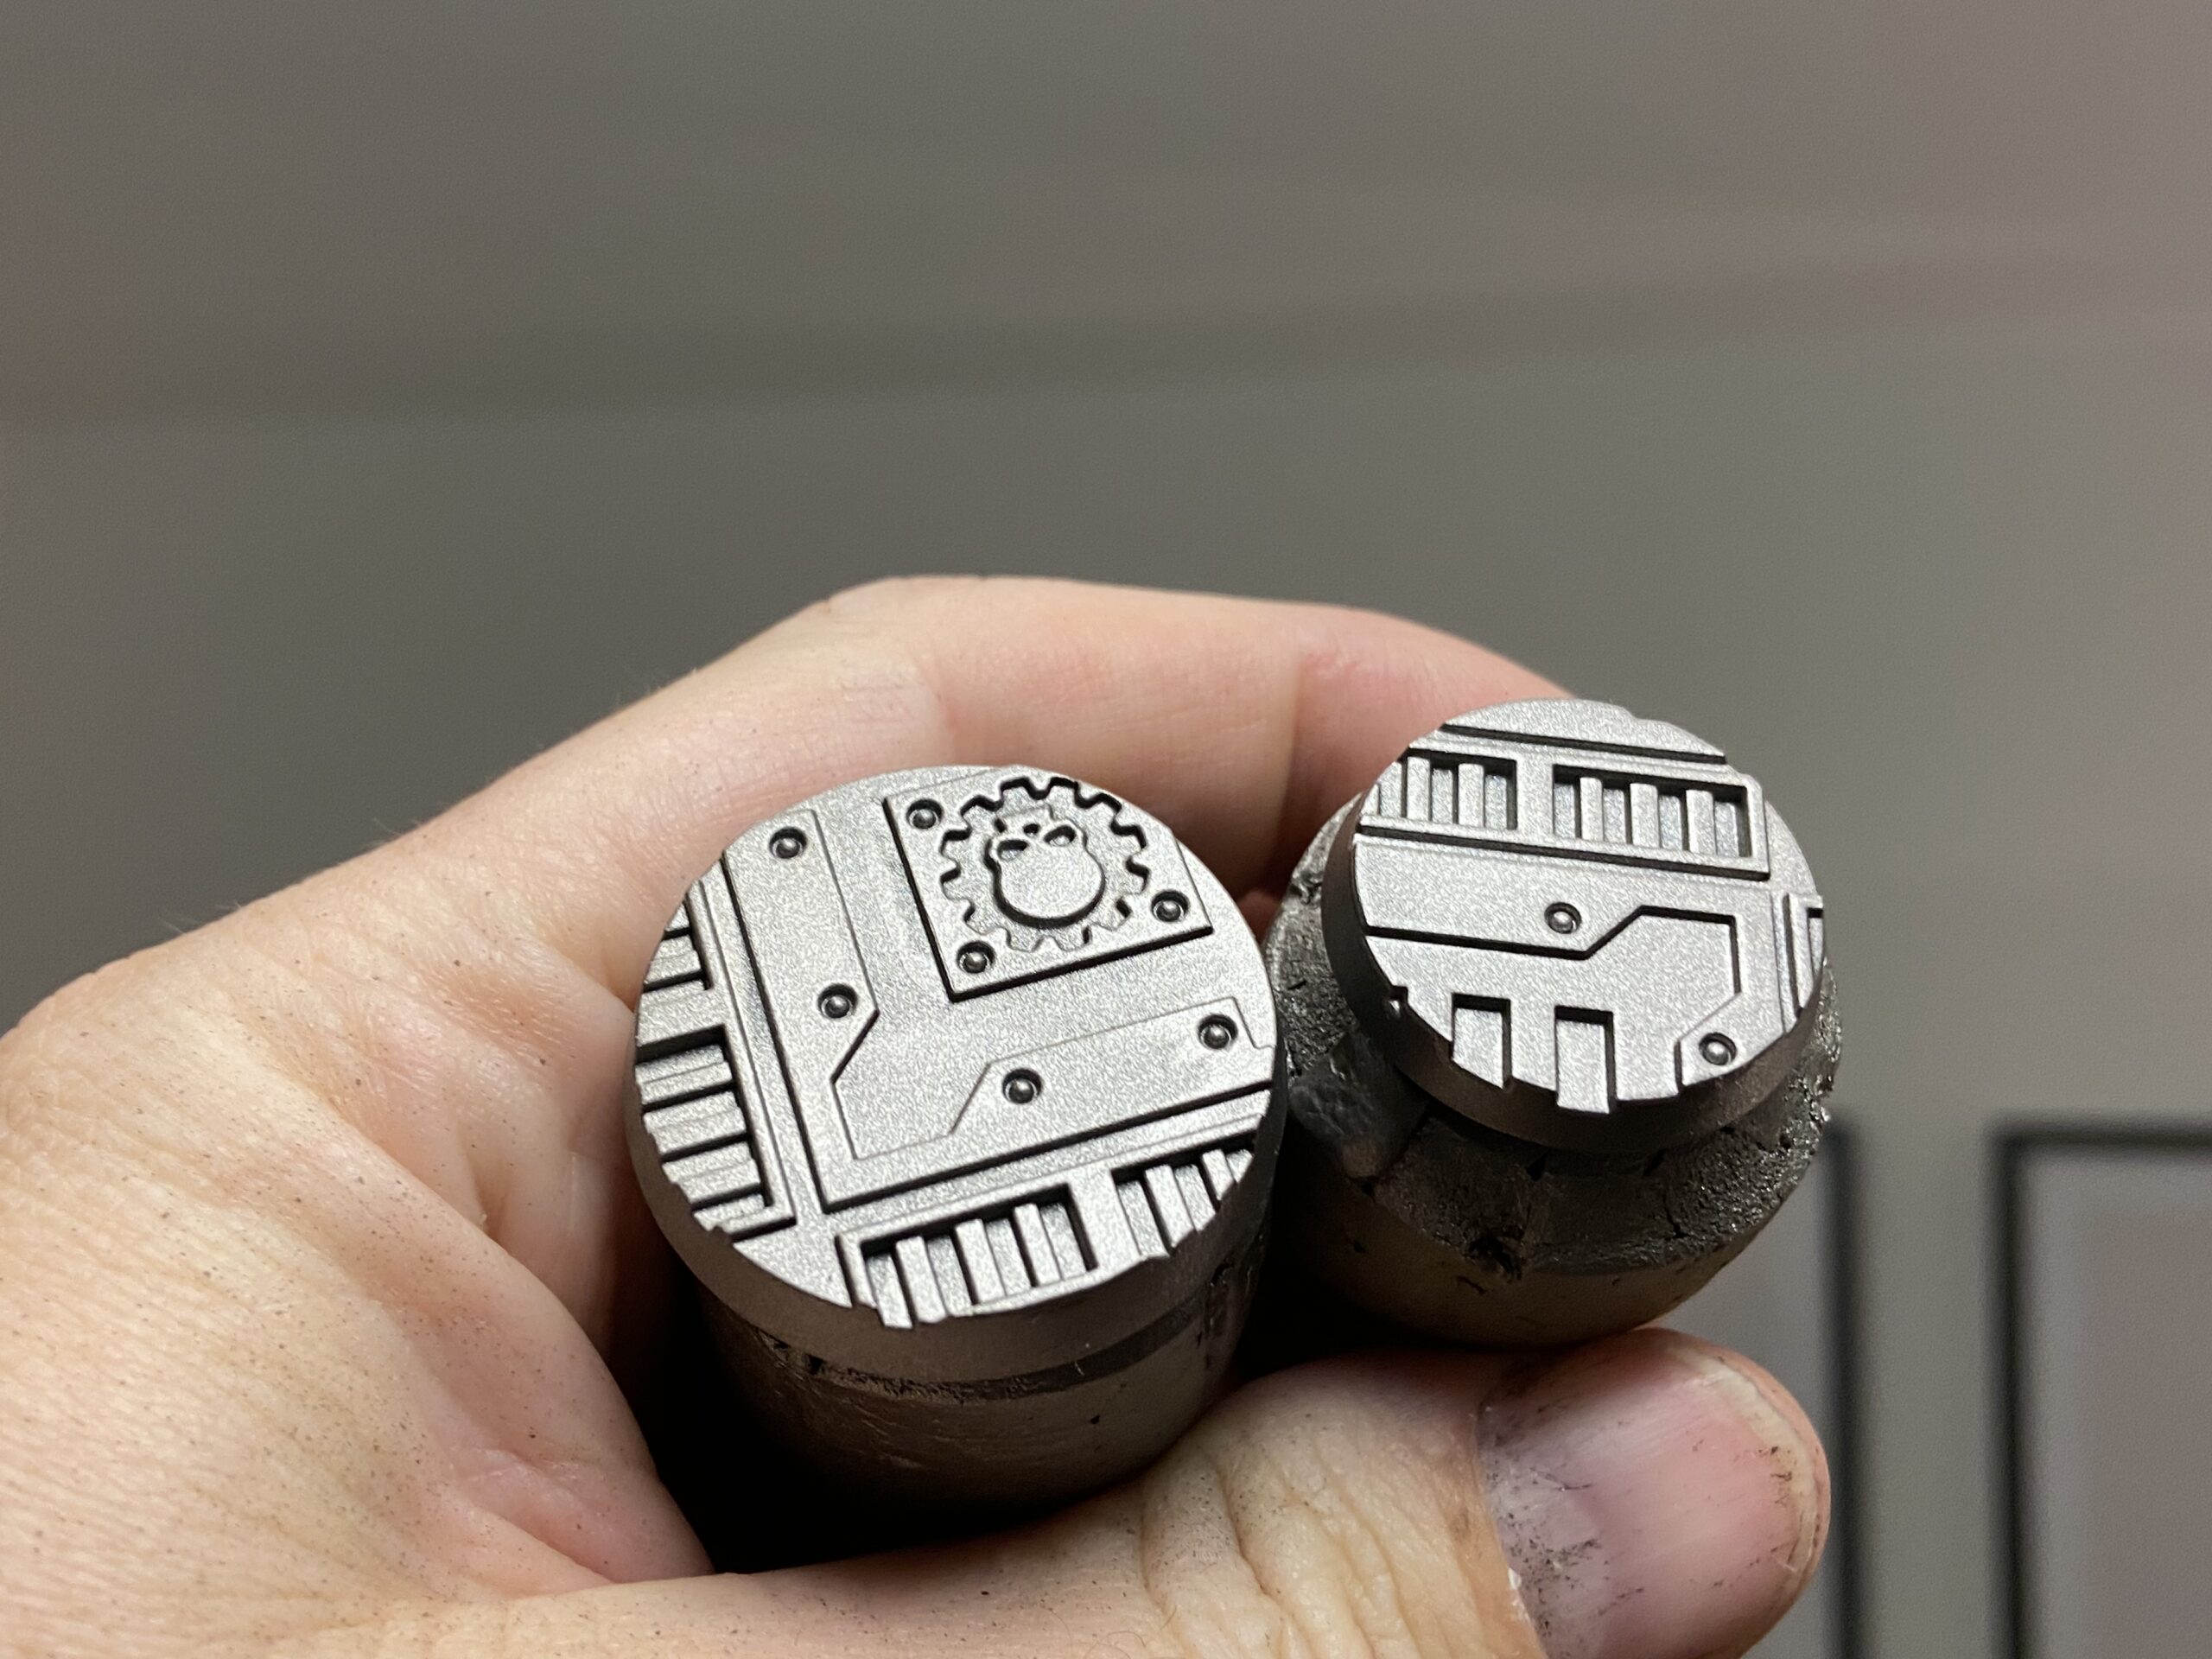
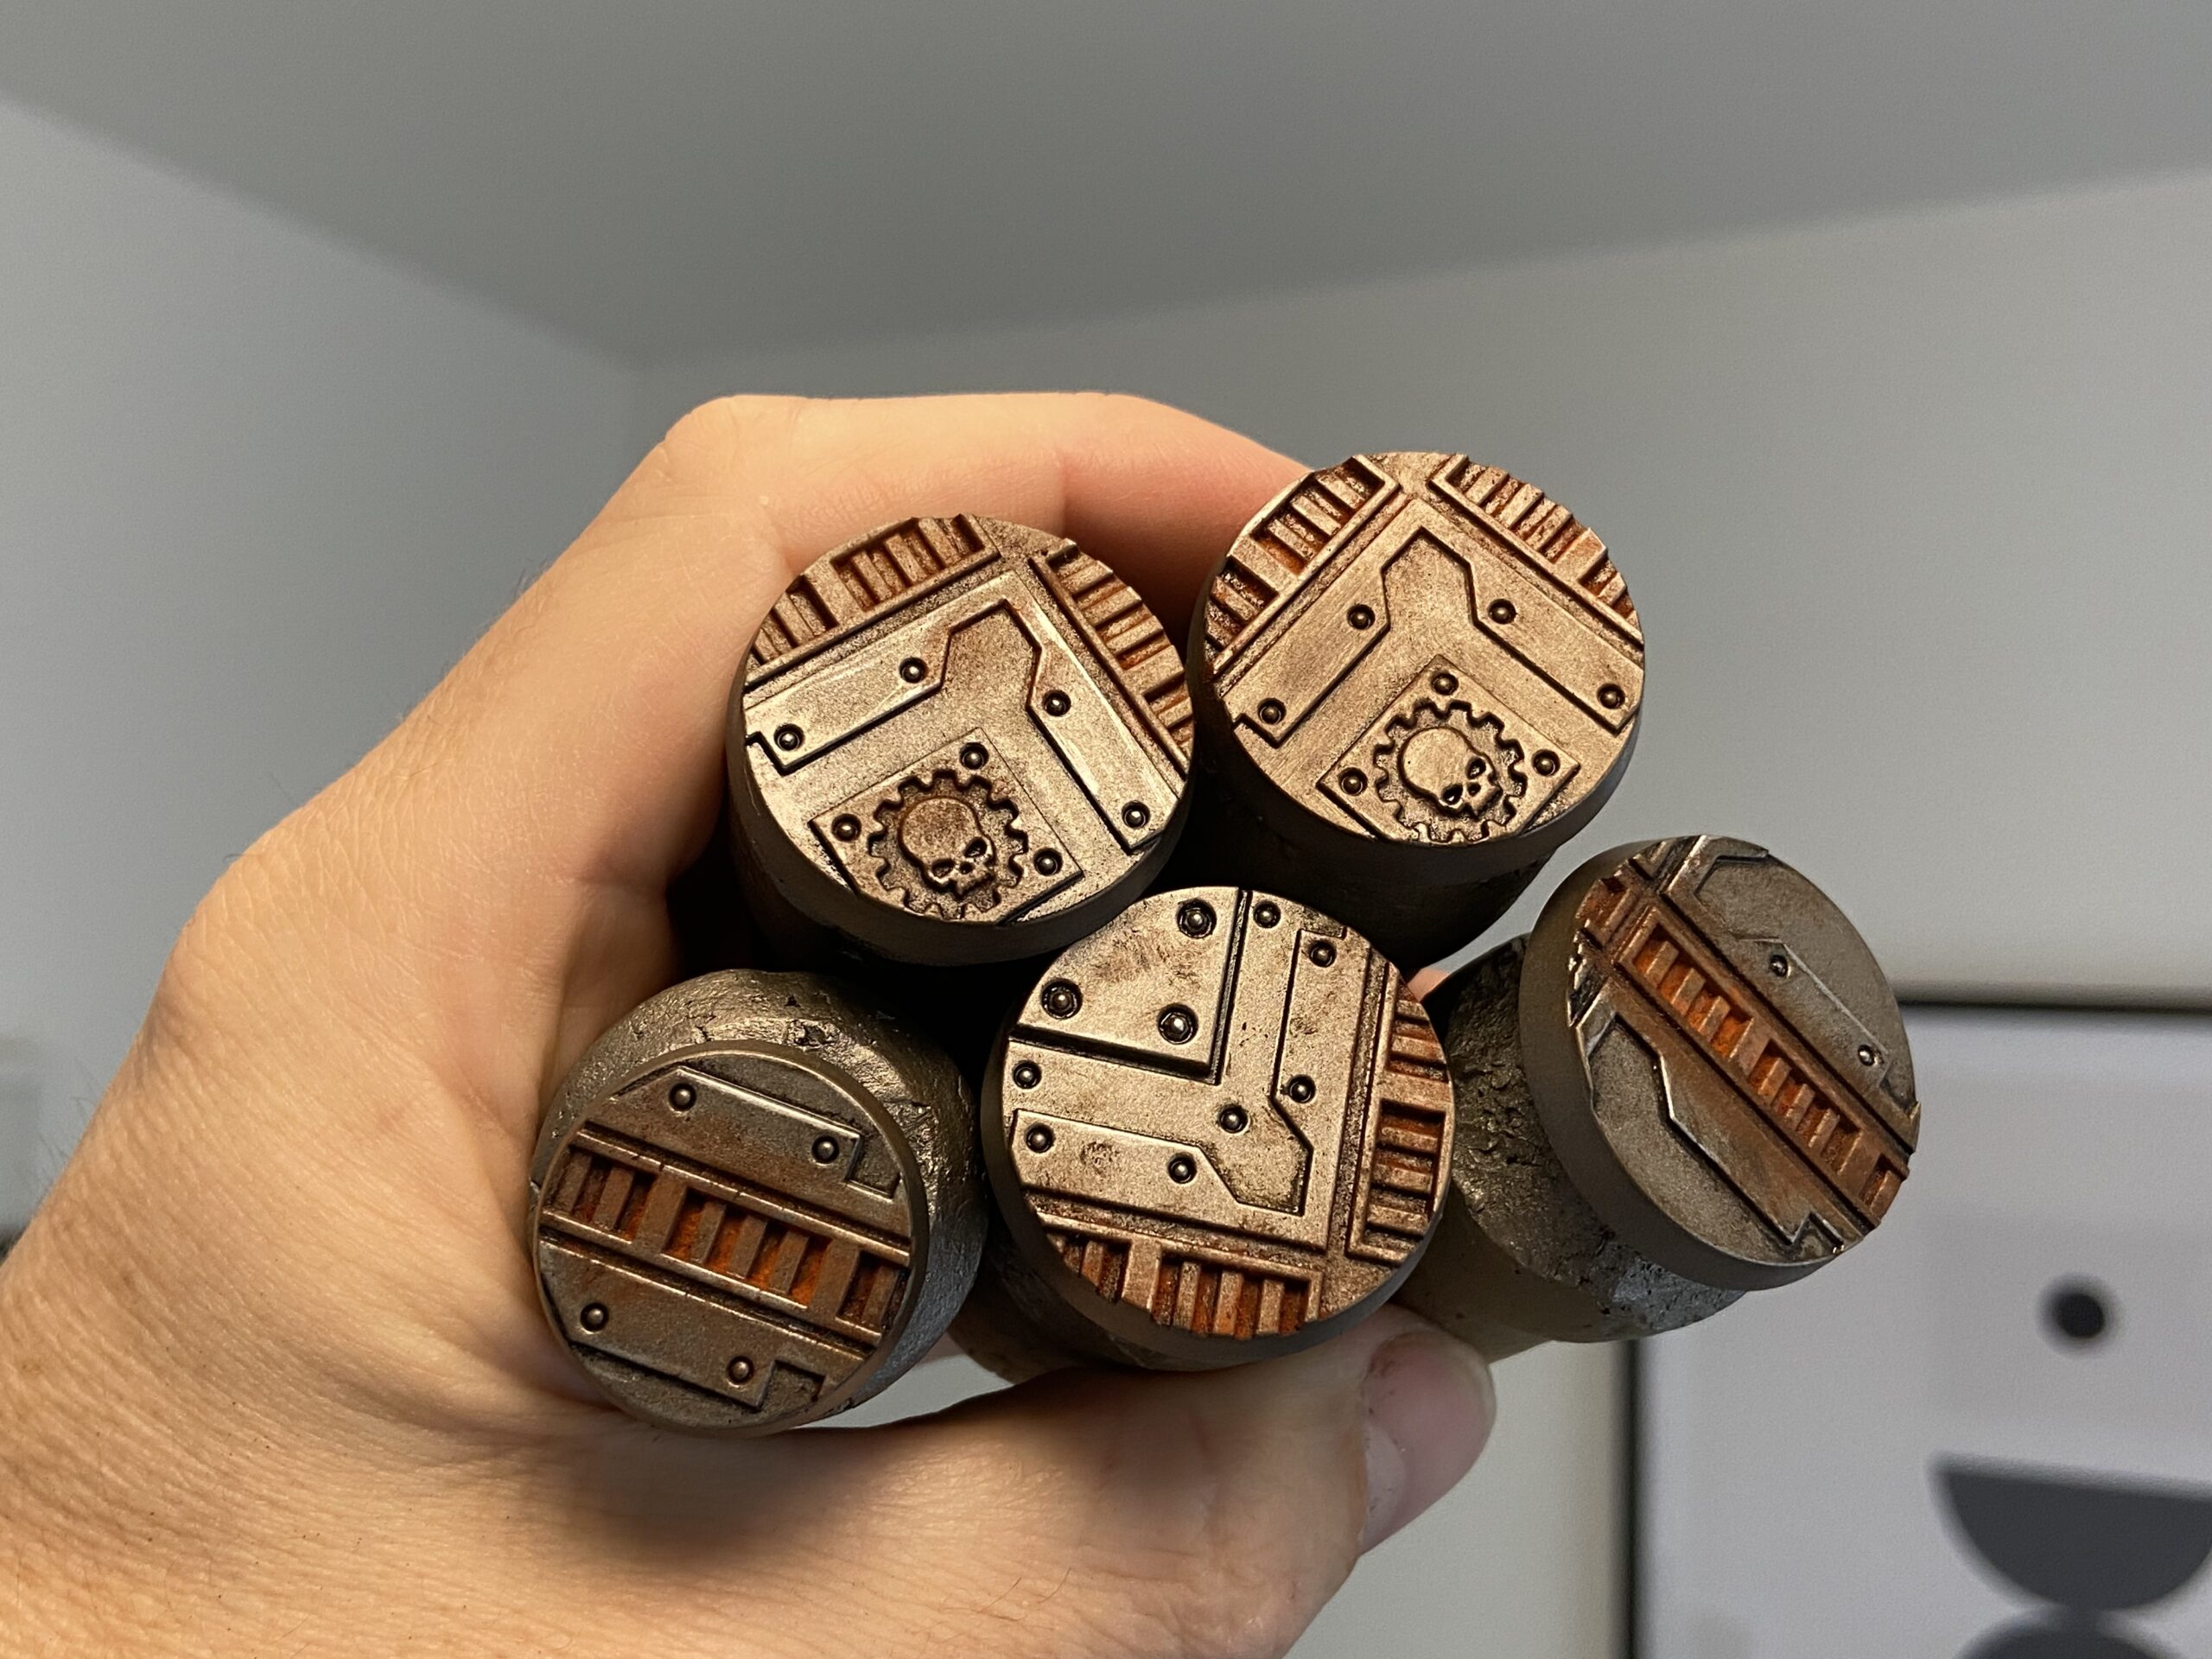
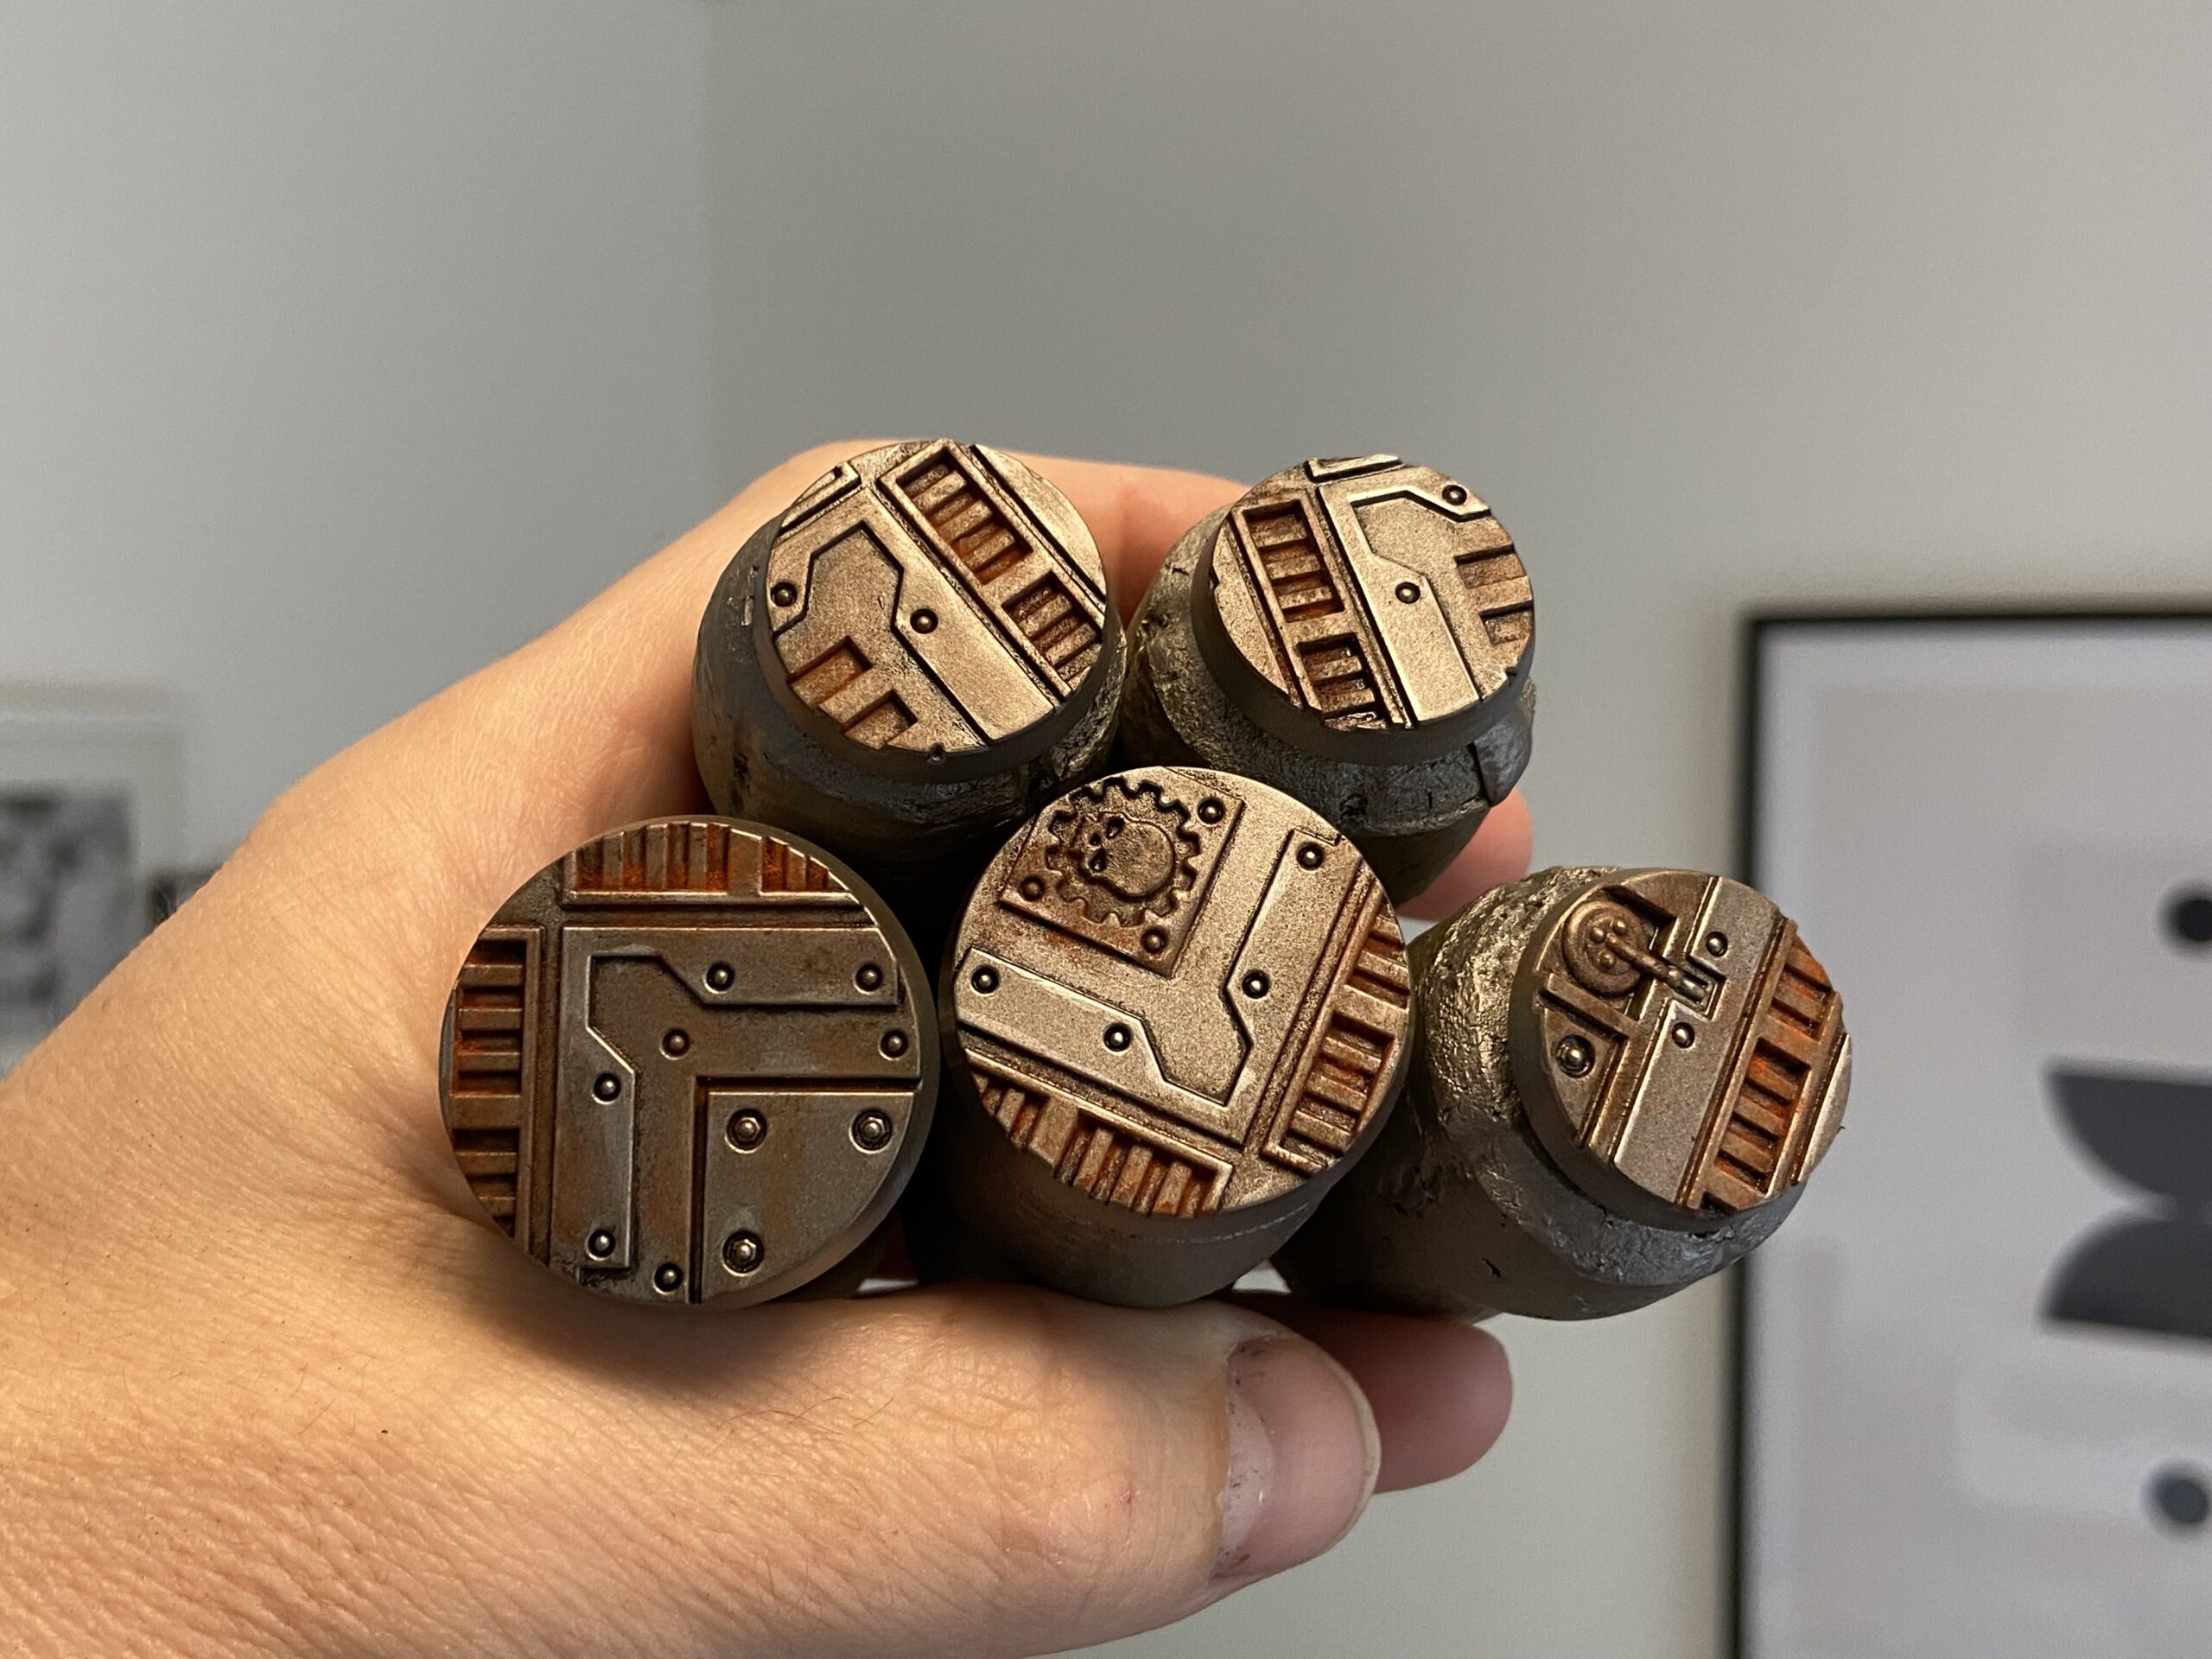
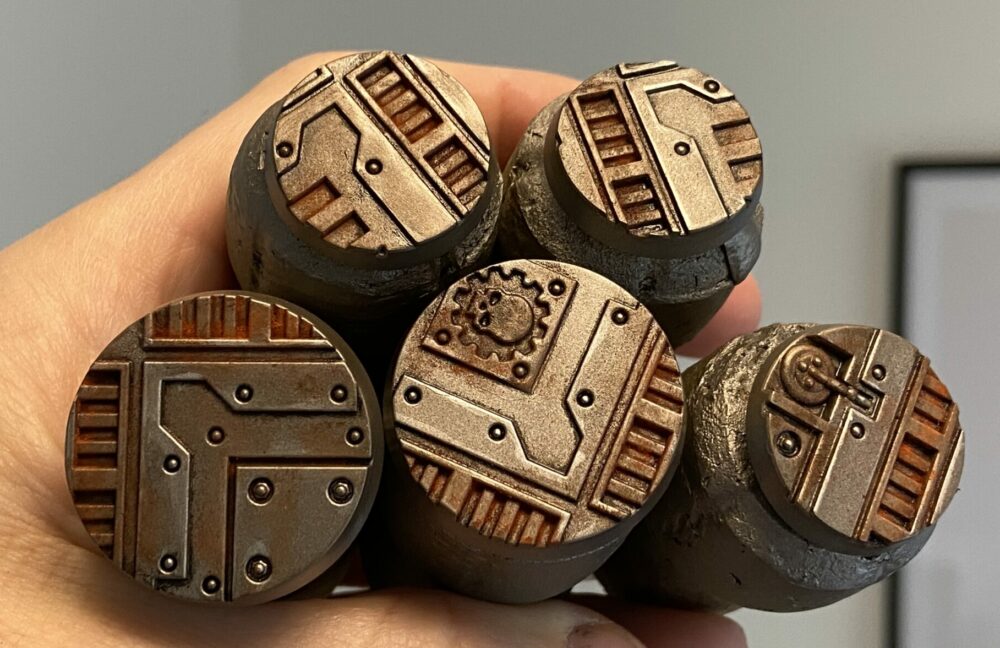
Metallic Necromunda Bases
The bases were very simple to do and quick (excluding drying time);
- Spray them Leadbelcher
- Wash with black oil paint, and let it dry for 24 hours
- Wash with brown oil paint, and let it dry for 24 hours
- Highlight silver edges
- Dark Ocre pigment
I use Abteilung502 Oil Paints with these thinners to thin them down to a wash. And I used Vallejo Metal Colour Aluminium for the silver, although most of that got knocked back by the pigments.
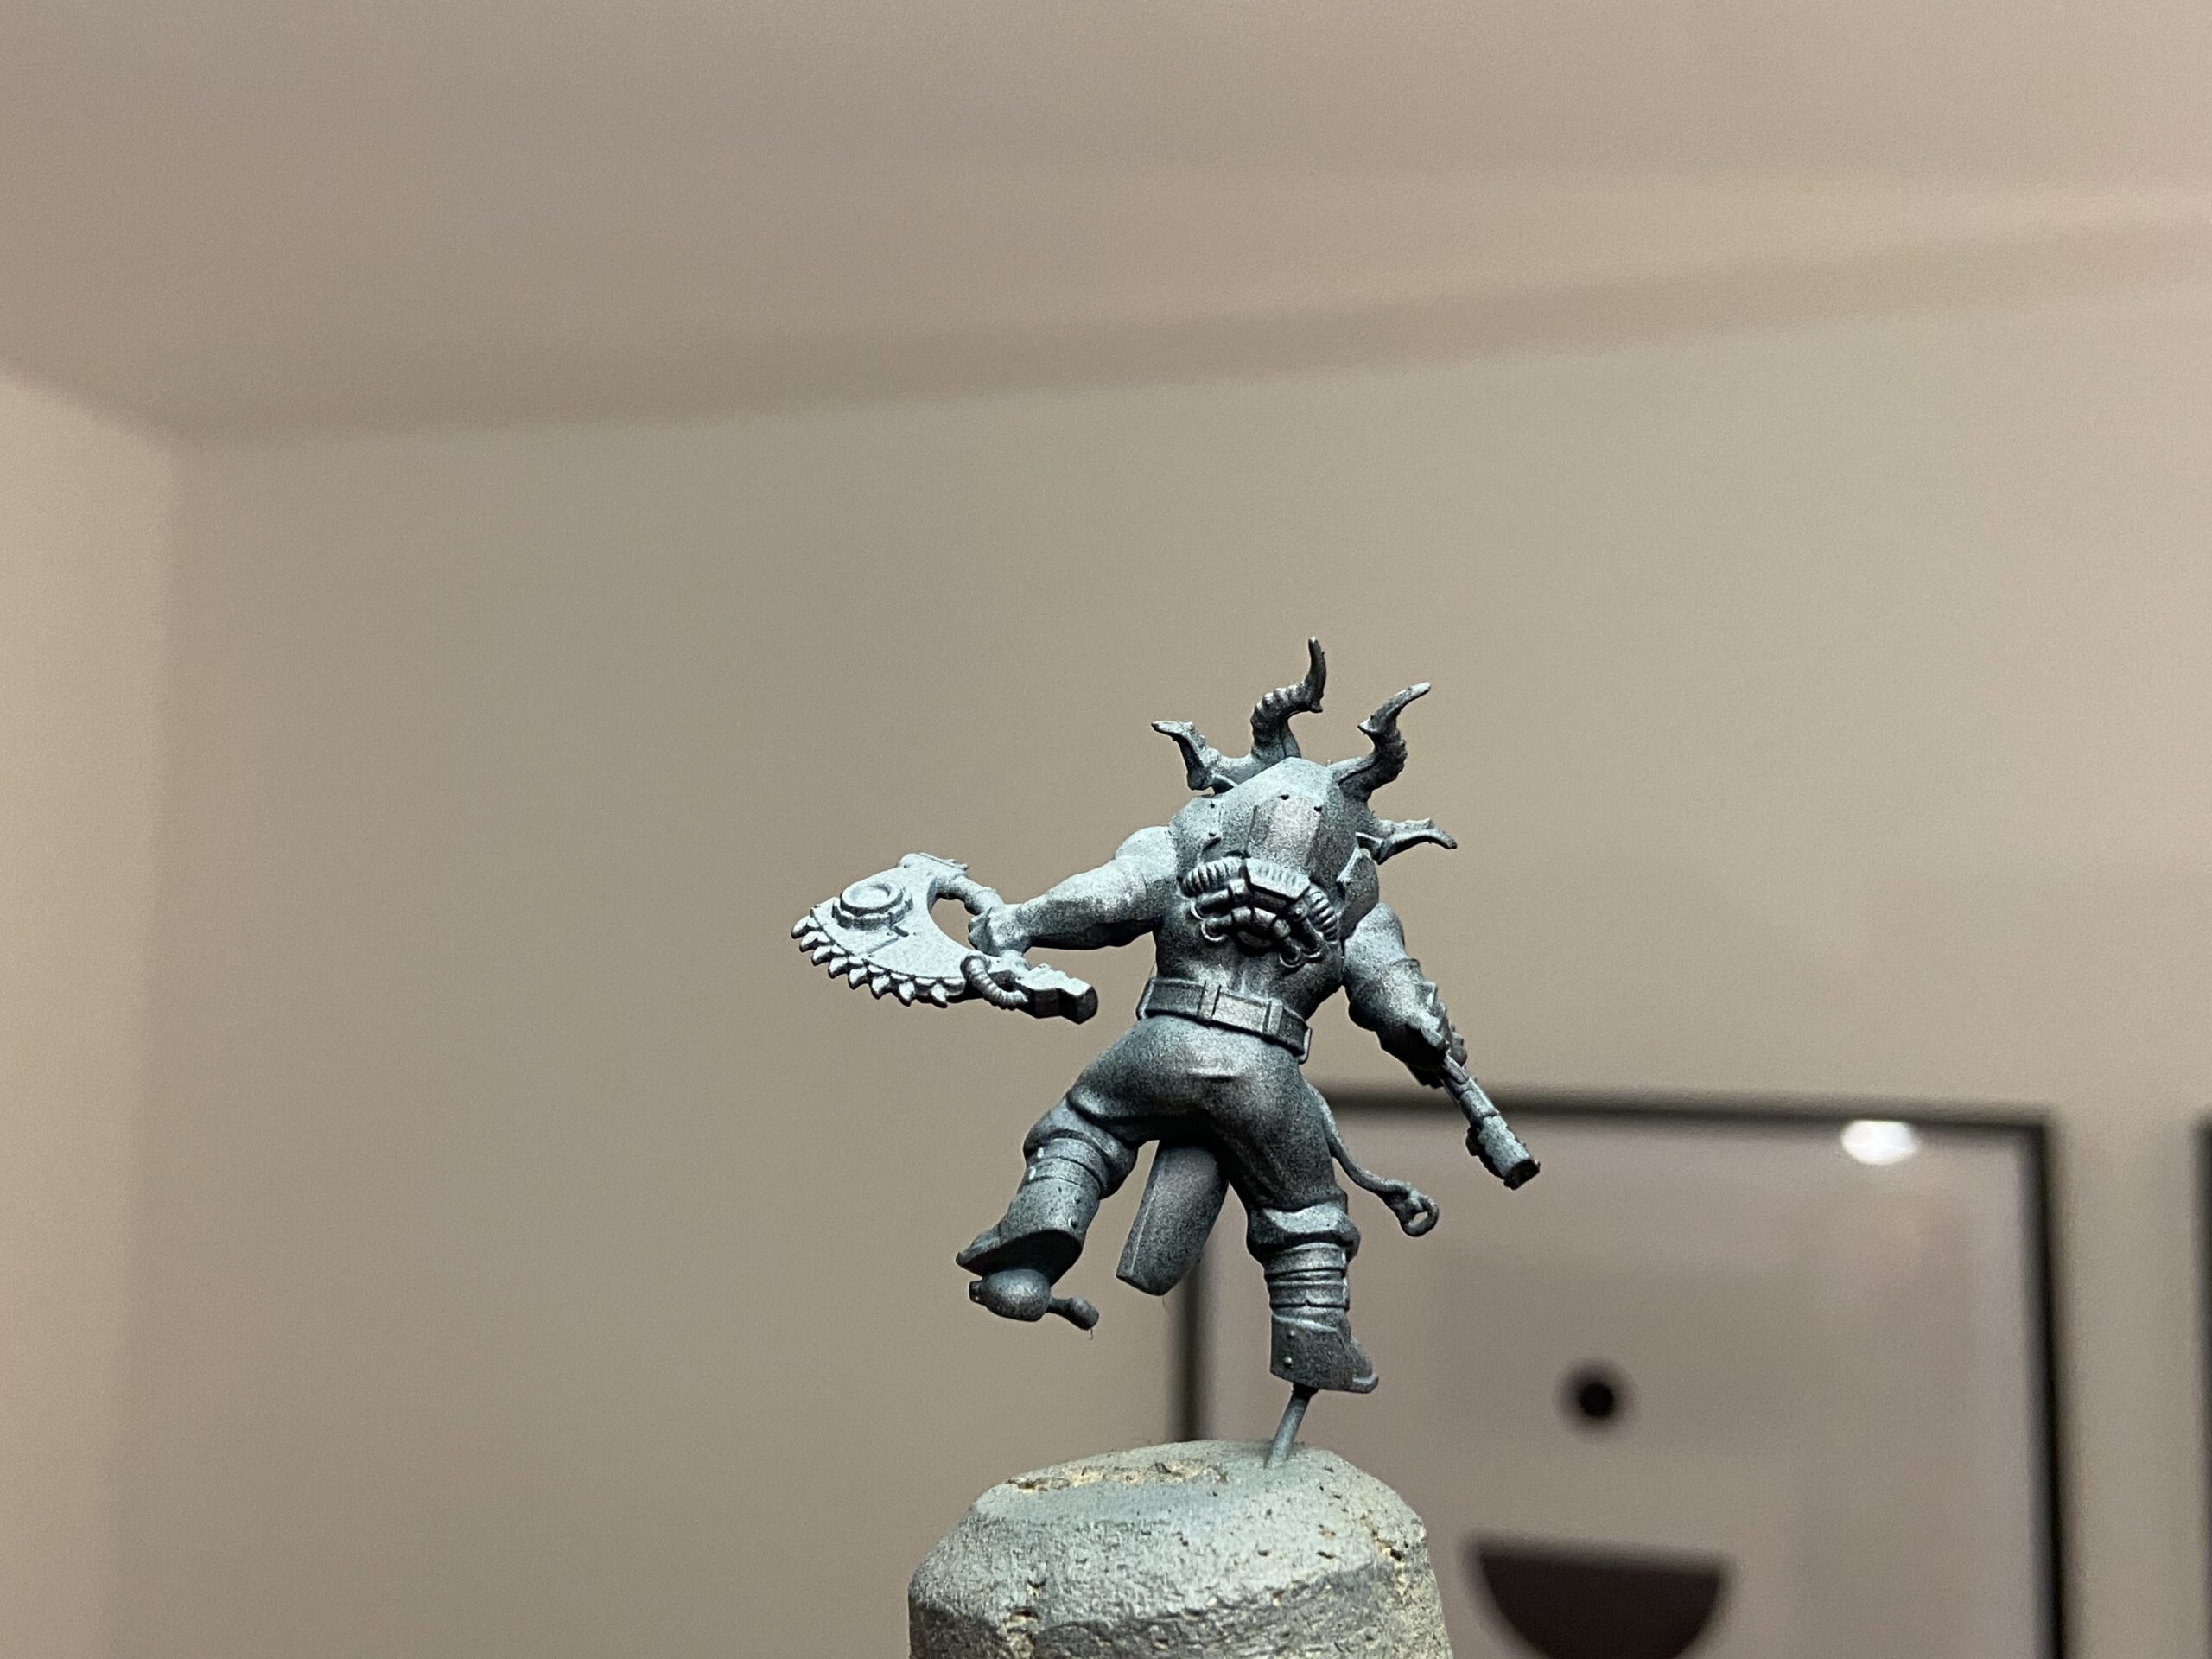
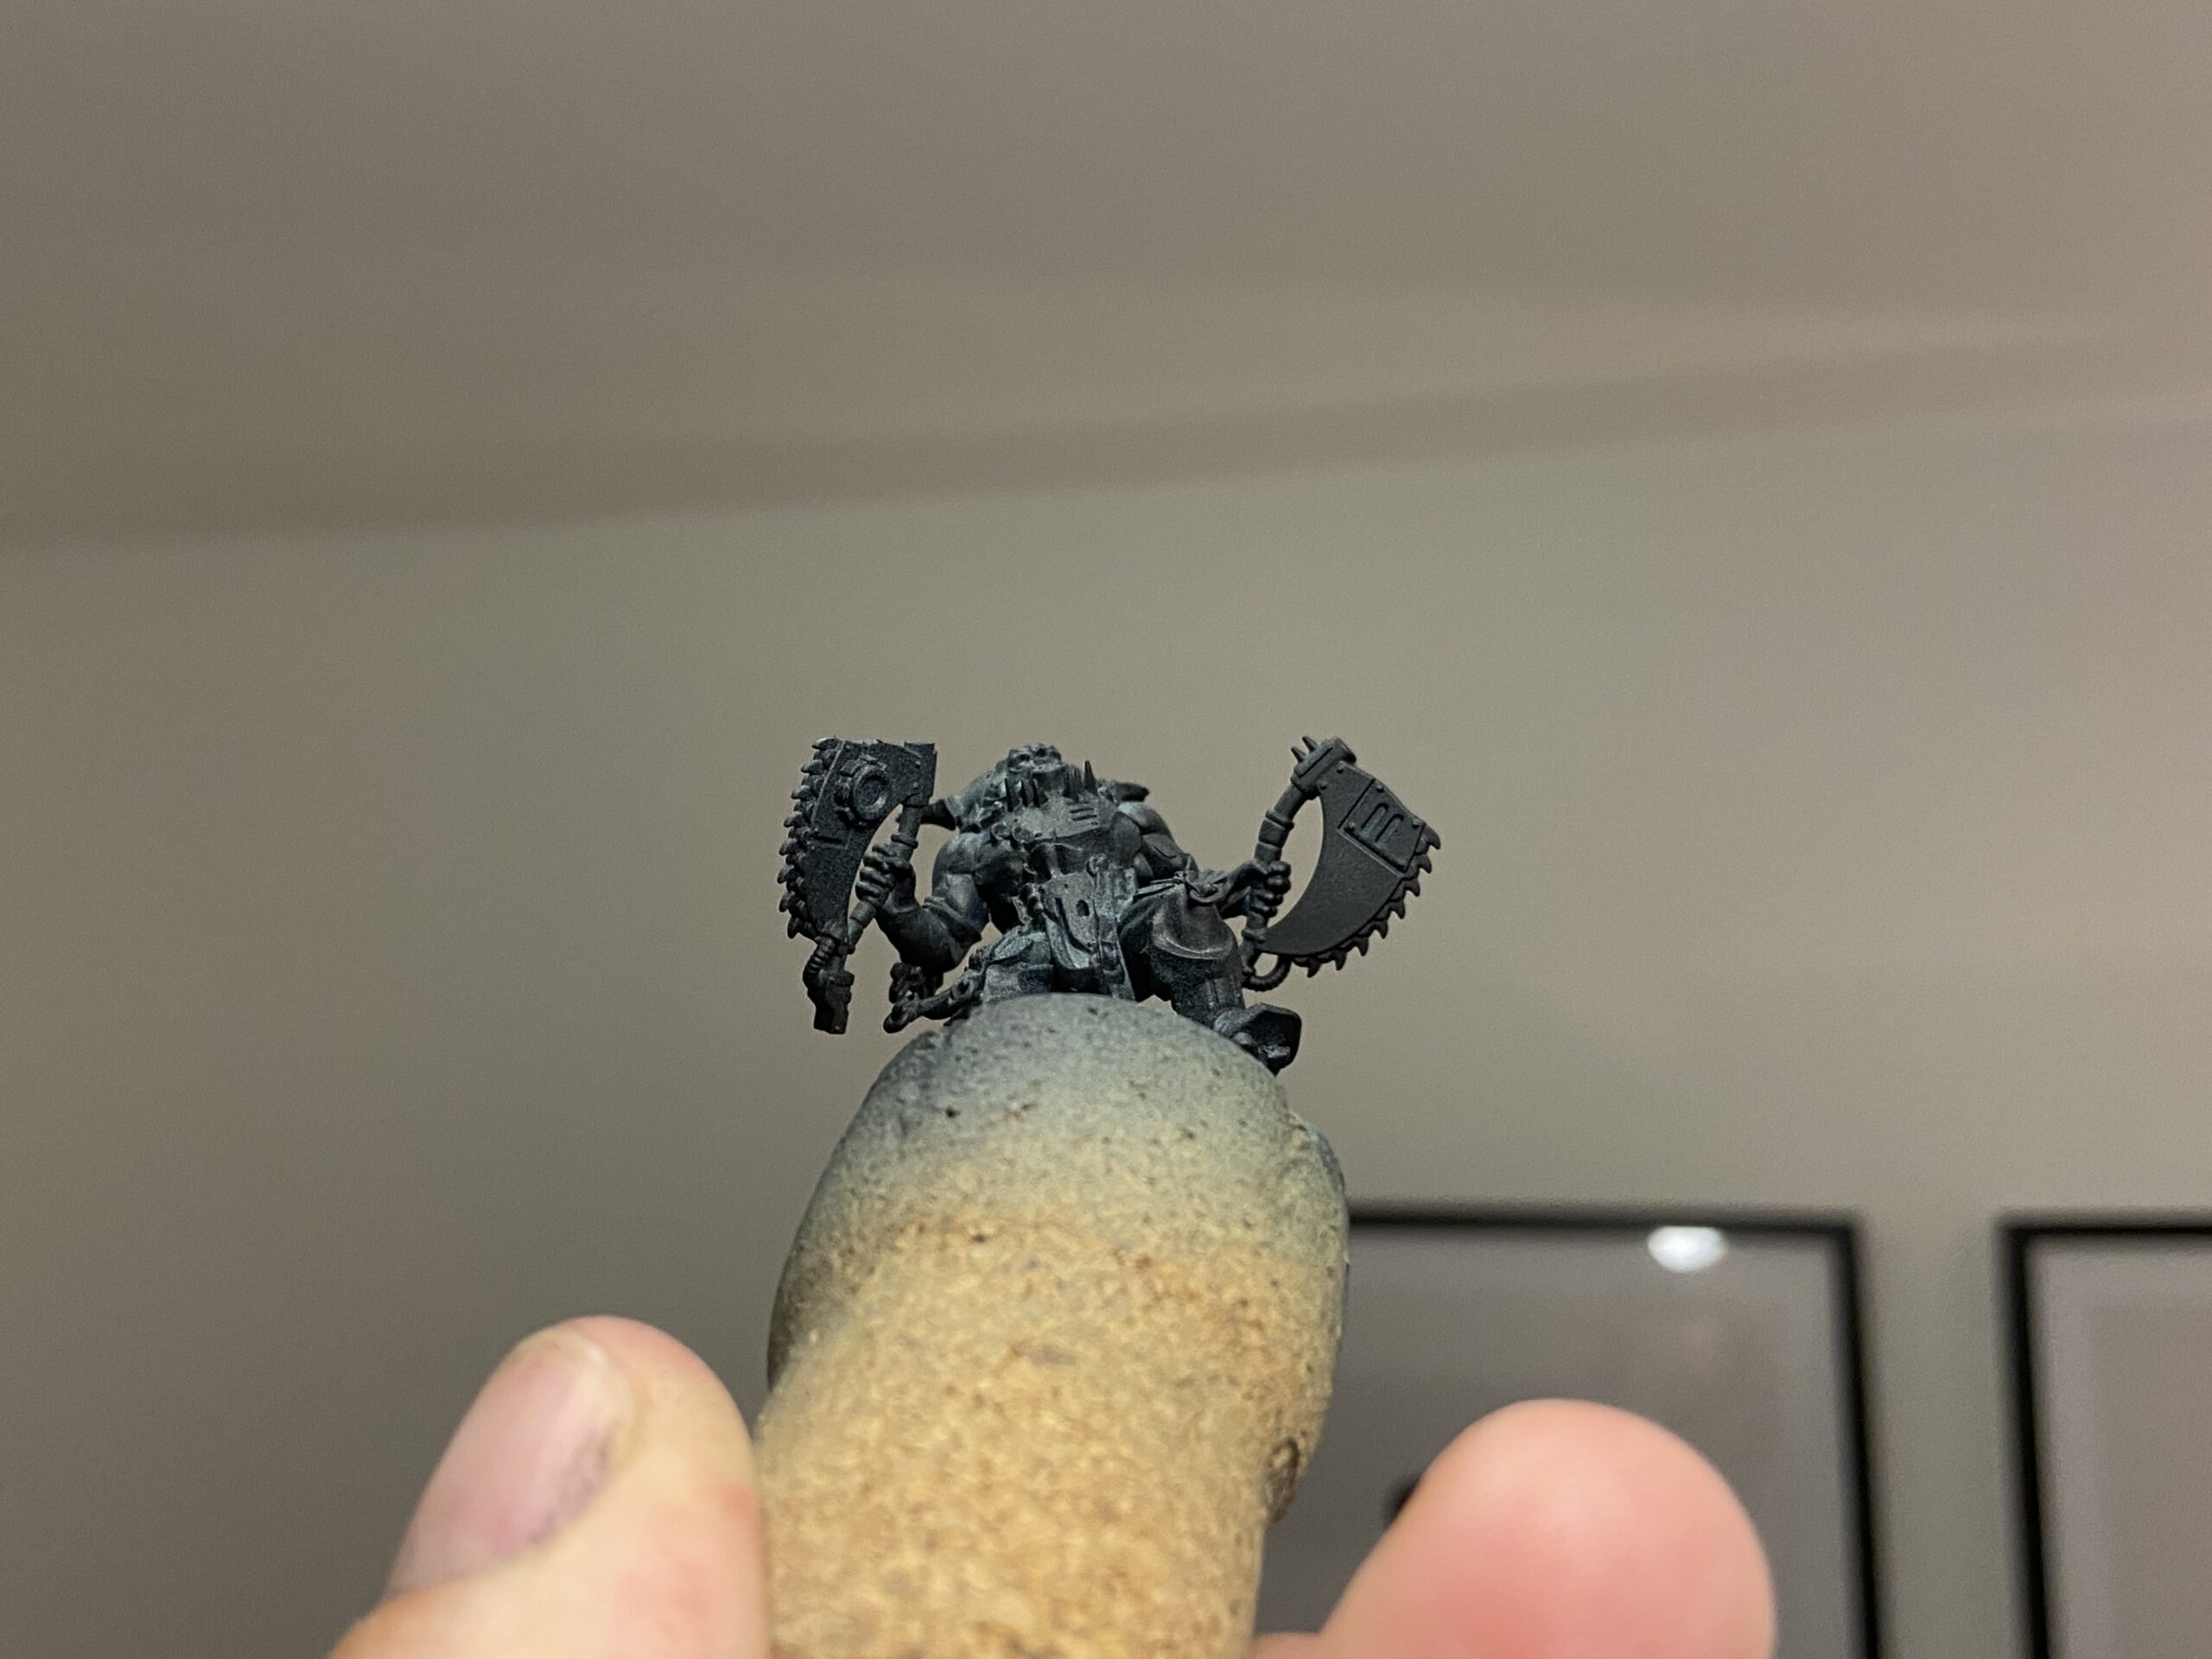
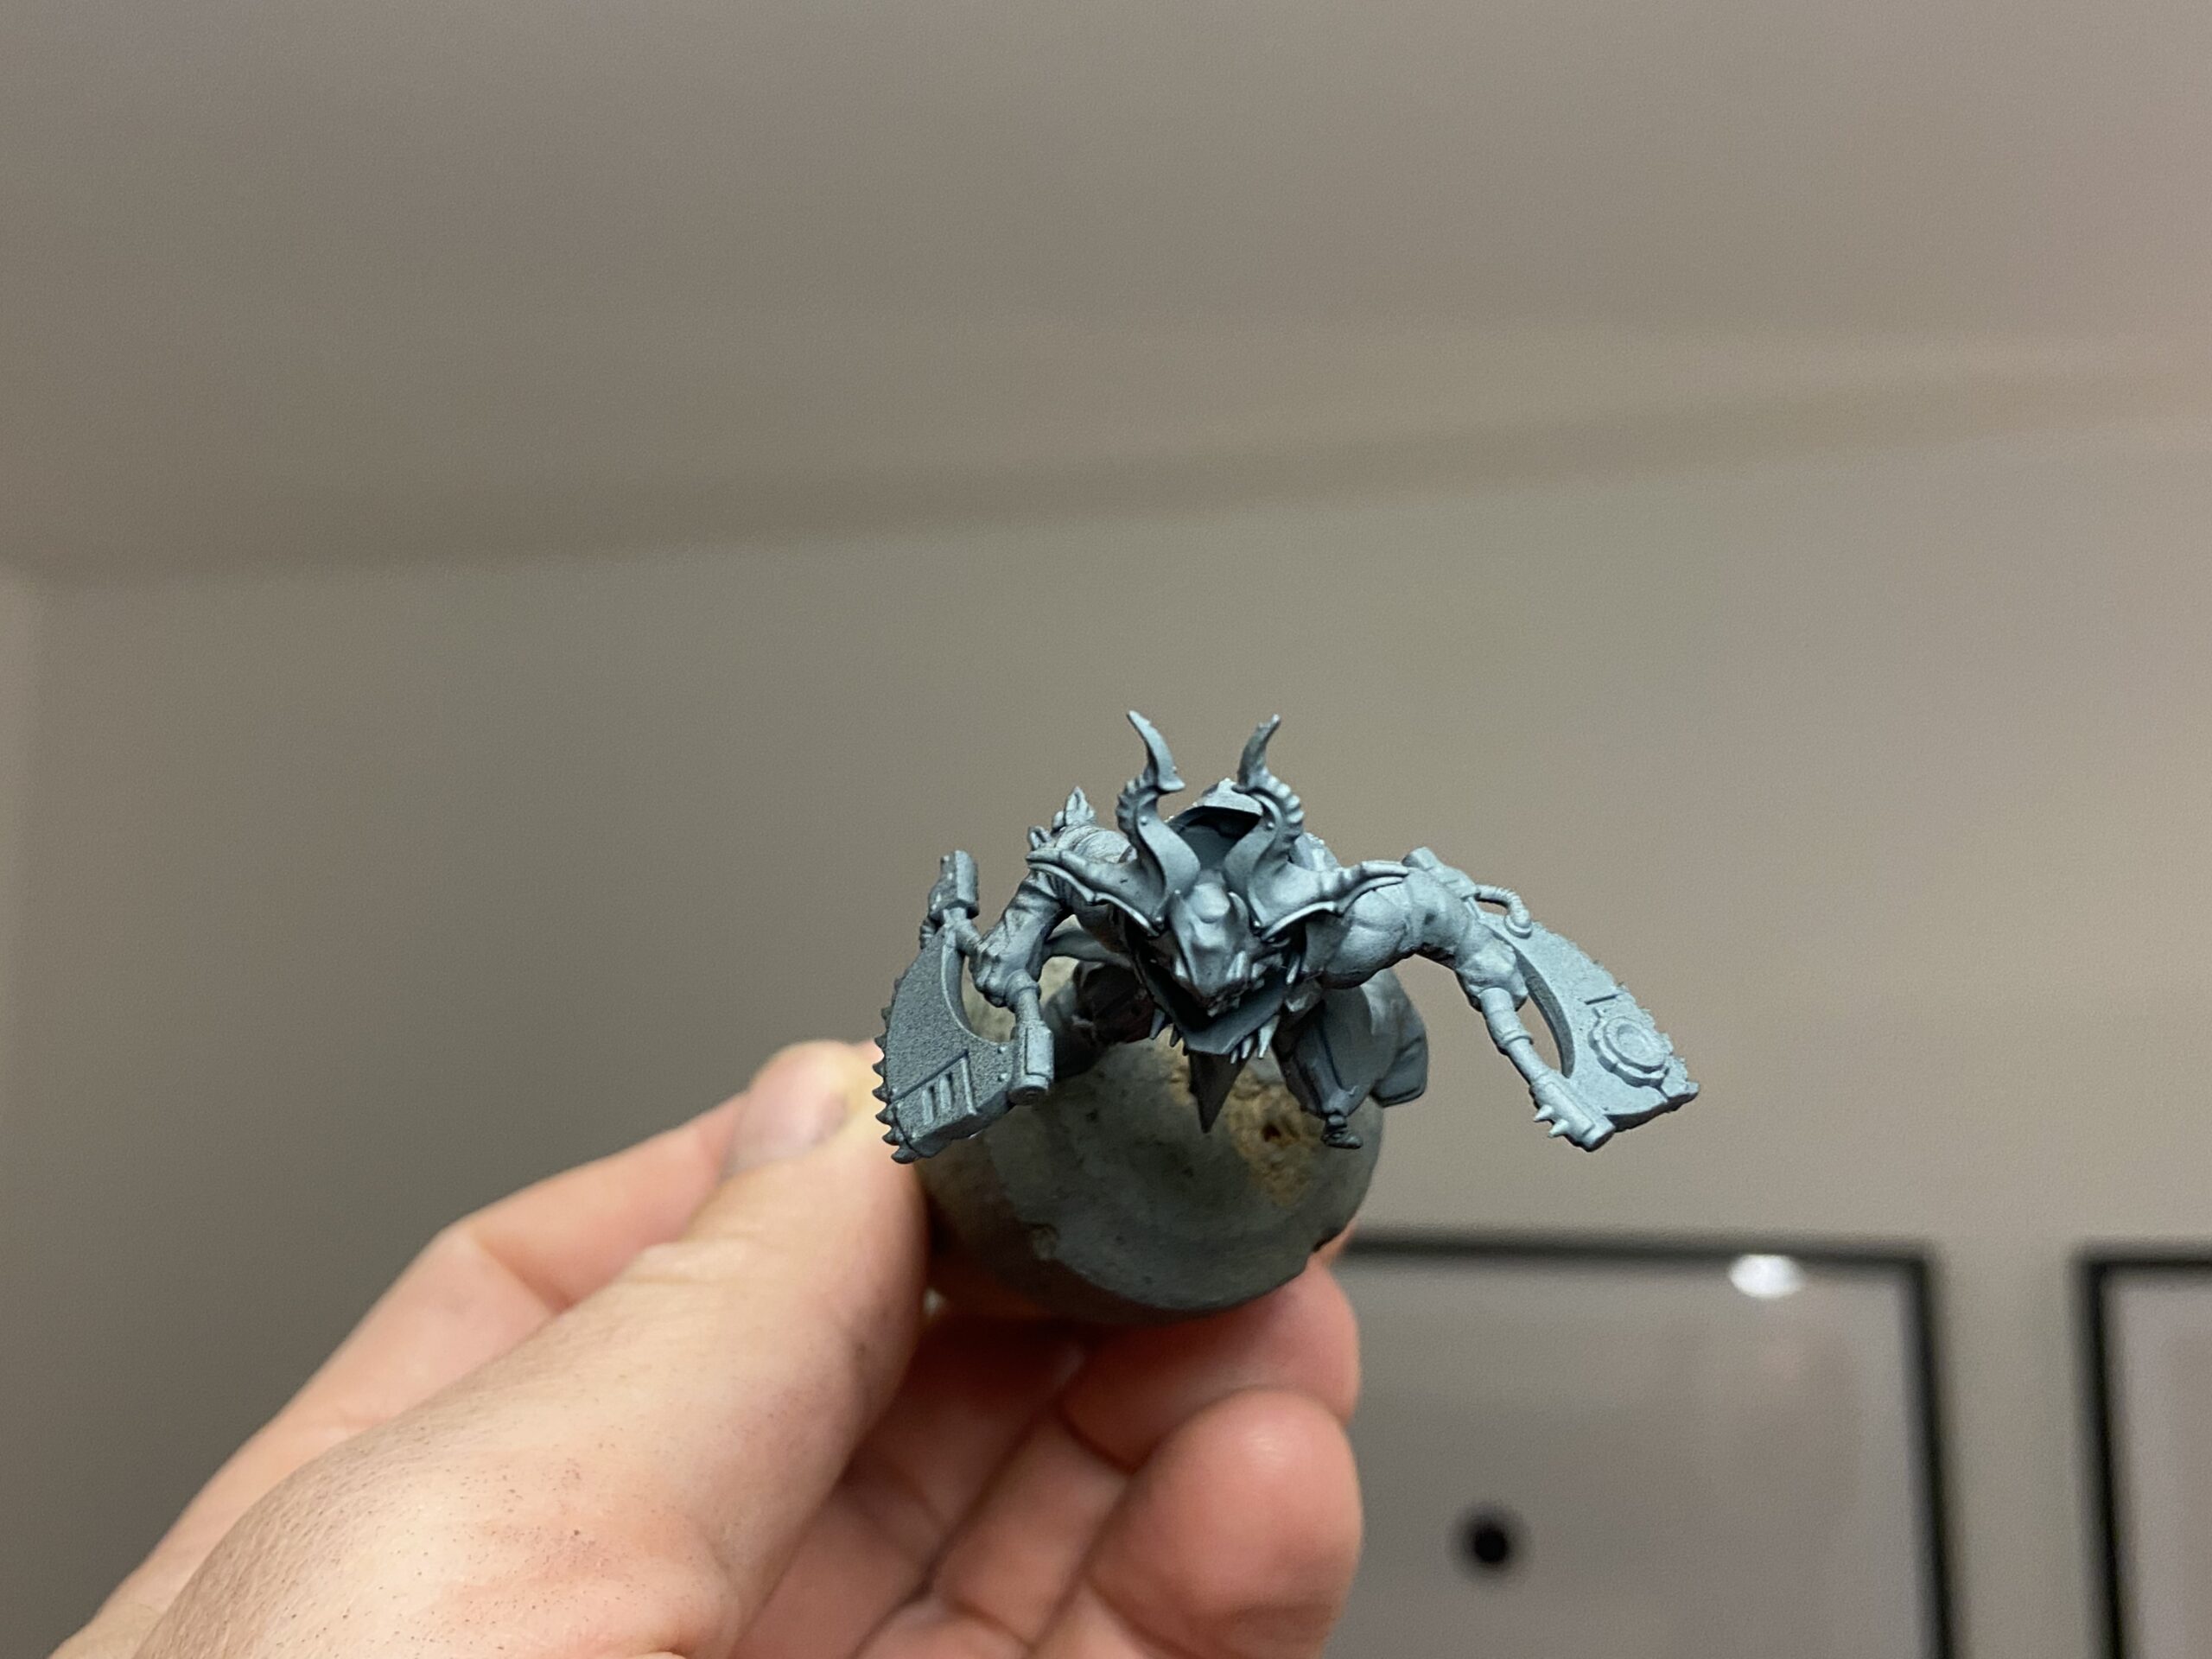
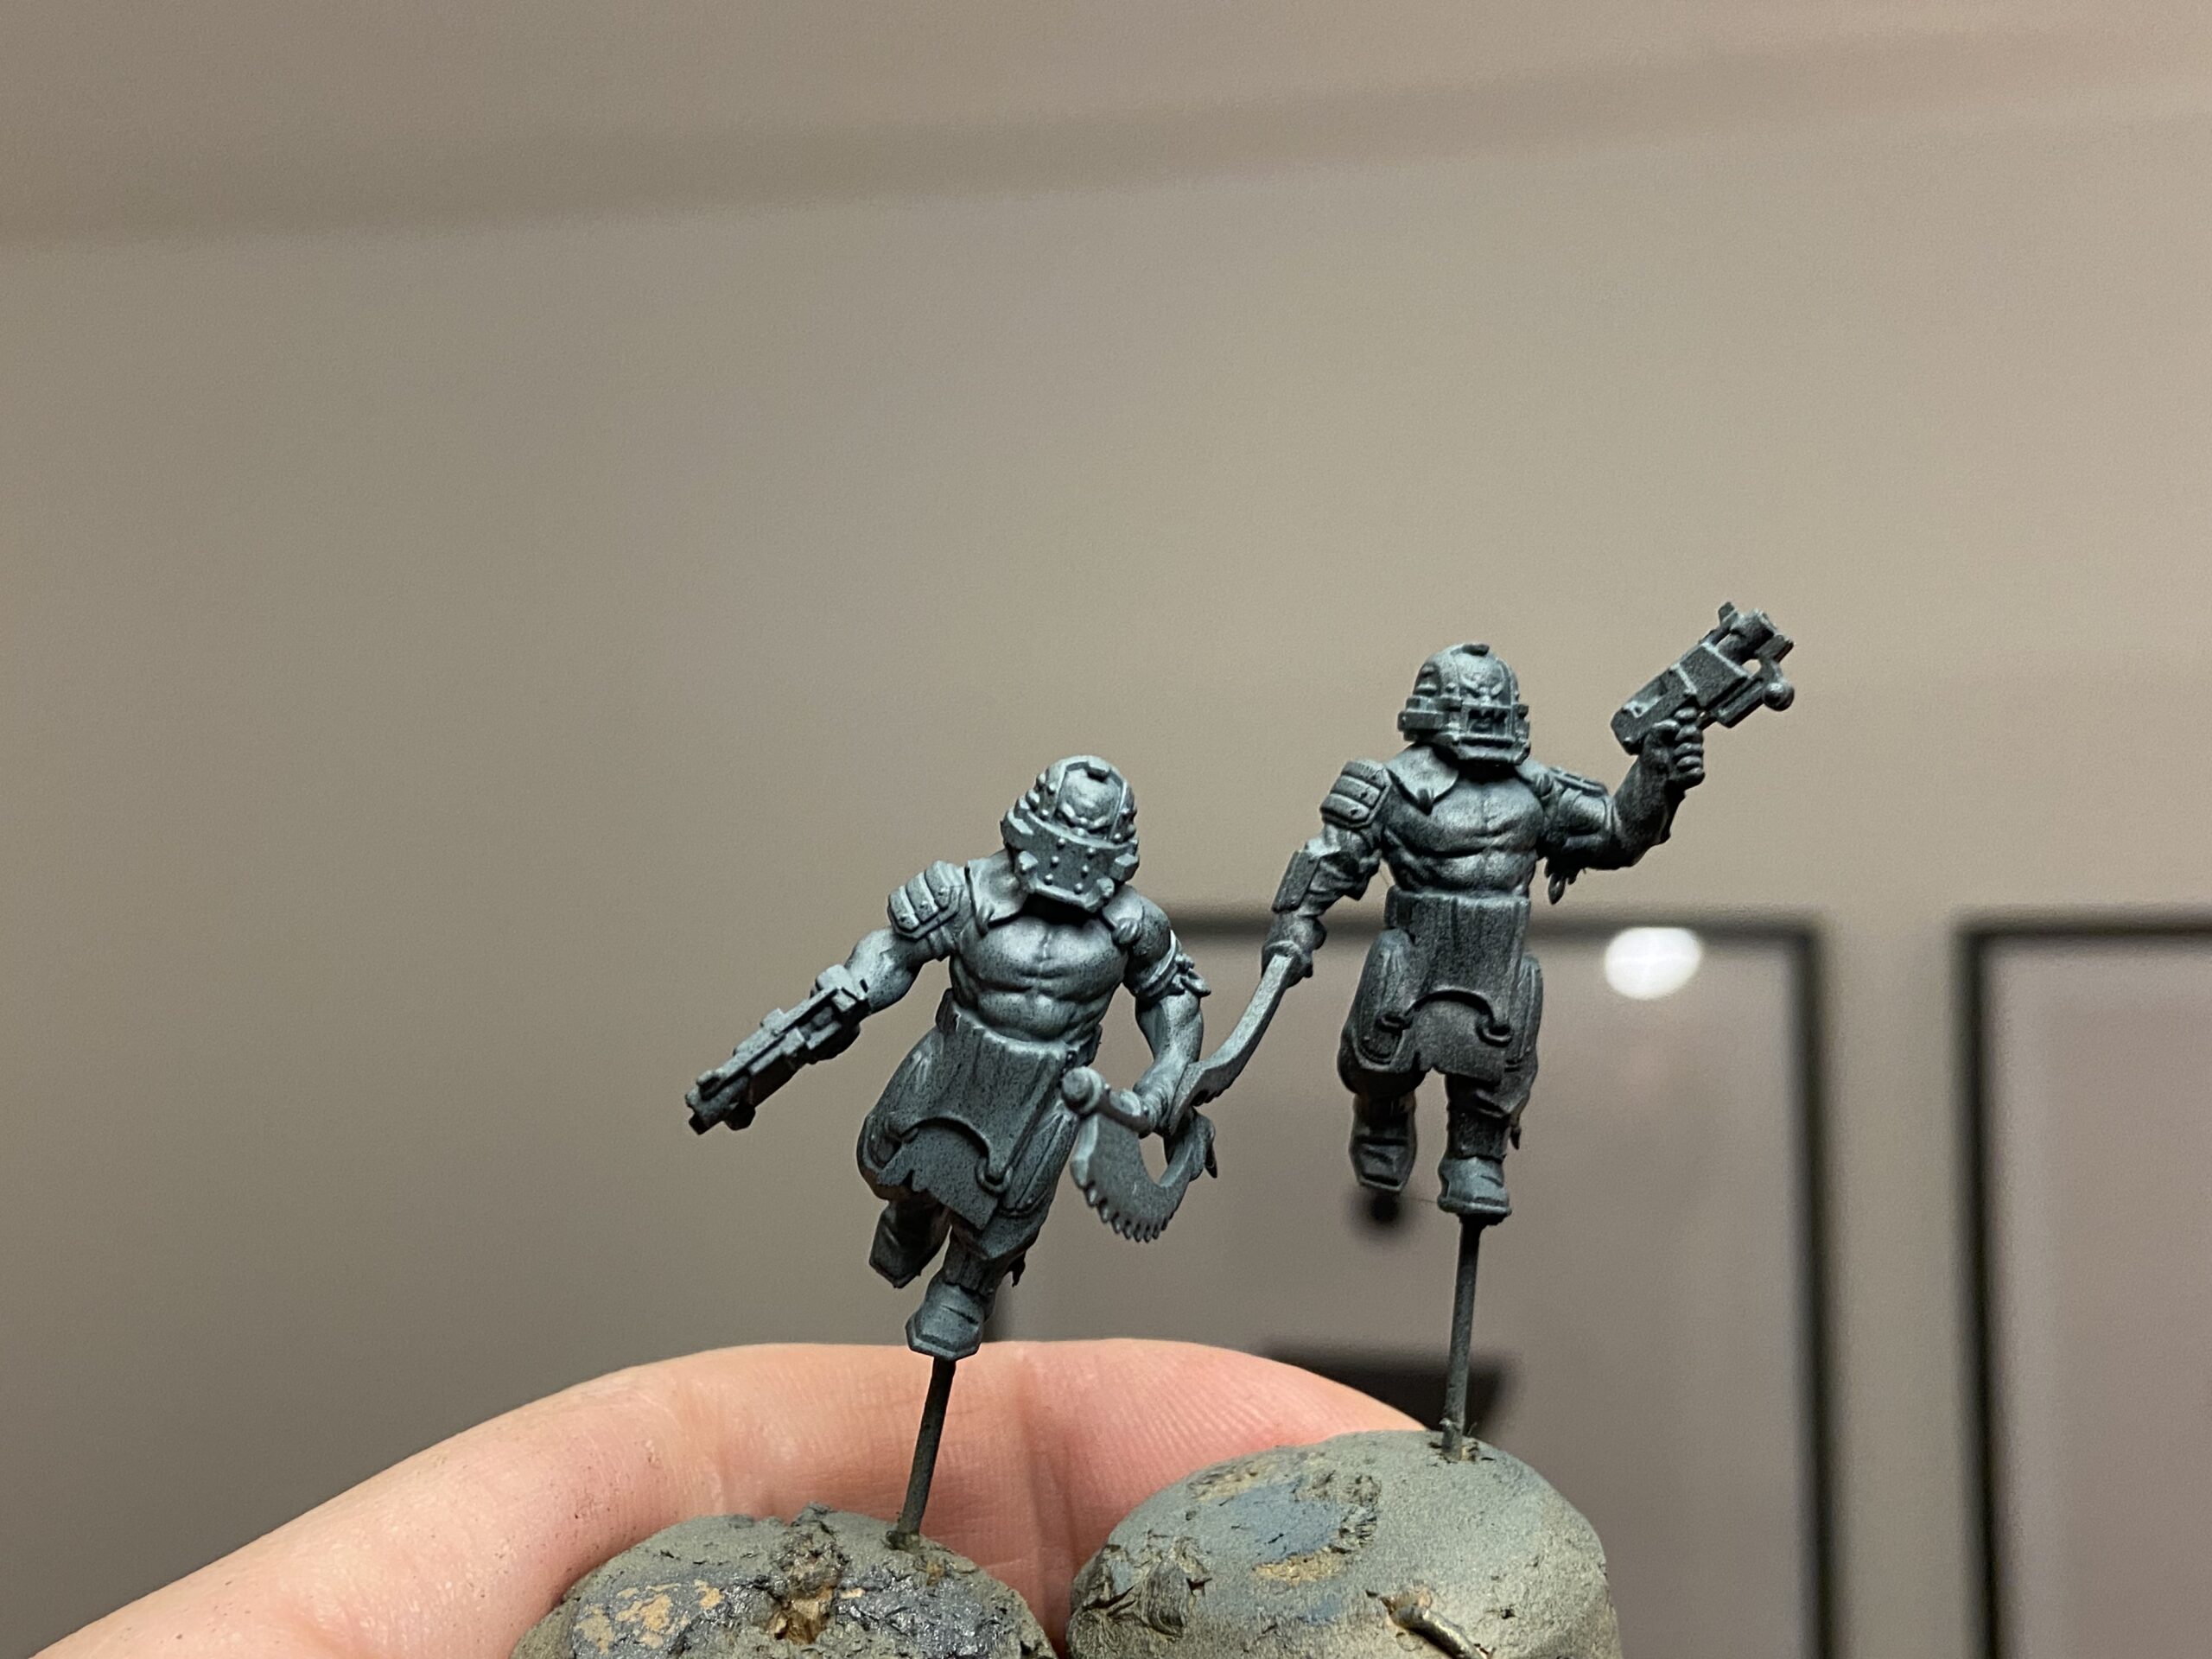
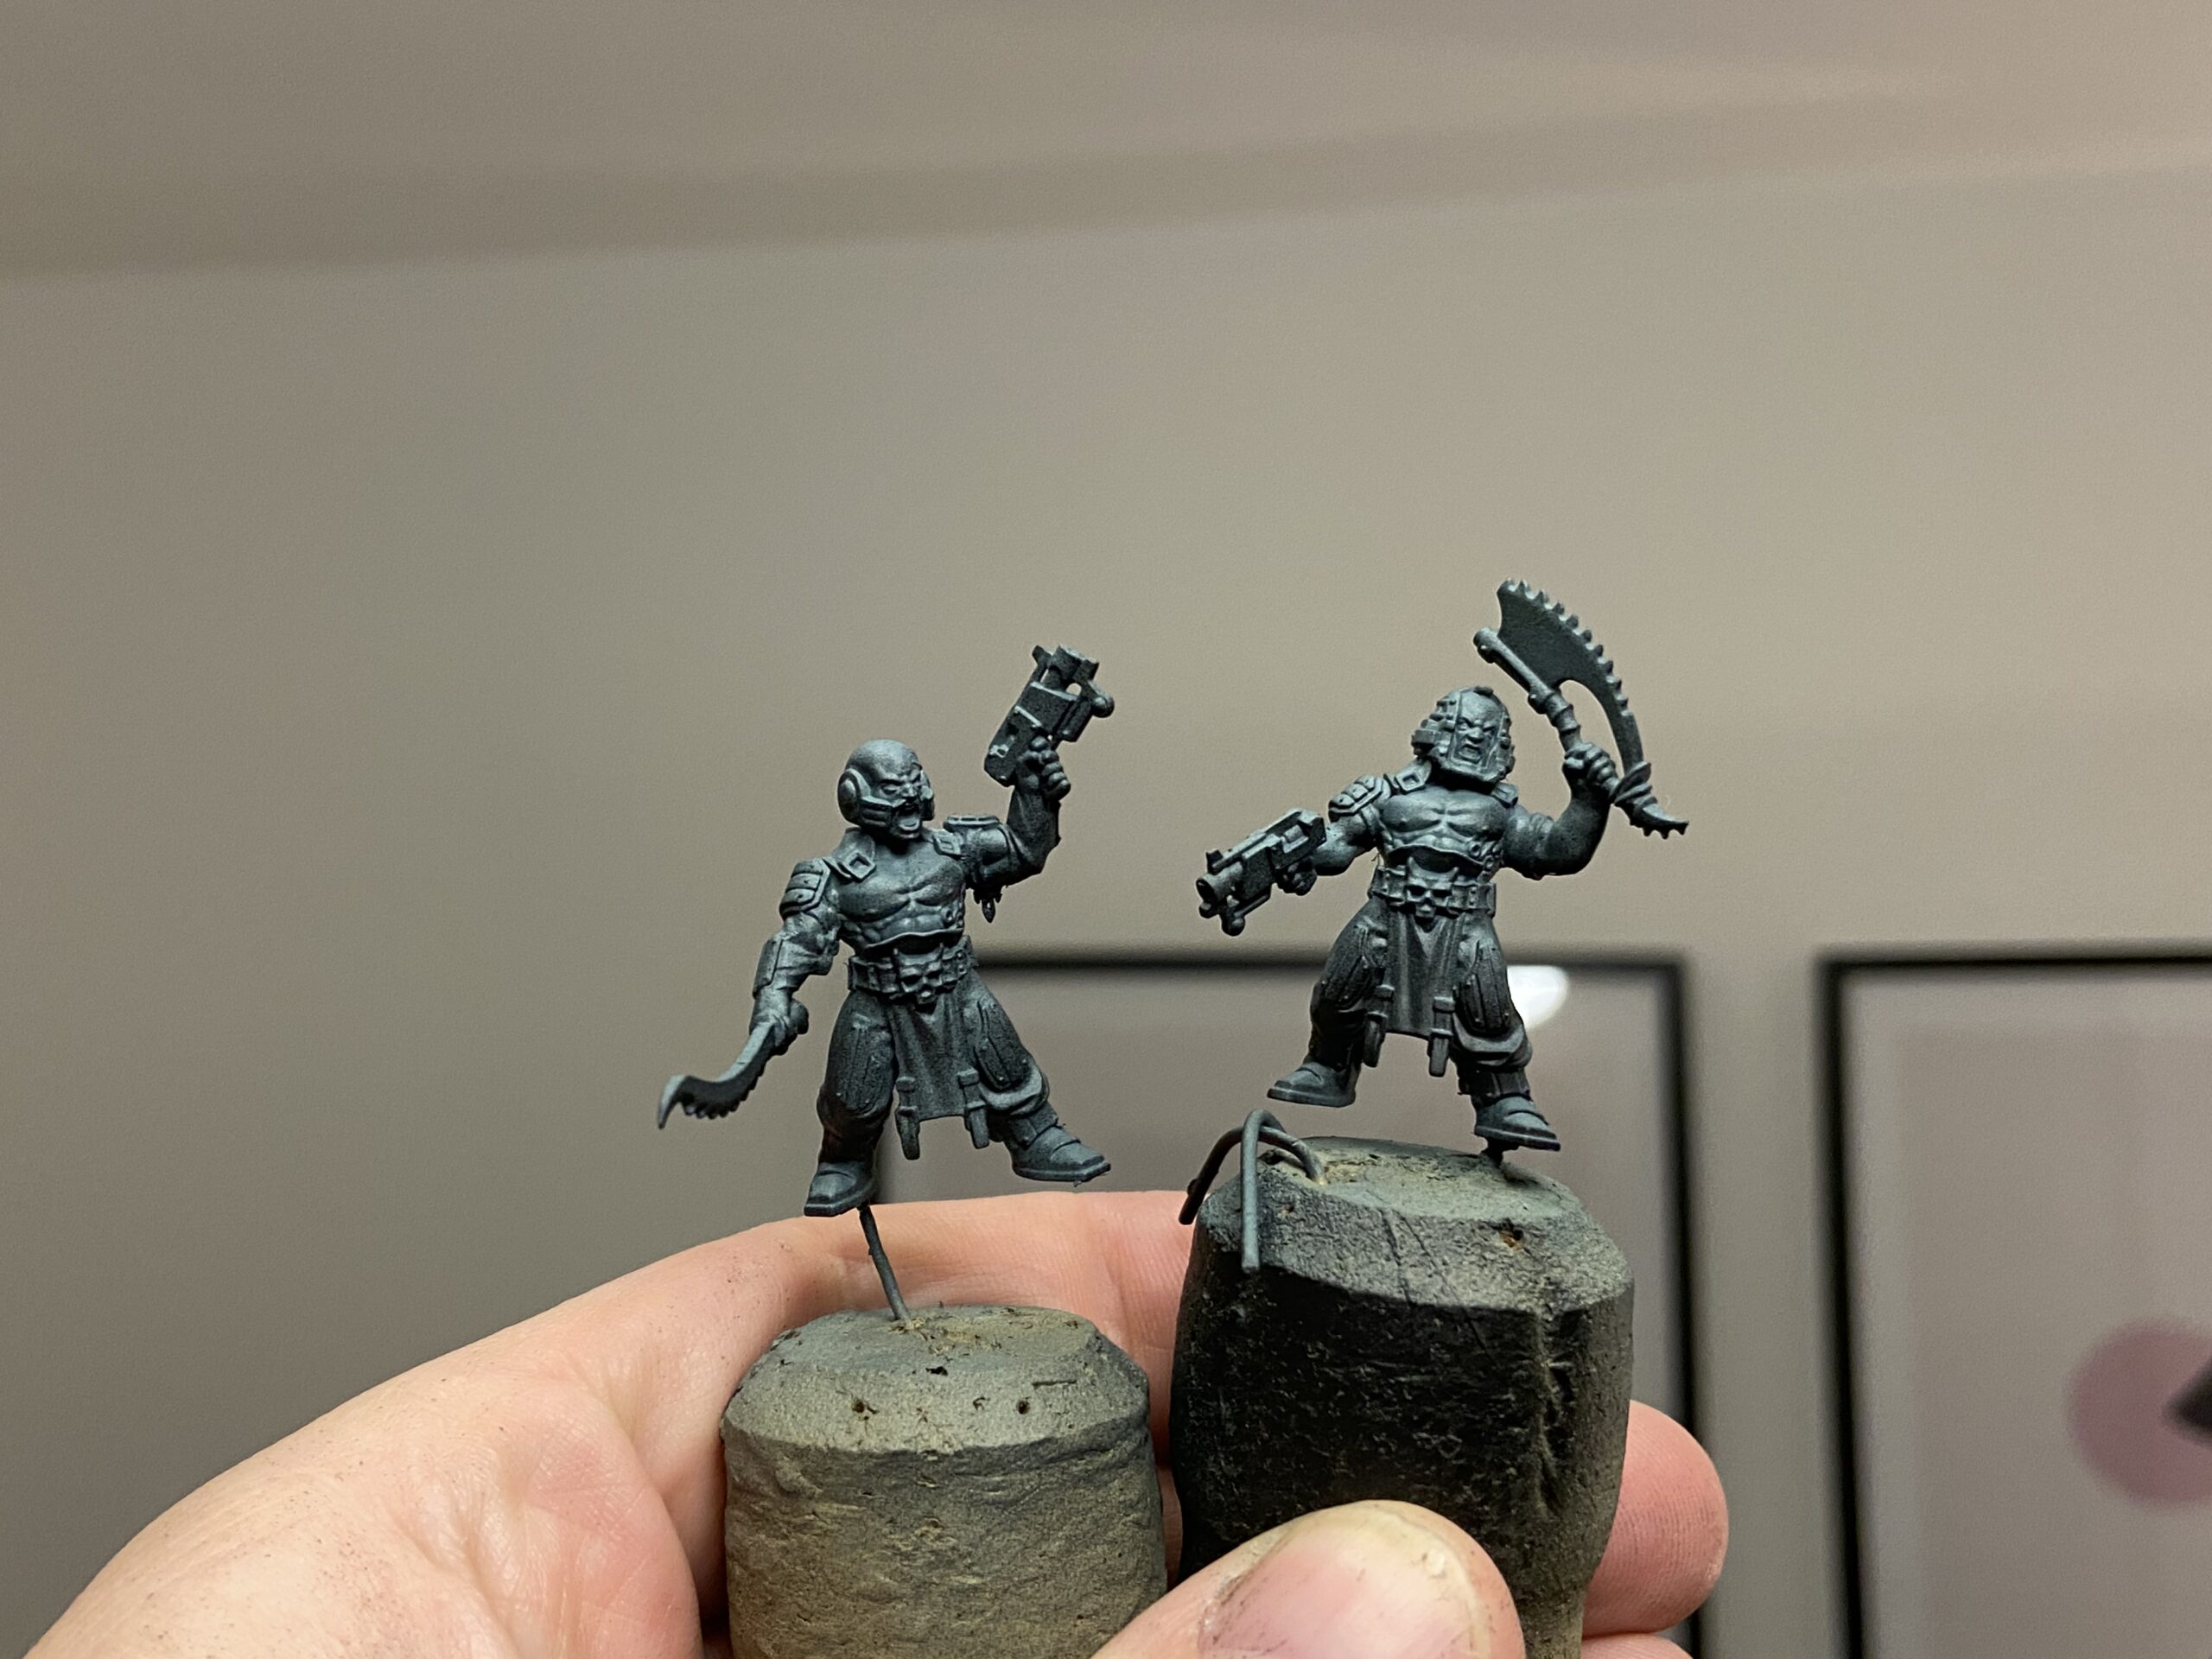
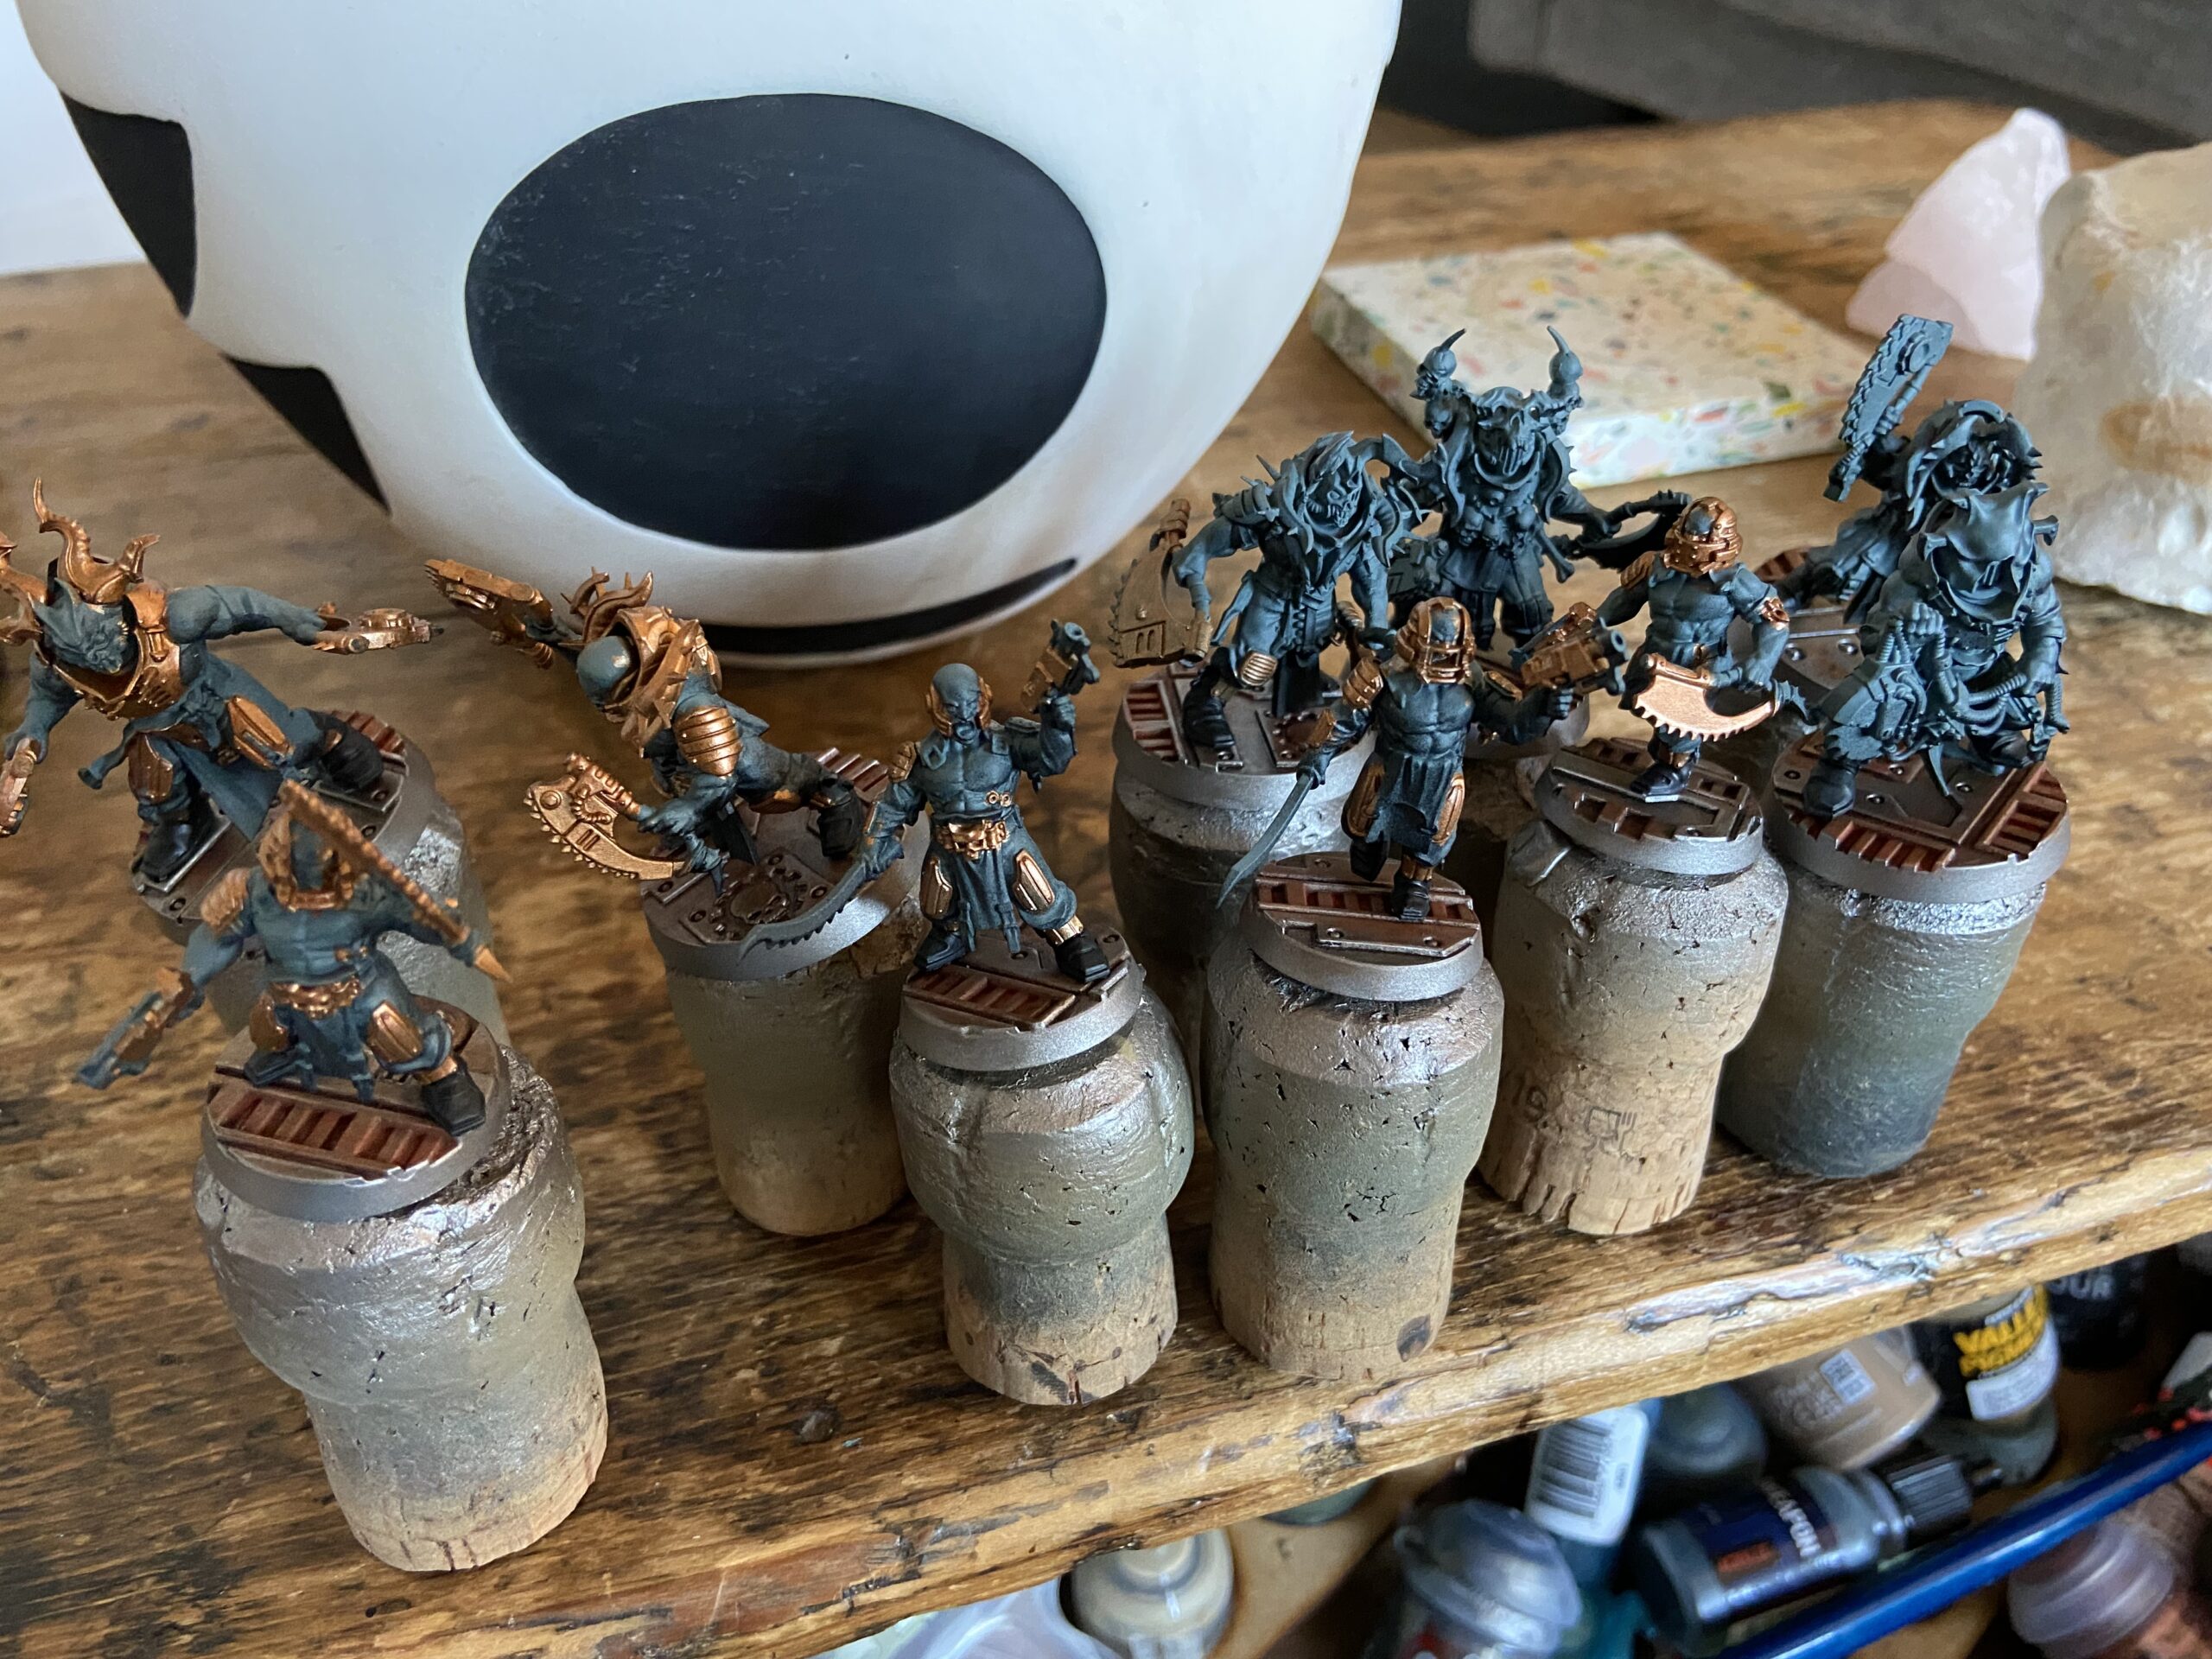
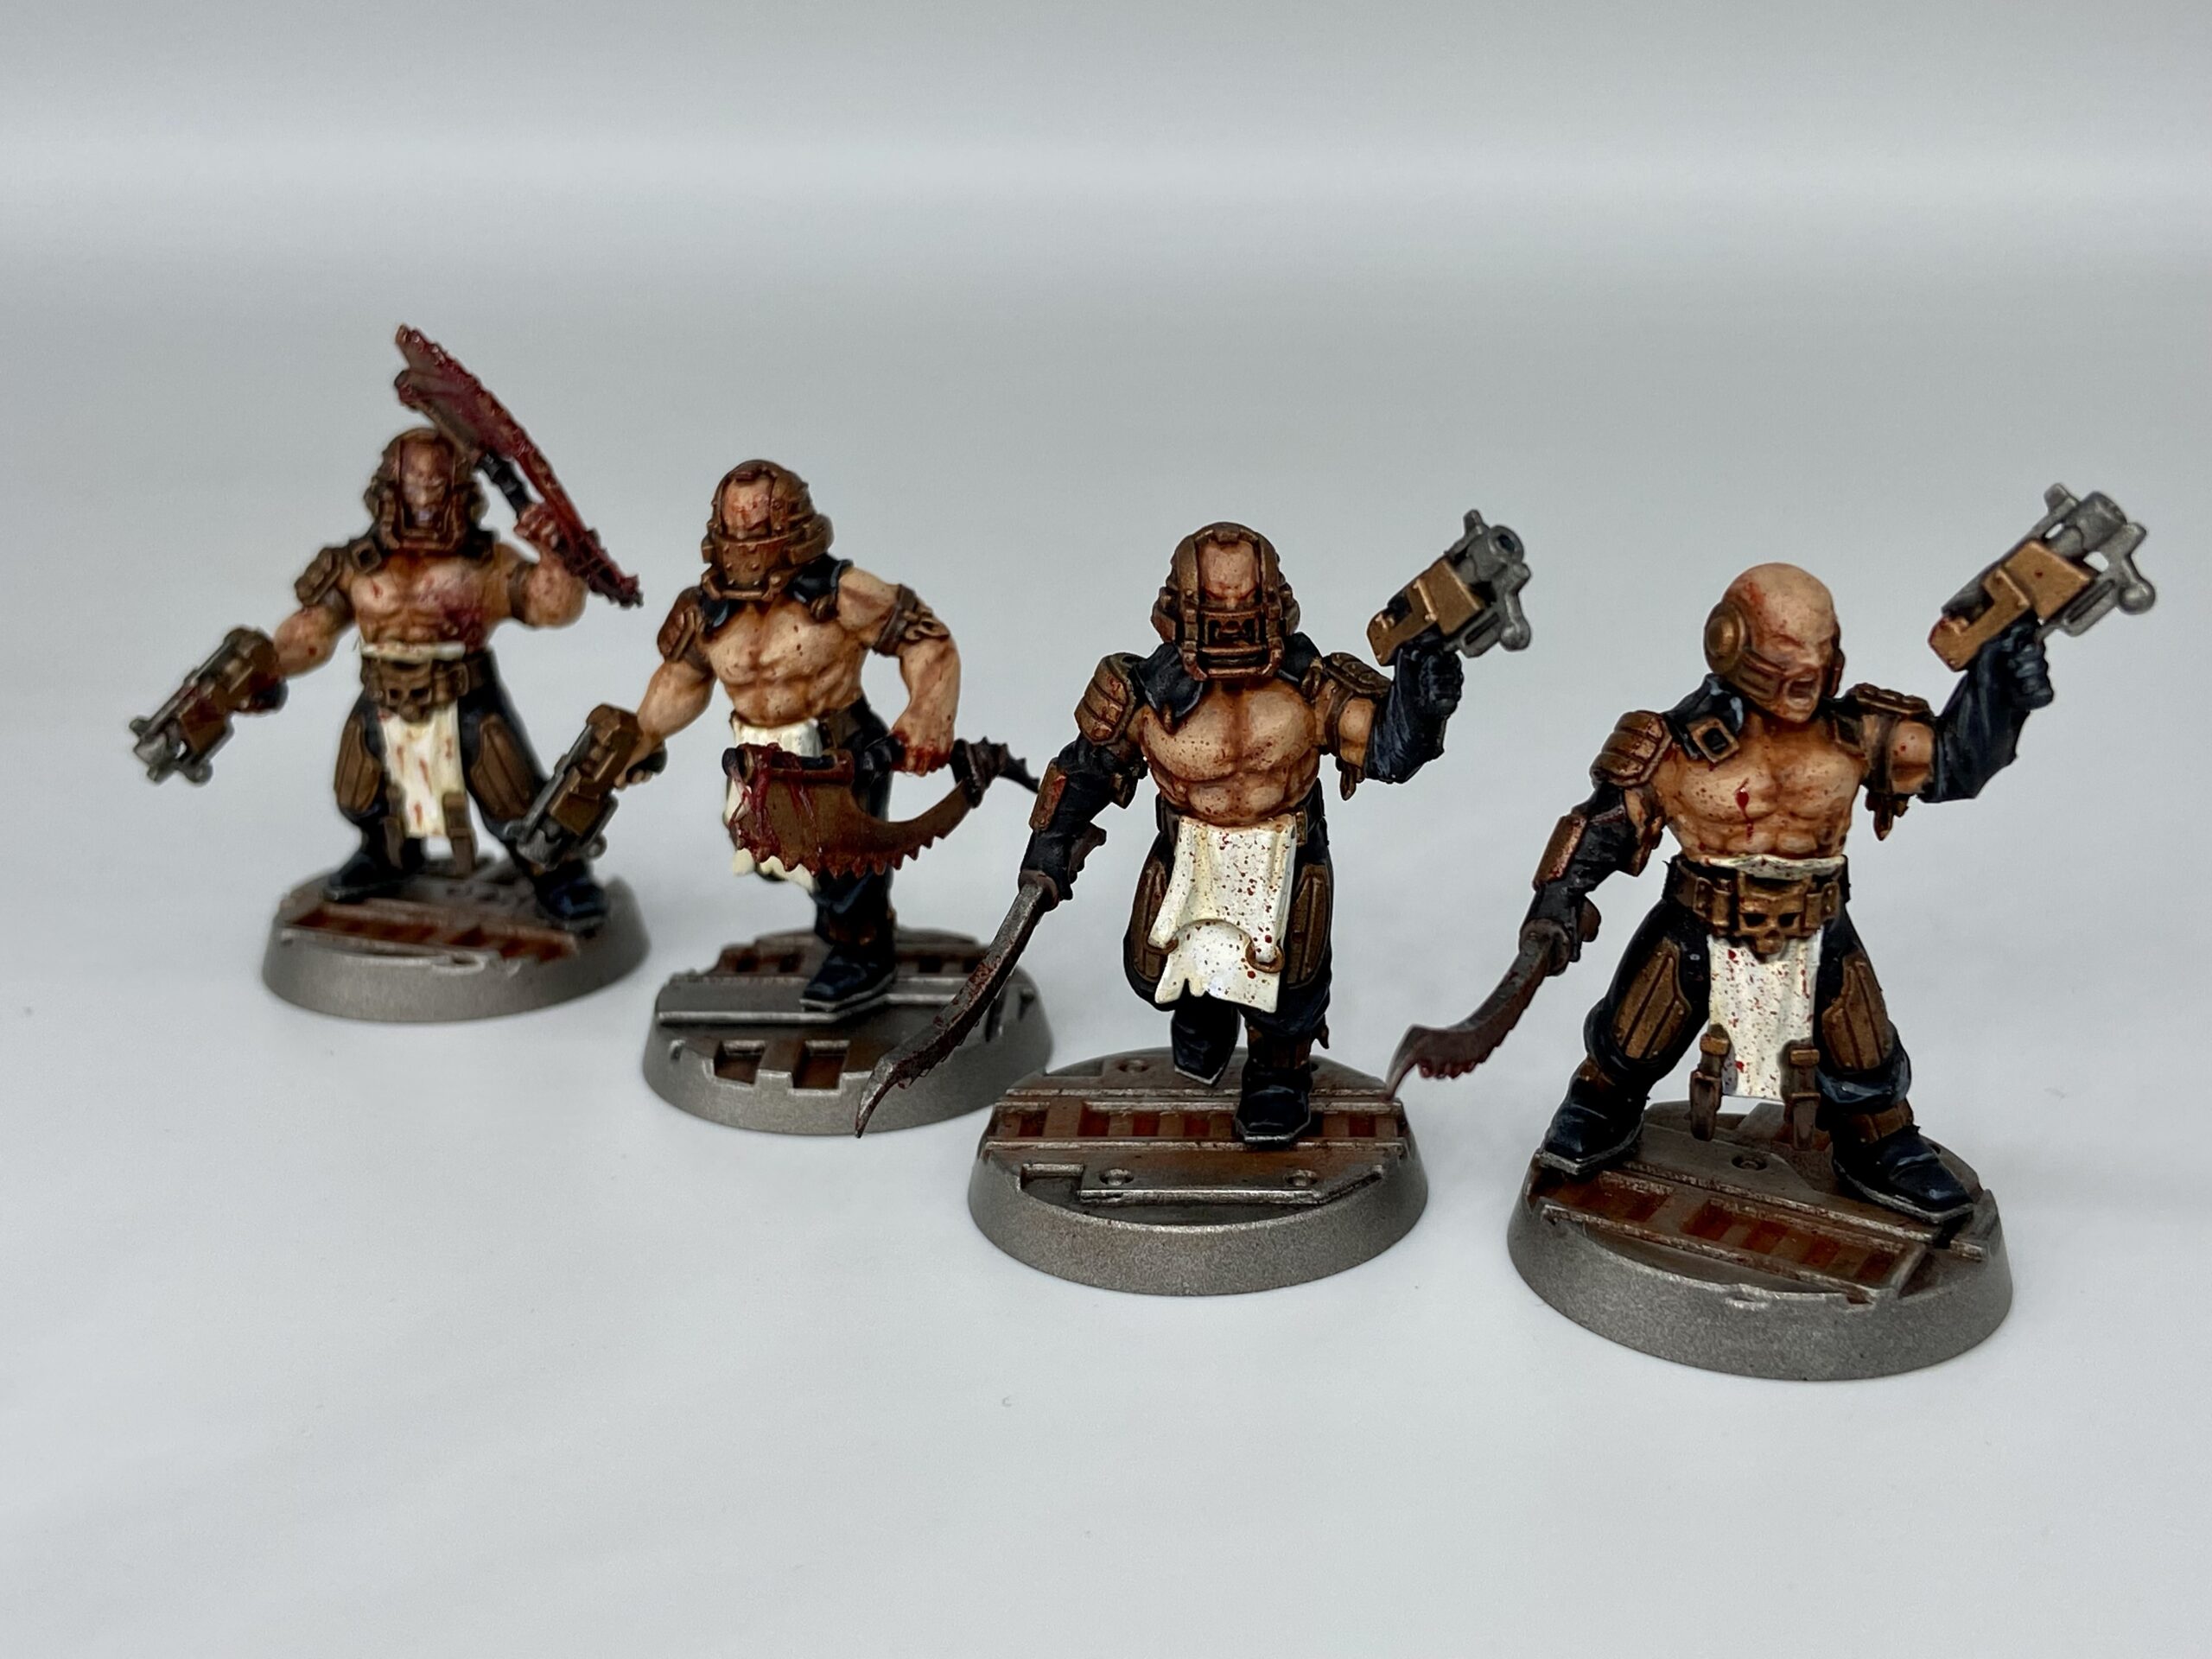
WIP Gallery
A complete gallery of all my WIP photos…