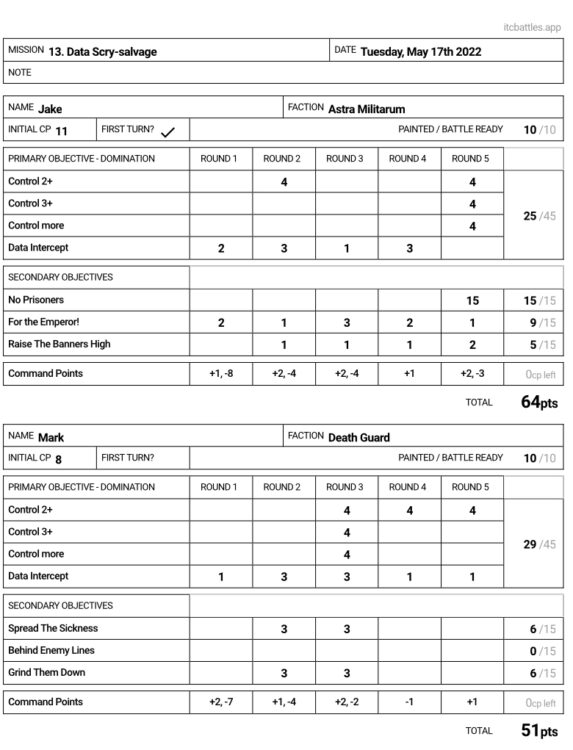

Cadians vs Death Guard – 2,000 Points
It has been a while, but today my Cadians meet Mark's Death Guard, again!
It has been a while (January was the last time) since I took on Plague Gardening’s Death Guard, in that Cadians vs Death Guard game I lost 43 – 69.
Never miss an article? Subscribe!
This game was at Boards and Swords, in Derby.
Cadians 2,000 Points List

Cadian Battalion Detachment
This is the third iteration of this list in as many games;
- vs Iron Hands – win
- vs Space Wolves – loss
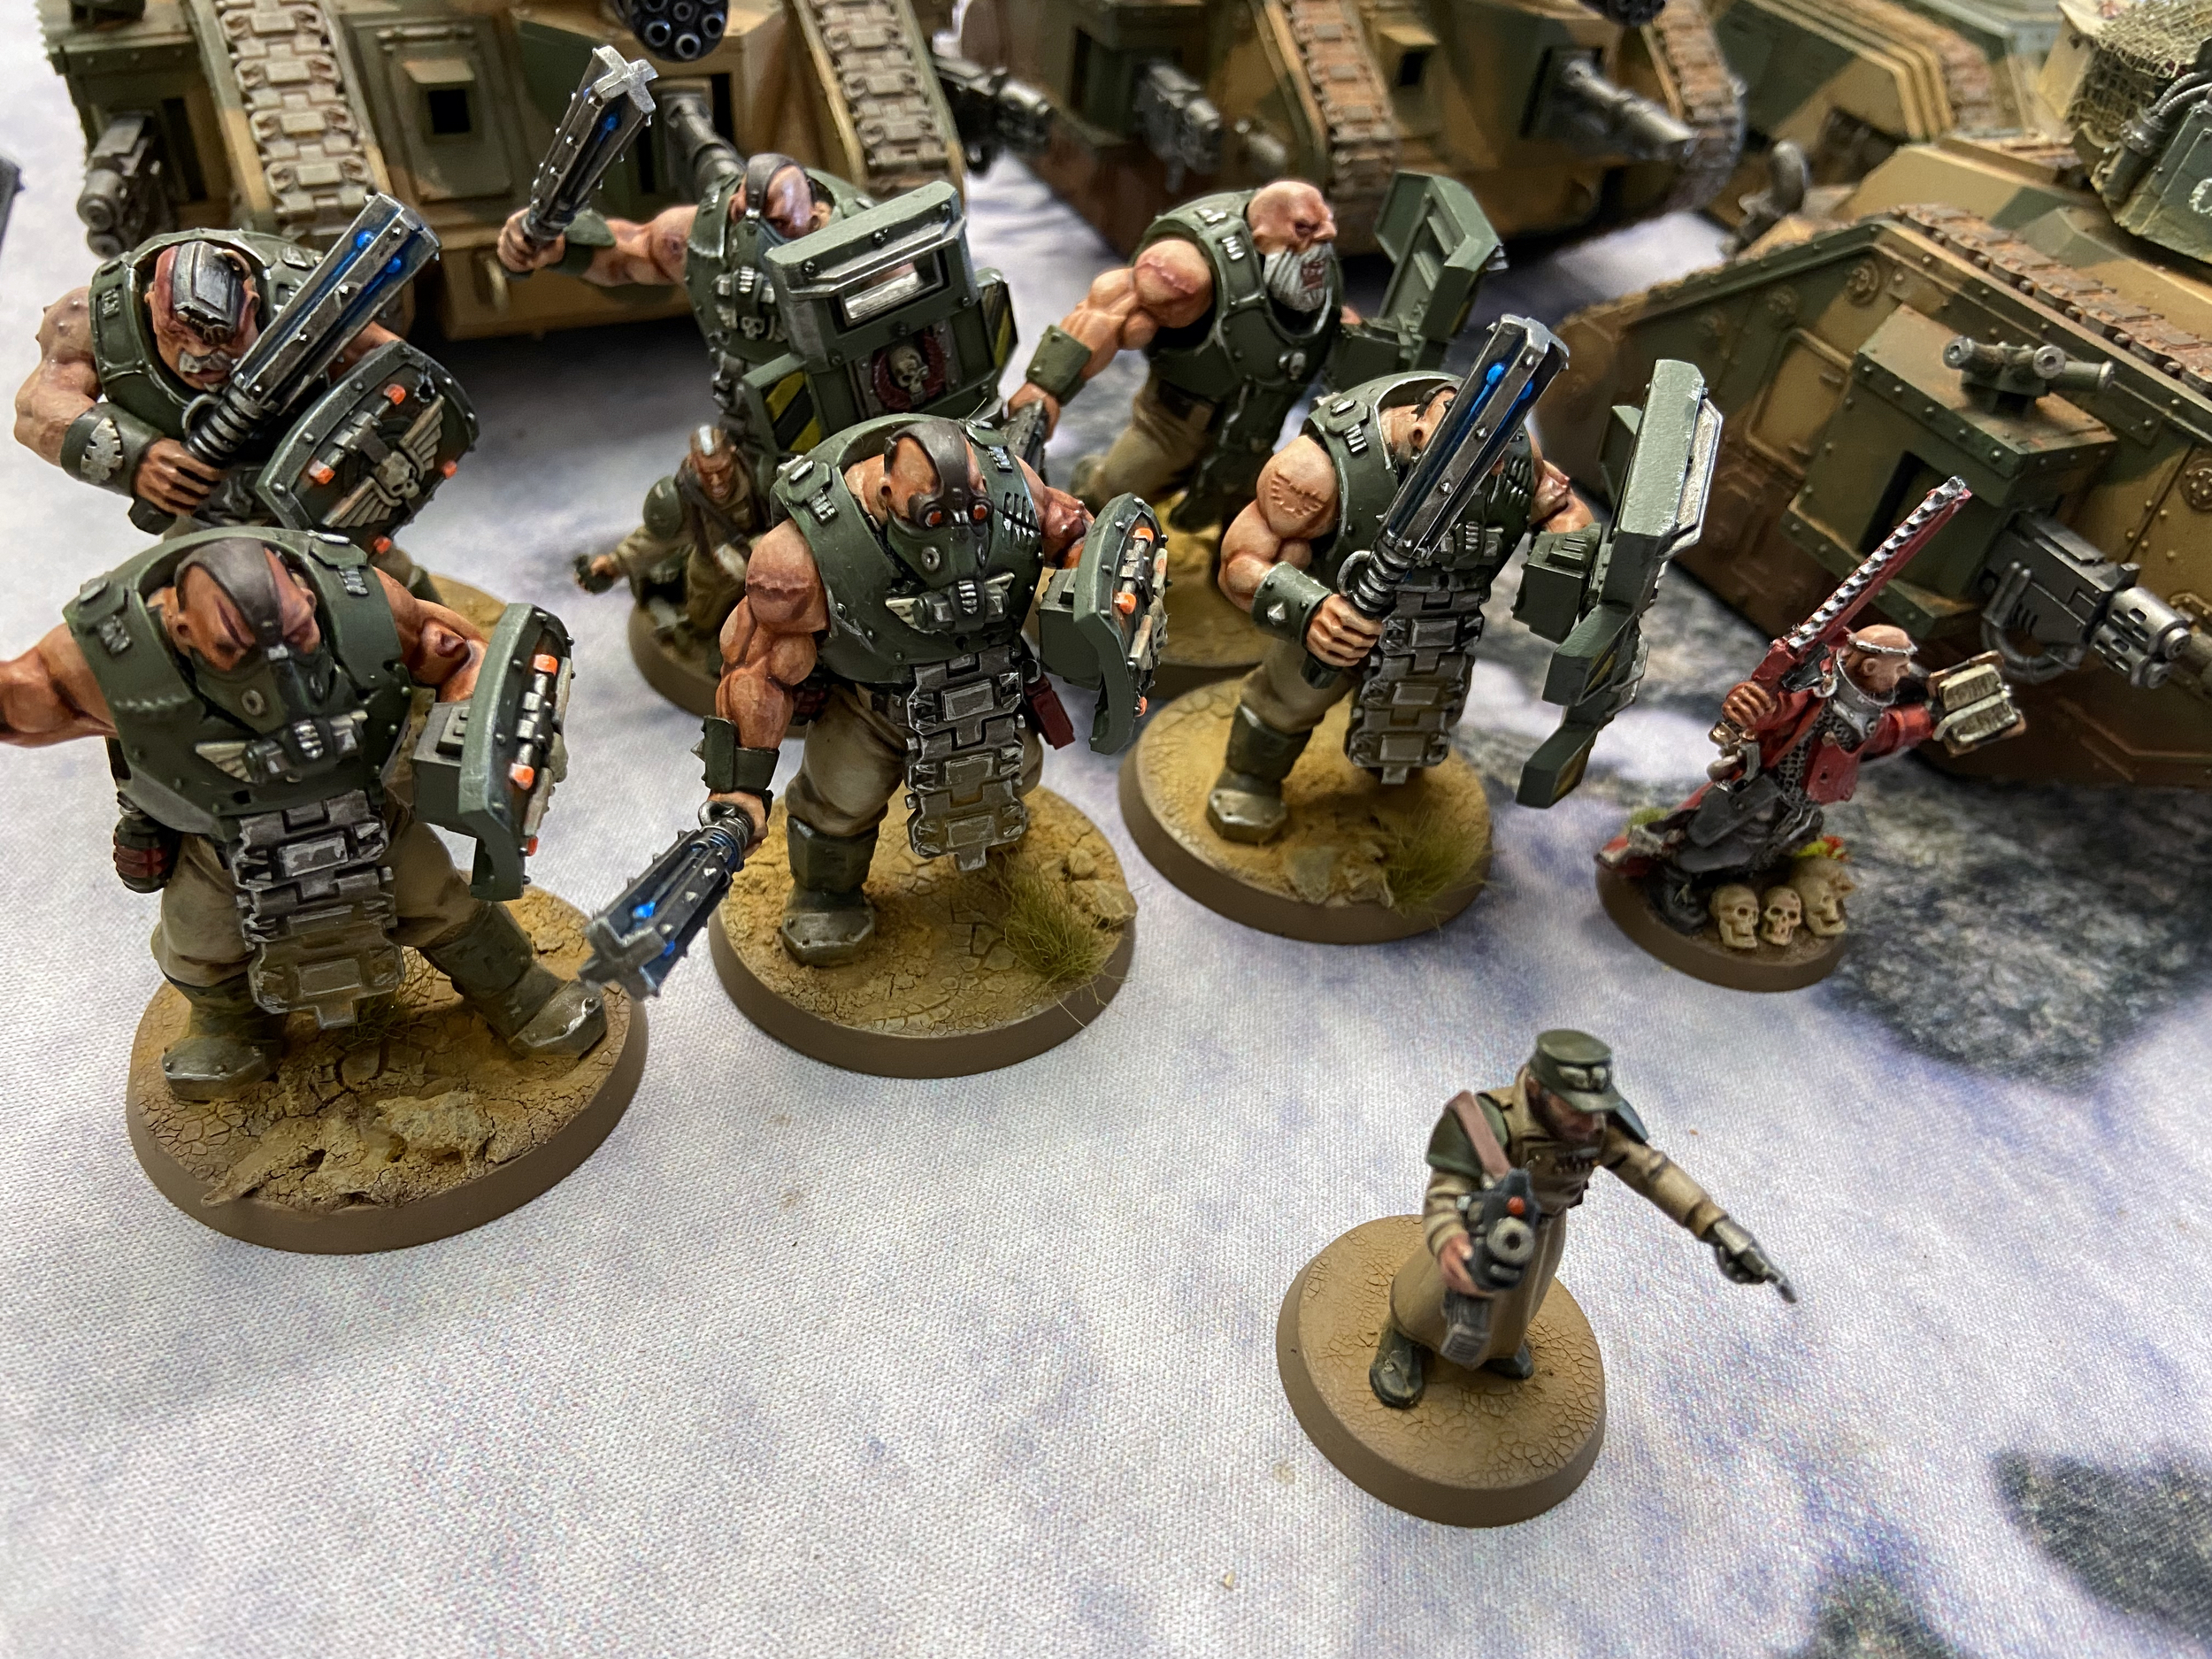
I dropped a Wyvern and Pask in this game and added in a Priest and 3 more Bullgryns. Pask was replaced with a Tank Commander Demolisher. I also paid a CP for Steel Commander on the Tank Commander. This means he can issue 2 orders a turn – one for himself and one for a Punisher Leman Russ. It makes sense as it is 1CP for an order per turn for the whole game, instead of paying for a Tank Order for 1CP each turn using the Inspired Tactics Stratagem.
A note on Steel Commander, I deployed him away from my Punishers and never once used his extra order. Good job, Jake! A wasted CP before the game very began.
Command Points
- 1CP for Tank Ace
- I will be starting on 11CP
HQ
- Company Commander Warlord with Grand Strategist and Laurels of Command
- Company Commander
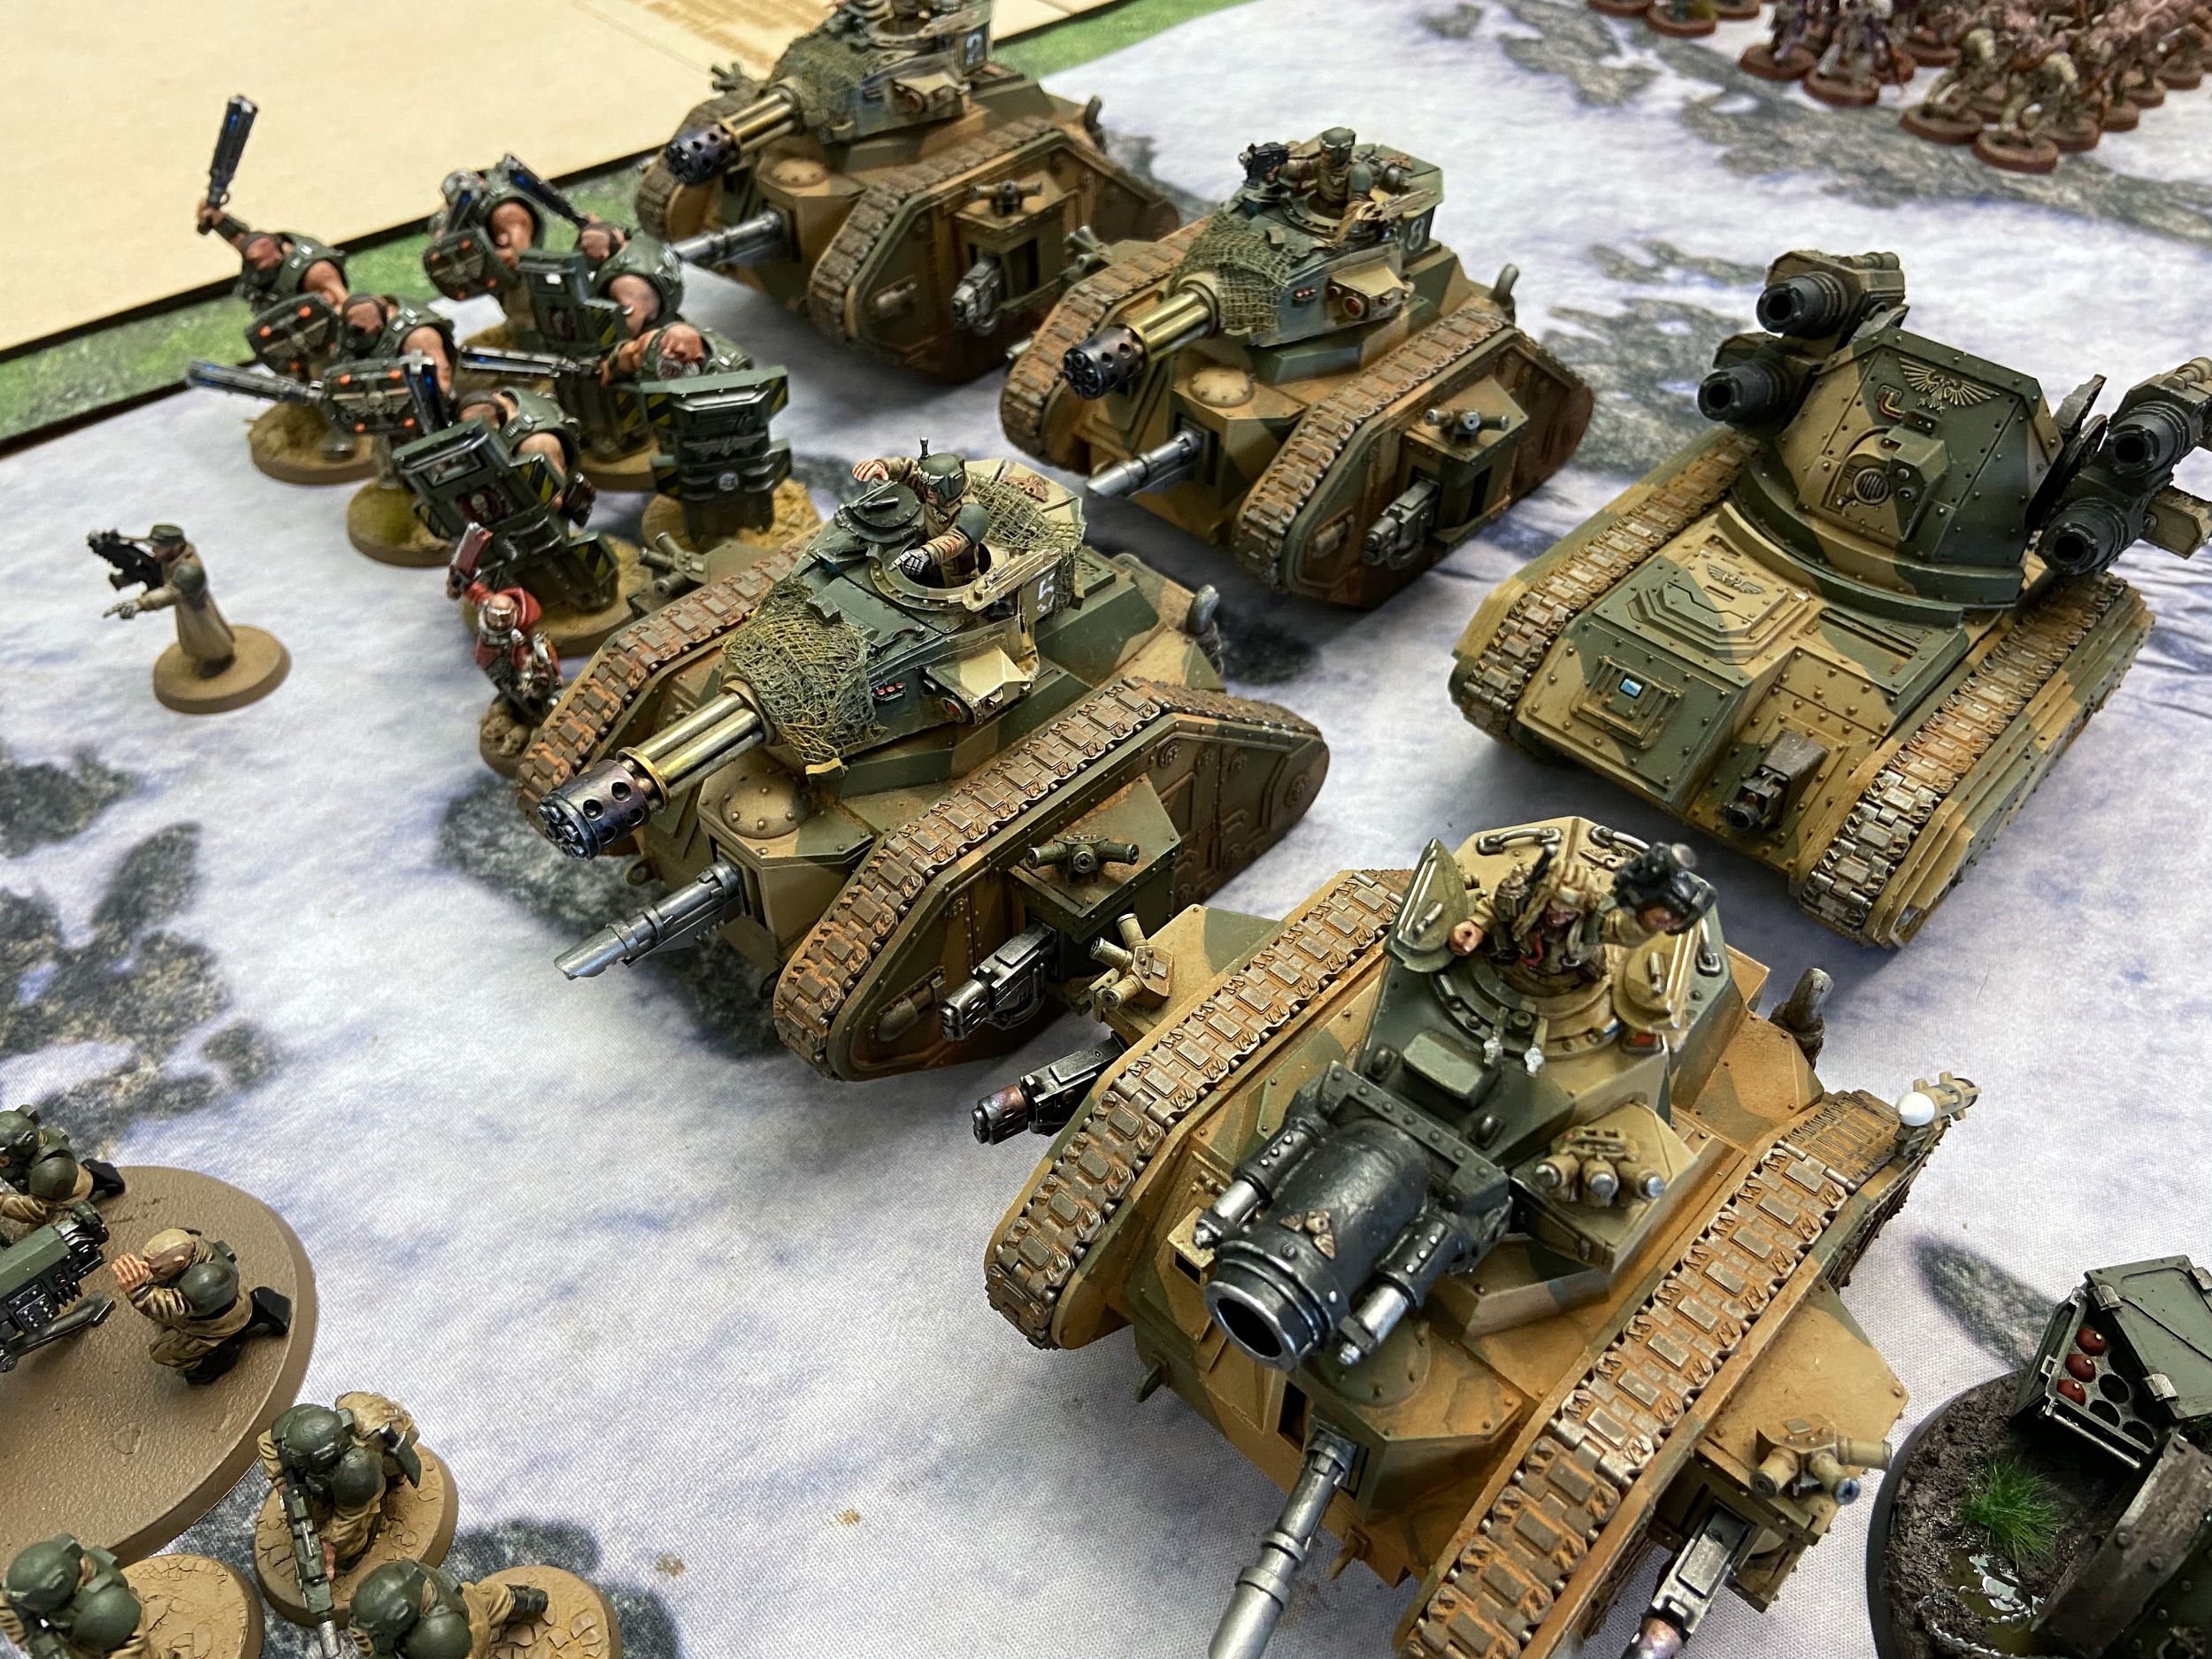
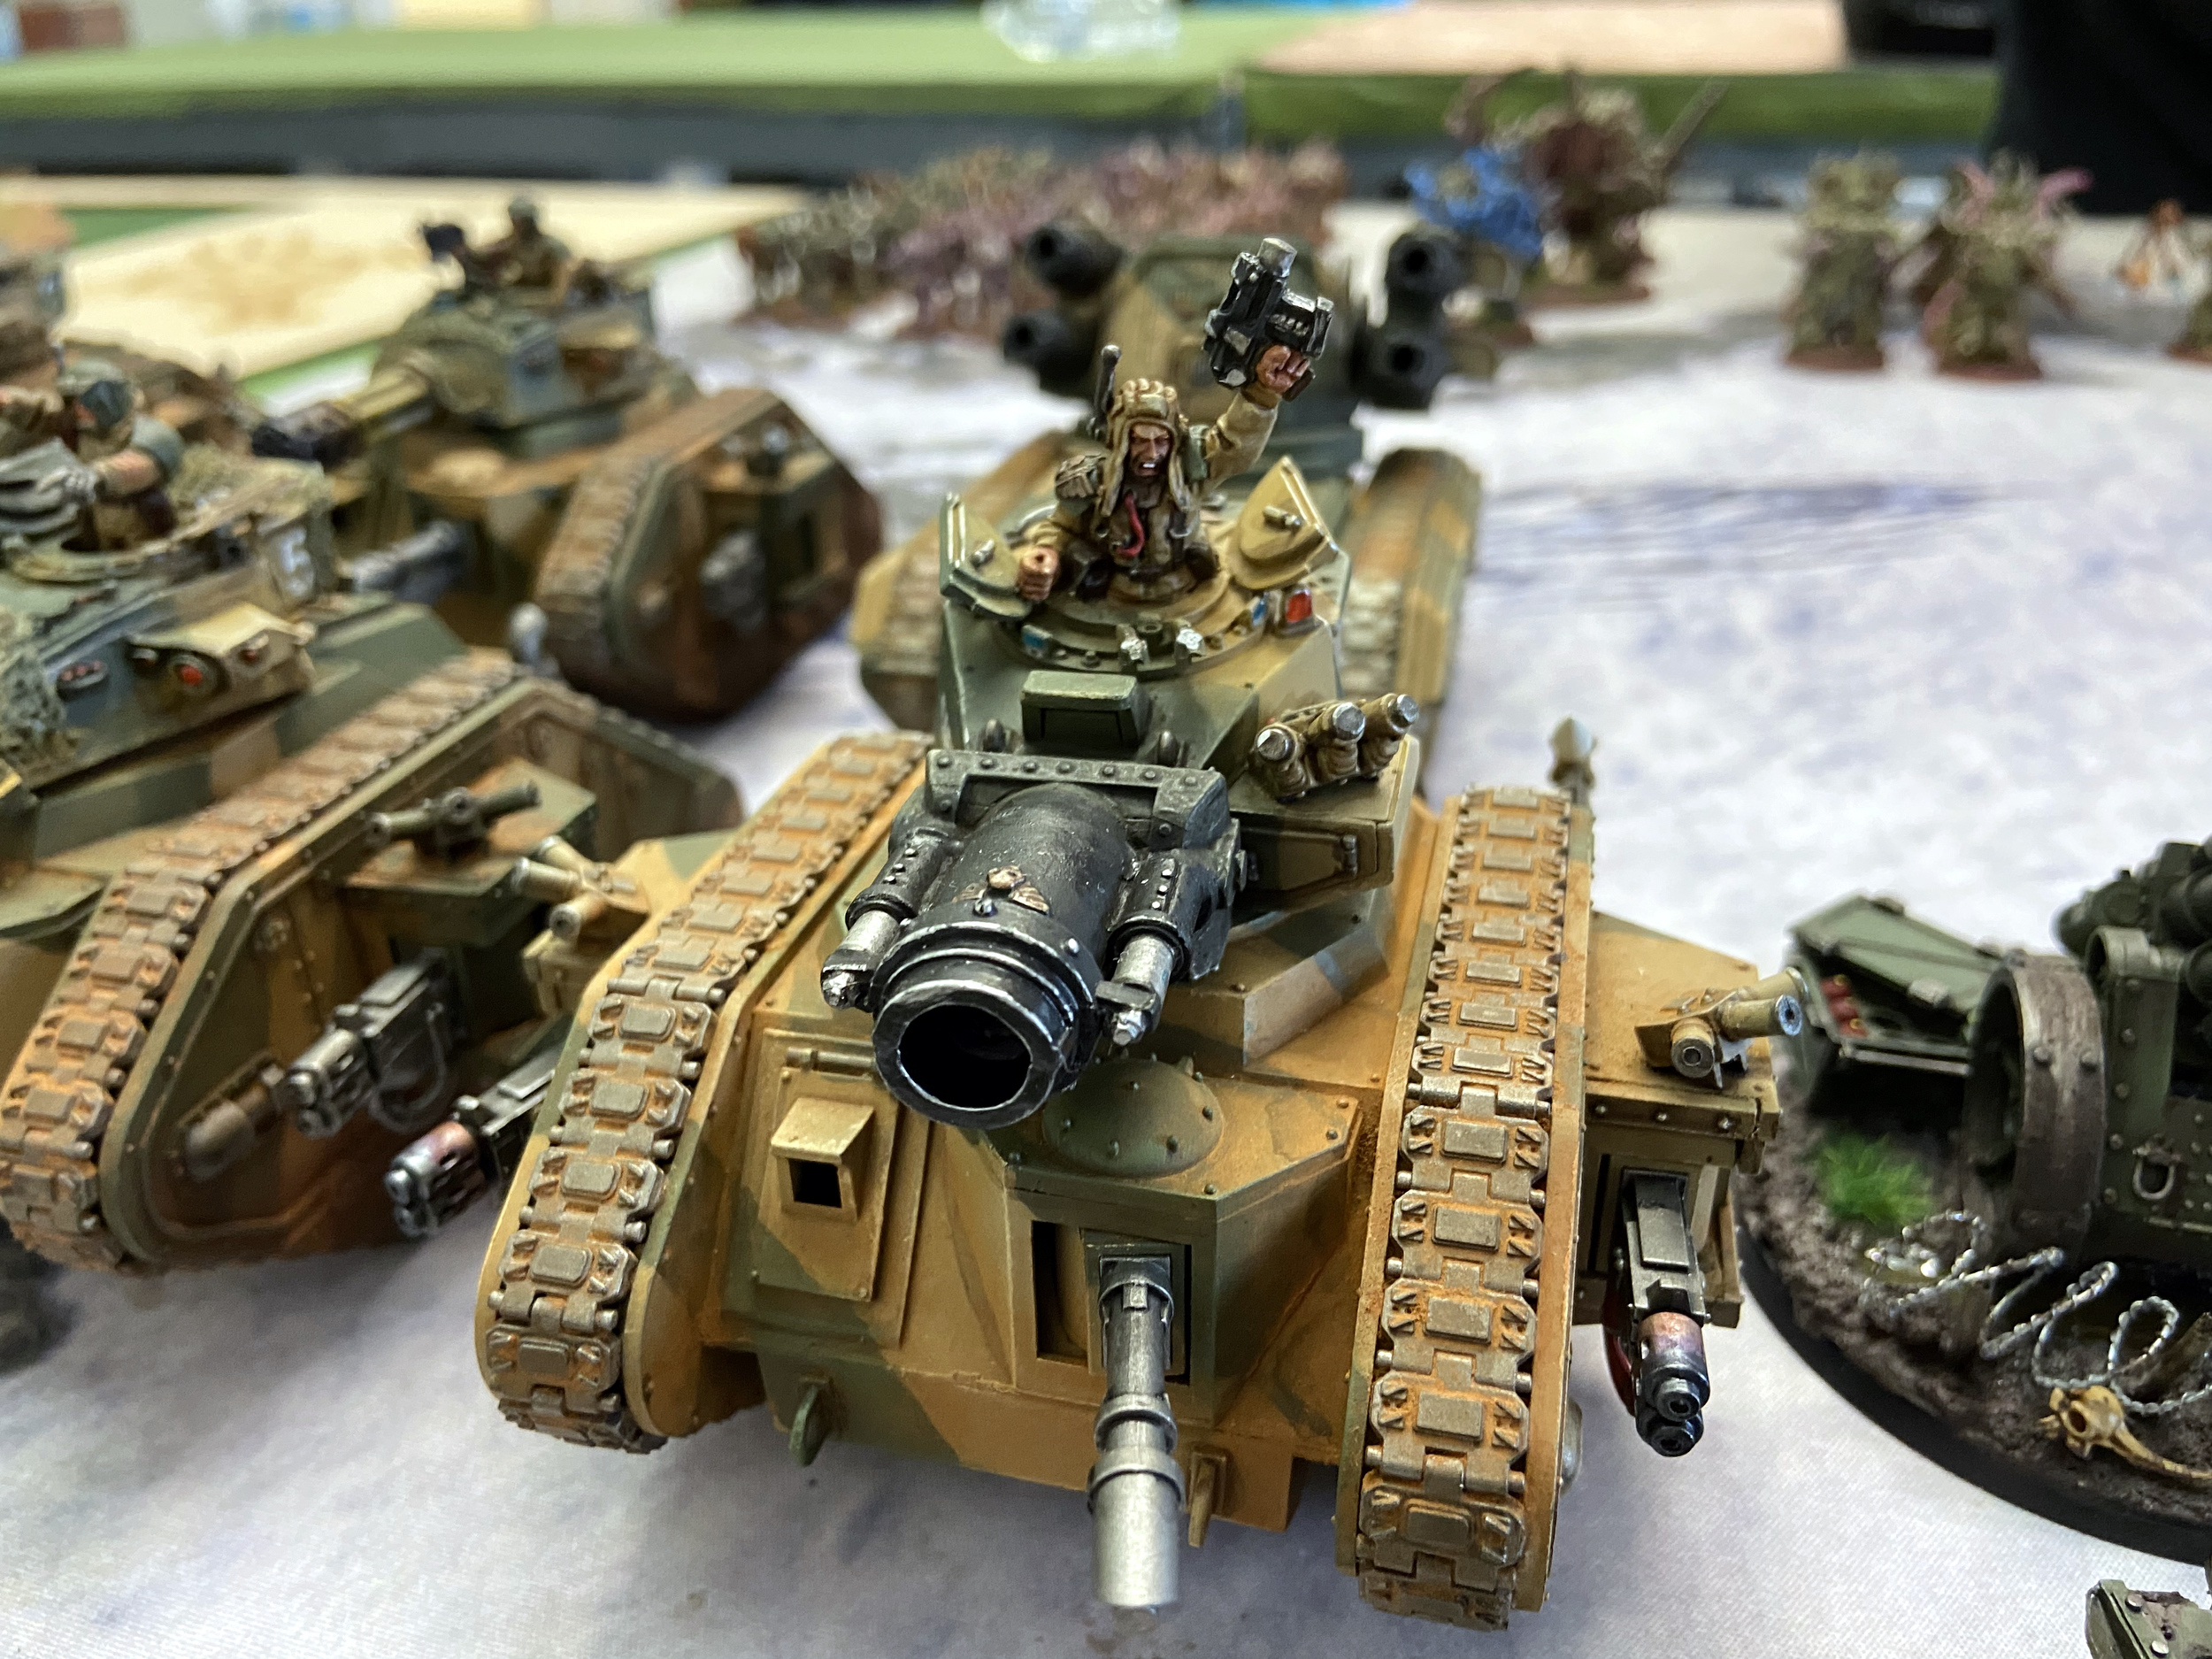
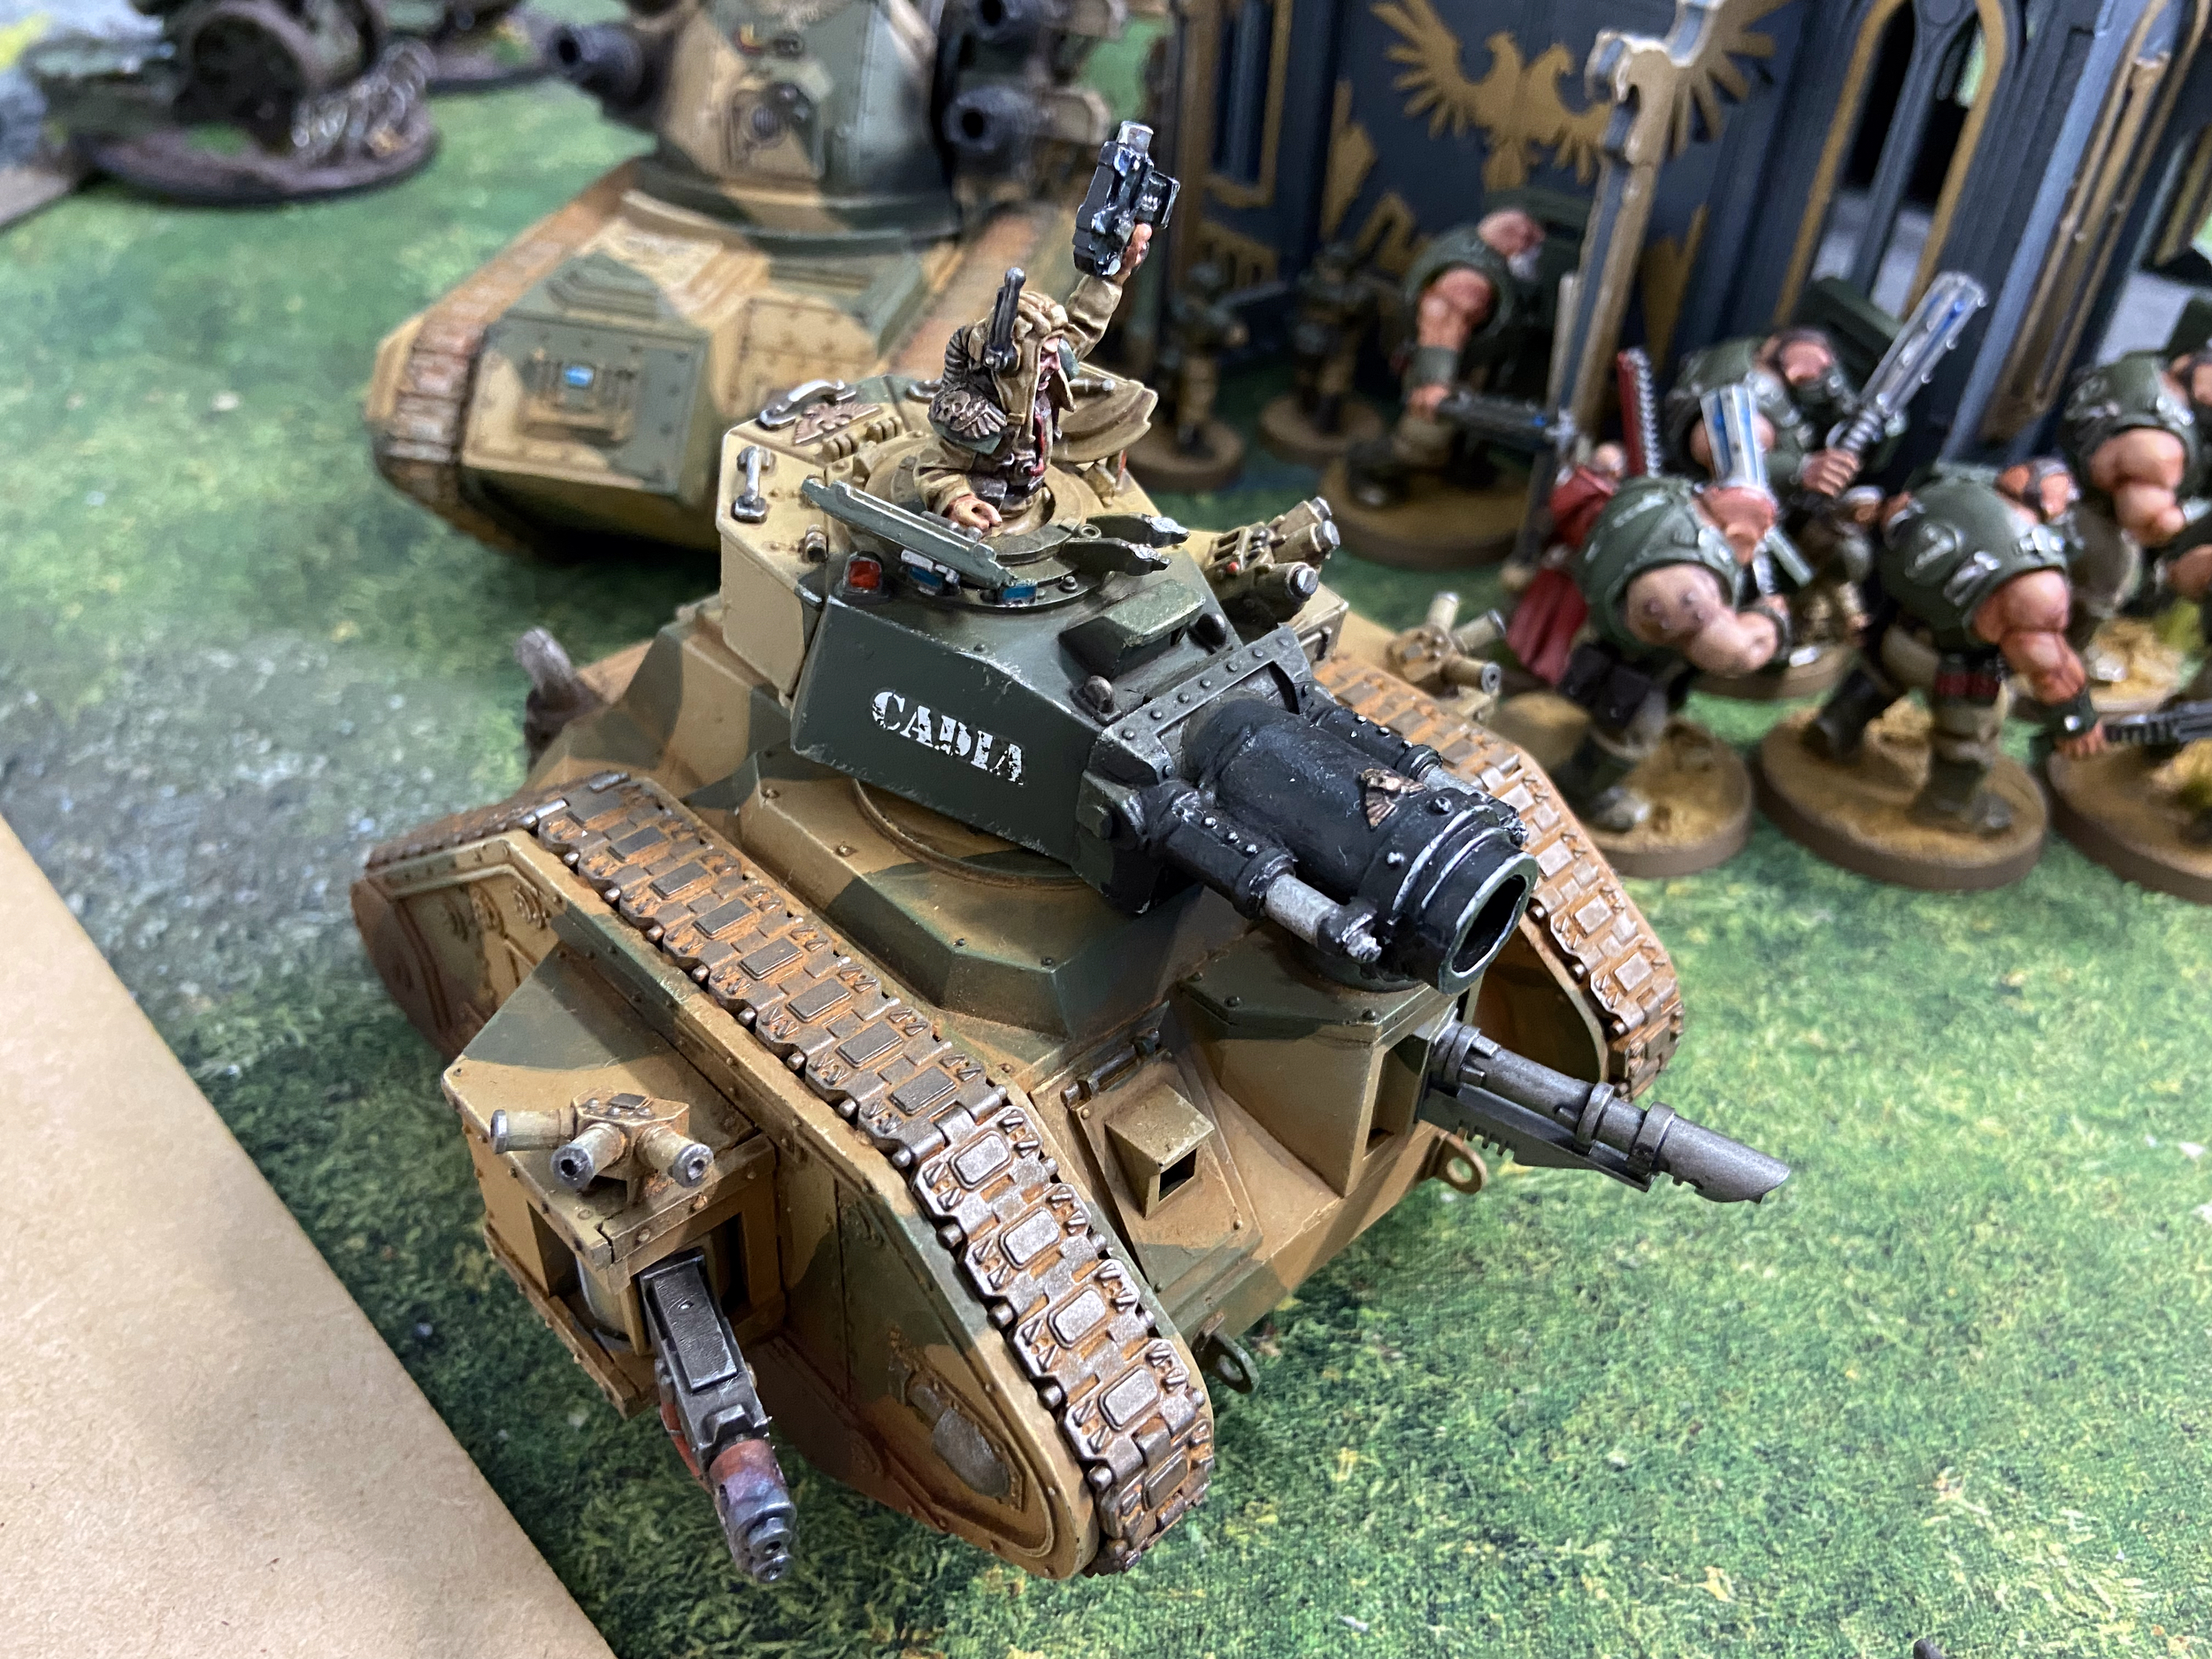
- Demolisher Tank Commander with Lascannon, Multi Meltas and a Hunter Killer Missile – Steel Commander Tank Ace
Troops
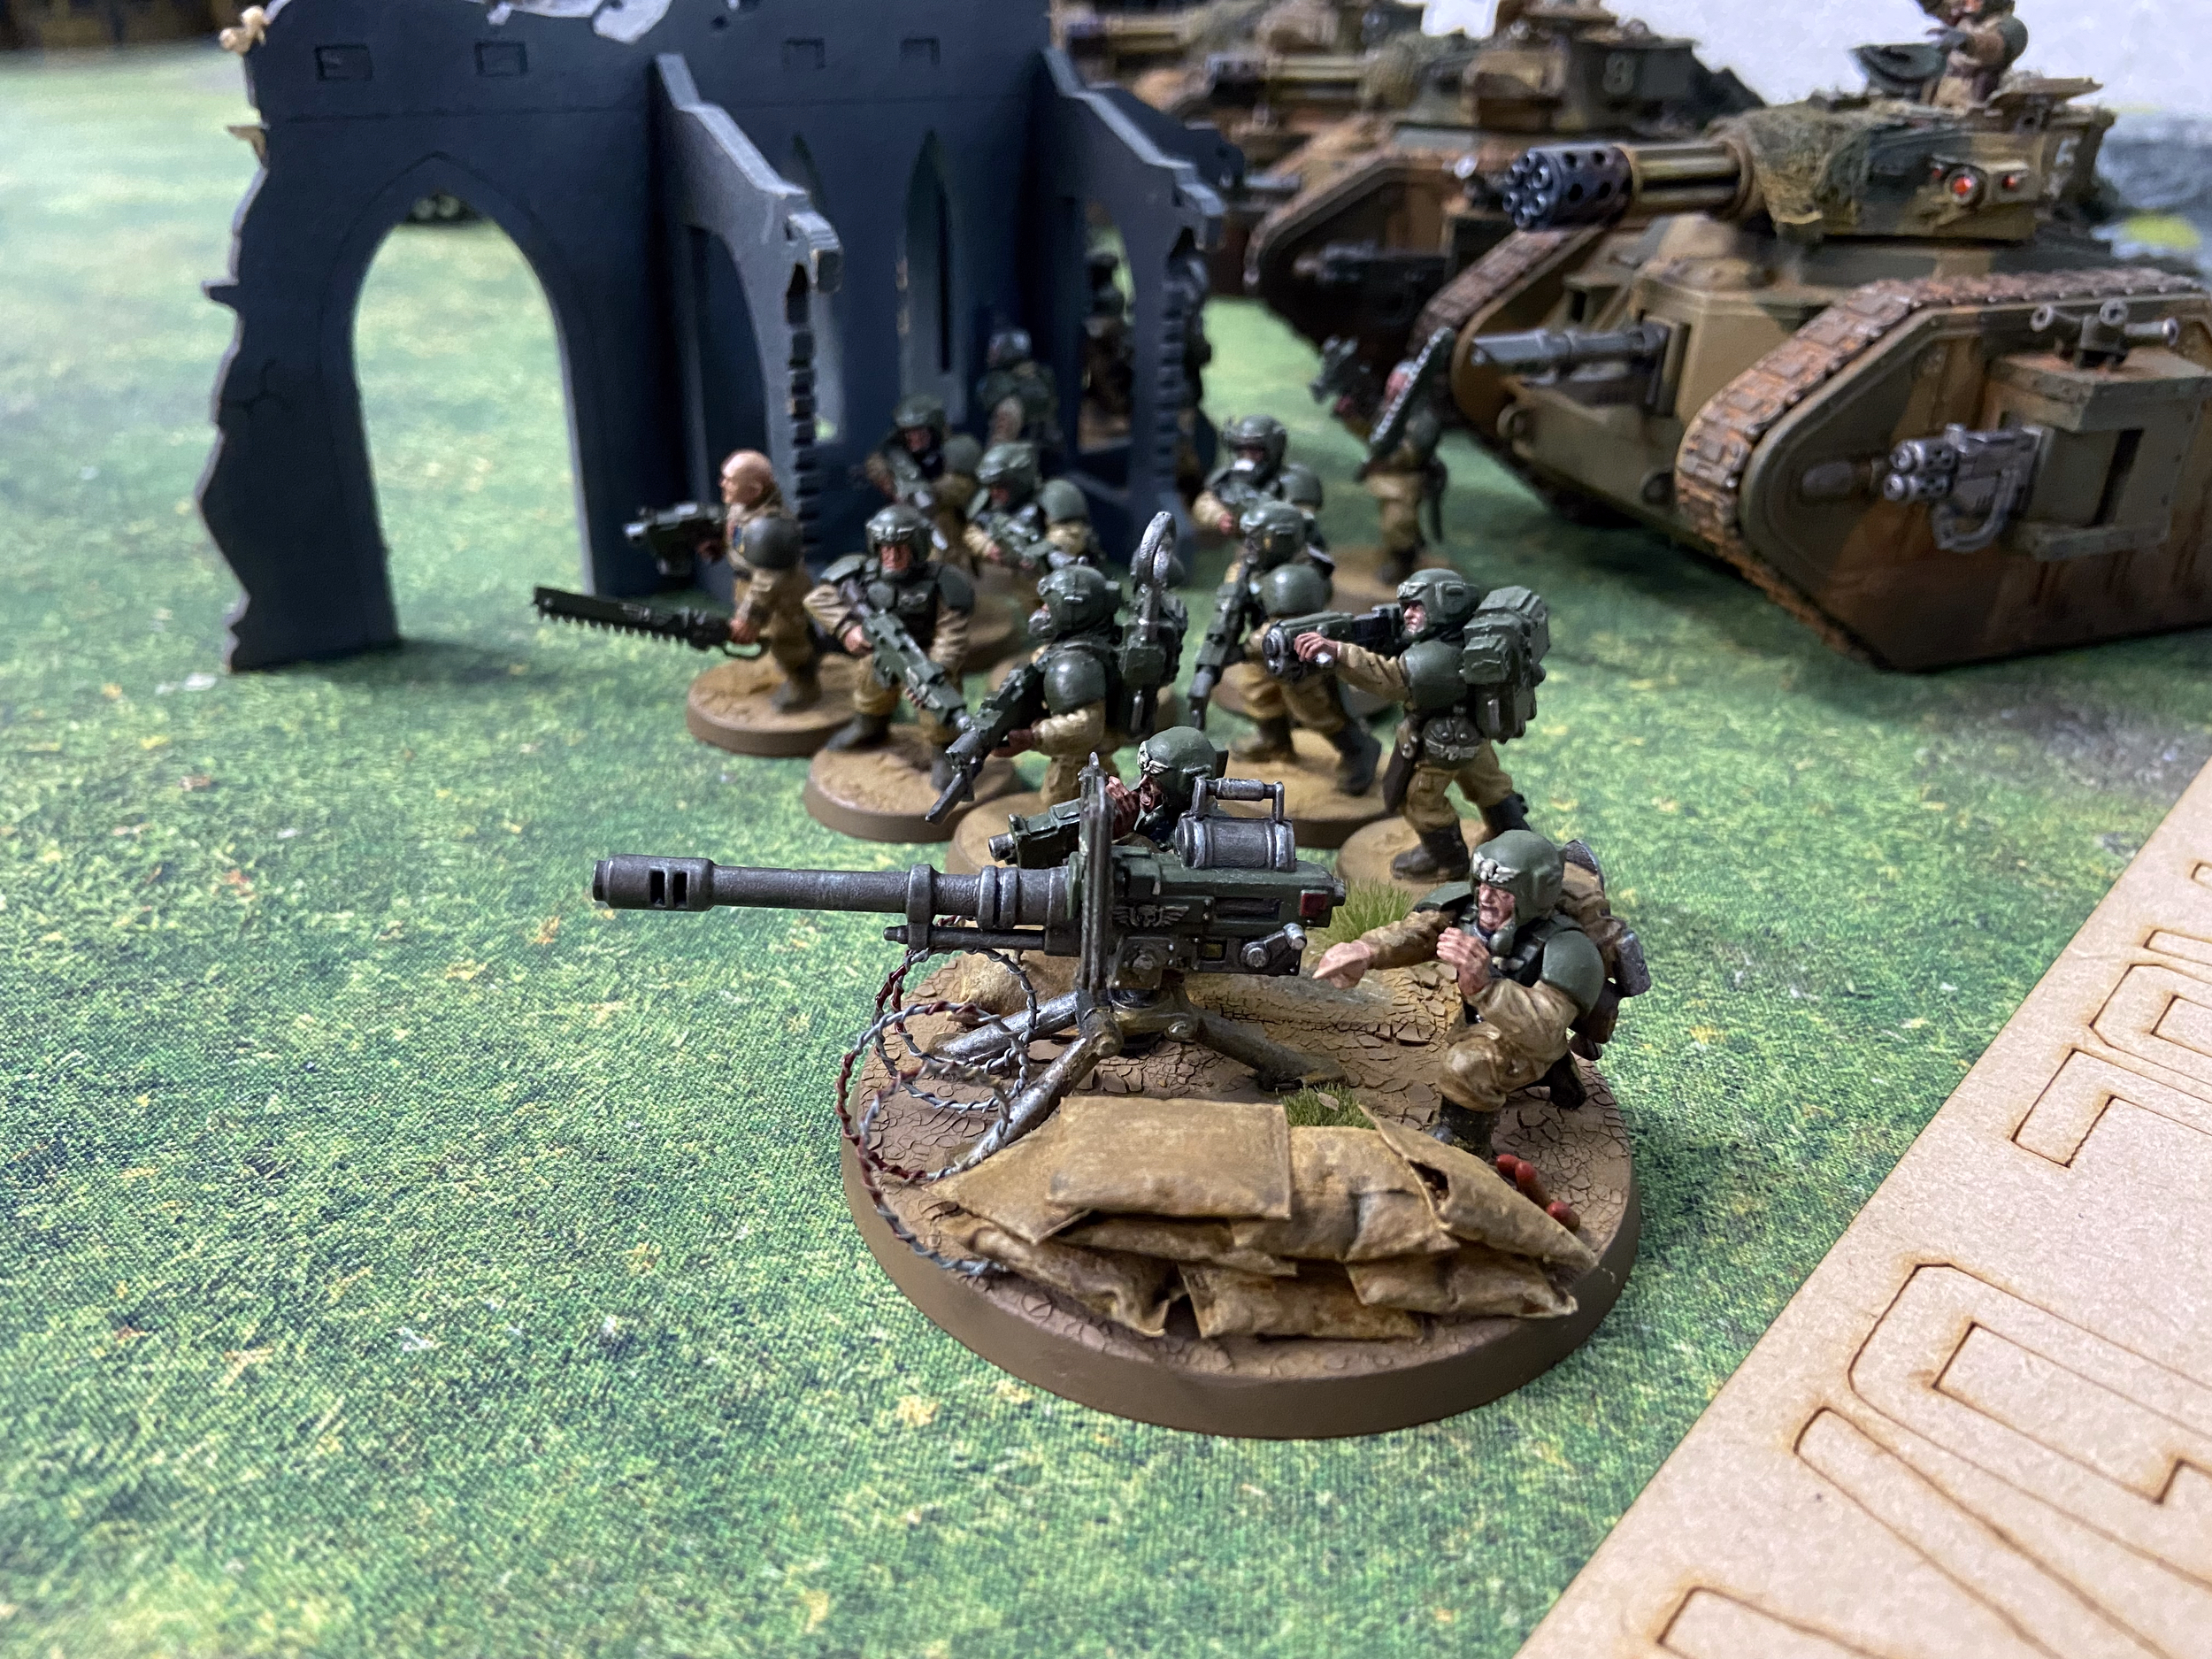
- 3x Infantry Squads with Vox Caster, Lascannon and a Melta Gun, Sergeant with Plasma Pistol and Power Sword
- 3x Infantry Squads with Vox Caster, Lascannon and a Plasma Gun, Sergeant with Plasma Pistol and Power Sword
Elites
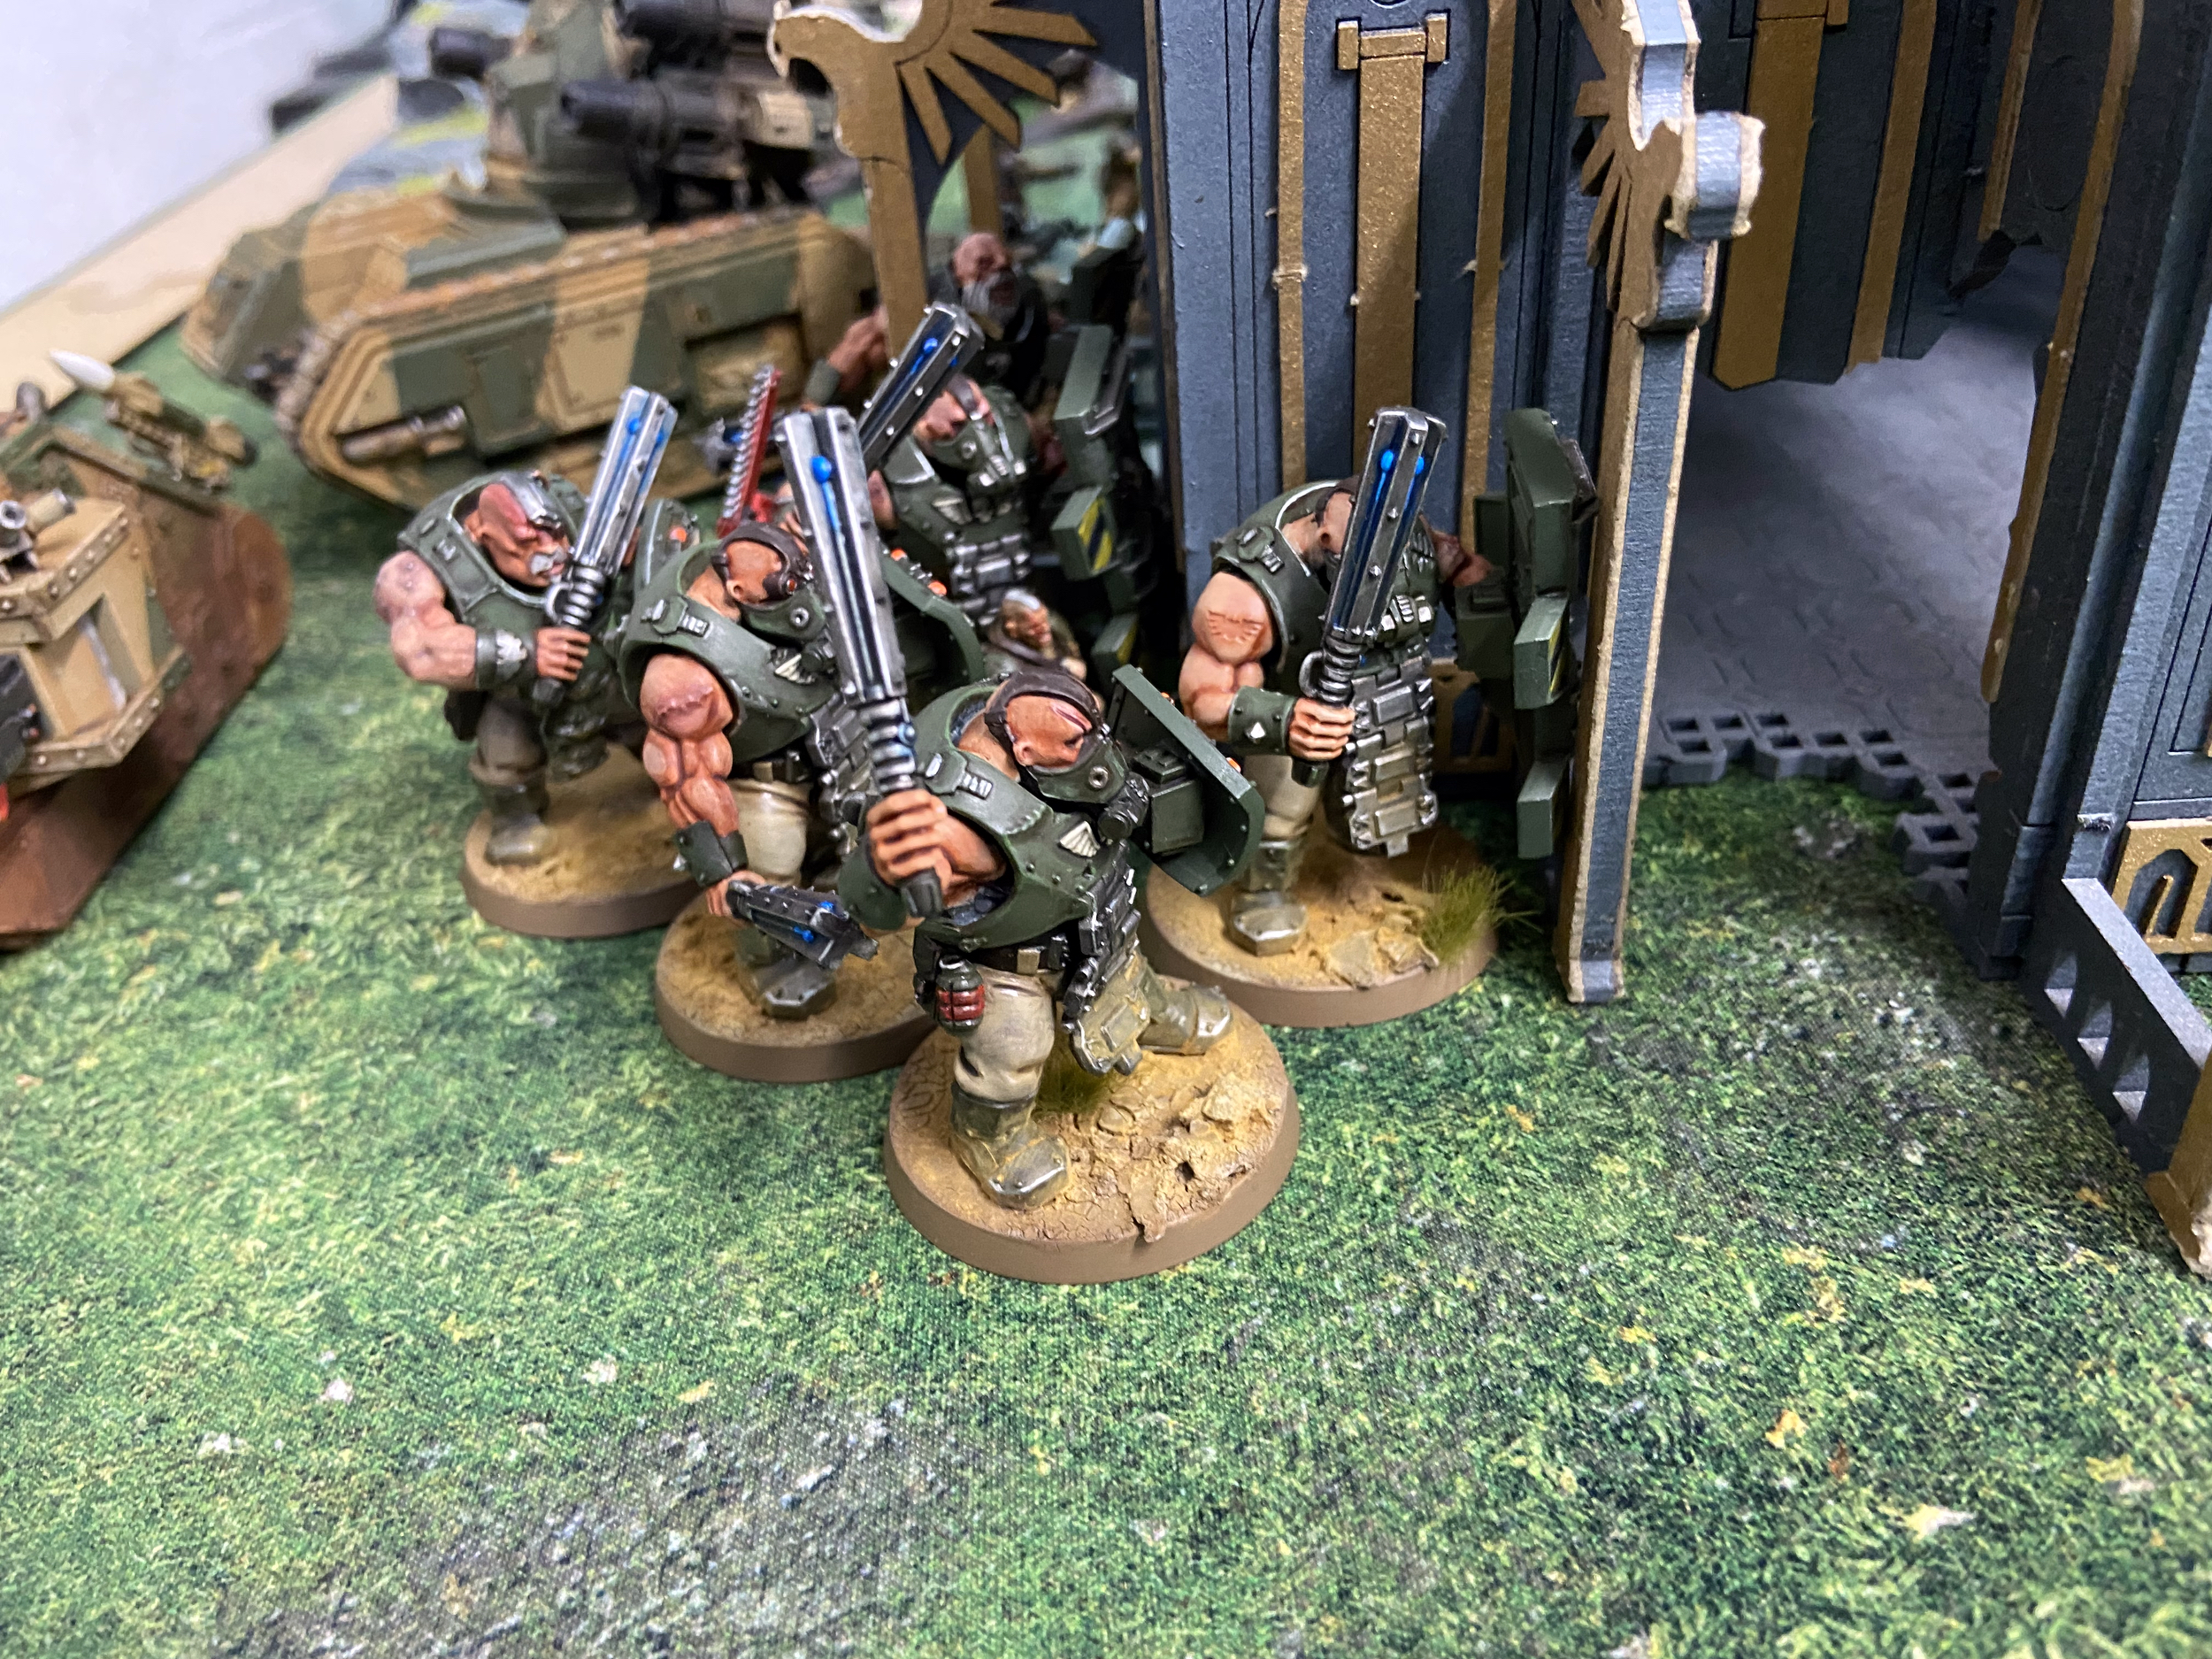
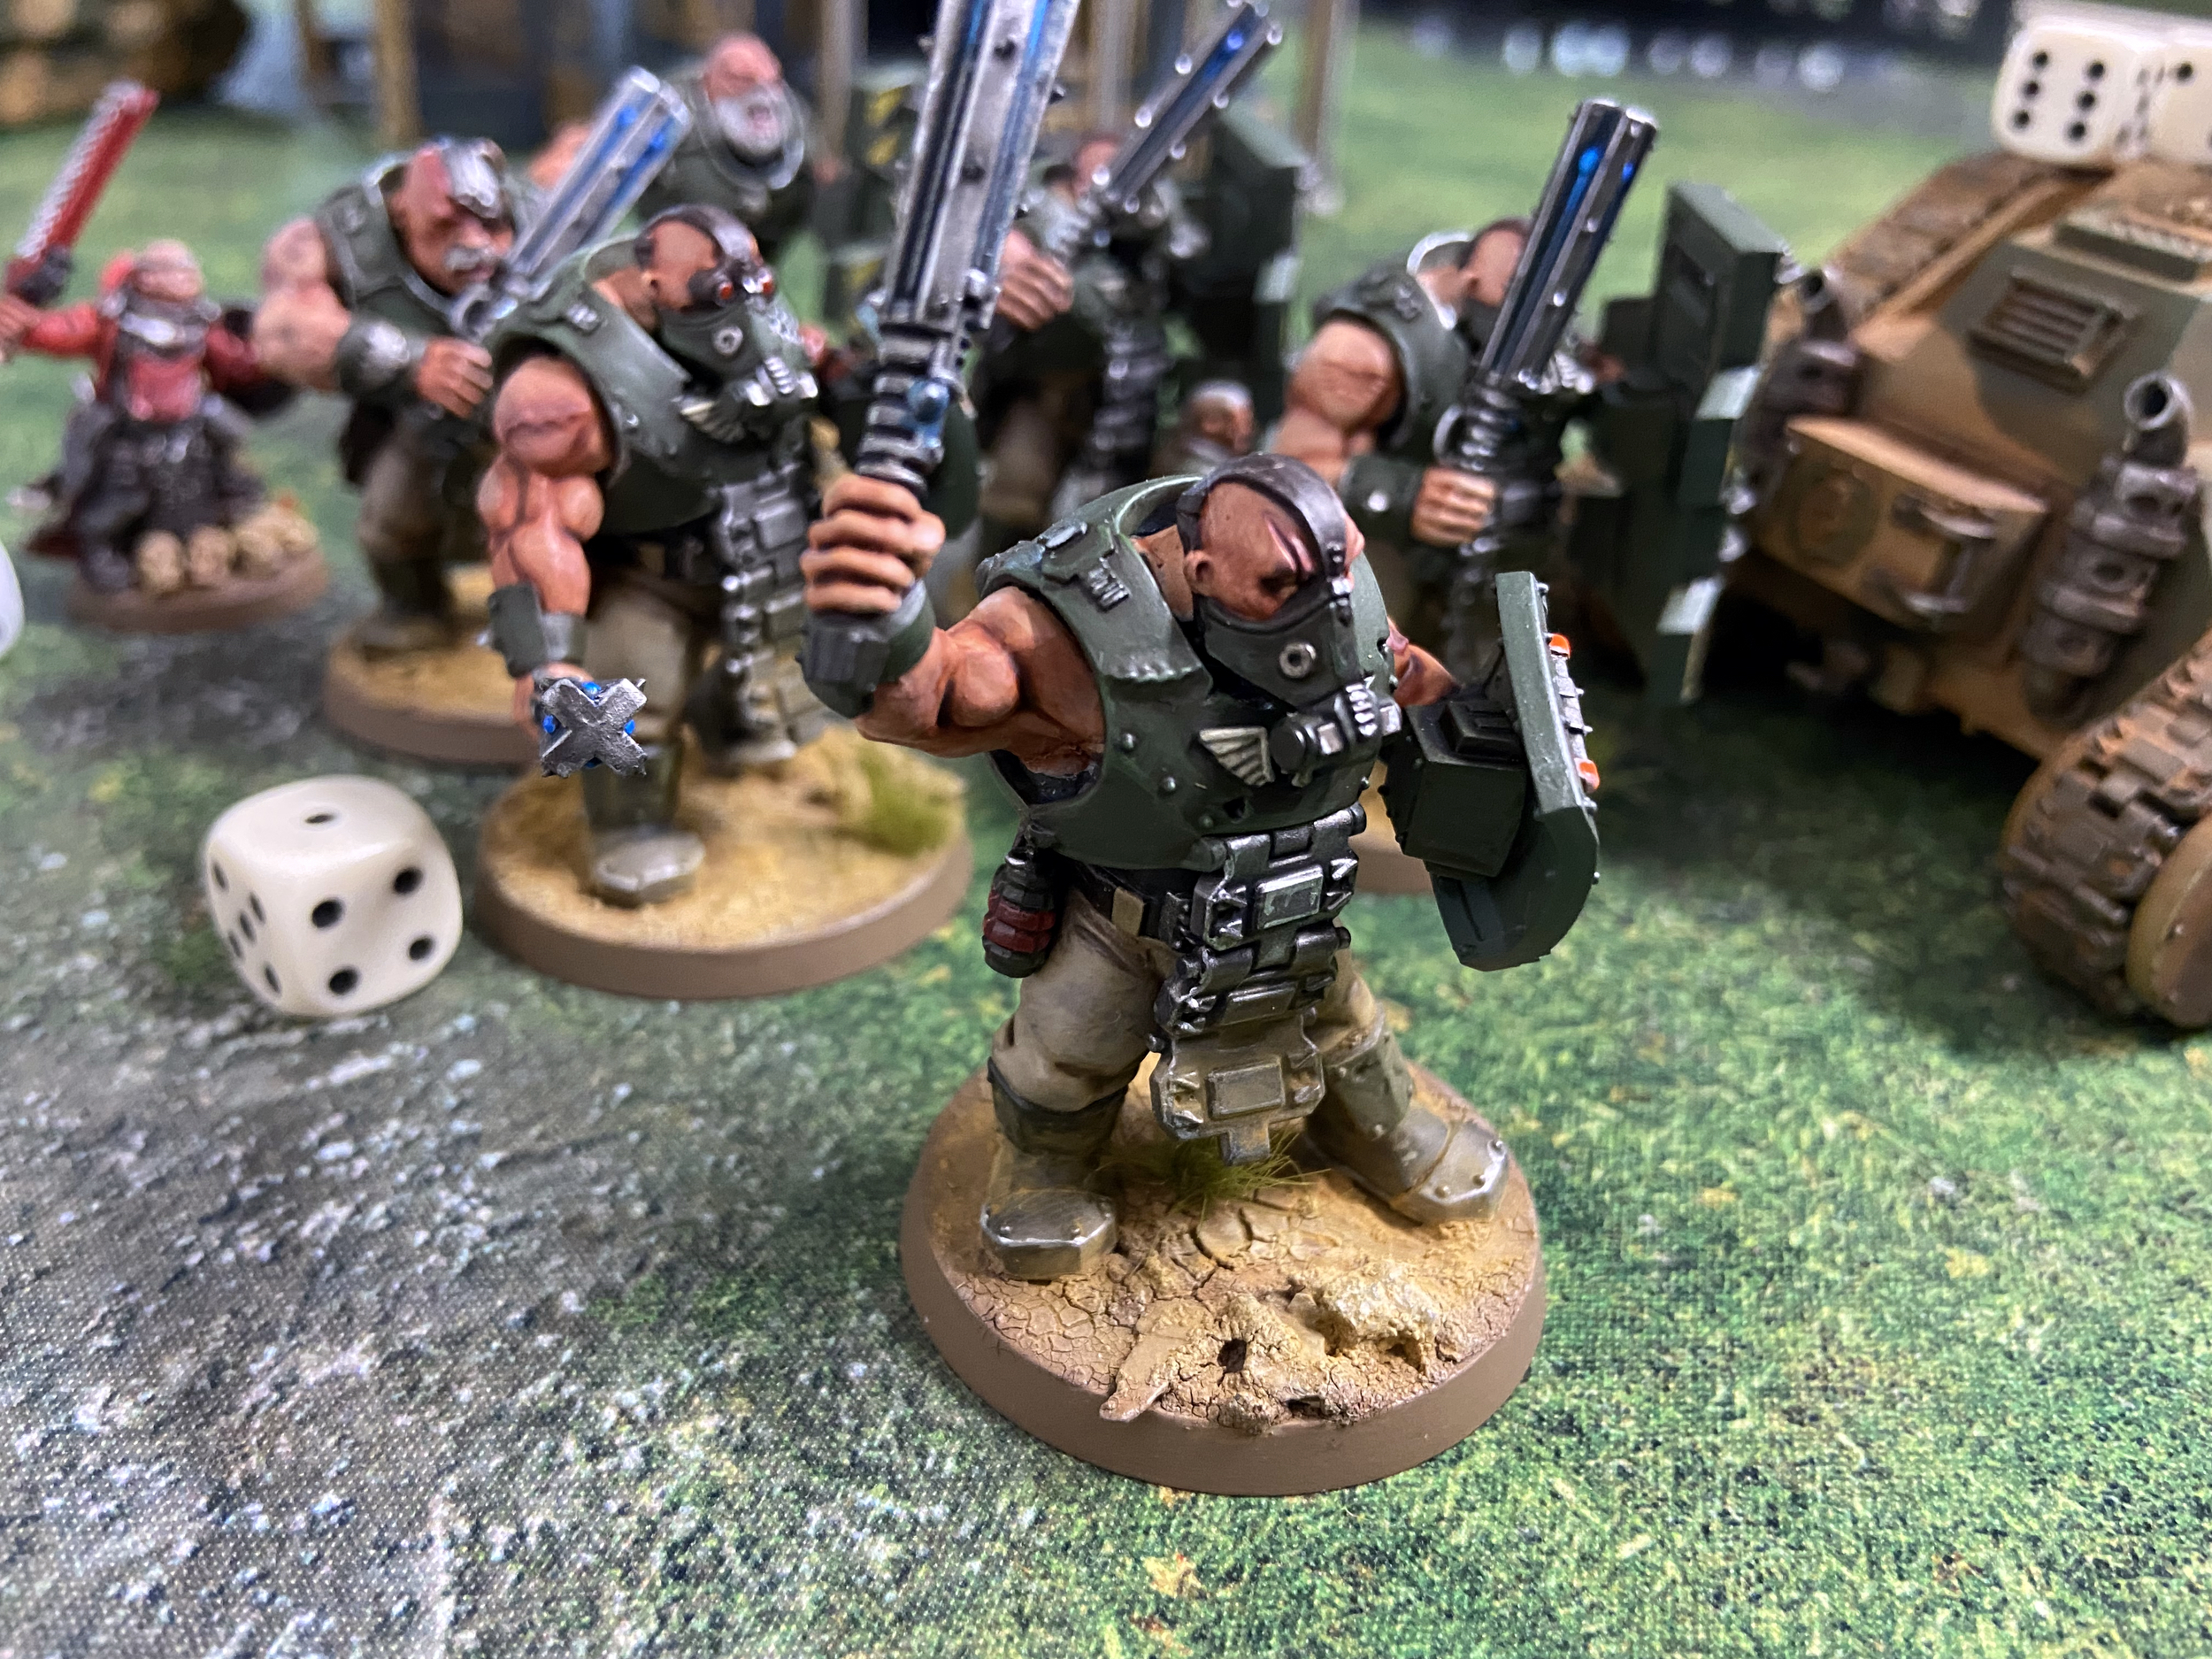
- 6 Bullgryns
- A Priest
Heavy Support
- A Wyvern
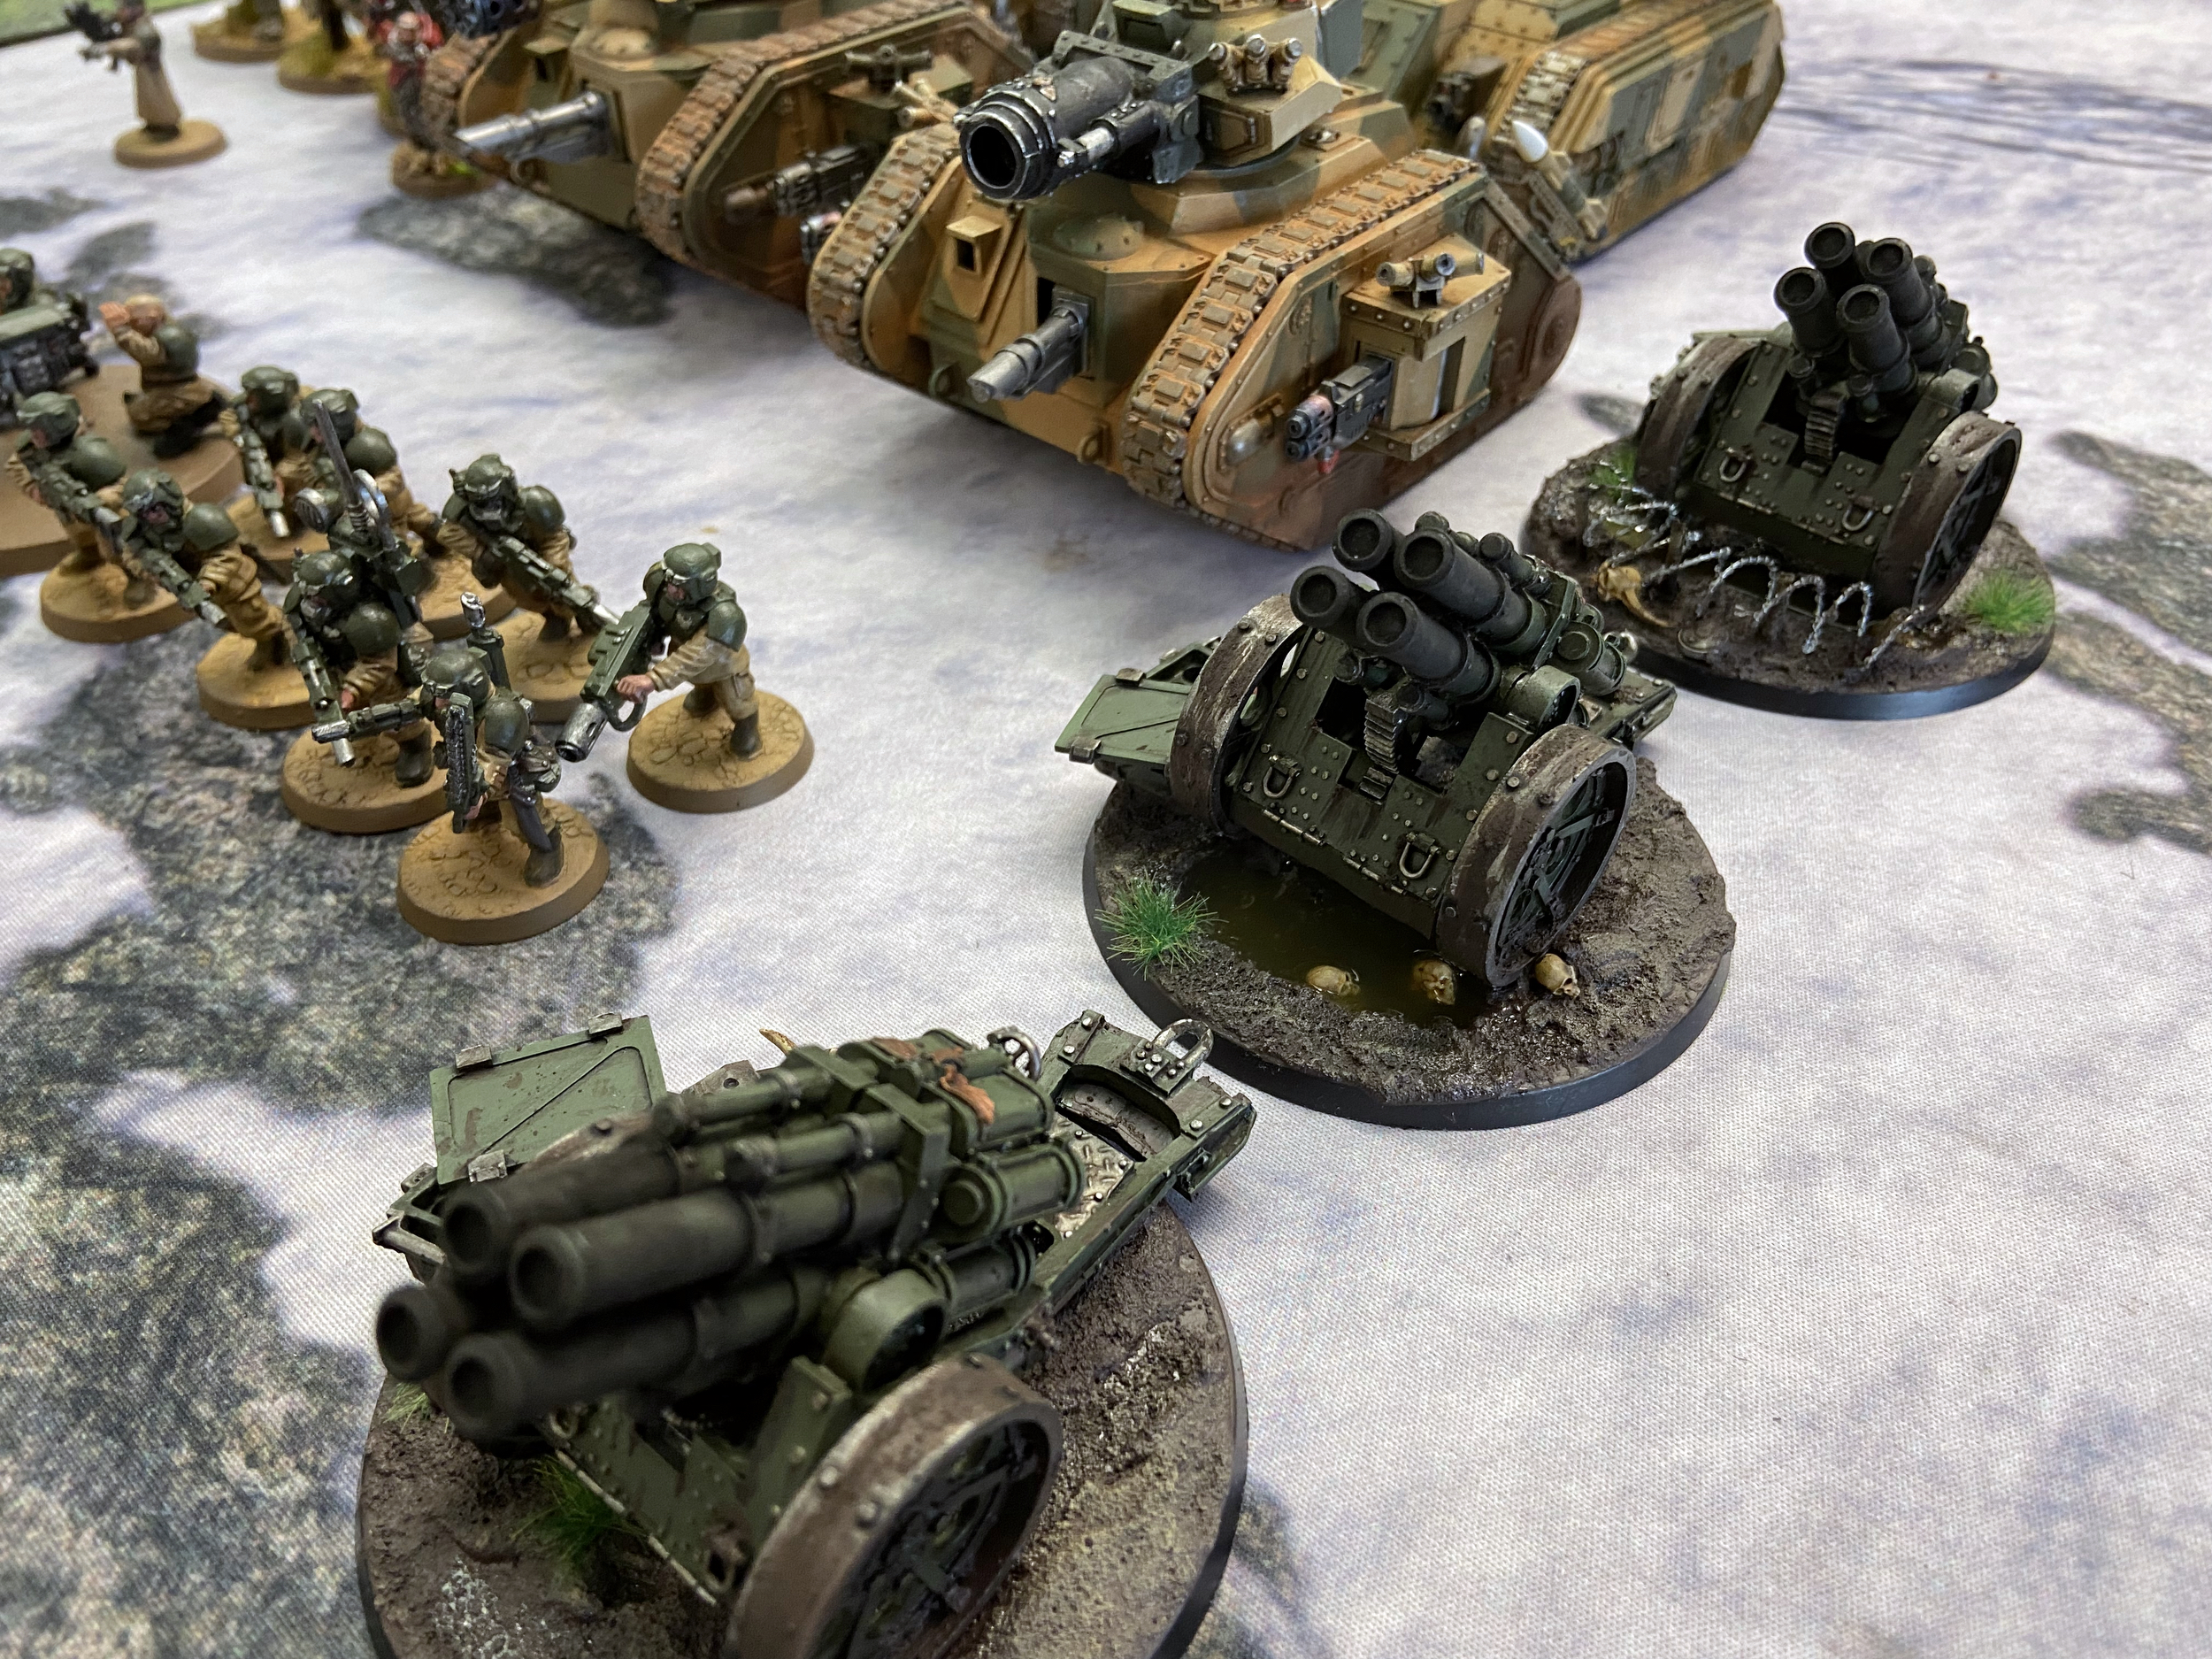
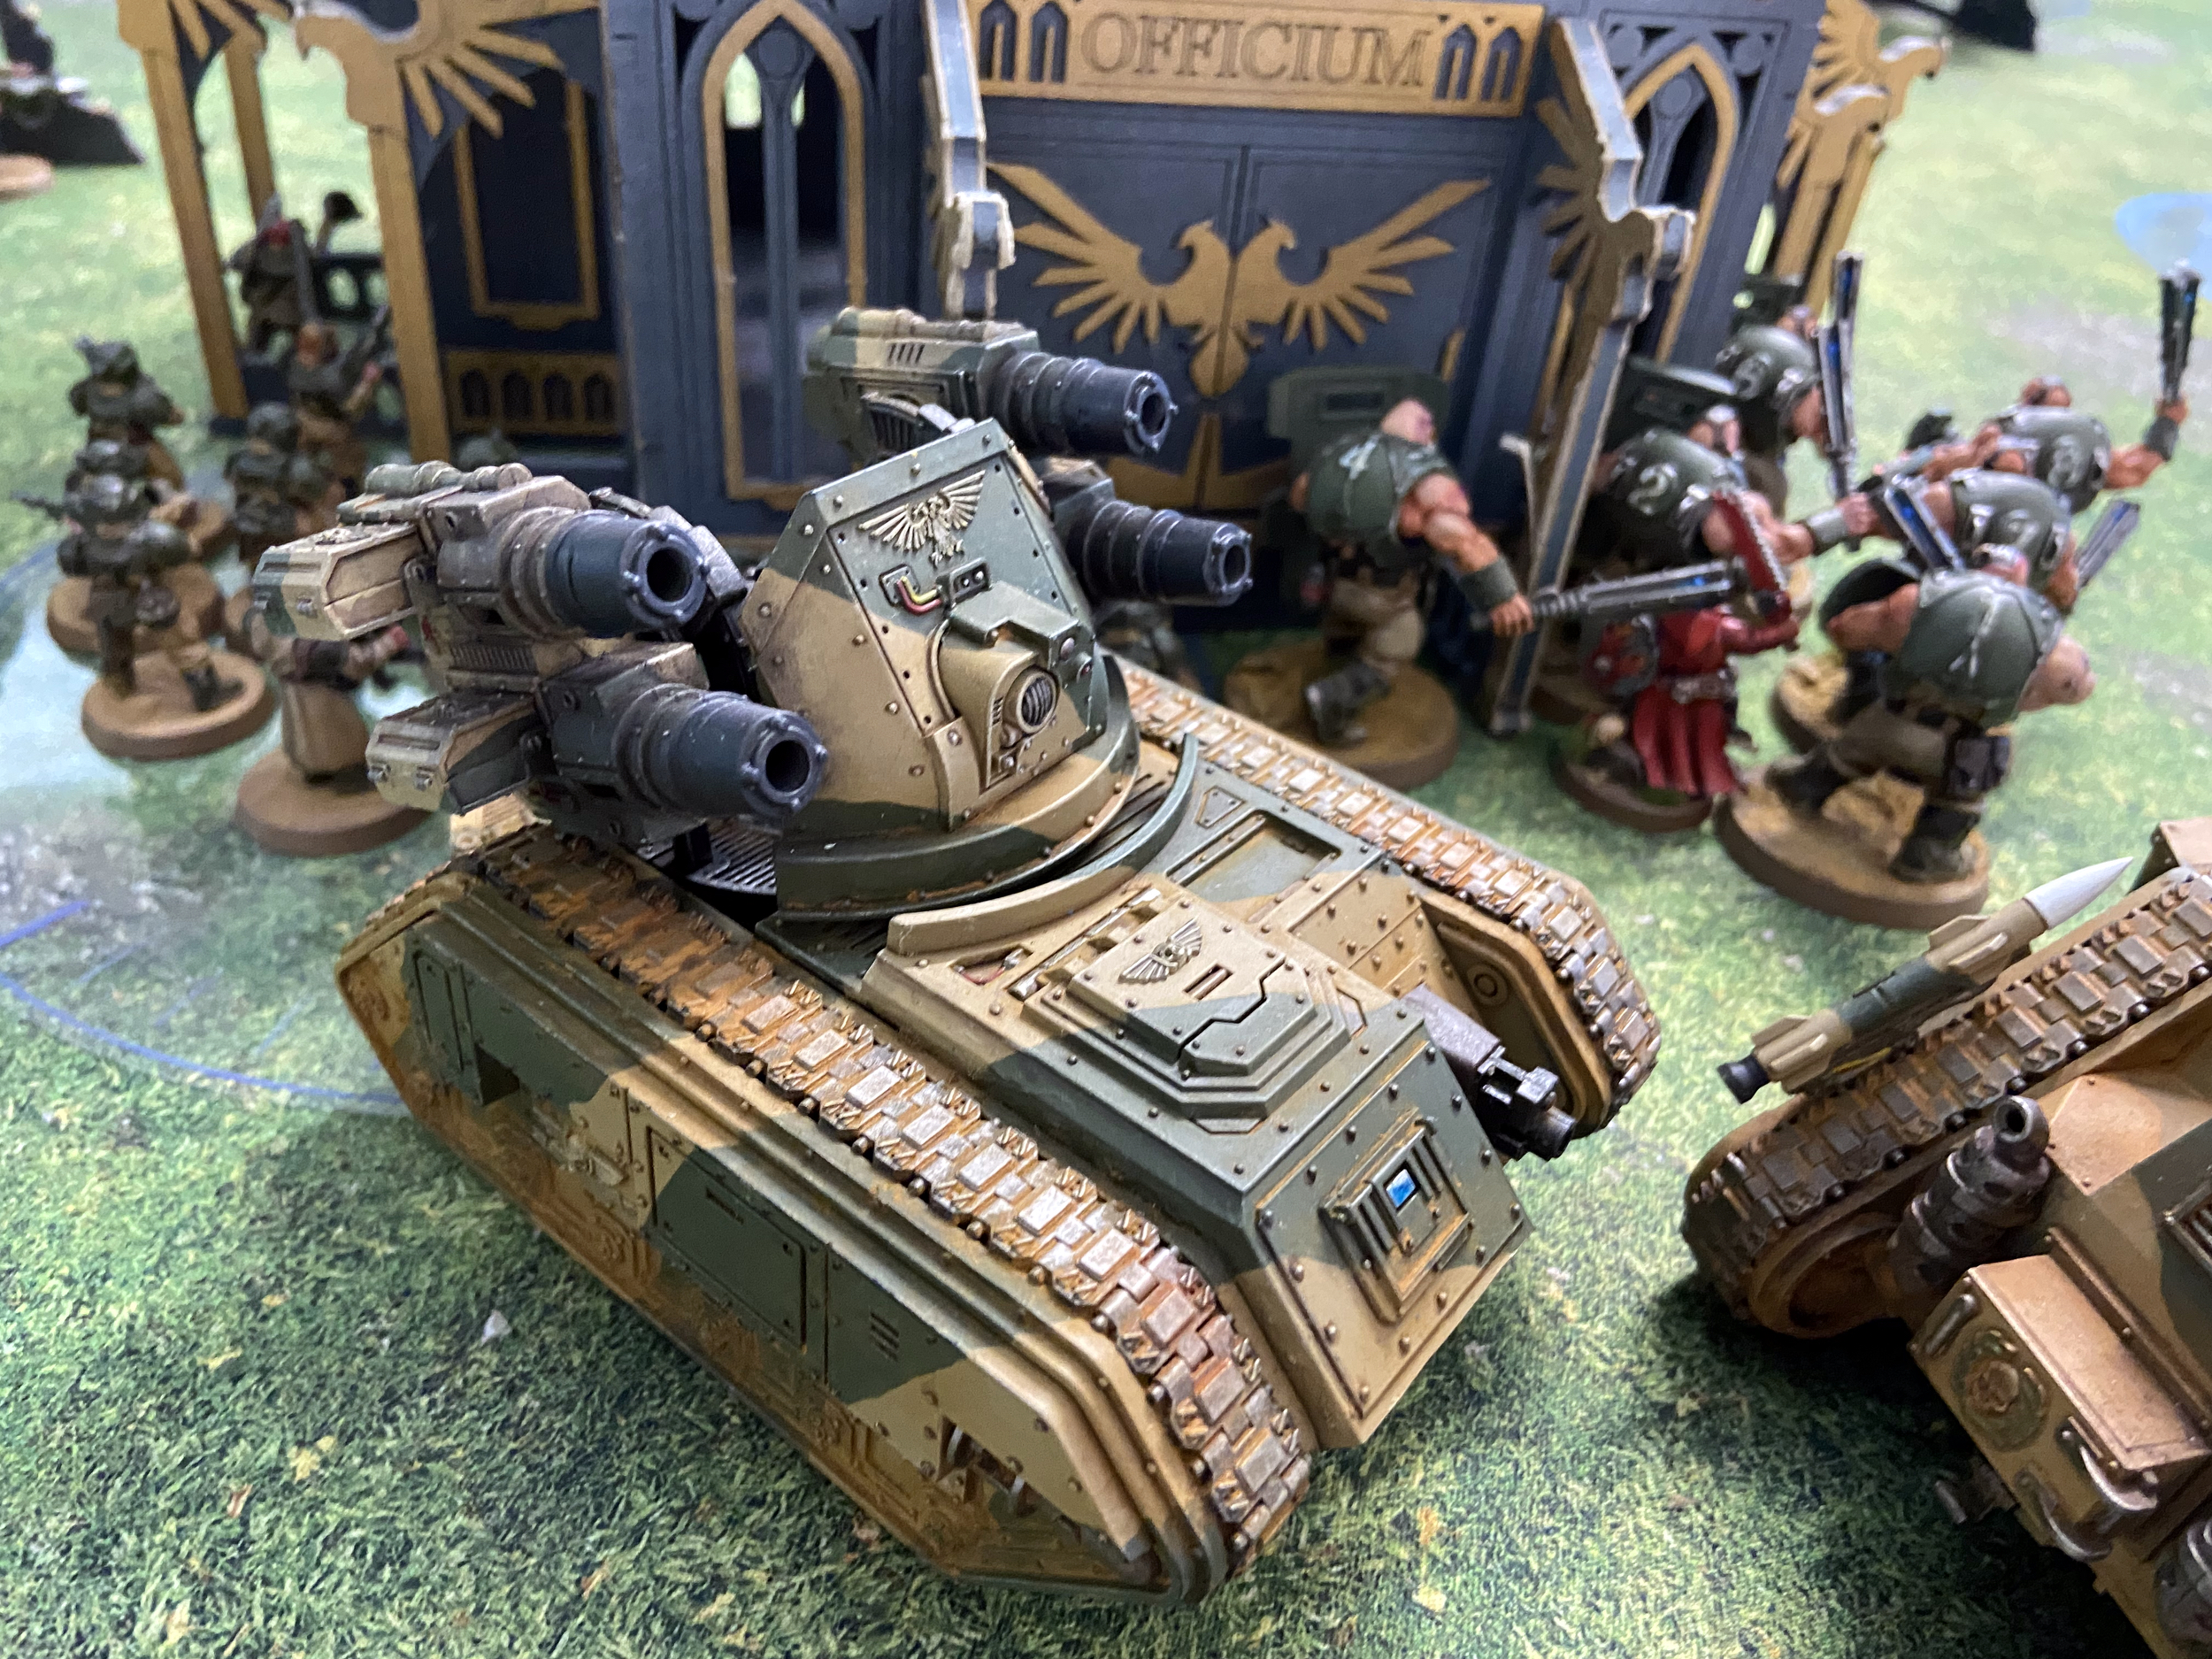
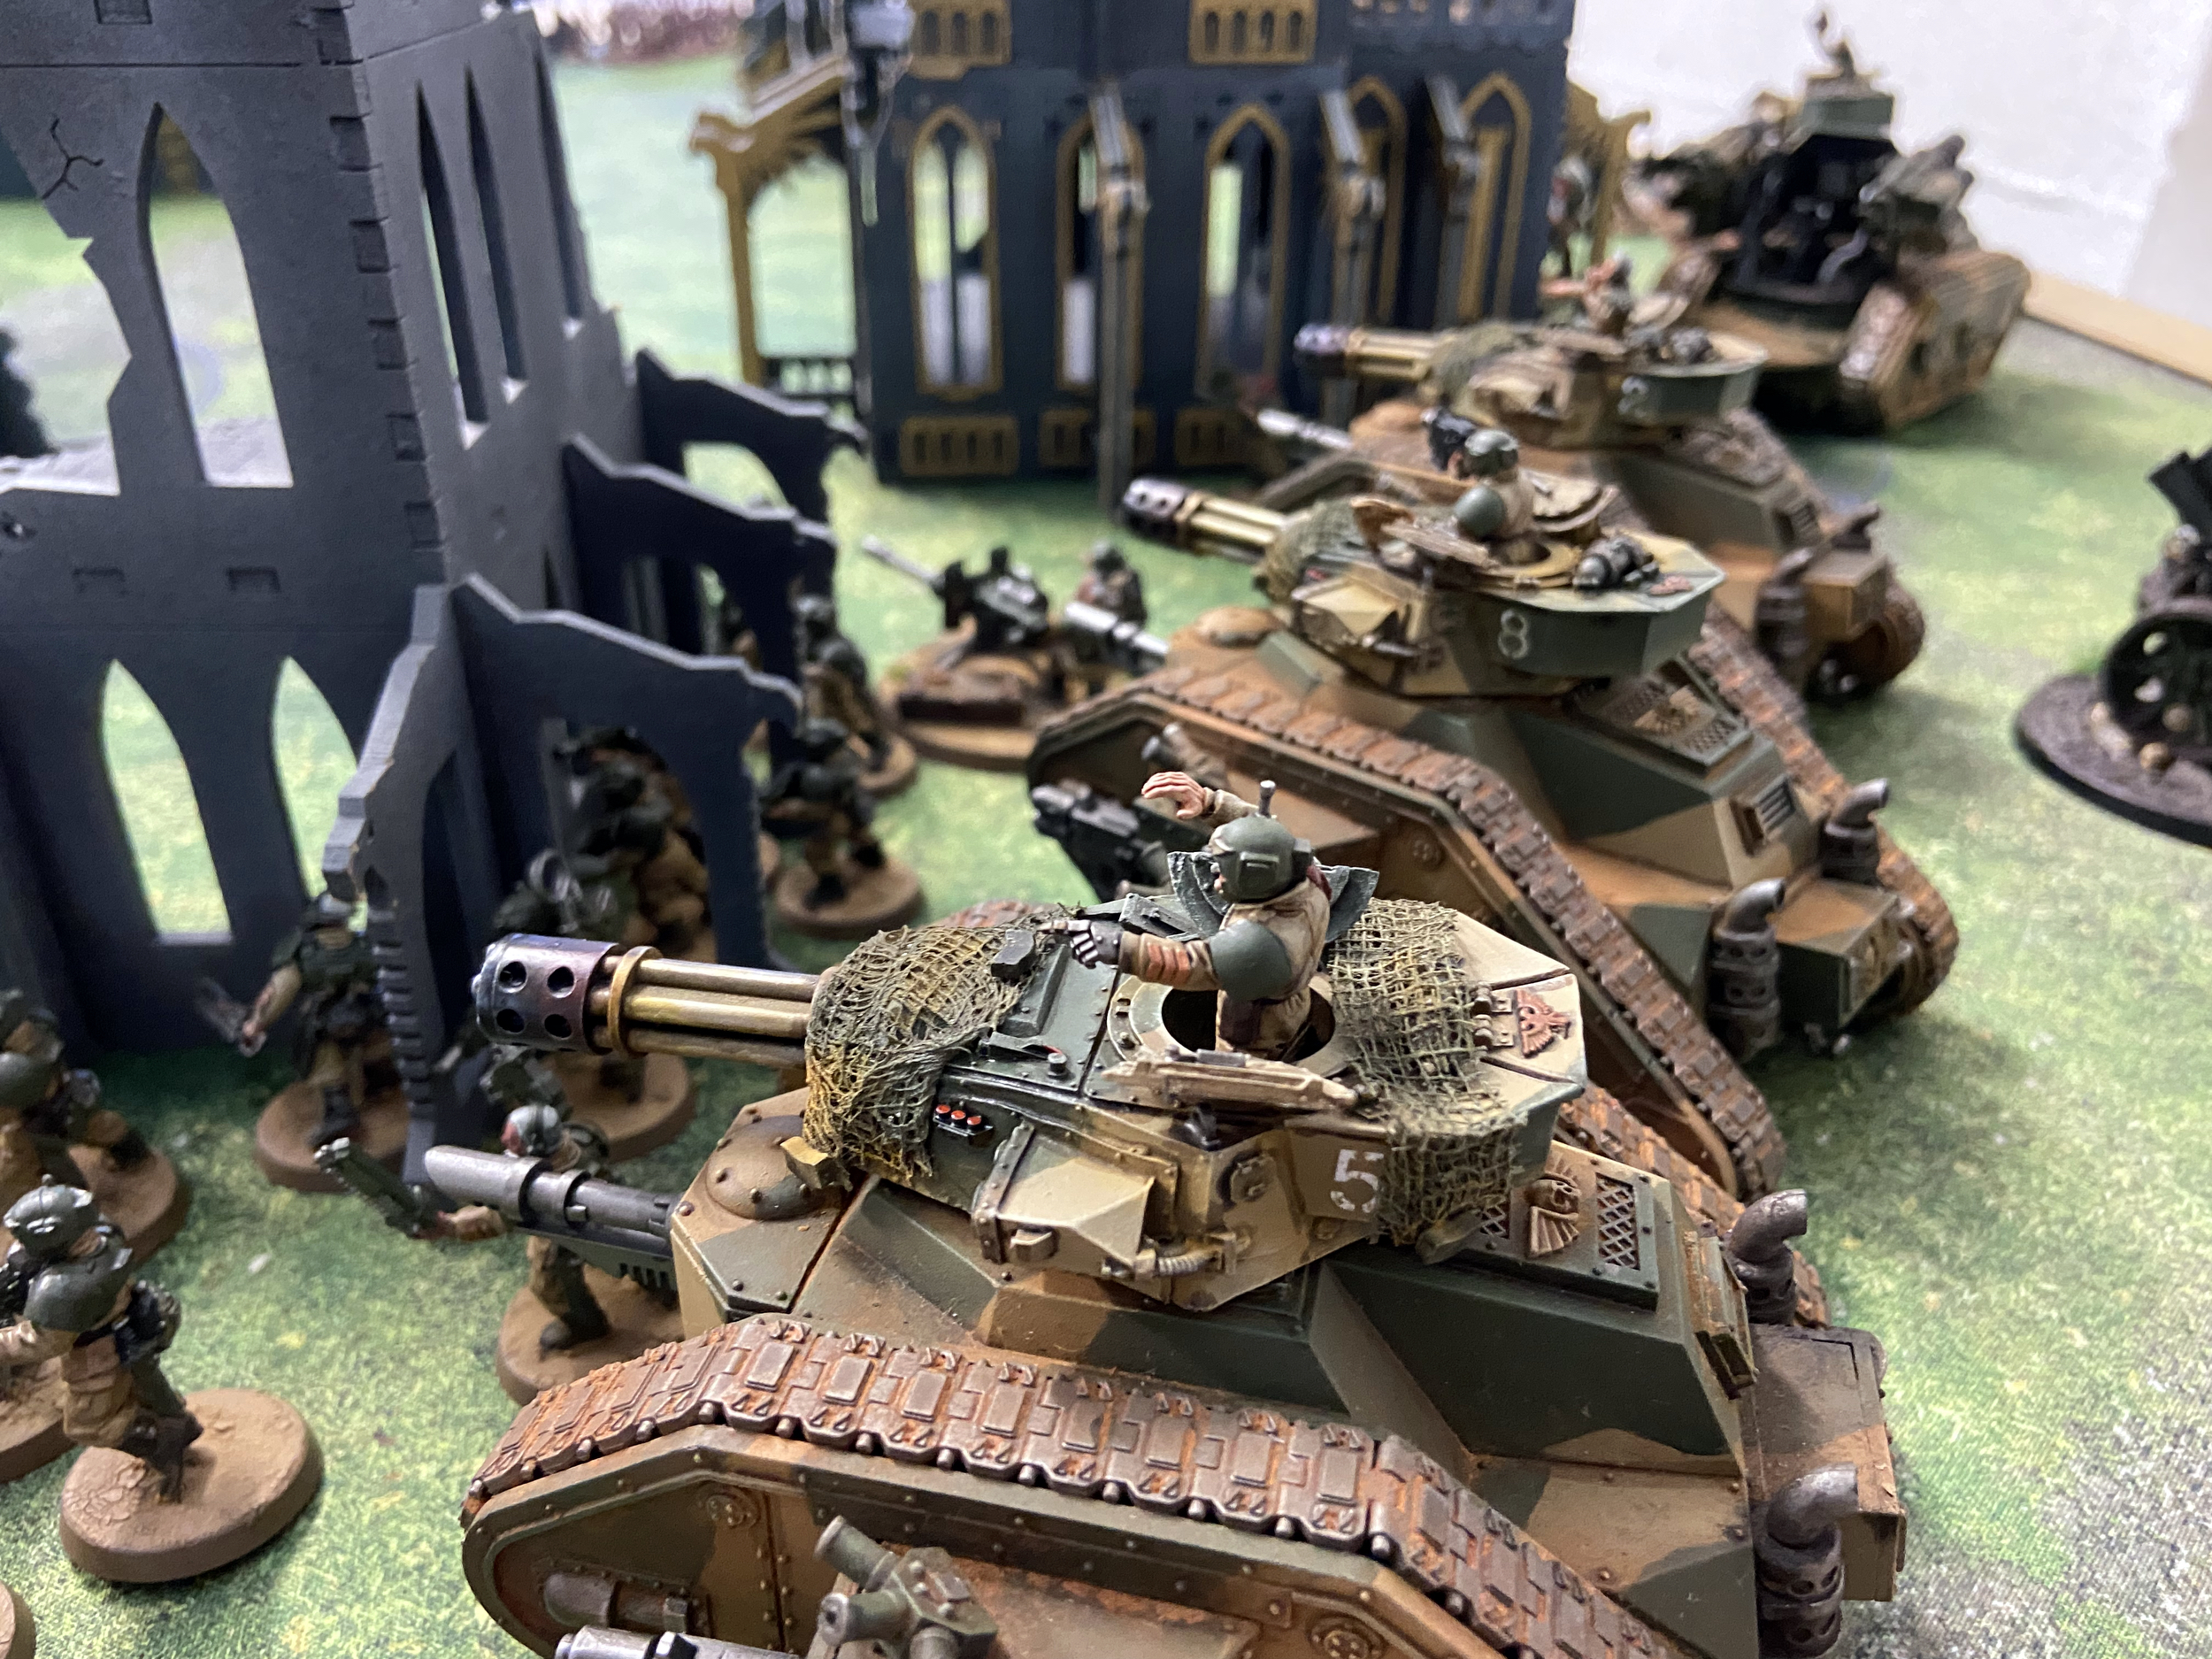
- 3x Leman Russ Punishers with Multi Meltas and Lascannon
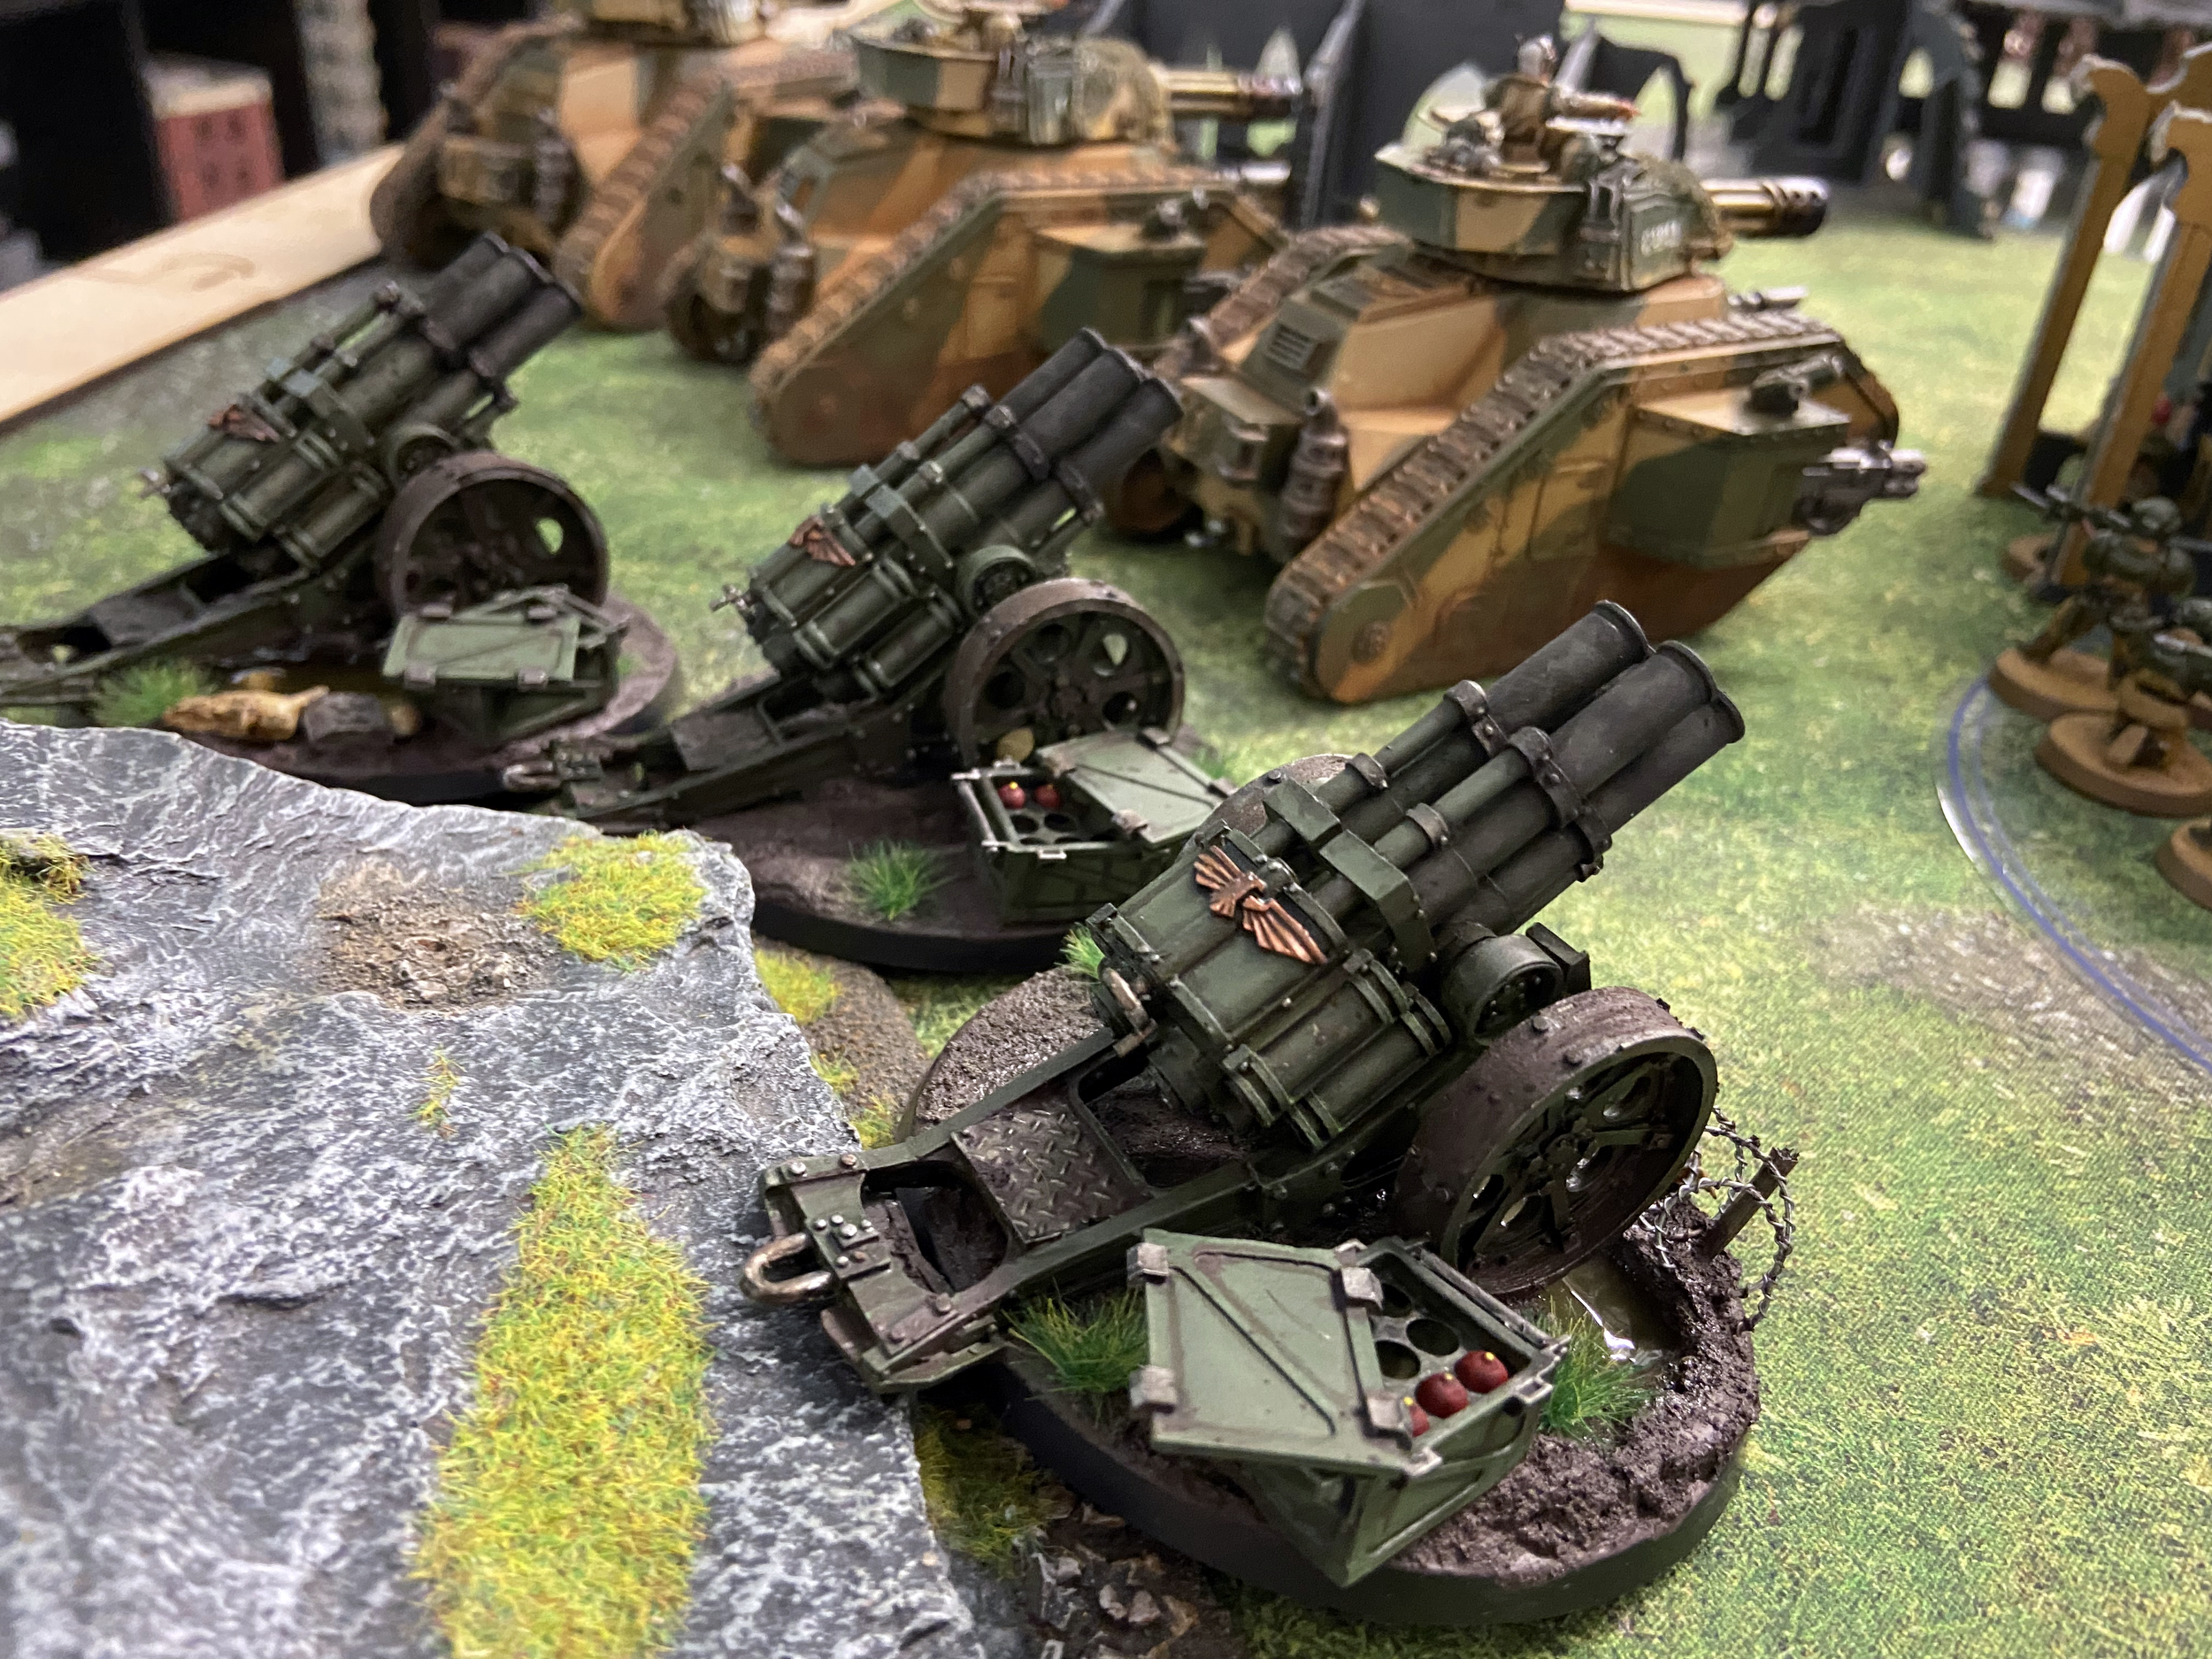
- 3x Heavy Quad Launcher Battery (Thudd Guns)
Cadian Secondaries
- No Prisoners
- For The Emperor
- Raise the Banners High
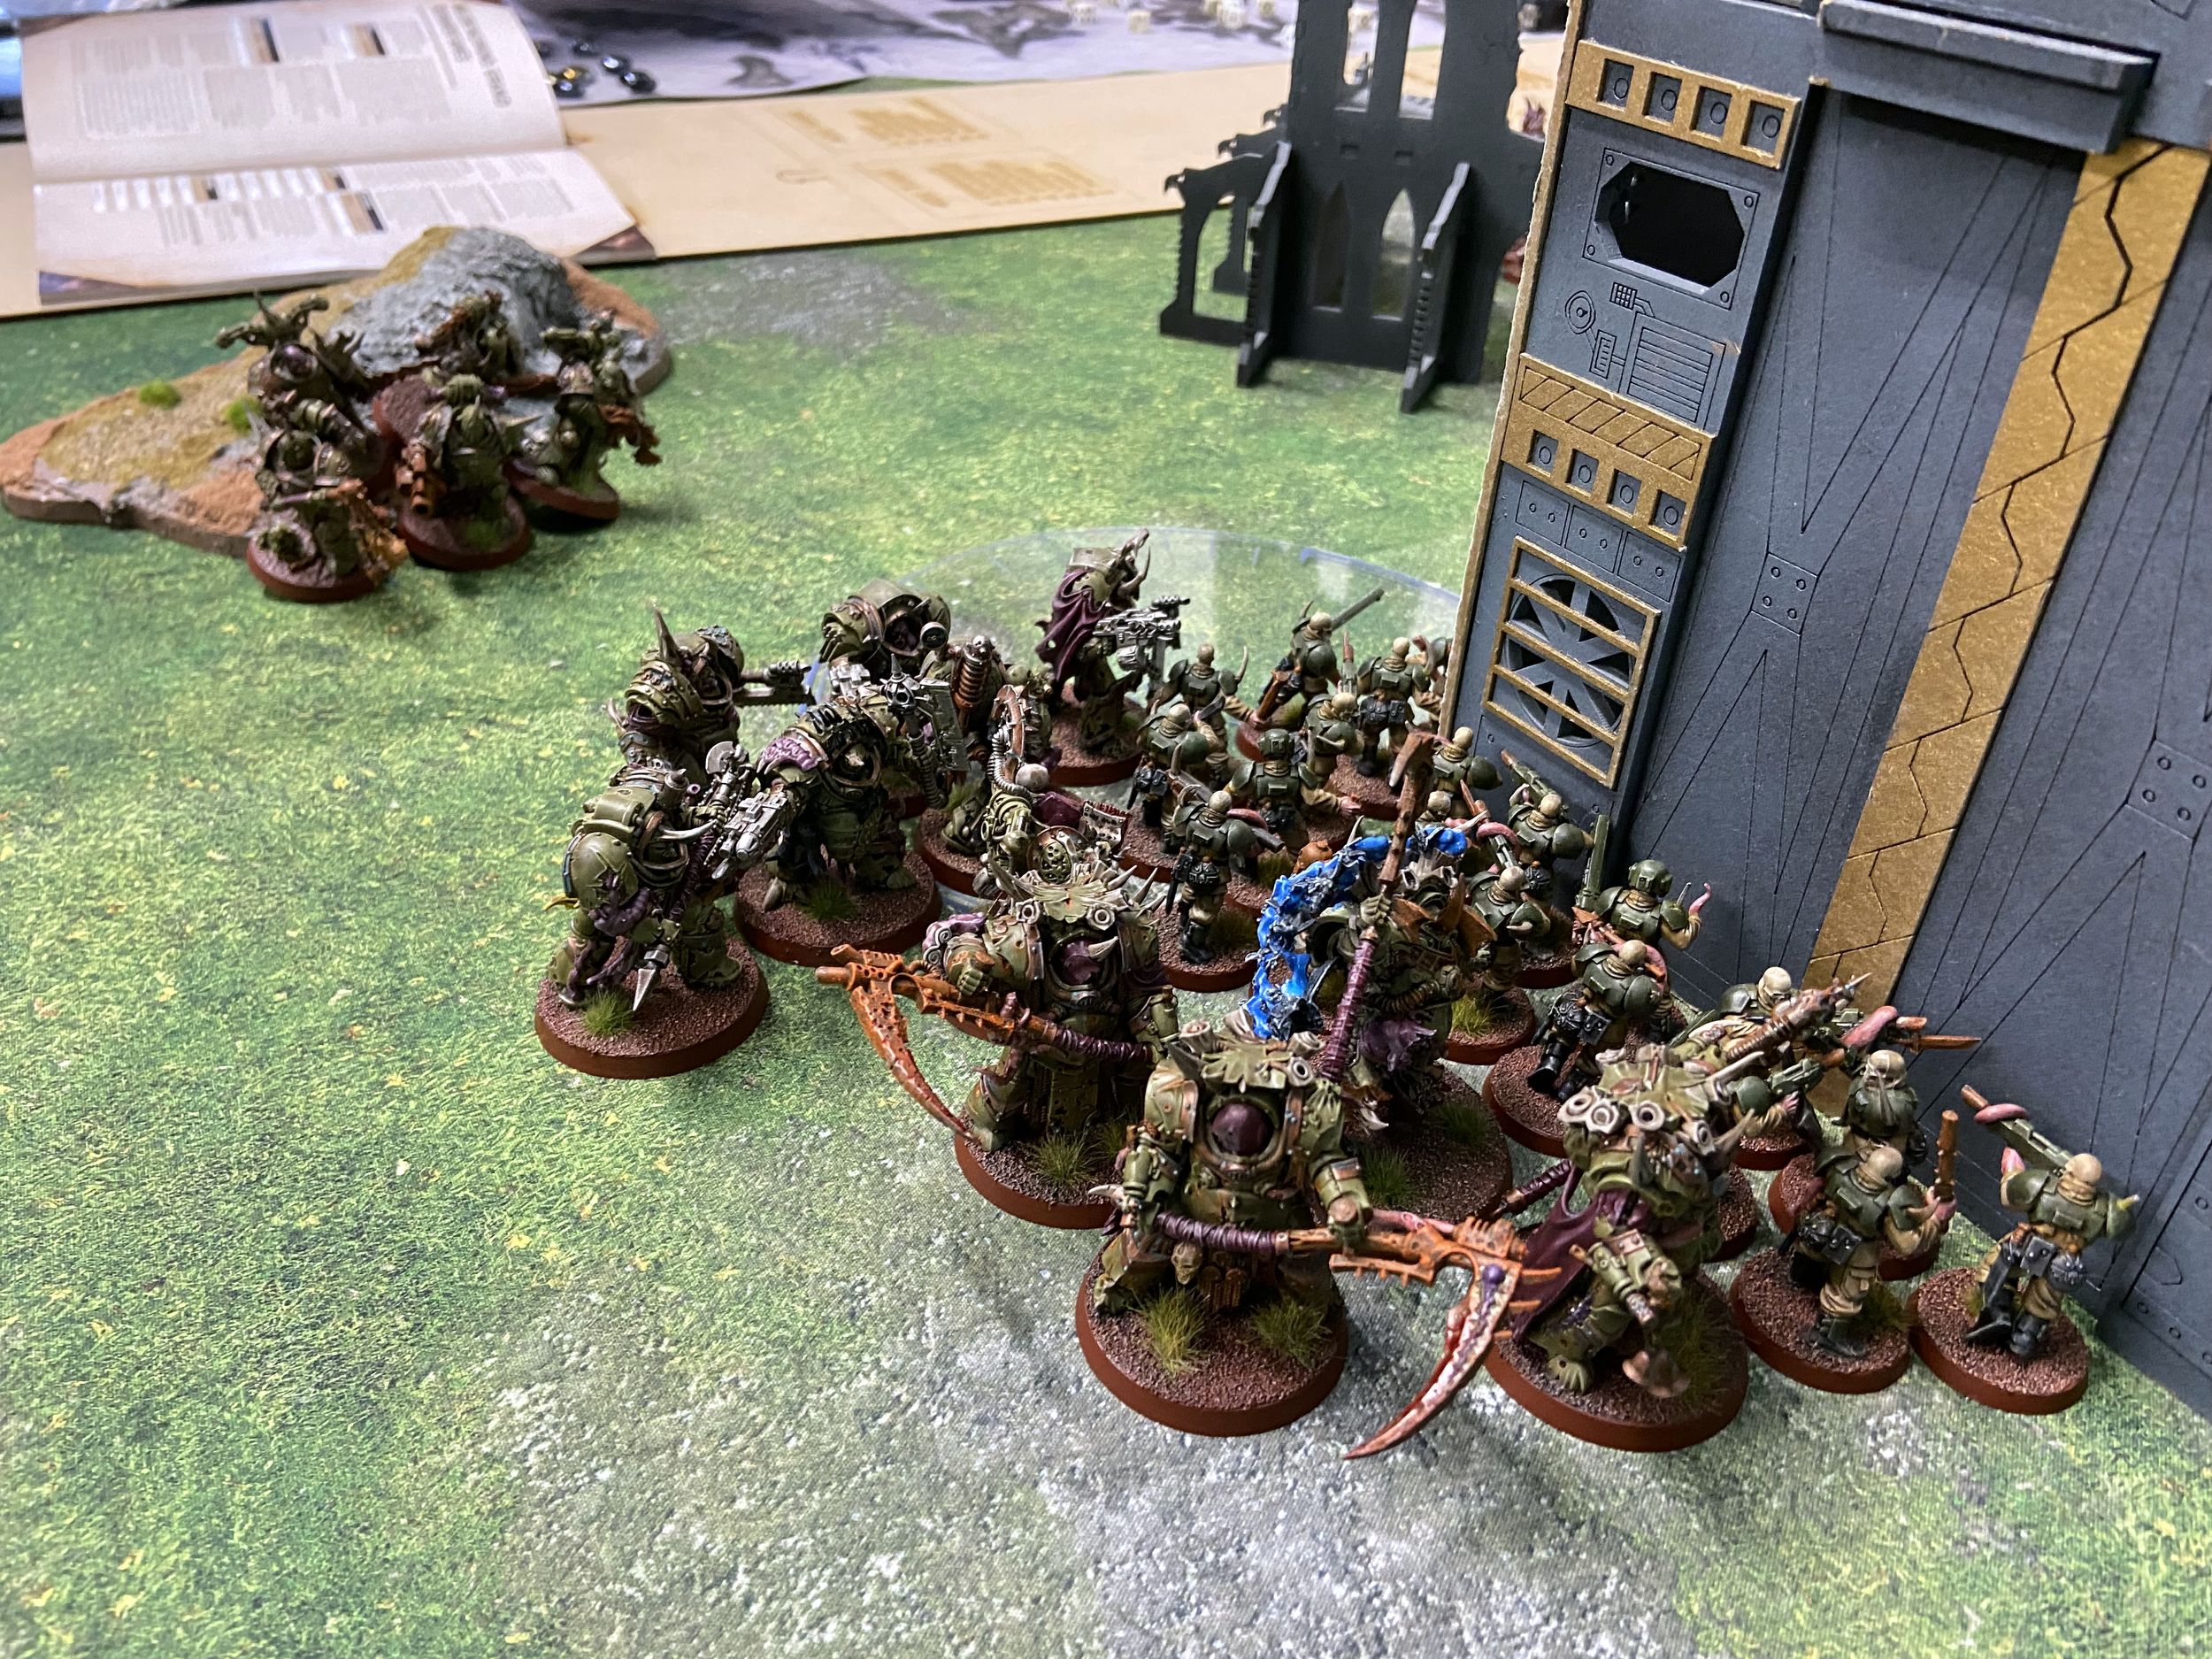
Death Guard 2,000 Points List
- Typhus
- Tallyman
- 2 units of 3 Deathshrouds
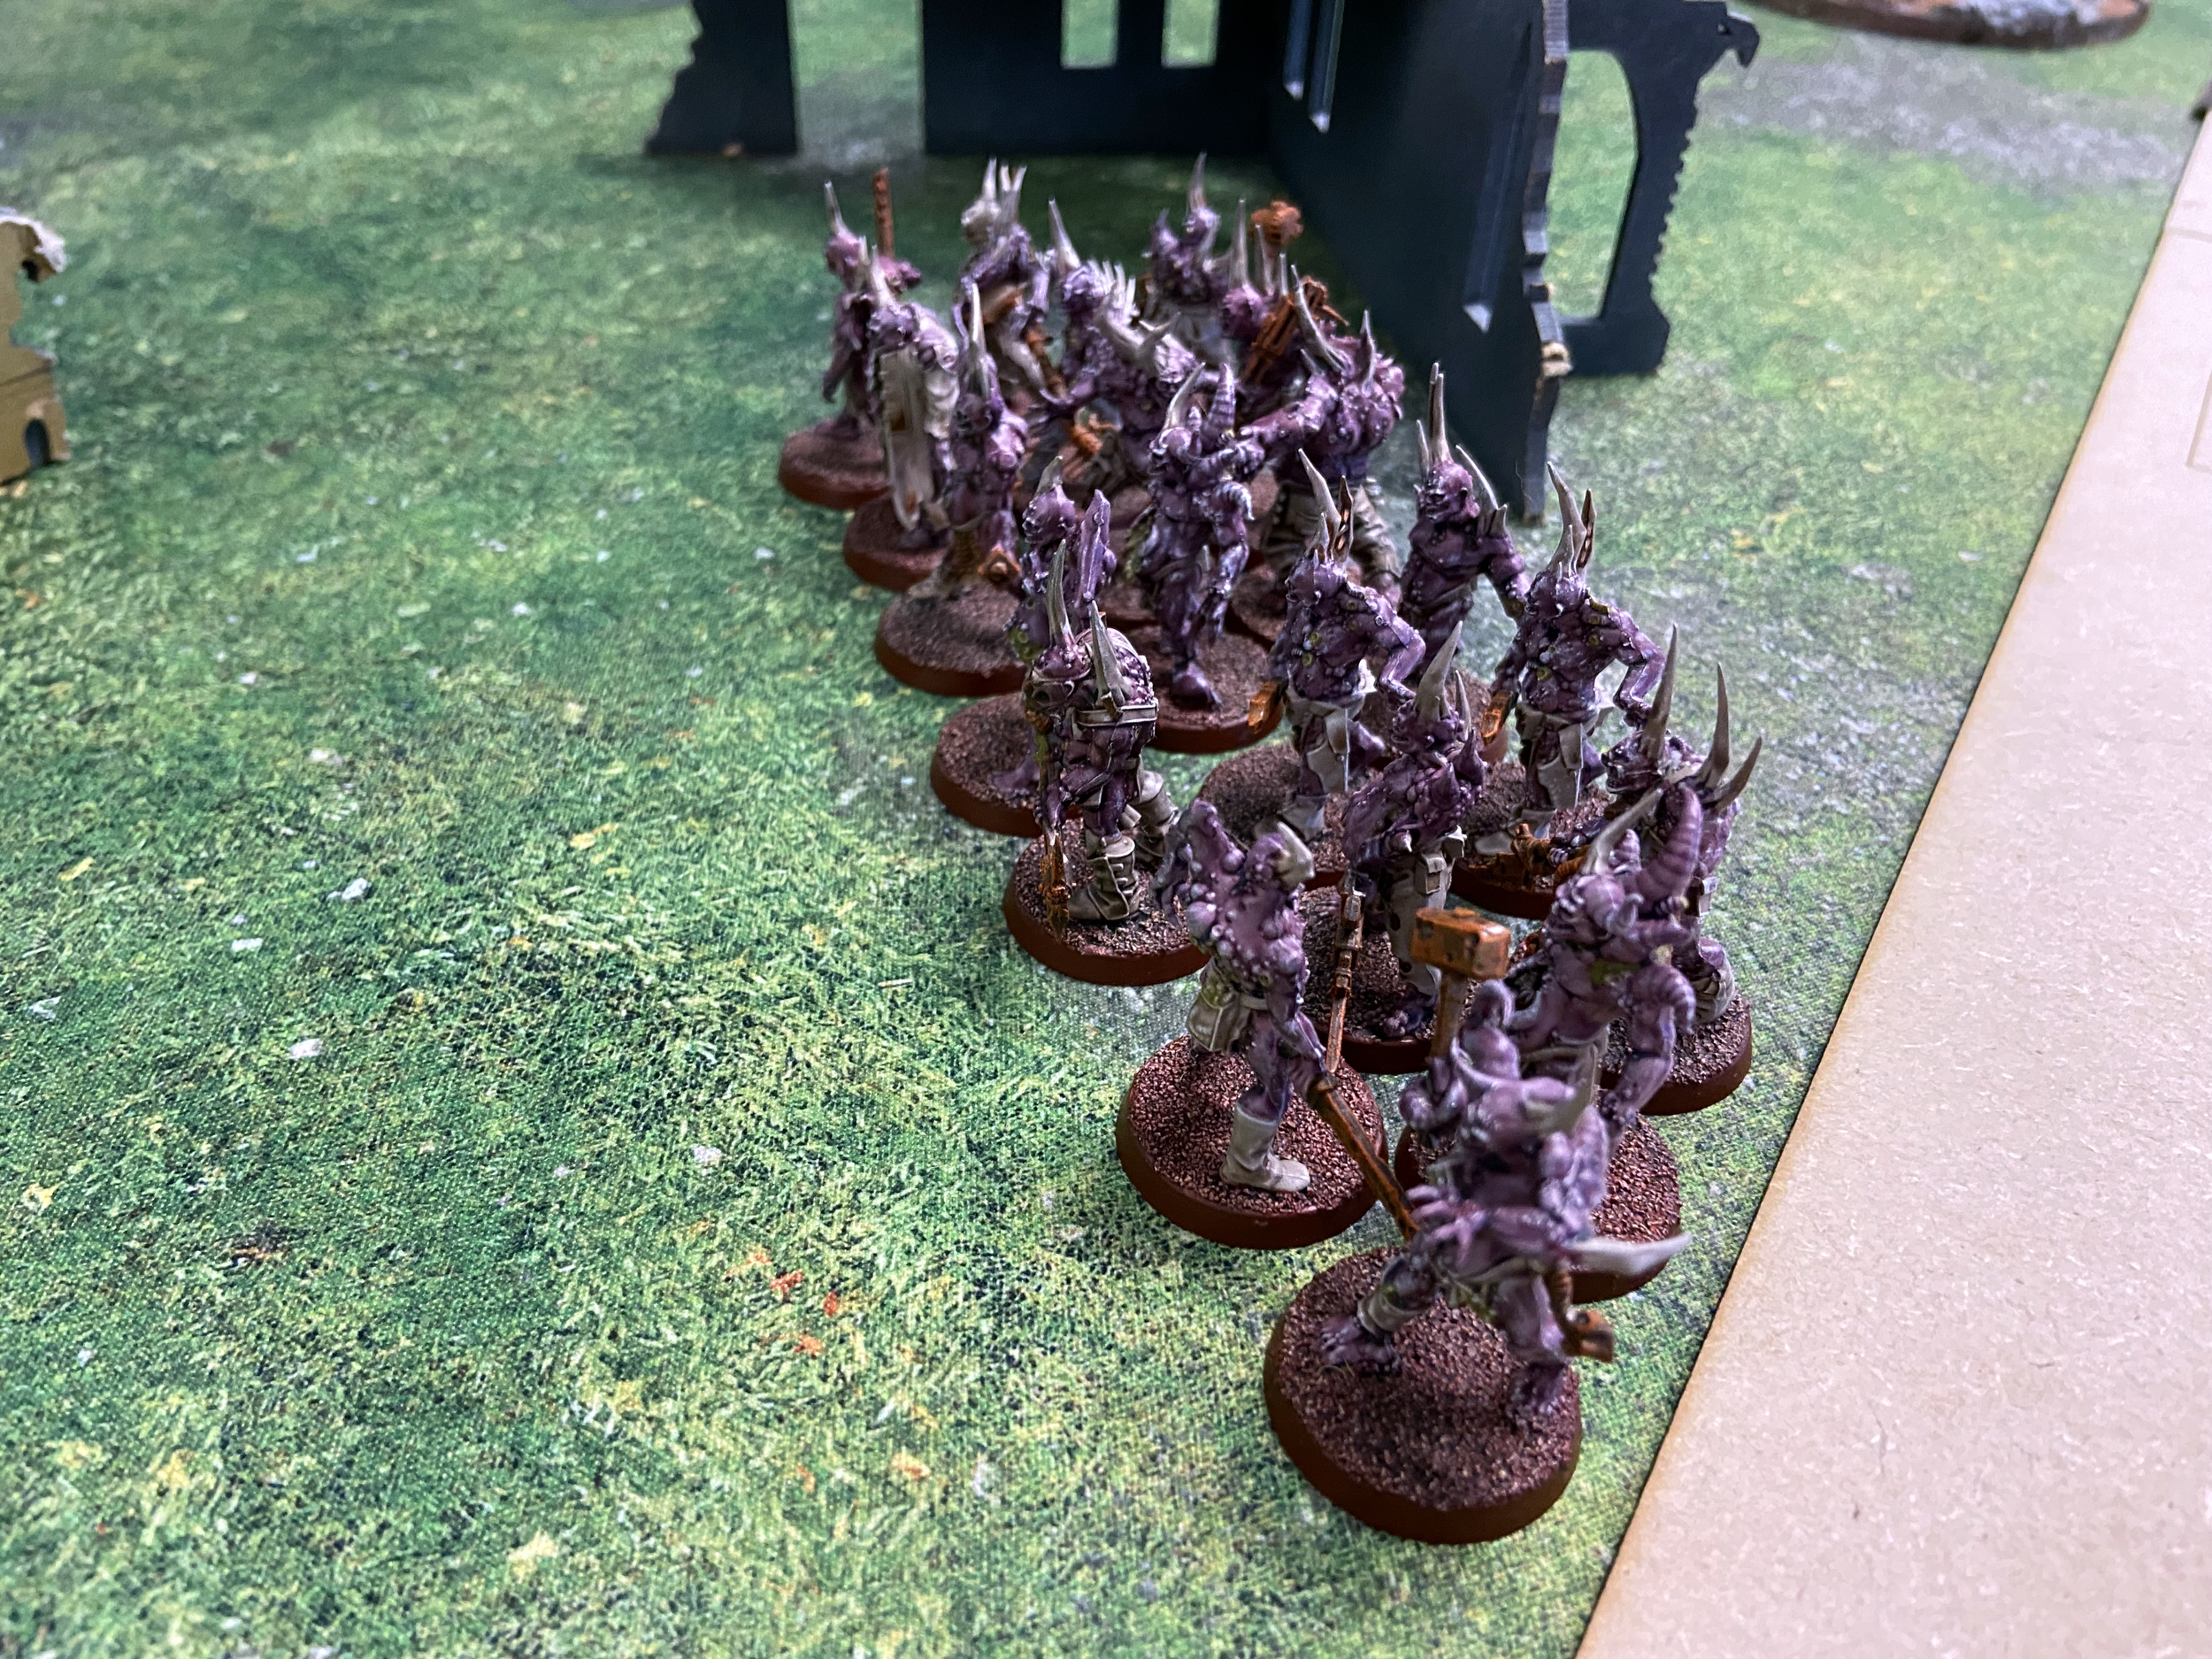
- 3 units of 20 Pox Walkers
- 2 units of Blightlord Terminators
- 2 units of Plague Marines
- Foul Blightspawn
Death Guard Secondaries
- Spread the Sickness
- Behind Enemy Lines
- Grind Them Down
Mission – Data Scry Salvage
This is a Control 2 or more and Control 3 or more for the Primary – this I find for lower scoring games.
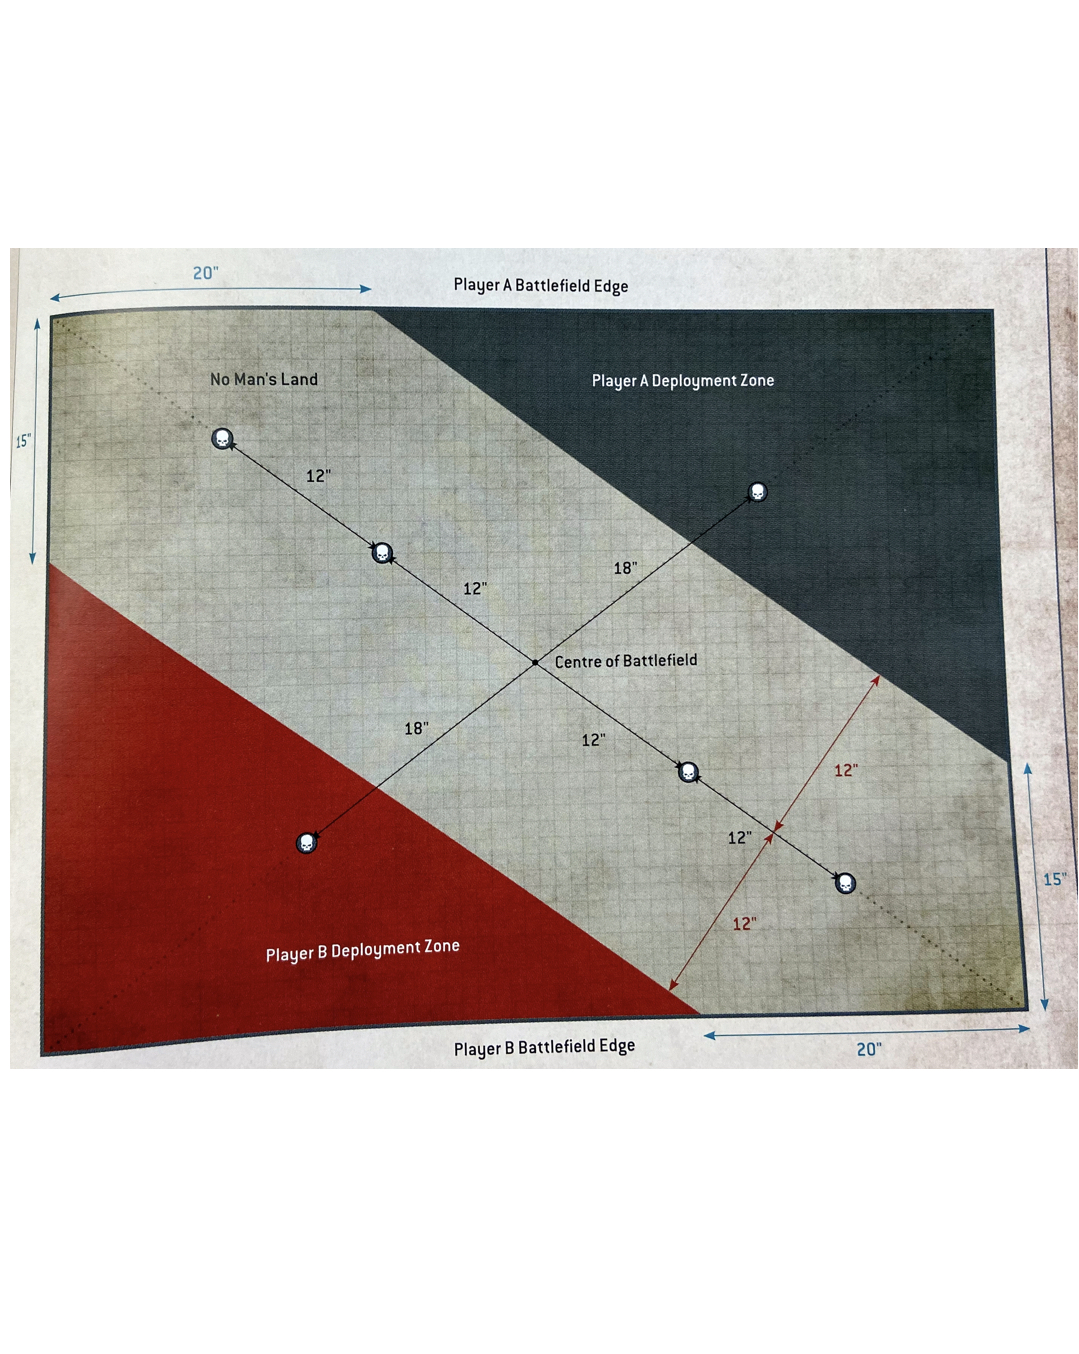

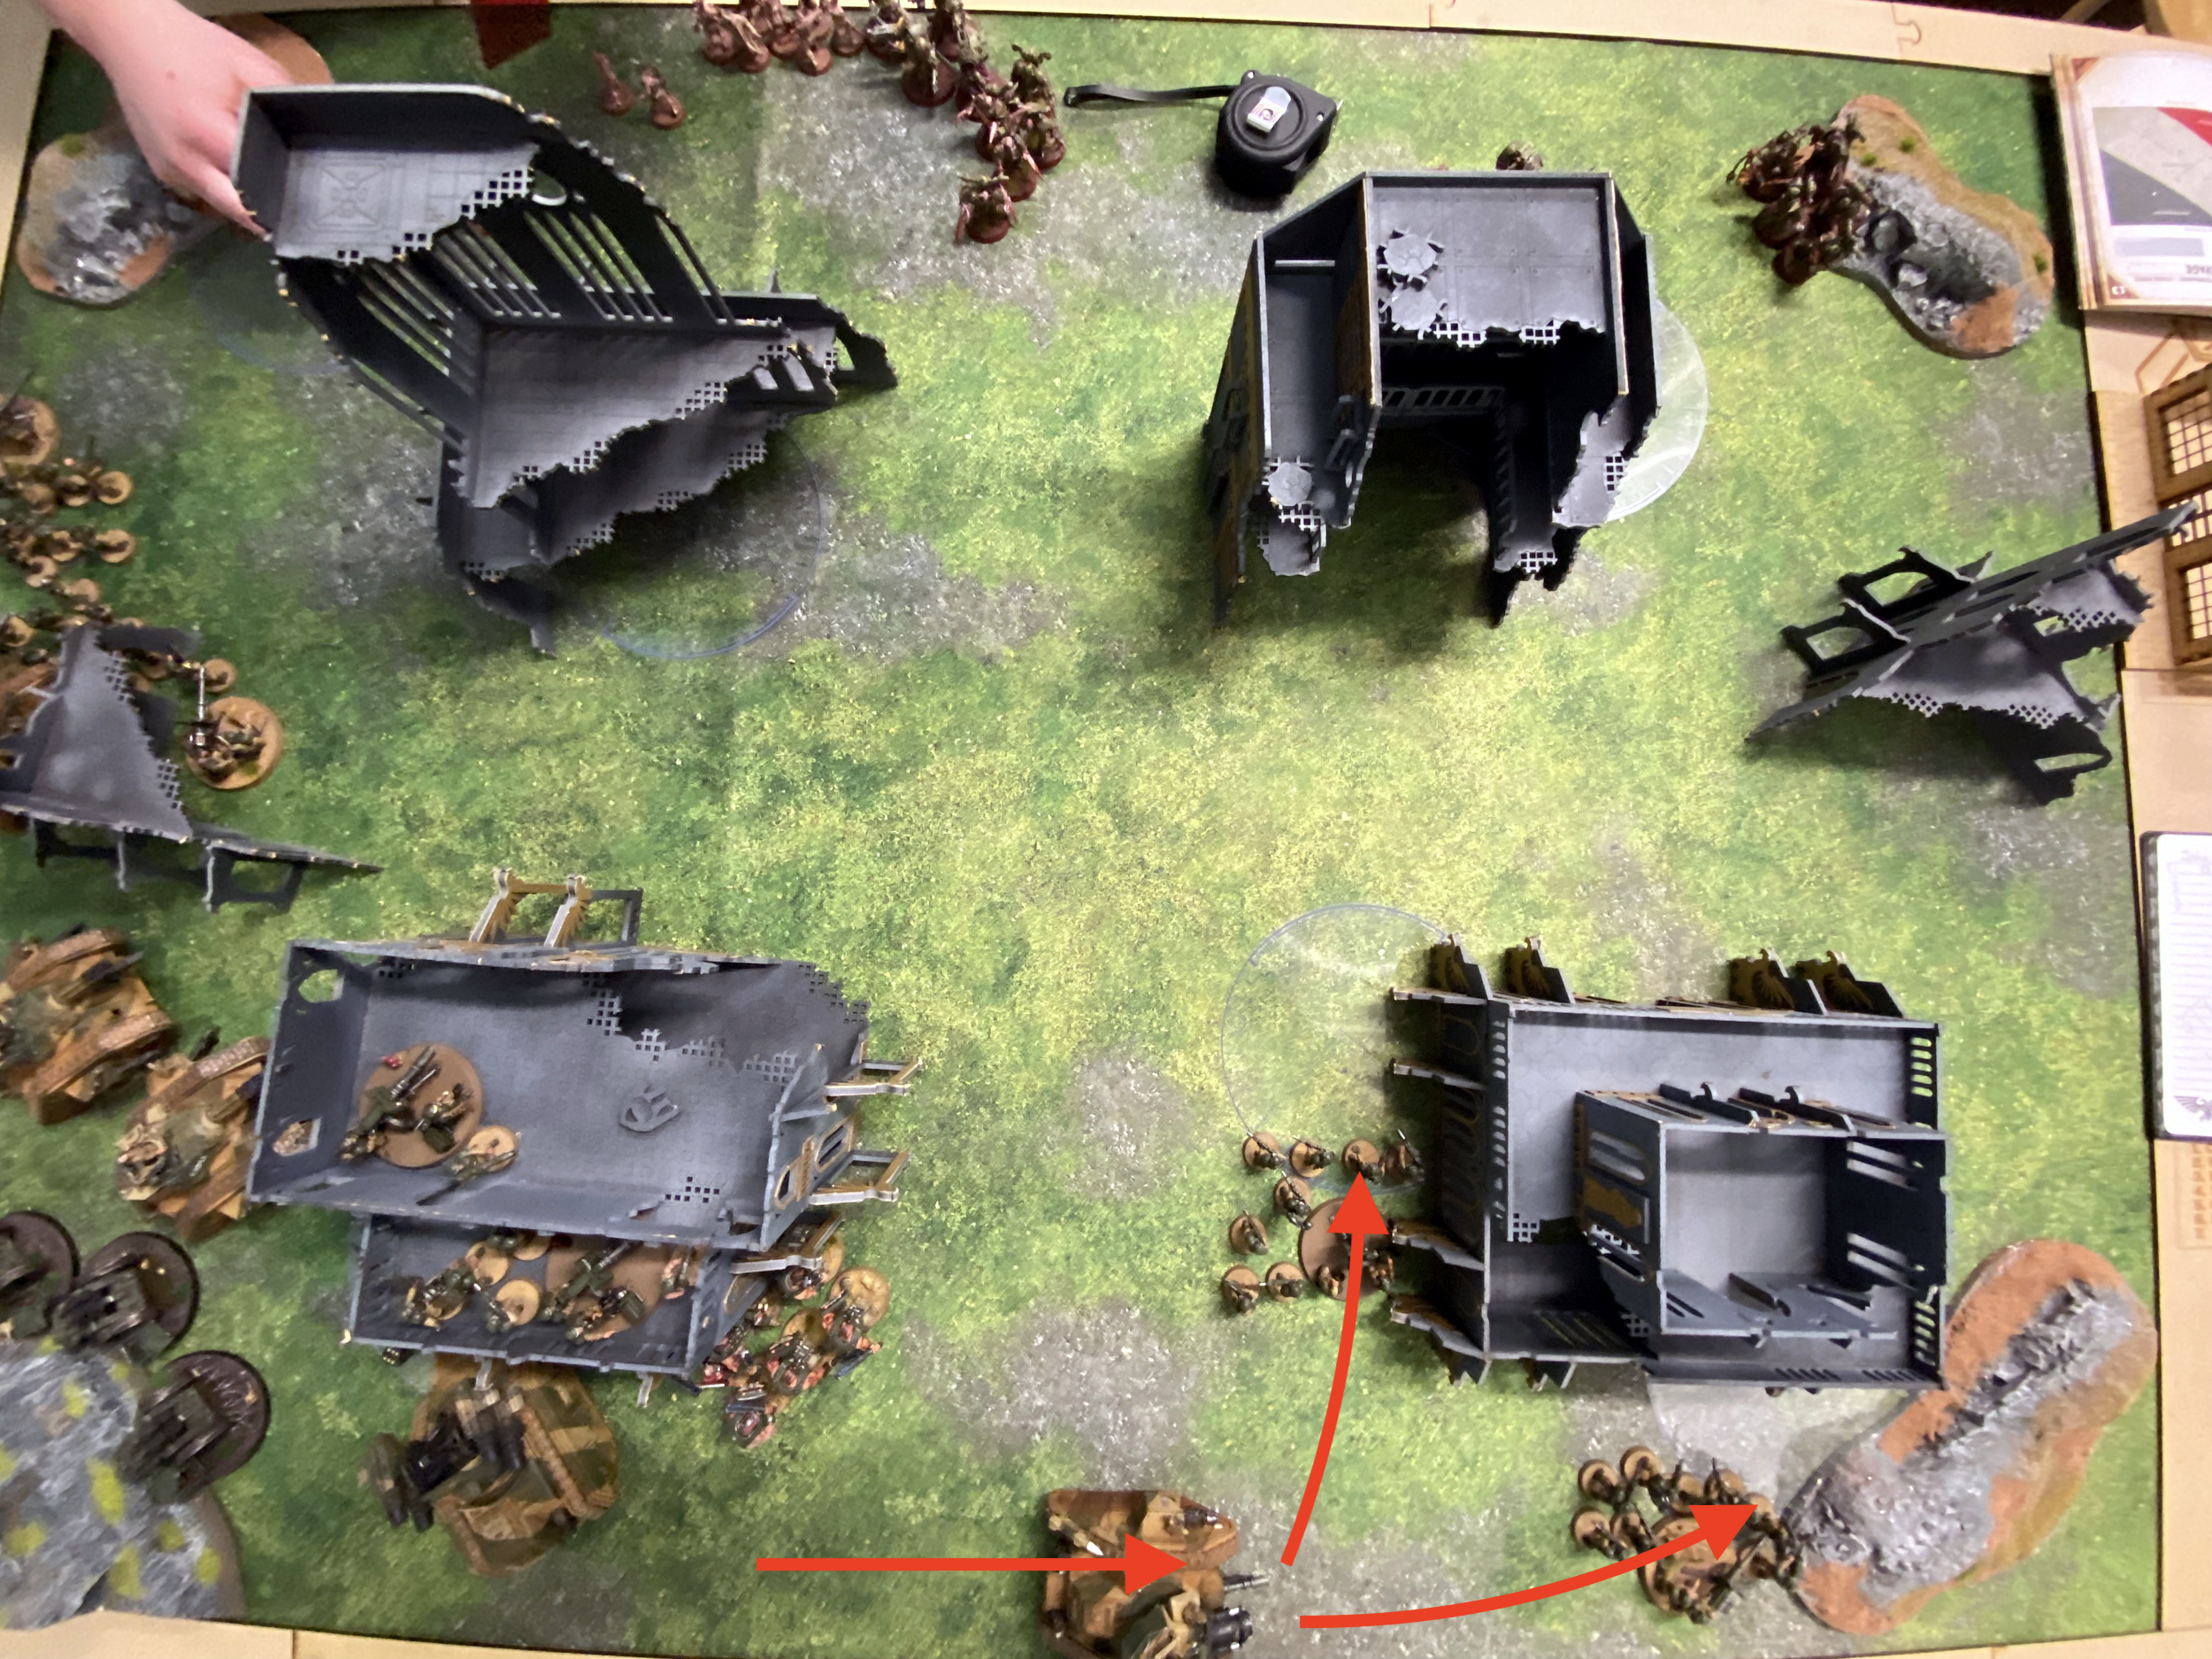
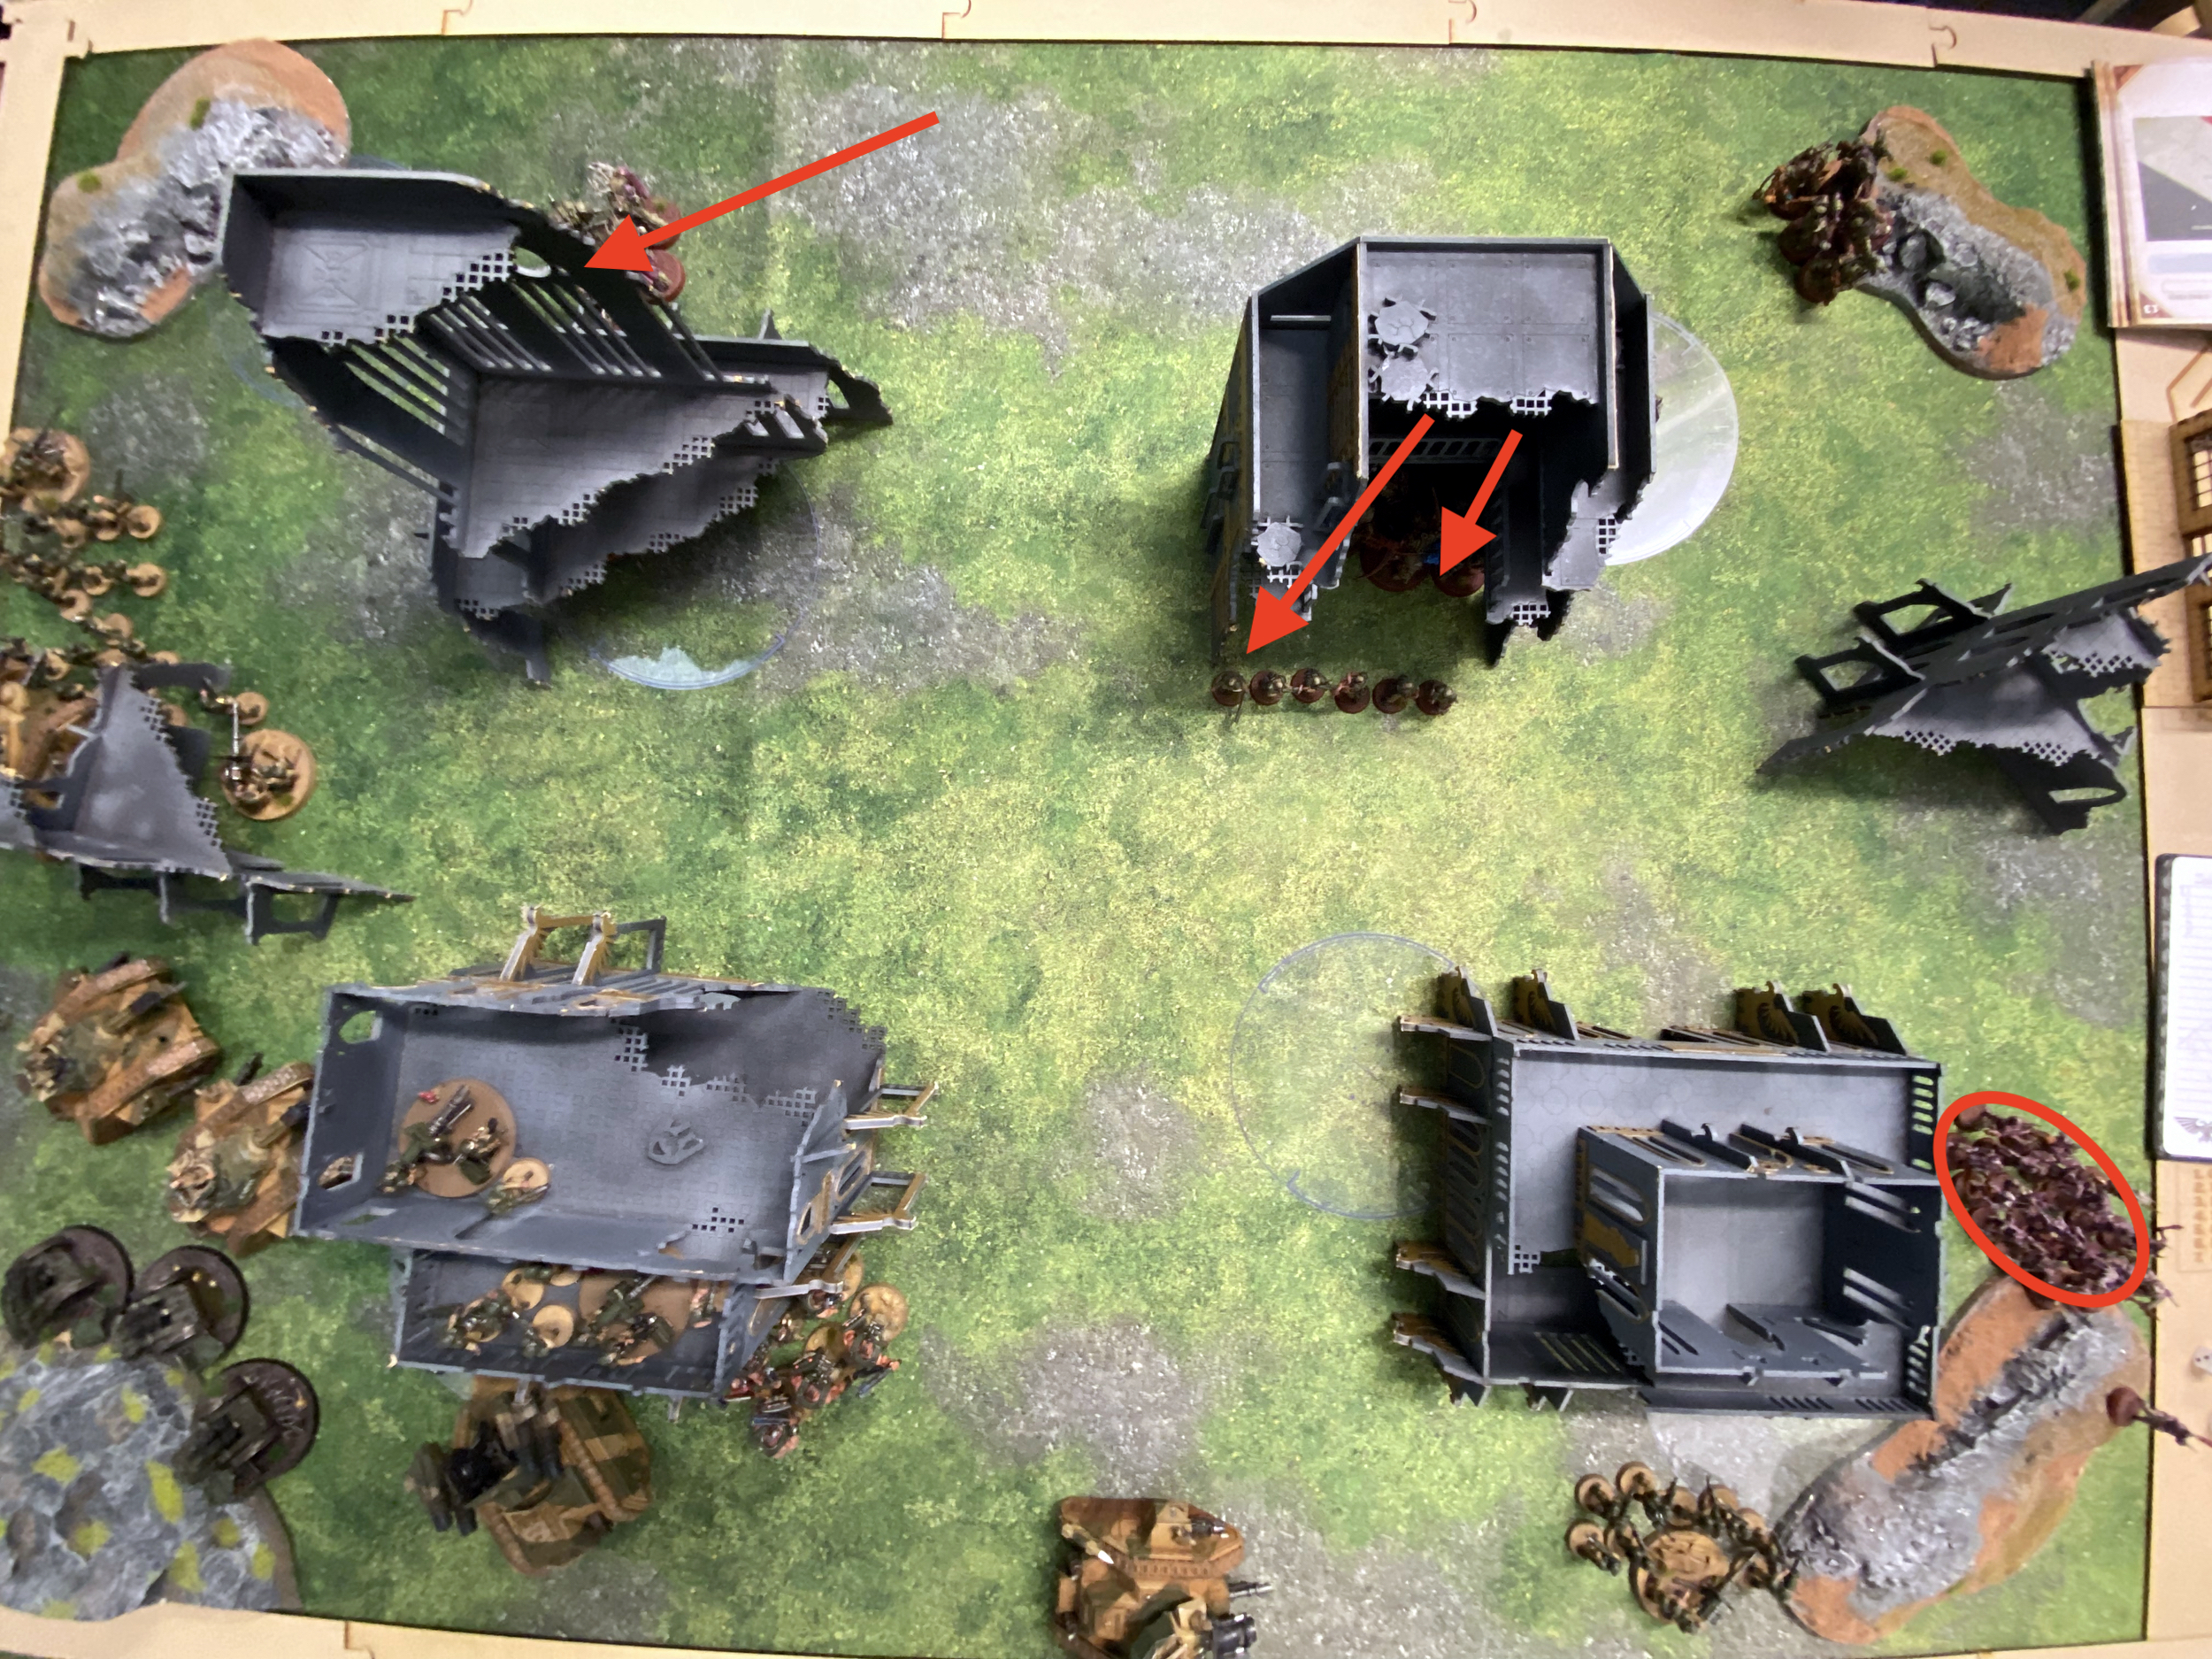
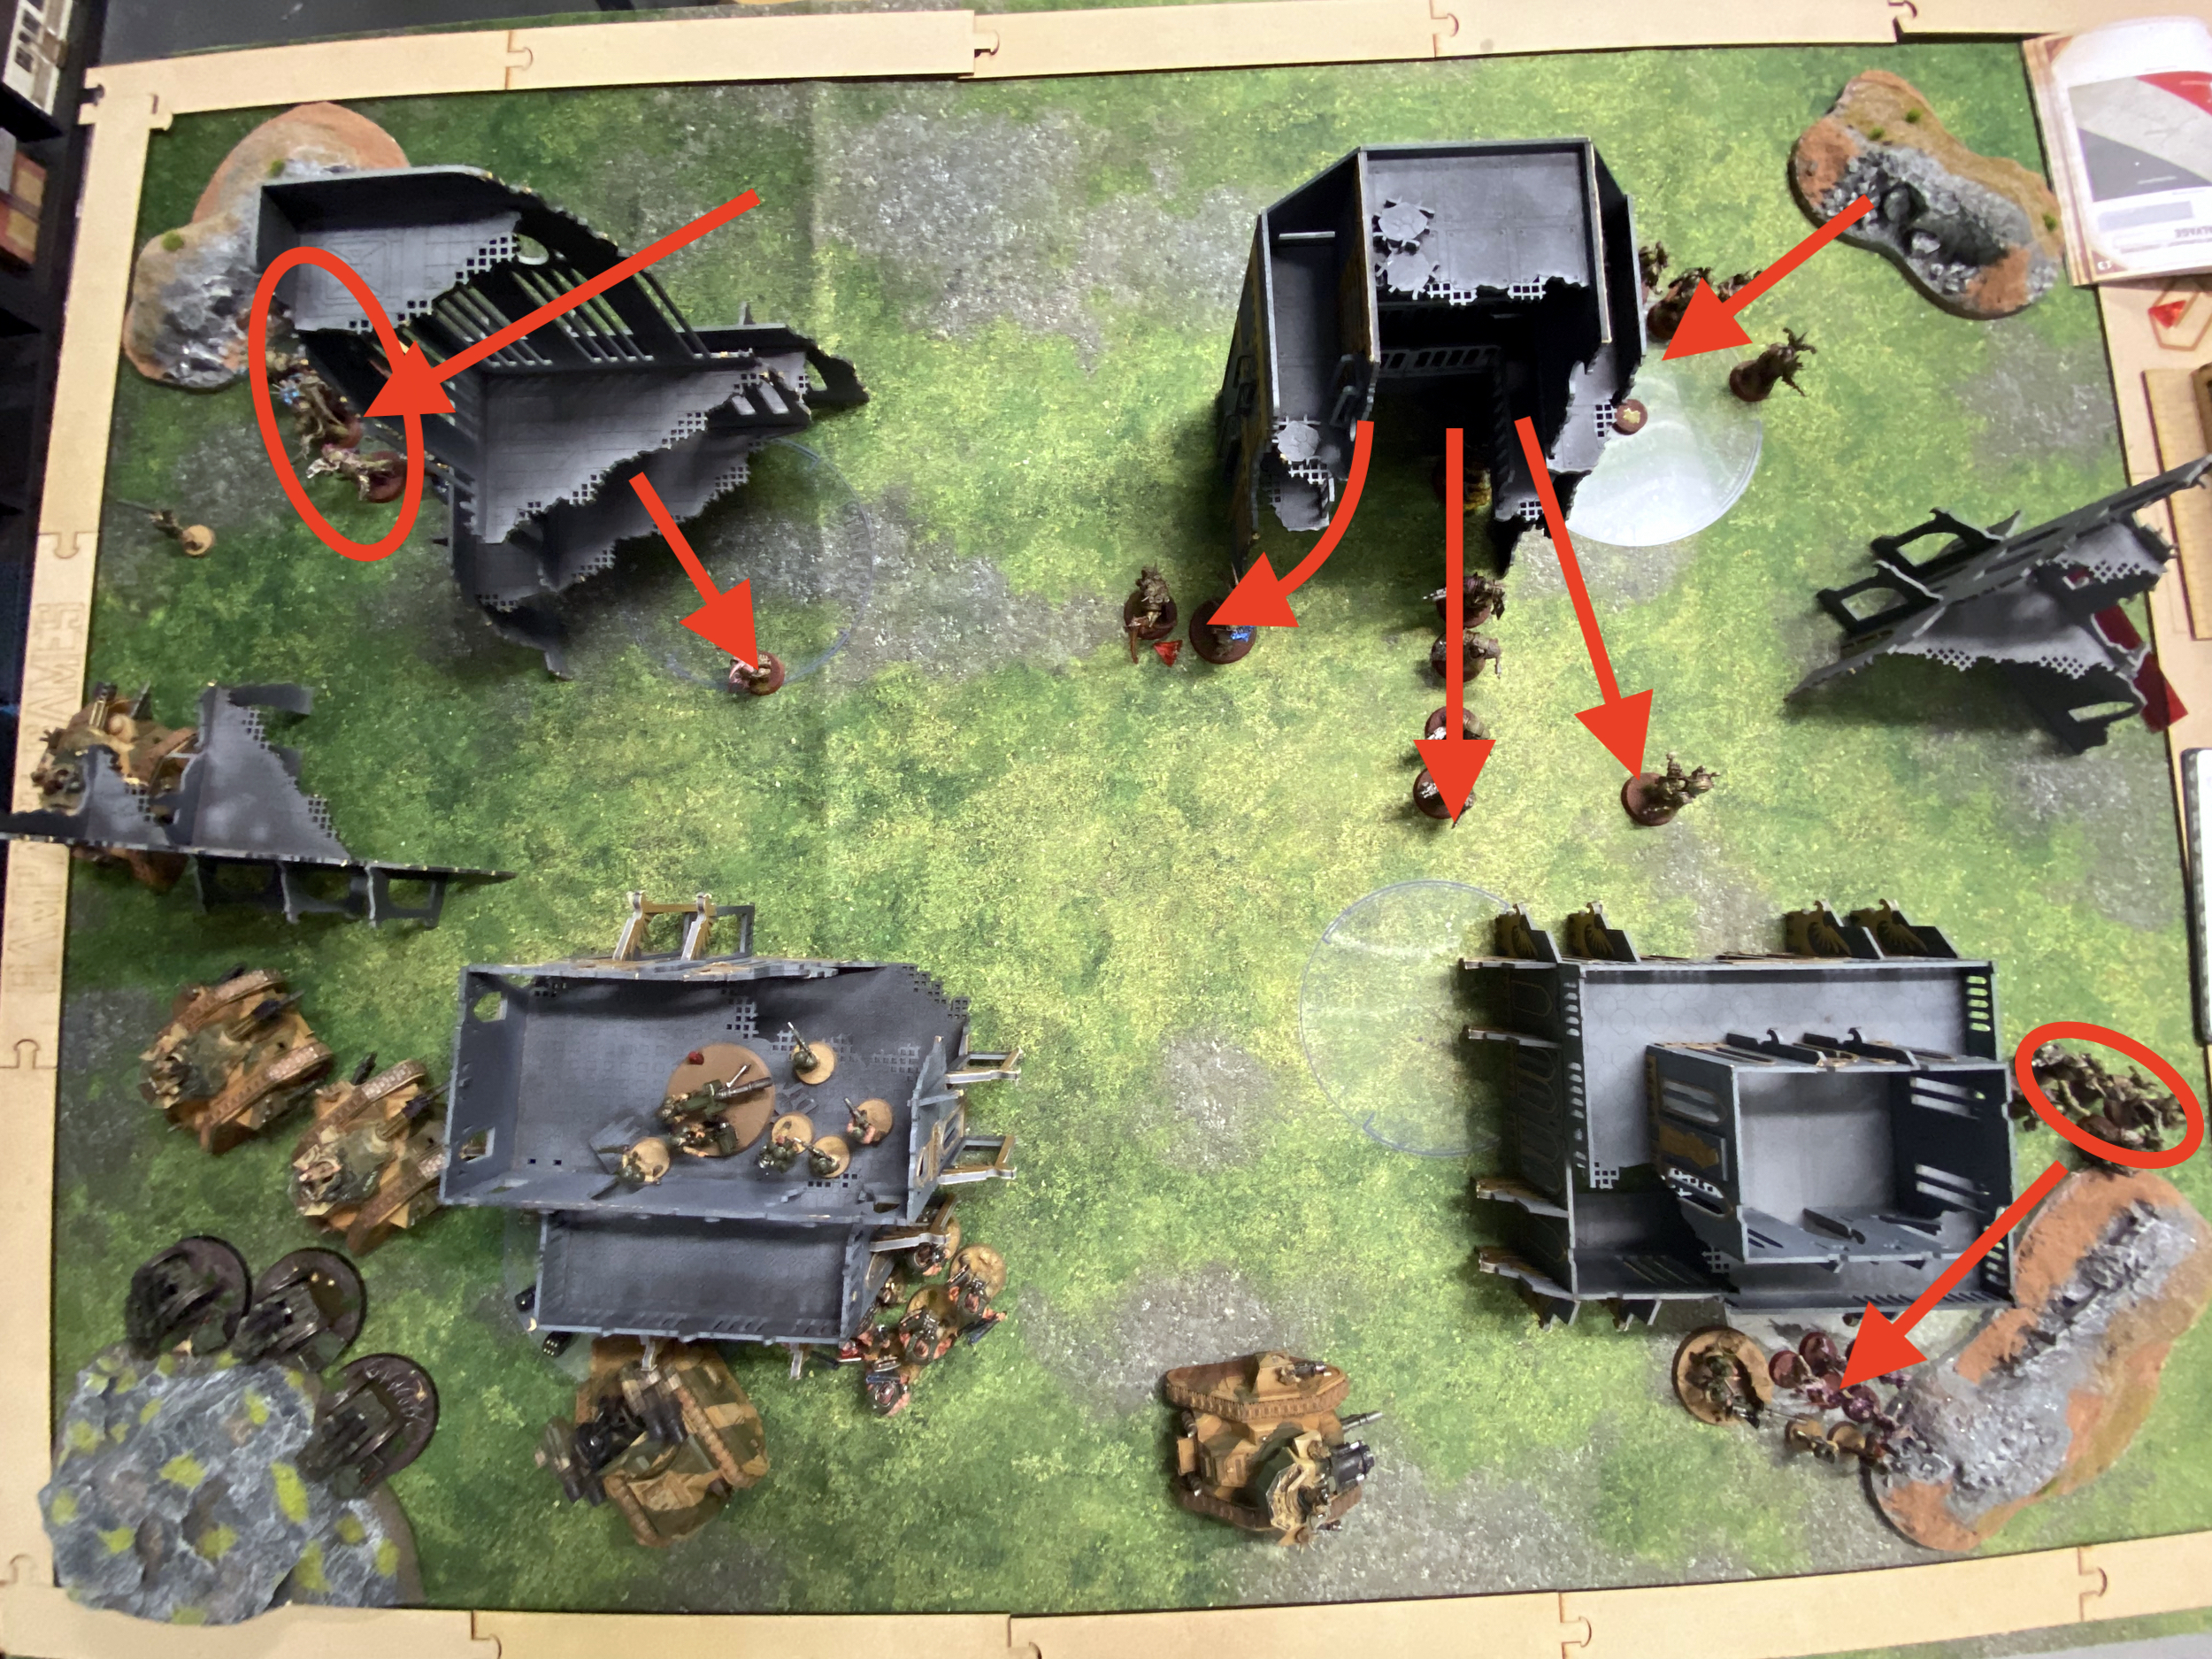
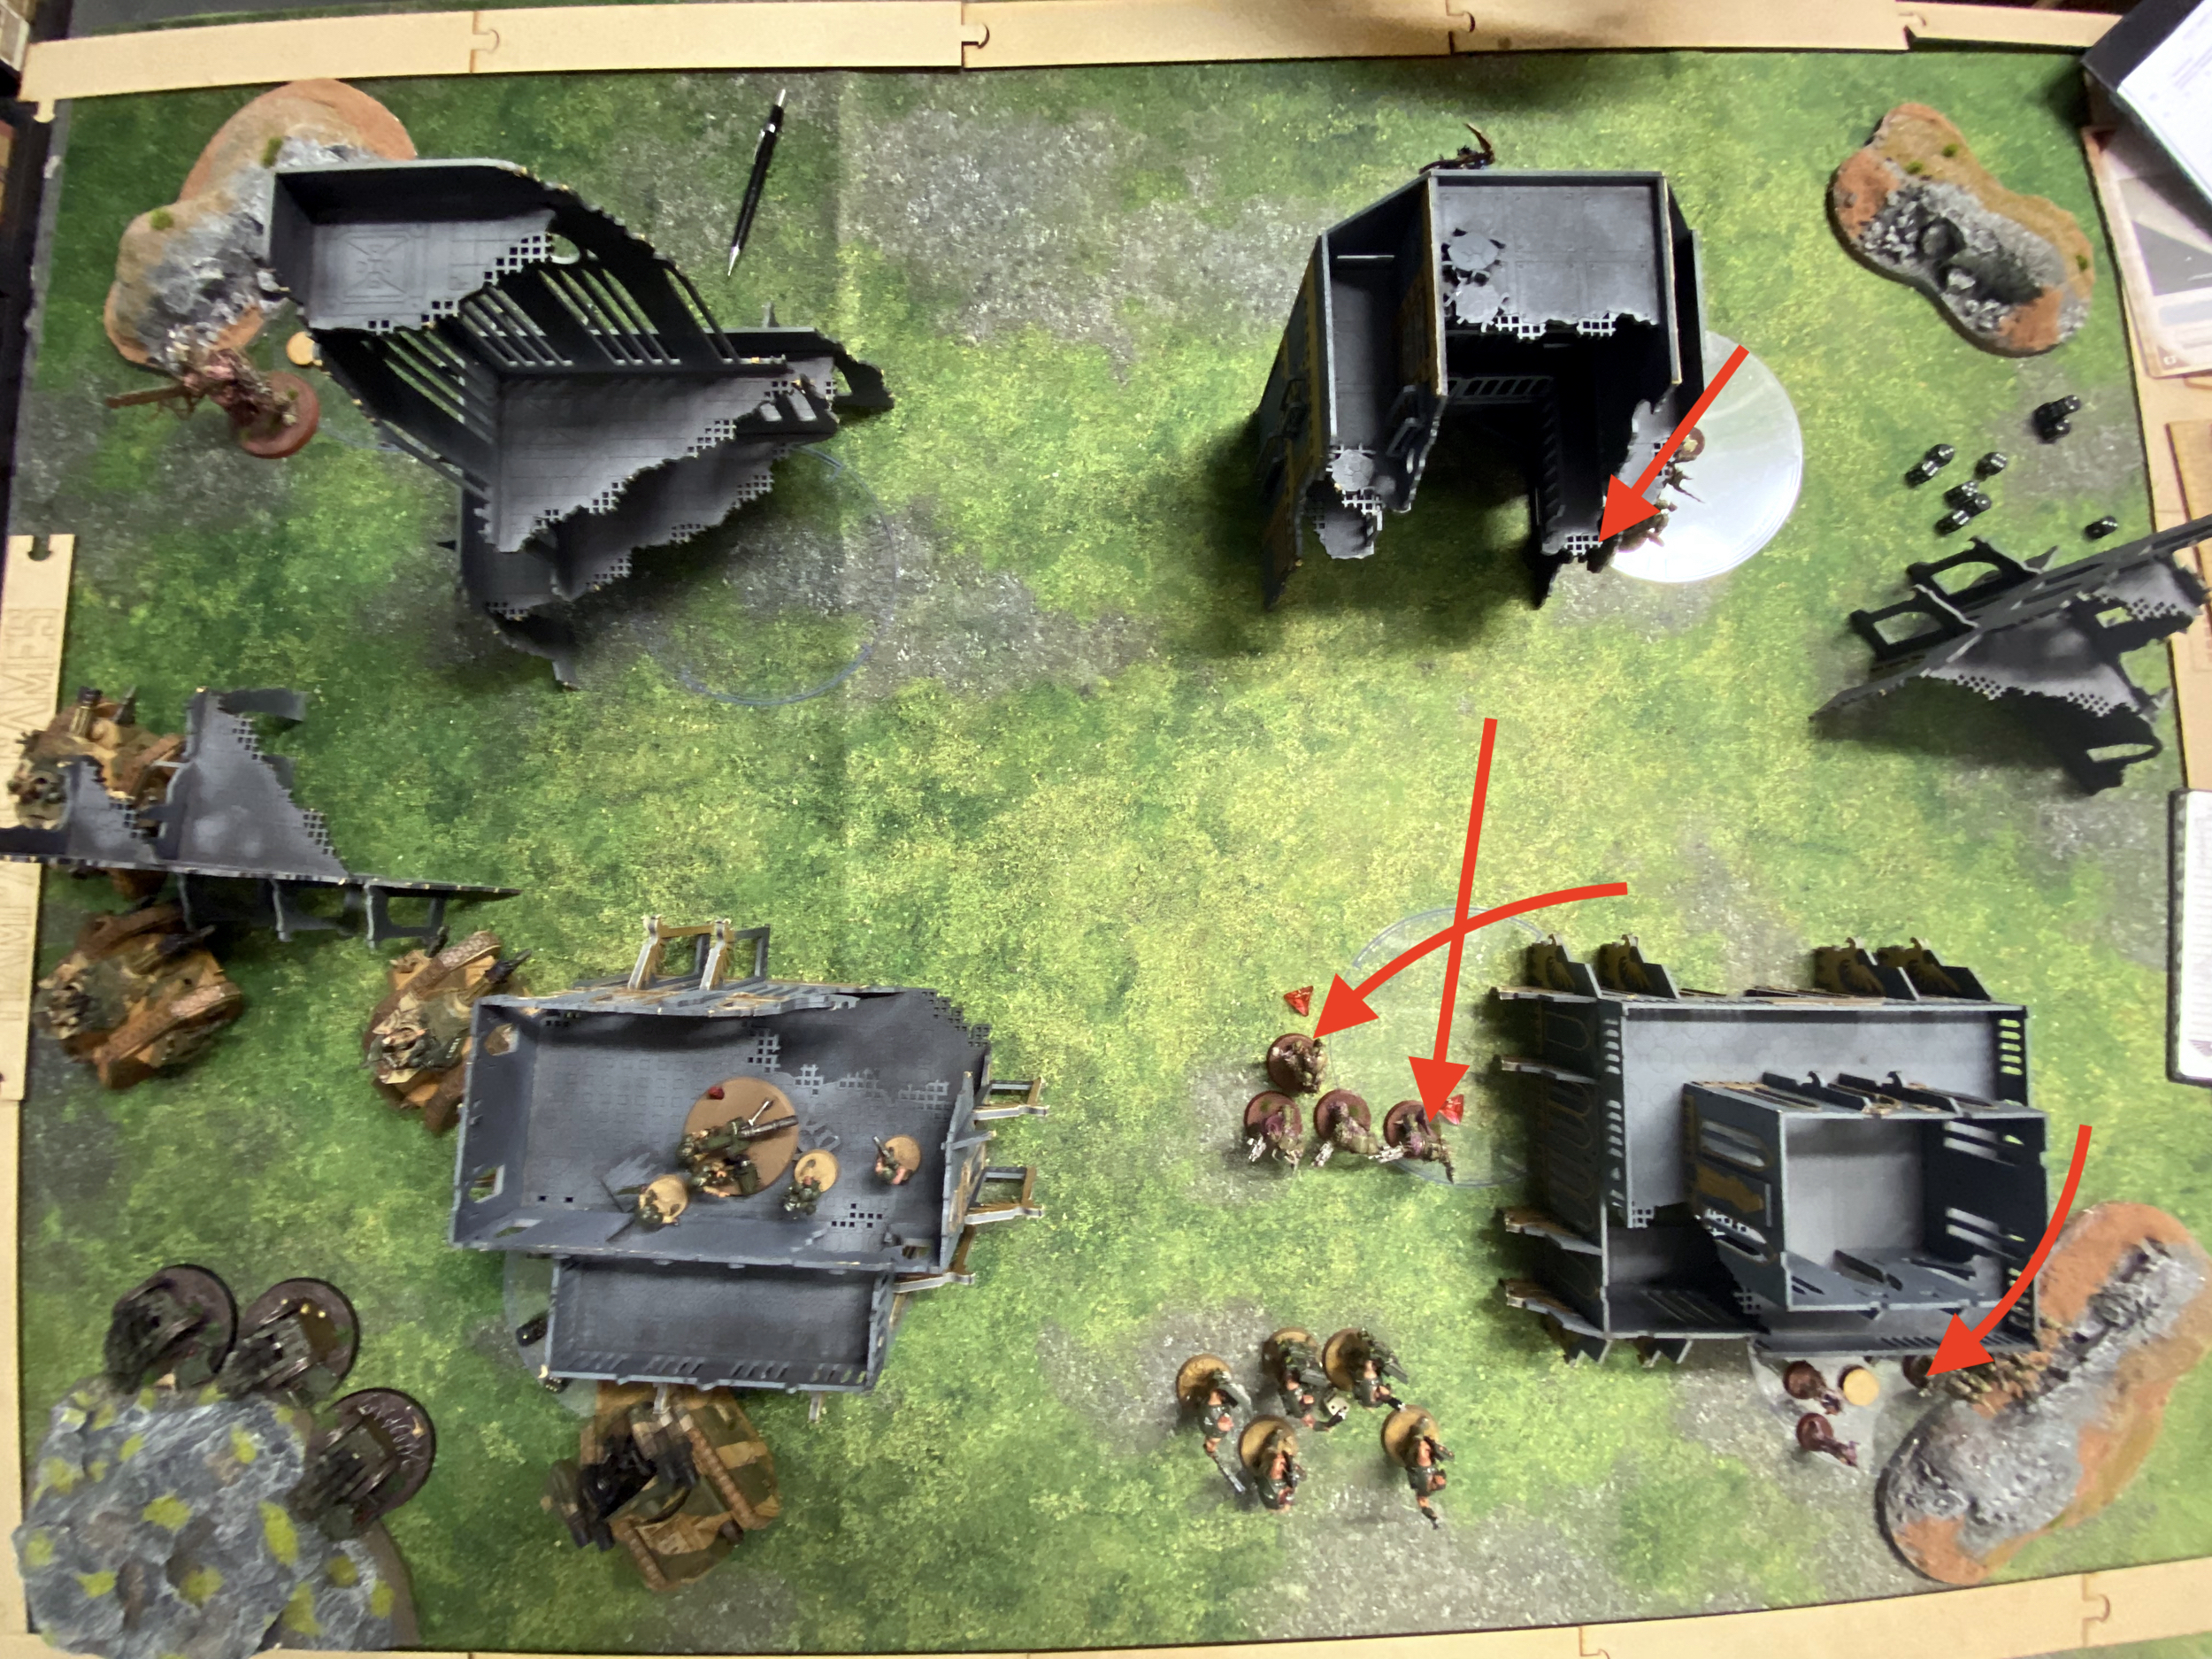
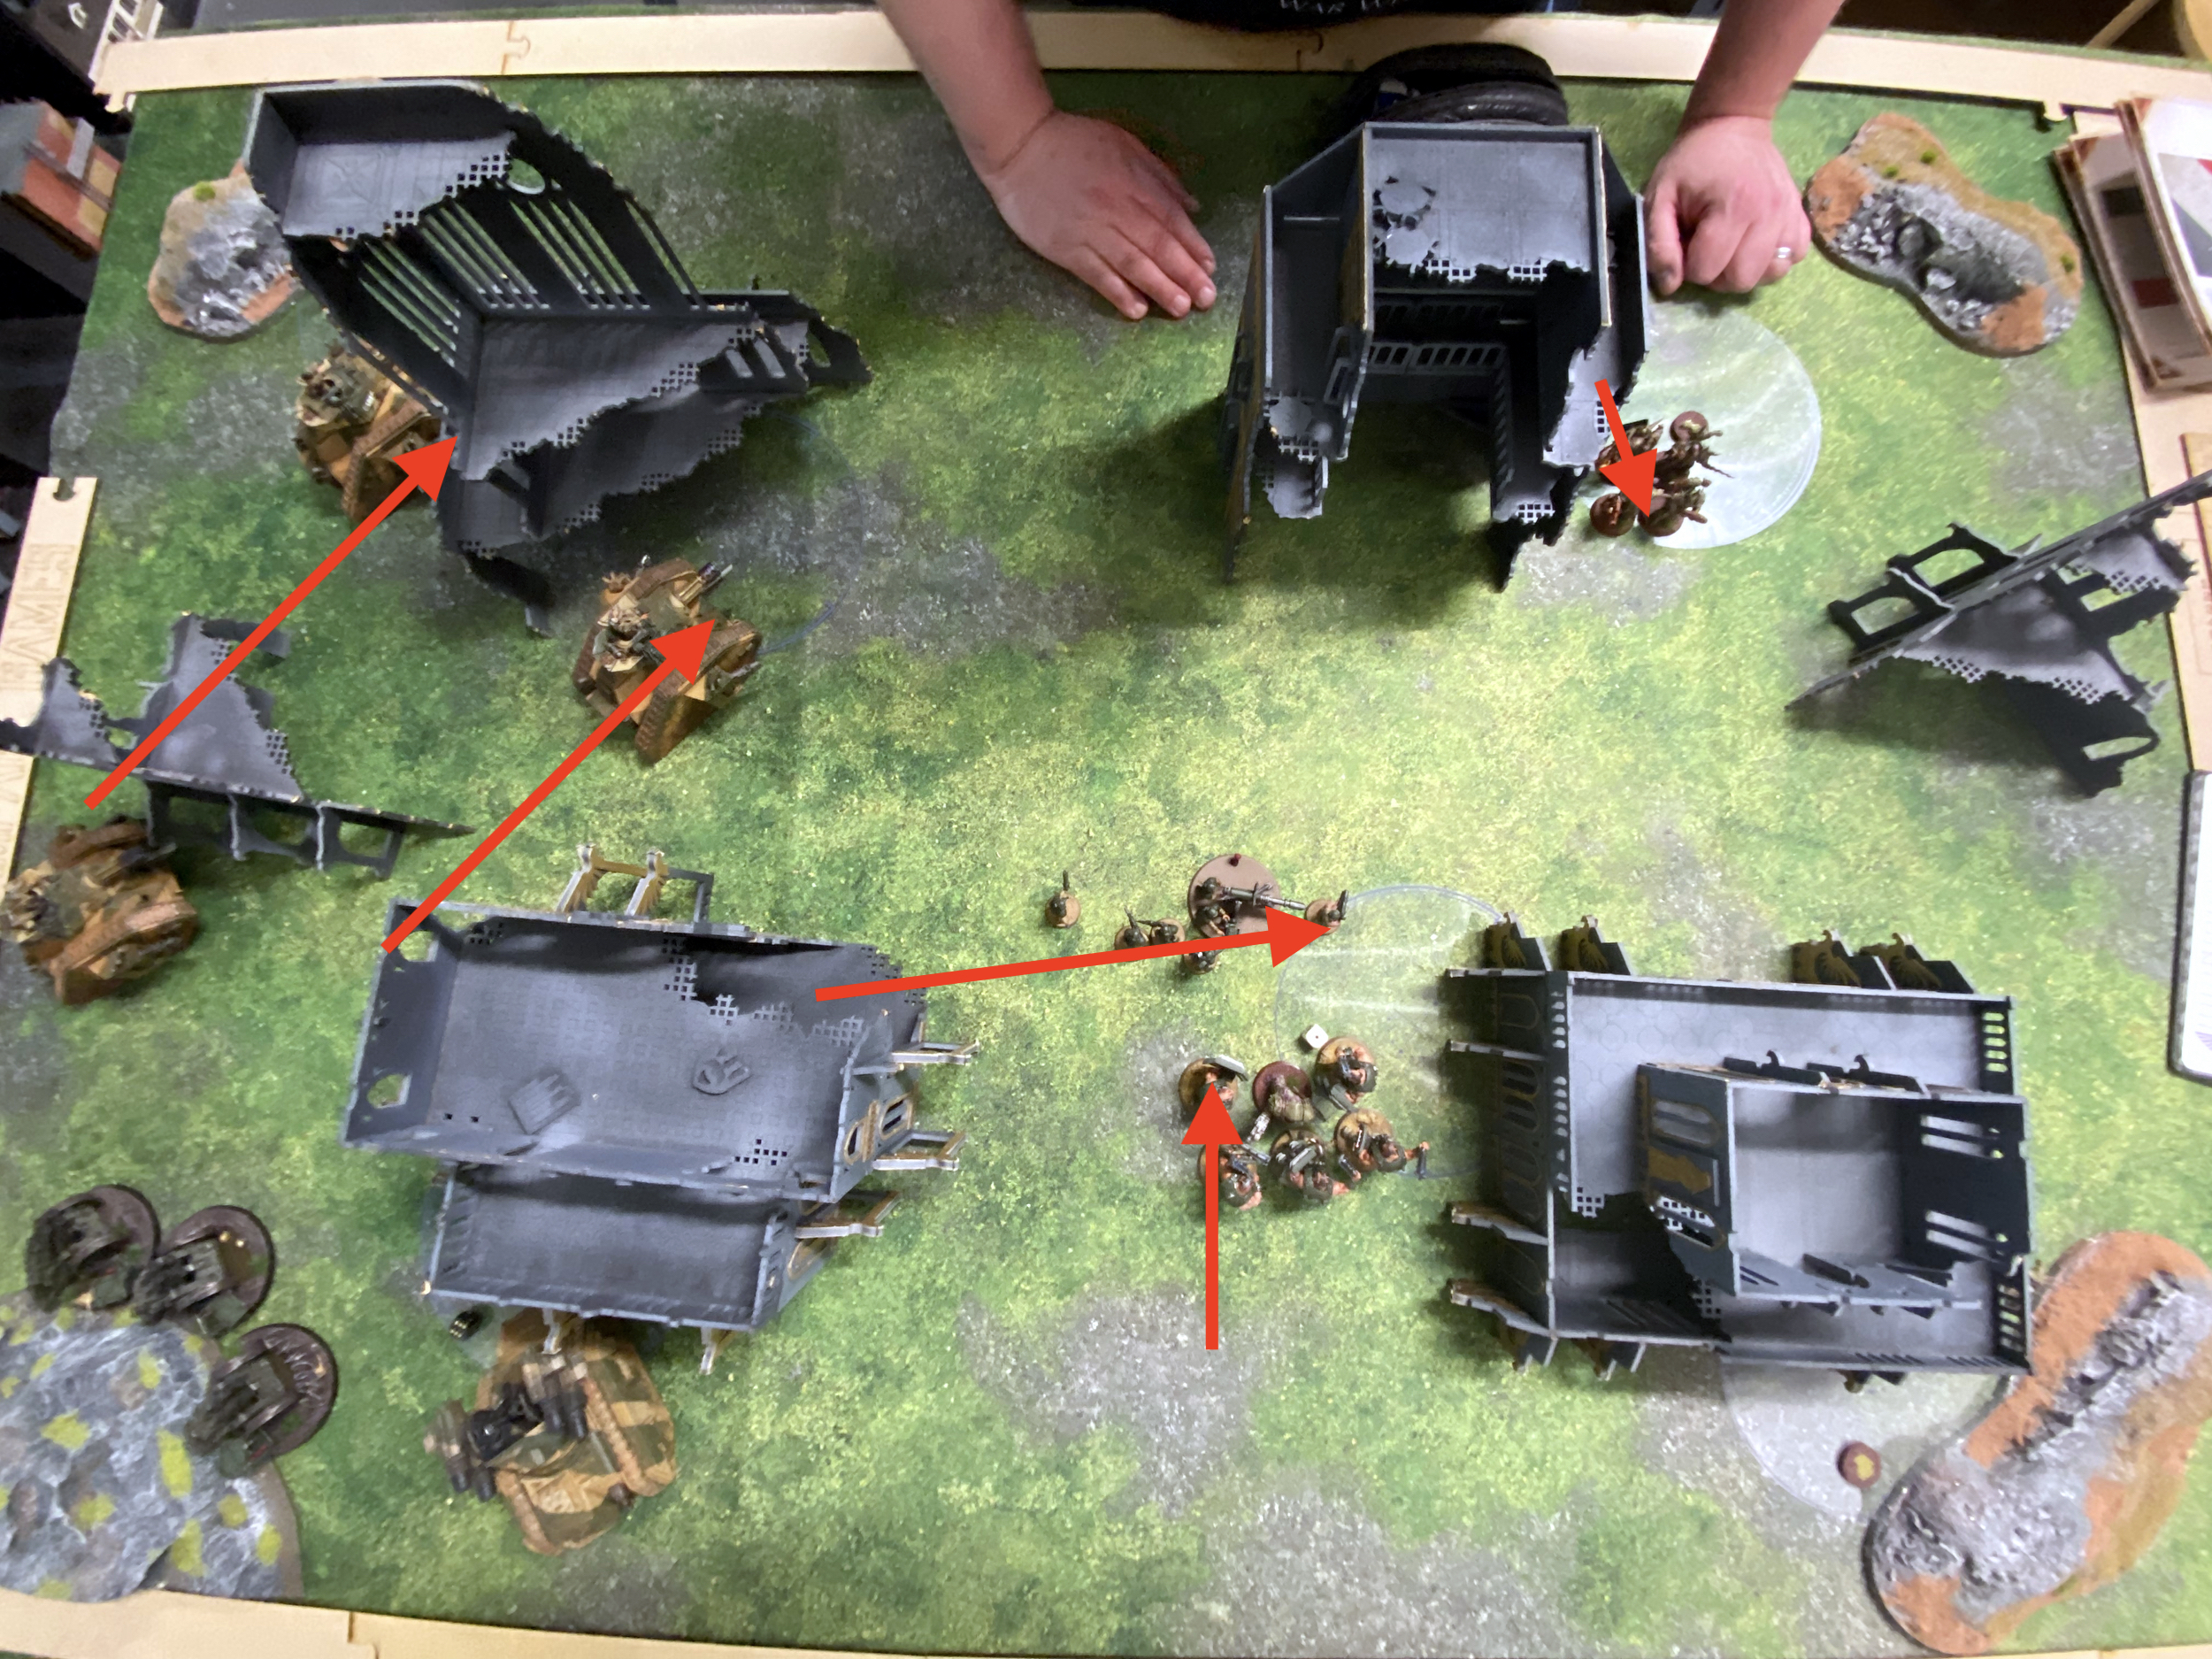
Deployment
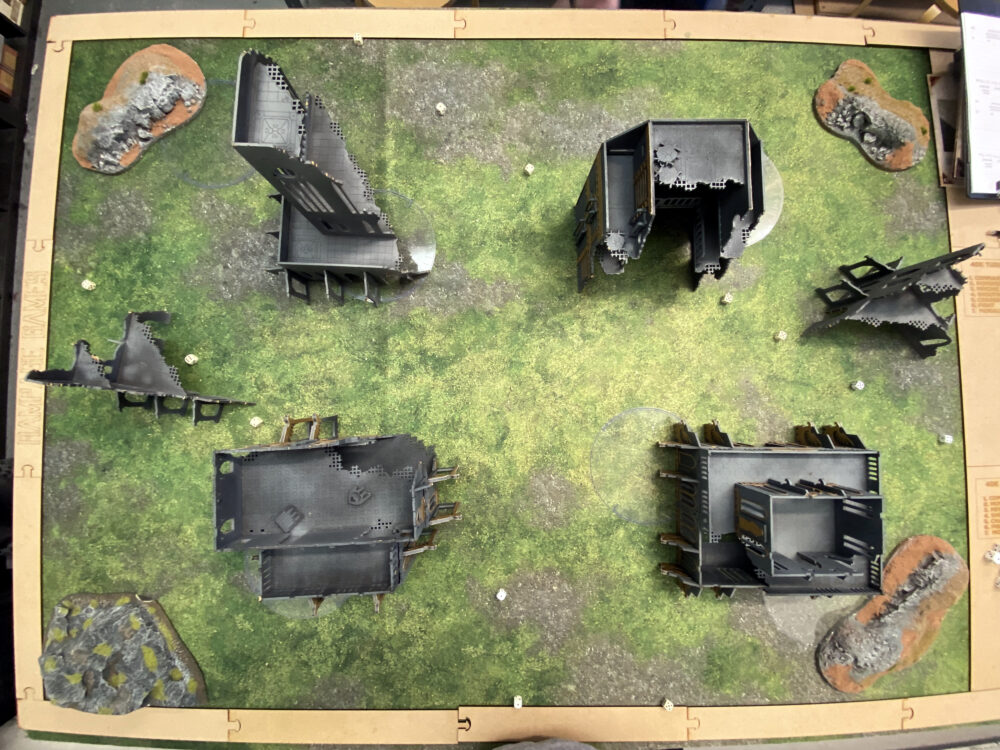
The empty battlefield
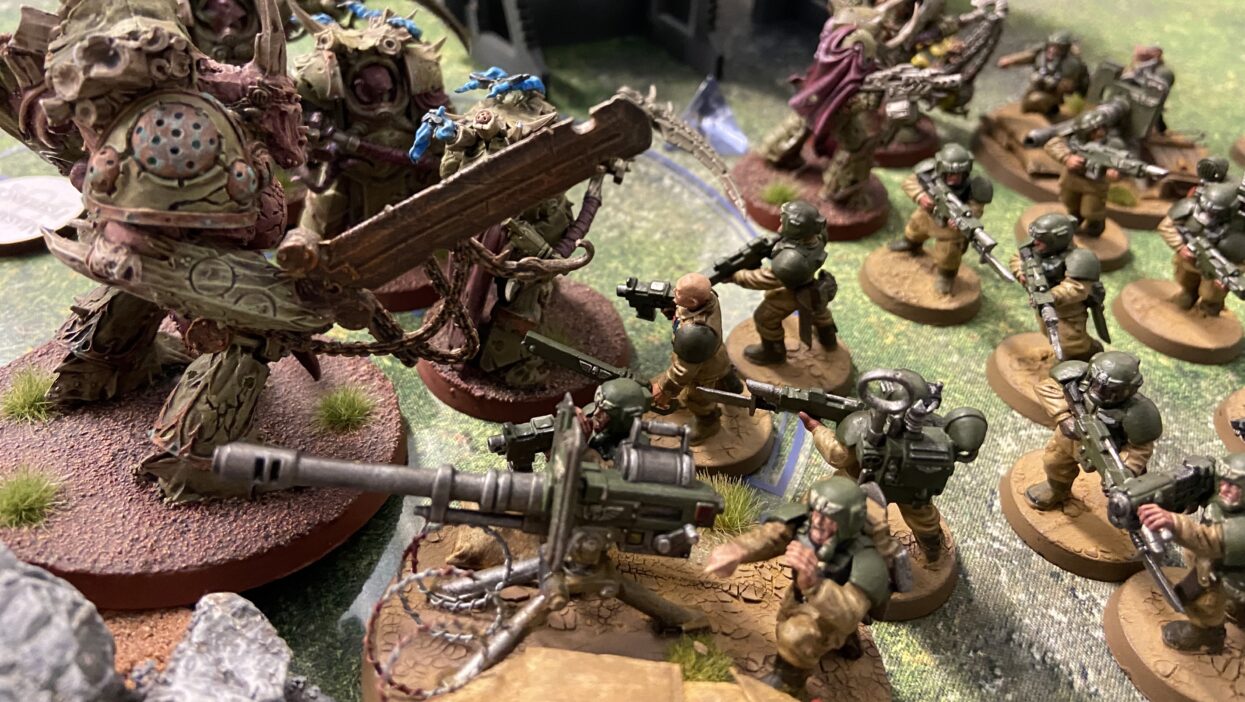
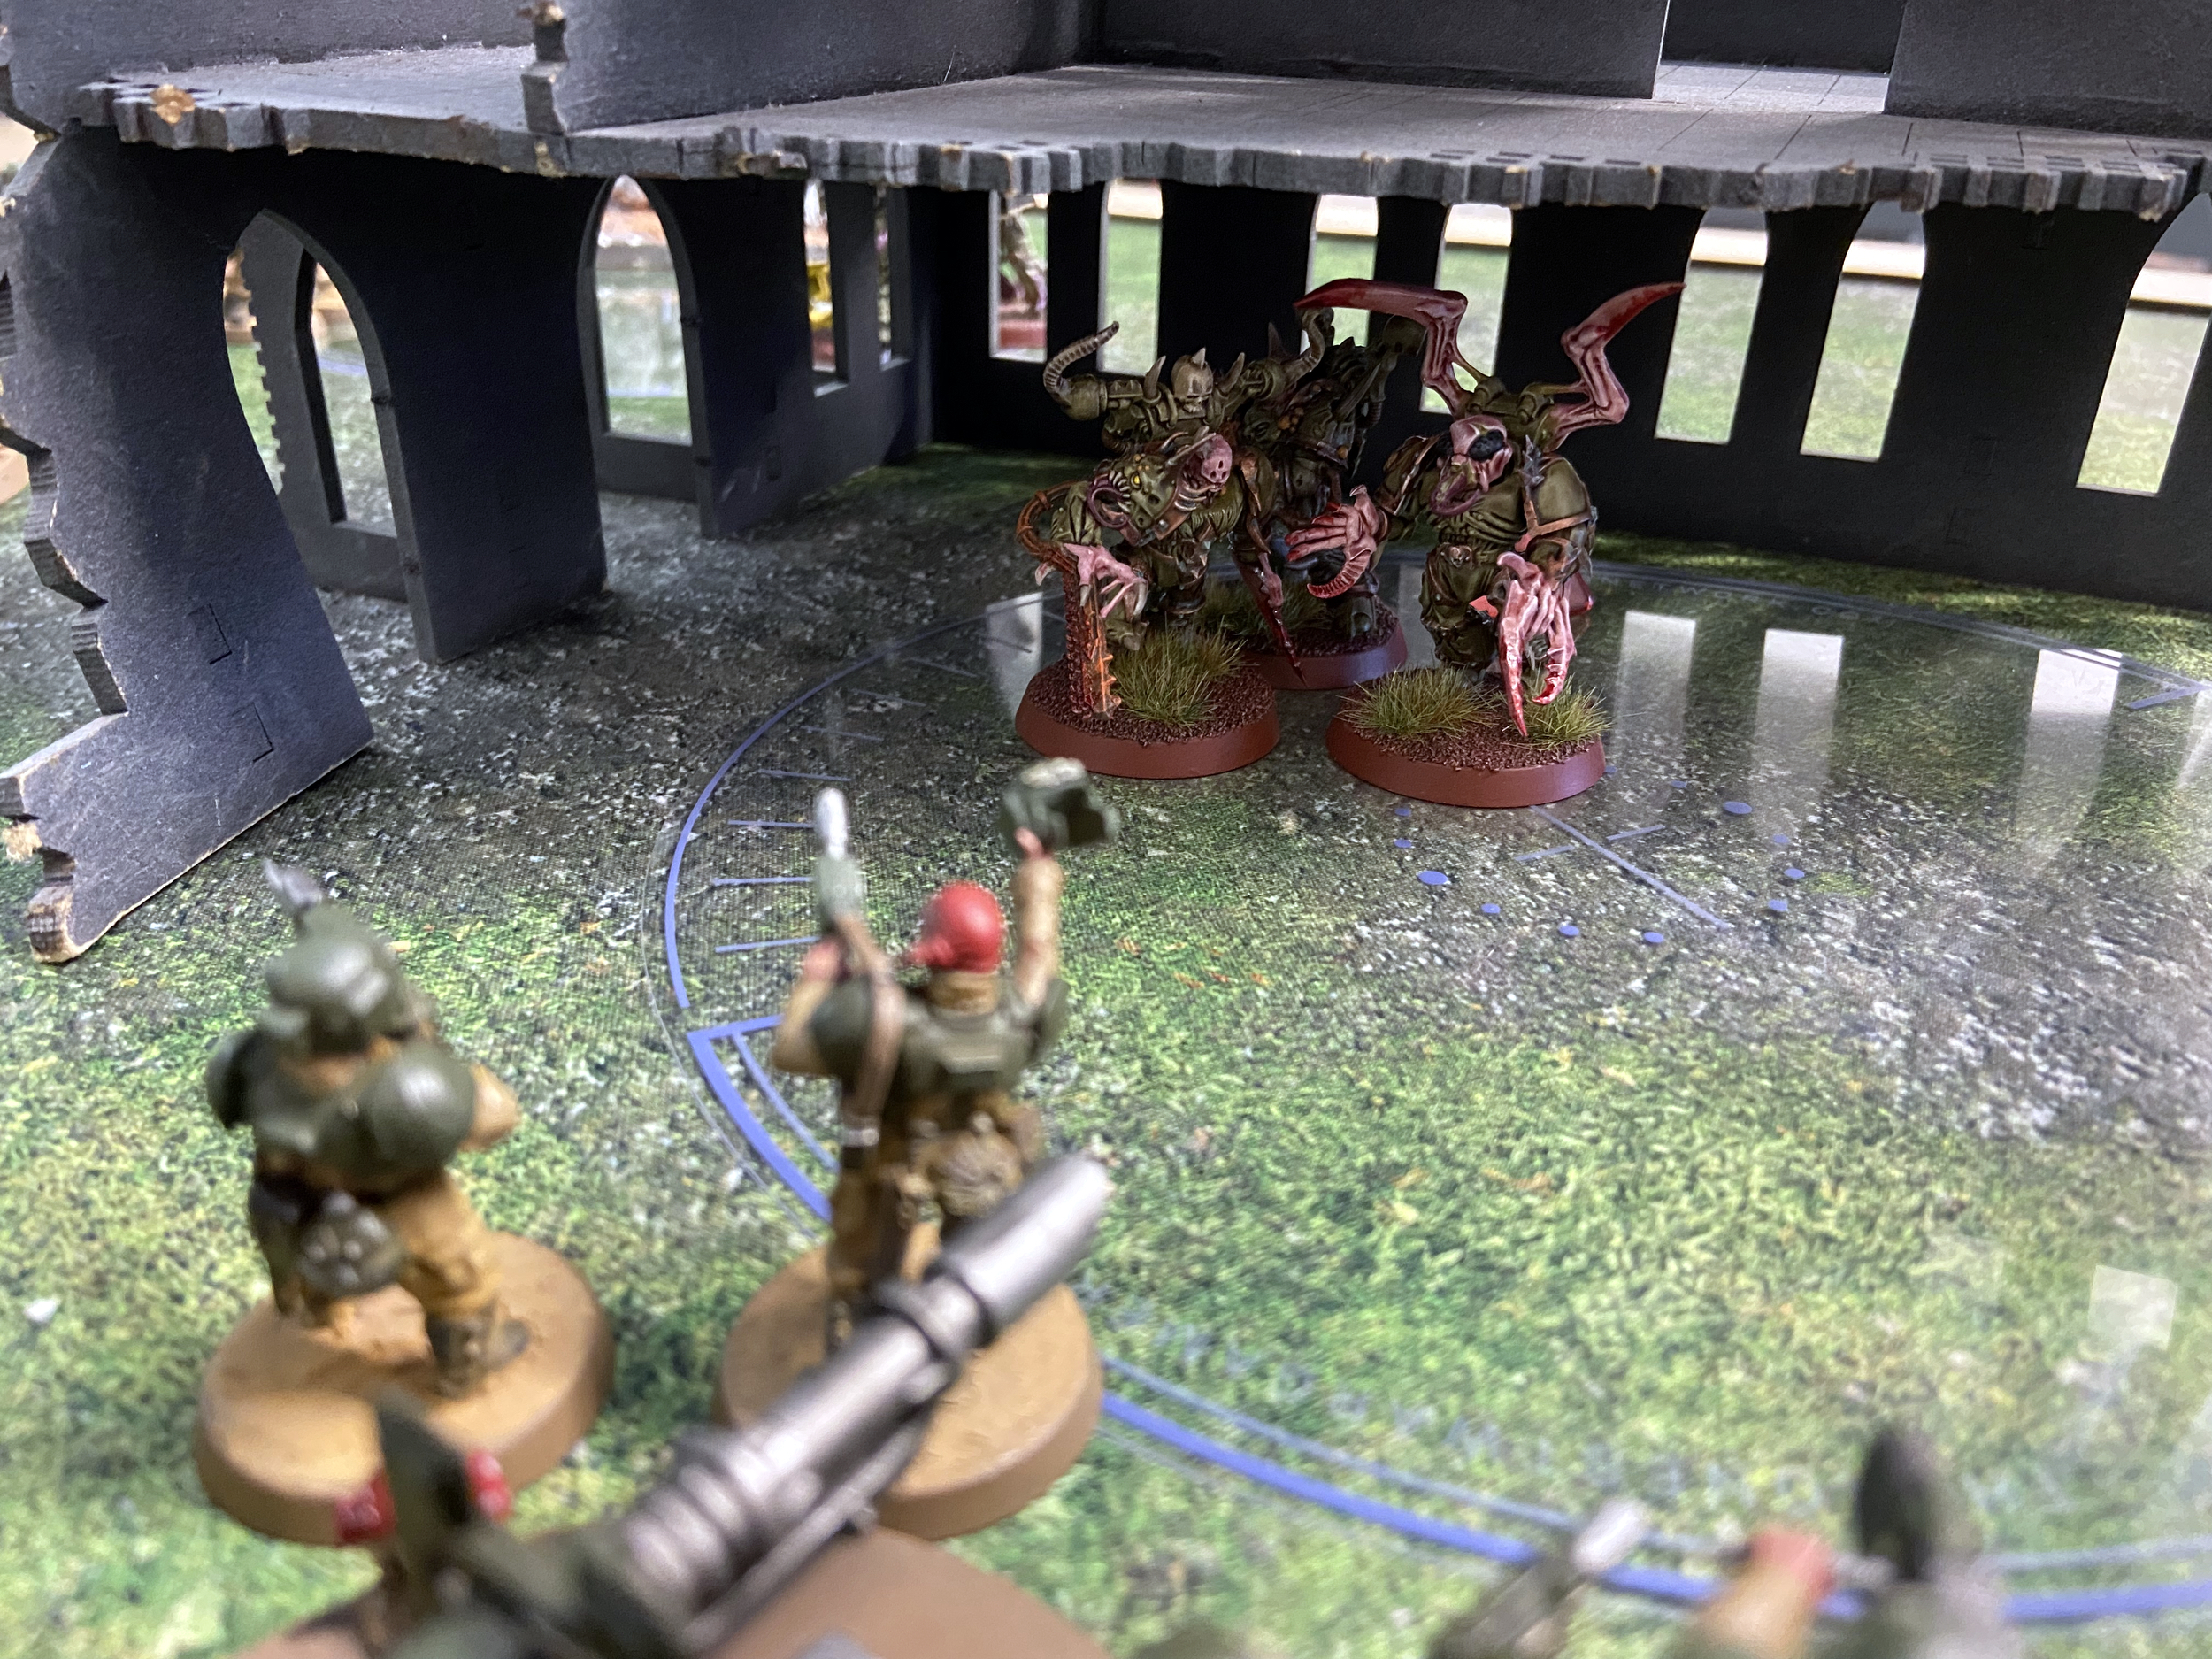
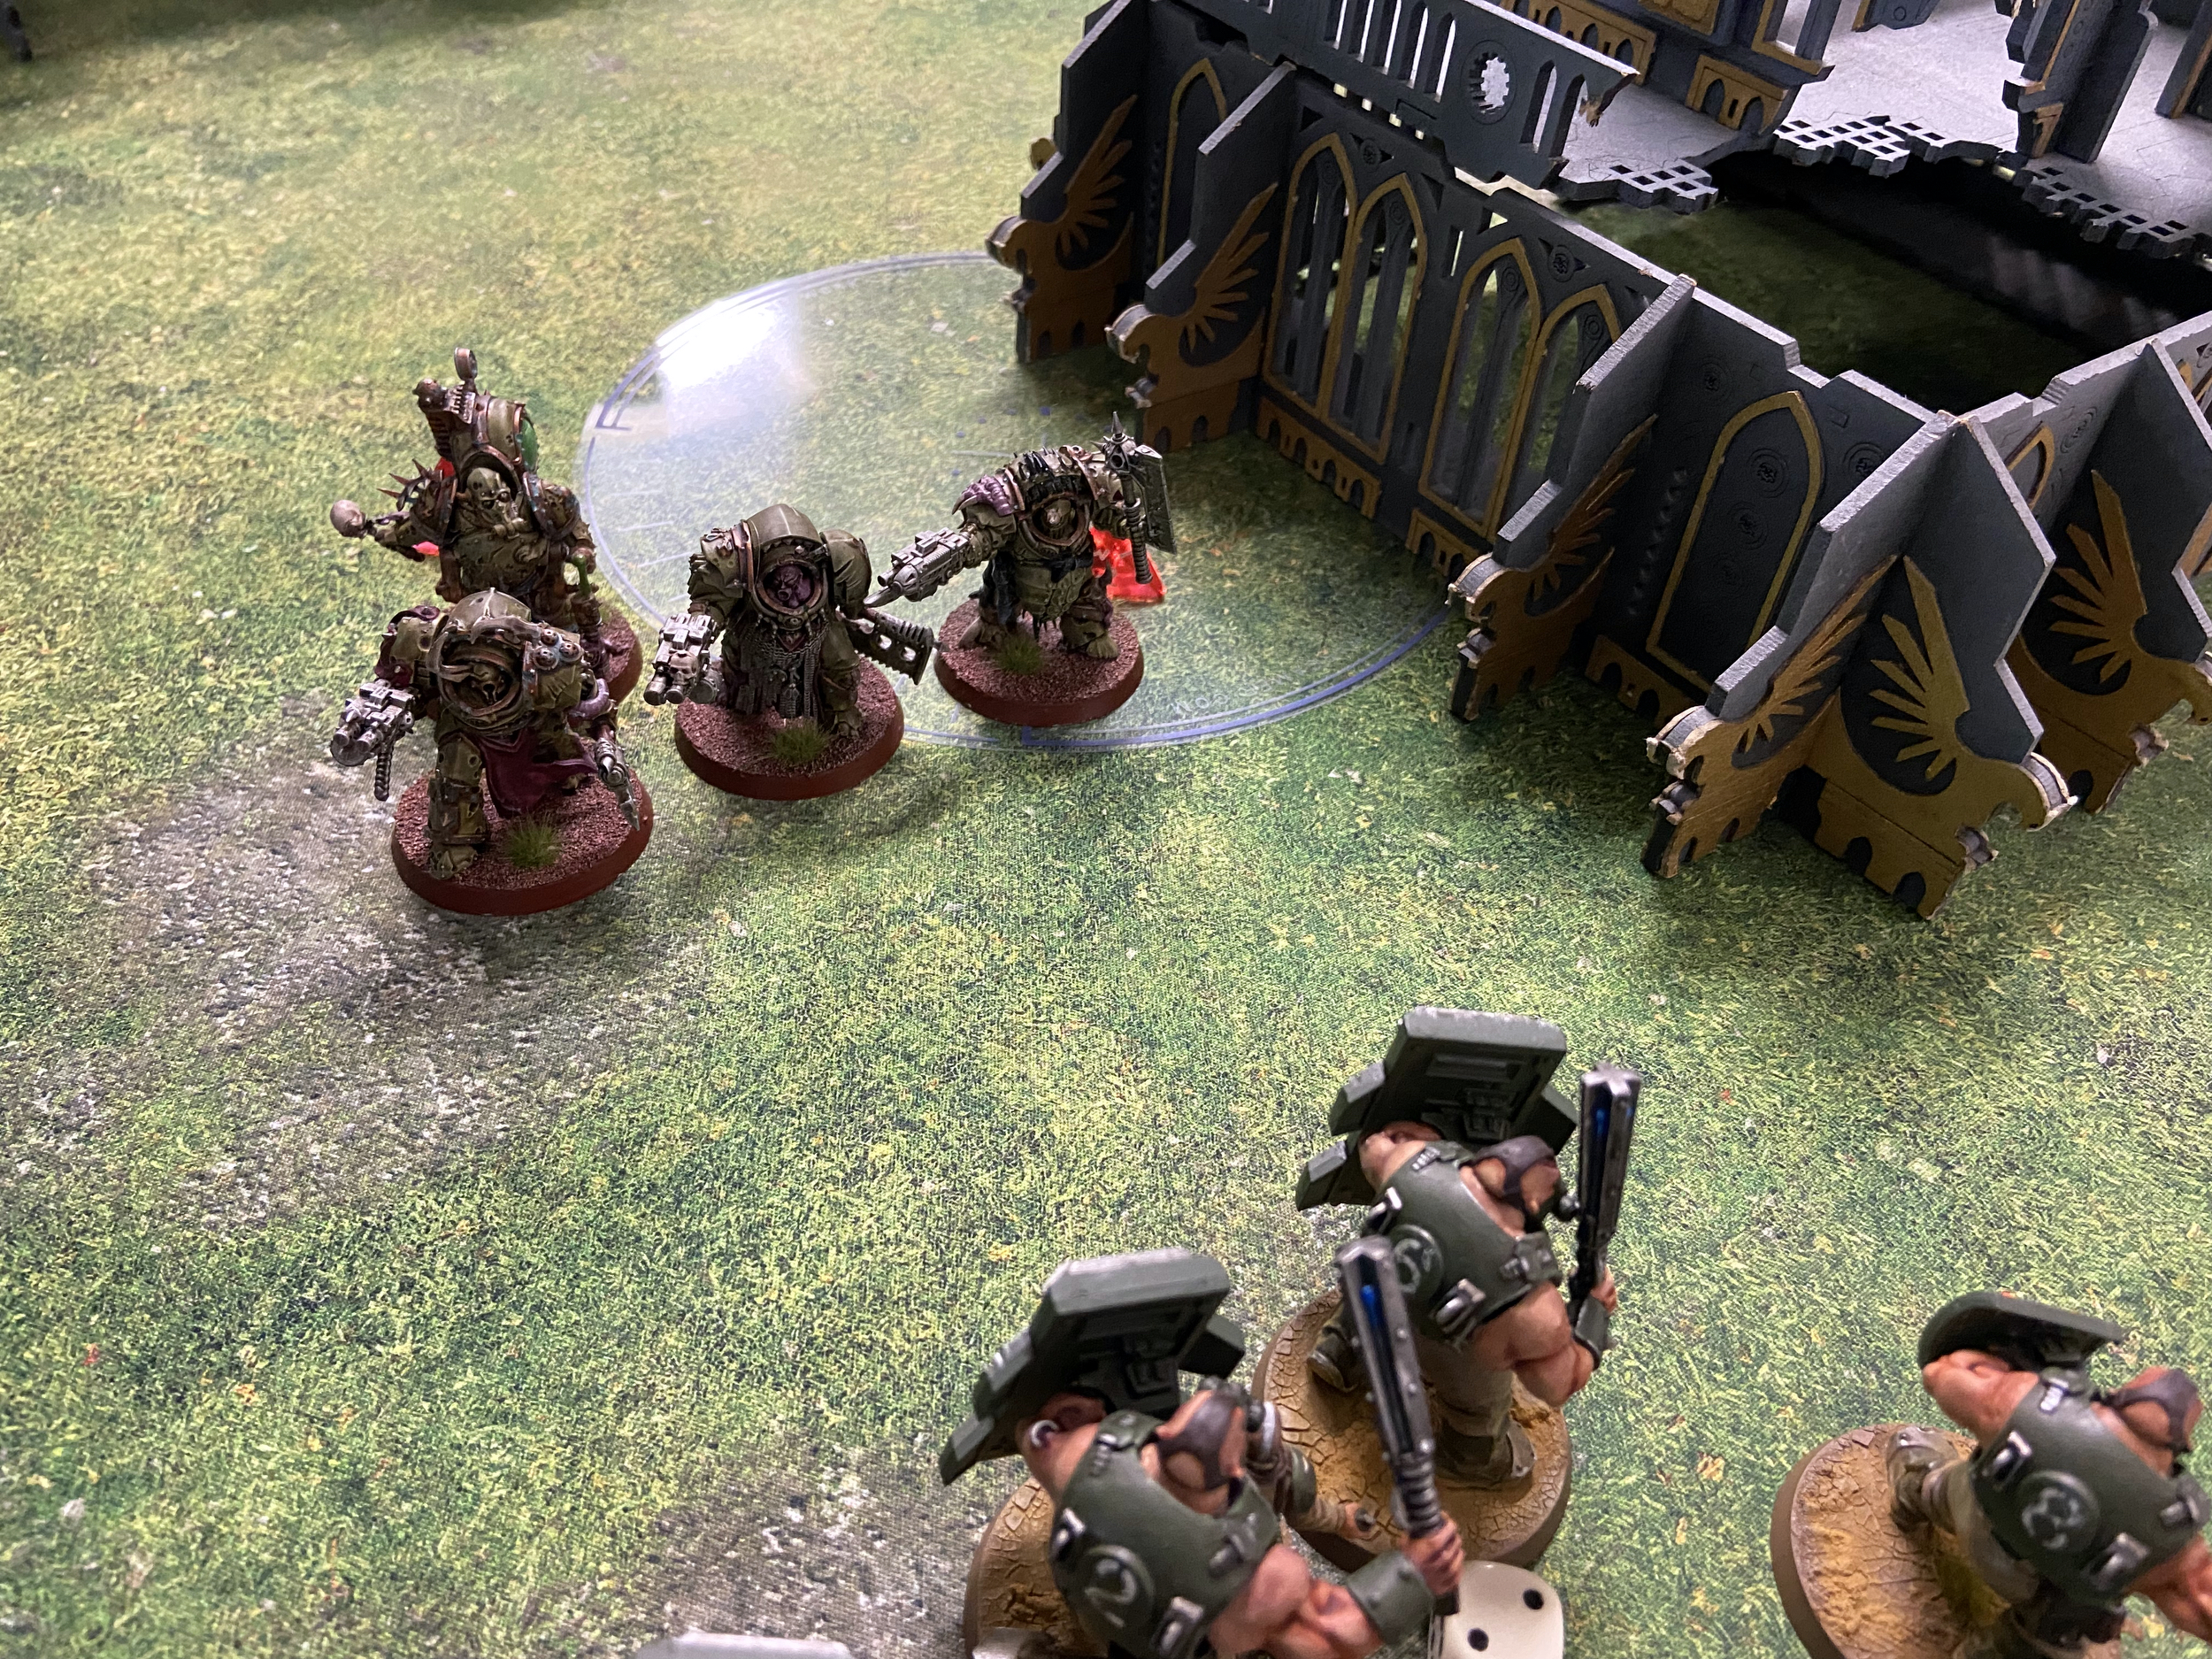
The Death Guard placed 5 Plague Marines, 3 Deathshroud and the Demon Price in Deep Strike. The rest of their units were in three big blobs across their front line – with the exception of my right-most blob which contained just 20 pinky Pox Walkers.
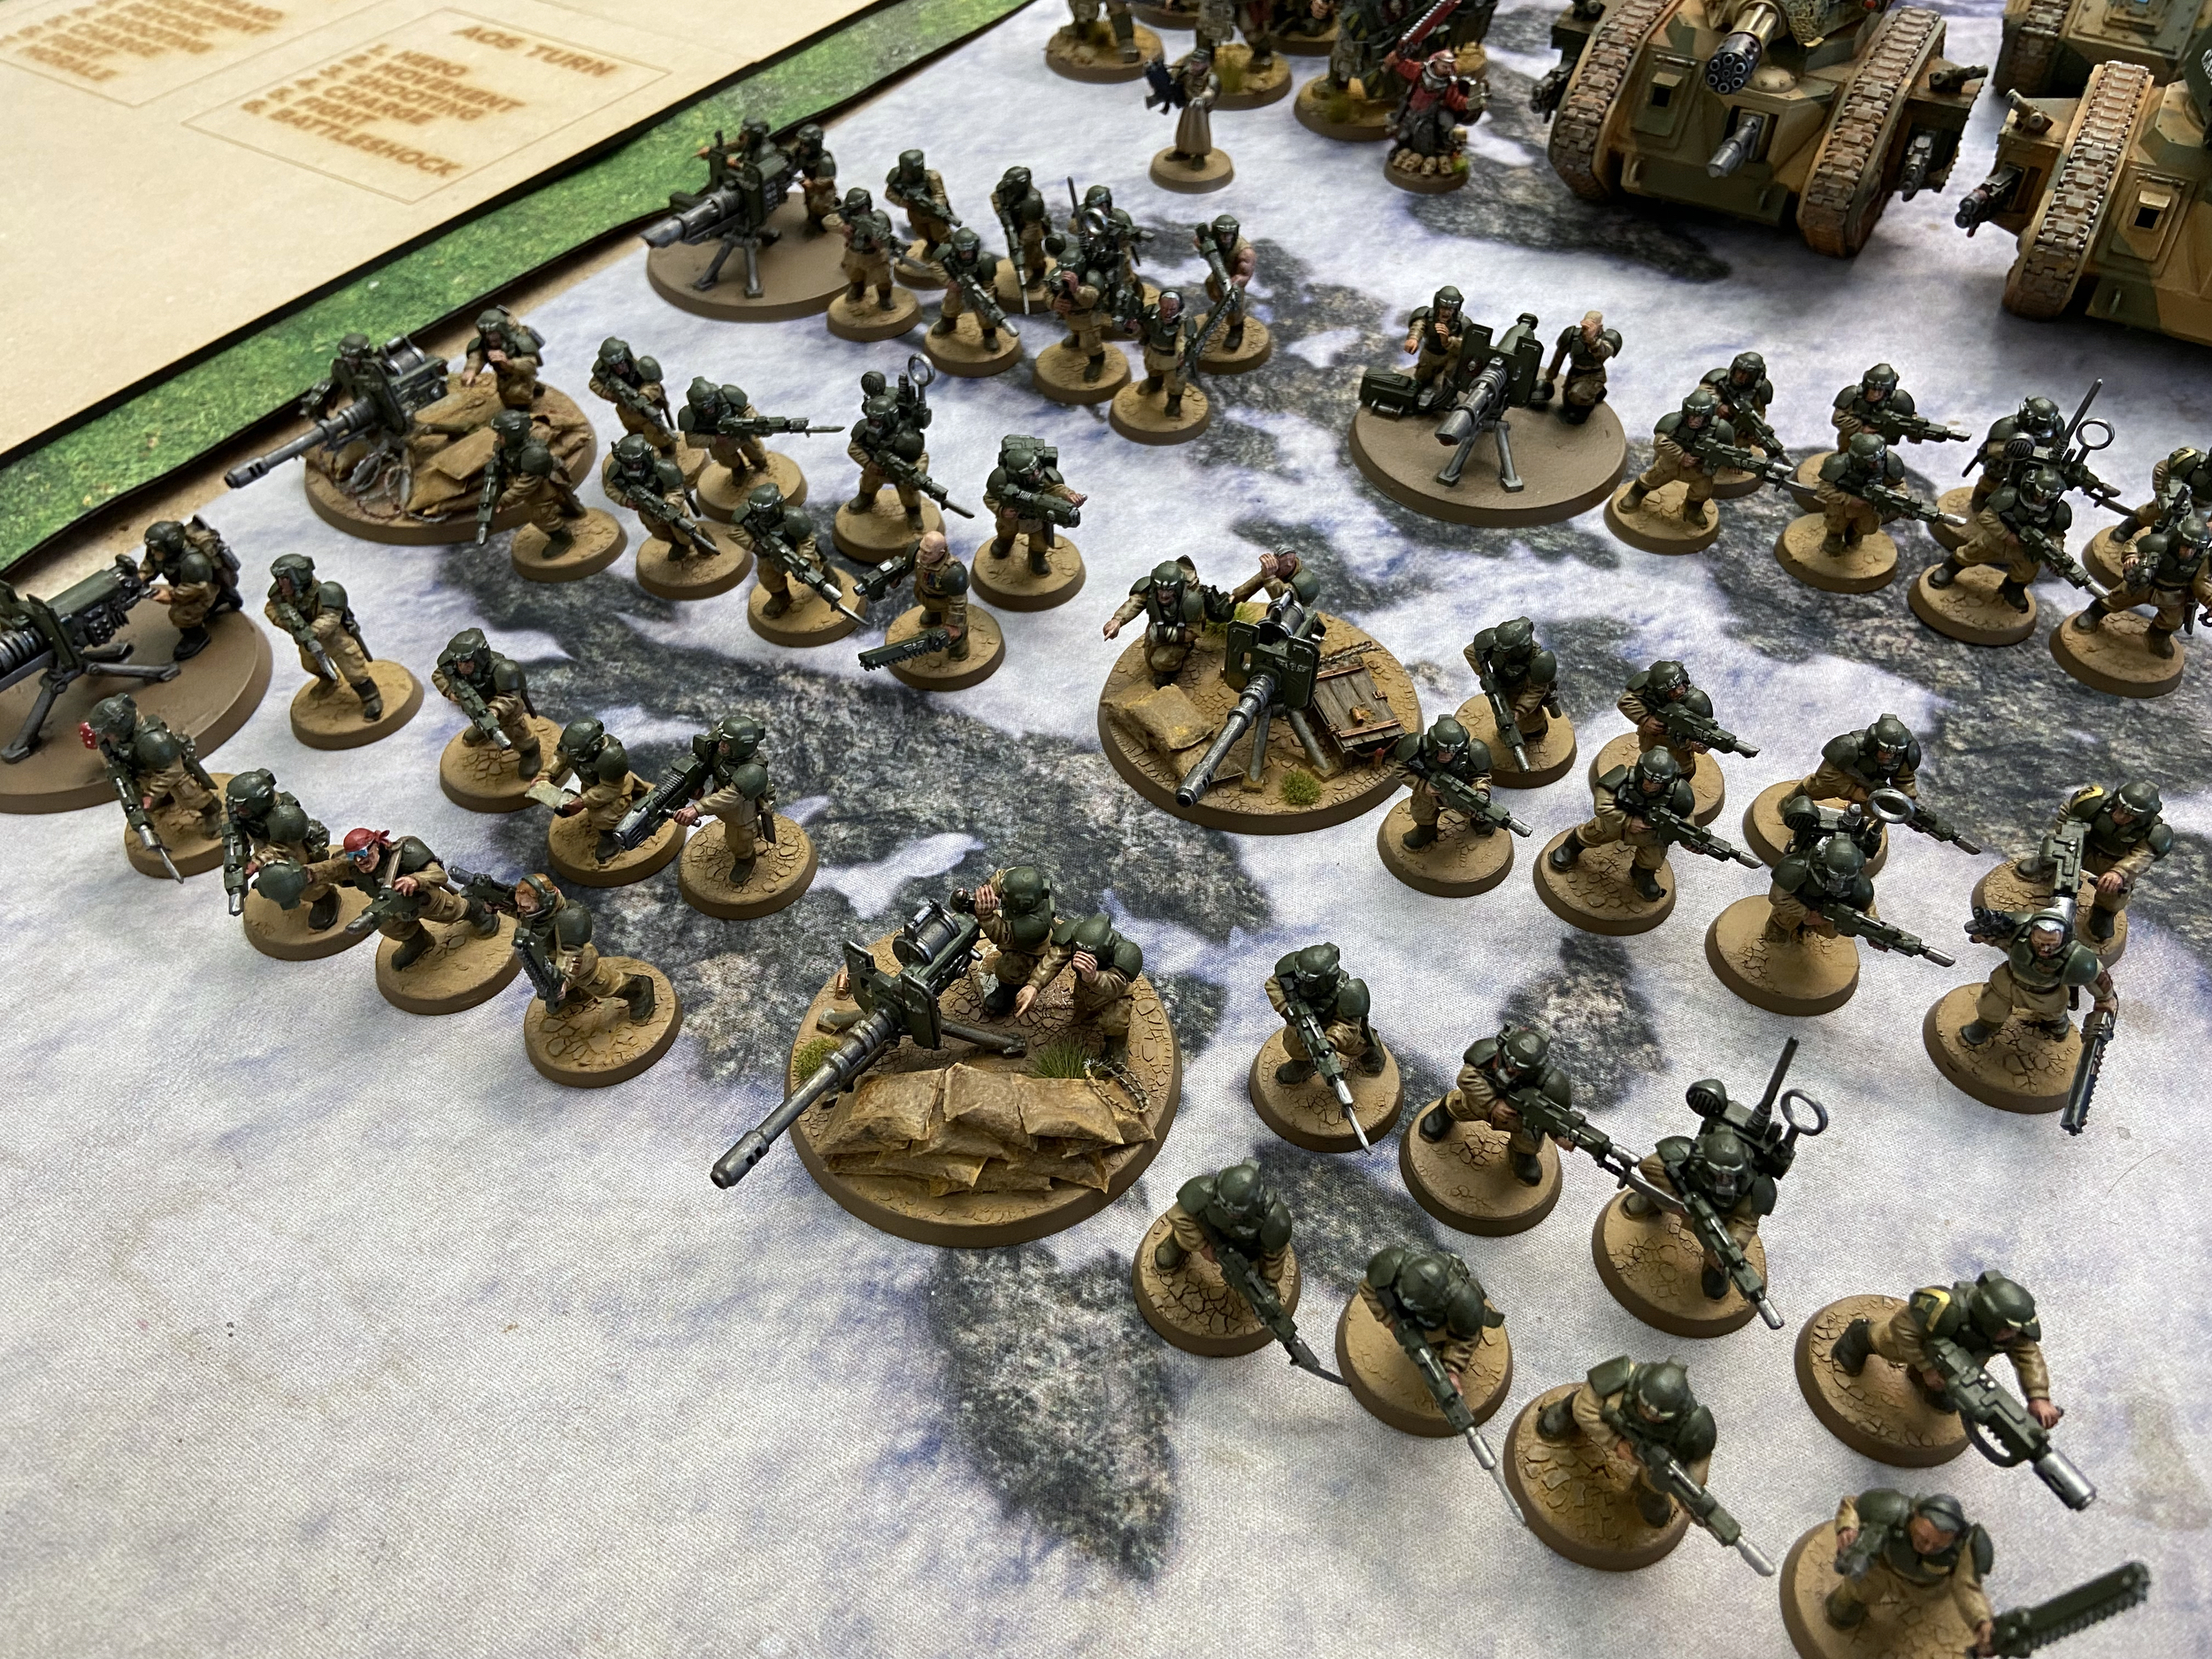
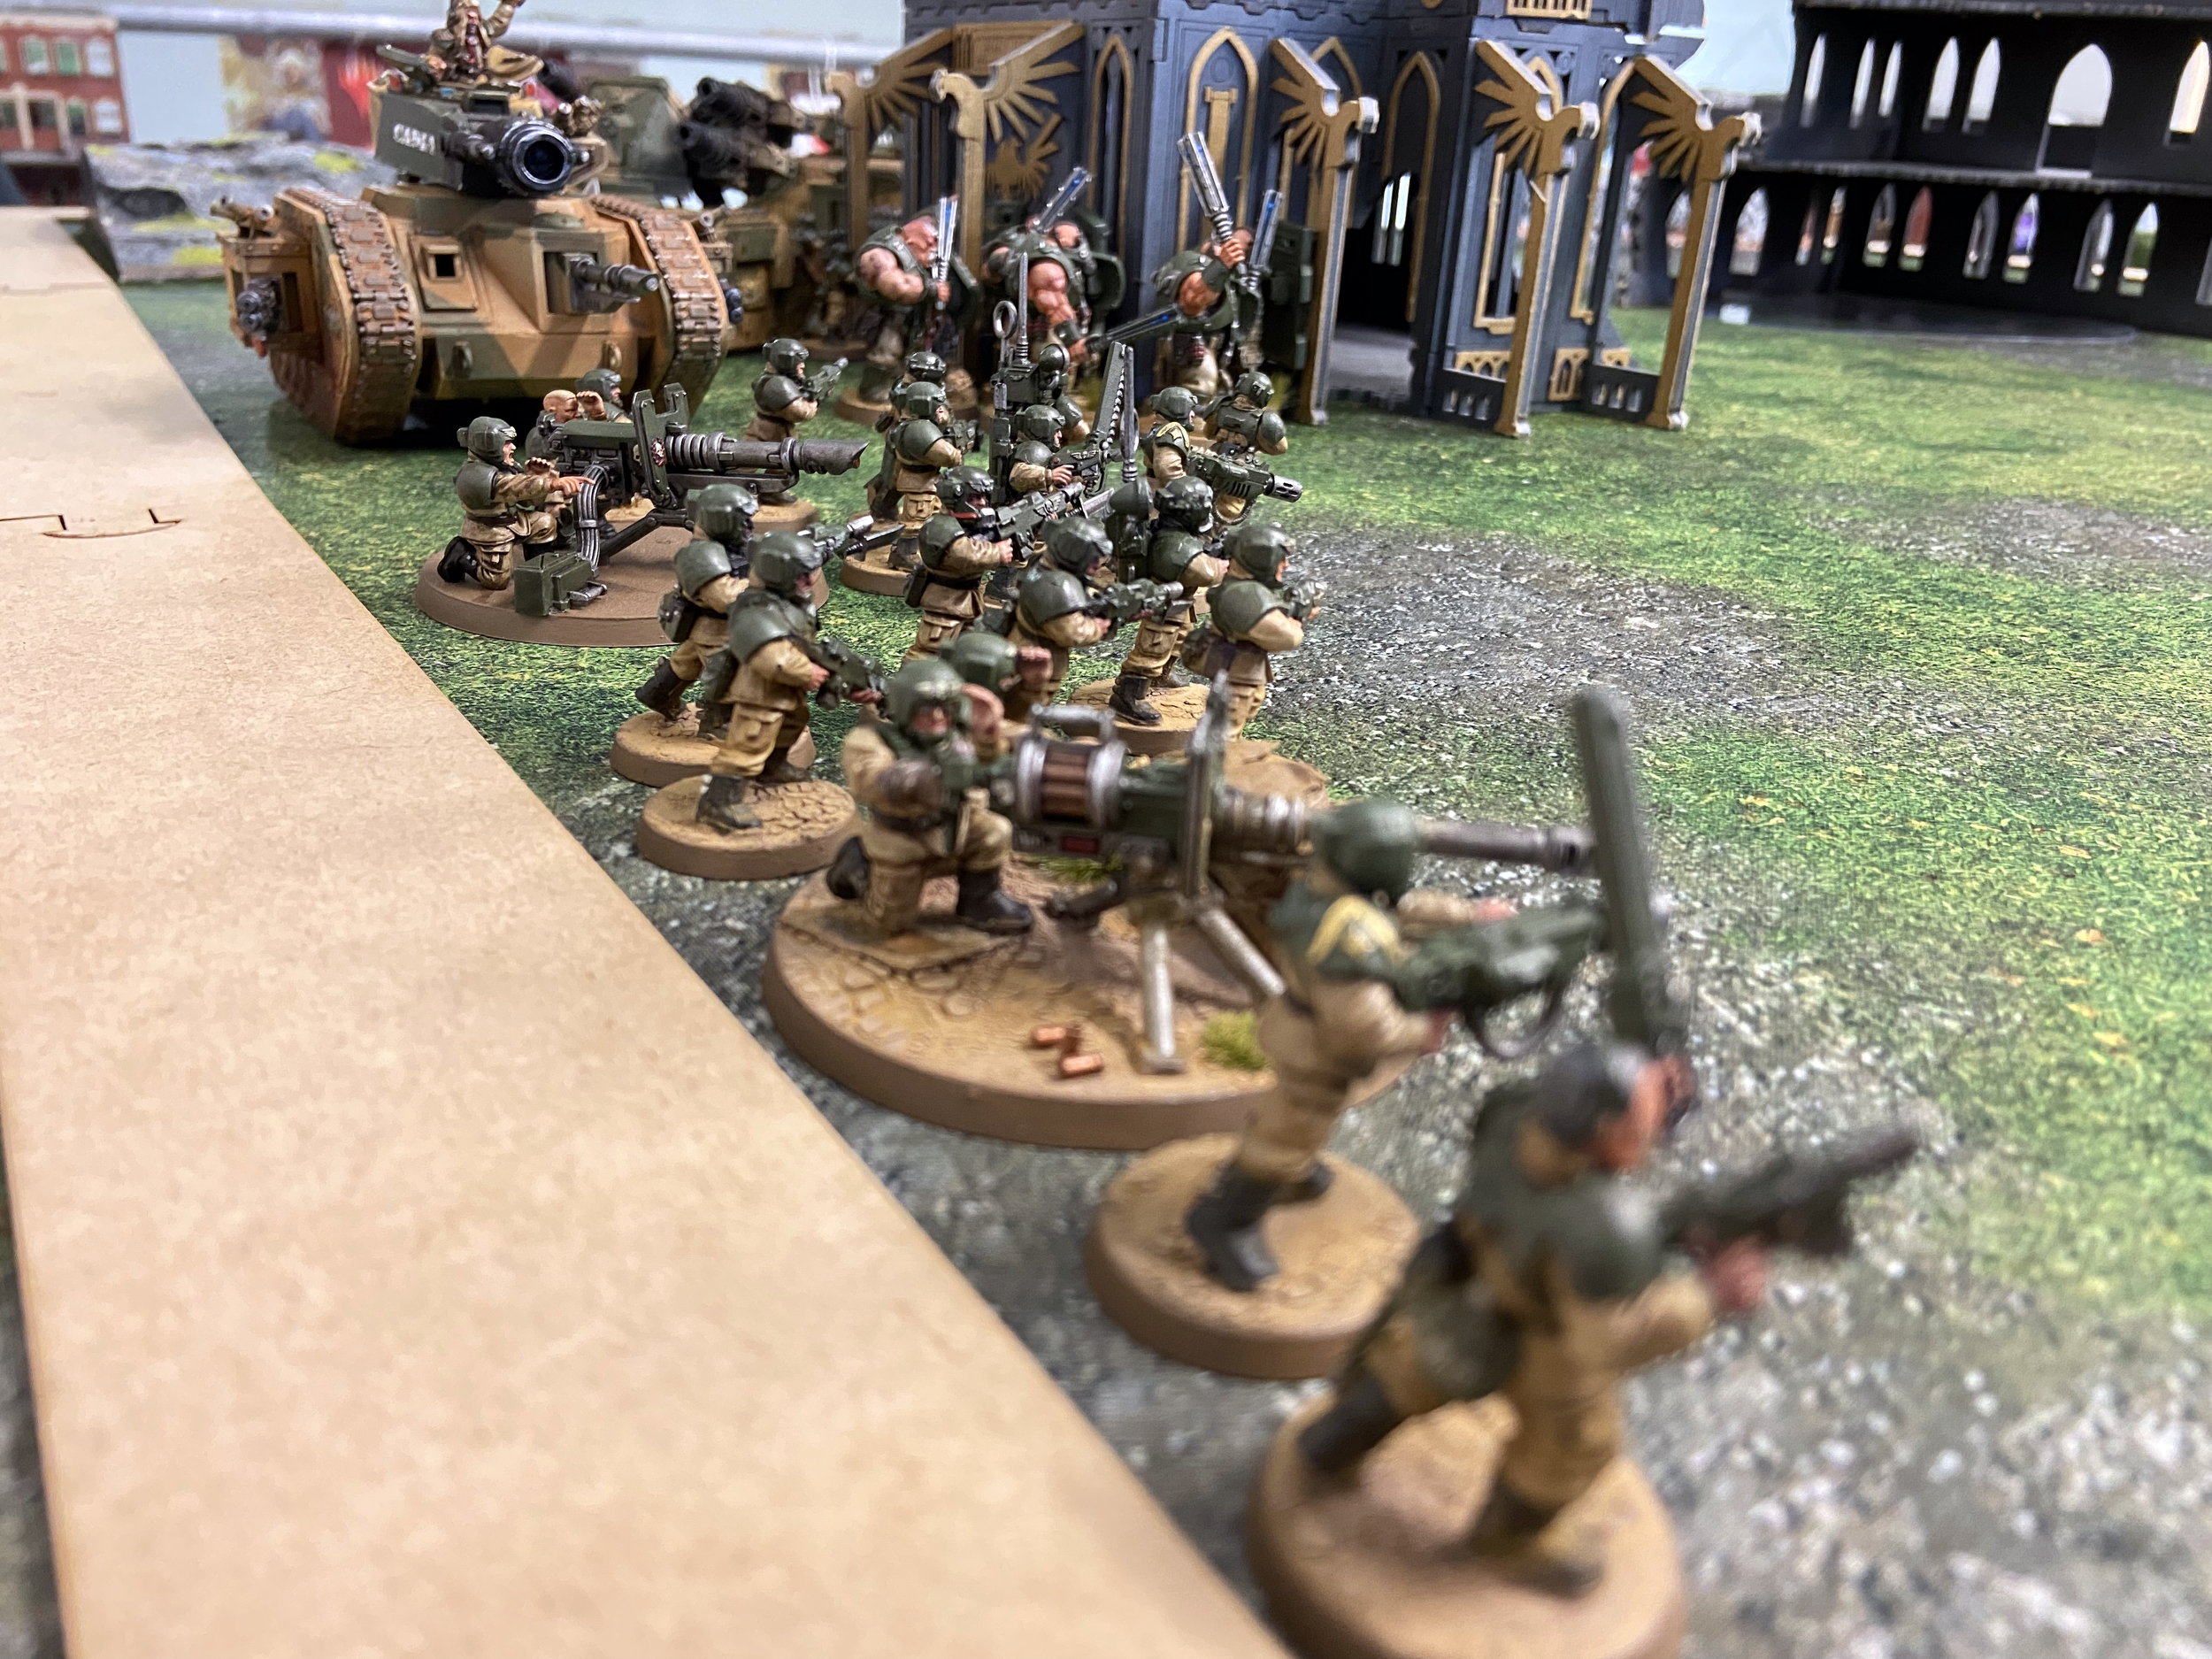
My line was made up first of my Cadian infantry with the Bullgryns then the Leman Russ Tanks, Wyvern and finally the Thudd Guns. I had measured out the area behind the Thudd Guns so that I knew nothing could fit there from Deep Strike, and knowing the Thudd Guns cannot move that area was always going to be safe from enemy teleporters.

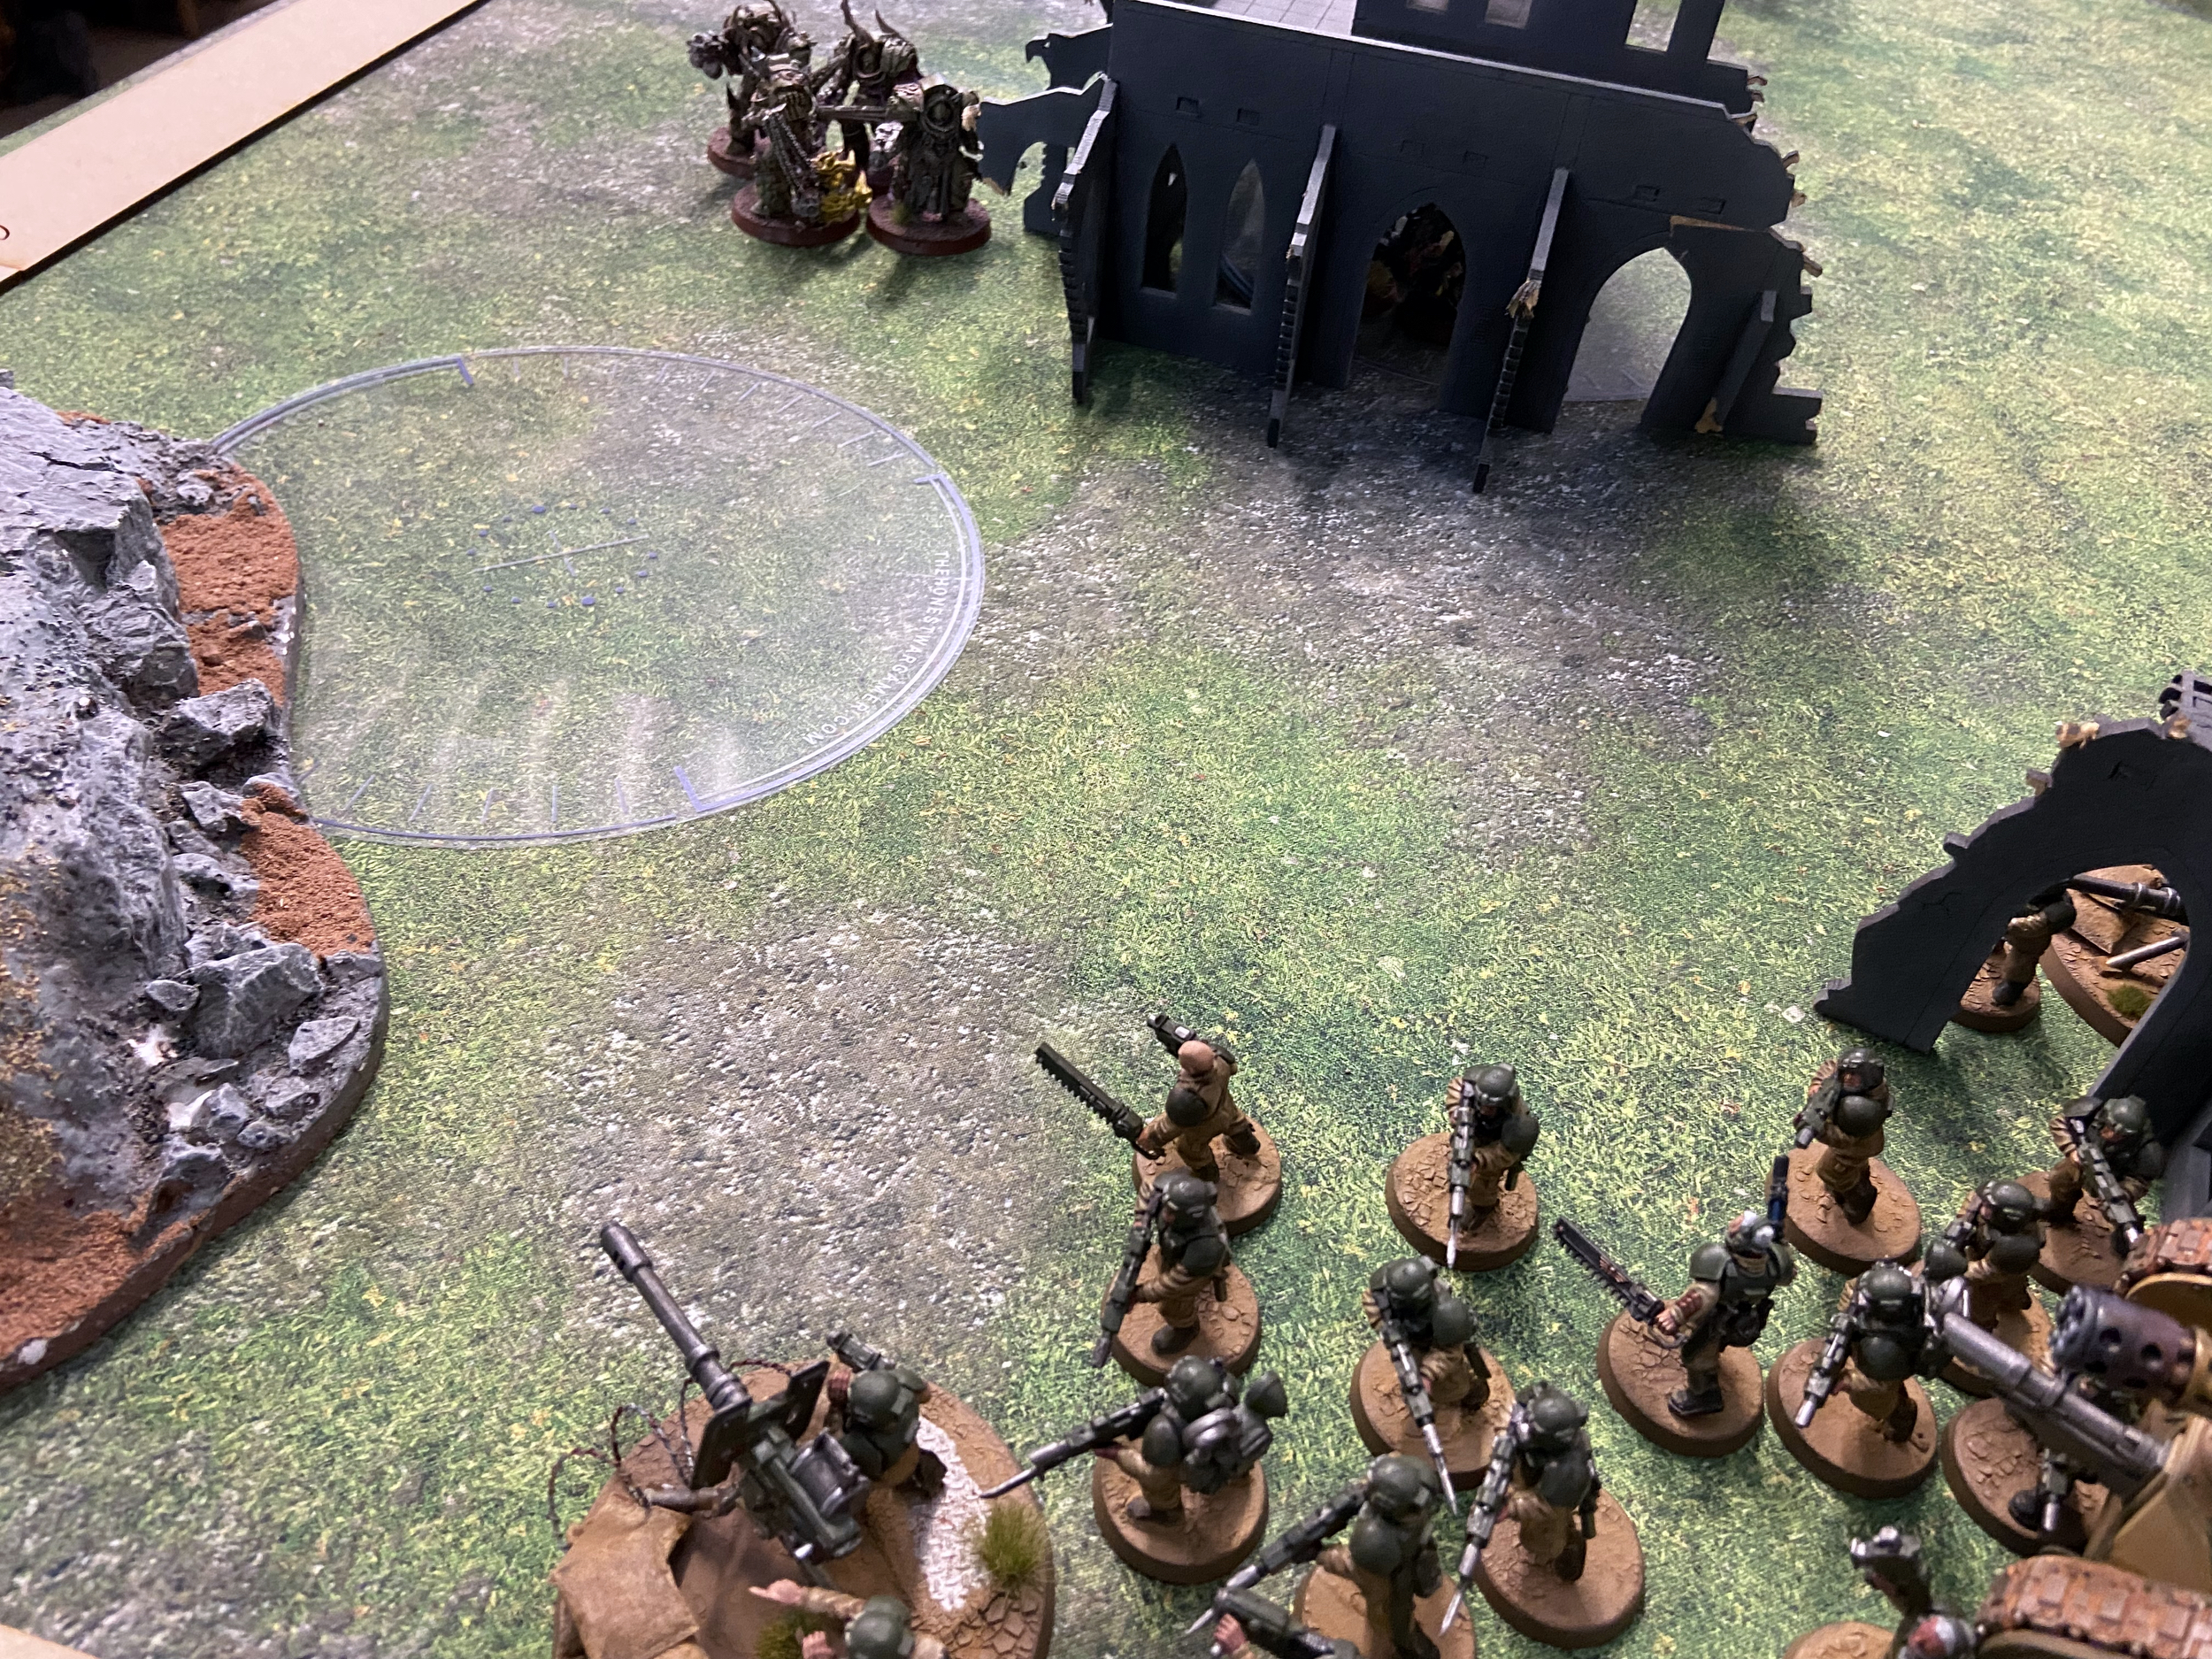
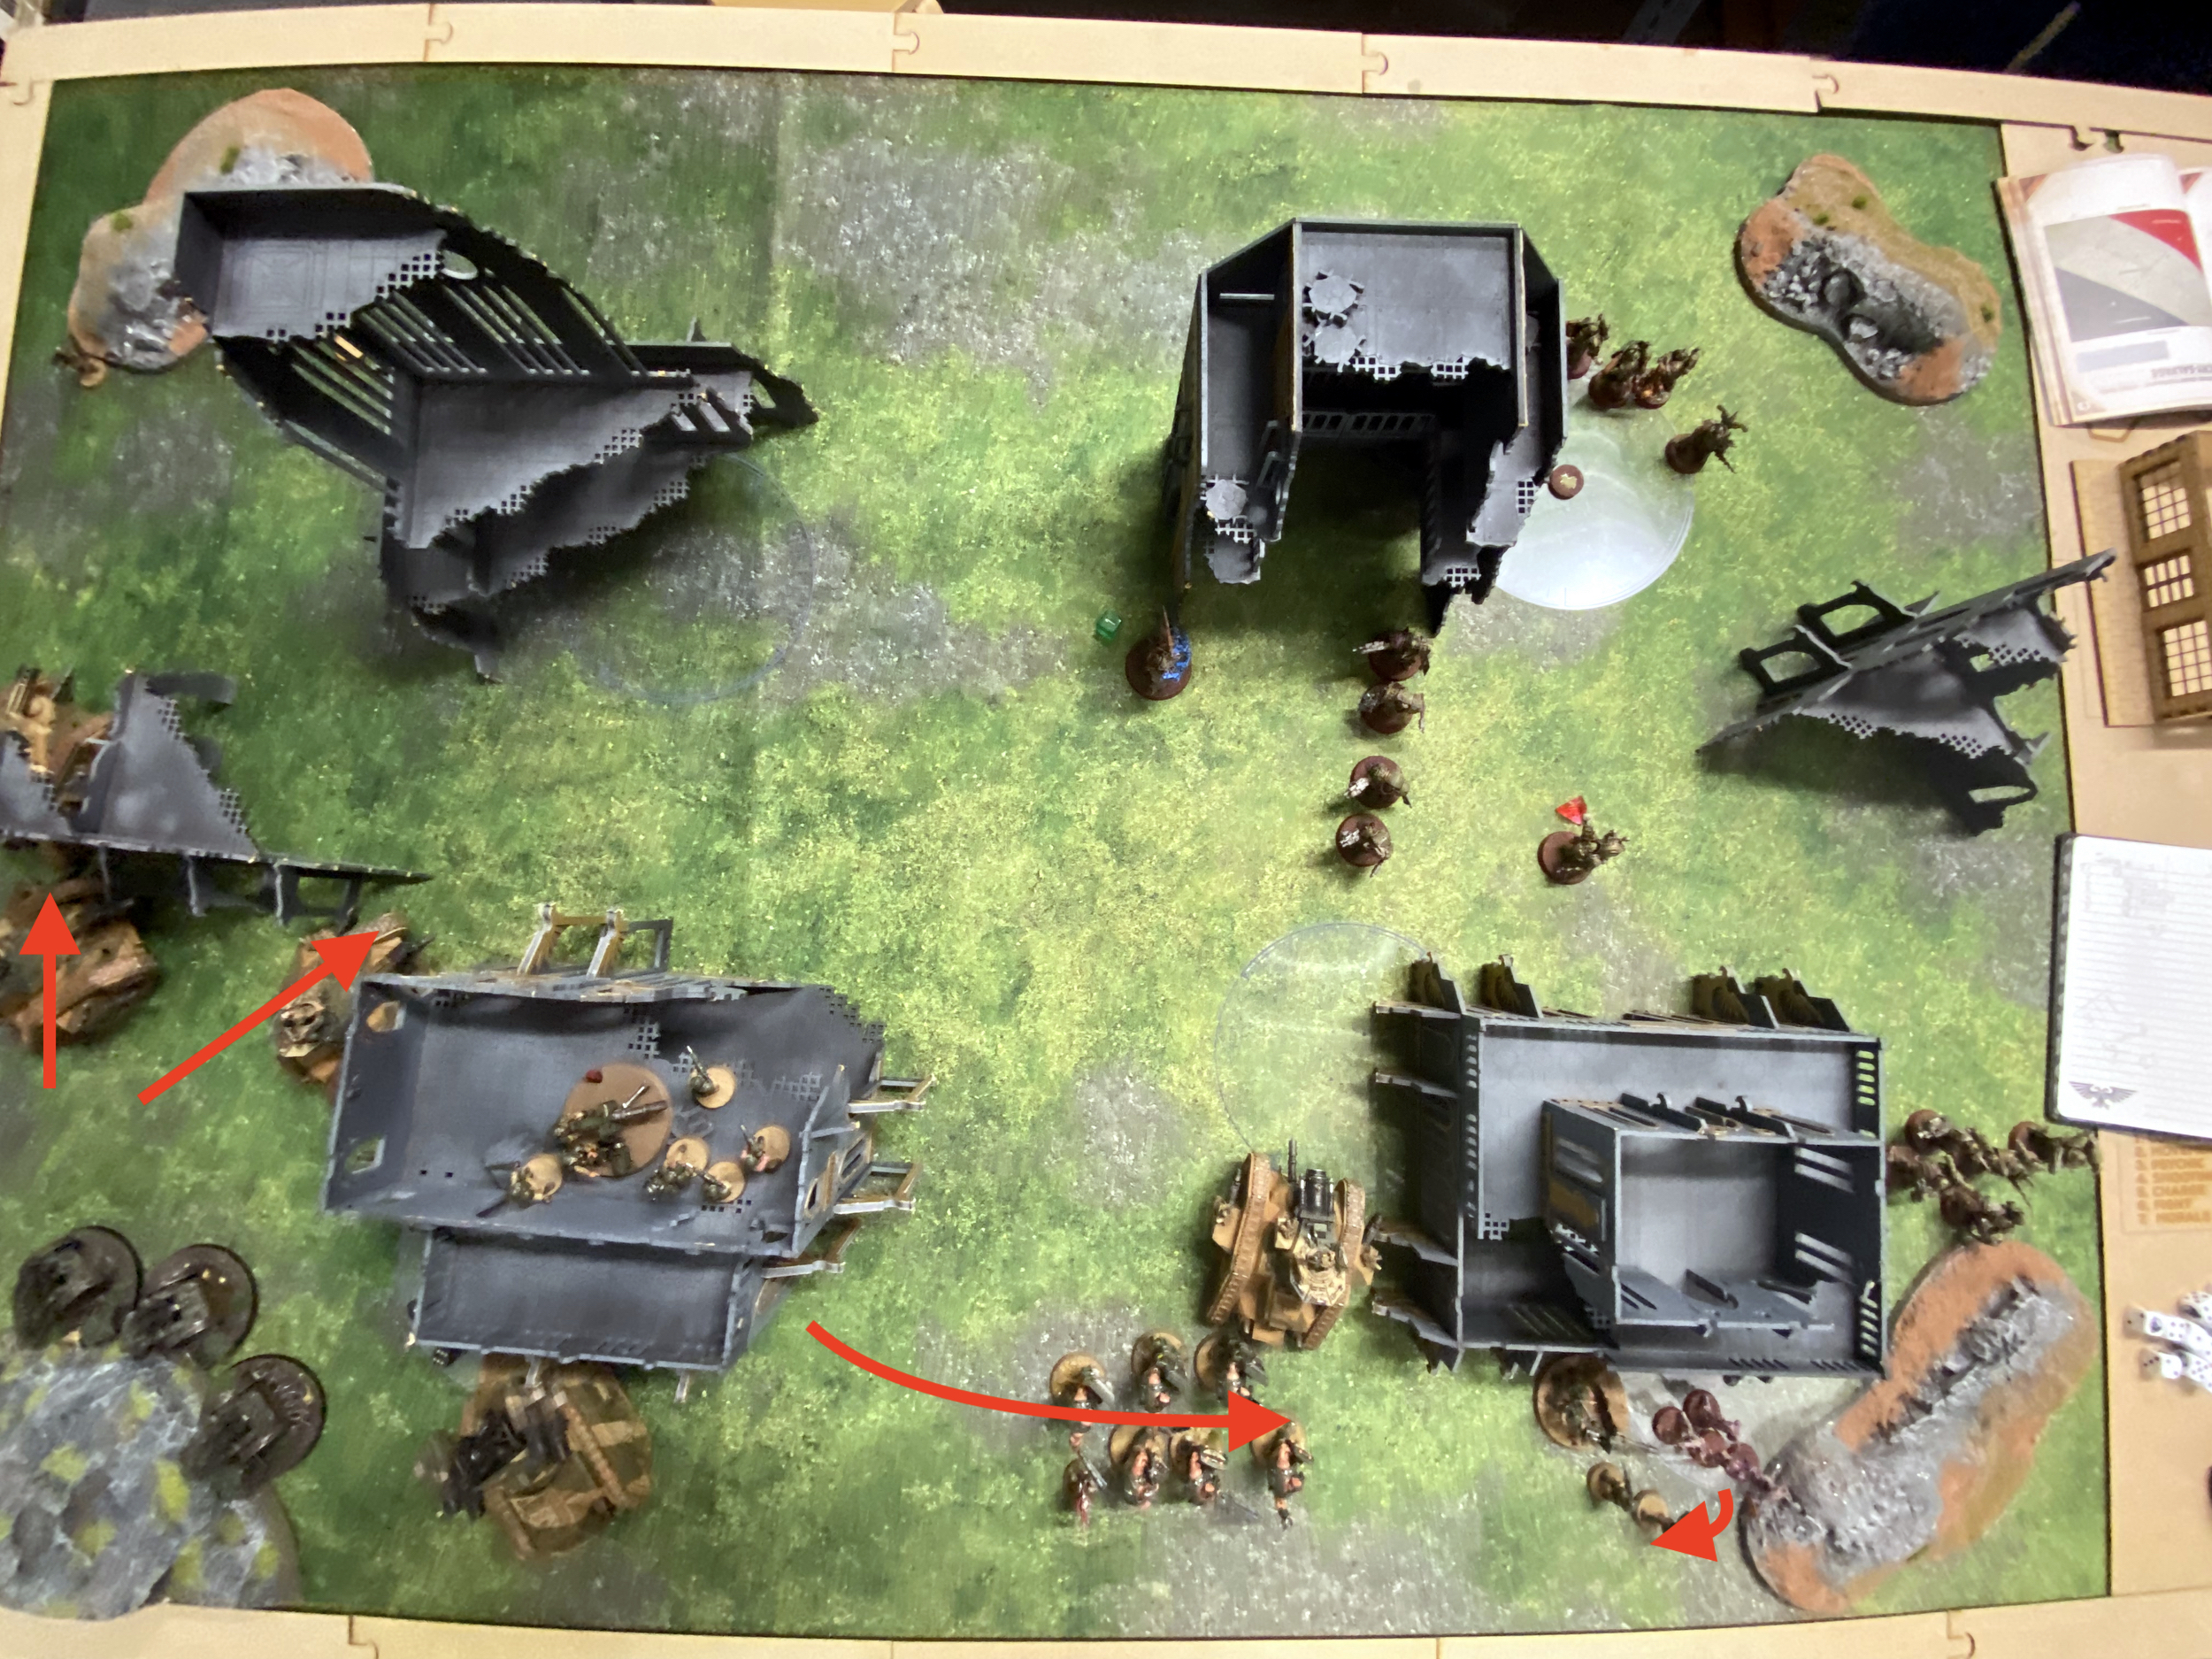
Ground-level deployment photos.


Turn 1
Astra Militarum
With the first turn, I moved up on the right side, which seemed like the weaker side. The Tank Commander went forward along with two Move, Move, Move Infantry Squads – thanks free Vox Casters! I stayed still elsewhere as the enemy was much closer, especially on the left flank.
I used Consolidate Squads on the left side, to try and maximise Laurels of Command and any Stratagems I may wish to use.
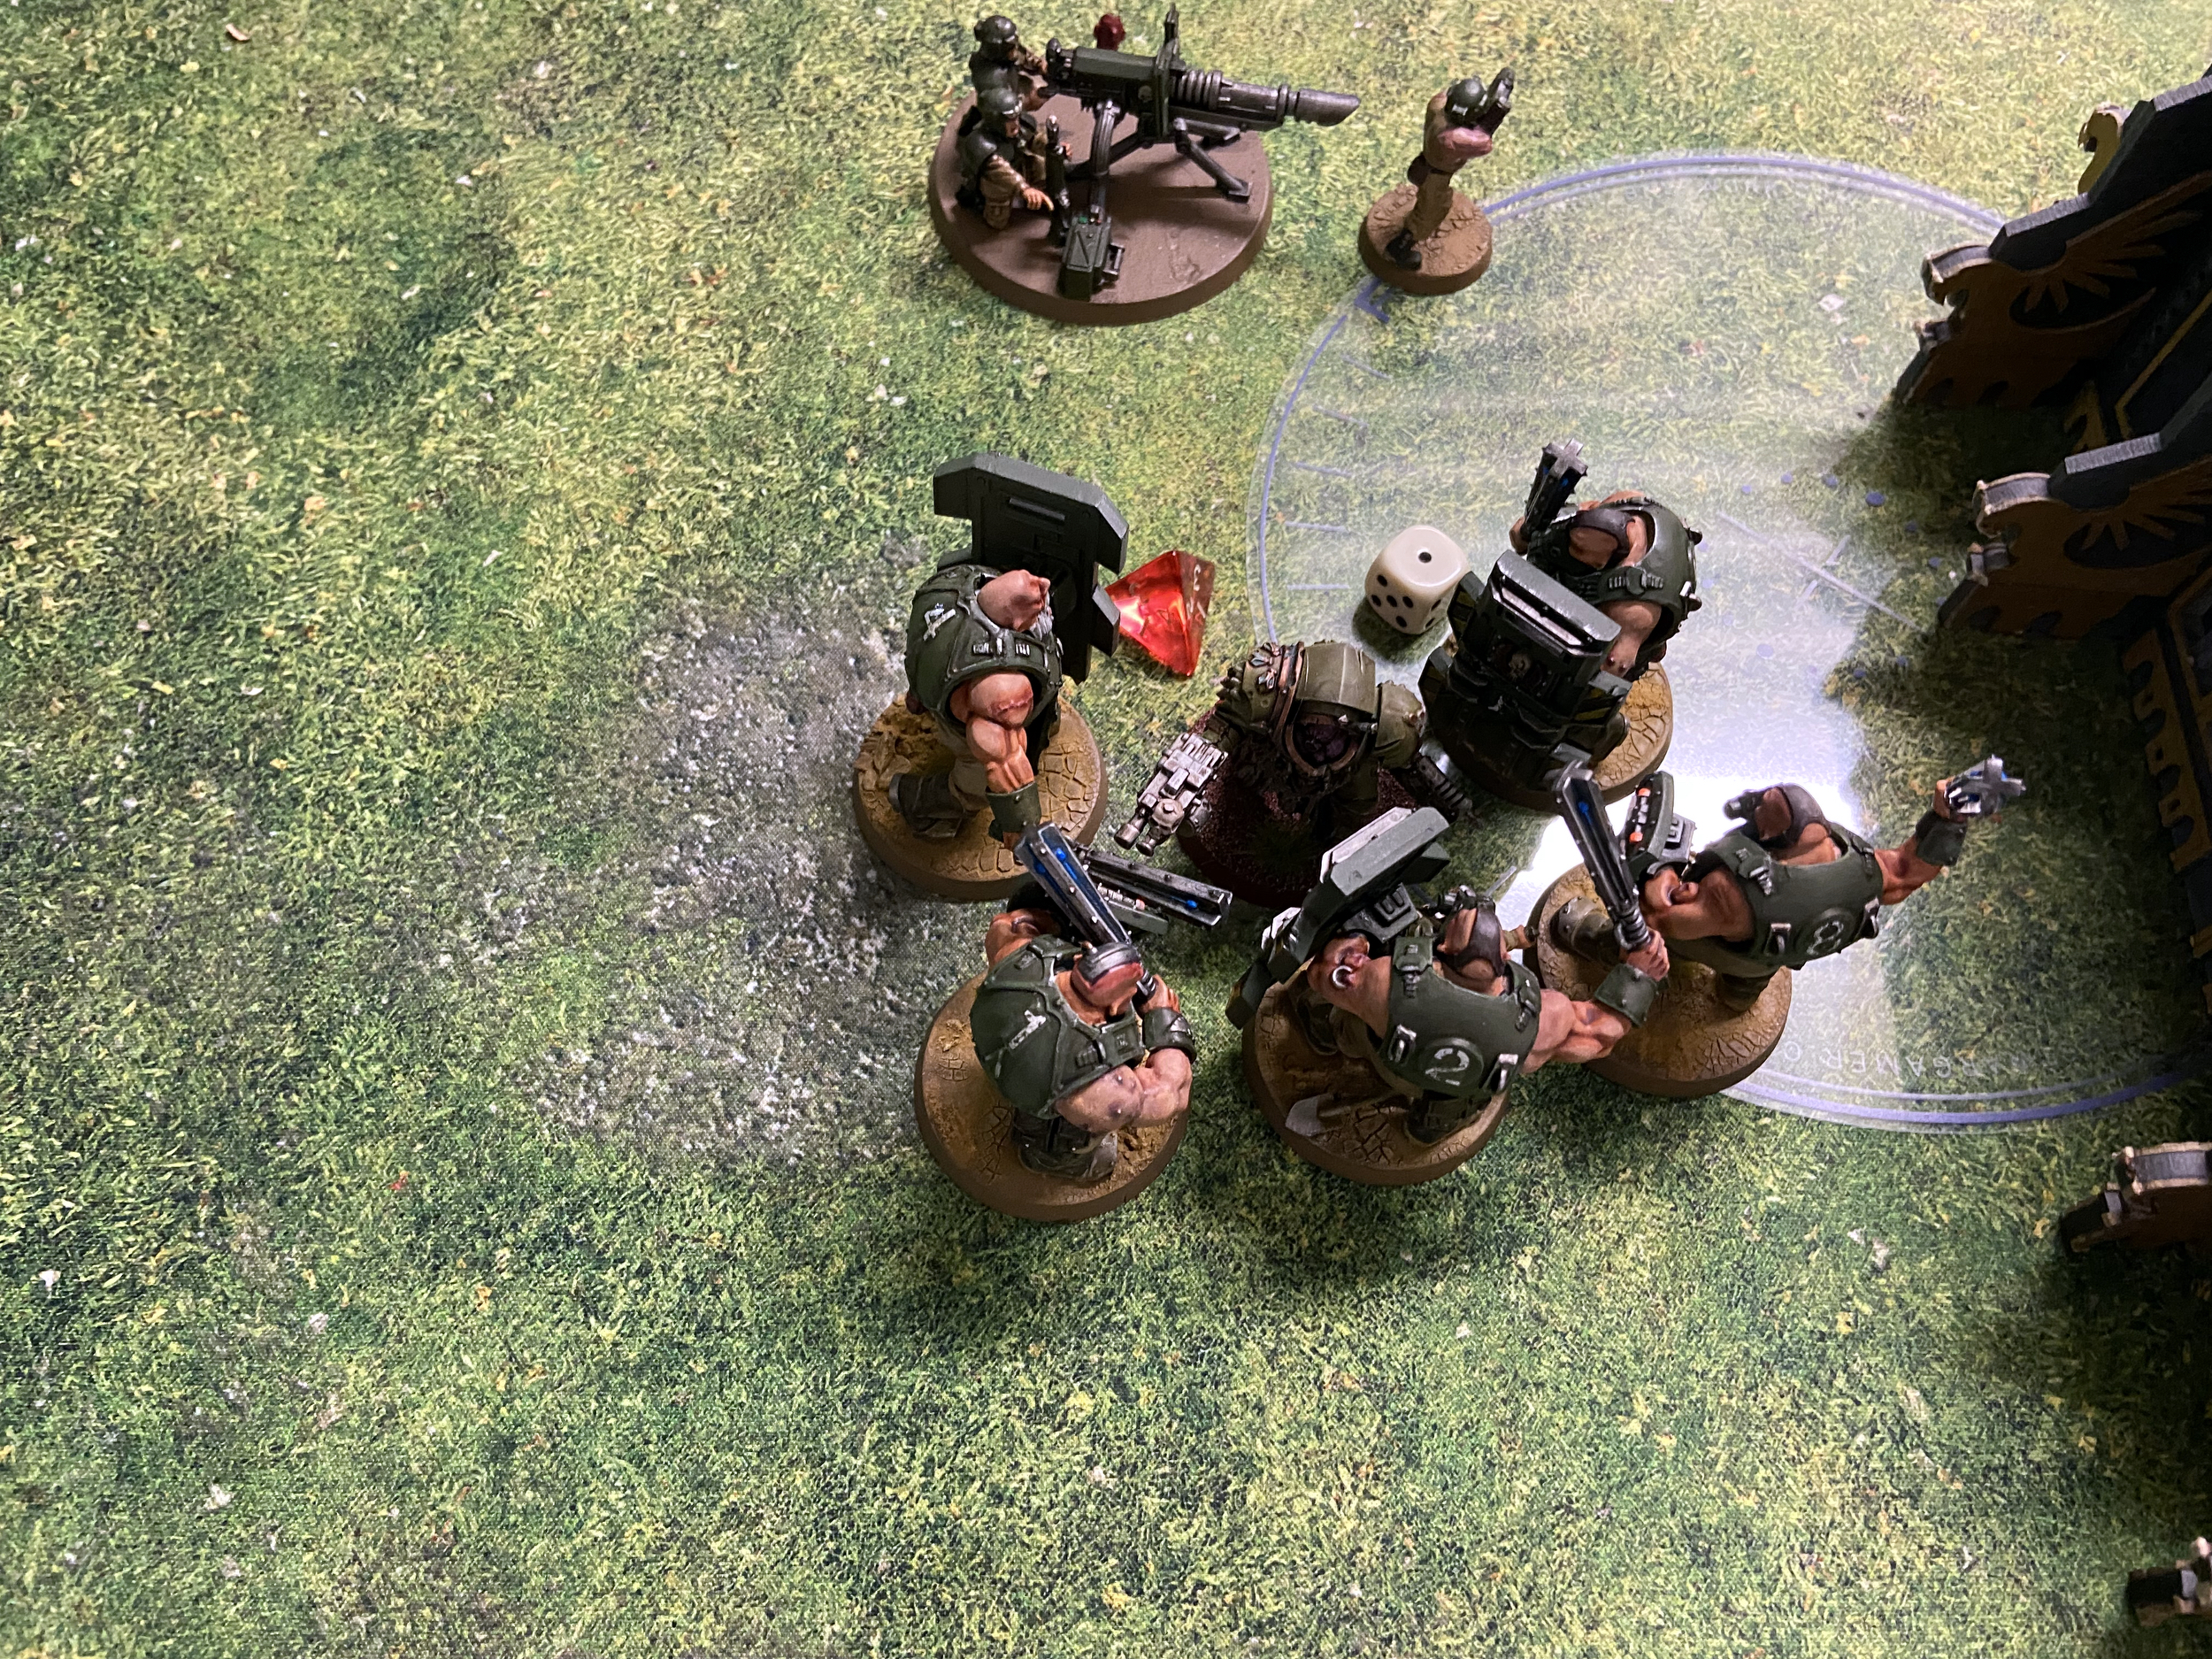
Rightly or wrongly I kept my Bullgryns in the middle of my front Deployment Zone. I wanted to keep them there waiting for the enemy Deep Strikers to come and attempt to smash into my front line. Or keep them there ready to move forward via an Advance to take the middle and counter charge some enemy unit.
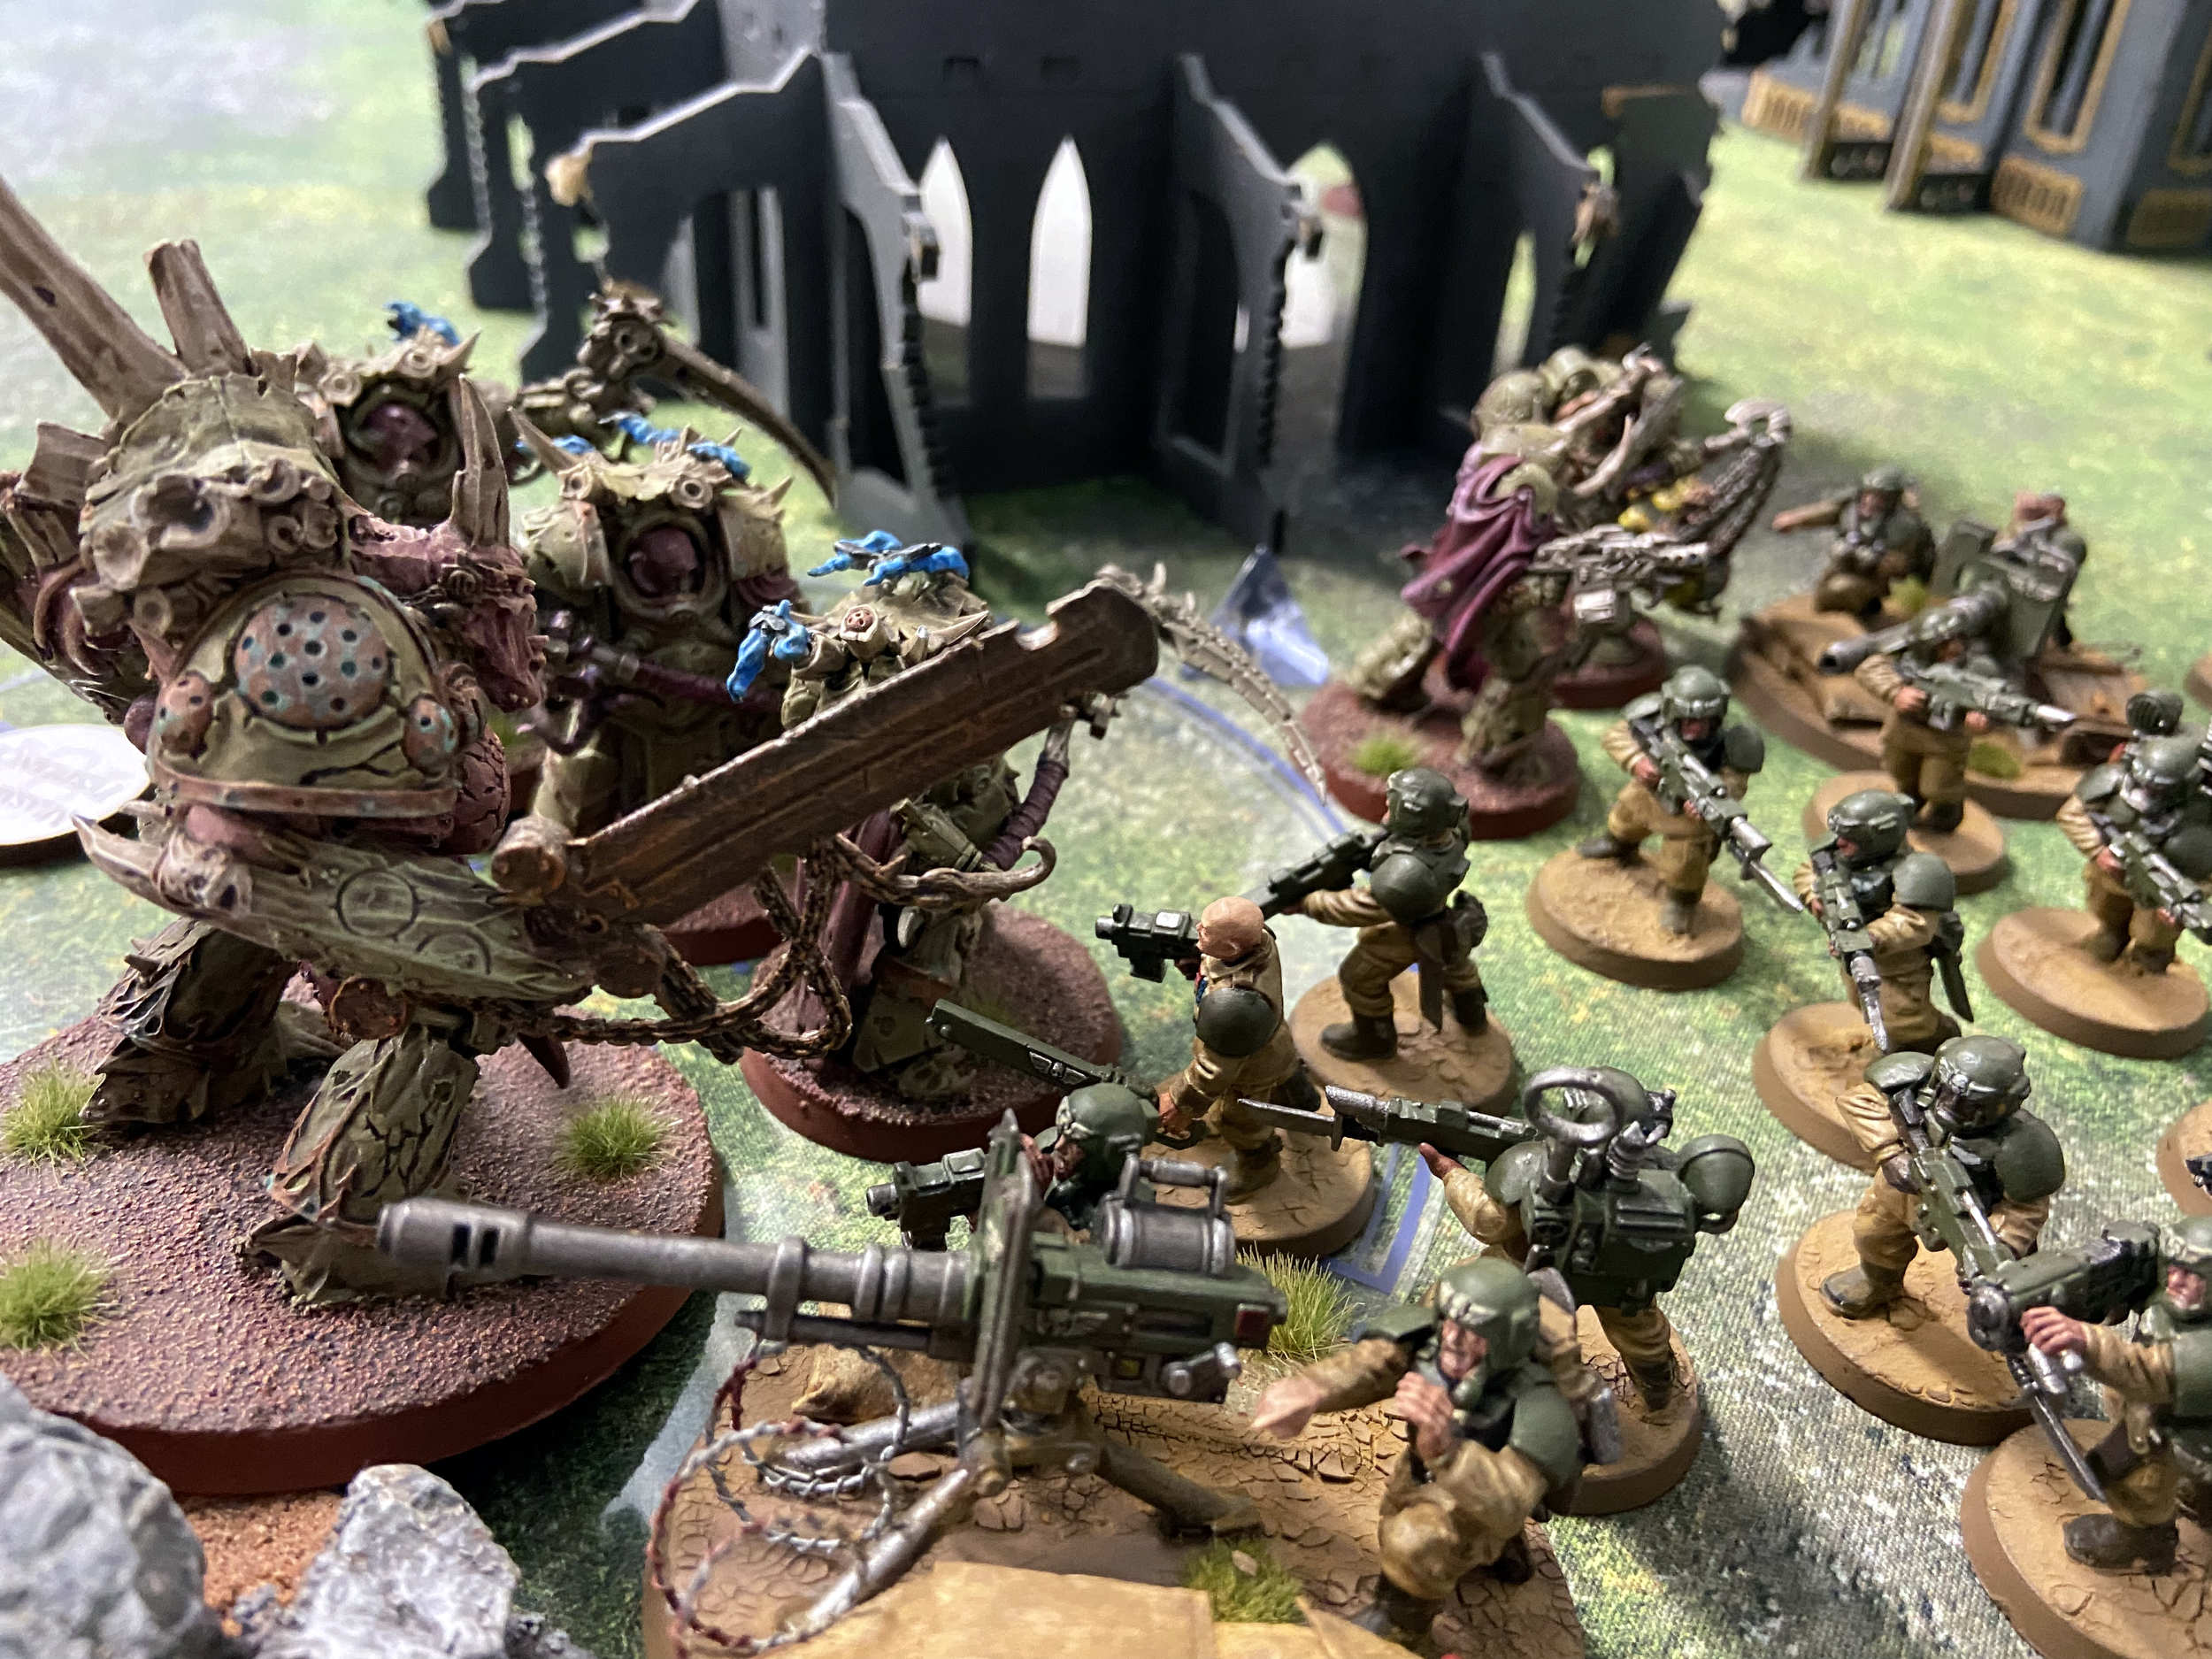
My shooting got off to a good start, the Wyvern and a Thudd Gun saw to the whole 20 model unit of pinkish Pox Walkers on my right side. The left side took a hammering, killing just over half of the 20 Pox Walkers nearest my front line – thanks to the consolidated squads. My Punishers were either out of range or could not see the enemy, those that could see used their Lascannons to snipe a Blightlord or two.
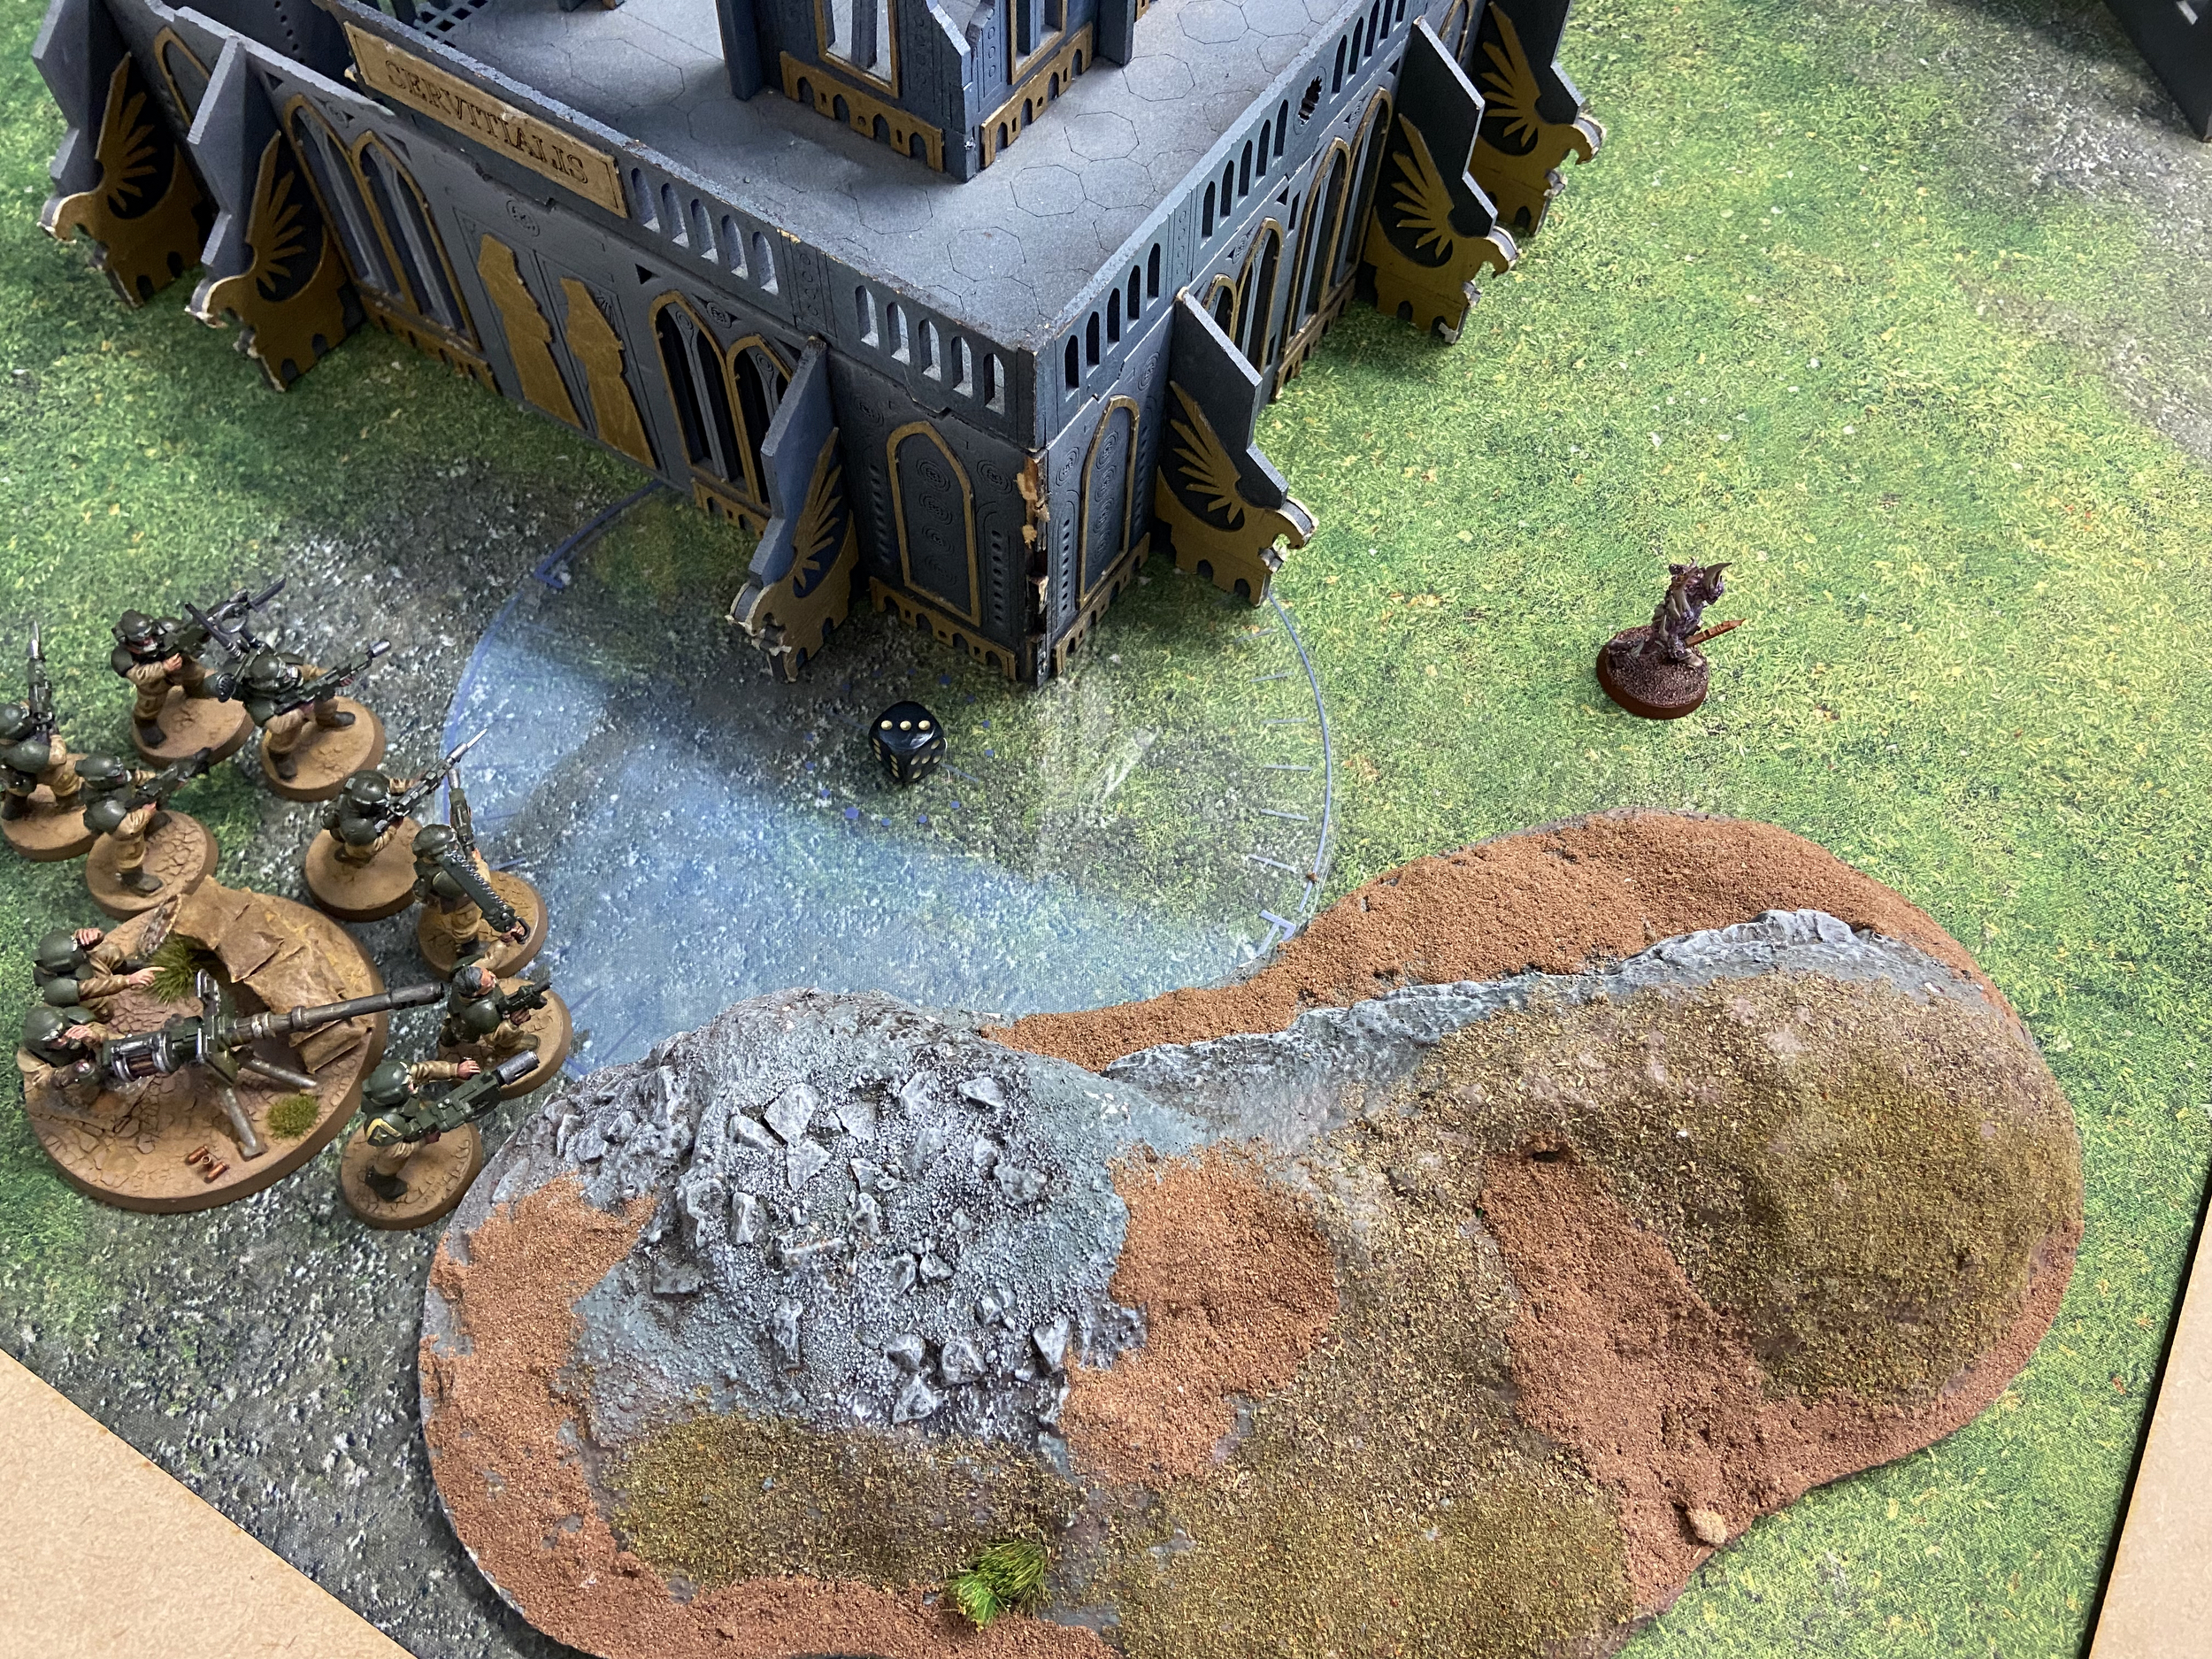
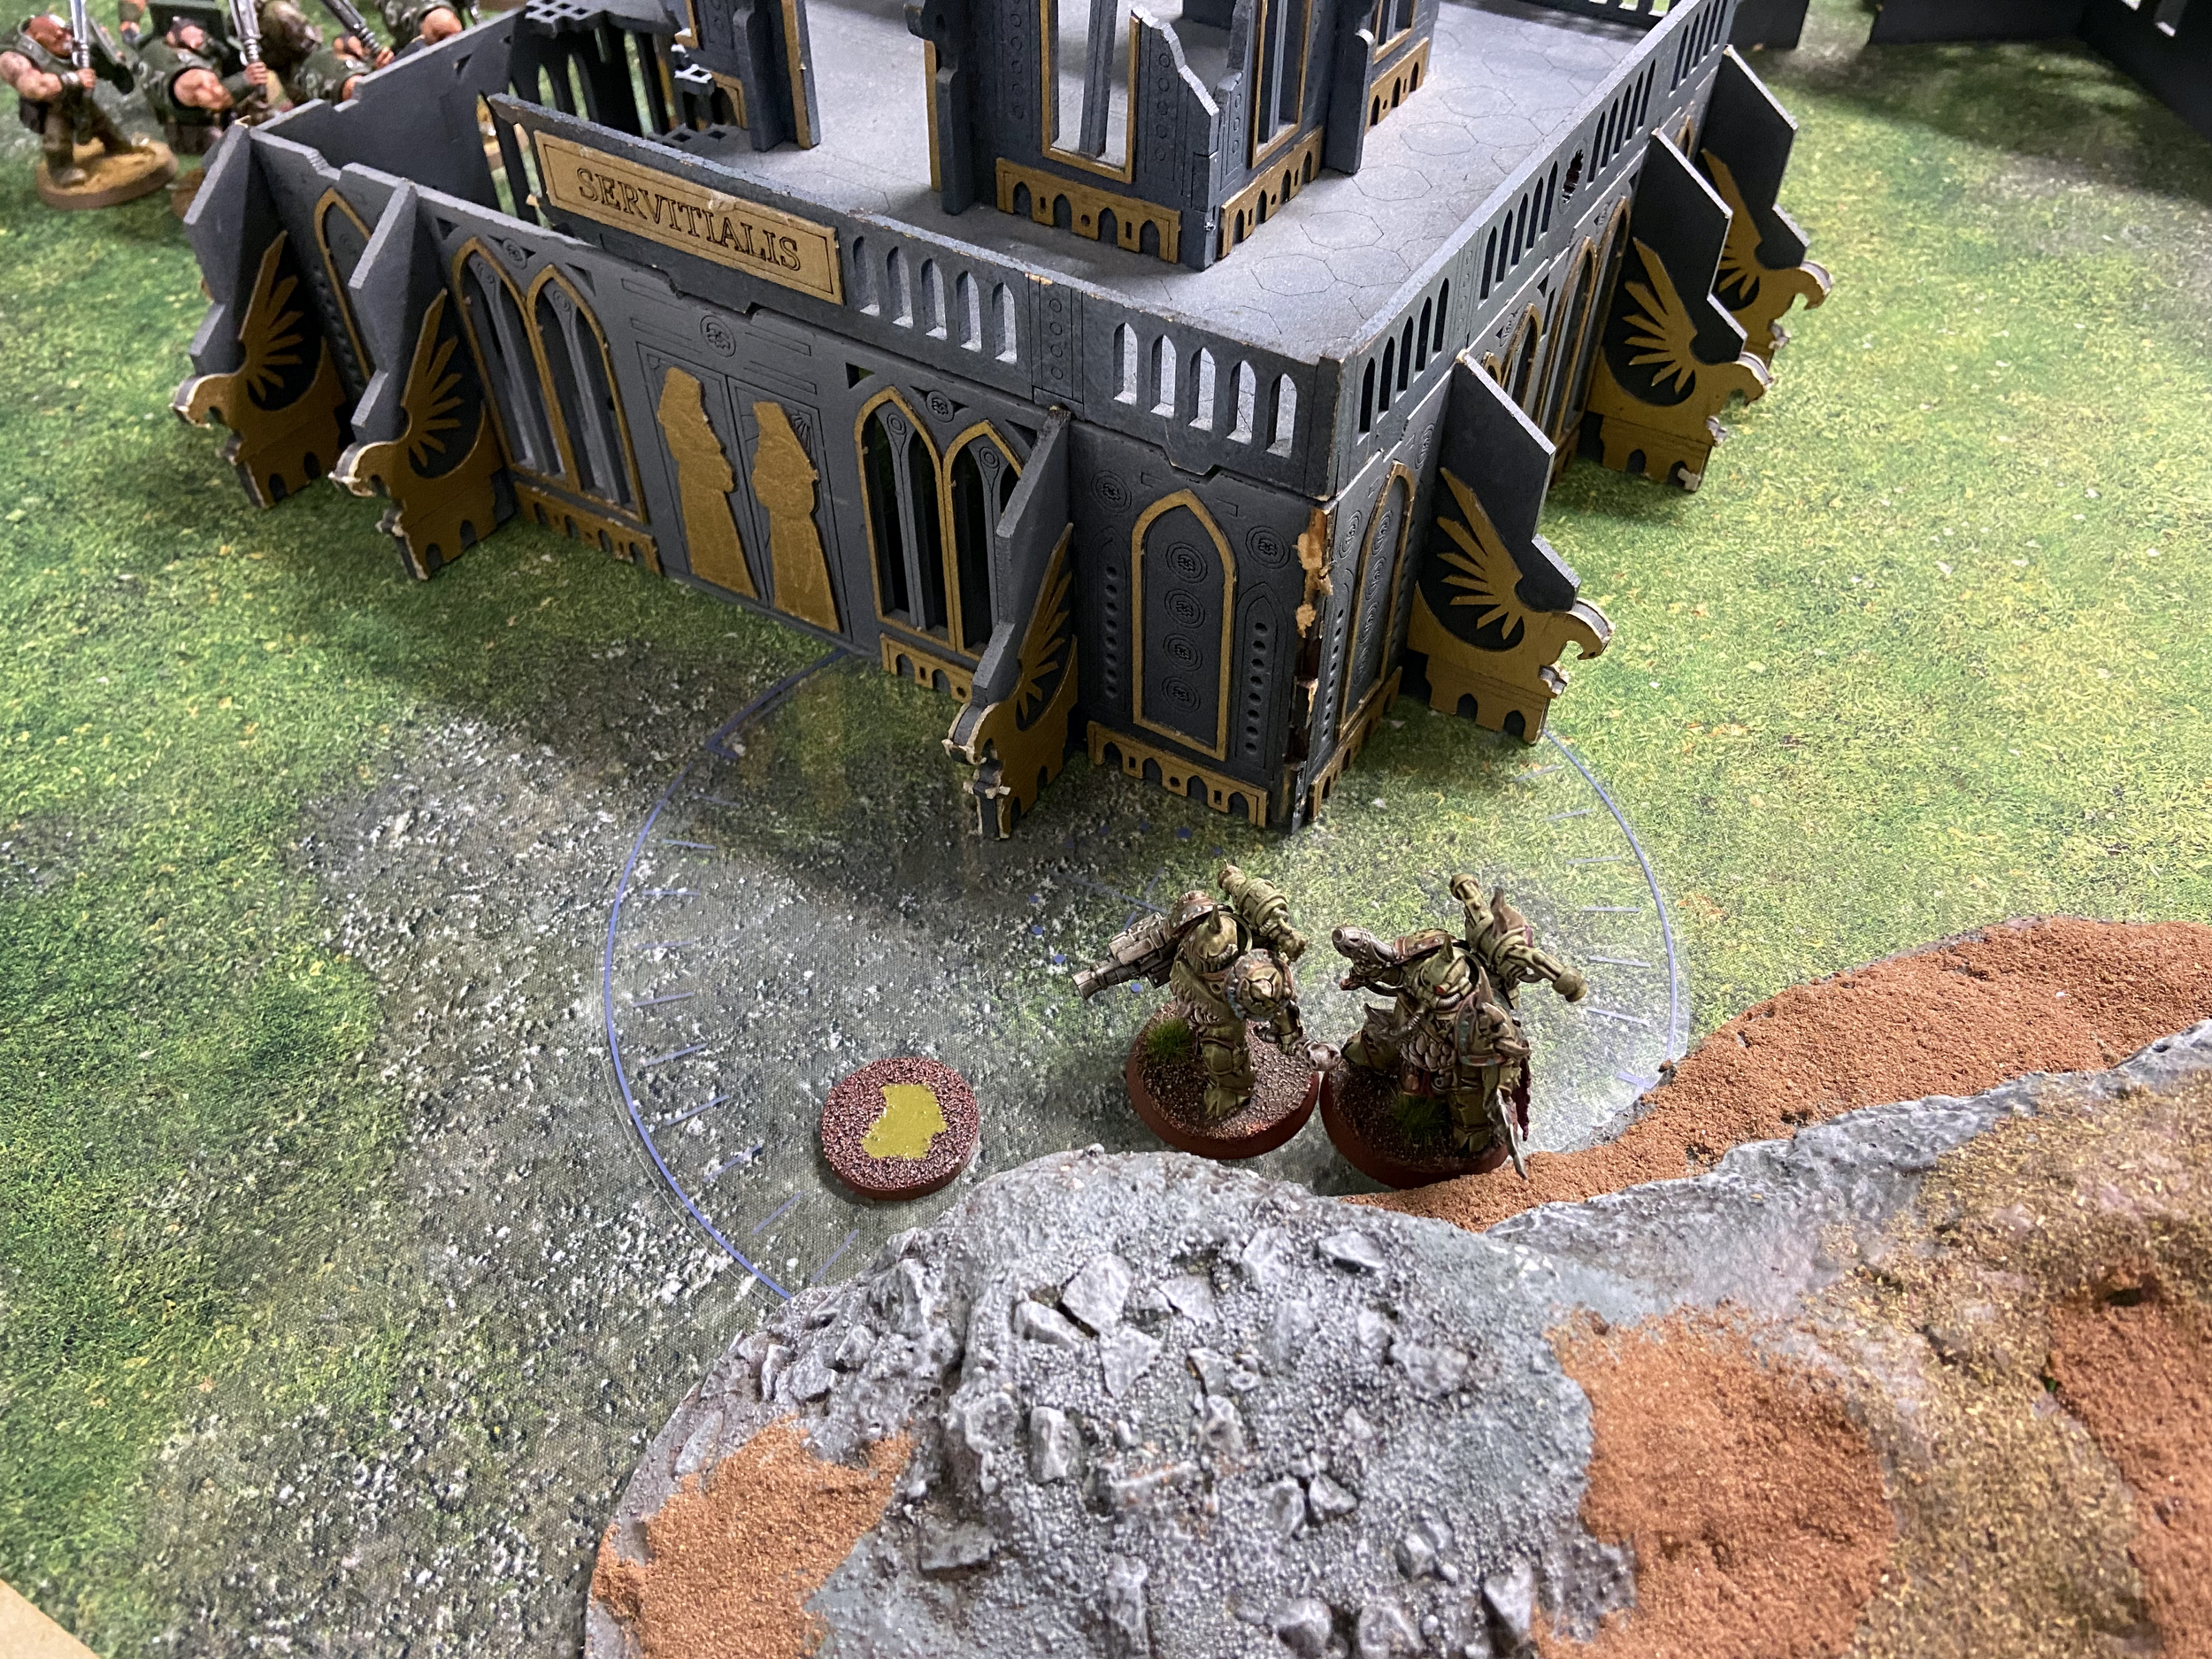
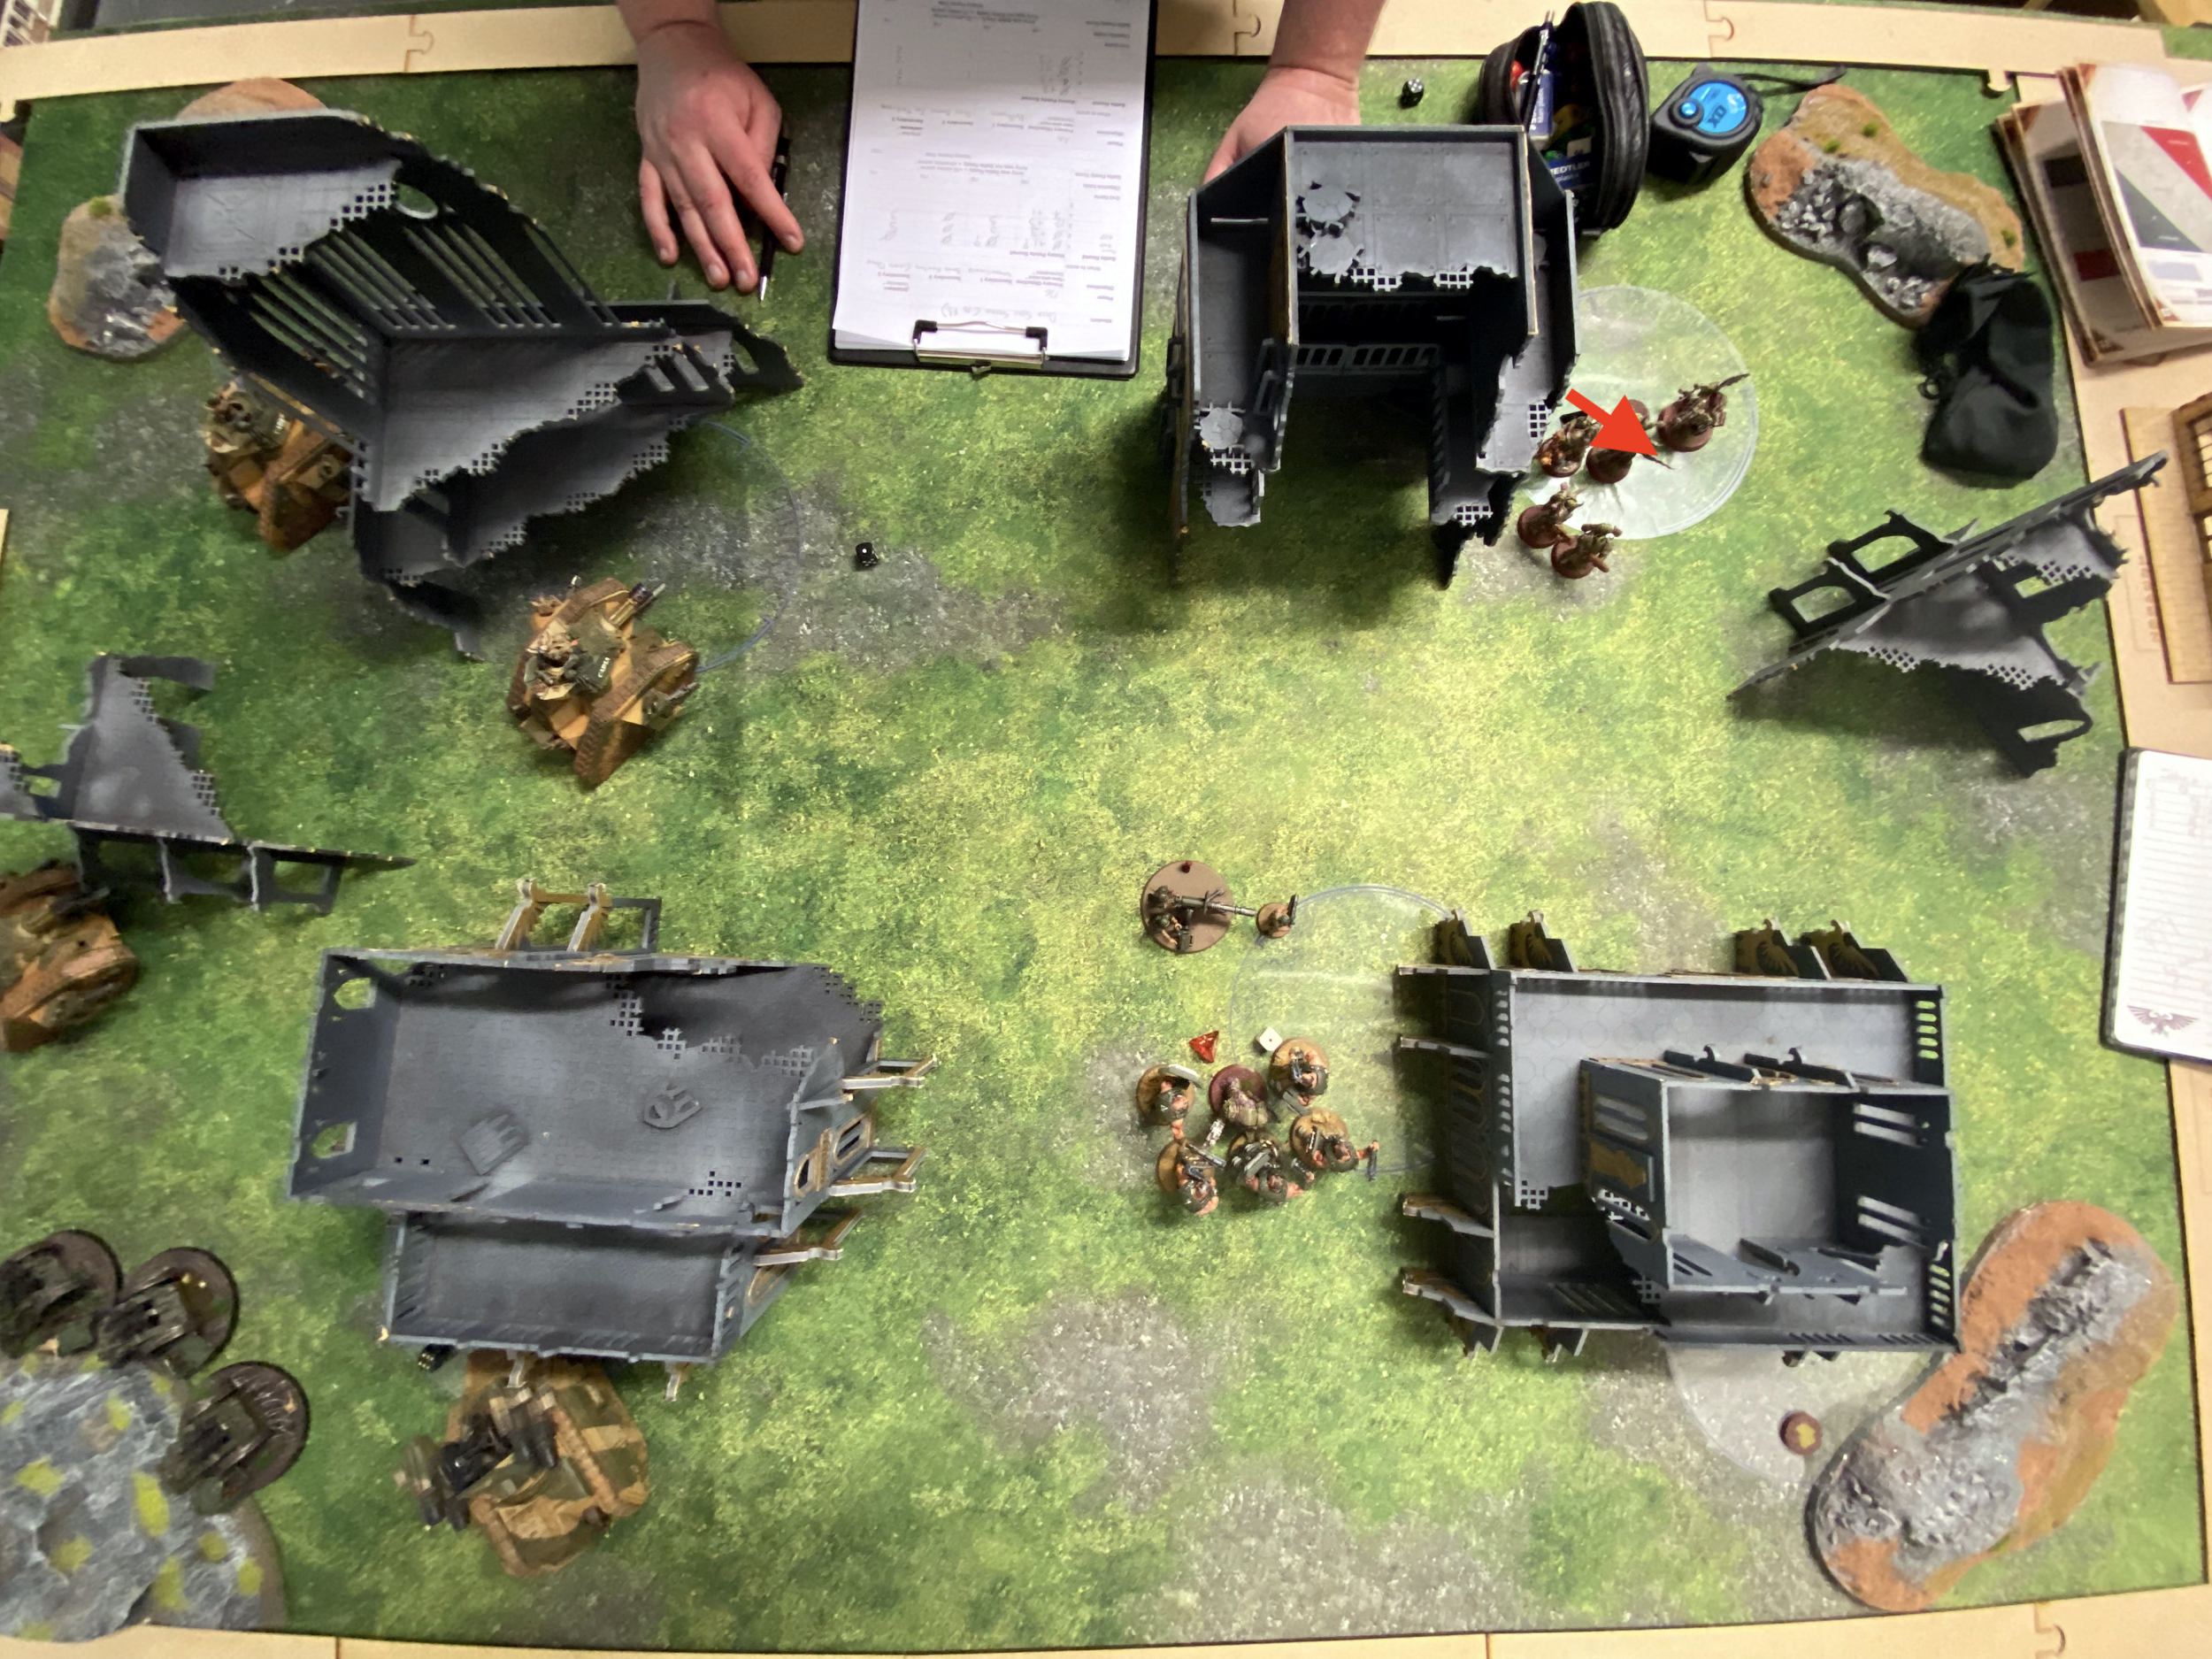
Finally, the Cadian Pox Walkers which were hidden behind a building in the Death Guard central Deployment Zone were battered by a Thudd Gun or two. You can see photos of those models here on plaguegardening.wordpress.com.
A decent start for me, killing a unit, nearly killing two others and getting onto two of the central Objectives.
Death Guard
The Death Guard lumbered forward towards me. Several of the Pox Walkers on the left flank came back to life and chained themselves forward onto an objective and towards my front line for a very close charge. The unit I wiped out on the right side all came back to life, for 3CP. But closer to me, 9″ Deep Strike range.
I lost an Infantry Squad in the middle, that was in the open. The Bolter fire of those Blightlords is relentless.
The newly arrived pinkish Pox Walkers failed their 9″ charge – thank goodness. That gave me the objective for turn 2 at least.
The ones that came back to life and were very close charged my 20 man Infantry Squad that consolidated earlier. I then spent 3CP;
- Overwatch
- Grenadiers
- Vengeance for Cadia
This gave me 10D6 Grenades suing blast on an enemy unit of 14 models, that’s 60 shots, plus 2 Lascannons, a few Lasguns, a Plasma Gun and a Melta Gun. Vengeance for Cadia gave me re-rolls to Hit and Wound. Any hits would Auto Wound though thanks to Hammer of the Emperor – this somewhat mitigated the Strength 3 vs Toughness 4 issue. All the Pox Walkers died in this brutal show of Cadian firepower!
The Blightlord Terminators on that side were still too far away to charge, or it was a 12″ charge and they failed.


Turn 2
Astra Militarum
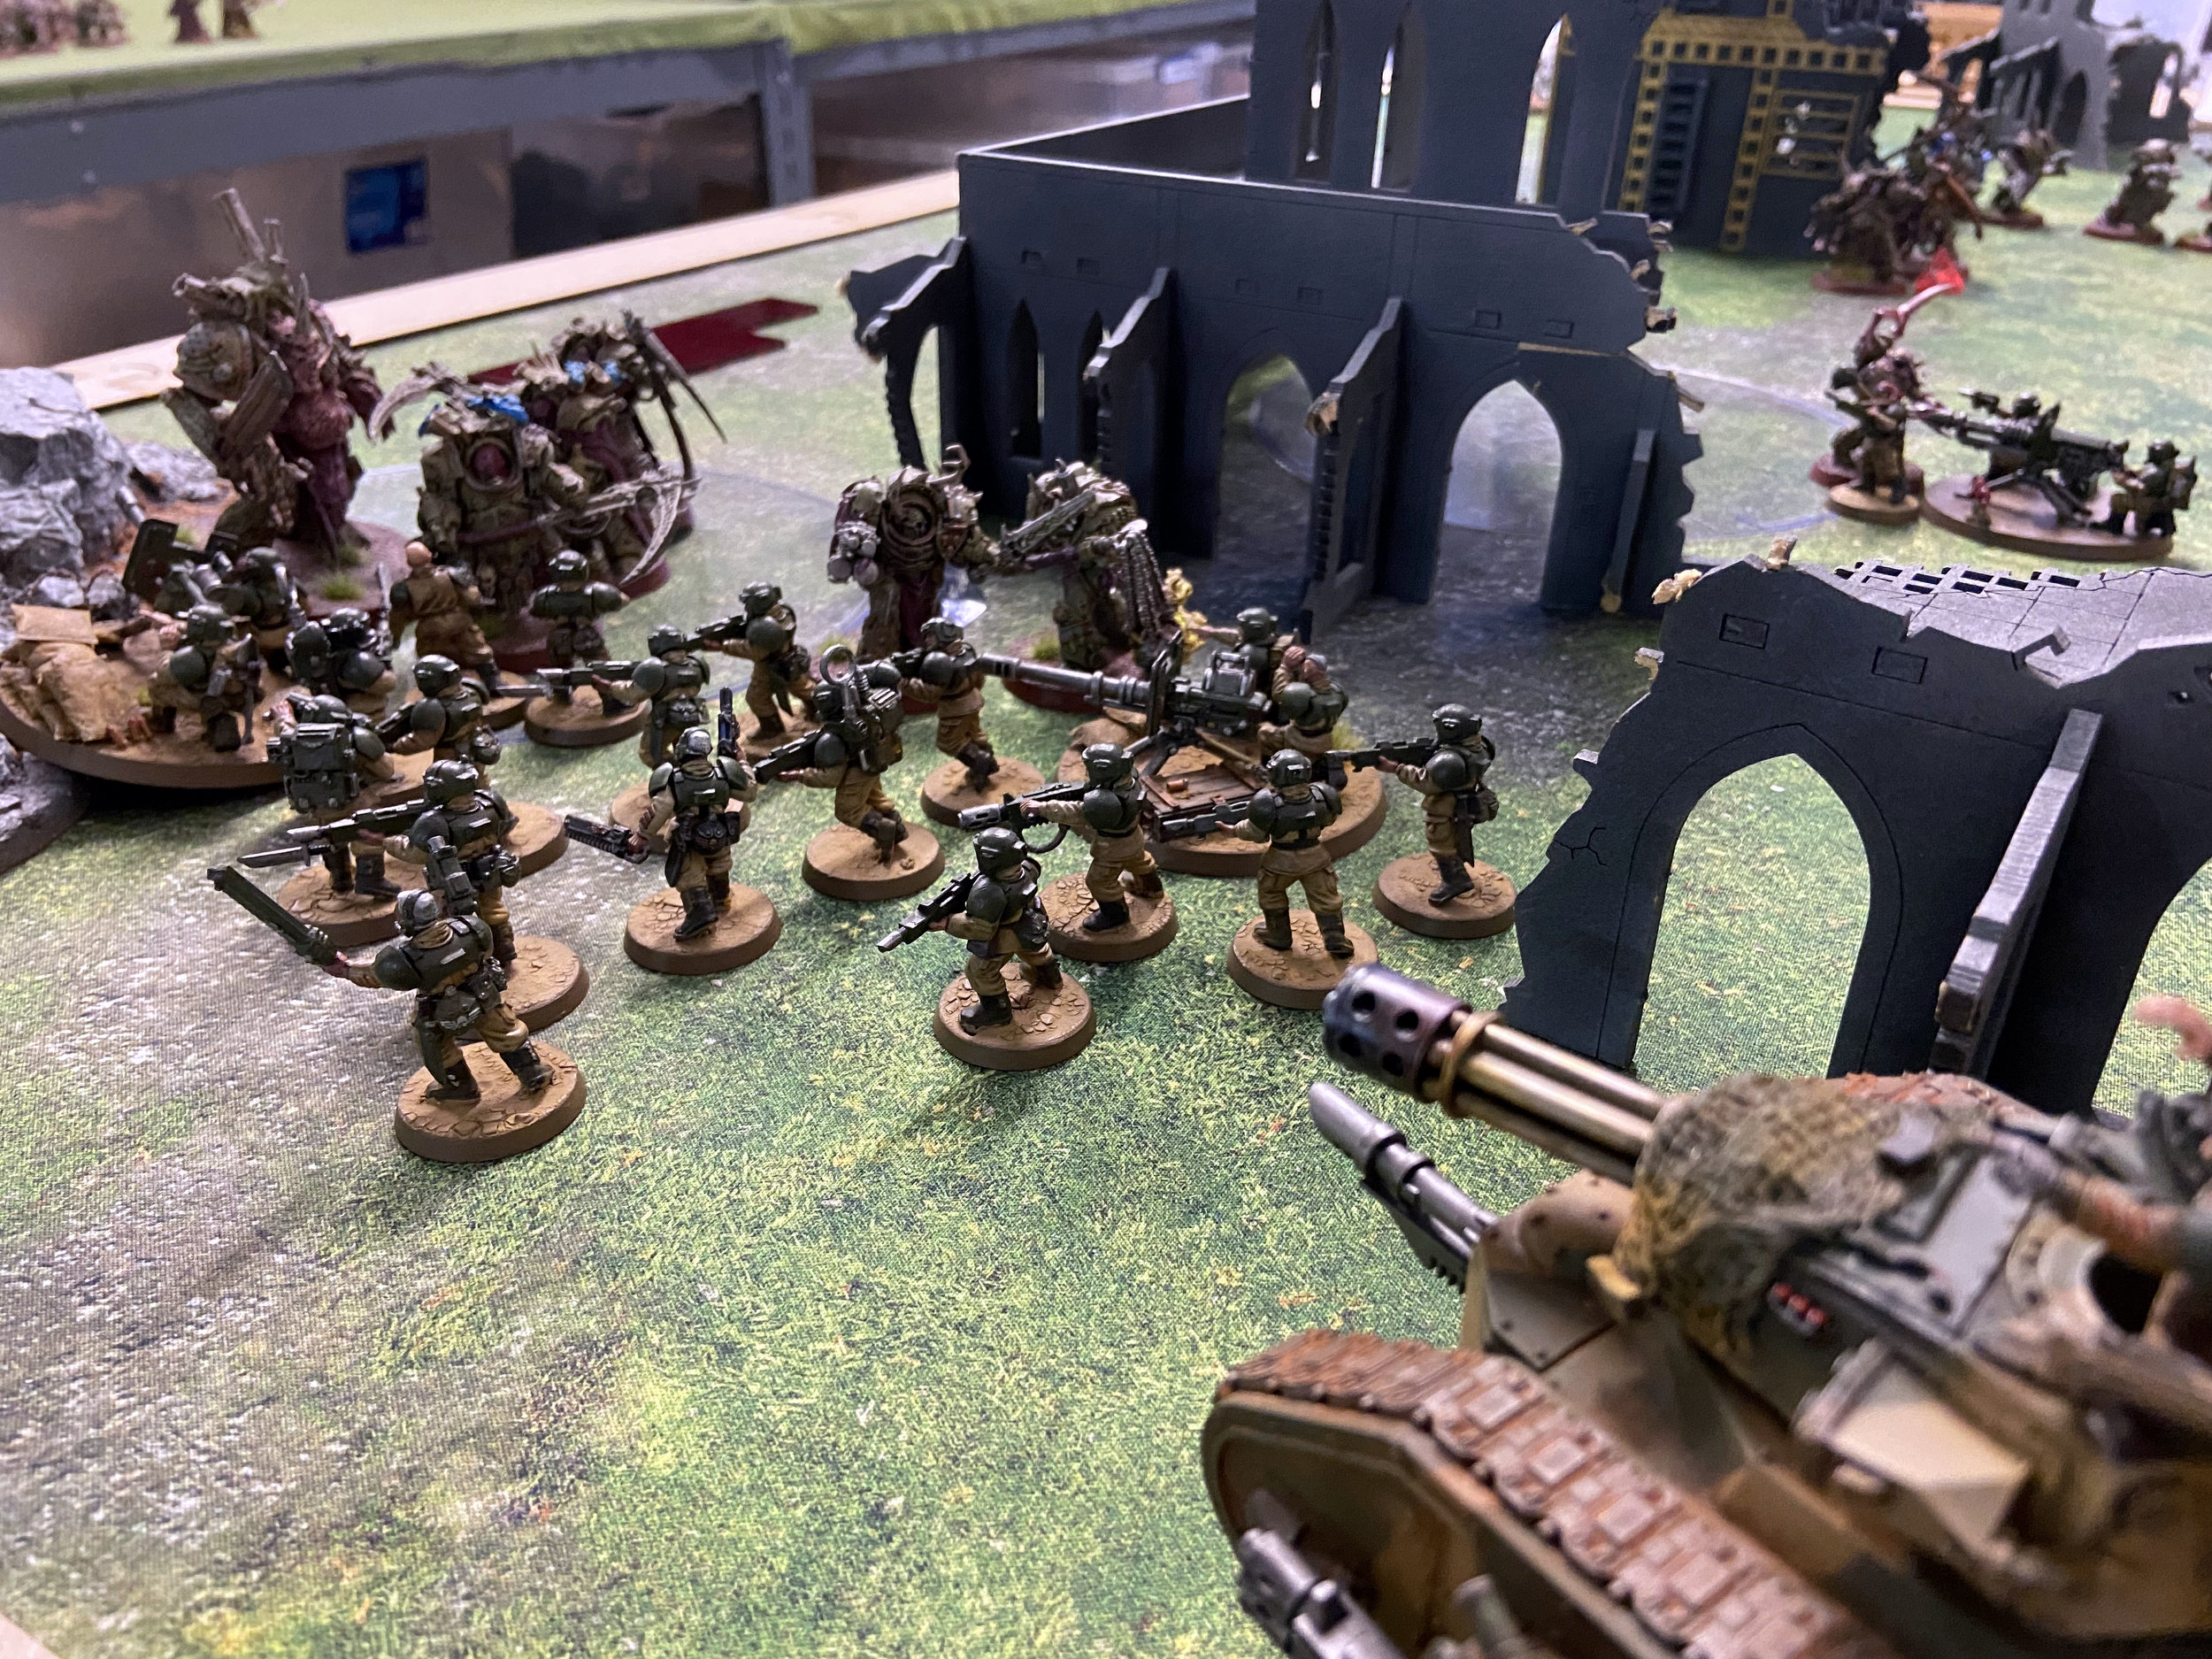
I started to move out a bit more now. The left side’s big squad got an object and the central squad in a building Move, Move, Moved too onto an objective. The right side was a bit deflated now, after losing an Infantry Squad and then killing 20 Pox Walers, but having them all comeback. In this turn, they would definitely get a charge in.
The Bullgryns stayed still again, I contemplated having them Advance to the centre, but decided against it. They waited, again.
I finished off the Cadian Pox Walkers this turn and killed all but one of the returning pinkish Pox Walkers. This was bad as some would come back, chain towards my guys and then charge in.
The Demolisher Tank Commander killed zero Terminators with its main cannon. I did get rid of 2 Deathshrouds in the centre inside a ruin though. On the left my big squad that moved up killed maybe one Terminator between them and the Punishers. I could not see a lot around there.
An OK turn, leaving that one Pox Walker was bad, killing a few of the bigger models was good though. I was holding three of the central objectives and doing the Action on my Deployment Zone Objective, which scored me 3VP.
Death Guard
The Death Guard really moved up this turn and their Deep striking units arrived too – The Blightlords and Demon Prine in that top left corner to take on my big squad and my three Punishers. And the Plague Marines with pinkish Pox Walkers in the bottom right, also 4 of the pinkish Pox Walkers came back to life.
The shooting was limited by the Death Guard, but the charges were coming…
The Possessed unit that was hidden a lot of the time in a ruin charged and killed all but two of my squad in the centre-left – the remaining guys ran at Morale. My big squad was charged and wiped out by the Deathshrouds, Demon Prince and Blightlords on that side. Just one Company Commander remained at the back after the bloody mist had settled.
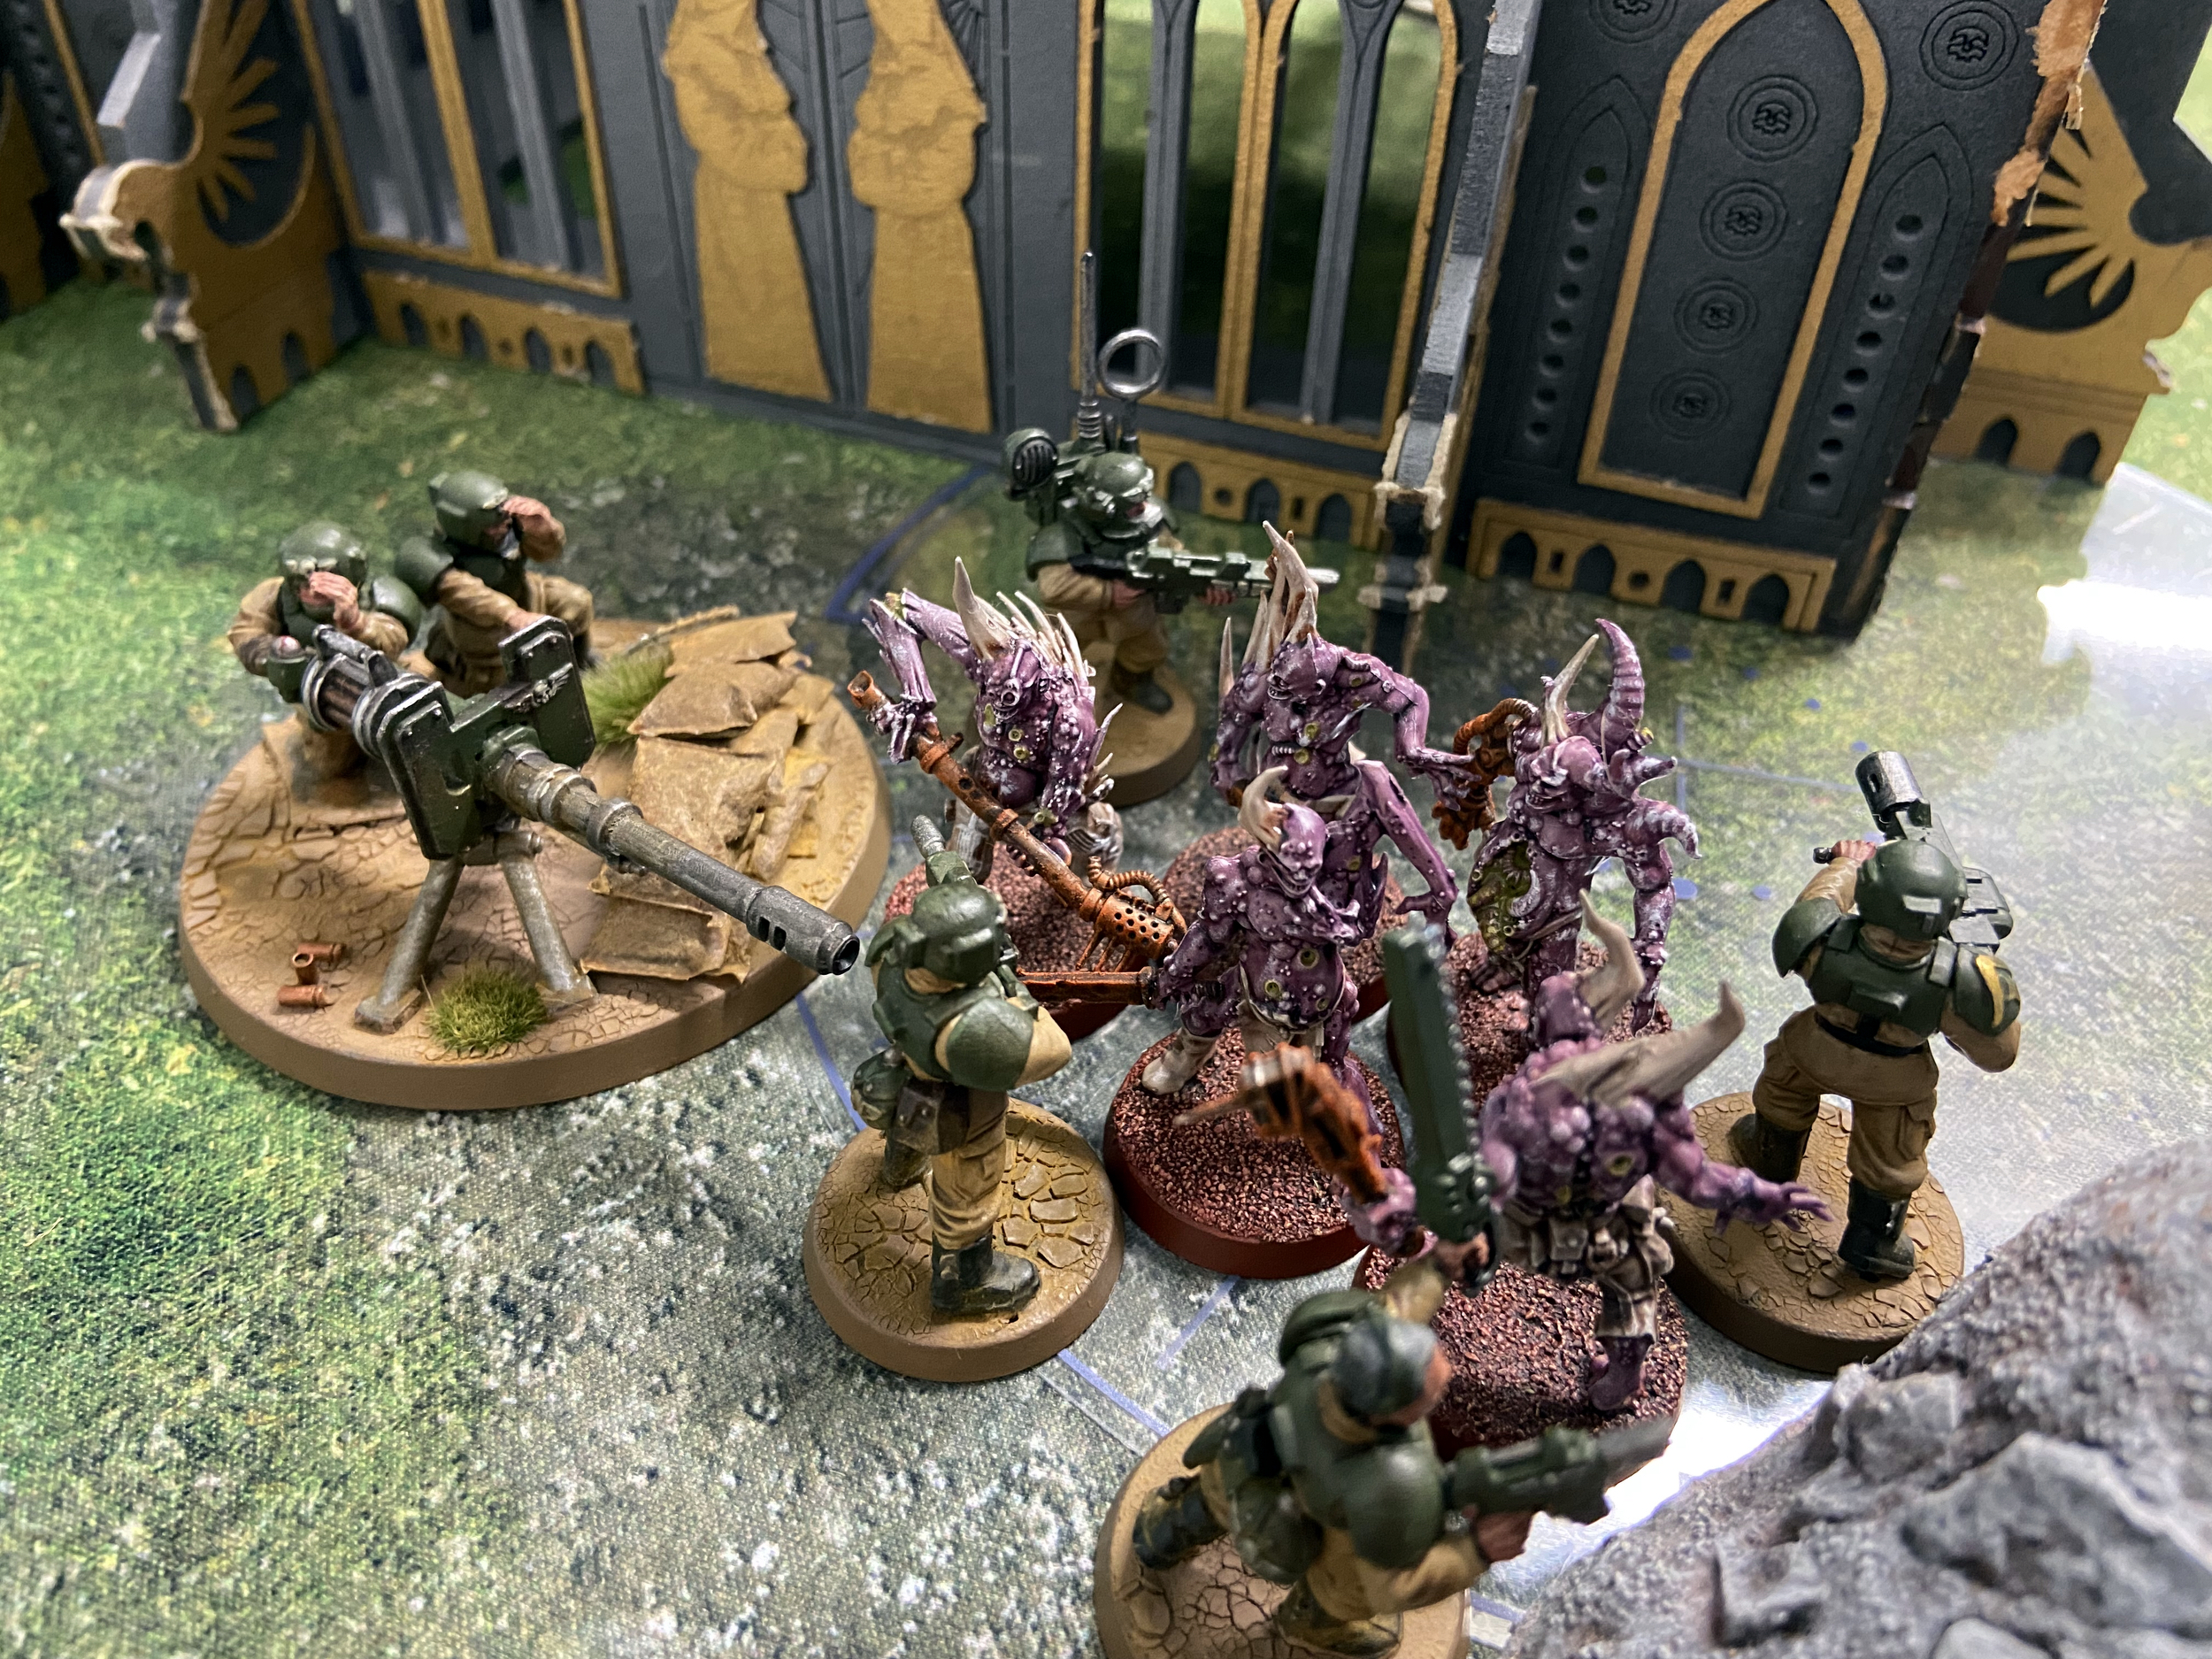
Finally, the 5 pinkish Pox Walkers charged into my Infantry Squad on the right side, I got off pretty lightly, losing 3 or 4 I think.
My left side was now down 20 Guardsmen, but every enemy unit there was now exposed. My right side had lost a few Guardsmen but the Tank Commander remained.

Turn 3
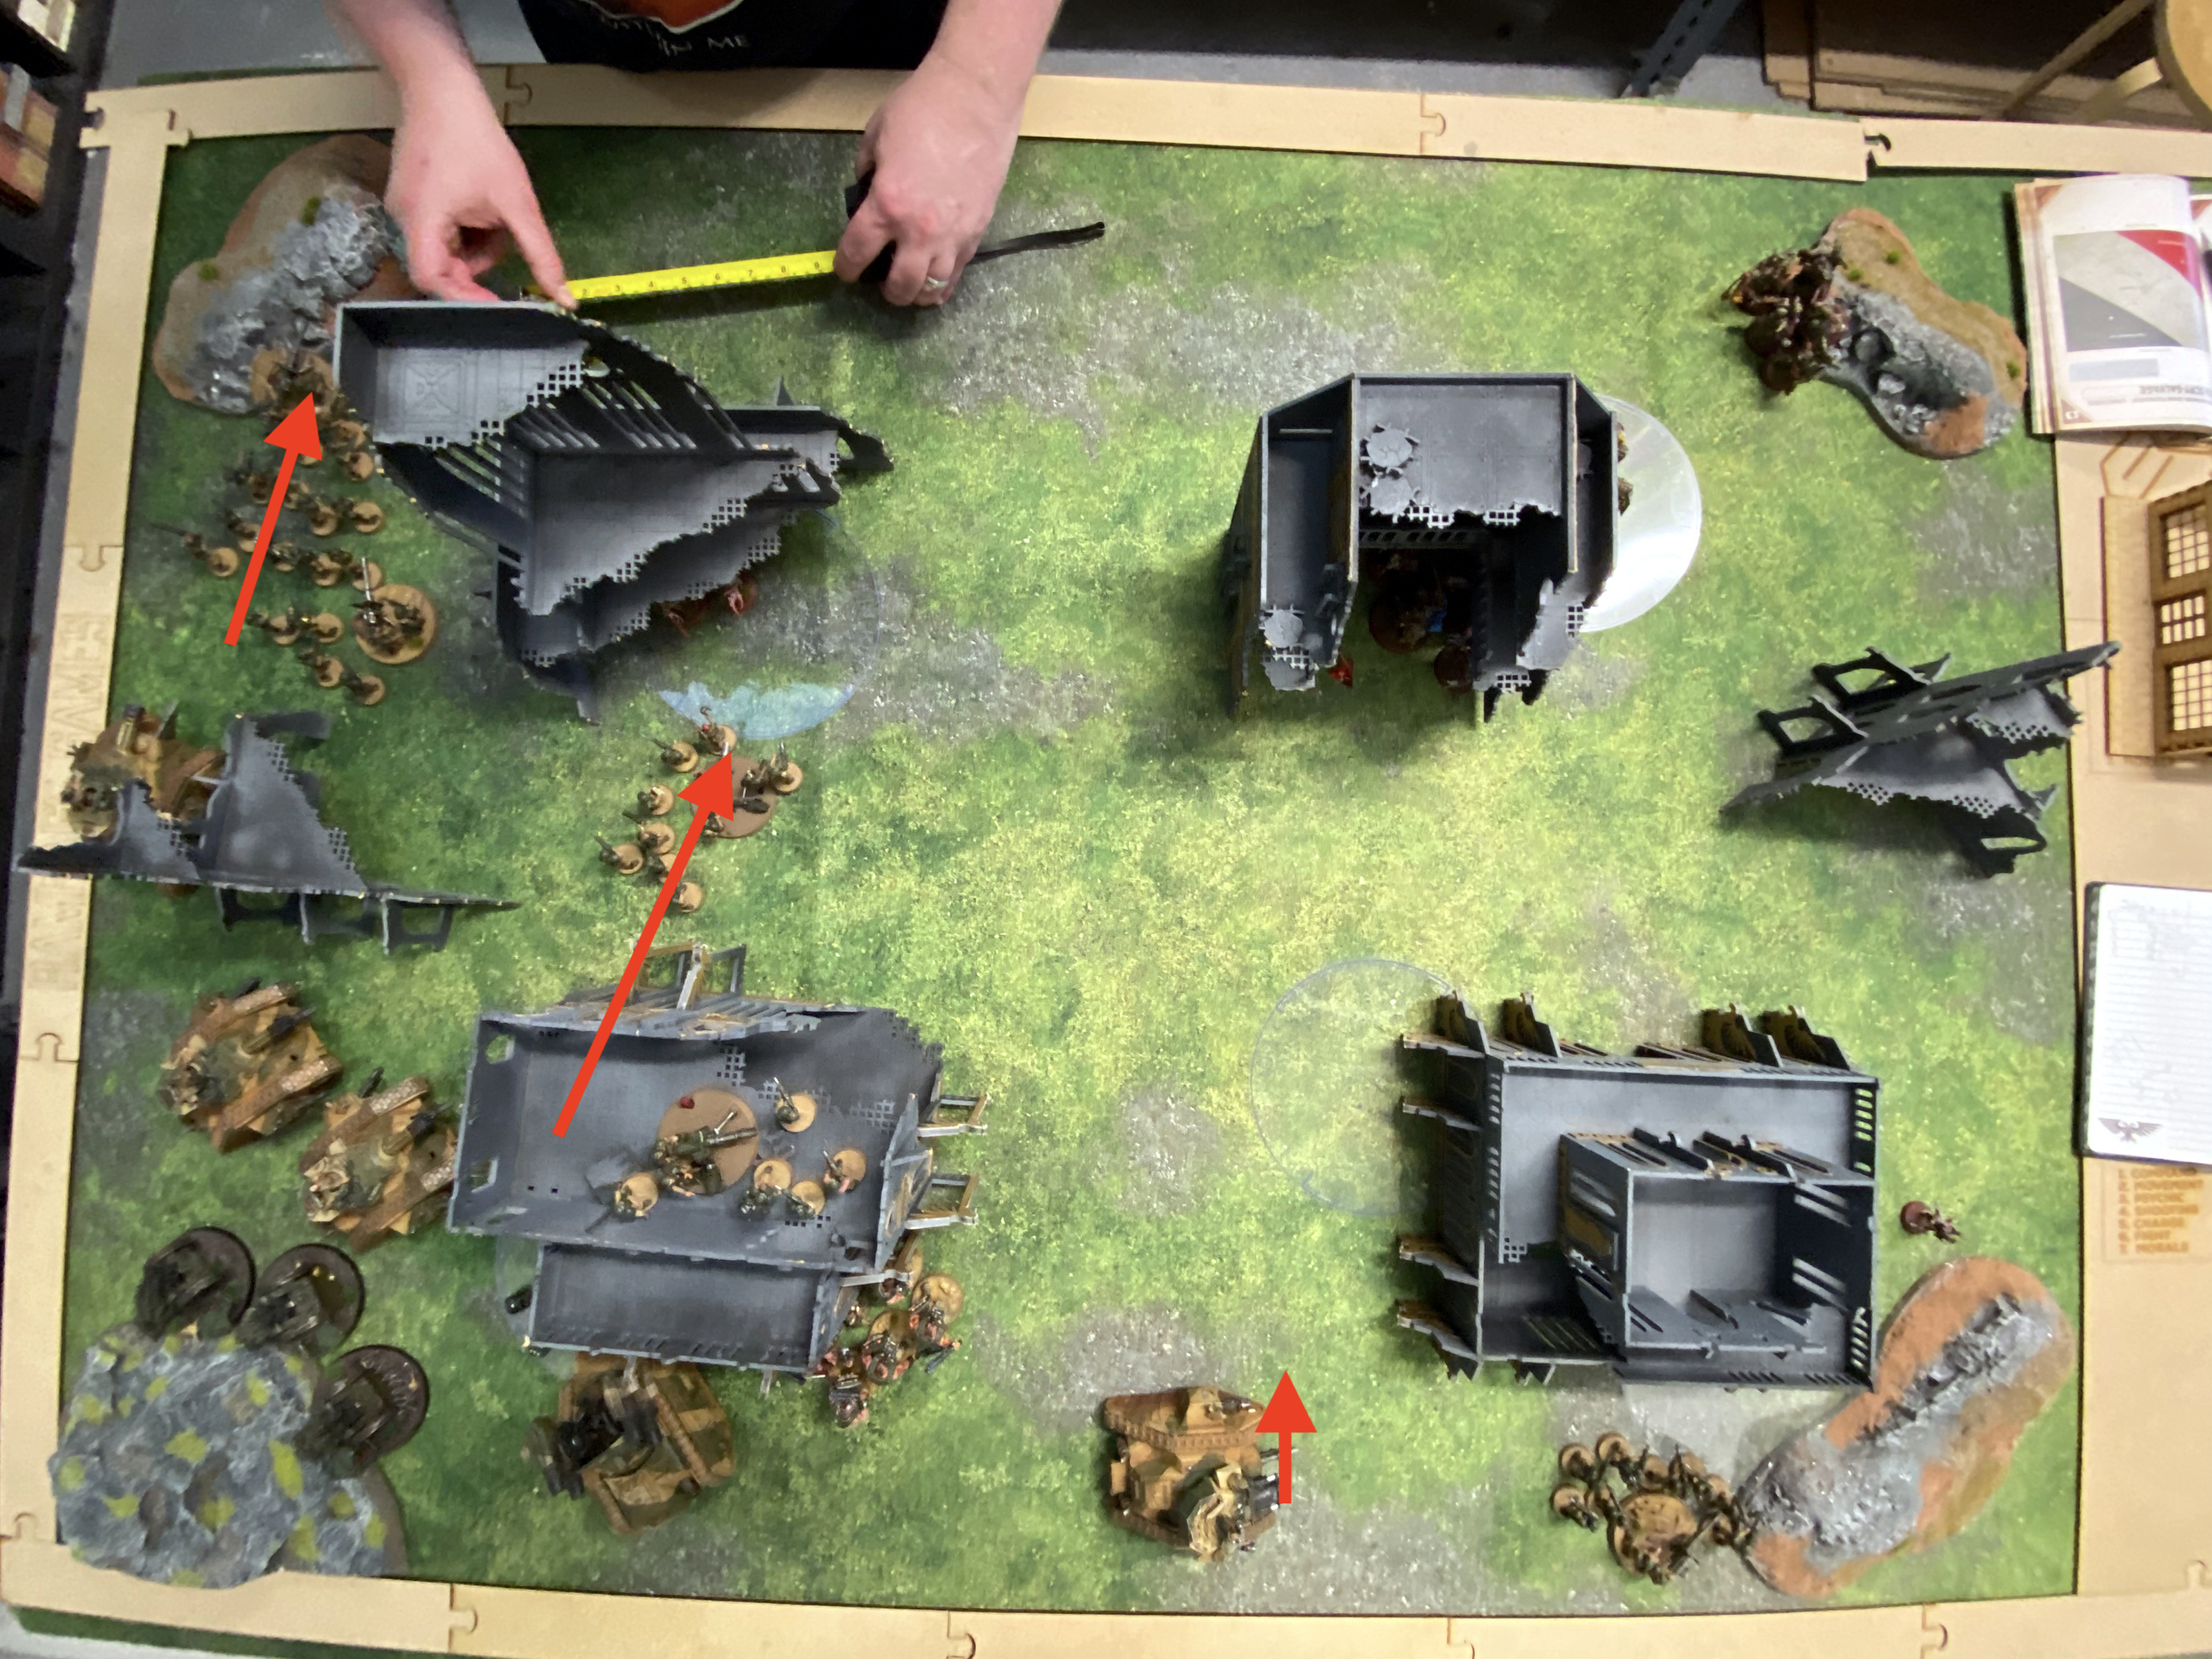
Astra Militarum
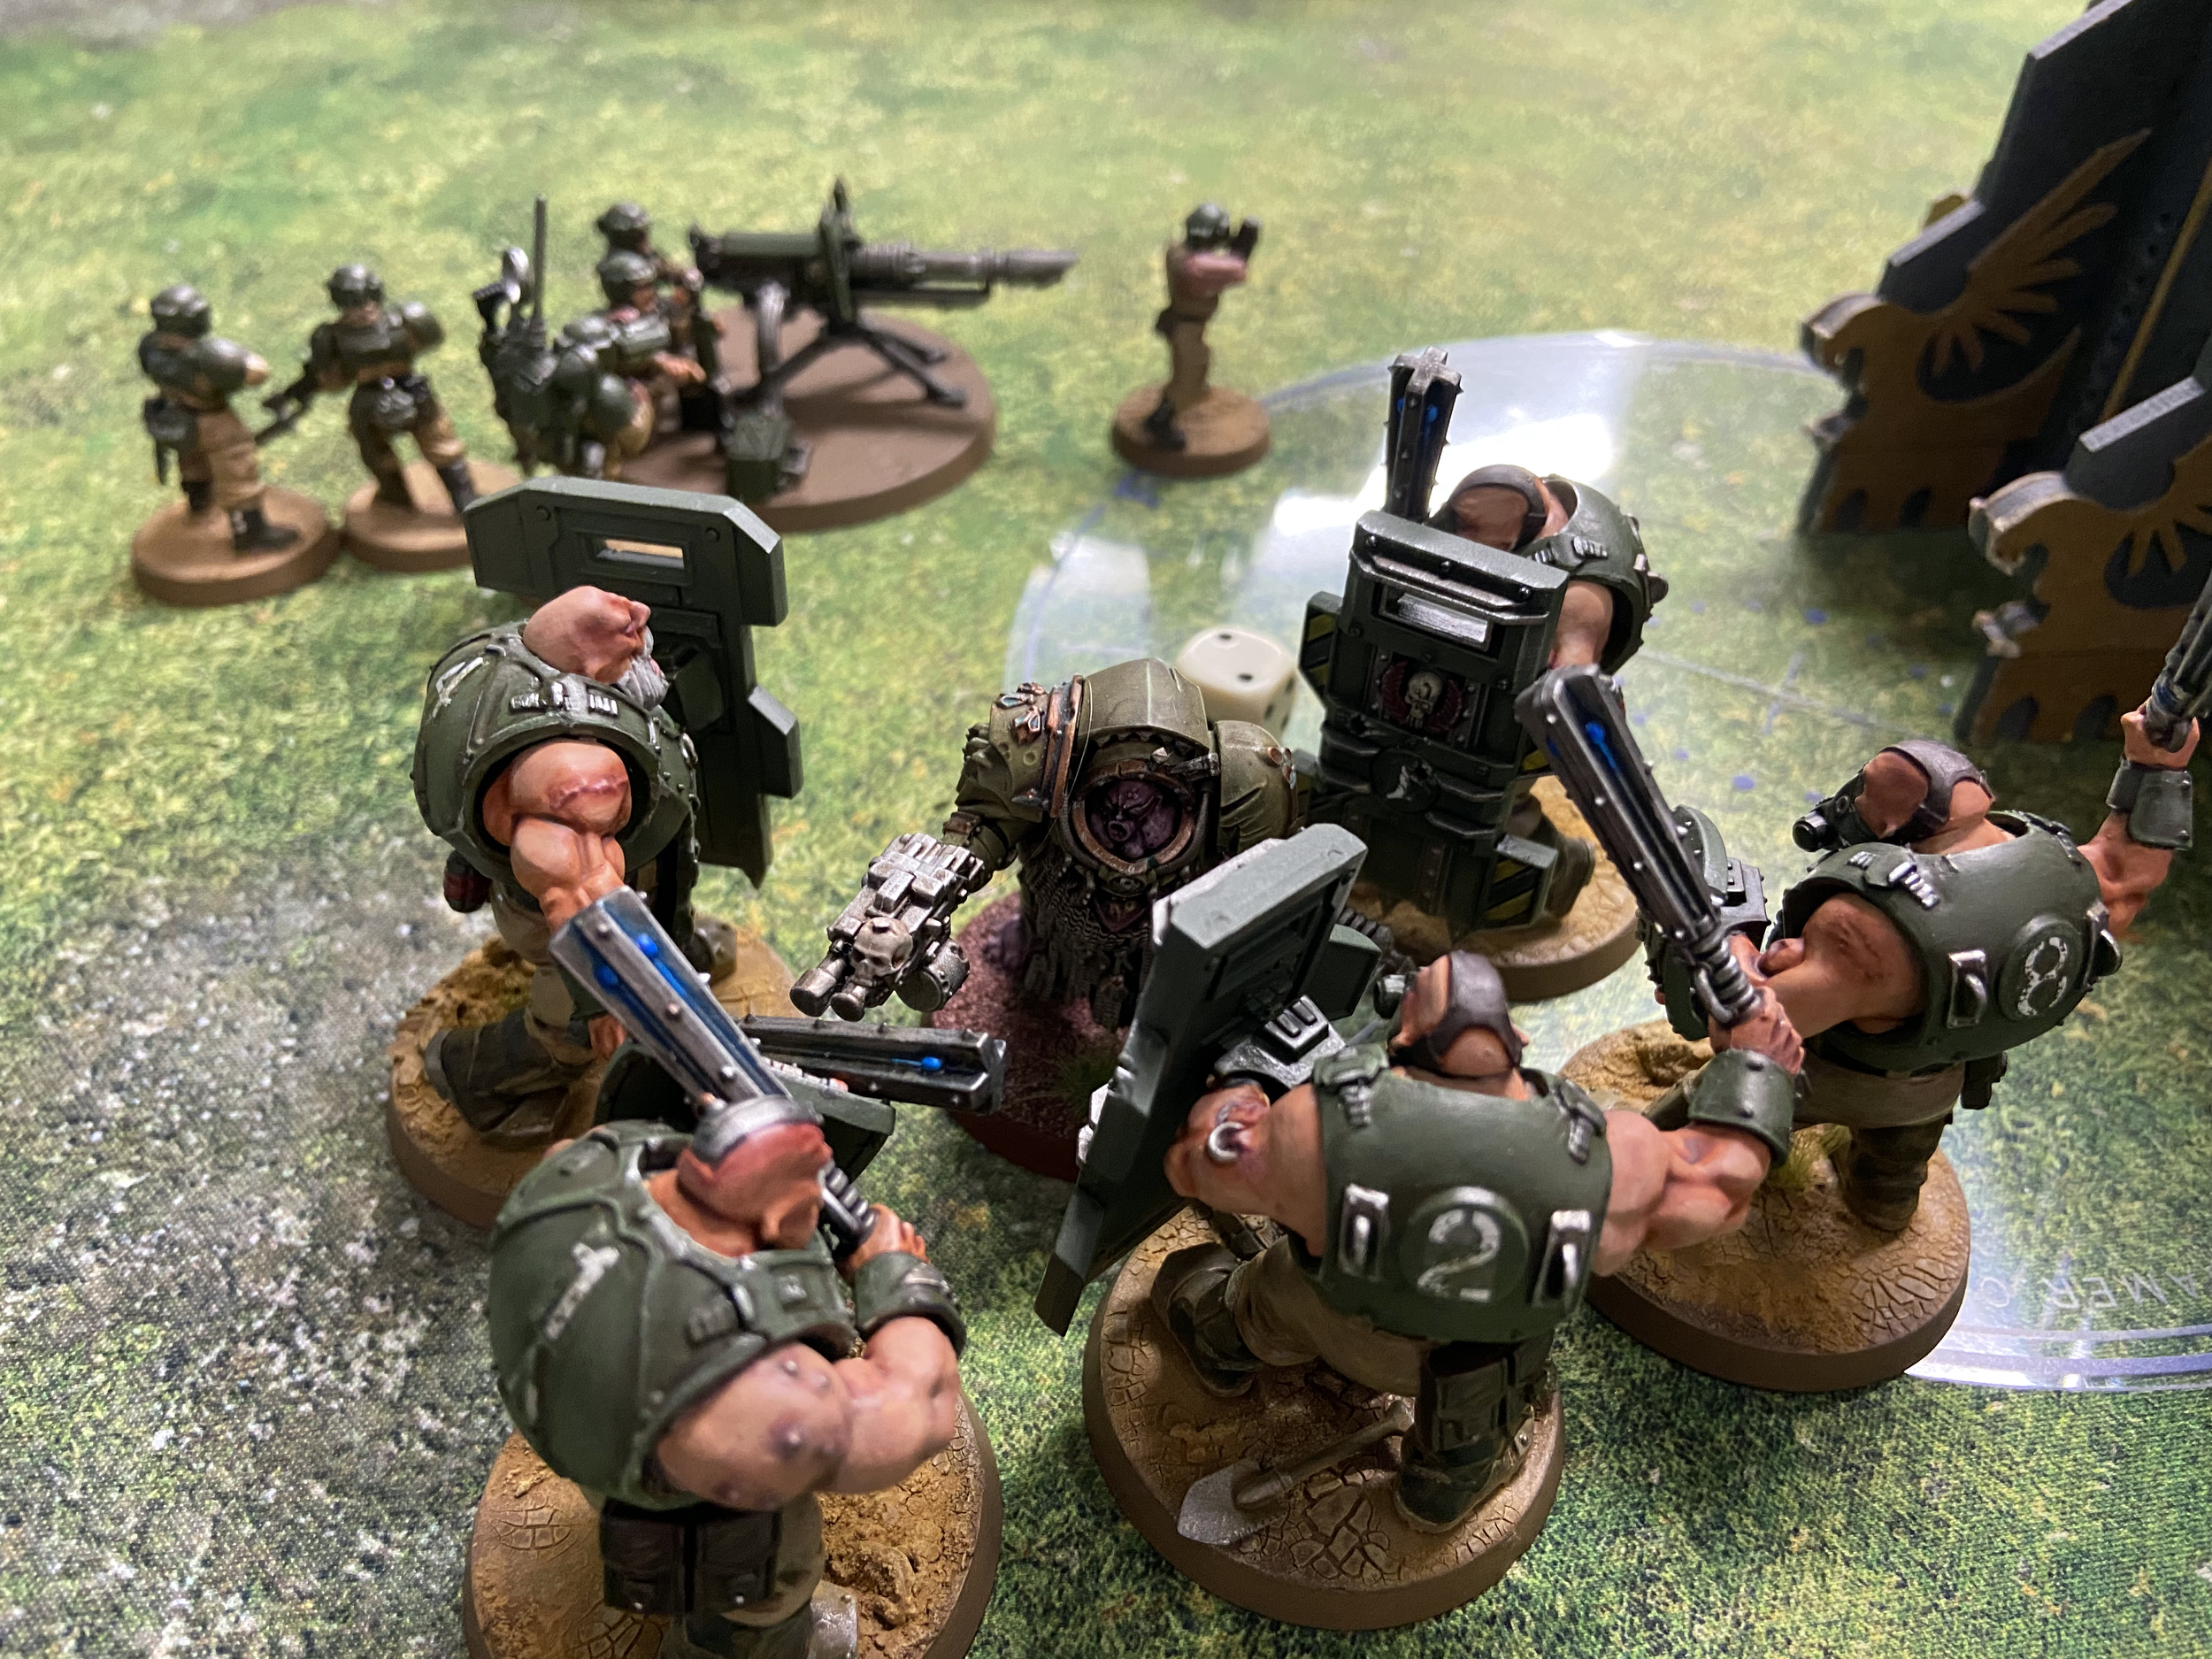
My three Punishers crept about moving <5″ allowing them to fire all their 40 shots each – if they could see an enemy unit to shoot. The Tank Commander moved 10″ and used Shock Troops for 2CP to act stationary to shoot twice and also re-roll ones to Hit.
I made the infantry Fall Back on the right side to allow the Pox Walkers to be shot and I finally moved the Bullgryns up near my Tank Commander – those Terminators were coming and I wanted the Bullgryns in place to get to them right afterwards.
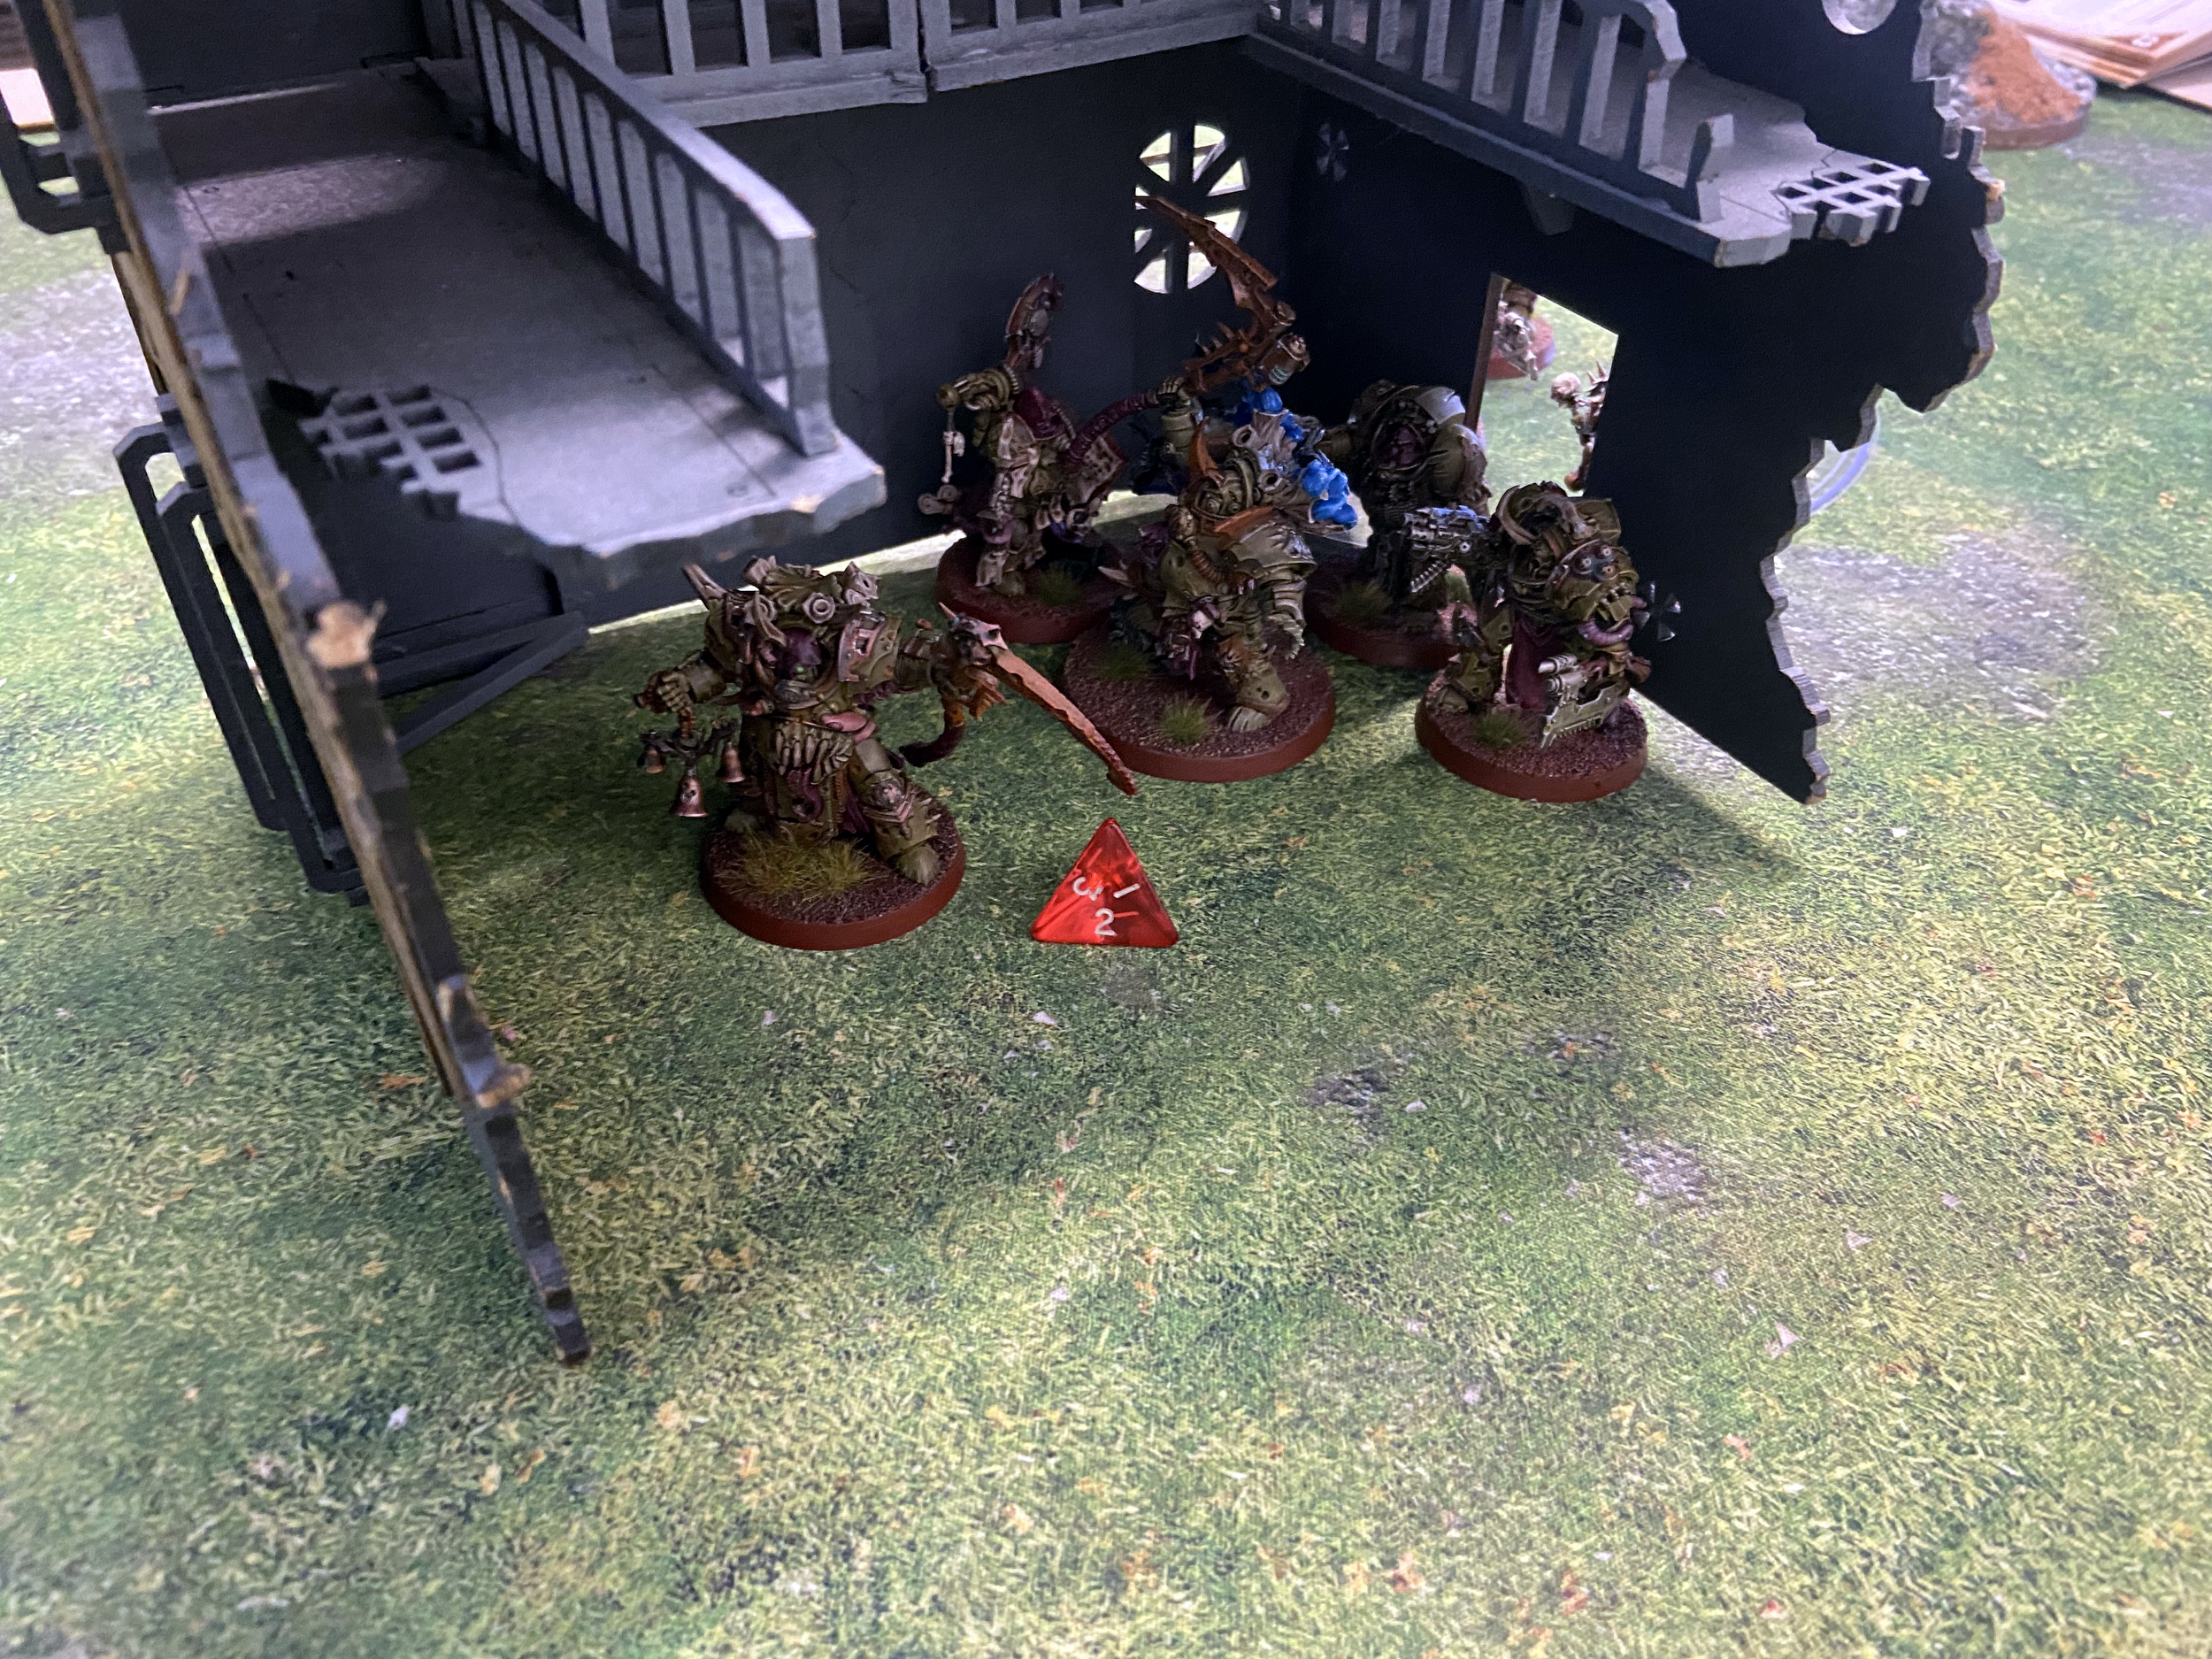
My Punishers cleared the left side well, killing all the Blightlords and two of the Three Deathshrouds, this was annoying as it meant I could not target the Demon Prince because of one Deathshroud. They still count towards Look Out Sir even if there is one of them. I finished off the Deathshroud with a Thudd Gun while the other two went for the straggling Pox Walkers and something else – may be the central Blightlords.
Once the dust had settled I had removed the Deathshrouds from the centre along with Typhus, the Deep Striking Deathshrouds near the Demon Prince, the Blightlords over there too and all but two of the pinkish Pox Walkers on the right.
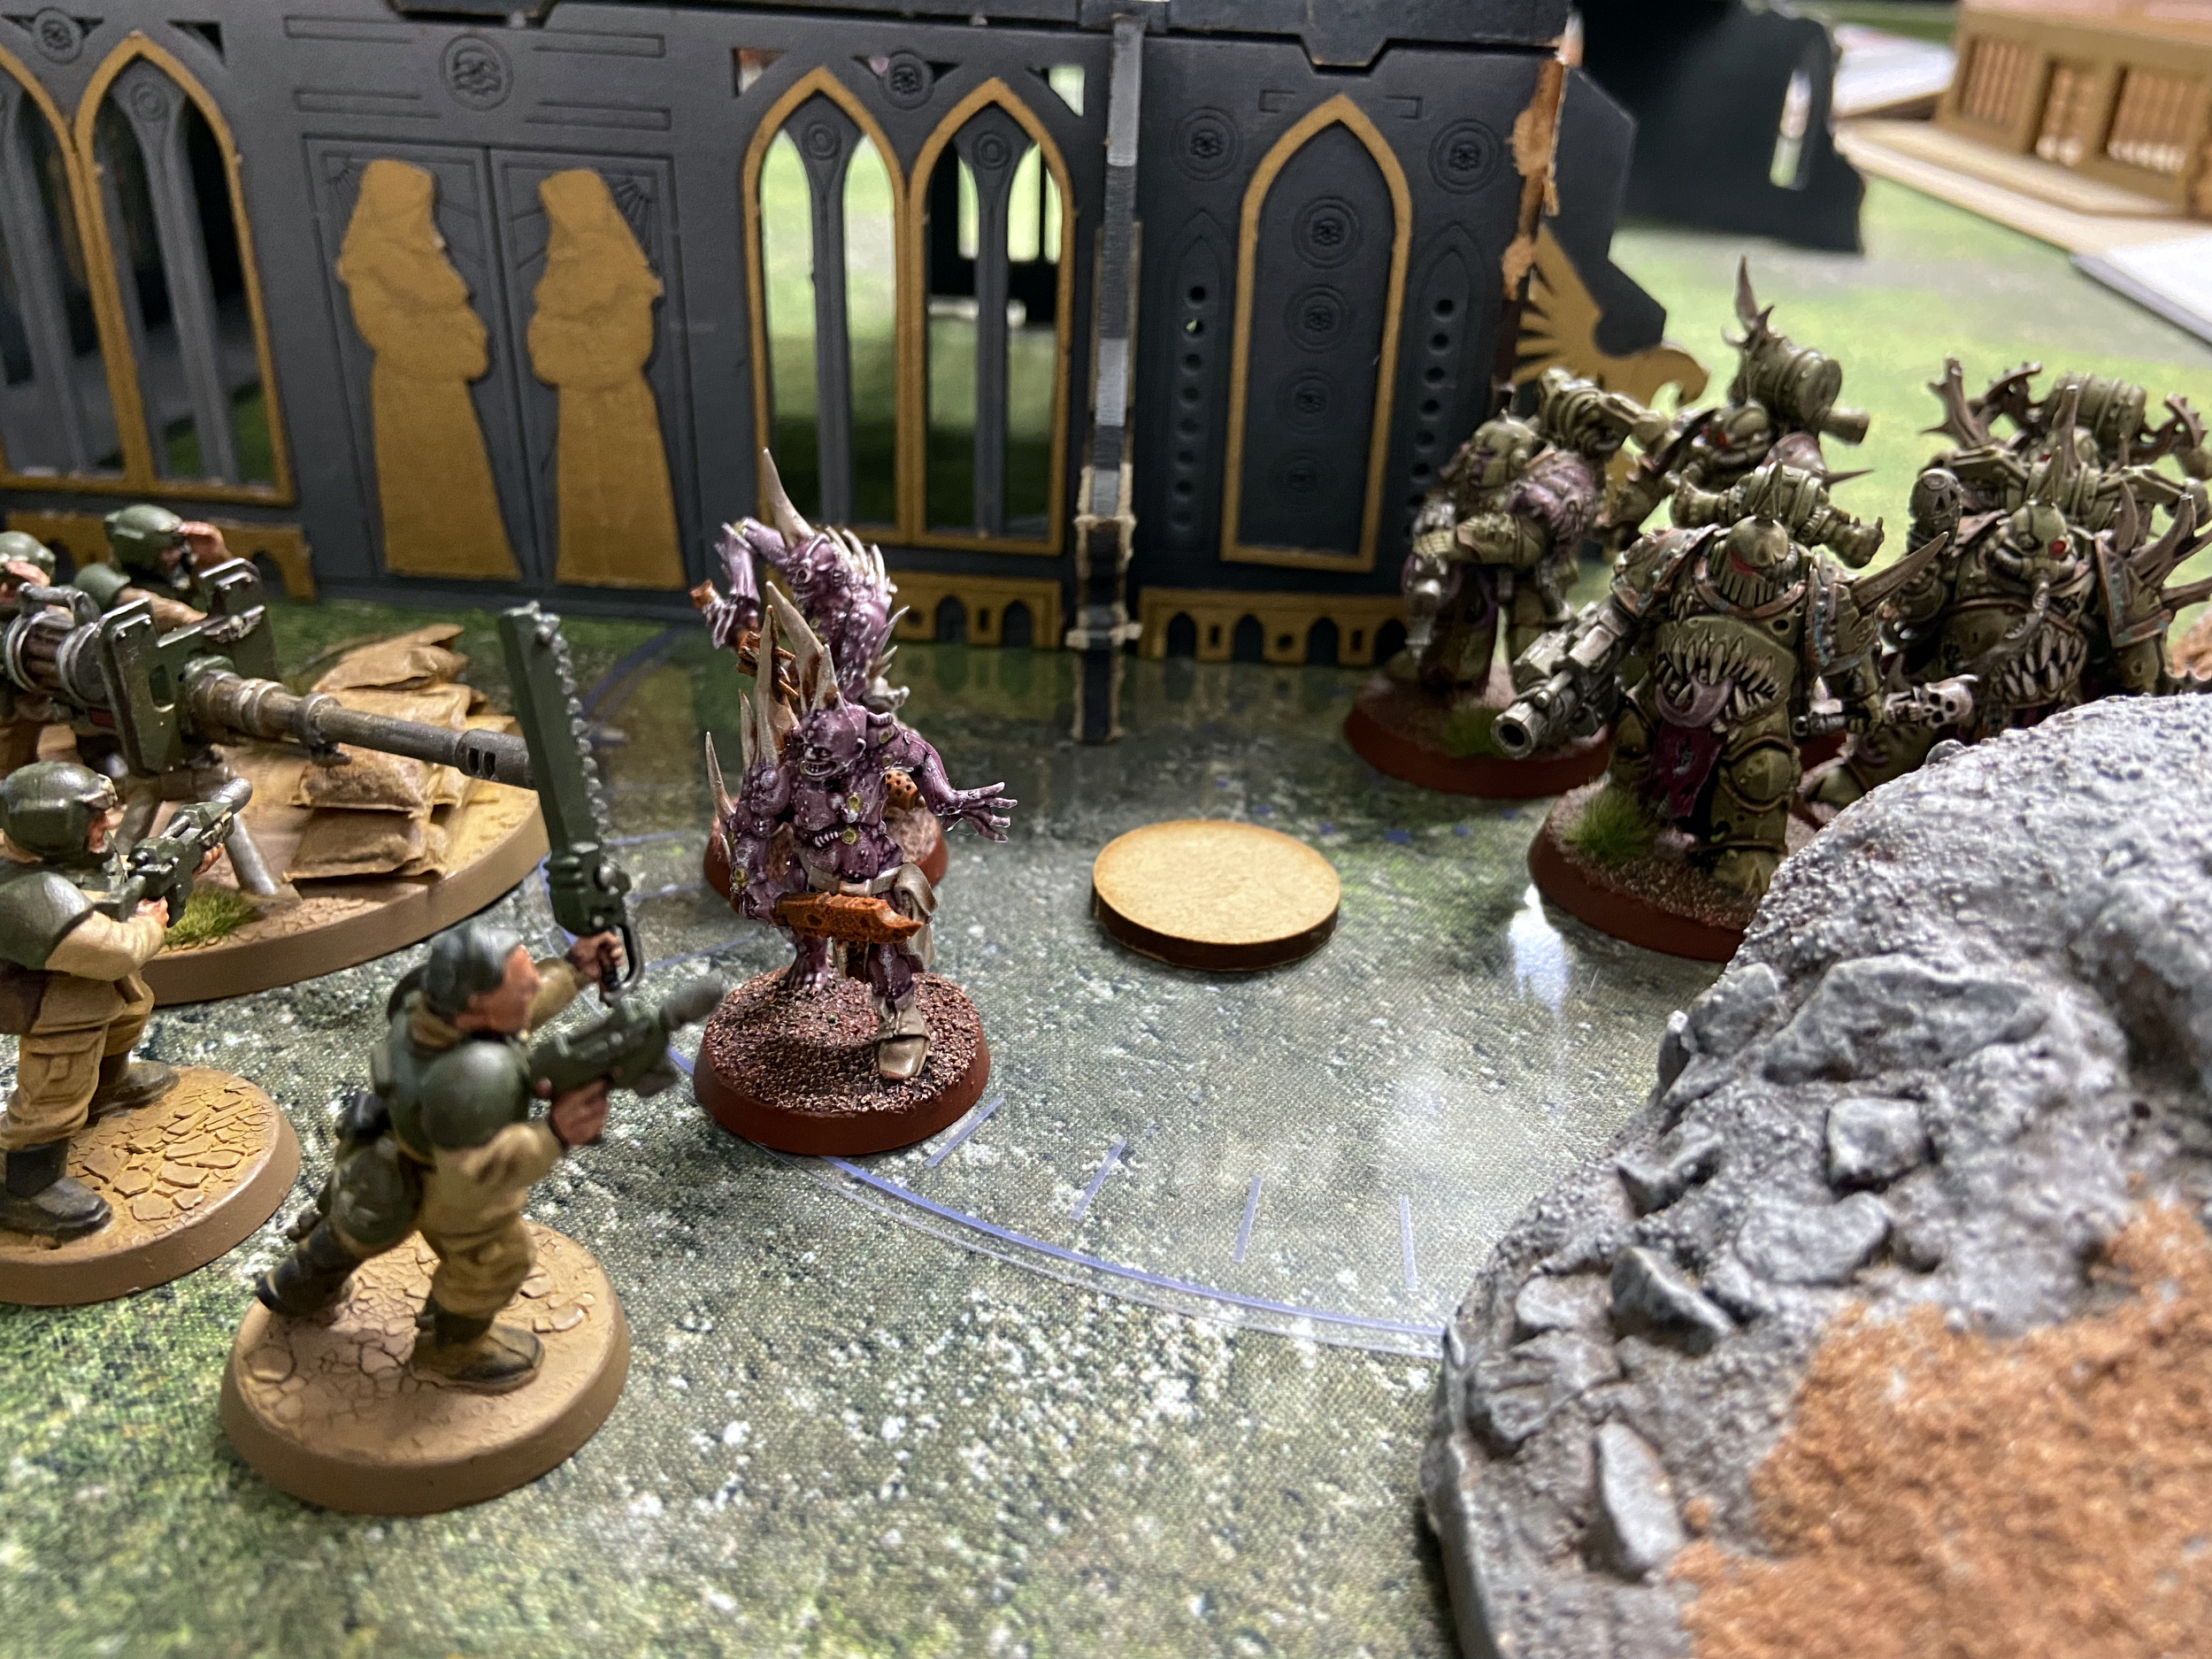
The Foul Blightspawn was left open I popped a few wounds off him, leaving him on one!
Death Guard
The Death Guard press on. Killing my lone Company Commander with the Demon Prince on the left and then the Tank Commander in the centre with the charging Blightlords, who also took an objective. I lost the right Infantry Squad too as the Pox Walkers and Plague Marines moved in.
The Tank Commander exploded killing my Priest, the Foul Blightspawn, a Bullgryn and possibly a Blightlord Terminator too. A tough loss this, but maybe worth it for the Foul Blightspawn dying.
Turn 4
Astra Militarum
I was moping up now, moving to get points and rid the table of Nurgle’s rot.
I moved up two Leman Russ 10″ to get onto two objectives and got my remaining Infantry Squad to Move, Move, Move towards the Blightlords to secure the third objective in the centre of the battlefield.
The Demon Prince died in the massed Punisher fire. The pinkish Pox Walkers died to Thudd Guns or the Wyvern. That left the Plague Marines in the bottom right ruin/Objective.
My Bullgryns finally got in their countercharge and killed all but one of the Blightlords, I probably would have got them all had I had them all and the Priest this turn.
Death Guard
The Death Guard were now moving to secure objectives and kill key units to stop me from scoring VPs in my final turn.
I lost no units and the infantry in the middle remained.

Turn 5
The game came to a close with the Astra Militarum taking most of the battlefield. The Death Guard had a few Plague Marines left, a Blightlord and their Tallyman.
A Cadian win, 64 -51!
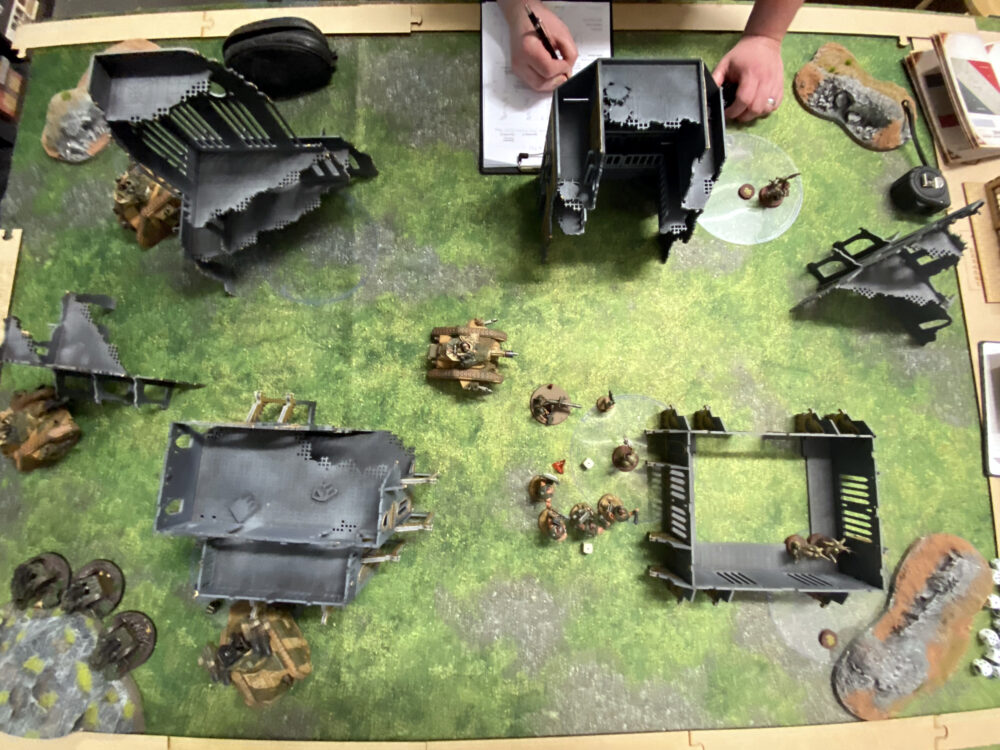
The Final Battlefield Overview
Summary
Running this list in its third iteration seems to be working and the tweaks I have made are working too.
The Bullgryns got into the fight late and had some unfortunate losses from that Tank Commander explosion, but holding them back paid off in the end. They never got shot or charged.
The Punishers continued to do the work for the Cadians.
MVP has to be the Thudd Guns, reaching out like that is just so valuable, especially when the enemy has units of 10+ models.
Final Score
Astra Militarum – 64
Death Guard – 51
Astra Militarum Victory