
Cadian Brigade Detachment vs Death Guard
A Cadian Brigade versus Death Guard...
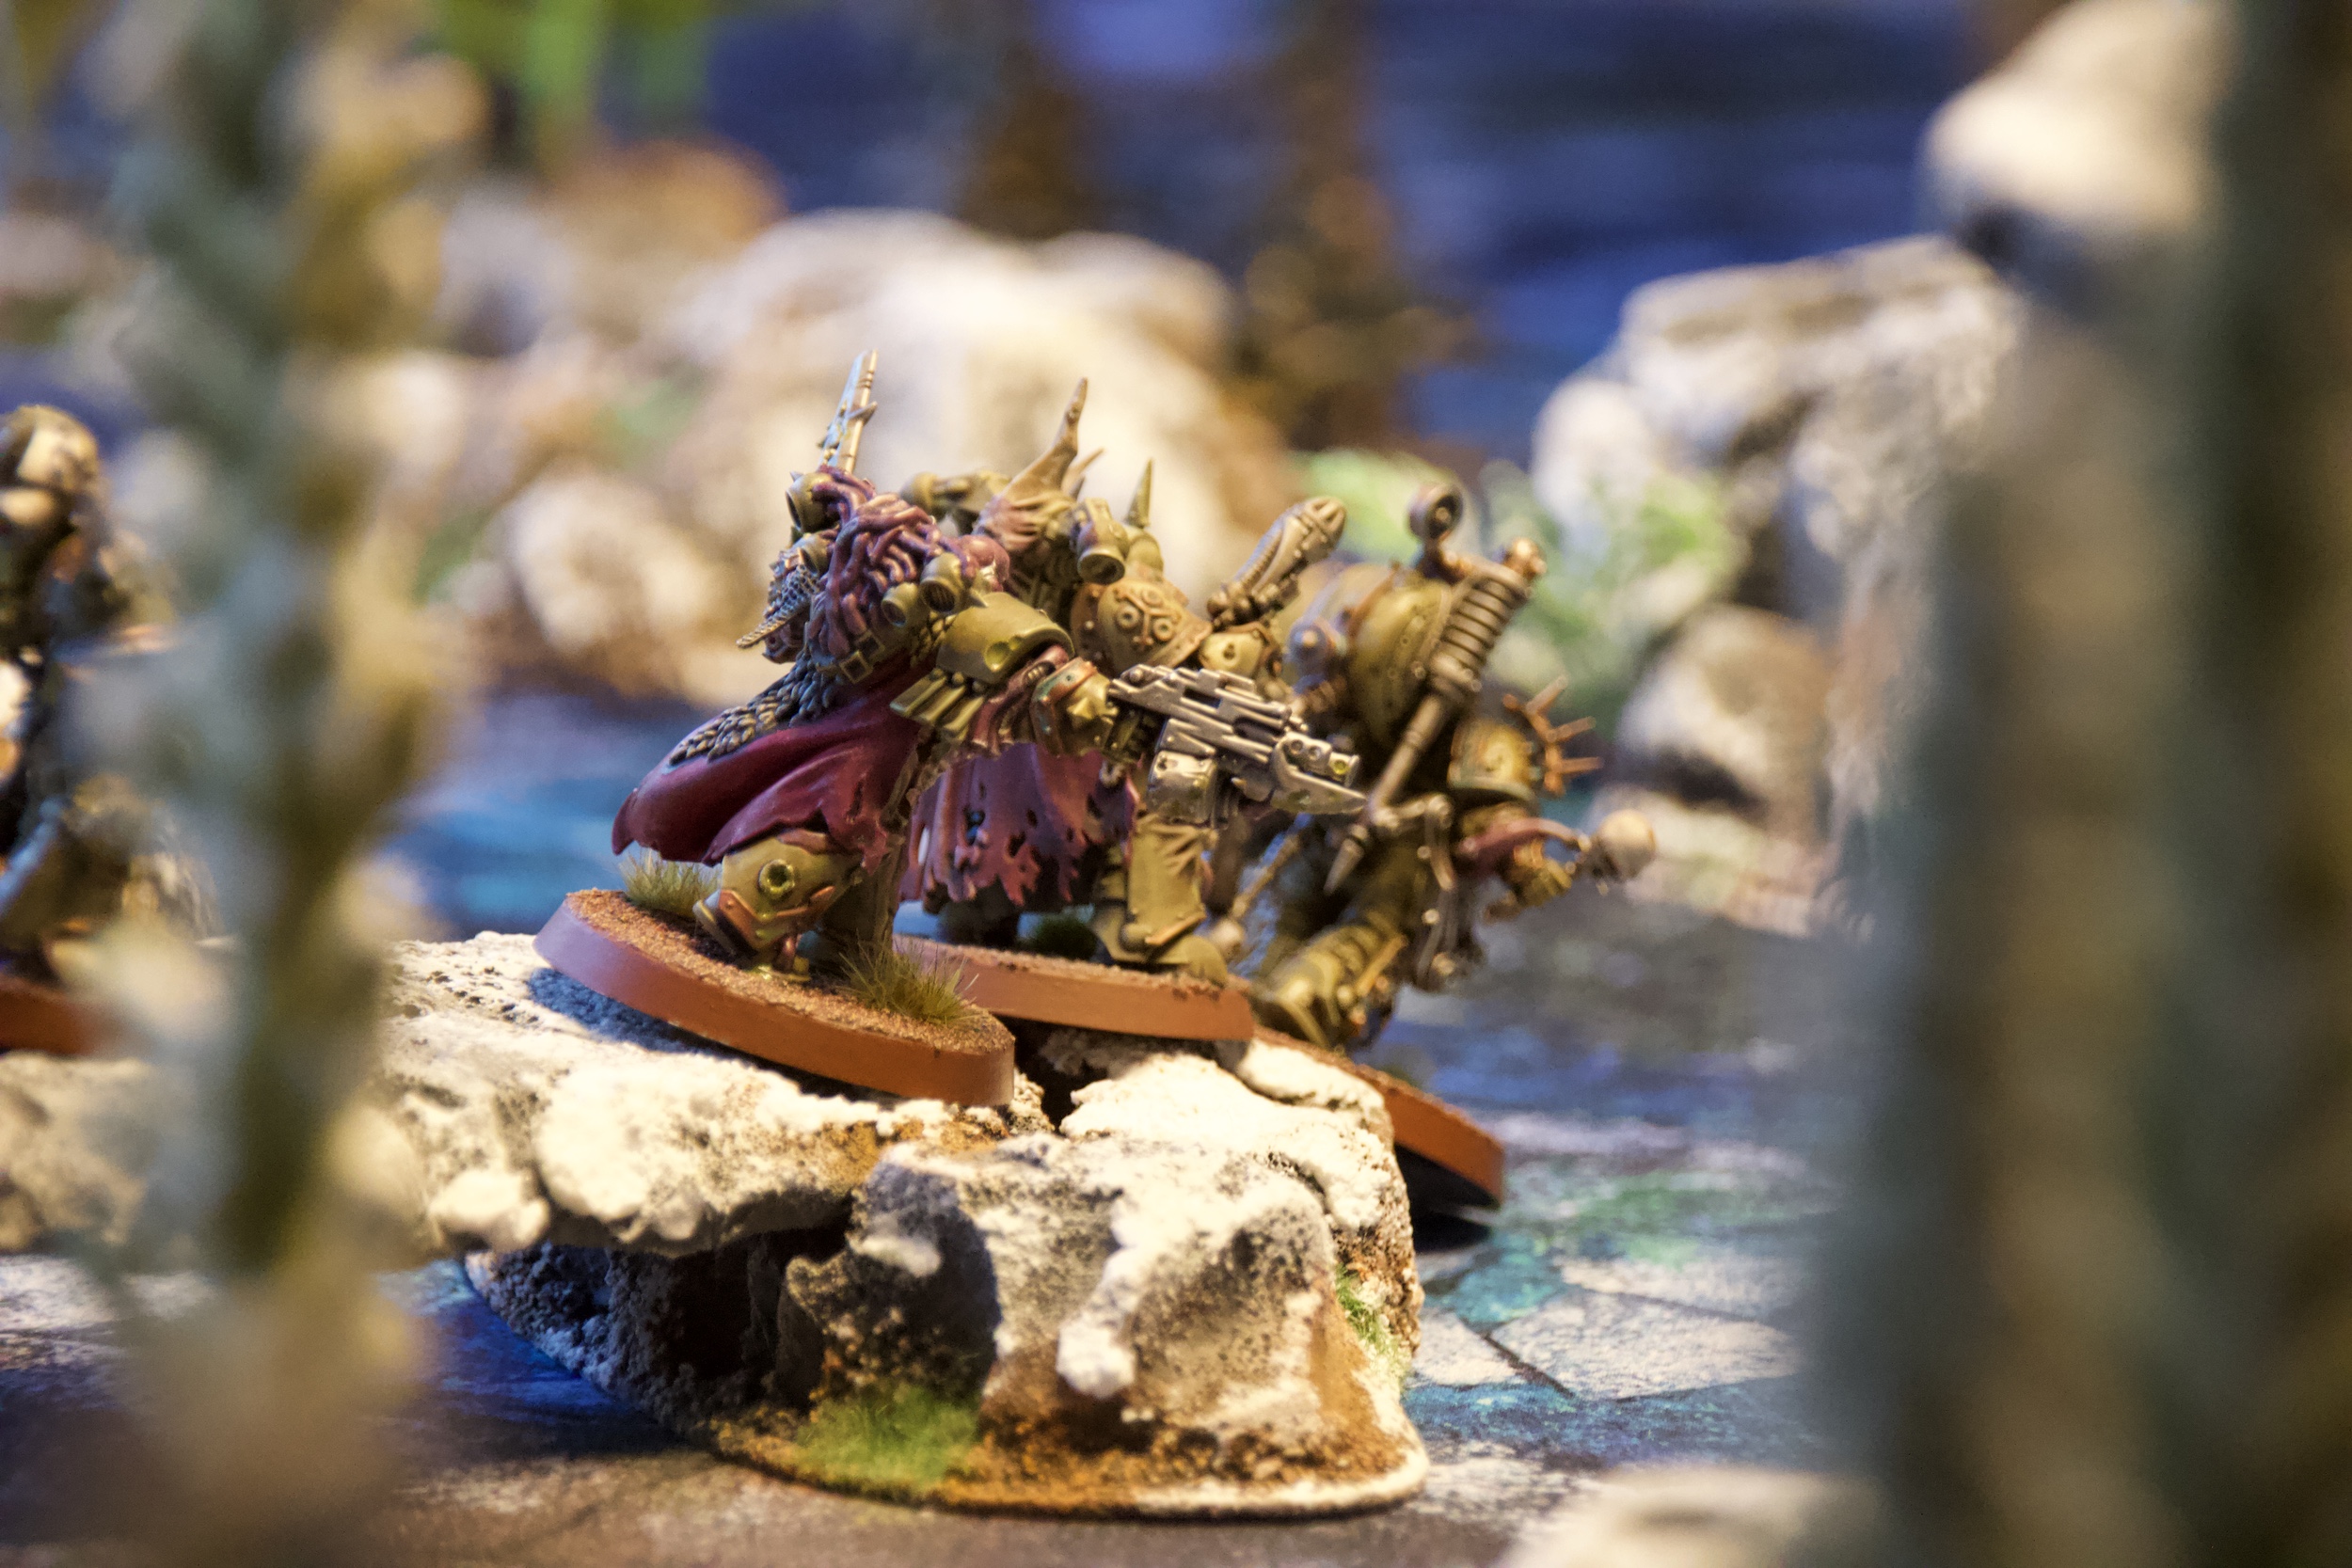
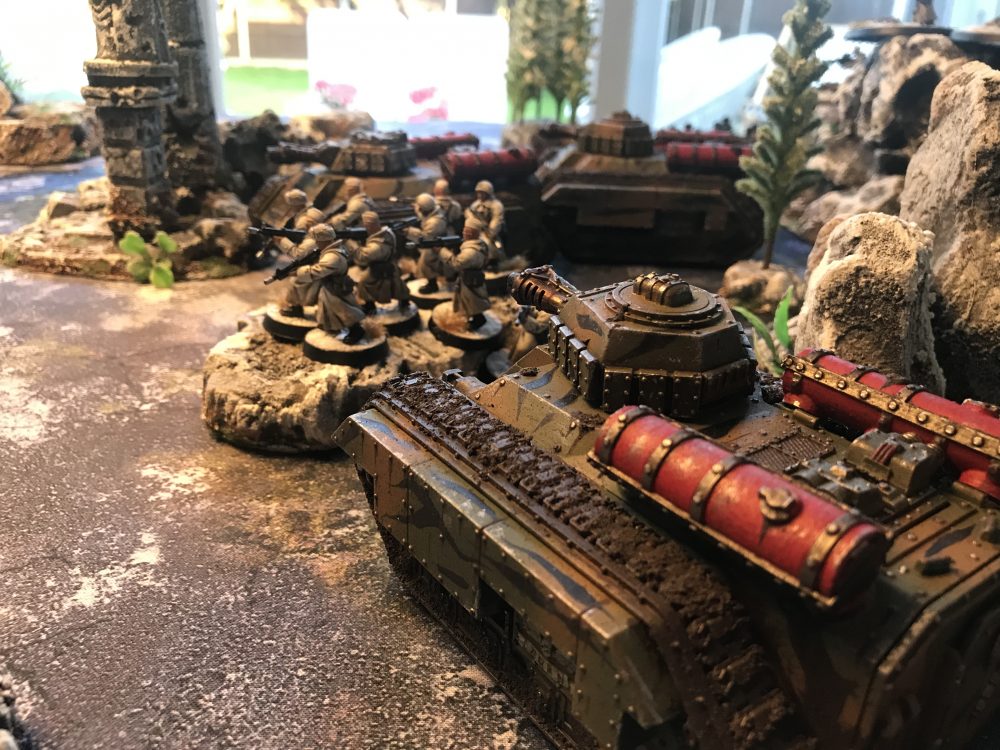
Once again I have played the Death Guard at 1,750 points. This time at home using the Studio Level Terran I recently acquired. This stuff is amazing and goes really well with my Valhallans.
Never miss an article? Subscribe!
Cadian Brigade List
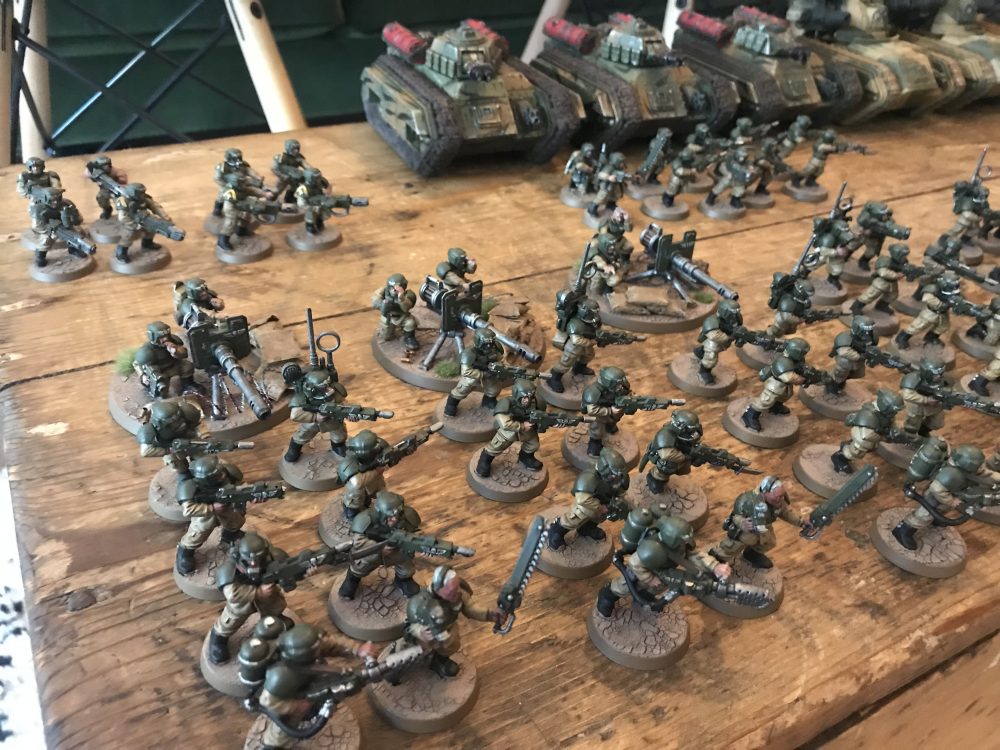
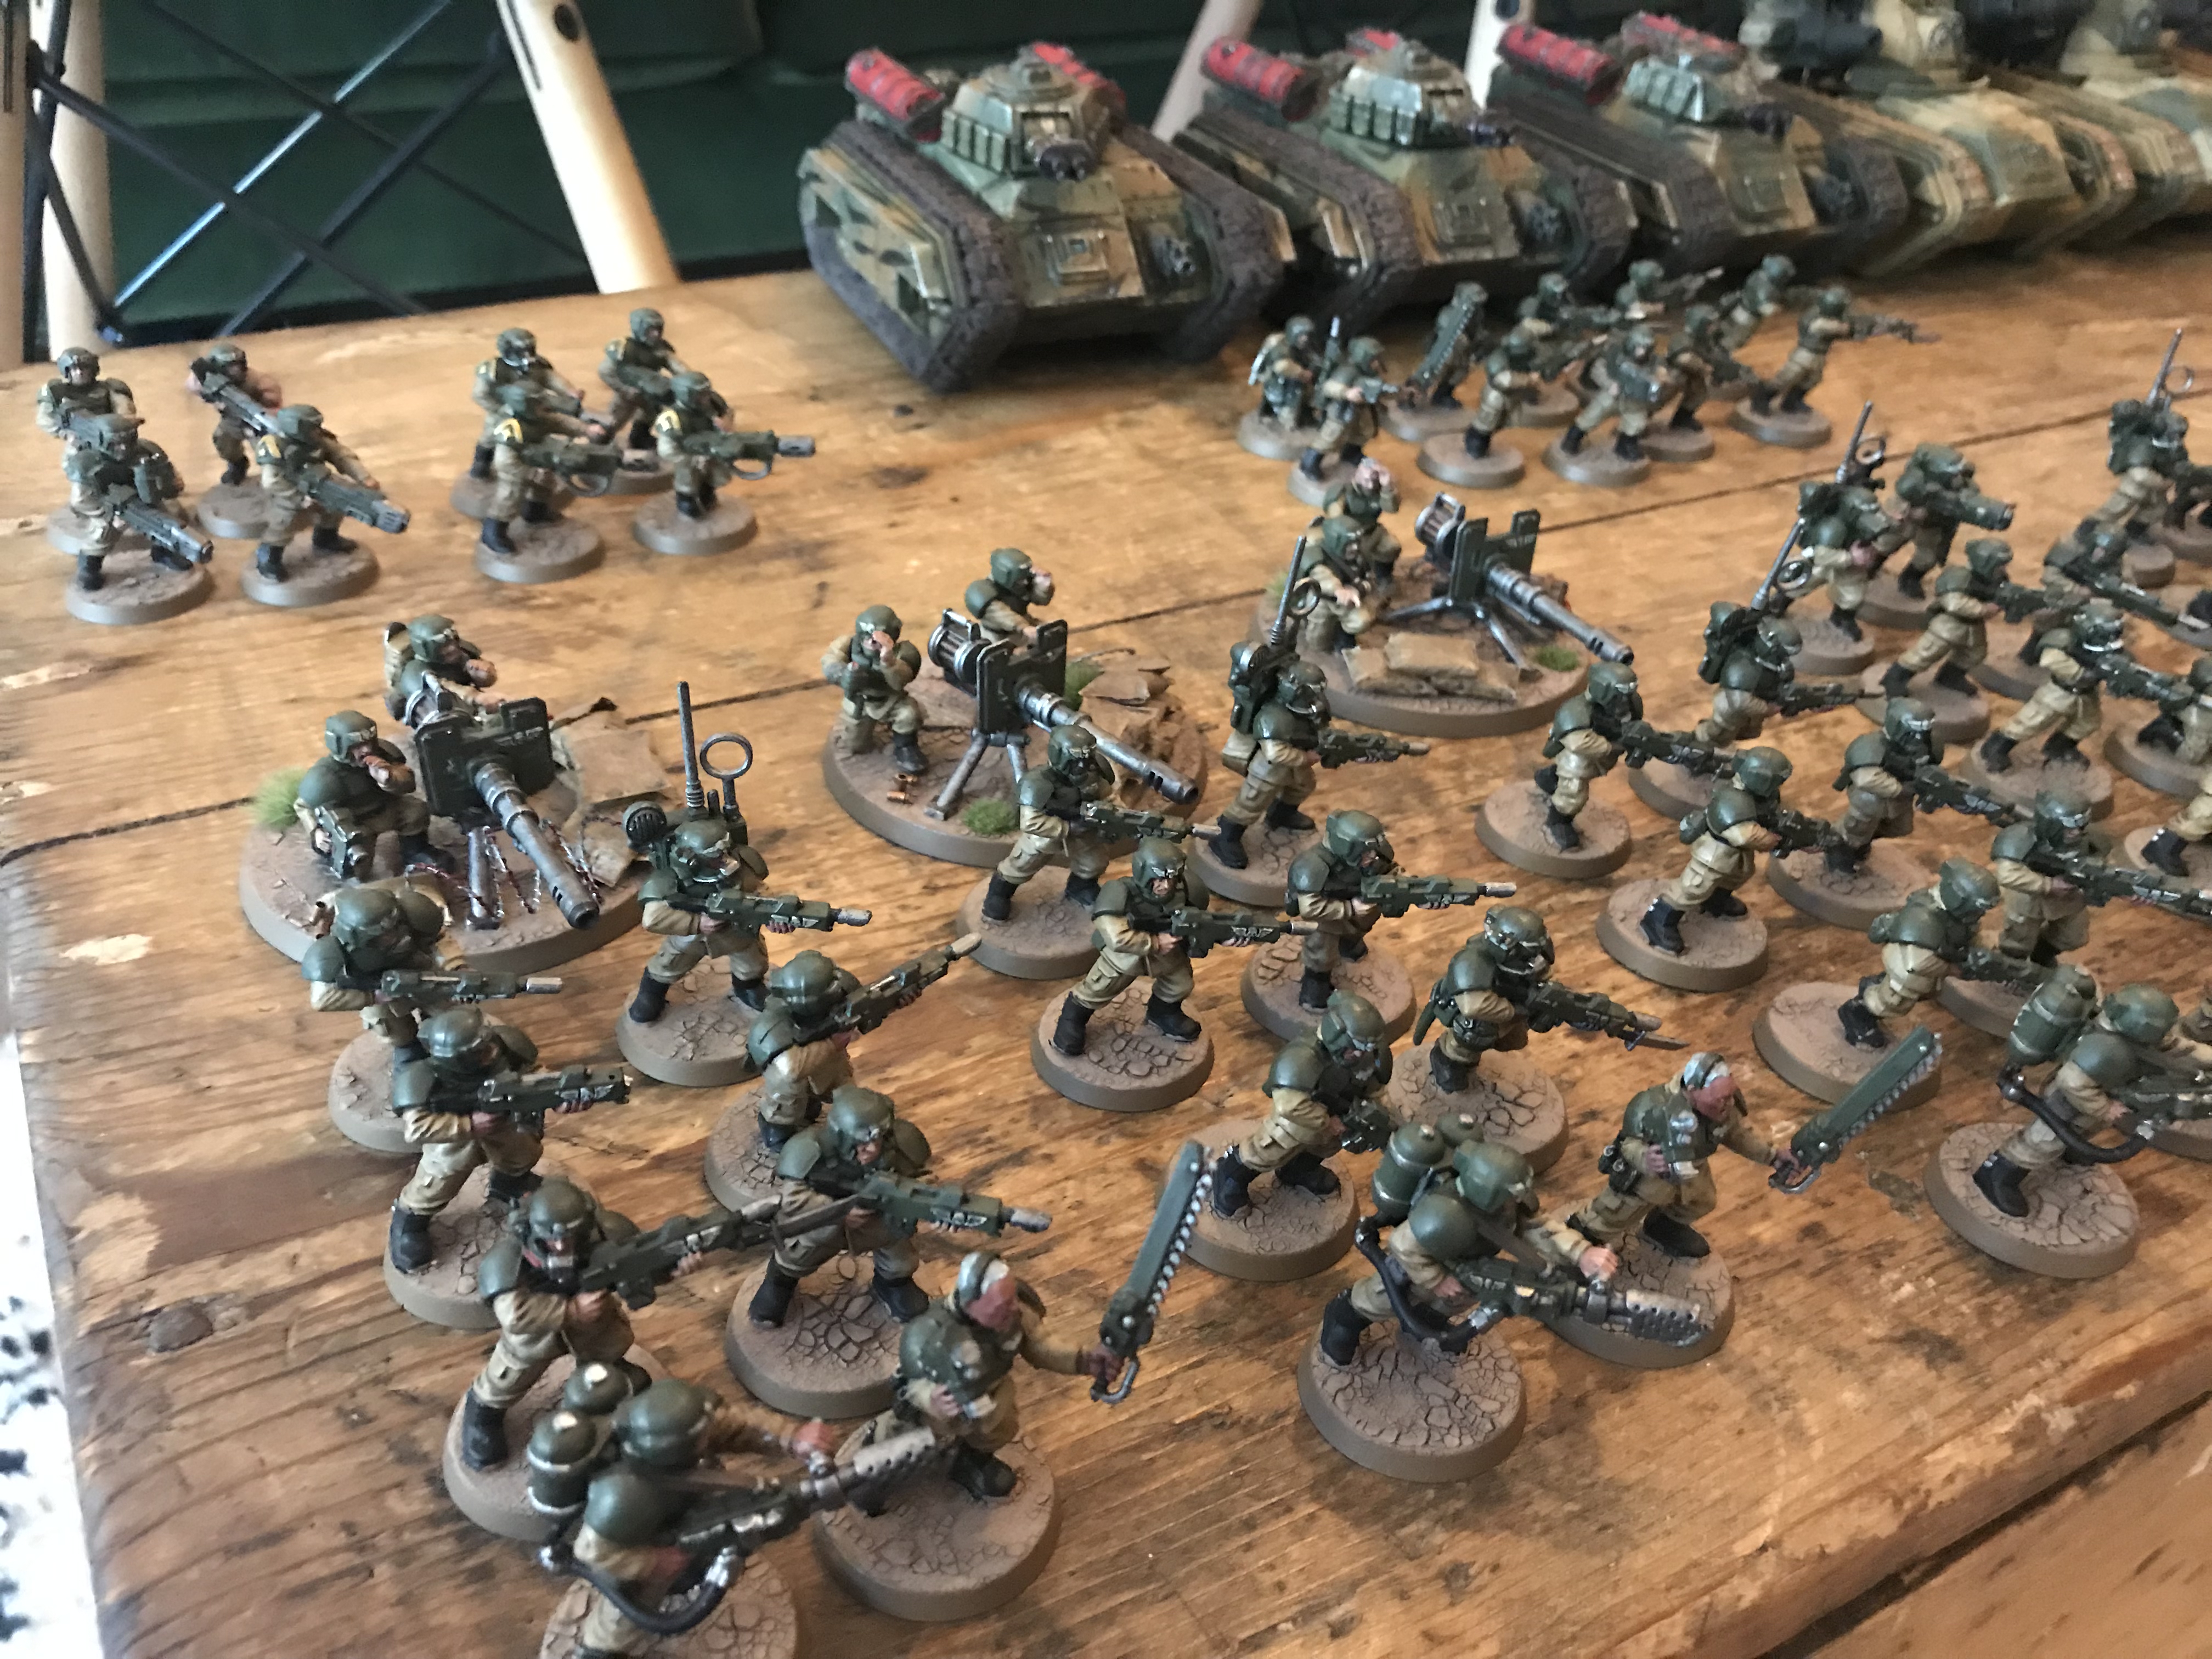
This is a Cadian Brigade Detachment with a Patrol of Valhallans because they’re painted.
-
- Pre-deployment
-


- Pre-deployment

-

- Pre-deployment
Cadian Brigade Detachment – Emperor’s Wrath Artillery Company
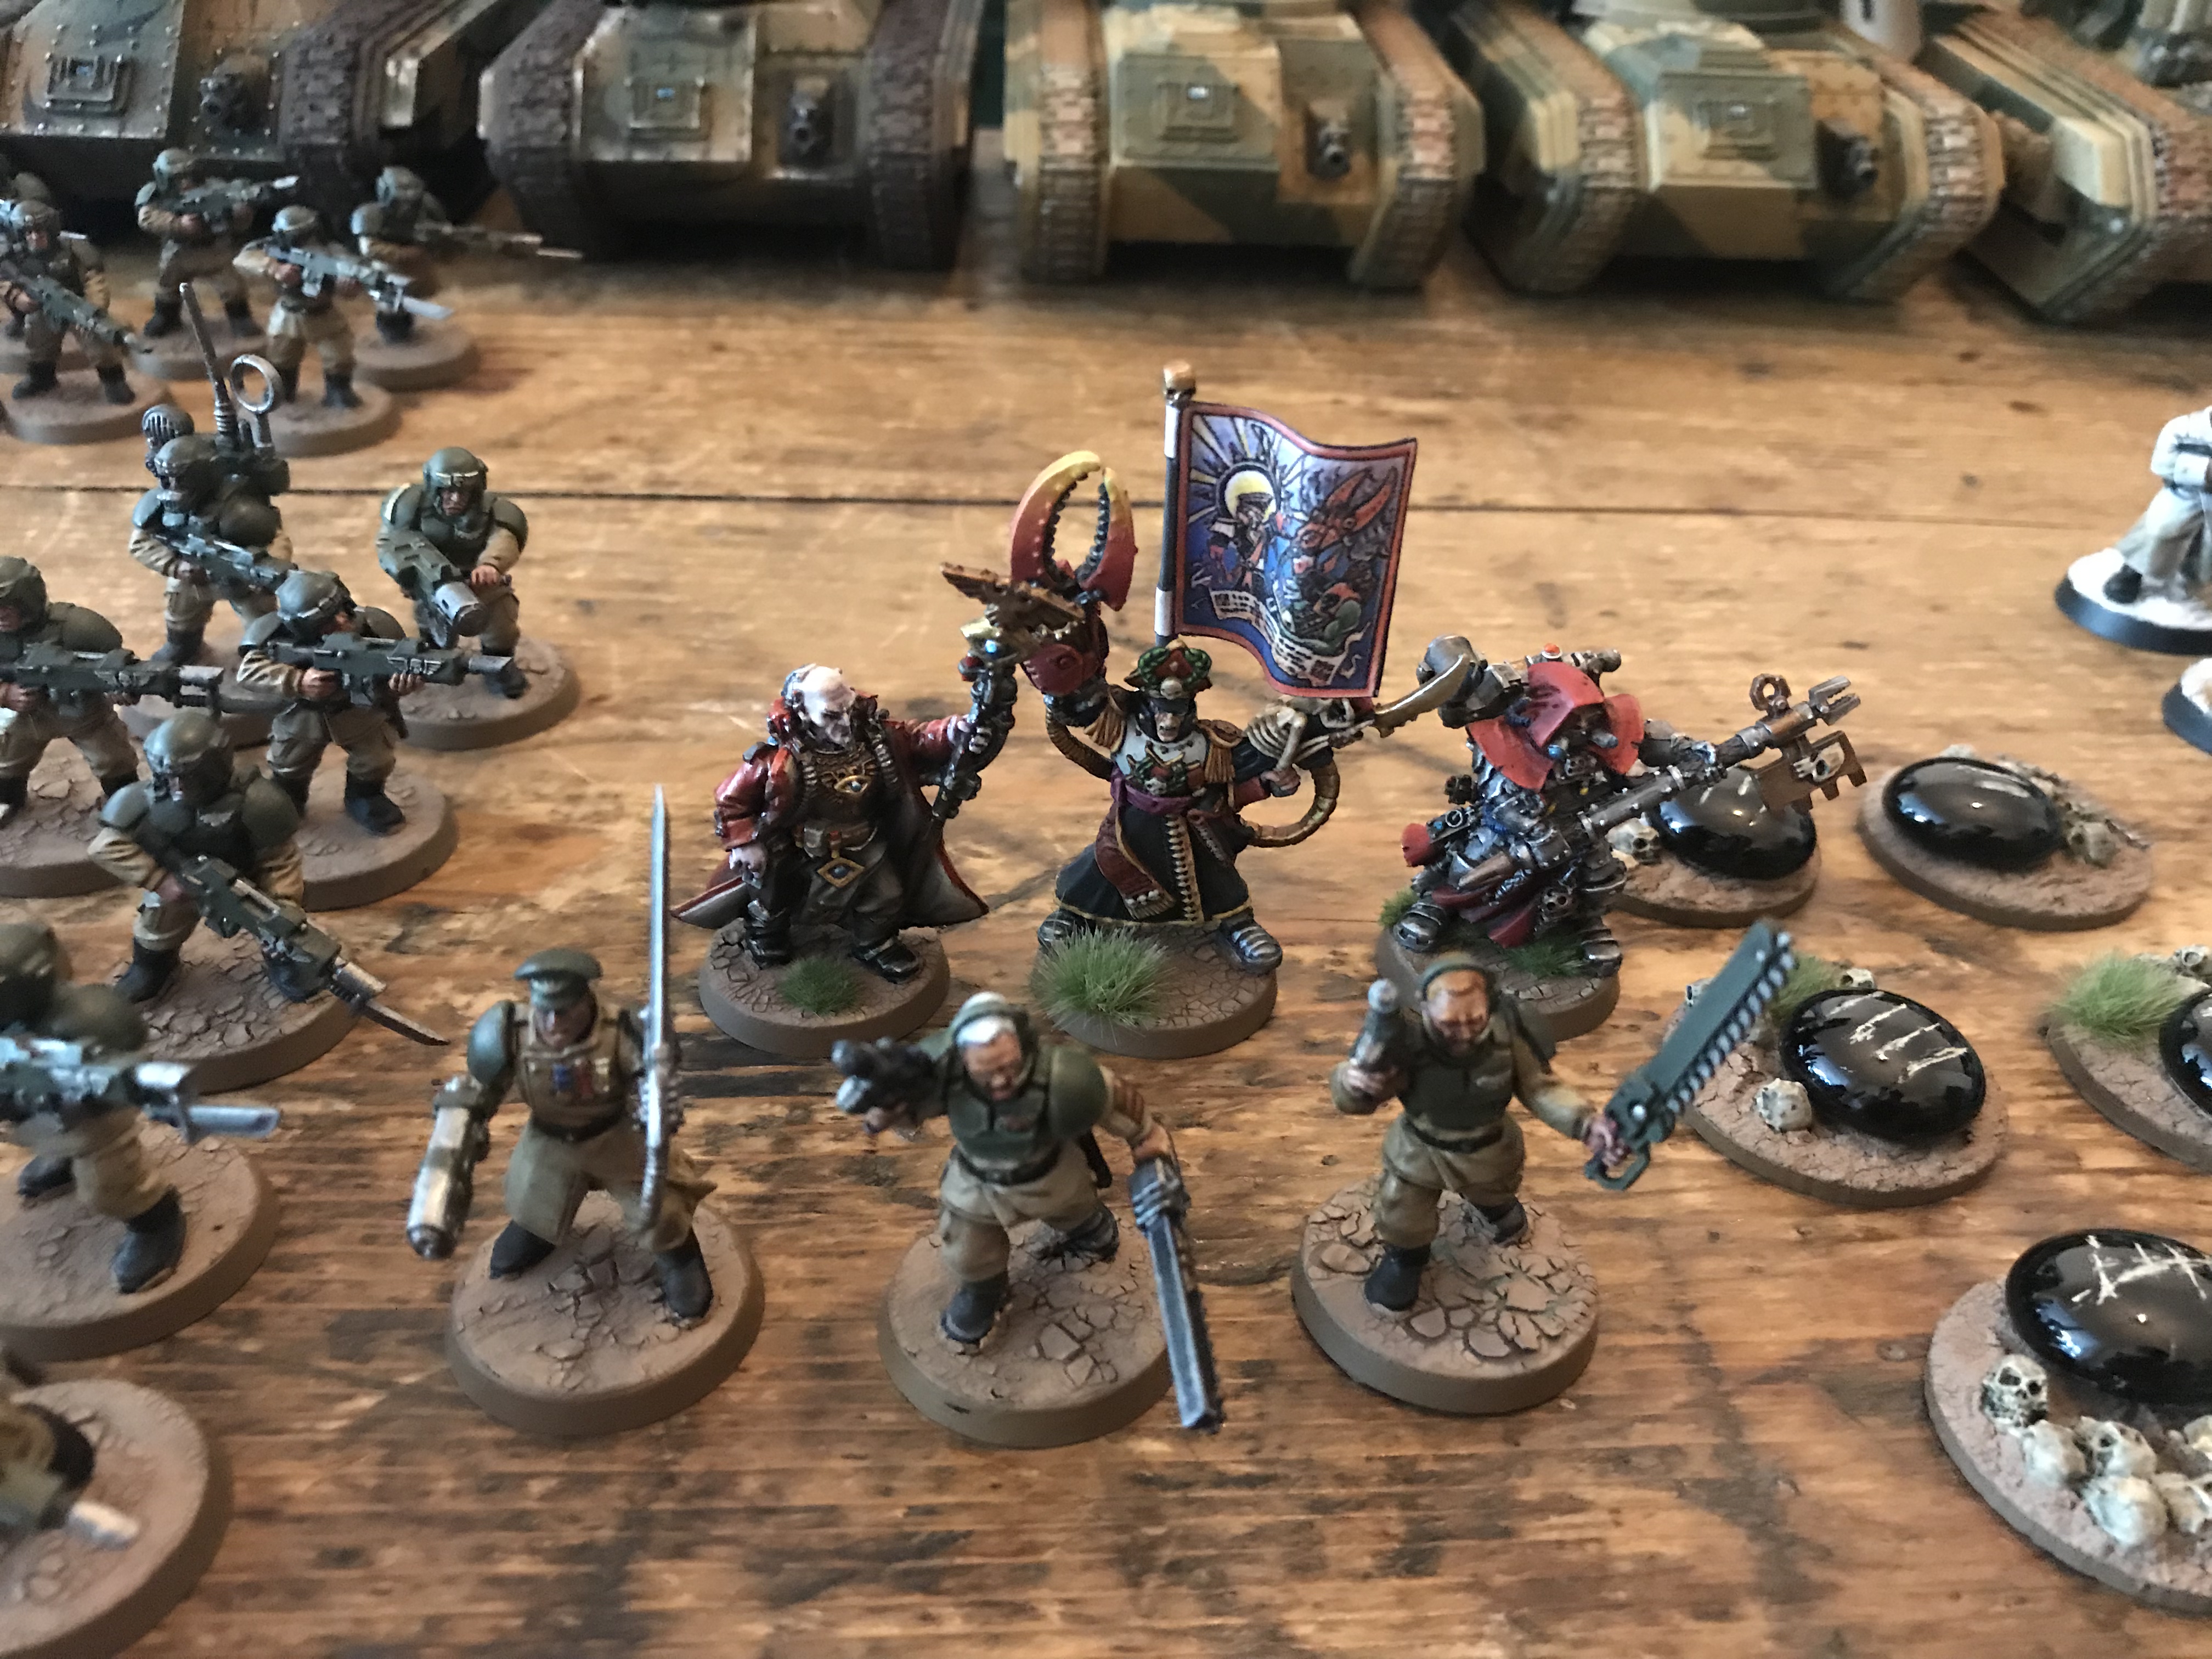
- Company Commander with Lost Relic of Cadia and Old Grudges
- Company Commander with Kurov’s Aquila and Artillery Company Warlord Trait
- Yarrick
- Primaris Psyker with Psychic Maelstrom and Emperor’s Gaze
- 3x Infantry Squads with Vox, Autocannon and Flamer
- 2x Infantry Squads with Vox and Plasma Guns
- An Infantry Squad with Vox and Melta Guns
- Command Squad of Plasma Guns
- Command Squad of Melta Guns
- A Platoon Commander with Power Sword and Plasma Pistol
- A Tech-Priest
- 3x Devil Dogs
- 2x Basilisks
- 2x Wyverns
All the weirdness with weapon options, Vox and Autocannons are because this is the only way I can get up to a Brigade. I have 35 painted regular Guardsmen. So I need to fill out as much as I can with other options like Heavy Weapons, Vox and Special Weapons.
I need to paint just a handful more Guardsmen. Then I’ll not have to spend so many points on upgraded models.
Valhallan Patrol Detachment
- Company Commander with Power Sword
- Infantry Squad
- 2x Heavy Weapons Squads with Missile Launchers
This comes to 1,686 points. This leaves me 64 points spare, enough to replace a Heavy Weapons Squad or the Infantry Squad using the Valhallan Stratagem – Send in the Next Wave. Unsure how useful that might be at present but it’ll be fun.
I plan on placing Yarrick next to the six Missile Launcher Teams for his re-rolls of one.
All in this leaves me with 12CP.
12 + 3 – 1 – 1 – 1
The deductions are for…
- Extra Heirloom of Conquest
- Emperor’s Wrath Artillery Company
- Extra Warlord Trait
12CP is a decent haul I’d say. Although you can quickly tear through half of those on turn one trying to maximise your shooting:
- 2 on Overlapping Fields of Fire
- 2 on firing a Basilisk/Wyvern twice
- 2 on Aerial Spotter Basilisk/Wyvern
Not to mention Command Rerolls.
Death Guard List
- Two Chaos Lords
- Two Rhinos
- Two squads of Plague Marines with Plasma in the Rhinos
- Two Armigers
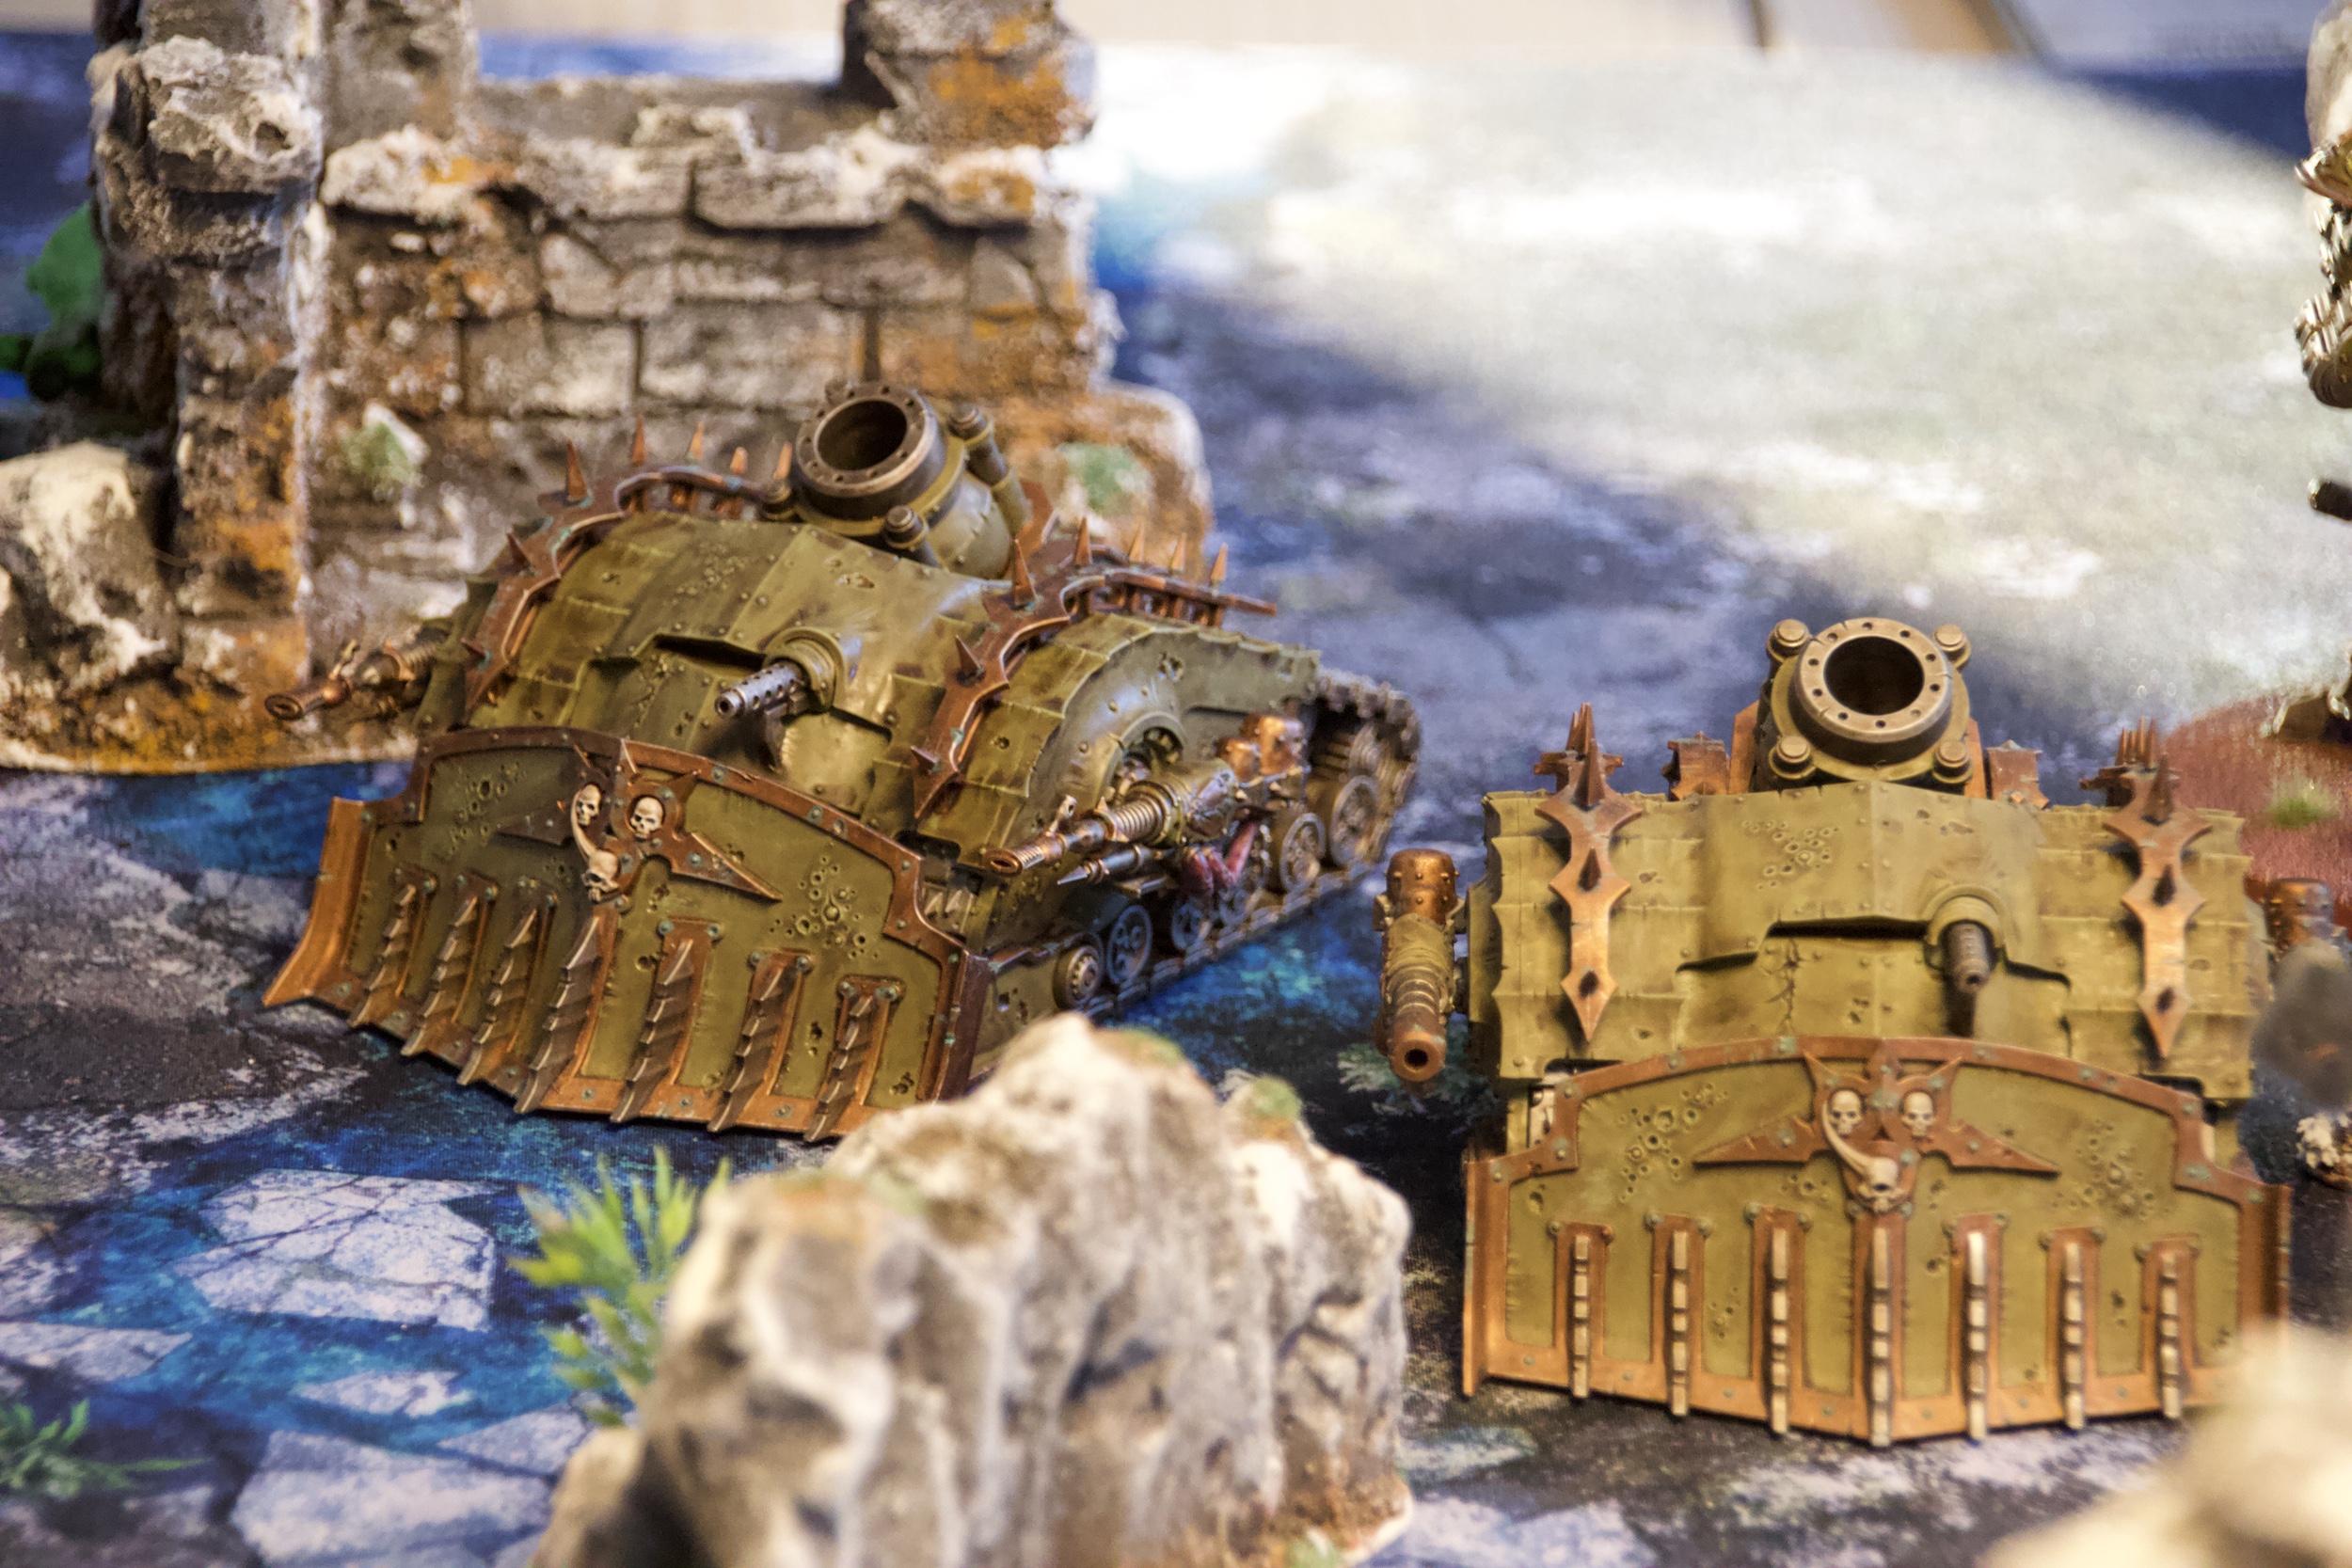
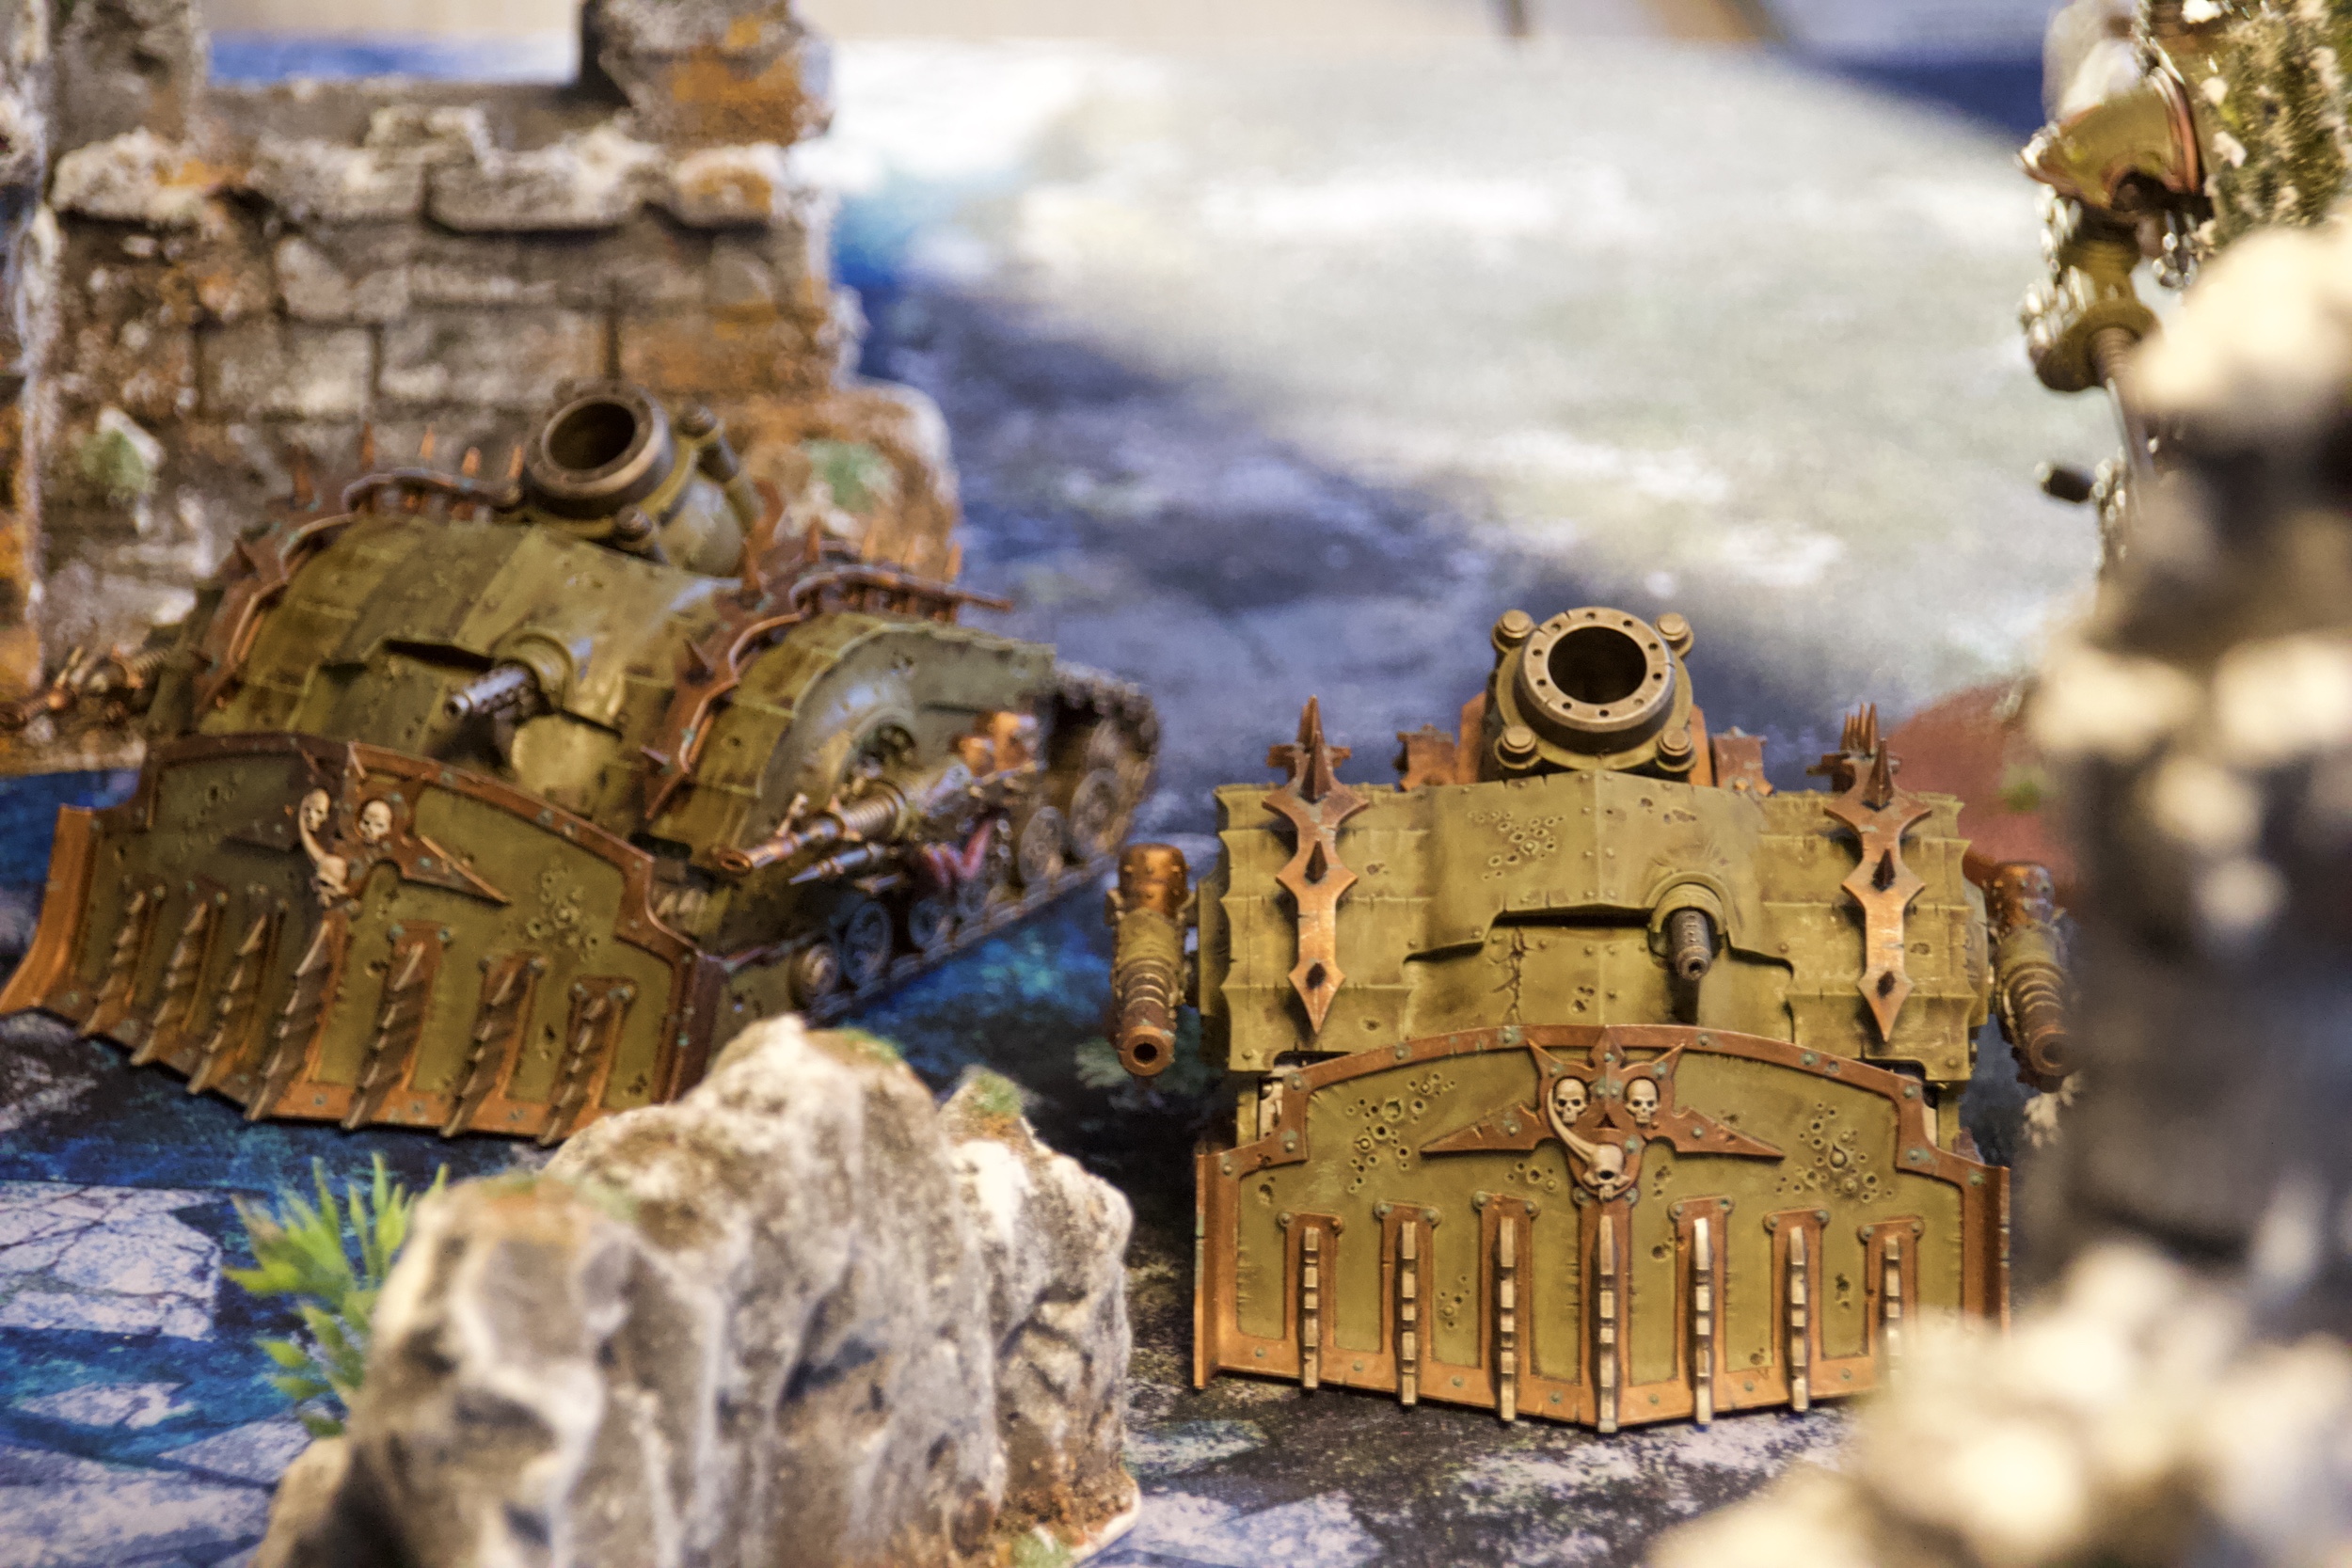
- Two Plague Burstcrawlers
- Two Foul Blightspawn
- Pox Walkers
- Terminators with Plasma
- A Psyker
You can view Mark’s Death Guard list in full on his blog.
The Mission
We played Narrow the Search from Chapter Approved 2018. This has one objective which is worth 1VP a turn but its radius for capturing starts at 18″ and reduces by 3″ per turn.
Also, if a unit is within 12″ of the objective then no Invulnerable Saves can be taken by that unit.
Deployment
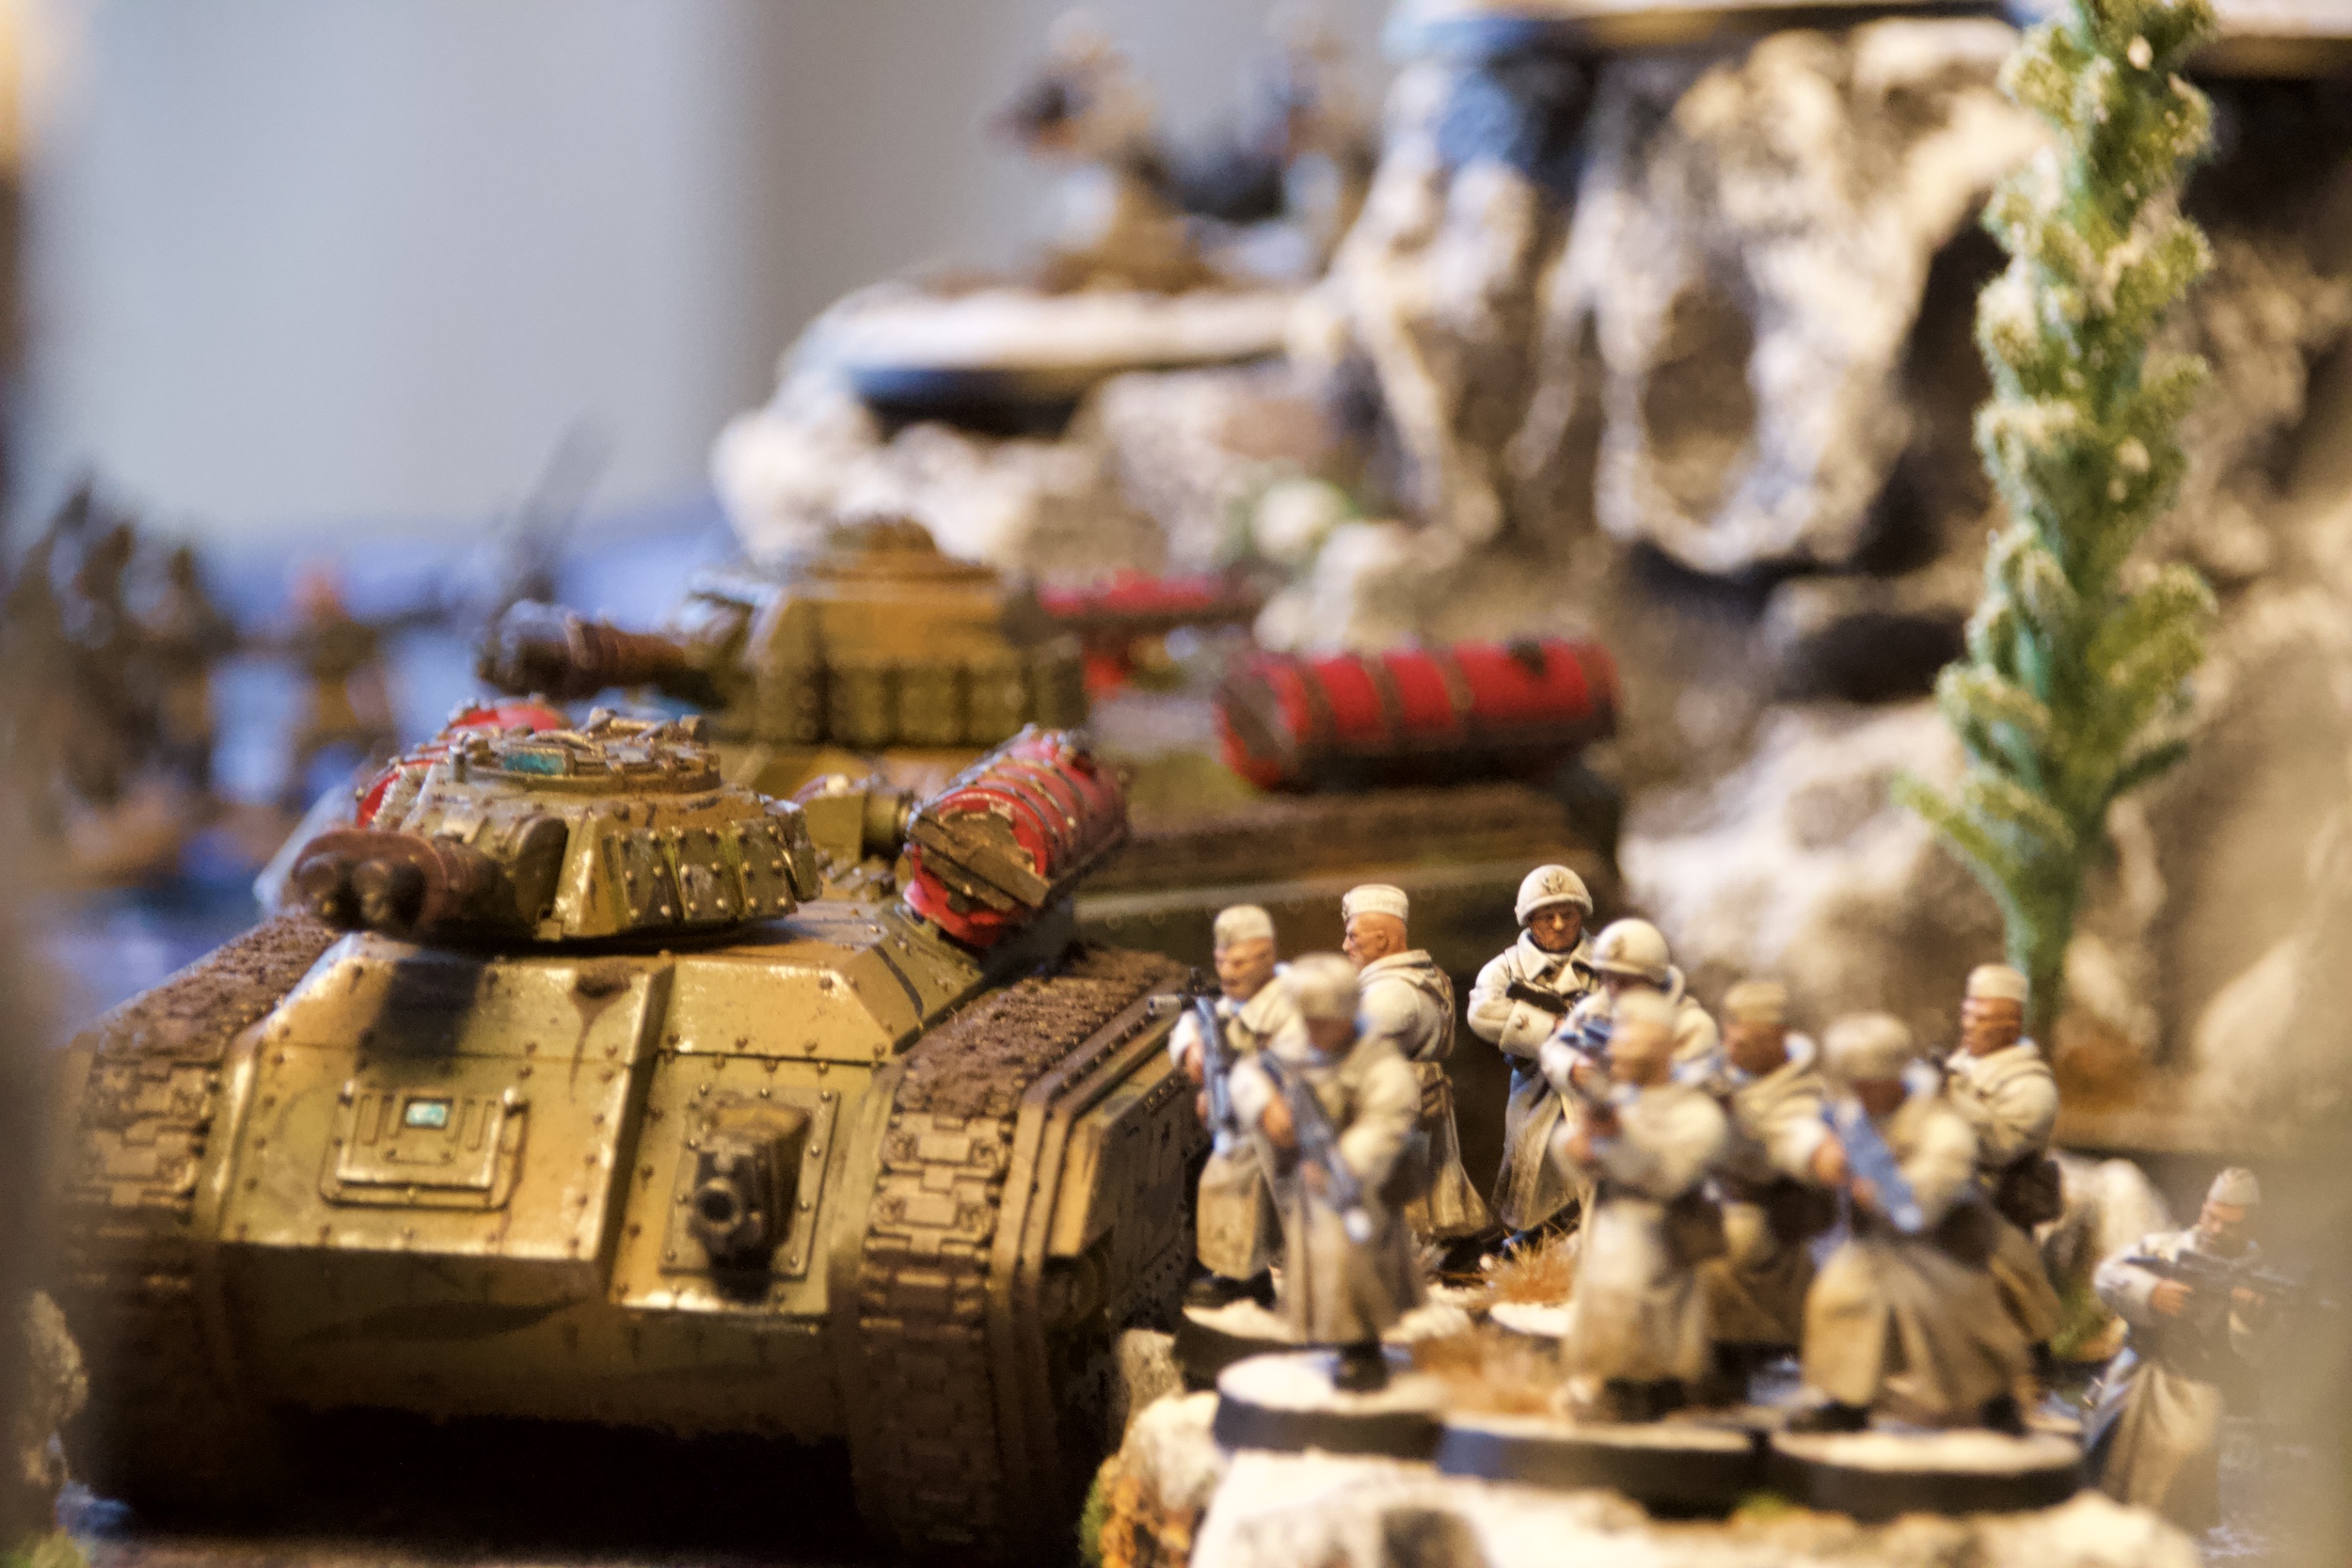
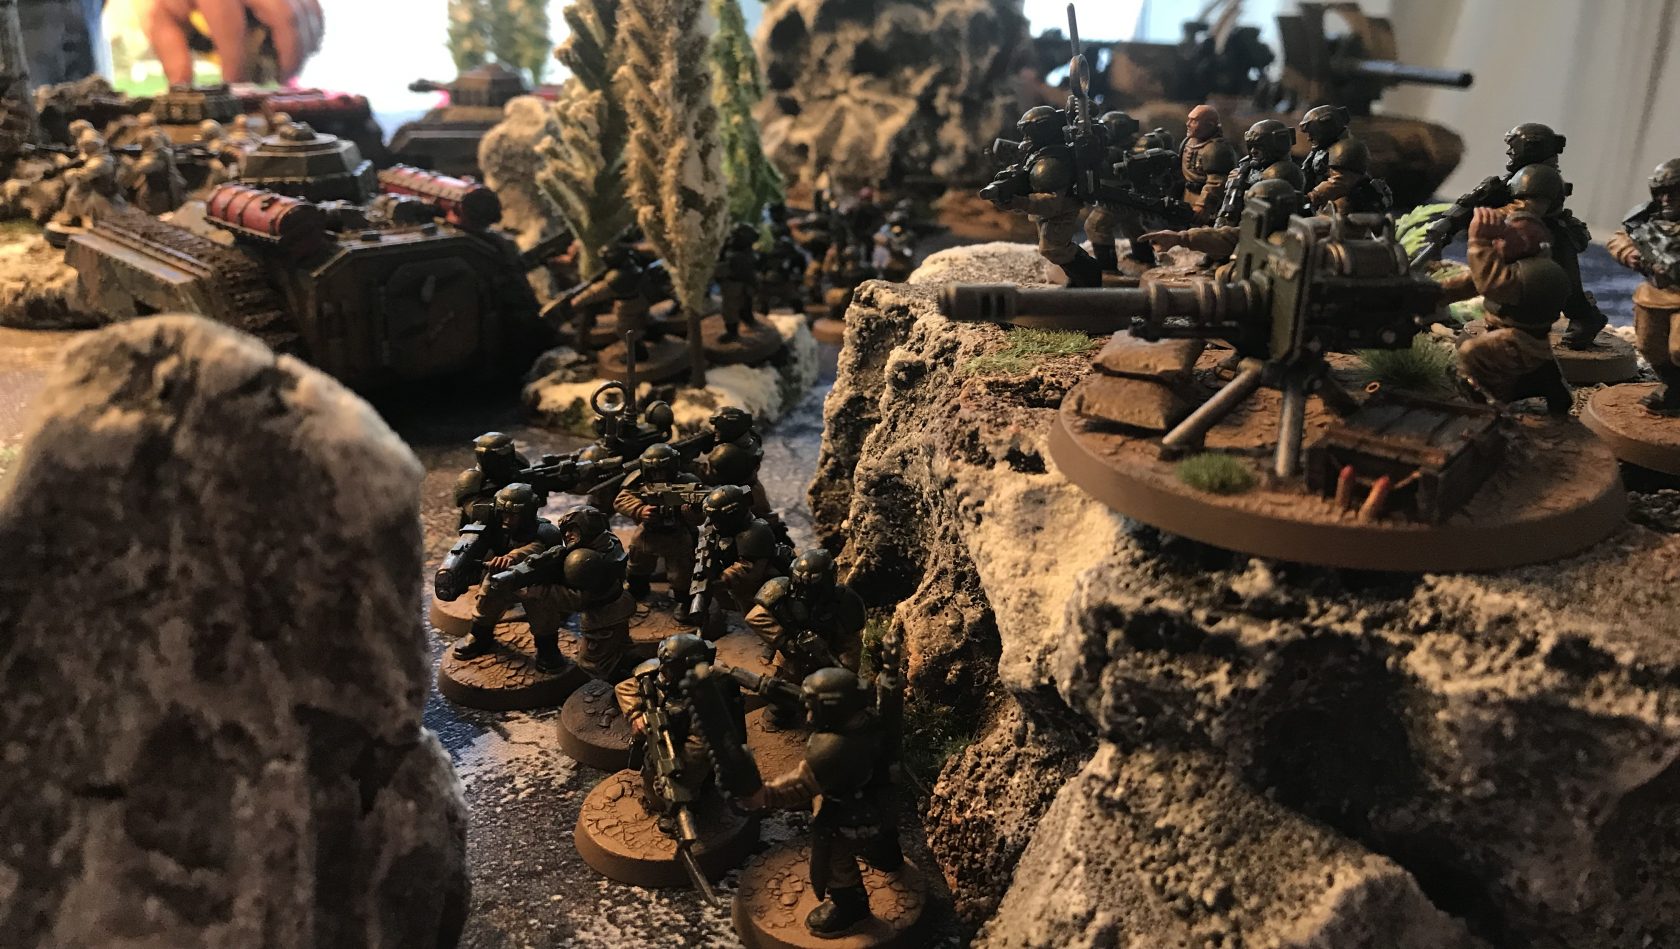
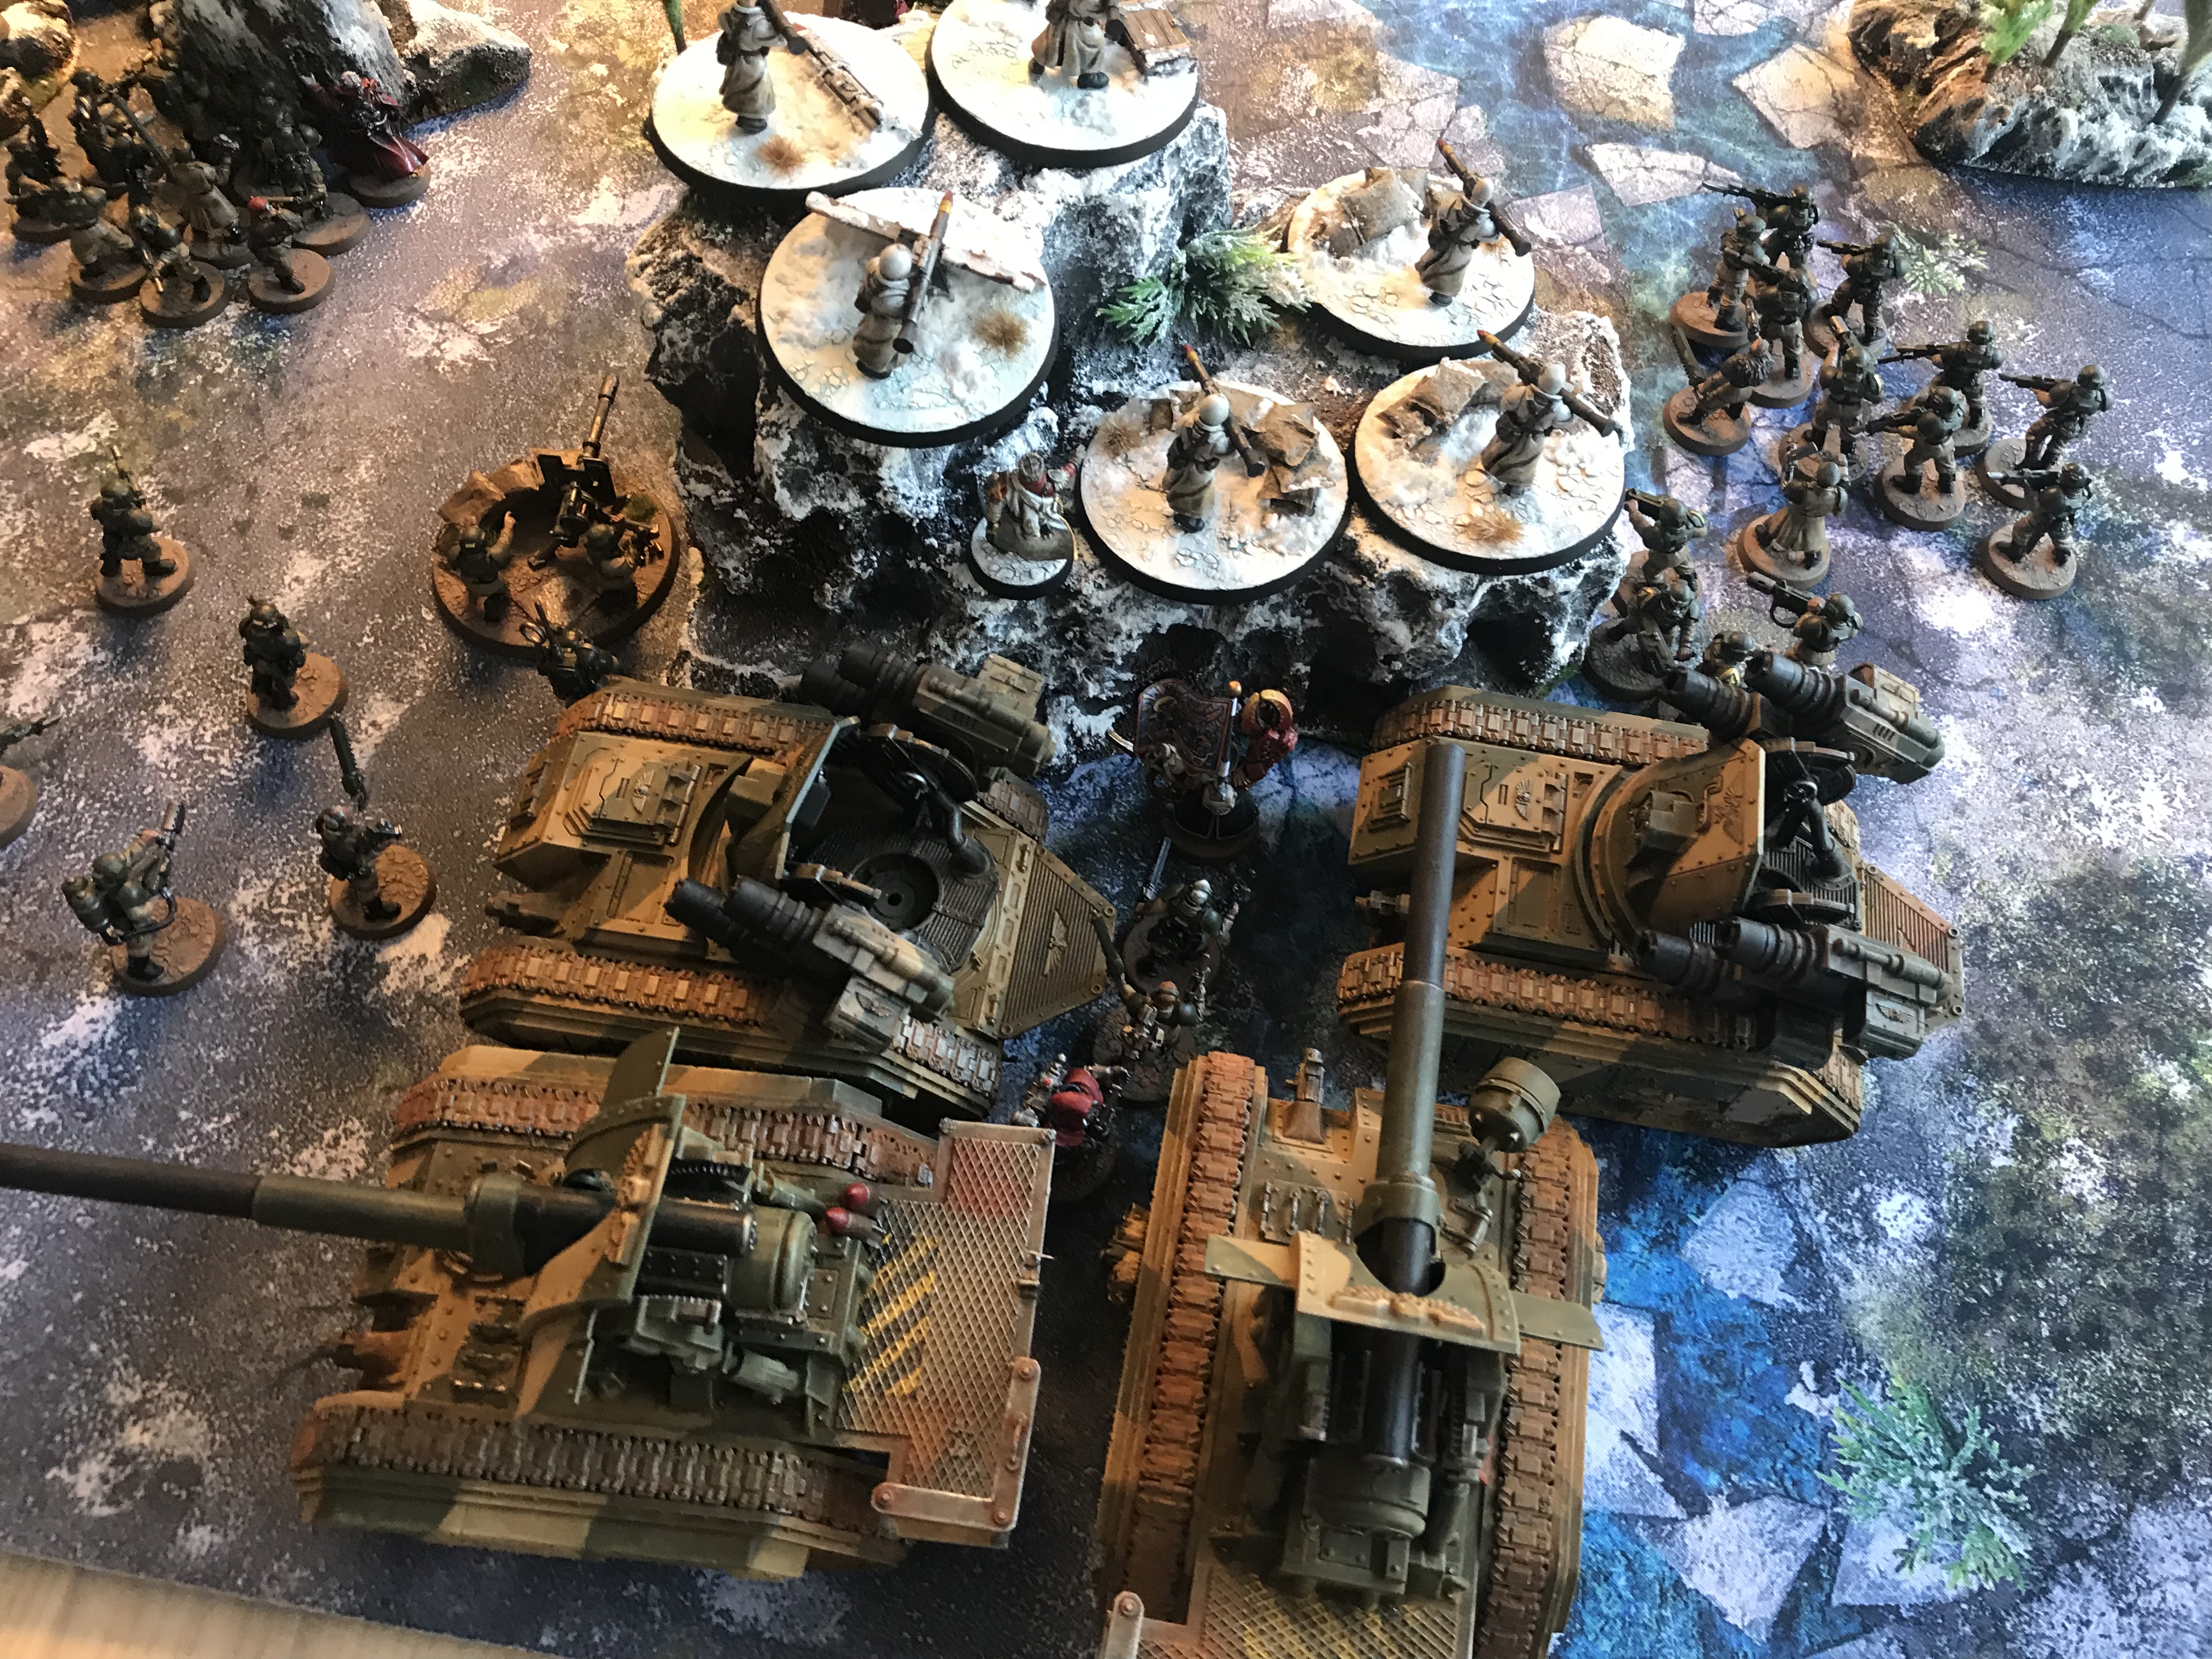
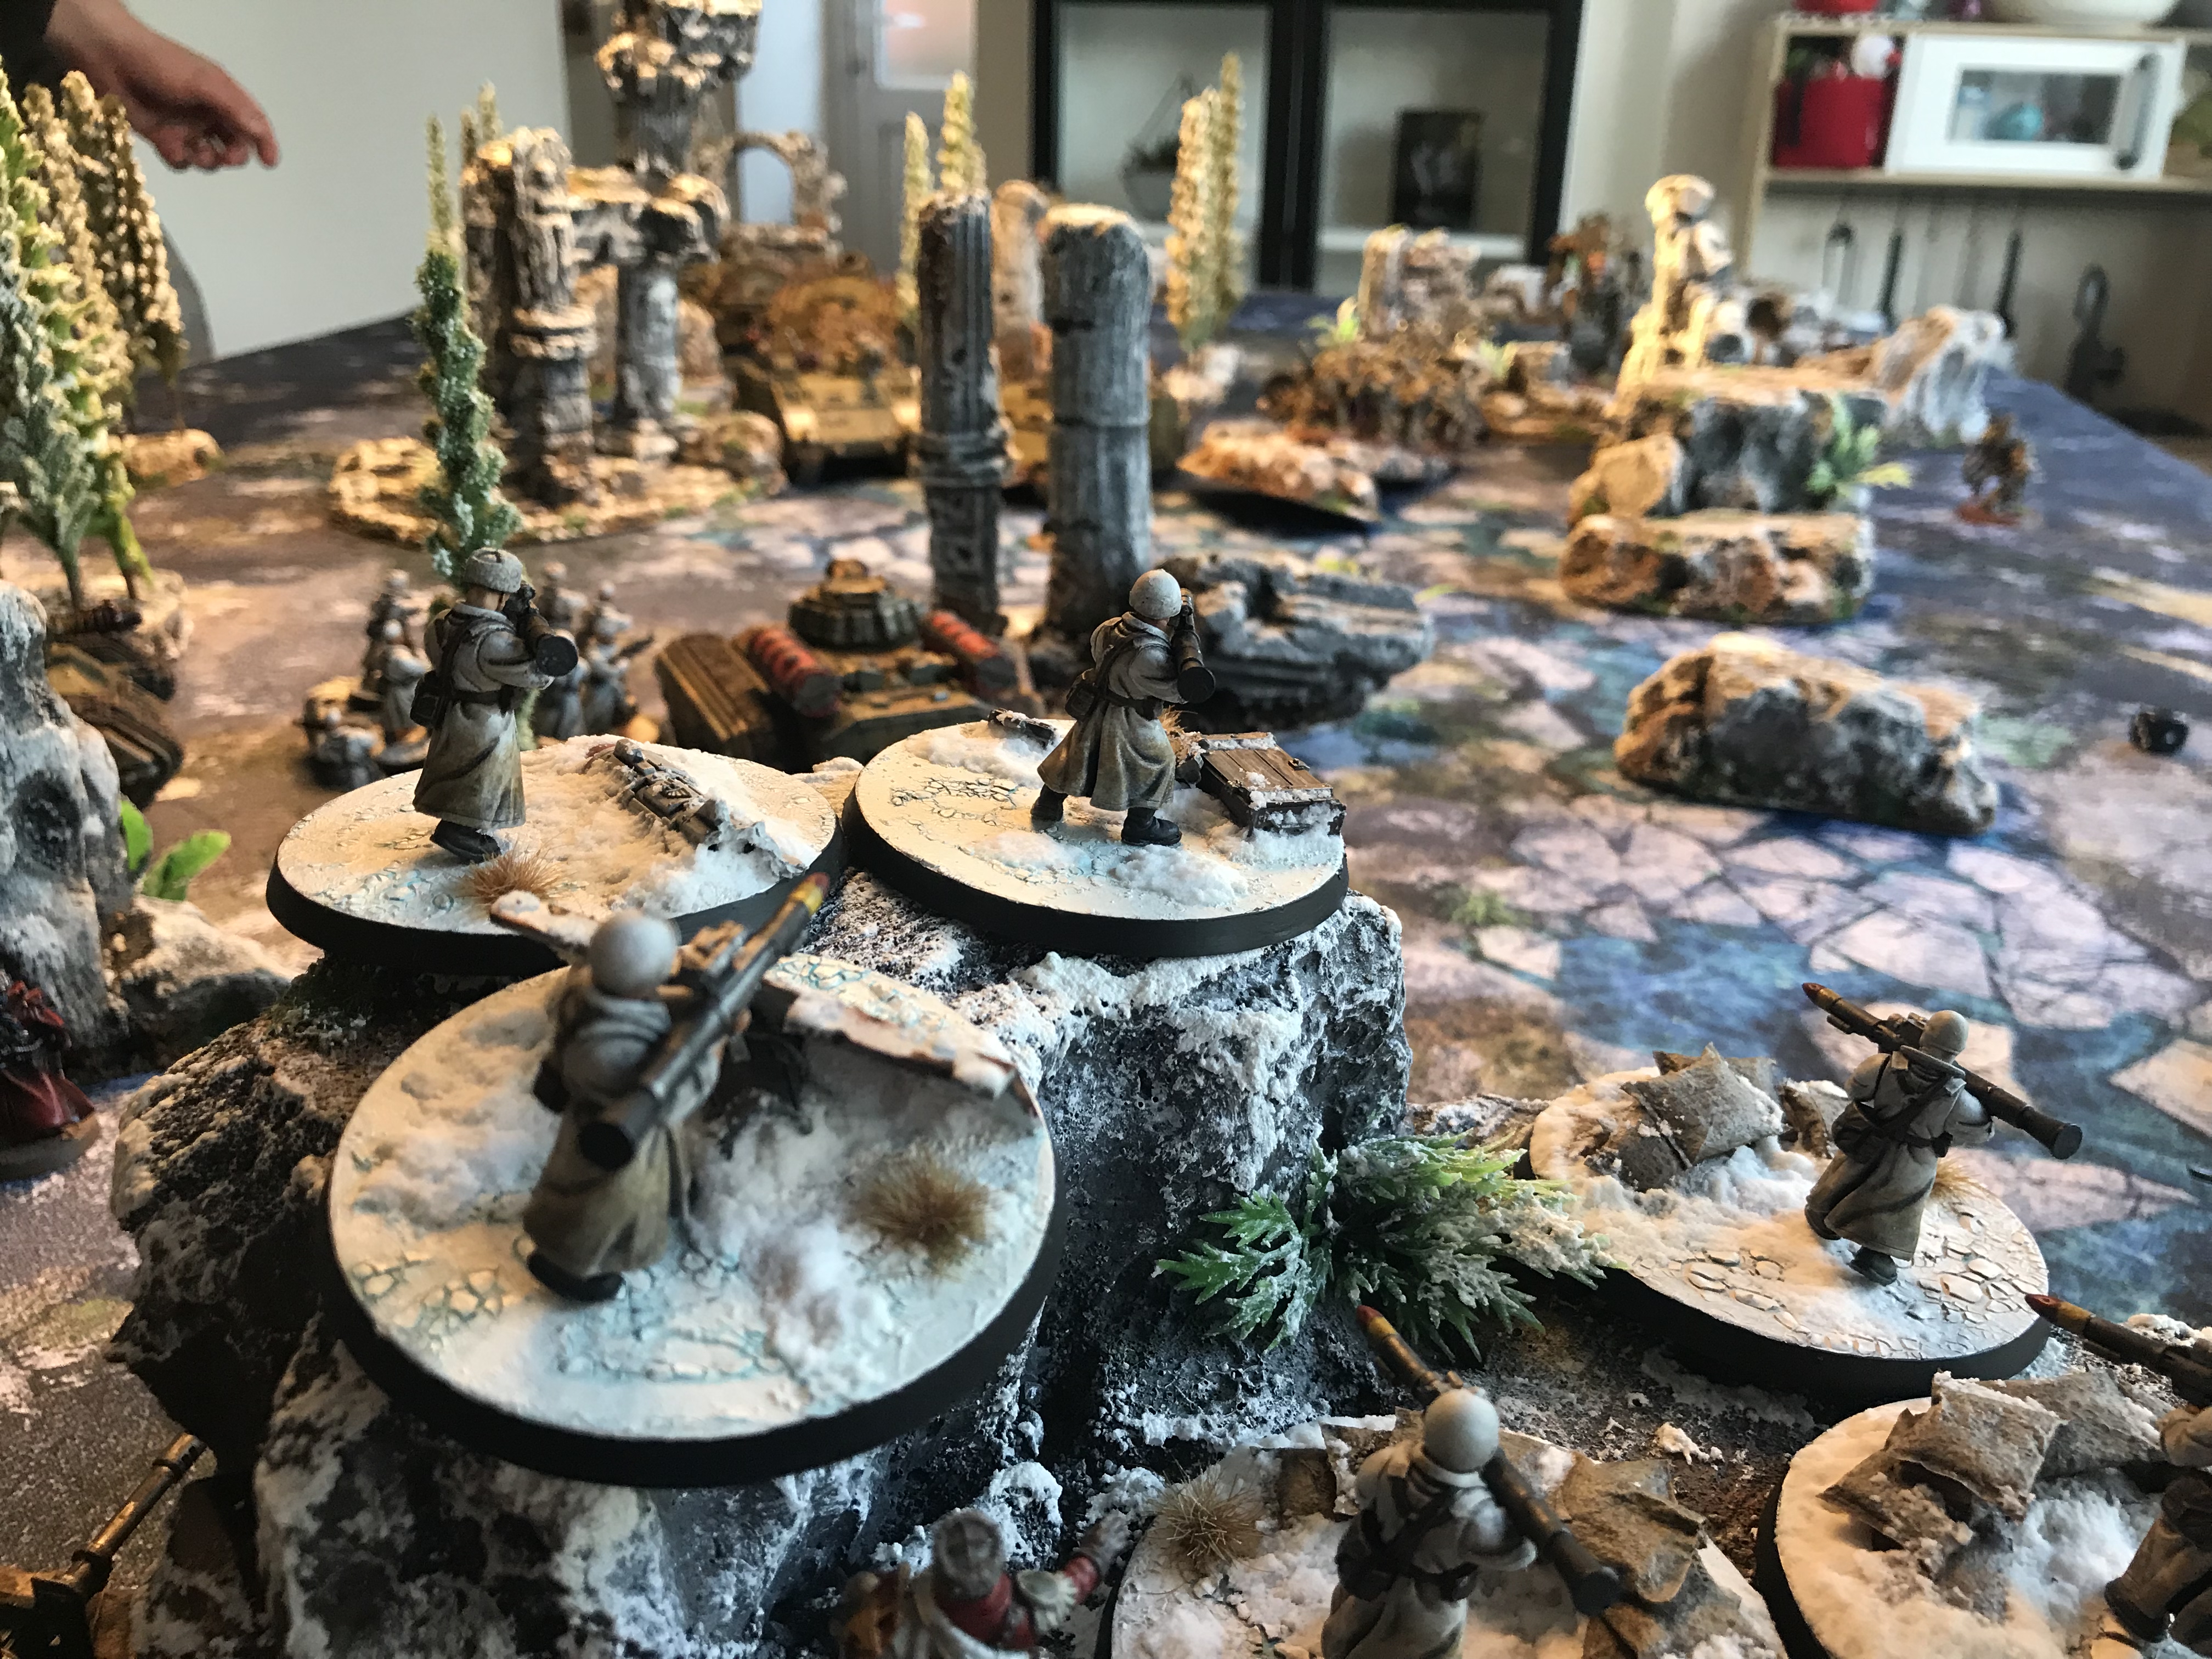
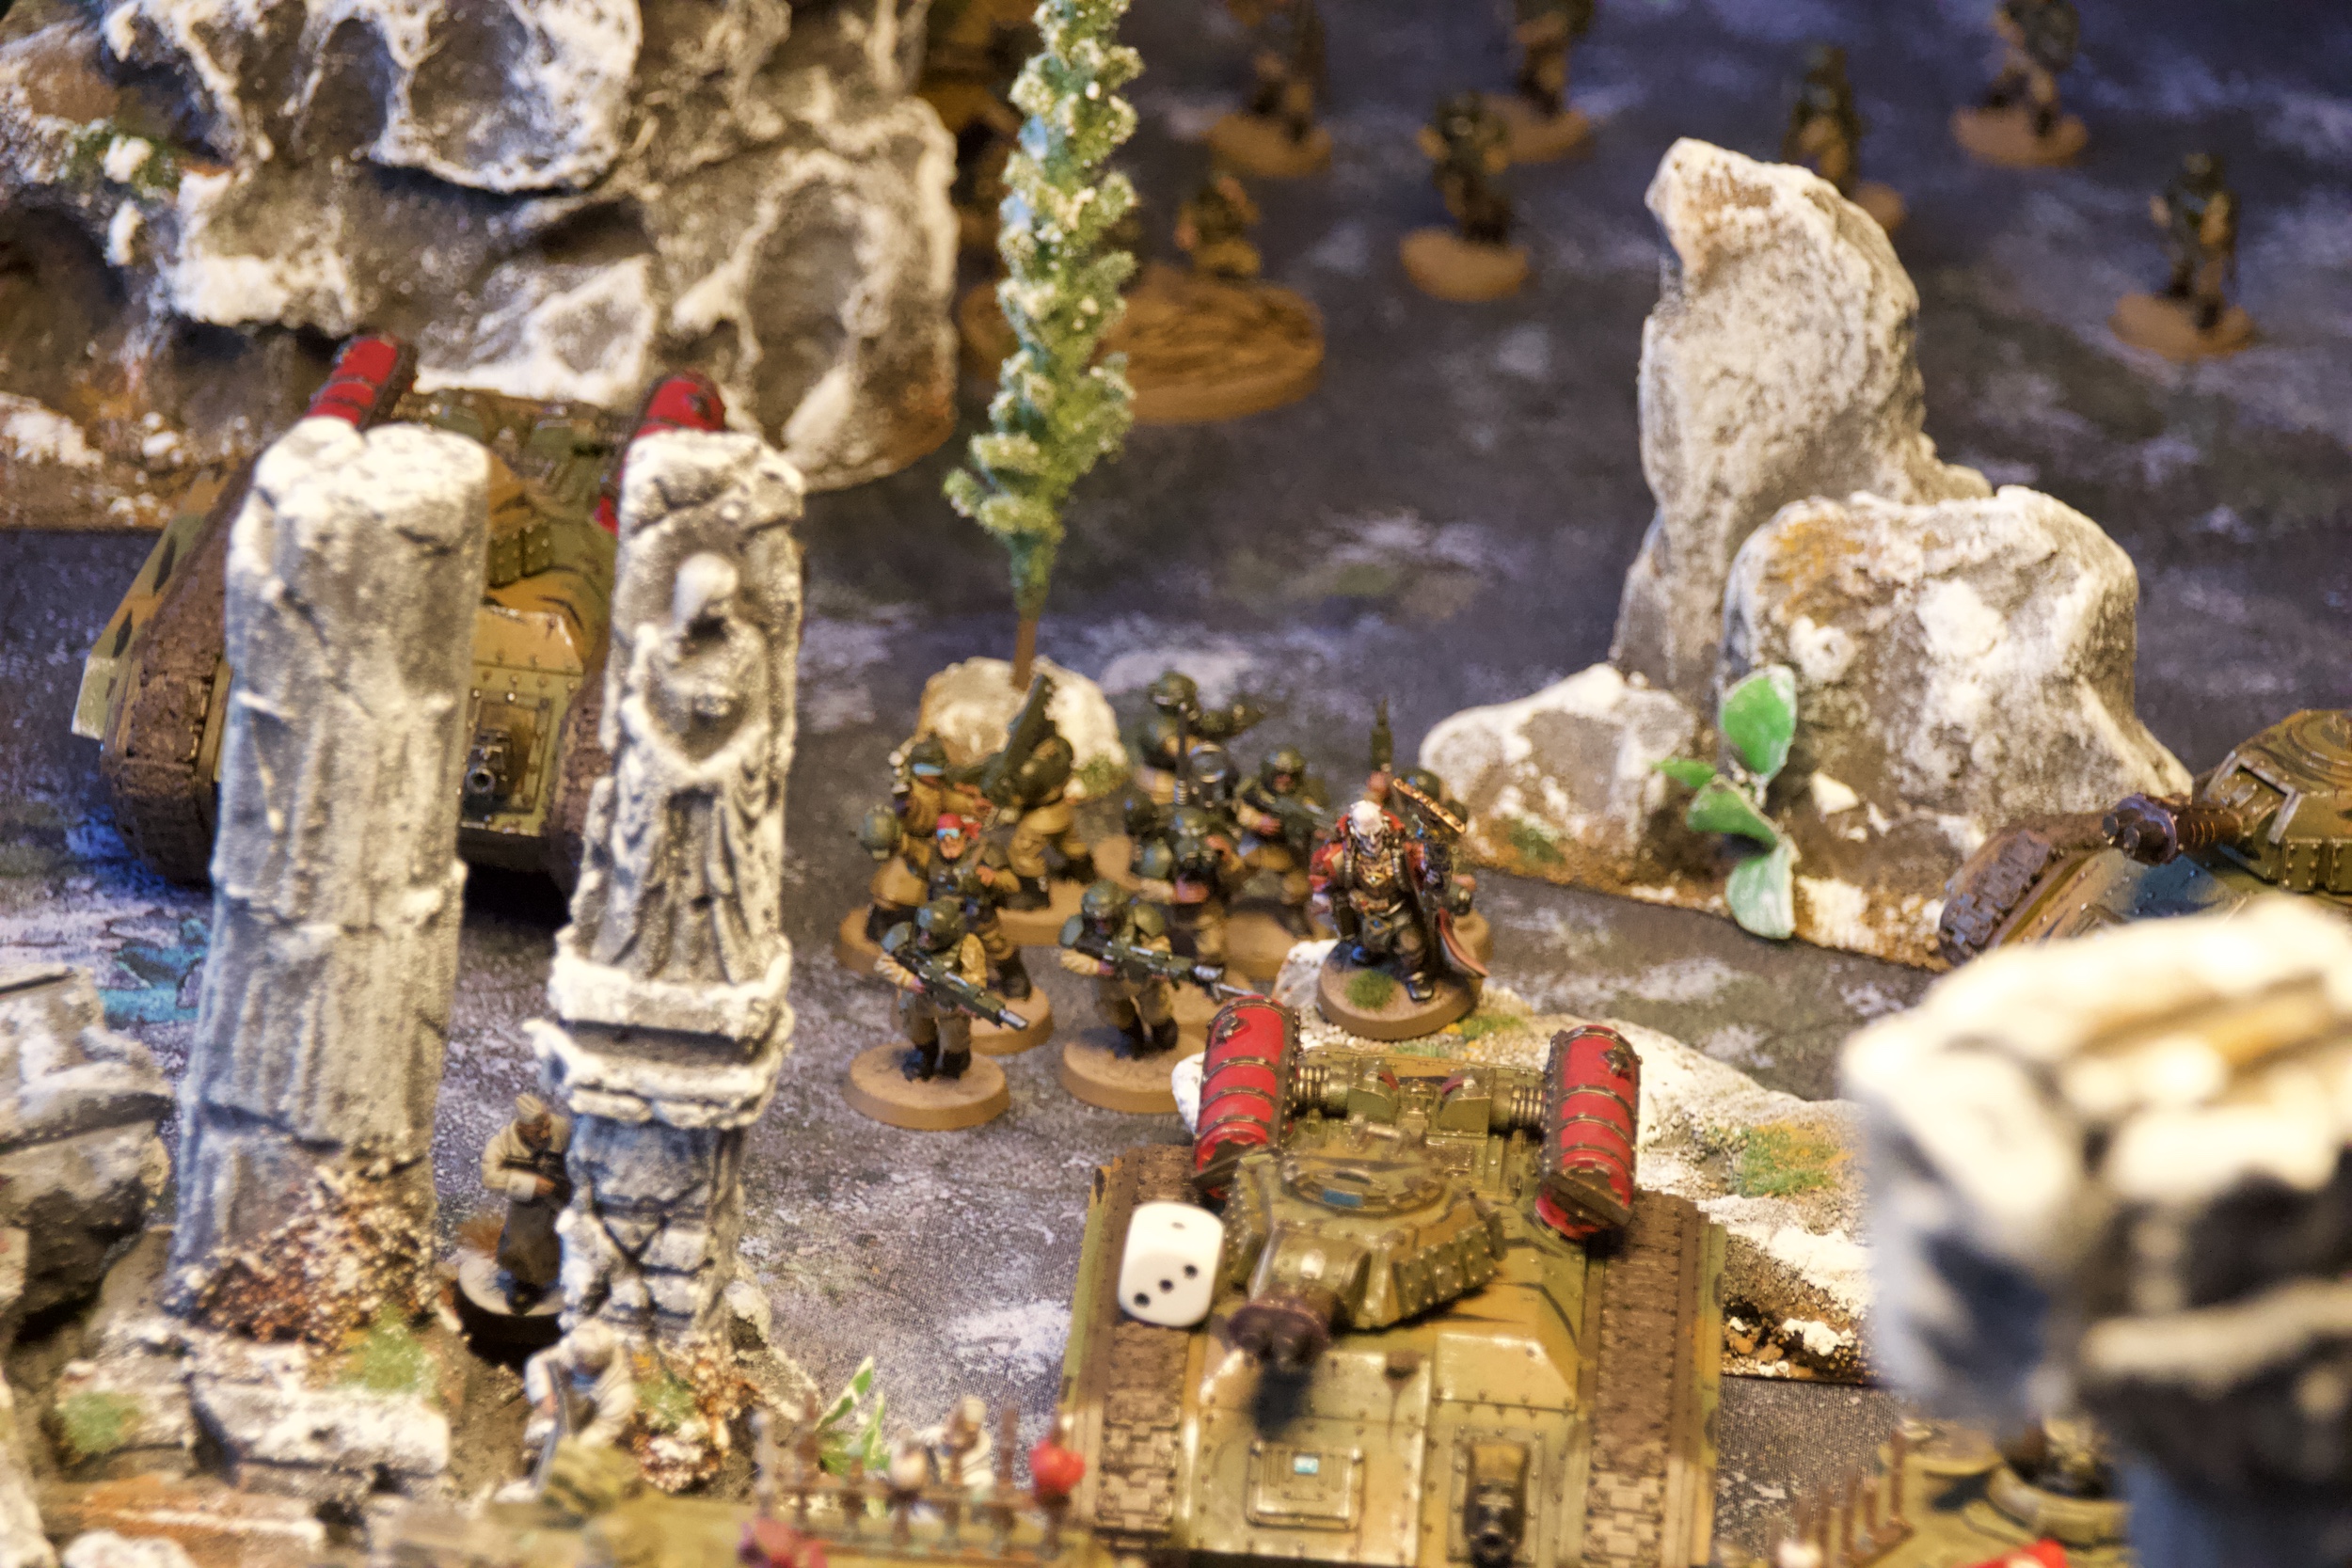
I placed all my artillery together with my Commanders. Infantry was already out, the Valhallan squad went forward and the Valhallan Missile Launchers went atop a hill with Yarrick and their Commander.
-

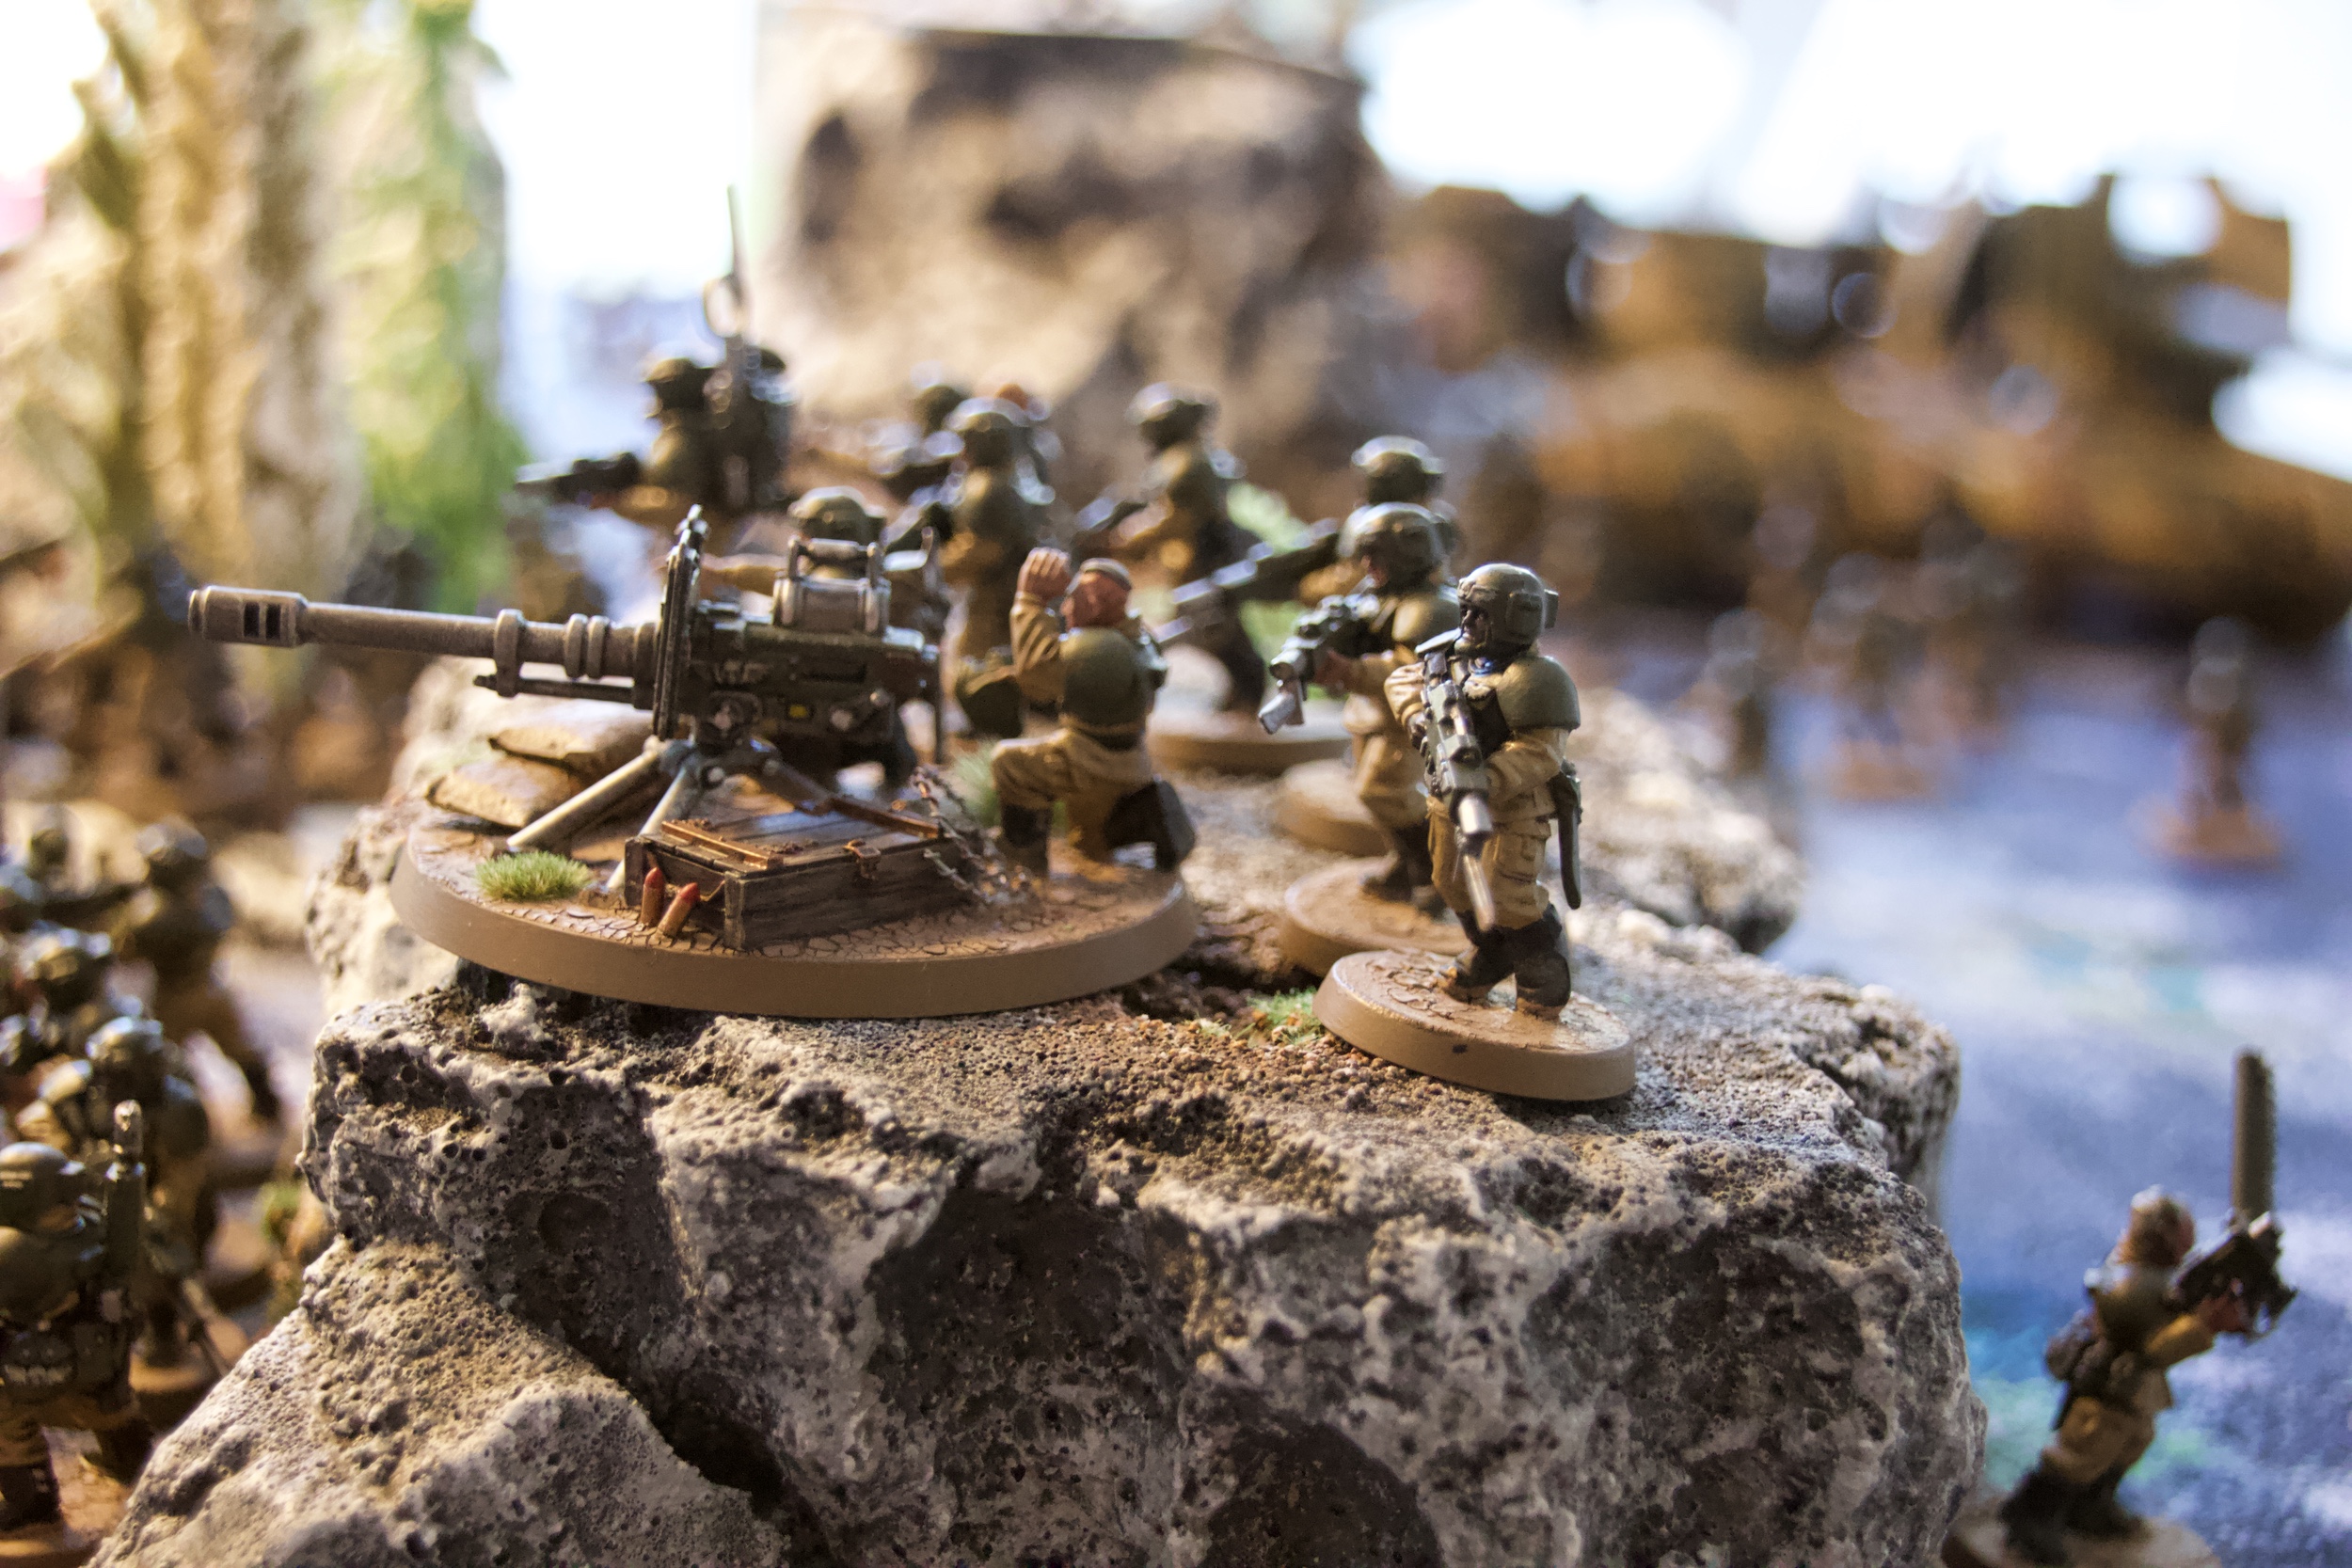
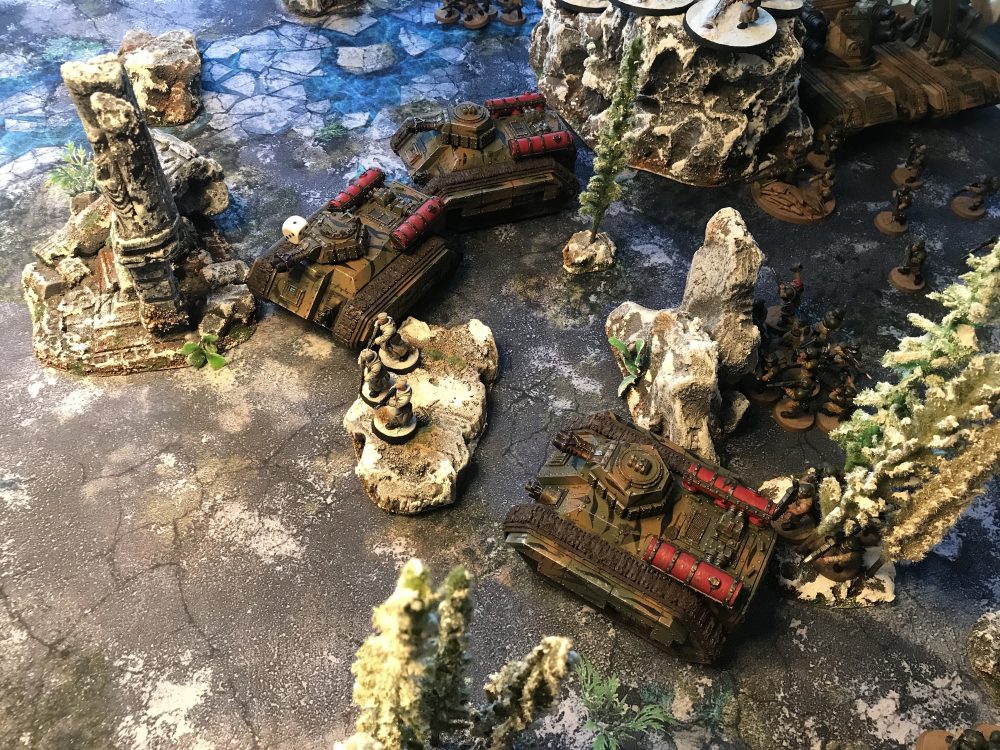
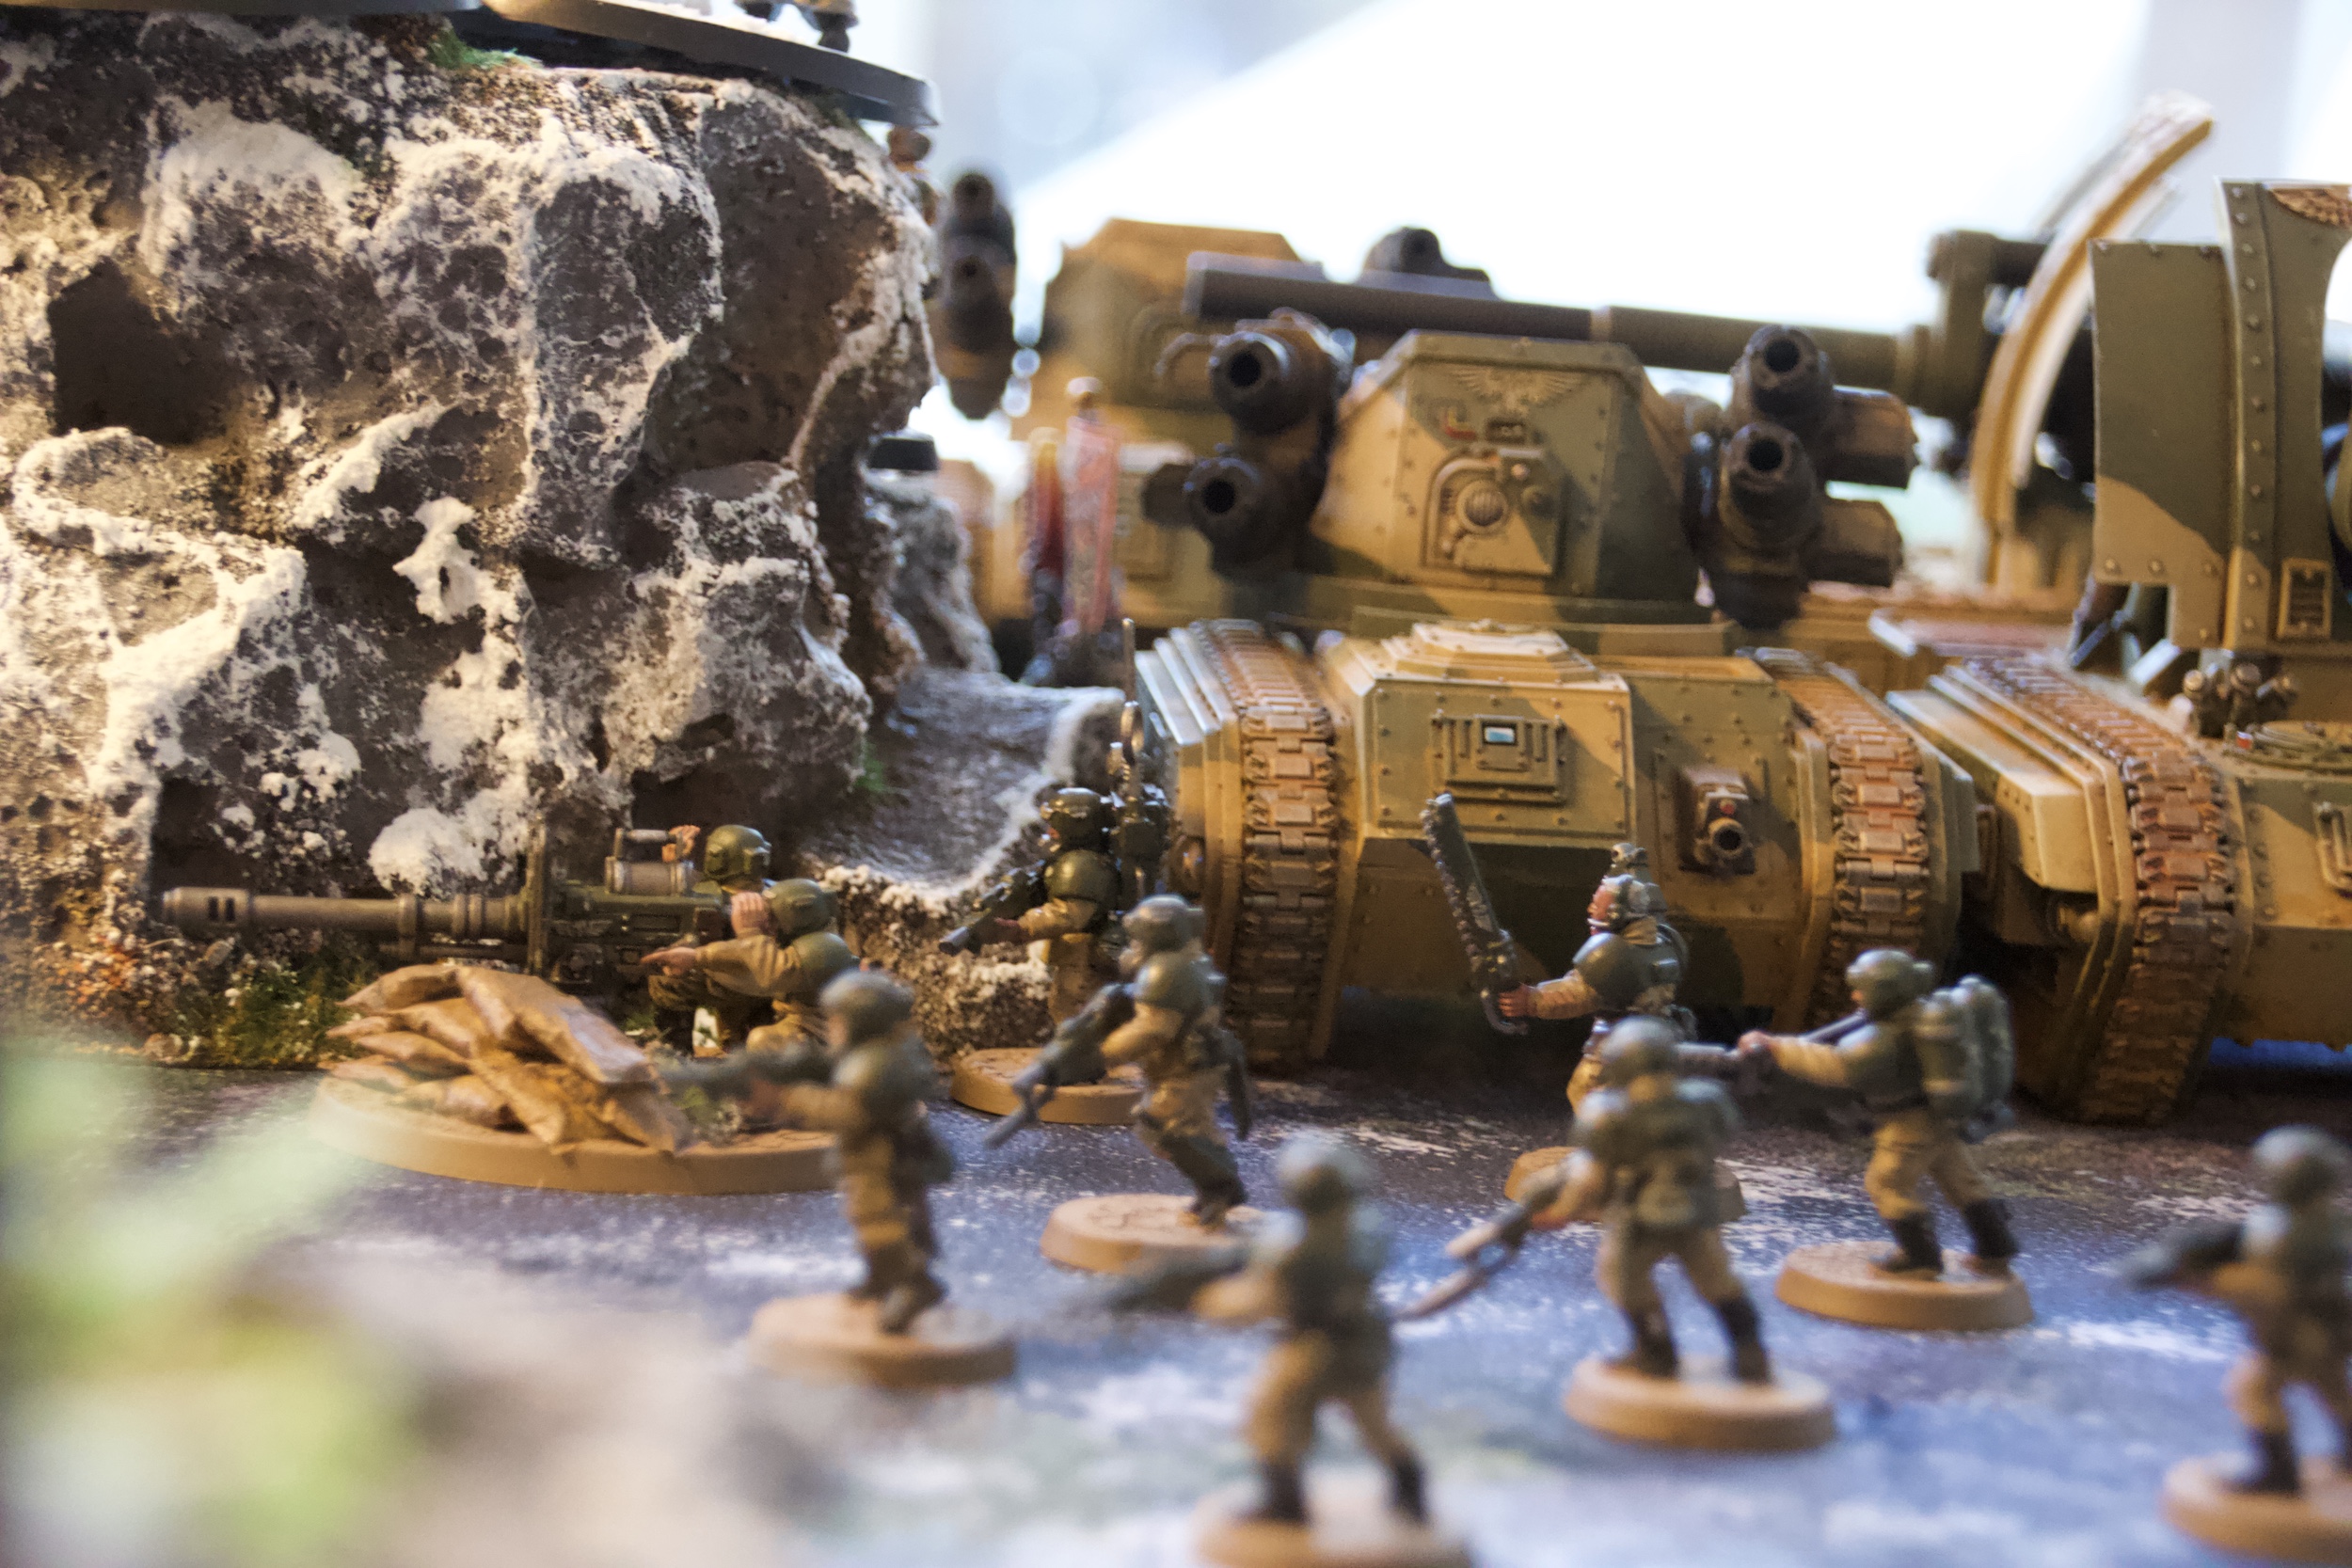
- Cadian gun line

-
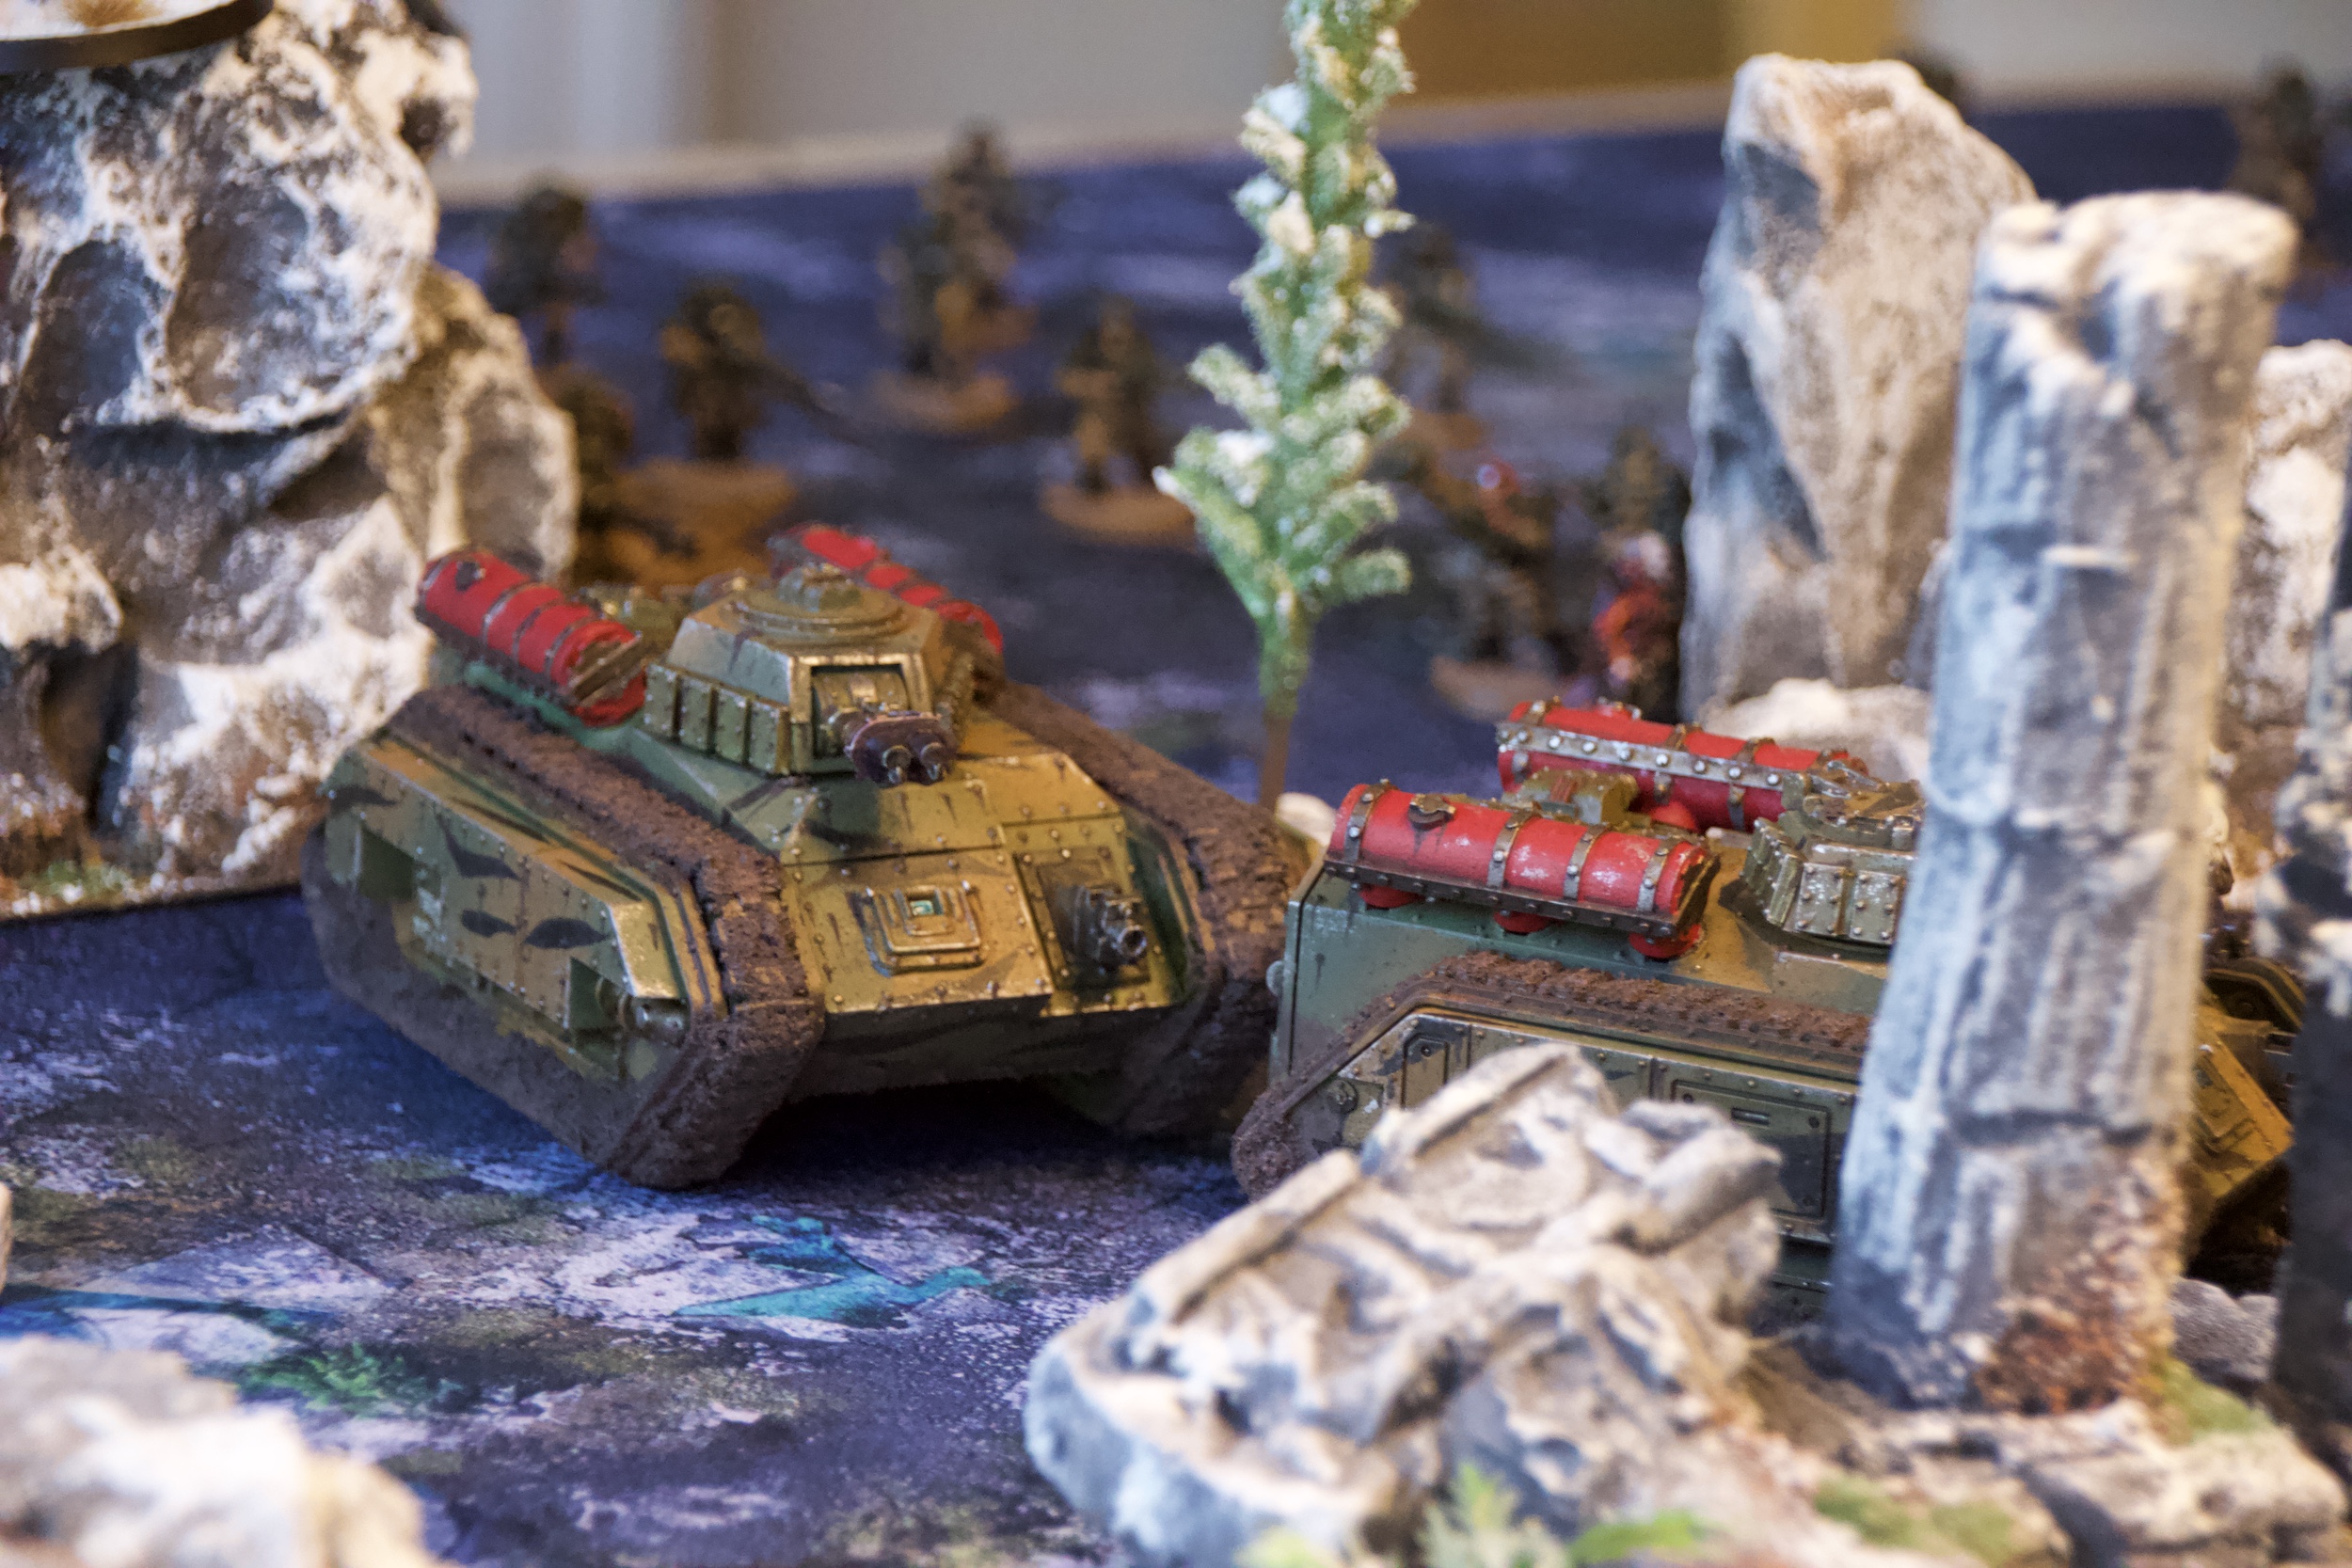
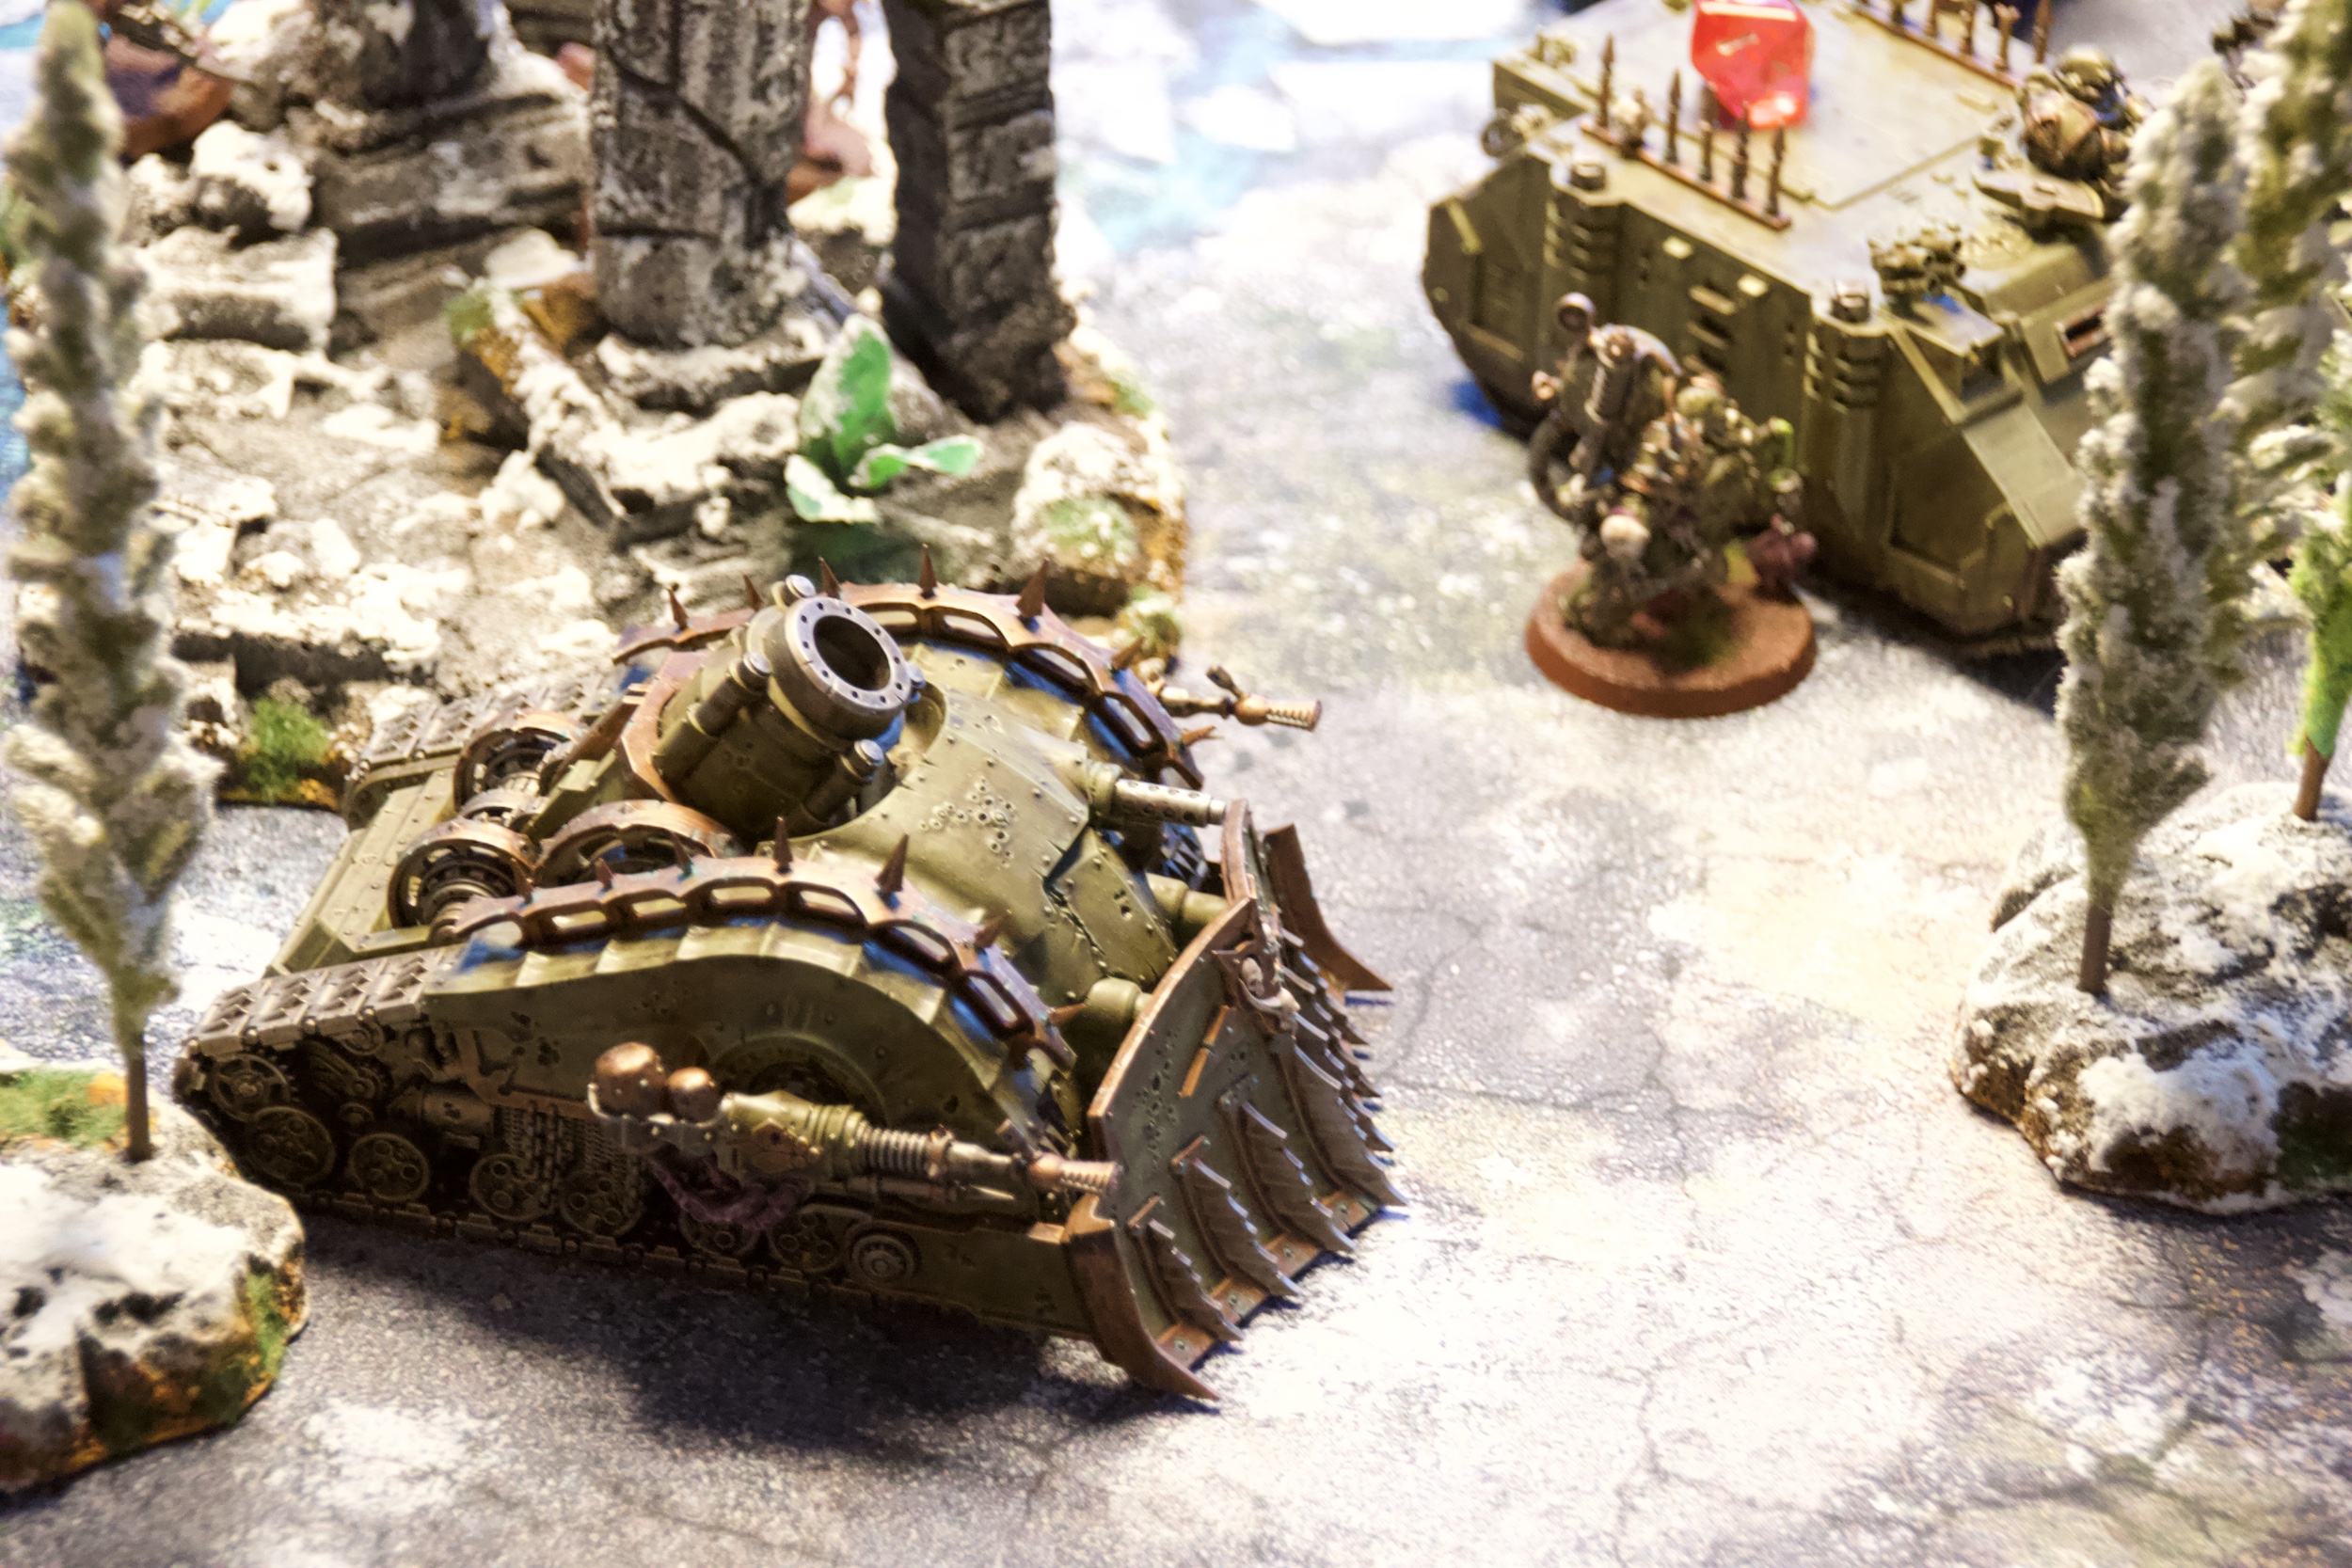
- Devil Dog

-

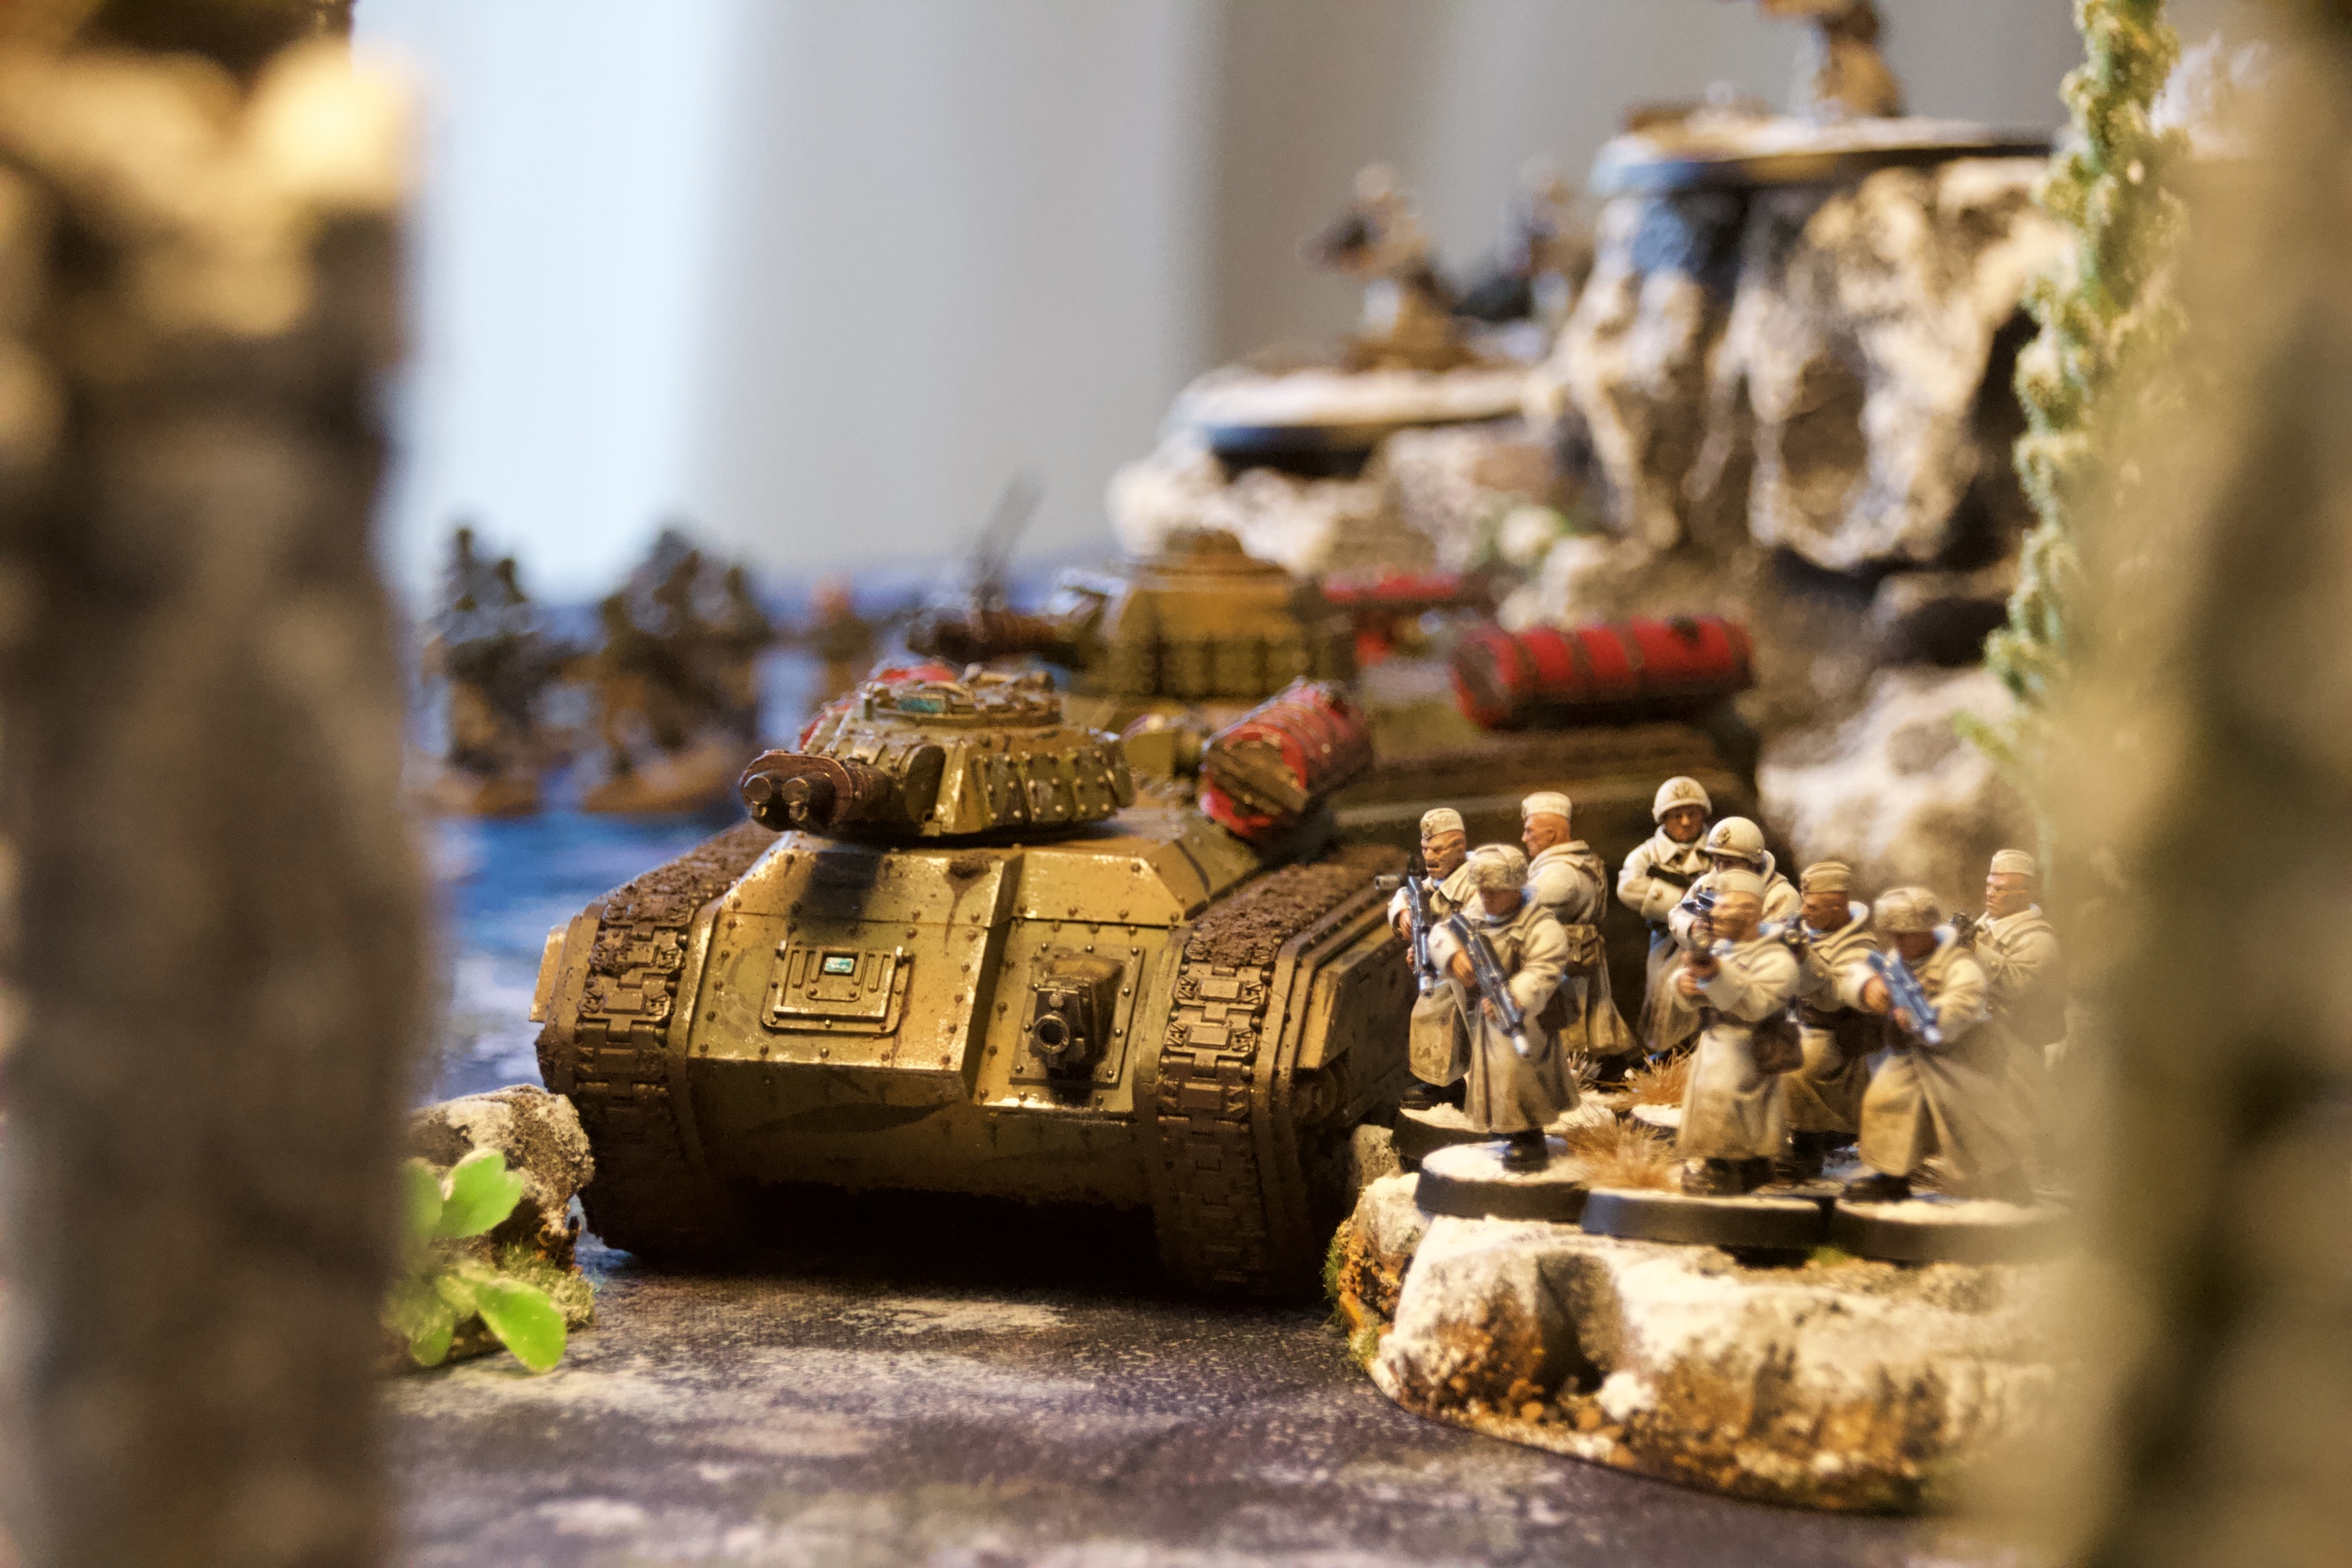
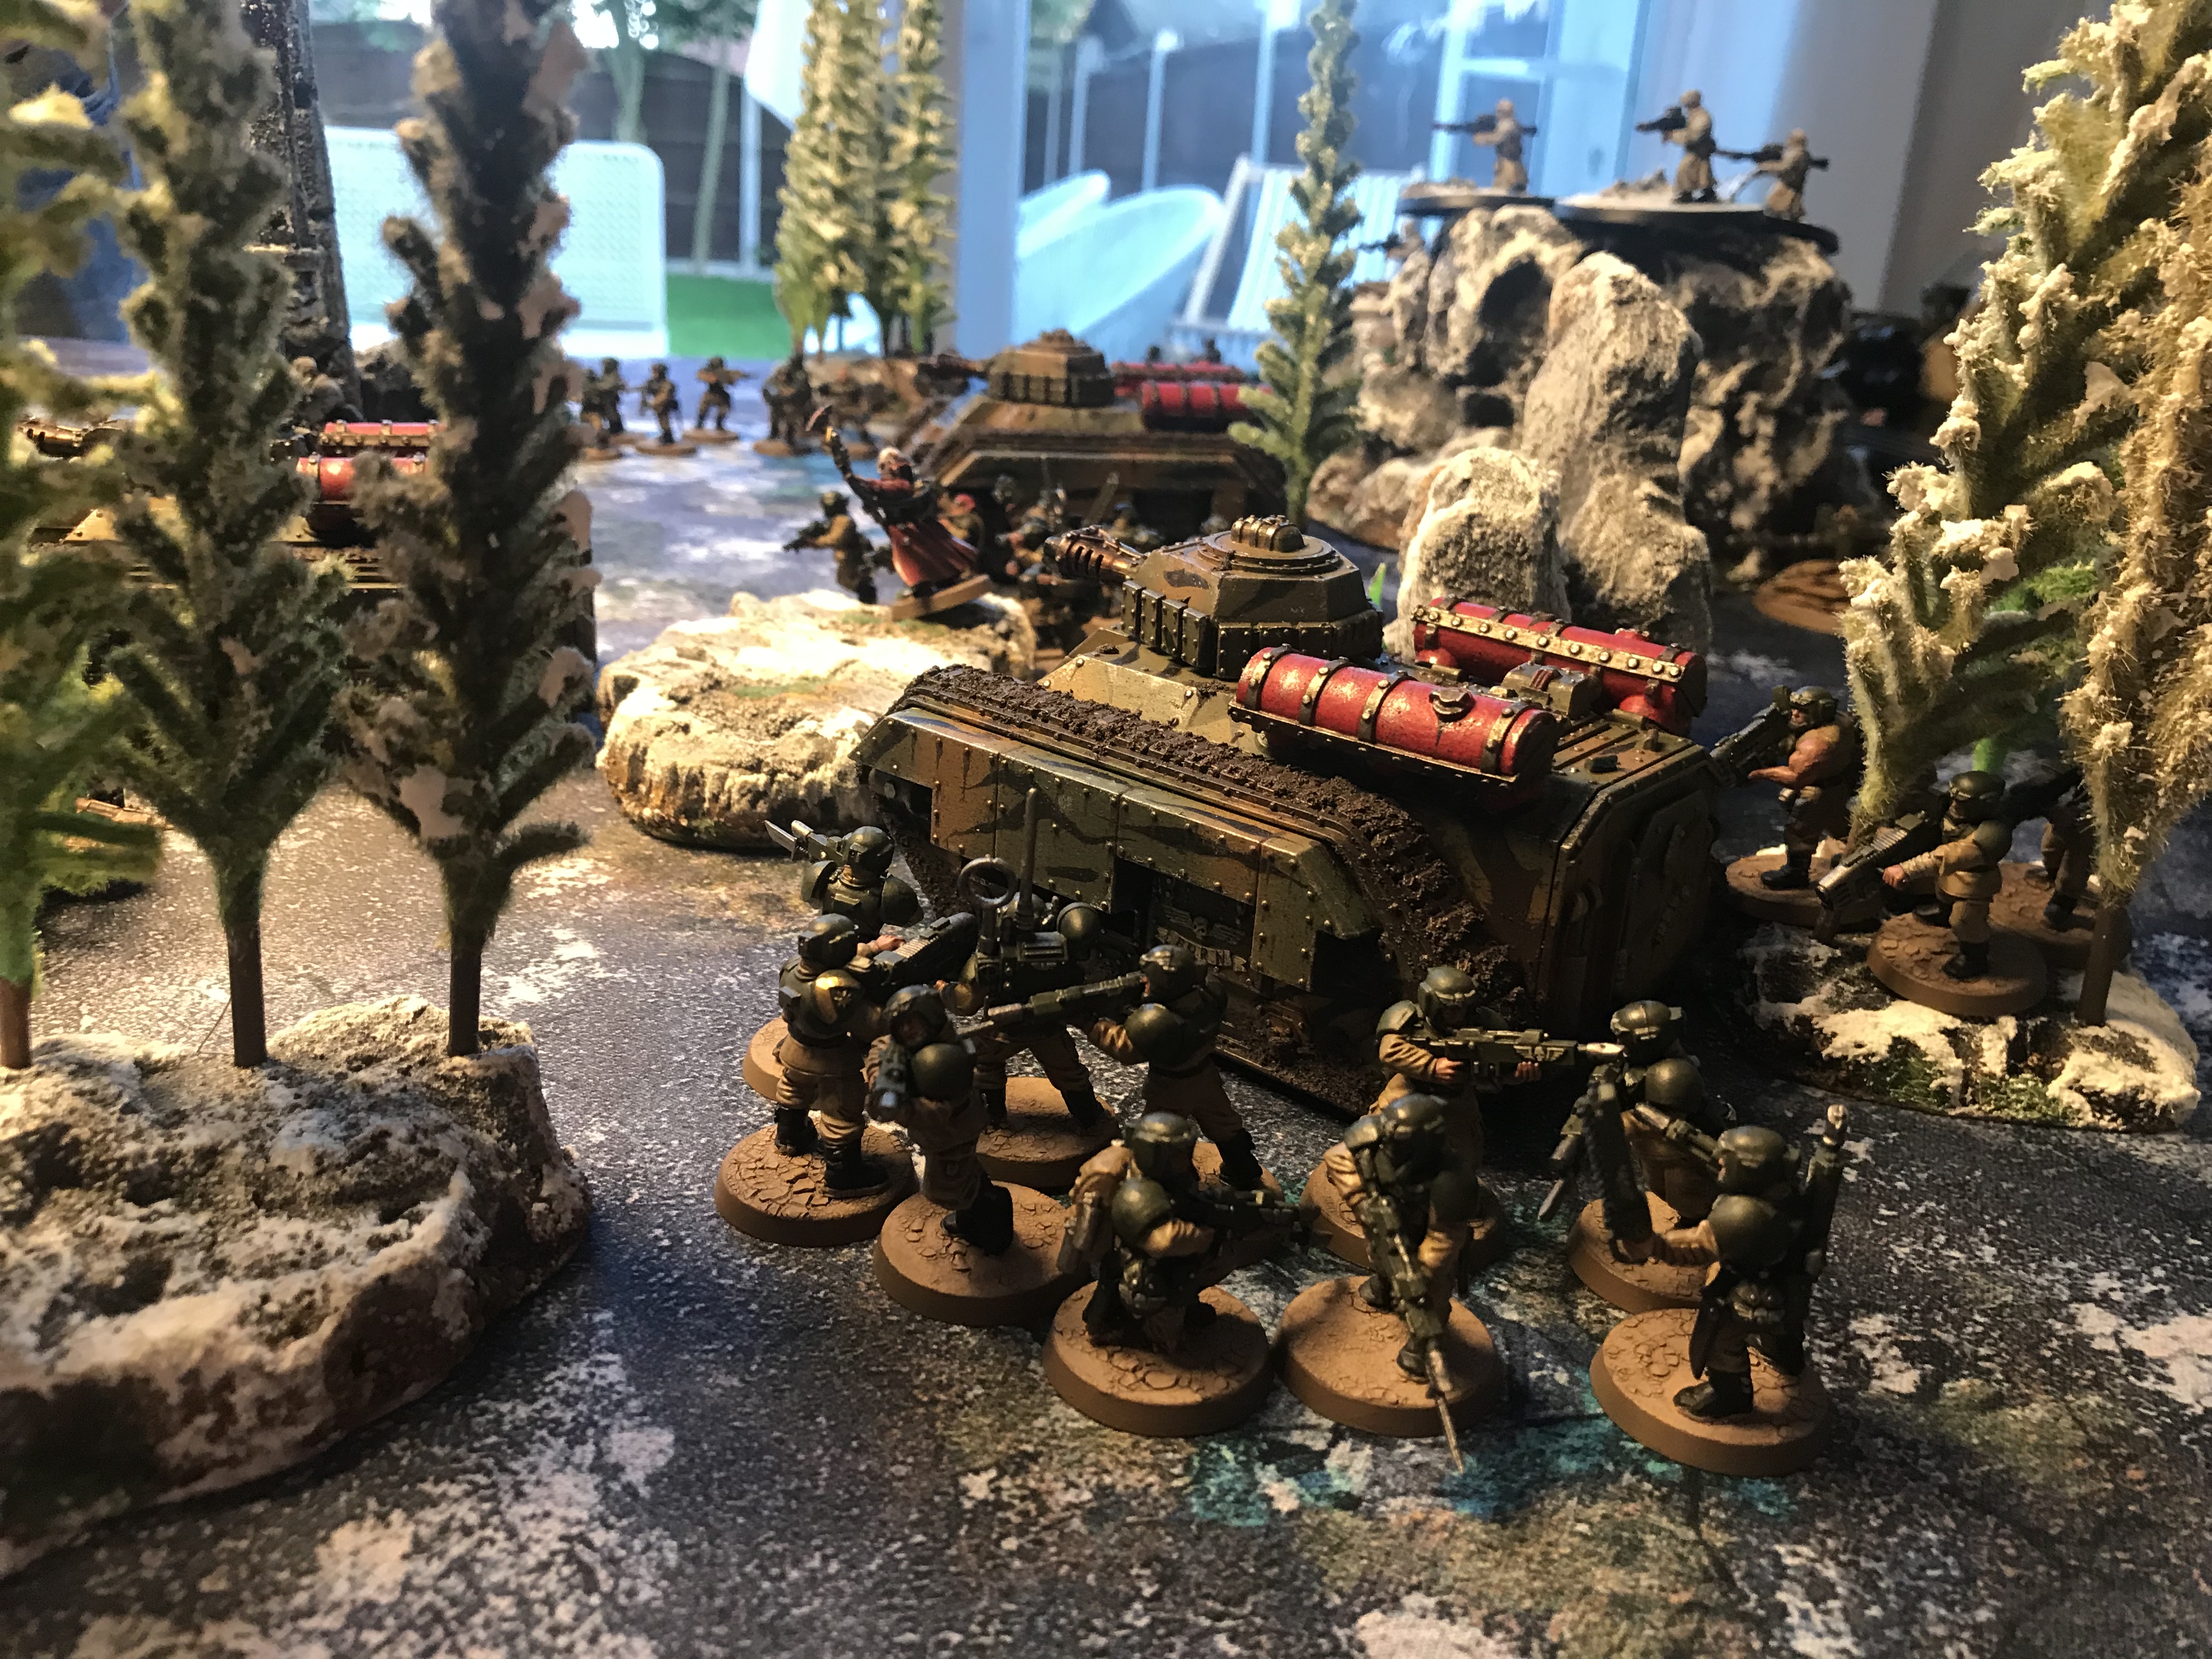
- Valhallans upfront

-

- Artillery placement
-
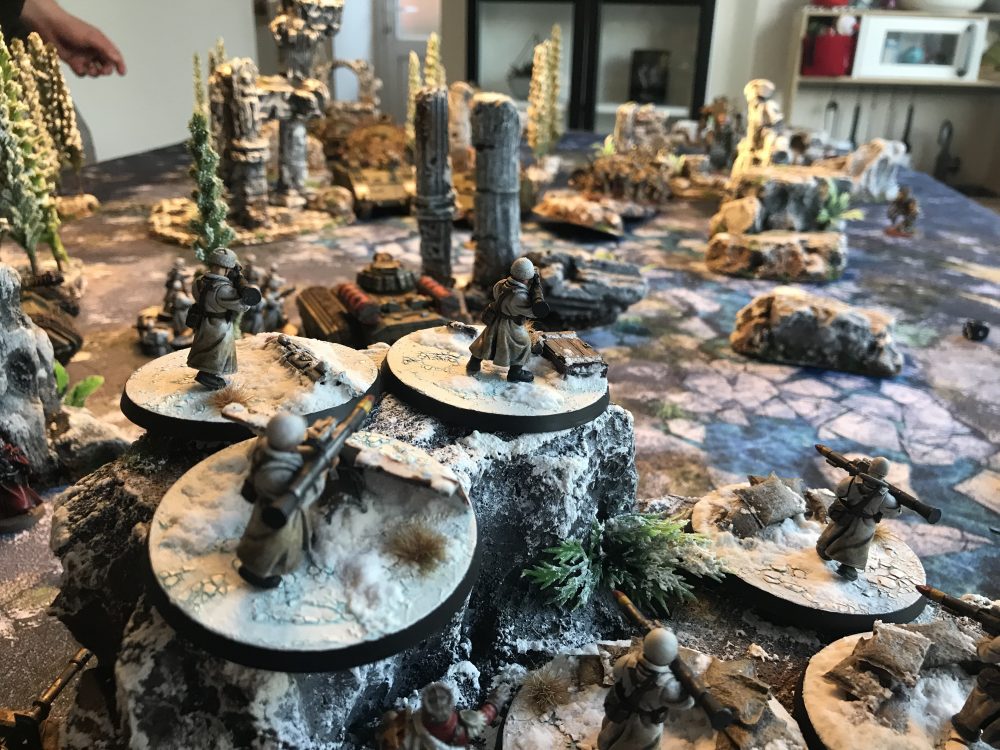
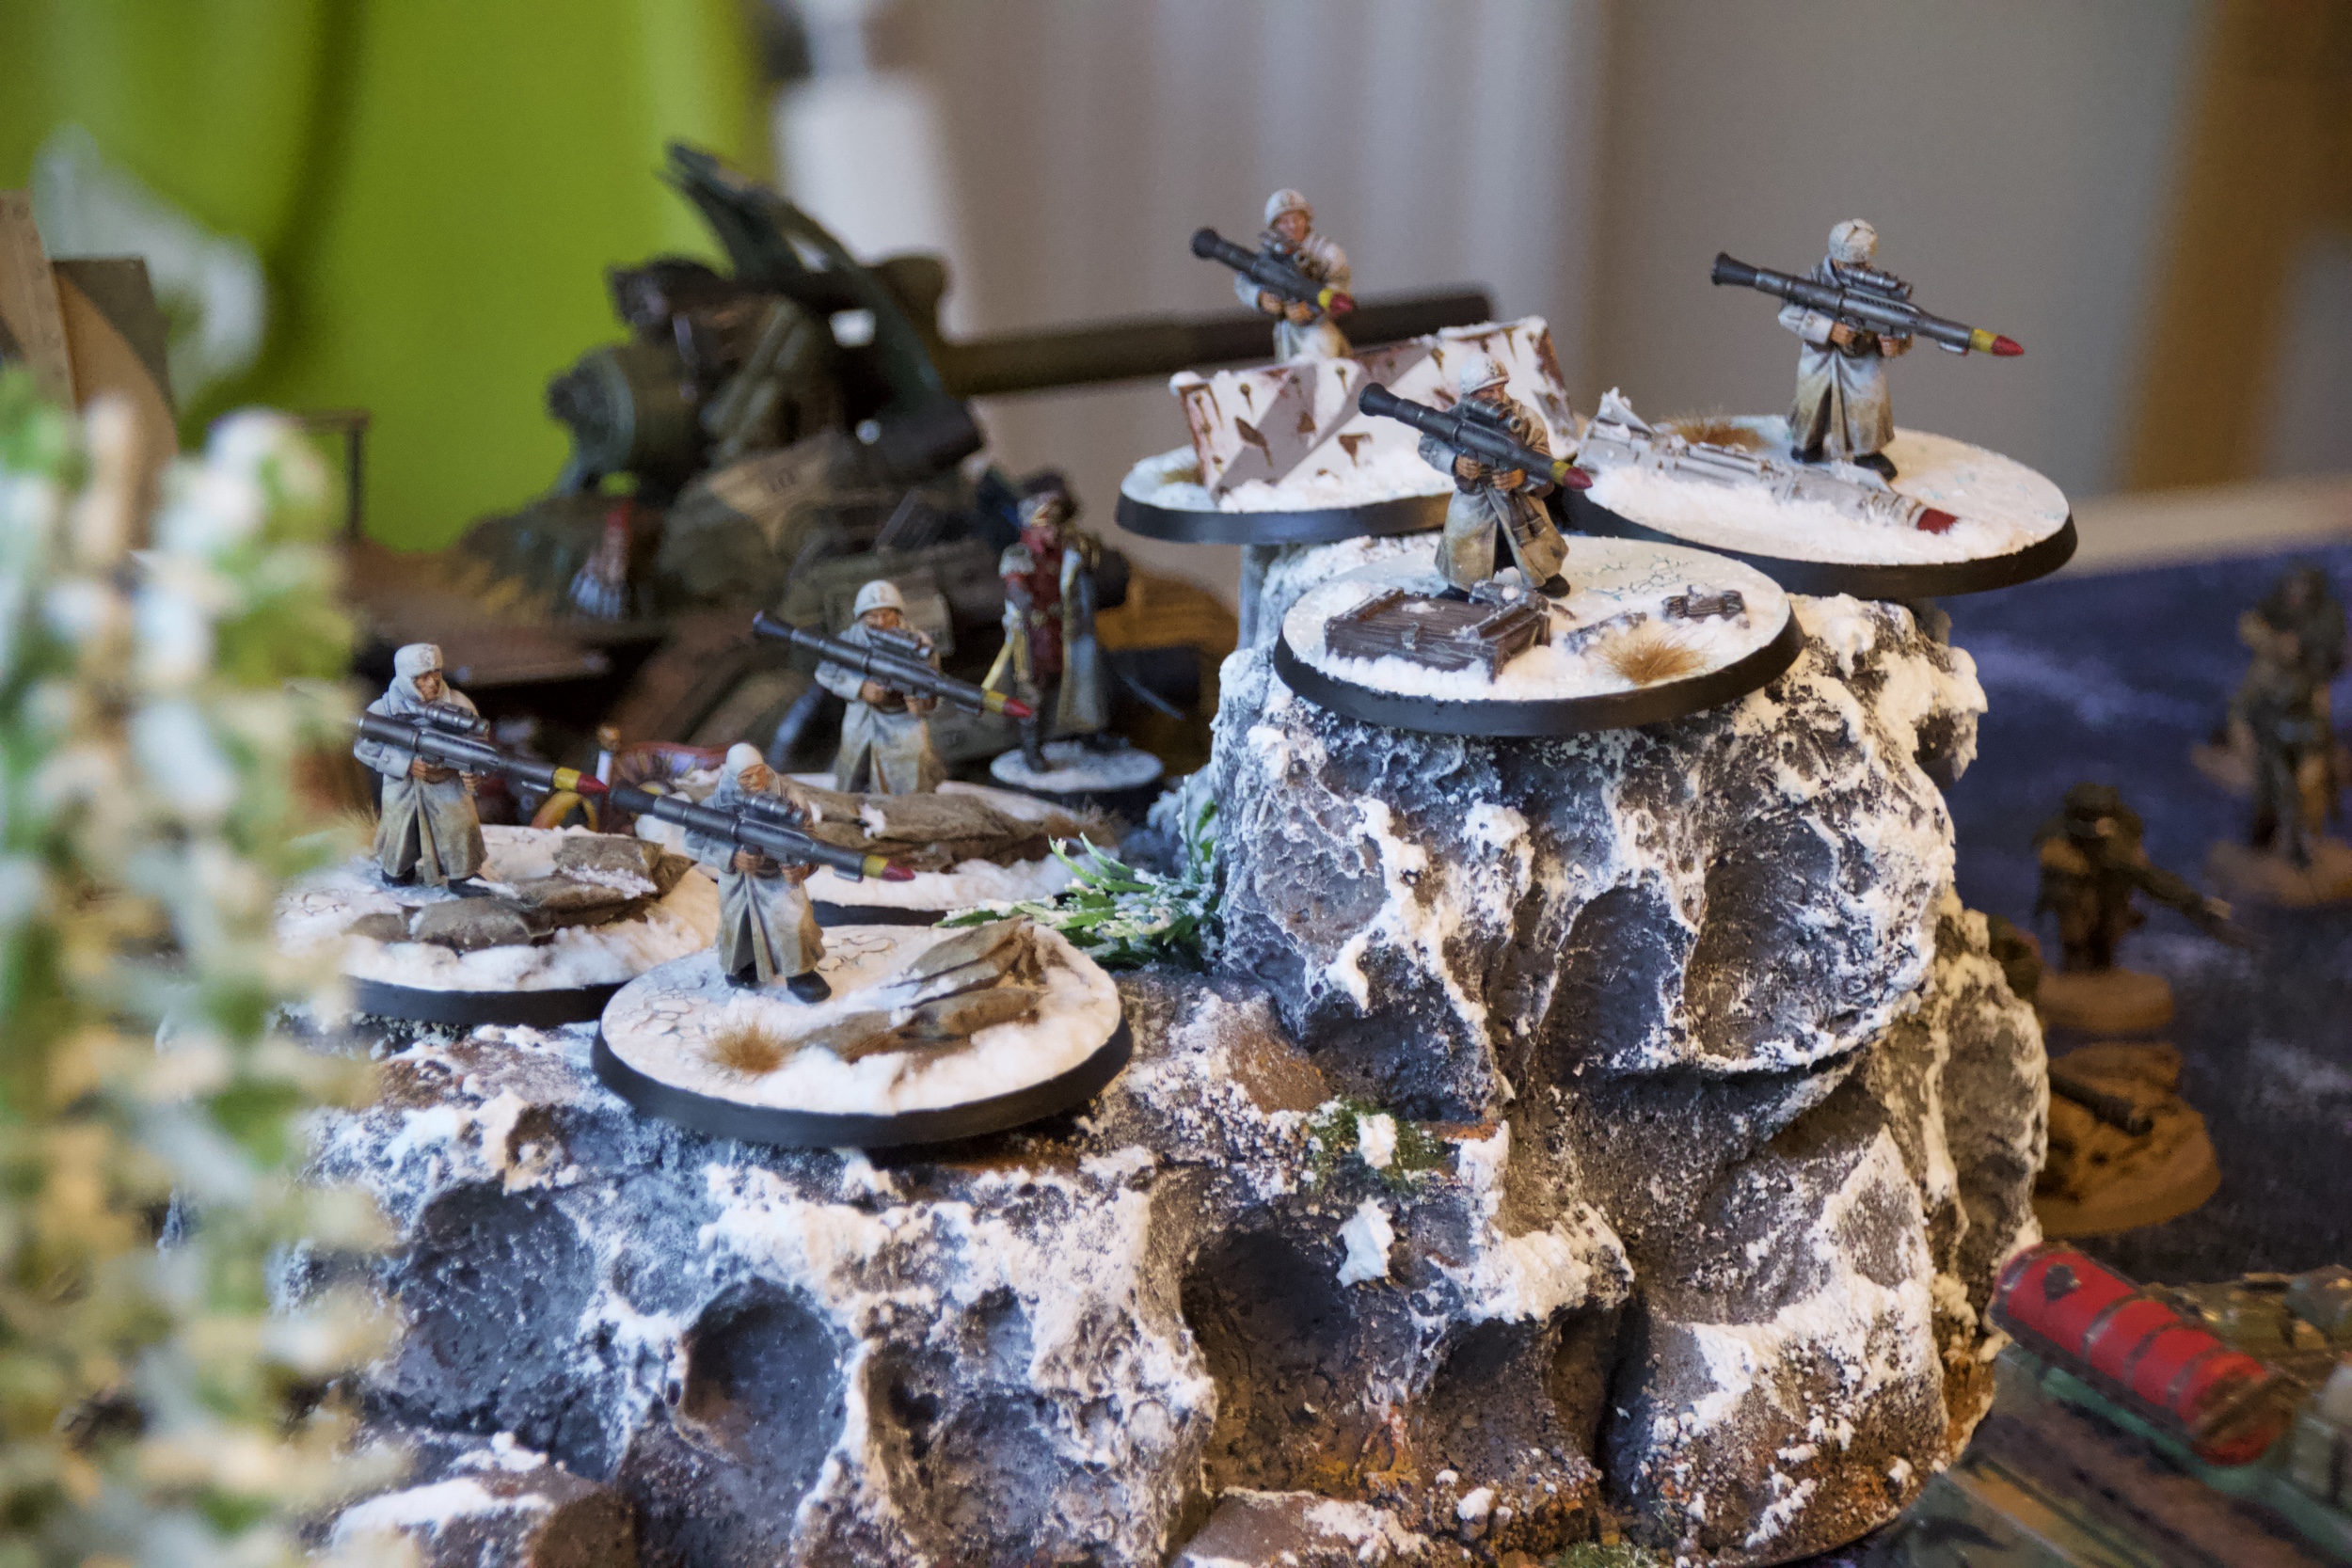
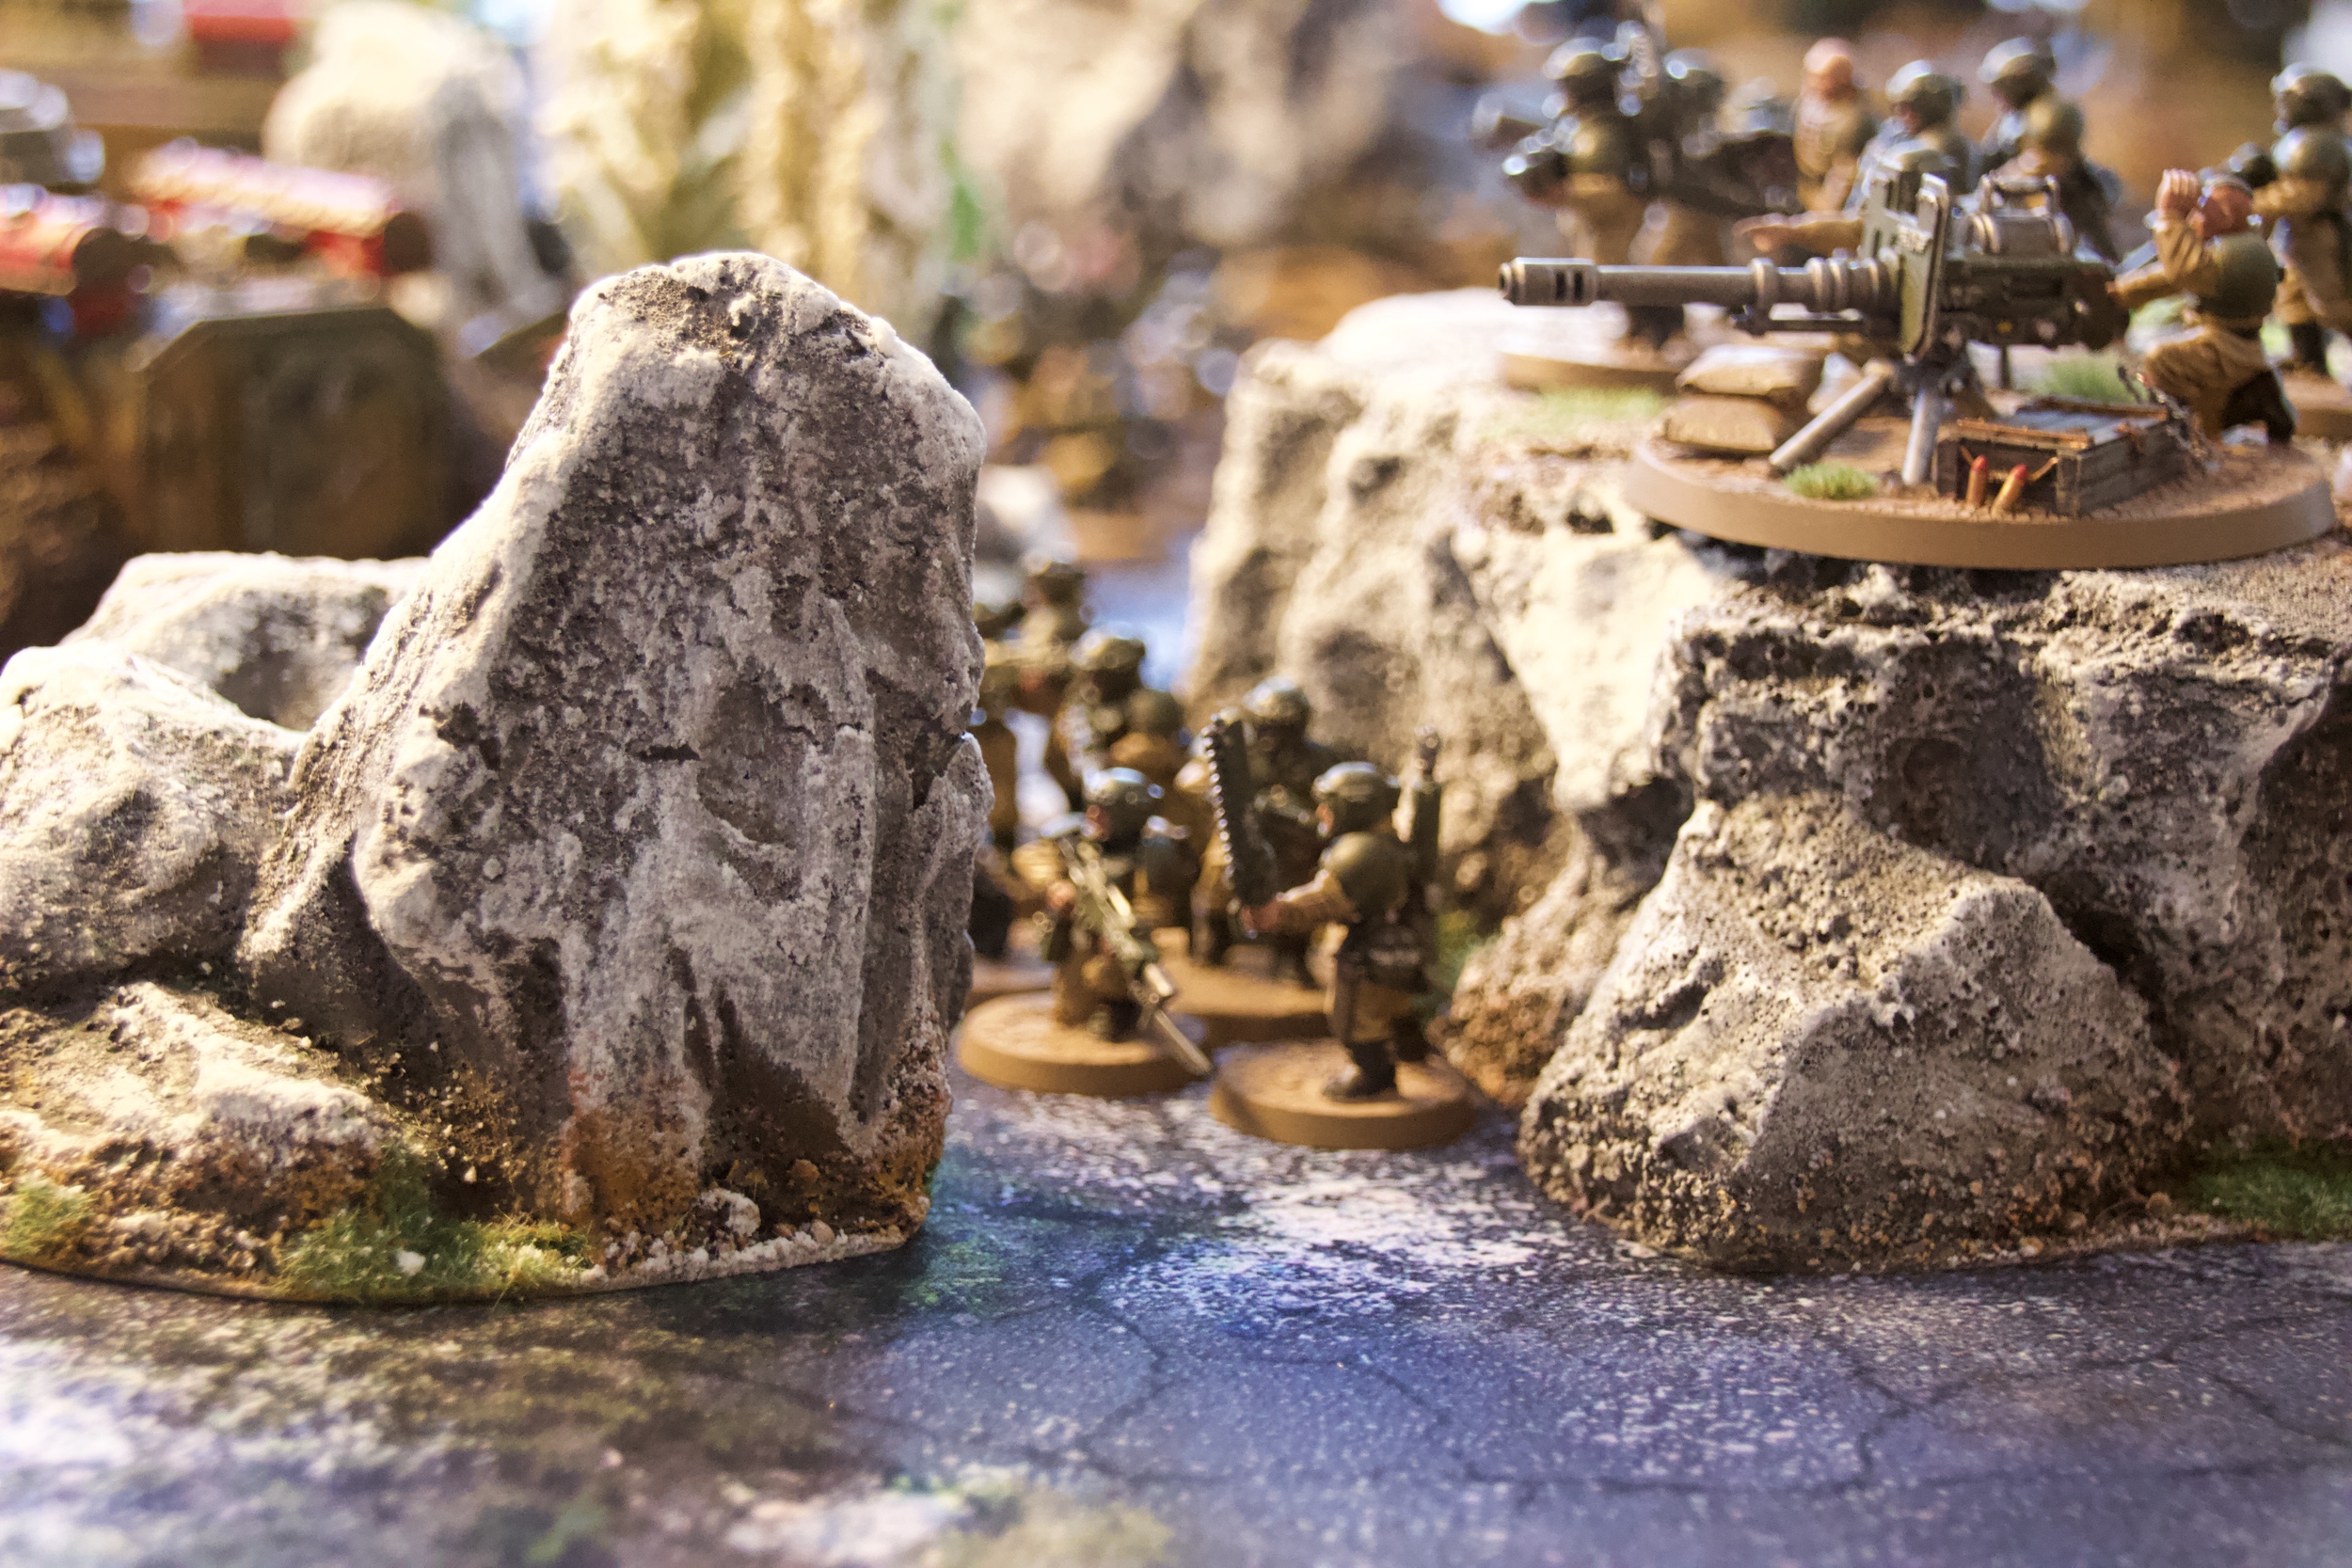
- Missile Teams
-
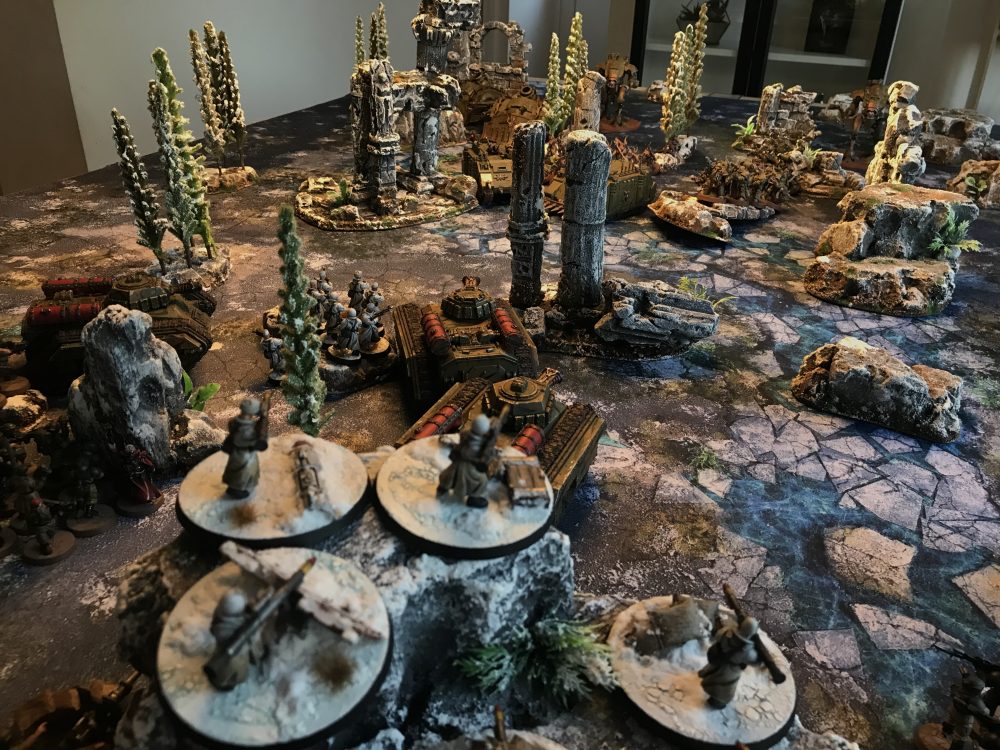
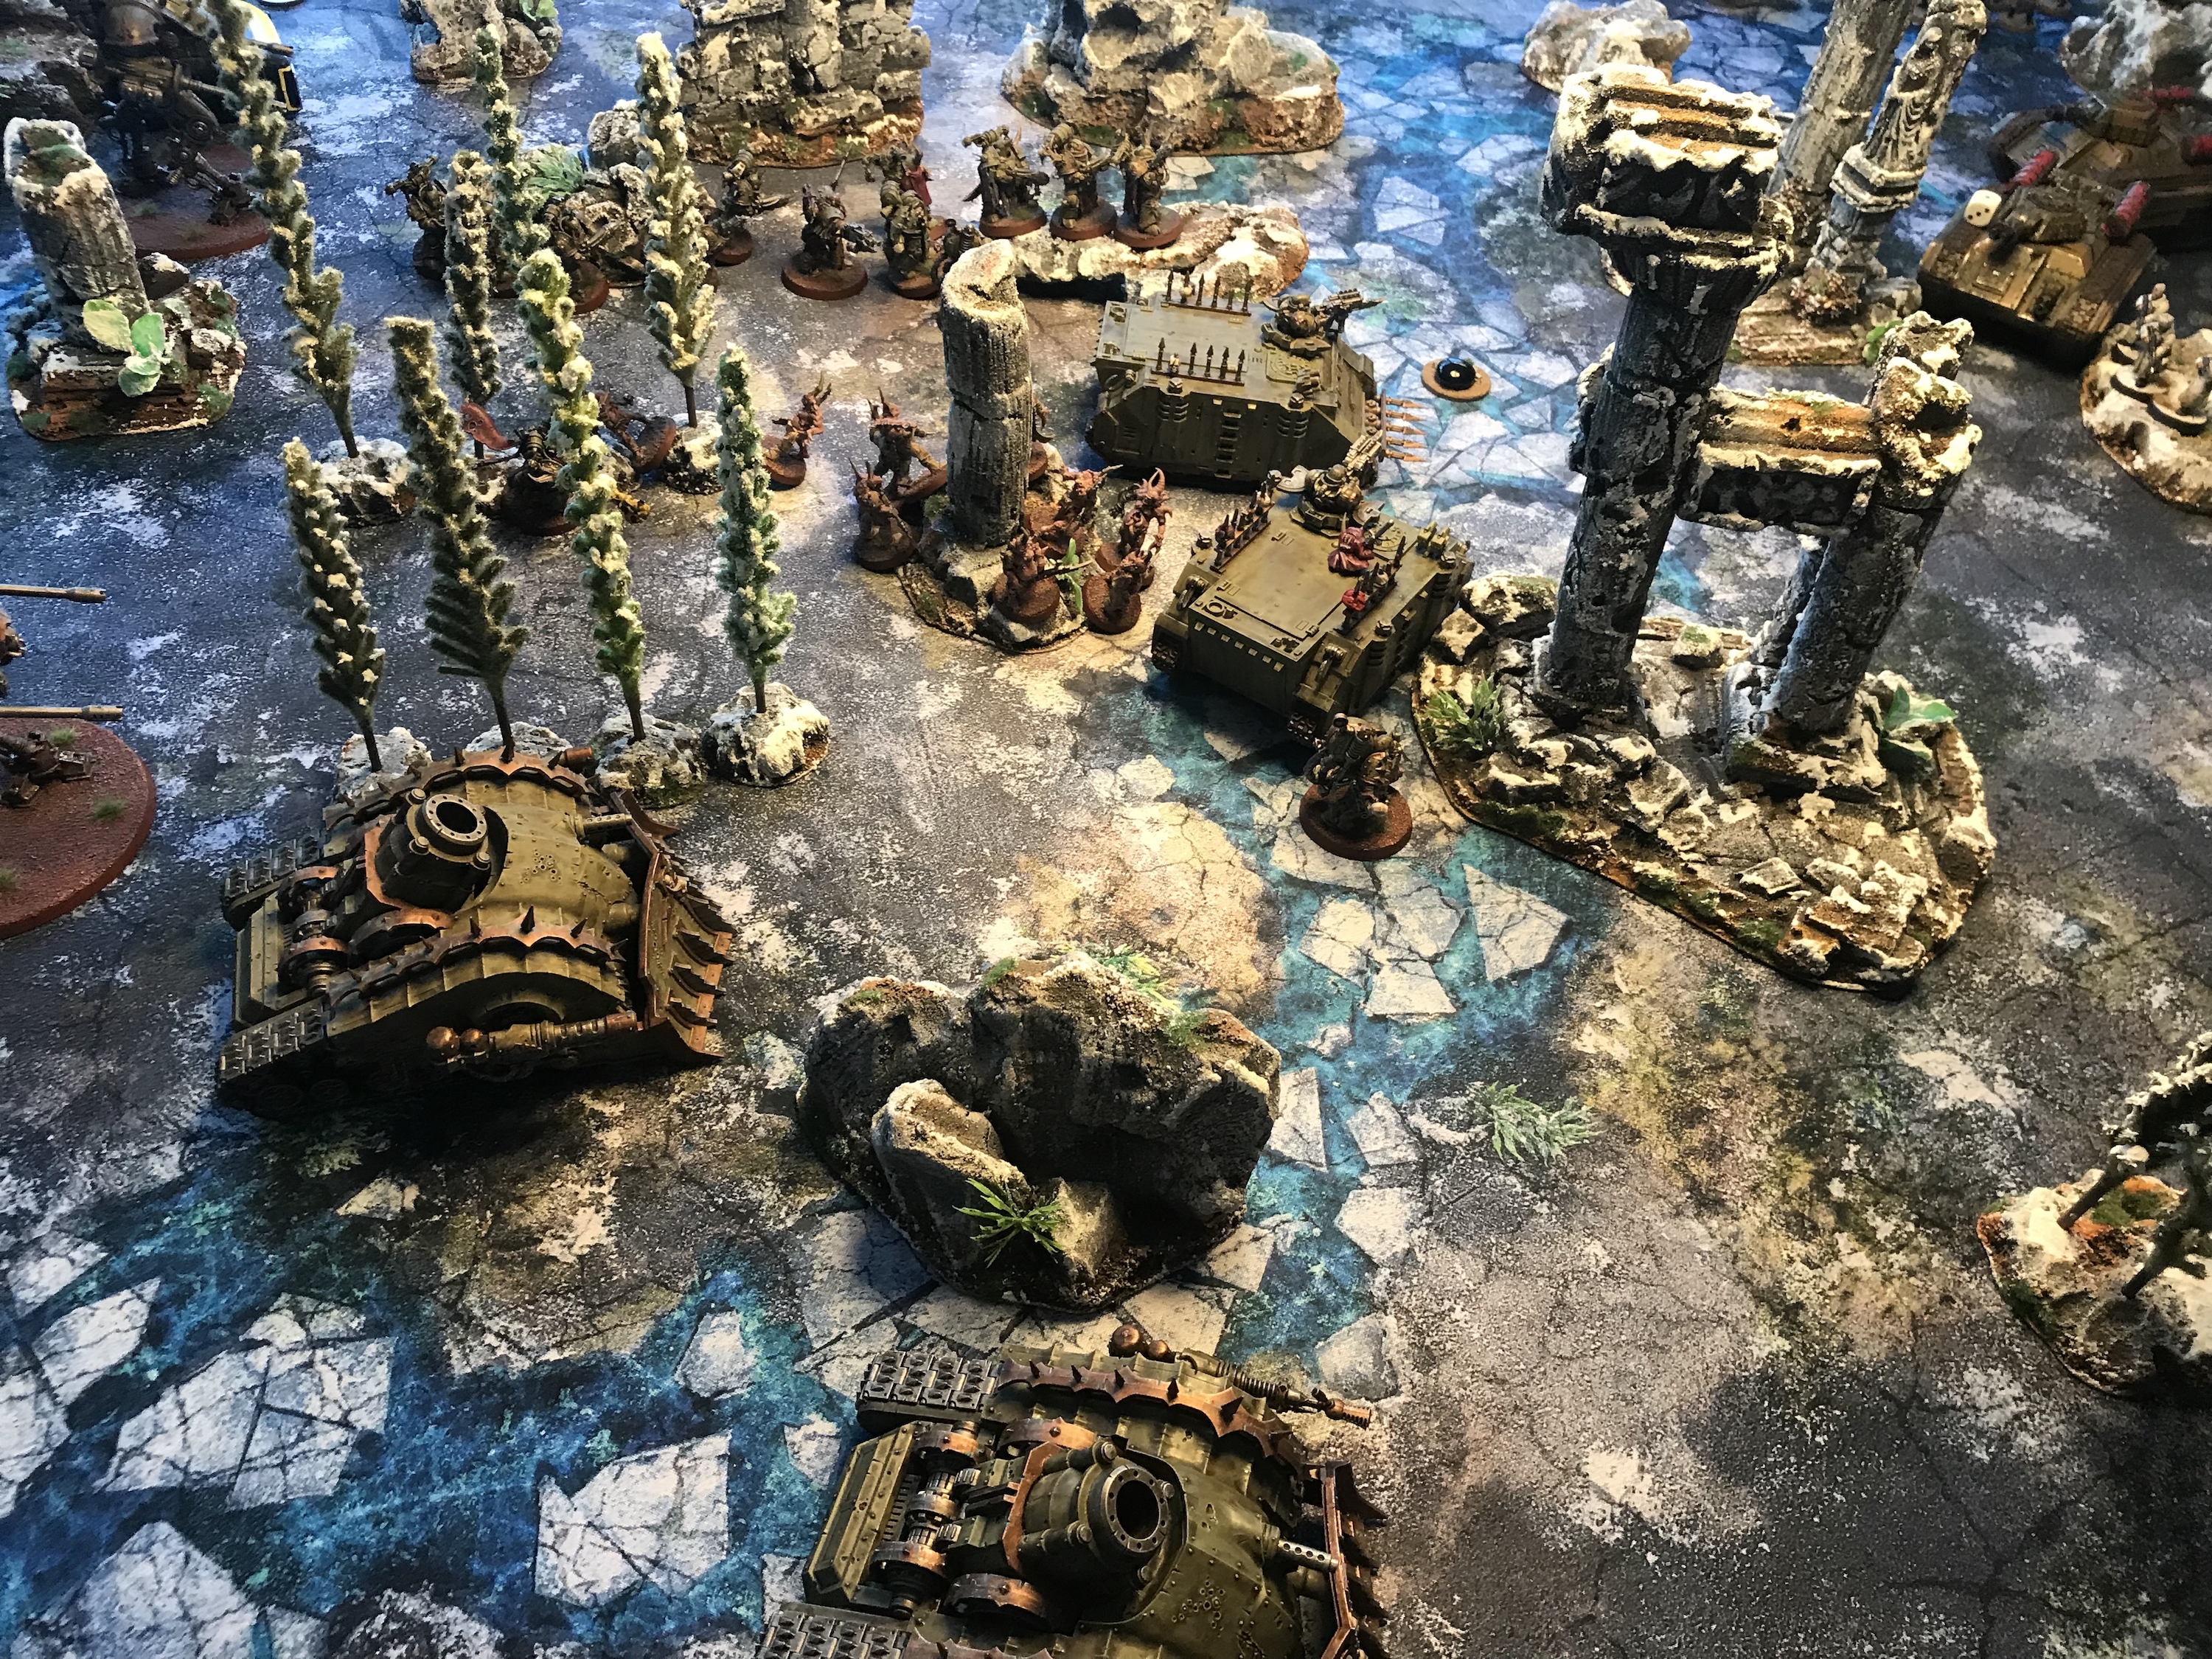
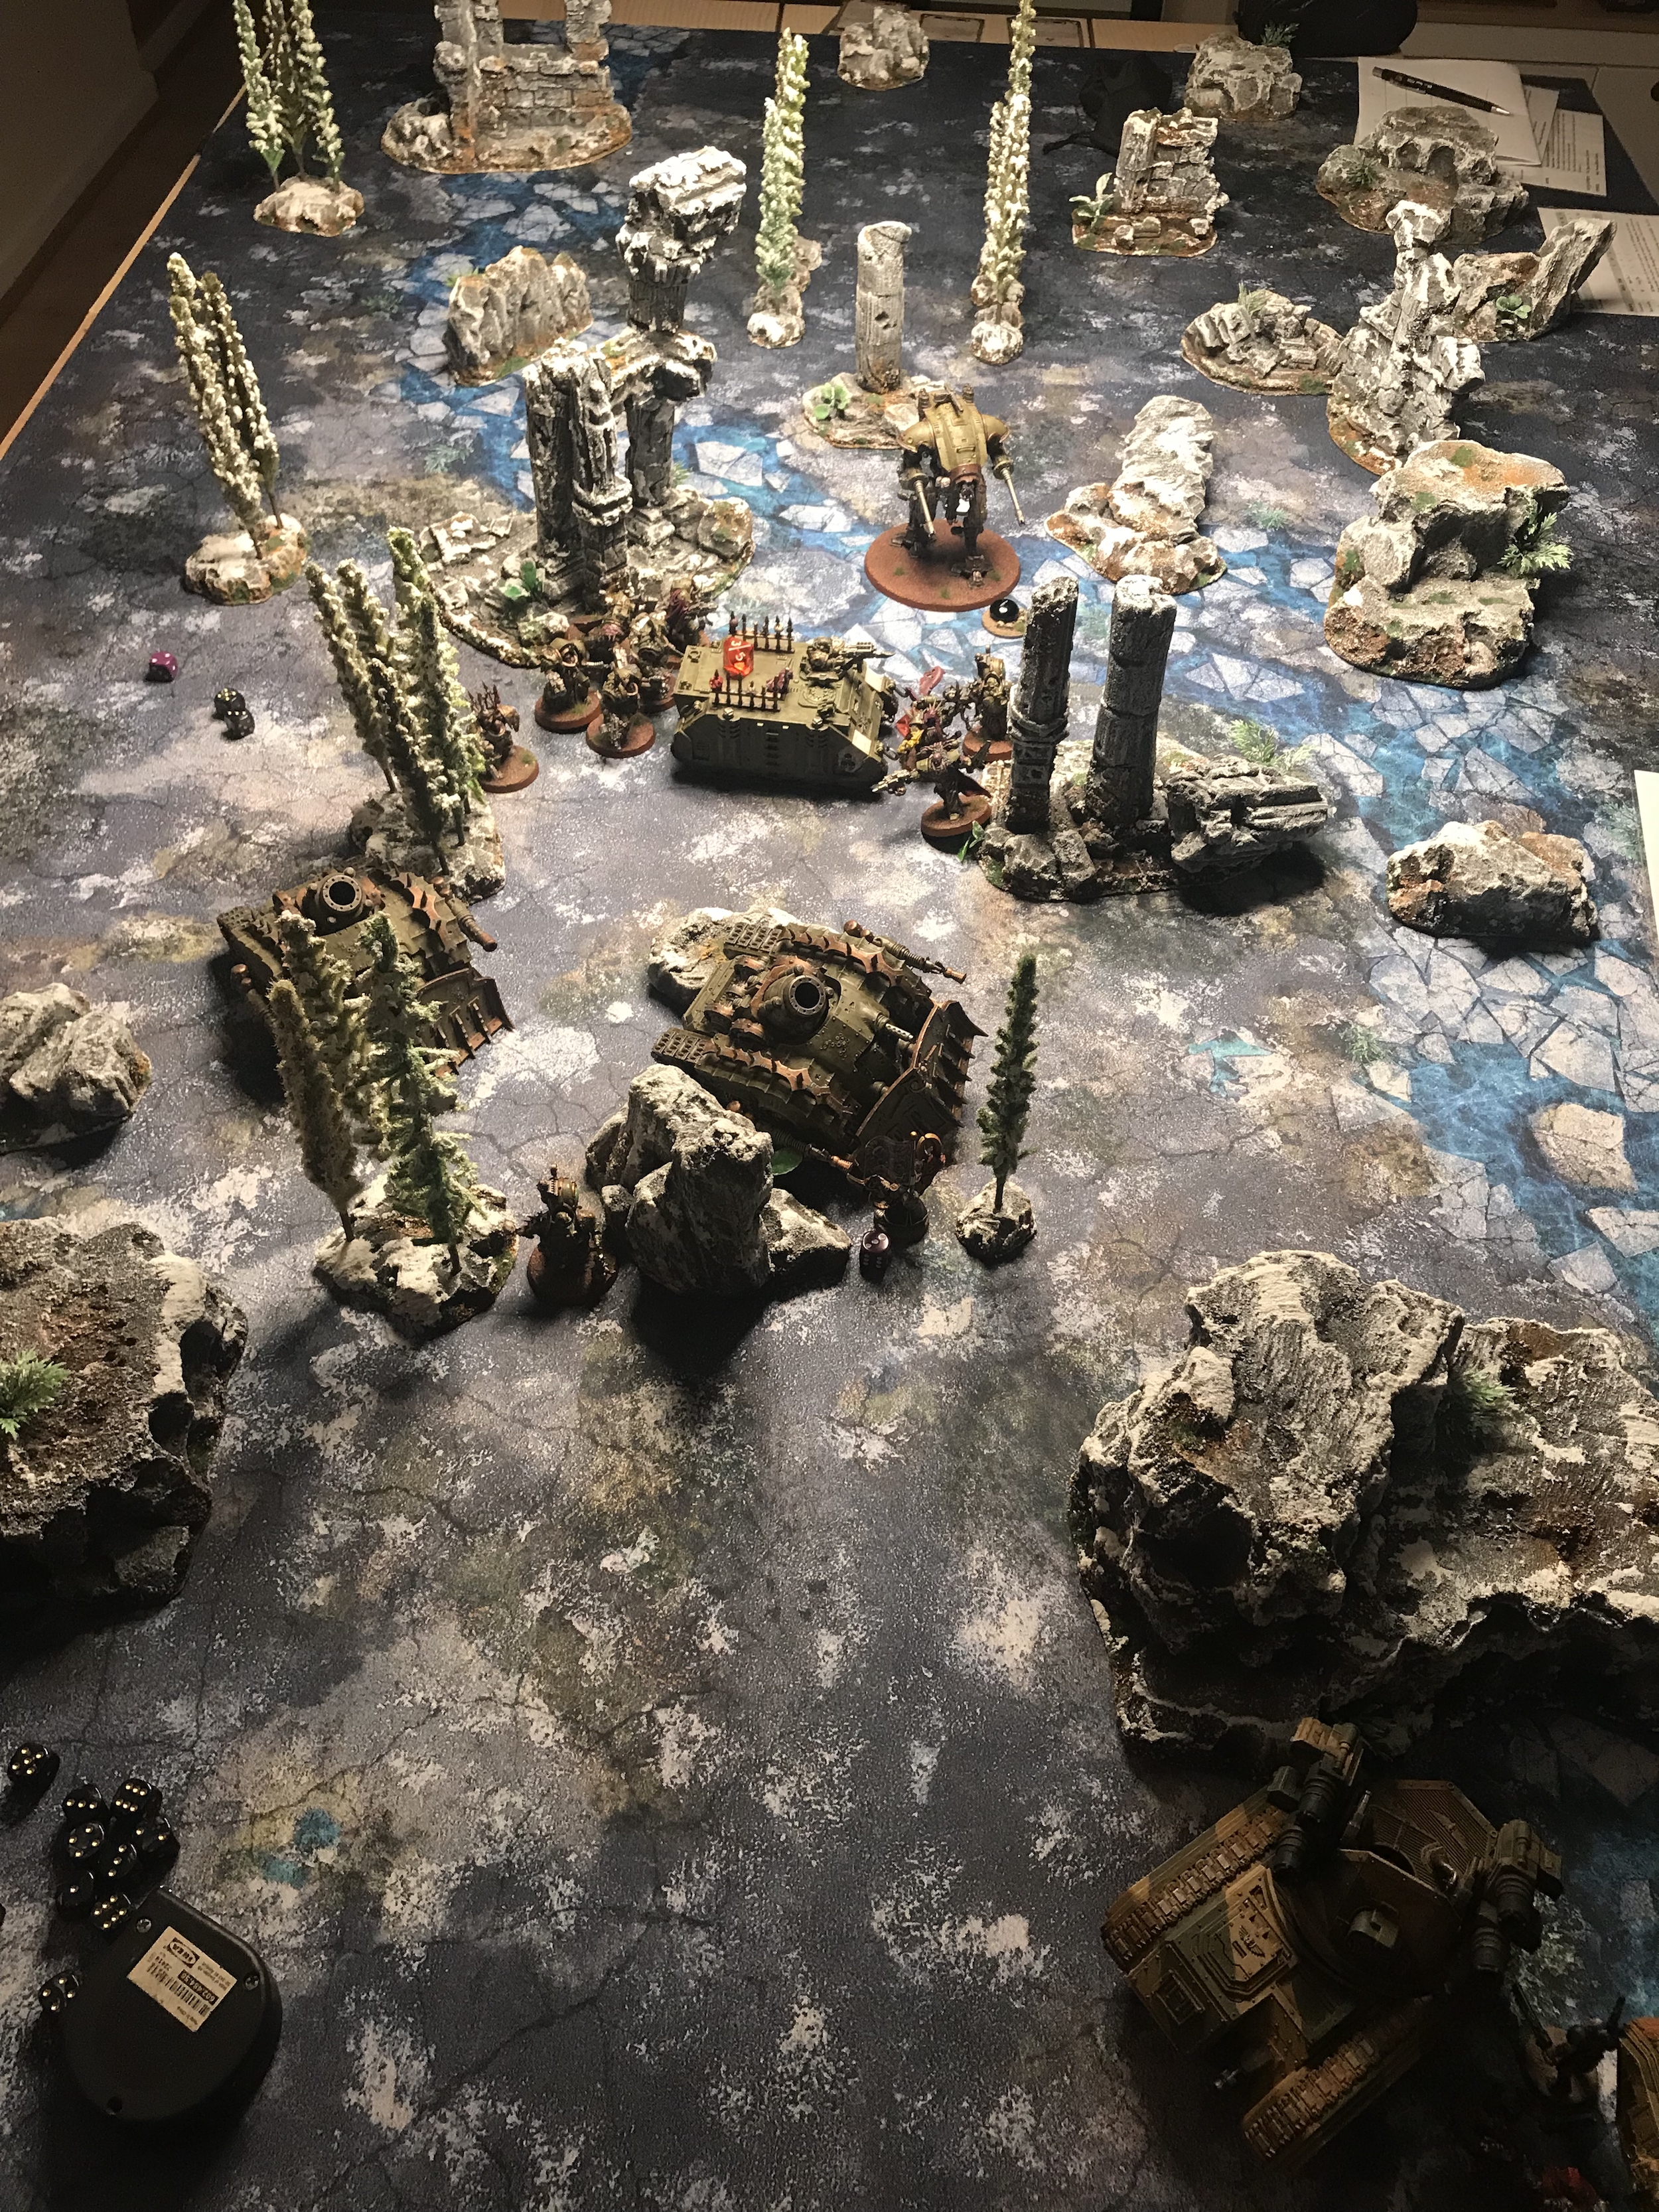
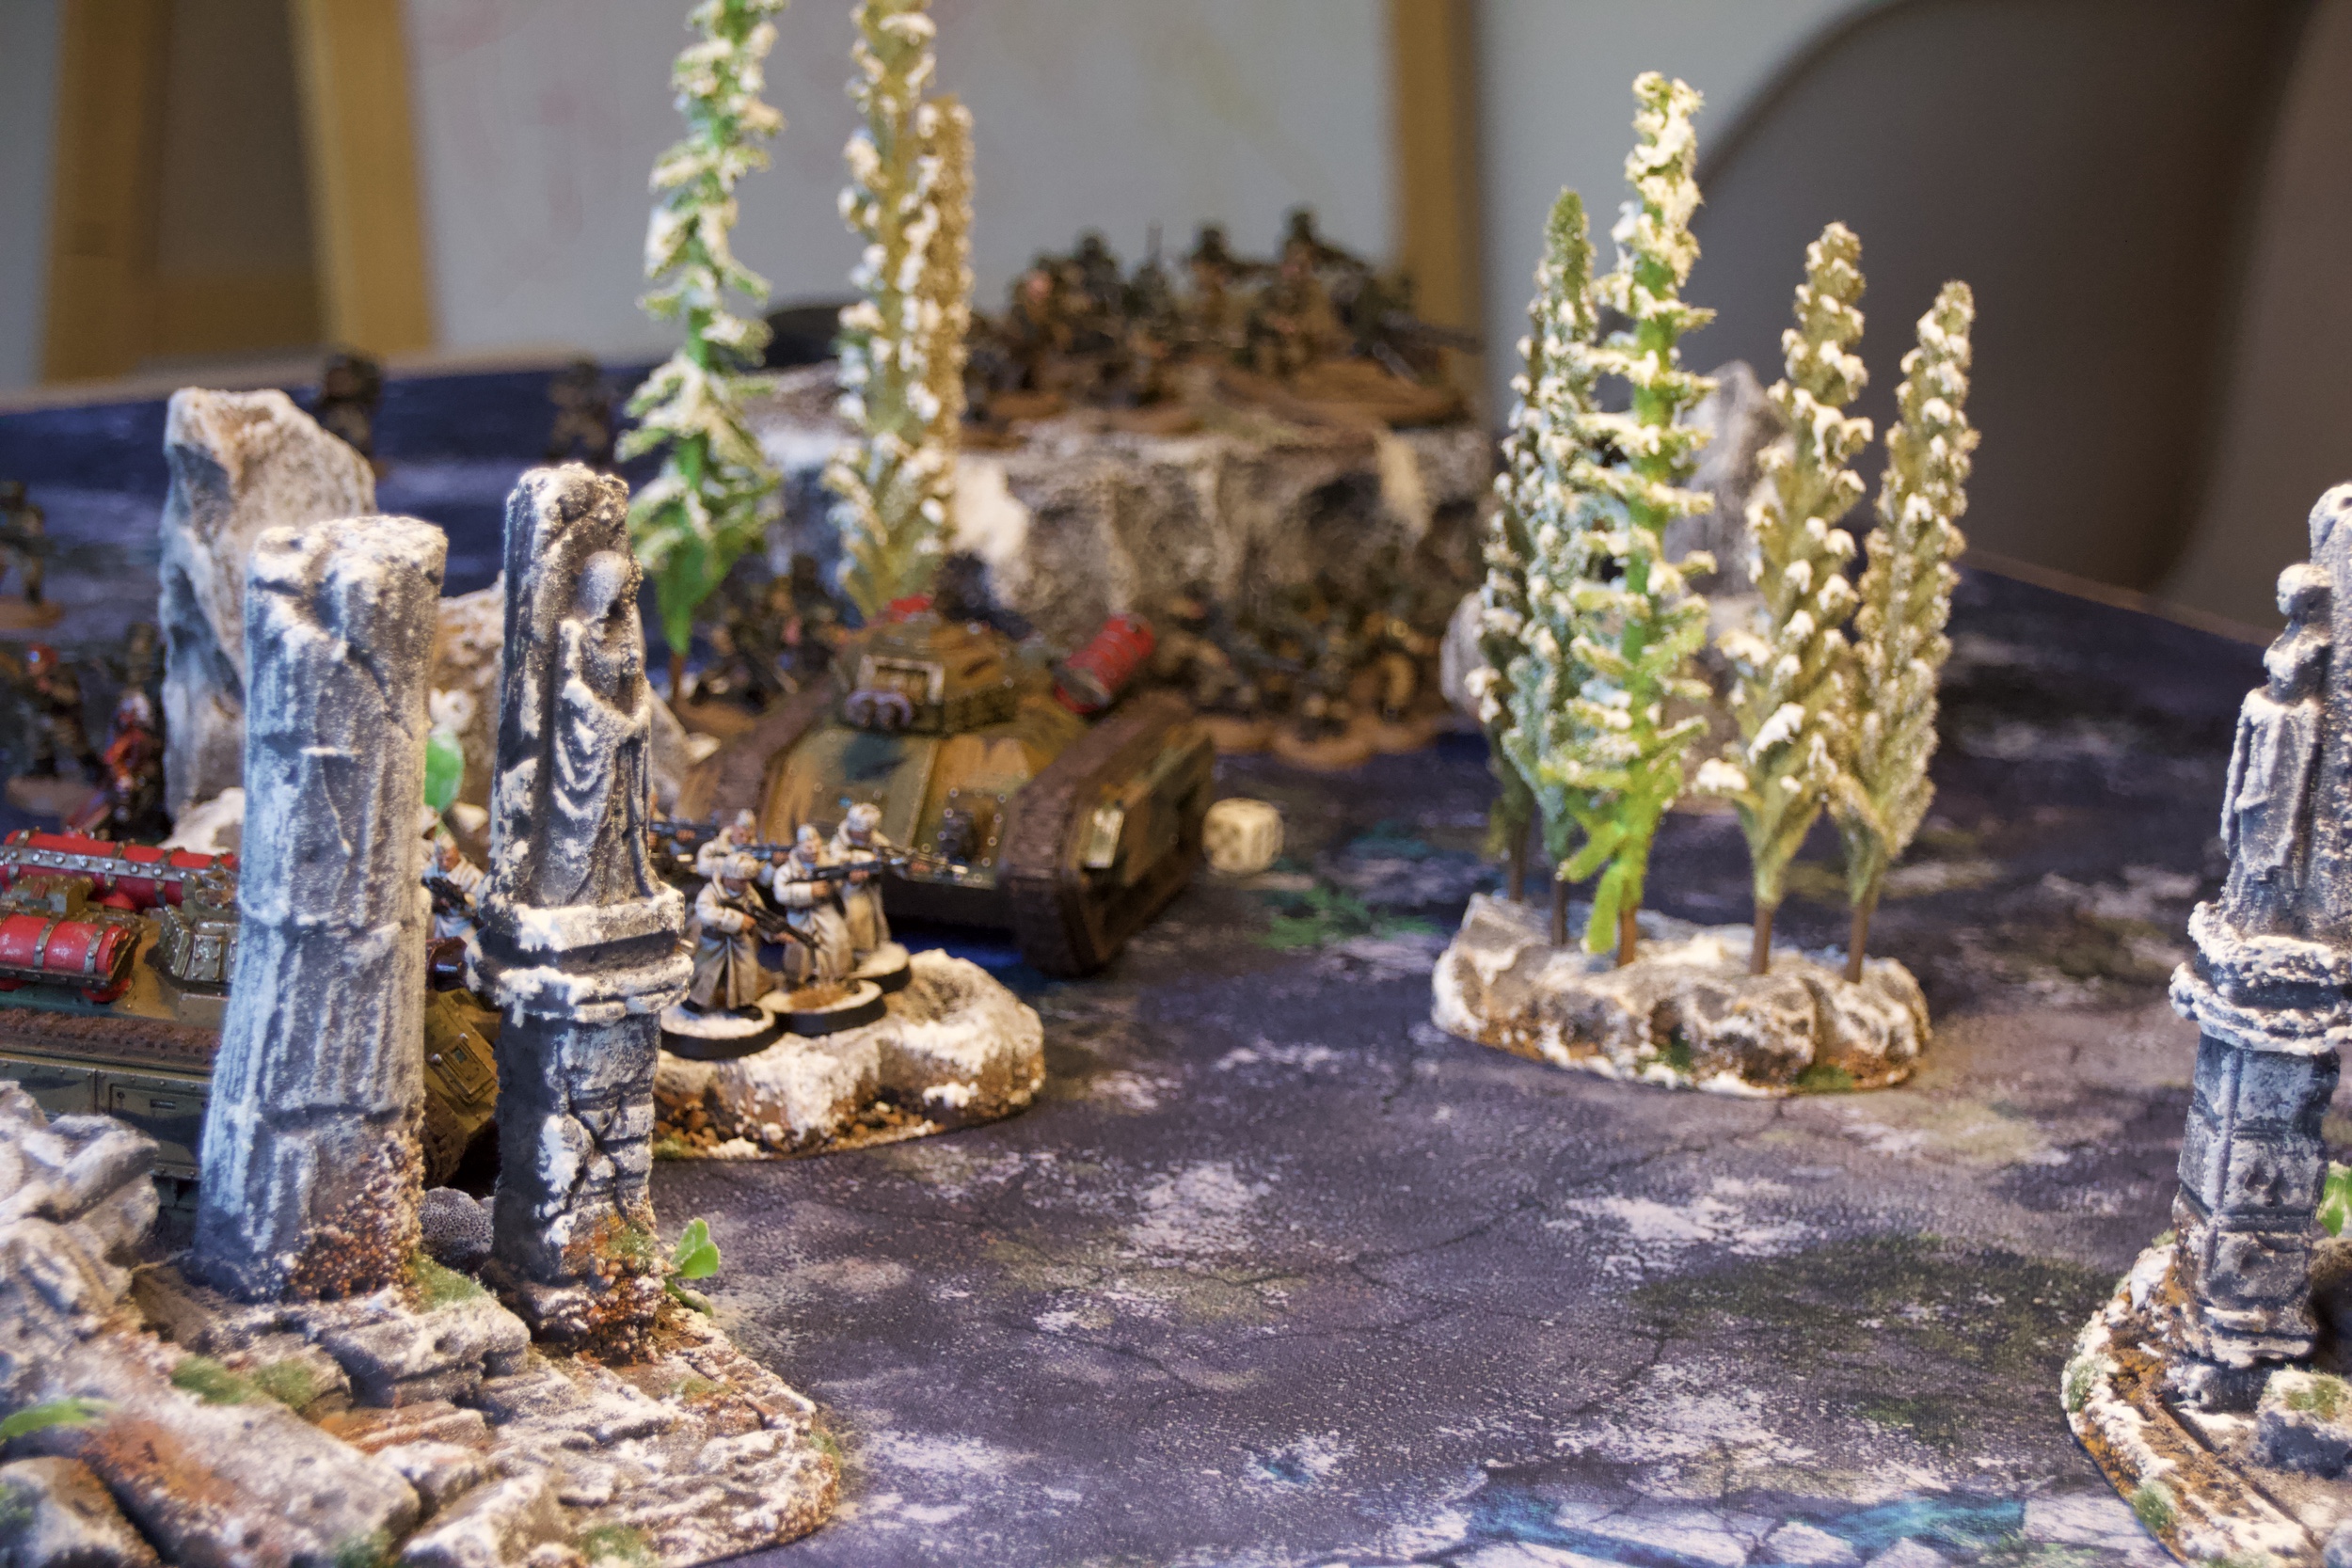
- Overview

Turn 1
The shooting was awful from both sides with neither side getting the First Strike.
I’m starting to think that the artillery I have is just terrible and not worth the 400 or so points. I used the Lost Relic of Cadia so I was re-rolling all missed and all wounds. I also paid 2CP to shoot a Wyvern twice. The fruits of this were two Plague Marines and three wounds of an Armiger.
If this was how the shooting was going to go then I’ve lost already.
I did manage to hold the objective this turn though by force of numbers. This was my main advantage; Troops.
Show Score
Death Guard 0
Astra Militarum 1
-

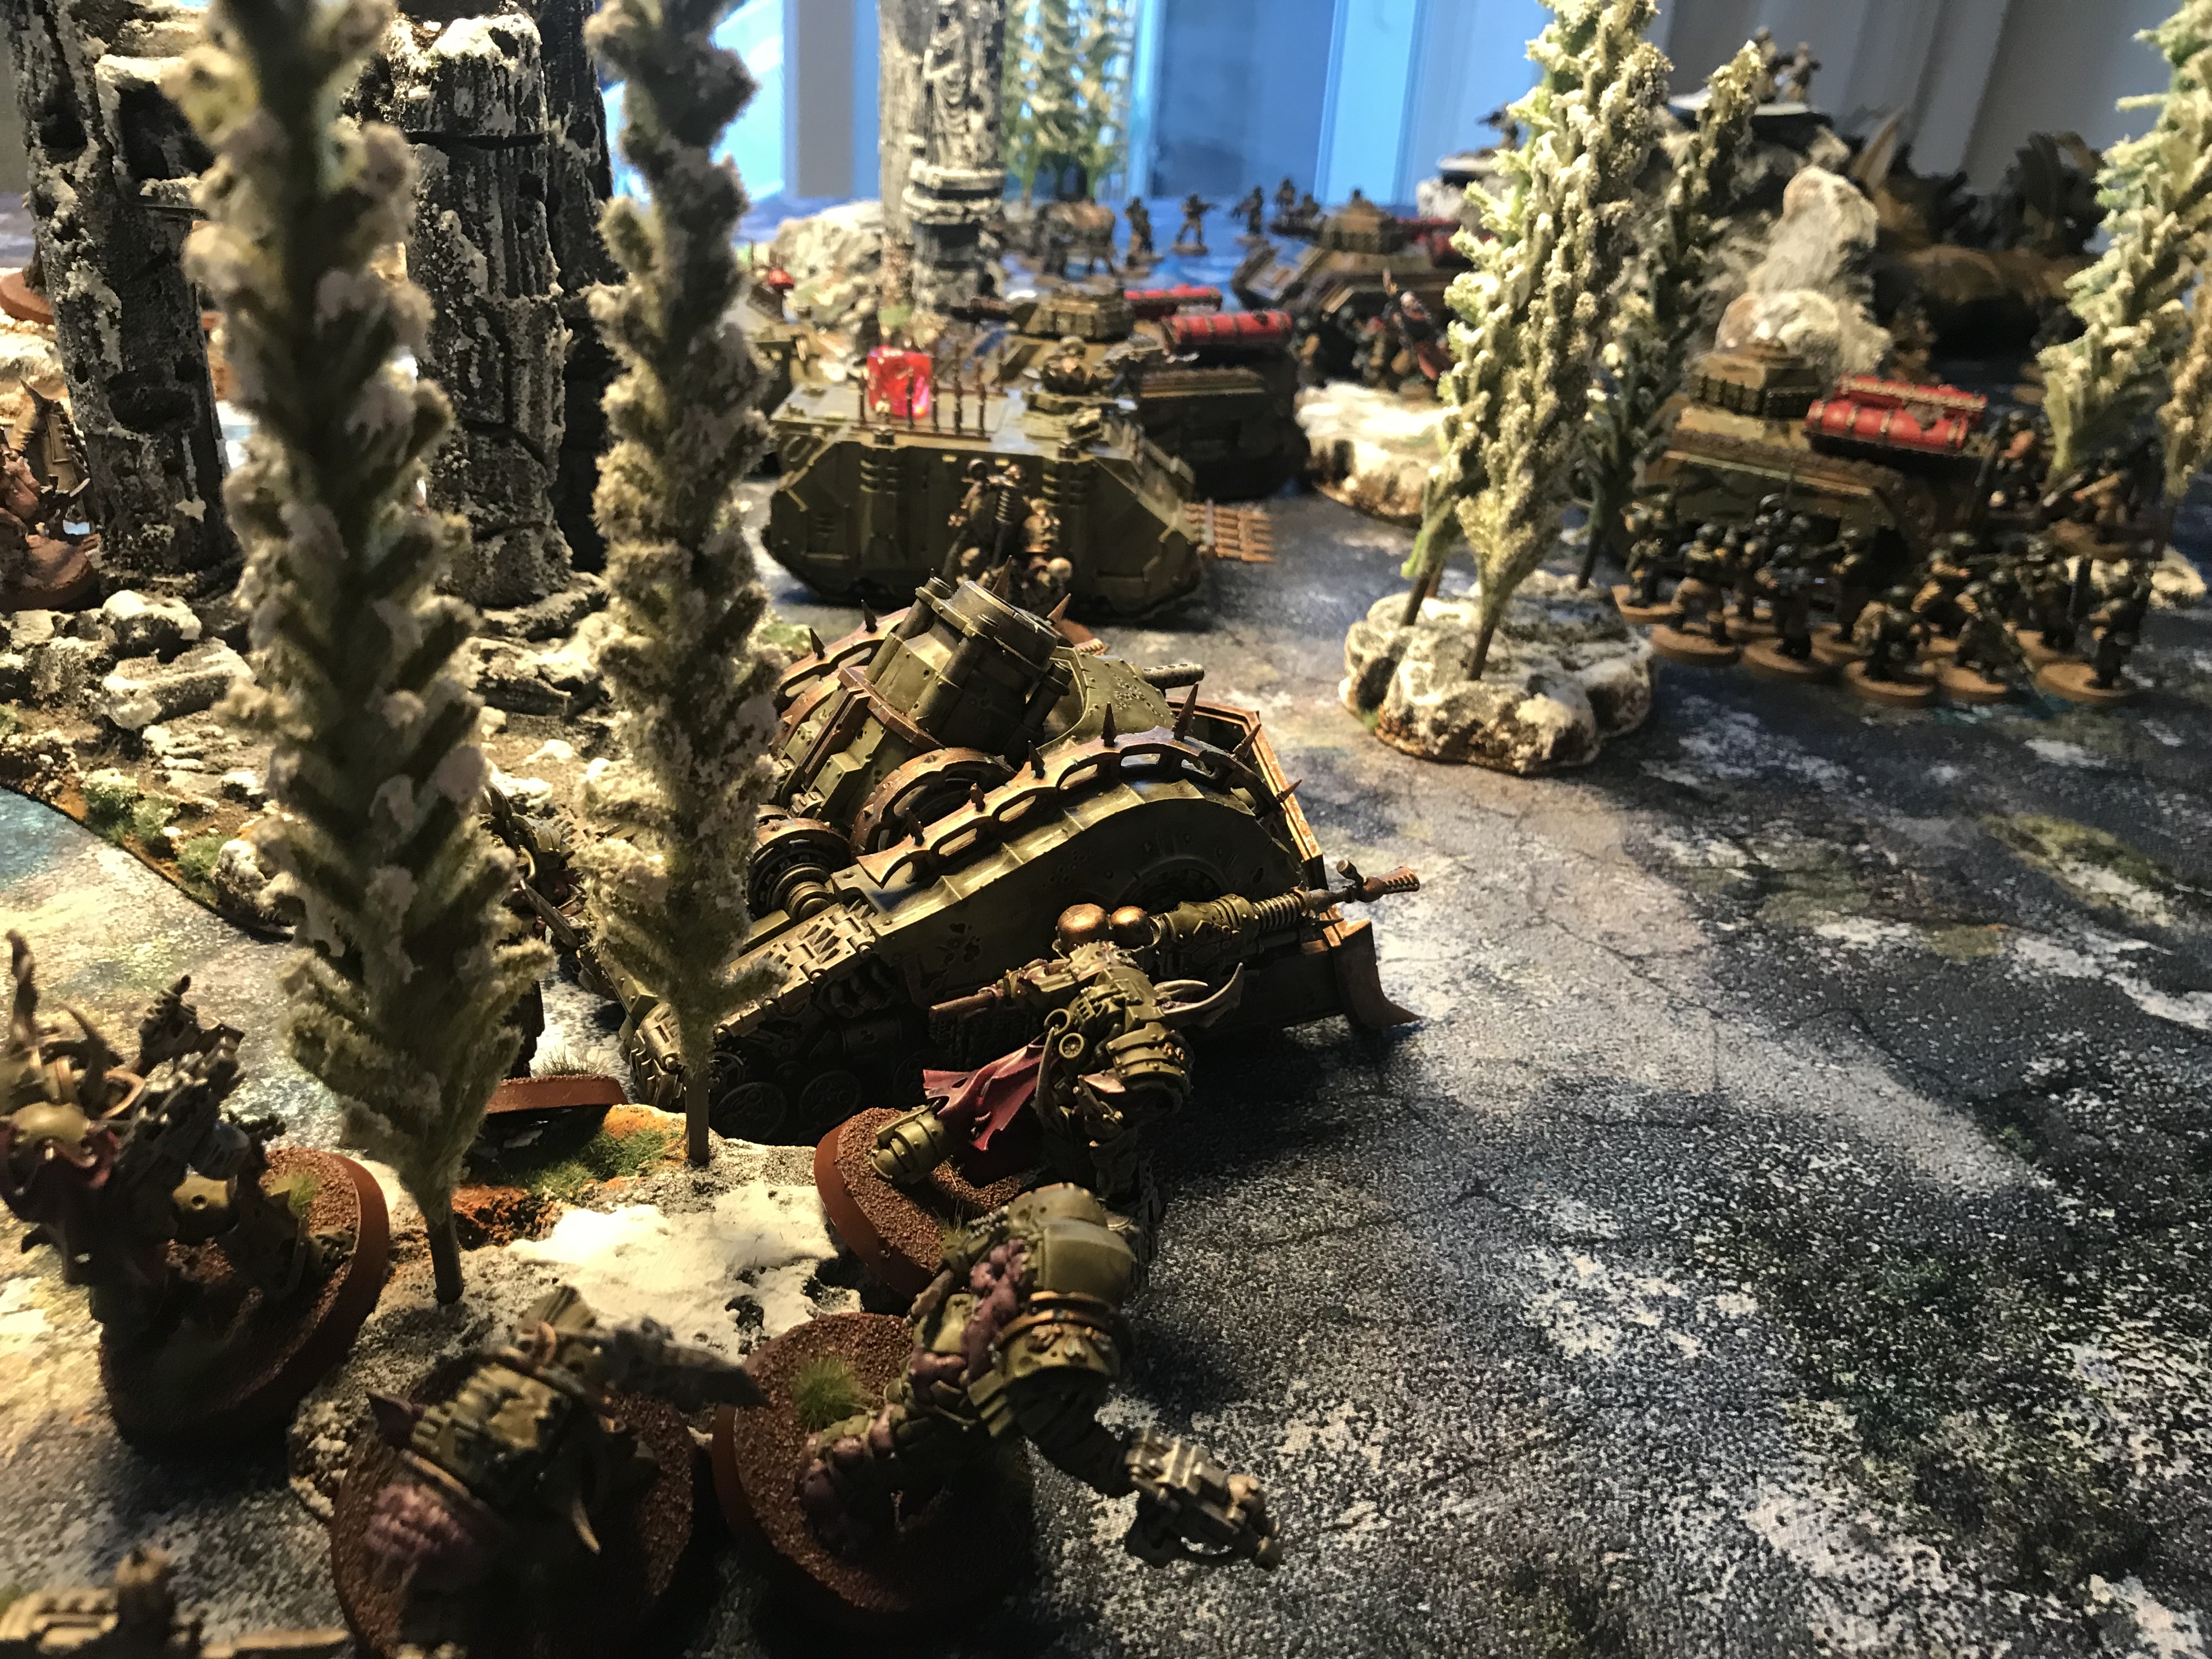
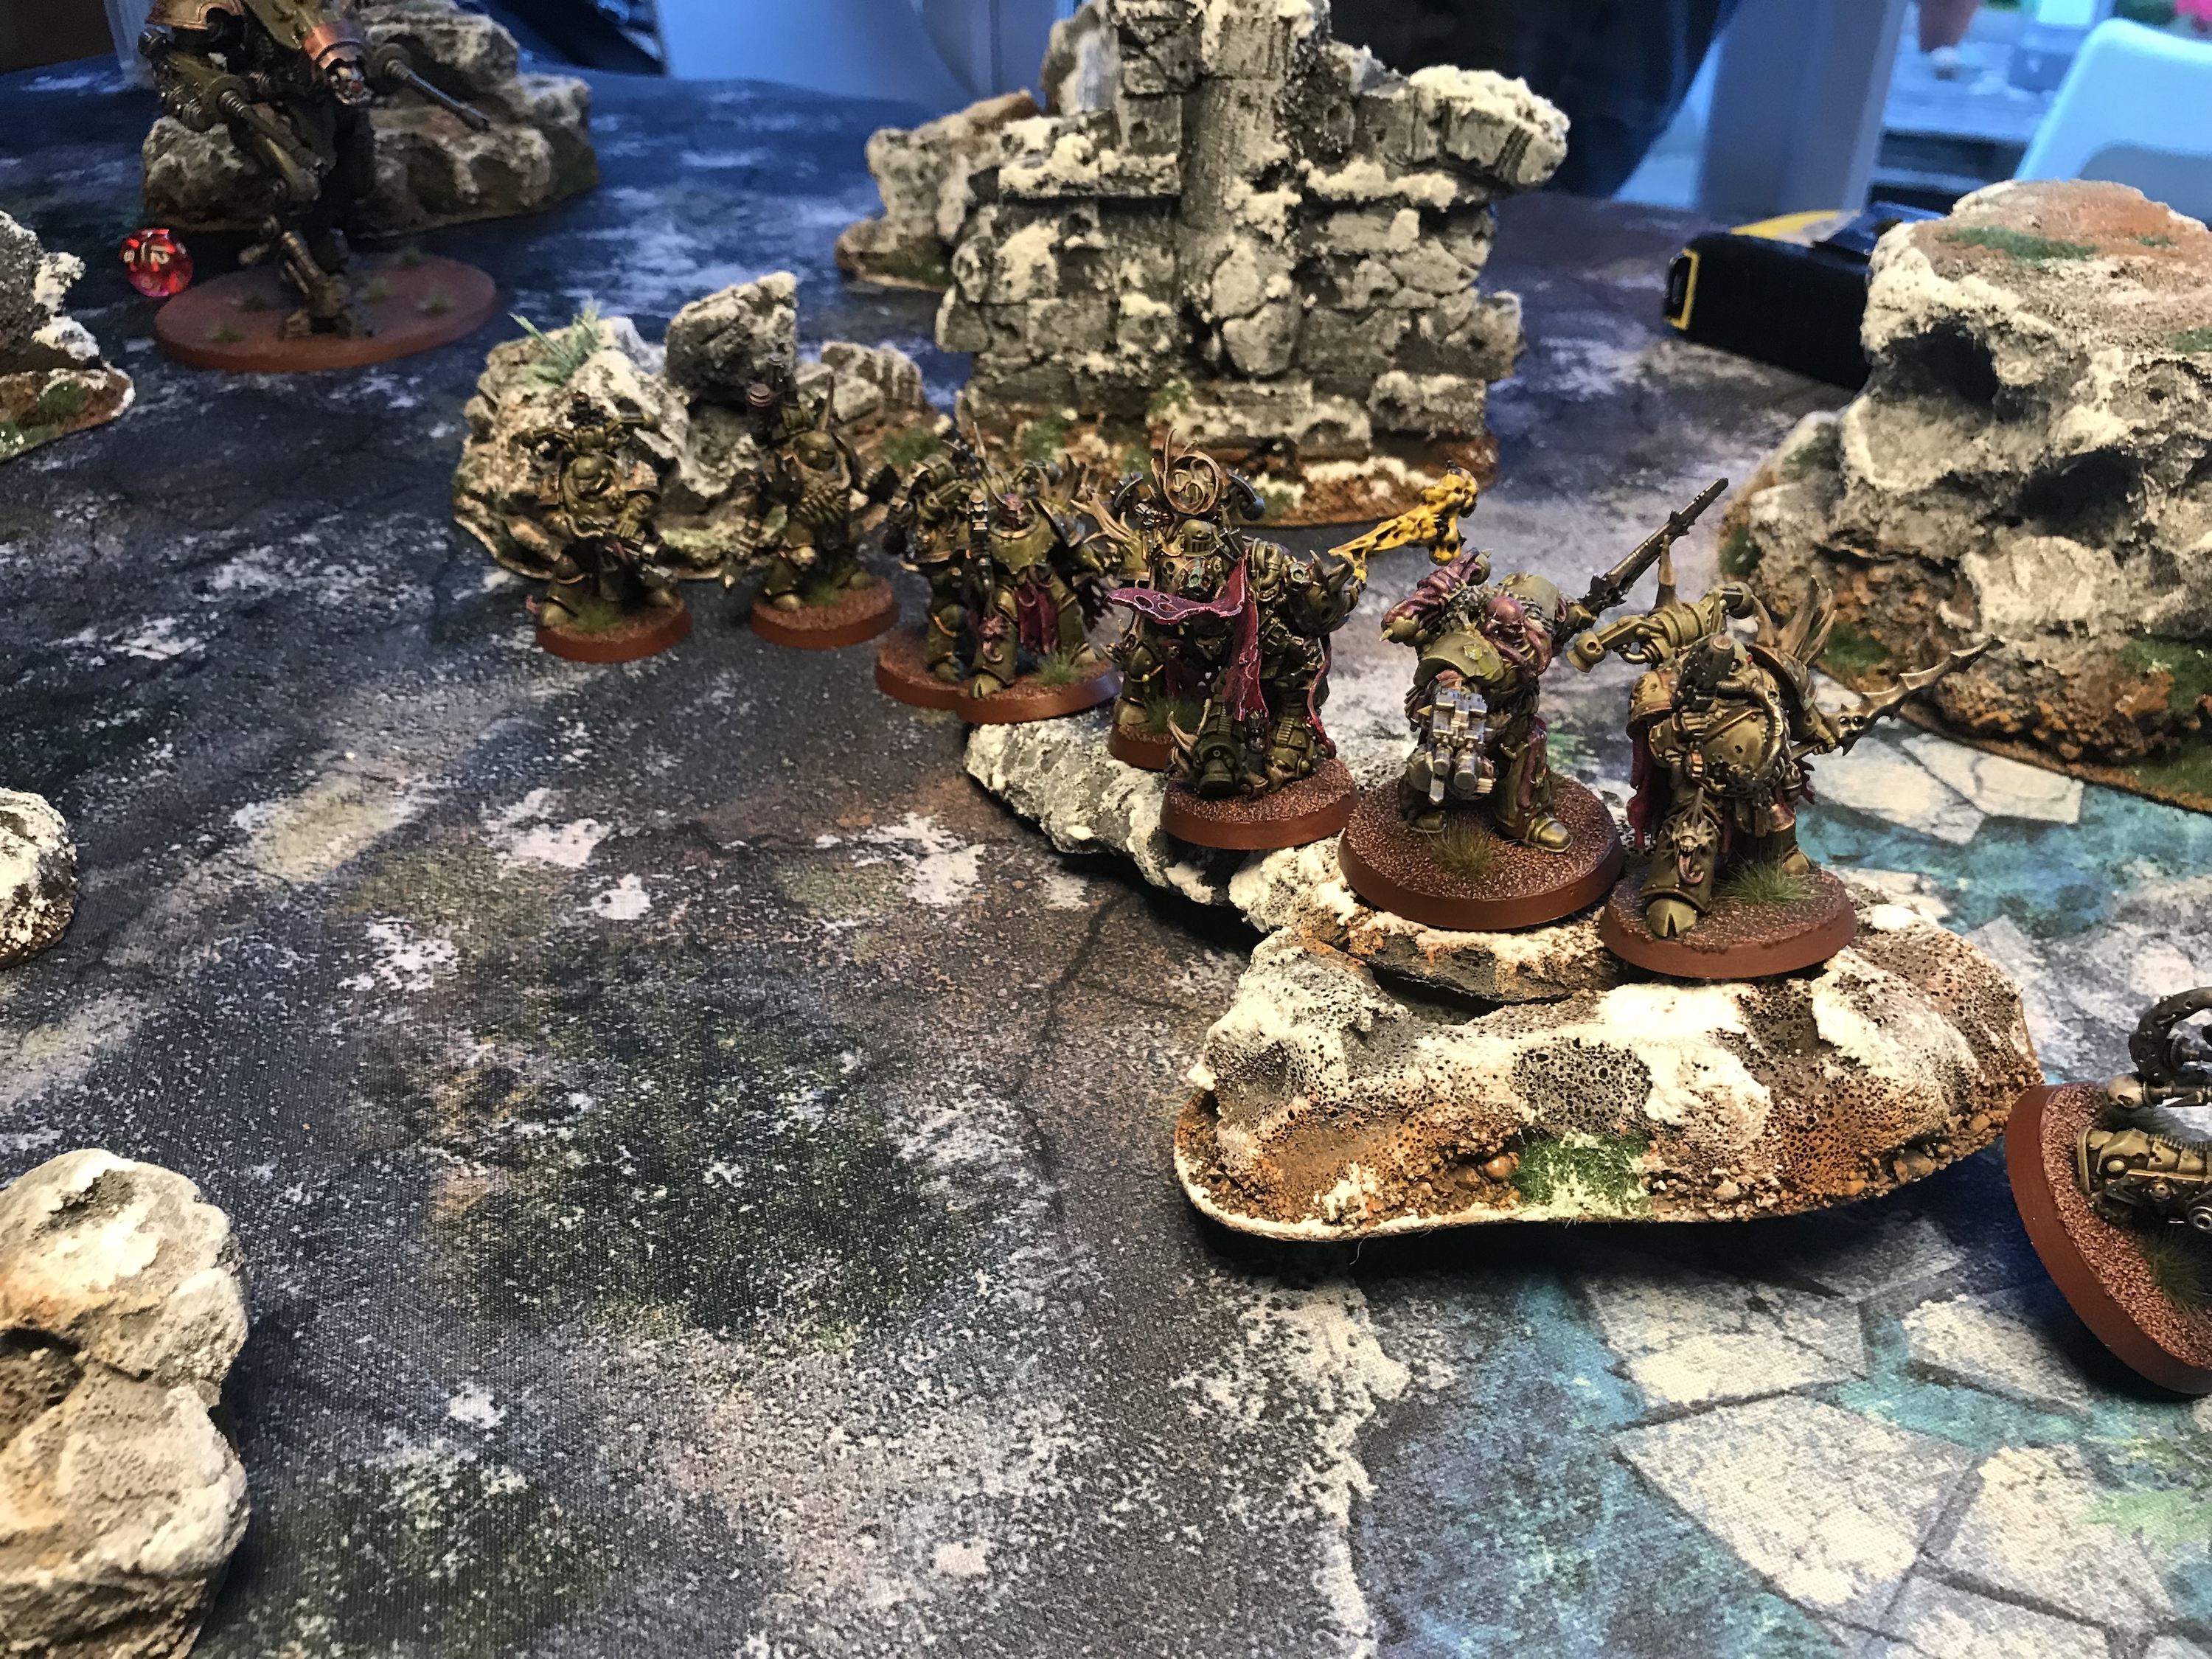
- Death Guard advance
-
- Valhallans withering away

Turn 2
My infantry was being removed at a rapid rate now and I lost two Devil Dogs this turn. This would be the name of the game now;
- Run infantry towards the objective
- Have infantry killed
- Run more infantry towards the objective
The Plasma Terminators arrived but were pretty shut out from accessing my artillery and so settled for taking out a Devil Dog.
I’d use Move Move Move to get unit’s up and onto the objective and then have them all killed.
I killed all but one Plague Marine from one of the squads and all the Pox Walkers. This was a decent chunk of the Death Guard Troops.
The Devil Dogs between them did about three wounds to a Rhino. Never. Taking. Them. Again.
Show Score
Death Guard 0
Astra Militarum 2
-

- Terminators arrive
-

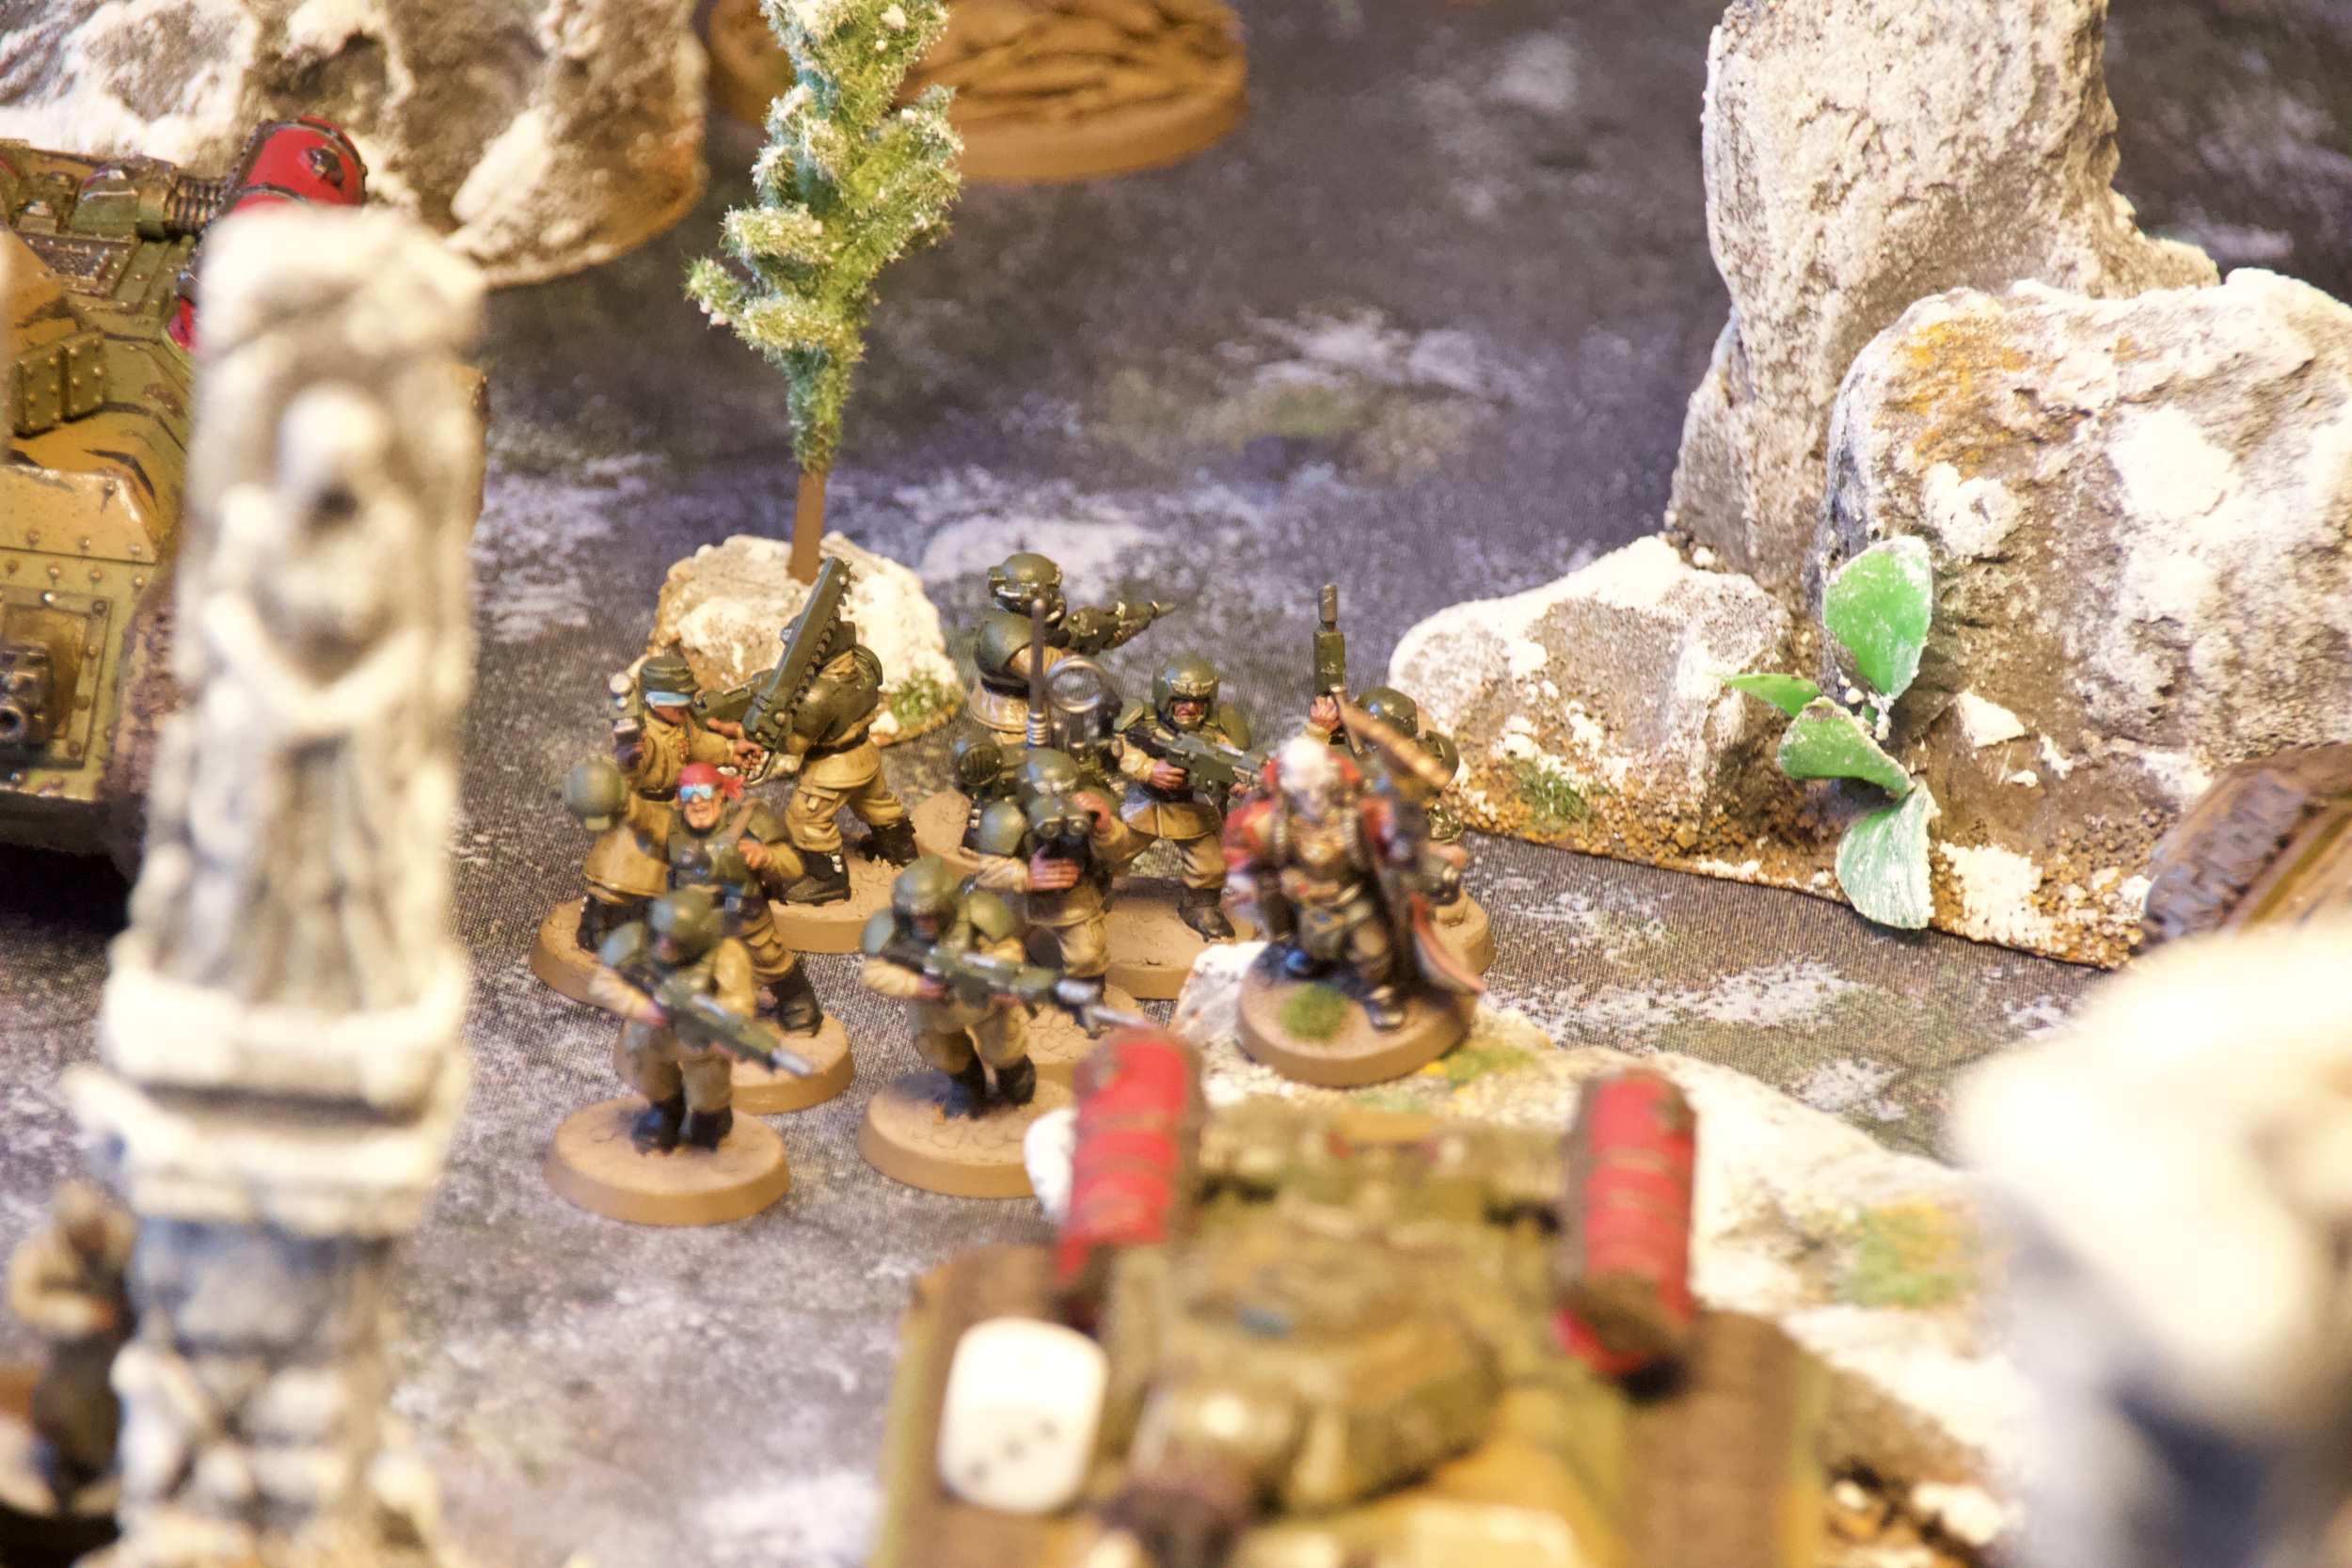
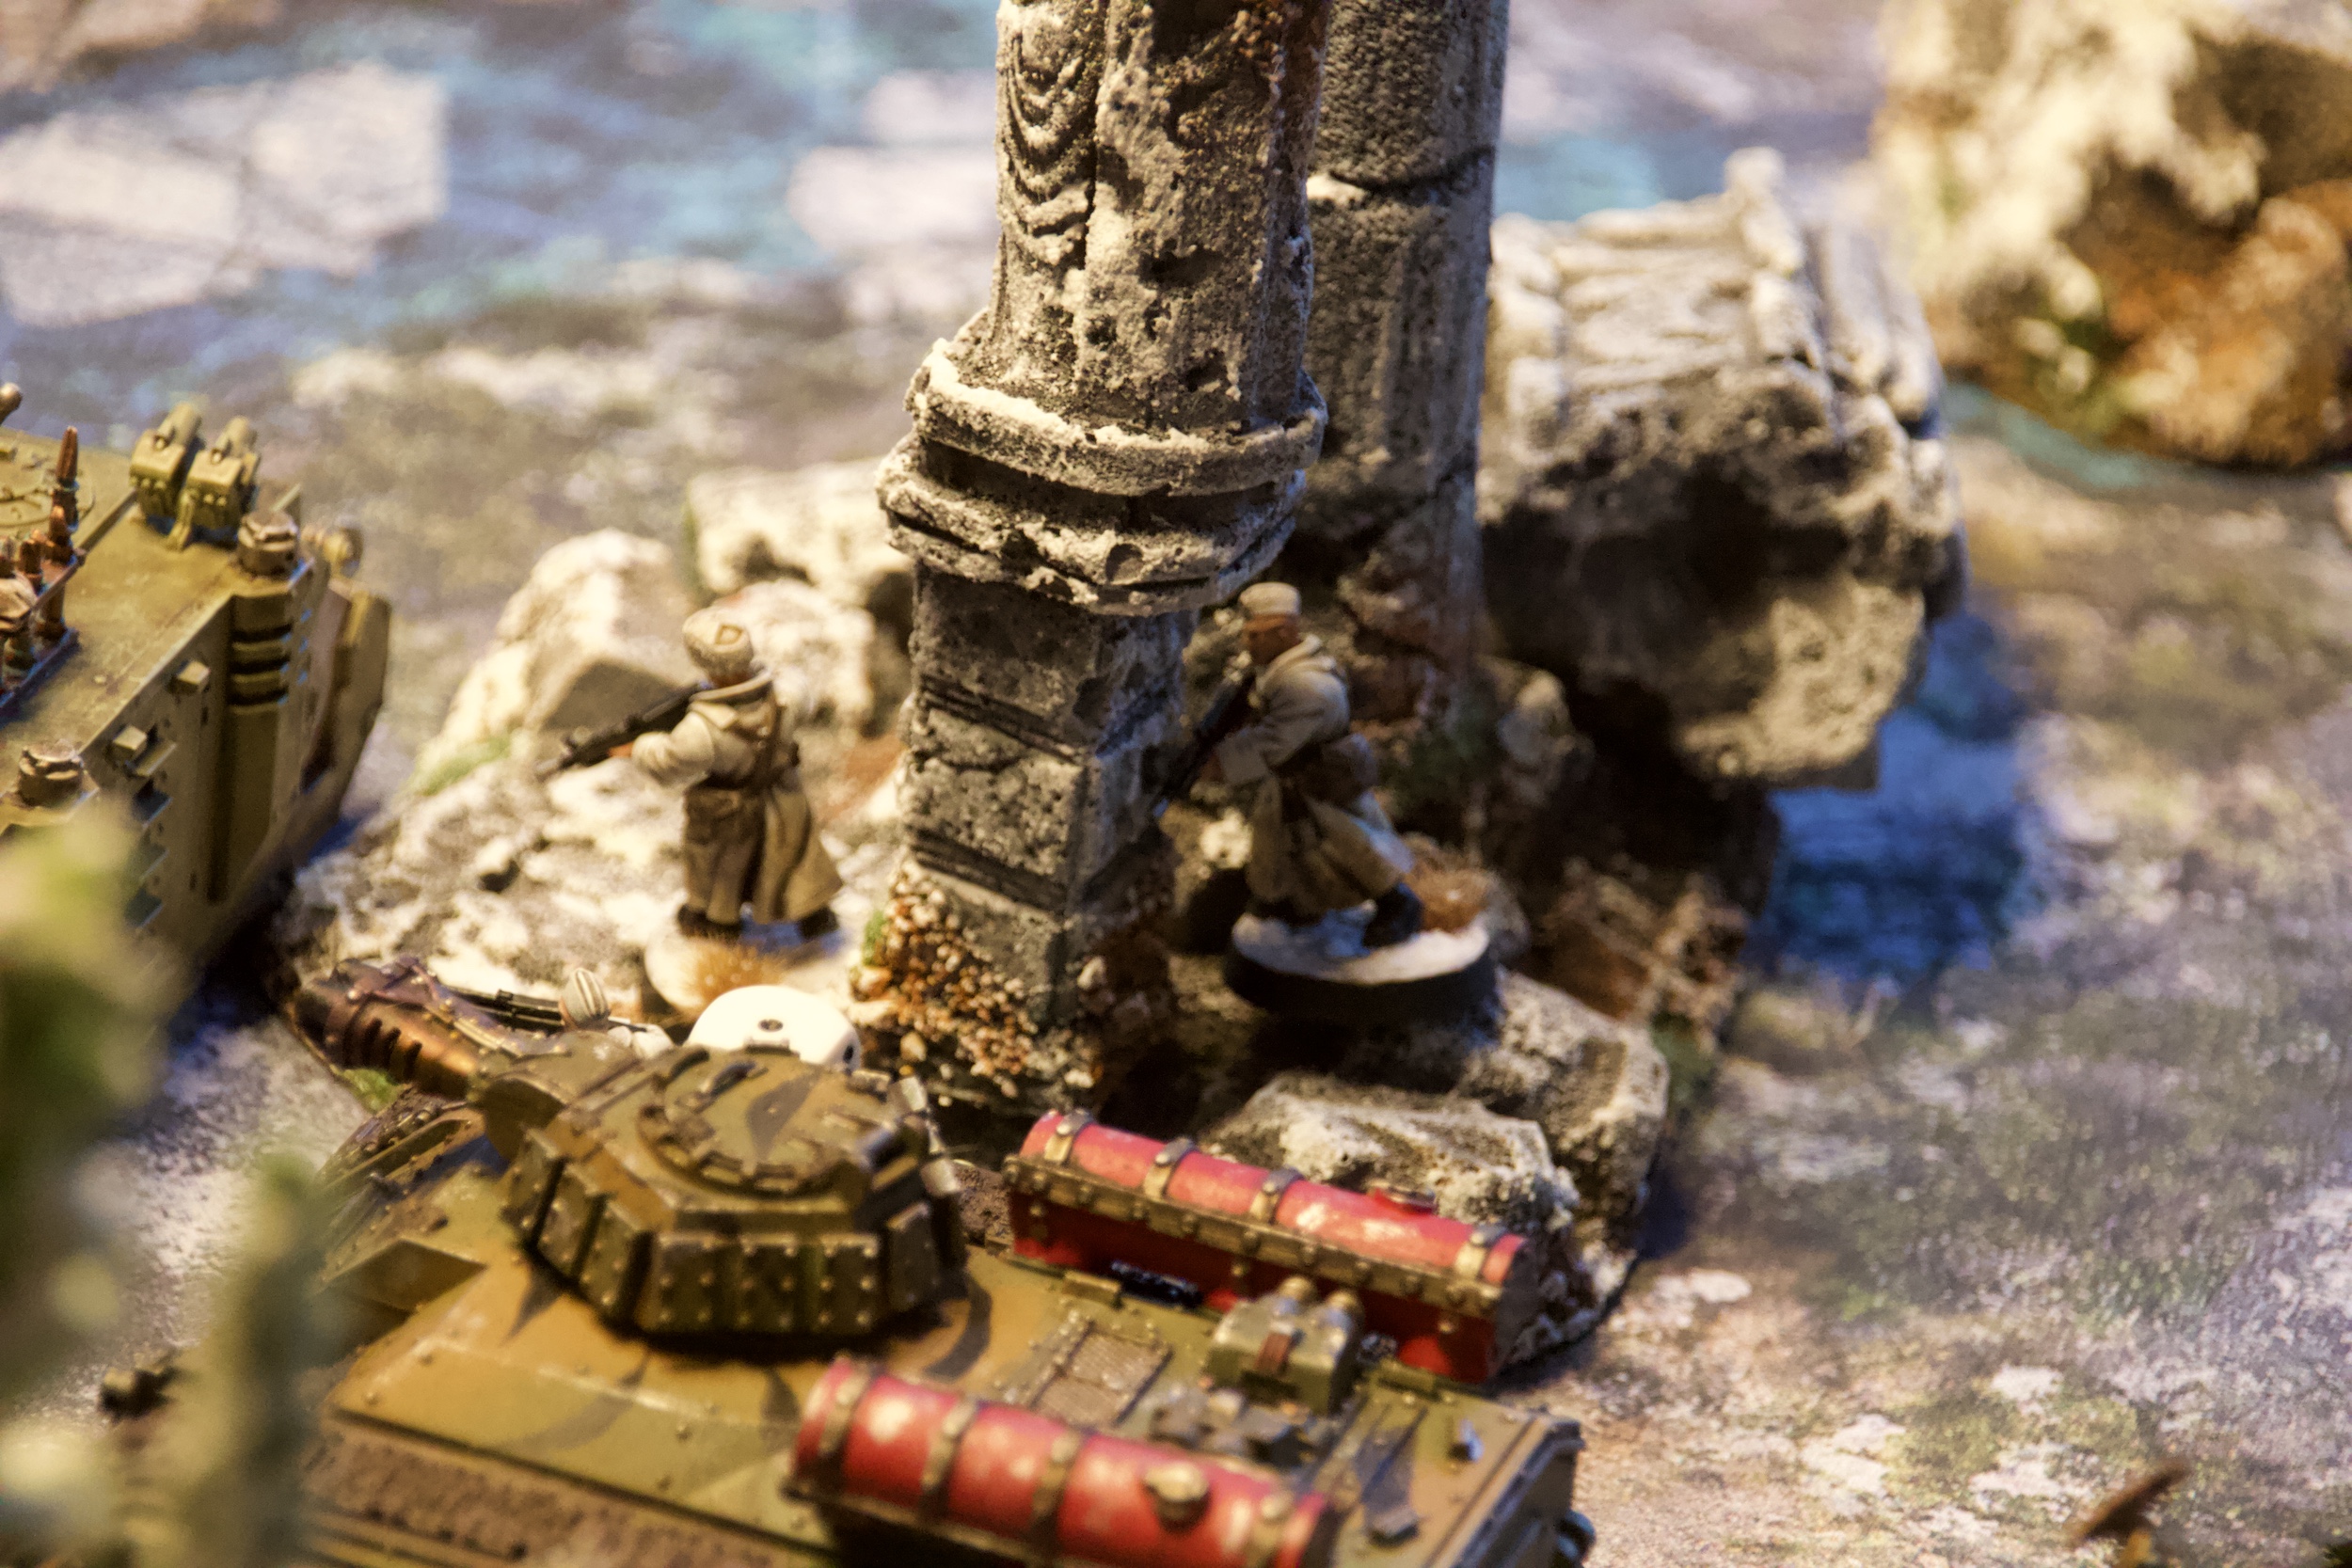
- Guard infantry before being blown away
-

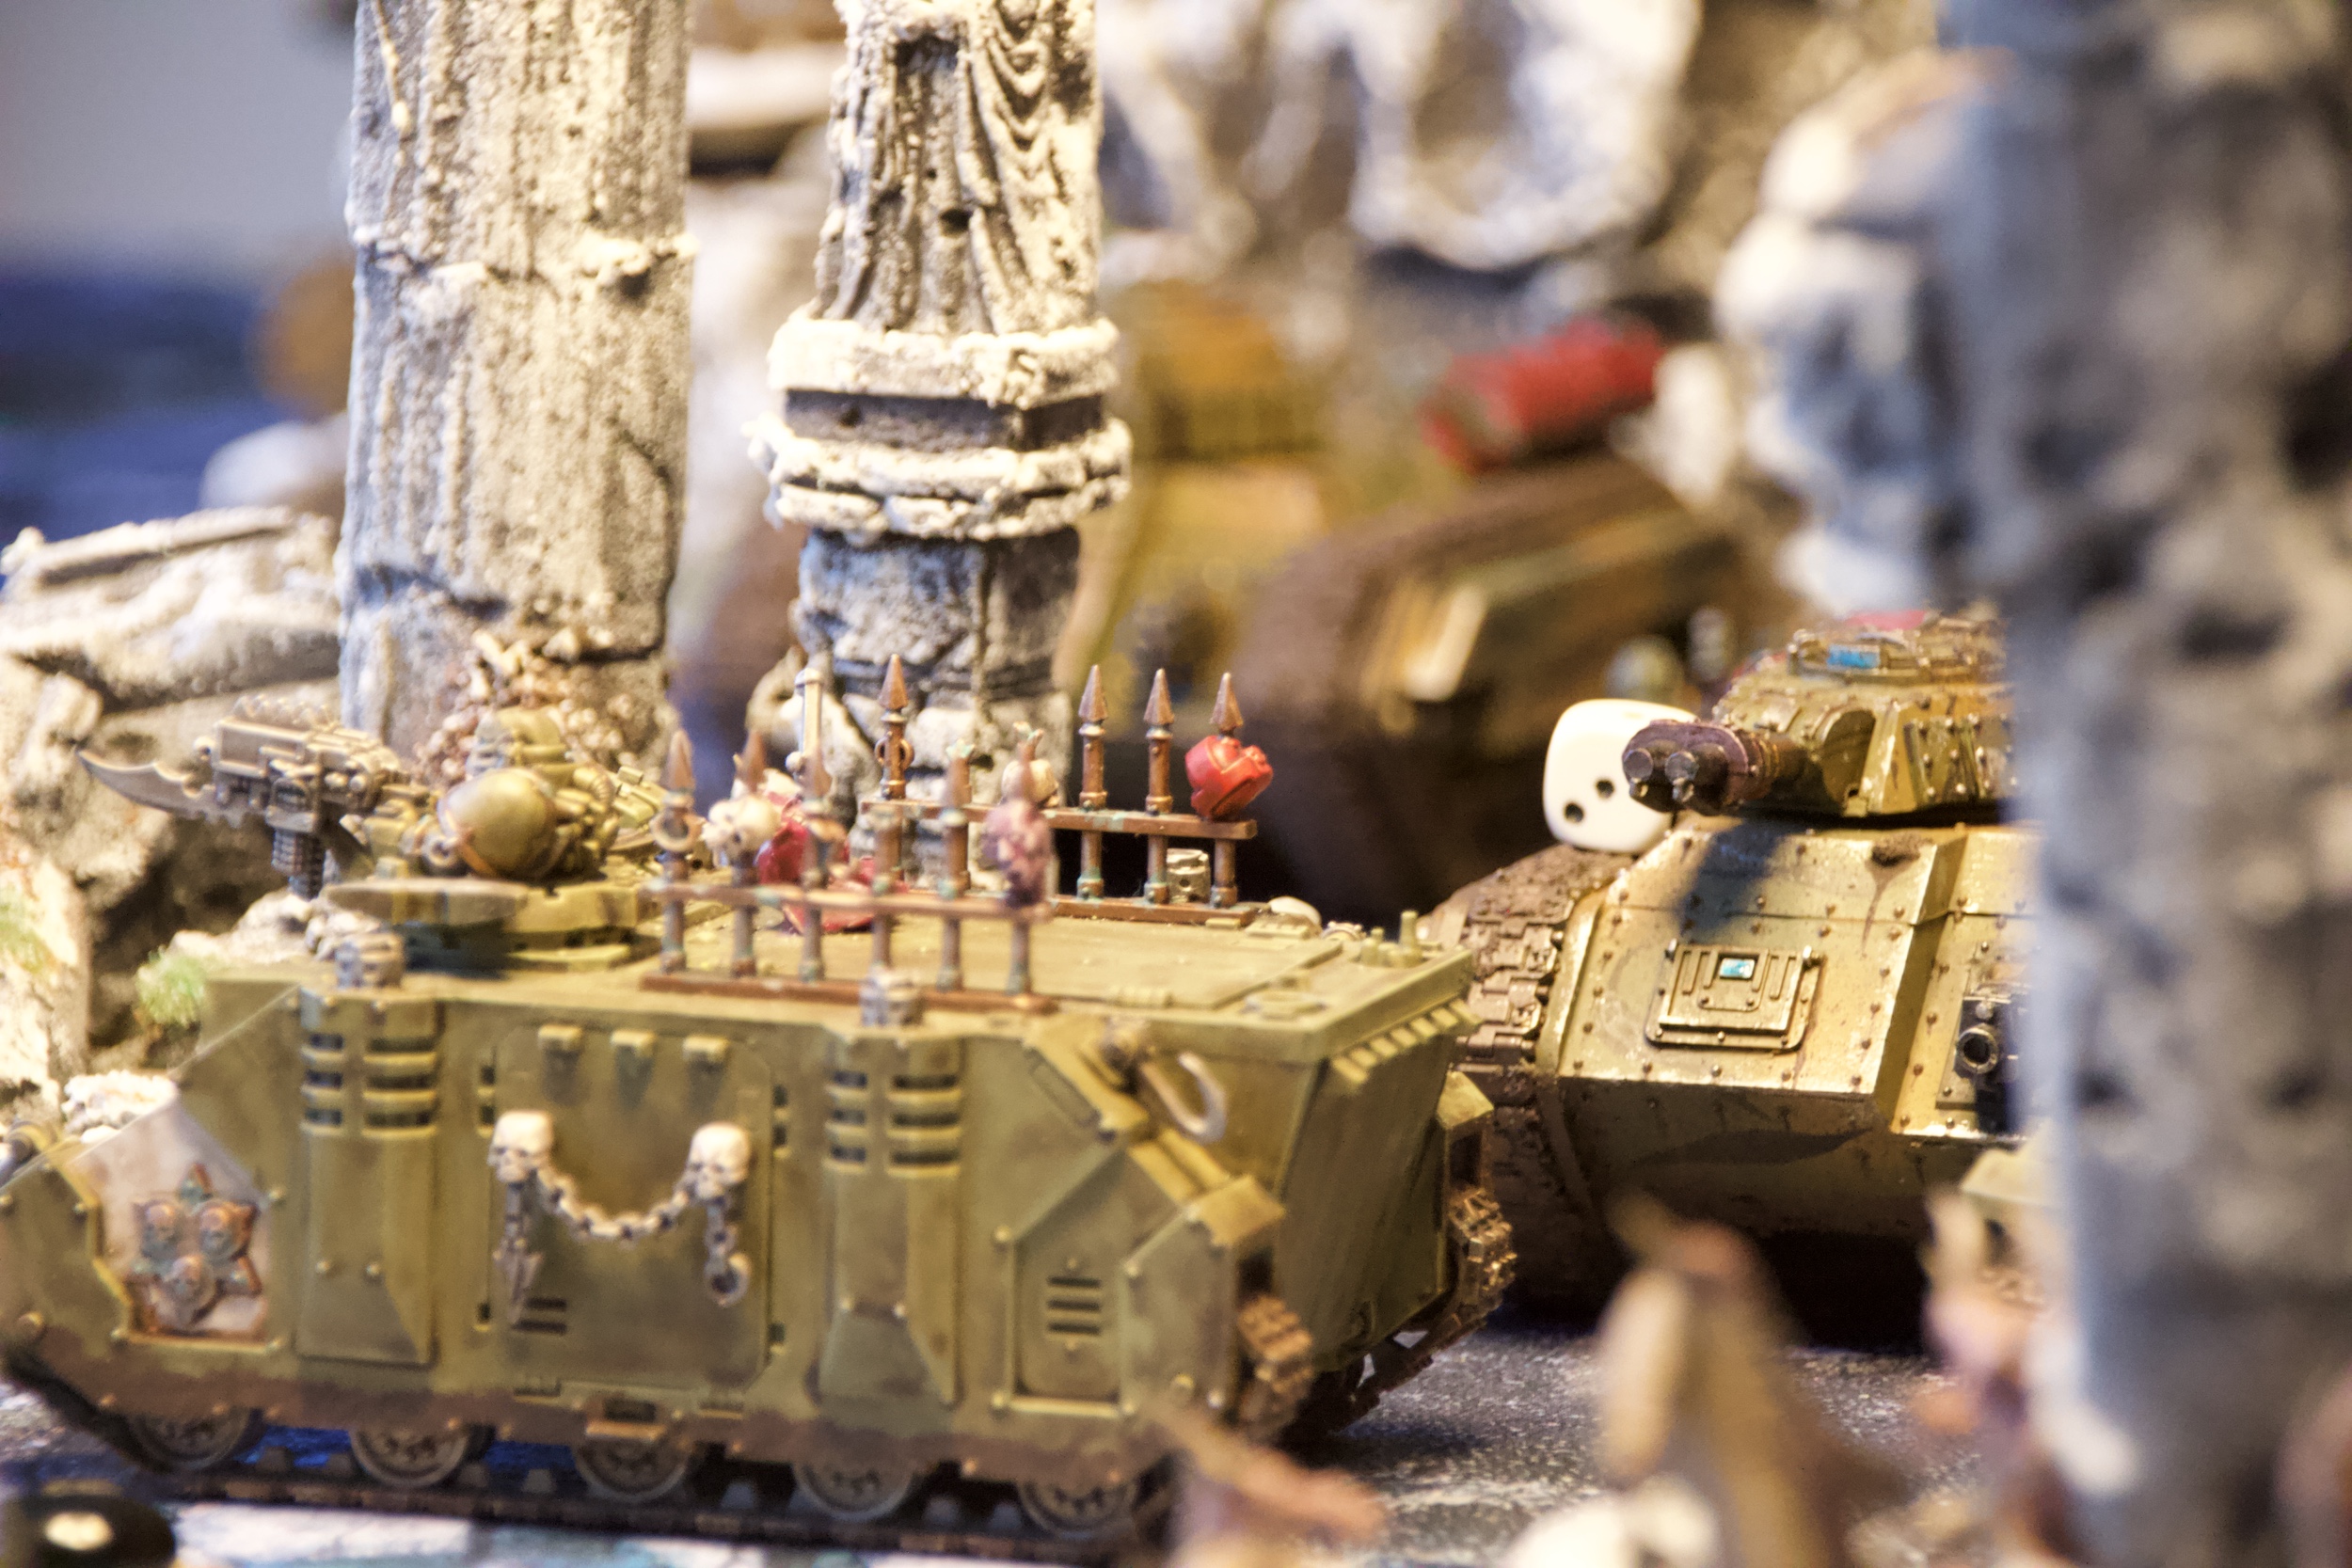
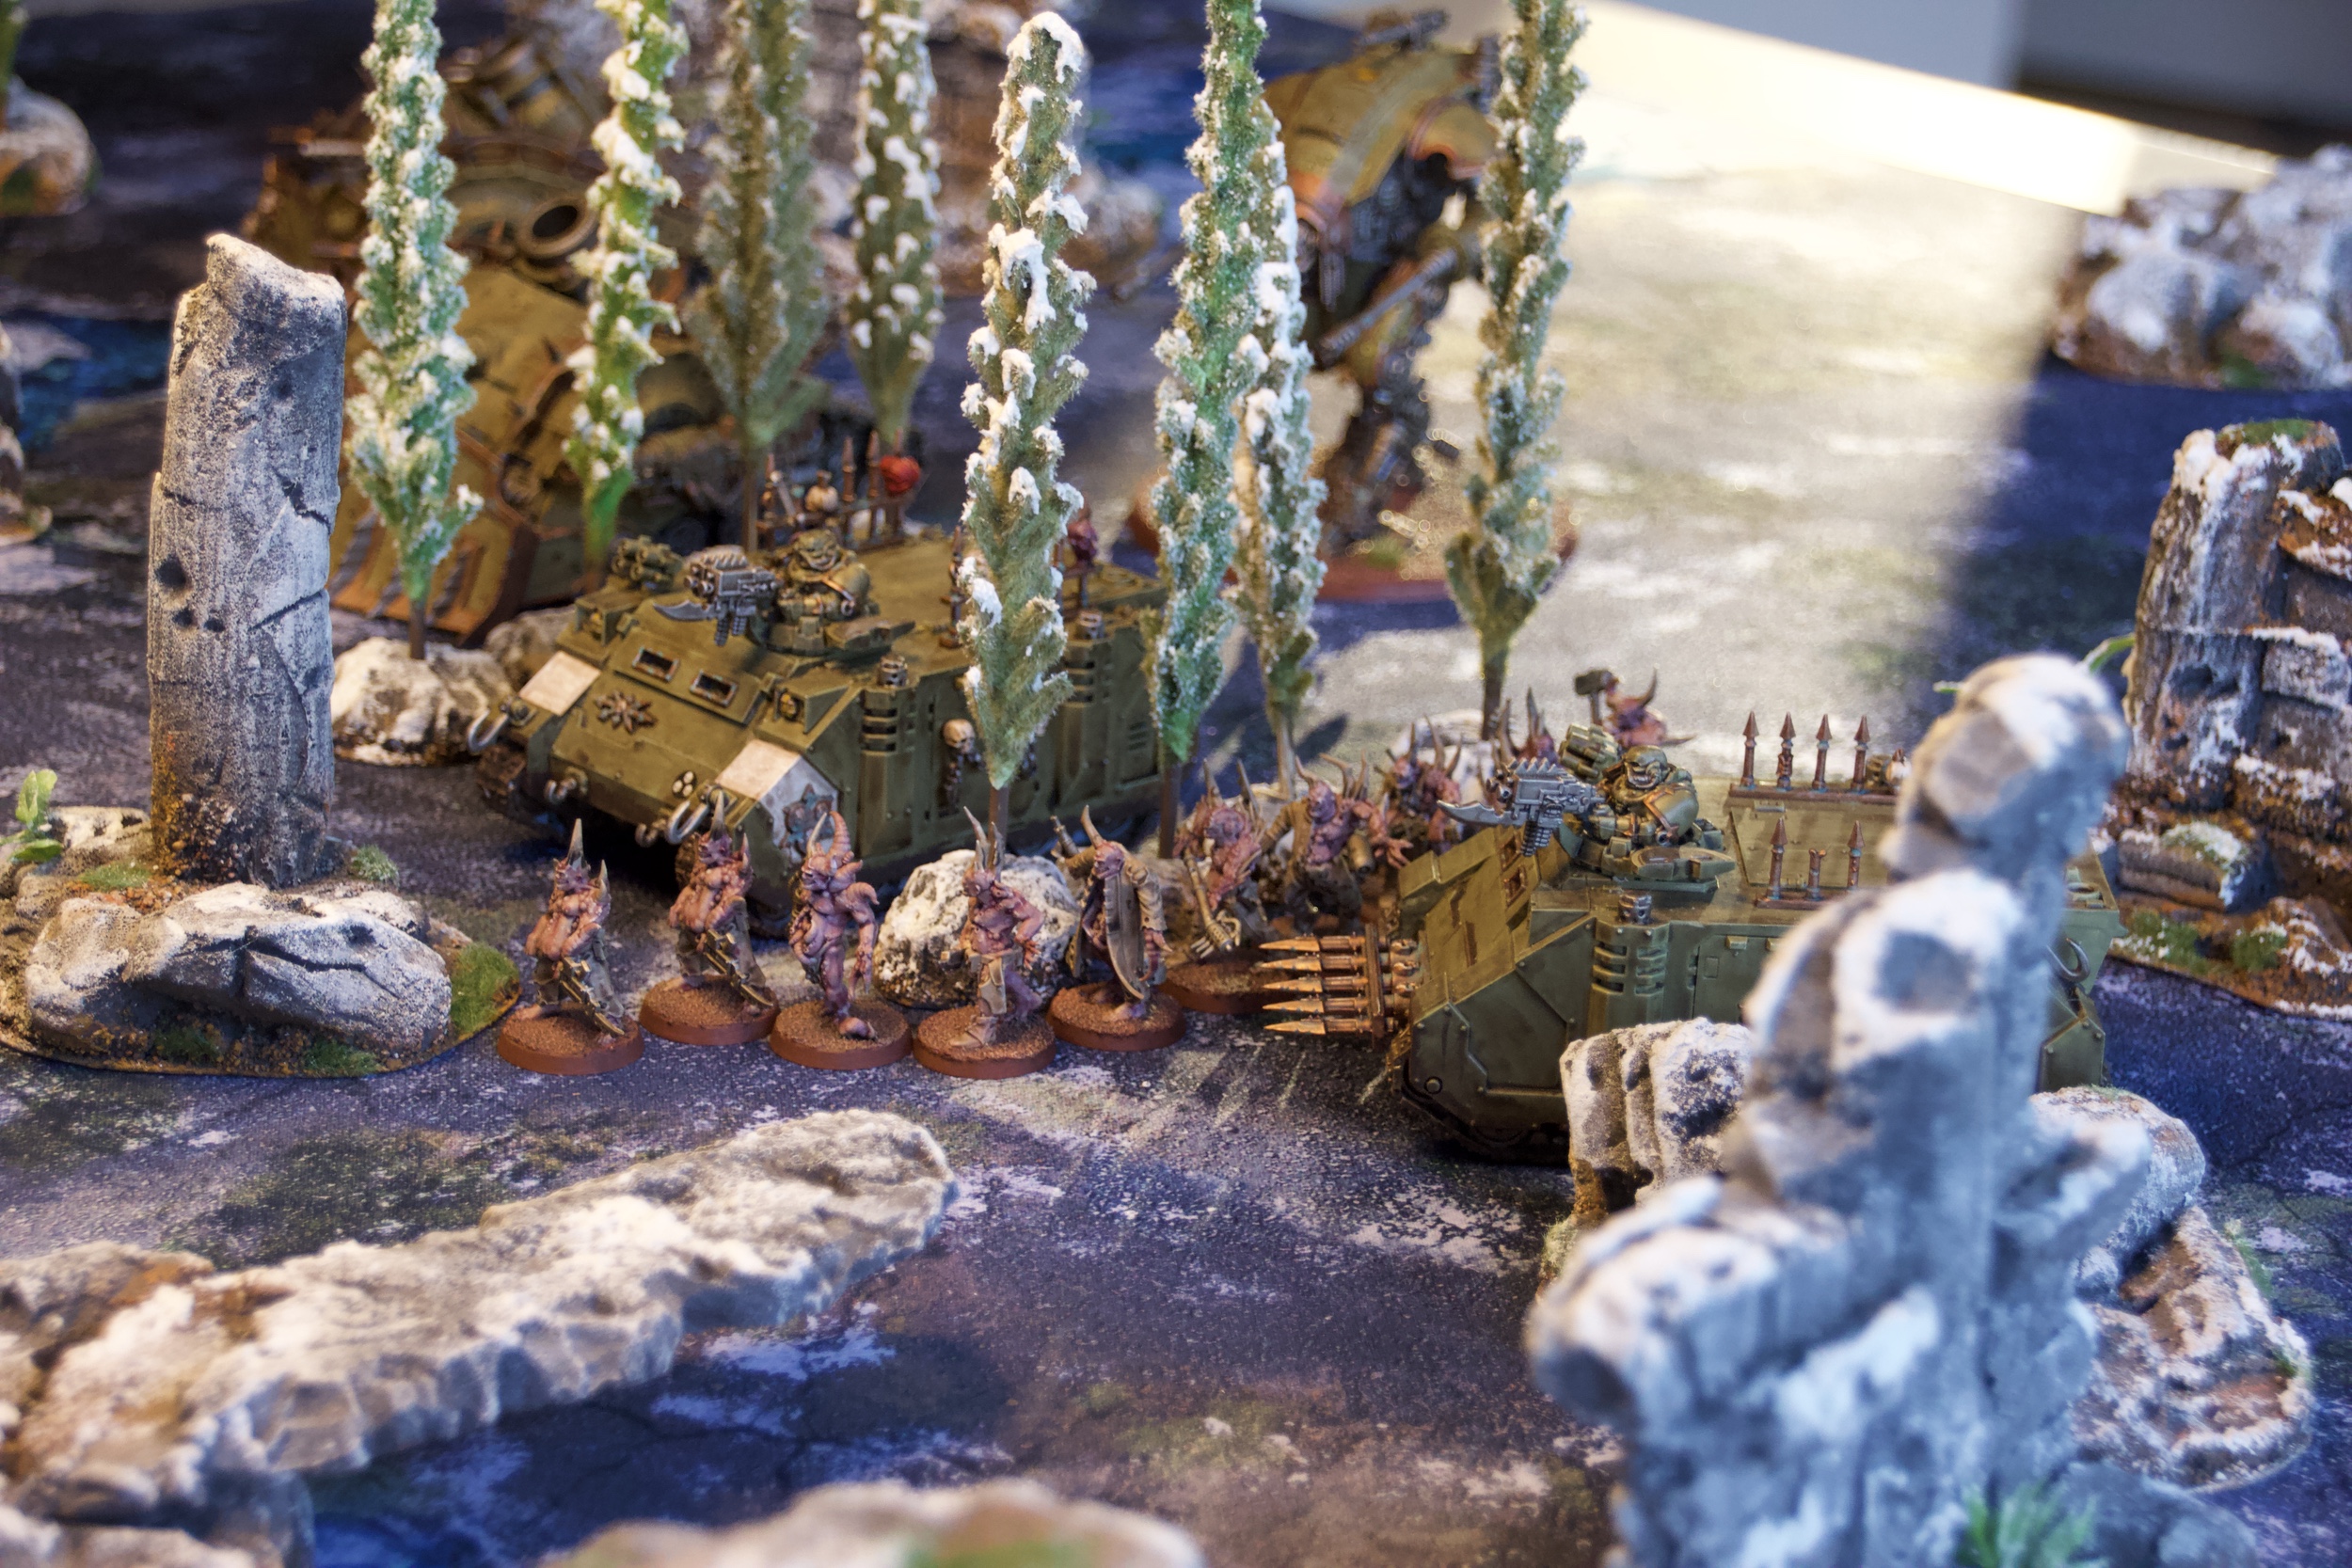
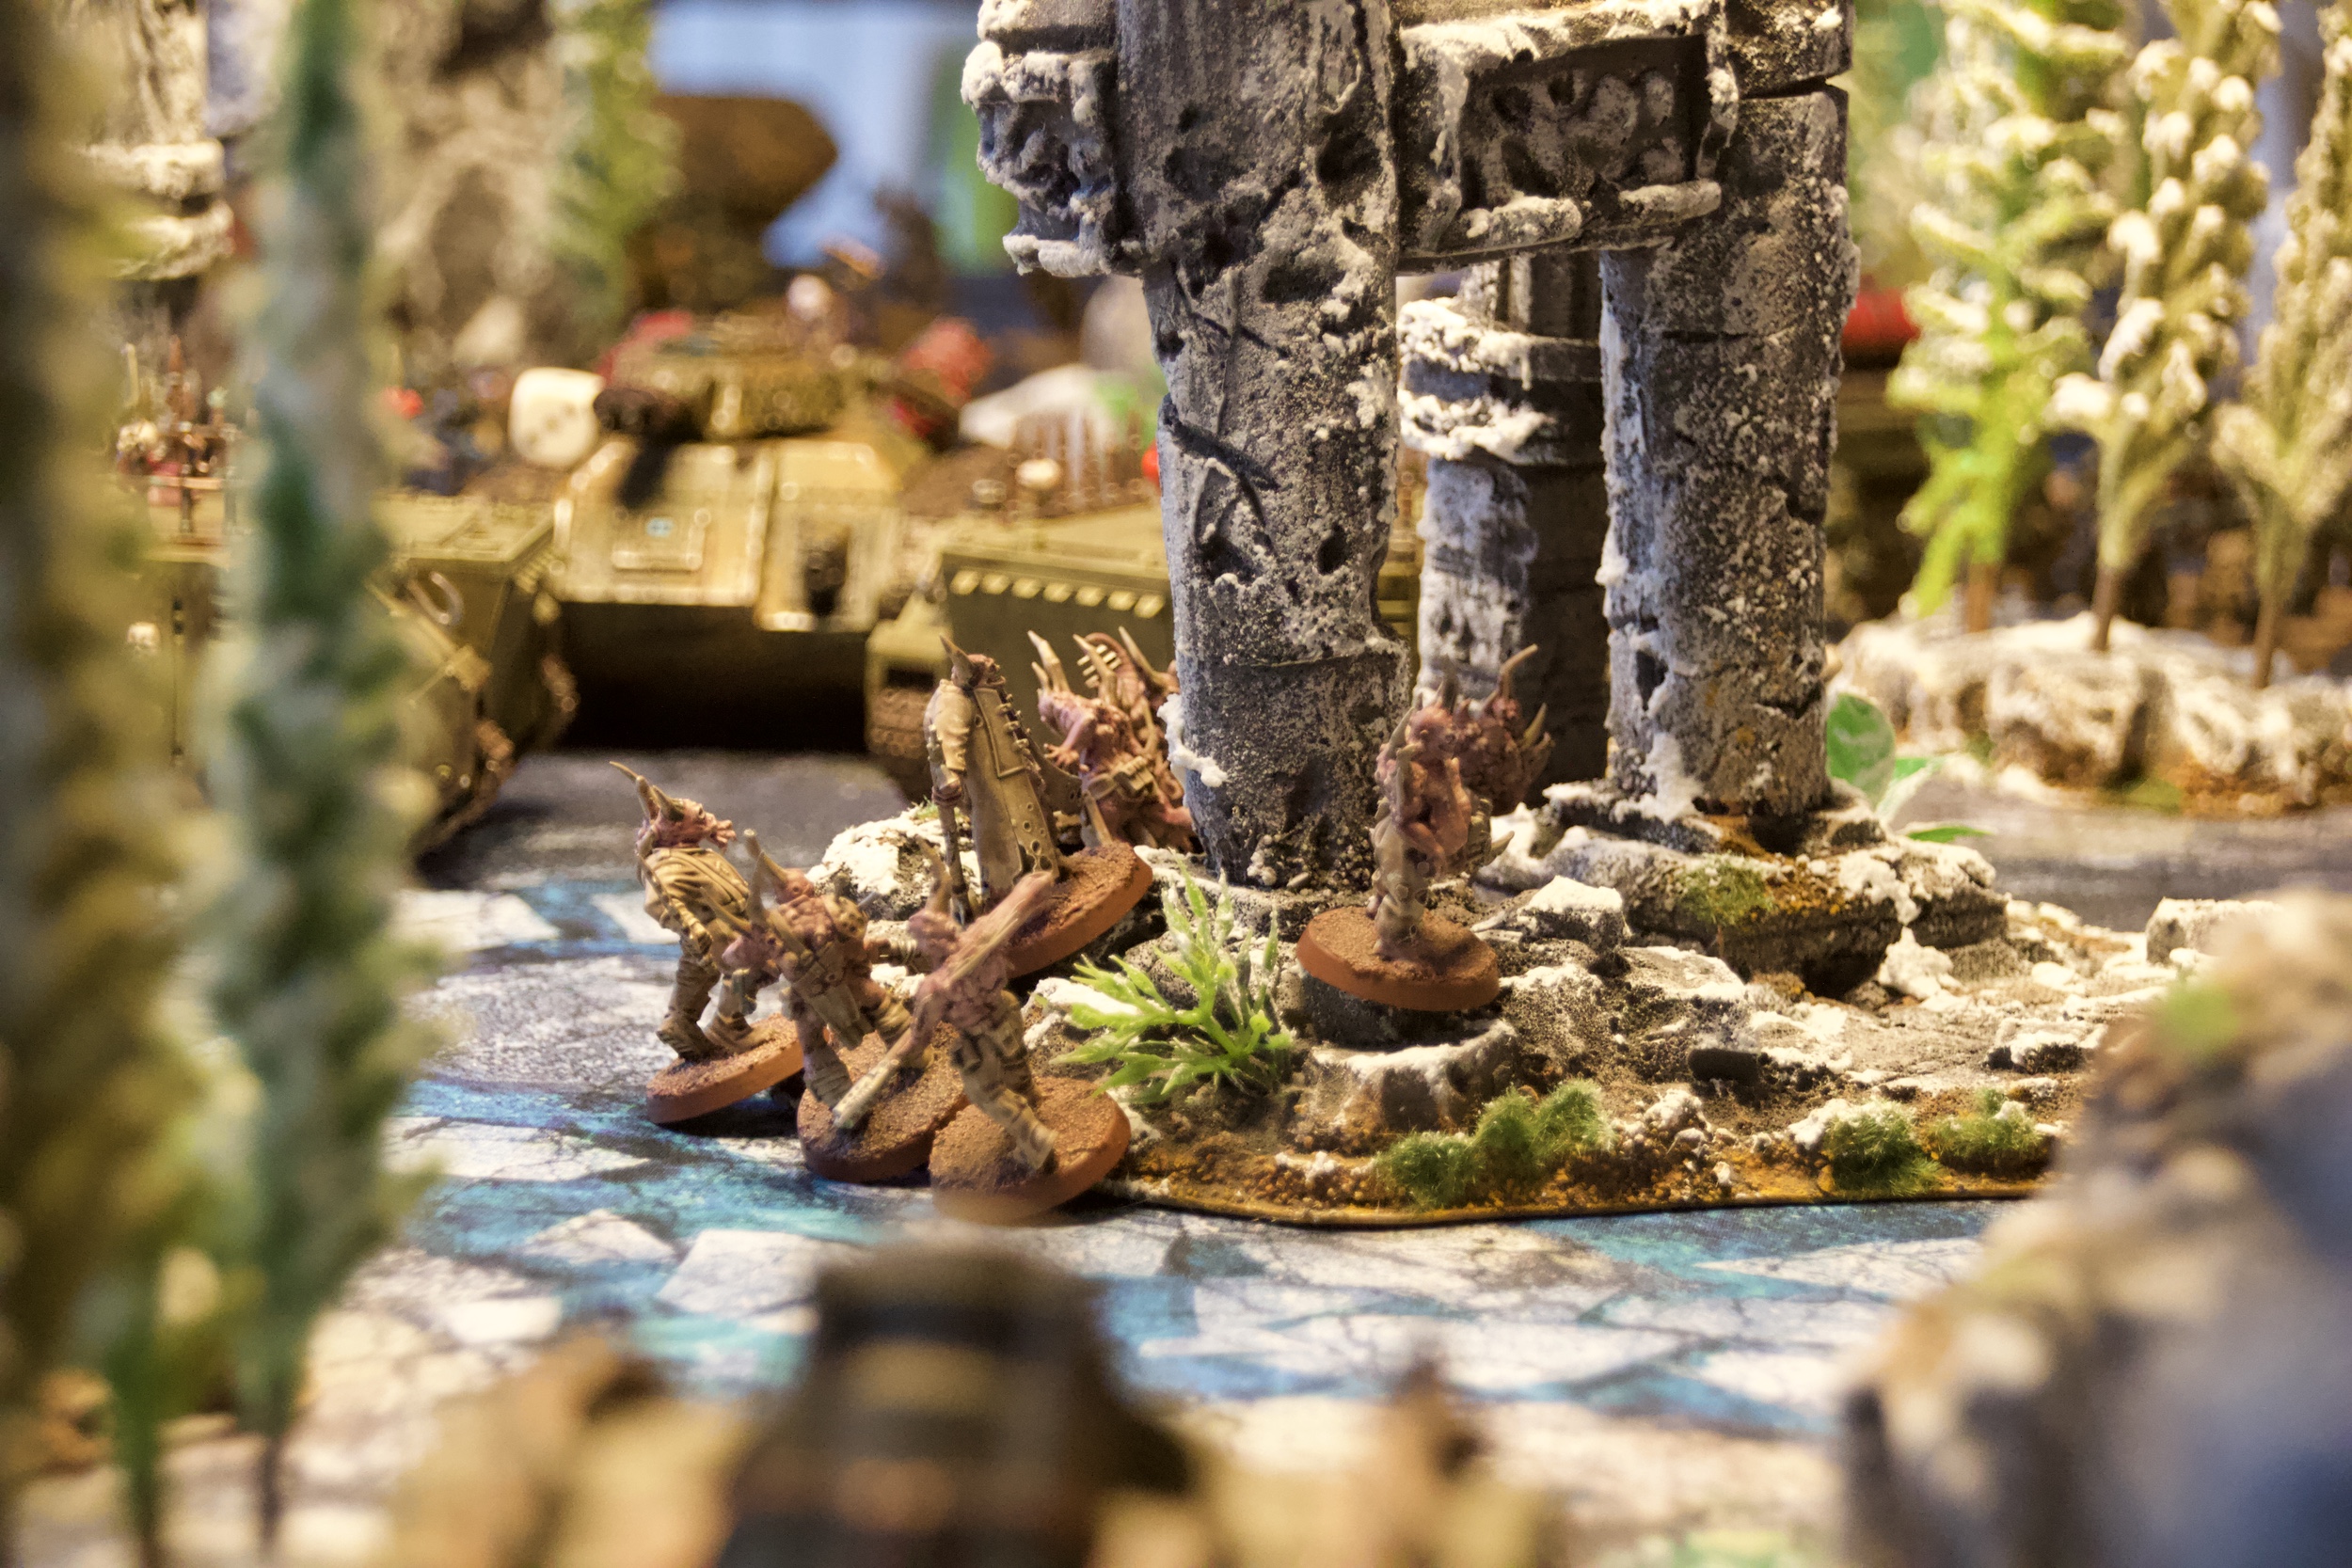
- Death Guard Plague Marines
-
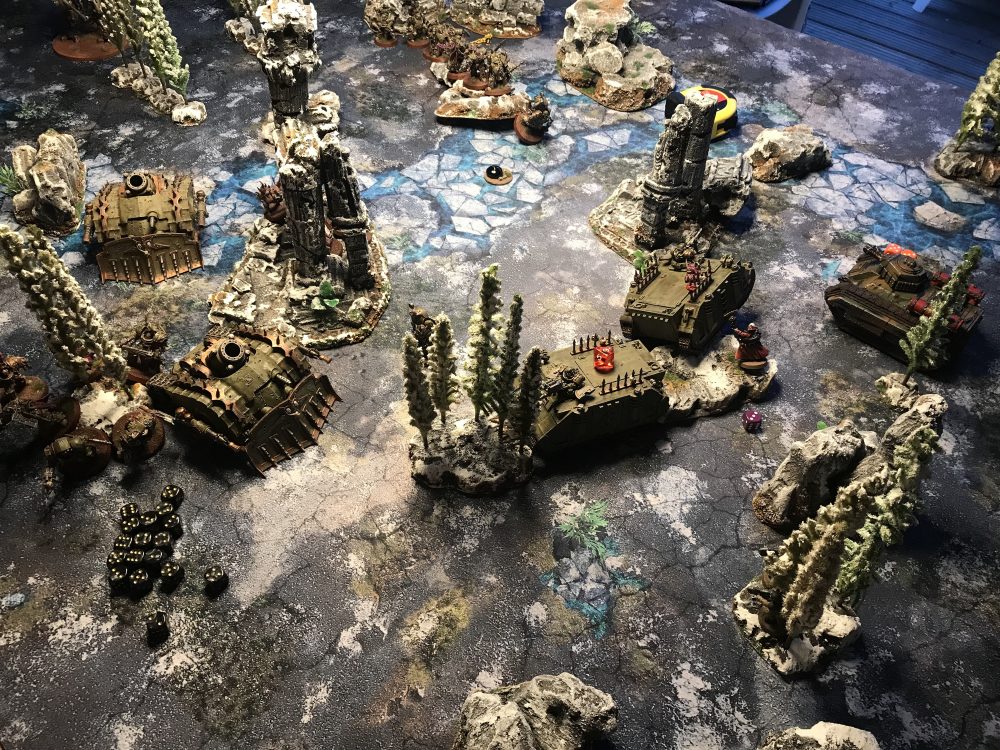
- Overview, the objective is that black stone in the centre

Turn 3
All my infantry was now wiped out from the centre of the board and my only units left were well in my deployment zone. I’d lost all my Cadian infantry, including the Command Squads. All my Devil Dogs were also gone.
My artillery had managed to now kill all the enemy Troops so the objective came down to model count only. Who could pile the most models onto the objective’s ever-shrinking capture radius?
I moved my Valhallan Missile Launchers as much as I could off their hill and into the table centre using Move, Move, Move. I got them there and then destroyed a Rhino, using the Basilisks, to take the objective by one model count. I had to give up shooting with all six Heavy Weapons Teams to do this though.
Show Score
Death Guard 0
Astra Militarum 3
-
- The mighty Valhallans race forward

-

- Overview
Turn 4
Once again every unit I had on the objective was blasted into the Warp. All the Heavy Weapons Teams were killed. The Death moved onto the objective. It had taken them four turns but they were now well and truly on top of it. I only had my artillery, Yarrick, Tech-Priest and two Company Commanders left.
I finally managed to destroy an Armiger. It had nine wounds left and I managed to do nine wounds using both Basilisks. A bit different from the first turn.
Show Score
Death Guard 1
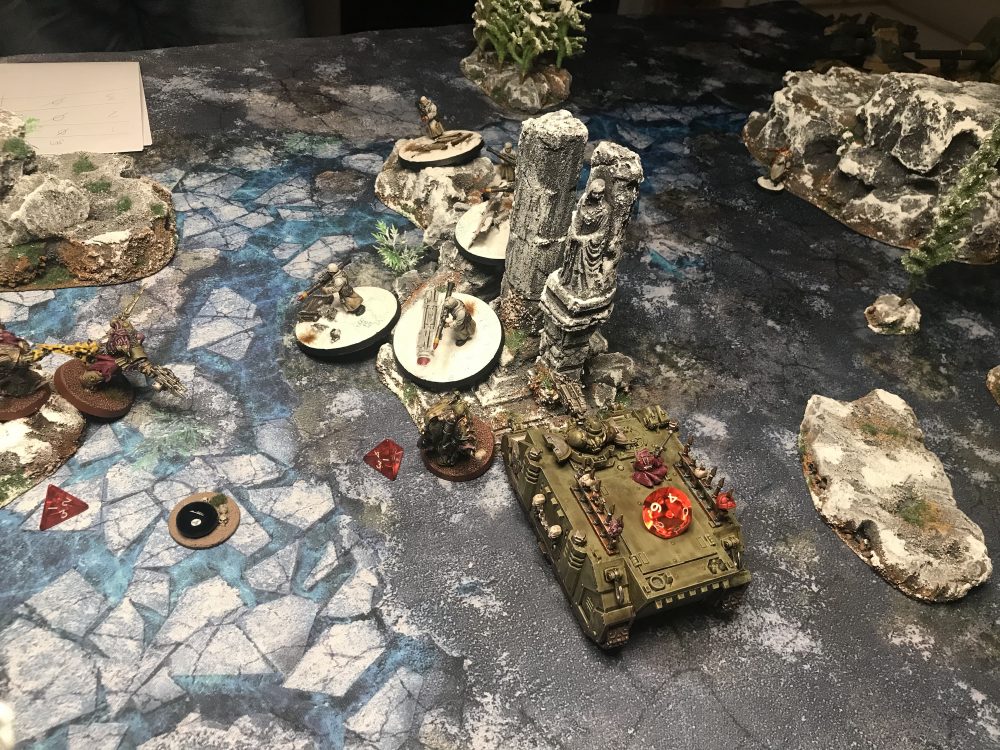
Astra Militarum 3

My last stand of artillery
Turn 5
We worked out that the Death Guard would get line breaker, I couldn’t get enough models back to the centre to re-take the objective, I couldn’t get line breaker, I couldn’t kill the enemy Warlord and the Death Guard might kill my Warlord.
These were the only events that mattered. If we went to turn six I was done for as the Death Guard would have the objective and start building their points up.
Show Score
Death Guard 2
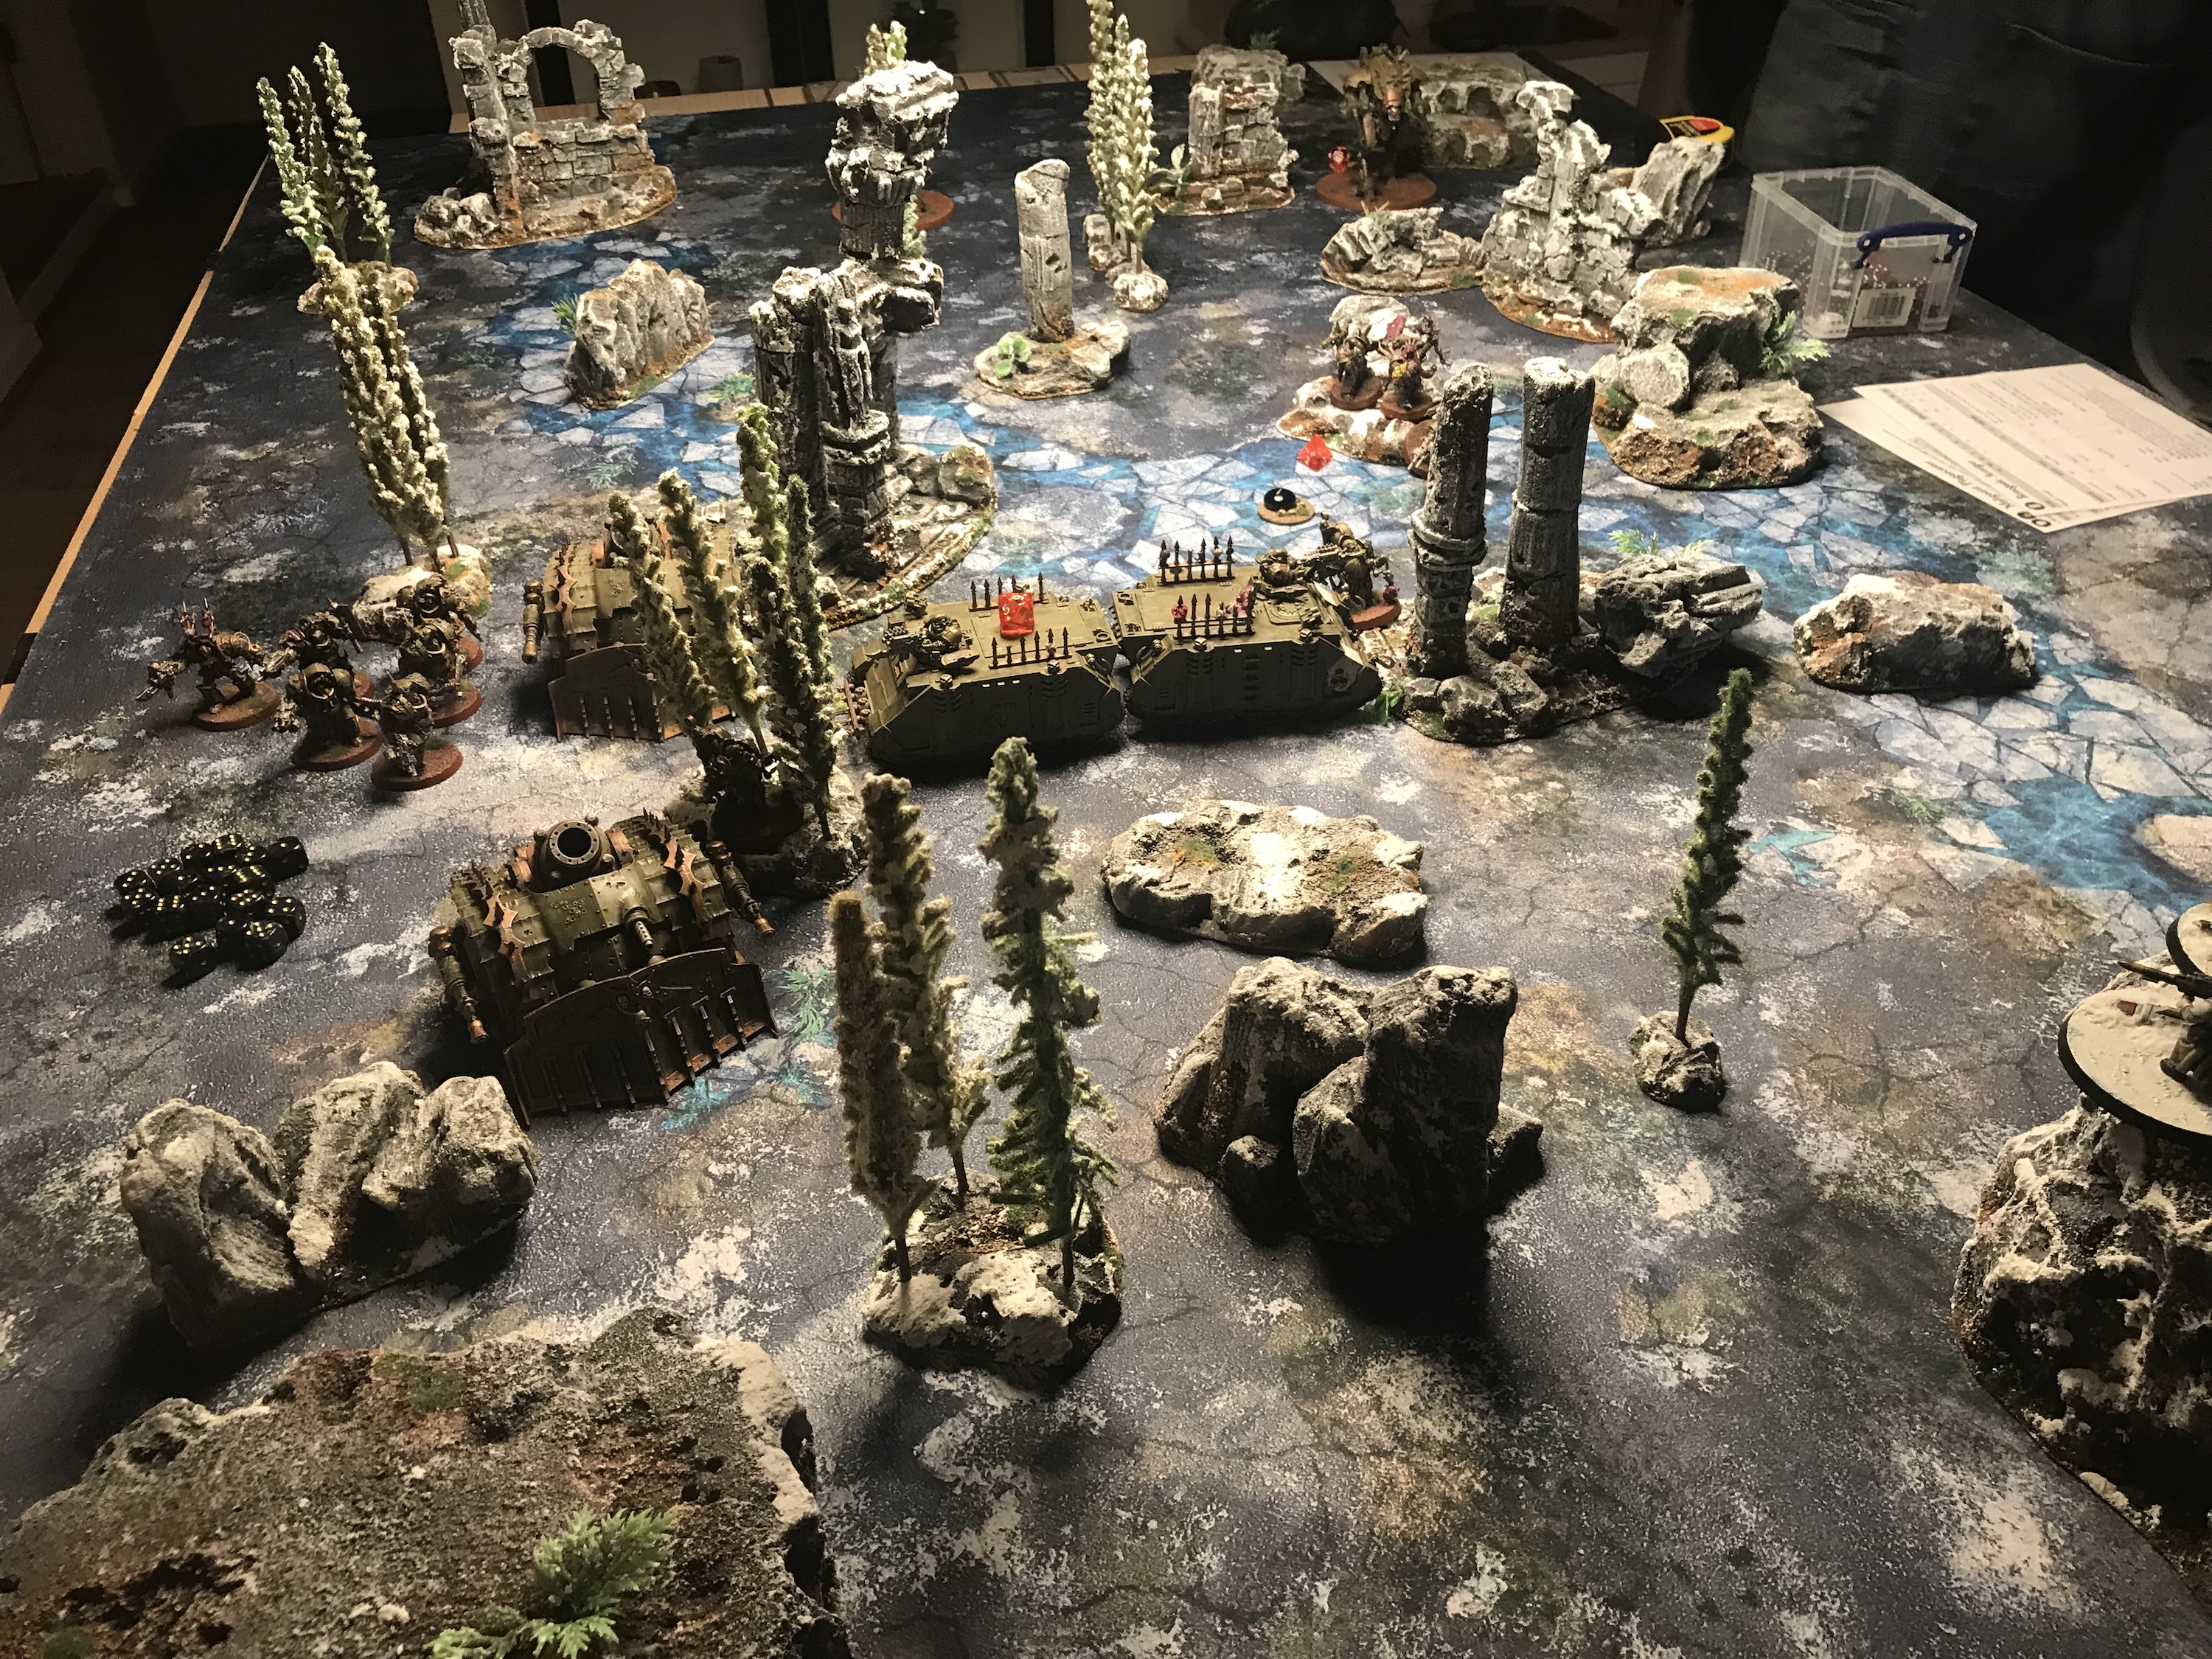
Astra Militarum 3
Final board at turn 5
After Thoughts
With the game going into Turn 6 it meant the Astra Militarum would lose the game. It was a good game and a close run thing in the end. The game did go to turn 7 but we did not play it. That would have given the Death Guard another 1 VP at least and maybe 2 VP if my Warlord was killed.
I am starting to think that the Guard artillery just sucks. Especially against the Death Guard. I need to place a lot of wounds onto their units to make them die and the artillery just cannot do that. Too often I have seen the following happen;
- A Basilisk gets 5 shots
- 3 hit
- 2 wound
- 1 is saved
- The final 1 does 2 Damage
- 1 Damage is ignored from Disgustingly Resilient
- Leaving 1 damage to the enemy
This type of roll is common and doesn’t feel unlucky anymore – it just feels normal. The Wyverns can kill Pox Walkers as they did in this game, but against anything tougher, they really struggle.
I am now at 7 losses to 1 win versus the Death Guard…
Show Score
Death Guard 4
Astra Militarum 3
Gallery
I took some snaps using my SLR, lighting was meh, but here they are…

-


- Warhammer Blogging Tips