

Shadowstrike Kill Team Formation – Astra Militarum Ally
Using the Shadowstrike Kill Team formation alongside the Astra Militarum.
I was really excited to be running the Raven Guard Shadowstrike Kill Team formation in my recent games. It’s only a simple formation but it brings a whole new element of play to the Astra Militarum.
The Shadowstrike Kill Team formation has you bringing;
- 2-4 Scouts Squads.
- 1-3 Veteran Vanguard Squads.
Their rules are as follows;
- You can choose when the Veteran Vanguard units arrive rather than rolling for Reserve.
- The Veteran Vanguard units can assault after Deep Striking.
- If a Veteran Vanguard unit Deep Strikes within 9″ of two or more Scout squads from this formation then they don’t scatter.
What we have here is something that the Astra Militarum can only dream of doing. Deep Strike, yes please! No Scatter, yes please! Assault, yes I’ll take that in buckets!
Using two Scout squads of five and one five man Vanguard squad this allied formation comes in at 302pts. This is using all my models WYSIWYG, without any thought for optimisation;
- 4 Scouts with Sniper Rifles and one with Missile Launcher.
- 4 Scouts with Bolters and one with Heavy Bolter.
- Vanguard with Lightening Claws, Vanguard with Power Fist, Vanguard with Thunder Hammer and 2 Vanguard with Power Swords.
It’s a nice mix it seems. I also have another Vanguard squad with exactly the same options which gives me some flexibility in this 302pt build.
Shadowstrike Kill Team’s Task
The list is geared up to complete a few tasks other than wreck an enemy unit in the assault phase. The Scouts can infiltrate and so can get into some rather important positions if need be. I don’t recommend Outflanking them in this formation as they may end up scattered away from each other and useless for bringing in the Veteran Vanguards. Although an Outflank manoeuvre using three units of Scouts could work as two are guaranteed to come on at the same table edge. Food for thought perhaps?
From a defensive perspective being able to Deep Strike an assault unit like the Vanguard is a great anti Drop Pod tactic. By keeping the Scouts back you can ensure the Vanguard Deep Strike without scattering in your own deployment zone and then assault right away crippling any Drop Pod antics.
On the offensive the opportunities are even greater when compared against the Astra Militarum’s usual suspects for getting in close and dirty with the enemy. Wiping a unit off an objective could be easily done, tiring up an rampaging Terminator squad or assaulting the enemy’s artillery are all perfectly and easily possible. Just make sure your Scouts are well hidden.
The Raven Guard make this formation even better given their Chapter Tactics, being able to use their jump packs for the assault and for re-rolling their Hammer of Wrath attacks (thanks to @standwargaming for the reminder on this).
Effective Points Level
1,000 points I’ve found to be the minimum size of force you can bring this formation in. Any smaller and the points cost is too great. I did try them in a 500 point force with a Vindicare Assassin and a single Scout Sentinel just for kicks. But I didn’t have enough bodies on the field to gain objectives and move around usefully. Although the Vanguard Veterans did arrive and immediately destroy a Drop Podded Dreadnought in my own deployment zone.
I also tried them in a 1,250 point game and this felt much more useful, like they were an extra tool in my arsenal rather than the only tool. In that list I took them alongside;
- Punisher Pask and Executioner wingman
- 2x Veteran Squads
- Bullgryns with Power Mauls and Brute Shields (no priest)
- 2x Wyverns
- 2x Scout Sentinel with Heavy Flamers
Learnings After Three Games
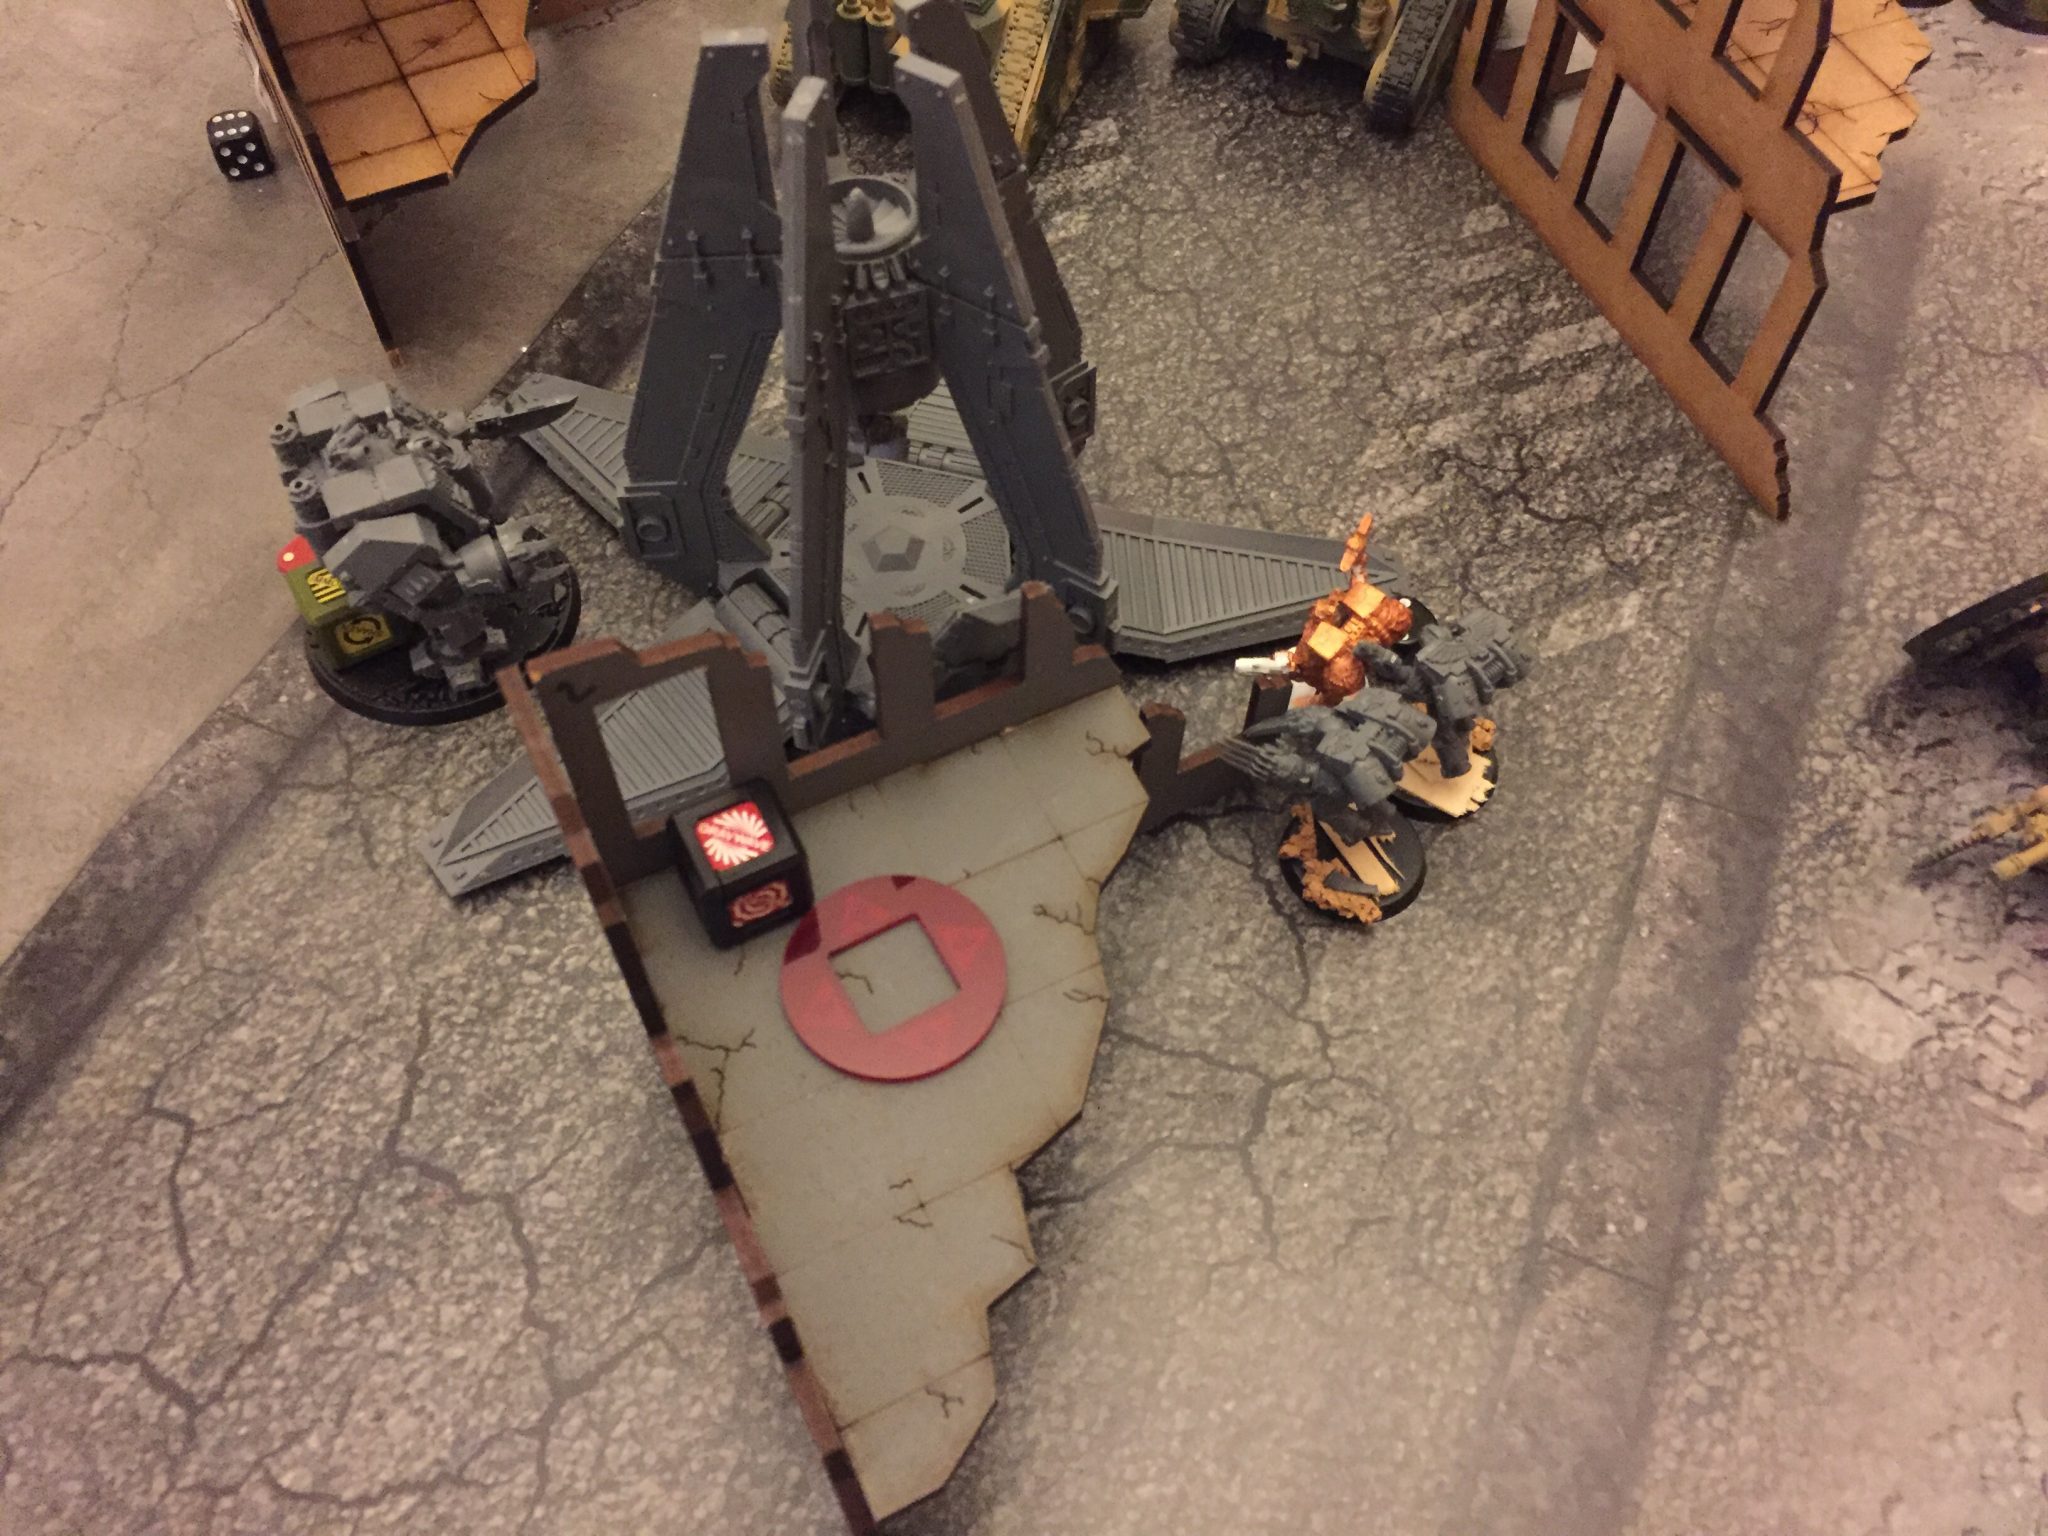
Shadowstrike Kill Team with Dante from Game 1
Its not often an Astra Militarum player gets to use a unit like this, something with real purpose; 3+ save, multiple attacks, good Leadership, having an AP to use in melee, etc. So it should come to no surprise that I failed terribly at using these units to the best of their abilities.
Game 1 – 1,250 points vs Blood Angels
In this game I left them too long to bring into the battle. A Scout squad had been destroyed so their No Scatter ability was wasted. Instead I safely brought them into my own deployment zone in an open area, to deal with Dante and his Sanguinary Guard unit who also Deep Struck. After some incredible shooting from my Guardsmen Veterans and some good Hammer of Wrath hits only Dante and one other guy remained by the time the charge occurred. But Dante was just too much, his higher initiative cut my guys first leaving me with just two of my five Vanguard to kill him. He finished then off next turn while only suffering one wound.
This was my newbie shining through in full glory. Don’t send your best melee unit up against their best melee unit. It can end in tears. I should’ve used them to wreck his Predator or his Terminators all with an initiative of 1 due to their Power Fists. Instead they were slammed into a wall of Dante and came off much much worse.
I lost this Maelstrom game.
Game 2 – 500 points vs Blood Angels
In the second game I’d learnt that I needed to bring them on sooner so they can be used sooner. In the previous game I just waited around for the perfect point to bring them in, this didn’t really happen so they felt wasted for at least a turn, if not two. I brought them in on turn two in this game to counter a Dreadnought that had arrived in my deployment zone. They destroyed it will ease and moved off to claim objectives. There was a problem though, they were miles away from another enemy unit and at least a turn’s movement from the nearest objective outside of my deployment zone. They felt like a waste again.
I lost this Maelstrom game.

Dreadnought just arrived ready for the Shadowstrike Kill Team
Game 3 – 1,250 points vs Tau
My final game was against Tau, I had had some time to think about my previous two games and so put into motion using these guys more effectively. I used them to counter the Tau Commander that arrived towards one of my deployment zone flanks. My Bullgryns charged too, soaking up some overwatch and taking a single wound. The Vanguard Veterans then came in and easily killed everything.
I won this Maelstrom game.
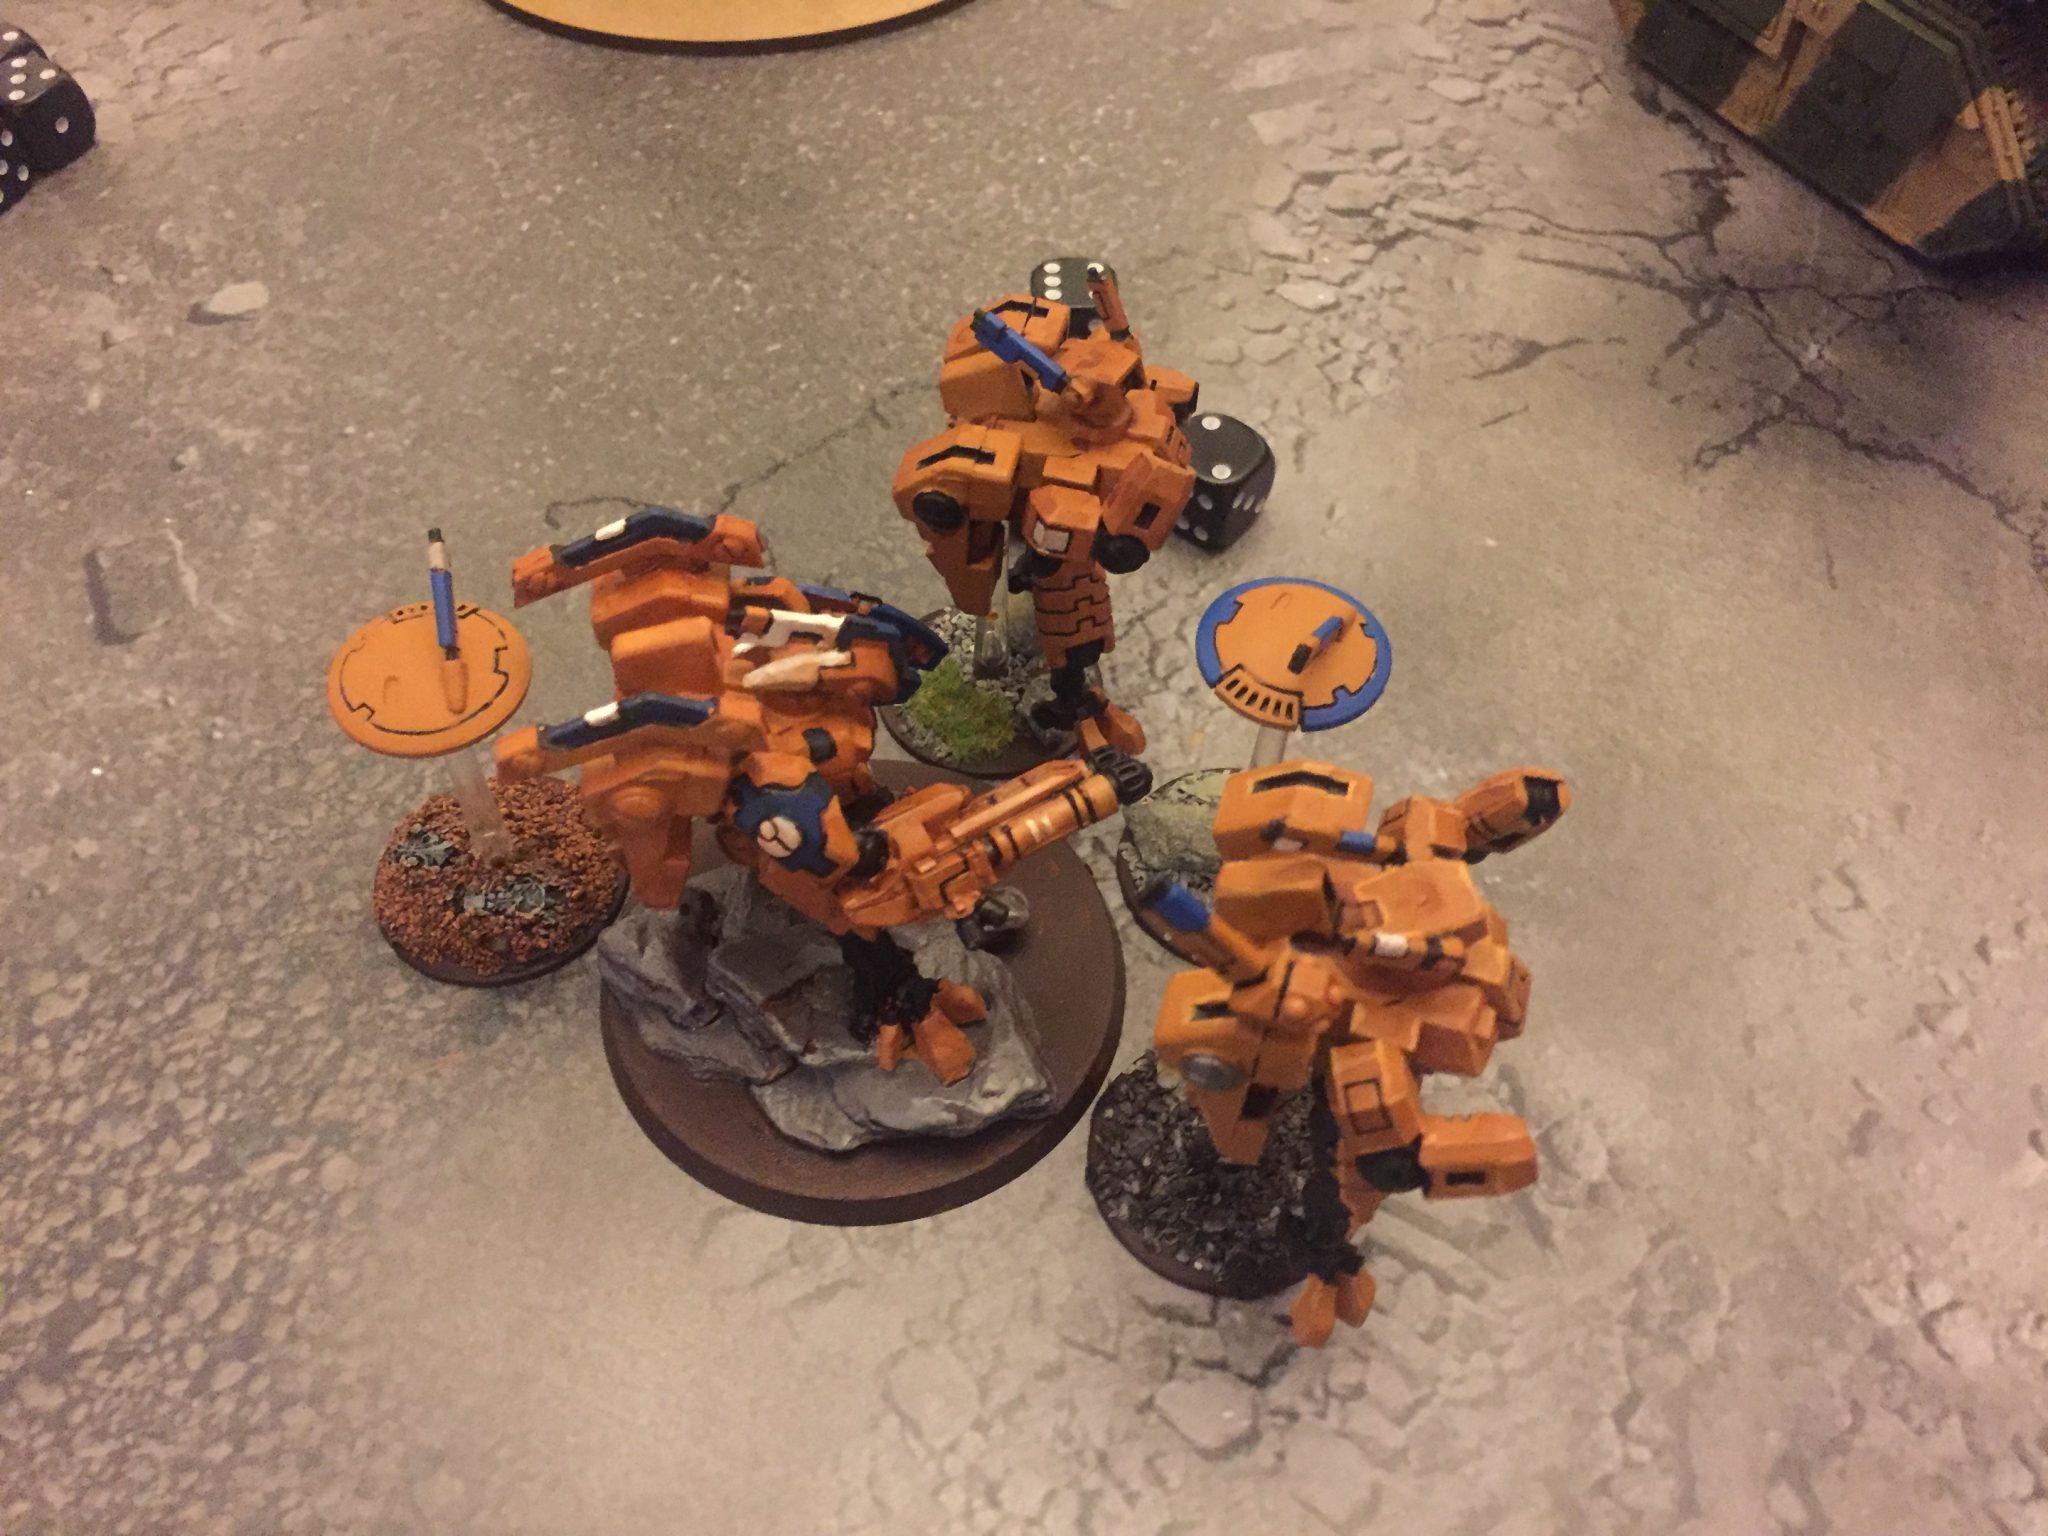
Tau Commander – perfect Shadowstrike Kill Team target
Shadowstrike Kill Team Summary
I feel like I am getting there with this formation. Its not as easy as taking Space Marines and winning, they are still hard to use. Especially for someone like myself who has little to no experience in fielding them or any units that are remotely quick and good in the Assault phase.
With some more practice I think they will be a really good addition to a few of my Astra Militarum lists. If only as a distraction away from Pask who did incredibly well in my Tau game. Total kills for Pask and his Wingman were significant; three Broadsides, a Riptide, two Tetras, a Devilfish and a handful of Firewarriors.

My haul of VPs from my Tau game
Another star was this Outflanking Scout Sentinel which arrived, Heavy Flamed these Kroot, killing 4 or 5 I think. They then ran, off the board! Good times.
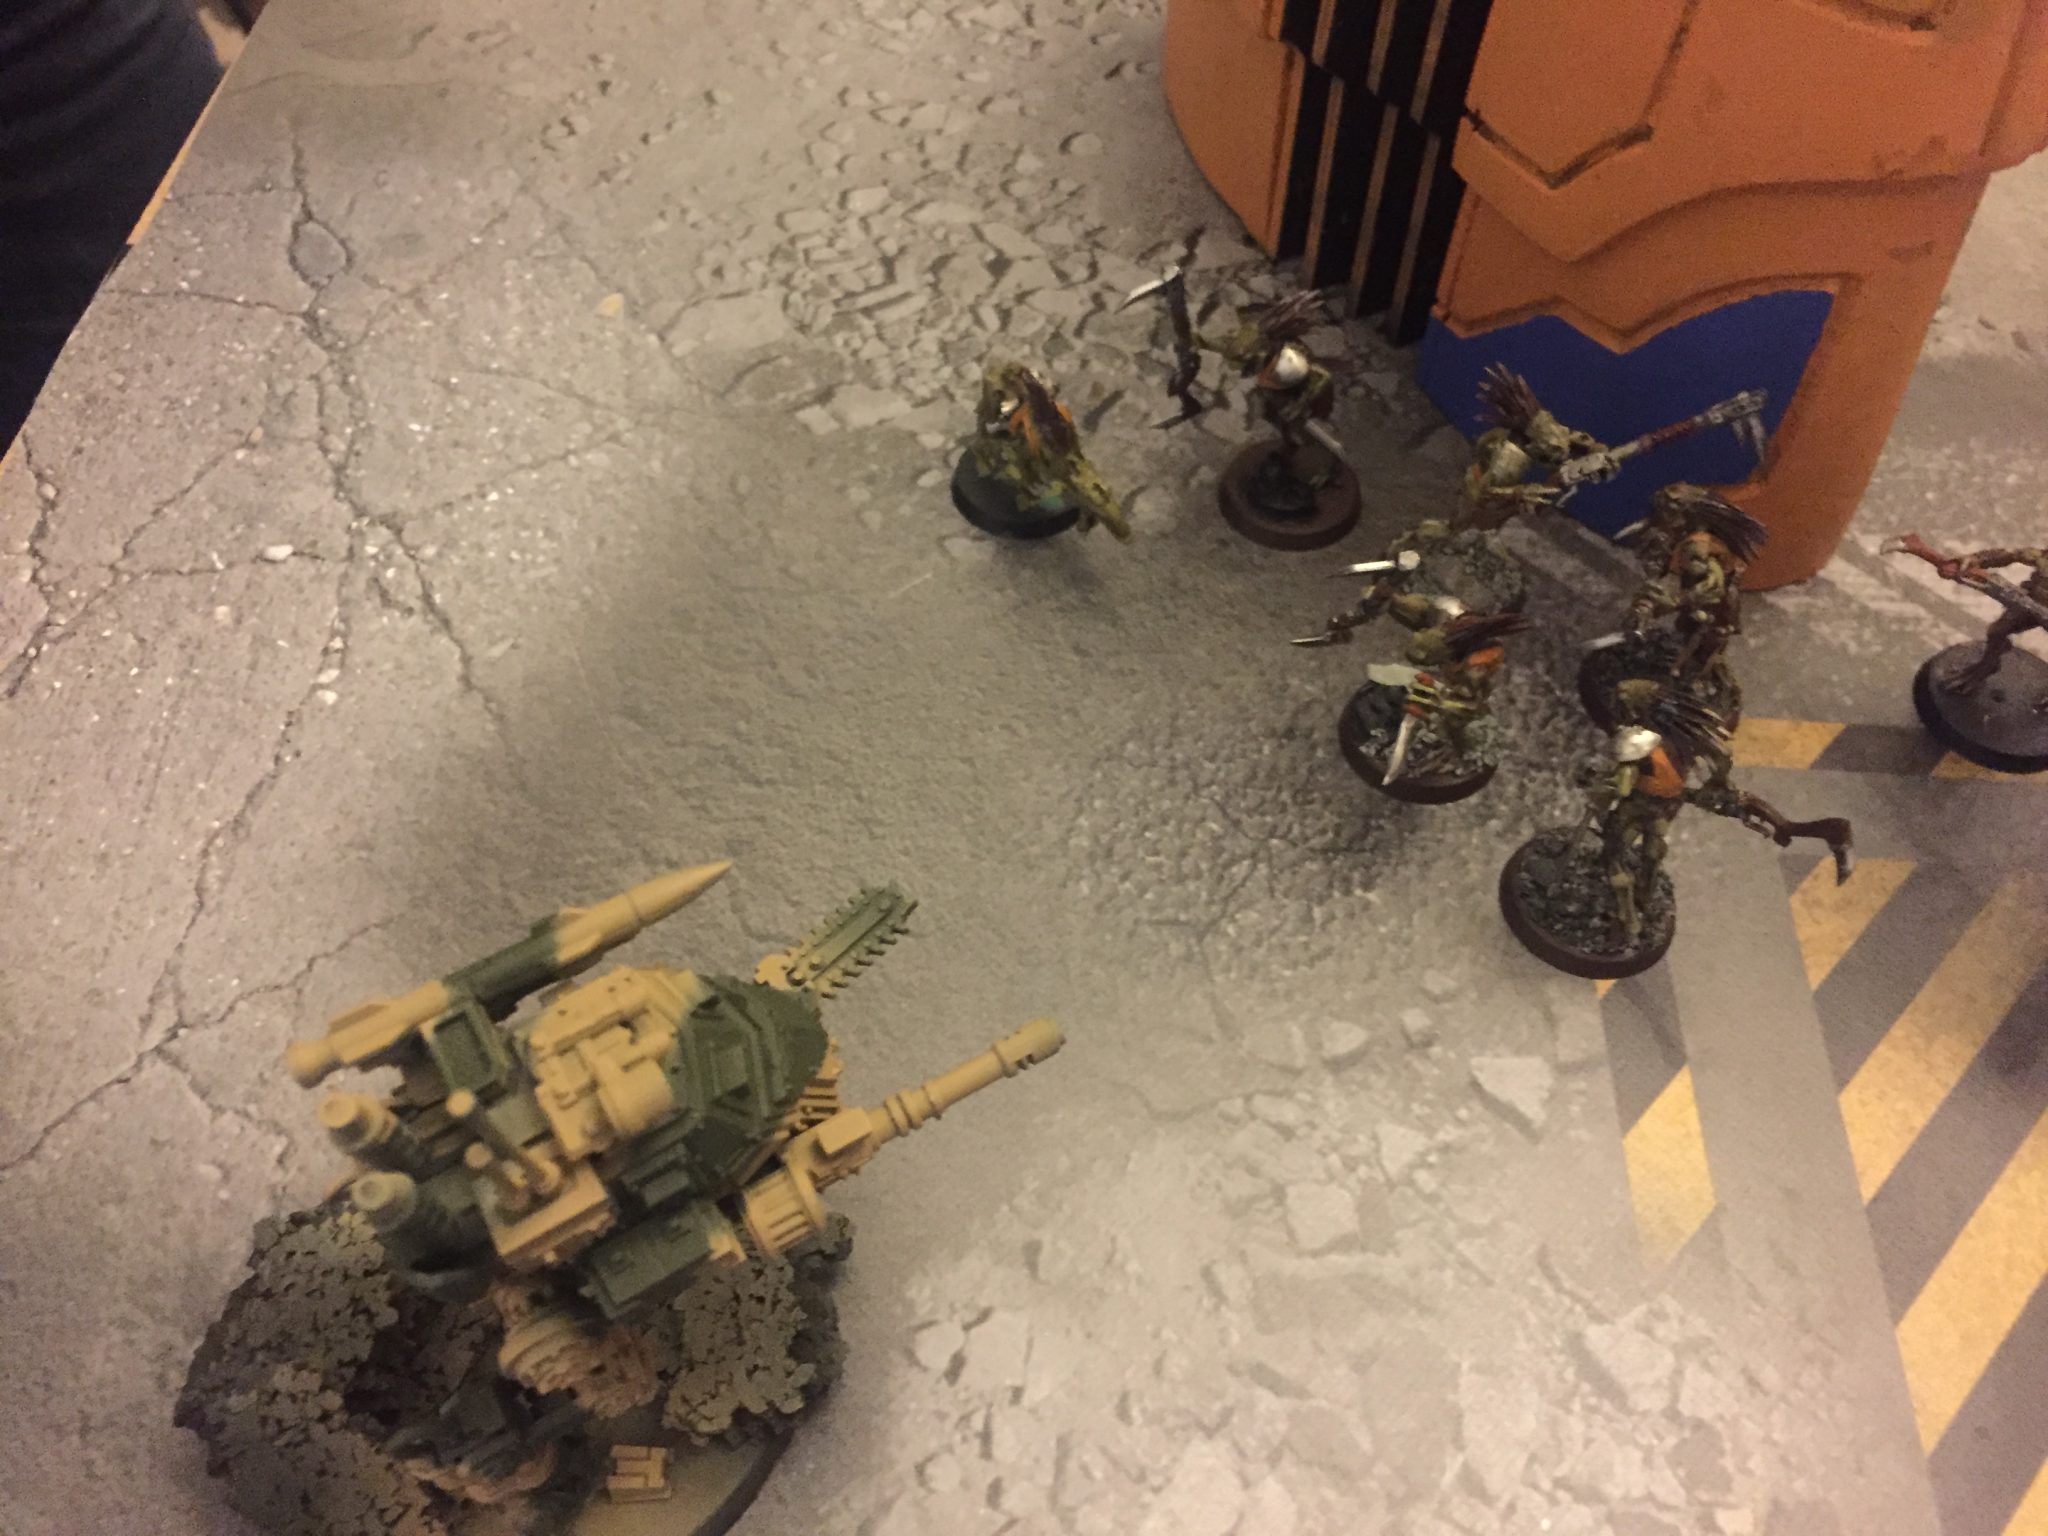
A Star Sentinel
That is all for now!